After a full year of prepping,
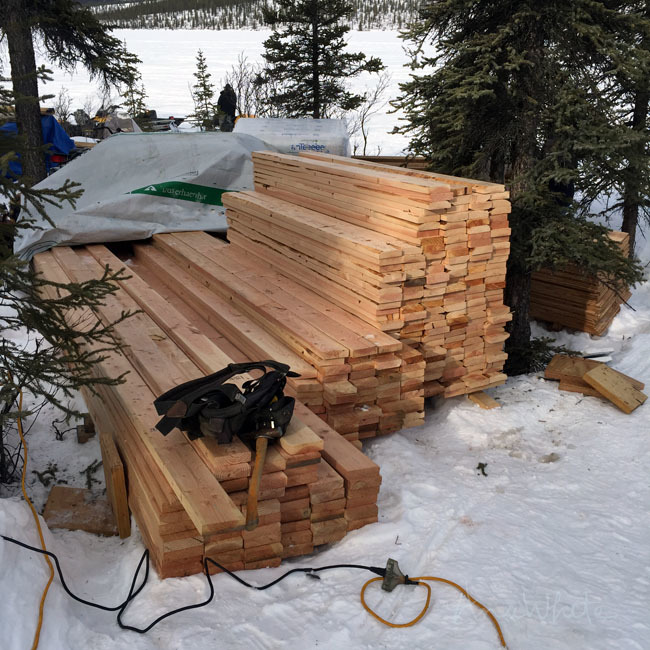
Weeks of ordering materials, planning, and hauling in those materials, the day finally arrived when we could actually start building!

It was a cold day in mid-April, with clear skies and an optimistic crew.
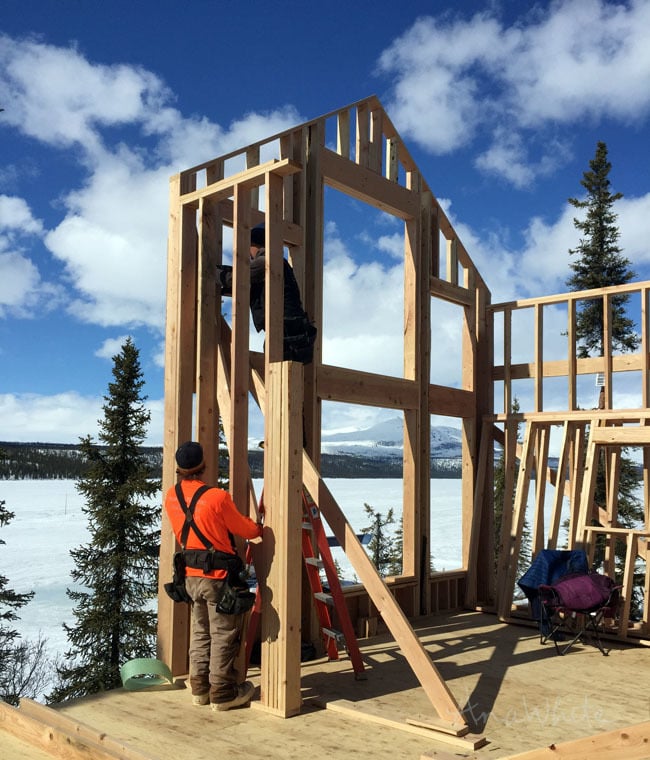
We knew we'd only have two days of framing while the film crew from DIY Network was here, and I'd committed to having three walls up in that time. Doesn't sound like alot - two days to have three walls up, right?
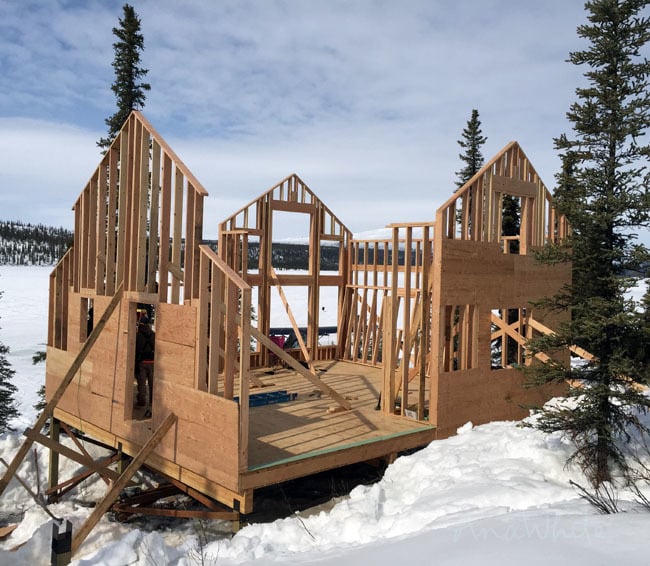
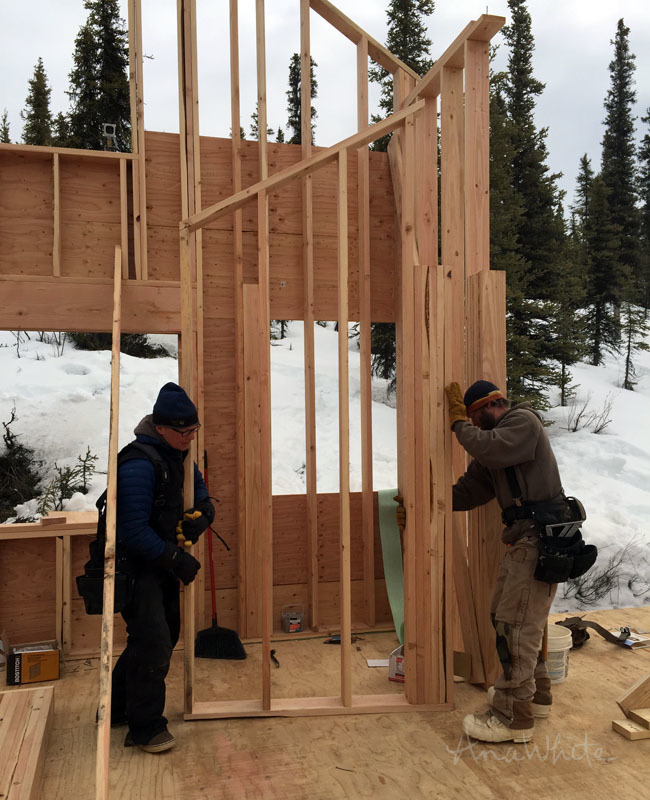
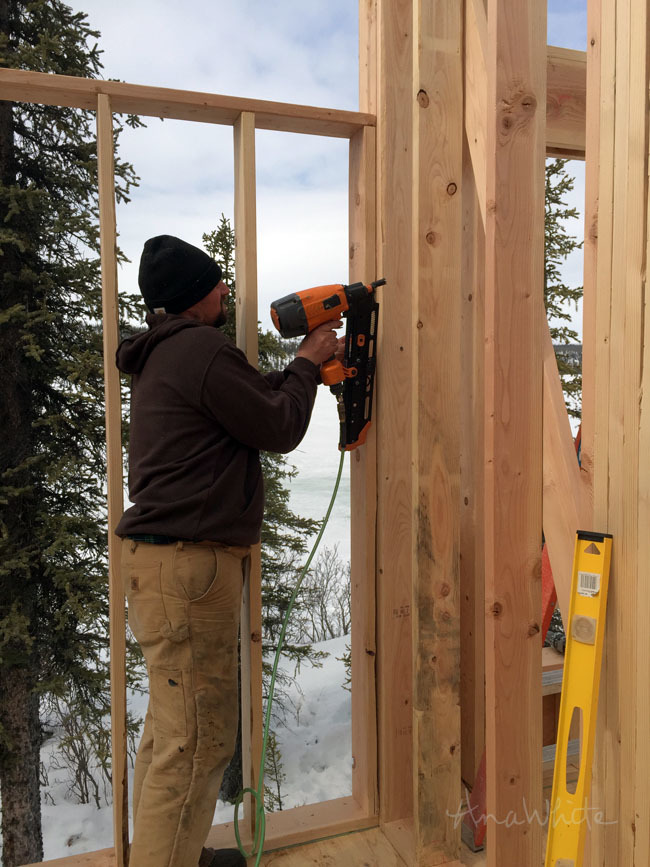
Normally, it wouldn't be a big task. But these walls are very complicated, since we will need to balloon frame in the gables on three of the walls, and add in beam pockets so we can support our timberframe. There's also lots of windows and openings. Nothing about these walls are standard, so none of the usually grab studs, layout on 16" centers, and nail away. We'll need to cut each and every stud, with many of the studs being cut at a bevel. Some of the studs are close to 18 feet long too.
This is a huge task on it's own. Add in that we are working remote, powered by a generator that can only support a single nail gun and saw AND we will be stopping for the film crew to get the right angles and shots ... well, you get the idea. I was extremely nervous and concerned about delivering on my promise to have three walls up by the time the film crew left.

One thing I always say is when building, everything has to get figured out. You can figure out things with three people sitting around waiting for you on site, or you can figure things out at home, on your computer with your three dimensional program (I use Sketchup) in the comfort of your office chair. I prefer to do the later.
So I drew out all of the wall framing, down to the 1/16 of an inch, at home. Then I took each wall and created a detailed cut list and drawings. Jacob and I were both had reservations about going this route, because little things like your 2x's not being a true 1-1/2" wide, or saw error, or warped boards could create huge problems- not cutting and building to fit was defiitely a leap of faith.
But they trusted me and we just took my cut list, and started cutting.
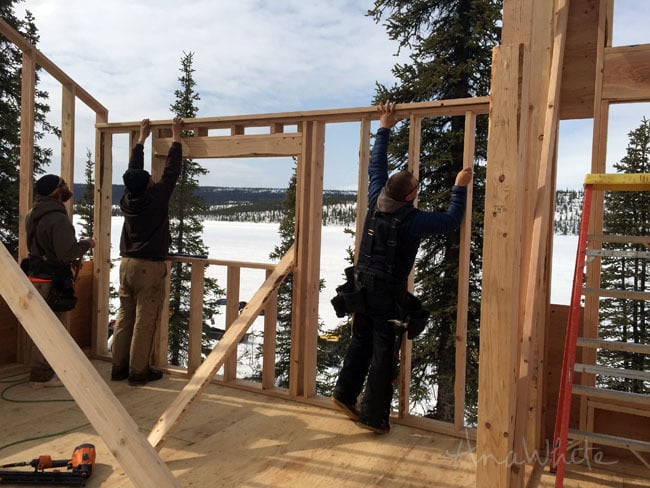
It worked. The first wall, despite being the most complicated, went together in no time. As fast as boards were cut, we layed them out, and nailed them together. Then we added plywood where we could to keep the wall square.
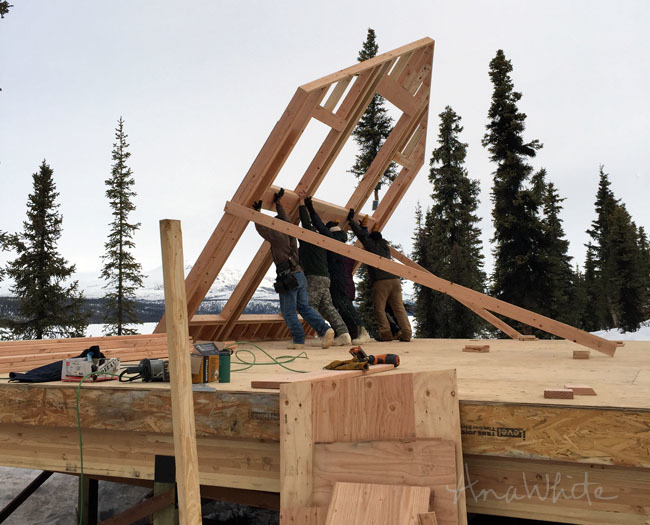
This first wall had six big headers in it and was 18 feet tall. We barely lifted it. Since the wall is so tall, it is very difficult to lift because of the weight at the top.
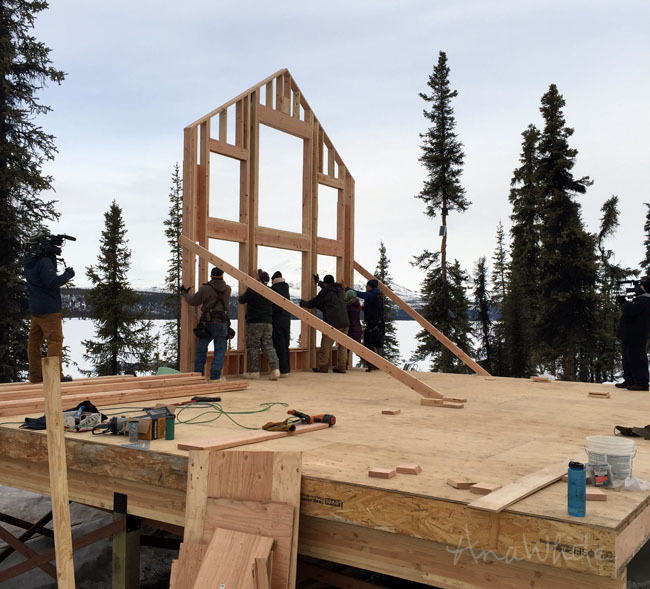
There was a huge sign of relief when this wall was stood and braced.
At this point, I was so excited to see how the cabin would look in size. Framing is the process in building that is the most gratifying. A little work has big results.
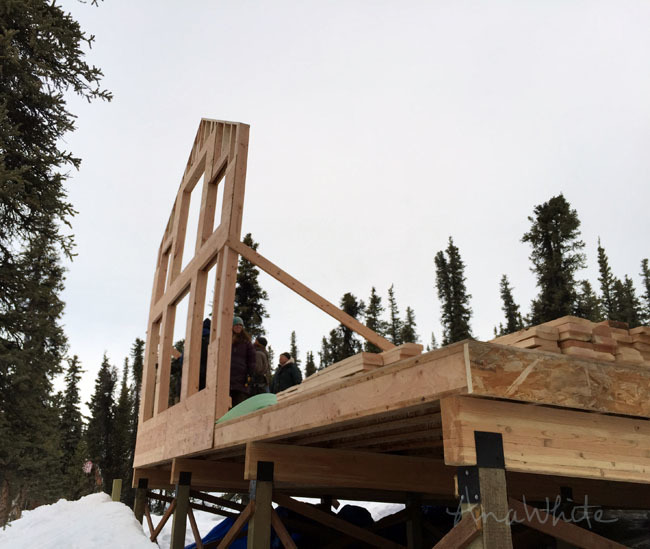
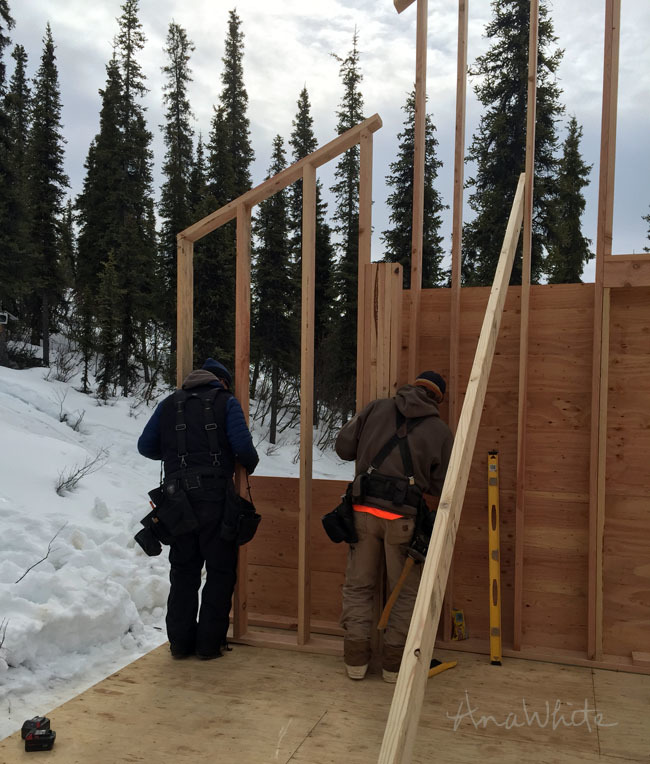
After getting the first wall stood, we hurried up and built the next two walls, and stood them. We did it - we stood three walls while the film crew was here!
But we wouldn't be smiling for long.
That third wall - the wall without the peak in it - wasn't square. We checked the first two walls to make sure they were built square, and of course, they were.
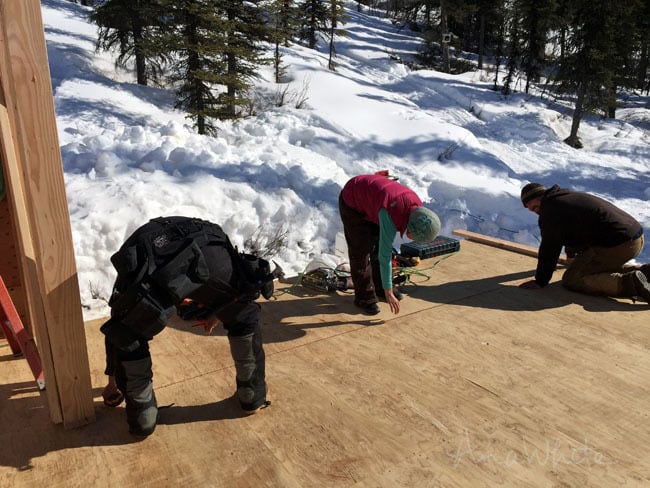
And then we checked the floor for level.
The foundation was out 4" from the lake side to the hill side. Not a big deal, right, since we created a foundation that could adjust for heaving and sinking?
But not this year.

We had an incredibly warm winter in Alaska, so more water than normal has melted over the course of the winter, and an extreme amout of ice has built up on the foundation.
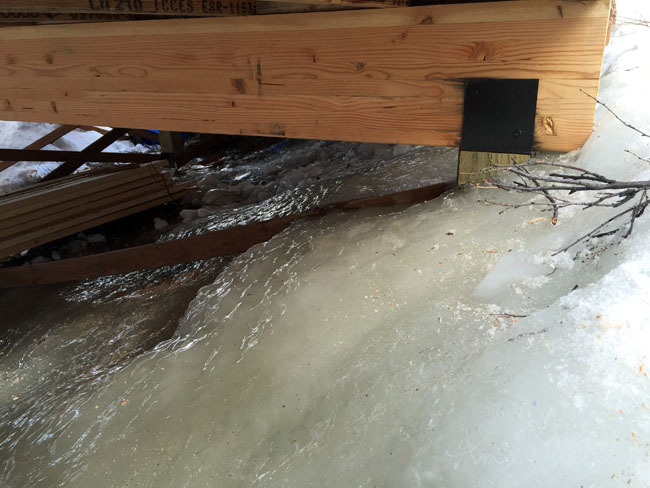
To get to the adjustable foundation, we will have to remove all this ice - off every single foundation post.
We thought and thought of how to get rid of the ice, but in the end, we just had to do it the old fashioned way. It took several hours for us to chip away the ice on the foundation to get to the foundation nuts.
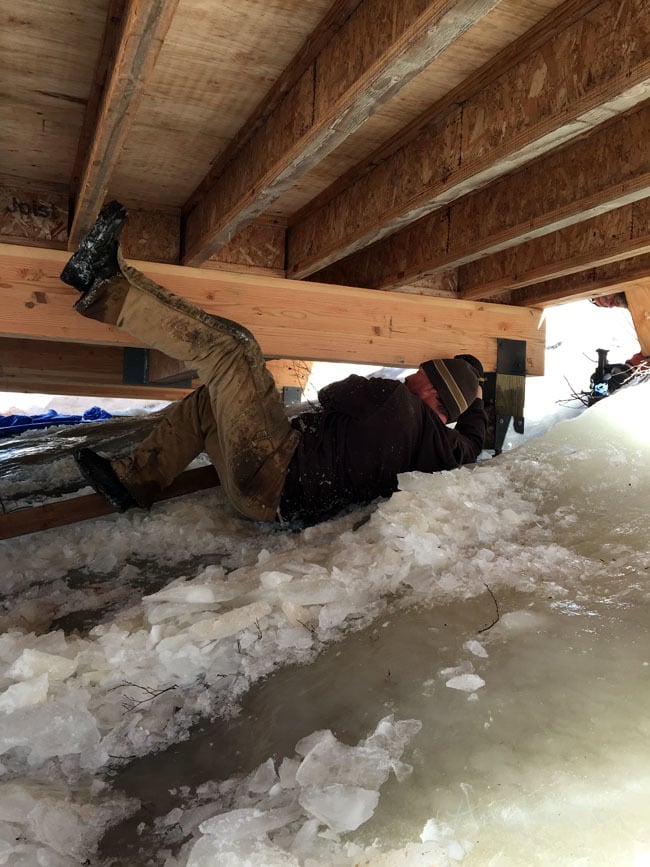
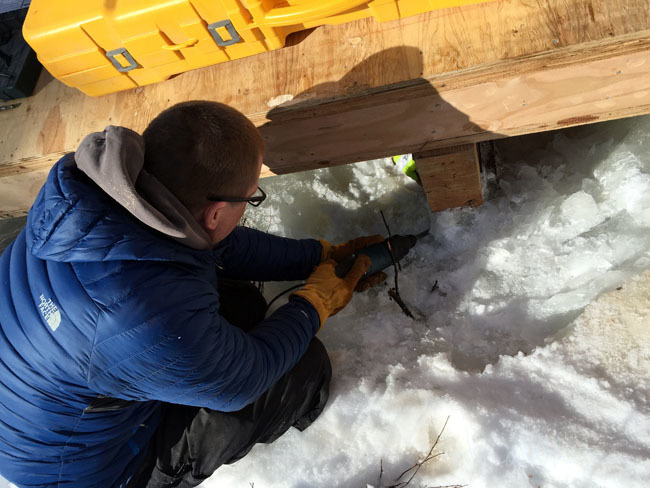
Some of the posts are so short, just getting up under the house was a challenge in itself - and then you got to lay on the ice and chip it away. Coming from such a high of framing all those walls, this was a hard, long day.

To make matters worse, some of the bolts were frozen under the concrete pads, with ice locked into the threads of the bolts. No amount of effort to turn the nuts would work. We ended up having to jack the cabin up, and tighten or loosen the nuts to adjust the foundation.
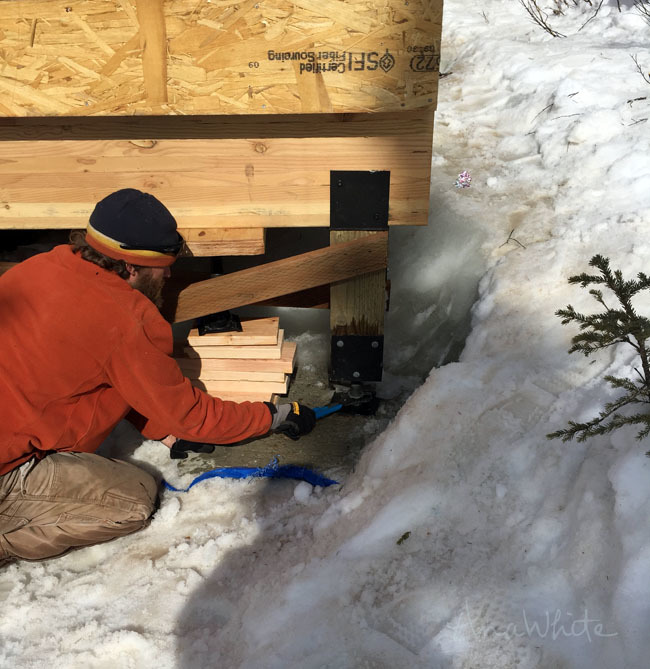
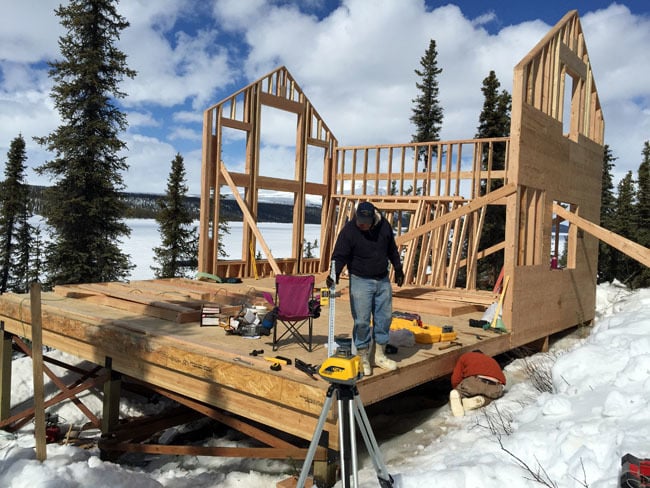
But we were able to finally tune the foundation in so the floor was perfectly level.
And get back to framing!
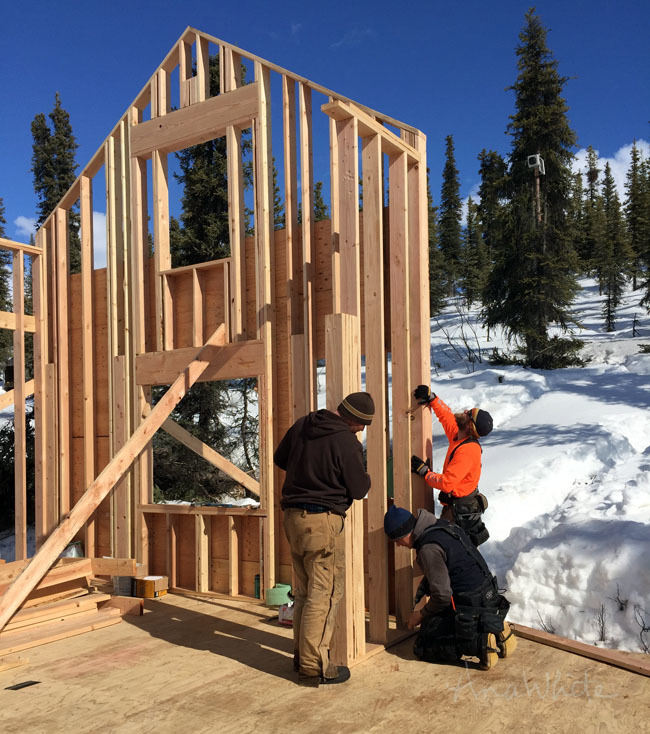
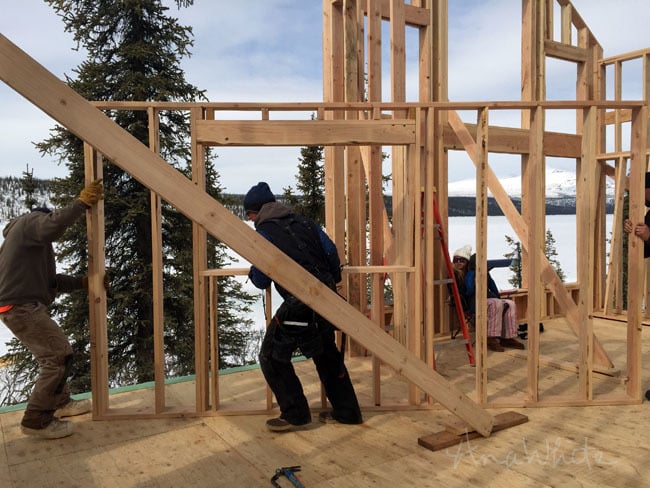
These walls went up super fast, because they are square and simple.
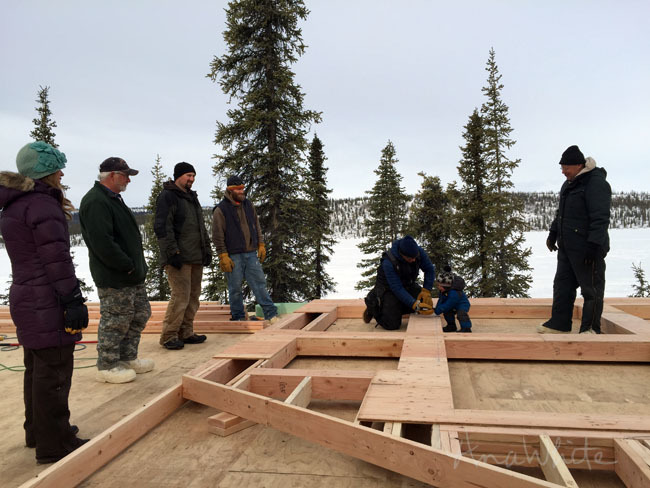
A few things I wasn't able to take pictures of earlier that I'd like to share is we are creating chalk line layouts for the bigger walls on the deck to help us build them square. We've also chalk lined where the walls go.
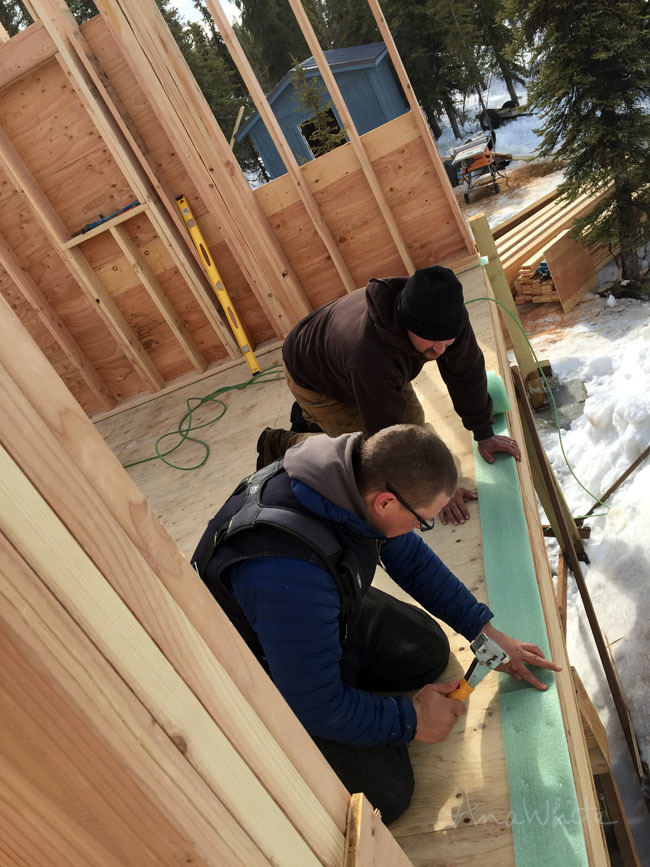
We are also adding sill seal under the walls to prevent drafts from under the walls.
After building the first wall and barely being able to lift it, for the last wall, we decided to build it in sections. This is one of the side pieces.
Towards the center of this photo you can see five studs stacked together - a beam will sit on top of this.

We plywooded right over alot of the windows and doors, and then later on cut the windows and doors out in place.
The only "standard" wall in the entire cabin is this wall, where the kitchen sink goes, and it's compliment on the opposite side of the cabin. These walls went together in minutes.
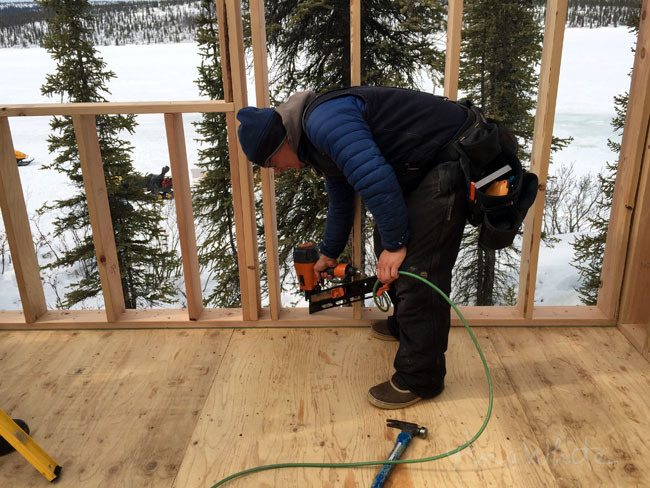
Once in place, we nailed all the walls to the floor,
Nailed the walls to each other (after leveling and making sure the walls were square),
And then tied in the walls with a top plate. Especially for the eave walls, that will support the rafters for the roof, it is important to have a double top plate.
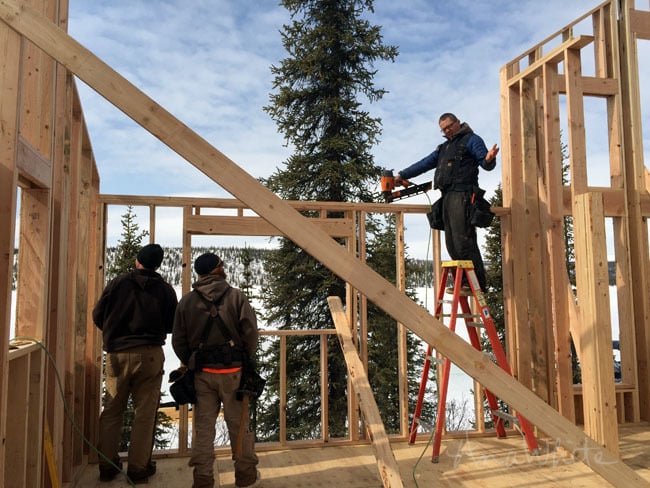
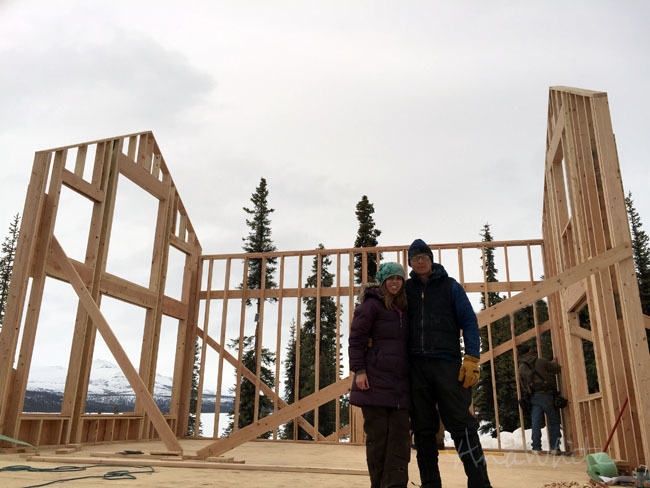
Silly hubs having fun again. The happiest times of our life, we've always been smack dab in the middle of framing a projct. Despite the great challenges of framing the lower walls, we were elated with the progress.
This -
Became this -

In less than a week. It wasn't easy, everything didn't go smooth, but we managed, and are so excited and proud of how this cabin is coming along.
Next up, we'll be bringing in timber beams and adding the first floor!
I can hardly wait!
Thanks so much for following along and supporting us.
XO Ana + Family
Comments
JoanneS
Wed, 05/20/2015 - 15:19
AWESOME!!!!!
What awesome progress! I love watching every step of this process and can't wait to see you on TV! Congrats!!! :)
Pam the Goatherd
Thu, 05/21/2015 - 10:57
This project seems to be so
This project seems to be so much more daunting than the Momplex was! My heart is racing just looking at the pics of raising that first wall and crawling under the house on all that ice to adjust the level. Can't wait to see the finished result. It's going to be awesome!
spiceylg
Fri, 05/29/2015 - 09:22
Ah-ma-zing!
I so admire you and your hubby's tenacity to tackle the unknown with t.v. cameras around as an added stressor! Thank YOU for taking us along for the ride. I can't wait to see it all come to fruition!
ChugiakTinkerer
Wed, 03/30/2016 - 22:24
Brackets
That must have been fun digging out the ice to level the floor. I'm considering the adjustable jack screw brackets for my 16x28 cabin. Are those custom made, or are they available off the shelf?