Barn Door Entertainment Center

The free plans on this website are supported with advertising and affiliate revenue.  When you click some links in this plan, you may be helping us earn a small commission.  Thank you for supporting this website.


barn door entertainment center
Difficulty
Intermediate
| Print this plan

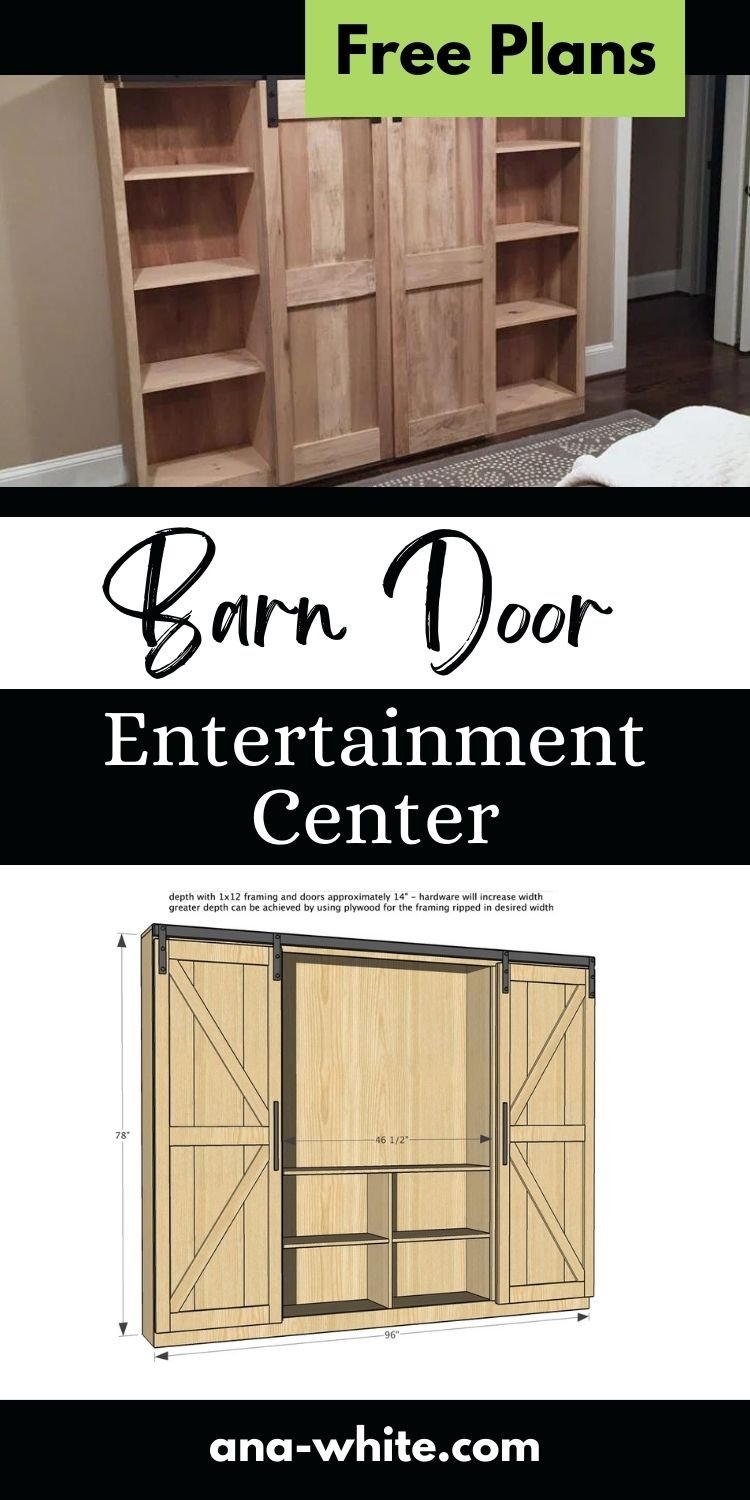
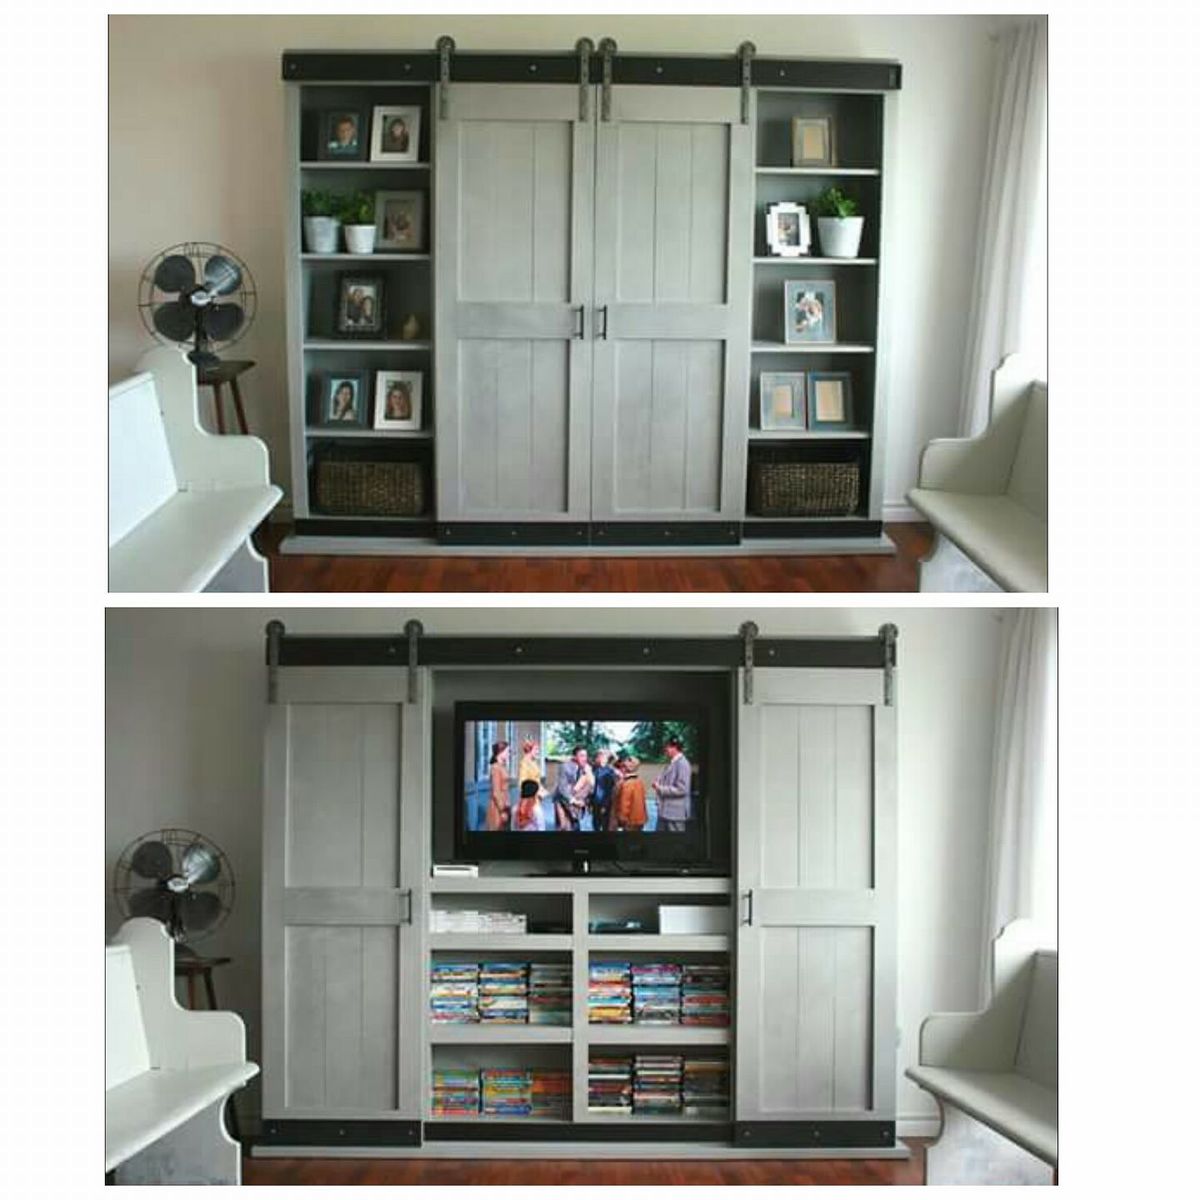
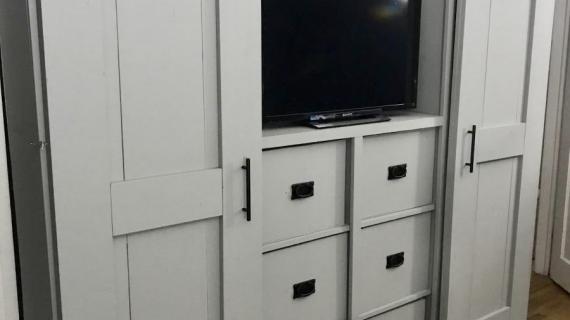
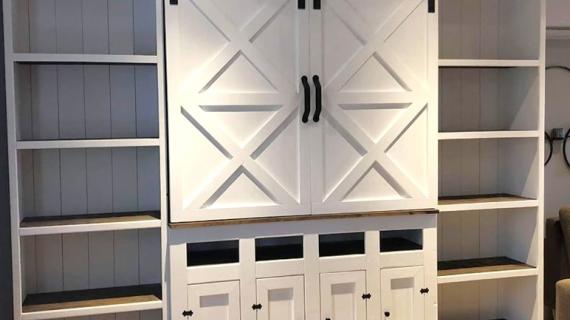
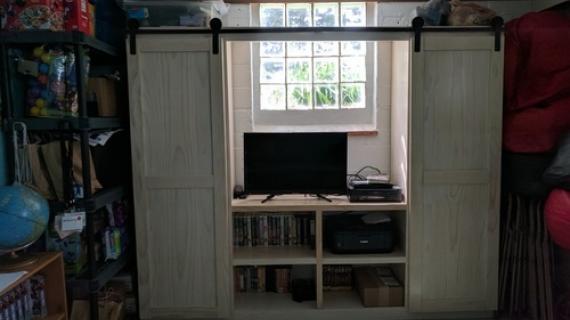
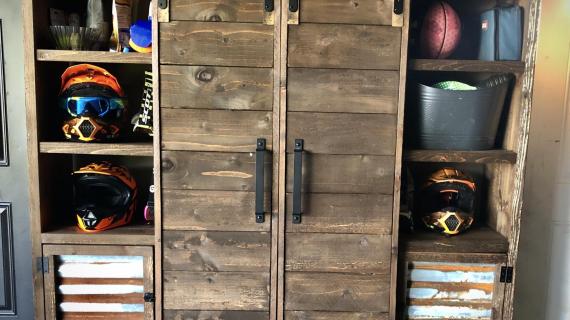
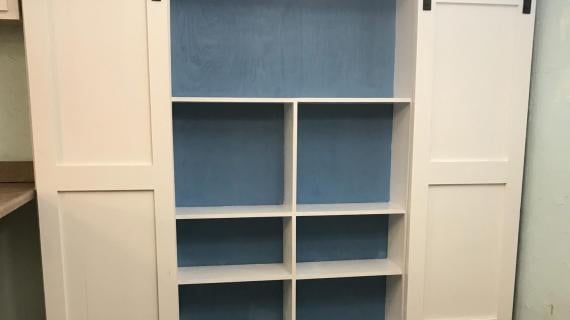
Barn door entertainment centers are a smart and beautiful solution to a tv in the living room.  The barn door easily slides open to hide or display the tv.  

Our woodworking plans make it easy to build your own barn door cabinet - for just a fraction of the cost to buy.  It's easy to modify to fit your space and storage needs.  Our step by step plans include shopping list, cut list and full 3d diagrams.  Plans by Ana White.

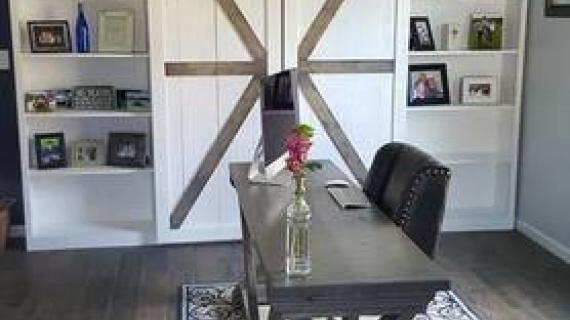
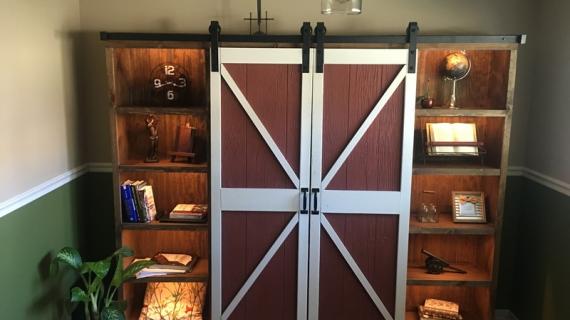
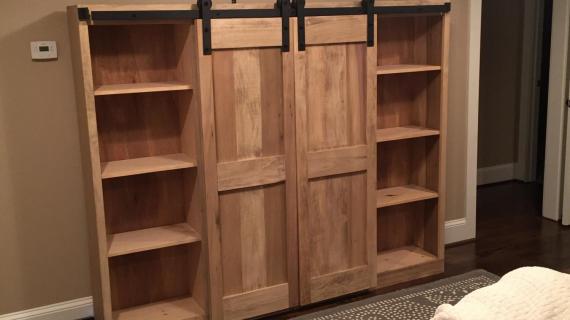
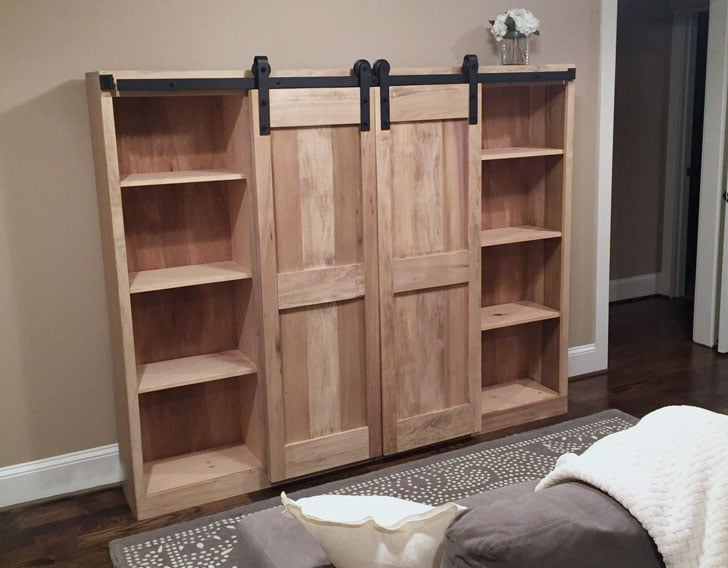
Reader submitted photo


Thank you Amber Tosh for building and sharing her Barn Door Entertainment Center -

This is actually a very simple build - just a large bookshelf really! With barn door hardware on the front.


Barn Door Hardware Options

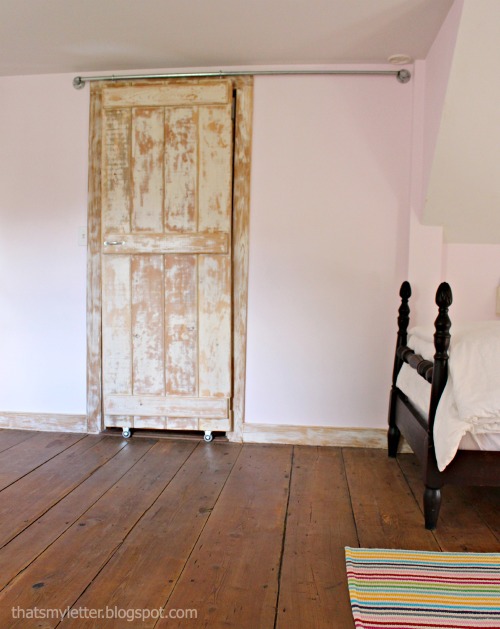
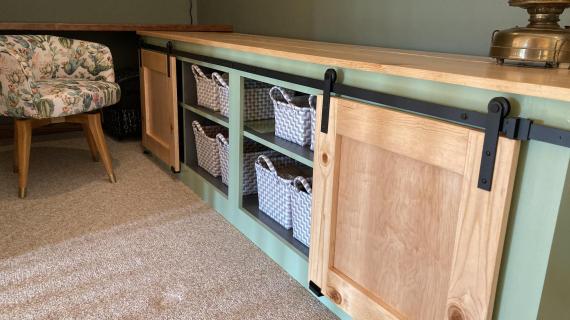
There's many different options for the barn door hardware - in all different price ranges.  Here's a few of my favorites -

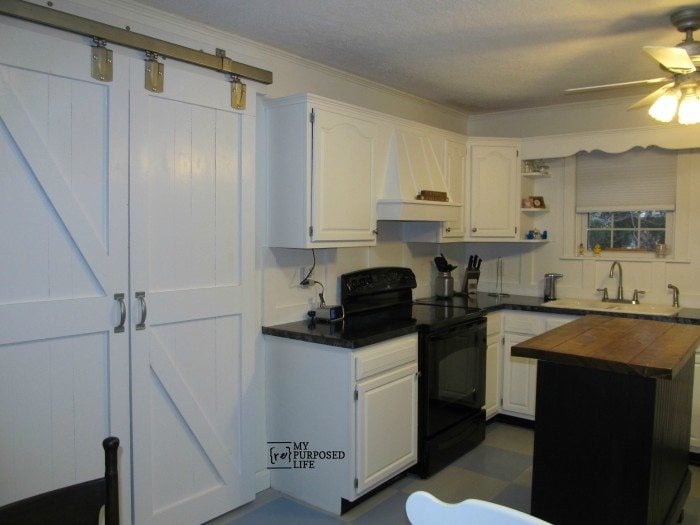
Tractor Supply Barn Door by My Repurposed Life

Pipe Track and S Hook Barn Door by That's My Letter


Drawer slides (use 24" full extension) hidden behind the door by Kristen Duke

Whatever you do decide, please choose a method that glides smoothly, as these are big doors!

And one more comment I have to make - this project is huge!  It may not make it up stairs, around tight corners, through shorter doorways, etc - I've made the height 78" so it should pass through a standard interior door.  You may wish to assemble the project in the room if you don't have a clear direct enterance into the room.

Barn Door Entertainment Center Plans

Pin For Later! 

Barn Door Entertainment Center

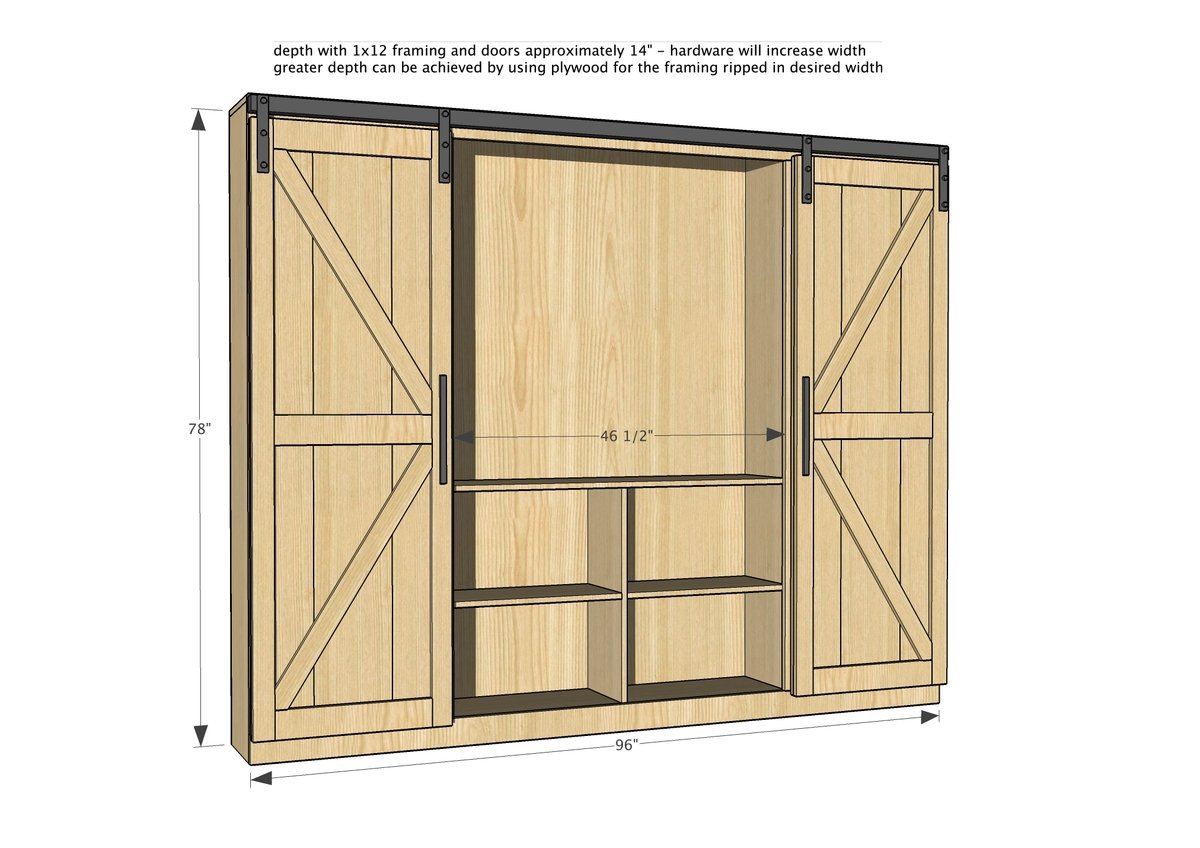
Dimensions
barn door entertainment center dimensions diagram
Dimensions for sliding door cabinet shown above - consider assembly in room as it will be difficult to pass project through tight corners and up stairs once complete.

Preparation

Shopping List
  • 8 - 1x12 @ 8 feet long
  • 1 - 1x12 @ 10 feet long - cut 27-3/4" and 77-1/4" from this board
  • 2 - sheets 1/4" plywood
  • 4 - 1x2 @ 6 feet long
  • 2 - 1x4 @ 8 feet long
  • 8 foot barn door track system
  • Materials for door not included in shopping list - built to suit hardware
Common Materials
3/4 inch finish nails
1 1/4 inch finish nails
Cut List
  • 1 - 1x12 @ 96" - top
  • 2 - 1x12 @ 77-1/4" - sides
  • 2 - 1x12 @ 73-3/4" - divider
  • 1 - 1x12 @ 94-1/2" - bottom shelf
  • 1 - 1x12 @ 47-1/4" - tv shelf (add two more shelves for no tv)
  • 1 - 1x12 @ 27-3/4" - tv shelf divider
  • 8 - 1x12 @ 22-7/8" - side tower shelves
  • 2 - 1x12 @ 23-1/4" - middle shelves
  • 1 - 1/4" plywood @ 48" x 78" - middle back
  • 2 - 1/4" plywood @ 24" x 78" - side back
  • 2 - 1x4 @ 96" - top and bottom face frame
  • 4 - 1x2 @ 71 - face frame stiles
  • BARN DOOR - CUT TO FIT AND TO HARDWARE KIT Materials not included in materials list
Tools
Tape Measure
Speed Square
Pencil
Safety Glasses
Hearing Protection
Kreg Jig
Drill
Jigsaw
Miter Saw
Brad Nailer
General Instructions

Please read through the entire plan and all comments before beginning this project. It is also advisable to review the Getting Started Section. Take all necessary precautions to build safely and smartly. Work on a clean level surface, free of imperfections or debris. Always use straight boards. Check for square after each step. Always predrill holes before attaching with screws. Use glue with finish nails for a stronger hold. Wipe excess glue off bare wood for stained projects, as dried glue will not take stain. Be safe, have fun, and ask for help if you need it. Good luck!

Instructions

Step 1

Build the frame of the sliding door cabinet storage box using 3/4" pocket holes and 1-1/4" pocket hole screws. Hide pocket holes on insides.

Step 2

Add the media unit pieces to the sliding door cabinet. For no media unit, or a tv that doesn't fill the space, add additional shelves to top.

Step 3

Add shelves using 3/4" pocket holes and 1-1/4" pocket hole screws.

Step 4

Attach back to center. Mark the location of all fixed shelves on sides first, and then place plywood on back with glue. Then draw lines between side marks to locate the fixed shelves. Nail or staple on with 3/4" fasteners. Center piece should land on center of the 1x12s.

Step 5

Step 6

Build face frame first with 3/4" pocket holes and 1-1/4" pocket hole screws. Nail and glue face frame on with 1-1/4" brad nails.

Step 7

This is the recommended door but you should build your doors to fit your hardware. This door will be 1-1/2" thick. For the cross support pieces, simply build the main frame with pocket holes, then set the cross piece in place (uncut) and trace the angles. Then cut the angles with a jigsaw.

Step 8

Attach doors with hardware kit. Because of the weight of the doors, I recommend attaching securely the entire project to the wall. You may need to add a cleat at the top, or use L brackets to attach the top to the wall. DO NOT depend on the 1/4" plywood to secure the project to the wall.

Finishing Instructions
Preparation Instructions
Fill all holes with wood filler and let dry. Apply additional coats of wood filler as needed. When wood filler is completely dry, sand the project in the direction of the wood grain with 120 grit sandpaper. Vacuum sanded project to remove sanding residue. Remove all sanding residue on work surfaces as well. Wipe project clean with damp cloth.

It is always recommended to apply a test coat on a hidden area or scrap piece to ensure color evenness and adhesion. Use primer or wood conditioner as needed.

Comments

Peto

Tue, 06/30/2020 - 10:42

Dear Ana, I'm really interested in building this Entertainment Center its perfect for the job can I just ask are all the
1by 12s is it all plywood? I'm still trying to put my 2bed bungalow together I need lots of things to finish it off.

Kind Regards
Amanda J

vedamalady

Thu, 01/21/2021 - 13:15

Is there any way this project could be made for a 65-70” tv and if so could I get a revised cut list?
I love the idea of this it’s exactly what I’ve been looking for but my tv is larger and we plan on upgrading to a 70” eventually.

vedamalady

Thu, 01/21/2021 - 13:15

Is there any way this project could be made for a 65-70” tv and if so could I get a revised cut list?
I love the idea of this it’s exactly what I’ve been looking for but my tv is larger and we plan on upgrading to a 70” eventually.