Community Brag Posts

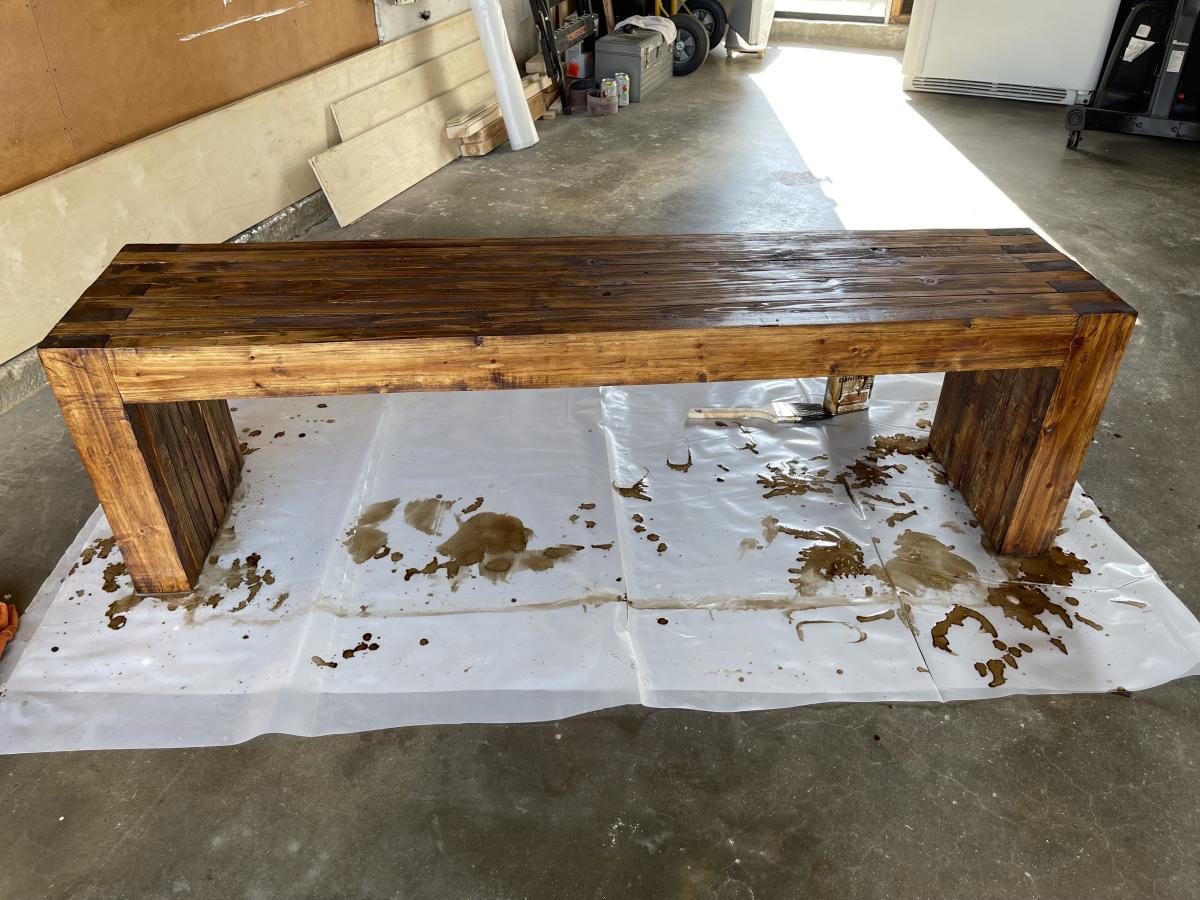
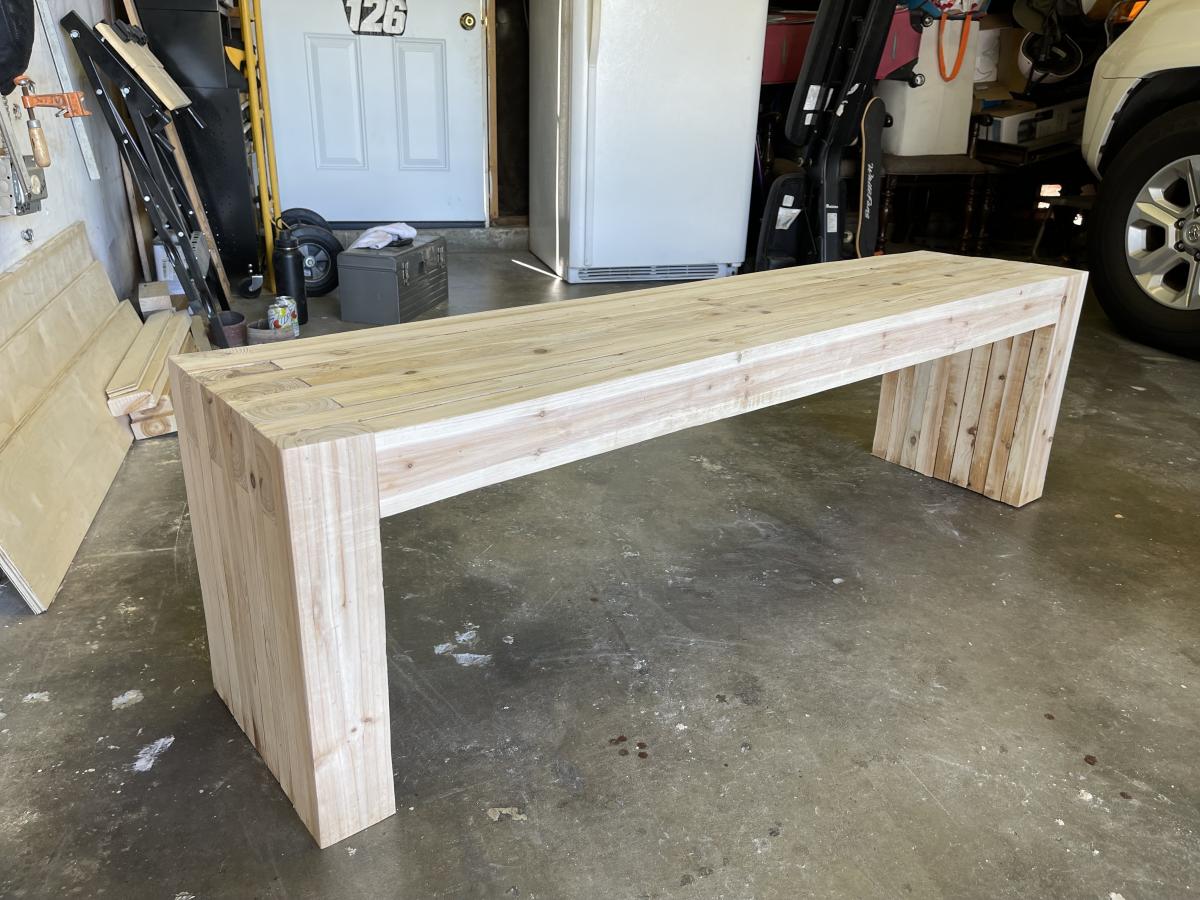
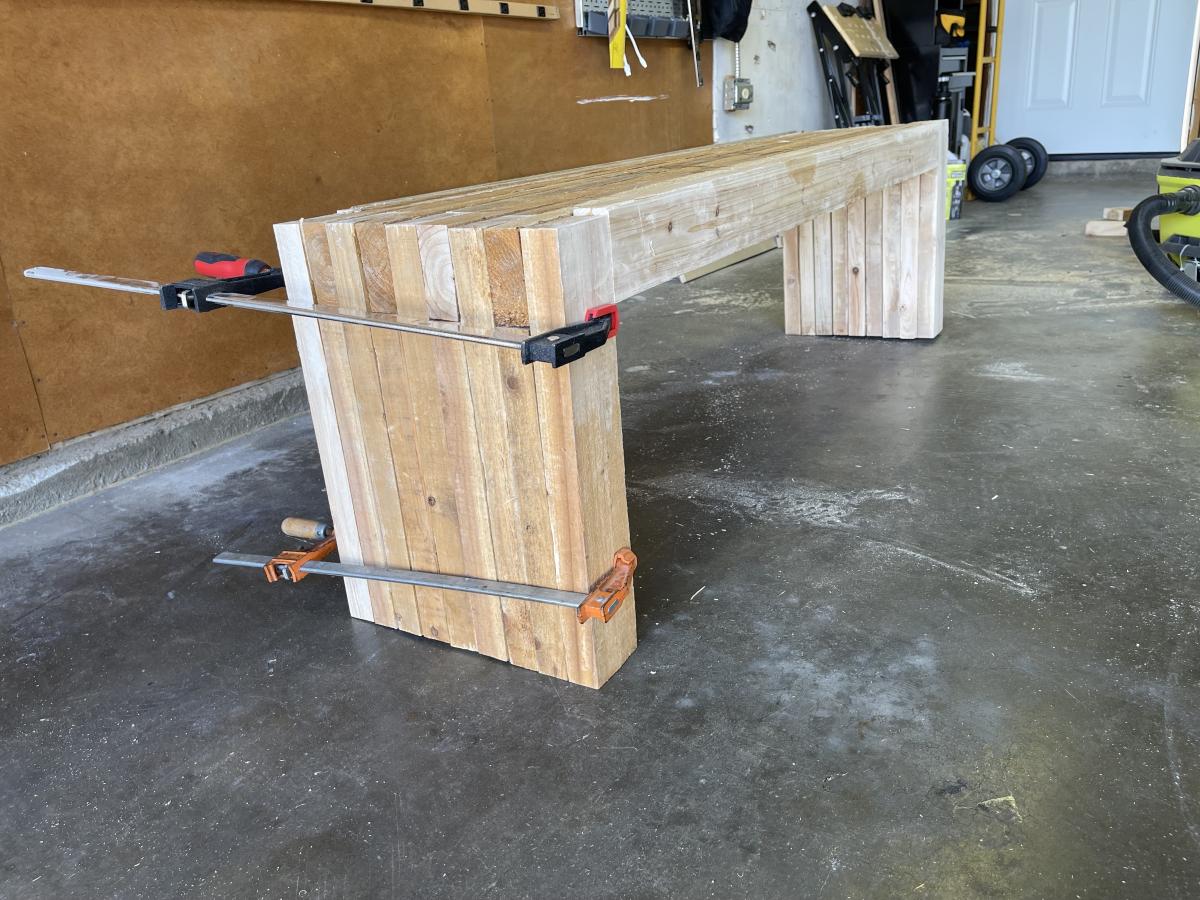
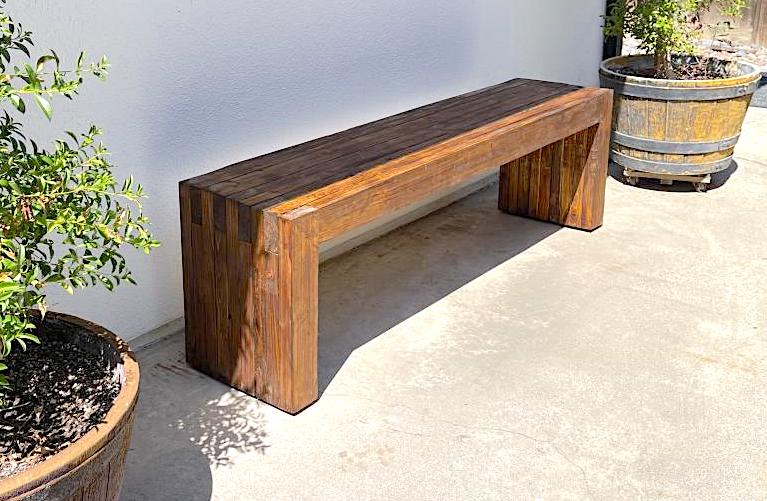
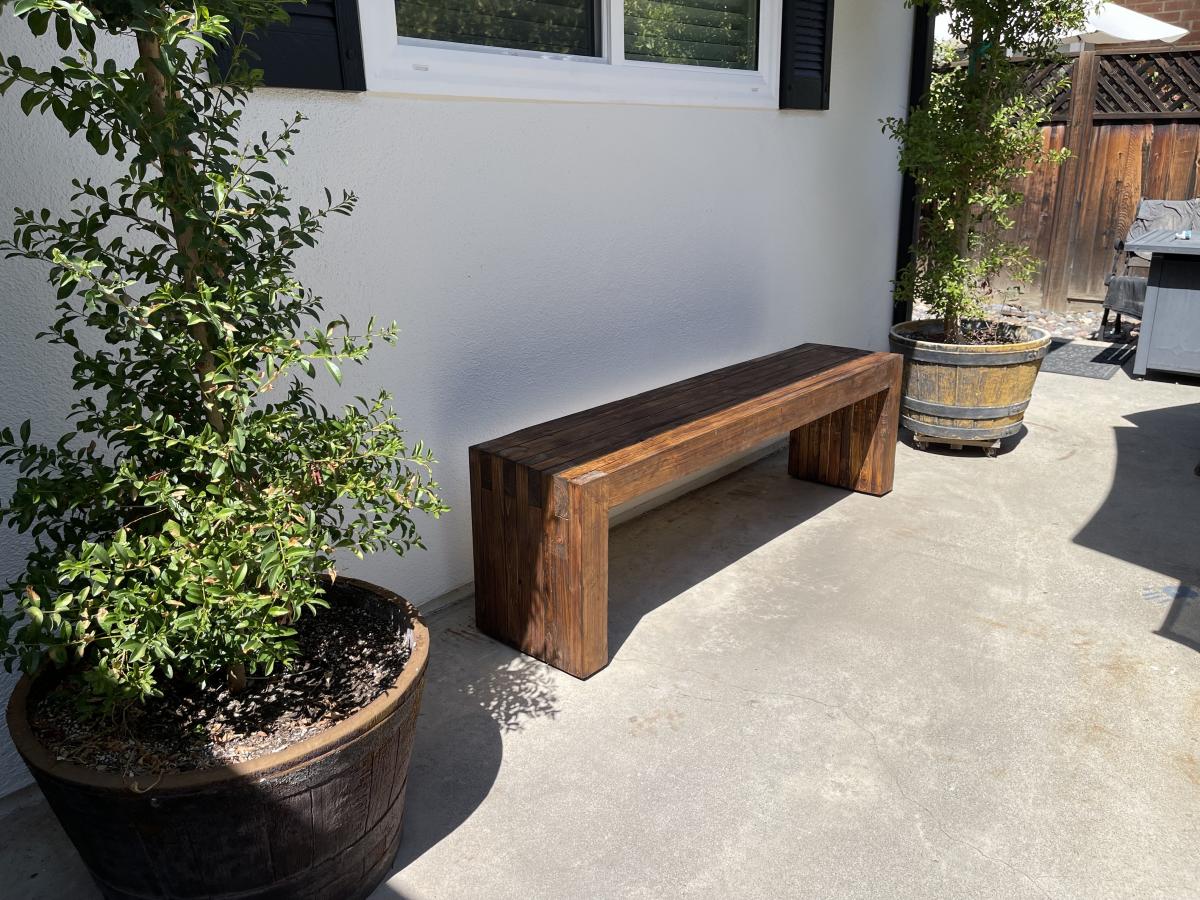
William Sonoma inspire outdoor bench

This was one first project and I am very proud of it. It was challenging but I think it turned out beautiful and everyone who visits loves it. I built it out of cedar wood for better durability and protection against rain and the elements.

Comments

Craft Room Build

This project was one that I've been planning for about 18 months- I had to wait until we moved back into our home to start the build, so I had plenty of time to think about how to maximize my storage space in this small room with a slanted ceiling. My husband had some time off from work and offered to watch our toddler during the day time- so that was all the motivation I needed to start this big build!

Overall, it took about a week from beginning to end. The cost was between $400-$500 for everything- including hardware, paint, supplies etc. Still a huge savings over what it would have cost us to purchase desk and storage units to work in this room (I priced them out at about $2000-$2500 - WAAAAY out of our price range).

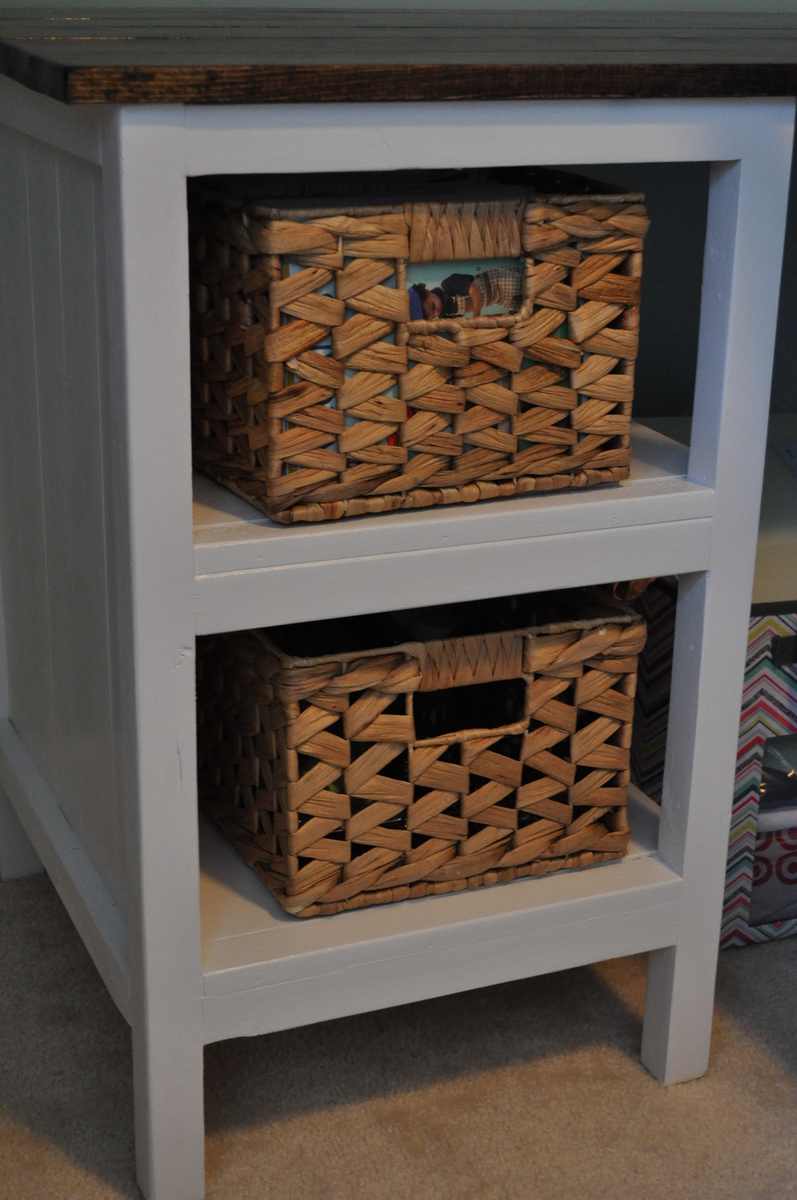
For the main desk unit I used the plans for the reclaimed look wood bedside table. I modified the height of the legs to 28" tall so that the sewing desk height was correct for when I'm sitting at my machine for hours on end. I also modified one of the units to be an open shelving unit, so that I could store my patterns and misc. sewing notions in baskets on the shelves.

The desk top was created by using six 1 x 4 whitewood boards joined with pocket holes. The corner joint is "woven" in a sense to give a unique look to the unit. I used 4 brackets in the corner (secured to the studs) to support the weight of the corner of the desk. I used Dark Walnut stain and then followed up with 3 coats of Poly (sanding in between each coat).

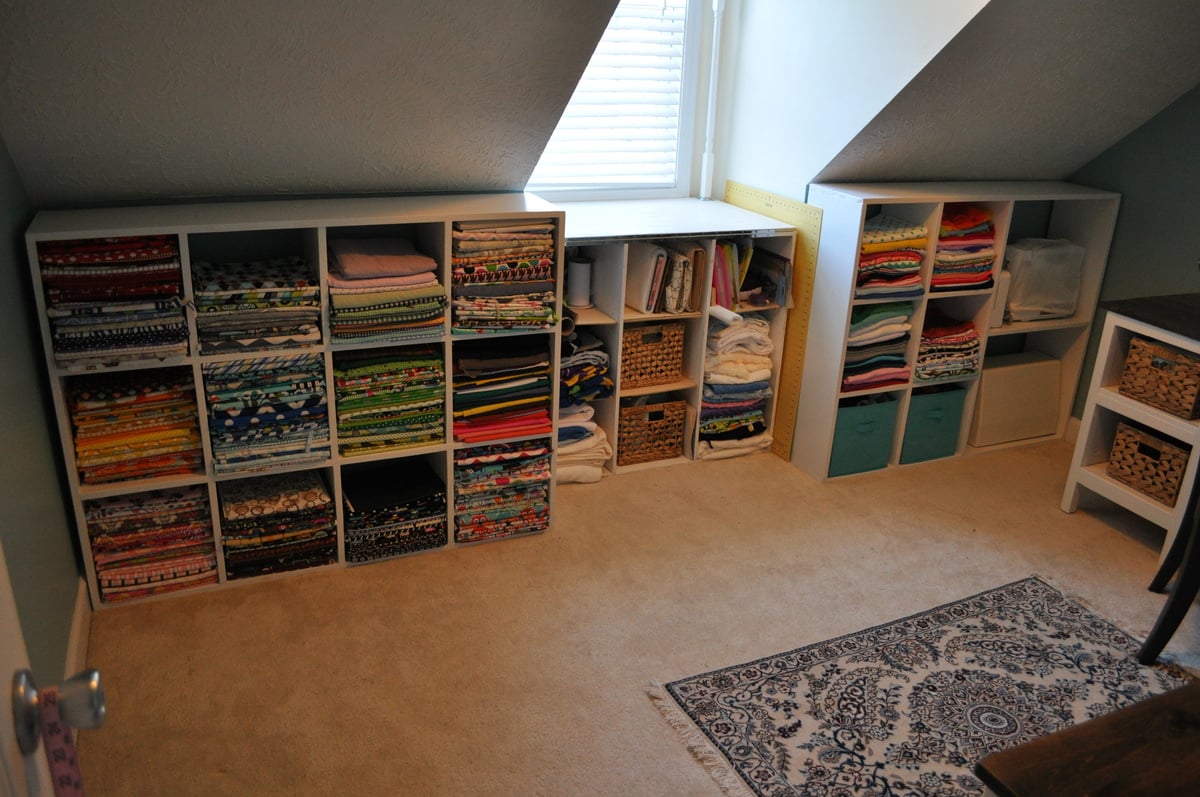
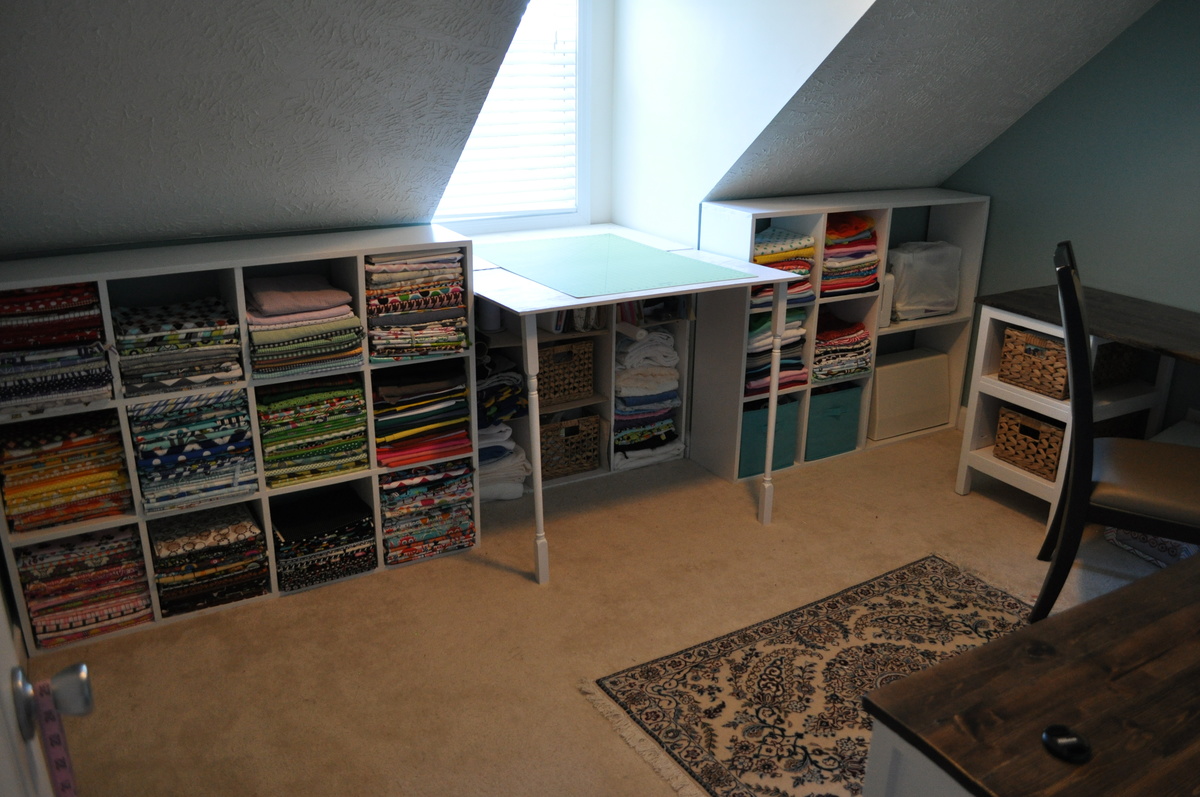
The two fabric/machine storage bins were made using the cubby bookcase plans as a base. Both plans were modified to maximize fabric storage with the small space- hence no face frame on each unit. The middle storage unit is one that was my first build a few years back, before I'd even heard of knock off wood- oh how it would have been so much easier if I'd known about this site back then. I added a plywood top with a piano hinge to fold out for a stand up cutting unit. For the legs, I simply went to the table/baluster aisle at my local hardware store and purchase some hardware to secure two balusters to the plywood top. Screwed them in on the outside of the window frame so I don't have to unscrew the legs every time I fold it up and away, cut the balusters down to the proper height and that was done!

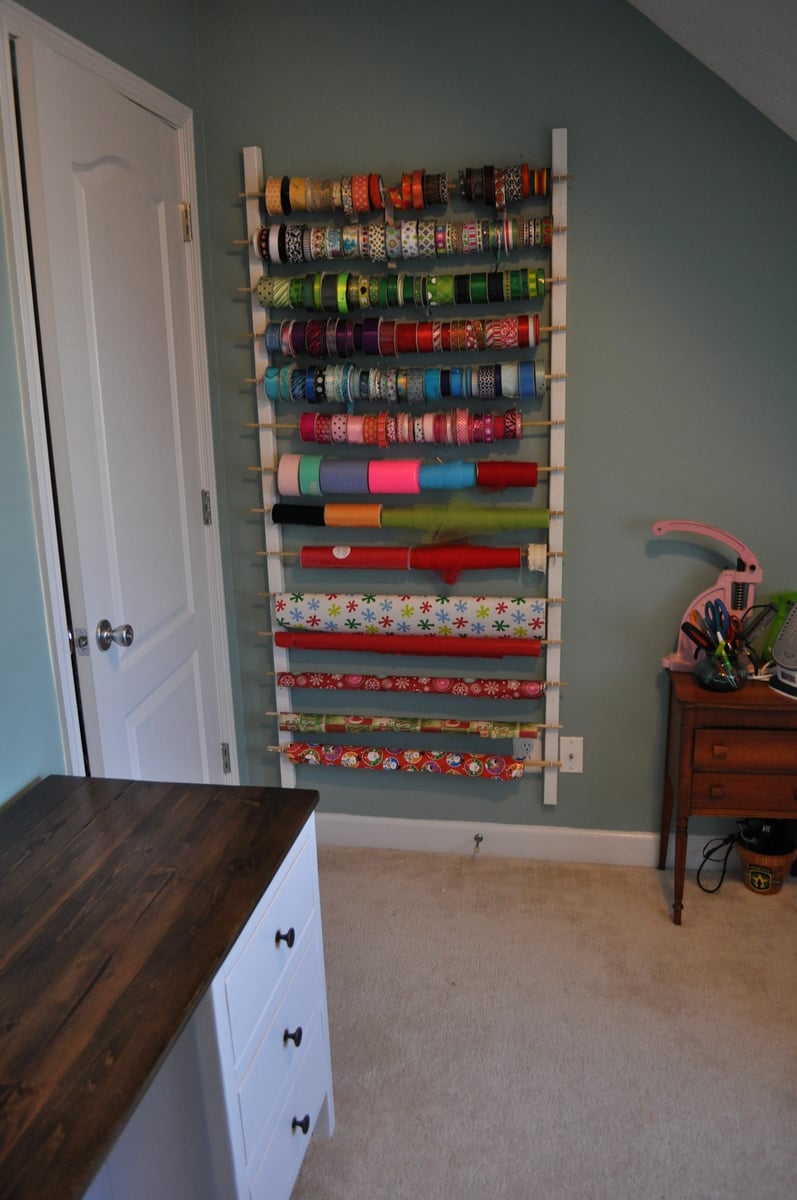
The ribbon/wrapping paper storage was super easy- just used some of my left over 2 x 2 furring strips, along with 14 dowel rods and 1 /14 screw in hooks. I pre-drilled the holes for the screw in hooks as well as the 3" screws I used to mount it to the wall.

The thread holder was a previous build of mine as well- just cut out LOTS of dowels that fit into the peg board and glued them in place. Added a little decorative trim to finish it, and painted it white.

Overall I could not be more excited about how this build turned out...aside from wood working, sewing is my next favorite thing (I have a small Etsy shop and do local craft fairs for fun). Having the stand up cutting station is a HUGE relief, as after 10 or so years in the Army, my knees and back are shot (who would have ever thought that jumping out of airplanes wasn't good for you!) The fabric storage is great and allows me to see all of my different fabrics so I eliminate over-buying (which I obviously have a problem with) and purchasing doubles.

I can't thank Ana enough for her website- I grew up with a dad that builds everything, but was always a bit intimidated when it came to building stuff for myself. Her plans really break everything down to the simplest level of instruction and make the building process stress free. This was my first time building a cabinet unit and I was very worried about the drawers not working, but I just followed along on the instructions and they came out perfect.
Estimated Time Investment
Week Long Project (20 Hours or More)
Finish Used
Valspar semi-gloss white
Minwax dark walnut with Rustoleum POLY top
Recommended Skill Level
Beginner

Comments

Ana White

Fri, 01/24/2014 - 10:05

I love this space, you did an amazing job with all of the builds! Thanks for sharing!

DecorSanity

Fri, 01/24/2014 - 17:11

You did an amazing job, way to go! I love to sew too, and I think building is a lot like sewing...but with saws and hardware instead of scissors and a sewing machine!

dgwheeler24

Fri, 02/07/2014 - 13:09

I would also like to see your corners up close.

Was your decision to not use a leg(s) for the support (and instead used the brackets) for a reason? Was it just easier?

I love the desk that size, but since we are military we move every couple years...I want to use legs for easier breakdown for transportation instead of something as permanent as the brackets. Not sure how far apart to space the legs for the support...

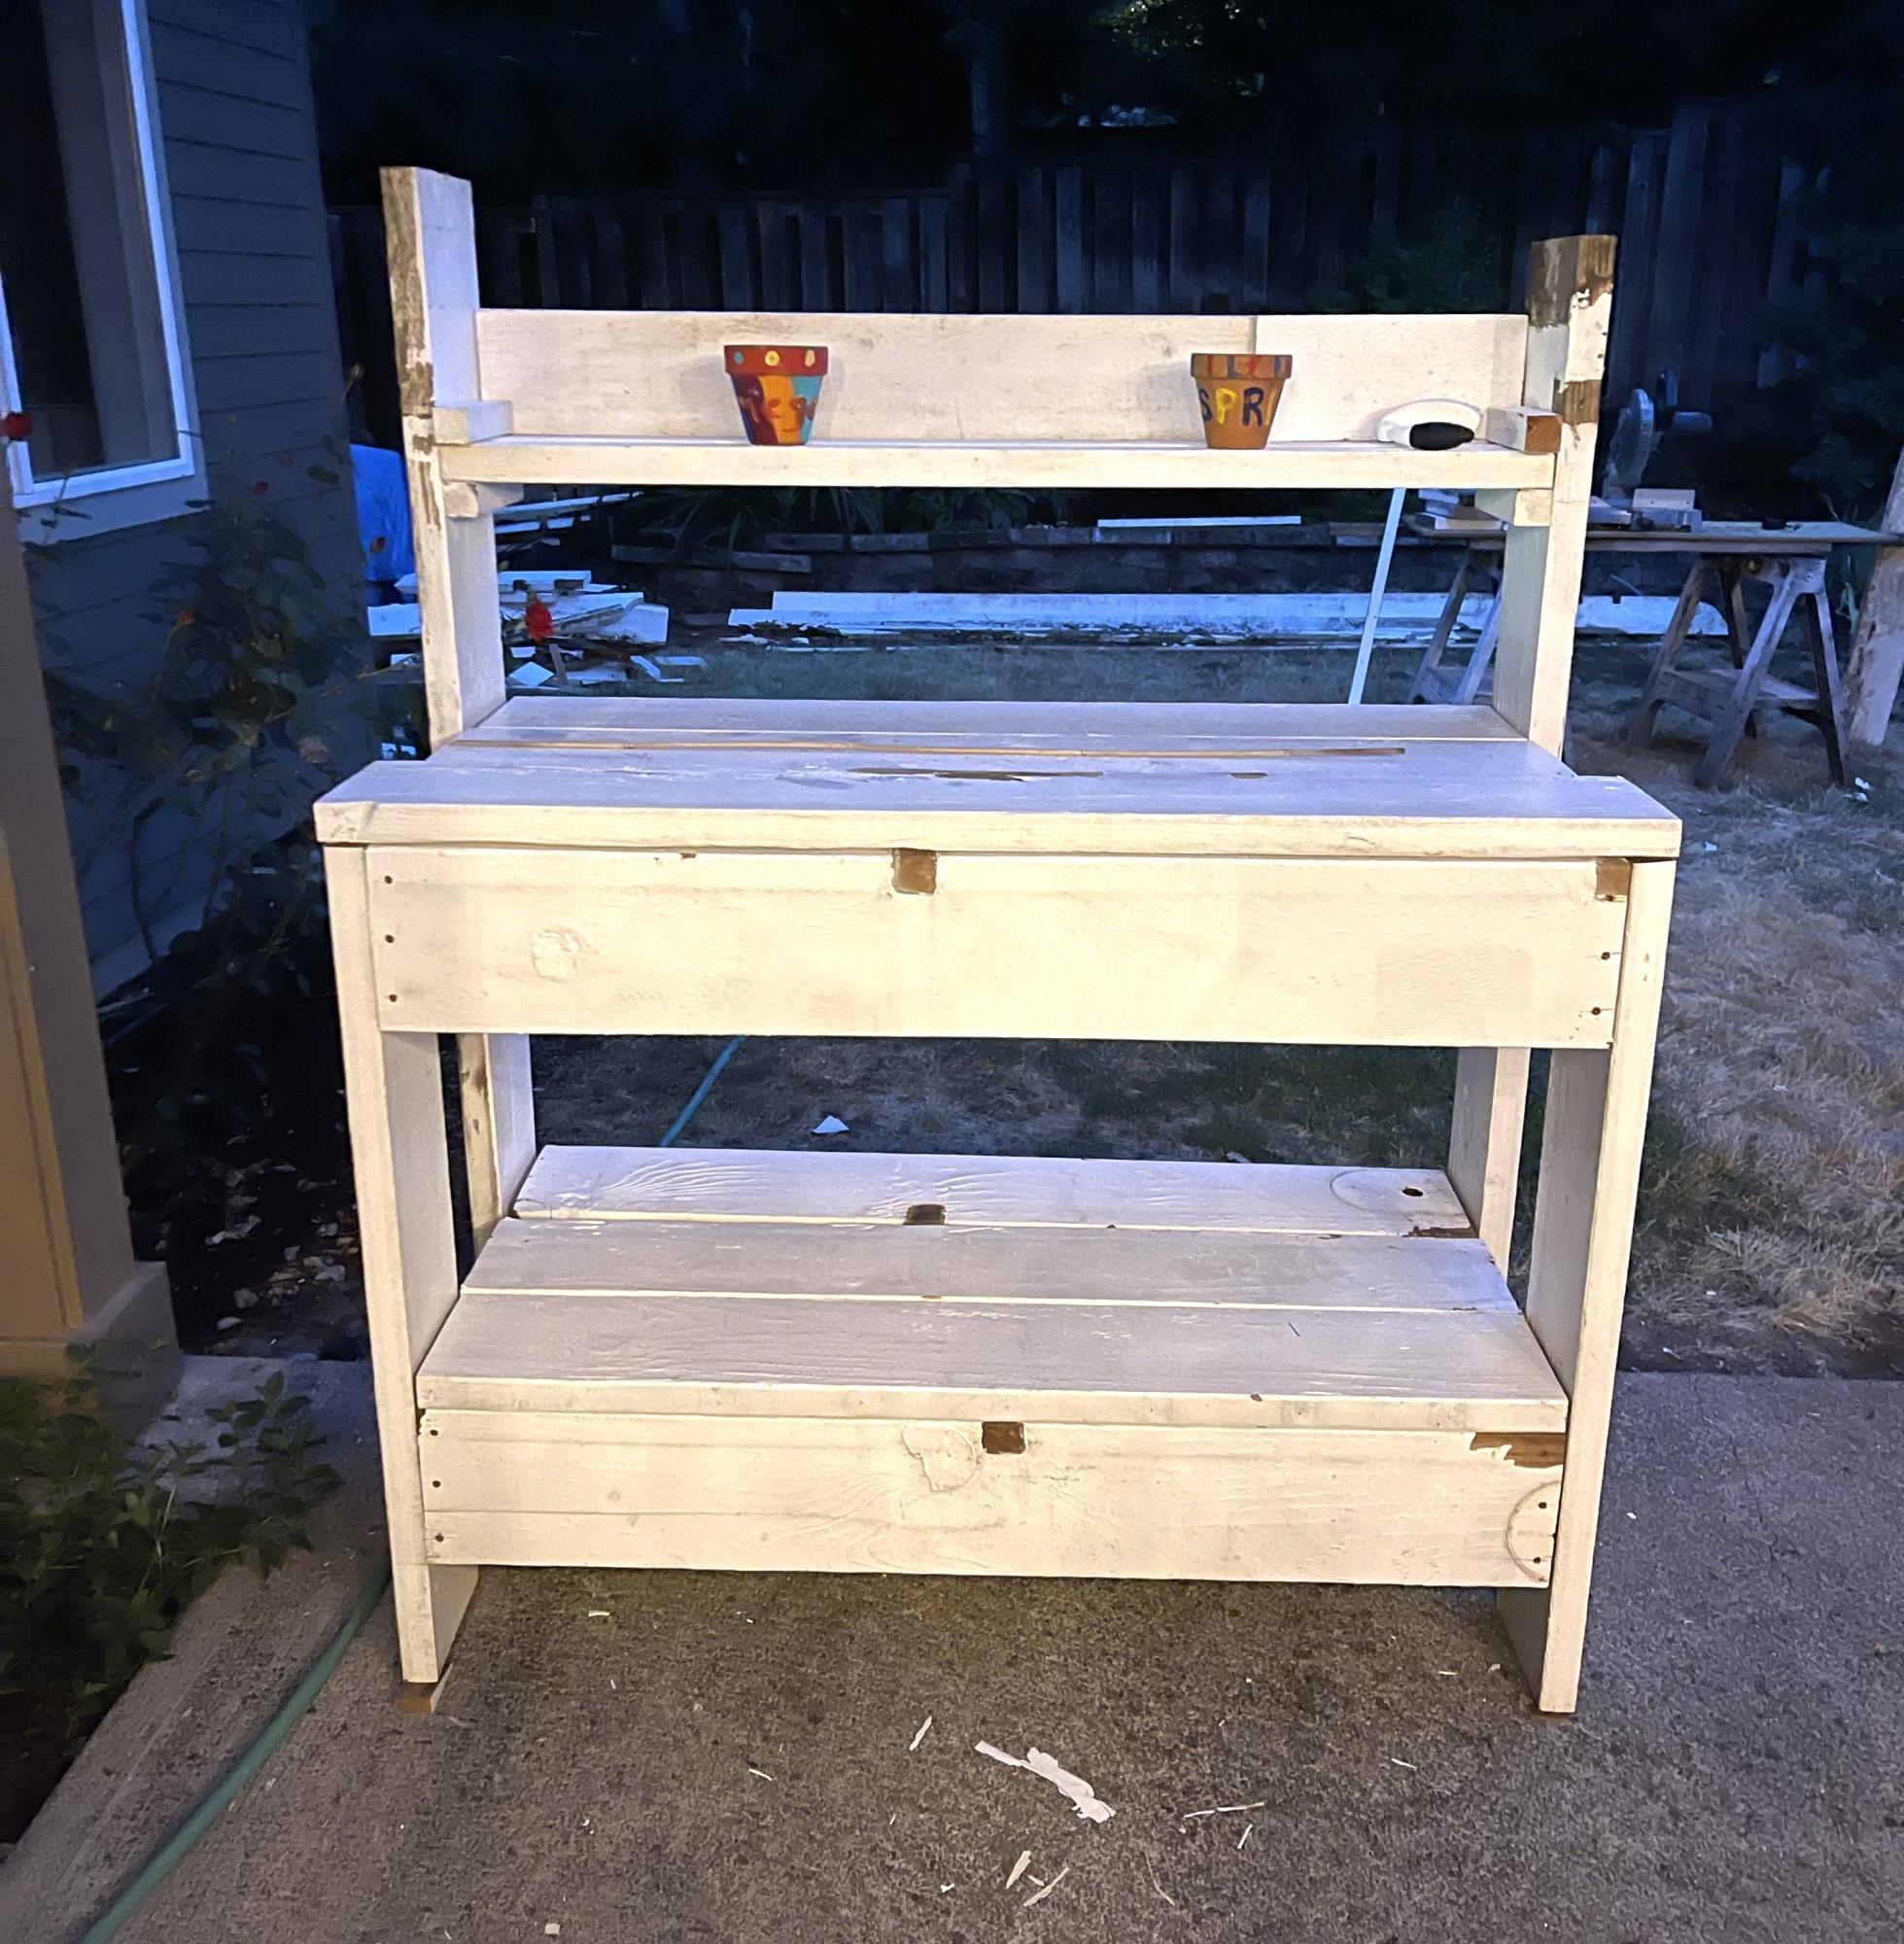
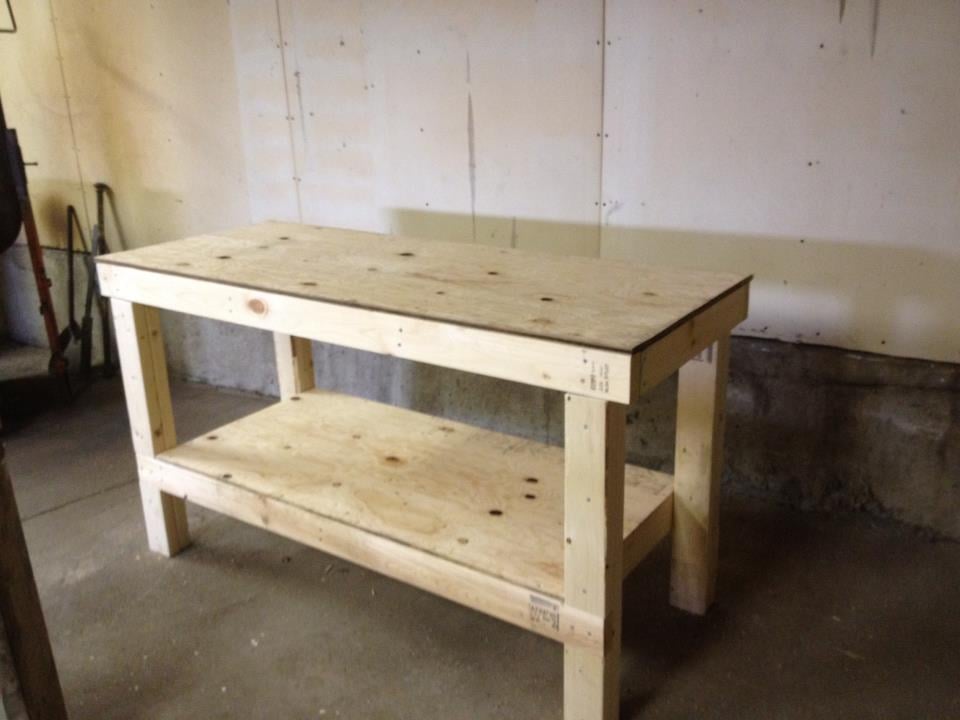
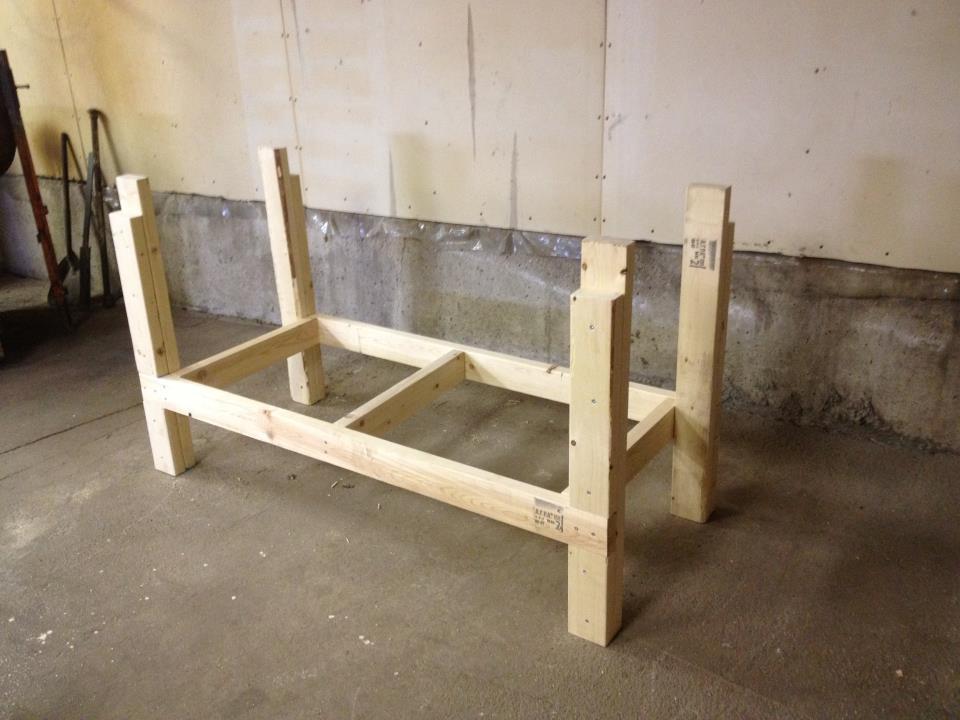
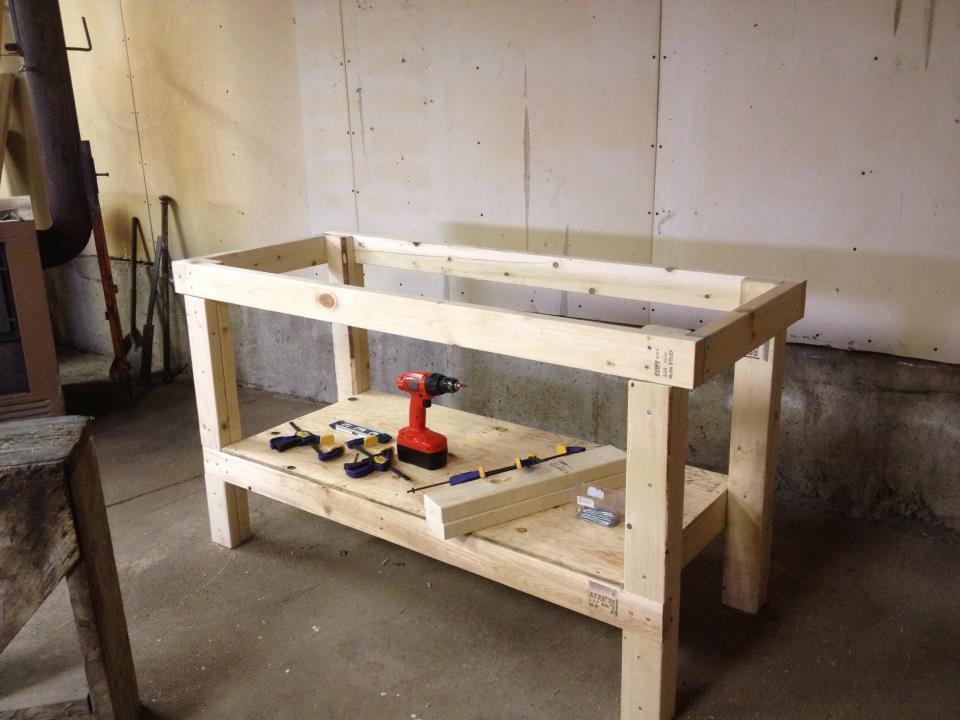
Workbench

Easy to build! Took about 3 hours!

Built from Plan(s)
Estimated Cost
$75
Estimated Time Investment
Afternoon Project (3-6 Hours)
Finish Used
Floor Verathane
Recommended Skill Level
Beginner

Comments

deannaf

Sat, 05/19/2012 - 05:15

This is fantastic, just what I need to build. Would you mind sharing some measurements such as height, width and depth.

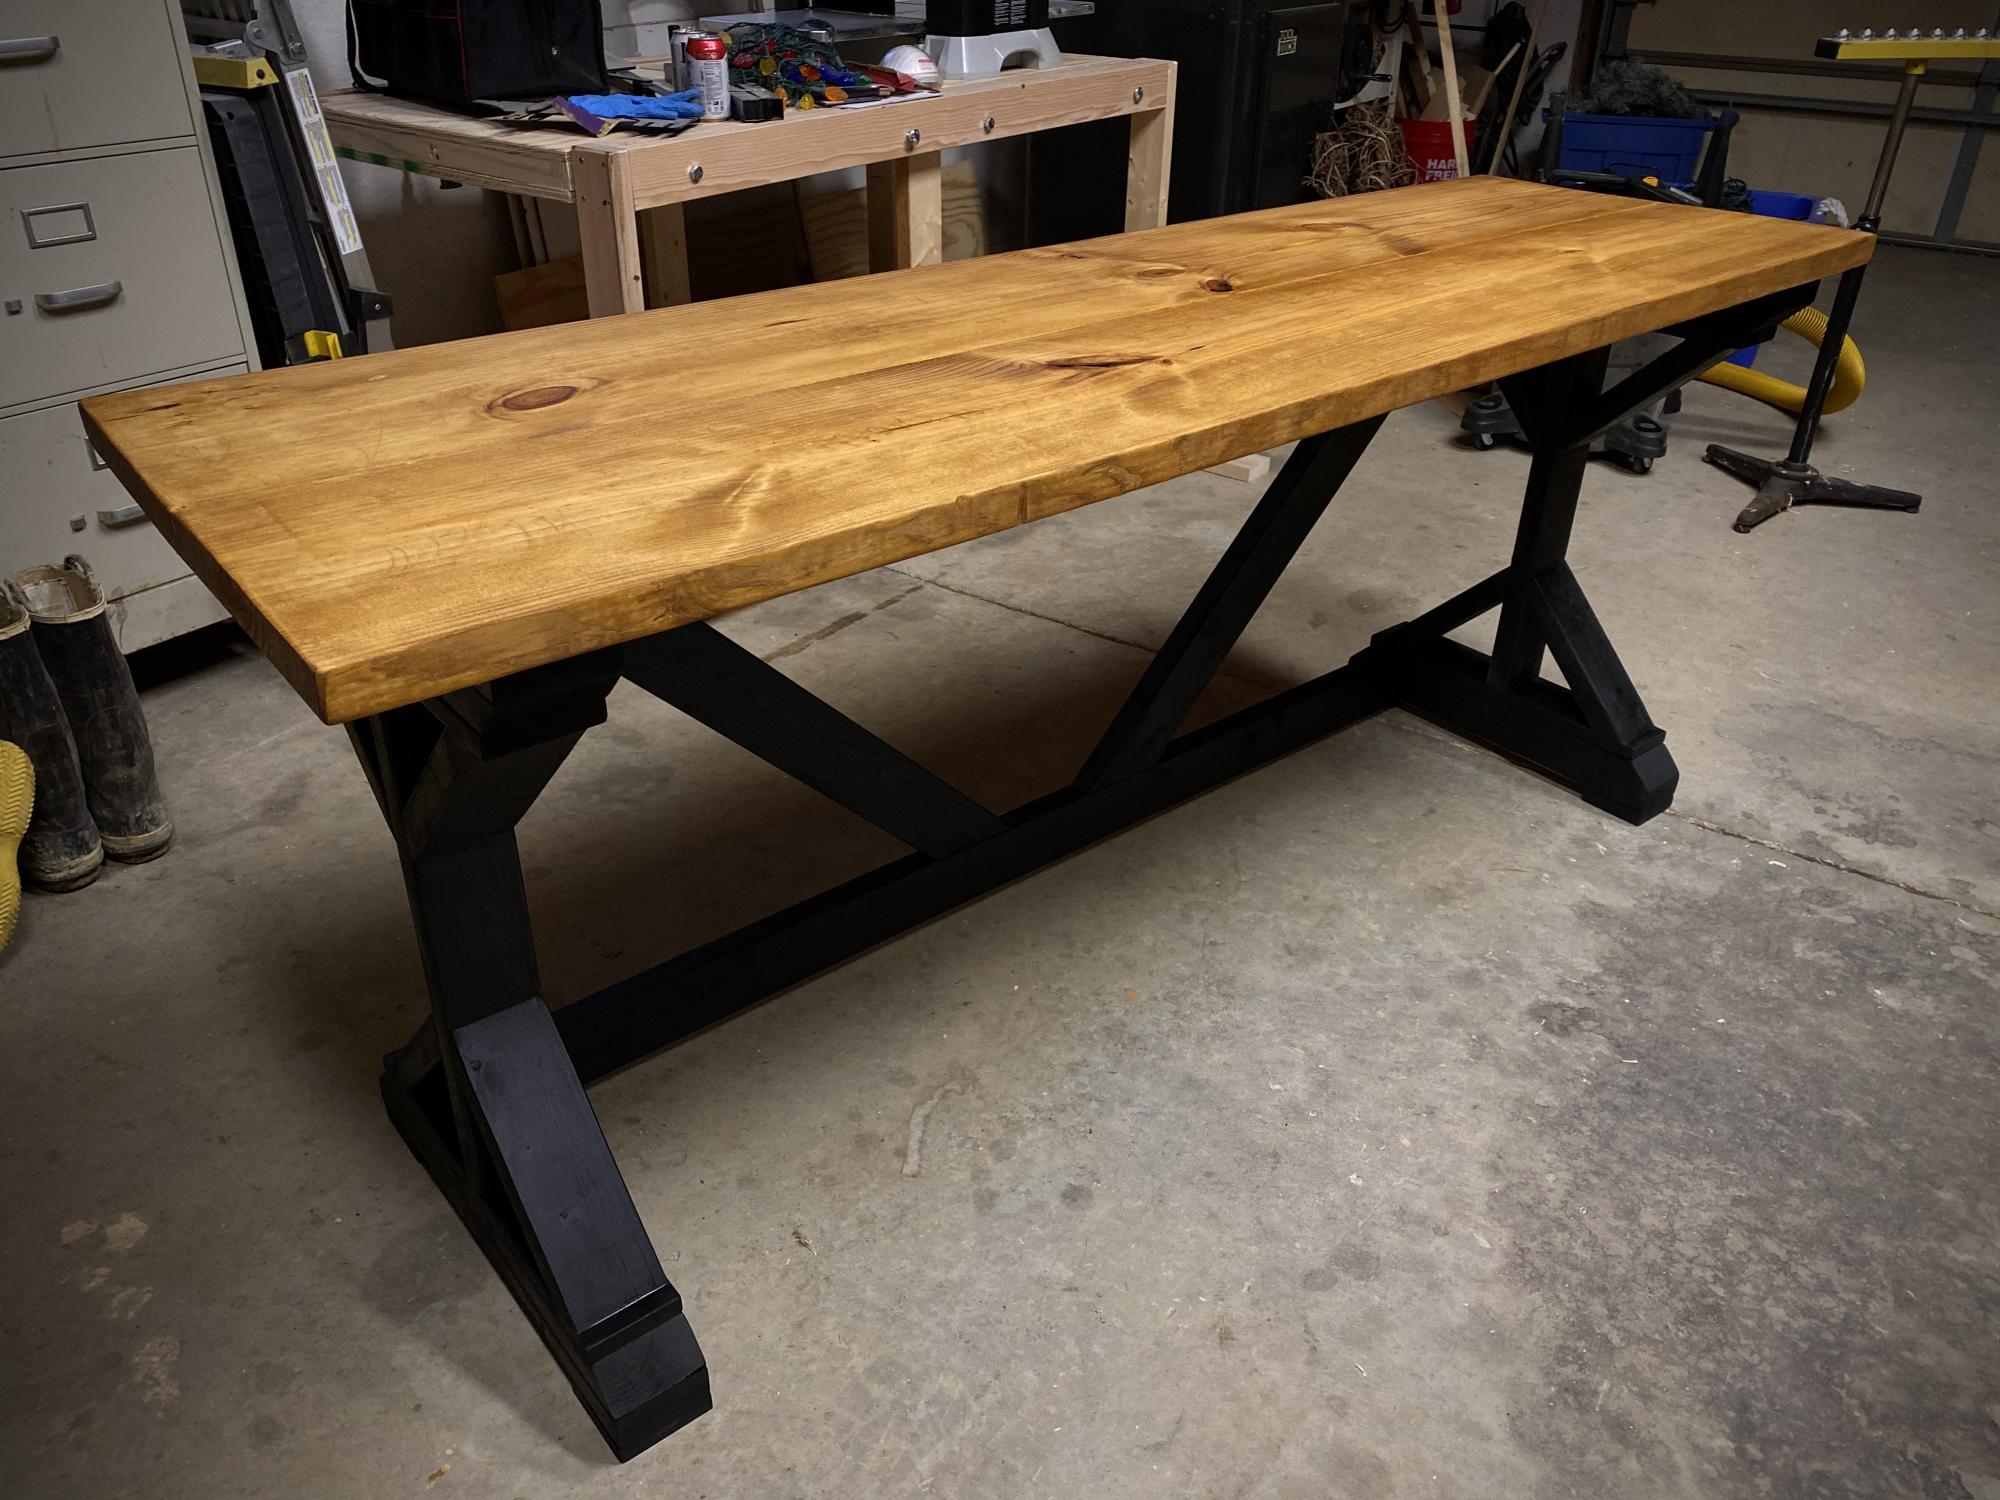
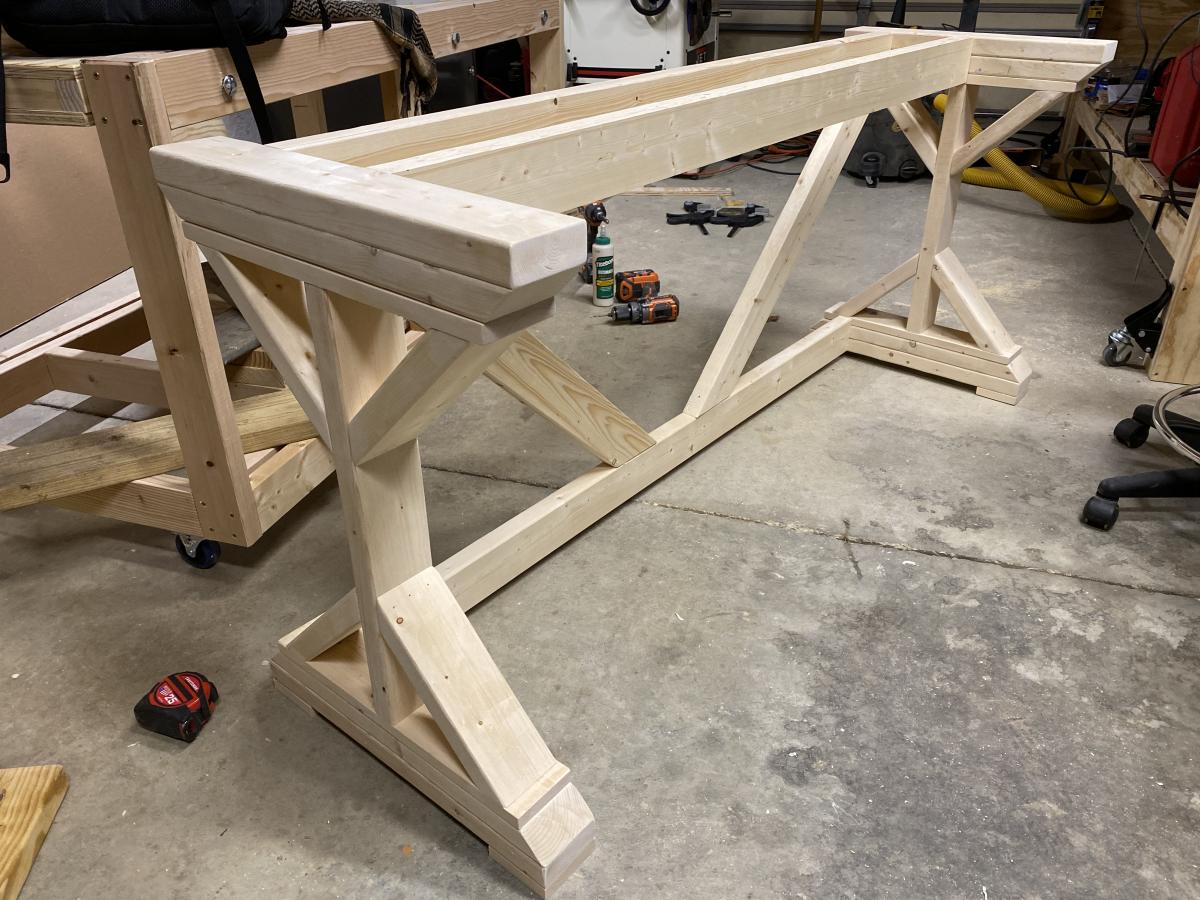
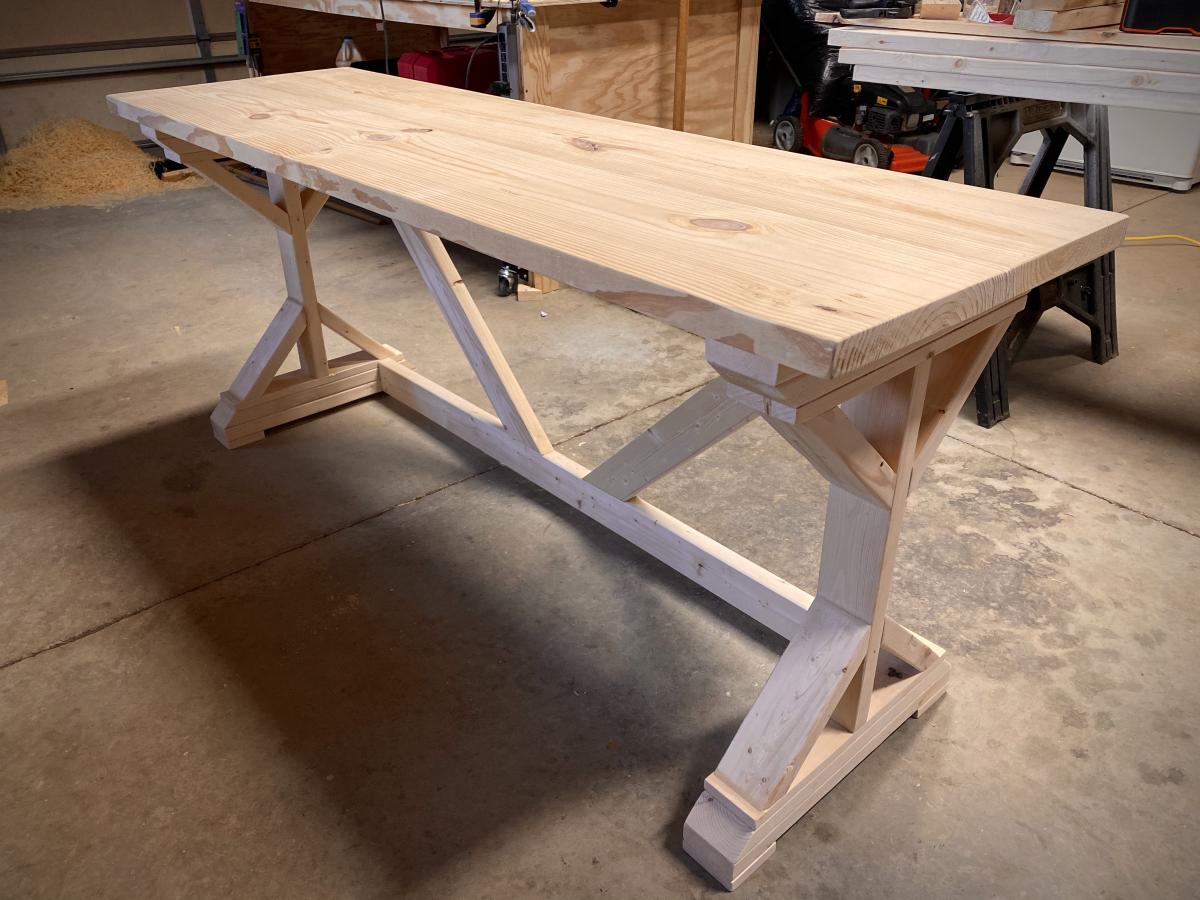
Fancy X Desk For Home Music Studio

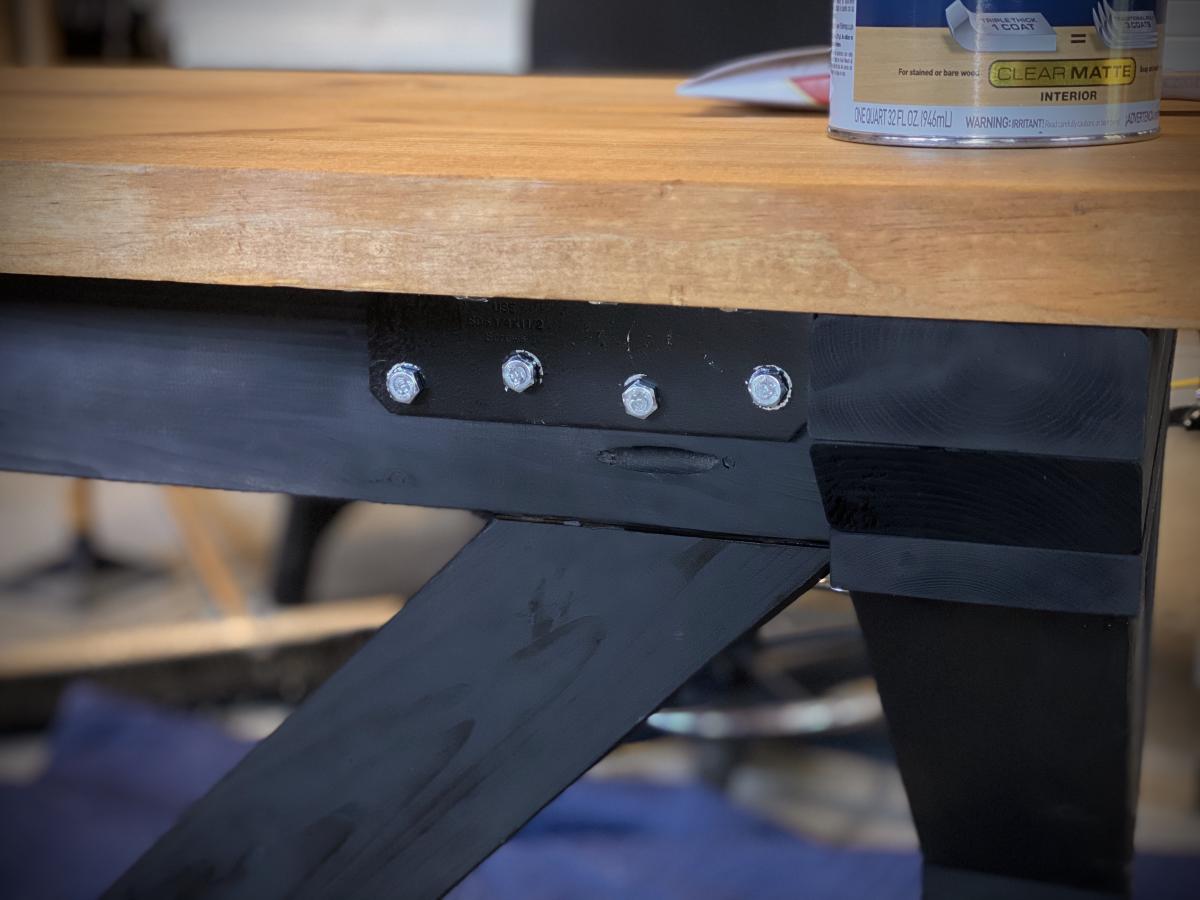
This is only my second ever furniture project. I modified the height to give me extra clearance for a full sized synthesizer underneath. I spray painted the base matte black, stained the top with Minwax Puritan Pine, and sealed it with Varathane Triple Thick Water Based Polyurethane.
I attached the top with heavy corner brackets and 1" hex head lag screws to add a bit of an industrial look.

Built from Plan(s)
Estimated Cost
$60
Estimated Time Investment
Day Project (6-9 Hours)
Finish Used
Used a single coat of Minwax Puritan Pine for the top, and a single coat of black matte spray paint with primer for the base.
Recommended Skill Level
Beginner

Comments

Outdoor end table

Submitted by spiceylg on Mon, 08/27/2012 - 14:38

I didn't use any plans but the Outdoor Ottoman comes really close. Needed an end table to go with our Outdoor Sectional that my husband and I built. While he was at a ballgame I whipped this up. Still have to sand and stain this as well as the sectional, but will probably do it as a winter project. We bought the 1x4s a while ago when we bought the 2x4s for the sectional so I wasn't exactly sure of the cost. I think I used 2 1/2 pieces of 8' lengths. Who would have thought a couple of years ago that so many of us would have attempted to build furniture and then even without a plan now and then?! Ana rocks! :)
Estimated Cost
Approx $5
Estimated Time Investment
An Hour or Two (0-2 Hours)
Finish Used
Not sure what brand, but spray painted Apple Green for a pop of color against the back cushions.
Recommended Skill Level
Starter Project

Indoor Playground Set

Submitted by Anonymous (not verified) on Fri, 02/10/2017 - 11:56

This playroom set was inspired by the plans you posted.  I was forced to make some significant modifications due to the fact that our bonus/playroom has angled ceilings.  We have a rock climbing wall, ladder, crawl tunnel with windows, trapeze bar, monkey bars, miniature baskeball goal and a slide.  My boys are 6, 3 and 19 months and they love it!  Thanks for the inspiration.


Jim and Caroline Sparrow

Estimated Cost
$1250
Estimated Time Investment
Week Long Project (20 Hours or More)
Finish Used
Behr Paint on bottom and Minwax Stain on top
Recommended Skill Level
Advanced

Comments

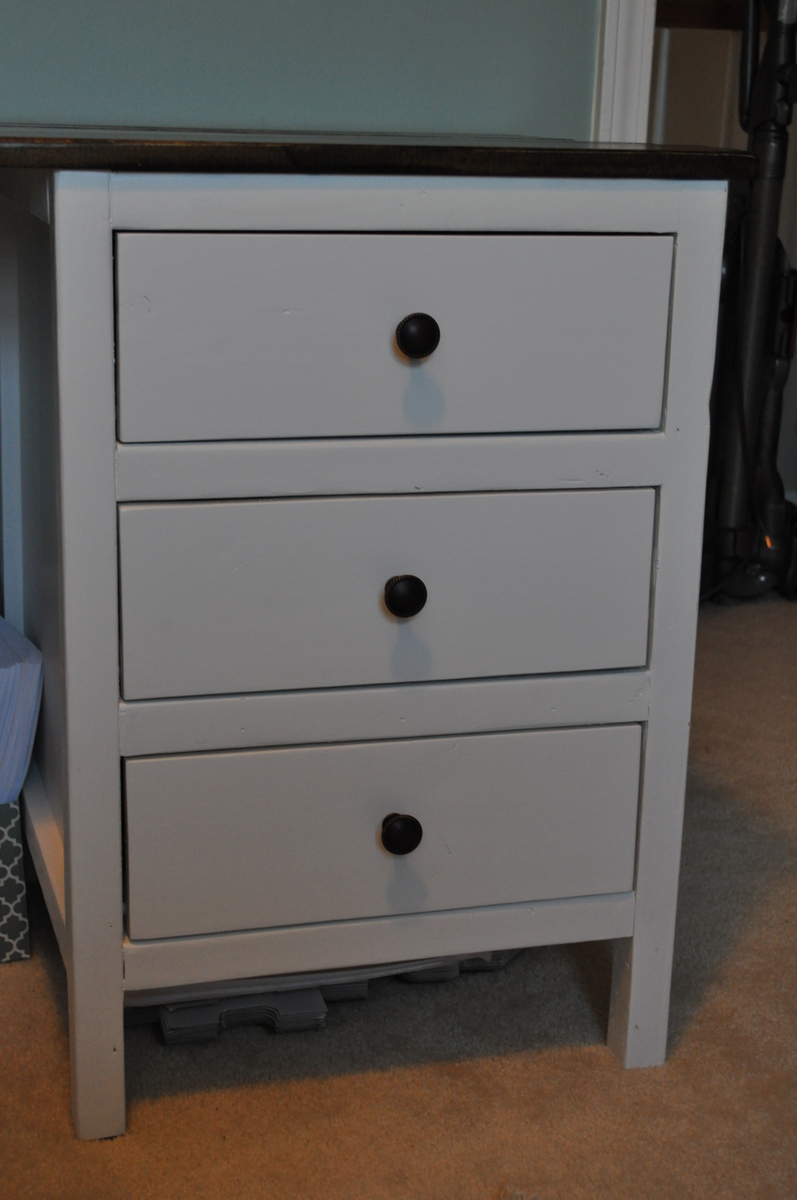
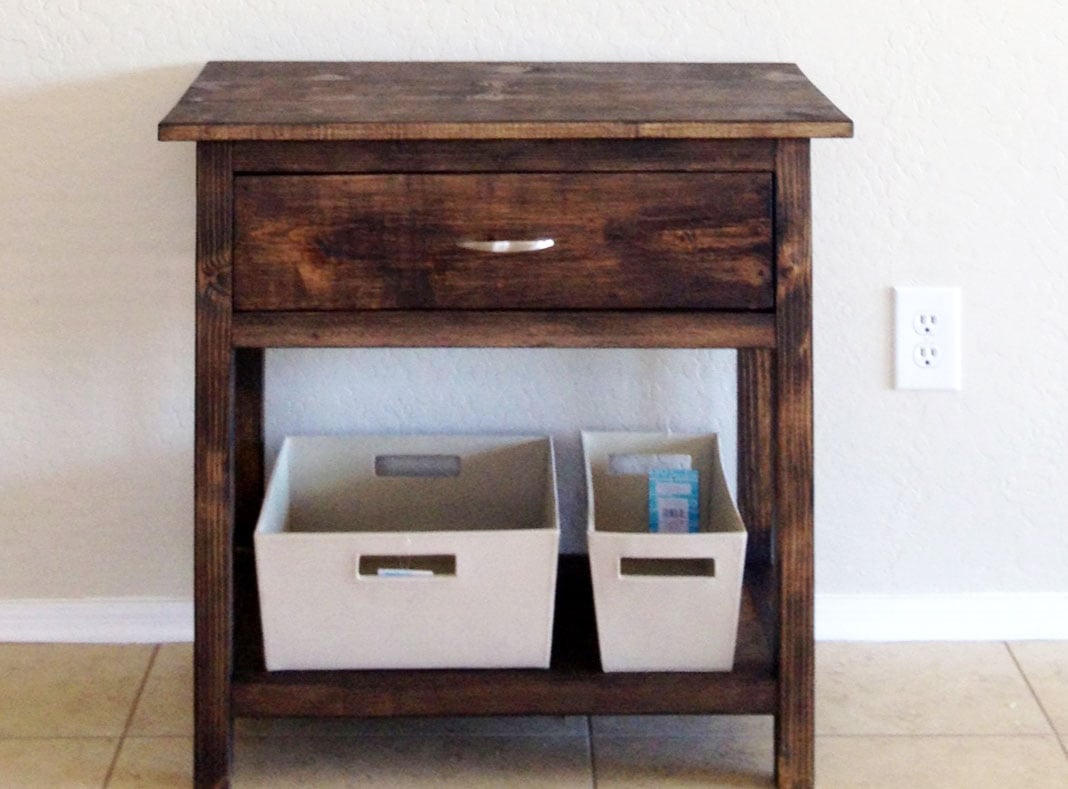
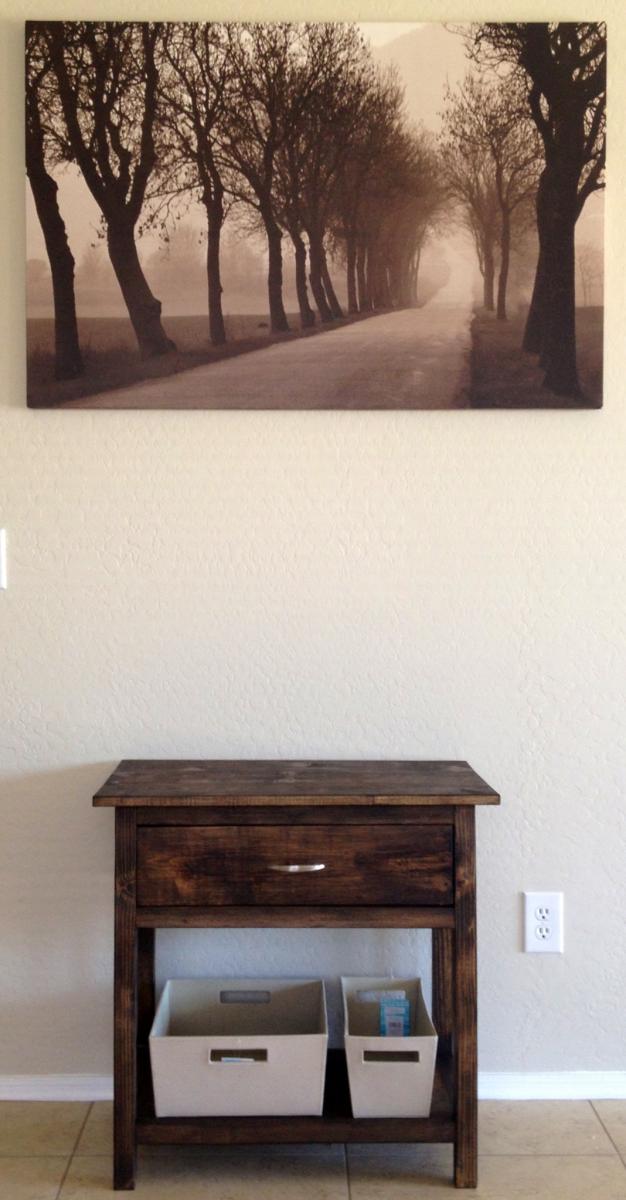
Pottery Barn Style Night Stand (thank you Ana)

Yesterday I built two of these for my wife and I's room, we just moved from Hawaii to Arizona. The plans were clear and simple, and the end product turned out awesome. Next I will tack the dresser/tv stand. Thank you Ana

Built from Plan(s)
Estimated Cost
$65 for two tables
Estimated Time Investment
Day Project (6-9 Hours)
Finish Used
MiniWax Espresso applied with a paint brush. I used an extremely thin coat.
Recommended Skill Level
Beginner

My first DIY project!

Submitted by Celeste808 on Sun, 05/05/2013 - 10:30

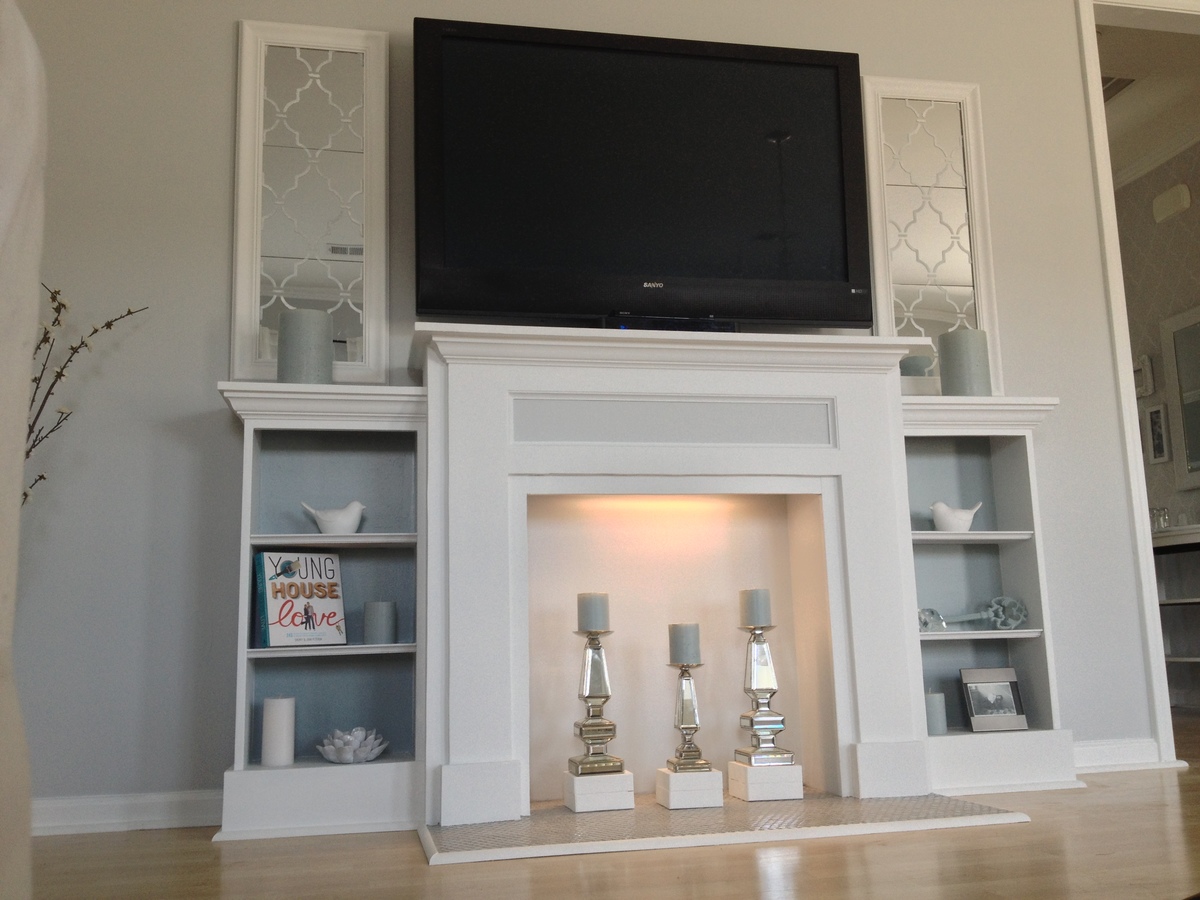
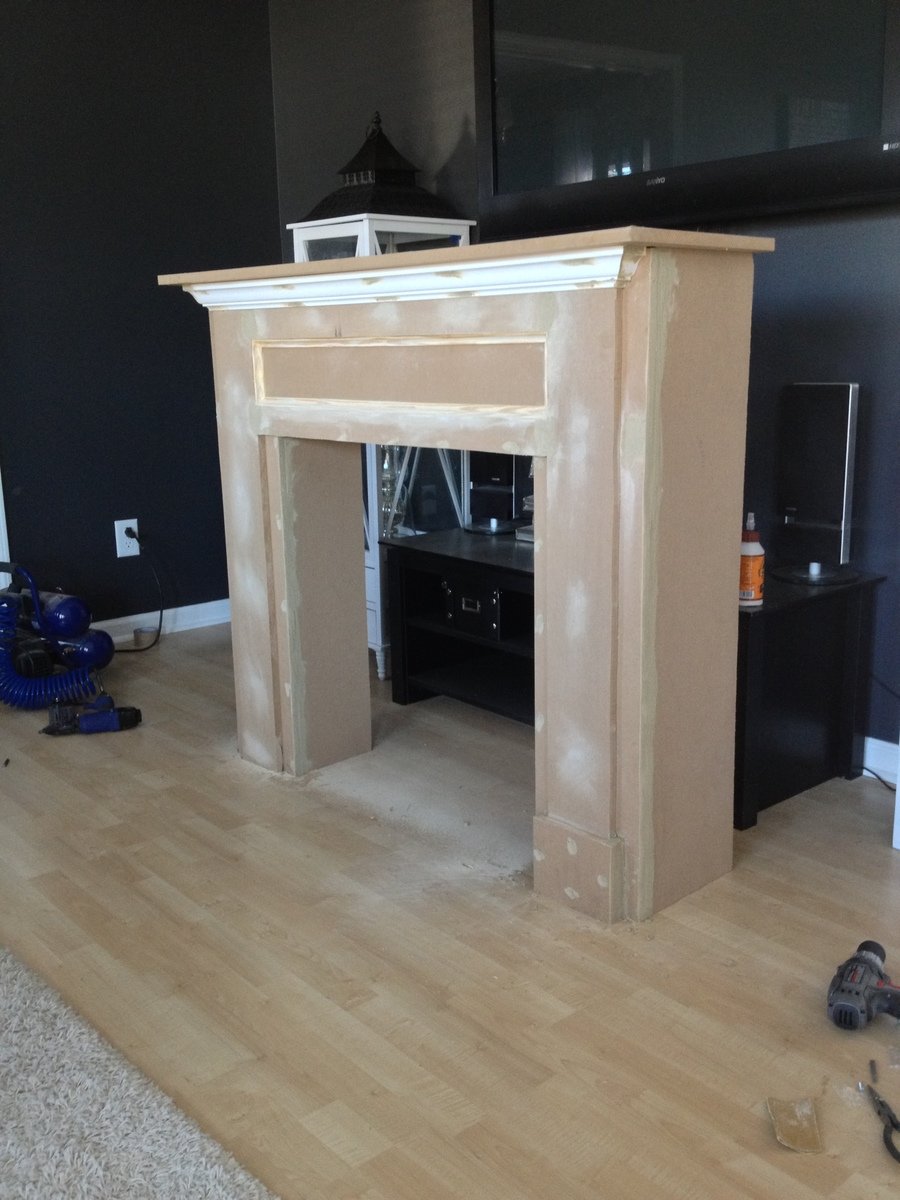
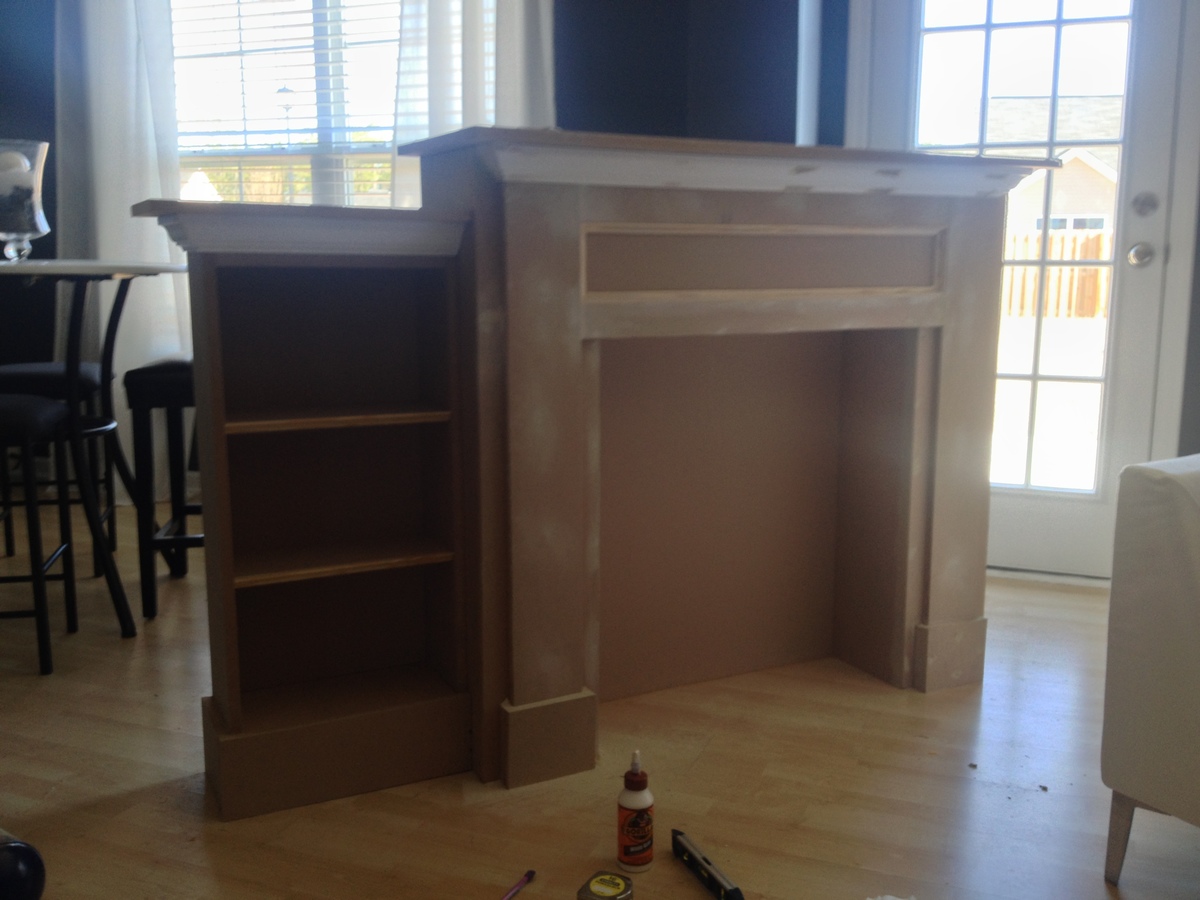
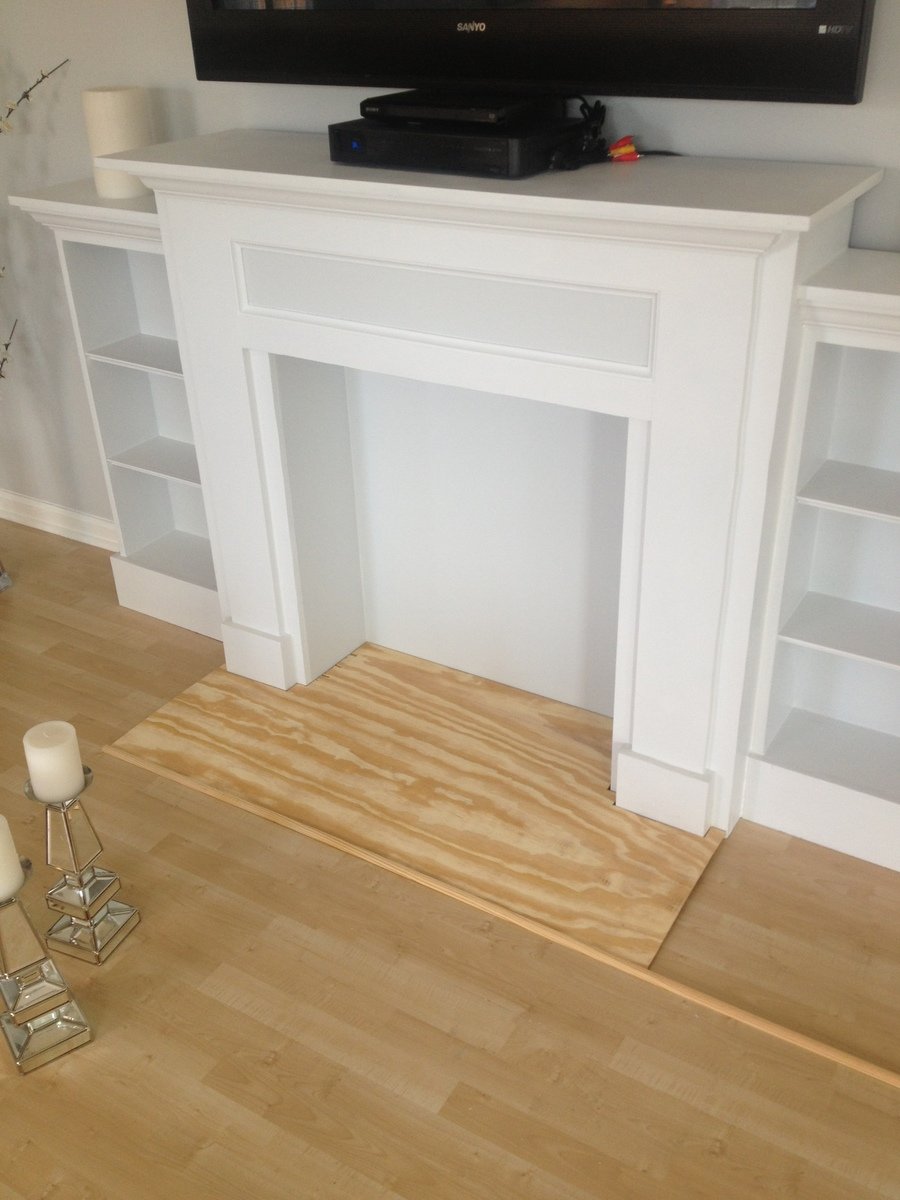
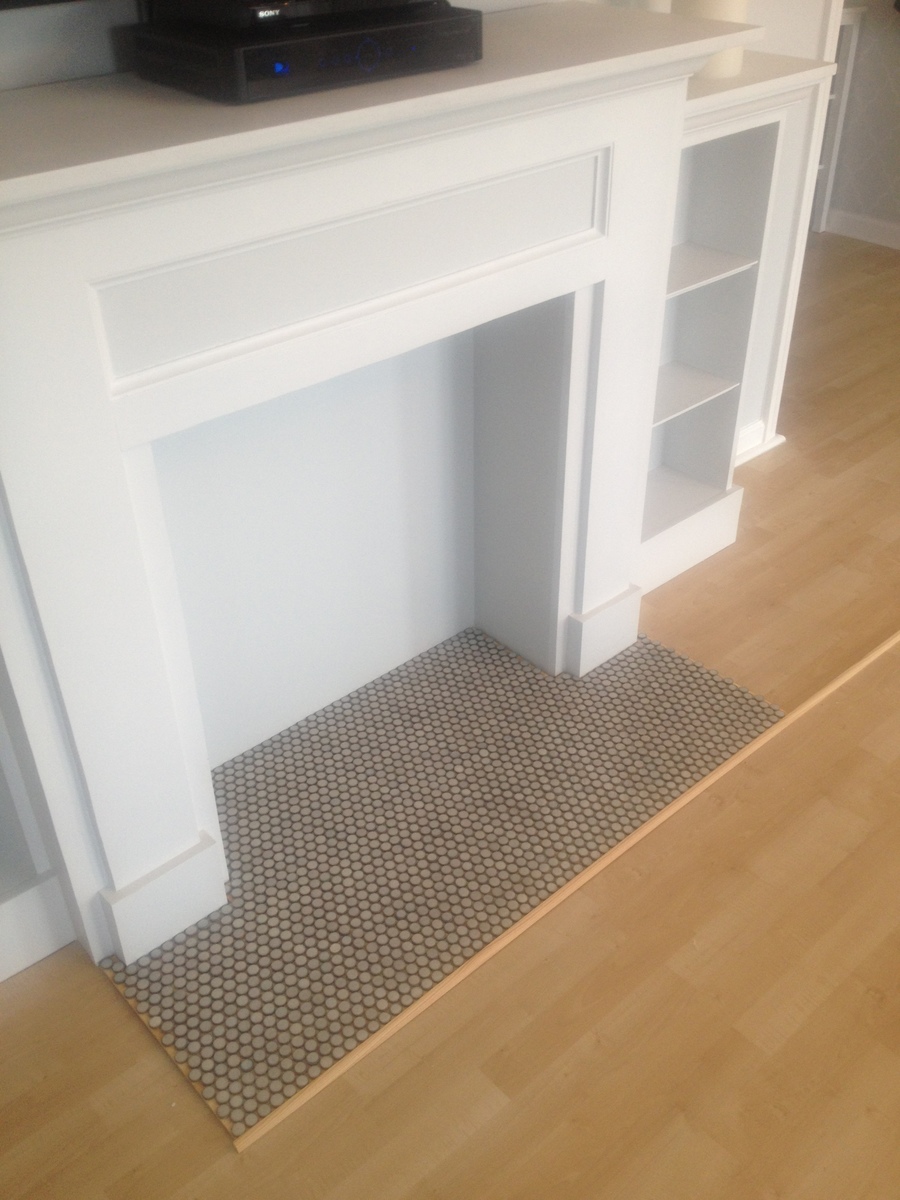
Finally Completed!!! Thank you rainy Saturday! So I wanted a new entertainment center of sorts... couldn't find one that was just what I wanted..... so why not just build what I want! Just DIY it. ;)

I used the faux fireplace plan and modified it to have attached shelves on the sides. I also added an extra strip at the top of the fireplace opening so I could mount an LED bar light.

I used 1/4 plywood to make a tile base, penny tile, and 1/2 quarter round to finish out around the entire bottom.

Total project cost was less than $200 including the tile and light!

Best part is the whole thing is movable!

Thanks Anna White for such an awesome plan to start with!

Estimated Time Investment
Week Long Project (20 Hours or More)
Finish Used
MDF & plywood
Recommended Skill Level
Beginner

Comments

spkramer

Wed, 07/03/2013 - 10:24

This whole unit is great. My wife LOVES it, which means I will be building it! Did you purchase the two shelf units or build them yourself? Did you use a pattern or plan? Thanks!

Alisonwunderland

Wed, 07/31/2013 - 13:09

This is amazing! Exactly what I'm looking for! Did you change the depth of the mantel to make sure the shelves would be deep enough to hold things?

Celeste808

Sat, 08/03/2013 - 18:25

I did make the depth of the fireplace deeper so I could have room for the halves on the side. I just sketched out the dimensions I wanted the side shelves and built them along the same lines as the fireplace. Wasn't hard to figure out and just made it to fit the size I needed. The inset of the fireplace does not go all the way back to the wall either, that way the power strip can fit on the floor behind it. Glad you like it and thanks for the compliments!

EAnne

Wed, 07/23/2014 - 14:54

Hi Celeste 808, What a wonderful faux fireplace WITH the bookcases, especially. I'm hoping I can try this in our space challenged bedroom. Did you by any change reply to the chap who asked if you had some kind of dimensions or plans you could pass along to us? I would love to see if we can make it work in the space we have available.
Thanks again for the inspiration,
e

jrybolt26

Mon, 10/28/2013 - 18:25

I absolutely love what you did with this. I am going to have my fiance help me make this for our house. If you still have the dimensions and details of how you built the whole unit I would greatly appreciate it if you could post it.

mommyof2cuties

Sun, 04/13/2014 - 13:00

This is gorgeous & I can't believe it's your 1st project. I would love to build this too. Did you use any particular plans for the side units? If you have any tips or information to share, that would be great! I've actually been trying to make up my own plans using Sketch Up, but that's not working too good, lol. Again, great job & thank you.
Lynda

emswave

Sun, 02/08/2015 - 12:31

I'm dying to know the dimensions you added to the width. Also, the dimensions of the book shelf. I have been trying to draw up plans for the last week and I'm stuck with trying to figure it out by looking at your pictures.

PLEASE HELP!

Thanks!!

mrittgers1

Mon, 07/27/2015 - 09:15

Do you have the blue print of how you built the mantel and side book shelves? I am wanting to go buy supplies to build this tonight!!!


Thank you!

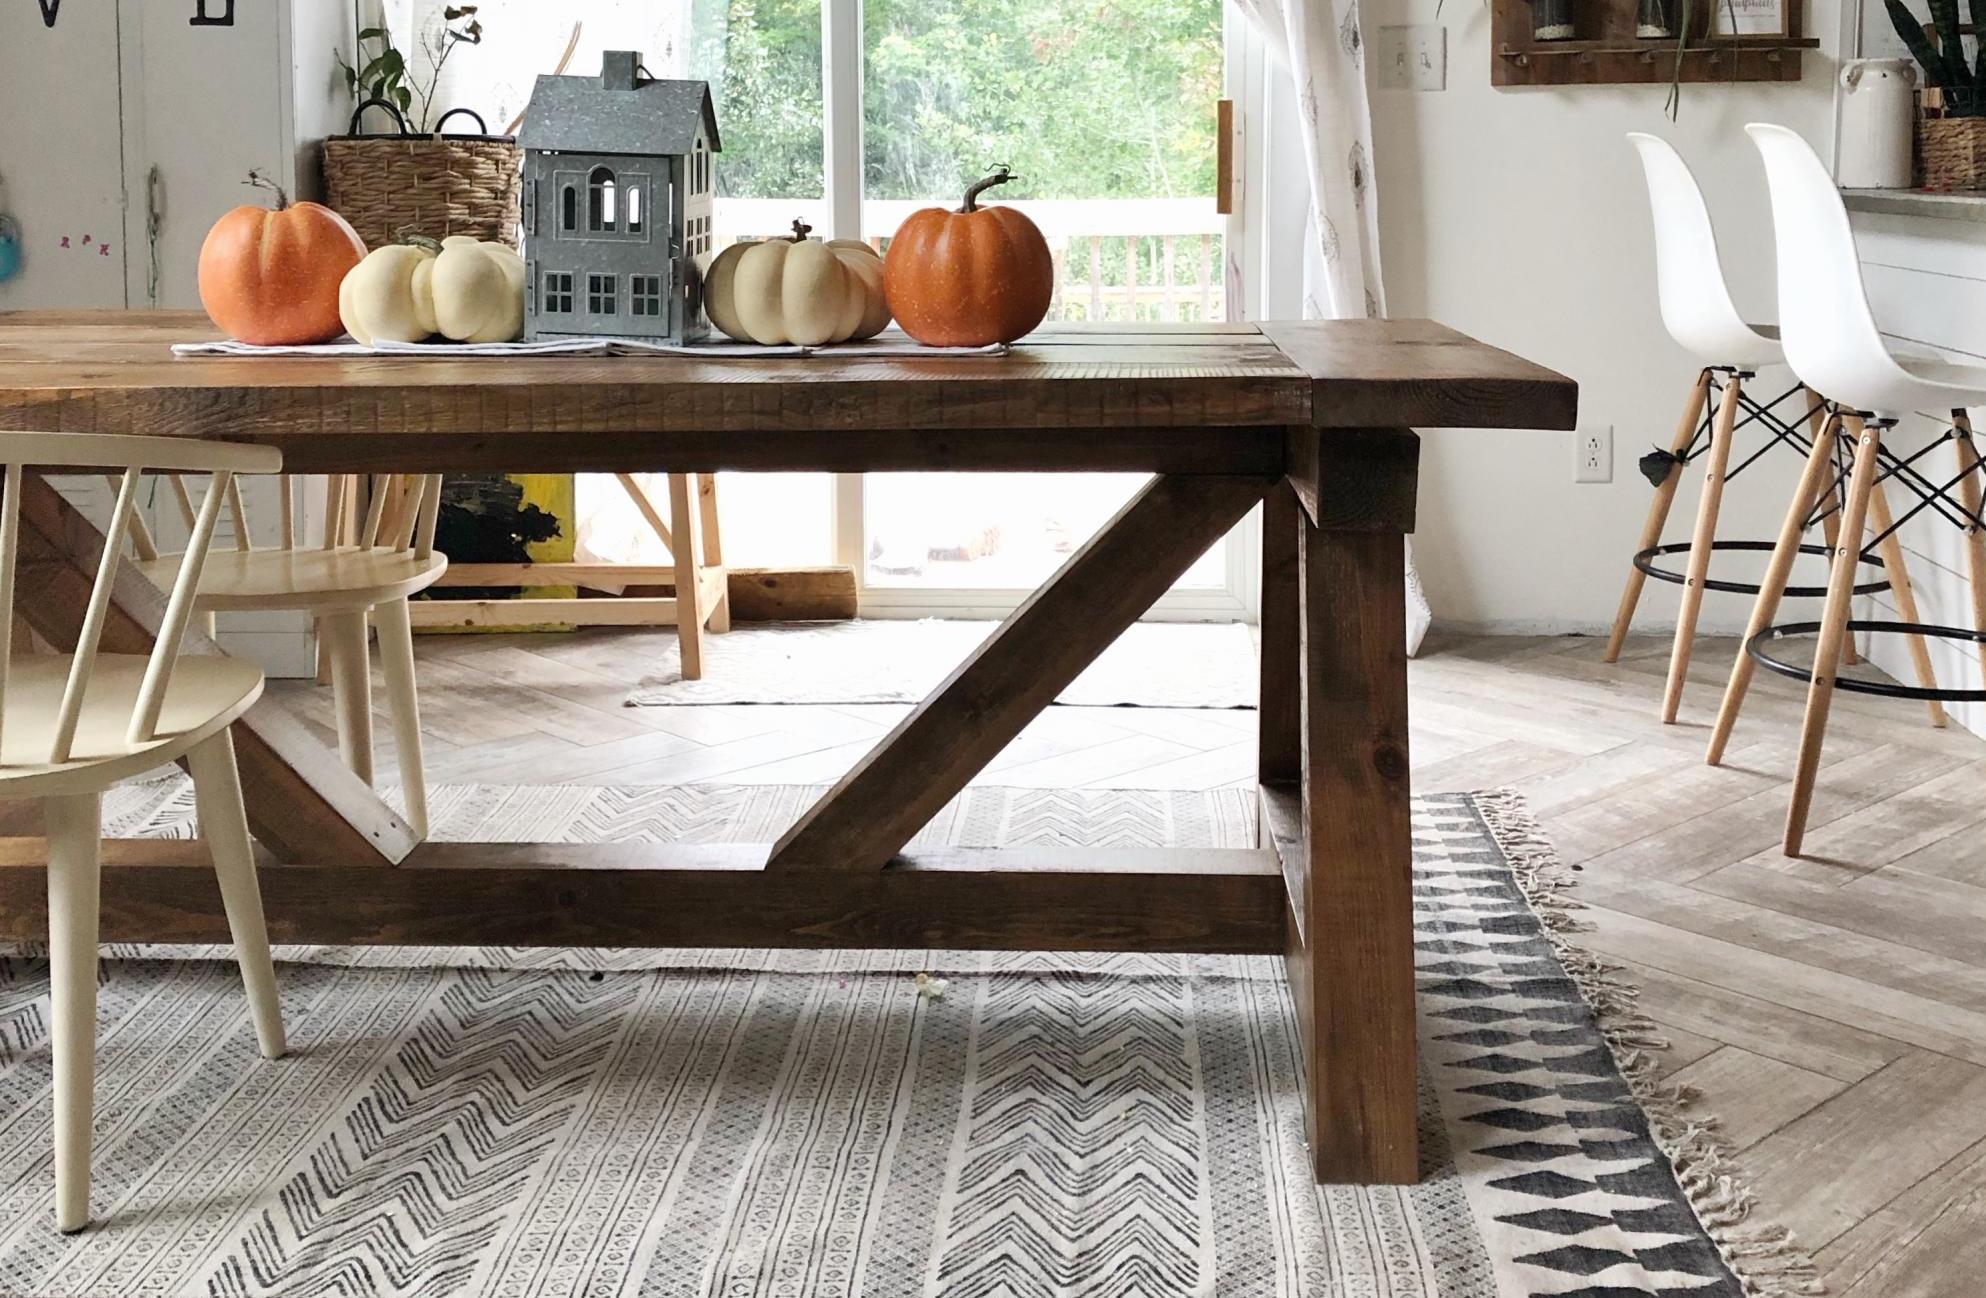
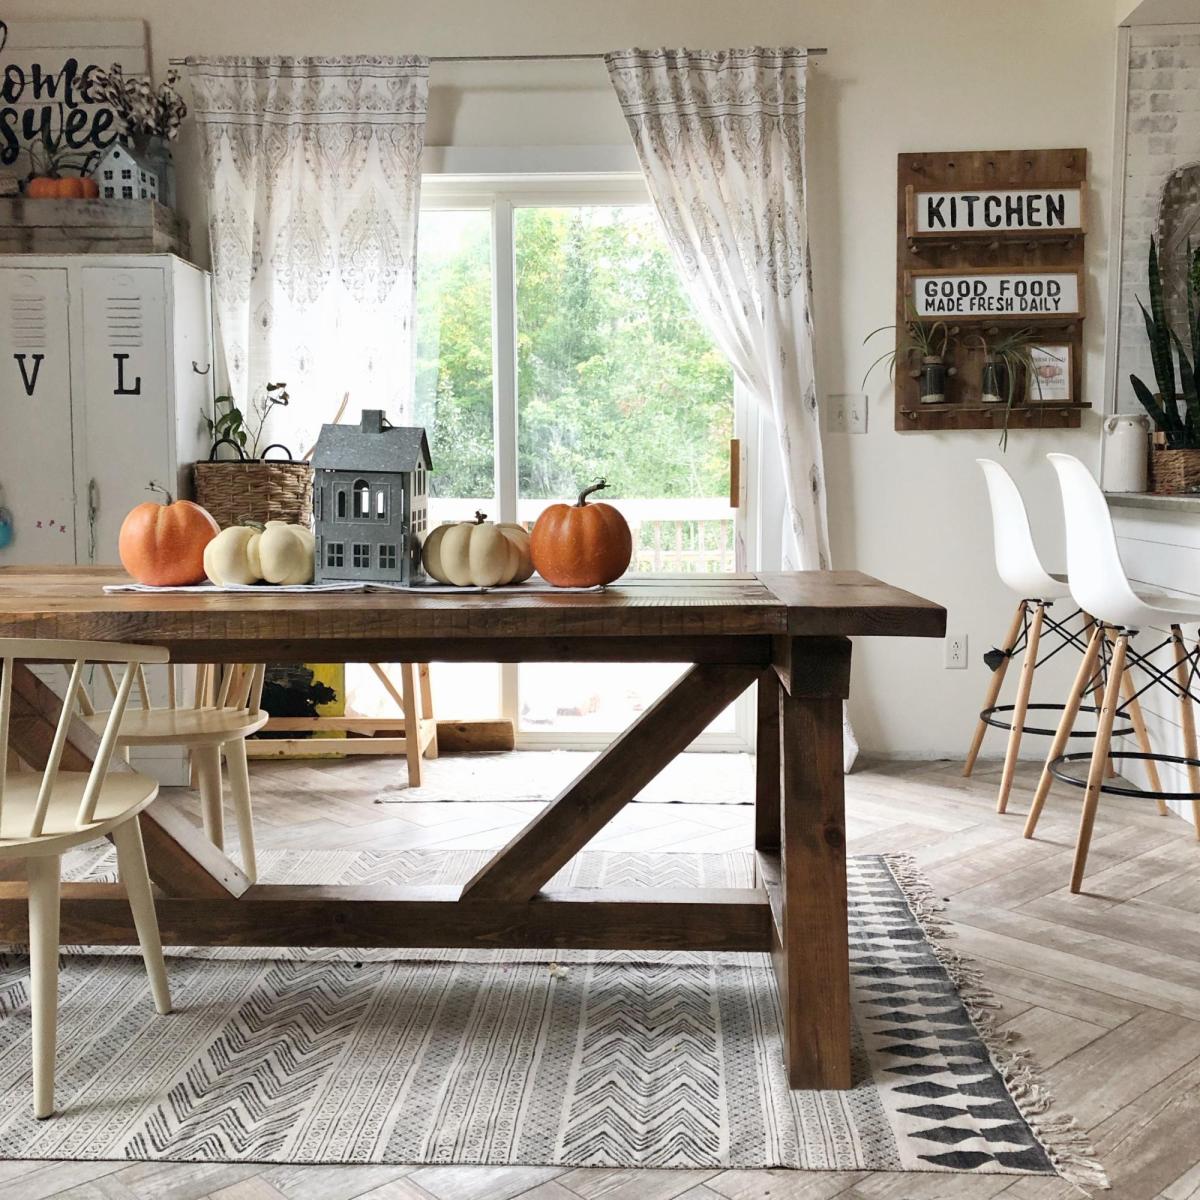
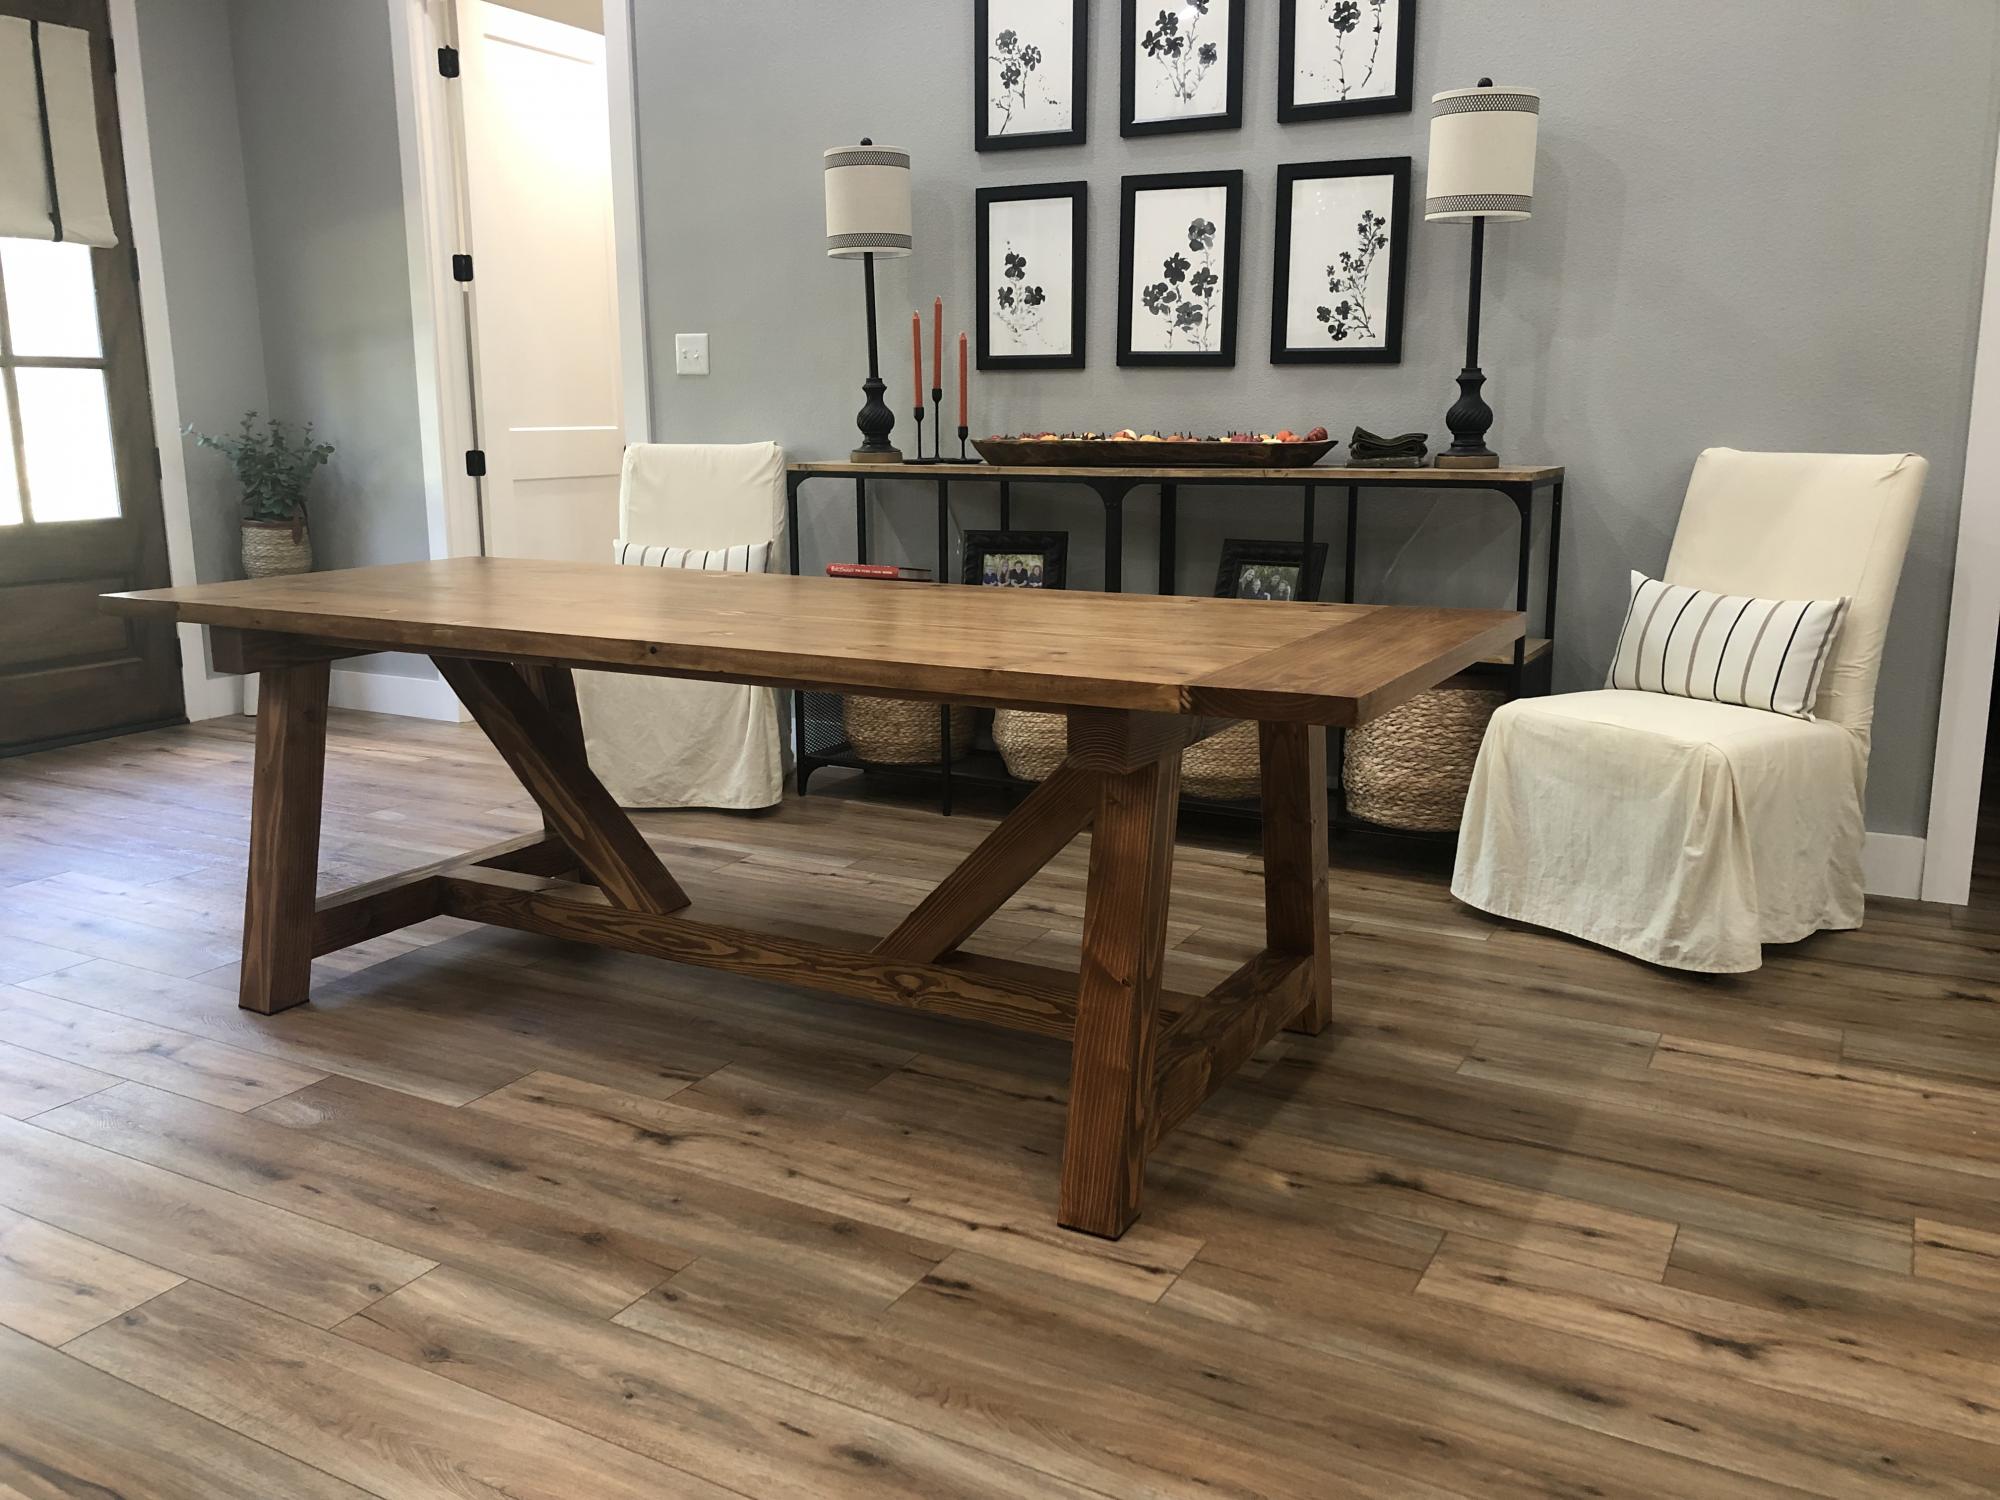
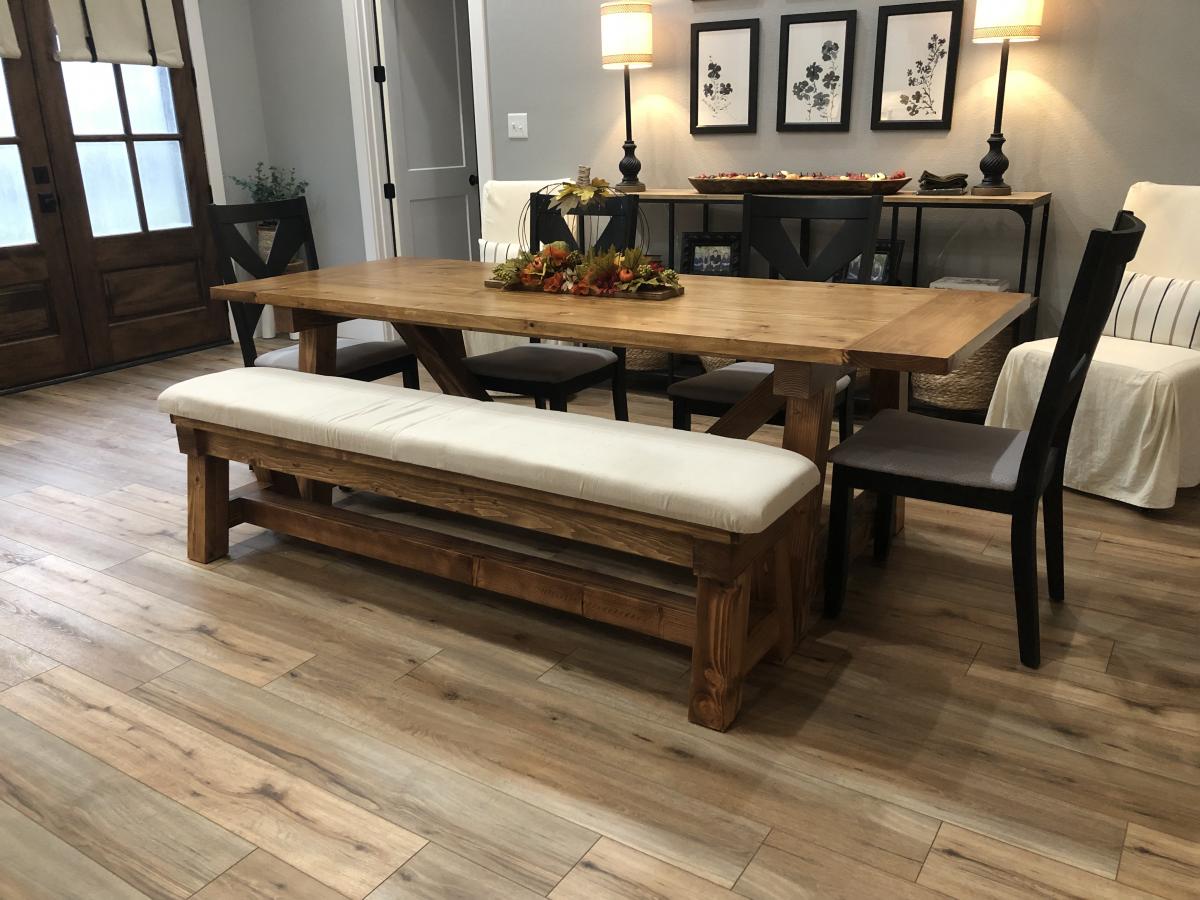
4x4 Truss beam table and bench

Submitted by Anonymous (not verified) on Mon, 10/04/2021 - 13:42

The plans were very easy to follow for non avid woodworkers. We decided to upholster the seat on the bench.

Built from Plan(s)

Comments

DIY Learning Tower / Kitchen Helper

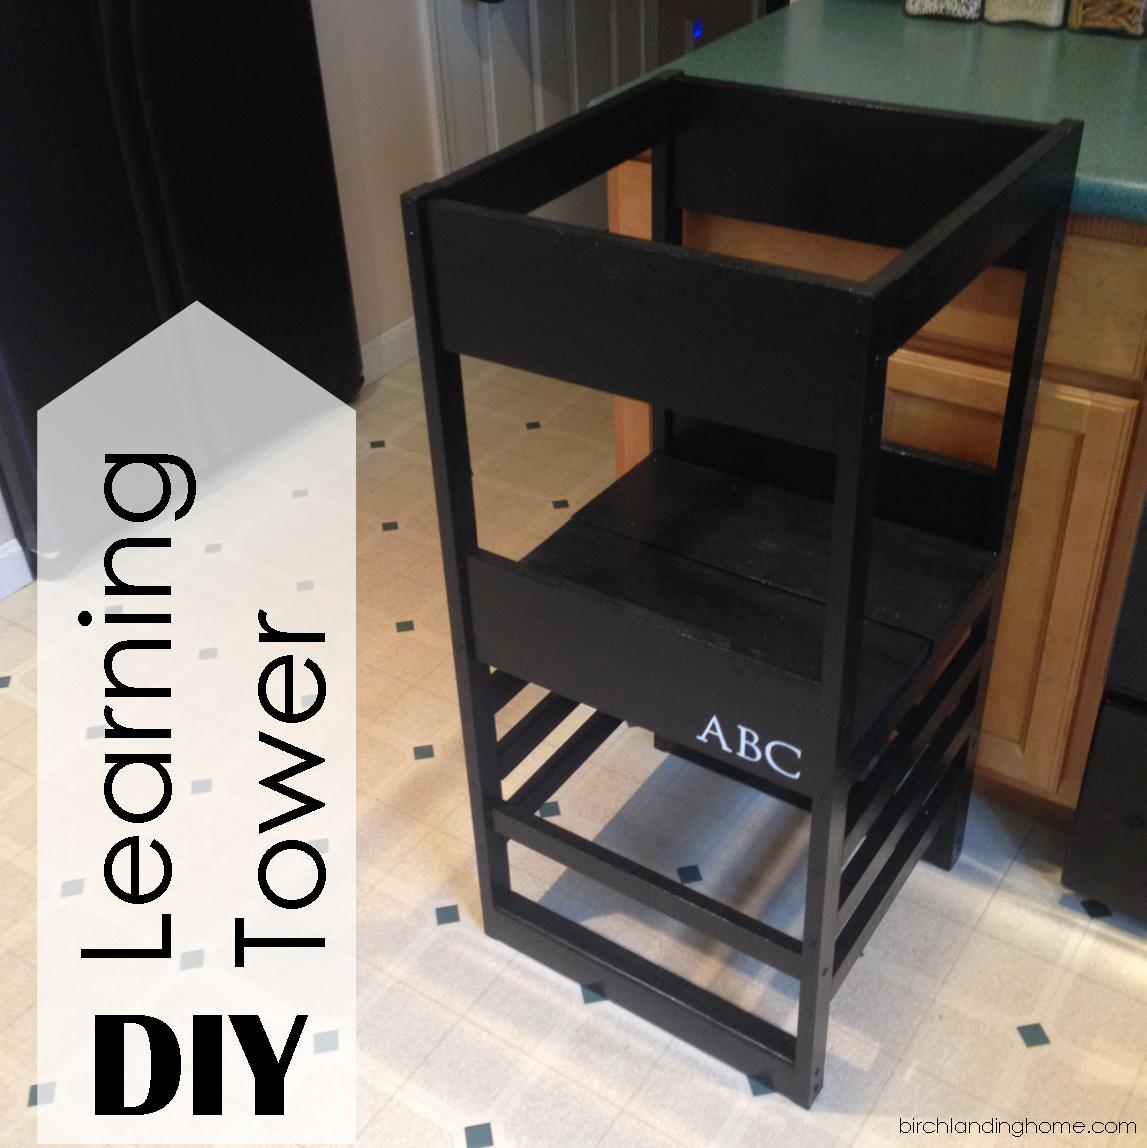
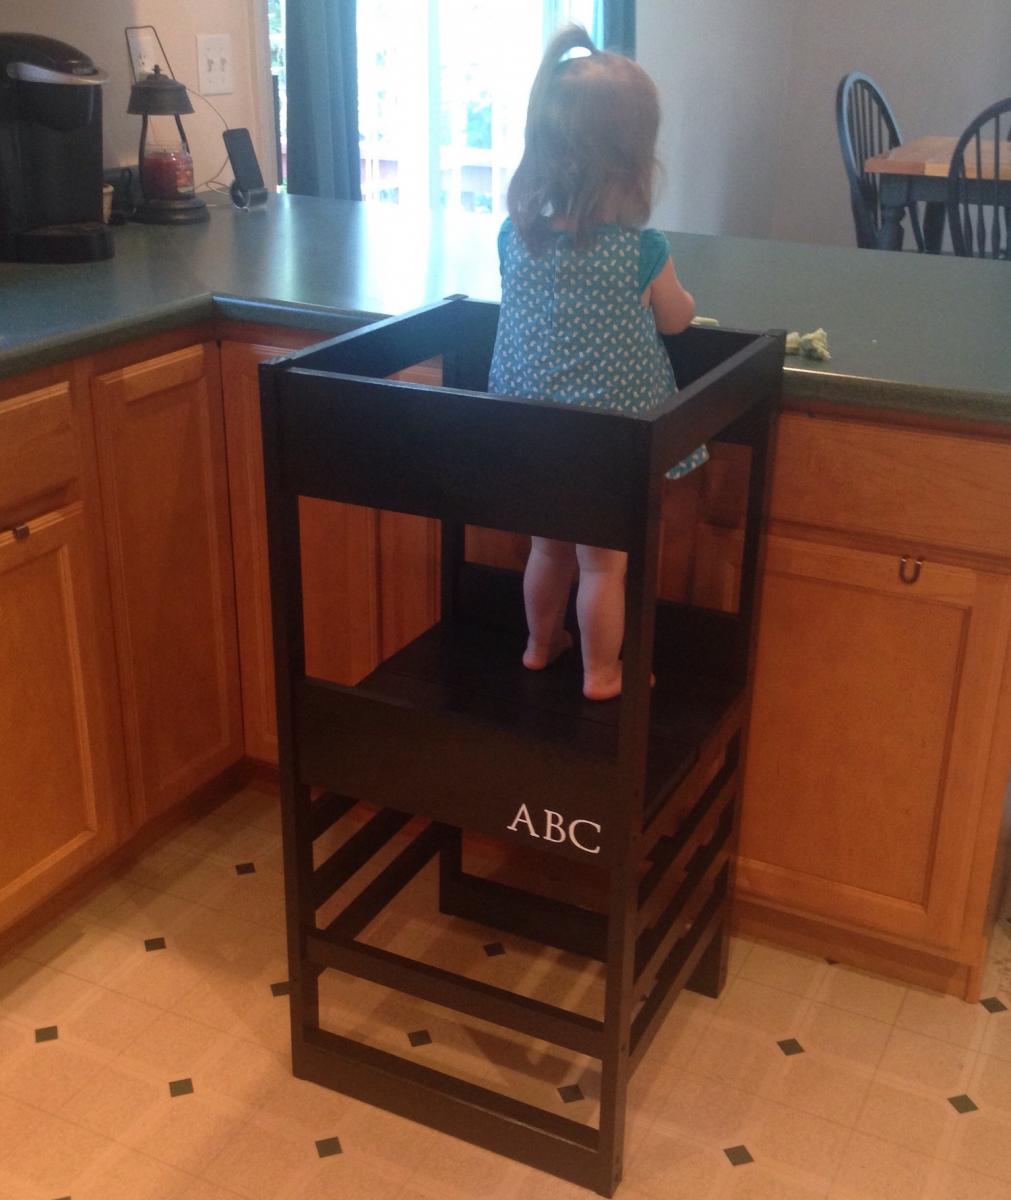
Our little one may be happily playing independently but the second I go to make dinner she demands to be held and refuses to be put down, making cooking impossible. To help keep her occupied but still involved I've been eyeing a learning tower / kitchen helper on Amazon for months now, but at $200 it just wasn't in our budget. My sister-in-law had made a learning tower from a plan by Ana White and suggested I try to make one too. I was unsure at first, I've never made anything more complicated than a birdhouse, but I decided to give it a go!

Please see my blog post for additional photos and lessons learned during this project.

Built from Plan(s)

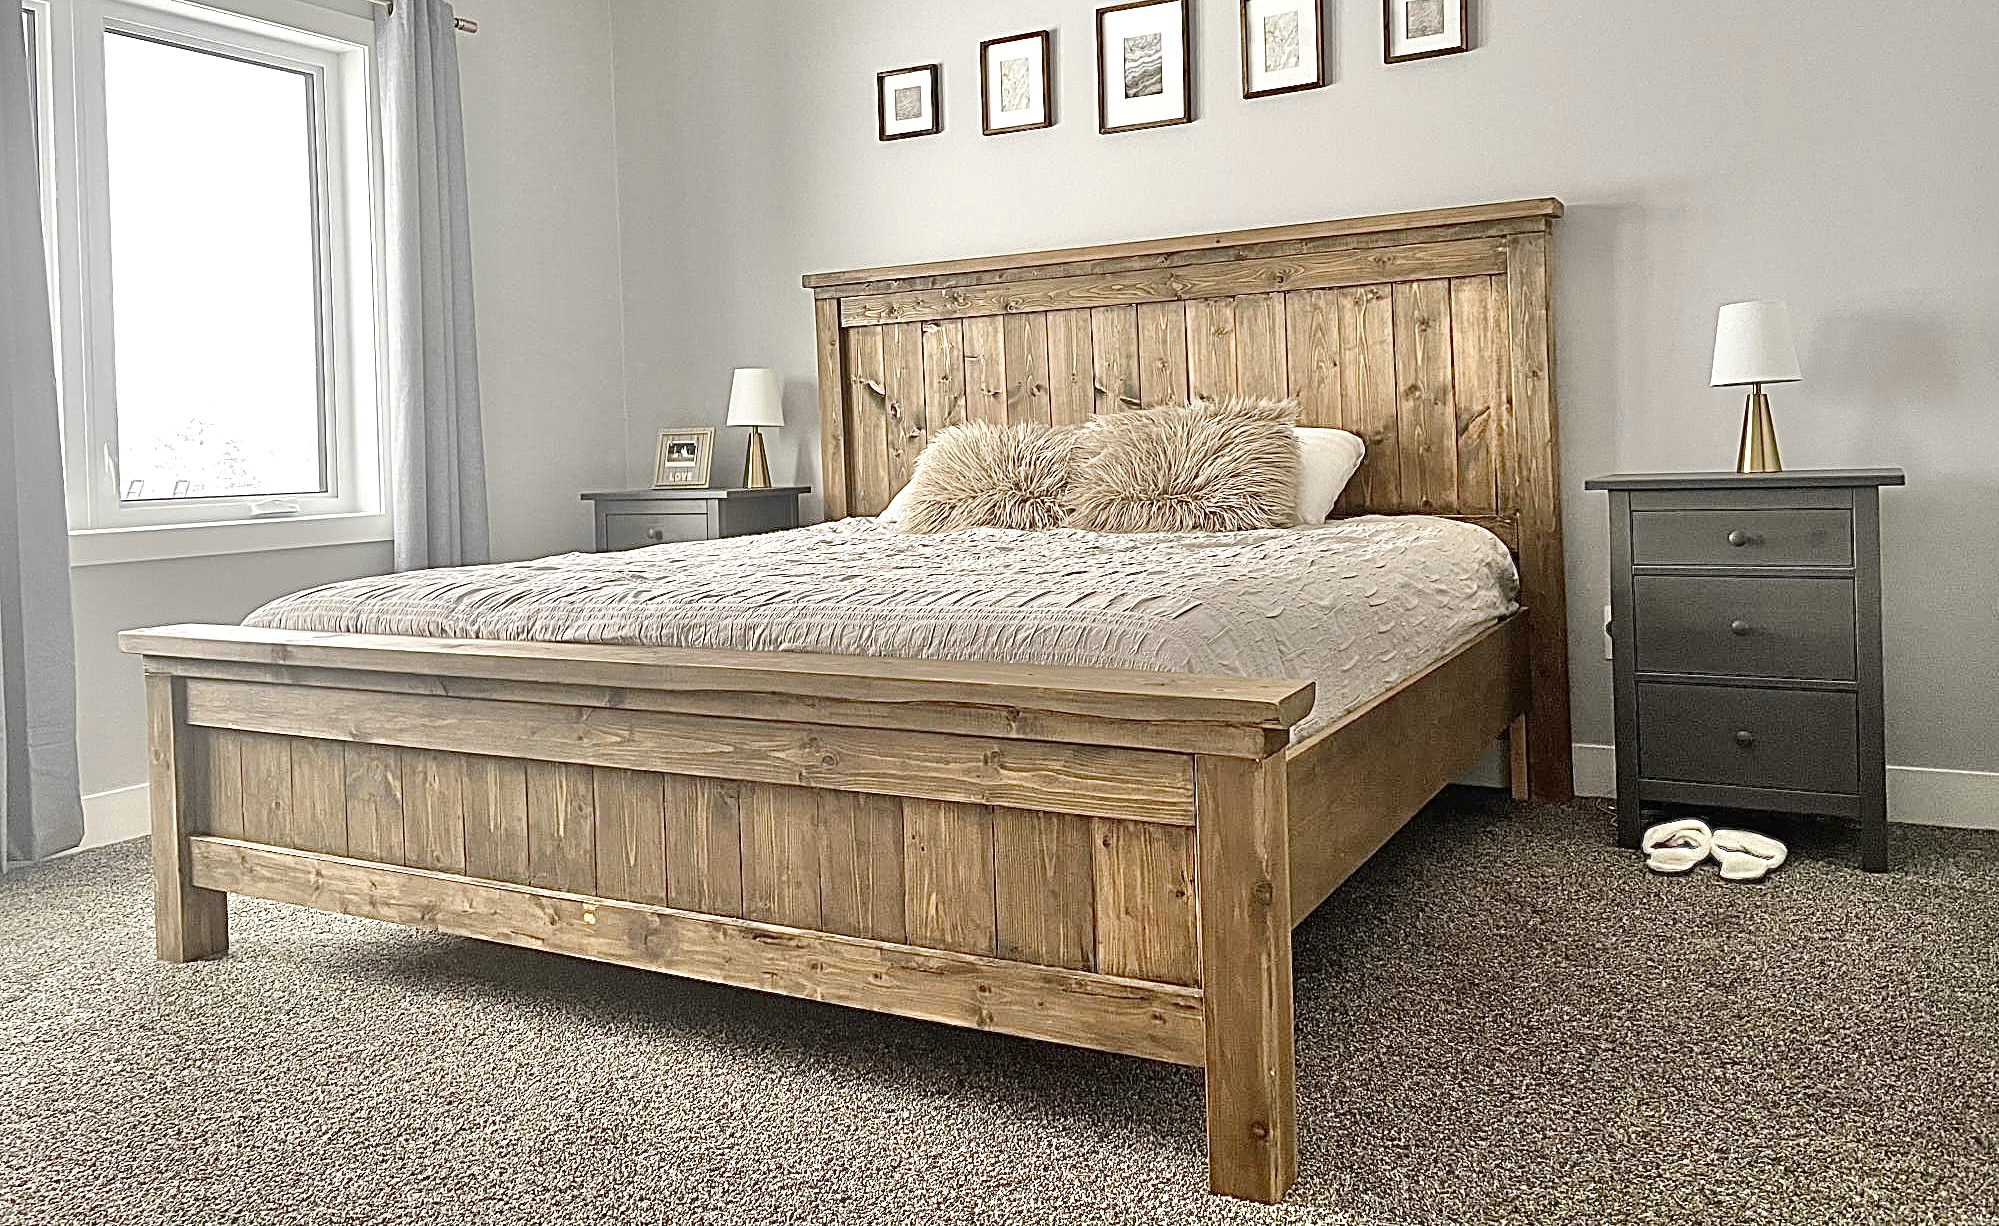
Modern Farmhouse Bed

Submitted by Anonymous (not verified) on Sun, 01/15/2023 - 13:37

My husband and I had worked on this bed together, and we are so happy with it! We went with taller side tables that we purchased, and just stained the wood instead of painting it.

Comments

From Logs to Famhouse Table

Submitted by Anonymous (not verified) on Sun, 10/13/2019 - 18:45

So this DIY Farmhouse Style Table has been on my “make it” list for a while now. And what better time to make it than now, since we just got a saw mill. Check out the blog link below to read all about it.

Built from Plan(s)
Estimated Time Investment
Weekend Project (10-20 Hours)
Finish Used
Minwax Early American Stain
Minwax Polycrylic Clear Sealer
Recommended Skill Level
Intermediate
Seasonal And Holiday

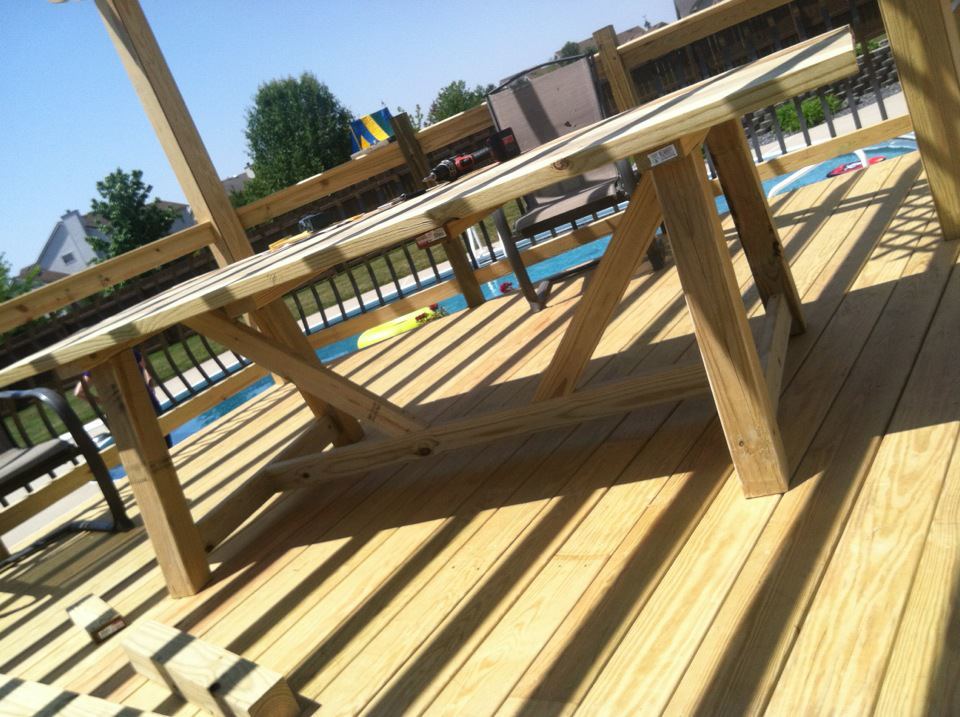
Providence Table

Here is my Providence Table made from scrap wood we had left from building our deck. I am not thrilled that it is made out of pressure treated wood but it is what it is. I used 2x6 mixed in with 2x10's for the top, 4x4's for the legs and used a 1/4 router bit for all the edges.

Built from Plan(s)
Estimated Cost
free from scrap
Estimated Time Investment
Afternoon Project (3-6 Hours)
Finish Used
It is still drying out but the plan is to paint the legs white and the top a stain color.
Recommended Skill Level
Intermediate

Comments

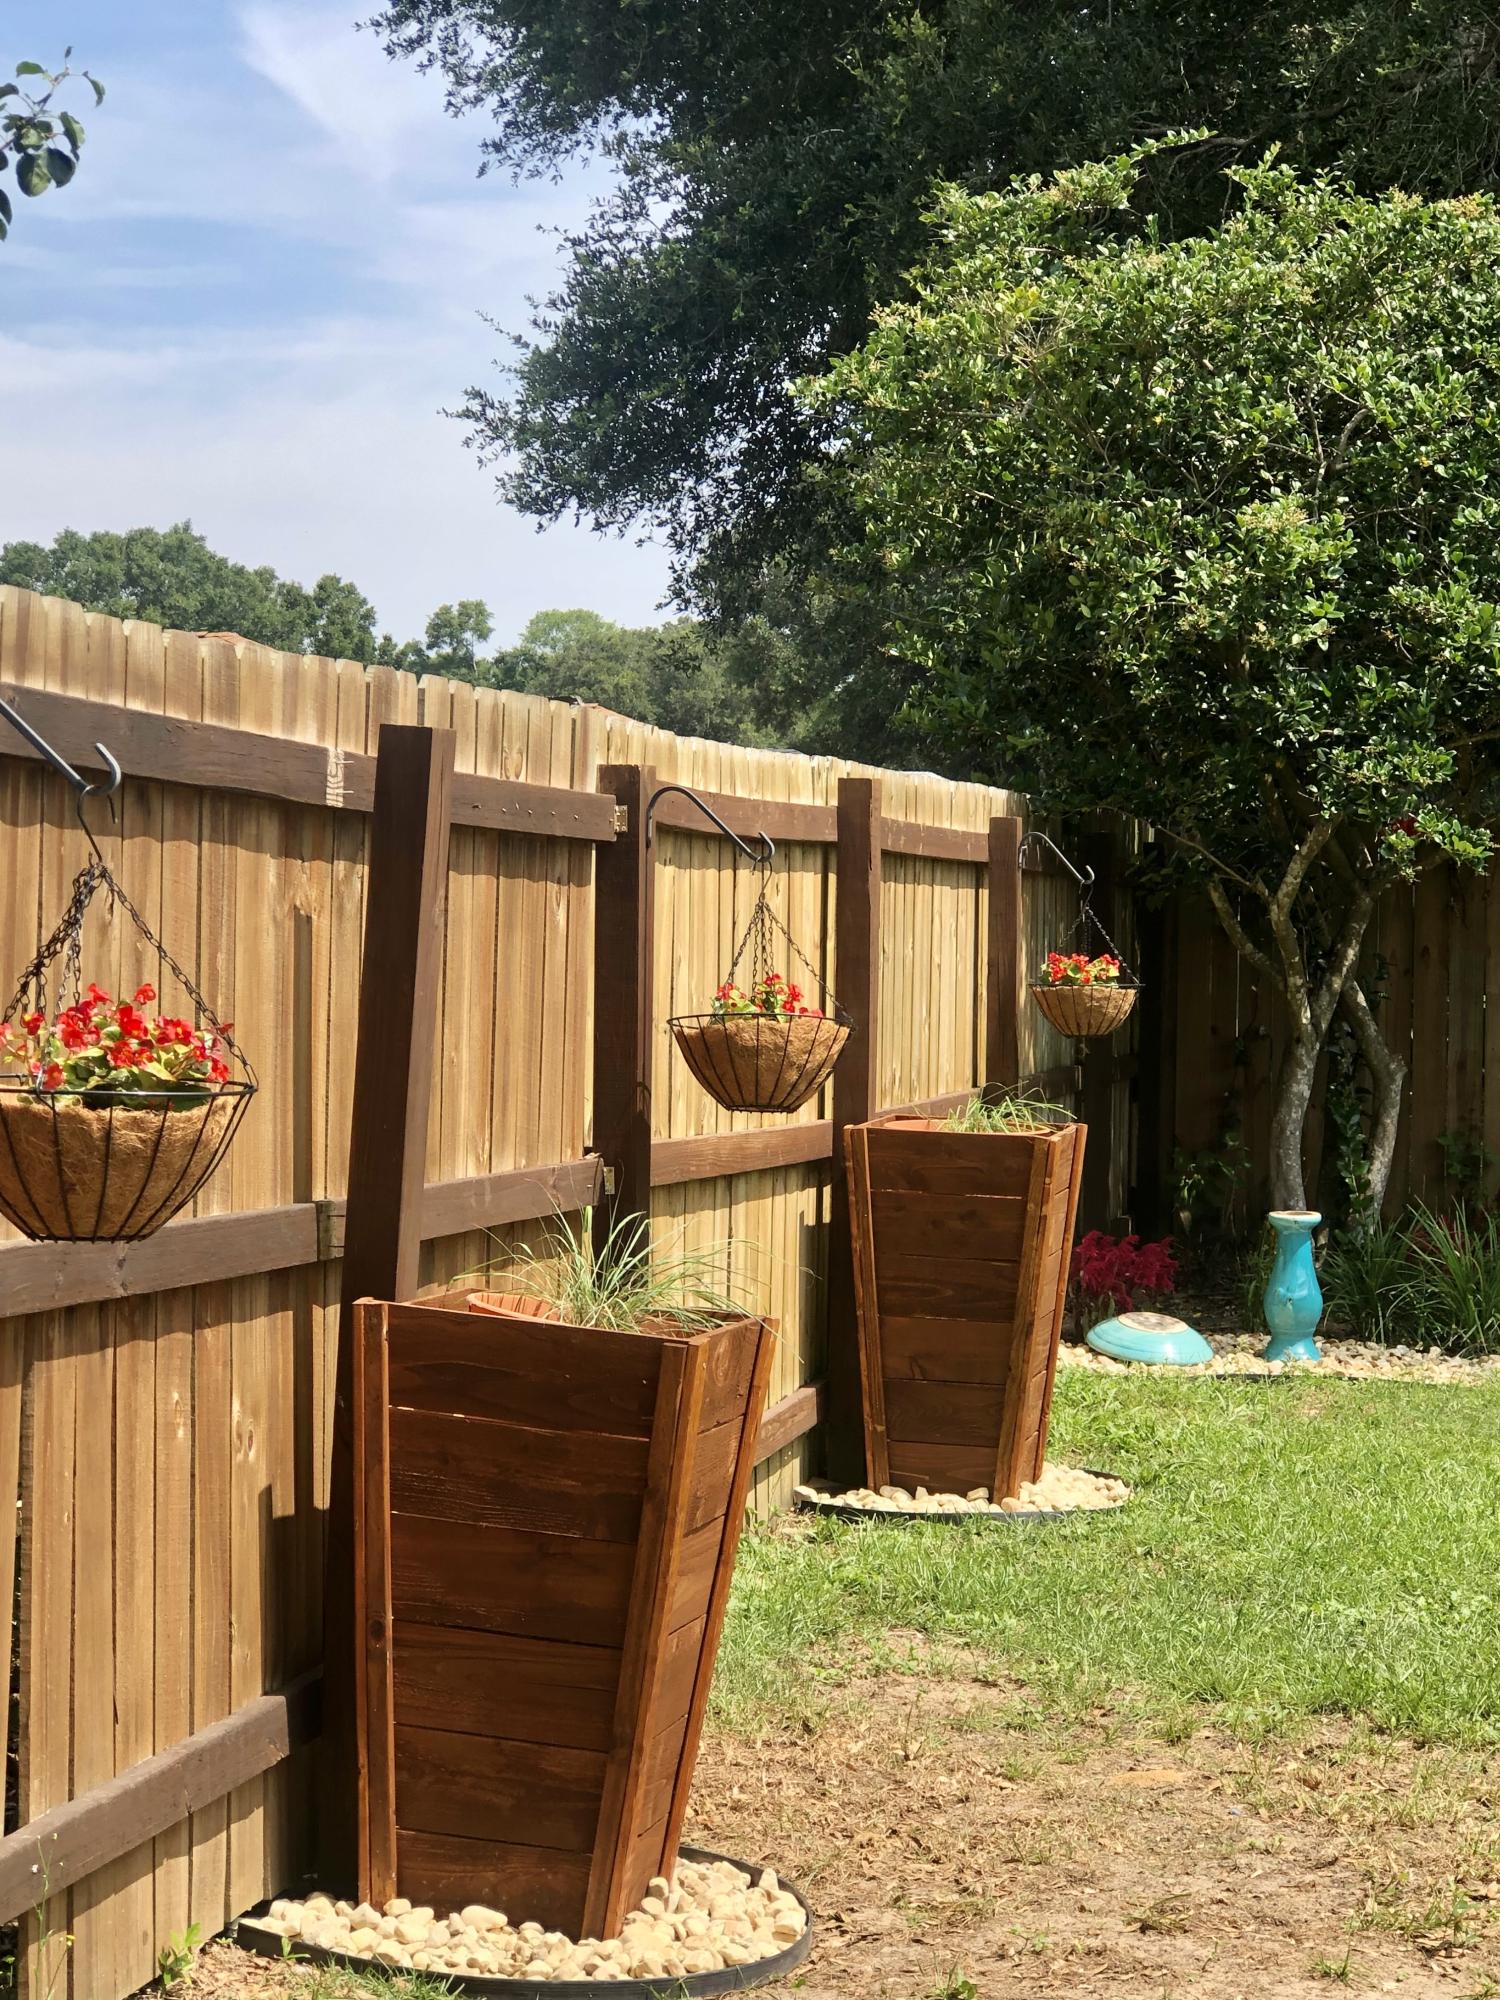
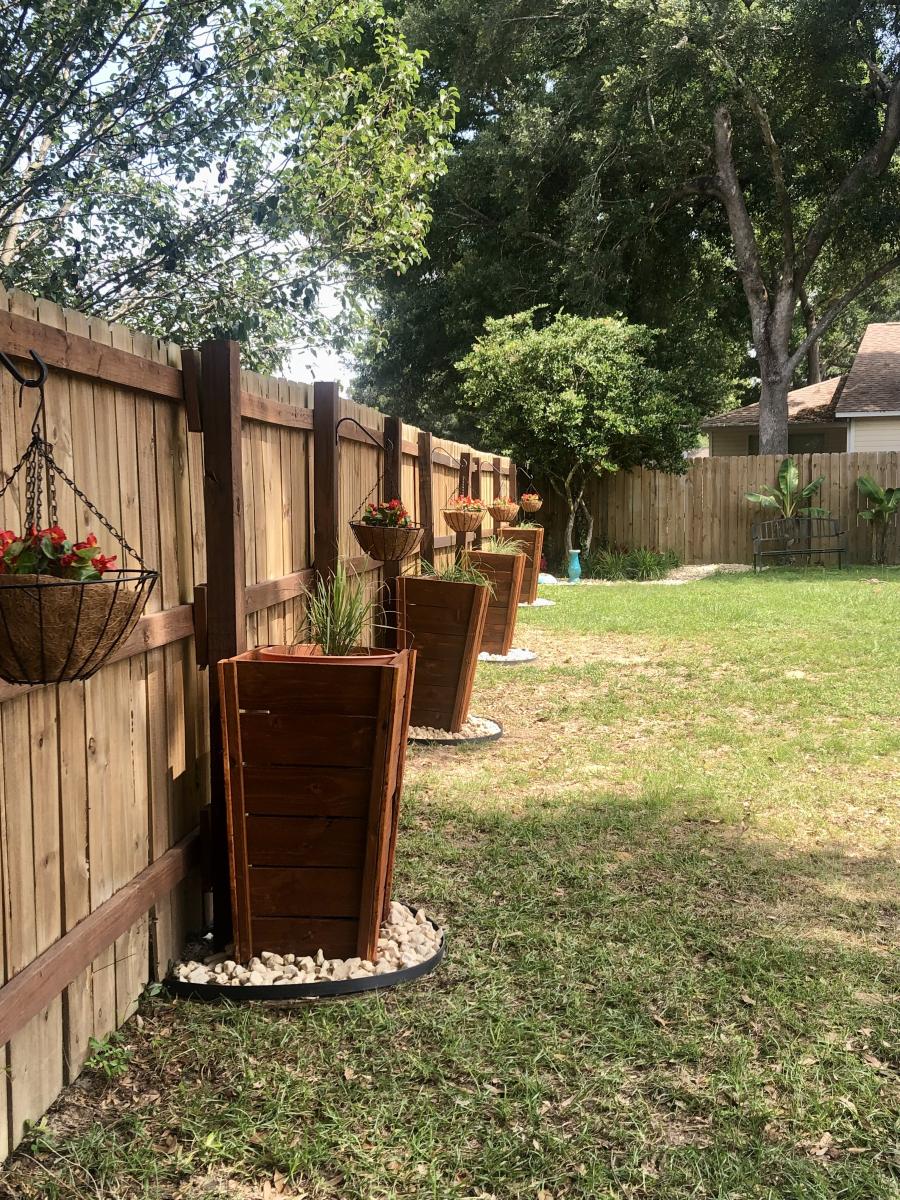
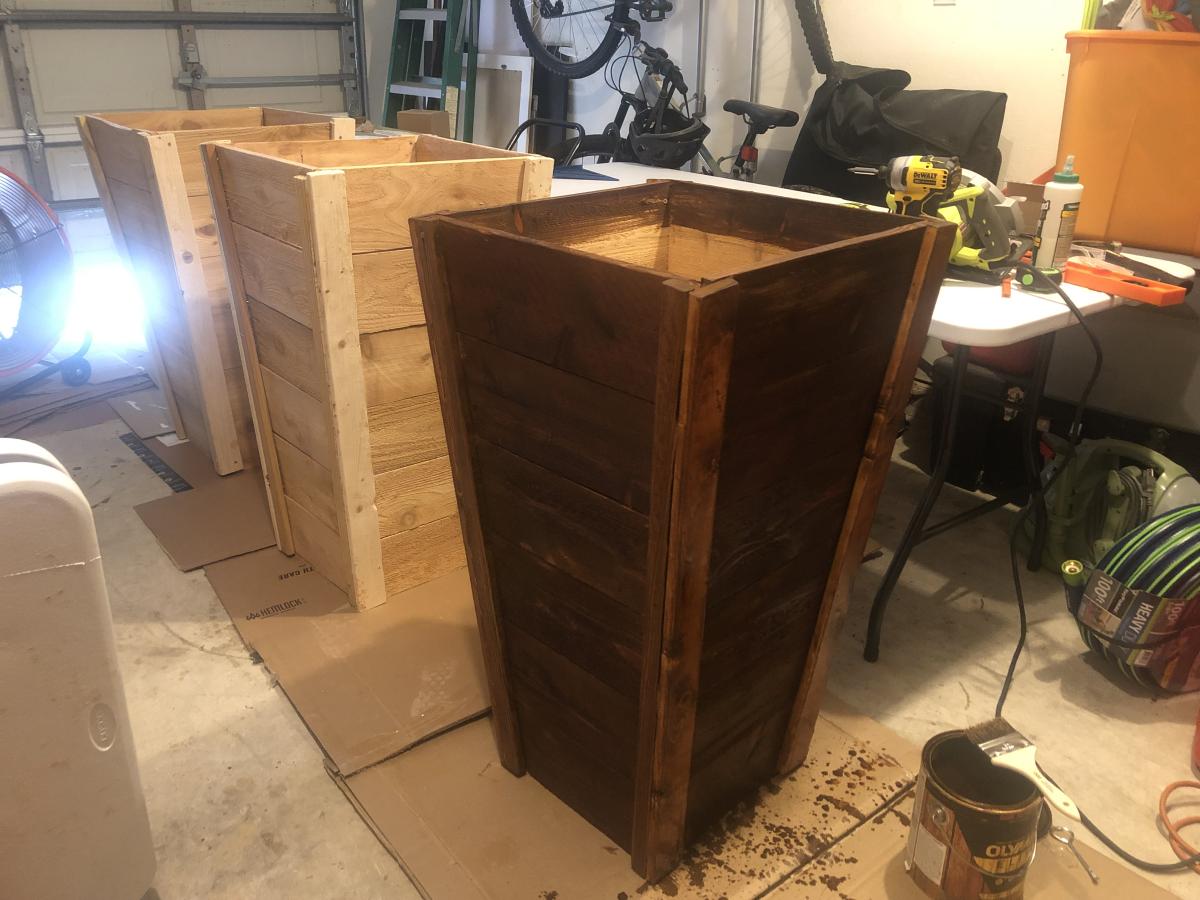
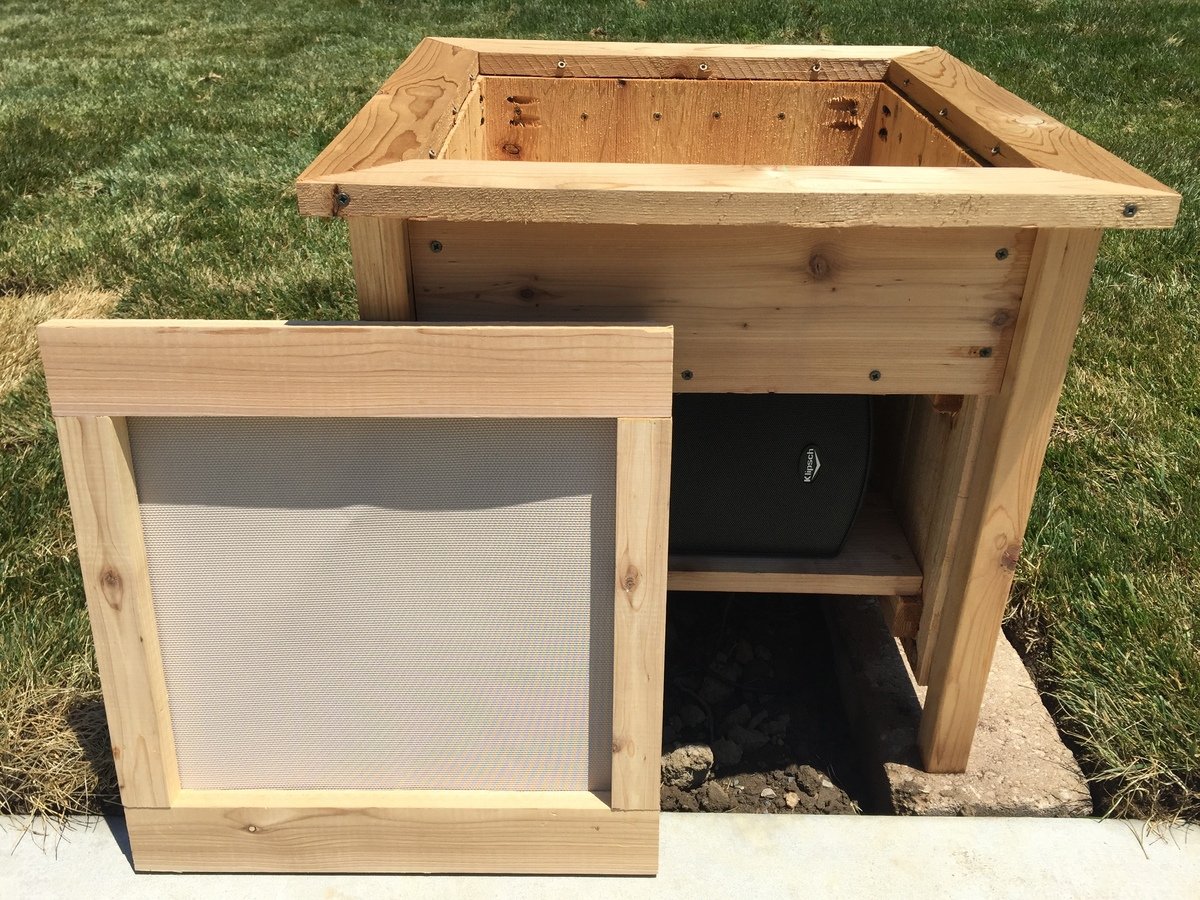
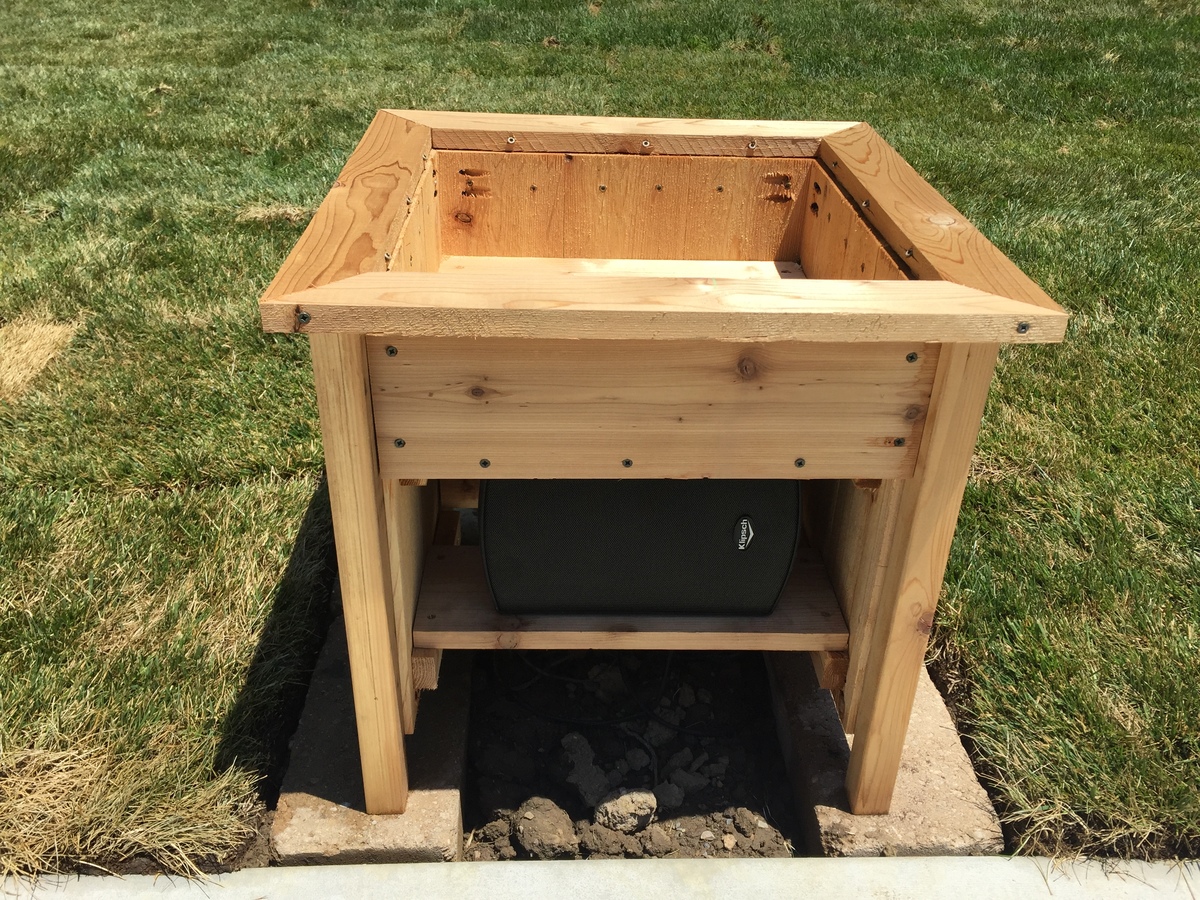
Cedar Planter Outdoor Speakers

Submitted by Hoosierdoc on Fri, 06/10/2016 - 10:53

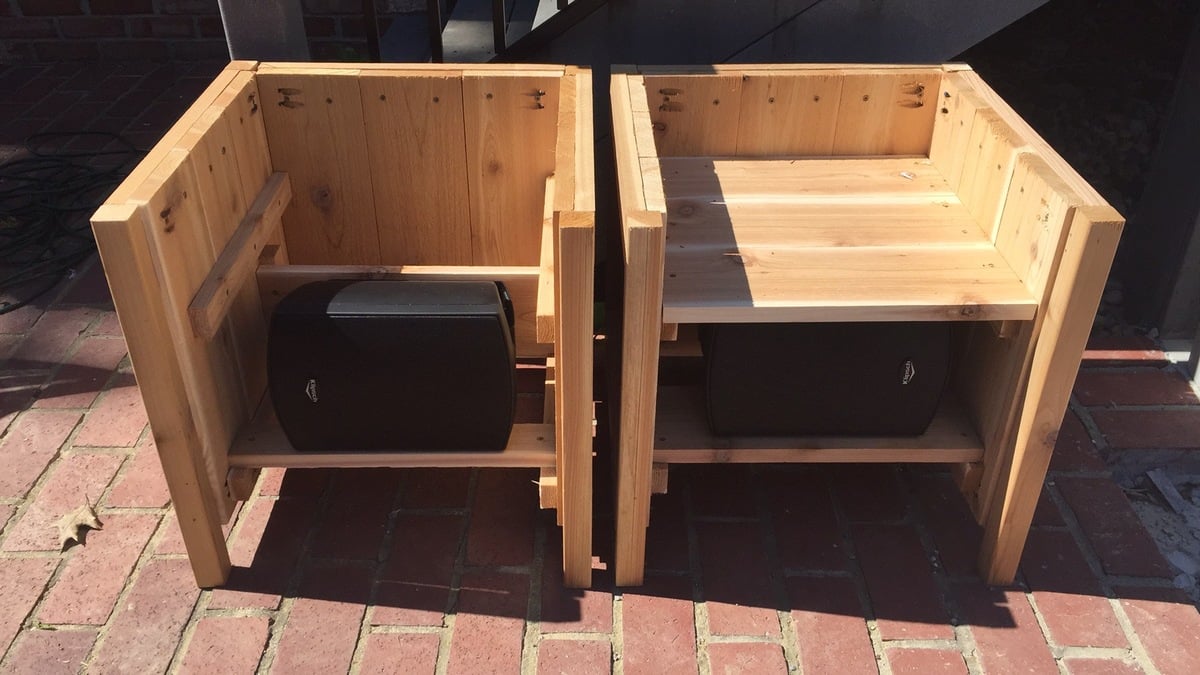
We just put in a pool and I needed something to hide a pair of outdoor speakers. I used Klipsh AW-525 speakers.

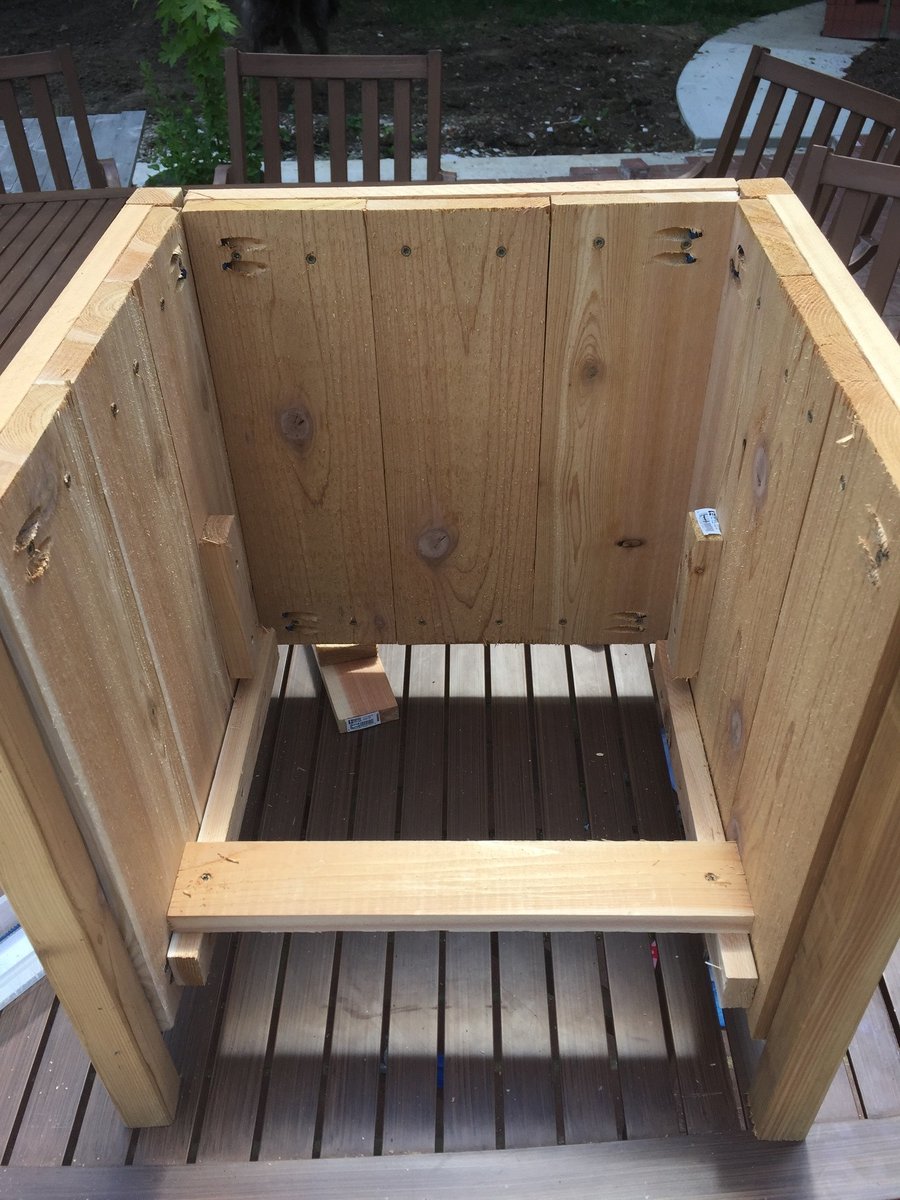
Basically I raised the bottom of the planter enough to fit the speaker under and had to add a few framing pieces to secure the speaker mount to. The mount attaches to a vertical board and the weight rests on a horizontal board. The wiring comes up from below.

The front panel uses vinyl mesh from Sailrite.com to hide the speaker but allow sound out. Imm planning to hang it with magnets if it doesn't distort sound too much.

Built from Plan(s)
Estimated Time Investment
Afternoon Project (3-6 Hours)
Recommended Skill Level
Beginner

Comments

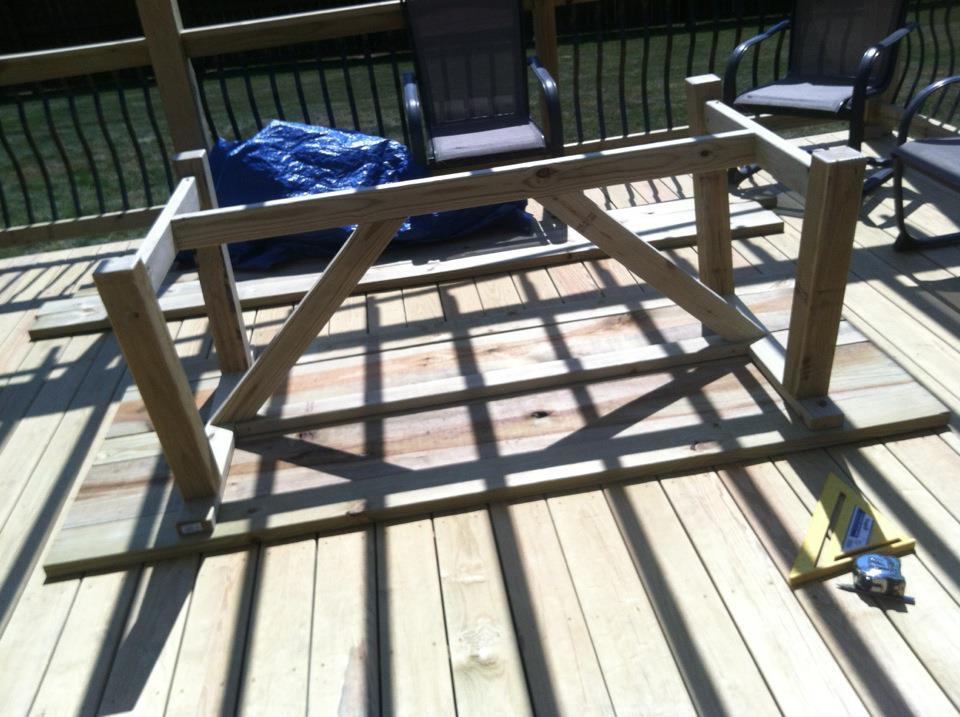
OutDoor dining table

My wife and I were looking for a larger table for our deck and after searching and seeing that everything out there was 300 dollars and up for something decent I decided I would try building something. This table was perfect for our needs and looked easy enough for me to put together. The most time consuming part was staining all of the boards as I went but it was totally worth it in the end. I also deviated from using screws and used my nail gun along with some glue to put the top frame together and the slats on but I did use some 2inch deckmate screws to attach the legs. One problem I did run into was I was about half a board short on the slats which wasn't a big deal just ripped one on the table saw, not sure if I miss measured or what but either way. We love our table and will entertain around it for years to come.

Built from Plan(s)
Estimated Cost
Around 80 Dollars
Estimated Time Investment
Day Project (6-9 Hours)
Finish Used
I used a Behr deck stain that was solid the color is called Russett and I did with a 3inch brush.
Recommended Skill Level
Beginner

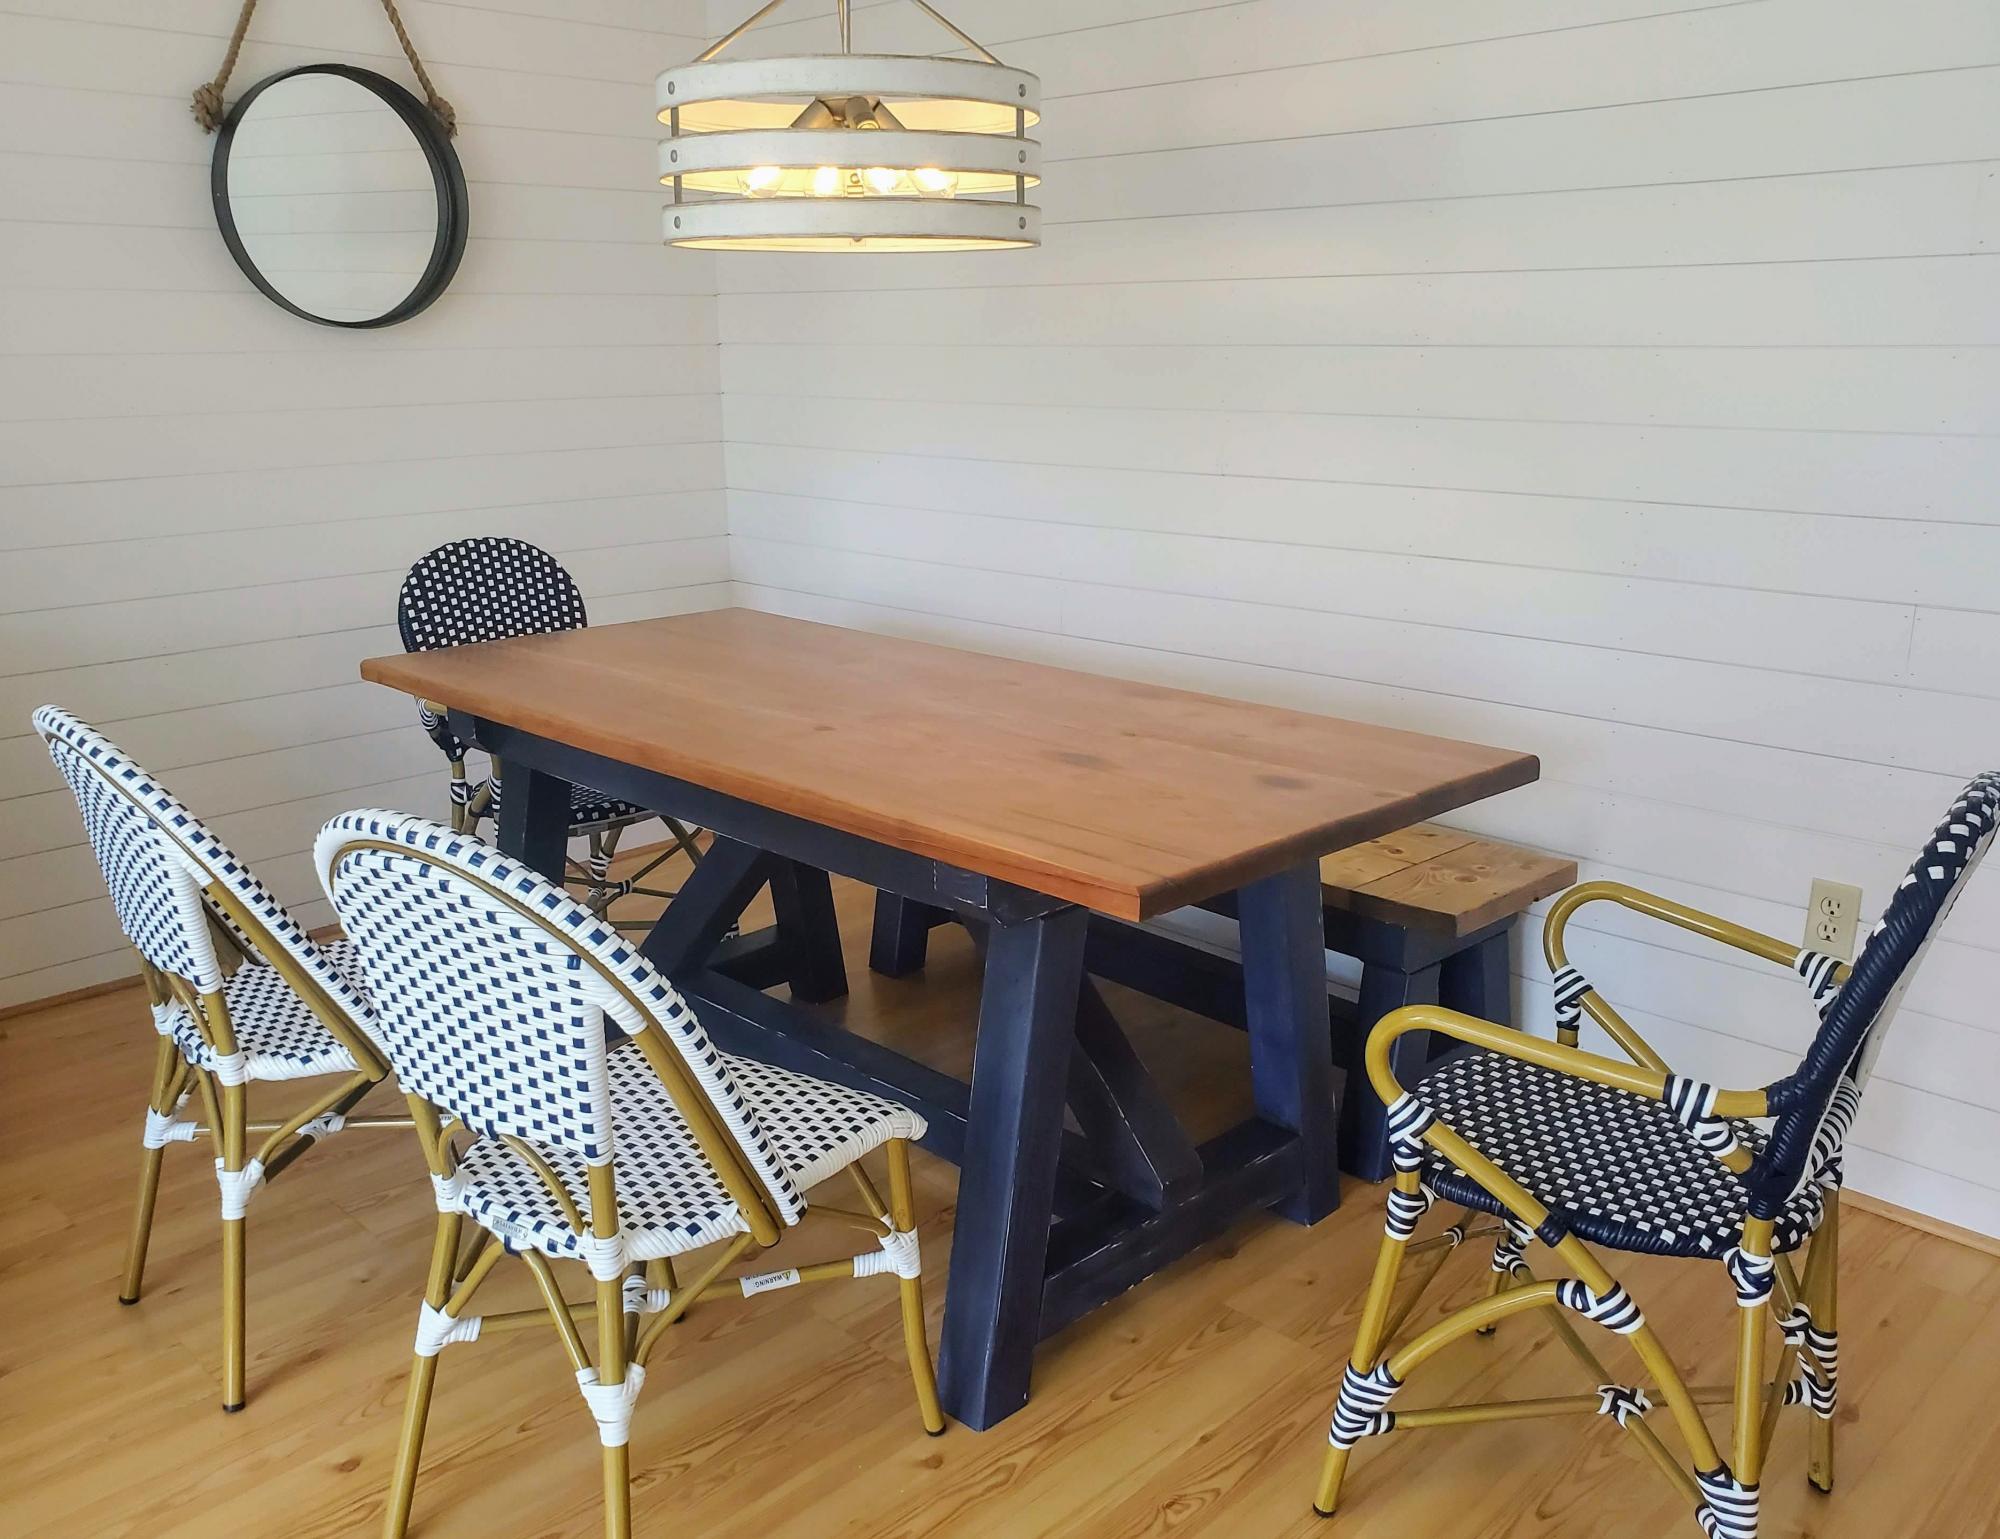
4x4 Truss Beam Table

Submitted by Anonymous (not verified) on Mon, 06/22/2020 - 14:44

I followed this plan to create our new dining table and bench. I went with a distressed chalk paint for the base, and the top is made from 100 year old douglas fir barn rafters. They look great with our blue/white cafe chairs. Thanks for the great plan!

Estimated Cost
$400 (mostly from purchasing the reclaimed rafters)
Estimated Time Investment
Week Long Project (20 Hours or More)
Finish Used
Behr Chalk Paint and Dark Wax on Base, combination of Special Walnut and Oaked Grey stain on Top, matte poly
Recommended Skill Level
Intermediate

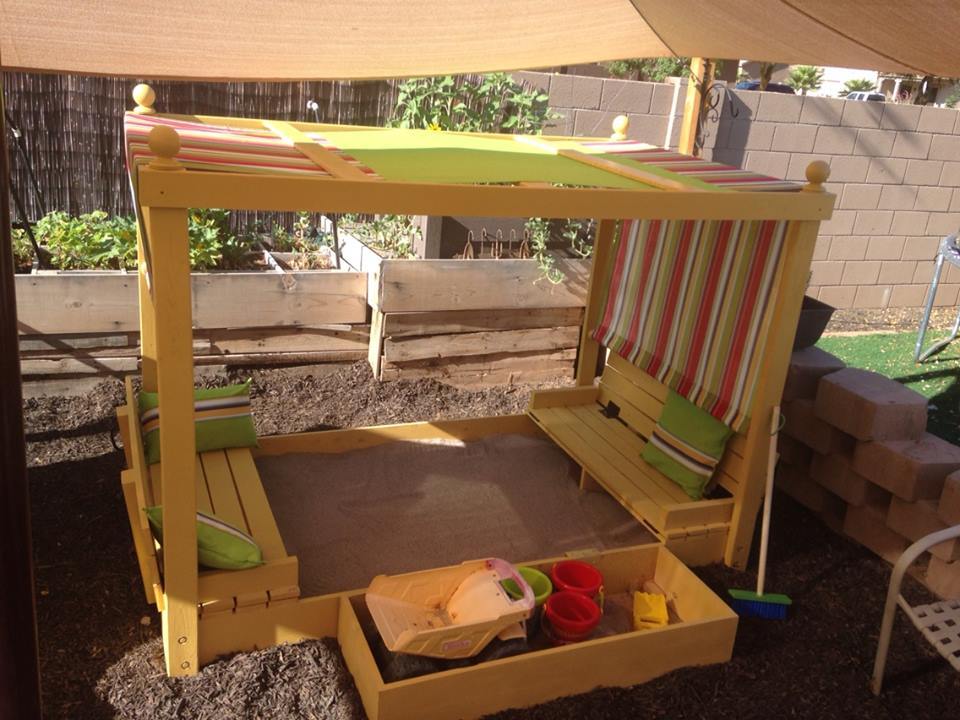
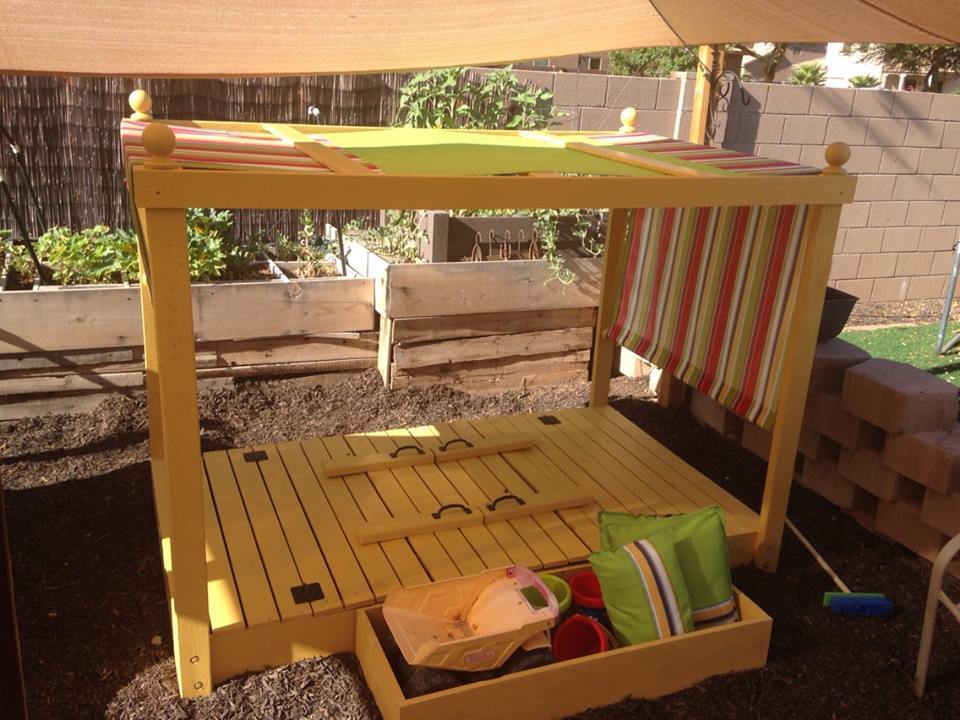
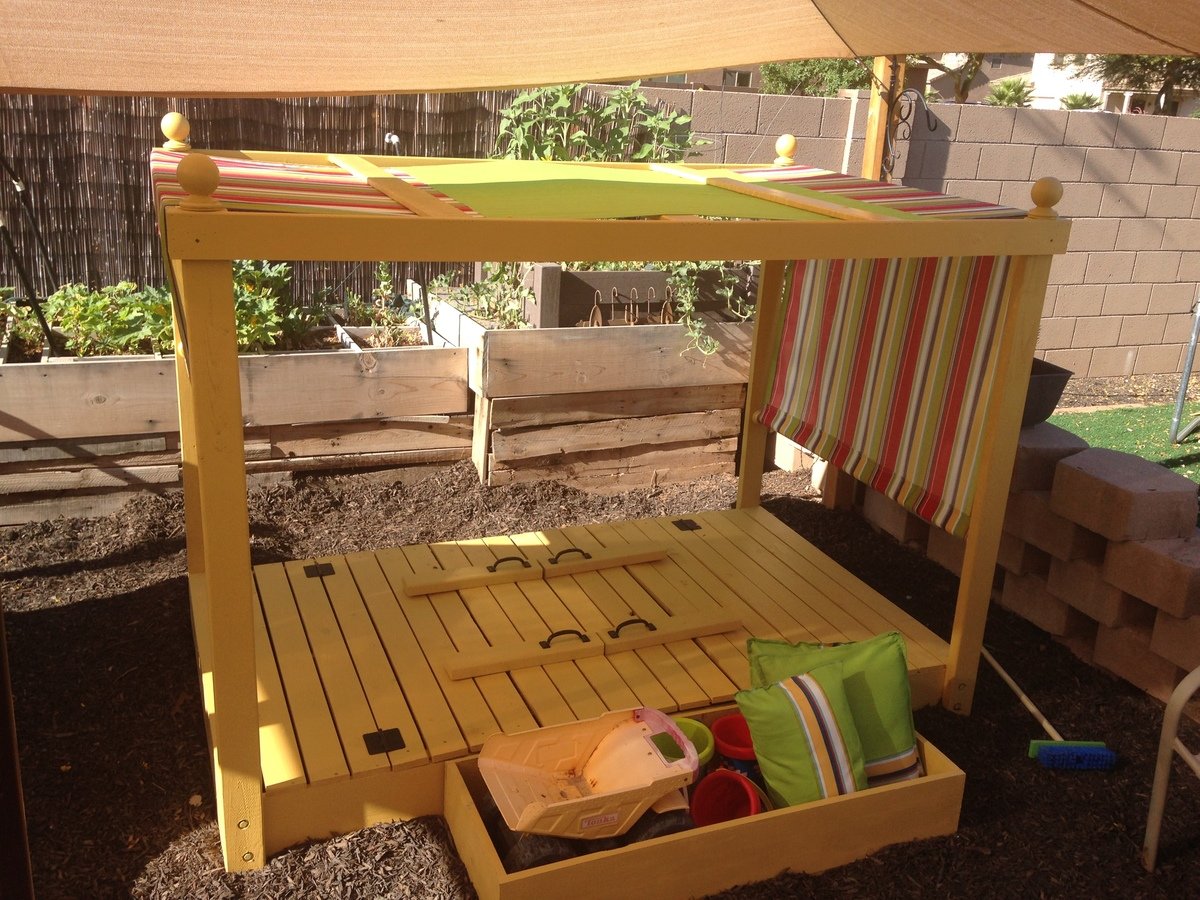
Sand Box

We adjusted the plan and created a 4x7 sand box with toy box and canopy. We are in love with the way this has turned out!

Estimated Cost
300
Estimated Time Investment
Weekend Project (10-20 Hours)
Recommended Skill Level
Intermediate

Comments

Back