Community Brag Posts

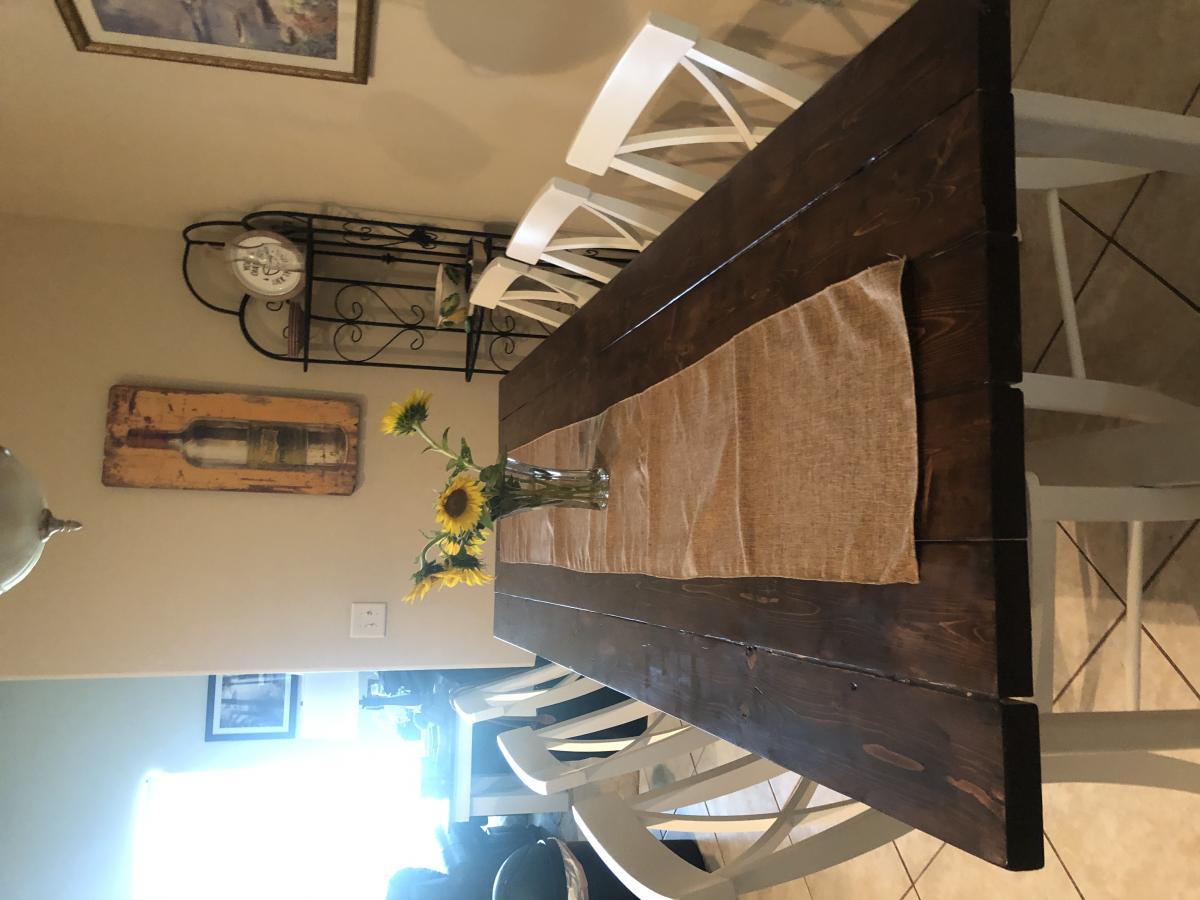
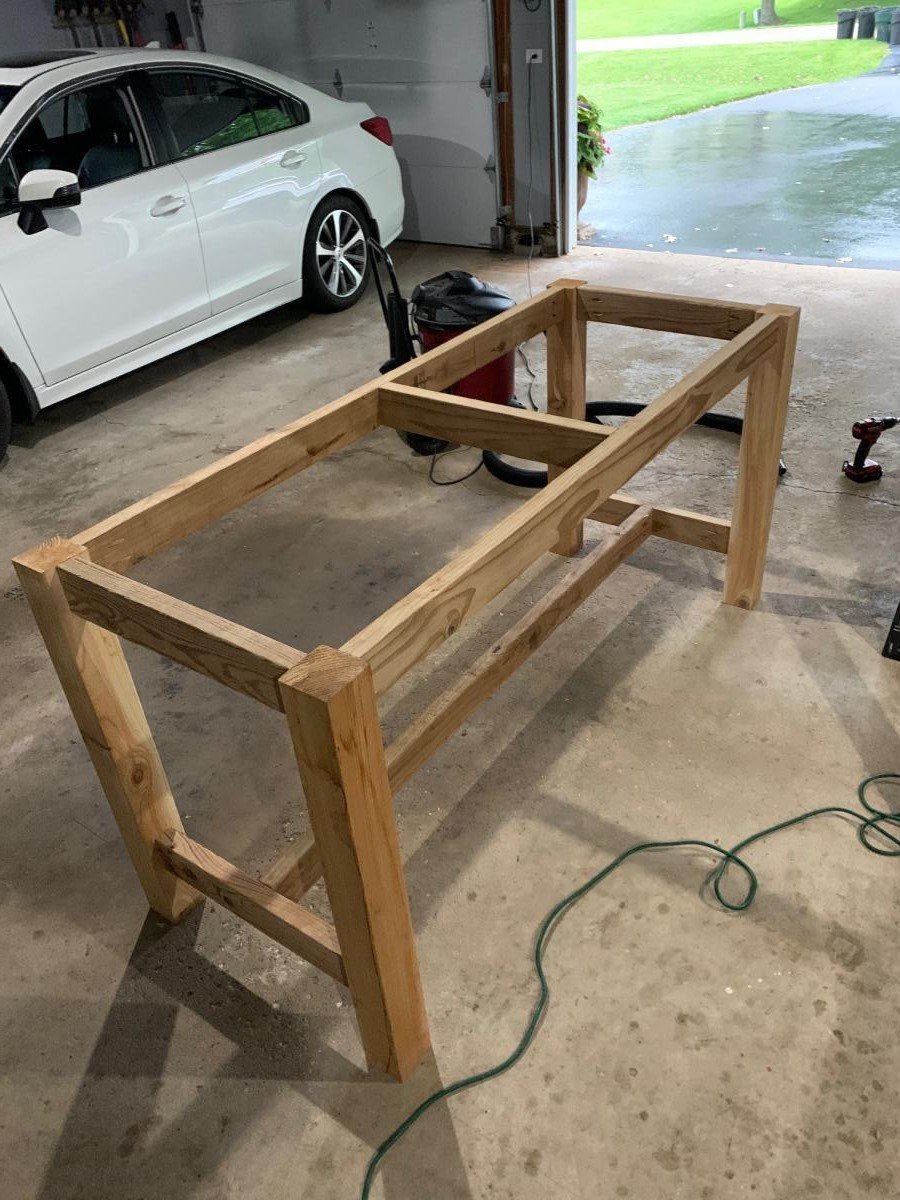
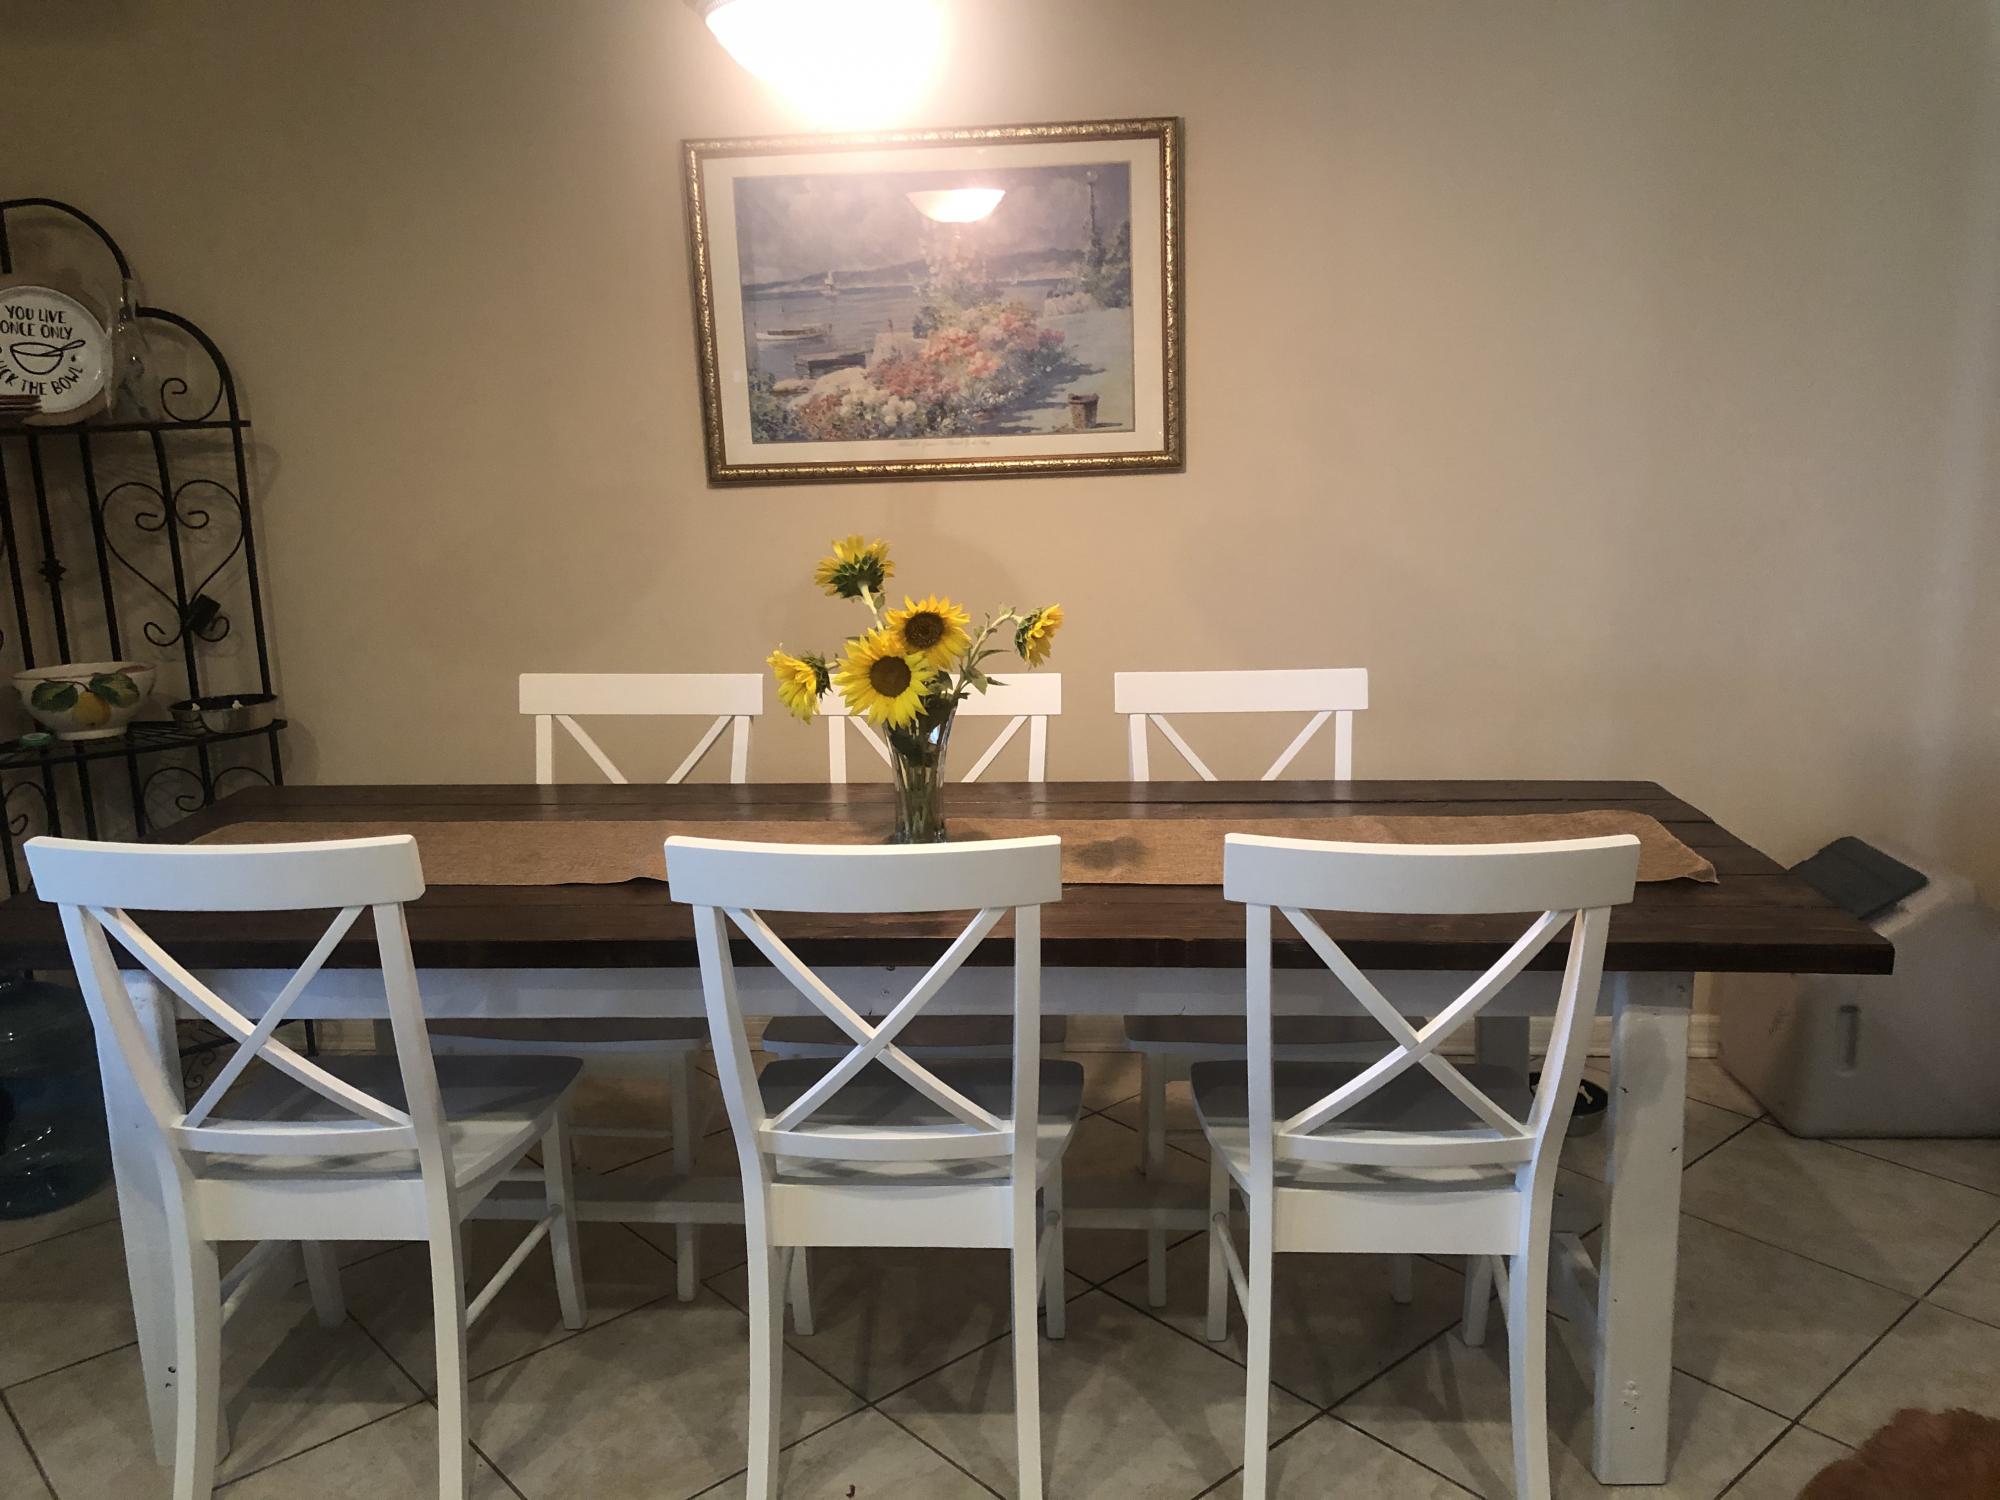
Farmhouse table

Submitted by AngelaJB on Fri, 05/08/2020 - 14:41

Prior to making this table I had never used a power drill in my life, and I was scared to death. I was intimidated by the power and scared to death to mess up, and in making this table I messed up A LOT! It was a big undertaking but I was determined. It’s rustic and authentic and full of mistakes and I LOVE IT!! Thank you Ana for modeling how to make such wonderful things. Up next is the raised flower bed.

Estimated Cost
$60.00
Estimated Time Investment
Day Project (6-9 Hours)
Finish Used
Dark walnut
Recommended Skill Level
Beginner

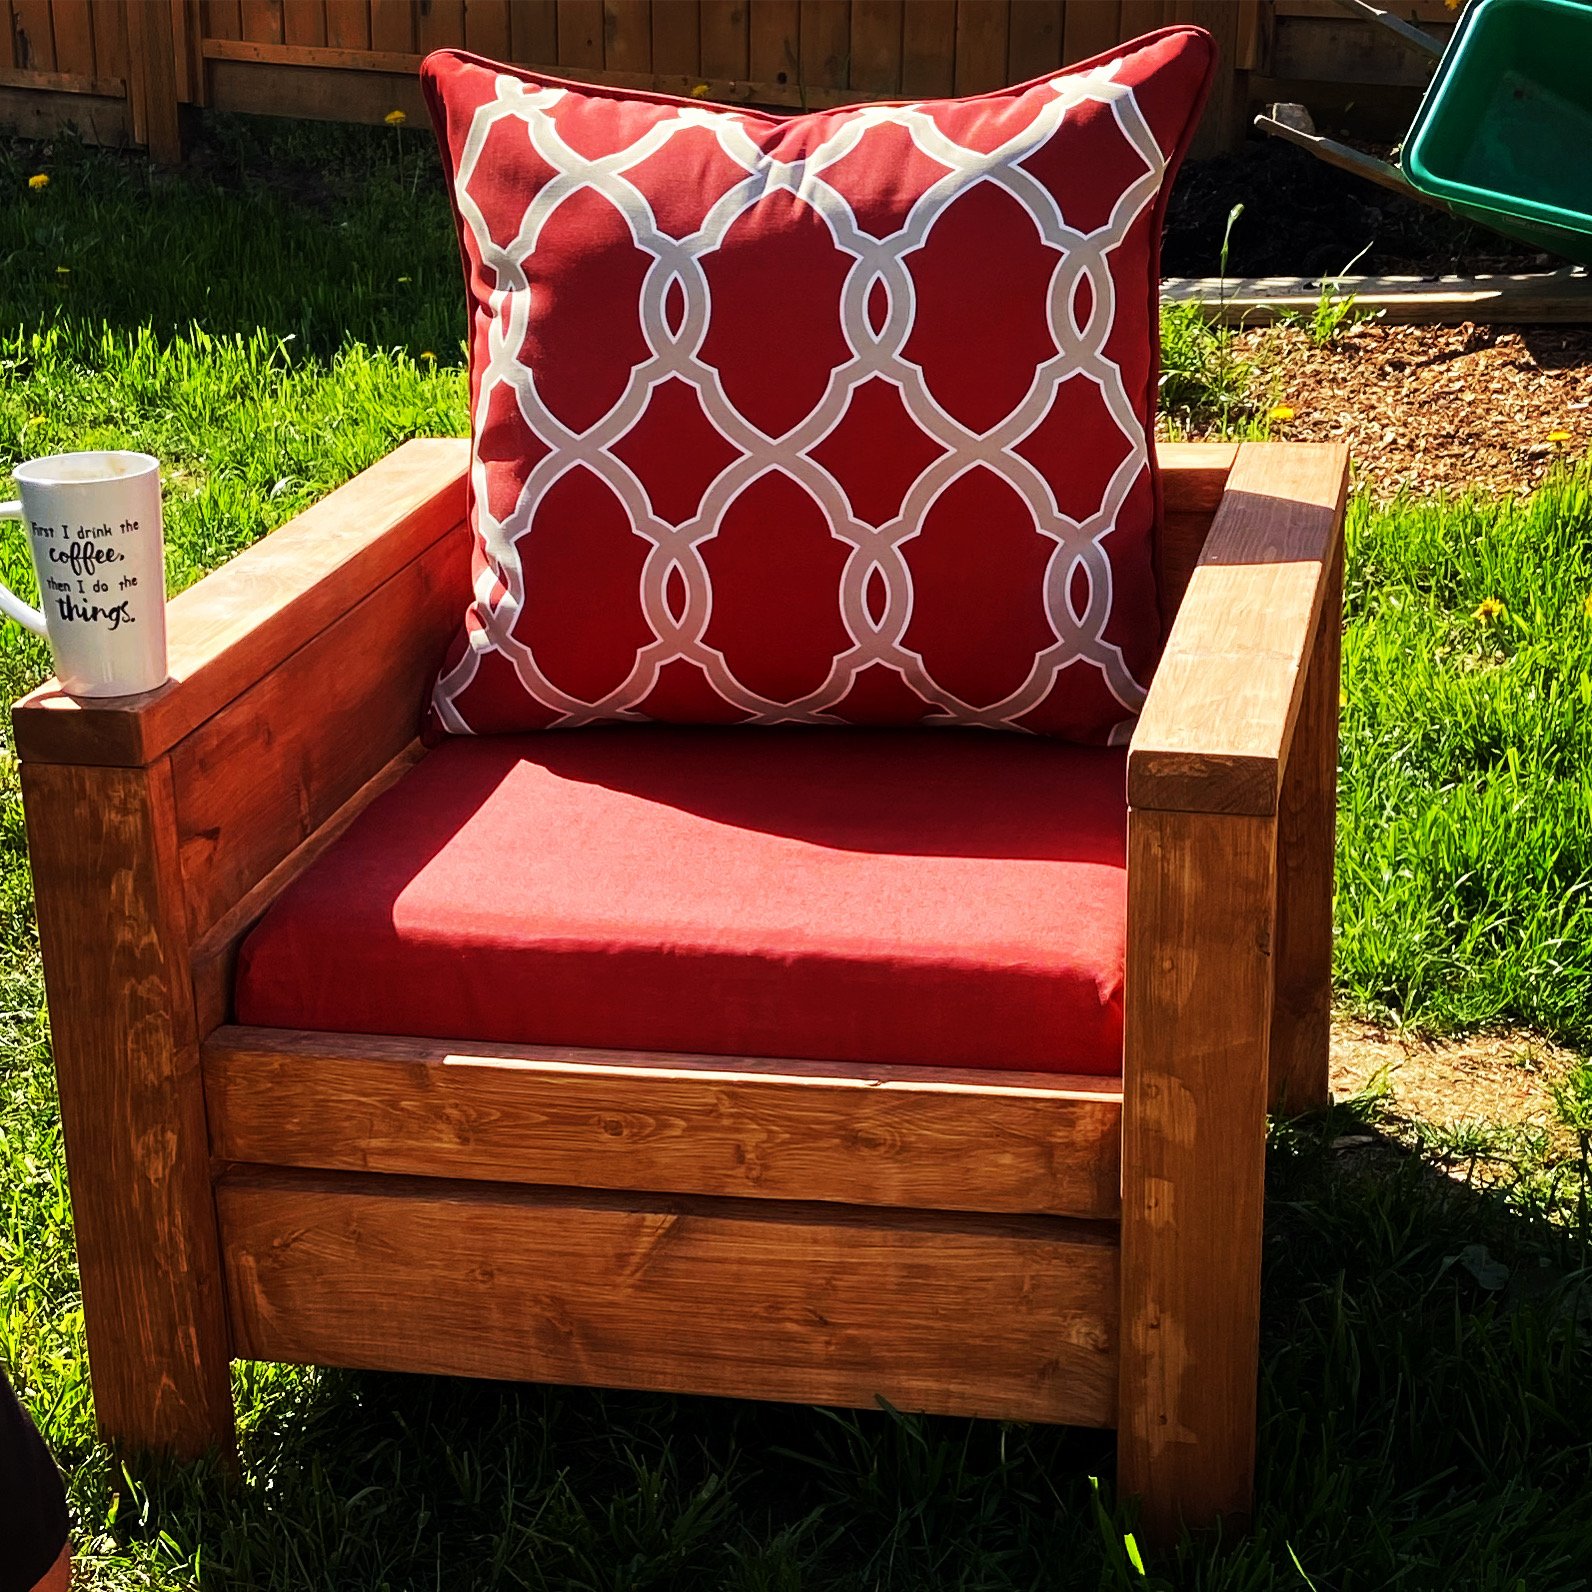
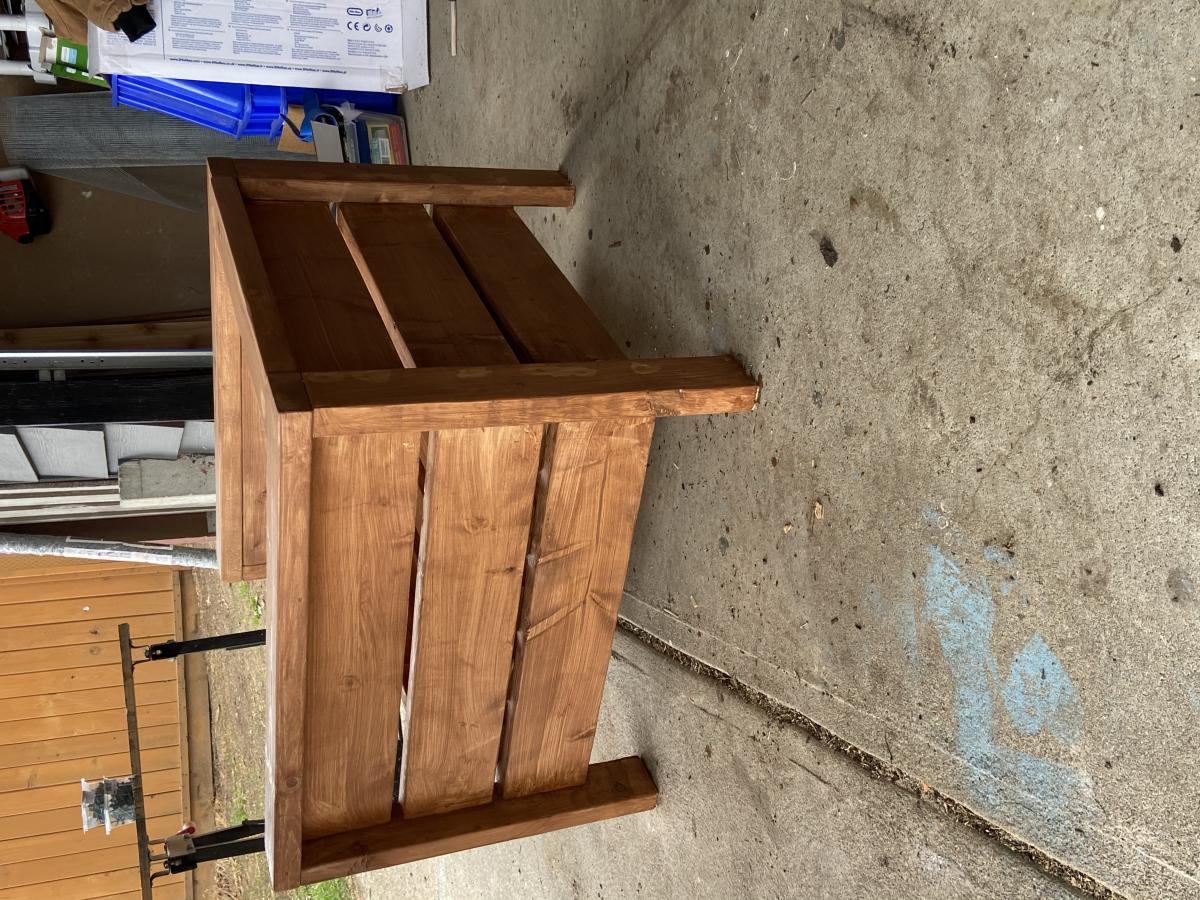
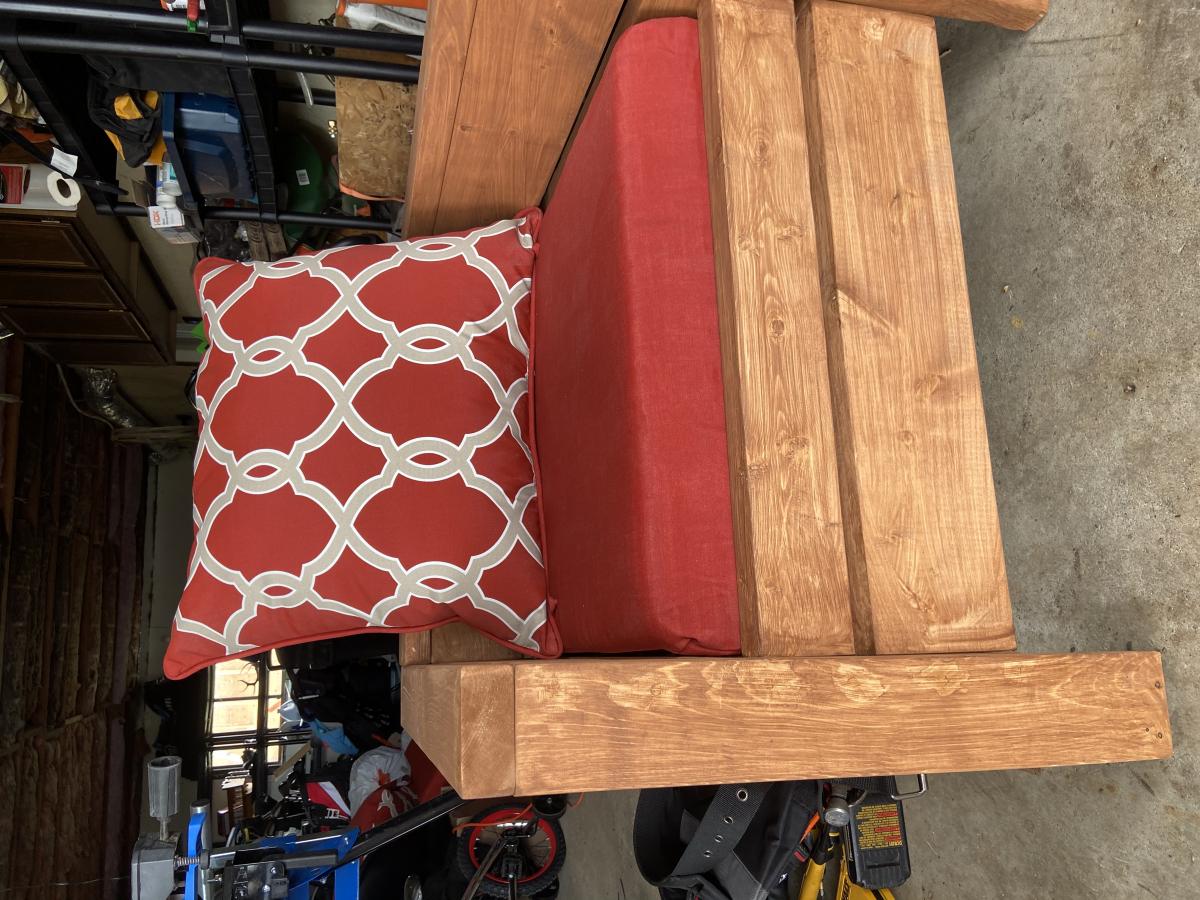
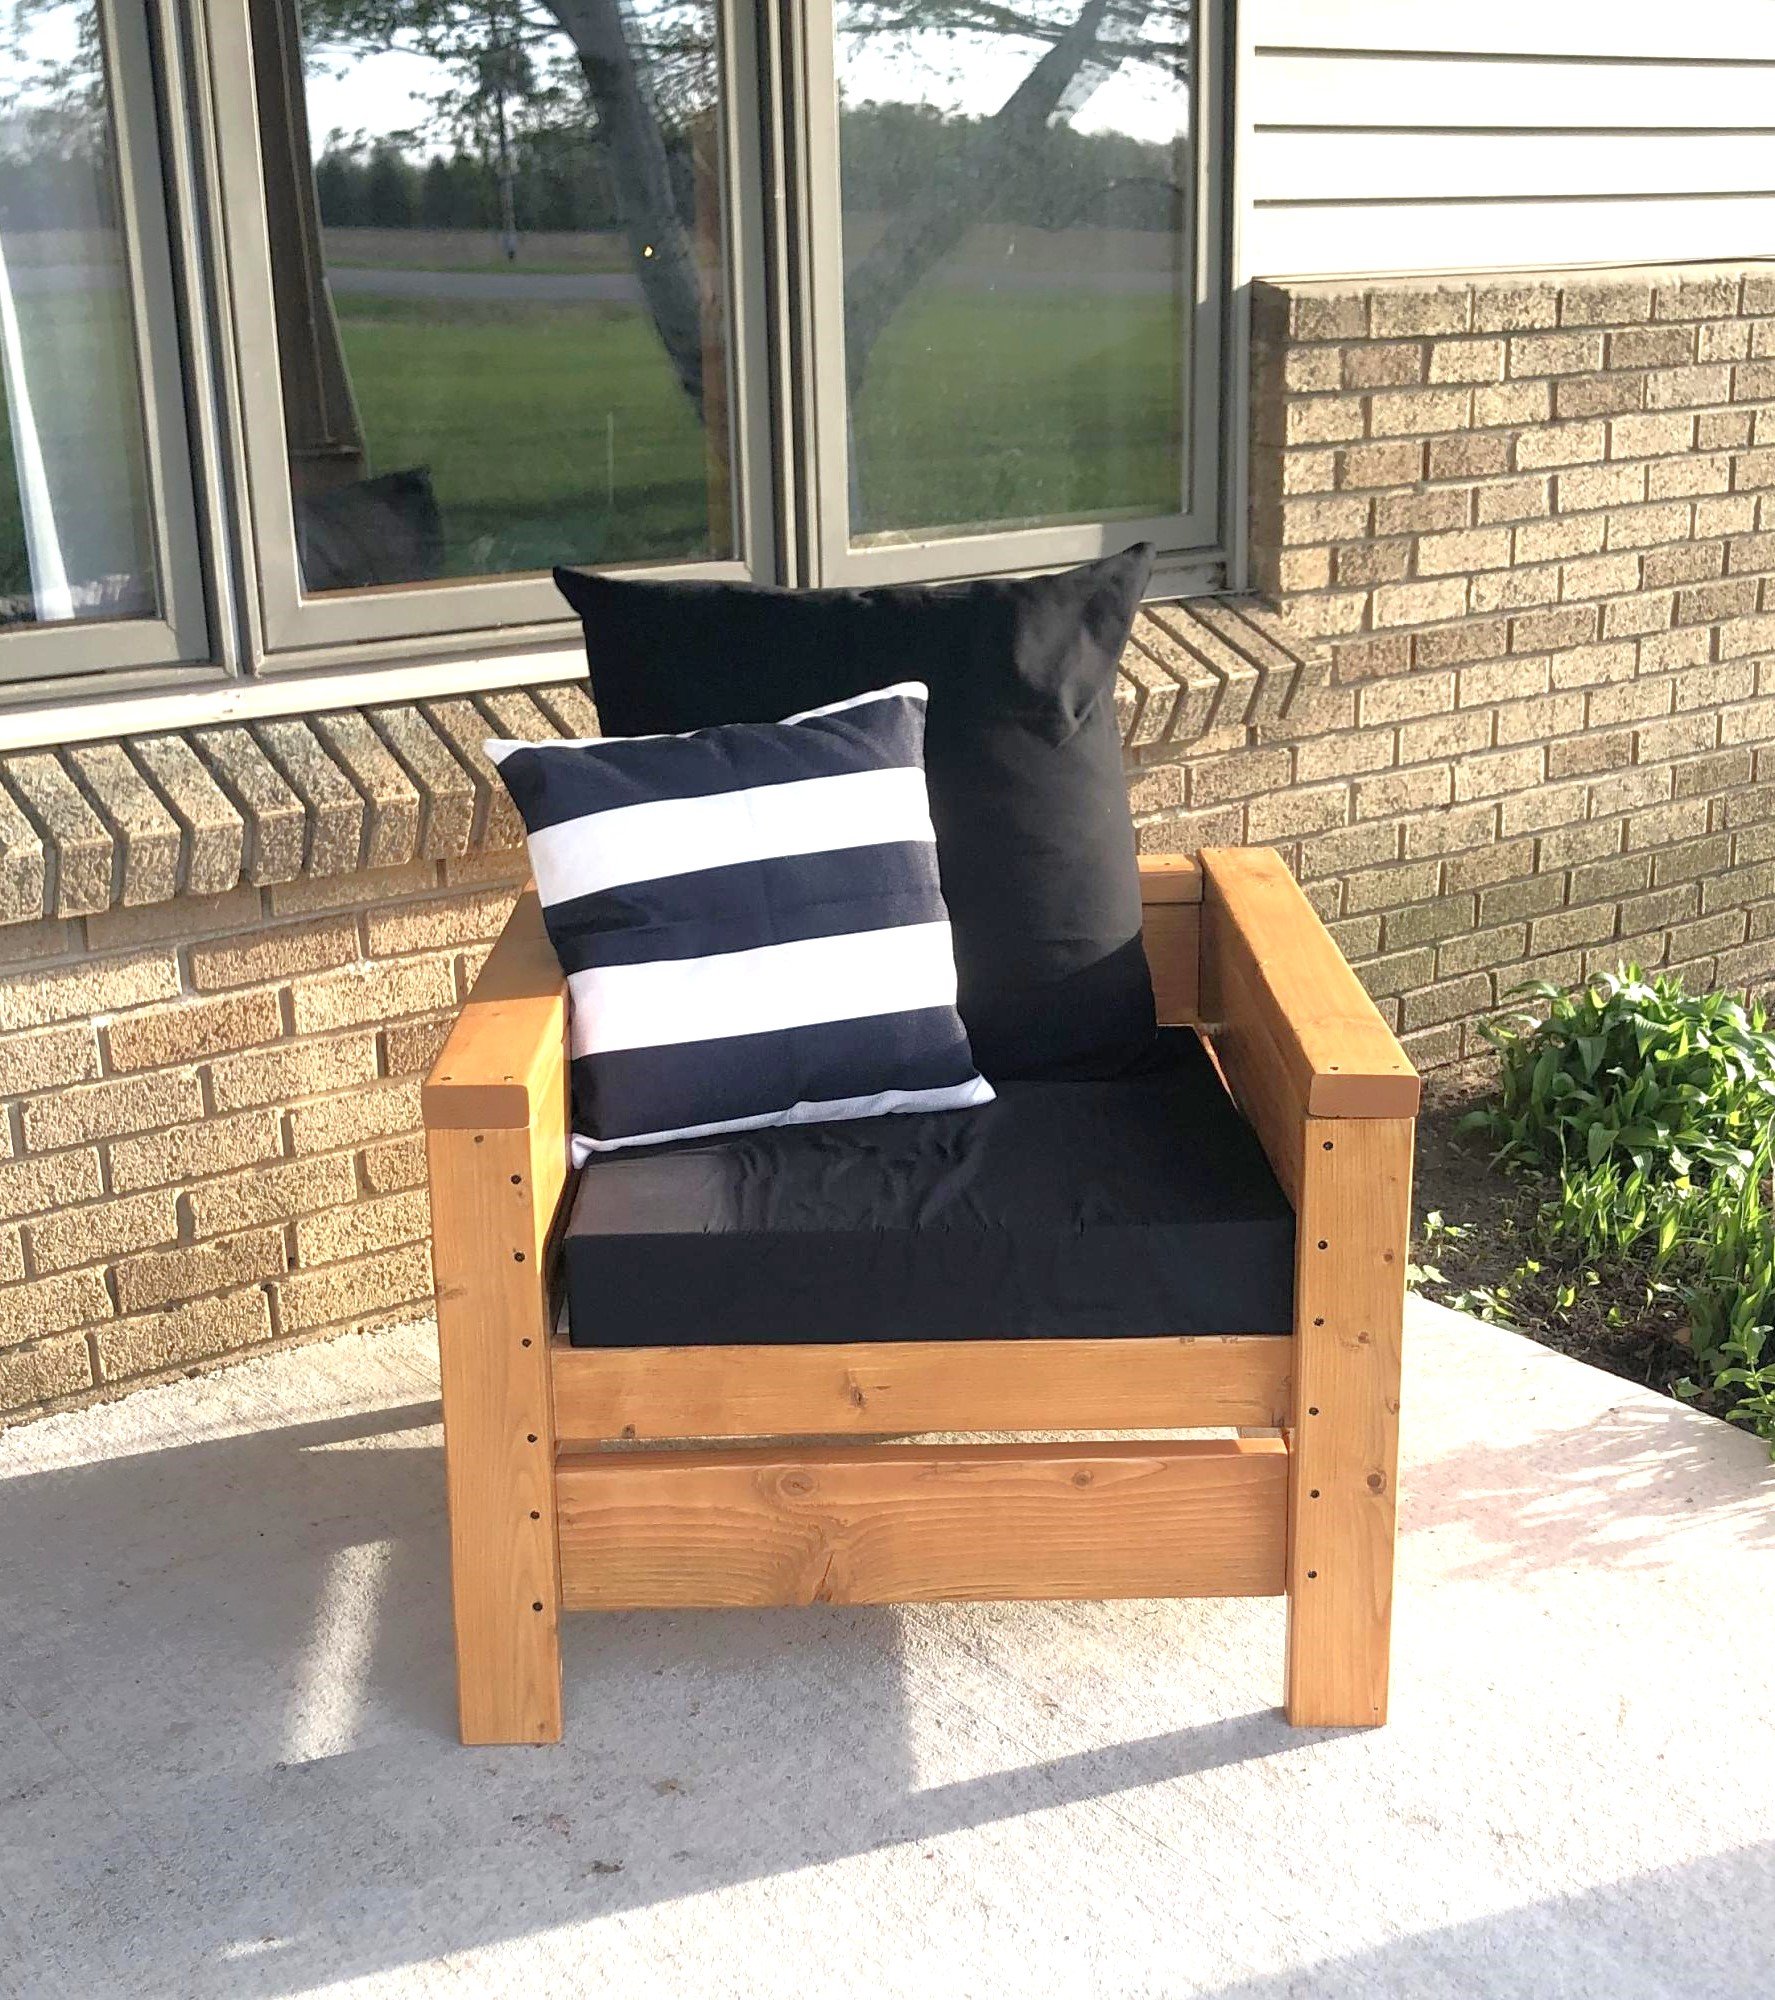
Modern Outdoor Chair

Submitted by msnook on Mon, 05/11/2020 - 09:10

This is my first project. I loved how easy it was and I loved my husband’s reaction to the completed project.

Estimated Cost
80
Estimated Time Investment
Afternoon Project (3-6 Hours)
Finish Used
Behr Semi Transparent Stain in Sable
Recommended Skill Level
Beginner

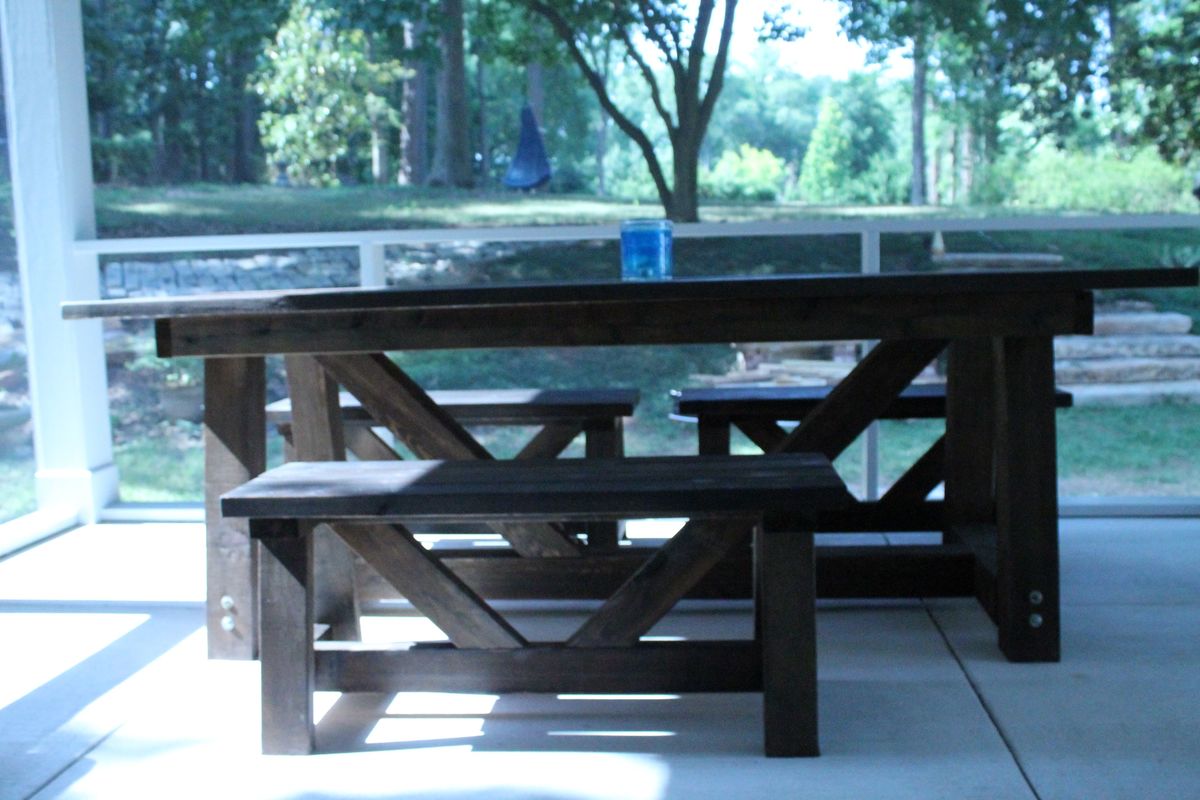
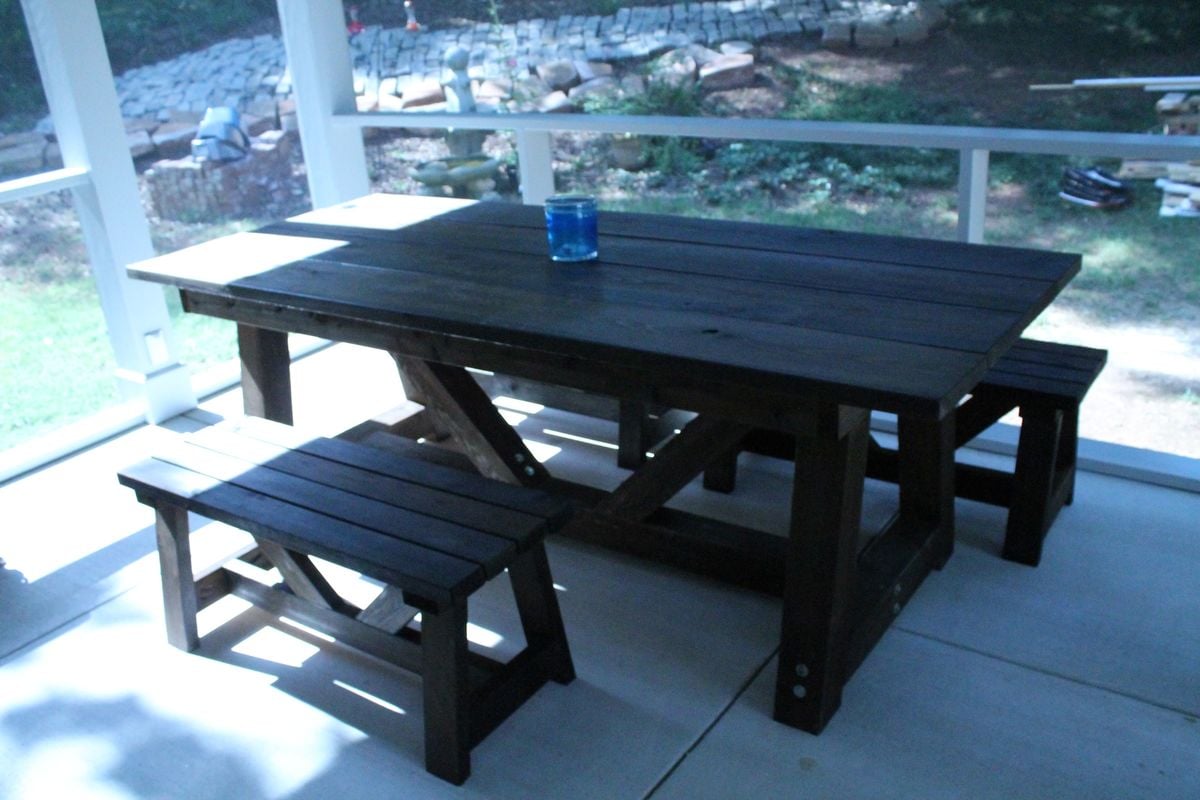
cypress providence table for screened porch

Provence table knockoff from restoration hardware (aka: providence) with 4x4s and providence benches

table modified to 90 inch length, benches to 42 inches

used lag bolts with a washer on 4x4's that show, kreg pocket screws everywhere else

note: the free-diy plans listed last have an issue with the table height. It came out 1 1/2" too high, so we made a change that I like better: we modified the table top to have a 2x4 skirt held together with kreg pocket screws that drops over the 2x4 frame above legs. we left about 3/8" gap between the skirt and framing so the framing would fit in easily. The top actually just sits on the frame so it is possible to move it in two pieces. It is so heavy and stable that we didn't worry about screwing it together.

we love it! perfect for 2 families to eat dinner together. my husband calls it Thor's table because it looks so tough.

Estimated Cost
330
Estimated Time Investment
Weekend Project (10-20 Hours)
Finish Used
I really wanted it to look old but hold up to my kids and the weather, so I used a chemical aging process followed by antiquing oil (from minwax)


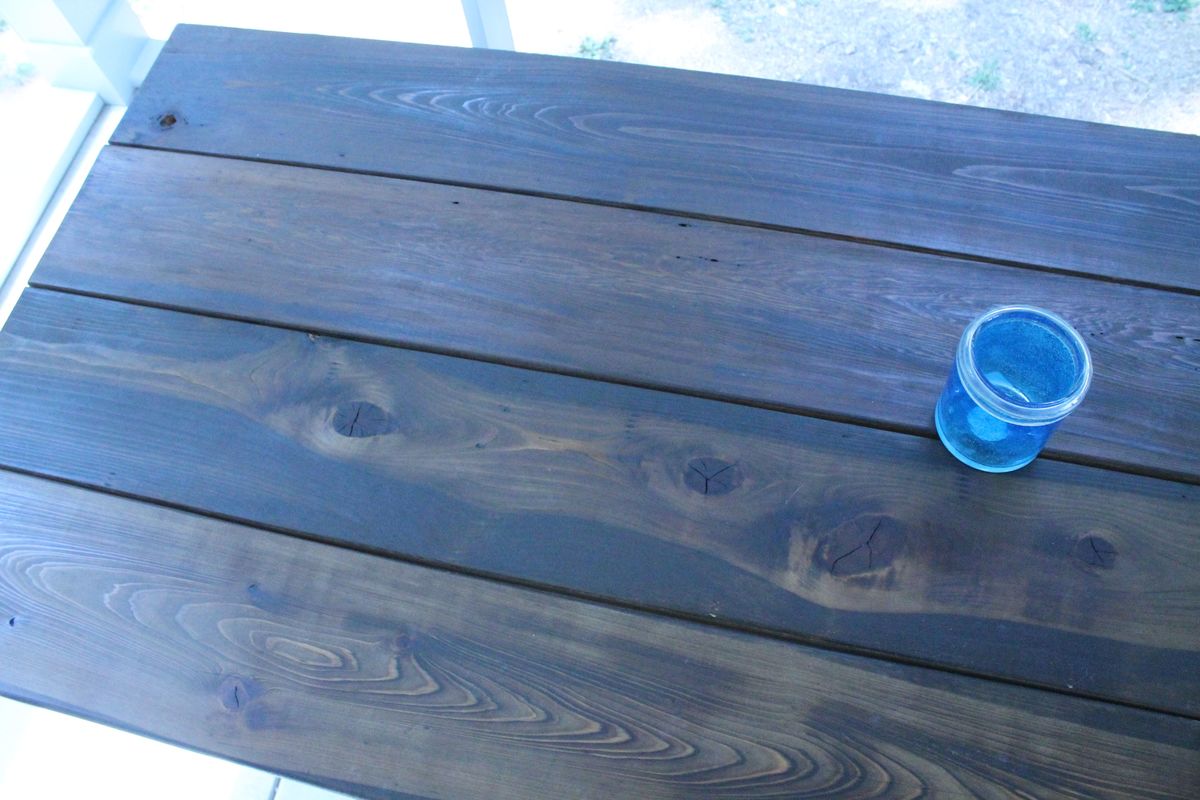
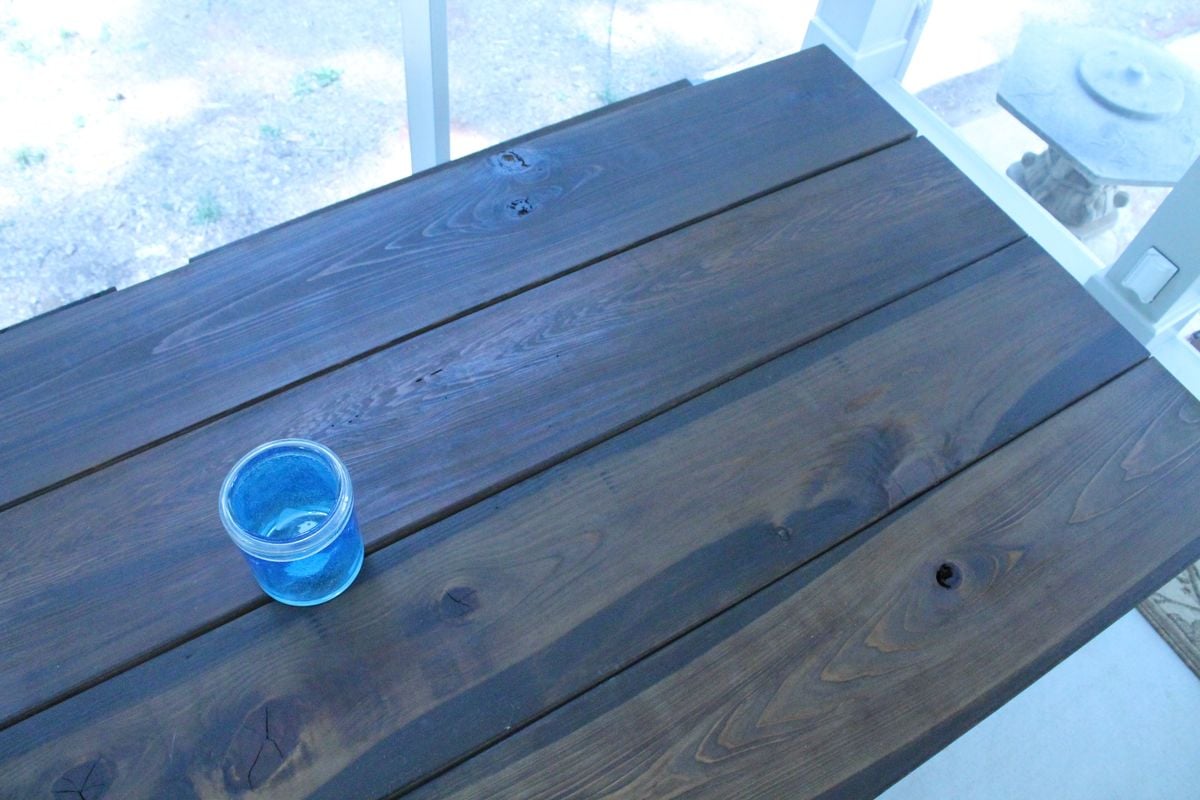
Chemical aging solution is white vinegar (large plastic jug from the grocery store which cost $1.87) with a ball of steel wool shoved in it. Let it react for a couple days. Then drench the wood surface while you wear gloves (use paintbrush, roller, toothbrush or best: a sponge). It makes rust spots, so use a drop cloth and wear old clothes. The color shows up in a few minutes. Kind of like magic paint :) next day oiled it, one coat everywhere except table top which got 2 coats. rubbed surface with a cloth a few minutes after applying oil. Think linseed oil would work just a well.

It came out dark and old looking, kind of a grey/brown color with nice wood color showing through. The table top has beautiful knots. Our porch will get a little wet in blowing storms plus direct sun for a few hours each day, so I didn't want to put wax on it (would melt) or a stain (would make rings from water if sealer failed). Think we might have to reapply oil every couple years which is no big deal. The cypress should hold up nicely outside. So far it has not made any spots or rings since the surface is already pre-damaged with the aging solution. I don't think you can hurt this beast of a table.
Recommended Skill Level
Intermediate

Comments

spiceylg

Thu, 07/05/2012 - 11:35

This is gorgeous! I definitely prefer the chunkier leg you used and love the hardware showing as well. That was smart the way you made the top for easier moving, too. Great job! I think you should have added the link for the plans, this way your picture will always show up above the plans in order for everybody to see it each time. :)

Swing Slide Playset for Grandson

Submitted by shellyward on Wed, 05/20/2020 - 09:22

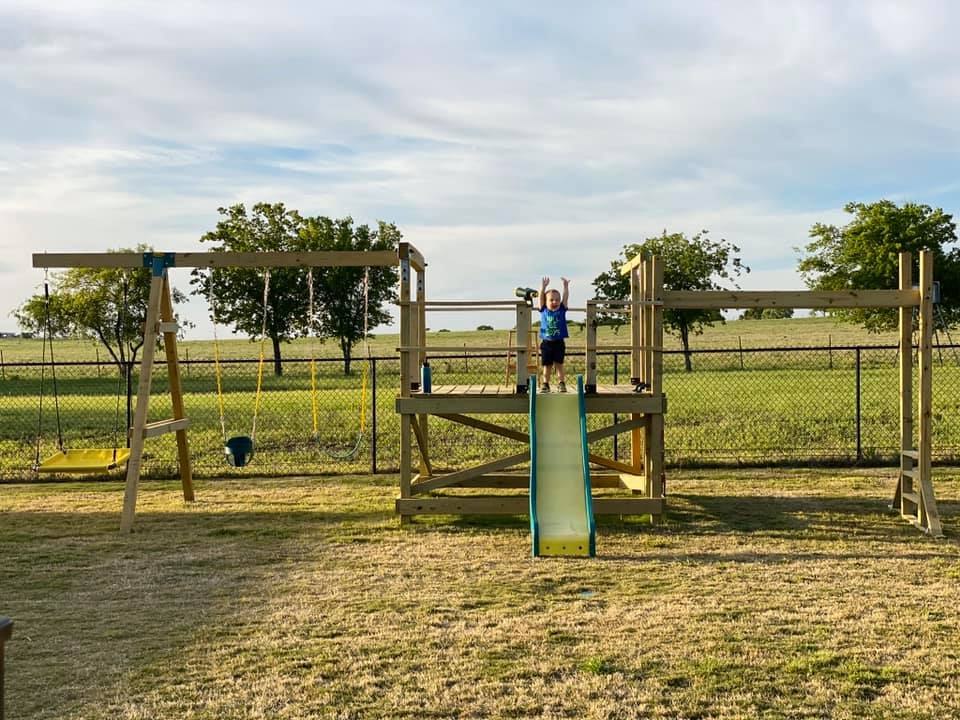
We are used to seeing our grandson every weekend but during the 2020 COVID quarantine we were unable to do so. Instead, we filled our time building him a swing set for our backyard. He loved it!! We are going to add more to the swing side but the hardware I want isn't available right now (apparently there is a lot of swing set building going on during this time). I look forward to many years of playing on this with our grandson and hopefully additional grandkids in the future... Our cost was pretty high mainly because our first round of lumber came from a local lumberyard that was willing to deliver within a few days (big box was going to take several weeks) and they had what is supposed to be higher end lumber (not sure I am convinced of that)....also, i chose some pretty expensive hardware (brackets) just for the added security.....

Estimated Cost
1800-2000
Estimated Time Investment
Week Long Project (20 Hours or More)
Finish Used
not done yet but will be staining/sealing when the wood is ready
Recommended Skill Level
Intermediate

Comments

Seasonal And Holiday

Kids' Trestle Play Table and Four Dollar Chairs

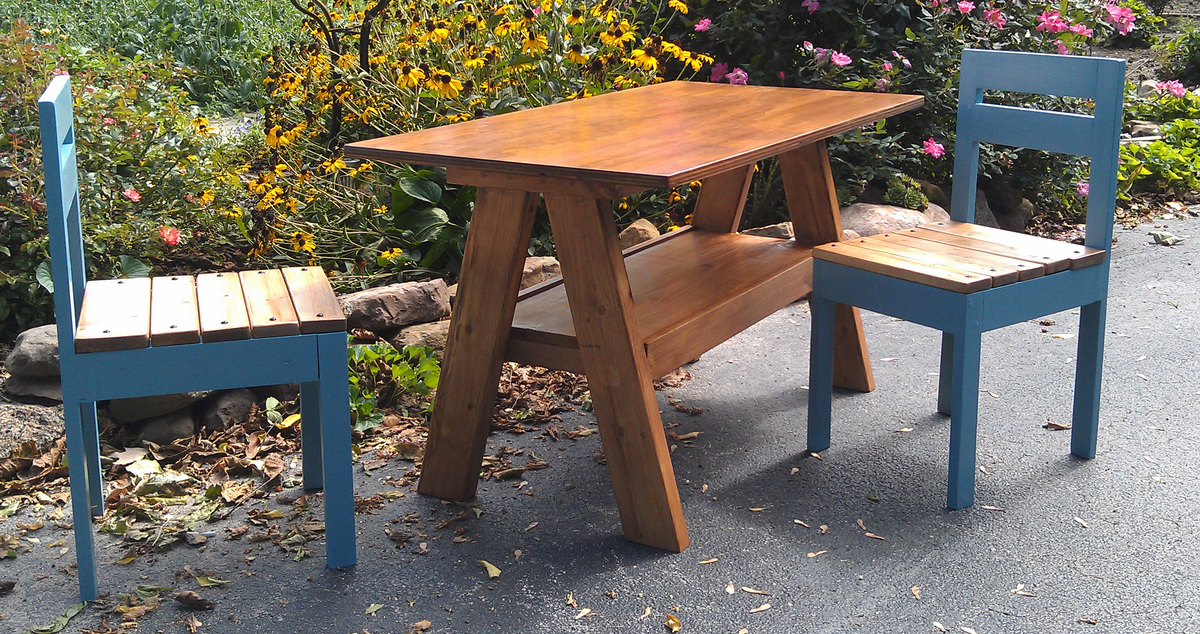
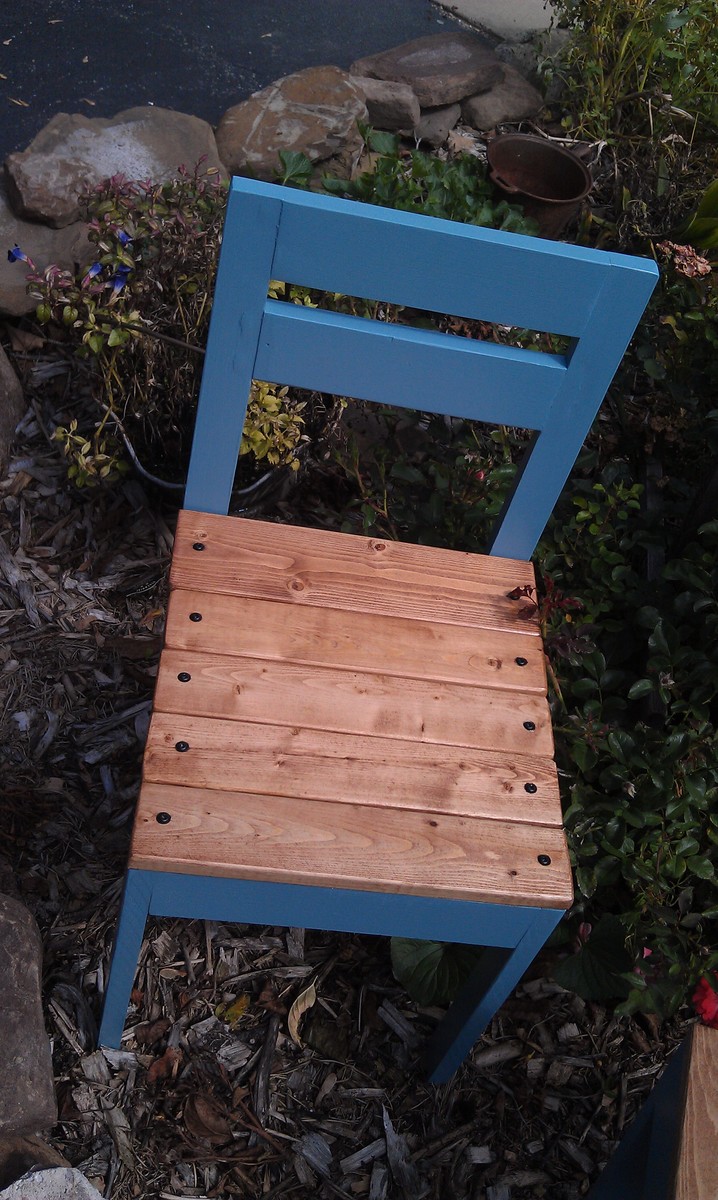
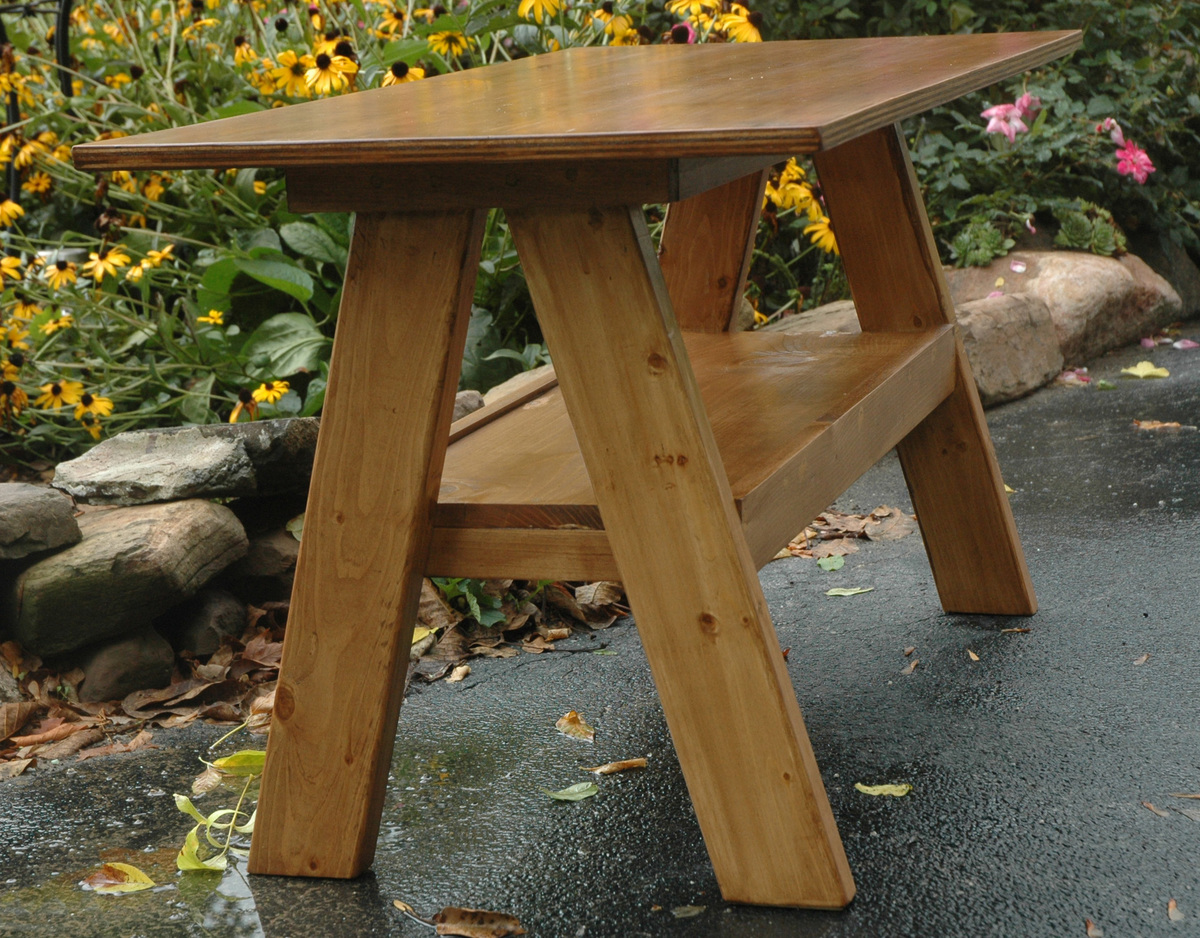
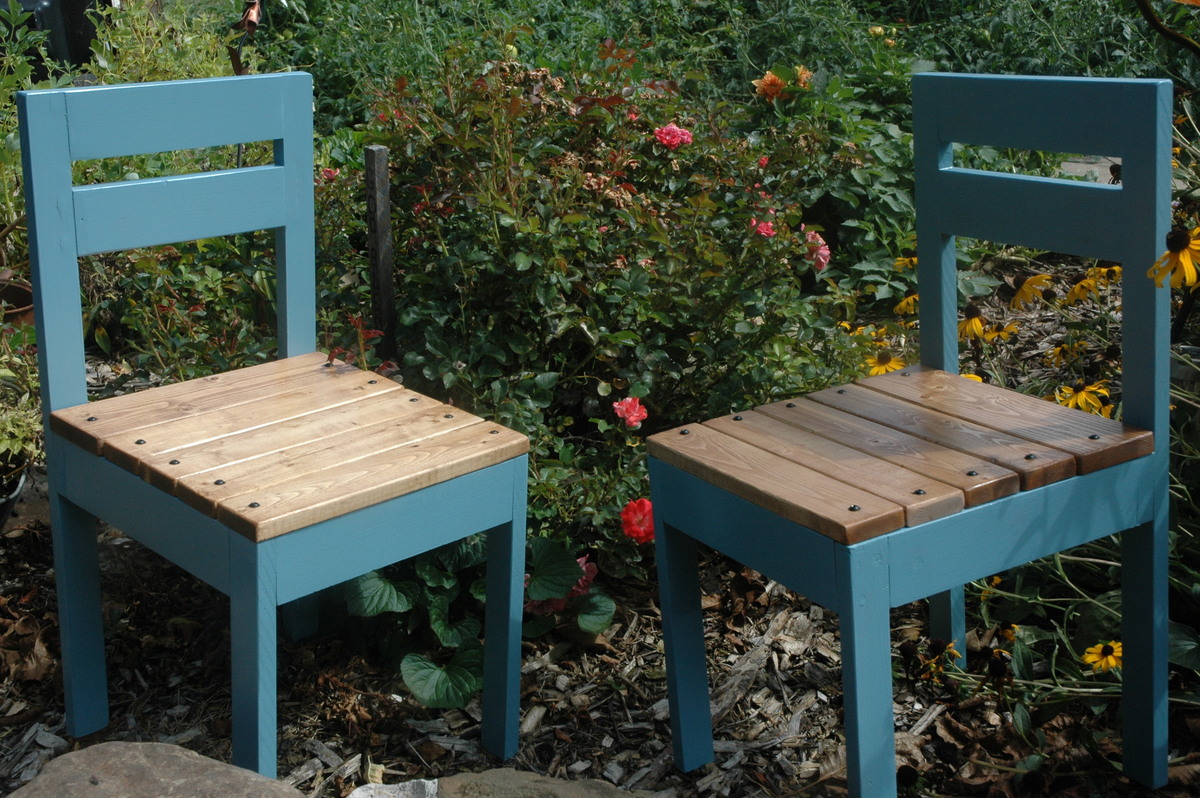
I wanted an inexpensive but wonderful gift for a special co-worker who is having her first baby after many years of trying and painful medical treatments. I loved this PB inspired trestle table and thought the plans looked like something I could handle. Paired with the four-dollar chairs, I felt this would be a winner. I had a few burps along the way with the table project....there's a paint stick glued to the bottom of one of the legs as a shim....have no idea how that leg ended up shorter. There's also a countersink drill bit inside the table somewhere, broke right off in there! My biggest challenge with the table was the stain. I have never used the all-in-one stain before and have to say, it is a tough product to work with. It is hard to do with a brush. I brushed on my first coat and wasn't happy at all. Sanding away mistakes is an ordeal because the poly in the product hardens everything up so quickly. I really had trouble here and am still not happy with how the stain turned out....I wish I had applied the first coat with a cloth, as I did all the other coats because there is so much more control than with a brush. If I use this product again (which I probably will), I would only apply with a cloth. The chairs were a breeze, however, you may notice that my back legs are on the wrong spot....that was a mistake I made with the first chair. Since I used glue before screwing, I couldn't undo it. So I just made the second chair the same way....no big deal, but they are NOT stackable this way. I tried to use firring strips, but they were splitting like crazy, so I just used them for the seat slats and used regualar boards for the rest. The other thing I did differently was that I didn't countersink my screws on the seat boards. I painted my pocket hole screws black and let them show. This way, if my friend ever wants to change the color of the chairs, she can easily unscrew them, paint the chair and screw them back on. This was a fun and "just challenging enough" project. The table was my second build and the chairs are my third. Each project has taught me a ton!

Estimated Cost
$50.00
Estimated Time Investment
Weekend Project (10-20 Hours)
Finish Used
Min-Wax All in One Stain with Poly in Antique Walnut for table and chair seats - 3 coats for table top and two coats on everything else.
Benjamin Moore's Niagara Falls in eggshell finish for chair body.
Recommended Skill Level
Beginner

Outdoor bar table

Submitted by hueybp on Tue, 07/21/2020 - 20:06

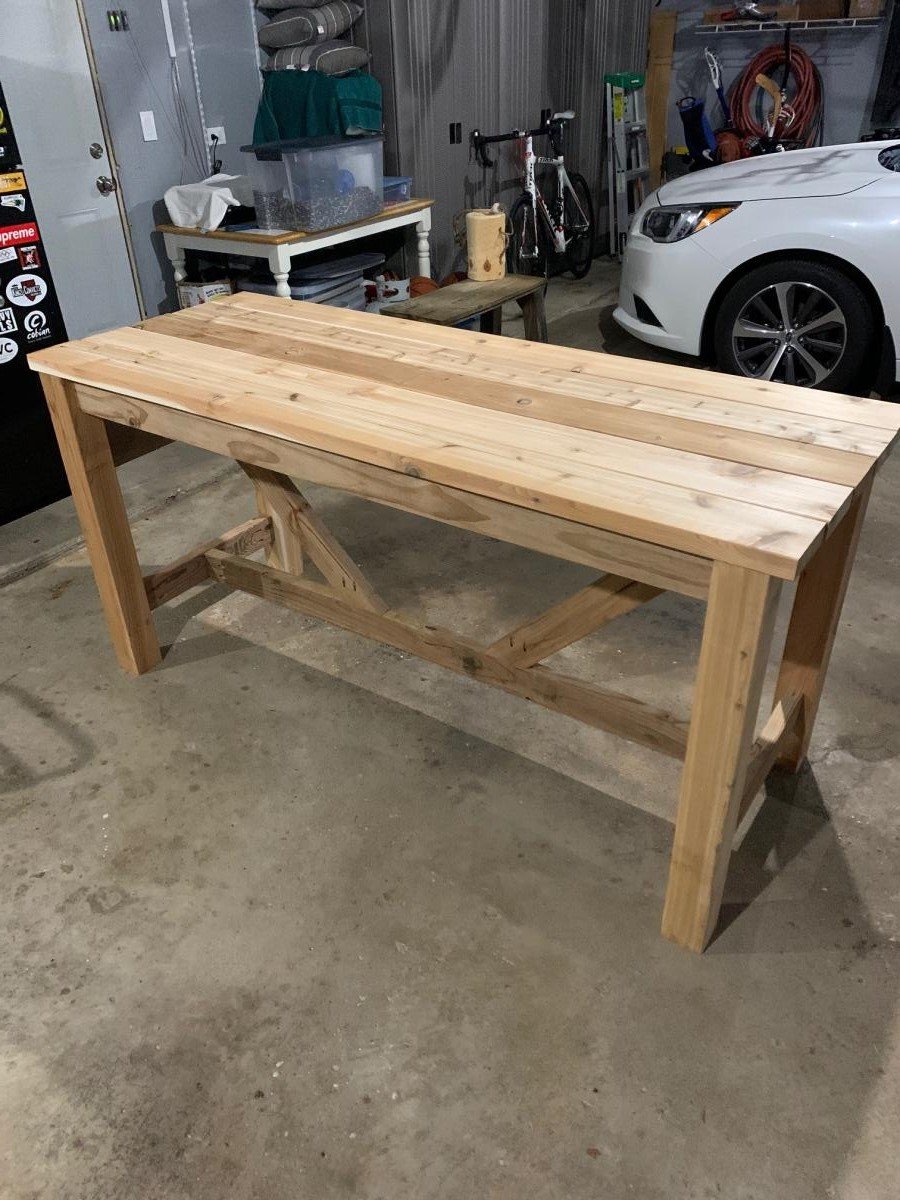
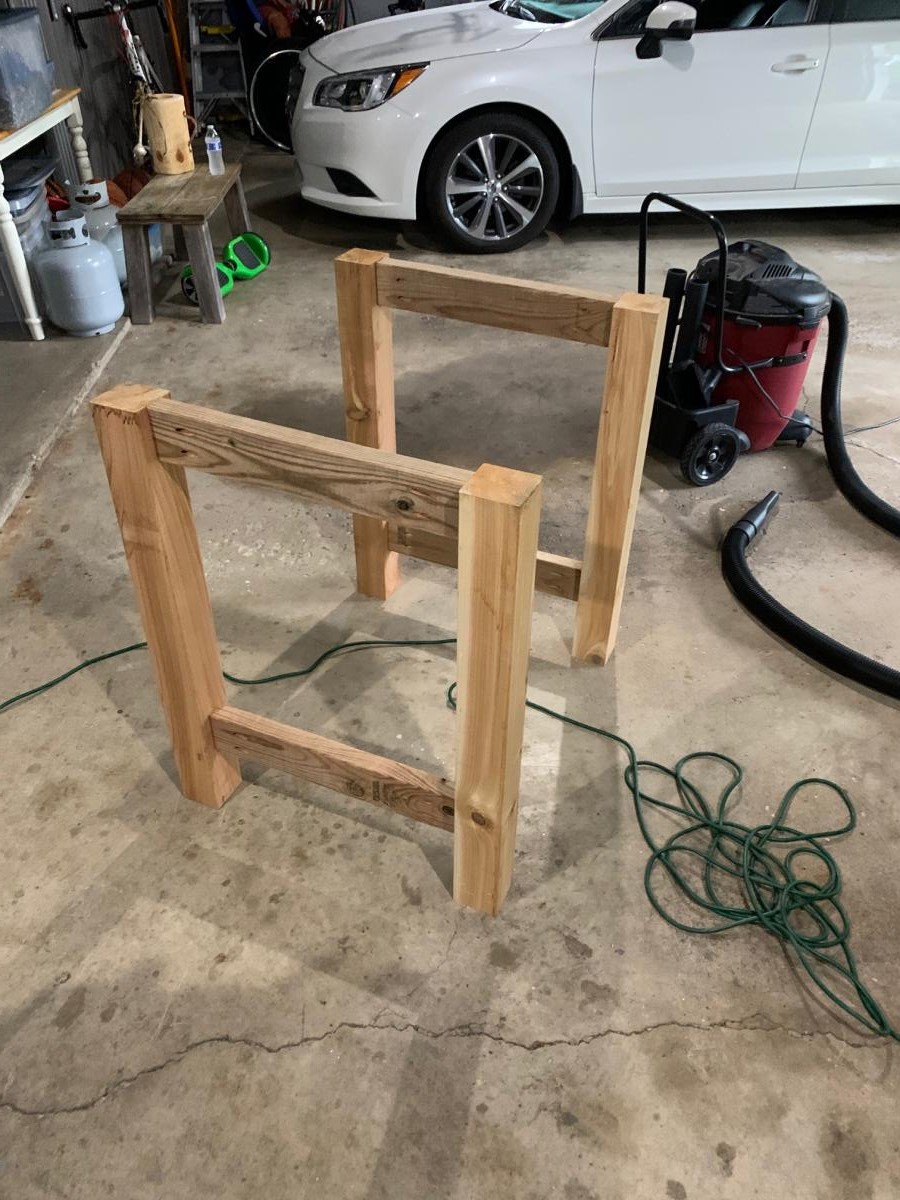
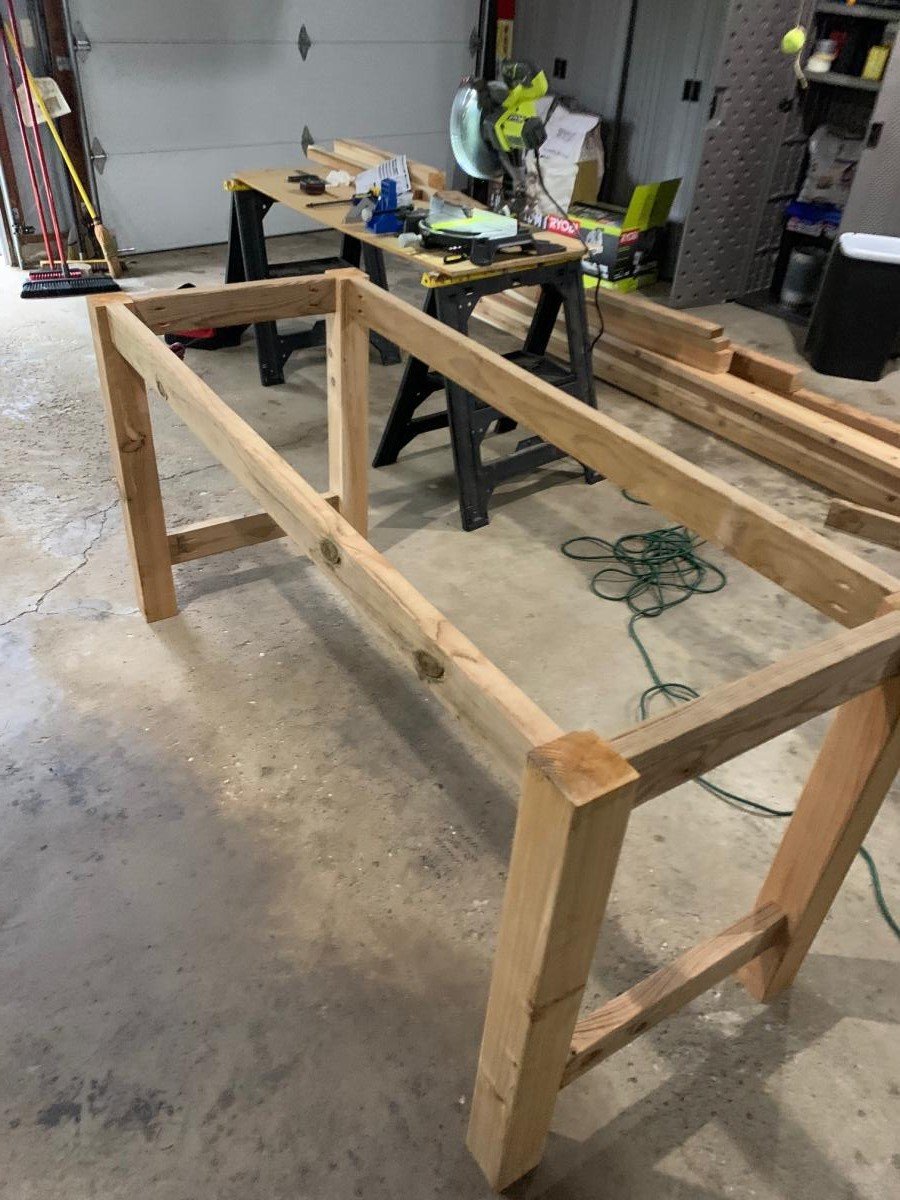
Not quite finished but love the table already. Trying to decide how to stain/paint it. The Kreg jig was a must for this project. It was my first of hopefully many! I used cedar for the 4x4s and 2x6 top pieces. The 2x4s are treated lumber (only because there were no more cedar ones....apparently lumber is getting hard to get lately!!!). Anyway....thanks for the great plans and motivation for this project.

Built from Plan(s)
Estimated Cost
Lumber was about $150 bucks (I bought mitre saw and kreg jig, too)
Estimated Time Investment
Afternoon Project (3-6 Hours)
Finish Used
Will probably use semi transparent stain
Recommended Skill Level
Beginner

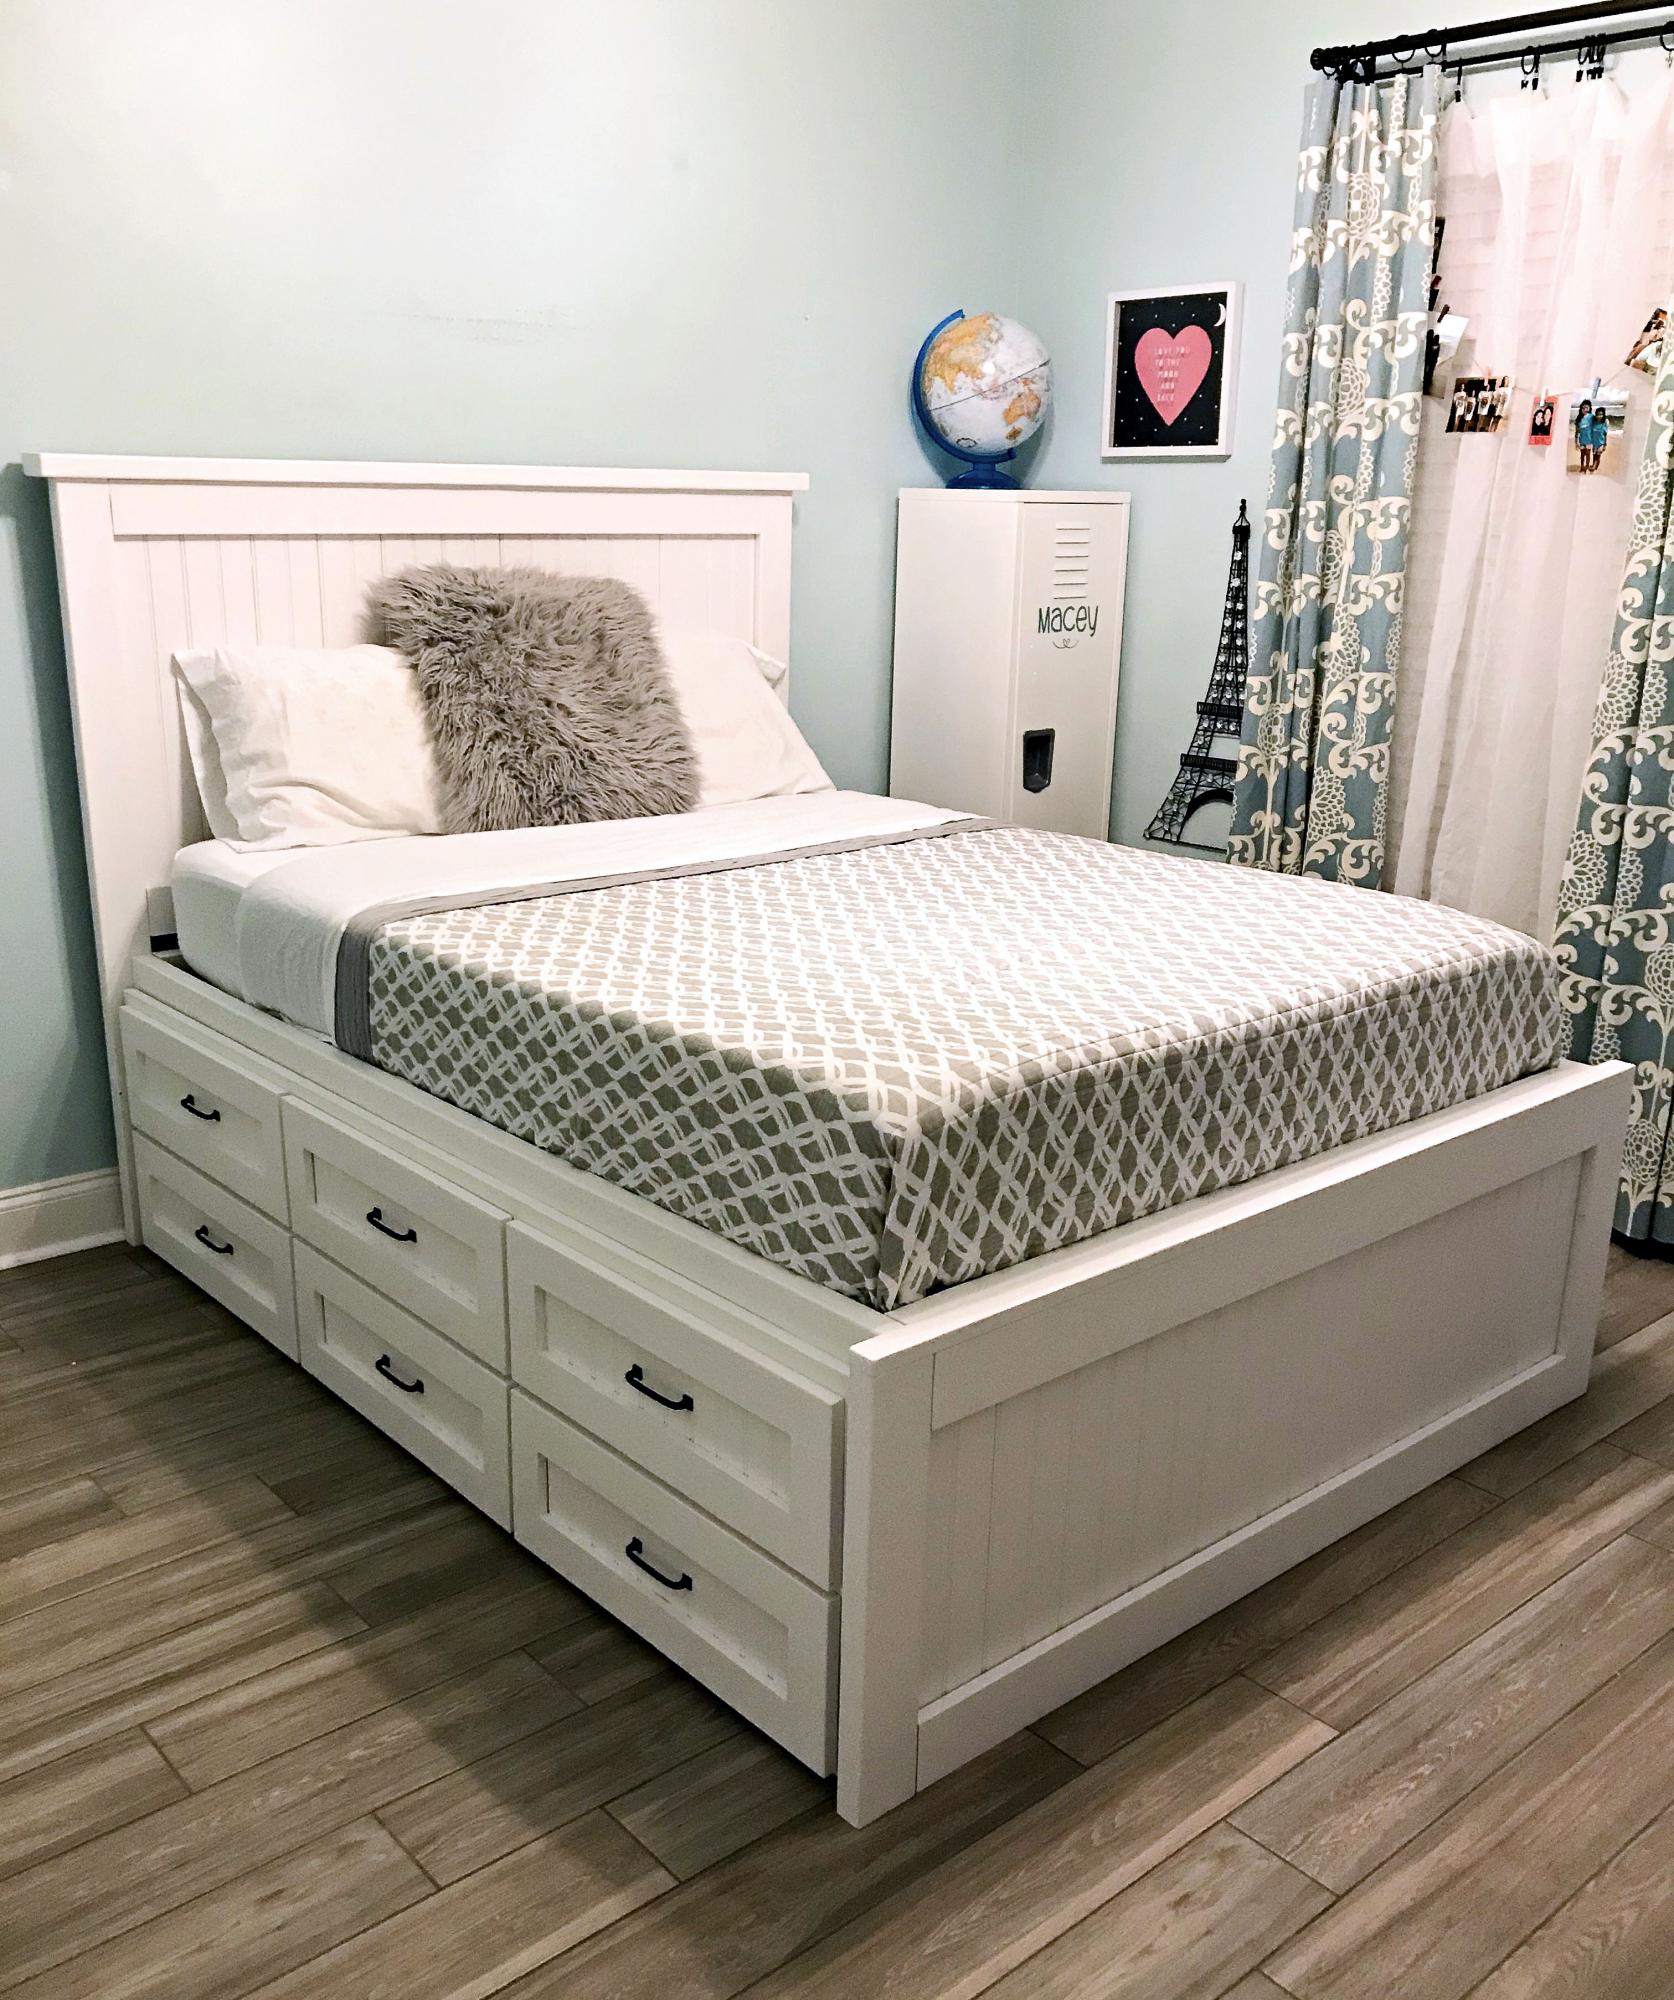
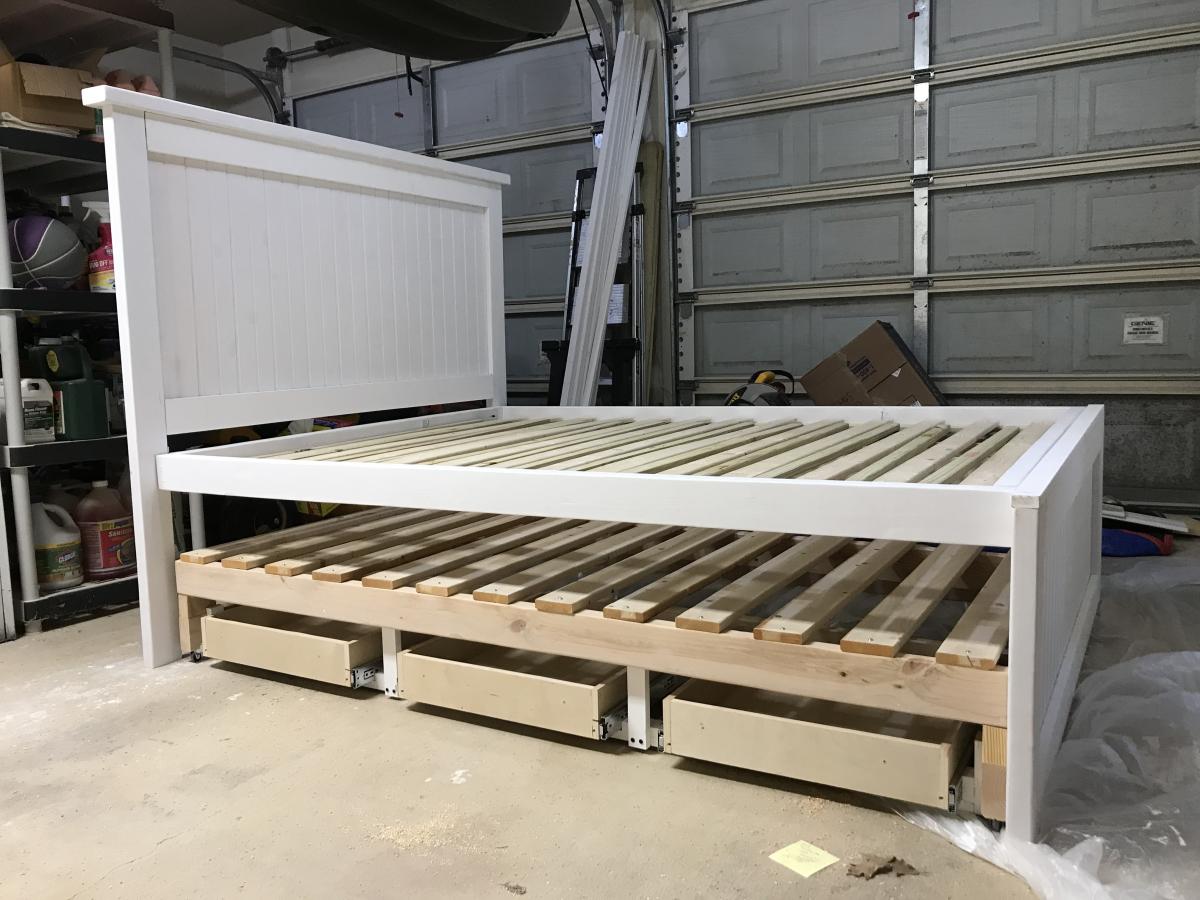
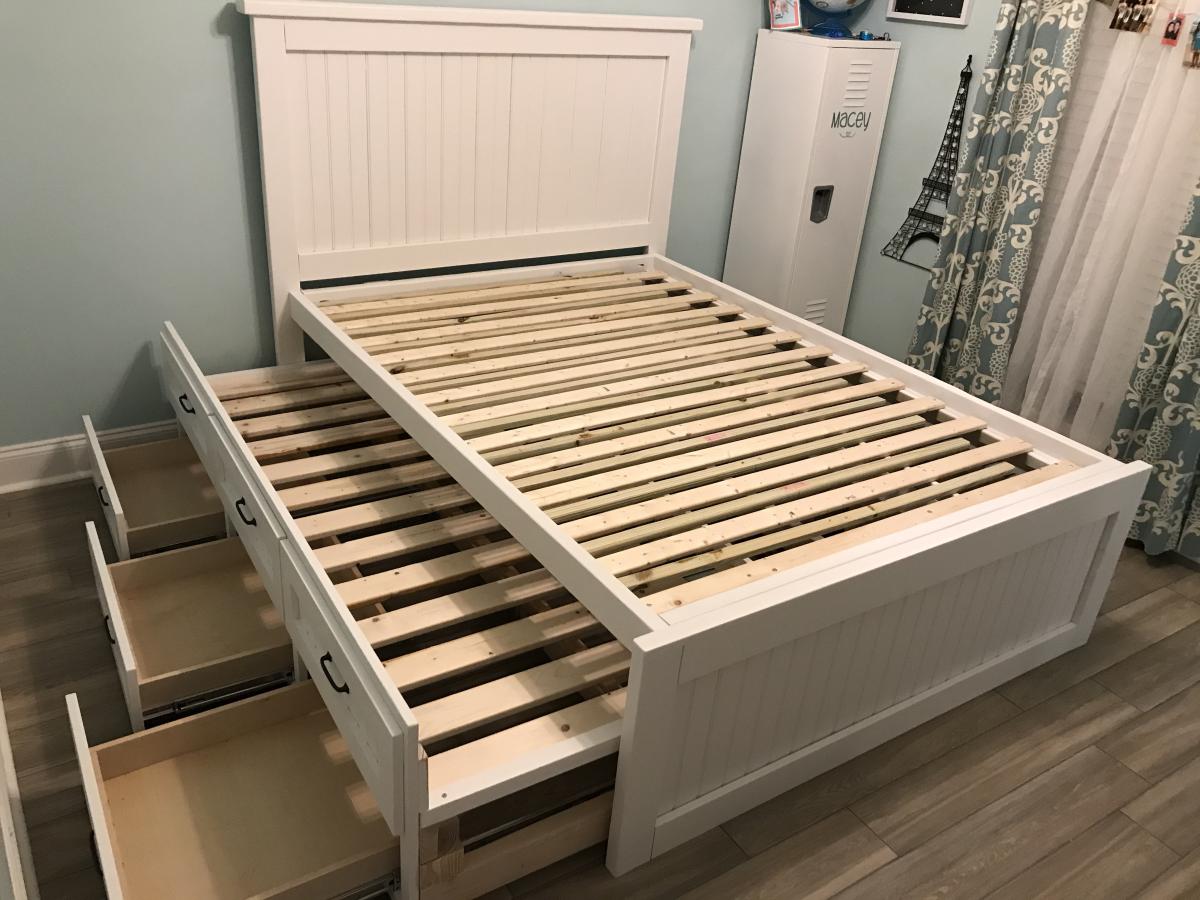
Full size storage bed with trundle

Submitted by ellehcim88 on Fri, 08/14/2020 - 15:14

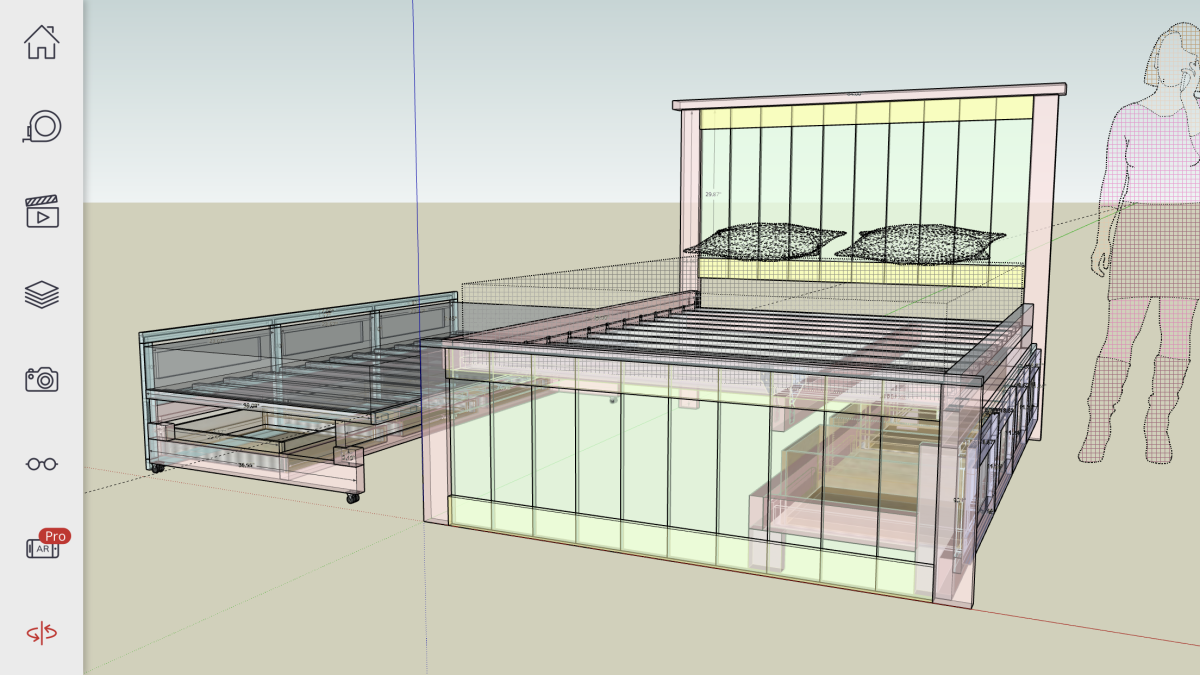
Full size storage bed with trundle. Three drawers and a trundle on one side and four drawers on the other. I started with the farmhouse design (headboard and footboard) and modified it to make it not so heavy and I designed the rest using SketchUp. See more photos in blog link.

Built from Plan(s)
Estimated Cost
$1000
Estimated Time Investment
Week Long Project (20 Hours or More)
Finish Used
White satin finish latex paint
Recommended Skill Level
Intermediate

Bed swing

Submitted by ltodd on Fri, 08/22/2014 - 20:11

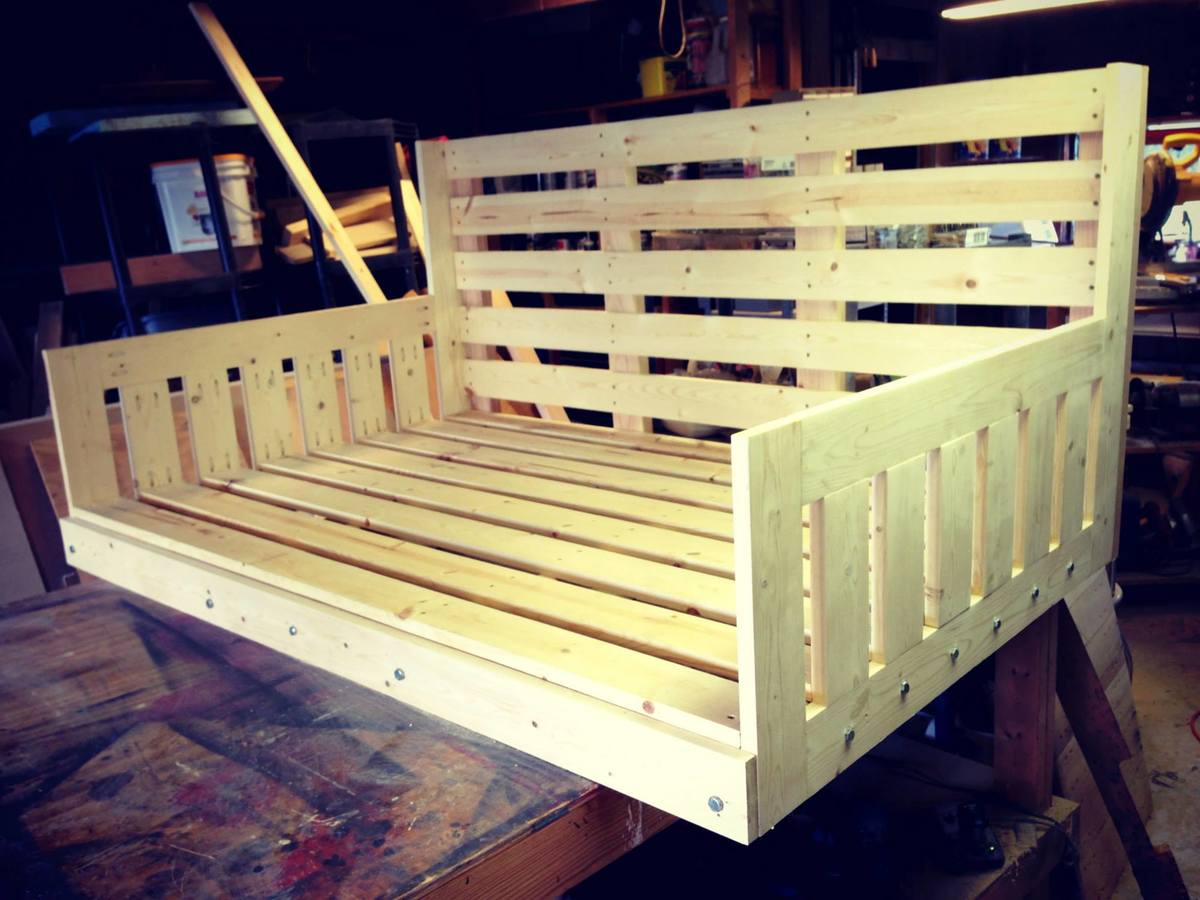
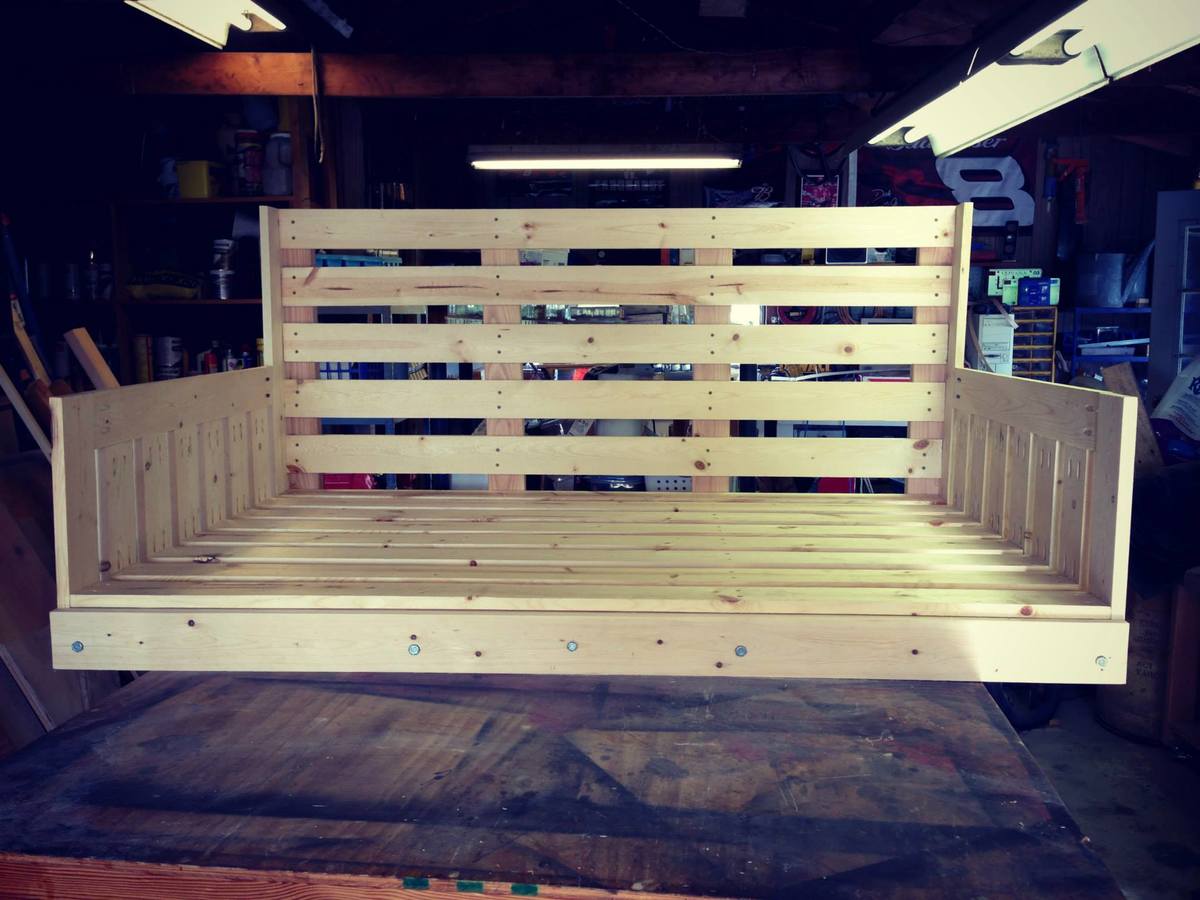
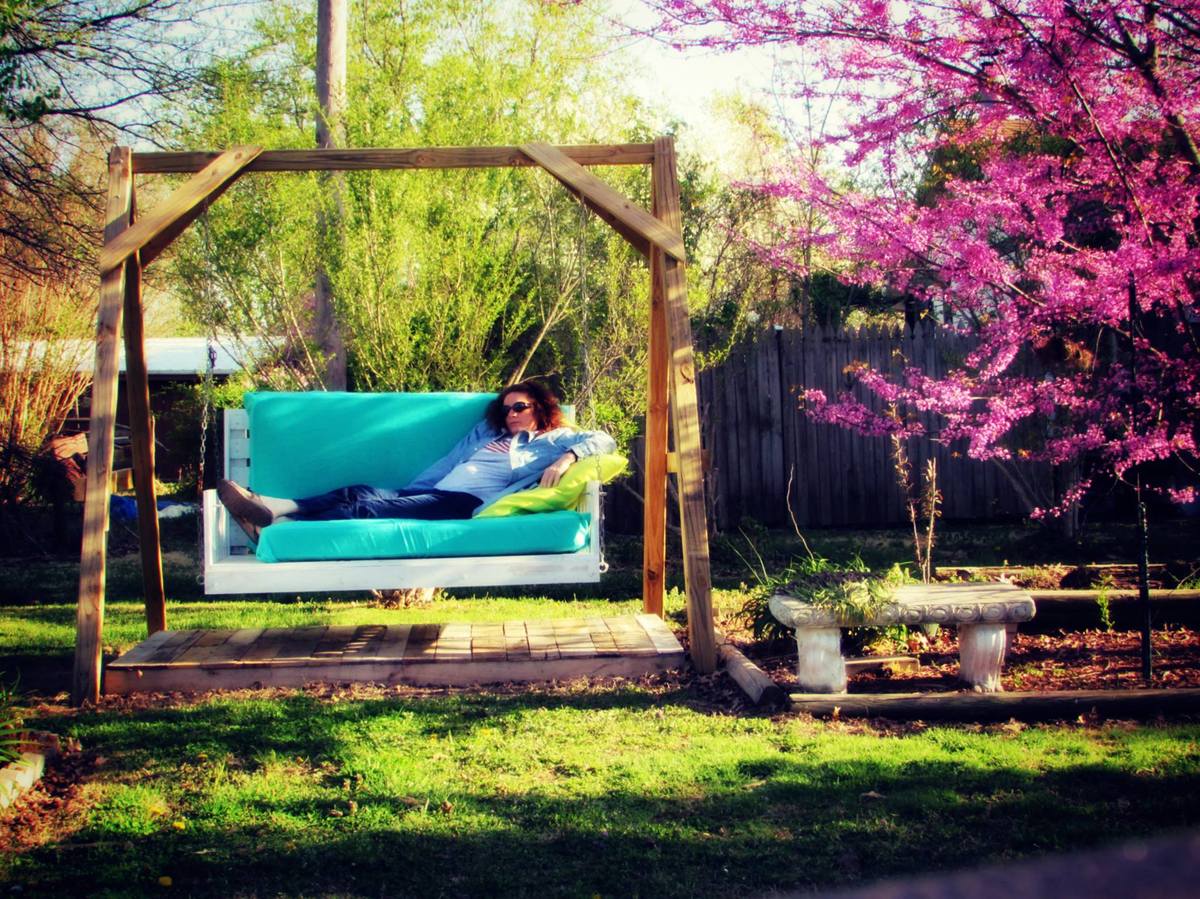
Don't get in this bed swing unless you have time for a nap. This is a modified version of the "large modern porch swing". Very comfortable to lie down and swing. The mattresses are 2 baby crib mattresses that I found really cheap at a yard sale and on Craig's list. I probably should have shortened it several inches to fit the crib mattresses, had I known in the beginning that was what I was going to use. I made the swing myself, but had help with the A-frame. My friends are envious.

Built from Plan(s)
Estimated Cost
$200
Estimated Time Investment
Week Long Project (20 Hours or More)
Finish Used
Painted with rustoleum white.
Recommended Skill Level
Beginner

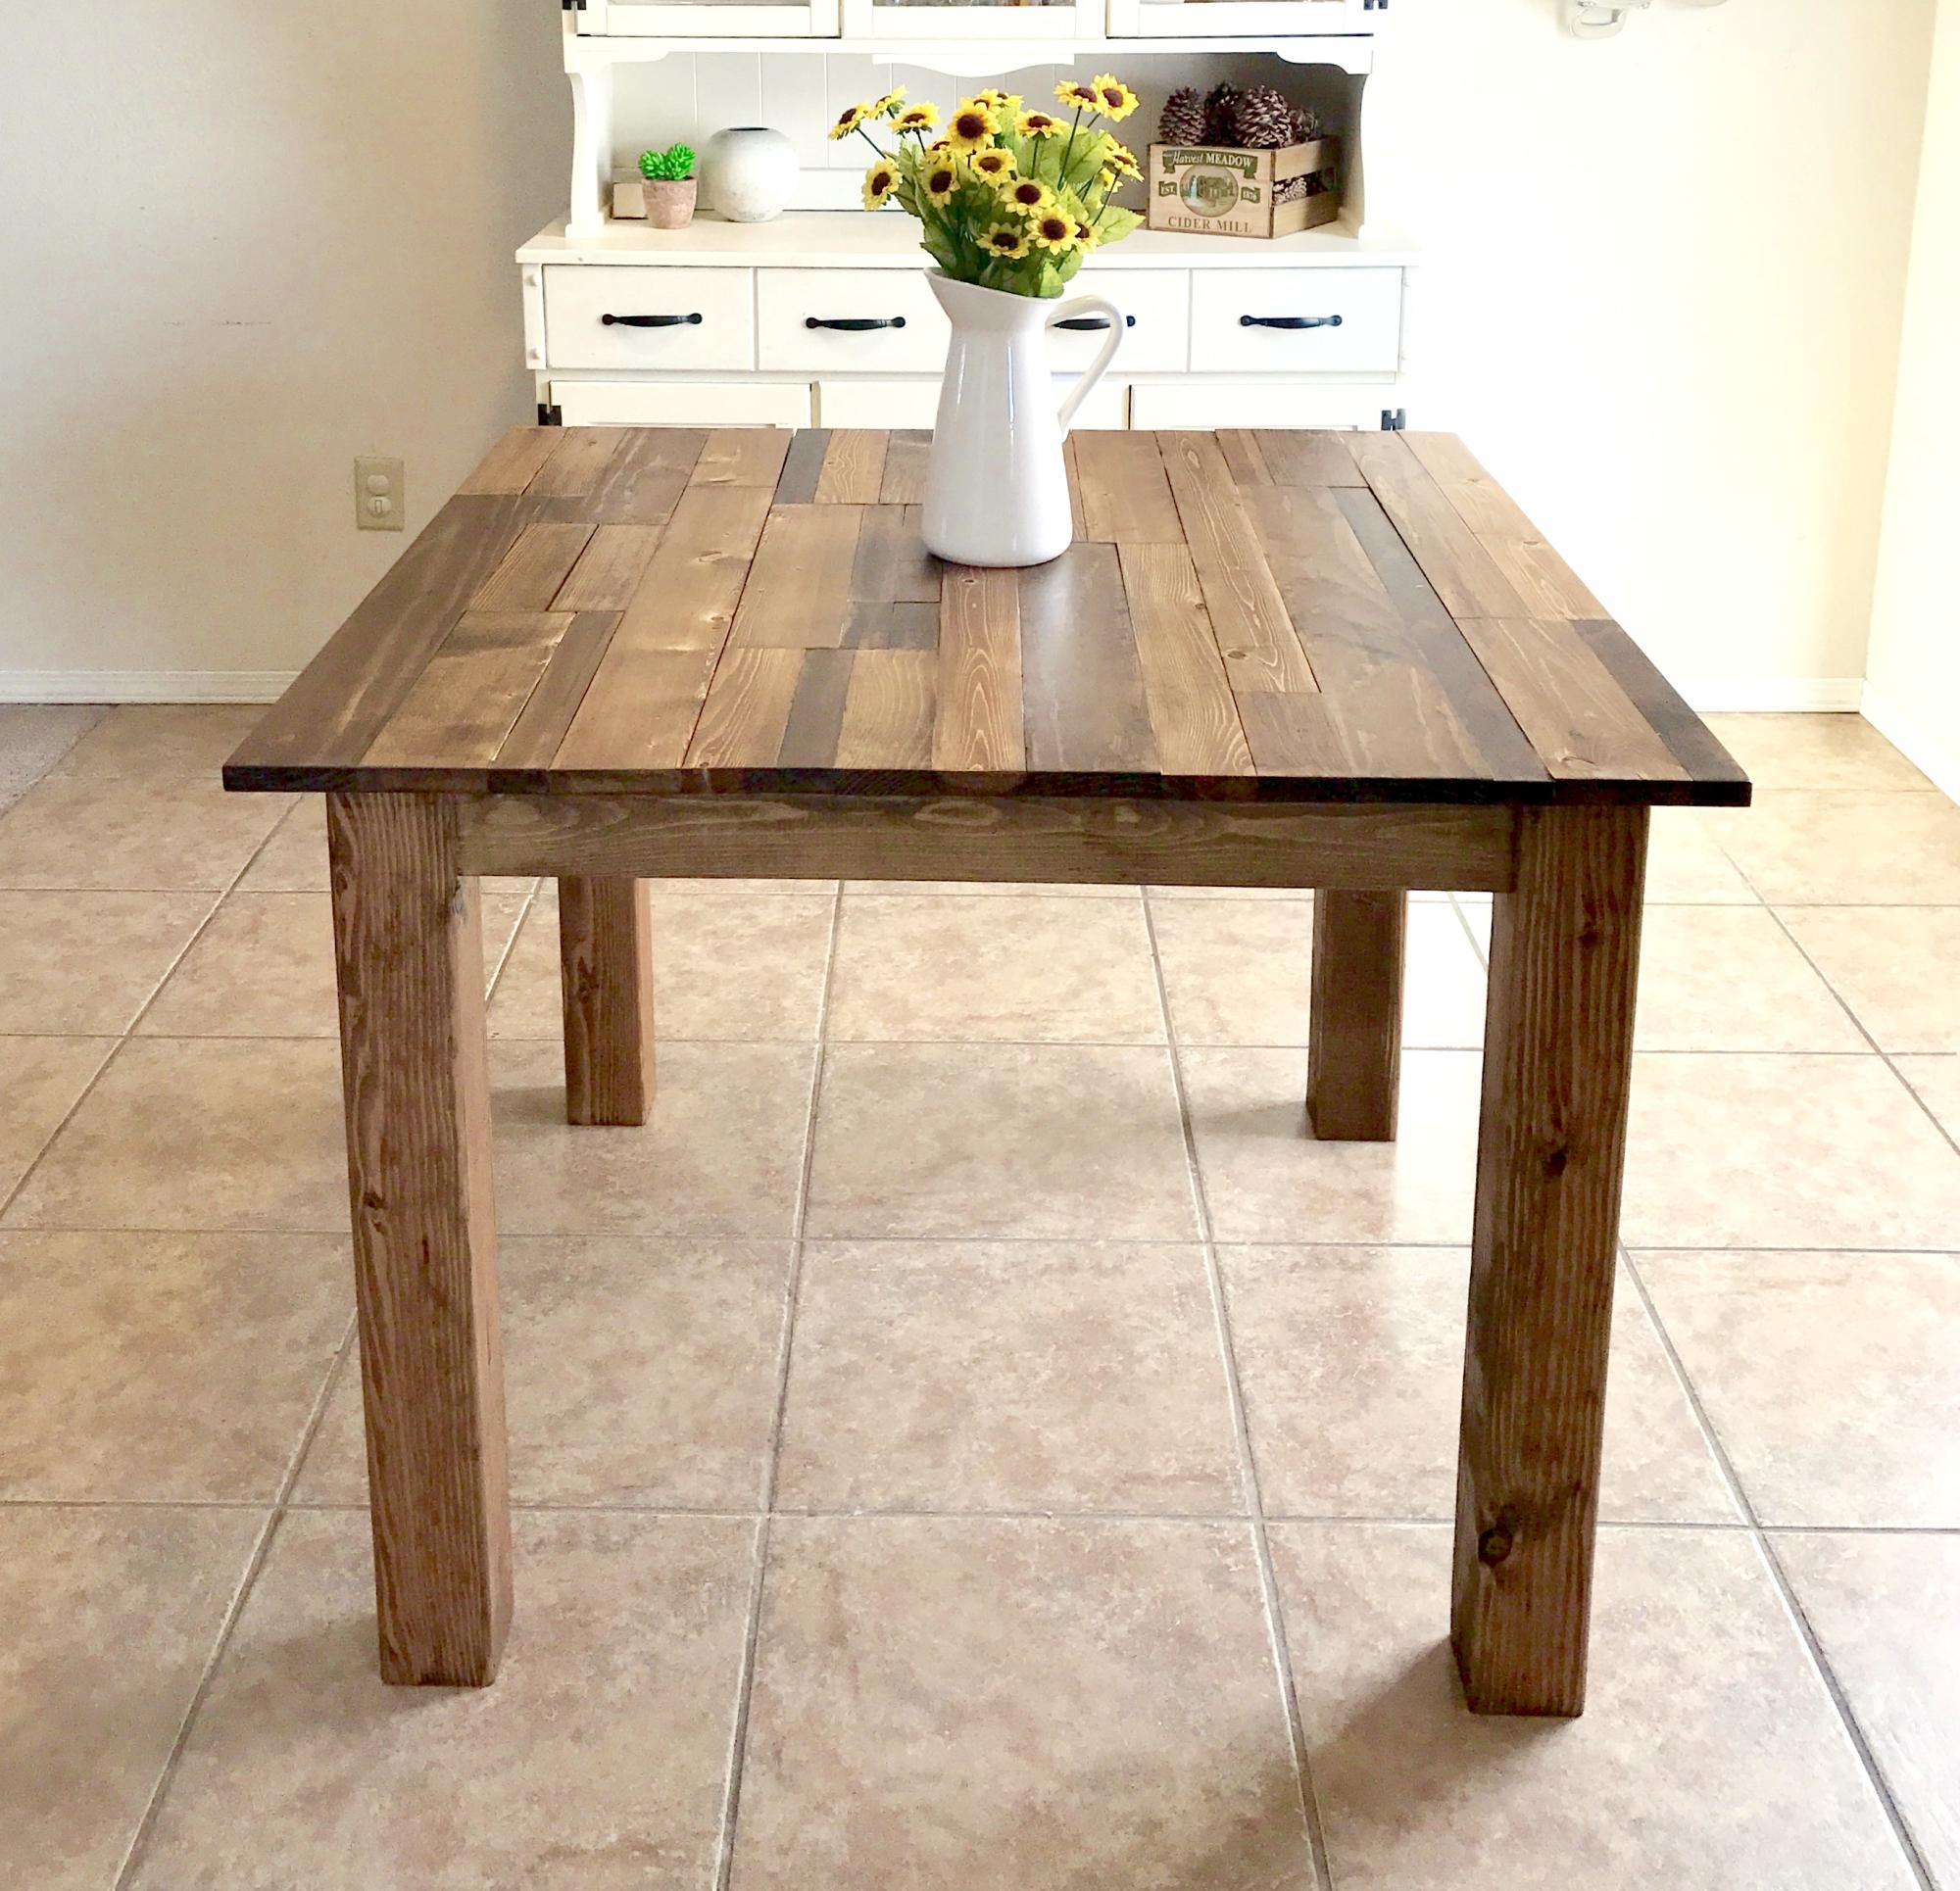
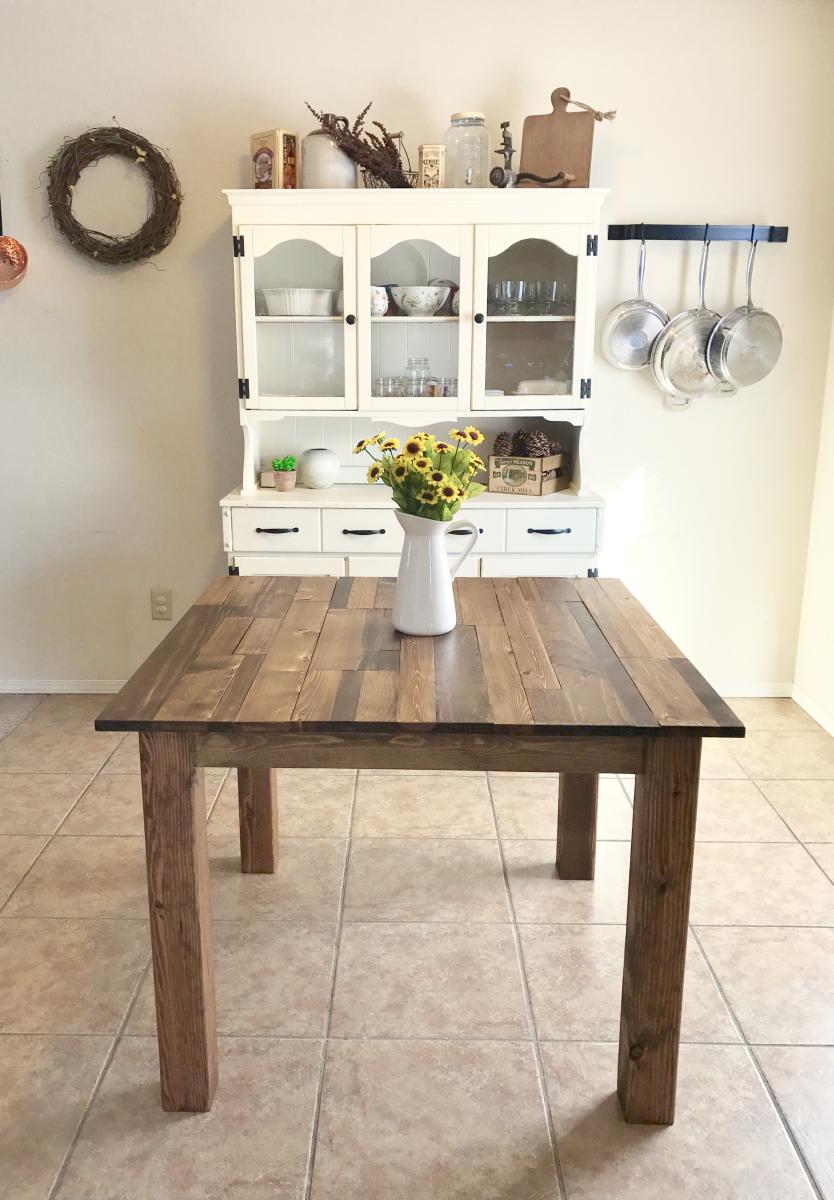
Square Farmhouse Table

Submitted by eddingsr on Sun, 01/08/2017 - 13:17

I built this table for a friend who wanted a rustic, plank-top kitchen table. She wanted a square table with 4x4 legs. Since I don't have clamps, I used pocket holes and wood glue for the table top. Also, I only have a 7&1/4" miter saw, which means the 4x4s were too thick to cut. So I made one cut in the legs, then flipped them and made another. It worked! :) I sanded down the sides of the table top with 80 grit. They needed to be evened up since some of the planks were a little longer than others. I back braced underneathe the top with (3) 1x3s. Then, I sanded all over with 120, vacuumed, then wiped it down with a damp towel. Fun build!! 

Estimated Cost
~$100 for lumber, screws, wood glue, sandpaper, and finishing products.
Estimated Time Investment
Week Long Project (20 Hours or More)
Finish Used
For the finish I used Minwax wood conditioner, then a coat of Minwax stain in Provincial. I went back and put a second coat of stain on a few of the premium pine pieces, because they soaked up the first coat really well, and I wanted some darker pieces on top. I let those soak for about 15 minutes. Afterwards I did 2 coats of Polycrylic all over, then a third coat for the top only. I dry sanded between coats with 600 grit sandpaper.
Recommended Skill Level
Intermediate

White Oak Farmhouse Table

Submitted by Anonymous (not verified) on Sun, 06/04/2017 - 15:27

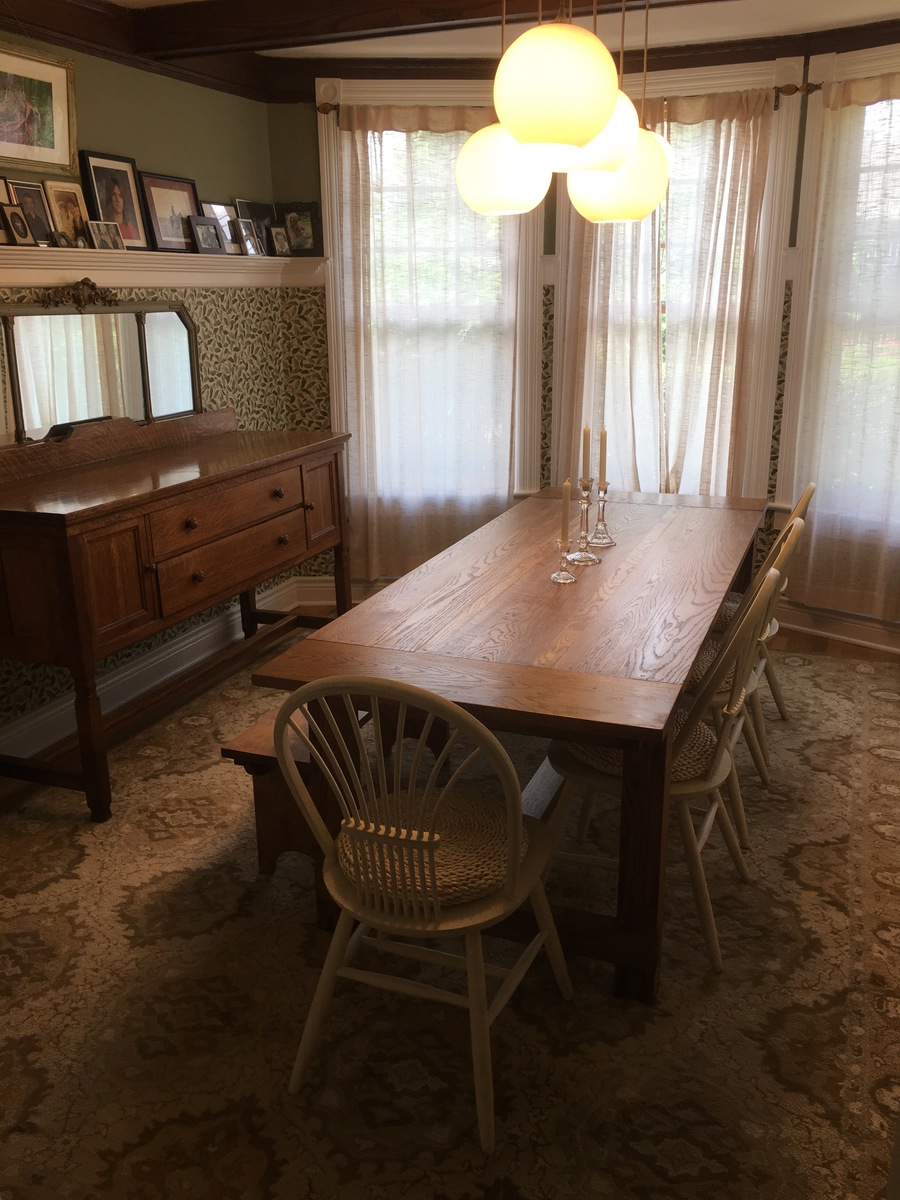
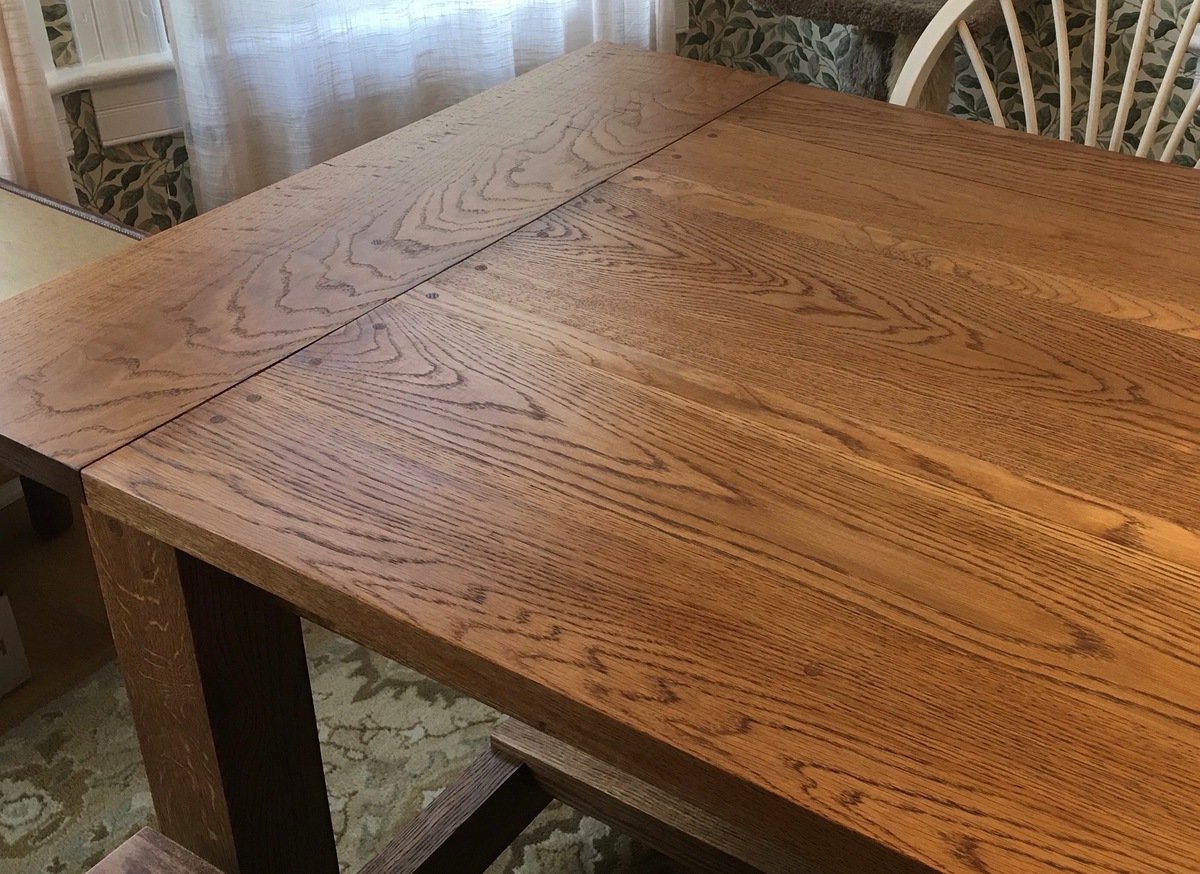
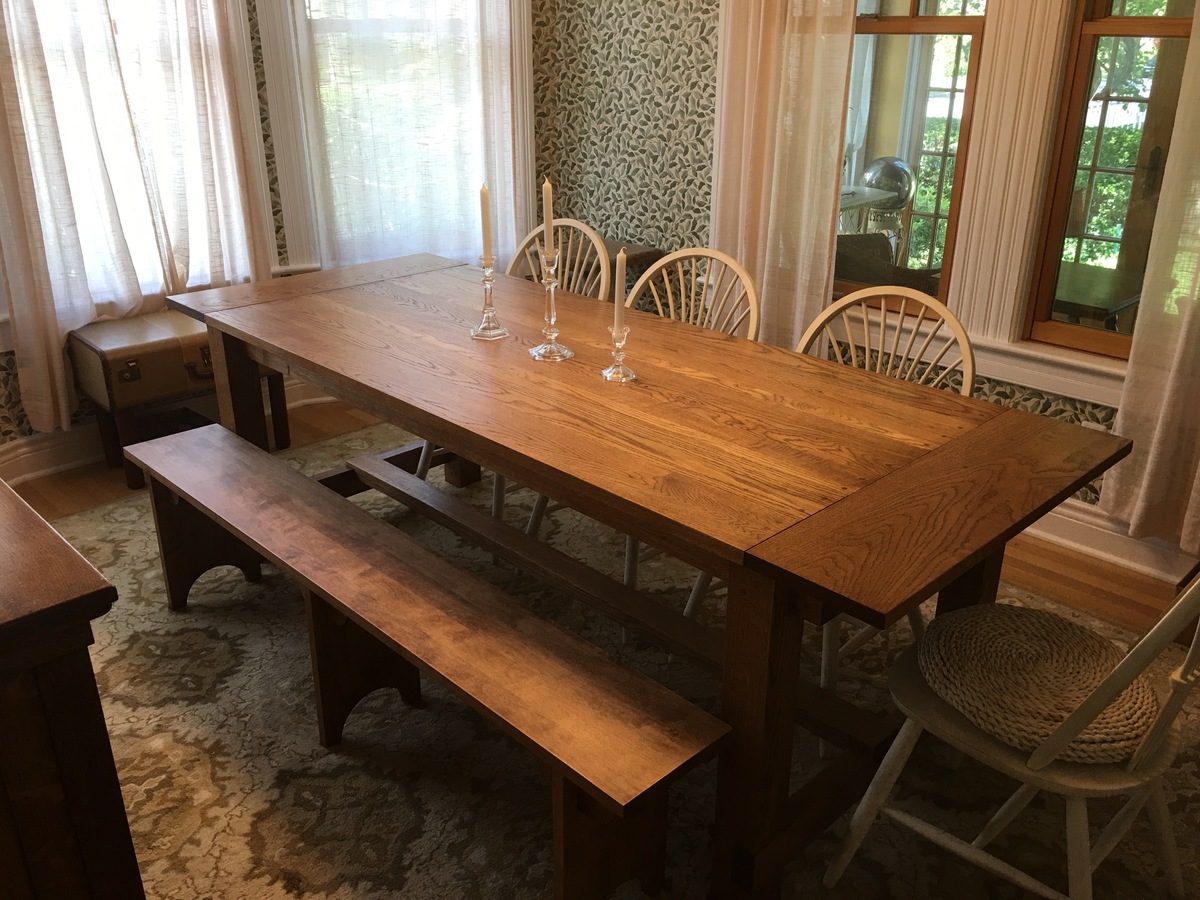
I built this using the Farmhouse Table plans, and we're thrilled with the results. My modifications included making the table longer and narrower to fit our dining room, and building it from some fantastic white oak from a local lumberyard called Boards & Beams in Fairfield, NJ. I used 5/4" thick boards of varying widths for the top, and created deeper overhangs at the ends by making the breadboard ends 10" deep. Unlike a more rustic version using pine, the lumber was extremely expensive, and the oak makes an already heavy table even heavier. Still, it is orders of magnitude less expensive than purchasing a custom table like this, and I only needed to "ship it" from my garage. 

My idea was to match, as closely as my skills would allow, the antique buffet in the photo next to the table. Or at least to build something that would look good next to the buffet. My prior woodworking experience is limited to DIY carpentry and building plywood shelves and radiator covers. I am not a "mortise and tenon" woodworker (although I'd like to learn). The plans are excellent because this was the first "real" furniture I've ever attempted, and it is literally as solid as if it were carved from a single piece of wood. I rented a 12" compound miter saw from Home Depot to make most of the cuts in one day, which worked out extremely well. The visible screw holes I plugged with oak dowls. 

If you decide to build this (or anything) from a hardwood, here are a couple mistakes I made early on that you don't want to repeat. First, EVERY screw into every piece needs a pilot hole. If you have even the slightest thought that your screw is about to strip or break, it is. Second, higher-quality wood is often cut larger than what you find in a big box store. A 2 x 4, which might be 1.5 x 3.5 from Home Depot, can be 1.75 x 3.75. This really matters a lot, and so you have to measure your actual wood and re-calculate every measurement accordingly. The upsides, for me, included fewer warped pieces, less splintering, and greater ease of sanding and finishing.

Thank you very much for posting these plans and for your excellent "how-to" on cutting out the notches. 


Estimated Cost
$900 worth of wood and screws, $50 for saw rental, $15 worth of stain and poly.
Estimated Time Investment
Week Long Project (20 Hours or More)
Finish Used
Varithane "Provincial" stain, applied with a rag, followed by three coats of Minwax Wipe-on Polyurethane applied with a rag. I used less than 1 pint of stain for the whole table. The Wipe-on is less glossy than a brush-on. It really wants to go on in VERY thin coats. I may have done 4 coats on the top. In between coats, I sanded with wet-dry grits of 800-1000. The result is a very even finish (but not as even as a professionally applied finish) that you can still feel the grain through, and there are no brush strokes to deal with.
Recommended Skill Level
Intermediate

Outdoor truss table and benches

Submitted by Anonymous (not verified) on Thu, 07/06/2017 - 07:22

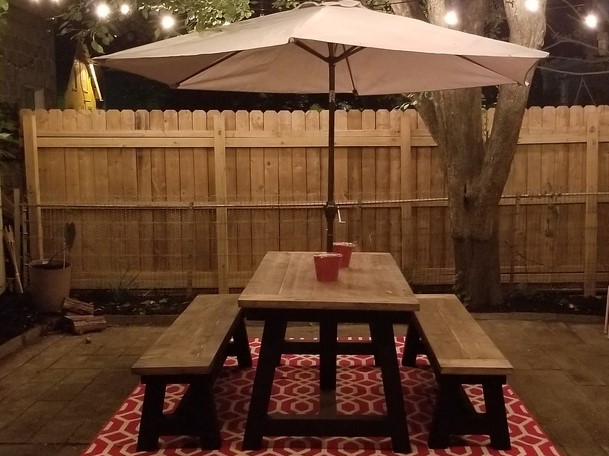
I needed an outdoor table and thought this design would look lovely on my patio. I used 2x8's for the table and bench tops, which meant I couldn't run them through my 6" jointer; so I had to plane them as they came from the store. This resulted in a fair amount of sanding once I assembled the tops with a kreg jig and glue. Plugged the pocketholes  and used an outdoor deck stain for protection. The stain over the plugged pocketholes looked interesting enough that I almost used those sides for the exposed tops, but ultimately decided on the cleaner finish. The 4x4 legs and apron are in a black matte exterior paint, and I used a 1 5/8" forstner bit for the umbrella holes. It's a fun project, and assembly doesn't take too long at all. My patio is now a great place for a morning cup of coffee while reading the paper and has already become the spot for neighborhood gatherings.
Estimated Cost
Expect around $300 for table, 2 benches, paint and stain.
Estimated Time Investment
Week Long Project (20 Hours or More)
Finish Used
3 coats marquees charcoal black matte for the truss legs and aprons. 80, 150, and then 220 sanding before 1 coat transparent walnut timber oil deck stain for the tops.
Recommended Skill Level
Beginner

First adirondack chair!

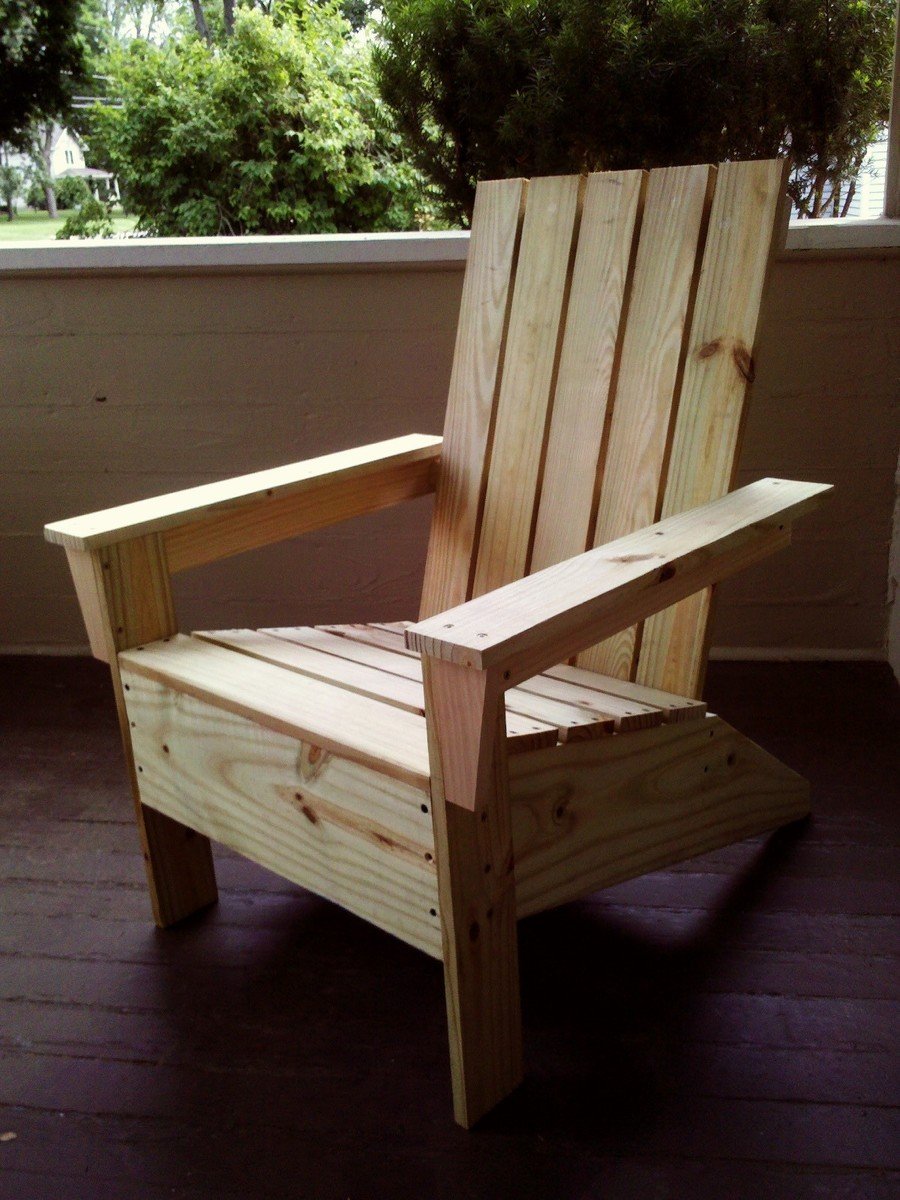
Got a chance this weekend to do our first (good!) woodworking project. Love the chair, gotta head back to Menard's to get some more lumber for chair #2!

Built from Plan(s)
Estimated Cost
$35
Estimated Time Investment
Weekend Project (10-20 Hours)
Finish Used
Haven't finished it yet--probably going to go with a light stain.
Recommended Skill Level
Starter Project

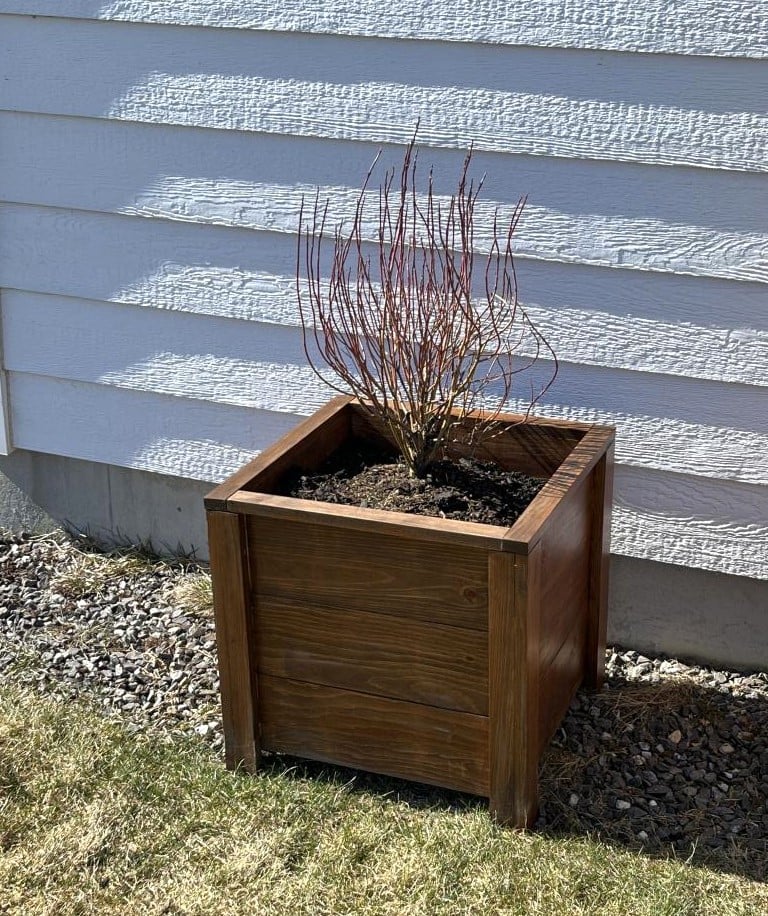
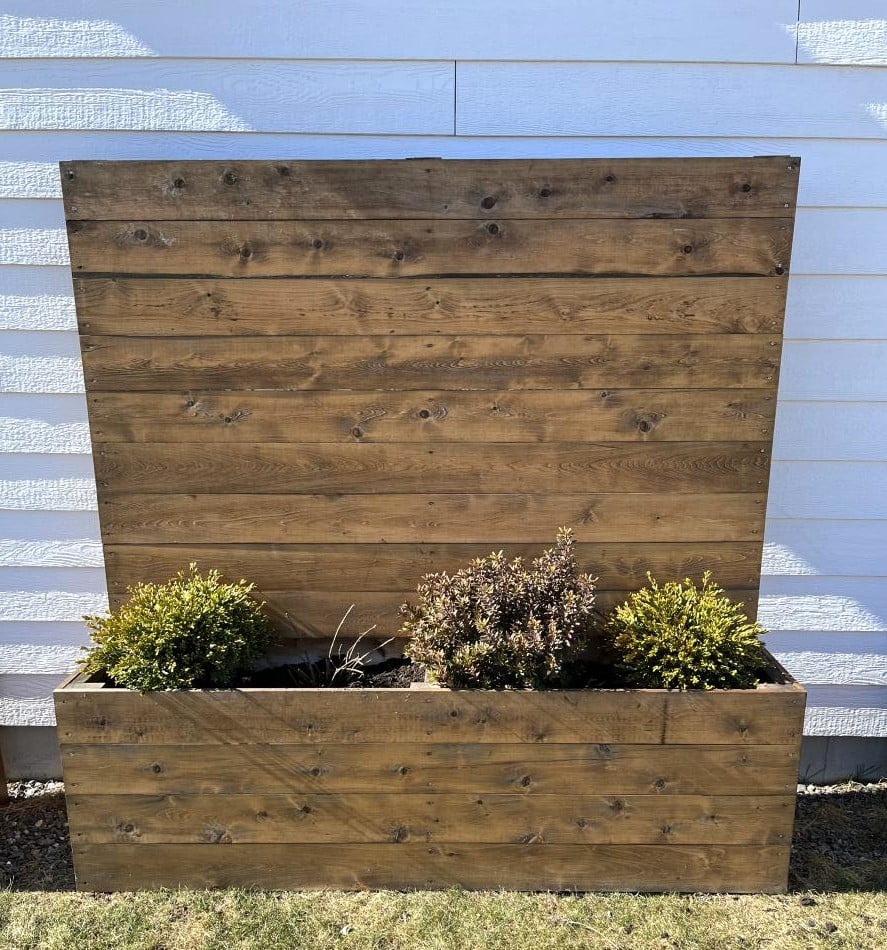
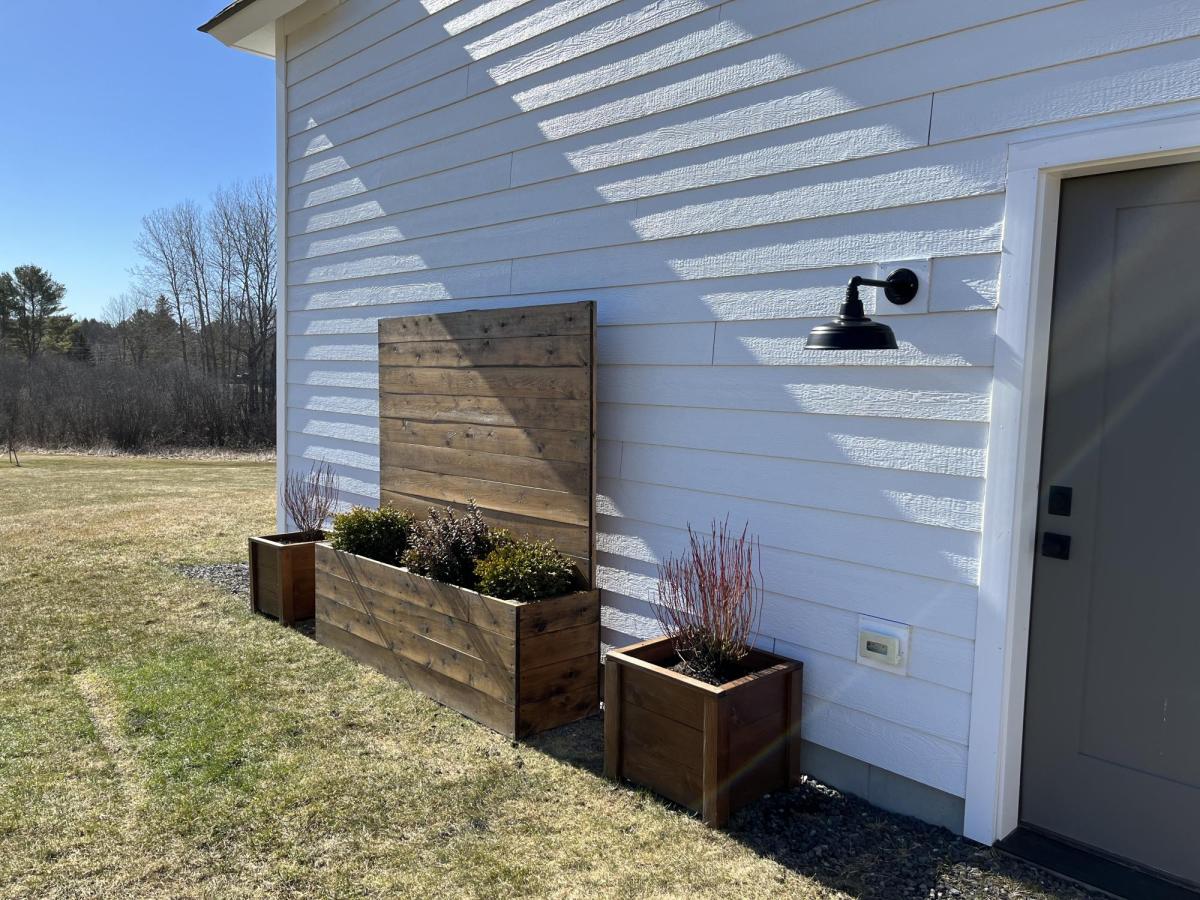
Planters!

Submitted by Anonymous (not verified) on Fri, 04/14/2023 - 03:50

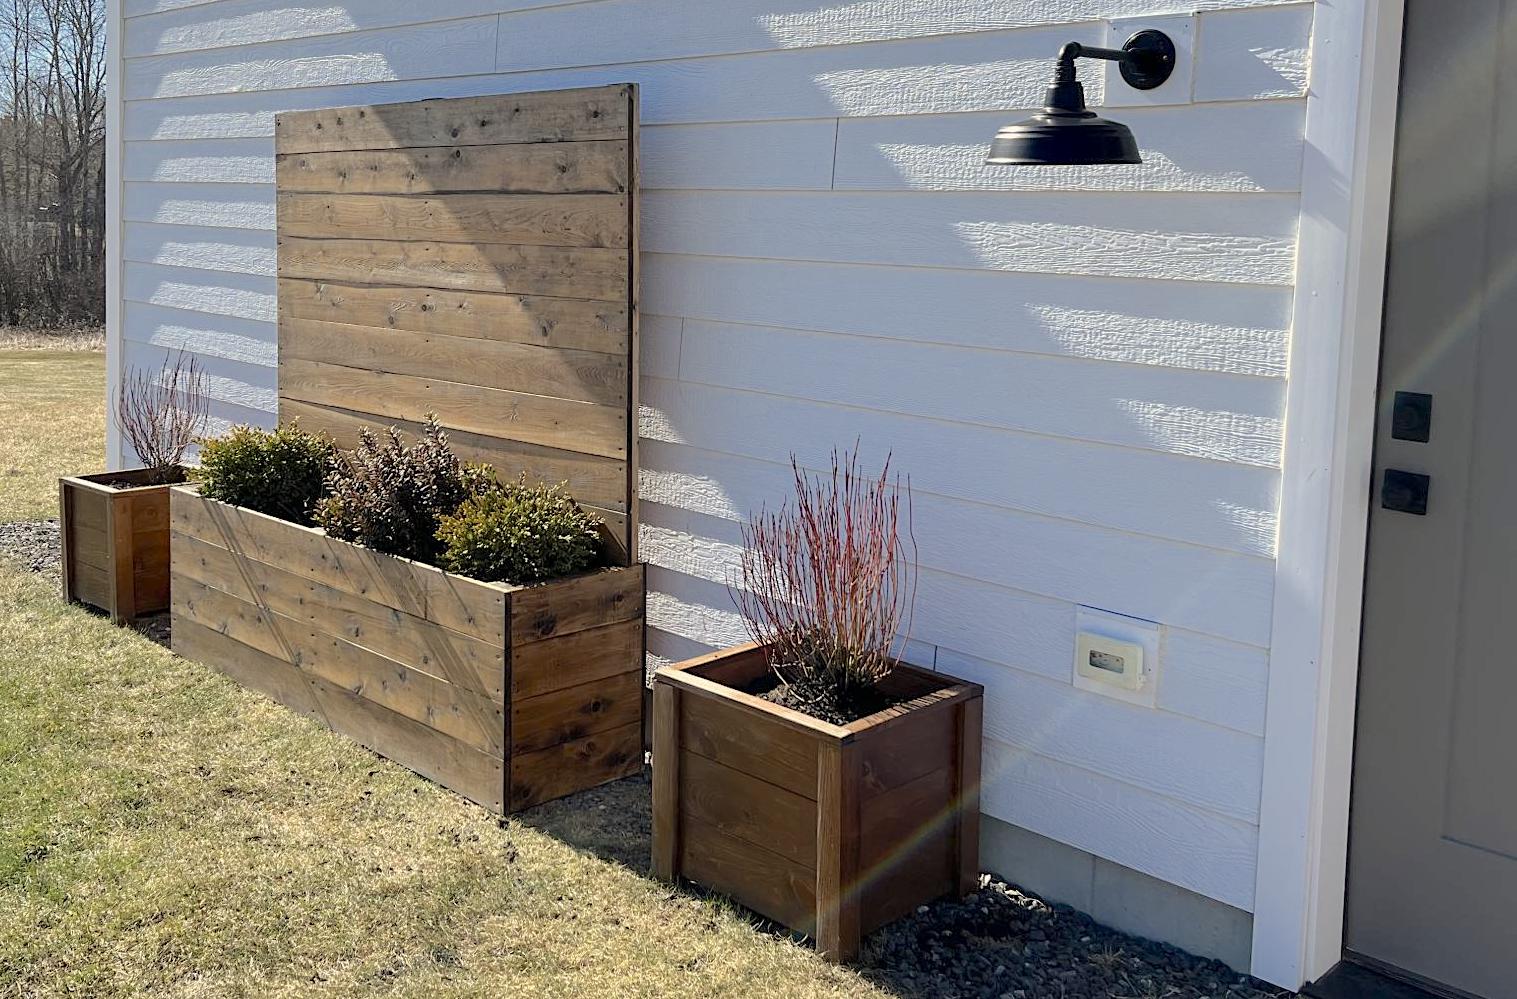
These planters are exactly what we needed to warm up this blank siding! The smaller planters are made from pine, the larger from cedar.

Comments

Seasonal And Holiday

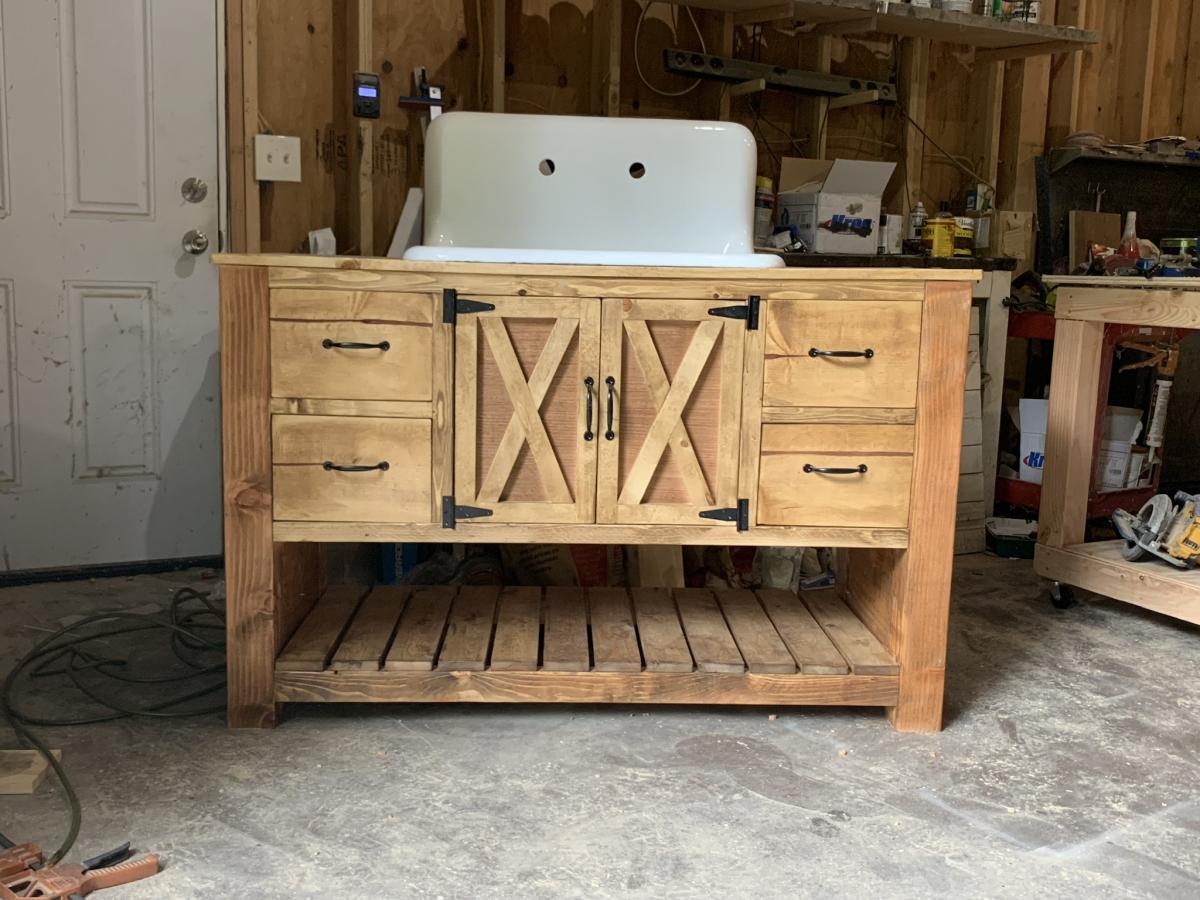
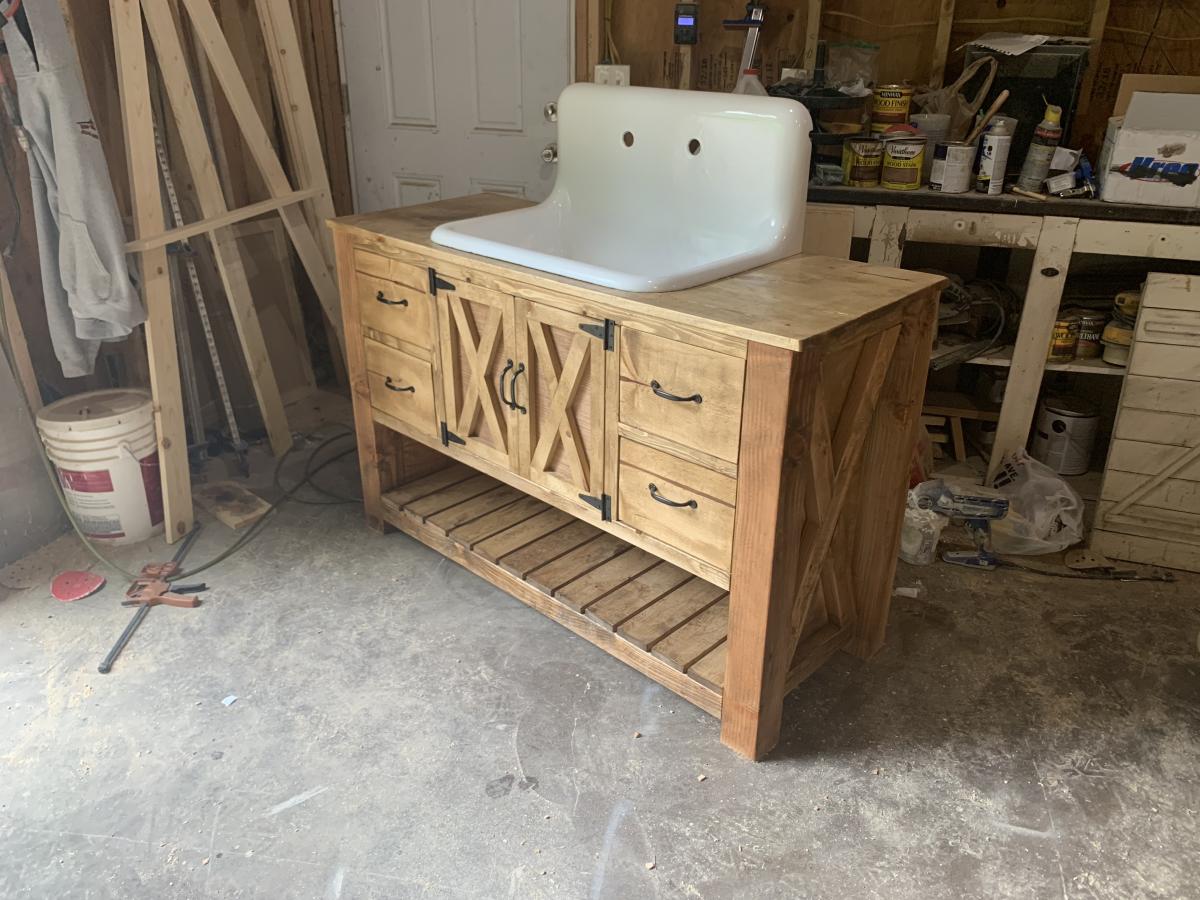
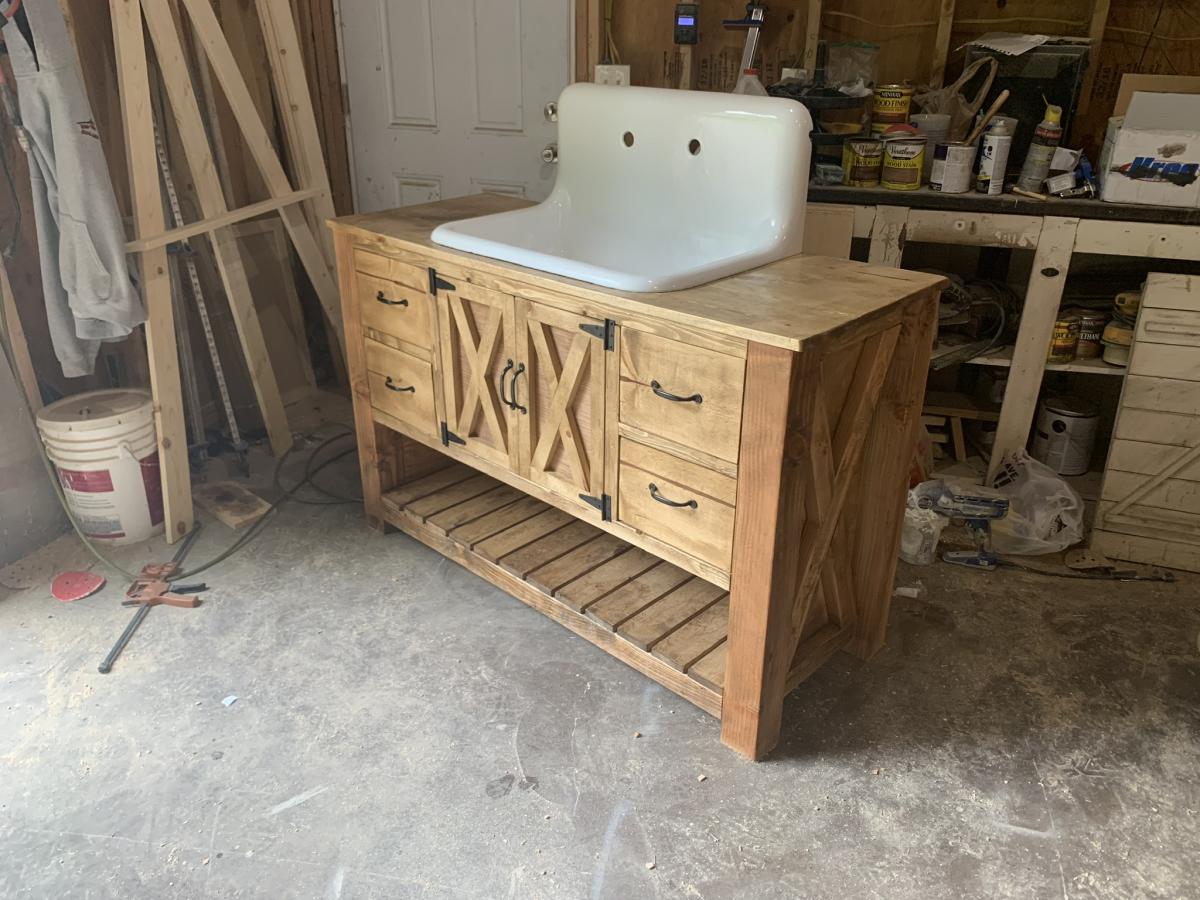
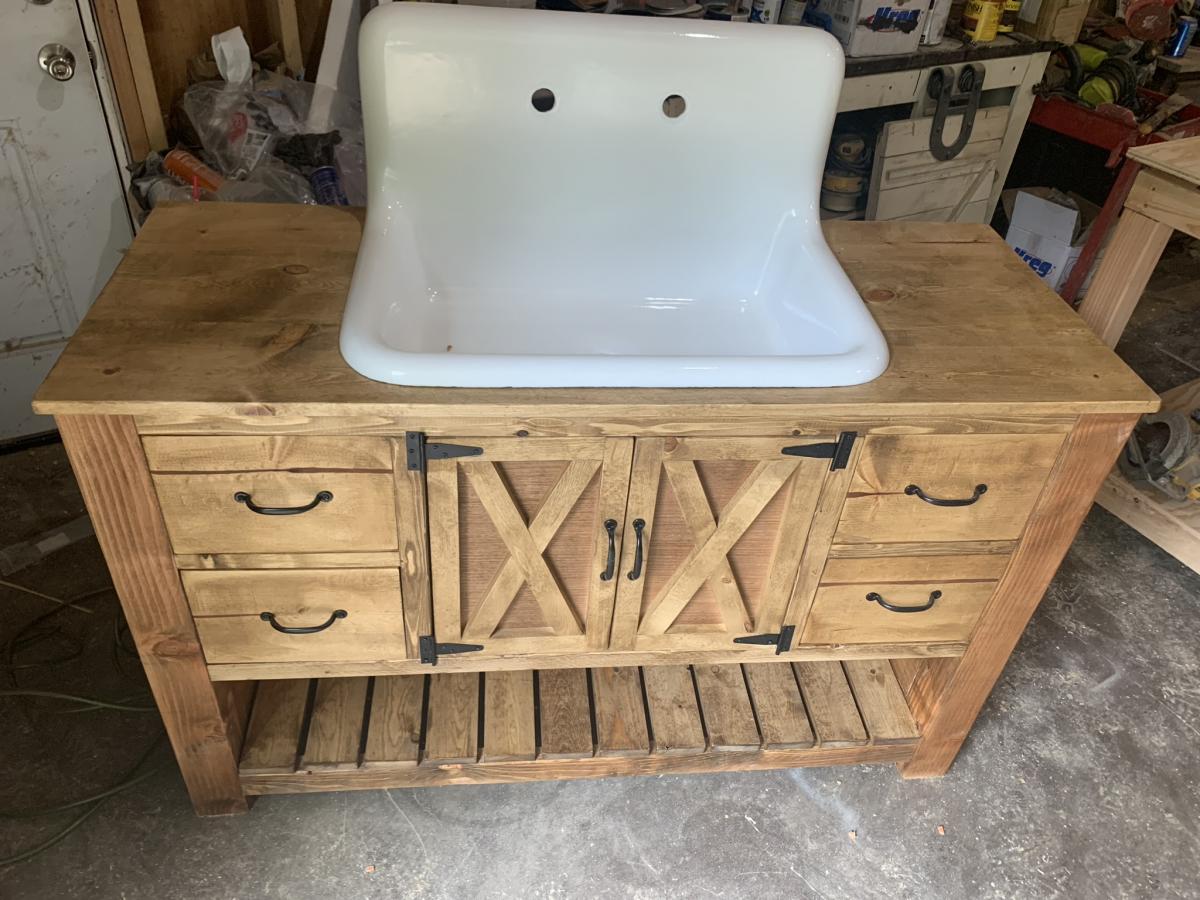
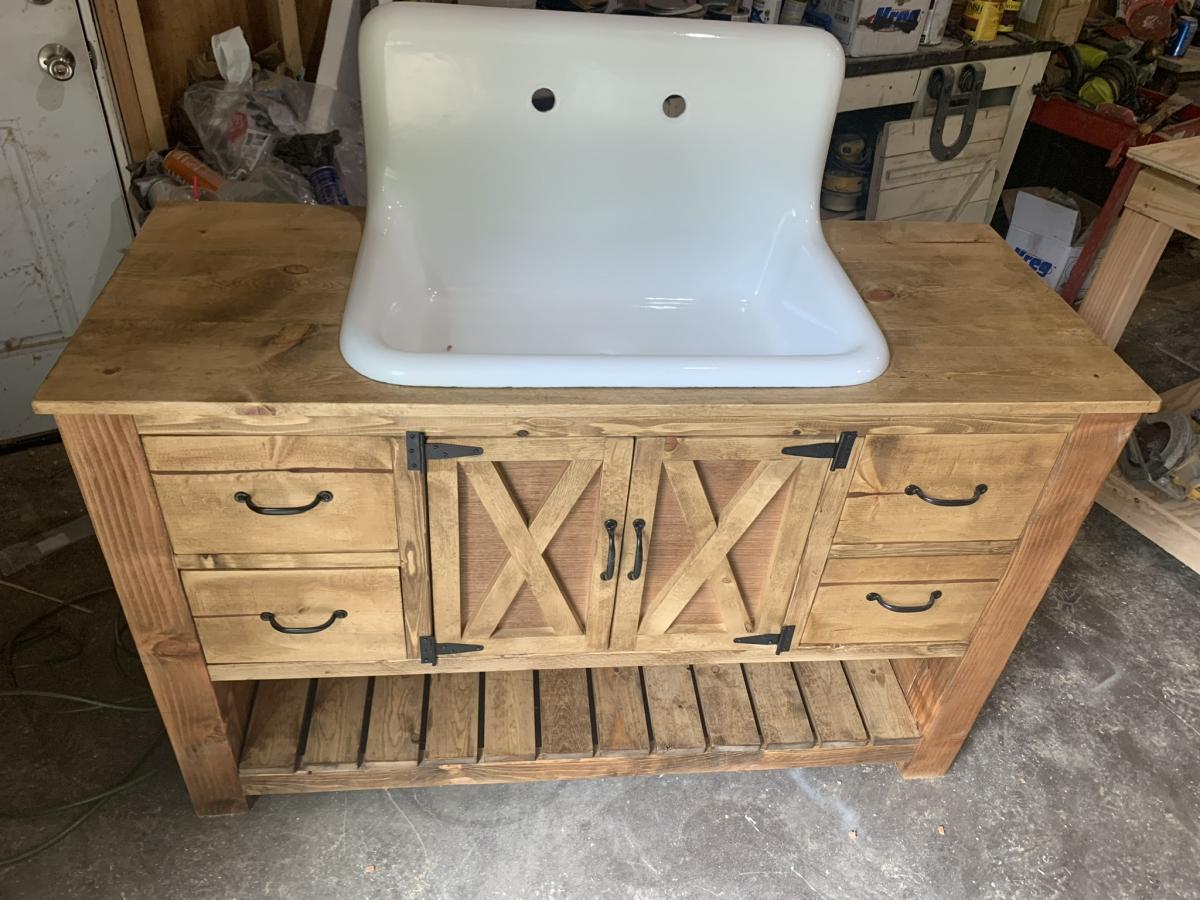
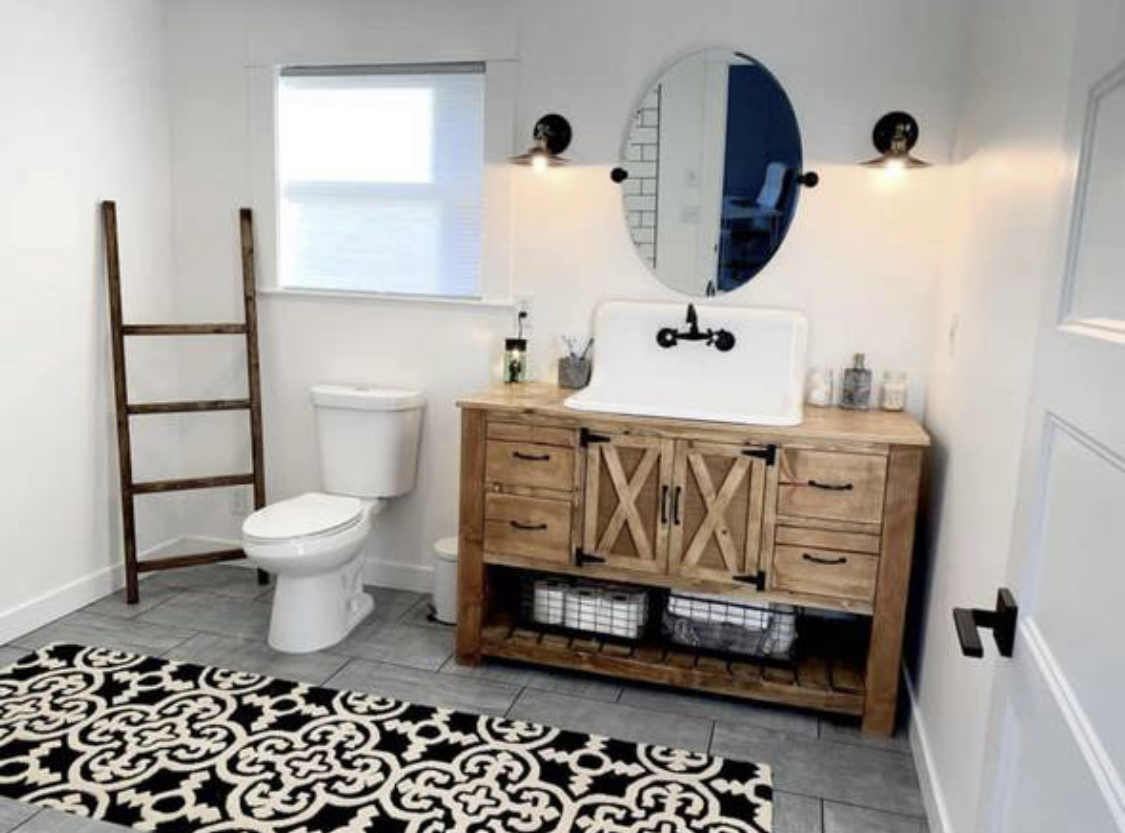
Bathroom vanity

Submitted by Anonymous (not verified) on Sun, 02/16/2020 - 21:40

Hand made bathroom vanity

Built from Plan(s)
Estimated Cost
200
Estimated Time Investment
Day Project (6-9 Hours)

Comments

kradams

Wed, 06/30/2021 - 23:28

I've been searching for WEEKS to find this vanity. I knew it existed somewhere but didn't know where. Please, PLEASE, post the plans for this. The video posted above it is for the pantry organizer. Thank you in advance!

kradams

Wed, 06/30/2021 - 23:35

What angles did you cut the "X"s at? They're cut at the top and bottom instead of the sides like the kitchen island plans show and I want to make sure that I cut mine at the correct angle. Thank you again.

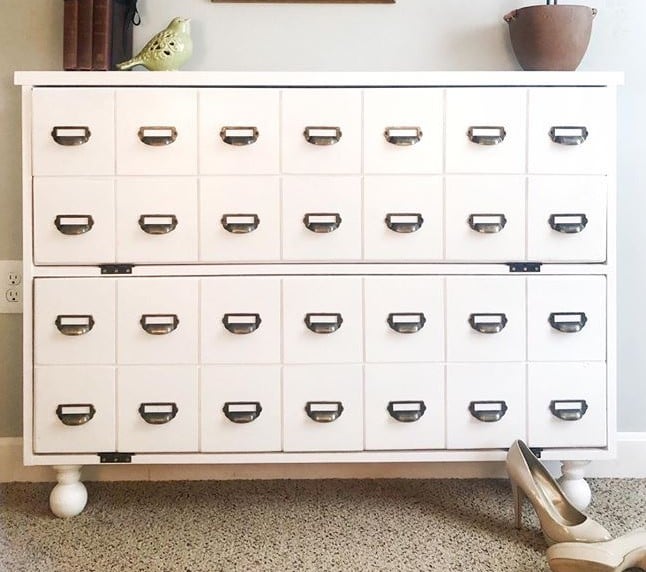
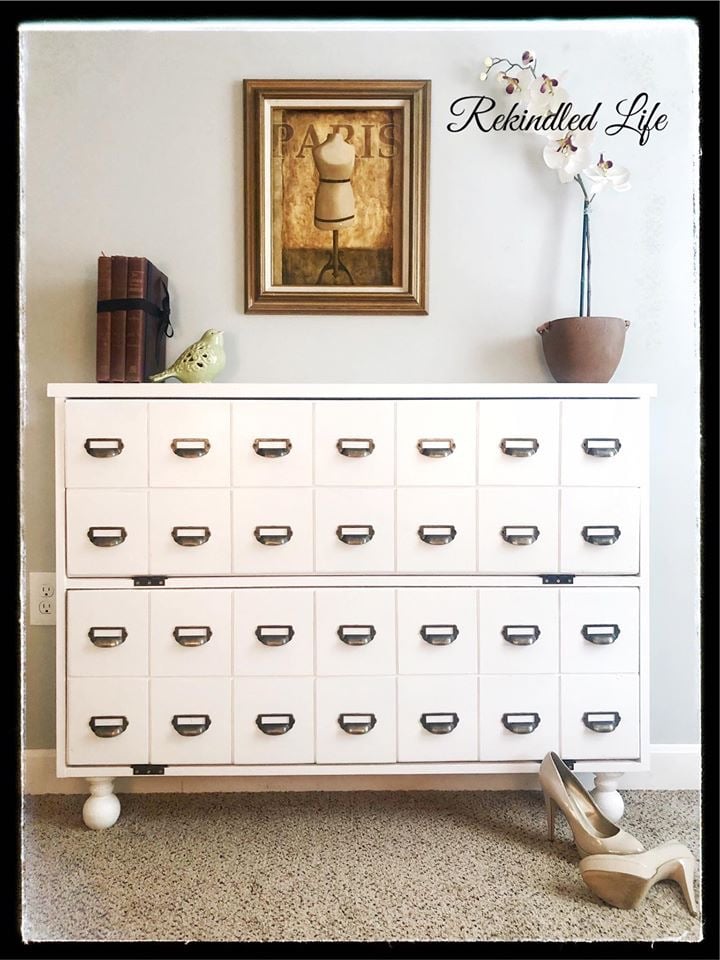
Card catalog shoe cabinet

Submitted by Anonymous (not verified) on Wed, 03/25/2020 - 15:43

I built the shoe cabinet but added card catalog handles. Also used deck railing toppers for the feet

Built from Plan(s)
Estimated Cost
$100
Estimated Time Investment
Day Project (6-9 Hours)
Finish Used
Benjamin Moore advanced

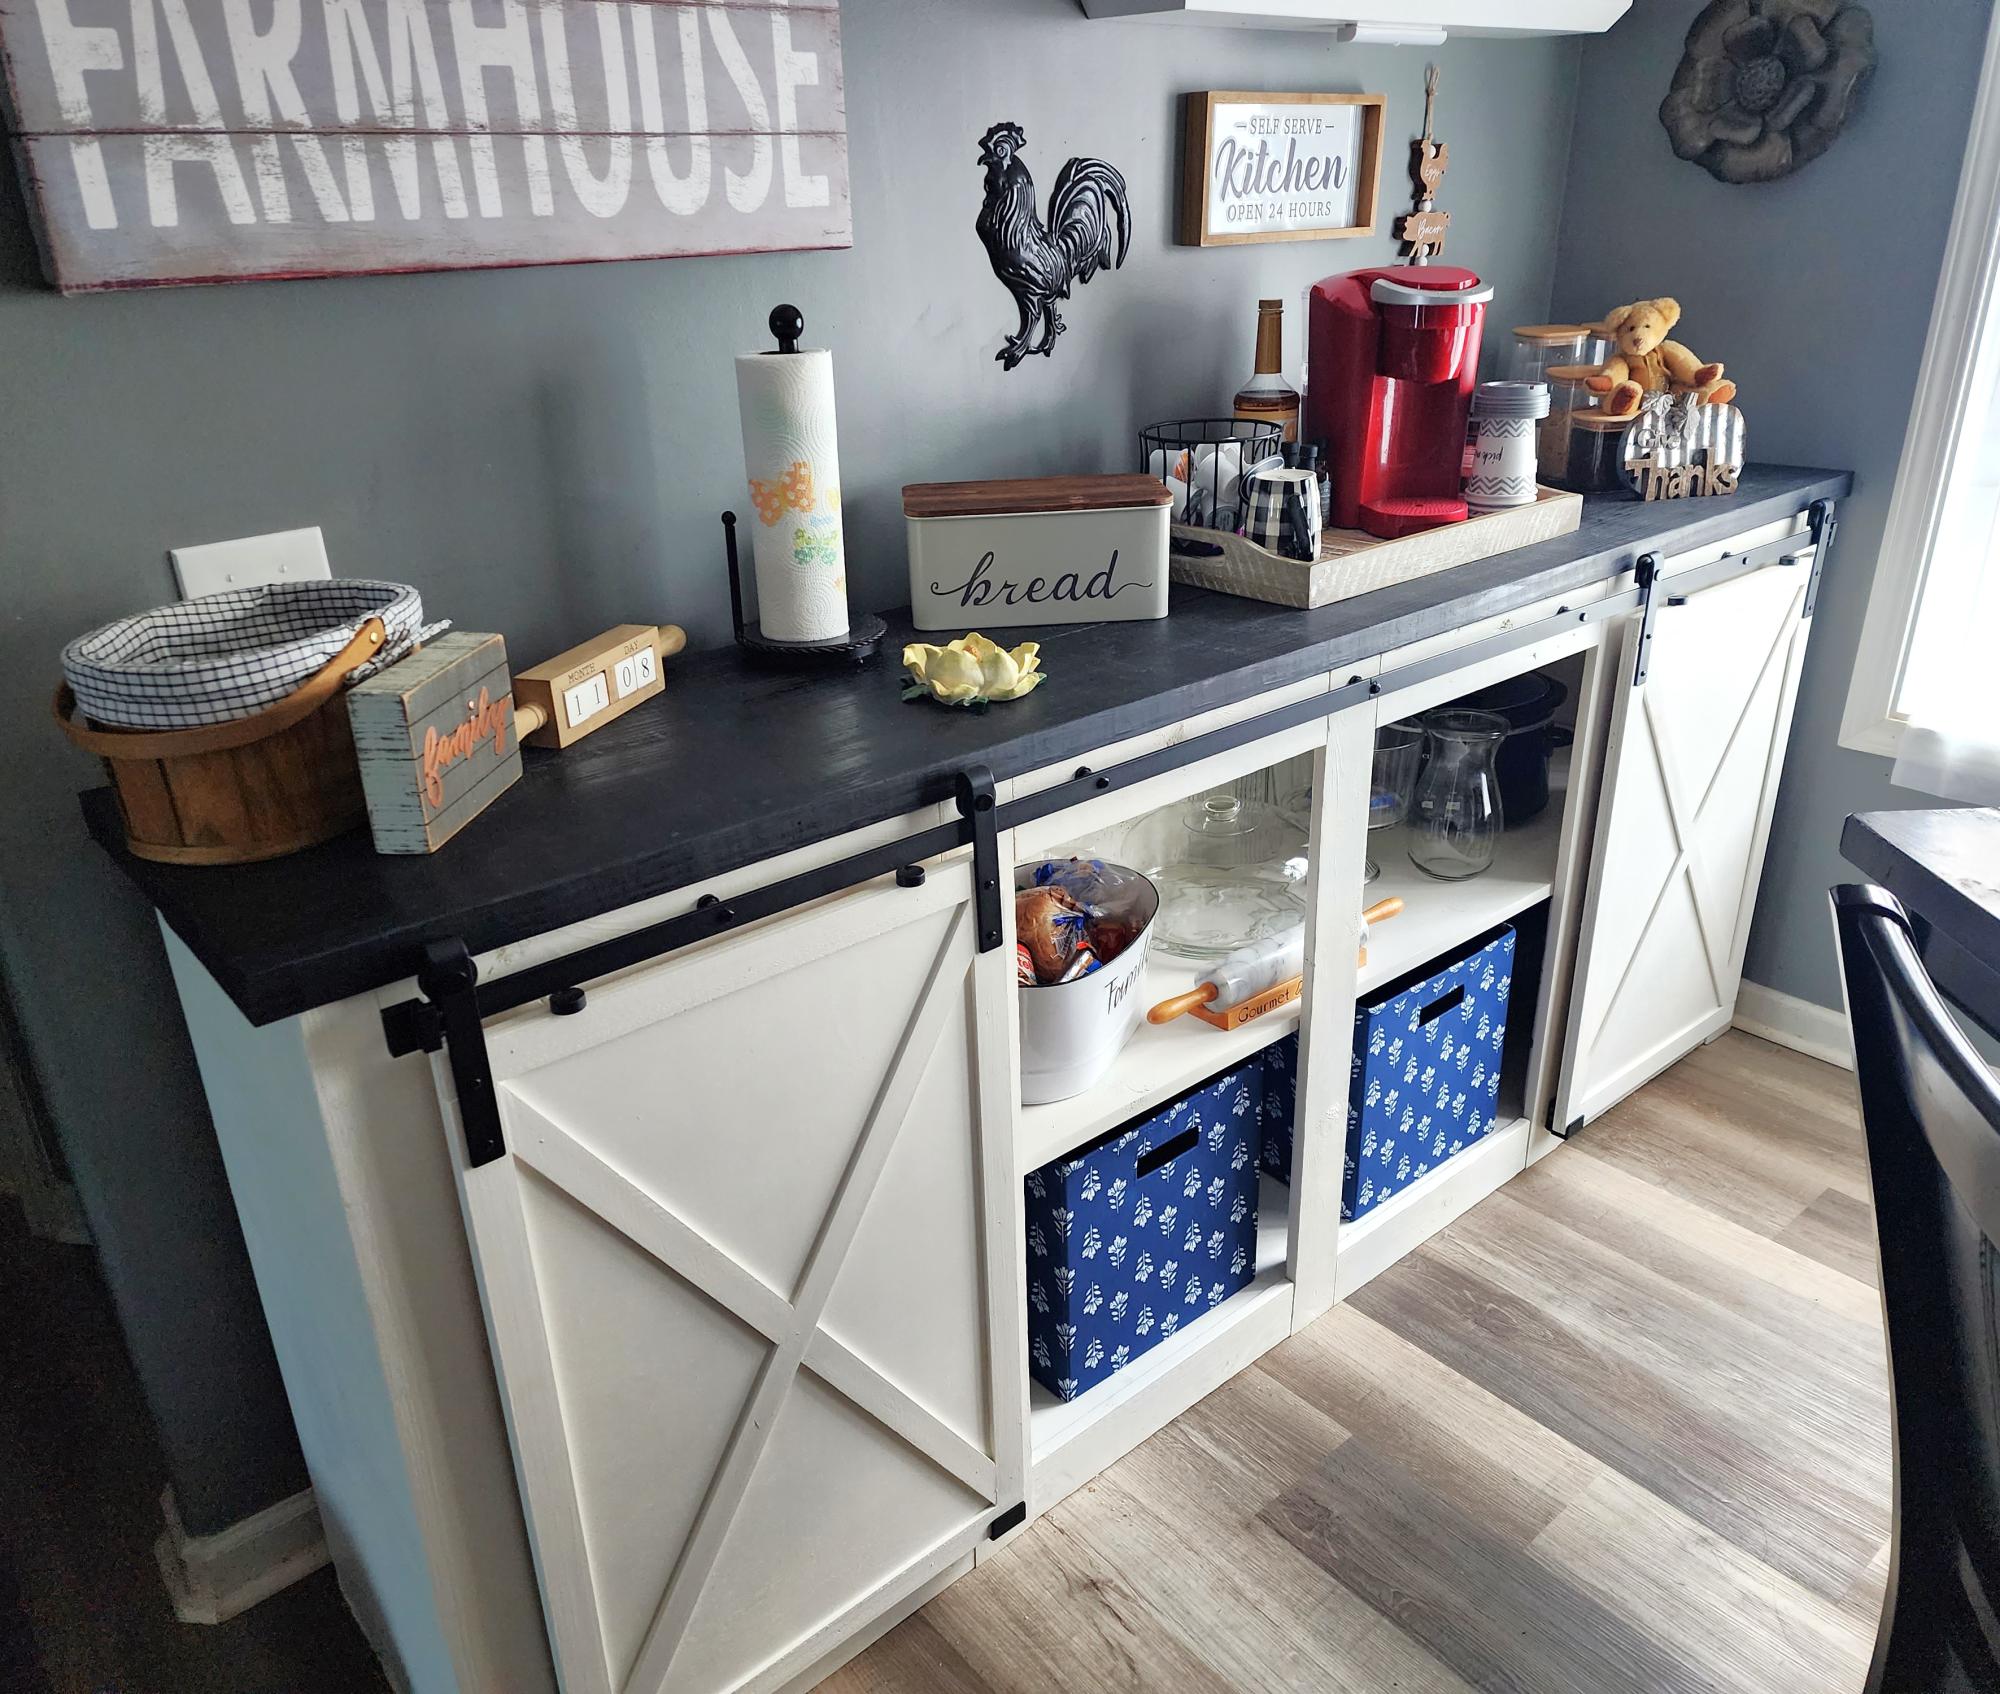
Coffe Bar Cabinet

Submitted by Anonymous (not verified) on Thu, 11/09/2023 - 11:45

Barn door console I turned into a coffee bar. Great storage space. Love the way it turned out.

Dee

Comments

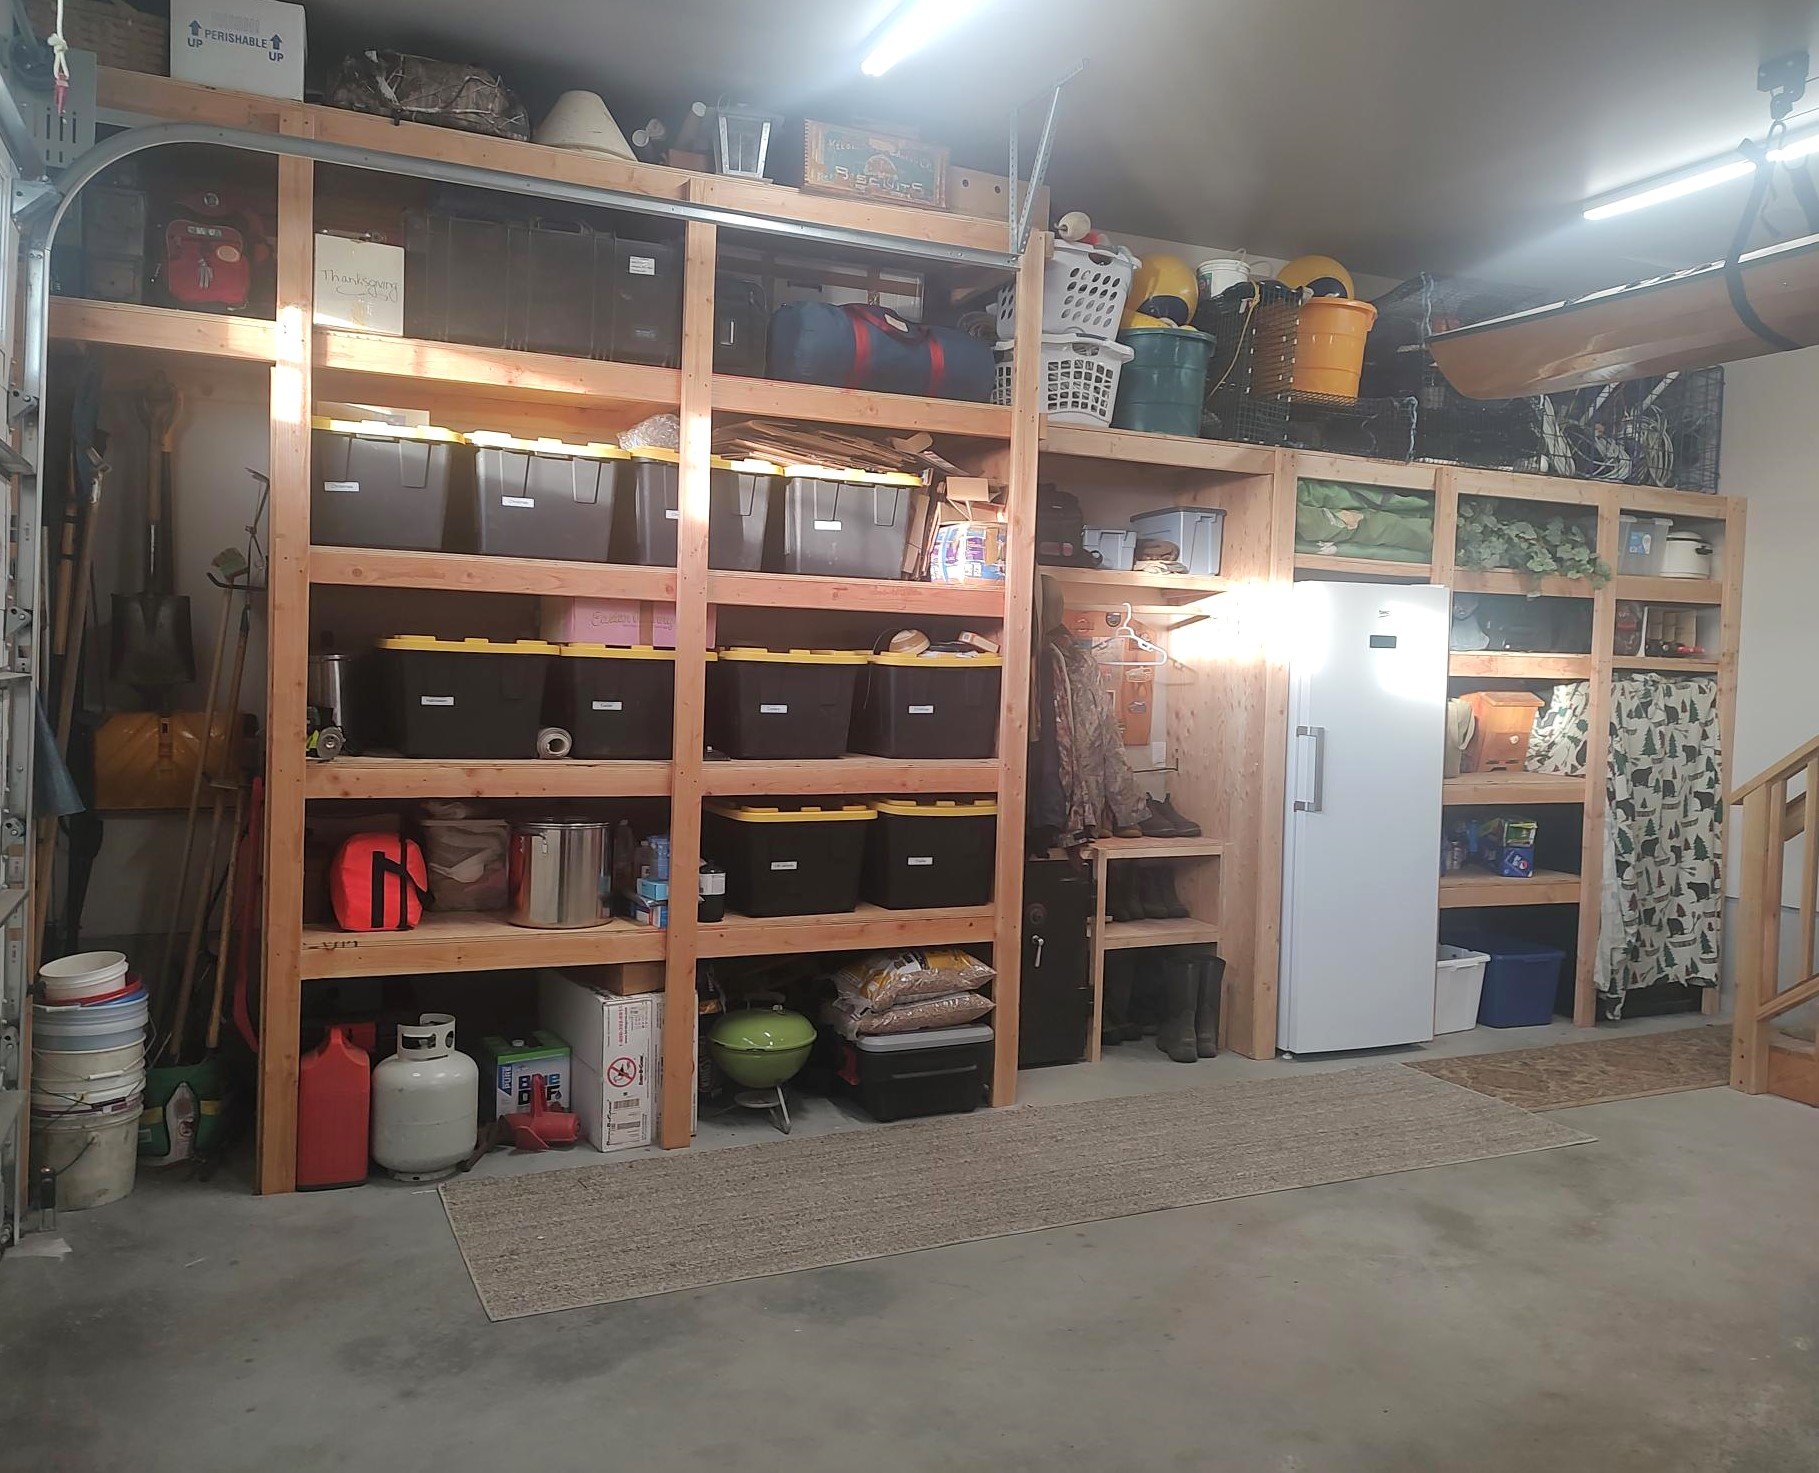
Custom Garage Shelves

Submitted by Anonymous (not verified) on Tue, 01/16/2024 - 17:19

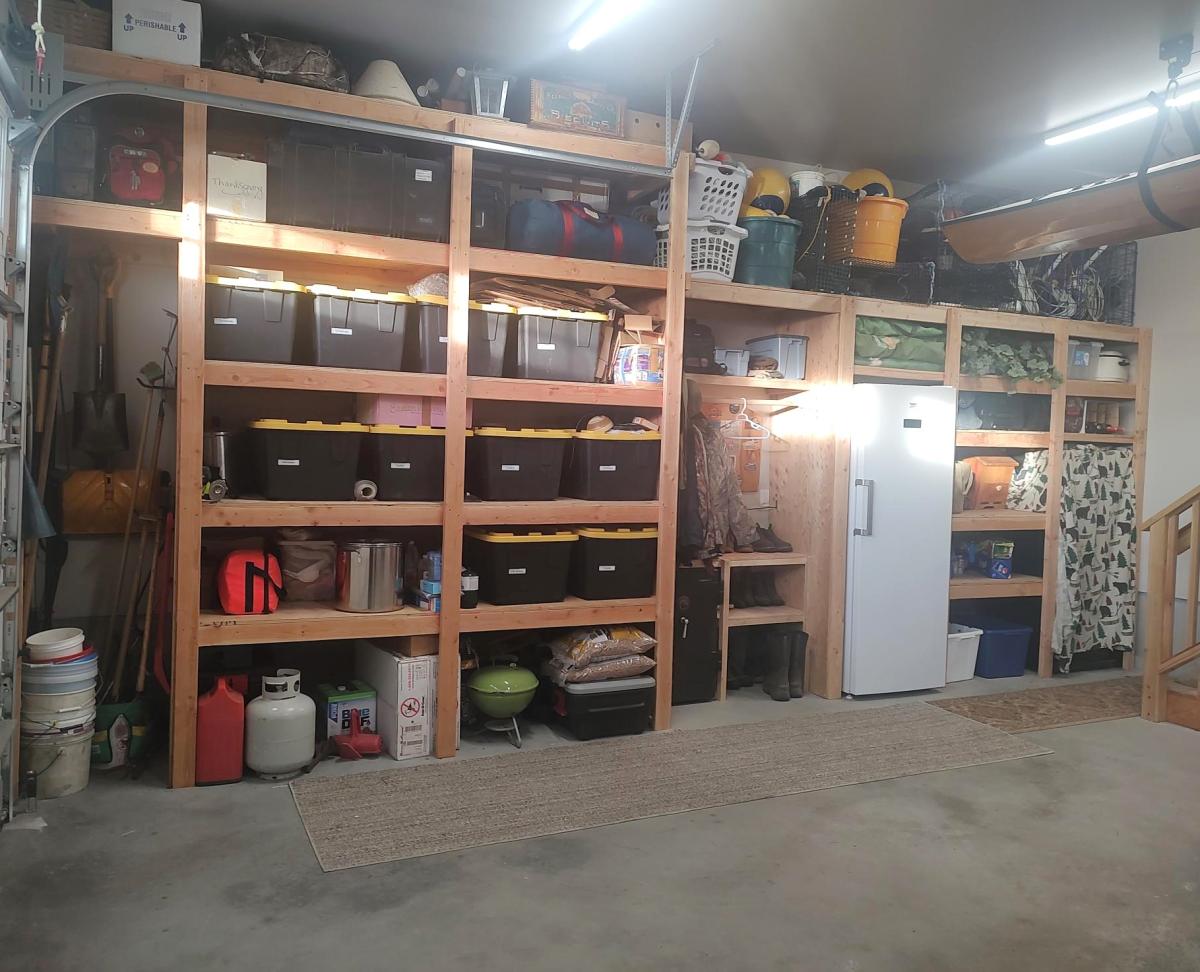
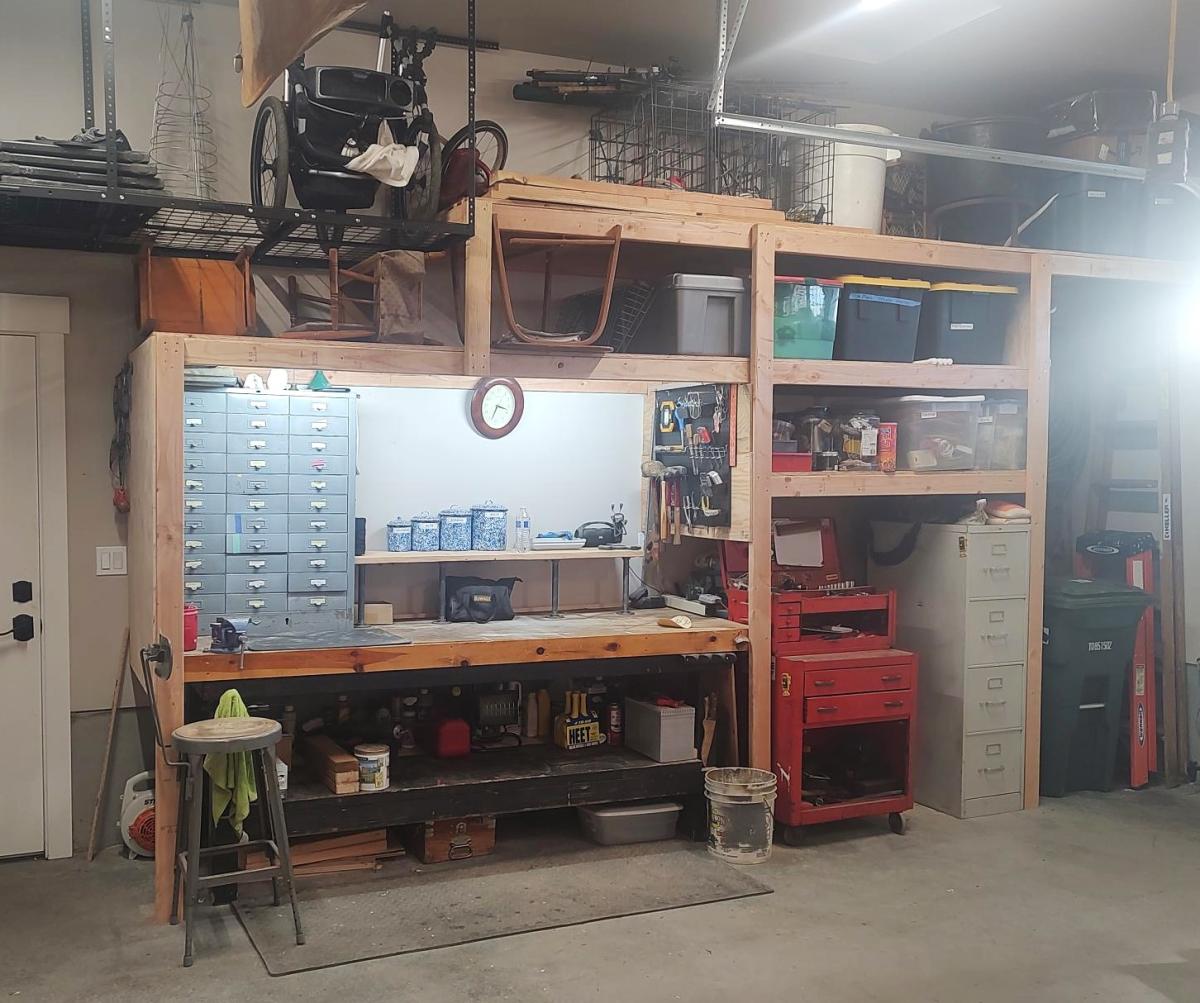
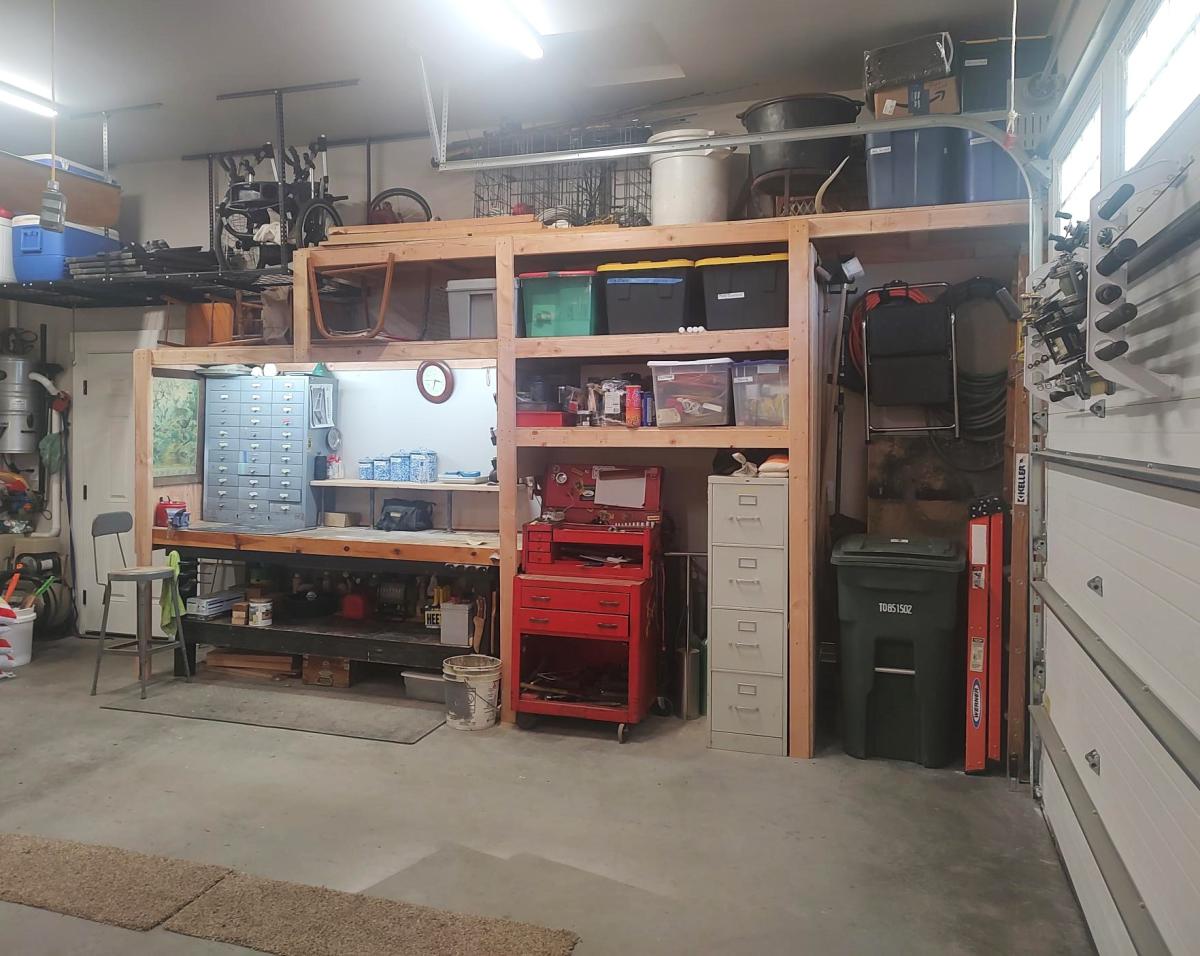
I just finished shelves on both sides of my garage using your video.  I built a coat rack and boot rack.  I also made space for tall items like tools and ladders near the garage door.  I had to also build in a gun safe, freezer and my work bench.  Everything came together and now I have everything in bins on shelves. 

Gary Hoffman

Kids Tree Fort

Submitted by Anonymous (not verified) on Sun, 05/31/2020 - 09:27

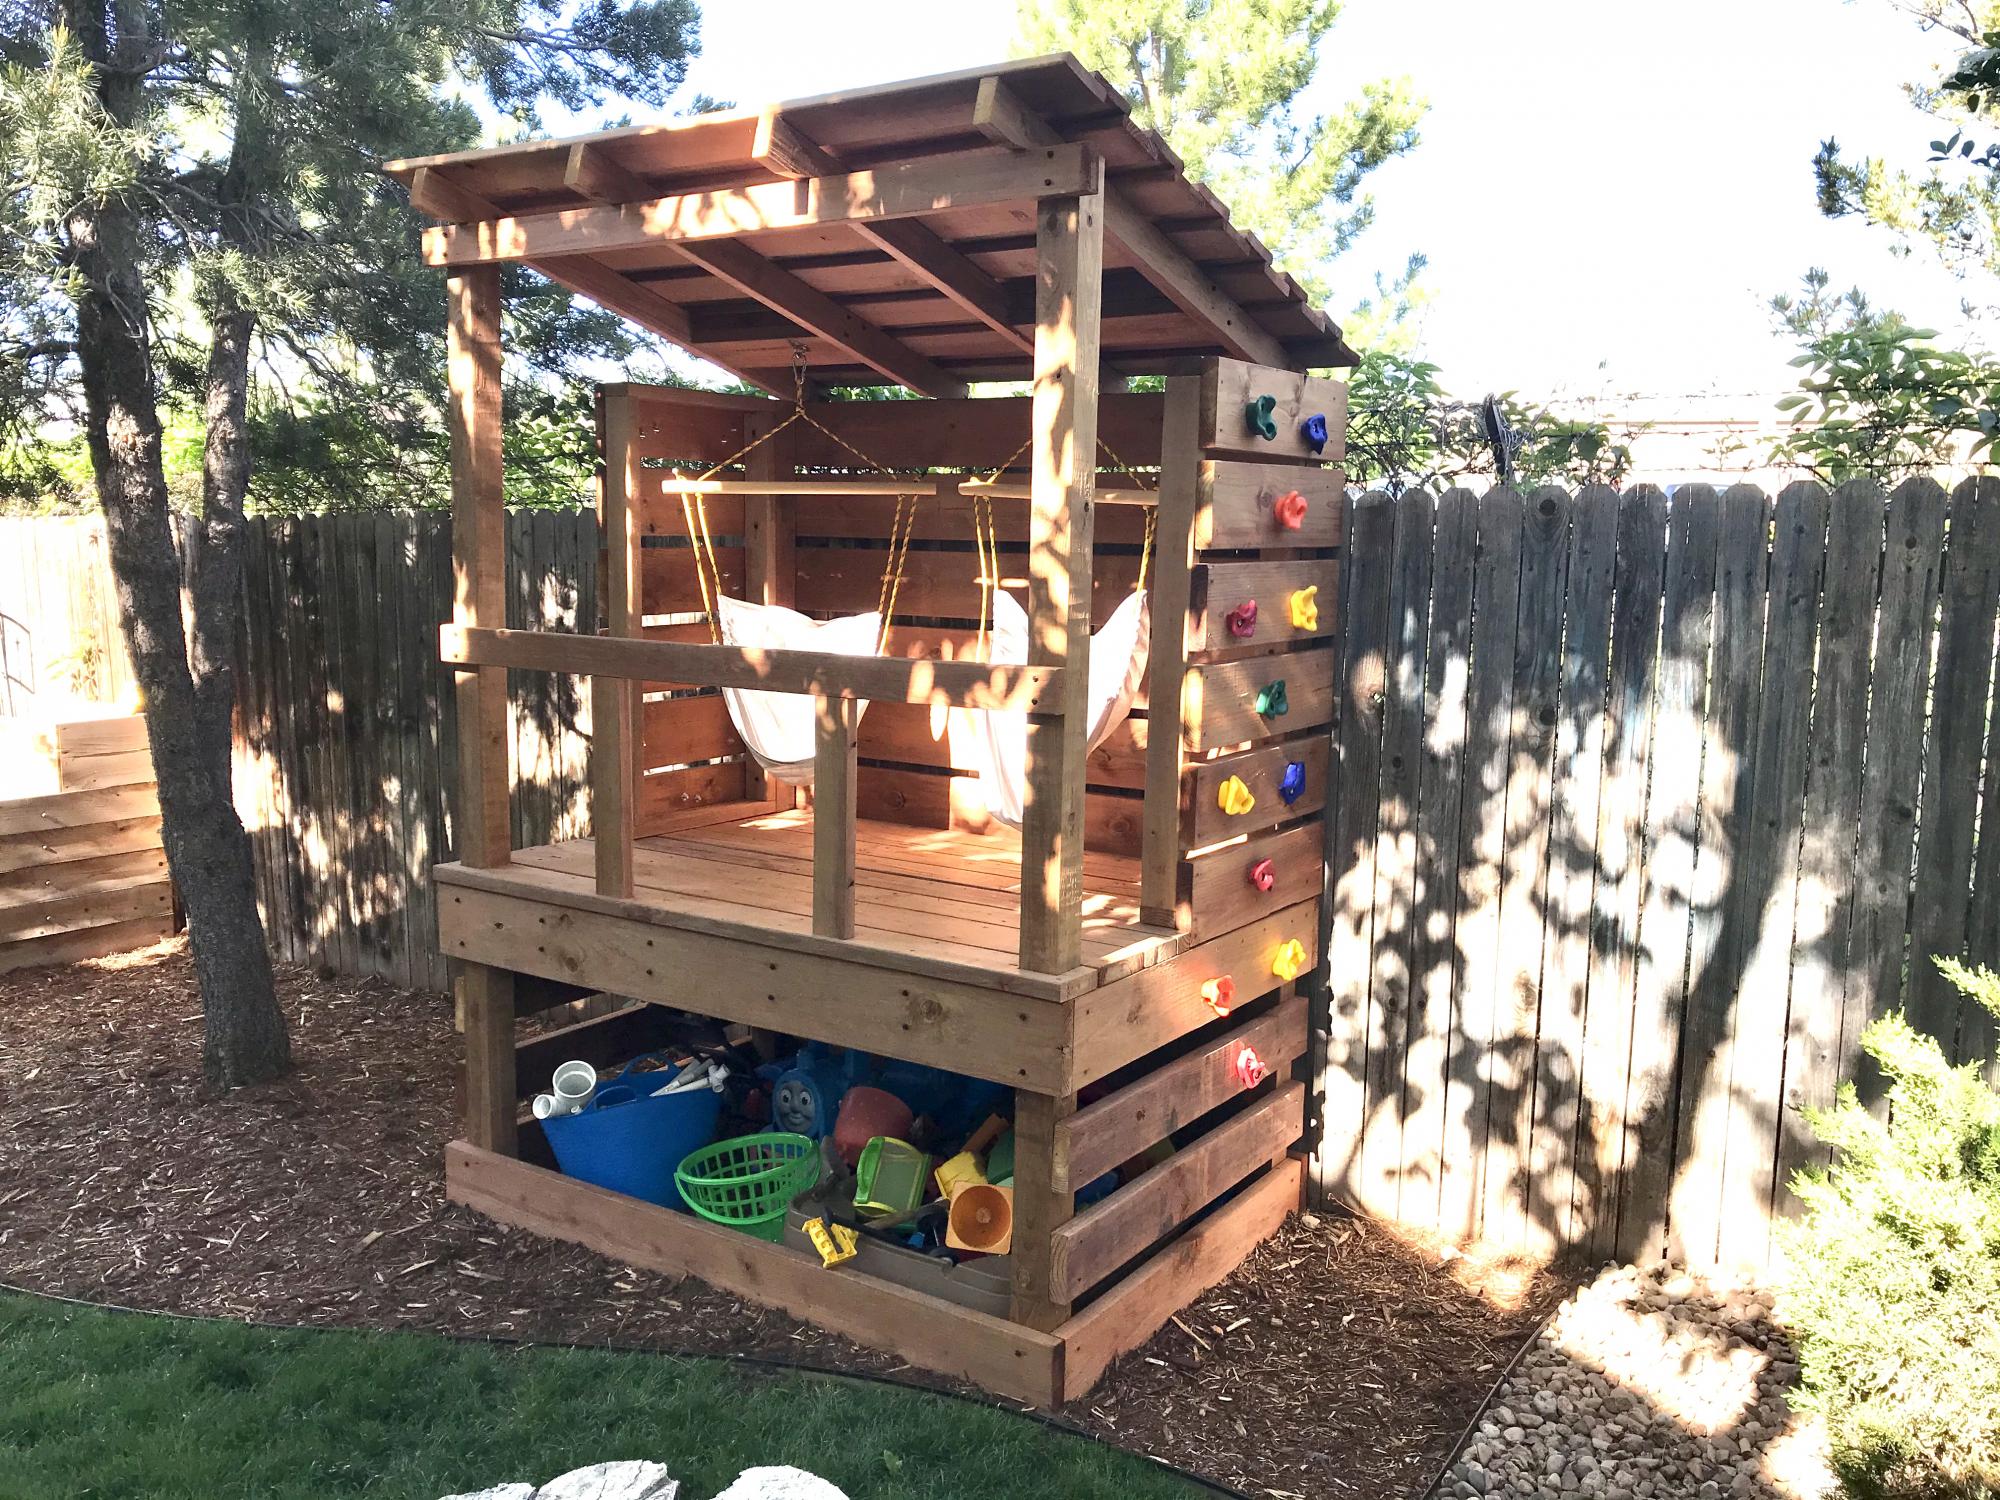
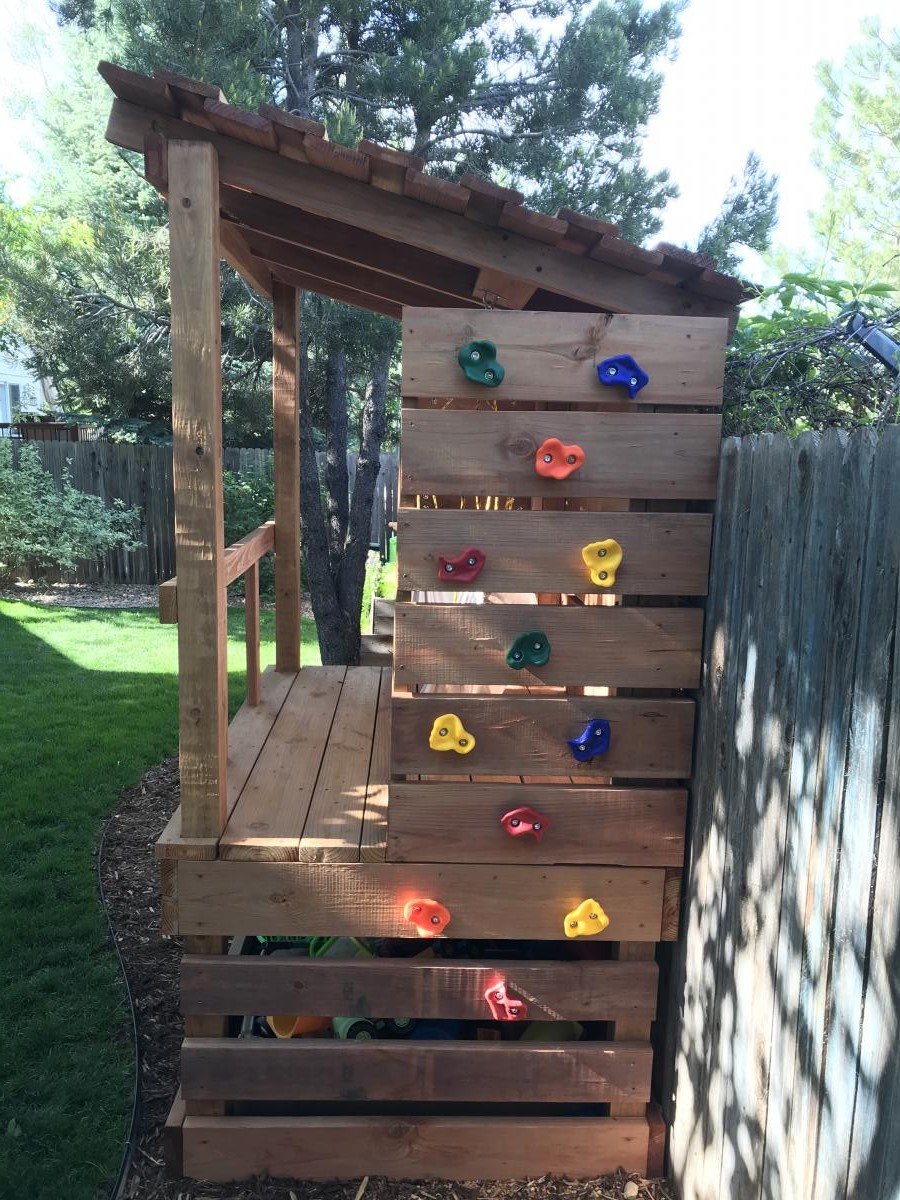
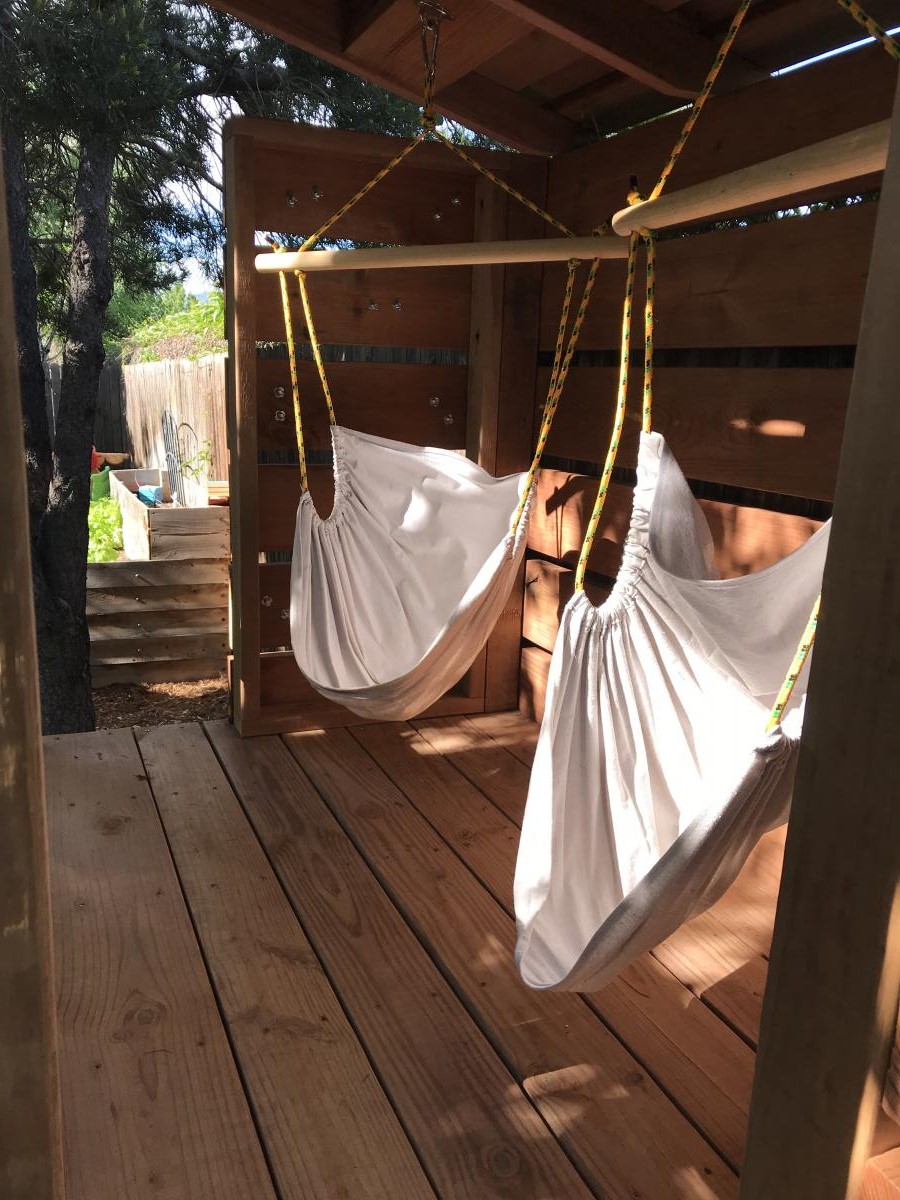
Built a fort for the boys with two climbing walls, a spot for their toys, and added some hammock swings

Estimated Cost
~$600
Estimated Time Investment
Week Long Project (20 Hours or More)
Finish Used
No stain, left natural
Recommended Skill Level
Advanced

Simple Outdoor Bench

Submitted by coolove on Sat, 05/24/2014 - 21:24

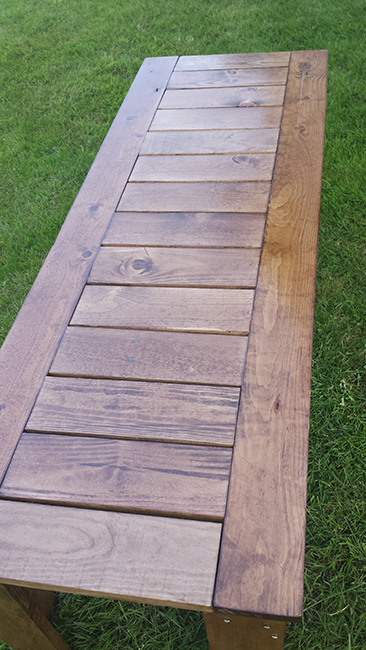
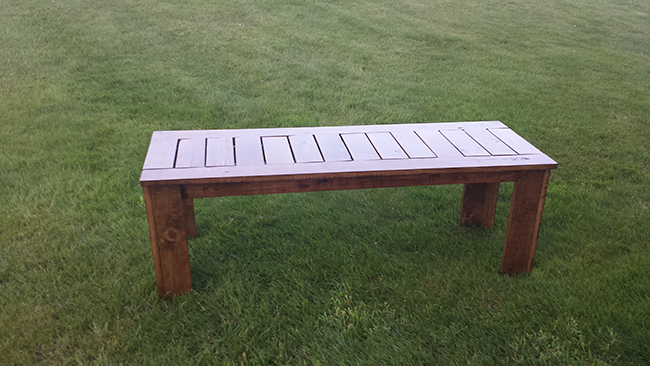
I wanted to make something for my mom so she could have a place to grow her herbs this year on the balcony for easier access instead of planting in the backyard. The project was stretched over a few days. Cutting on day one, sanding on day two, painting on day three and drilling and putting it together on day four.

With the exception of the legs, the entire bench was put together using the Kreg Jig mini. I added extra 1x4s to the legs. Though, next time I will change to either 2x4s or 4x4s for extra stability when sitting. I really love how it turned out. I almost don't want to put it outside.

Built from Plan(s)
Estimated Cost
$30 for wood
Estimated Time Investment
Weekend Project (10-20 Hours)
Finish Used
Varathane Dark Walnut and Cabot Semi-gloss Spar Varnish. The finish had been sitting in my garage unmixed for a few months. It came out a lighter color then I expected but I love the outcome.
Recommended Skill Level
Beginner

Comments

lbadger

Wed, 11/25/2015 - 16:28

I love how your bench came out! I am looking at doing something similar - two in sectional arrangement to use as project/work space seating and convert to spillover sleeping area (the table will lower to bench height). I have a question about stability.Even with the additioanl 1x4 are you finding this bench not very stable?

thanks!

Planters

Submitted by Anonymous (not verified) on Mon, 10/26/2020 - 08:30

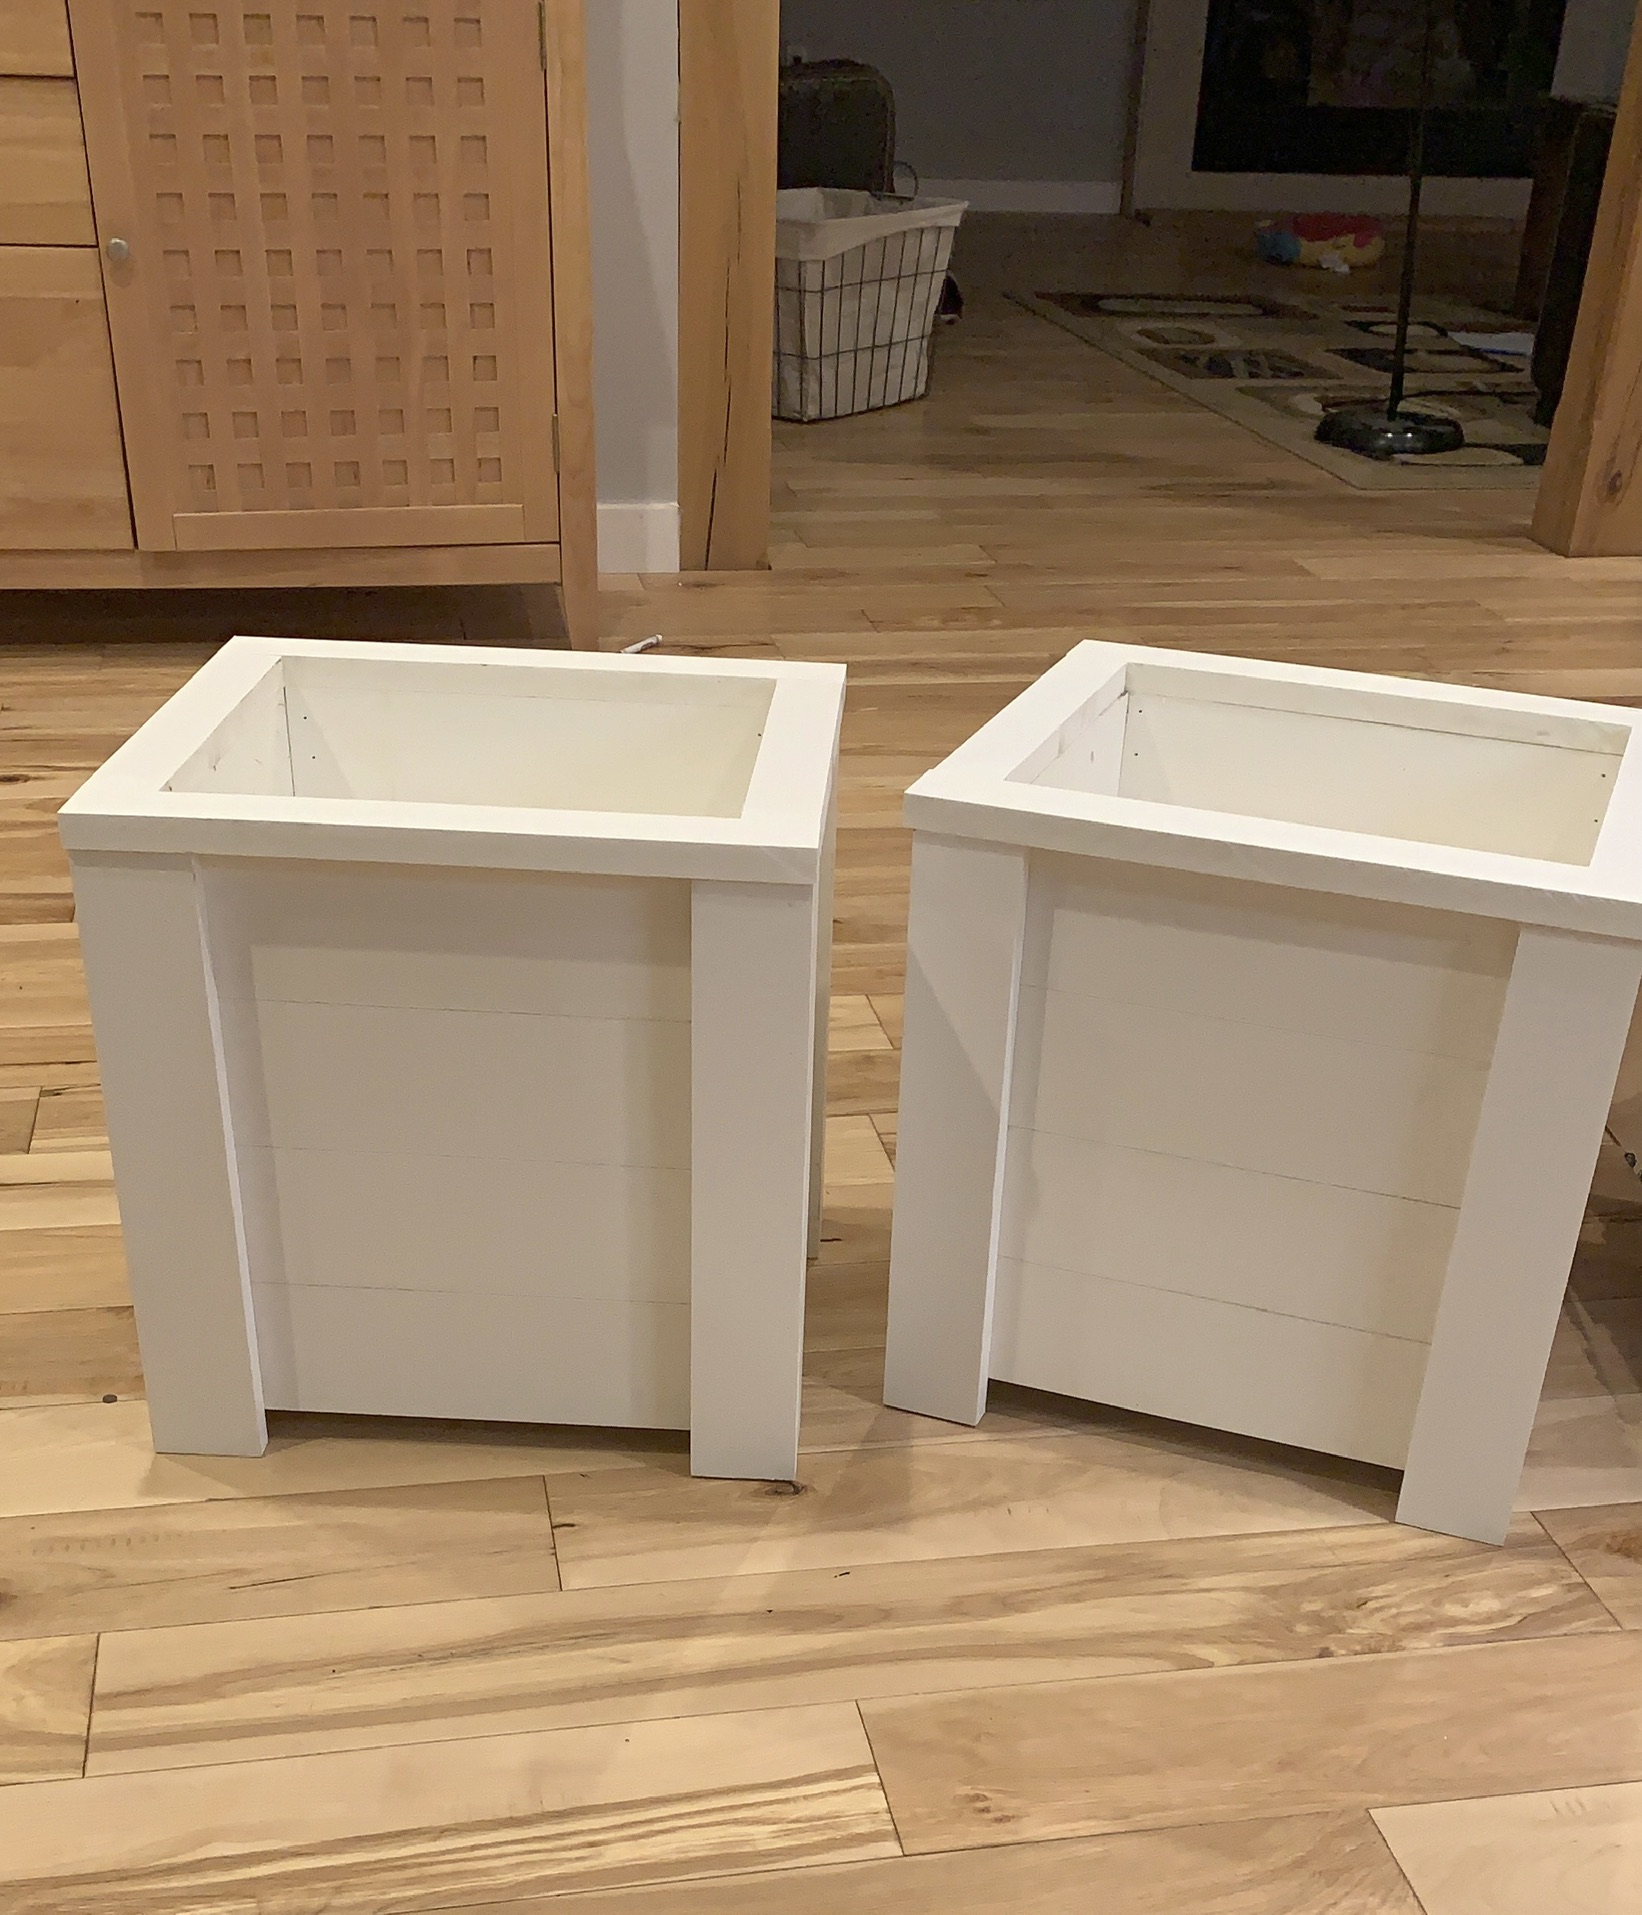
Just made these last night! So quick and easy, thank you so much! You are so inspiring!

Built from Plan(s)
Estimated Time Investment
An Hour or Two (0-2 Hours)
Recommended Skill Level
Starter Project

Comments