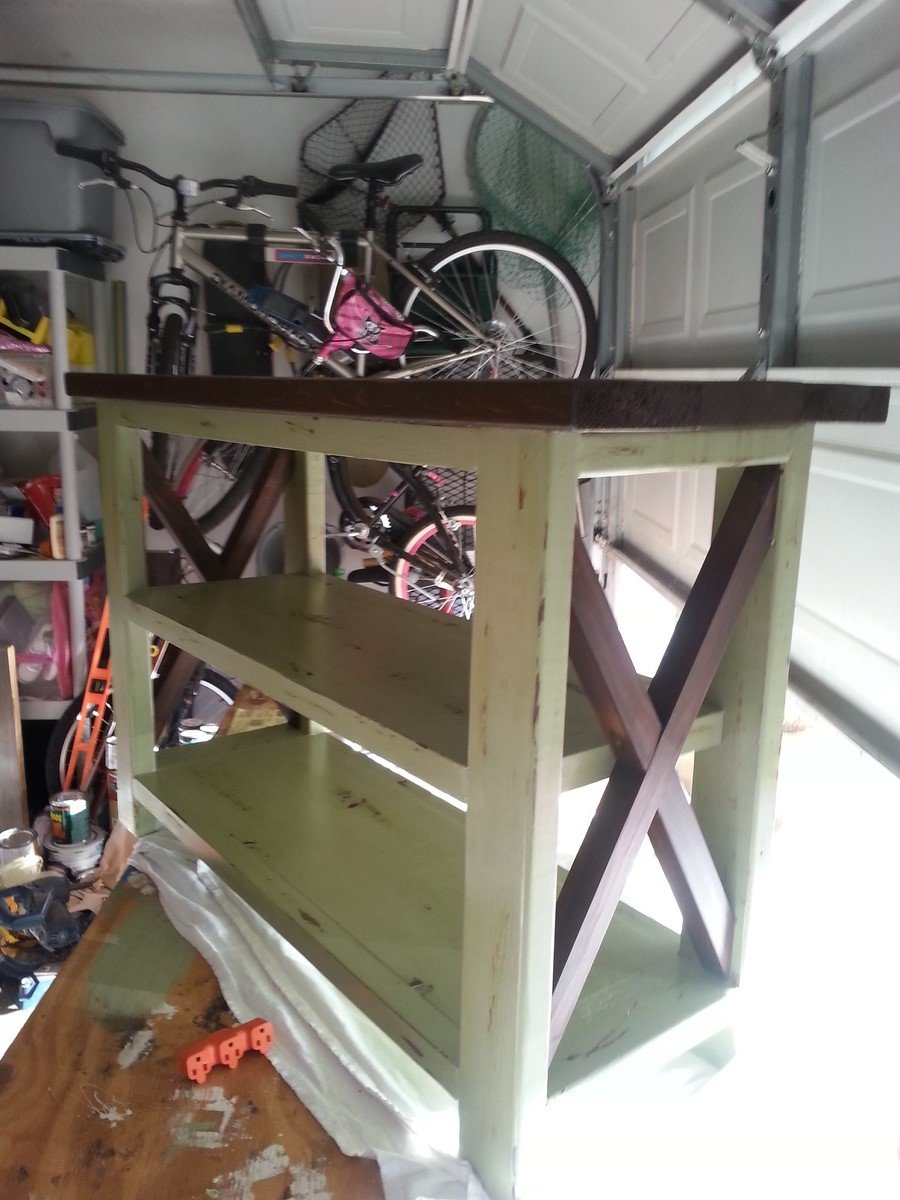
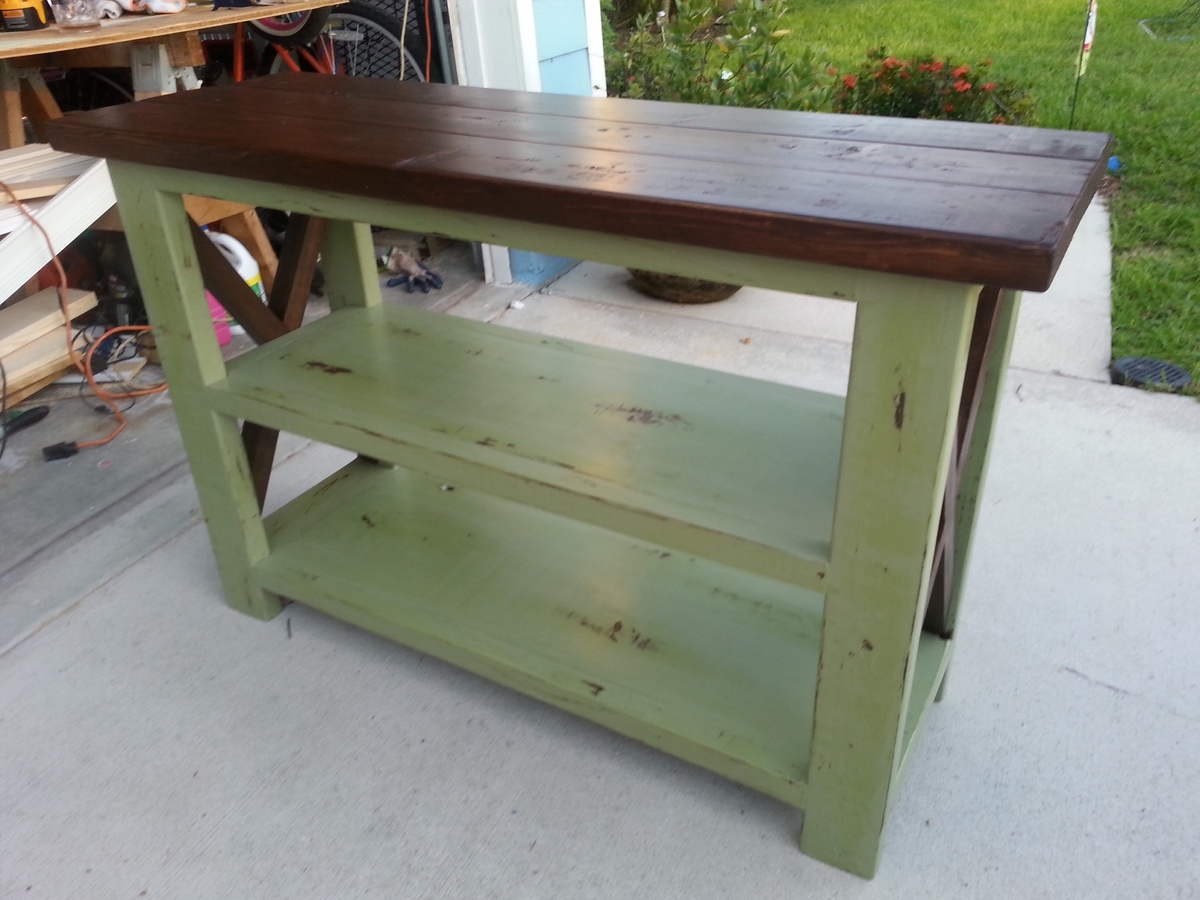
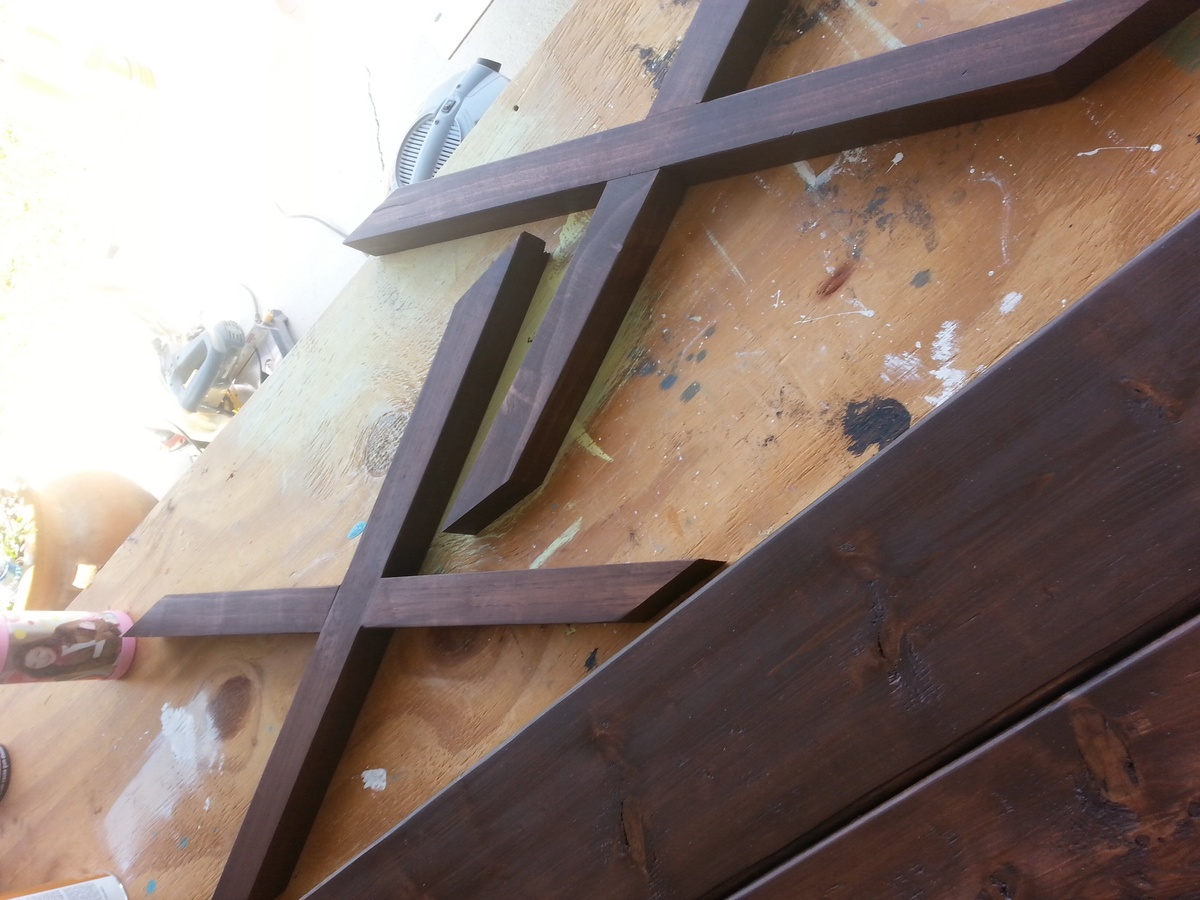
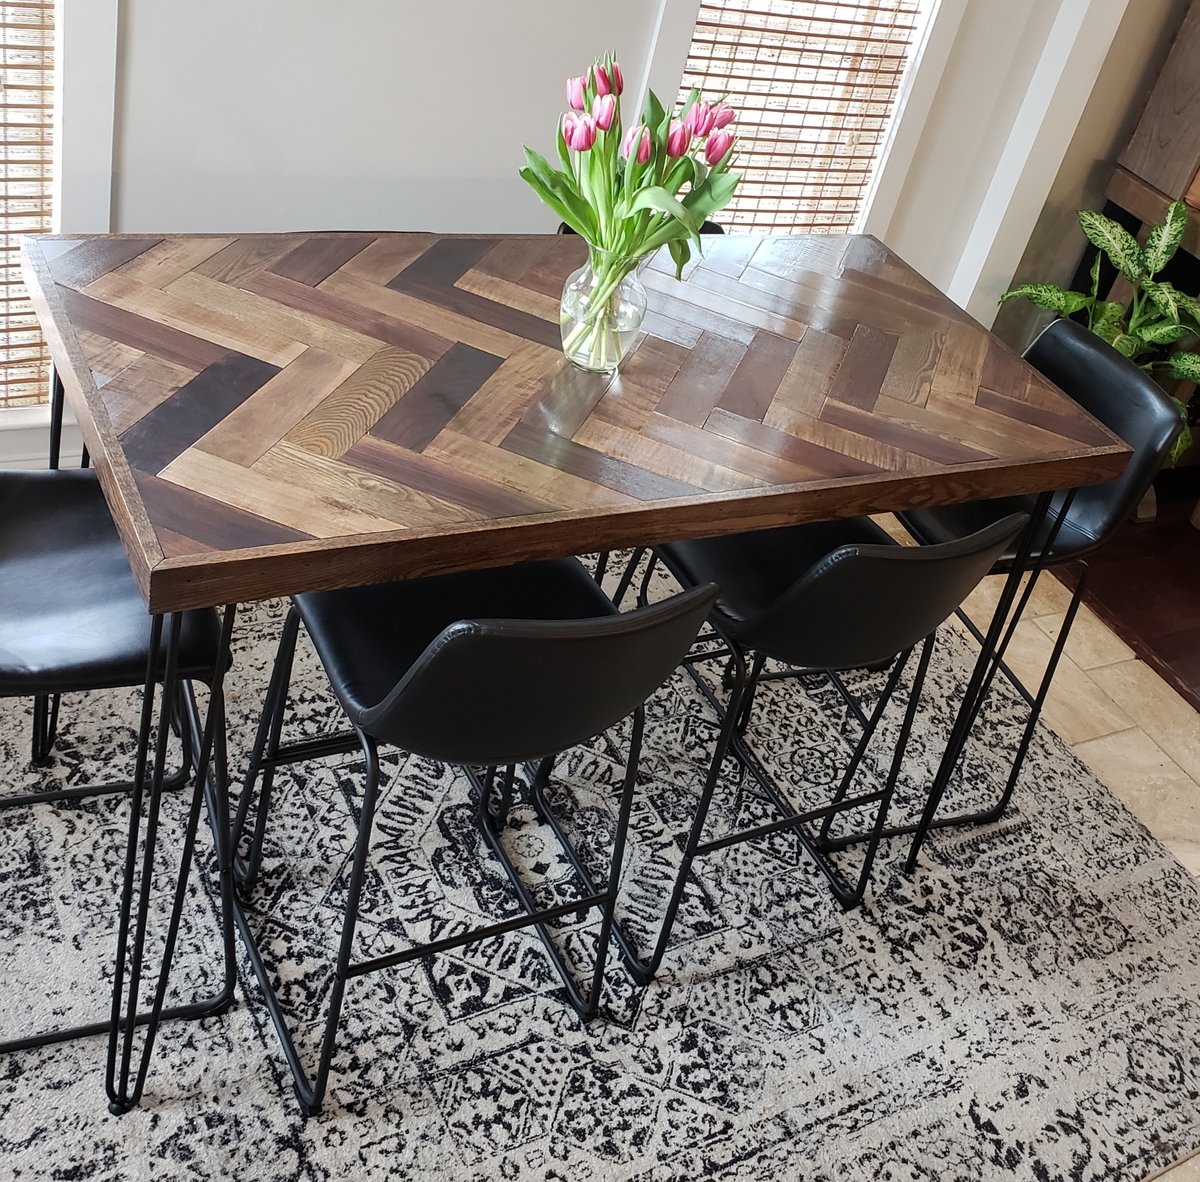
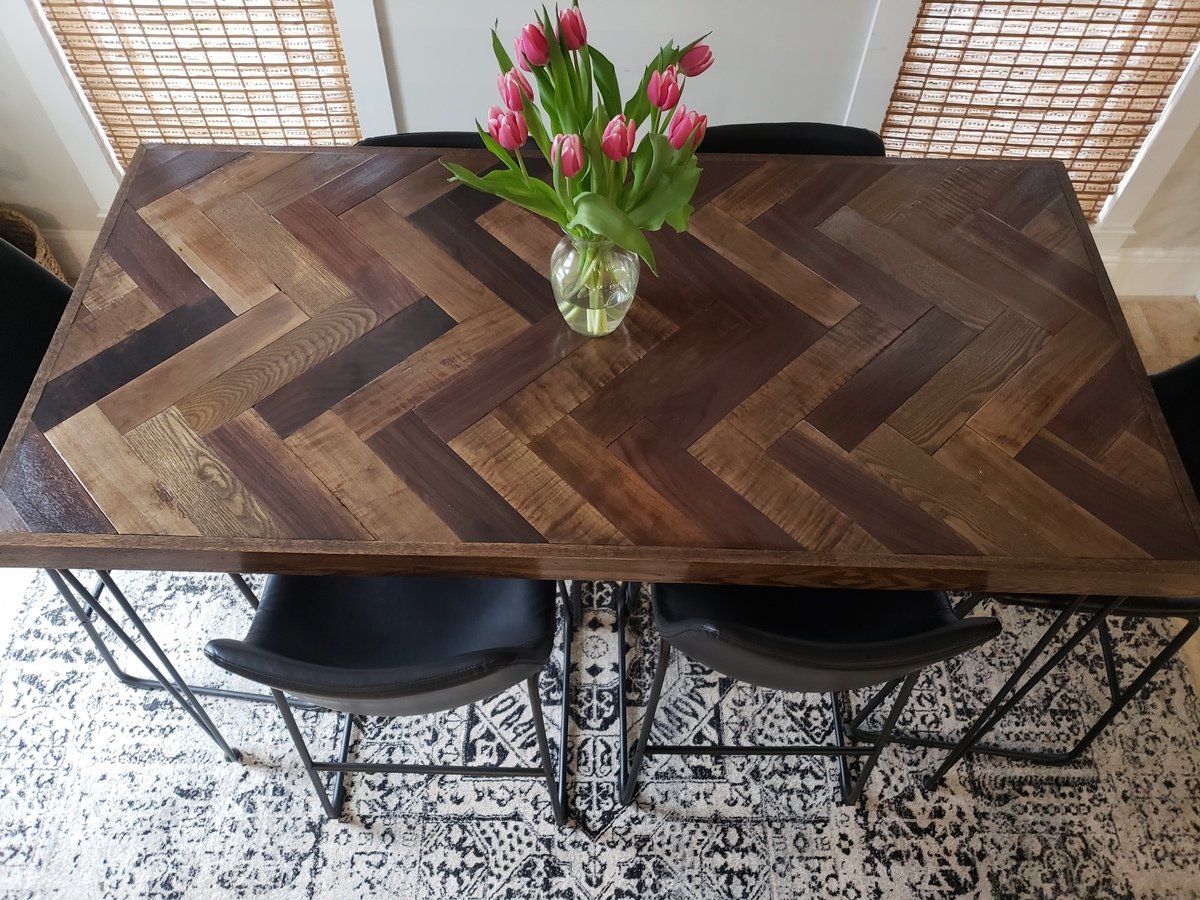
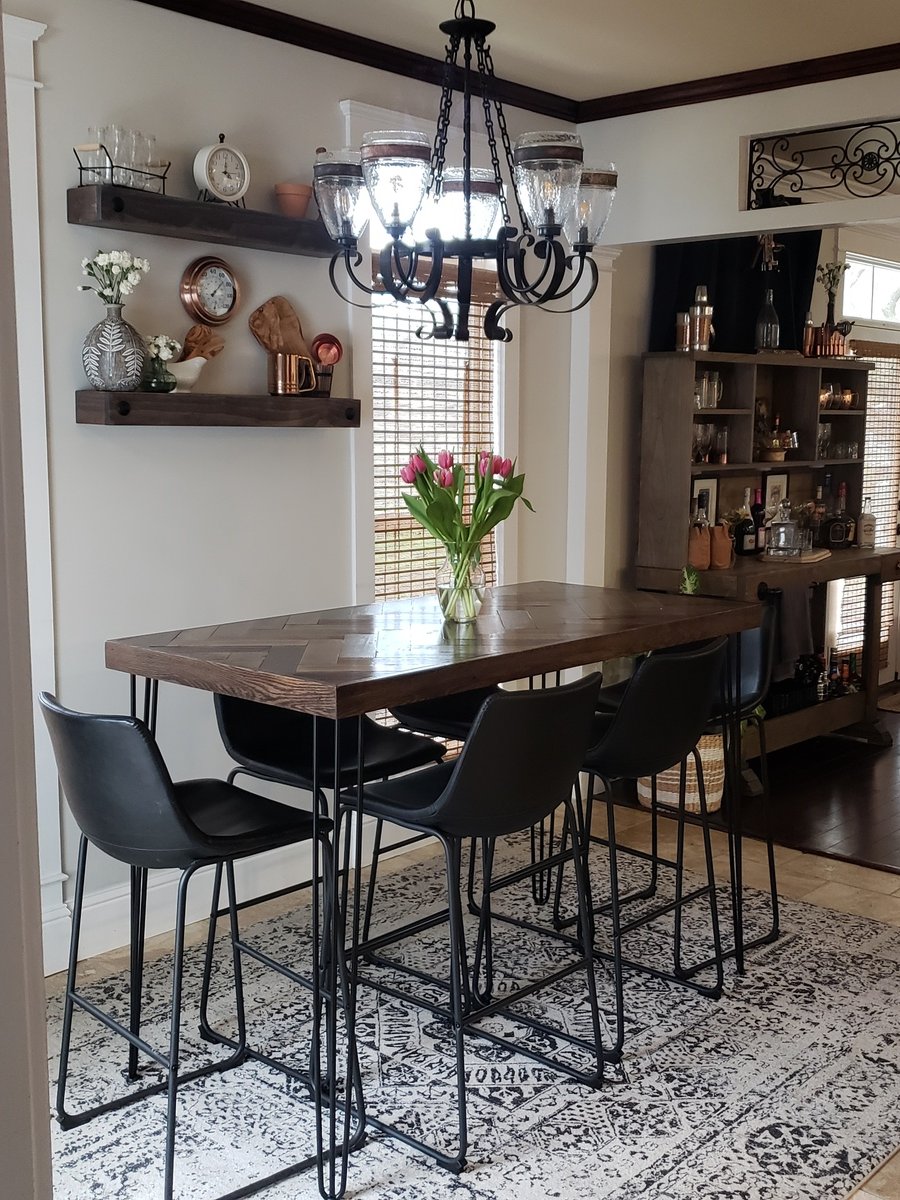
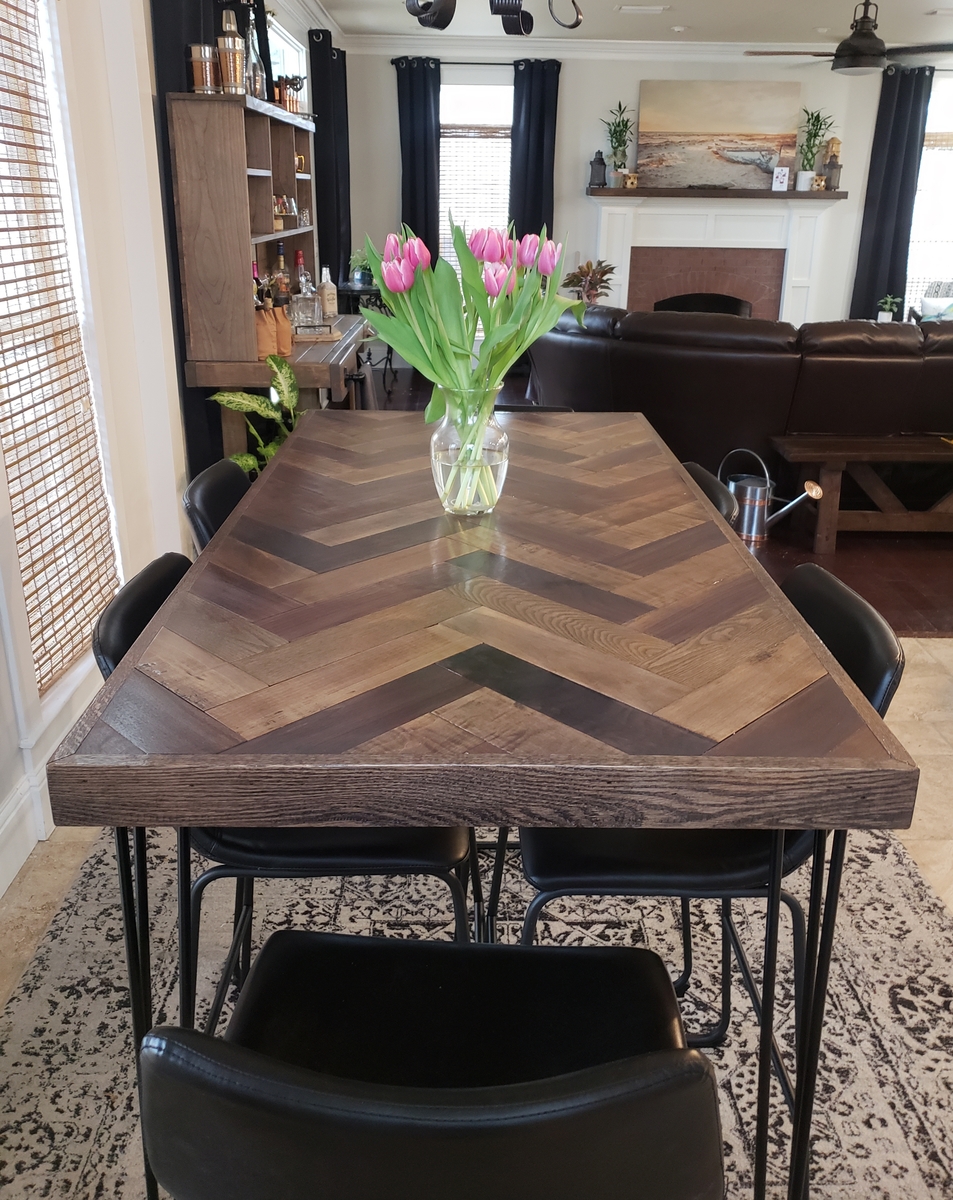
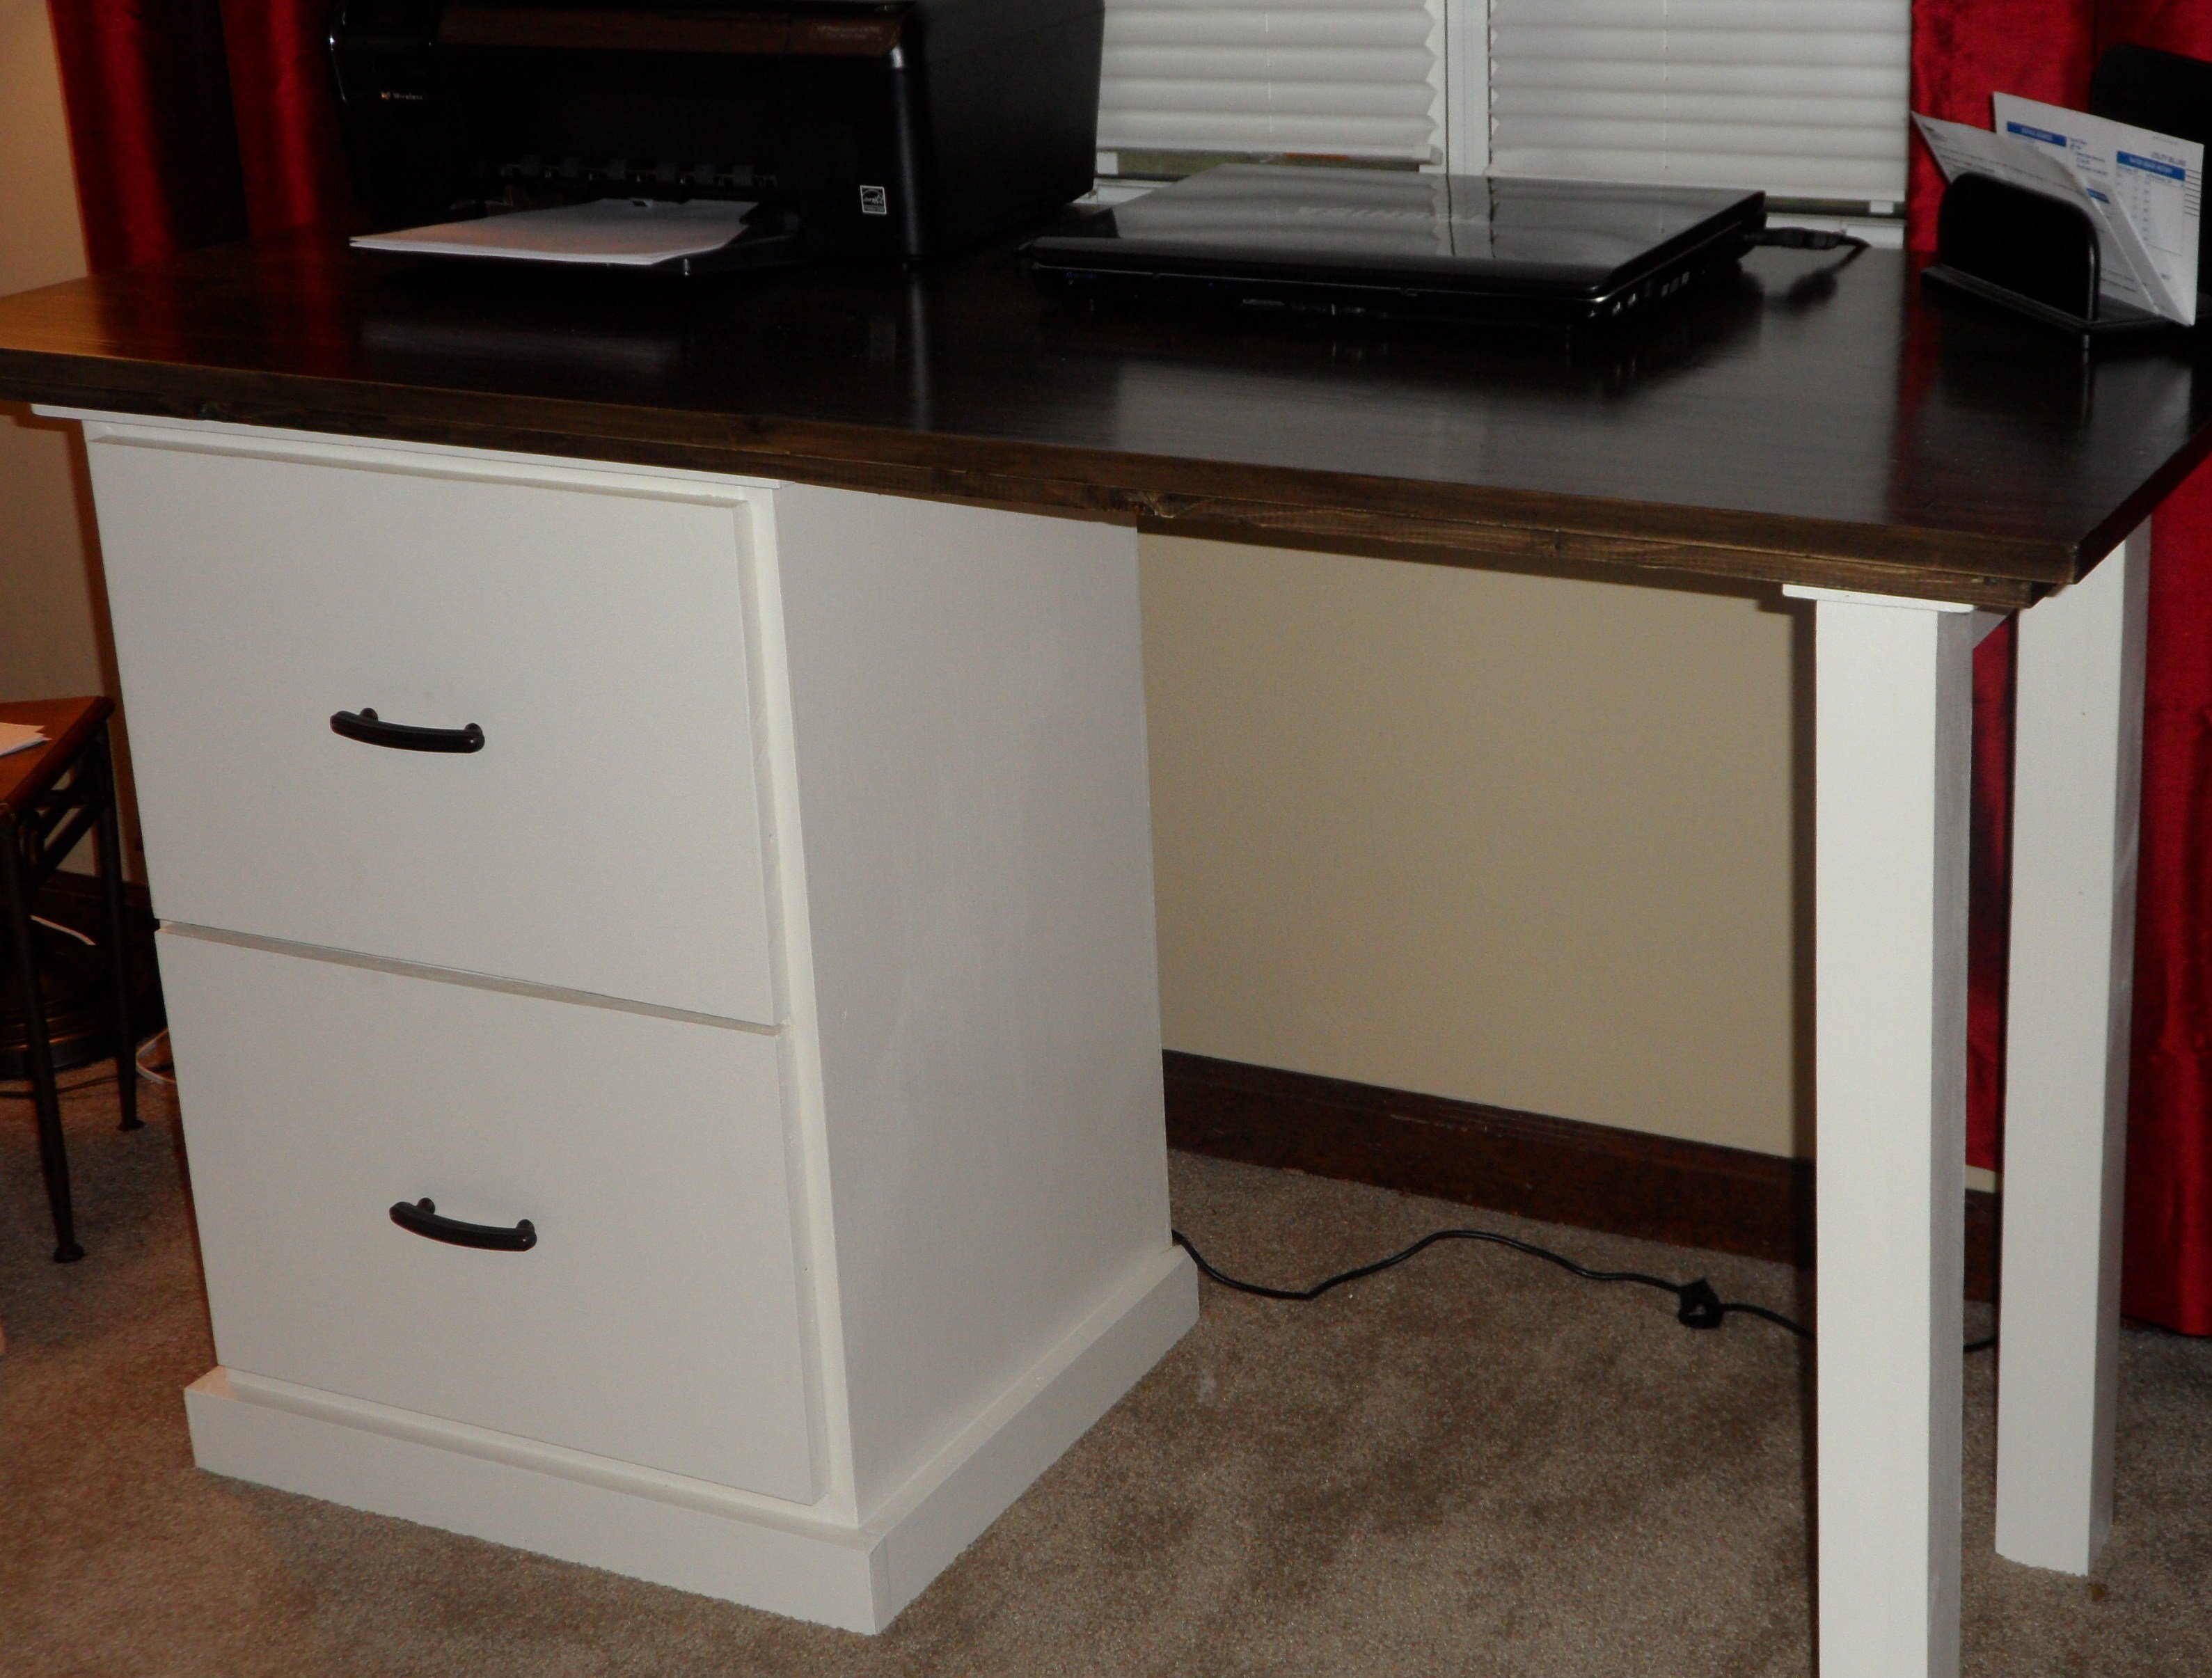
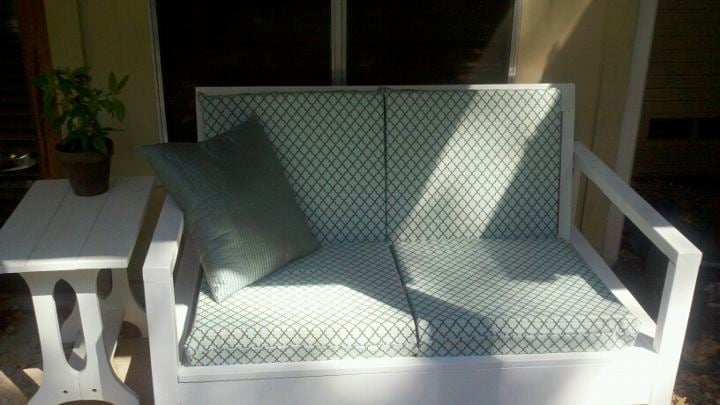
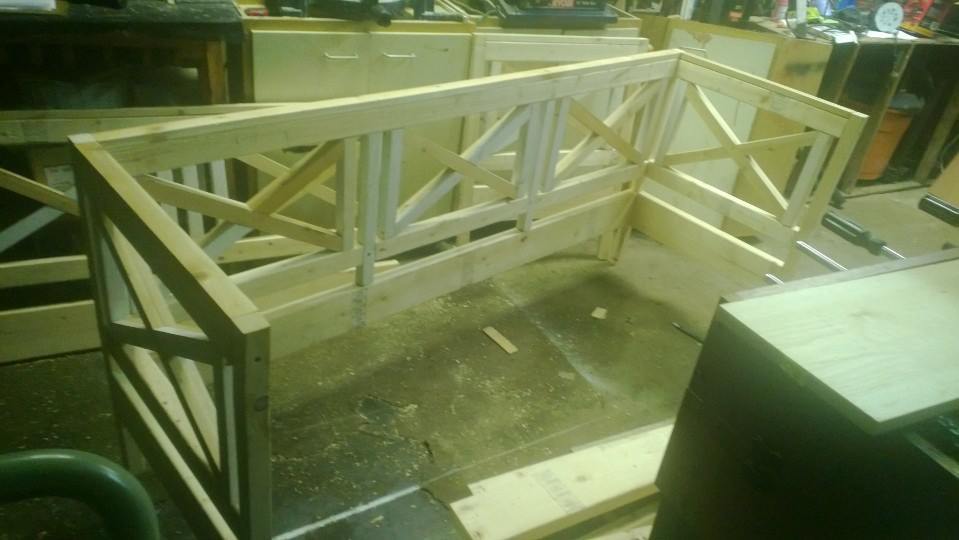
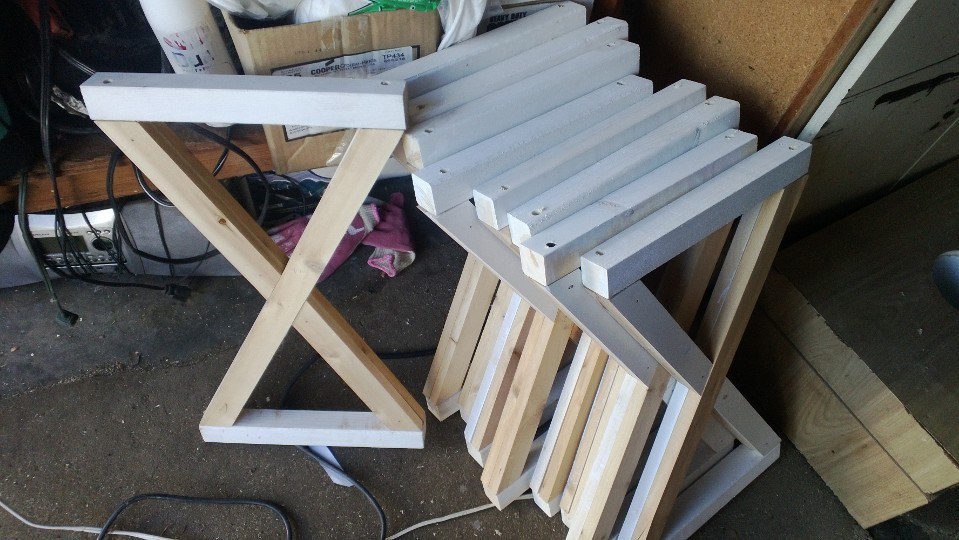
My Farmhouse Dining Table
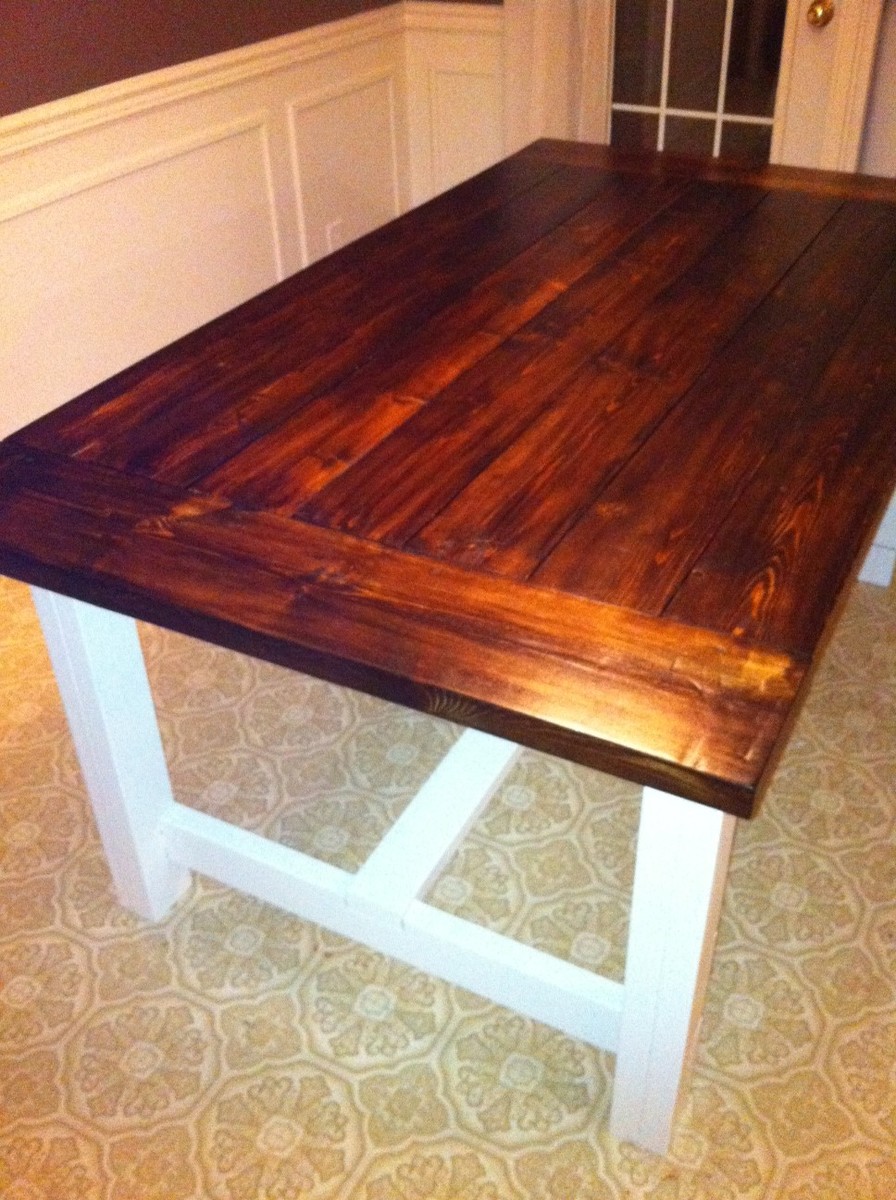
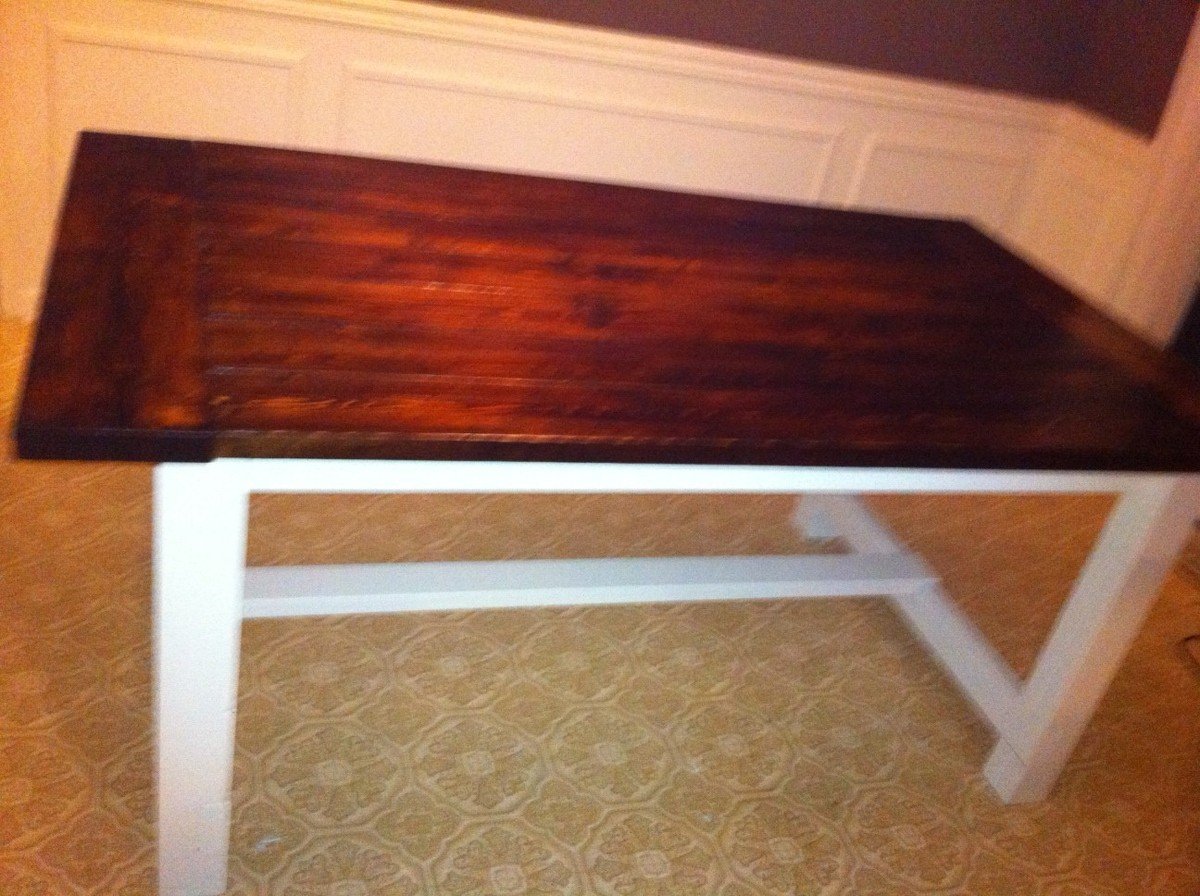
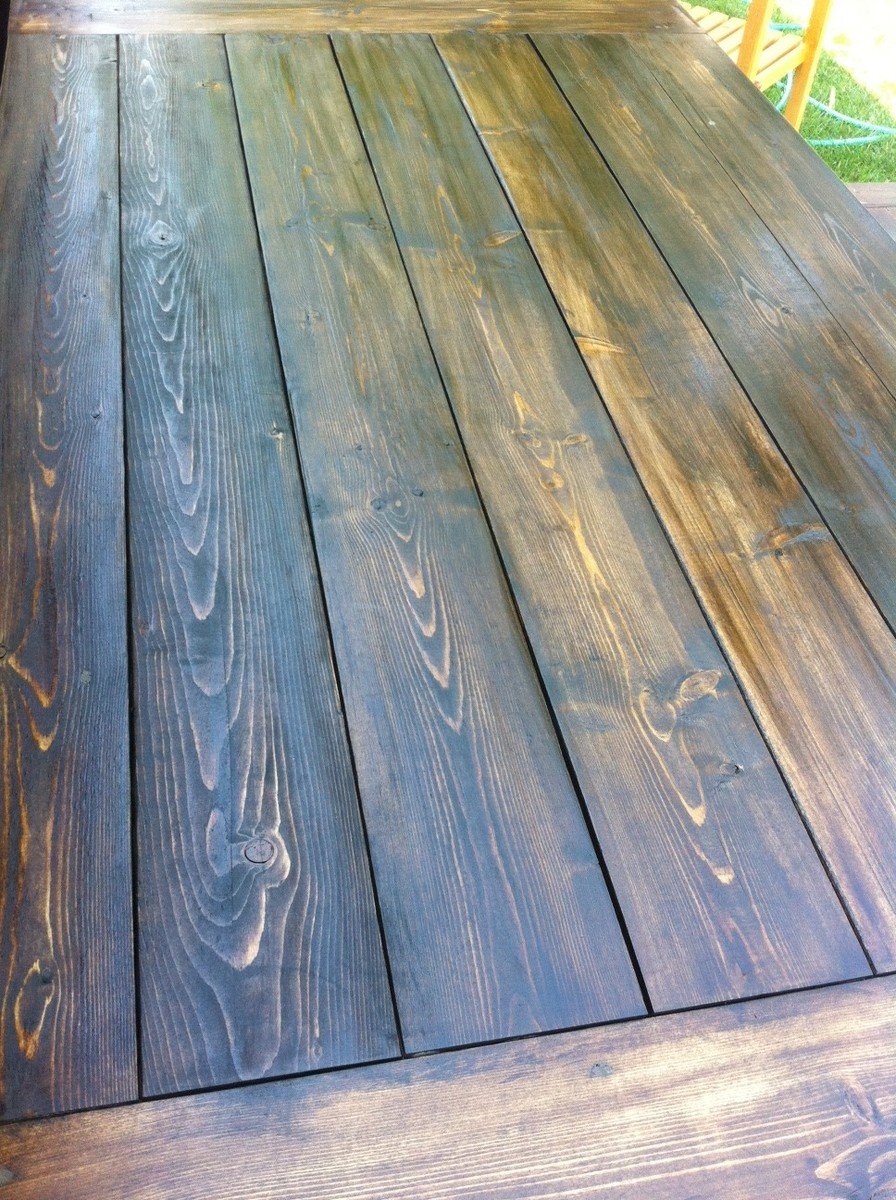
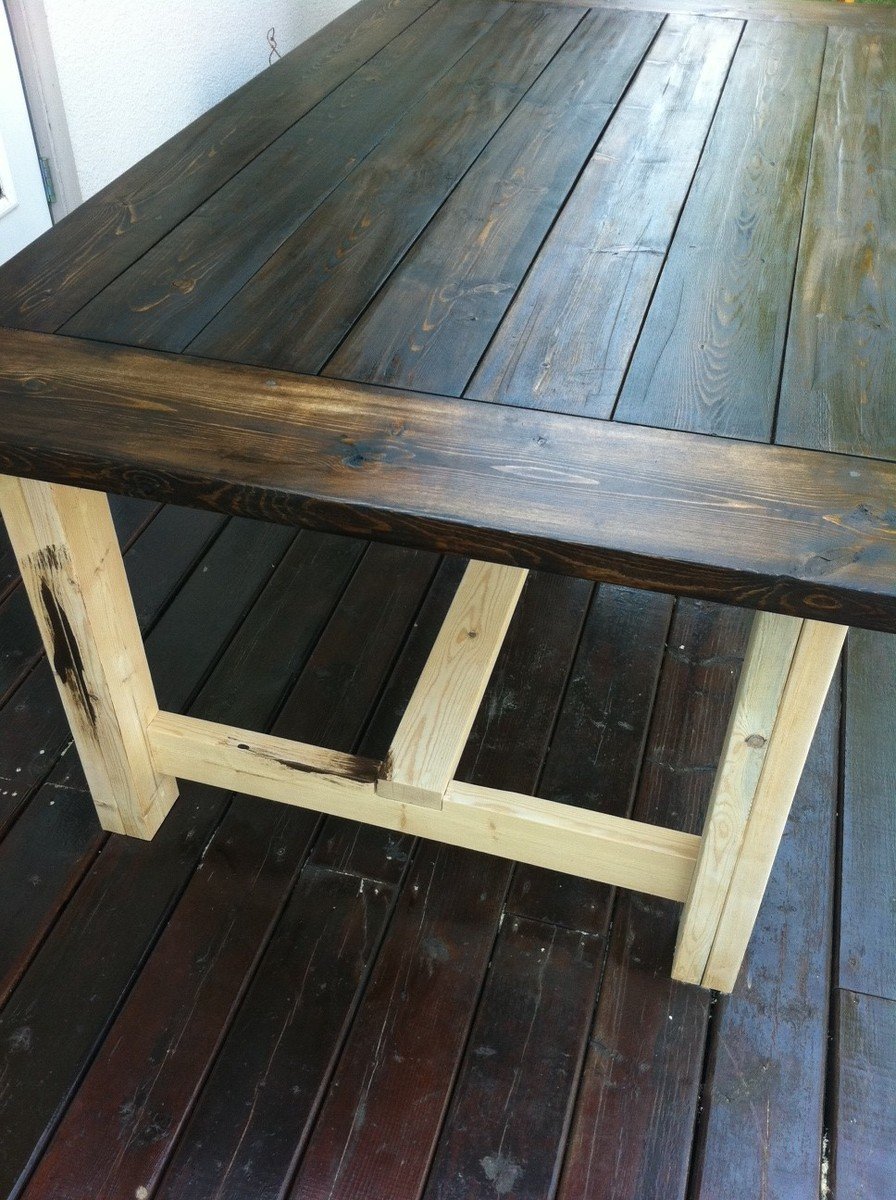
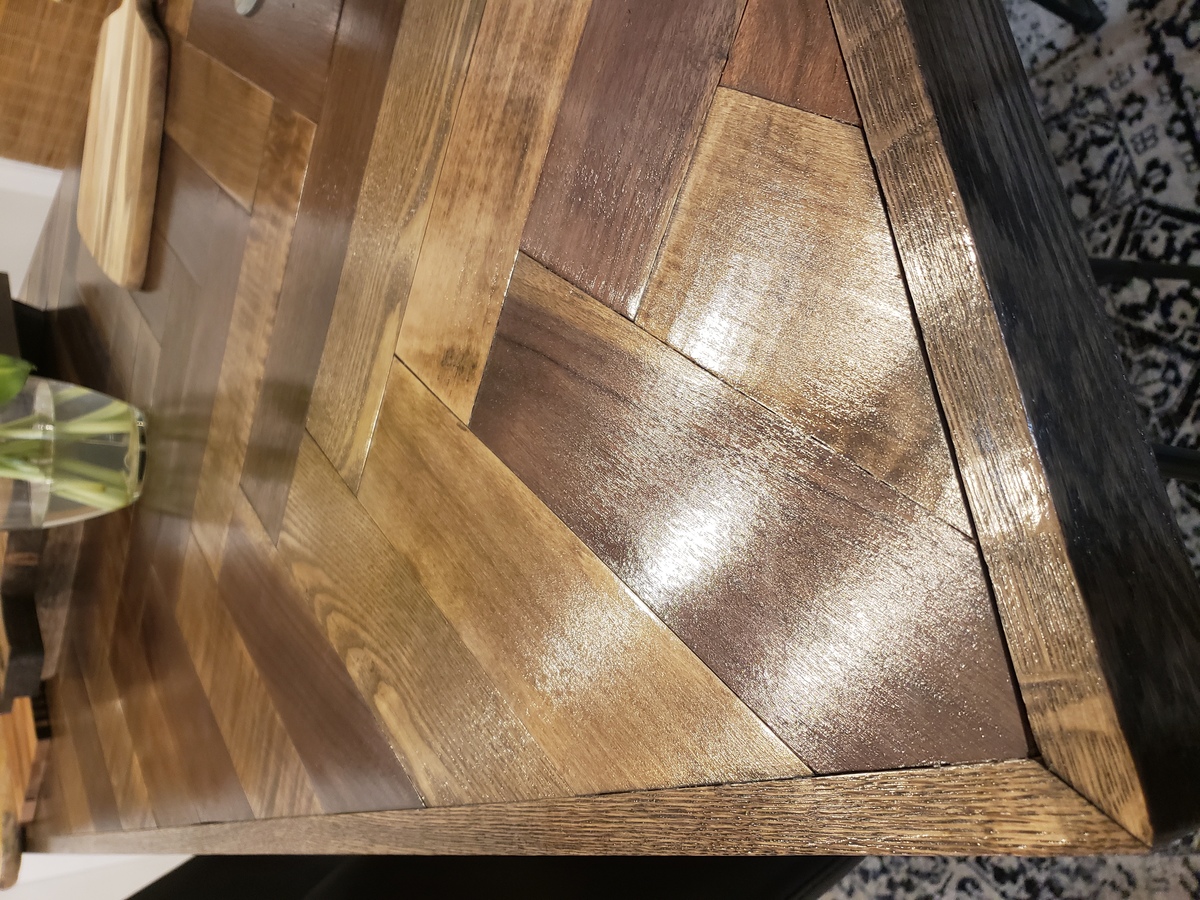
I love my new table! My wood was a little bit warped for the tabletop, so that's where I ran into the most problems, but I used a hand planer to smooth it down and it turned out perfectly!
Really like the plan for this table, just not enough space. So I decided to shrink the overall length to 45 1/2 and then just adjusted from there. Stained the entire project and painted the base. After some sanding to distress, I poly coated the entire project. Staining the top and the X's to match was my wife's idea. It came out great. This was only the second thing I have ever built, and I have to say the Kreg Jig made it fun, rather than frustrating and stressful. My first project was from the adirondack table plan, it came out great too. So glad I found your site!
Mon, 09/30/2013 - 09:29
The finish on this is absolutely perfect. I built the workbench console table for my dining area a few months ago. Really like how it turned out, but have been considering selling it and building this to go in its place. This may push me in that direction again. Excellent job.
Tue, 10/08/2013 - 17:33
I used varythane dark walnut stain on the entire project and then painted over with glidden flat in a sage green. Once I 220 sanded the entire project, which aged the green, and took the paint down to stain in areas, I coated twice with varythane polycrylic.
My husband I and I made this for our daughter for Christmas! It's so cute we couldn't wait and she's been sitting and playing at it ever since. We are pretty novice and building and this was easy and fun for us to complete. We will make another chair in the future, but for now we just did the one!
We used 3/4" birch plywood and glued 1/2" thick x 3" wide wood pieces in a herringbone pattern to make the top. We used 1 x 3 oak boards for the trim. The wood is a variety including walnut, maple, cherry, sassafras, etc. We ordered the metal hairpin legs.
We started with a base stain of Danish Oil in Dark Walnut. Once that dried, we went back over that with a very light coat of Minwax gray wash oil based stain. We used 4 coats Laquer for the top coat.
Easy build and we love how it turned out!
Tue, 04/21/2020 - 02:35
Hi. So sorry I just saw your comment. I ordered the craft boards from Ebay. They were 1/2 x 3" boards of various types.
Lessons learned.
I recently built the Parson Tower Desk (which I see is no longer here on the site). I built it up 3 tiers vs. 2 tiers as the plan called for. Using the Kreg Jig this desk came together like a charm. It was the first piece of furniture I've ever built. Following Ana's plans was so simple. The part that took me the longest was painting it.
This was my first in not just painting but actually building what I was about to craft!!!! I messed up a few times but had a blast and have already started my next build :)
Tue, 10/01/2013 - 12:28
This turned out great! I love it in your space!!! Thanks for sharing.
The Classic Collections was exactly what we were looking for when we decided to re-do our home office.
We needed a piece that served two purposes, a Wine bar and a record stand. I used a plan from the site and altered the dimensions to fit records and wine holders. I used thick wood up top and stained and lacquered it. I added a few extra shelves for glasses and so forth, and put in the wine holders. That ended up taking a little extra on this build but I had a great time doing it!
My step son, who is in college, comes to stay with us some weekends and we don't have a lot of room in the rental we are in. So I built a place for him to put his things and sleep, during his visit. This was an easy and quick build using 1x10's for the frame and 1x2's for the face frame. Being 1x10's it's super low profile and doesn't make the room feel much more crowded, so that is a huge bonus! I built it around the dimensions of this floor bed/sofa that I found on amazon.
Here's a Youtube Video of me building it, if you want to see how it went together.
I really like this design, because I feel it would make a great addition to a guest room, bonus room, dorm room, shared room and more. I ended up attaching it to the wall as you will see in the video because it will be tippy if not. Hope you like it!
I am so grateful for this site and the detailed plans. My youngest daughters bedroom is super small and had very little room to play. I have been wanting to get or build her a loft bed, but most sites wanted money or the beds were very generic. I started this project on Christmas break thinking that I could get it done over the holiday. After about 10 trips to the hardware store and working on it periodically, it was finally finished in March. Both my daughters love it. My oldest now want one, but I think her room is more of the fashion of an industrial looking metal one. I did make some modifications to the front as I did not want to close it in, making here room look smaller. We have put up curtains that she can close. She will sit for hours reading and playing underneath. I have gotten lots of comments from friends. This was a tough but good starting project. There are some things that I would do differently, small things. Thanks Anna for your website. Now, on to a bed for me. No, it will not be a loft bed. Thinking of a platform bed.
Fri, 09/30/2011 - 05:19
What a great job... I love how you have left the front open with an added curtain for her to hide away. We have not long finished a loft bed as well, massive job but worth it for the look on our daughter face :)
I also love how you have painted it the same colour as the walls, makes it blend and not seem to large. Well done!
Fri, 09/30/2011 - 09:21
Great job! We are slowly gathering the supplies (and saving money) for this project for our daughter's room which is verrrrrrrrrrry small - very small!
I love that you opened up the entire front side and put a curtain up! I may have to steal your idea...I wonder if I can convince my daughter to give up the 'window' in the original design, though.
It looks great! You did a wonderful job on it.
Easy to follow, we made in a weekend. We tweeked our dimensions a bit but otherwise pretty straight forward. We ended up staining half and leaving other half natural then put a varnish over the entire shelf. Turned out pretty neat with the two tones.
I modified the "standing high chair" from Ana's plan and from Blame Crayons blog post...so, I did a little freestyling. The standing platform is adjustable height, just like Ana's. My friend asked me to make this for her mom for Christmas.
Thu, 08/25/2016 - 08:36
I lovel your modification to add the entry-step to Ana's plans. I think I will try to re-create that myself, any special tips on adding that extra step?
For my daughter's birthday, I used the plan from your site, but I substituted 1x6 poplar for the top, rather than the 2x6's. Turned out so well that my other daughter wants one as well.
My husband and I had worked on this bed together, and we are so happy with it! We went with taller side tables that we purchased, and just stained the wood instead of painting it.
Finally finished my first build! This was initially meant to just be a file cabinet but by the time I got a little over half way through we got rid of our huge office desk to make a guest room and decided that I should a top to the file cabinet to make a small desk to go in our living room. It's a perfect fit! This definitely took me longer than I had expected thanks to a lot of cold or wet days, a busy schedule and a lack of a garage. If it wasn't light out and dry I couldn't work. In addition, since this was my first build, I had to learn a lot of skills, buy a lot of new tools (Christmas helped) and fix a lot of mistakes (not to mention the untold number of trips to the hardware store). However I am so excited about how well this turned out I am already halfway through building a set of night stands and my "to-do" list is very, very long!
Mon, 04/30/2012 - 11:37
What type of plywood did you use for the top? I am looking to buy the materials and I have no clue what to get.
Mon, 04/30/2012 - 16:56
Nadine,
If you're determined to stain the top, there are a couple of different things I'd try.
The first is looking for a panel instead of plywood. Most home stores and lumber yards sell glued up wood table and counter tops. At Menards I've seen maple, oak and pine. Lowes and Home Depot usually at least have pine. It costs slightly more, but it gives a really nice desktop.
If you want plywood, if you're going to stain it buy an A1 plywood. In an ideal world, it would have a rotary cut core, but that isn't essential. Home centers tend to make it a bit harder to by plywood by the surface grade, so I really recommend you go to a lumber yard for your plywood. That said, I've seen the stacks of Purebond at Home Depot that Ana recommends, and it looks like very nice material. I haven't used it, but I think it would be worth trying.
When I presented my husband with the plans for this piece that is inspired by "Restoration Hardware Printmaker’s Sideboard," I thought he would tell me I was crazy! But he looked over the well-written and thought out plans Ana provides and set out to tackle this cabinet. It turned out BEAUTIFUL! We are so happy with it and can't wait to decorate around it now.
Sun, 10/06/2013 - 17:31
Lovely! I want so badly to make this! But I've got a line of projects that must be done first. So I must be patient...
Thu, 10/10/2013 - 10:45
I know what you mean about line of projects! This one got bumped to the front:) And now lots of little things to do. Finding this website was a blessing (for me!) and a curse (to my husband). haha! I told him I get to build the next project!
Modified the plans to make smaller and shorter to use as a flatscreen tv stand to fit up to a 60 inch tv. It has room on each side for baskets that I will put in later!
I took the basic idea of the Rustic X Console. Raised it to countertop height so I could use it for three stools. I also added a shelf so people sitting on the sectional could put drinks right behind them. Added a charging station to that shelf as well. Topped it with a live edge black walnut slab. Finally, I didn't use the X because the table was too high and the base was too narrow to make the X work. I used a tablesaw to cut a grove in the legs and then put a 1/4 plywood panel.
We followed the plans exactly. I I got 4 separate square cushions at Hobby Lobby, got the fabric there also. My friend sewed the cushions for me (so sweet!) because she knows I can't sew=)
I found the little side table at a garage sale for $3 and painted it white to match. I love this piece on my patio...it's great for reading, or to sit and sip coffee or a glass of wine!
This was my first project ever! I was very happy with the way it came out! I just did a little adjusting to get it the size I wanted =) Cushions for a decent price was very hard to find, I ended up going to walmart and I actually really like them.
It took me a while to complete as I have a little one (turned a yr the wknd I finished) and only worked at night and during naps!
Tue, 10/08/2013 - 19:12
This looks really nice, good job. Isn't it fun to build just what you want!
Comments
Adam (not verified)
Fri, 12/09/2011 - 06:33
Thats quite nice. I'll bet
Thats quite nice. I'll bet you spent more than half of the time on the finish. Great color choice.