Community Brag Posts

Add Metal Accents to Furniture

Here's a small tutorial on how to add simple metal accents to furniture. We used something as simple as door knobs at your local home improvement store to make it happen!

Check out the tutorial here http://sawgrasshome.com/?p=1443

Estimated Cost
$20 - $30
Estimated Time Investment
An Hour or Two (0-2 Hours)
Recommended Skill Level
Beginner

Comments

birdsandsoap

Sat, 04/14/2012 - 23:14

so clever. I love when others figure out how to do awesome things like this and then show me how! Thanks!

Kristen Davis

Wed, 03/25/2015 - 11:26

Hello,

I am very interested in this tutorial, "Add Metal Accents to Furniture", but it appears that the link provided, is a dead link. Do you happen to remember anything about this tutorial? Thank you!

Kristen Davis

Wed, 03/25/2015 - 11:25

Hello, I am very interested in this tutorial, "Add Metal Accents to Furniture", but it appears that the link provided, is a dead link. Can you please assist me in finding the direct link to this tutorial? Thank you!

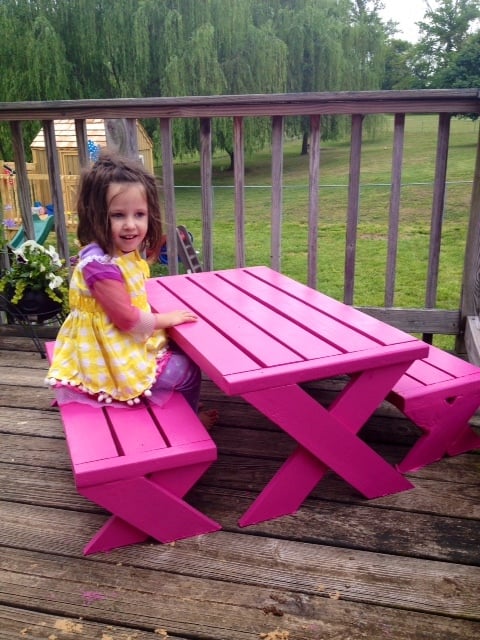
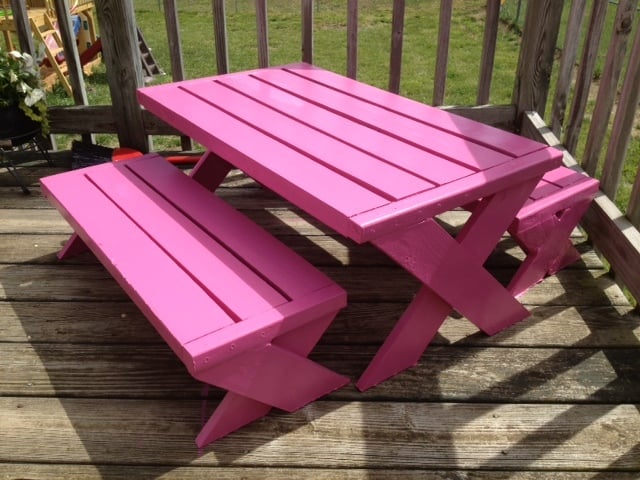
Kids Modern Picnic Table

Submitted by abbpim on Mon, 04/16/2012 - 09:52

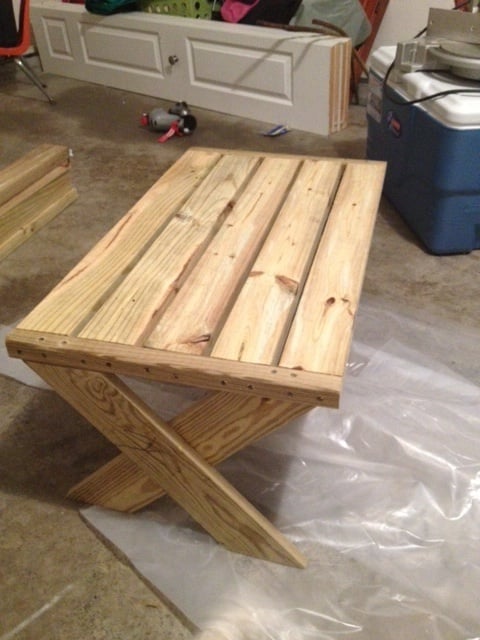
This is my very first wood working project! I know its not perfect and I learned from my mistakes. I found a miter saw at a garage sale and after three hours of plugging it in and unplugging it, I finally worked up the courage to make it make a noise! Then I eventually worked up the courage to cut wood lol! I'm pretty proud of myself for building something and I am going to continue practicing until I can make really cool stuff!

Estimated Cost
$20
Estimated Time Investment
Afternoon Project (3-6 Hours)
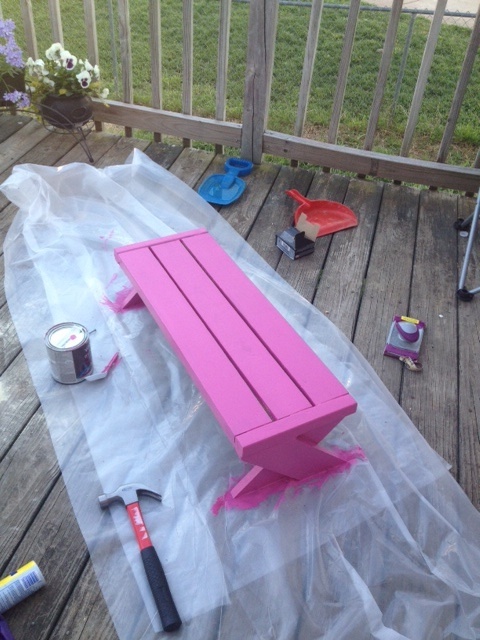
Finish Used
Valspar, Quart Size, LA218, Fuchsia, Duramax, Exterior Semigloss, Base 4 214-4.75, 113-31.75, 105-3.63, 115-2Y7

I used 2 coats
Recommended Skill Level
Starter Project

Workbench

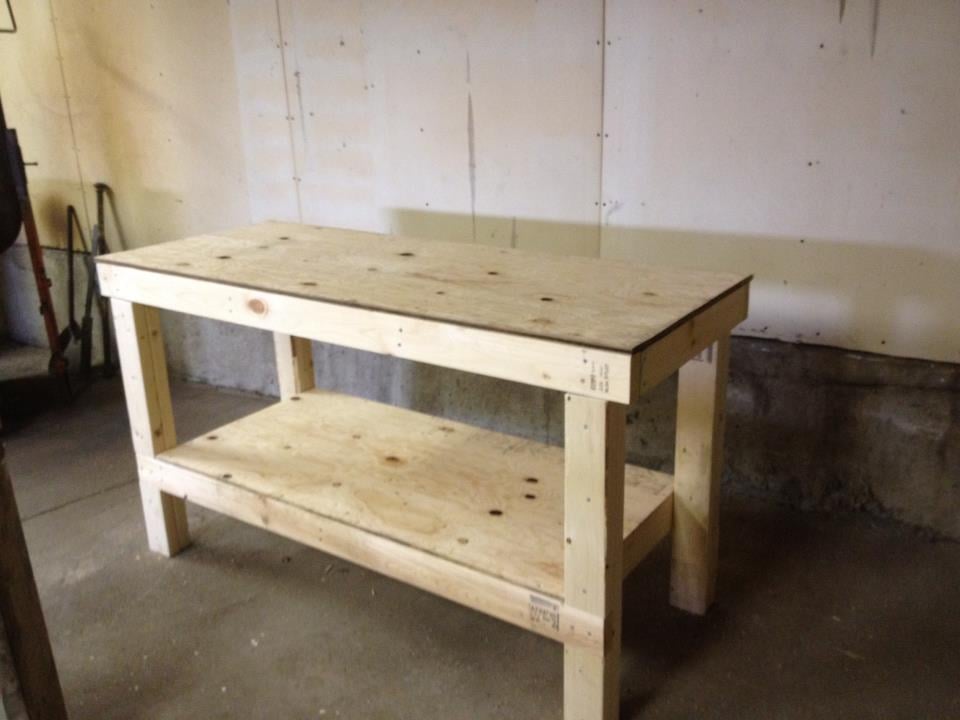
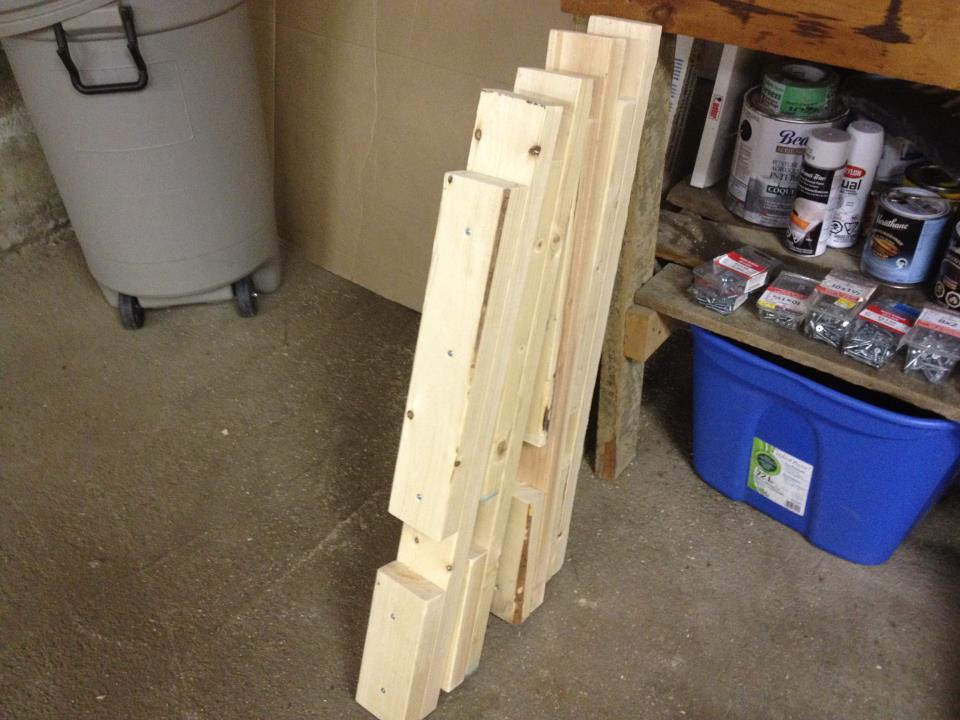
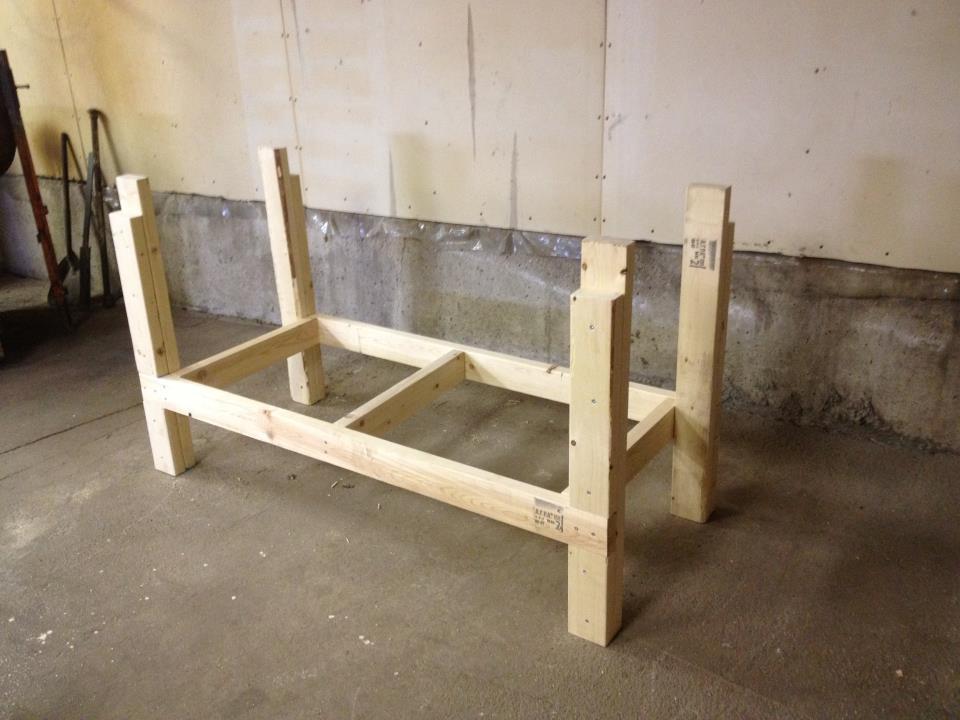
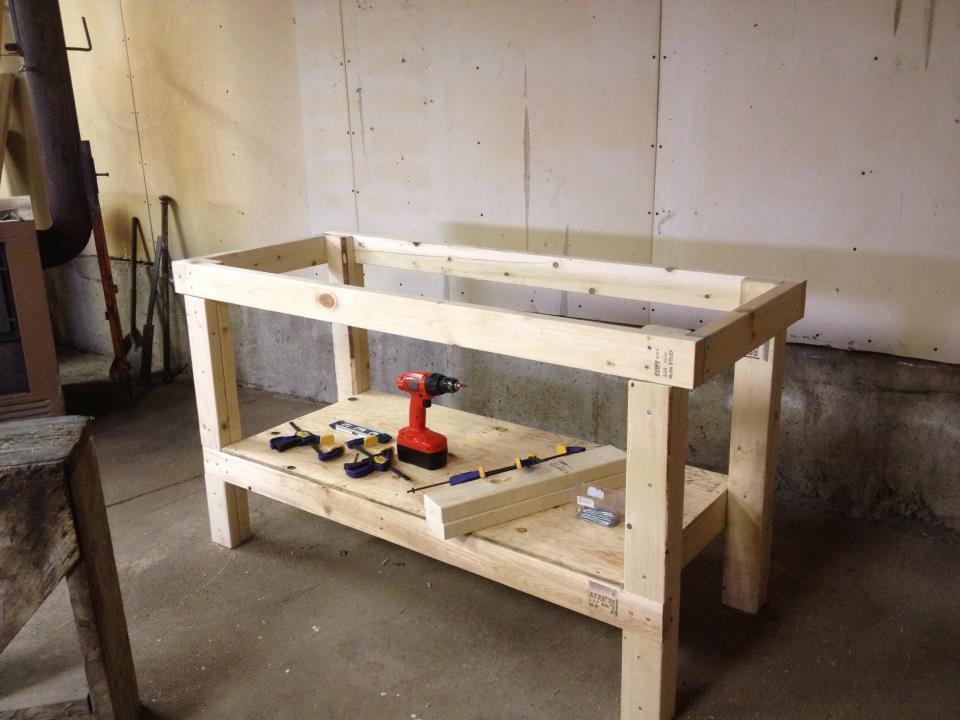
Easy to build! Took about 3 hours!

Built from Plan(s)
Estimated Cost
$75
Estimated Time Investment
Afternoon Project (3-6 Hours)
Finish Used
Floor Verathane
Recommended Skill Level
Beginner

Comments

deannaf

Sat, 05/19/2012 - 05:15

This is fantastic, just what I need to build. Would you mind sharing some measurements such as height, width and depth.

Fancy X Desk For Home Music Studio

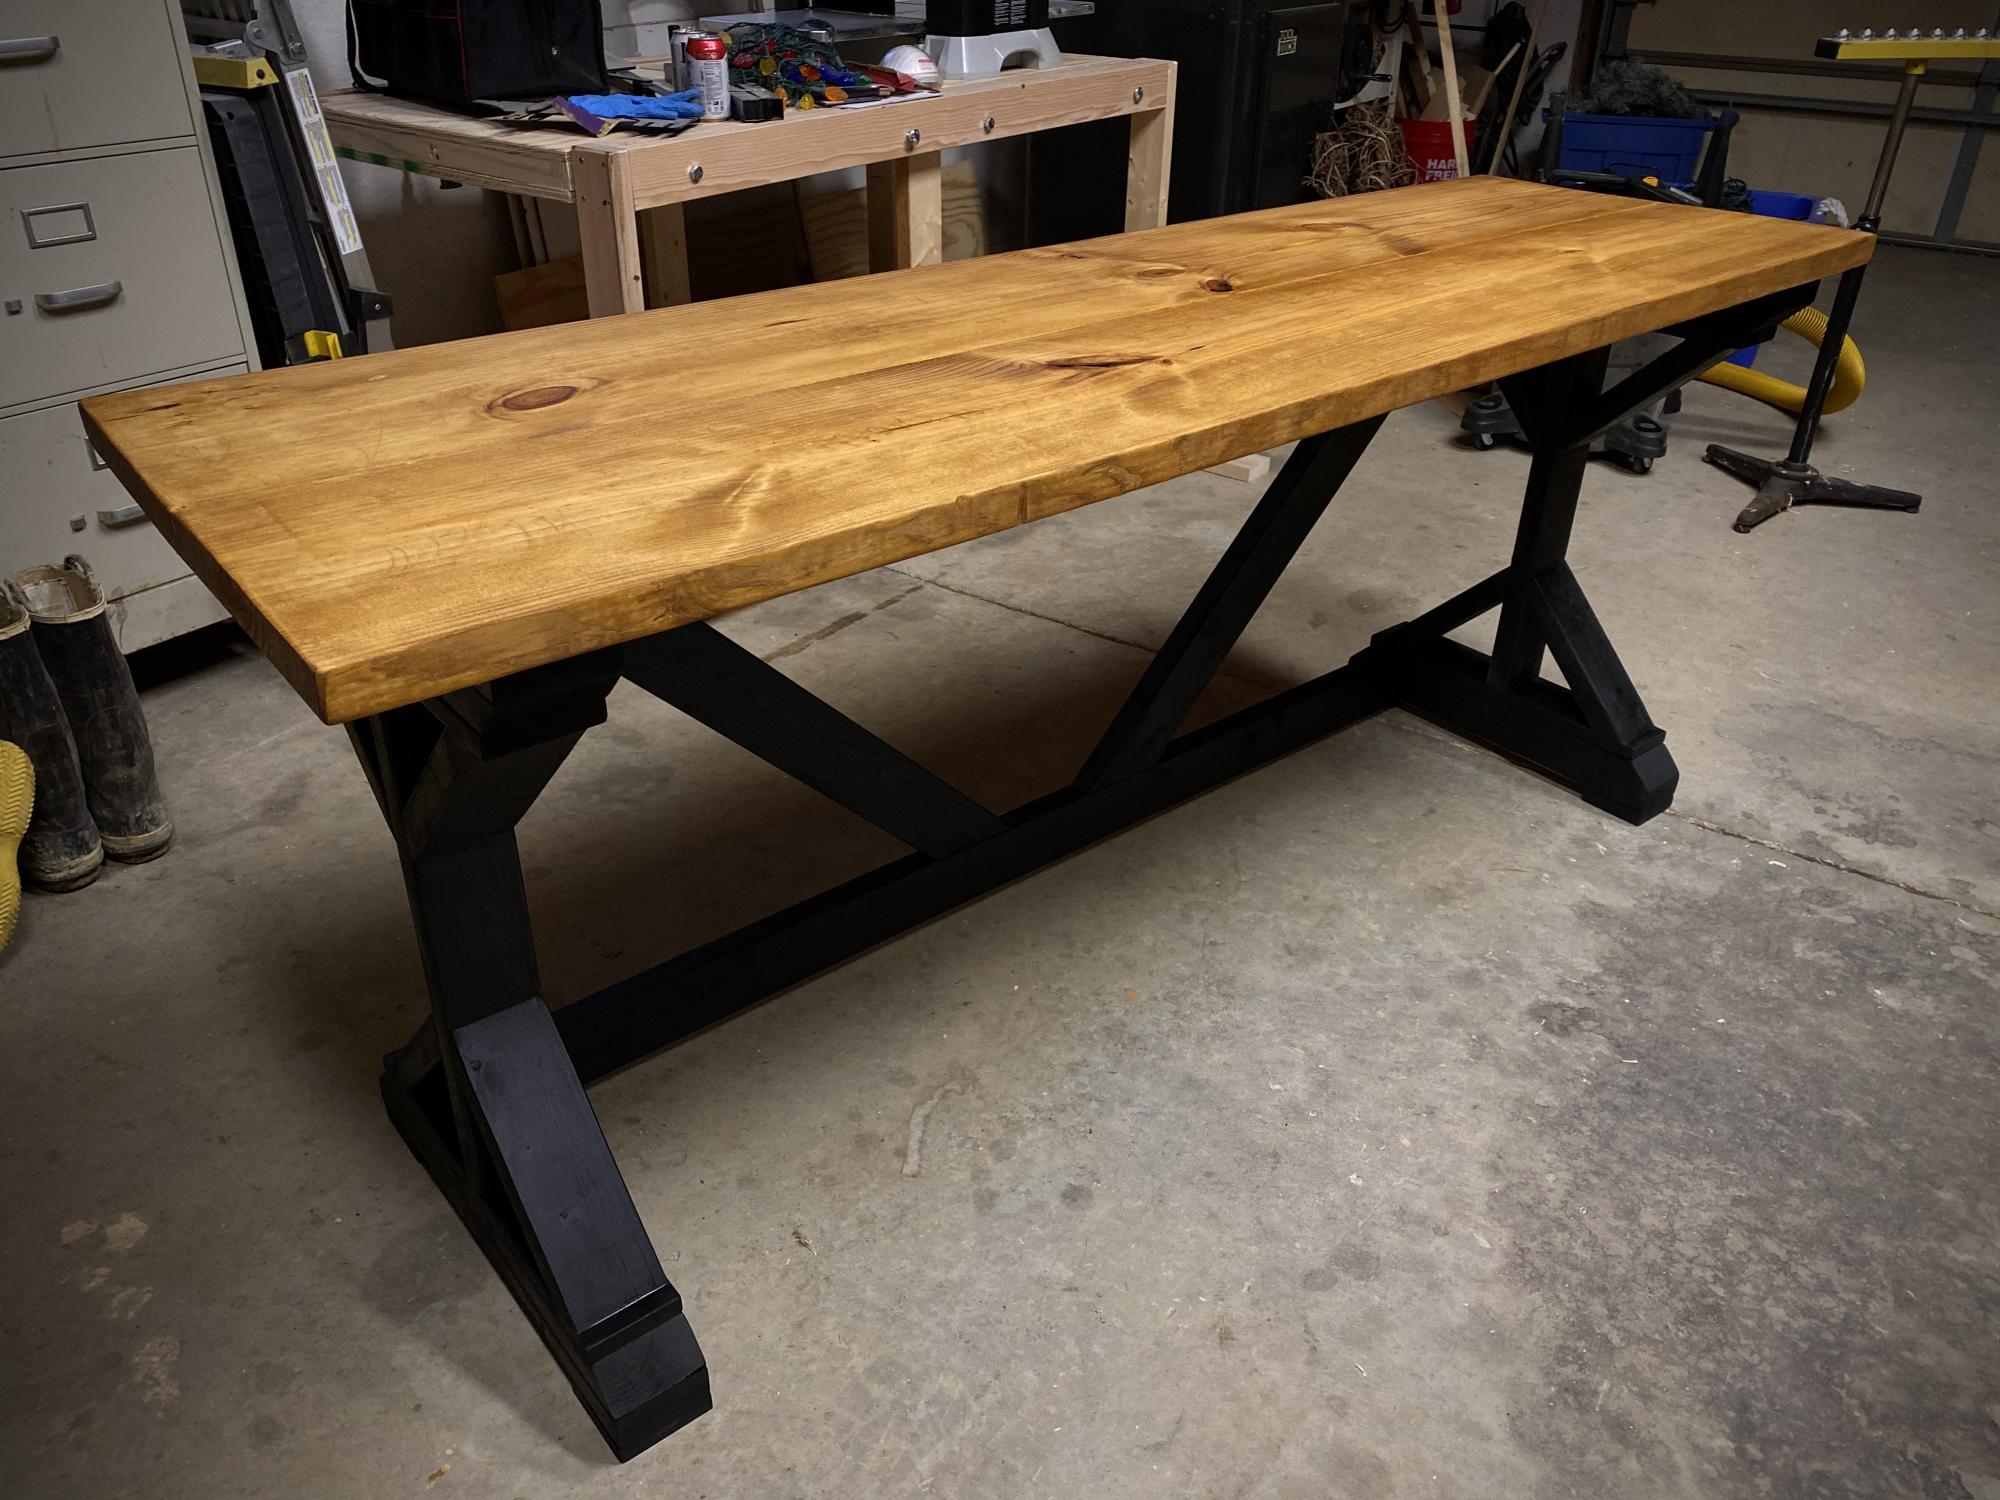
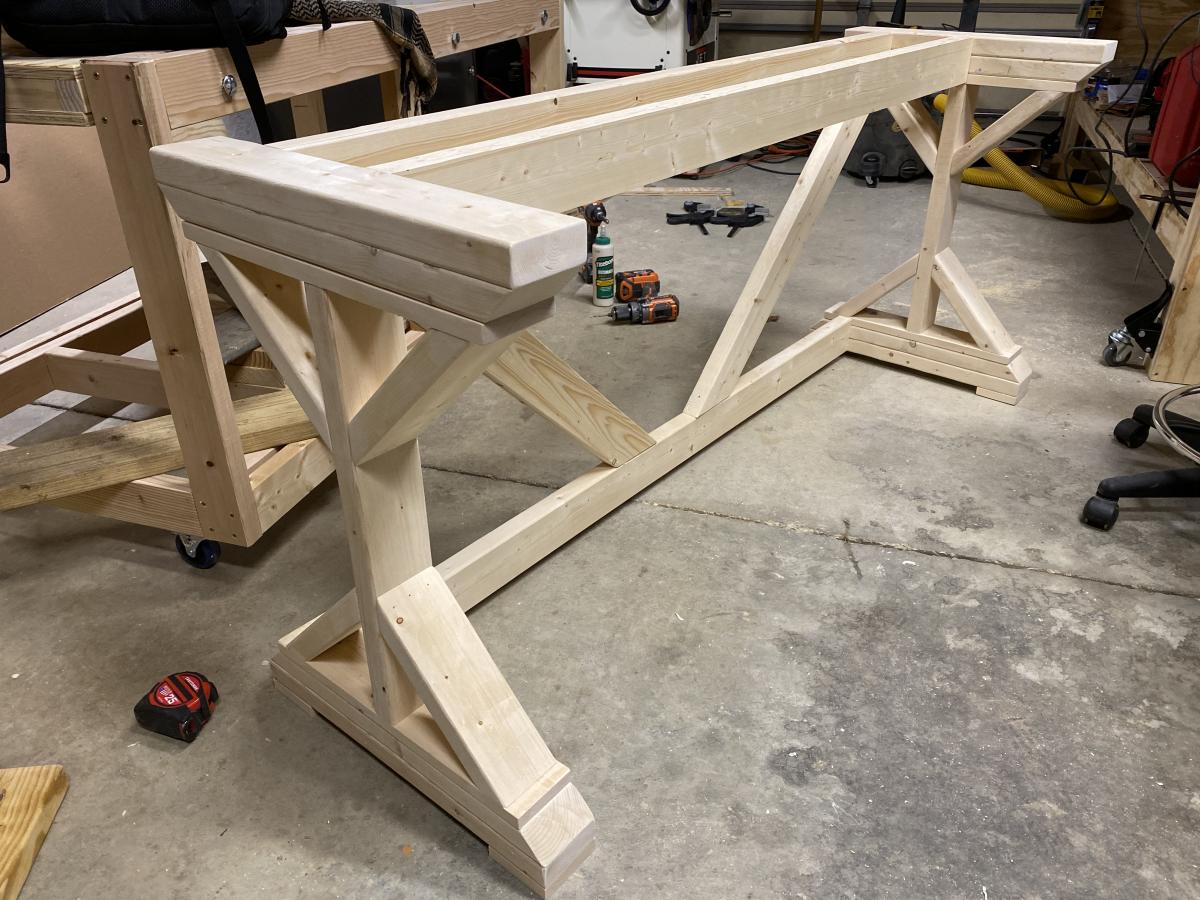
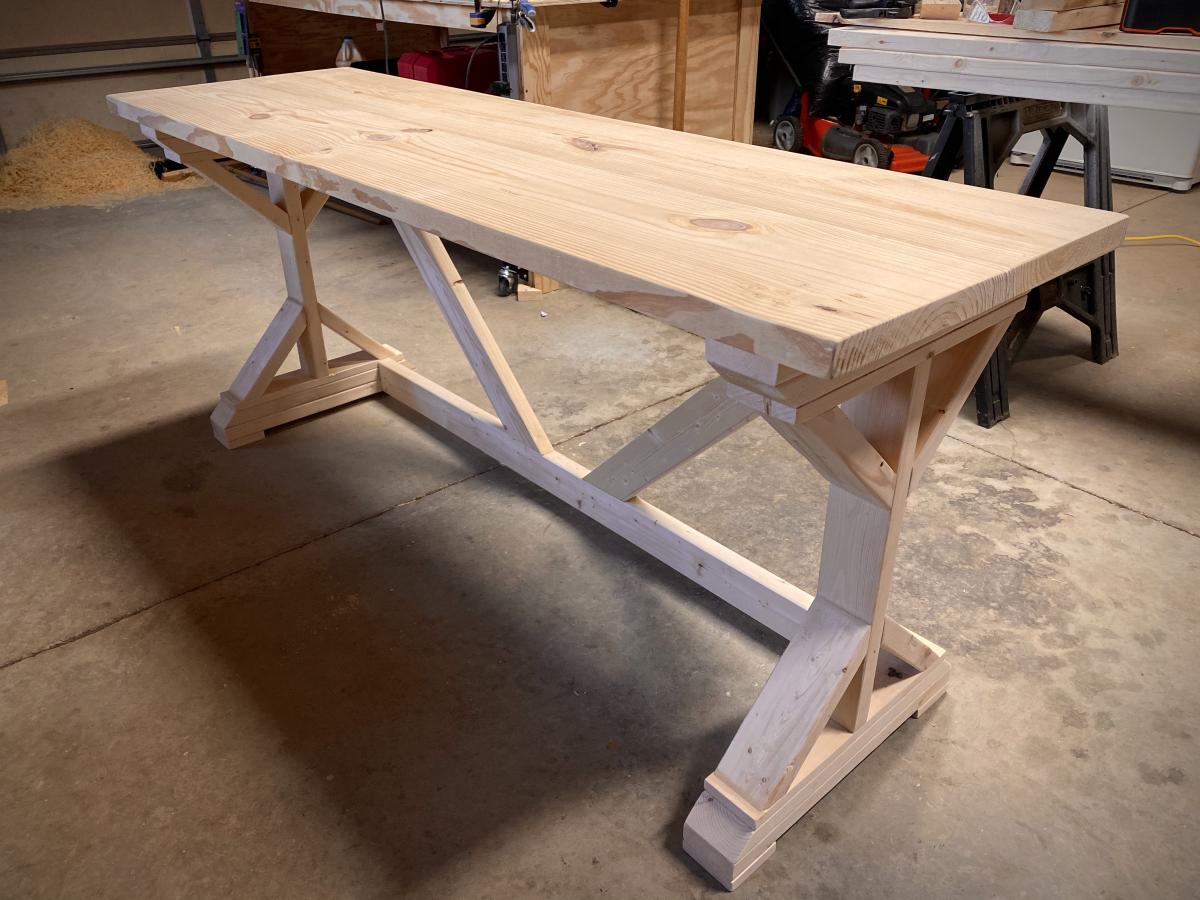
This is only my second ever furniture project. I modified the height to give me extra clearance for a full sized synthesizer underneath. I spray painted the base matte black, stained the top with Minwax Puritan Pine, and sealed it with Varathane Triple Thick Water Based Polyurethane.

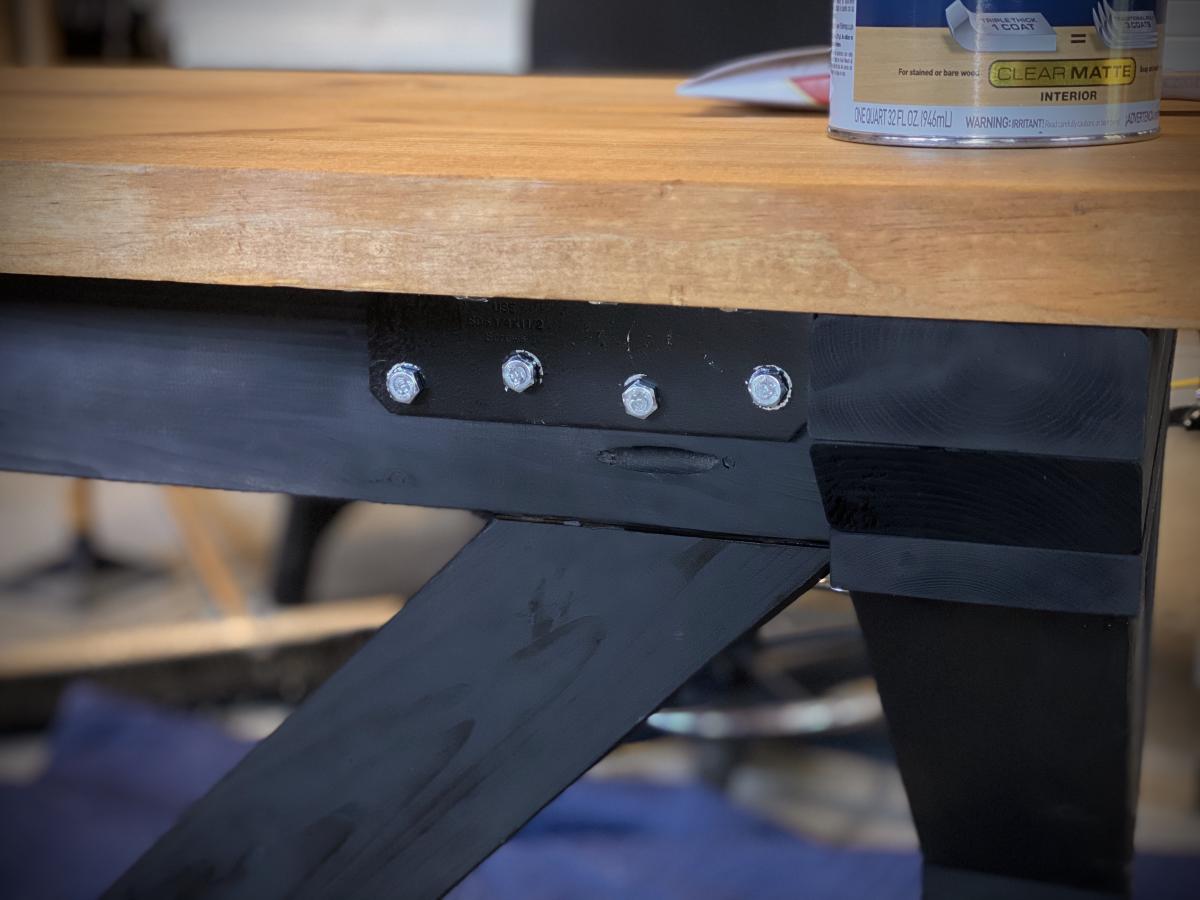
I attached the top with heavy corner brackets and 1" hex head lag screws to add a bit of an industrial look.

Built from Plan(s)
Estimated Cost
$60
Estimated Time Investment
Day Project (6-9 Hours)
Finish Used
Used a single coat of Minwax Puritan Pine for the top, and a single coat of black matte spray paint with primer for the base.
Recommended Skill Level
Beginner

Comments

King Farmhouse Bed

Submitted by jhavinga on Thu, 05/22/2014 - 16:31

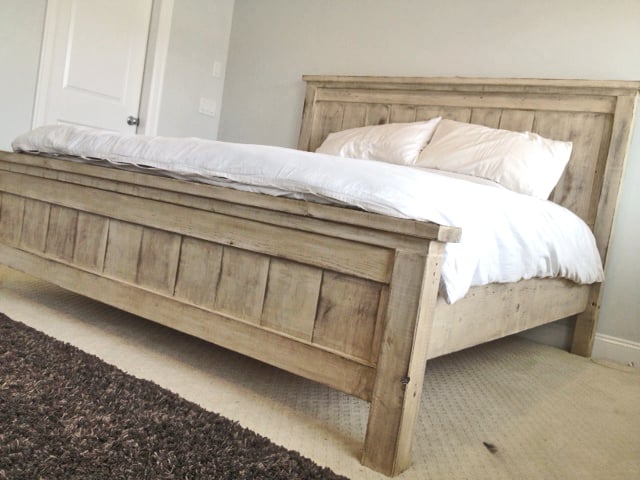
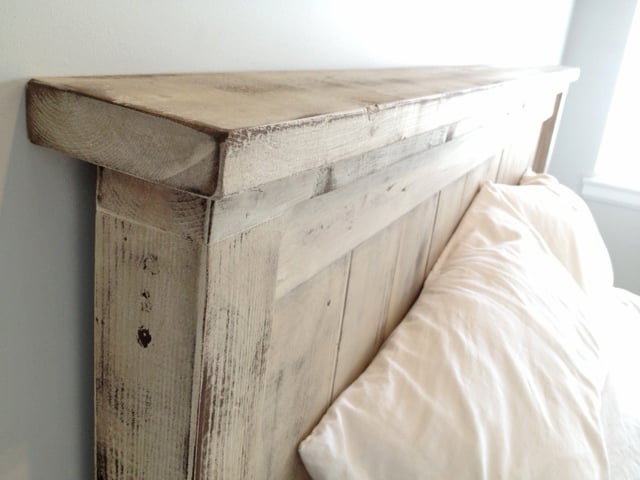
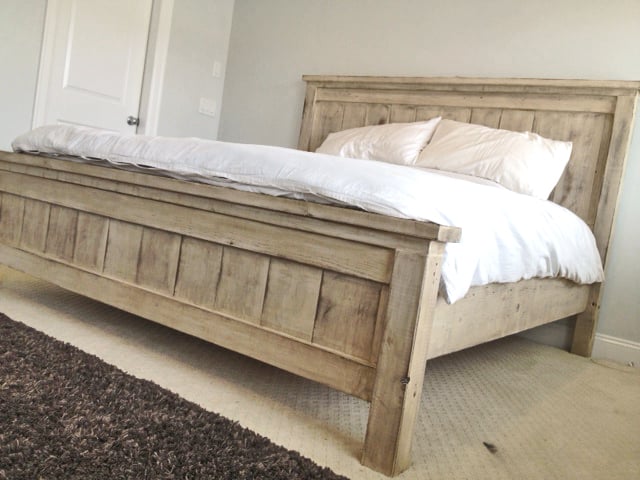
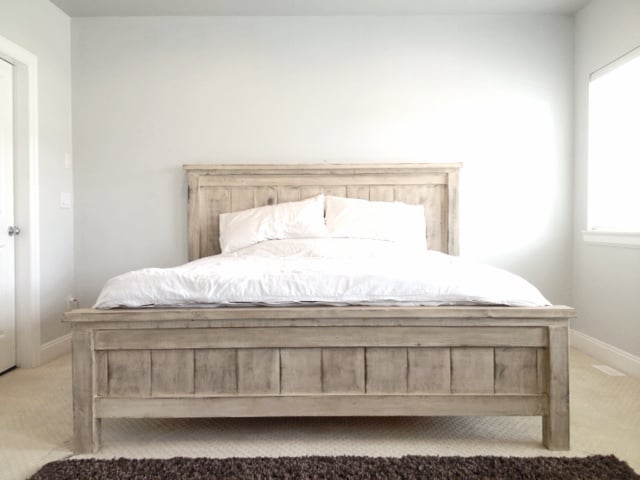
Second project ive completed from Ana White, and I am very happy with how this bed turned out! The only thing I would fix would be the finish, I wanted it a bit whiter. not so creamy. Otherwise very quick and easy fun project to do. =)

Estimated Cost
$300
Estimated Time Investment
Day Project (6-9 Hours)
Finish Used
1 coat of a basic latex white paint.
Then I sanded down just so raised grains would become exposed.
1 coat of dark walnut stain (wipe on with cloth)
Done.
Recommended Skill Level
Starter Project

Comments

jhavinga

Thu, 05/22/2014 - 16:34

Thank you for sharing all of these awesome projects. I was always hesitant when it came to wood, but now I cant seem to stop!

jhavinga

Wed, 06/11/2014 - 13:43

(You can do all this before or after your project is put together or not.)
Be sure to do a test piece before hand so you can see exactly what your getting :)

The first step I did once the head board and foot board were put together, was to sand any sharp edges or corners. I liked mine rounded and worn looking. I did not sand anything else.

Second step is to paint 1 even coat of a basic white latex paint.

Third step is to sand away some white paint. because we didnt sand it before hand the grains in the wood will be very bumpy. so the paint on the grains will sand off while the paint lower than the grain will remain. makes sense? hopefully i explained that right!

Fourth step is to now wipe on the stain of your choice. I went with Dark walnut. It stains the paint a bit bringing the white to a gray/brown tone. and stains the wood dark walnut so the grain patterns show up dark.

Let me know if you have any other questions and good luck!

jbogan15

Thu, 01/29/2015 - 07:49

What grit of sand paper did you use to sand off the white paint? and did you sand it by hand? Also, for the dark walnut stain, did you wipe off immediately or leave it on for a bit before wiping? Beautiful bed, I want to achieve this look!

In reply to by jbogan15

jhavinga

Fri, 02/06/2015 - 09:15

Hi jbogan15, thank you!
For sanding I used a palm sander with 120 grit to get the job done a bit quicker, than went over lightly with 220. When staining I actually just dipped a rag in the stain and would wipe the stain on. =)

Good luck!
Justin

kosborn

Fri, 01/27/2017 - 11:05

Love this look! Exactly what I am trying to achieve...A few questions about the side rails. How high did you connect them to the 4x4 posts and exactly how did you connect them? Did you use brackets or screw right into the posts? Thank You!

barkleyl

Thu, 09/05/2019 - 15:07

I have seen several beds from Anna White. I was wondering if the frame require a box spring mattress or not. If not, are the beds lower than what a traditional mattress and box springs are. Thanks ! 

Outdoor end table

Submitted by spiceylg on Mon, 08/27/2012 - 14:38

I didn't use any plans but the Outdoor Ottoman comes really close. Needed an end table to go with our Outdoor Sectional that my husband and I built. While he was at a ballgame I whipped this up. Still have to sand and stain this as well as the sectional, but will probably do it as a winter project. We bought the 1x4s a while ago when we bought the 2x4s for the sectional so I wasn't exactly sure of the cost. I think I used 2 1/2 pieces of 8' lengths. Who would have thought a couple of years ago that so many of us would have attempted to build furniture and then even without a plan now and then?! Ana rocks! :)

Estimated Cost
Approx $5
Estimated Time Investment
An Hour or Two (0-2 Hours)
Finish Used
Not sure what brand, but spray painted Apple Green for a pop of color against the back cushions.
Recommended Skill Level
Starter Project

Indoor Playground Set

Submitted by Anonymous (not verified) on Fri, 02/10/2017 - 11:56

This playroom set was inspired by the plans you posted.  I was forced to make some significant modifications due to the fact that our bonus/playroom has angled ceilings.  We have a rock climbing wall, ladder, crawl tunnel with windows, trapeze bar, monkey bars, miniature baskeball goal and a slide.  My boys are 6, 3 and 19 months and they love it!  Thanks for the inspiration.


Jim and Caroline Sparrow

Estimated Cost
$1250
Estimated Time Investment
Week Long Project (20 Hours or More)
Finish Used
Behr Paint on bottom and Minwax Stain on top
Recommended Skill Level
Advanced

Comments

Pottery Barn Style Night Stand (thank you Ana)

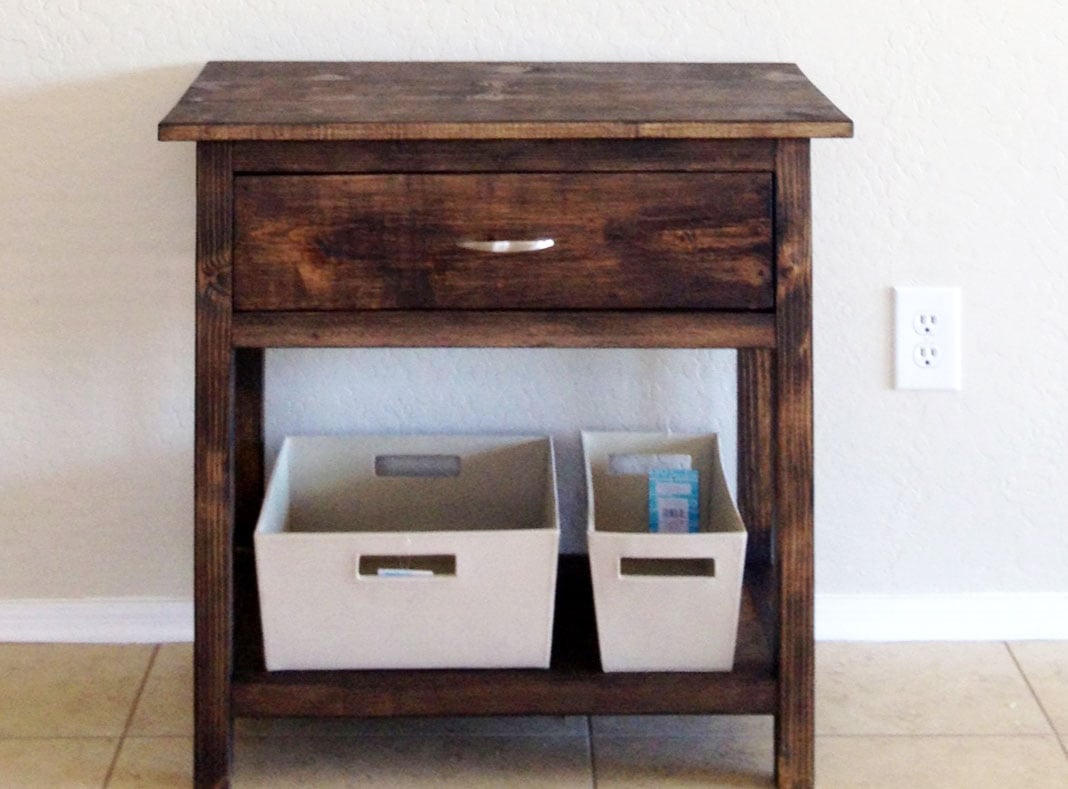
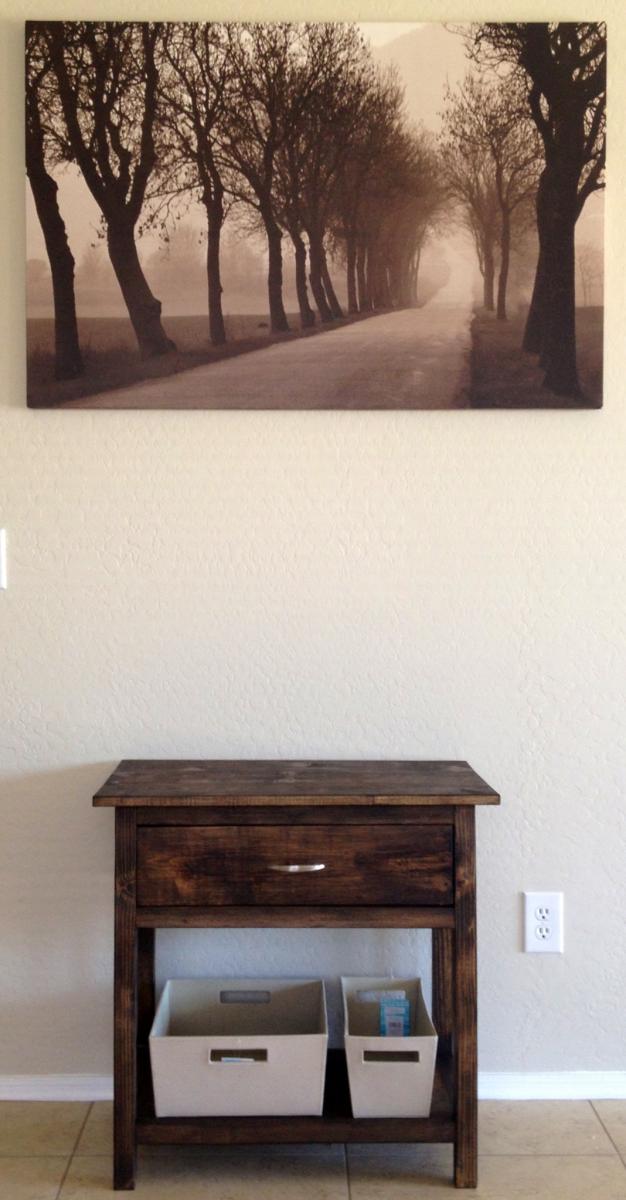
Yesterday I built two of these for my wife and I's room, we just moved from Hawaii to Arizona. The plans were clear and simple, and the end product turned out awesome. Next I will tack the dresser/tv stand. Thank you Ana

Built from Plan(s)
Estimated Cost
$65 for two tables
Estimated Time Investment
Day Project (6-9 Hours)
Finish Used
MiniWax Espresso applied with a paint brush. I used an extremely thin coat.
Recommended Skill Level
Beginner

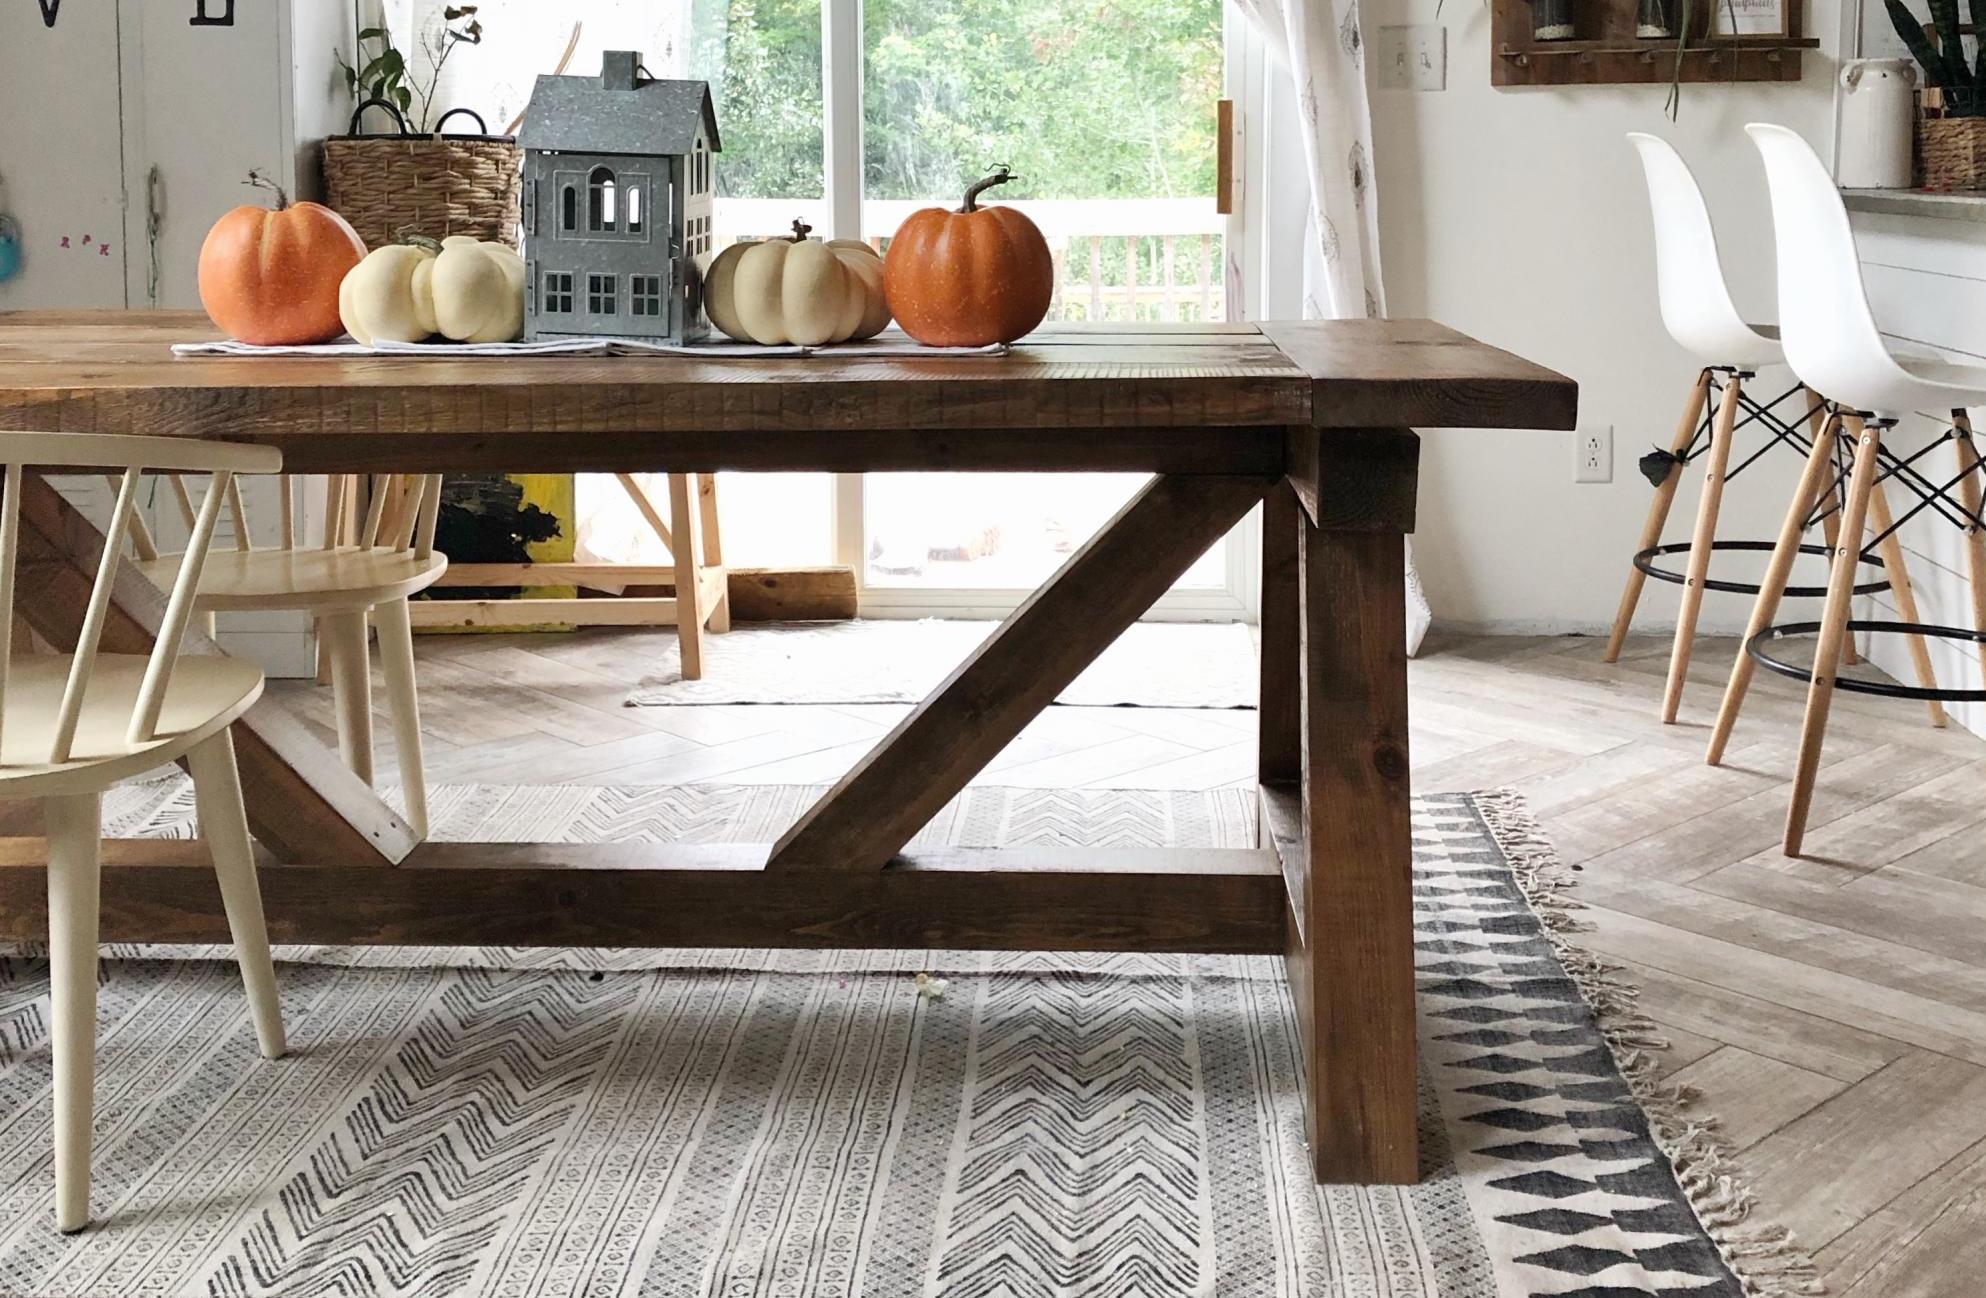
4x4 Truss beam table and bench

Submitted by Anonymous (not verified) on Mon, 10/04/2021 - 13:42

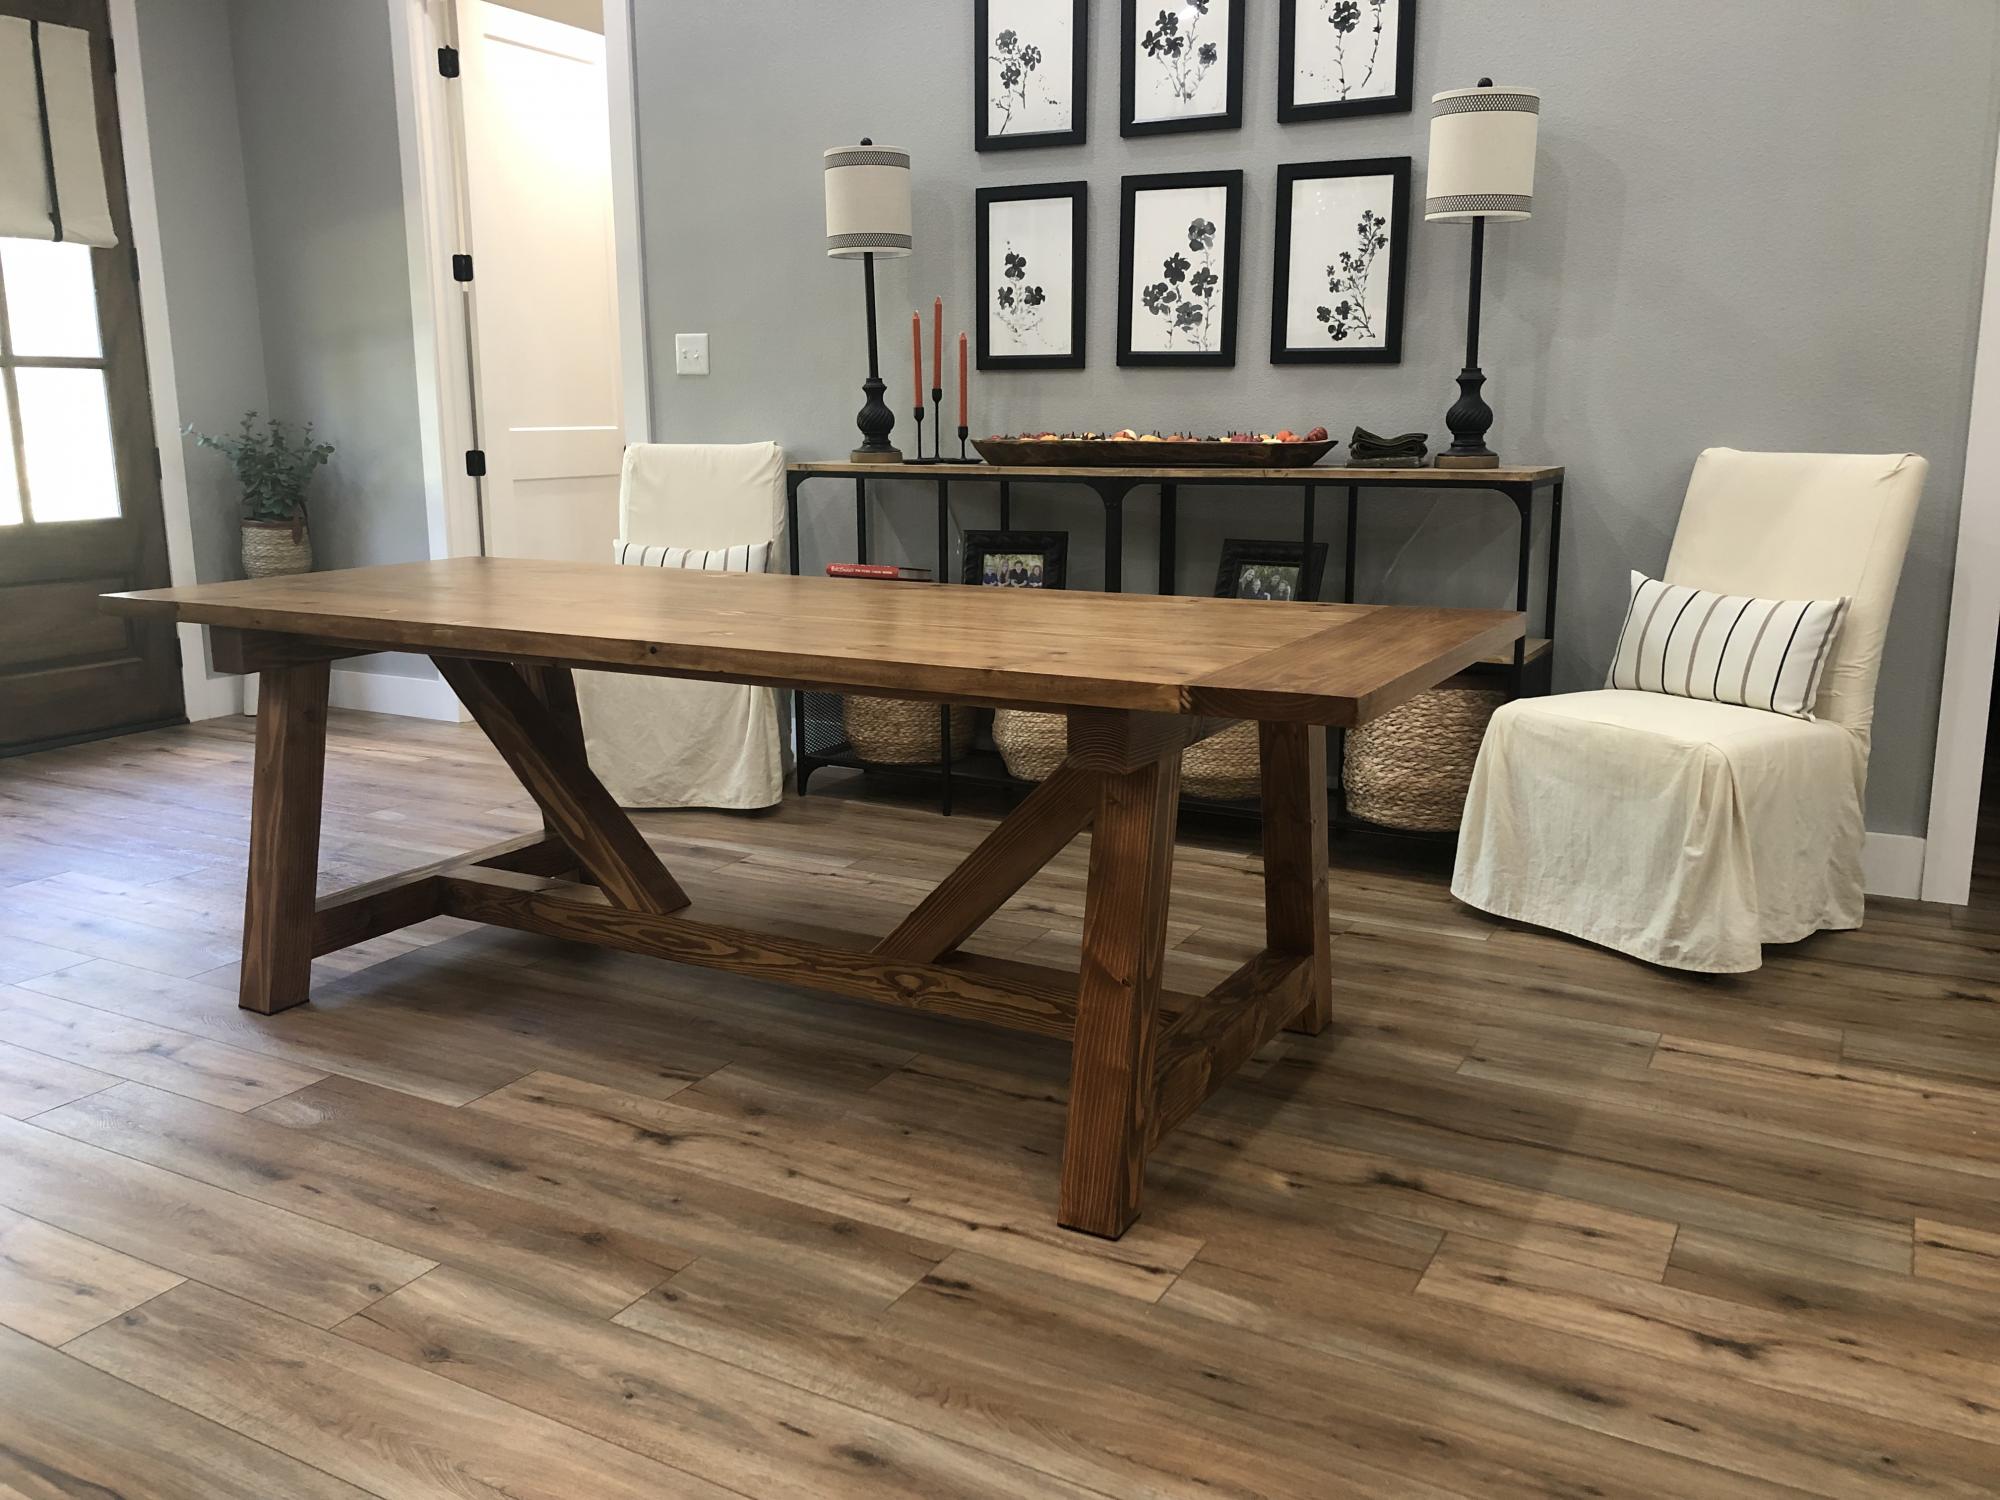
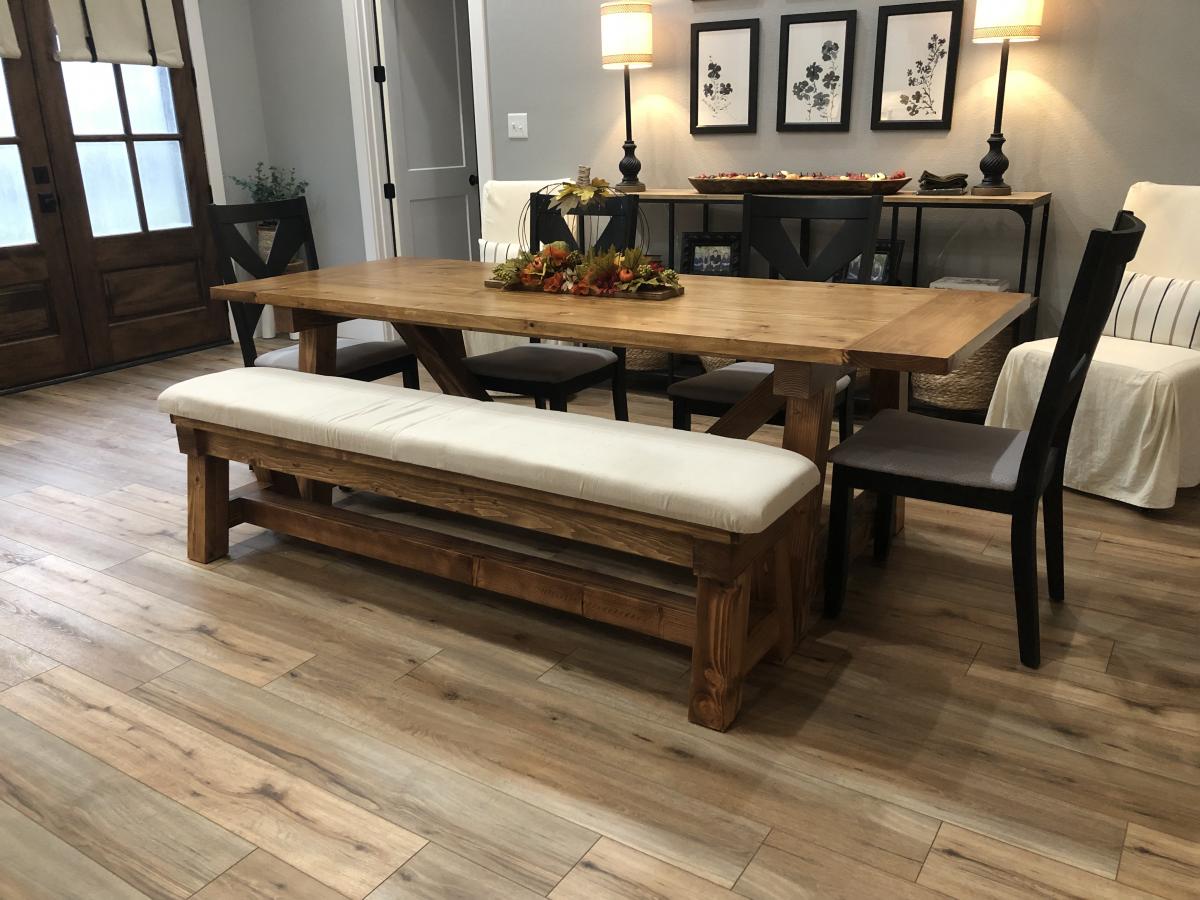
The plans were very easy to follow for non avid woodworkers. We decided to upholster the seat on the bench.

Built from Plan(s)

Comments

DIY Learning Tower / Kitchen Helper

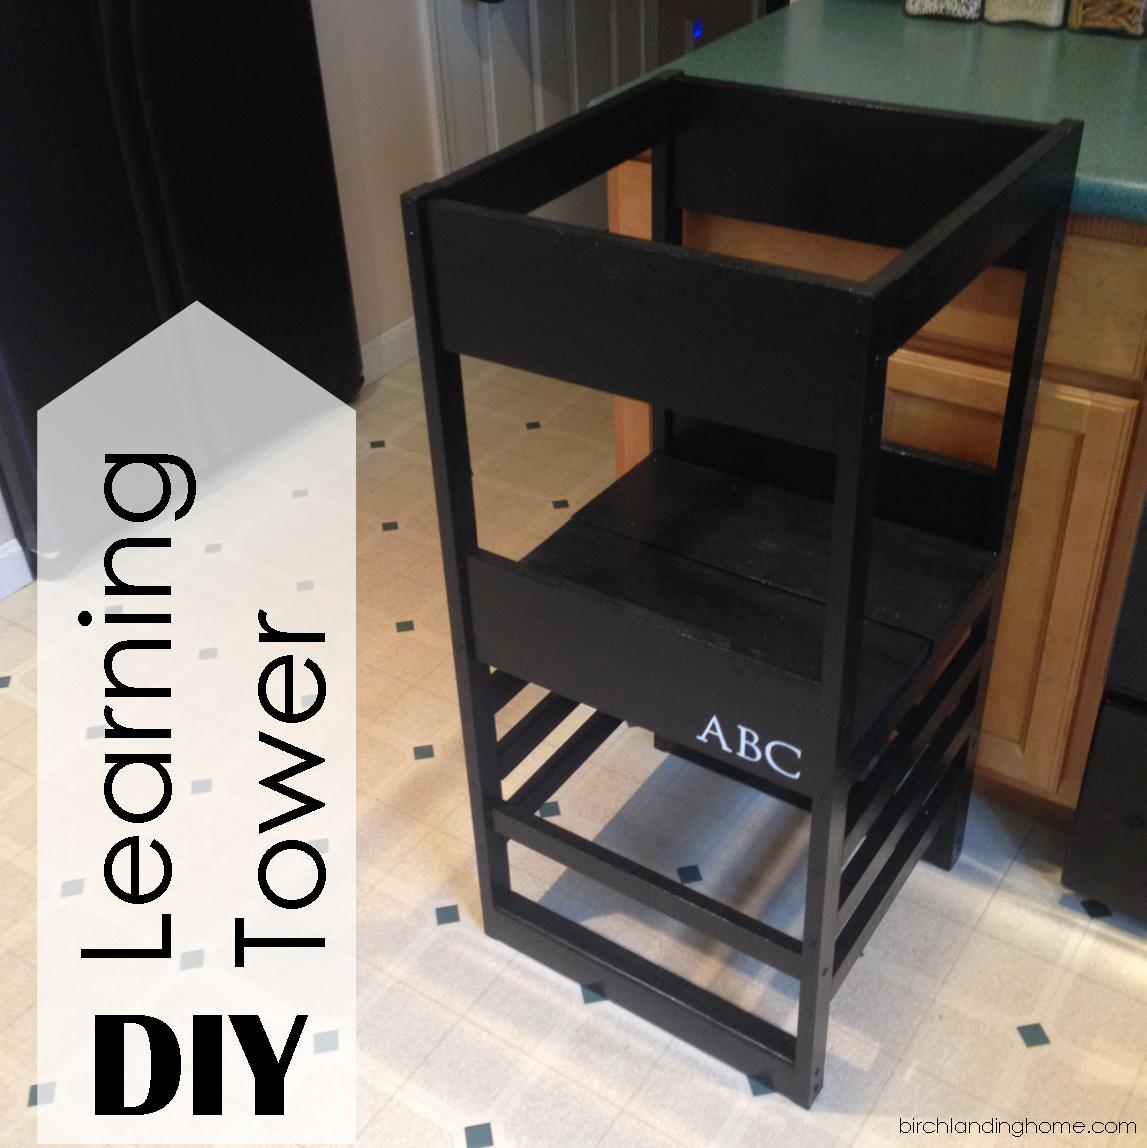
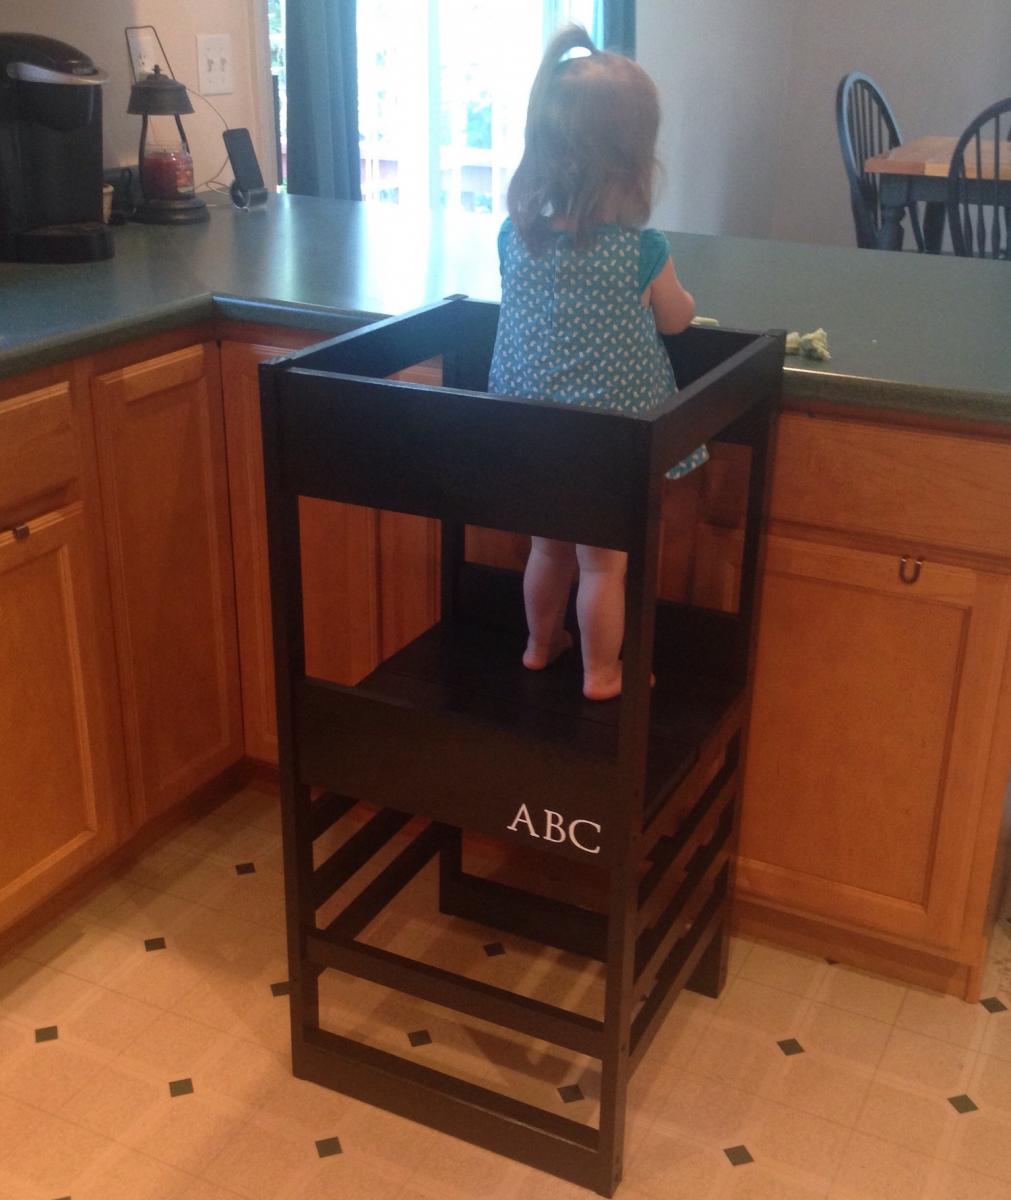
Our little one may be happily playing independently but the second I go to make dinner she demands to be held and refuses to be put down, making cooking impossible. To help keep her occupied but still involved I've been eyeing a learning tower / kitchen helper on Amazon for months now, but at $200 it just wasn't in our budget. My sister-in-law had made a learning tower from a plan by Ana White and suggested I try to make one too. I was unsure at first, I've never made anything more complicated than a birdhouse, but I decided to give it a go!

Please see my blog post for additional photos and lessons learned during this project.

Built from Plan(s)

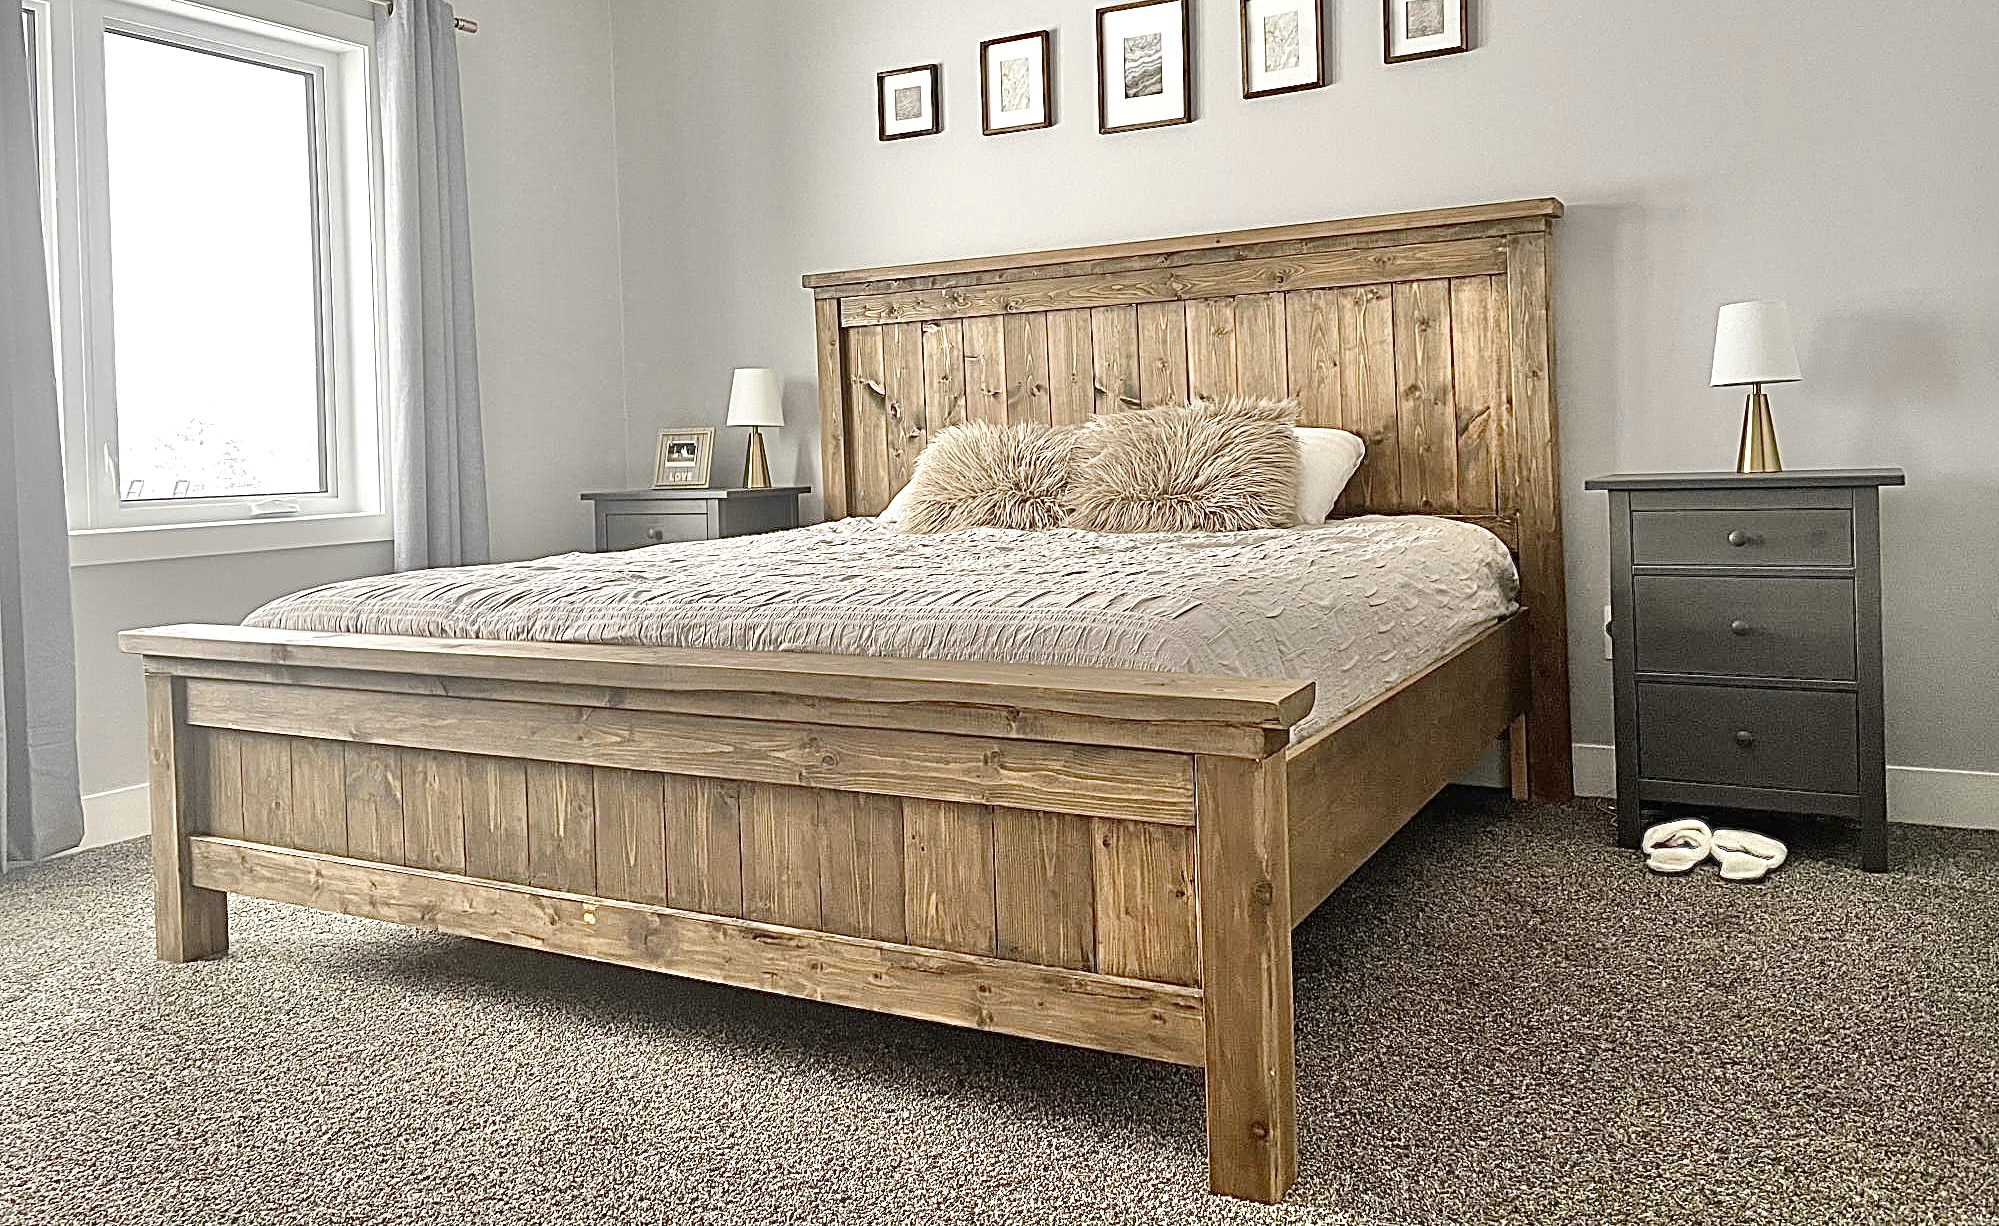
Modern Farmhouse Bed

Submitted by Anonymous (not verified) on Sun, 01/15/2023 - 13:37

My husband and I had worked on this bed together, and we are so happy with it! We went with taller side tables that we purchased, and just stained the wood instead of painting it.

Comments

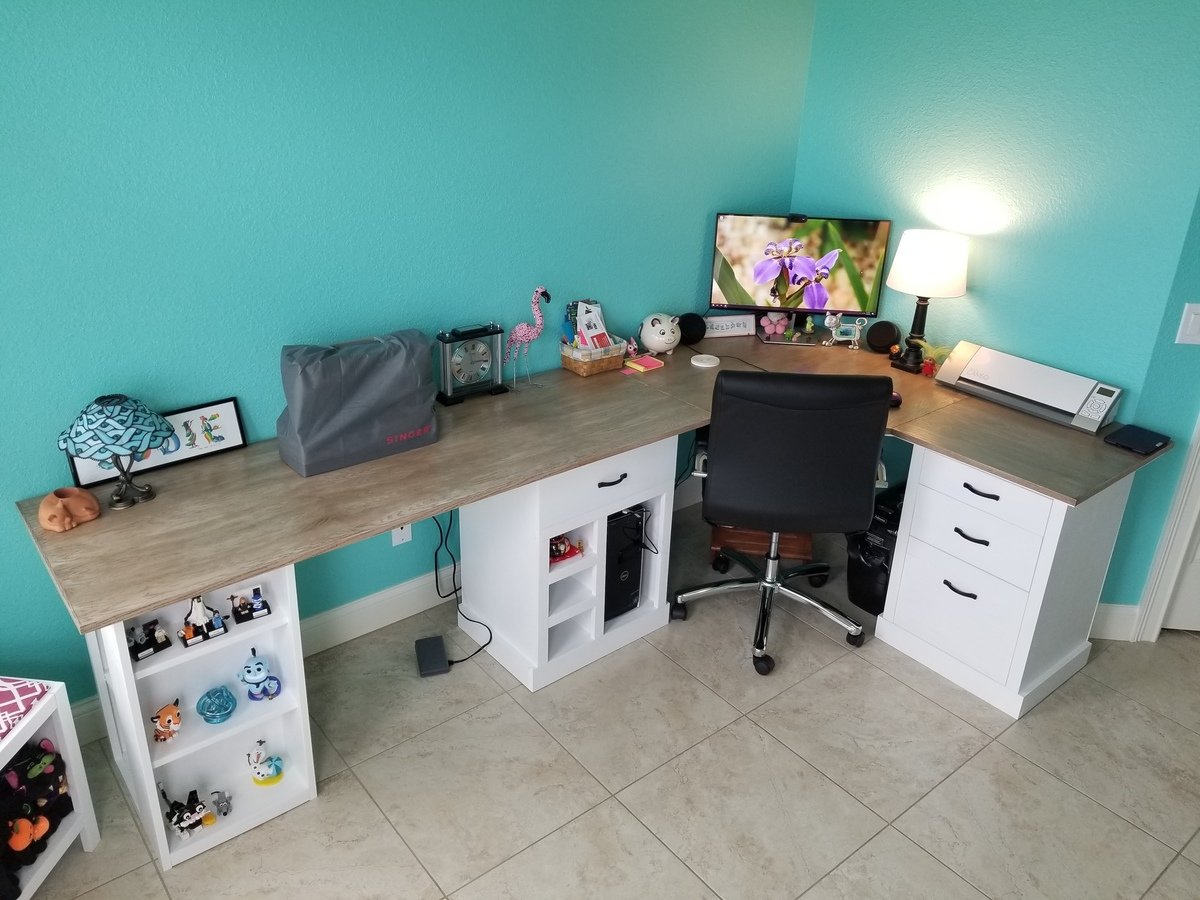
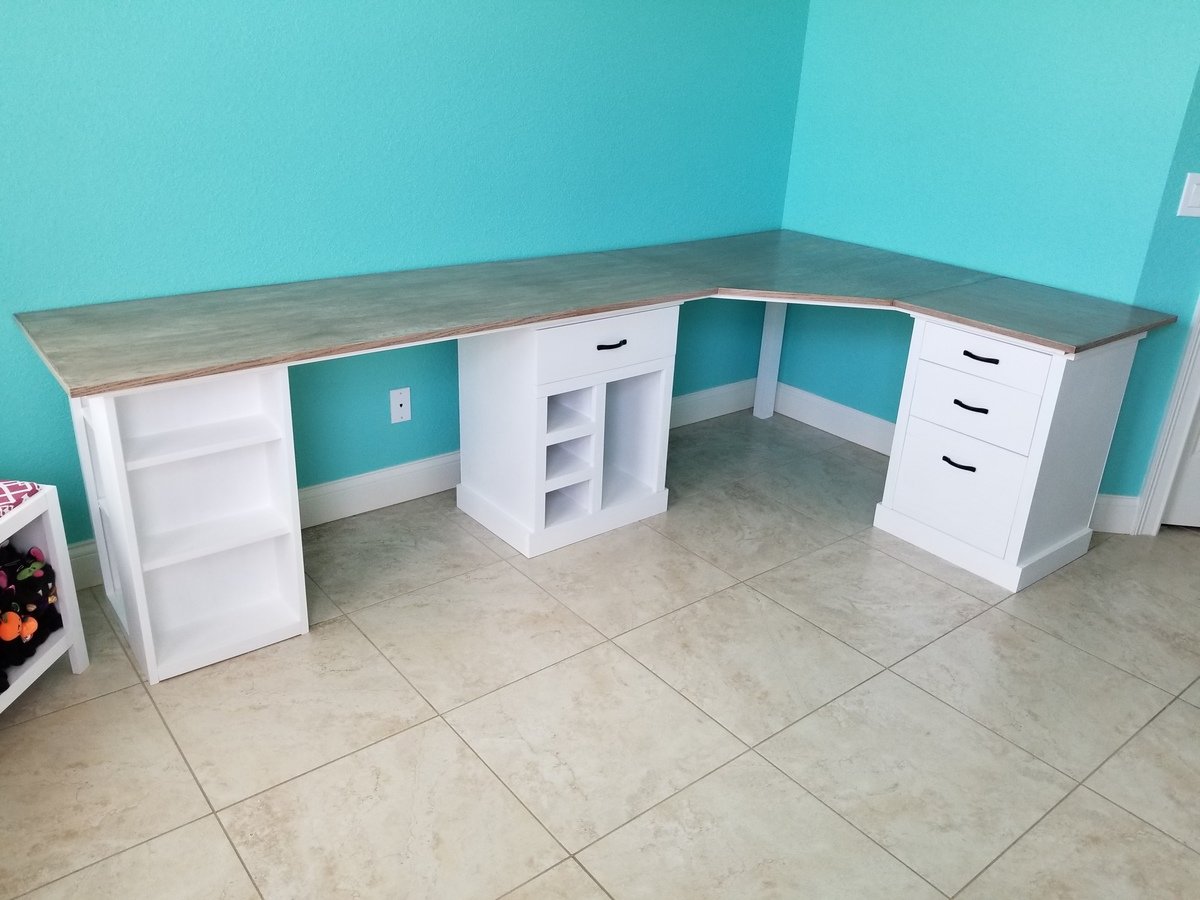
Modular Corner Office and Craft Desk

I started creating the furniture for my new craft room by making the Easy Three Cube Benches I found here.  I modified them so that my cats could lay on top and look out the windows.  The cube benches gave me the confidence to design a printer stand.  Using Ana White's technique of "build the box" and then add the rest, I designed a custom printer stand I am so very proud of!  After the printer stand, I moved on to the final piece that would complete my craft room, a modular desk with plenty of workspace to complete any craft I want.  I modified each module a little to keep with the theme design of the room.  I created three modules.  The last one being a bookcase that is a modification of the Modern Craft Table bases.  I used better quality Oak plywood for the desk top, and good pine and whiteboard plywood for the modules.

Estimated Cost
$500
Estimated Time Investment
Week Long Project (20 Hours or More)
Finish Used
For the modules I used Valspar Furniture Paint in ultra white. For the desk top I used Minwax Simply White stain and then Minwax Dark Walnut over that to create the "driftwood" style look. I sealed the desktop with about 5 coats of Minwax wipe-on poly.
Recommended Skill Level
Intermediate

Comments

melkaye

Wed, 02/19/2020 - 13:53

Could you tell me the measurements for the top? I absolutely love your table! 

sukheeso

Wed, 04/07/2021 - 14:07

Hi! This is very similar to what I'm hoping to make. I was wondering what the length of the left side of the desk was?
Thank you!

Sonny's Play Mud Kitchen

Darling Mud Kitchen by Sarah Jean Gammon

"I had this idea of making Sonny a mud-kitchen, a kids play kitchen for the yard. I mentioned it to Brent and he laughed saying he had enough projects on his list. This was not something he was going to build. Sooo I built this all by my self...or as Sonny would say, “me do this my own self”. It cost ~30 bucks in lumber and a trip to the thrift store for some second hand pots and pans. 3 hours later, a little paint, a little stain and voila... Sonny Side Up Mud Kitchen! Thanks for the plans Ana."

Built from Plan(s)

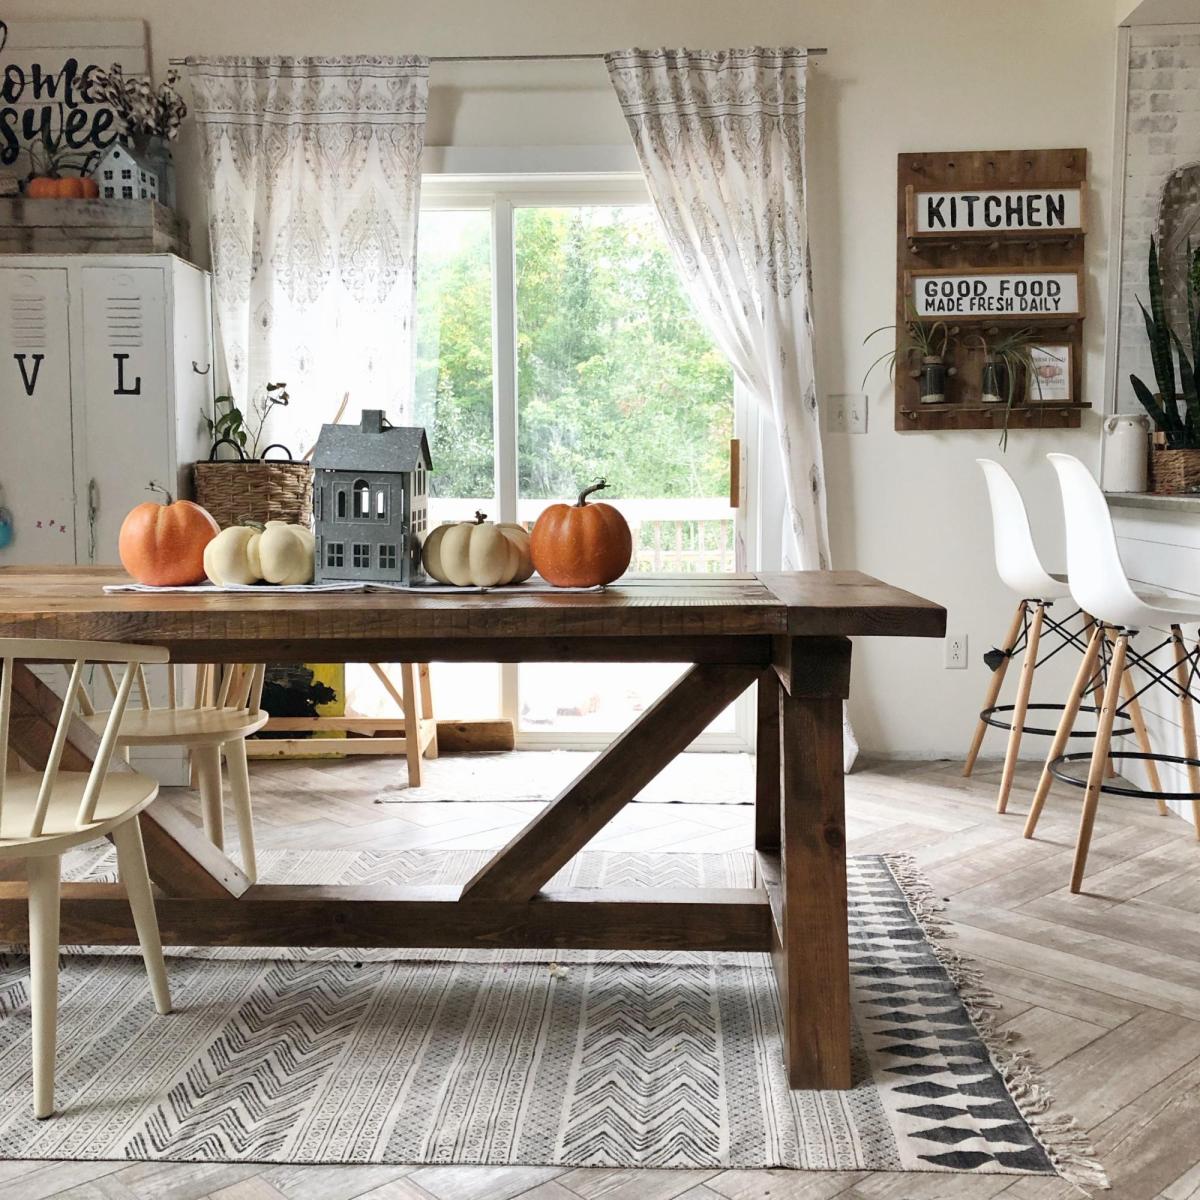
From Logs to Famhouse Table

Submitted by Anonymous (not verified) on Sun, 10/13/2019 - 18:45

So this DIY Farmhouse Style Table has been on my “make it” list for a while now. And what better time to make it than now, since we just got a saw mill. Check out the blog link below to read all about it.

Built from Plan(s)
Estimated Time Investment
Weekend Project (10-20 Hours)
Finish Used
Minwax Early American Stain
Minwax Polycrylic Clear Sealer
Recommended Skill Level
Intermediate
Seasonal And Holiday

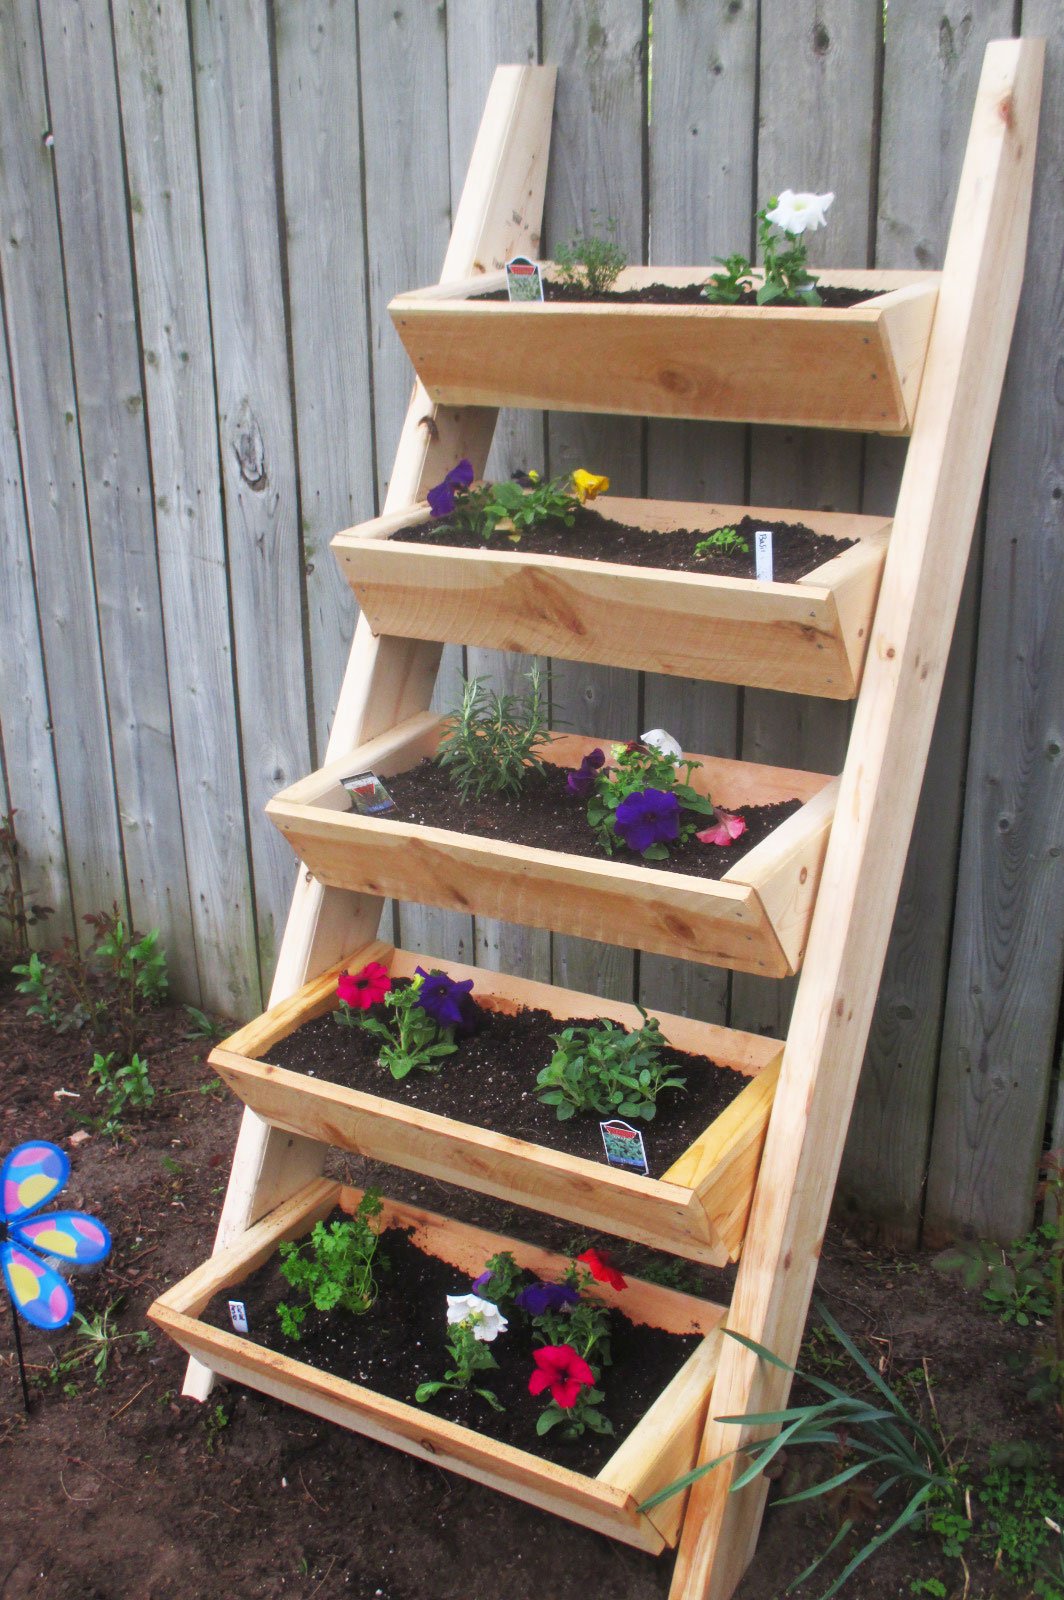
Herb & Flower Ladder

Submitted by Anonymous (not verified) on Mon, 05/09/2016 - 15:06

Living on a small city plot, this vertical ladder planter was just what I was looking for to grow my herbs and flowers. I am not an experienced builder but the plans were easy to follow. It didn't take me much time at all to complete this project. Now I am looking forward to fresh herbs and flowers all summer.

Recommended Skill Level
Beginner

Comments

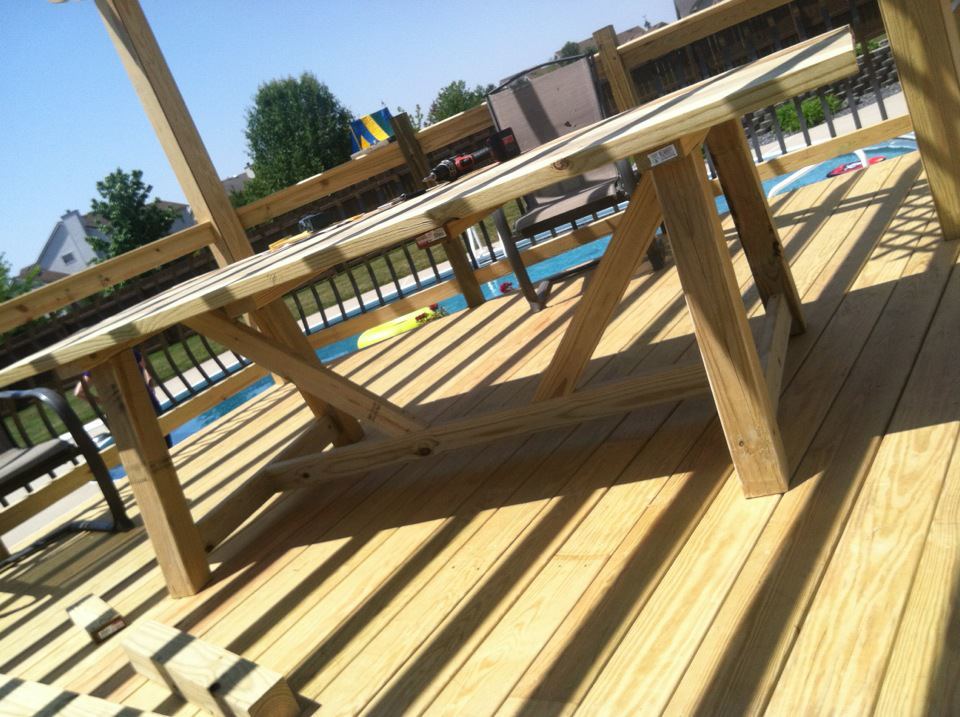
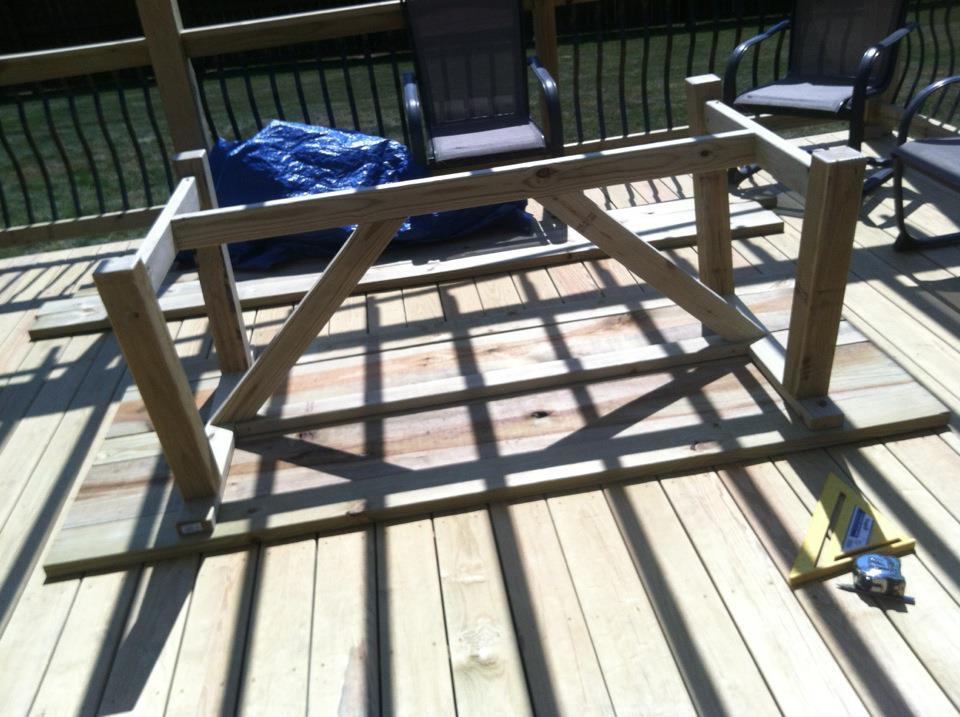
Providence Table

Here is my Providence Table made from scrap wood we had left from building our deck. I am not thrilled that it is made out of pressure treated wood but it is what it is. I used 2x6 mixed in with 2x10's for the top, 4x4's for the legs and used a 1/4 router bit for all the edges.

Built from Plan(s)
Estimated Cost
free from scrap
Estimated Time Investment
Afternoon Project (3-6 Hours)
Finish Used
It is still drying out but the plan is to paint the legs white and the top a stain color.
Recommended Skill Level
Intermediate

Comments

Cedar Planter Outdoor Speakers

Submitted by Hoosierdoc on Fri, 06/10/2016 - 10:53

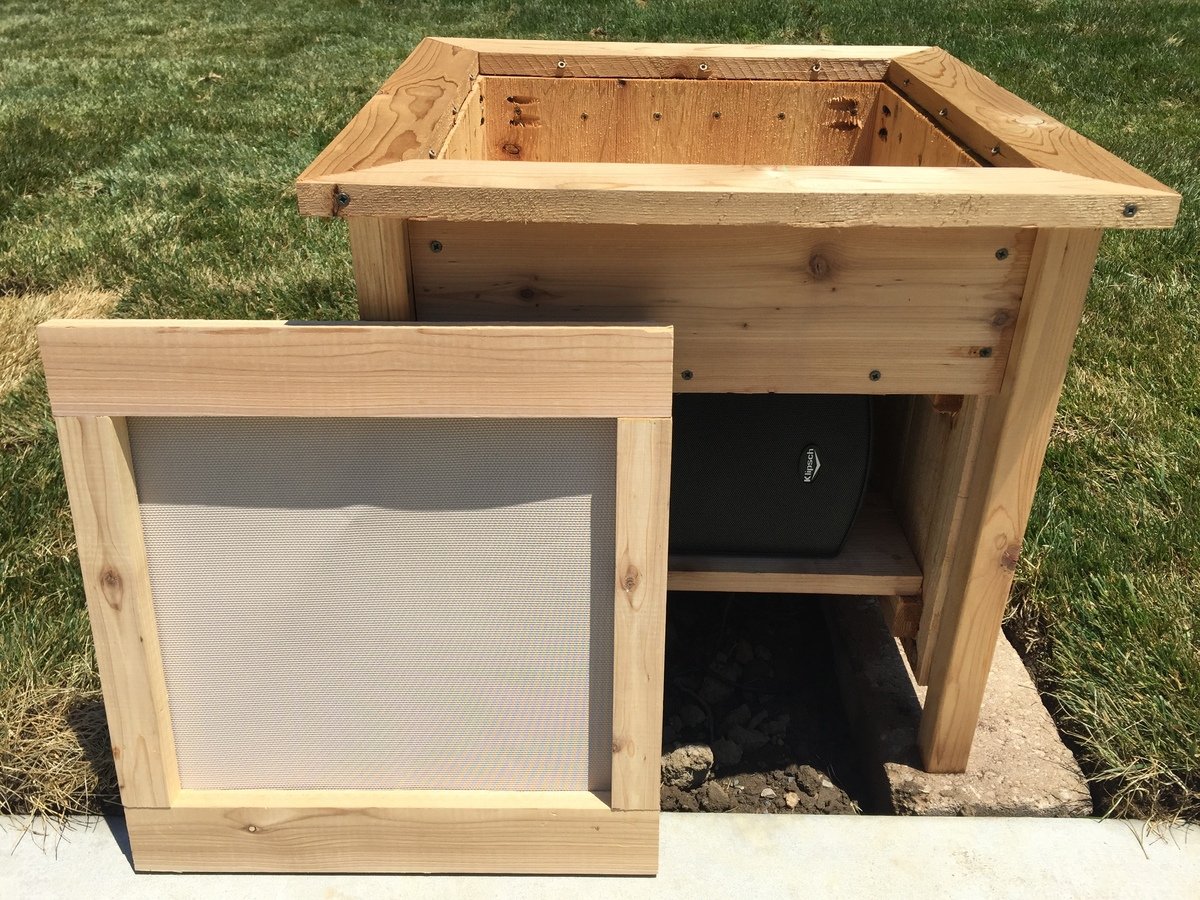
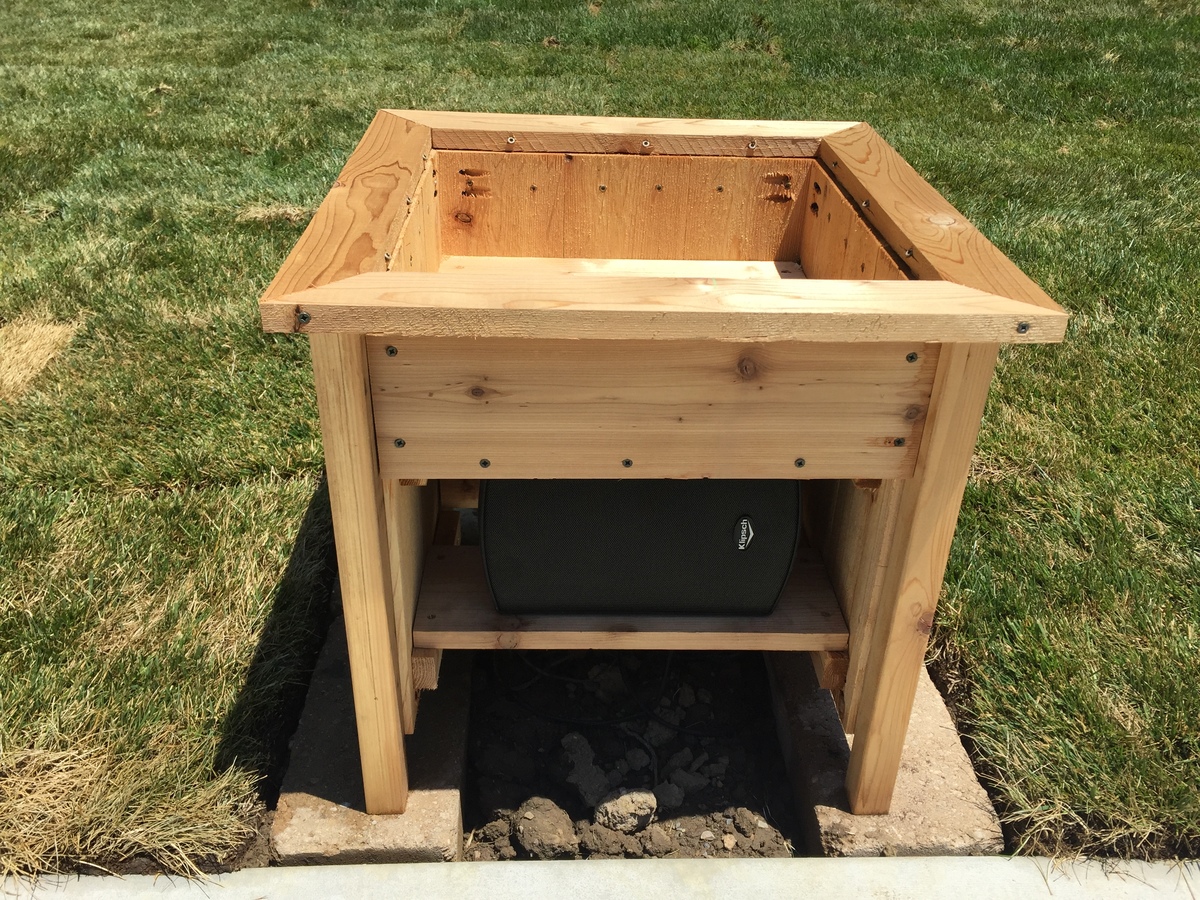
We just put in a pool and I needed something to hide a pair of outdoor speakers. I used Klipsh AW-525 speakers.

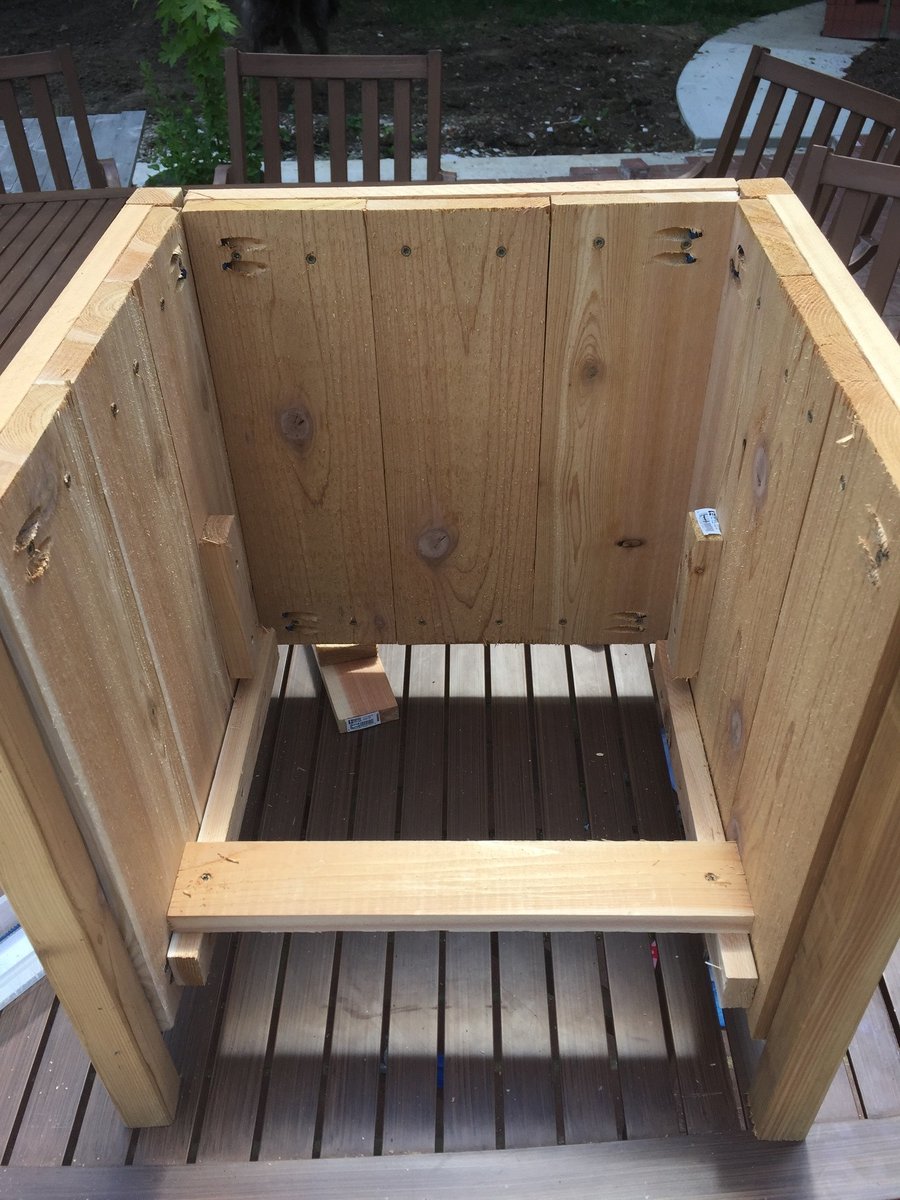
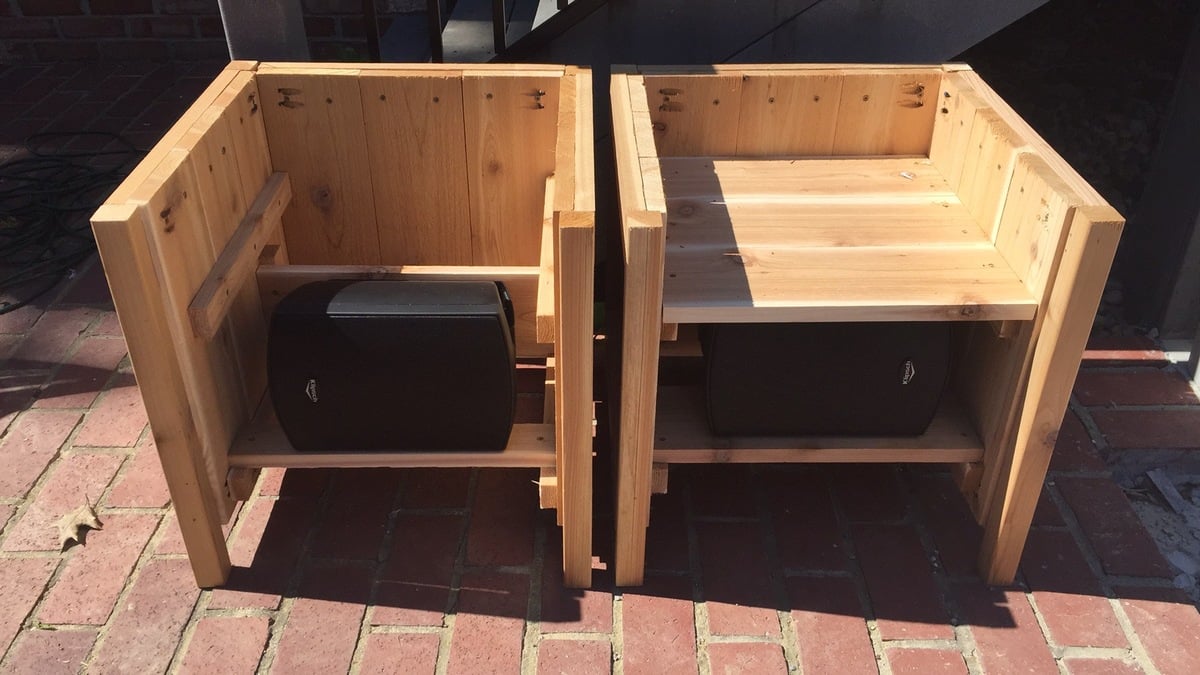
Basically I raised the bottom of the planter enough to fit the speaker under and had to add a few framing pieces to secure the speaker mount to. The mount attaches to a vertical board and the weight rests on a horizontal board. The wiring comes up from below.

The front panel uses vinyl mesh from Sailrite.com to hide the speaker but allow sound out. Imm planning to hang it with magnets if it doesn't distort sound too much.

Built from Plan(s)
Estimated Time Investment
Afternoon Project (3-6 Hours)
Recommended Skill Level
Beginner

Comments

Rustic Modern 2x6 Platform Bed

I recently moved to Boulder, CO and finally have a garage where I can actually work on projects. Since I moved here with practivally nothing, I decided I should build my own bed. This is probably one of the most ambitious wood working projects I've attempted. I also tend to be slightly anal, so I've probably spent way more time on this project than most people have or will.

After reading the plans and other Brag Posts, I felt I was ready to start. I ordered the Kreg Screws, and a few other supplies I would need for the Project on Amazon and was off to the races. Several trips to Home depot to get various pieces of wood, (since I wasn't going to fit it all in my Subaru in one go), I finally had most of the lumber for the bed frame. Let me tell you, it's not easy getting straight pieces of lumber (as mentioned before, I'm a little anal). I decided to go with oversized lumber, since I would have more usable leftover pieces for other projects.

I spent several hours after work during the week, and several more on the weekend, sanding down all the lumber with 60 Grit, then applied the first coat of Stain, to raise the grain. I was out of town for the weekend, and let the stained wood sit in my garage while gone. When I got back, I noticed a lot of marks which I didn't notice before staining. Some of these were from the belt sander I used to knock down really rough parts of some of the lumber. But most of the marks were because I put too much pressure on my random orbital sander.

Lesson learnt: Sanding takes time, and patience! DO NOT press down hard on the sander, if you don't want marks on your wood. These marks will be significantly more prominant after staining.

I decided to sand everything again, 60 grit, then 100, then 150. I gotta say, the wood feels so much nicer to touch and I'm glad I decided to re-sand. I spent a few hours after work to get most of the head board pieces done, but noticed that the 2x4 had warped beyond repair... I'm going to get the upper and lower 2x6 pieces ready to assemble with my kreg jig this weekend, and then decide if I want to add a 2x4 in the middle like the plans call for.

I decided to go with just 2x6s for the headboard, I used the Kreg Jig to put it all together, I also attached 4 supports made of some scrap Plywood I got from my neighbor for the headboard.

I stained it all with a Staining pad twice, then applied 3 coats of Poly with a brush. I didn't sand between coats since I was applying very thing coats and I had already sanded everything down with 150 grit. 
Estimated Cost
$100-150
Estimated Time Investment
Week Long Project (20 Hours or More)
Finish Used
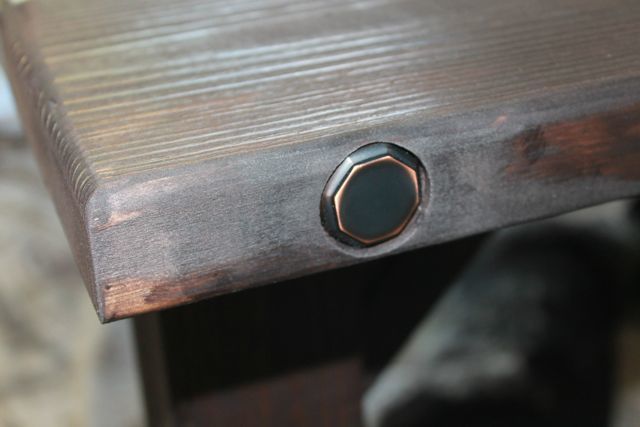
Stain: Minwax Oil based Dark Walnut - 2 coats with a staining pad
Varnish: Satin Water based Indor Polyurethane by Varathane - 3 coats with a brush.
http://www.homedepot.com/p/Minwax-1-qt-Wood-Finish-Dark-Walnut-Oil-Based-Interior-Stain-70012/100376185

http://www.homedepot.com/p/Varathane-1-qt-Clear-Satin-Water-Based-Indoor-Polyurethane-200241H/100169146
Recommended Skill Level
Intermediate

Comments

username.

Fri, 03/02/2018 - 19:17

Sick job dude! What stain is that? I like the color of it and might use it for mine. Did you notice a stain odor at all after applying the stain and covering it with the poly? 

OutDoor dining table

My wife and I were looking for a larger table for our deck and after searching and seeing that everything out there was 300 dollars and up for something decent I decided I would try building something. This table was perfect for our needs and looked easy enough for me to put together. The most time consuming part was staining all of the boards as I went but it was totally worth it in the end. I also deviated from using screws and used my nail gun along with some glue to put the top frame together and the slats on but I did use some 2inch deckmate screws to attach the legs. One problem I did run into was I was about half a board short on the slats which wasn't a big deal just ripped one on the table saw, not sure if I miss measured or what but either way. We love our table and will entertain around it for years to come.

Built from Plan(s)
Estimated Cost
Around 80 Dollars
Estimated Time Investment
Day Project (6-9 Hours)
Finish Used
I used a Behr deck stain that was solid the color is called Russett and I did with a 3inch brush.
Recommended Skill Level
Beginner