Scrap Wood Barn
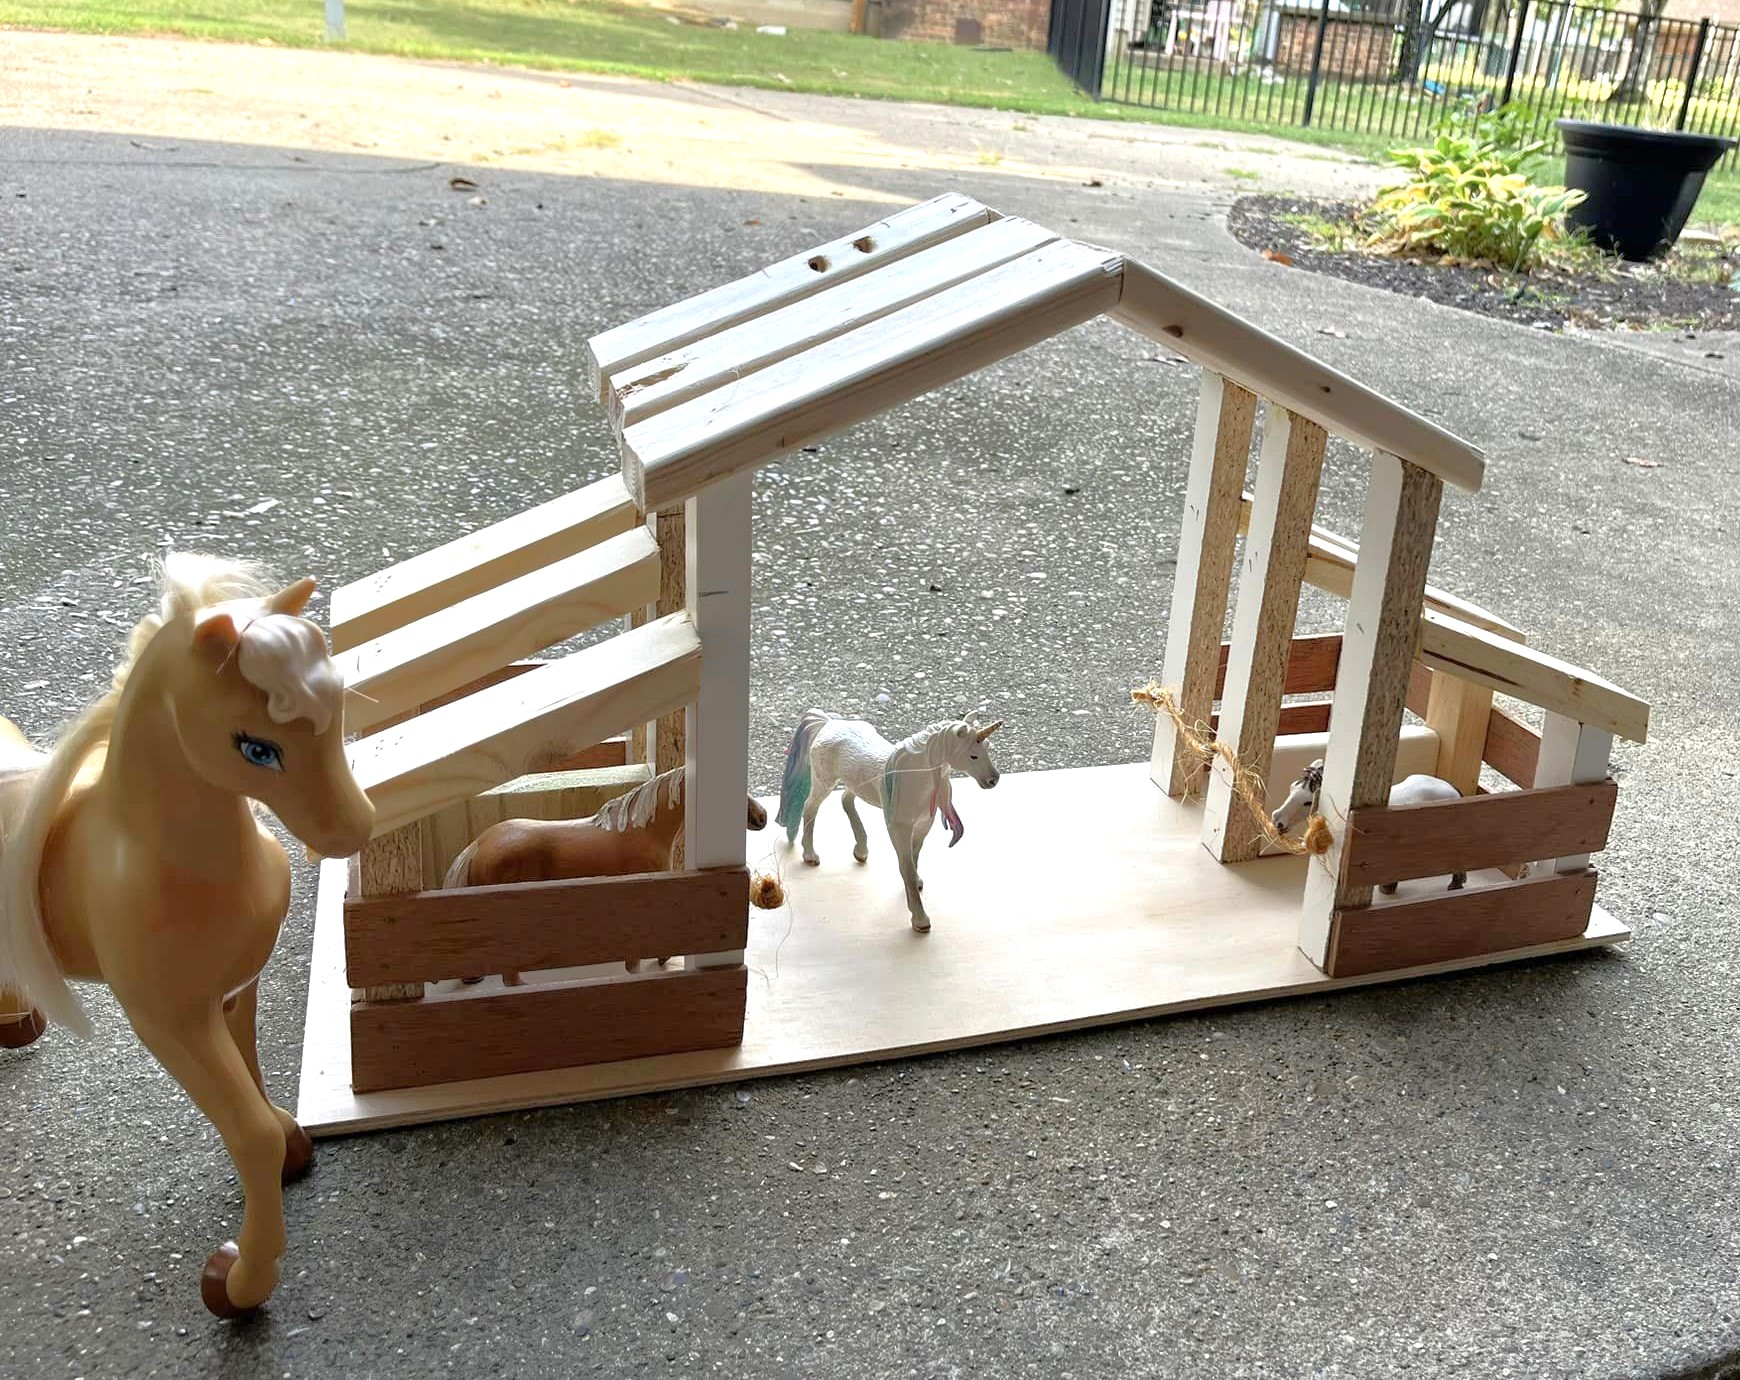
My daughter watched me do another build project and wanted something for herself. We built the Toy Barn from Ana White's plans using only scraps around the garage!
Laura Thompson
Built from Plan(s)
My daughter watched me do another build project and wanted something for herself. We built the Toy Barn from Ana White's plans using only scraps around the garage!
Laura Thompson

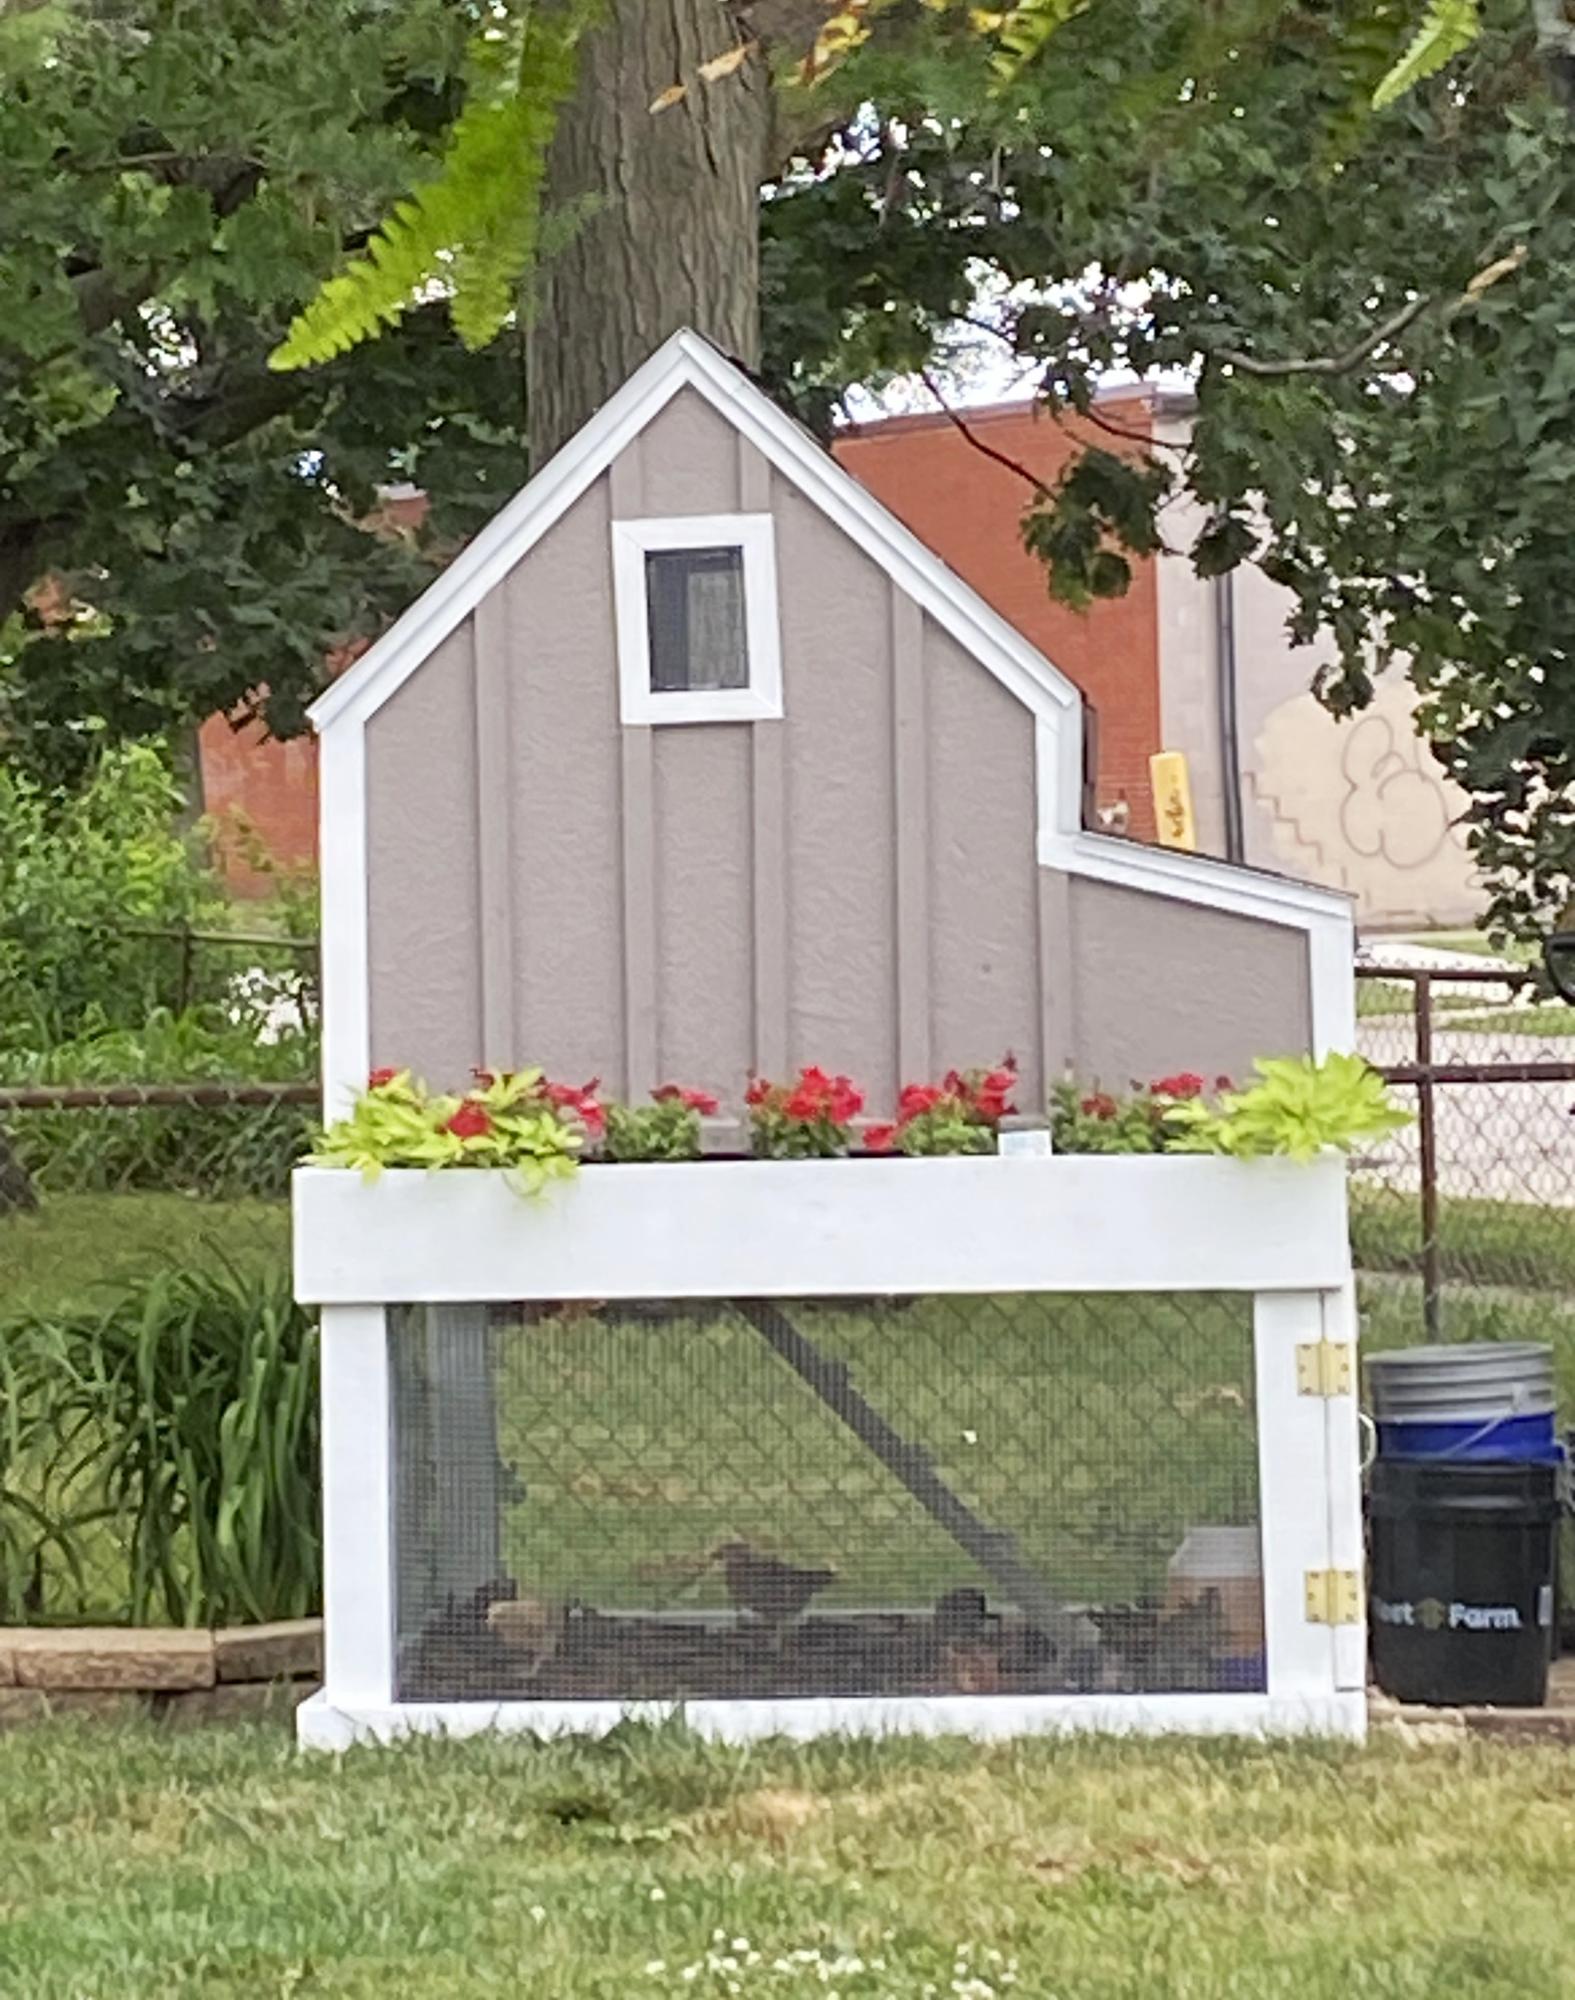
This was my first project using my circular saw and Kreg jig, so I wanted to try something that was not too difficult. It probably took me longer than most as I had to read all the directions on my saw and Kreg jig. Both are super fun to use. Ana’s plans made it super easy! After assembly, I decided to paint it as it needed to be weather/waterproof. I used Behr waterproofing stain &sealer in slate. Love how it turned out! Thanks for the easy to follow plans.

As a first time chicken farmer, I have four chickens now fully grown. It was 29 degrees in Iowa this morning, wondering if I should wrap the lower portion of the coop on three sides with visqueen, and should the roost windows be covered? I have straw bales to roost on and add where needed . I don’t plan to heat the coop . Any help will be appreciated.
Made a few adjustments to the measurements and top… pretty happy with the way it turned out!

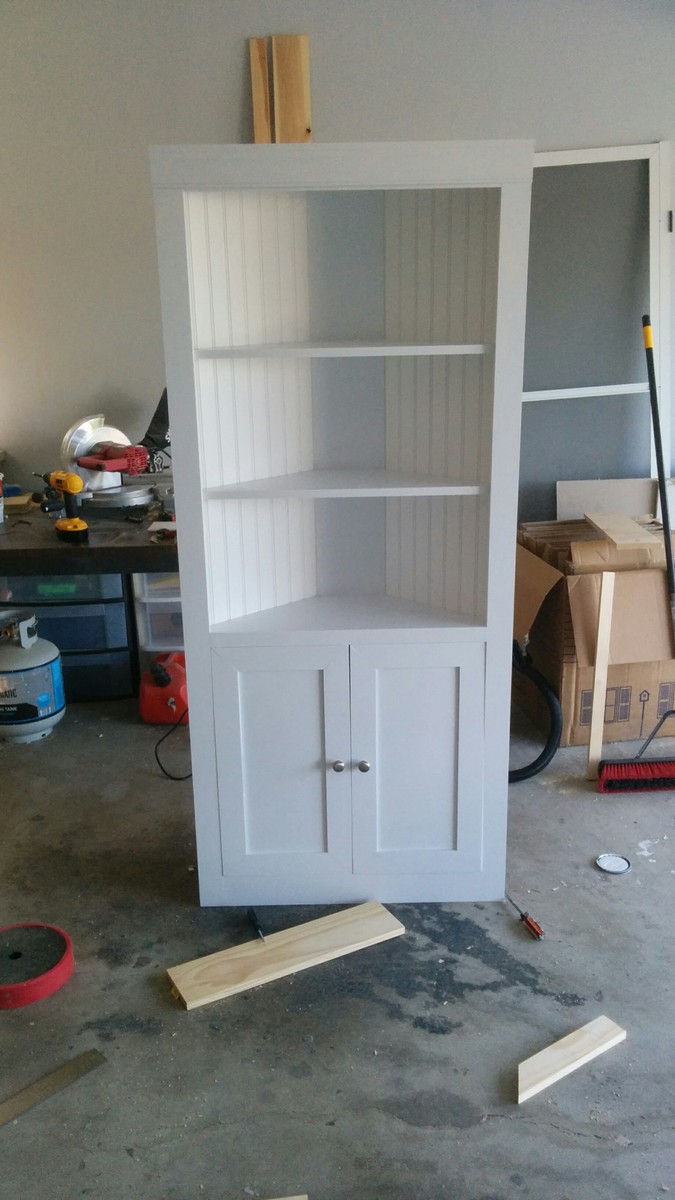
I have never so much has touched a saw before, but got a wild hair to build something. This is my very first attempt. I didn’t put the X on it, but I did the rest. There are soooo many flaws and I’ve since made several other pieces. But I wanted to post this to show that if you put your mind to it, you can do anything! I’m in love with this piece. Thank you so much for the plans!
I took the pony wall idea and went with it.
Mazda Mitch
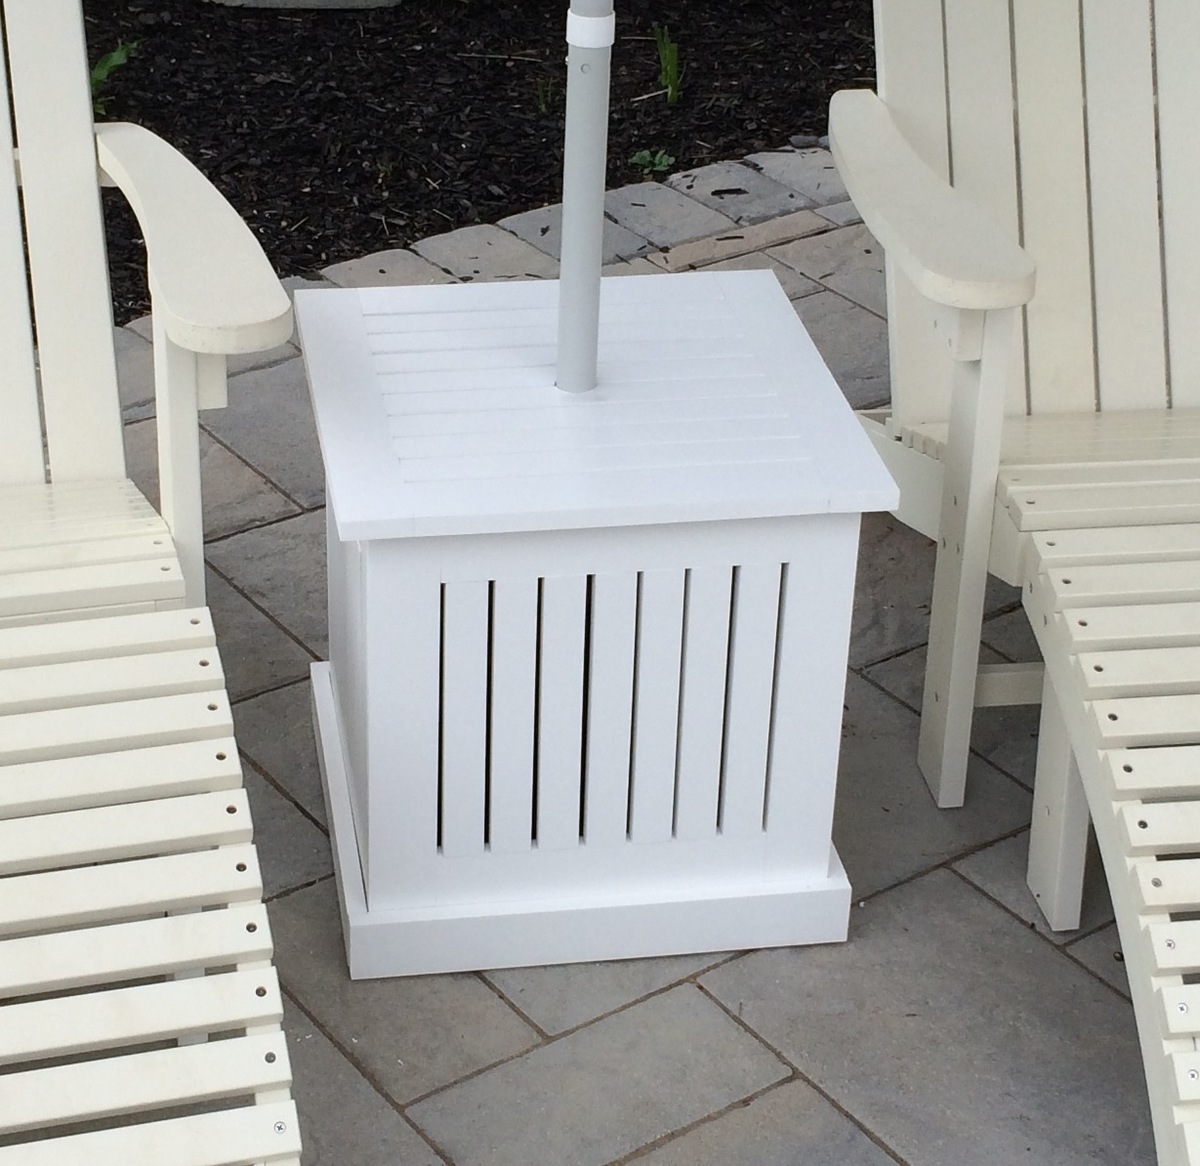
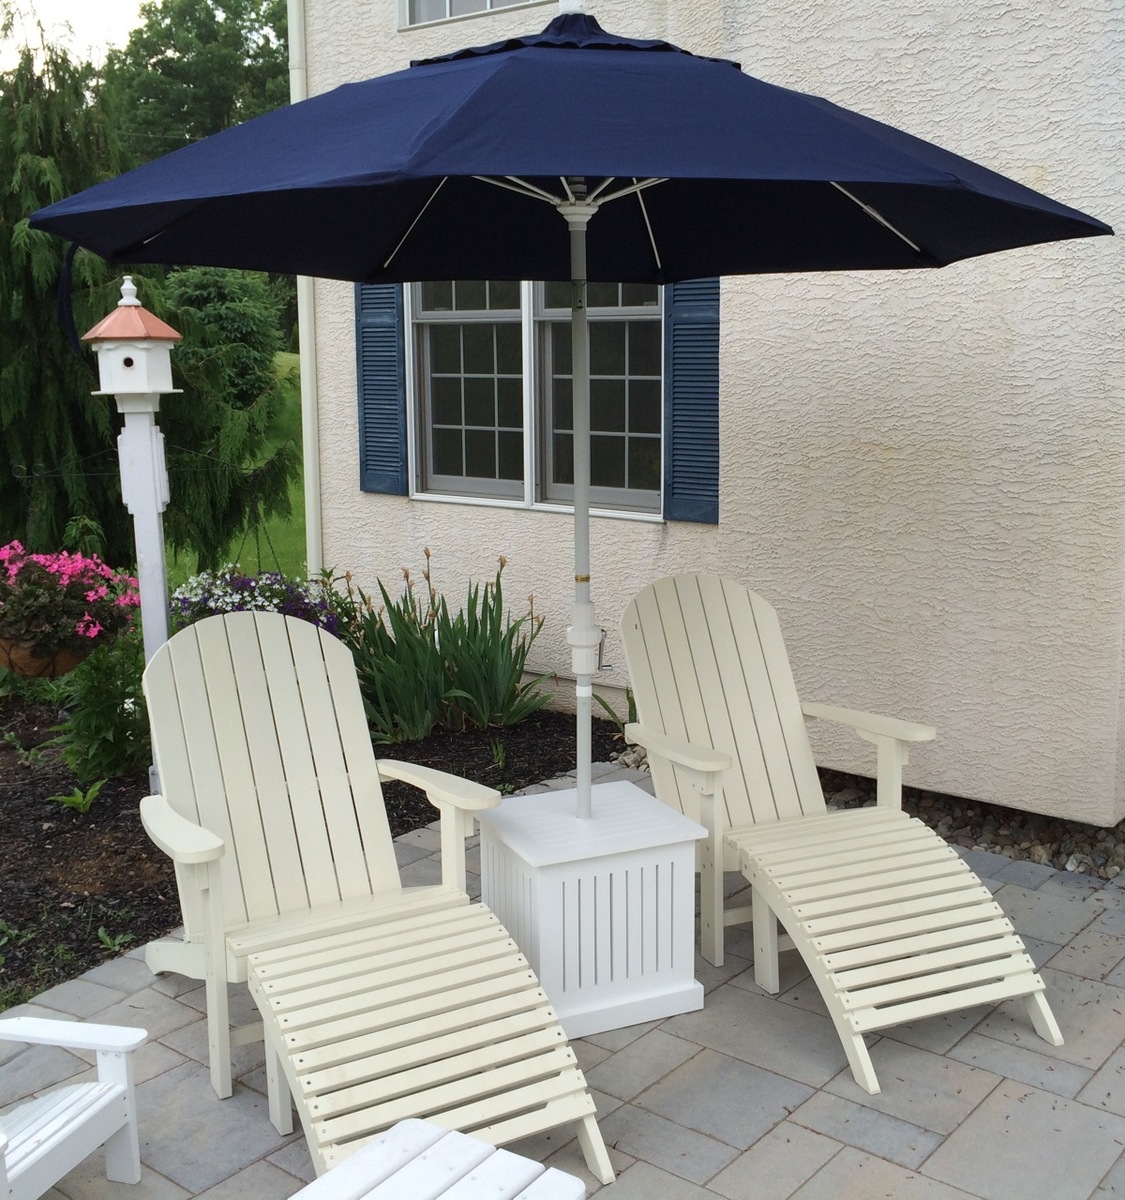
Great plans, Ana! I swapped out the wood for PVC trim, and used stainless steel screws to hopefully make this thing weatherproof.
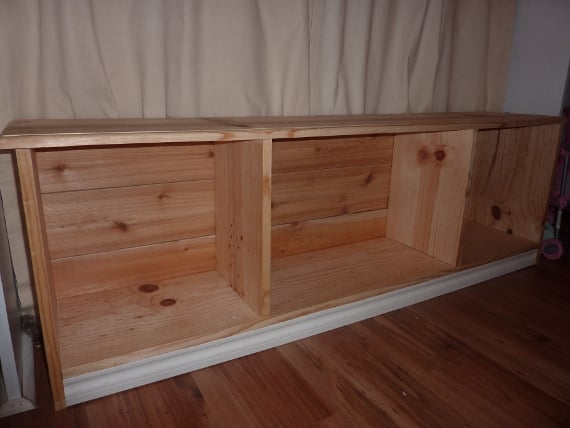
Our daughter's room has built-ins on either side of the window. I always wanted a window seat to sandwich in between, but couldn't find one with the right dimensions.....THANK YOU ANA WHITE! I used her Entryway Bench plan and just changed the length and depth to fit the window. I didn't add the side and back supports on top, but I bullnosed all the edges to make it look more finished.
I built this in one afternoon and even used cedar fence planks (left over from my husband's fence project) for the backing....love the extra charm of those planks!
We also had some molding left over, so I worked that in to the bottom for a little extra detail.
Haven't painted it yet....just enjoying it's usability until I decide on a color. It's super durable. My three year old sits on it (to read), stands on it (to spy on the neighbor's cats) and tosses those baskets in and out all day long.

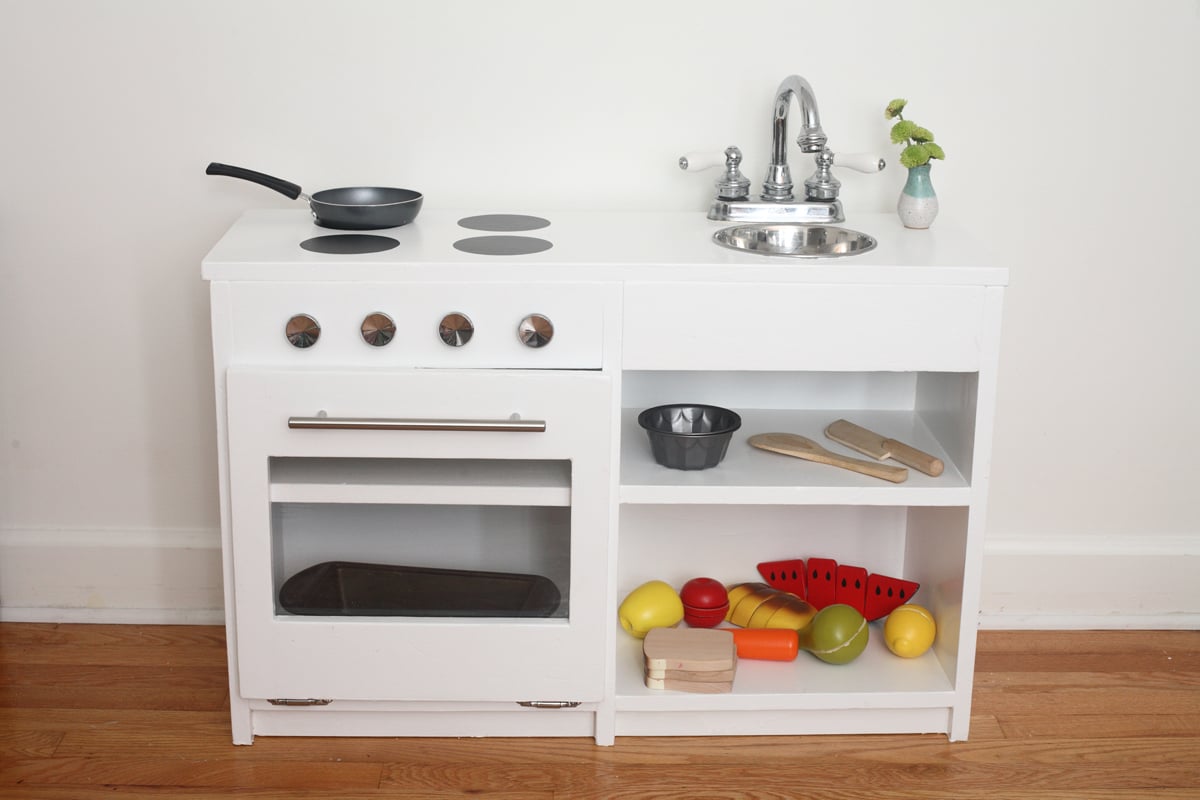
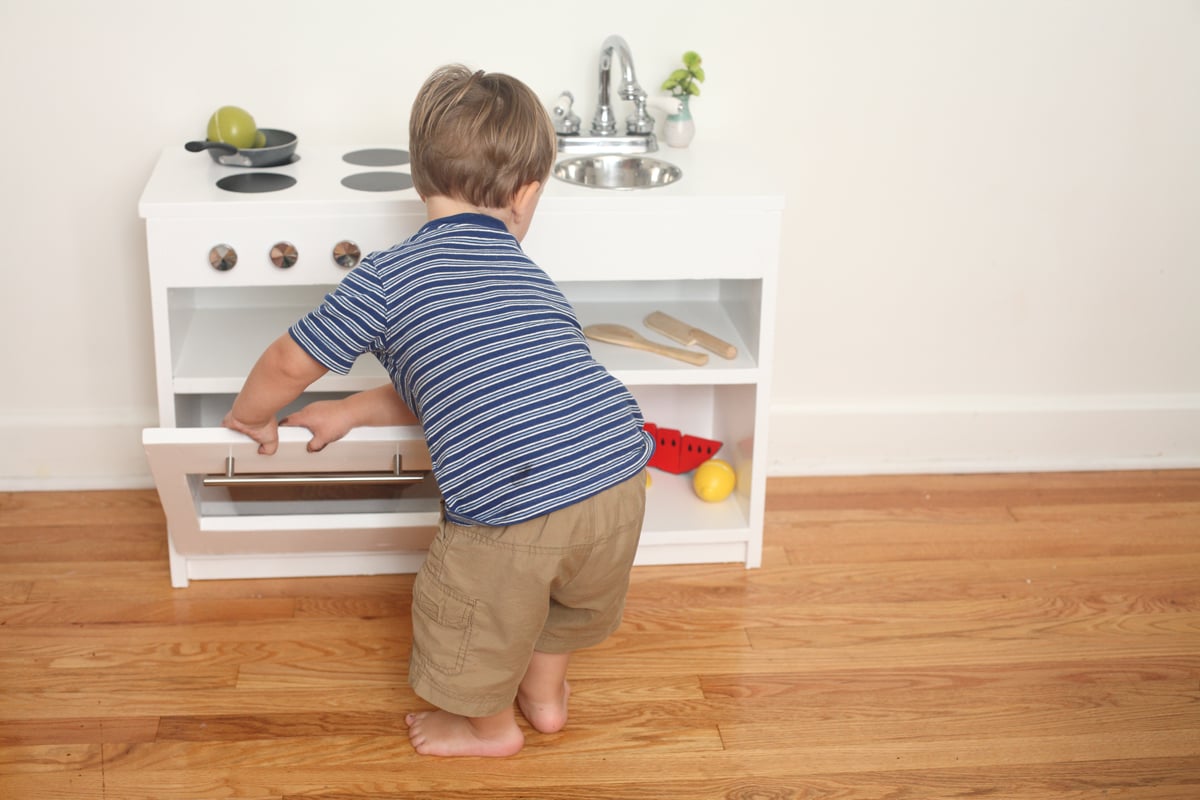
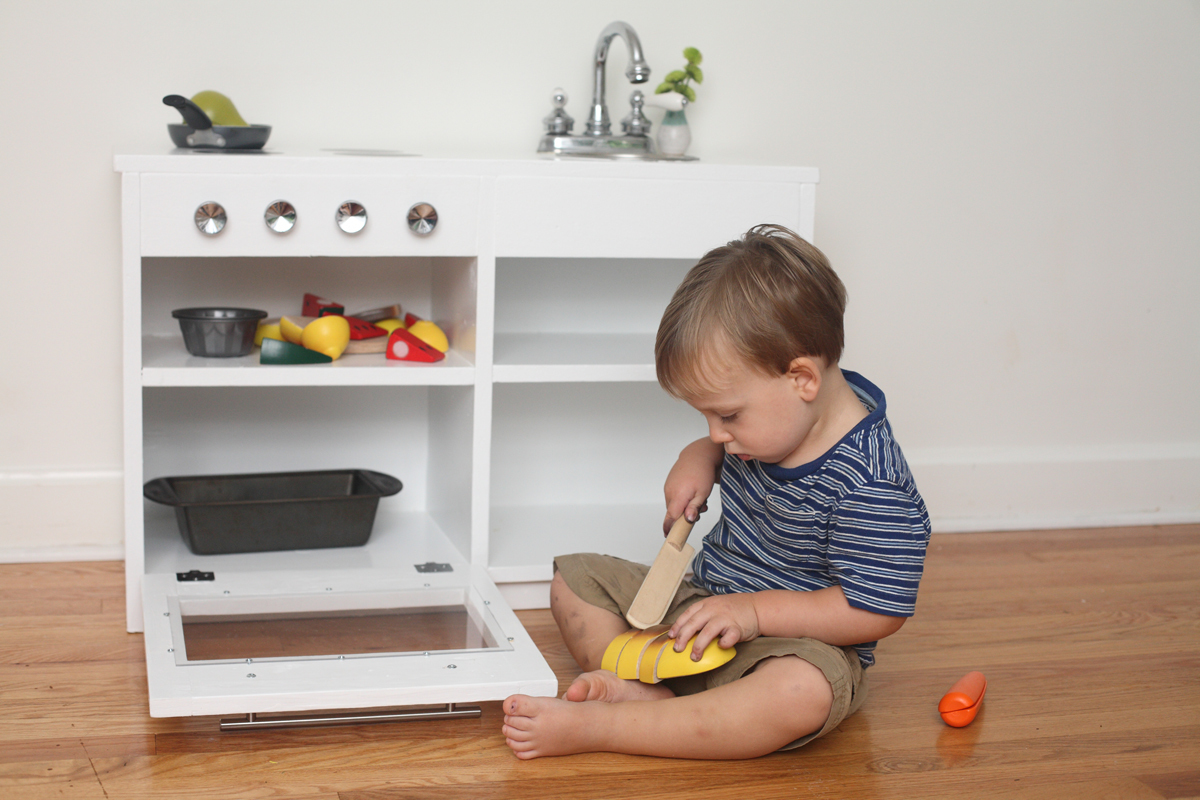
I combined the play sink and play stove into a one-piece kitchen by having them share a side. I found a bathroom faucet at my local Habitat ReStore for $15 (and that included a sink I didn't even need!). Time investment does not include painting. Here's my cost breakdown. Lumber: $25 (I used some scraps.) Faucet: $15 Dog bowl: $7 Hardware: $13 Primer and paint: $19 Screws: $4 Sandpaper: $5 Plexiglass: $3 Prepping dinner while my toddler works in his play kitchen beside me: Priceless.
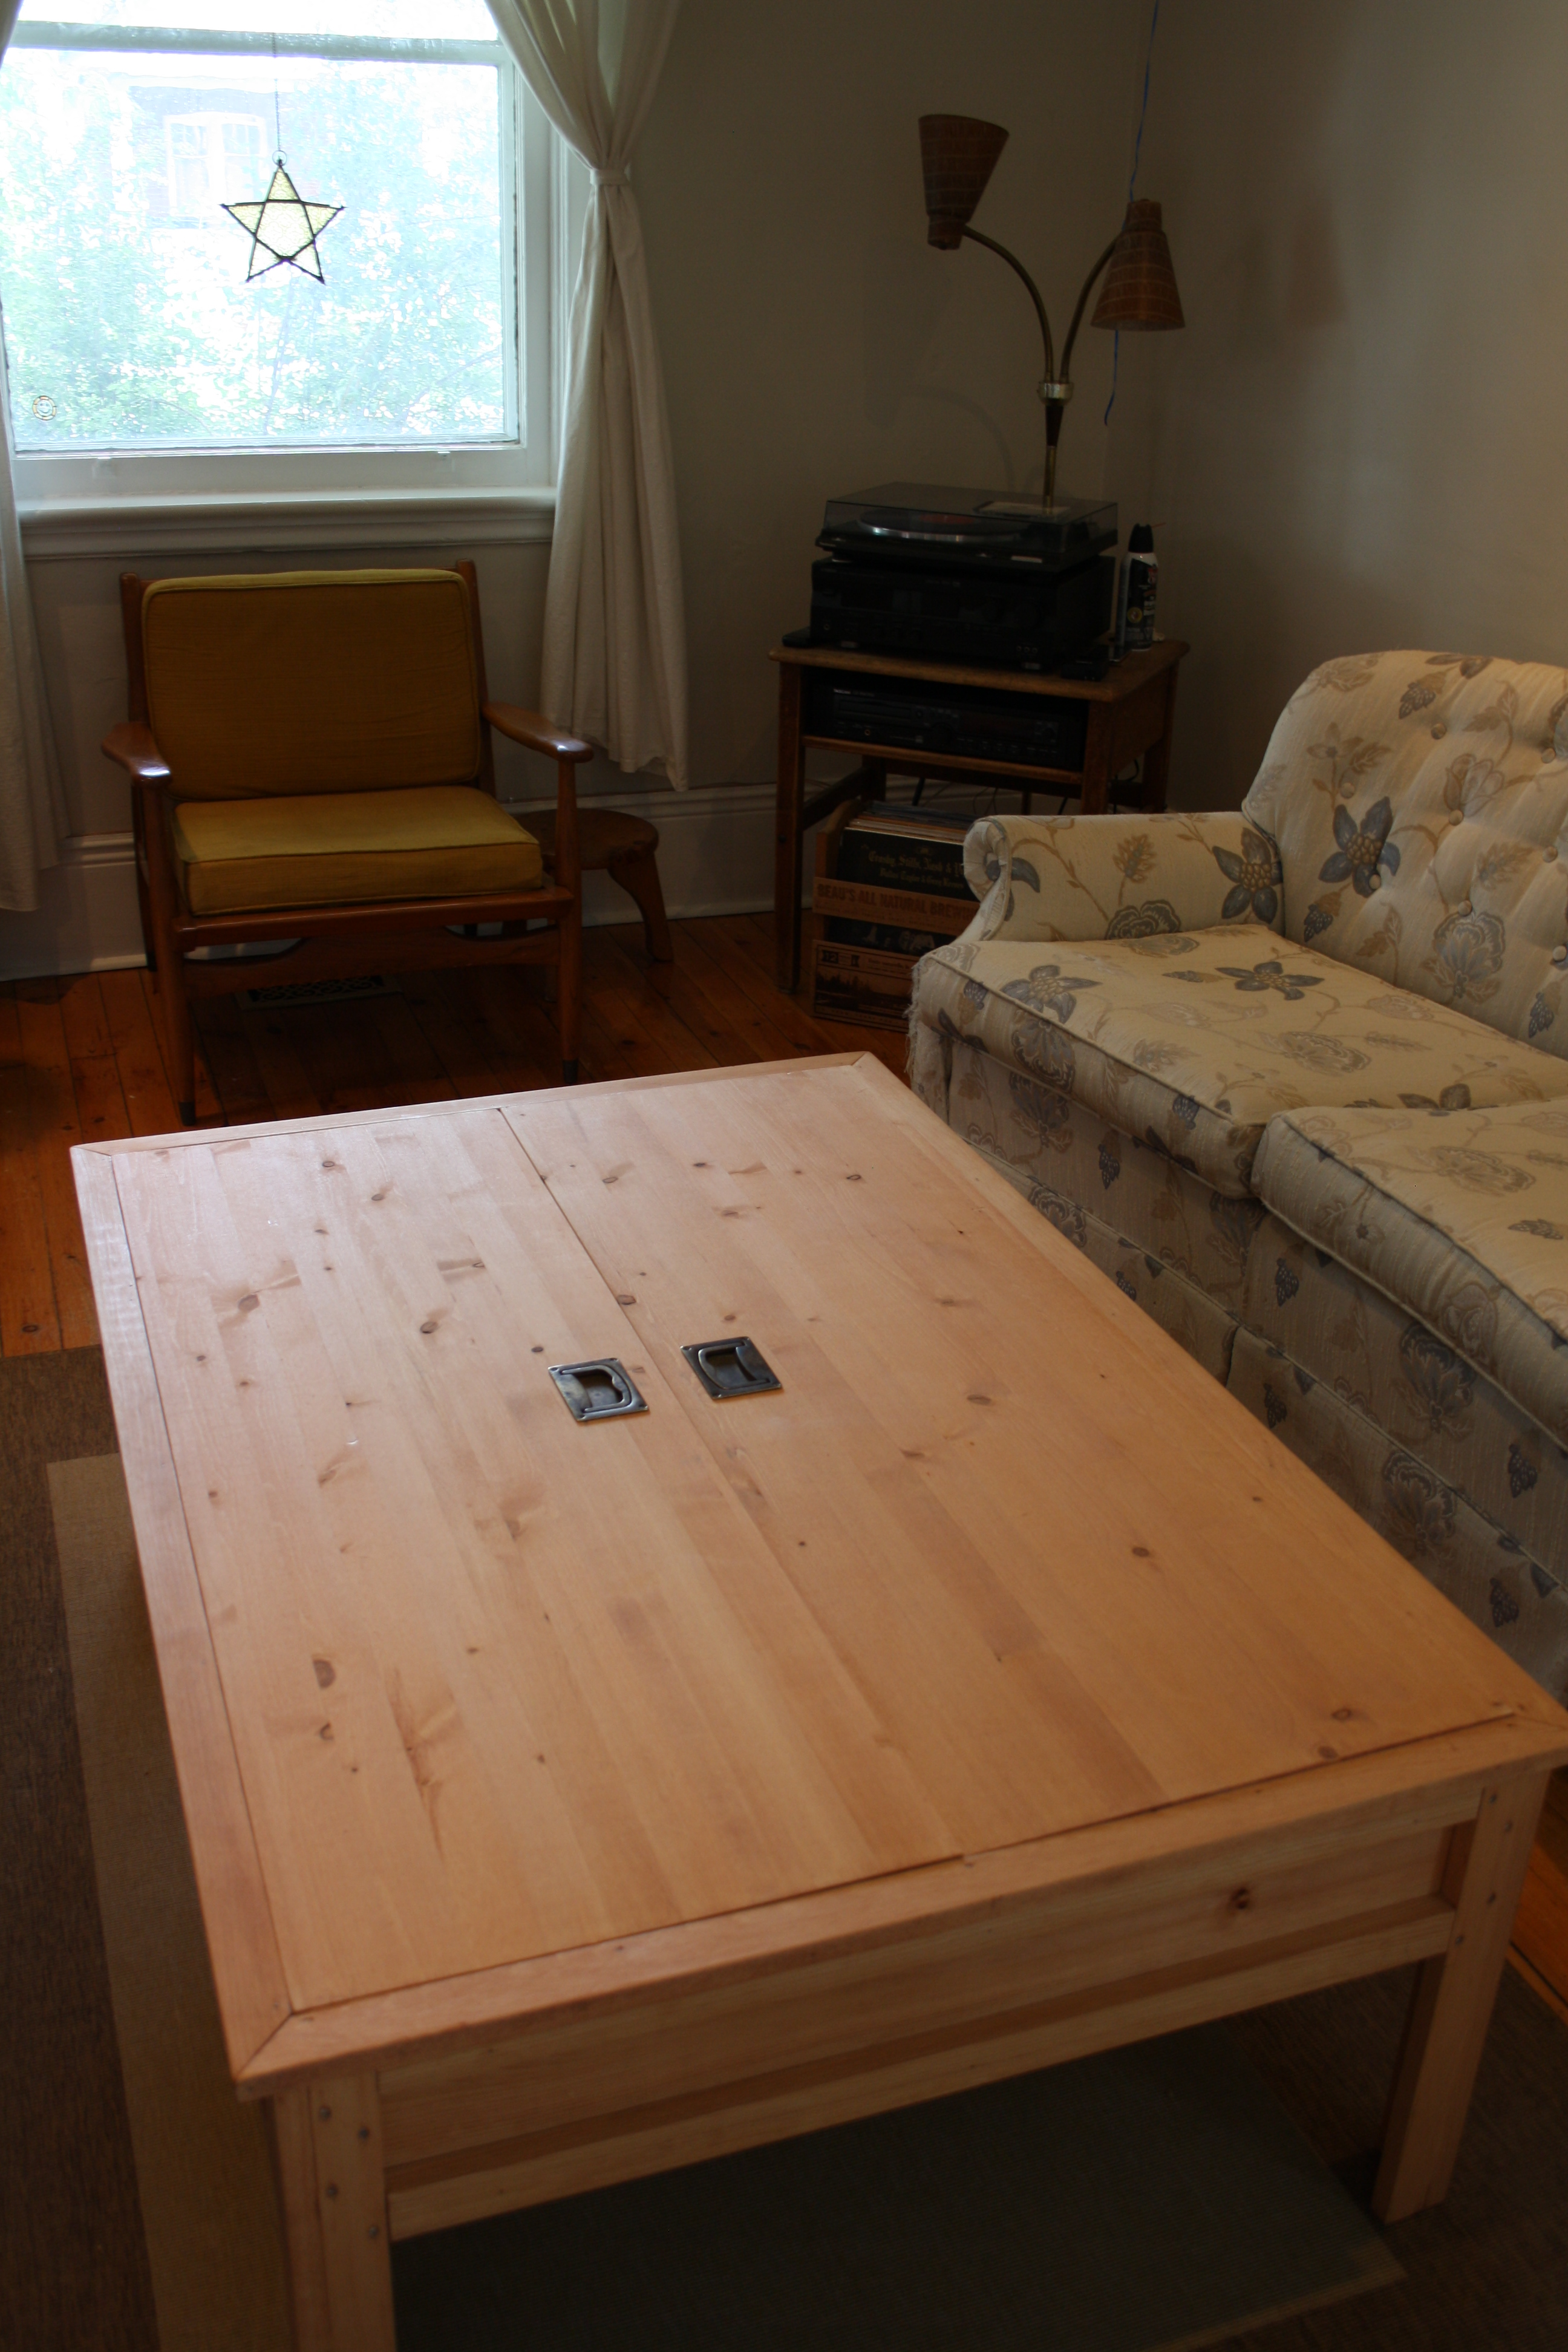
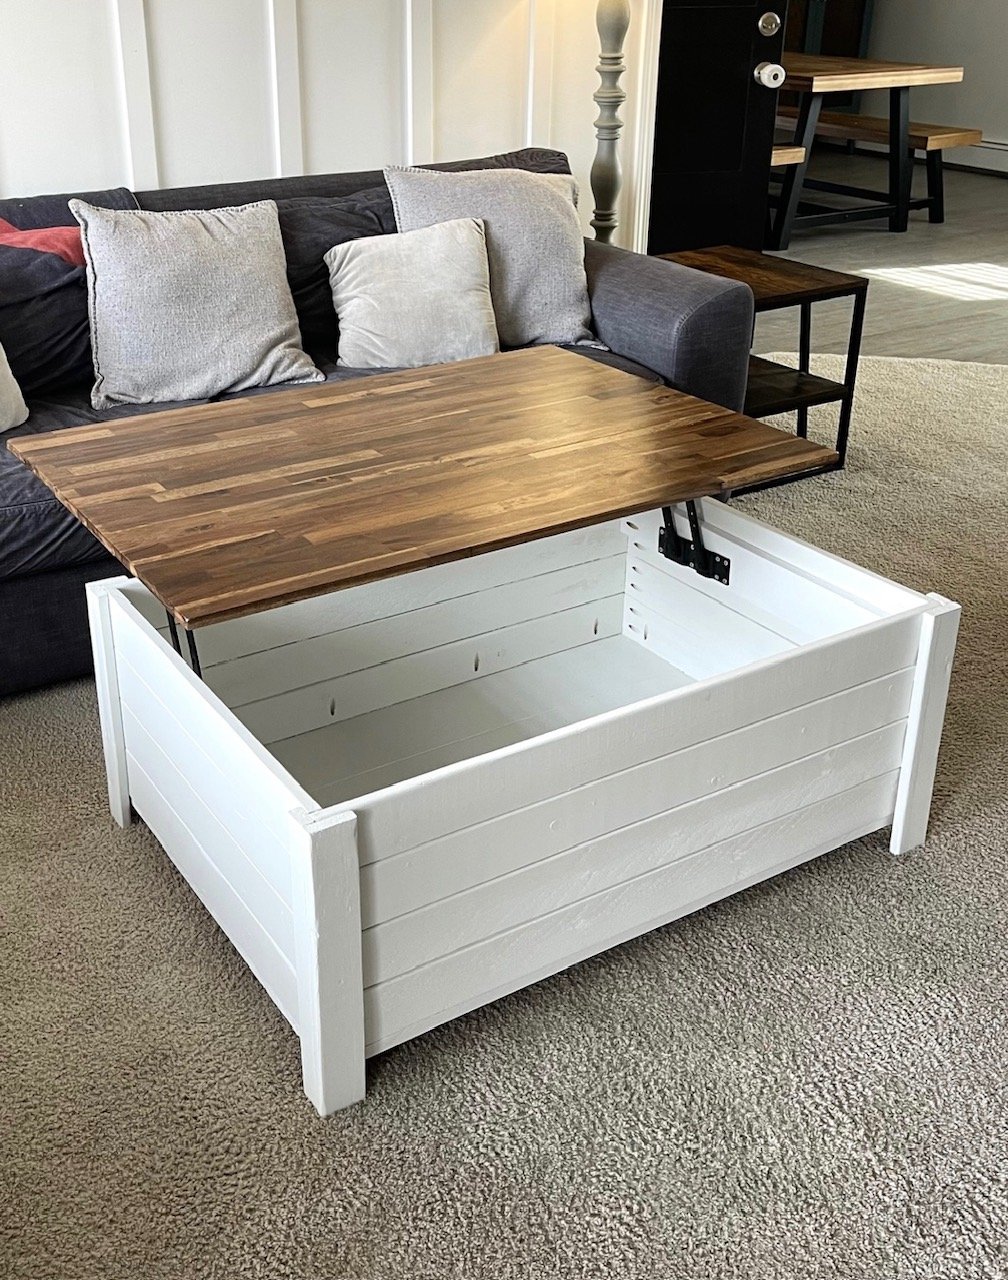
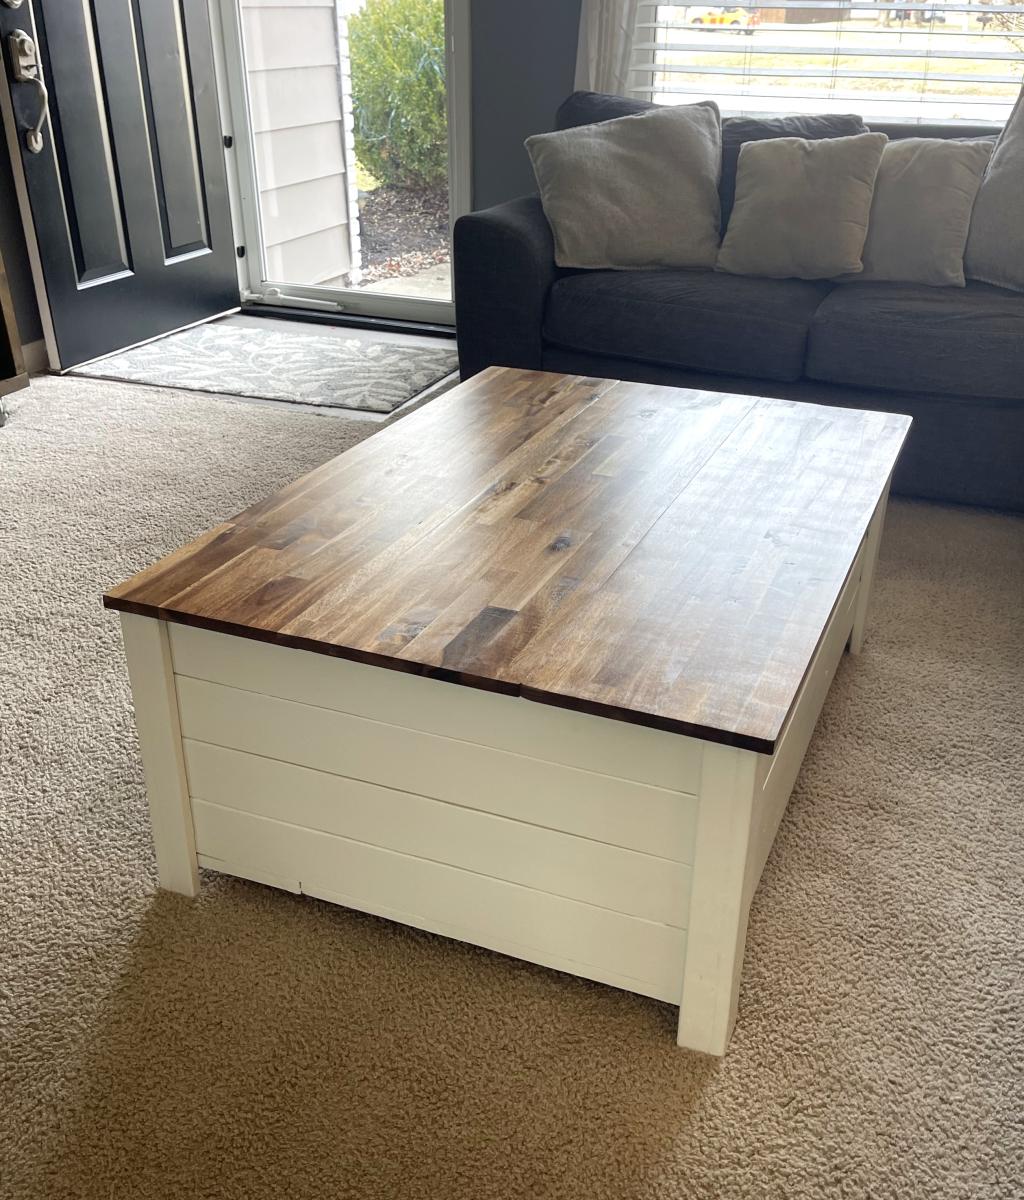
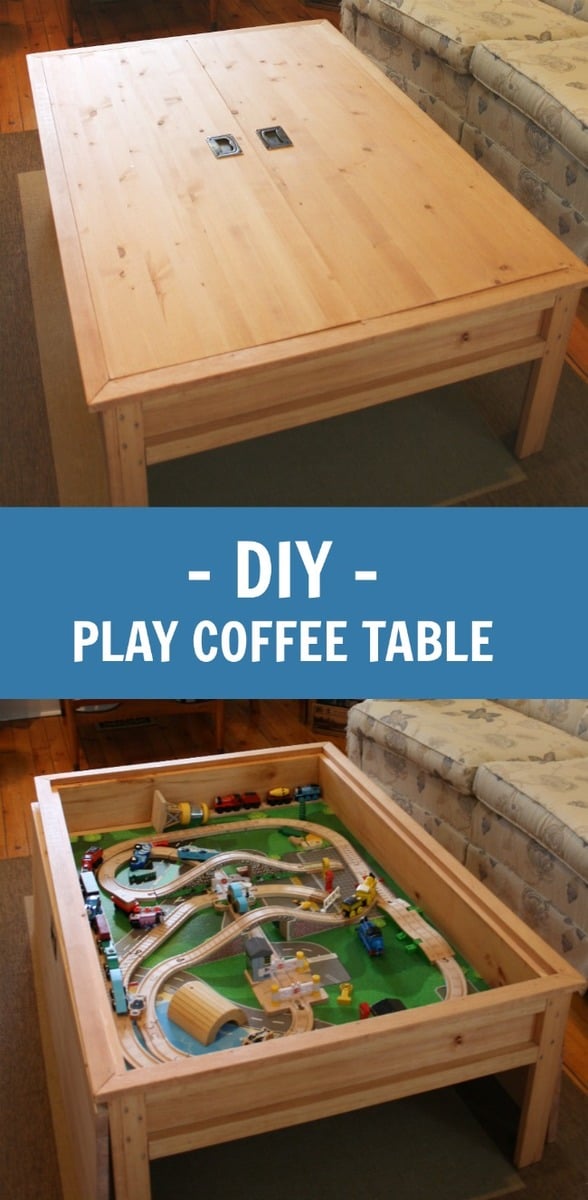
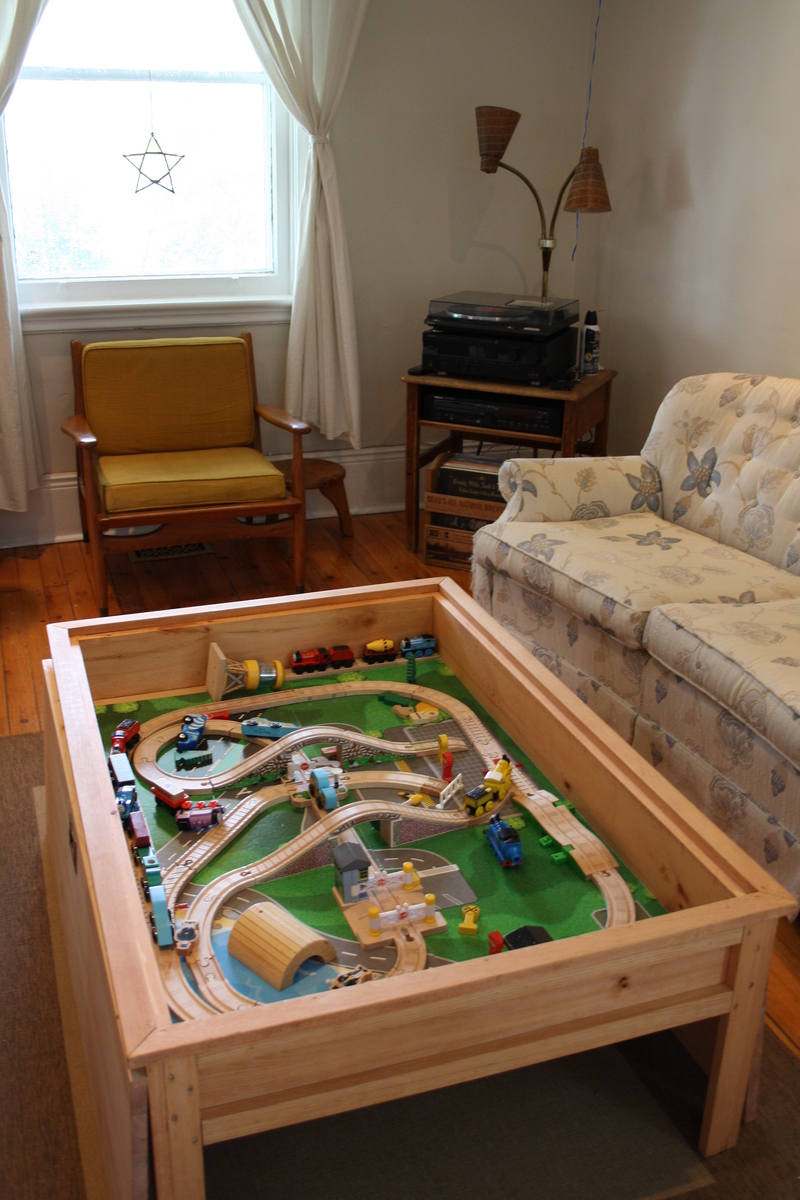
I was planning to make a train table trundle for my son's bed, but once I saw this plan everything changed. I'm so SO happy with it. Modifications: 1) We took off the bottom shelf because hubby likes to stretch his long legs out underneath. 2) We used laminated pine project panels for the top, they cost more, but they were already the correct size, and the finished look of the top would be nicer. We altered the design to make the panels go lengthwise. So far so good, neither have bowed whatsoever. 3) we used inset handles from Lee Valley with an antiqued finish. I had yet to lacquer this when I took the photo because we couldn't wait to get the trains in there! I have since done 3 coats of minwax Poly to protect it from little hands, crayons, etc.... We're hoping this table will graduate cars, then to legos, and then....who knows!? Thanks to Ana and all the contributors here.

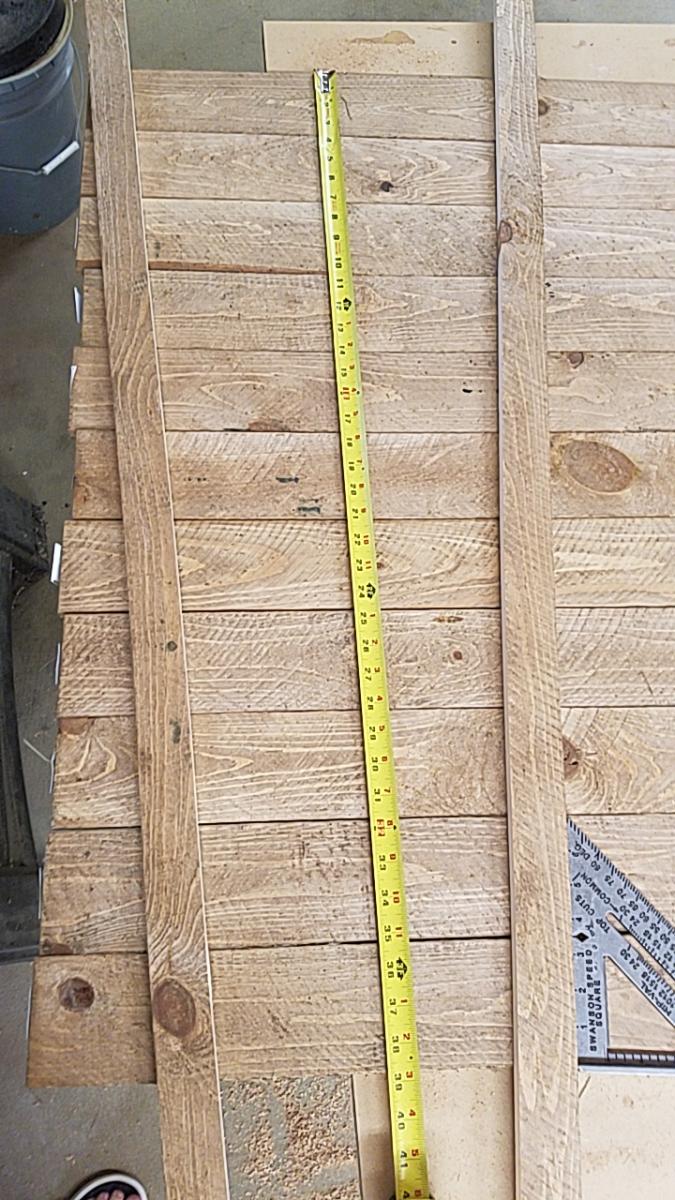
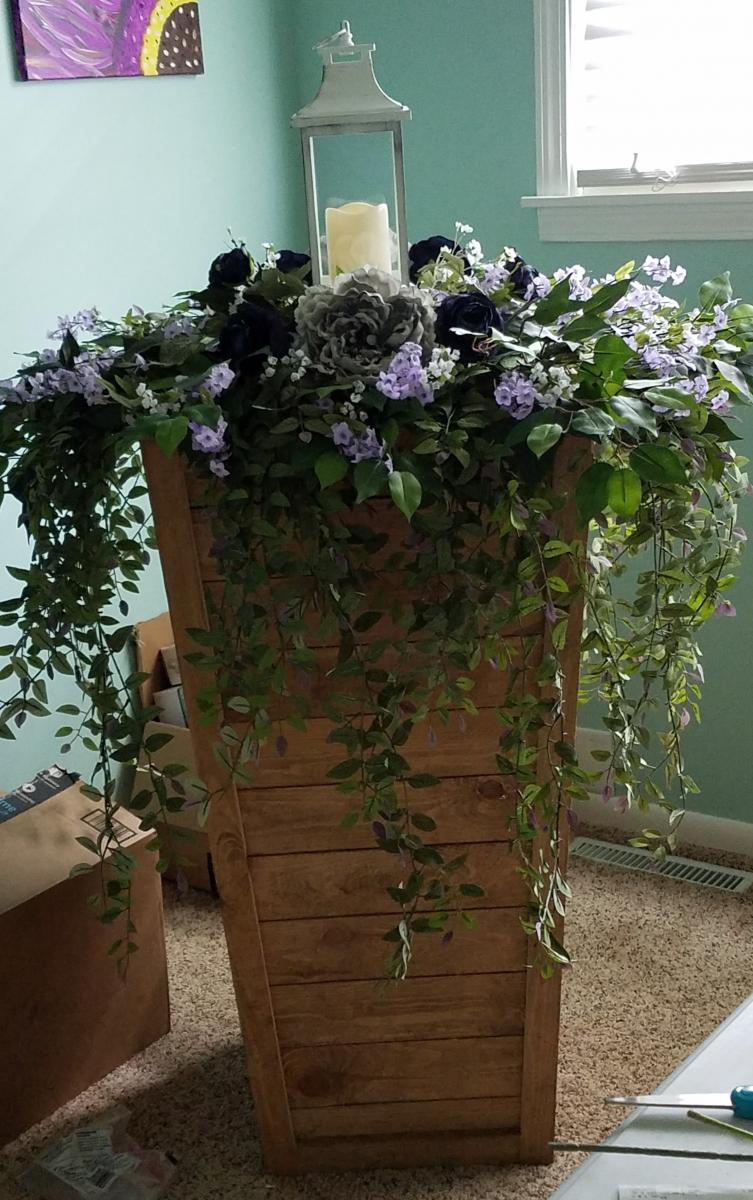
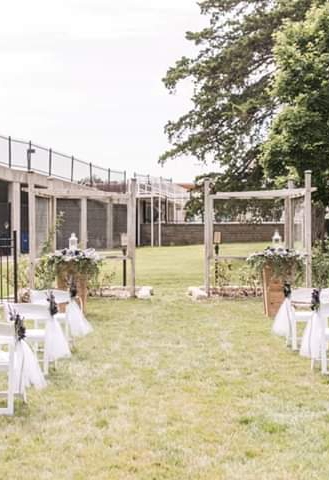
Made the planters to hold flowers for a small garden wedding. Used 3-1/2" wide fence boards as my HD was out of standard 5-1/2" boards. Used 11 boards for finished height of 38" top was 18" wide, bottom 12-1/2" using a 4° angle. Ripped fence boards to size to use in place of 1x2/1x3 boards. Added center trim as on another brag post, as well as, framed the top to finish off the planter.
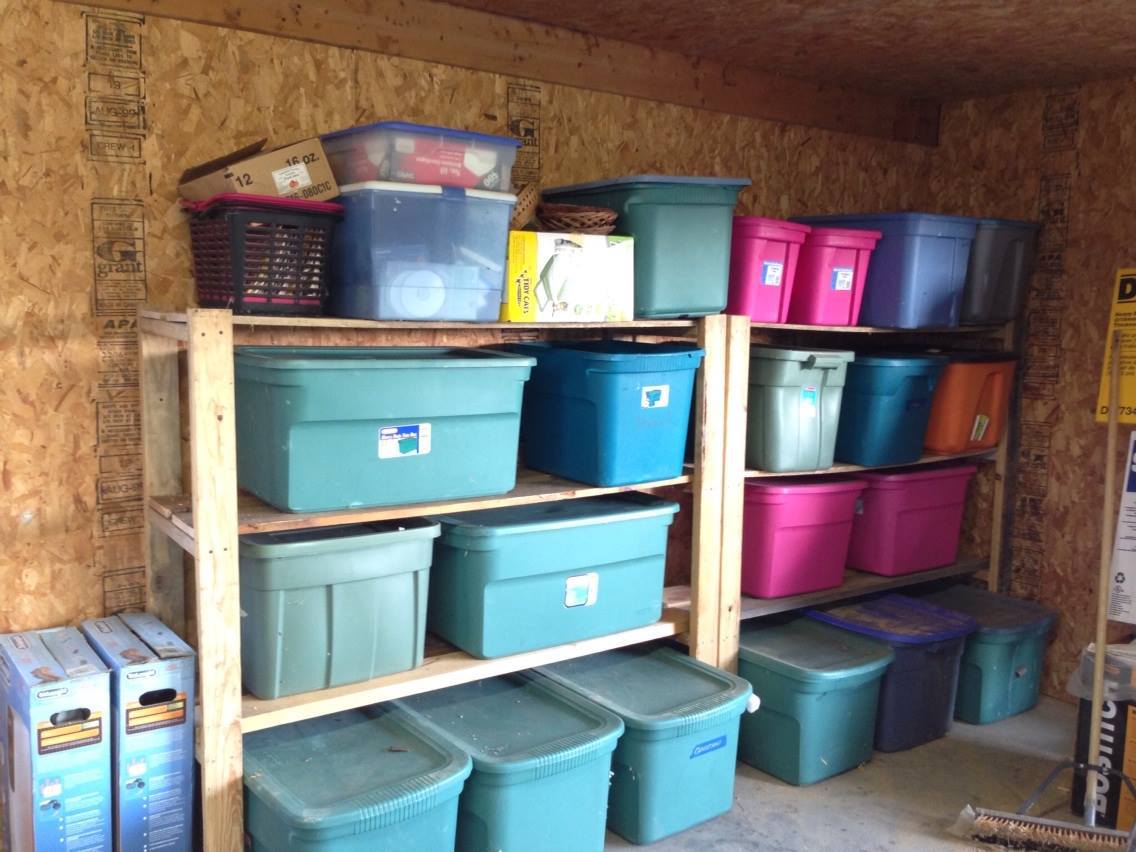
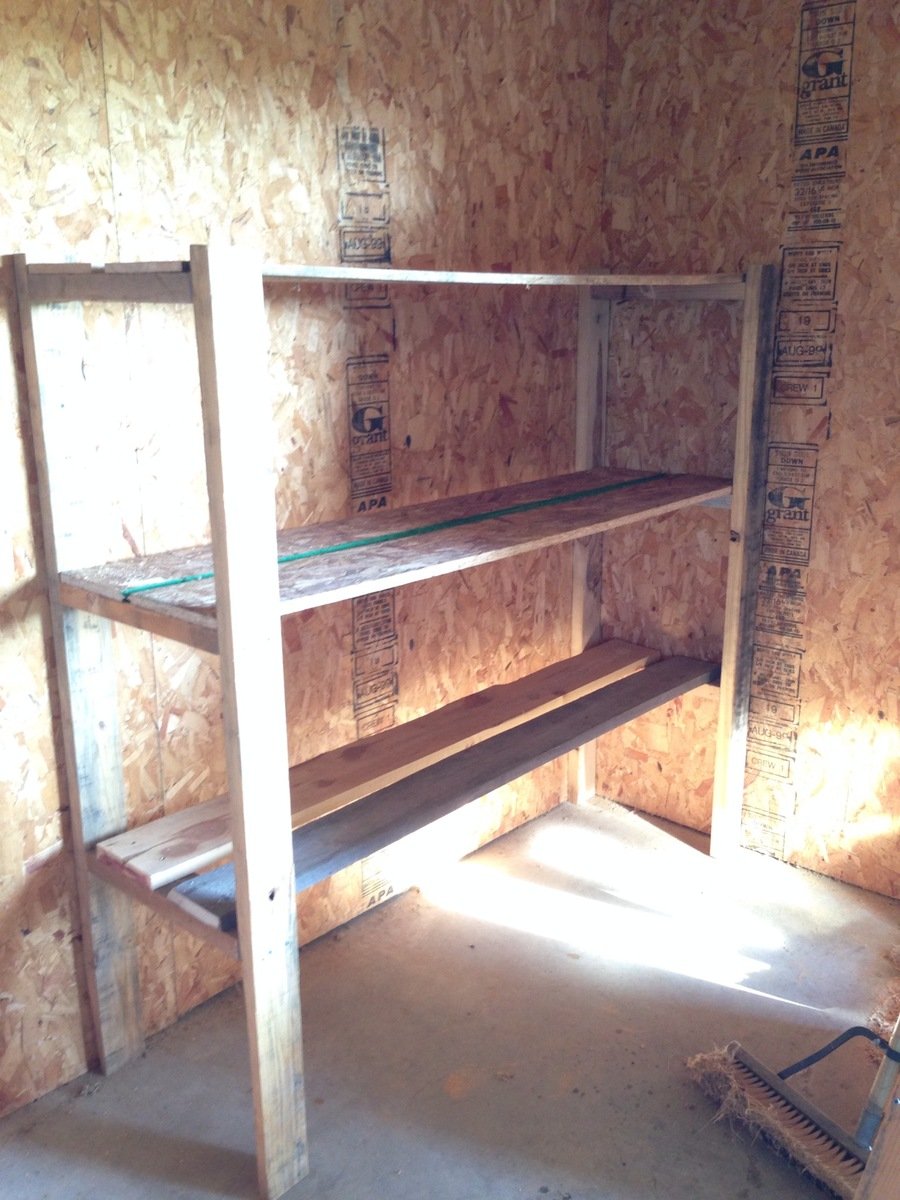
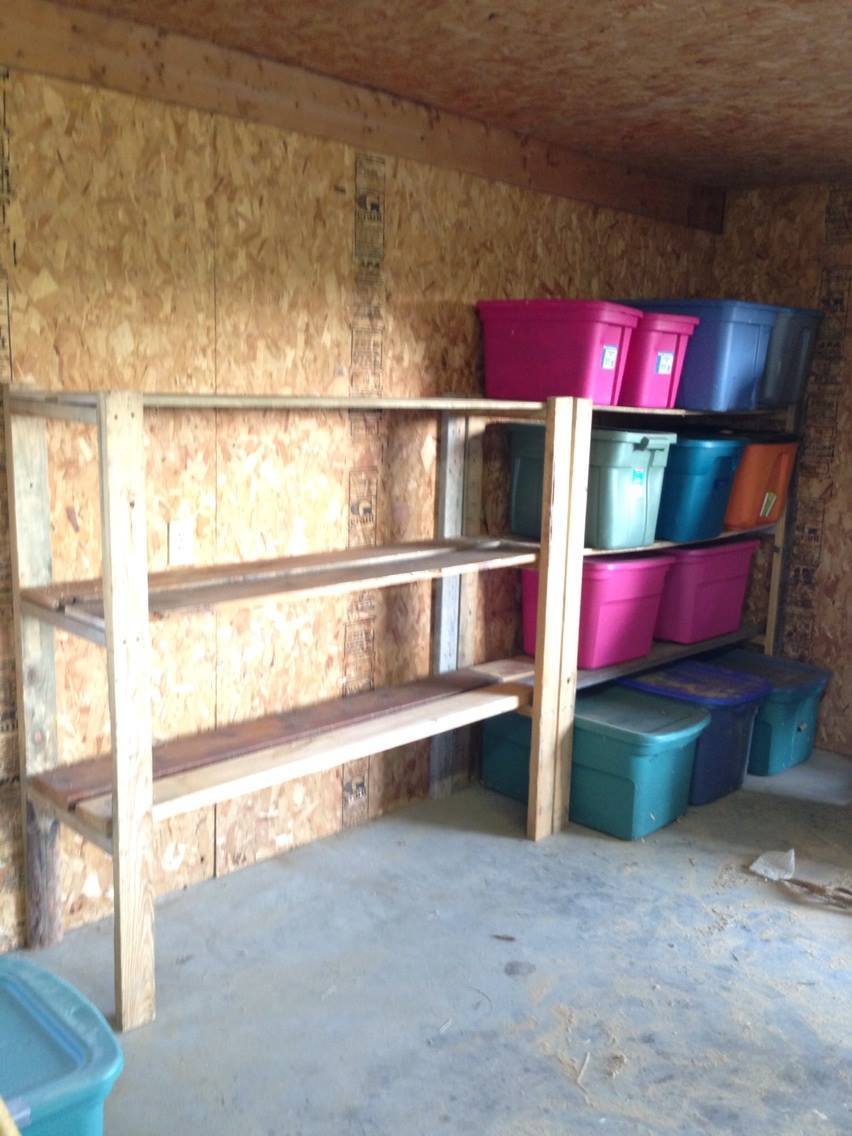
My daughter and I used these easy plans to build these two shelving units for the garage. We altered the plan slightly.The sizes that I used were determined by the lumber I had available as we used rescued lumber for this project. The height on each is 5' (tallest 2x4's we had) and the length is 64". All I had for 2x4's were 48" pieces so we used some other rescued lumber for the shelves. We used whatever we had. So they are made from misc lumber. The 2x material made for the strongest shelves. Depth is 17" as in original plans.
We added additional brackets for support under a couple of the shelves. We also attached to the wall to avoid tipping. I absolutely love these. So useful. No more unstacking each tote to find out what's in the bottom one. I LOVE IT! Thanks for the plans.
We completed these in one afternoon.
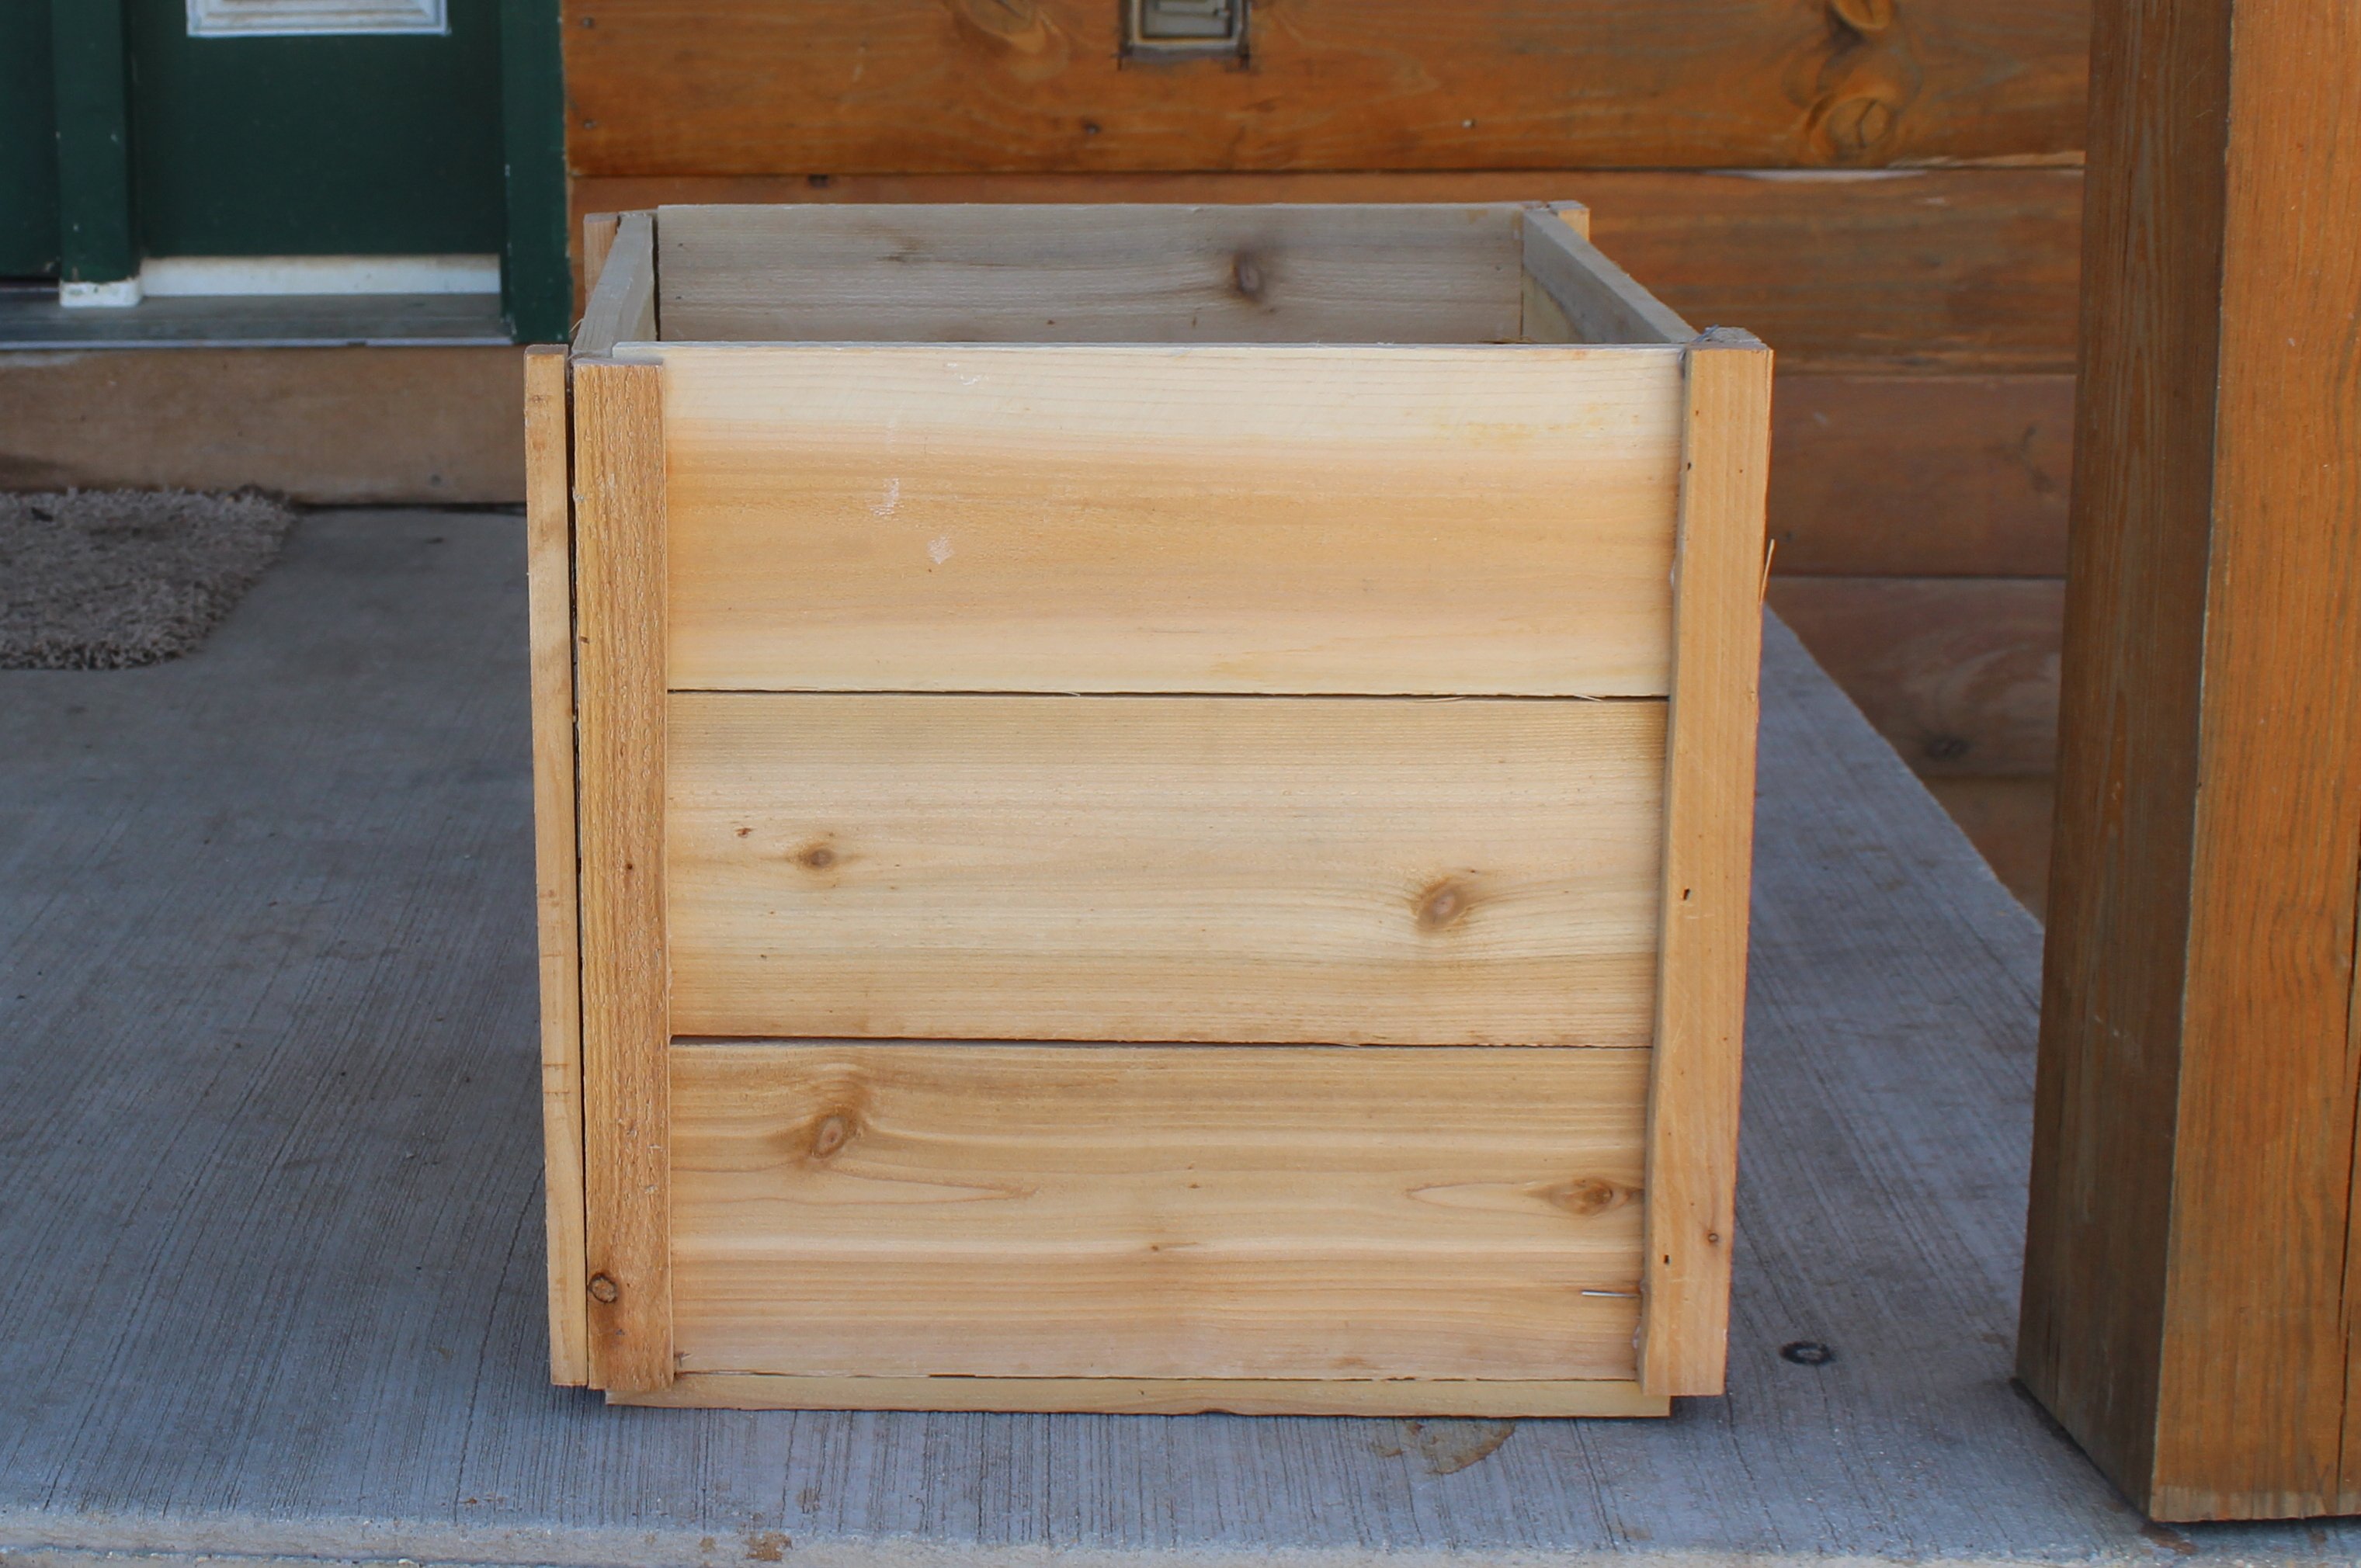
I had been looking for pretty wooden planters for the front porch and couldn't find anything affordable when I came across Ana's plans for a planter box. So I just made it a square and made it a bit taller.
I used finishing nails and glue to put the whole thing together. If you make the sides 17 1/4" then the bottom is wide enough for three pieces side by side. I added four pieces the same as the strips that were made to the bottom so that they stuck out into the center of the planter. Then I laid the bottom pieces on top of those. I left them loose so they could be replaced if needed after a few summers of water and dirt. You could also put a liner in. The width is just enough to give space for water to drain out.
Out of 5 pickets I could have made the side strips a bit longer and put a strip across the bottom. But I had a couple other projects in mind for the scraps so I didn't.
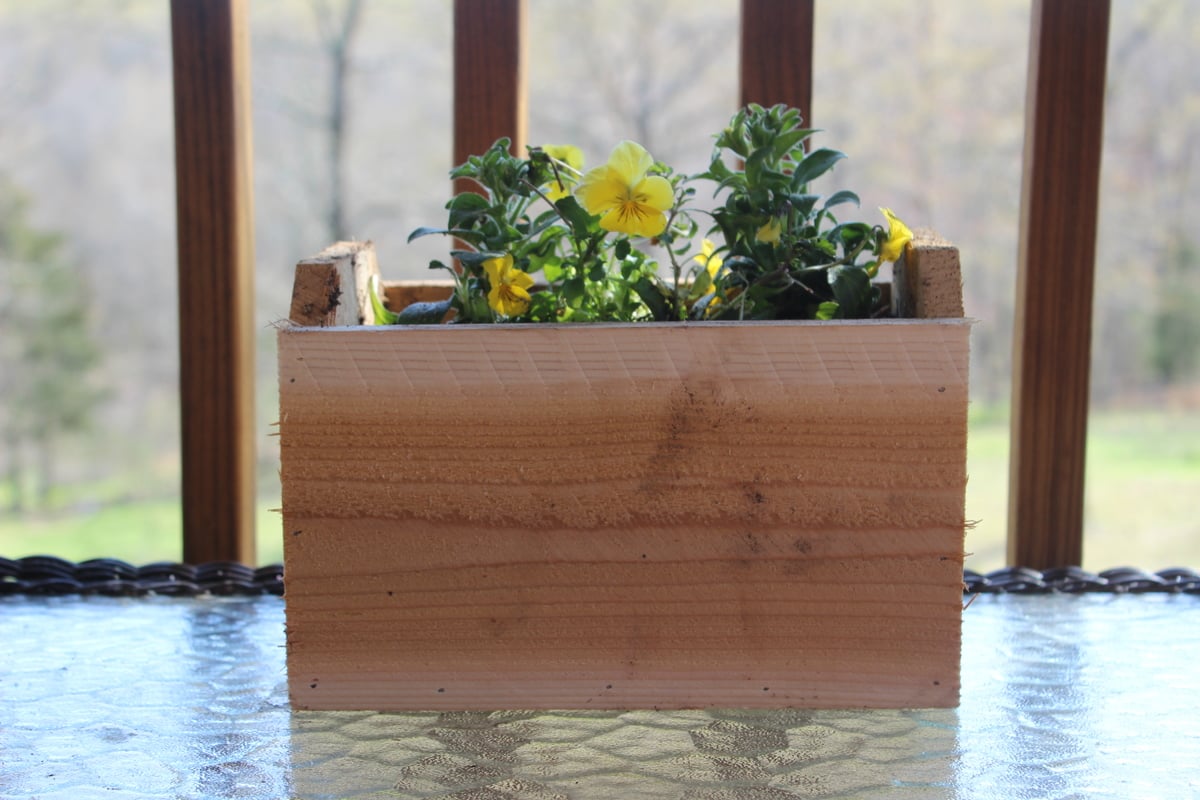
With the left over scraps I made the small flower box for a table on my deck. I glued and nailed that together too. So for less than the price of one planter box I made two and the small flower box. If I hadn't cut one piece wrong the first time I could have made a second small flower box.
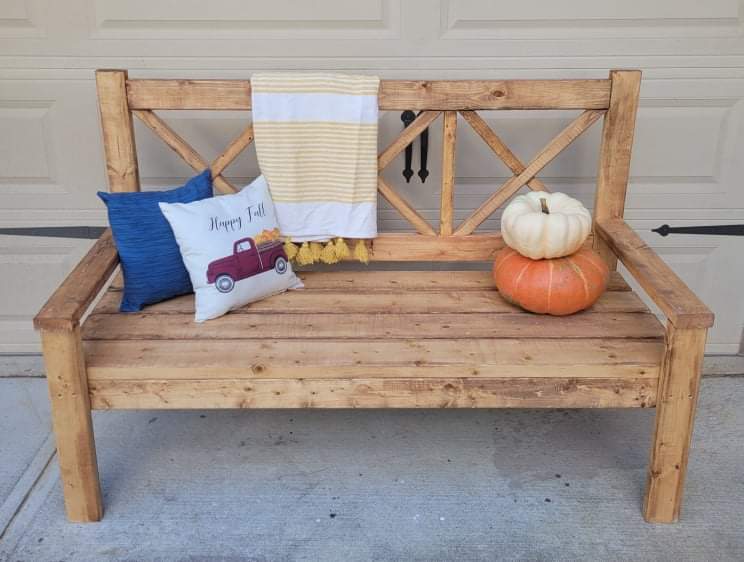
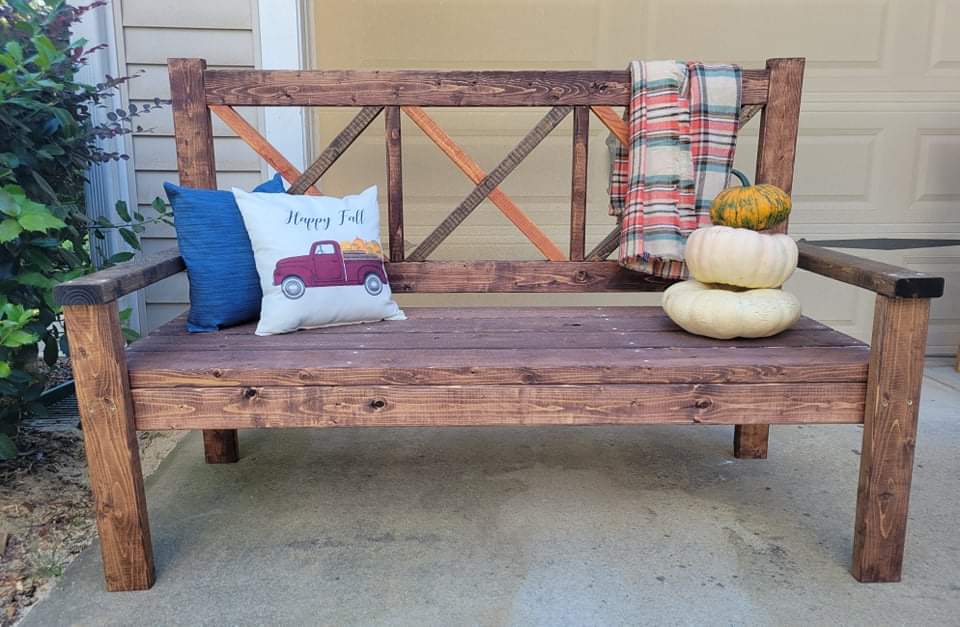
What a fun project, and great bench. We had someone ask us if we could make this for them, and we decided to make 2 while we were at it.....now we just need to find a spot big enough for the second one at our house. Loved this build, and look forward to sipping coffee on it on a cool morming.
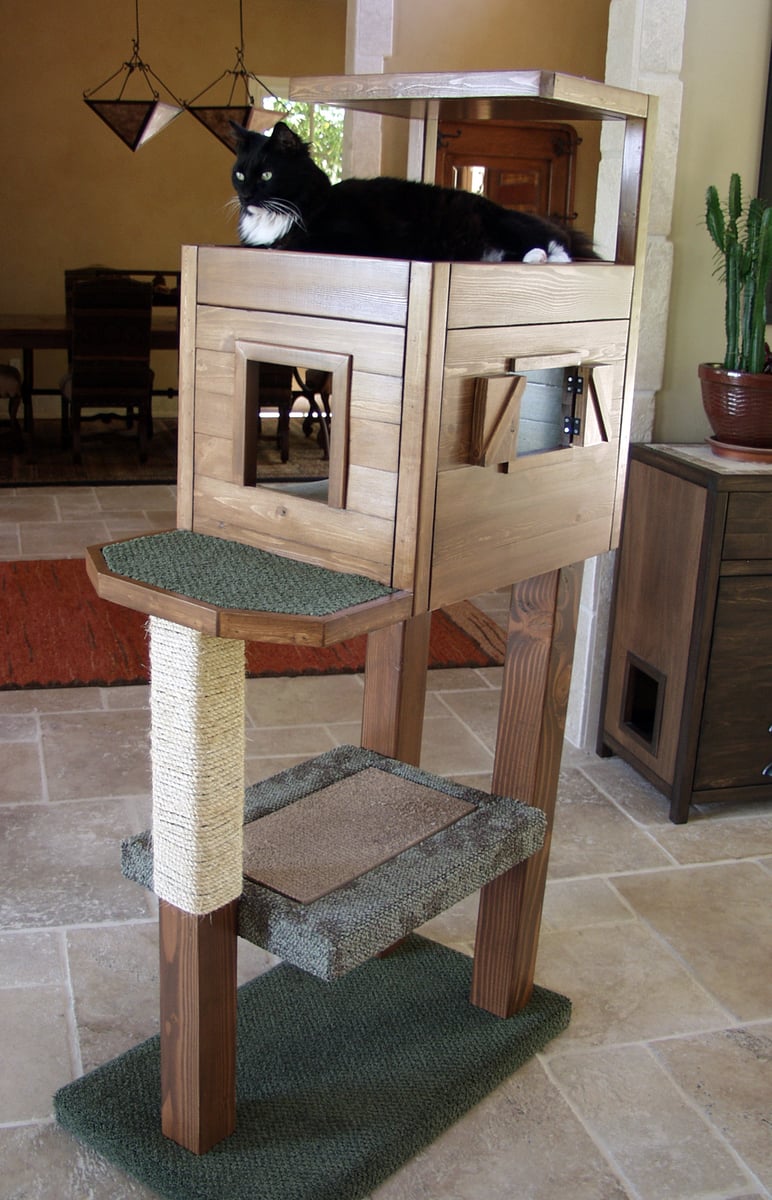
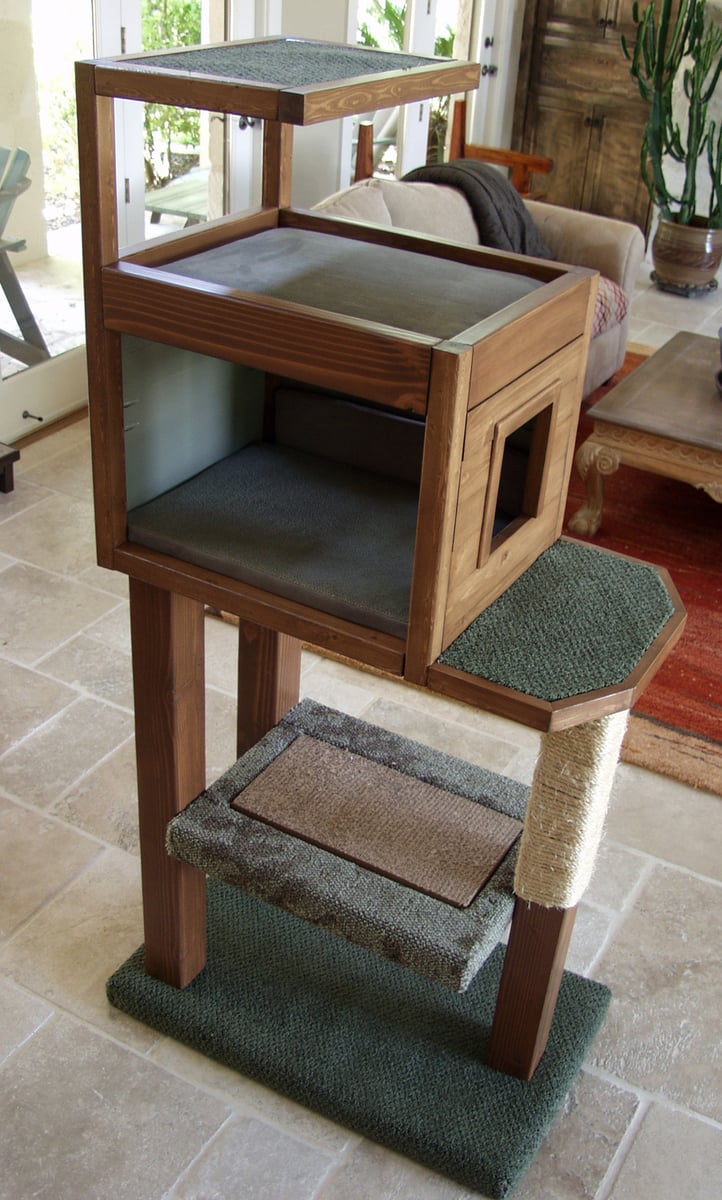
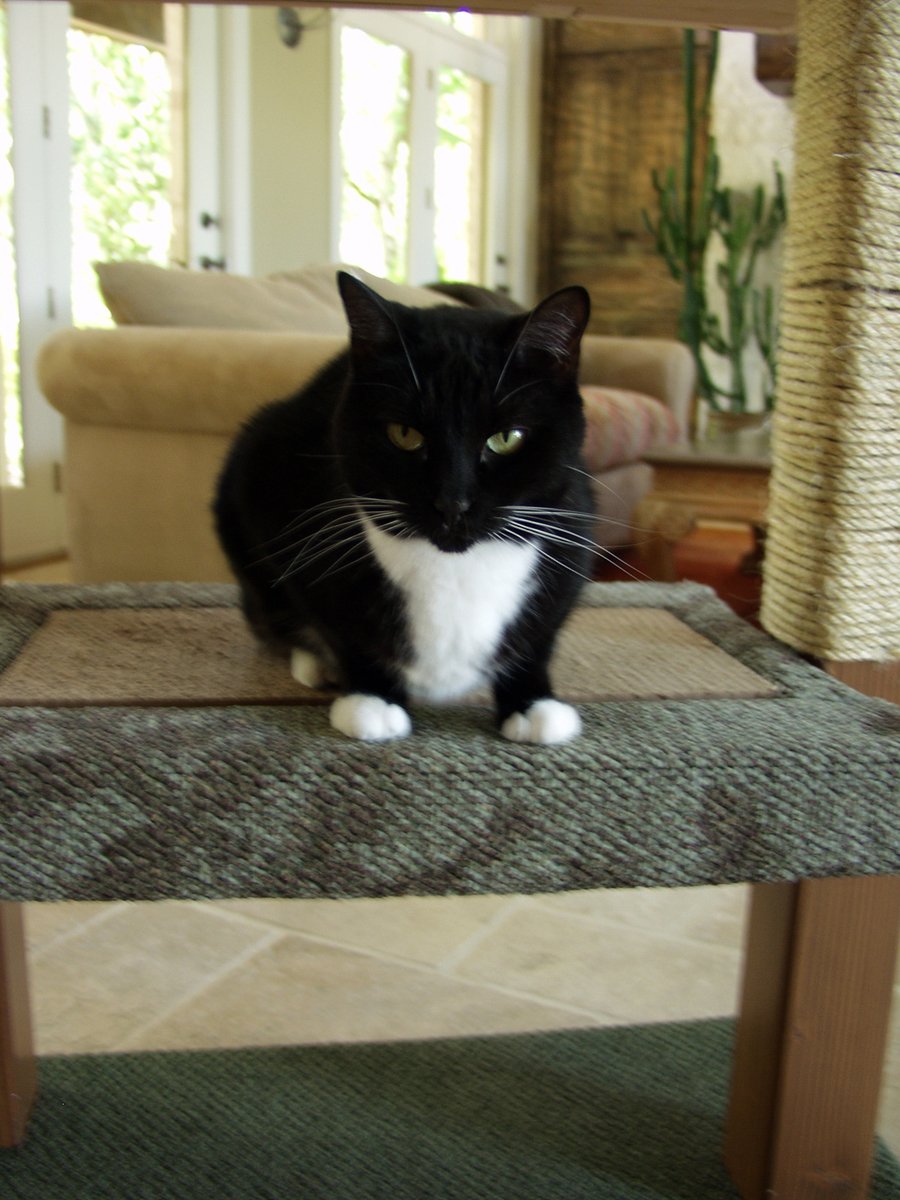
I always wanted a cabin-type cat tree where my cats could crawl in and feel safe, but still have a great view of the birds out of a window. I tried to draw my vision on paper, but that had a hideous result. Learning Google SketchUp (at least the basics) was an absolute necessity. I could never have built this without drawing it in 3D first, and seeing how the boards would connect, etc.
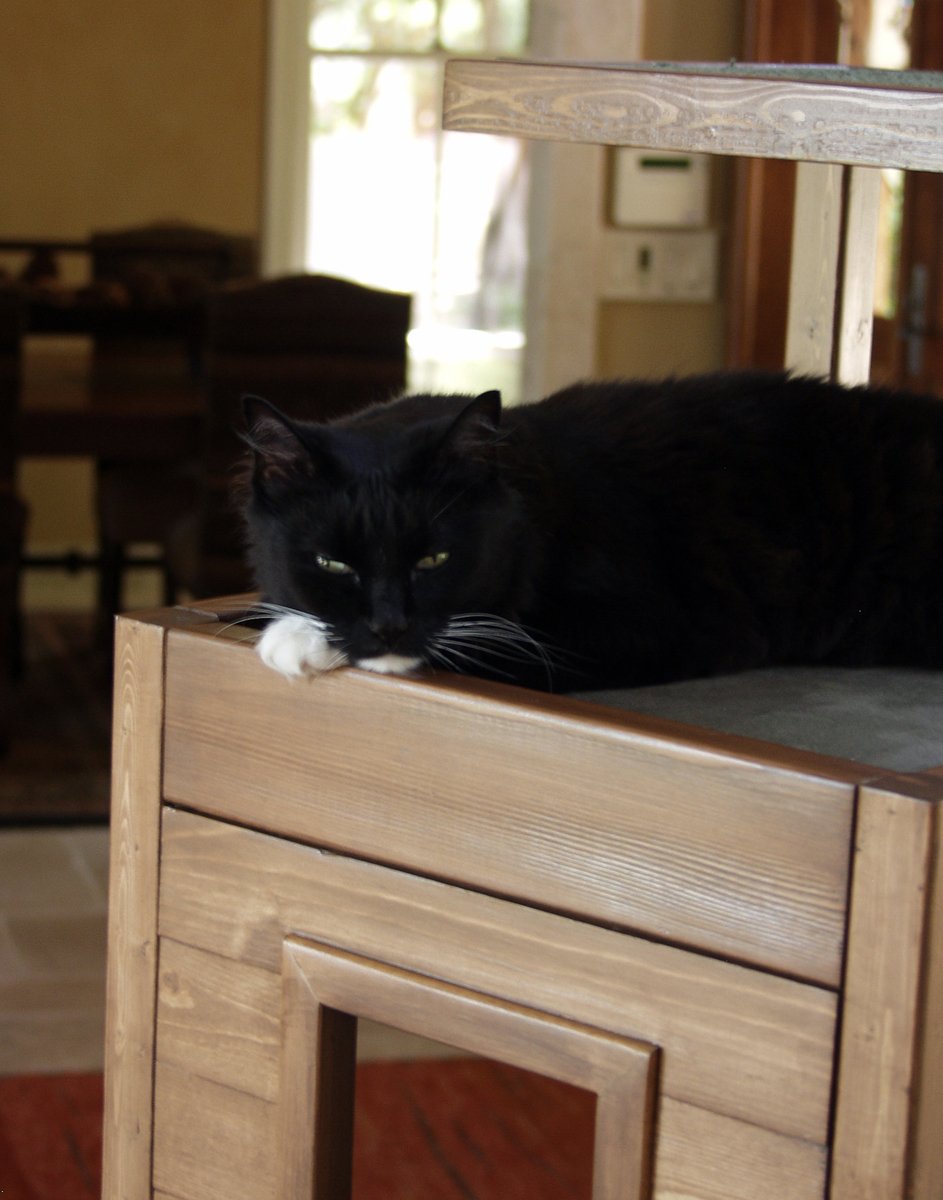
For the scratch pad, I built a frame out of 2x4s on top of plywood, covered it with carpet, and dropped the standard size scratch pad in place. This is the cat's favorite feature. I put barn doors on the window with tiny hinges so that I can close for added privacy. The tree sits against a window so that the back side is totally open. I made cozy zippered cushions for the platforms (that can be taken off and washed). I covered the carpeted areas with spare carpeting.


Fri, 07/12/2013 - 09:36
Would you mind sharing your dimensions for this? It is absolutely beautiful!
Sun, 08/25/2013 - 08:10
Do you have the plans somewhere? I really want to build this (even got the okay from the hubby!) but I don't think I could do it without some serious guidelines...

Fri, 08/30/2013 - 15:55
First, sorry for the late notice; I just happened to look and saw the comments/questions.
I don't have plans...all I have is a google sketchup diagram that I created as a guideline for my construction (which is included in the photos), which is not to scale. Actual measurements are:
* Base (green carpeted base): 33.5" x 19"
* 4x4 legs: 35" tall
* 'Mezzanine' scratch pad level: 22" x 17.5"
* Mid-level base: 18" x 32"
* Enclosed cabin: 18.25" x 22.5" x 17" high
* Highest point: 56"
This has turned out to be a fantastic hit with the cats. They use all 5 levels, but the scratch pad and cabin are their favorite spots. If you need anything else or additional pics, please contact me.
Fri, 08/30/2013 - 18:15
Thanks for the dimensions, Joni! I'm trying to learn SketchUp so I can draw up my own plans, also. If I can't figure it out, I'll hand it off to my 12 year old, who is a pro at it (go figure). I know my cats will love it if I can manage to get it built!
Fri, 09/27/2013 - 10:15
I used your pictures and diagram Joni and made one for my friend for her cats! I used 2x4's for the cabin which makes this thing so heavy but so sturdy! It holds my 60 lb child without budging... here's a pic of it almost done. My friend was not finished wrapping the posts with sisel rope though.
https://www.facebook.com/stephanie.brooks1975#!/photo.php?fbid=10151788…
Thu, 10/31/2013 - 14:30
Bhoppy -- I looked at your cat tree on facebook. It's awesome! The sturdiness of it shocked me too. And I was initially worried that my cats might knock it down!!
The worst part of building it was getting that lower scratch pad level on straight with the 3 posts. I'd never want to do that again!
Thanks for sharing, Joni
Fri, 01/02/2015 - 01:18
Funny, almost every time I'm looking for ideas or inspiration when I want to build something, I end up back on this site. I was searching for pictures of cat trees and this was the only one that made me say "Holy crap, that's EXACTLY what I want!" My cat will love it!
Mon, 04/27/2020 - 20:41
Not sure if anyone is still around to see this, but I fell in love with this tree the second I saw it. Wondering if anyone created a detailed plan and might have it handy or possibly a detailed sketchup and wouldn't mind sharing the save file?
In the event nobody has either... I'm planning on having someone else build this for me as I don't have the tools nor skill to do it myself. I have a few questions:
1. The tree base/platform, what's a good recommended thickness?
2. The platform for the scratchpad... is there any certain reason it's so much thicker compared to the other platforms?
Thanks.
Sun, 09/12/2021 - 11:51
Reverse engineering this project, using just 2x4s. None of the photos show the undersides. How are the plywood pillow bases attached for the top and bottom of the cabin? and the base of the top viewing platform?
Sun, 09/12/2021 - 16:42
There are no Minwax water based stain colors with those names that I can find.

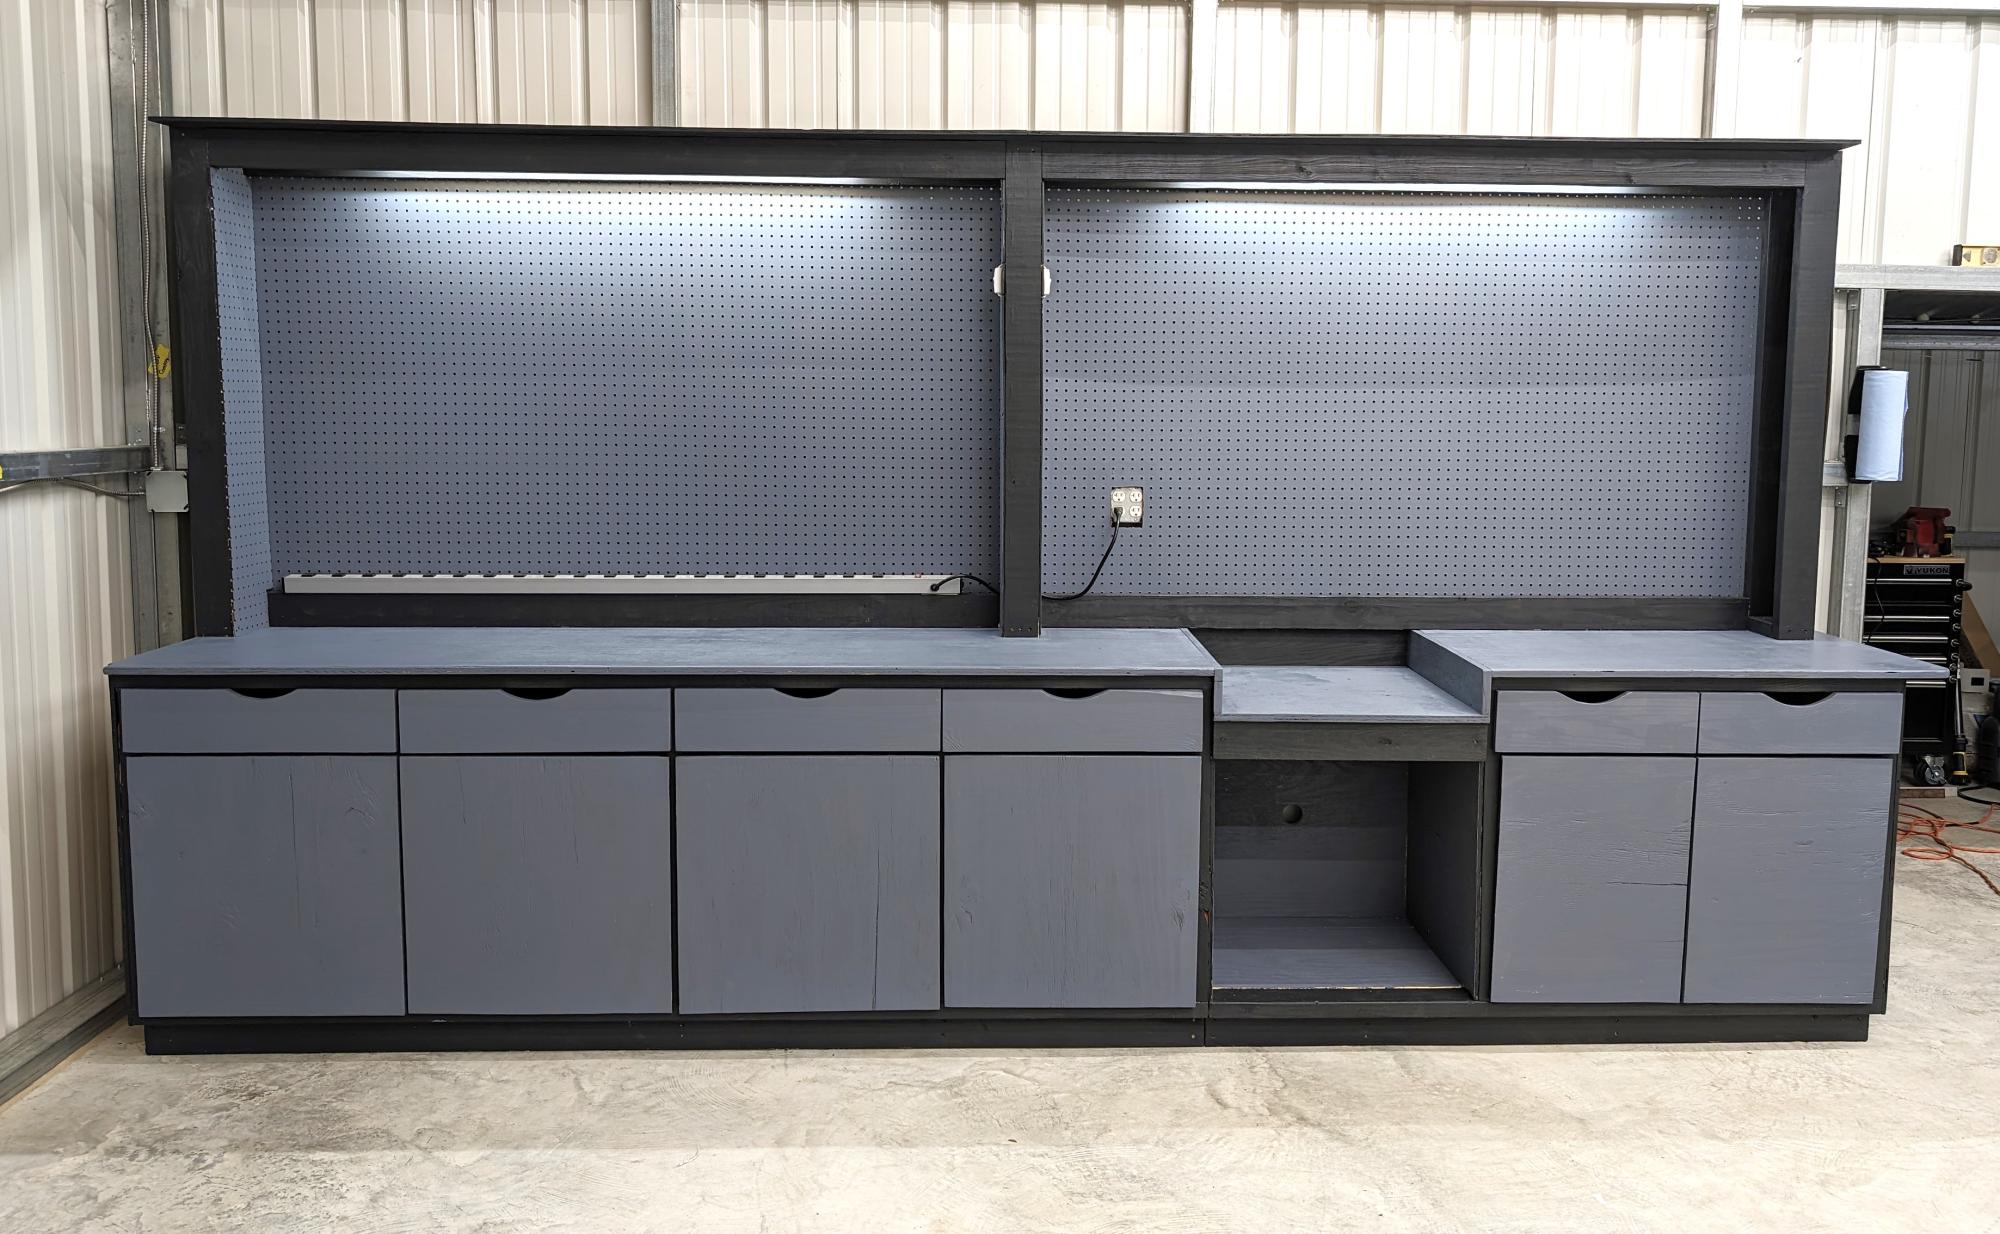
This was one of our early builds. I"ve learned a new way to do doors since then so hope to replace these before we move. I love all the storage on this unit! The finish on the tops is a metallic glaze I made.

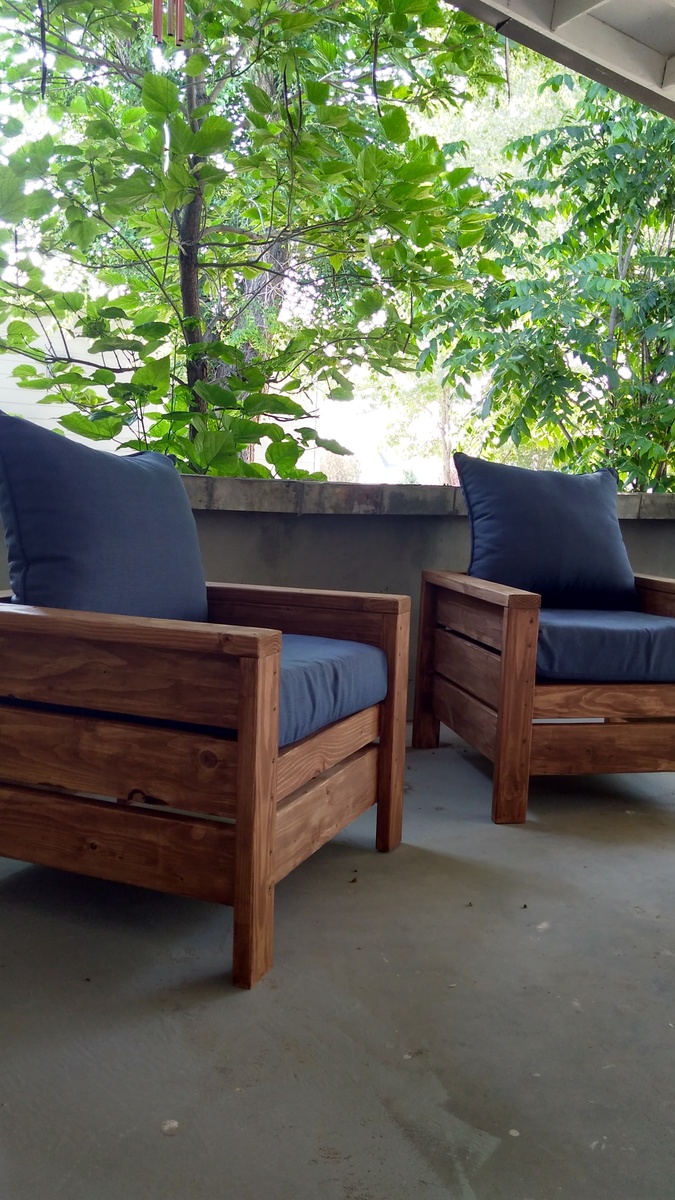
Chairs turned out nicely! Adjusted for cushions from home Depot (24x24)
Will also make a little table to set between soon. Thanks for the plans.
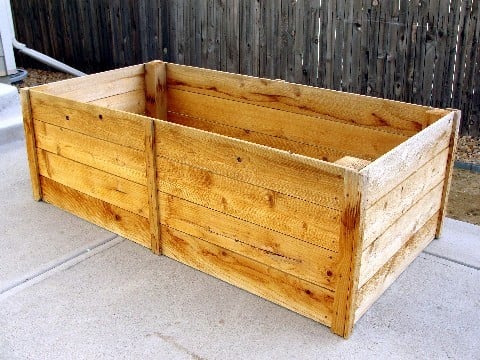
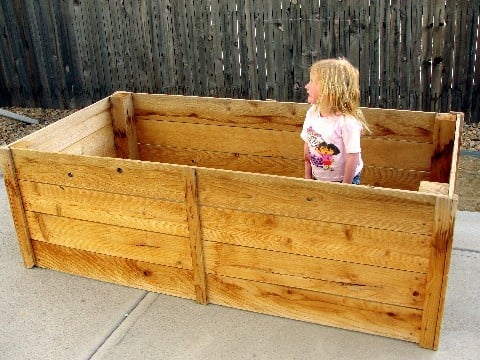
I made these last summer for my sister. And she didn't even use them yet! Very easy to make. She did want them taller, so that is the only modifacation I made. We're hoping the bunnies won't notice all the yummy veggies up this high :) I know, probably wishful thinking. Makes a great kid corral too.
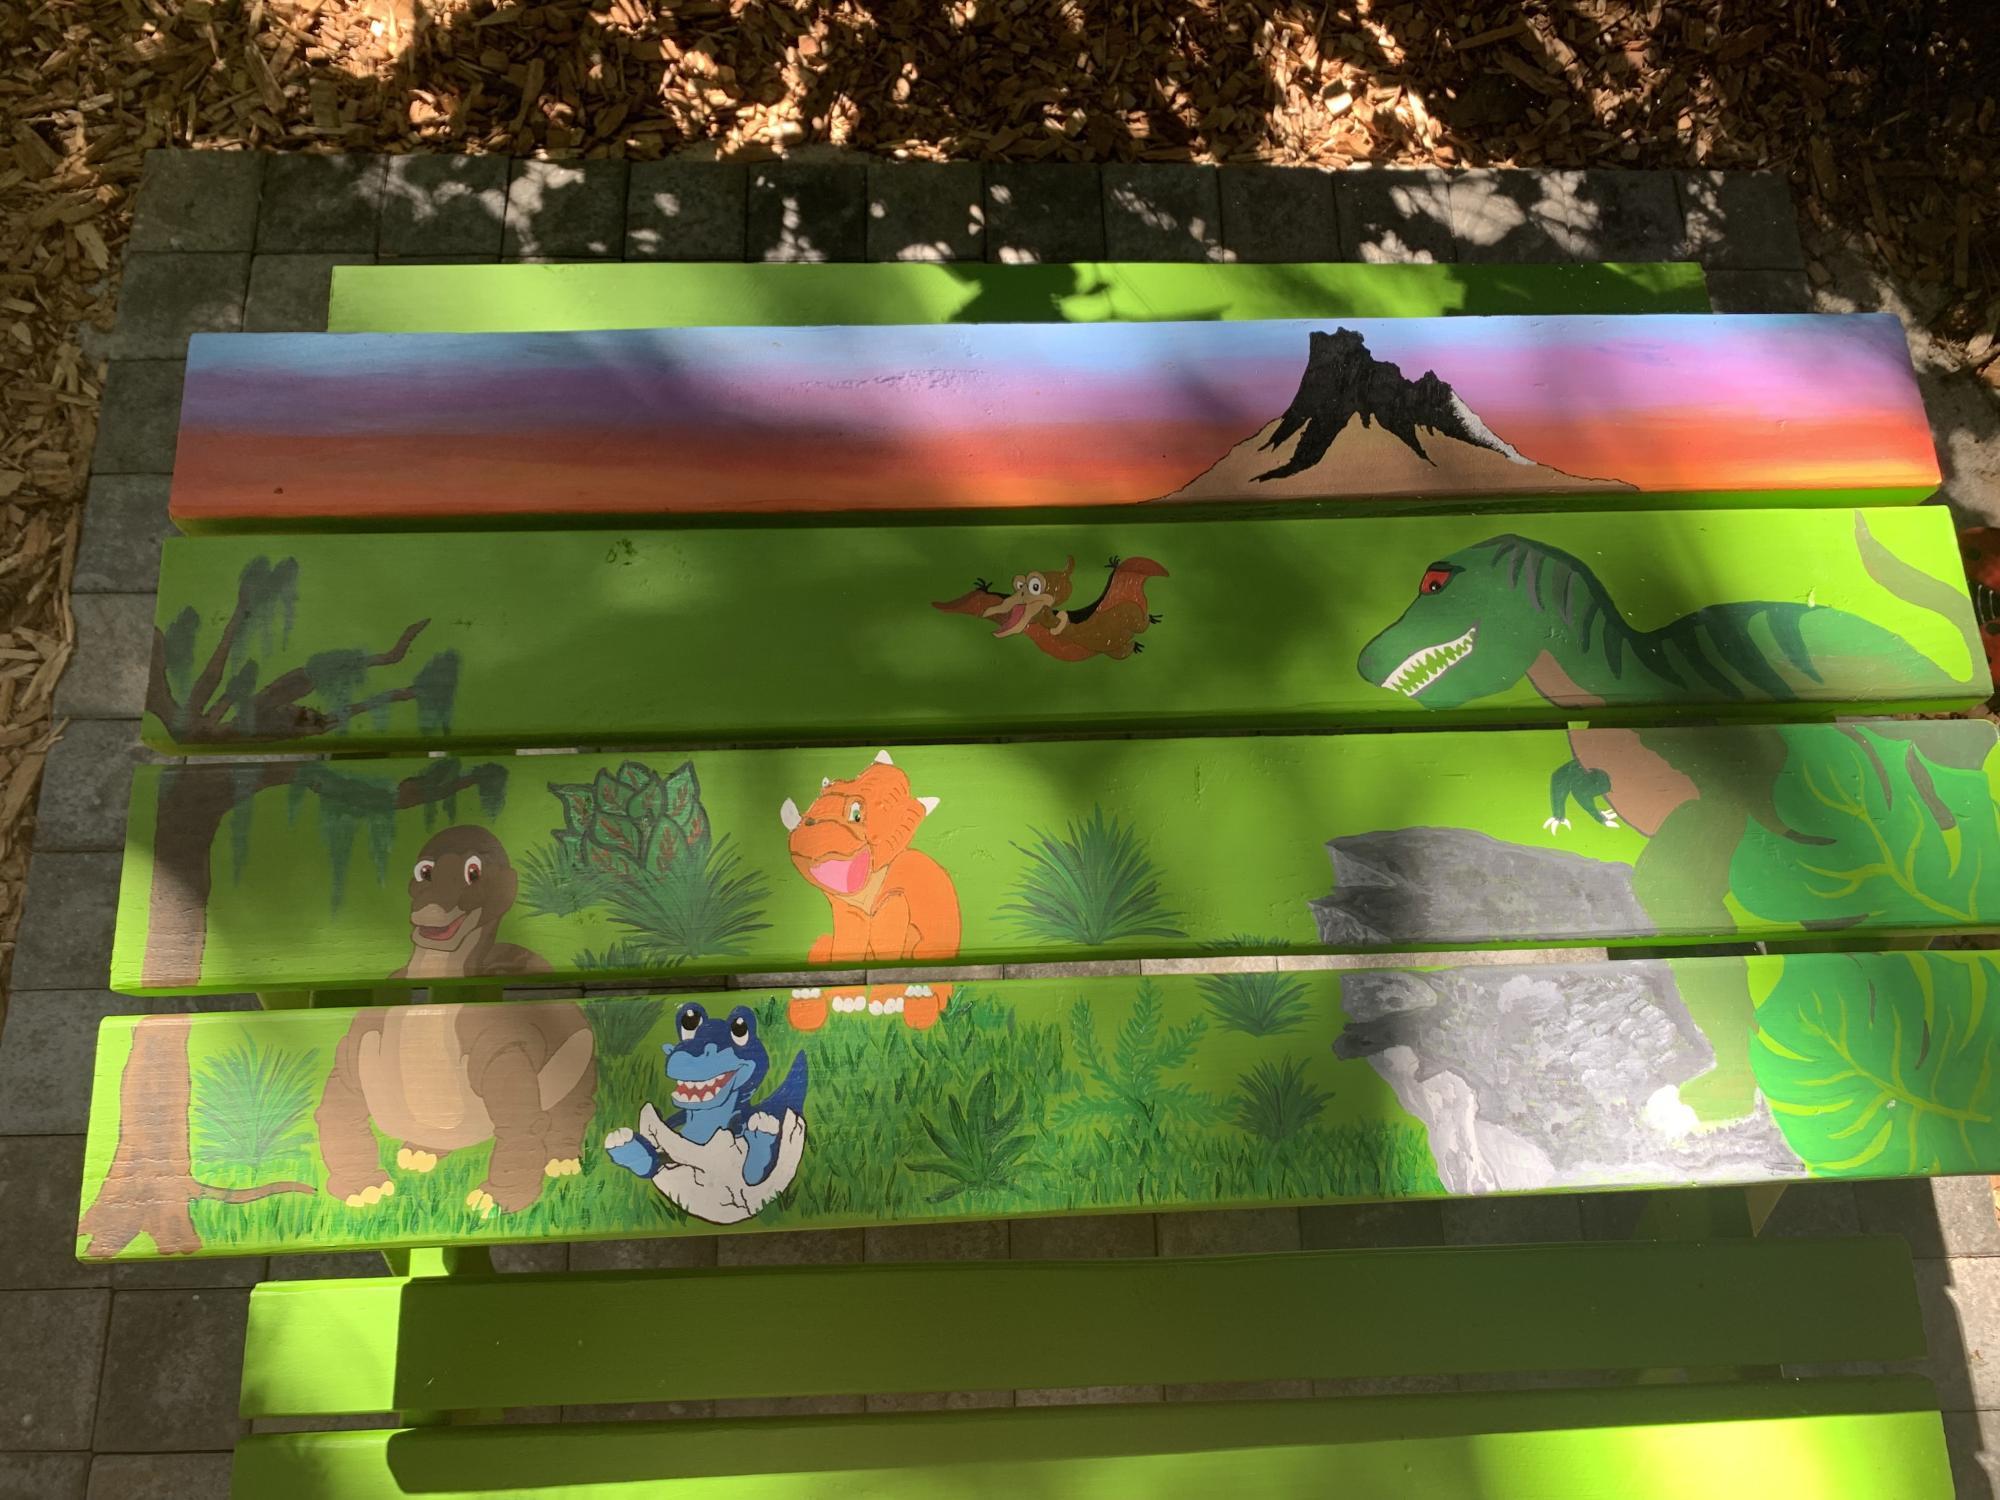
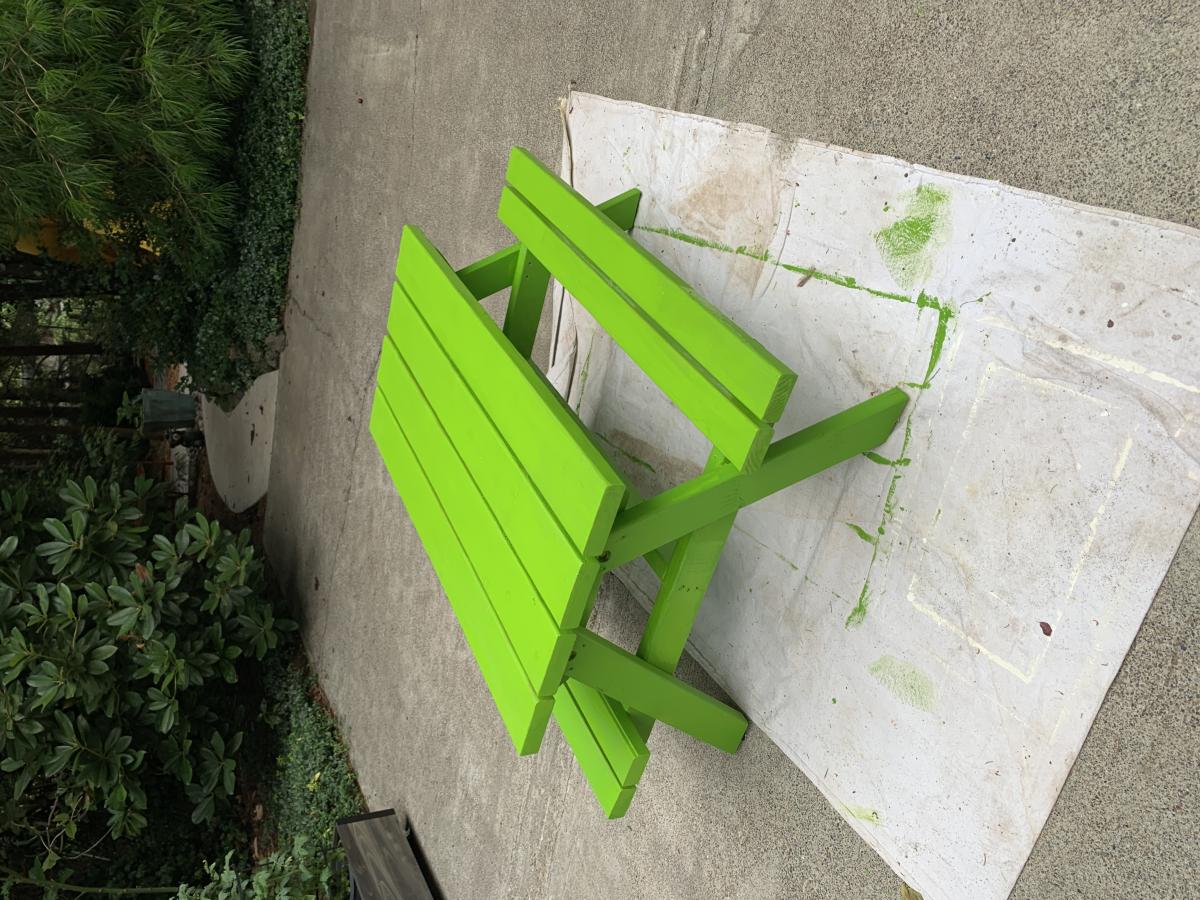
My daughter and I did this project together. It was our first wood working and painting project. Learned a lot in a short time. Plan was as said “Easy” although maybe a bit hard for us given we had no experience. All drawings and paintings were free hand.

Comments
Ana White Admin
Fri, 09/22/2023 - 08:13
Great scrap wood project!
This is super cute and great use of materials!