Community Brag Posts

Raised Cedar Fence Post Berry Patch
Submitted by AmyJM on Fri, 12/07/2012 - 17:56

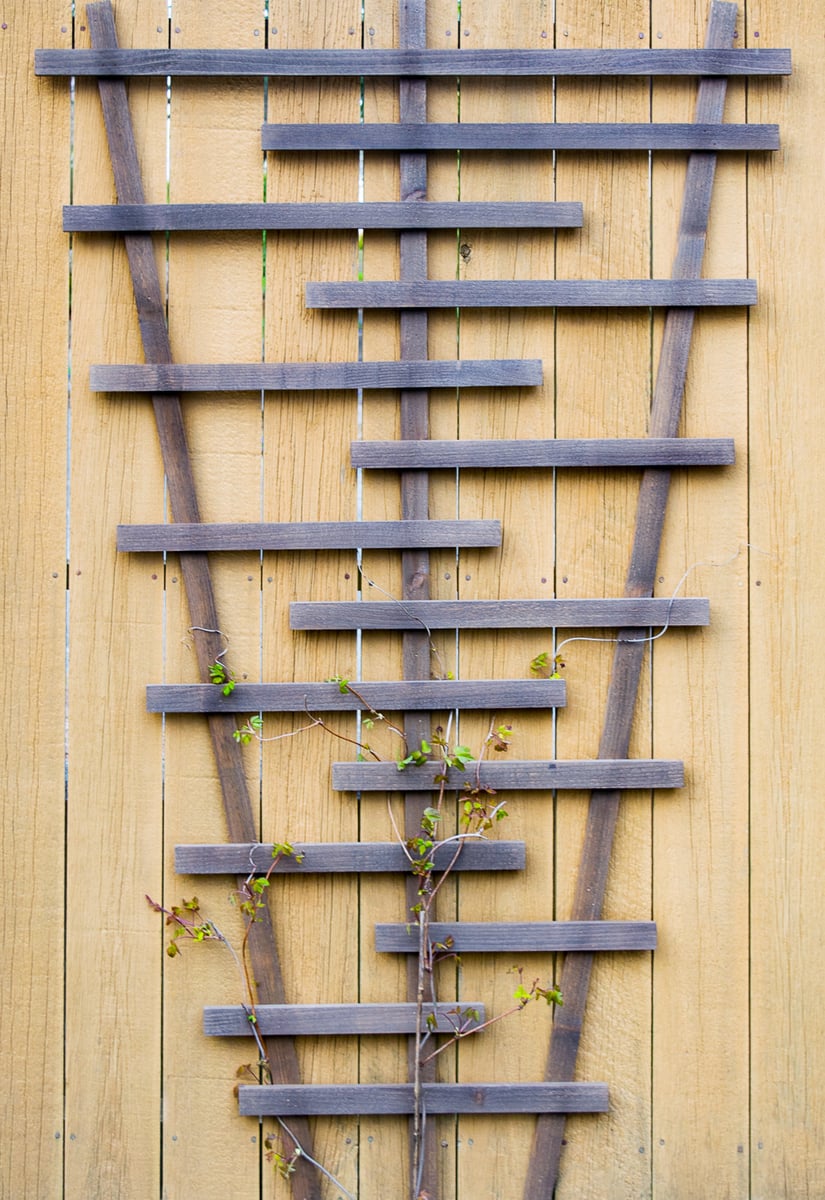
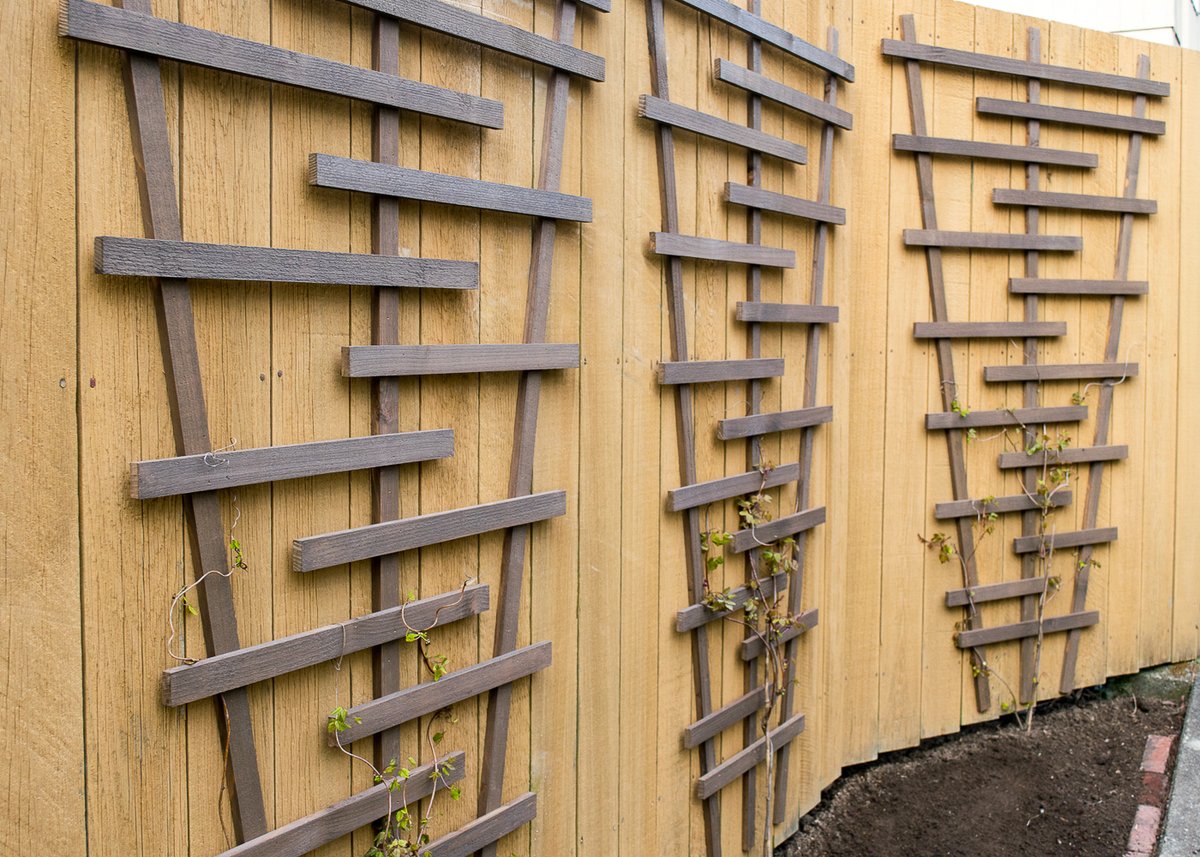
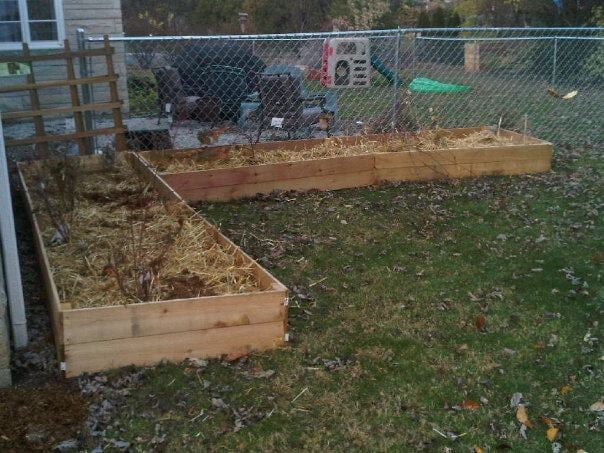
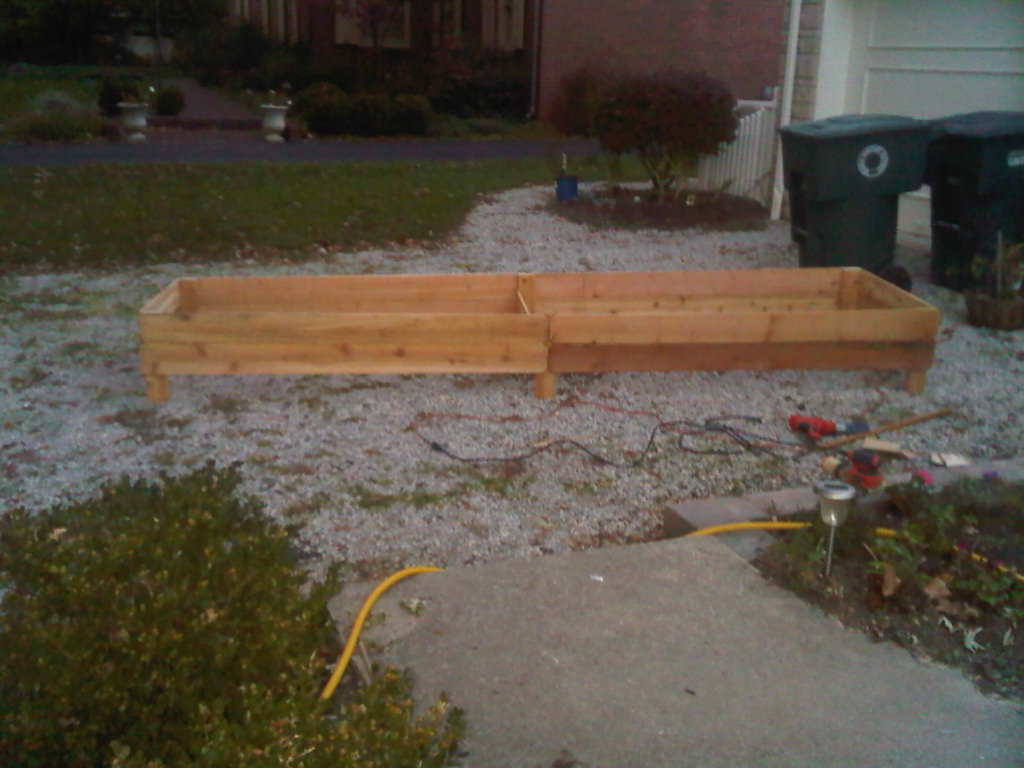
I used the same cedar fence boards, but for a large berry patch made with minimal cuts. The end boards are 1/2 the length of the long side boards. I made them 2 fence widths high - about 11 inches. Each bed is nearly 12 feet long. I joined the dogeared ends of 2 boards in the center, making a diamond cut out pattern that looked good. In order to support the tall sides, I used cedar 2x4x8 boards. Use 18-24 inch posts on each corner and at the center joint. I cut an additional board in half, affixing it to the center posts, to brace the long sides and add stability. Each box is approximately 3 feet wide, 12 feet long, and 11 inches tall. You'll need 8 fence posts for the long sides, 2 for the short sides, and 1/2 for the brace - you could use a different piece of wood for this, but the cedar fence posts are such a deal. You'll also need approximately 9 feet of cedar 2x4 for the corner posts - I bought 8 foot lengths and cut each into 2 foot posts for stability. The cost was around I'll add 2x4 posts in the spring and put a trellis behind the raspberries. If the birds start to steal my blueberries, I'll add metal or wooden corner posts that will support fruit netting. We're planting strawberries around the base of the larger fruit bushes. The 11 inch sides should keep rabbits from invading. If they are persistent, I'll add a few inches of chicken wire around the top edge. This made the equivalent square footage of 4 of Ana's original $10 beds.
Estimated Cost
Around $75 for 2 - most of the cost was in the 2x4s.
Estimated Time Investment
Afternoon Project (3-6 Hours)
Finish Used
Light sanding, no finish
Recommended Skill Level
Starter Project

Comments

CEFreeman (not verified)

Sun, 12/09/2012 - 10:40

I'm putting together several L-shaped raised beds out of 6x6s with the internal walls being 2x6s. This gives me encouragement. I really like the look of this! Thanks.

CEFreeman (not verified)

Sun, 12/09/2012 - 10:42

I'm putting together several L-shaped raised beds out of 6x6s with the internal walls being 2x6s. This gives me encouragement. I really like the look of this! Thanks.

Coffee table

Submitted by Anonymous (not verified) on Thu, 01/21/2021 - 16:59

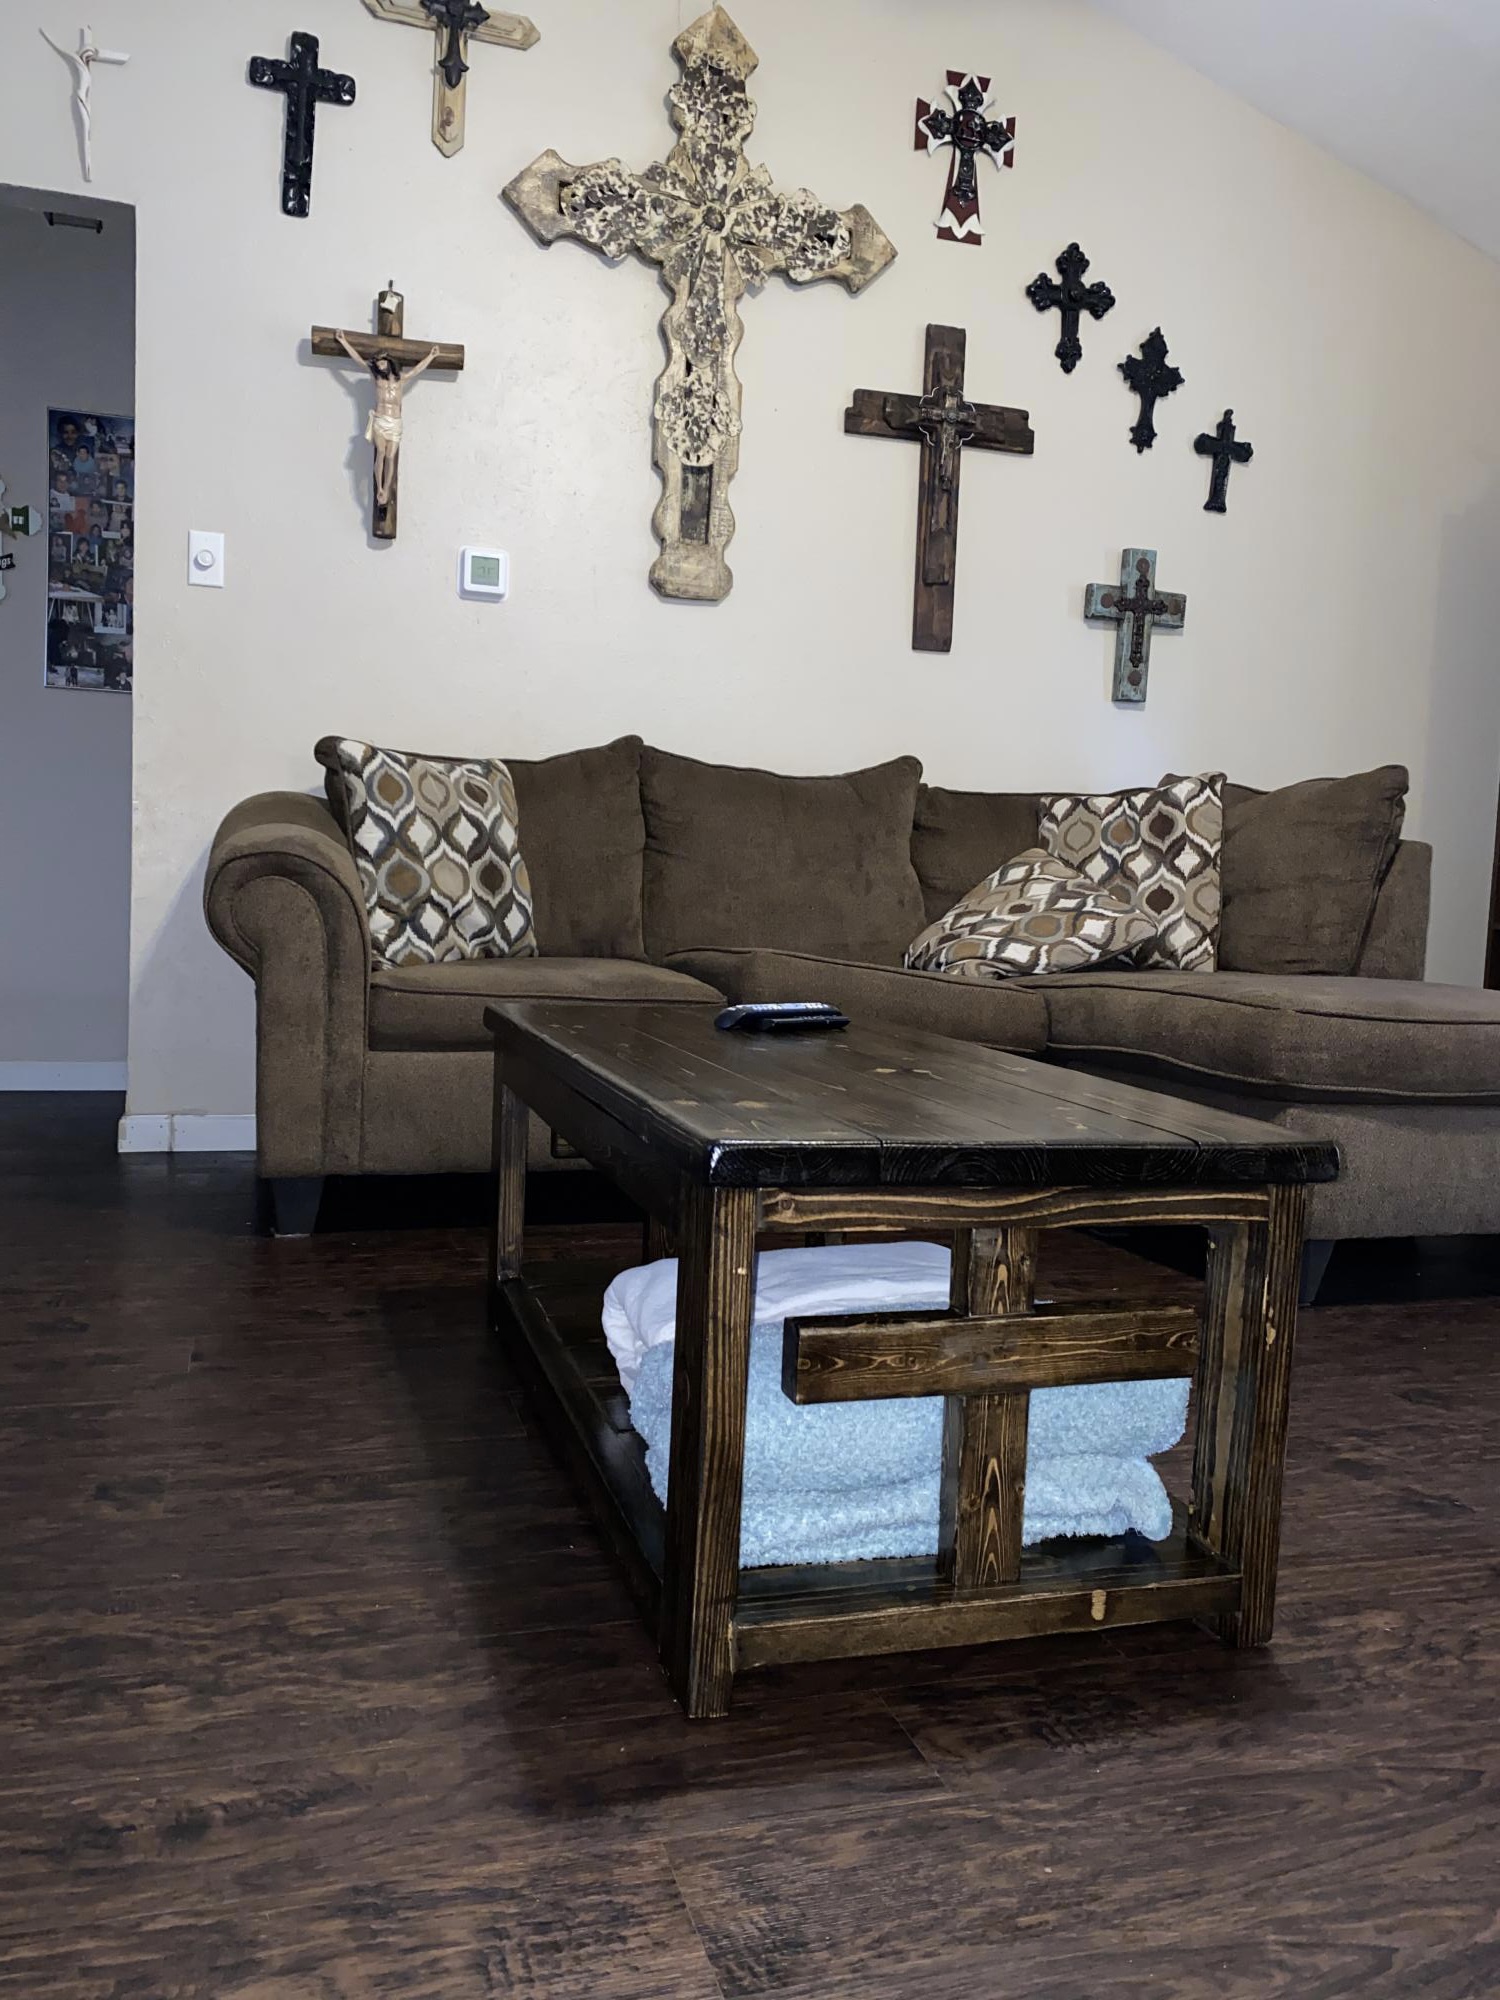
My second ever project my wife said I could do followed your plans are use pocket hose after asking about using them and you sent me a link on how to use it. I did not use the X instead my wife wanted me to Make a cross so it would go with the crosses in our living room thanks for the plans.

Built from Plan(s)
Estimated Cost
$56.00
Estimated Time Investment
Weekend Project (10-20 Hours)
Finish Used
Are used a minwax would finish and then I use up oil based polyurethane semi gloss from Behr
Recommended Skill Level
Beginner

Comments

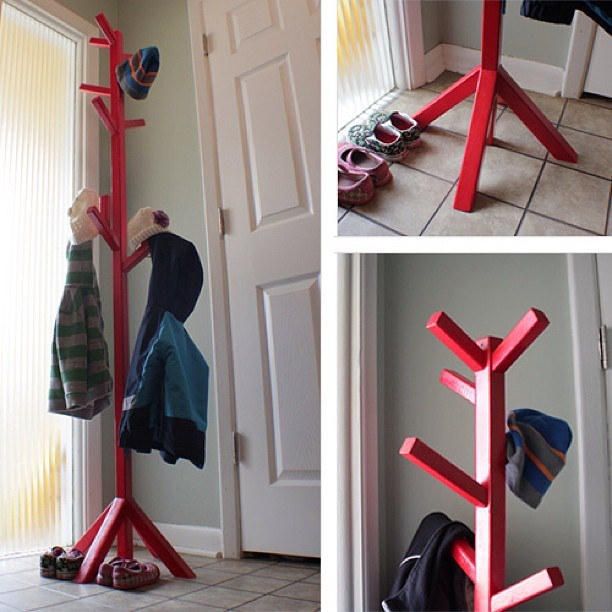
My coat tree build

Such a great, simple project! Thanks for the plans Ana! I'm doing my best to send people your way via my blog, iliketomakestuff.com

Estimated Cost
$10
Estimated Time Investment
An Hour or Two (0-2 Hours)
Finish Used
High Gloss Spray paint
Recommended Skill Level
Beginner

Comments

yurra-bazain

Tue, 03/12/2013 - 22:56

I made Ana's coat tree recently as well, but I painted mine white. I love that high gloss red that you used! It turns your coat tree into an accent piece. :)

Redwood Planters

Submitted by powerof2 on Thu, 09/09/2021 - 21:39

Planters from Easy Build DIY Planter Box. Some modifications, but essentially direct from the plans. I used redwood fence pickets for the slats, finished the frame with an "ancient oak" stain and the faces with spar varnish diluted with paint thinner.

Comments

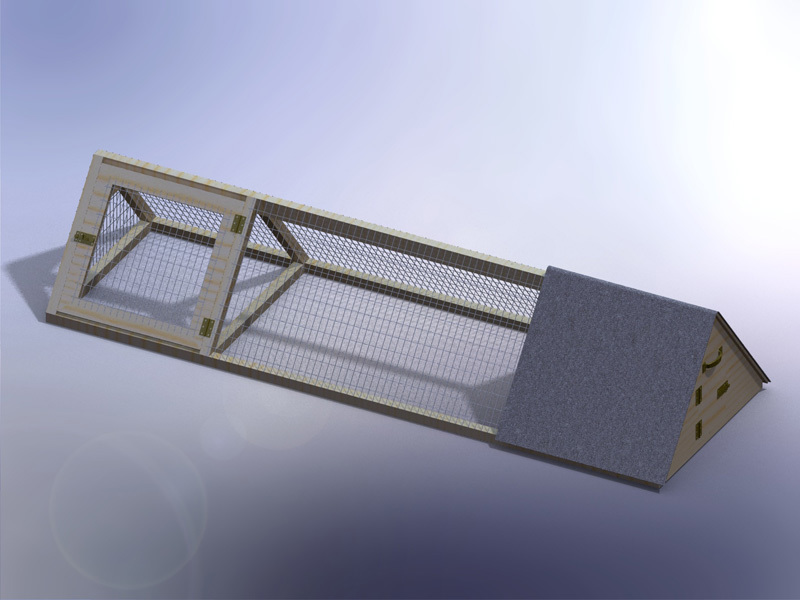
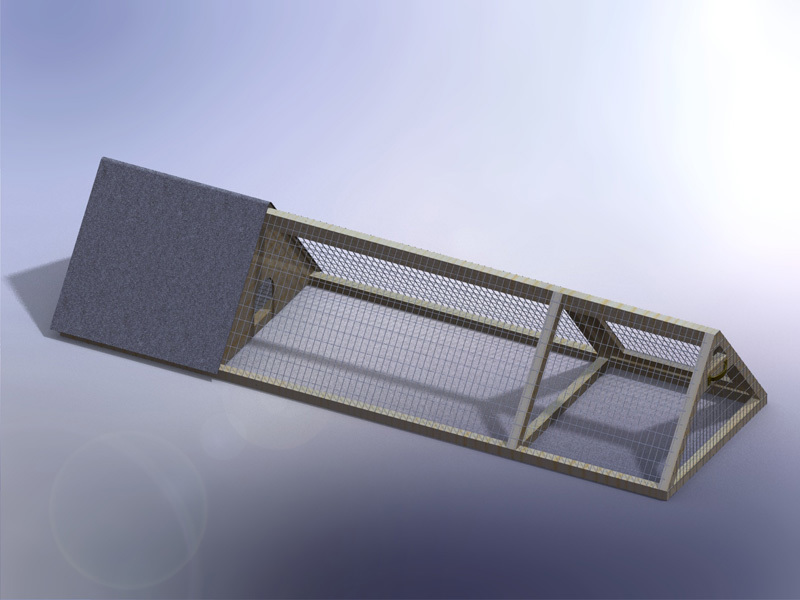
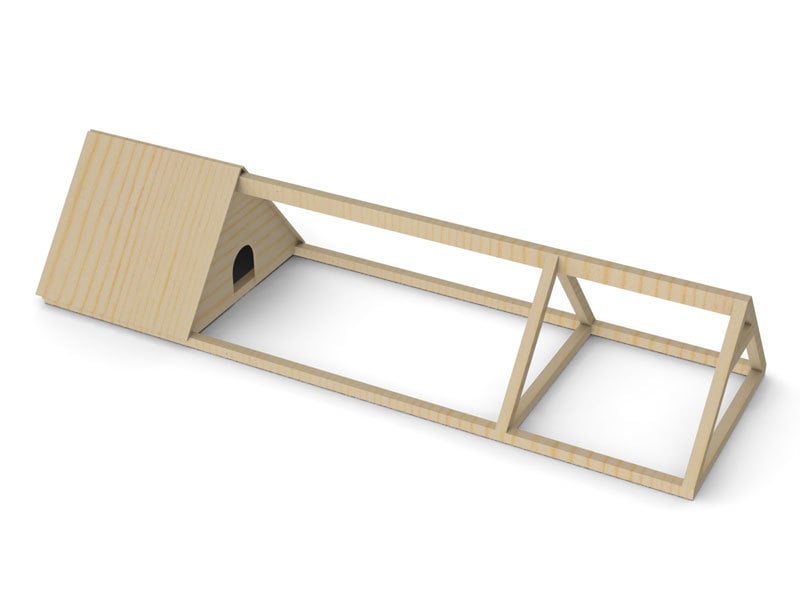
Triangular Rabbit Hutch

Submitted by Medeek on Fri, 05/03/2013 - 18:14

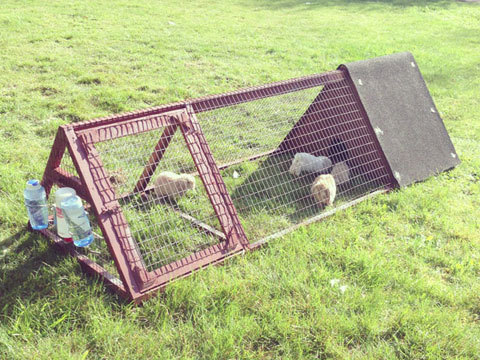
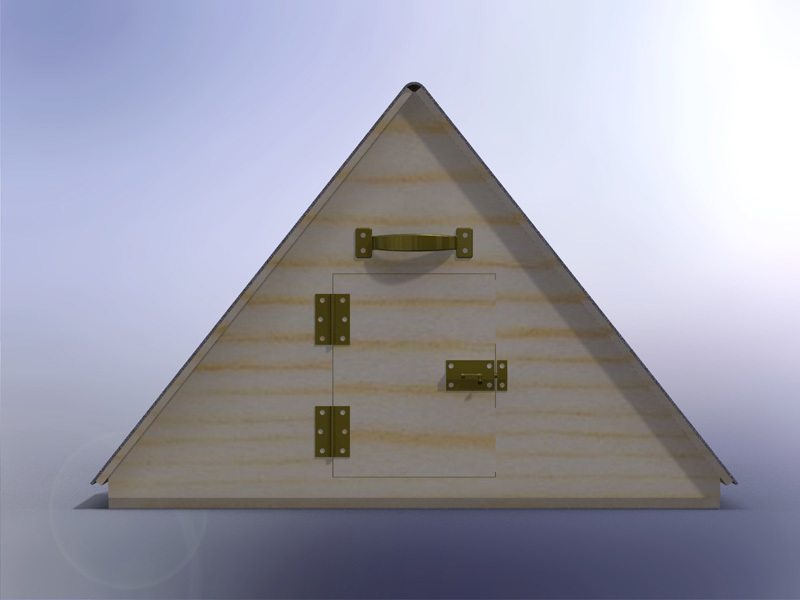
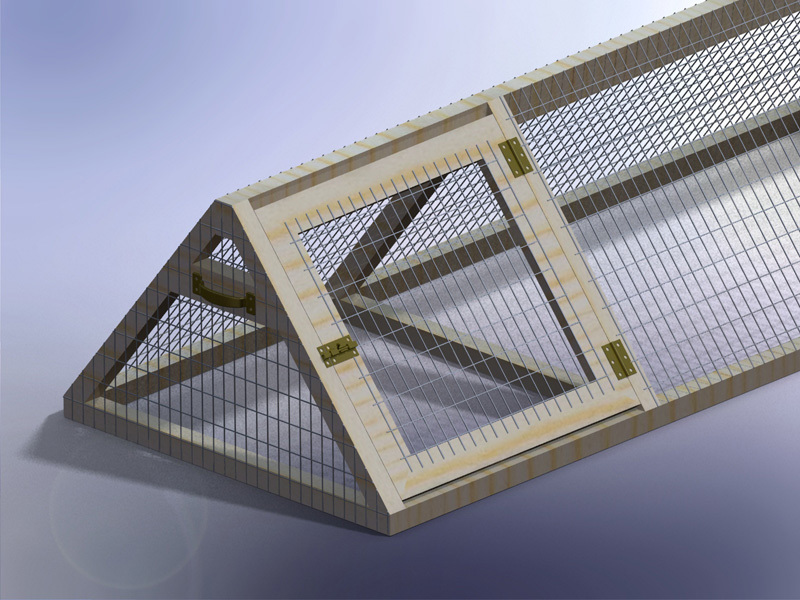
This is a rabbit hutch I created for my kids 5 rabbits. The thing that makes this hutch really nice is if you have a large lawn you can just move the hutch a little bit every day and the lawn gets mowed, fertilized and you don't have to worry about cleaning up all the rabbit droppings. I also mounted a rabbit feeder on the inside of the house door to keep the food dry, which has worked really well.

Here is a short blog of all the steps in its construction:
http://design.medeek.com/gallery/RH3080_COPALIS_2013/RH3080_COPALIS_201…

Estimated Cost
150
Estimated Time Investment
Day Project (6-9 Hours)
Finish Used
Exterior Paint brush or spray. Choose your color.
Recommended Skill Level
Beginner

Comments

Medeek

Sun, 05/05/2013 - 01:52

I apologize I haven't got the completed planset up for this project yet but I will try to get it up in the next couple of weeks as well as a very complete materials list. You will need to go to a farm/feed store to get the correct 1"x2" wire and 1/2"x1" wire for the floor. Do not go to Home Depot and use the cow wire they have or the hardware cloth for the floor, neither of which are the correct choice. Home Depot has the lumber but not the wire. If you have any questions or even improvements to my design I would be interested in hearing from you.

Medeek

Sun, 09/13/2015 - 19:18

Finally got around to uploading the plans.  I still need to create a material list for this plan but the basics are there now.   We've had rabbits in it for about a year but recently we've tried some guinea pigs and it works great for that as well.  The guinea pigs can pretty much live off just the grass and dandelions but you do need to move it daily to give them plenty to eat.

White Bunk beds with ladder instructions

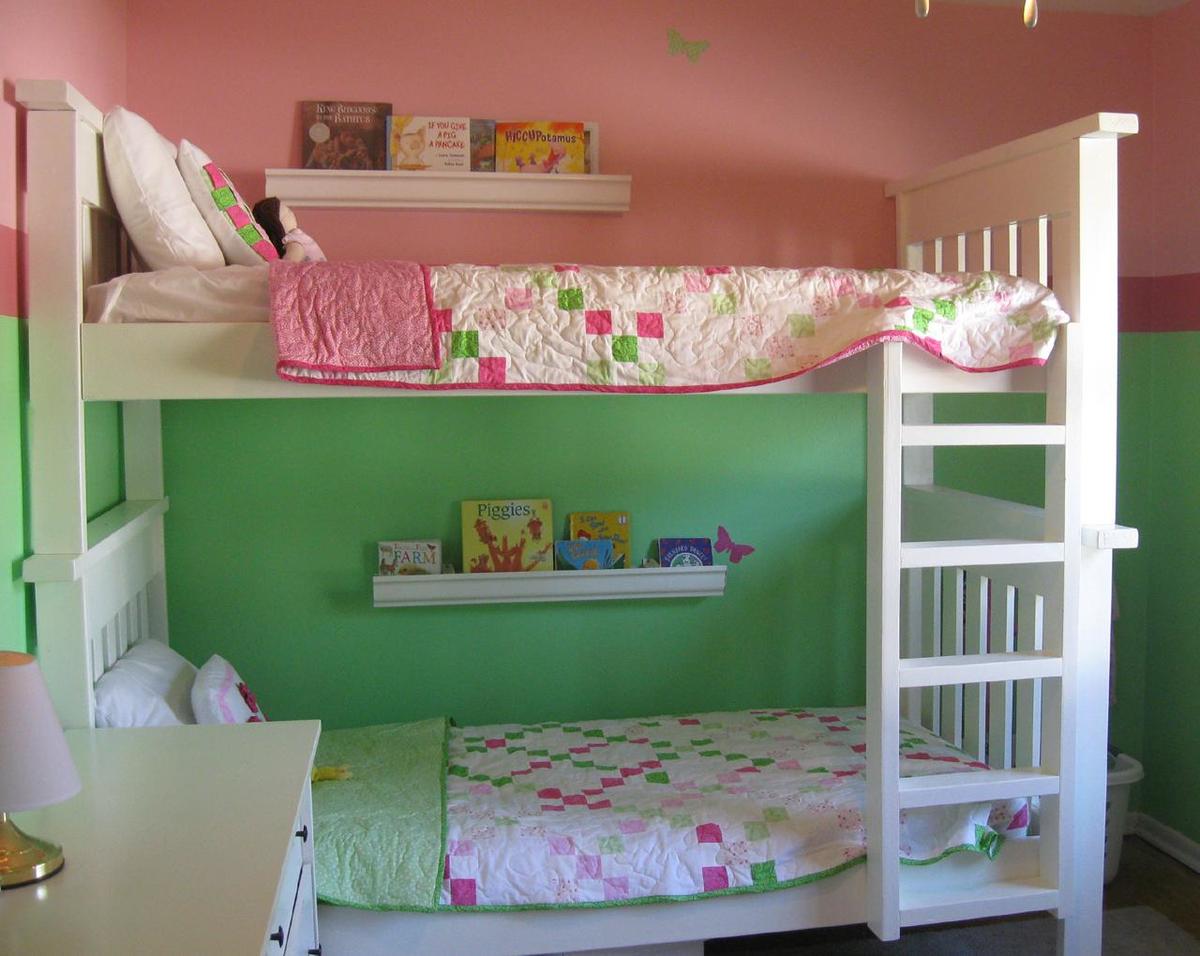
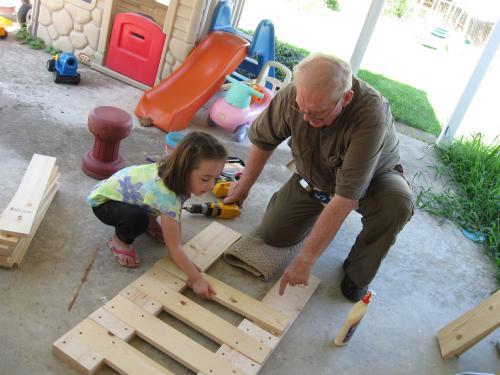
I redid this whole room for less than $600! Make sure you take your time with cuts and fitting. I did this with my father in law (my daughter even got to help out!), and it's less than perfect due to some rushing! More details on my blog.

I also couldn't find any 4x4's. Instead of doubling up on 2x4's, I just used one. That allowed me to change the tops of the head/foot boards to only 48" instead of 50 1/2. You can get enough for a head and foot board out of one board this way.

After looking at a TON of bunk bed ladders online, I designed my own. Just some leftover 2x4's. The sides are 47 1/2 inches long, and the rungs are 13 1/2 inches long. It's screwed to the bunk bed from the back so you don't see the screws.

Estimated Cost
$300
Estimated Time Investment
Weekend Project (10-20 Hours)
Finish Used
Sanded the heck out of everything, then two coats of Behr primer, followed by 2-3 coats of Behr semi-gloss in New Day Dew (it's a Disney color)
Recommended Skill Level
Beginner

Grillin' and Chillin' - Outdoor Grill Food Prep Station

Needed a table for food prep with my grill and found your plans! I used treated lumber for the base and nice cedar planks for the top. The treated lumber had a whiter than usual color which made the base really pop out. I put a nice pecan stain on top and a few coats of poly so the BBQ sauce wouldn't stain it! This was so easy, literally took 2-3 hours to build, stain and poly was done over the next few days. Ready for my next ana-white project. Thanks for posting these plans.

Built from Plan(s)
Estimated Time Investment
Afternoon Project (3-6 Hours)
Finish Used
Simple pecan stain and minwax poly. Brushed on the stain and kept brushing until I got the darkness I wanted
Recommended Skill Level
Starter Project

Comments

tr7dul

Wed, 07/09/2014 - 16:24

I was looking on Pinterest and found this table. It was exactly what I was looking for. You inspired me to go out and buy a miter saw and some wood and make the table. It turned out wonderful. It now has a permanent place on my patio and gets used when I grill mostly. I was hoping to be able to upload a photo but don't see the option to do so. Anyway, I want to say thanks for the great plans/instructions.

Slat Bench from Palettes

Submitted by jetpad on Fri, 09/15/2017 - 06:32

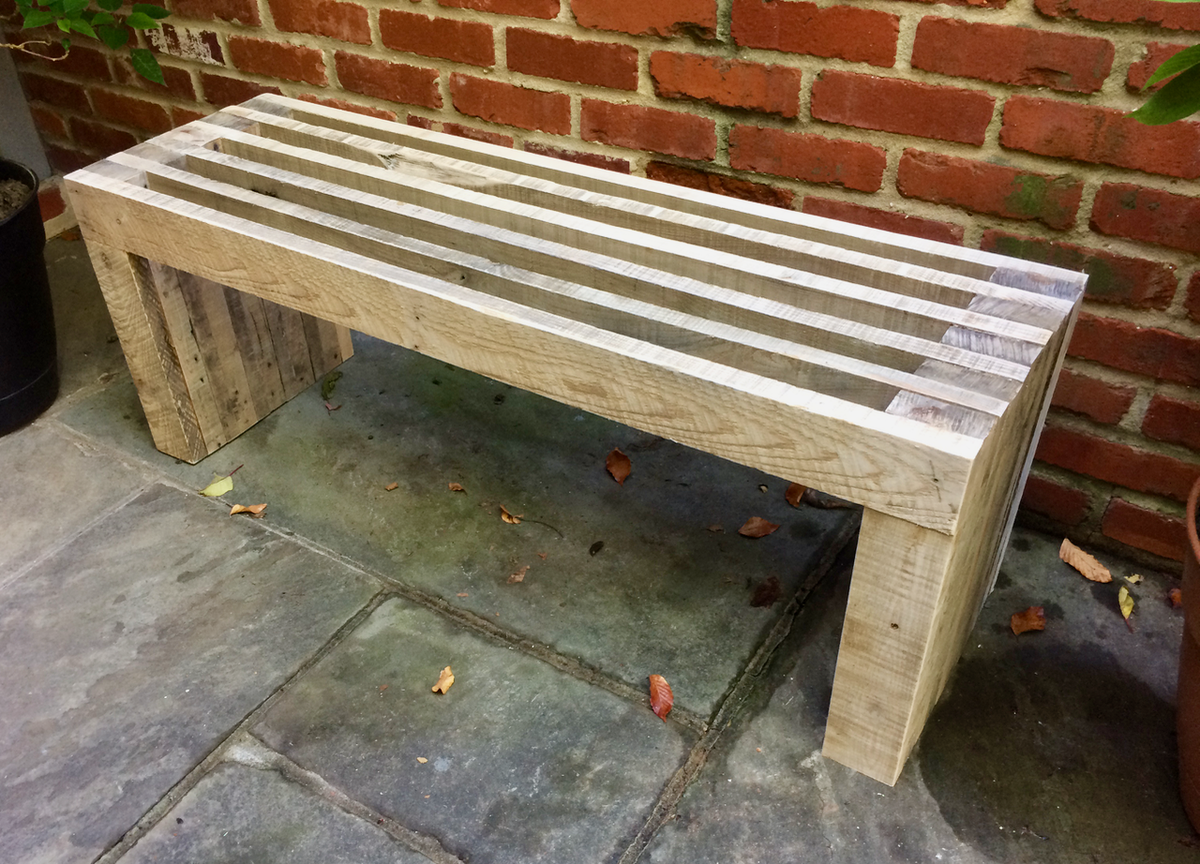
This was made from several heavy duty palettes that were used for delivering stone. Because of the wood I could get off the palettes, I switched the thin and thick pieces so that the slat gaps were where the 2x4 pieces were missing instead of the 1x4s. 

Estimated Cost
$10 (for glue and screws)
Estimated Time Investment
Afternoon Project (3-6 Hours)
Finish Used
None
Recommended Skill Level
Beginner

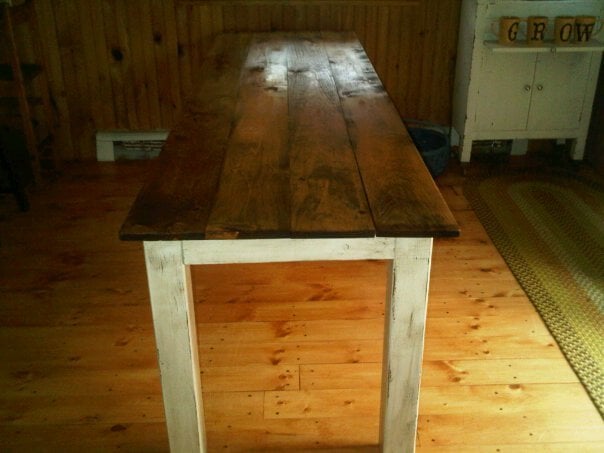
my new farm table!!

Submitted by downtownbb on Fri, 04/29/2011 - 18:30

I have recently started working with wood and I love it!!! It started with a few little cubbies, then a small primitive cabinet and today I built my farm table and I absolutely LOVE it!!! I kind of combined plans,,used the size of the narrow farm table and did the basic frame of michaelas kitchen island

Built from Plan(s)
Estimated Cost
50.00
Estimated Time Investment
Afternoon Project (3-6 Hours)
Finish Used
country white legs distressed with golden oak stain over it and golden oak stain on the top
Recommended Skill Level
Beginner

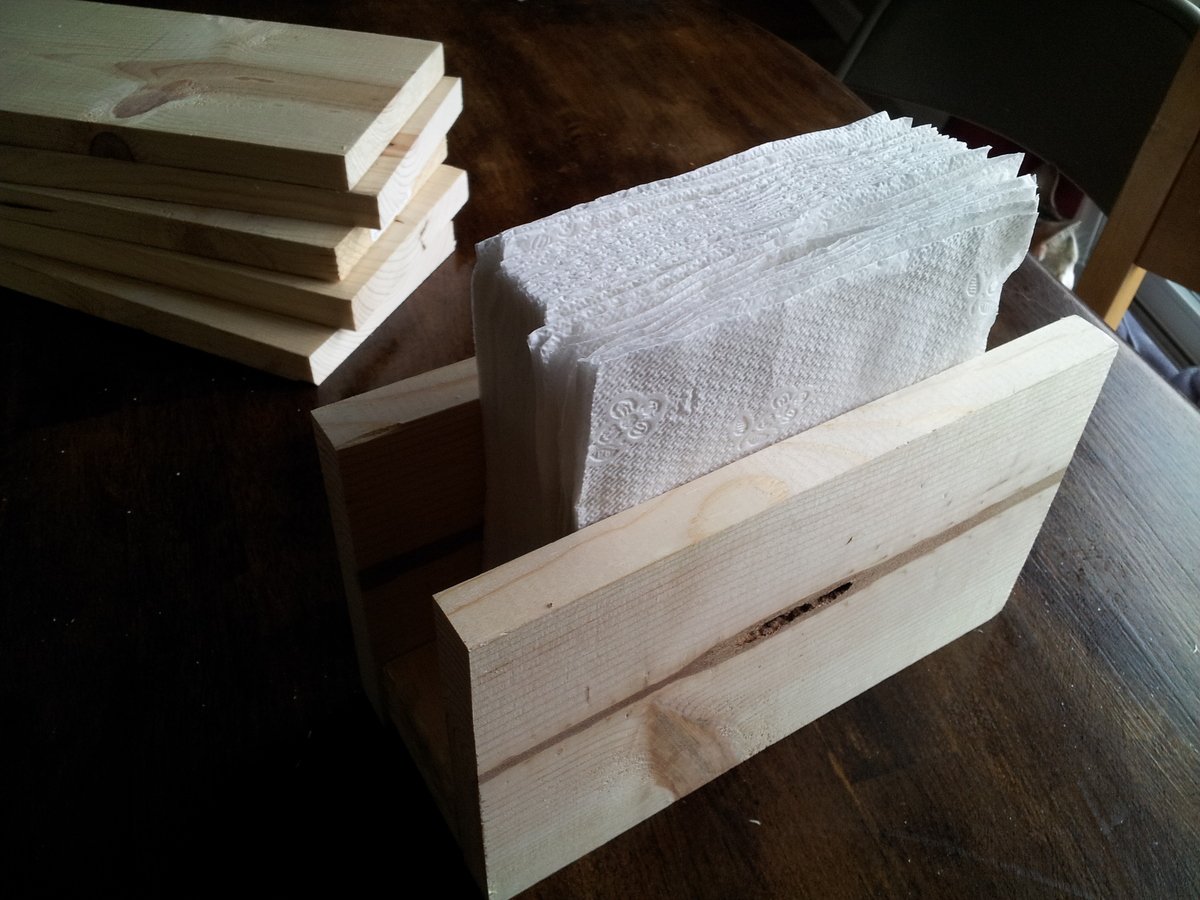
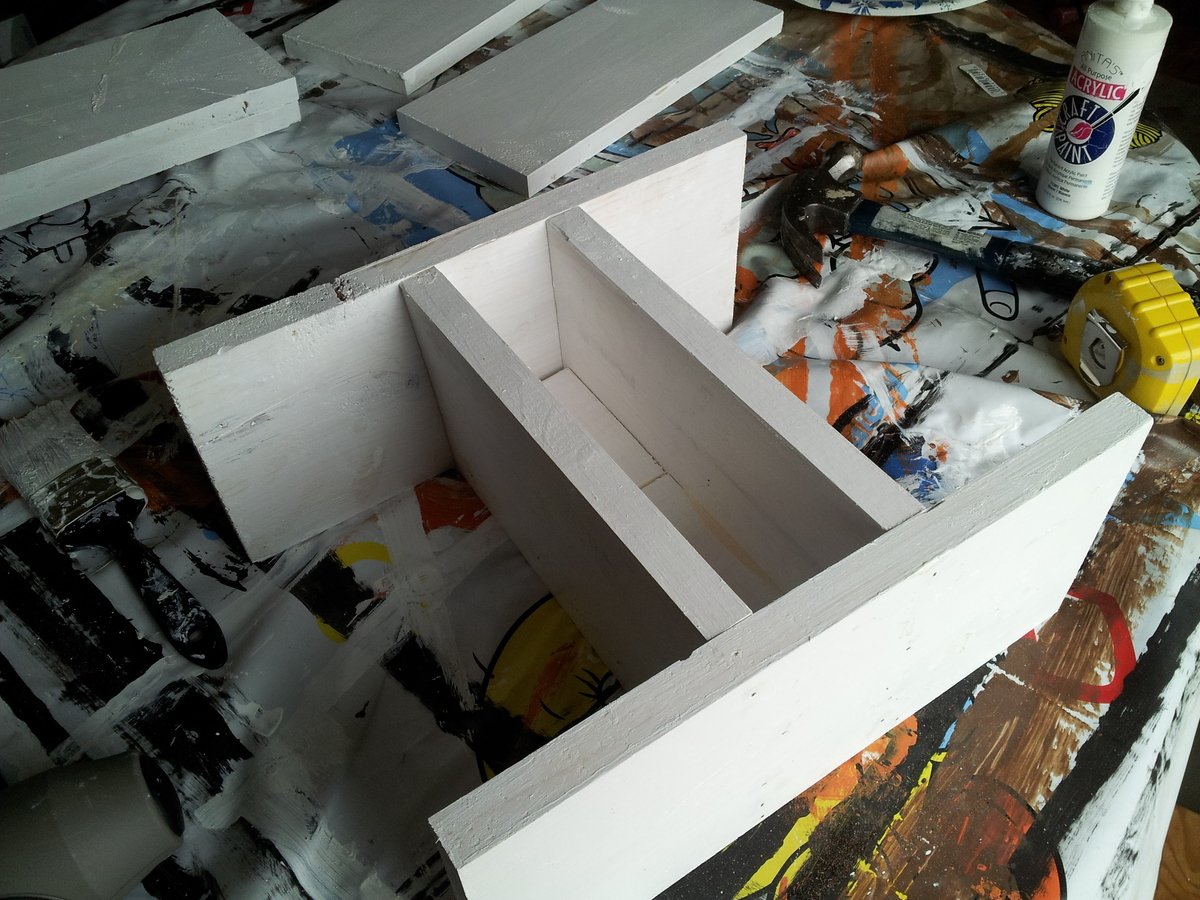
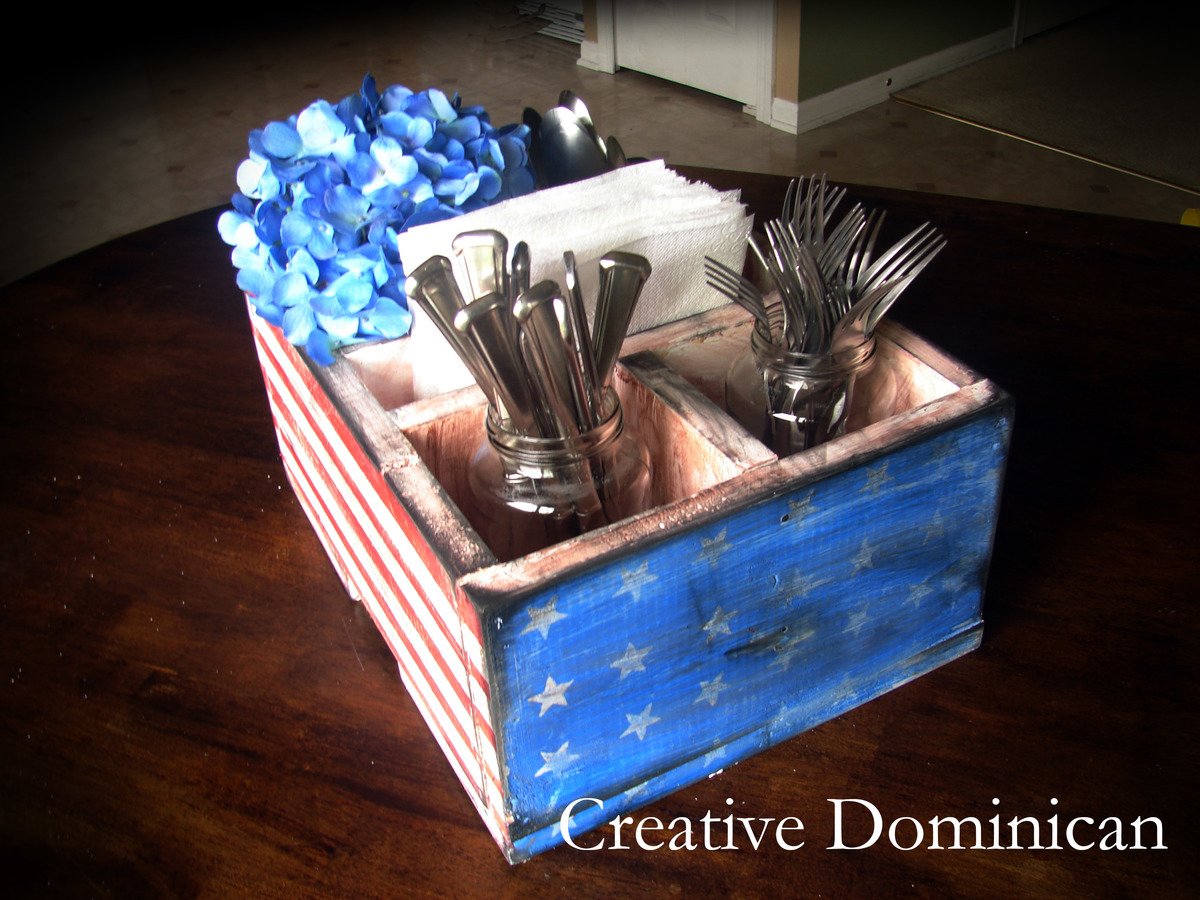
Patriotic Silverware and Napkin Caddy

This fun patriotic caddy was created with some small modifications to the plans that inspired this project : Ana White's Soda Caddy . I added a space for napkins to my version.

Built from Plan(s)
Estimated Time Investment
An Hour or Two (0-2 Hours)
Recommended Skill Level
Beginner

Comments

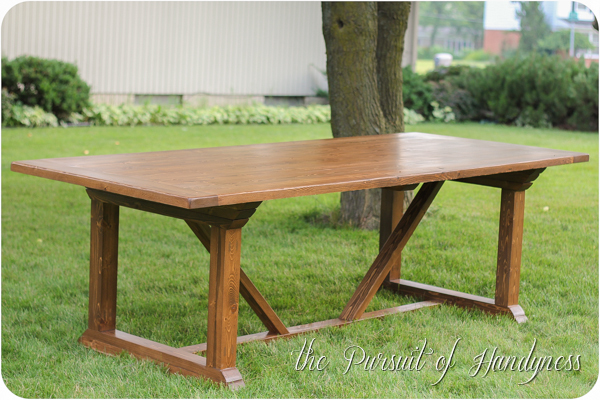
My Z Gallerie inspired Outdoor Dining Table

I used Ana's plans and only made one adjustment. I could not cut the 50 degree angles on my miter saw so I just borrowed the "V" design from one of her other plans. This table is really heavy and sturdy. A helper is necessary to flip the table top back and forth.

Built from Plan(s)
Estimated Cost
$80-$100
Estimated Time Investment
Week Long Project (20 Hours or More)
Finish Used
Rustoleum Ultimate Wood Stain in Early American
Rustoleum Ultimate Spar Varnish in Satin (2 coats on base, 3 coats on tabletop)
I'm having issues with the Spar Varnish drying as white spots keep appearing when the table gets wet. I'm assuming it takes longer than 3 days to fully cure like the label says.
Recommended Skill Level
Intermediate

Comments

Basement Storage Shelves

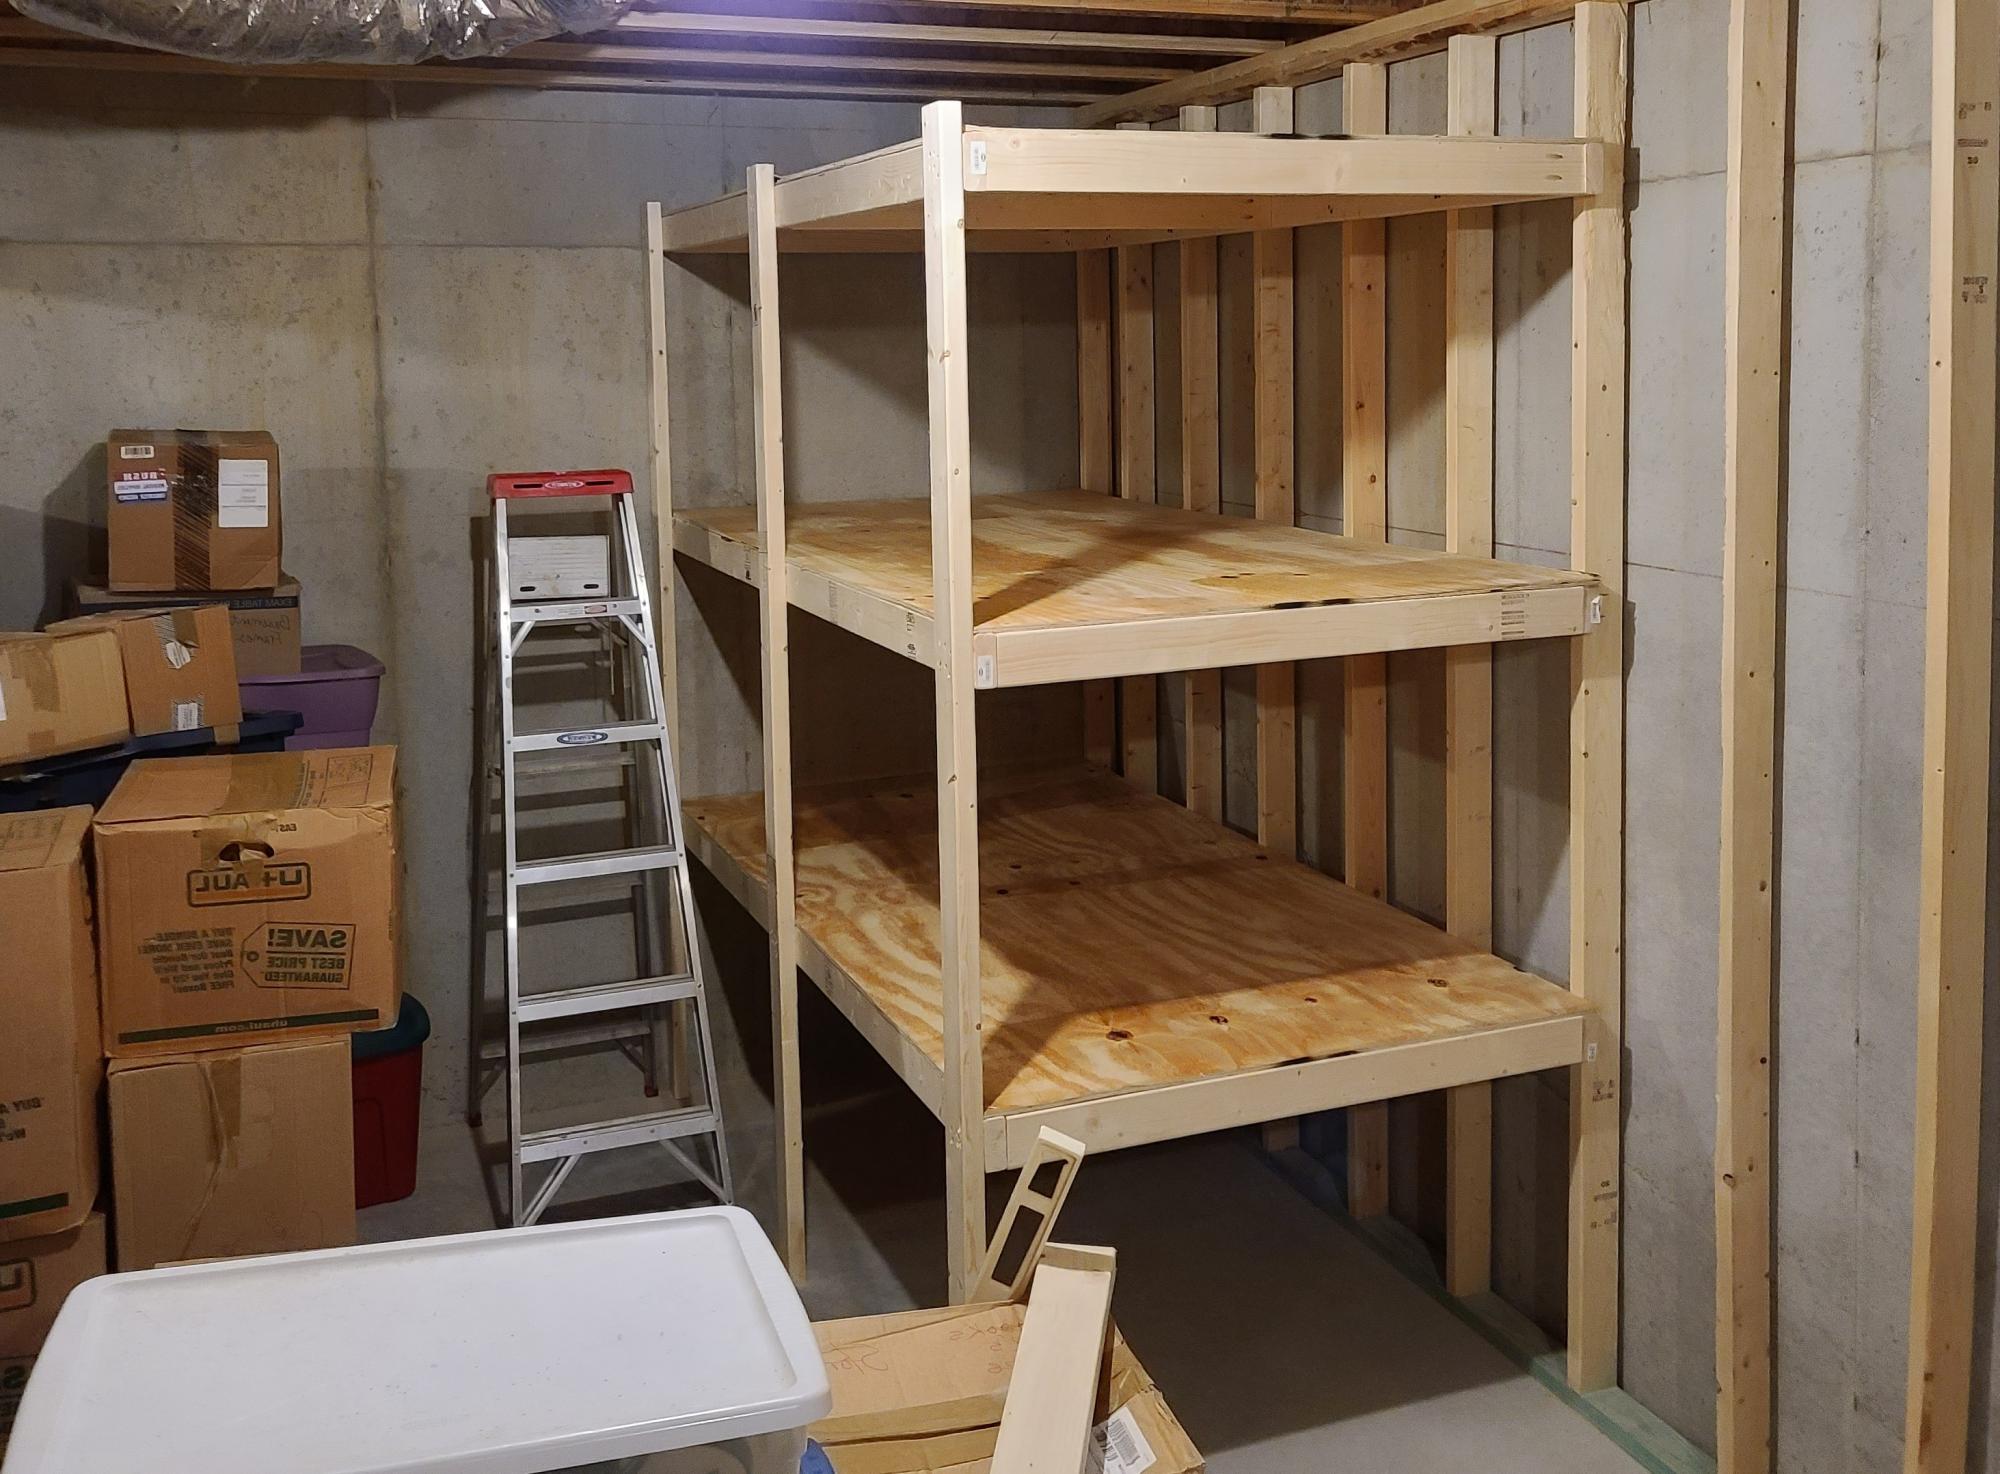
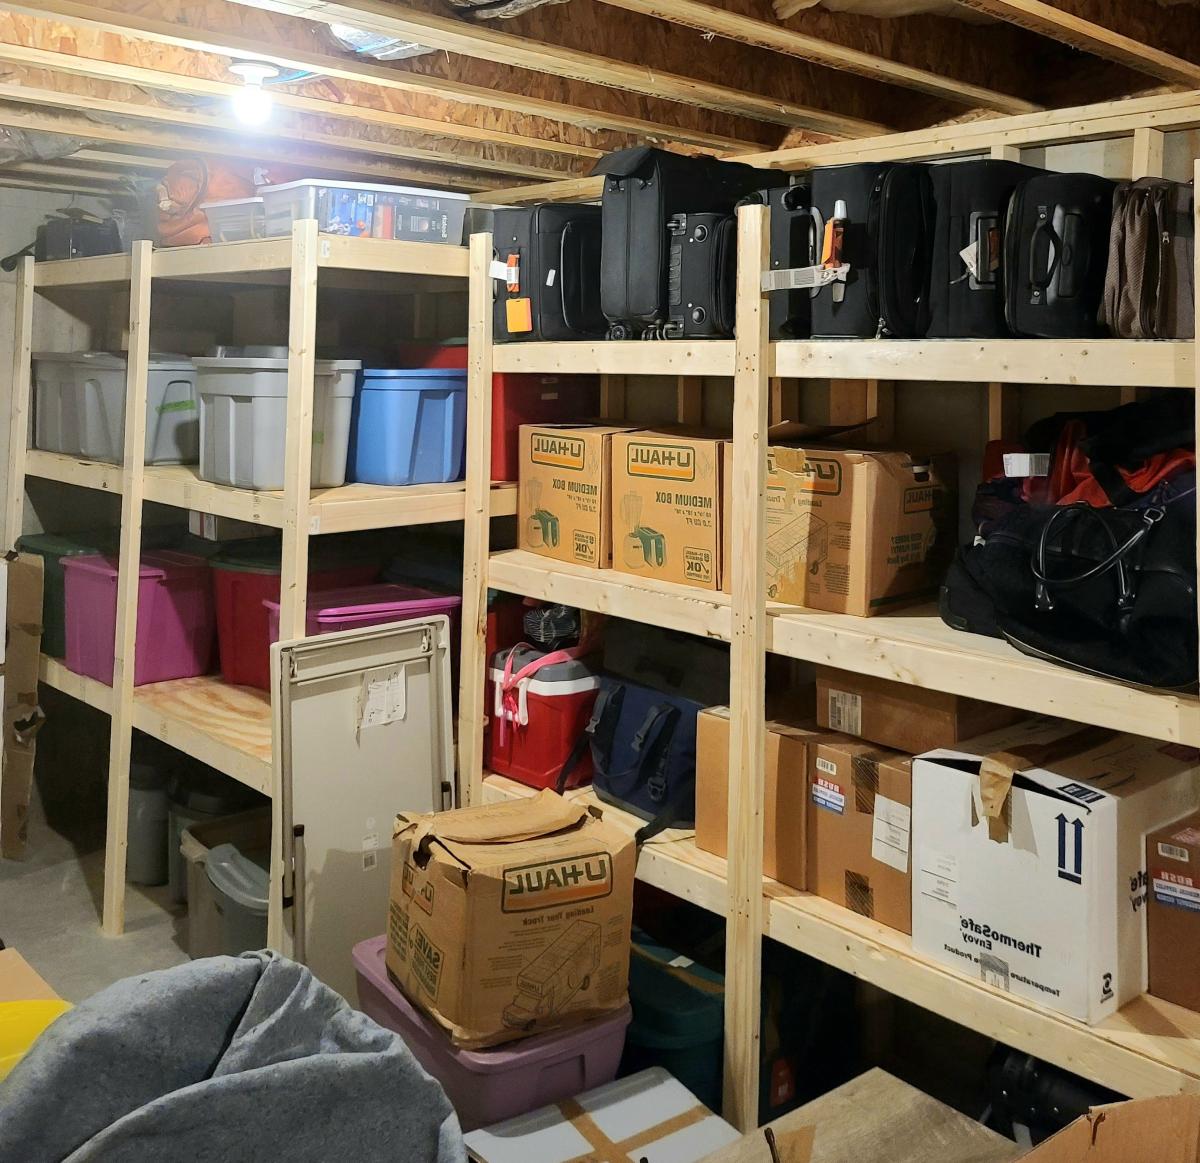
New house equals room for all the junk. Built this off the Garage Storage Shelves plan for our basement storage area. Leveraging the existing exposed studs made it a bit easier. Made these 48" deep to accommodate the big bins with all the holiday decorations. I added another along side, but made it 24" depth...one more yet to go. The wife can't throw anything away!

Comments

Comfortable Easy-Build Chair

Submitted by Sue Hill on Fri, 08/12/2022 - 14:43

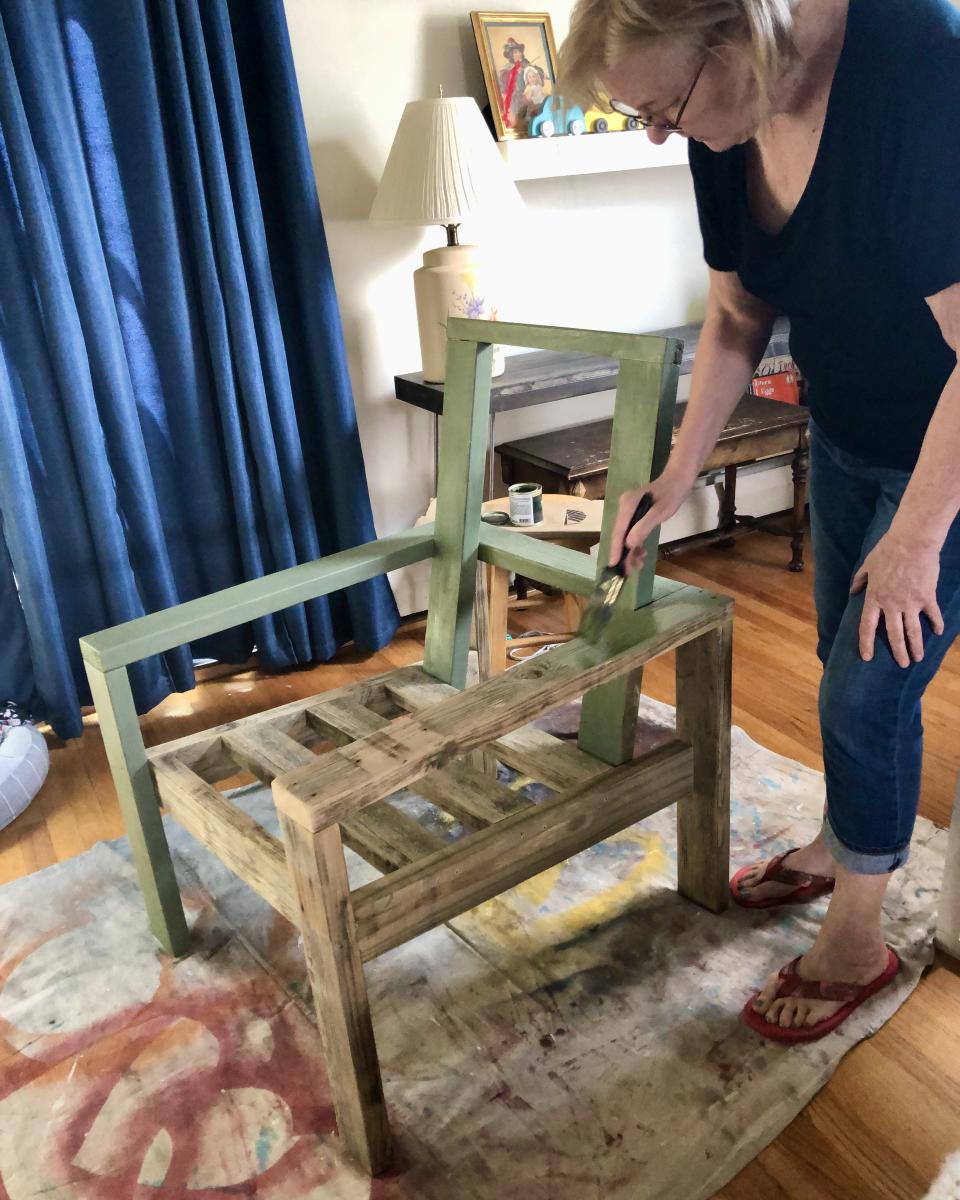
This was a great project! If a 70 year old woman can build it, so can you. I had an old bench that used 2x4's and those plastic ends. I took it apart and salvaged most of the boards after sanding them down. So my cost was zero dollars to build this, but I'm sure it wouldn't last as long as using new wood.
I found the instructions easy to follow. I used 2 1/2" exterior star screws, and finished the wood with solid exterior stain in a sage green. The wood wasn't in great shape, so a transparent stain would not be a good choice for me.
I bought a $16 chair cushion and I'm tempted to make another chair!

Comments

Mantle

Submitted by Anonymous (not verified) on Fri, 03/17/2023 - 14:14

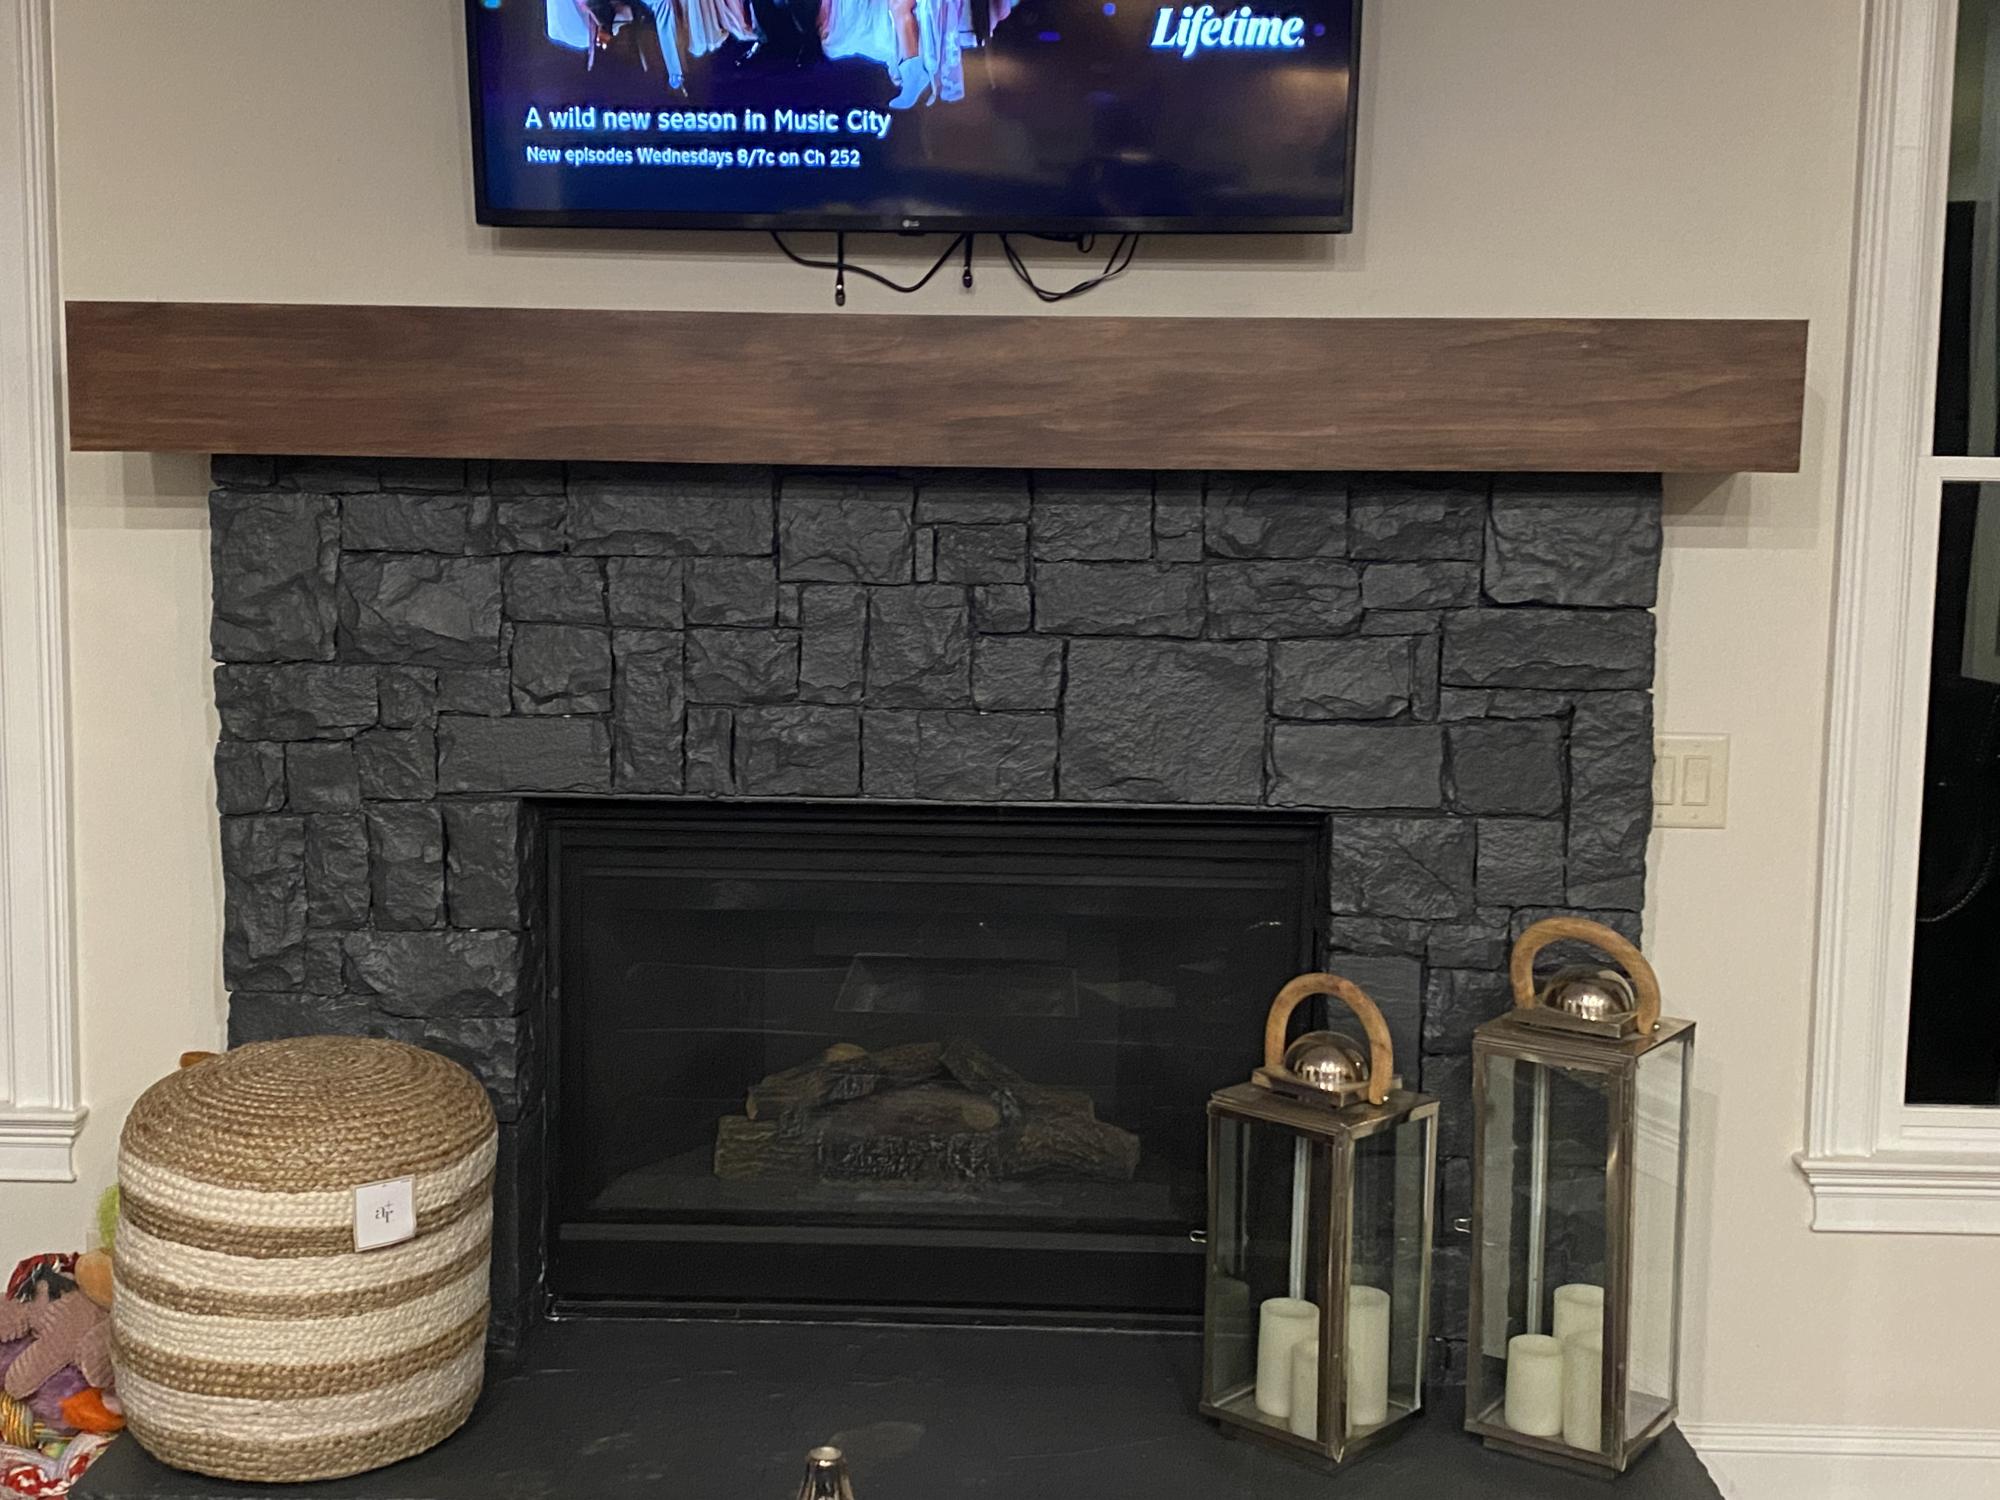
The second one was before. It was the very first project I ever did all by myself. It only took me a couple of months to get the nerve to go to the store and buy everything. Then I cut and did everything on my own. 😬 I am so stinkin proud of myself.

Comments

Simple jig to save time and increase accuracy

Submitted by Anonymous (not verified) on Thu, 06/15/2023 - 12:13

I downloaded the plans for the octagonal table. I have made several and used a few different woods, made a few minor design changes as well as creating a routine and using a jig or two. This jig fits in between the two boards that form the seat support frame. I used a large paint stick and a scrap piece of 2 x 4. Using a table saw, I cut a groove in the 2" edge, approximately 1/2" deep, this took two passes (pass it through, turn it and pass again), a slight adjustment and another two passes. Insert the paint stick and seat all the way down. Place jig between seat support frame, might be a little snug or use a clamp to hold in place. Adjust so just the paint stick sticks up enough to separate seat boards. With seat boards against the jig, it forms the perfect angle/guide to match cuts. I also used 1/2" spacers to create consistent spacing. Love the various plans you make available as well as your videos.

Comments

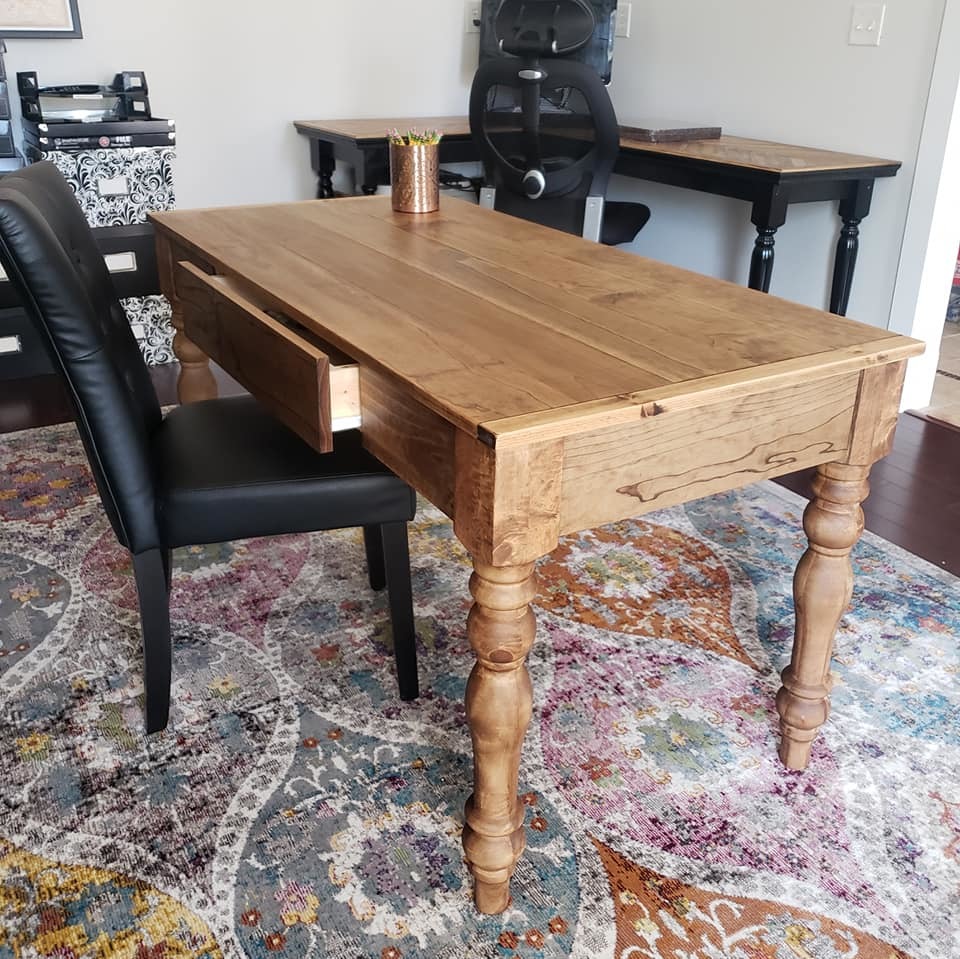
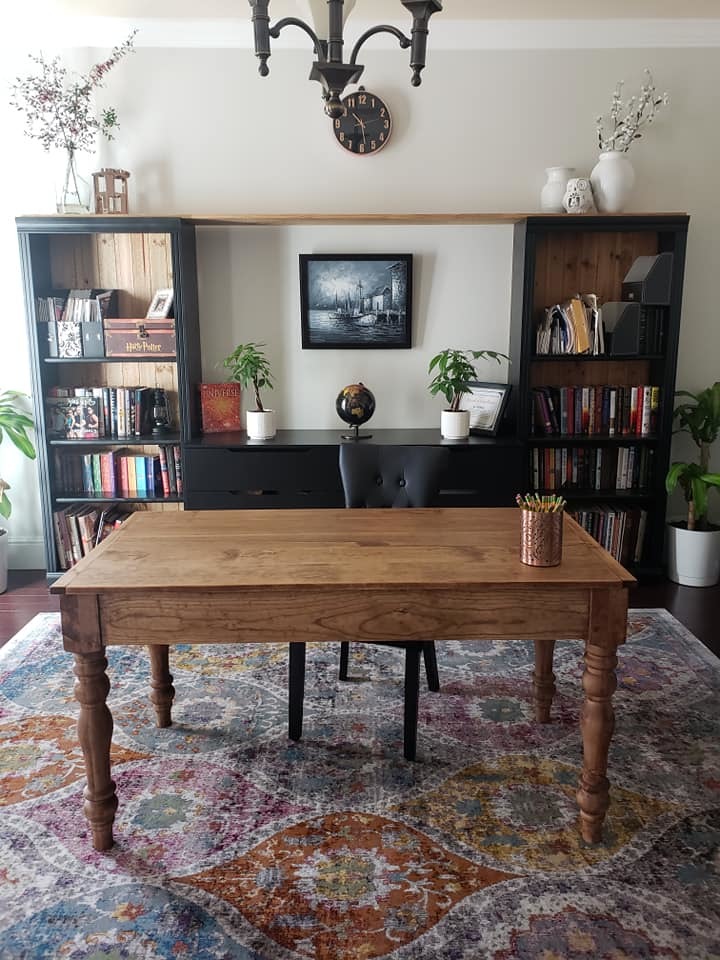
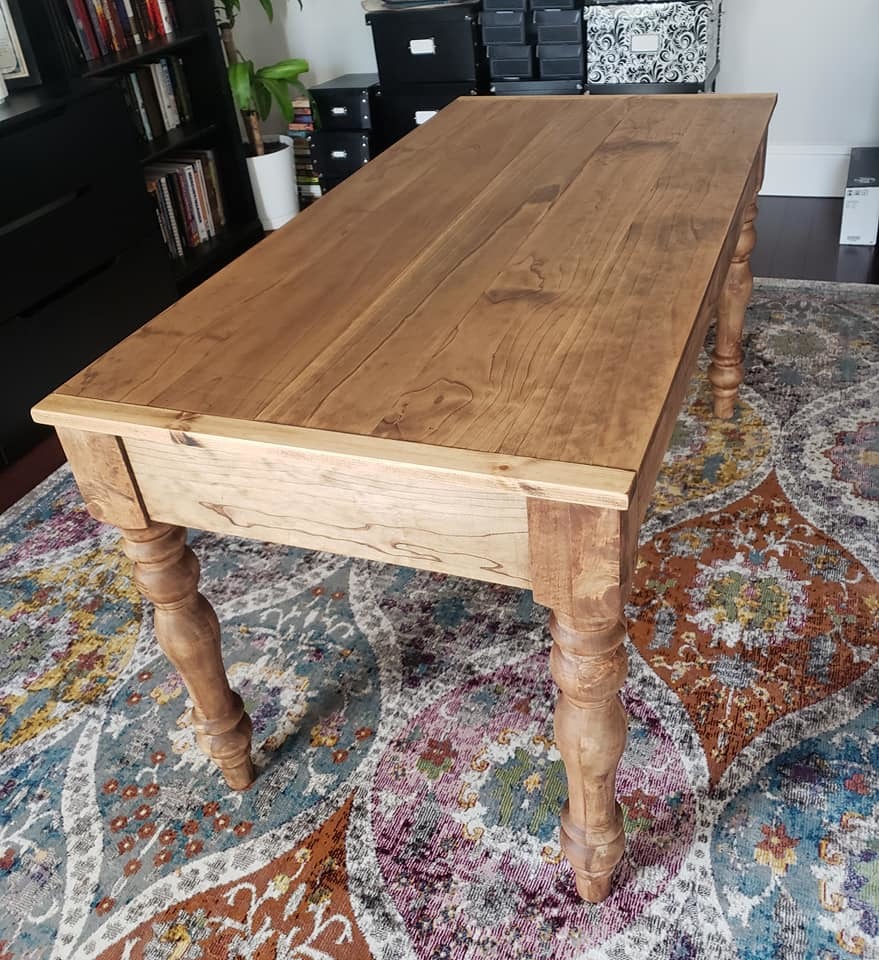
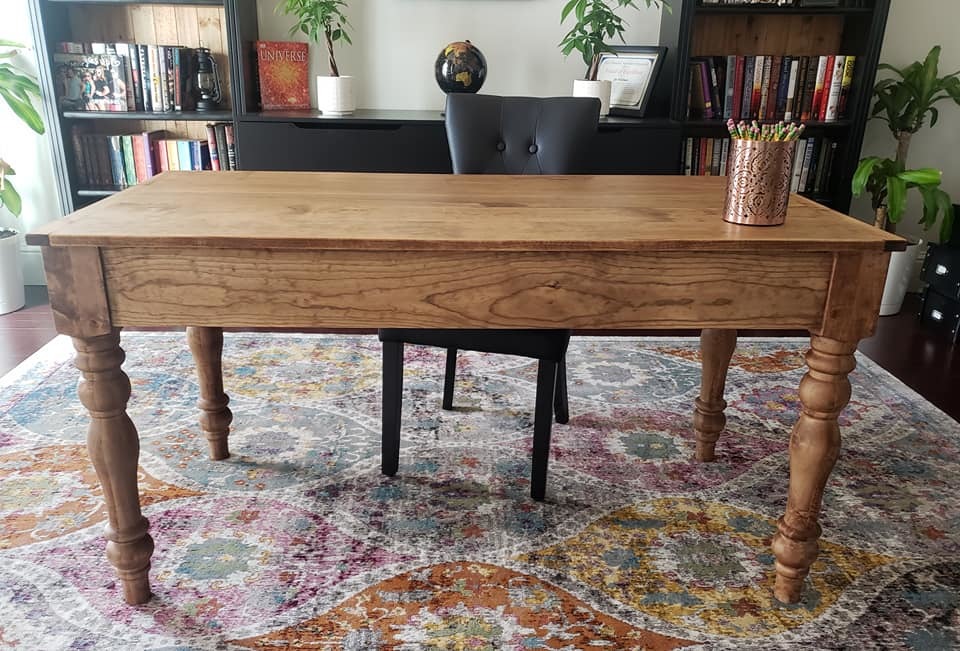
OLD ENGLISH FARMHOUSE WRITING DESK

Submitted by kwildman on Mon, 10/21/2019 - 11:59

I modified the Small Old English Style Farmhouse Dining Table plan to build a writing desk.   

I used five 1x6 boards for the top for a width of 27.5 inches.   I made my desk 56 inches in length.  I put the drawer on the long side like a pencil drawer.   I did use the legs that Ana recommended in the plan.   

I watched the video Ana posted on how to make the drawers for this table and it was so helpful.  I just made it like Ana did in the video but on the long side instead of the short ends.

I love how it turned out.  I used Watco dark walnut danish oil and Minwax dark wax for the finish.  

Estimated Cost
225
Estimated Time Investment
Day Project (6-9 Hours)
Finish Used
Watco dark walnut danish oil and Minwax dark wax for the finish.  
Recommended Skill Level
Intermediate

Farmhouse Tables for a wedding

Submitted by Anonymous (not verified) on Sun, 03/20/2016 - 08:20

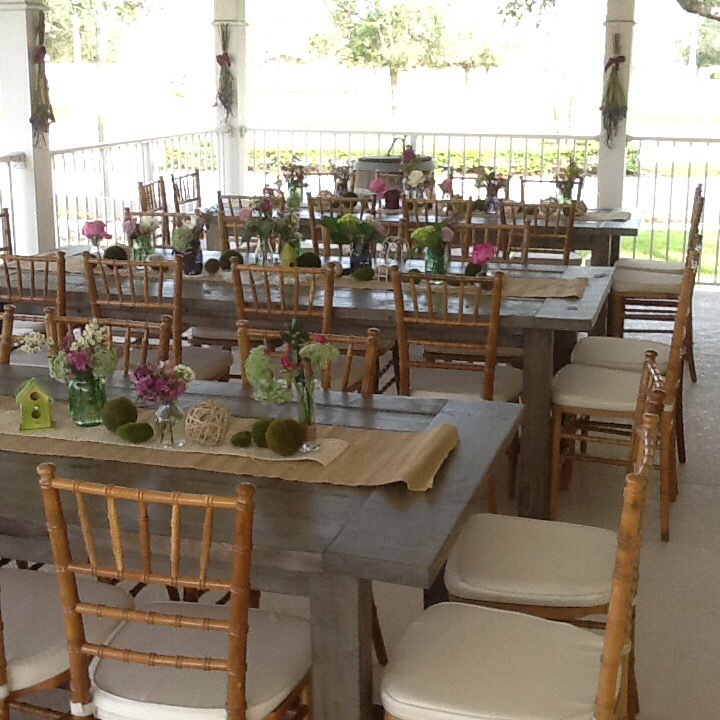
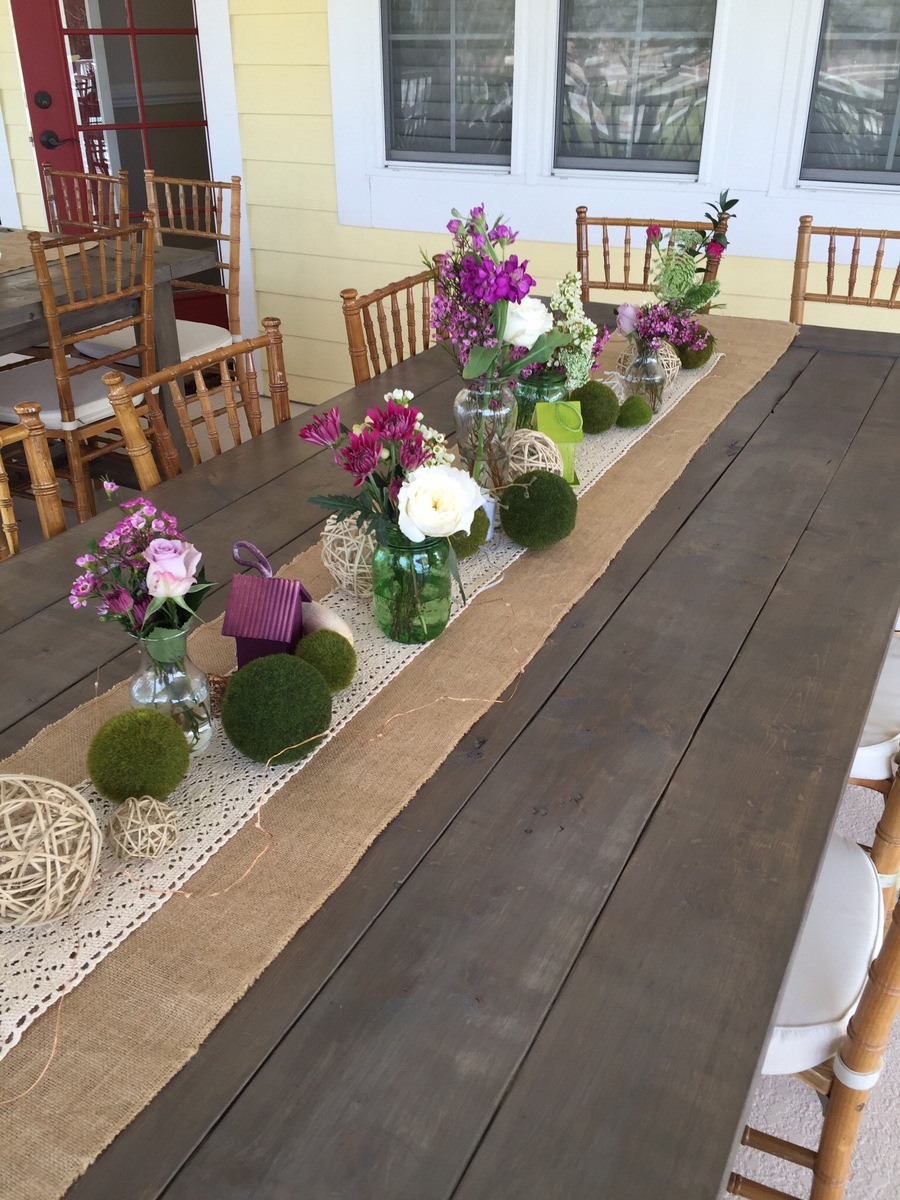
We were going to rent 5 farmhouse tables but the cost of renting was more than double the cost of building them myself plus by building them myself I could finish them the color that I wanted. We were then able to sell 4 of the 5. I kept one for my self. I also was able to build a smaller size one to custom fit my son and daughter in-law new house. Nothing like the satisfaction of building something for something so special.

Built from Plan(s)
Estimated Cost
Roughly 125 per table.
Estimated Time Investment
Week Long Project (20 Hours or More)
Finish Used
Base coat heavy Varathane Weathered Grey
Once that coat was dry I used a thin coat of minwax Jacobean to get in the cracks and holes and a layer of depth.
Topped it with minwax polycrylic matte finish.
Recommended Skill Level
Intermediate

Comments

tgrott

Sat, 04/02/2016 - 16:31

...did it take to complete all of those tables?!? That was such a special thing to do for your son's wedding...and then for them to have a smaller version for themselves, I'm certain it will become a family heirloom passed down through the years! Those tables "made the look" for that entire setting! Just gorgeous! :)

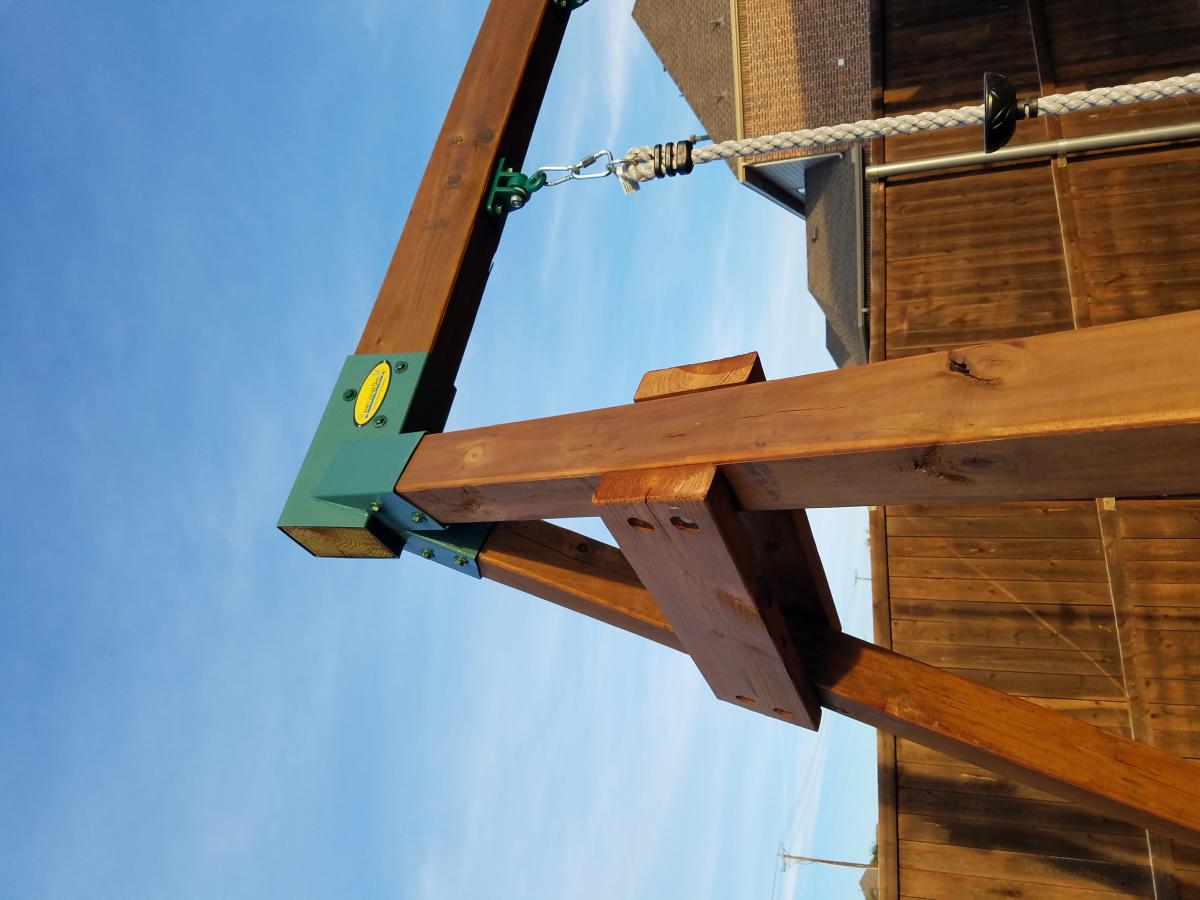
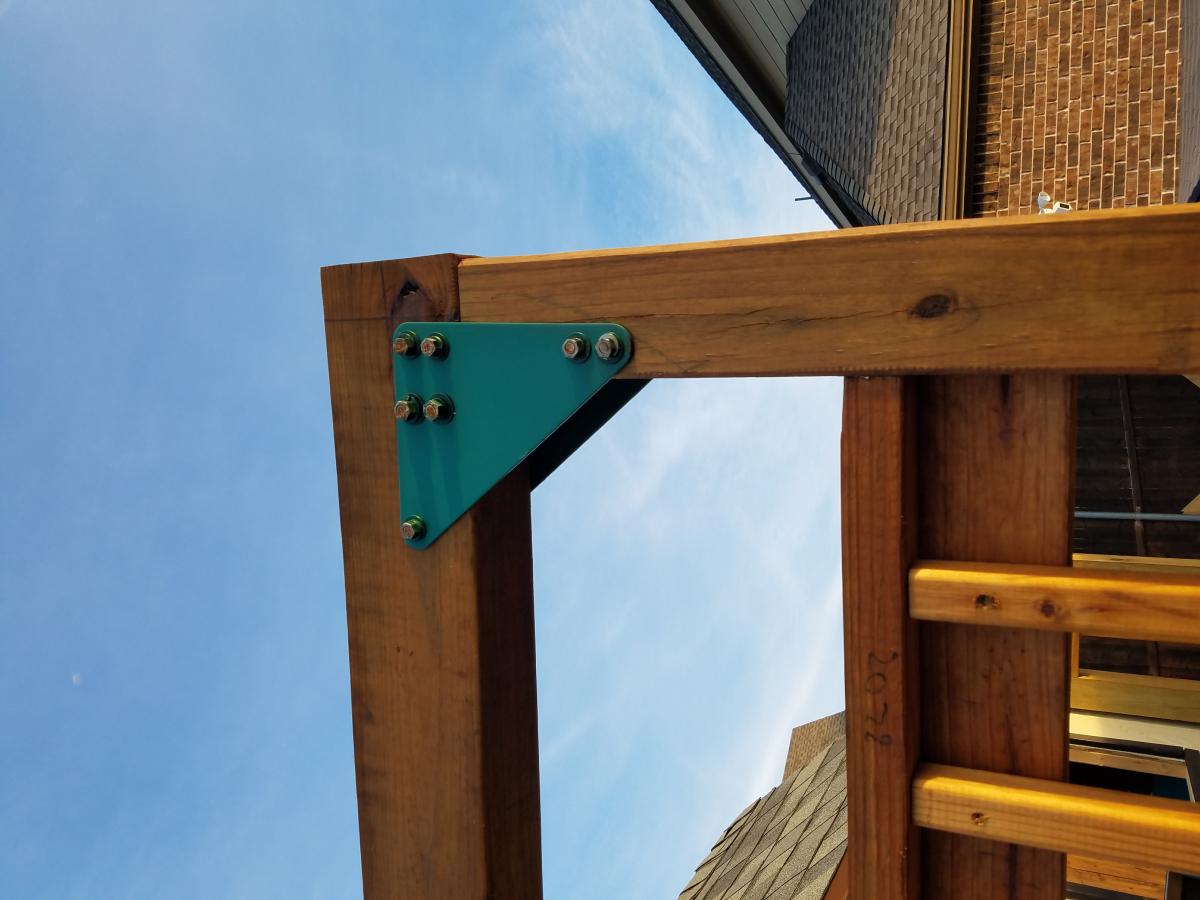
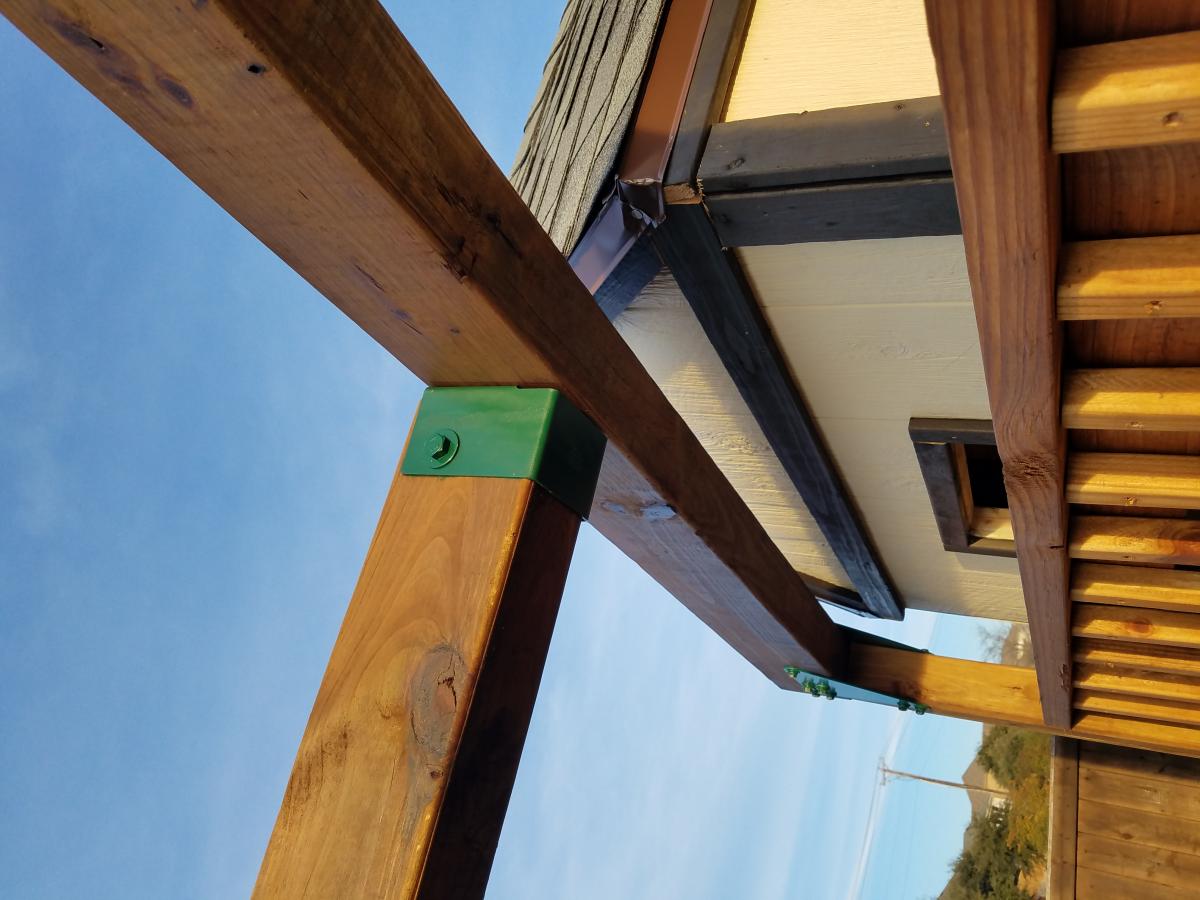
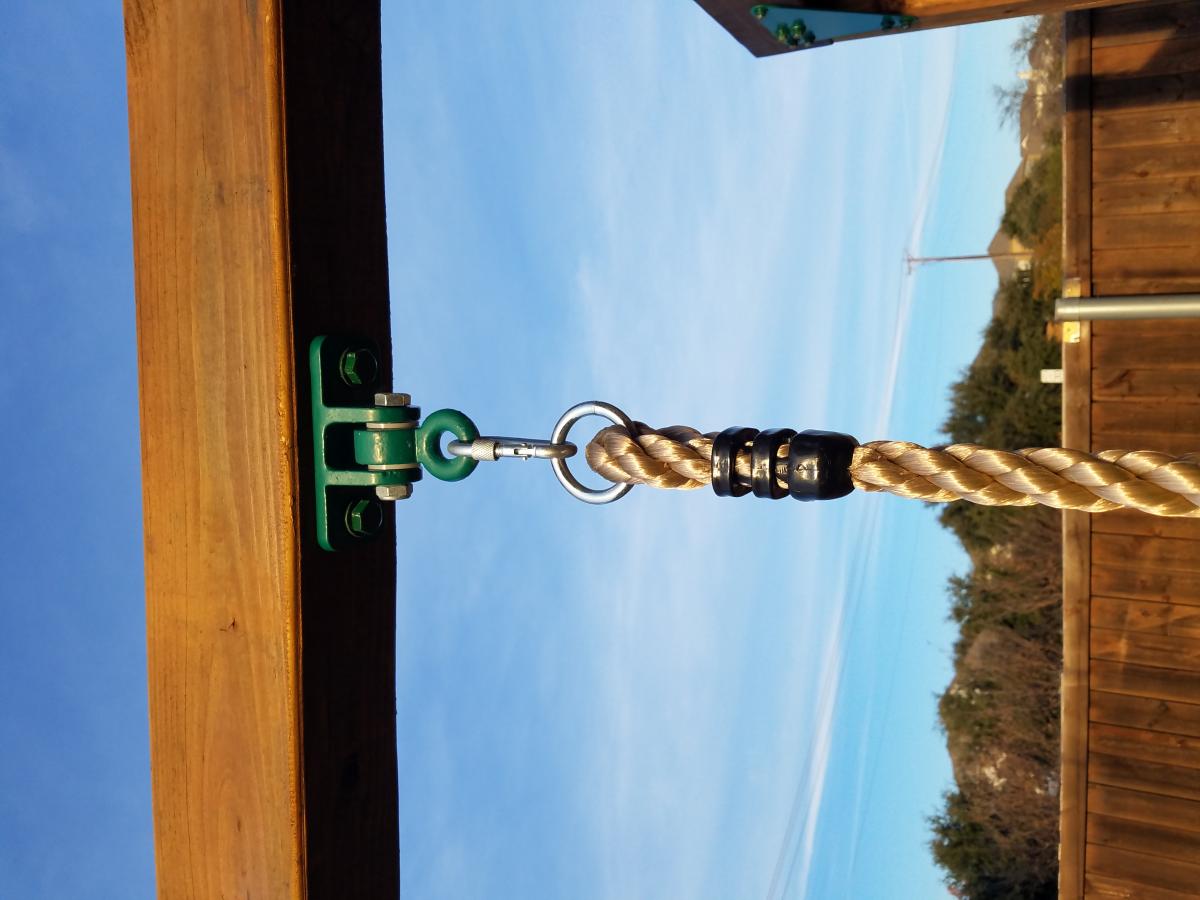
Swingset with playhouse

Submitted by Handy Dad on Thu, 12/19/2019 - 14:44

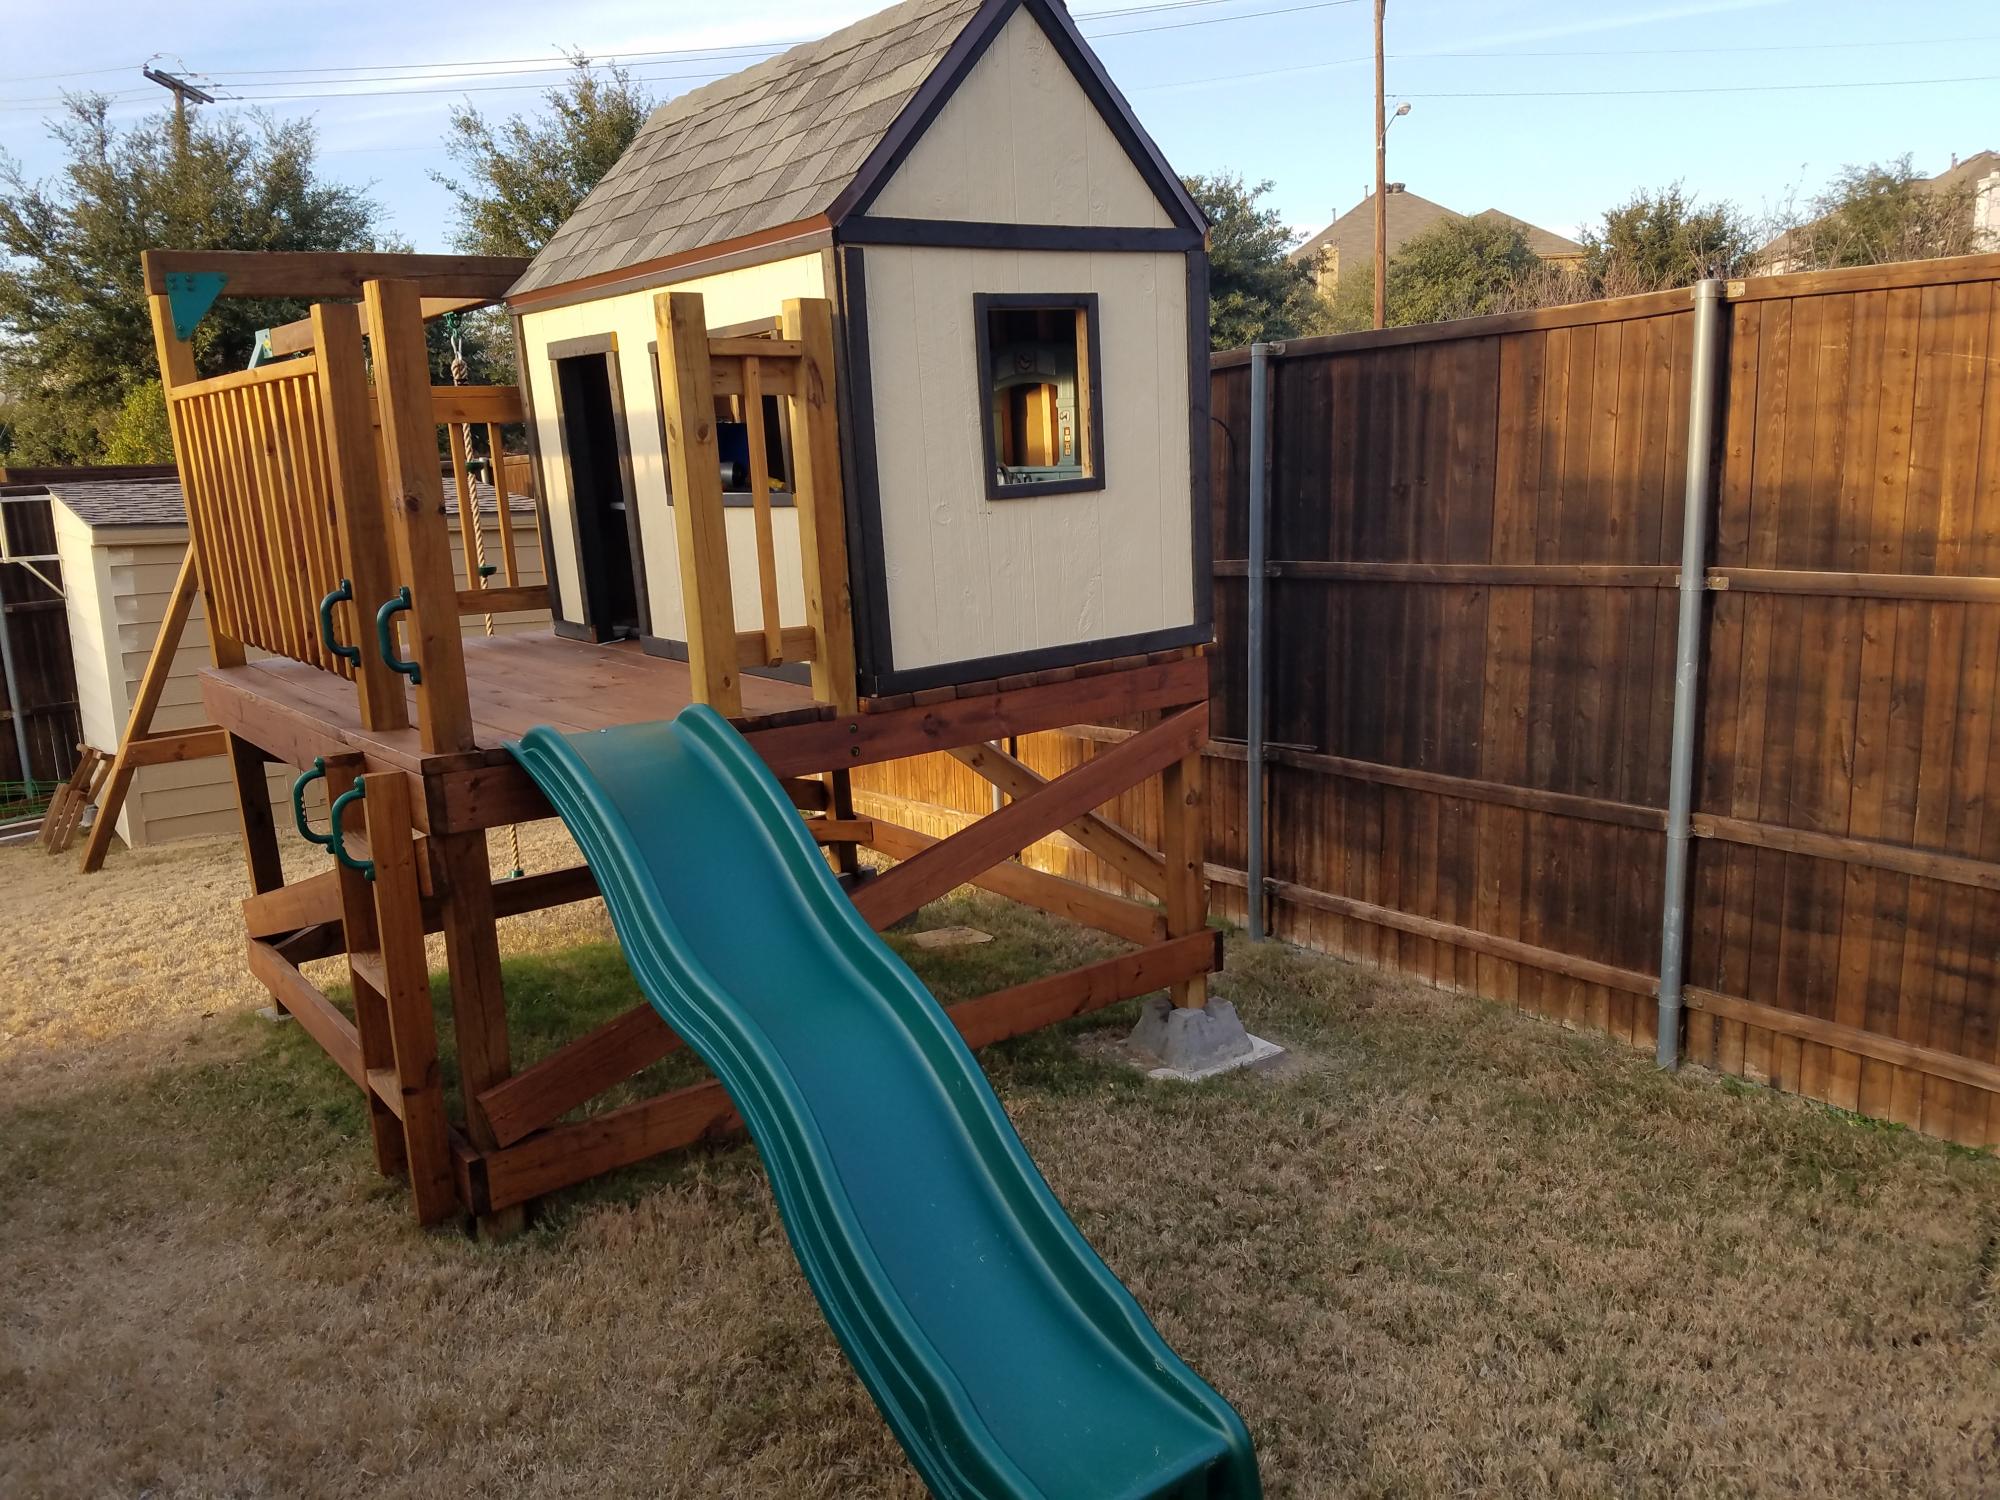
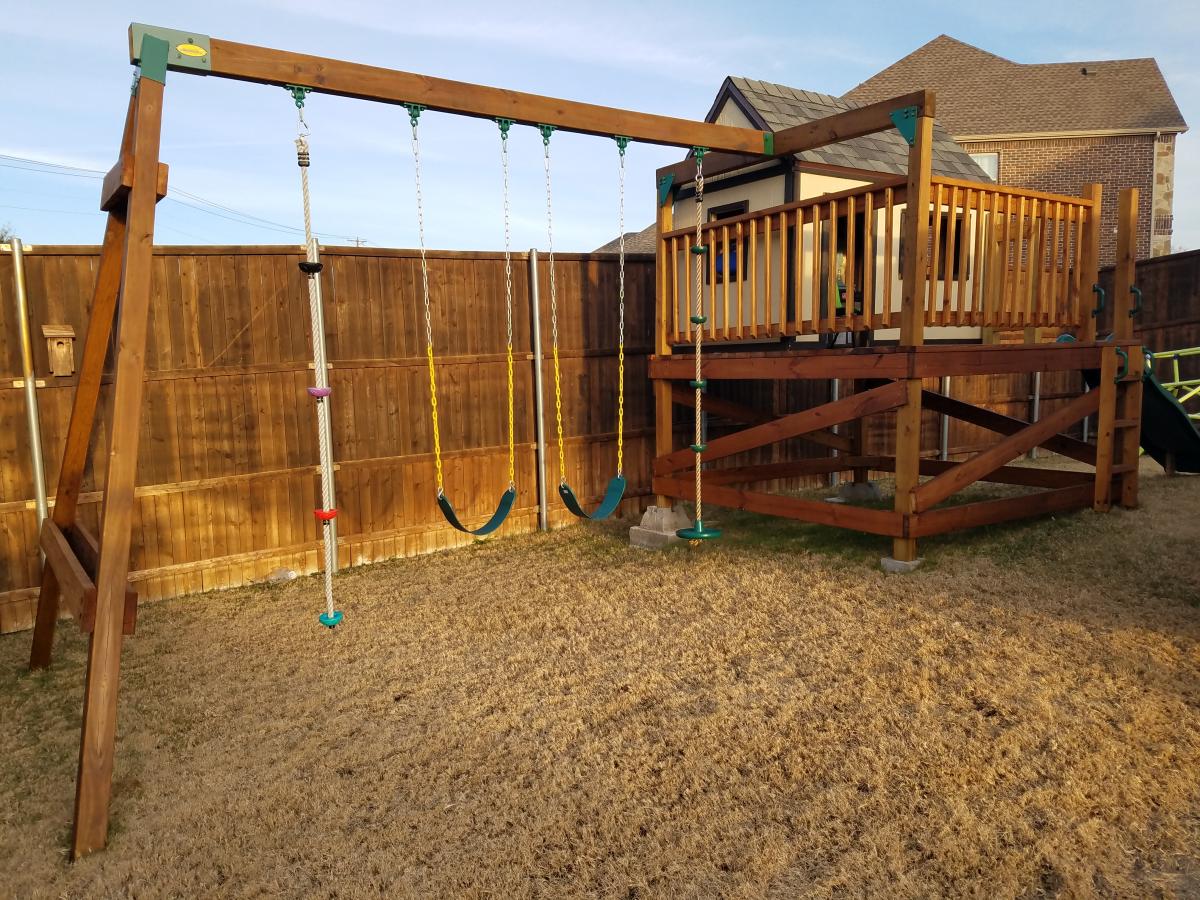
I deviated quite a bit from the plans.  Mostly, I used readily available swingset hardware to beef up the design. This stuff can be found on big online sites or specialty sites. 

I bought all of the swings, and ninja rope online along with the 4ft slide and safety handles.

Estimated Cost
$1200
Estimated Time Investment
Week Long Project (20 Hours or More)
Finish Used
Outdoor Stain/Urethane
Recommended Skill Level
Intermediate

Comments