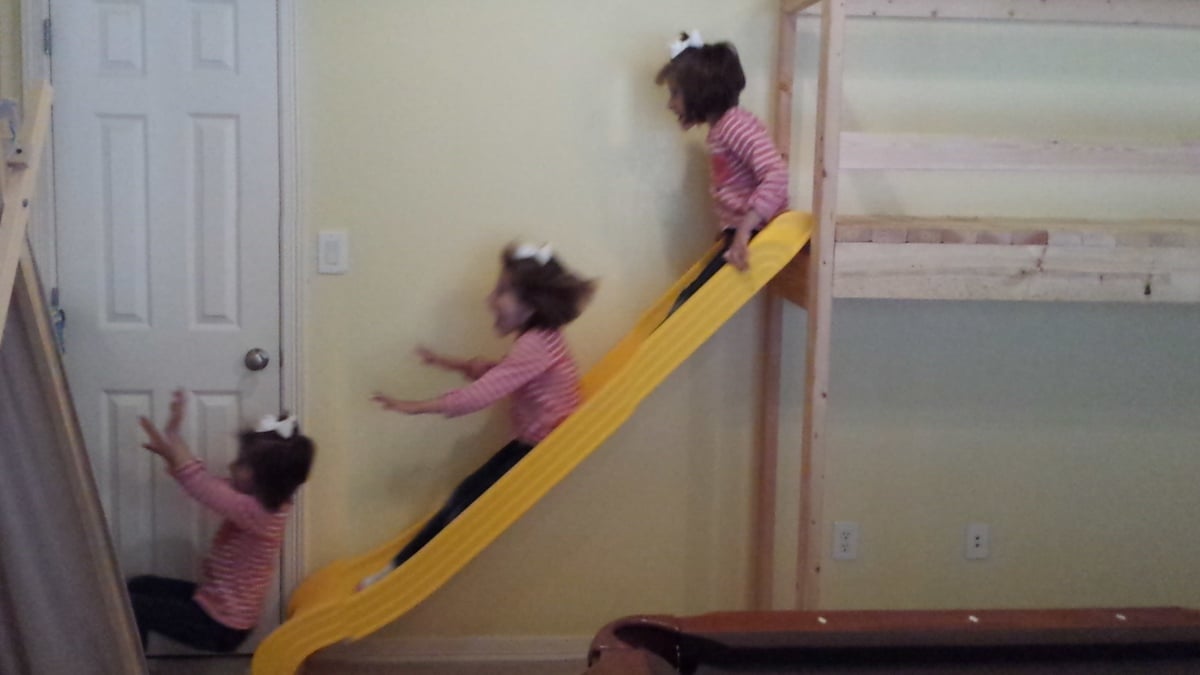
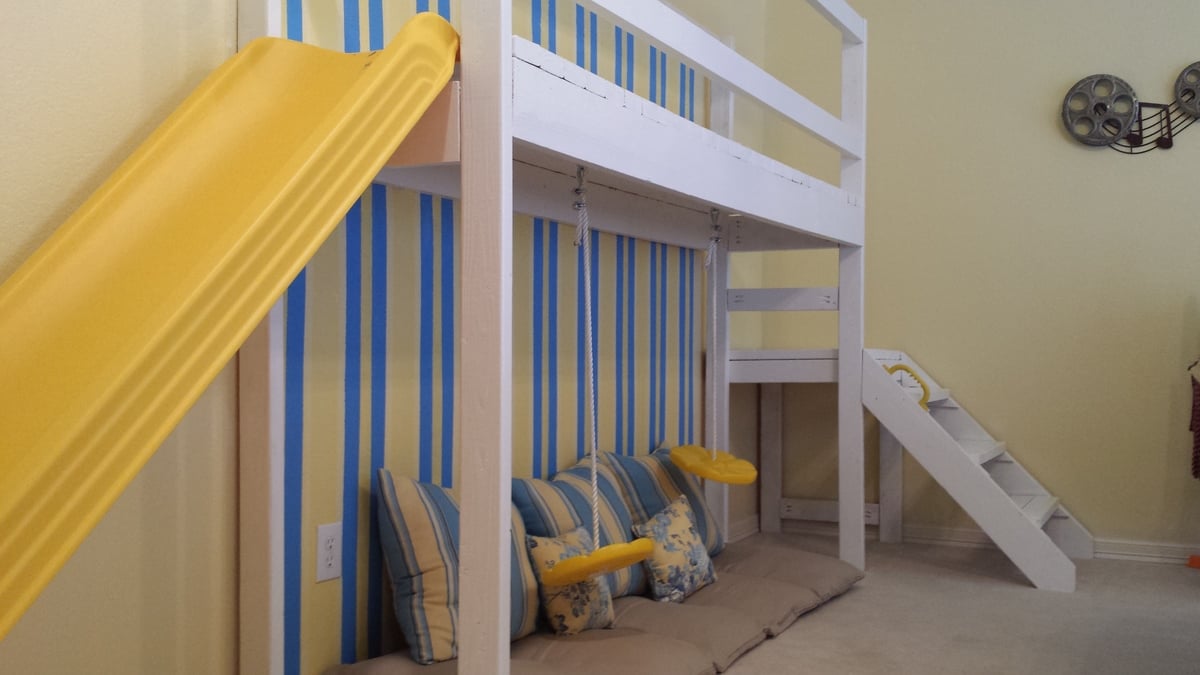
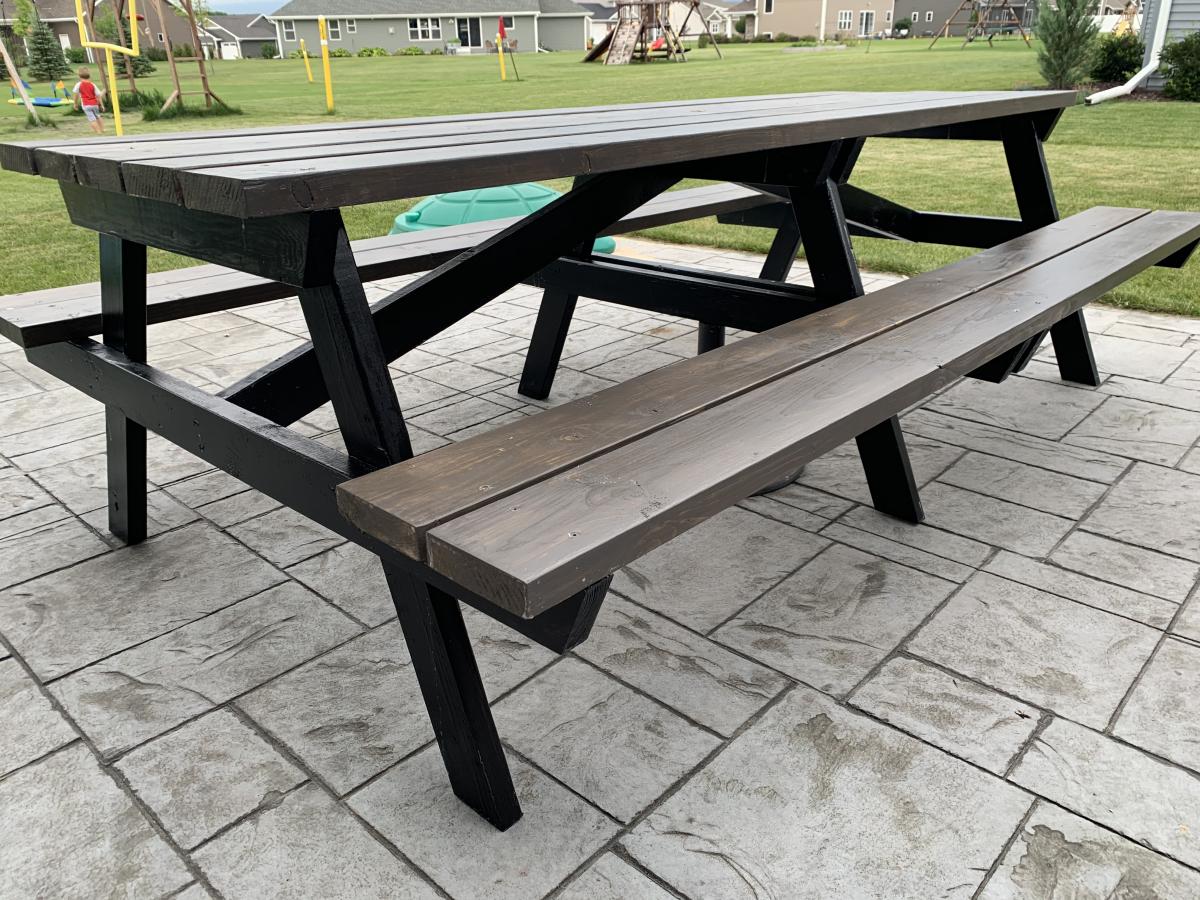
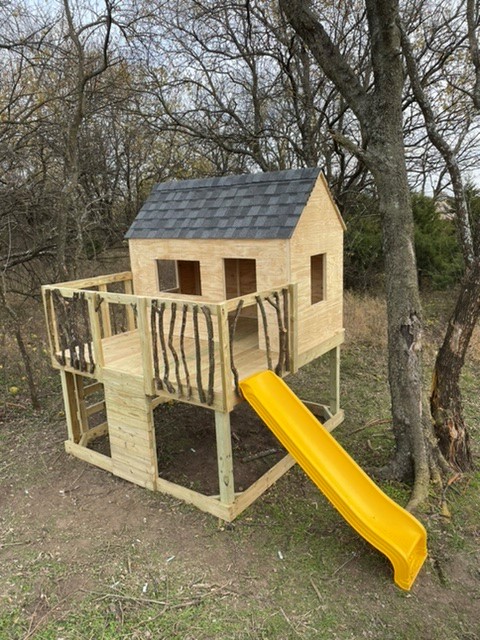
Indoor Playground slide fort
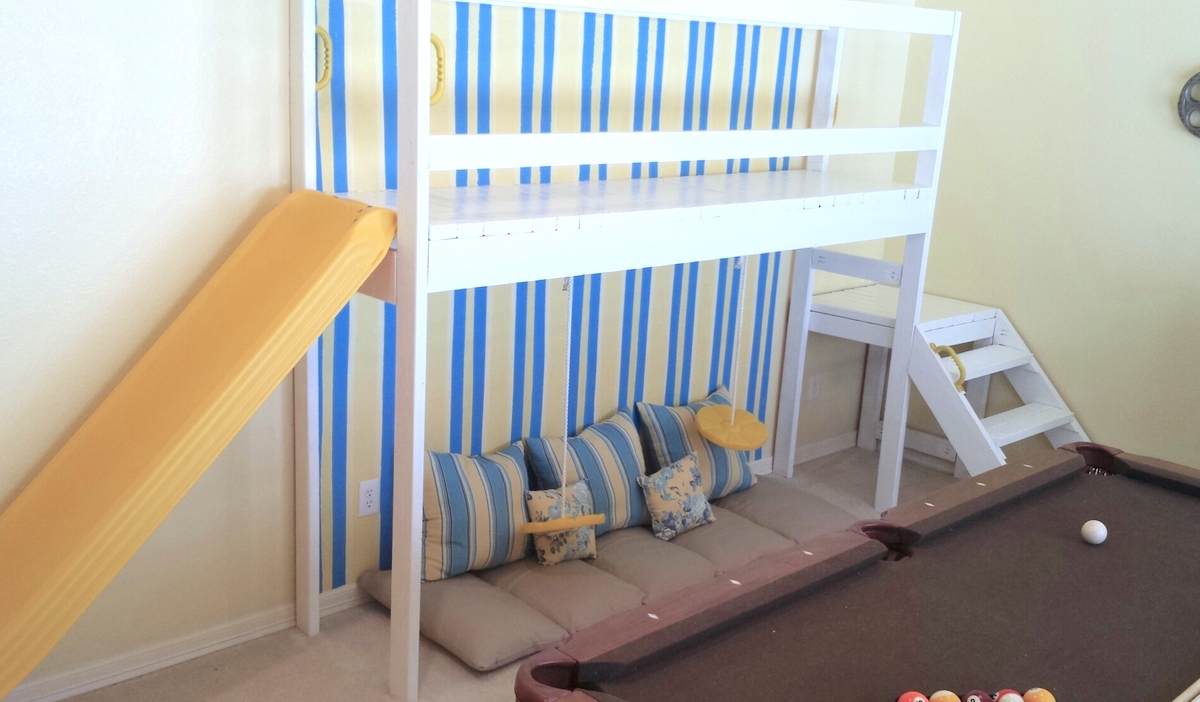
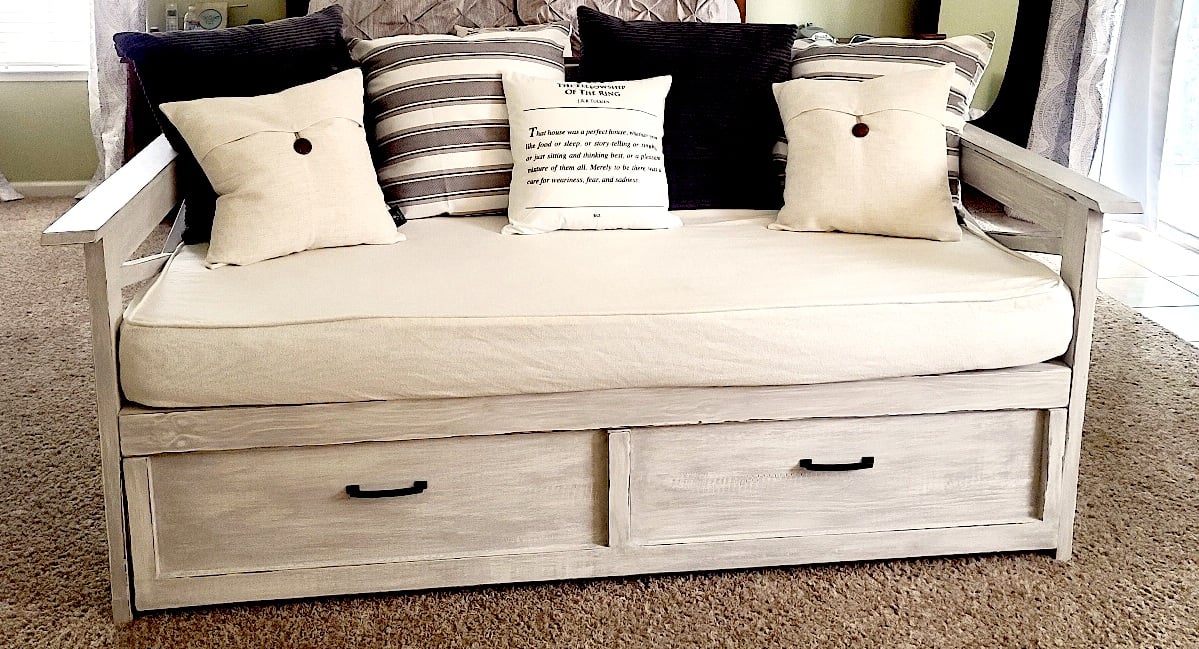
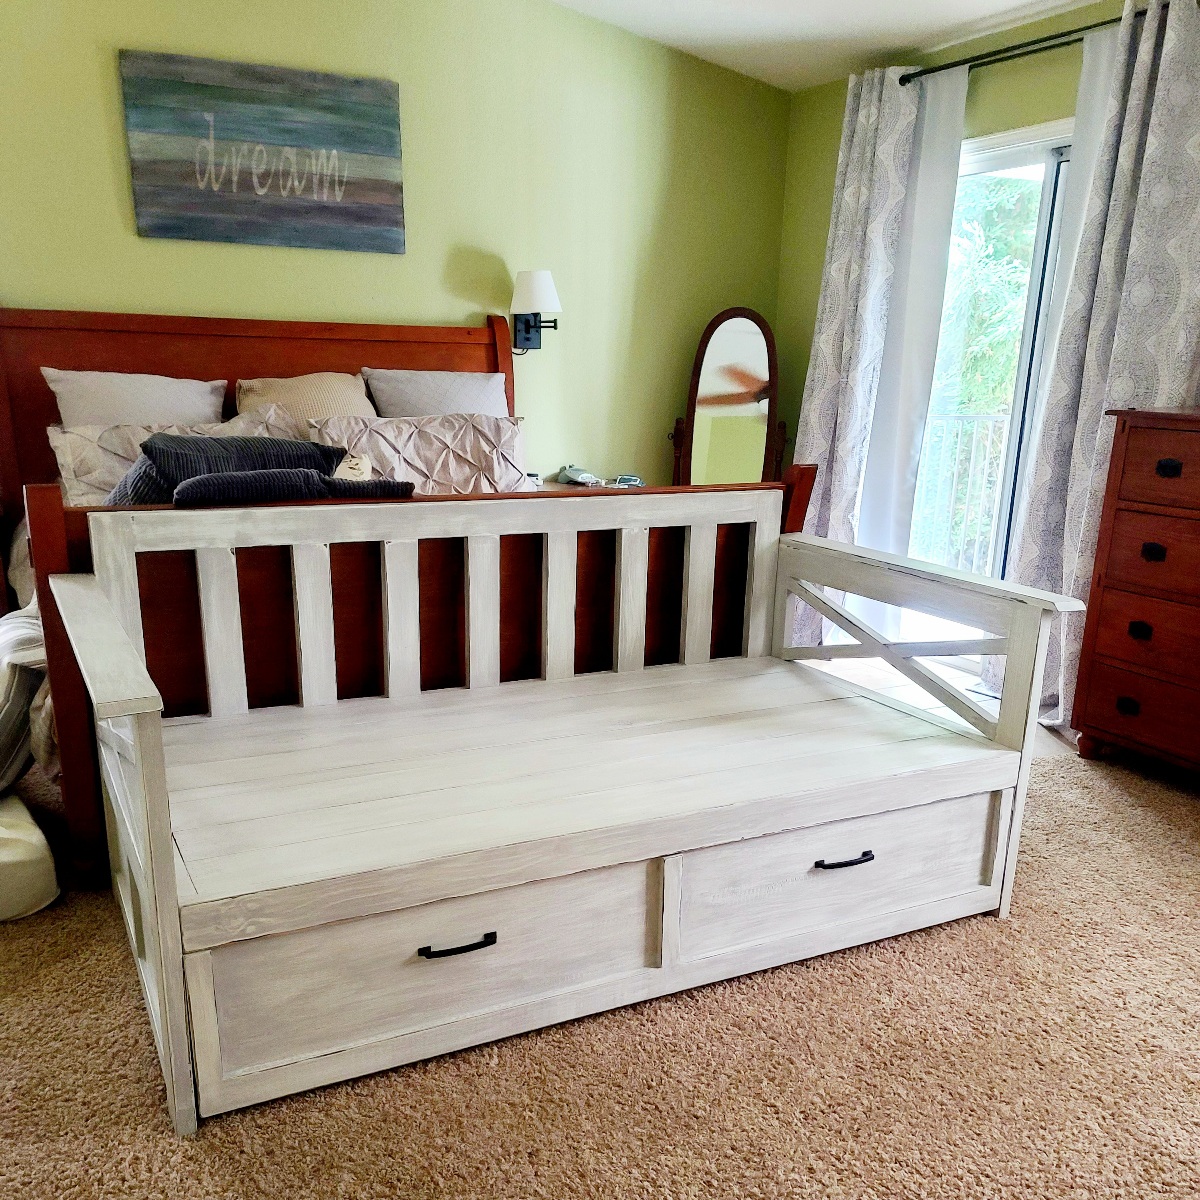
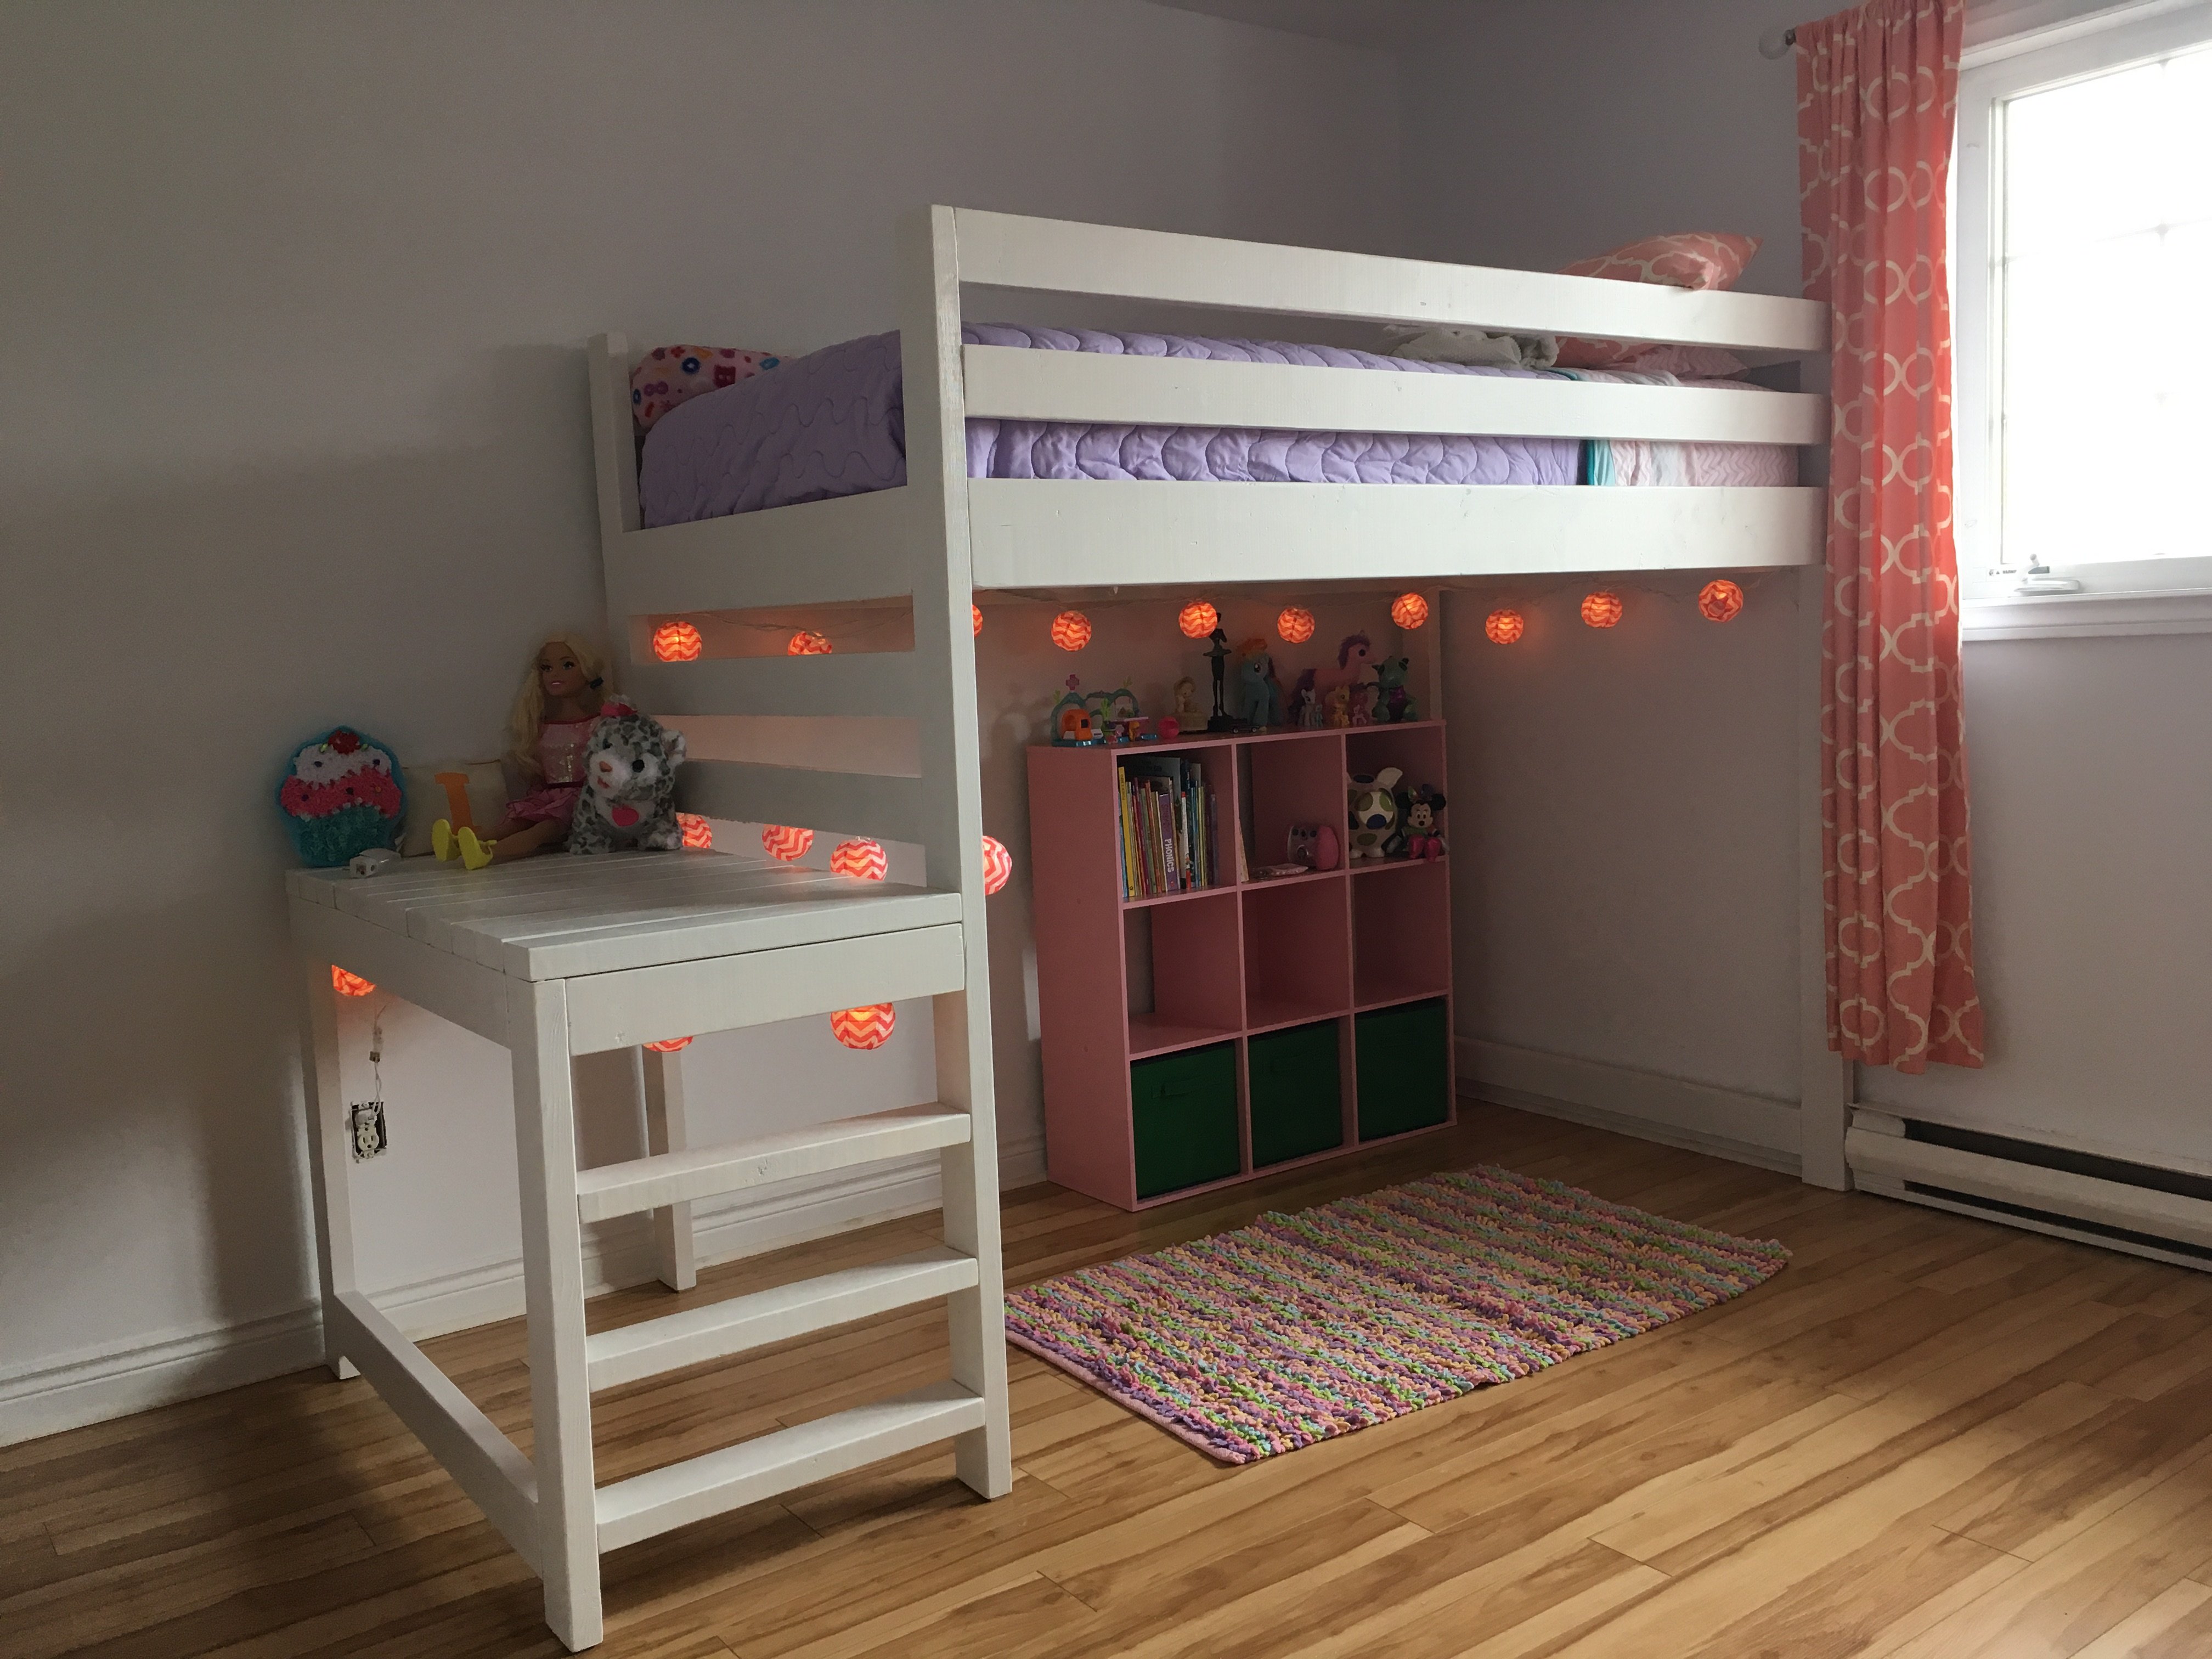
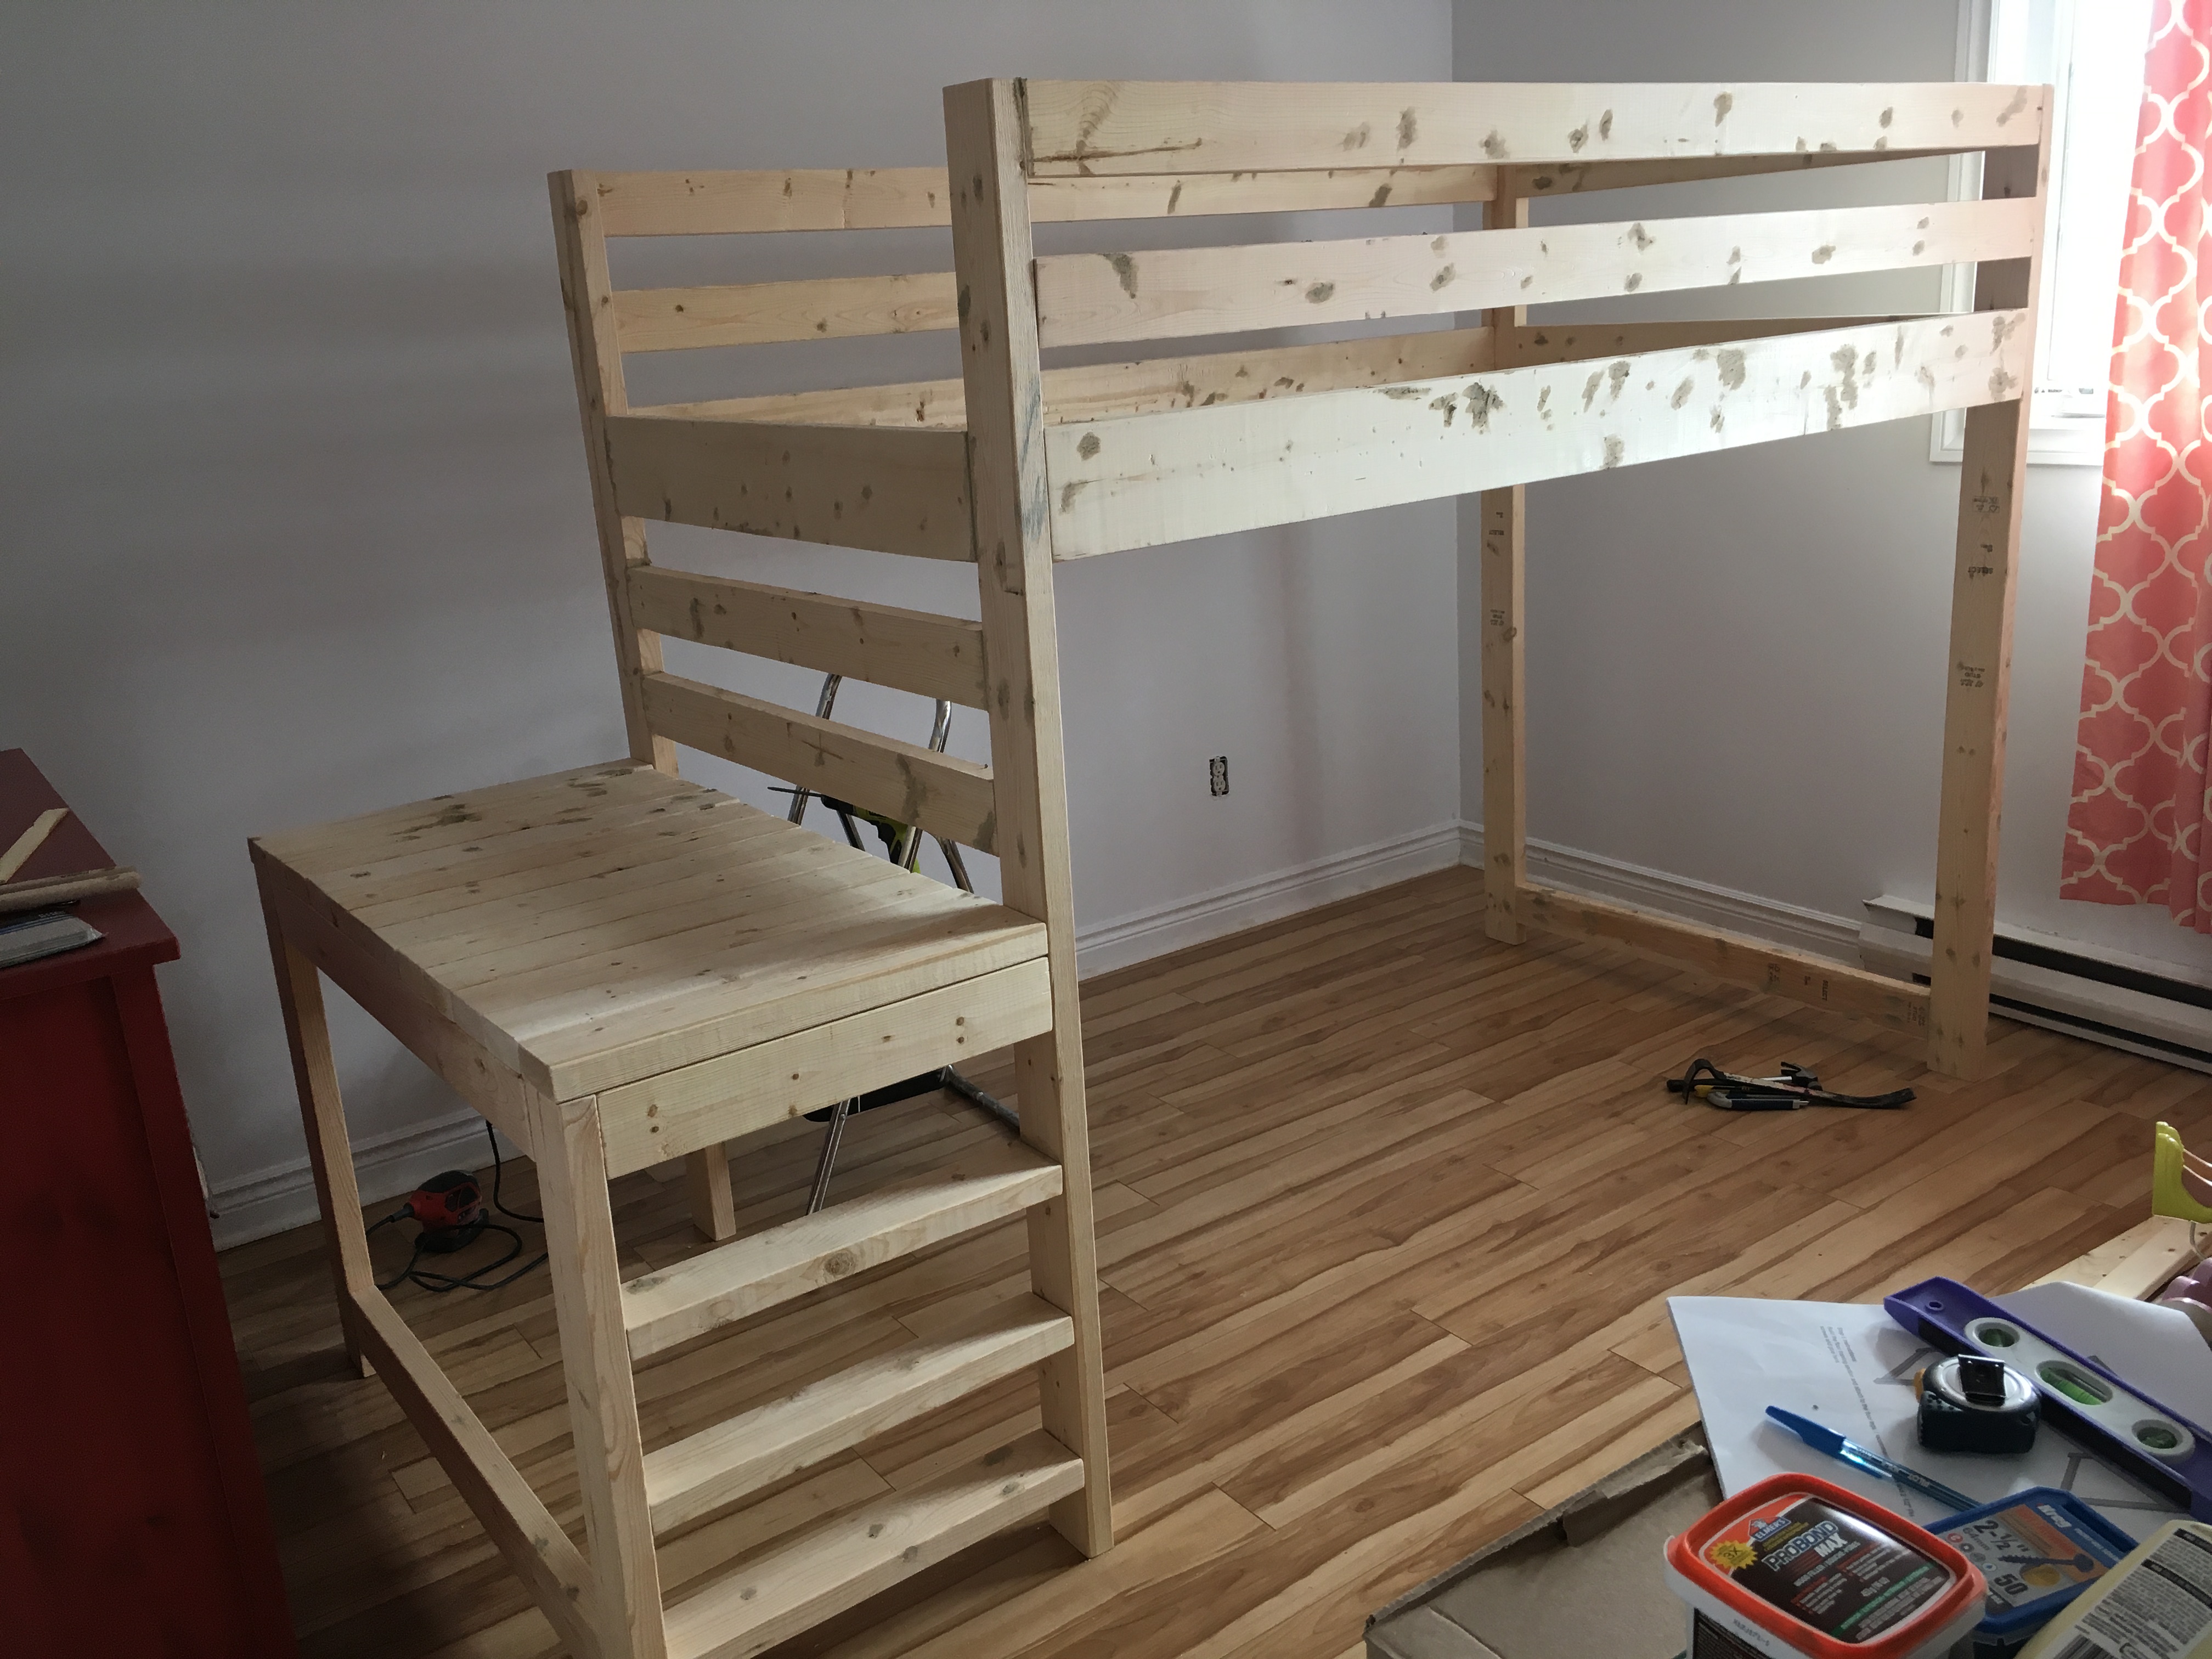
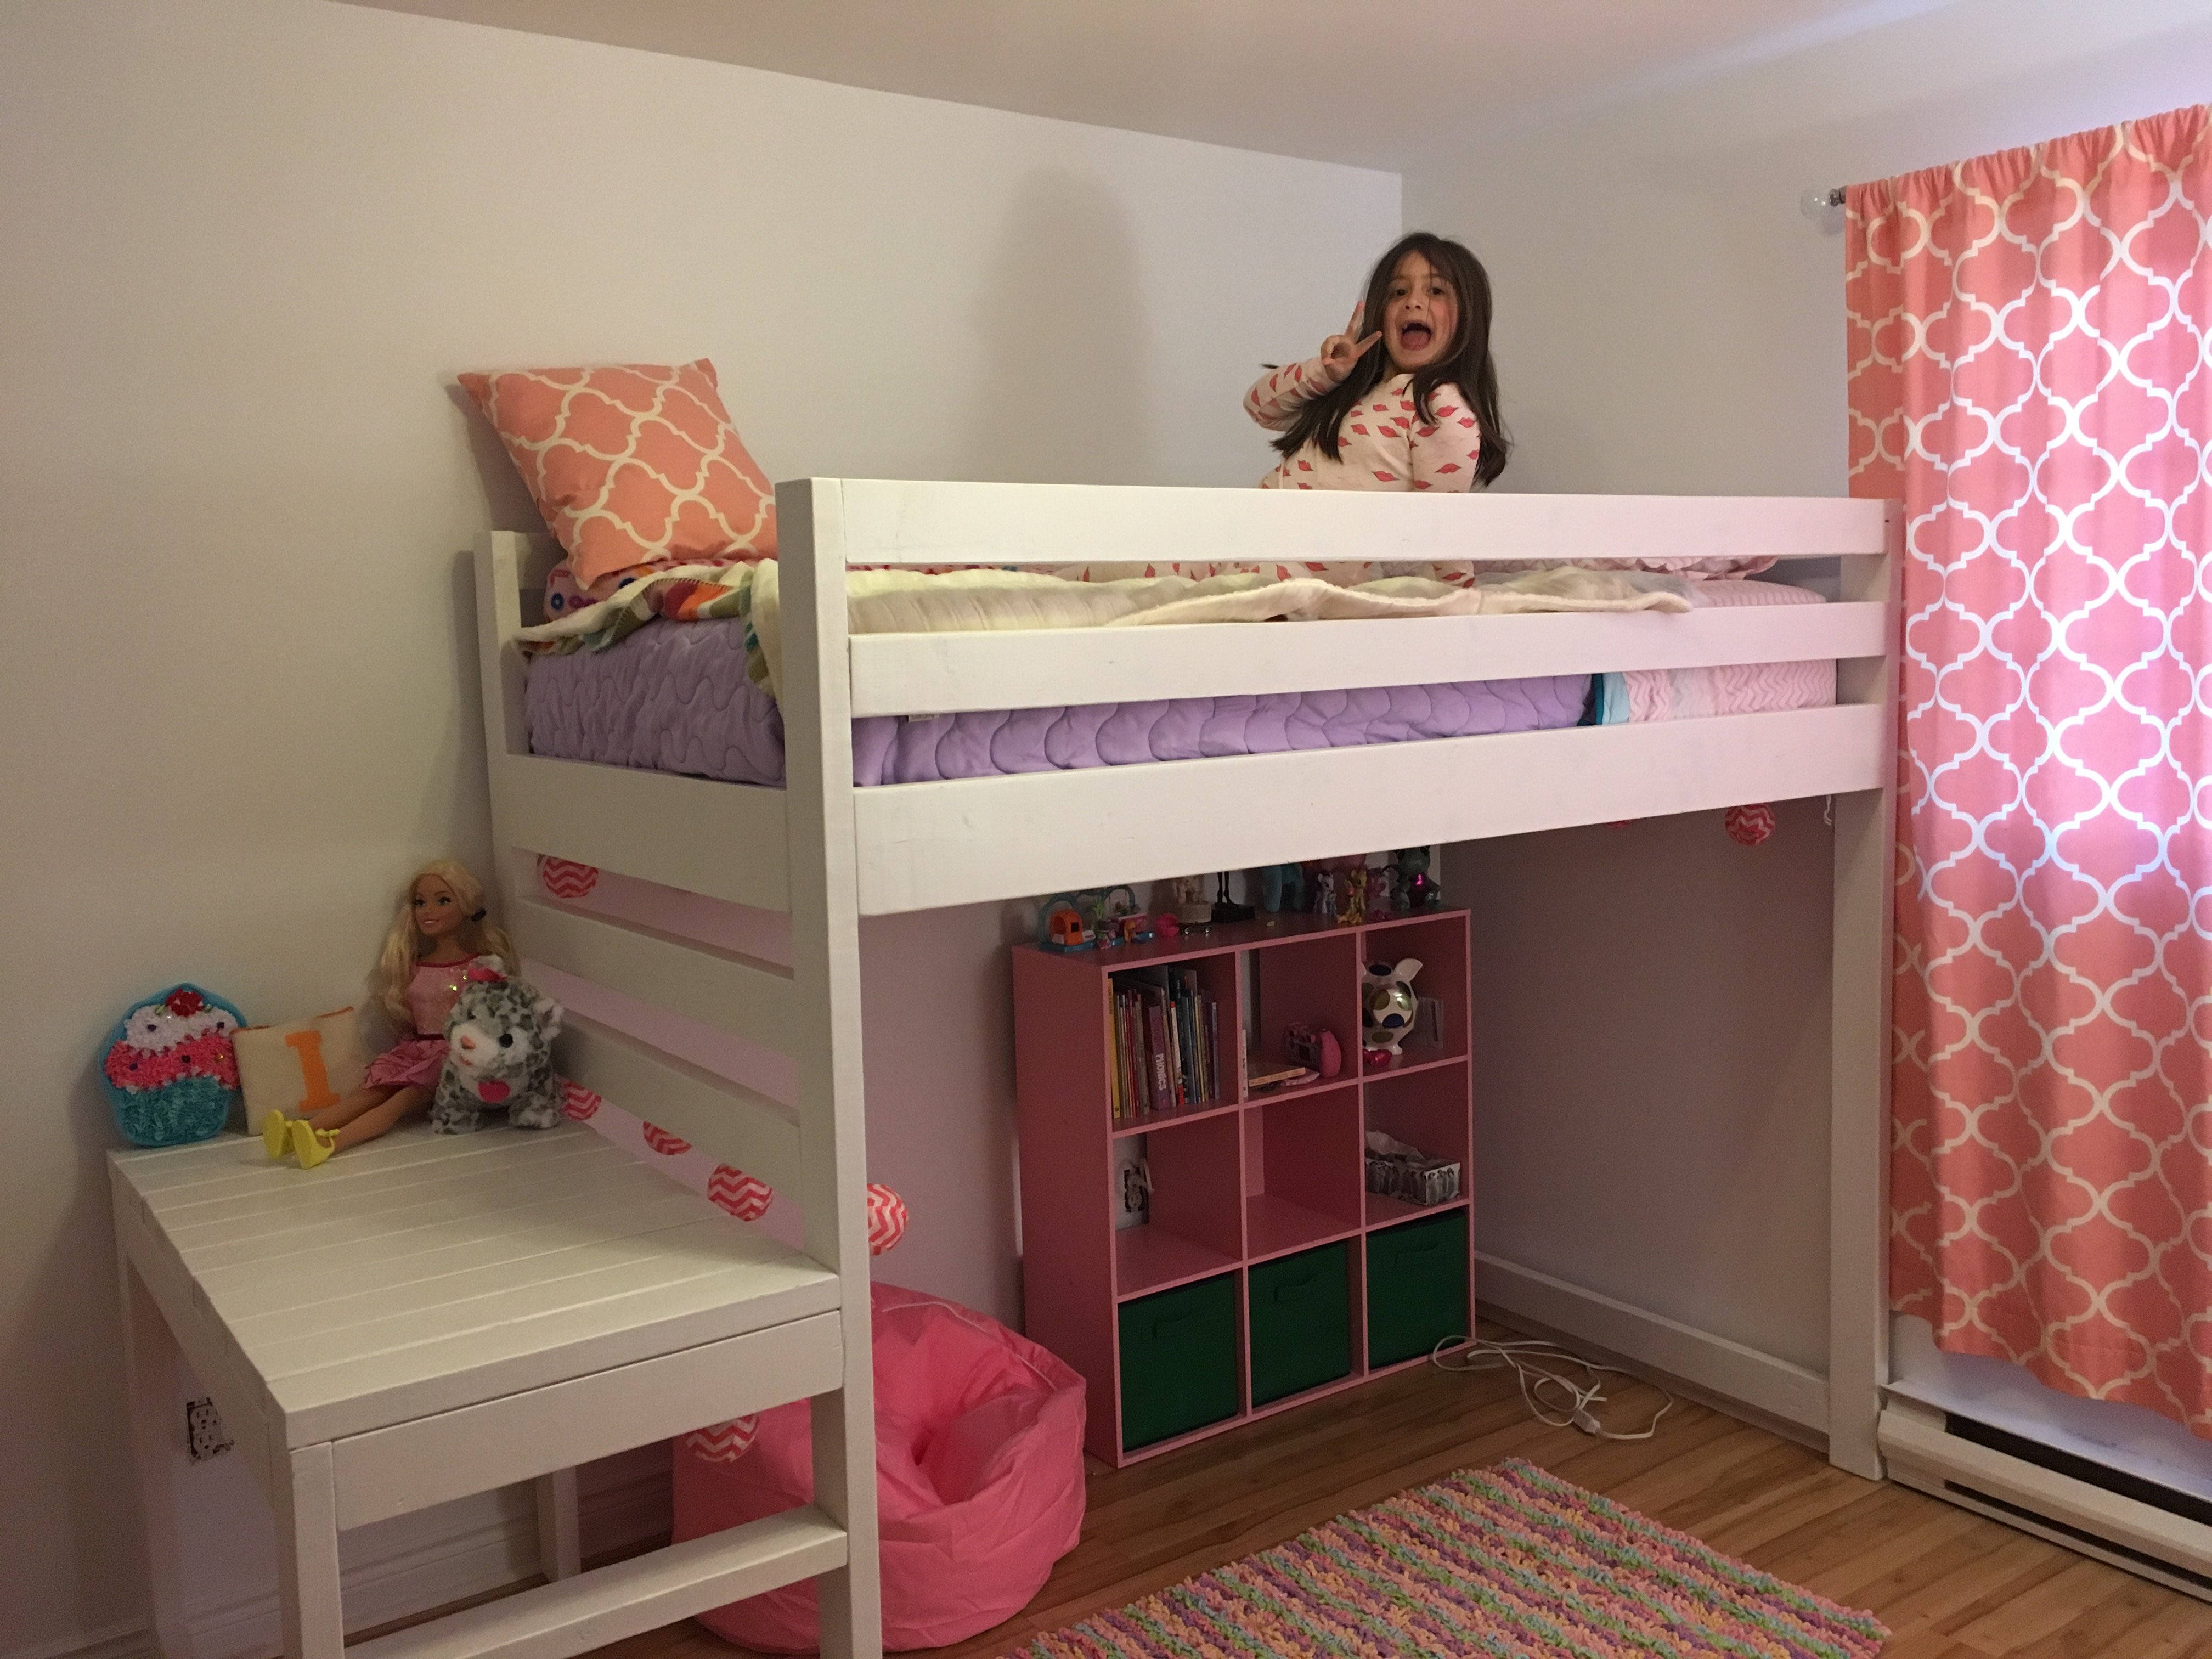
We wanted a place for the kids to play when the weather outside is unbearable. So, we modified the camp loft bunk bed plan to work in our game room. We have a pool table in the room and we didn't want it to interfere with any shots. Subsequently, we cut the width down to 24 inches and extended the length to 93 inches to fit in our space. Additionally, we pre-ordered a slide that had to be mounted at 48 inches and measured 71 inches in length. So, my husband framed it out so the planks that are meant to hold the mattress would sit right at 48 inches and we could mount the slide. This has been the best idea ever for our kids, because they can't get enough of sliding and swinging indoors.

Built from Plan(s)
Estimated Cost
$100 plus slide ($89), swings ($16 each) and handles ($4 for 2)
Estimated Time Investment
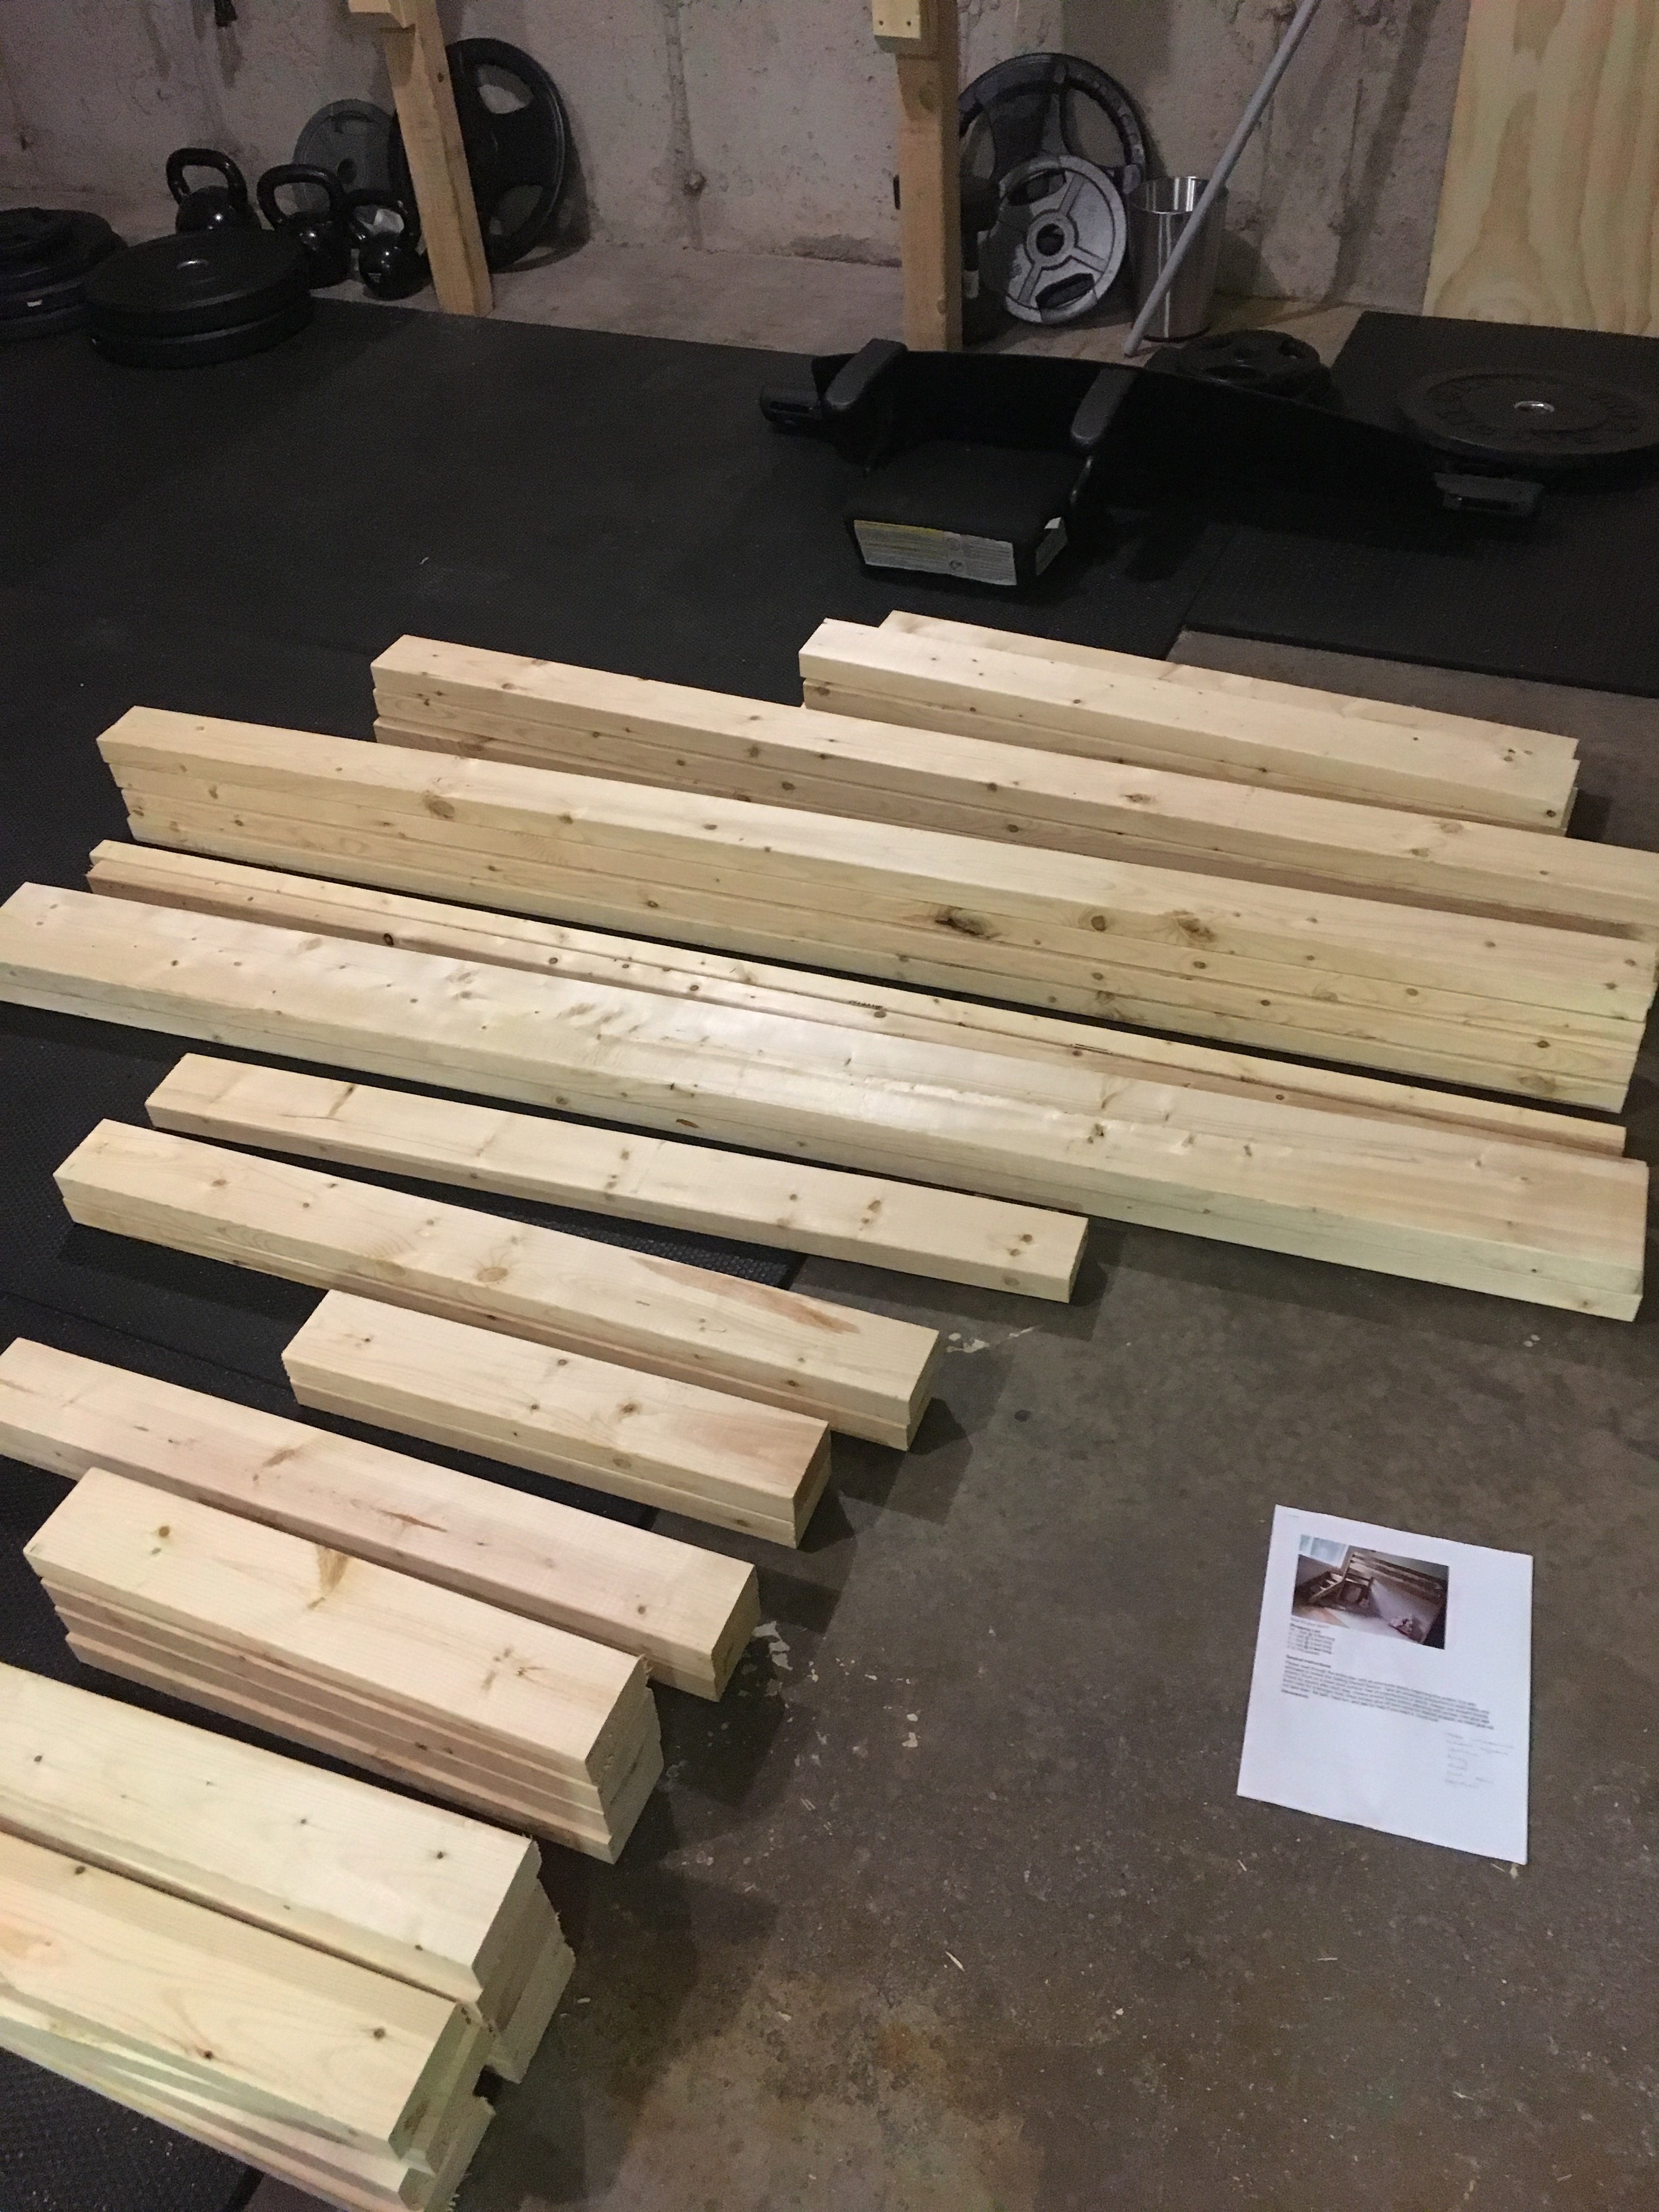
Weekend Project (10-20 Hours)
Finish Used
Hmm, I believe it was a gallon of Snow Fall finish with primer all in one from Home Depot. We used about 1/2 but have more projects planned.
Recommended Skill Level
Beginner


Comments
Glenda544
Wed, 05/28/2014 - 18:53
cutest play scape
Loved this project. Paid back with hours of giggles and fun. :)
spiceylg
Thu, 05/29/2014 - 19:06
Clever!
What a great idea and nice build!