Big kids picnic table
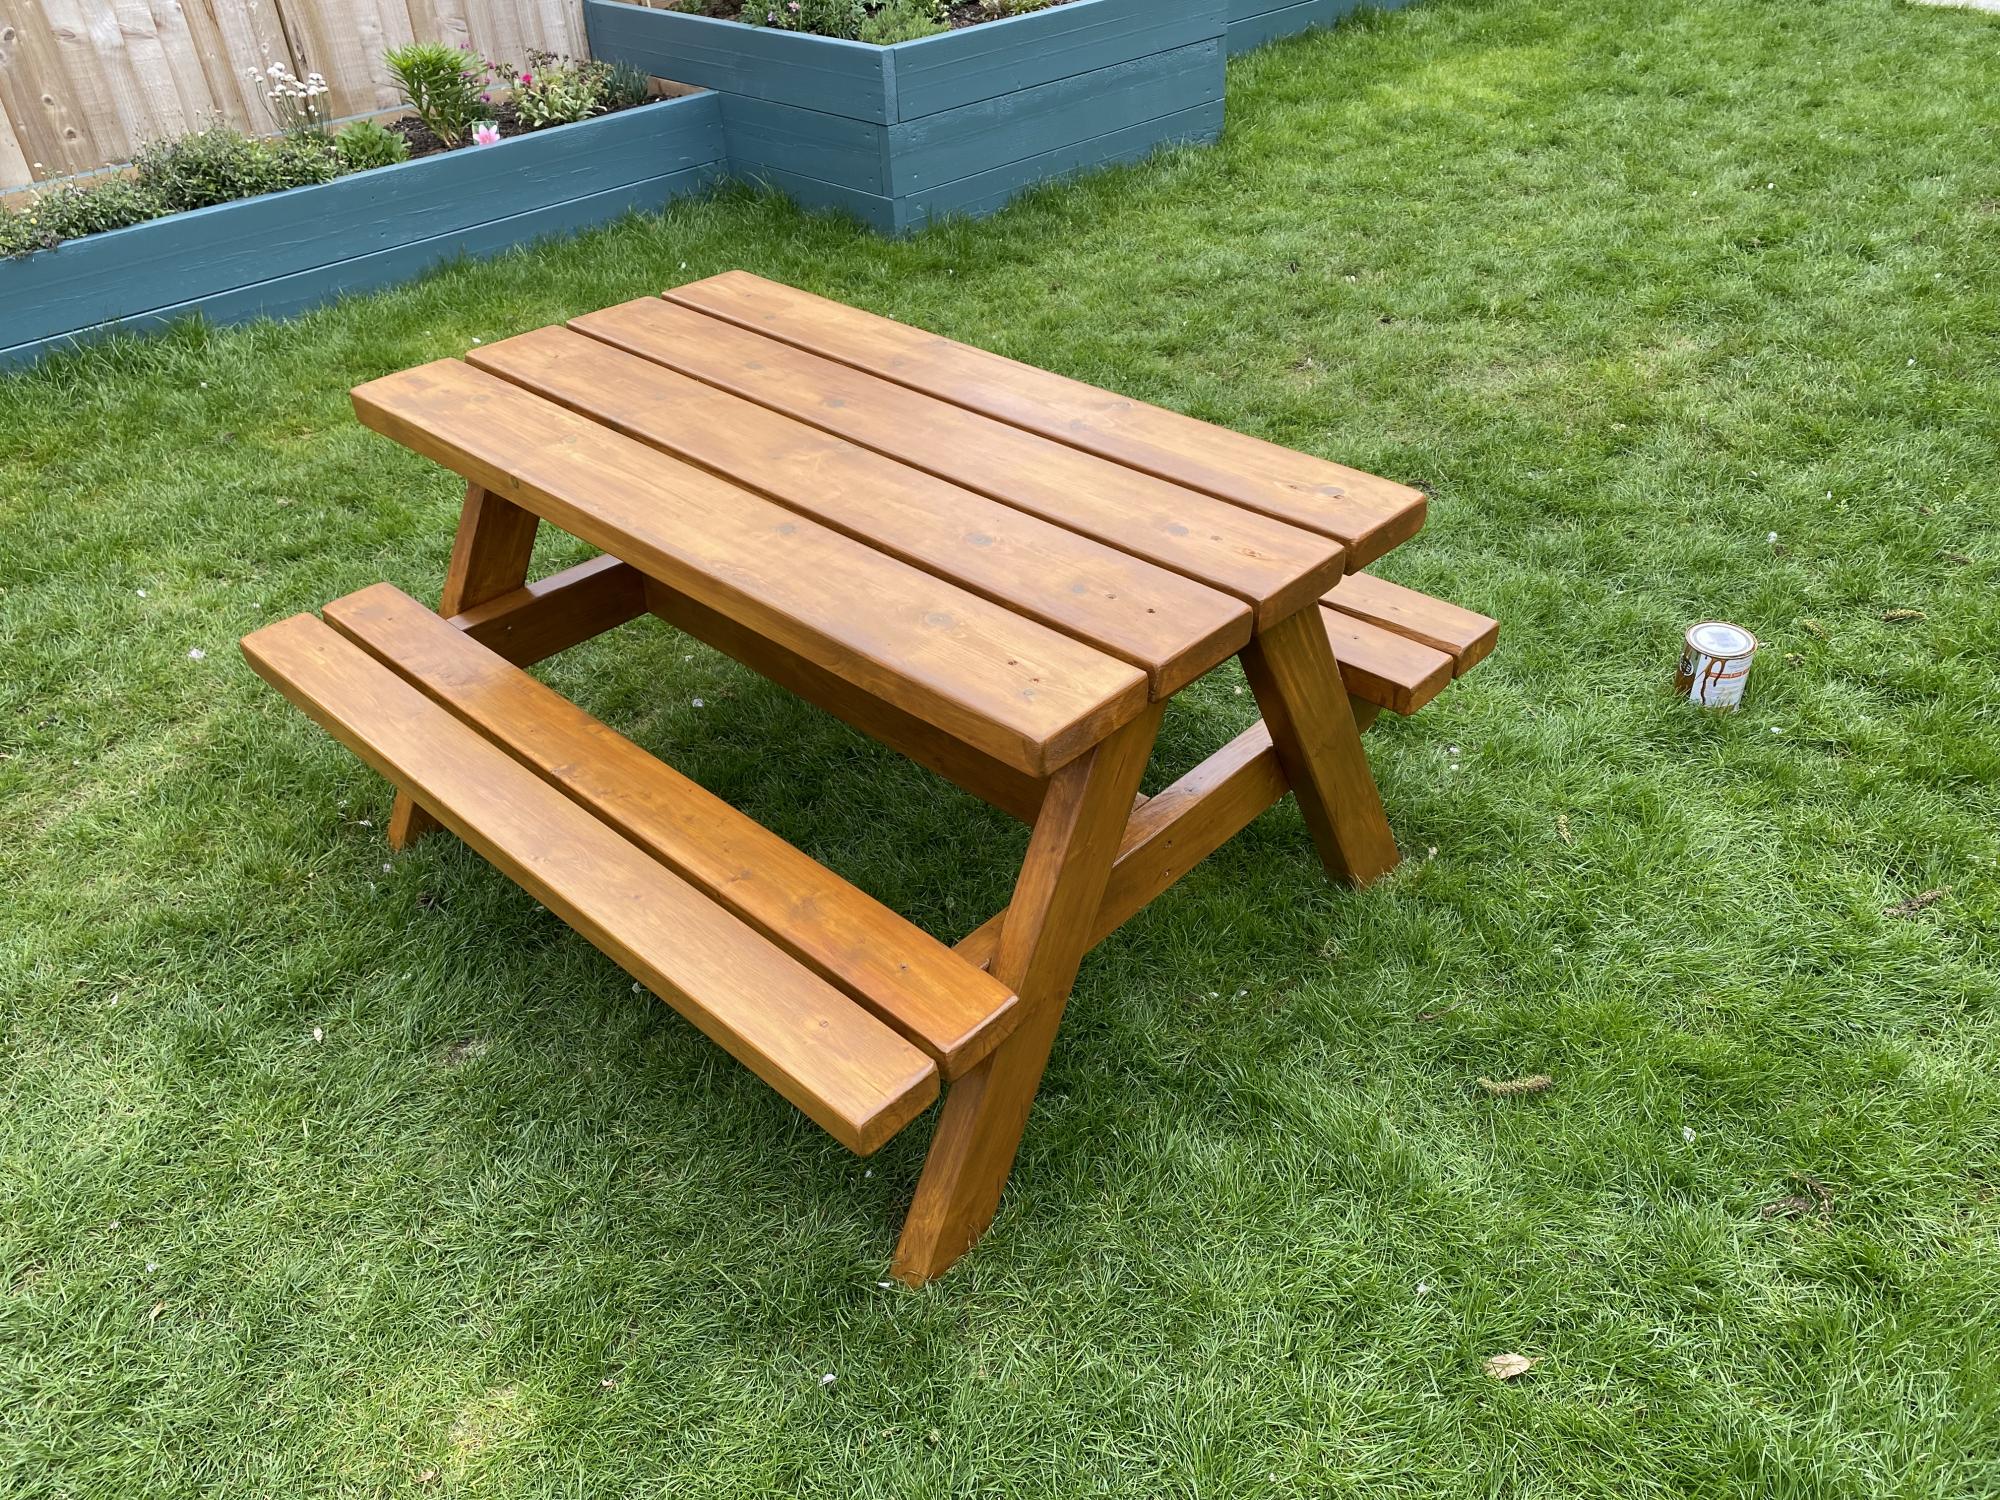
Hello from London, UK.
Used 120grit sandpaper and stained with Ronseal 10 Year Exterior Satin Woodstain 750ml Natural Oak
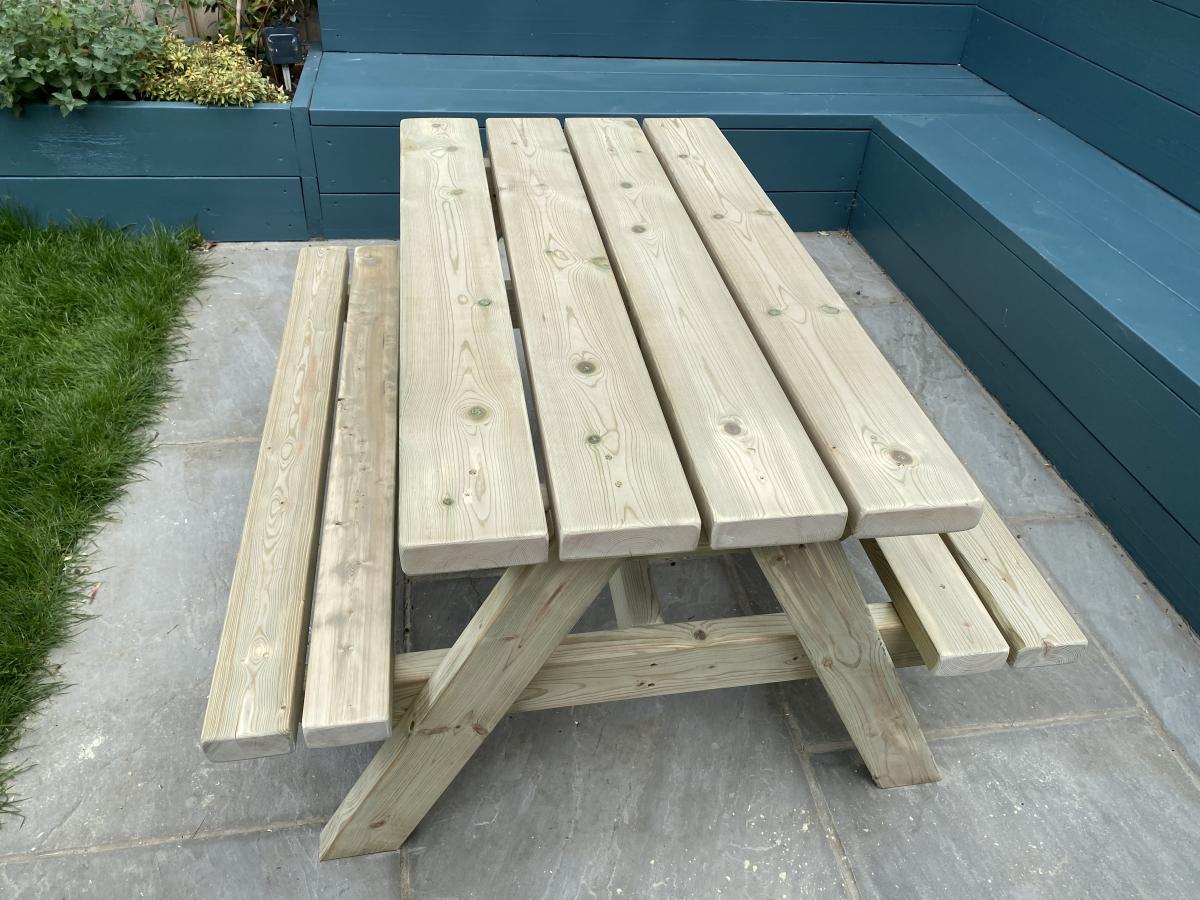
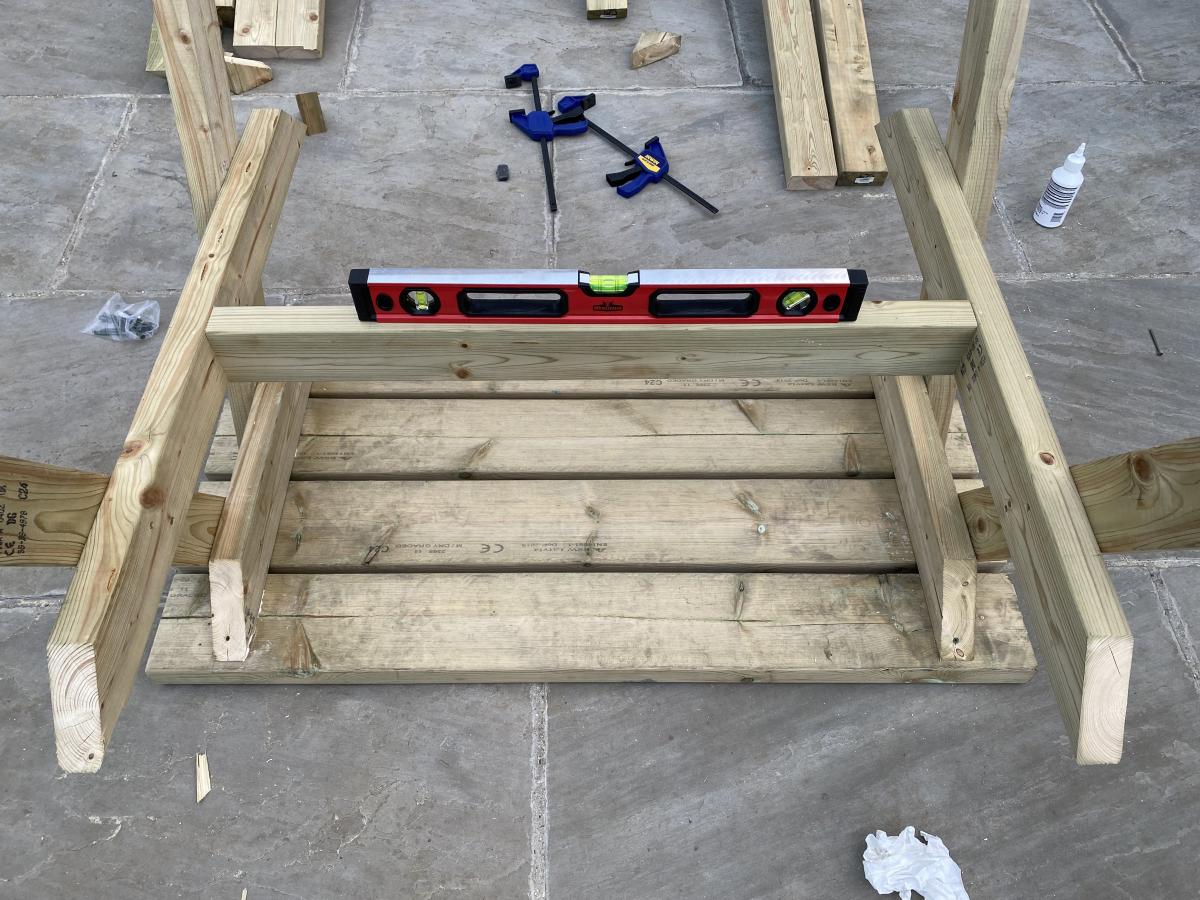
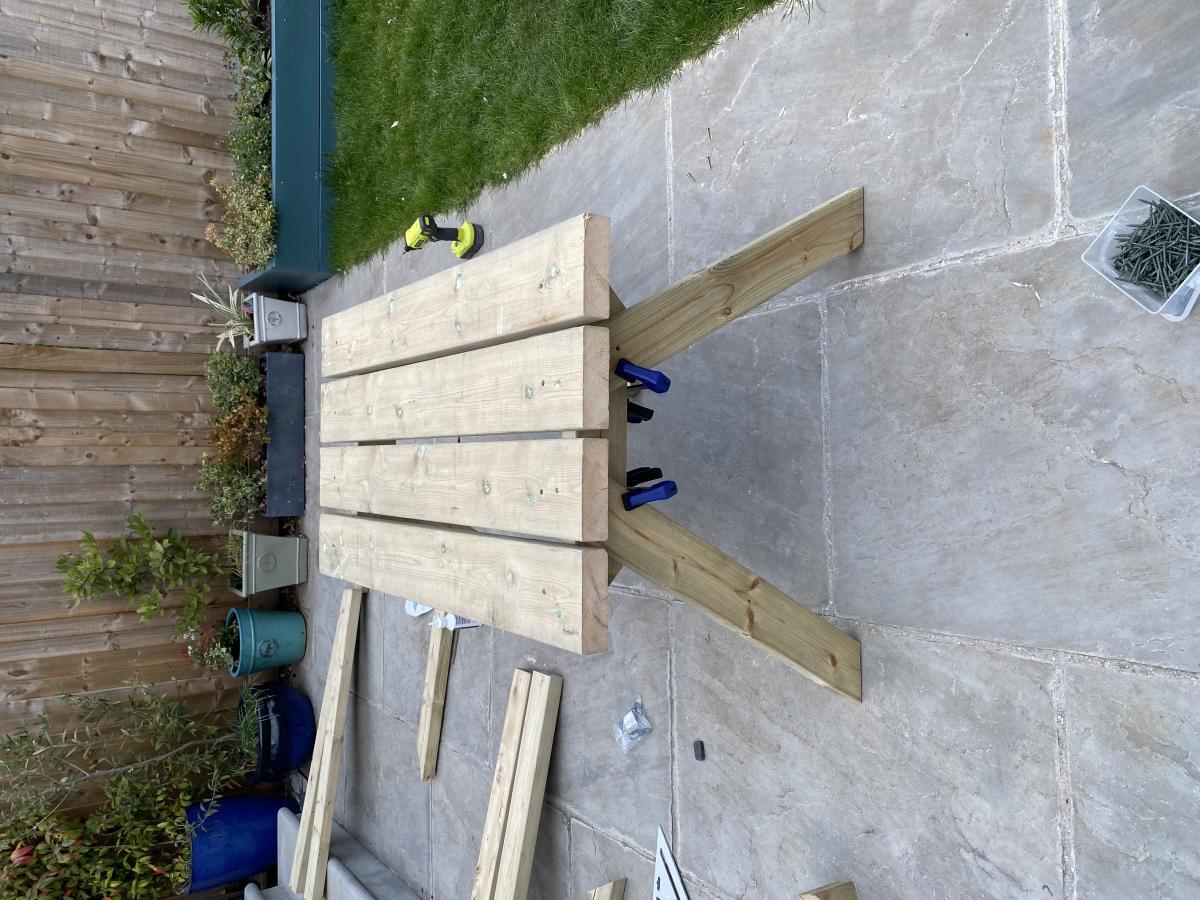

Hello from London, UK.
Used 120grit sandpaper and stained with Ronseal 10 Year Exterior Satin Woodstain 750ml Natural Oak


This took me about 20 minutes! I love the look of it and that it can just be left out when the kids aren't doing art. A great little item to add to keep the kids busy and inspired. I made a couple of mods from the plan. I used glue and nails instead of pocket holes and I did that bottom board flat instead of on it's side. I also used a little bigger dowel, and bought two rolls of paper on Amazon for $14.I'm giving this to my daughter for her birthday with some fun art supplies, so I think it's a great gift idea for any occasion for those crafty people out there!
Tue, 04/02/2024 - 06:09
Sometimes, when working with papers, you might need to convert file formats, right? So, I recently came across this website https://pdfflex.com/webp-to-png It's super handy for converting. It's been a real time-saver for me, especially when I need to tweak documents for printing or sharing. I'd desided to share in case it helps someone else out there too!
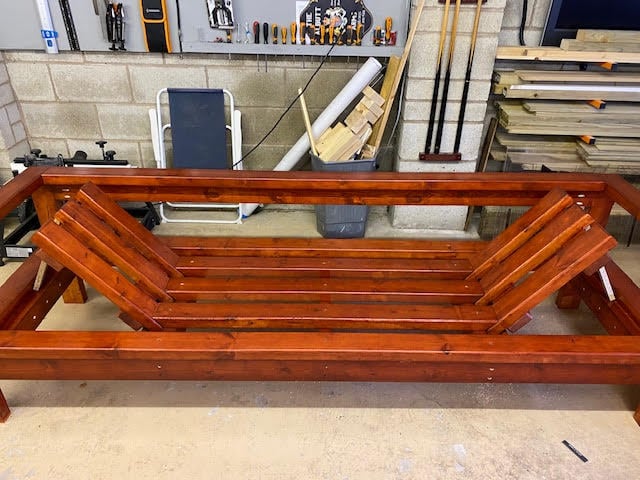
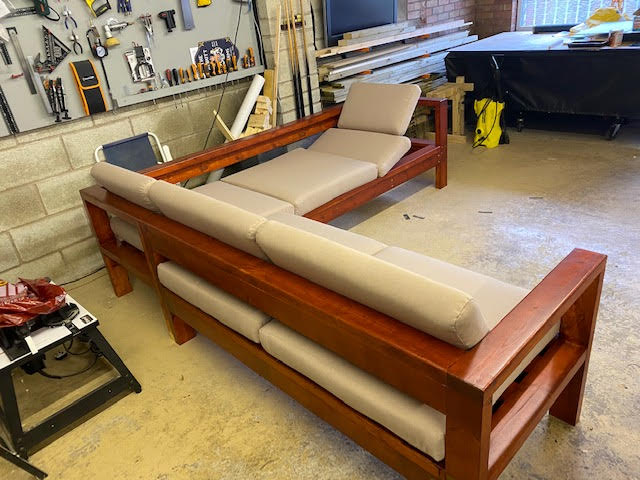
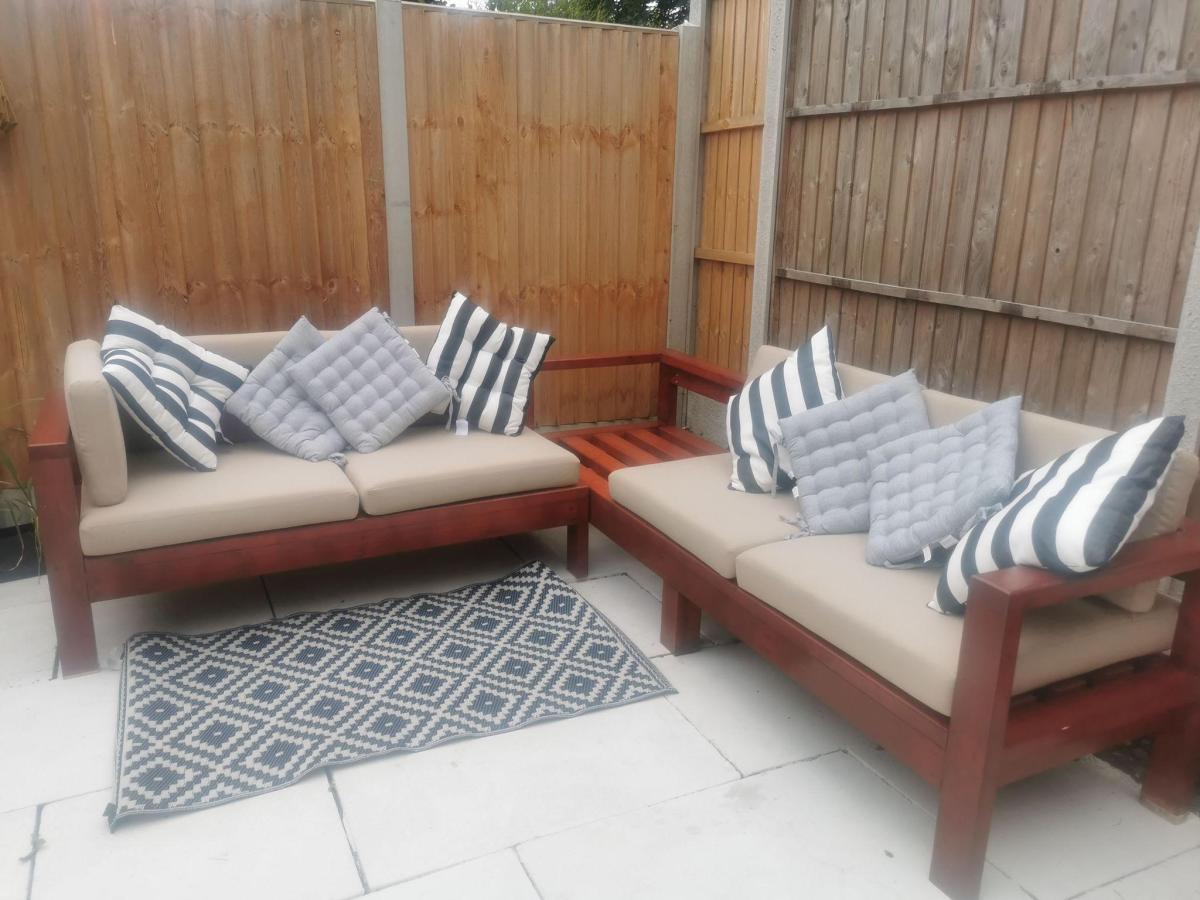
Just wanted to share the results of the sectional I built with your plans.
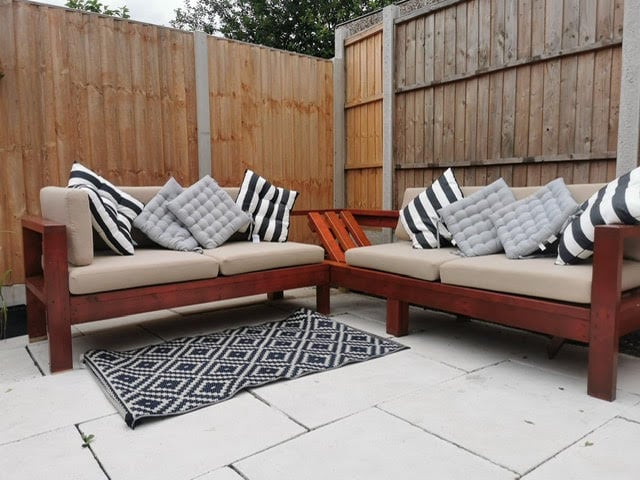
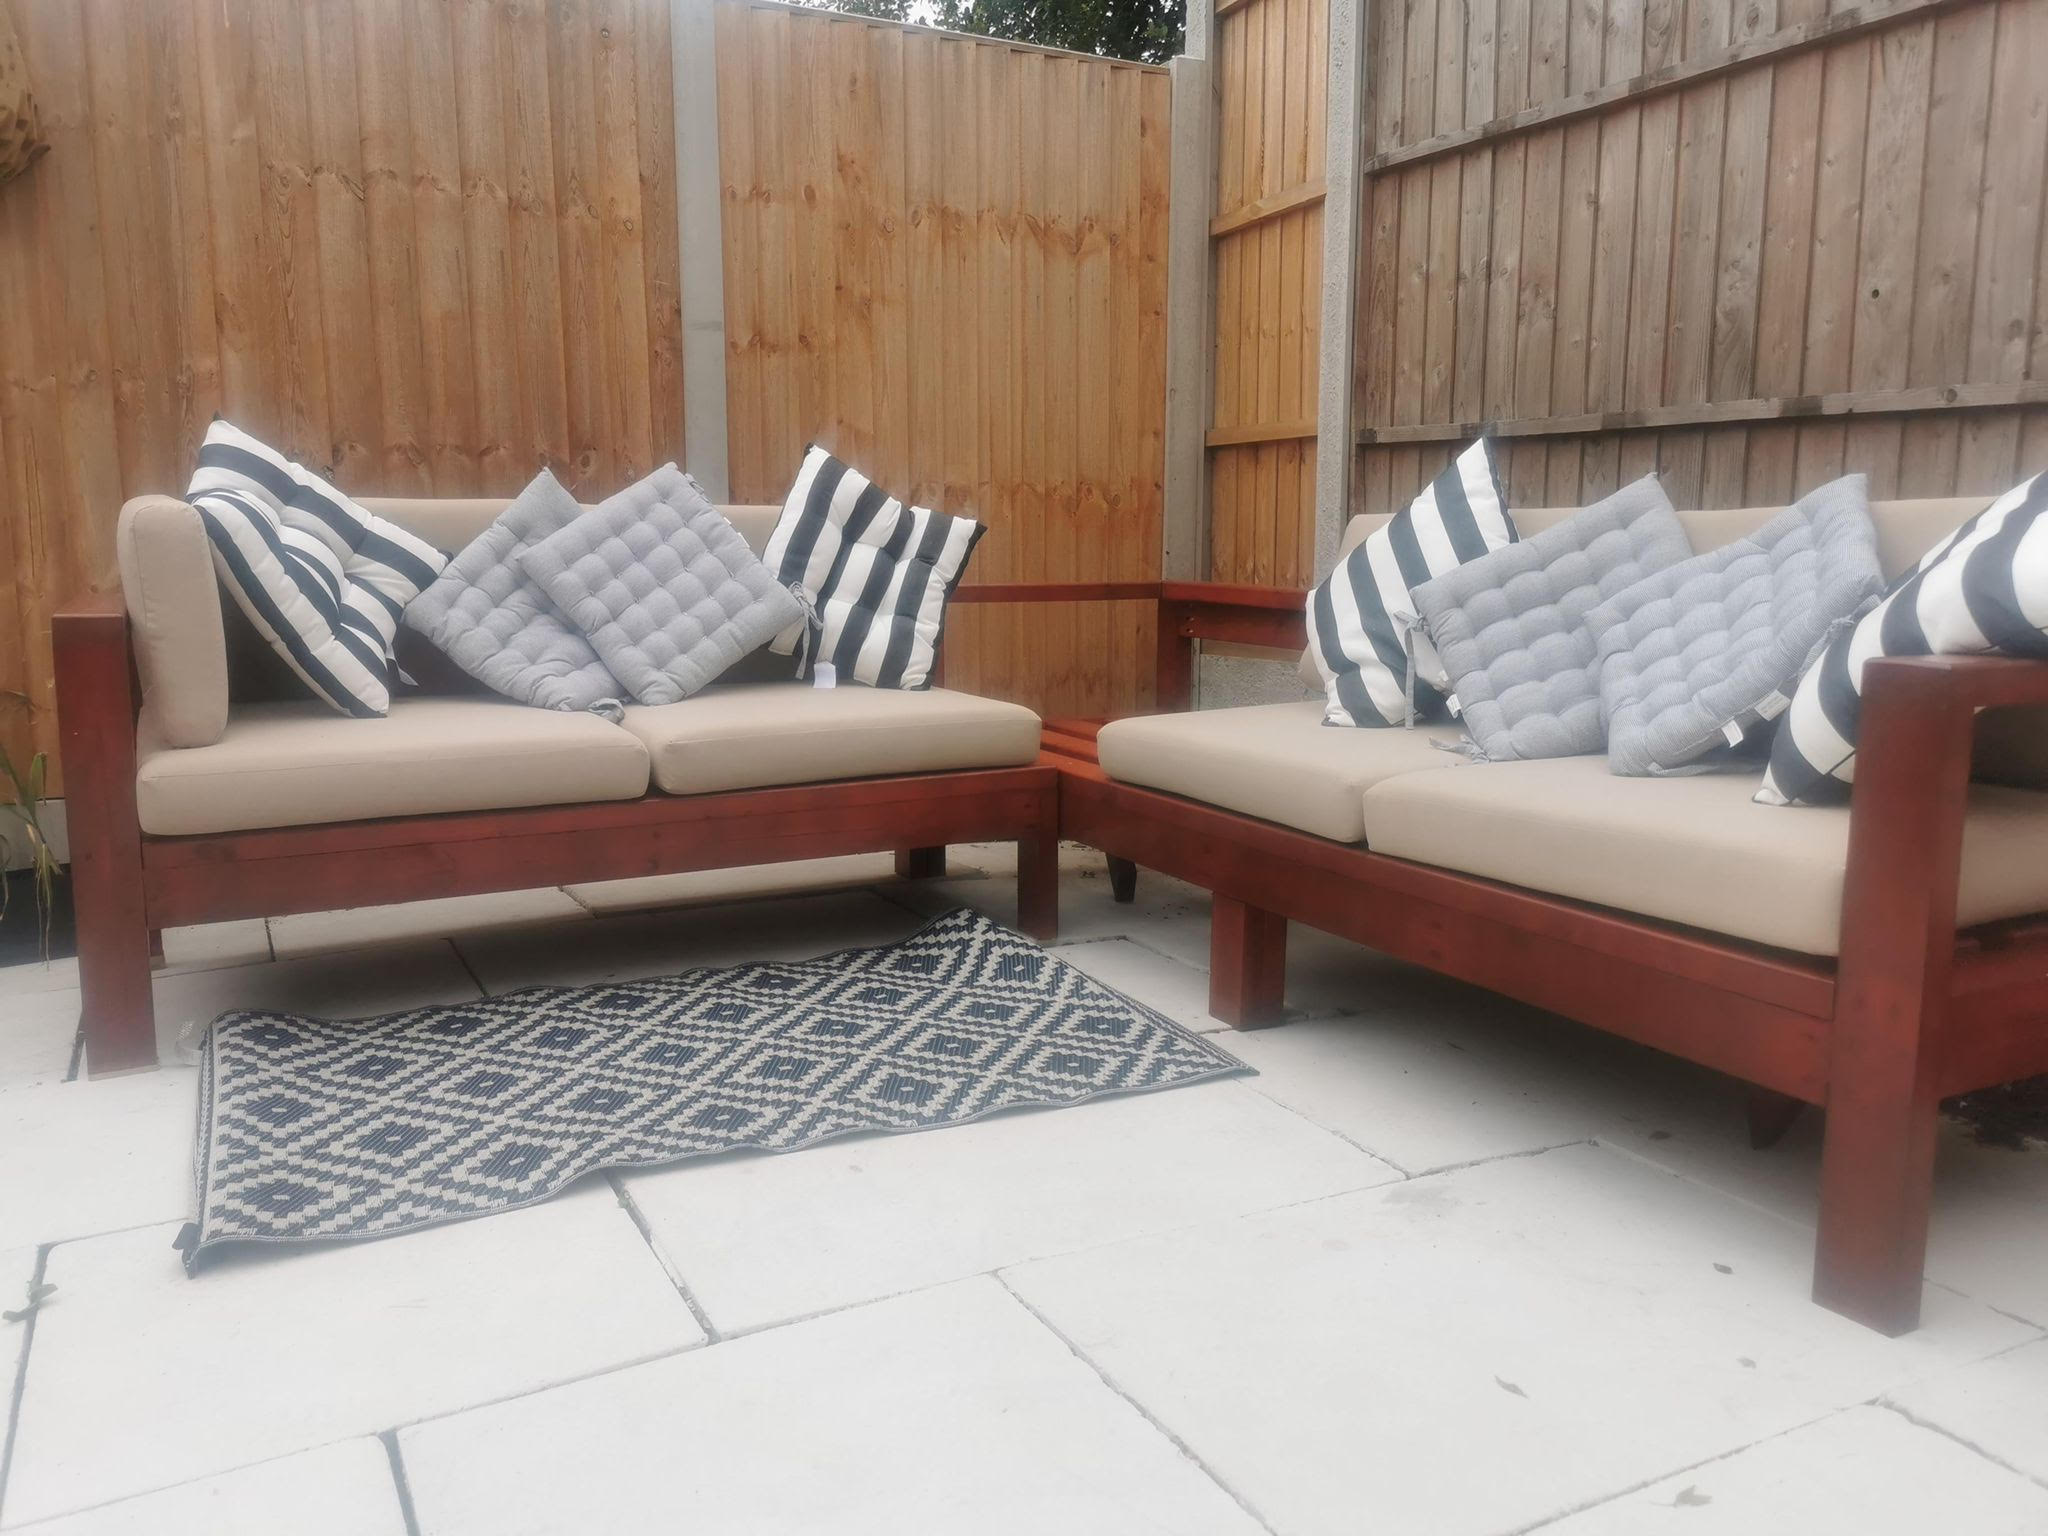
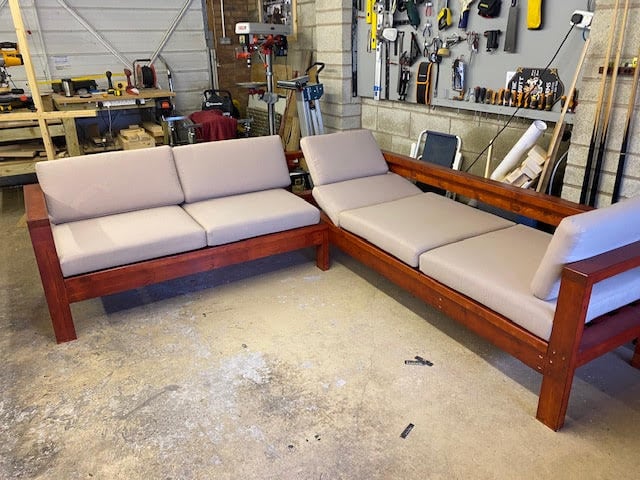
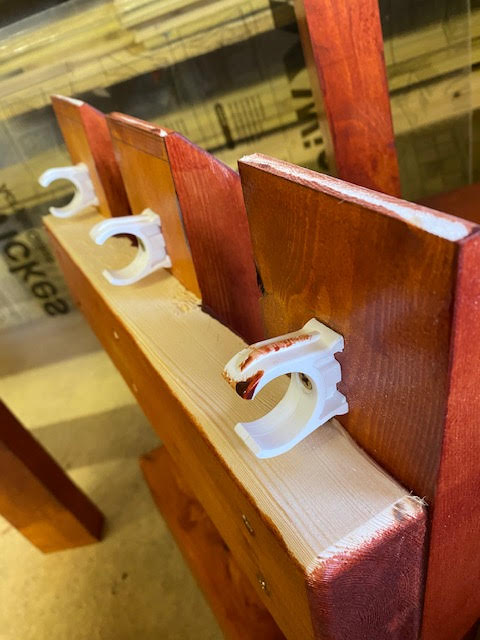
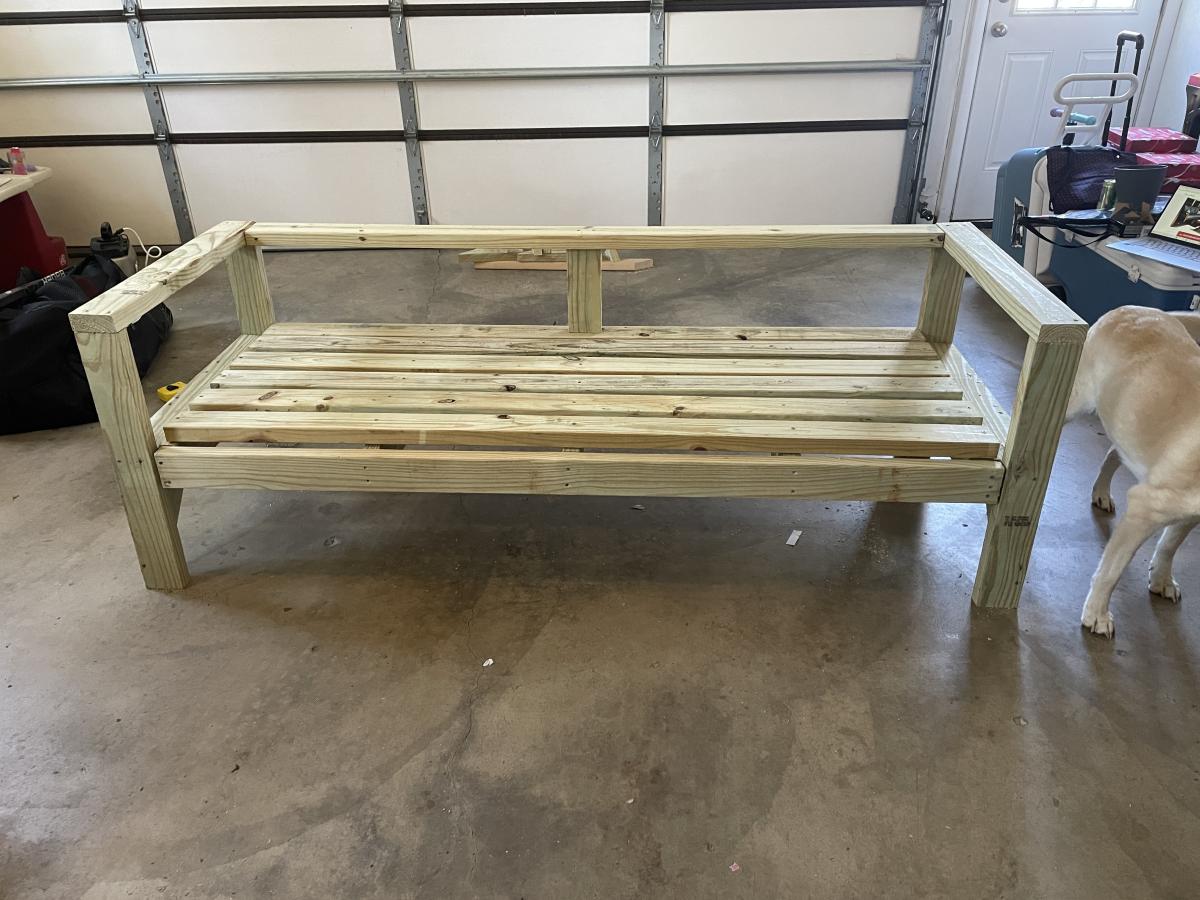
I’m new to woodwork, newly retired, built these for my daughters, with a twist, she wanted a lounger sofa, hope you like.

My mom was looking for a new outdoor table, and asked me to come up with something. I found the link for these plans (http://www.thedesignconfidential.com/2011/04/free-diy-furniture-plans-t…) to knock off Restoration Hardware's $4000 Provence Beam outdoor table. Overall I liked the plan, with the chunkier look of the 4x4's. But there were a lot of errors in the diagrams, and the finished height is 34" which is ridiculously tall for a table. So we took it apart and cut the legs back down to change the finished height to 30". We chose rough-cut cedar for it's look and outdoor properties, not wanting to use treated lumber for a dining table. We couldn't find 2x10's like the plan, so we substituted seven 2x6's just like Ana's plan, but left a 1/2" gap in between so water can drain and not pool on top and rot the wood. Also, since we were working with 4x4's for the legs, we chose heavy duty lag bolts instead of screws to join them together. I love the finished look they give. Overall it's a sturdy, yet lightweight table that my mom loves and has already used for entertaining!


Wed, 04/25/2012 - 10:02
Thanks Brook! It was so much fun to build. I put my dad and husband to work while I was the "project manager" ;)
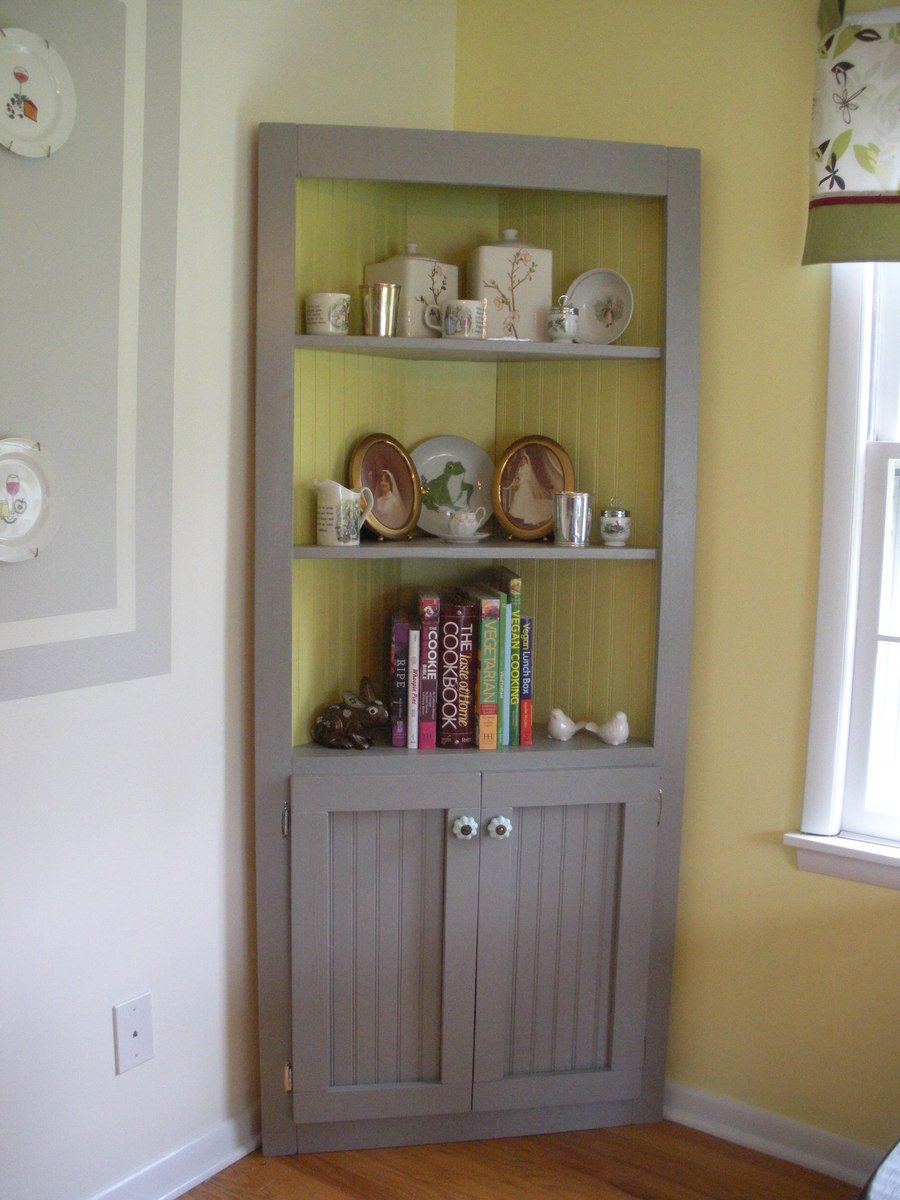
This project took me the majority of a three-day weekend to complete, but it was well worth it! I had the lumber store cut the beadboard panel for me so that it would fit in my car. This was also the first time I built something with doors on it, which was a bit of a learning curve, but came out alright in the end. I used pocket holes to build the face frame, and attached the shelves to the frame first before attaching them to the 1x8 back. I used 1 1/4" pocket hole screws and 2" wood screws. I left off the trim at the top and didn't bother to cut out the footer, but I think it still looks pretty cute.
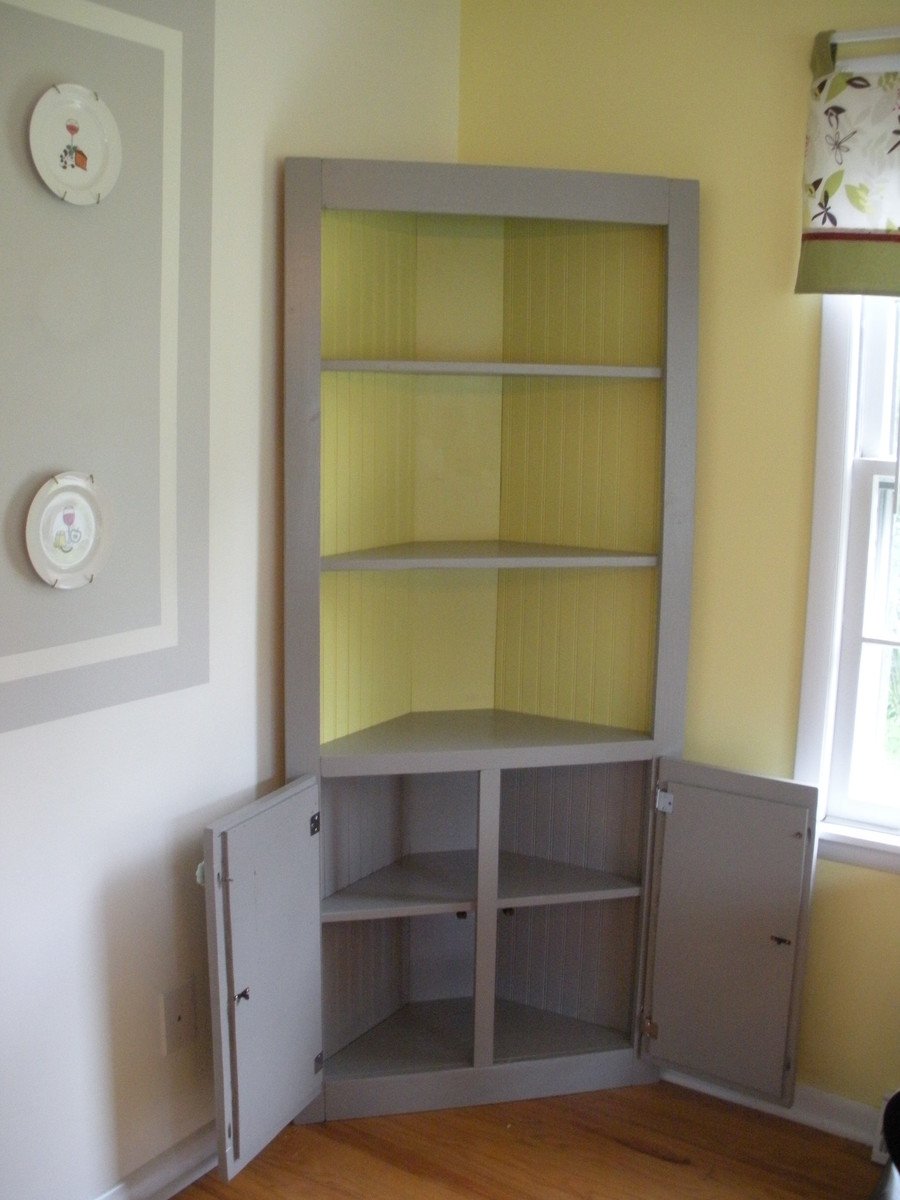
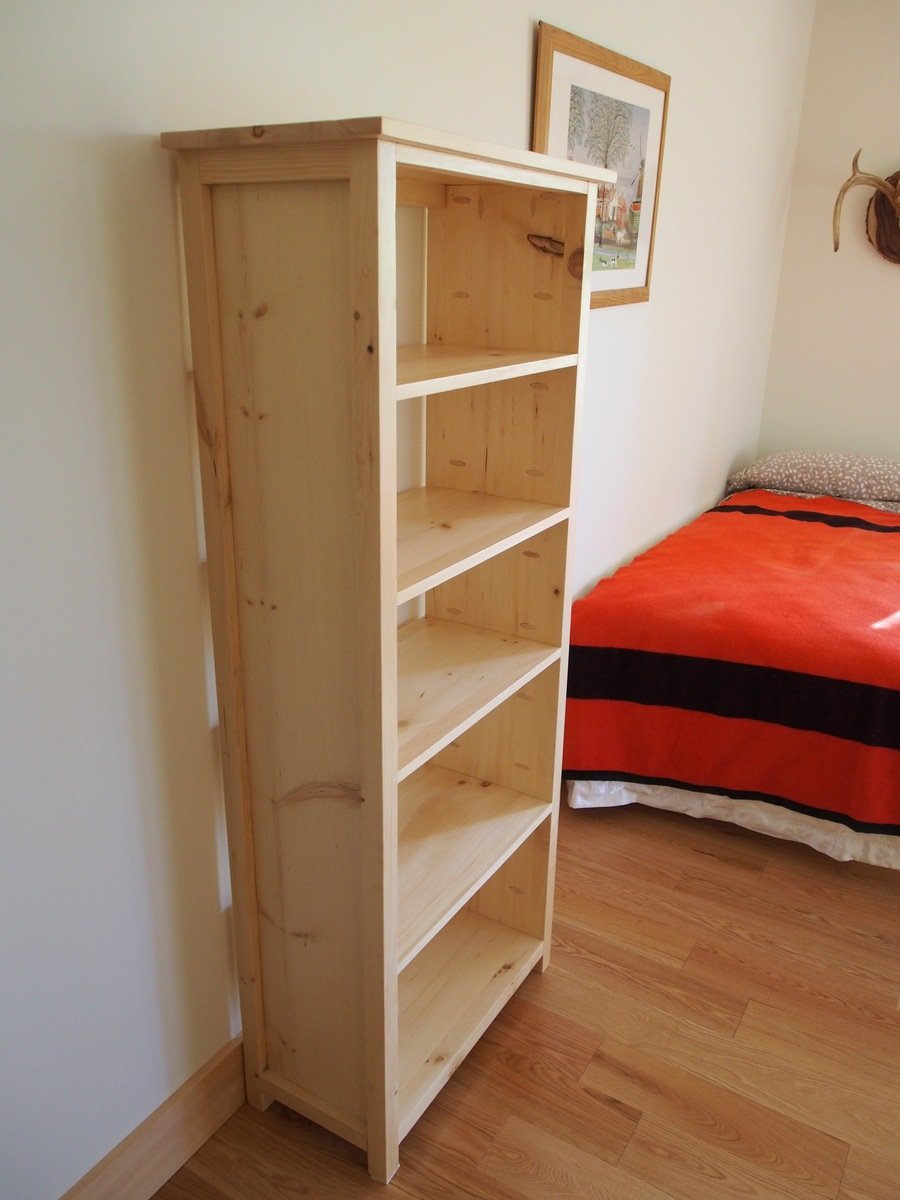
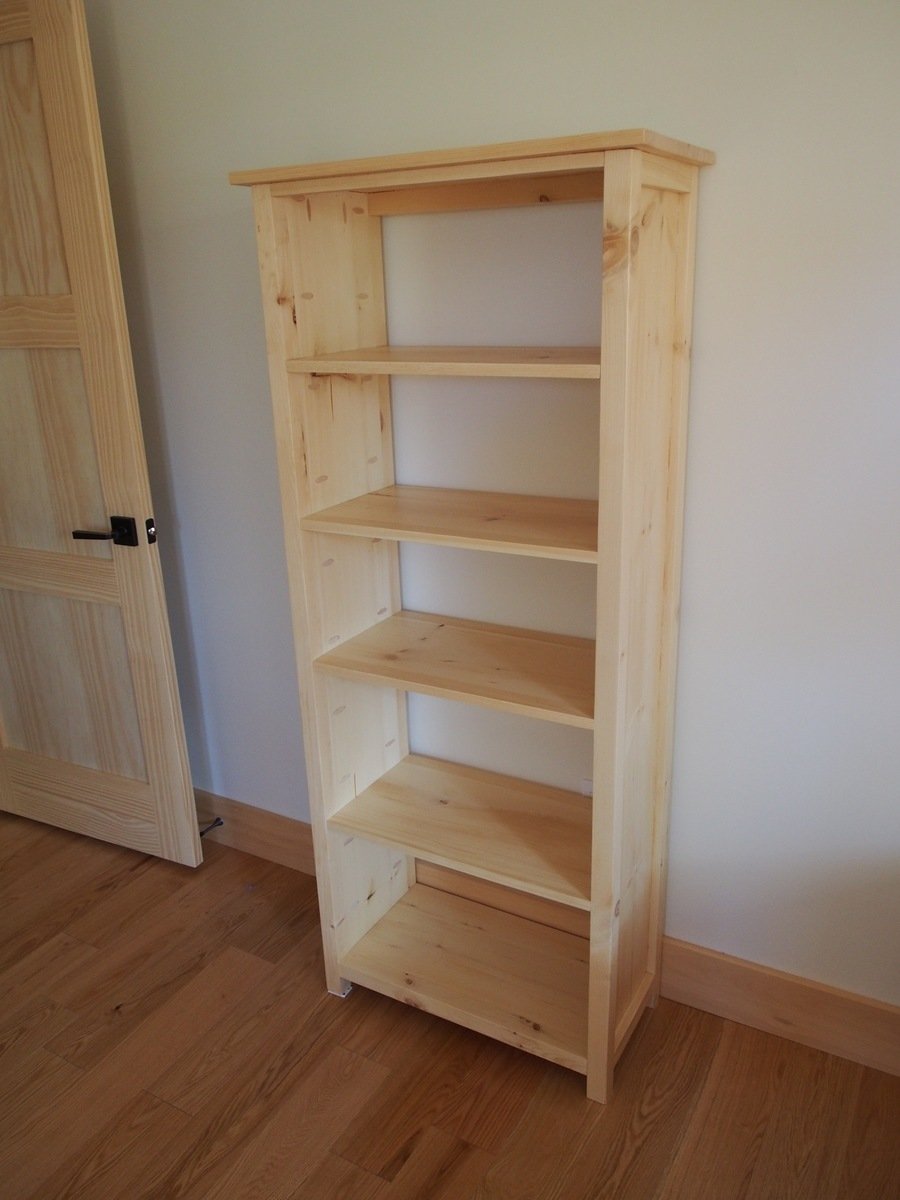
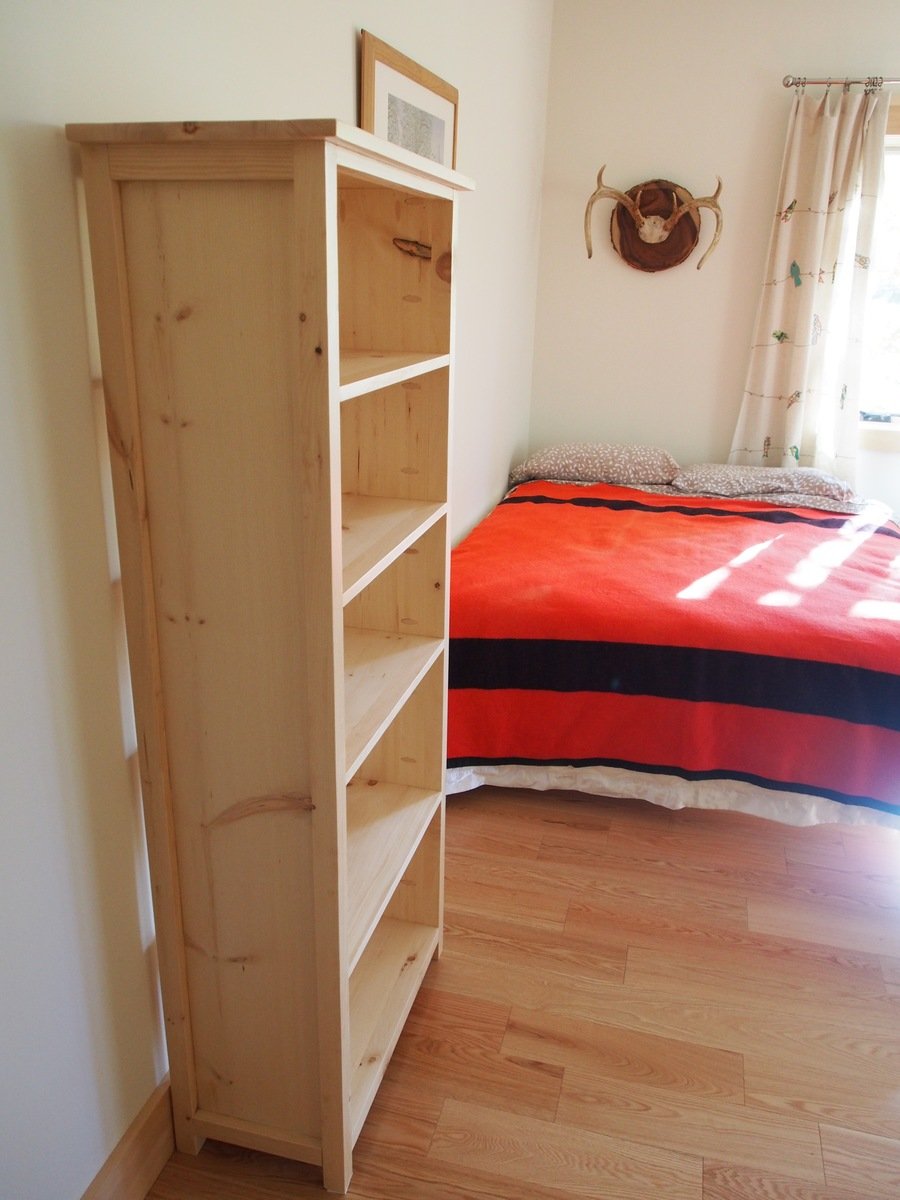
I used 1 x 10s to make the bookcase a little shallower, and left the back open. Thanks for the great plan.
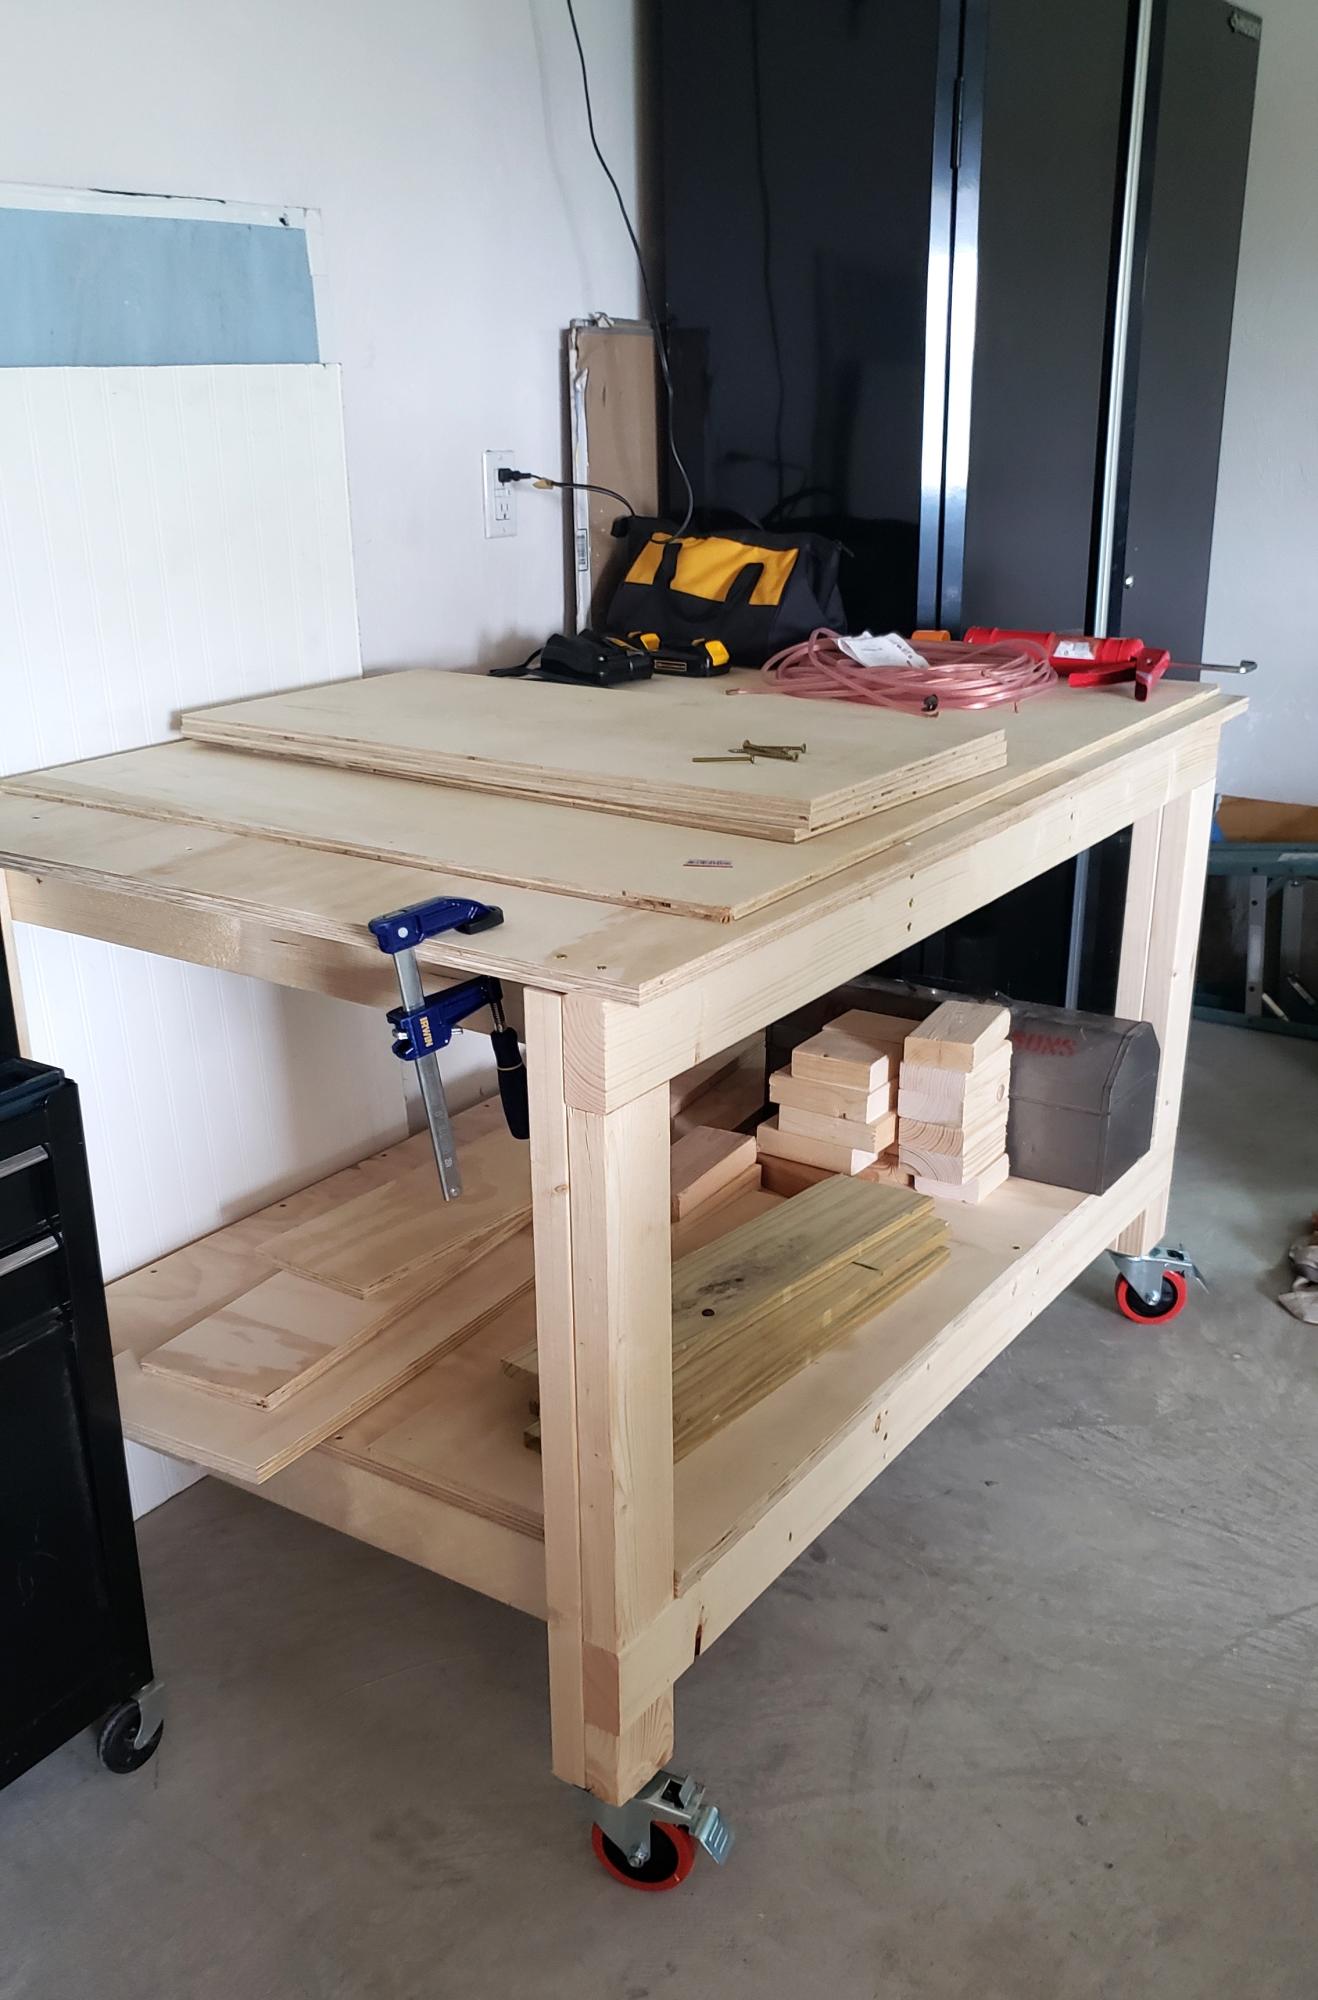
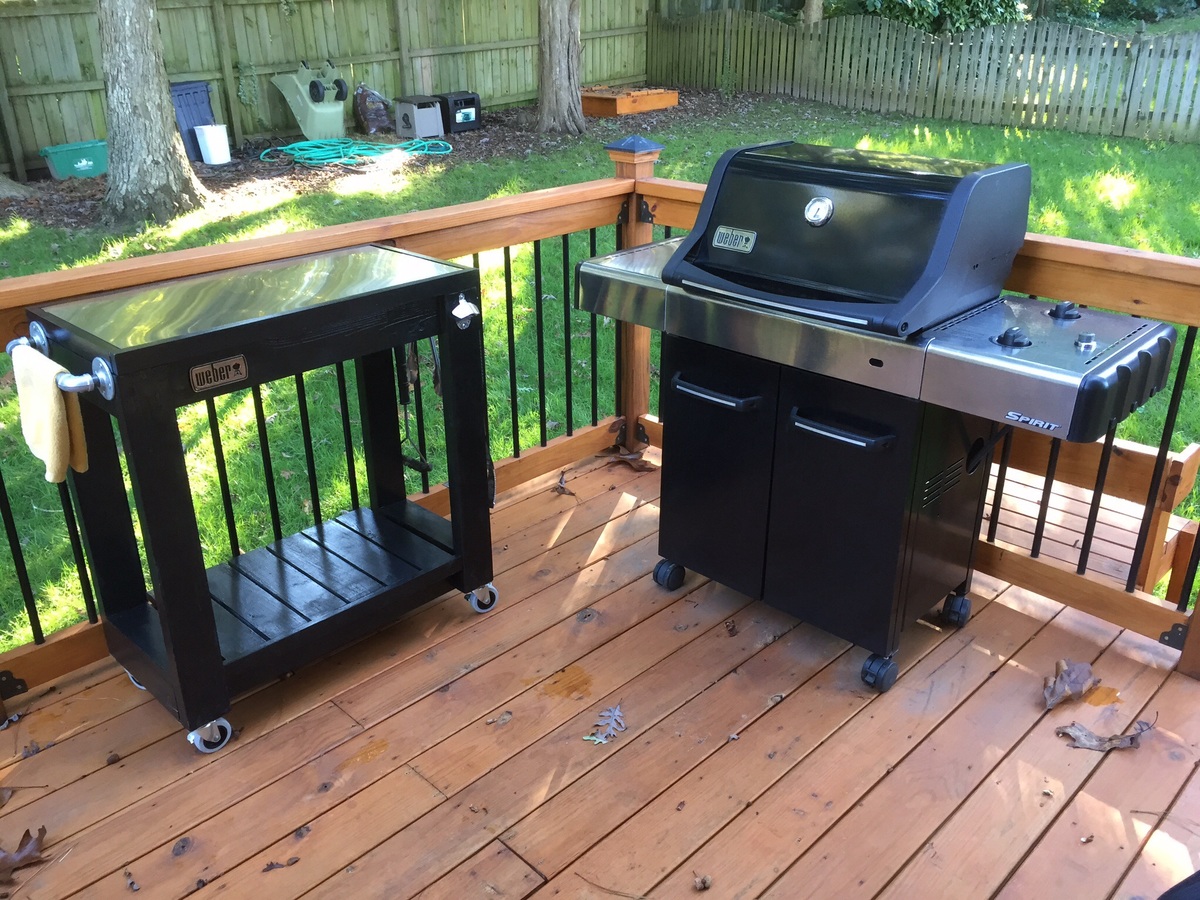
Easy to build workbench. I added an extra 2 1/2 inches (width) to the top plywood cut. This gave me a 1 1/4" lip to the front and back sides. I wanted to be able to clamp on all sides of the bench. Also added casters since I wanted to use this as an outdoor table for entertaining if needed and to simply have mobility with the bench. So far I love it!
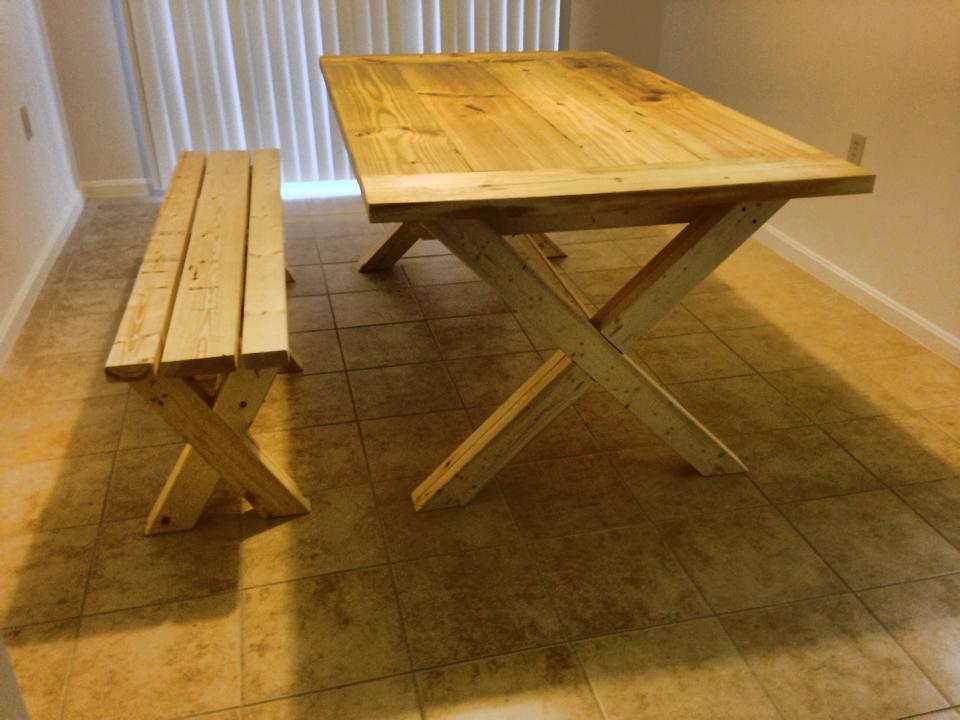
this is my intro to woodworking by myself and i think the table turned out ok. ana's website sure helped allot.
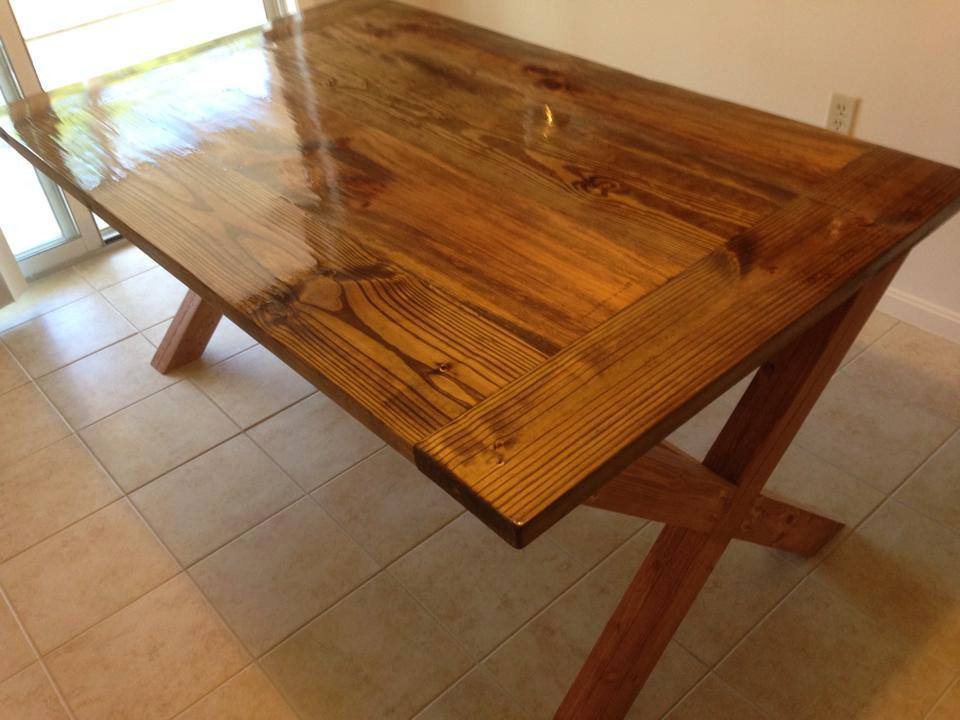
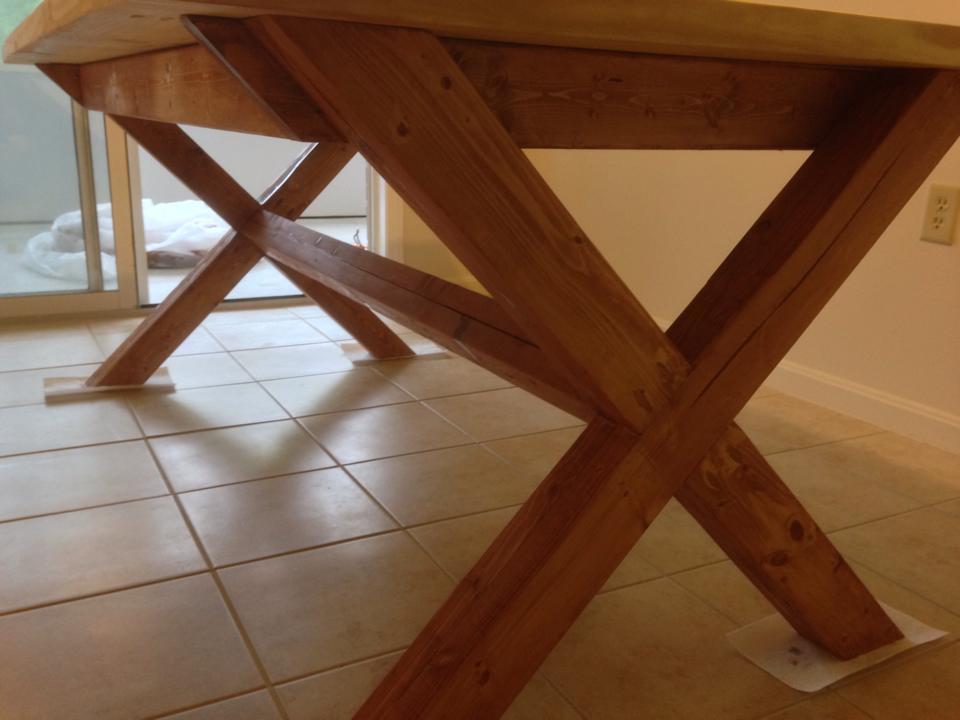
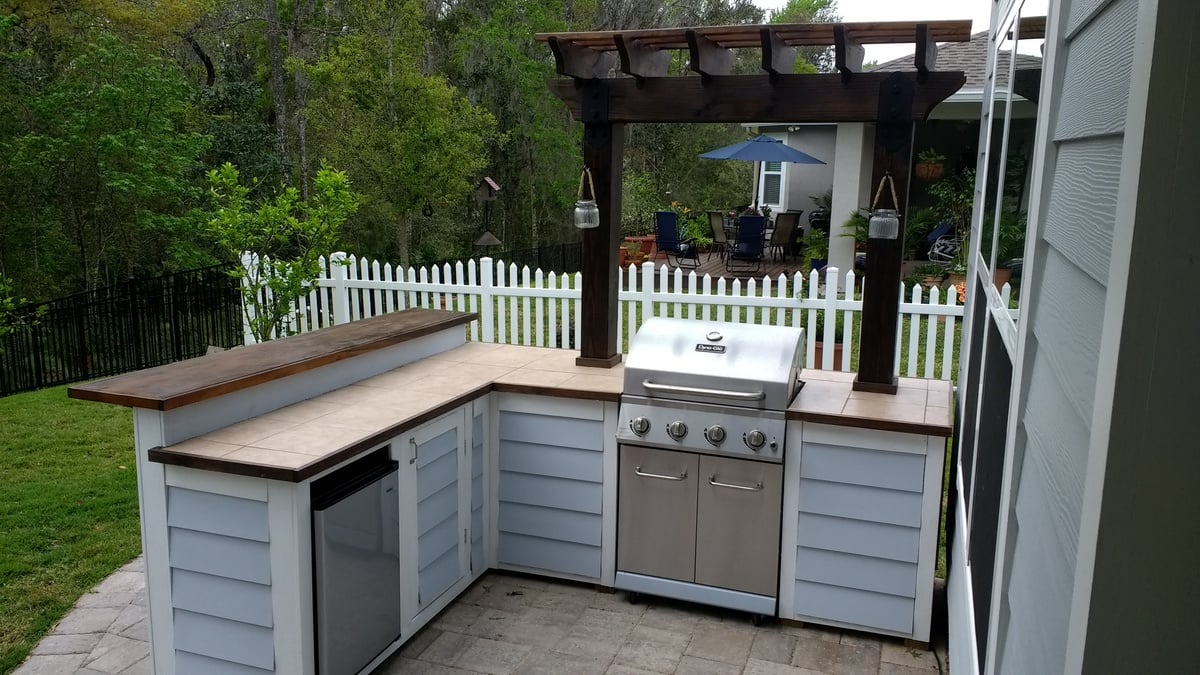
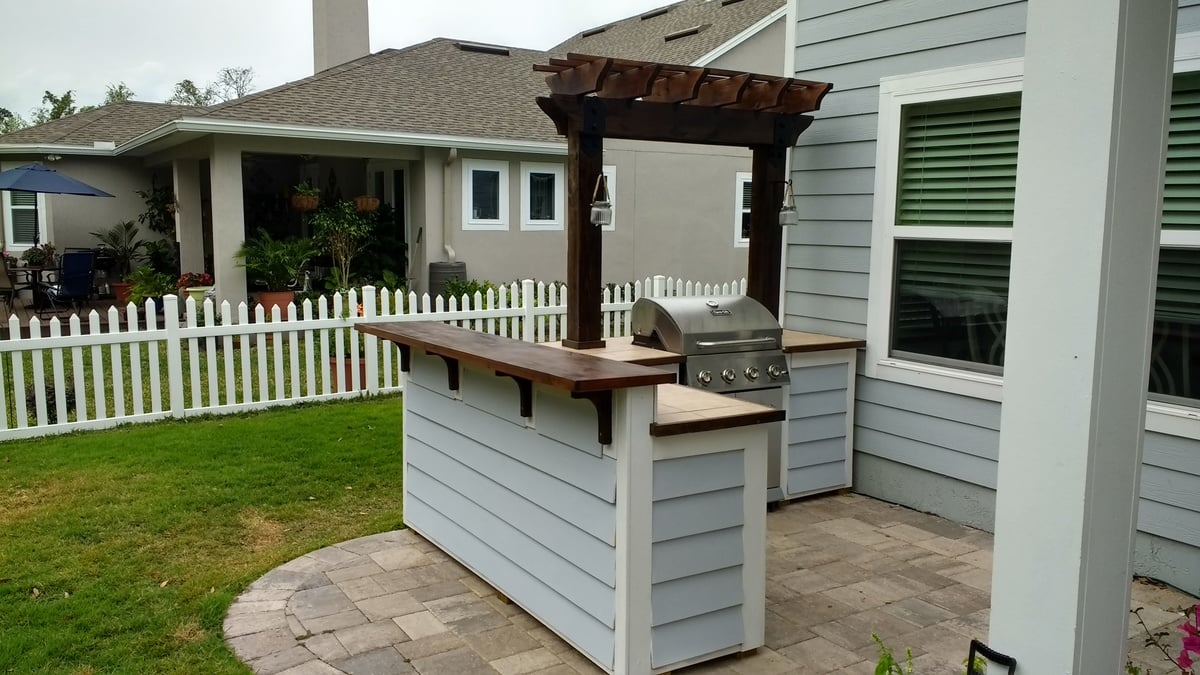
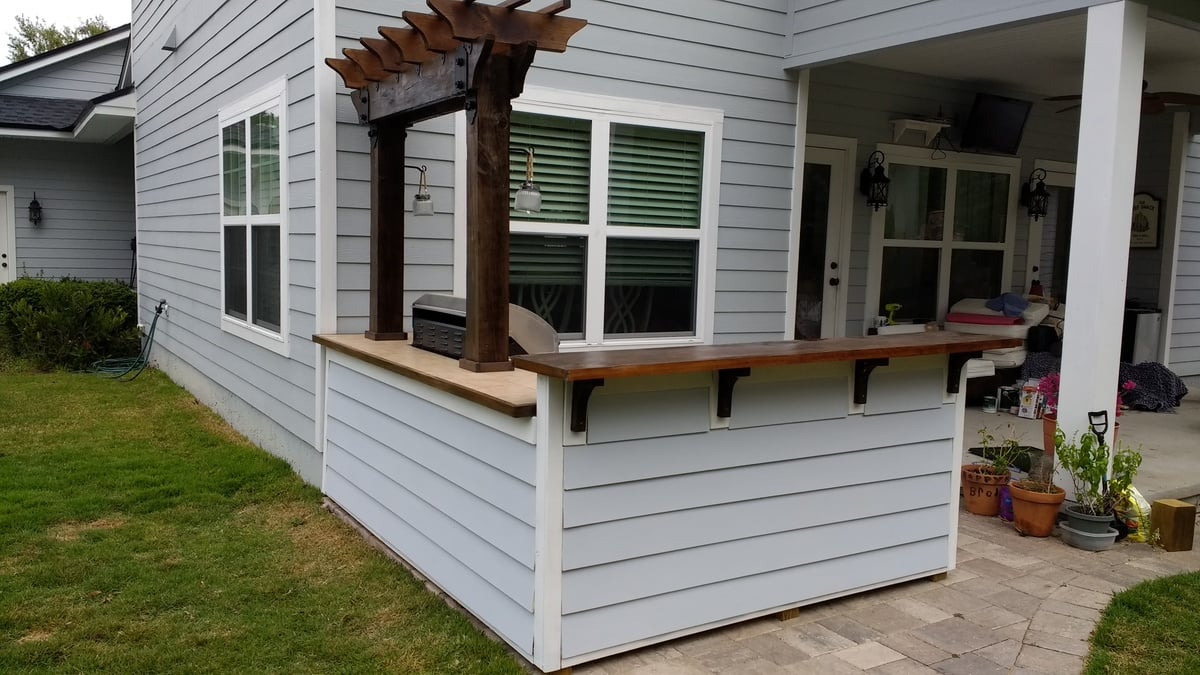
I wanted to build an L shaped outdoor bar with a 2 post pergola over the grill. I couldn't find any plans online that would fit the space I had, so I decided to build it myself with custom dimensions. The top bar is approx. 7'3" across, and 15" wide, while the distance from the right edge (next to the house) to the end of the bar is approx. 9'1".
I framed it with PT lumber and the 2 pergola posts are sitting on top of the pavers and supported internally within some of the framing studs. Since the pavers sit on top of concrete, I didn't feel the need to dig up the existing pavers and achor them in the ground.
I used hardiboard for the exterior and tiled the lower section of the bar.
For the actual high bar top, I wanted to do something unique, and found a 900 year old scrap slab of Cypress at a local lumber yard. One side was smooth, but underneath was gouged out from different saw cuts and very uneven. I screwed a piece of 3/4" PT plywood underneath and trimmed it with 1-1/2" Cypress. I stained the whole thing with a dark honey colored stain and put a generous amount of poly on it once it was dry. There are a few cracks and nicks on it, but once it was stained, it looked awesome.
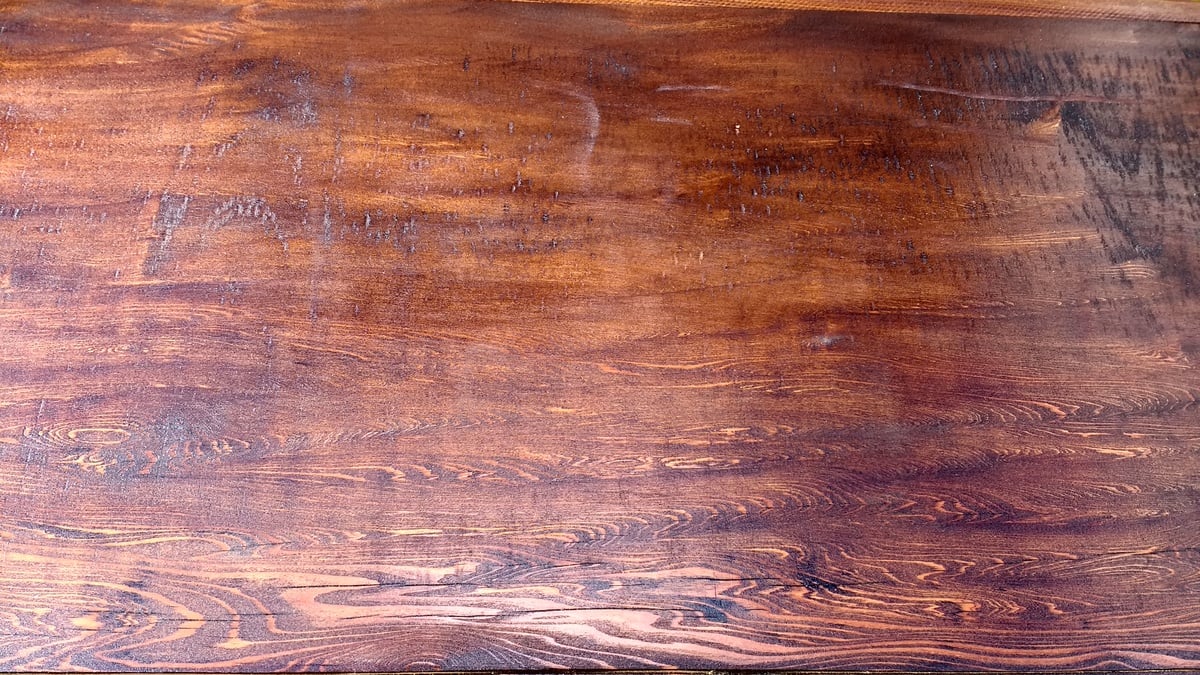
Wed, 06/19/2019 - 13:23
Looks awesome. I have been wanting something like this for a while now. Where can we can plans for this?
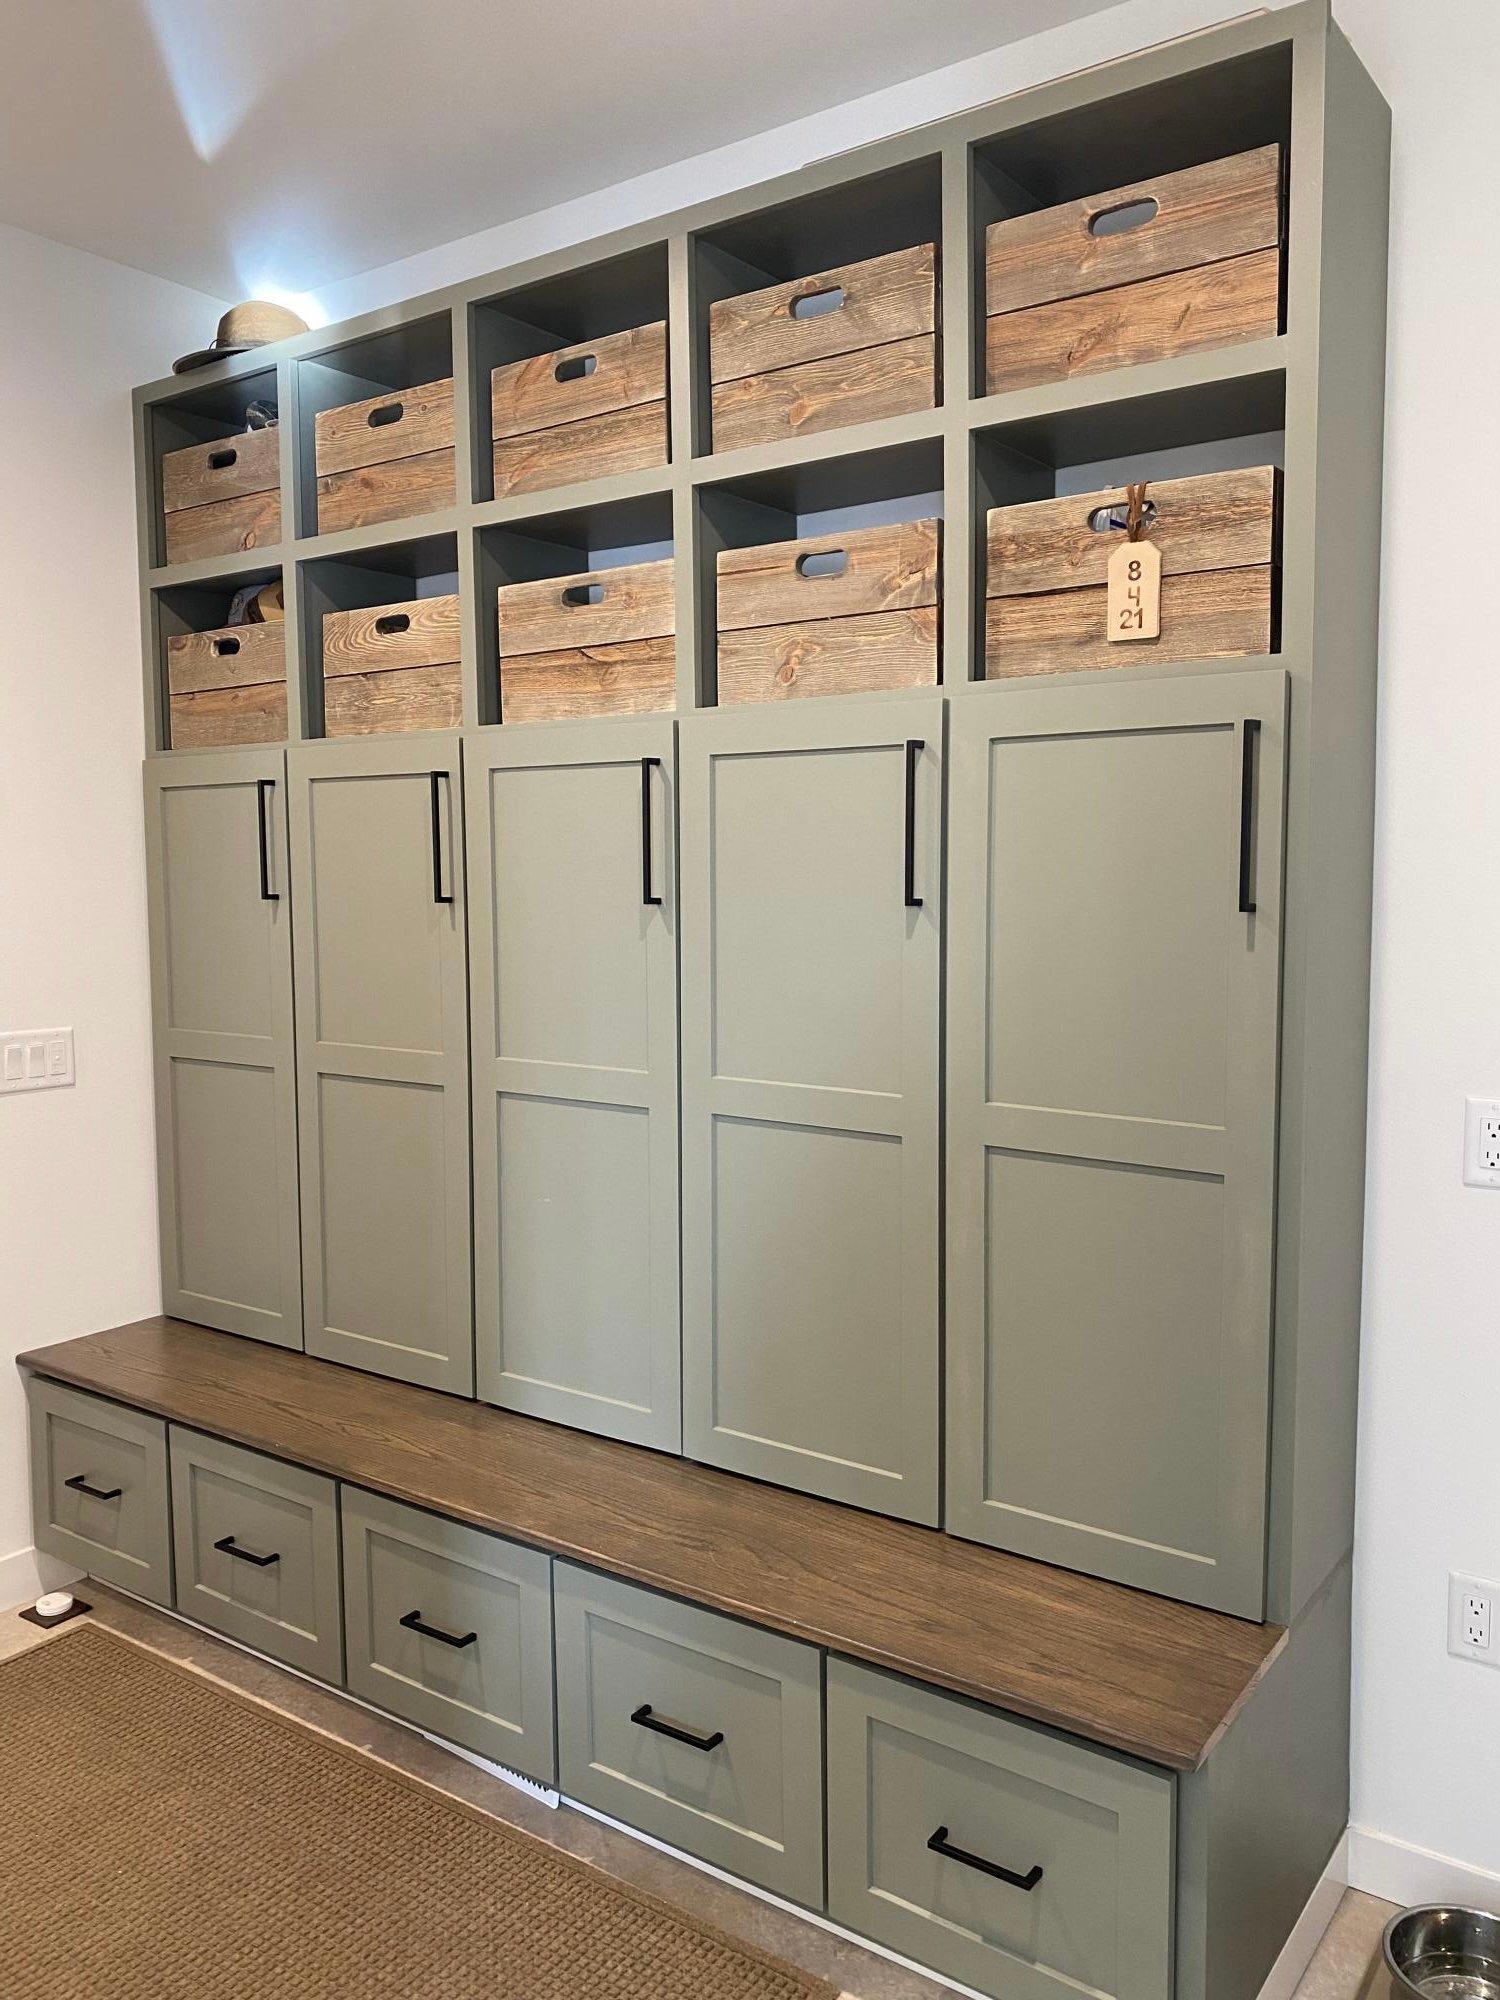
Thanks to Ana White we learned how to make these cubbies. The wood for the stained bench is from trees milled from my husband’s family farm.
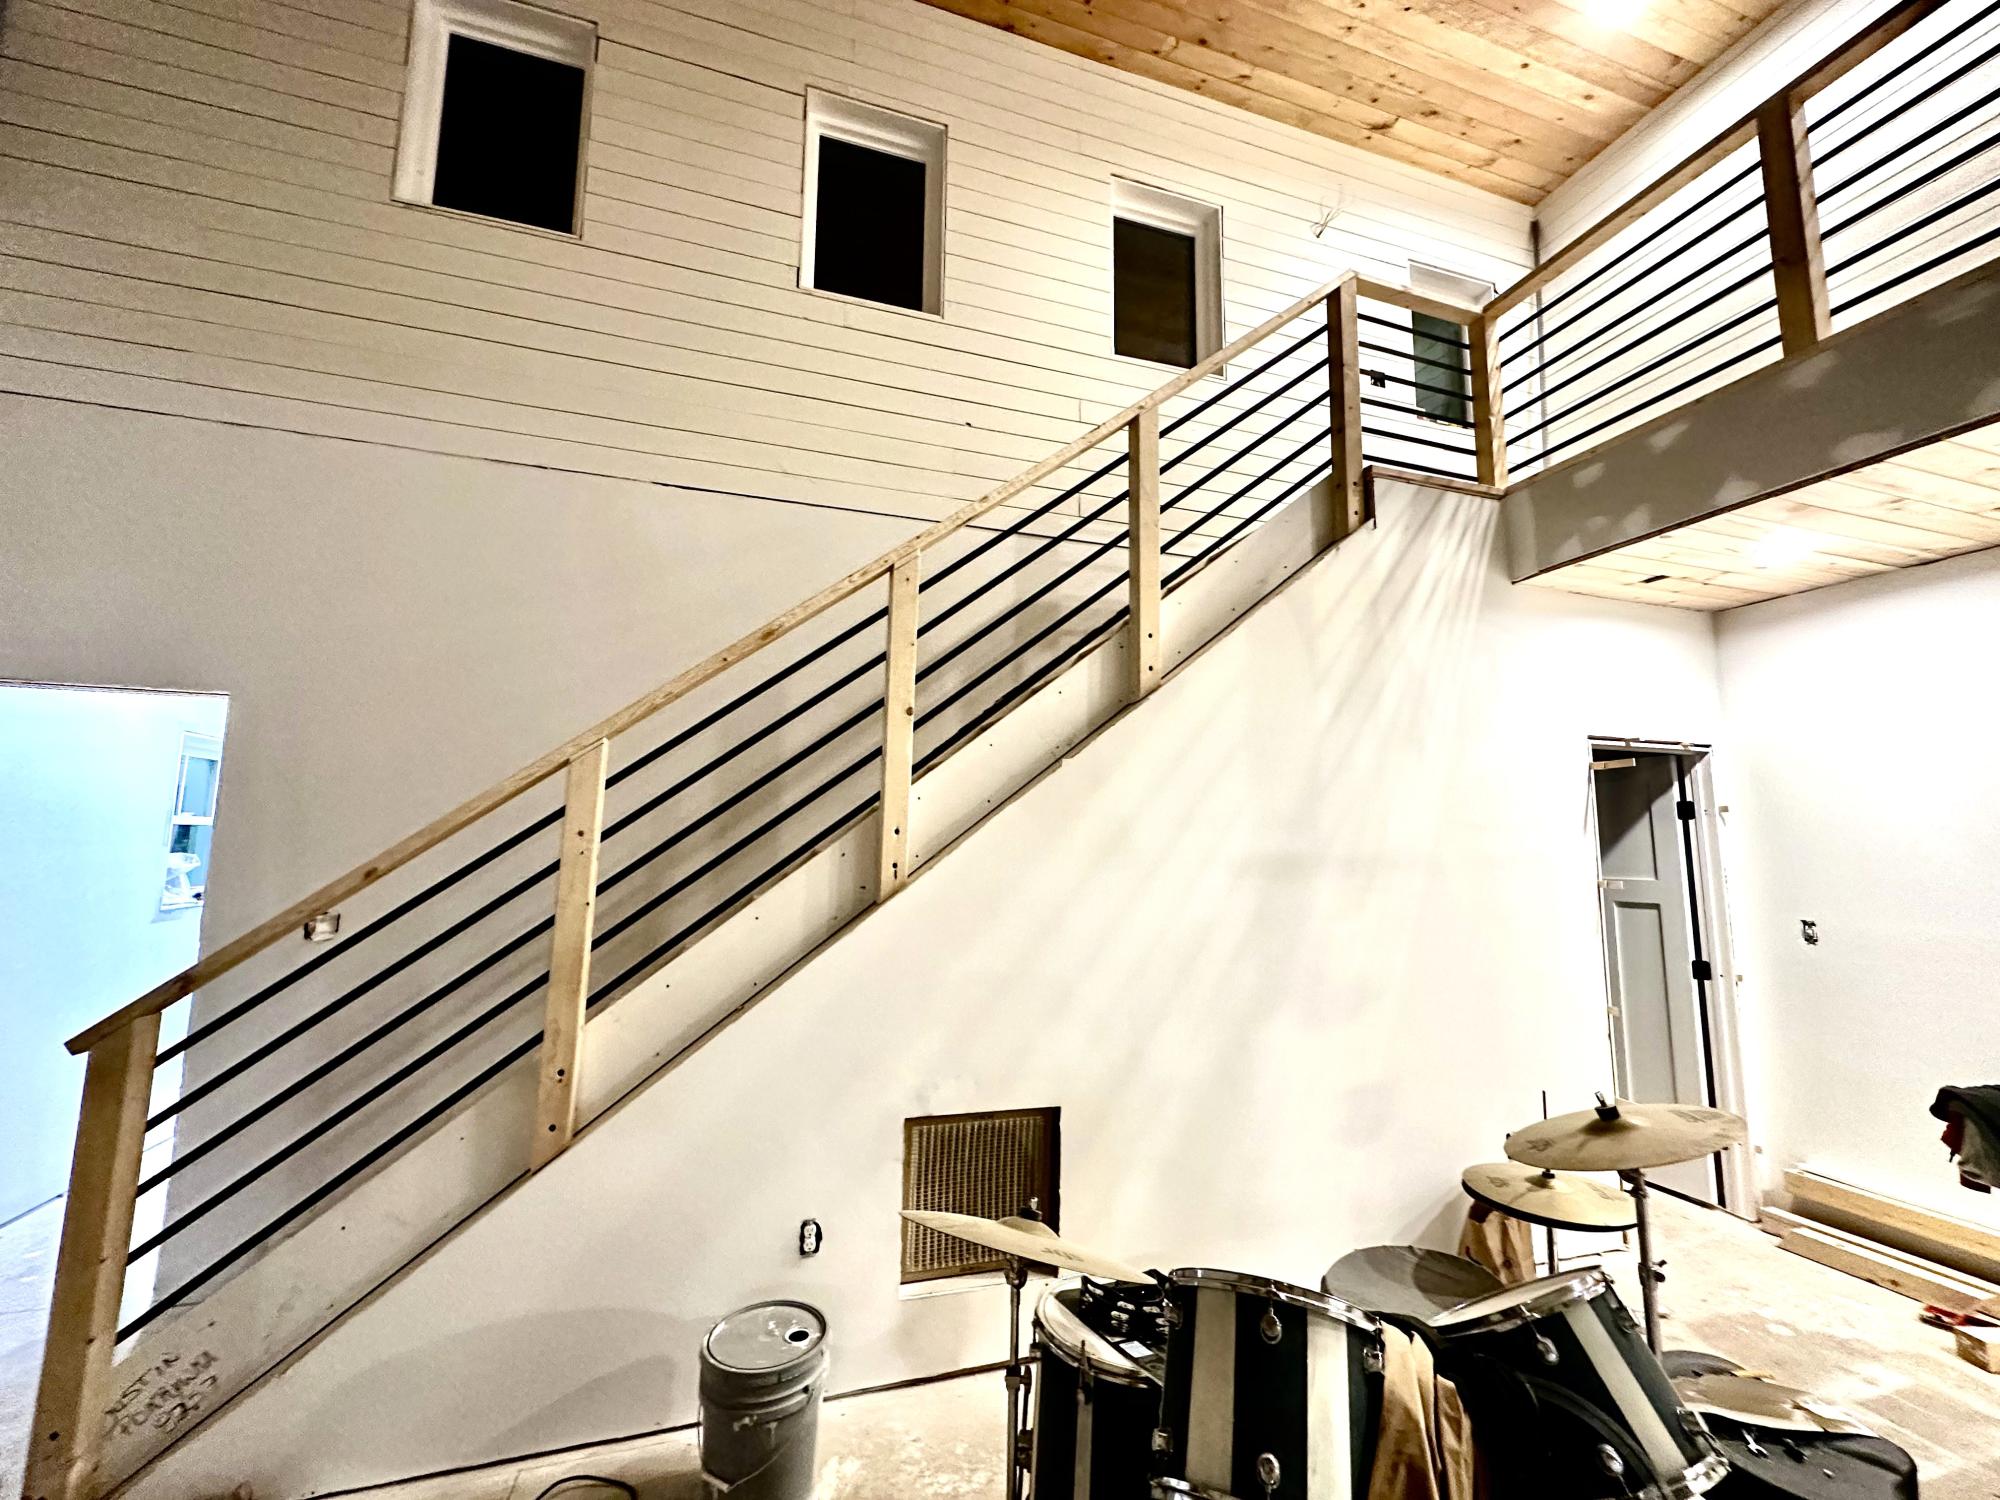
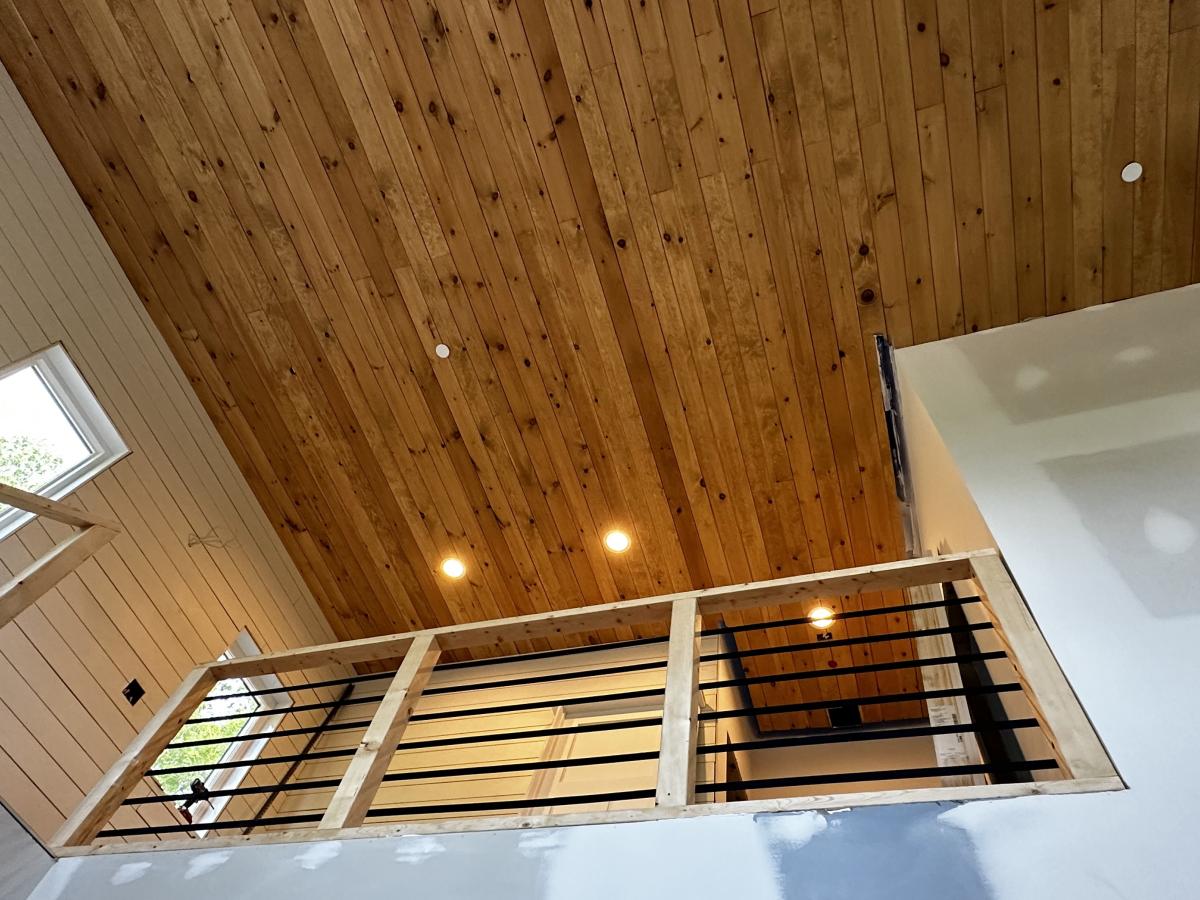
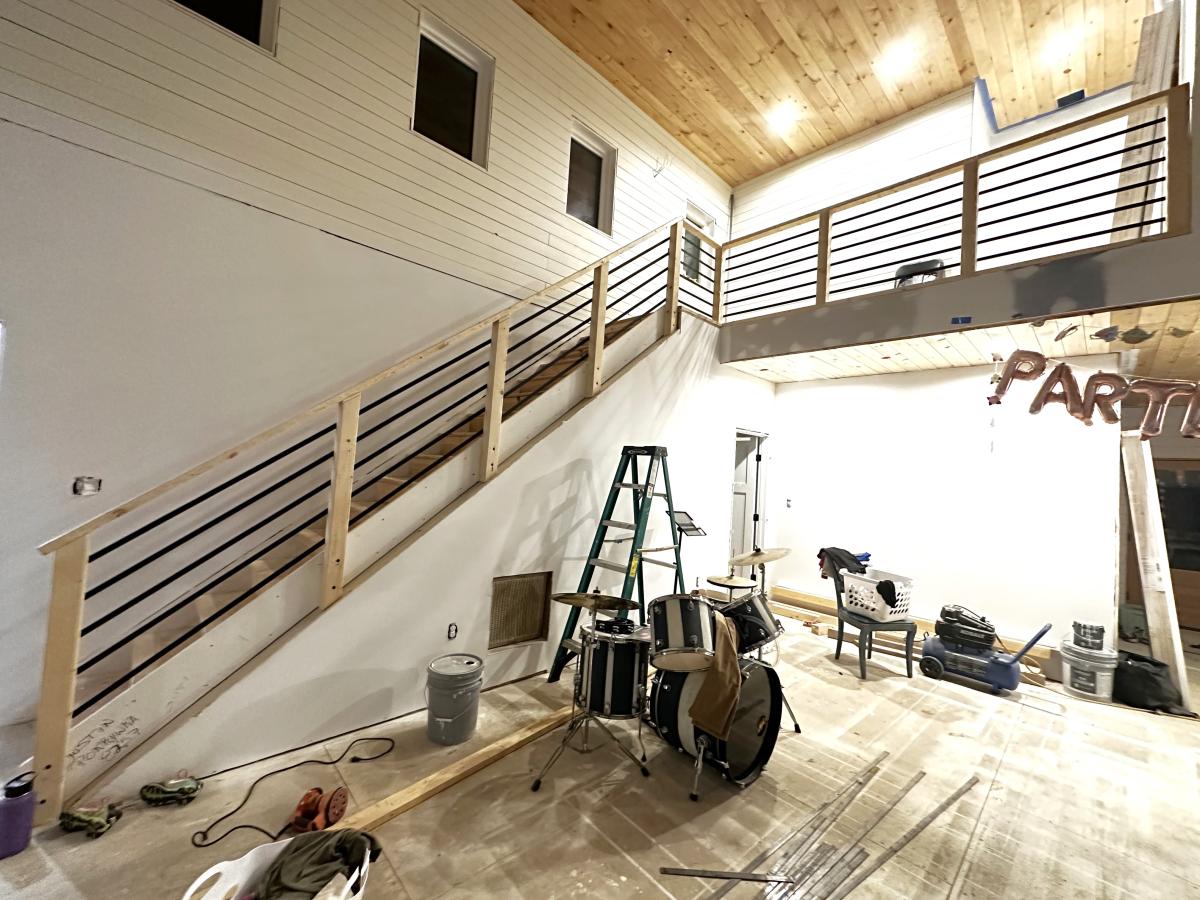
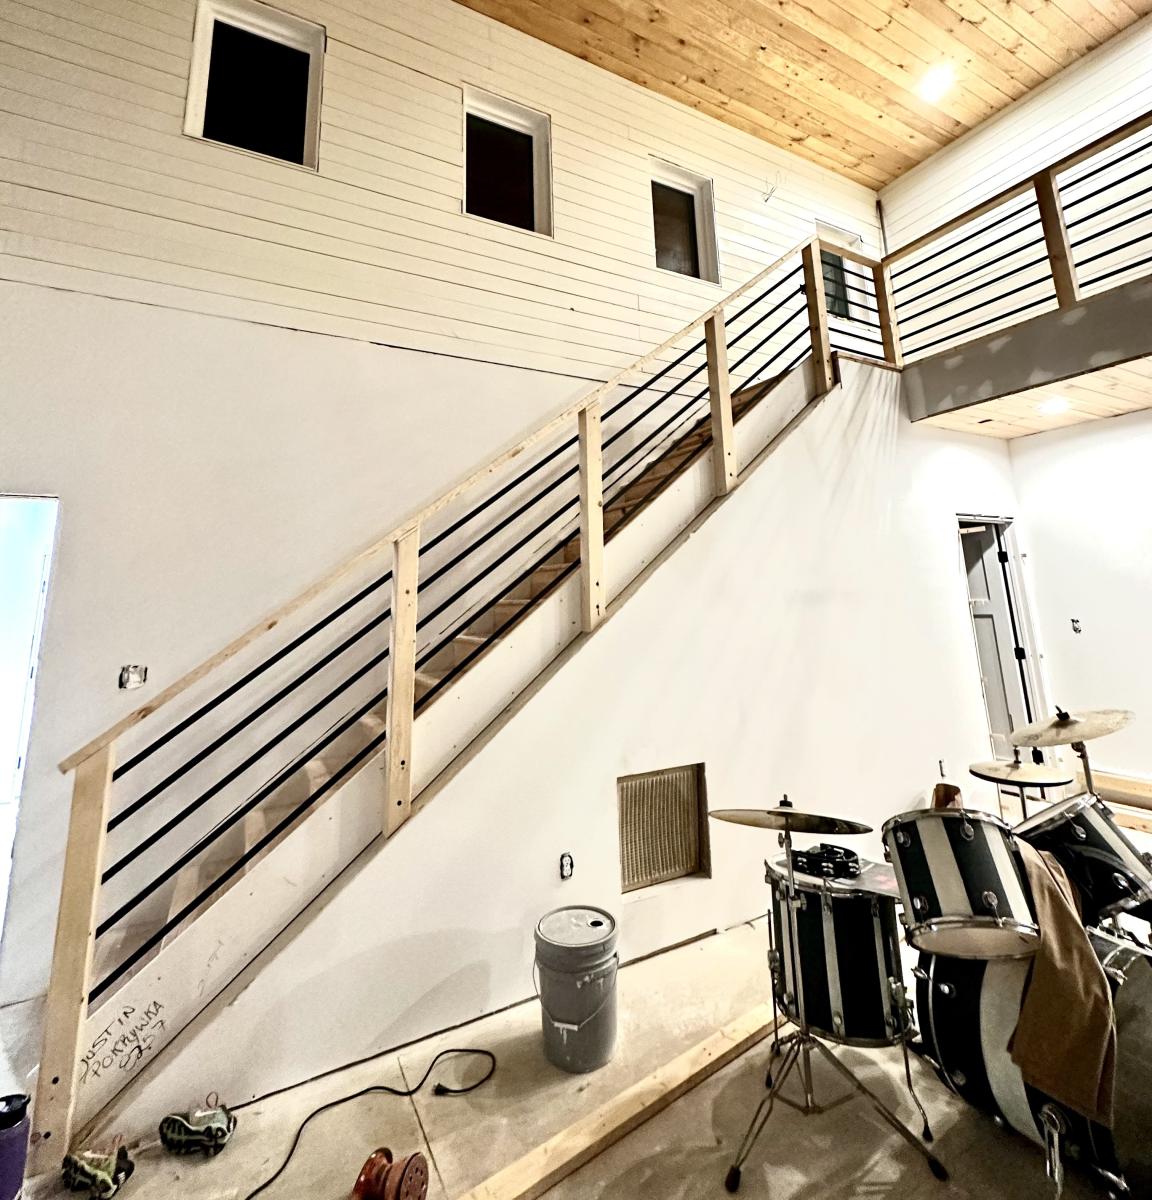
We used your idea of railings for our new home!
We used 4x4’s for the posts instead of 2x4’s
We love it and so does everyone else!
Justin Pokrywka
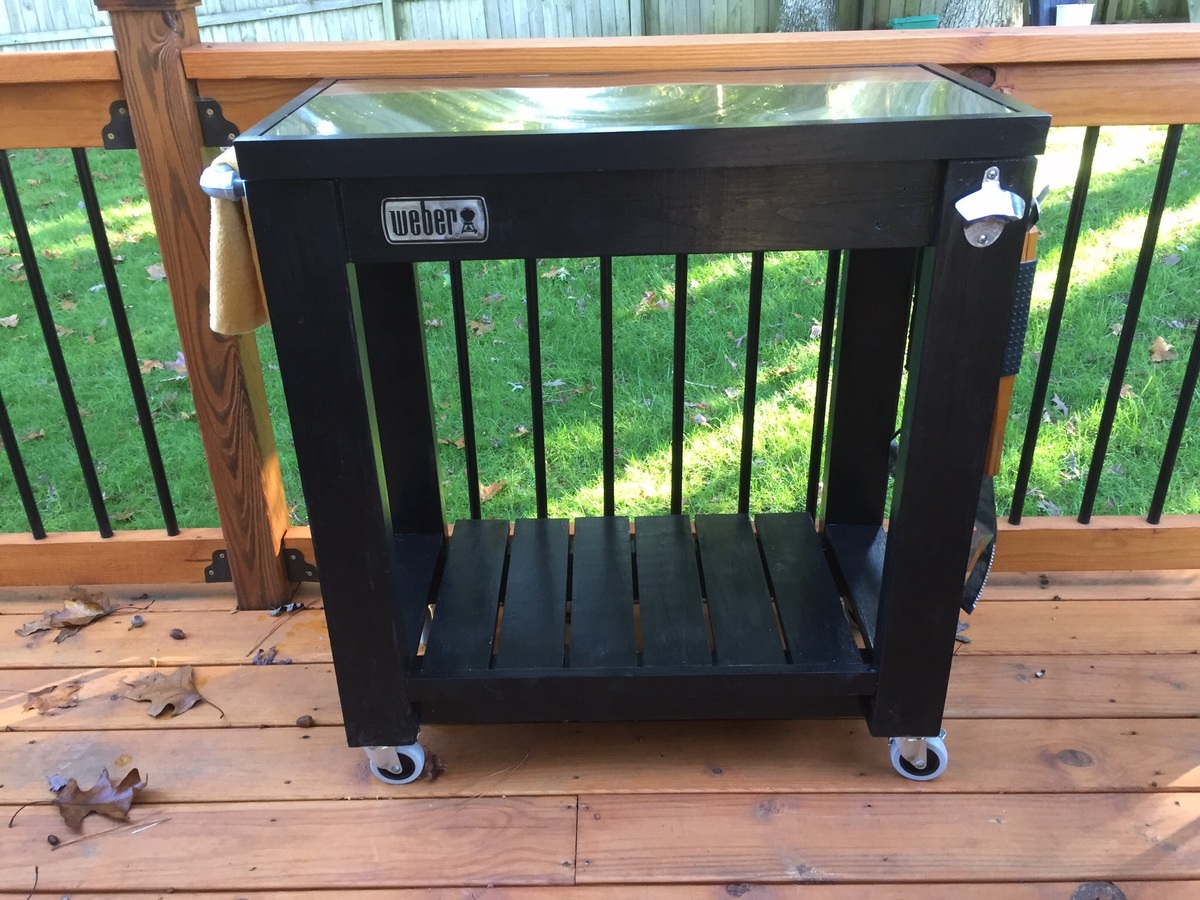
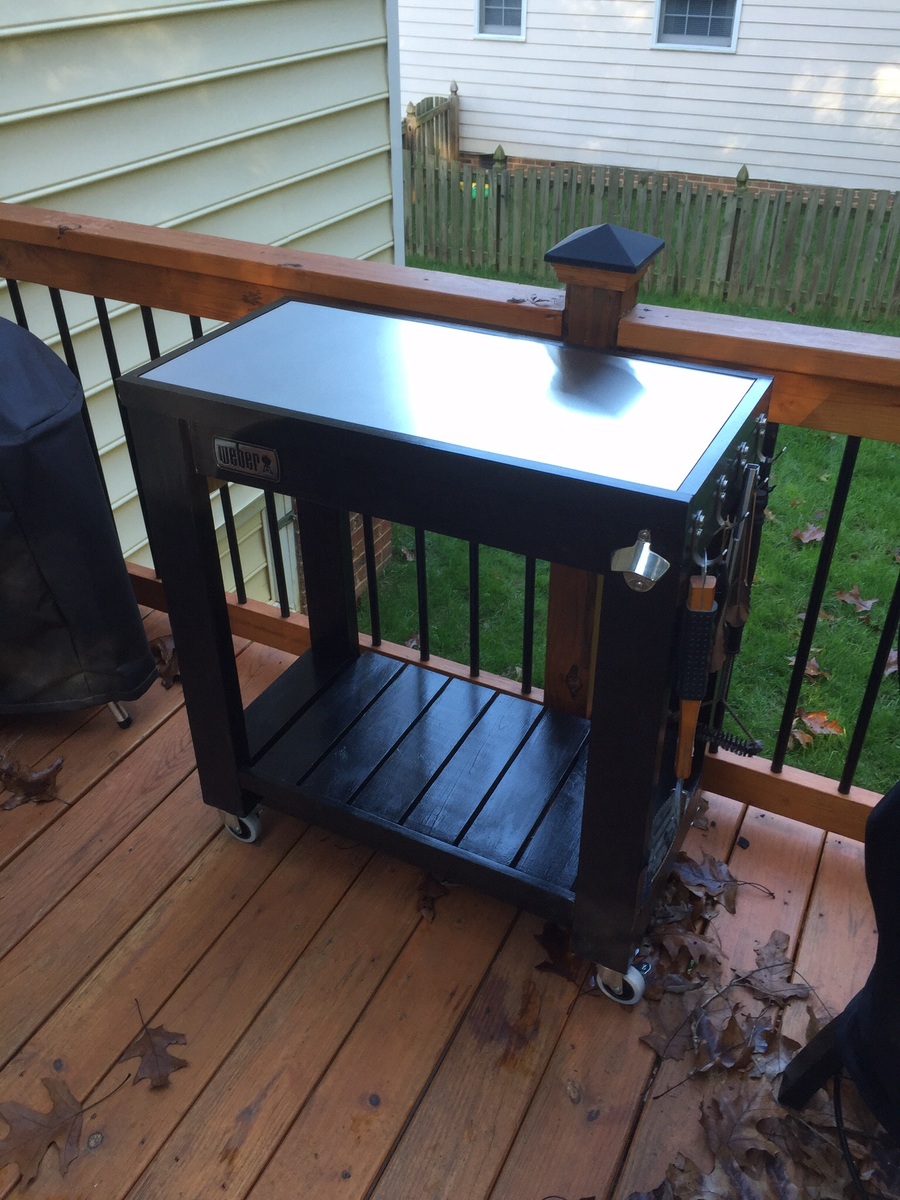
I made the countertop with 2 plywood boards screwed together and topped the stainless steel with heavy duty adhesive. I adjusted the plans a little to accommodate my space. Thanks for the plans! It was a fun build!
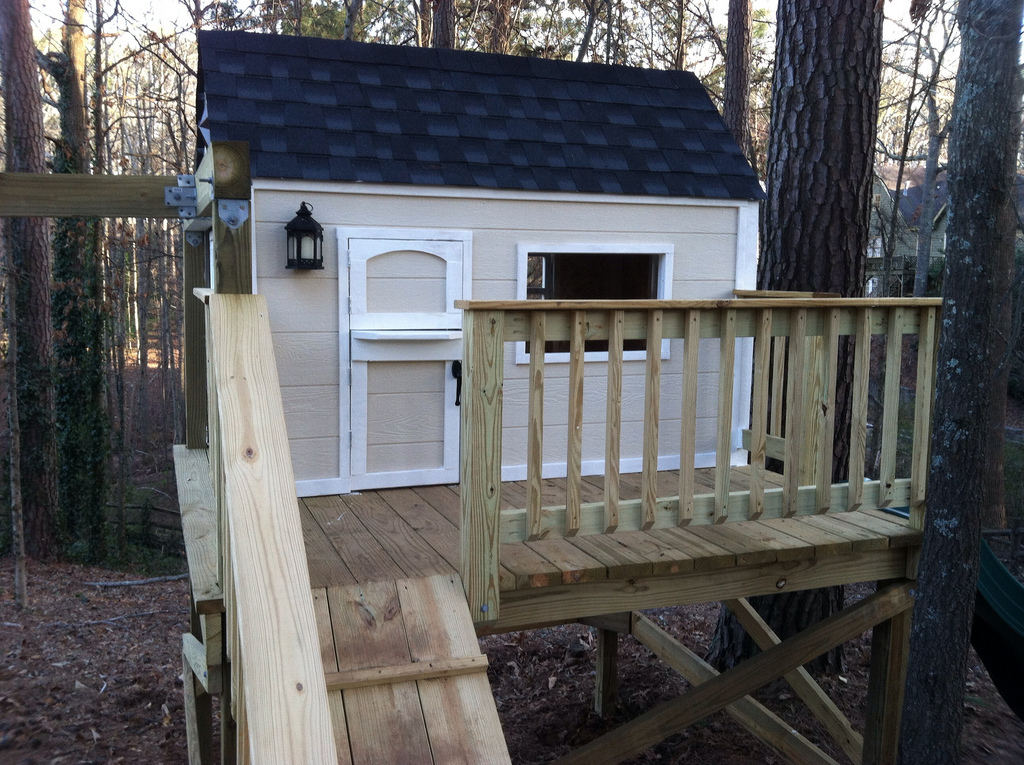
We built this in early 2013. We ended up turning the house 90 degrees on the deck, because the slide worked best off the backside of the deck due to the various heights around the deck. The sloped back yard caused some challenges, but in the end it's a very sturdy deck with the cross beams attached. Thanks for posting these plans online for us, our 3 daughters are loving the playhouse and swingset! Here are some more pics of the project: http://www.flickr.com/photos/11031534@N00/sets/72157633009259873/
Fri, 03/22/2013 - 16:39
Love this - my grandson's back yard is too small to build something like this; which is why we had to settle for his loft bed airport/clubhouse.
Thu, 06/27/2013 - 05:24
I'm planning on building two A-Frames and no playhouse, so my questions are focused there.
Did you do any modifications to swing portion of the plans?
Is it sturdy enough for an adult to swing on as well?
It looks like you put the posts in the ground, did you cement them in too?
How high off the ground is the bottom of the support beam for the swing?
Is there any issue side-to-side swaying?

This was a great last minute Christmas gift. Took me a little over two hours. Made completely out if pallet wood.


Sun, 12/26/2021 - 13:19
It looks great, I'm sure the recipient loved it! Thanks for sharing:)
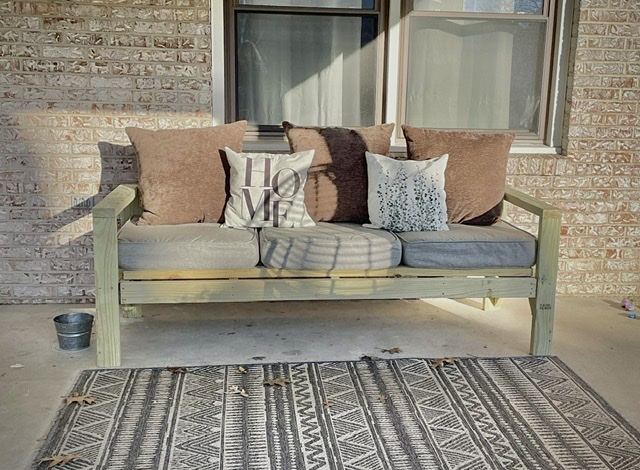
I have been looking at your blog and always been interested in making my own furniture. However, I was scared to try. Your diagrams and measurements were awesome. Thank you! Gave me the encouragement to try!
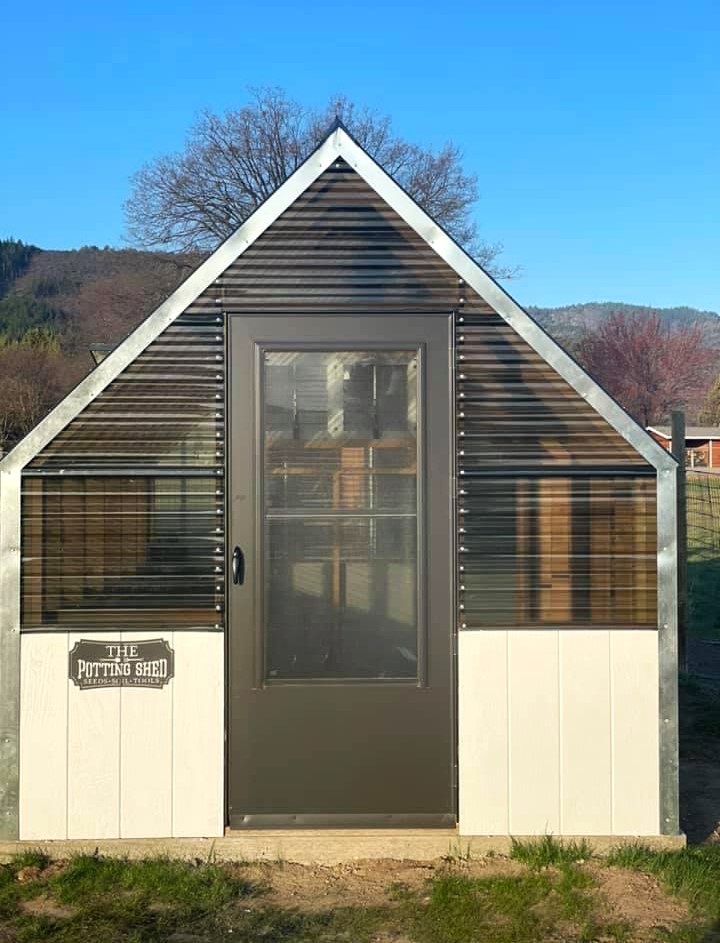
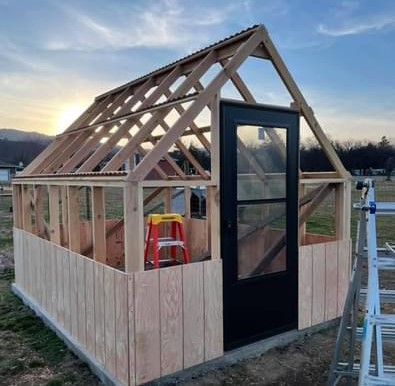
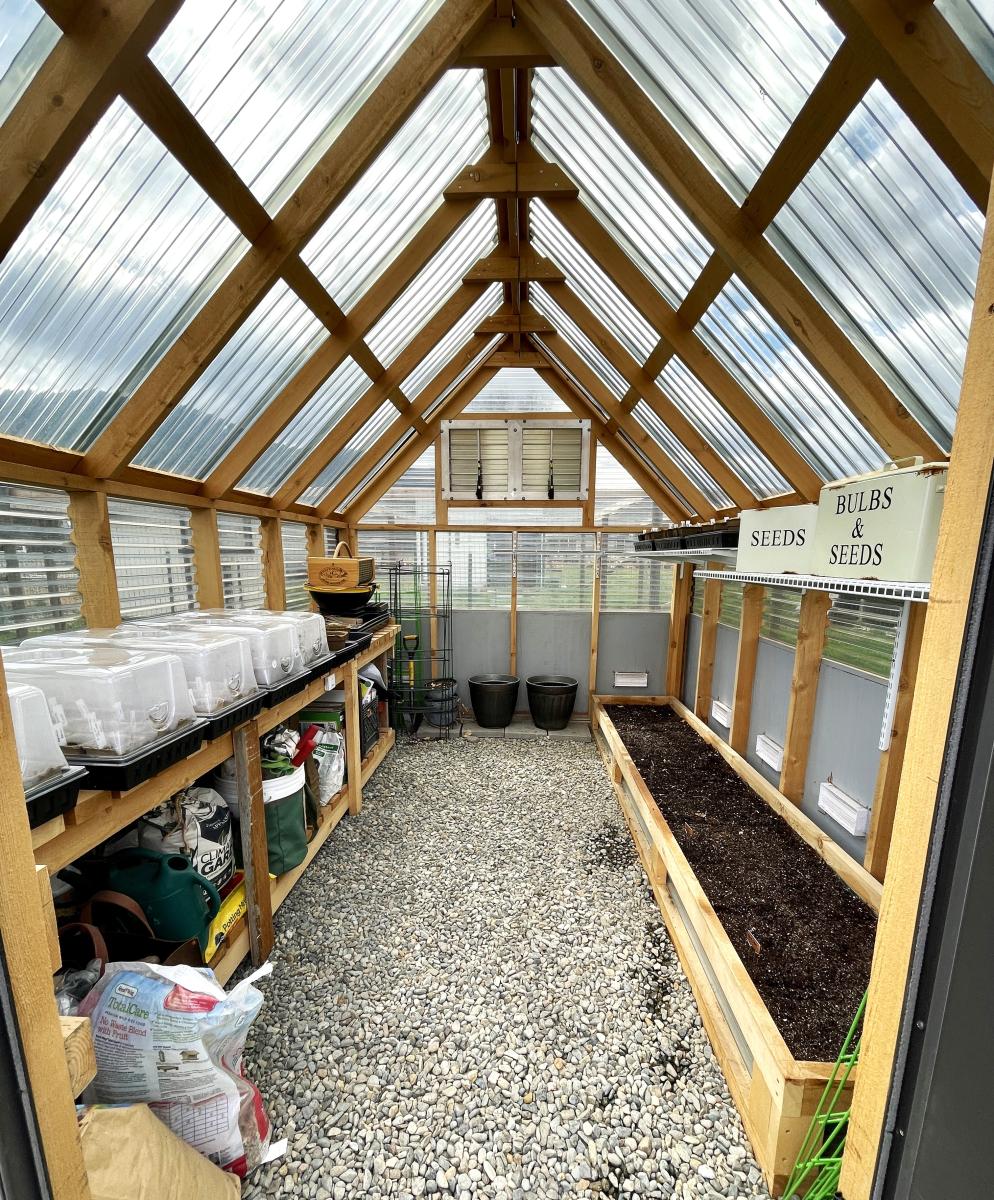
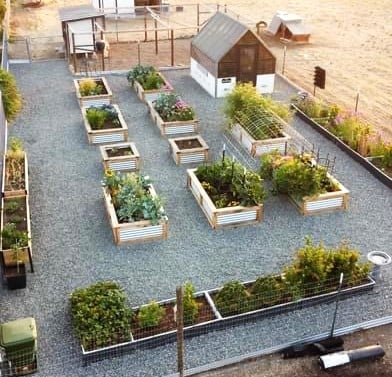
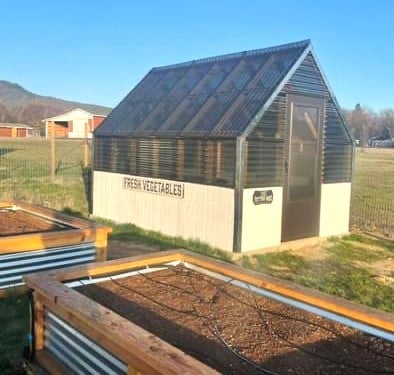
We built our greenhouse a couple years ago and I absolutely love it! We just recently ran electricity to it so I can use heat mats and get an earlier start on my seeds!
Kristin Golden @goldenacresgirl
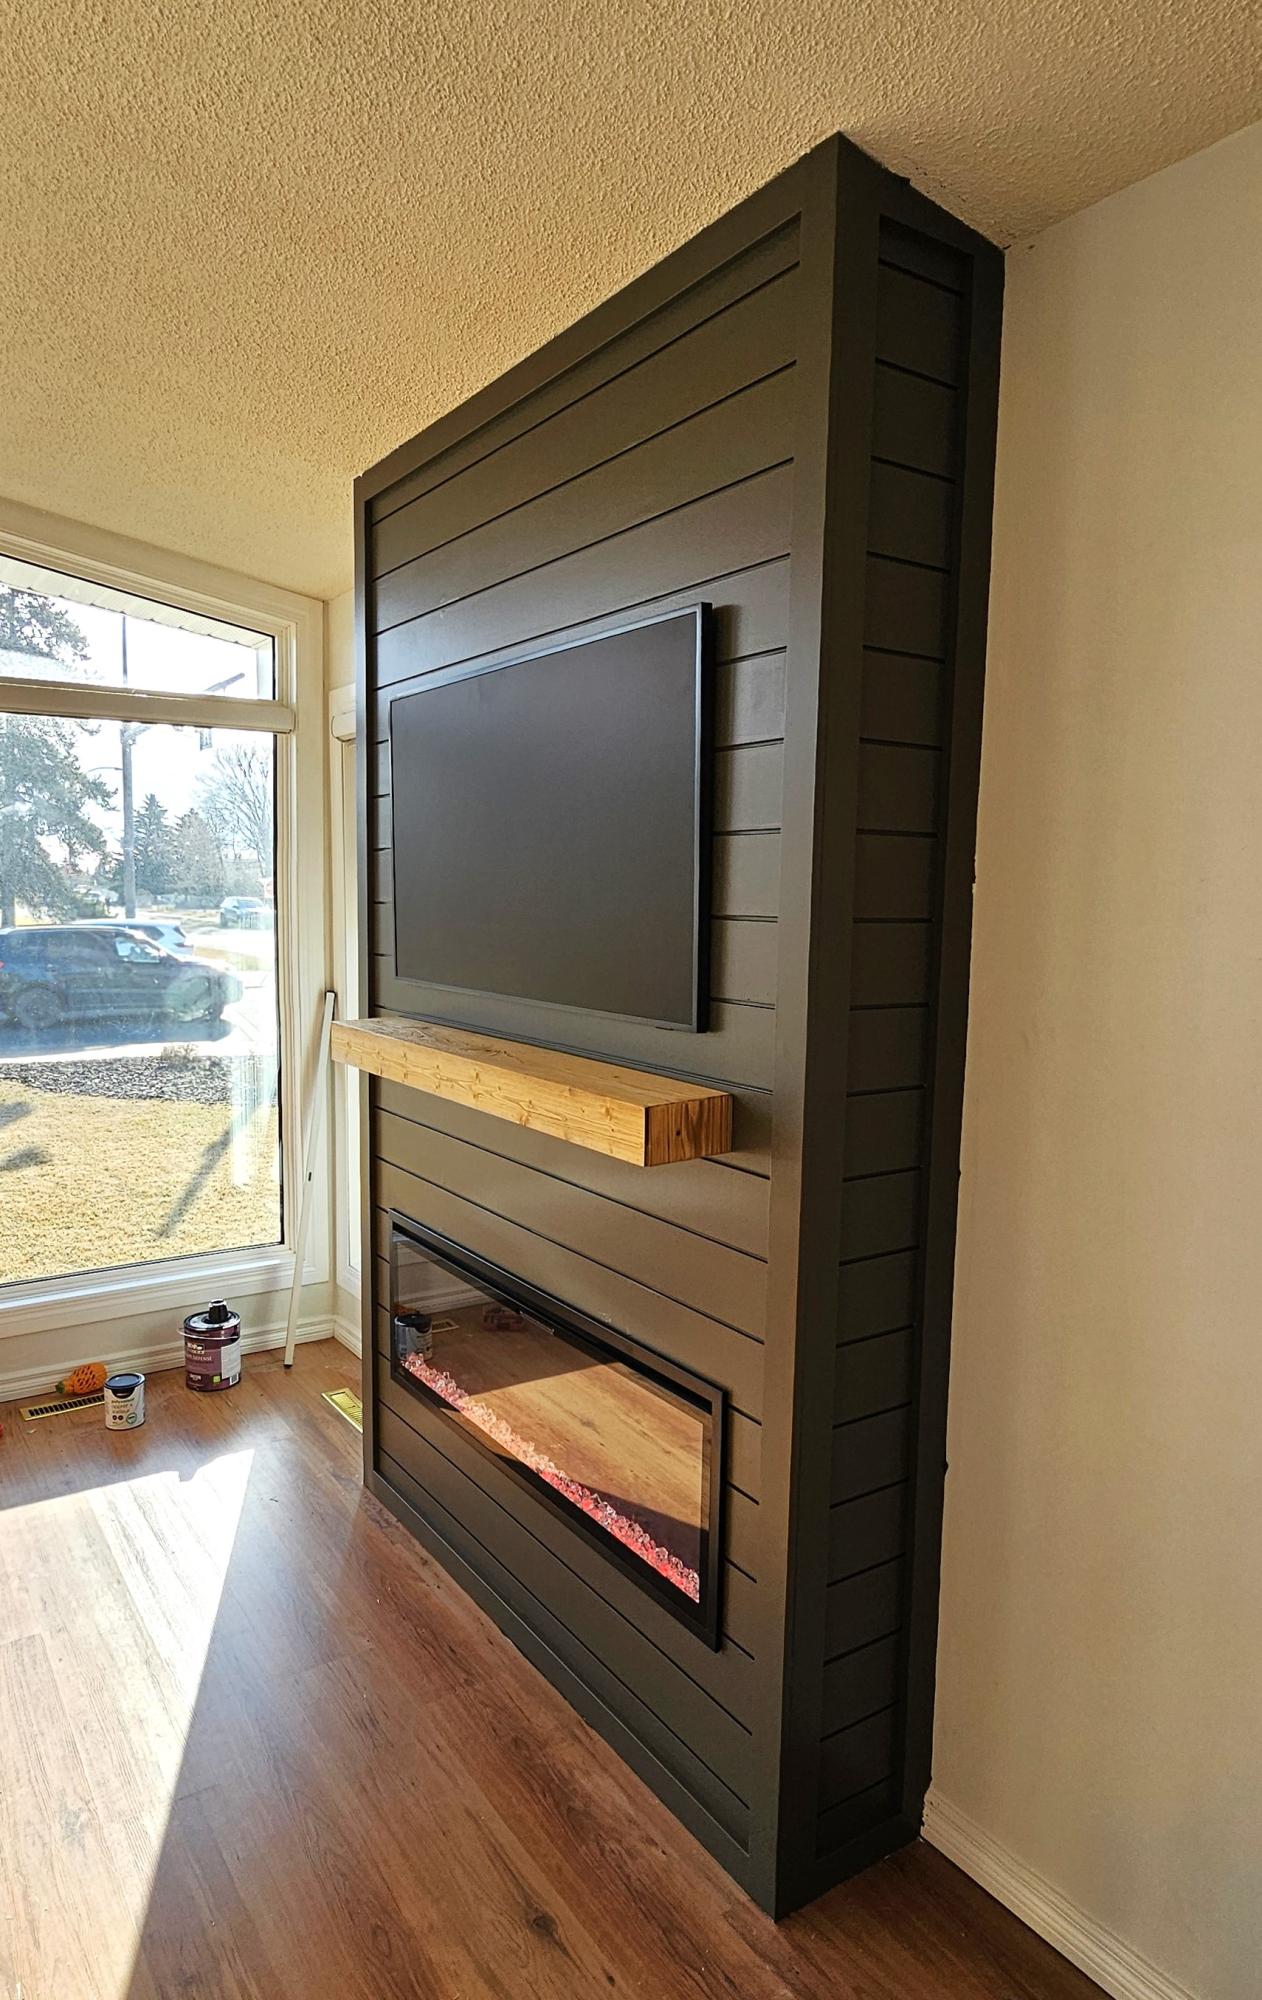
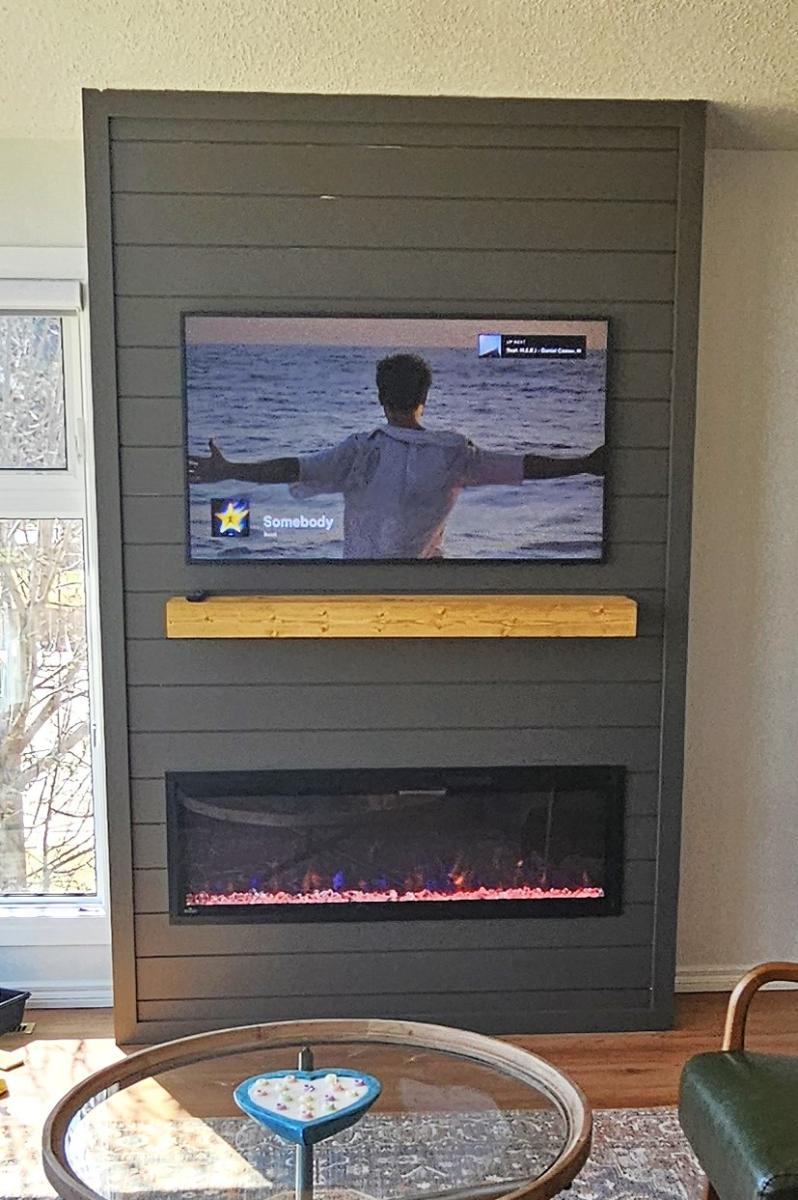
Used Ana's plans to build my floor to ceiling shiplap fireplace. Excellent guide made it easy.
Angelo
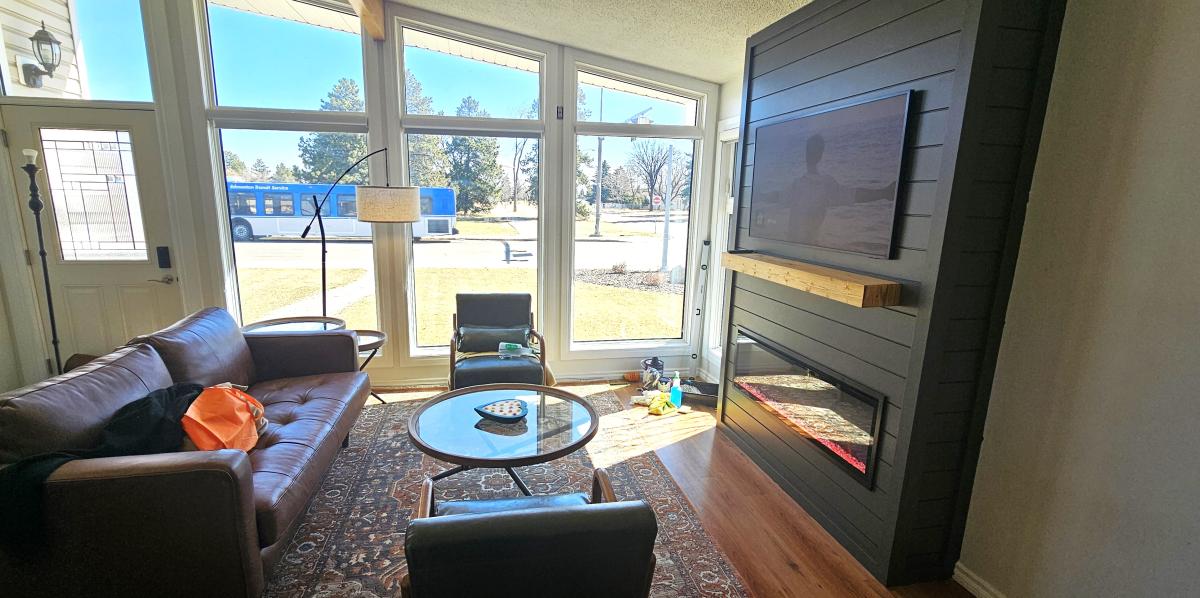

We've been desperate for more storage in our little house and this build really helped. The whole bench is 103“ wide and each drawer gives us 24"x17" of usable space. We had to do some custom shaping for the benchtop (two joined fir 2x12's) fit as the walls are not square but in the end we were really pleased.
The hardest part of the project was getting all of this built and in place while working around a busy family as this is our only meal space and the majority of cutting/forming was done either on the weekends or after bedtimes. If I were to do this again I'd prioritize sending the kids to grandparents for the weekend and know king everything except for paint out in one go.
We could have spent less time with the benchtop by using plywood like in the plans but we wanted the look of a separate benchtop. We may replace the fir with stained oak down the line but this should be plenty sturdy for the next several years.

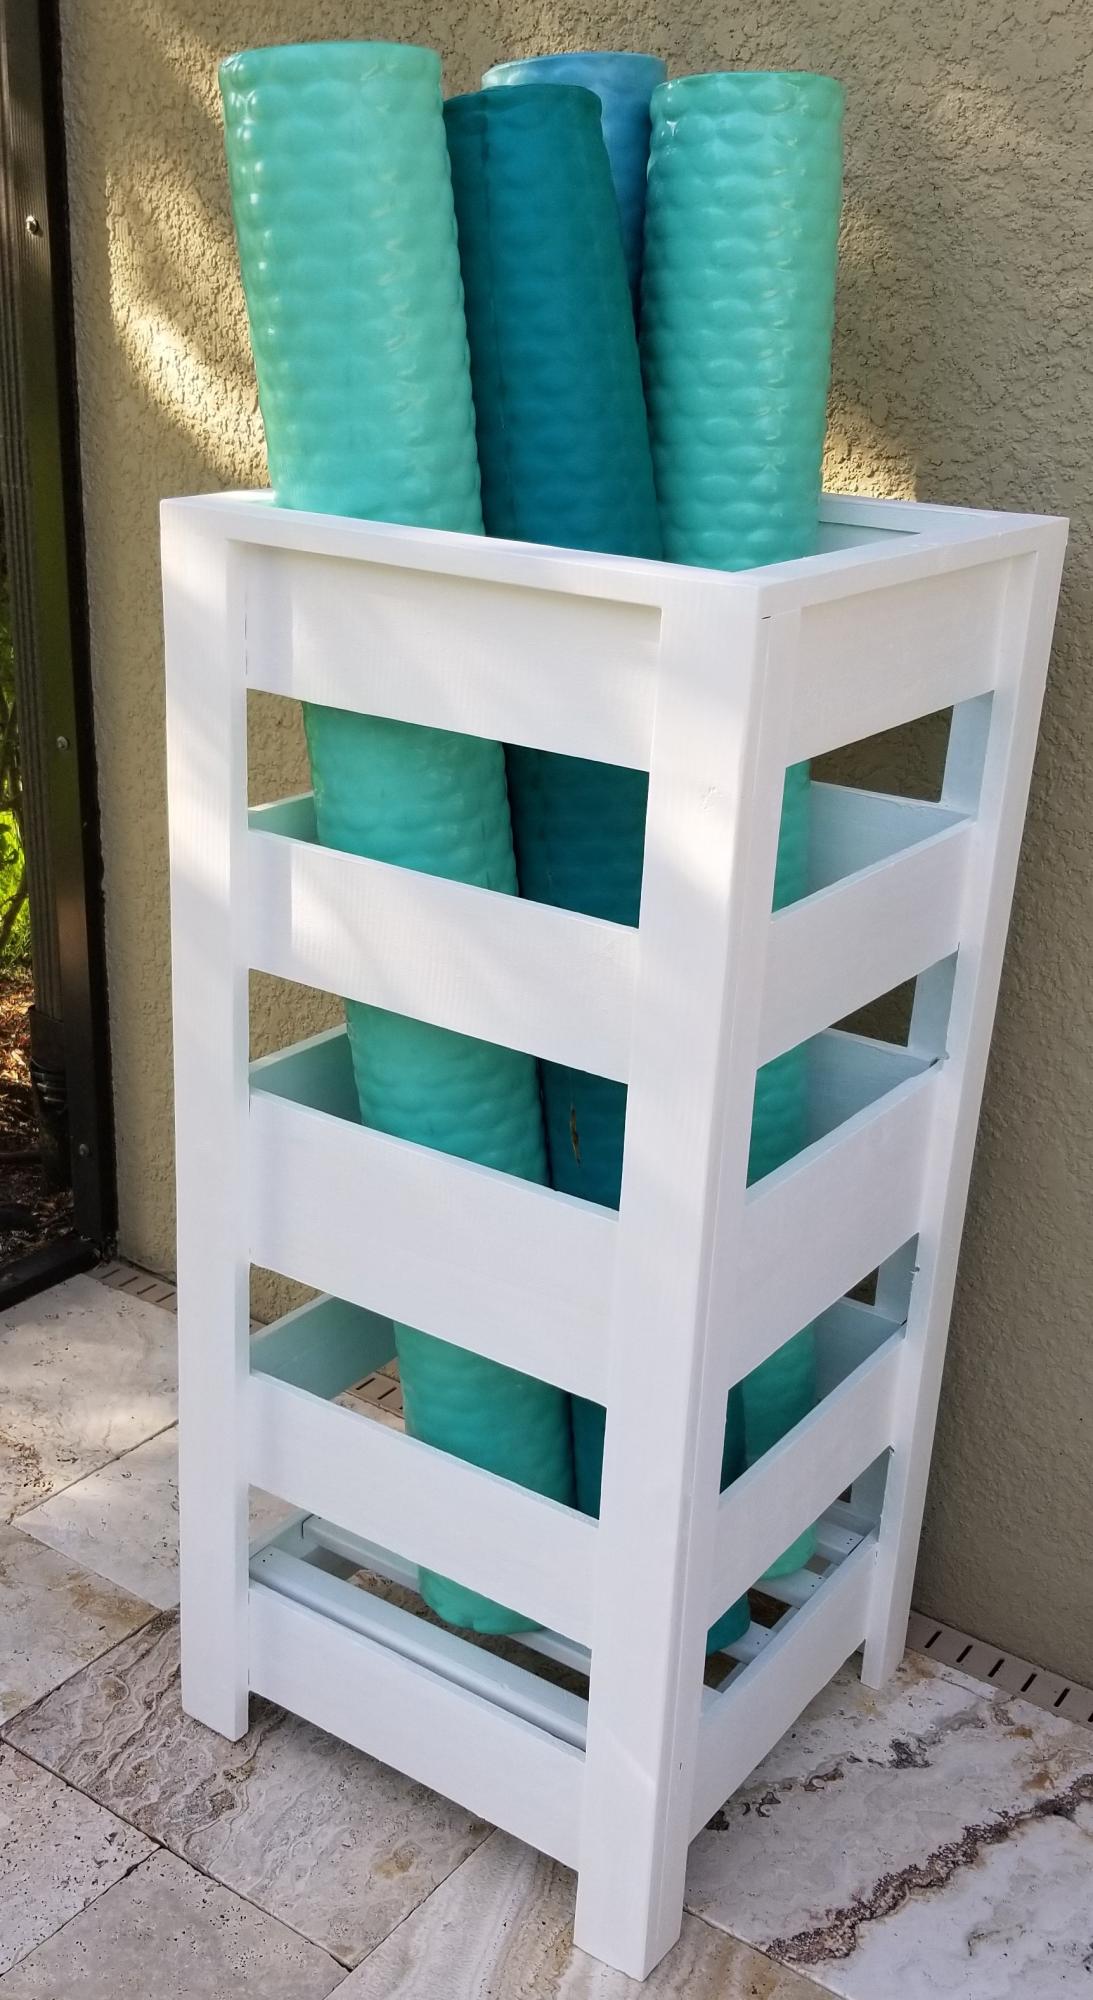
I modified the plans for the planter box to make a holder for Pool Noodles. I made it 40" tall and used 4-4" fence pickets and 1-5.5" fence pickets. I used a 4" spacer and the openings worked out perfect. I stained inside and out since it would show with 2 coats of the solid stain. It is perfect! Thank you so much for the inspiration and plans!

Mon, 06/06/2022 - 14:04
This is so smart and looks great too, thank you for sharing!
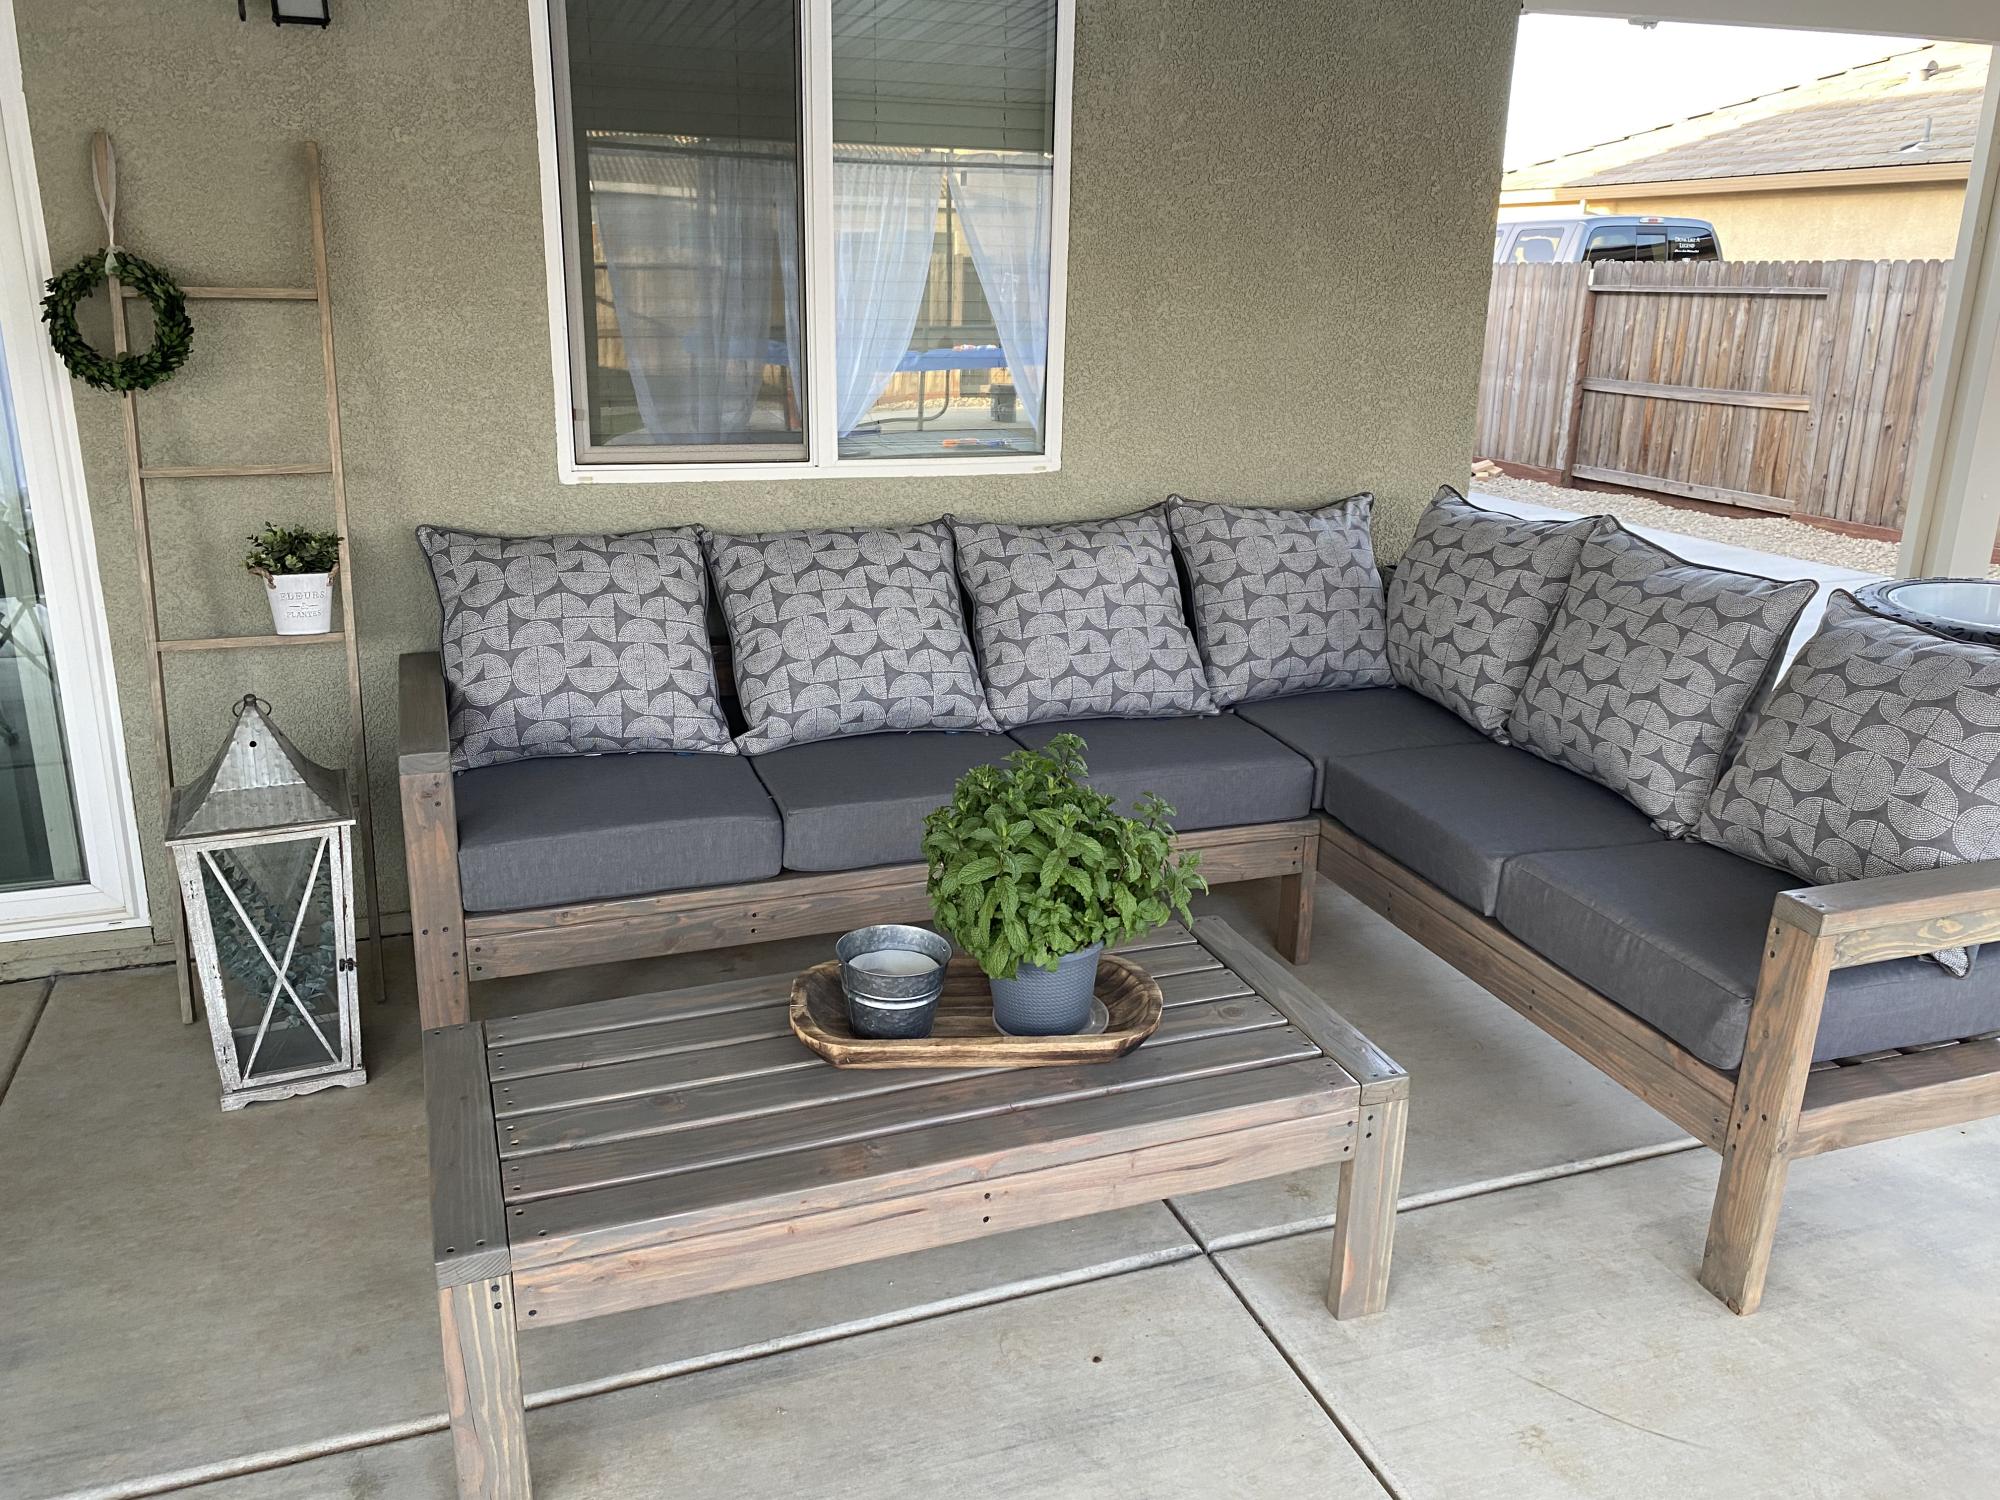
This project was fun to build with hubby said the shopping list and the cut list was perfect! Love all your designs! King bed is next!
Fri, 04/28/2023 - 09:15
Very well done, thank you for sharing your beautiful space and build!

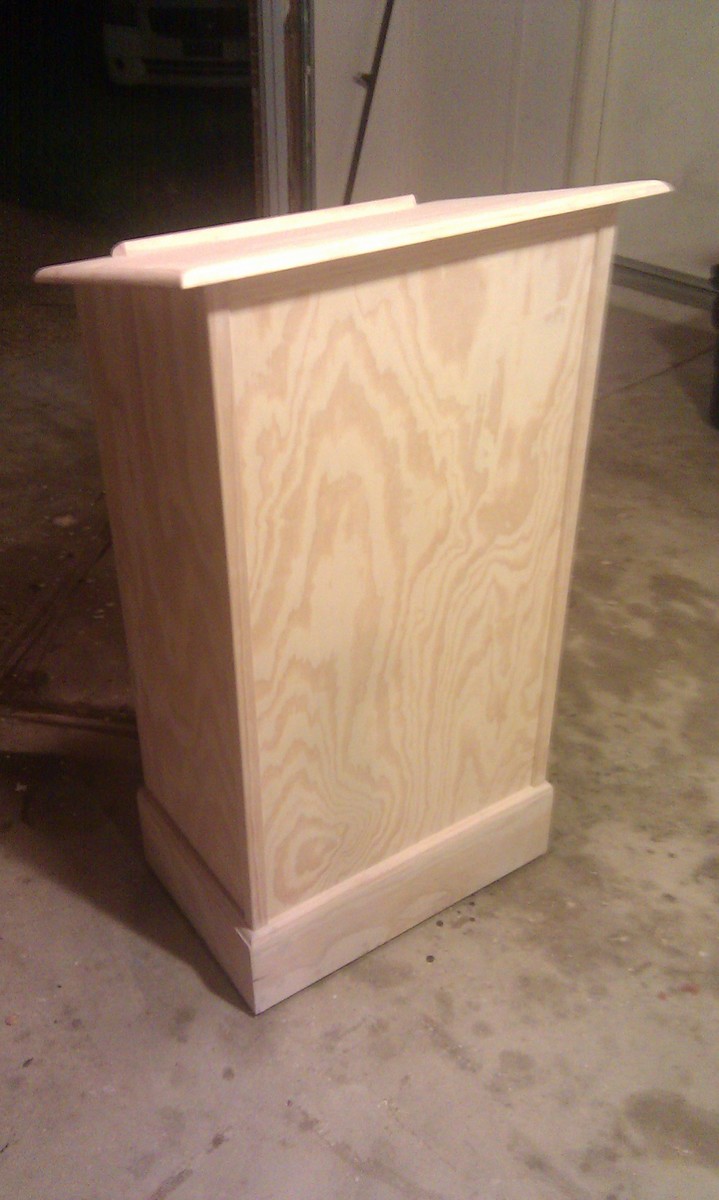
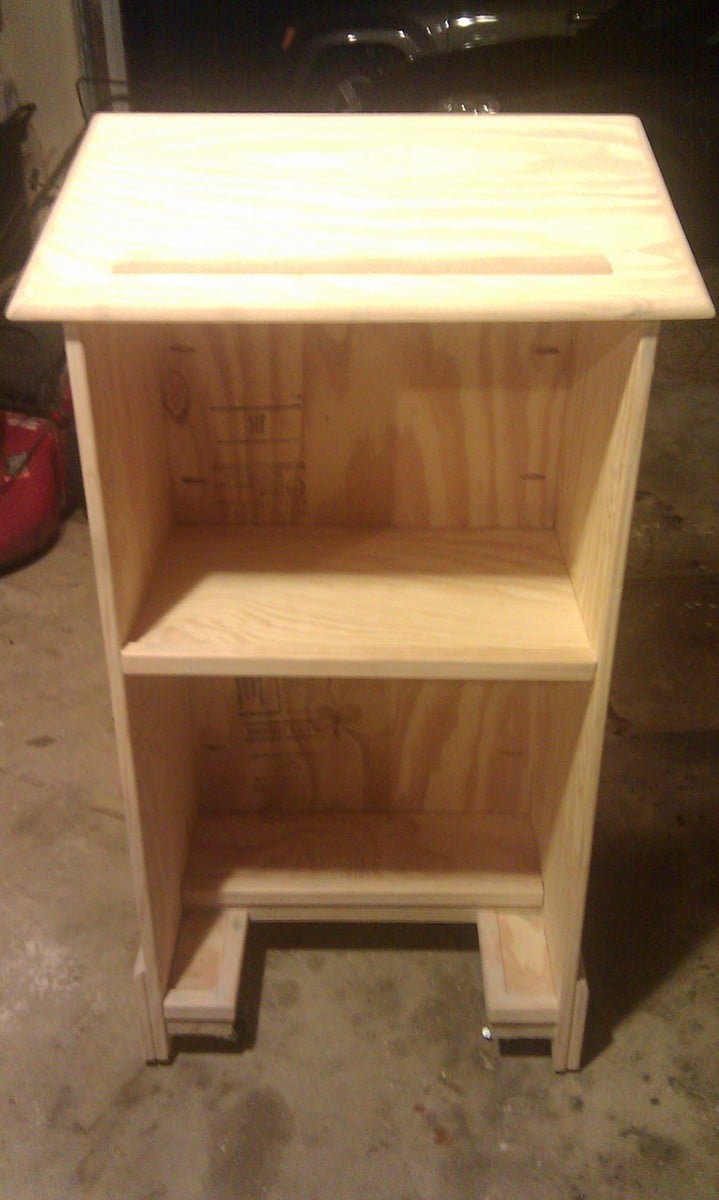
This is my first try at building furniture. I've built larger things in the past like decks and a fort for my nephews, but never furniture. Even though I used the plans to build the main box, I did change up the bottom and added some new stuff. I added wheels to the bottom my wife could easily move it around her classroom. I didn't want to put a square base on it because I thought it might hit her ankles when she was standing close to it. So I sort-of notched it out to give an opening for her feet and I used some scraps to create a short shelf at the bottom. I also added more trim that the plans call for. I cut strips of the pine plywood for the base molding and topped it with quarter round. I used corner trim for the front corners, the self inside and the bottom notched shelf. I also used screen trim for the back of it. I think it came out nice and I've very pleased with it. I used 2 coats of Minwax PolyShades American Chestnut on it.


Comments
Ana White Admin
Mon, 05/03/2021 - 11:20
HELLO!
Excellent job, thank you for sharing!
Ana White Admin
Mon, 05/03/2021 - 11:20
HELLO!
Excellent job, thank you for sharing!