Farmhouse L Desk
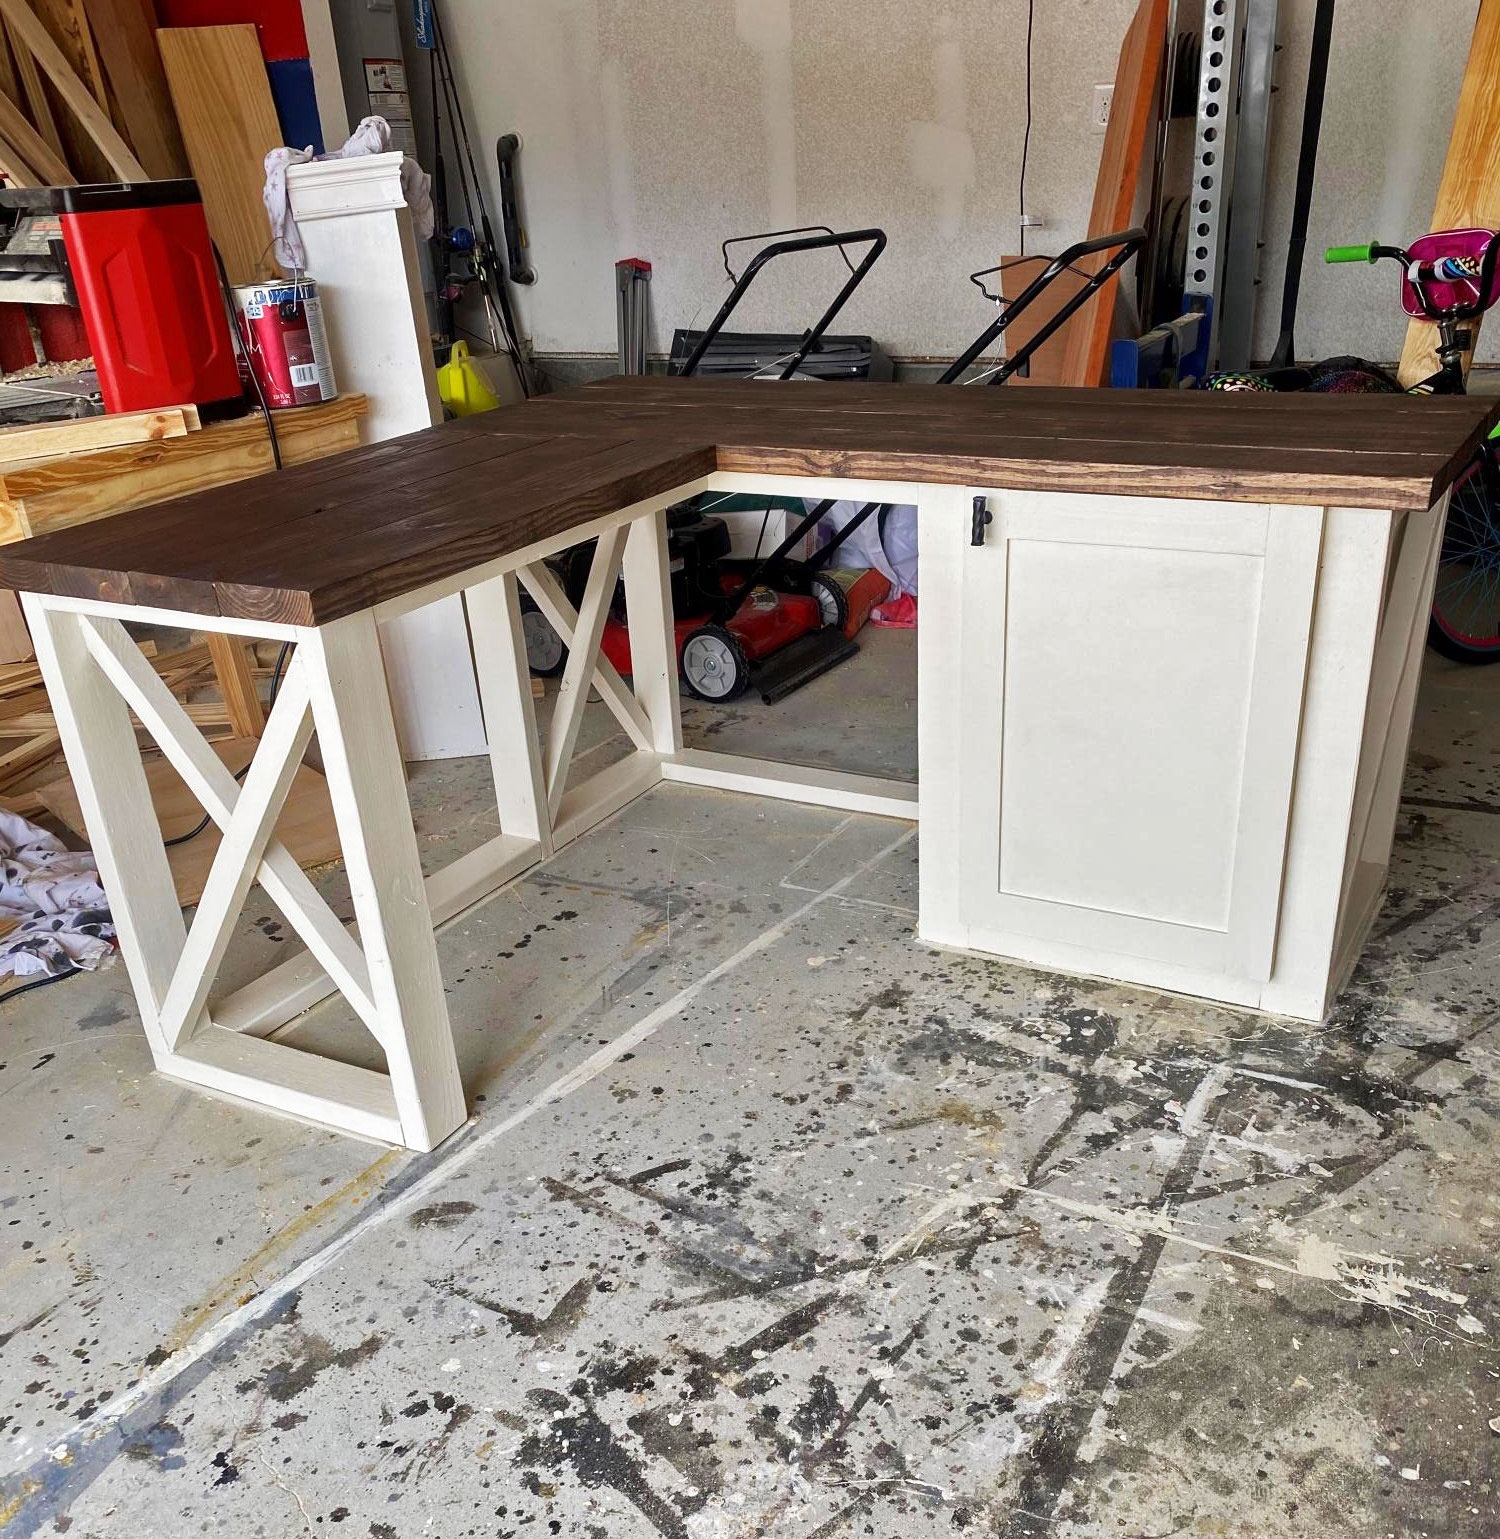
Put a twist on the farmhouse desk plans
Built from Plan(s)
Put a twist on the farmhouse desk plans
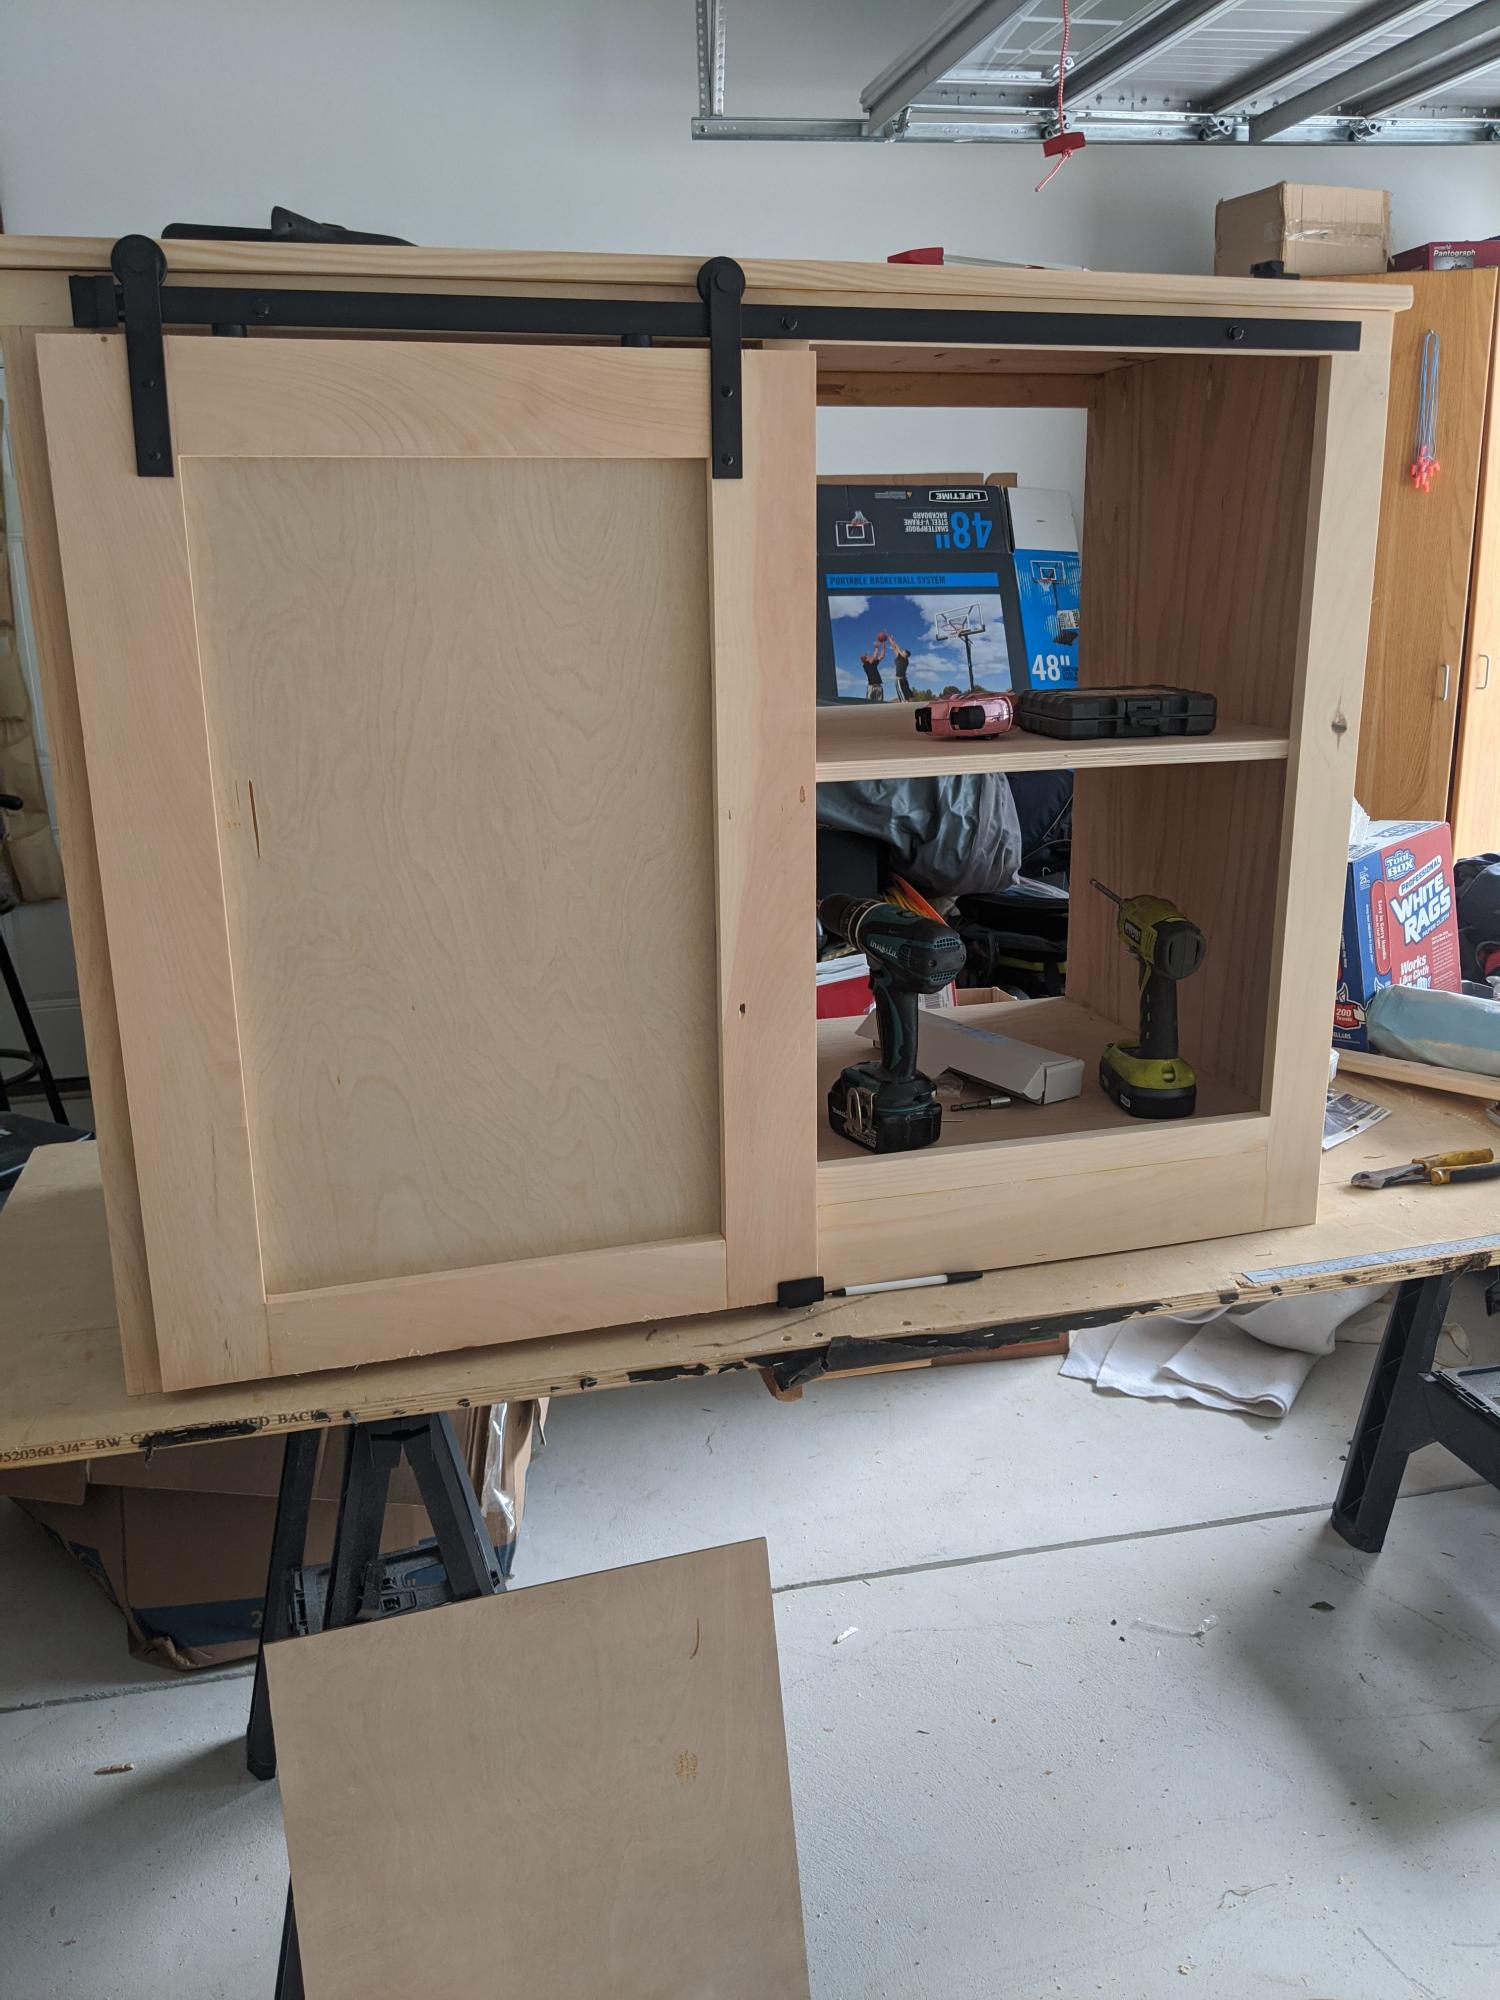
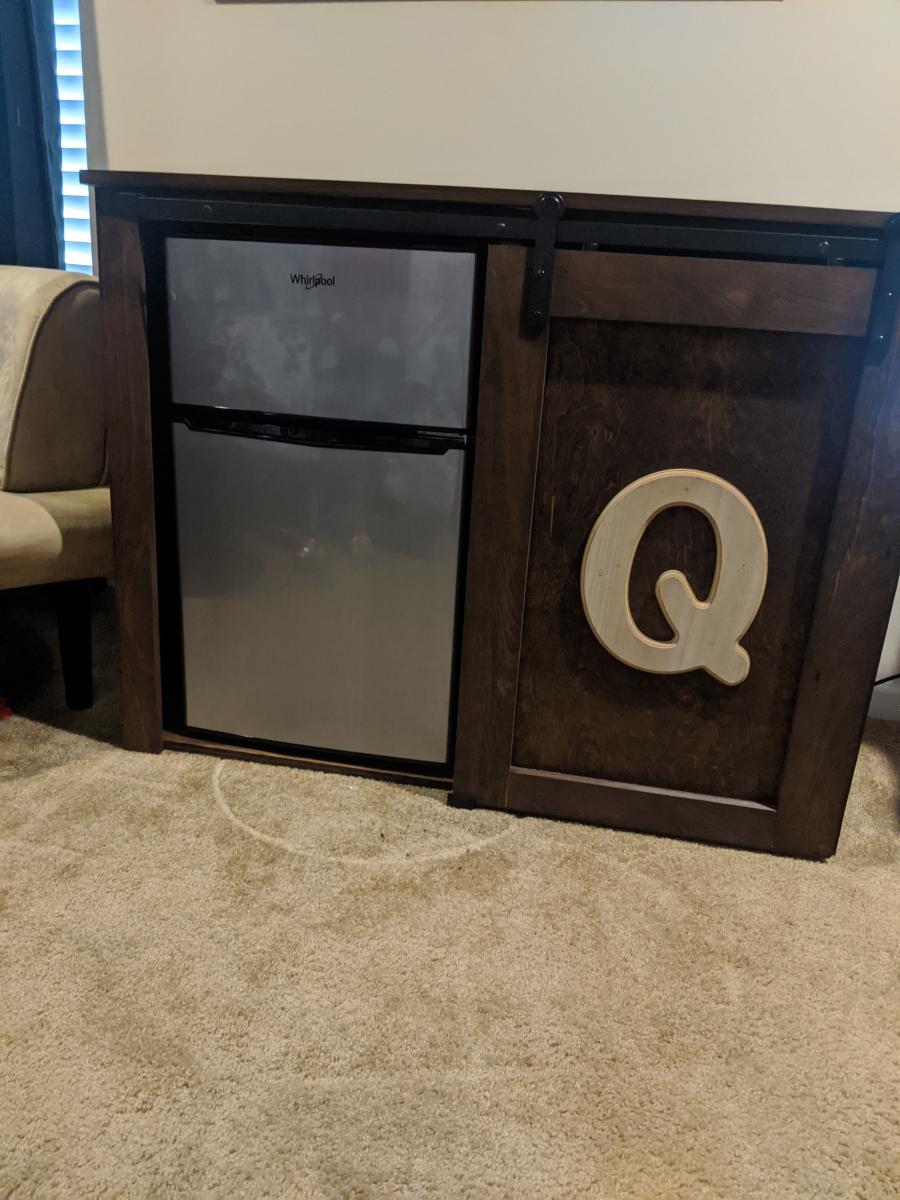
I was able to make this cabinet using your plans and it went absolutely flawless! Thank for all that you do!
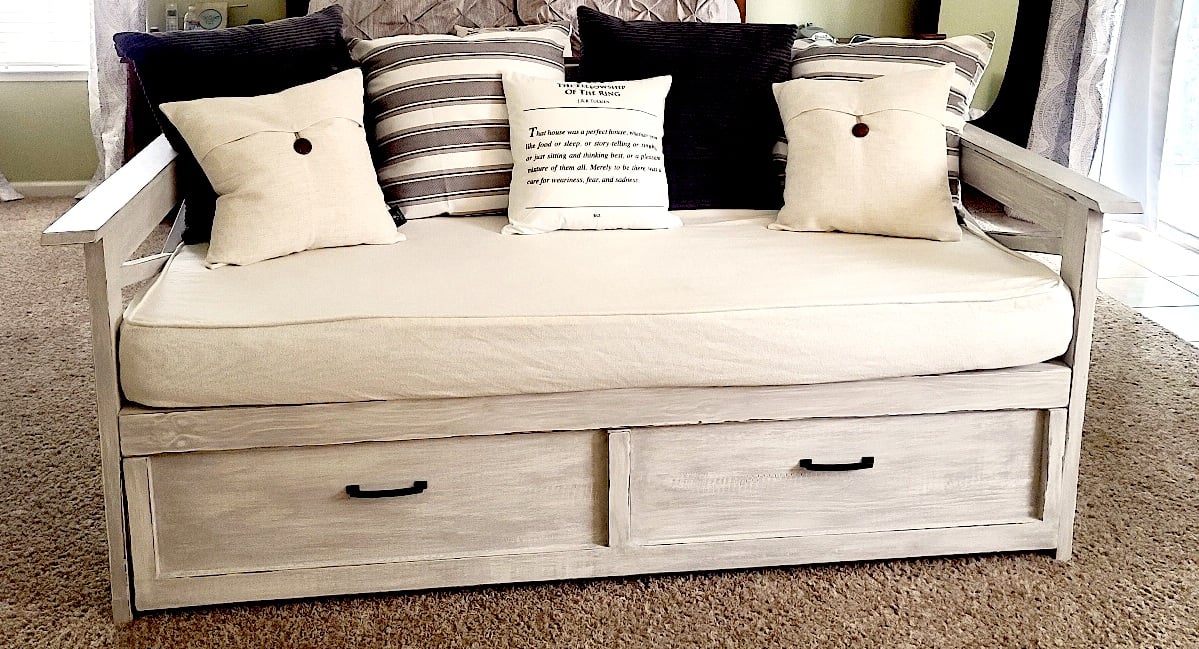
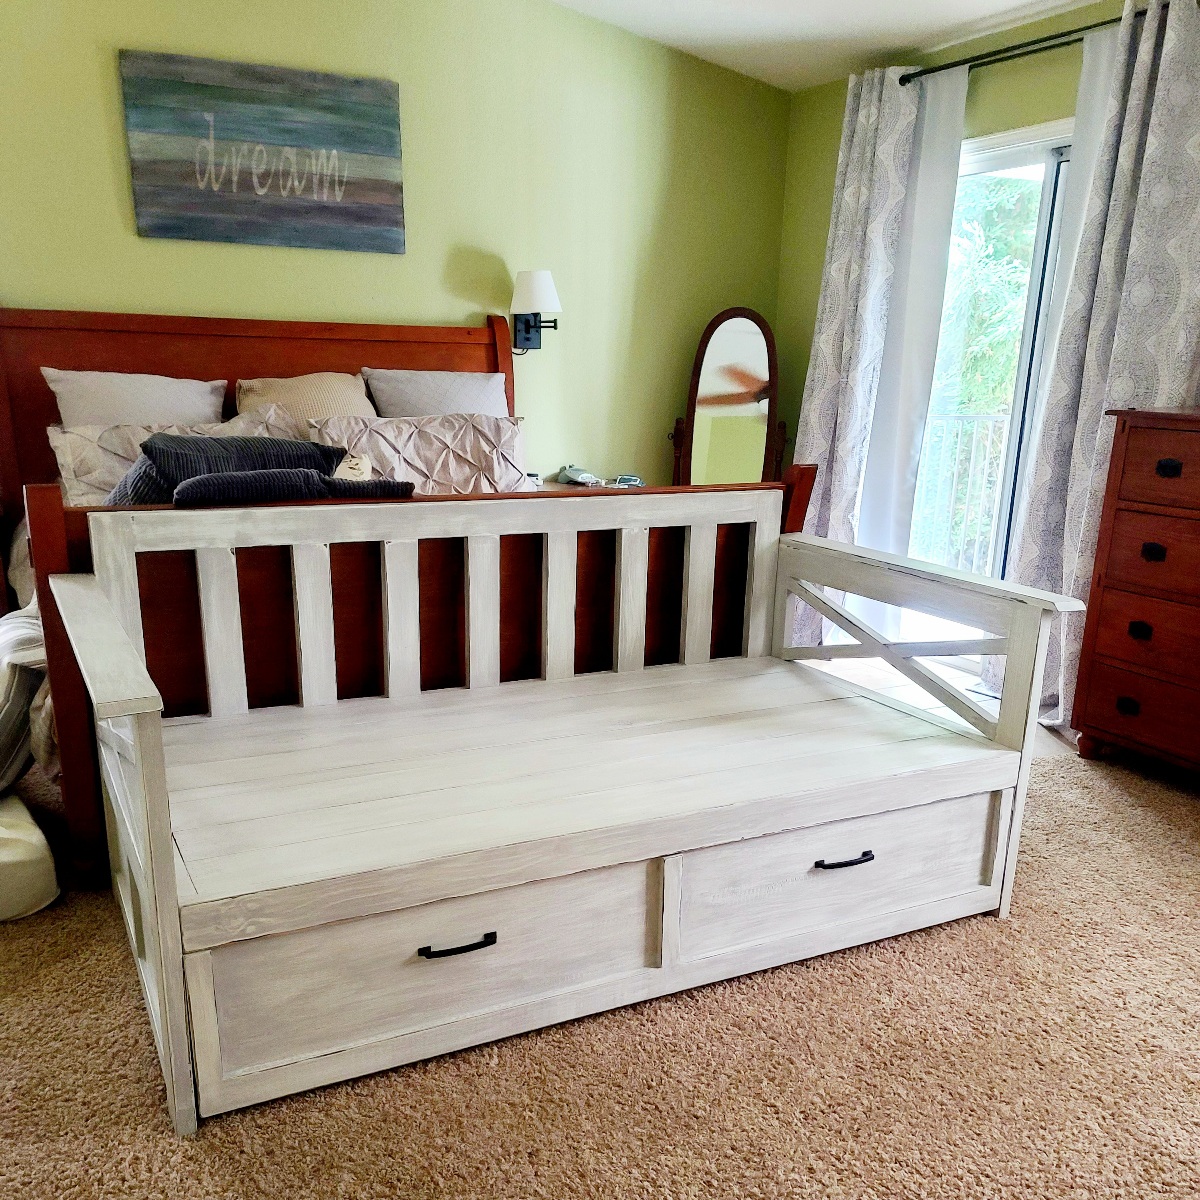
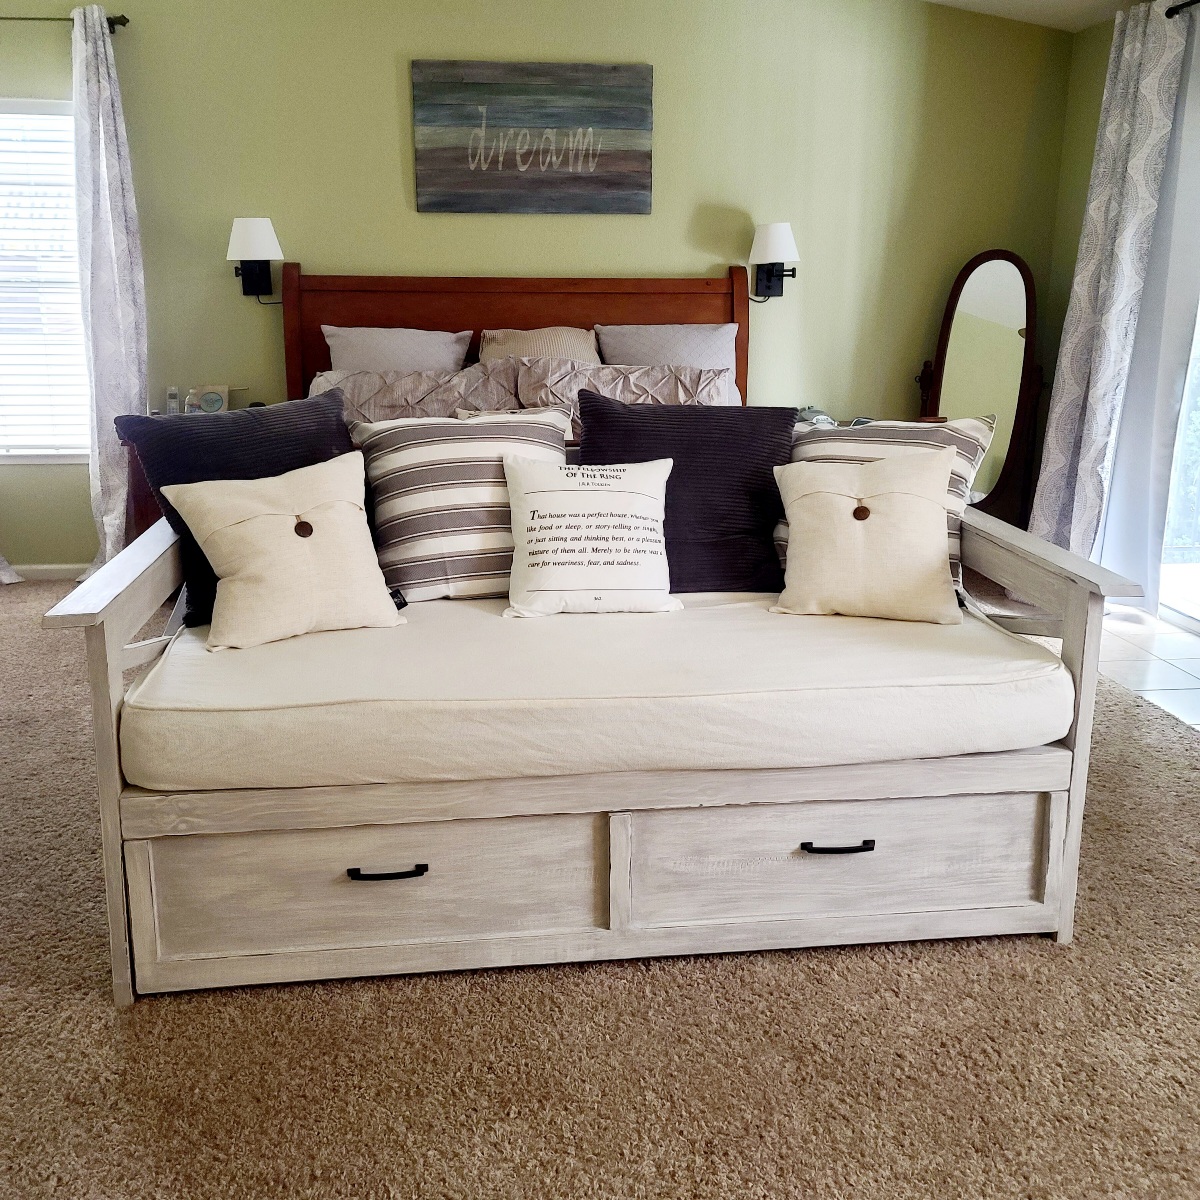
Great plans for a really useful storage daybed! I modified the plans to include a slat back and rustic x sides, as well as changing the Trundle drawers to a single drawer to fit my exercise equipment. I finished the daybed with stain and chalk paint in old white and Paris Grey distressed for the perfect shabby chic look!

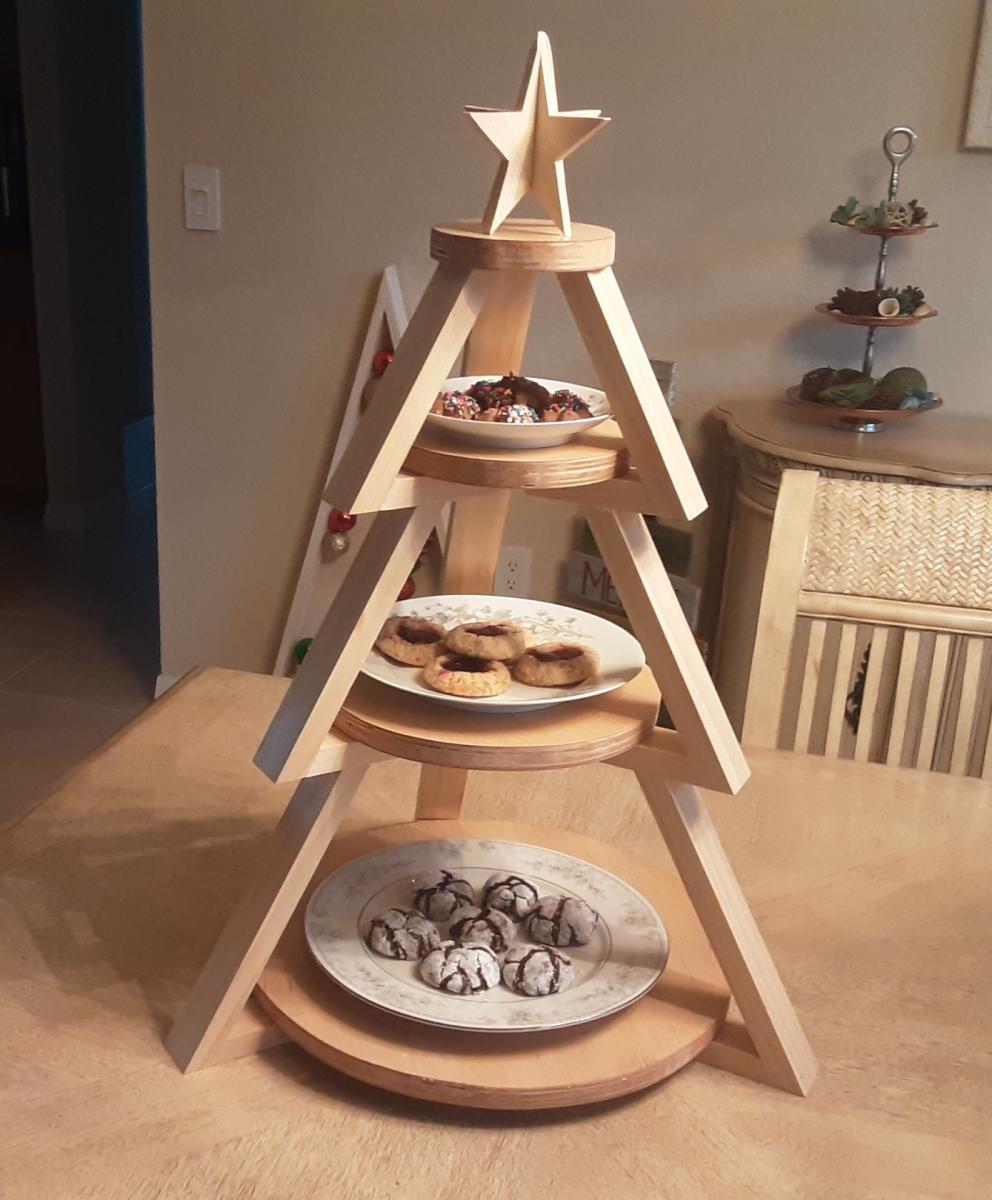
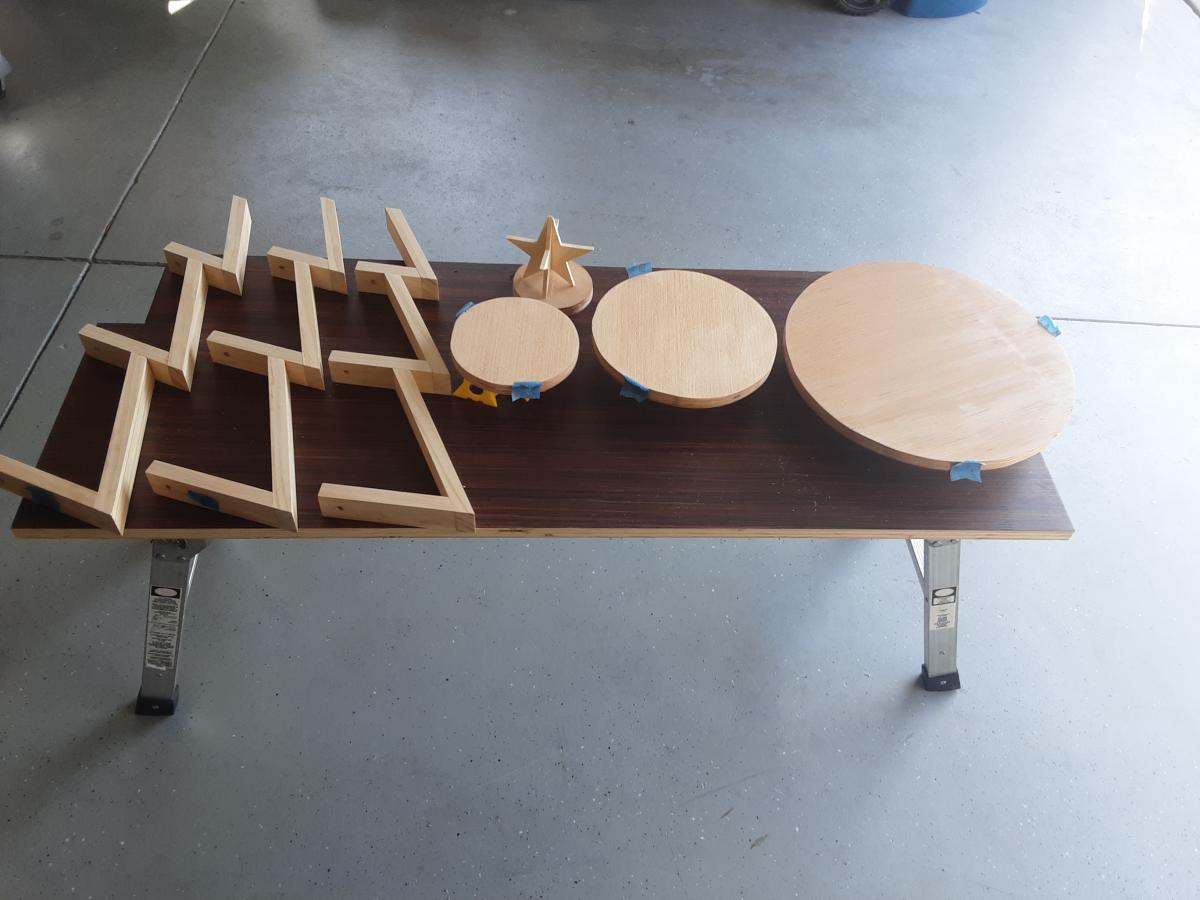
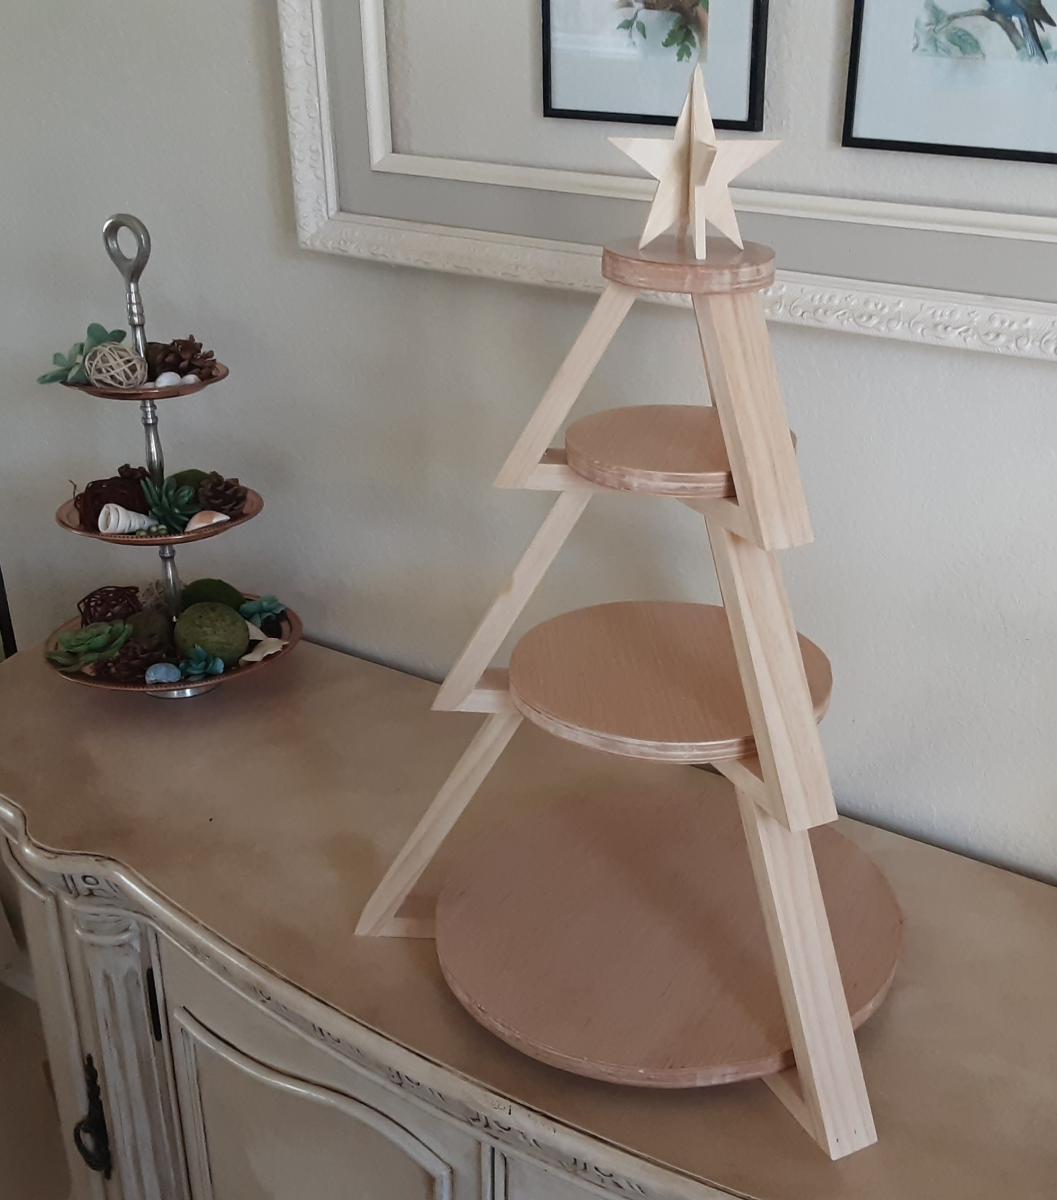
Inspired by Shara of Woodshop Diaries, created this 3 tier tray for displaying cookies for Santa. Added a 3 dimensional star as the topper and simply followed the excellent photos and schematics on Shara's website.
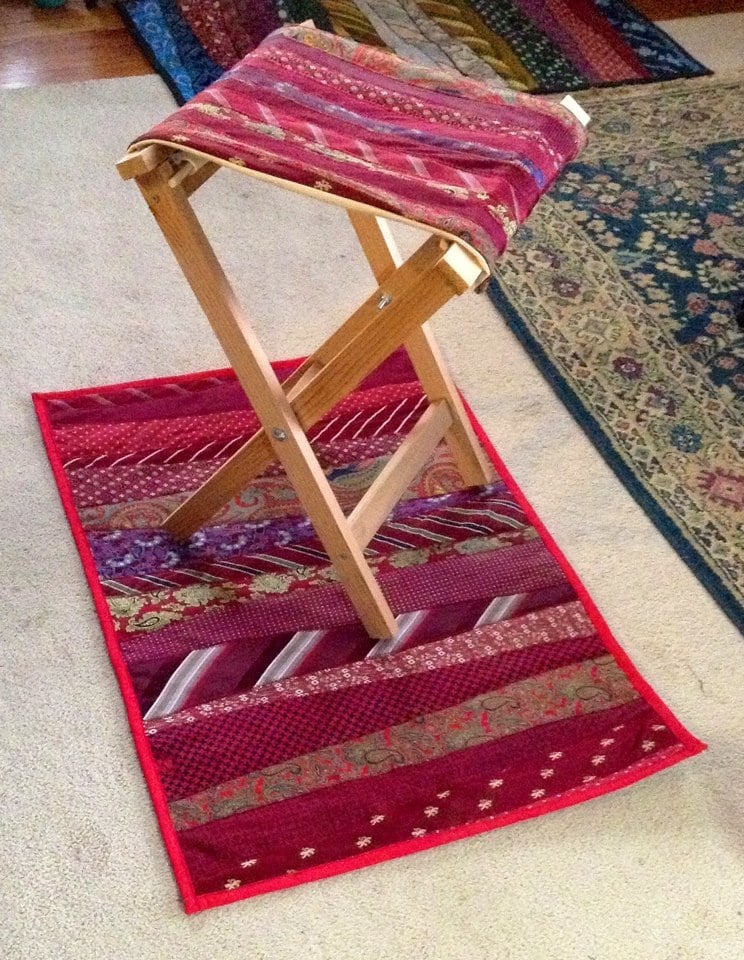
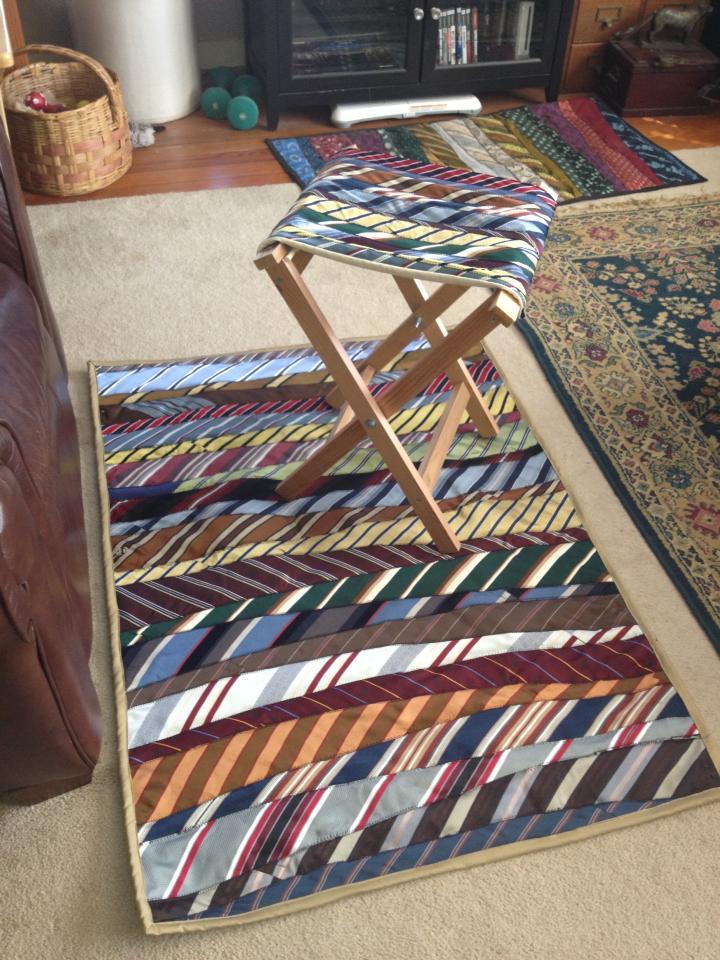
I zigzag stitched vintage neckties to plain canvas and used these directions to construct the stool frame. I used 1 5/8" screws.

Fri, 02/15/2013 - 19:23
Cool idea! Now I'm going to be looking for ties at rummage sales!
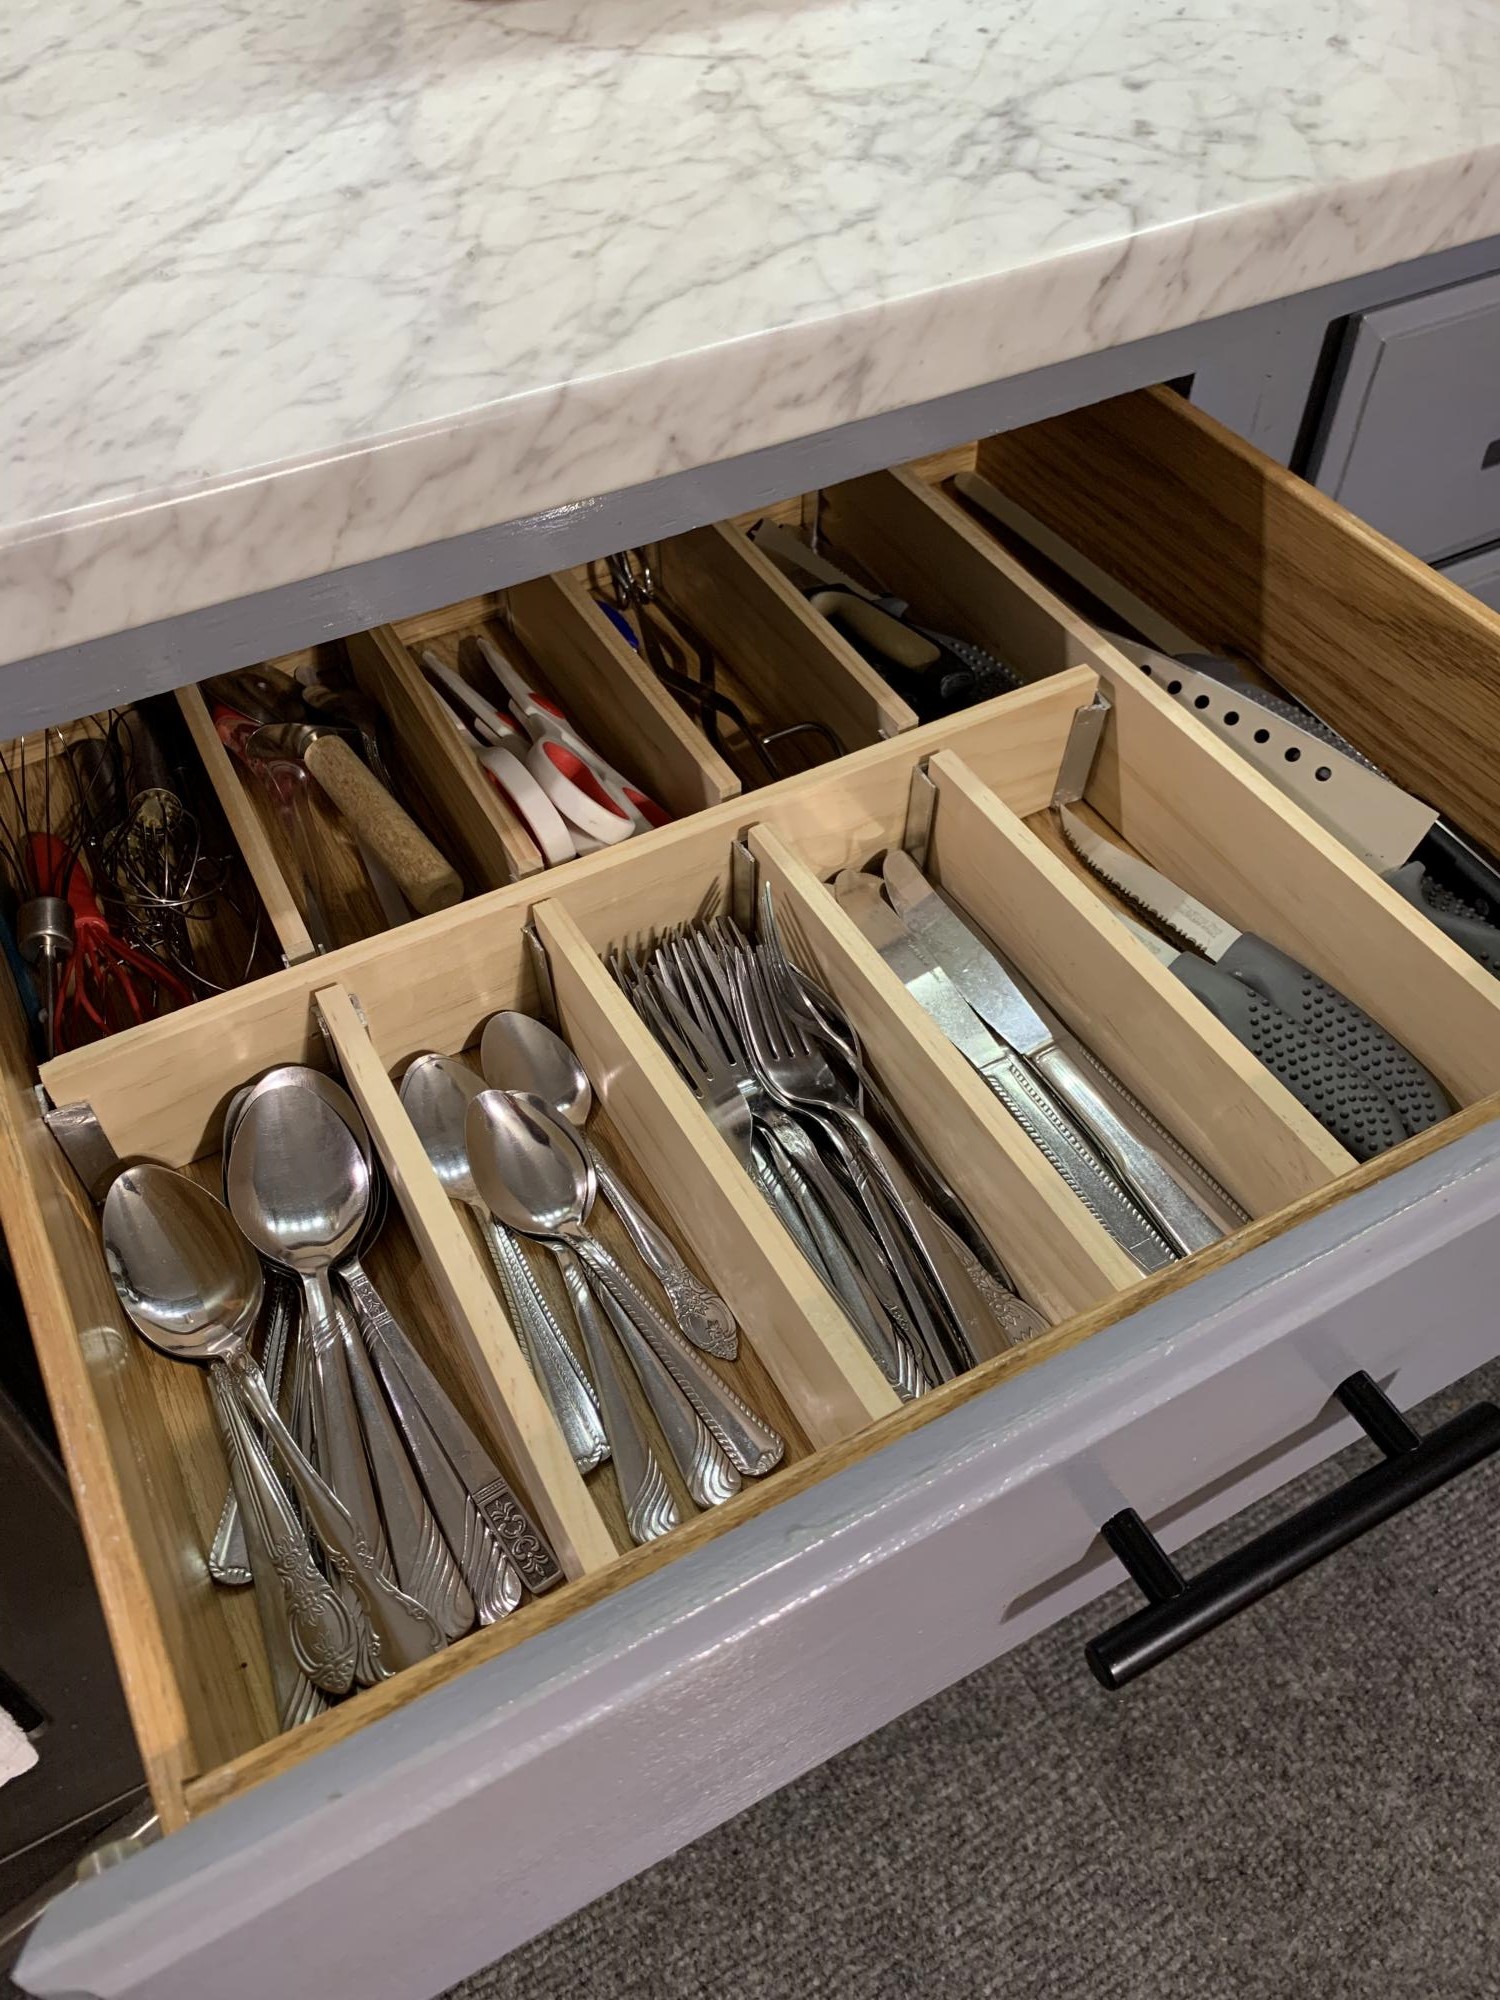
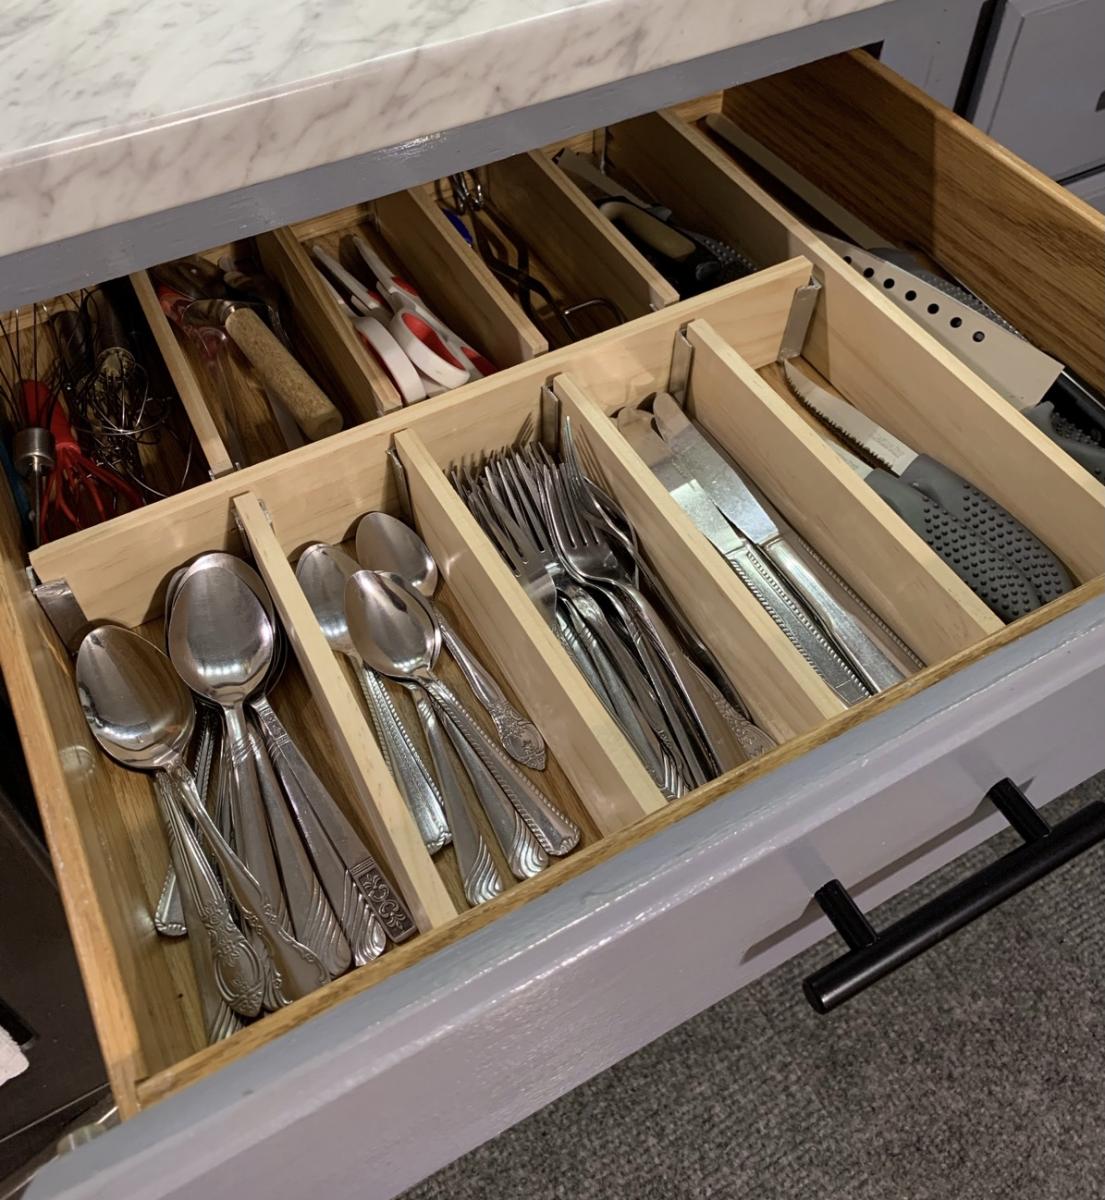
Finished this in no time and wow did it create a lot of space. I was able to get rid of my knife block because there’s now room for my knives in my drawer. Thank you Ana for sharing your wood work with us! This was well worth the $25 I spent!
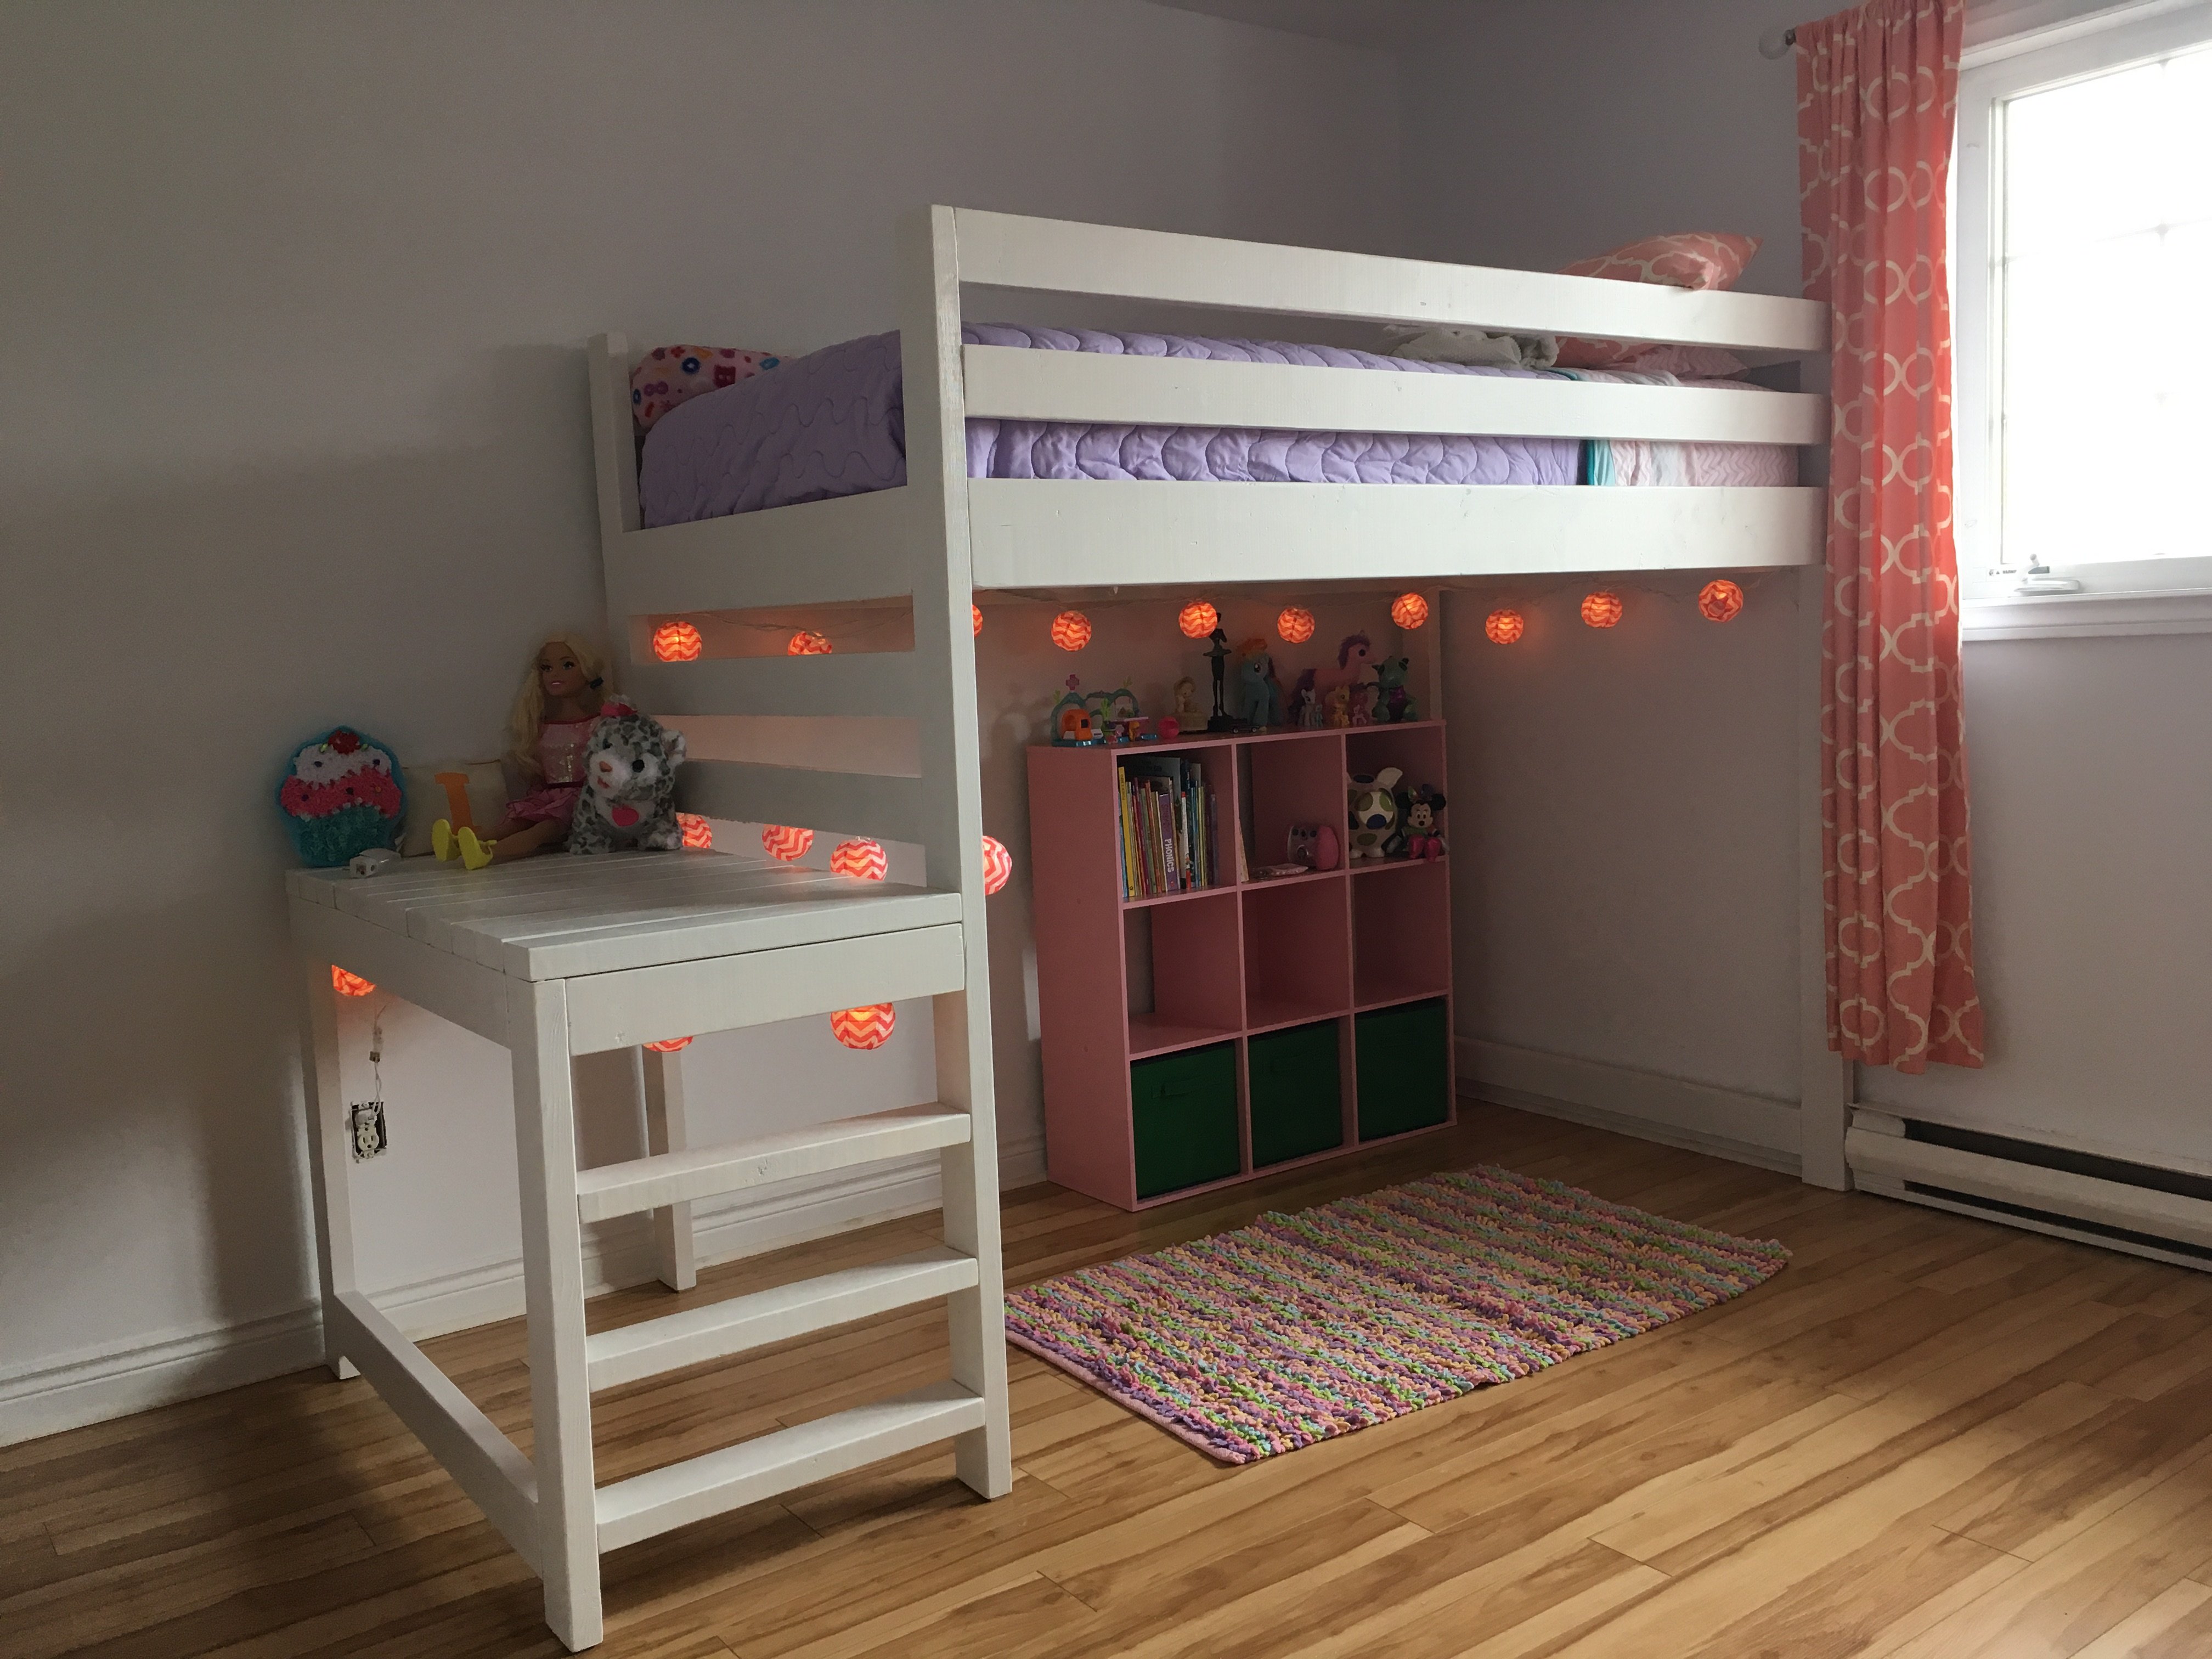
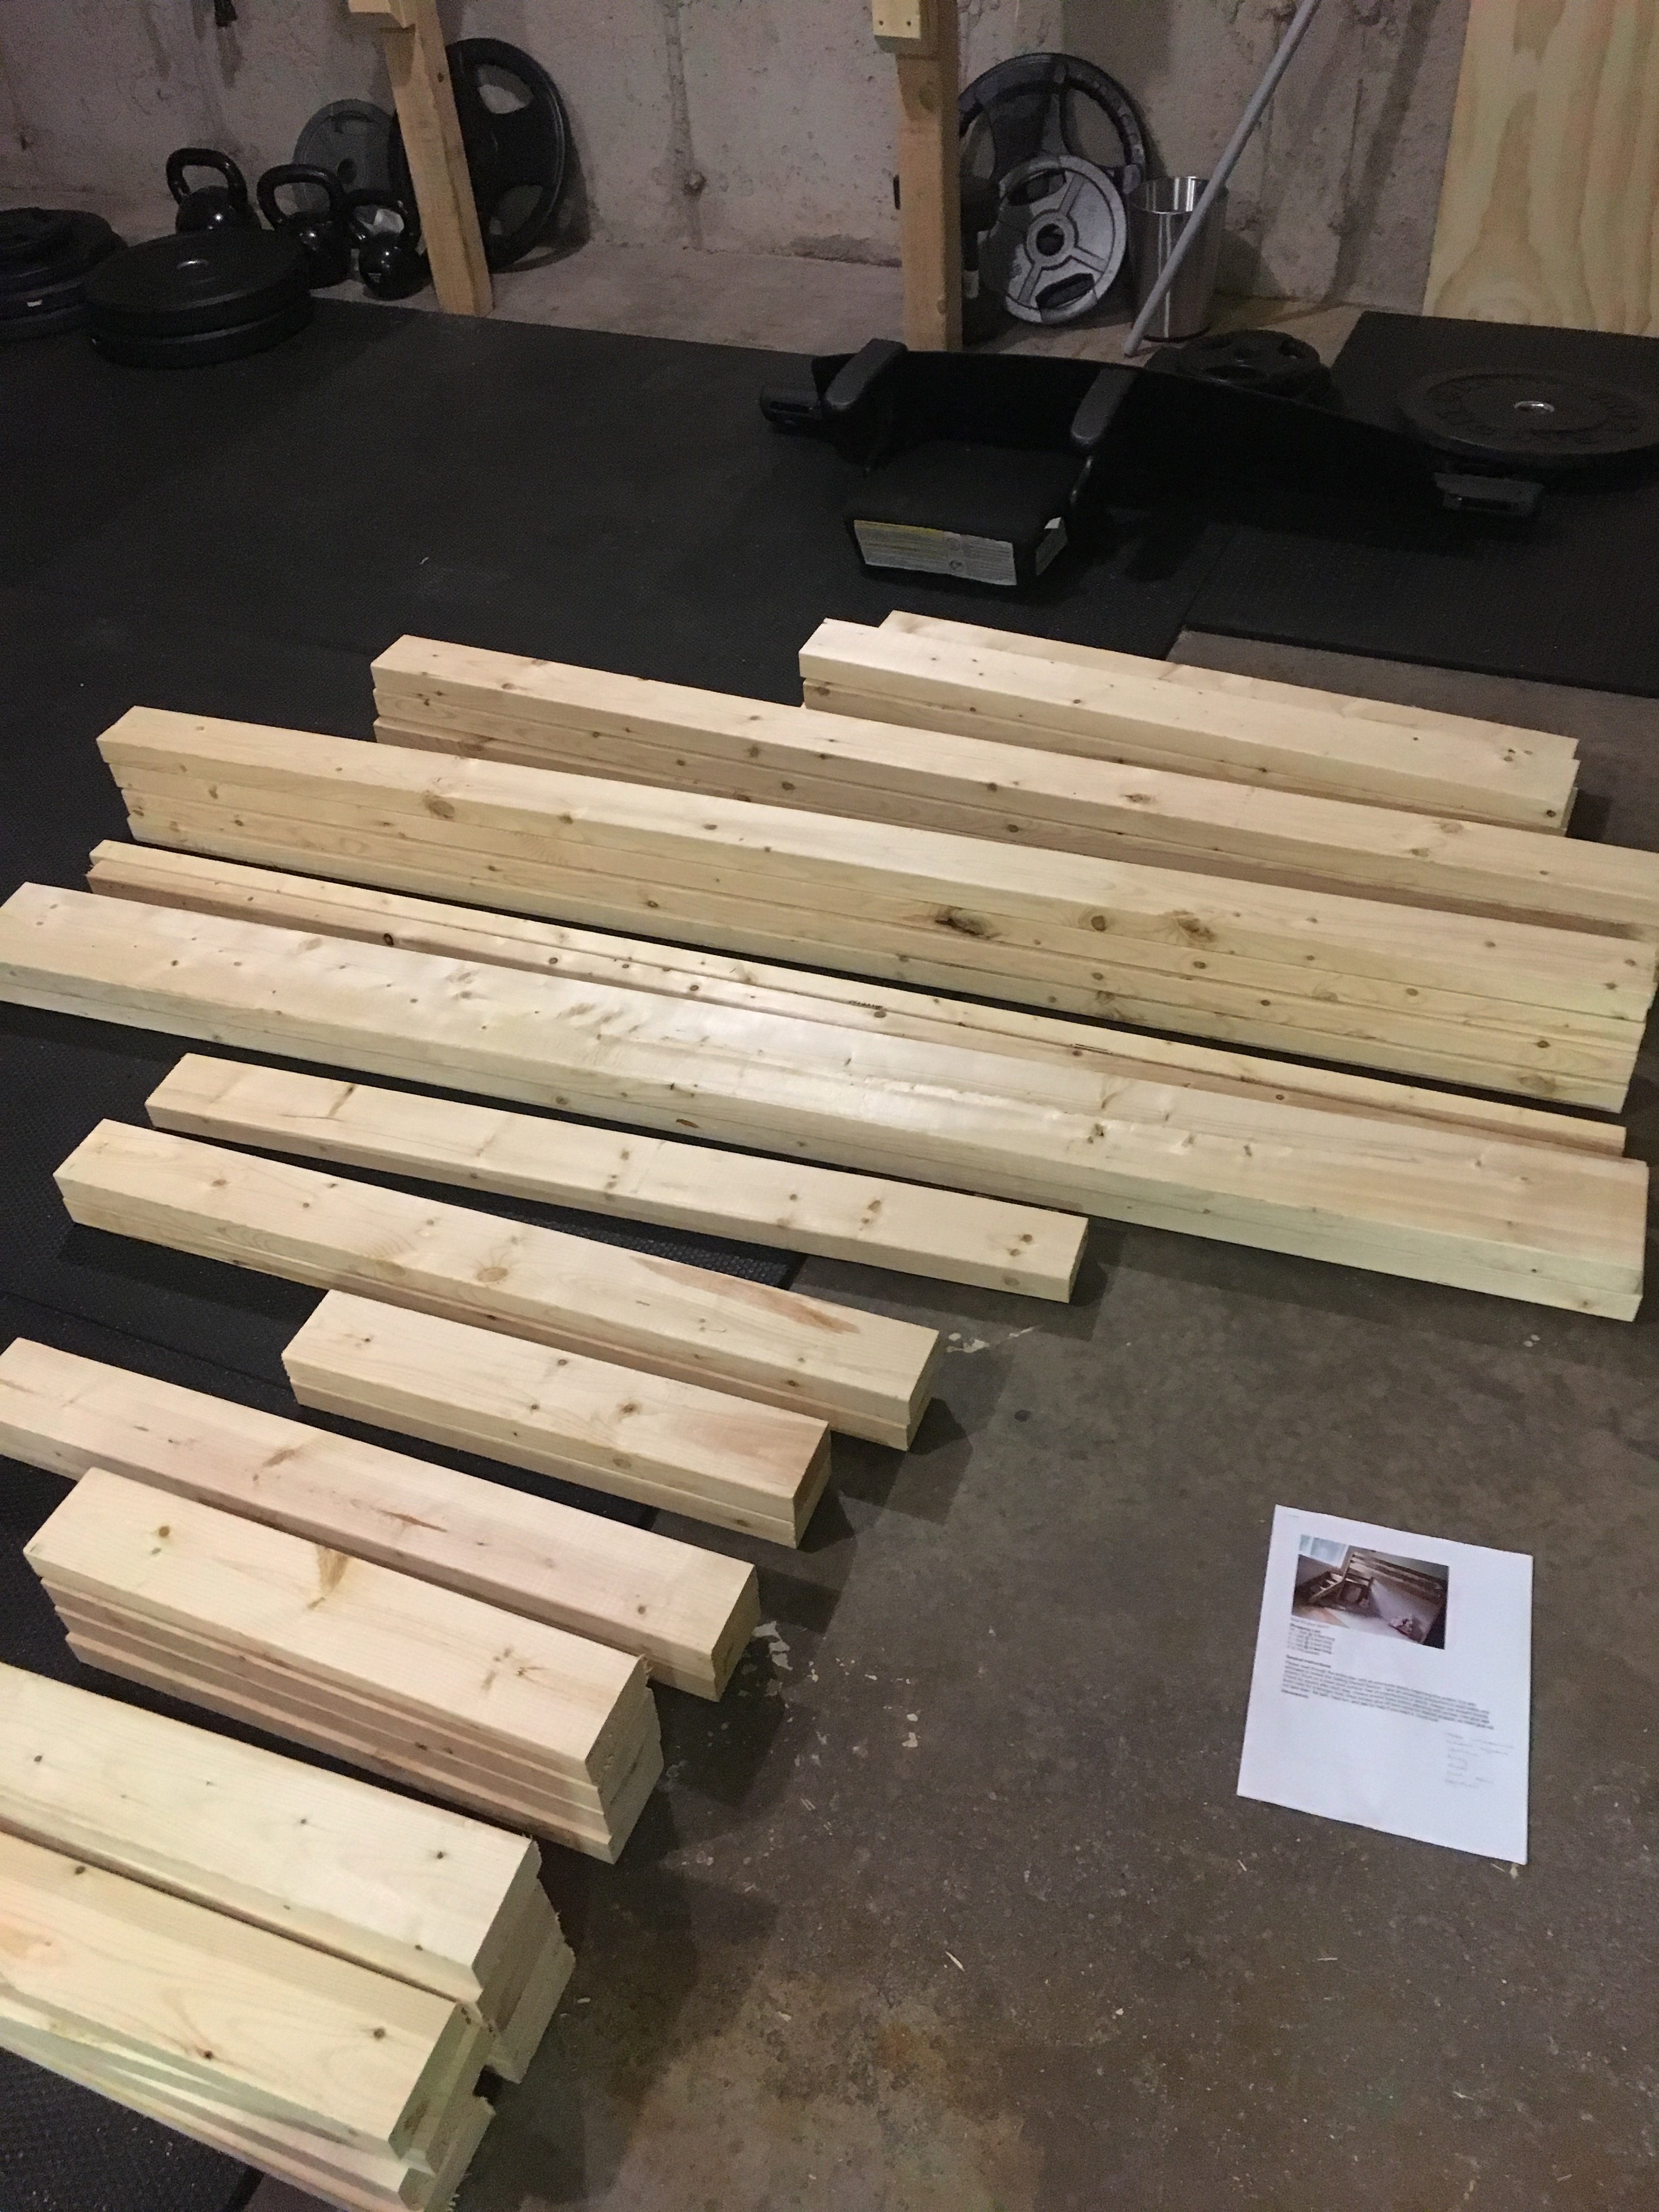
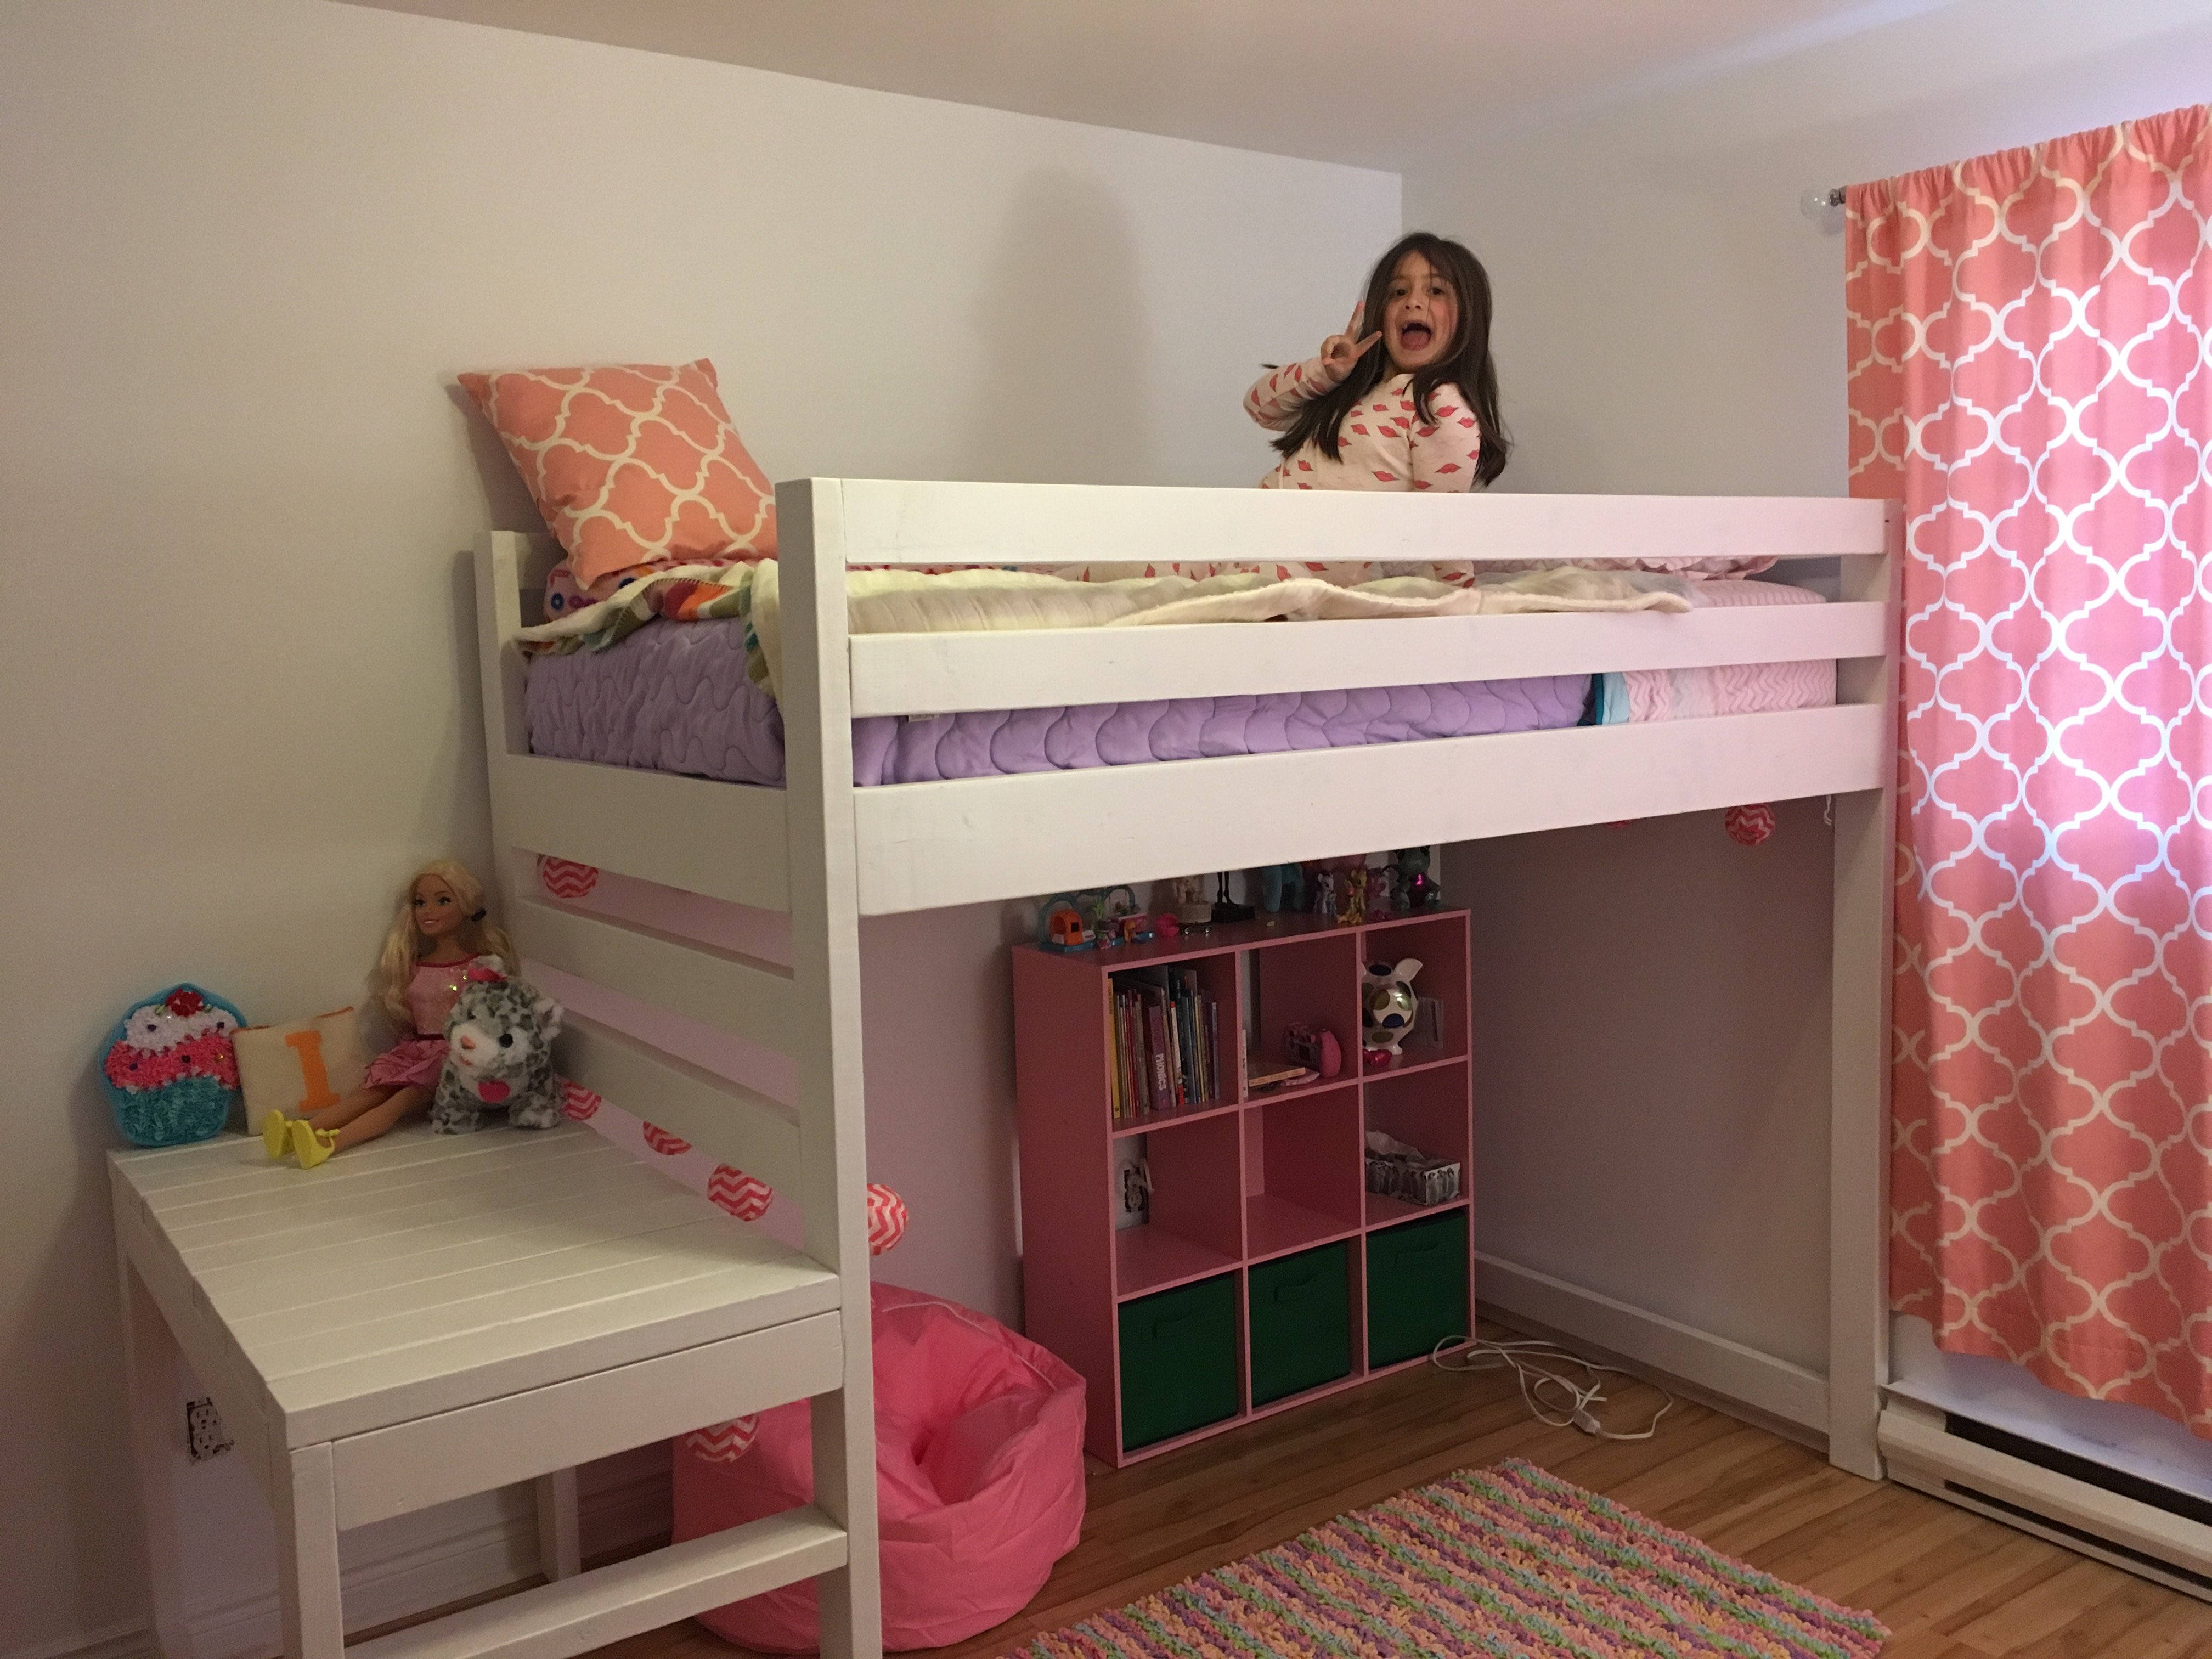
I fell in love with the loft bed but thought the stairs stuck out too far for my daughter's room so I revampd the plan just a bit to add three 'stairs' in the platform rather than the standard stairs in the plan.
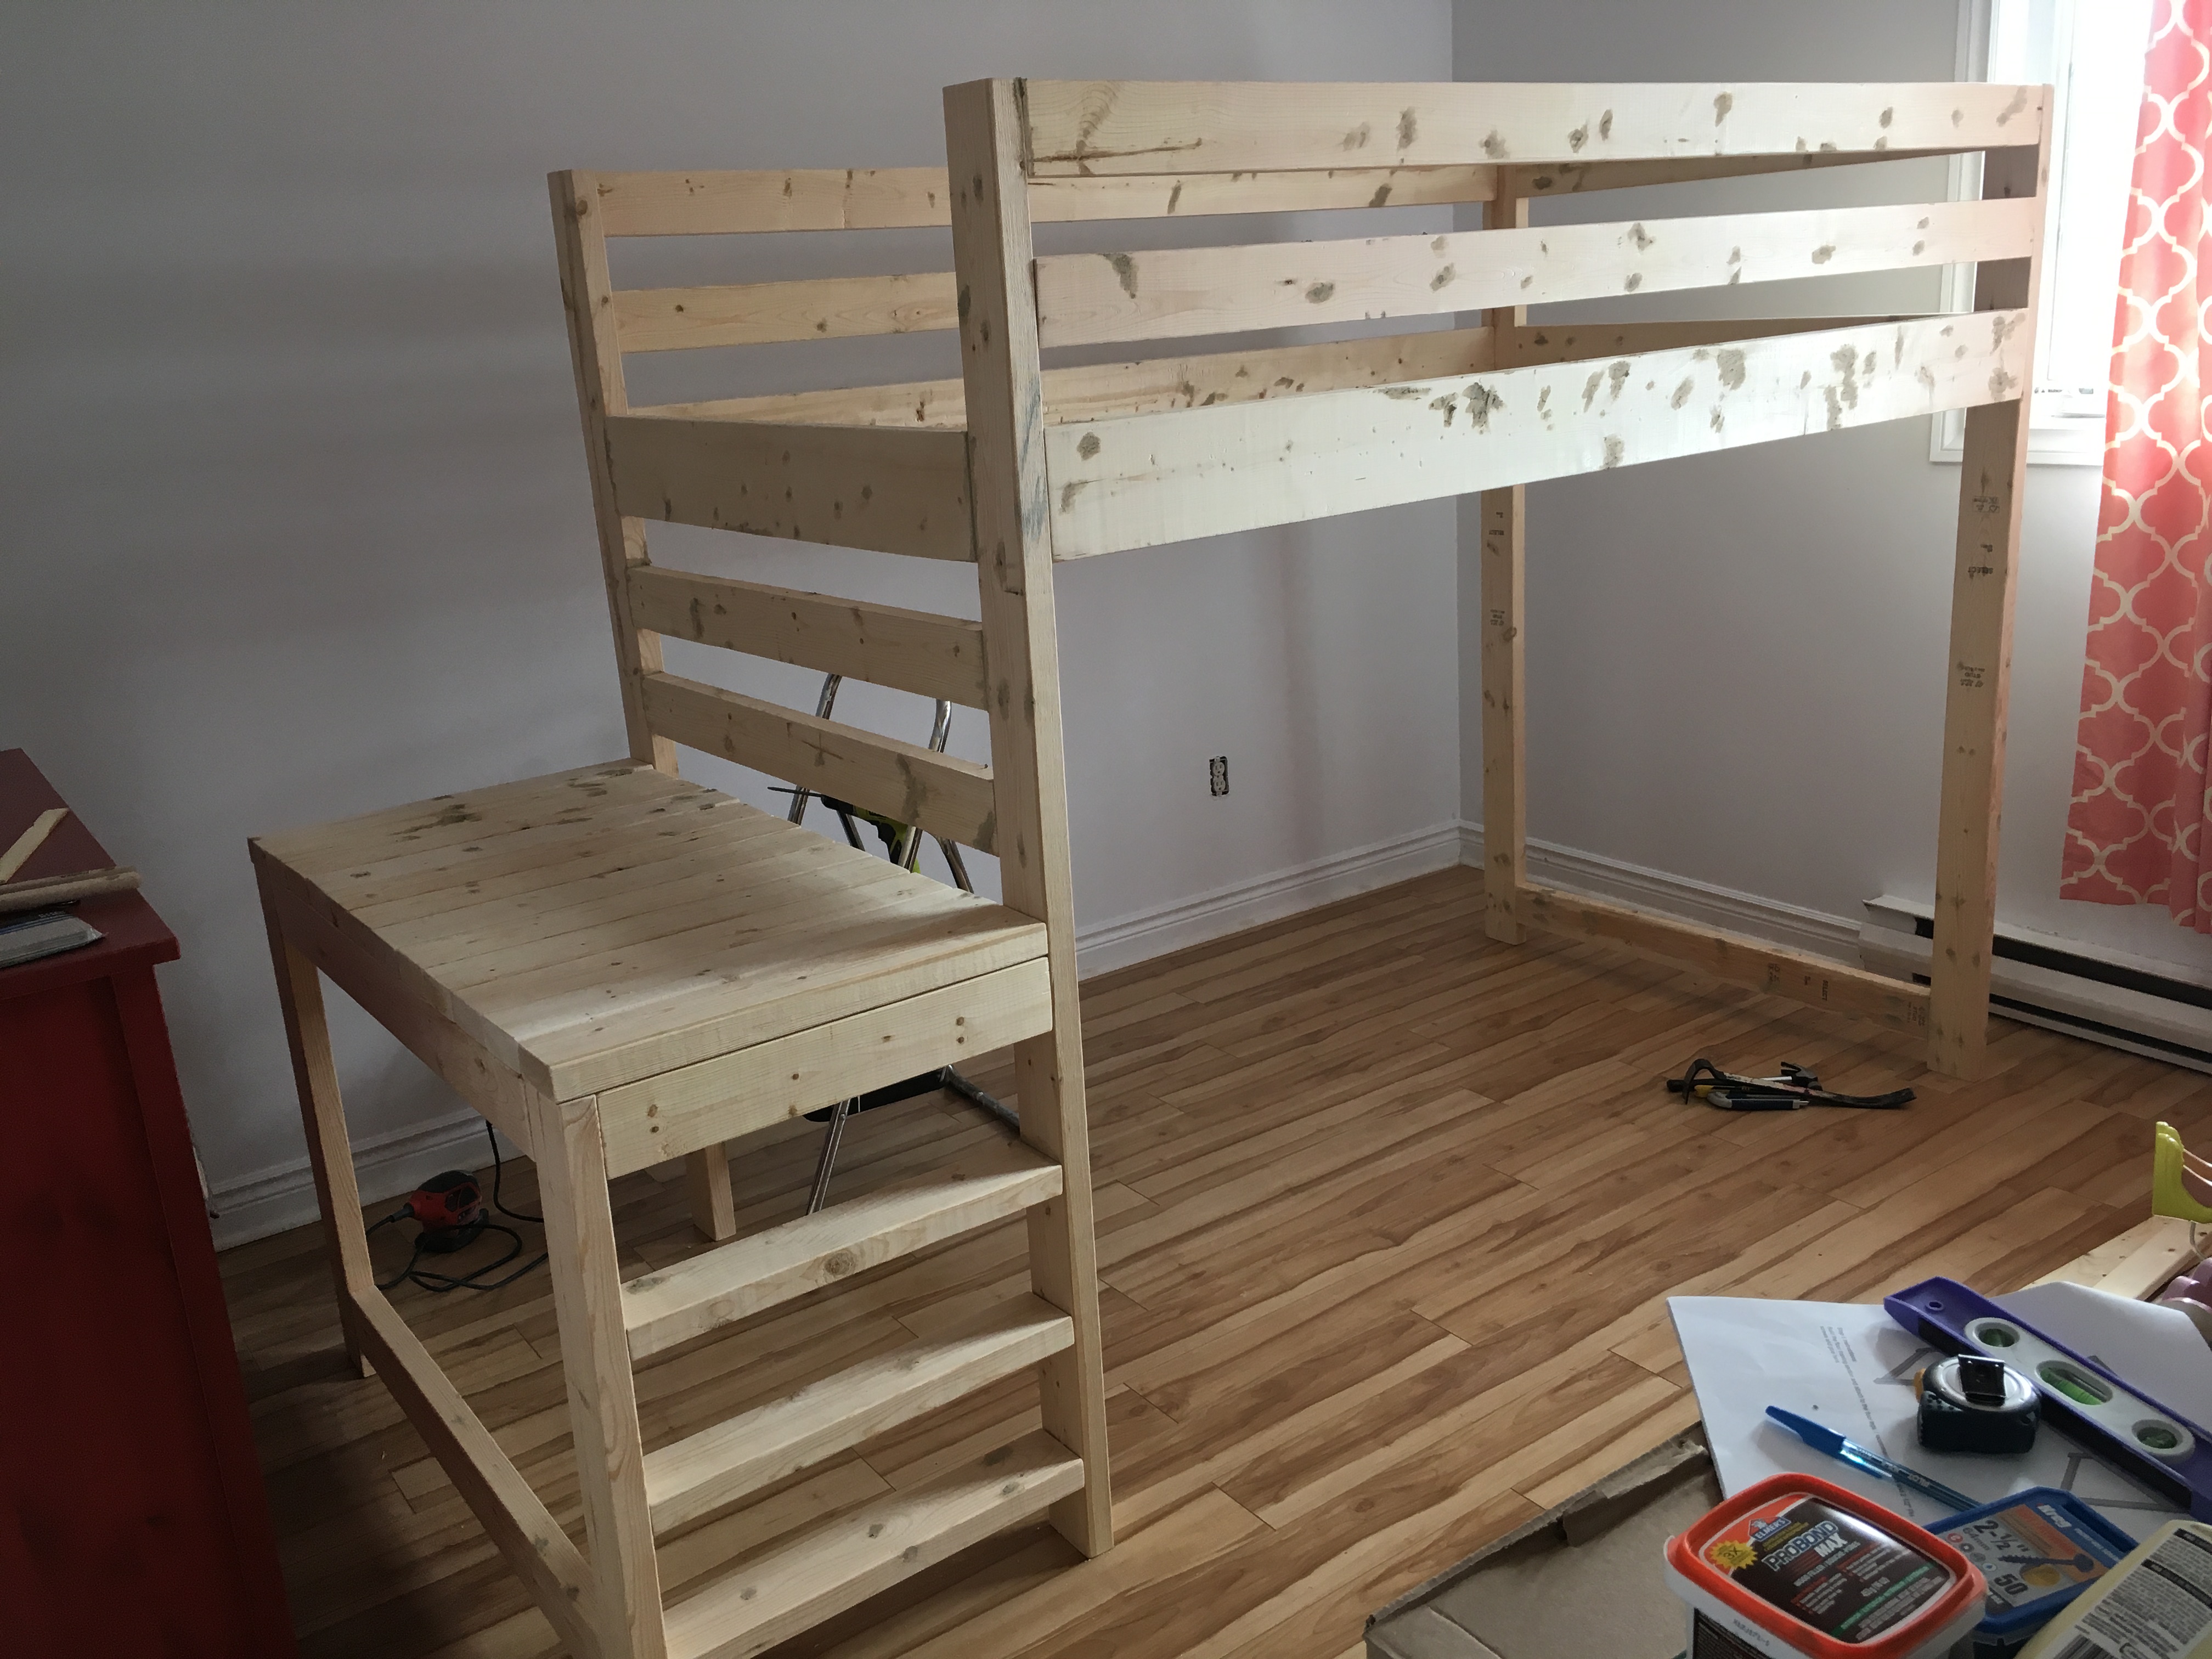
I got started on the project on a Friday night, got my cuts made, my pocket holes drilled and pieces sanded for an early start Saturday morning, everything went together like a dream - though it would have gone MUCH faster if I had had a second set of hands; I had to balance all of the long peices on other peices to try and get them attached and it took much longer than it had too!
It was all together, the holes filled and first coat of primer on by Saturday afternoon - I used Zinsser primer so the knot's did not bleed through. Sunday morning I was painting and it was in place and decorated by Sunday night!
Great, easy to follow plans (as always) Ana - thank you, I have one VERY happy daughter!
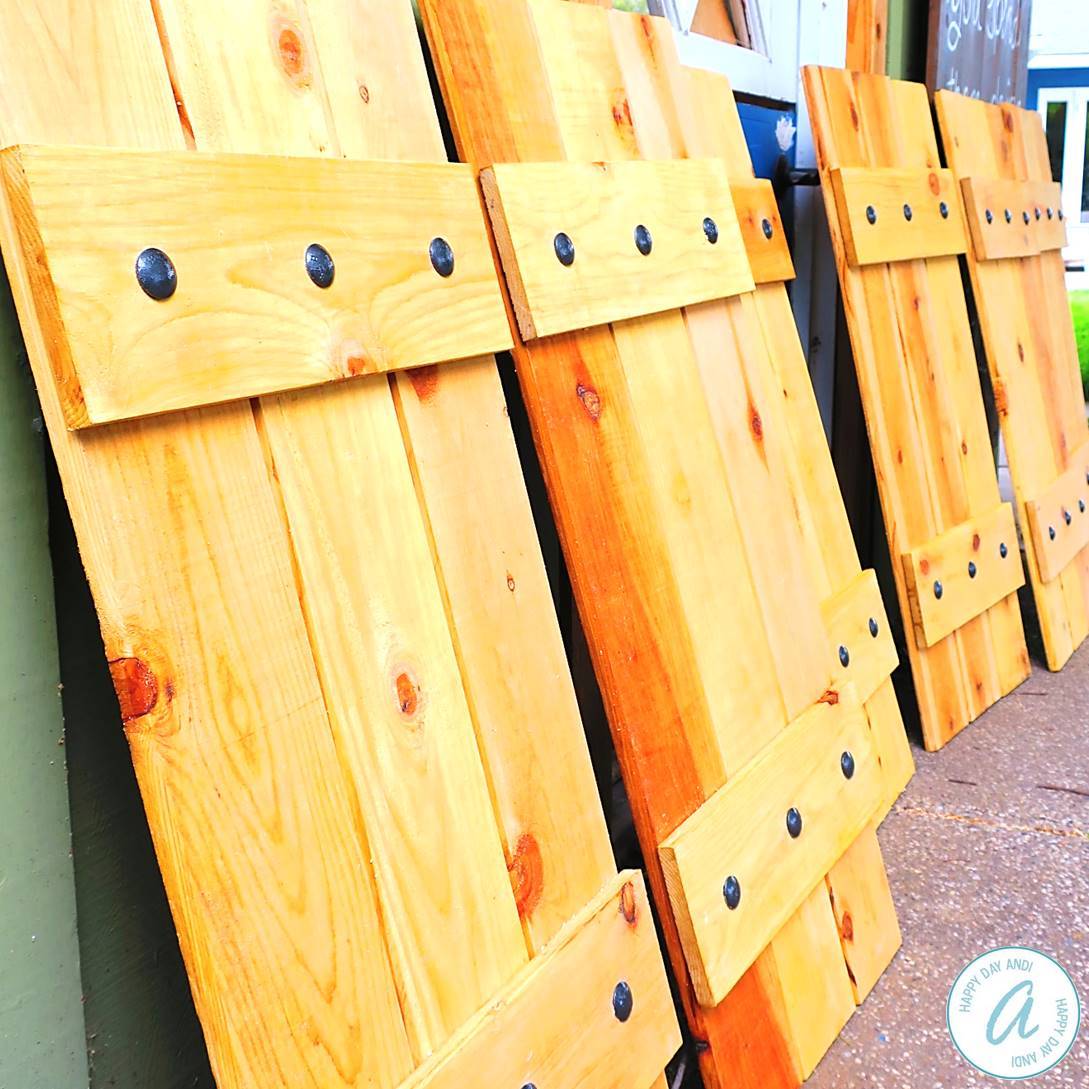
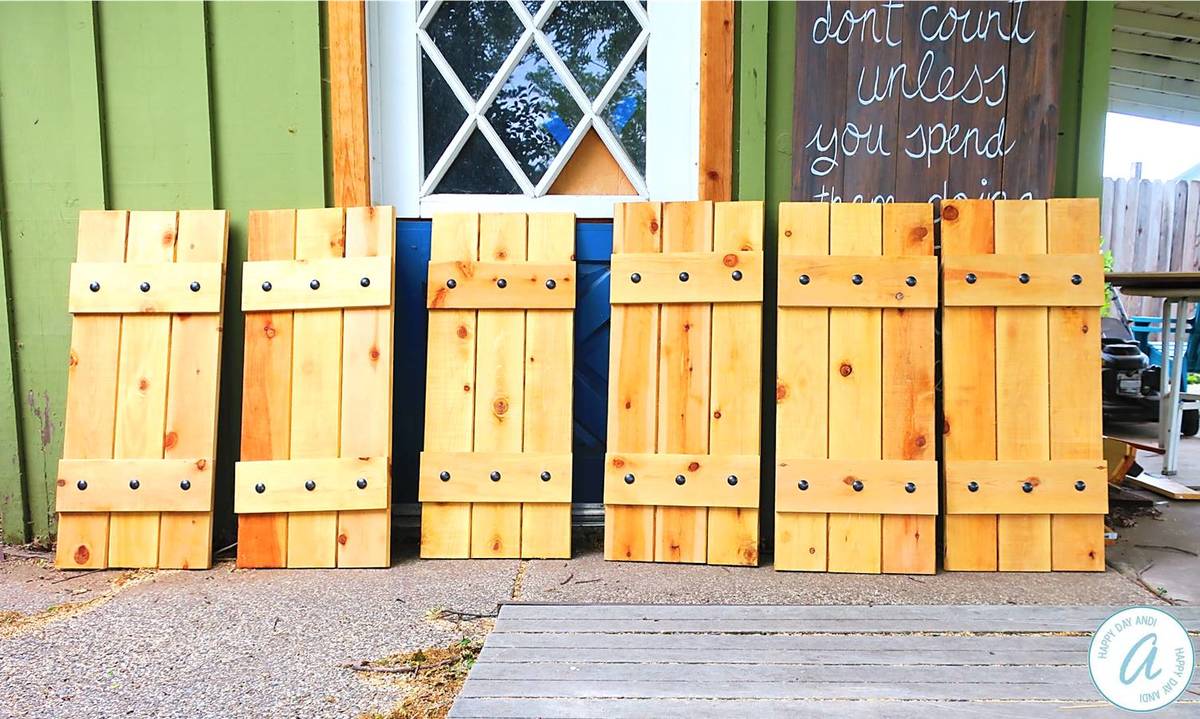
I really wanted to add a layer of depth to the front of our house, and my favorite option was adding new shutters! I used fence boards to keep cost low and to be sure that the wood would stand up to all weather conditions. I protected the wood with an oil-based sealant made for exterior use. I attached the cross braces with chunky screws and painted those black. I love how they turned out!
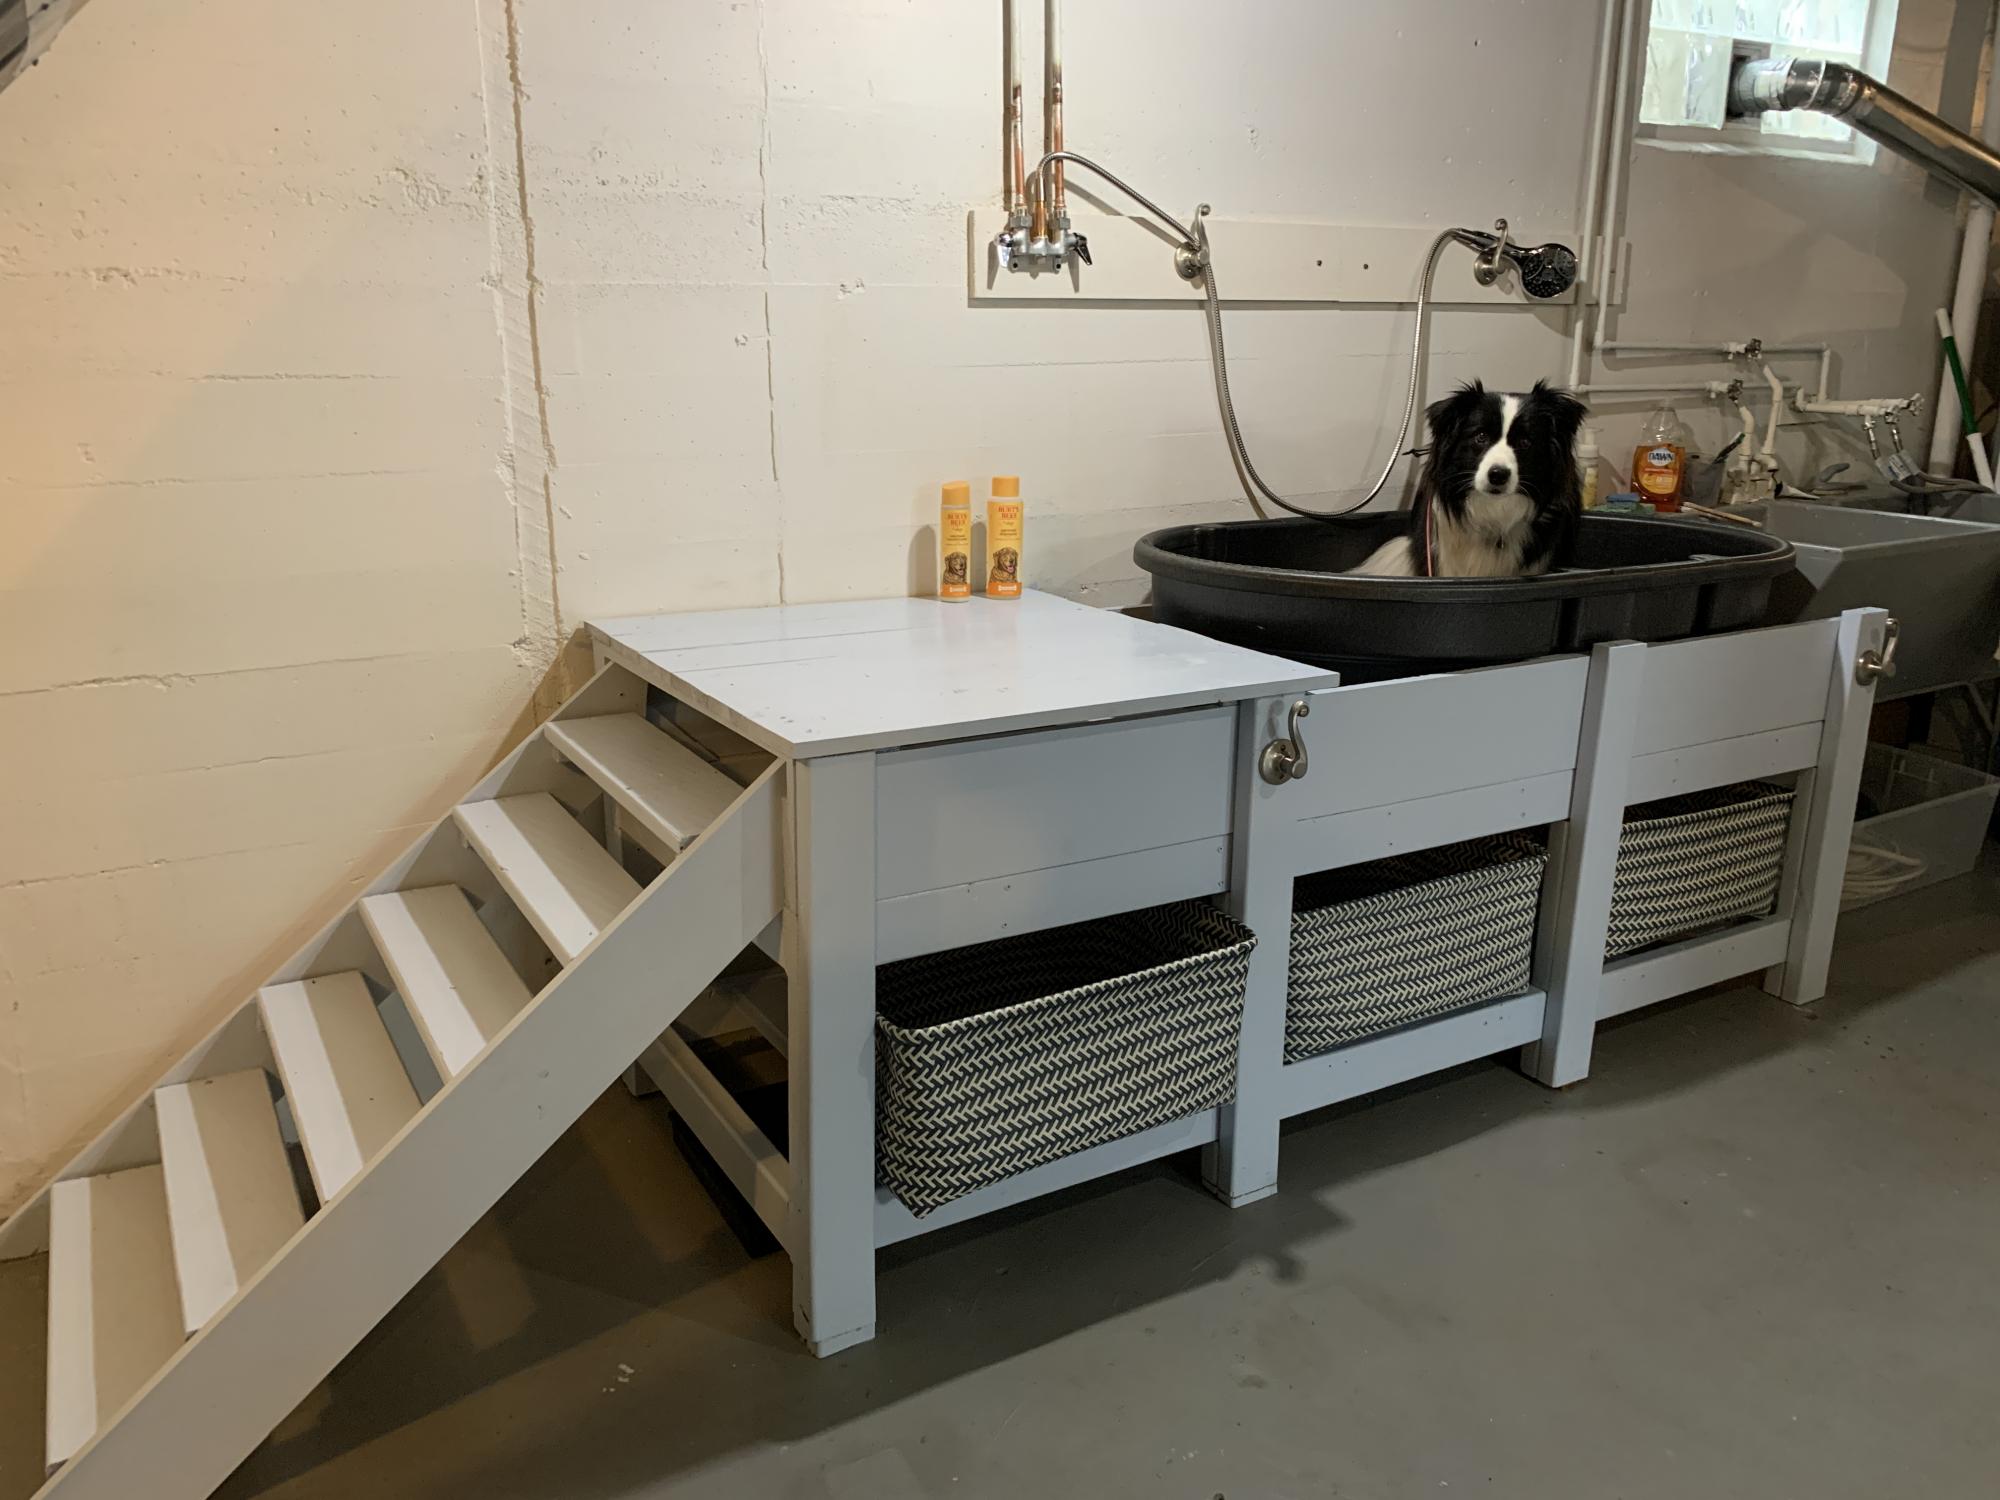
Tego needed a raised dog bath. No, I needed a raised dog bath. Specifically, my knees needed a raised dog bath for Tego. So, after looking at Pinterest and Ana's plans, I decided what I really wanted to do was customize something to fit my needs (and knees) and build it myself. Overly ambitious for a first-time woodworking project, but hey, raise the bar.
I started by reading and rereading Ana's beginner's woodworking guide (very informative). I also learned so many other things along the way. There's a reason, besides looks, you need flat boards (they need to screw together tightly). Unfinished basement floors are so not level (especially near the walls). Screw lengths matter (need shorter ones for thinner boards). The big-box store doesn't make precise cuts (but they can make a lot). Planning for the finishes will save you time (know your basket sizes). Just to name a few.
It's going in an unfinished basement, so I wasn't going to tile and add glass doors. I wanted to keep it relatively simple, basic.
The stairs were the hardest to measure and build (math matters) - and I might re-do. I made the steps smaller, dog-sized, but she finds them awkward. I'd stick with typical riser heights, but it depends on the size of your dog.
Plumbing to link the tub drain to the utility sink drain was the most expensive. Probably I could have done it myself, but I decided not to learn both plumbing and woodworking for one project.
Overall, I'm pleased with the result - and Tego is learning to love it.
Thu, 07/22/2021 - 12:38
Love it, you and Tego are AMAZING! Thank you for sharing your custom build:)
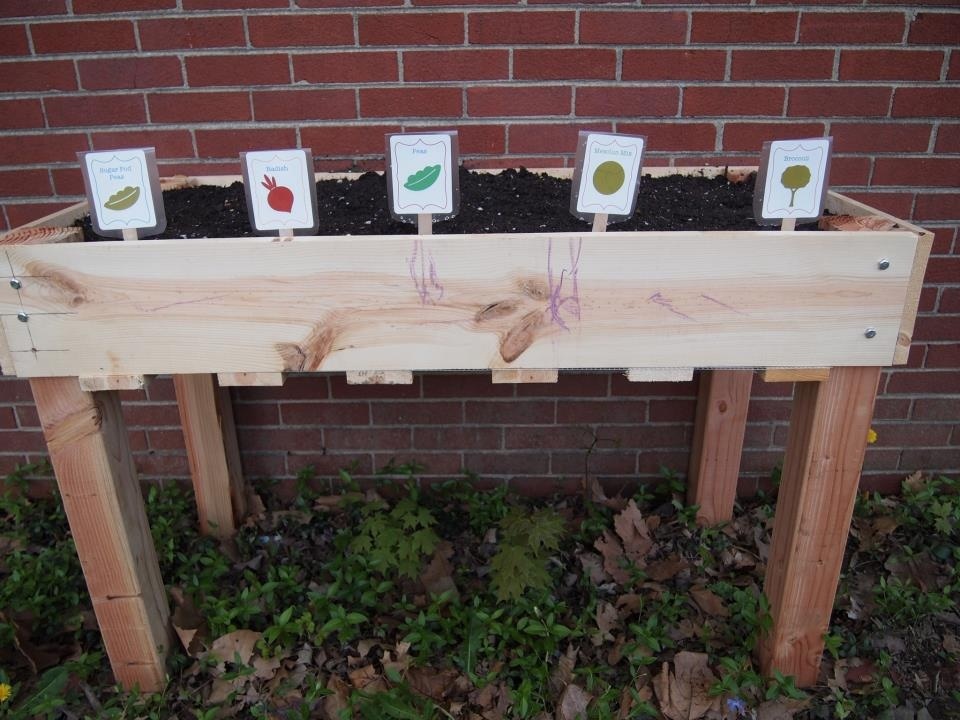
We needed extra garden space this year and I thought adding one of these planters would be a great addition. So far it has. It allows me to easily weed, which is my most despised gardening job. Added bonus that the dog can't dig it up, and bunnies can't nibble on my plants. It also makes a great art canvas for my son's chalk drawings.
Wed, 04/20/2016 - 12:55
Hi I live in north Dakota we get about 10 ft of snow every January, I am planning on making the counter height garden boxes, but how do I keep the snow in winter from crushing them. Patty
Wed, 04/20/2016 - 12:55
Hi I live in north Dakota we get about 10 ft of snow every January, I am planning on making the counter height garden boxes, but how do I keep the snow in winter from crushing them. Patty
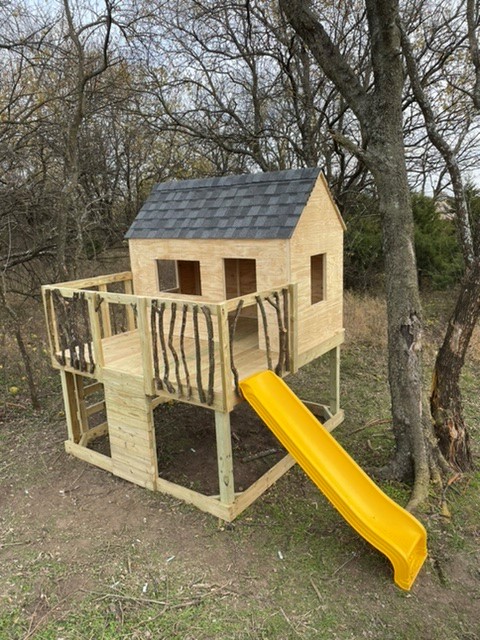
Here is how the clubhouse I built turned out! Still need to install trim, paint, and a do few other finishing touches.

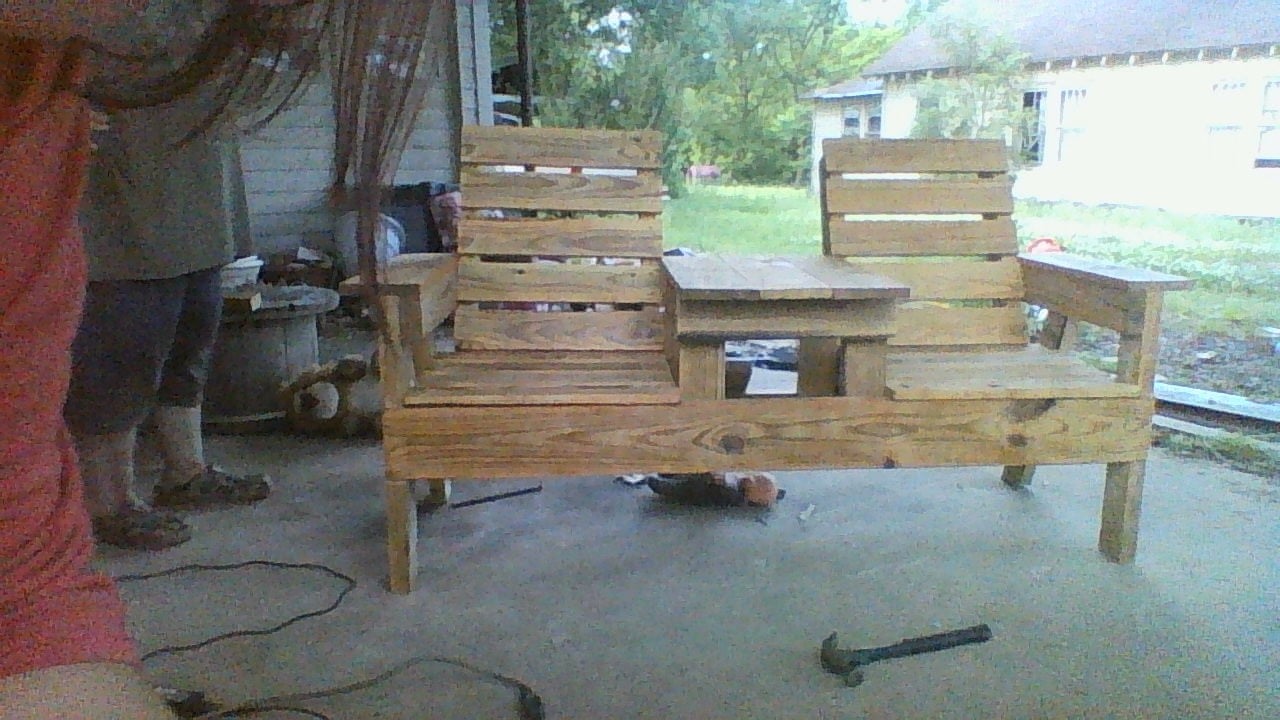
this was a fun build had to tweak the plans a little but turned out great!
This was my first attempt at making anything. Thank you to Ana for providing such easy plans and the encouragement to try something. I think I'm hooked!
Sun, 05/31/2020 - 13:21
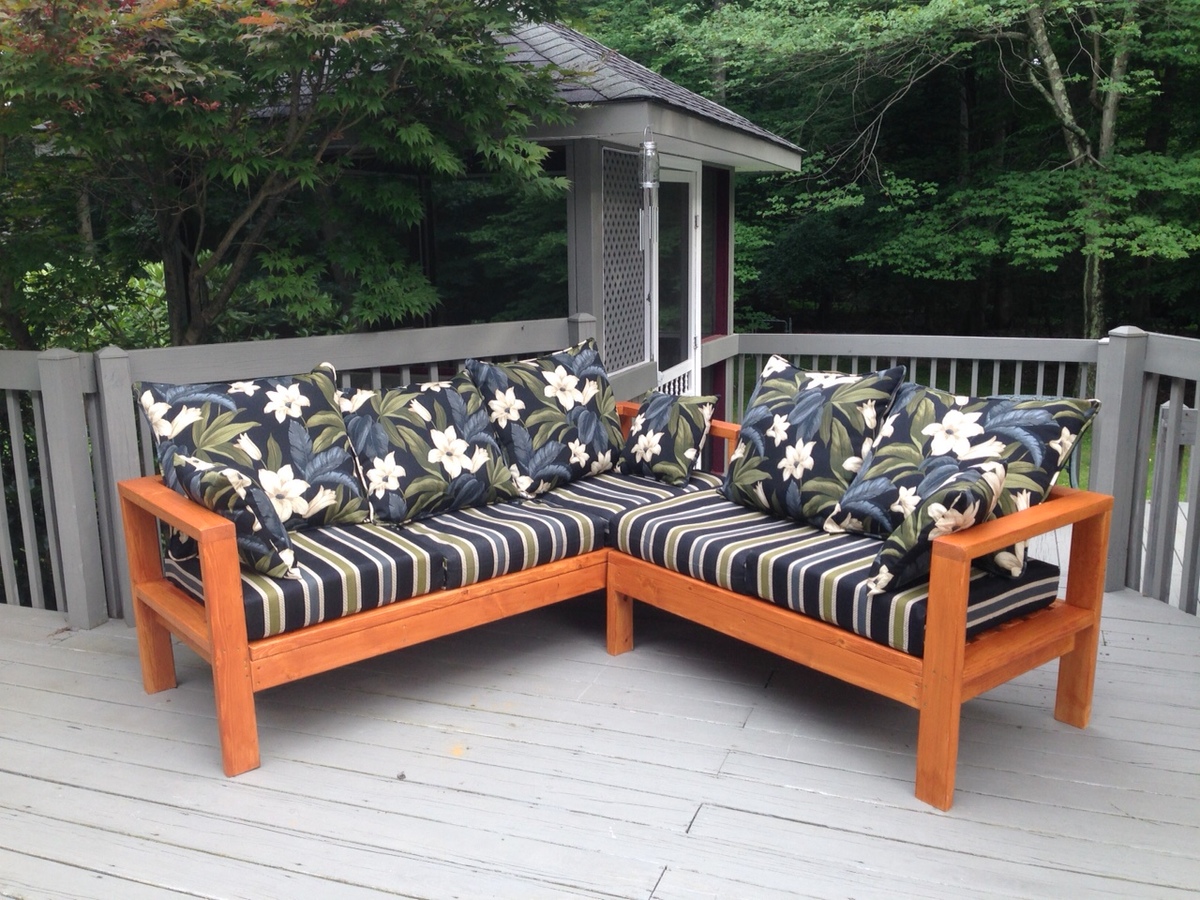
Beautiful! where did you get the cushions from?
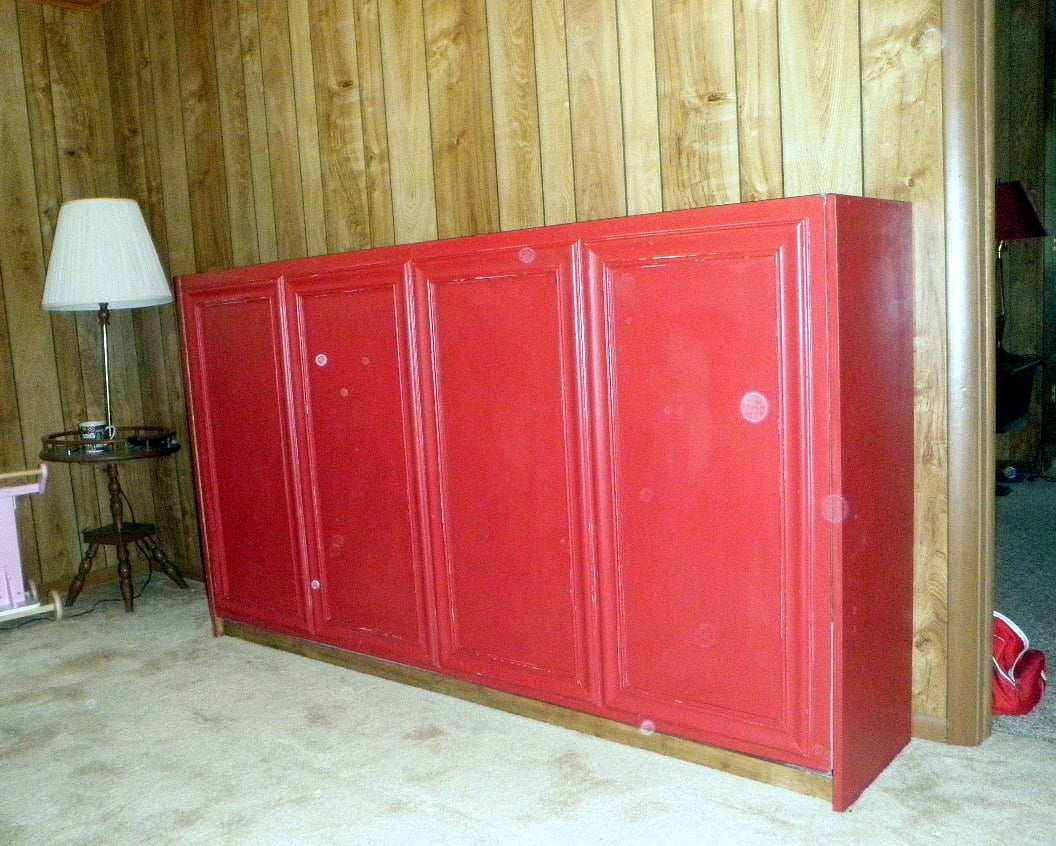
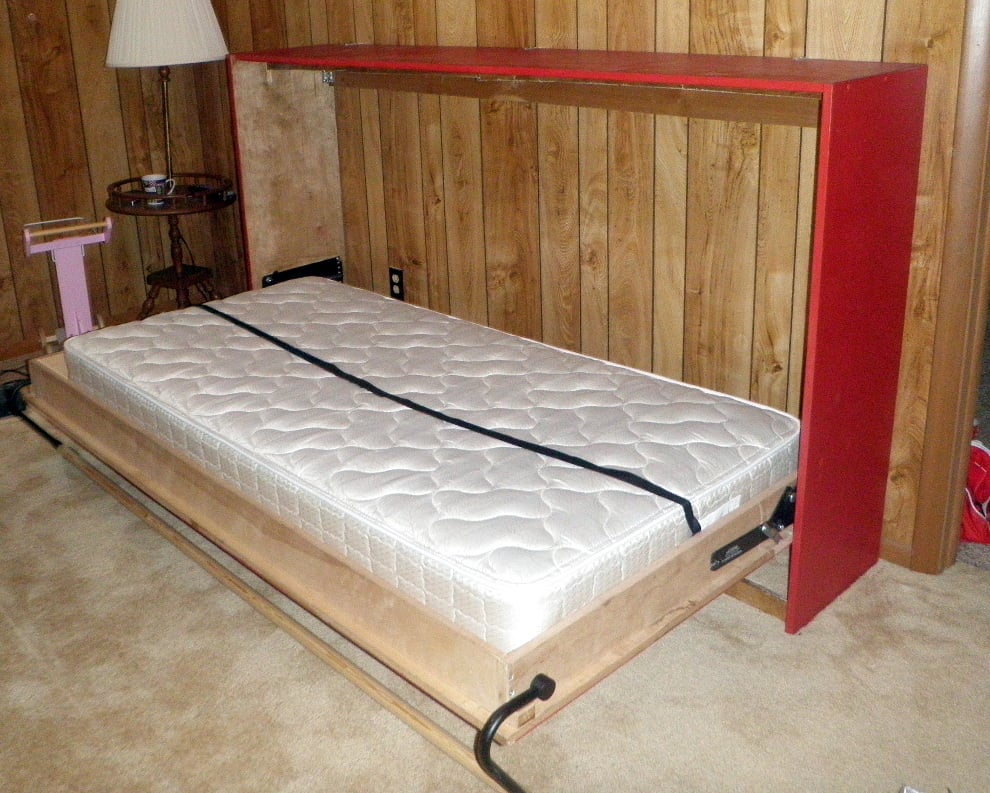
This is a Murphy Bed that I made for my daughter Alicia for their getaway home at Canadian Lakes, MI. Due to limited space i had to make it horizontal instead of the normal way of being vertical. It really comes in handy and takes up very little space.

Fri, 07/19/2013 - 15:17
Looks great! Love the color and the trims you used. Where did you find your hinge hardware? PS- How did you like the baking soda paint? I've tried ASCP which was good but very pricey, and last time made my own with some plaster of paris. Your finish is lovely.
Sat, 07/20/2013 - 18:47
I bought the spring hardware on line. I can't take the credit for the paint as my daughter did that part. She loves the way that the baking soda and paint covers everything and it is a whole lot less expensive than buying the commercial stuff.
Sun, 09/28/2014 - 01:02
I found some cool designed Murphy Bed Collection. Also bought one. Its so cool. Just happy to get that. You also can check this place <a href="http://murphybedikea.com/">murphy beds</a>
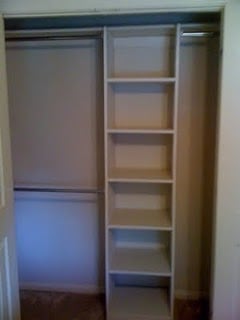
This project is closest to the Simple Closet Organizer, but I wanted to be able to re-use the existing components of the closet. The only purchased materials were one sheet of cabinet grade plywood and dowel rod holders (since I already had paint and screws).

Tue, 07/12/2011 - 09:06
This is on my very soon to do list. I actually drew up a sketch yesterday of my plan and the husband seems ready to start! Thanks for sharing yours!.
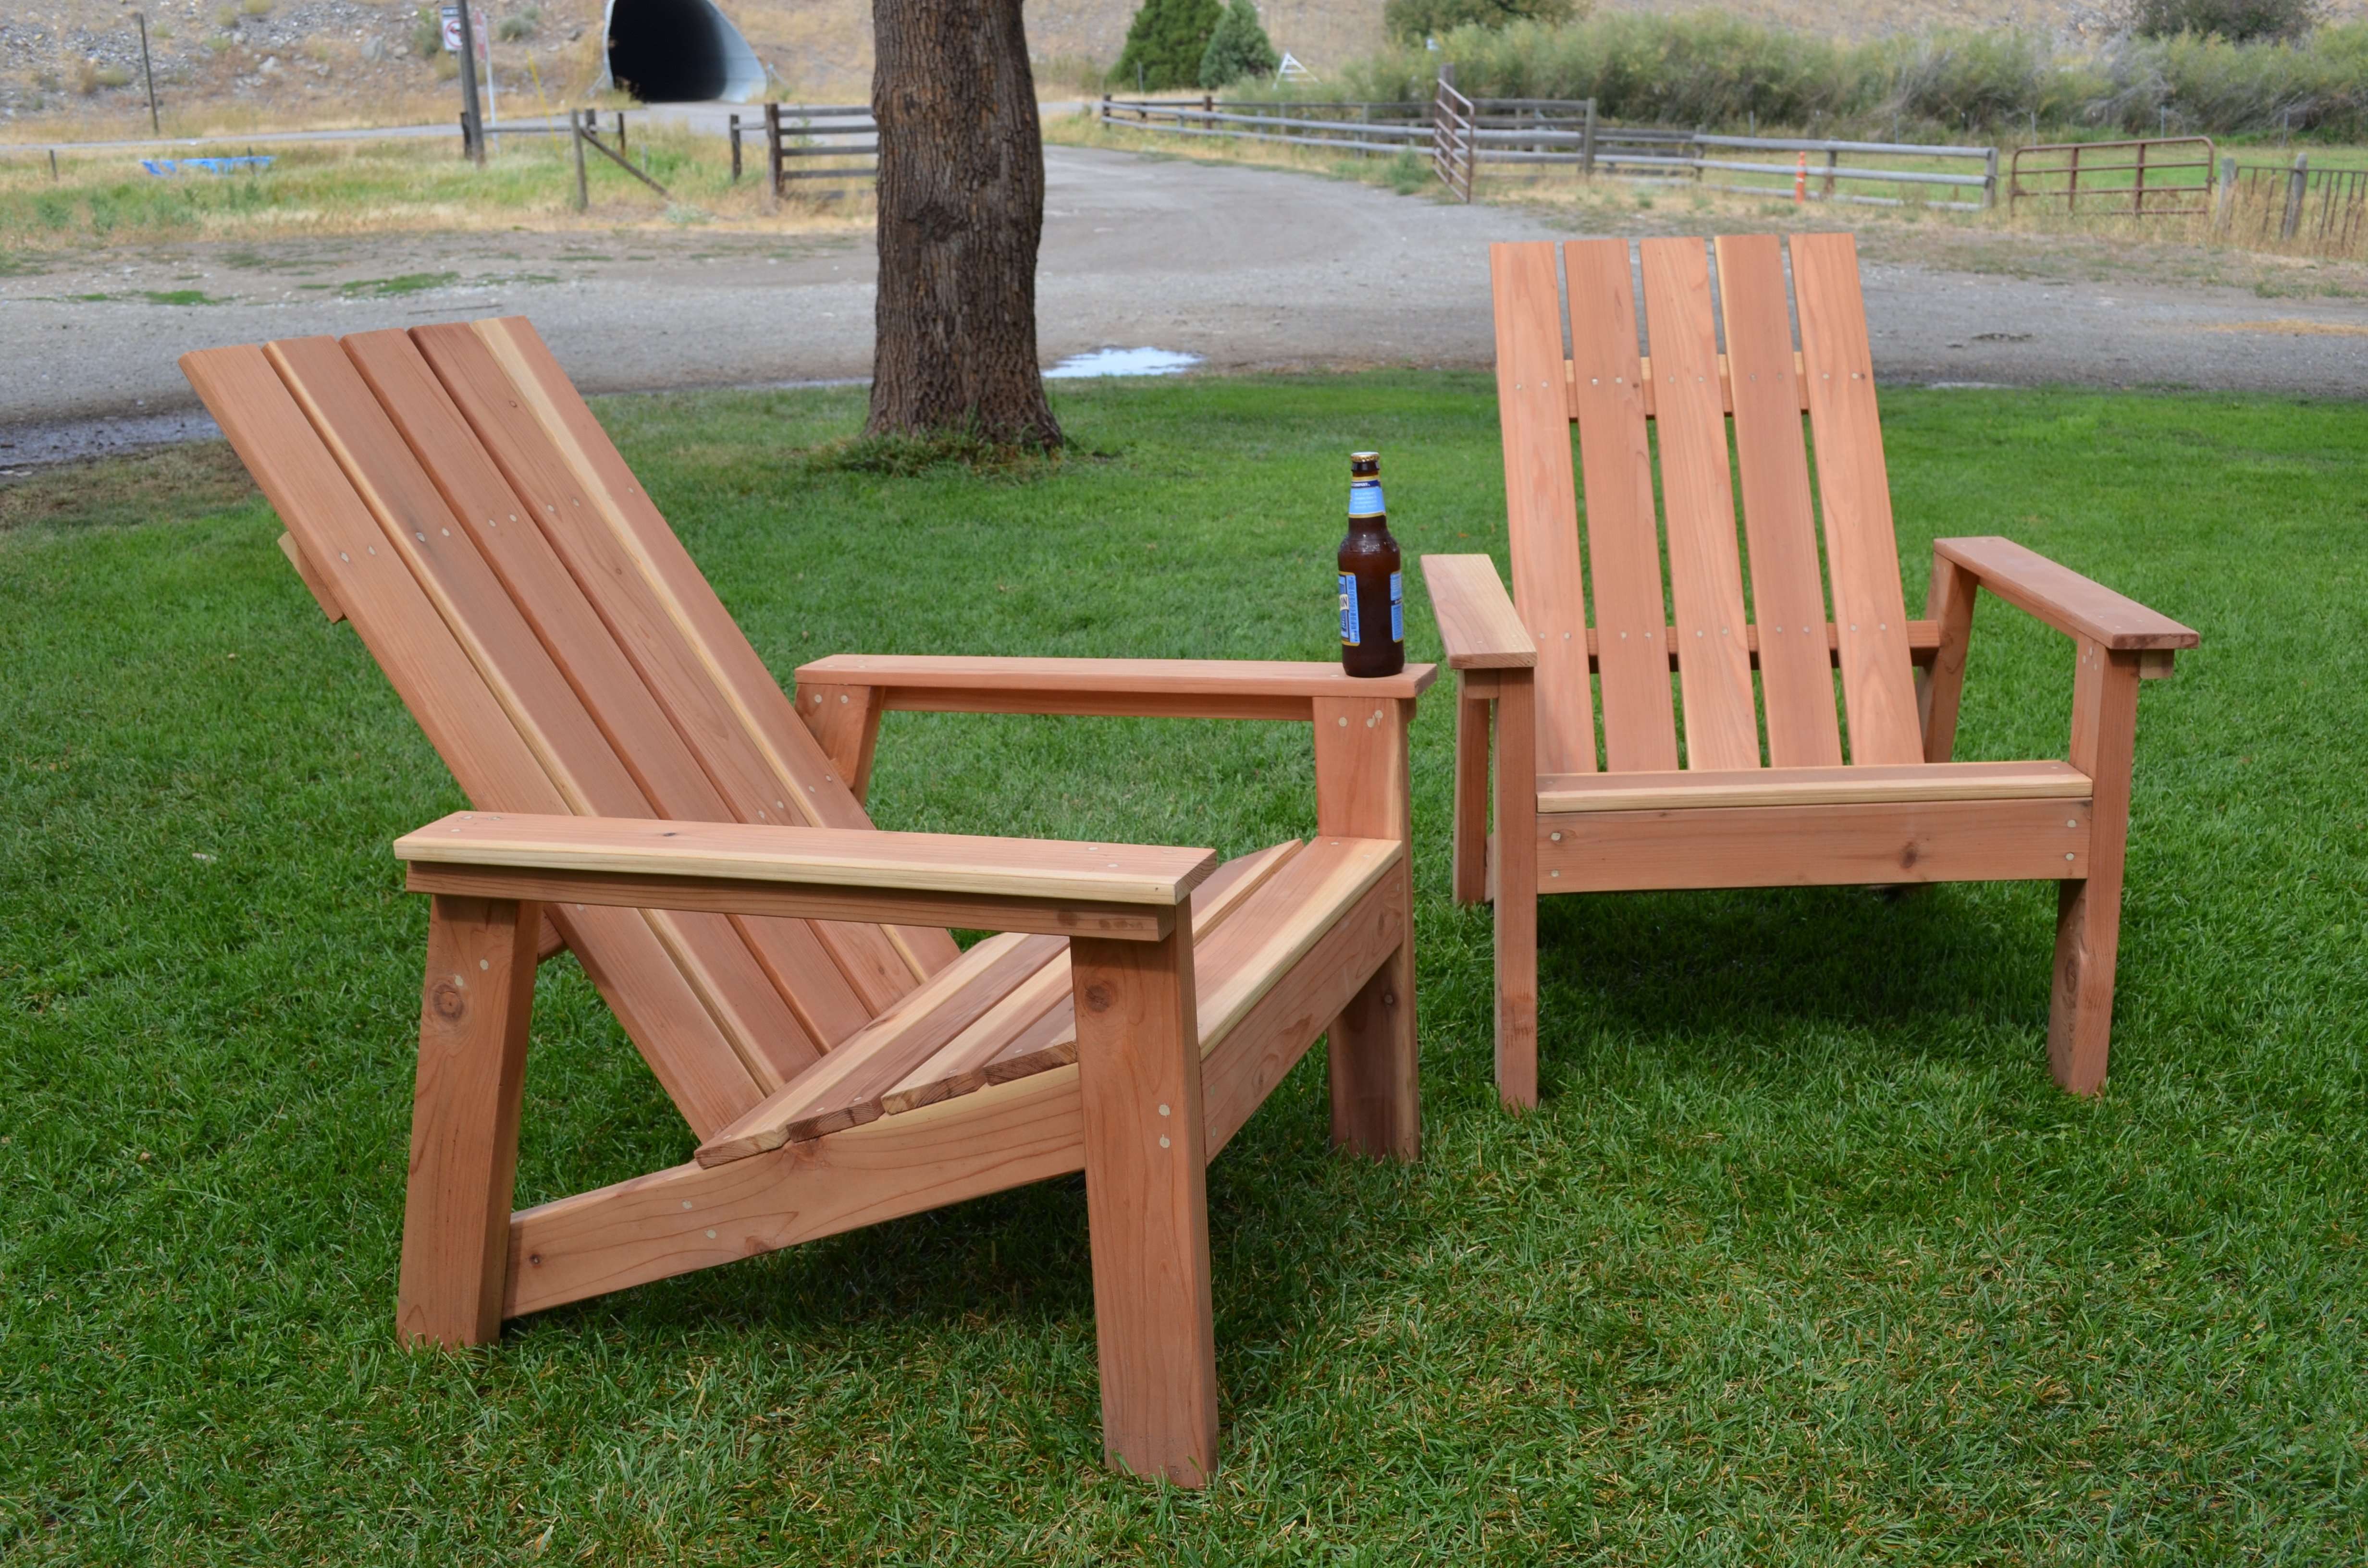
Love the results of my first building project.....a pair of redwood adirondack chairs. Angled cuts were a great way for a beginner to learn to use the miter saw.
Sat, 09/07/2013 - 19:59
Love these gorgeous redwood chairs! The color and grain on that wood is awesome, and the clear coat is perfect for it. You did a great job on this build! I popped over to your blog and I enjoyed your post on this build very much. Well done!
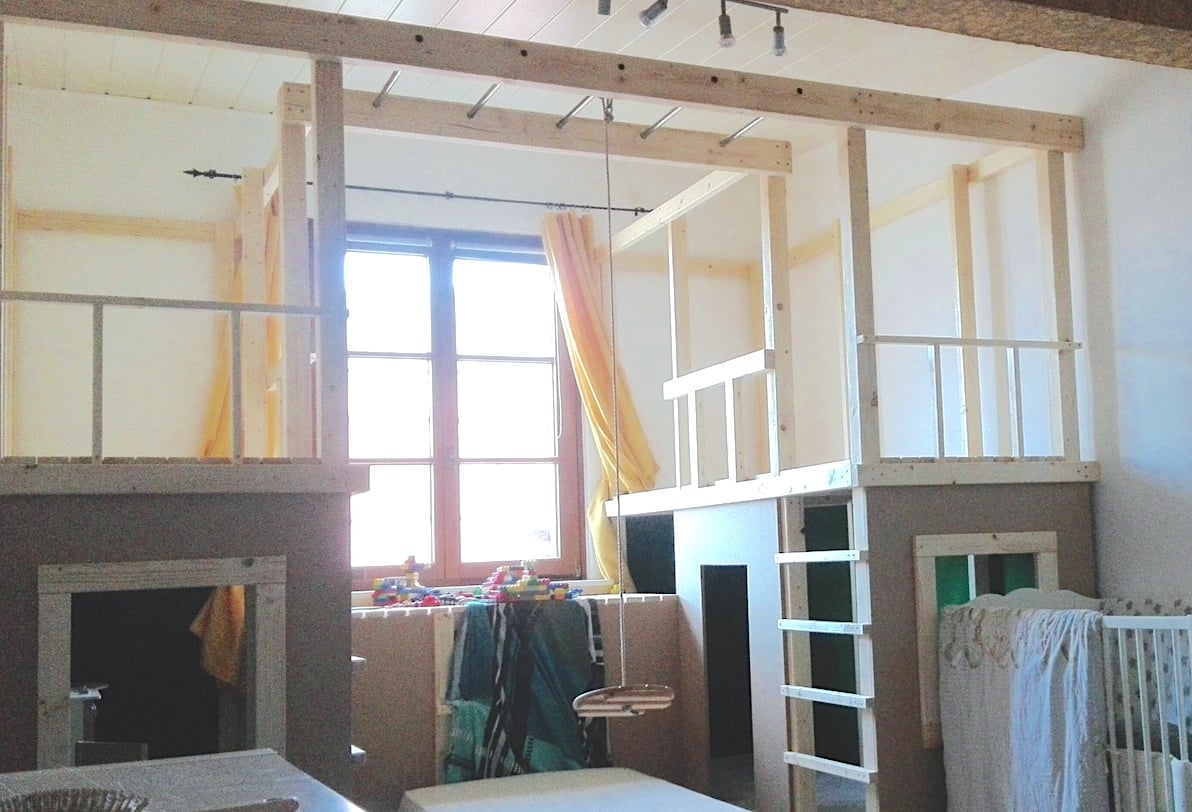
Thanks for the Plans Ana. Though we had to convert every number the plans helped us a lot. Our playhouse turned out really big: 8x8 foot. We had to include our heater under the window, so our tunnel is much bigger. It took us (three people) a half day shopping and two days and one night building and cost 600-700€. The kids where amazed when they opened the door a few days after Christmas. We still think about adding some features like a slight or a bed...
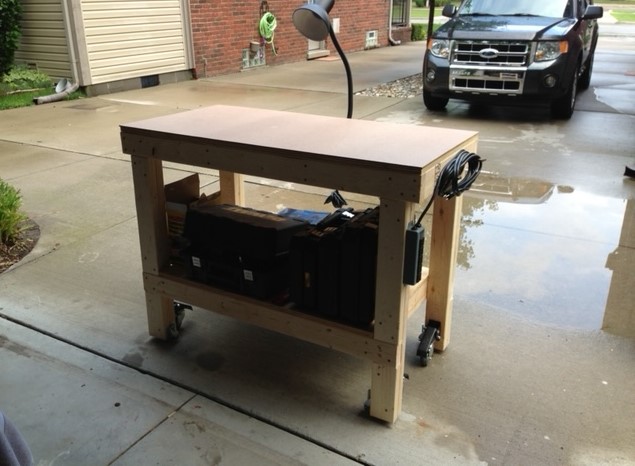
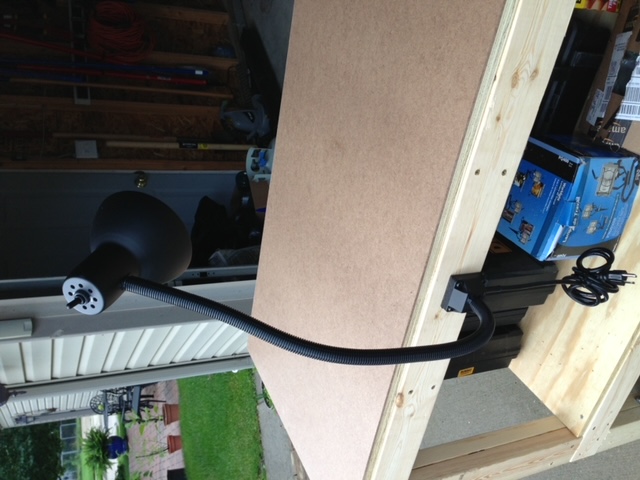
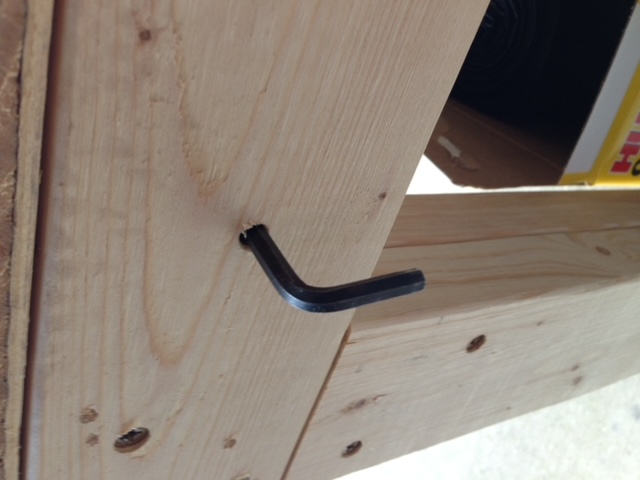
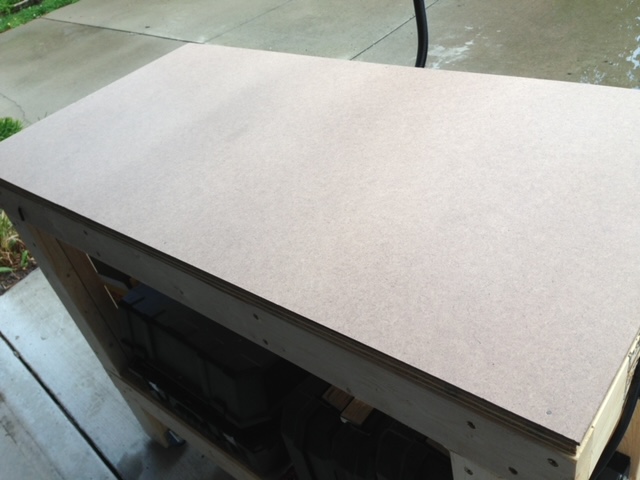
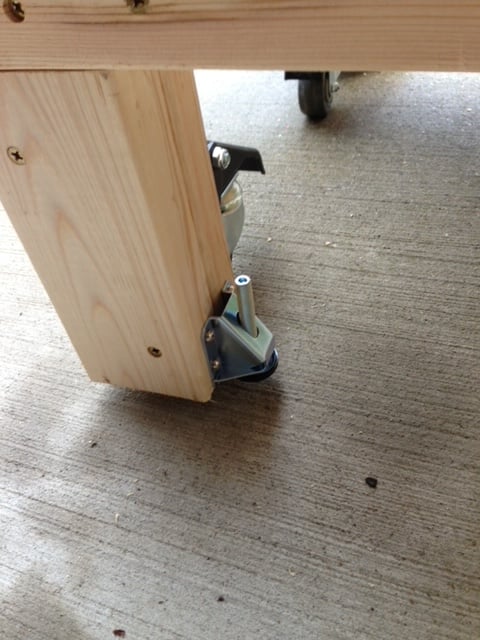
Built this workbench and added some casters from Rockler Woodworking. Also added a power strip for convenience and a handle made from black pipe parts that I had in the garage. I also added a sheet of masonite to the top that I can replace if needed.

Thu, 12/29/2022 - 11:16
Love the additions, everything you need in a workbench! Thanks for sharing.
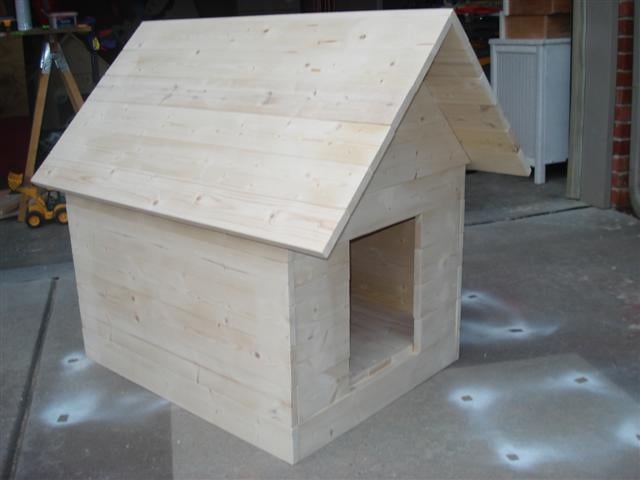
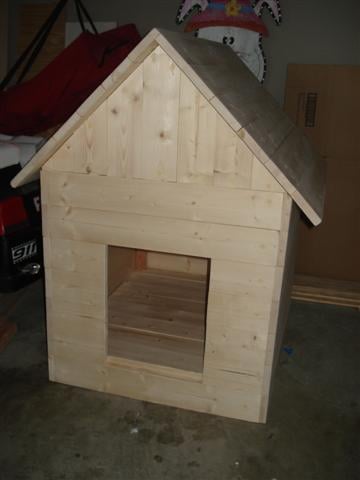
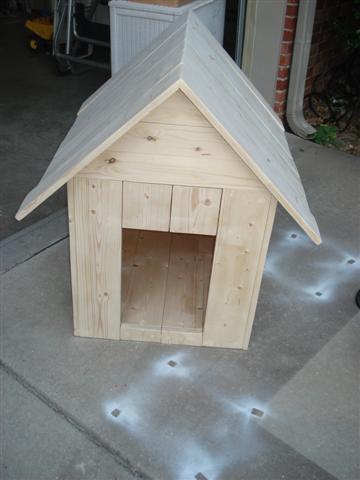
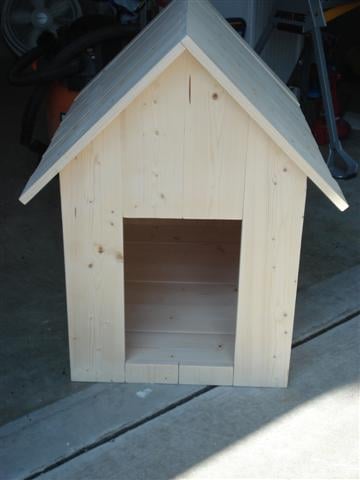
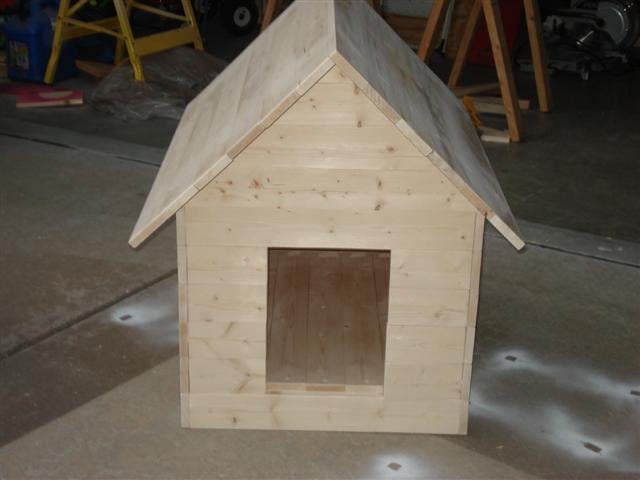
Our local Habitat for Humanity puts on an annual event where they get folks to restore discarded or worn down furniture and sell them at auction. My wife and I participated last year and this year I was asked to build 4 dog houses and then they were going to let local designers/decorators finish them out.
I figured it would be easy to find a good dog house plan, but I was wrong so I had to come up with my own designs. I did not want to use plywood becauase I wanted them to look good. So I used 1x4's and 1x6's. I built them all just a little bit different, but the same basic design on all 3. Since I am not very good with circular cuts, did not do any fancy 1/2 circle doorways!
There are "after" pictures on the Blog. Thanks for looking!
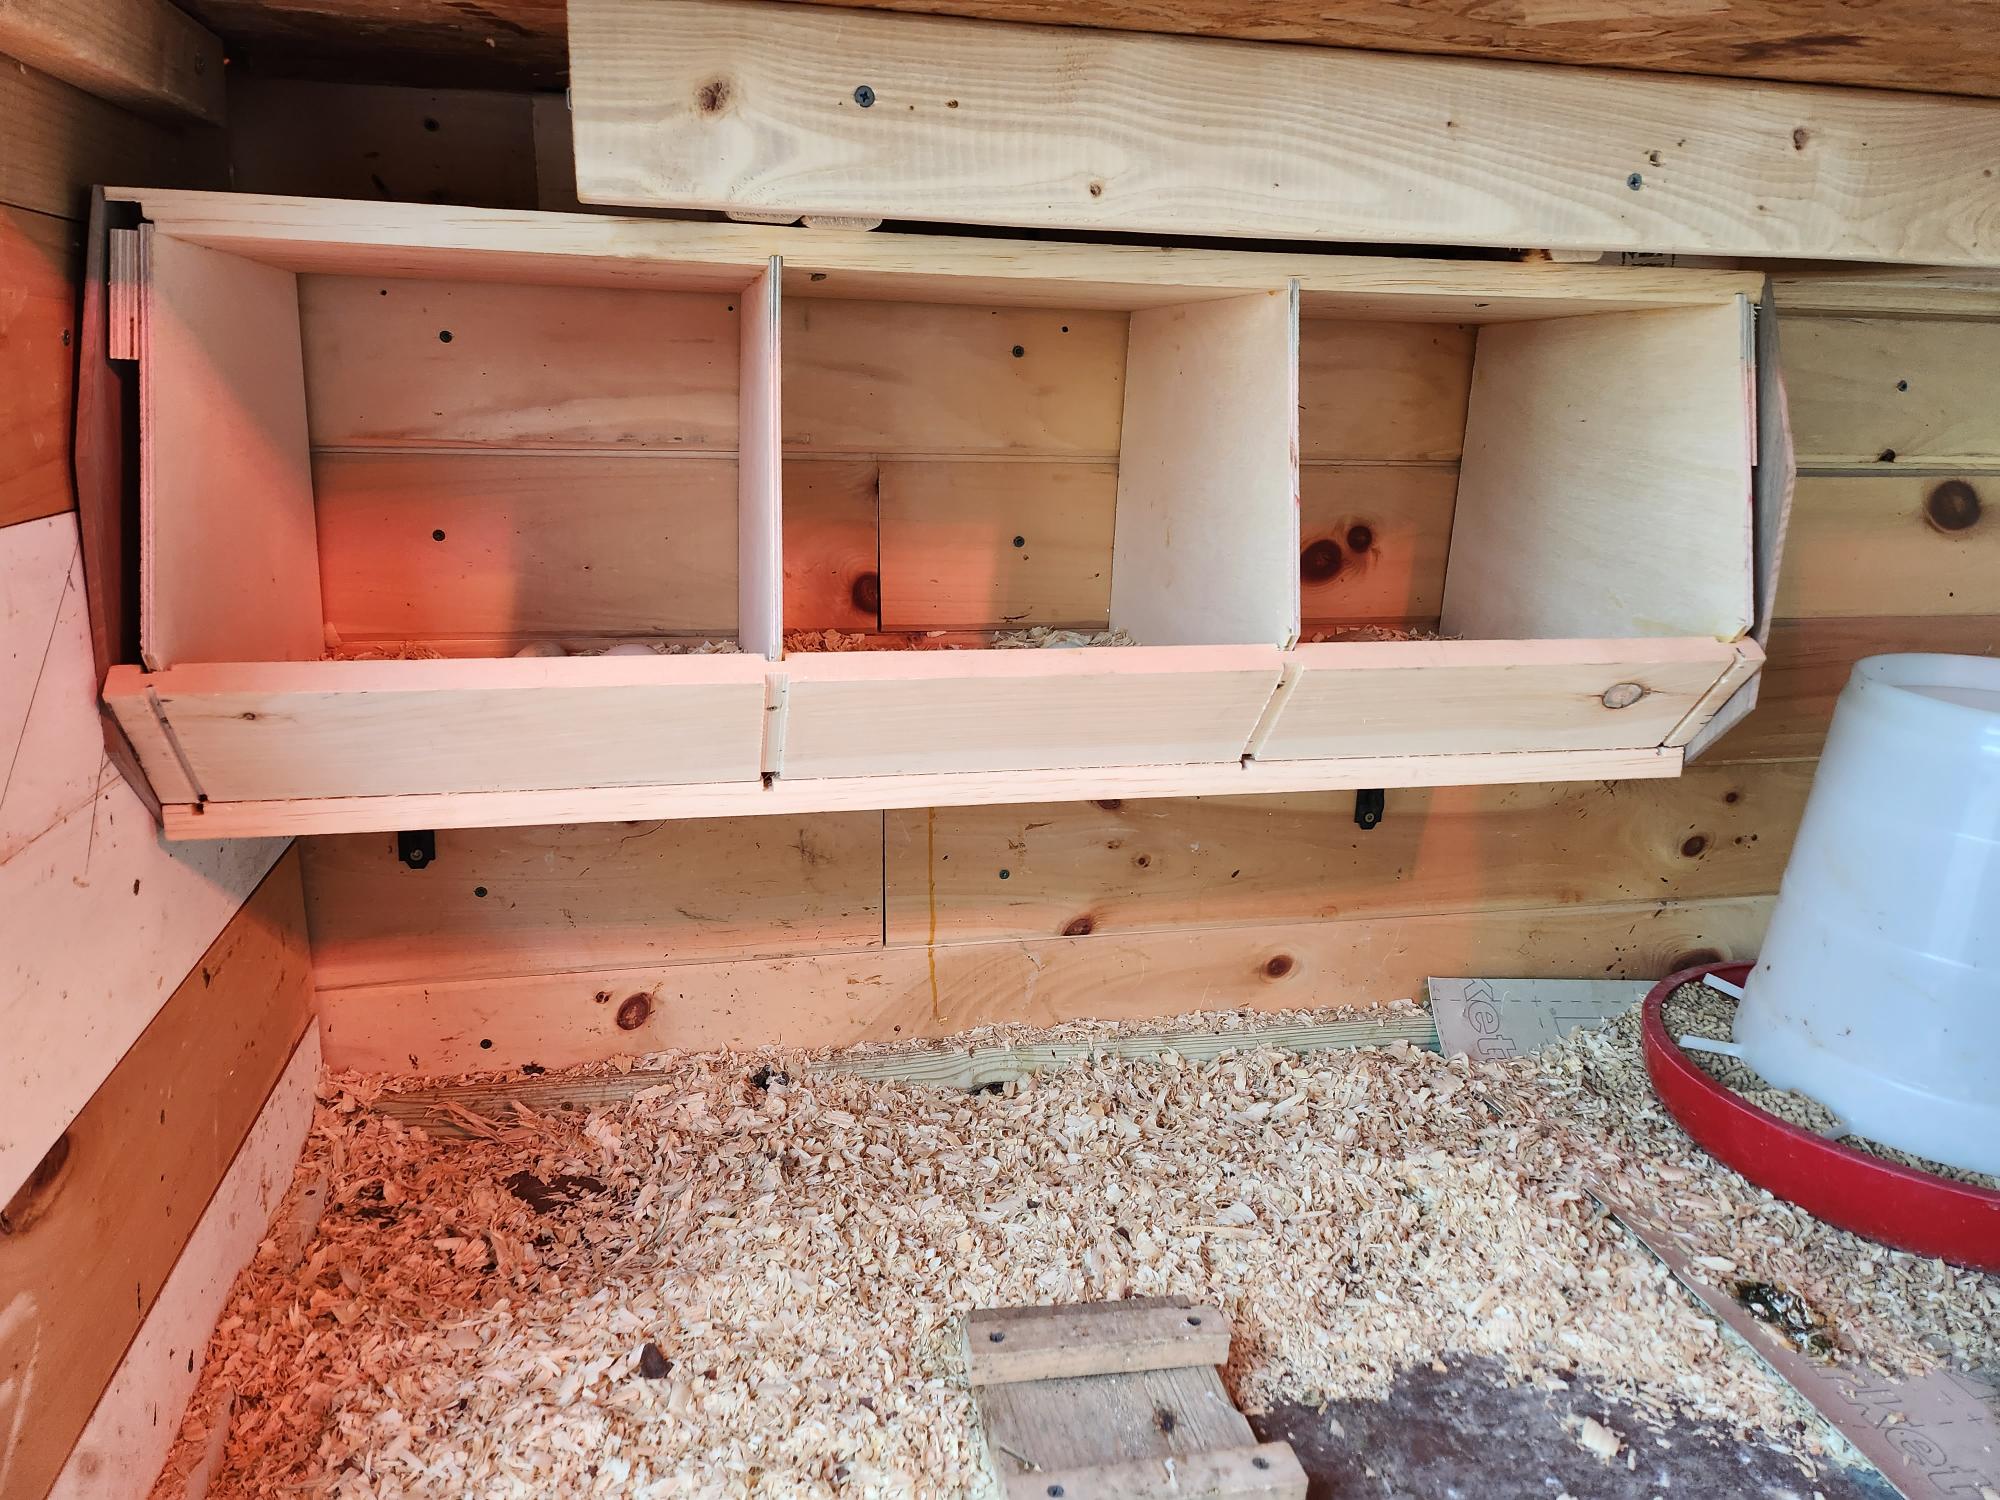
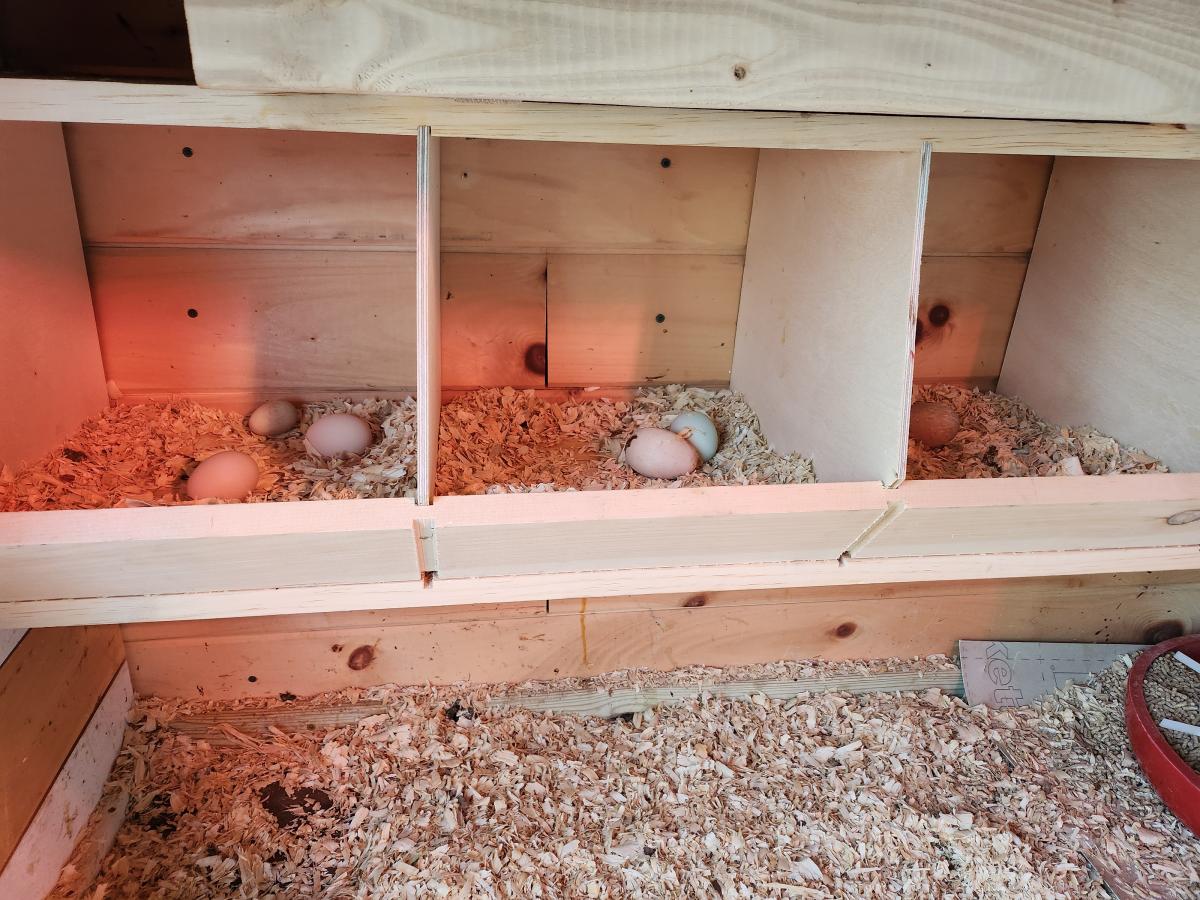
I have tried all sorts of nest boxes. No one ever used them. I decided to make the one from Anna White's site. I used joinery to attach the various pieces. The best thing of all: I find girls sitting in the boxes and take eggs from them. It really is awesome. I got a photo with real eggs and you can also see the wooden eggs to entice them to try it out. Thank you so much! I will build another one for the other side of the the wall.
Fri, 04/21/2023 - 10:18
Love the fresh eggs, looks like a win to me! Thanks for sharing.


Comments
Ana White Admin
Wed, 12/09/2020 - 11:03
Love your twist!
This is beautiful, love the finish! I would love to see it in it's space!:)