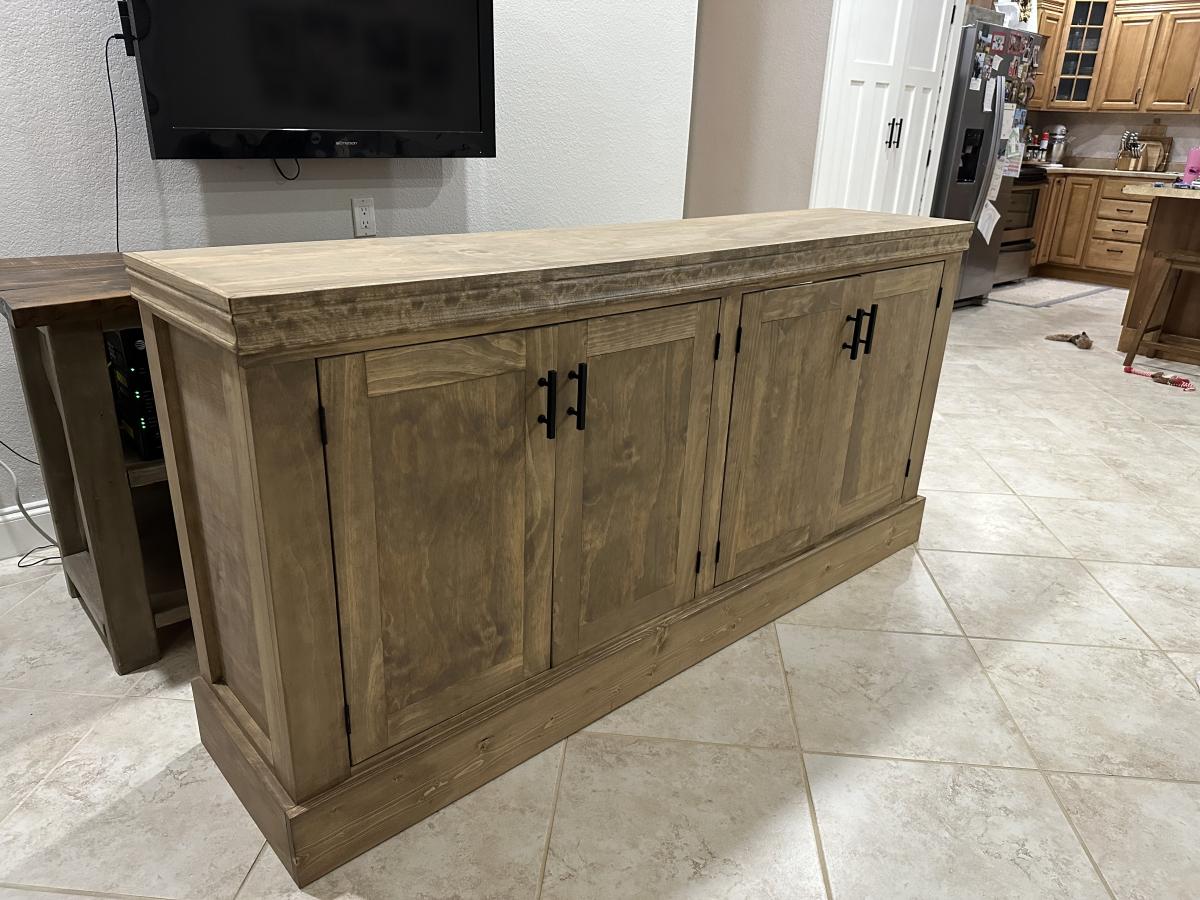
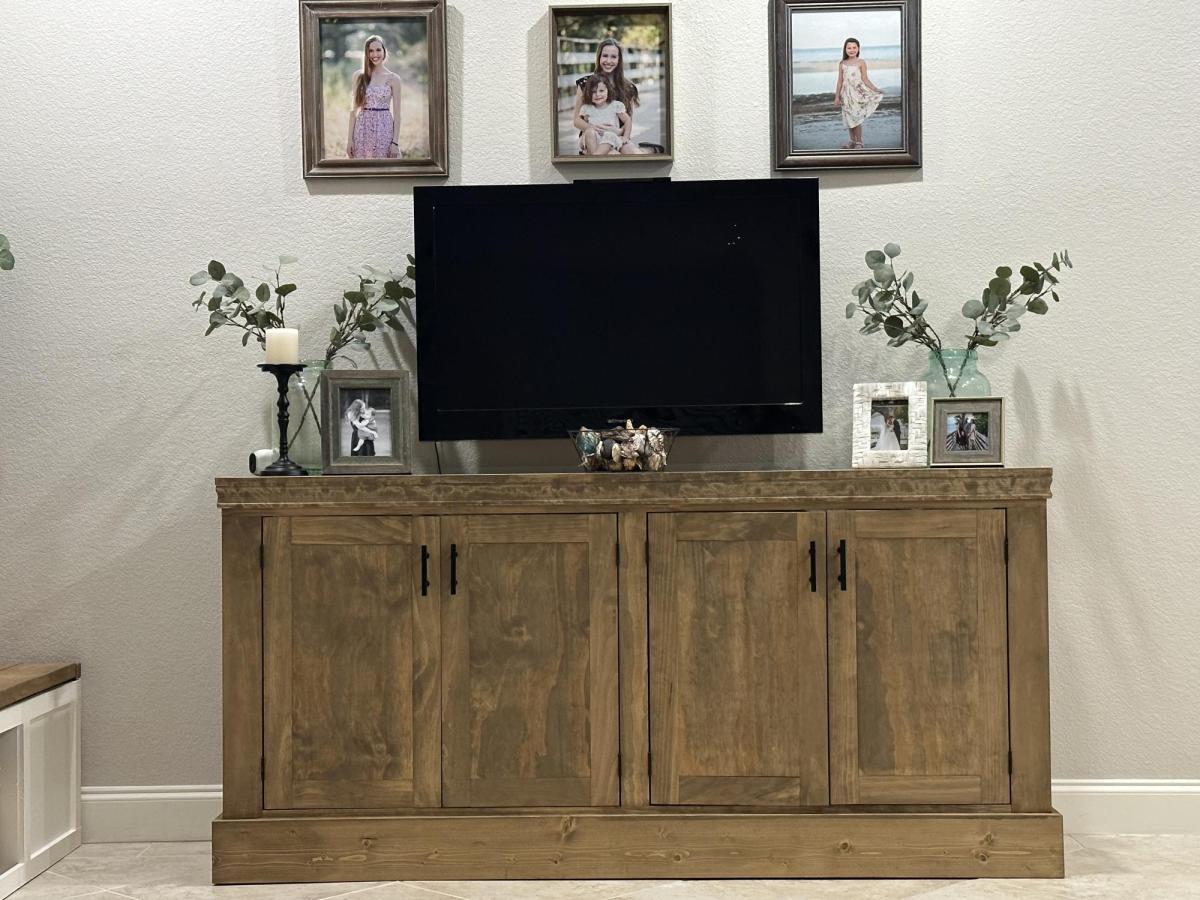
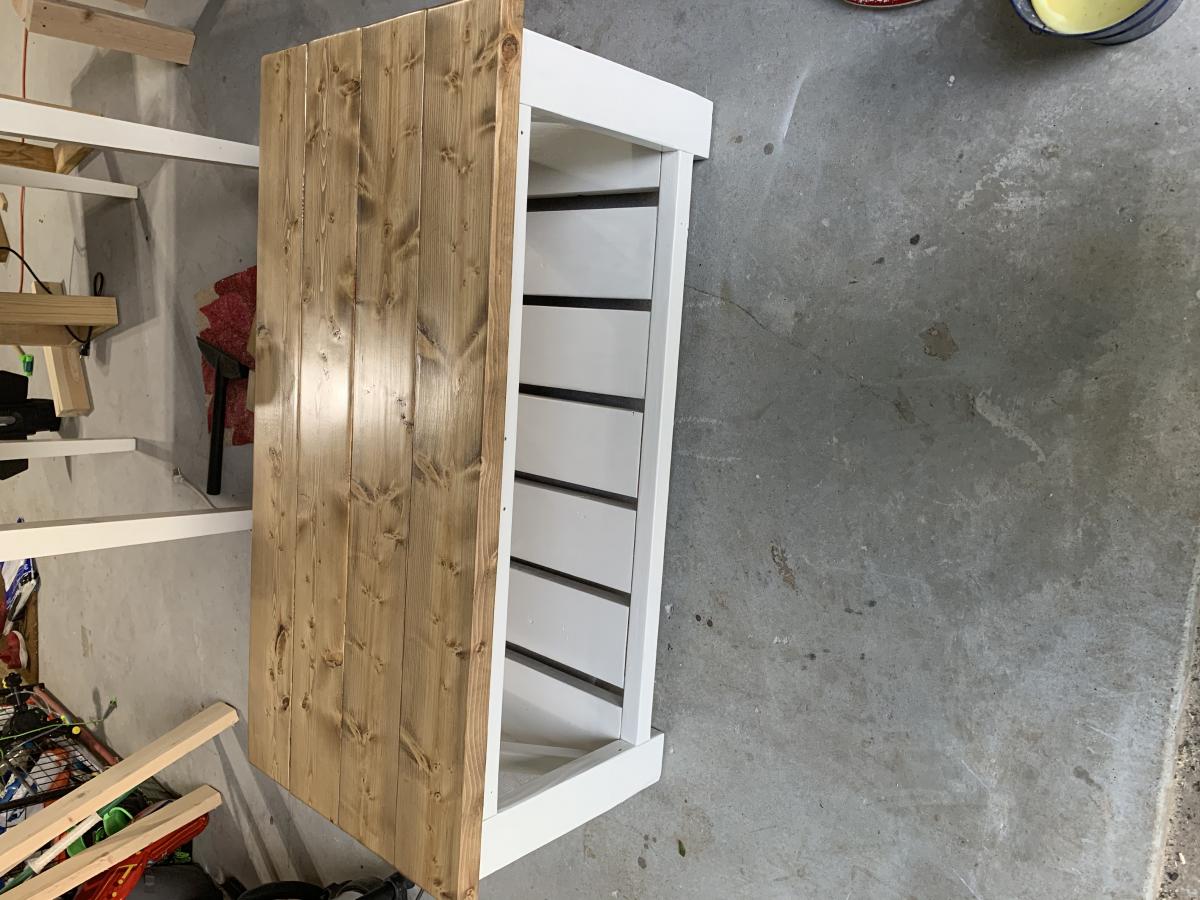
Shanty Sideboard

My wife and I are very happy with this piece. It was challenging but not too difficult. The plans were very easy to follow.
Built from Plan(s)
My wife and I are very happy with this piece. It was challenging but not too difficult. The plans were very easy to follow.
This was my first real woodworking project and was so much fun! I use my deck much more now and am excited to build more!
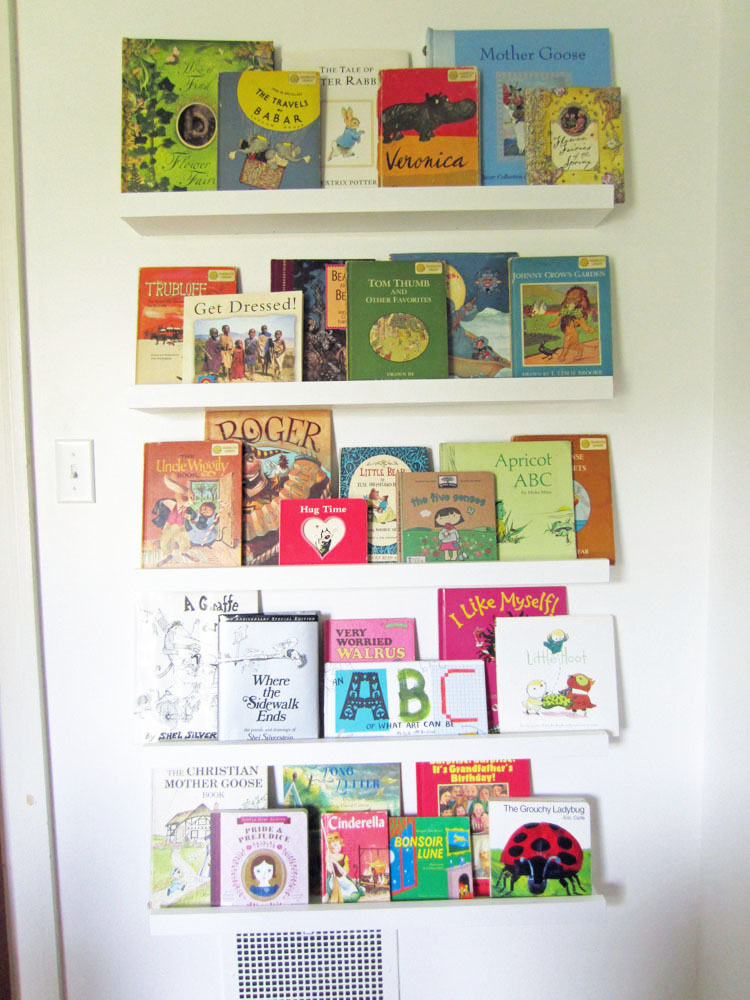
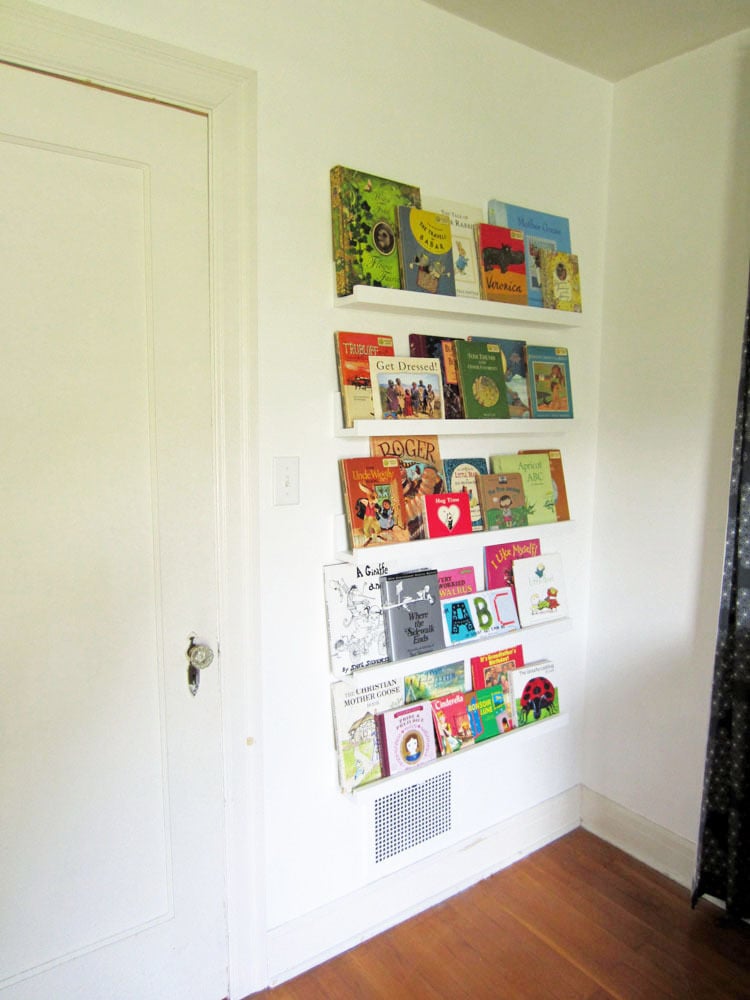
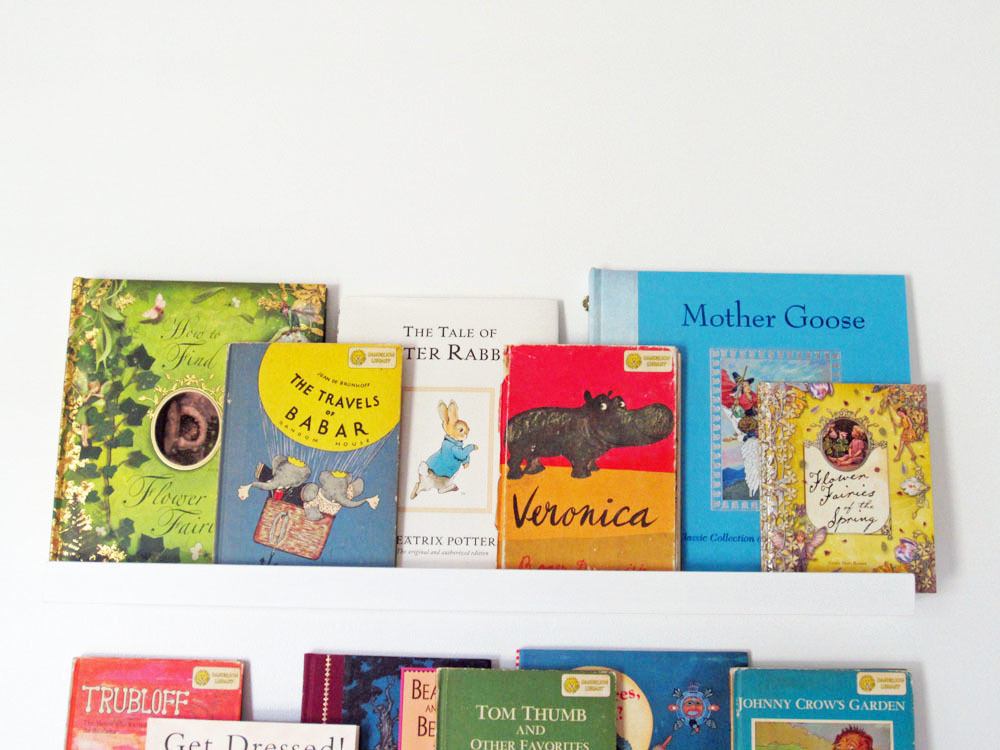
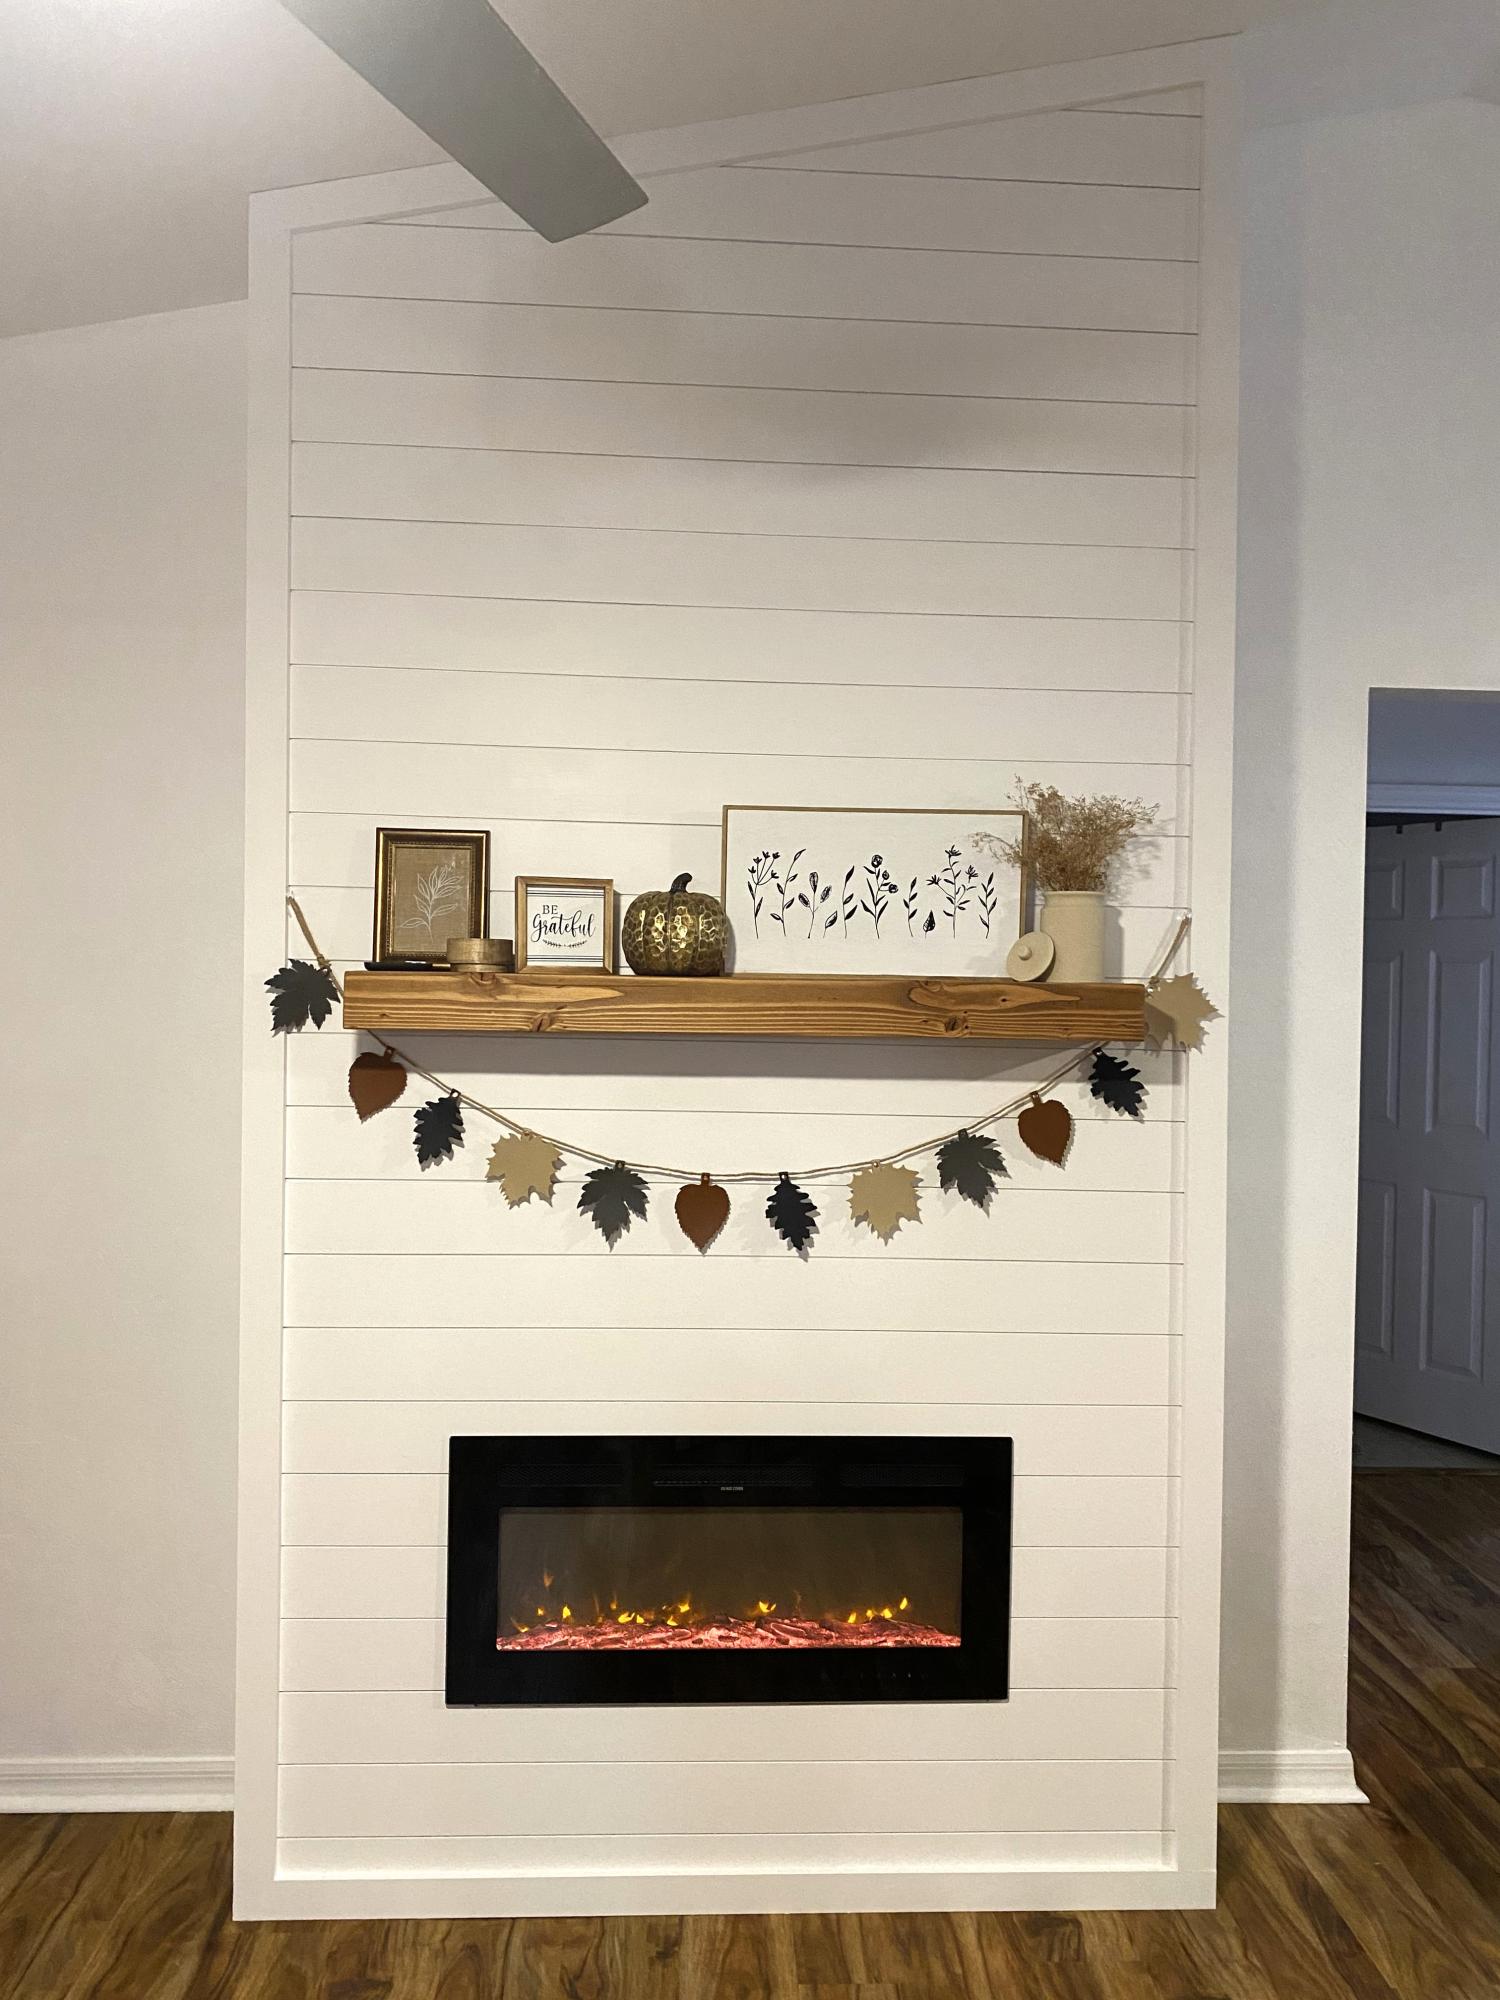
Using Ana's Ten Dollar Ledges project, we created these shelves for our children's rooms. They were so easy to make and paint and hang. We absolutely love them and so do the kids! Our shelves were 32" long to fit in a particular spot. The shelves also cost a little more than the price listed in the plans. Perhaps my husband bought a higher grade of wood. I'm not sure, but it was worth it regardless. You can see more of our kids' rooms and our old house renovations at our blog Lovely Chaos.
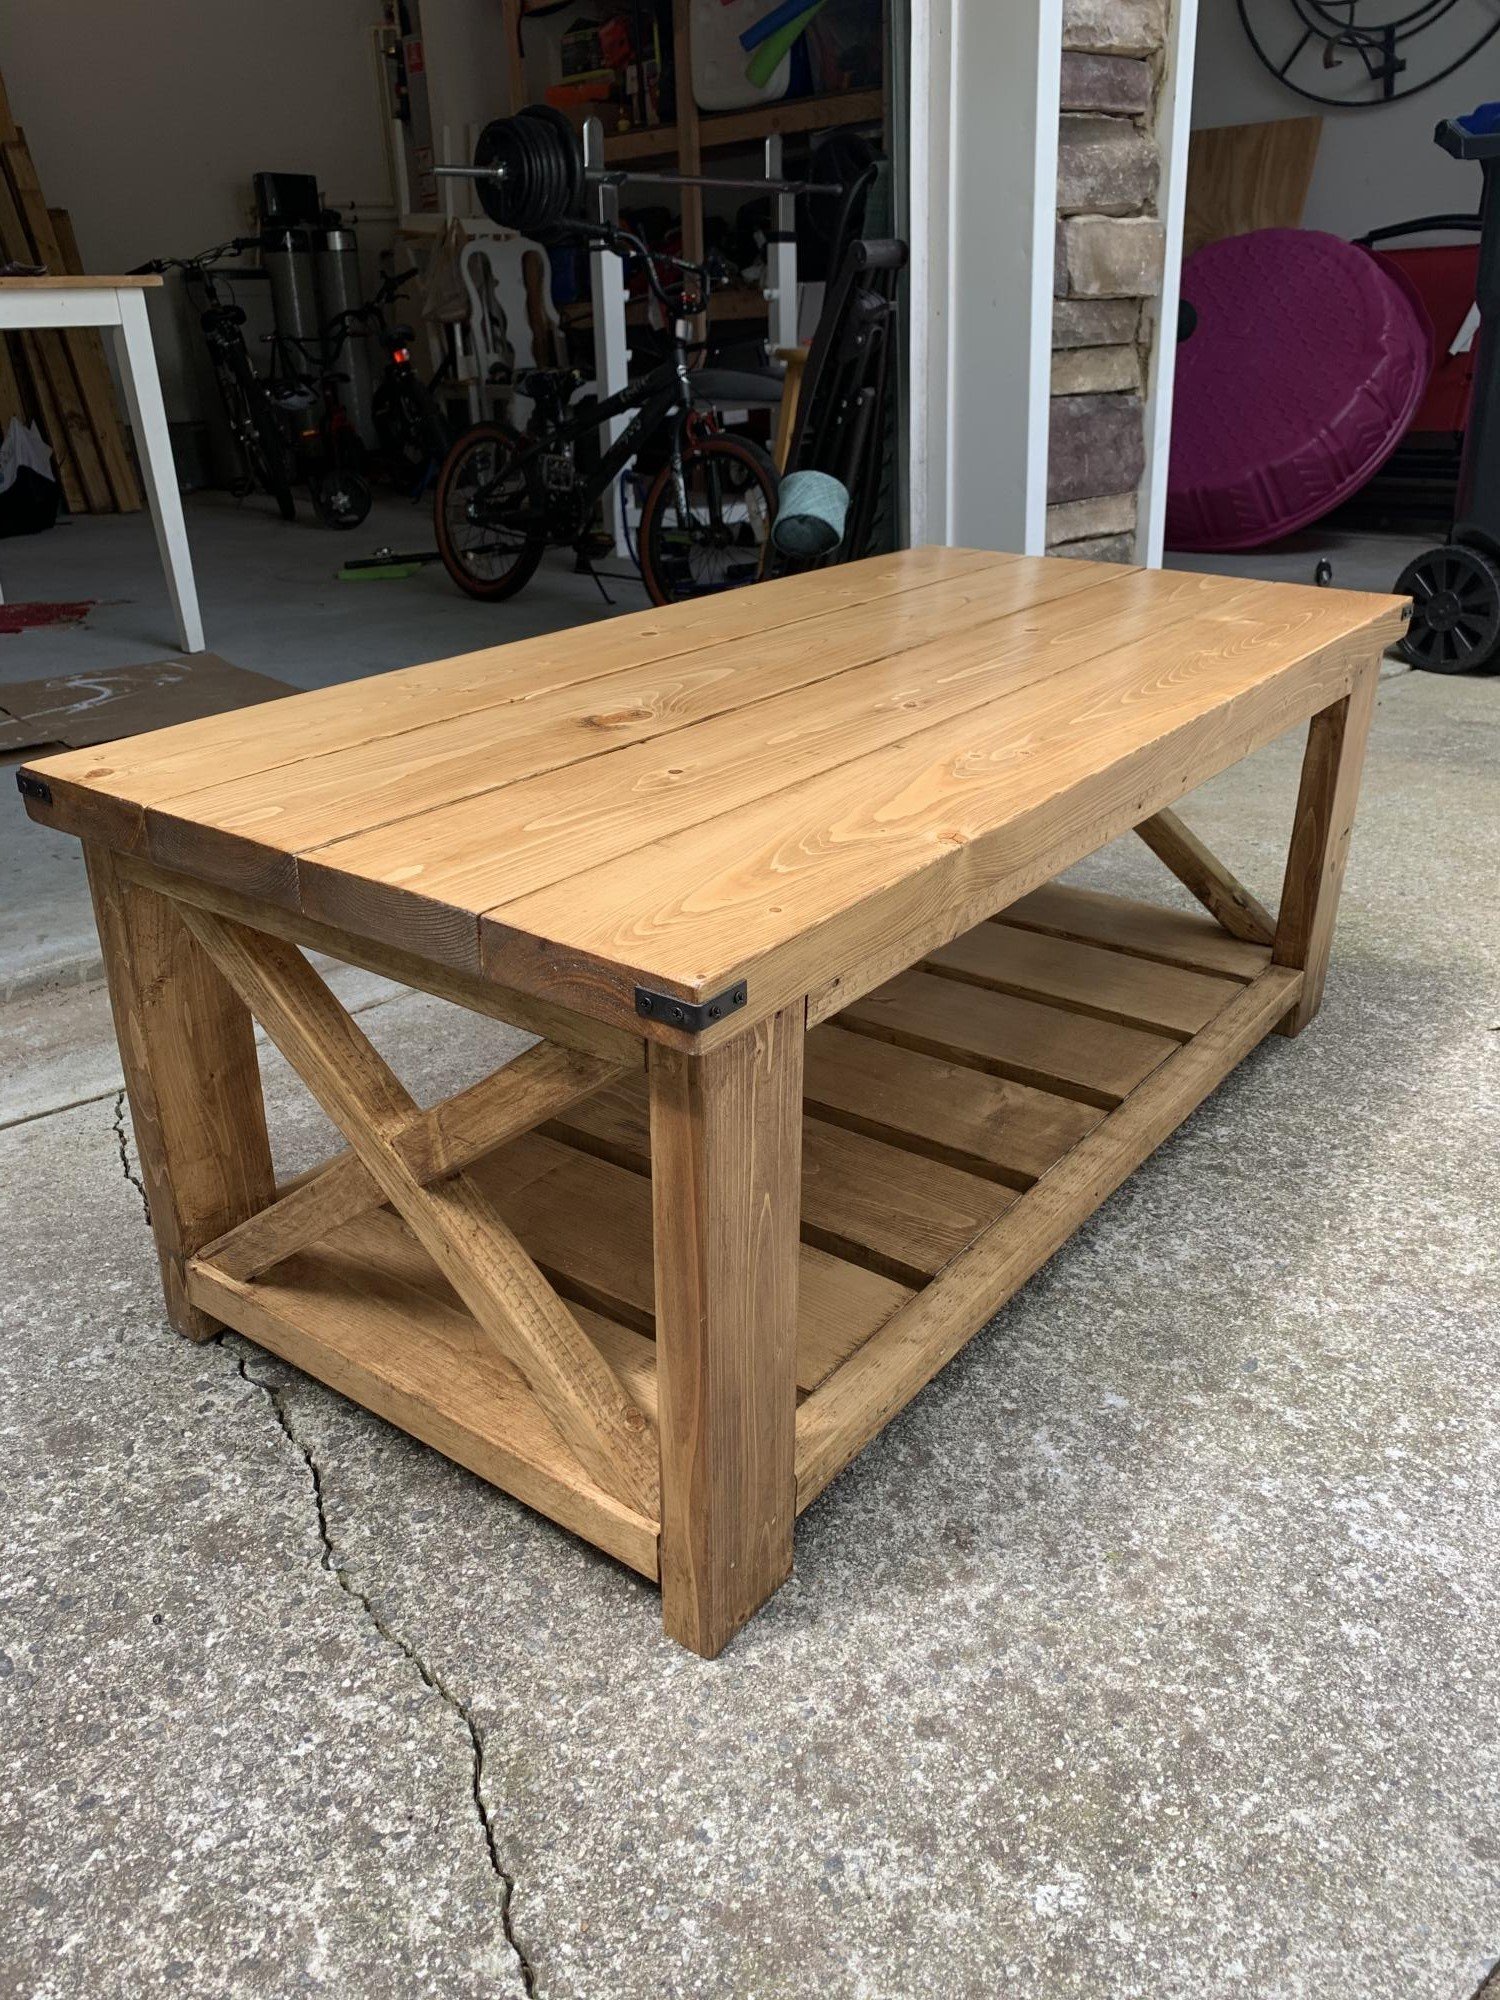
This table took me working on it on and off for two days. The most difficult part was getting the legs leveled. After adjusting a couple times,I got them right and the rest was easy.
It is a solid and heavy piece and we enjoy having family meals on it.
I had the stains and spent a total of $80 for the table and bench material.
I think a beginner like myself can tackle this project- As long as you can use a miter saw. I don't have that much experience with woodoworking, but was able to tackle this project

I had so much fun building this! I got a little creative with the corner section and decided to make it a table. I built a small hatch so that I could put in a container for ice and cold beer. When the hatch is not in use, the container can be removed and the hatch can be closed to provide more table space. I also added drink holders!


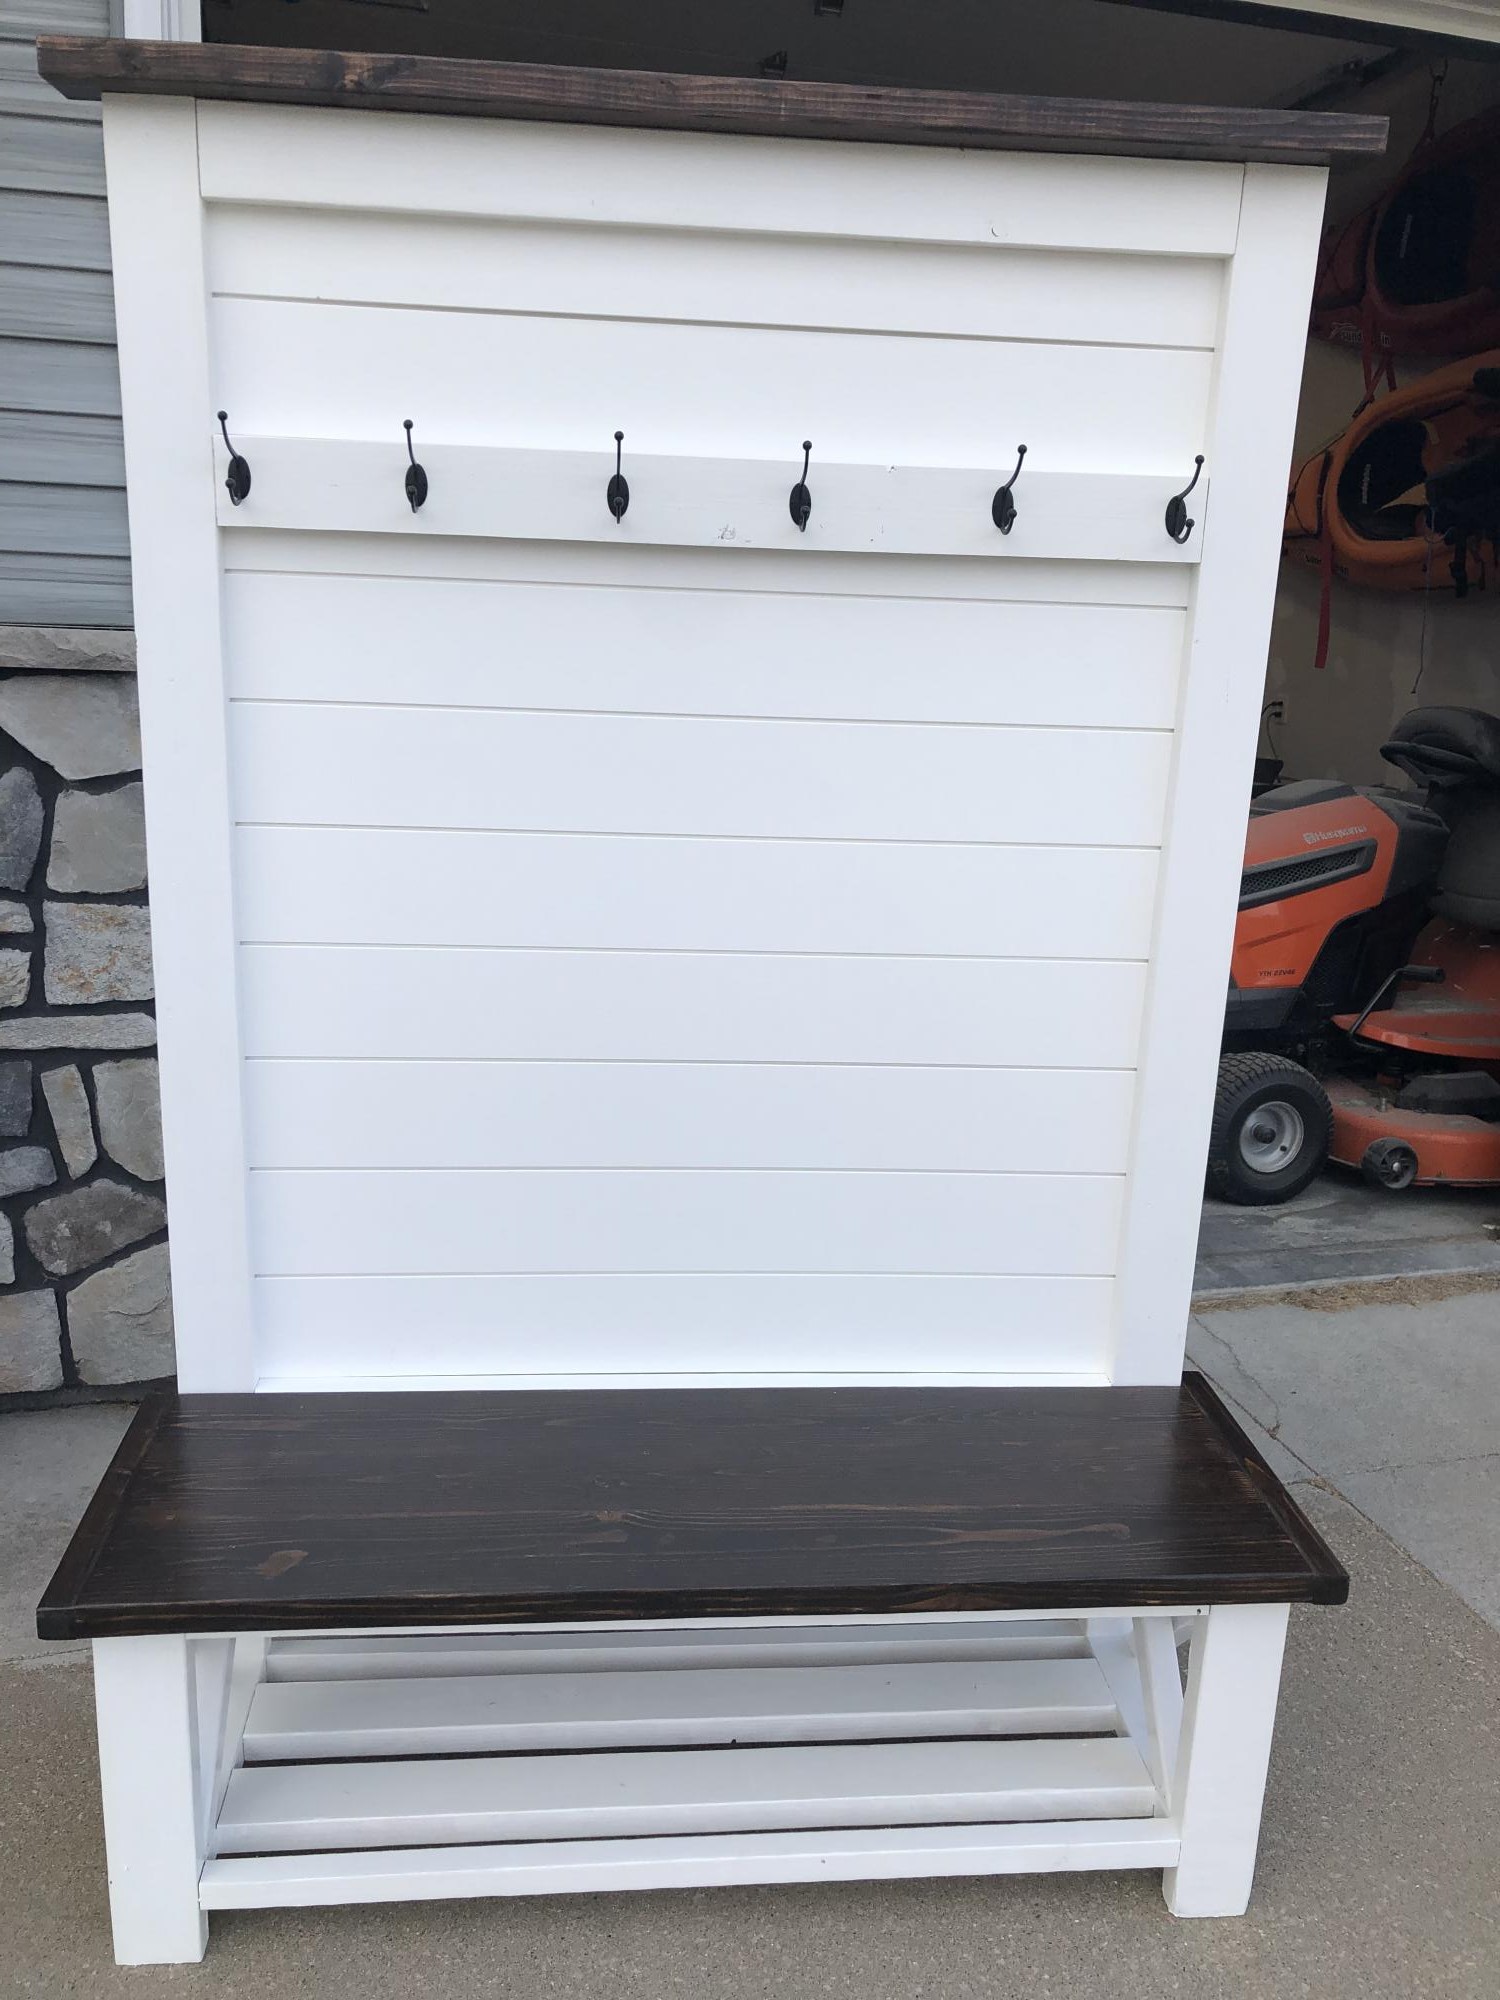
I made this for a cousin, but now I think I am going to need to make one for myself too! I used shiplap for the back instead of plywood. It cost a little more but was less effort than cutting the lines into the plywood. Plus it was already finished.
Some parts were challenging, but well worth the effort. My wife loves her early Christmas present. Thank you Ana for such useable plans.
Angel
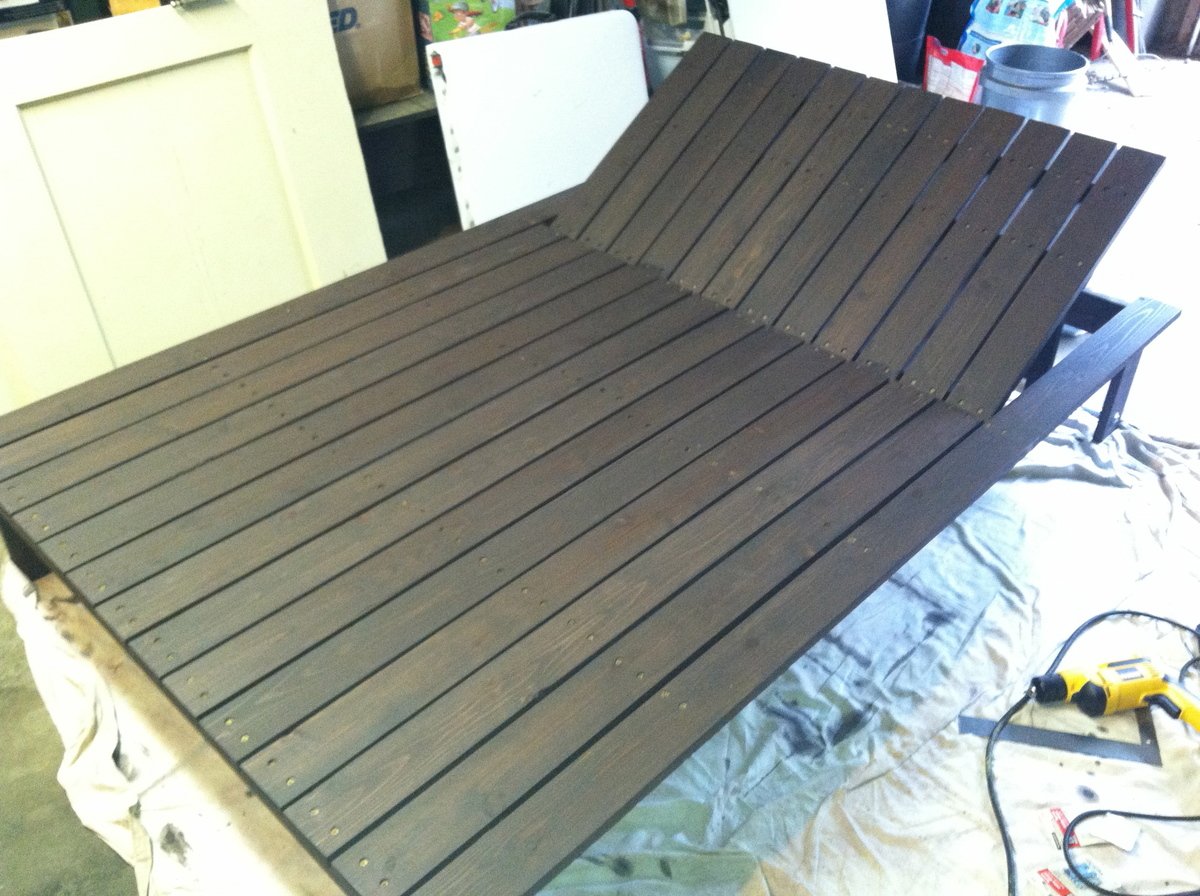
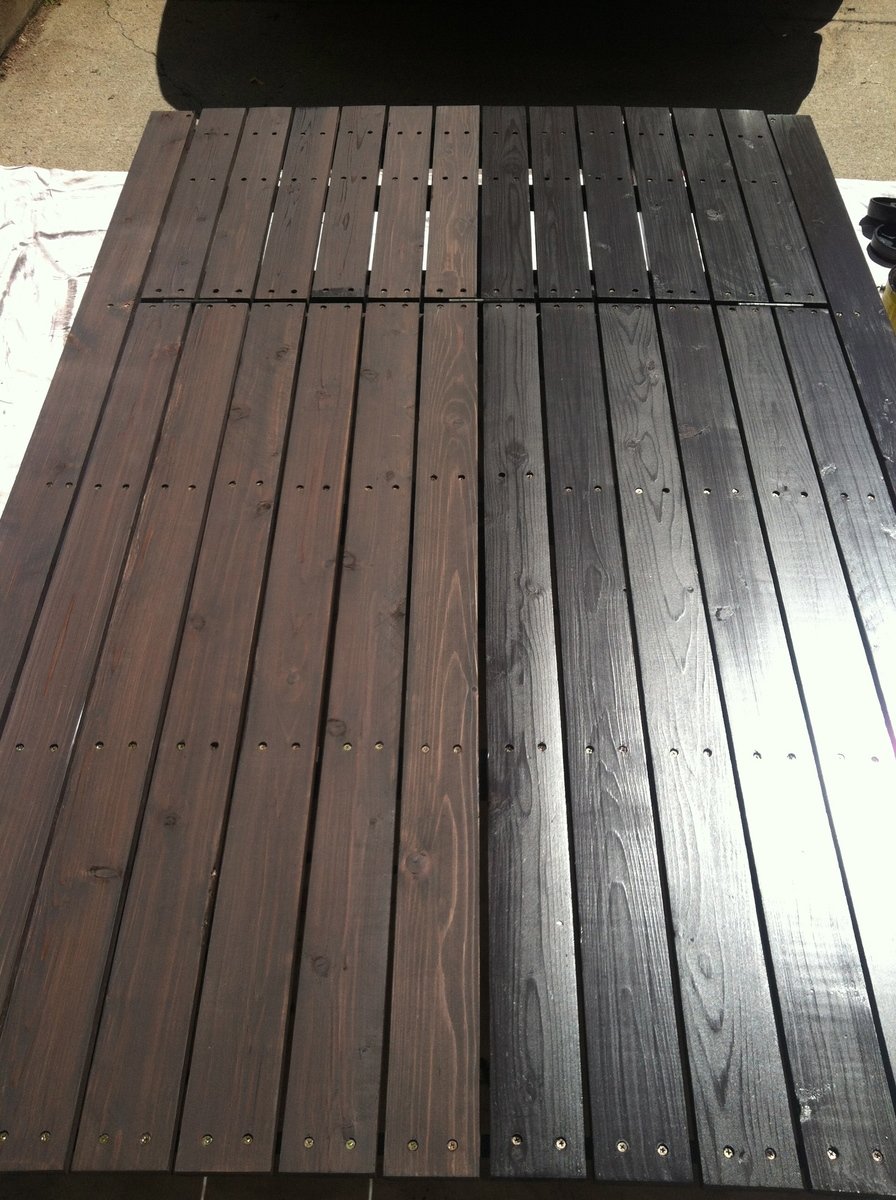
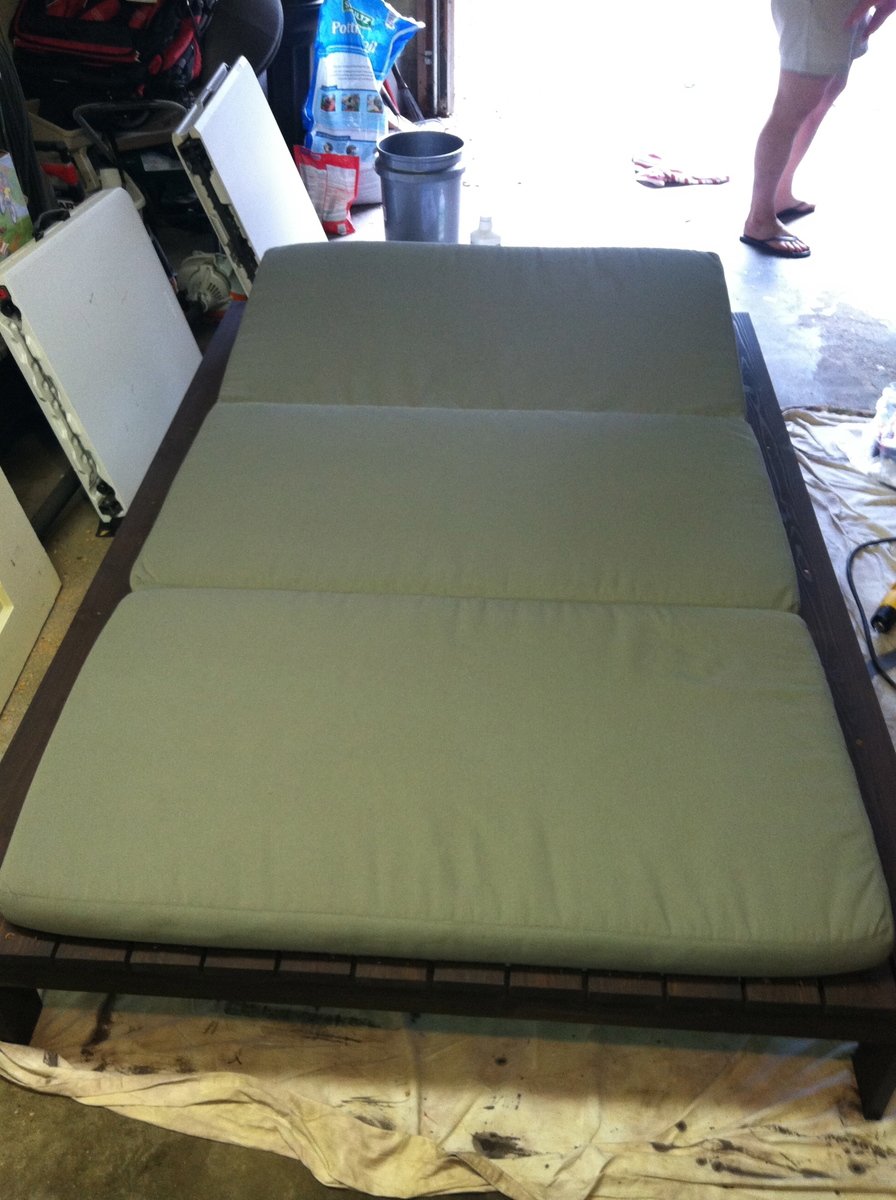
Finished it in about two weeks, but that was during my sons daily two hour nap window and two days of staining. Had to make a few adjustments so the pillow from West Elm would fit, because the plan calls for 11 slats on the deck when it should be 12. I added some wheels to the back and will add pull out drink tables soon. It was a fun project and my wife is thrilled.

So Fun!! My first ever wood build!! I’m completely addicted now ha! Thank you so much! I’m learning so much from watching your videos.
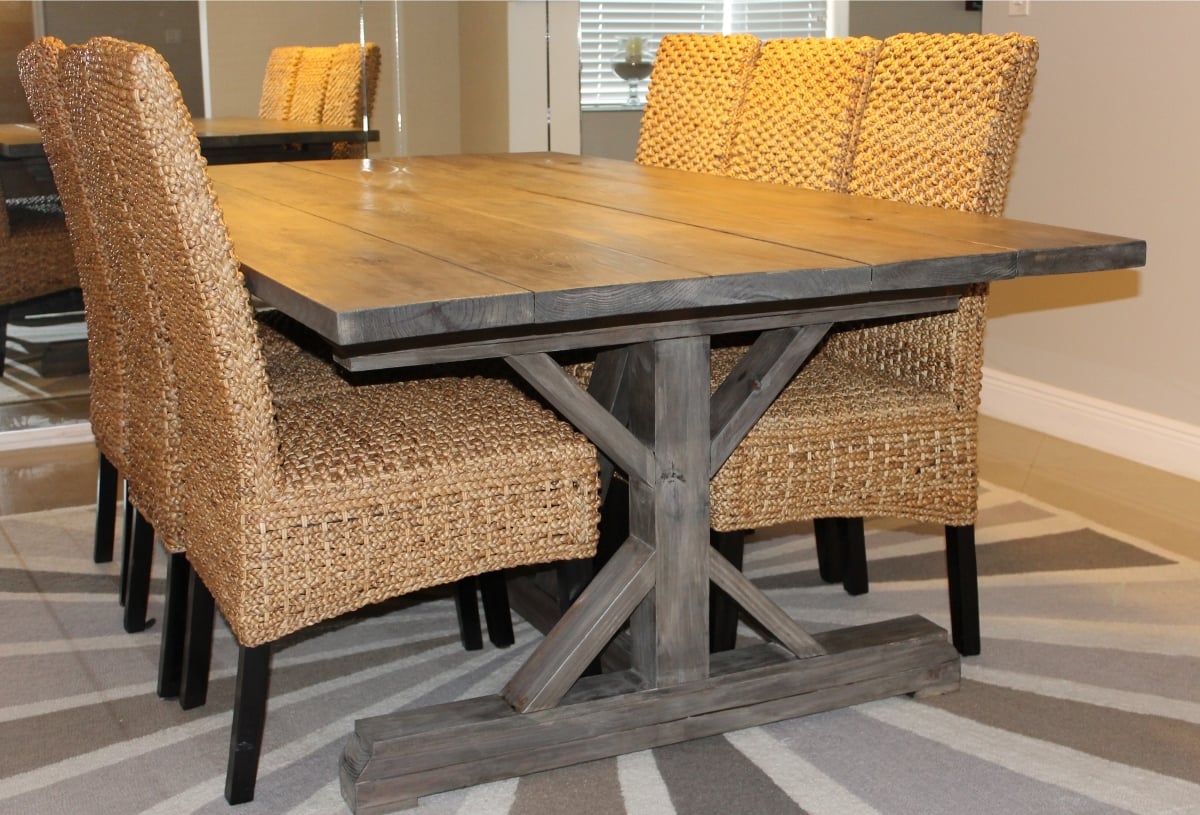
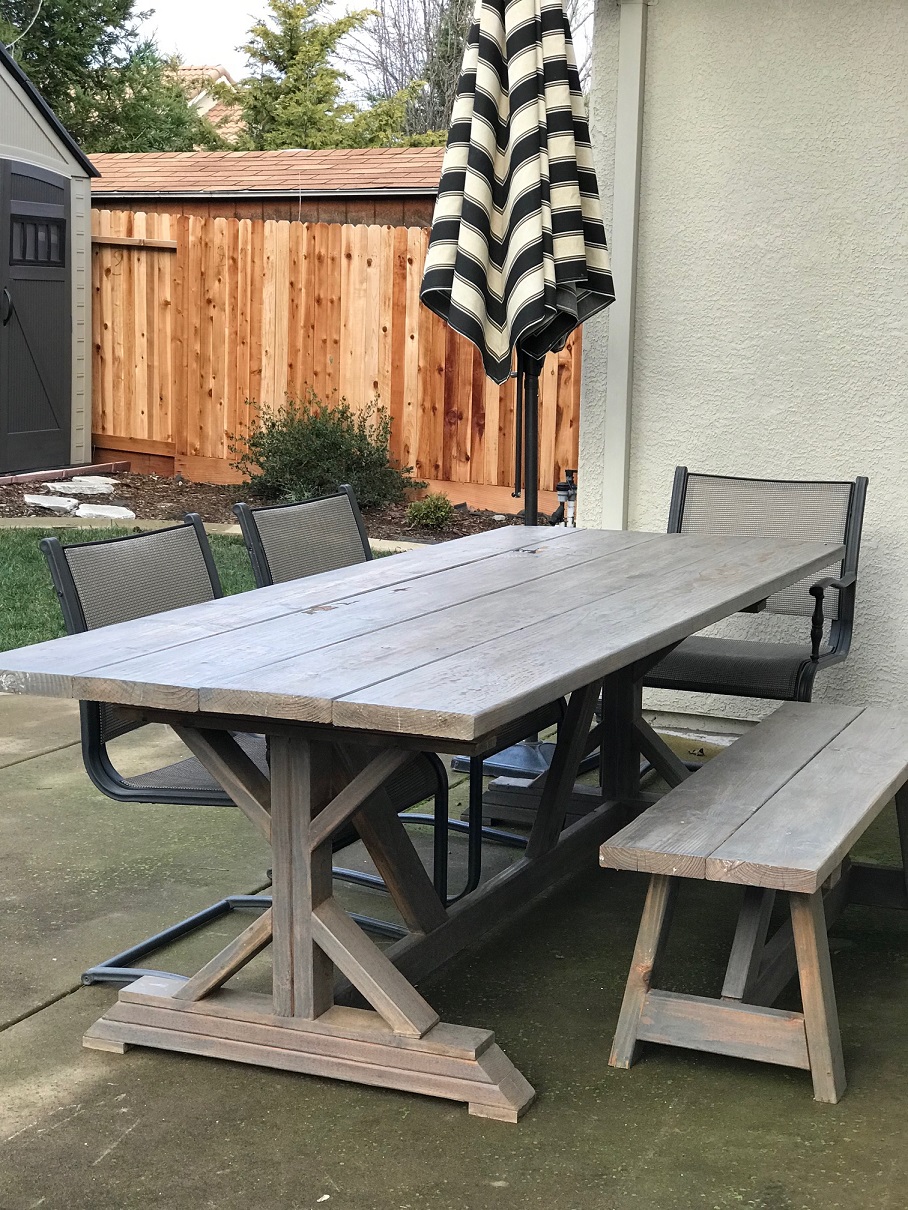
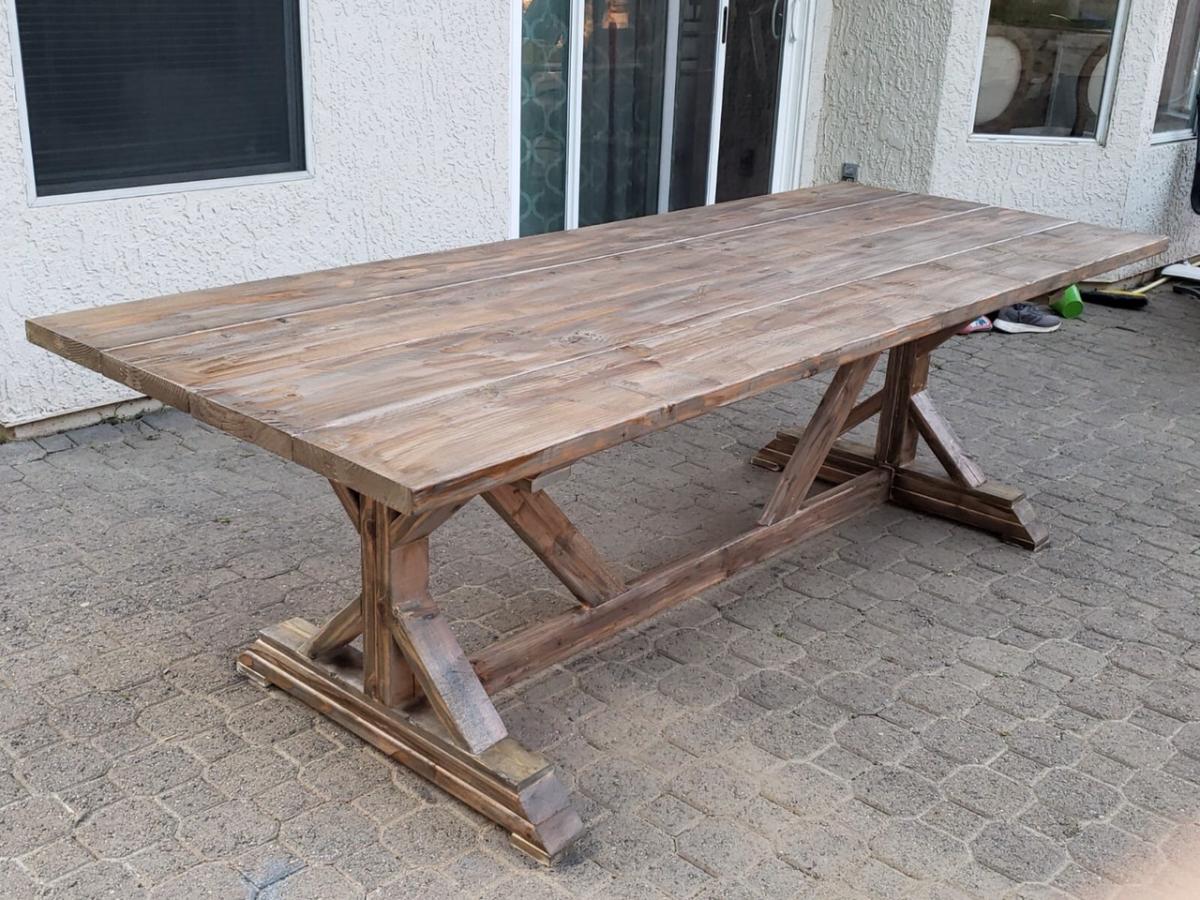
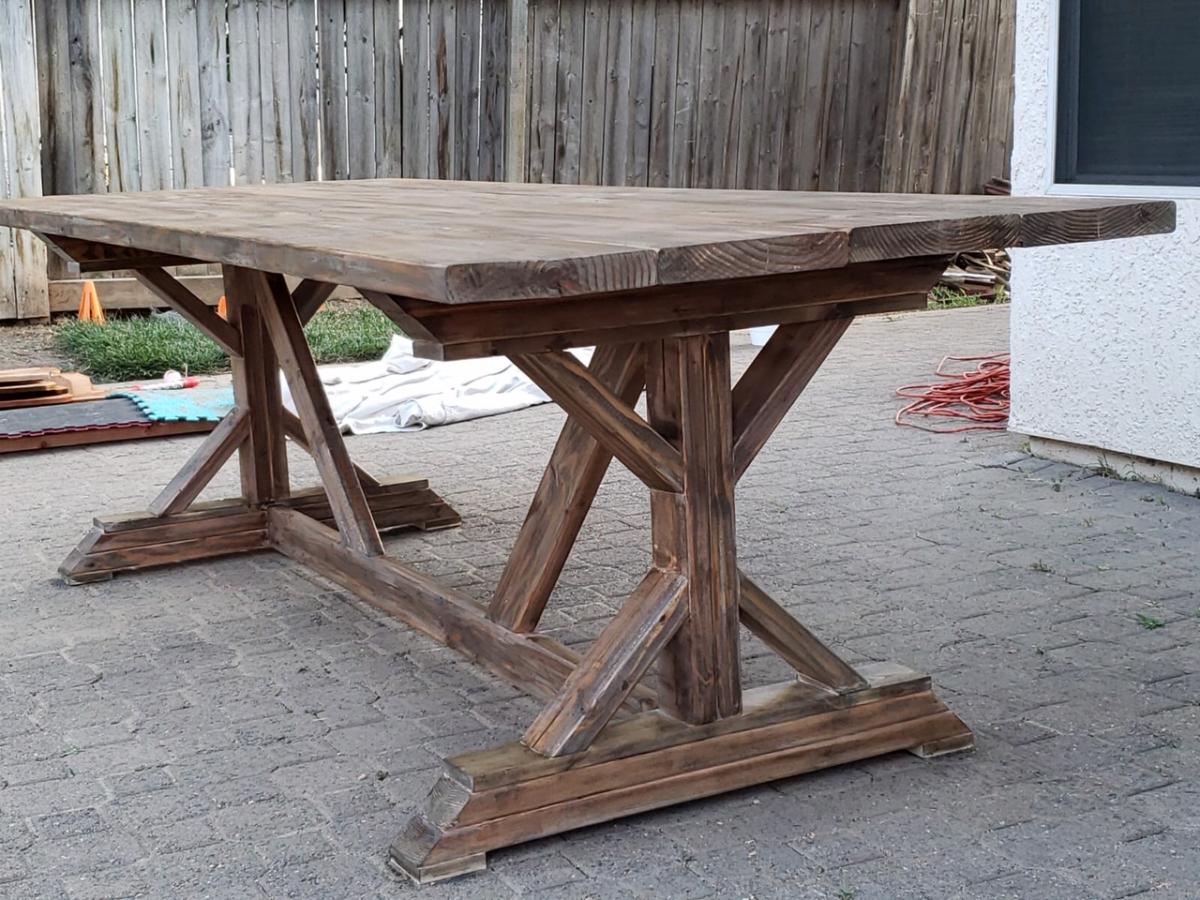
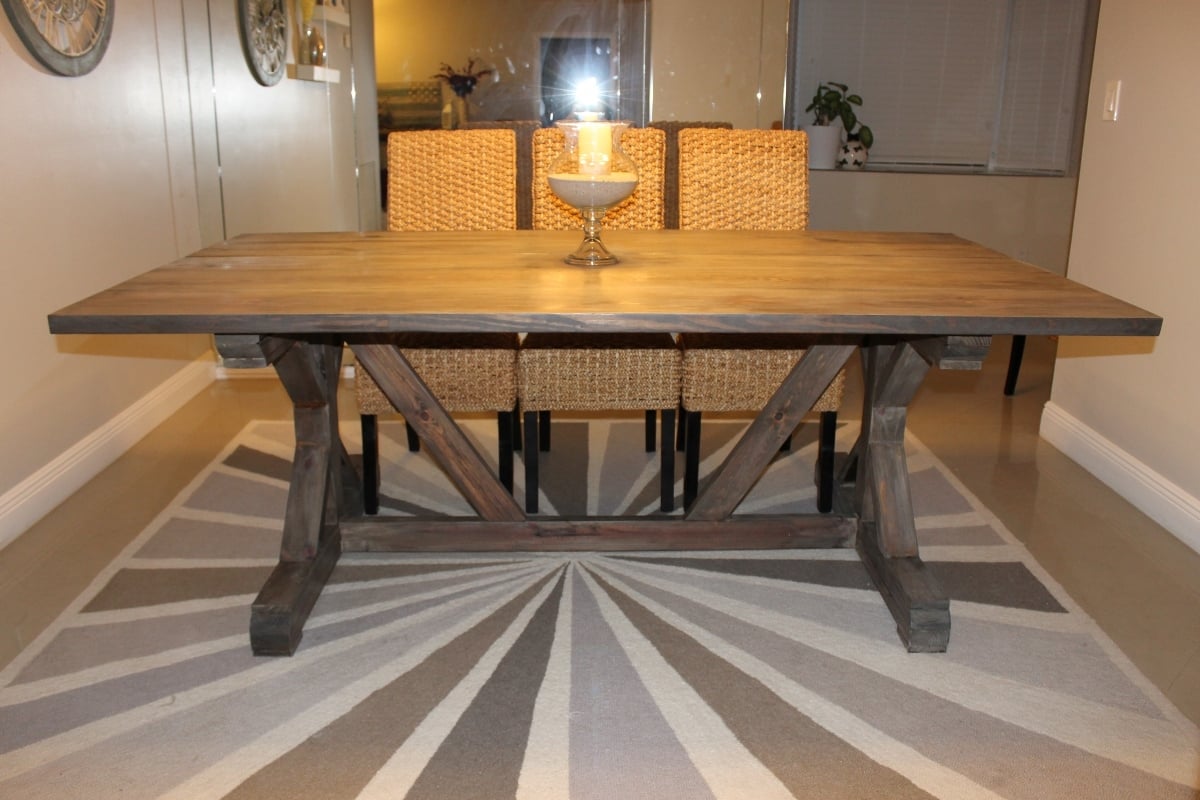
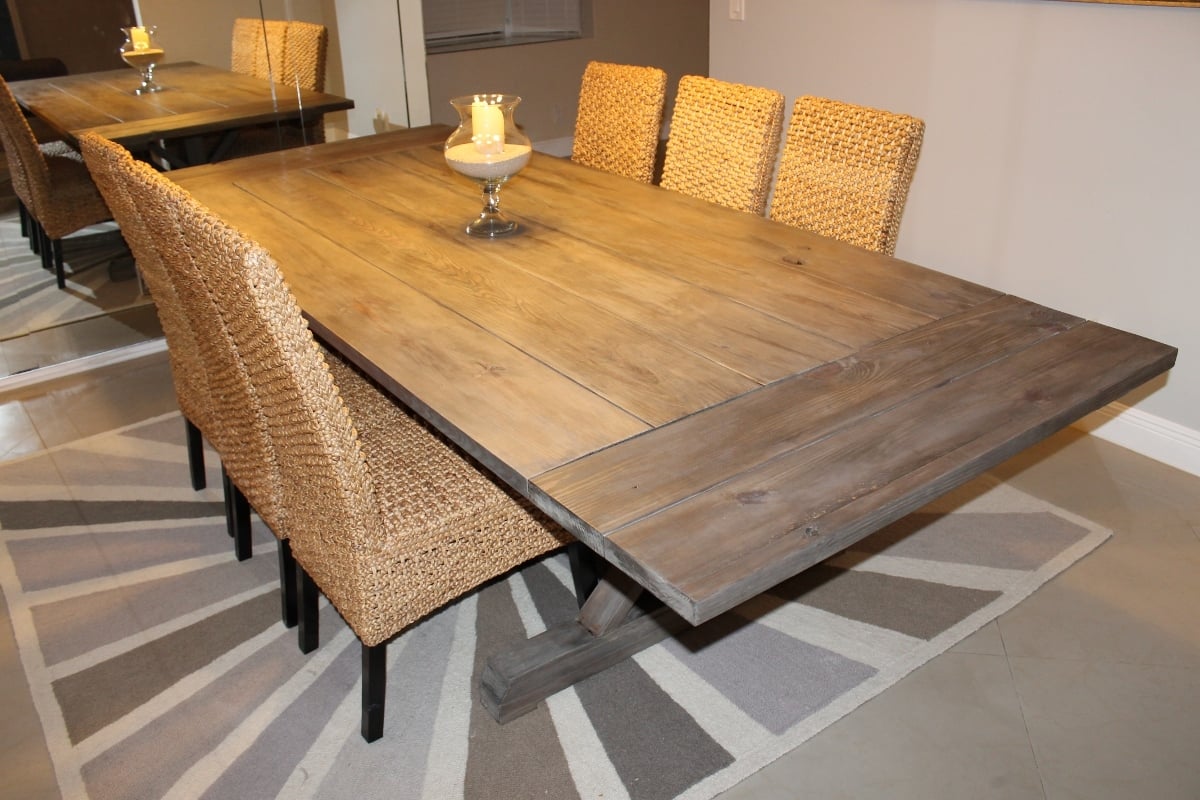
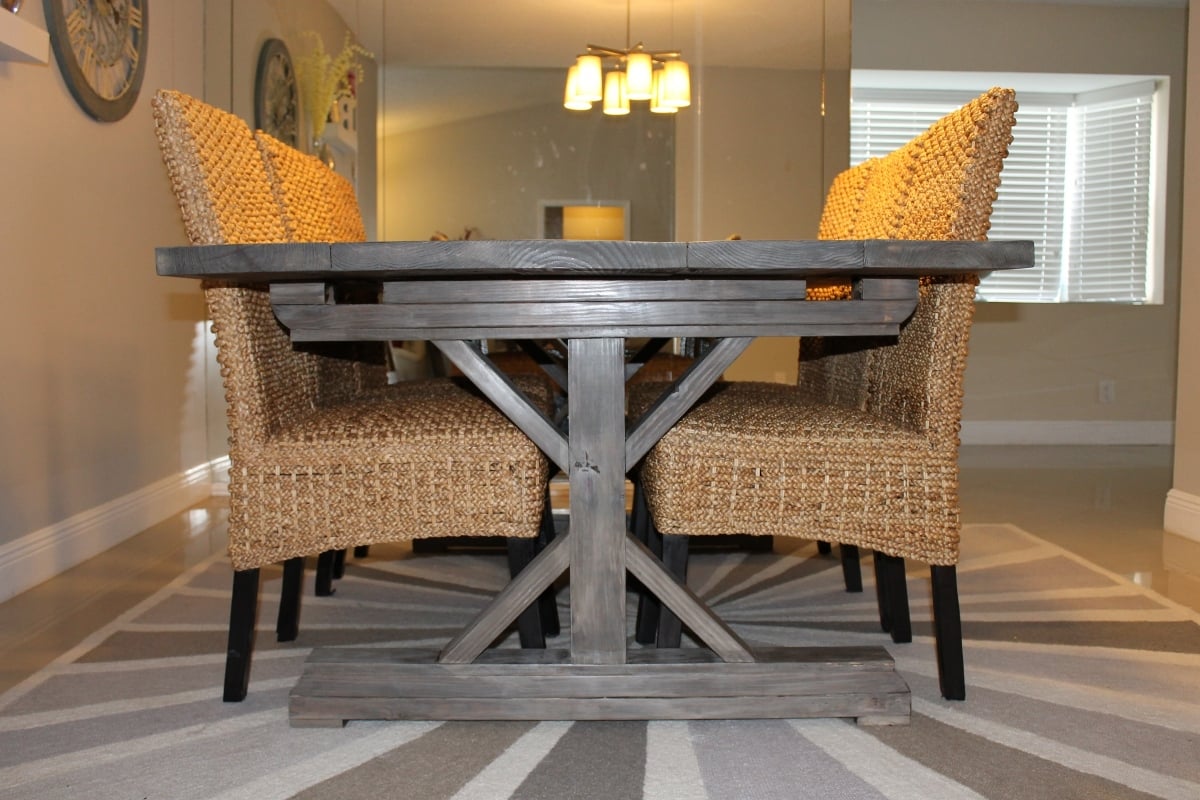
This is our attempt at the Fancy X Farmhouse Table. My husband and I built this over a weekend. We modified our table from the plans, making ours shorter and wider. We also added extensions and changed out a few boards for a bit of a different look from the exact plan. We created a custom finish with a few cheap and easy steps to get the look we wanted. Our table is 84" long by 46" wide. The original plans for the table called for it to be 96" long by 37" wide. We added a fifth board to our table top, thus making our tabletop 9.25" wider (since a 2x10 is actually 9.25" wide.) To account for this, we simply increased the width of the base boards by 9.25". As for the length, since our table was 12" shorter than the plan, we decreased the length of the two support boards running between the bases by 12" to account for that. We had to adjust the length of our decorative pieces somewhat, because of the wider base and shorter length. It was bit of trial and error but we were happy with what came out of it. For the center base post, instead of using 2x4's we used one 4x4 which was clean, square, and straight. We were happy with how things turned out for the base. Perhaps our biggest alteration was the fact that we added extensions to each end. To do this, we cut out 3.5" slots in the top of the base so a 2x4 could slide in. We then took two 2x8's and used pocket holes to bring them nice and tight. With the extensions in place, our table is nearly 10 feet long! As for the finish, we wanted a weathered gray color and were able to come up with it through a three step process. Its really beautiful in person! Thanks again for the plan

Sun, 07/22/2012 - 15:26
Your new table is really very beautiful. The previous one was also very nice, great job!
Thu, 07/26/2012 - 06:37
Wow! Great addition of the extensions. I'm saving this for our build.
Tue, 08/07/2012 - 03:10
Could you possibly give me a detailed explanation of how you finished this table? I love, love, love the color and want to replicate it.
Thanks!
Darcy
Tue, 09/25/2012 - 09:06
Beautiful table, but I really want some information on the 3-step process you used to get the weathered gray look. Can you please provide that information? Thanks!
Tue, 10/23/2012 - 07:46
How did you create that Gray Weatered finish? Also what type of wood did you use?

Sun, 04/07/2013 - 20:40
Thank you for your interest in the finish....we used regular pine from Orange and Blue. We used a mixture of steel wool and vinegar in a glass jar, let it sit for a night or two, then brushed it on evenly over each board. We then let that sit for a night or two and then proceed to whitewash the entire table (two parts water one part paint.) After that, we took Dark Walnut Stain and wiped it over each board, then quickly wiped/scrubbed it off after just a minute or two. That's how we did it!
Id suggest practicing first with some scrap , esp. with the steel wool mixture so you can see how the wood changes. :)
Fri, 09/23/2016 - 15:24
Hi Emily!
I love your table. We are about to make one and love your stain. Would you be so kind to give me details of what you used to achieve the look? I read the above post, but could you give me brands and colors? I don't understand what is steel wash- is that the color?
Thank you so much!
FLKS
Mon, 09/09/2013 - 11:40
but when we brushed on the steel wool/vinegar mixture, the holes on the table top and base that we had filled in with putty didn't really stain...did you run across the problem? I don't see any areas on the top of your table where you can tell where the holes were??
Wed, 04/09/2014 - 09:05
I'm curious if you made the extensions permanent or if they can be removed and added as you need? I love this table!
Thanks,
Wed, 08/13/2014 - 11:50
I am not understanding how you made the extensions from your description and then looking at the end pictures... Would you please explain this a little further and how they are stored and placed for use and how this works? Thank you!

Tue, 10/07/2014 - 17:39
LOVE the finished product! I aim to get the hubby to make this one at some point! But for now, we have just a bench in our kitchen that he made and I'd like to apply the same finish you did. I've looked at a bunch of different tutorials but I like yours the best. Here's the question...how long after I apply the paint/water mixture to I apply the walnut stain? Do I apply the water/paint and wipe off right away? A few seconds later? A minute later? Do I allow the applied/wiped water/paint mixture to dry completely before adding the stain or do I want to apply the stain before it's throughly dry so that it mixes a bit for a softer look? Thanks so much!
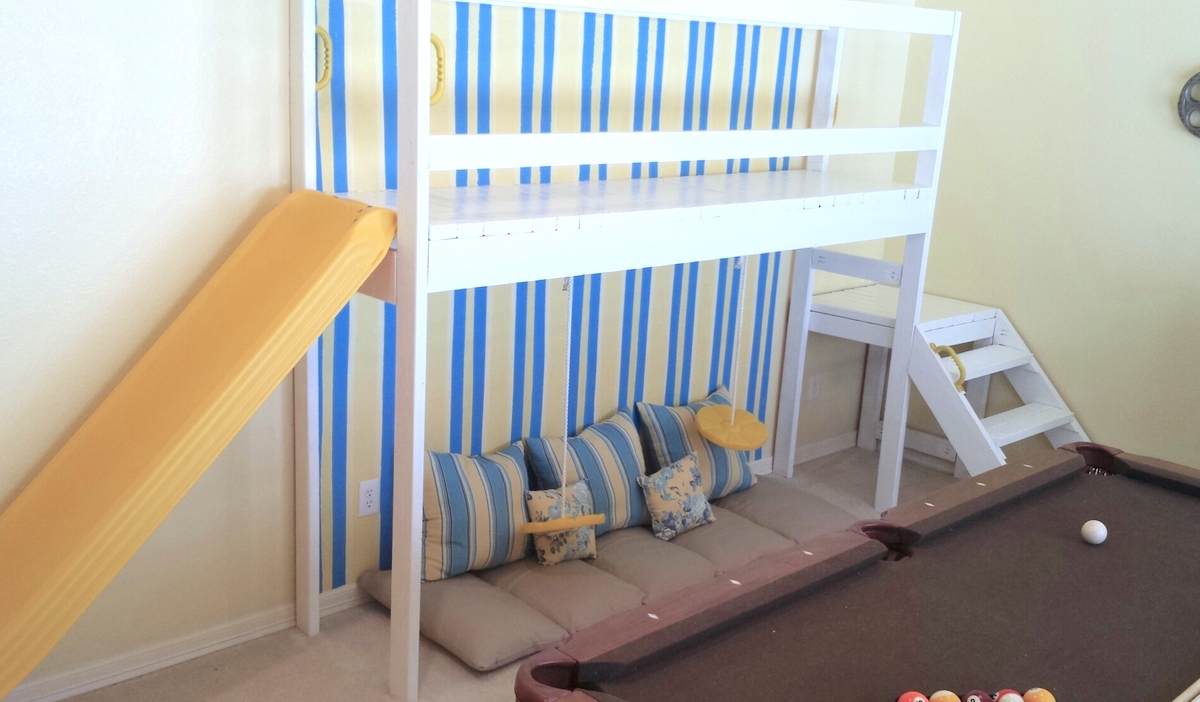
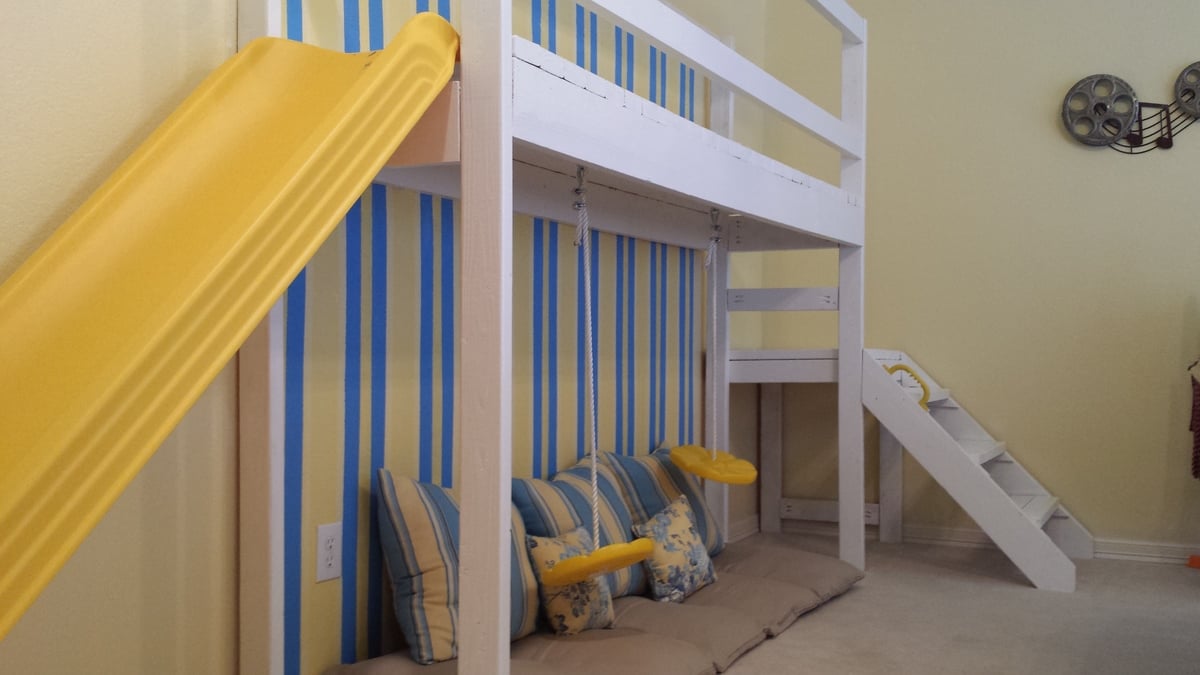
We wanted a place for the kids to play when the weather outside is unbearable. So, we modified the camp loft bunk bed plan to work in our game room. We have a pool table in the room and we didn't want it to interfere with any shots. Subsequently, we cut the width down to 24 inches and extended the length to 93 inches to fit in our space. Additionally, we pre-ordered a slide that had to be mounted at 48 inches and measured 71 inches in length. So, my husband framed it out so the planks that are meant to hold the mattress would sit right at 48 inches and we could mount the slide. This has been the best idea ever for our kids, because they can't get enough of sliding and swinging indoors.


Wed, 05/28/2014 - 18:53
Loved this project. Paid back with hours of giggles and fun. :)
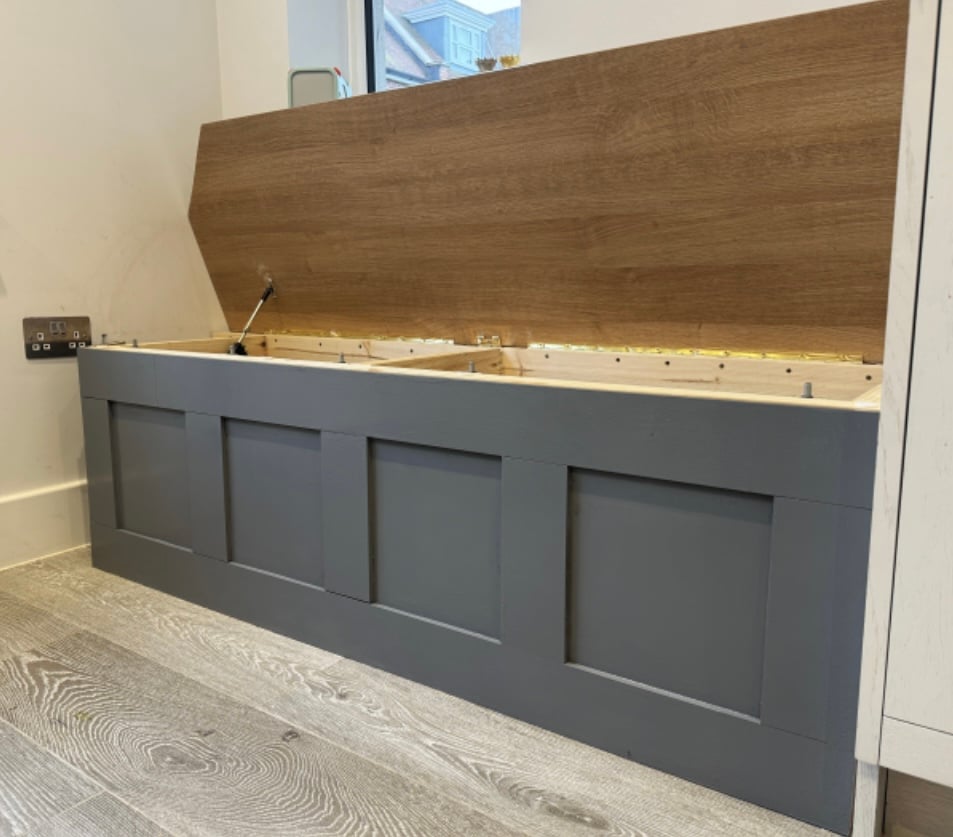
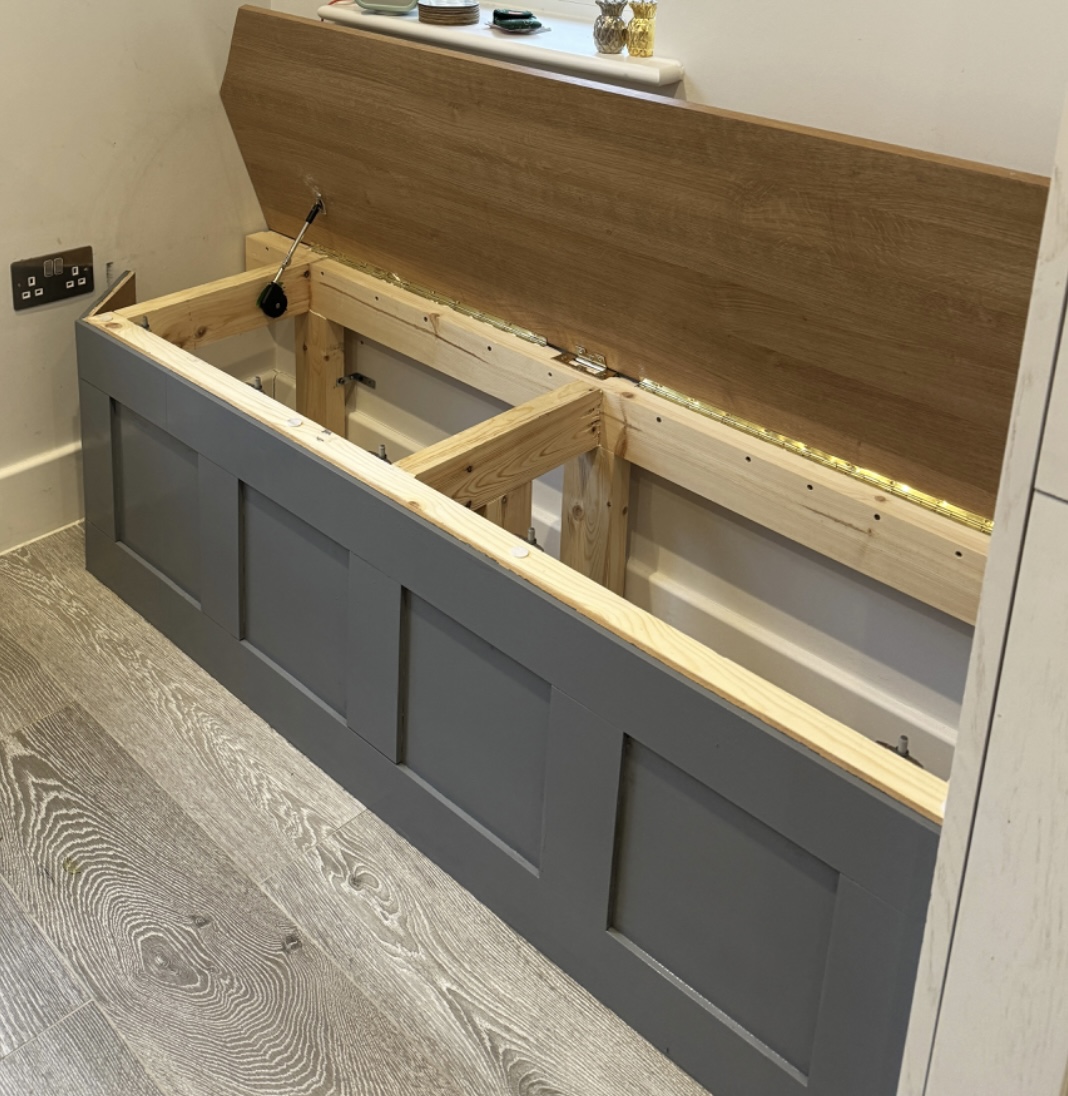
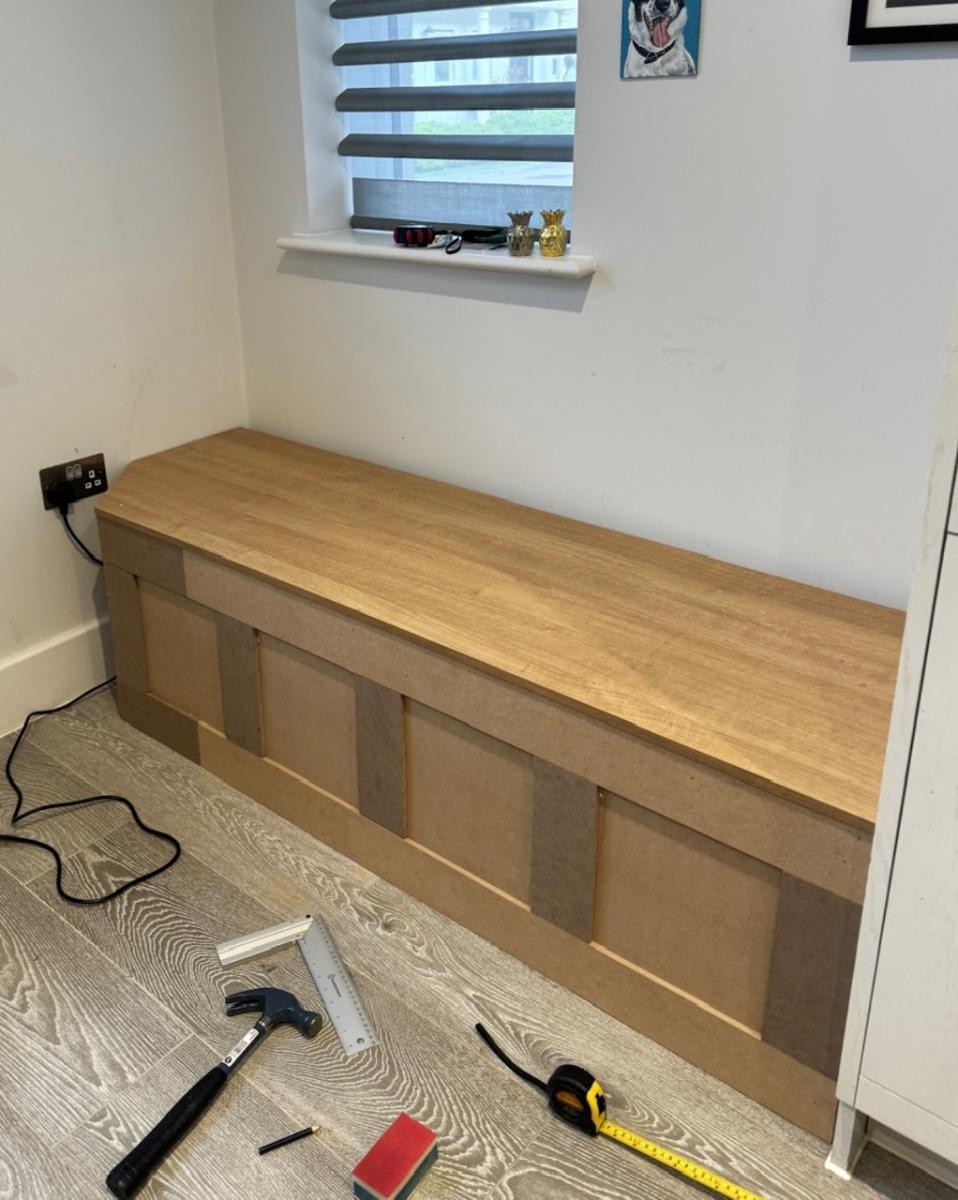
Kitchen dining bench with storage. Due to the plugs being in an awkward position, I opted to build this bench with a facade as opposed to adding a back and sides. This also meant it had to be panelled in situ which was a fun challenge! It has piano hinges as well as soft close pistons making for a great storage bench that is in keeping with the rest of our kitchen.
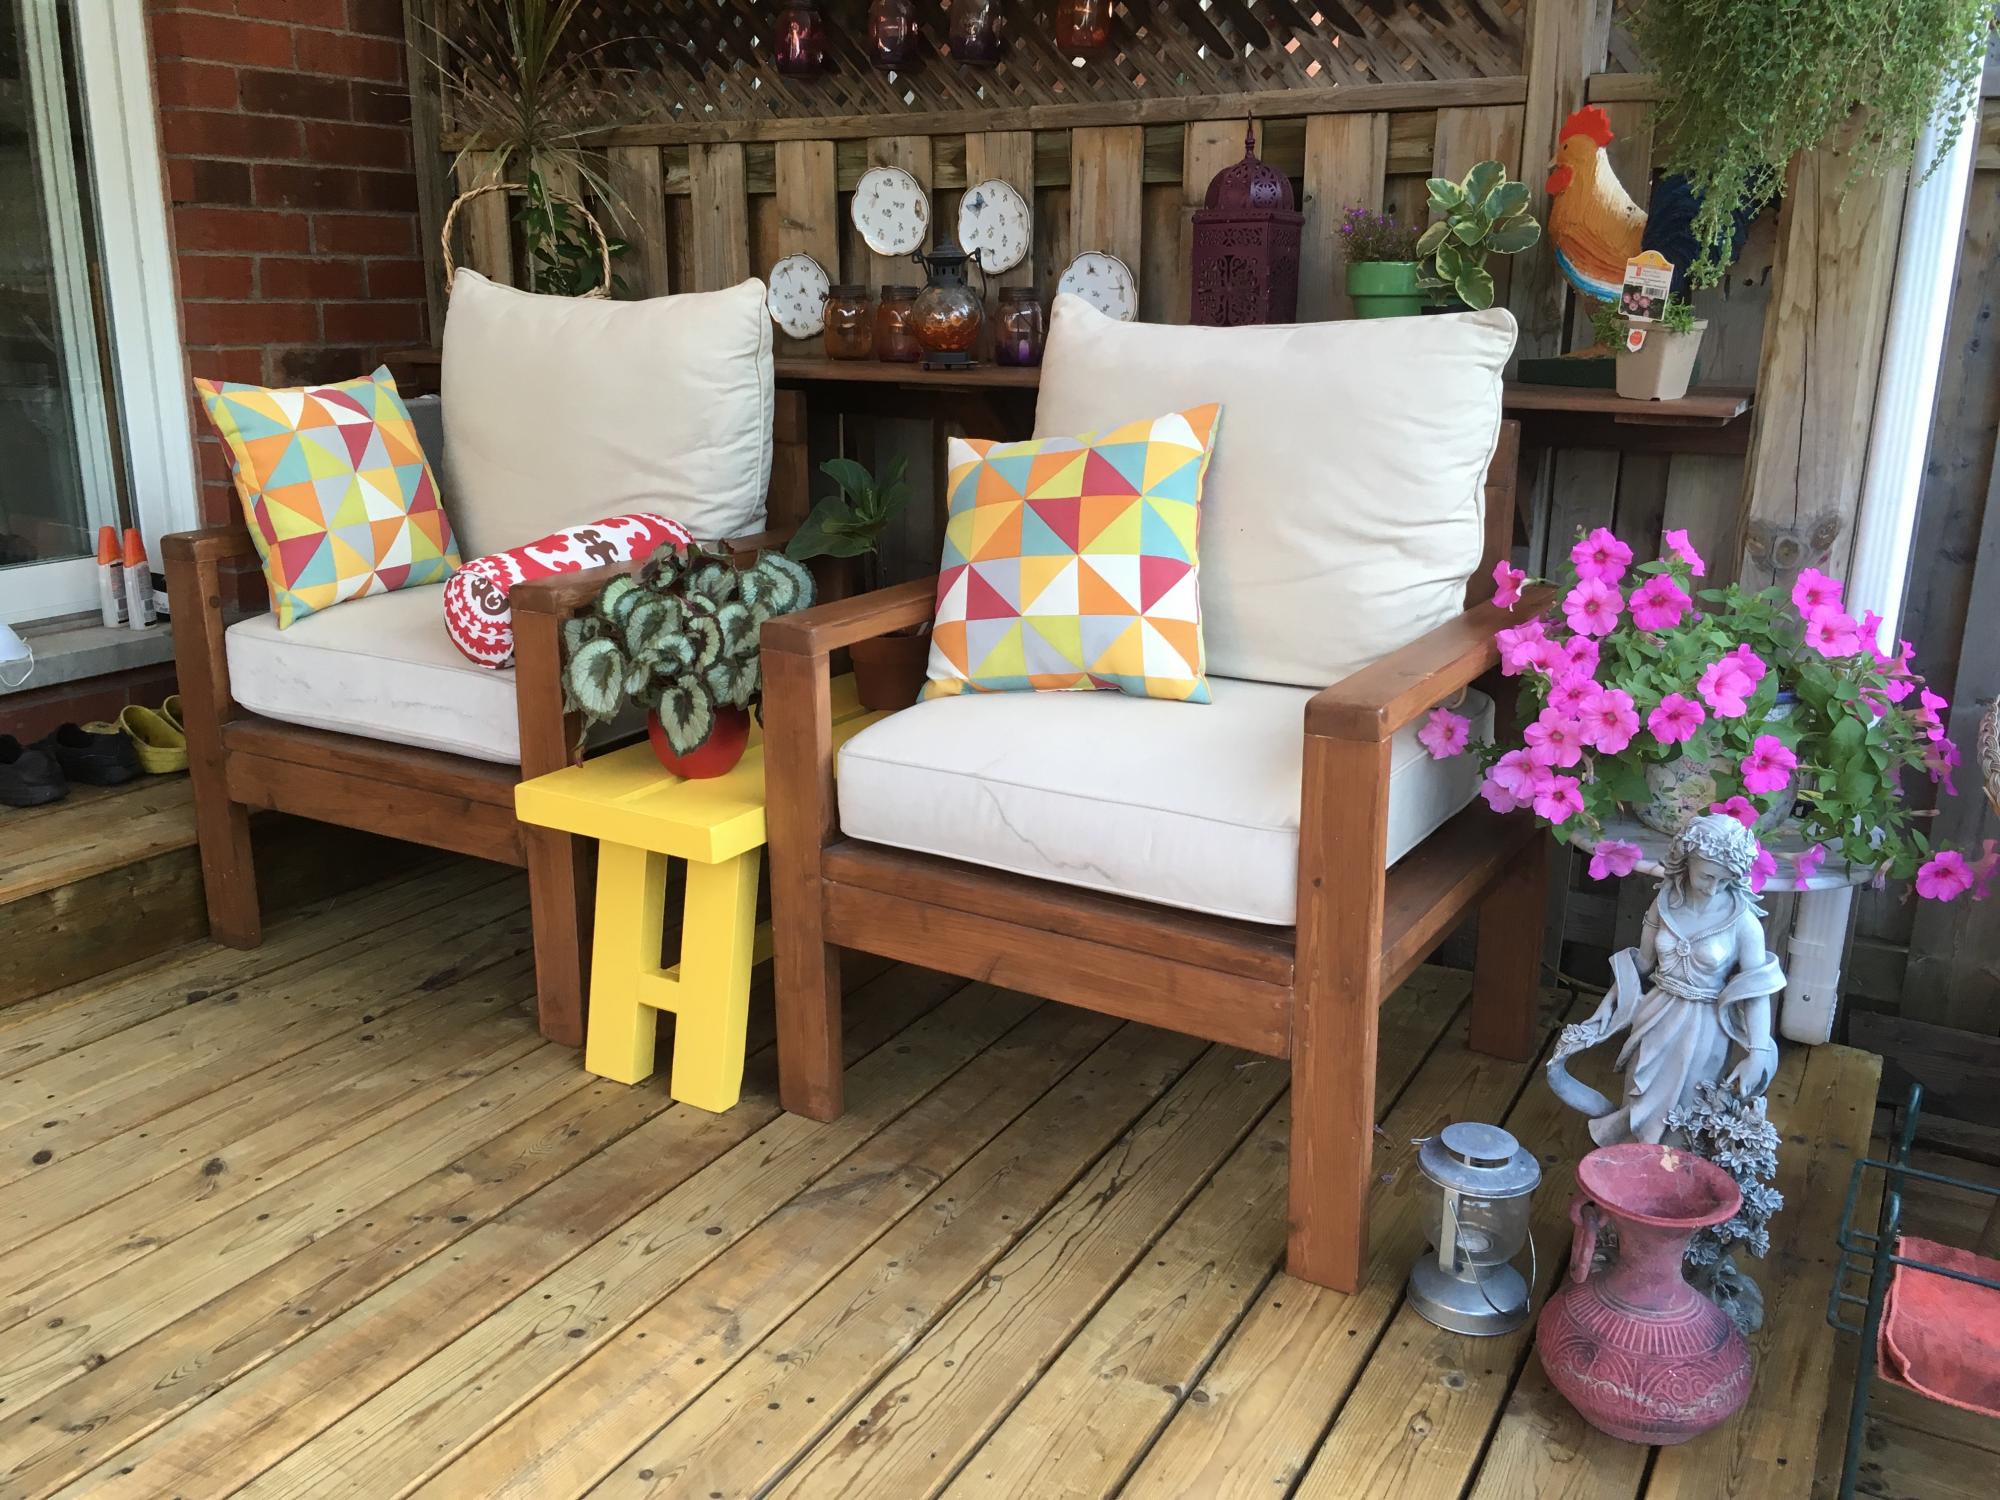
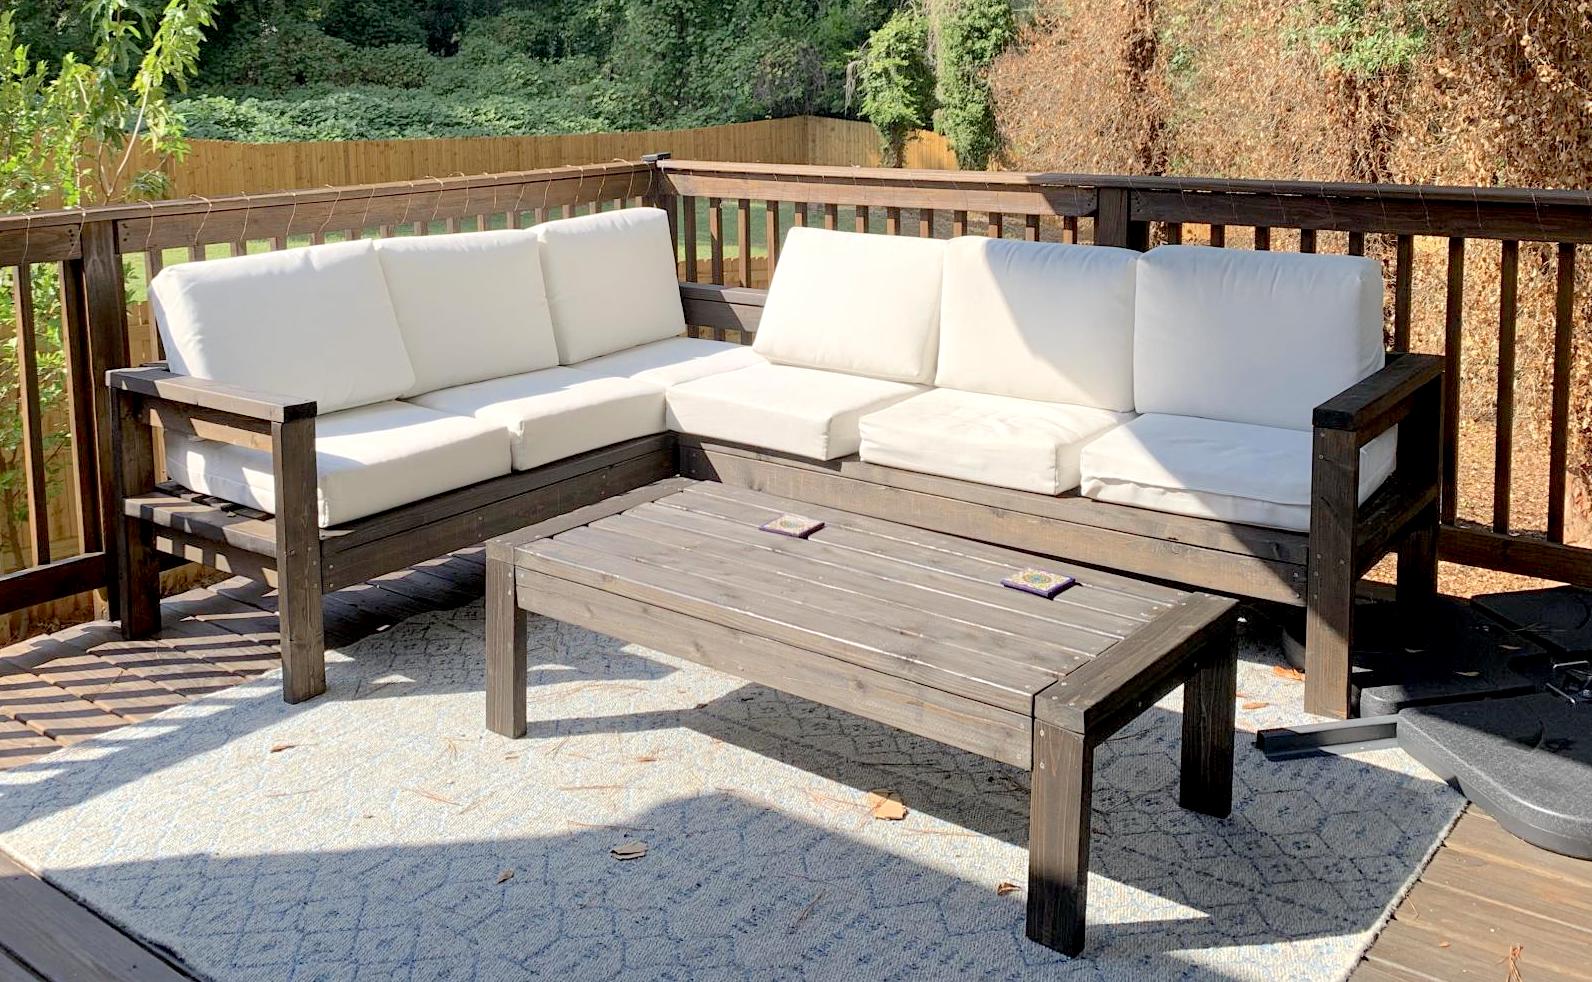
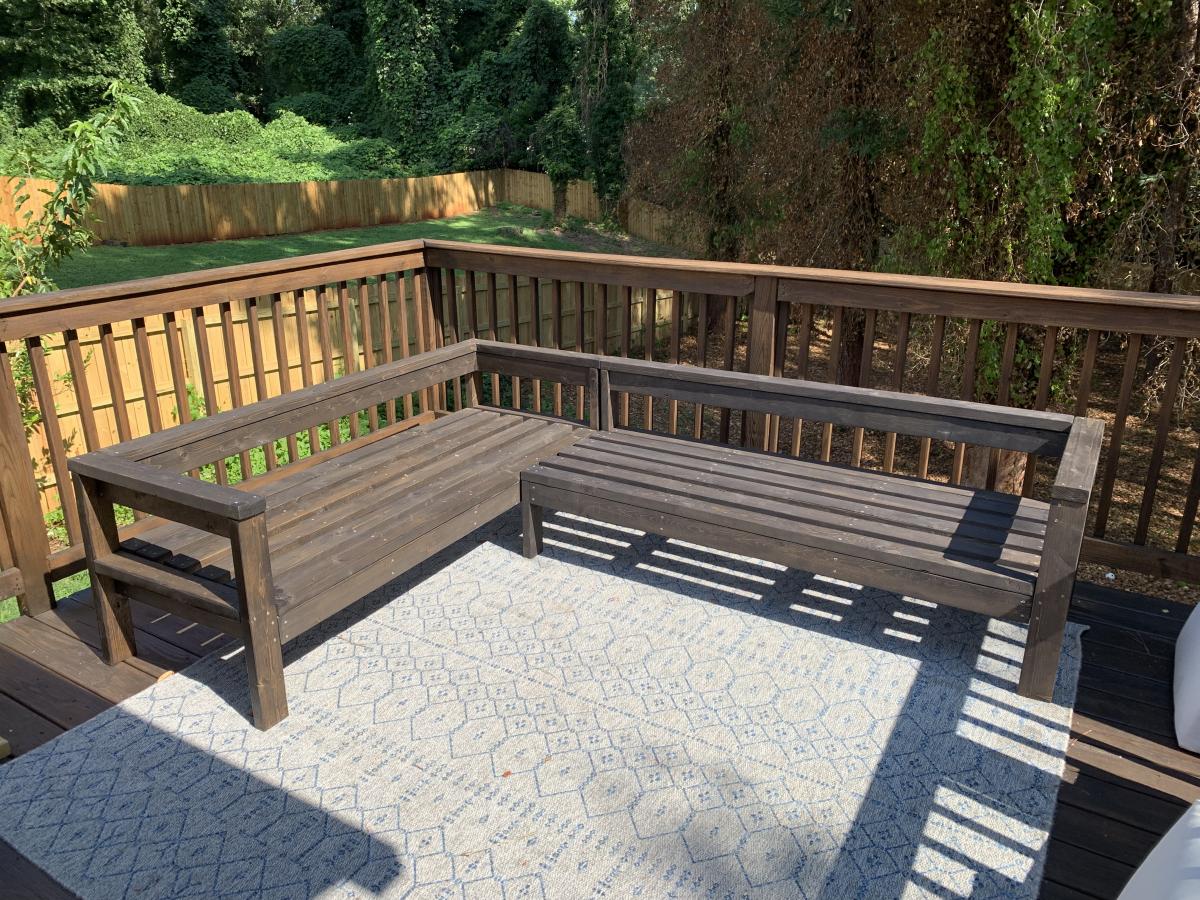
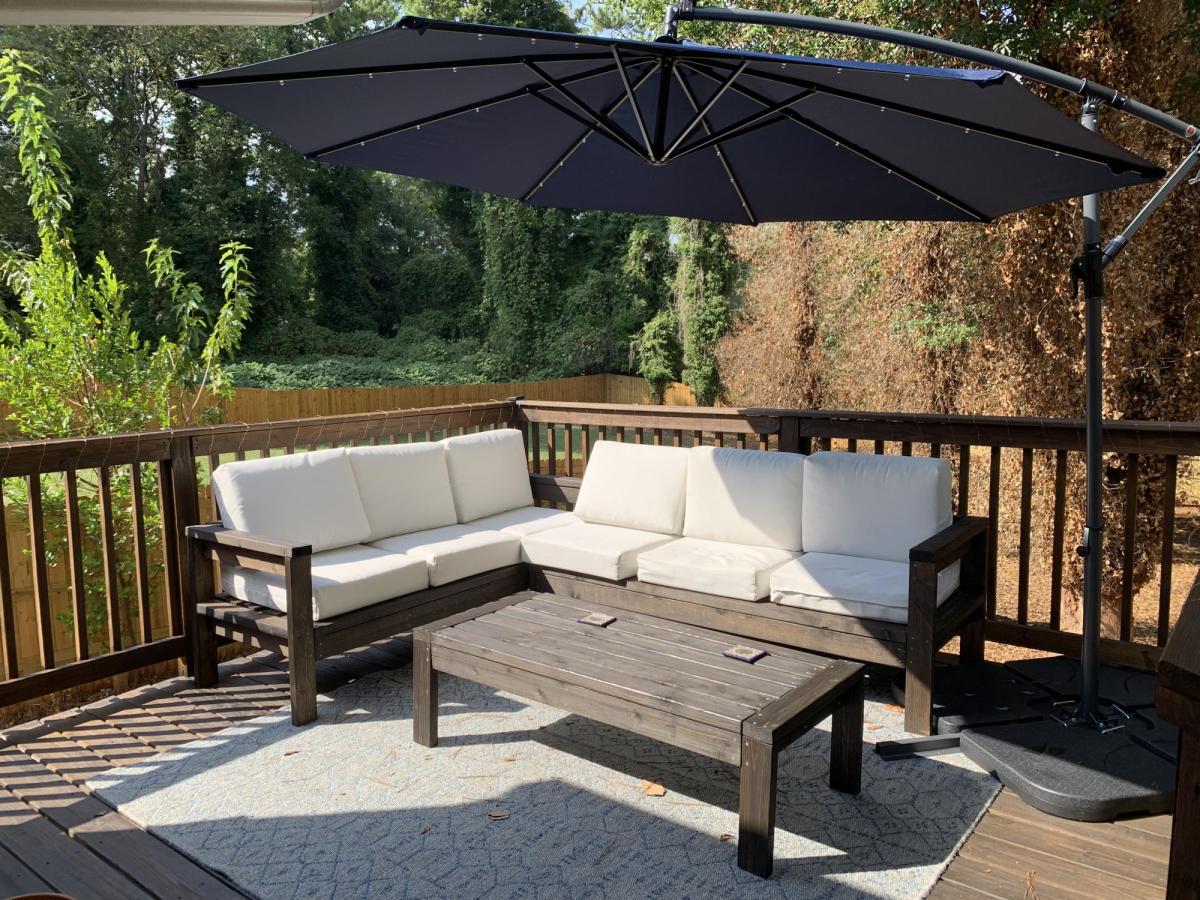
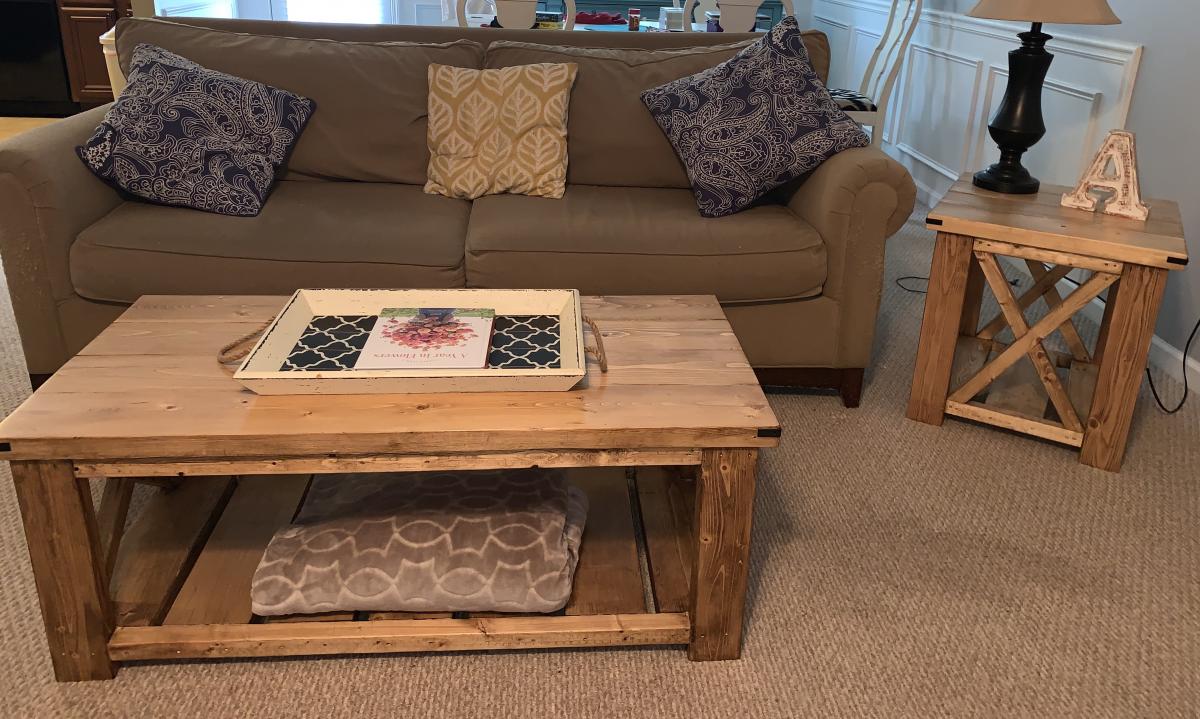
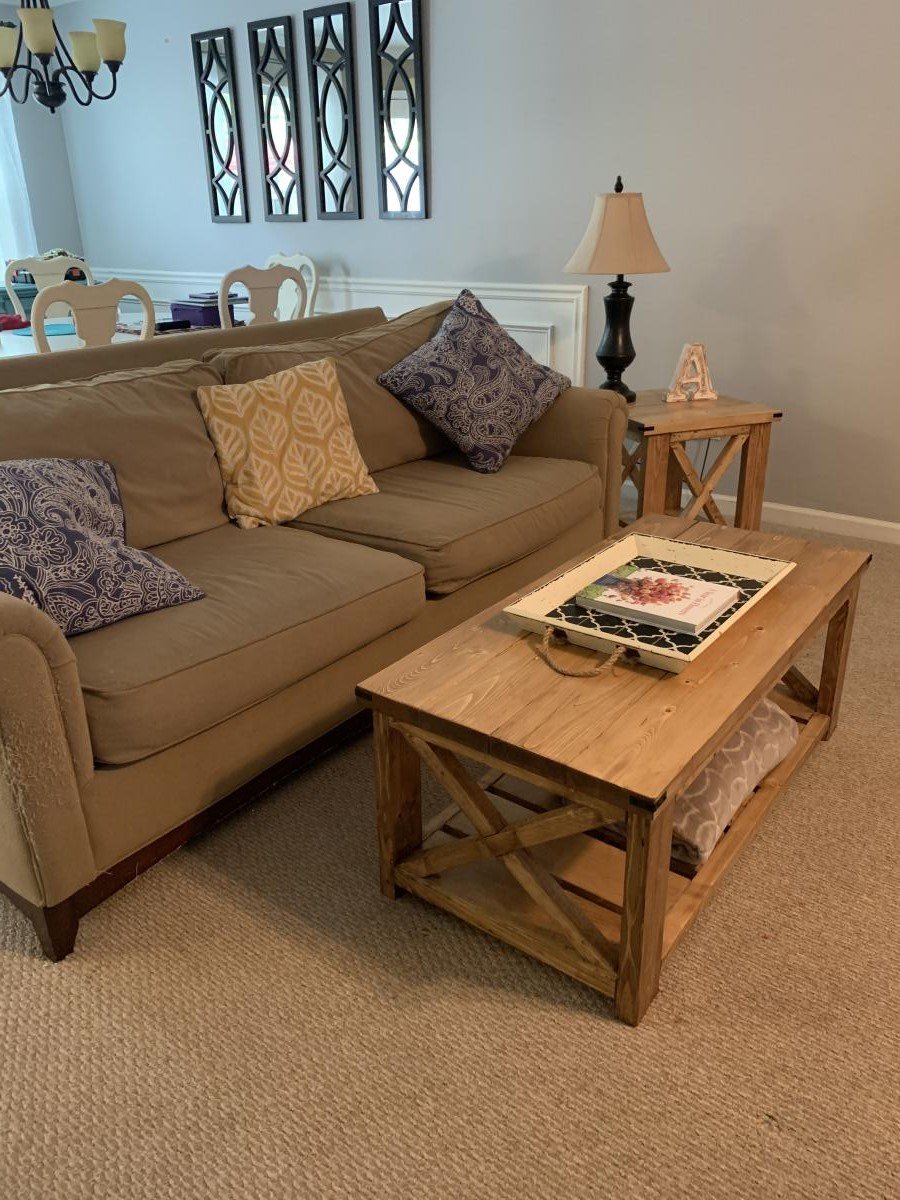
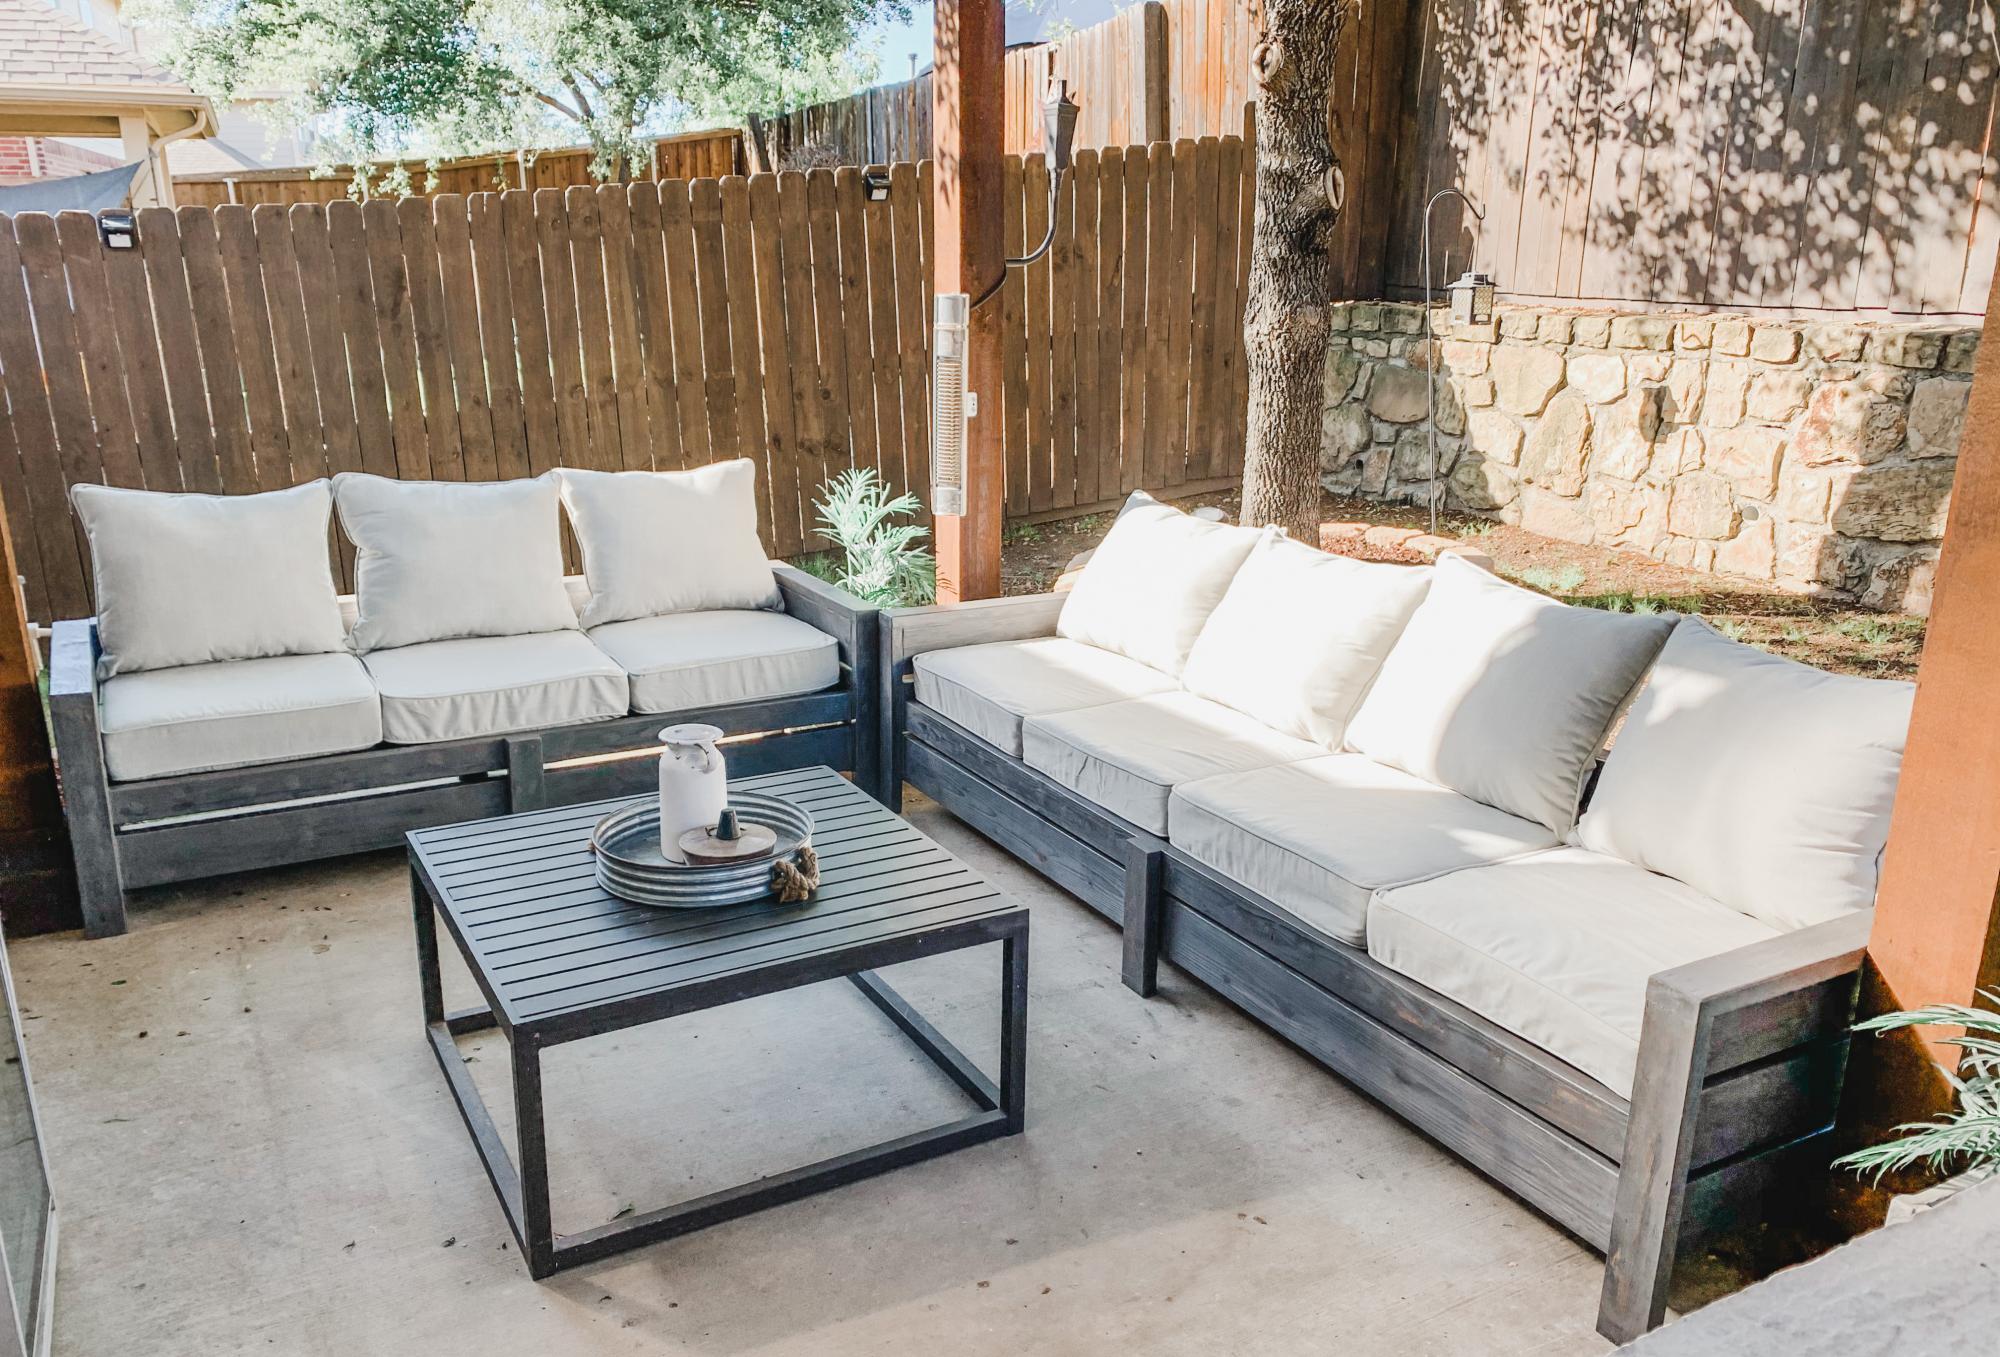
Someone on my street had thrown out 2 couches. The cushions were in perfect condition. So I built chairs and fit the cushions! I built a matching coffee table to fit a glass I had. To finish the space, I added a table to have my morning breakfast.
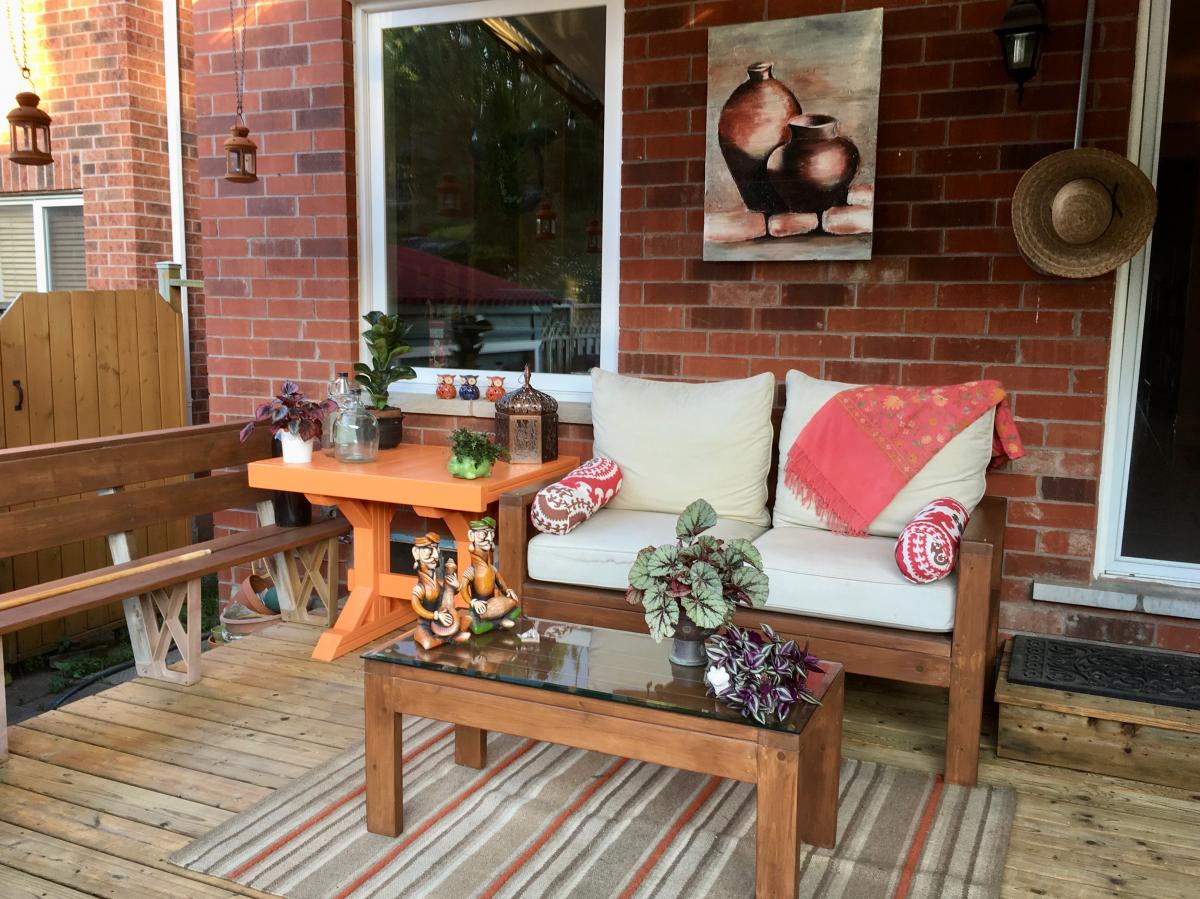
Mon, 11/01/2021 - 10:09
That's a steal! It looks like a very relaxing spot to hang out, thank you for sharing~

I've been wanting to buy or make a sandbox for my son for a couple of years now. Since seeing this on Ana White I knew I had to make it. My son is 4 yo and I didn't think the 4' square sandbox would be big enough for him, so I made it bigger. Ours is 6' square.
Materials:
4@1x8x6'
12@1x6x6'
2x4 - used leftovers from another project
8 hinges
4 handles
decking screws
Cut lengths:
2@1x8 cut to 71.5 (long sides of the box)
2@1x8 cut to 70.5 (short sides of the box)
did not cut the 1x6 boards (top planks) - actually designed the other boards to fit their length to prevent cutting (saving time) (note that original plan uses 1x4 planks - I used 1x6s so I could use the same number of planks but cover a larger area)
4@2x4 cut to 11.5 (arm rests)
4@2x4 cut to 18.5 (back supports)
followed instructions for assembly otherwise. At my husbands suggestion we put the handles on the sides and can easily open from either side - prevents having to lean over to the middle to open (back saver)
I finished the project in 4 hours including clean up and a couple of small breaks. This is my first Ana White project. It was a lot of fun to build and I hope my son will enjoy it for years to come!

Sat, 09/01/2012 - 20:59
Wow, this is just what I need! I've been wanting to make a sandbox for under the playhouse but the other plan was too small. This would be great for the little guys. Thanks!
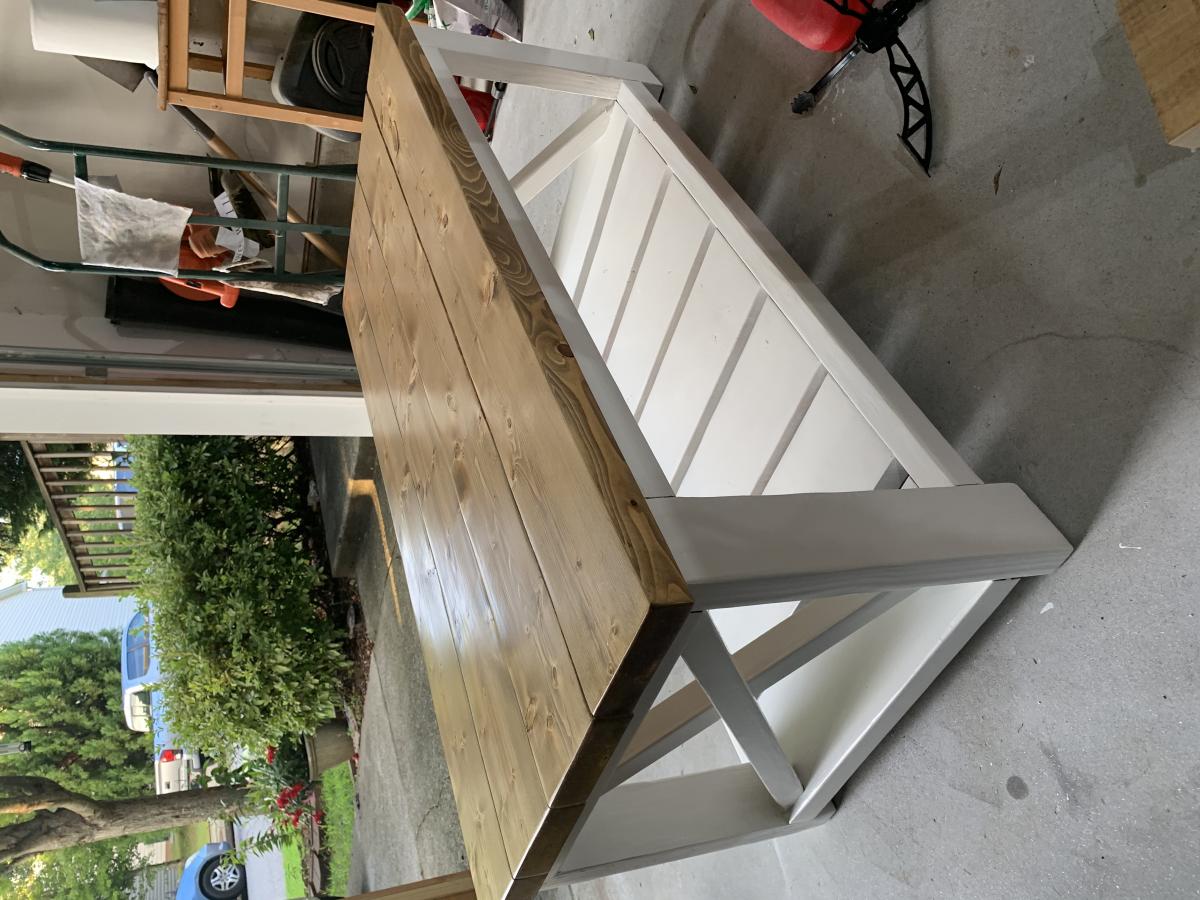
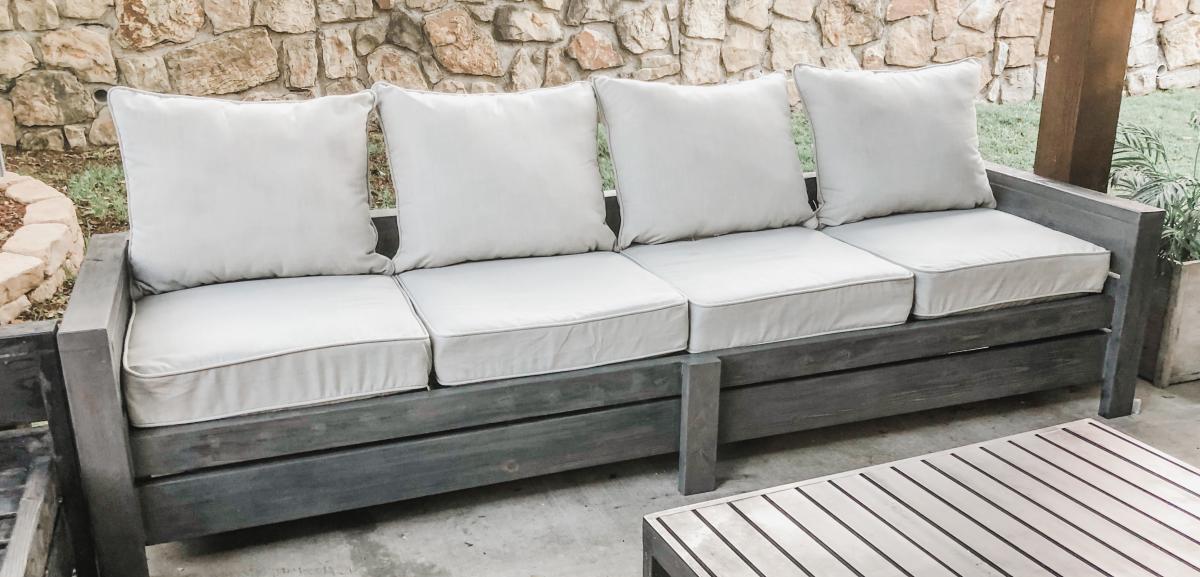
Modified the loveseat plans and created a sofa as well. No one that sees these thinks I built them. They look so much nicer than anything you can buy!
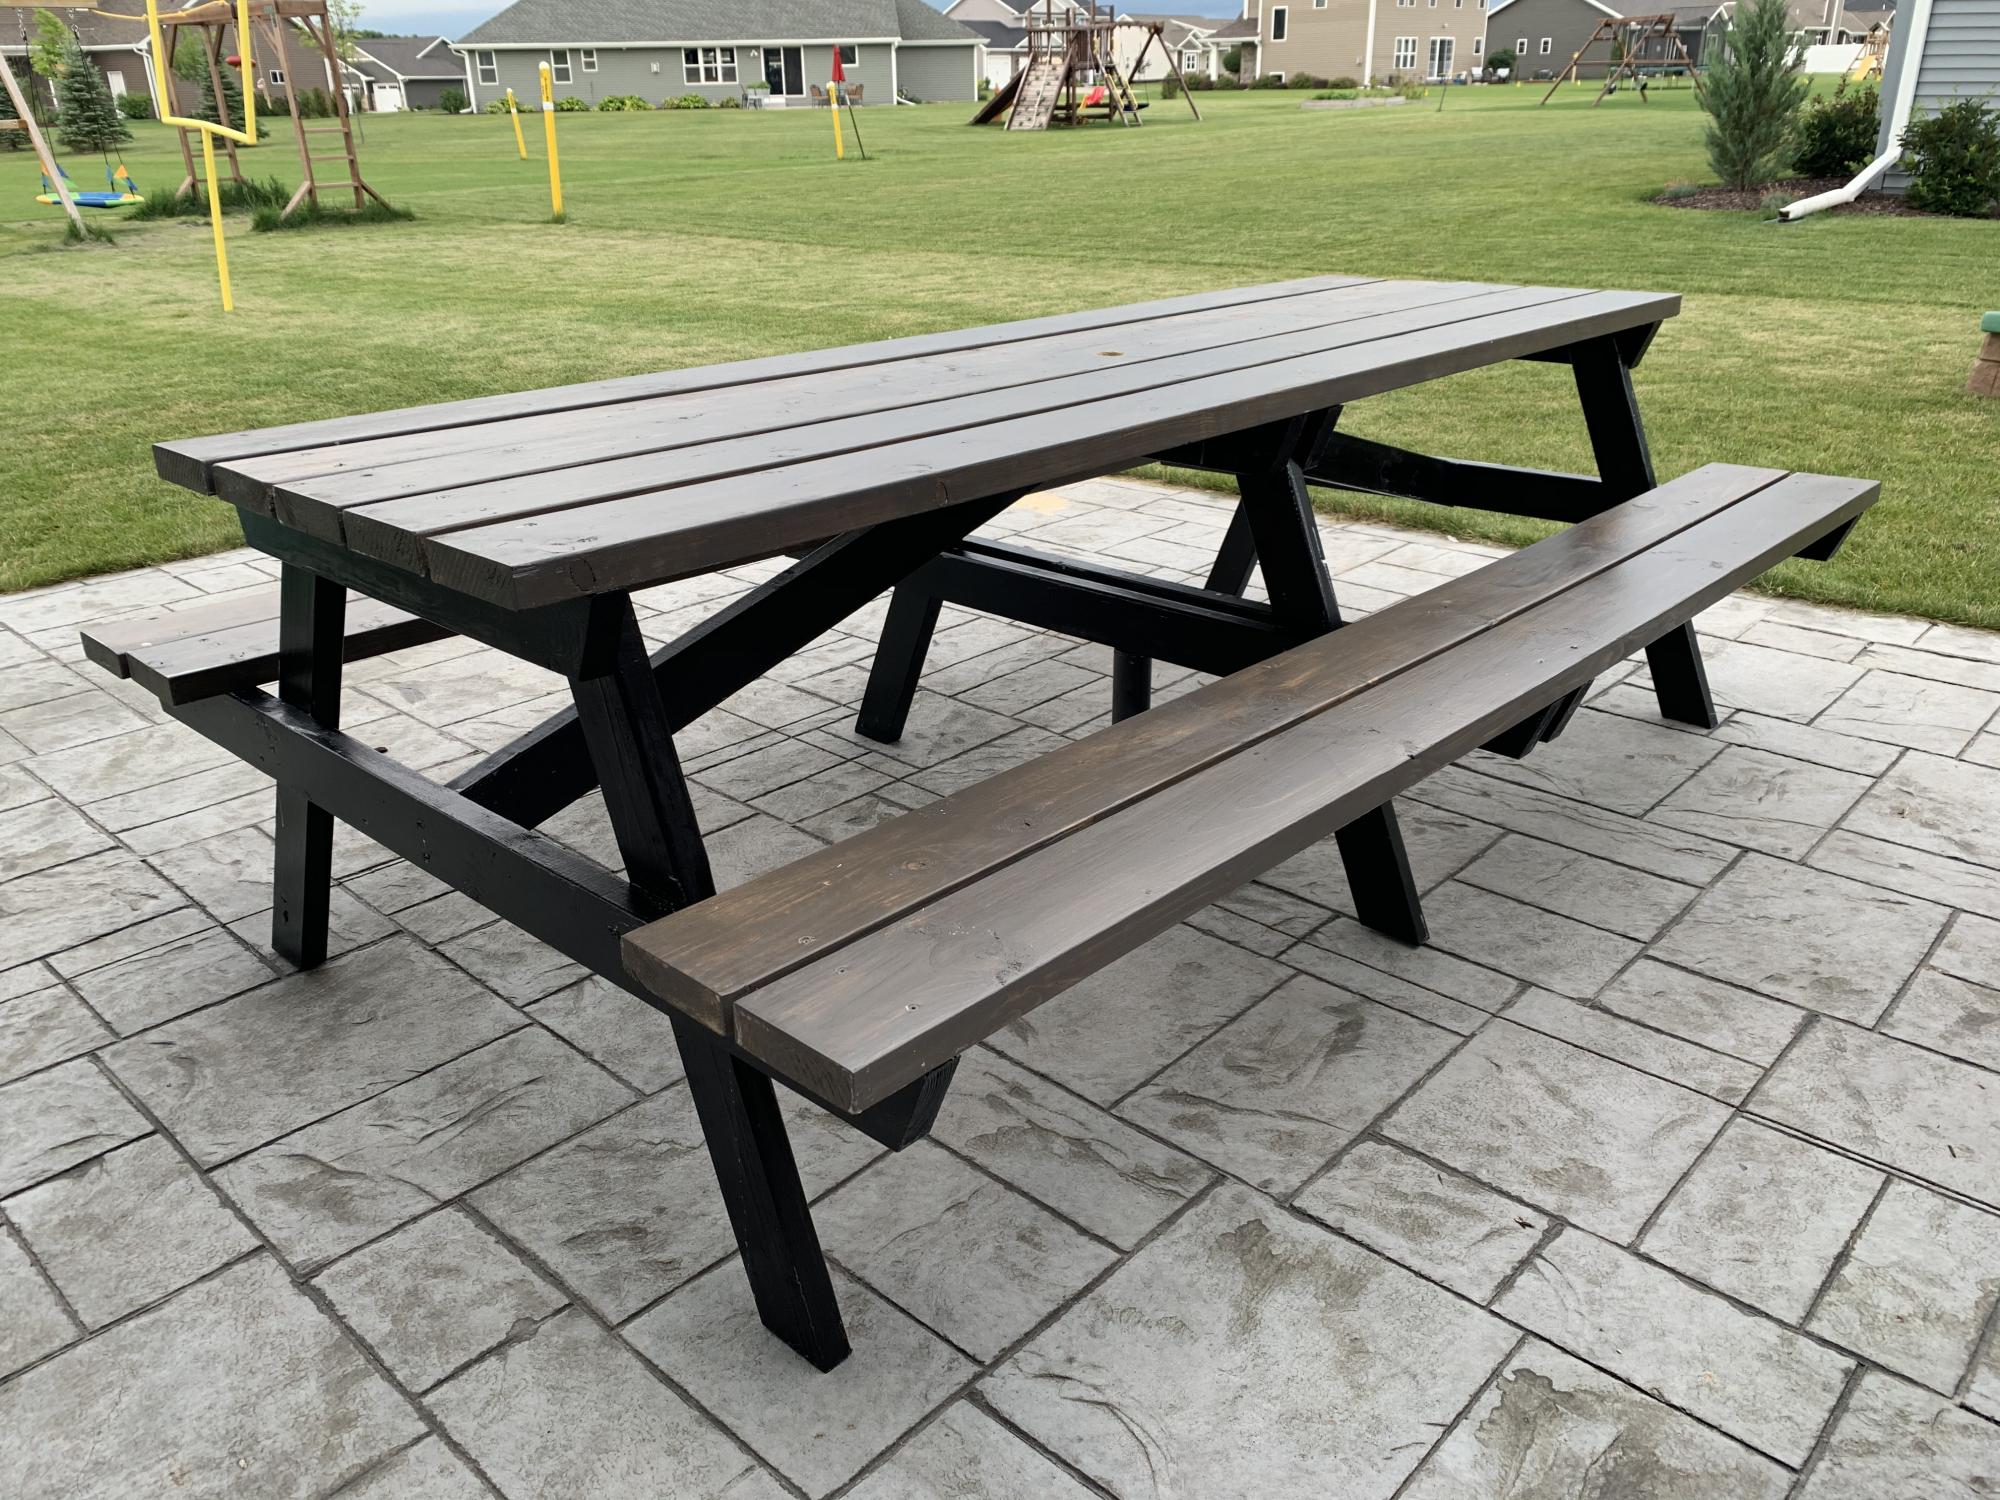
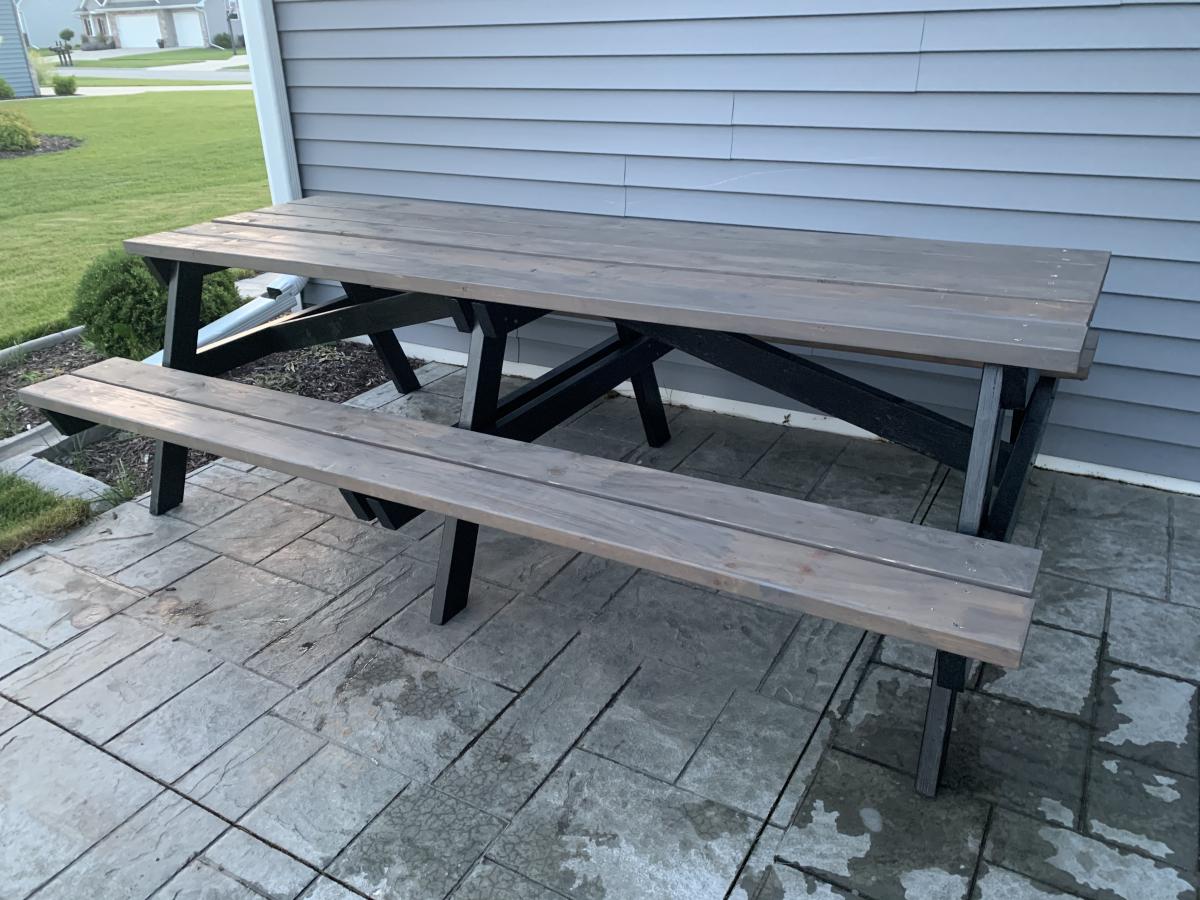
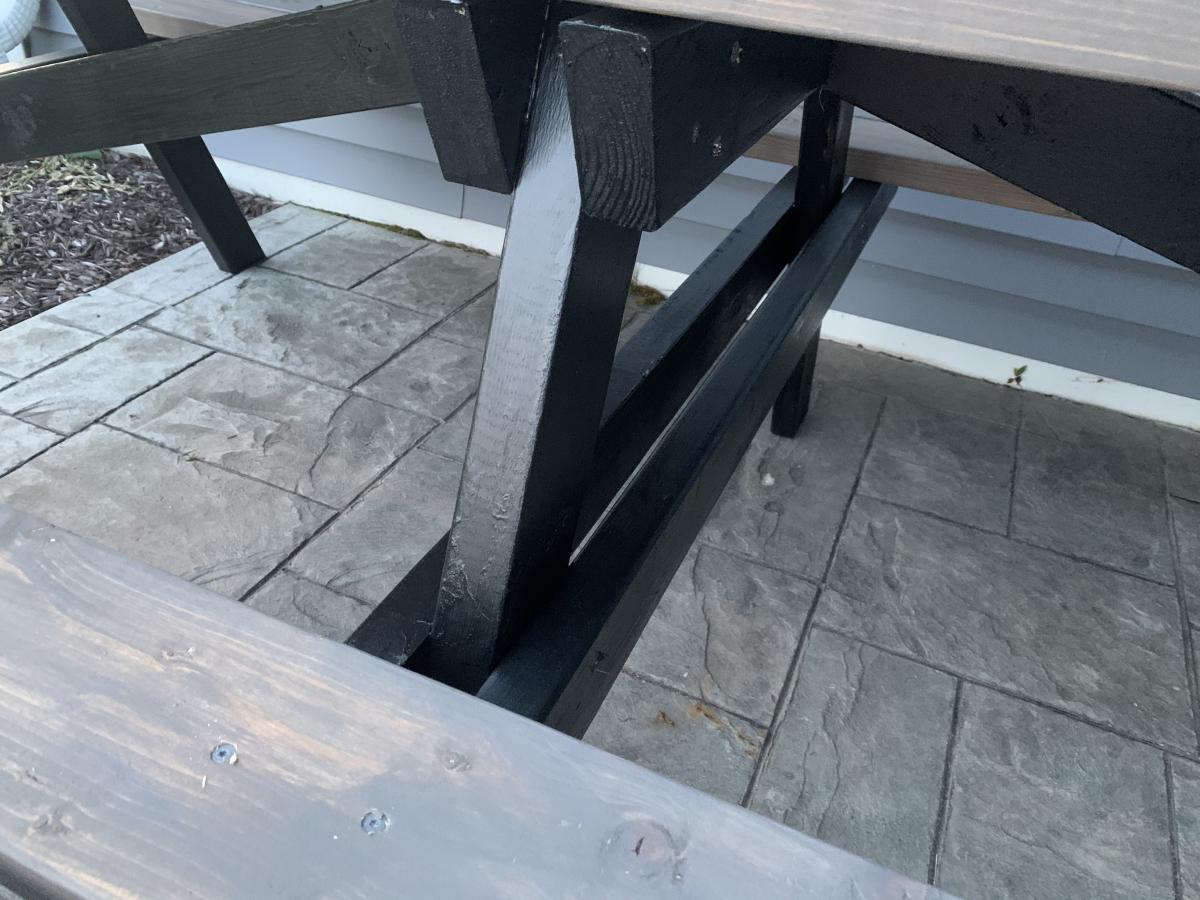
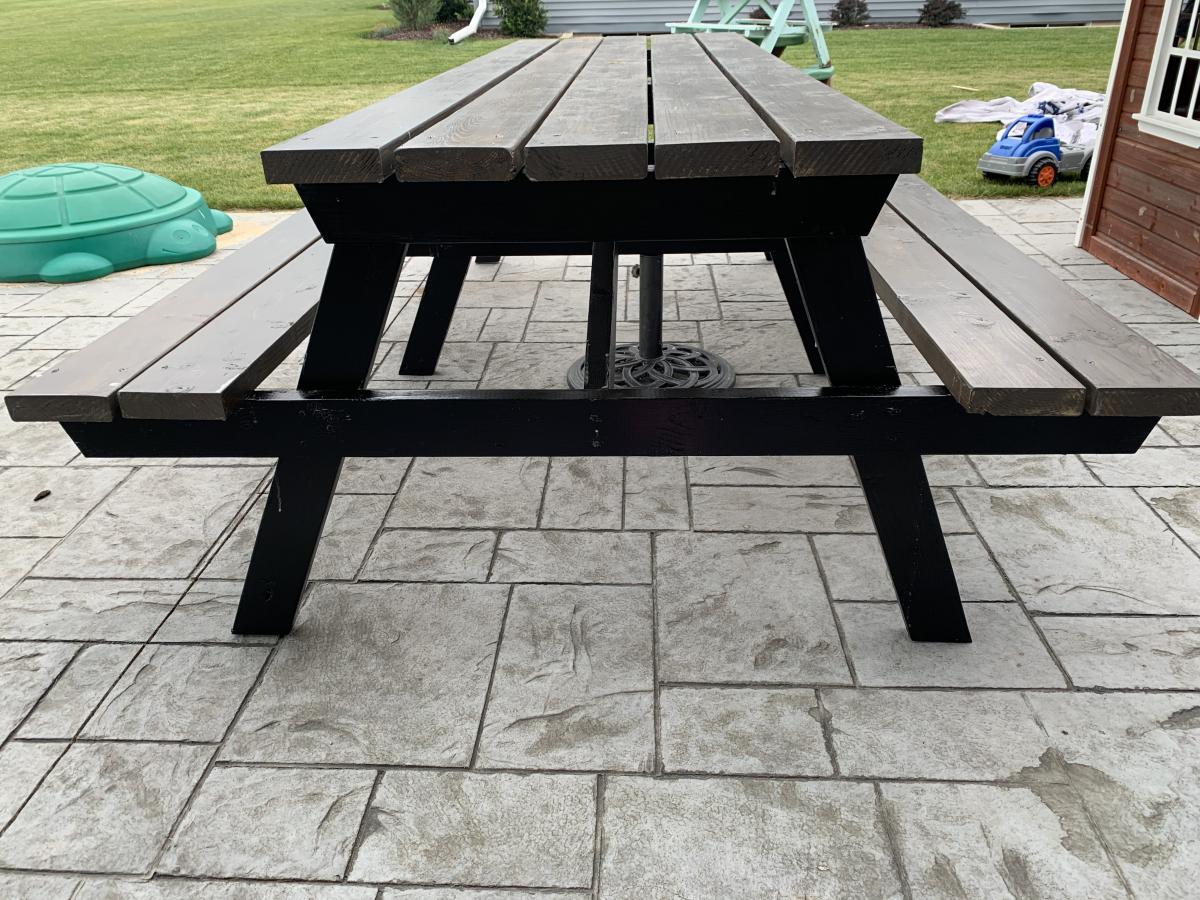
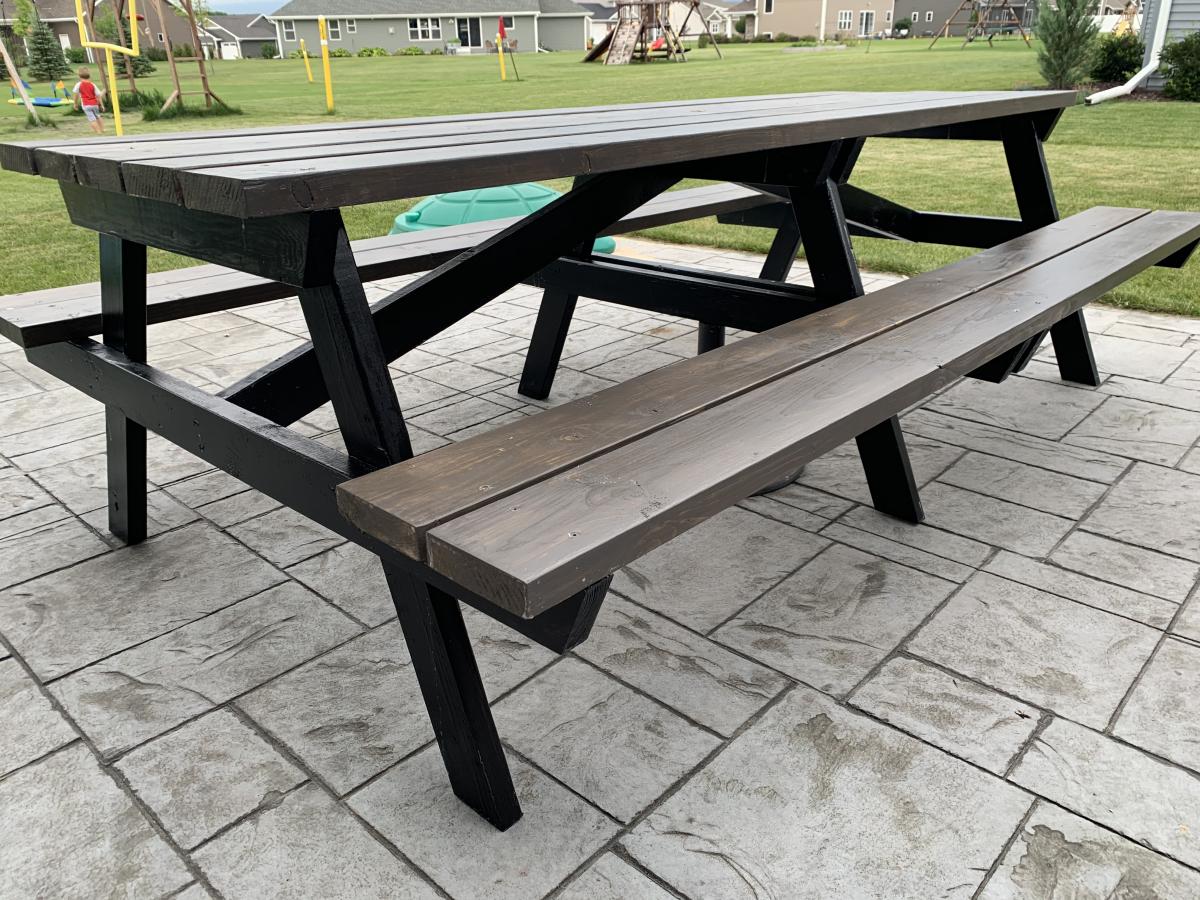
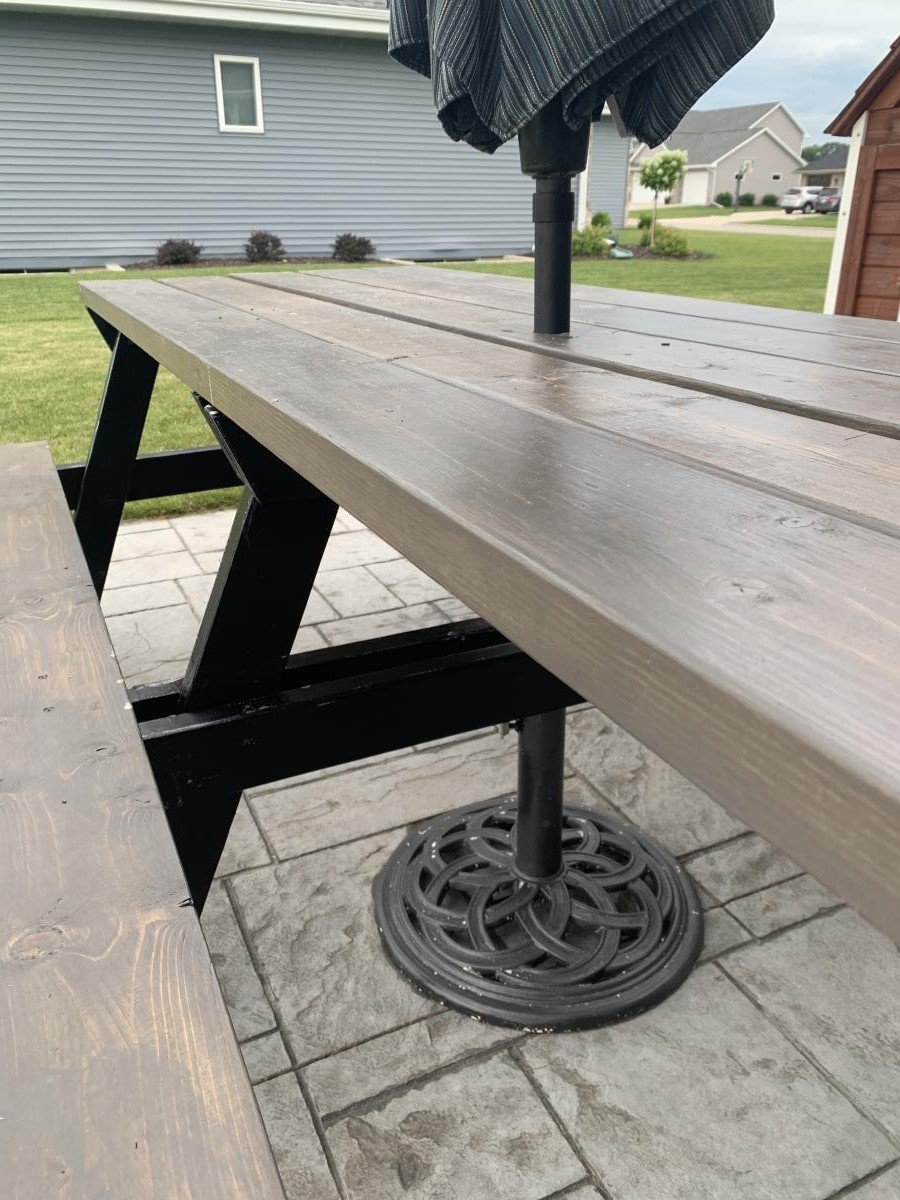
This picnic table was a quick build and turned out amazing. I modified the center base support by adding an extra table top support and seat support board to the opposite side of the center legs to give the table symmetry to accommodate an umbrella hole. I also shortened both cross supports by an inch to make sure the base wouldn’t be longer than the top boards. The space between the center table support boards and seat support boards is the perfect size to fit a standard umbrella. I used a 1 3/4” hole saw to make the umbrella hole. The build and stain/paint took me about 5 hours but additional time is needed to properly seal the table. I used untreated pine. Treated pine may give the table longevity but it would also add a lot of weight to an already heavy table. This was a relatively easy and quick build and is a great size to fit my whole family plus a couple guests! I’m happy with how it turned out and would recommend this build to anyone looking for a budget friendly and simple patio table.

Sat, 07/18/2020 - 13:17
Thank you Abby!!! Your picnic table turned out amazing, I love the added umbrella modification!
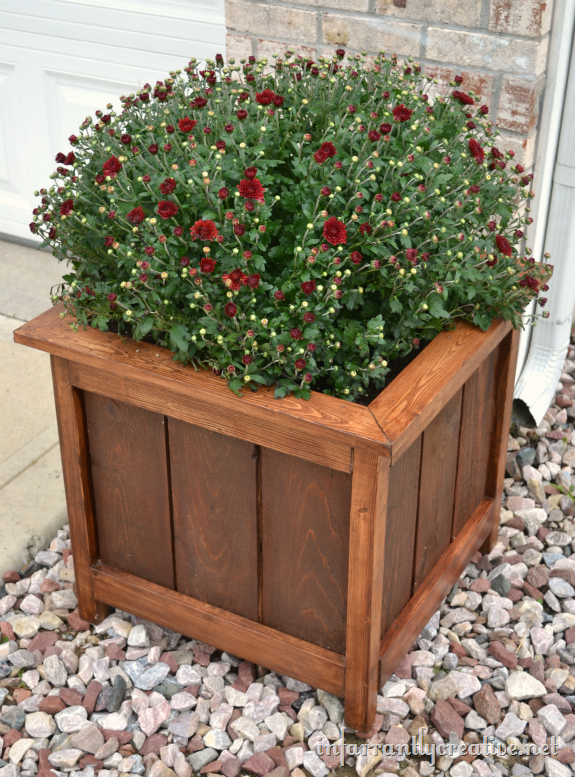
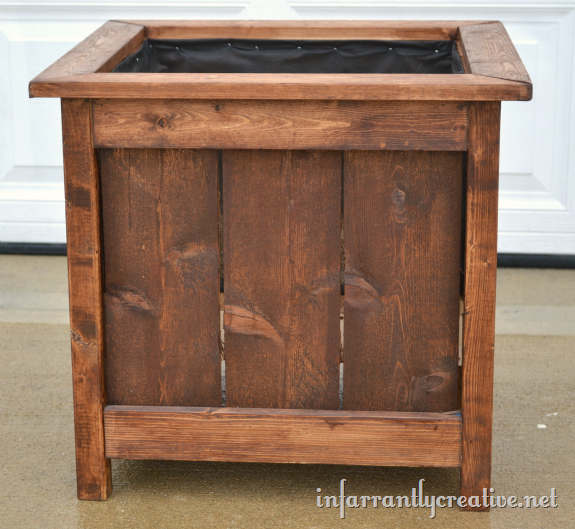
This was by far the easiest project. This planter is HUGE as well and makes a great focal point for your curb appeal. I didn't extend the sides but rather created a mitered edge for the top creating a nice clean finish.
Mon, 10/29/2012 - 23:02
This looks beautiful! I just made one too, I will have to do the top like yours it's pretty that way. I love how the stain too!
:) Valerie
Sun, 09/22/2013 - 20:25
how exactly did you attach the mitered top?? Finish nails or is there a way to use the kreg jig to hide joinery? These are beautiful, BTW. Thanks :)
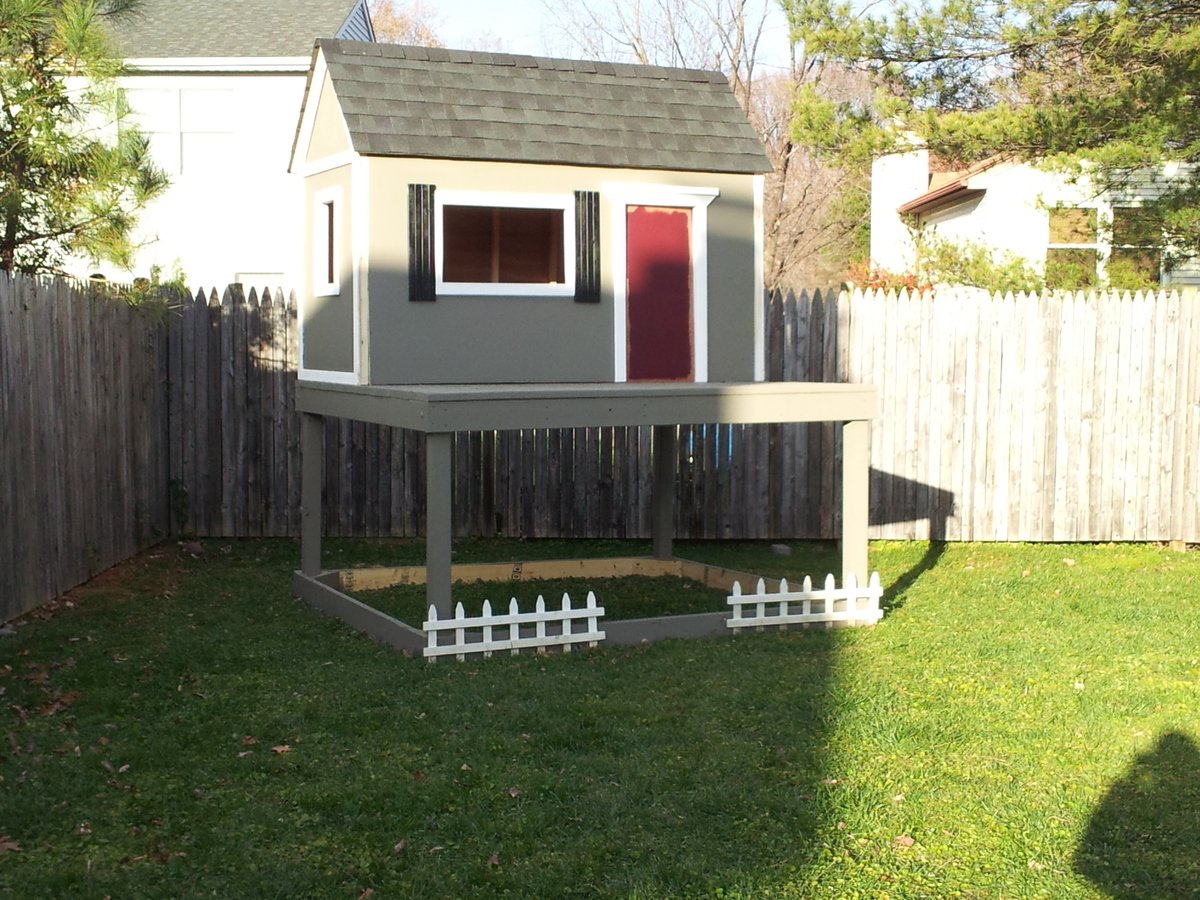
My husband and I used our Thanksgiving break to build this playhouse and deck, using Ana's plans. We are NOT builders...this is very doable for beginners with the right tools. Read the plans thoroughly before starting. Total cost (including all lumber, hardware, and paint) was under $600.
We still have door and house trim to complete, a little painting, and a handrail/ladder.
Santa may bring a slide and some other fun accessories!
Thanks Ana!!!!!
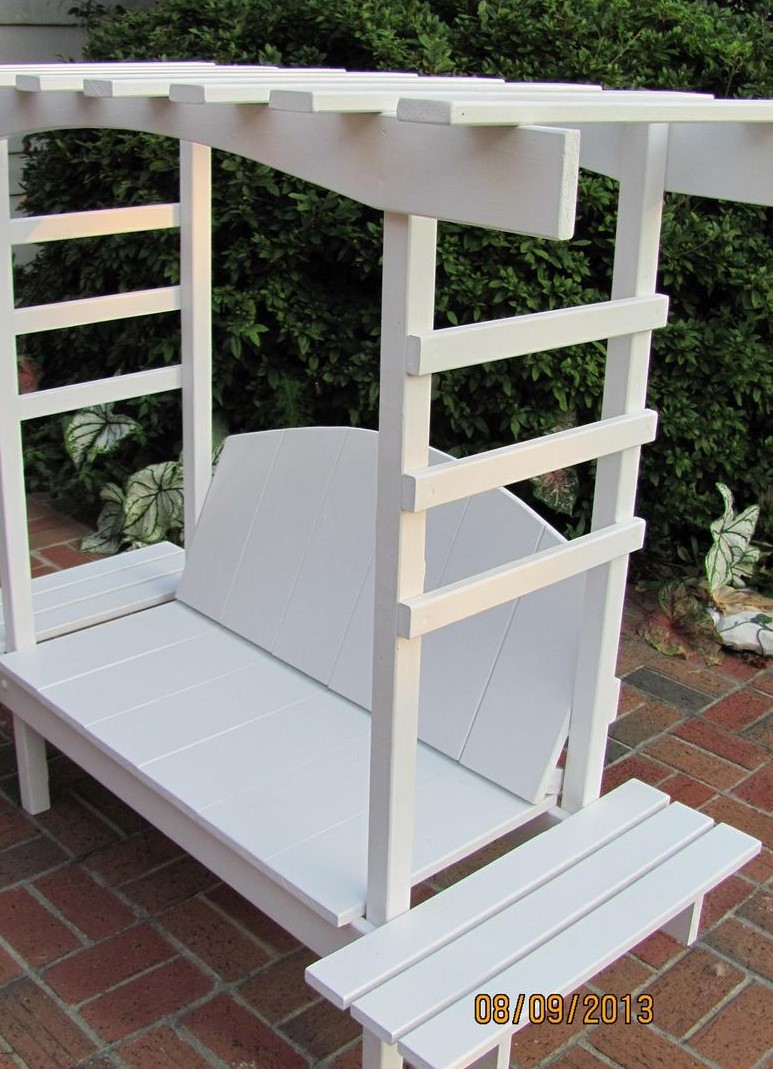
This was a weekend build made from plans right here on Ana-White's site. There were a few changes made to make it sturdier since several (older) rambunctious toddlers were going to be using it. If anyone is interested in how much weight it can hold, two adults sat on this and it held up great. We have had this in the back yard for over a year now and it looks just as it did when it was first built.
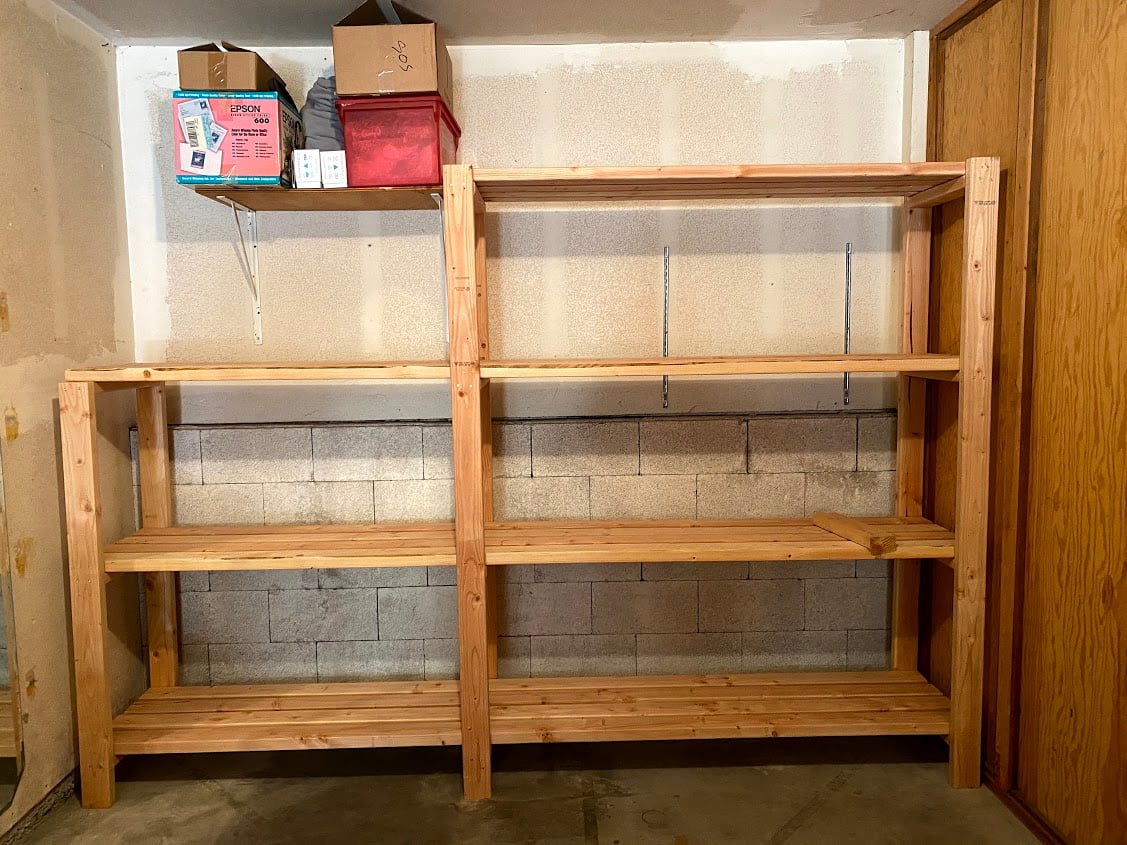
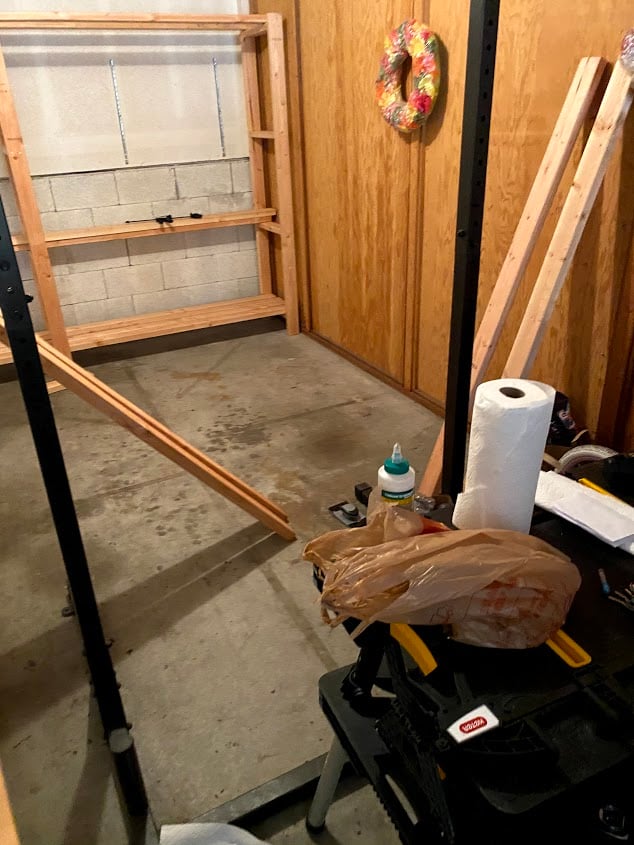
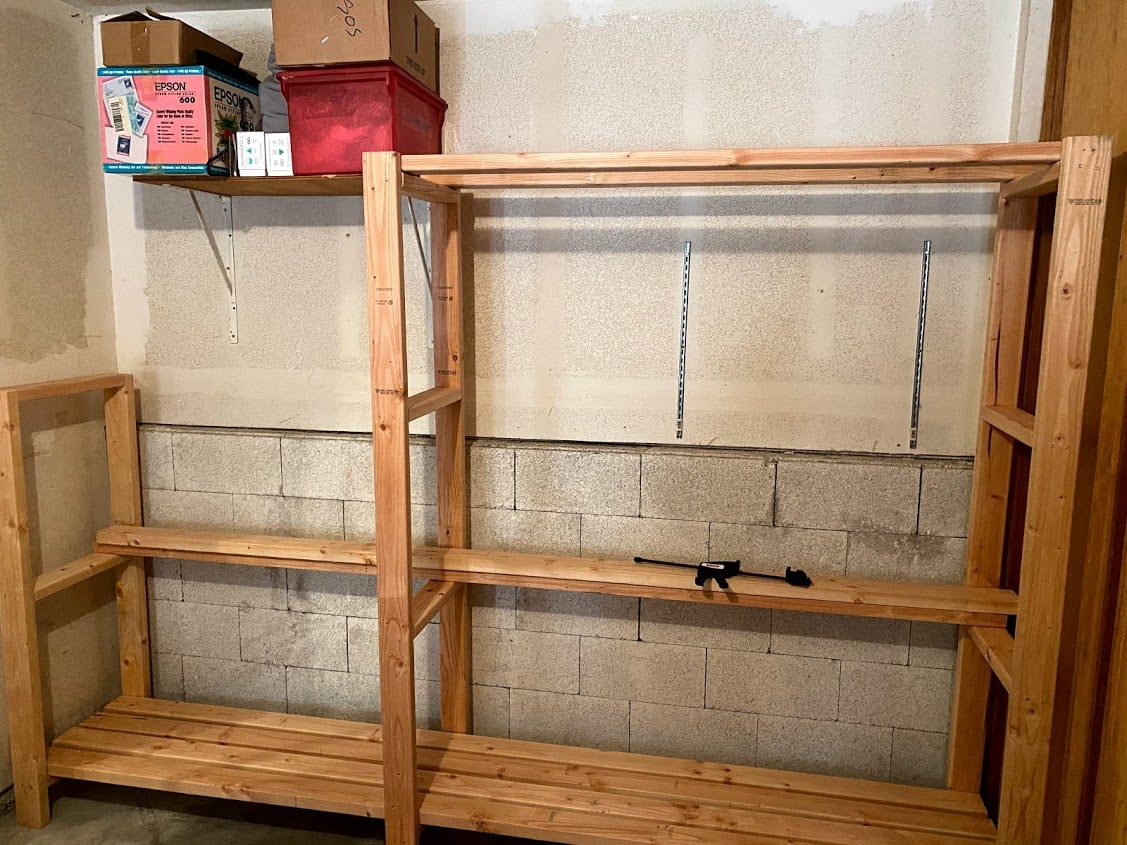
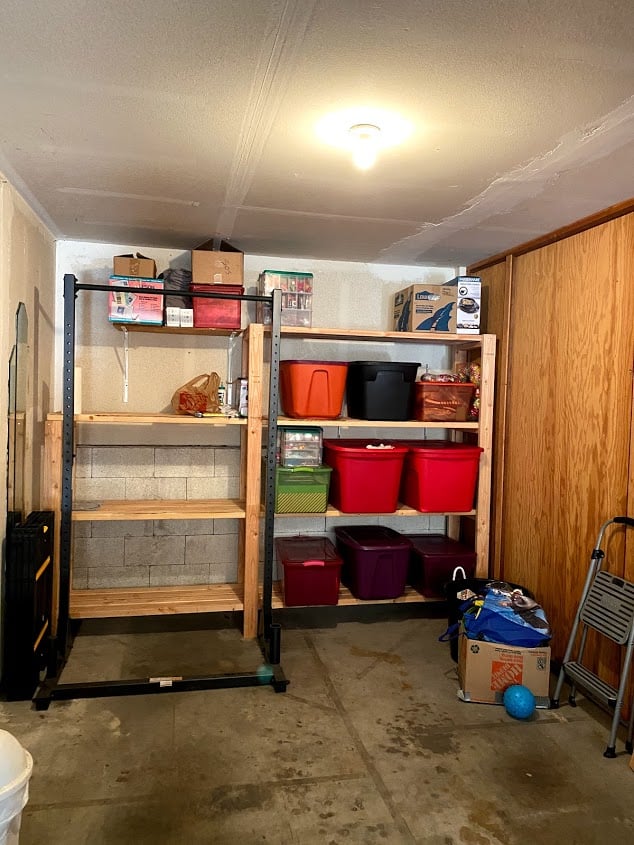
First project ever! I have been planning to build this for at least a year, and I finally did it! I had to modify the plan to fit my space, but it worked out well. They cut the wood for me at the store, so I did not make any cuts myself, just assembled all of the pieces together. I used all 2x4s, 8' and 10', cut down to my measurements. I did not finish the shelves since it is just for the garage, but I did sand rough board edges and some of the faces. I just used an palm sander and coarse sandpaper (80 grit). Please double check all measurements and lists because I forgot to add my shorter shelf supports to the list and had to go back to the store. I also forgot to add the width of the top shelf to those two shorter supports, so the shelf boards are resting on the top instead of nestled into the supports. It turned out not to be a functional problem, but a good lesson to learn. I also learned to make sure my driver battery is charged fully before starting - that took a large chunk out of my first day building and I had to finish the next day. My husband helped with some lifting and holding, but I mostly did this on my own in one weekend, so you CAN do it! Don't wait like I did - it is soooooooo useful and it looks great! All of my friends are really impressed and it feels so good to have made something like this! Thank you Ana!!


Comments
Ana White Admin
Mon, 09/18/2023 - 14:57
Absolutely gorgeous!
Thank you for sharing, love the finish choice!