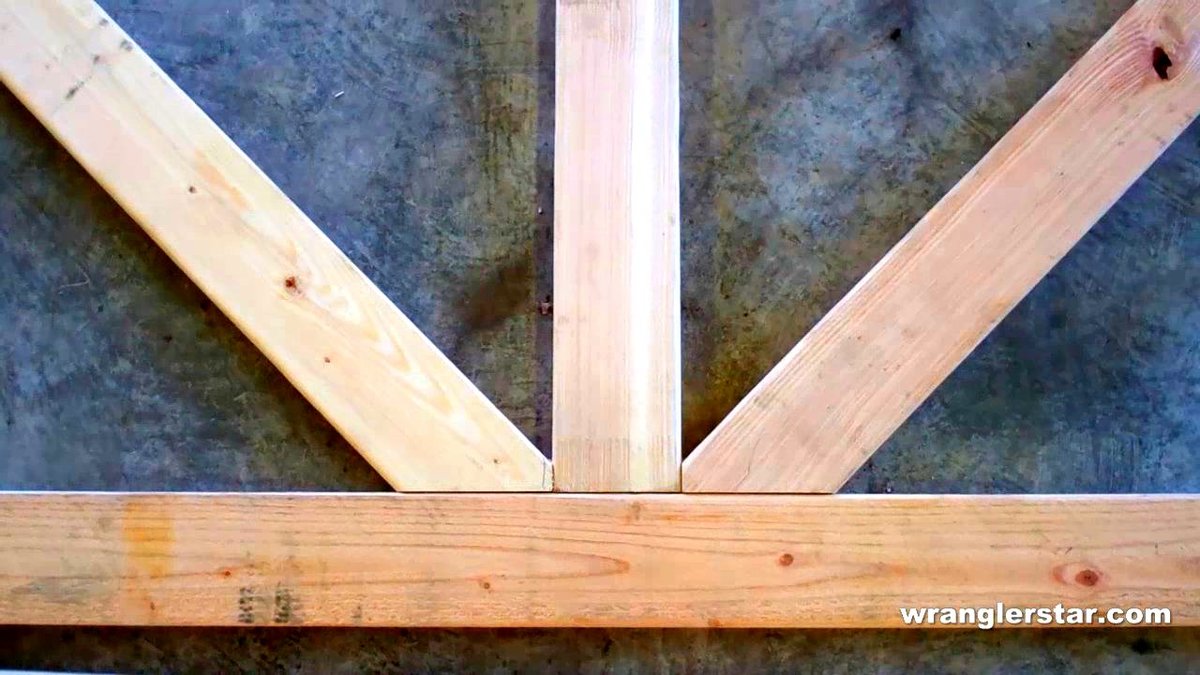
Wranglerstar Greenhouse
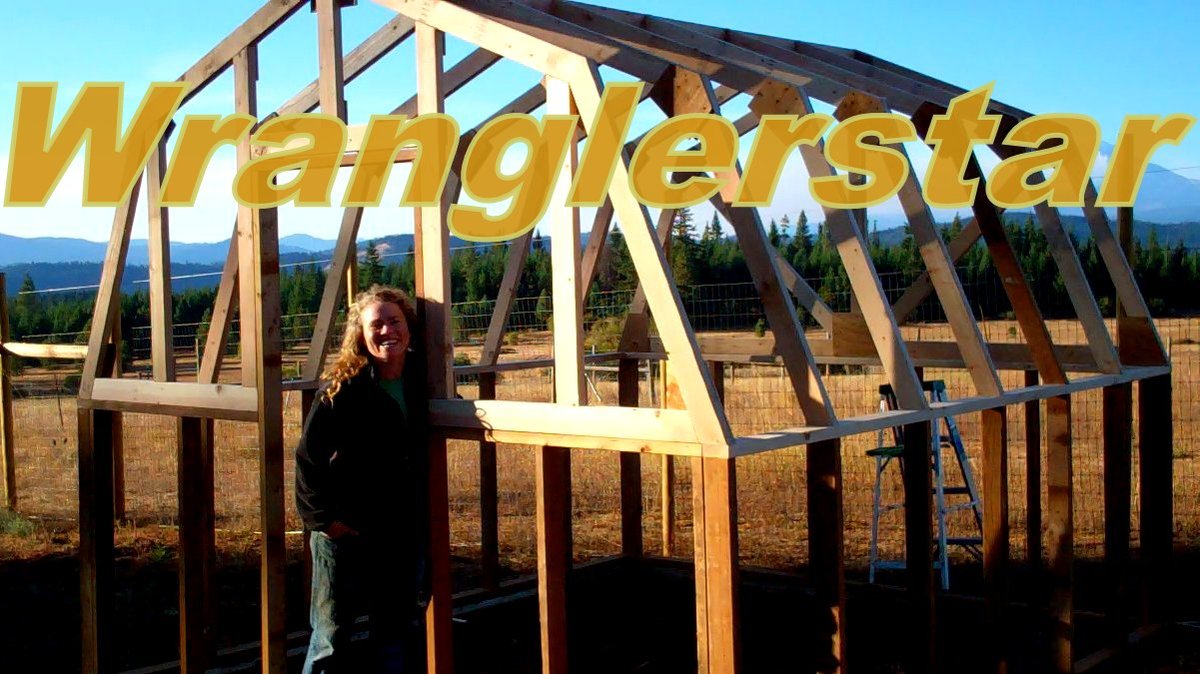
Thank you Ana for the excellent plans. We have been talking about this for months and are excited finally have a greenhouse. We live in the mountains and this will help extend our growing season. Please tell Ram thank you from the Wranglerlerstar family.
Built from Plan(s)
Estimated Cost
$750
Estimated Time Investment
Week Long Project (20 Hours or More)
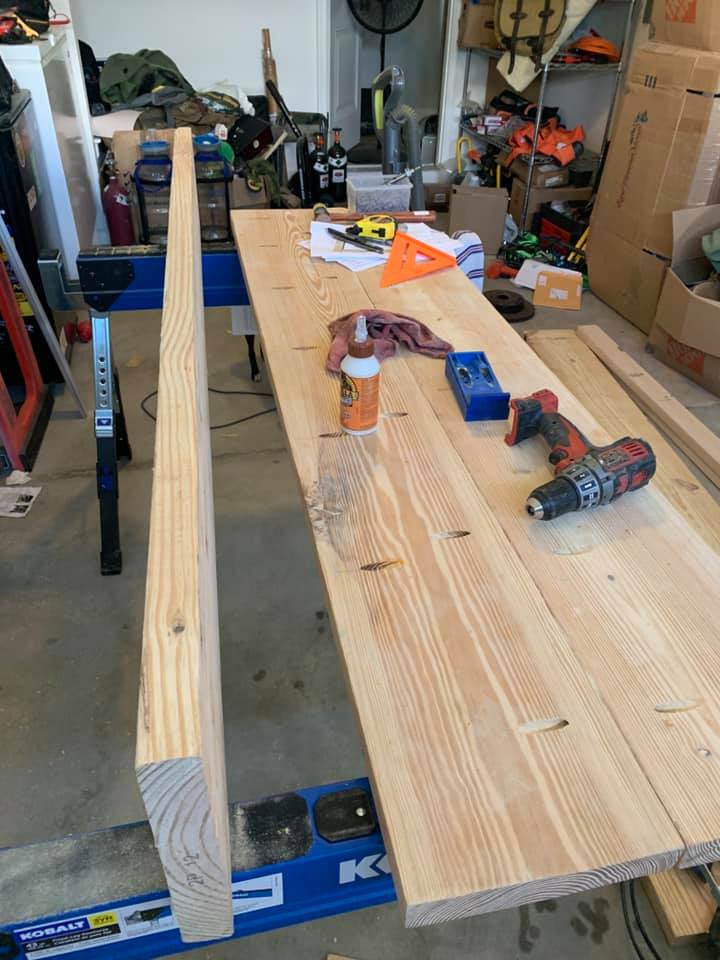
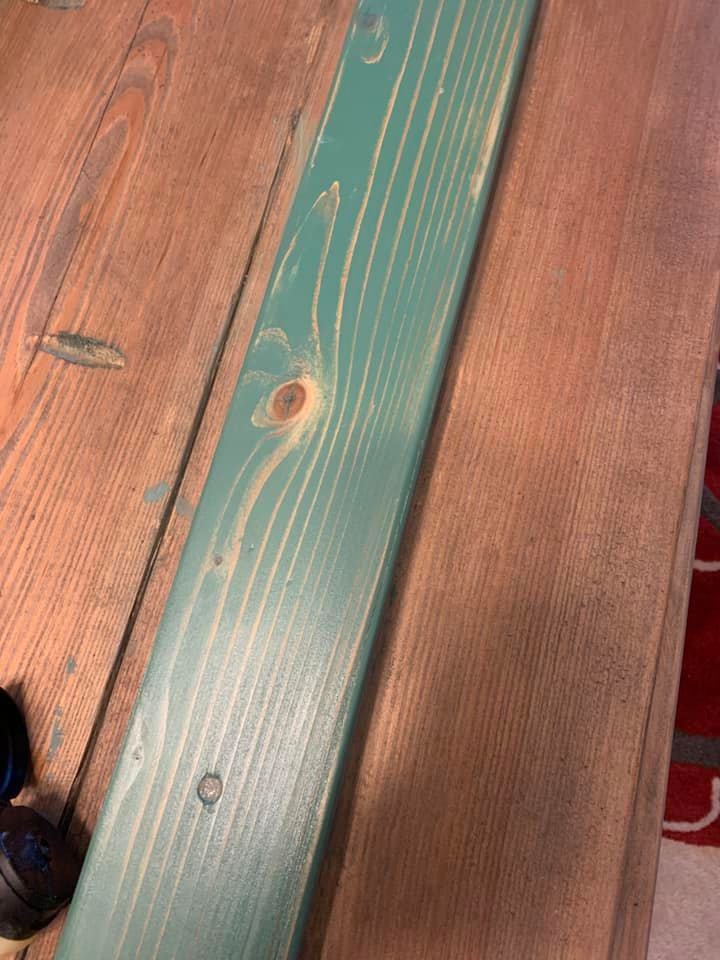
Finish Used
stain
Recommended Skill Level
Advanced


Comments
jnow8687
Sat, 08/31/2019 - 12:34
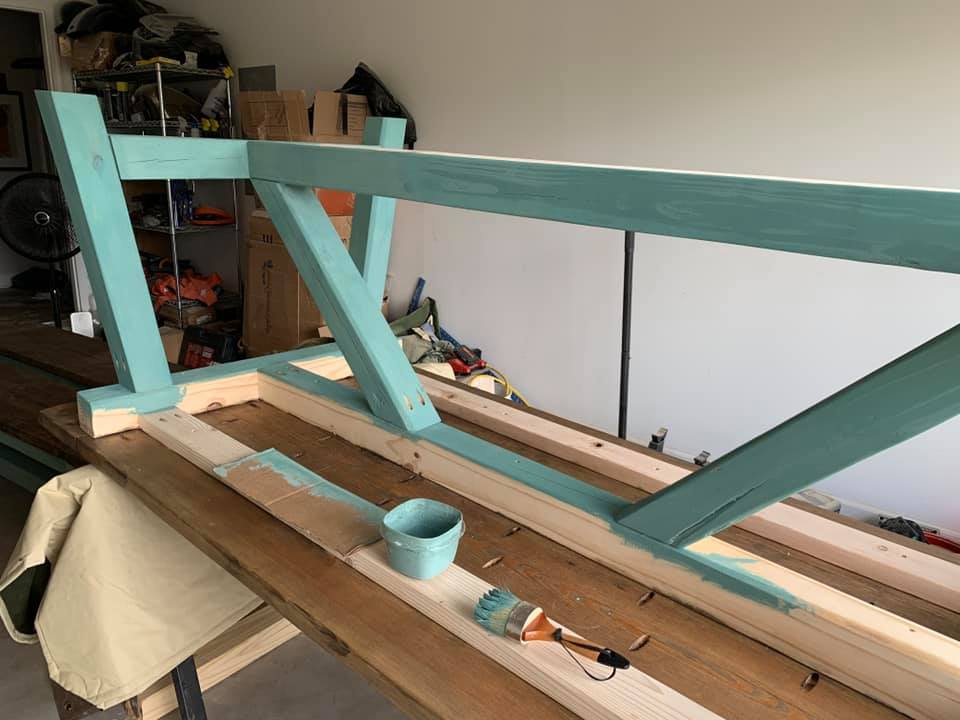
Extended base height
Did you extend the base height? I want a greenhouse to enclose trees that do not do well in the winter and I think I would like to raise the base height a foot or so.