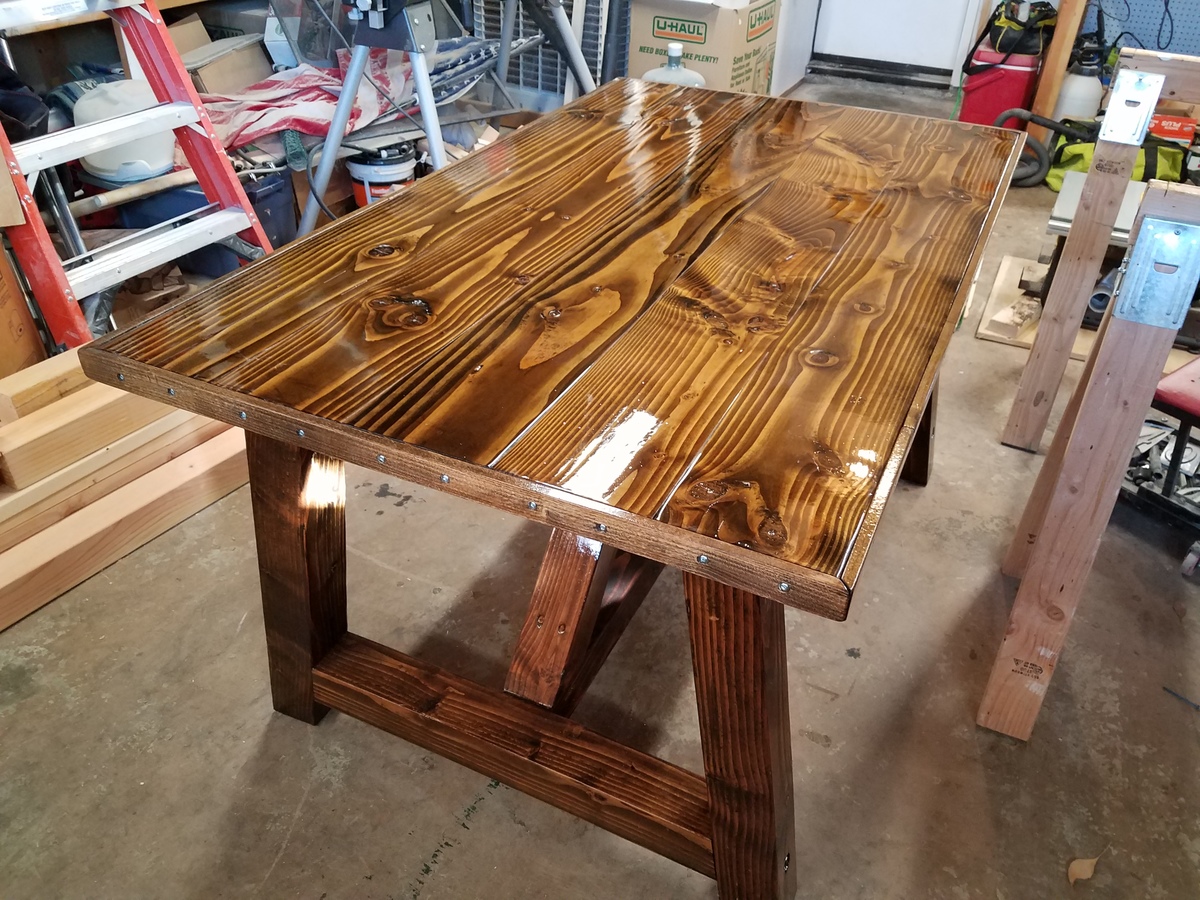
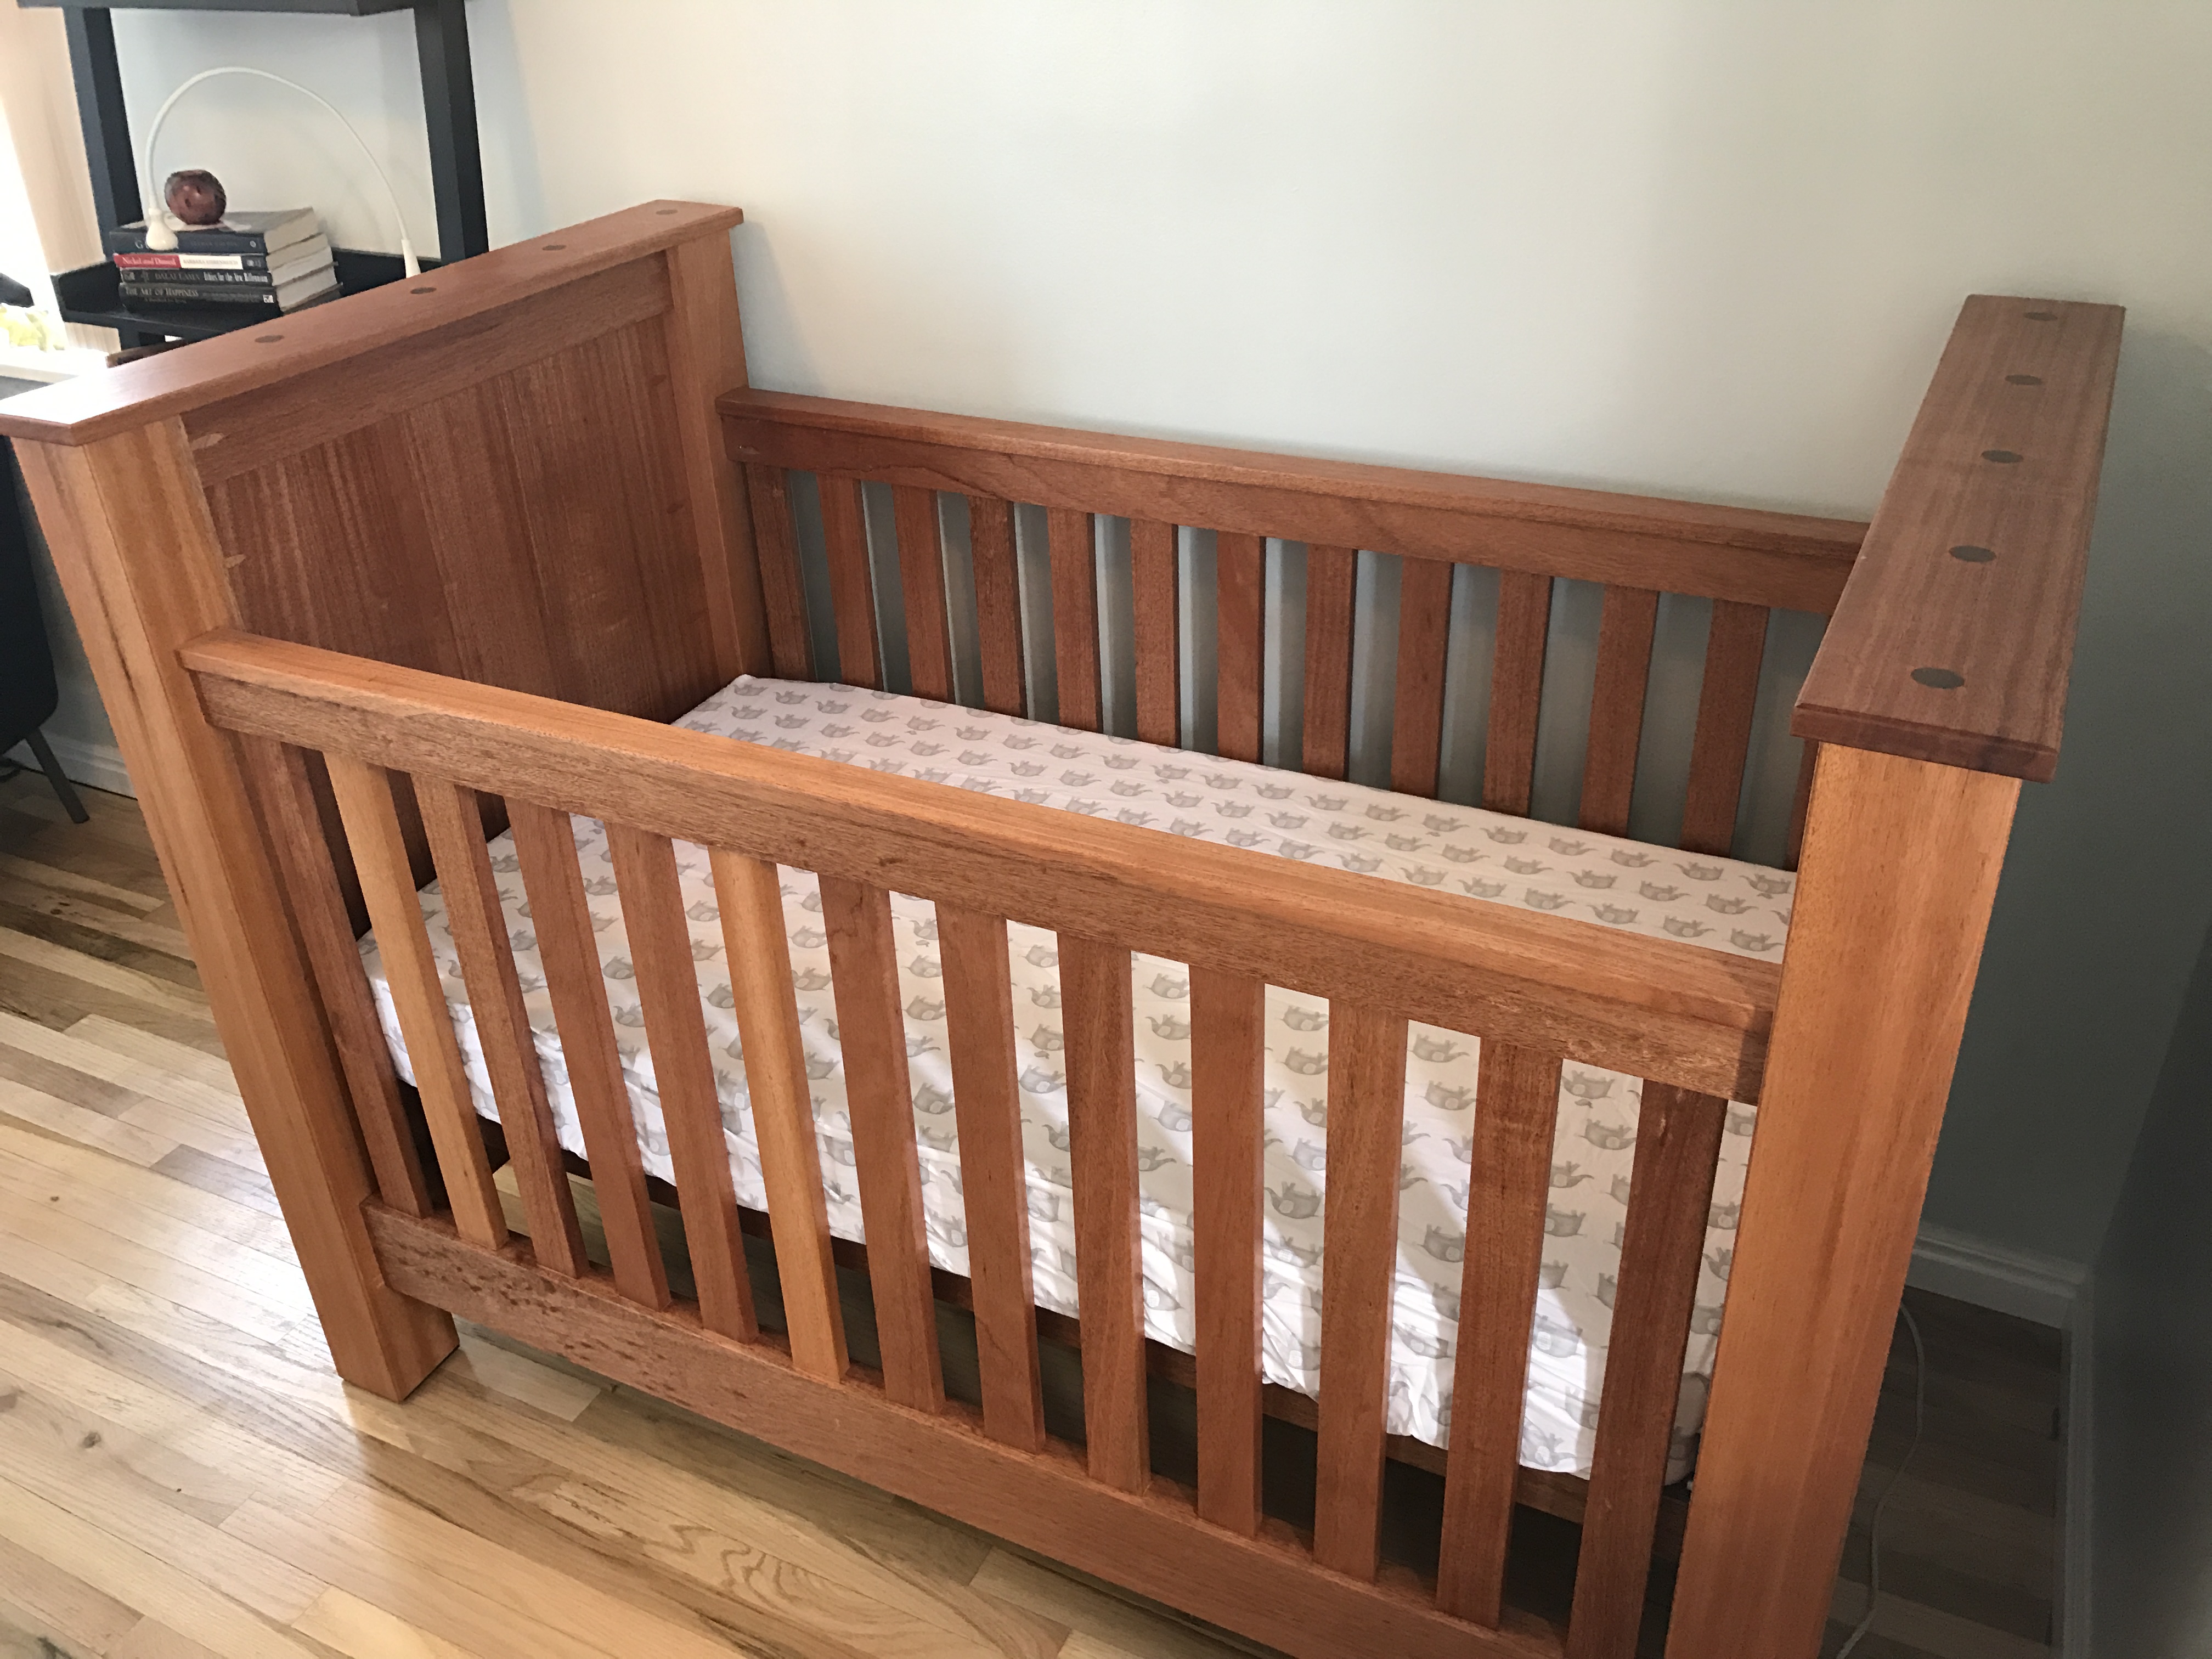
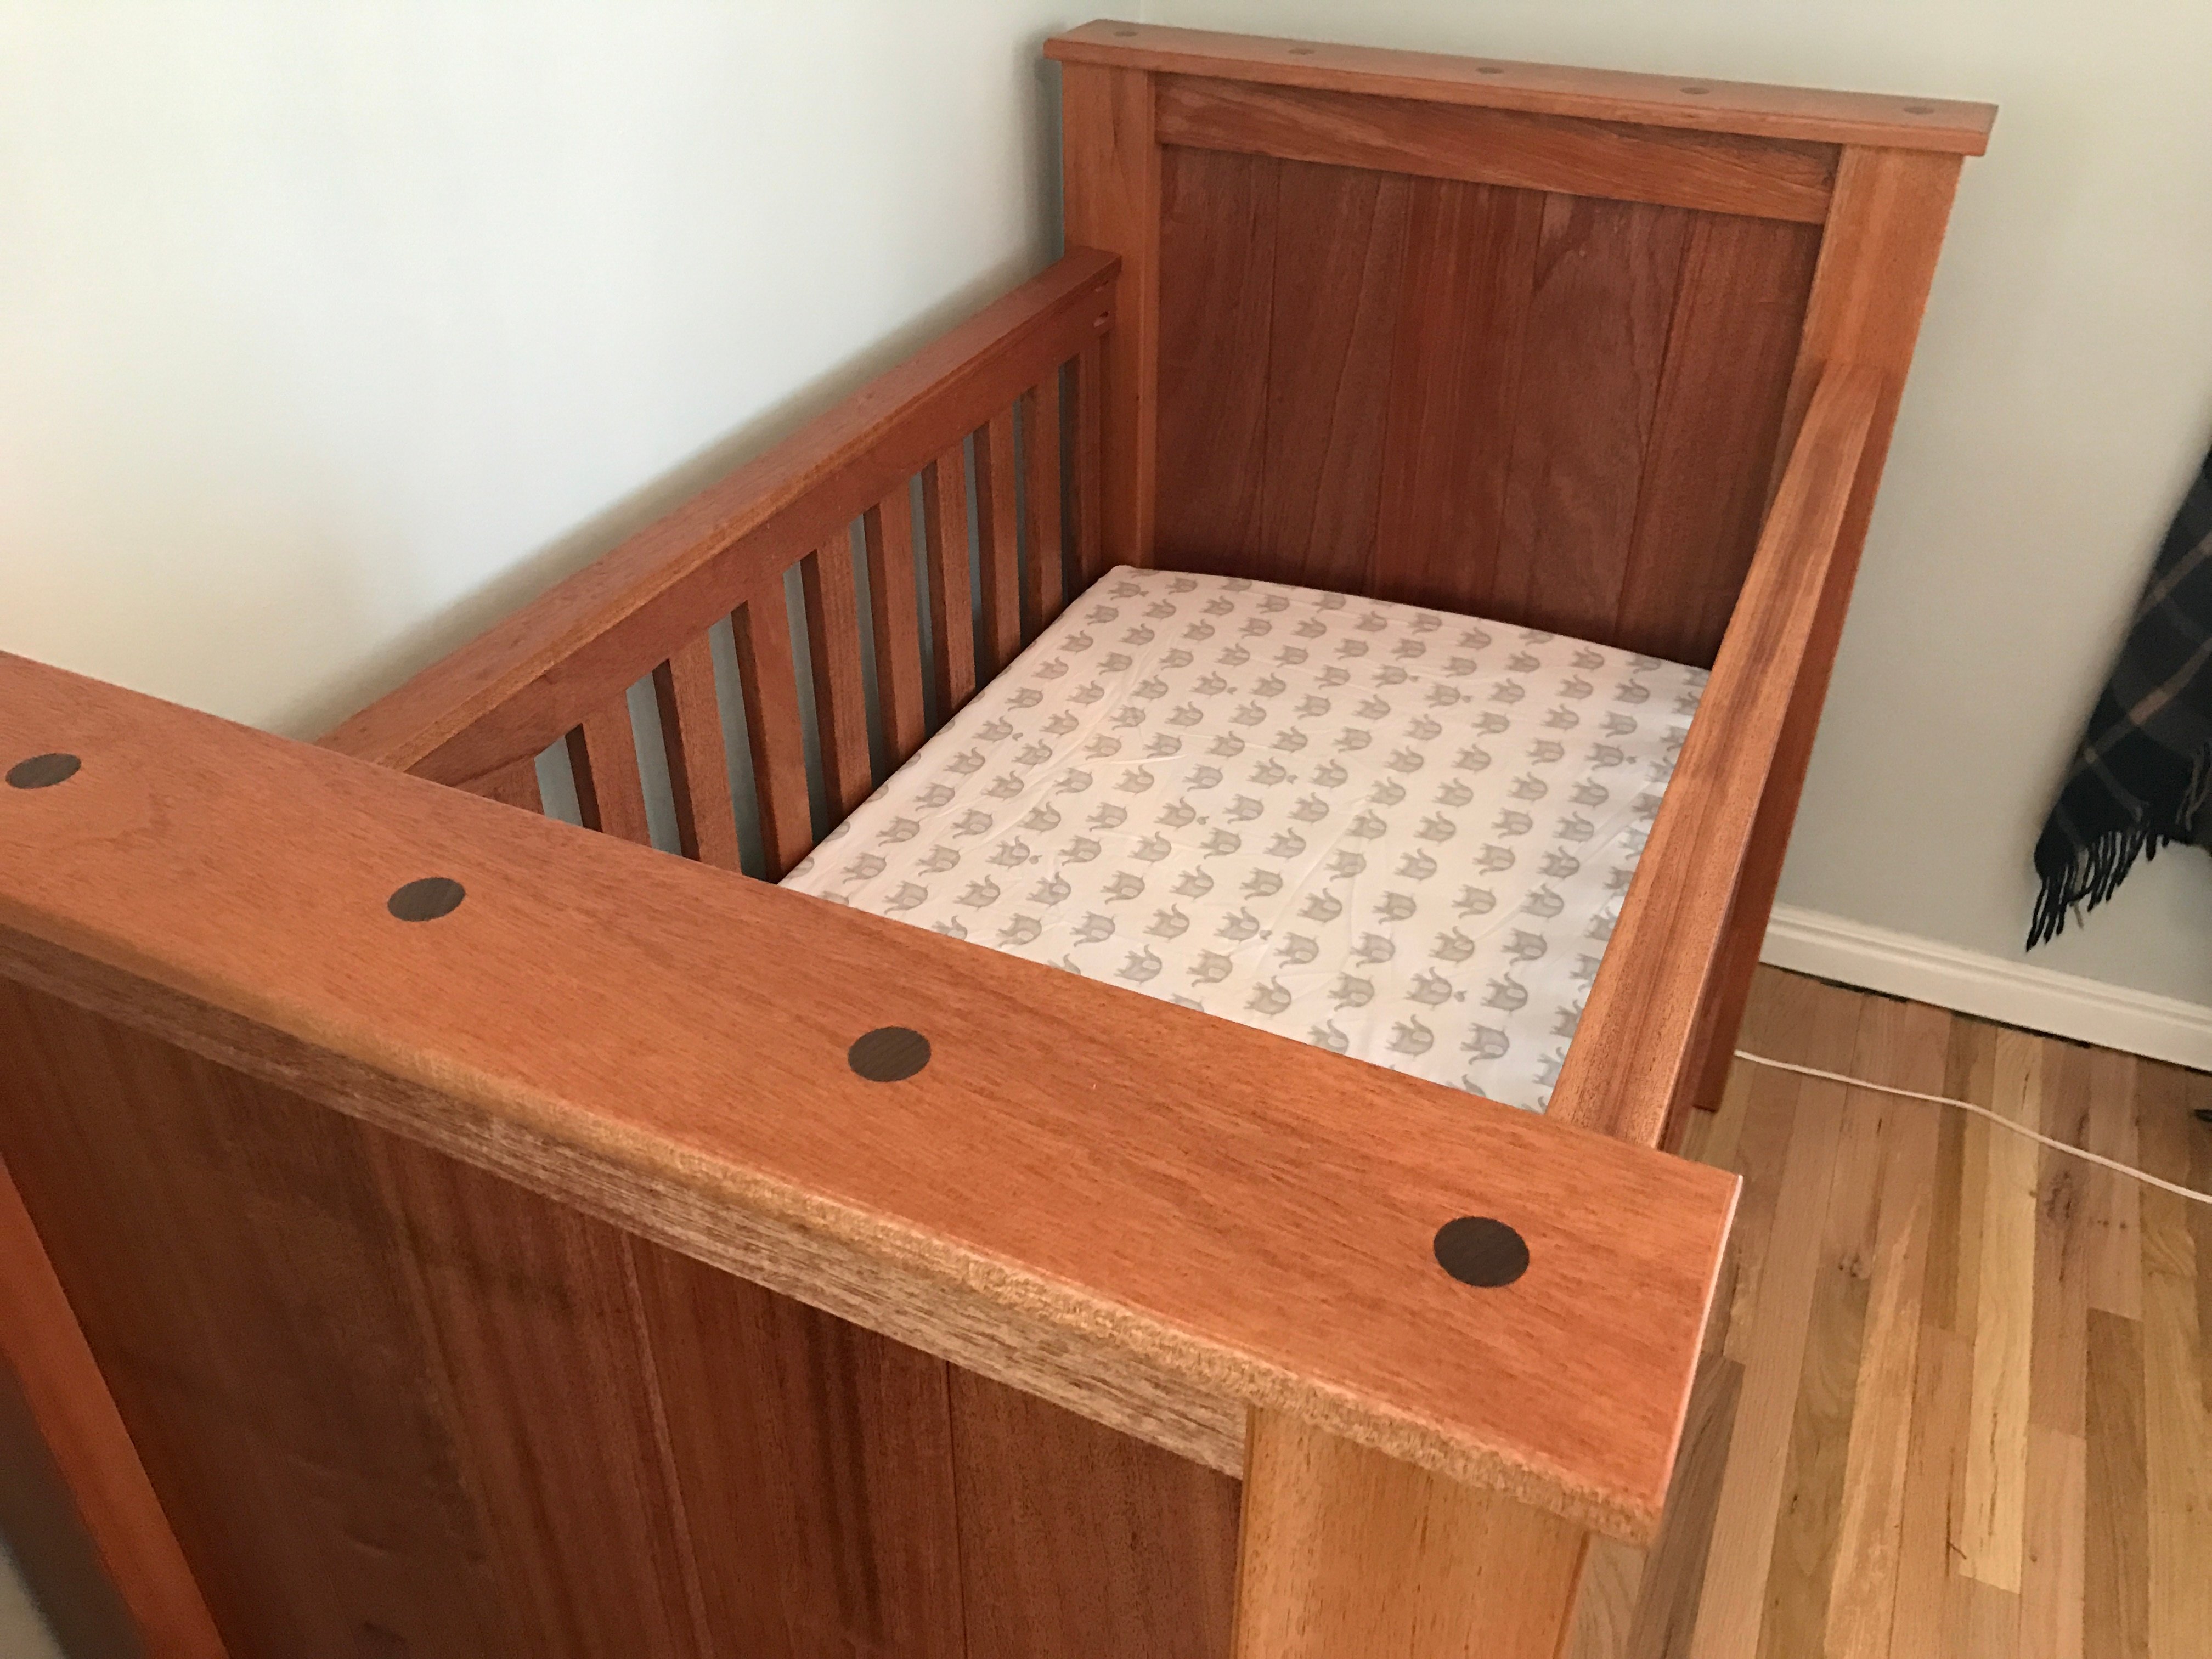
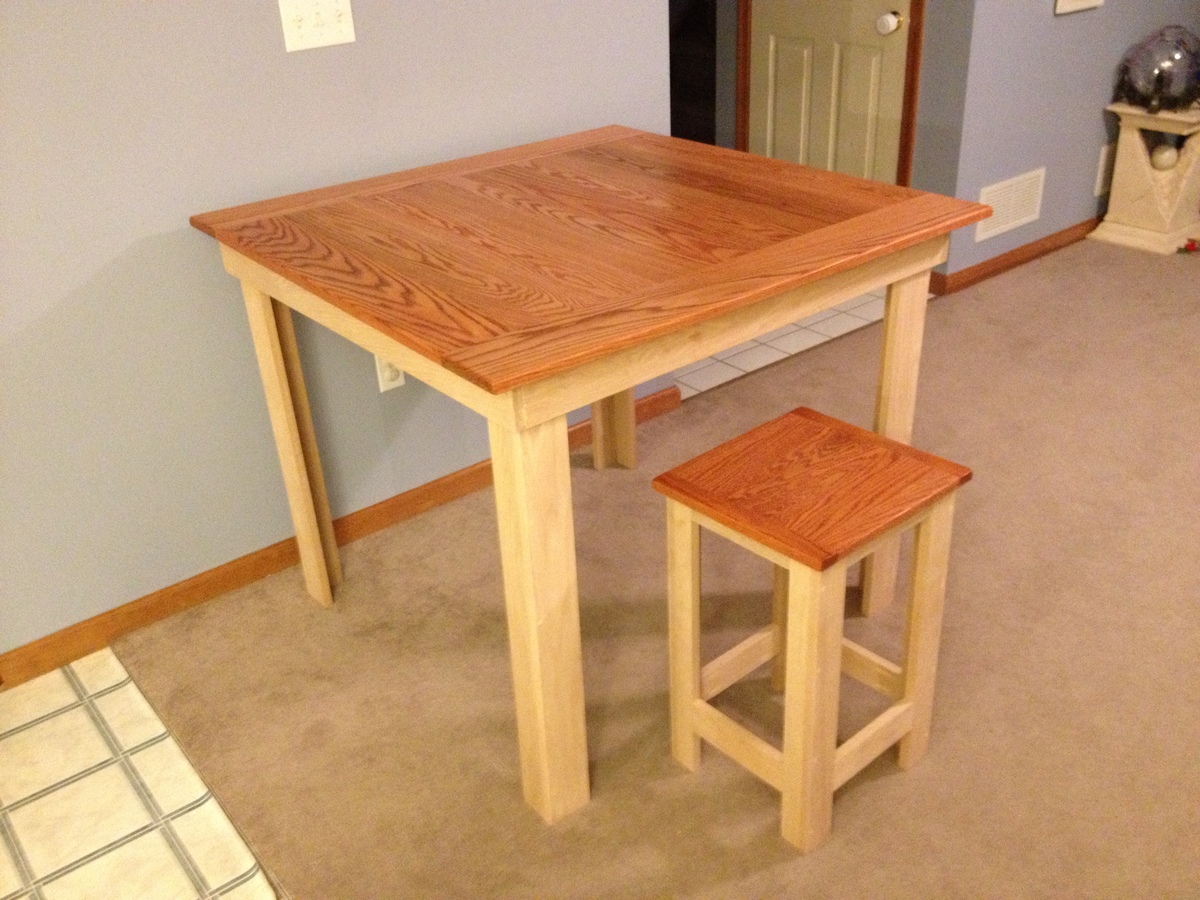
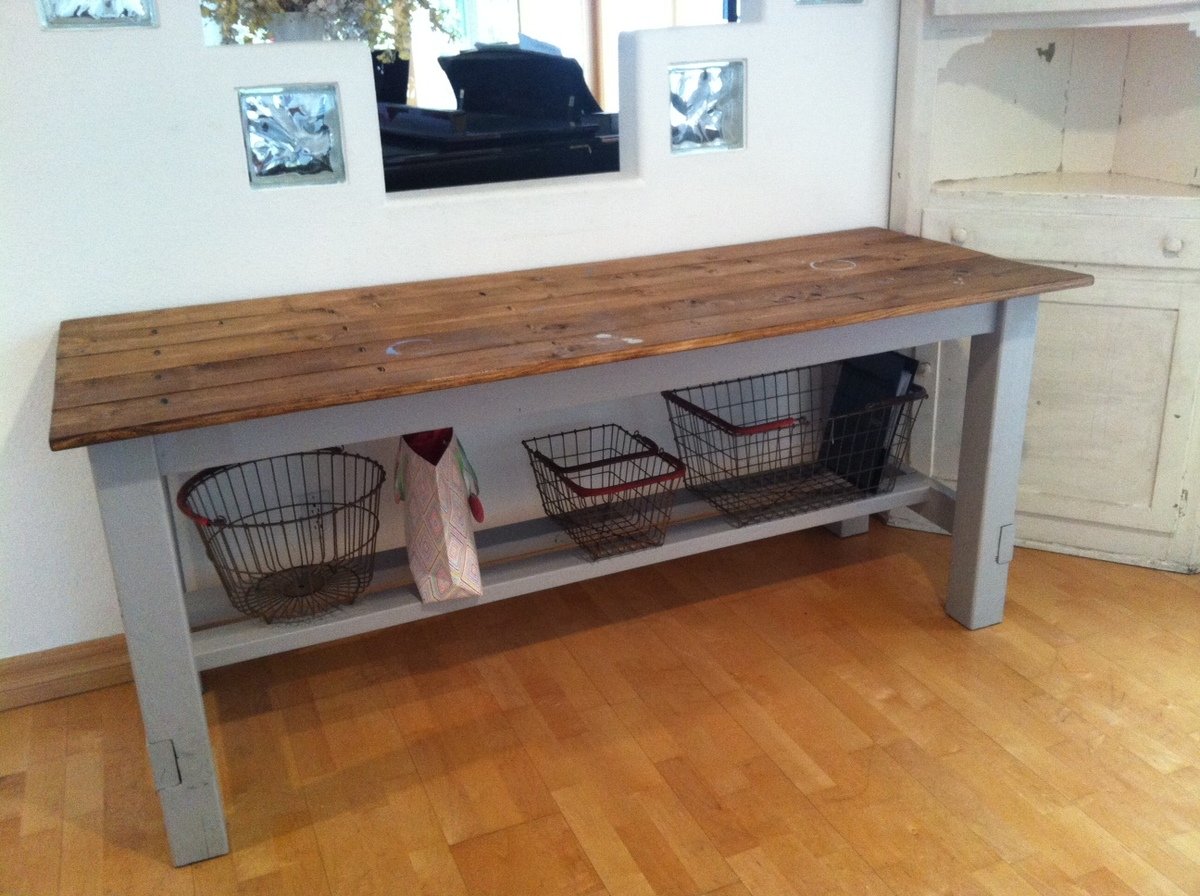
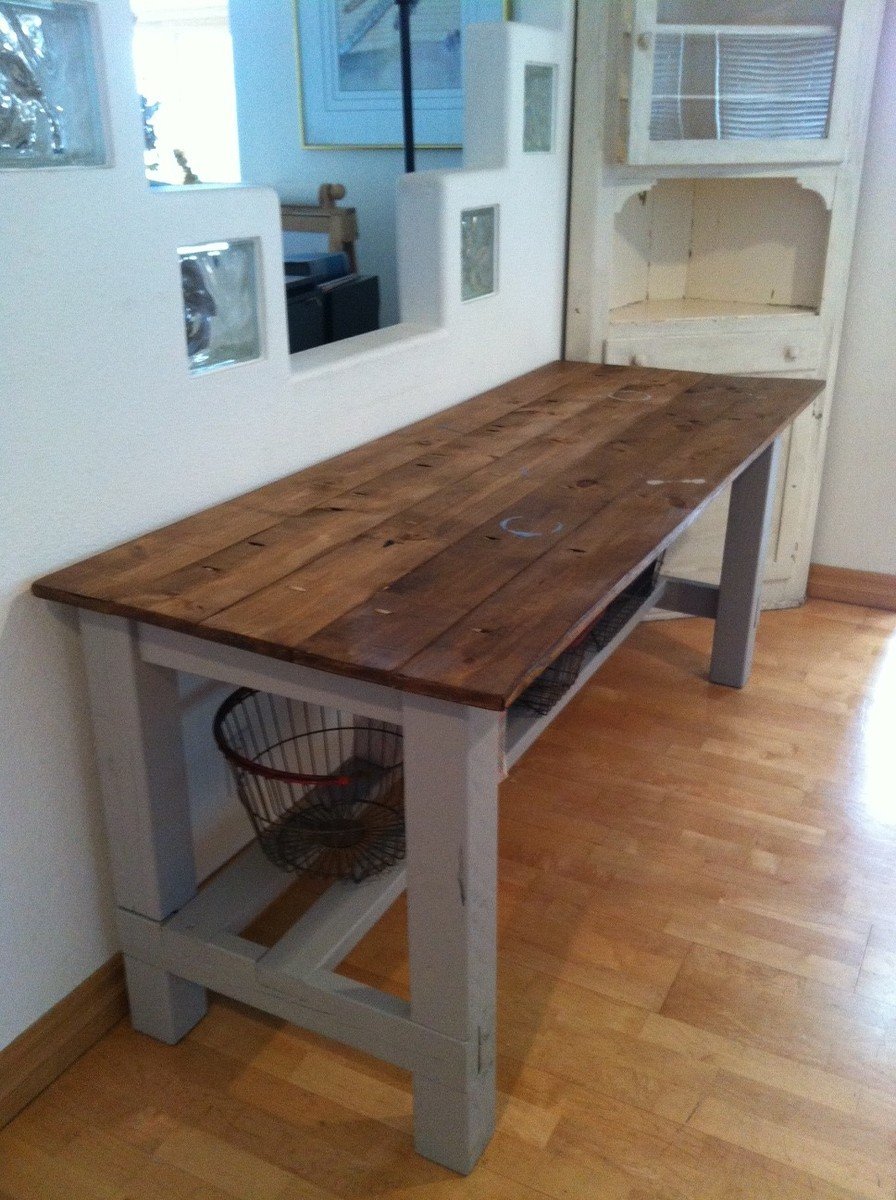
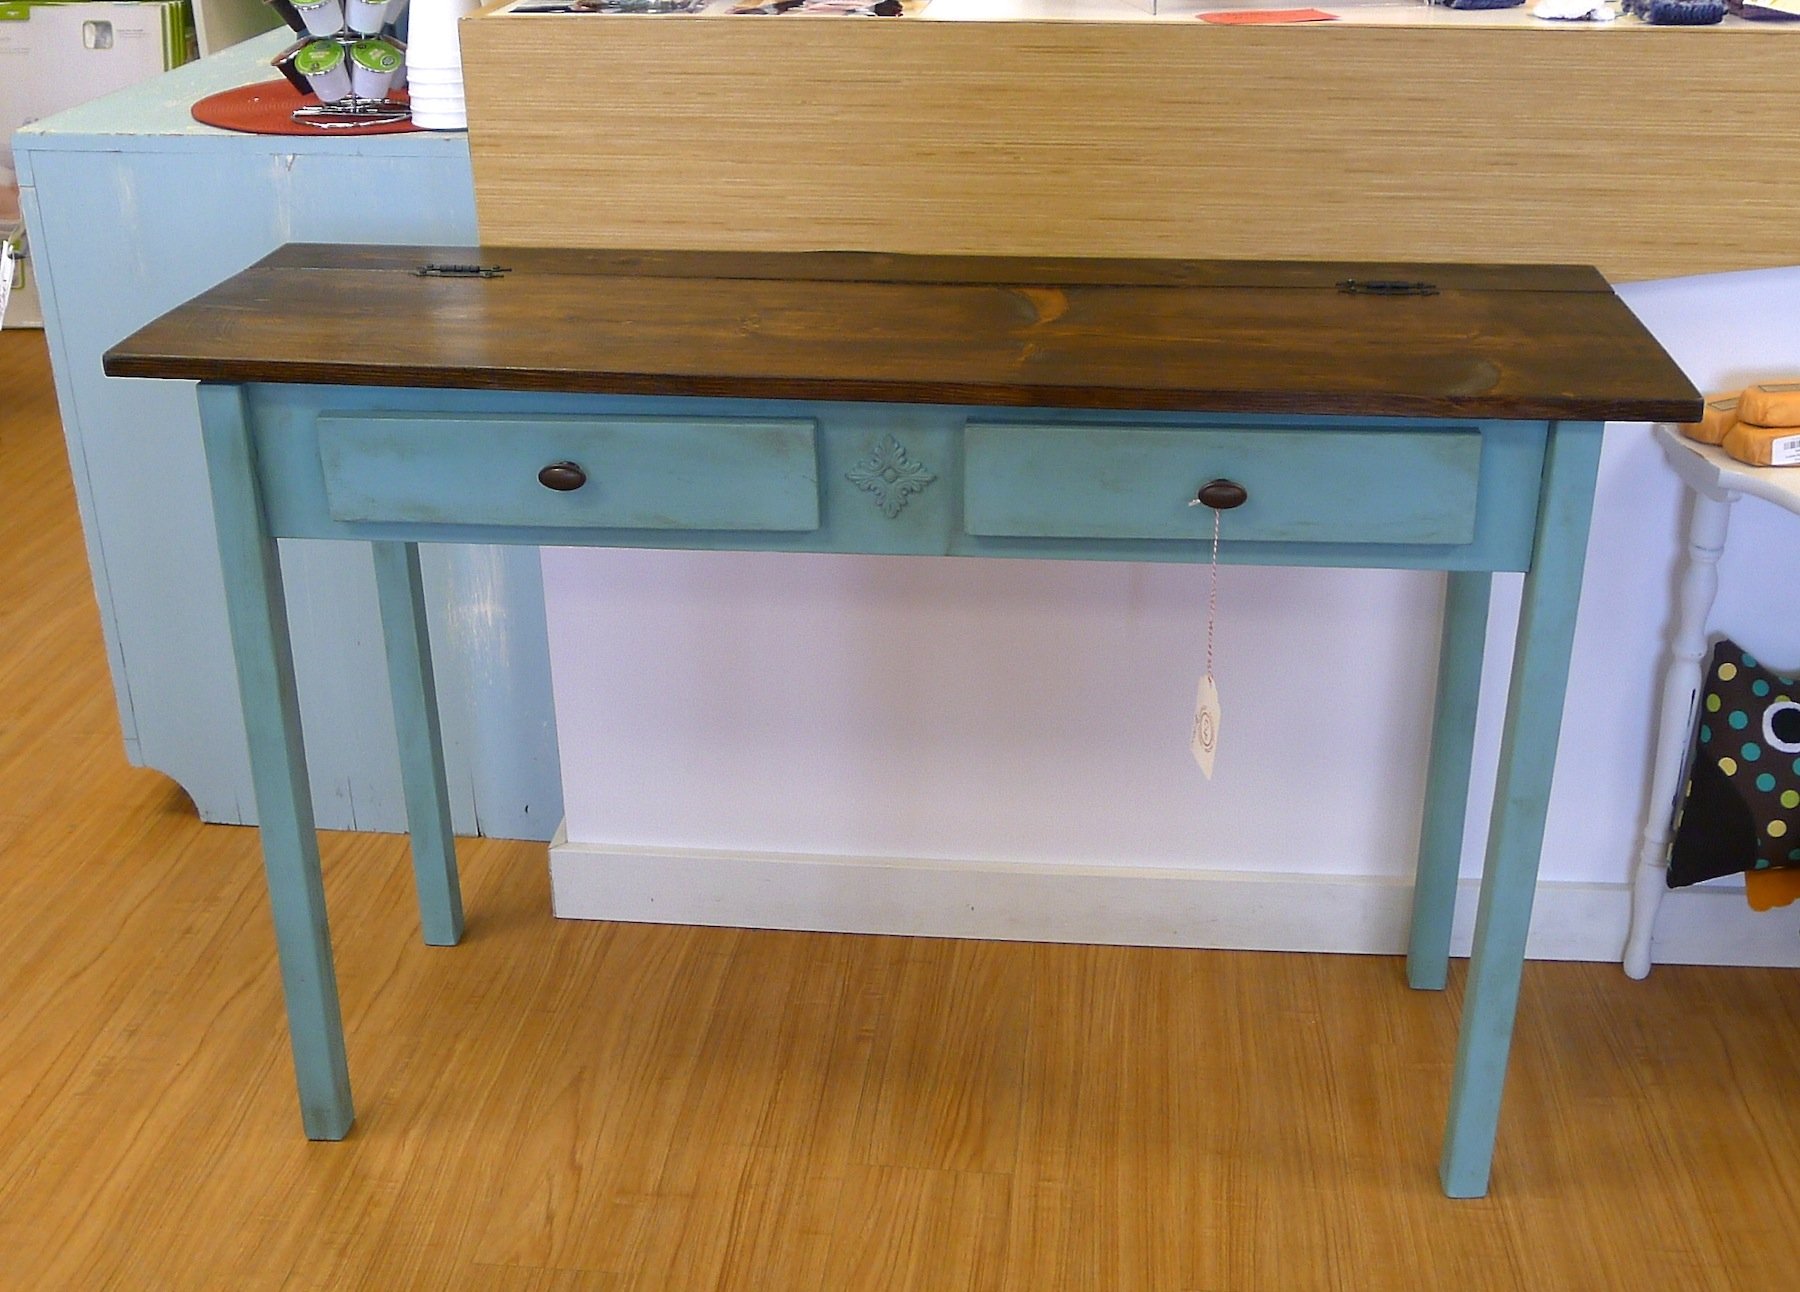
This was my husband and I's first furniture building exercise. We've been looking at farm tables but the prices were astronomical ($500 to 1,000+)! So, we came across this plan and thought maybe we could do it. And we did!
It took us about a weekend...we have two kids - ages 3 and 6...so we have frequent interruptions...including my daughter spilling my brand new quart of paint...so another trip to Home Depot.
We made some alterations to the plans...to fit our needs.
List of Alterations:
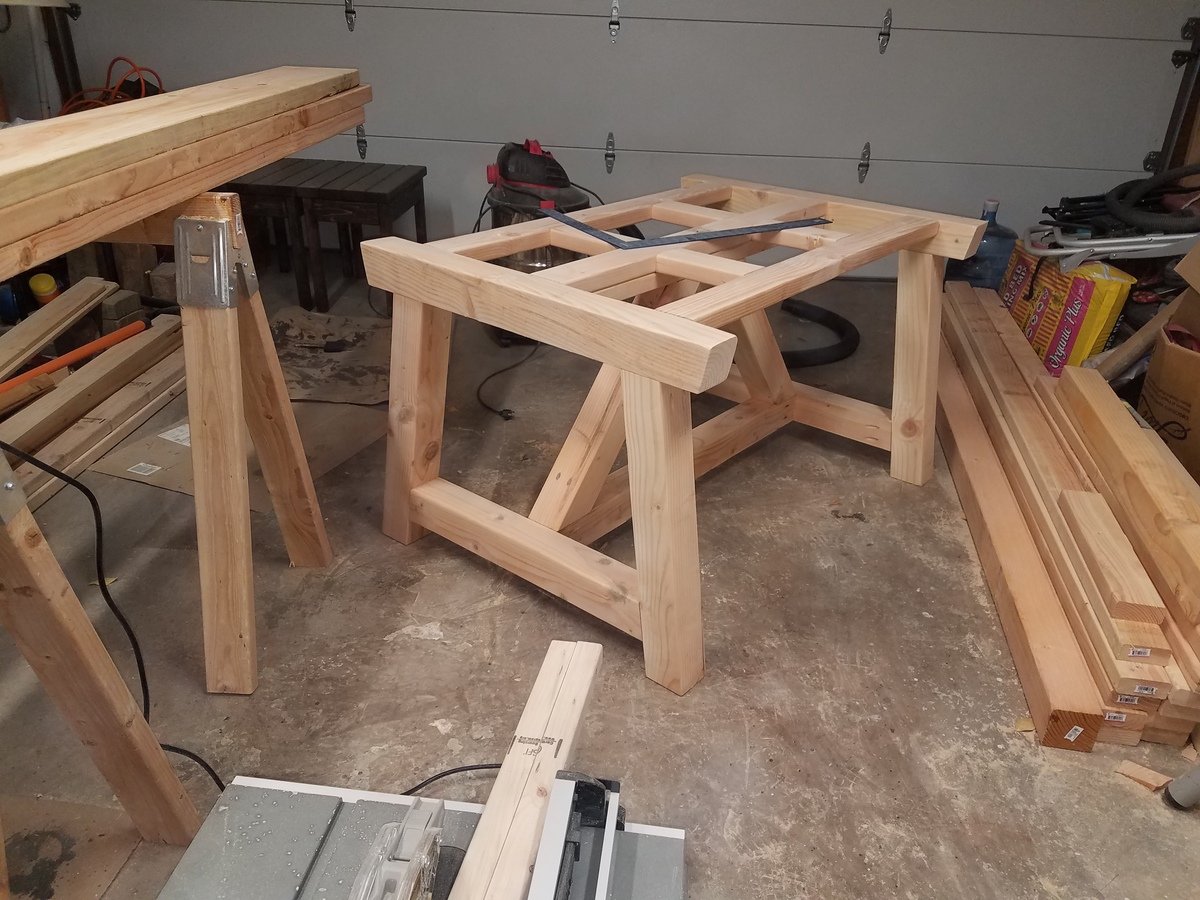
- Moved apron back (and would move it back more if I built again) 1" further.
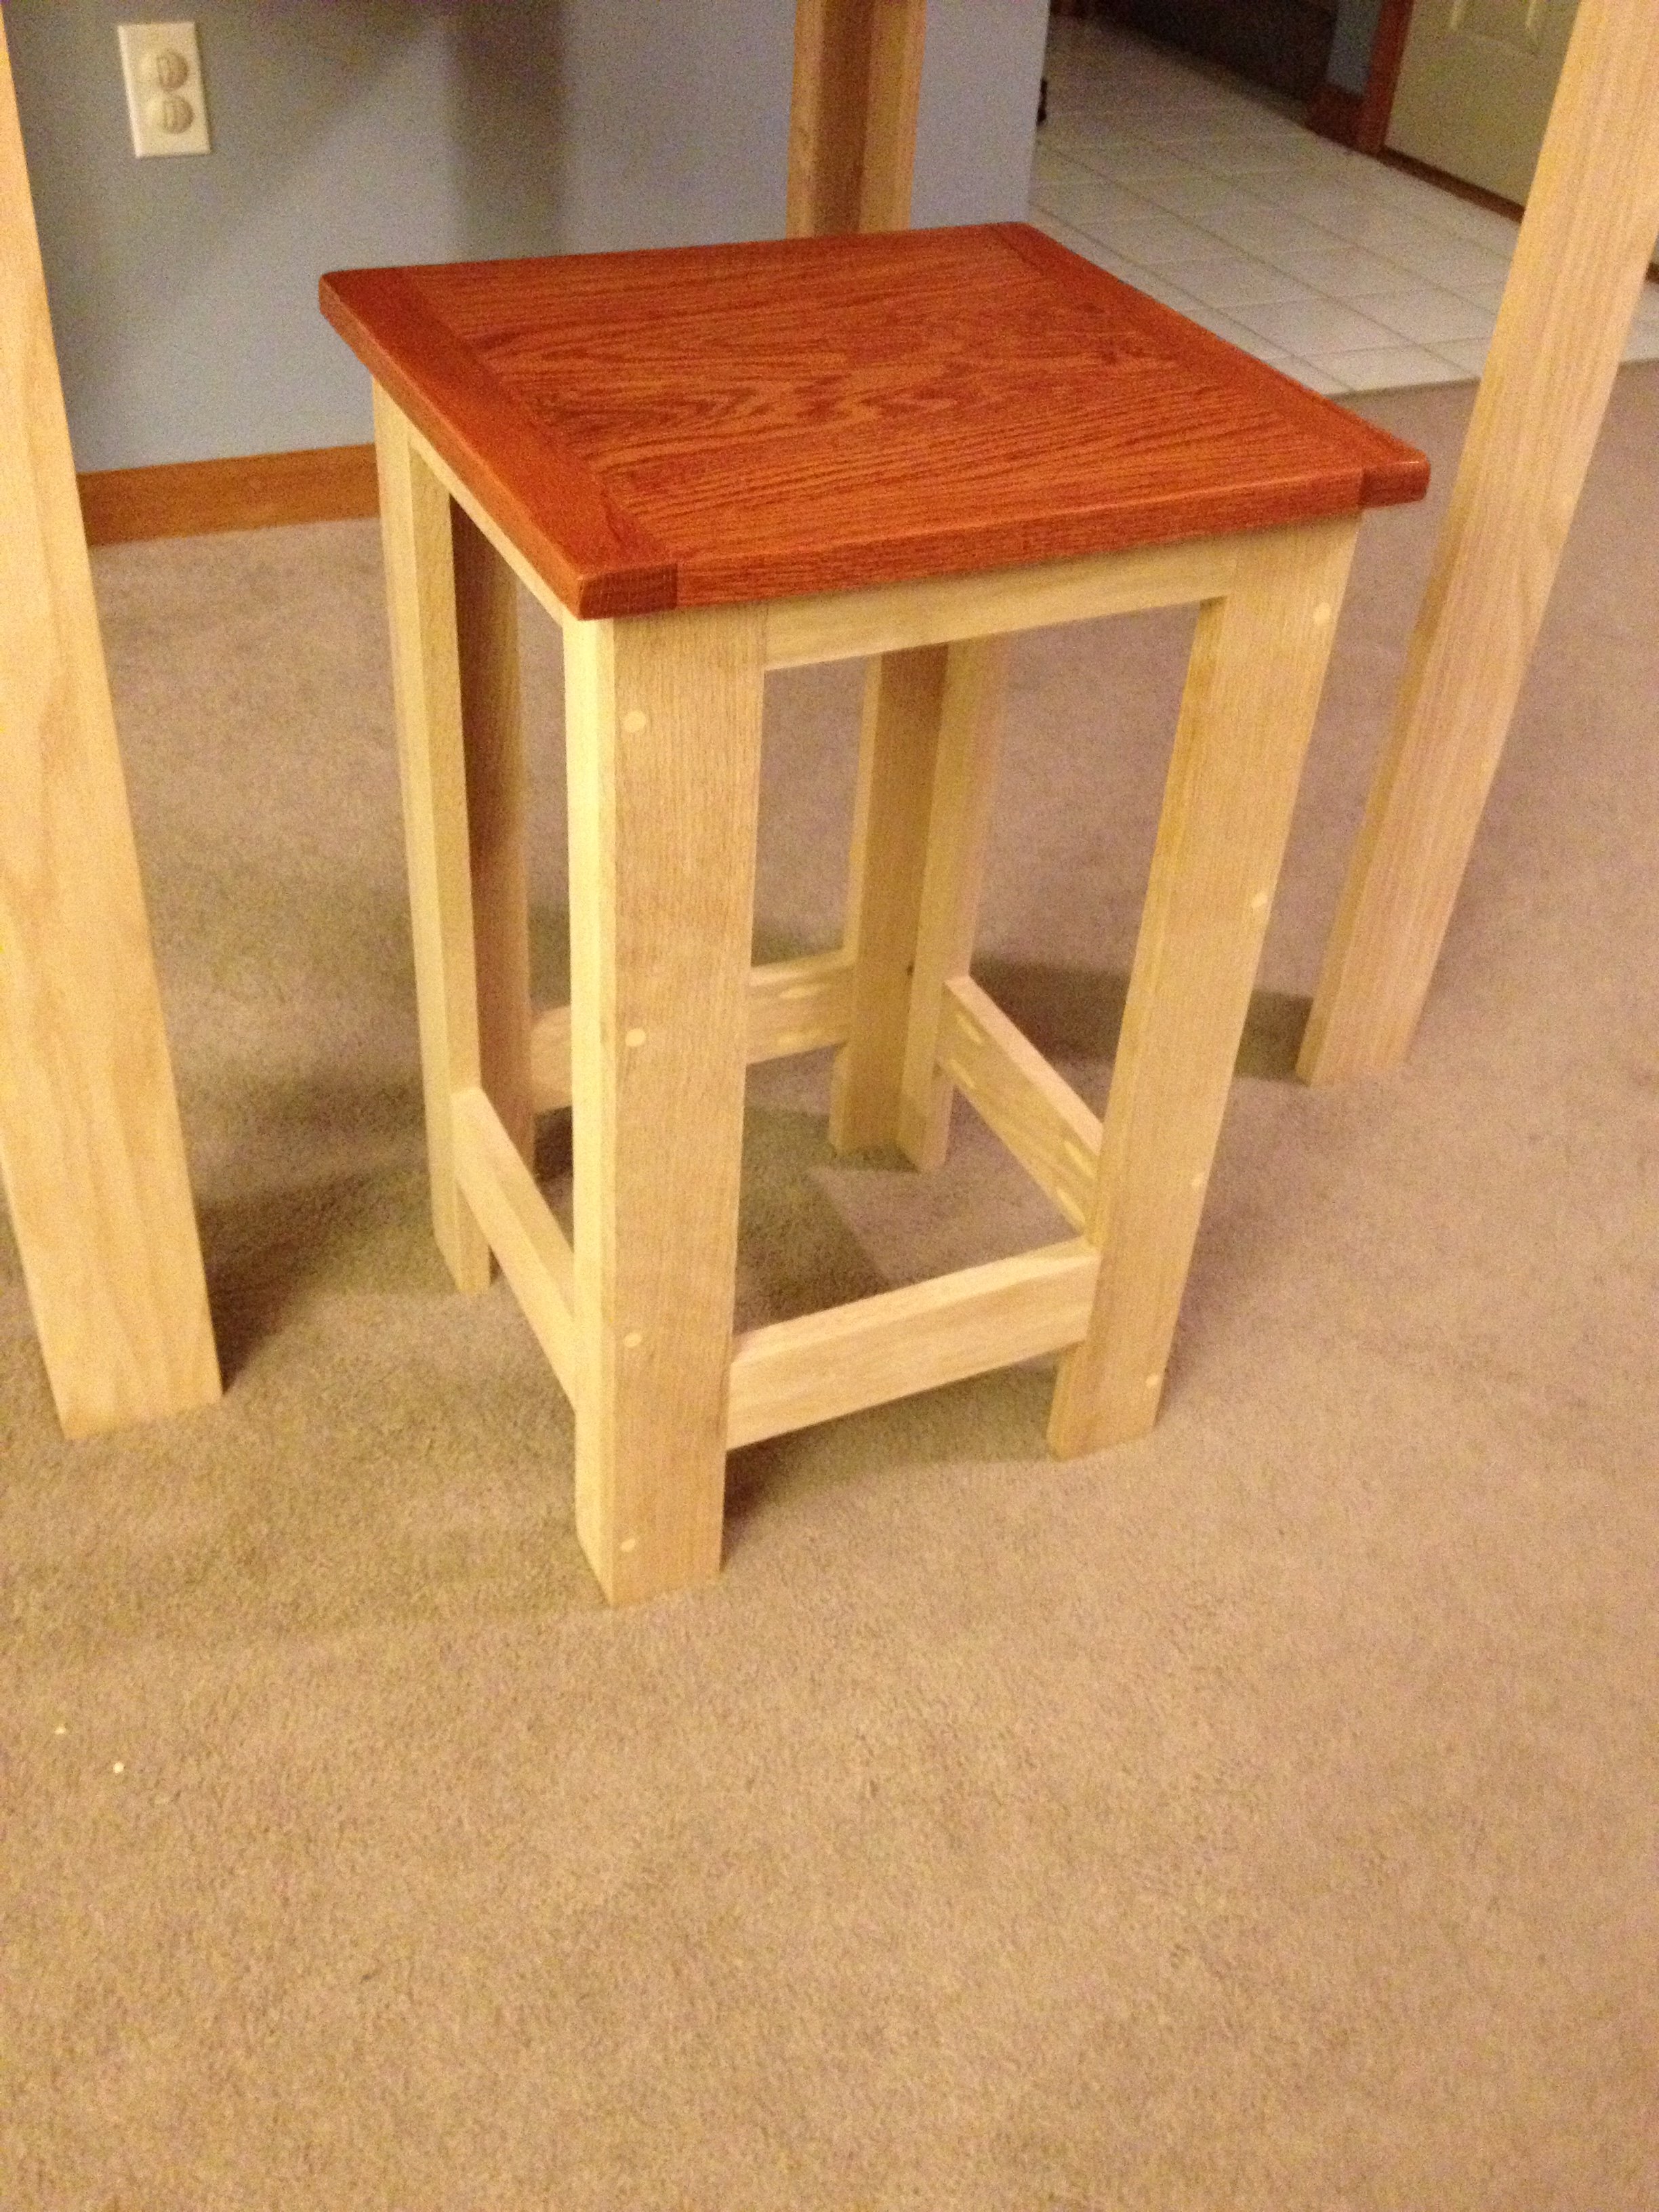
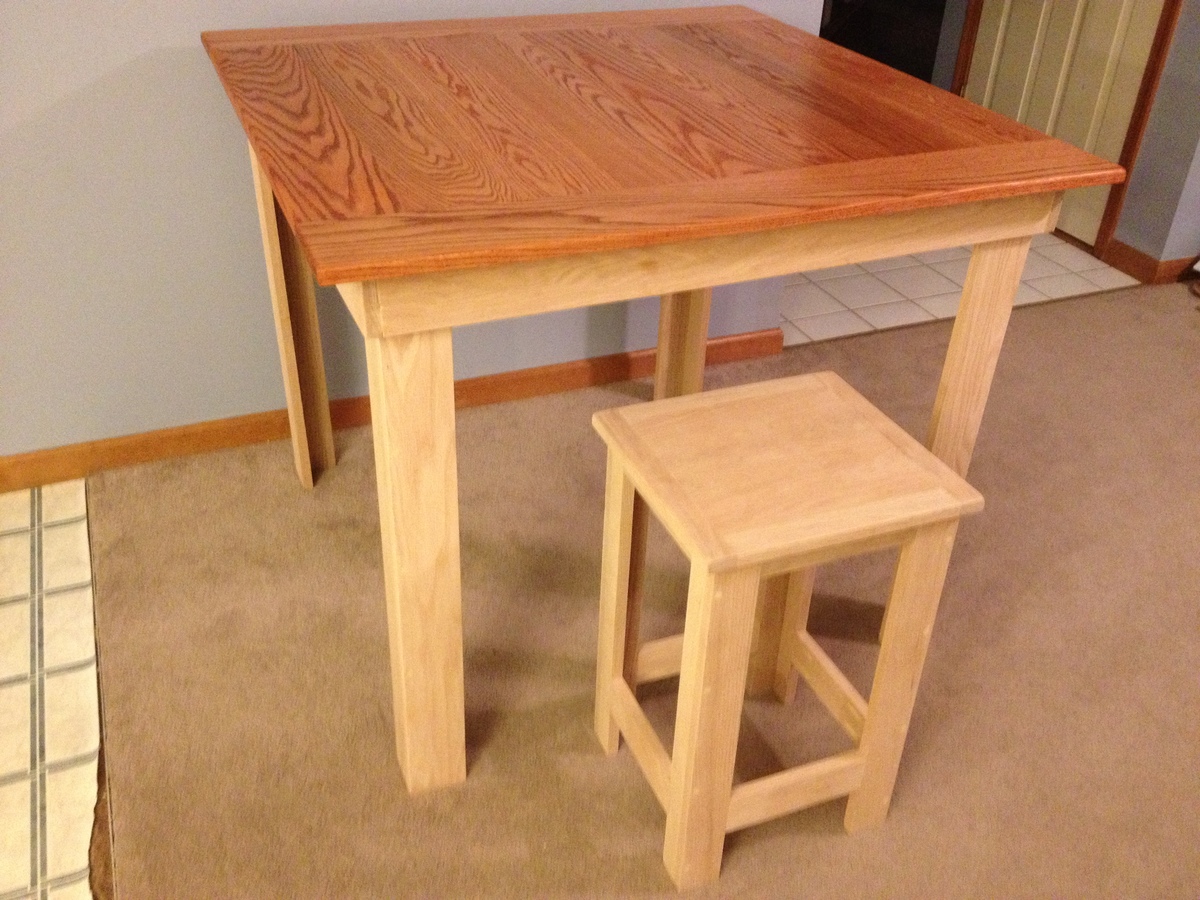
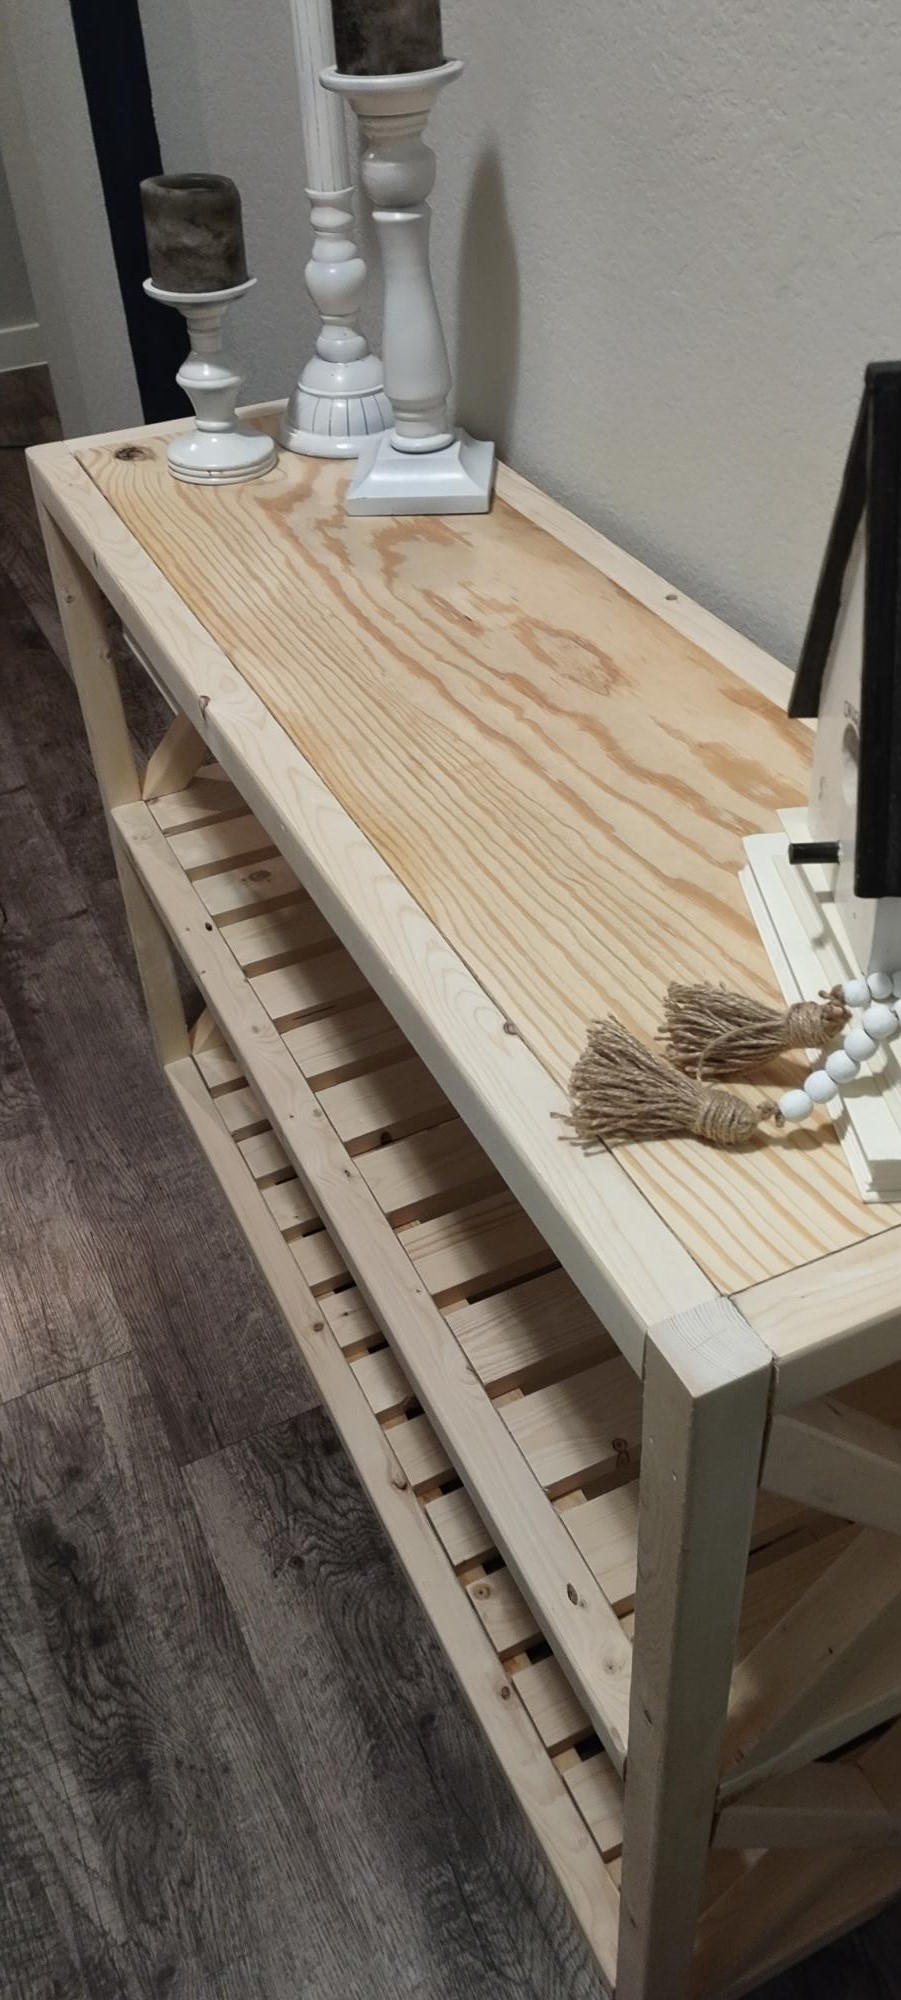
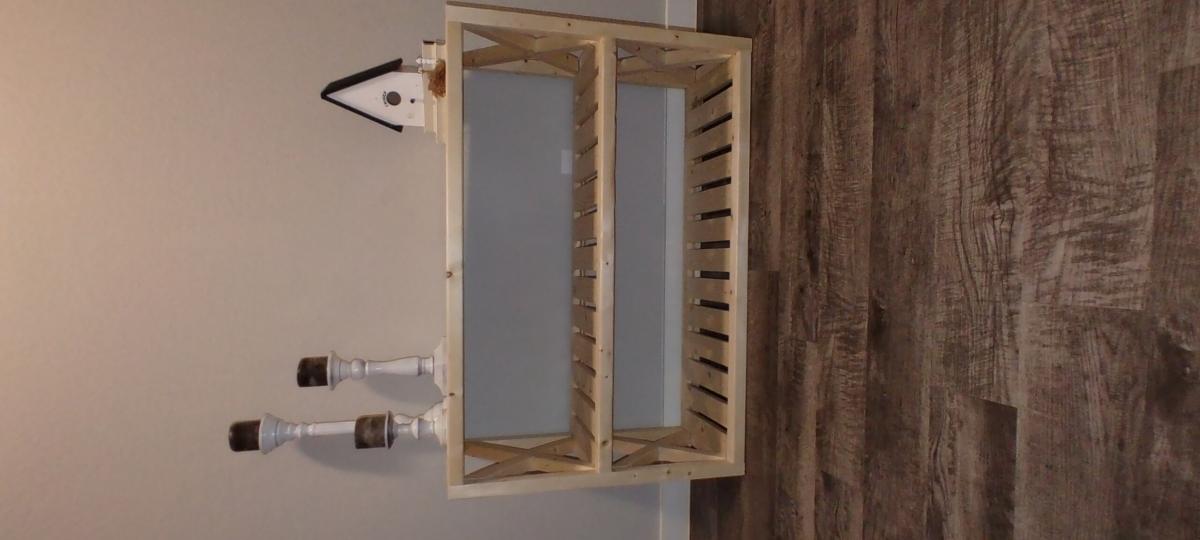
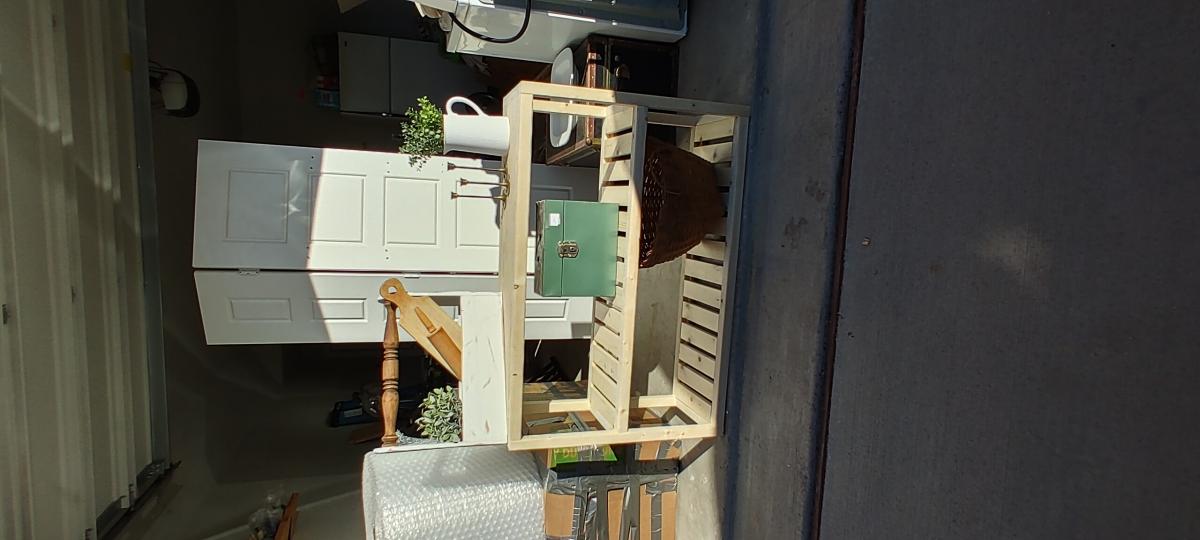
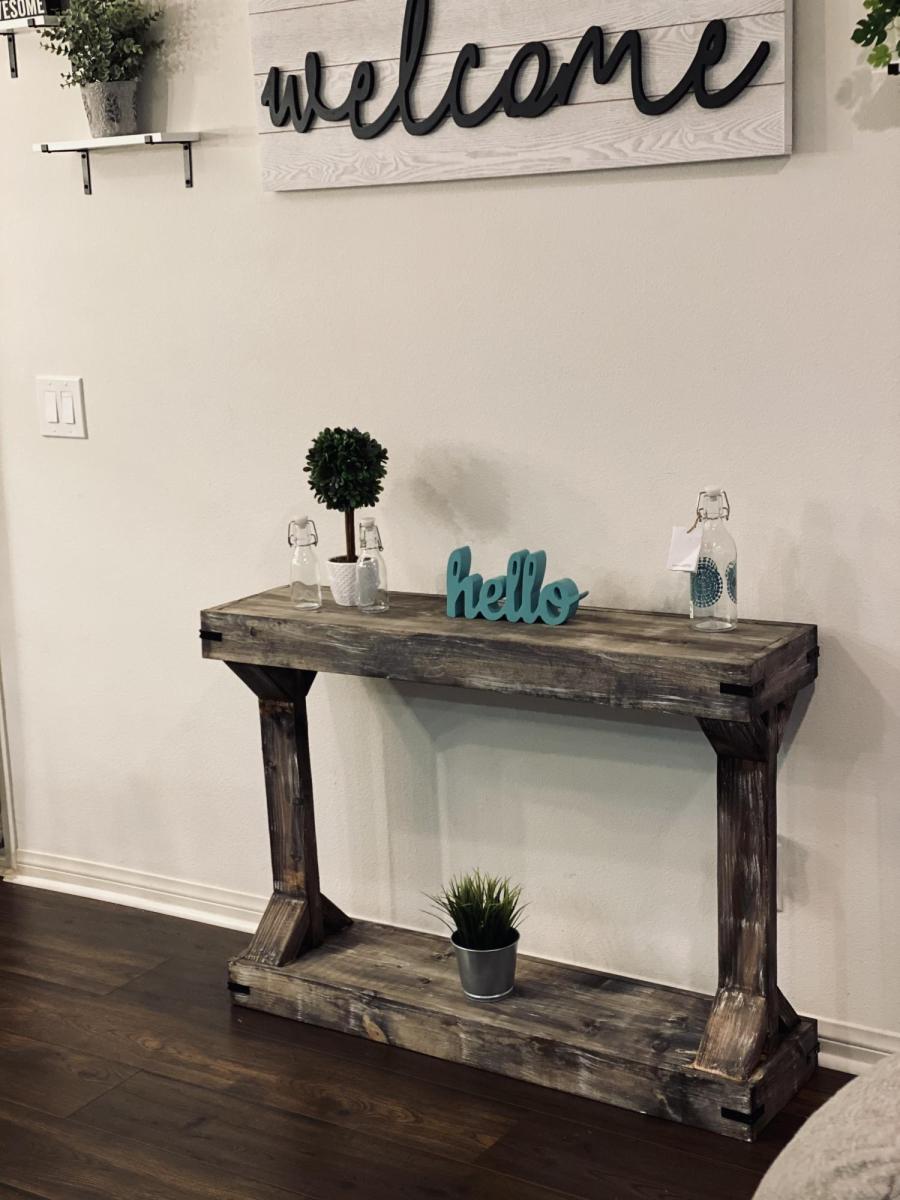
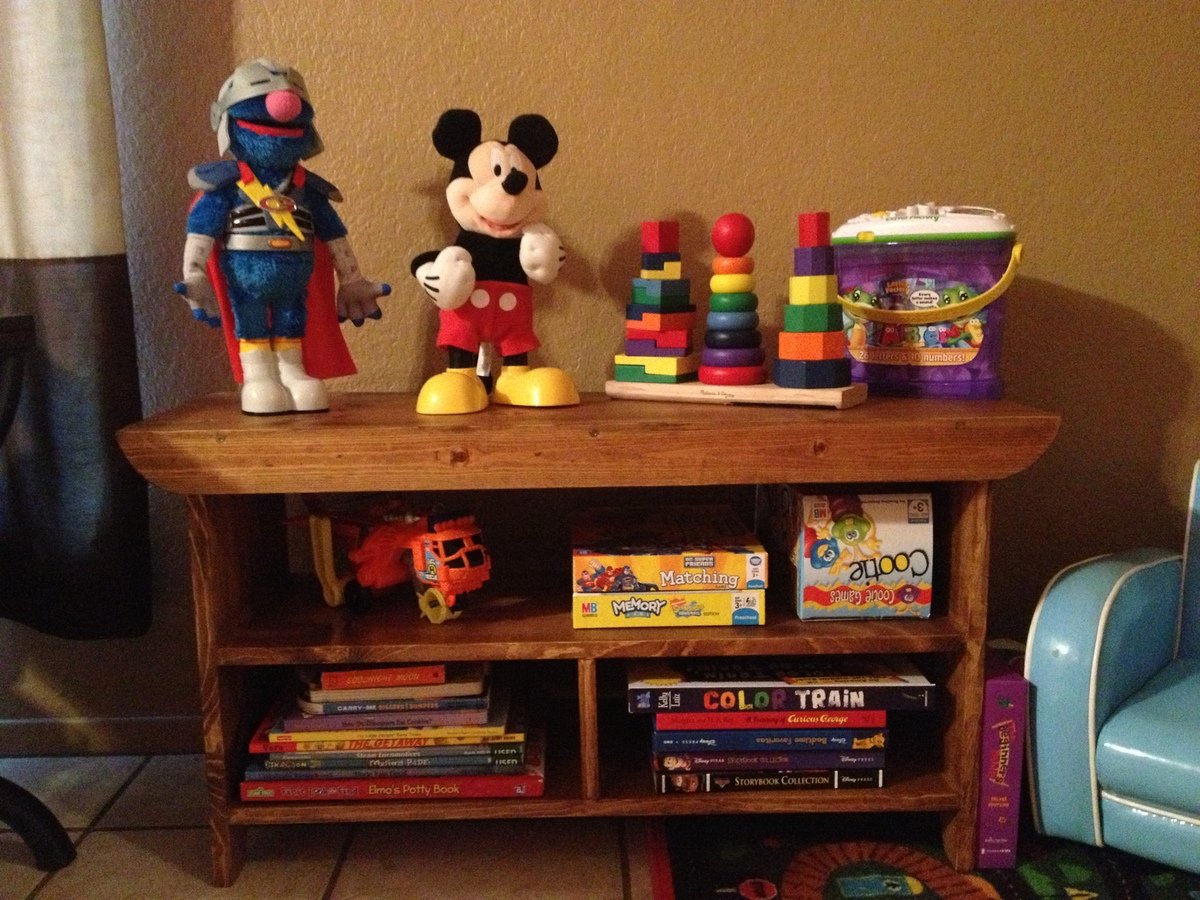
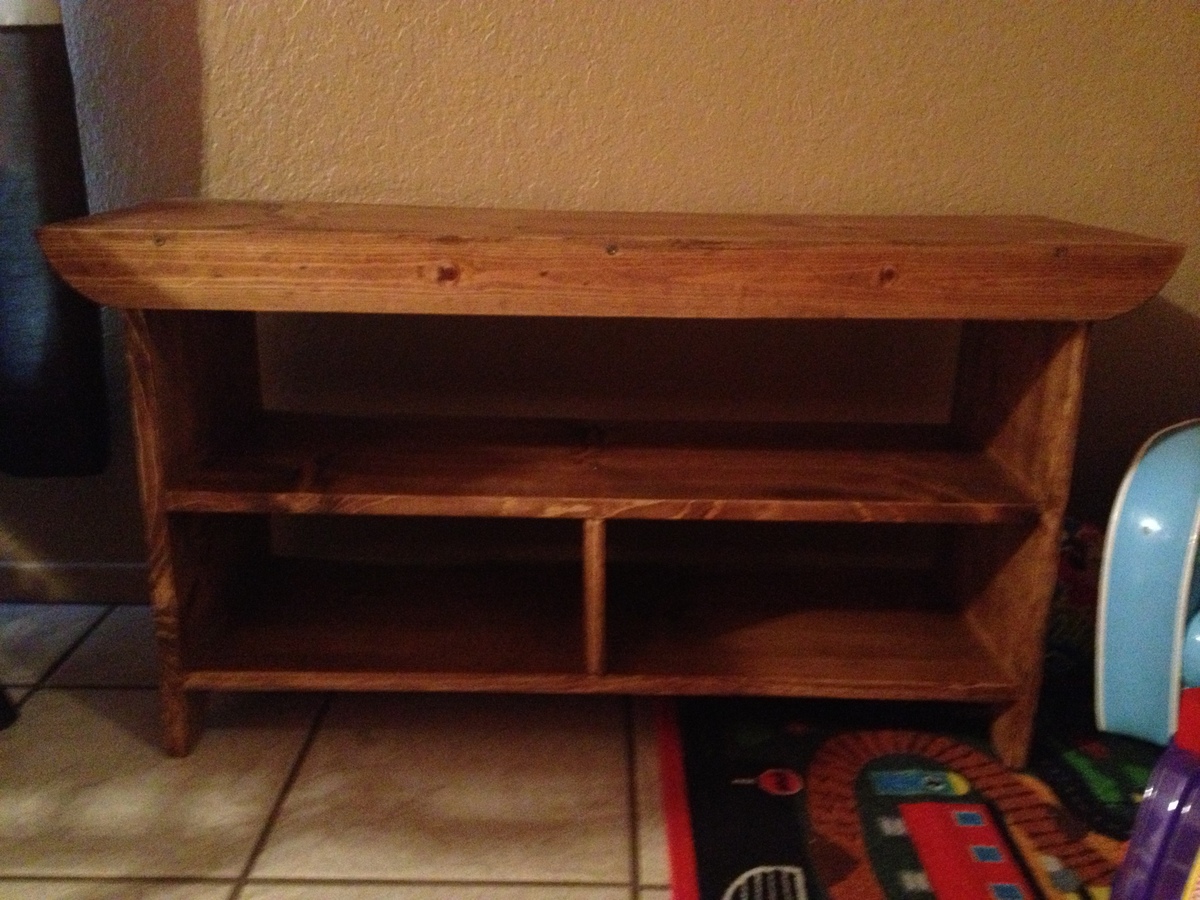
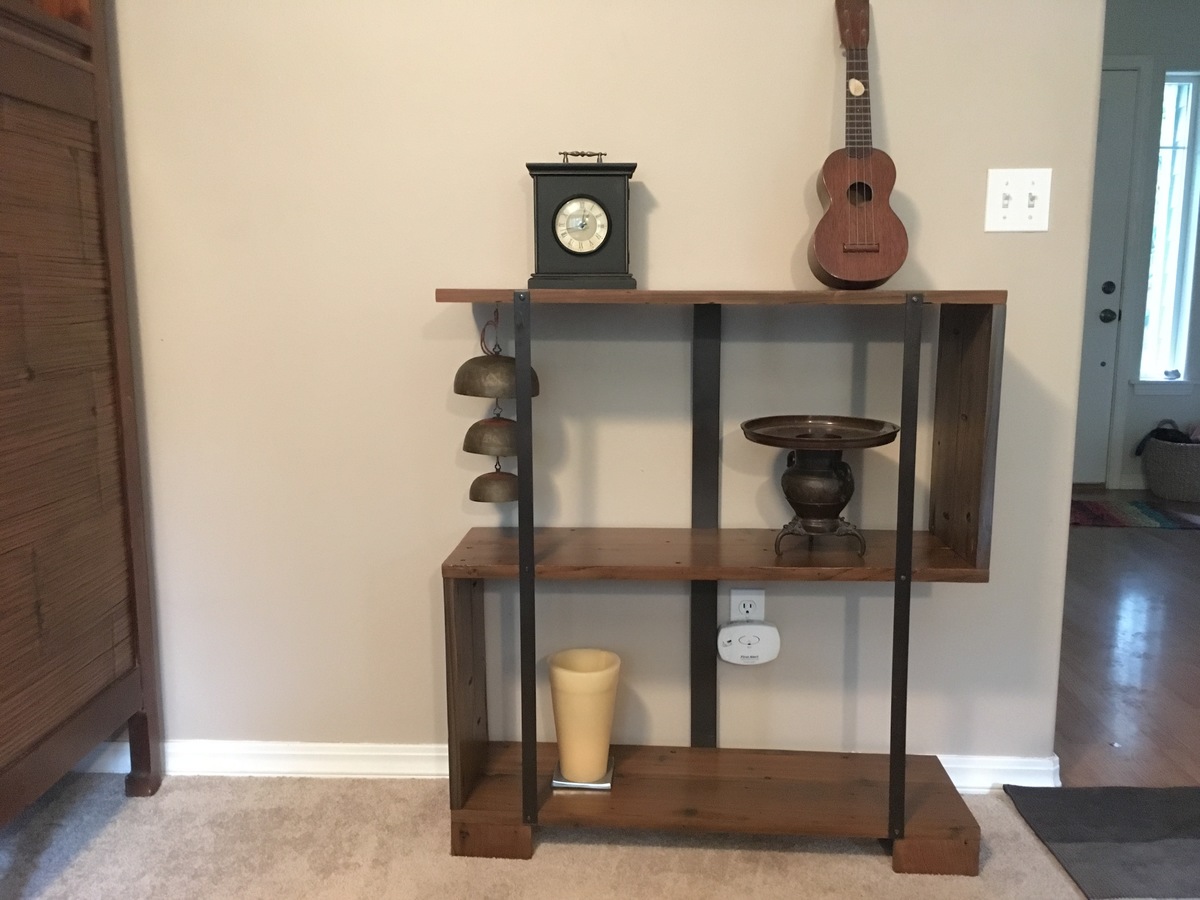
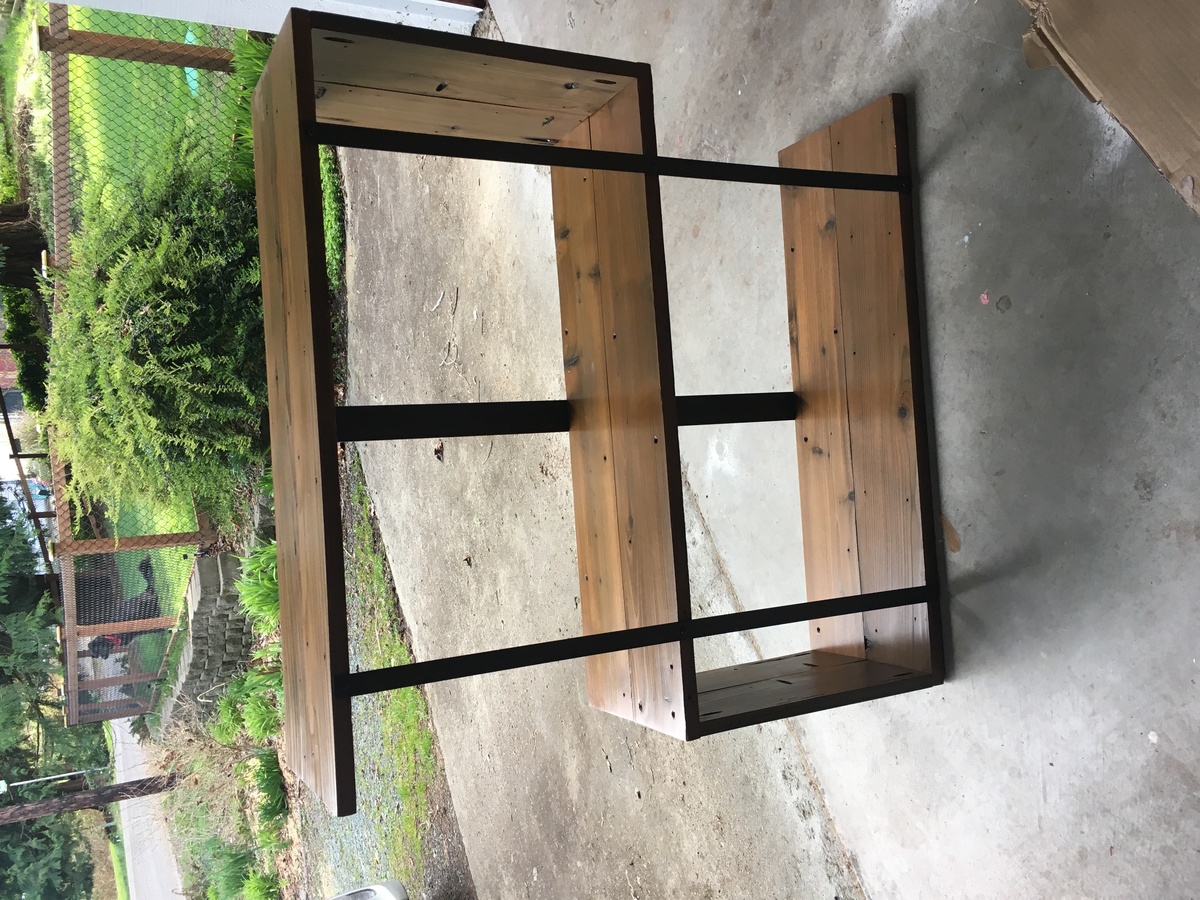
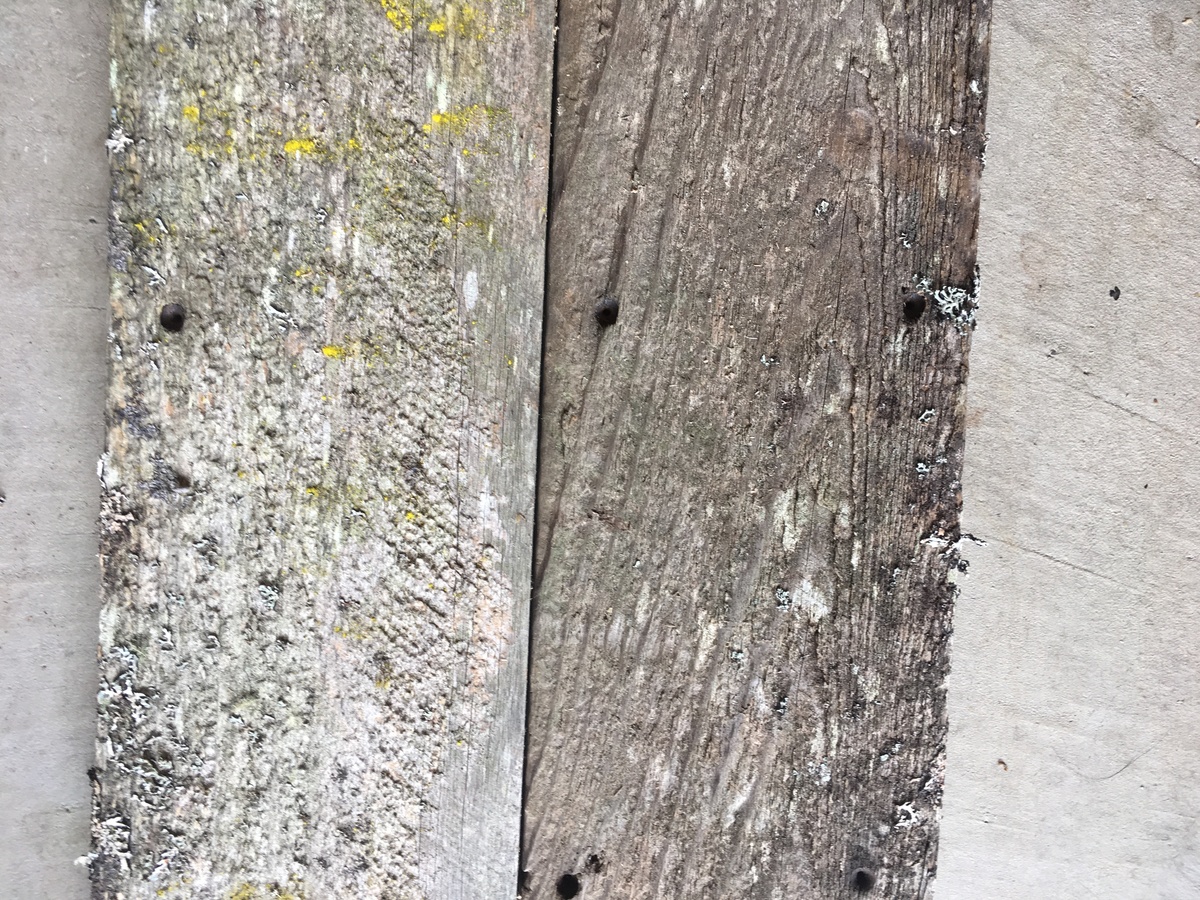
- Added another stretcher on the bottom so that we could put a shelf there. We will probably add wood to the shelf in the future. Another blogger used a free pallet that he took apart. Seems like a good idea. Also moved the stretchers toward the back so that stools can sit under the table and be out of the way. Our table (as seen in the pictures) is up against a wall...so it made sense.
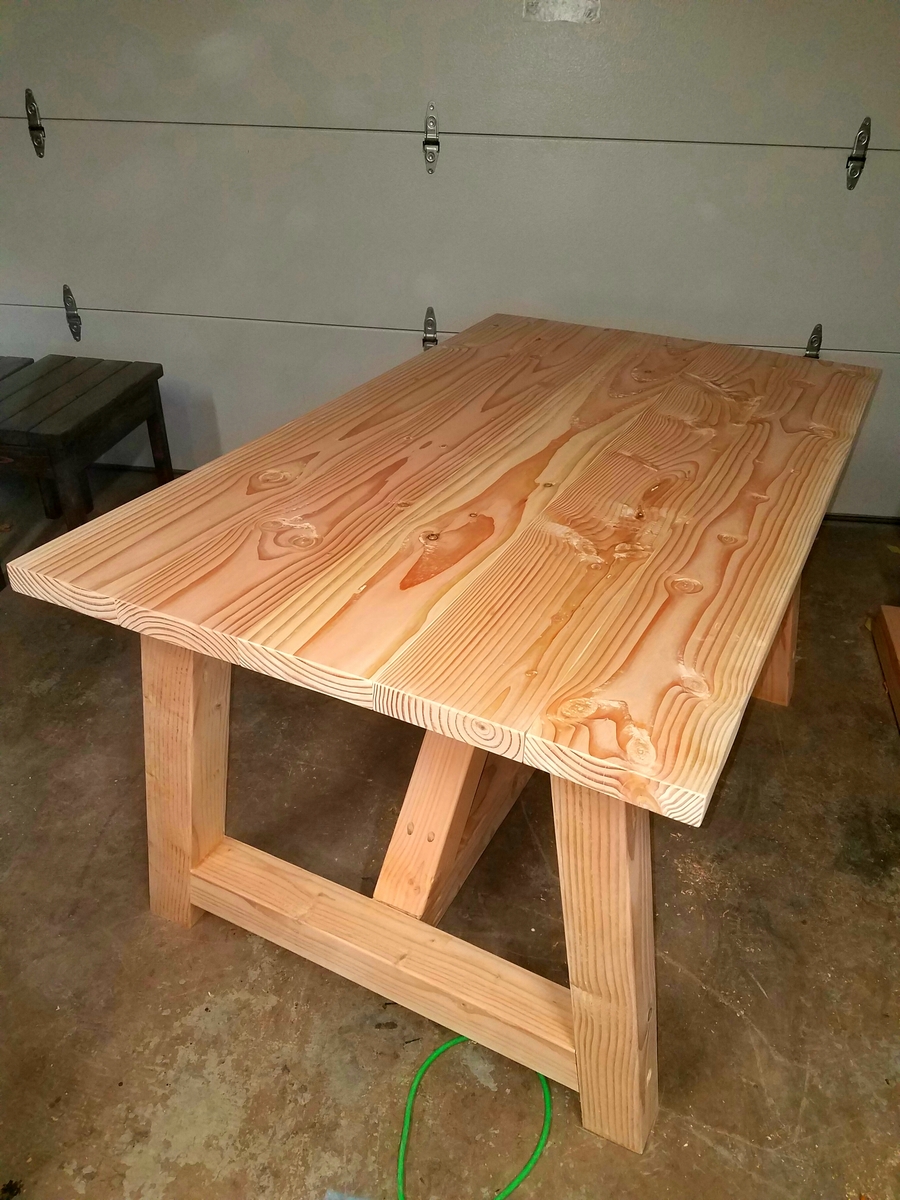
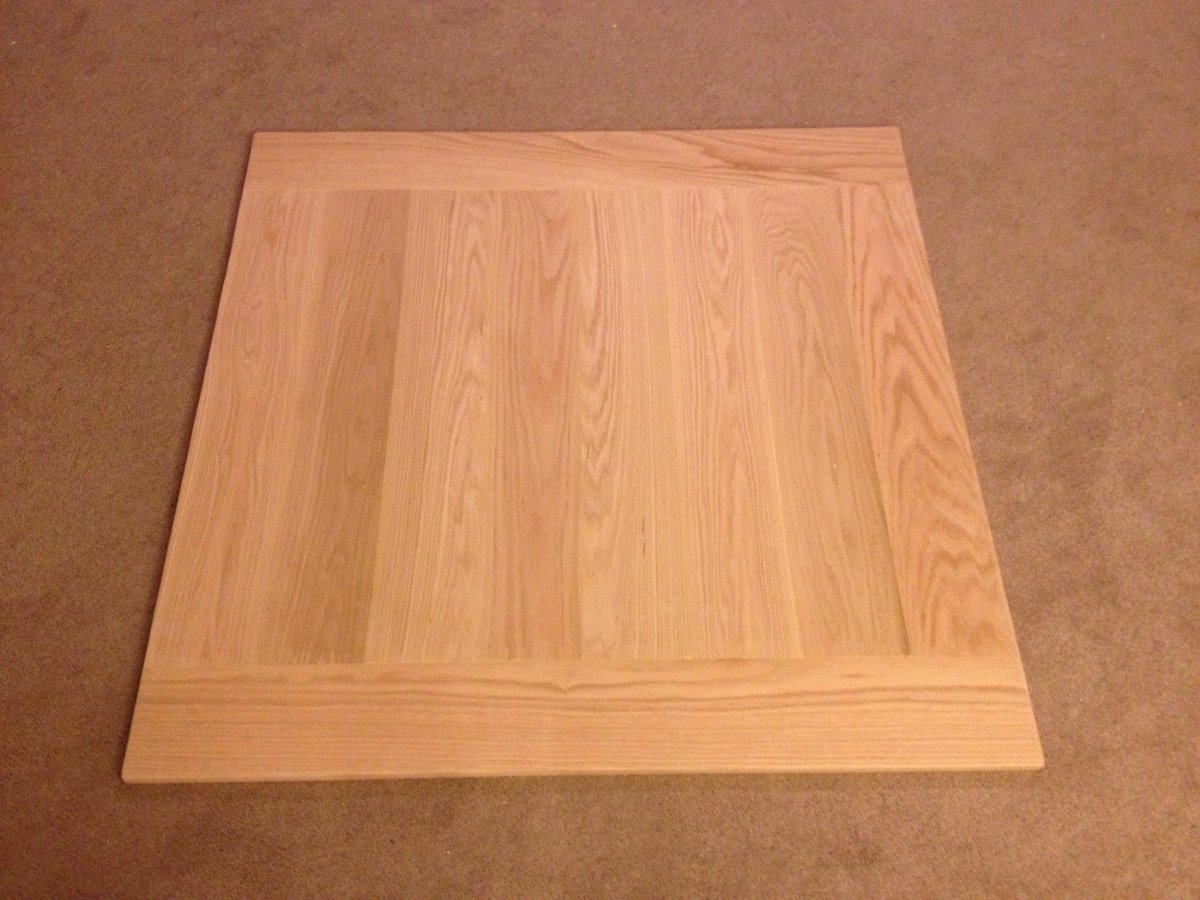
- Didn't add breadboard - the look was too finished for us.
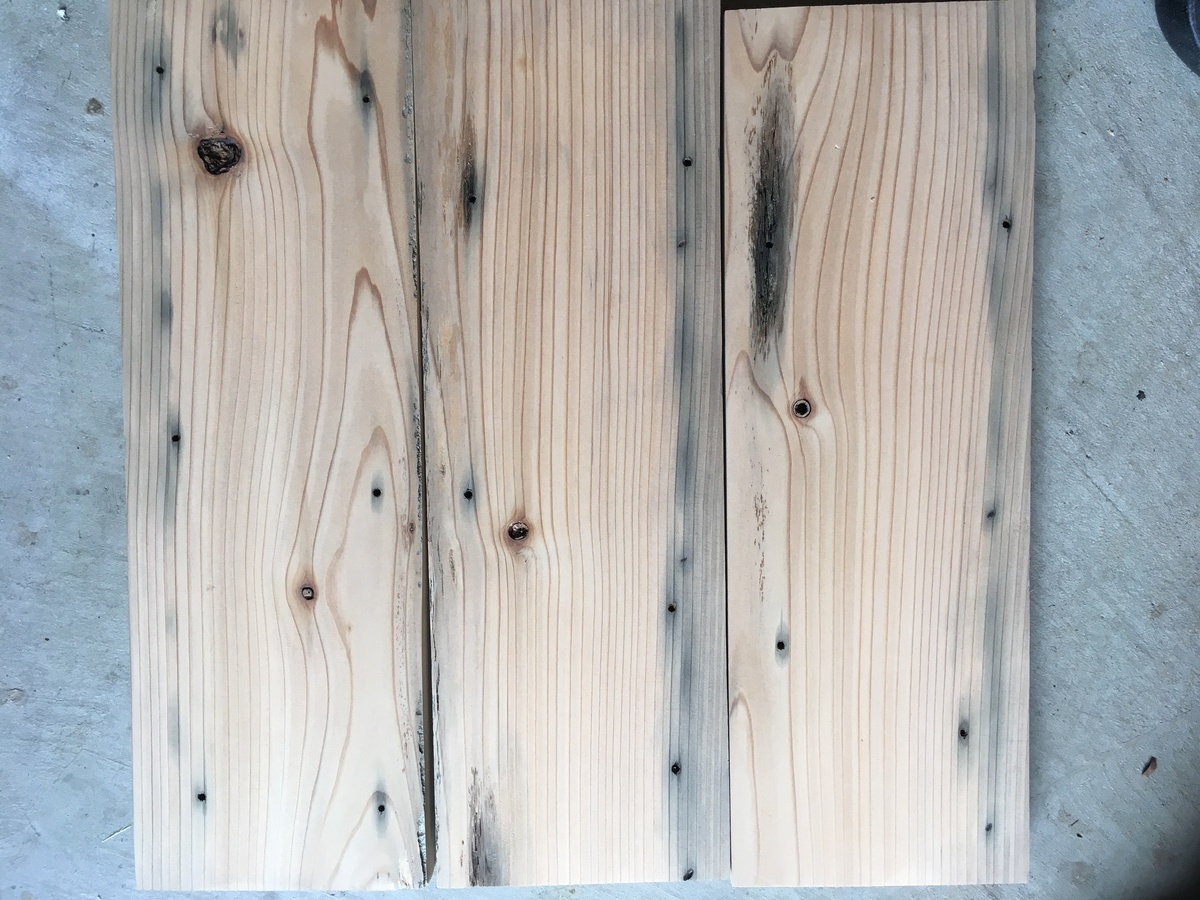
- Used 1", 2x6 pine boards for two reasons - 1) liked the thinner material. 2) needed a smaller table than then 2x8's would let me do.
Tools:
We did have to buy tools to accomplish this project. My husband has a lot but obviously not enough.
- Purchased a table top miter saw - Harbor Freight - $89 on sale. Our circular saw just wasn't powerful enough (battery operated) and too hard to use.
- Purchased the full Kreg Jit (because it has the clamp mechanism) - $99
Thanks for looking!
Estimated Cost
$100 if no tools need to be purchased. Add $100 for miter saw (Harbor Freight), Add $100 for Kreg Jig
Estimated Time Investment
Weekend Project (10-20 Hours)
Finish Used
STAIN
TABLETOP
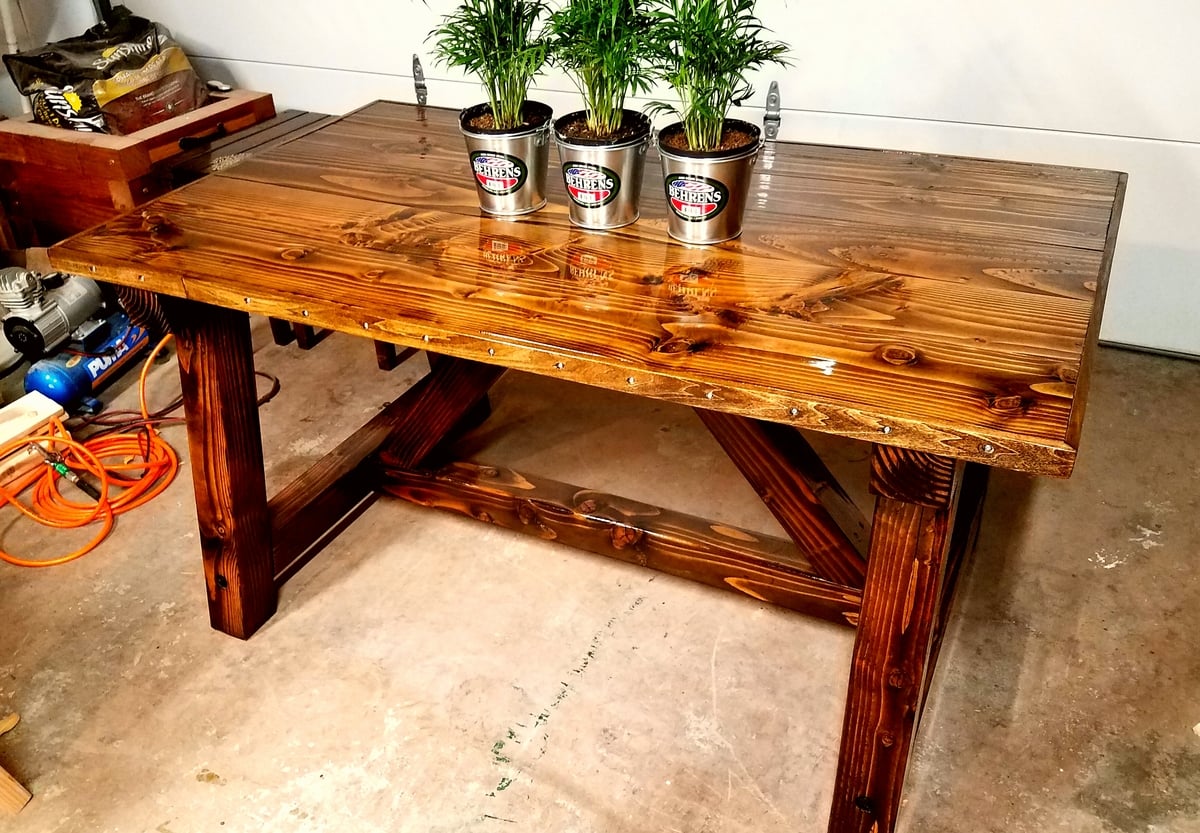
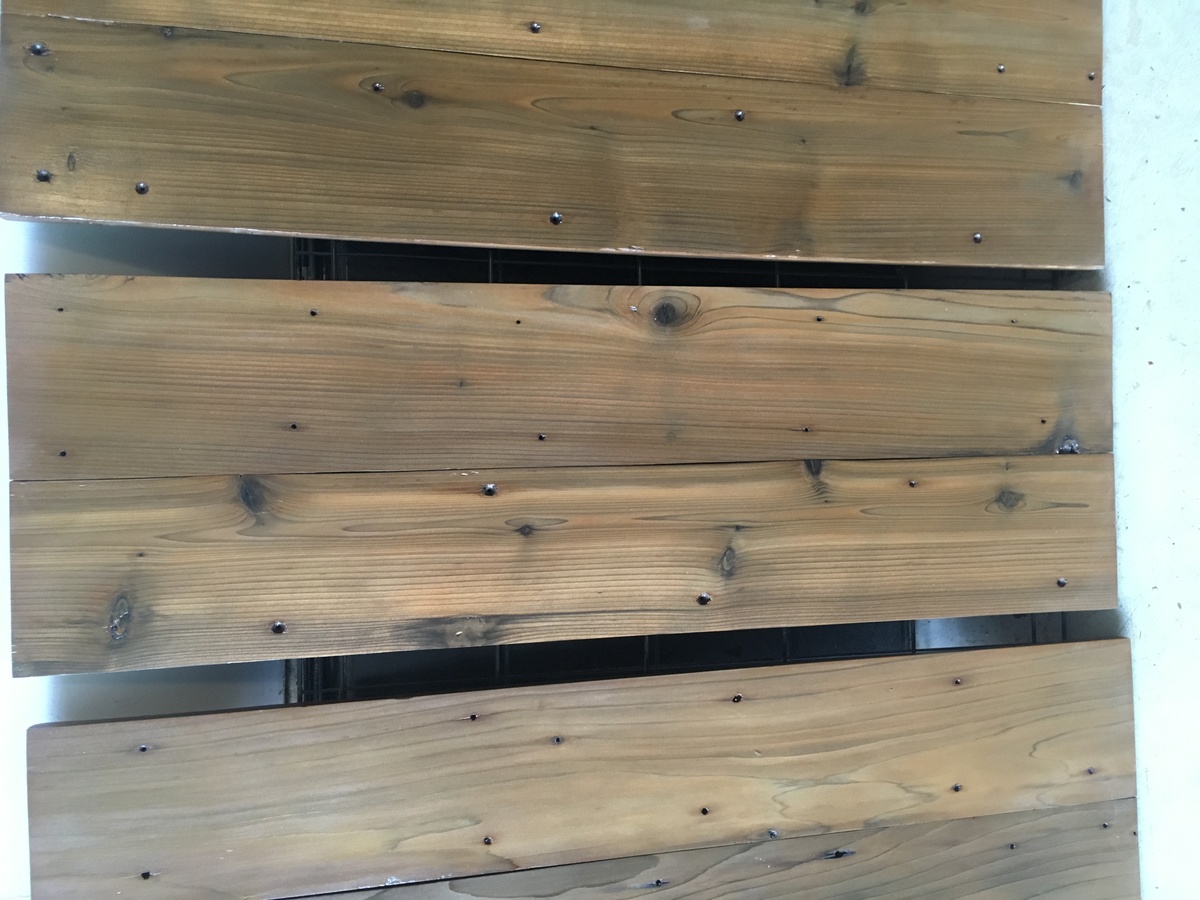
Stain-----
Early American - Varathane with Poly Coat in One (this went on really nice!)
2 Coats - No wood conditioner needed
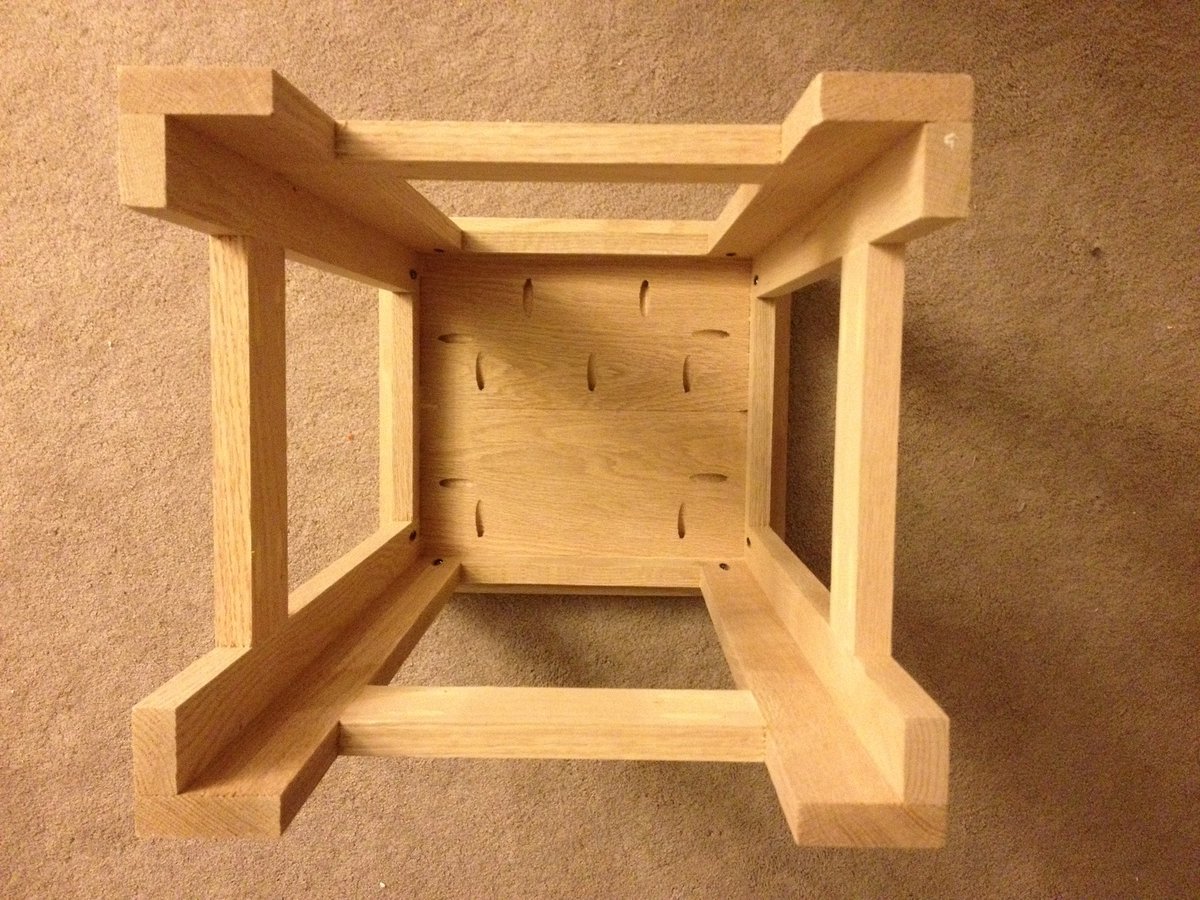
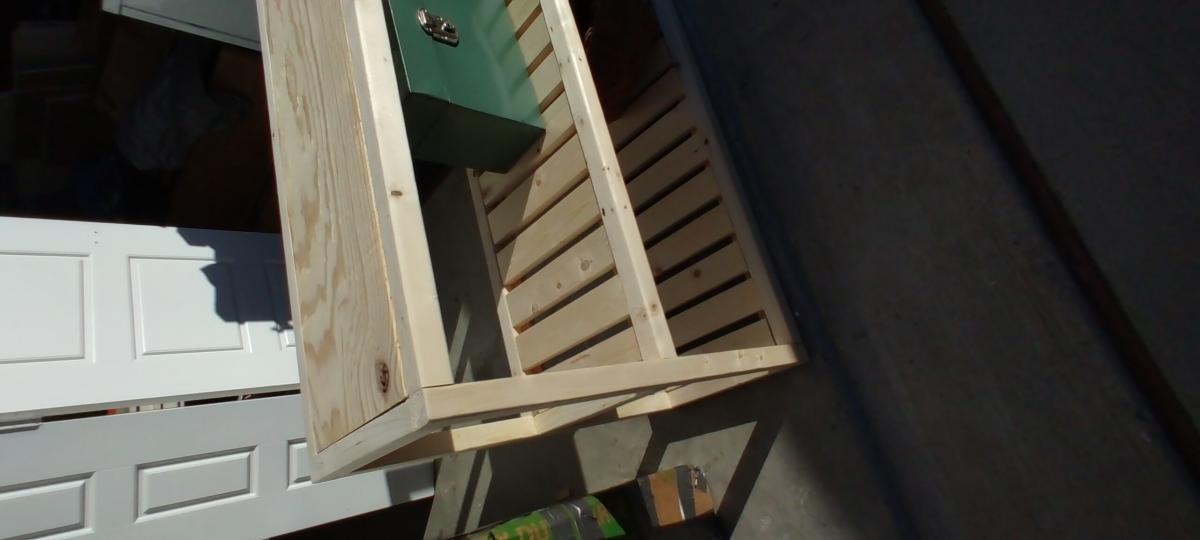
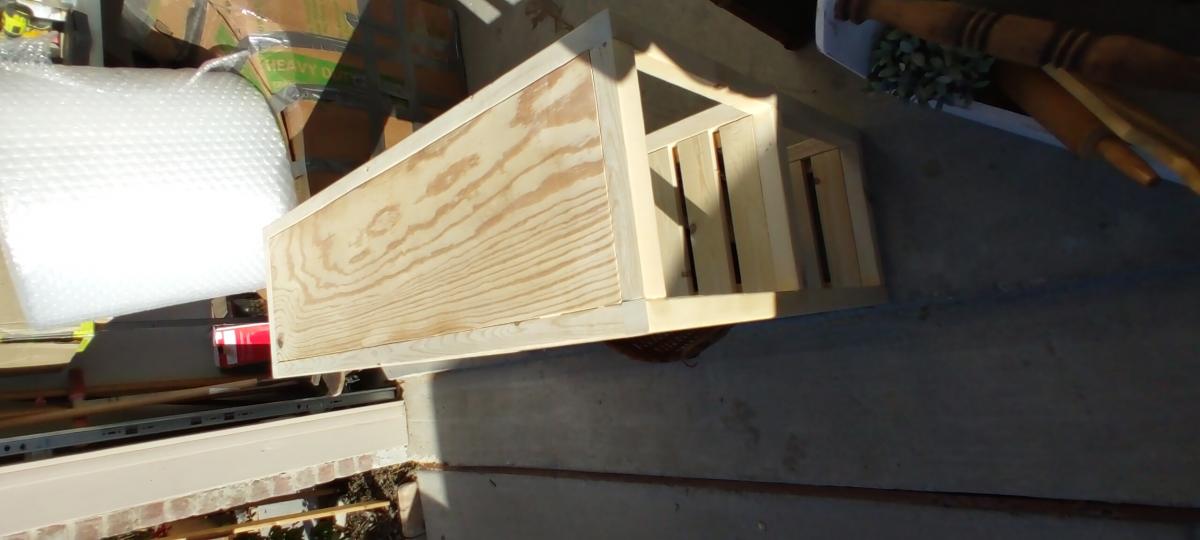
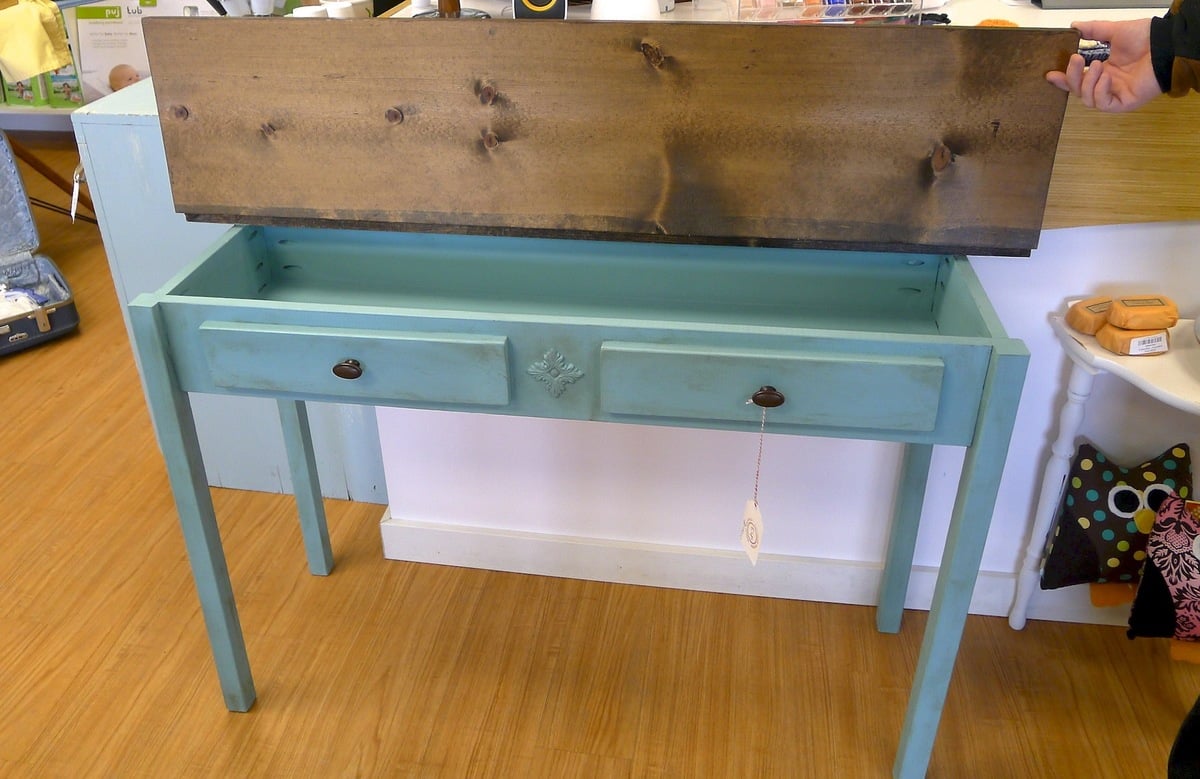
Note: This is the underside of the table - two beams have two coats, three beams have one coat. I'm experimenting on making my table top messy - like a real work bench. See my on purpose stains. The real table top is underneath for right now. Will post that soon!
BODY
Paint-----
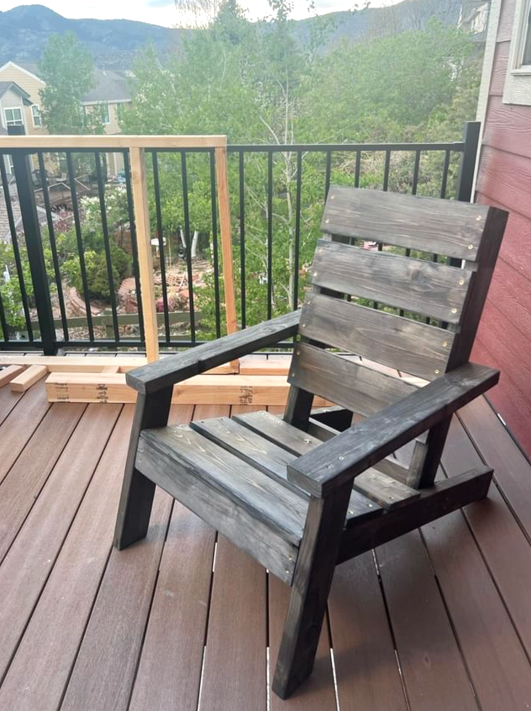
Behr - Cathedral Gray
Recommended Skill Level
Beginner