Community Brag Posts

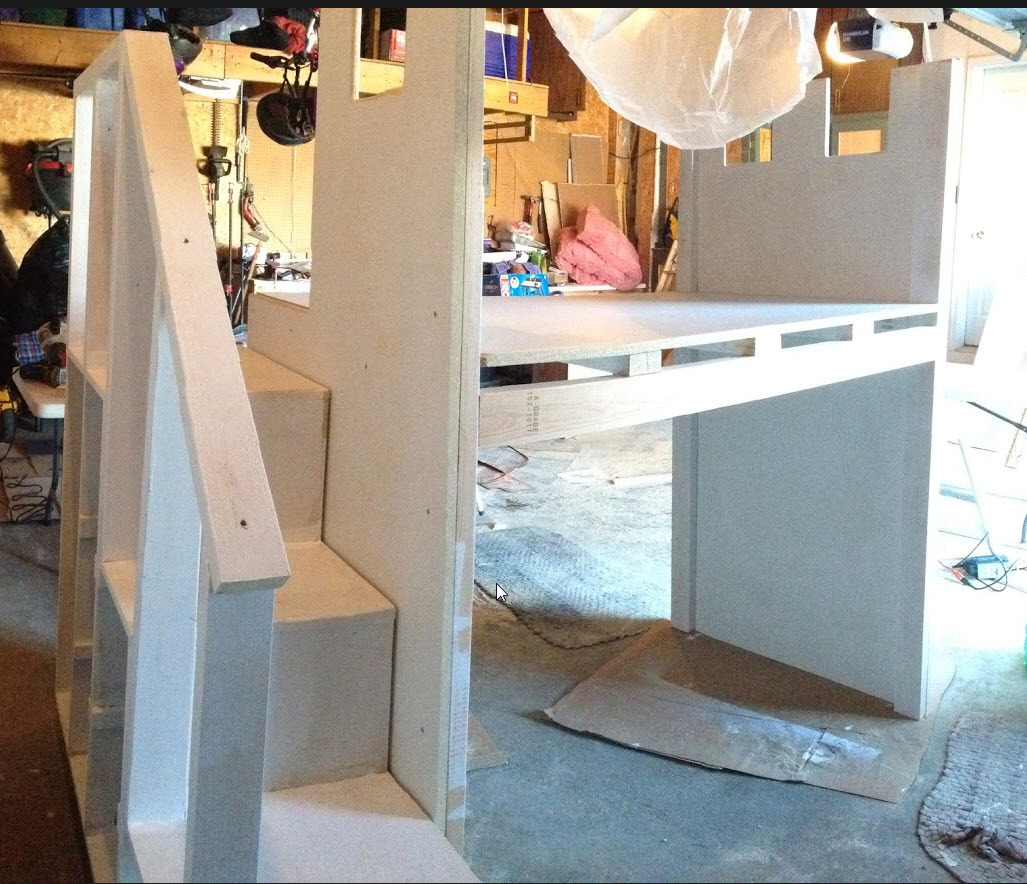
Princess Castle bed with storage

Submitted by bbcarey on Tue, 06/25/2013 - 12:36

Our daughter has a very small room. She also LOVES disney princesses. So I wanted to build her a princess castle bed.... but how do you fit a castle bed in a 9x11 bedroom?

There were some plans on Ana's site (good plans), and others on-line. But many of these plans had the bed on the TOP of the castle, and we were concerned with her trying to make her way down if she needed to in the middle of the night.

She also loves her Disney princess canopy bed that she has now... so if I could somehow build the castle around that bed, we'd be set. Which is exactly what we did.

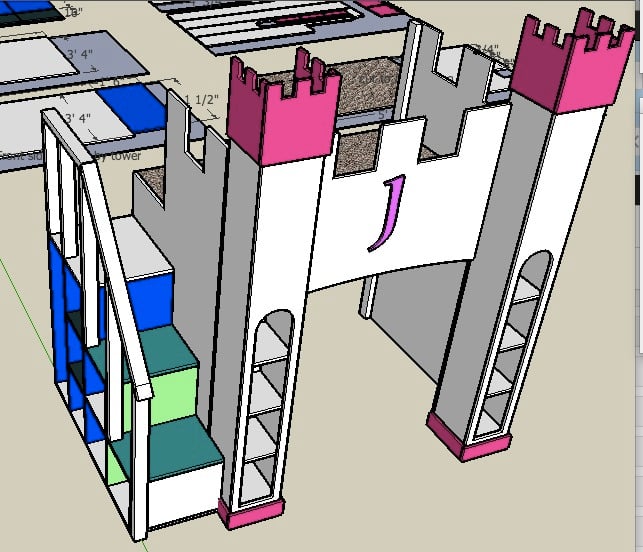
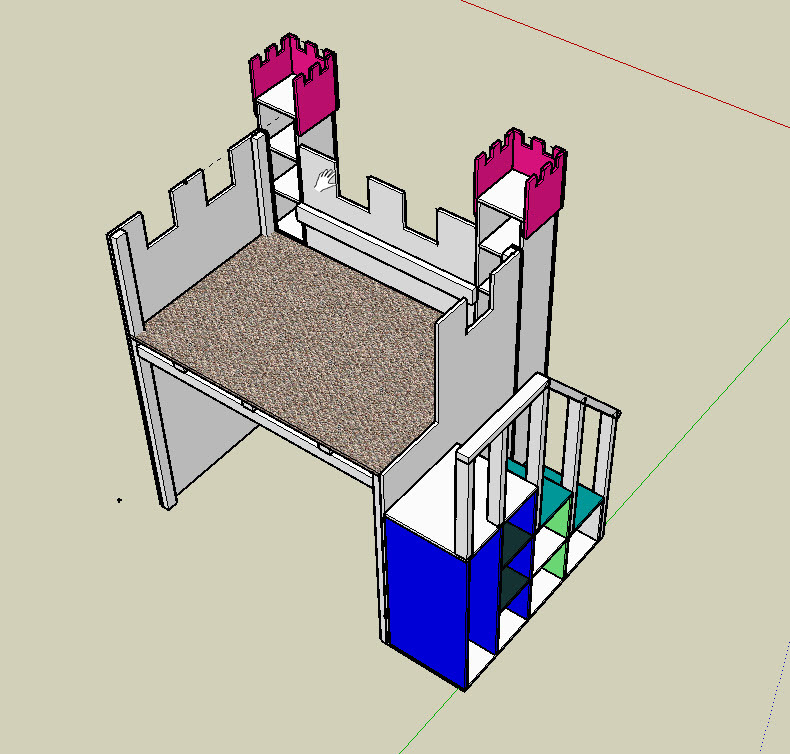
I reviewed several pictures online, and then designed this bed with Sketchup (I LOVE that tool).

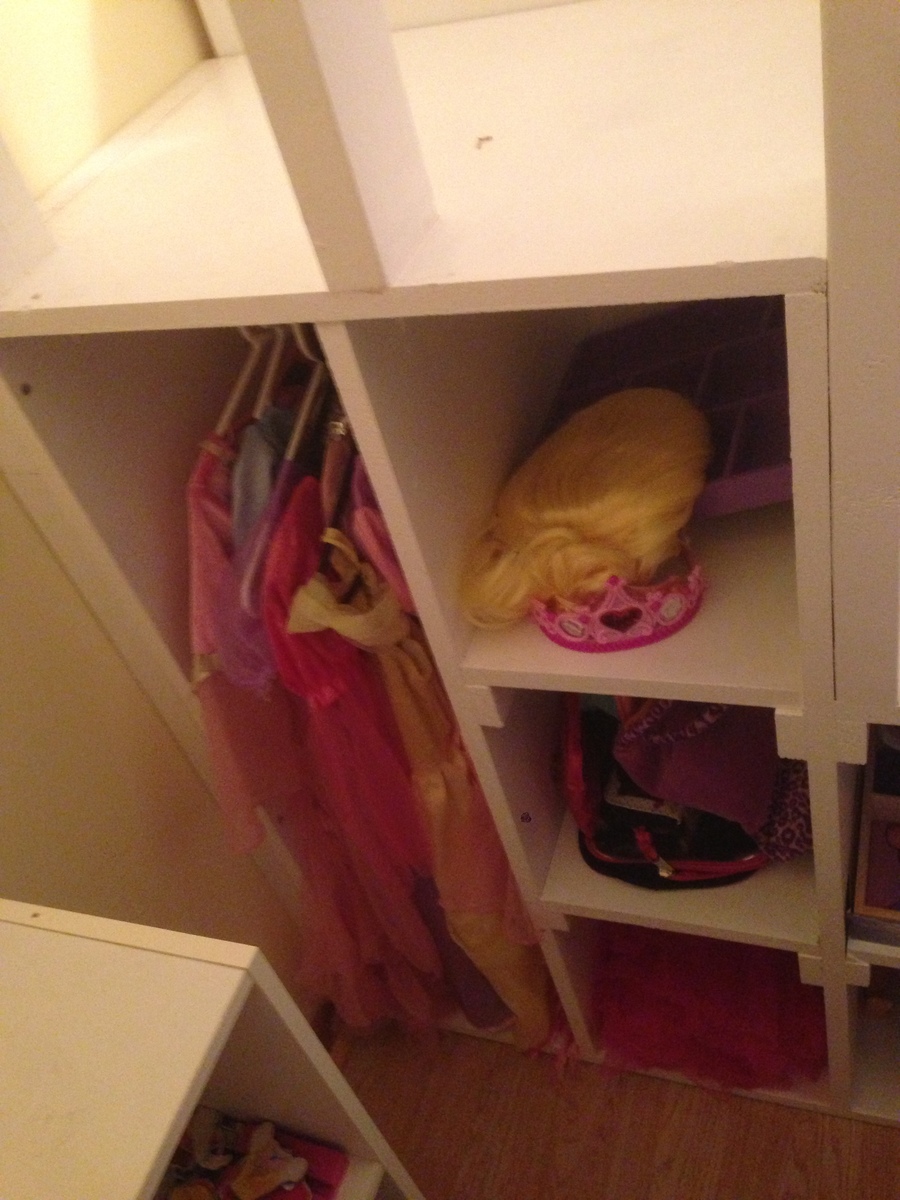
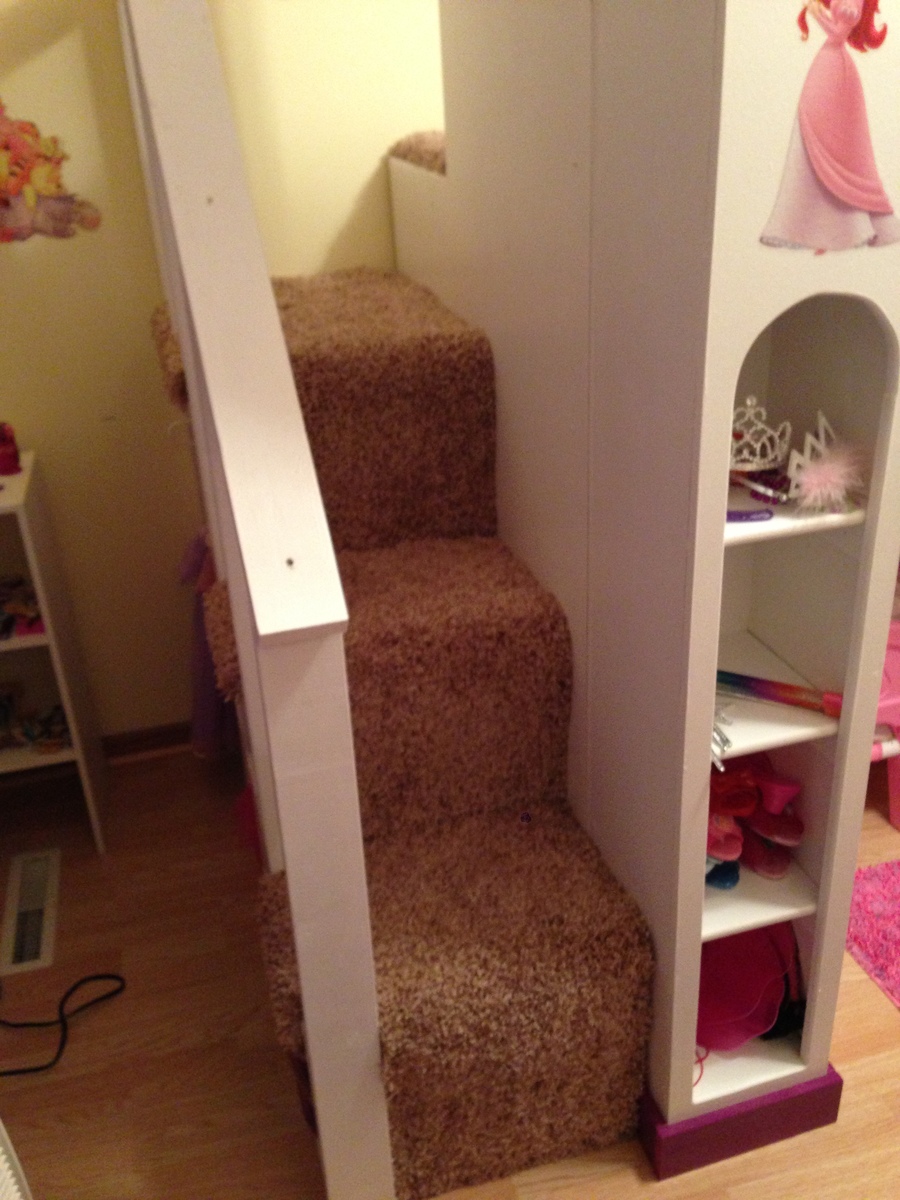
There is storage in the stairs, in the towers on the front down below, and in the back up on top. I also put rope lights inside around the ceiling over her bed for that 'Night light Princess glow."

There is also enough room on top for her bed if she wants to put it up there at some point in the future.

The idea for the decoration came from another poster who simply used the Vinyl Disney princess wall decals.

She loves it. Plus its big enough for daddy to read stories to her up in the loft at bedtime!

I've posted the plans on the sketchup warehouse... here is the link...

http://sketchup.google.com/3dwarehouse/details?mid=65f7fb029052c660cb6c…

If you can't find it with that search the sketchup warehouse for 'castle bed.'
Estimated Cost
$150
Estimated Time Investment
Week Long Project (20 Hours or More)
Finish Used
Latex interior paint. Castle top and trim were painted with spray paint.
Recommended Skill Level
Intermediate

Comments

ThaddeusSwarfburnIII

Sat, 07/27/2013 - 16:17

Nice work. We worried about the height for our three year old, and if I were to build another (hah!) I would definitely make it lower. Carpeting the stairs is a good idea, I think I'm going to do the same. You've done well to cram everything into a small footprint. We're house-shopping now, and the tape measure comes with us. Gotta have 2.8m in the kid's room! Decals are great. My daughter went off hers for a while - nothing breaks your heart like a kid saying they want to give away something you worked really hard to build, even if you know they don't mean it. My wife put on some big wall stickers of a tree with squirrels and birds and suddenly she's in love with it again. Princess indeed (eyeroll).

bbcarey

Sat, 07/27/2013 - 20:53

Interesting your commented today :-) I am doing a similar project for my son for his 3rd birthday (this weekend) making a Lightning McQueen garage for his Ligthning McQueen bed...

Thanks for your comments... the castle project was fun. Its been fun to be able to even do these things now that I've visited Ana's site. And yes- I know its going to be a bummer when they no longer want the castle, or the garage (I had my son's bed in his garage tonight and not knowing better he hopped on the bed and jumped and bumped his head bad... now he's scared to have the bed in the garage- AND ITS NOT EVEN DONE YET!)

Thanks again..

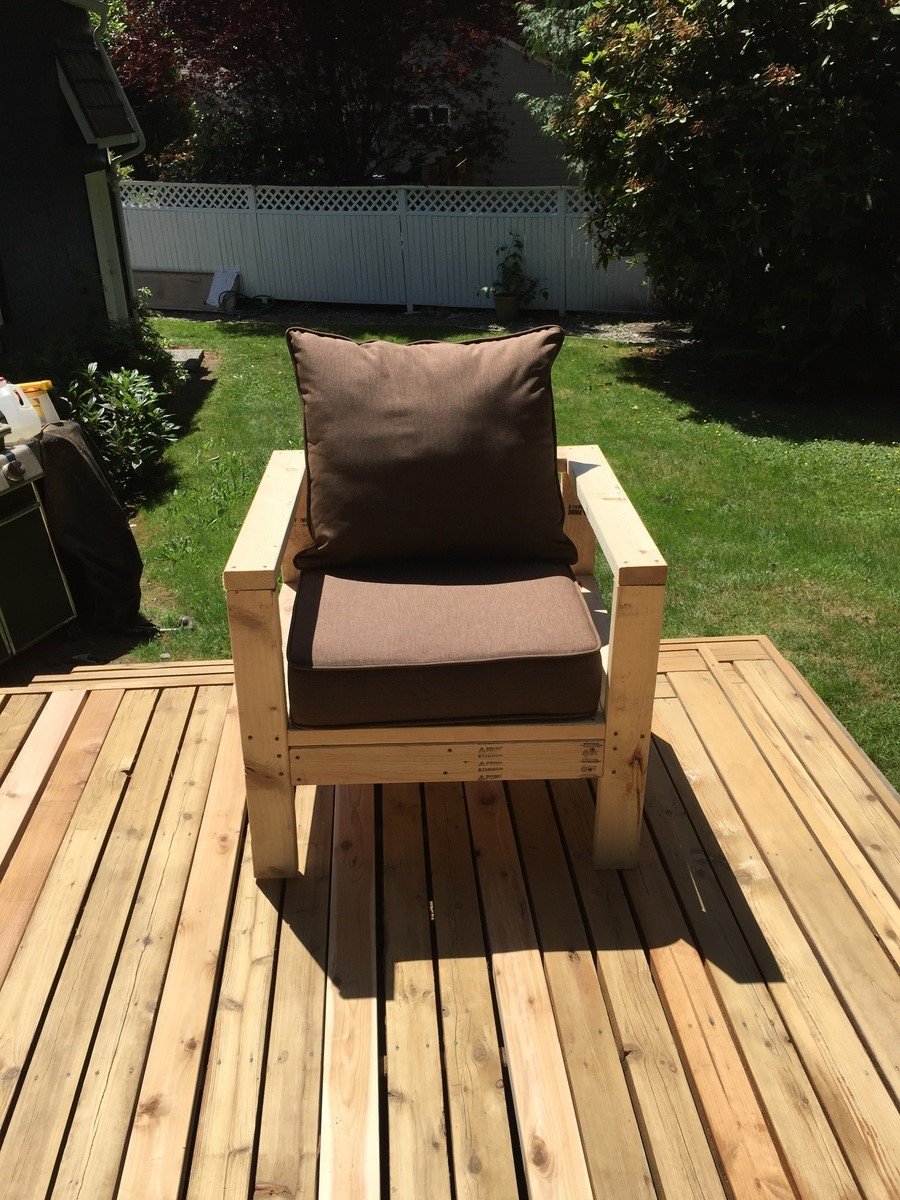
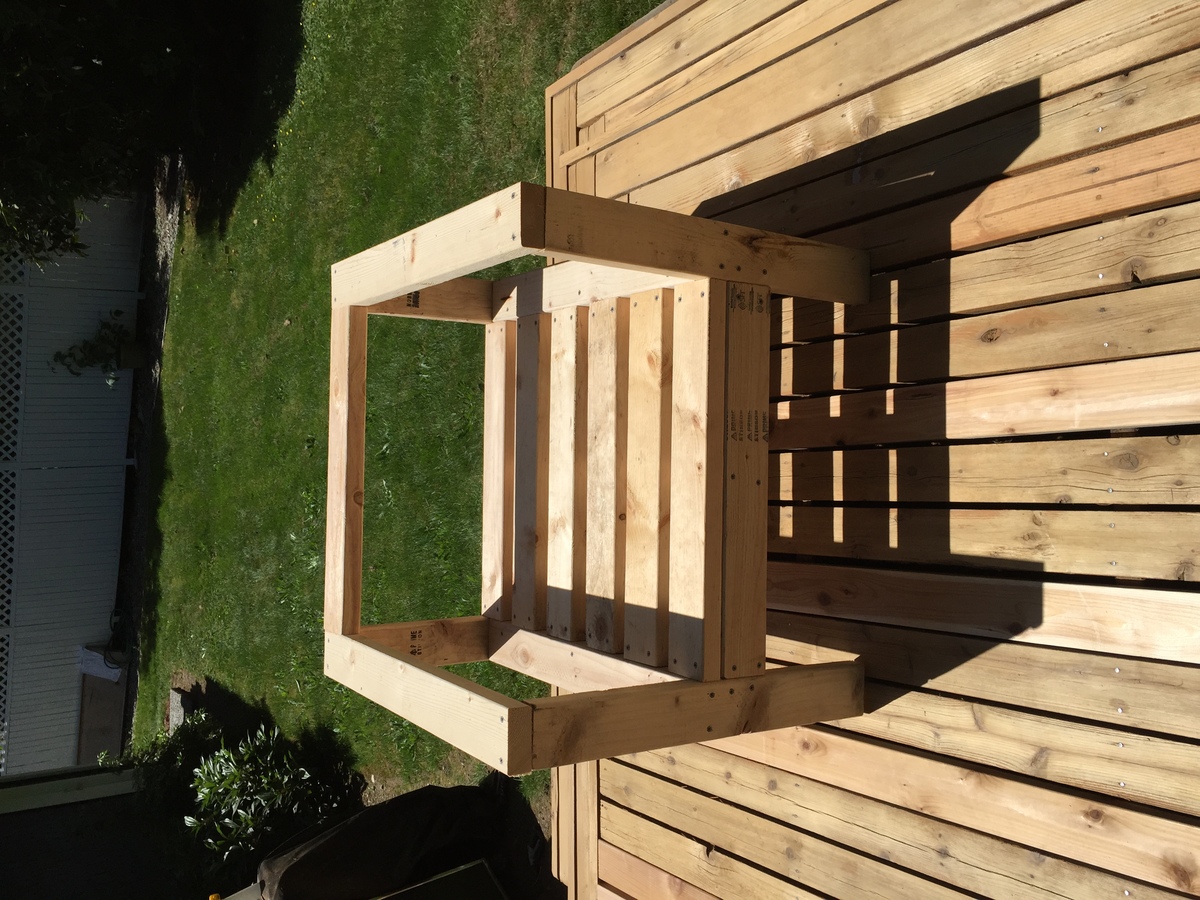
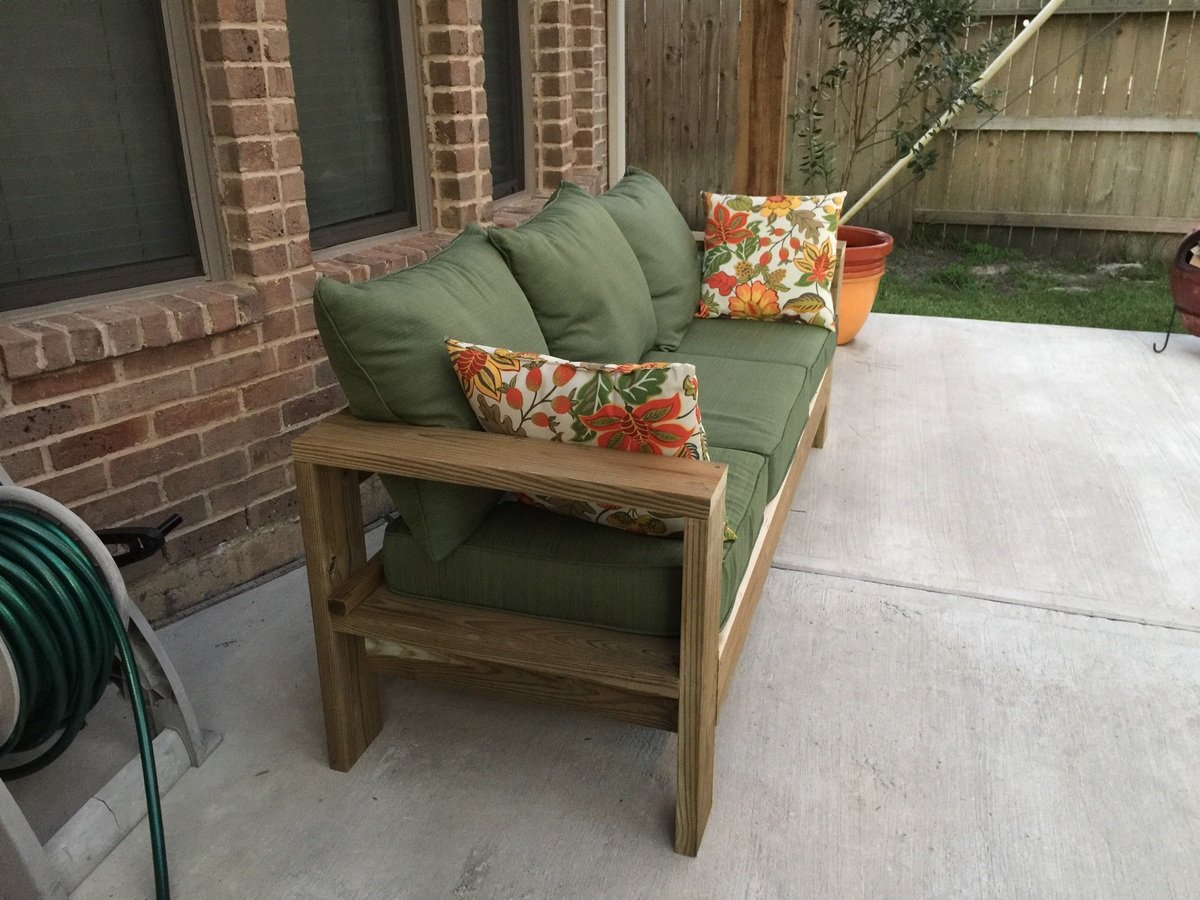
Modified version of the 2x4 outdoor sofa

Clearly, not done with my project yet (sanding, priming/painting) but I was so excited I wanted to share right away. I've been checking Ana's site for about a year now and never had the courage to build anything... until today - I am thrilled I did. I had some cheap 2x4's studs at home so if I failed, no big waste of money. To my surprise... this was incredibly easy to build and that seat is sturdy. I modified the plan and intend to build 1 more chair and 1 sofa that accommodates 2 people. Thank you Ana! Amazing site and now I am so much more confident on my ability to build beautiful projects myself :)!

Estimated Time Investment
Afternoon Project (3-6 Hours)
Finish Used
Not finished yet - but will use deck solid stain (Behr) all in one from the Home Depot.
Recommended Skill Level
Beginner

Cornhole Boards #1

Submitted by JLFarquhar on Sun, 12/26/2021 - 17:14

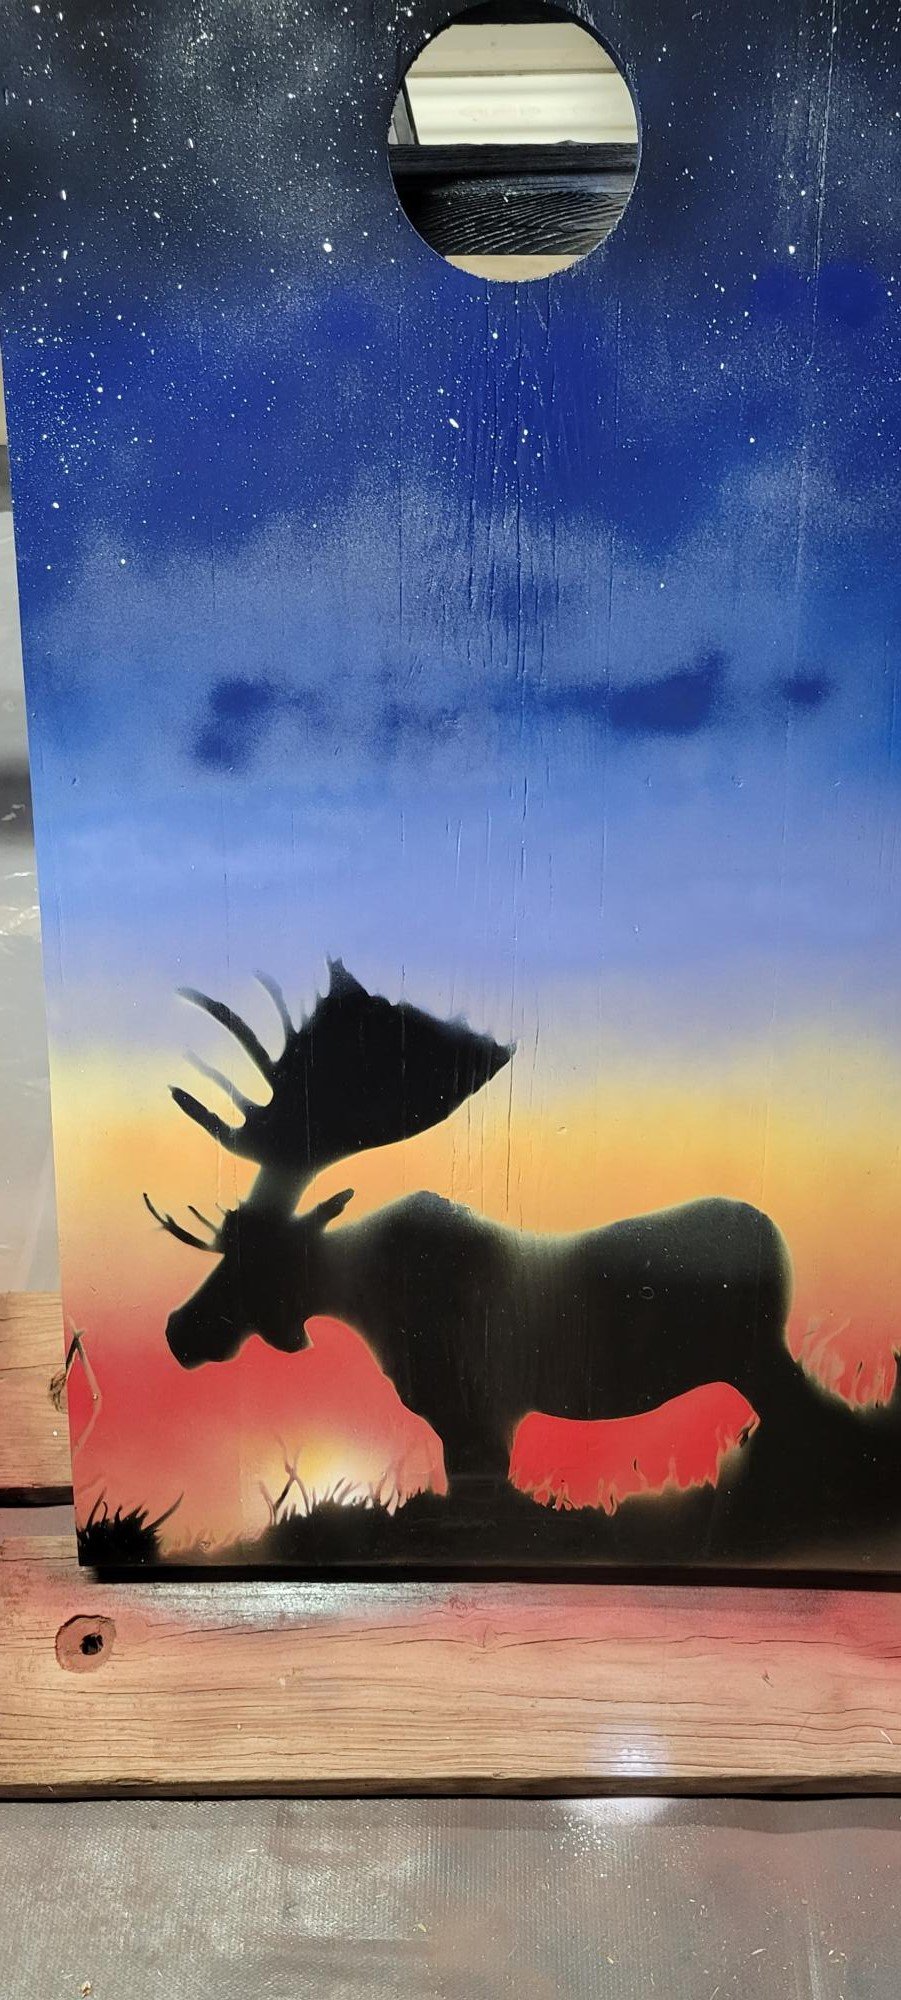
This is the first of the cornhole boards this year. Having never made such before, I learned a lot of the tips and tricks in this build. This build begins with cedar 2x4s and cedar fence pickets that I took down this last summer. I began by sanding the boards starting with 60 grit through to 320 grit with a belt sander up to 180 grit and hand sanding through 320 grit. The frame was glued up with Titebond II, then counter-sunk #8 x 1-1/2 screws. Next, we used nine (9) different cans of Rust-Oleum semi-gloss paint to fill in the background and to cover the moose and bear senciles drawn by my wife. The boards were then coated with Minwax Poly-Acrylic (9 coats) and Howard's Bee's Wax (6). The boards are secured with 3-inch toggle fasteners and the handles are Kayak straps with four (4) screw holes; I used the same Torx screws for strength and stability.

Comments

Outdoor Sofa

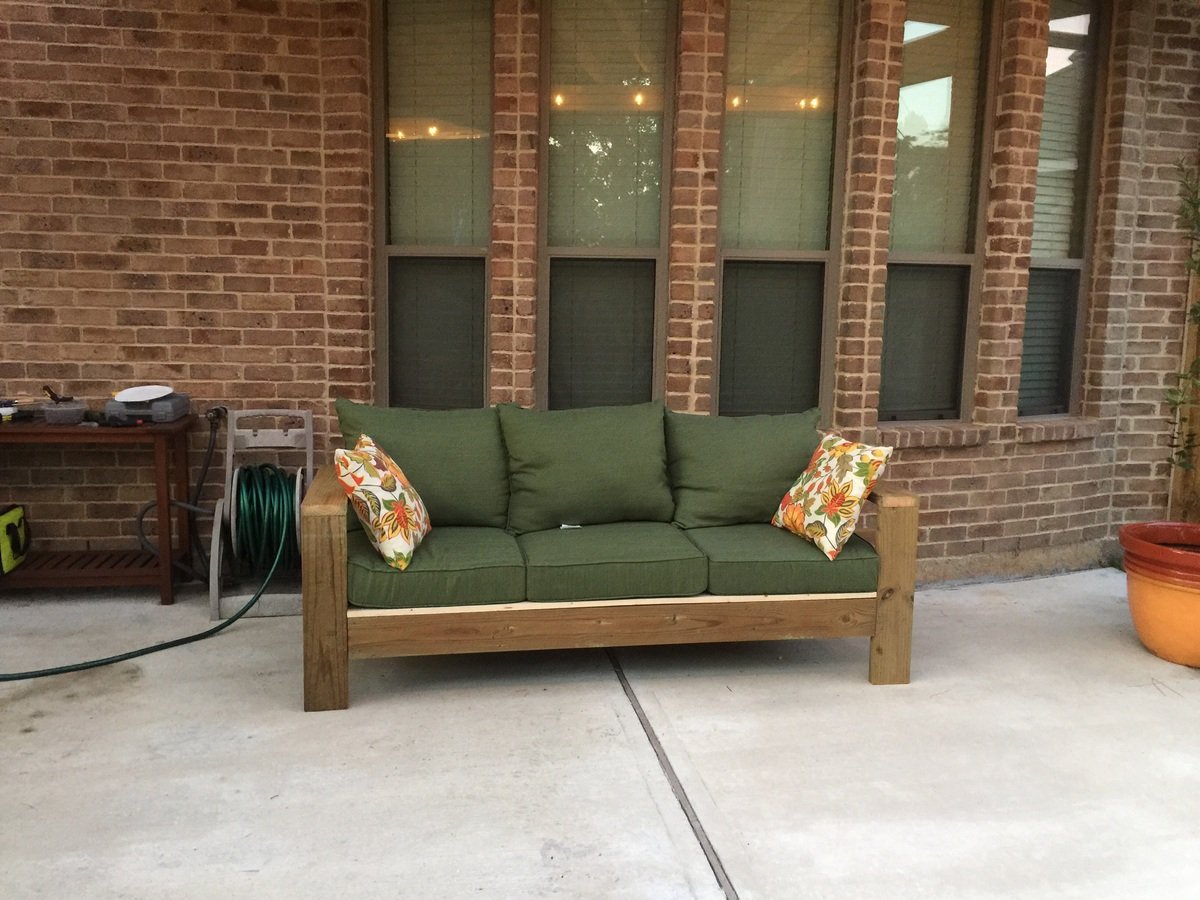
I created this sofa from 2x6s that were left over from a pergola we built. I got the cushions at Lowes for $57 per set (3 sets). This is the first thing I ever built and I did it all by myself including cutting the boards to length. In total it took about 4 hours. I am so proud!!! Thank you Ana White for giving me the confidence to build this furniture. I will never, ever, ever pay outrageous retail prices for wood furniture again.

Estimated Cost
$180 pillows, Leftover lumber $0
Estimated Time Investment
Afternoon Project (3-6 Hours)
Finish Used
None
Recommended Skill Level
Beginner

Comments

Kim N.

Fri, 06/26/2015 - 09:27

I love the way your couch turned out in 2x6s! I, too, plan to build this soon. I really like the cushions you chose, too. I ordered mine from Amazon for about the same cost (a little more $, but without exorbitant WA state tax!). Thanks for sharing!

Cube Bookshelves

When we moved into our home we had minimal furniture pieces. On a tight budget and not wanting to buy something that was made of veneer, I stumbled upon the attractive and functional plans for the cube shelves. I love that I can "add on" to the set with additional pieces if I want to in the future. But for now, one set of cube shelving is just right for us.

This was the first project that I used the table saw by myself, and while it went just fine I do think it would have been helpful to have another set of hands around. Piecing together the first two joints was a bit challenging with only one set of hands holding the wood and putting in nails. But once I got a few done, the piece really came together quickly. It literally took me just a few hours to cut the pieces and put it together. It's the sanding painting and priming that can take some time and patience!

Built from Plan(s)
Estimated Cost
$50
Estimated Time Investment
Afternoon Project (3-6 Hours)
Finish Used
I use this cute cubby to hold books and gadgets that I like to keep out of sight in our family room area. If I had kids I think this would be an amazing storage unit for toys. Its so cute and functional. The canvas cube totes I picked up from Target for $12 for a set of 3.

I did add an additional top from a solid piece of wood that overhung on the edges slightly to give it a more finished look.
Recommended Skill Level
Beginner

Washer/Dryer Pedestal

This was an easy build and after 2 months I am still in LOVE with it:)

Estimated Cost
$80
Estimated Time Investment
Day Project (6-9 Hours)
Finish Used
Behr paint
Recommended Skill Level
Beginner

Comments

Guest (not verified)

Wed, 06/15/2011 - 05:30

This makes me feel so dumb for buying my pedestals for my washer and dryer... I spent $250 EACH!!! and my detergent and fabric softener don't fit in there!!

JSSB (not verified)

Fri, 12/16/2011 - 10:59

We have a HE front-loading washer and because of the power of the spin cycle, it vibrates/moves a lot. Anyone who has these pedestals have problems with that? I don't want a very expensive washer to take a tumble. :)

NB (not verified)

Fri, 01/20/2012 - 21:15

Not speaking from experience because I haven't built this YET, but... I believe I saw on someone's post that built these that they put some brackets on there to help keep the washer in place.

Our New Custom Closet and Table

Submitted by Anonymous (not verified) on Fri, 04/22/2022 - 08:30

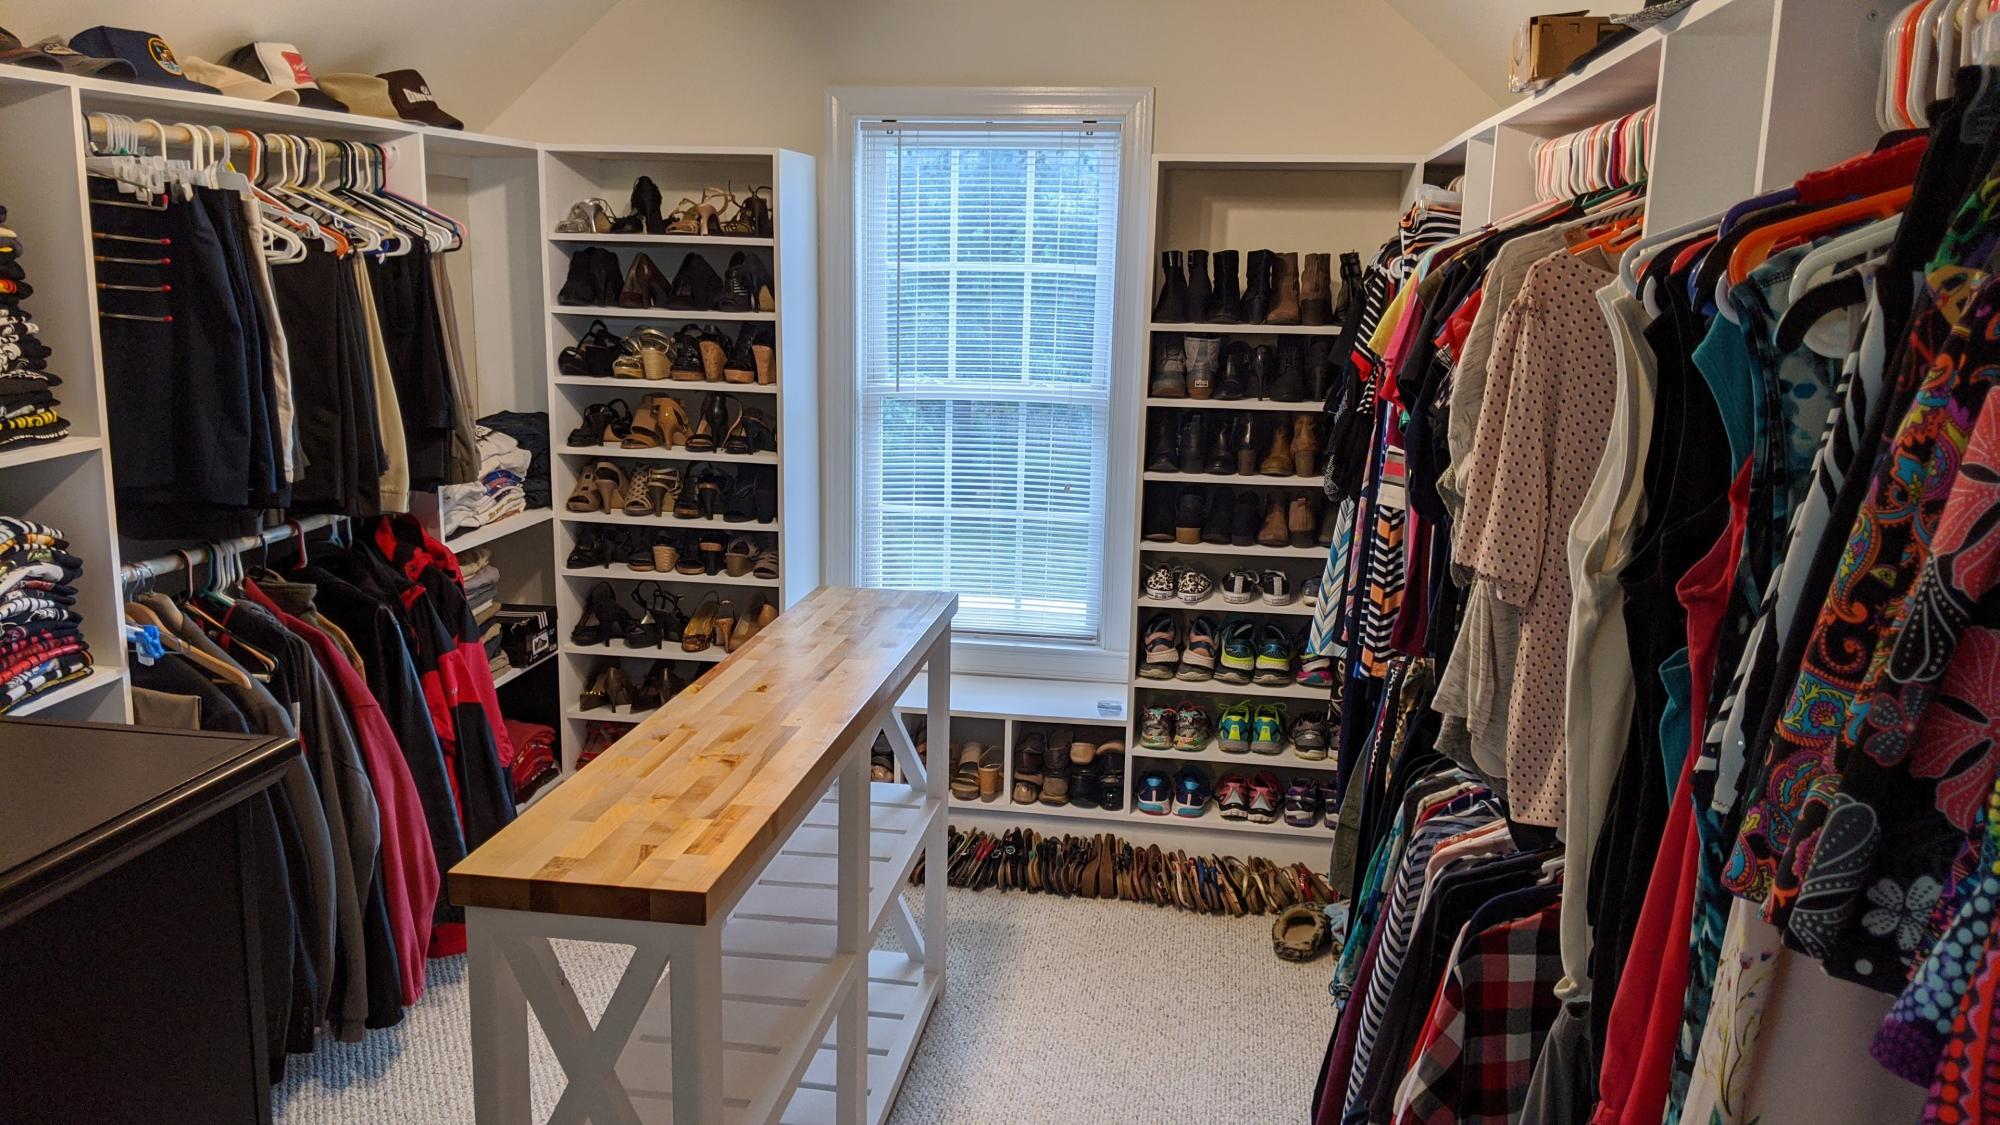
Our cheap wire rack in the closet pulled out from the wall...twice. With input from the wife, I took inspiration from the various tower style closet designs and built this epic masterpiece. I still go in and marvel at what I did...two years later. We doubled up the hanging space, provided shelves and cubbies for all the shoes! And even built the table out of scraps from the project (a neighbor gave us the tabletop material as scrap from a project they finished). I had some stain left over from yet another project that was accidentally tainted, but turned out as a great color on the table. Thanks Ana for all the inspiring work!

Comments

Ana White Admin

Fri, 04/22/2022 - 11:36

This is amazing, great vision and execution, thank you so much for sharing! Just shared on our Facebook page:)

Toddler bunk beds

Submitted by jarsofclay on Sat, 08/03/2013 - 19:01

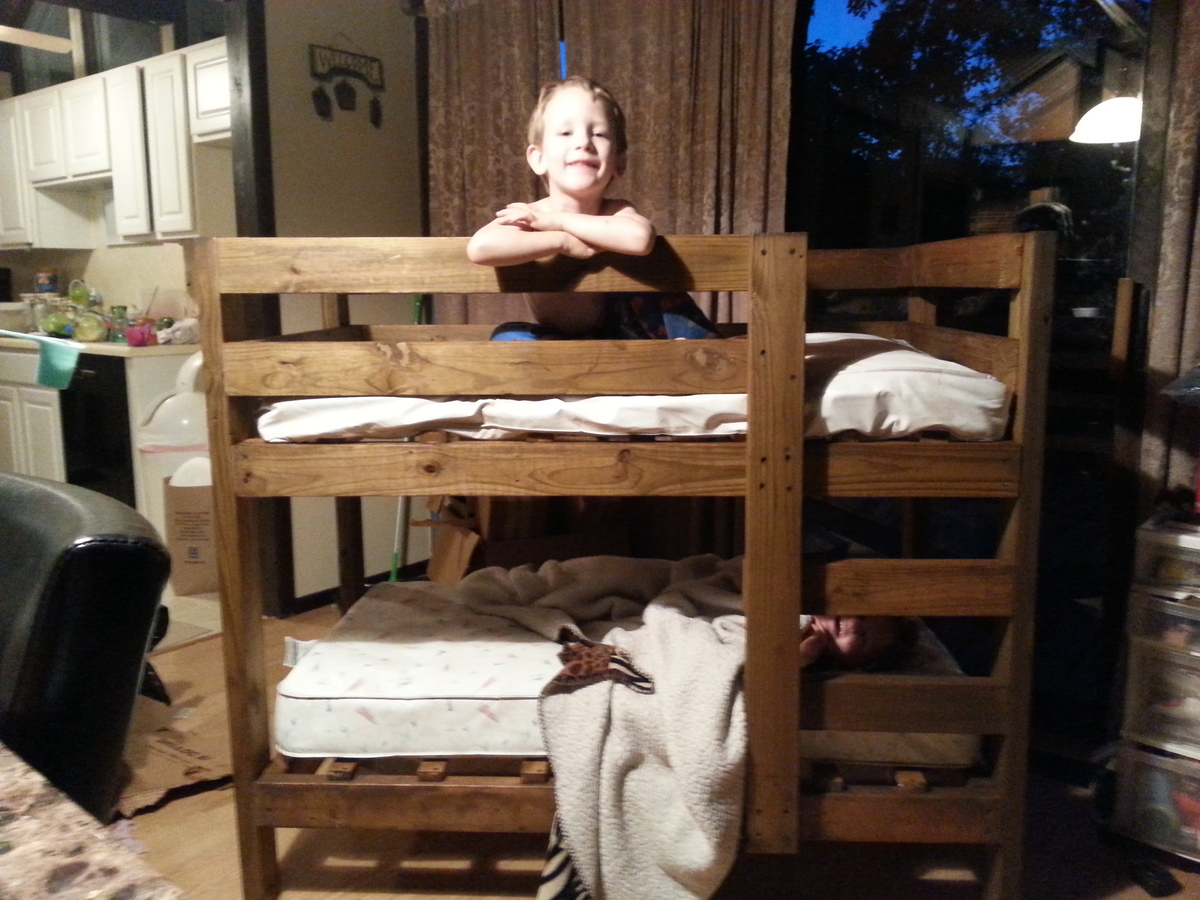
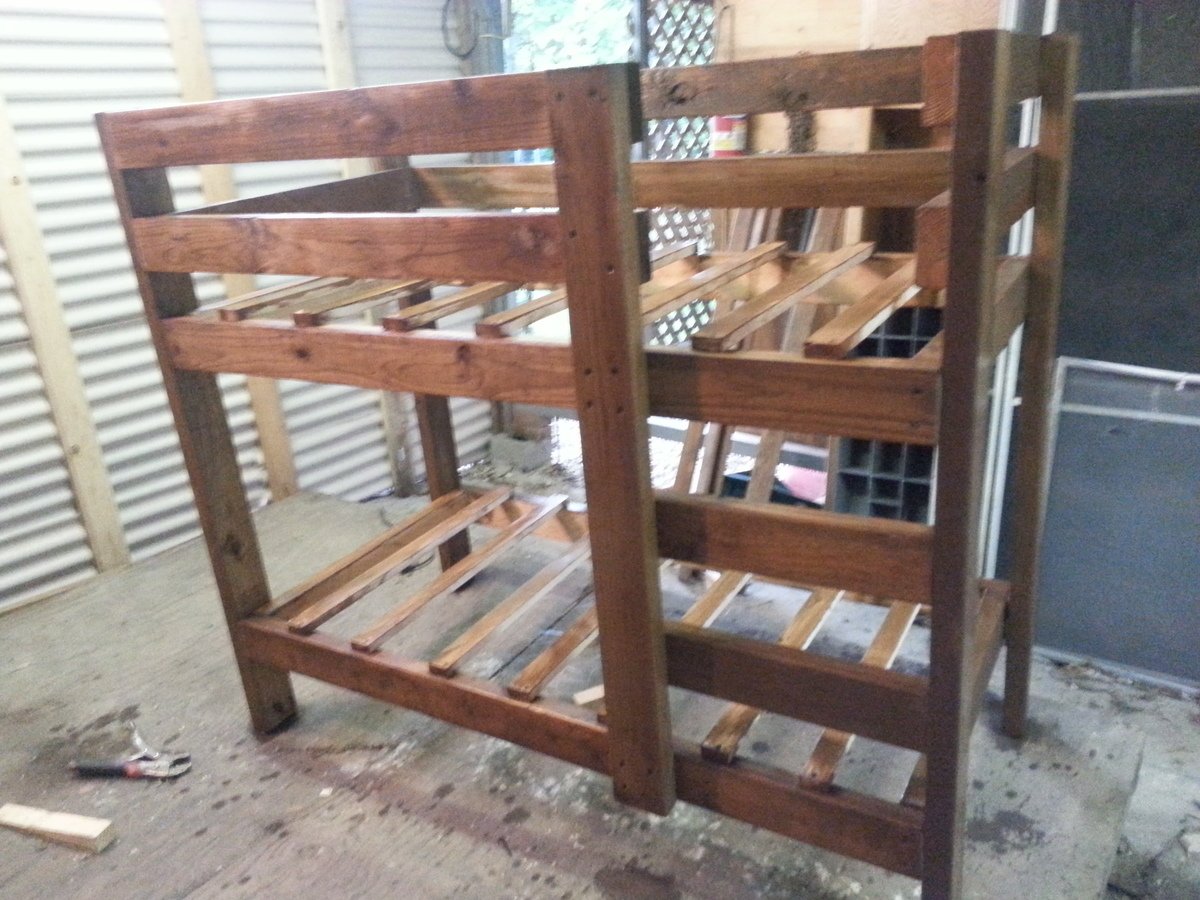
well after I made my daughters bunk beds my toddlers were begging and begging me to make them a bunk bed so this weekend I decided to make a toddler bunk bed. So here it is and I'm here to share with you all.

Built from Plan(s)
Estimated Time Investment
Day Project (6-9 Hours)
Finish Used
I stained it with early english stain
Recommended Skill Level
Beginner

Comments

CreativeChaos

Sun, 08/04/2013 - 16:20

That is absolutely adorable! We know all about the little ones wanting to be like the big ones. Great job!

jarsofclay

Mon, 08/05/2013 - 15:57

Thankyou very much! Yeah it was every day every time I'd go into my work shop they asked if I was making their beds

herrejon

Sun, 10/13/2013 - 17:48

Hi! it's just what we're looking for!
do you have plans or something like instructions por dummys :)
i'm a begginer

herrejon

Sun, 10/13/2013 - 19:11

Thanks a lot! It looks so easy! Can't wait to start! I'll share with you our happy little faces when it's done :)

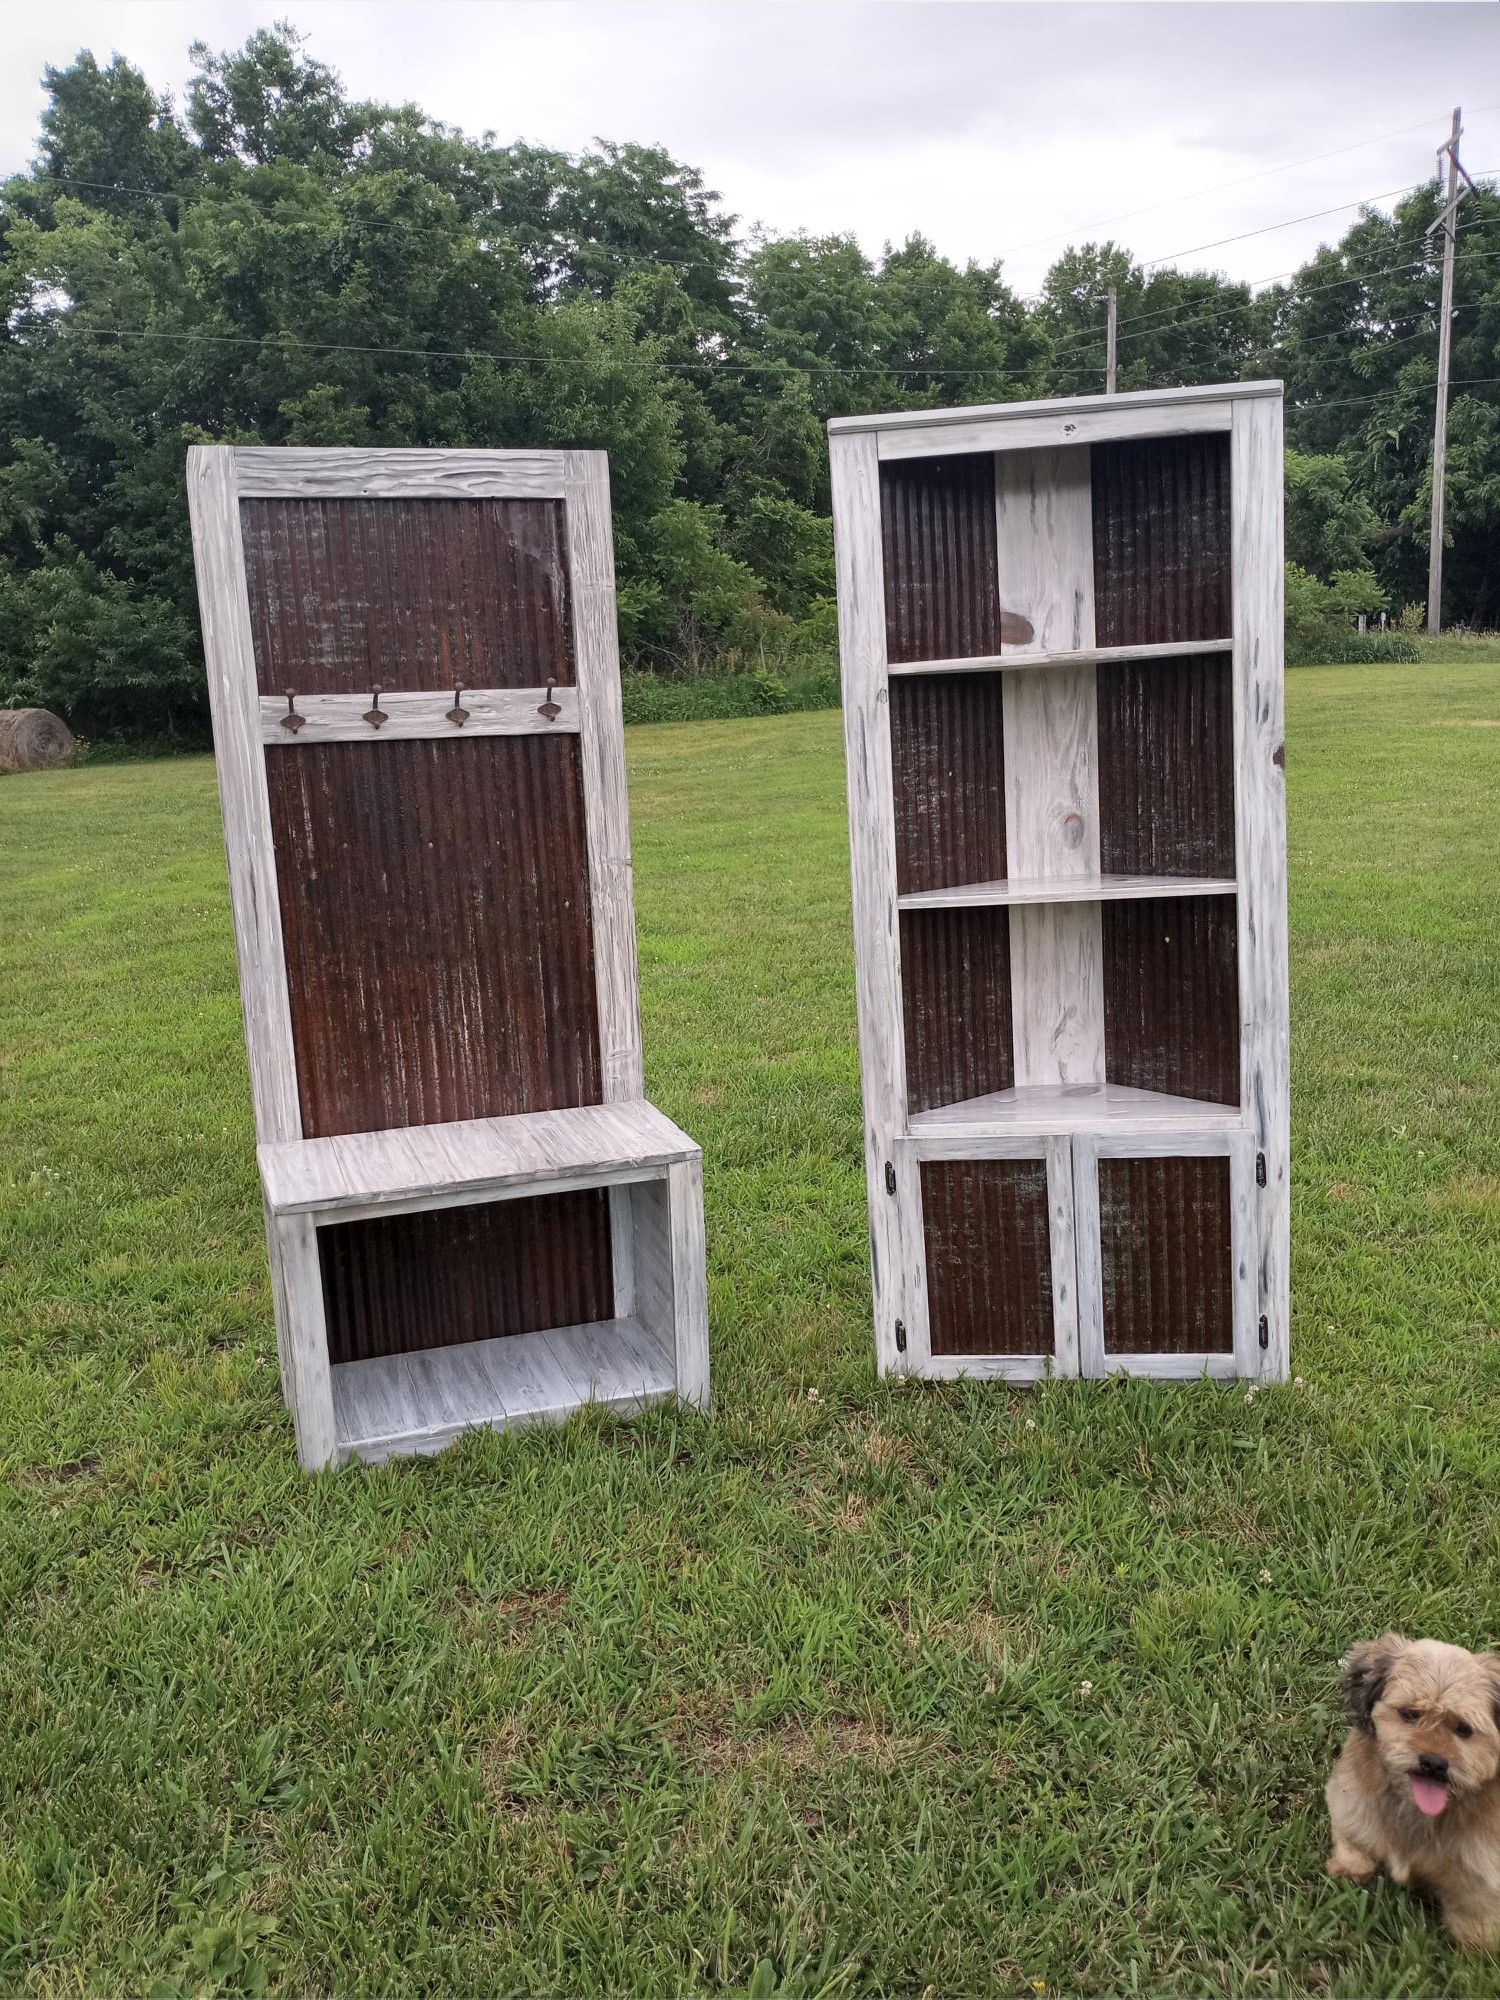
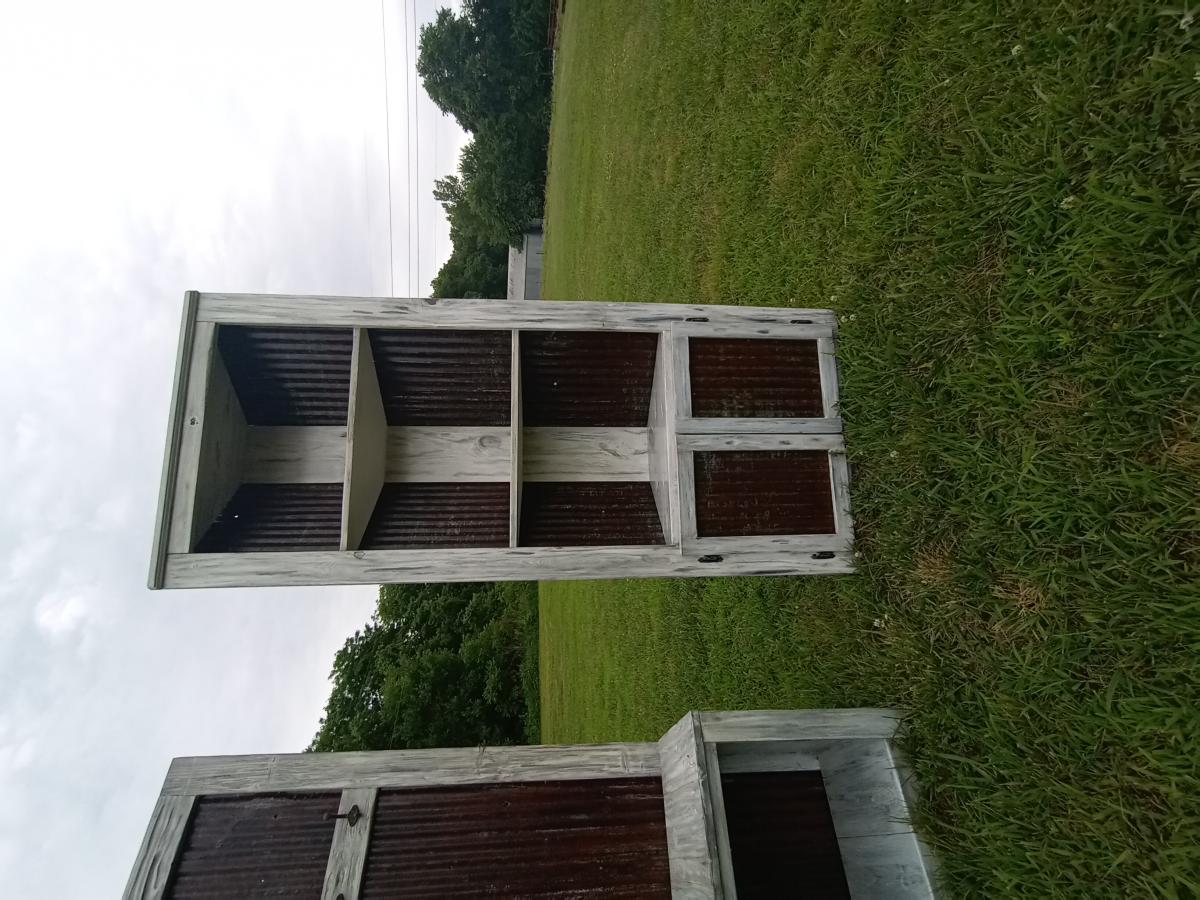
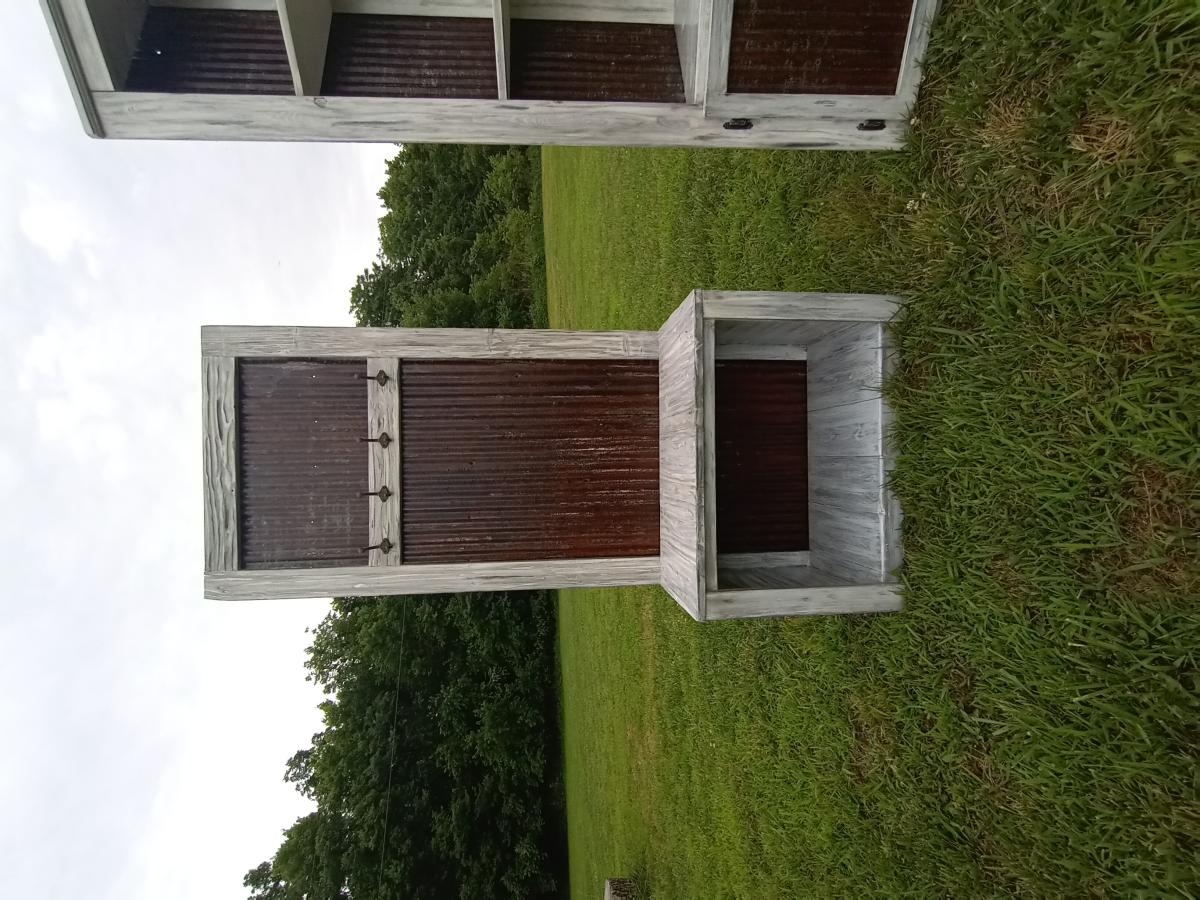
Rustic corner shelf with matching halltree

Submitted by Anonymous (not verified) on Fri, 07/01/2022 - 20:46

My take on a corner cupboard. I used old barn tim form backing and somewhat modified the plans. I actually made the hall tree first and then the matching cupboard. I finished it off with a custom distressed finish.

Built from Plan(s)

Comments

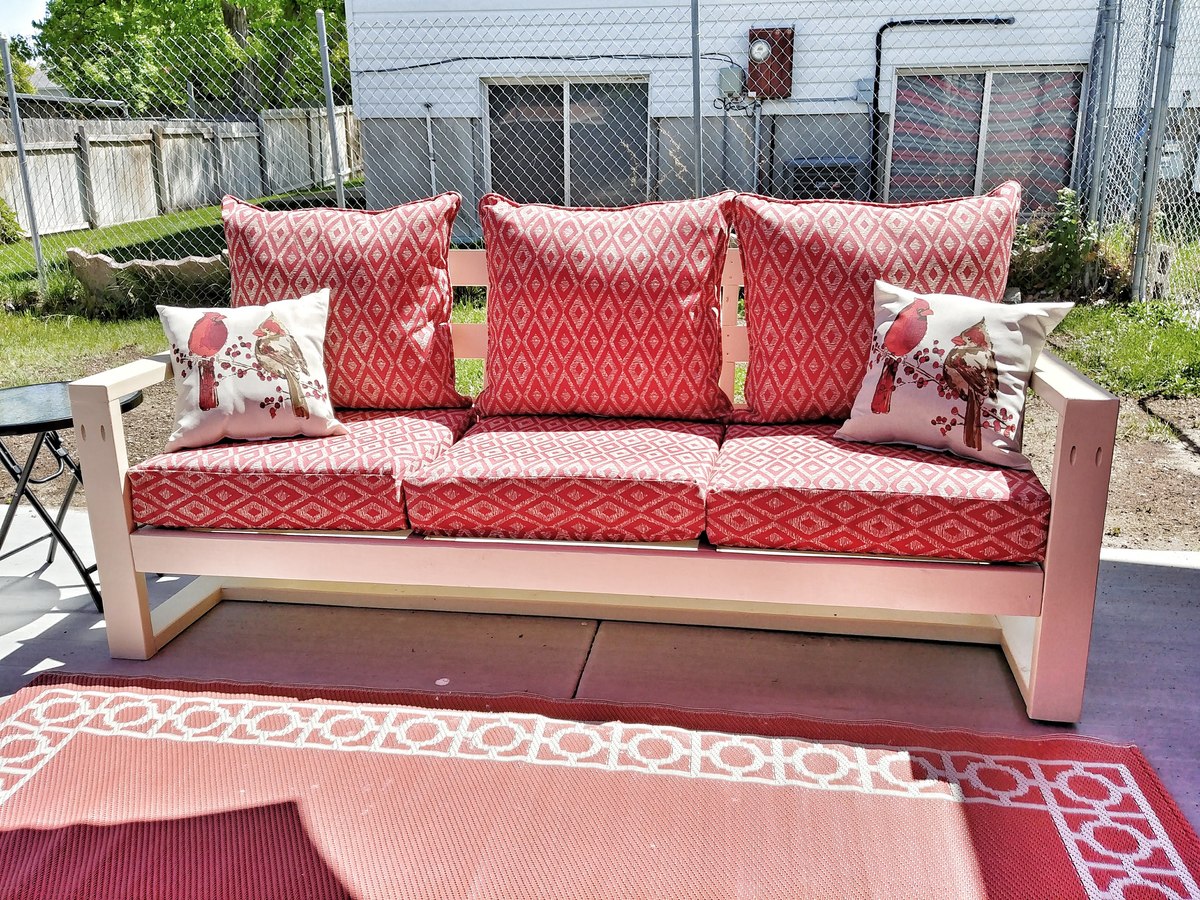
Modern Outdoor Sofa

Submitted by bcarter_1 on Tue, 10/30/2018 - 04:57

Very comfy outside sitting

Estimated Time Investment
Weekend Project (10-20 Hours)
Recommended Skill Level
Intermediate

Comments

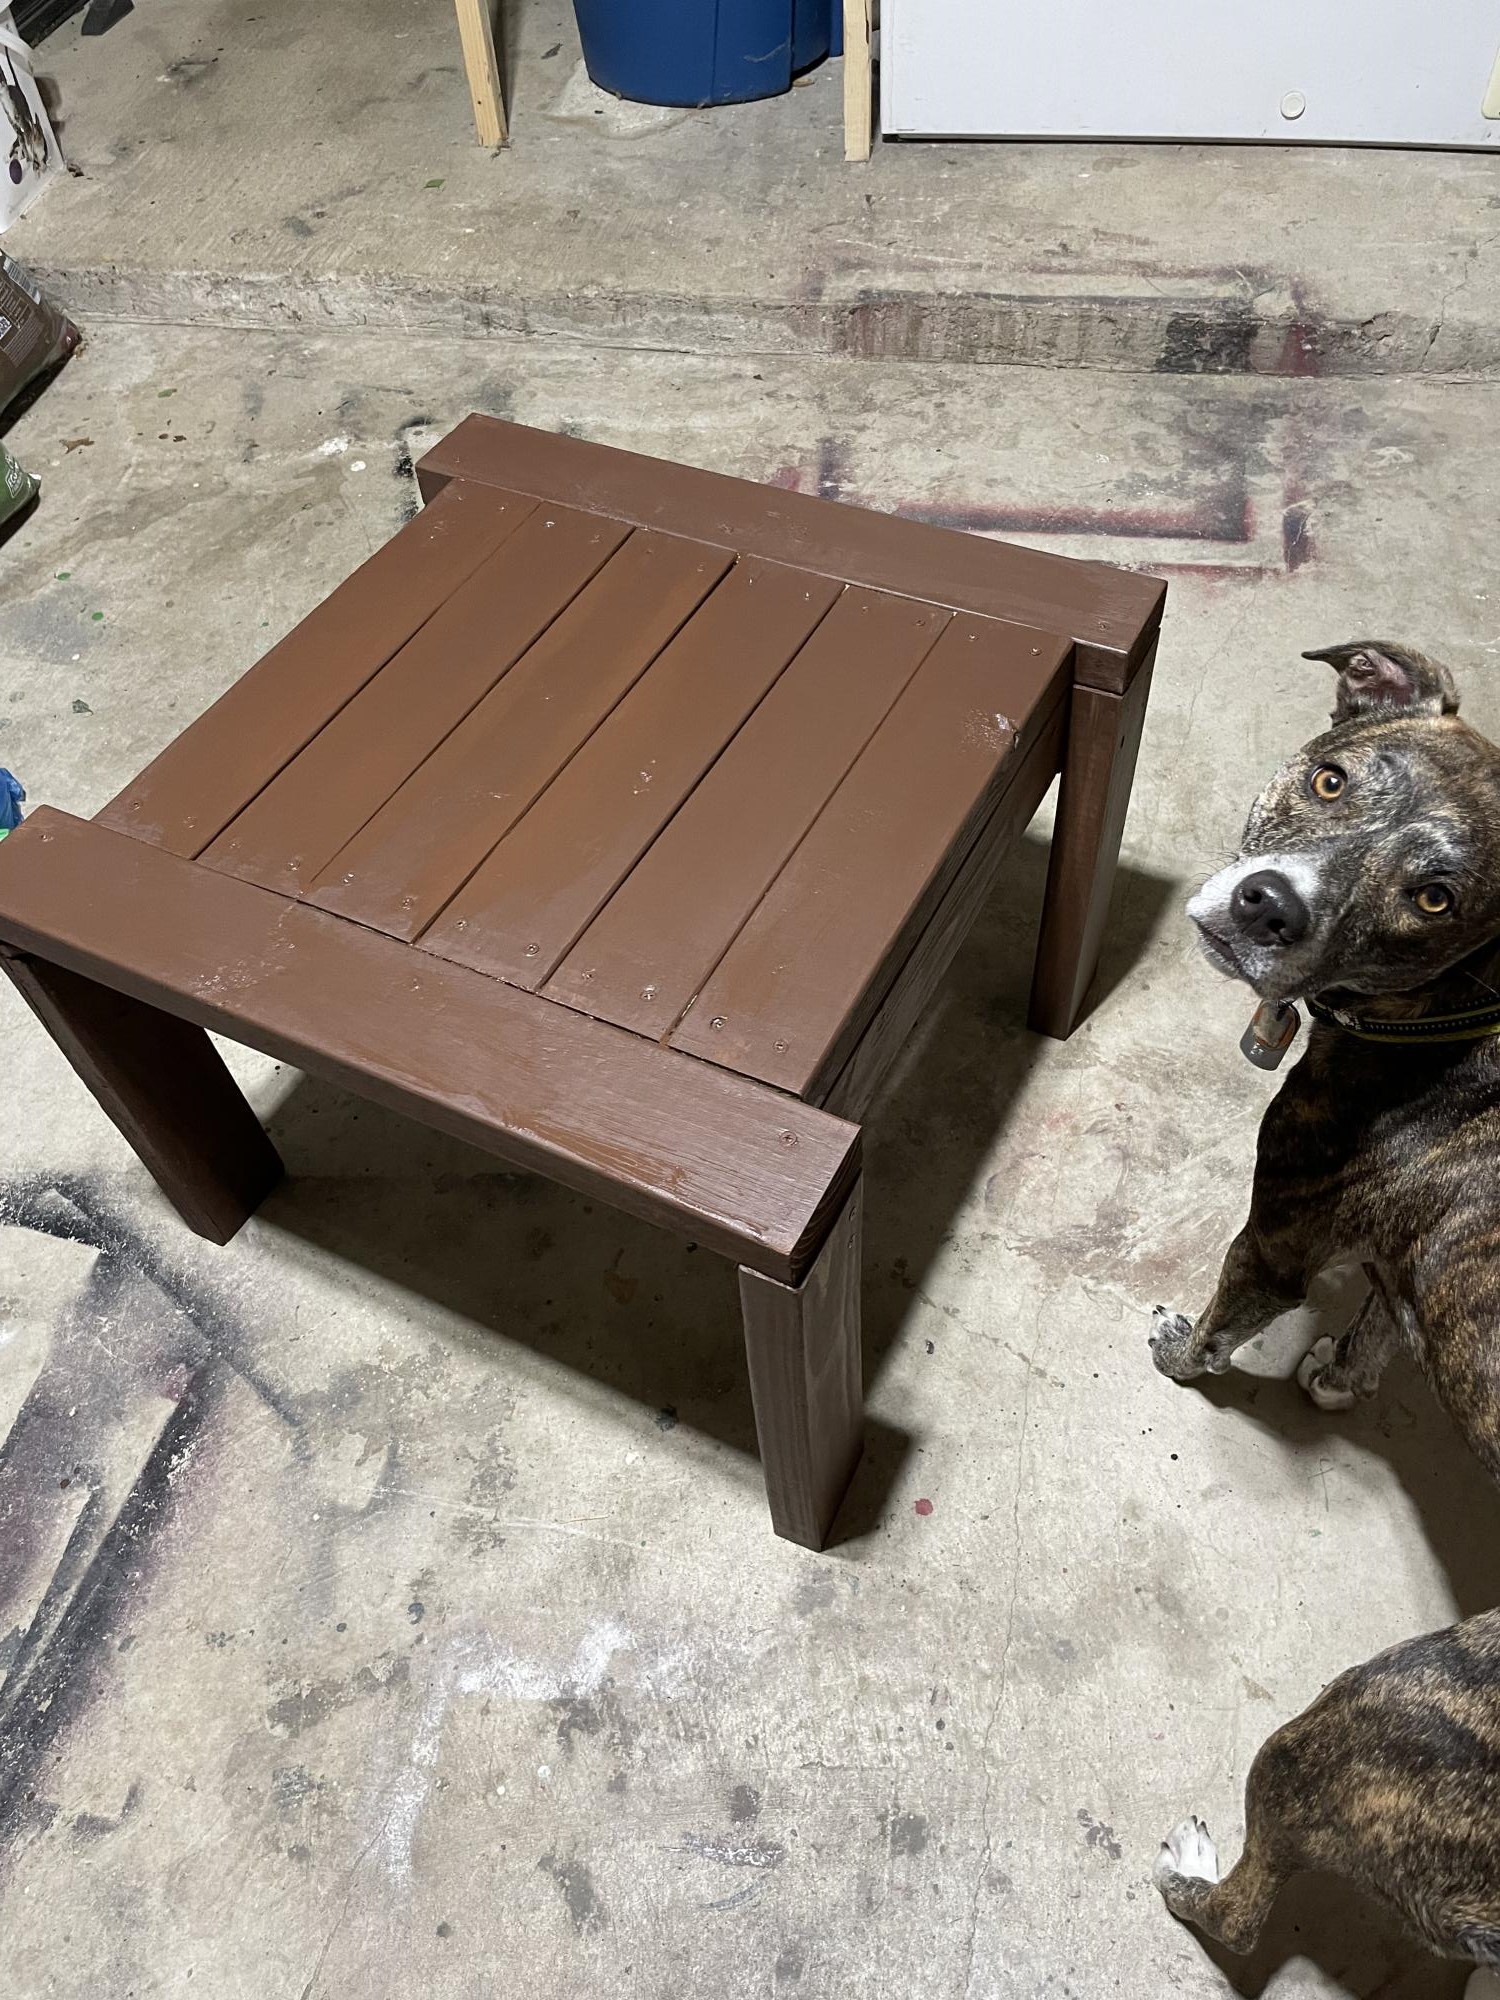
2x4 outdoor table

Submitted by AJofTX on Wed, 09/14/2022 - 06:51

Built the 2x4 outdoor out of scrap and discount Home Depot wood. The stain was $.50 from the oops paint rack at Home Depot.

Comments

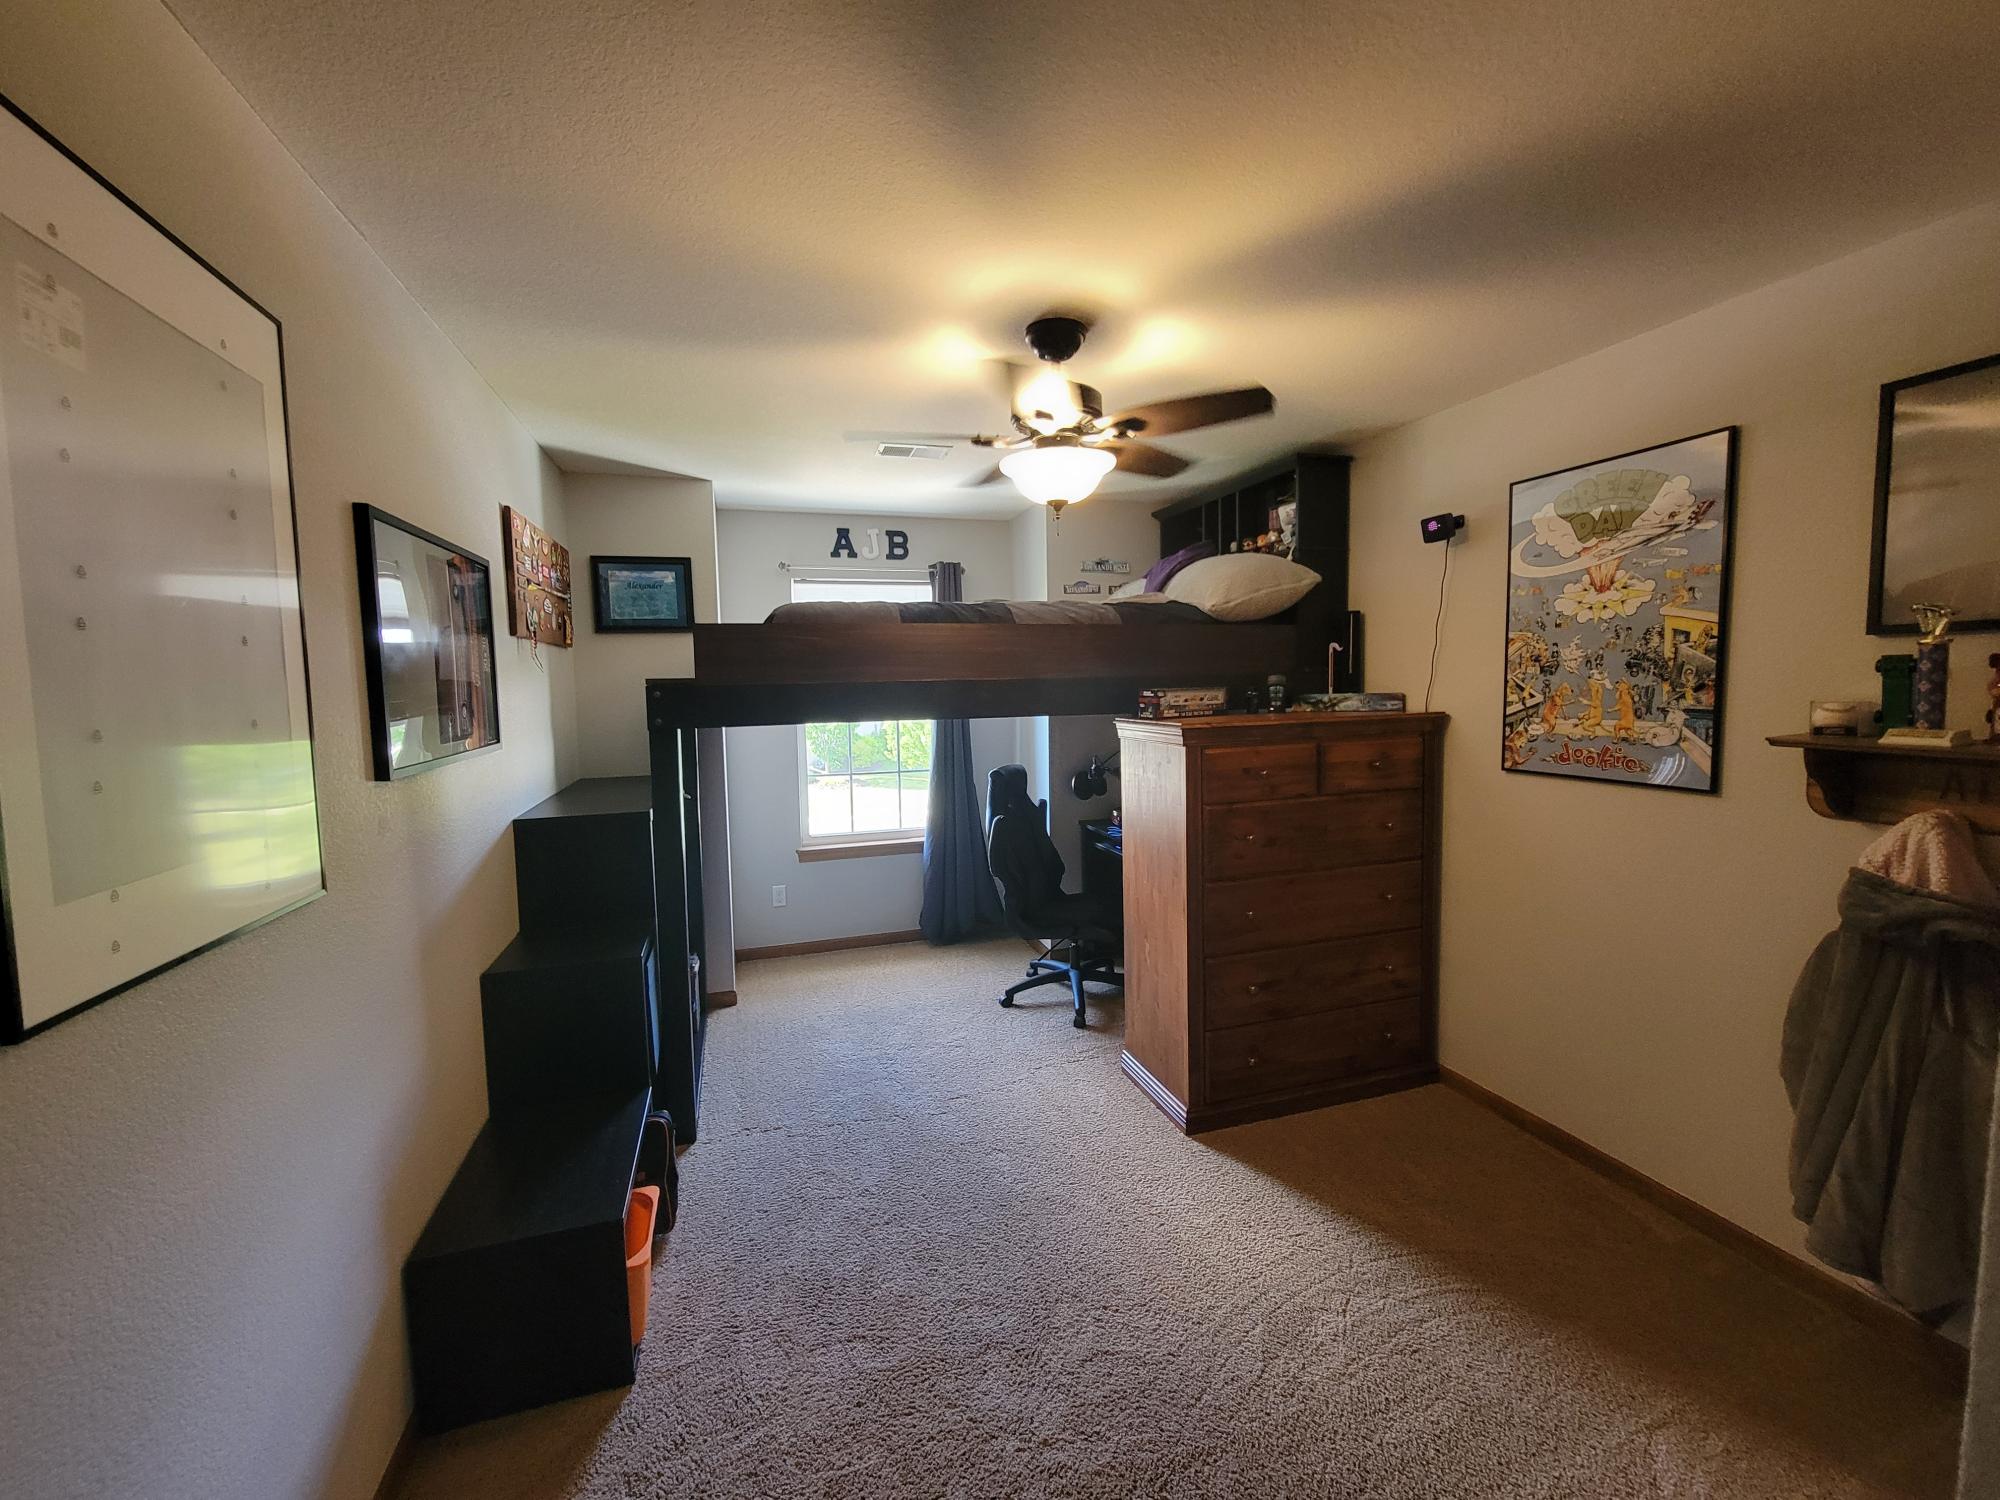
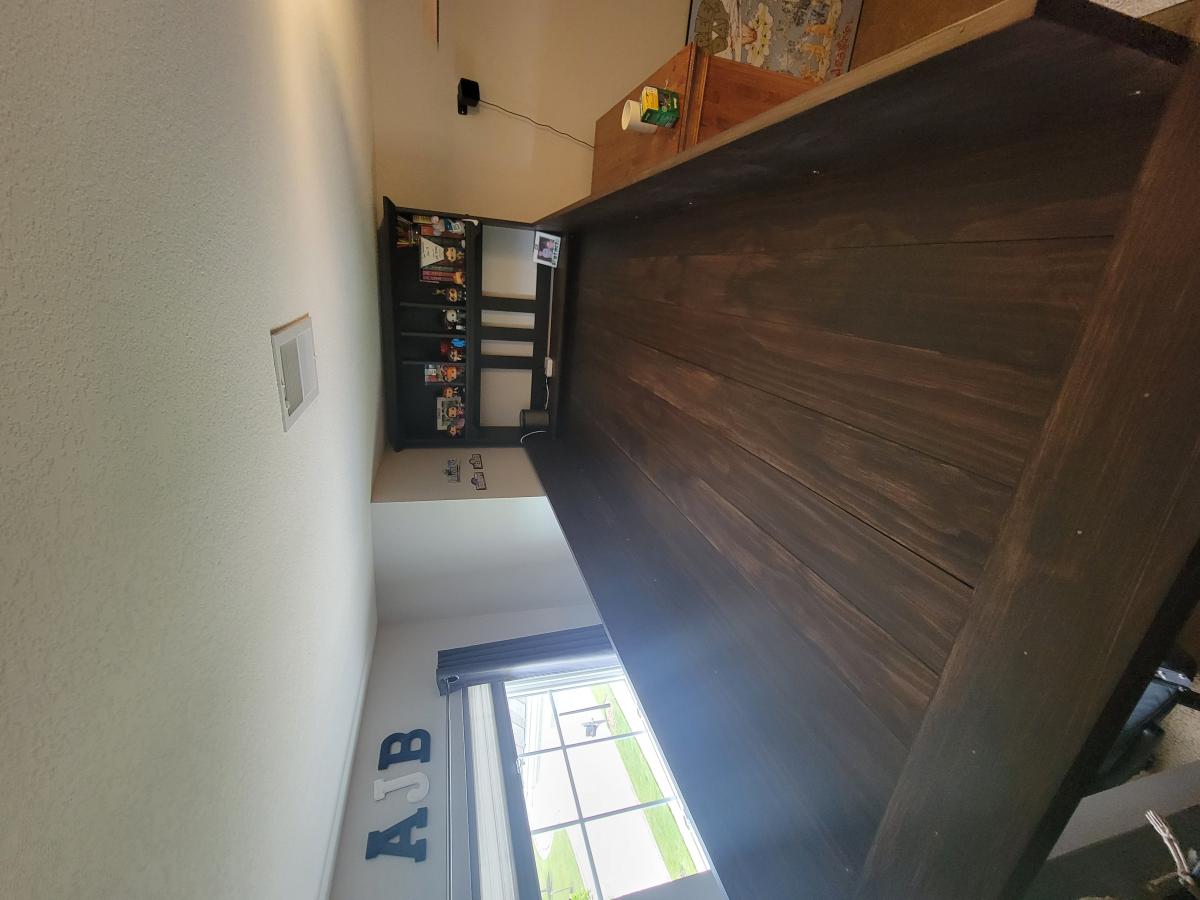
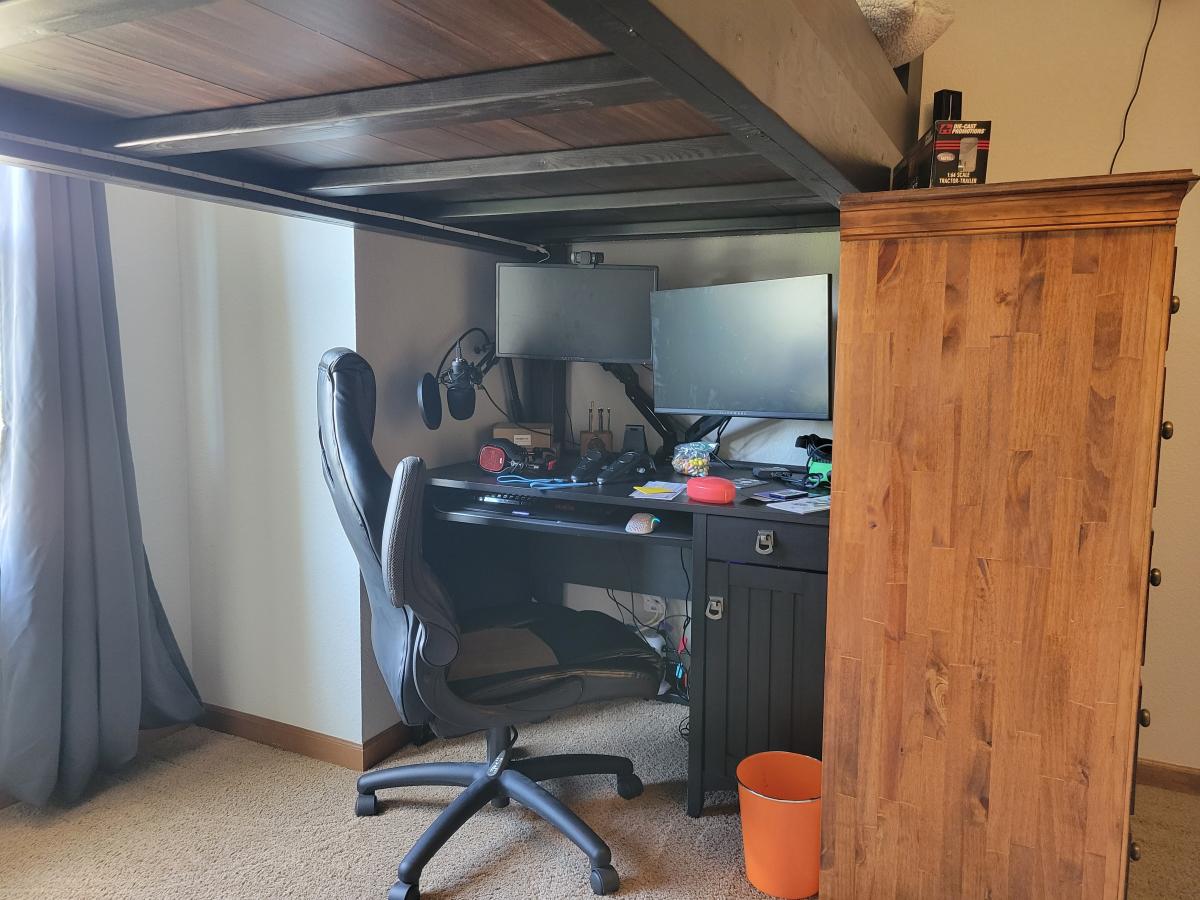
Loft Bed for Teenager

Submitted by Anonymous (not verified) on Tue, 09/27/2022 - 19:58

Designed a loft bed for teenage son. We used iKea shelving cubes for stairs/storage. The boards(flooring) are pine boards stained a dark brown. The other wood is painted black. The "headboard" is actually the bookcase shelf from his desk.

Comments

The perfect sewing table!

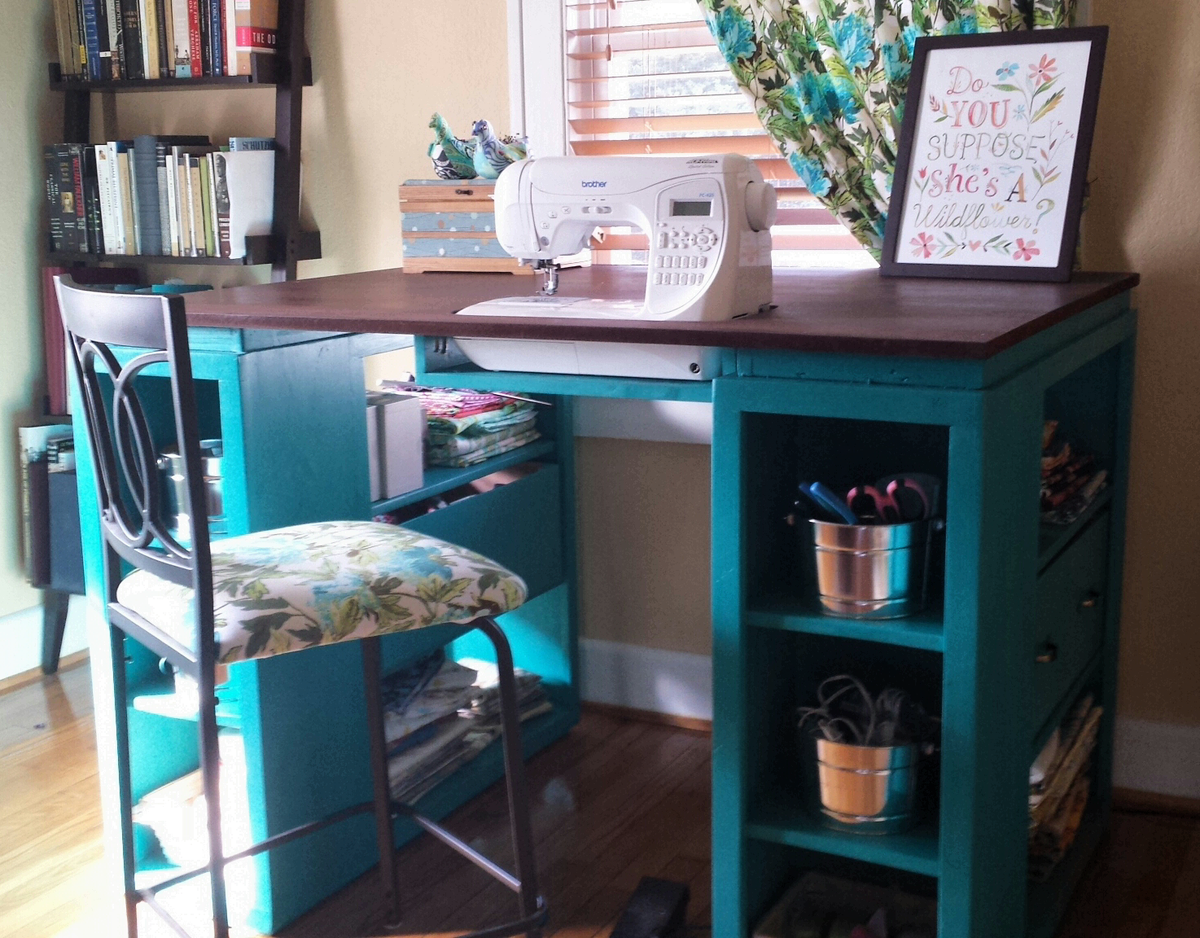
I have been looking at sewing furniture for years, but the prices always made my jaw drop. I have a small craft room, so I needed a table that could also triple as a cutting table and fabric storage. Thank you so much to Ana White for this plan! I built exactly to the plan in The Handbuilt Home, and it's the PERFECT size.

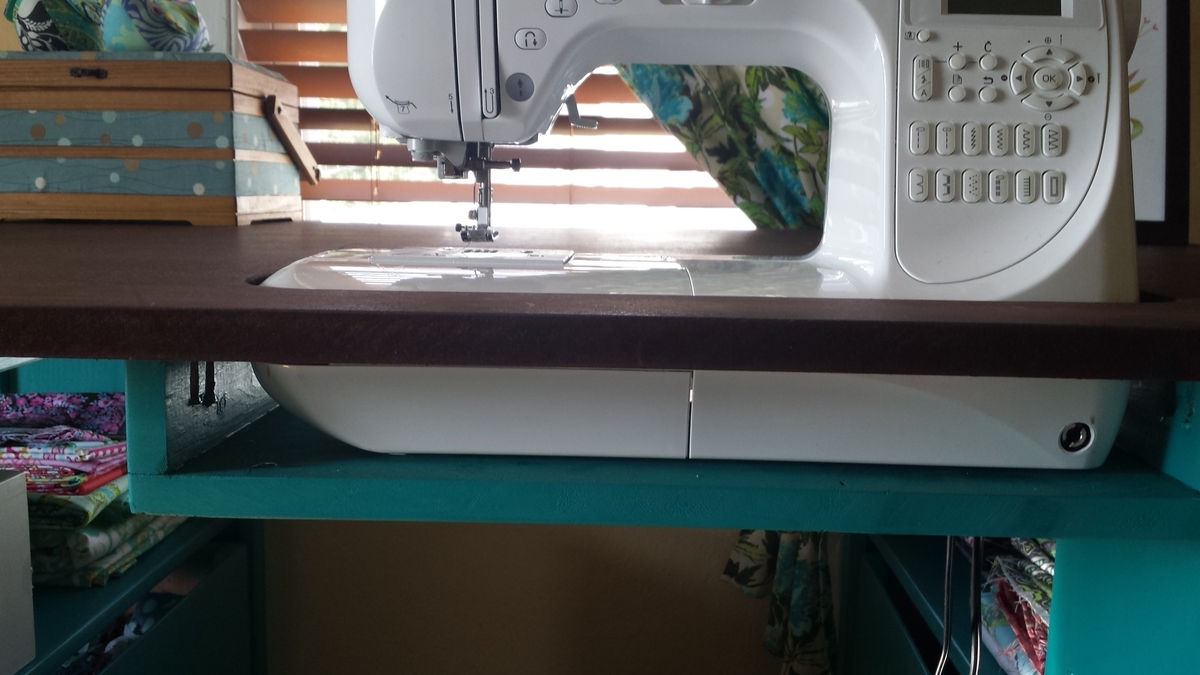
So the sewing machine can sit flush with the top, making working on big sewing projects way easier, I traced the outline of my machine on the MDF and cut it out with a jig saw. Then I built a small shelf using a 1x12 scrap and 2 1x3 scraps. Putting the 1x3s on top of the 1x12 made the shelf 3.75 inches deep, which is exactly the depth I needed. I attached it to the underside of the tabetop using a pockethole jig and screws.

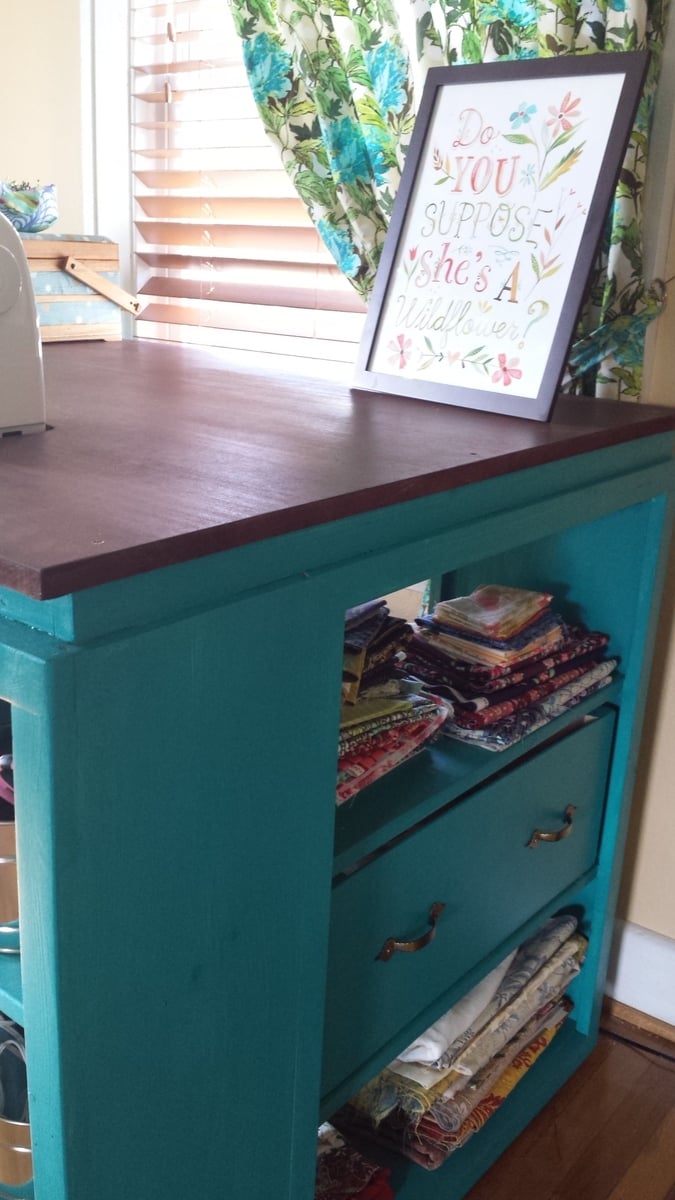
I built 2 boxes using 1/4 inch plywood, and installed drawer pulls on them, giving the illusion that the table has 2 drawers built in. This is where I keep my ugly stuff--interfacing and fabric scraps.

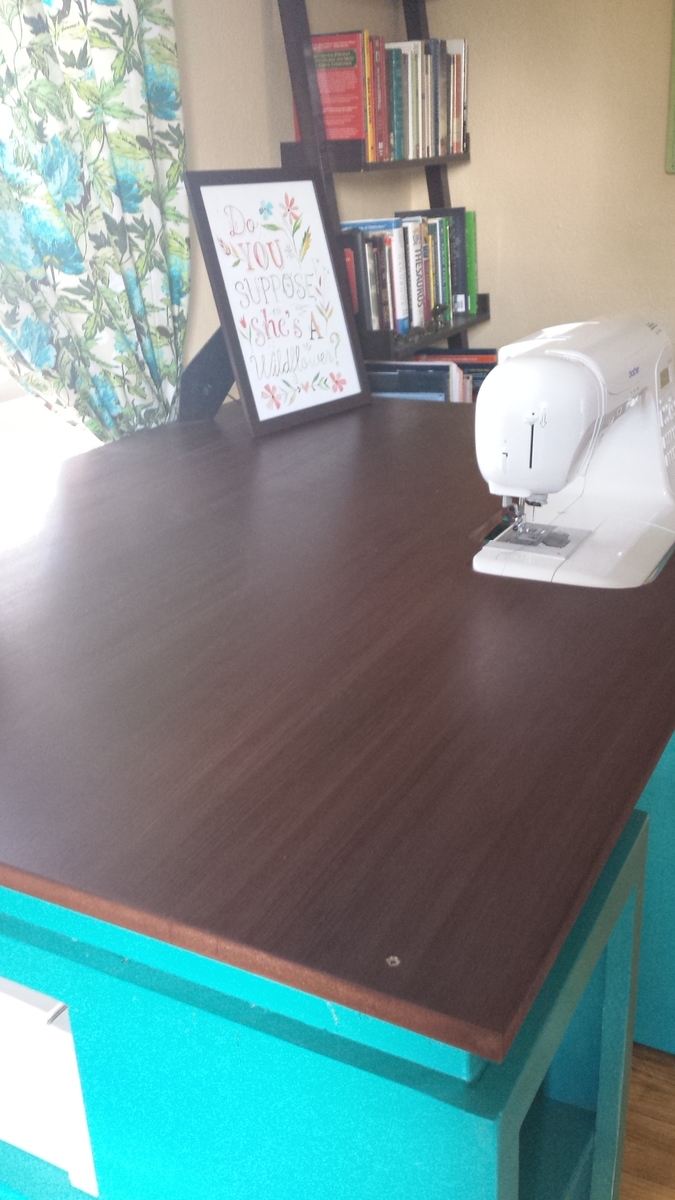
I got the color scheme for the table from the entryway console plan in The Handbuilt Home. In order to make the MDF top look like it had a wood grain, I applied mahogany gel stain with an old washcloth in very thick strokes that spanned the length of the tabletop. It soaked in and lost the "grain" look in some places, but the majority still looks like wood. I did have to apply several coats of polyurathane over the stain; the MDF has a prickly texture that grabs fabric and makes it hard to feed through the sewing machine.

My only complaint is that I didn't quite think through the fact that seating is bar height and I'm 5'7". It's a little difficult to reach my sewing machine pedal. I may build a small stool for the pedal to sit on so I don't have to half sit/stand to sew.

This is the first woodworking project I've done alone from start to finish: from going to Lowe's and picking out the wood, to cutting the wood with a circular saw, assembly, and finishing. (My fiance did carry it up the stairs for me. :) )

I'm so in love with this table! And now to finish the quilt I started 6 months ago....

Built from Plan(s)
Estimated Time Investment
Week Long Project (20 Hours or More)
Finish Used
I used 2 coats of Valspar Signature paint in Laguna Beach, and Minwax mahogany gel stain on the MDF tabletop.
Recommended Skill Level
Intermediate

Comments

MissMehndi

Mon, 09/23/2013 - 15:22

I love this idea!! I too have wanted a sewing table for a long time but the prices of them take my breath away. I may have to make myself one! Thanks for the inspiration!!

Sideboard

Submitted by Anonymous (not verified) on Mon, 01/21/2019 - 23:48

Really enjoyed making this! Thank you for the plans Ana White! 

Built from Plan(s)
Estimated Cost
250.00
Estimated Time Investment
Weekend Project (10-20 Hours)
Finish Used
Rustoleum Chalked linen white with gloss finish.
Recommended Skill Level
Intermediate

Comments

Coffee Table

Submitted by Anonymous (not verified) on Mon, 02/18/2019 - 15:06

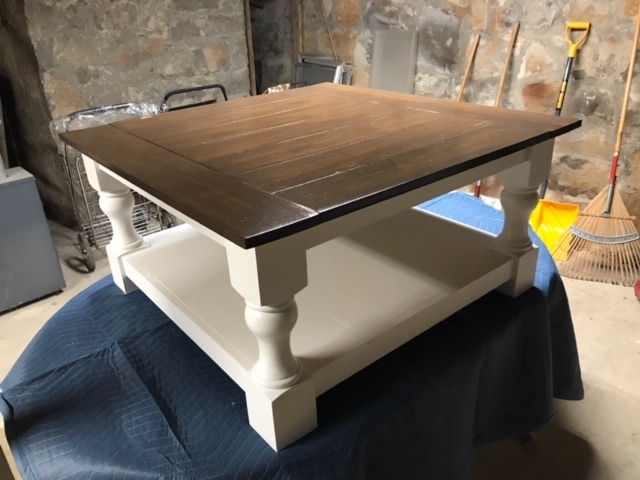
For my daughter's birthday, I used the plan from your site, but I substituted 1x6 poplar for the top, rather than the 2x6's. Turned out so well that my other daughter wants one as well.

Built from Plan(s)
Estimated Cost
$145
Estimated Time Investment
Weekend Project (10-20 Hours)
Finish Used
Enamel white for the base and stain/polyurethane for the top.
Recommended Skill Level
Intermediate

Grandy TV Stand

Submitted by Anonymous (not verified) on Sun, 12/27/2015 - 12:20

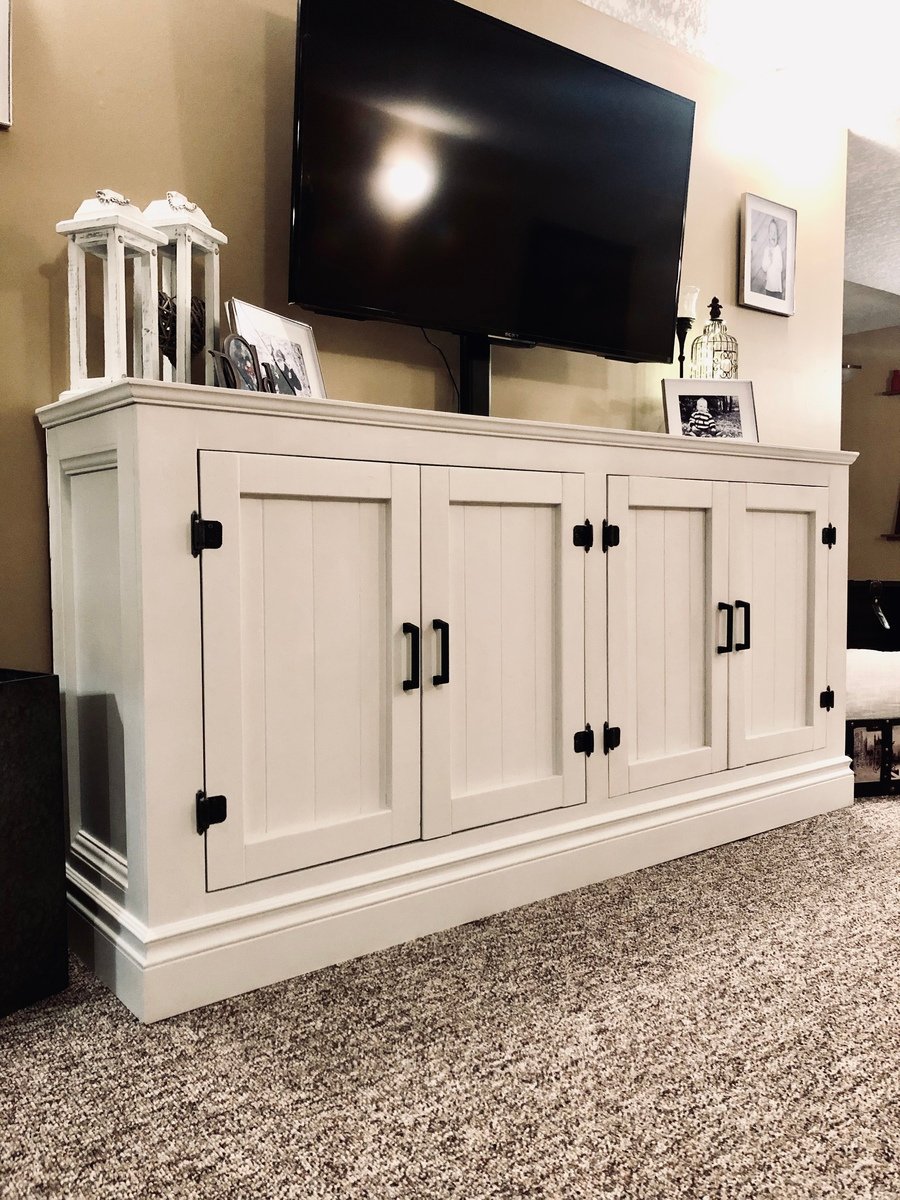
Modified the plans to make smaller and shorter to use as a flatscreen tv stand to fit up to a 60 inch tv. It has room on each side for baskets that I will put in later!

Built from Plan(s)
Estimated Cost
$120
Estimated Time Investment
Weekend Project (10-20 Hours)
Finish Used
Minwax polyshades in Mission Oak satin, and Behr premium plus ultra in satin Ultra Pure White
Recommended Skill Level
Intermediate

Comments

Board and Batten Bathroom

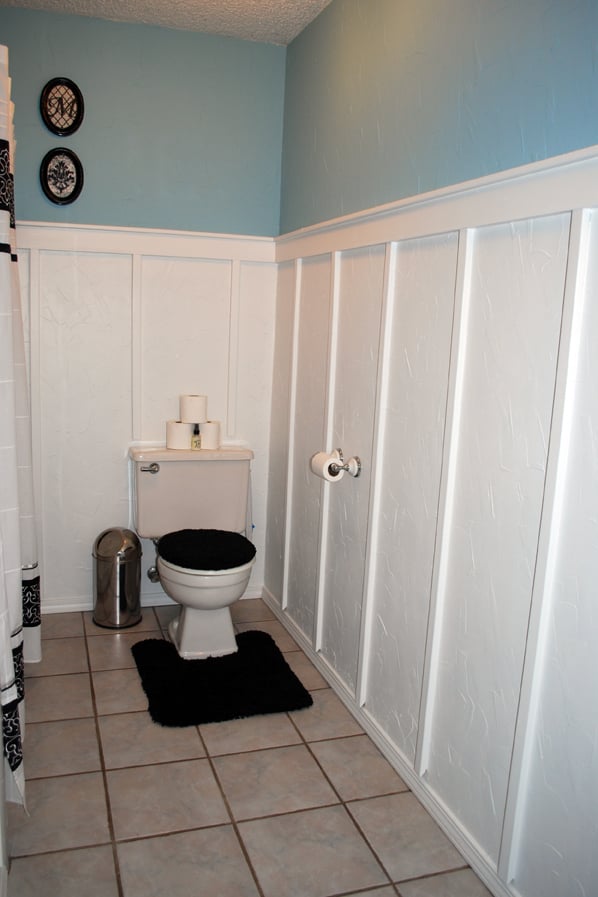
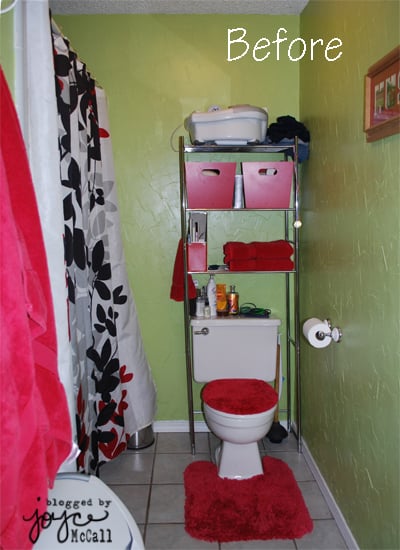
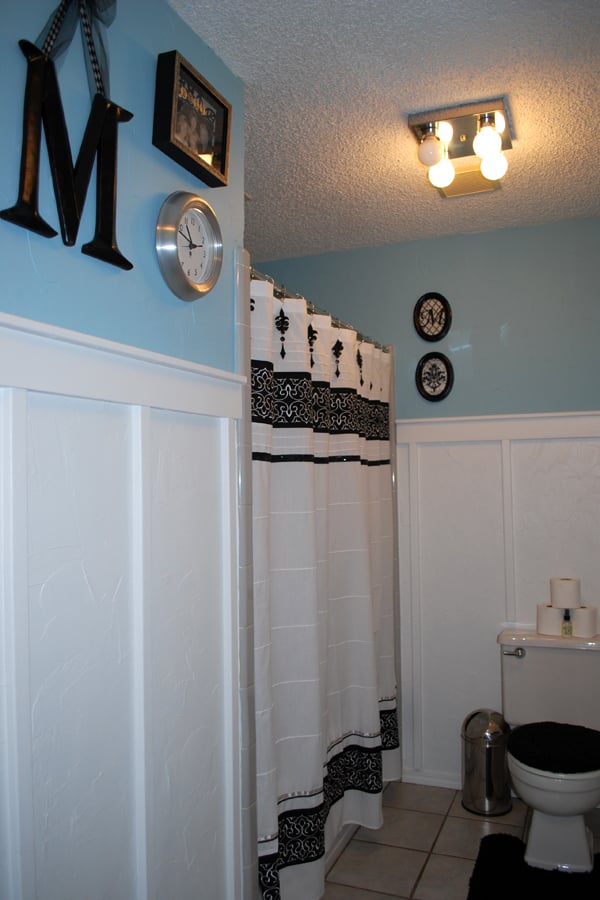
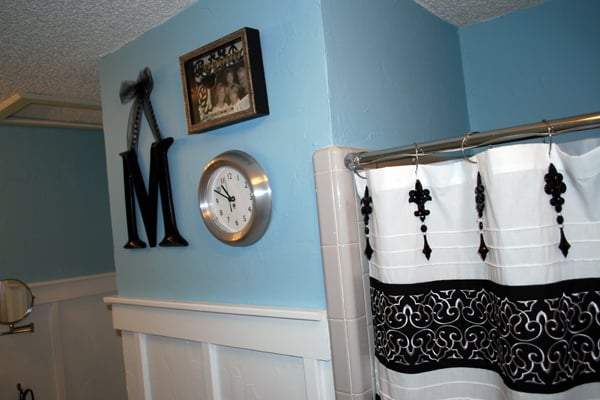
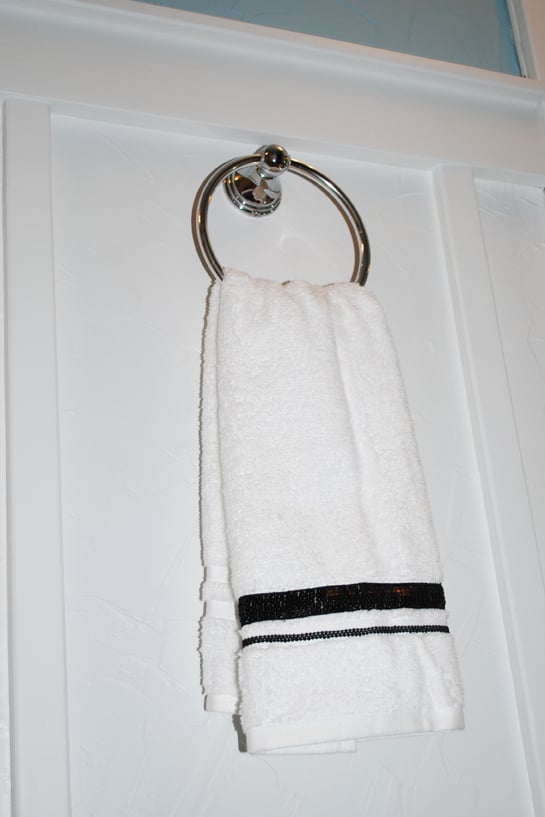
My first project with raw wood and power tools! All I have is a circular saw and electric sander, but it went really well. It took about 3 days because I couldn't work straight through (silly life and all it's appointments!). Thanks for laying out all the prep work with your instructions, Ana!! My next project is a cubby shelf for towels.

Estimated Cost
$76
Estimated Time Investment
Weekend Project (10-20 Hours)
Finish Used
Satin Finish Latex paint by Valspar. Upper wall color is Valspar High Noon in Flat Enamel finish.
Recommended Skill Level
Starter Project

Comments

loniwolfe

Tue, 10/11/2011 - 21:38

That looks really great! I was just thinking about doing this in our bathroom, thank you for posting this! Now I'm definitely doing this! Great great job!

Rustic X Coffee Table and Side Table

Submitted by Anonymous (not verified) on Sat, 03/23/2019 - 08:53

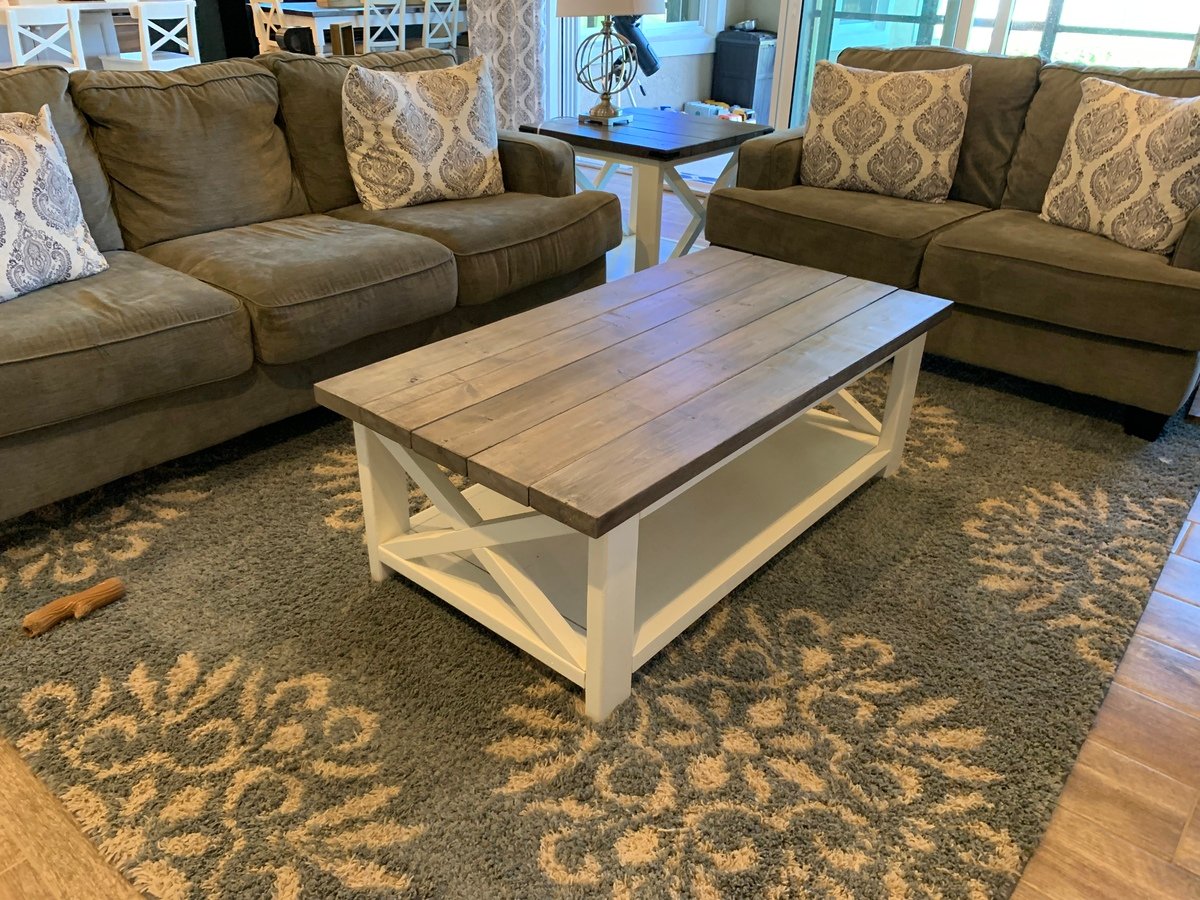
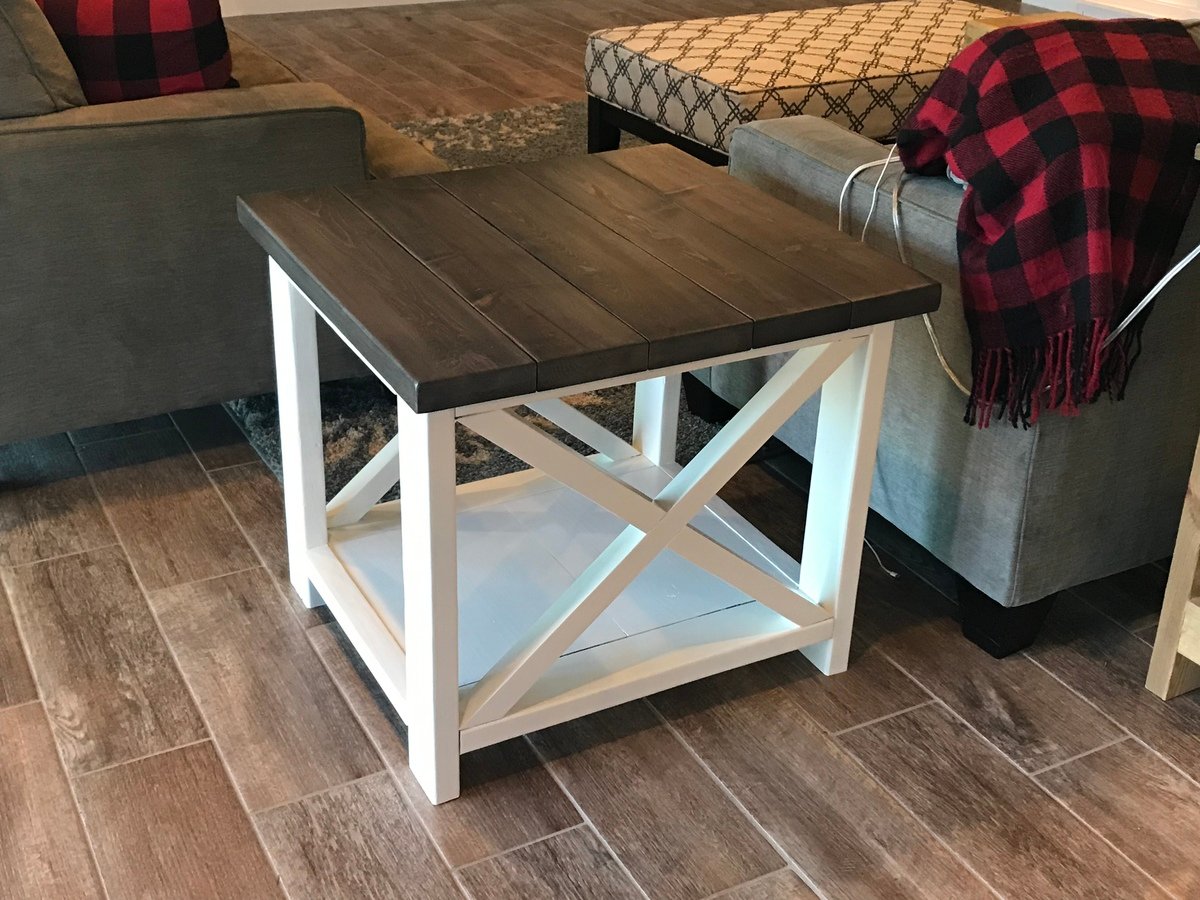
I absolutely love how this coffee and end table set have completed my living room. Each one took me about a day to complete and $80 or less!! Excellent, detailed plans resulting in a gorgeous piece. Thank you! 

Estimated Cost
$80
Estimated Time Investment
Day Project (6-9 Hours)
Finish Used
The top is stained with Minwax Jacobean finish, then whitewashed with watered down Dover White From Sherwin Williams. Base is painted Sherwin Williams Dover White in semi-gloss finish.
Recommended Skill Level
Beginner

Comments

Adirondack chairs

Submitted by Anonymous (not verified) on Fri, 03/17/2023 - 23:53

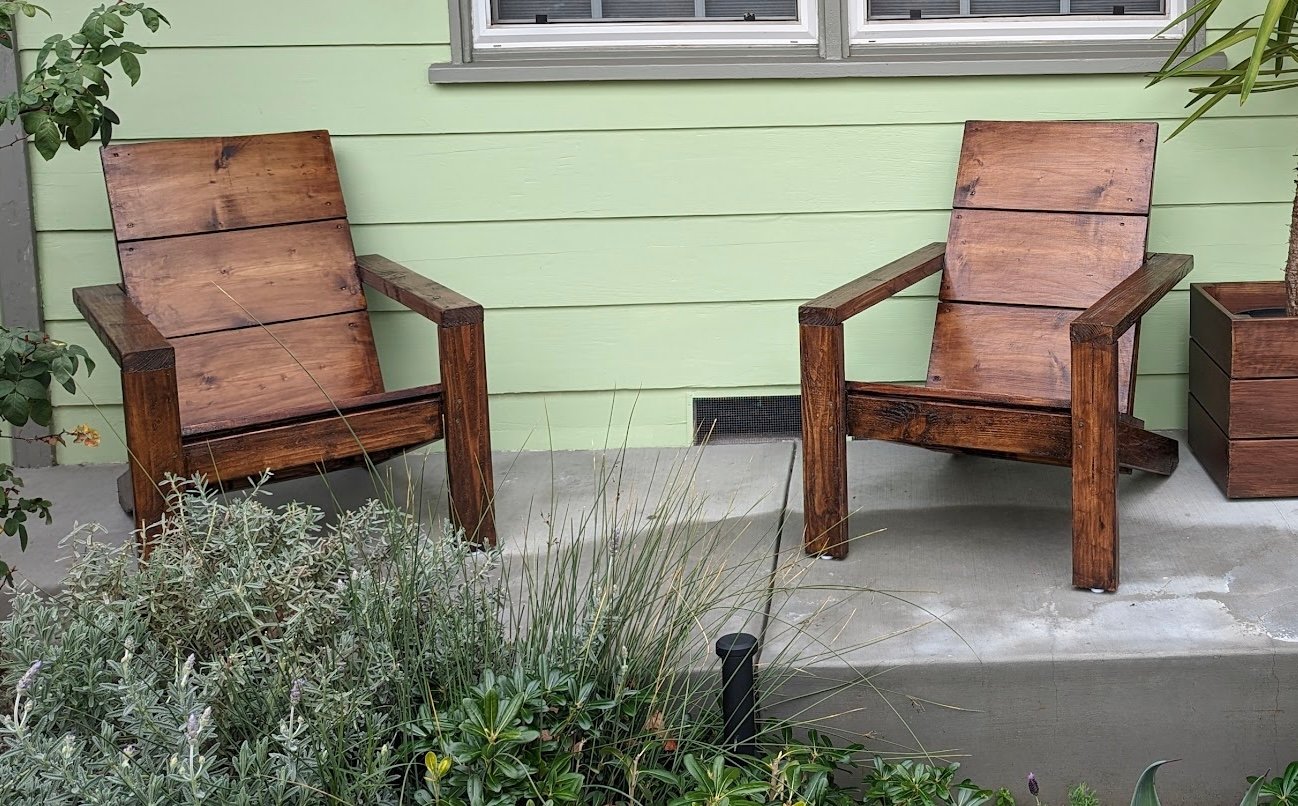
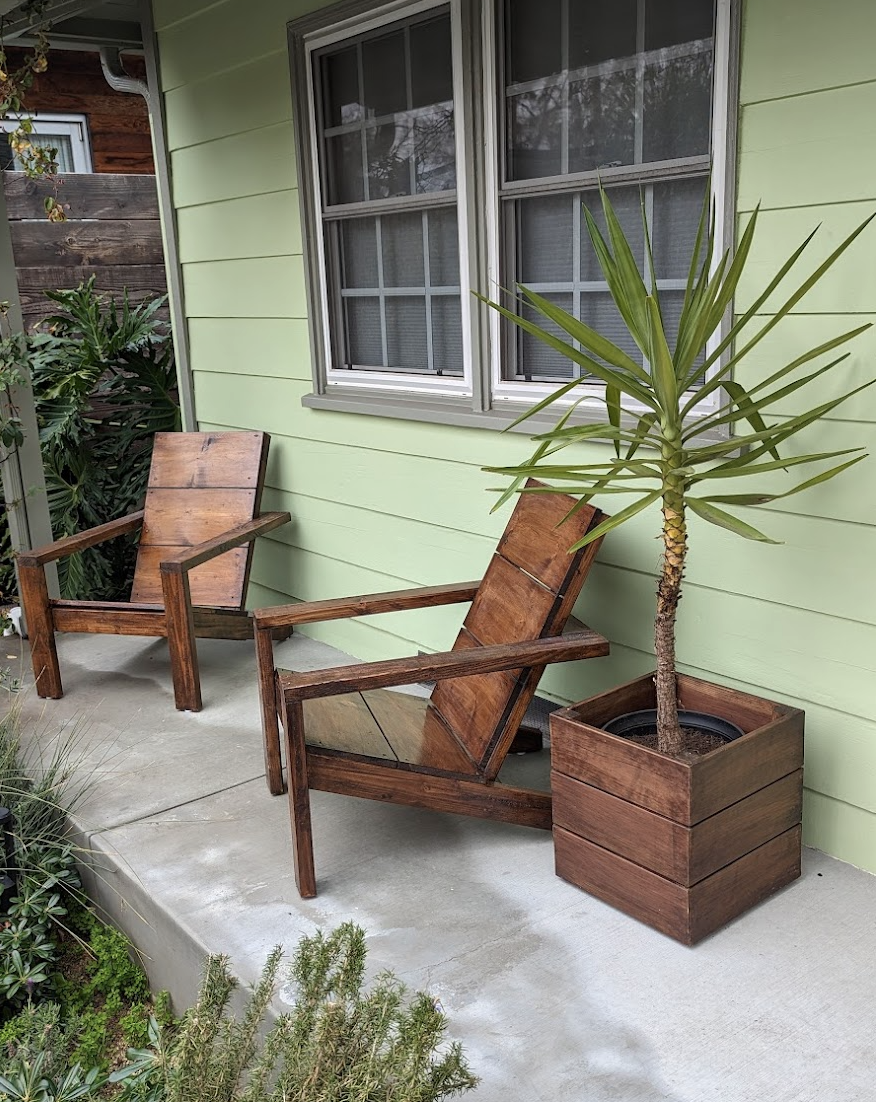
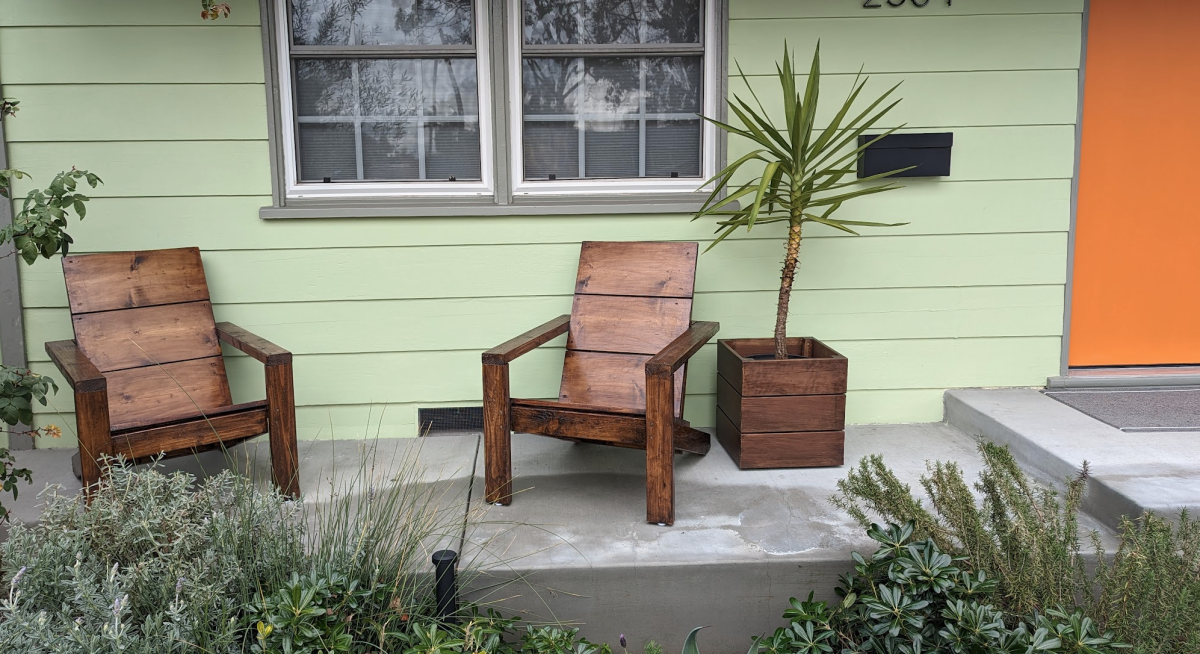
This was such a fun project. Your plans were spot-on and easy to follow. I am not a total beginner woodworker but not experienced either and I am so proud that I created these beauties with your help. They are adding so much to our curb appeal. I learned a lot and I got an education on pocket screws and the Kreg jig; I ended up buying the 520PRO. I am so grateful!! Thank you so much!

Comments

Lean-To Shed

Submitted by Anonymous (not verified) on Fri, 03/24/2023 - 13:17

I’m a first year teacher of construction class at Waterloo High School in Illinois. We recently used your Small Cedar shed instructions with some modifications for a class project. It’s a bear getting cedar right now, so we used T1-11 for the outside and 2x4 for the frame.

Built from Plan(s)

Comments

Redwood Farmhouse Table and Bench

Submitted by nkukona on Mon, 07/22/2019 - 05:35

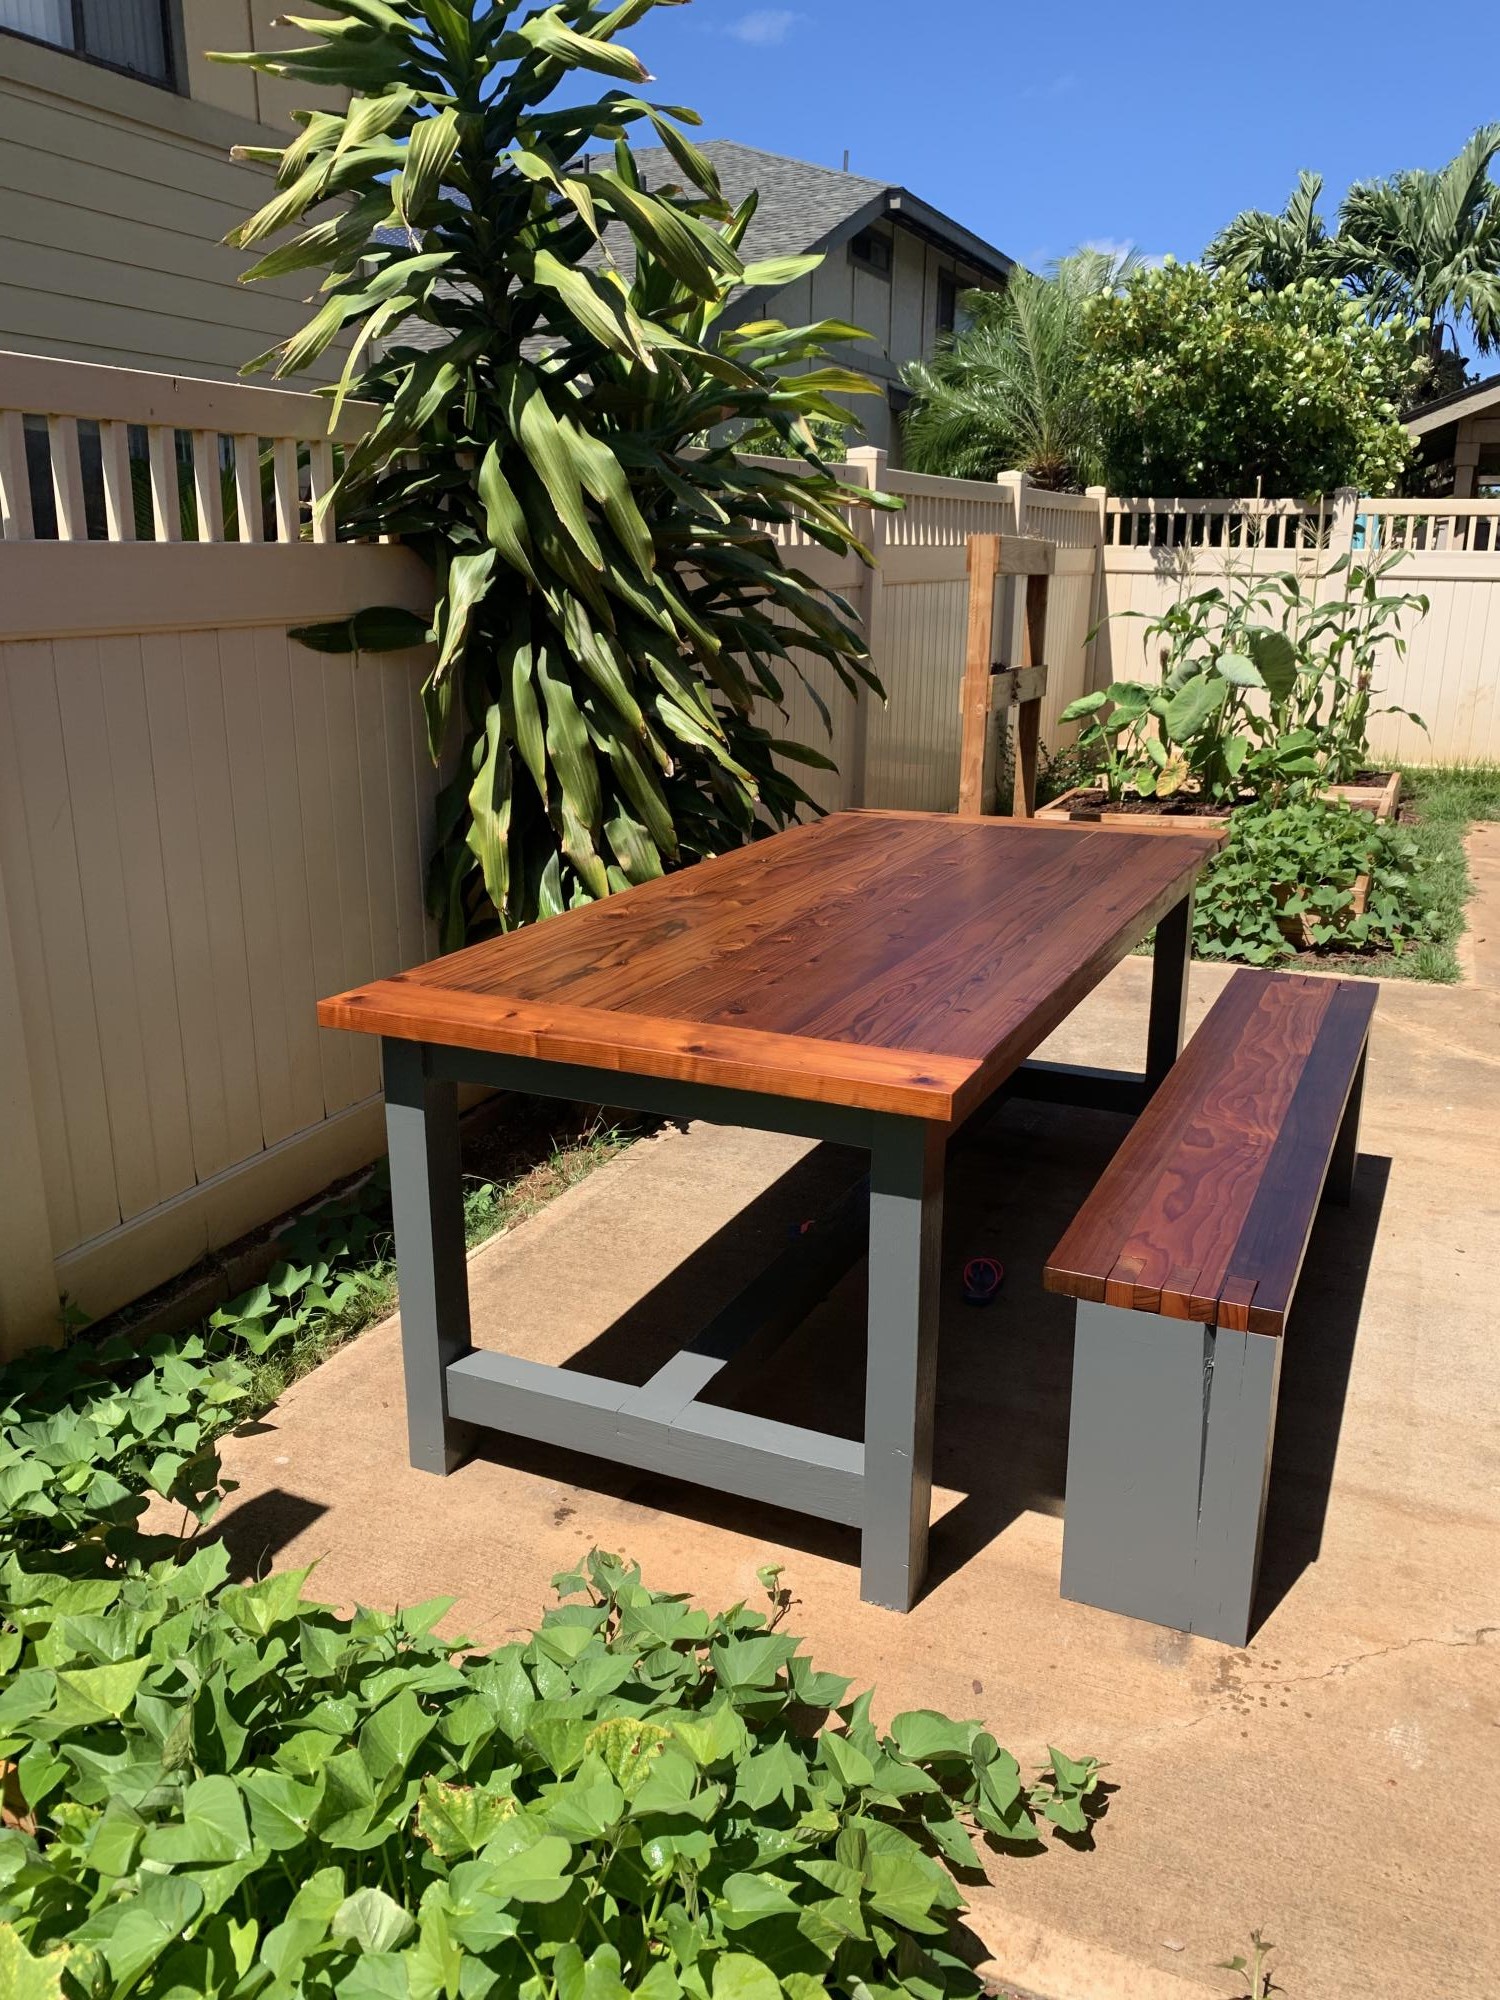
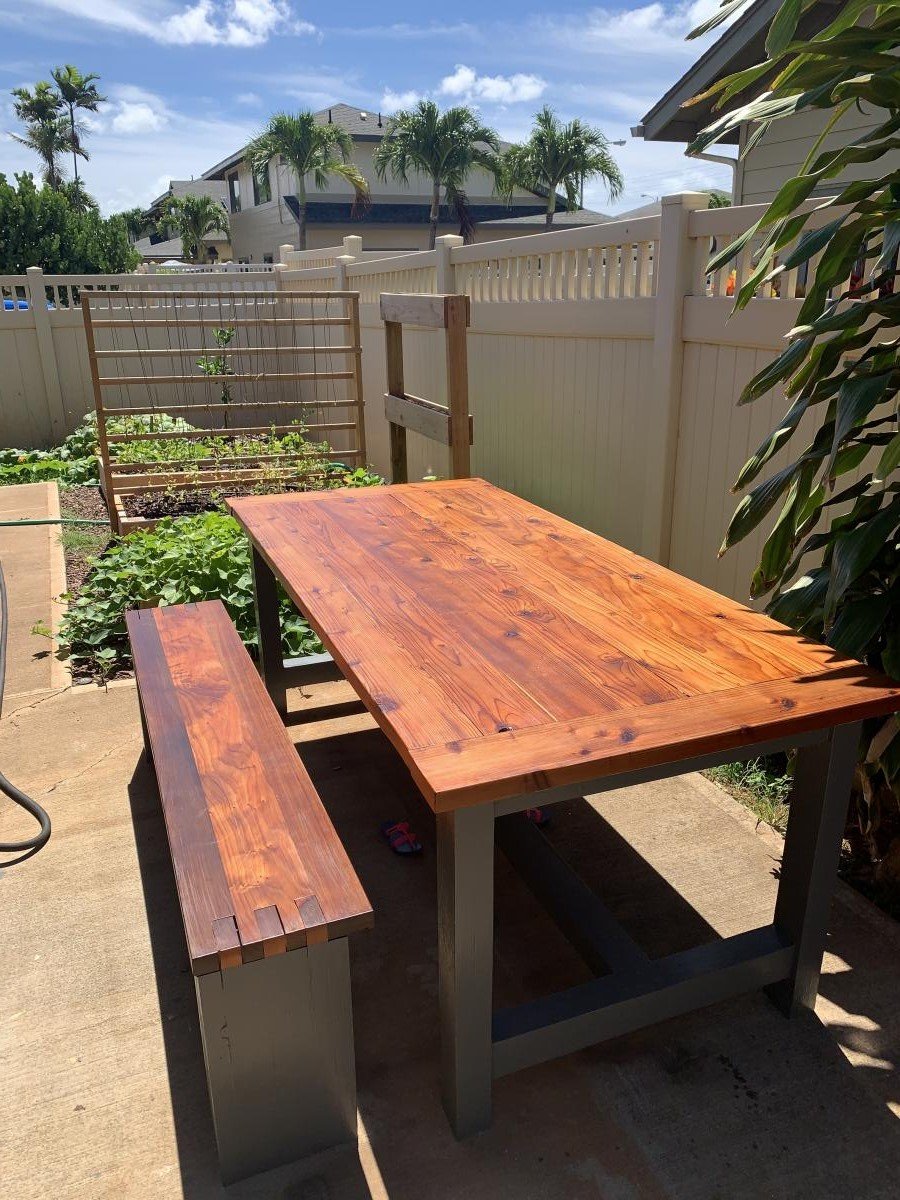
Farmhouse Table and Bench. Made from all redwood. Table is all new wood, and half the bench was from reclaimed redwood. Used Danish Oil and Spar Urethane to finish the tops, and paint to finish the legs.   

Estimated Cost
Not sure, but redwood cost a lot more than pine. Maybe $400 or so.
Estimated Time Investment
Week Long Project (20 Hours or More)
Recommended Skill Level
Beginner

Comments