Easy Build Wood Headboard, Cal King
This was my first project and I loved every second of it. I did the whole thing by myself (with the "help" of my two-year-old) and I'm 5 months pregnant! THAT is how easy it is.
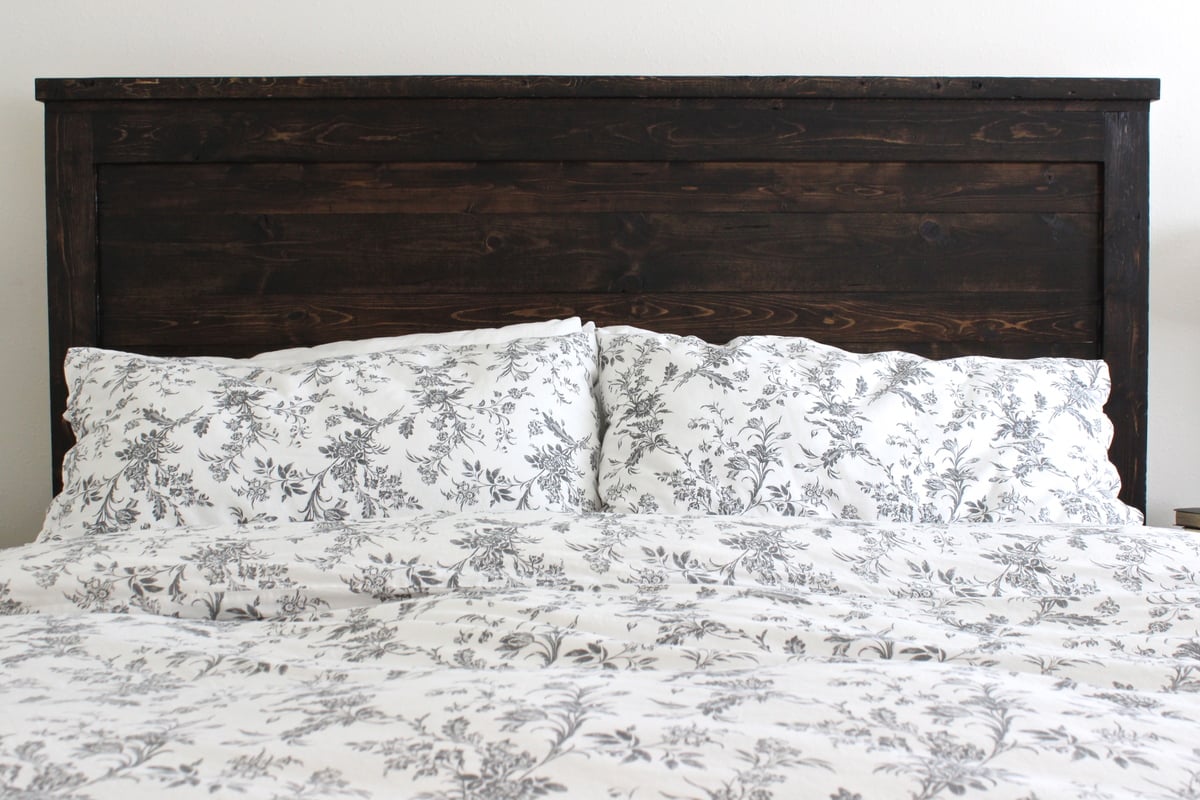
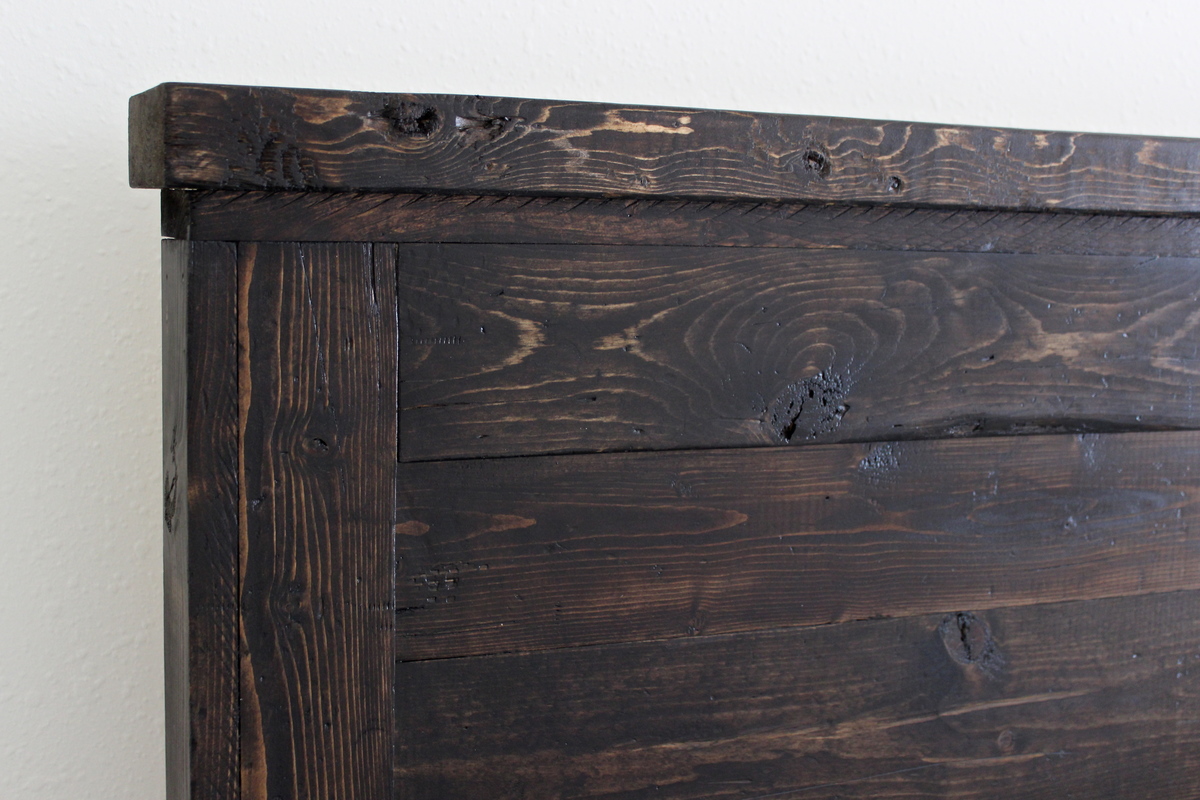
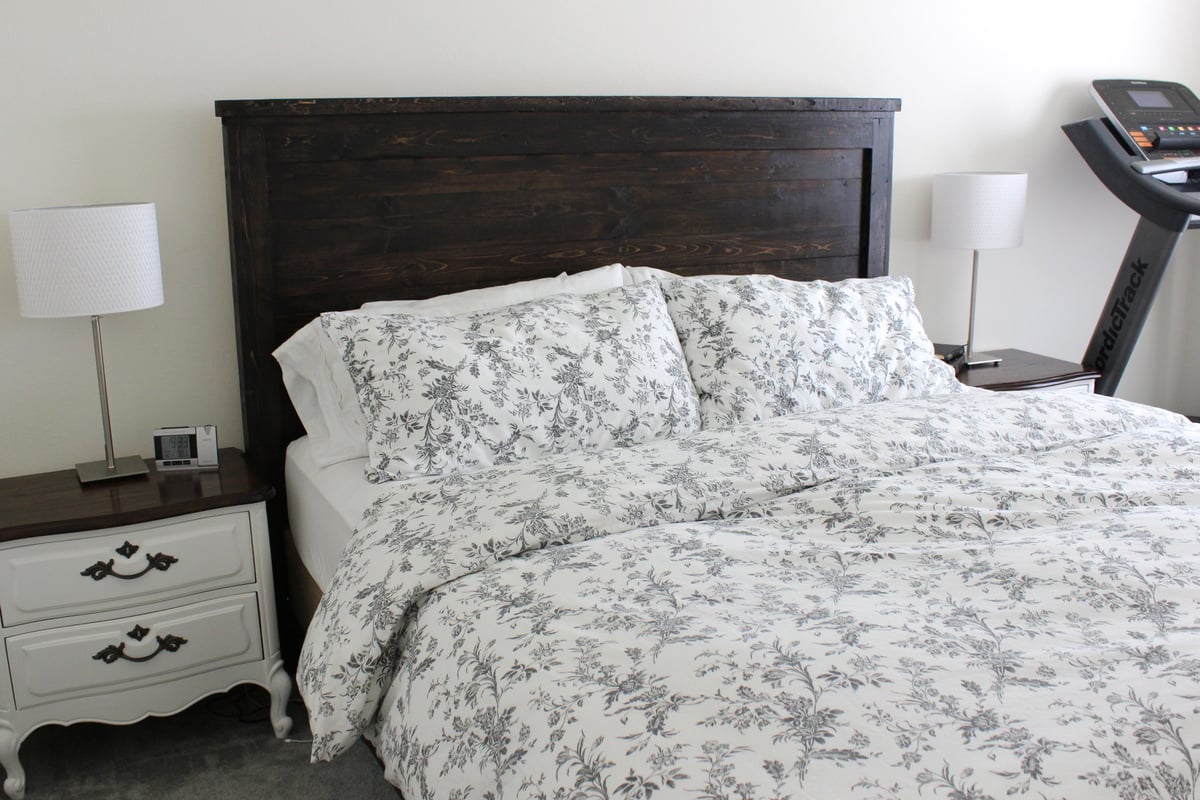
This was my first project and I loved every second of it. I did the whole thing by myself (with the "help" of my two-year-old) and I'm 5 months pregnant! THAT is how easy it is.


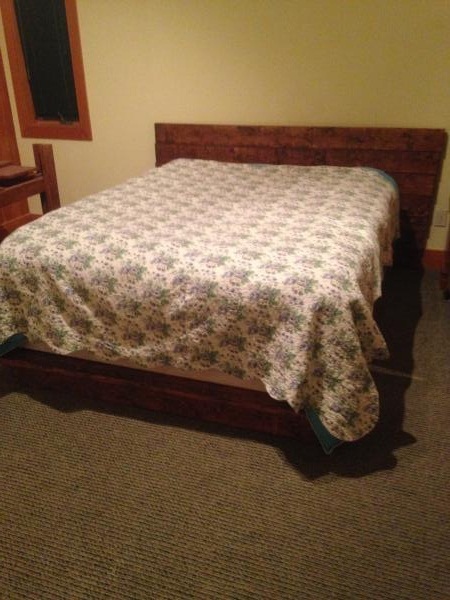
I followed the plan exactly. I did have to improvise attaching the footboard to sides.

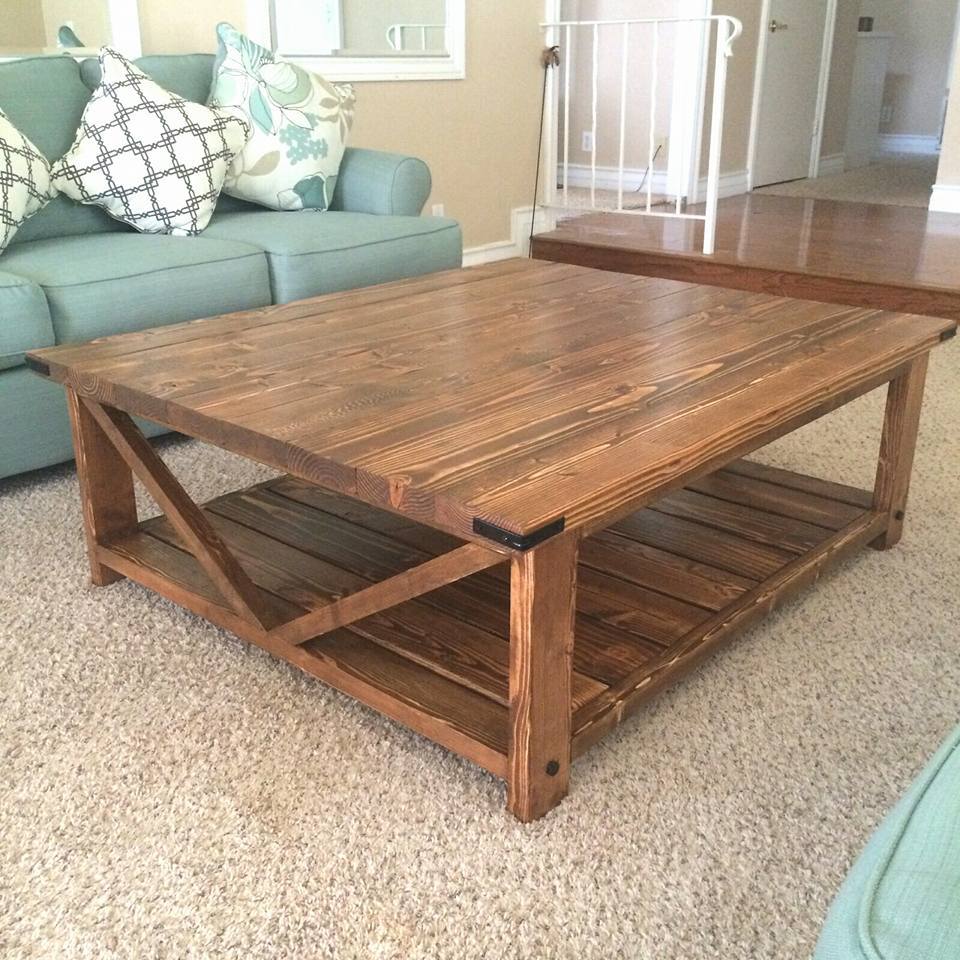
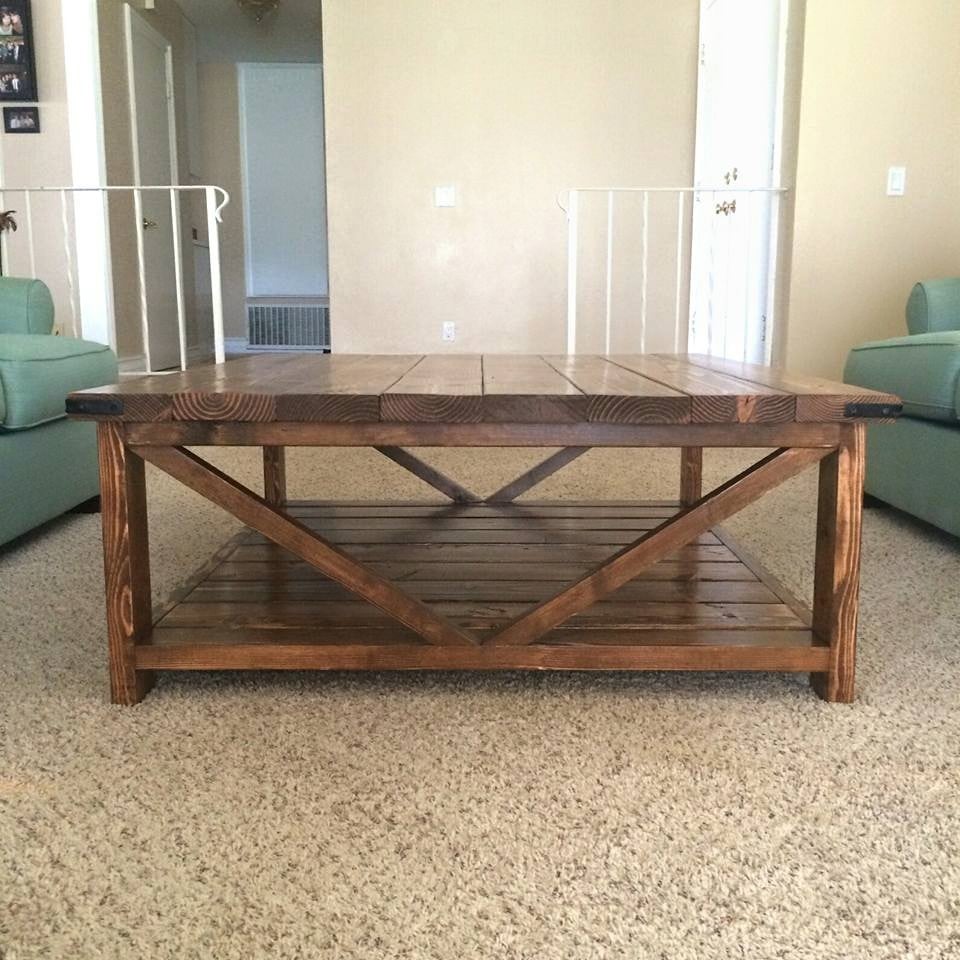
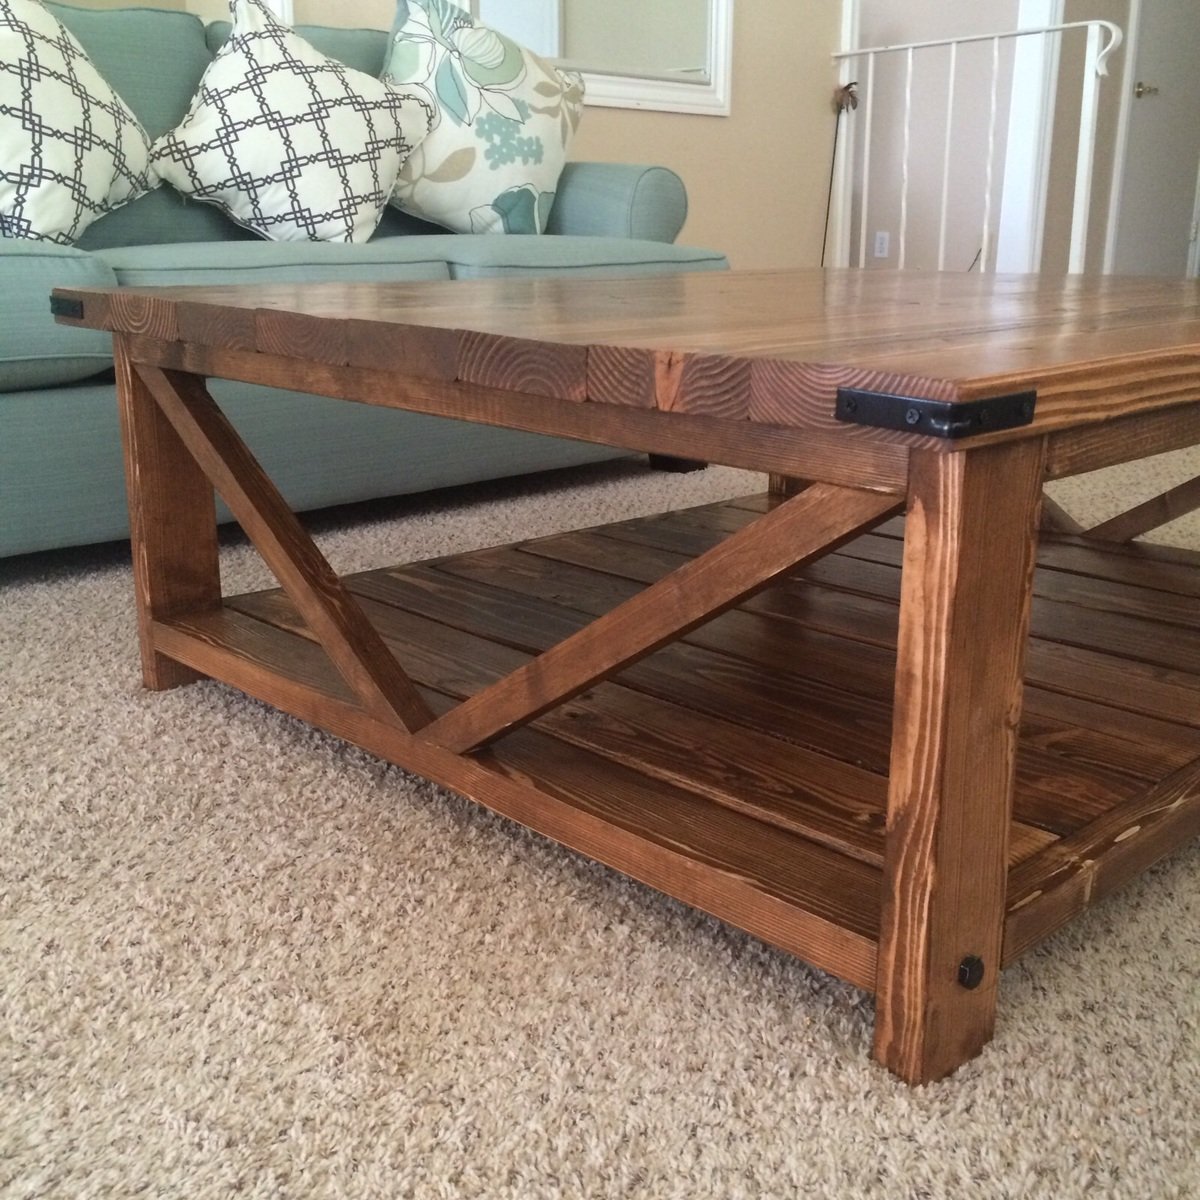
As a beginner at woodwork, this table was pretty easy to make. The instructions were easy to follow. I modified the table by adding 2x6 planks on the bottom and changing up the "X" design. The angles are tricky to get right, but i used scrap wood until i got the perfect angles then used my 2x2's for the final cuts. I also changed the finished dimensions of the table to fit in the room I was making it for, so this table was quite a bit wider than the original. It took me about a day and a half/two days to fully build and then I finished slowly over the rest of the week by staining and using a satin poly finish (I gave the top 4 coats so it took a little longer than normal). I'm so happy with the finished table I've already bought the wood to make another smaller one!
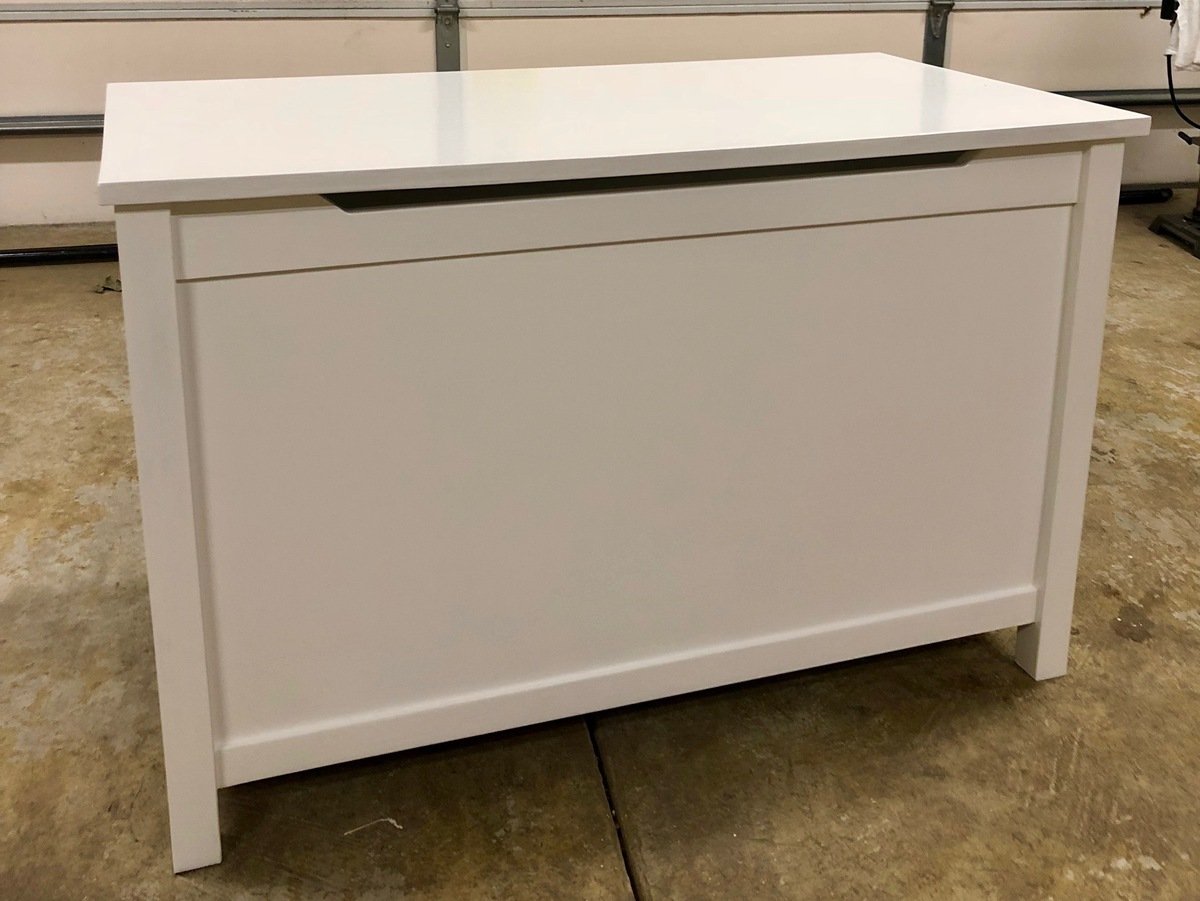
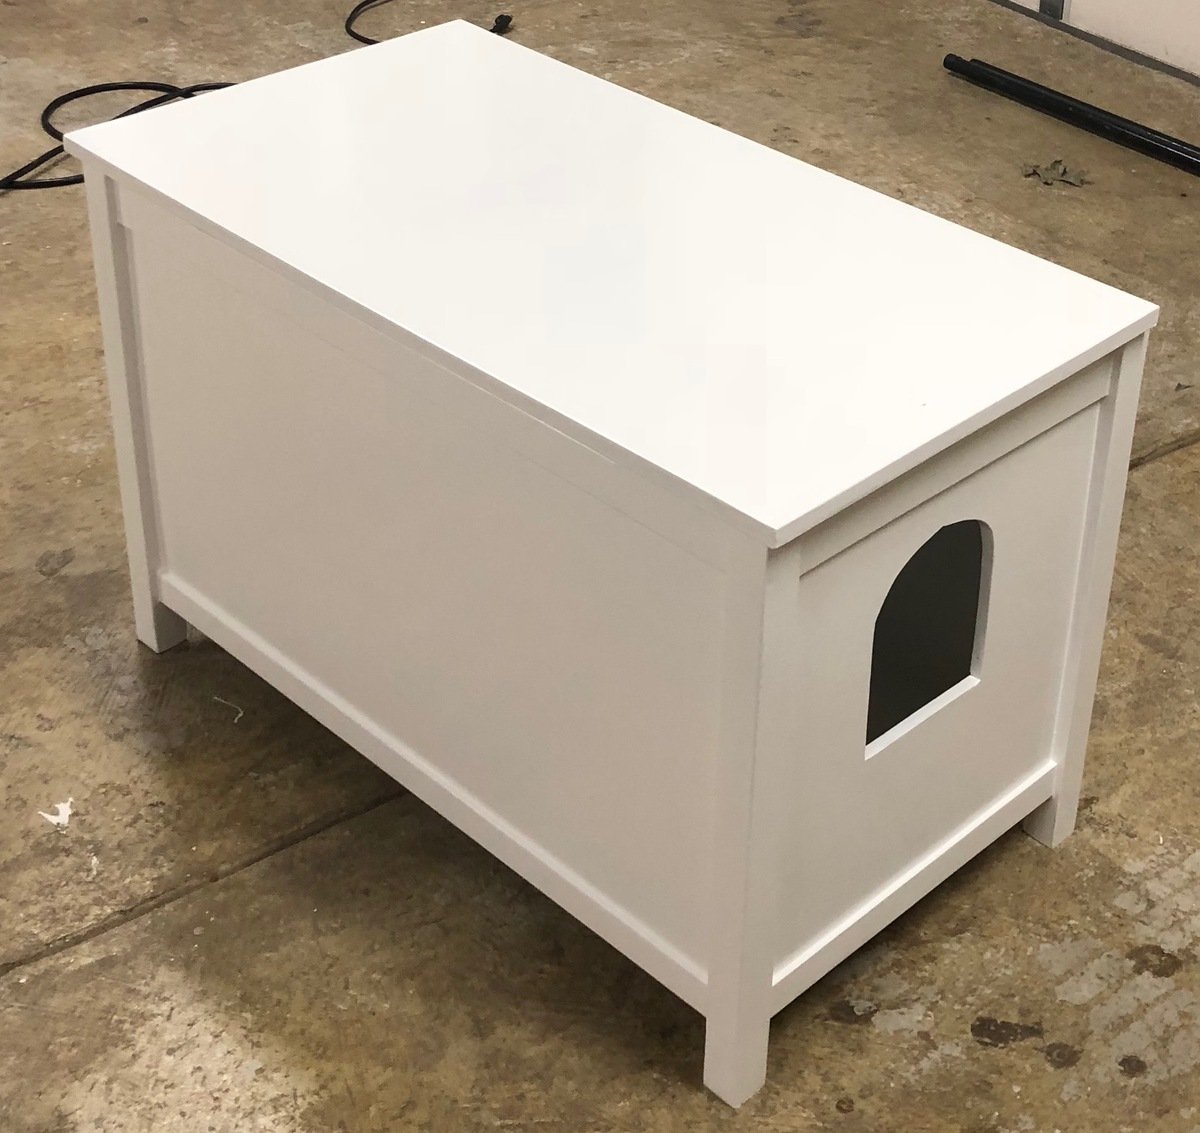
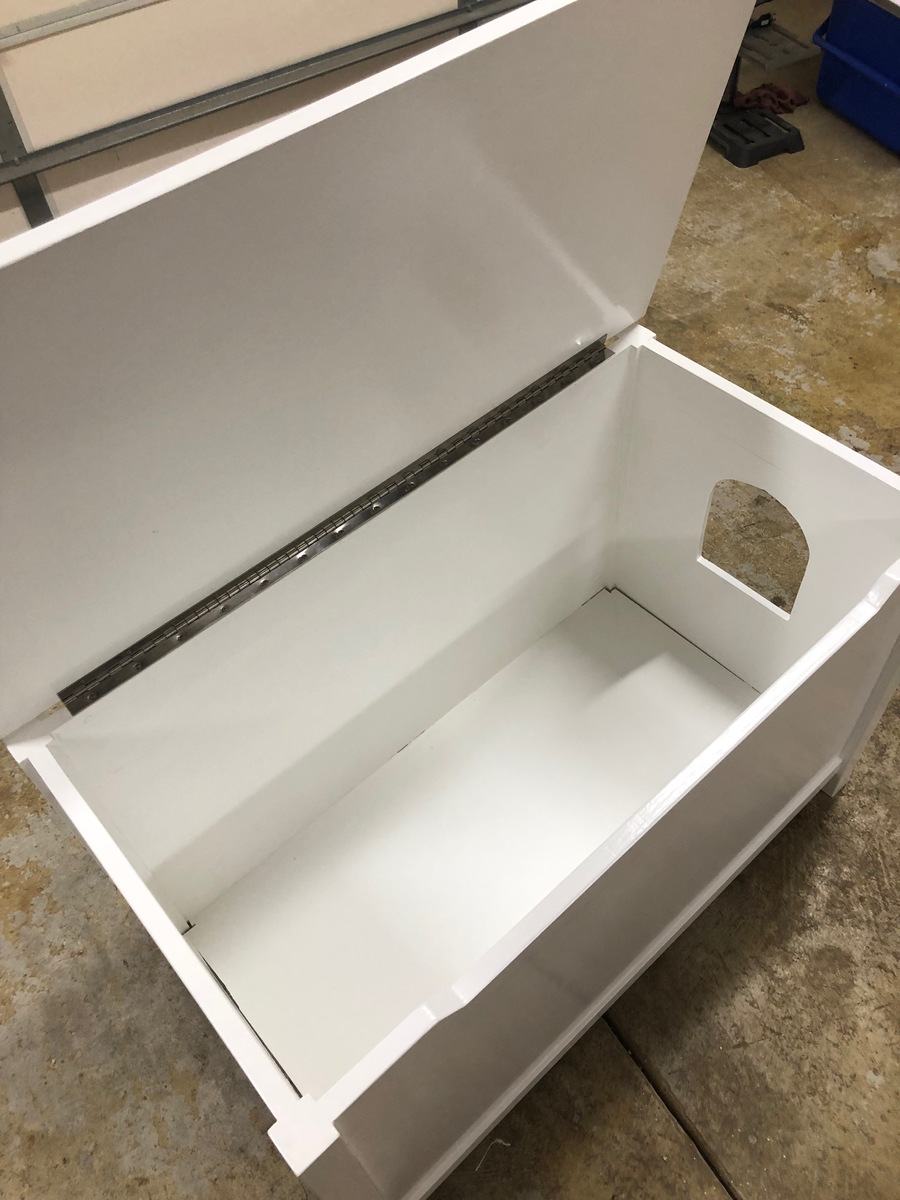
Took the Simple Modern Toy Box Plan and converted it to a litter box cover/storage unit.
I finally completed the last piece to my customized simple two-toned outdoor collection...an outdoor kitchen sink!!! It still needs a couple of touch ups... but more on that later. This is by far my favorite and easiest project to date. We plan on using this as a grill caddie/garden station. This will eventually go onto a 24x12 deck up against our kitchen window (The indoor and outdoor sink will be against each others backs). I decided to go with the Sturdy Workbench plans for the base mainly because of the weight. We wanted something that's going to be difficult to move since it will be hooked up to outdoor plumbing. I used treated 2x4's for the base, cedar 1x4's for the top. I bought the bar sink for about $70. I also used a Kreg Jig to screw in the cedar slats from underneath so the screws won't be visible from the top. FYI - Wait a couple of weeks before you paint soaking wet treated wood. The green chemical from the 2x4 is starting to leak through my white paint. I'll have to go and prime/paint it again when it finally dries. Other than that, it came out 10 times better than I could ever imagine.
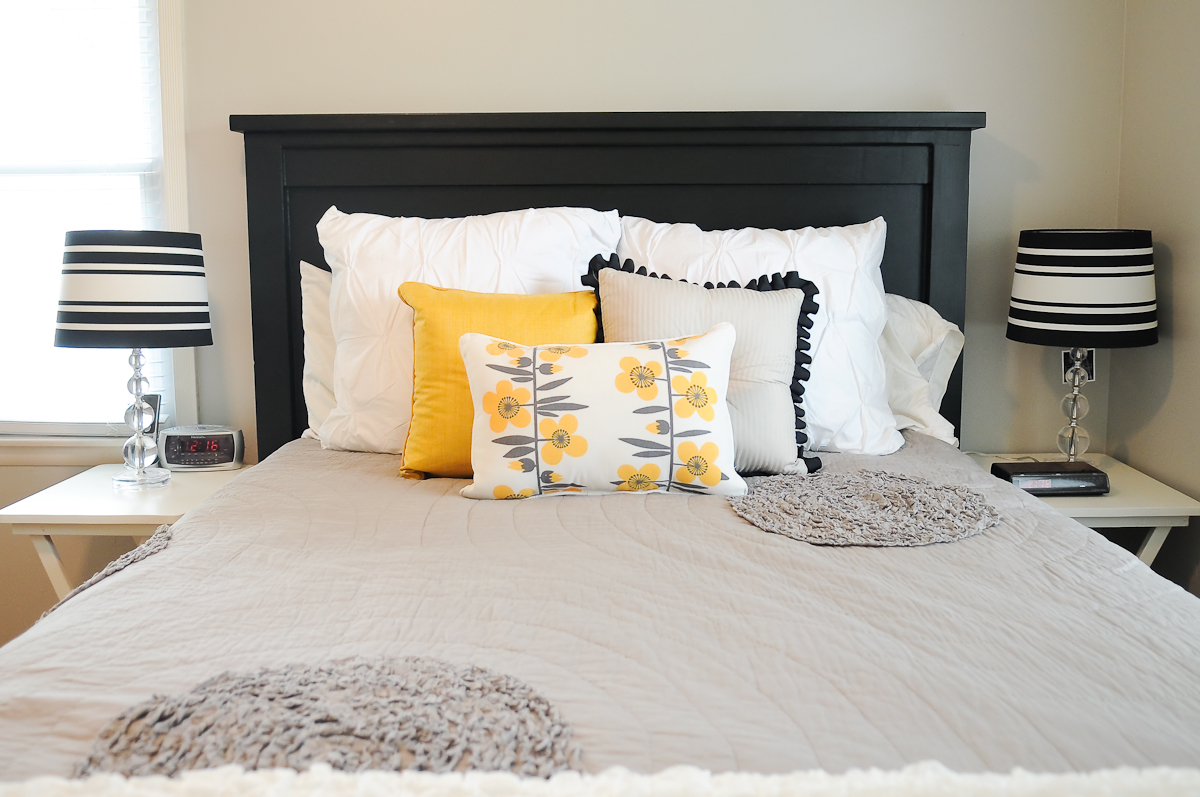
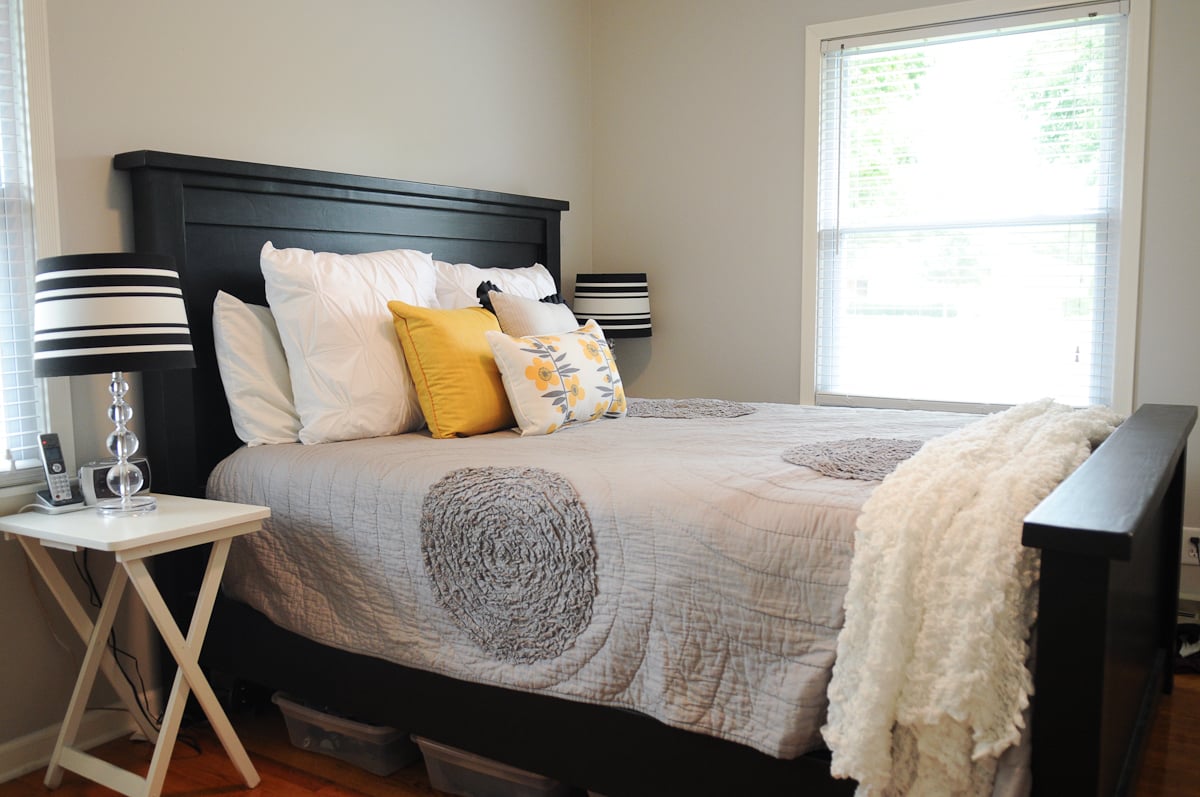
I built this bed as a modified farmhouse bed. I chose to have a solid wood headboard instead of having a slotted look as it fit better in the decor of our home. I purchased a bed rail kit from Rockler so that I could remove the rails without removing any screws. (http://www.rockler.com/product.cfm?page=5783) It was a relatively easy project considering my skill set was very low when starting! http://www.lifewithfingerprints.com/2010/09/labor-of-love.html
Wed, 08/17/2011 - 14:03
Very beautiful! I dream to build the farmhouse bed. The finish is awesome in black.
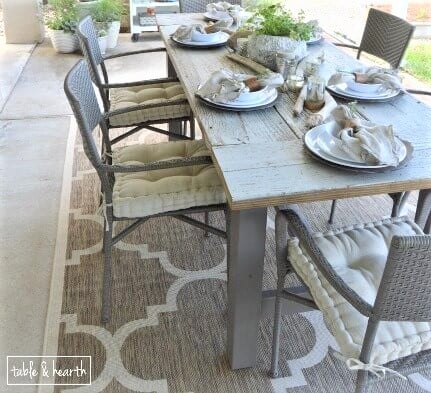
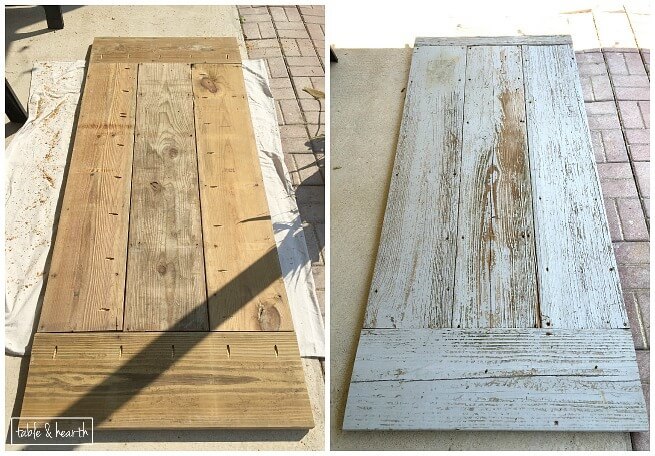
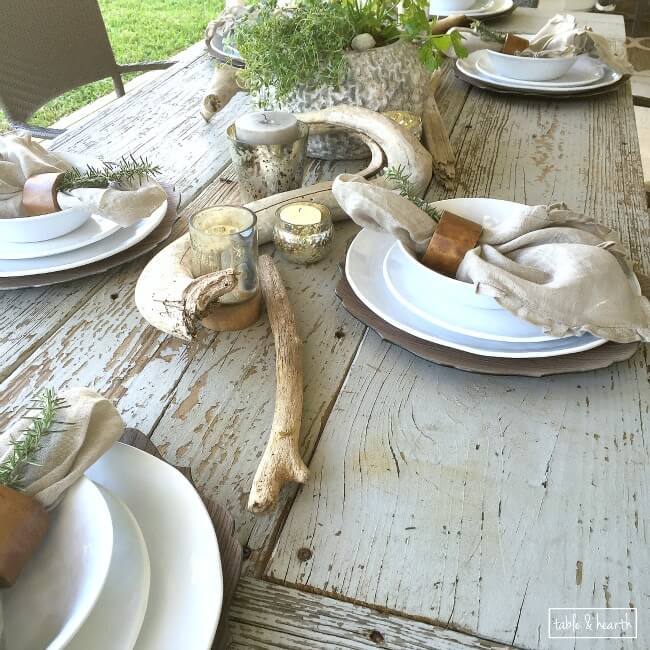
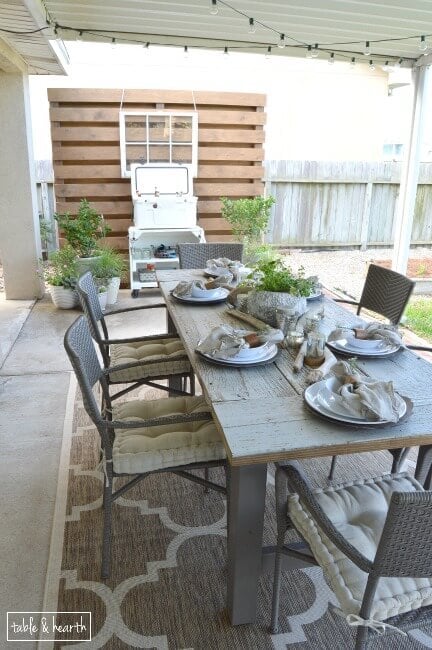
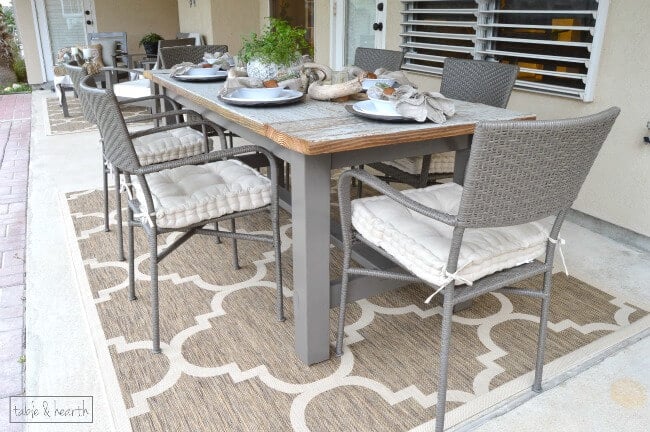
We found this beautifully chippy lumber on the side of the road and snagged it knowing it would make a perfect table top someday. When I decided to build a table for our back patio makeover, I knew exactly what I had to make the top out of.
This was my very first build and the pocket hole plans made it so much easier than I thought it would be! I built the top first then modified the cut list dimensions based on the top. I also flipped the ends around so the braces would show on the inside instead of the outside.
I seriously can't get enough of the top, it's so pretty and I don't have to worry about it at all since it's already wonderfully rustic. The table fits six chairs perfectly. We are looking forward to having many evenings around this table with family and friends!
Fri, 09/30/2022 - 18:16
WOW, this is amazing, thank you so much for sharing your beautiful table!
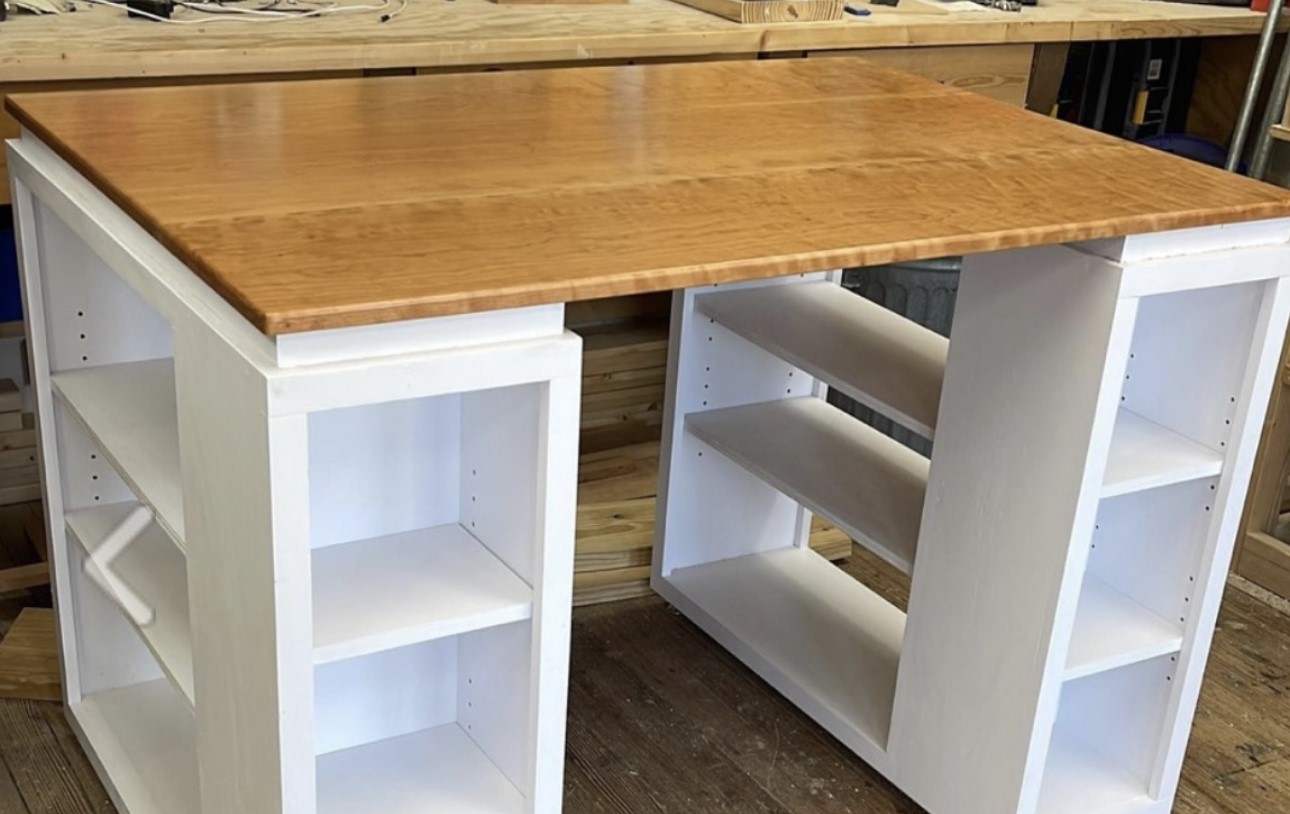
I used the plans for the modern craft table for this build and I had some curly cherry laying around begging to be use so I used that for the top.
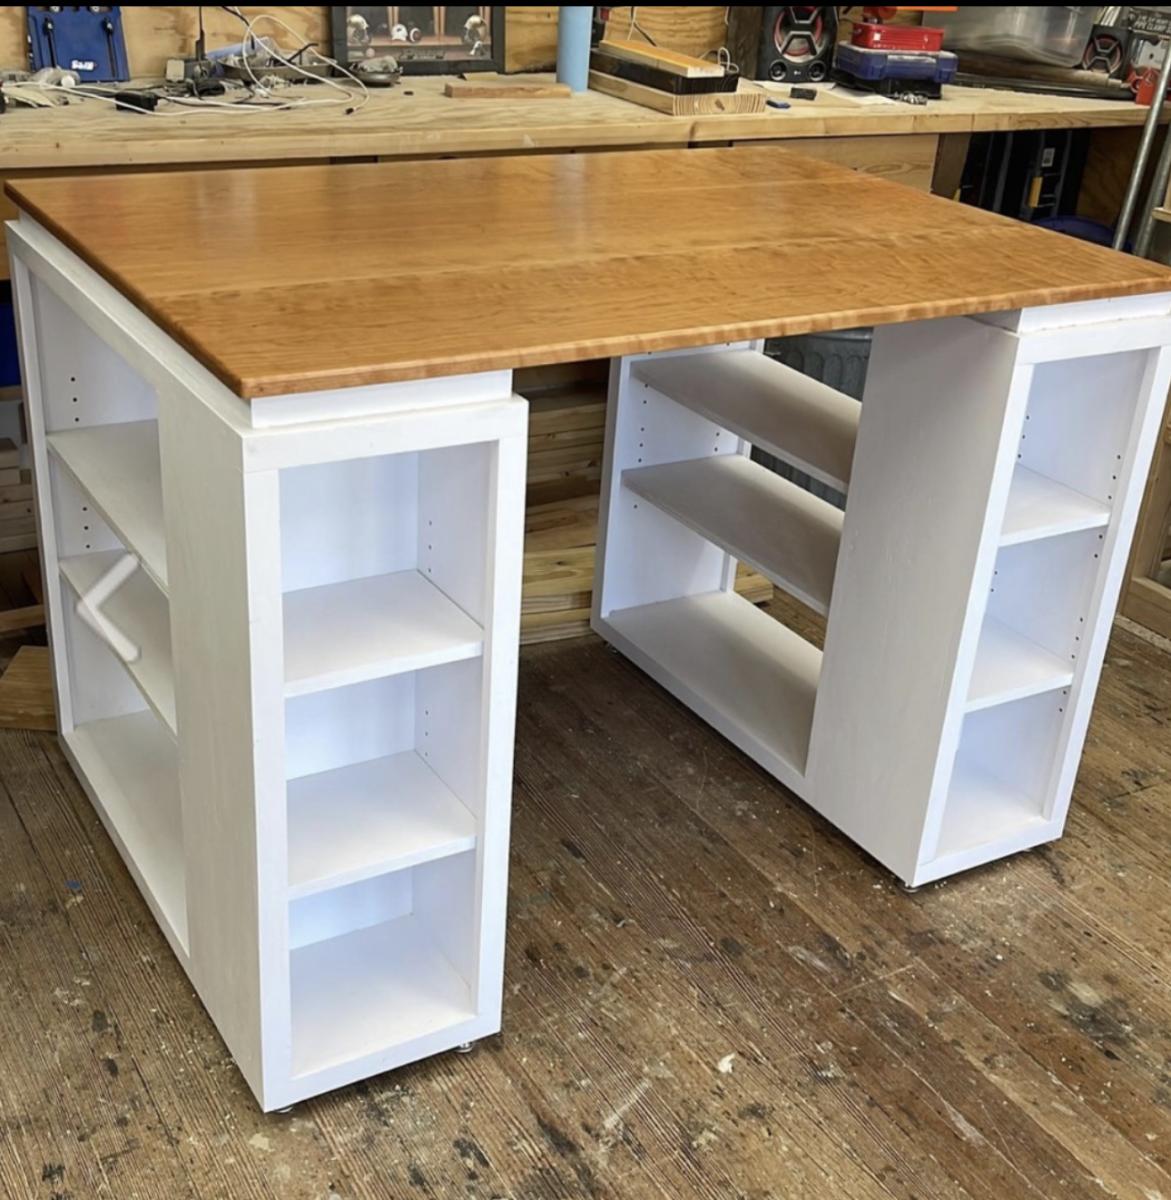
Sun, 11/20/2022 - 12:32
This is delightful, love the white base and stunning wood top! Thanks for sharing.
This is the greatest website ever! Thank you so much Ana White! Anyway, this was my first project. Our family room was a mess - shoes everywhere, coats strewn, you name it. We don't have a mud room - you just walk in from the garage to BAM, the family room. So the mess needs to be contained and organized and the Braden Shoe Drawer, Locker and Mail Sorter/Phone Charger was our answer! I would have loved to have done the locker-mail sorter-locker layout but space is limited in the room so I was only able to make one locker. I did make a 3rd drawer, per Ana's awesome wood cutting instructions and that drawer is in a storage closet. So, pay attention to her cutting instructions - she knows what she's talking about! I had some left over wood (1x10) and used that as a divider in the shoe drawer to keep each kids' shoes separate.
Sat, 09/03/2011 - 10:04
Just love the divided drawer and this whole set! What am amazing project! So proud of you! The finish is just perfect too!
Sat, 09/03/2011 - 12:59
This looks great for a first build! The drawers are great for hiding the shoes and I love the mail sorter. Awesome job!
Thu, 12/01/2011 - 13:26
I'm new to Ana's site & I desperately need to find a Mud Room Locker System & since I don't have an office downstairs I either need a desk put in my kitchen or a mail sorter system of some kind! You did a fabulous job but I have to admit that I'm terrified to even start this project!!!!! I'm afraid that I'll make a huge mess of it!!!! Any suggestions for a newbie???? Thanks a million!
This is a shelf based on the fighter planes from the pre-WWII era. I built it for my son's nursery. I stumbled onto Ana White's plan "Plane Old Shelf", got inspired, and it evolved into what it is. If you have any questions, feel free to contact me.
Mon, 09/05/2011 - 22:38
I love this! I would love to make a version of this. Can you please post what you used to make the fuselage and landing gear out of? Also, how did you attach it to the wings?
Thu, 09/08/2011 - 13:46
Thanks! The fuselage is made out of bender board. I don't remember the exact thickness but it was the thinnest they had at Michael's. You would think I would remember. I had to do the fuselage twice. My daughter stepped on it and put a hole through it.
The wings were actually one long wing. I build a frame around the wing and then wrapped the bender board around it. It may not be the best way, but it is all I could think of.
Thu, 09/08/2011 - 17:14
The Landing gear was made out of a 1x6 I had. The struts were two sizes of oak dowels.
Thu, 10/30/2014 - 17:07
I undersand the shelf and the landing gear. I can make the canopy and propeller, no problem. I don't understand how the main fusulage was made with the curved edge. I tried searching for the bender board that was mentioned above with no luck. Could you point me in the right direction?
Thanks,
Jordan

I received you French Cleat Hanging Closet idea this last week and although a rookie wood worker, figured I’d give it a try.
The instructional video was excellent and very easy to follow. Think it came out just fine if I do say so myself.


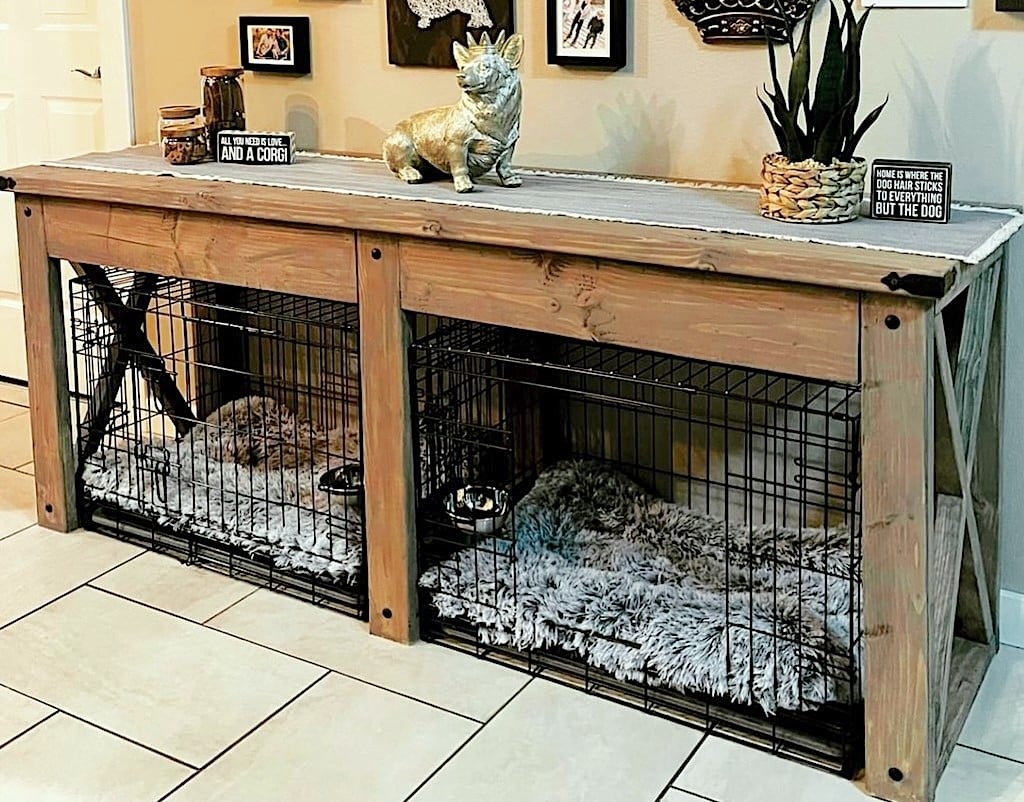
"I modified the Farmhouse X Console to become a surround for my dog crates. Thanks for the project plan!"
Sheena
We built this Farmhouse table in a week. Unfortunately, we didn't get it completely put together for four months. Now it is finished. It is our first project. We used pine and fir boards from our local lumber store. It is finished with red chestnut and dark walnut stain and then a couple coats of briwax dark walnut (love that stuff!!). The table is 96" and pictured here without the 15" bread boards that go on either end. The benches are 8' as well.
Sat, 05/24/2014 - 01:12
I loved your stain. I see you used two types of wood and two types of stain. Can you tell me more? Did you alternate the wood pieces? Did you stain the red chestnut first and followed it with dark walnut? I'll probably copy what you did :)
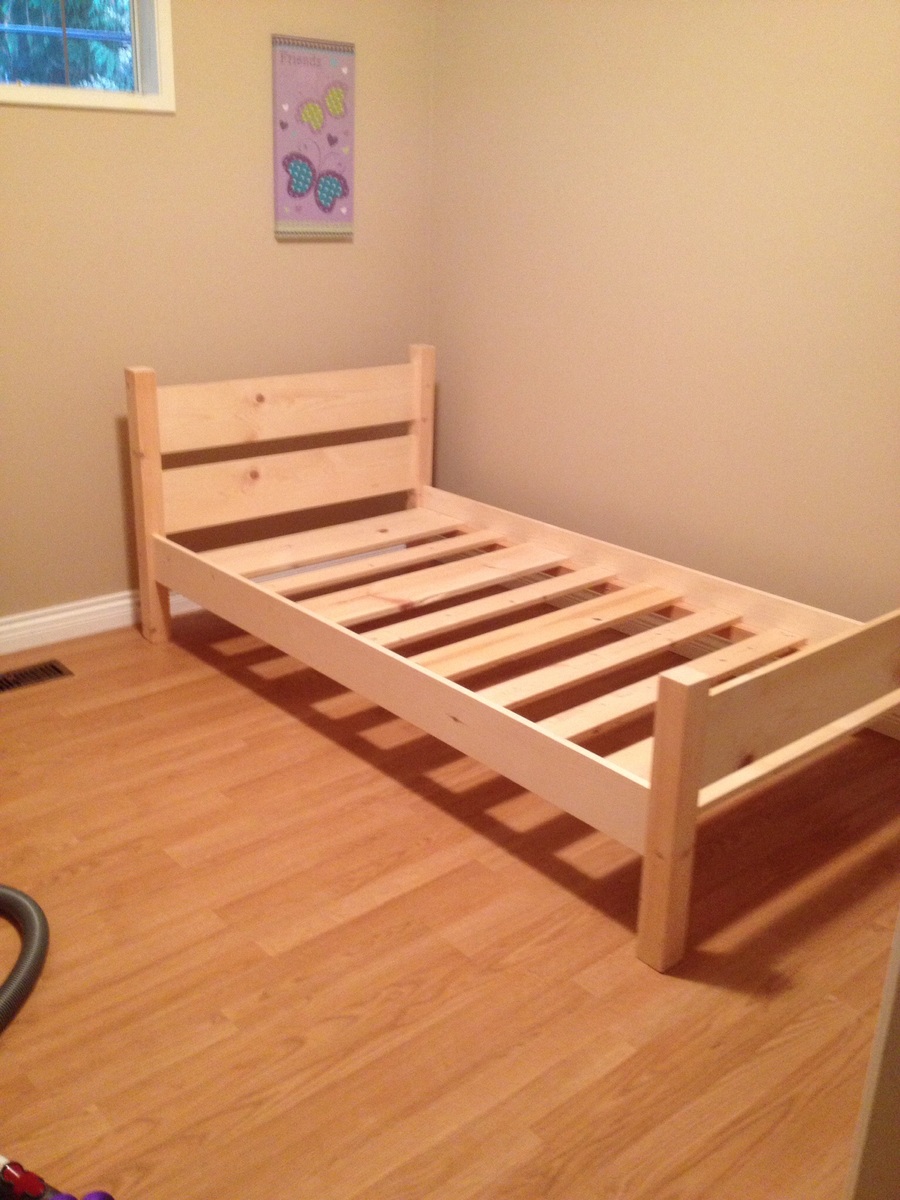
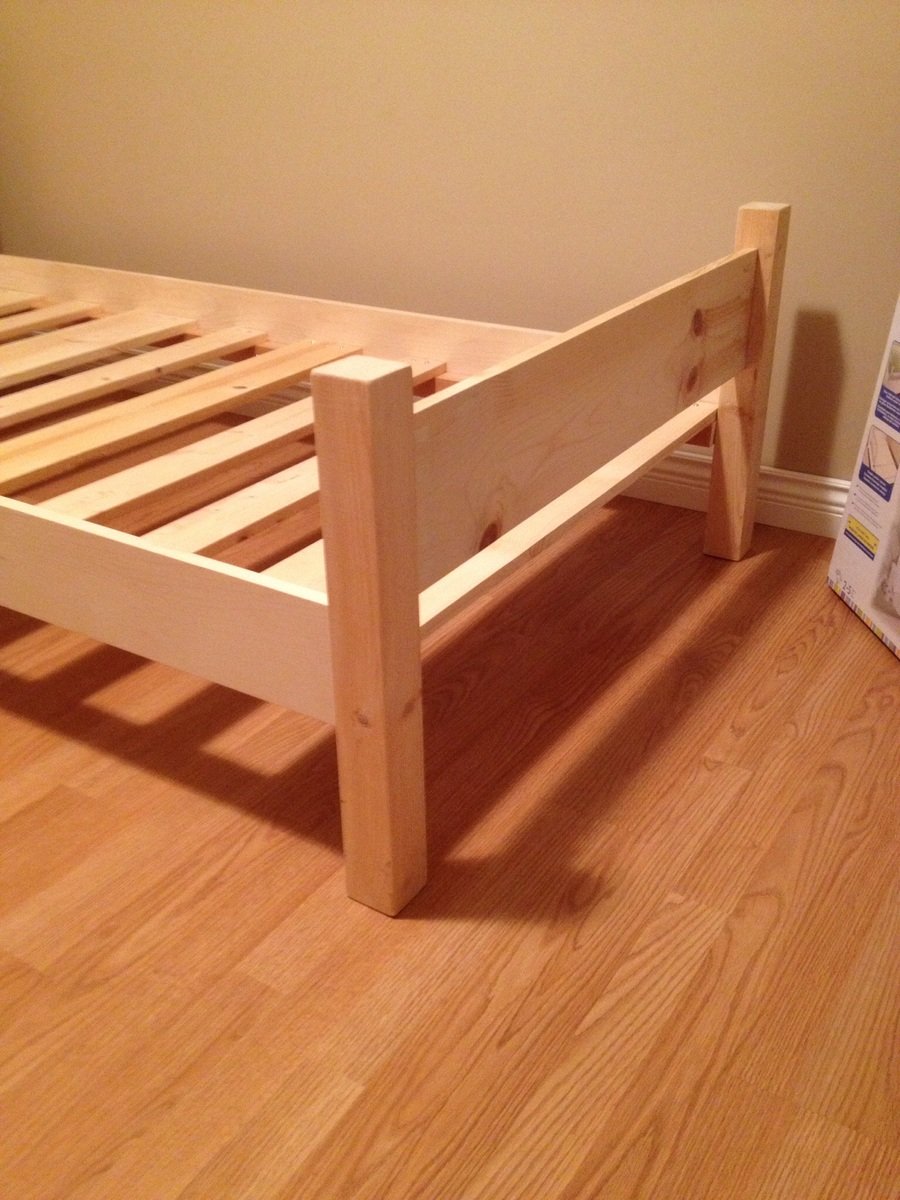
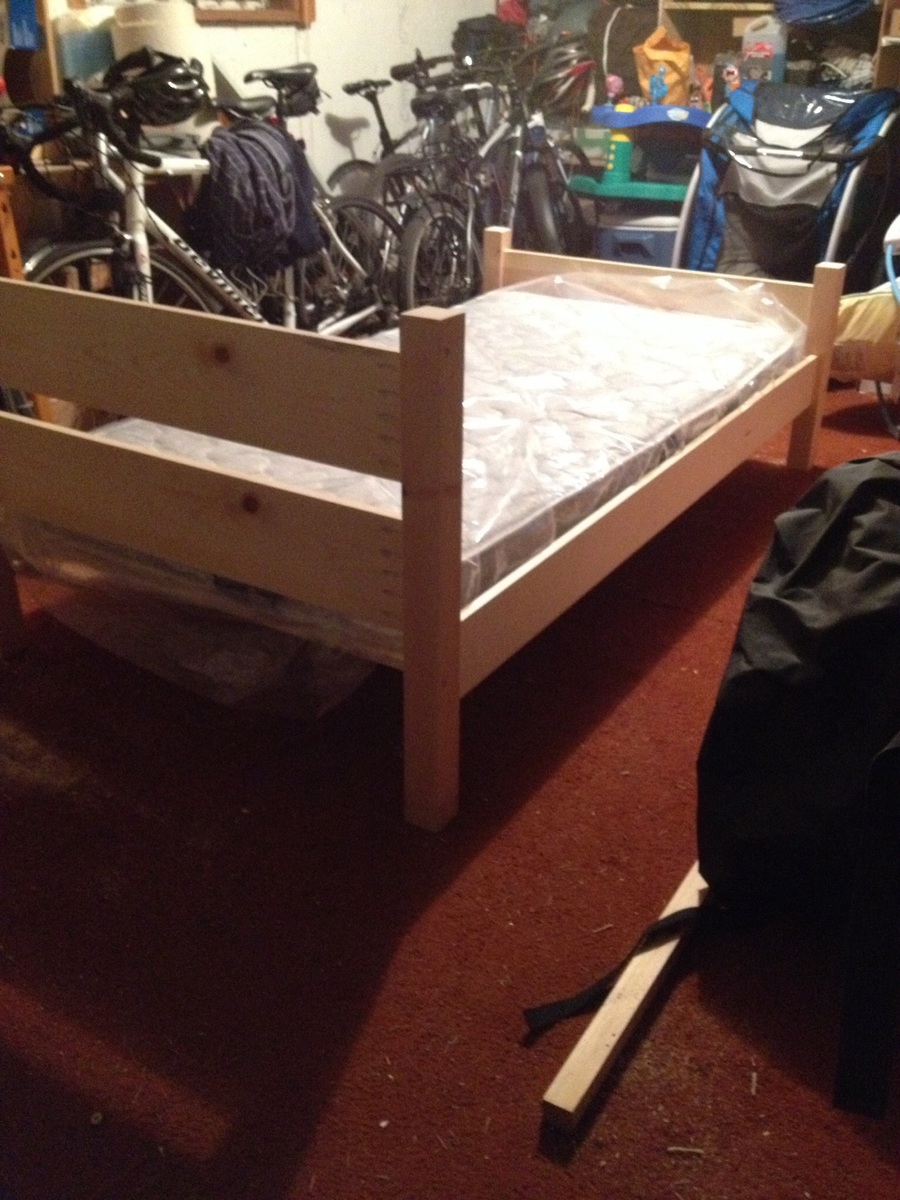
This site introduced the Kreg Jig which was a game changer as far as allowing me to give this a go. Thanks to the various posts for inspiration particularly Suzie_R. I added an off the shelf guard on the bed - photo to follow. I built the dimensions to fit a day mattress that I bought.
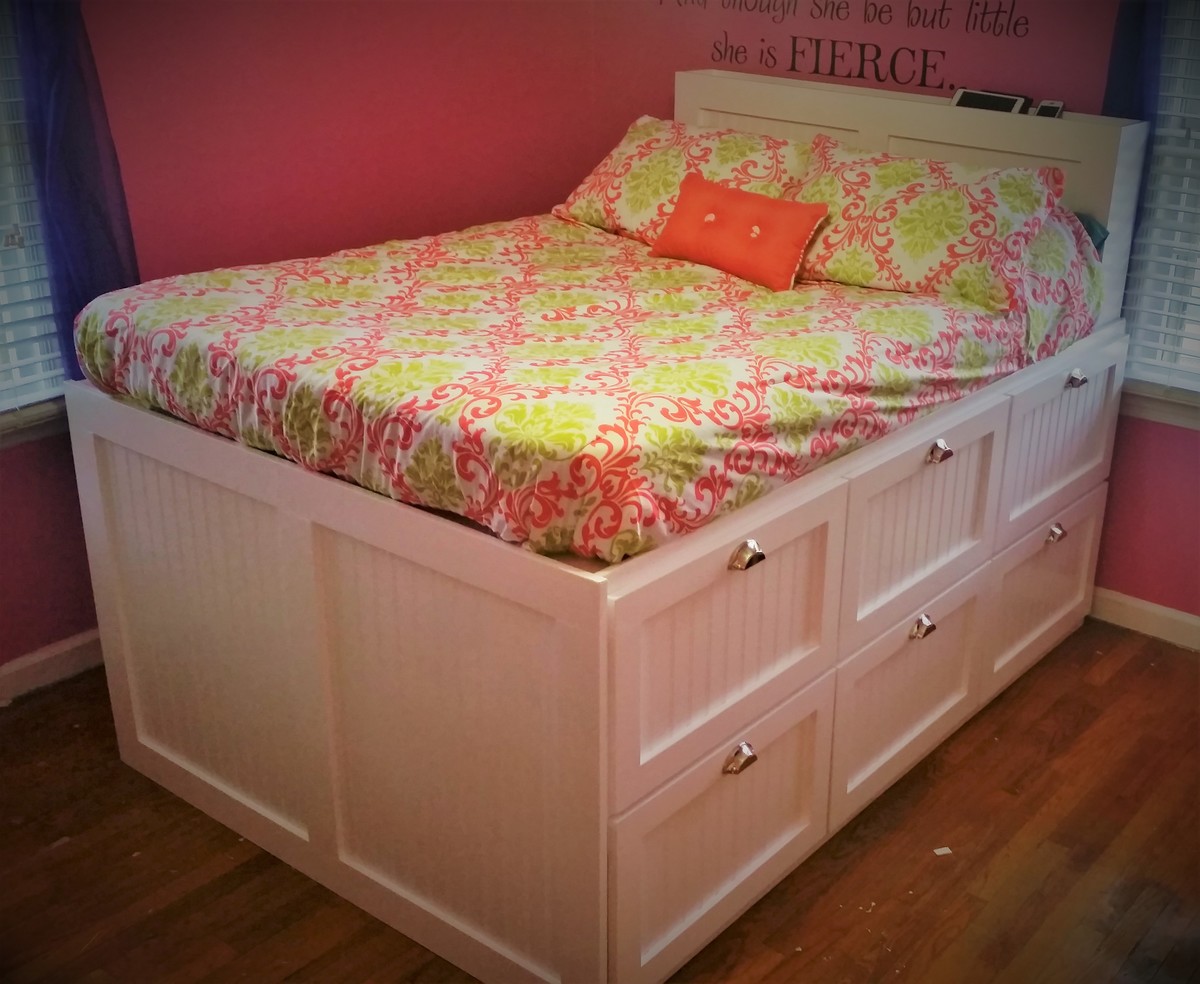
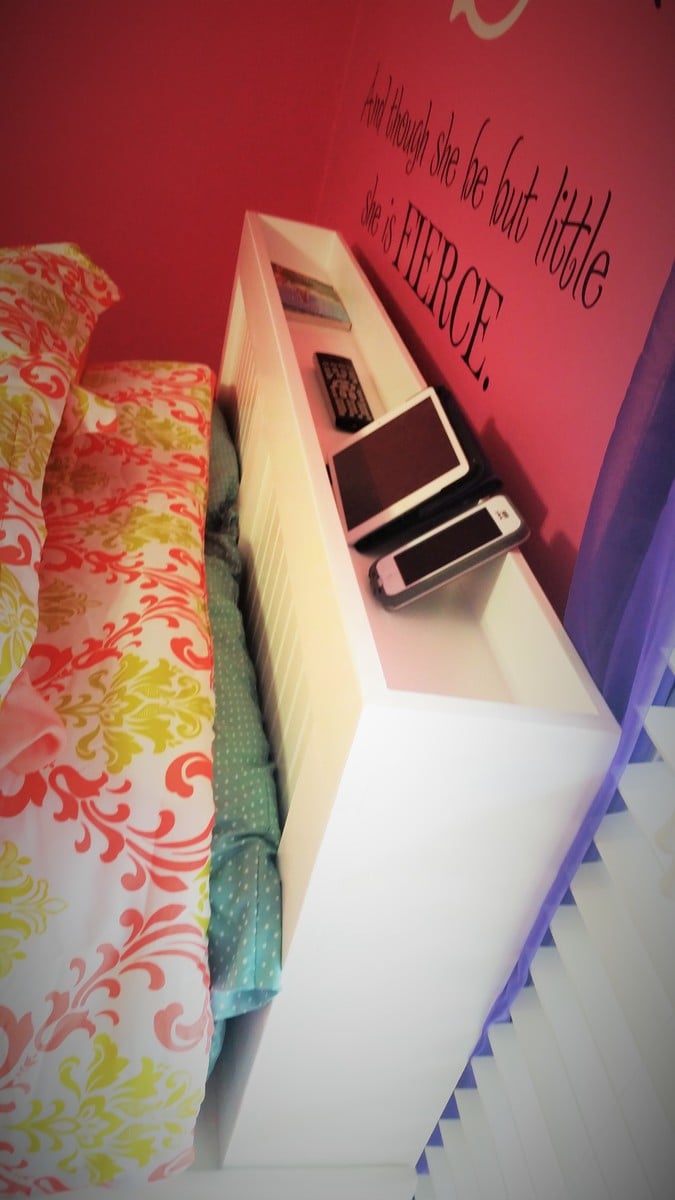
It was time to upgrade our daughter's bed to something bigger. I have always loved the idea of platform beds and went searching the Ana White site for ideas. Needless to say, I made several modifications to allow for a huge amount of storage. The bed is designed to fit up to a queen mattress, but we went with full size since her room is a bit tight. Each drawer is 24"x24"x12" deep and mounted on 100 lbs. full extension slides. This allowed us to eliminate both dressers in her bedroom plus the hamper since one of the drawers is now for dirty clothes. I built this as two 80" cabinets and used a 3/4" plywood spacer to bridge the gap. What you can't see is the six 24"x24"x12" cubbies on the far side of the bed which allowed us to remove her bookcase and toy box. Once in place, I measured and built the footboard panel with 1x4 dimensional pine and beadboard and it is attached with screws from inside the cabinet. The headboard was last as I wanted to give her a shelf for her chargers, remote, phine, ipad, etc. This allowed us to remove her nightstand. Her small bedroom feels much larger now that this is the only piece of furniture she needs once I get her tv mounted on the wall.
Wed, 04/12/2017 - 07:16
I want to make double the storage as you have done but am curious how tall your bed is from floor to mattress?
Wood working is a hobby I got into because my wife realised I needed something to take my mind off my job. I worked in IT when I started and I was coming home frustrated, annoyed, and often angry. I think she had an ulterior motive because when I suggested wood working she seems to have come up with a bunch of projects pretty quickly from Pinterest.
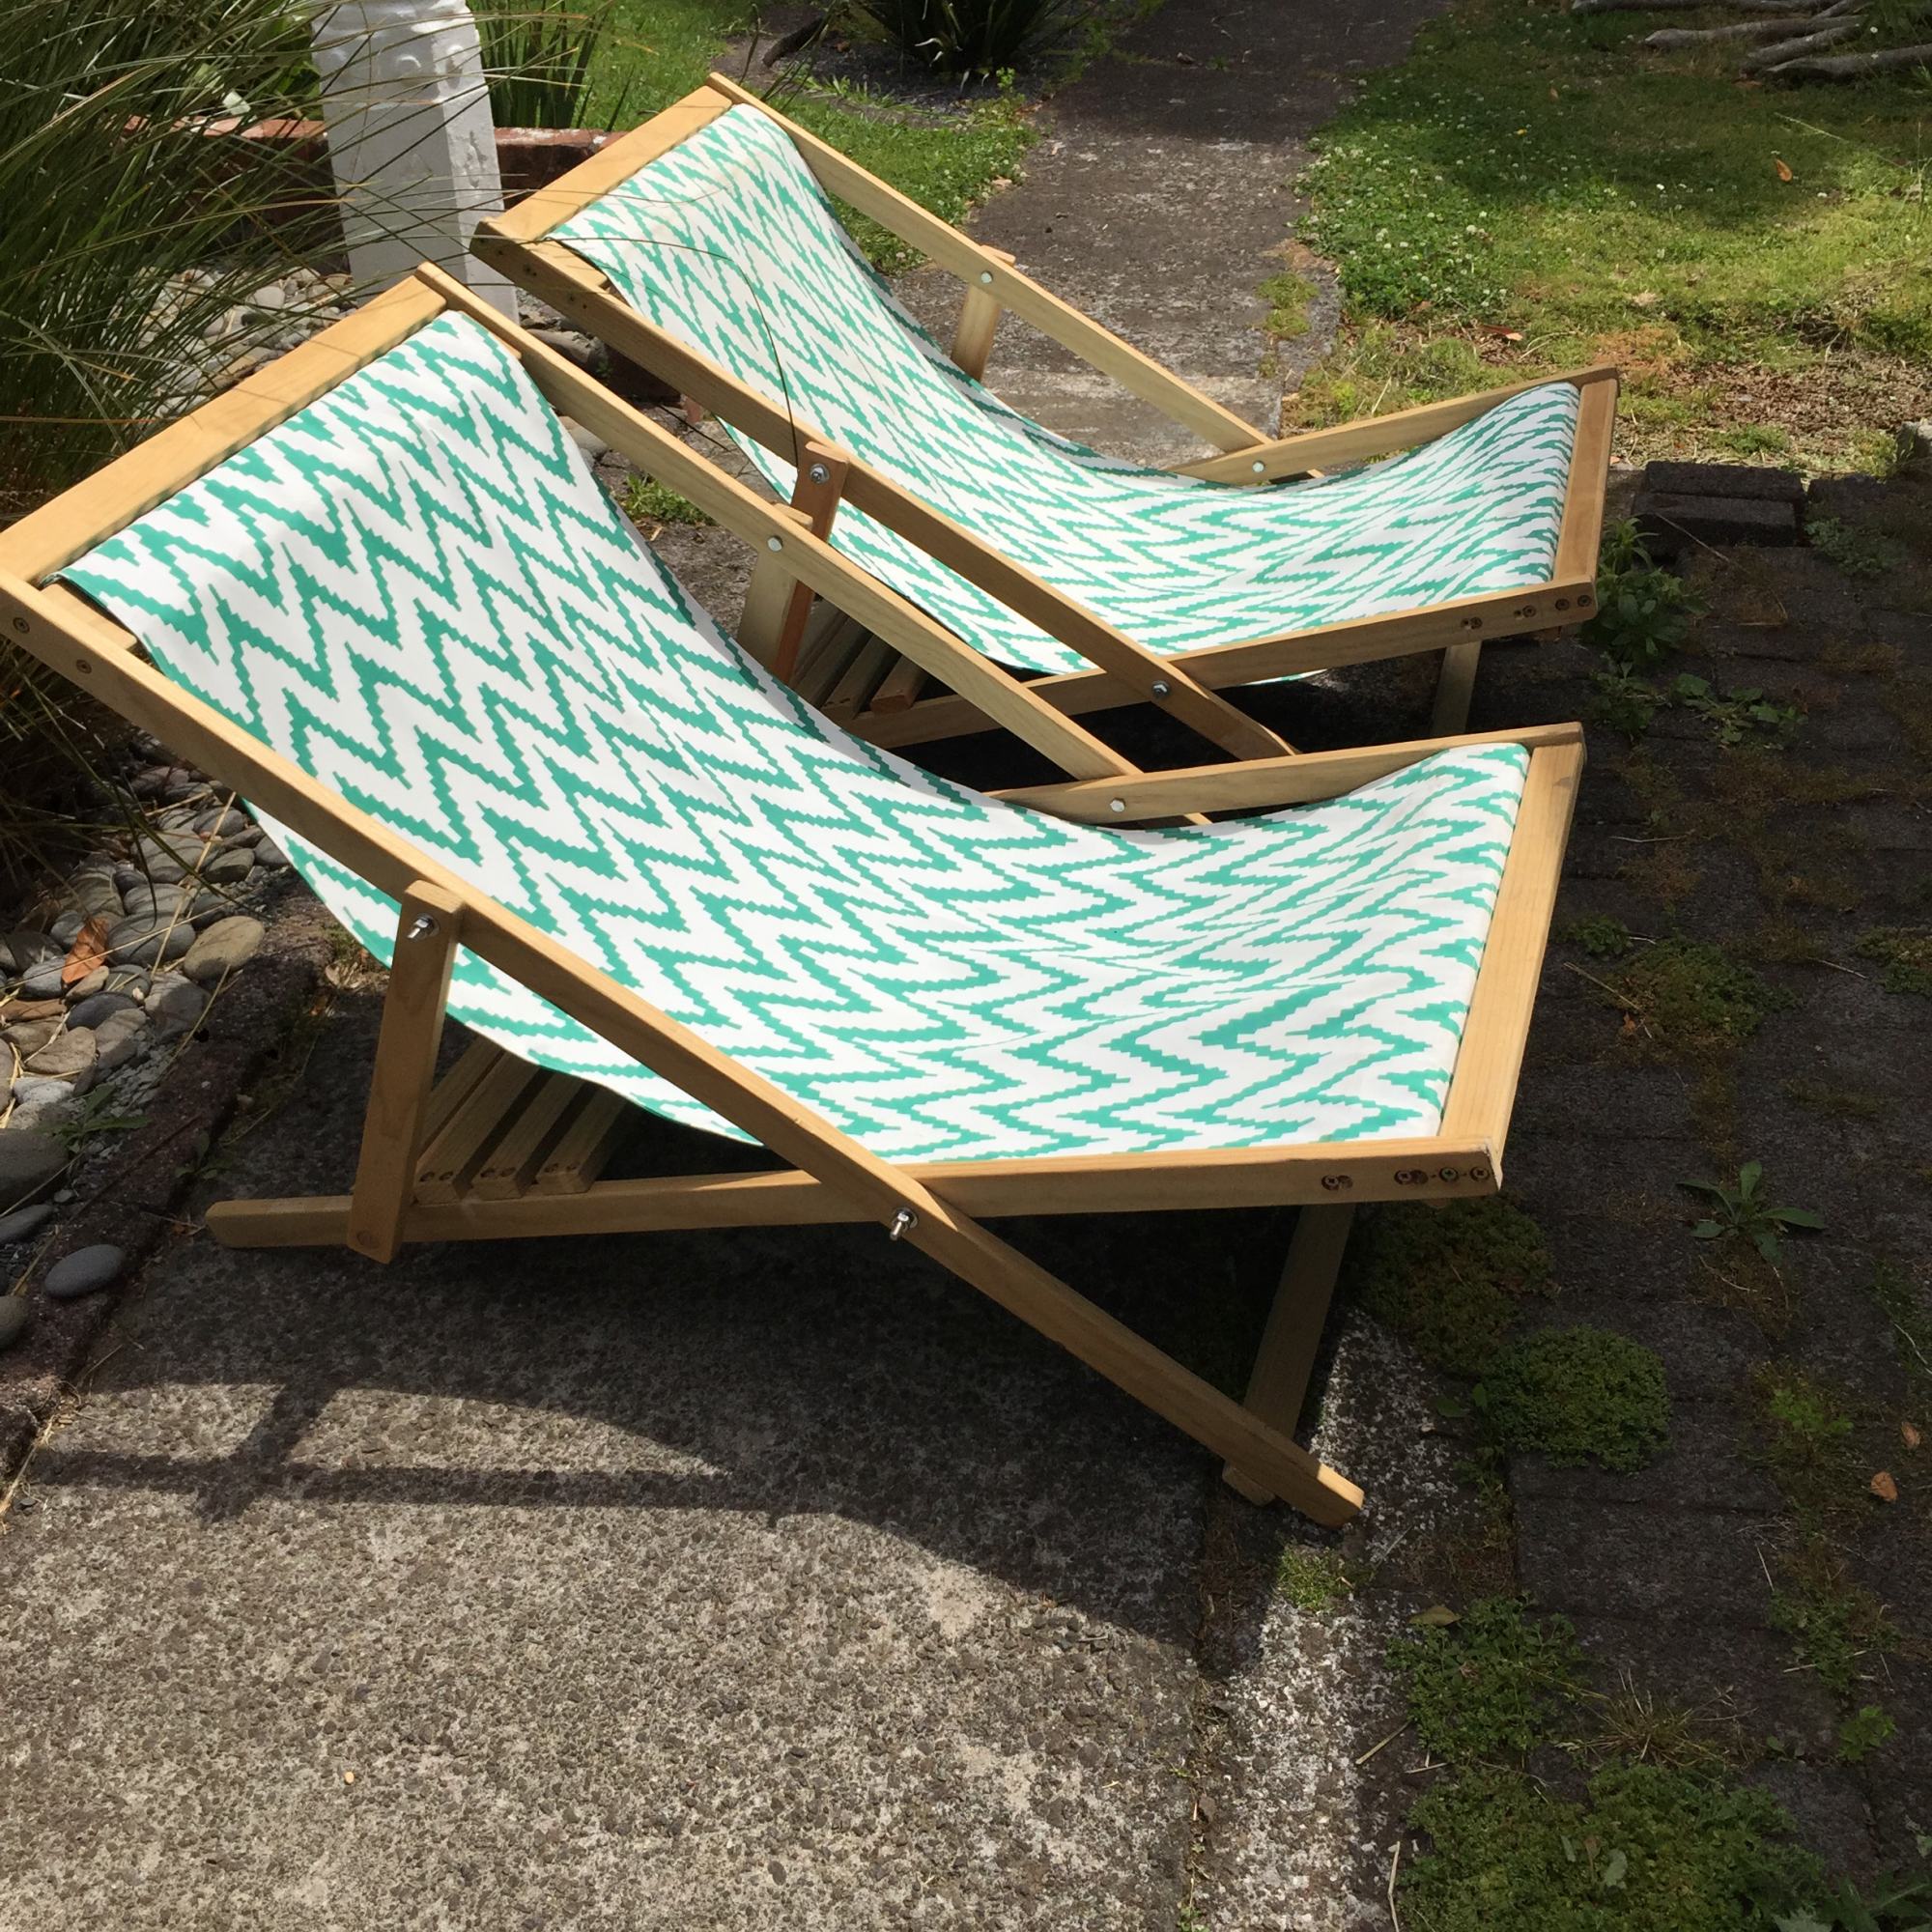
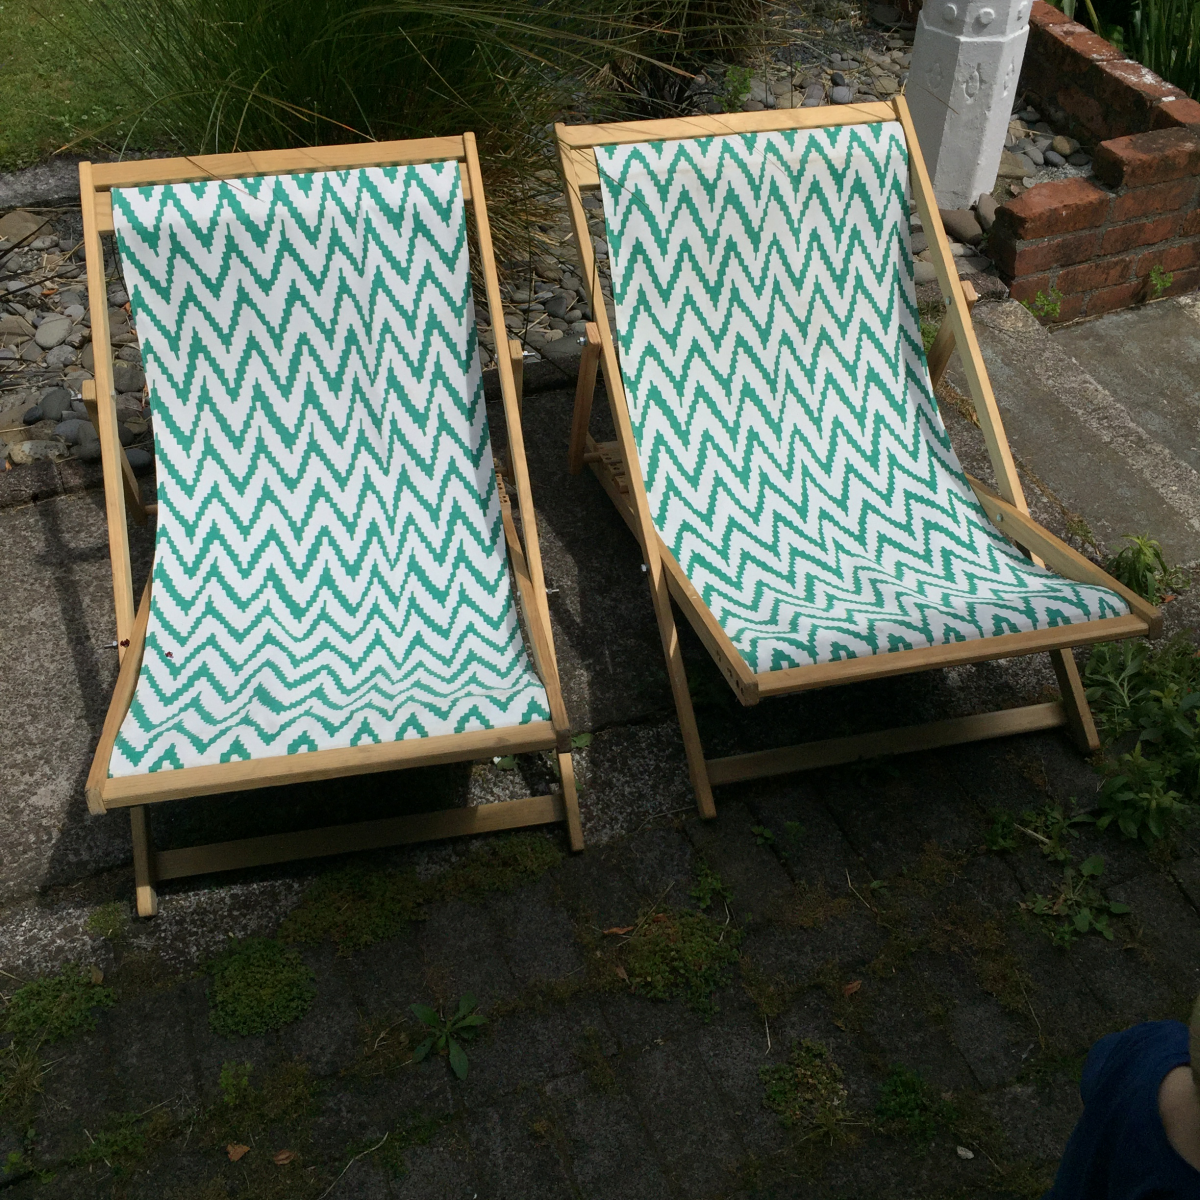
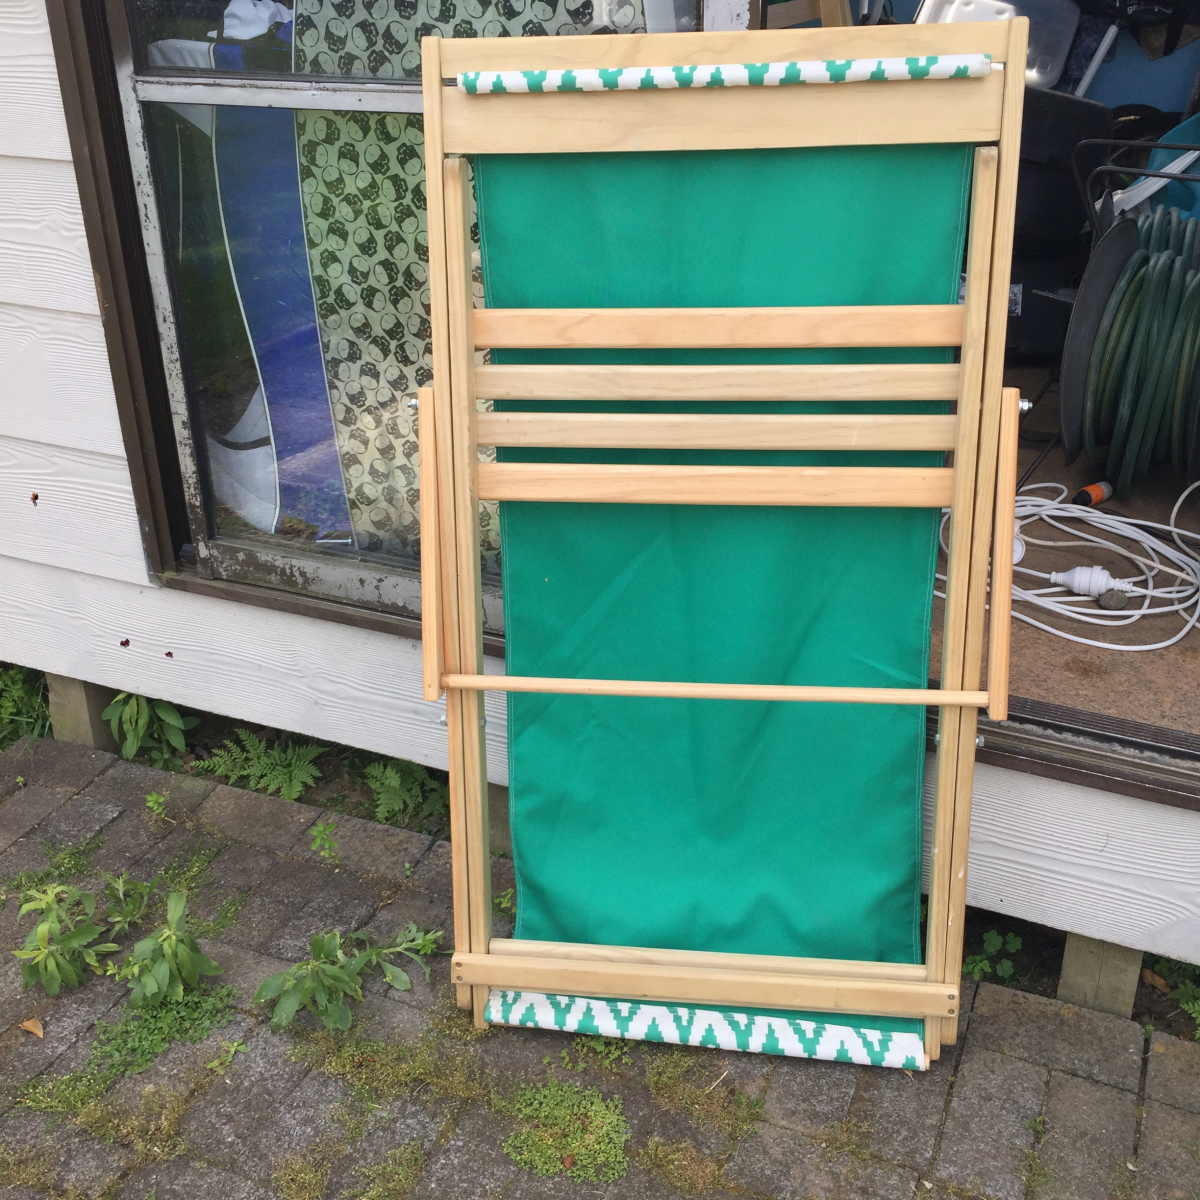
My first real project these deck chairs which I really enjoyed making. I've made a couple of changes to these since making them by removing the bolts and replacing them with 20mm dowel with a 4mm dowel pin. These work really well and stops us from getting shredded by the bolts.
I purposely left unfinished because I was basically developing them at the time and then just kind of liked the look as they got older. Basically these chairs are now about 6 years old and still going strong.
I'm looking at making some more sets for friends.

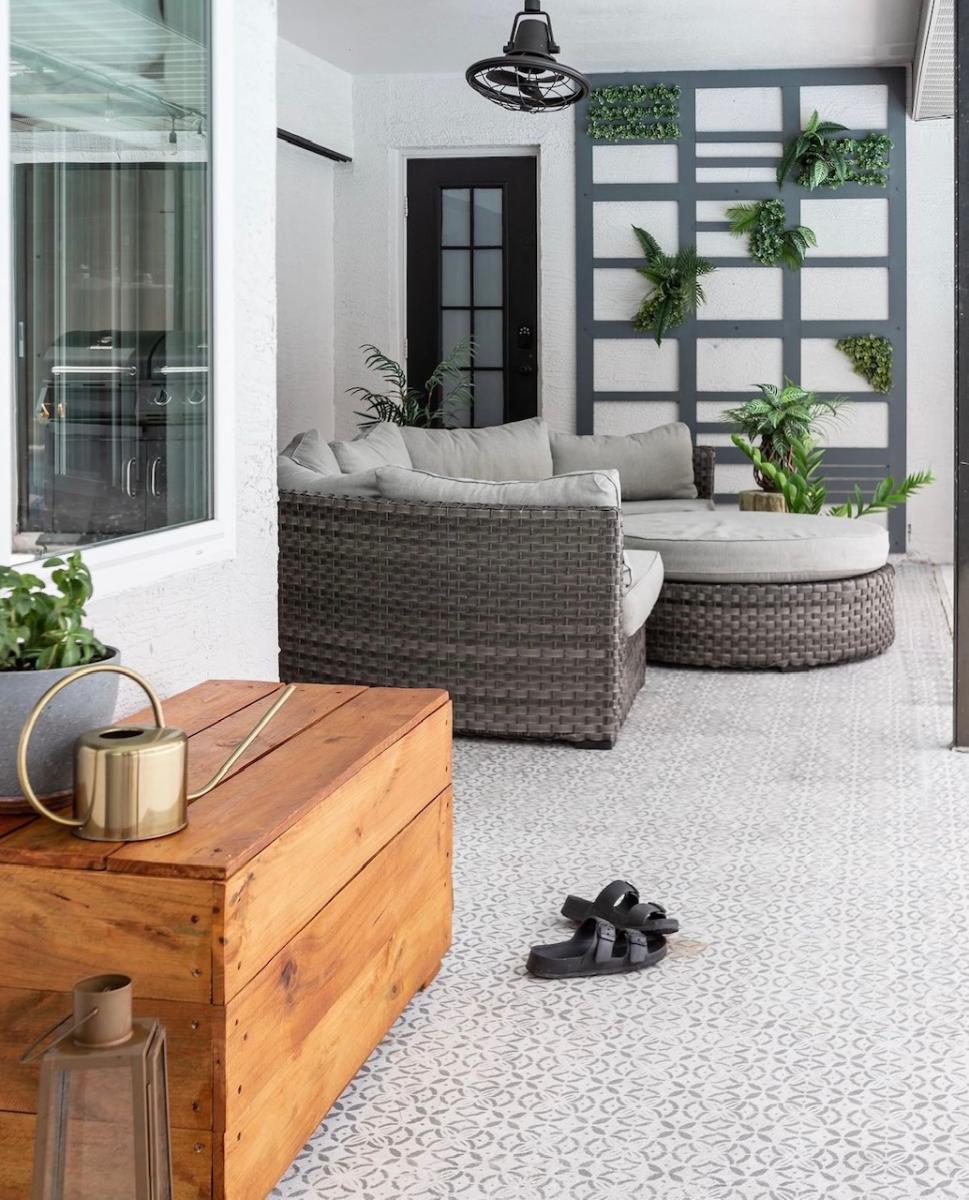
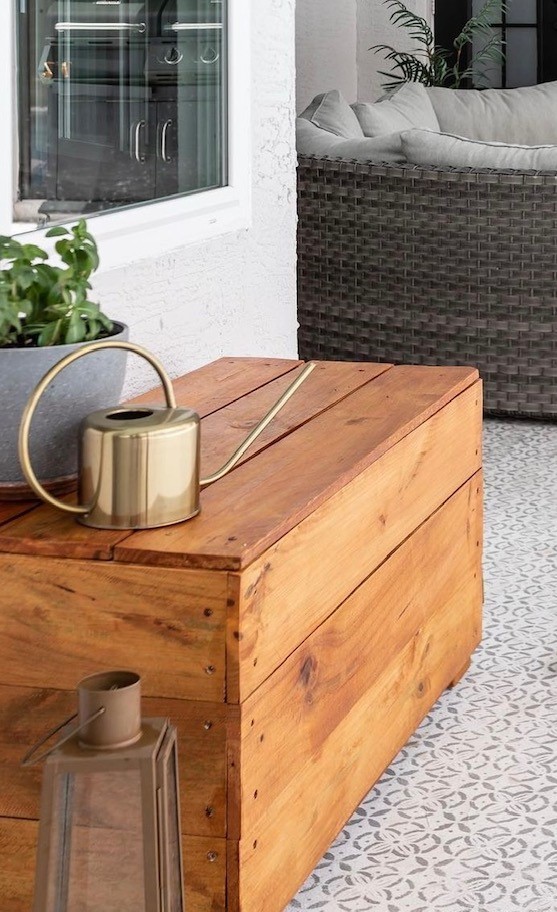
It’s a miracle I was able to finish this outdoor storage bench considering my kids are on summer break 😂
💡Tip: can’t find cedar pickets at your local stores? Just stain them. No one will ever know 😉 sealed with Thompson’s WaterSeal

I had a bunch of my old skis that I had used as a display wall in my chalet that I needed to do something with, and this was a perfect solution!
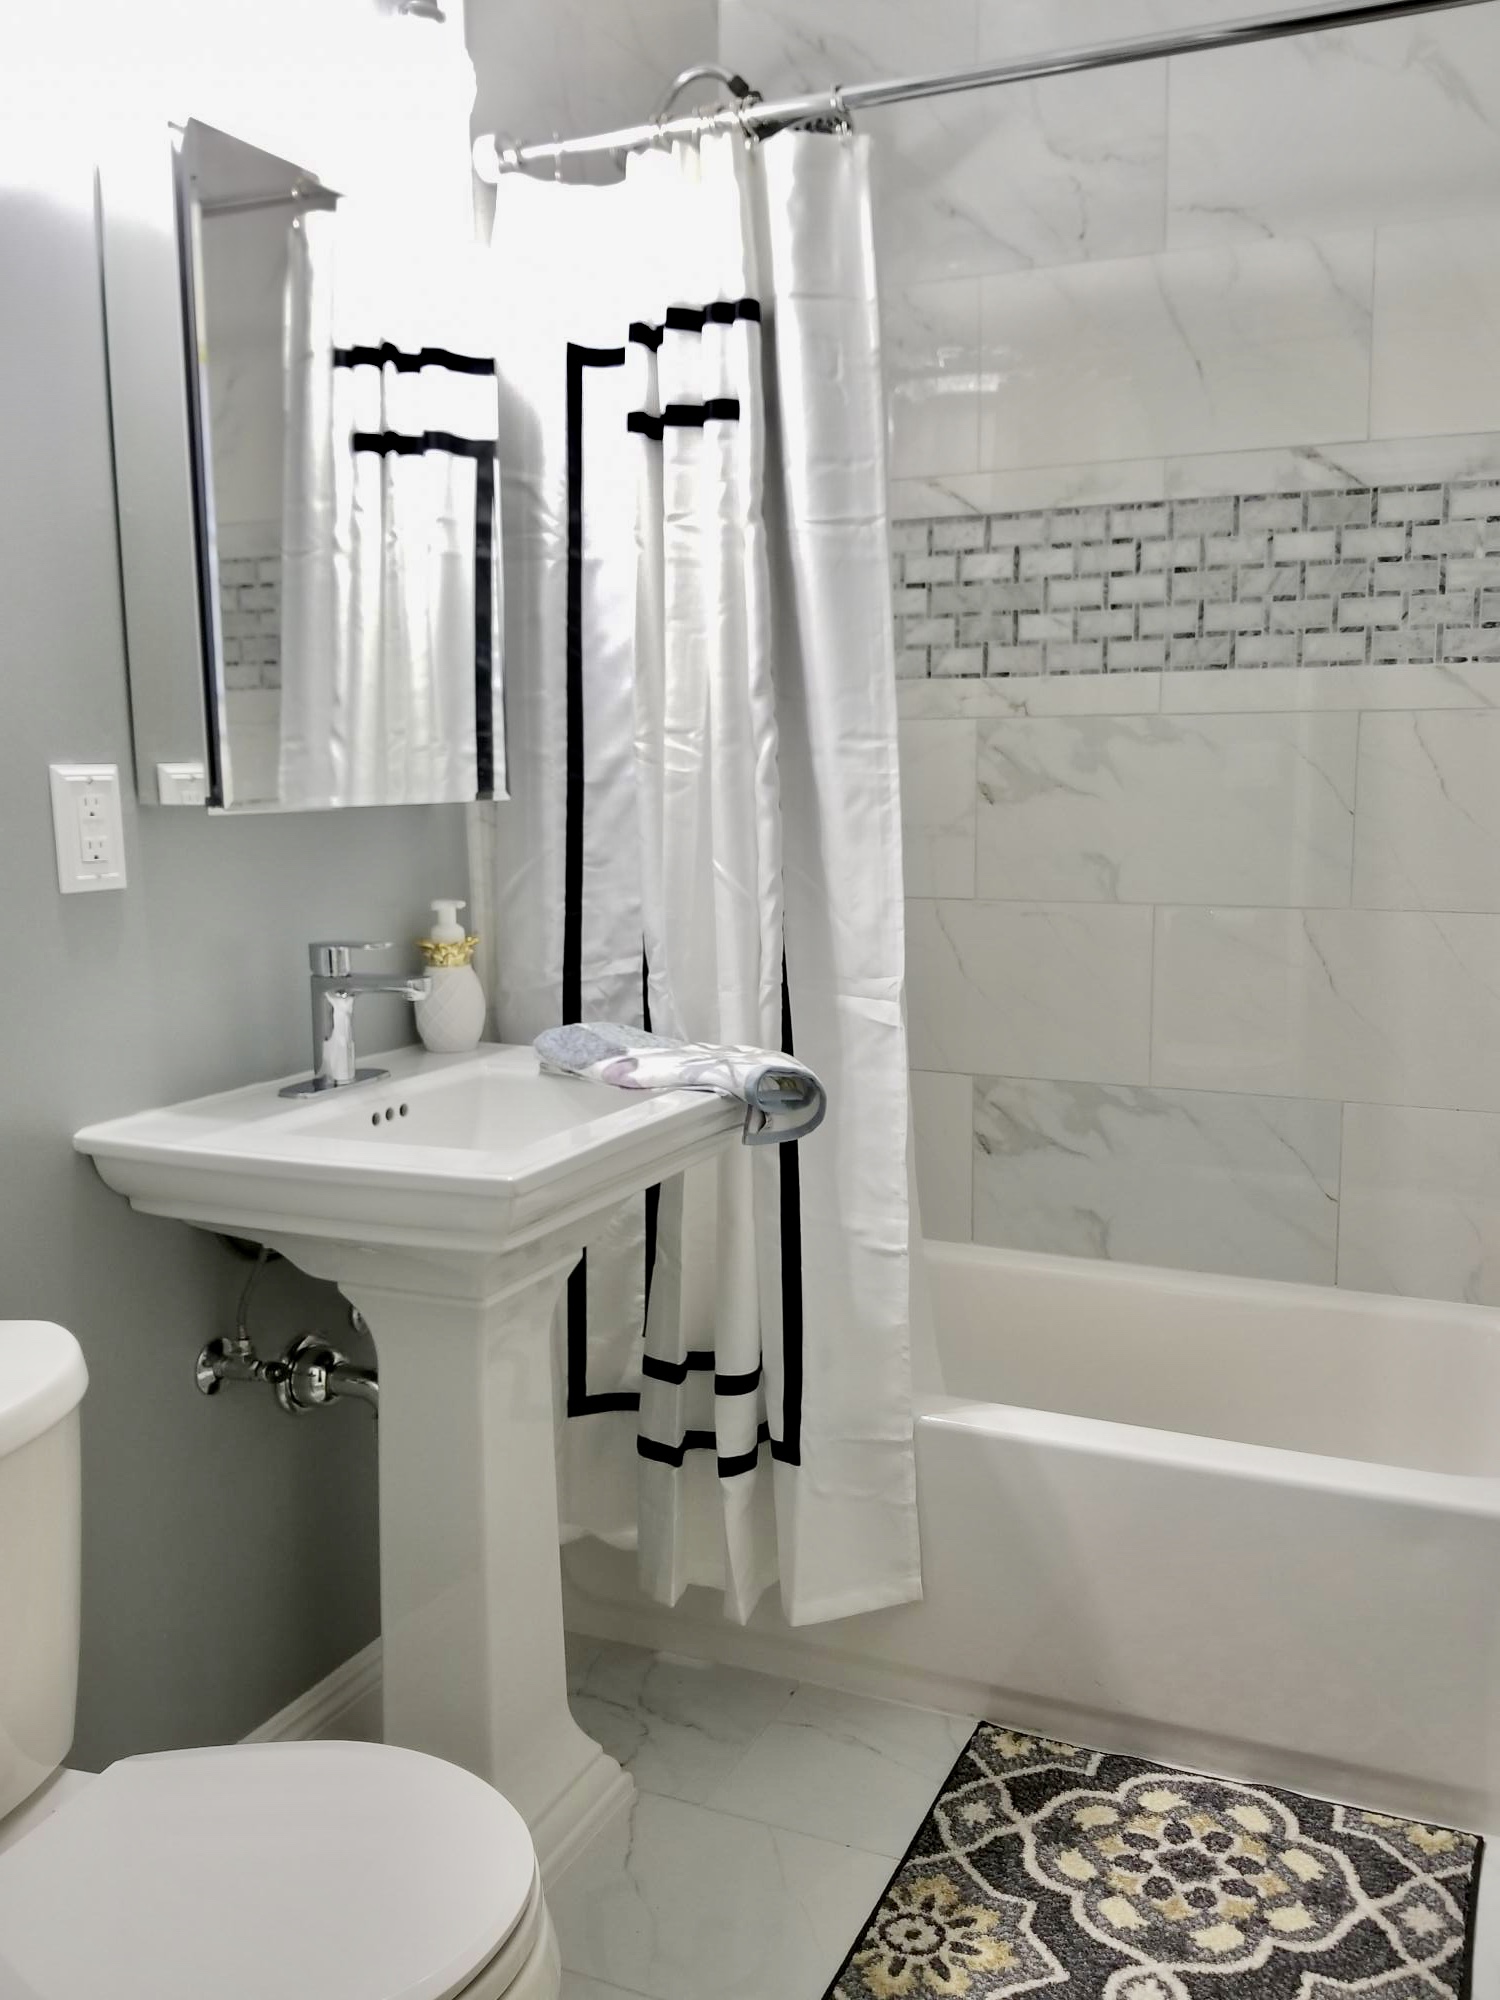
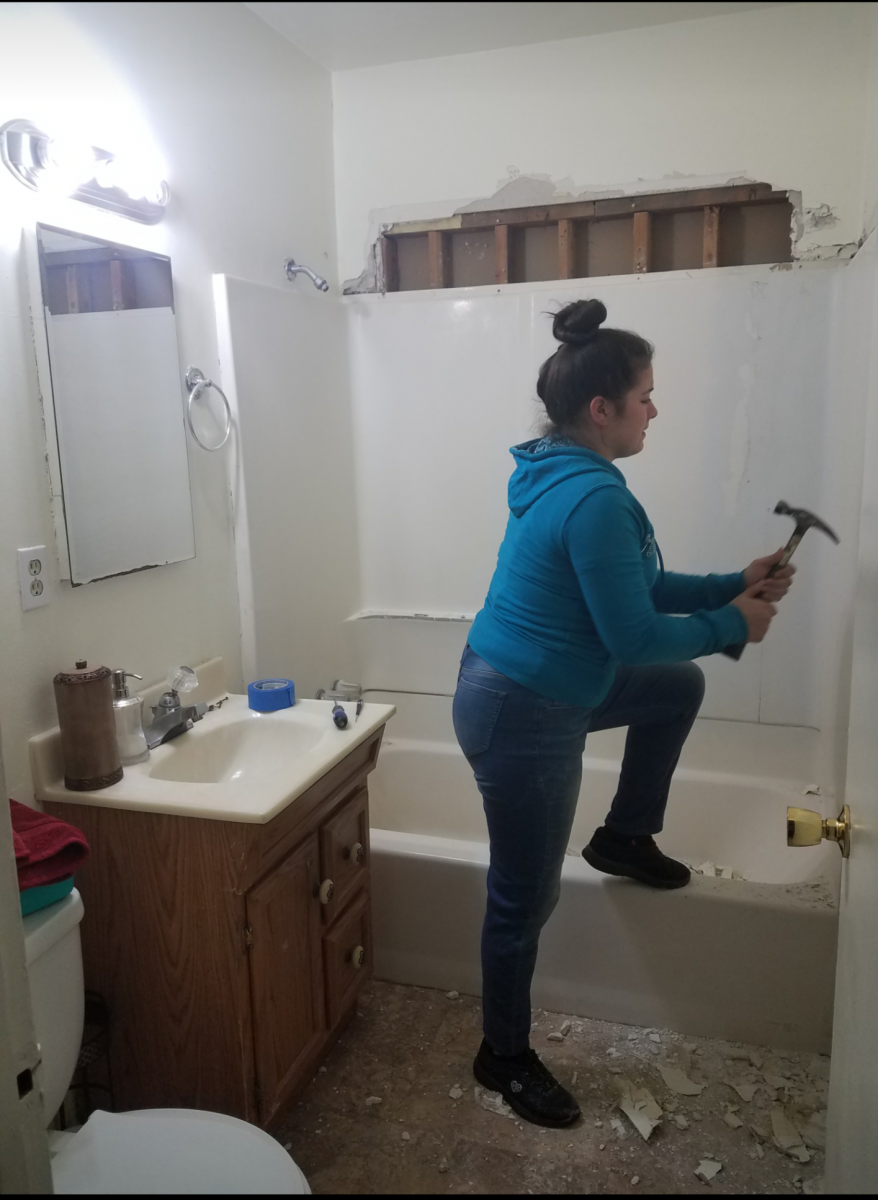
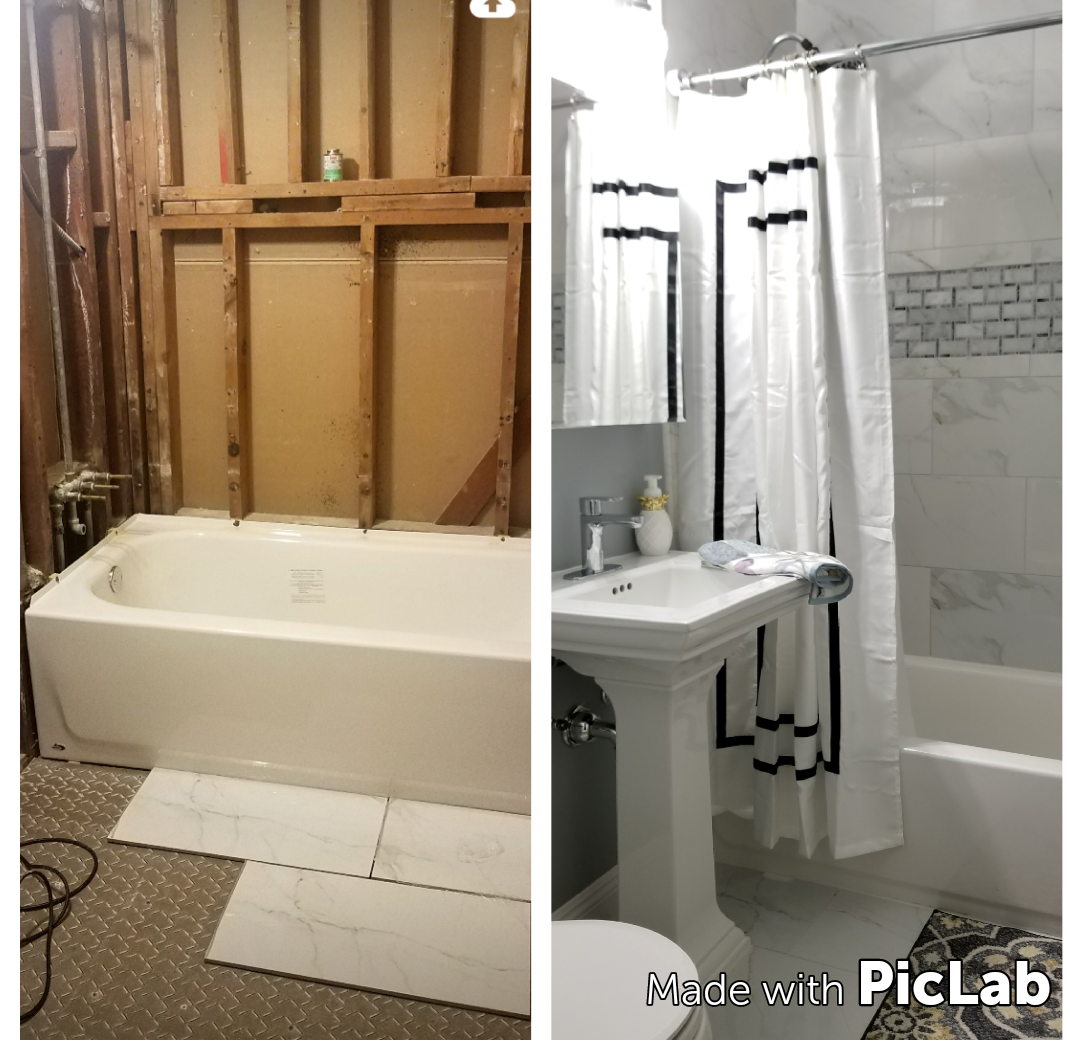
I got a water leak behind the shower walls. And I started calling for Bathroom remodel quotes..but the pricing quote wasn't not even close to what I had I'm in my budget.so I decided to watching YouTube videos..and I got my design inspiration from the Pinterest app ...and I decided to start my own Diy Bathroom remodel. The rest is history.
Wed, 10/02/2019 - 22:55
Amazing, looks like a whole different bathroom!!!
Comments
yurra-bazain
Sun, 08/11/2013 - 20:41
Power to the mama!
How awesome is that? =D It looks gorgeous, and I applaud you for tackling it with your 2 year old and baby on the way. =D When I was pregnant, the only thing I considered doing was putting furniture together. Now that I've built furniture, I now realize how much harder it was to follow the assembly directions than it is to make your own assembly directions. Keep it up!