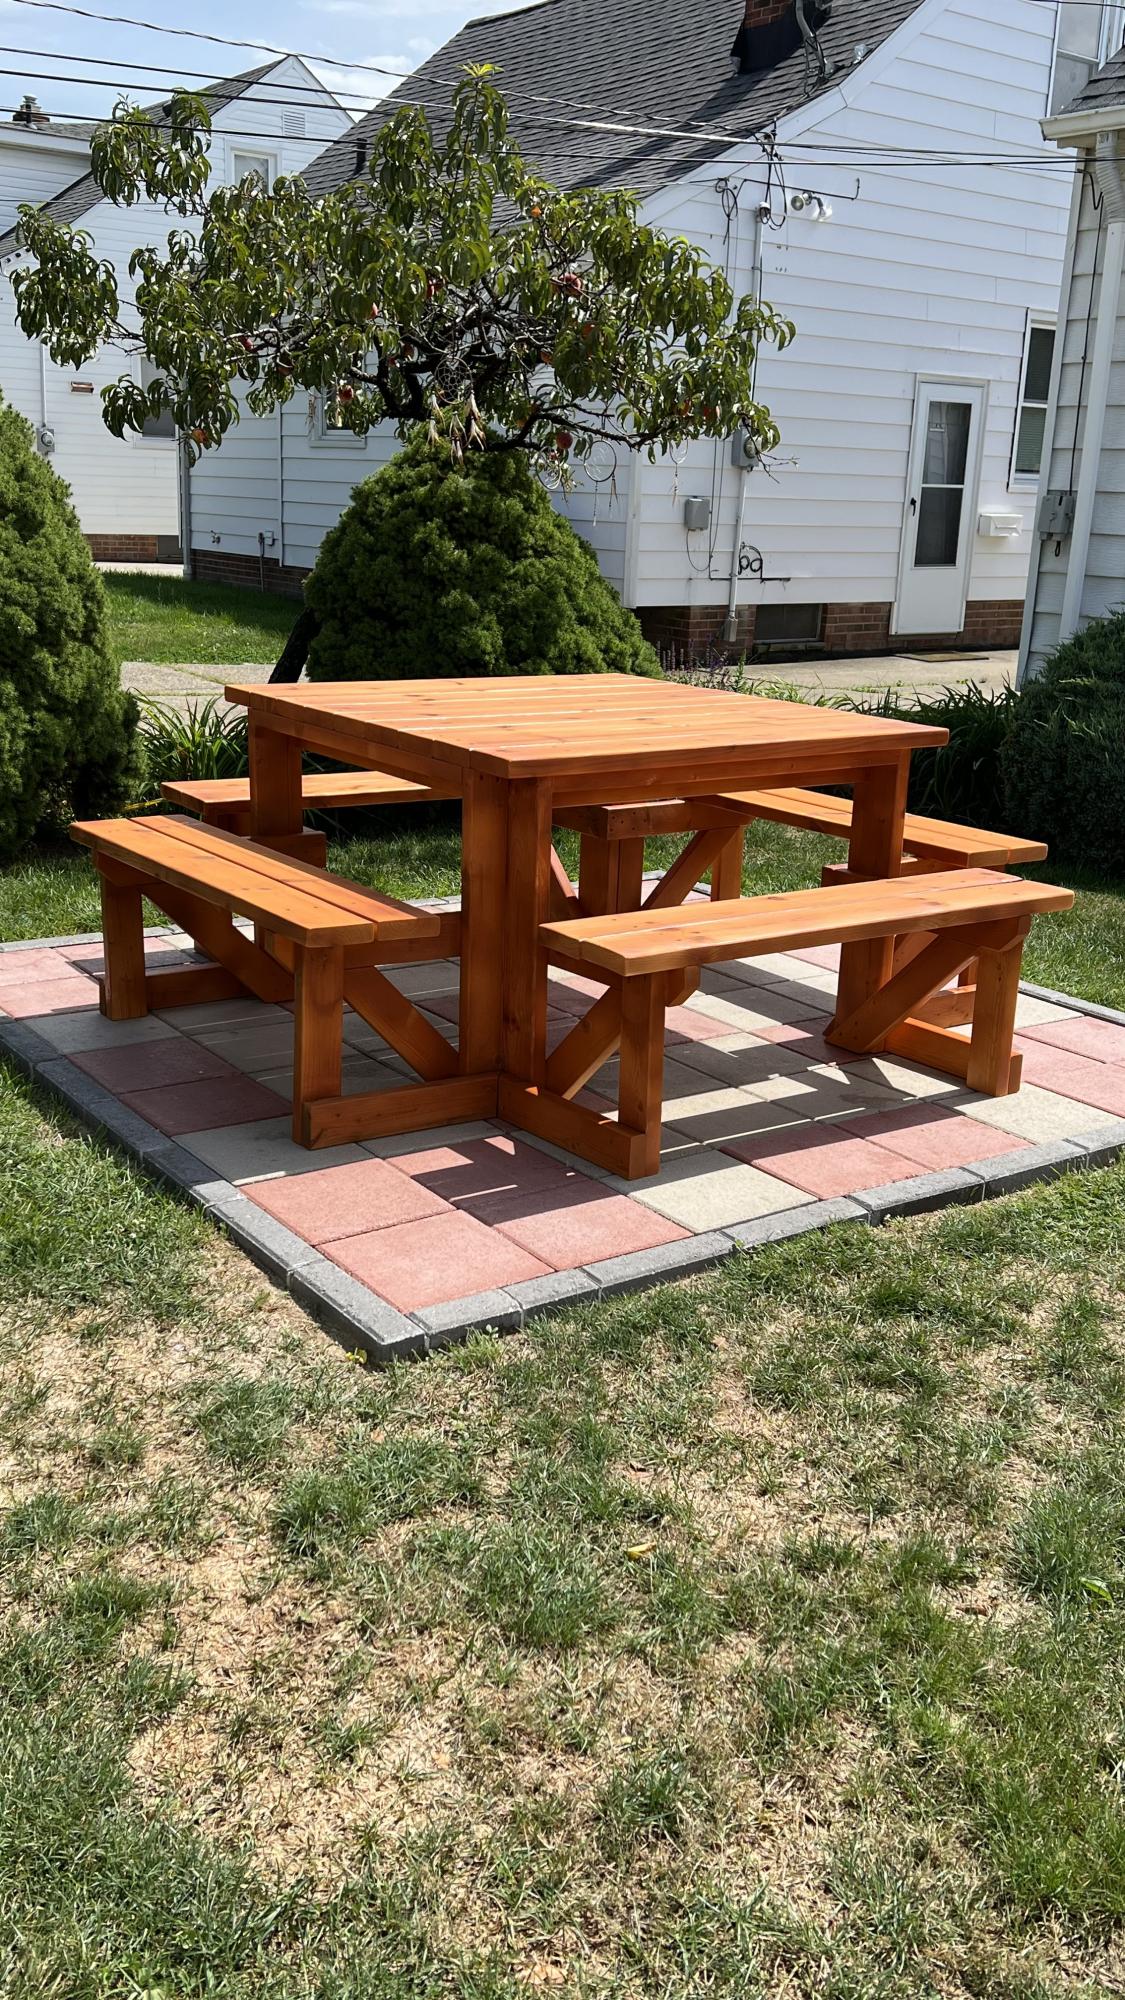
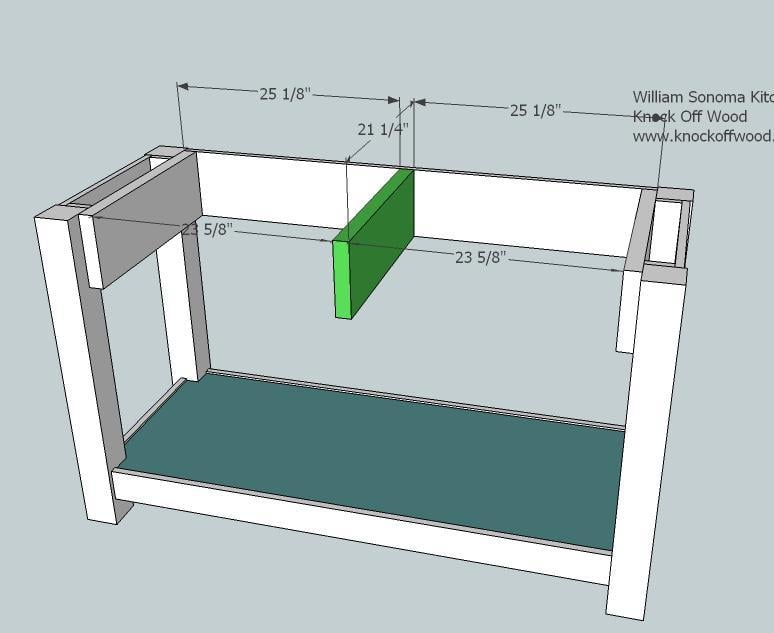
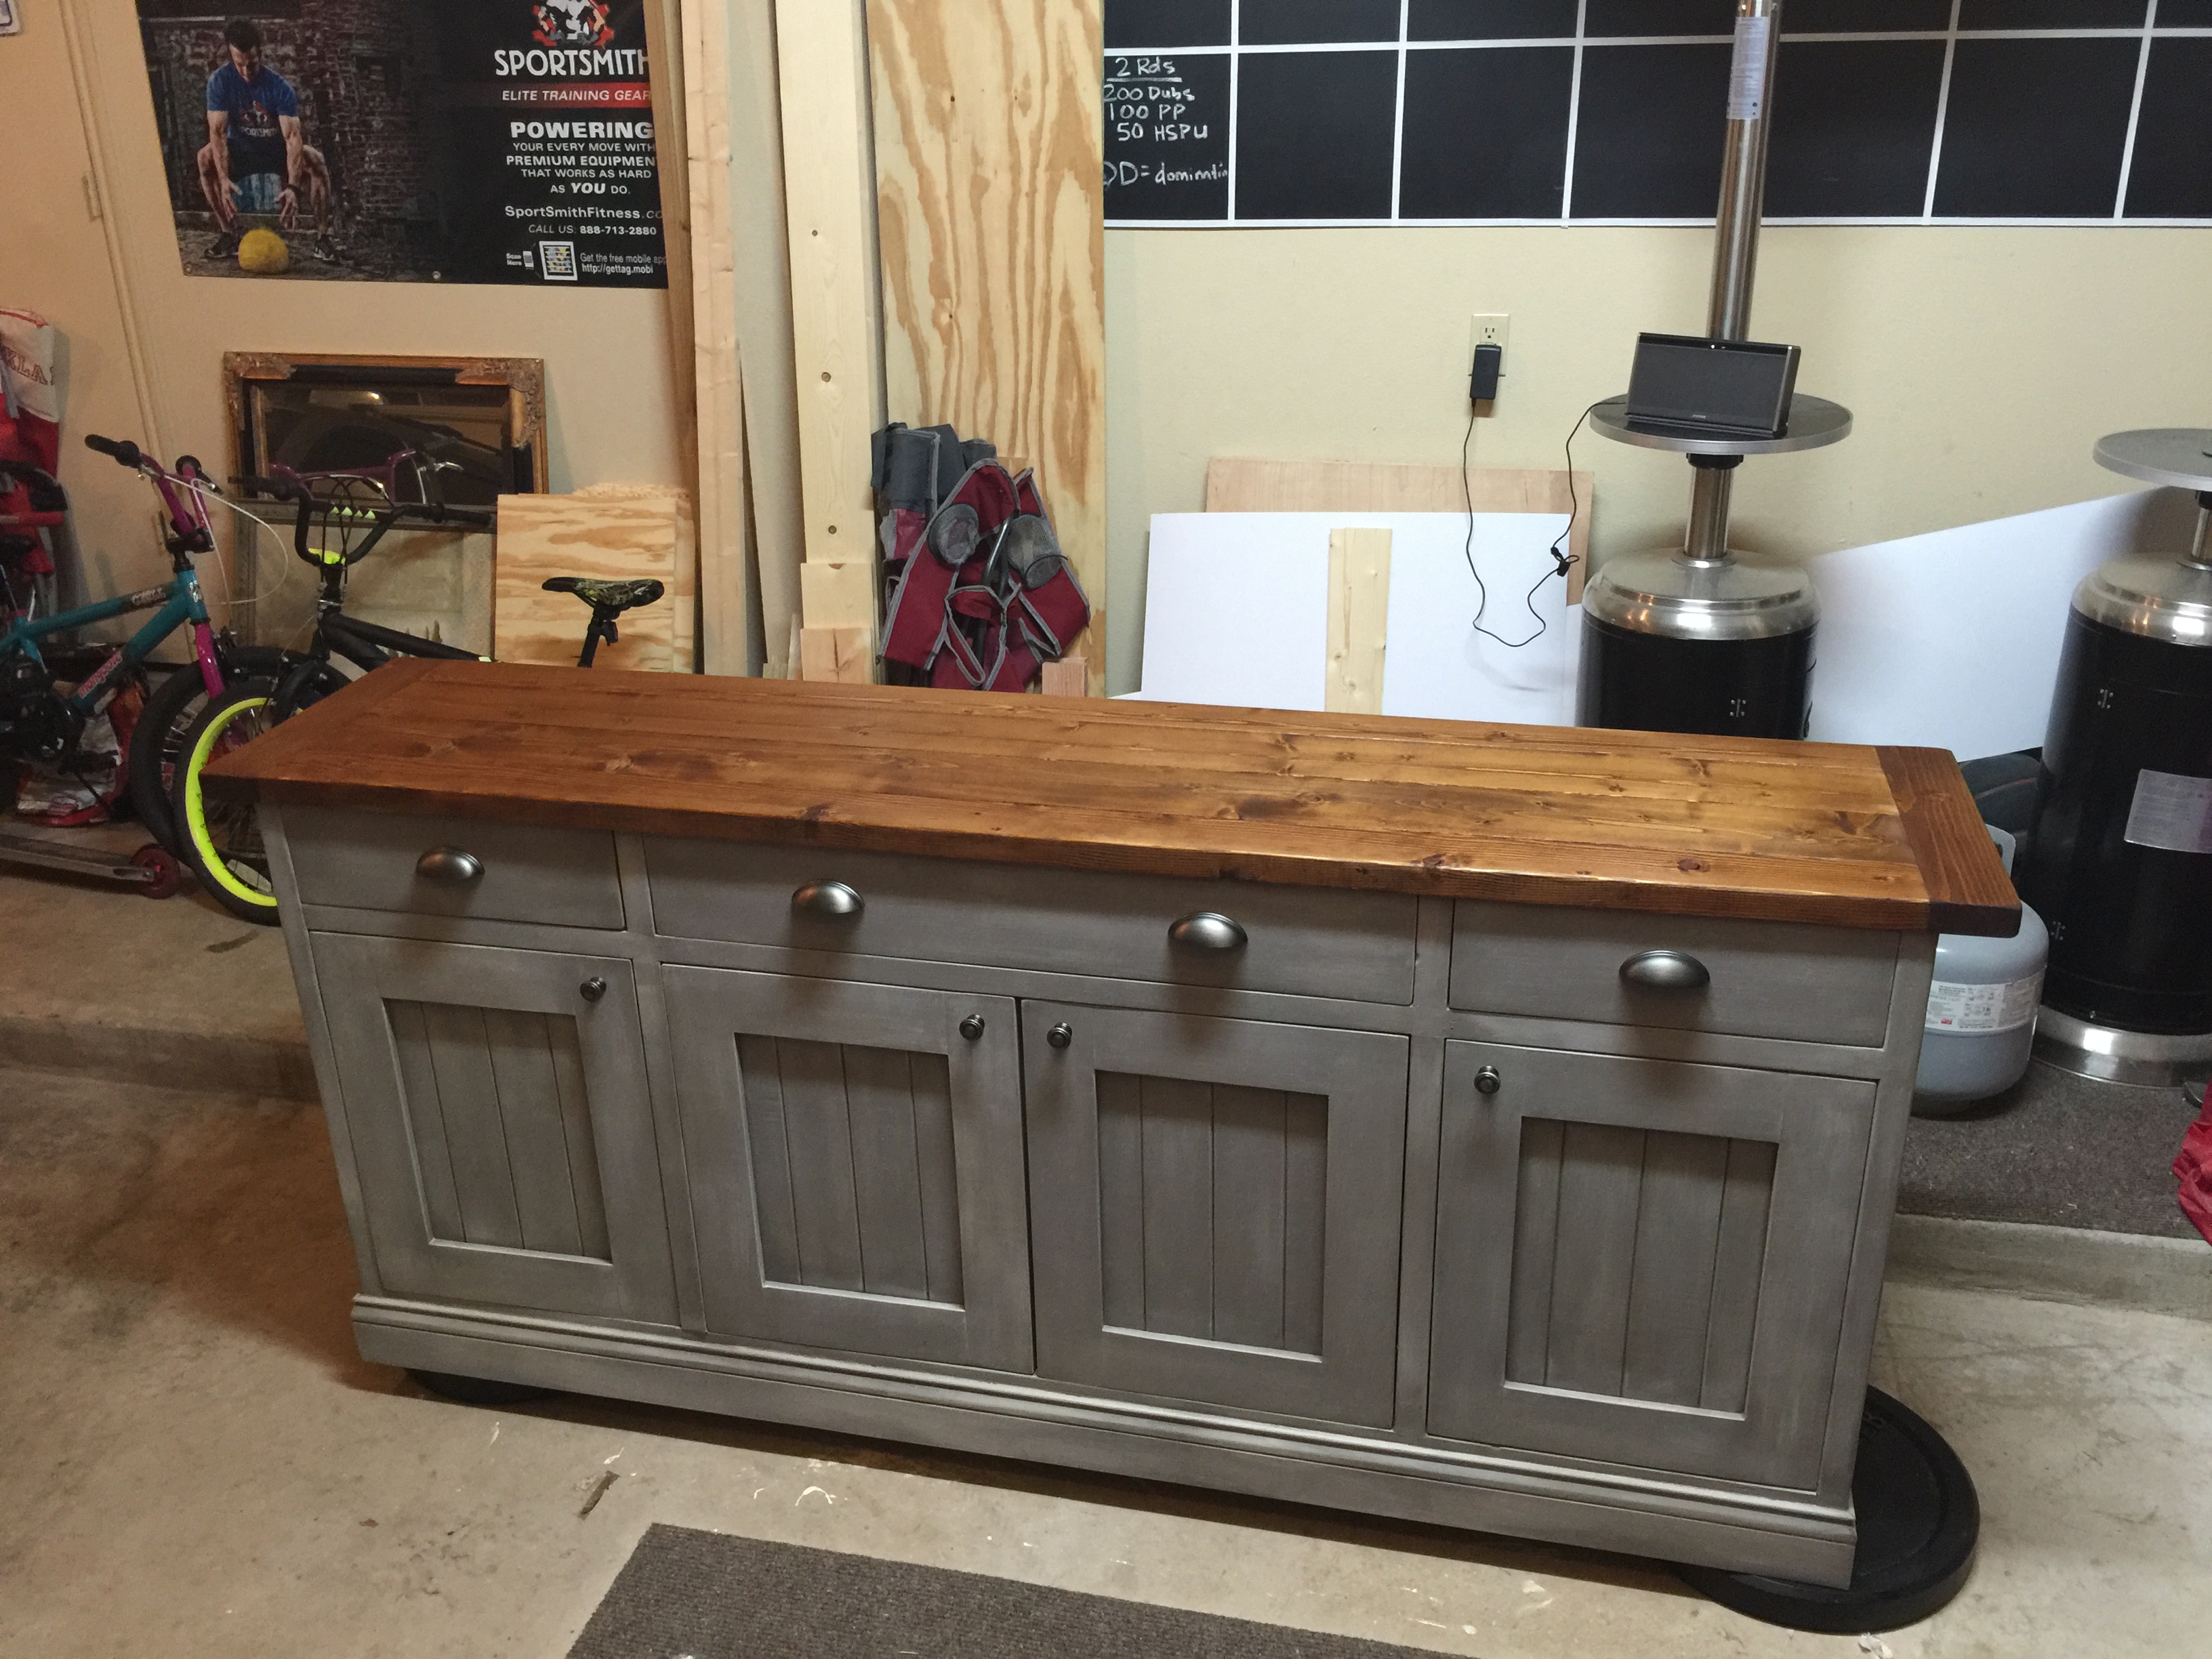
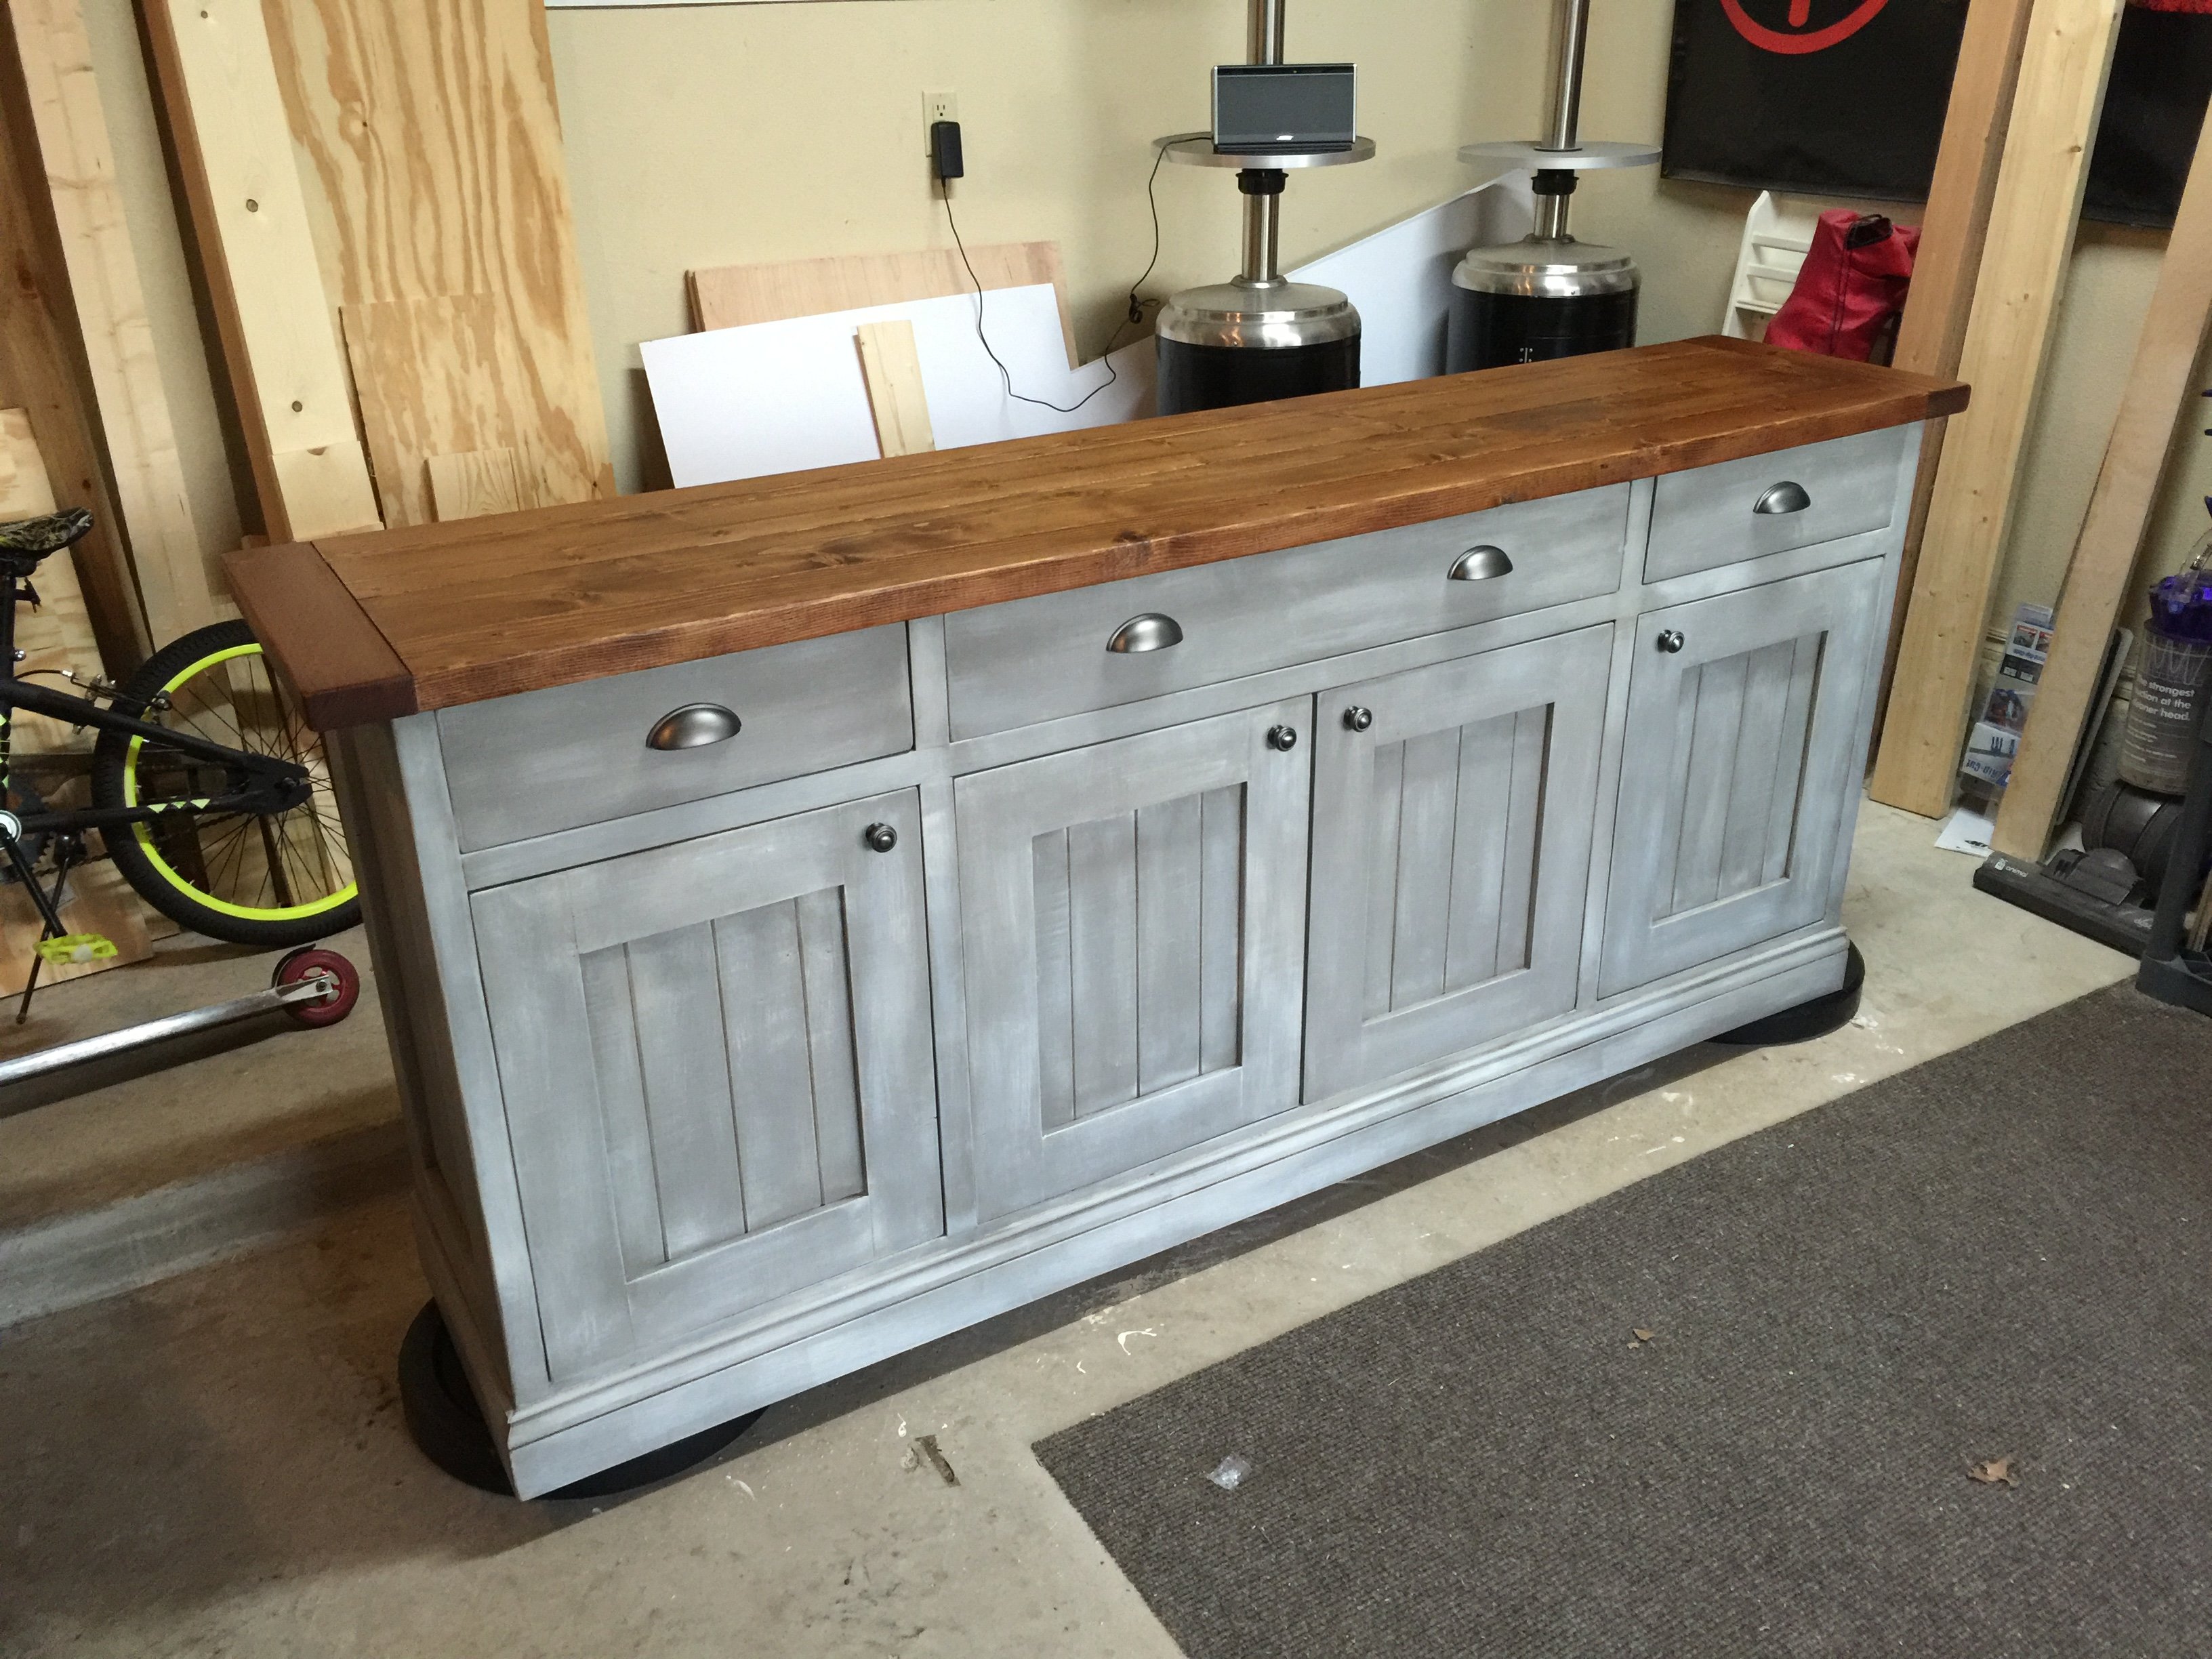
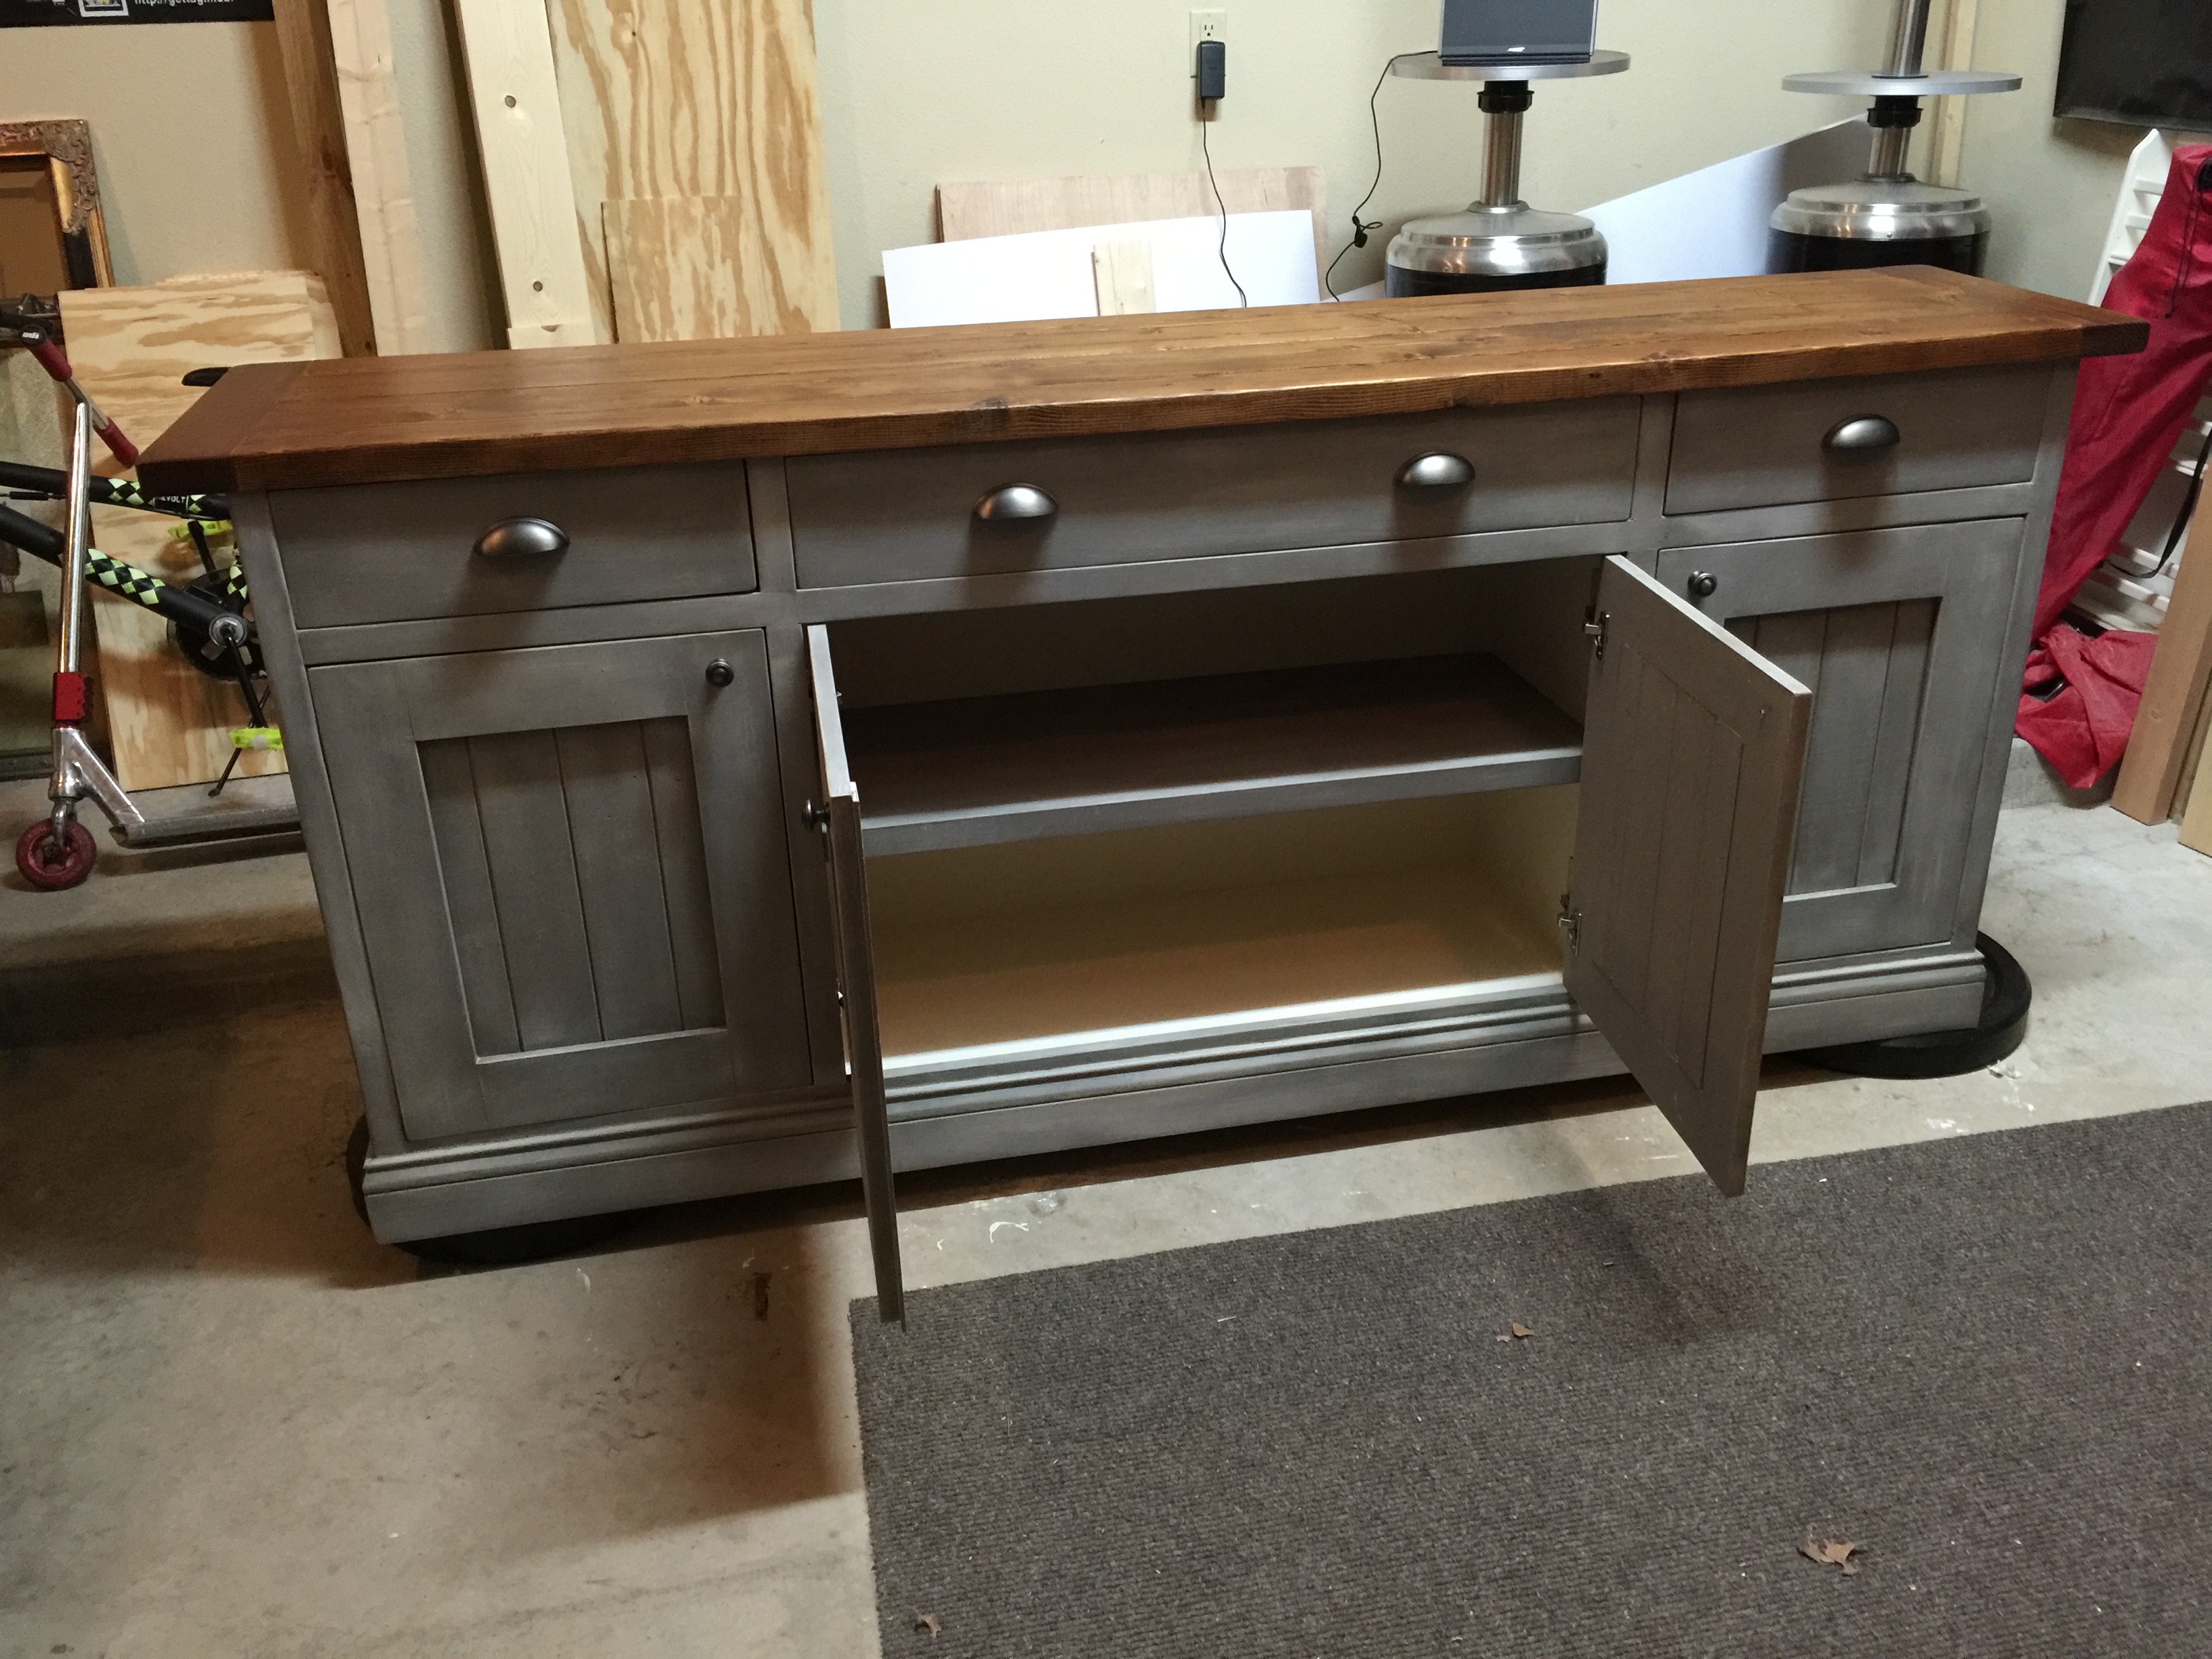
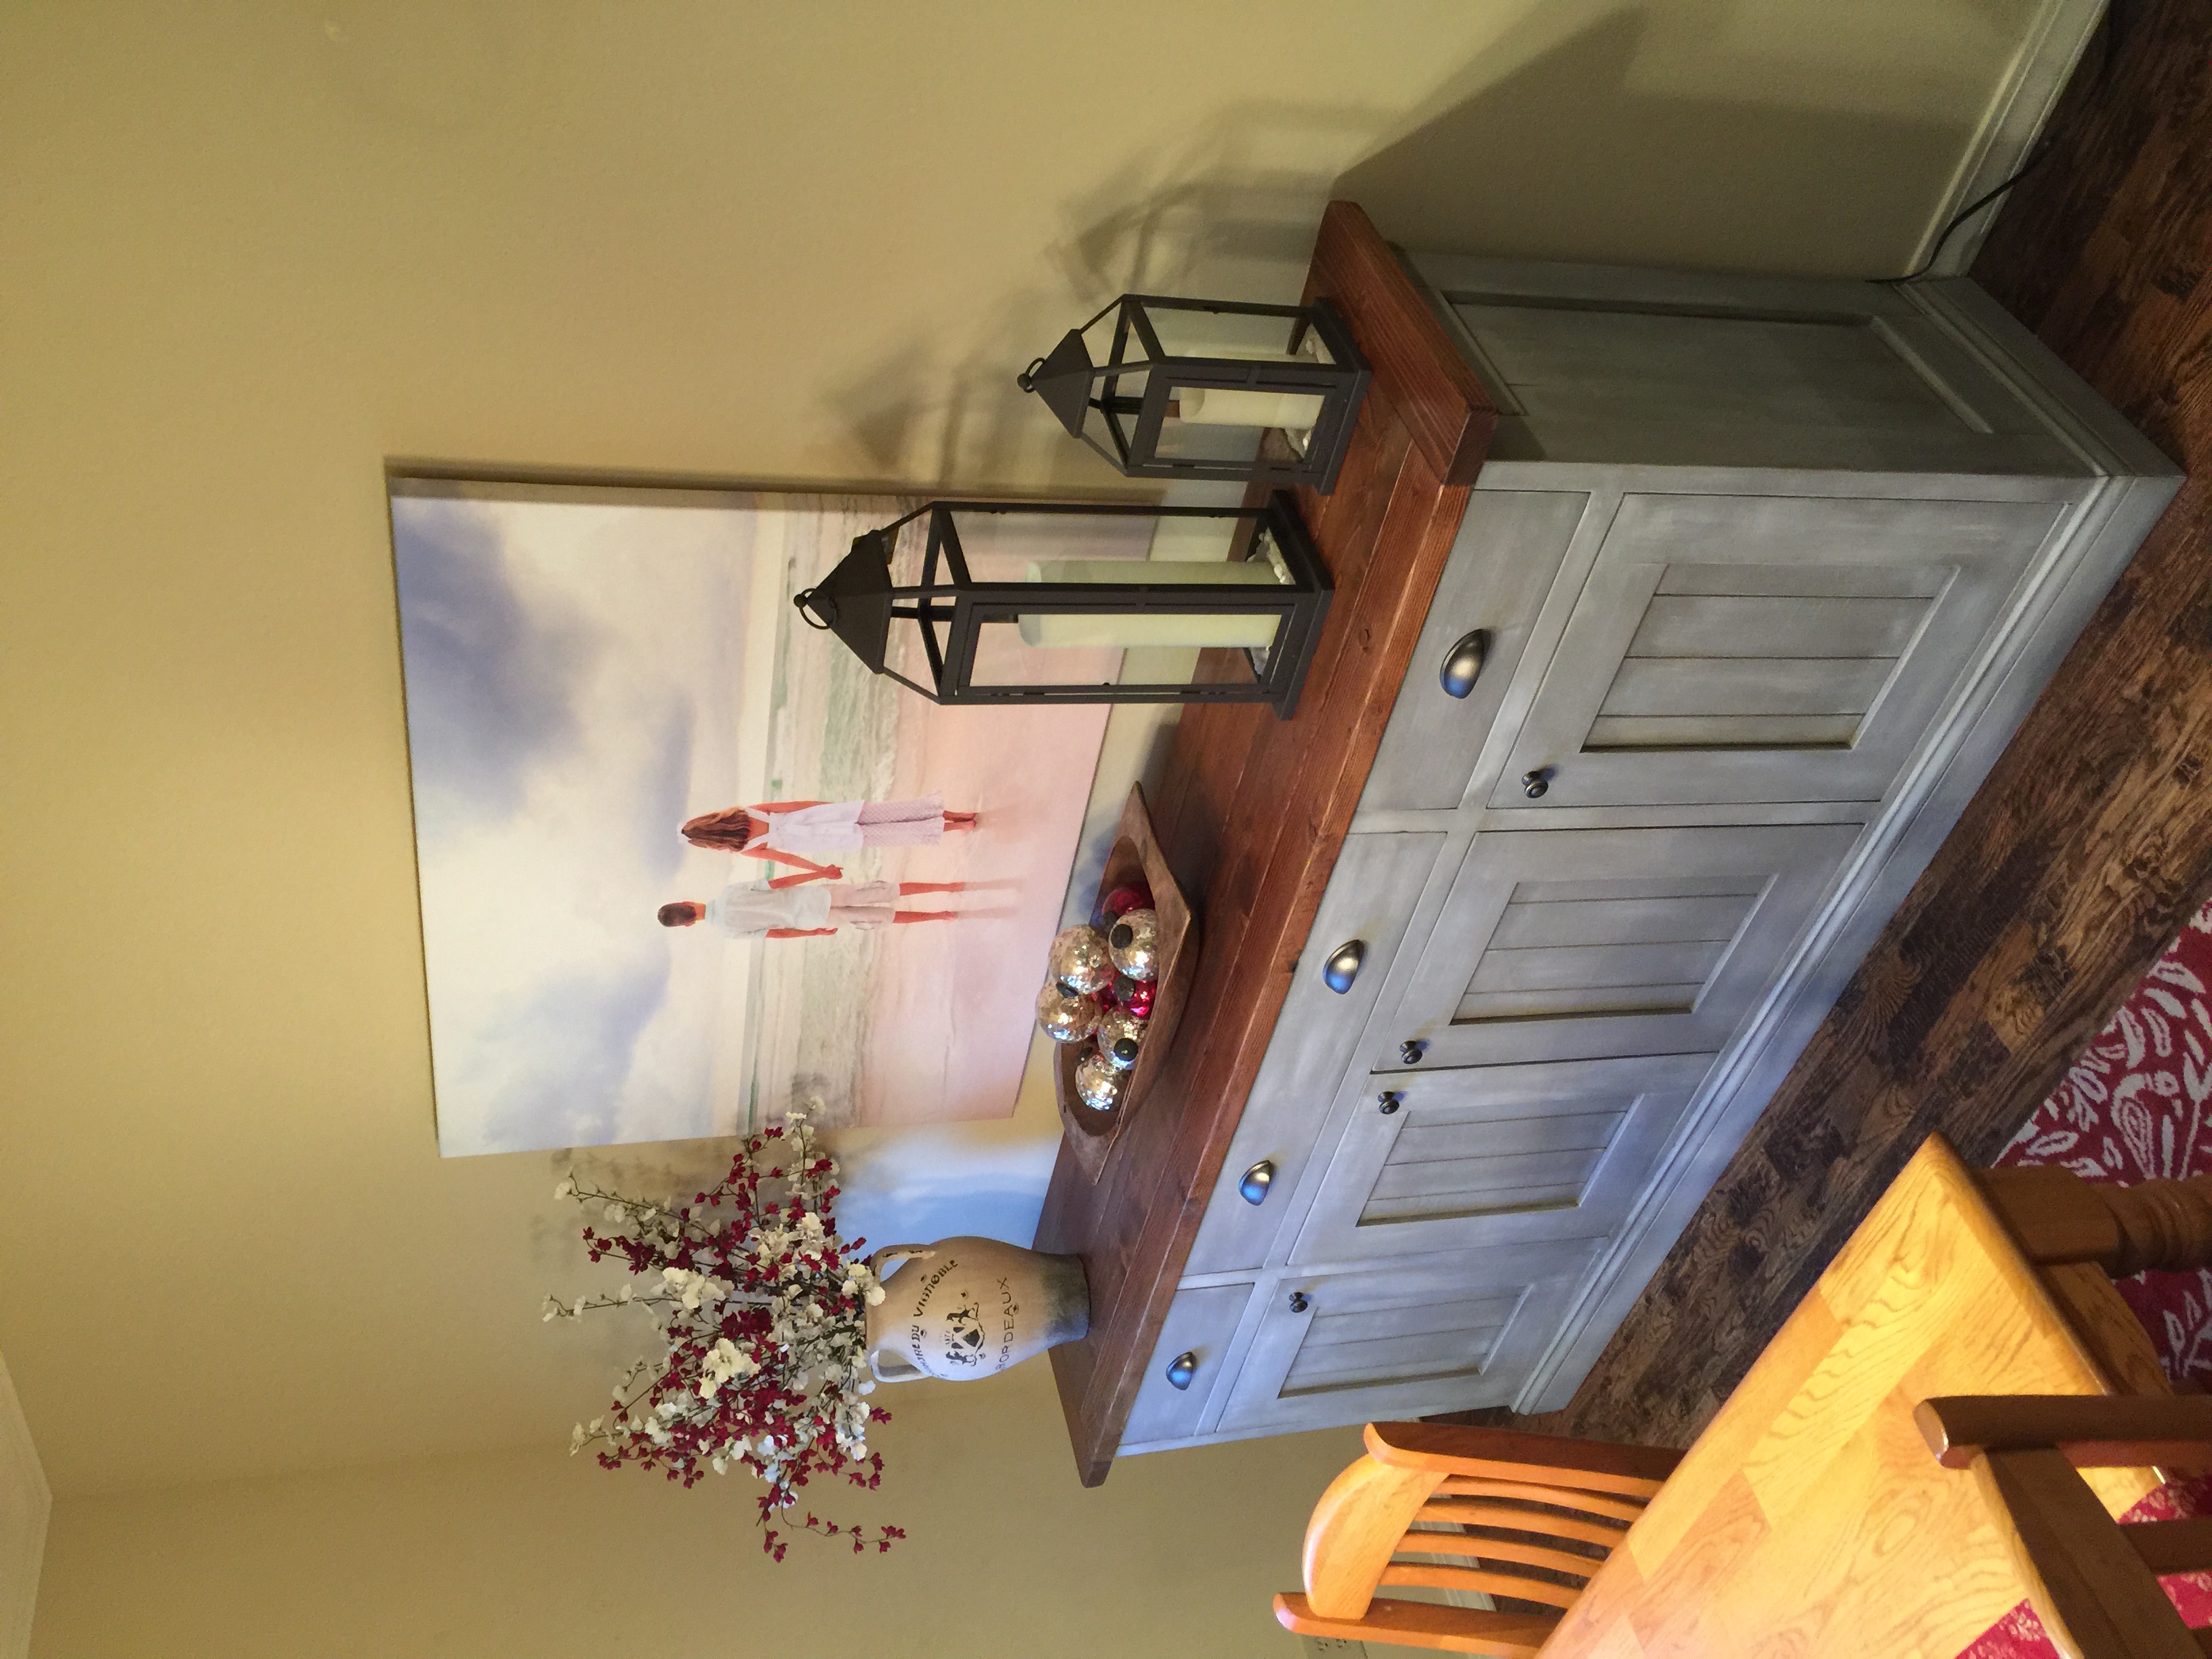
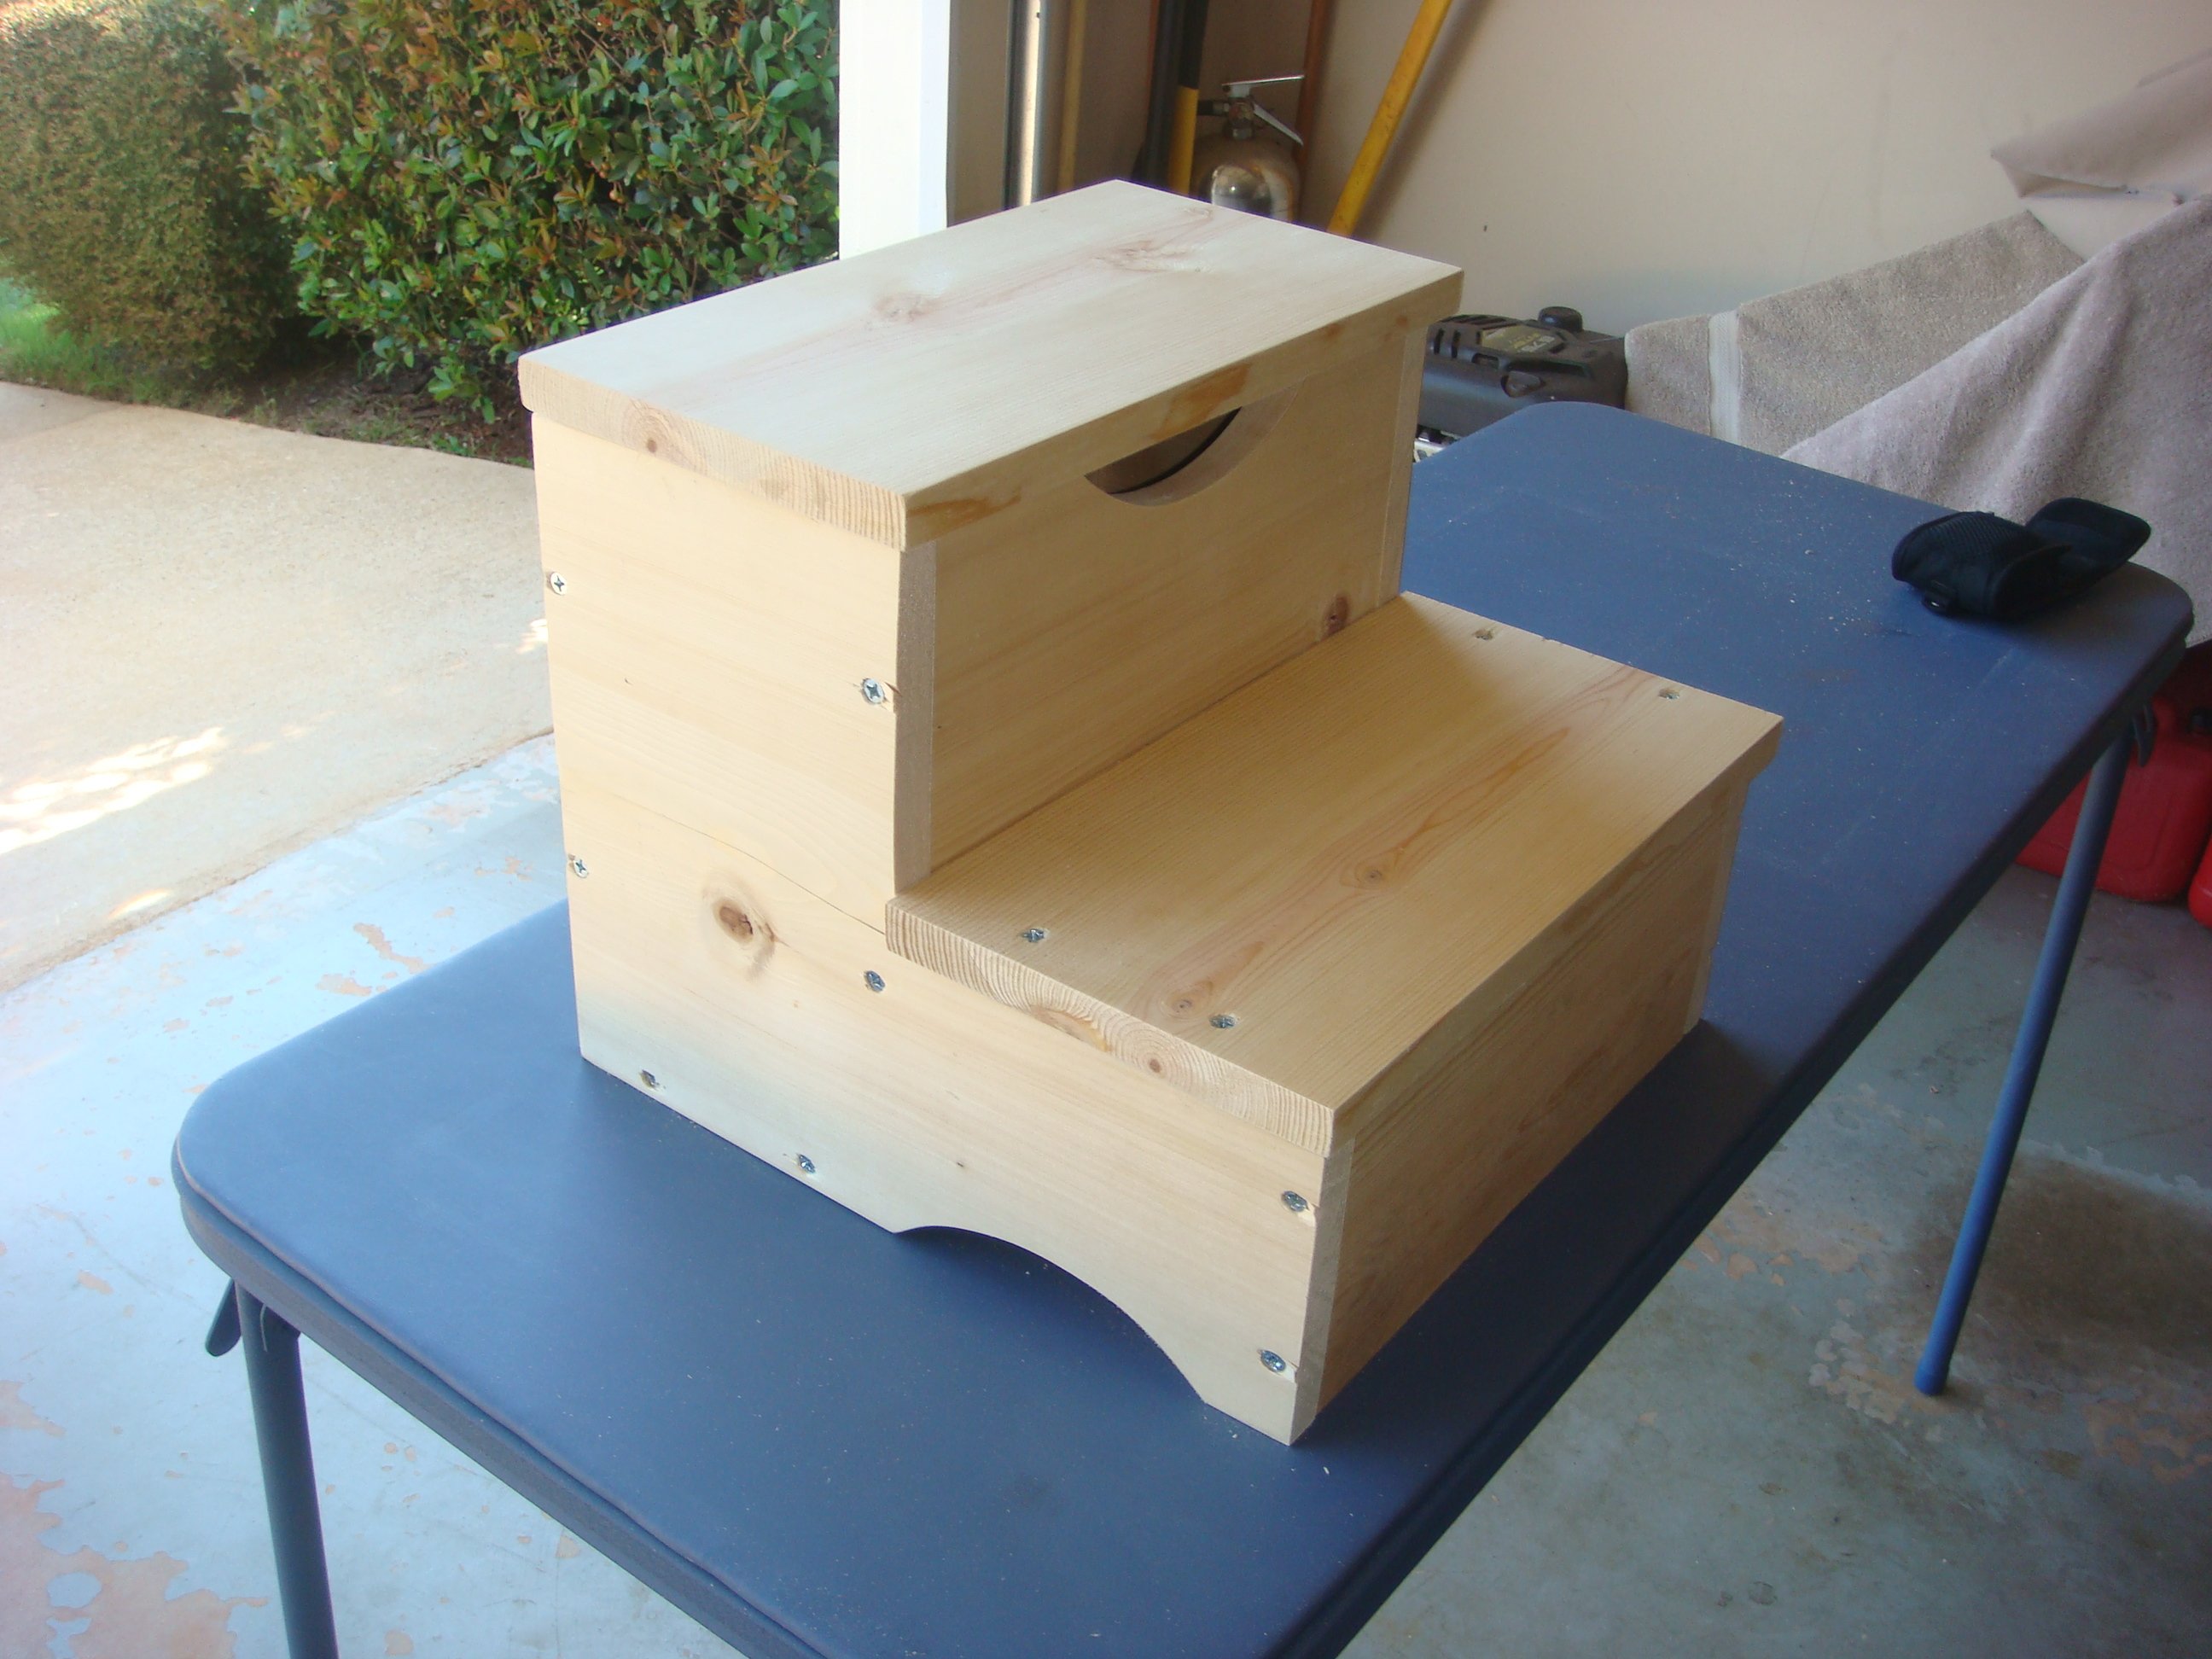
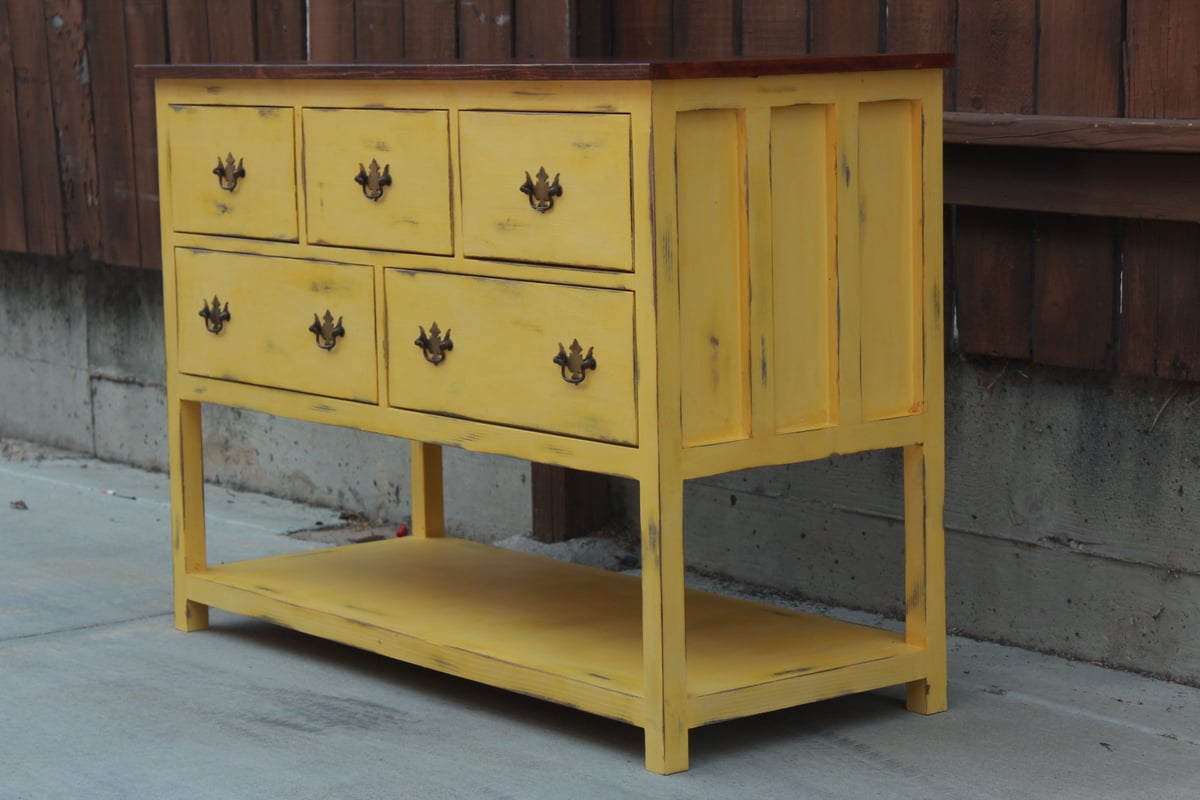
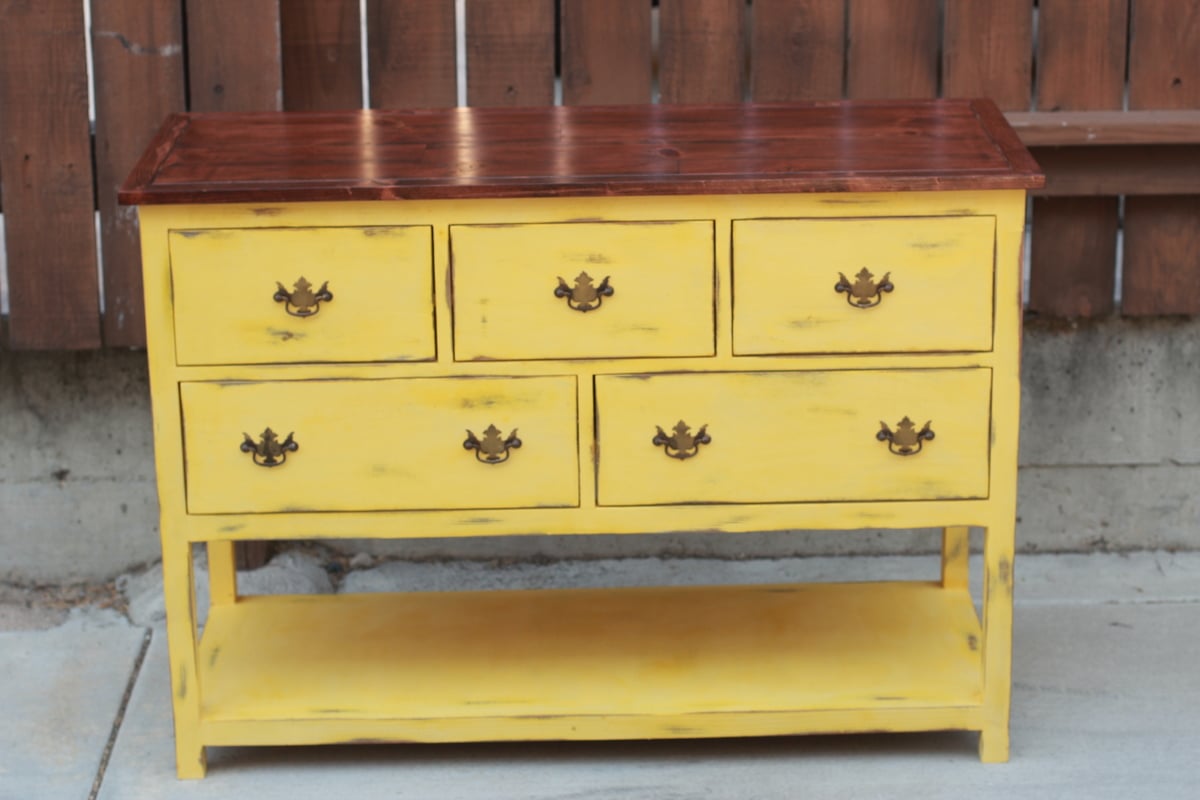
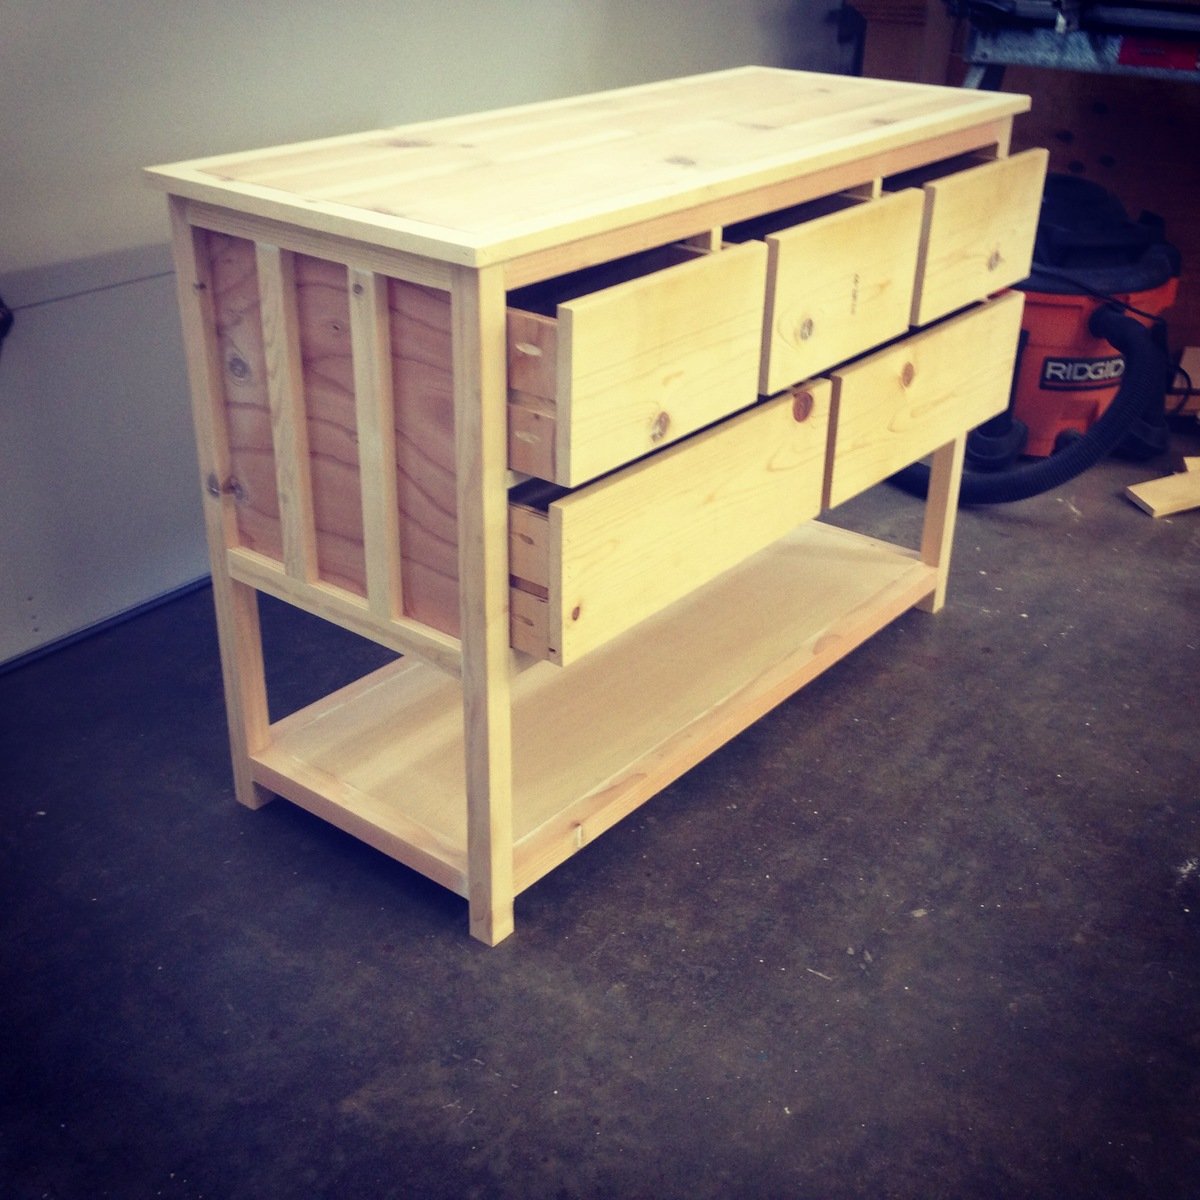
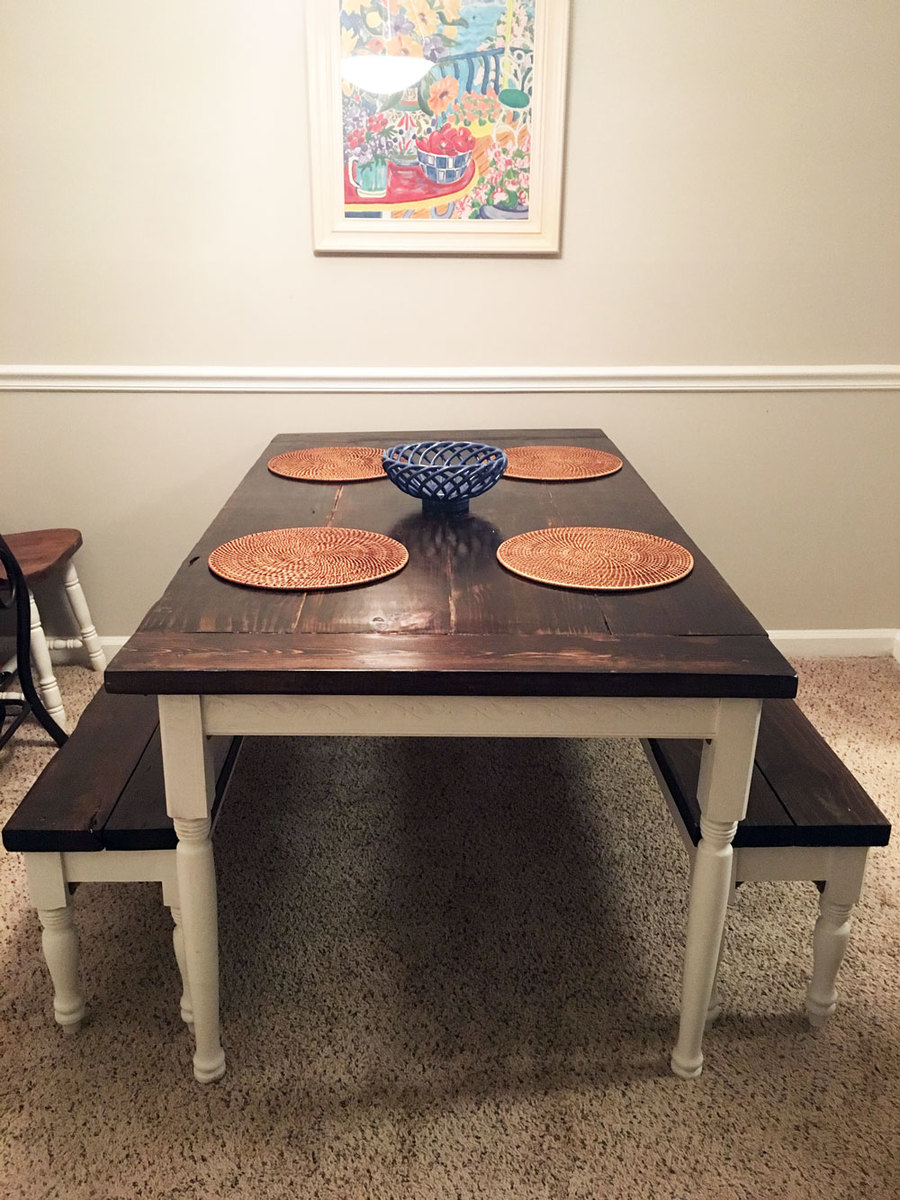
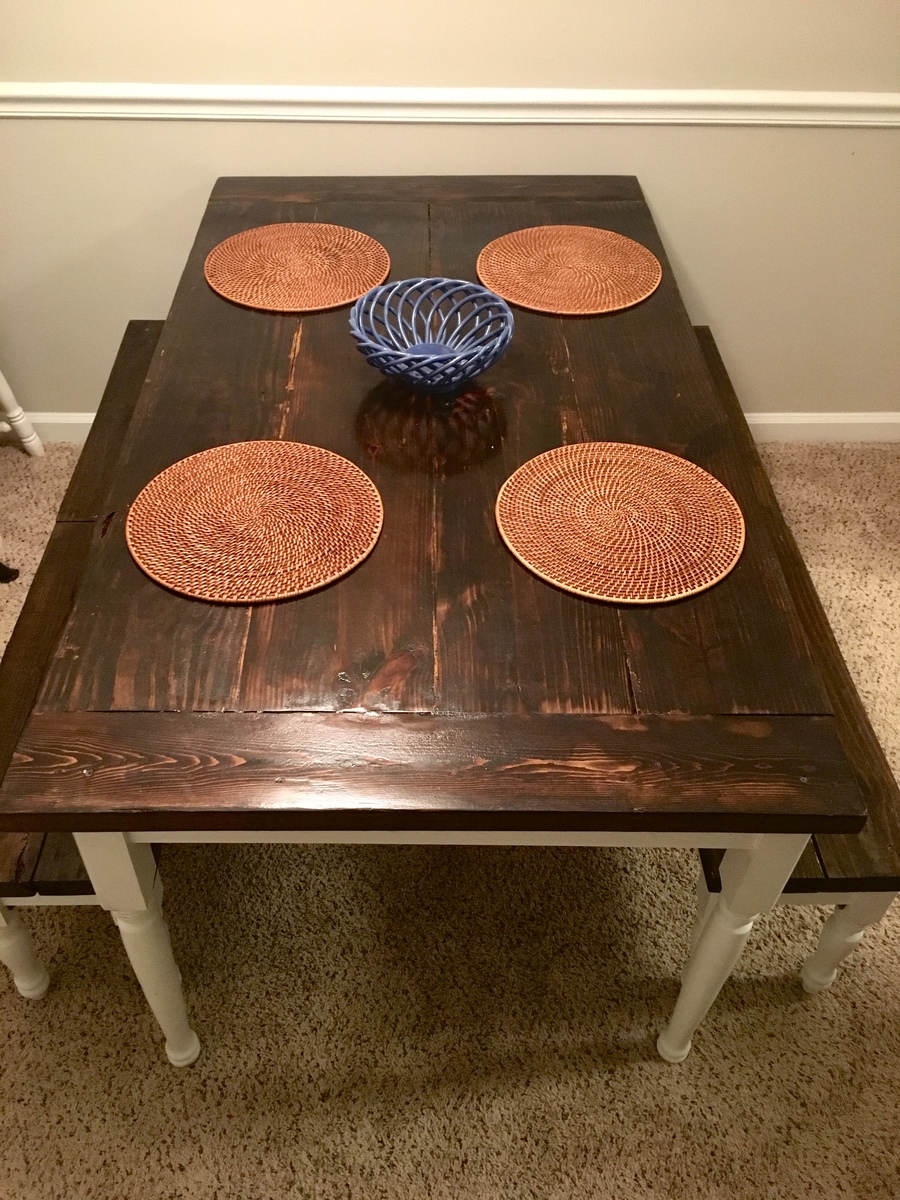
Modified farmhouse bench
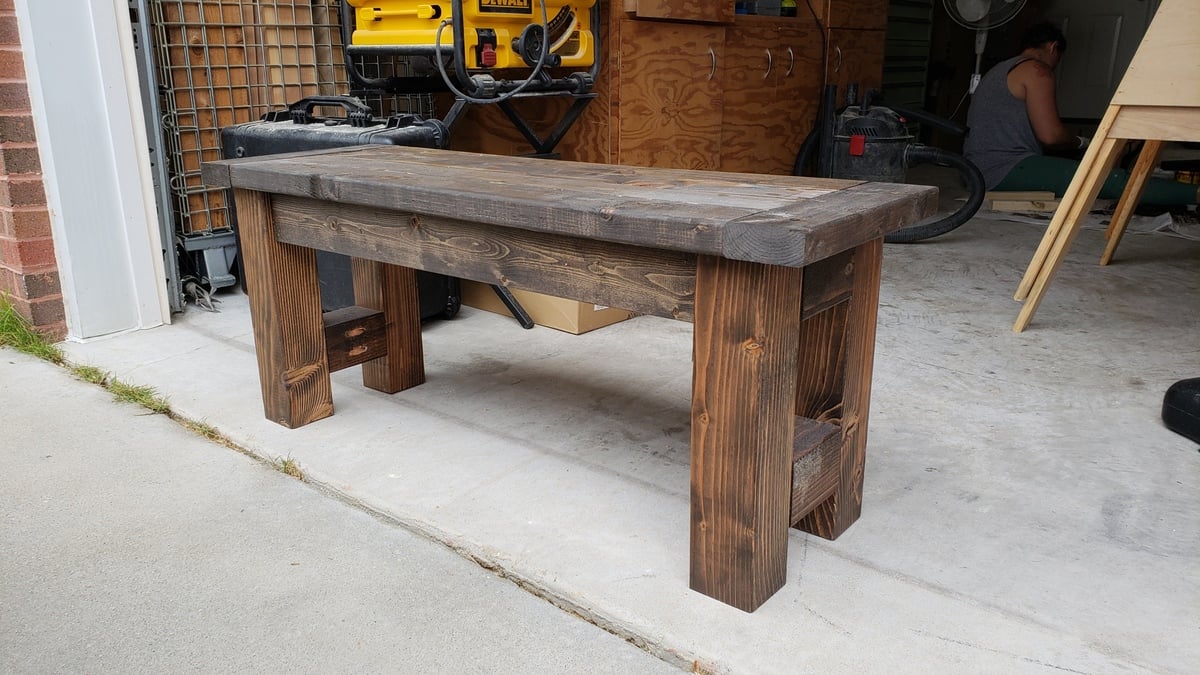
Made a 4 foot version of the farmhouse bench. I also used 4x4s for the legs instead of 2x4s. They work great, just makes the bench a little heavy.

Built from Plan(s)
Estimated Cost
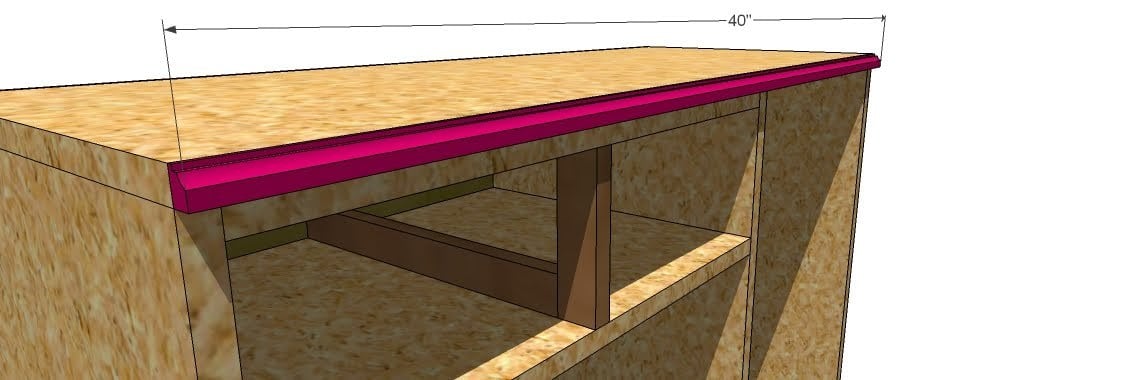
40
Estimated Time Investment
An Hour or Two (0-2 Hours)
Finish Used
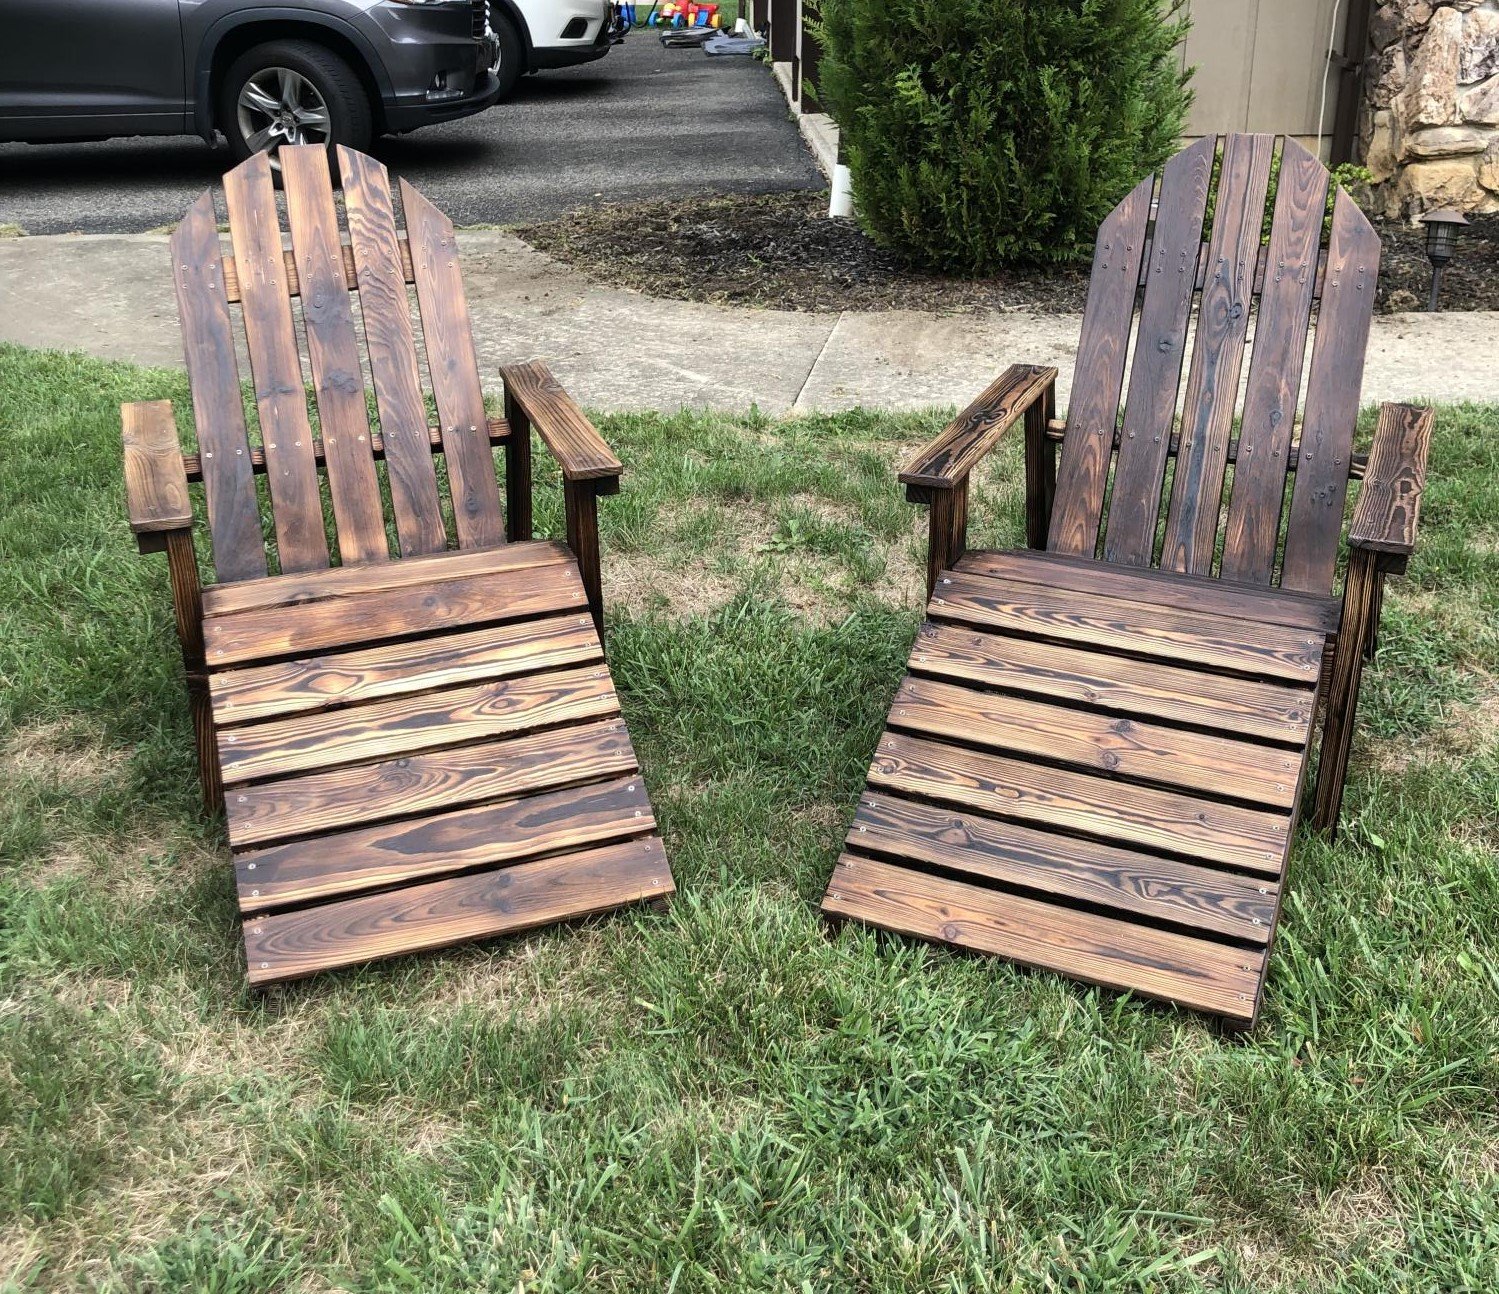
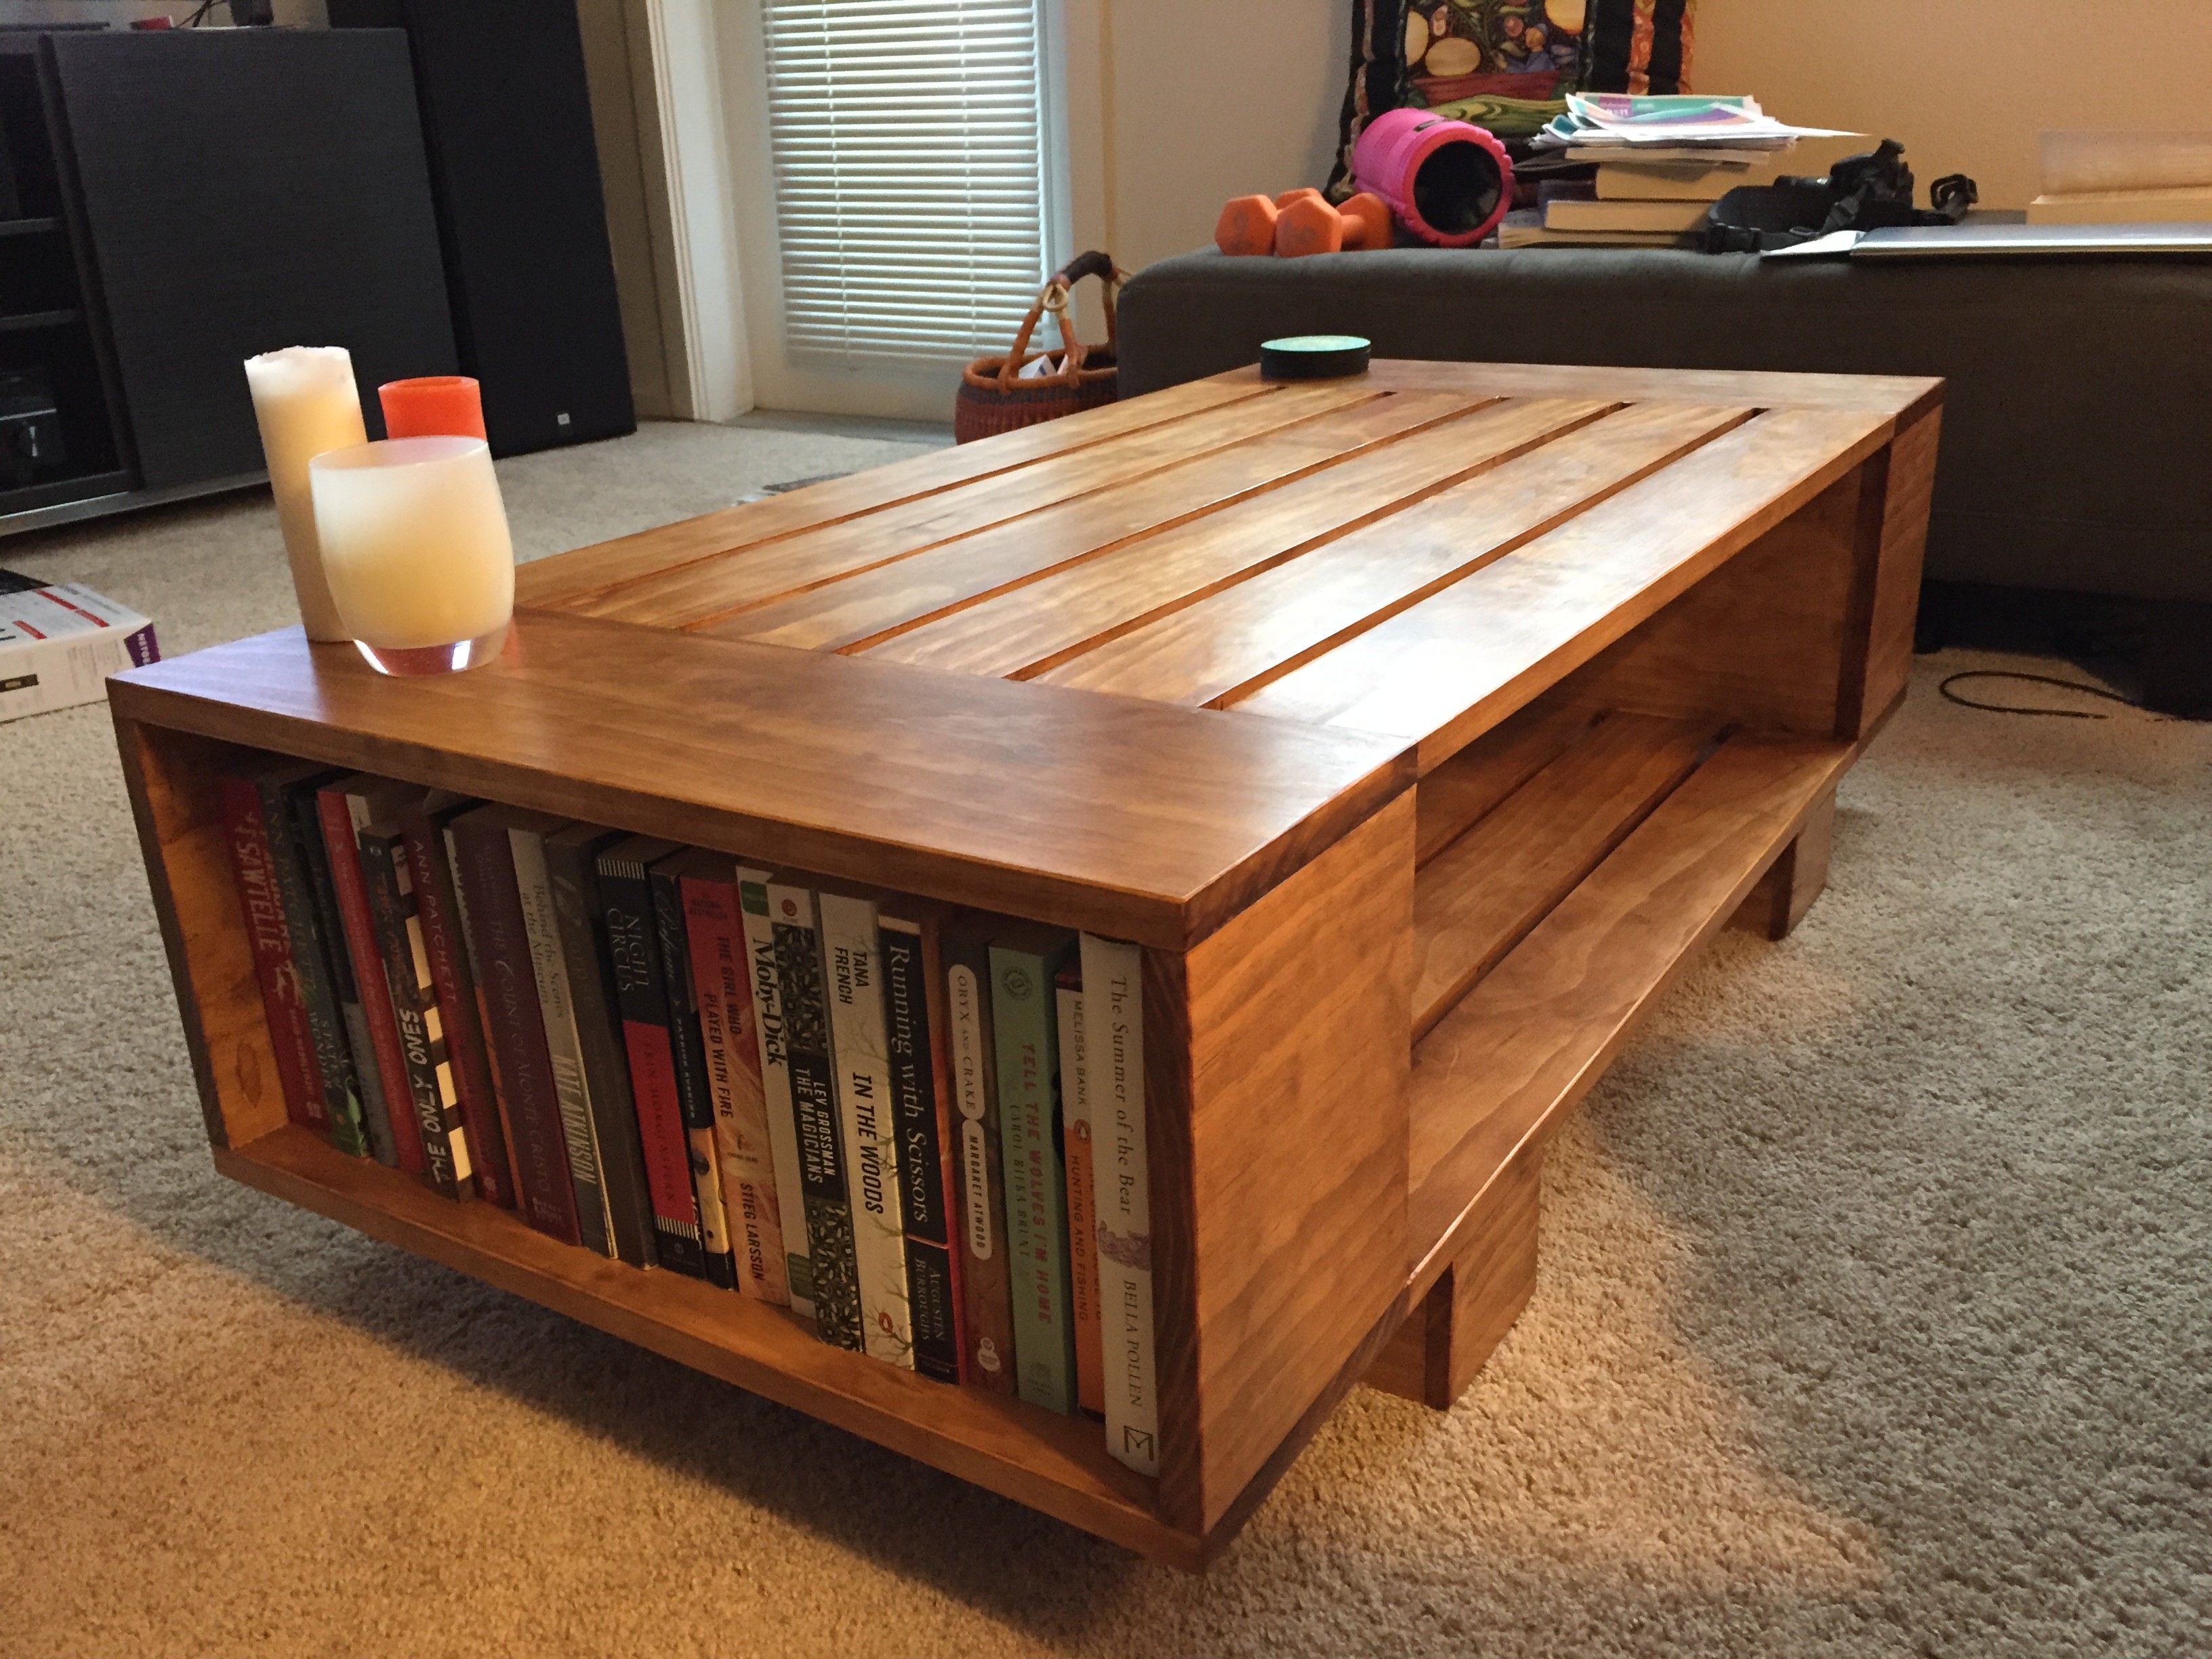
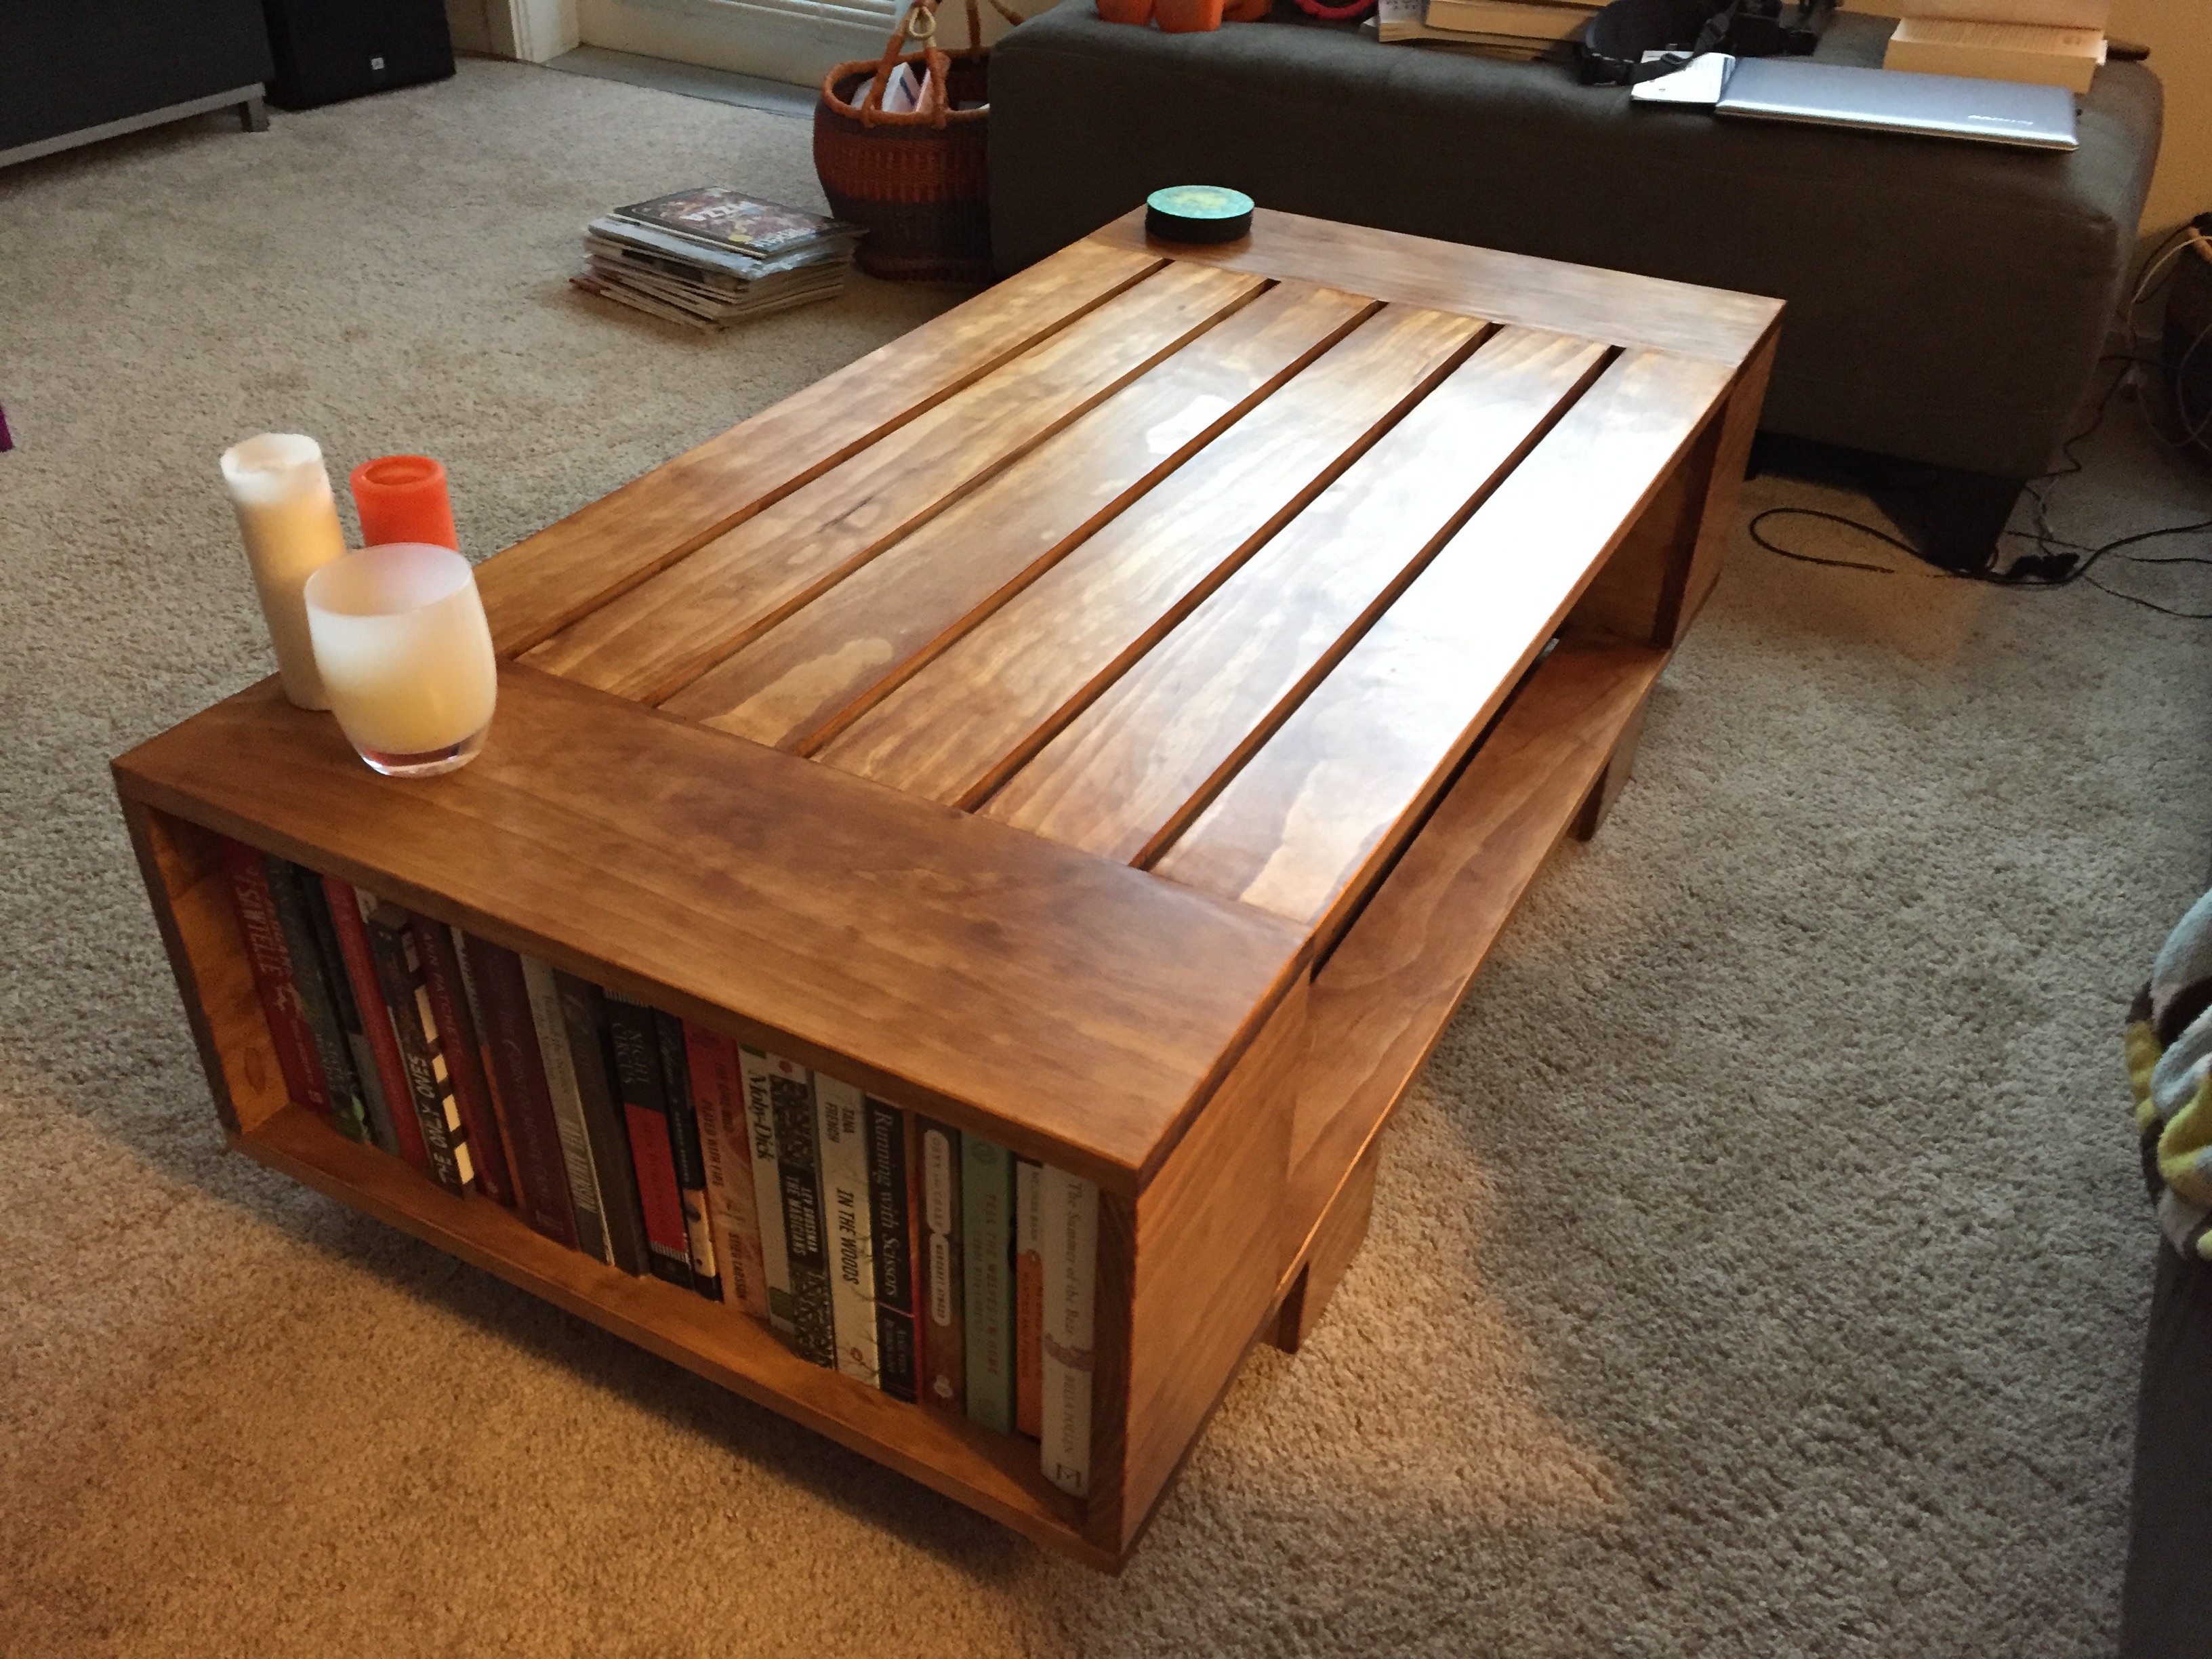
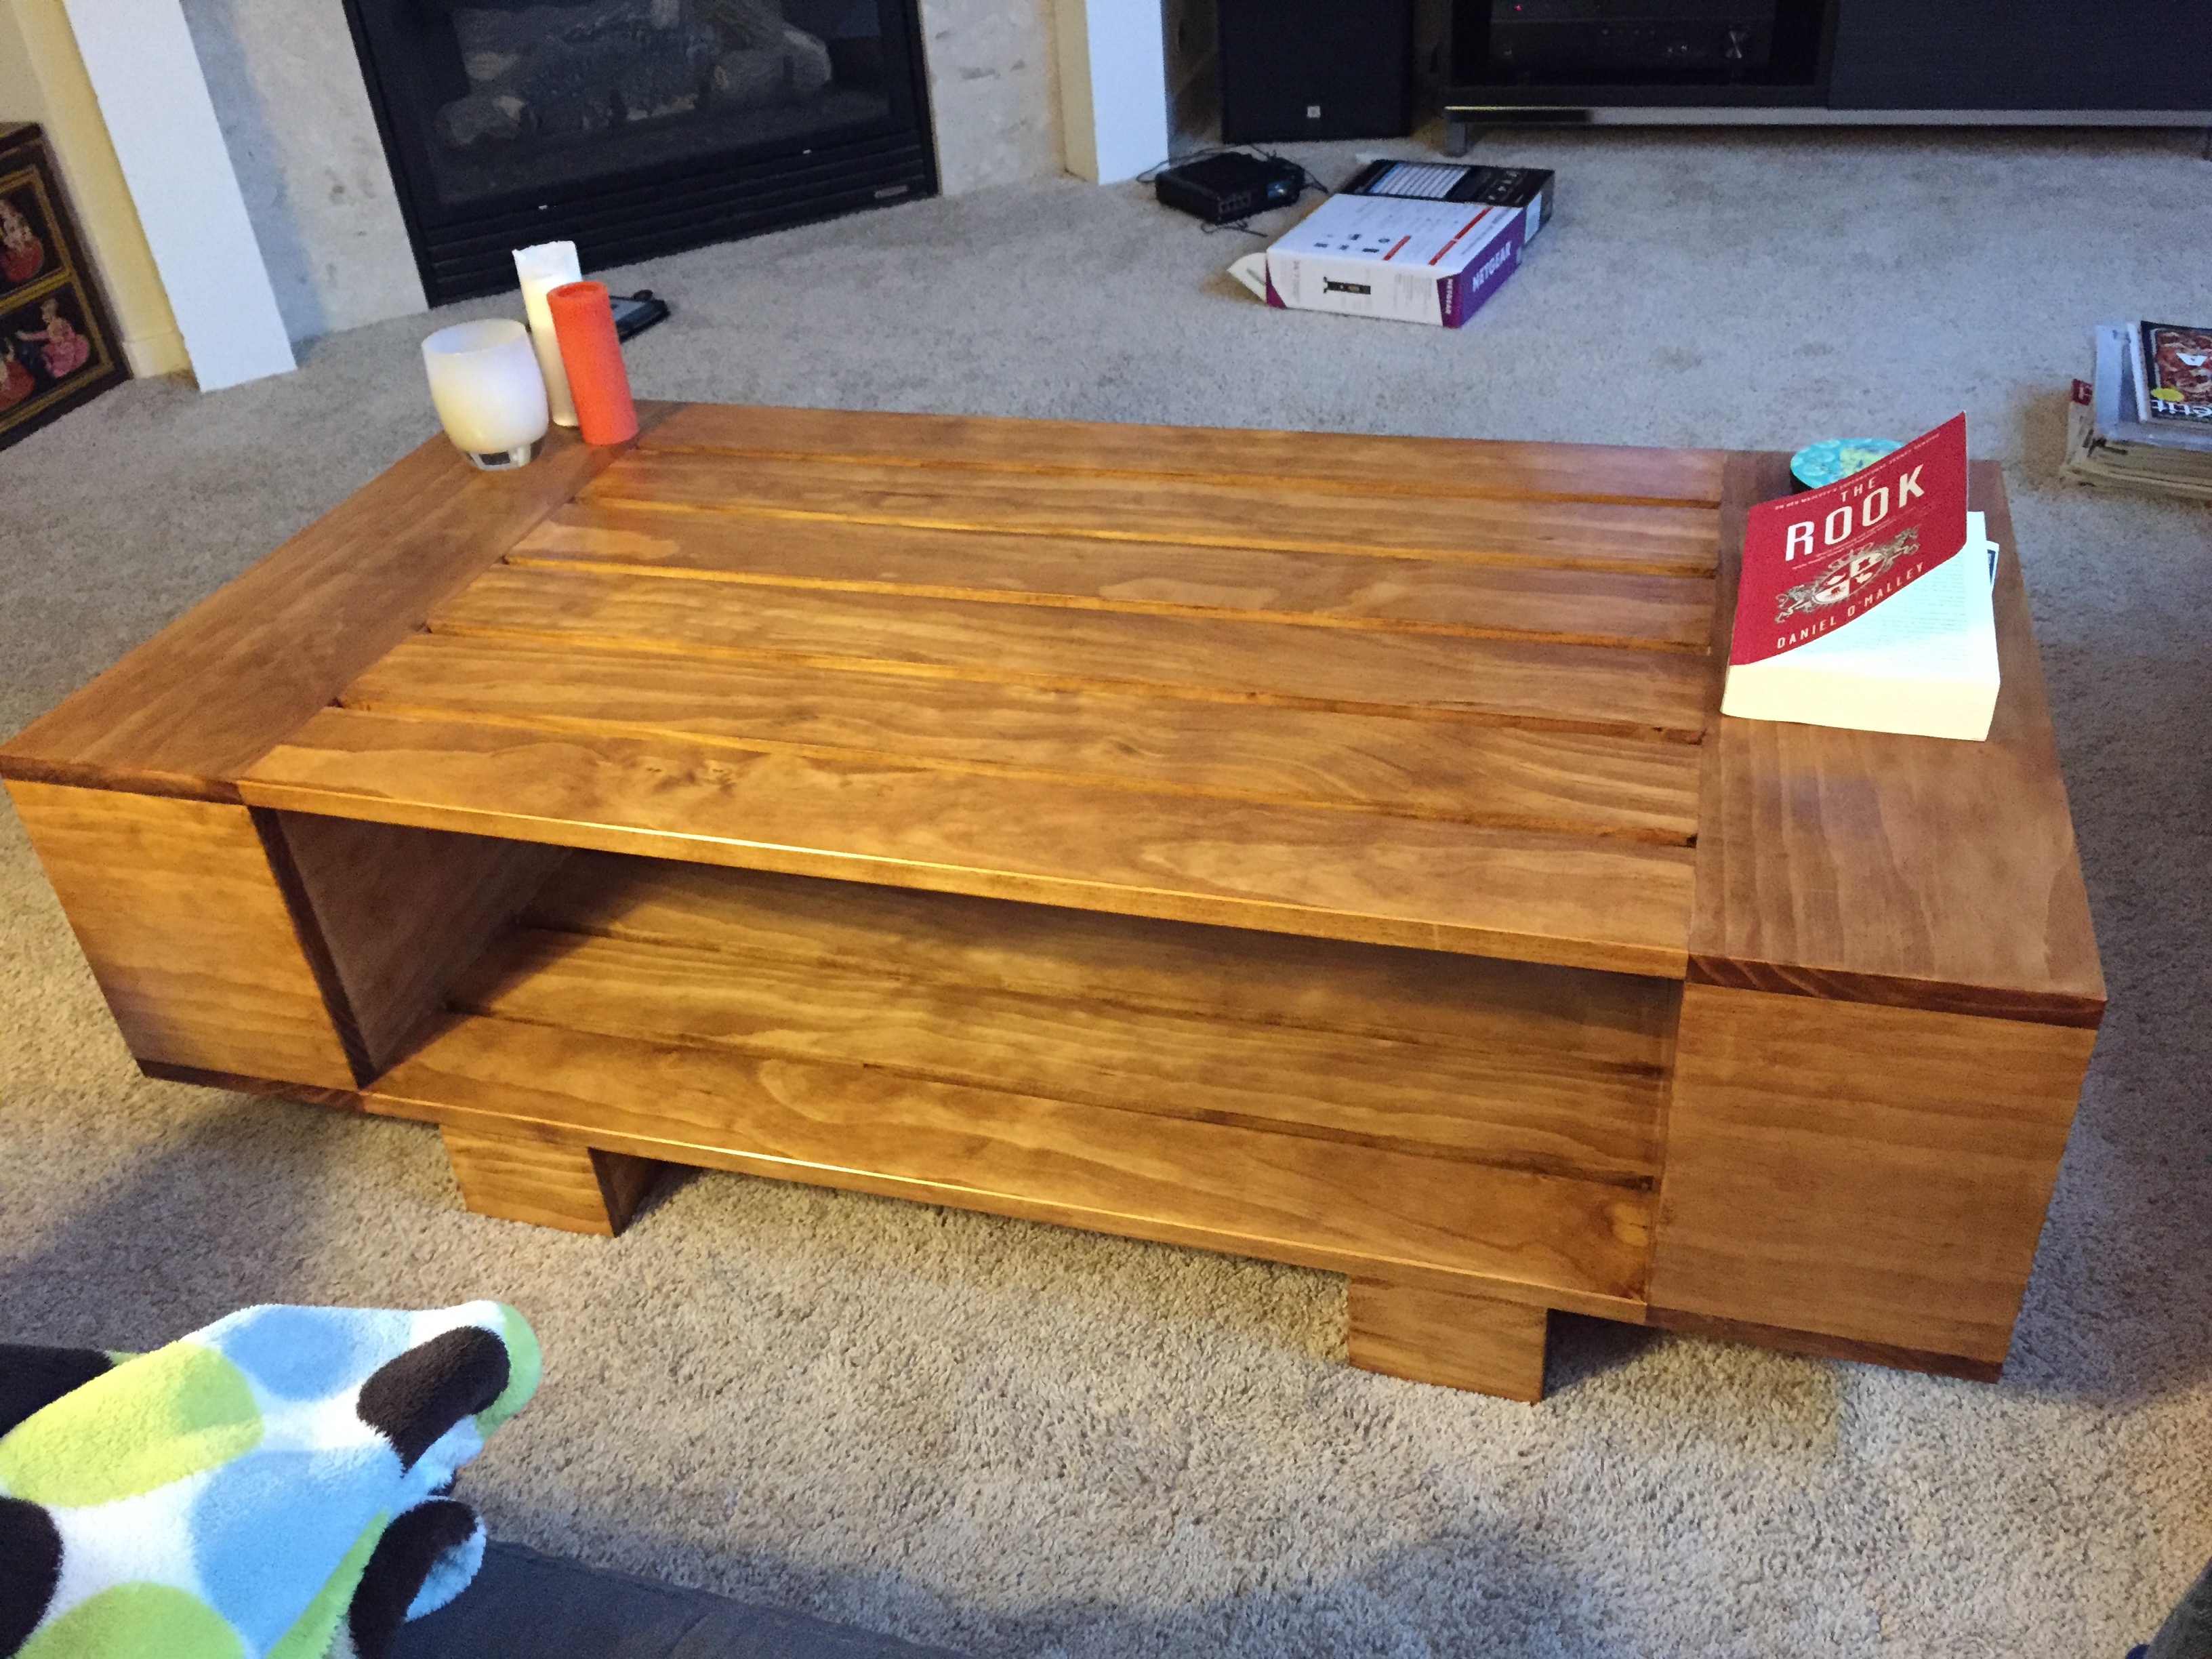
Minwax jacobean
Recommended Skill Level
Beginner