Community Brag Posts

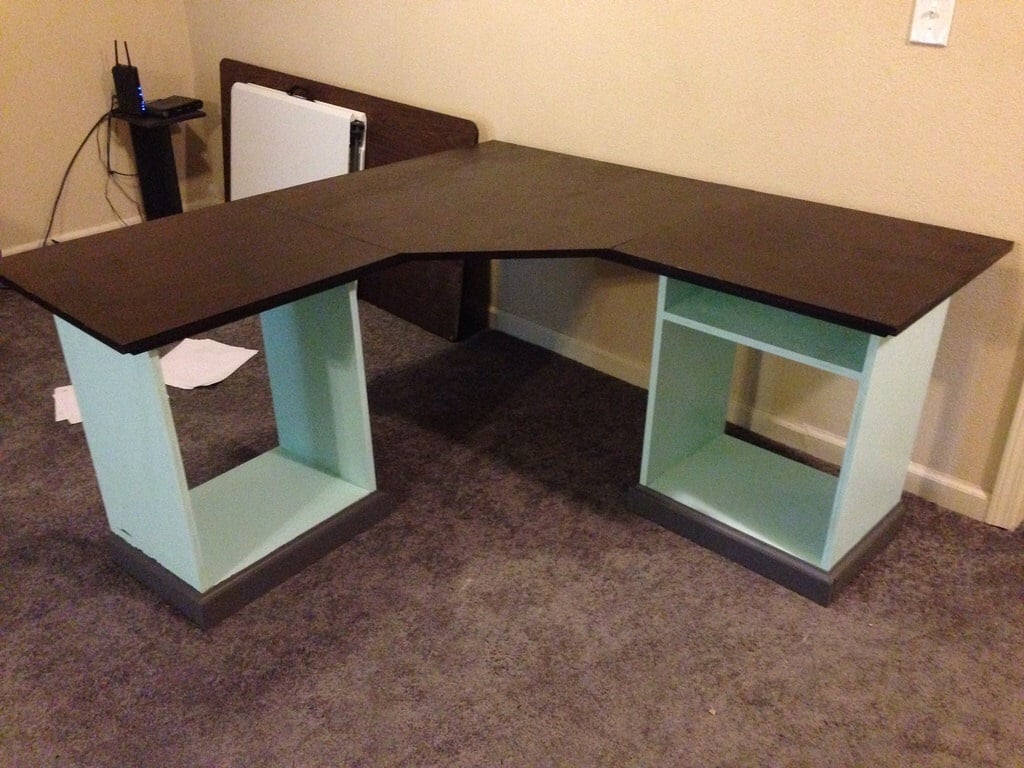
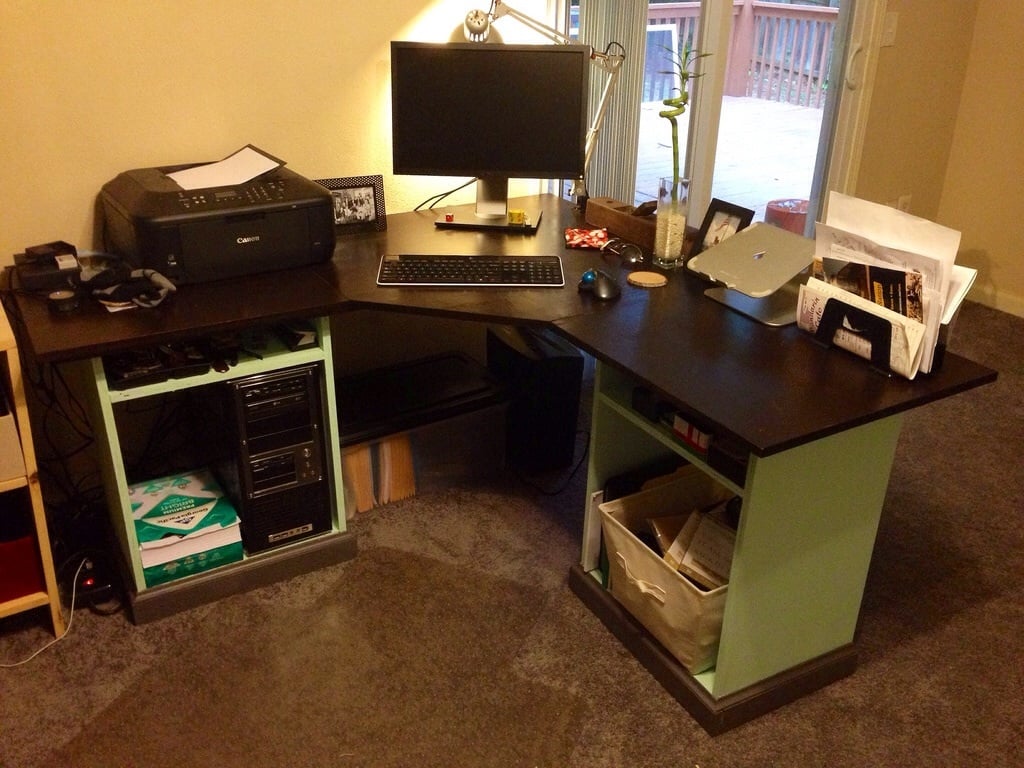
Modular Office L-Shaped Desk

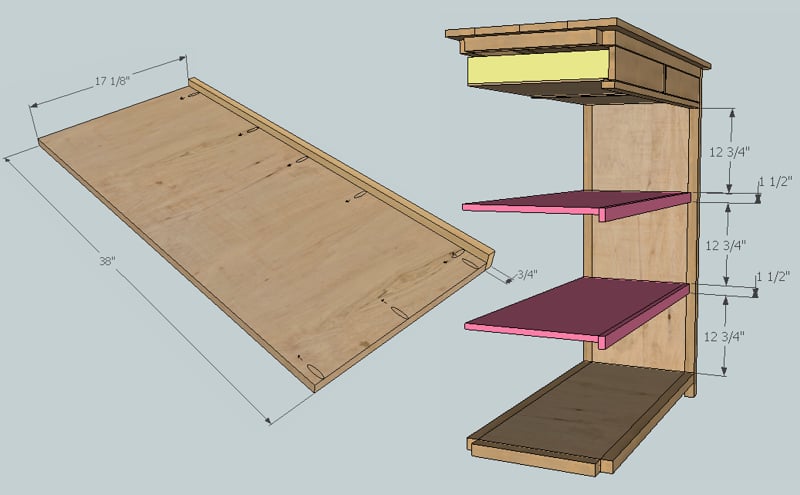
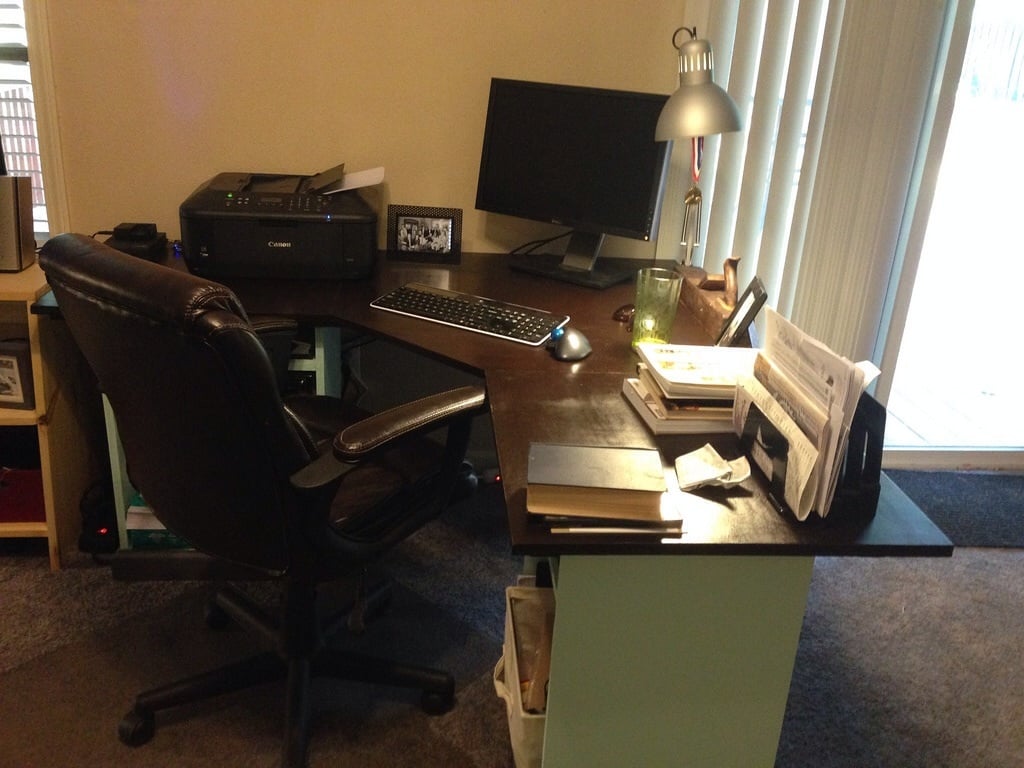
I used baltic birch ply (two sheets) plus some 1x3s and 1x2s. I had to modify the dimensions to suit my space (a wall space between a window and sliding glass door.

The dimensions of the 1x2"s we a little hard to adjust. Mostly my math.

 I still need to add drawers, but I like the color contrast between the top, base and trim.

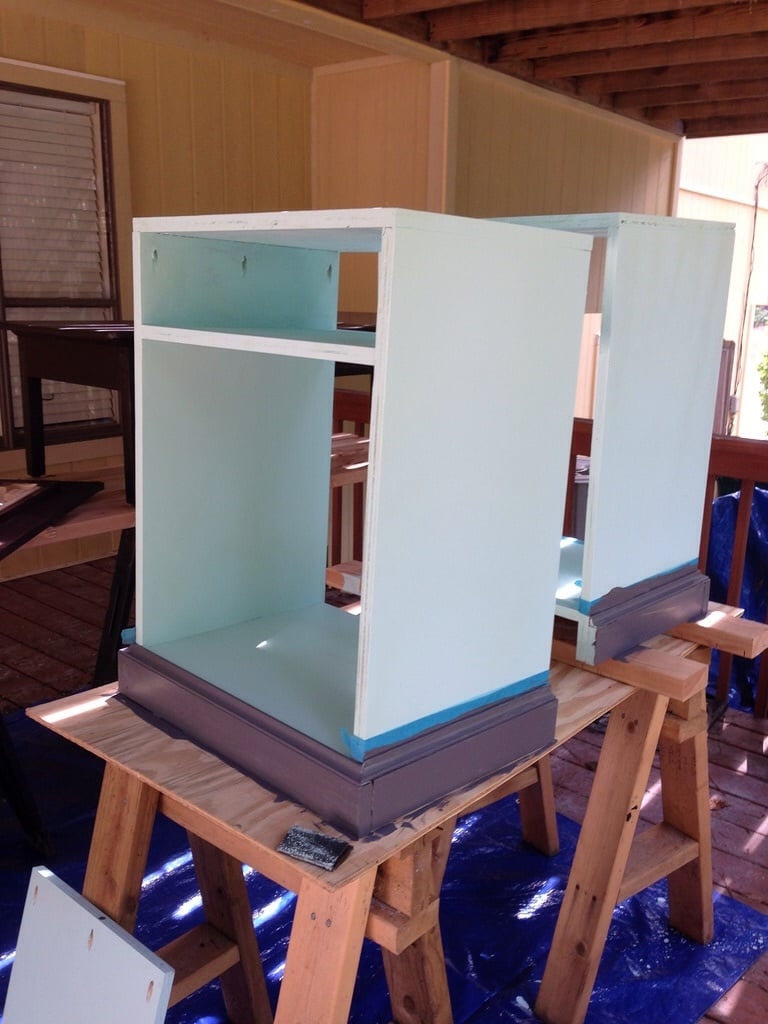
I used General Finishes Java gel stain for the top. General Finishes driftwood for the bottom trim. Basic white paint for the bases. I also used General Finishes High Performance Poly (2 coats). 

If I had to do it again, I would paint the bases in the Driftwood color and wax the whole thing. Also, I wouldn't apply the stain in hot sun. It came out really dark and was impossible to wipe off the excess. Also, never leave a ironed on edge banding in the sun. This lost adhesion and I had to re-iron it on.

Fun project. First use of pocket holes. 

I love the fact that it's modular and the angle gives you twice as much surface area. I get the feeling this will be with me for years to come in some room or another.

-Dallas

Built from Plan(s)
Estimated Cost
140
Estimated Time Investment
Weekend Project (10-20 Hours)
Finish Used
General Finishes Java Gel Stain
General Finishes Milk Paint - Driftwood
White Paint
General Finishes High Performance Polyurethane
Recommended Skill Level
Beginner

Comments

jackie scinto

Wed, 08/27/2014 - 21:01

So glad to have seen this post. I am thinking of making this desk for my daughter. Have been looking for a corner desk unit with open file bases. I found Ana's site and have made the sandbox w/bench plan, and it was not that hard. Of course I some help from a family member, and I think he would be help out with this plan as well. I am not sure of what a pocket hole is, can you tell me in laywoman's terms what that would be. Just to be sure, these plans consist of Office Corner Desktop Plan and the Modular Office Narrow Open File Base Plan. Also, did you use a Kreg Jig? I have found one at a local woodworking hobby shop, but i am wondering if the expense is worth it, any thoughts?

saelmc

Thu, 08/28/2014 - 10:38

Hi Jackie,

Ana has provided an informative video about drilling pocket holes with the Kreg jig, for those who are wondering how it's done. You'll find it here: http://ana-white.com/2011/11/drilling-your-first-pocket-hole and then you can decide if you think it will be worth it to spend the money on a jig.

Also, if you're concerned about the price, look around on the internet (like Amazon.com for example) and you'll see that there are different models available at various prices. The junior model is quite inexpensive and you might be able to buy it at a better price than the hardware store sells it for.

Good luck with your project!

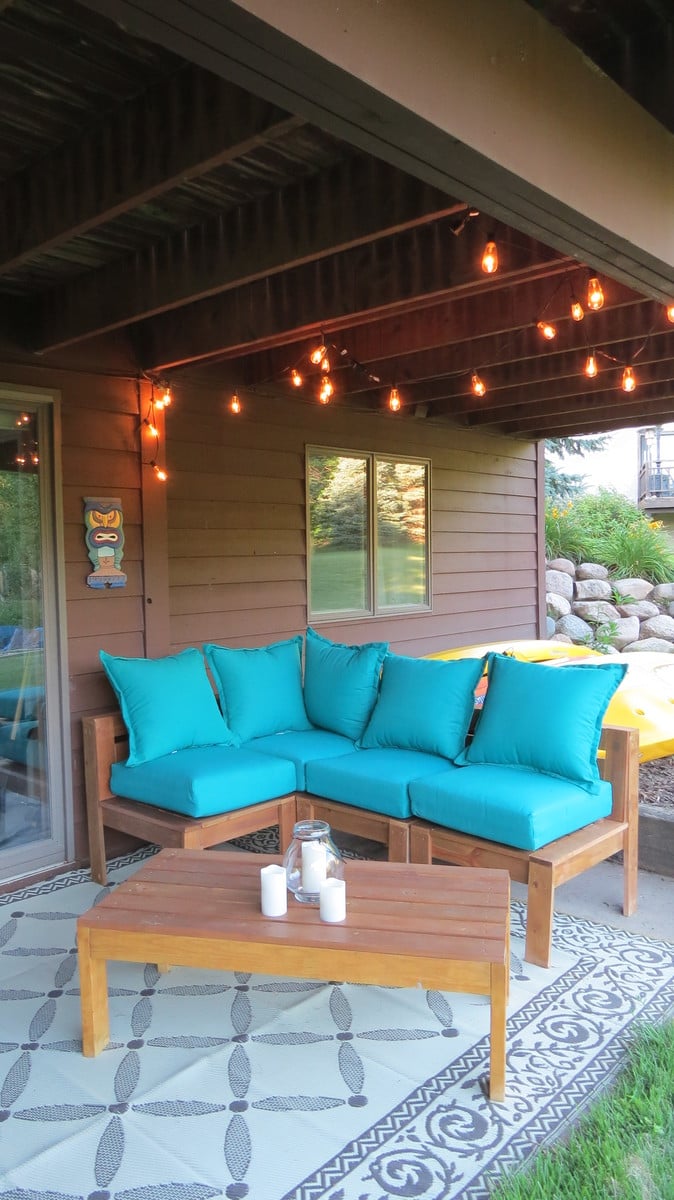
Outdoor sectional

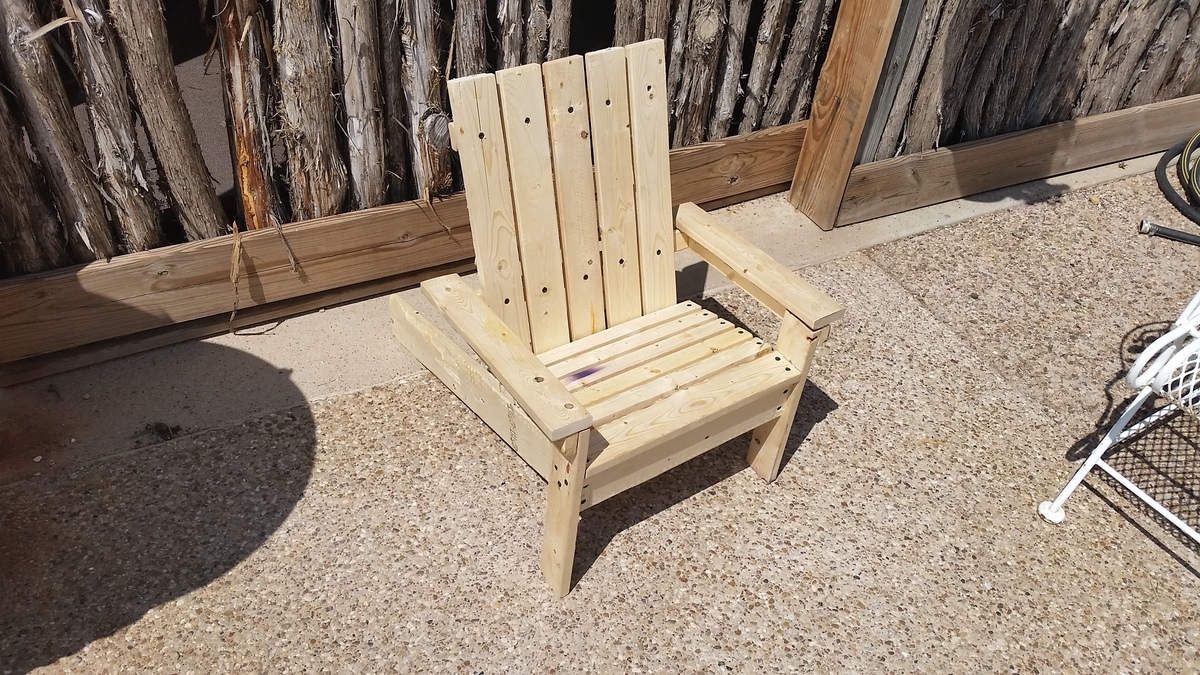
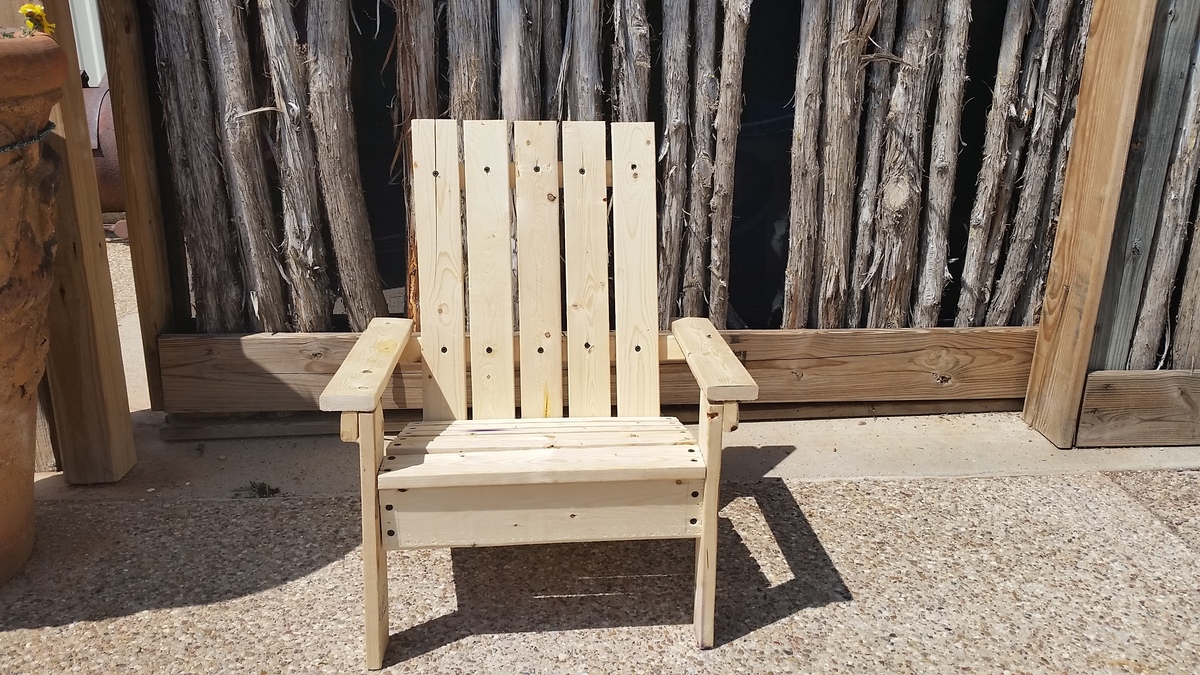
I changed the plans a bit and added backs to the chairs. I've never used a saw or a drill before, but I am thrilled with how easy this was to do. I love the end result!
I found cushions to go with the furniture at Target.

Estimated Time Investment
Week Long Project (20 Hours or More)
Recommended Skill Level
Beginner

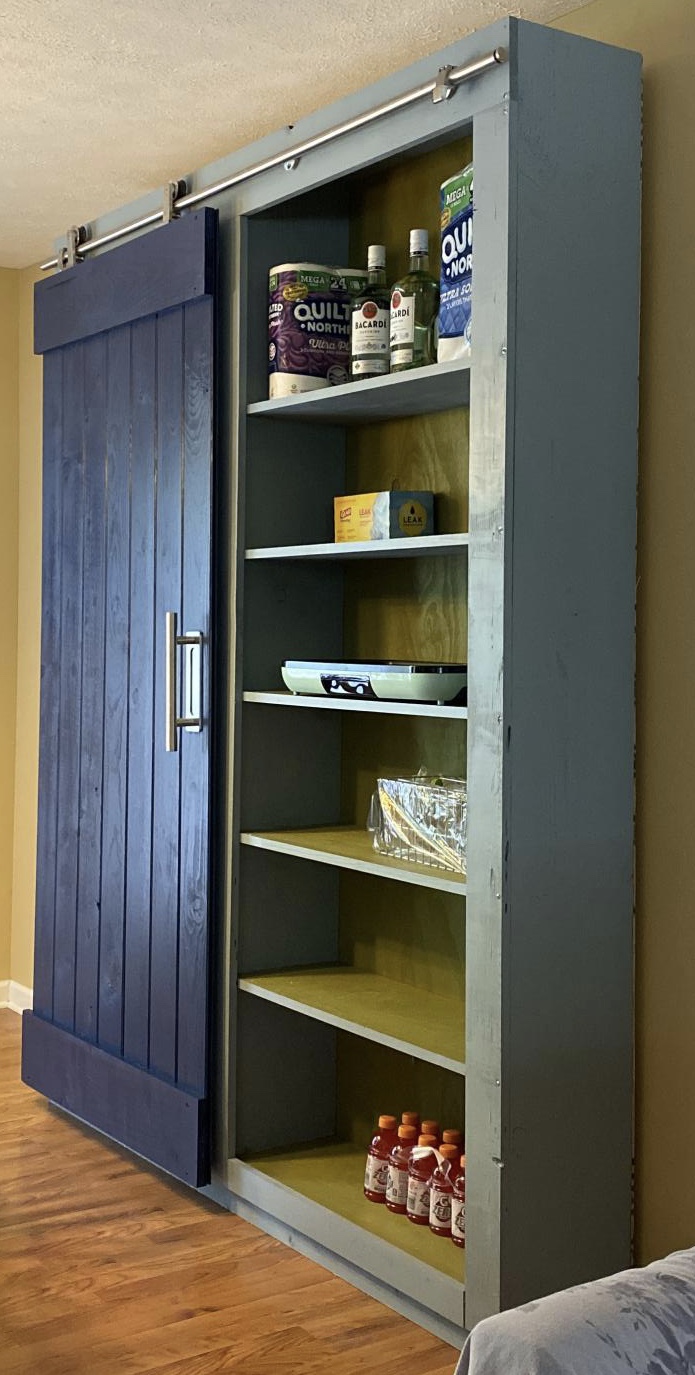
Barn Door Pantry

We didn’t have much storage space in our little galley kitchen. Imagine how excited I was to find this plan on my favorite site.
This was my first build using my new circular saw. For previous projects, I’d take both the shopping list and cut list to Lowe’s and have them cut the wood. This time, I made all my cuts. I was nervous but love how it turned out.
I anchored it to the wall because with the barn door and the hardware weight, it felt a little front heavy.
We used the same color as our kitchen cabinets (AH13 Salty Dog) and then selected coordinated colors for the body (AH18 Debonair) and shelves (AH15 Rural Green).

Built from Plan(s)
Estimated Cost
500
Estimated Time Investment
Weekend Project (10-20 Hours)
Finish Used
Sherwin Williams paint:
Barn Door (AH13 Salty Dog)
Cabinet (AH18 Debonair)
Shelves & Back (AH15 Rural Green)
Recommended Skill Level
Intermediate

Comments

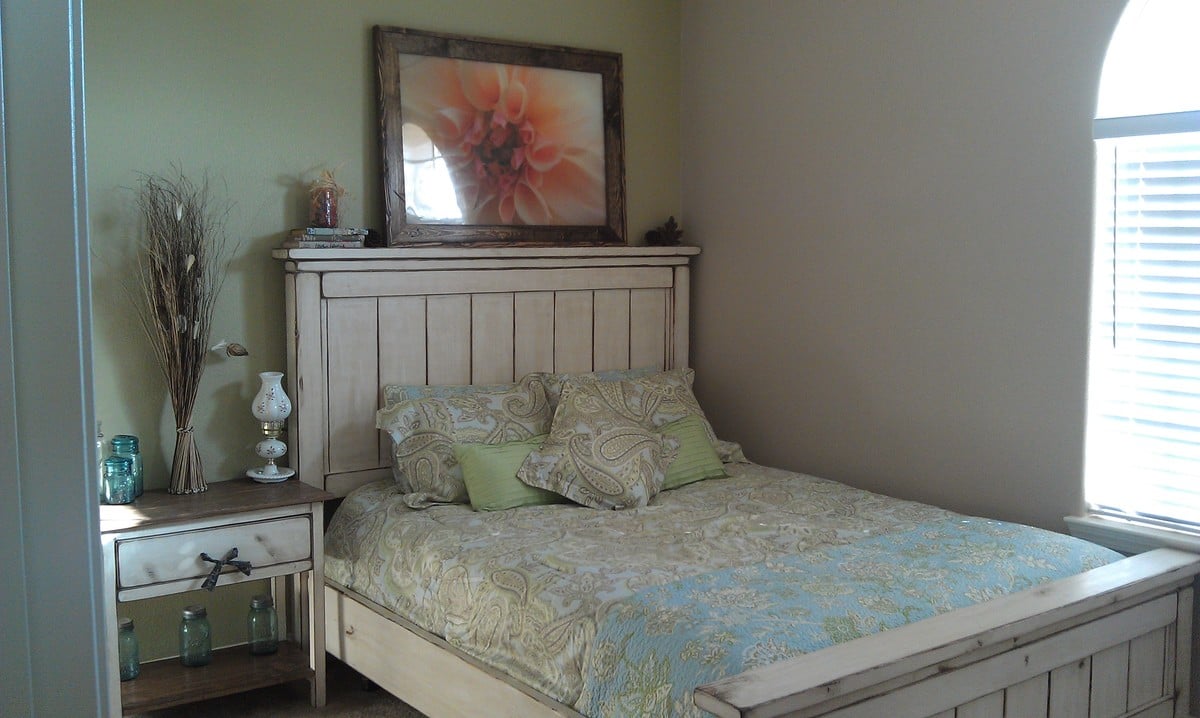
Farmhouse Bed - Queen

Submitted by Kimbers on Wed, 10/03/2012 - 13:47

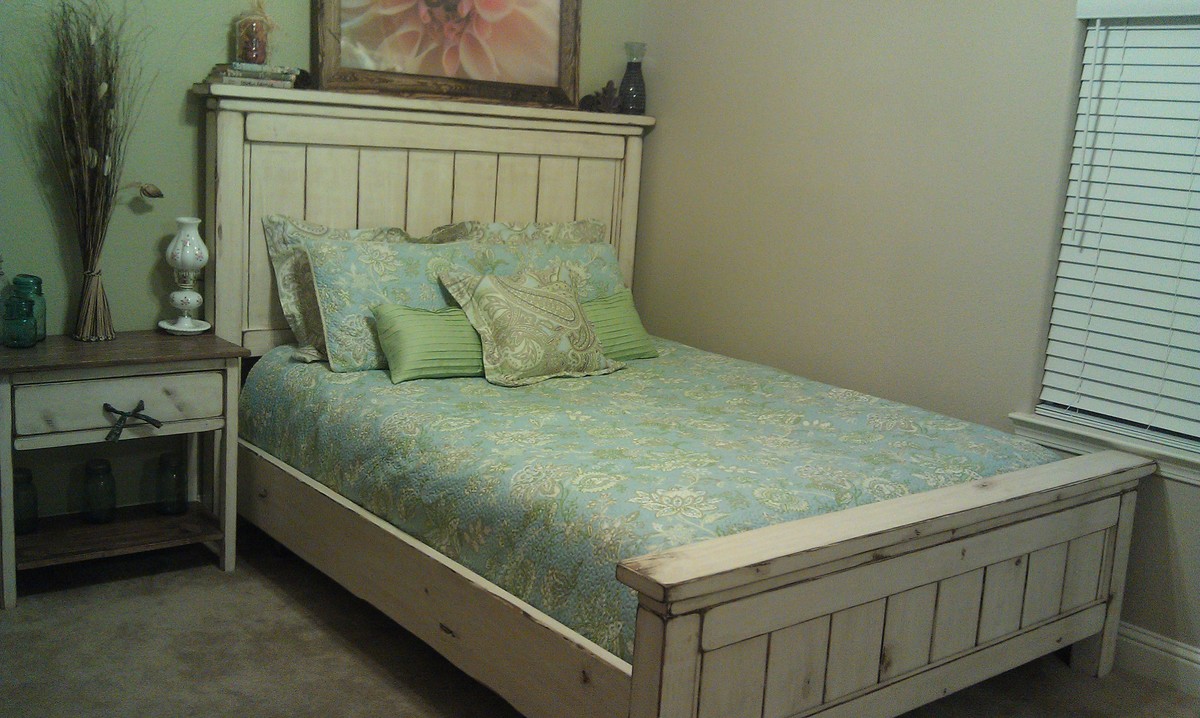
I had a lot if fun building this and am so glad I did!

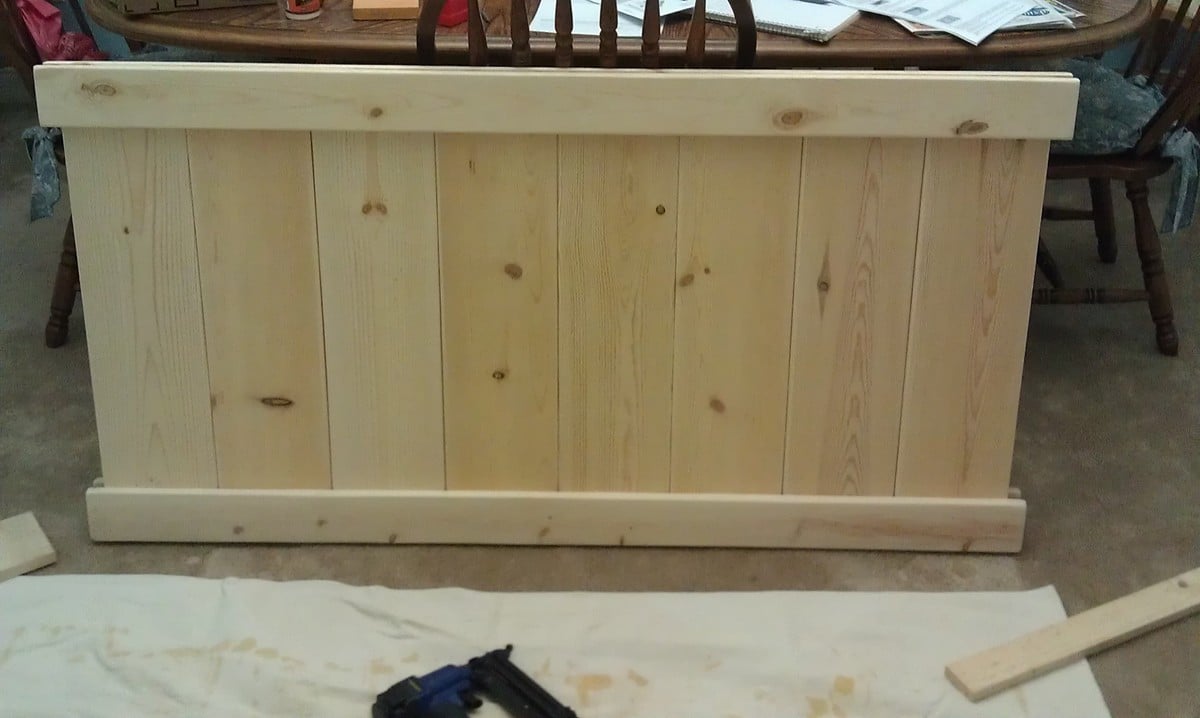
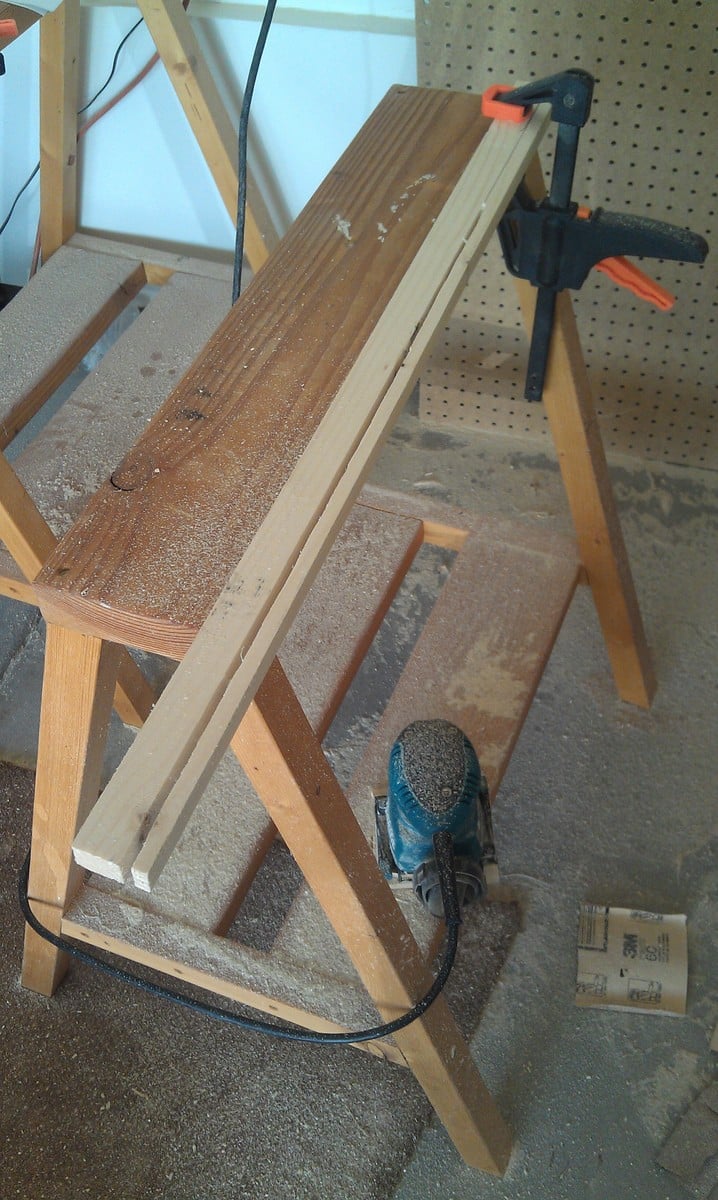
Ana mentioned that she distressed the planks by using a screw driver between them to scrape off some of the paint, I did this on the headboard and, while it did work, it was a pain and added a lot of time. For the foot board I painted and distressed all of the pieces prior to assembly and it worked out a lot better! :-)

My 1x8's were slightly smaller than Ana's so I cut down a 1x2 using my circular saw to fit into the spaces left on both sides.

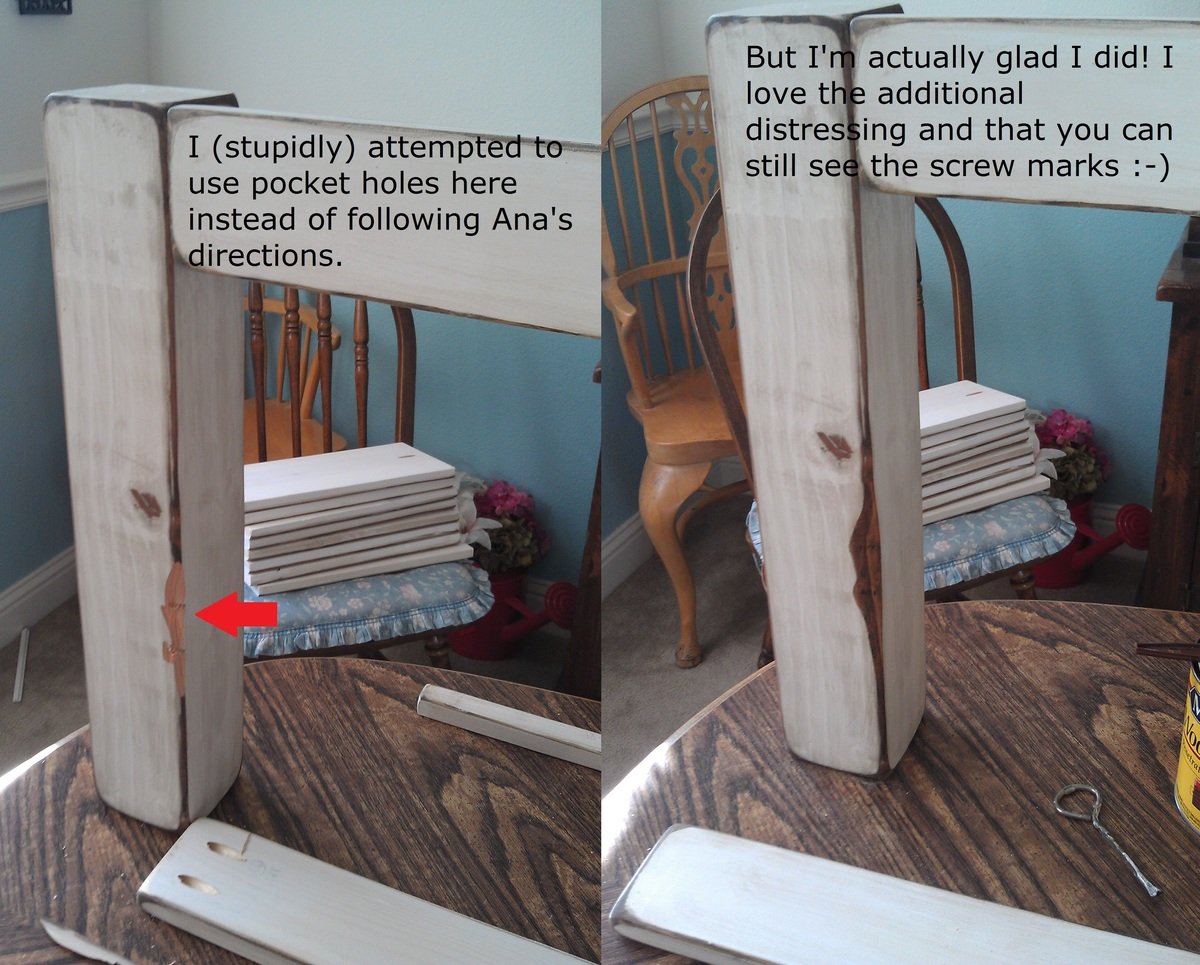
I attempted to use pocket holes to assemble the bed to minimize visible holes, it actually worked great except one side on the foot board :-( I ended up sanding it down and actually ended up really liking it. it always makes me think of it when I see that spot (and not in a bad way)

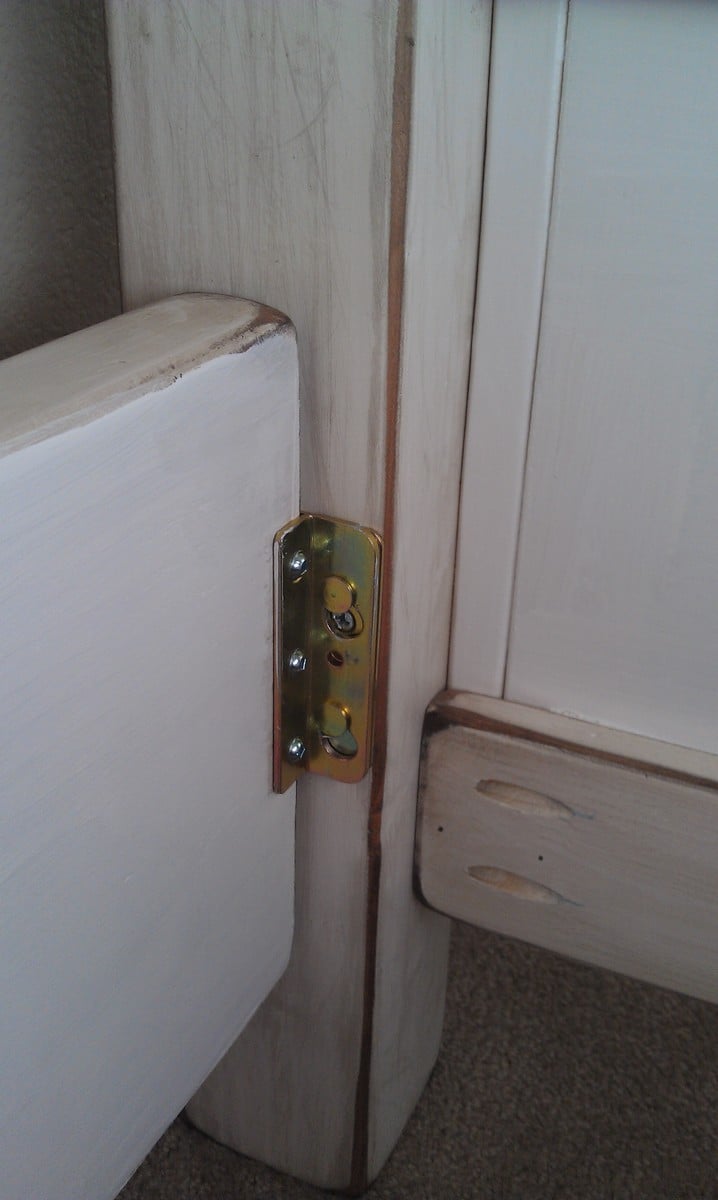
I cheated when putting this together. I decided to keep the mattress and box spring in their original frame. I used brackets from Woodcraft to connect the side rails to the headboard & foot board.
http://www.woodcraft.com/product/2003981/9364/hafele-nomortise-bed-rail…

Built from Plan(s)
Estimated Cost
I spend $109.75 (after tax) for all the wood and the rail brackets
Estimated Time Investment
Week Long Project (20 Hours or More)
Finish Used
I used Kilz 2 Primer then painted with Behr Silk Pillow. I sanded down all the edges then wiped on a coat of Minwax English Chestnut and sprayed with krylon matte clear sealer.

I stole the finish idea from boxermum here http://ana-white.com/2011/04/king-farmhouse-bed-1 but I did a lot more distressing and my stain turned out a lot darker.
Recommended Skill Level
Intermediate

Comments

Tilt Out Wooden Trash Bin

Submitted by paigers01 on Mon, 01/09/2017 - 11:27

Tilt Out Wooden Trash Bin

After 7 years of our trash can sitting out in the open, my wife decided we needed to do something about it. I saw the plans for this tilt out wooden trash bin, and slightly modified it using tongue and groove for the face panel.


Estimated Cost
$50-$75
Estimated Time Investment
Afternoon Project (3-6 Hours)
Finish Used
Minwax English Chestnut
Recommended Skill Level
Beginner

Corner Cupboard

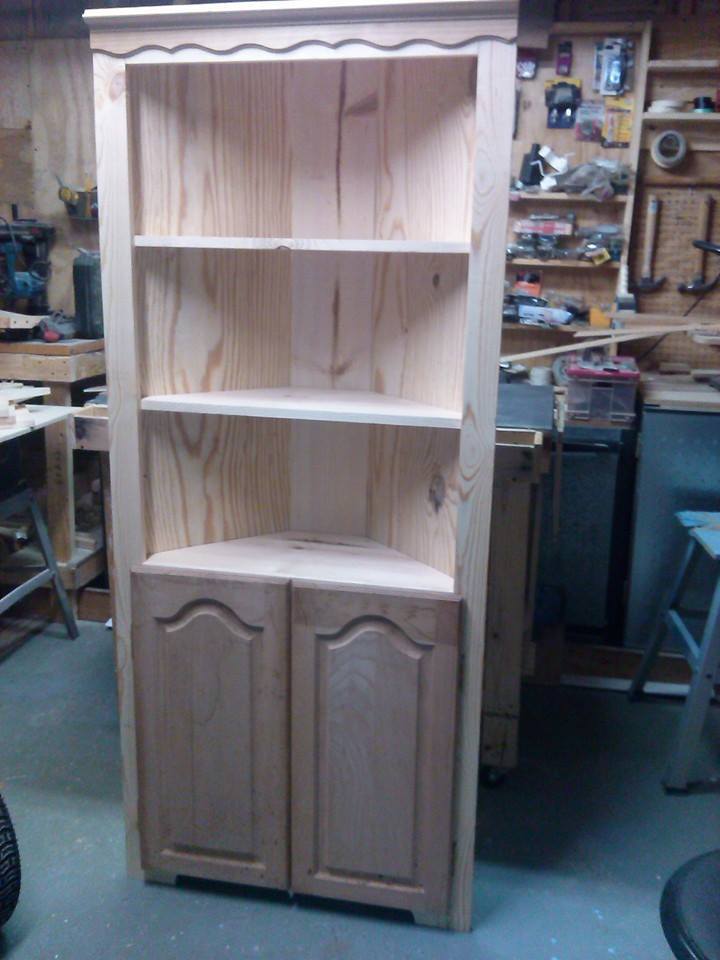
Built from your corner cupboard plans. Added a few of my touch and ready for staining. Thank you Ana.

Built from Plan(s)
Estimated Cost
Total cost was about $90
Estimated Time Investment
Afternoon Project (3-6 Hours)
Recommended Skill Level
Intermediate

Comments

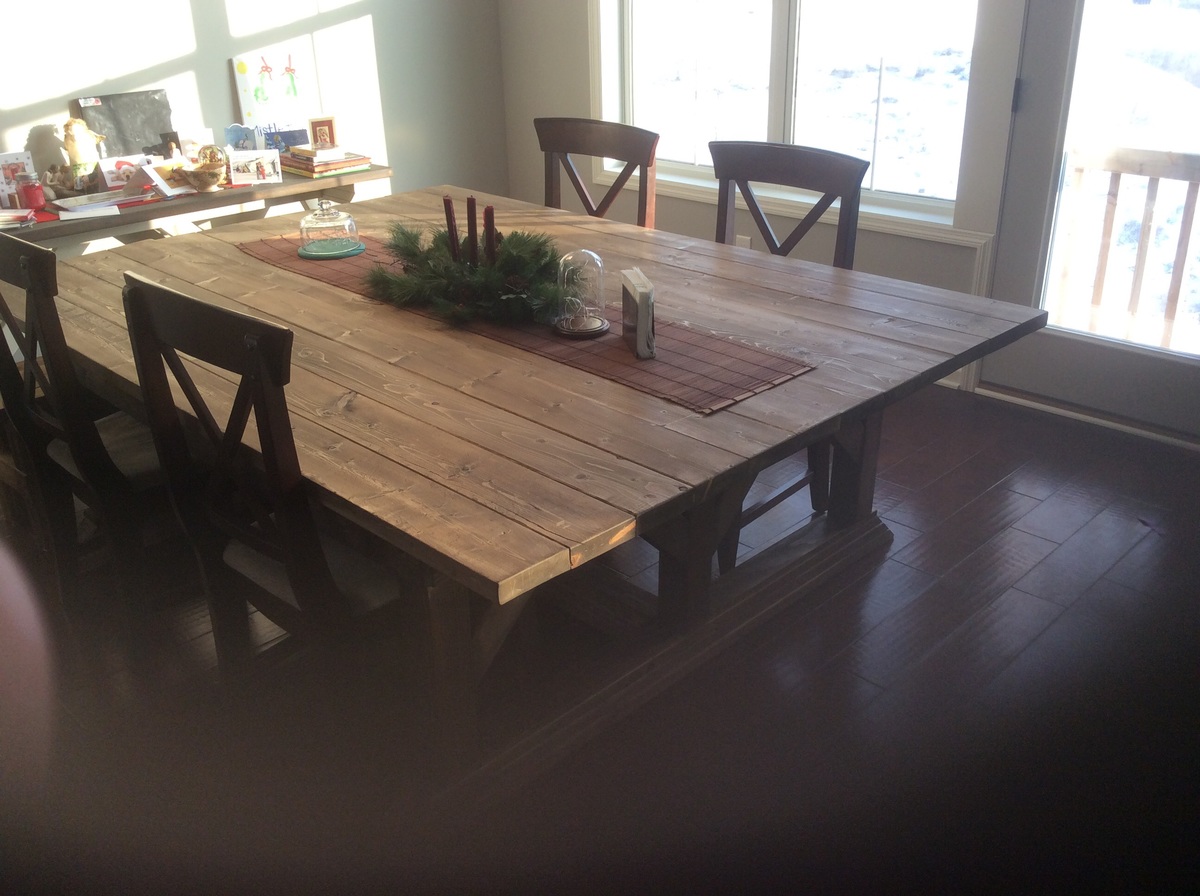
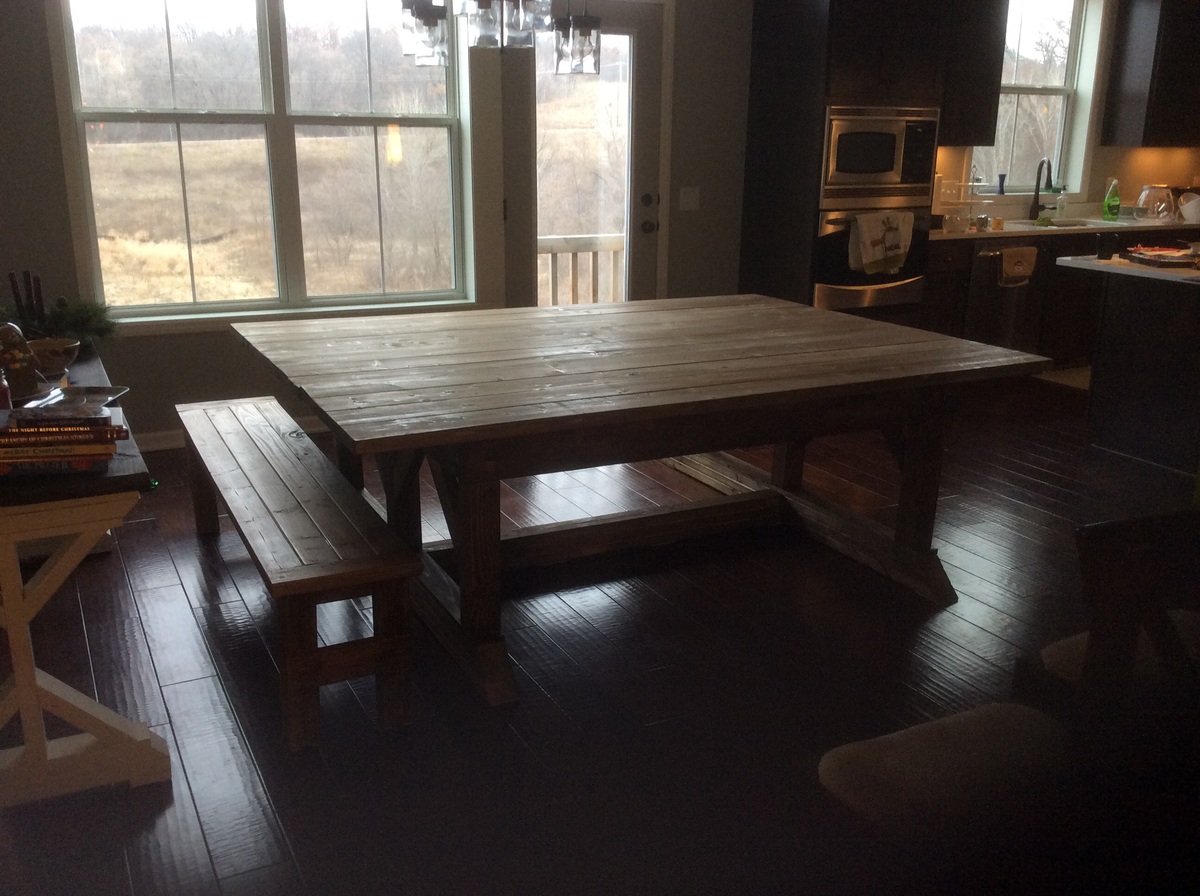
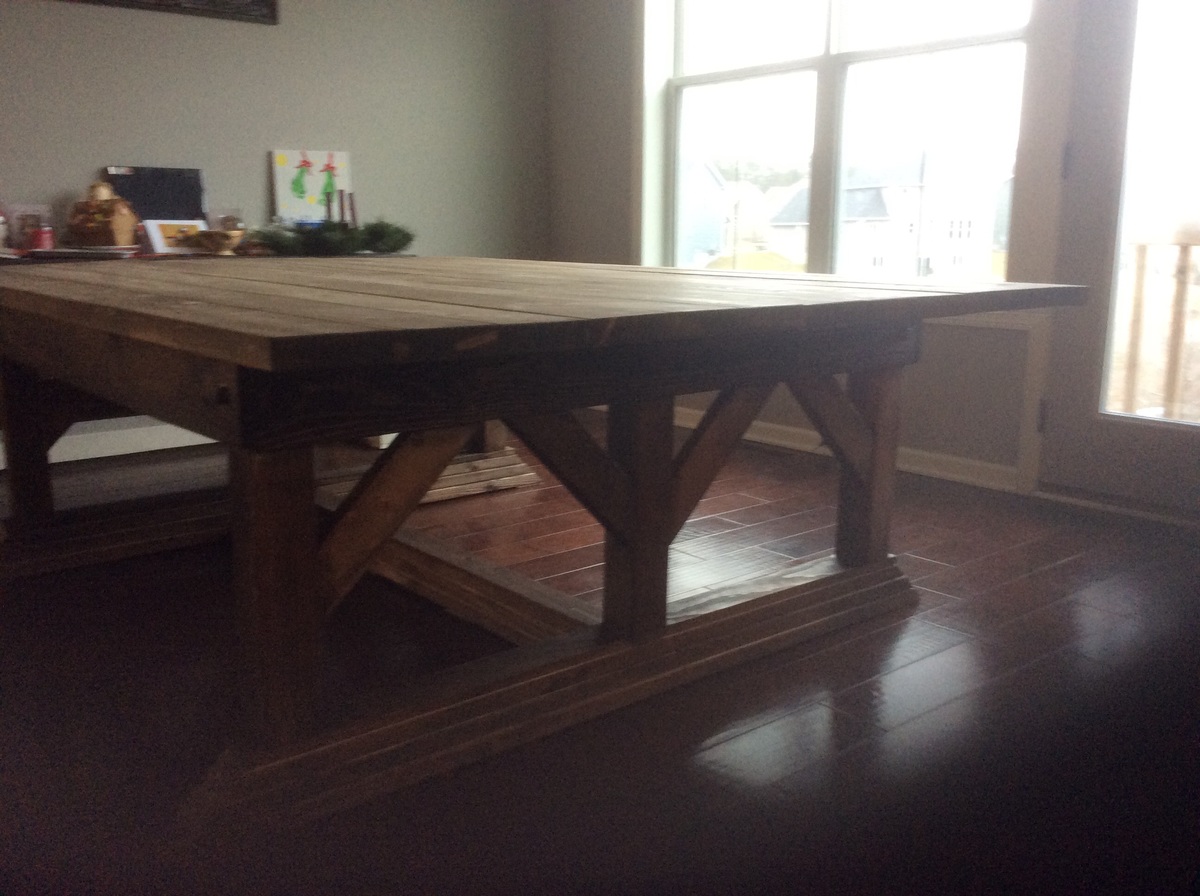
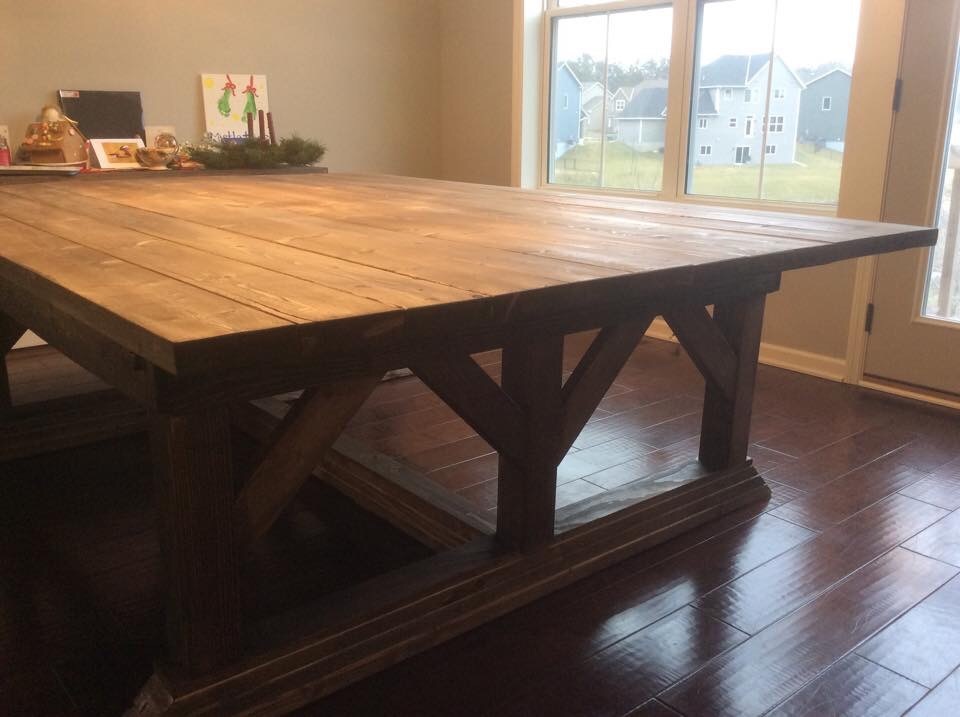
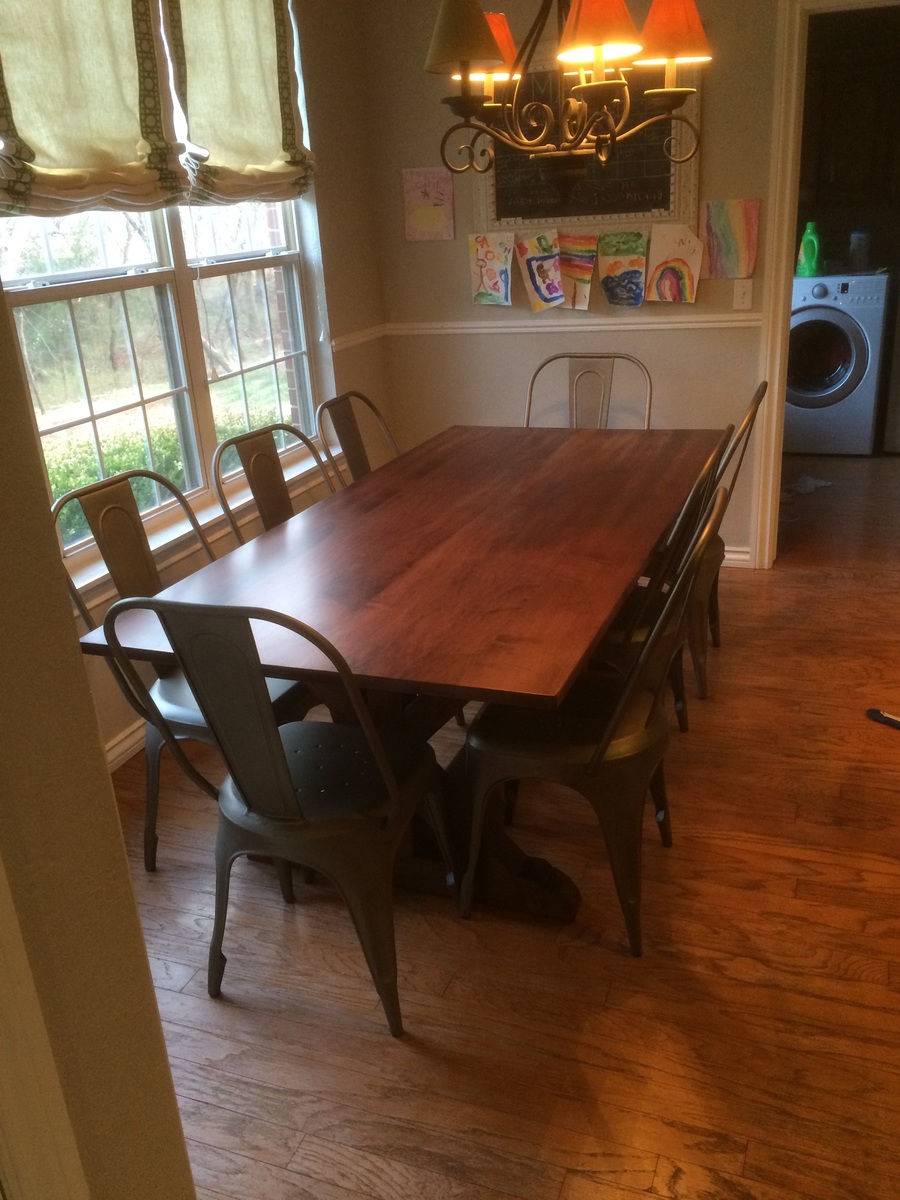
Outdoor table? We are actually using it as our dining room table.

We have an open floor plan and a large dining room area, I wanted a table that would do the space justice and provide a place where my boys could do art projects and play games, etc. This table works perfect in the space!

Built from Plan(s)
Estimated Time Investment
Week Long Project (20 Hours or More)
Finish Used
Minwax dark walnut.
Recommended Skill Level
Intermediate

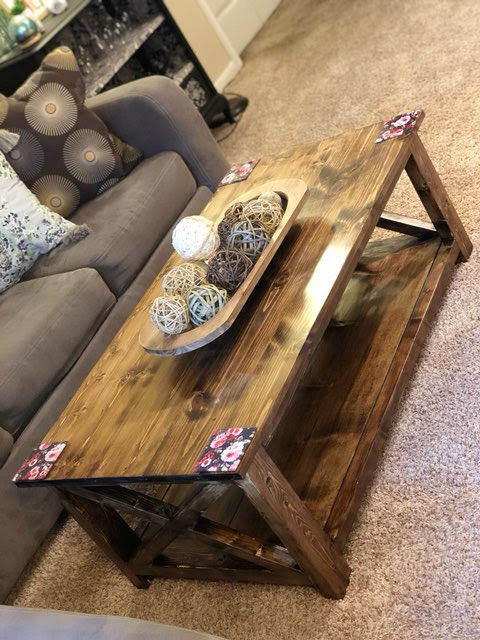
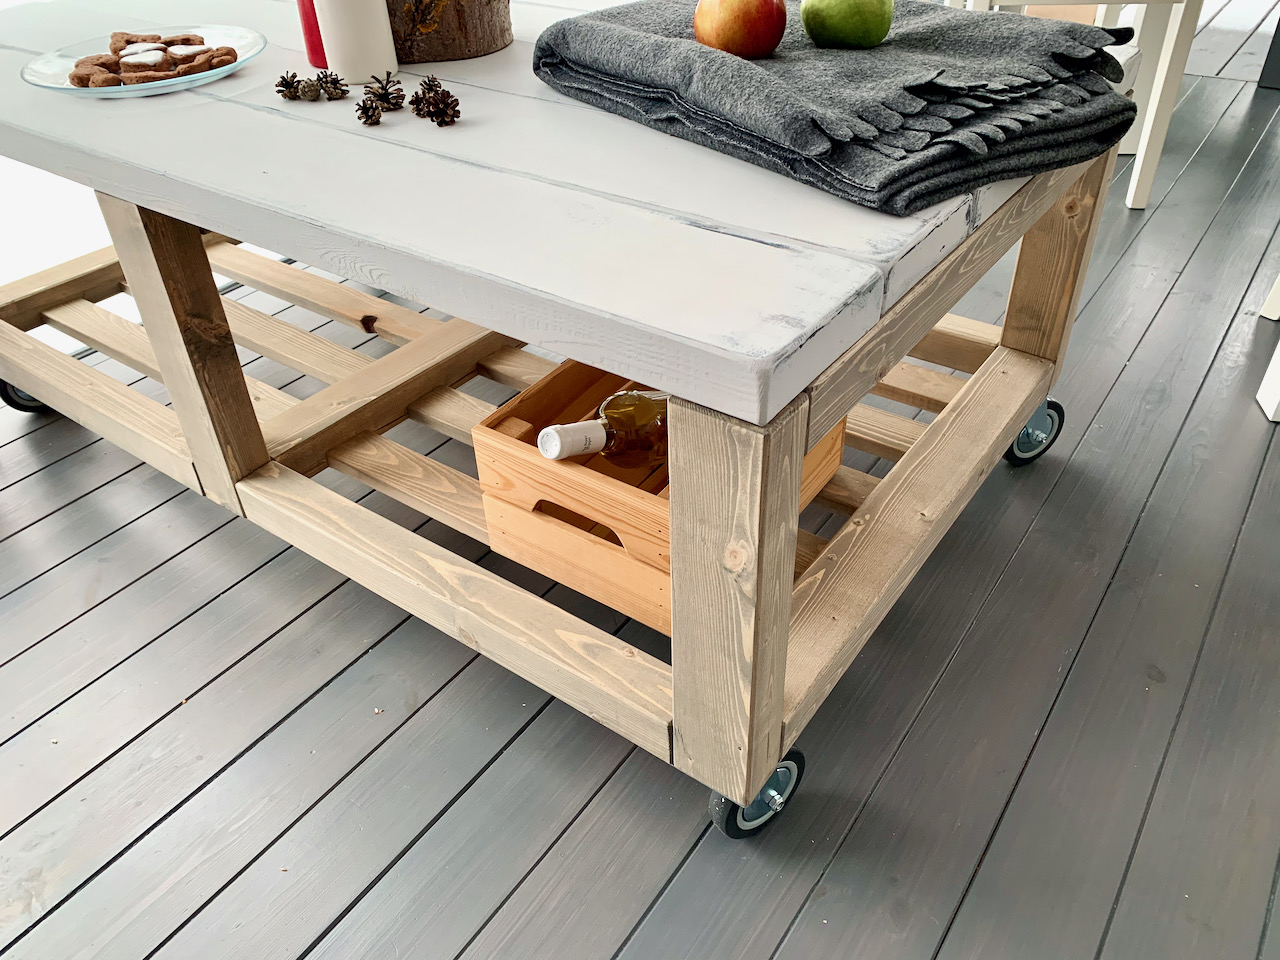
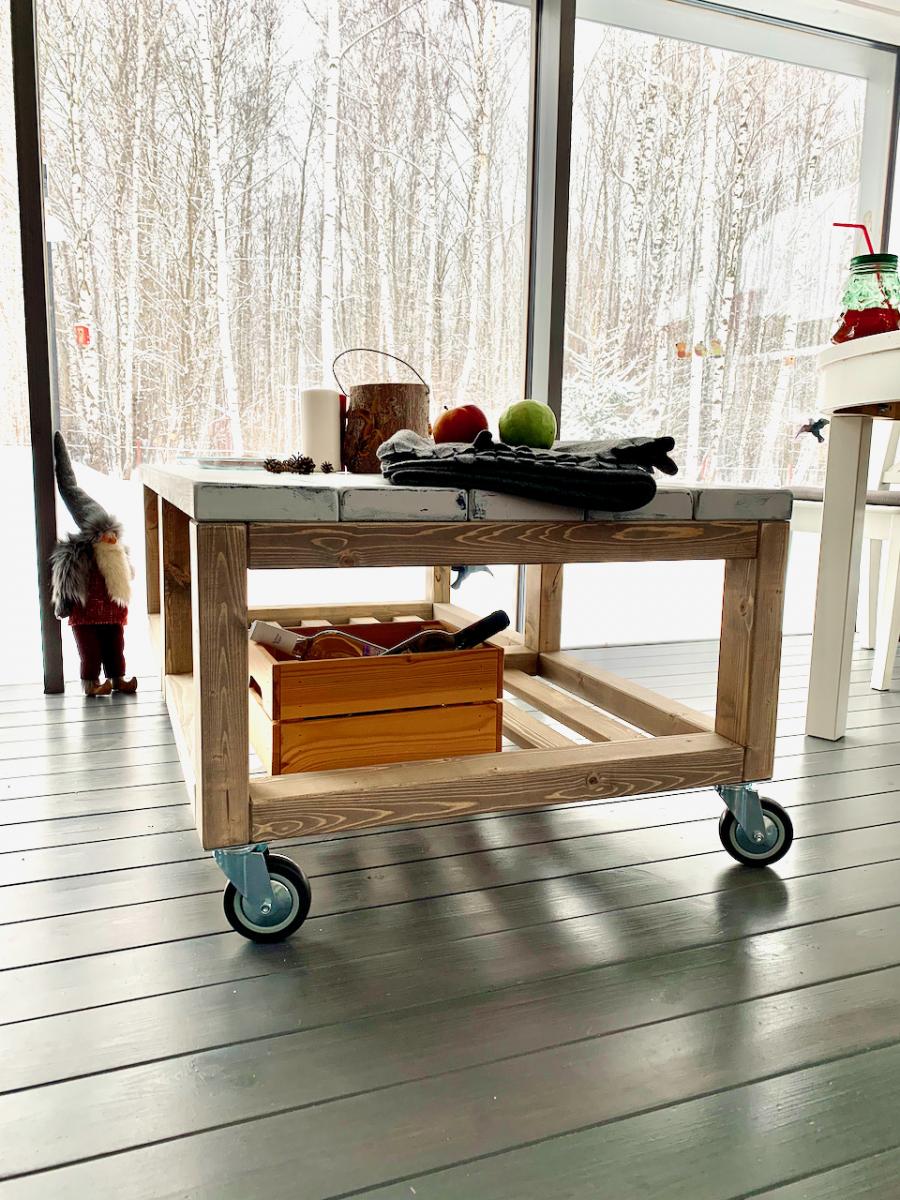
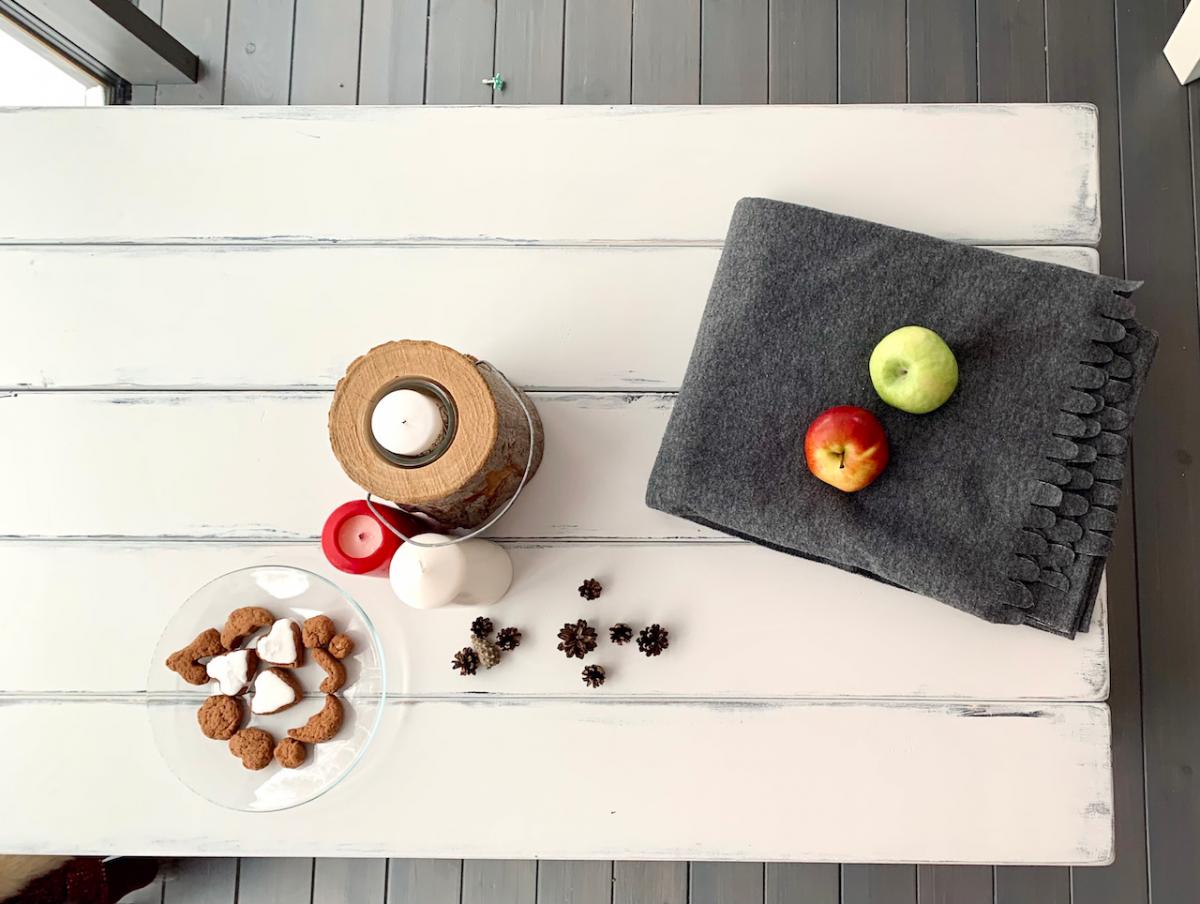
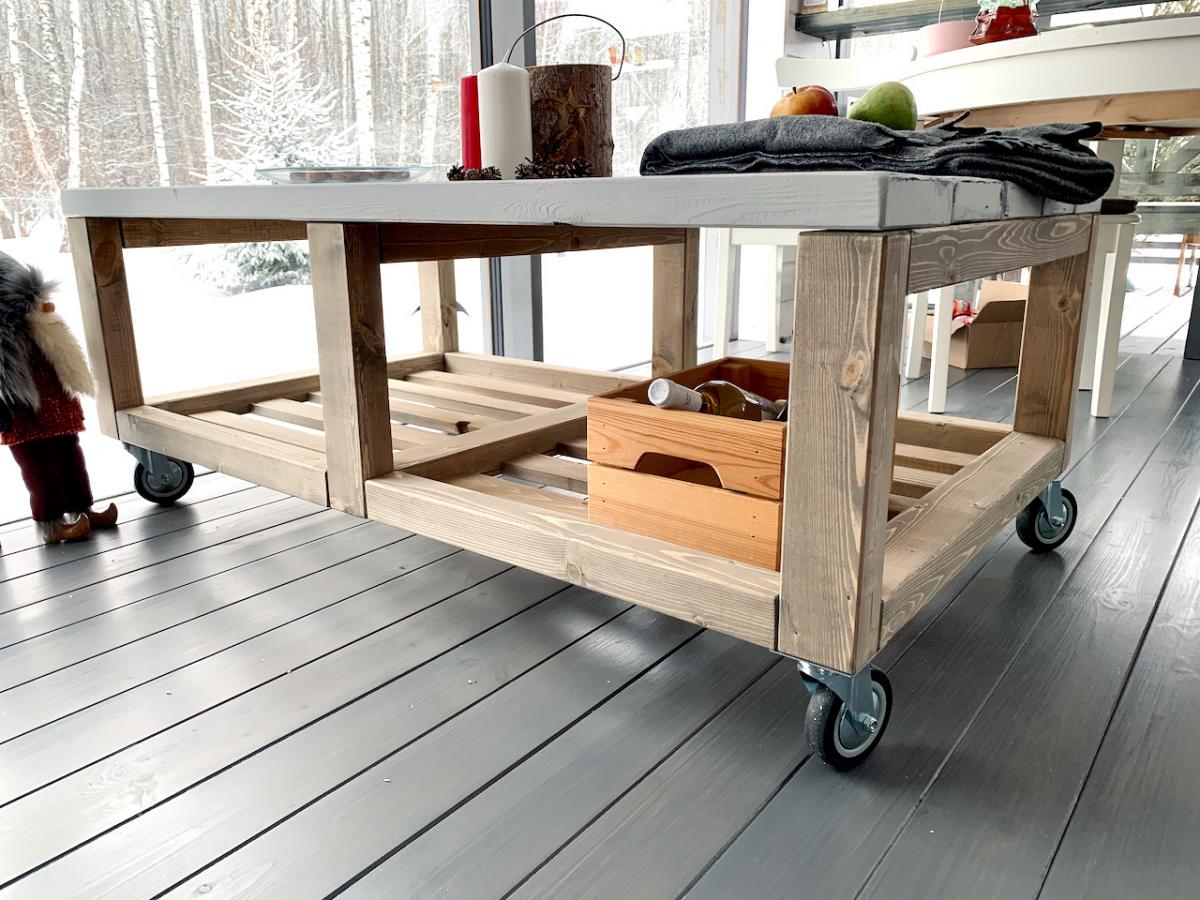
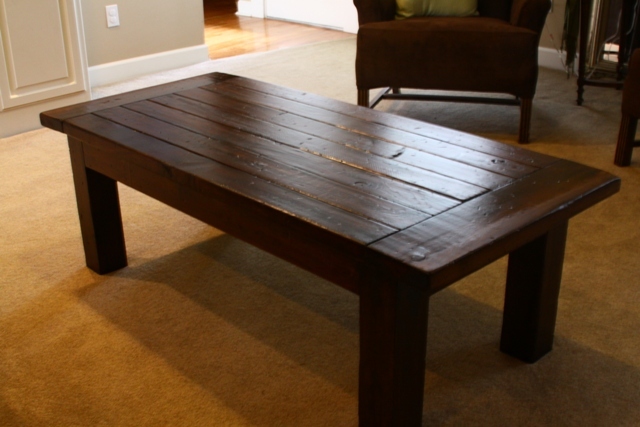
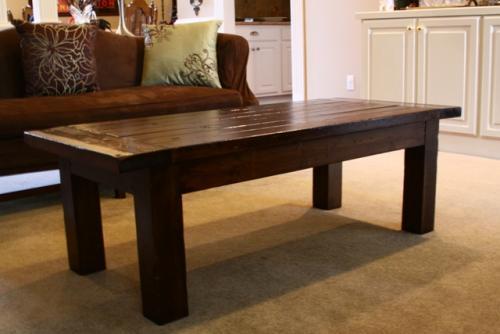
Truss Coffee Table

Submitted by ART.S on Sun, 01/31/2021 - 08:41

Super table i like it so much. Cant wait for summer to use it outside.

Built from Plan(s)
Estimated Cost
50$
Estimated Time Investment
Weekend Project (10-20 Hours)
Recommended Skill Level
Beginner

Comments

Seasonal And Holiday

Shark HD4 Extended Bed Sturdy Workbench

Submitted by Janettx on Thu, 04/06/2017 - 05:30

I started with the sturdy workbench plans ( http://www.ana-white.com/2011/03/sturdy-work-bench ) but enlarged it to 38x64x33 to accommodate my new CNC machine.  The plans give you enough enformation so that making a size change it very easy.  I used scrap wood I had and Plywood so the project only cost $85.00 to build.  I didn't have many 2x4's so I used the 2x6's I had instead.  Very sturdy table that took about 4 hours to build.

Thanks,

Janet Fox

Built from Plan(s)
Estimated Cost
$85.00 with and scraps
Estimated Time Investment
Afternoon Project (3-6 Hours)
Finish Used
left raw
Recommended Skill Level
Beginner

My First Build: Console Table

Submitted by smitty22 on Wed, 03/20/2013 - 11:58

Well, I've finished my first building project! I think it turned out well considering that it was my first. I really liked the simplicity of the plans for this console table. I intended to follow the plans exactly, but made some modifications in the end (due to not realizing my 1x12 was not the correct width.) Regardless, I'm thrilled with the final product!

Estimated Time Investment
Afternoon Project (3-6 Hours)
Finish Used
Winwax Dark Walnut
Recommended Skill Level
Beginner

Comments

JoanneS

Wed, 03/20/2013 - 15:51

Looks super! Congrats on your first build! Looks very professional, and your finish is just lovely!

smitty22

Sun, 03/24/2013 - 06:56

Thank you for the compliment, Joanne! I'm really excited to attempt more projects!

Husky Farmhouse Table

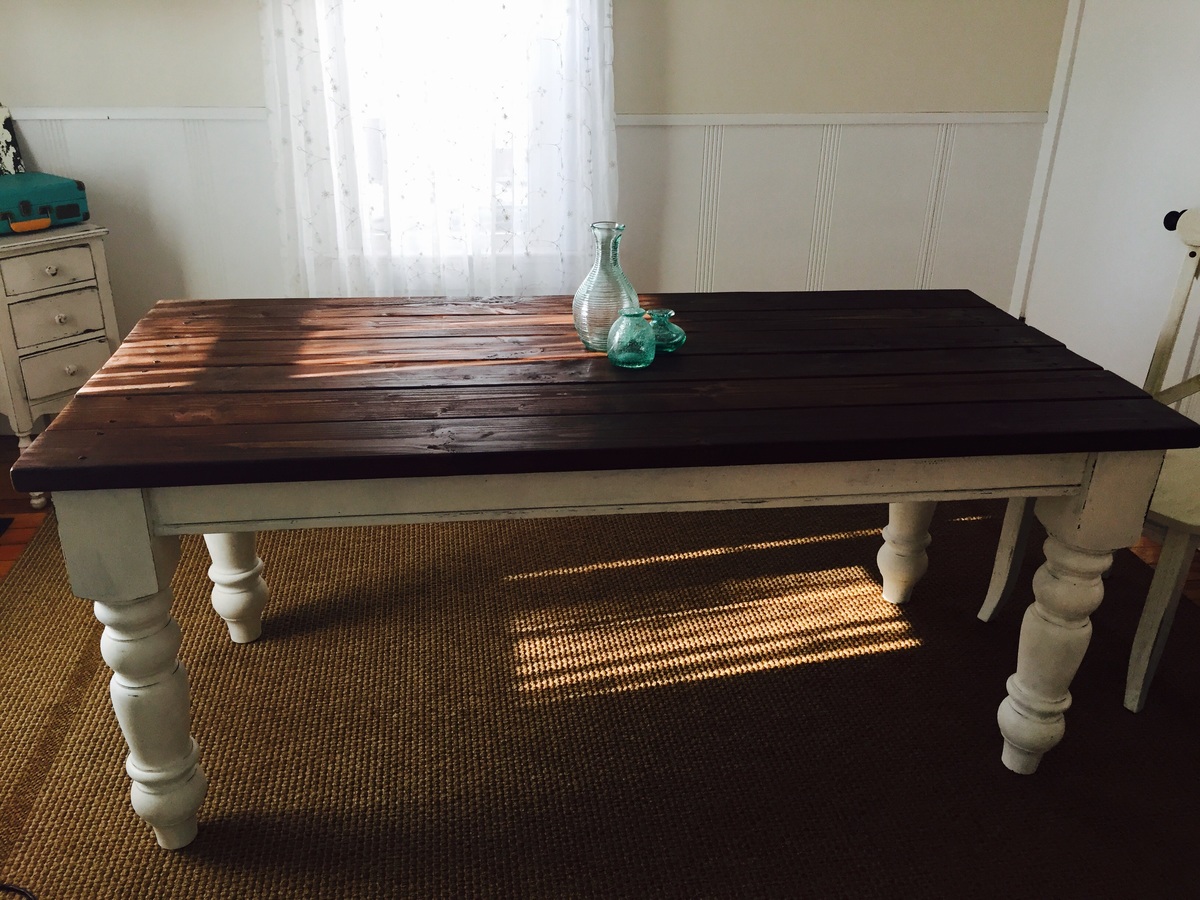
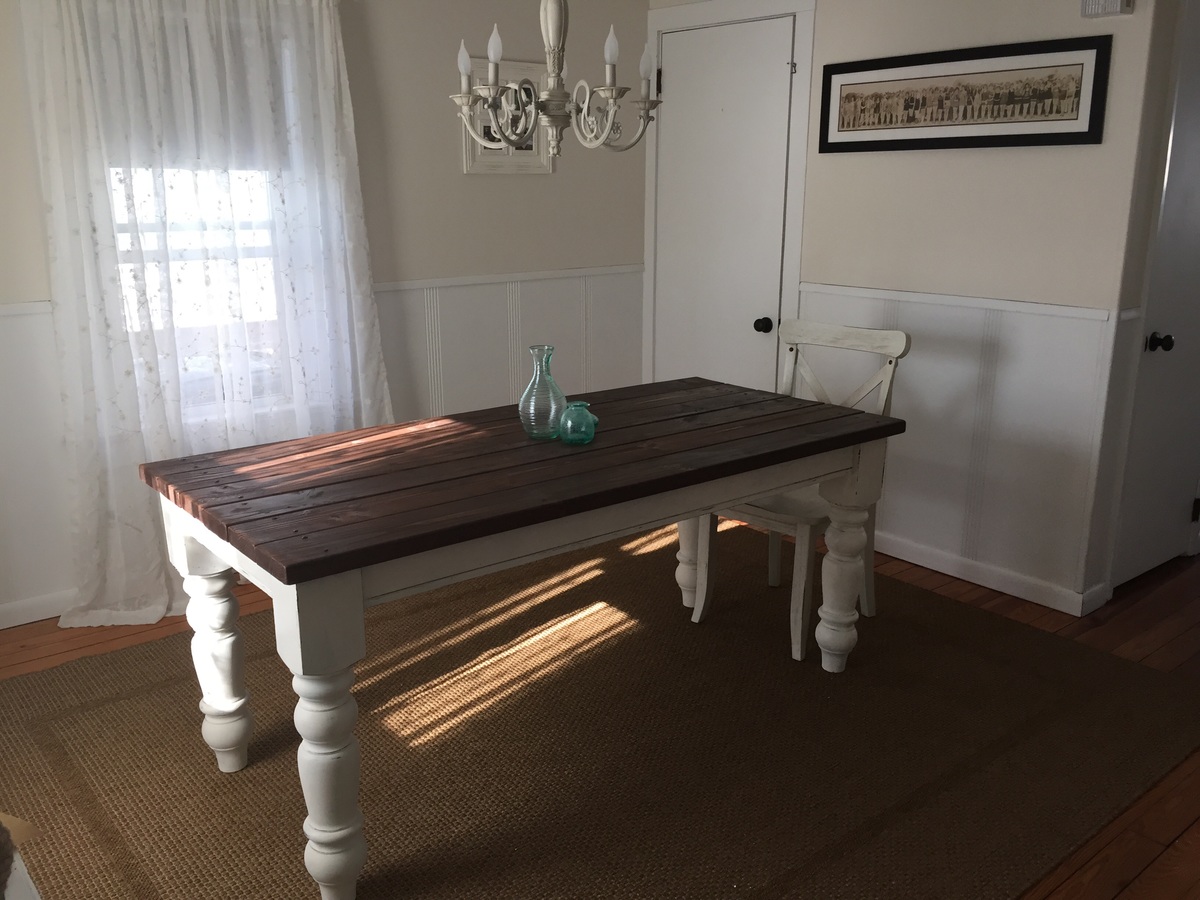
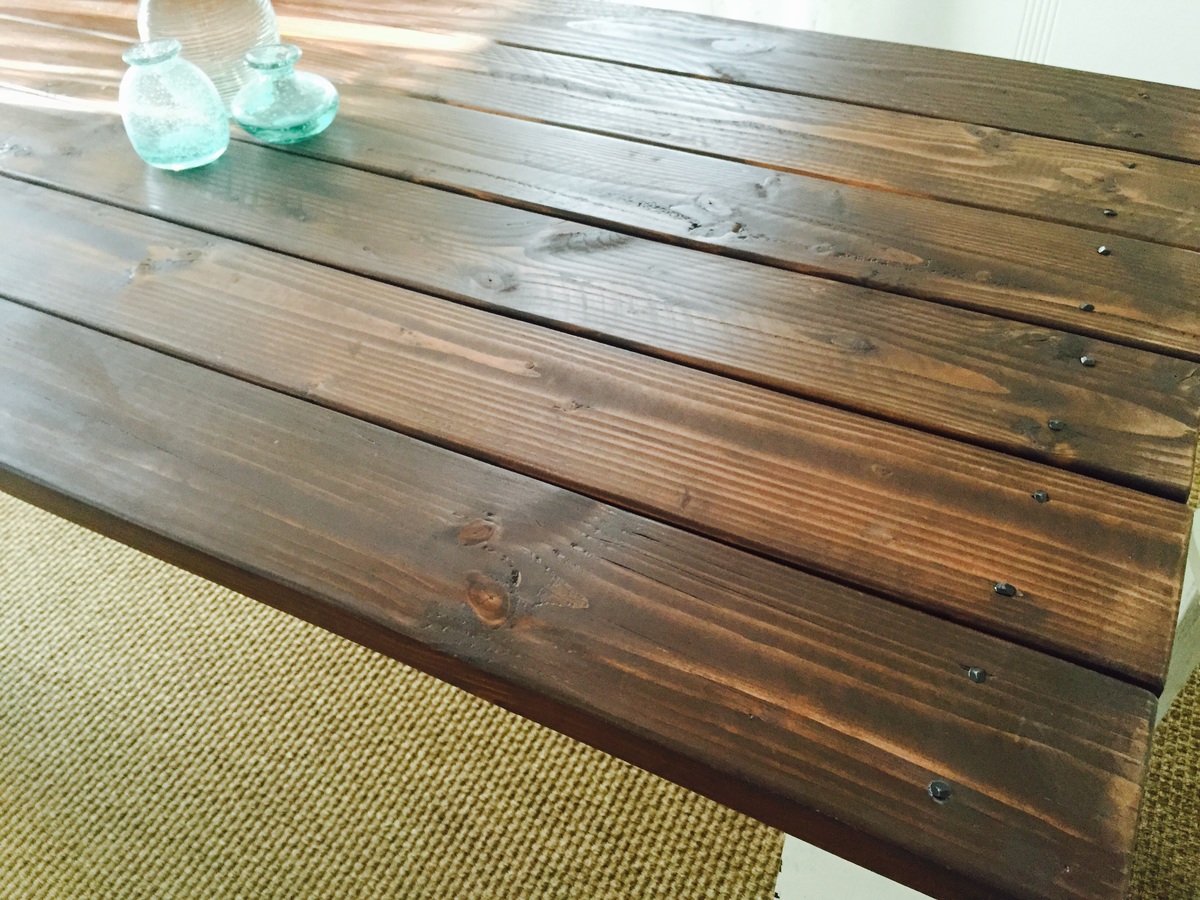
We saw the plans for this table and I had to have it. We followed it to a T! The only thing we did different is made it a foot shorter and added rustic nails on top. 

Built from Plan(s)
Estimated Time Investment
Weekend Project (10-20 Hours)
Recommended Skill Level
Starter Project

King Size Bed

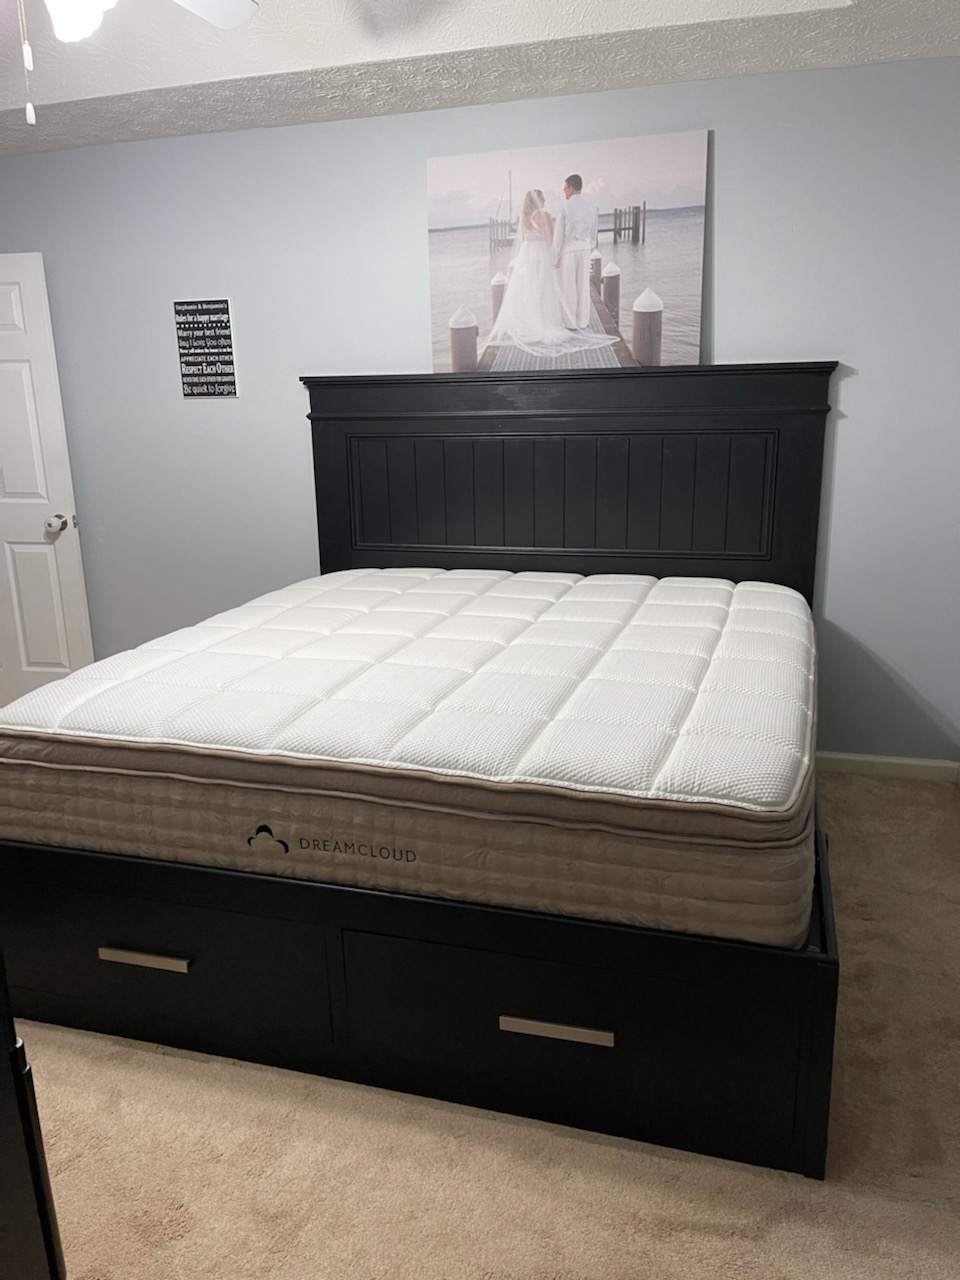
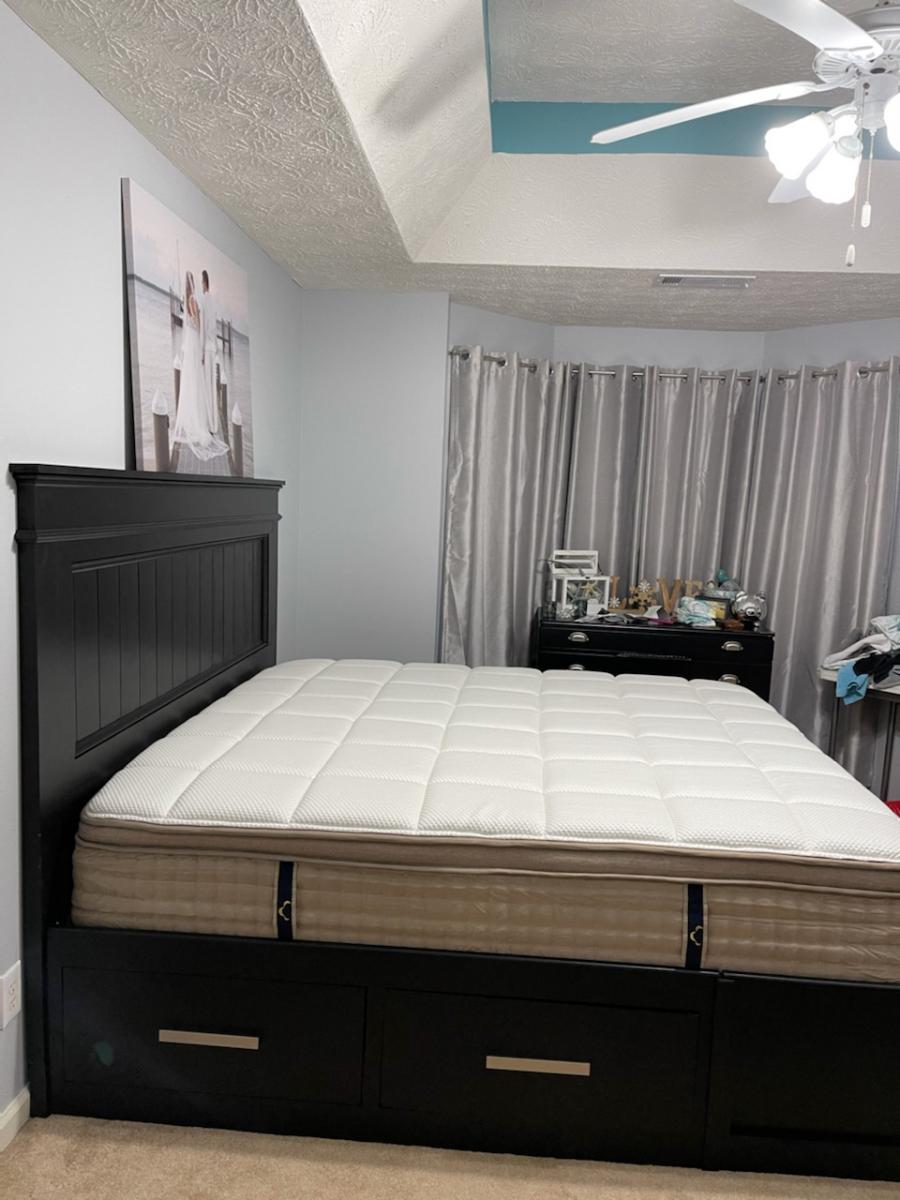
My daughter and son in law decide after 2nd kid that they needed a King size bed. I used 1 plan for head board and storage base for the other plan. This was a fun project and was really easy. I made some minor modifications to the plans for the Head board to be used. 1 tip when making the drawers: Take your time and by all means make sure it is square. Thanks for the plans!

Essential platform bed - Queen

Submitted by kimsteps on Tue, 08/10/2021 - 17:52

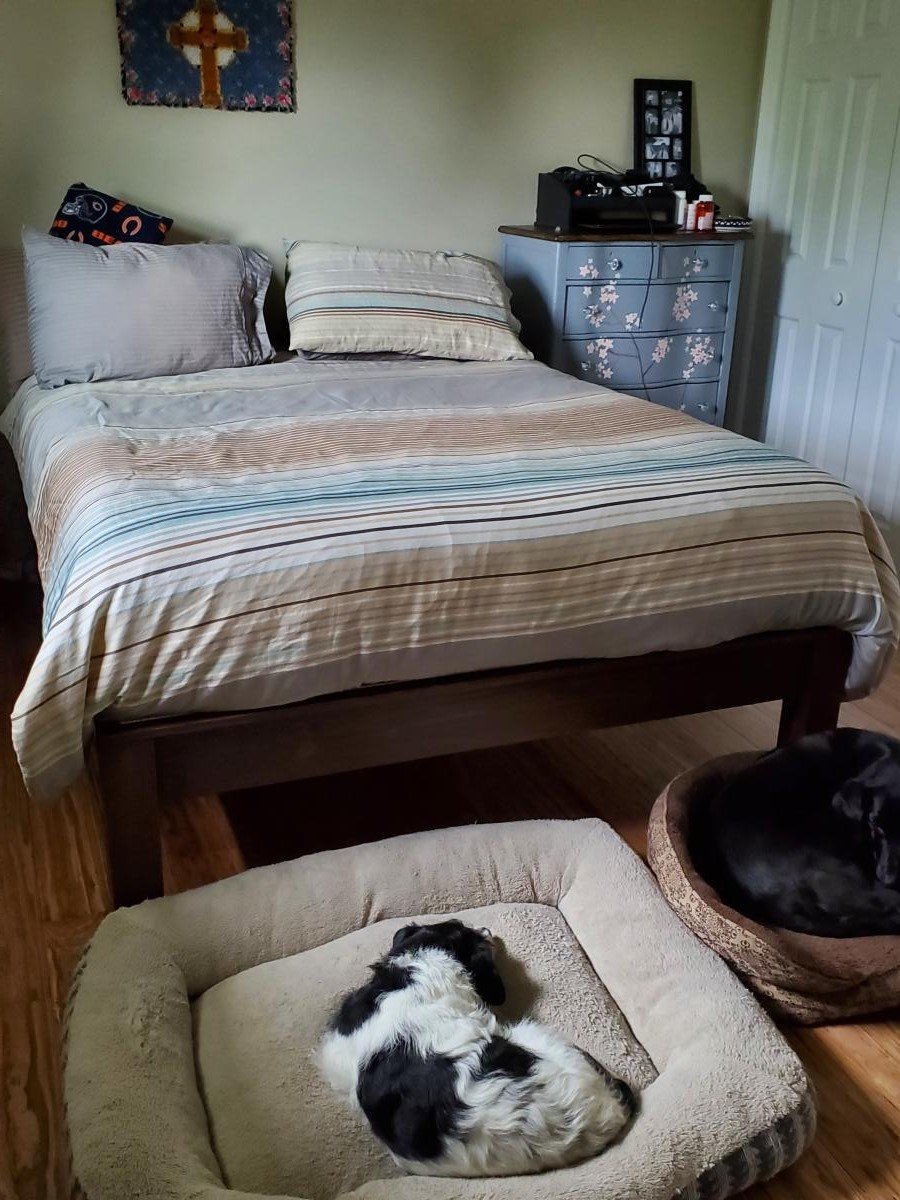
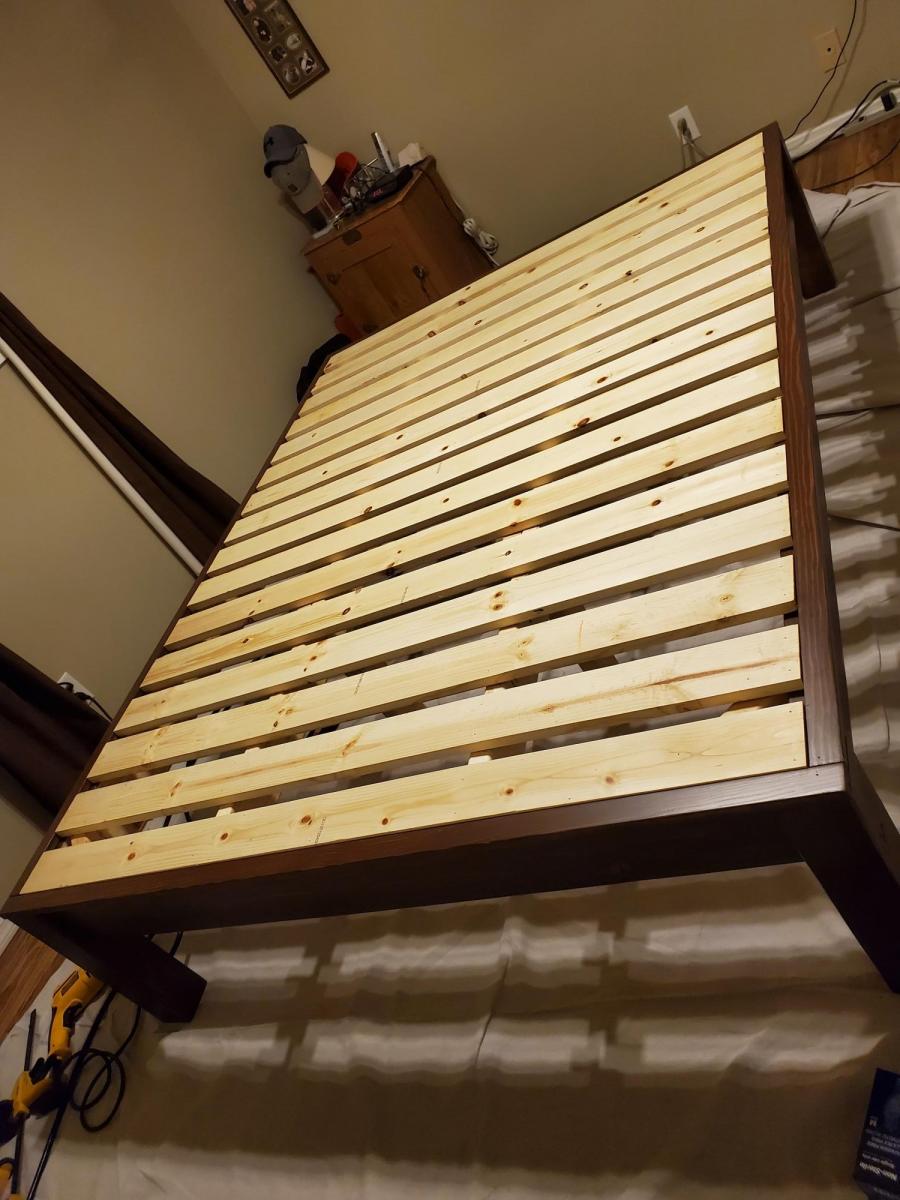
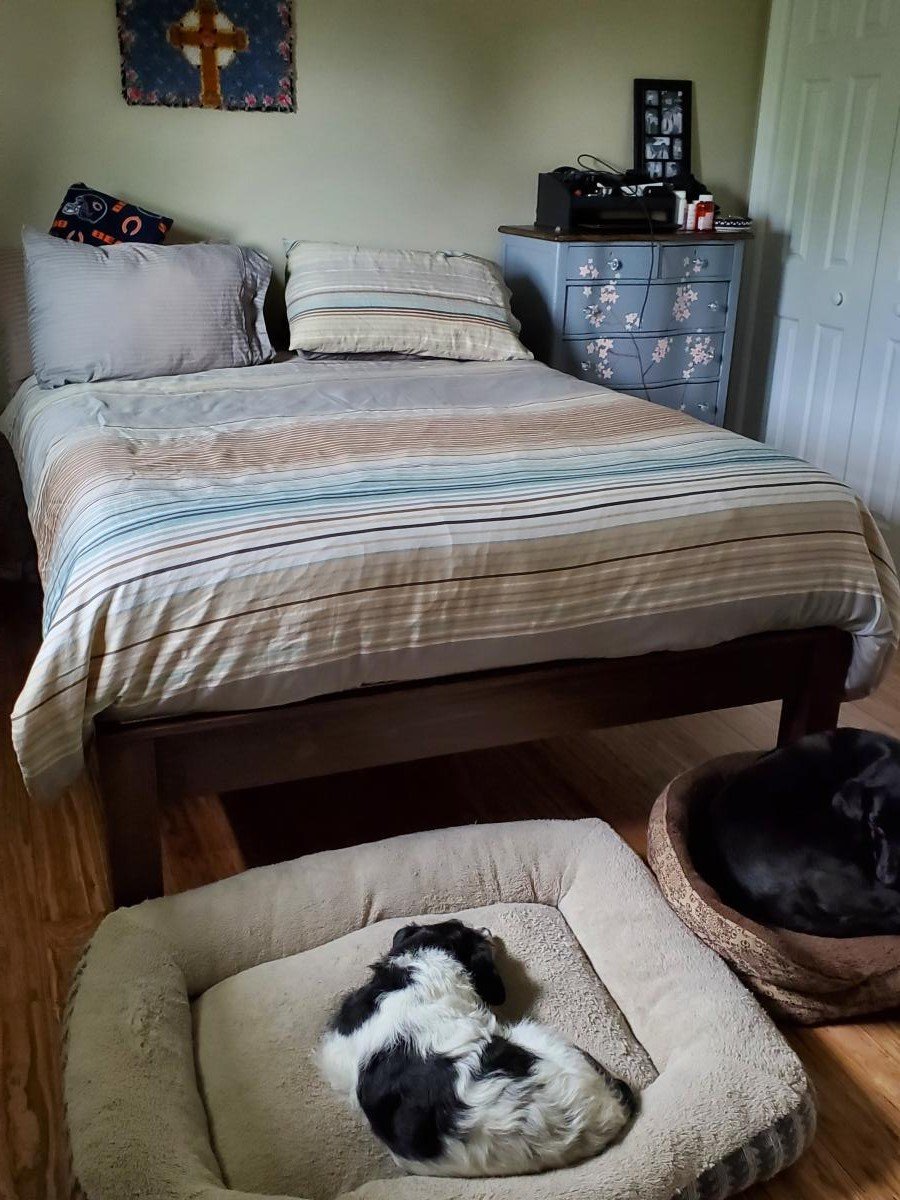
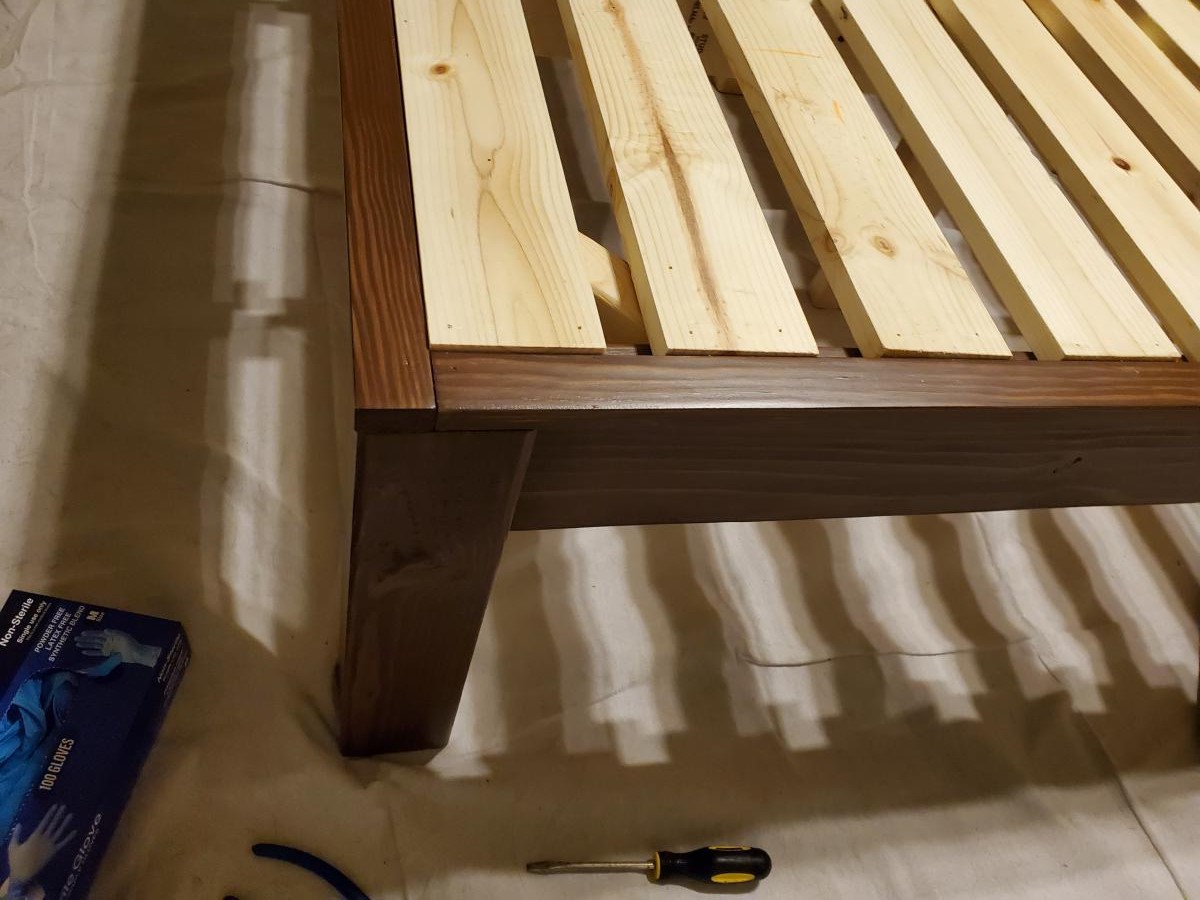
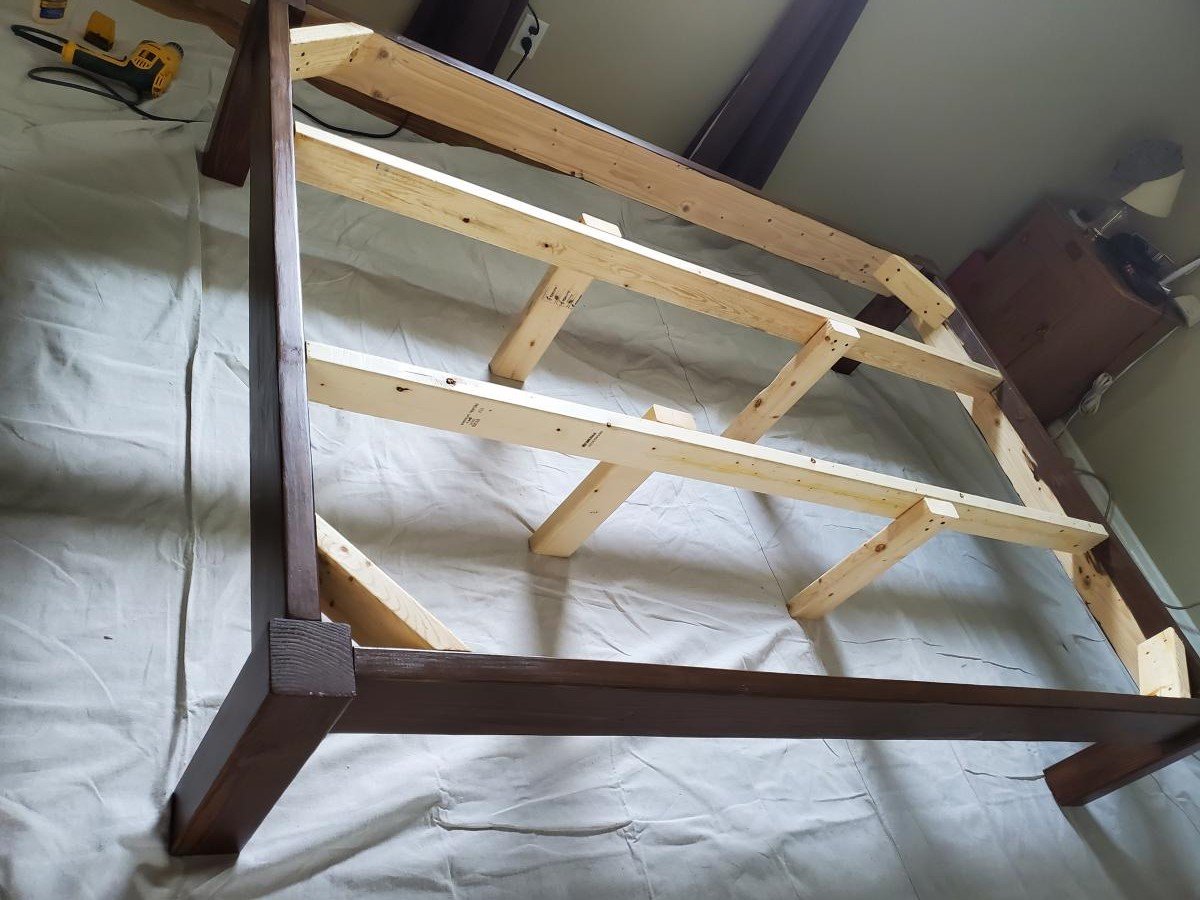
I can't thank you enough for these easy to follow plans. I'm not an experienced builder at all, but was able to build this queen size platform bed. I used Douglas Fir for all visible parts, and finished with minwax semi-transparent stain in walnut. I followed this with three coats of poly-acrylic. No one can believe I was able to build this myself, and frankly I can't either. What a confidence boost!

Estimated Cost
$175
Estimated Time Investment
Weekend Project (10-20 Hours)
Finish Used
Minwax semi-transparent water based wood finish in walnut followed by 3 layers satin poly acrylic.
Recommended Skill Level
Beginner

Comments

Double Pedestal Farmhouse Table (8 feet)

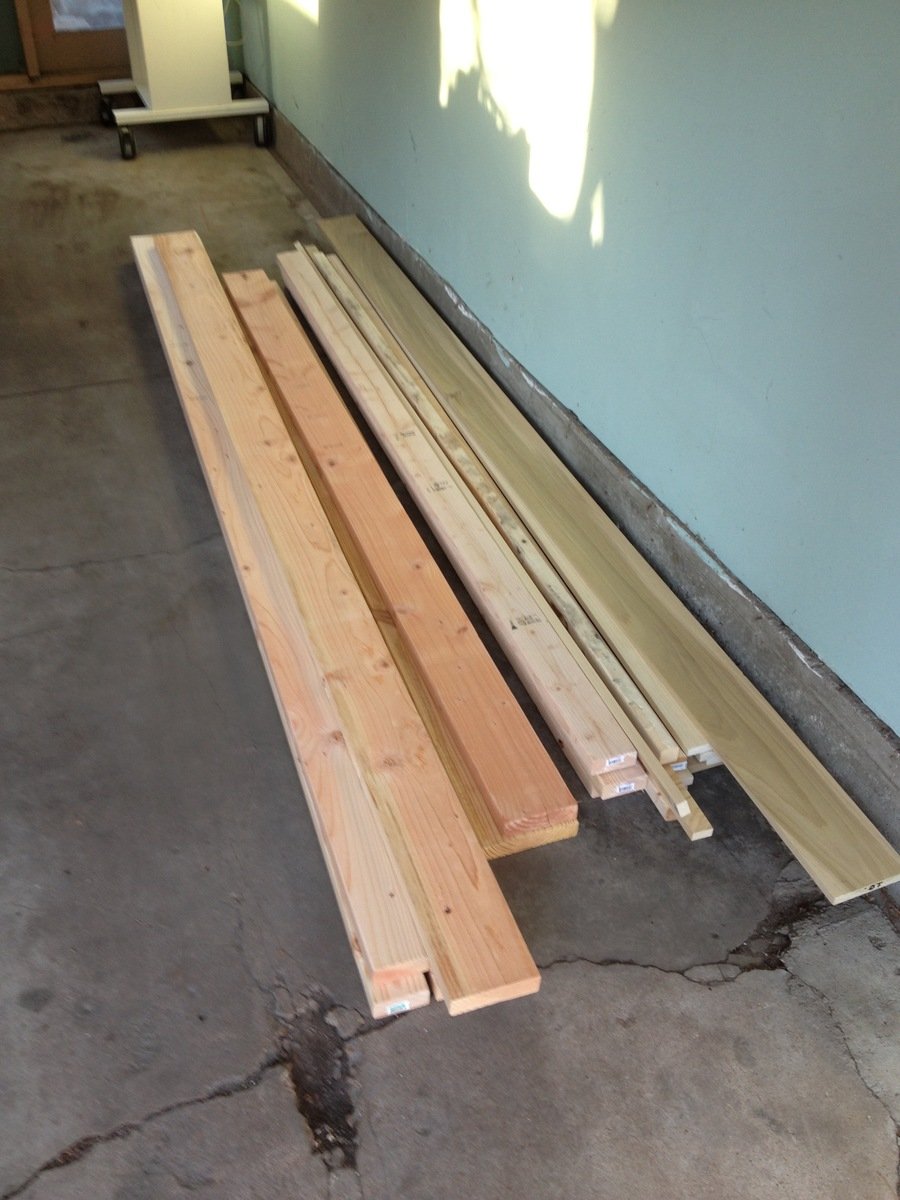
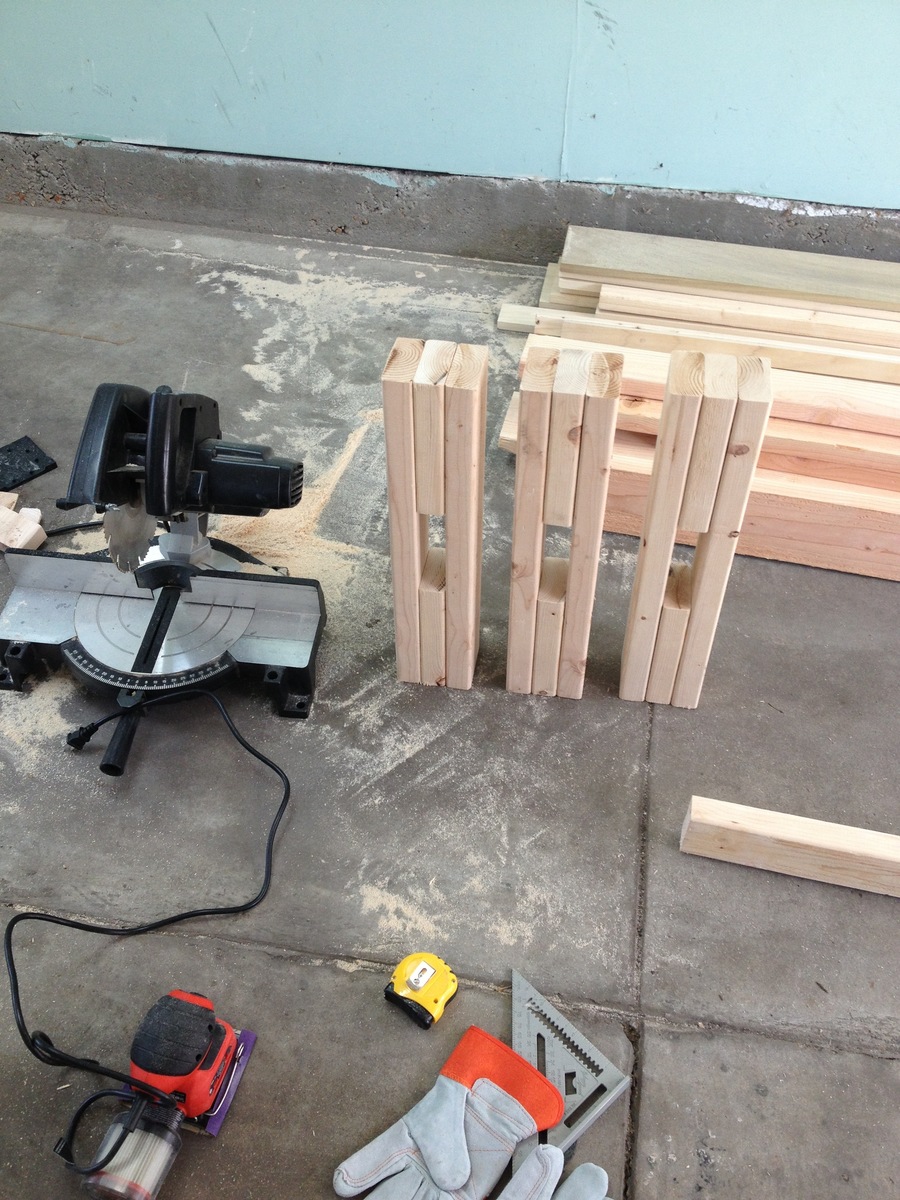
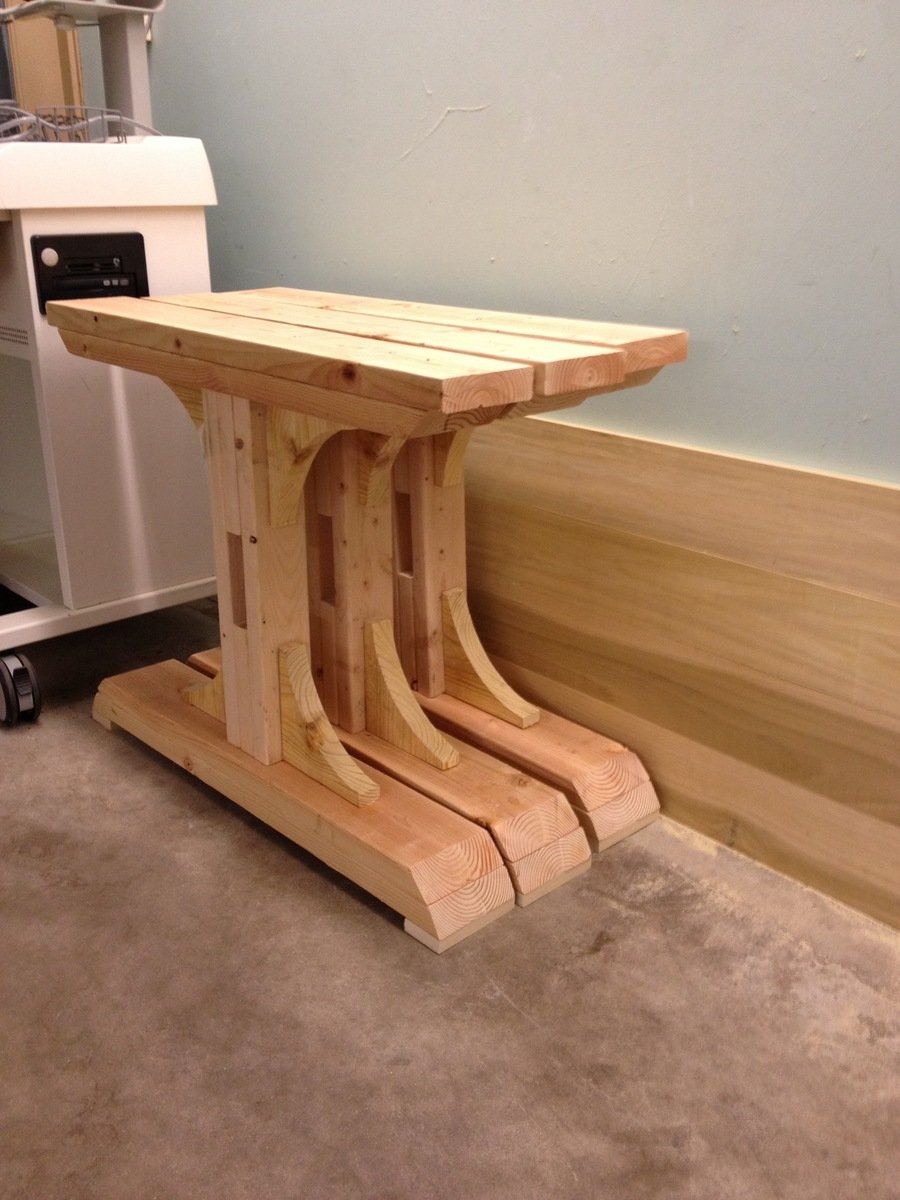
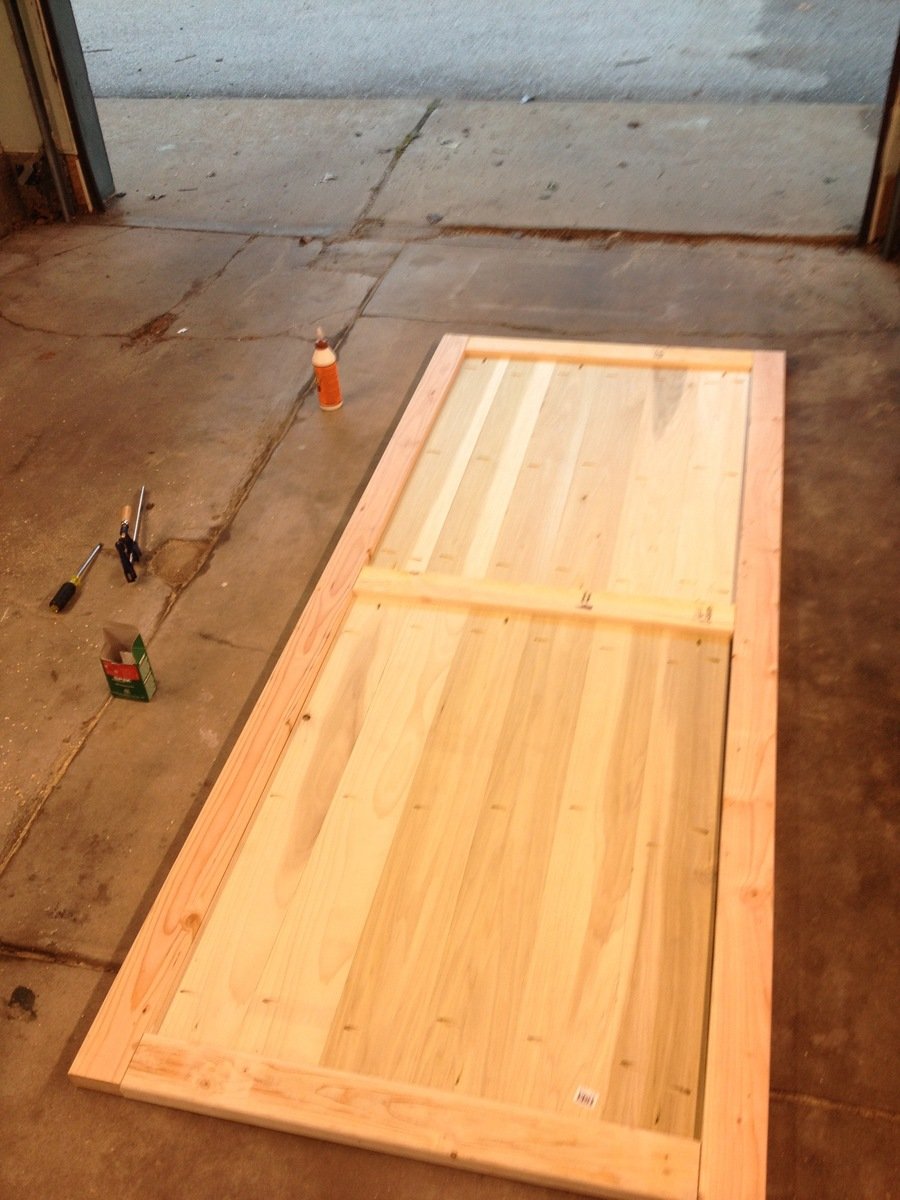
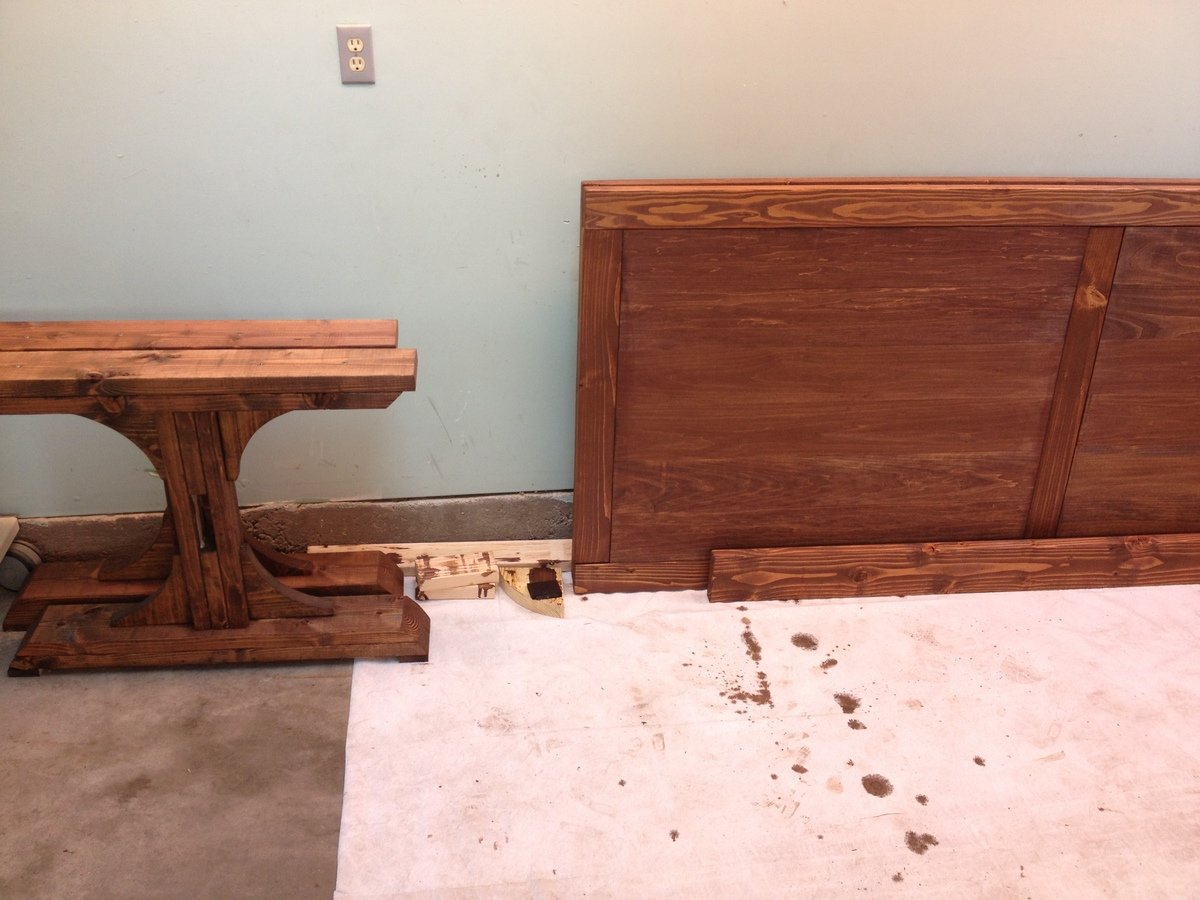
Built from the Triple Pedestal Farmhouse Table plans. Had to size down the plans a little bit to fit into my dining room. Created three pedestal legs but only ended up using two on the final table. Took about 16 hours from start to finish. All of the wood is pine except for the top, which is Poplar. Made a couple of mistakes along the way but am very happy with the way everything turned out. Feel free to ask questions and I will do my best to answer them. Happy Building!

Built from Plan(s)
Estimated Cost
$175
Estimated Time Investment
Weekend Project (10-20 Hours)
Finish Used
English Chestnut. Stained once and waited 7 minutes to wipe off. Two coats of Clear Satin Polyurethane.
Recommended Skill Level
Intermediate

Comments

Fancy Farmhouse Table

Submitted by Lordclint on Mon, 03/23/2015 - 00:17

The legs of this table are made from douglas fir purchased at my local big box home improvement store.  The table top is made of hard maple that i purchased from a local mill.  I modified the dimensions from the original plan because i really liked the look of the 4x4 legs.  The douglas fir is relatively inexpensive material and because the legs for the most part unseen once you have chairs.  I chose hard maple because i have three kids under the age of 6 that can destroy anything in their path. So having a kitchen table that could double as a nuclear bomb shelter was high on my priority list.

I recommend you purchase your wood from a local mill.  There are few technical terms you will need to learn before heading over to purchase your wood stock.  For example, lumber mills sale their wood stock by the board foot (width x length x depth) and if you want a 1 inch thick board you will need to ask for 5/4 board (pronounced five quarters) Marc Spagnolia (aka: The Wood whisperer) has a great 5 minute video that gives you all the information you need to walk into a lumber yard with confidence and purchase what you need.  KEY POINT: make sure your boards are straight and square. If your boards are not straight and square, it will cause you problems down the stretch.  In order to achieve this you must joint and plain your boards.  Since I do not have a jointer or plainer, I asked the lumber mill if they could help me out and they were nice enough to do it for an extra $25 dollars.  Well worth it in my opinion.

I did purchase one tool for this job, a biscuit joiner.  A biscuit joiner makes small cuts in the sides of your boards.  Small wooden biscuits are inserted in these slots and help keep your boards level when you glue up your boards.  They do not add any strength to your glue joints, but will save you a lot of time sanding your table top perfectly flat. I won’t go into a lot of detail on how to glue your boards up.  There are lot of great YouTube videos that give pretty good advice on the glue-up of your table top.

After you get your table top glued up, it is time to sand.  KEY POINT: Sand by sight, not by feel.  Your table top may feel really smooth to the touch, but when you go to stain, small swirl marks can make your final product look lackluster.  Invest the time in sanding.  I suggest getting some hallogen lights and put at the end of your table.  These lights help you see those imperfections that need to be sanded out. Also, I recommend using an orbital sander.  Be sure not to put any downward pressure, let the sander do the work.  Putting downward pressure is so tempting, but ultimately causes deep gauges in your wood that take even longer to sand out.

So one thing that I did learn when doing this project was that hard maple is one of the toughest types of wood to stain.  The wood is a very dense with tight porosity. This is what makes hard maple extremely durable and pretty, but unfortunately very difficult to stain. Most stains leave the maple looking blotchy (dark and light color all over the boards).  It was really frustrating trying to figure out how to stain this type of wood.  I searched the entire internet looking for tips on staining hard maple with very little luck.  So if you’re interested in using this wood…here is my playbook that produced pretty good results.  First of all you should really avoid the pigment type stains.  These are your run of the mill stains you find at your big box store.  I also had terrible luck with gel stains as well.  The best way to stain maple I found was to use a dye stain.  Dye stains have the ability to penetrate into the tight grain structure of the hard maple and leave you with a pretty nice color.   I used general finishes “dark brown” dye stain with the following steps:

  • Sand up to 120 grit, then take a shop vac ( I know it sounds crazy) and vacuum all the dust up from the top of your table.  The shop vac pulls all the dust out of the pores and allows for better penetration.  Then take a tac clothe and wipe down your table top.  I used Minwax sanding sealer 1 to 1 ratio of sanding sealer to denatured alcohol.  This helps prevent blotchiness.  Please note that I tried prestain conditioner, dewaxed shellac and a few other products, but got significantly better results with the sanding sealer…..
  • After letting the sanding sealer dry for 2-3 hours, I then proceeded to make 4 passes over the table with 220 grit sandpaper with my orbital sander. I proceeded this sanding with the shop vac and tac clothe wipe down of the entire table top.   I also did a slight wipe down with a clothe towel and denatured alcohol.  This helped raise the grain slightly/open up the pores of the wood.
  • Finally I took a spray bottle with my stain and sprayed over the entire table top putting a nice even coat of stain.  This really worked well as my table was 7 foot wide. I quickly and gently wiped the excess stain off the table.

The results were really great.  The dye stain makes the figure of the wood “pop” and the sanding sealer keeps the color relatively even across your top.

For the top coat, I started out putting minwax high gloss poly.  I put several coats of this poly on the table, sanding with 400 grit sandpaper in between coats.  I really like this product.  I recommend putting it in the Fridge for 4-6 hours before you start working with it.  It will give you more time before the product sets up.  My final 2 coats I used behlen’s rock hard urethan satin varnish.  This product was truly rock hard, but once you put it on it sets up really fast…then it takes a long time to completely set up.  You had better work pretty fast using this stuff.  I used a roller to roll on all of my poly applications then evened it out with a really good paint brush. I built up layers of poly starting out with high gloss first, then switching to satin.  If you start out with satin and apply lots of coats, it can give a plastic type appearance to your finish that I do not like.

After 3 days of letting my final coat dry, I rubbed out the finish by taking 4 (0000) steel wool and a product called mohawk wool lube paste.  The steel wool evens out the finish and gives it an even sheen throughout the entire table top (see pictures).  The wool lube keeps you from burning through the finish with your steel wool.  Head over to Jon Peters Art & Home and he has videos on how to do this.

Hopefully this post helps some people. Let me know if you have questions.


Built from Plan(s)
Estimated Cost
$600
Estimated Time Investment
Week Long Project (20 Hours or More)
Finish Used
General Finishes - Dark Brown Dye Stain
Behlen Rock Hard Eurathane Varnish
Recommended Skill Level
Beginner

Comments

Tryde Coffee Table

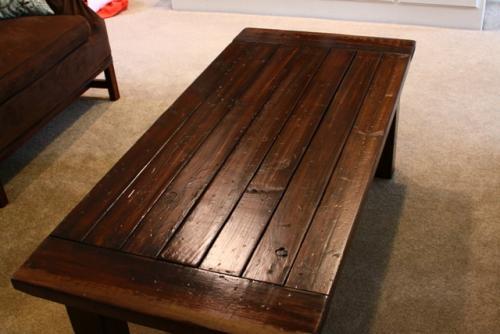
This was my second project and was a little easier than the outdoor bench, since they were all straight cuts. The most time consuming process is the staining.
Built from Plan(s)
Estimated Time Investment
Week Long Project (20 Hours or More)
Finish Used
I used 3 coats of stain. That is the most time consuming process, you can build this in a couple of hours, but need to wait 24 hours between coats of stain. And then seal it. Once they piece "sits" for a few weeks, the color will start to look better also.
Recommended Skill Level
Beginner

Nail Polish Cabinet

Submitted by Anonymous (not verified) on Fri, 07/14/2017 - 00:28

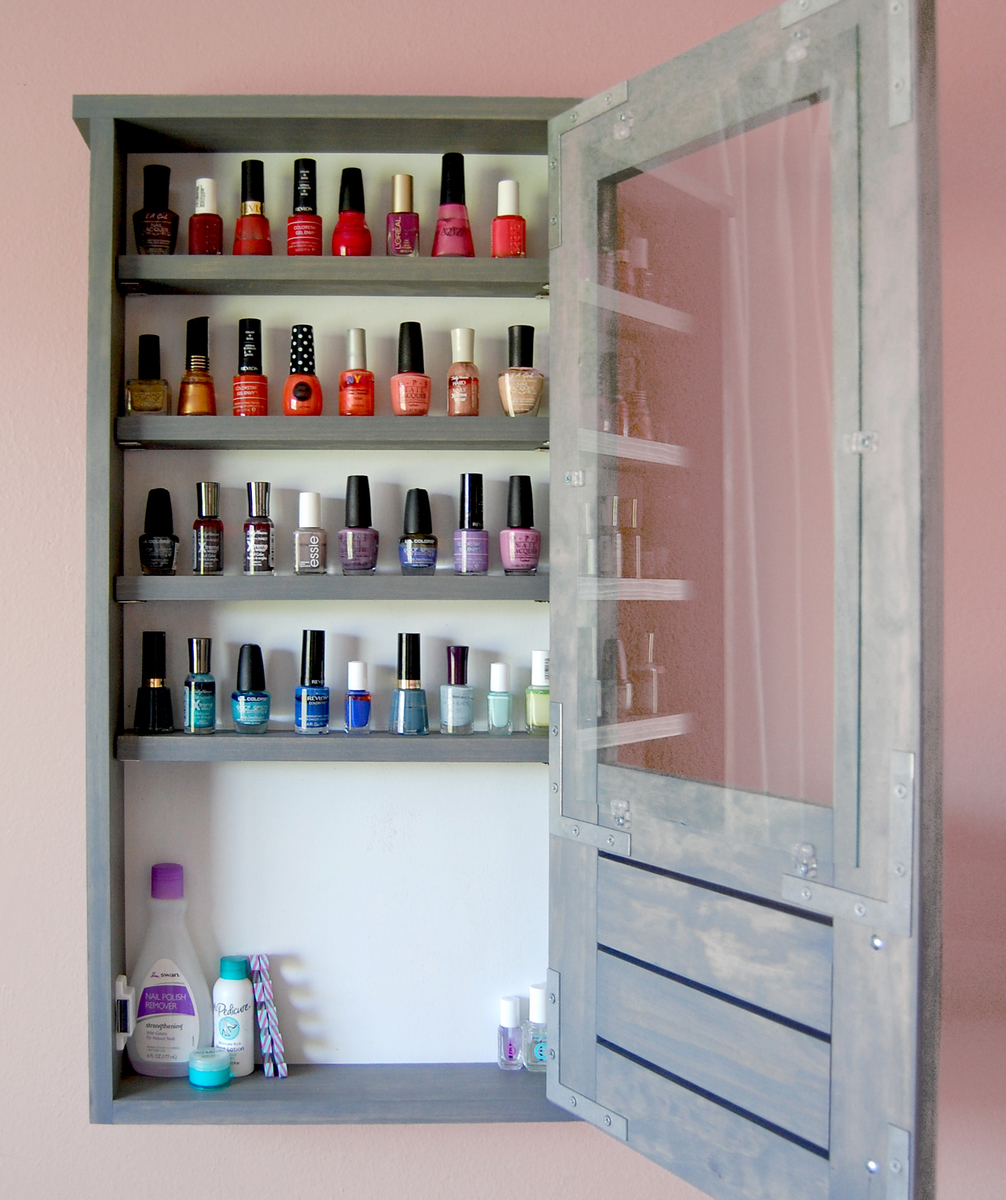
I hope everyone is having a fun summer! I decided to take advantage of the long 4th of July weekend and tackle my 2nd woodworking project: a custom-built cabinet to house all of my nail polish! While I don’t consider myself a “girly-girl”, I have always enjoyed painting my nails and thus have accumulated quite the collection over the years. The building process went fairly smoothly. I began by cutting all of the pieces to size (hooray for using a miter saw for the first time!) and pre-staining them a trendy weathered grey. After that, the piece came together quickly. I constructed the cabinet and door separately, added the stainless steel handle and glass inset, and finished the piece off by attaching the door with 2 profile hinges.

Built from Plan(s)
Estimated Time Investment
Weekend Project (10-20 Hours)
Finish Used
Weathered Grey Stain, applied with foam brush, let sit for 2 minutes, then wipe of excess stain
Recommended Skill Level
Beginner

Kitchen Bench

Submitted by Anonymous (not verified) on Mon, 10/04/2021 - 15:36

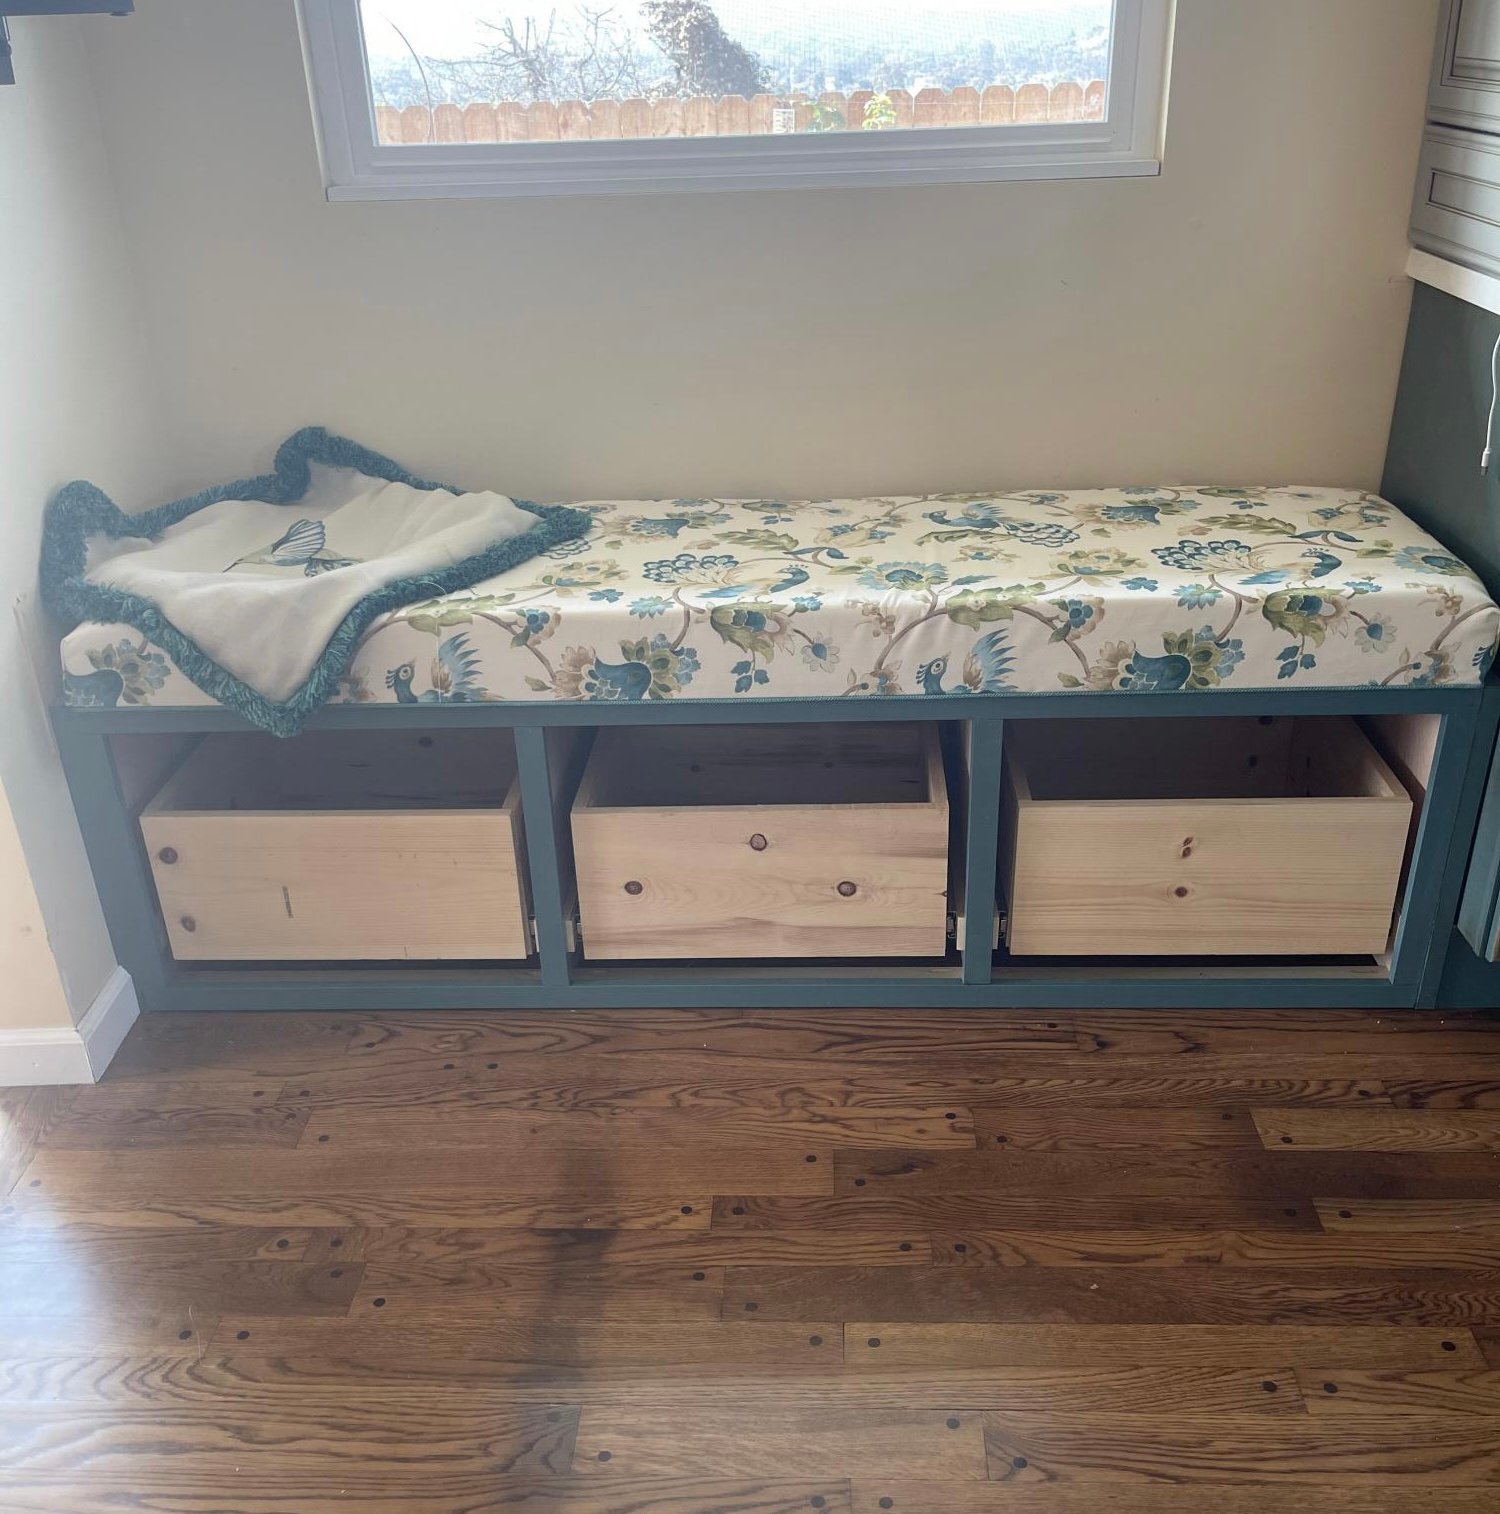
Still in process, just waiting for the cabinet doors to match my kitchen. I got the car us from shelf help. Learned how to make the pocket holes and the face frame! Saved me about $3,000!

Built from Plan(s)

Comments

Ana White Admin

Mon, 10/04/2021 - 16:51

Very cool, thank you so much for sharing and for using Shelf Help! Can't wait to see it all finished, it looks like an amazing addition!

Chicken coop and run

Submitted by Anonymous (not verified) on Tue, 10/05/2021 - 11:01

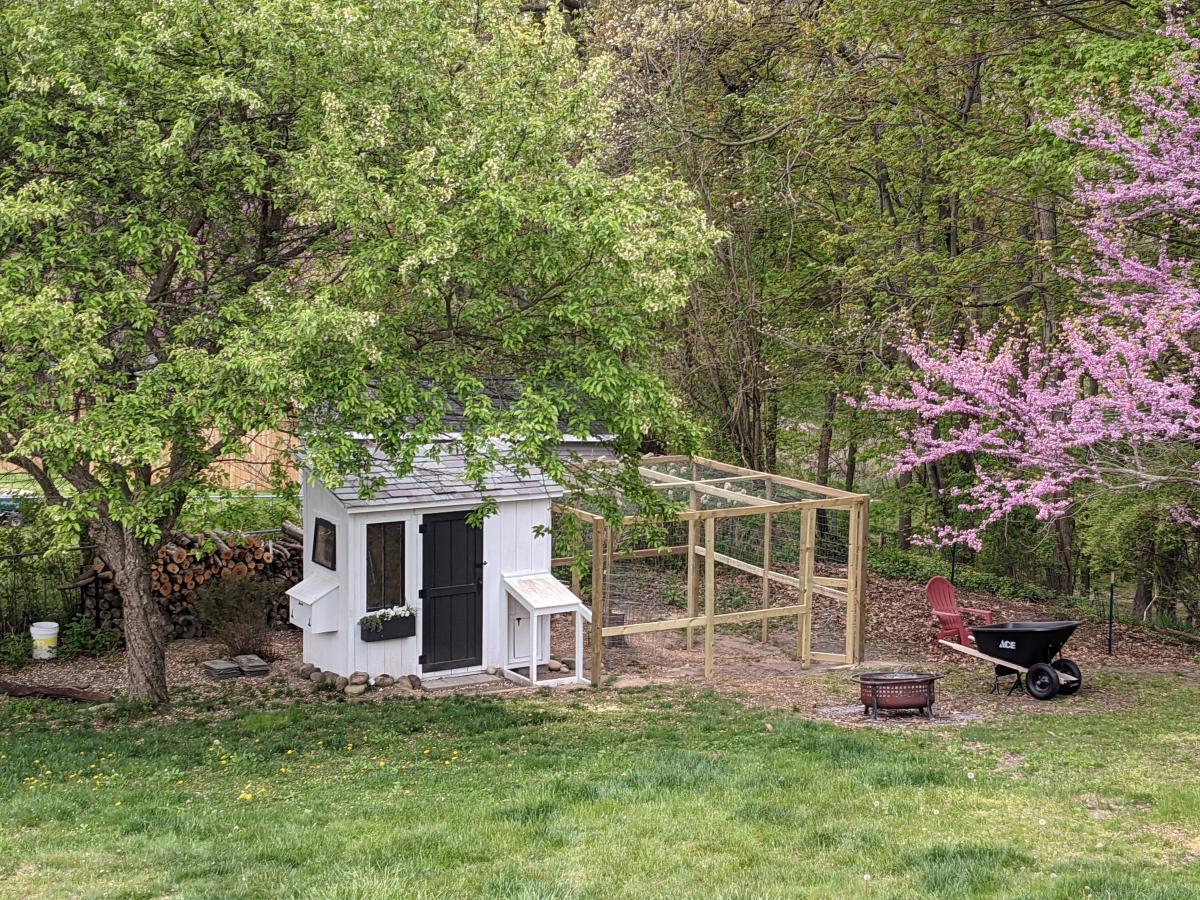
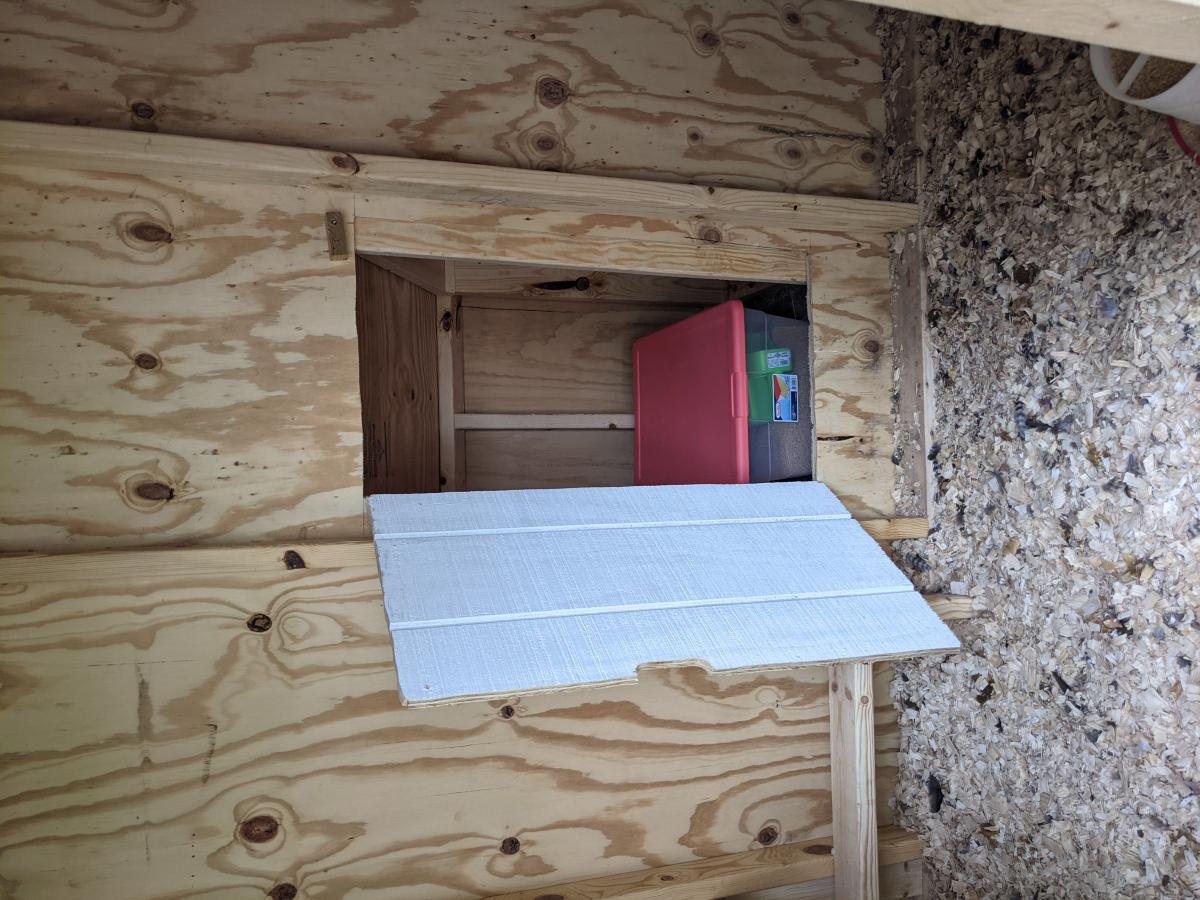
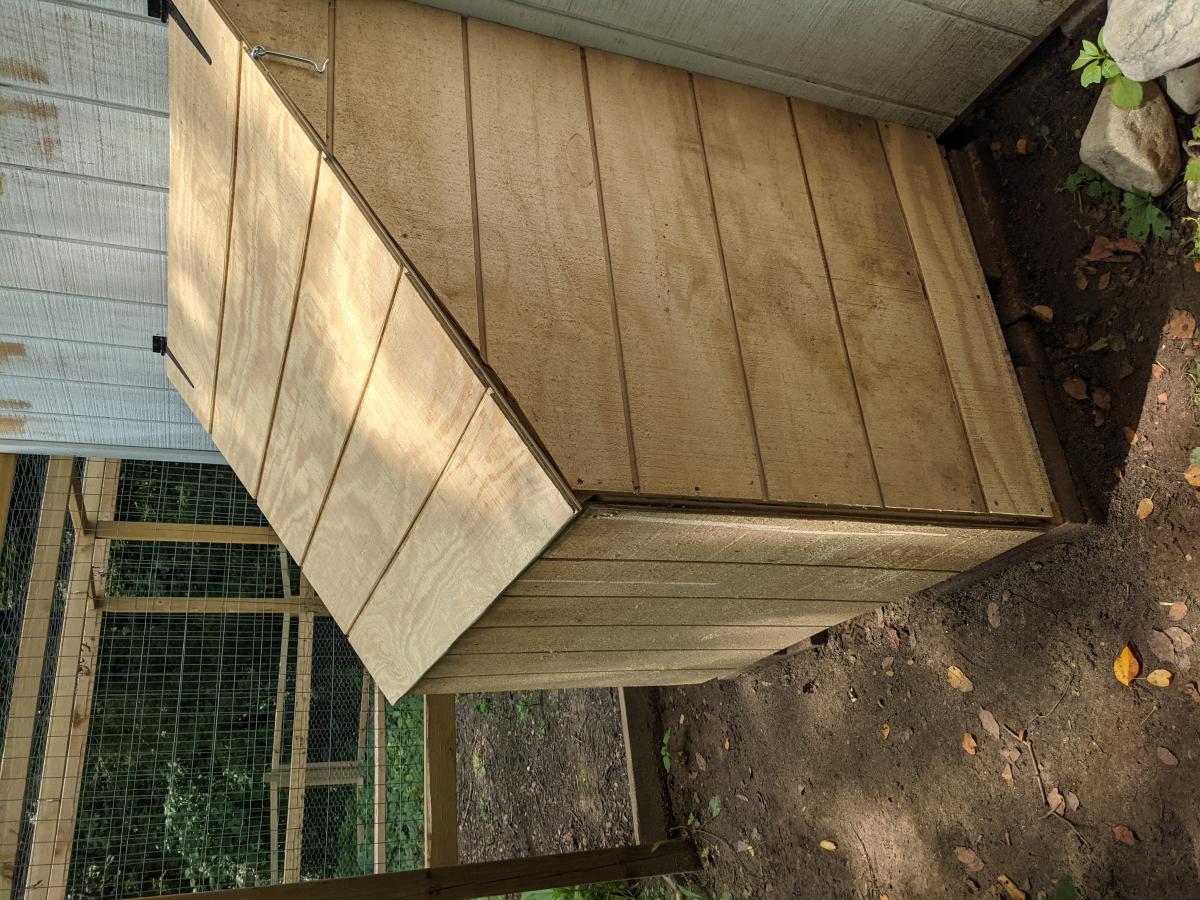
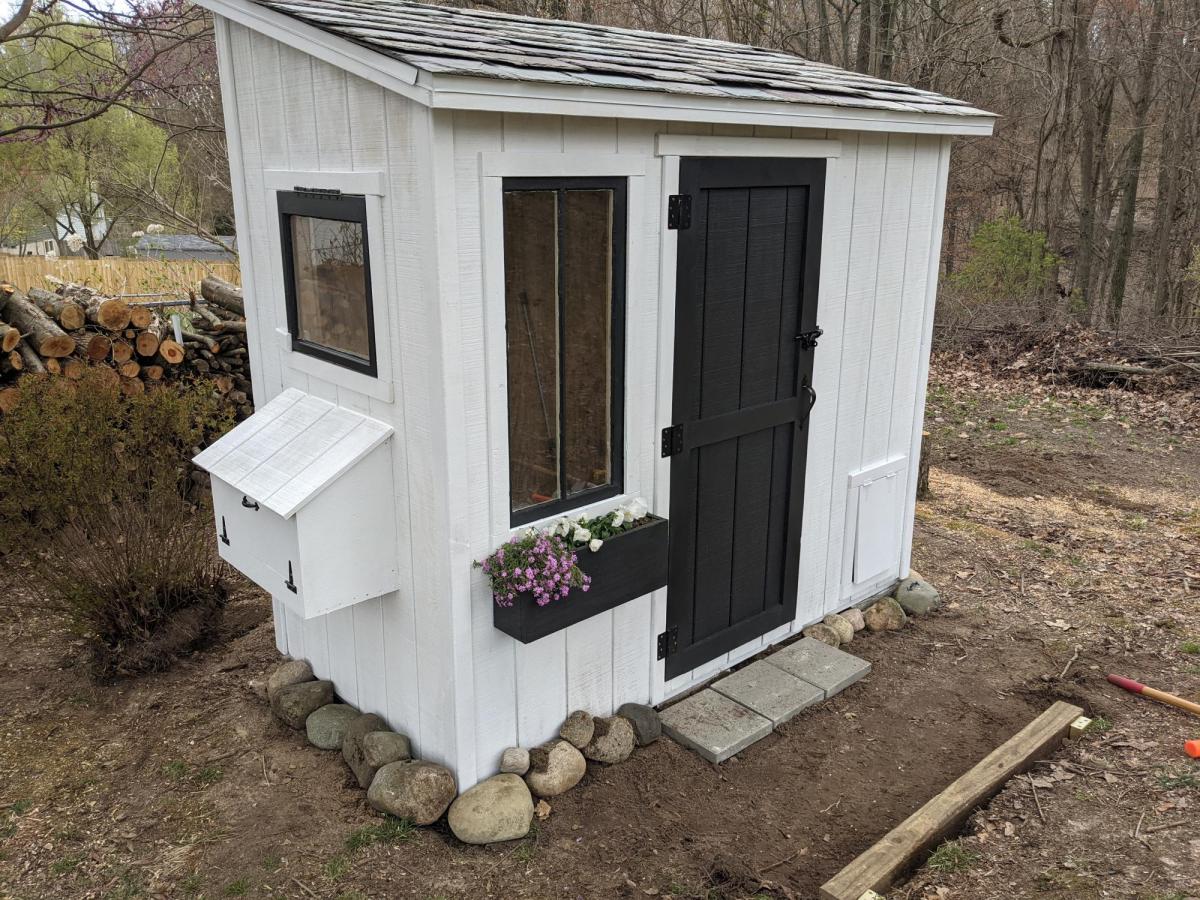
I followed the Shed Coop Plans to make this chicken coop and designed my own run. Because I wanted to view the chickens coming in and out of the coop, I moved the chicken door to the front and built a little covered area to shelter the coop door so I did not have to have the entire run extend over the front. I also made the access to the layer boxes be accessible from the front rather than the top so that my kids could more easily access the egg boxes. I thought these were great plans to follow and easy to adapt to fit what I wanted in a coop. I also ended up adding a lean-to storage on the back with an inside access so I could easily refill their feed.

Built from Plan(s)

Comments

Seasonal And Holiday