Small Outdoor Shed Closet
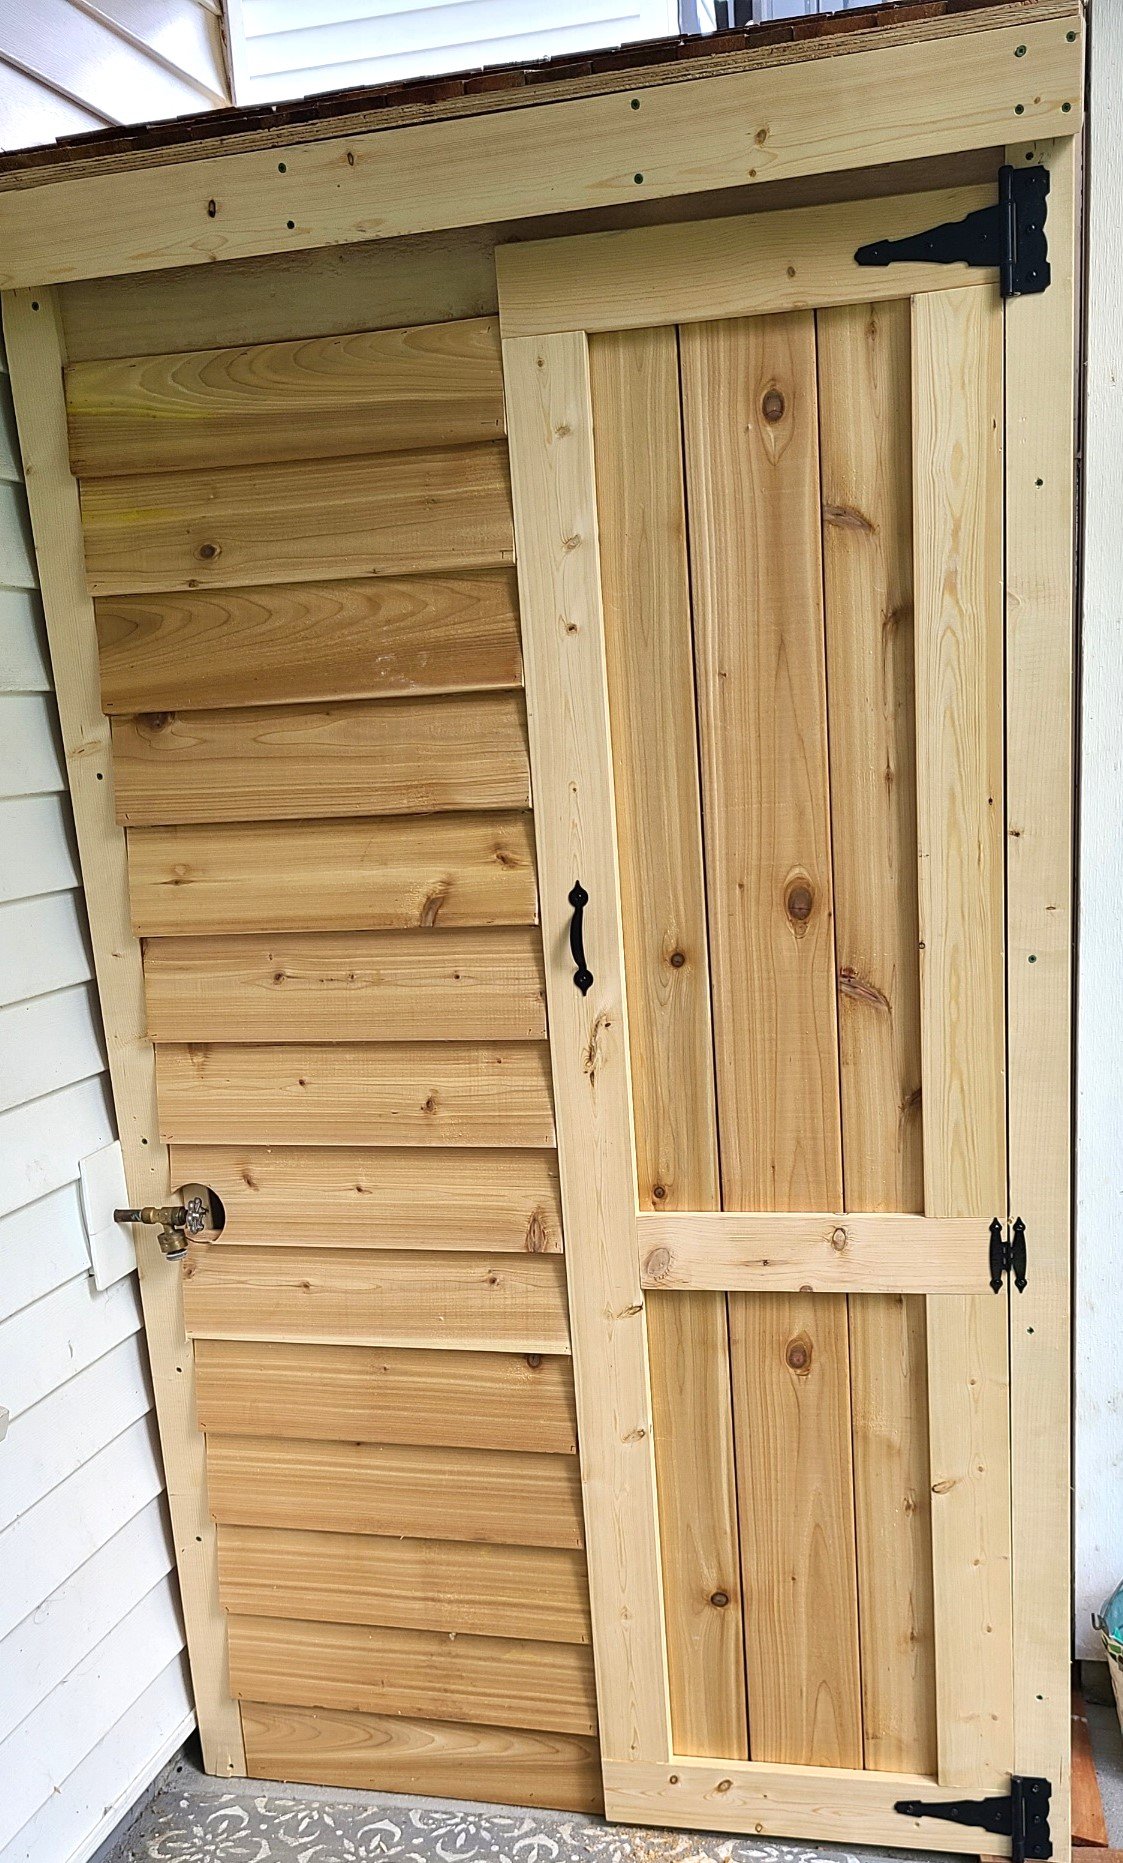
Loved this build had to make it smaller but wow.
Paula
Built from Plan(s)
Loved this build had to make it smaller but wow.
Paula
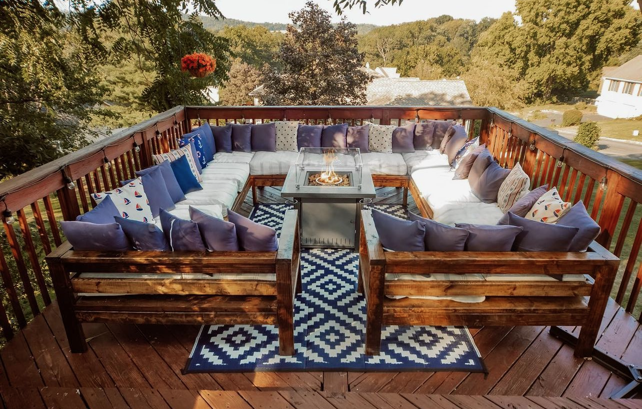
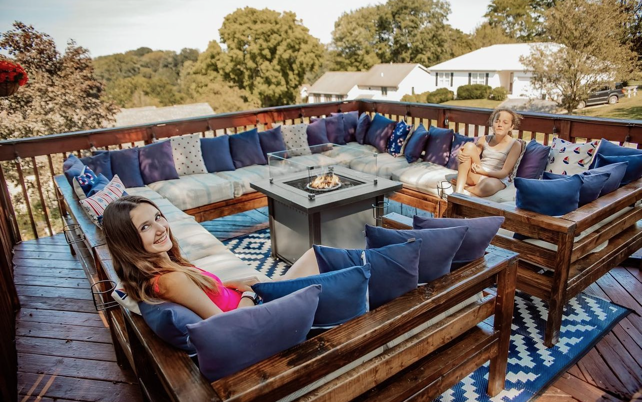
Outdoor Sectional
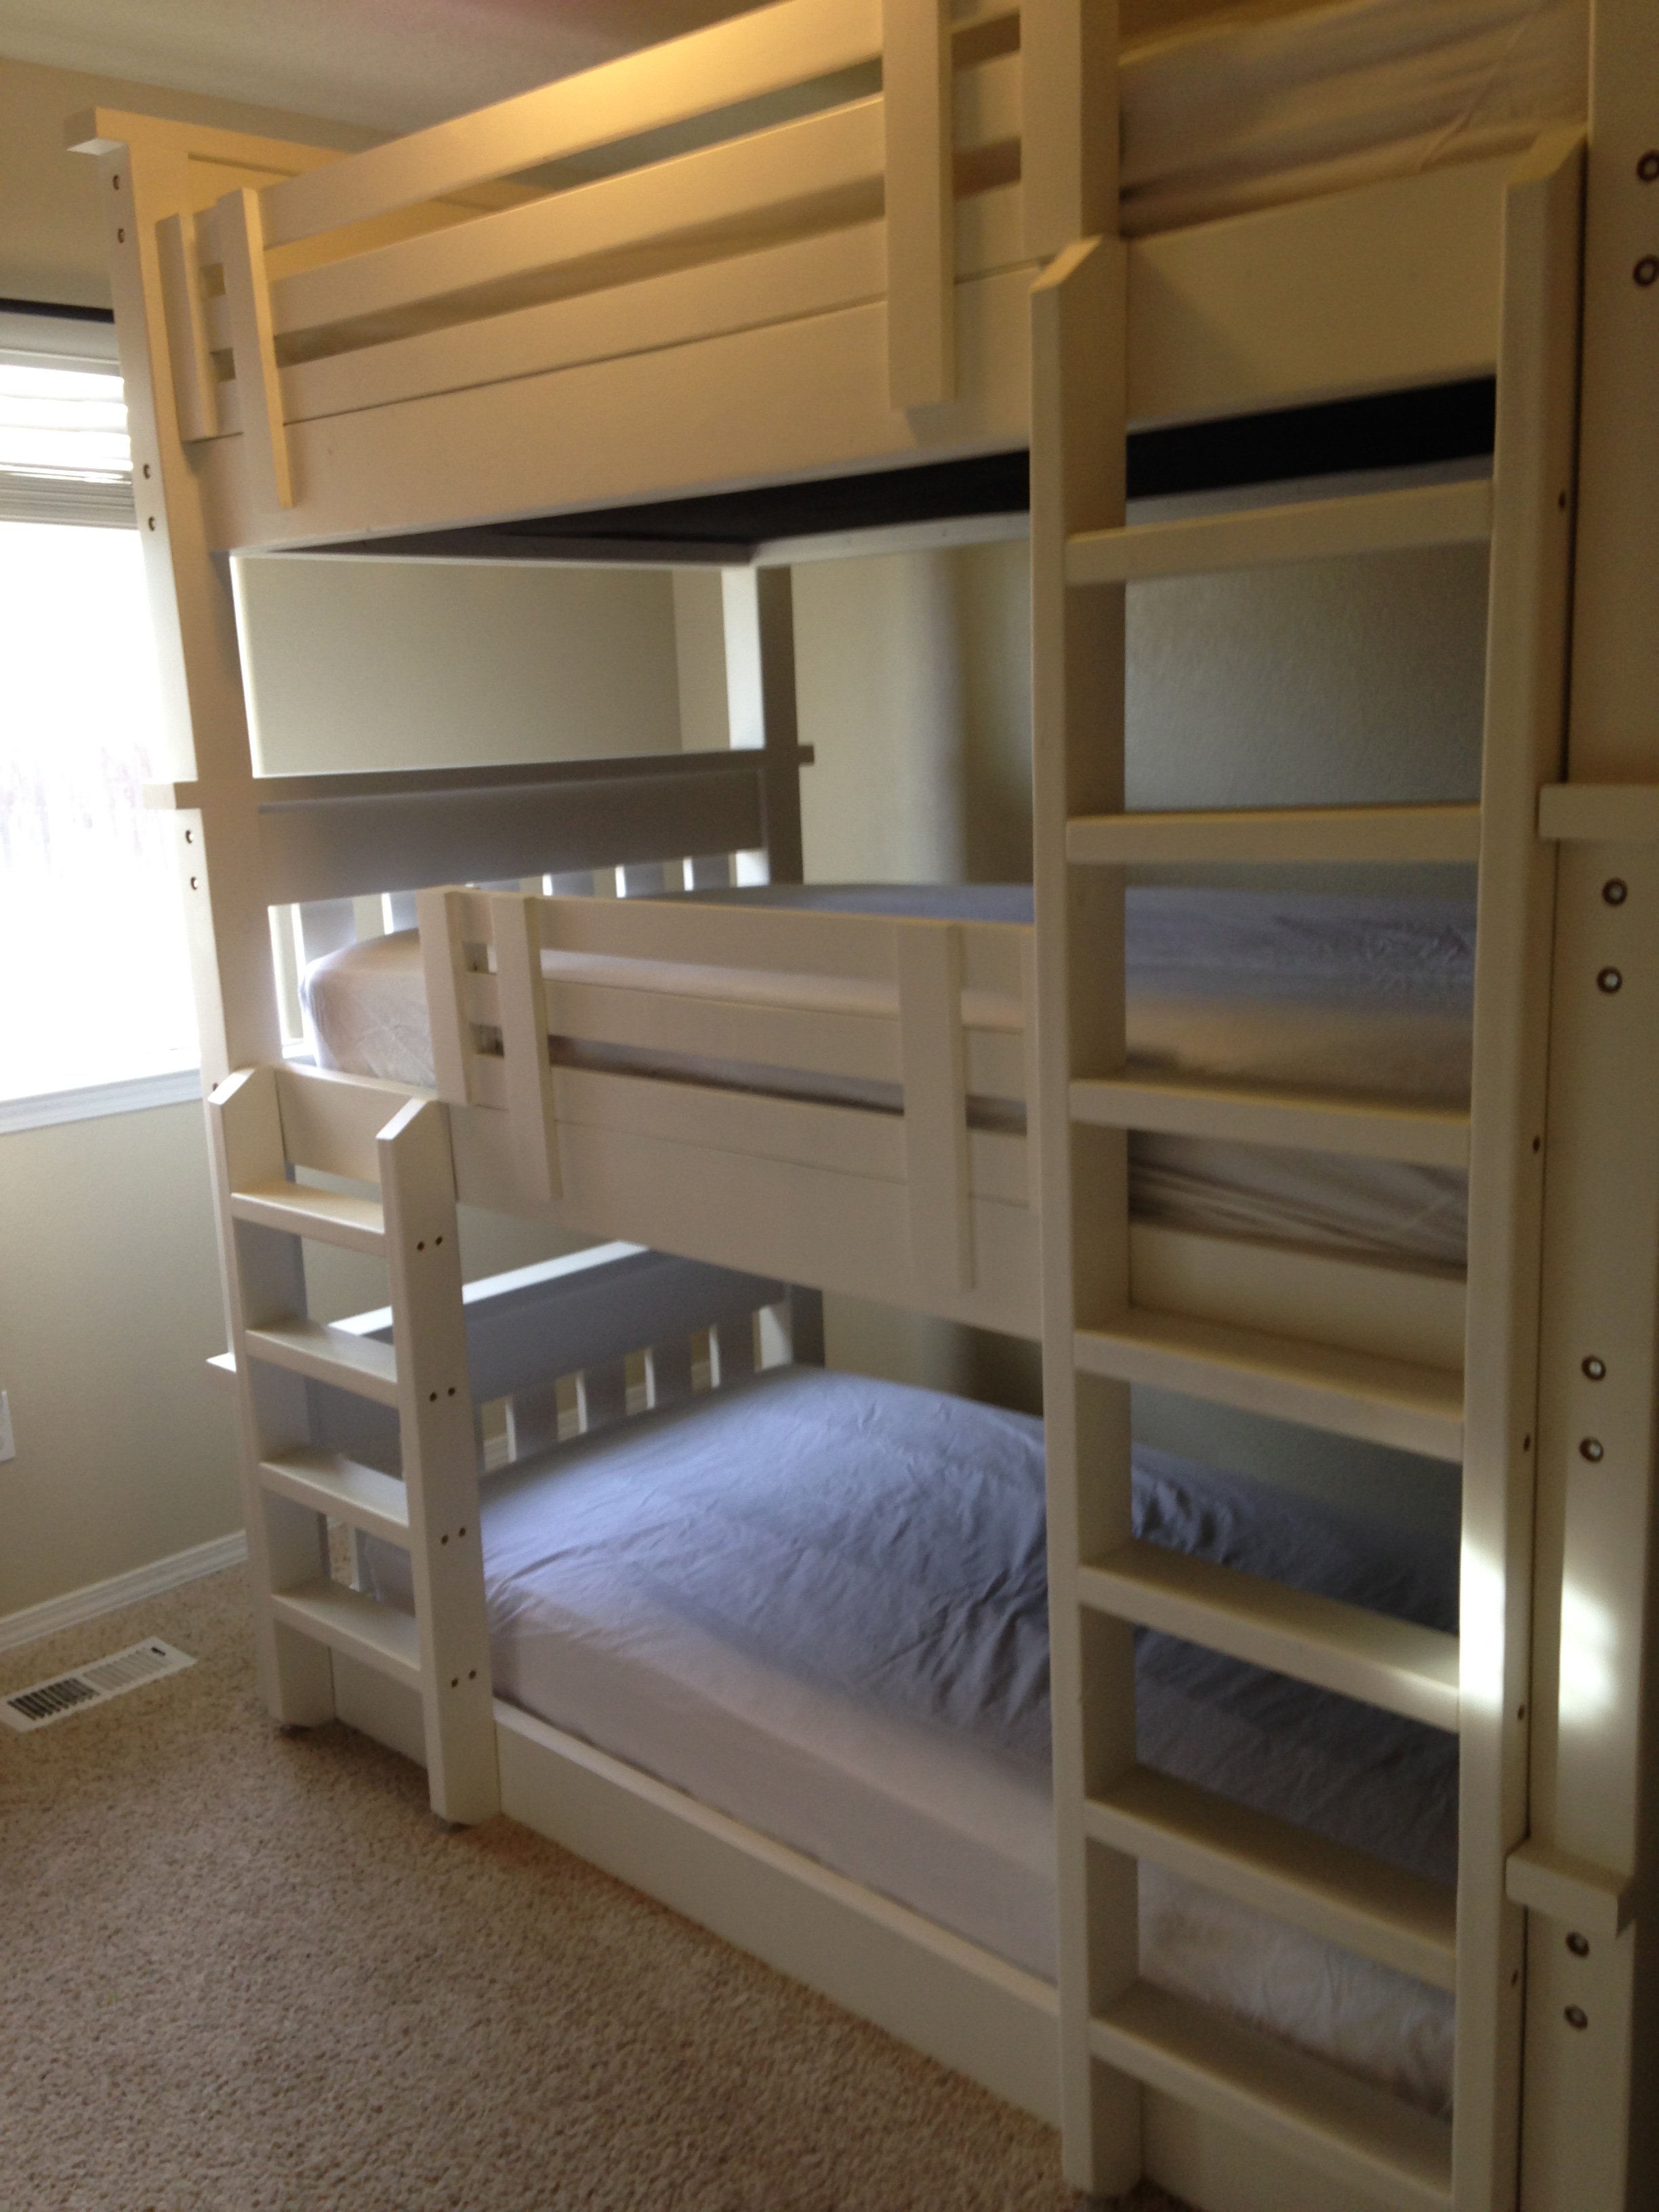
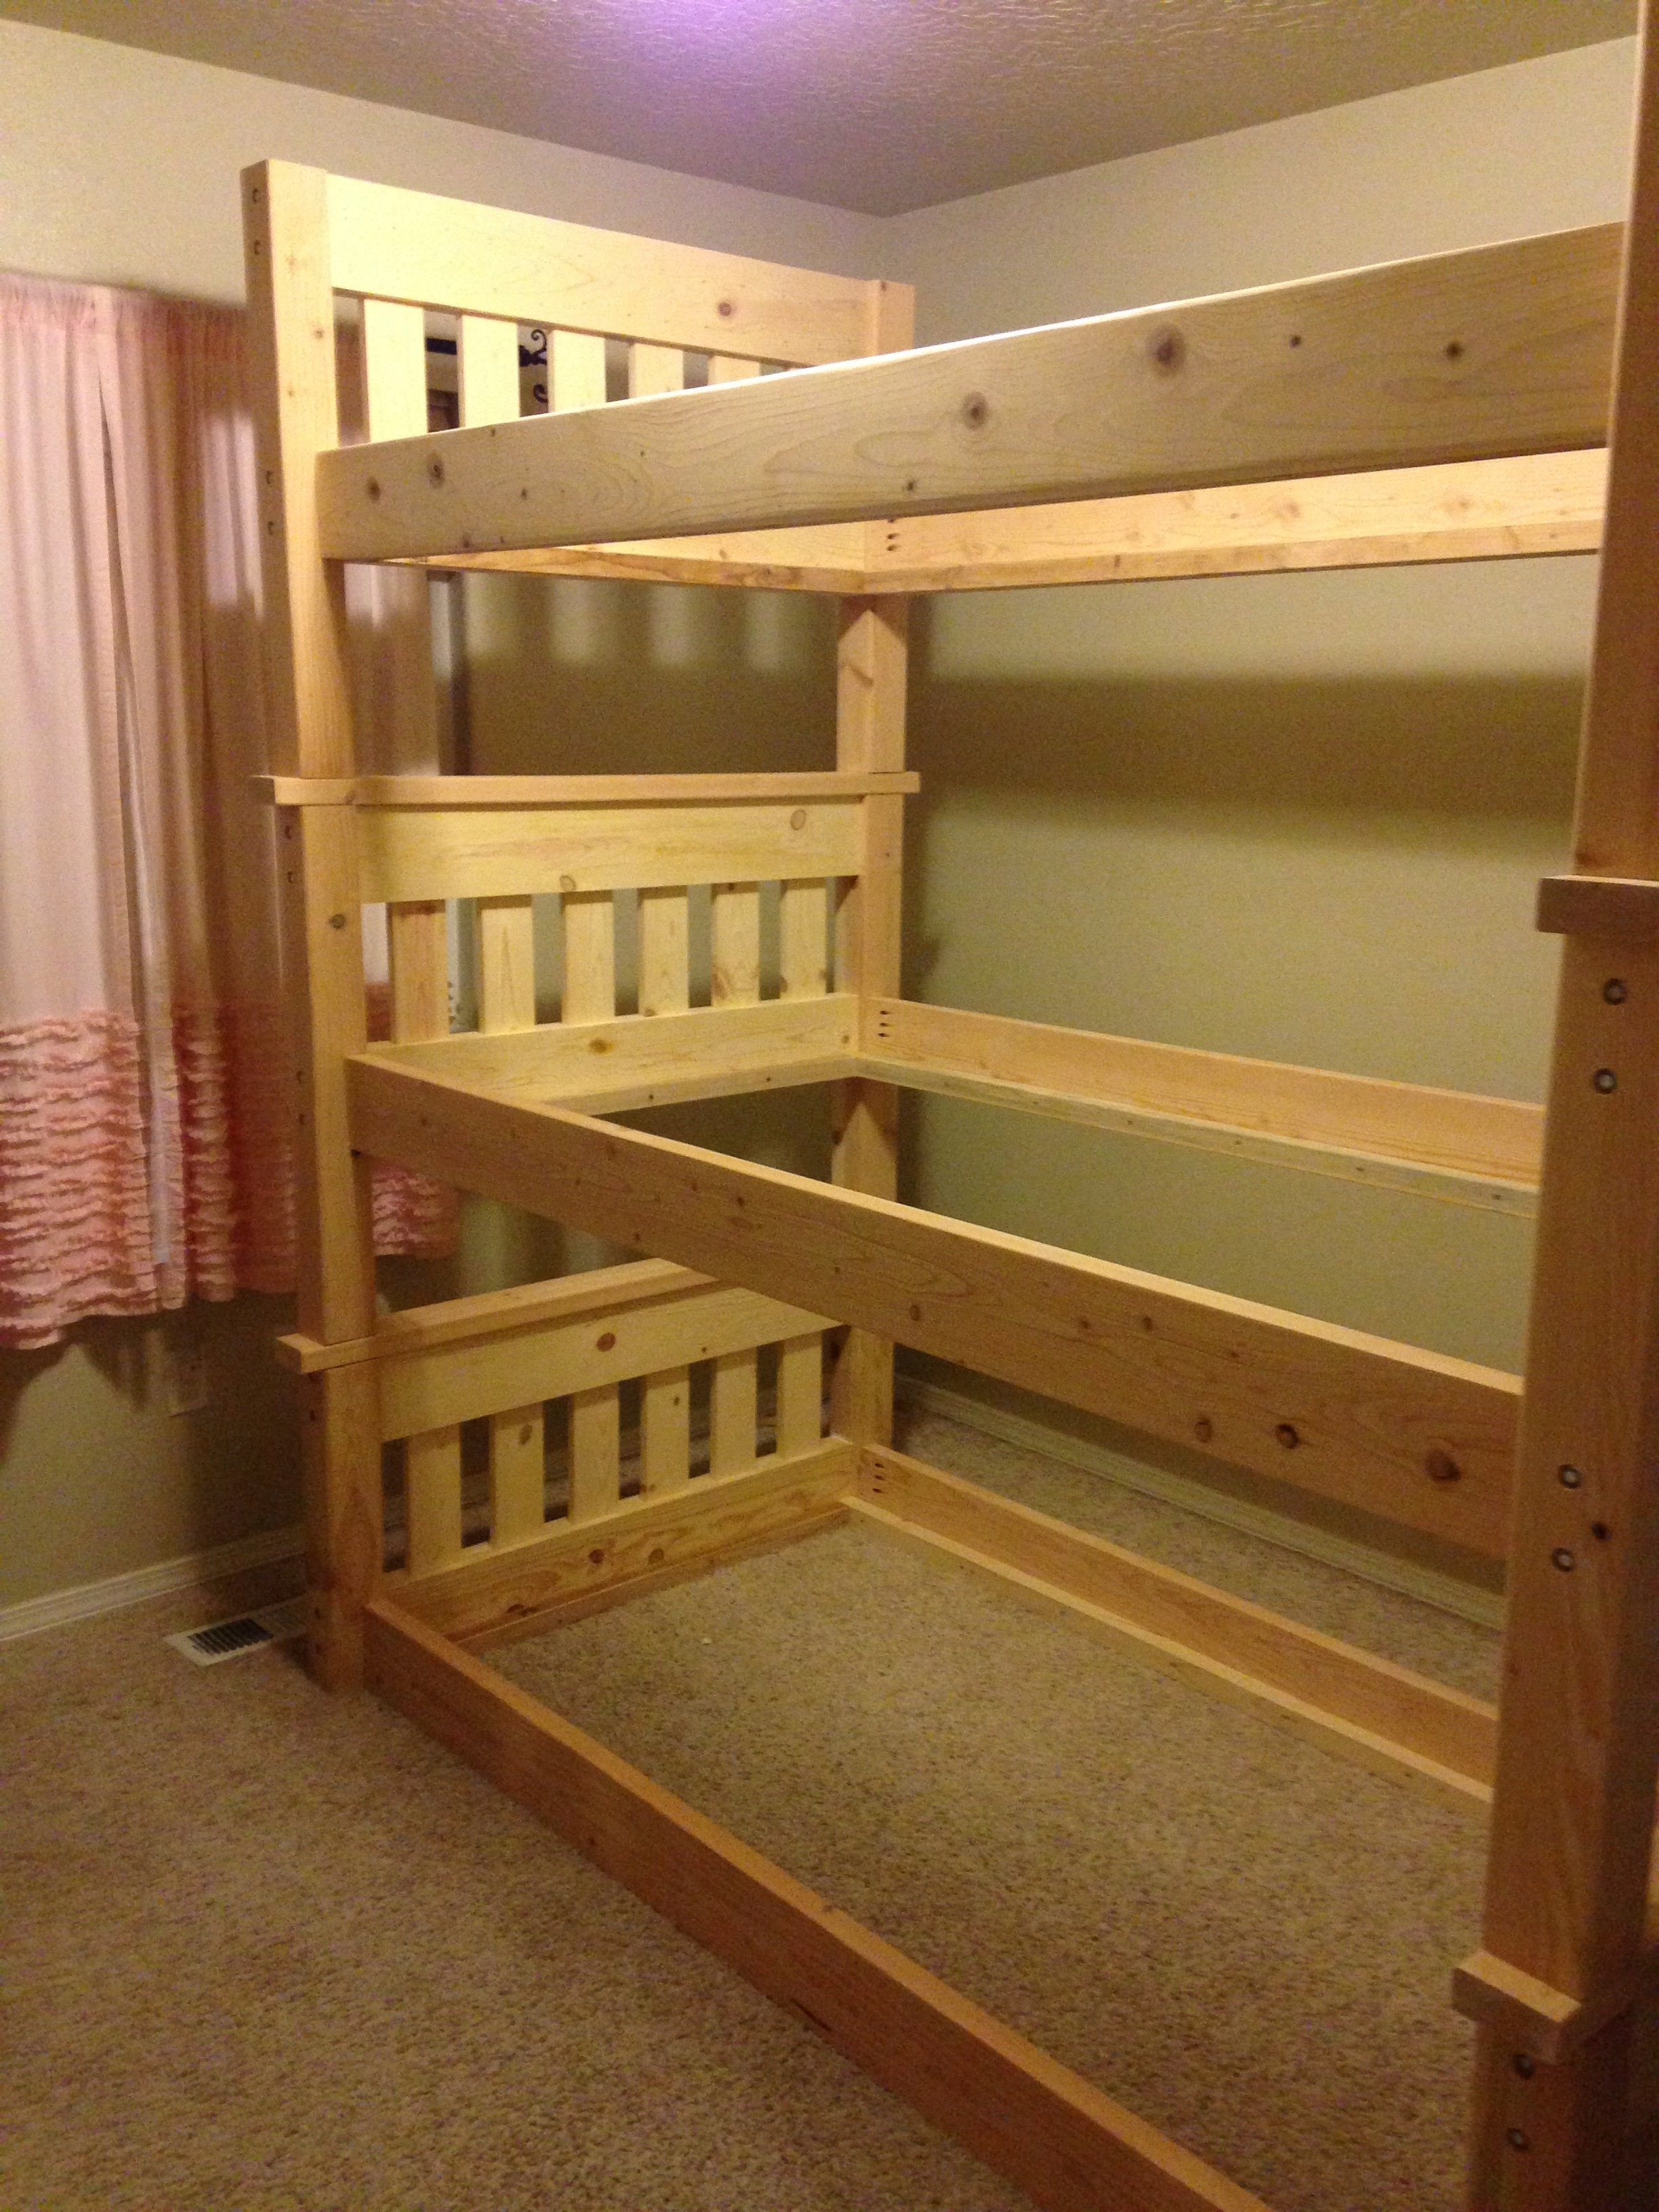
I loved the look and design of Ana's Simple Bunk Bed but due to limited space in our home, needed a triple bunk bed. I wasn't interested in the hassle of a trundle so I decided to modify the simple bunk bed plan and make it a triple. I have to say, I was a little worried about how sturdy it would be but this plan is so solid with the 4x4 posts that there is no need to even even think about that for another second!
I changed the ladder so that it was attached to the side rails of the bunk bed as someone had posted they did earlier and decided to add another little ladder for the middle bunk so my little one wouldn't have to leap from the ladder to get into her bed. ;D
In order to do a triple in our home (with 8 ft. ceilings), I needed to bring the height down so I made the bottom bunk sit on the floor with the legs only being as long as the height of the headboard. I also made all the headboards and footboards only as tall as the footboards in Ana's original Simple Bunk Bed plans.
This was my first build and there are definitely things I would do differently to make this work better if I had it to do all over again. I would make the legs a little shorter on the 2nd and 3rd bunk so that there is more head room for the person on the top bunk.
All in all though, I had a great time building this and can't wait to try some more of Ana's plans!!!
Mon, 01/13/2020 - 09:09
This is absolutely gorgeous. How has it held up? If Would you mind sharing the plans for this as I too have low ceilings and will have to tweak the dimensions a bit.
Thank you.
Mon, 11/01/2021 - 21:30
Do you happen to have the exact plans for this triple bunk? I saw that you modified the simple double bunk to fit your space but I'm wondering if you drew up plans wih measurements to make it easier for beginner folks.
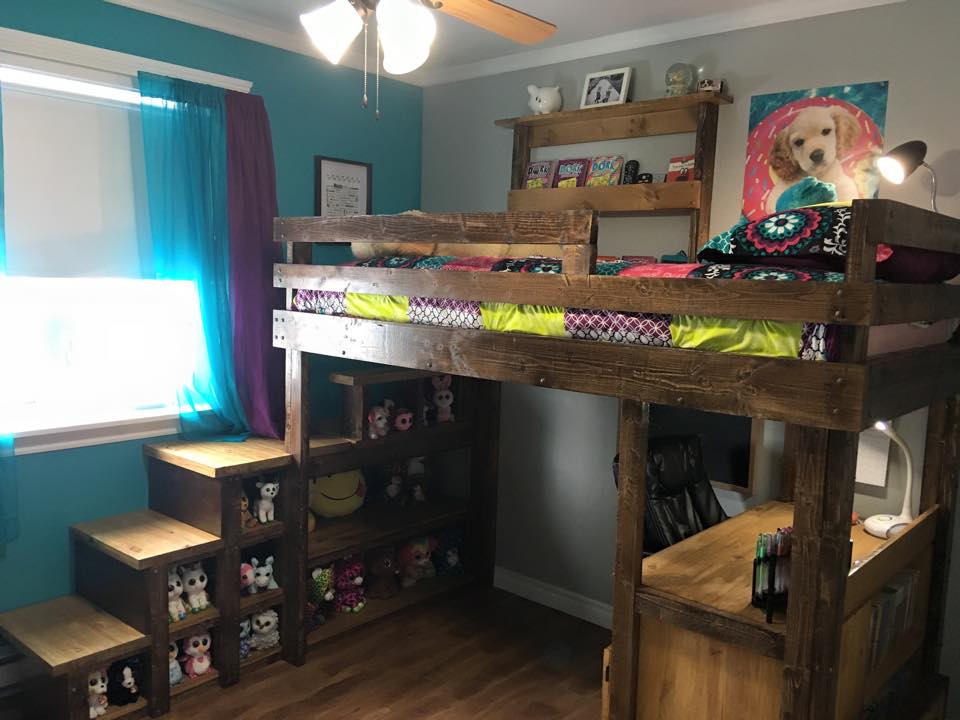
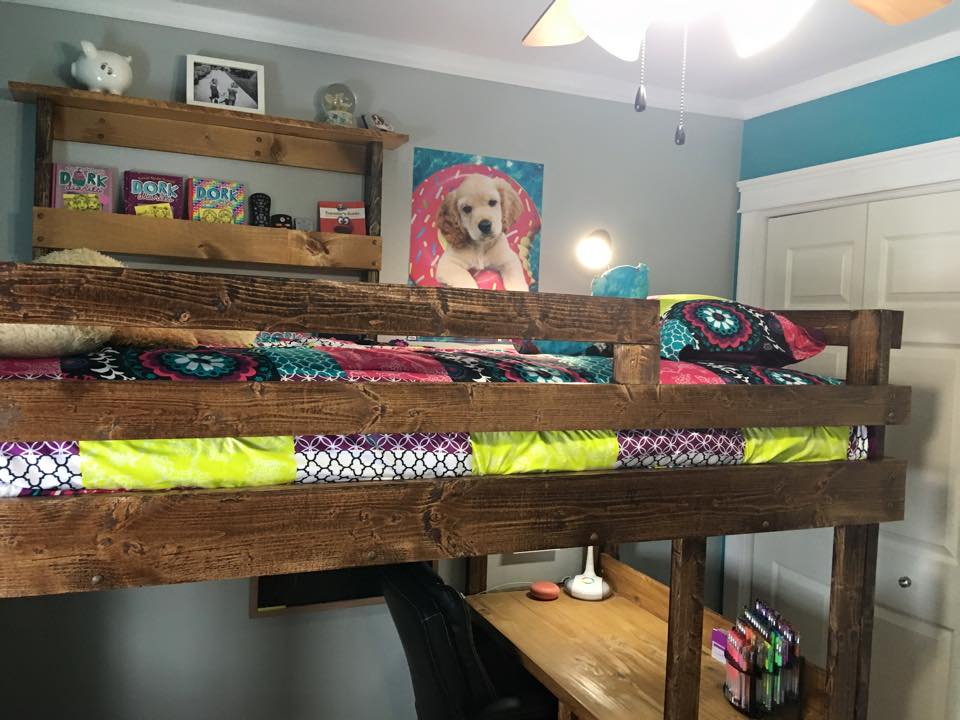
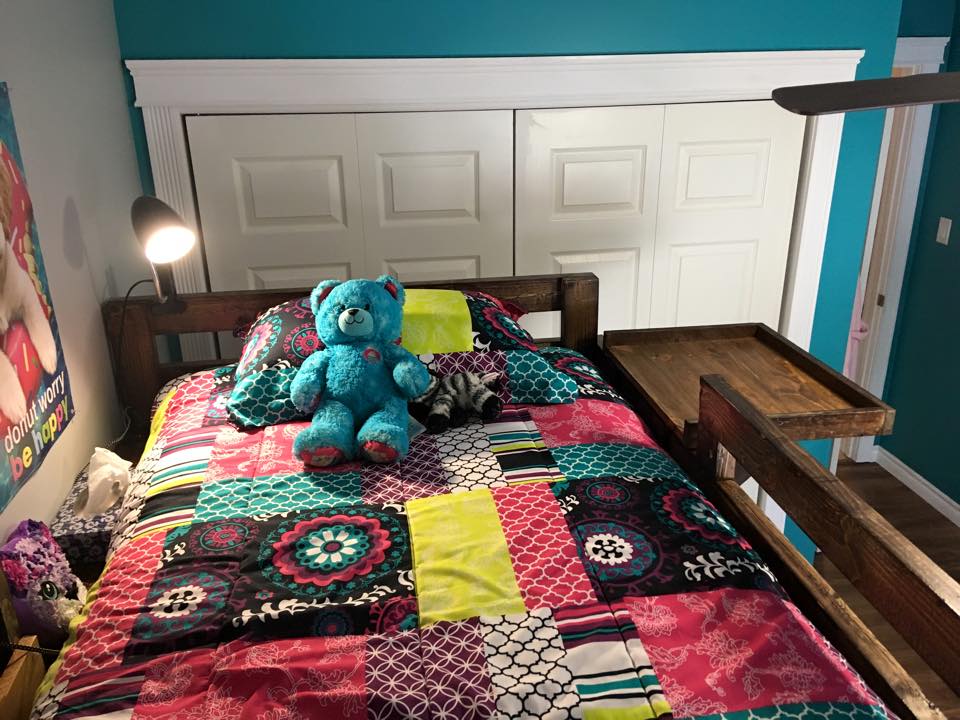
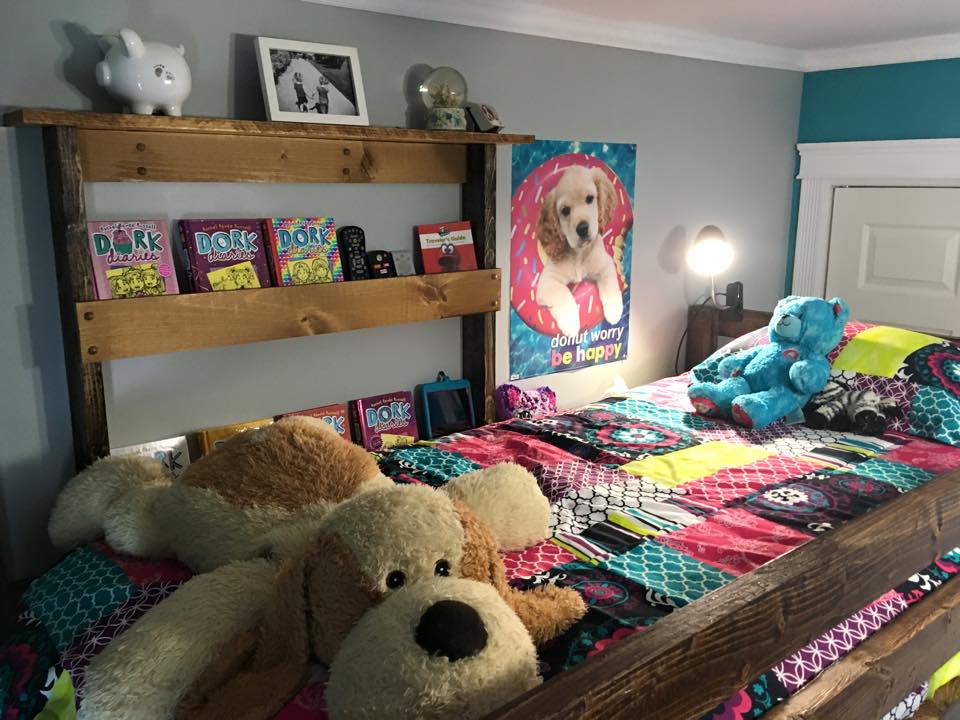
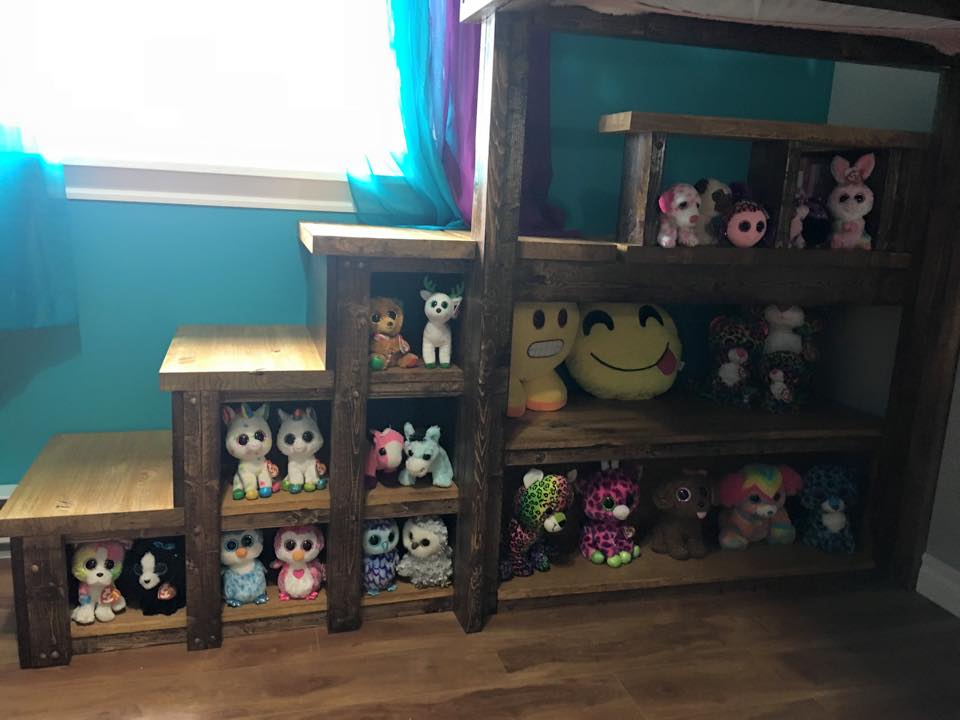
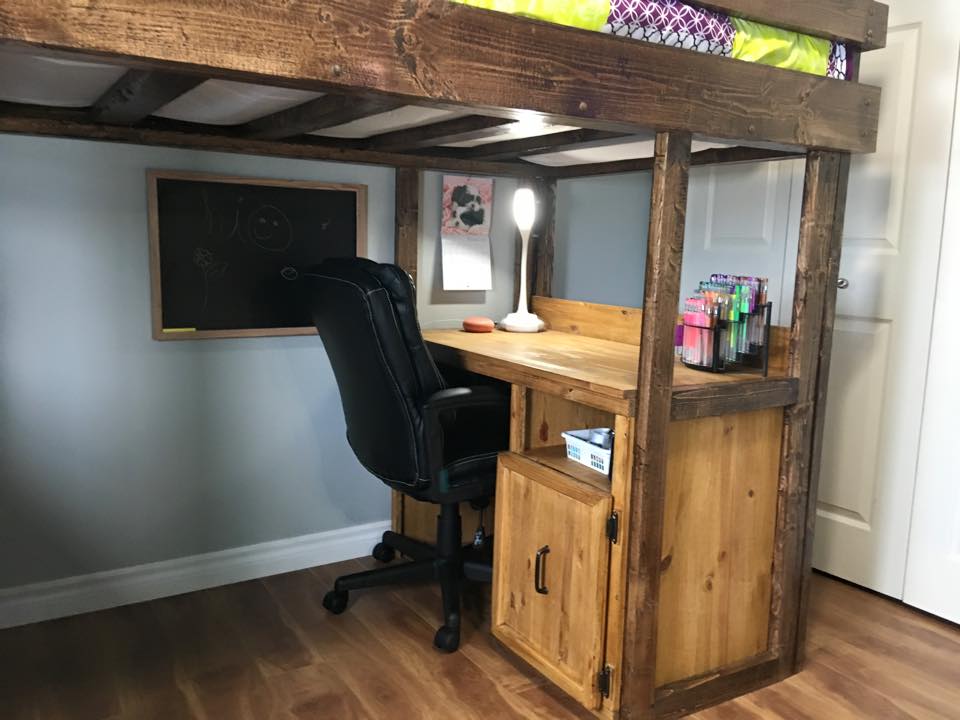
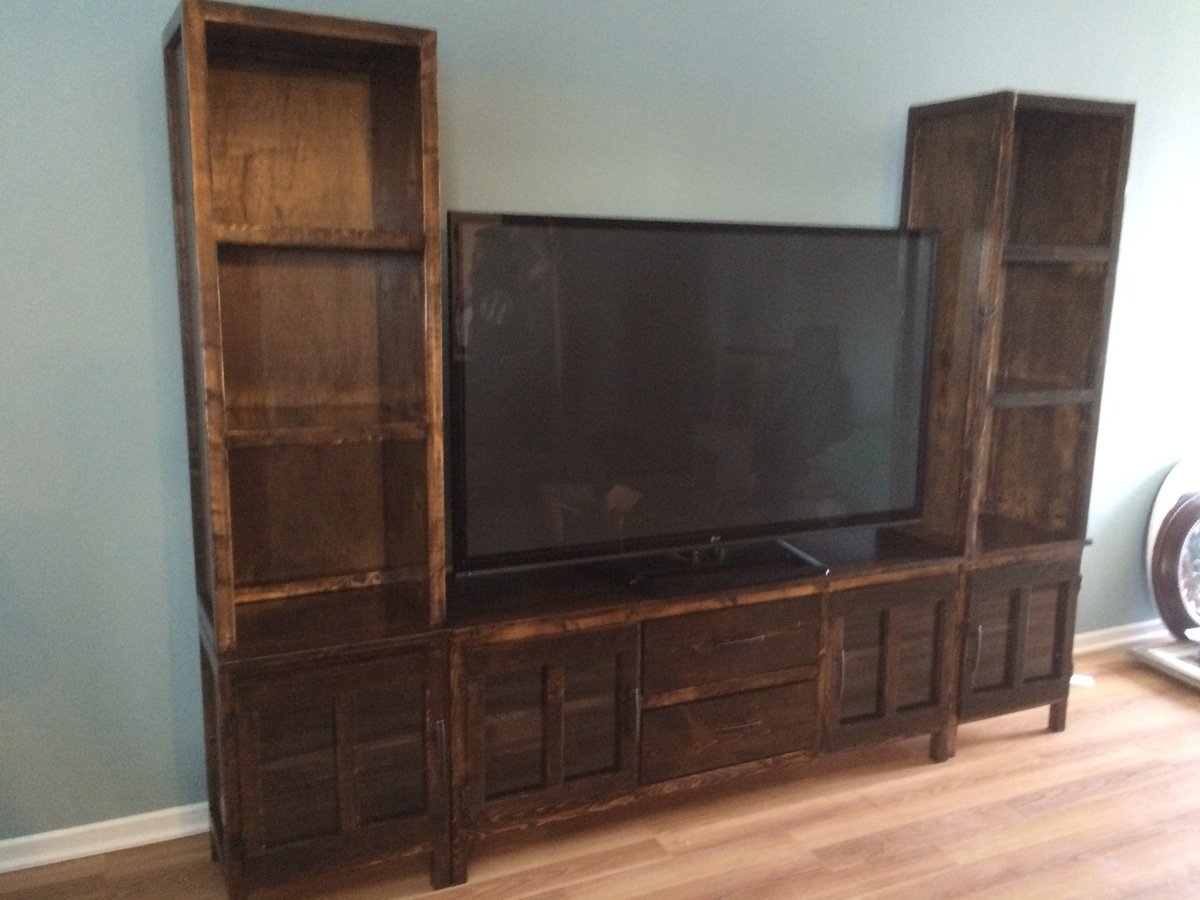
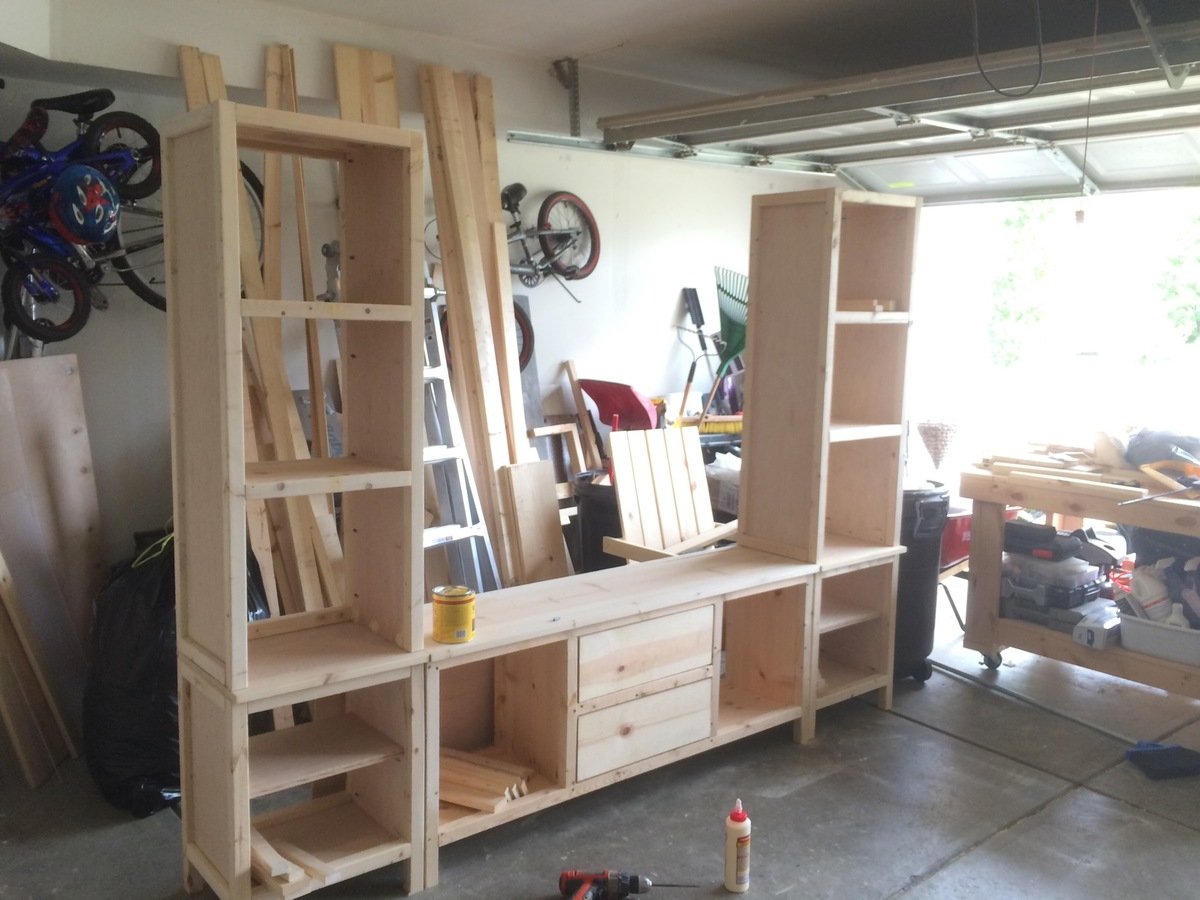
My daughter's bedroom was getting a bit cramped so wanted to make a loft bed for her but I also wanted to incorporate a desk and some shelves for her books and toys. I started with the base plans from Camp Loft Bed with Stair, Junior Height posted on this site and kind of incorporated my own touch with the stairs, desk, book case. I also added a removable tray for when my daughter is eating a snack in her bed. It hooks on the top rail of the bed. Another addition I made was the wall shelf I mounted above the bed for storing her books, I-pad, etc.
Sorry but I do not have any plans for these modifications. I just made some simple drawings and winged it. This is my first ever build so hope you enjoy it
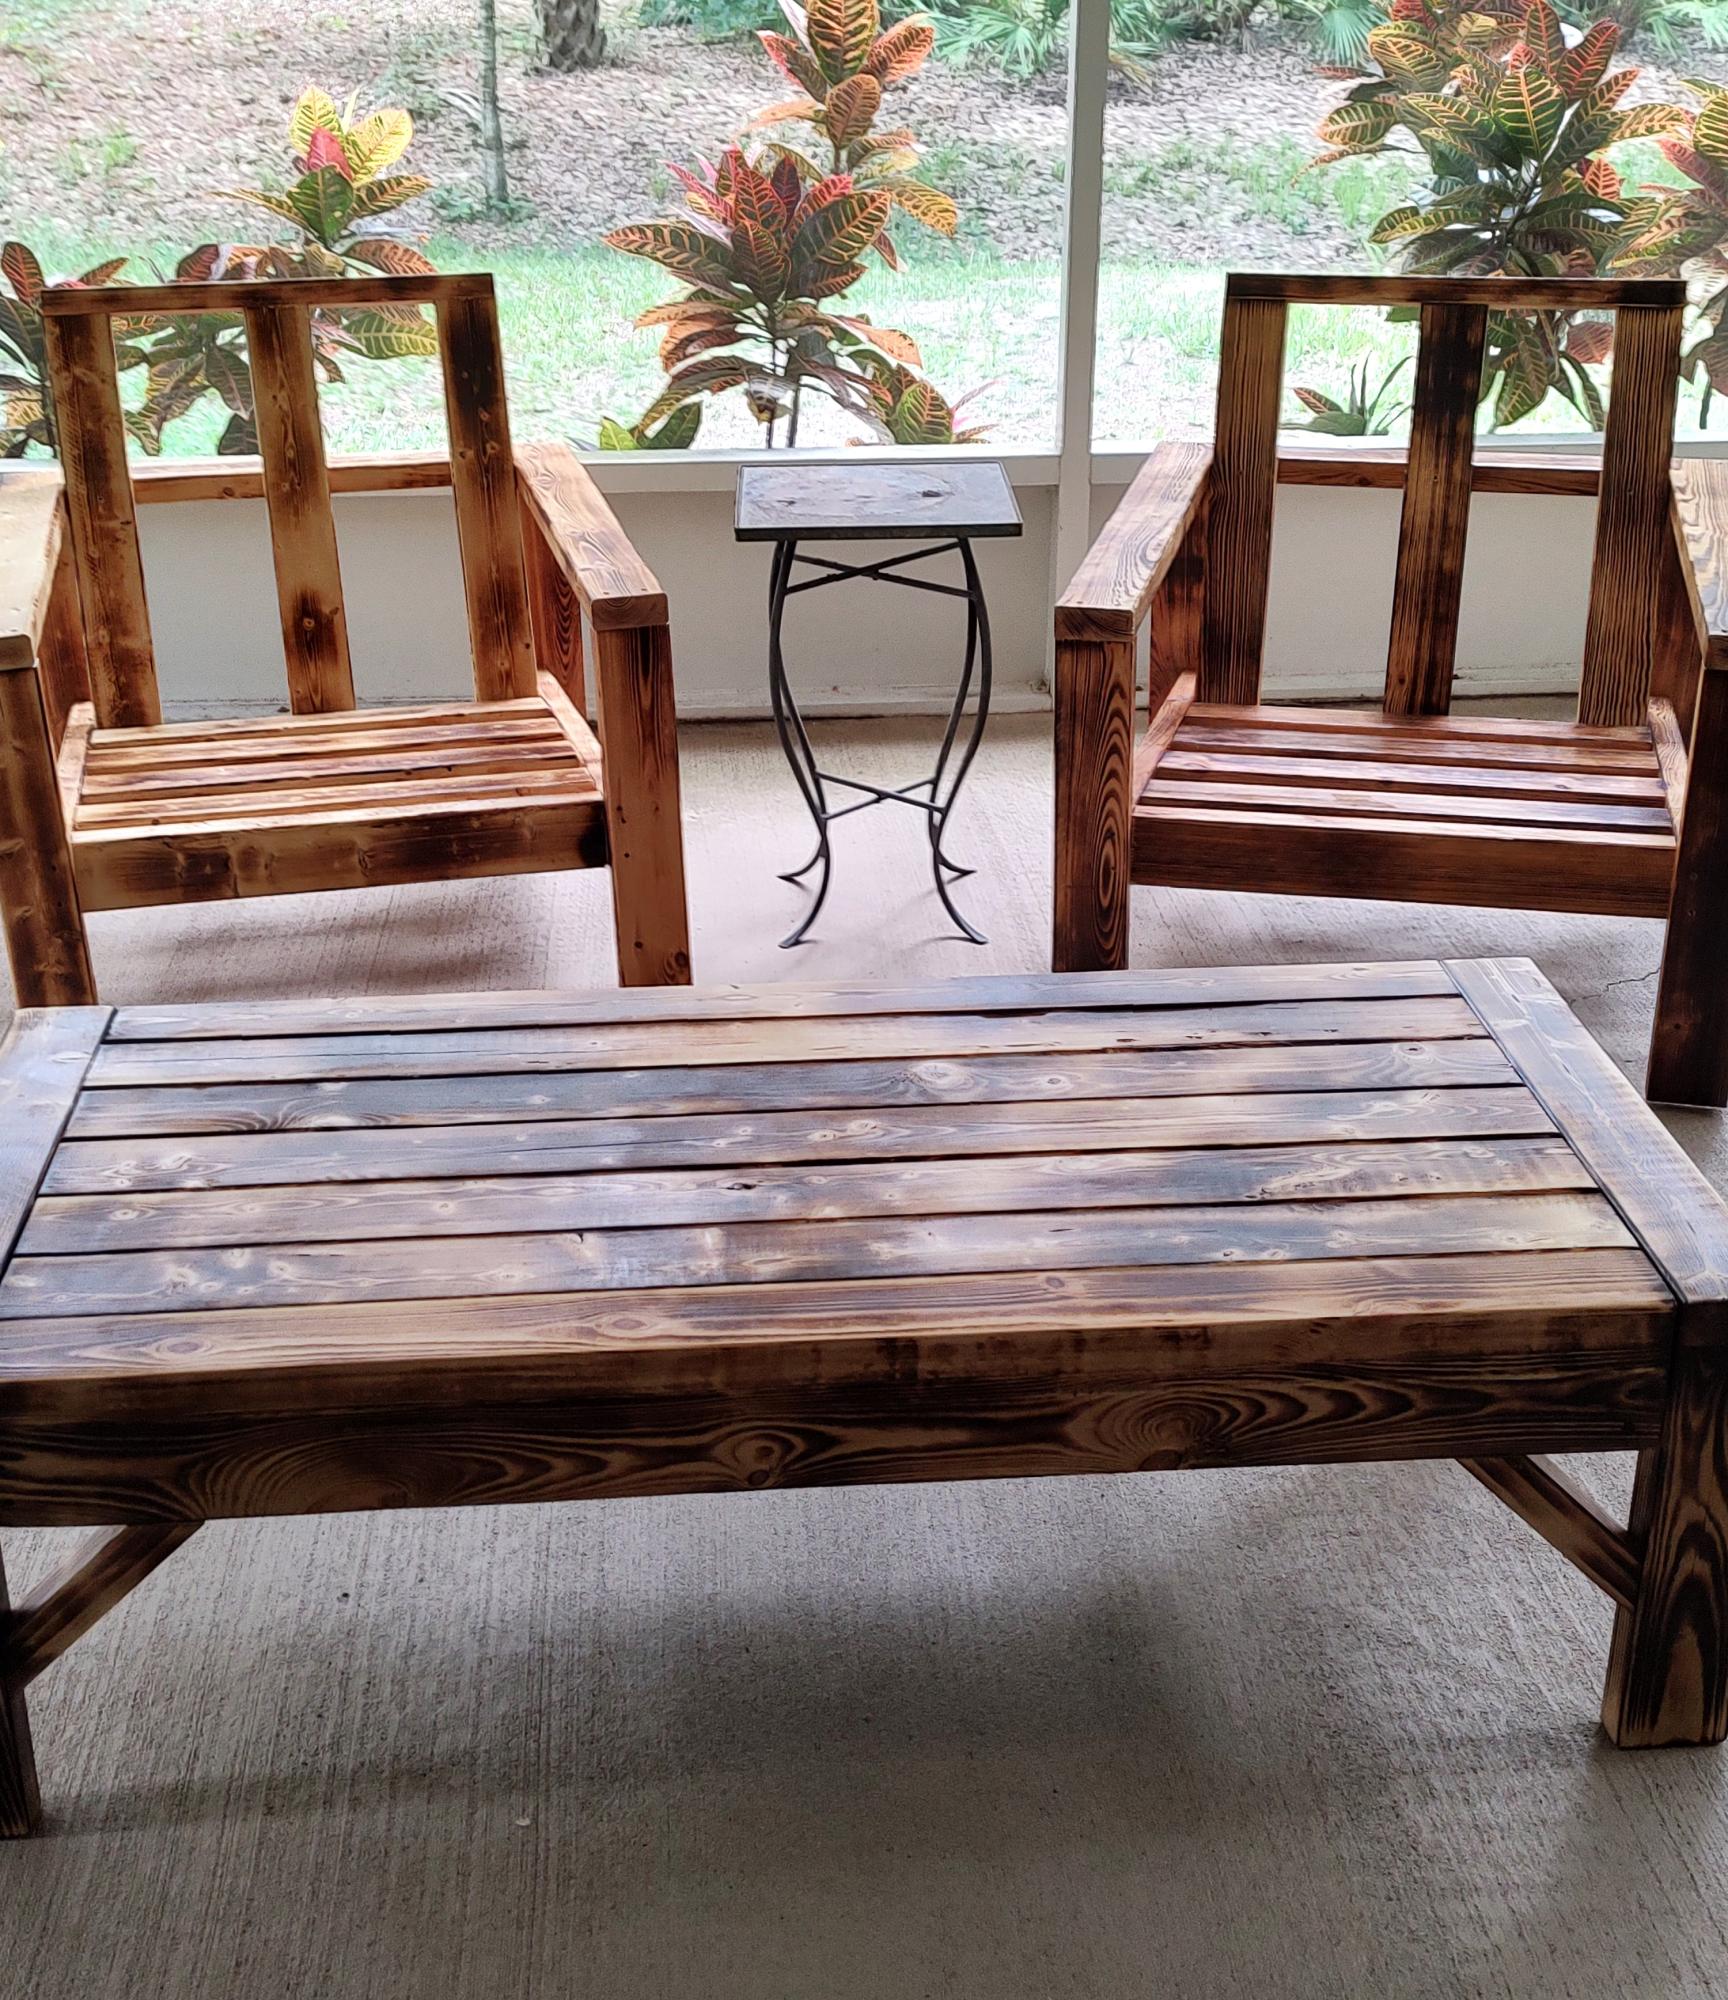
2x4 patio furniture with coffee table

Two Girl Scout troops combined to work on the Cadette Woodworking Badge and made this birdhouse (https://www.ana-white.com/woodworking-projects/diy-birdhouse-one-cedar-…). We used cedar decking, so some adjustments needed to be made to the plan. We looked up what types of birds in our area would use different size openings. The girls had a great time and worked together to make sure everyone finished in time. My troop has built a lot of projects, but this was our sister troop's first build. They did an excellent job! So proud of their hard work and I get the feeling we'll be building more in the future!
Sarah Eiseman
Built by Holli Peterson

We made for our two oldest. This is our first couple project
Or rather a family project.
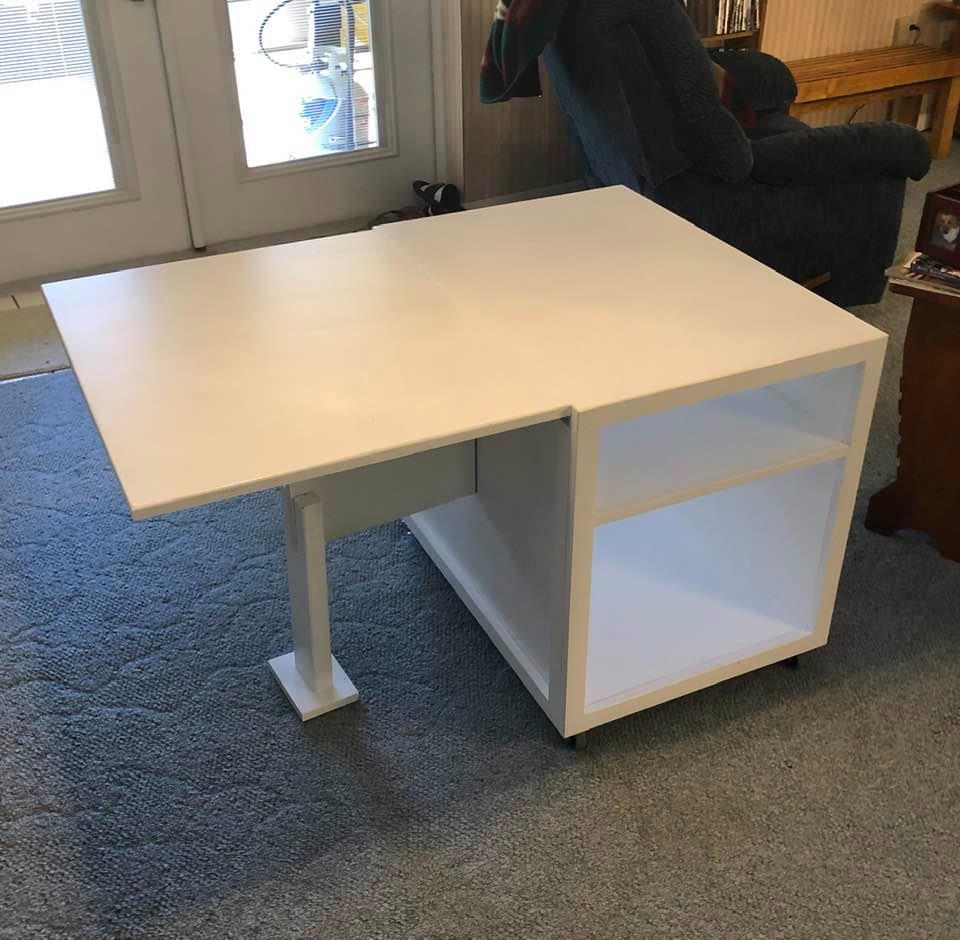
Using Ana's plan for a simple sewing table, I modified it to meet the needs of my daughter.
I only used 1 wing instead of two and made a brace that folds away under the leaf. On second thought I added a safety leg and foot to keep the table from tipping when the sewing machine is on top of the leaf.
I trimmed out everything but the leaf with 1 x 2 pine.
The top (with leaf raised) is 31 x 46 inches of work space.

Sat, 02/29/2020 - 14:55
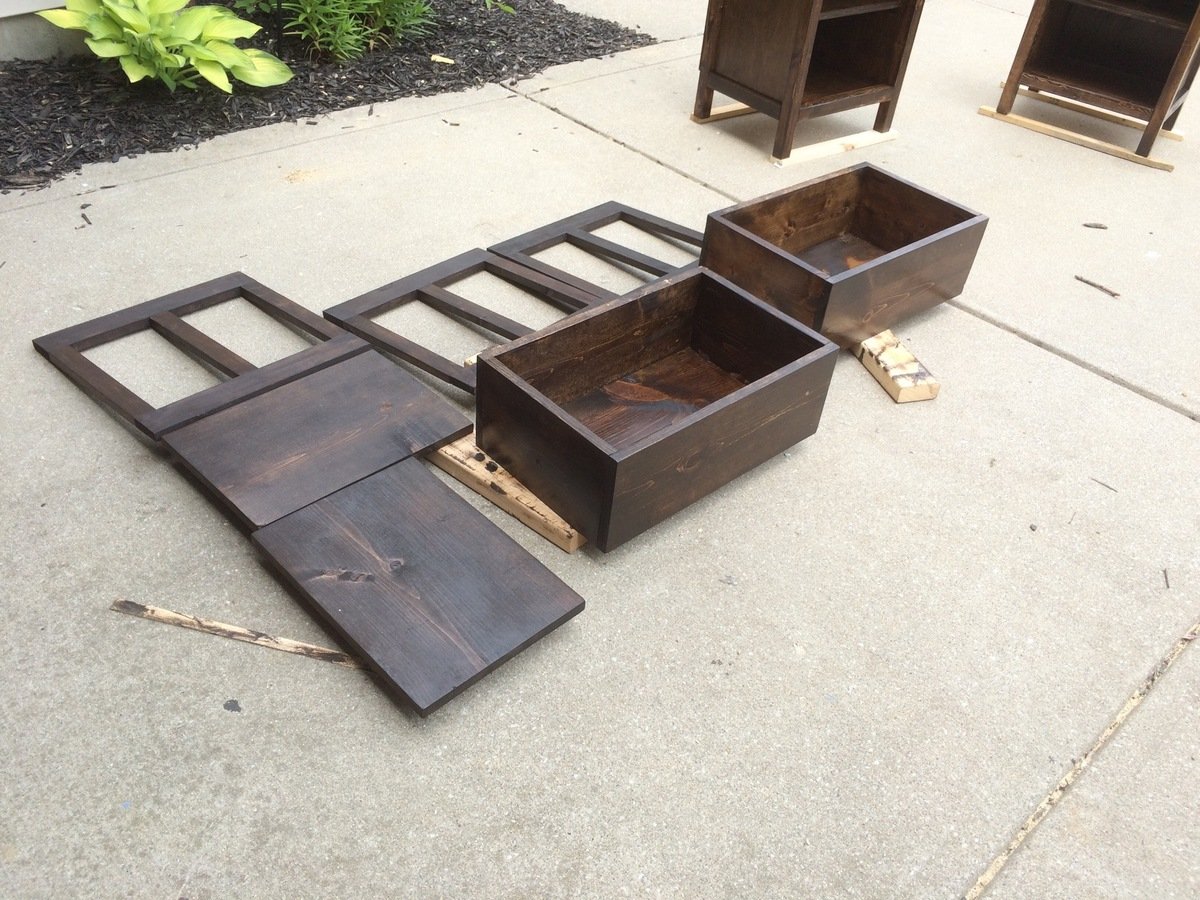
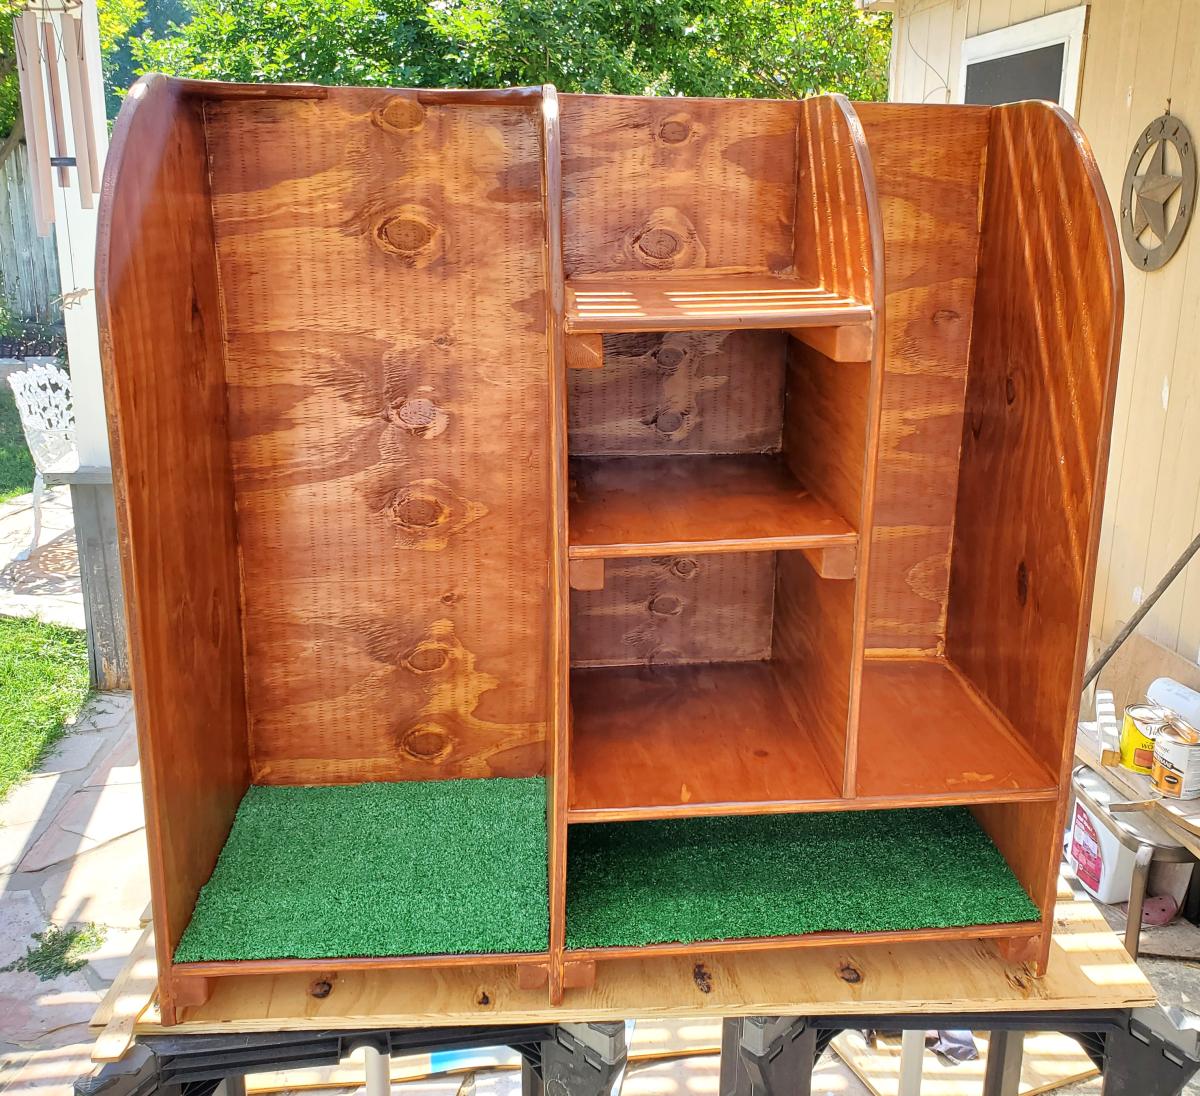
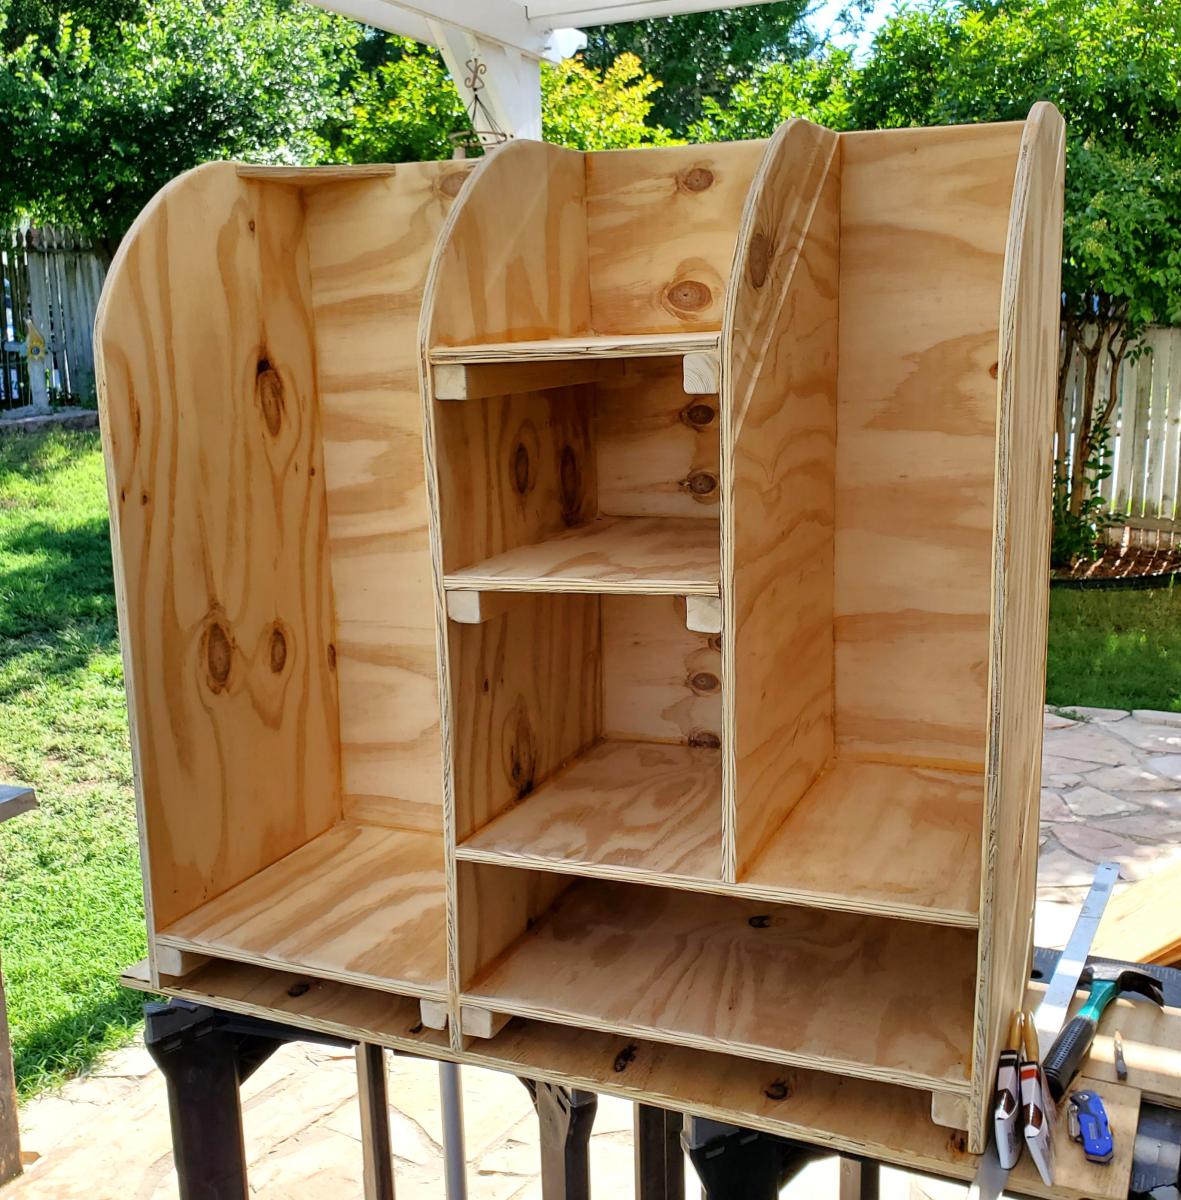
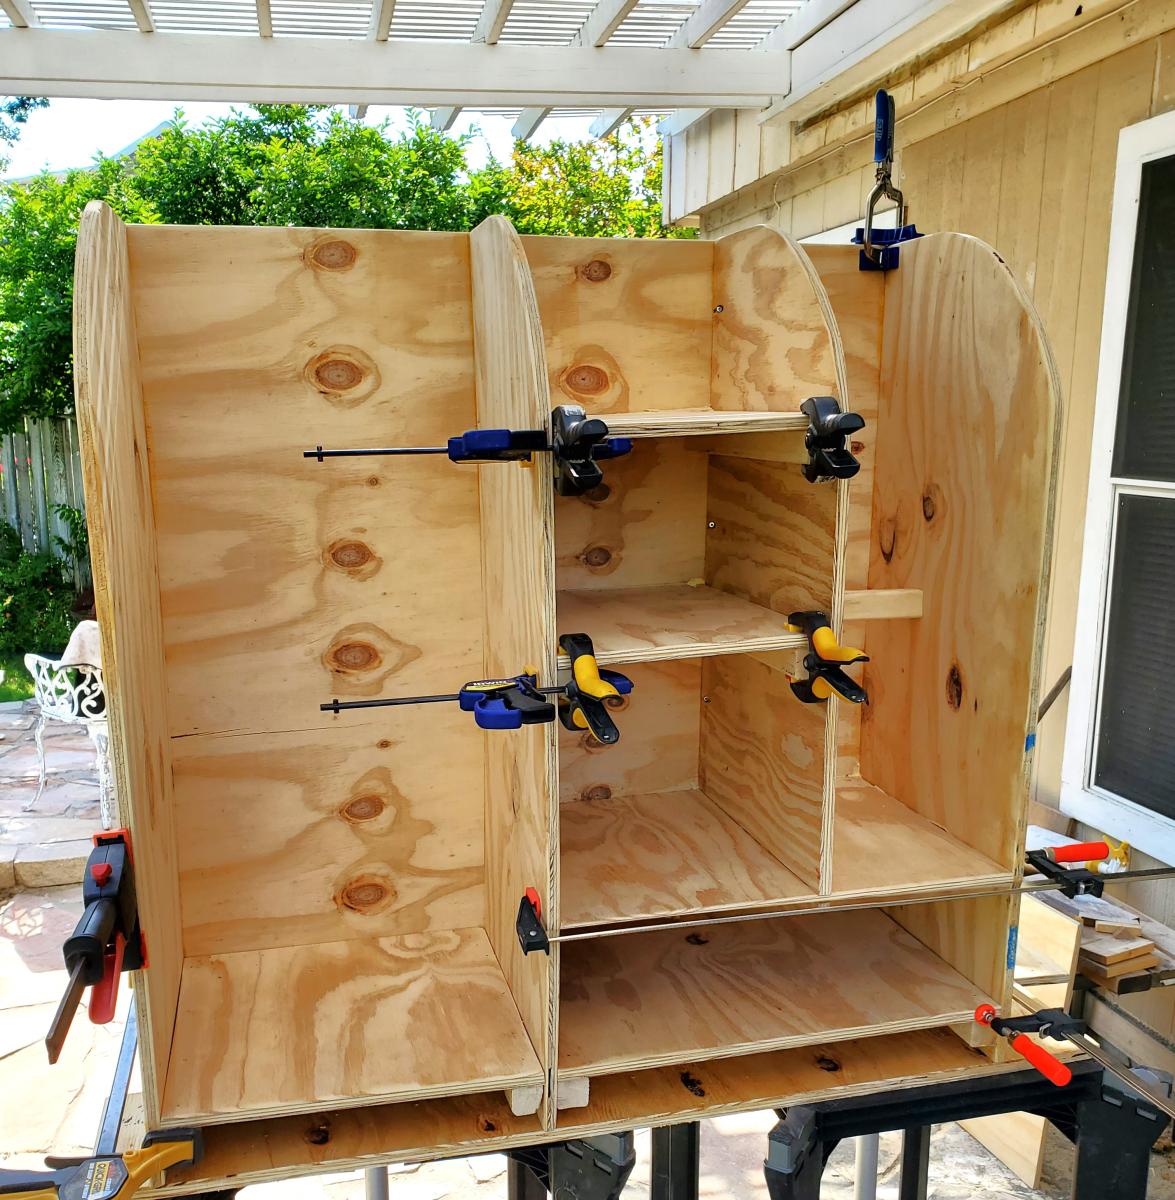
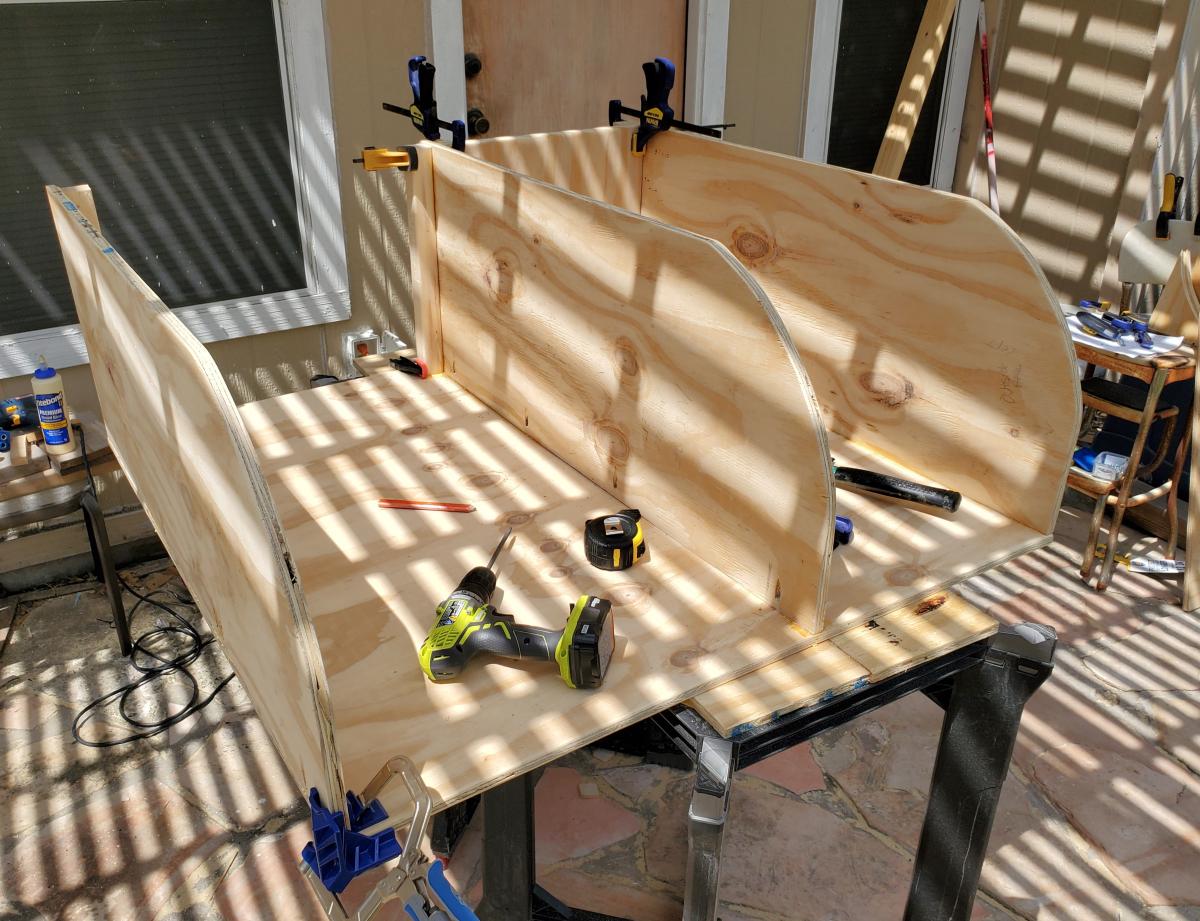
The bottom and the shelf were both mounted in 1/4 grooves cut in the sides with a homemade router jig.
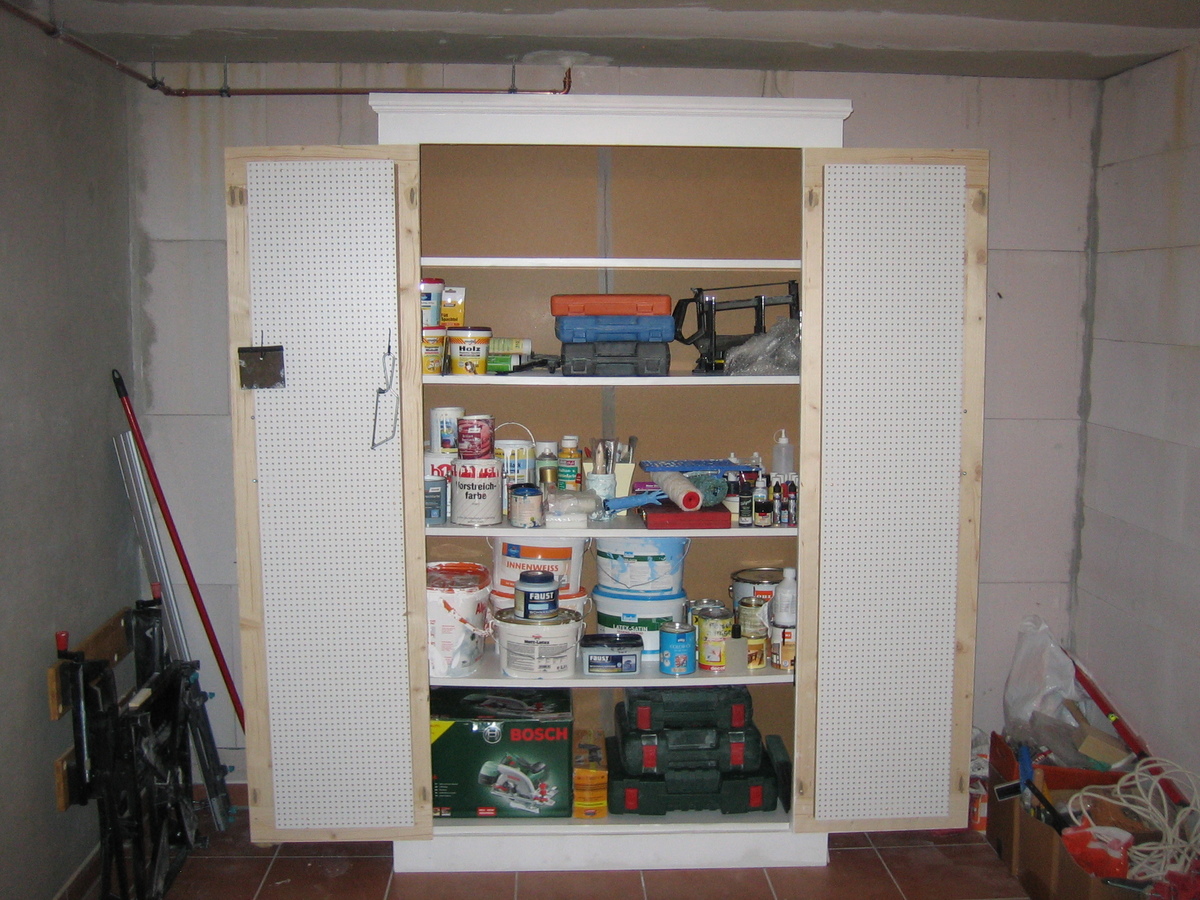
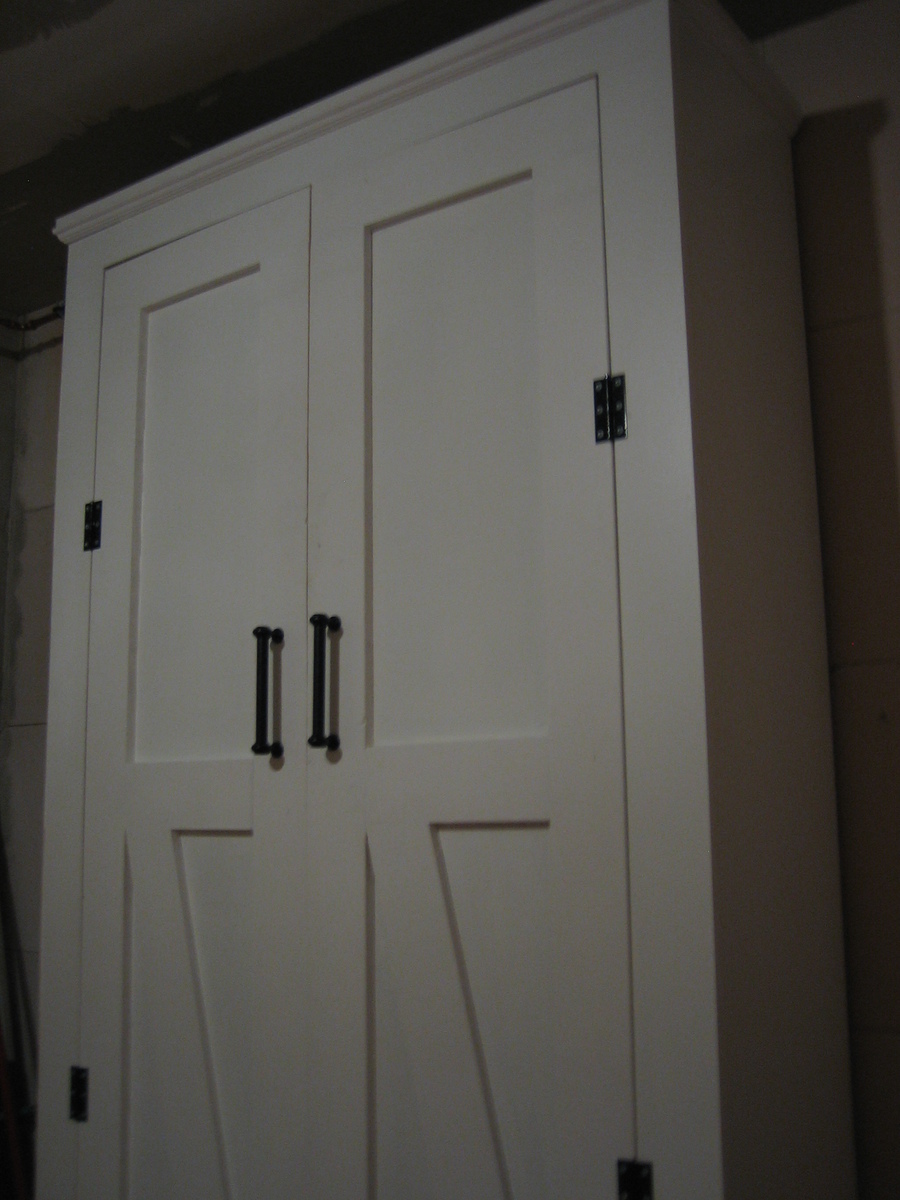
This was a fun project to build. I did change somethings around. I used plexiglass on all doors instead of plywood and it turned out great. Took a lot longer than planned but in the end it was worth it!
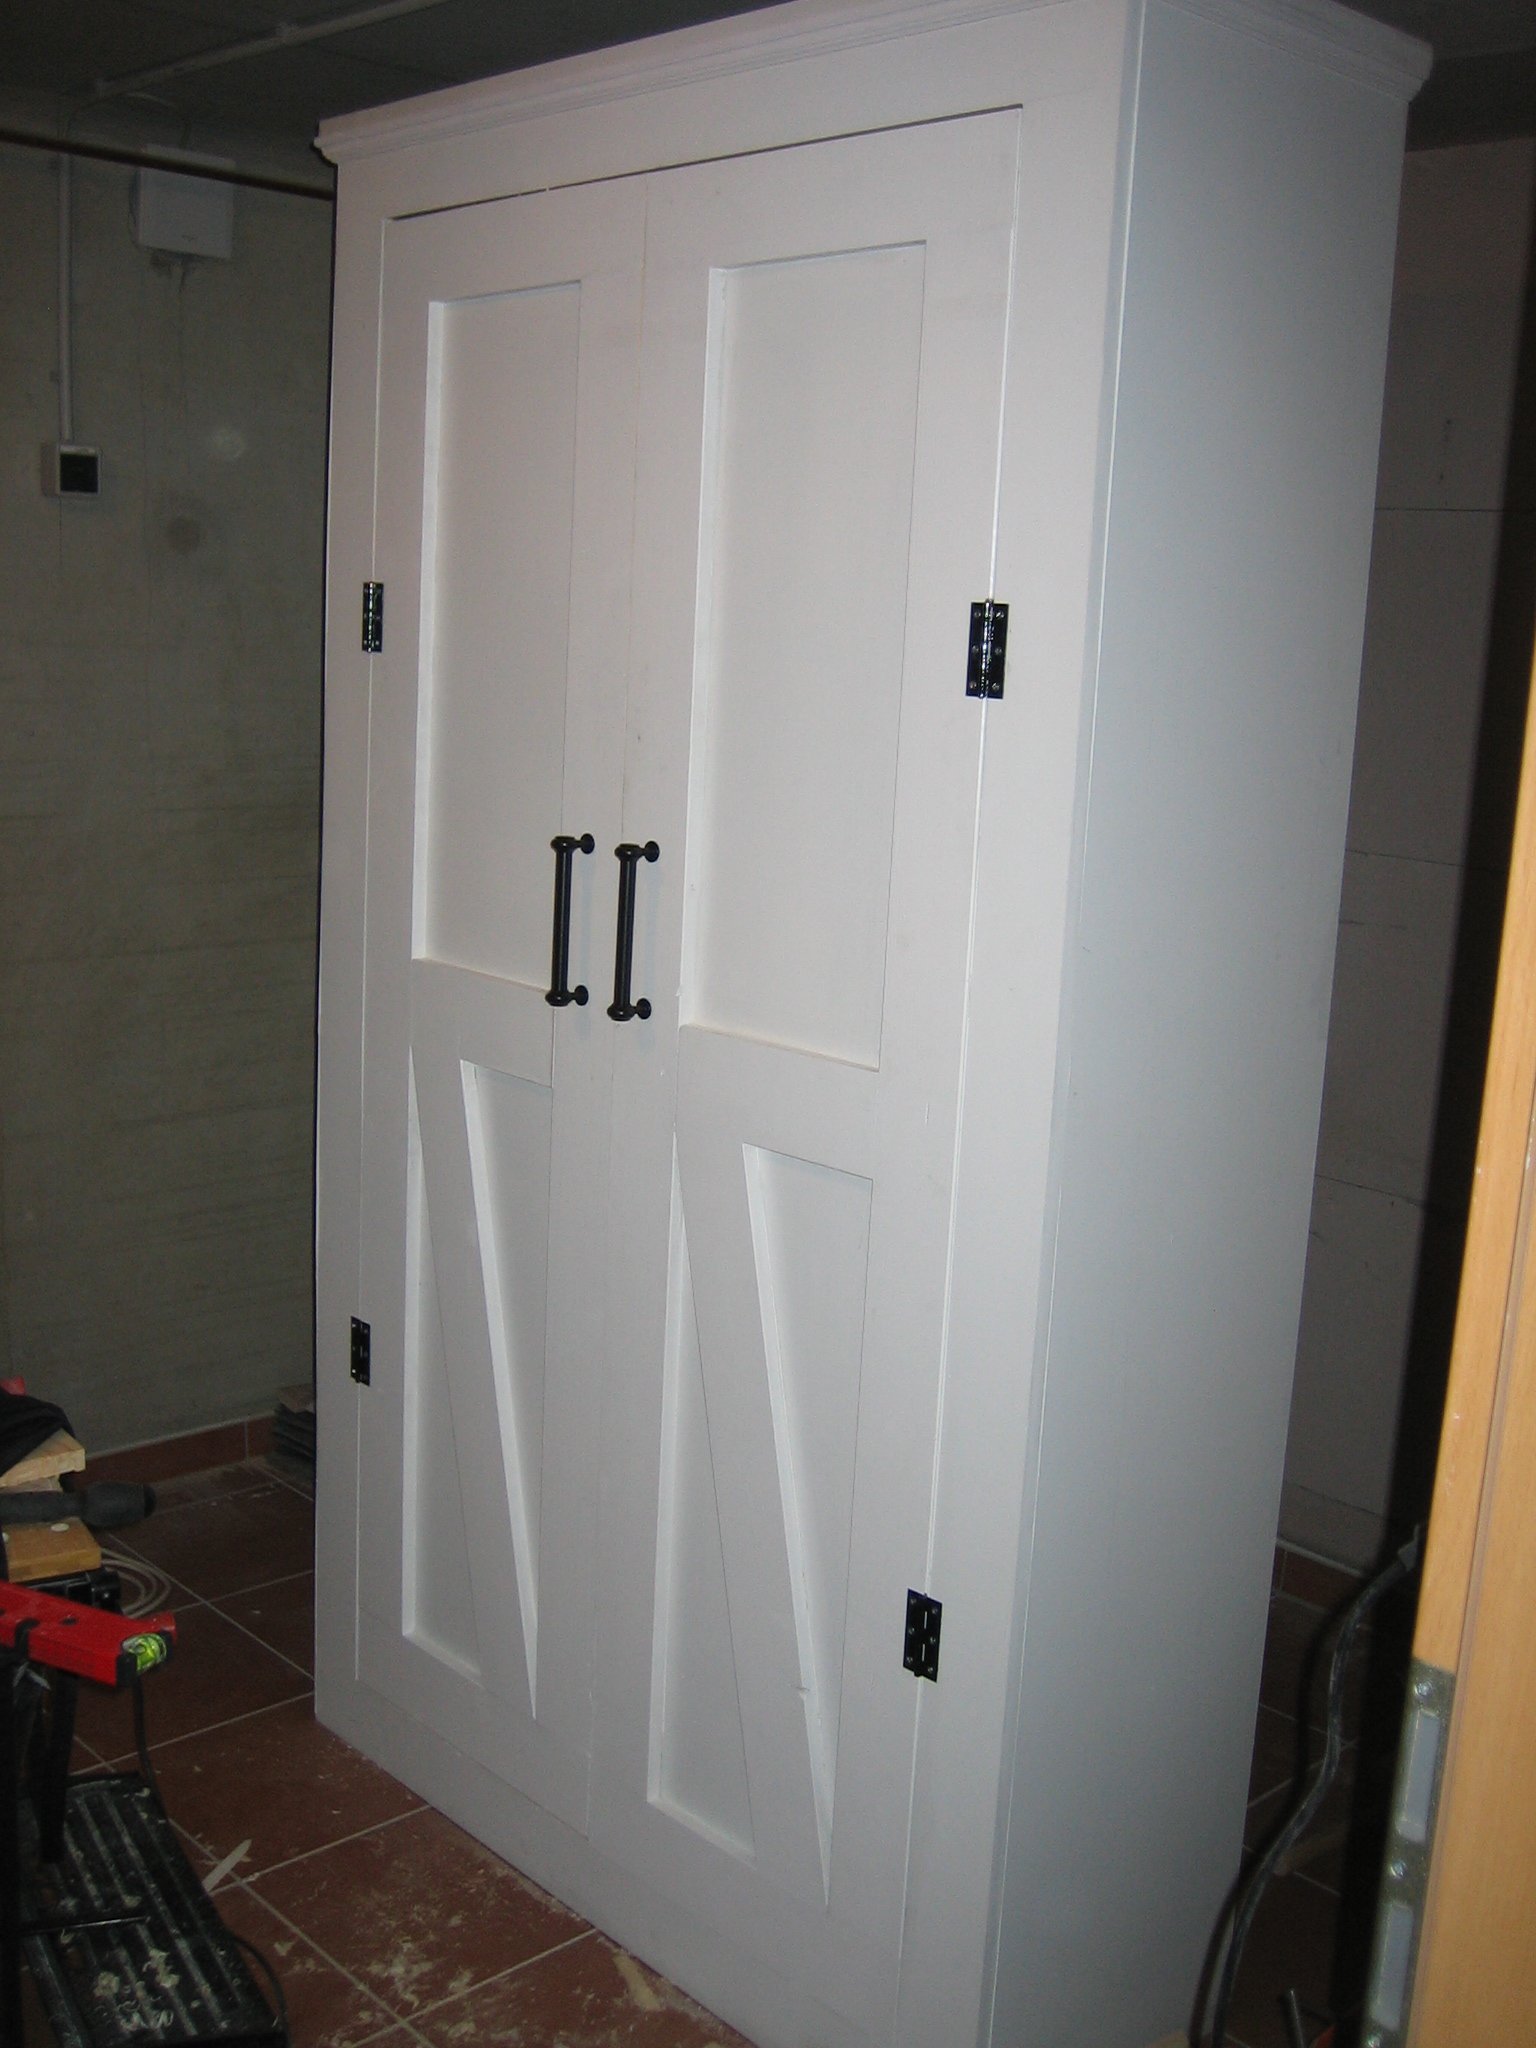
My cupboard is quite a lot bigger than the one in the original post but is super sturdy.
It was a relatively easy project to build. My main issue was that I used chipboard for most of the cupboard and ironed on veneer on the cut sections which threw my door frame measurements out of whack and I had to shave a bit of my door off with a plane to get it to fit in neatly.
Sun, 08/12/2012 - 11:47
Hi there. I love this!!! I was wondering if you remembered the dimensions of wood used or what not? I want to make one or two of these for my basement laundry room for storage but am new to this so not sure how much I would increase all of the wood etc from the original plans. Thanks!
Mon, 08/13/2012 - 02:48
Hi! So glad you like it! I used SketchUp to create my dimensions to fit my space. Have you ever used it before? It's a free designing tool and really helps me to visualise if the wood's all going to fit together or not.
Here are the wood measurements I used:
Chipboard, white, 19mm
Part/Length (mm)/Width (mm)/Amount
Top:1200/436/1
Side x2:2000/400/2
Bottom shelf:1124/350 /1
Shelf x4 :1124/350/4
Frame top & bottom:1162/100 /2
Frame side x2:1800/100/2
Door frame top & bottom:476/100/2
Door frame side x2:1594/100/2
Door backing MDF 3mm
Part/Length (mm)/Width (mm)/Amount
Back:2000/1162/1
Door back:1700 /360/2
If you have any other questions, I'd be happy to help. Good luck!
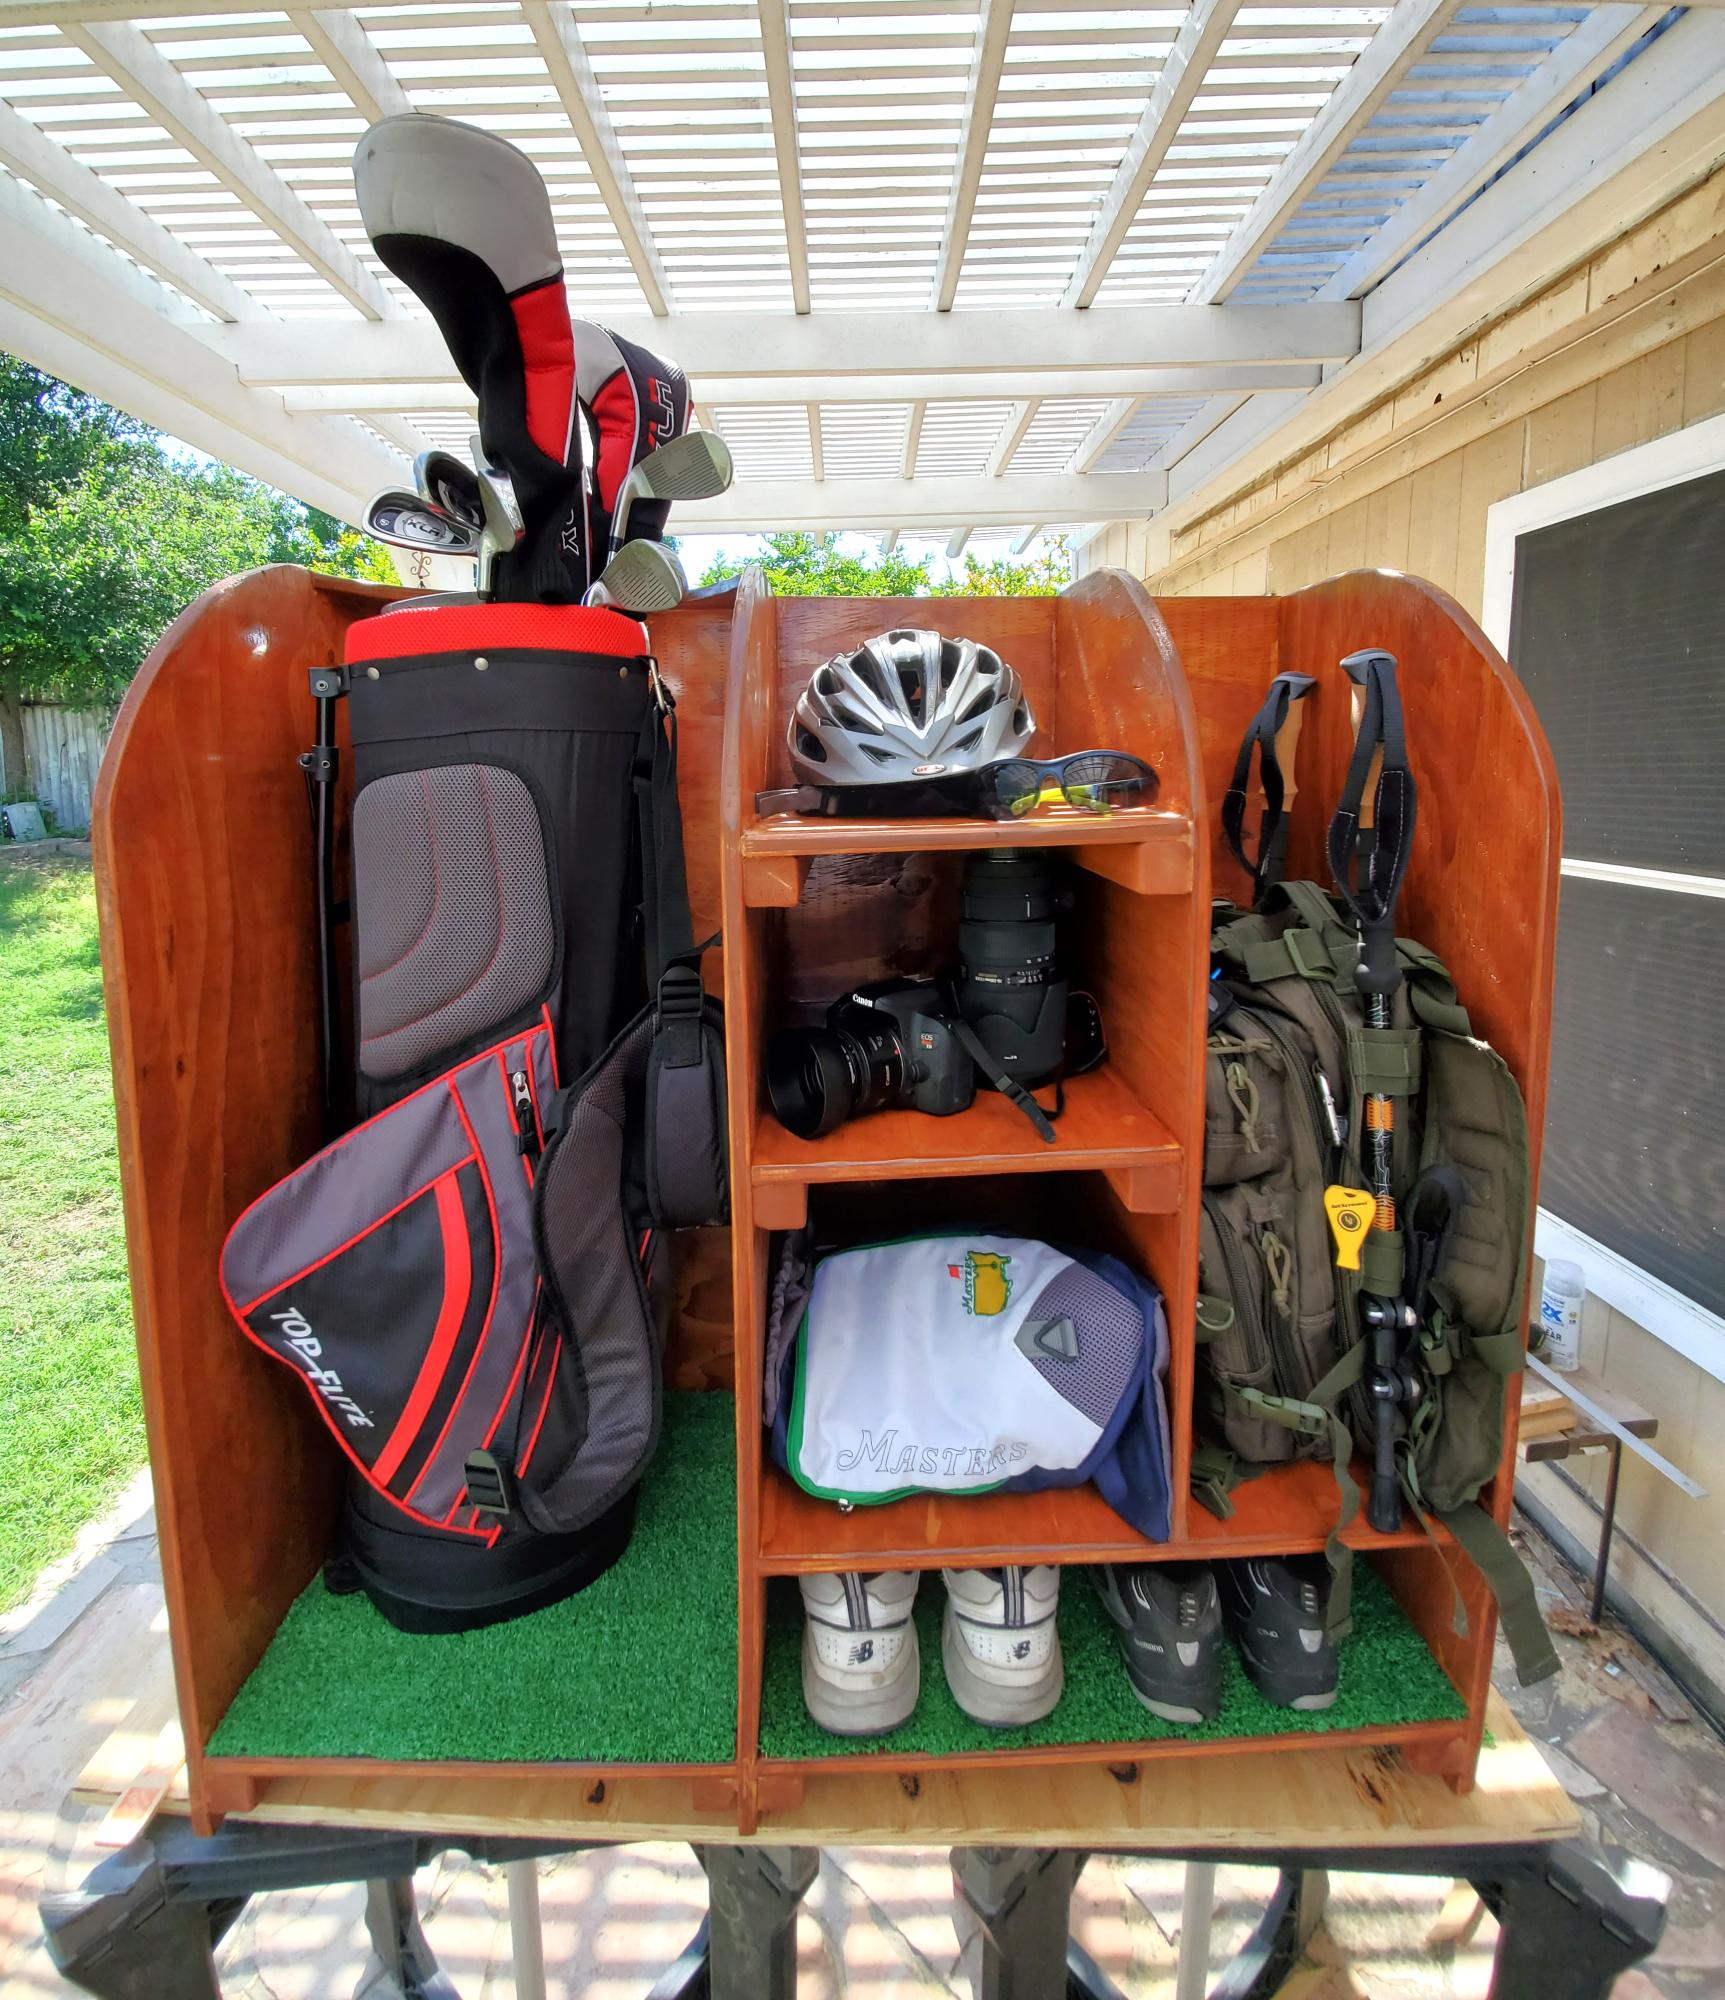
Golf bag stand
Can’t remember if found this plan here or not but get most my plans here. Fun and easy build.
Built this over the better part of 3 days
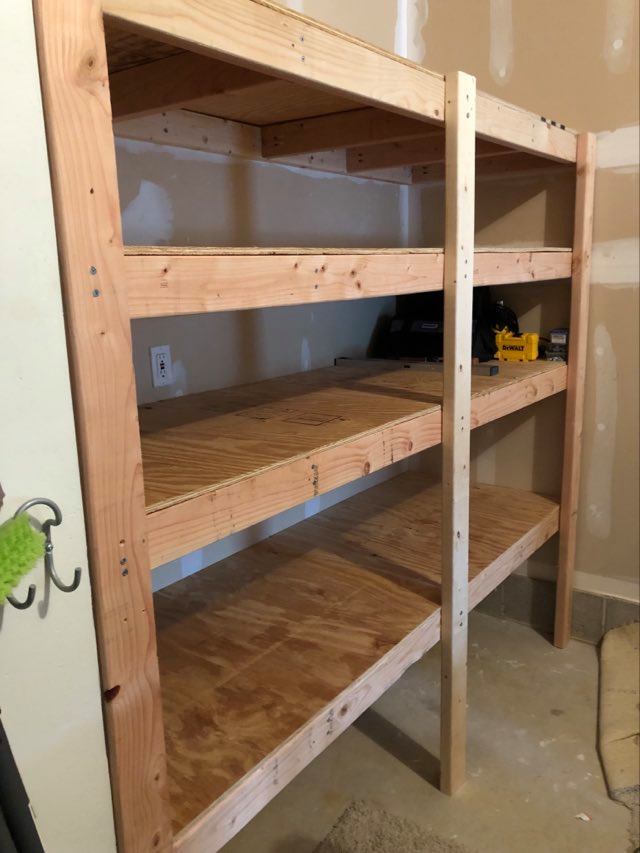
Thank God for these garage shelf plans! :D We have a one car garage that was disorganized and full of stuff. We tried to organize with some metal shelves, but they were very disappointing. They could not hold a lot of items because they were unstable and their measurements did not maximize the space we have. This was my first build and my husband thought I was crazy to attempt it. Neither of us knew what we were doing. However, the plans are simple, clear, and straight-forward and we had no difficulties. I can fit so much on these shelves because they are so sturdy. Love them!
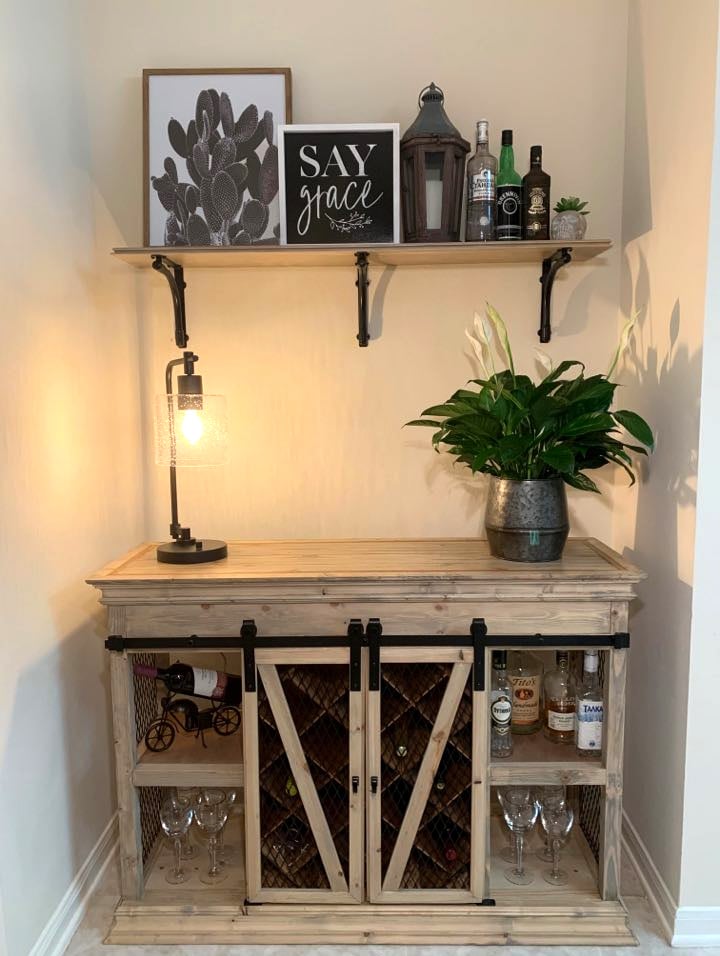
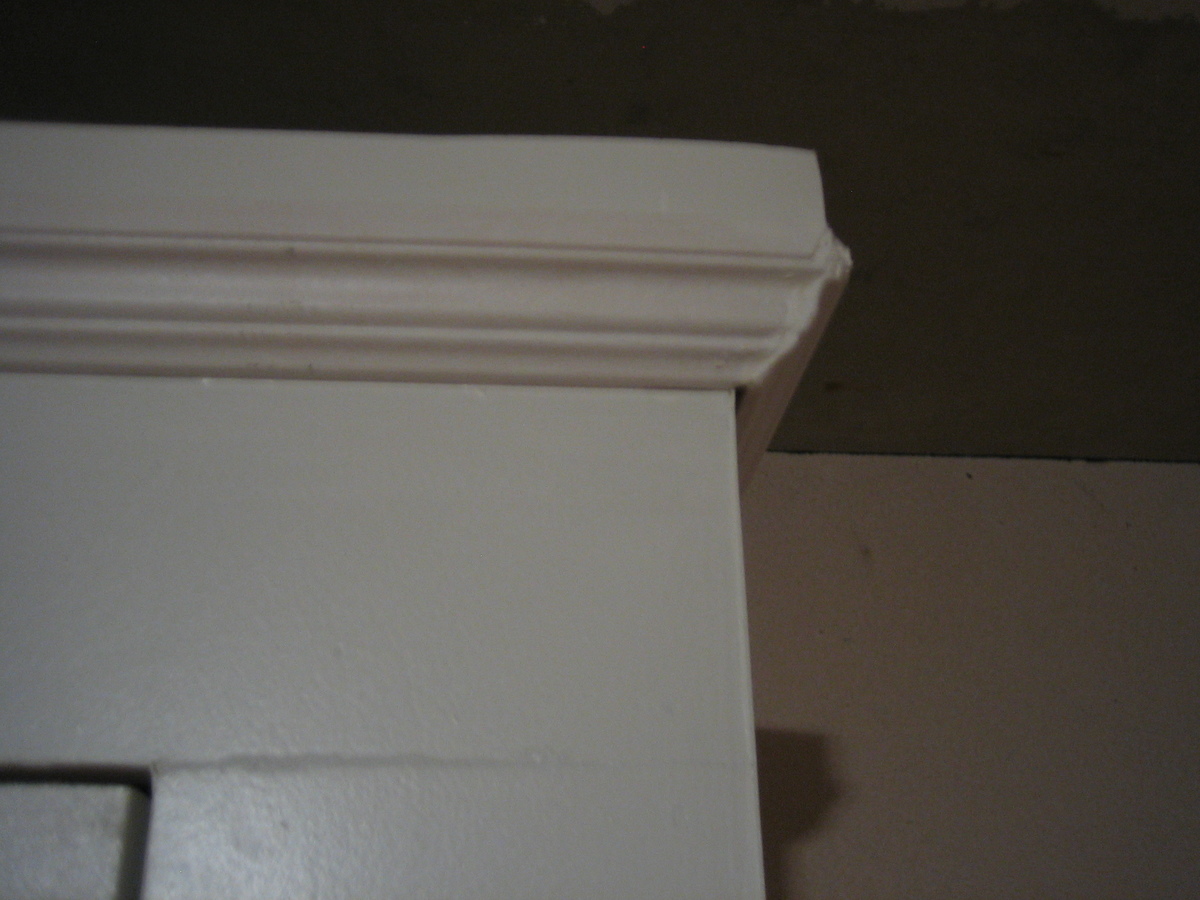
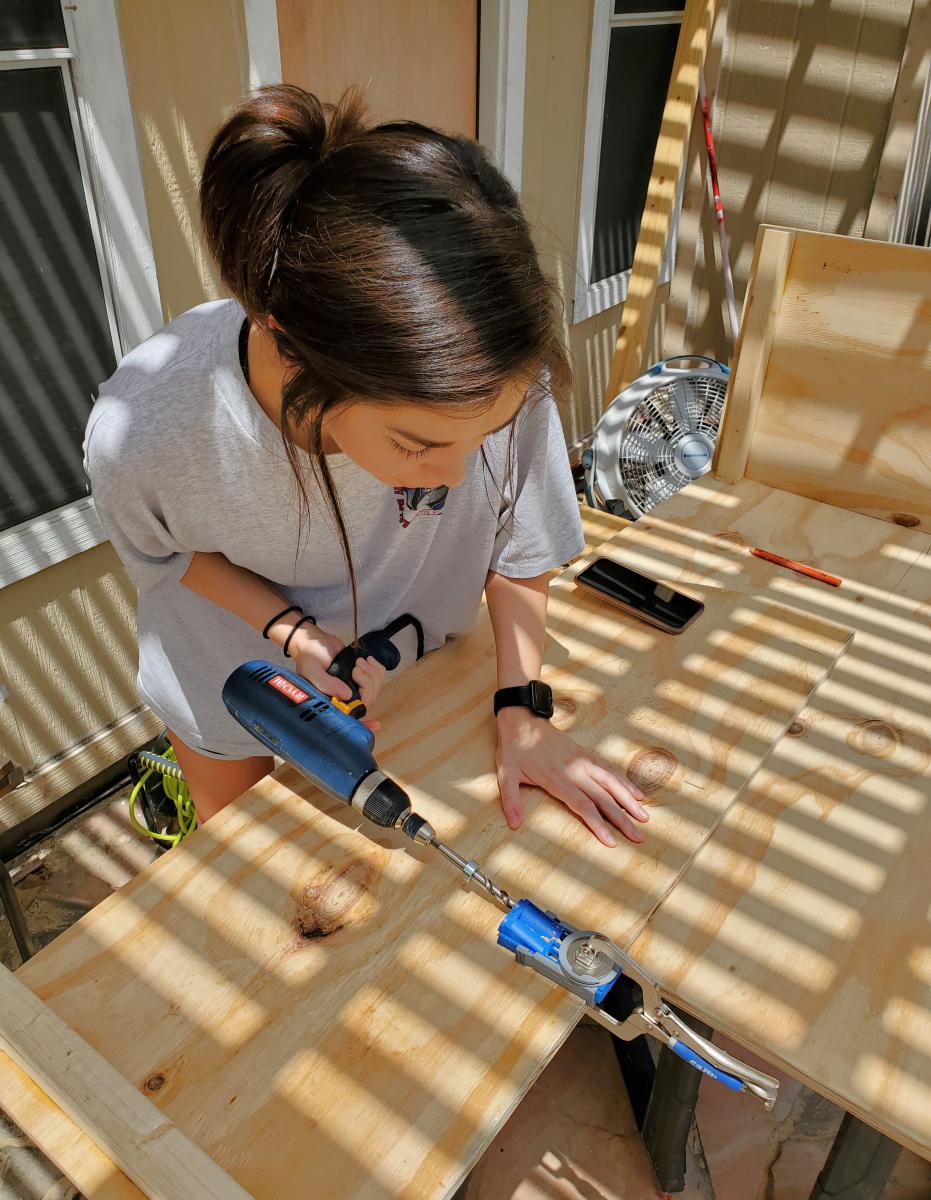
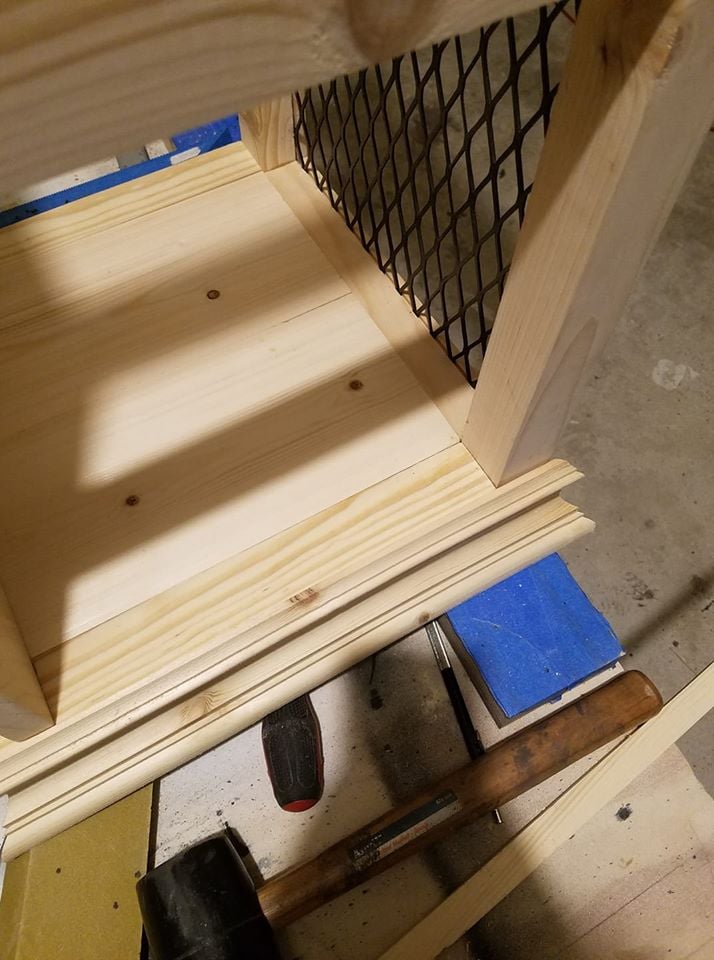
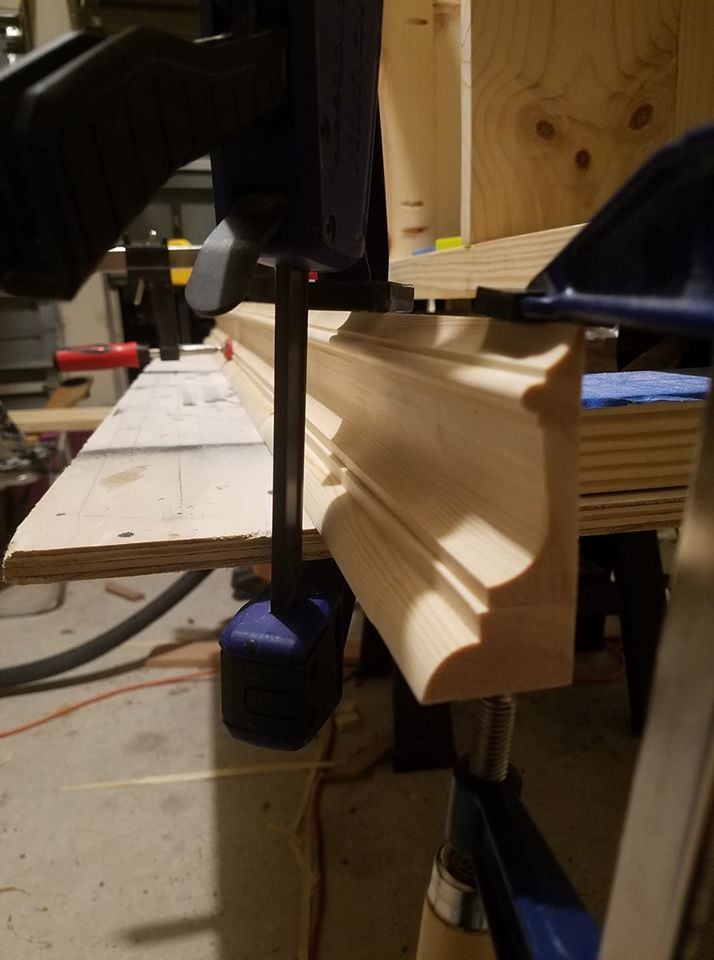
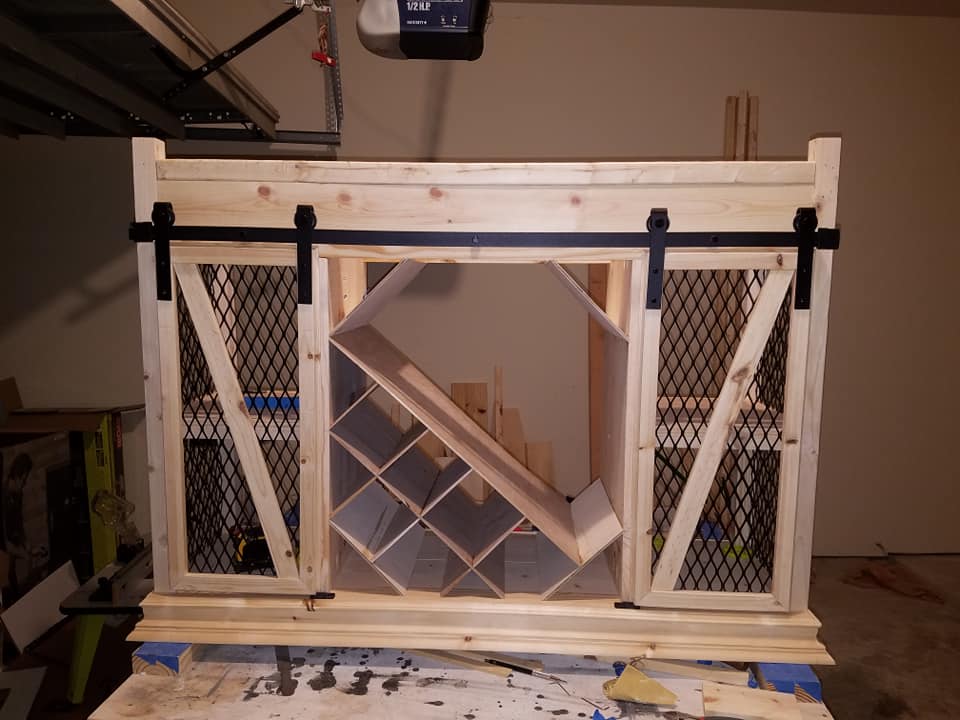
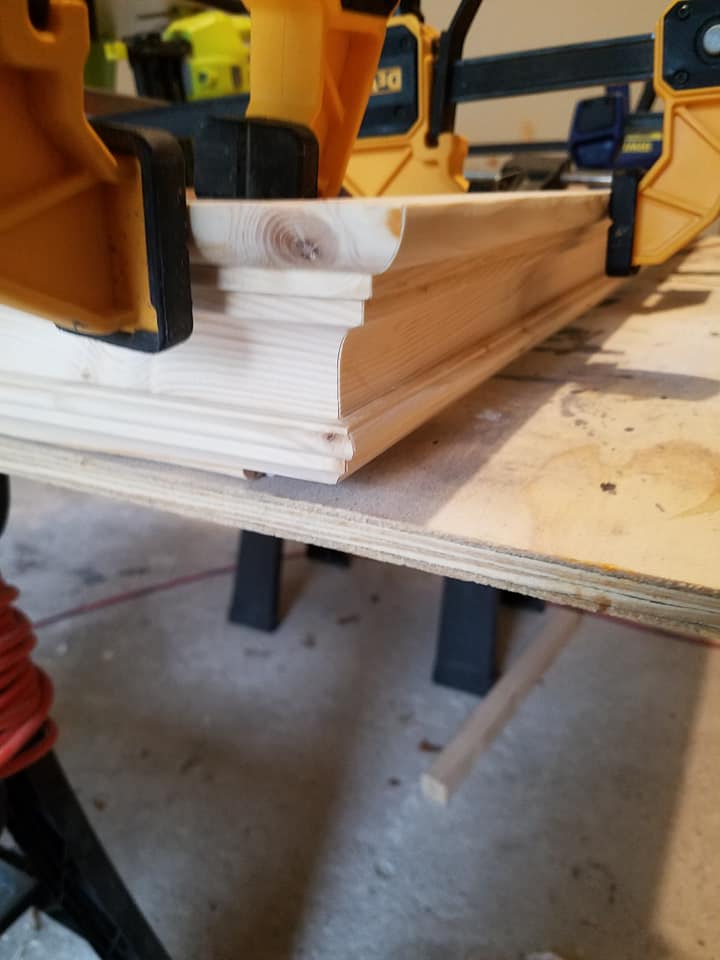
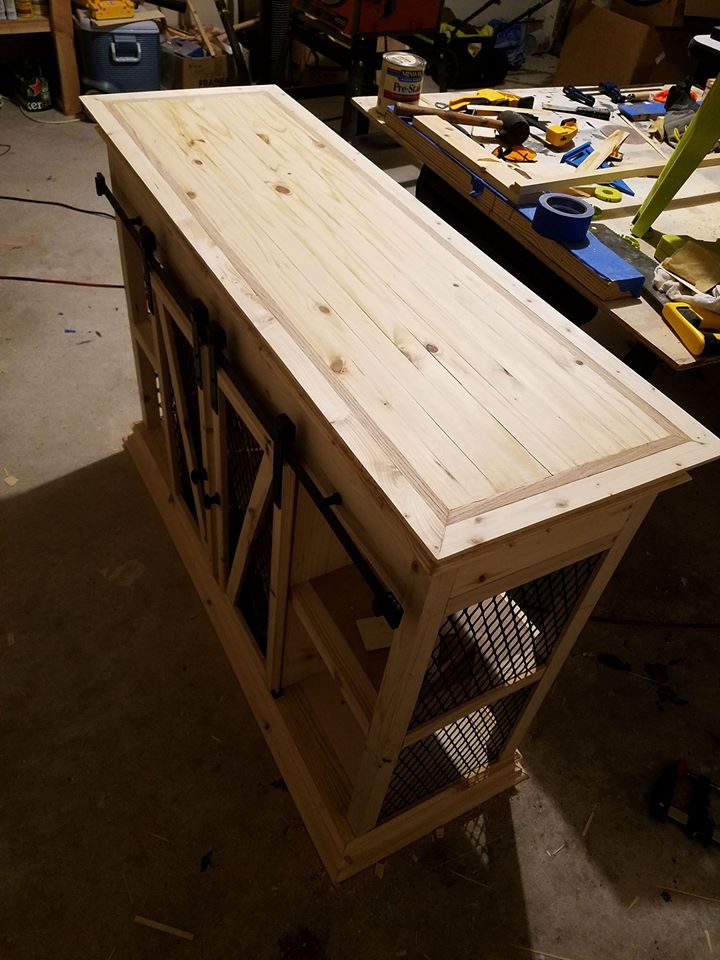
We had this cheapy wine rack from an old apartment, but the new house required an upgrade. This is all pine boards and 2x4s milled down at home, sans the the top surface inlay which is red oak. The inlay is a design element but is also the load-bearing square from the rest of the surface boards and attachment to the base. The center wine rack is 1/4" fiber board cut to size and pieced together with some clever geometry (though I think I'm going to save myself the grief in the future by making slots instead). The molding is custom made, it's milled furring strips and white boards ran through a few different router bits, cut on the table saw, then glued back together. The negative spaces on the doors and sides are filled with expandable steel grating cut to size with an cut away wheel, and then painted. The hardware for the rail and shelf mounts are store-bought.
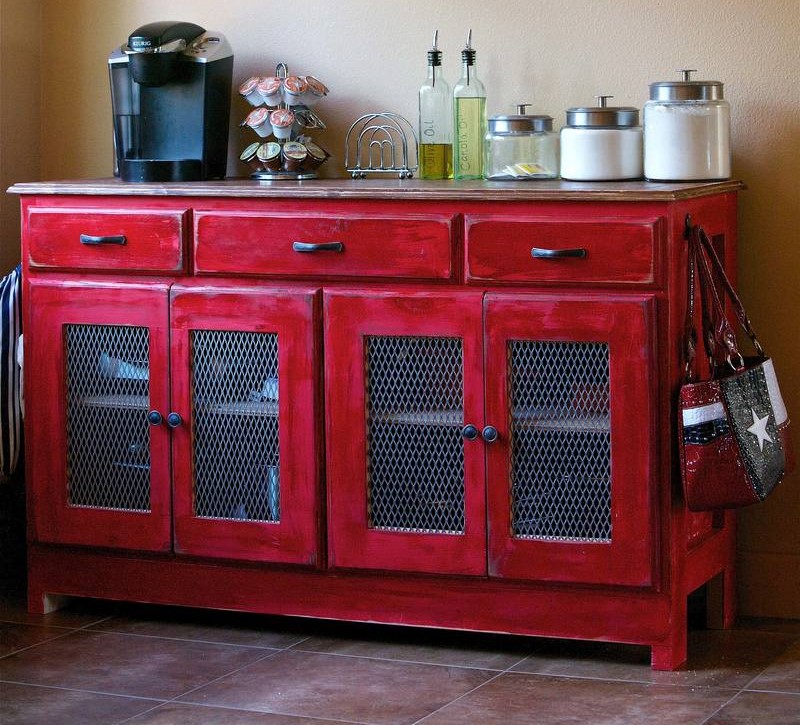
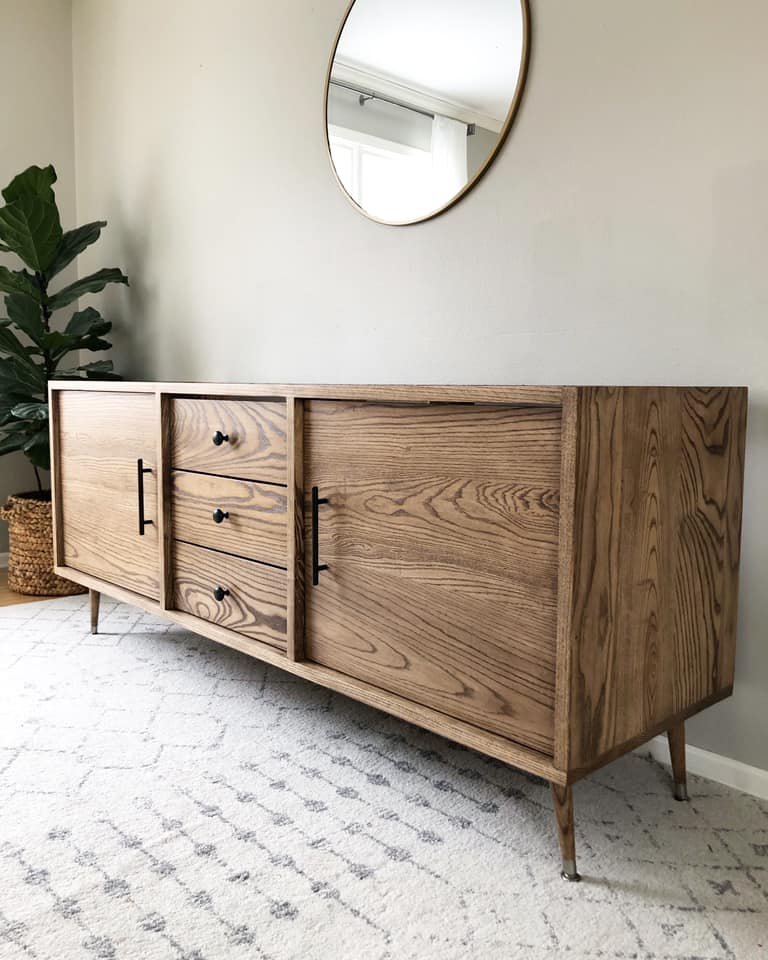
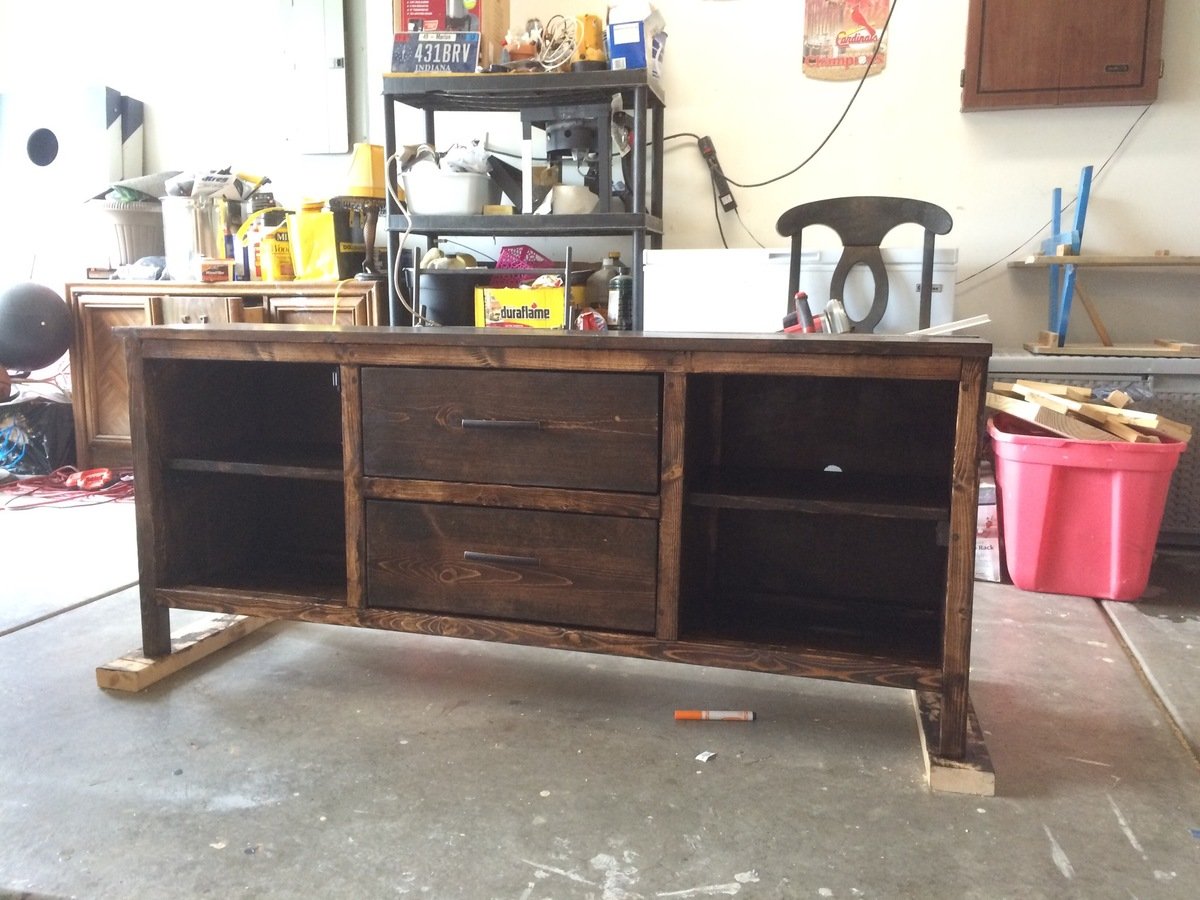
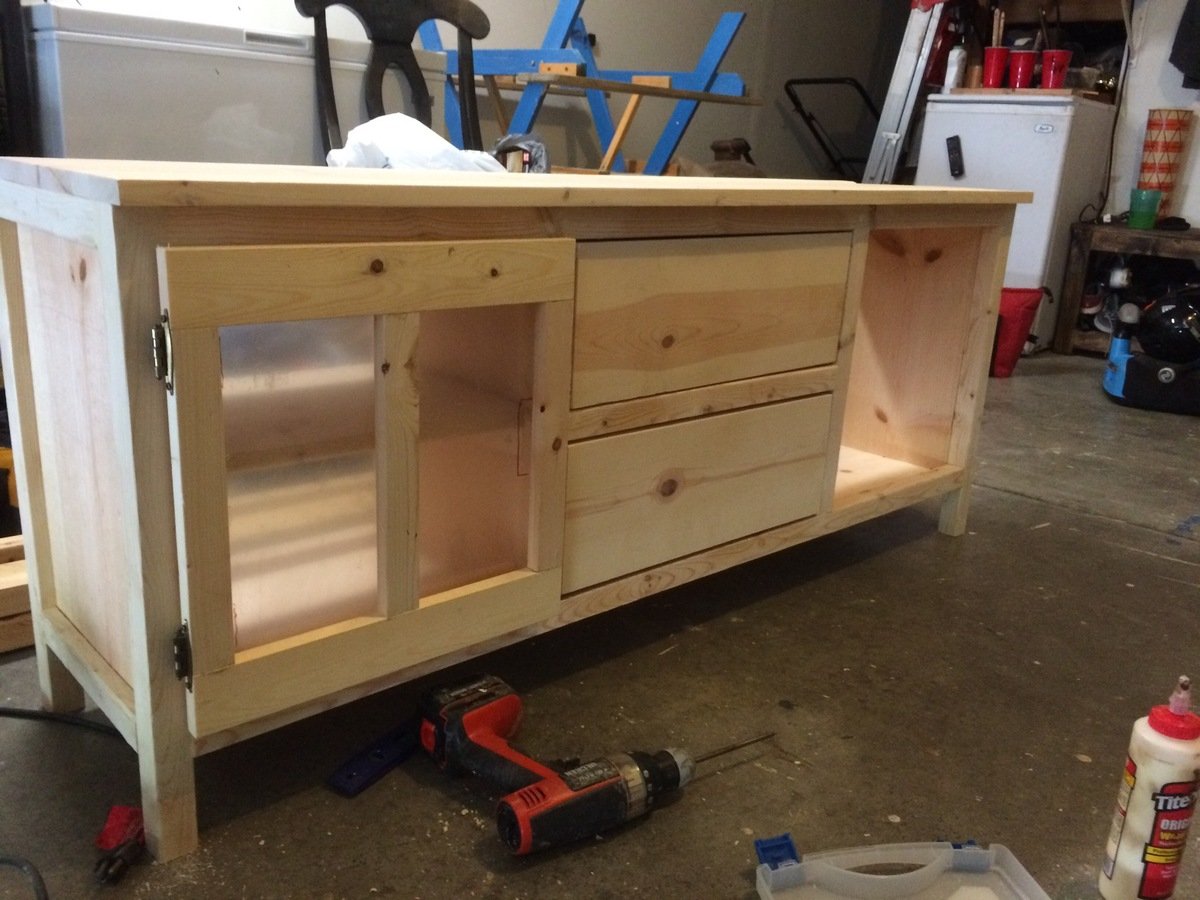
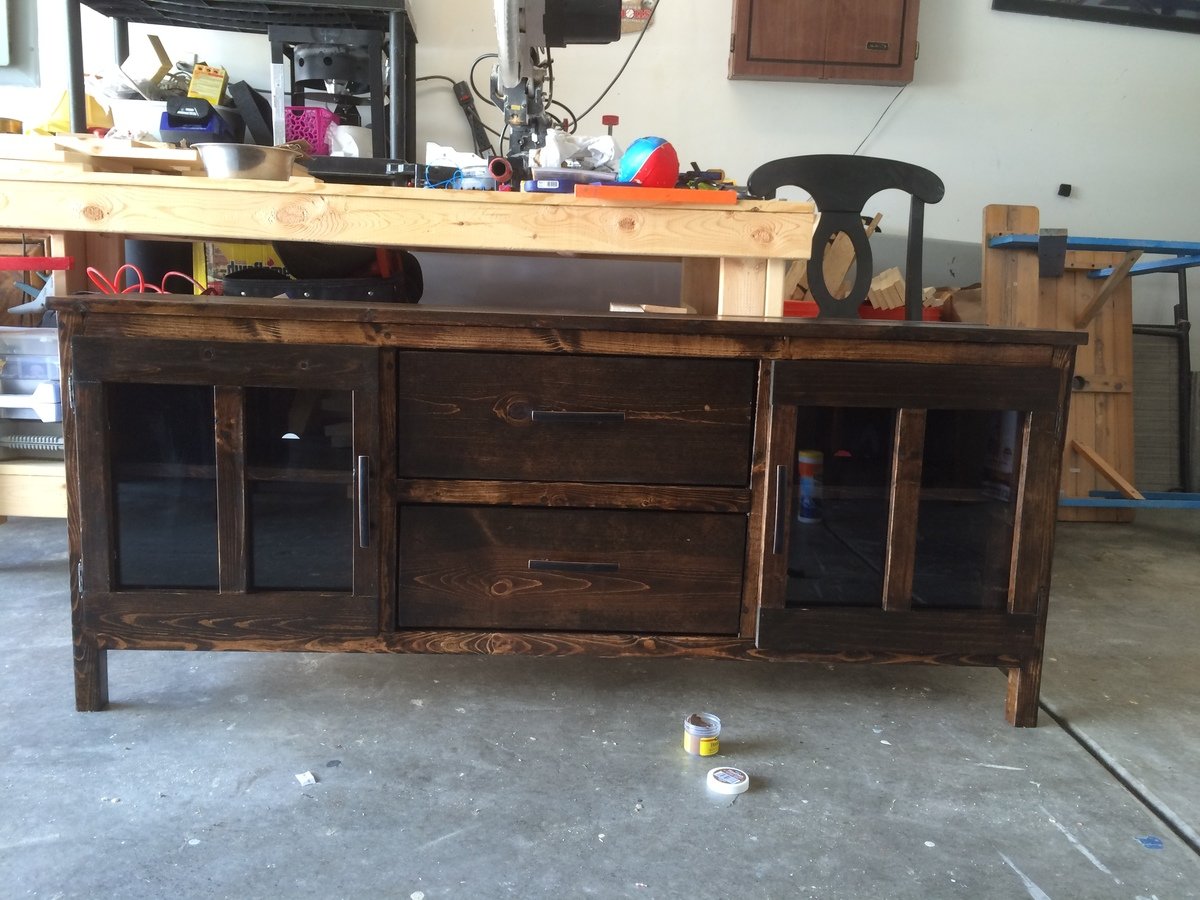
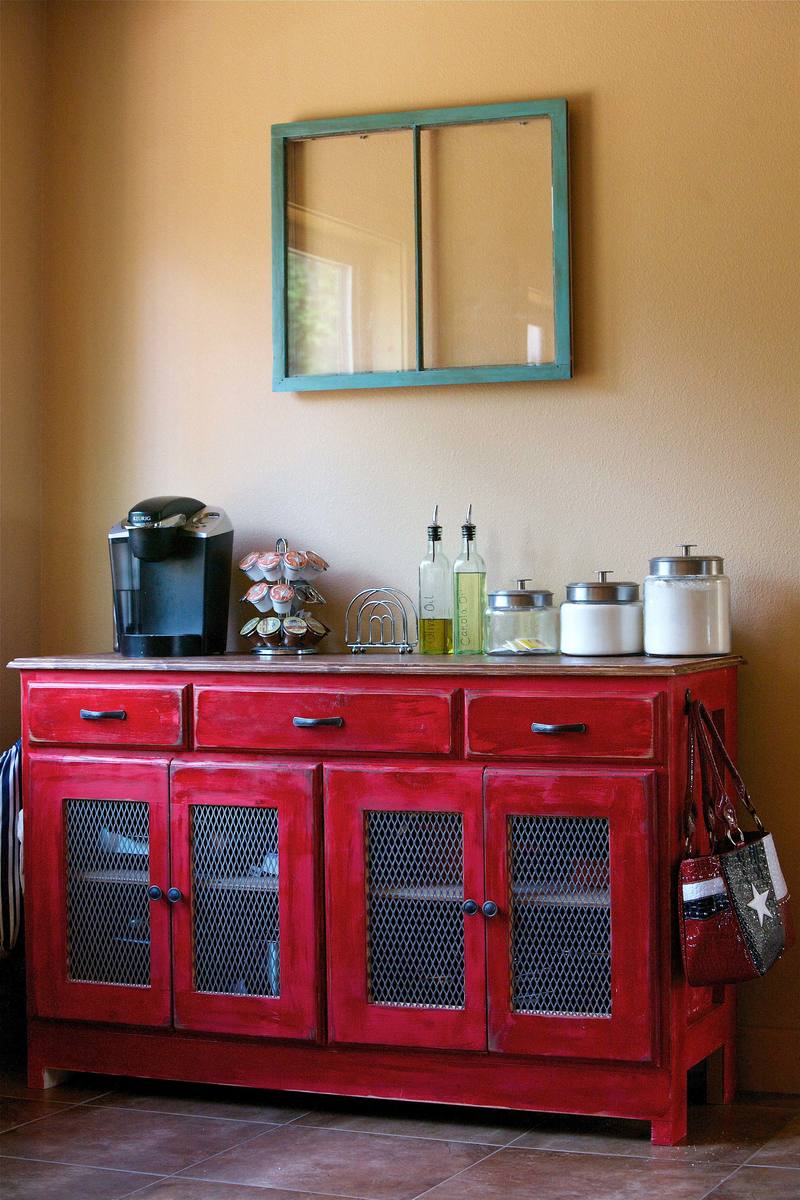
I built this project with a friend and it took me longer than I wanted, only because I'm new to woodworking and don't know hardly anything about it. After what I thought should only take a couple of hours, I finally completed the Buffet Table for my wife. I thought I was going to complete the whole thing under $250 but I soon learned that things are little more expensive in the small town of Delta Junction Alaska. I think my total cost was $450 but it was well worth it to complete this and finally my wife can put it to some good use.
Mon, 09/16/2013 - 18:26
I'd love to build this buffet table for my house. Could you direct me to some plans you used to build this? Thanks!
Fri, 10/16/2015 - 14:55
Any chance you have plans to make this? I see someone else has something similar to this and I love the style and everything about it, but I don't know how to make plans. Could you please contact me with the plans if you have them? I would LOVE them. Thanks so much.
[email protected] (if you need my e-mail address to send them to me)
Thu, 03/24/2016 - 07:34
I too would love to build this for my wife. Any chance I can get the pland for this piece?
My email is [email protected]
Thanks!!!!
Mon, 07/04/2016 - 06:07
was searching to build this too and found the links i copy and pasted from the pdf file
Tags: Buffet Table [4]
Source URL: http://www.ana-white.com/2012/07/buffet-table
Links
[1] http://www.ana-white.com/2012/07/buffet-table
[2] http://www.ana-white.com/users/mmartiinalaska
[3] http://www.ana-white.com/2012/02/free_plans/planked-wood-sideboard [4] http://www.ana-white.com/category/plans/tags/buffet-table
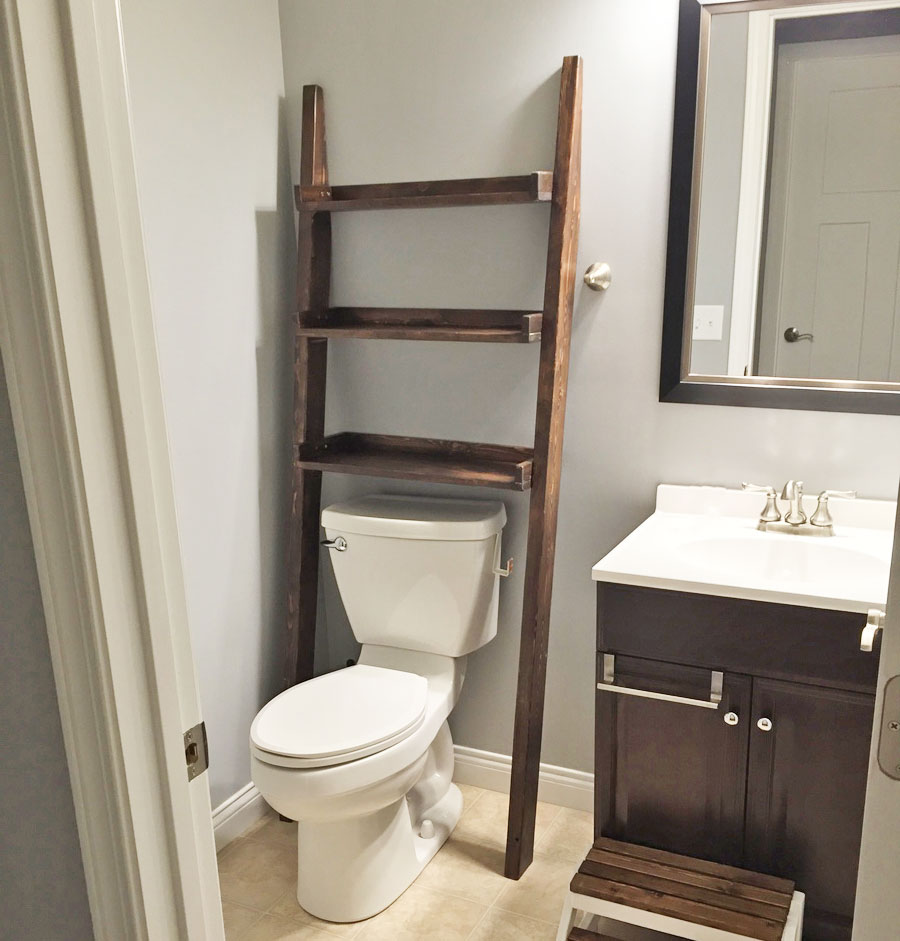
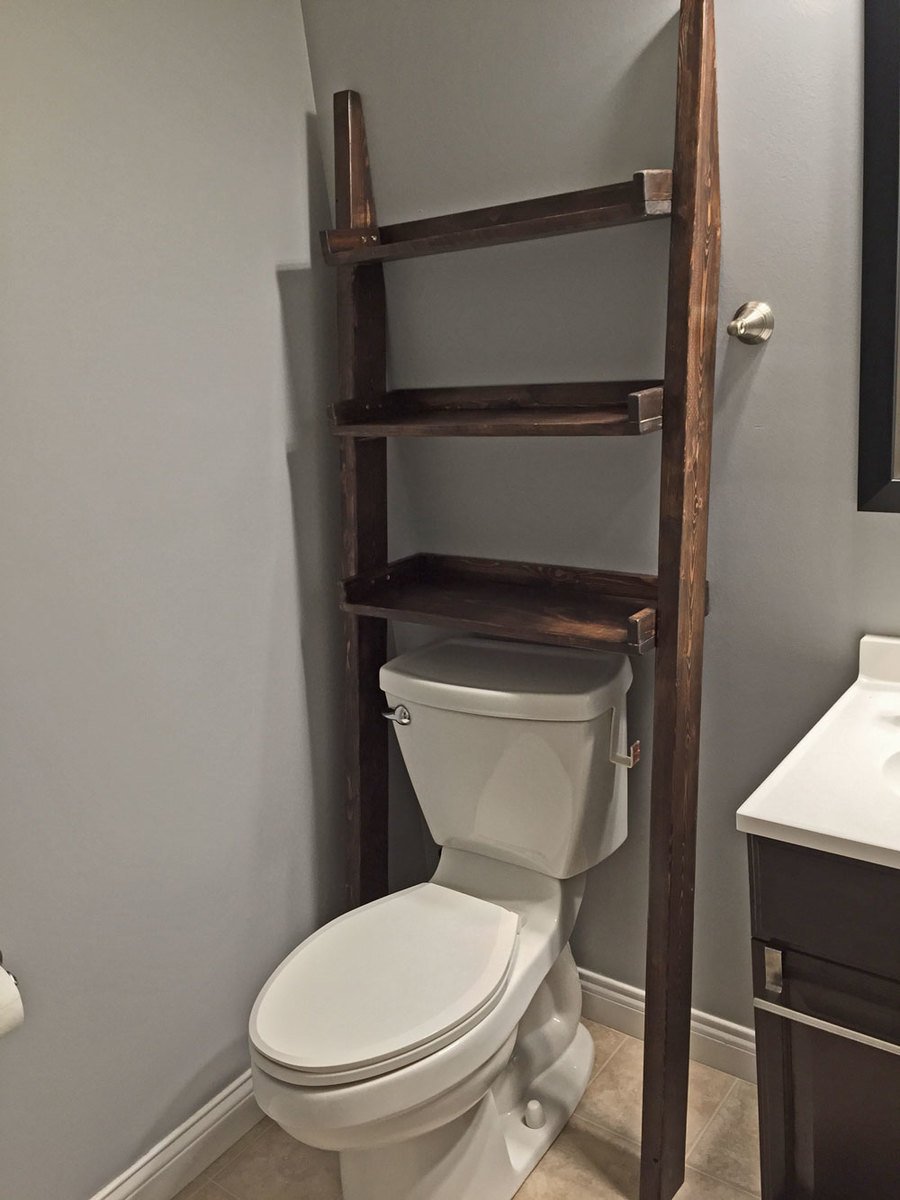
My wife saw your post for this shelf and knew it would be perfect for our half-bathroom. She showed it to me and I agreed. I built it in a few hours one afternoon. Stained and sealed a few days later and it fits perfectly. Now we just need to wait (impatiently) for everything to cure so we can actually begin to use it. We'll try and share another final photo when in full use.
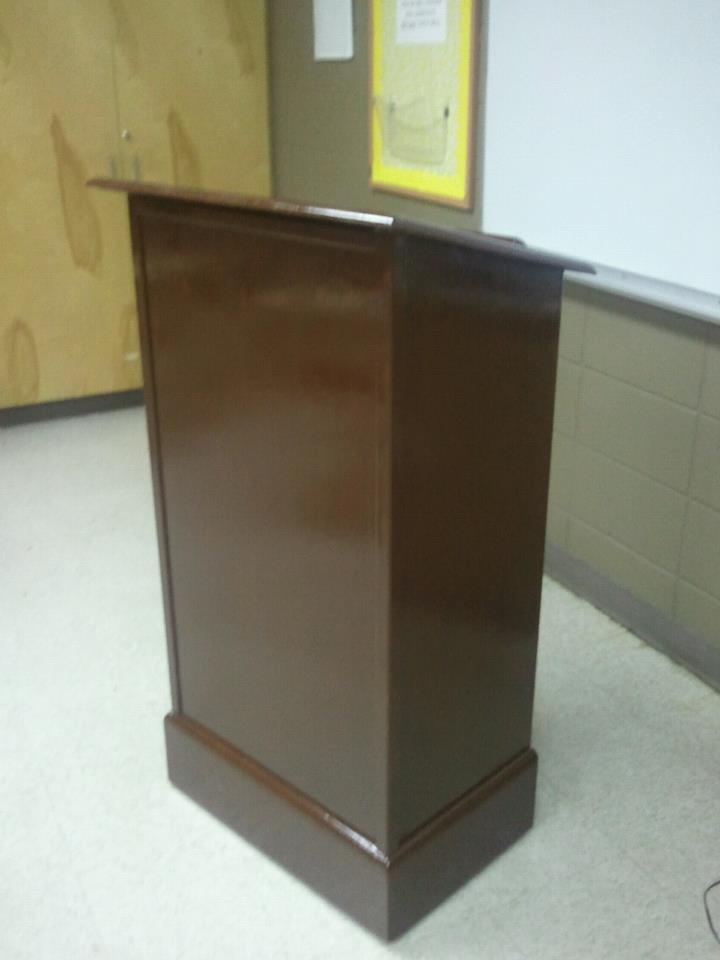
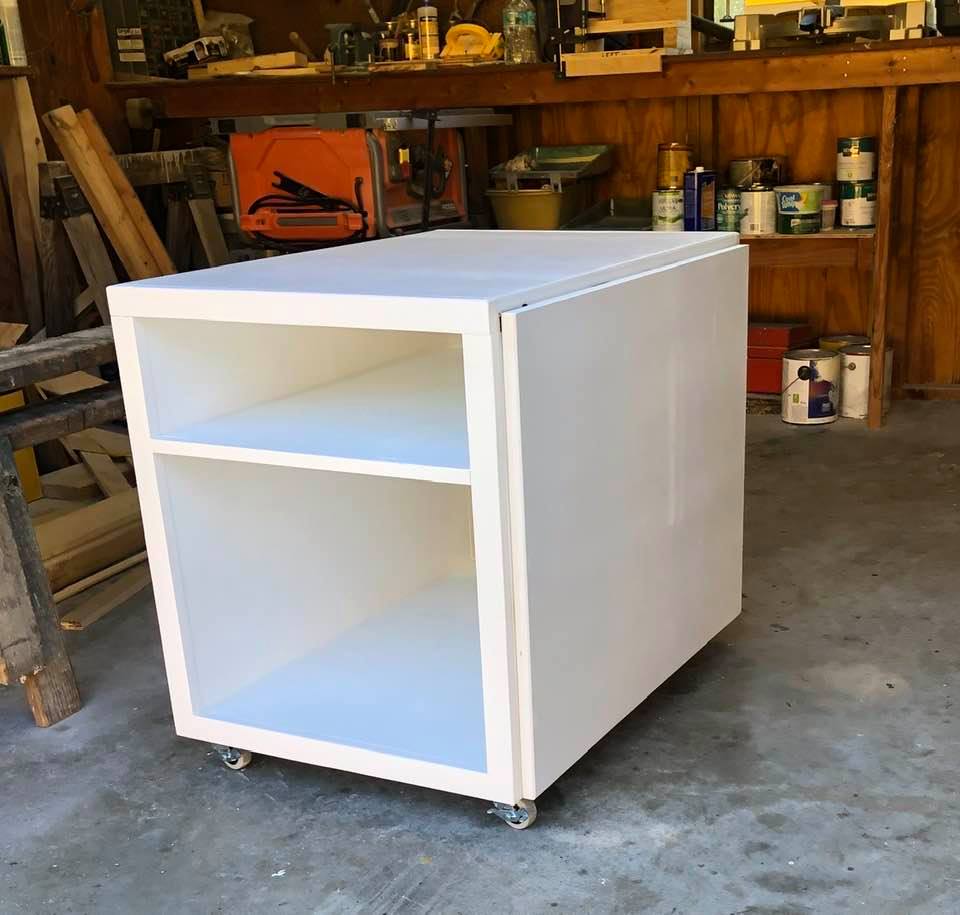
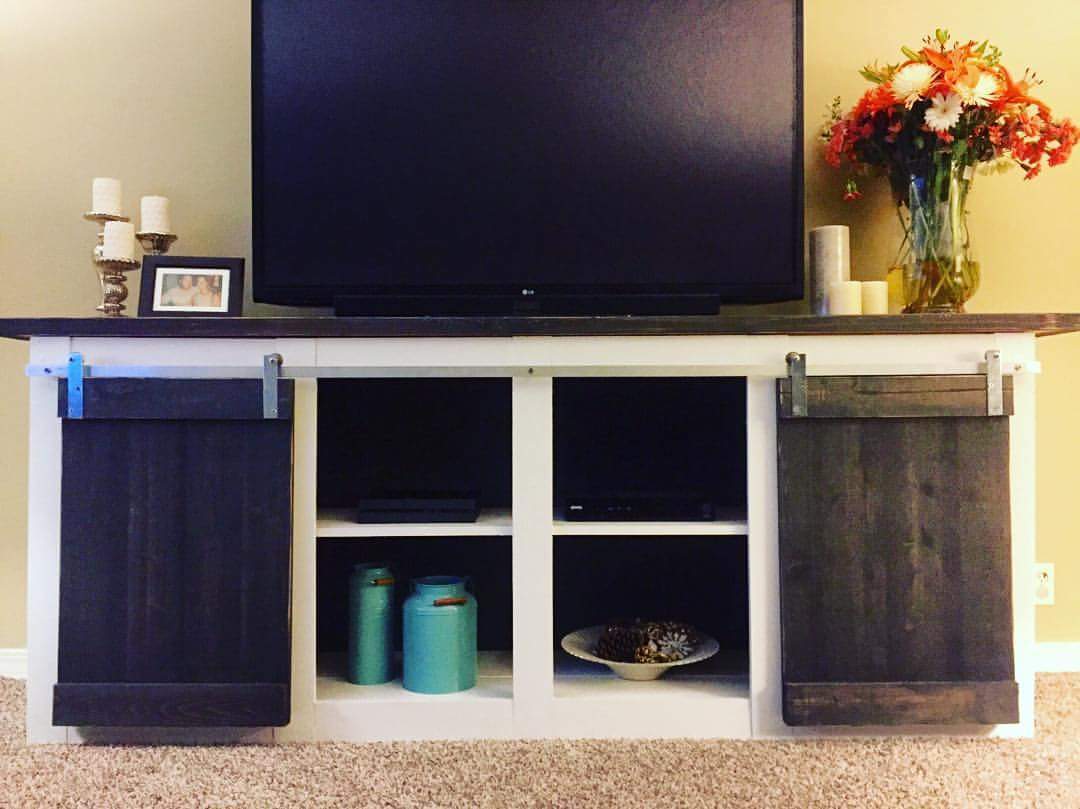
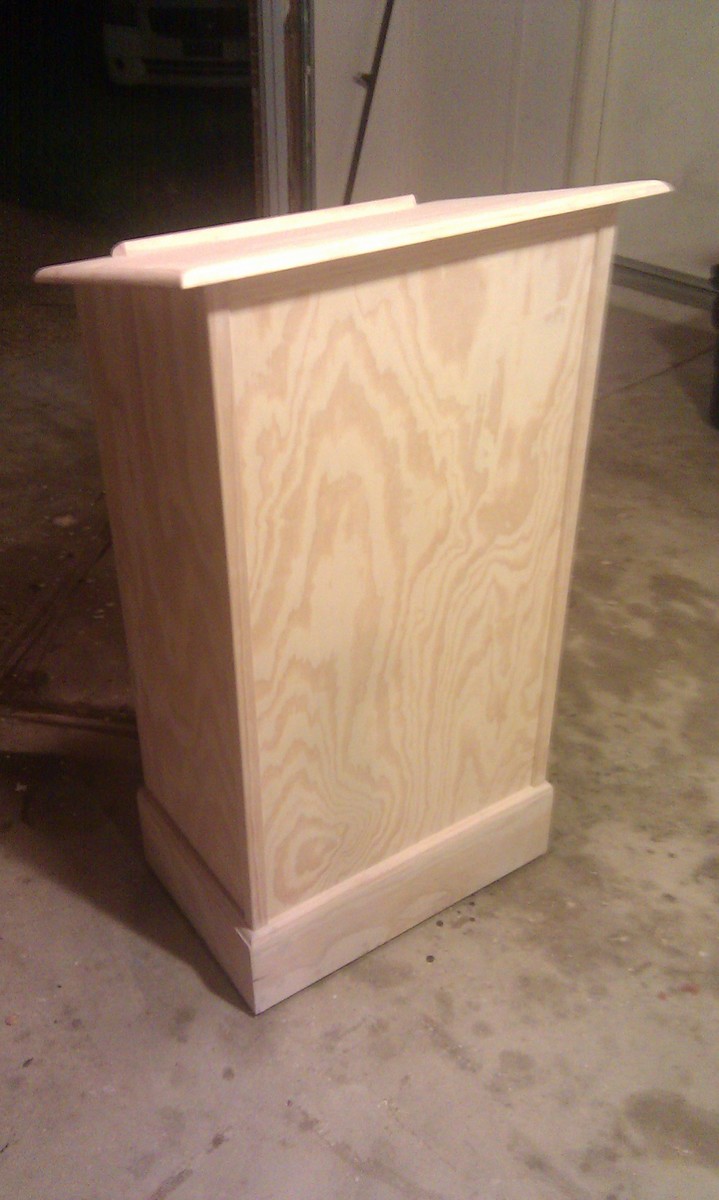
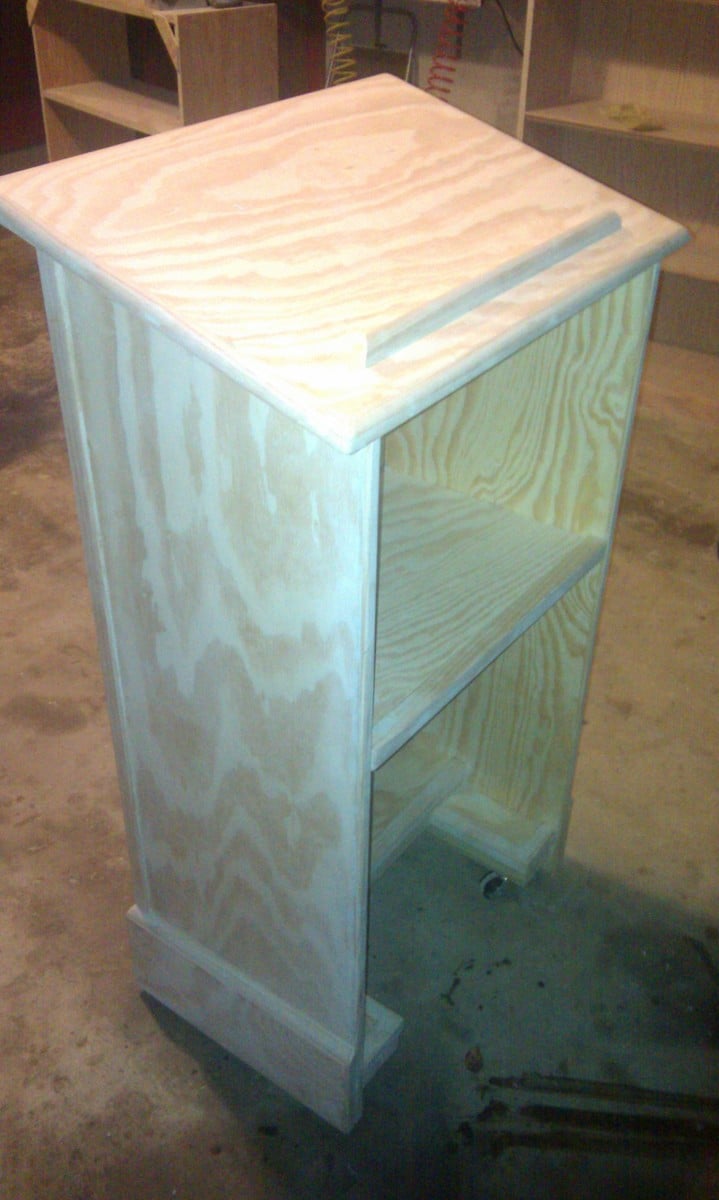
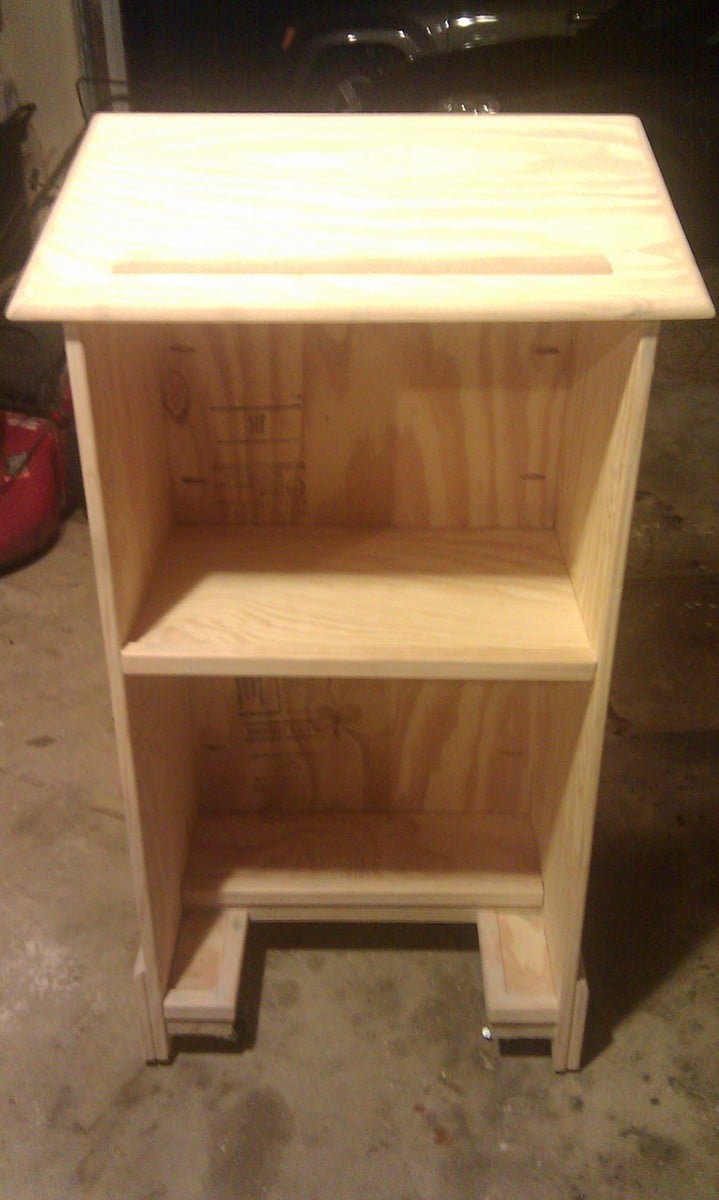
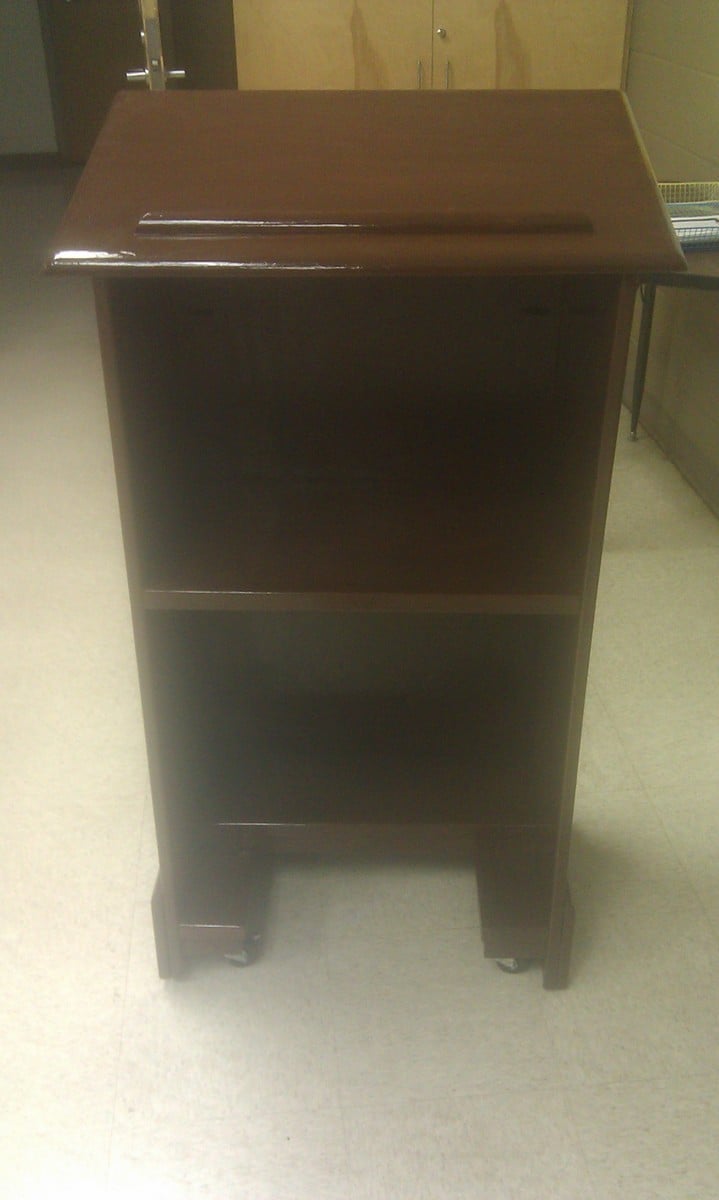
This is my first try at building furniture. I've built larger things in the past like decks and a fort for my nephews, but never furniture. Even though I used the plans to build the main box, I did change up the bottom and added some new stuff. I added wheels to the bottom my wife could easily move it around her classroom. I didn't want to put a square base on it because I thought it might hit her ankles when she was standing close to it. So I sort-of notched it out to give an opening for her feet and I used some scraps to create a short shelf at the bottom. I also added more trim that the plans call for. I cut strips of the pine plywood for the base molding and topped it with quarter round. I used corner trim for the front corners, the self inside and the bottom notched shelf. I also used screen trim for the back of it. I think it came out nice and I've very pleased with it. I used 2 coats of Minwax PolyShades American Chestnut on it.

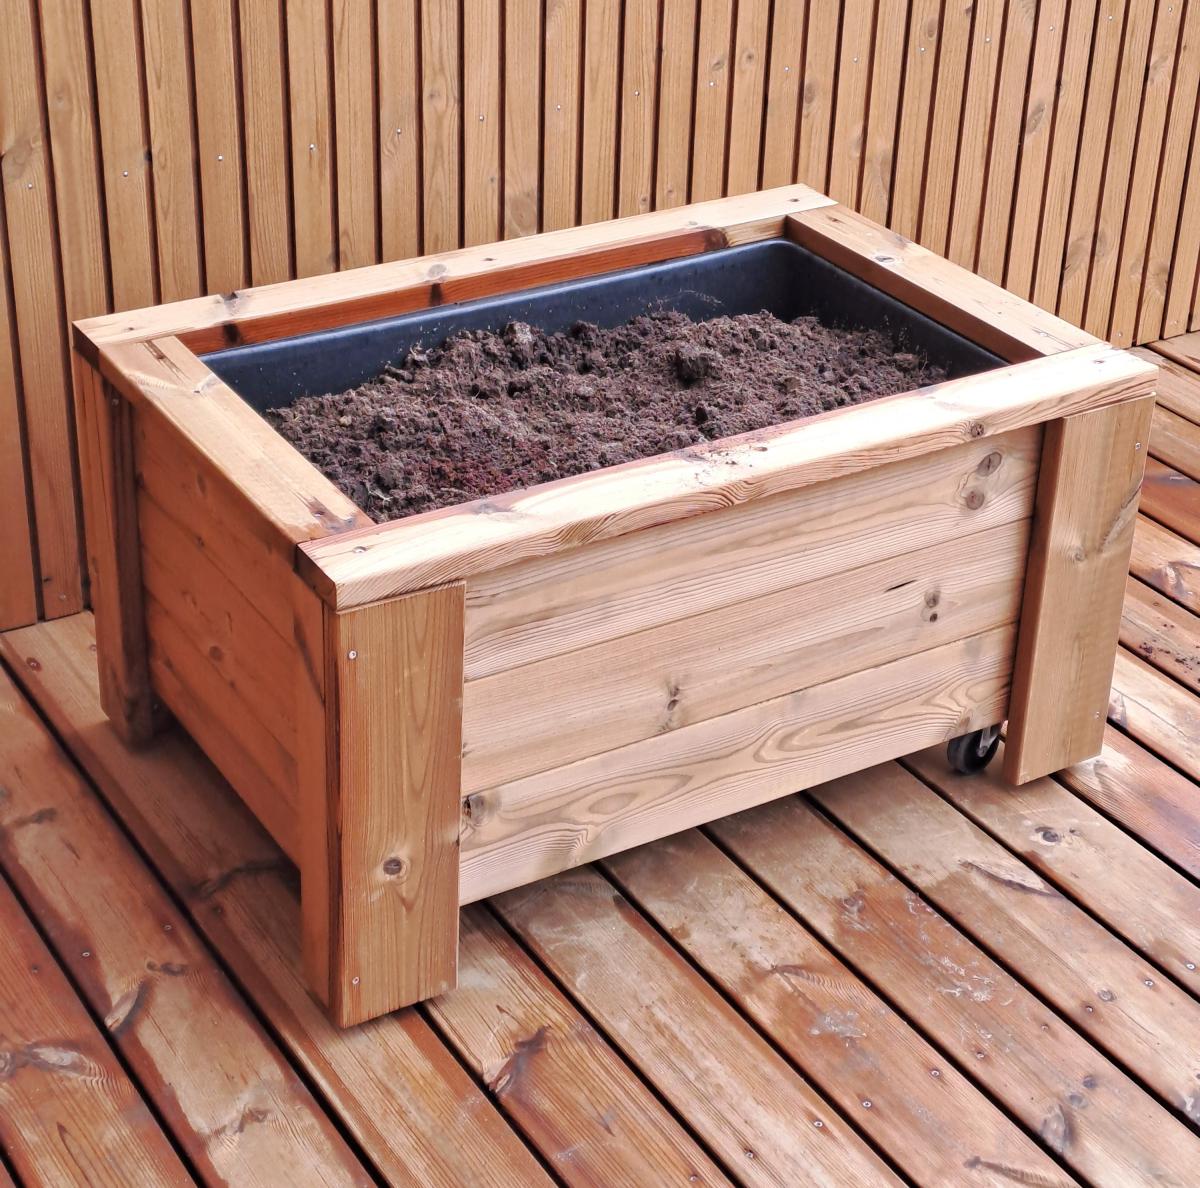
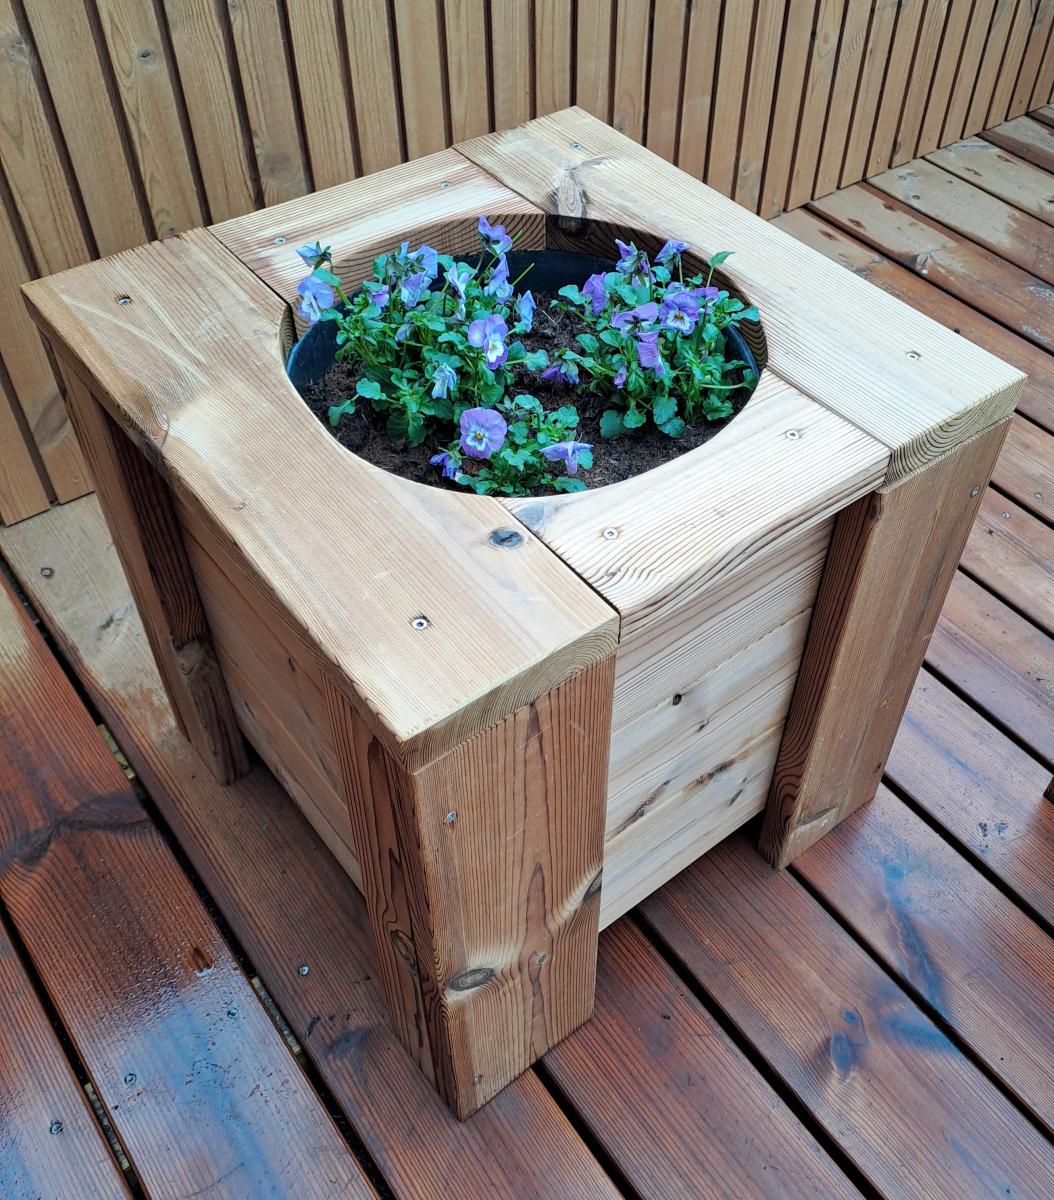
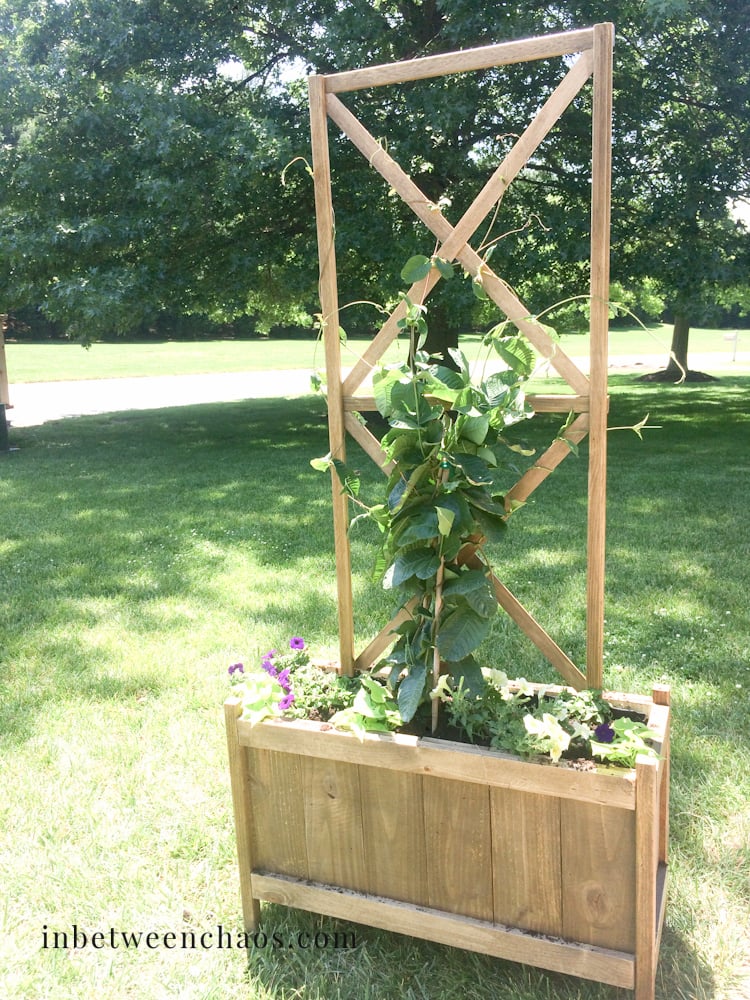
I build these planter boxes, from wooden remains from terrace building, inspired from Ana White planter boxes.
Søg
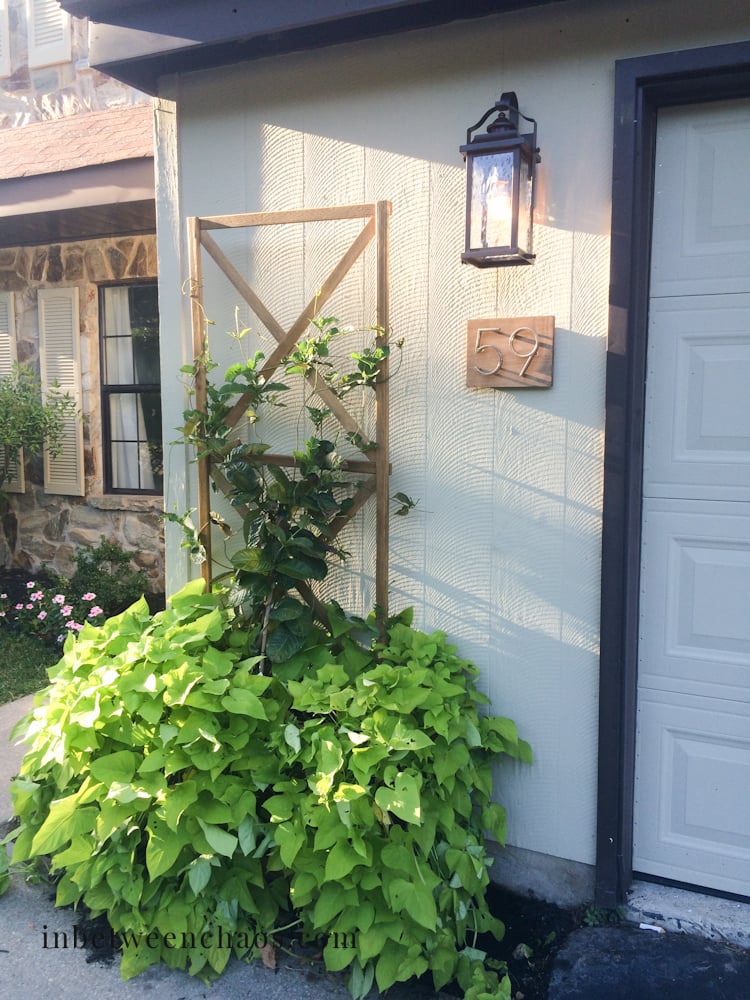
I made this project to add a little life to the front a flip house I just finished. I had an awkward spot, and I was able to easily modify this plan to fit the space. Thank you for the inspiration!