Walk mounted can organizer
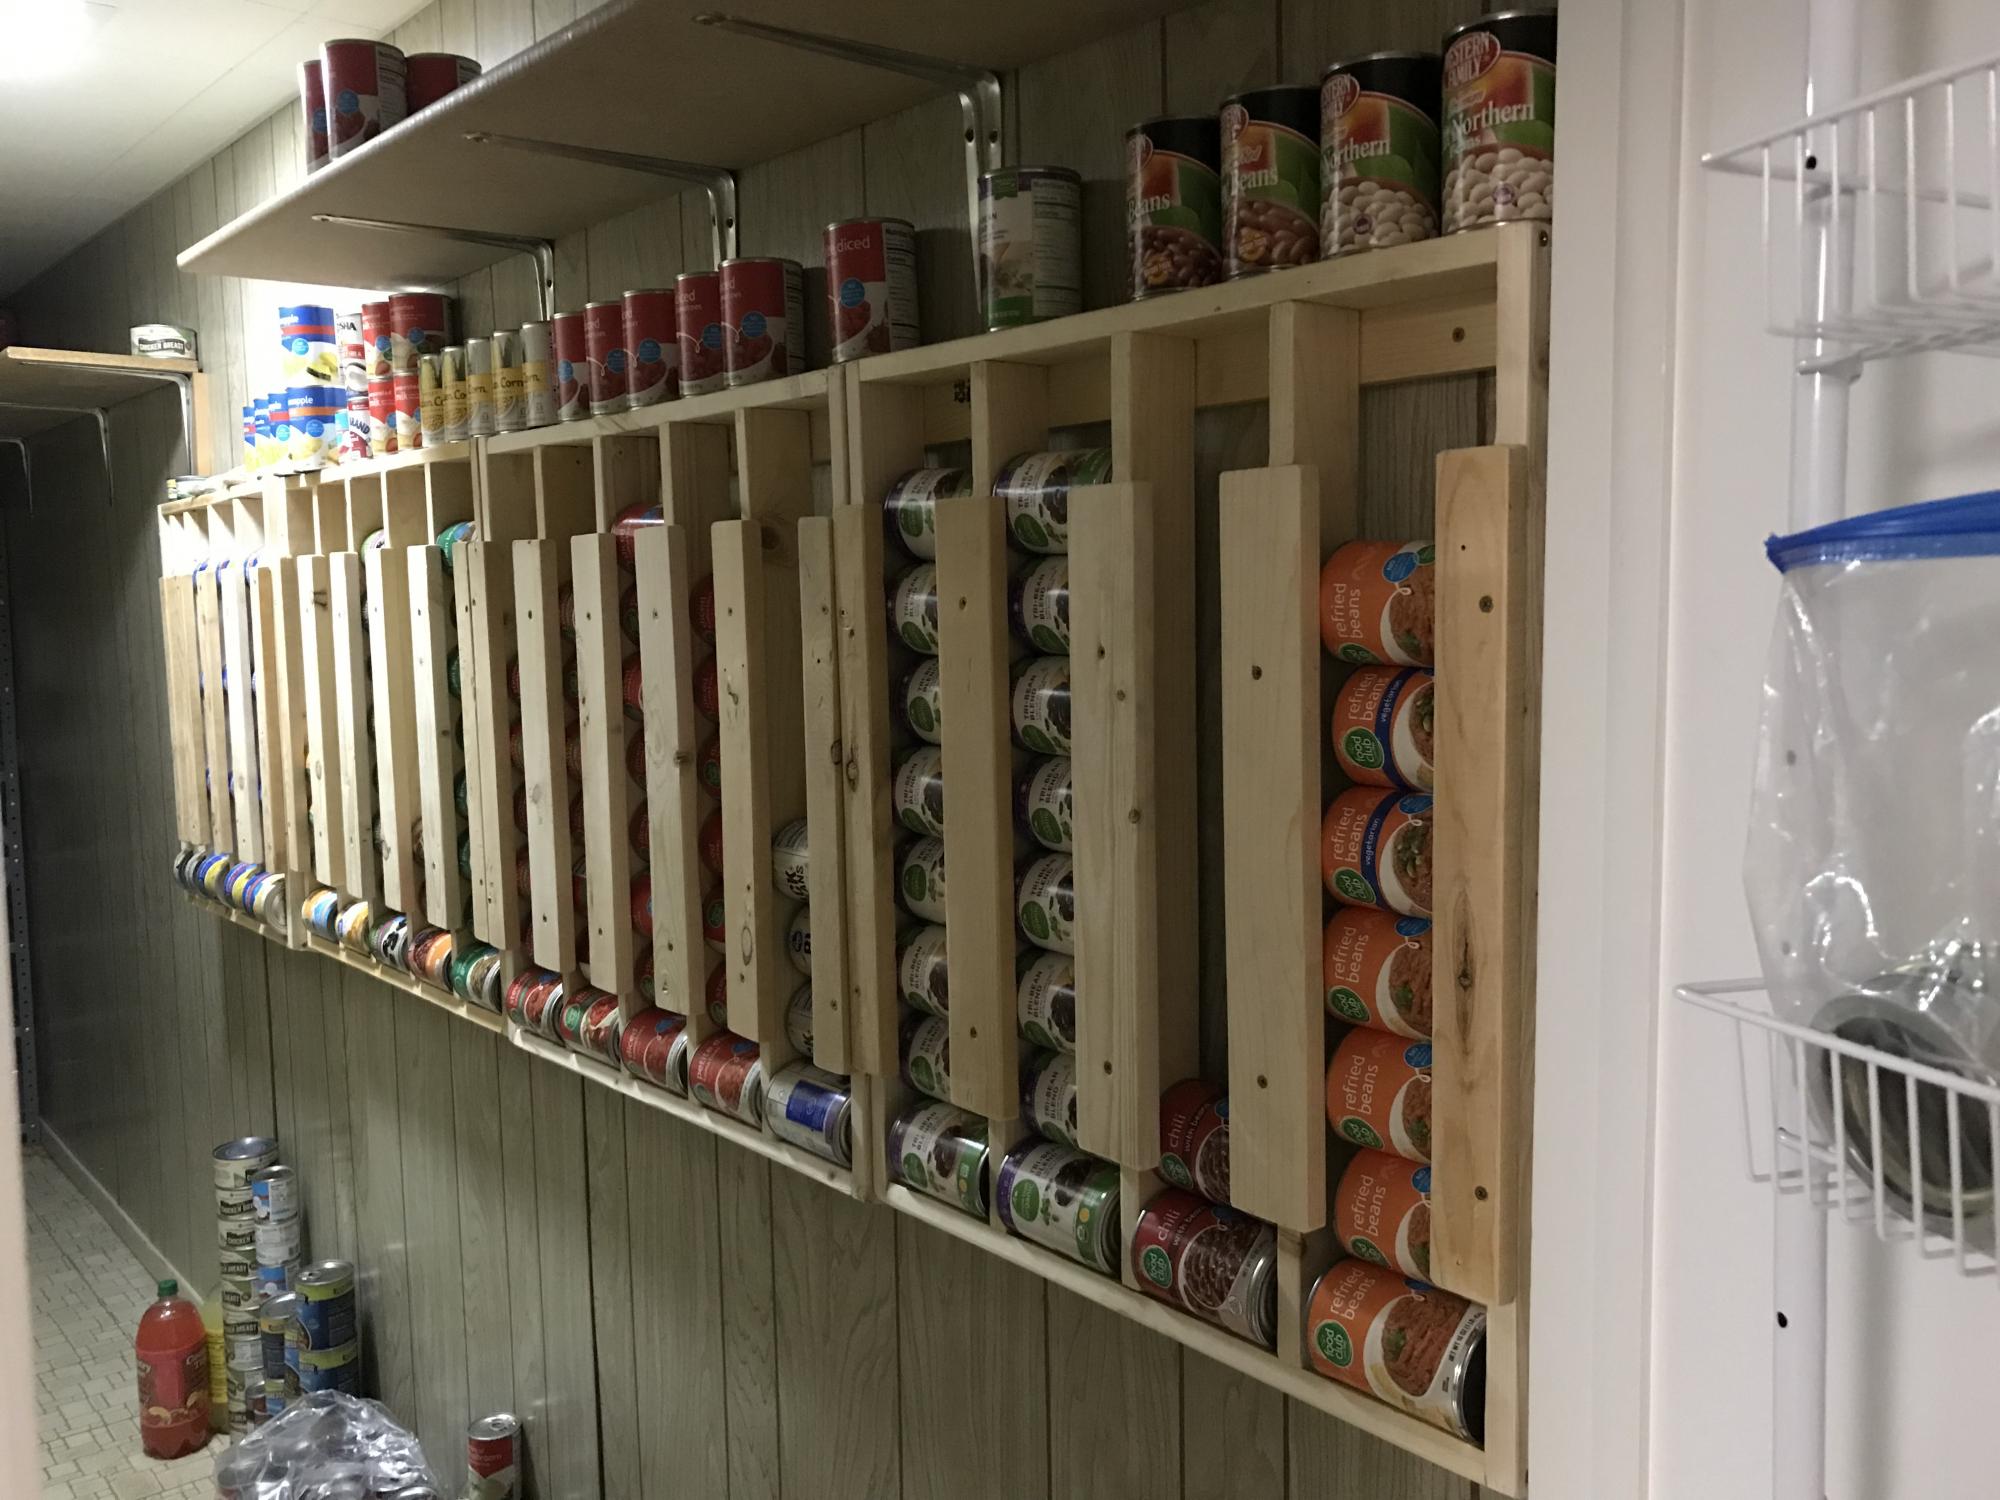
Love this! My husband used this project to help boys learn to use power tools and work with wood. They made one and he did the others. THANK YOU!
Built from Plan(s)
Love this! My husband used this project to help boys learn to use power tools and work with wood. They made one and he did the others. THANK YOU!
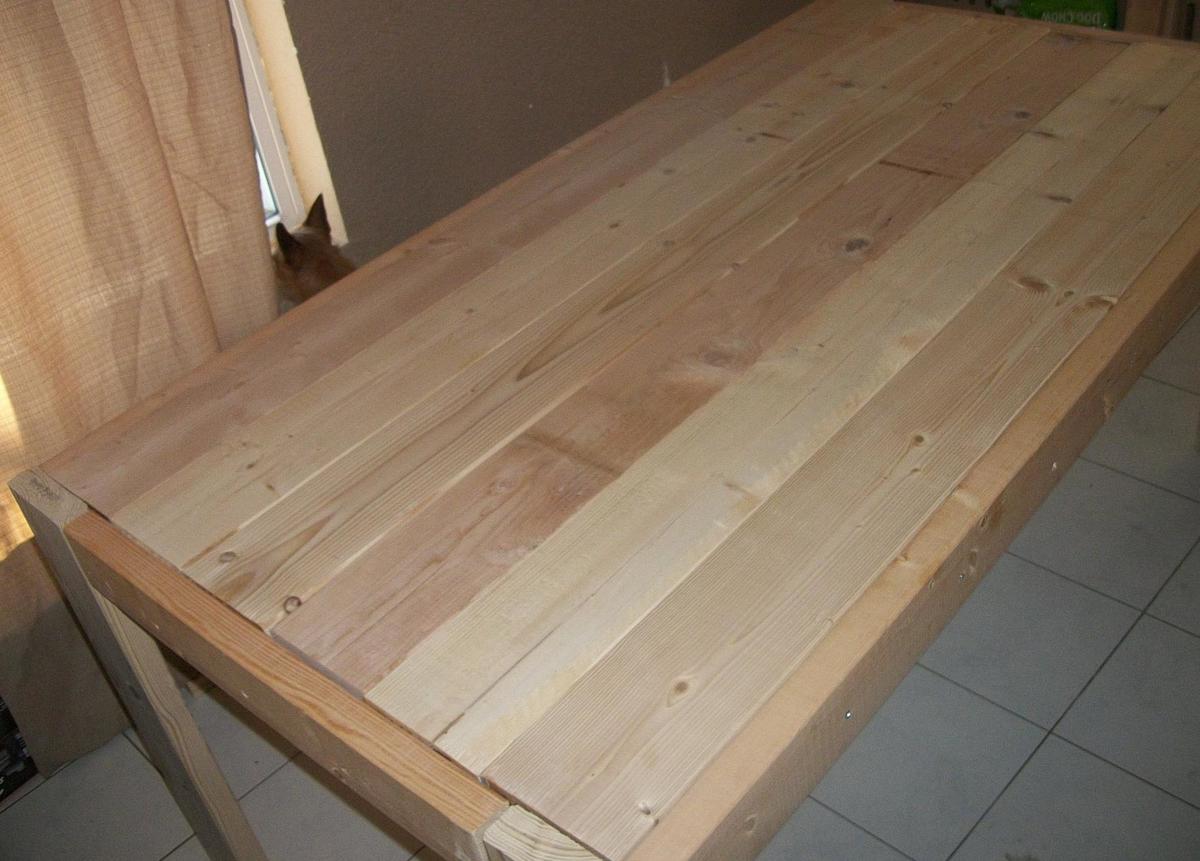
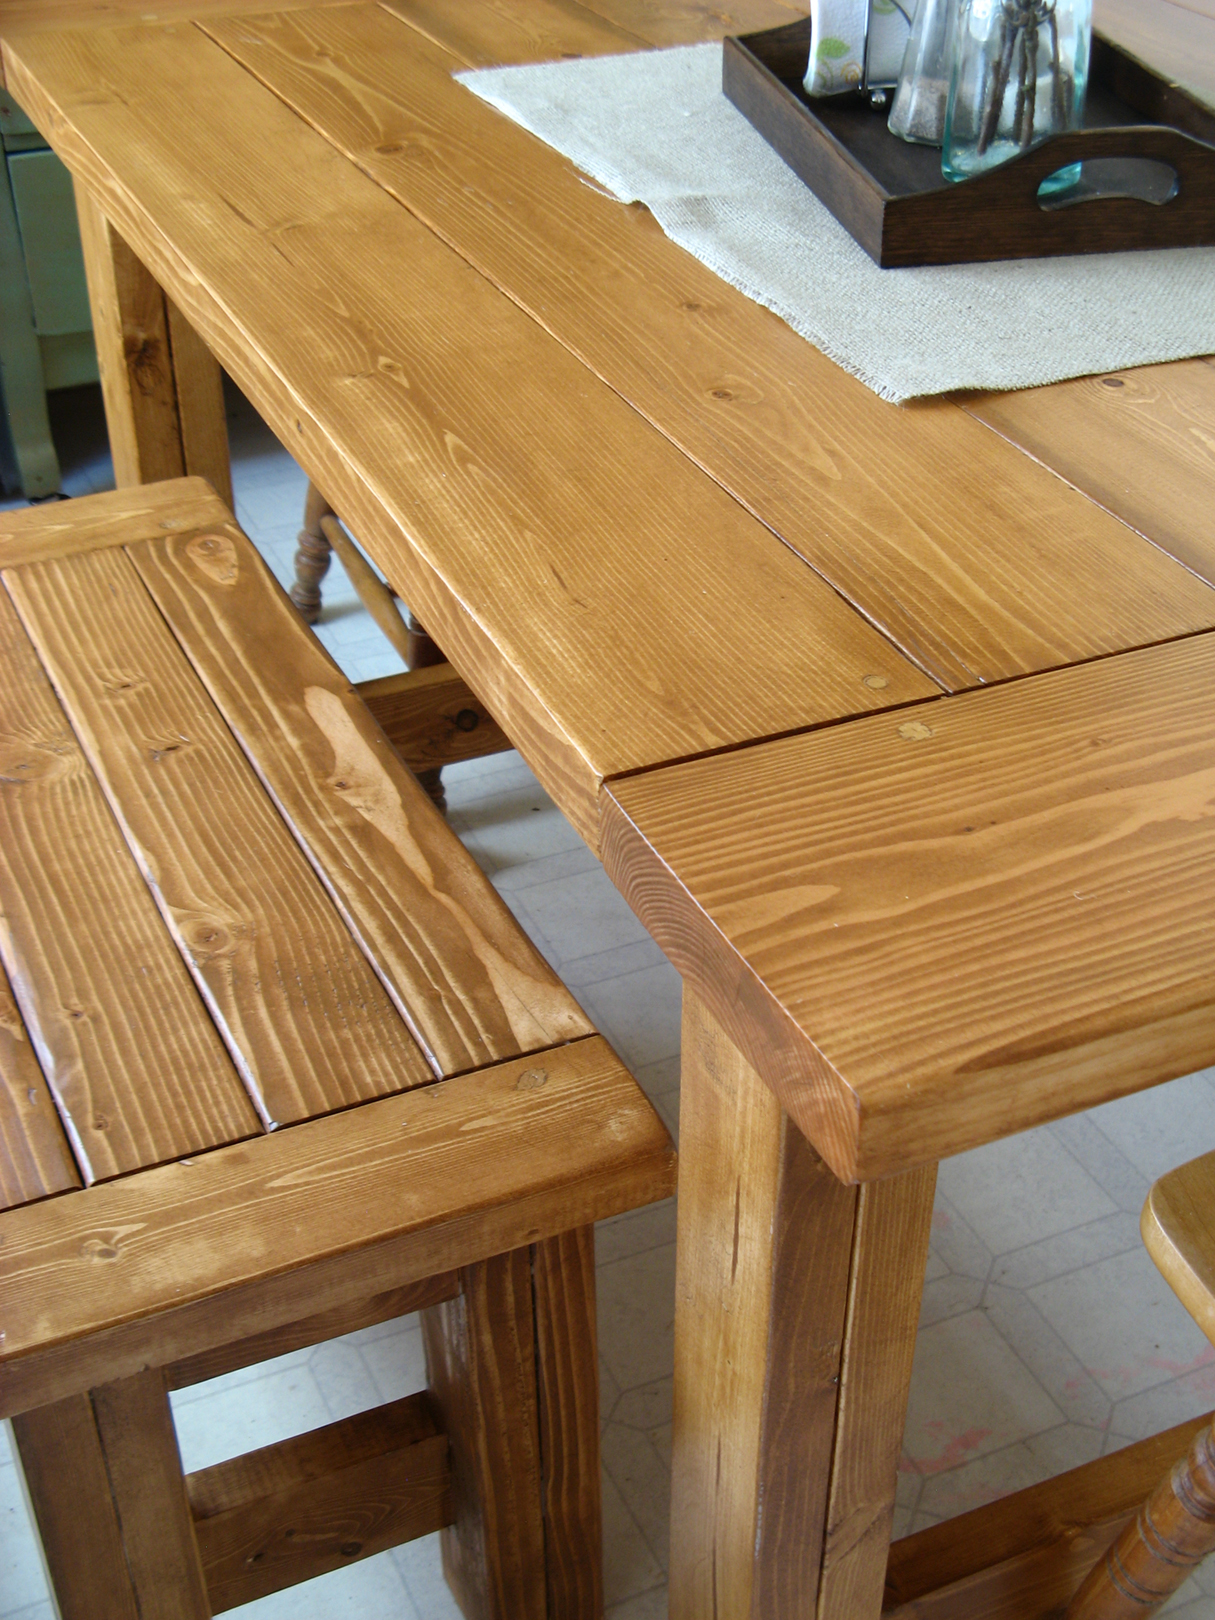
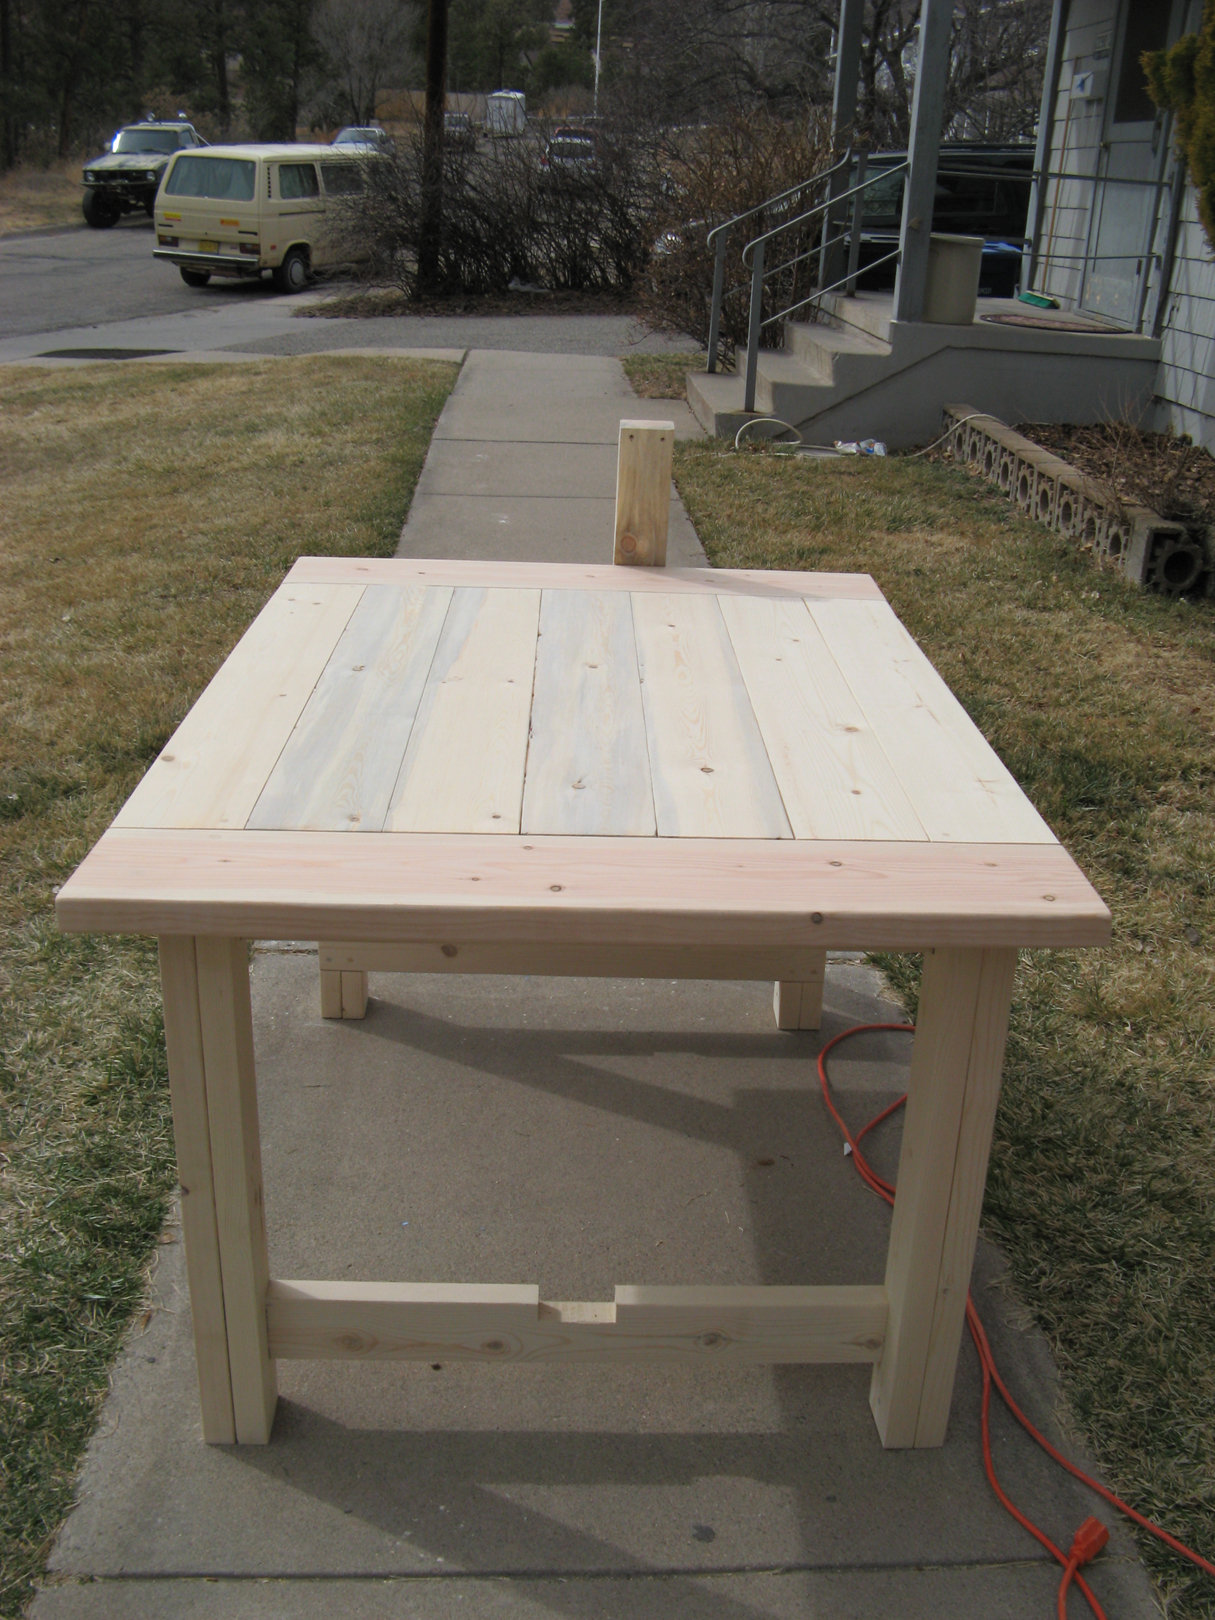
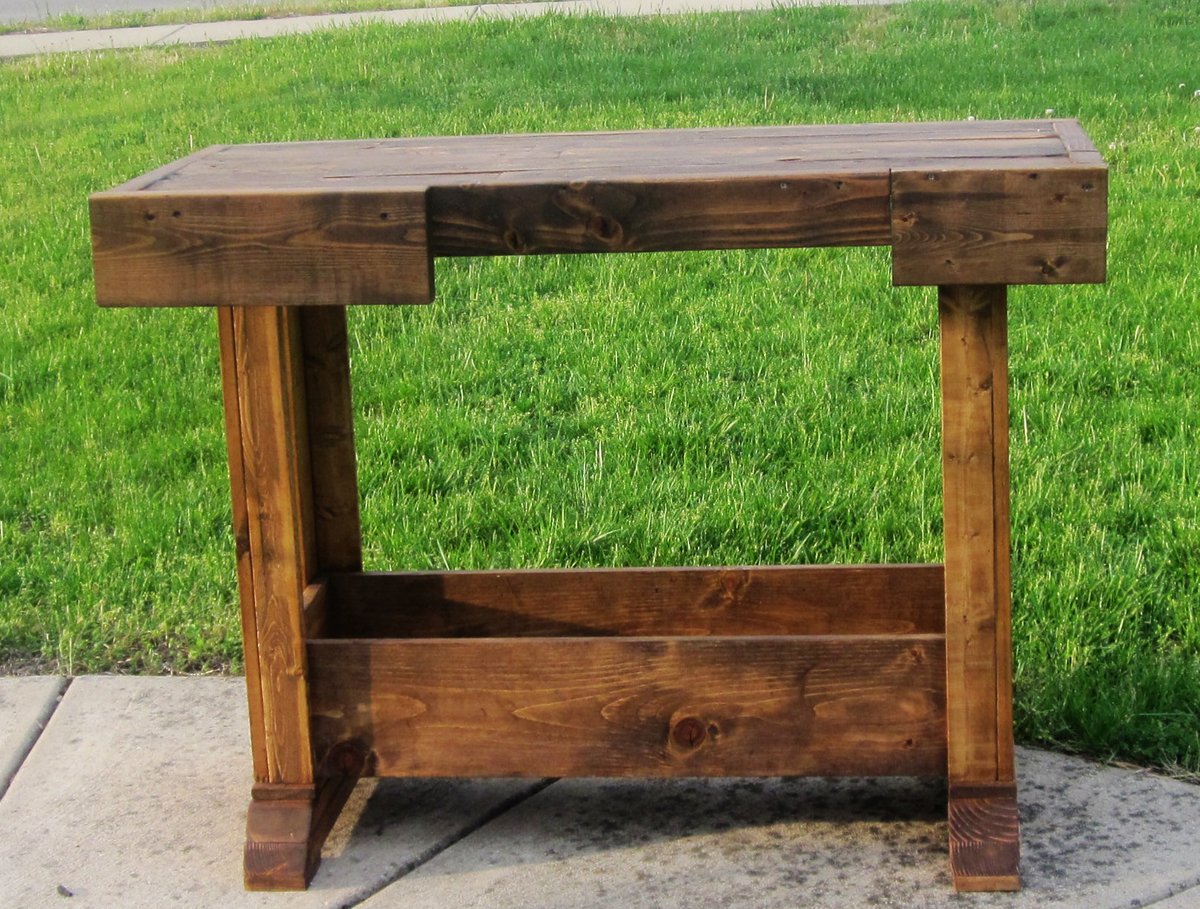
I have added hundreds of plans on my to do list, and some of them may have been a little easier, but I really wanted this table. Badly.
So, my husband and I, decided one weekend to build the Modern Farmhouse Table. Even though we have a saw, we decided since this was our first project, we would have Lowes cut our wood. Big mistake.
When we got home, we organized the wood as to what is what, and measured. It was while we were measuring, when we noticed that a lot of the wood was cut wrong :(
So let that be a lesson...ALWAYS CUT YOUR OWN WOOD!
We went ahead and put the table together, and even though there are some gaps, which I'm planning on filling, I am proud with it.
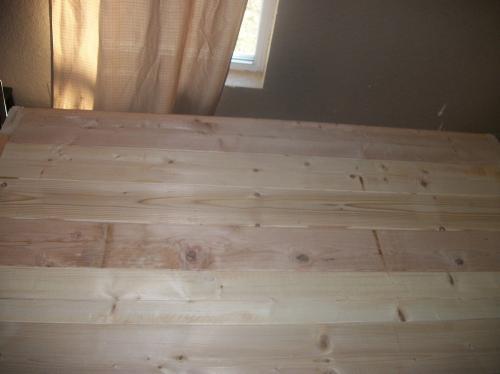
It's been 3 weeks since we've built the table, and I still have A LOT of sanding to do, and I still need to finish it, but I am proud of what my hubby and I built together so I have to brag!
Next on our list is to build the benches...

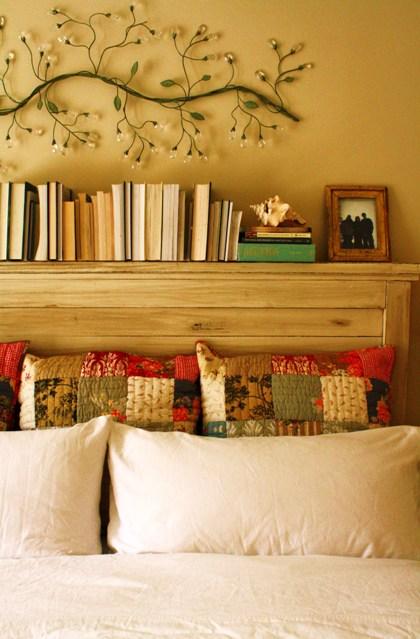
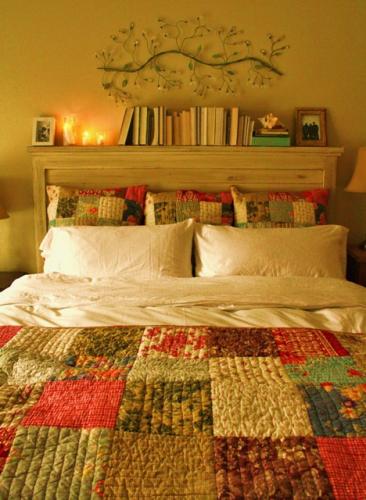
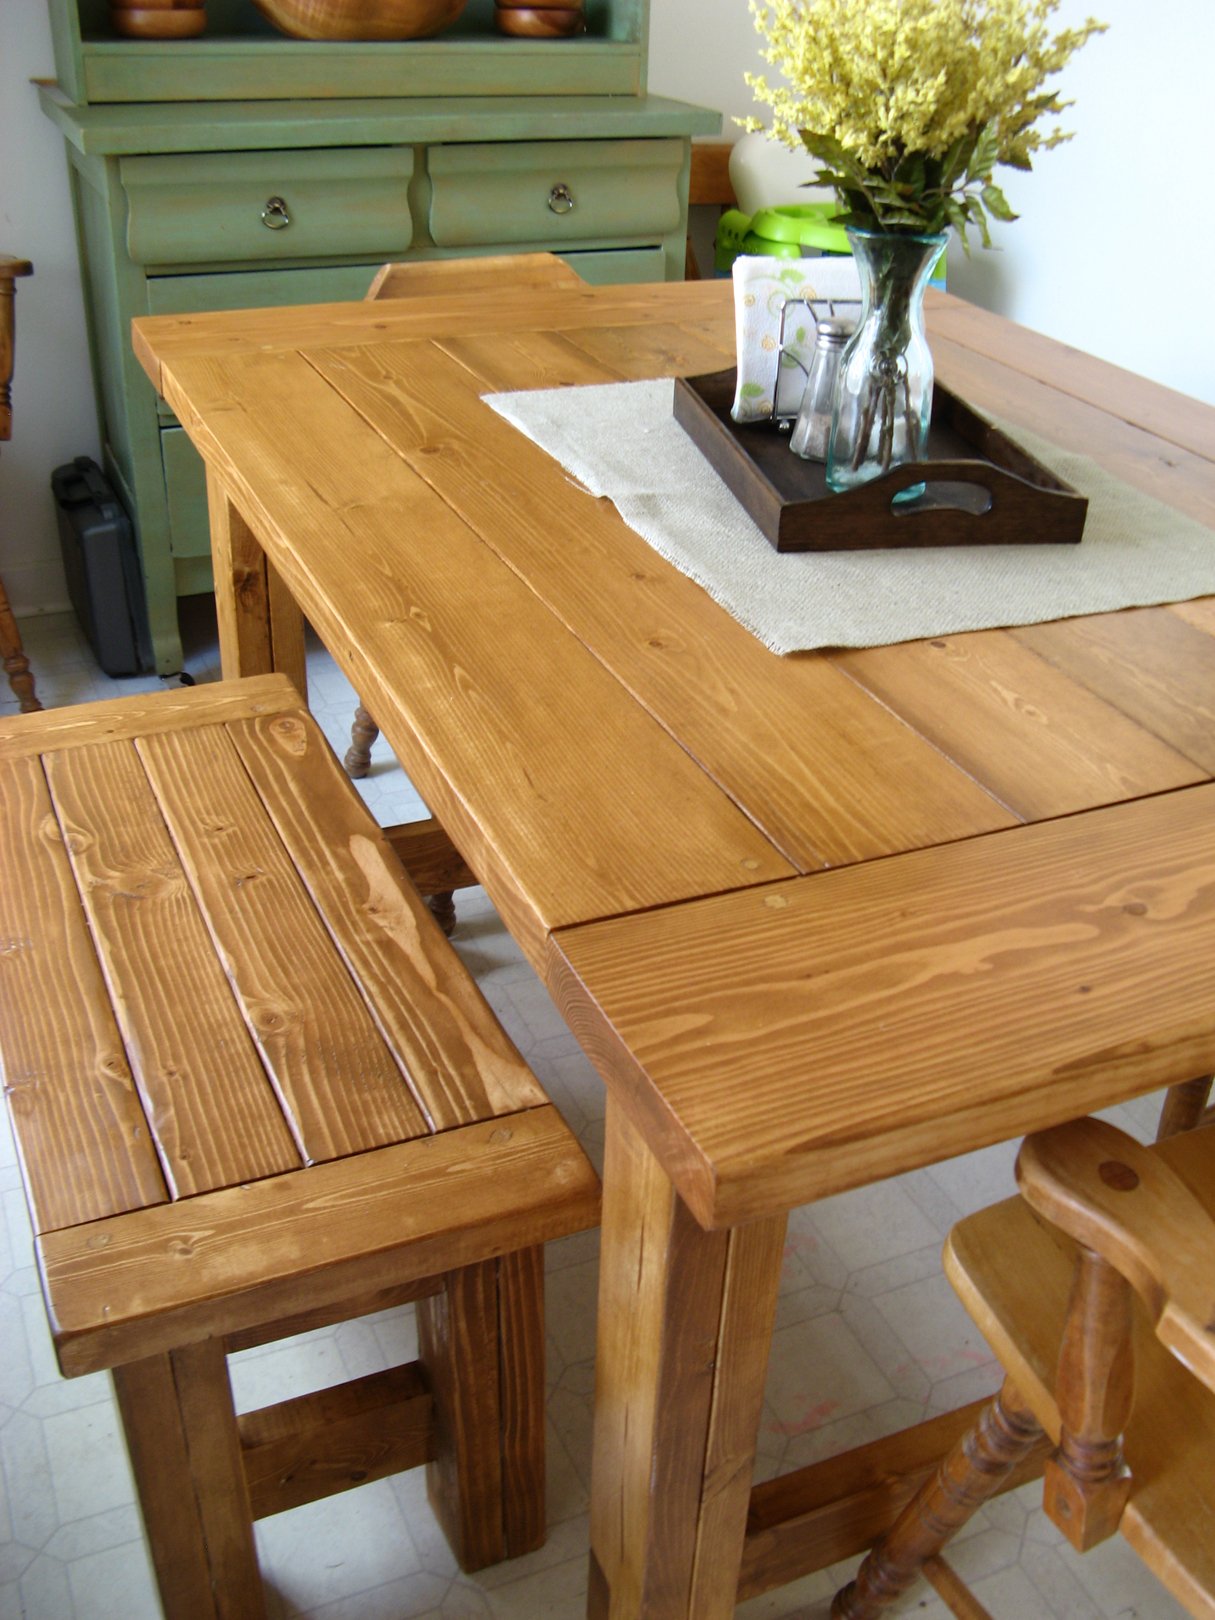
This project was a blast to make. And, it really is doable and a lot less time then you would think. And finishing it with milk-based paint is even more enjoyable. I used screws and a drill (pre-drill!) and it was wonderful.
Here's some advice for the plan:
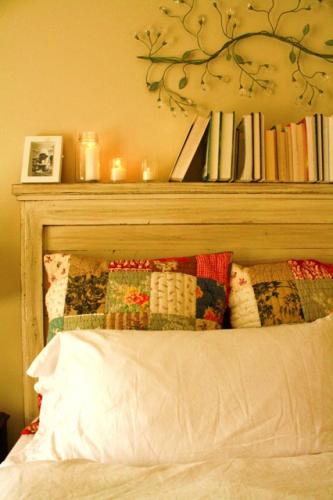
- Mount the back of the headboard with a piece of wood and use a metal support as shown here. Just make sure the board is wide enough to be level with your back trim, or else the metal support won't be even when you screw it down. And when you pre-drill this board, make sure you don't go all the way through, or else you will have holes through the front! It stunk to have to putty them all in, but thank heavens for putty.
- Although the instructions say to make your top 1 x 3" trim to fit in line with the top of the headboard, I made mine one inch longer on both sides, and then the 2 x 4" one inch longer to go on top of that 1 x 3" on both sides. That was just the look I wanted. Although you can get your wood pre-cut, I would recommend cutting it all yourself, especially since you will need these cut afterward once the rest of your headboard is put together.
- Ana's 'get started' tips are very helpful. Be sure to check them out first!
- Make sure, make sure, make sure you dry thoroughly between coats. Patience is a virtue.

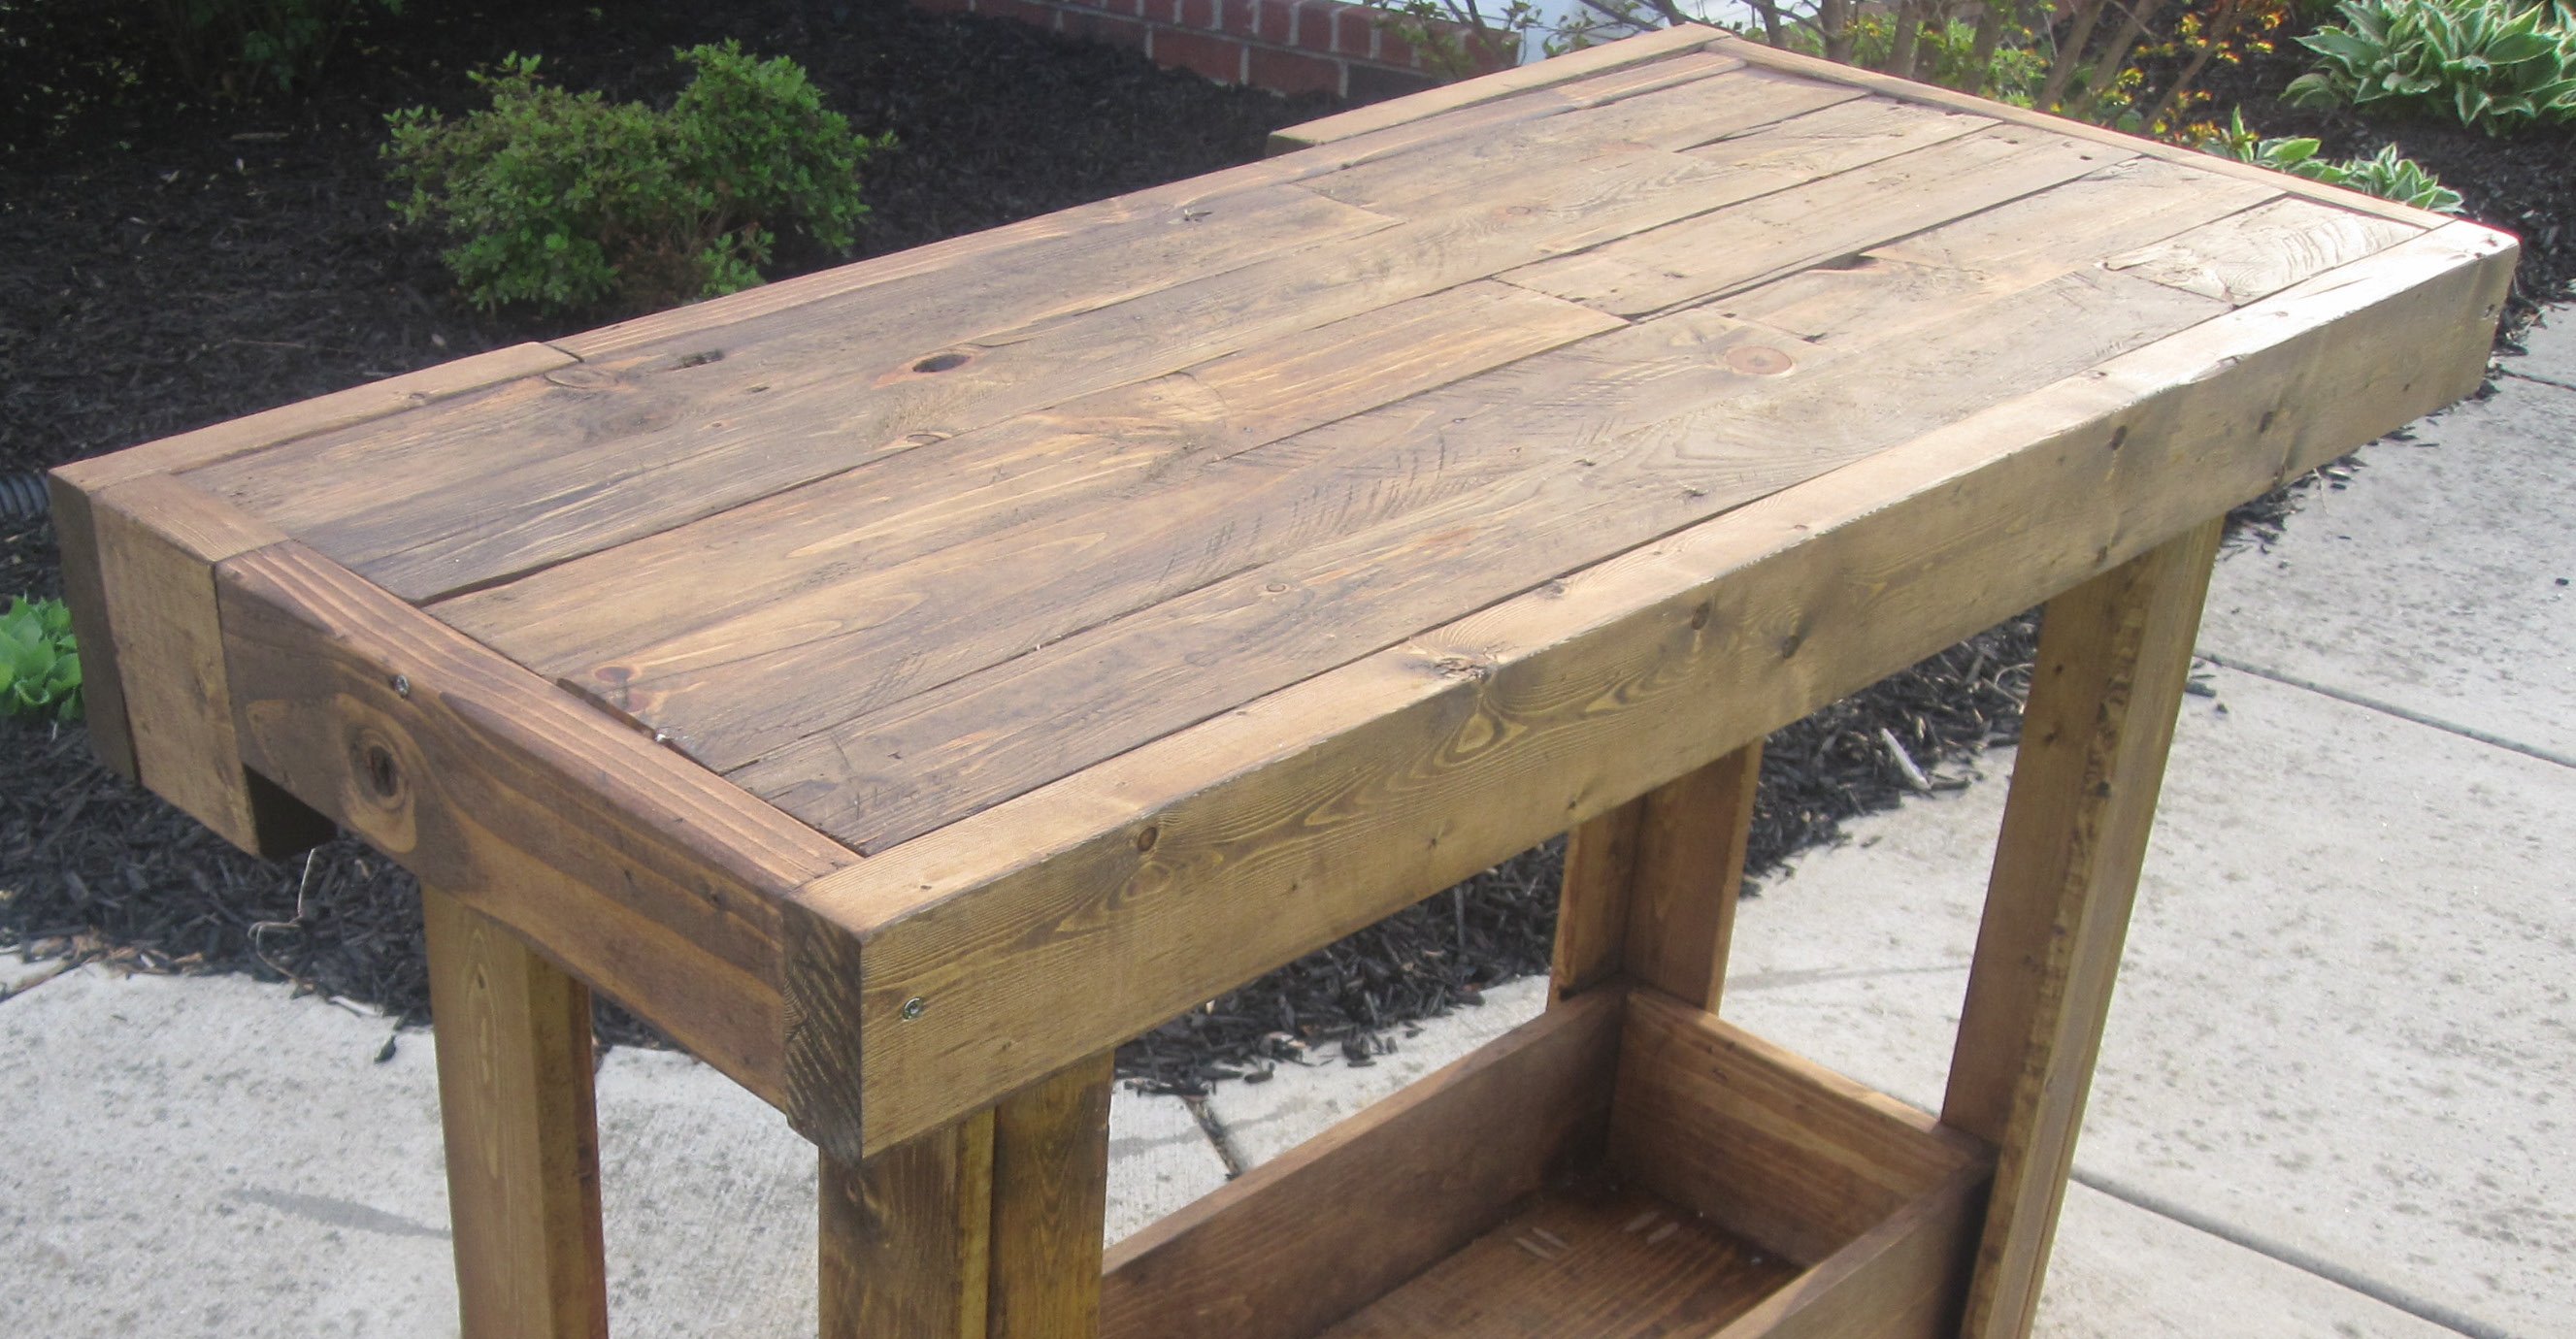
This was quite the project- took us several weekends to finish (we don't have a garage or really any good working area- we rent. Oh and we also have a toddler). We assembled the table in the living room, stained it on our front sidewalk, did a couple coats of poly in the backyard, and finished the last coat of poly in the dining room! (we know how heavy this table is, that's for sure! We modified the original farmhouse table dimensions so that this table would fit in our oh-so-tiny dining room. As you can tell, we also decided to build a bench to go with it. We are extremely pleased with the results!

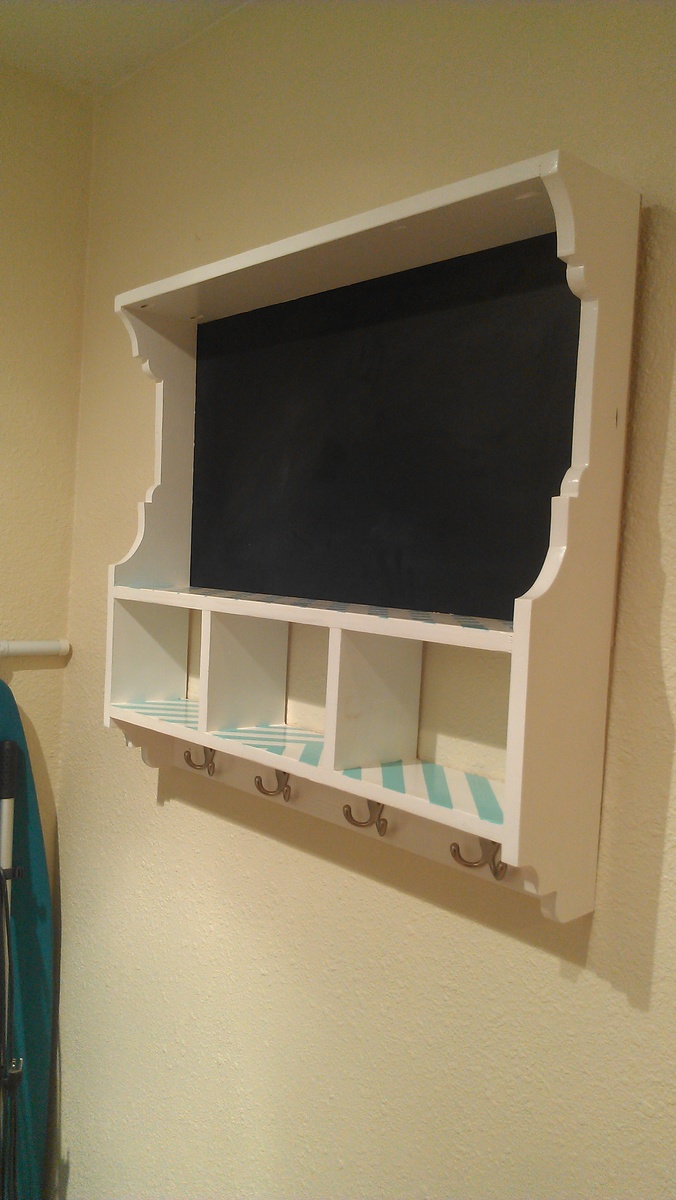
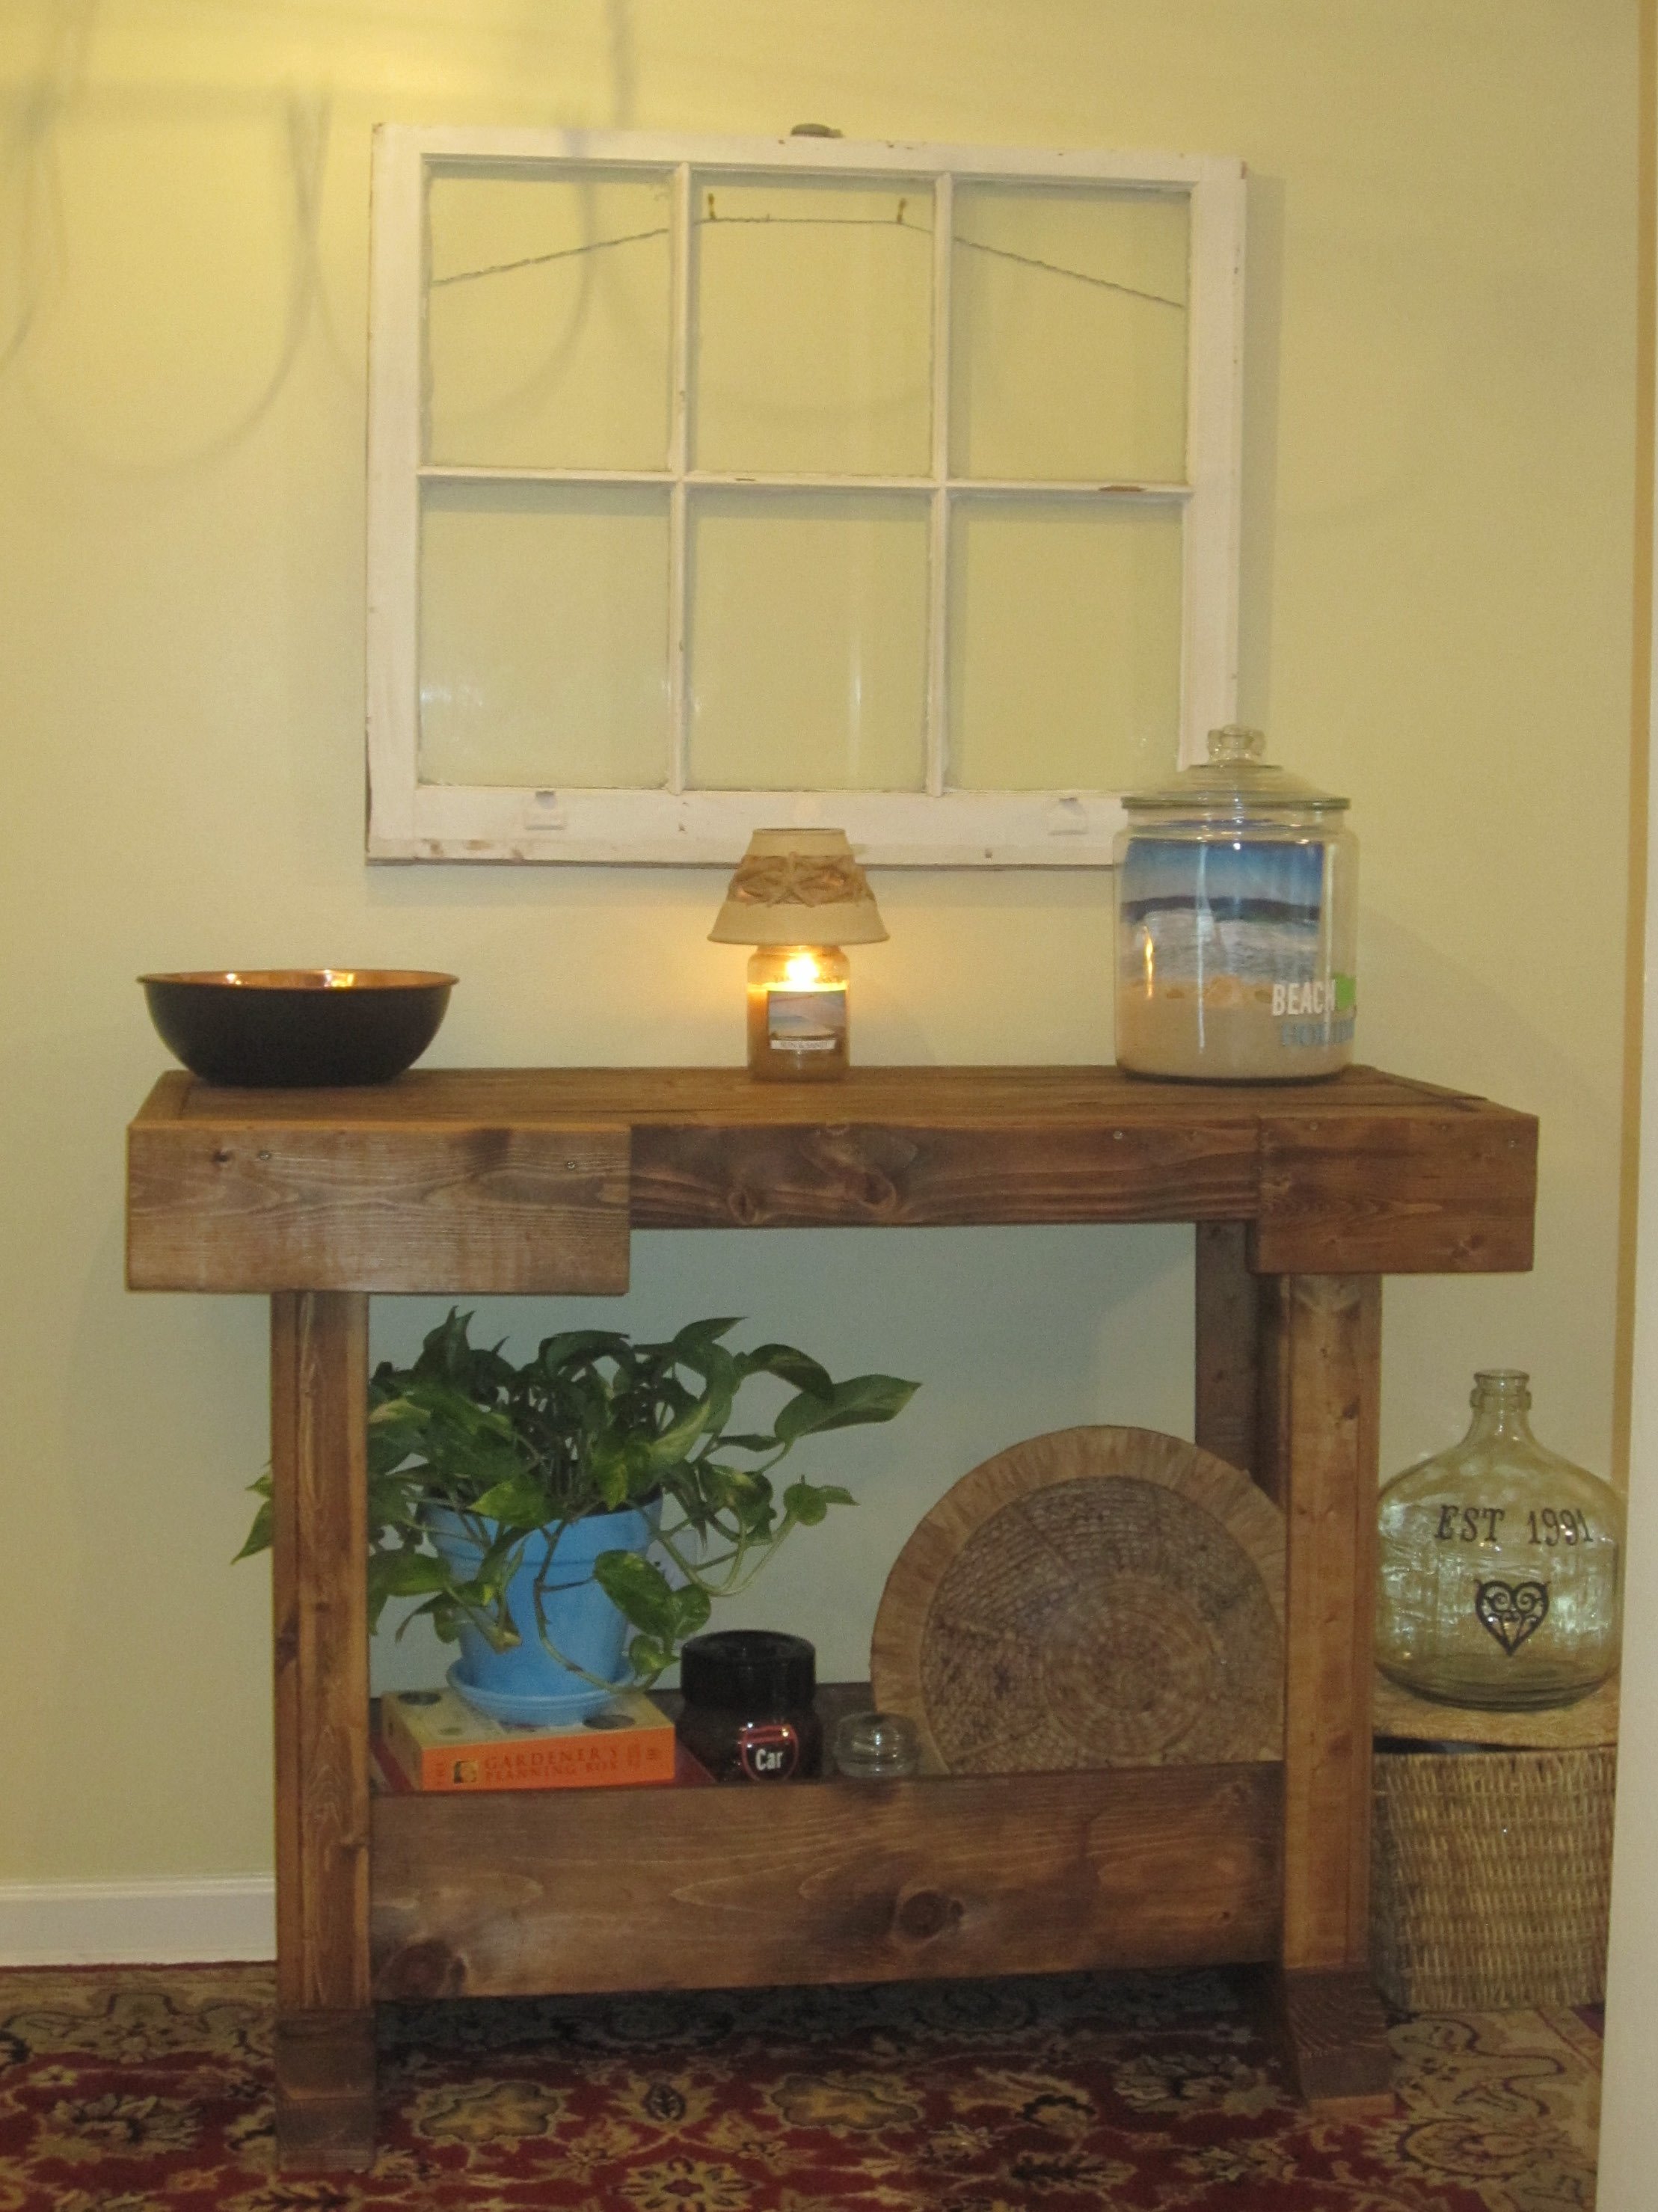
This cubby was my very first project! I just finished remodeling my kitchen, all that was missing was a place for my keys, dog leashes etc. My little house doesn't have a proper entryway so I created a "welcome station" with this cubby. The trickiest part was definitely cutting the sides, but I was able to get those tight circles with a little forethought and a lot of sanding :) I used leftover paint and samples from choosing colors for the kitchen, so it automatically coordinated with the rest of the decor.
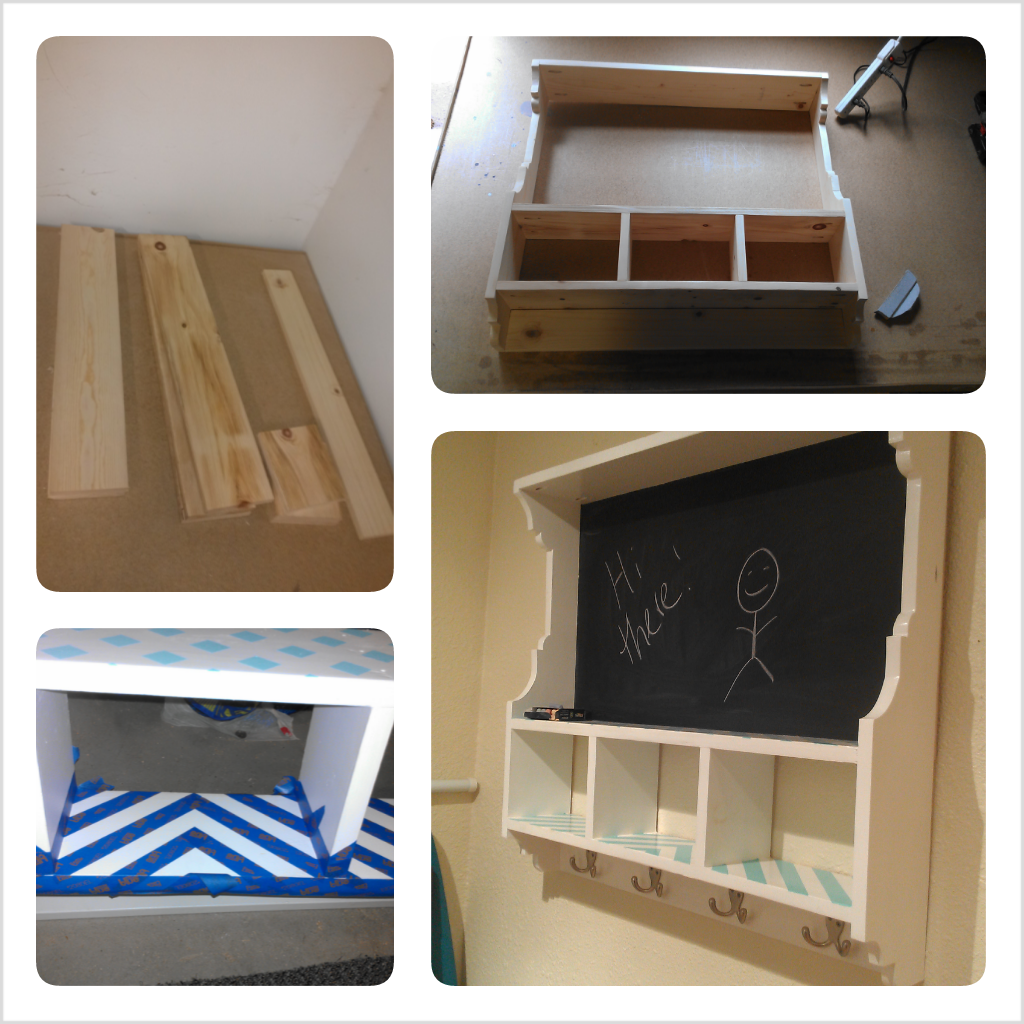
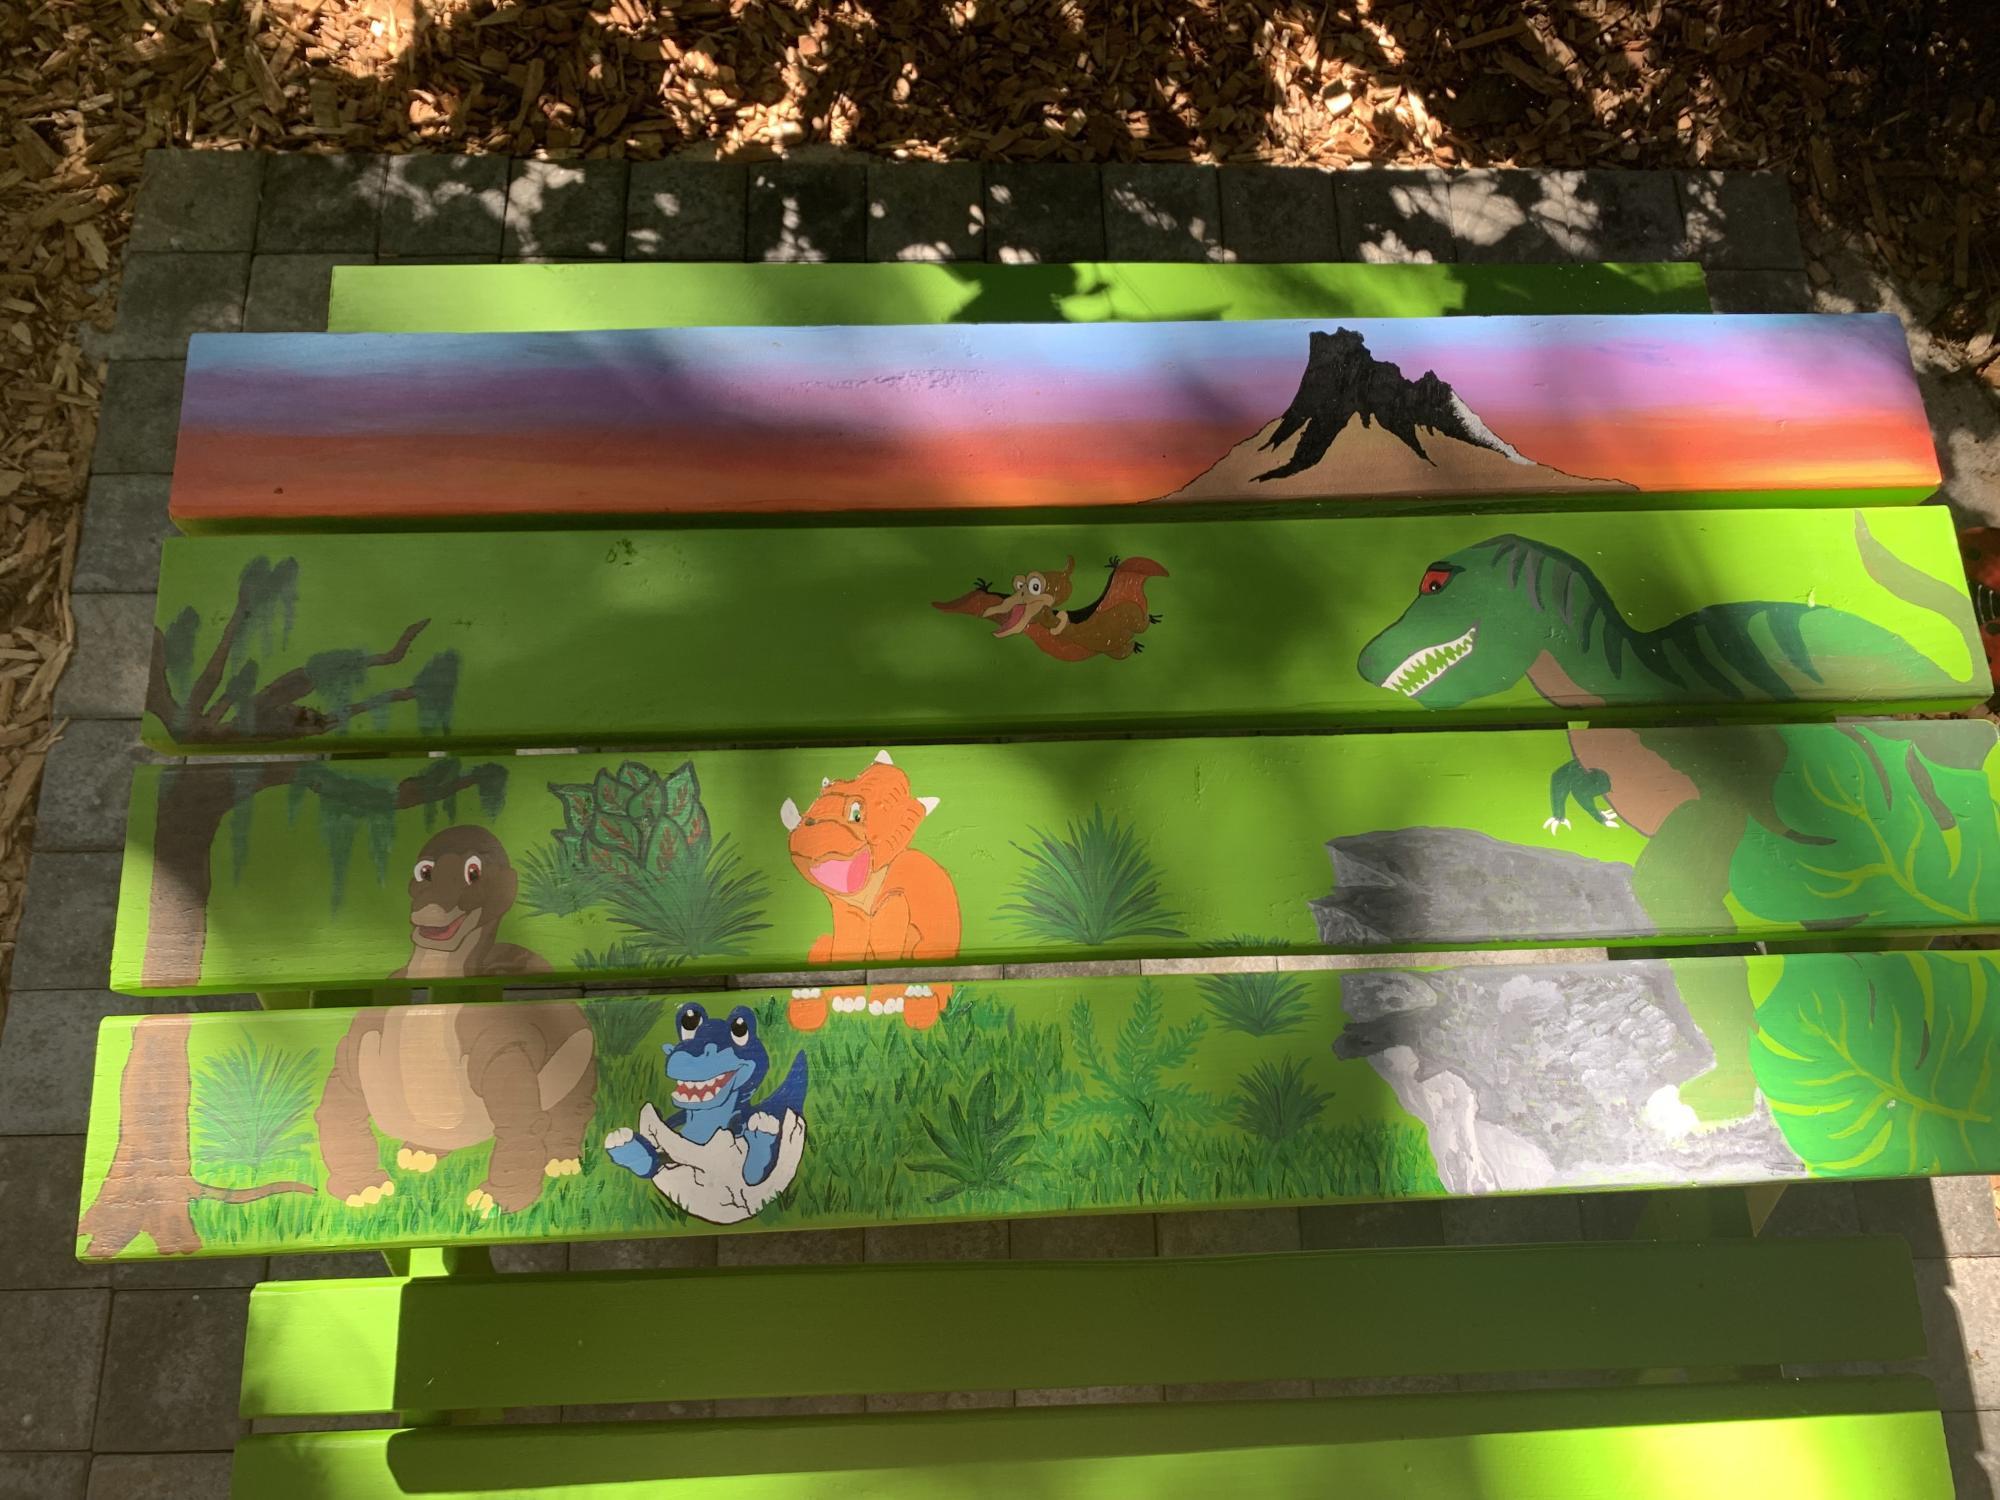
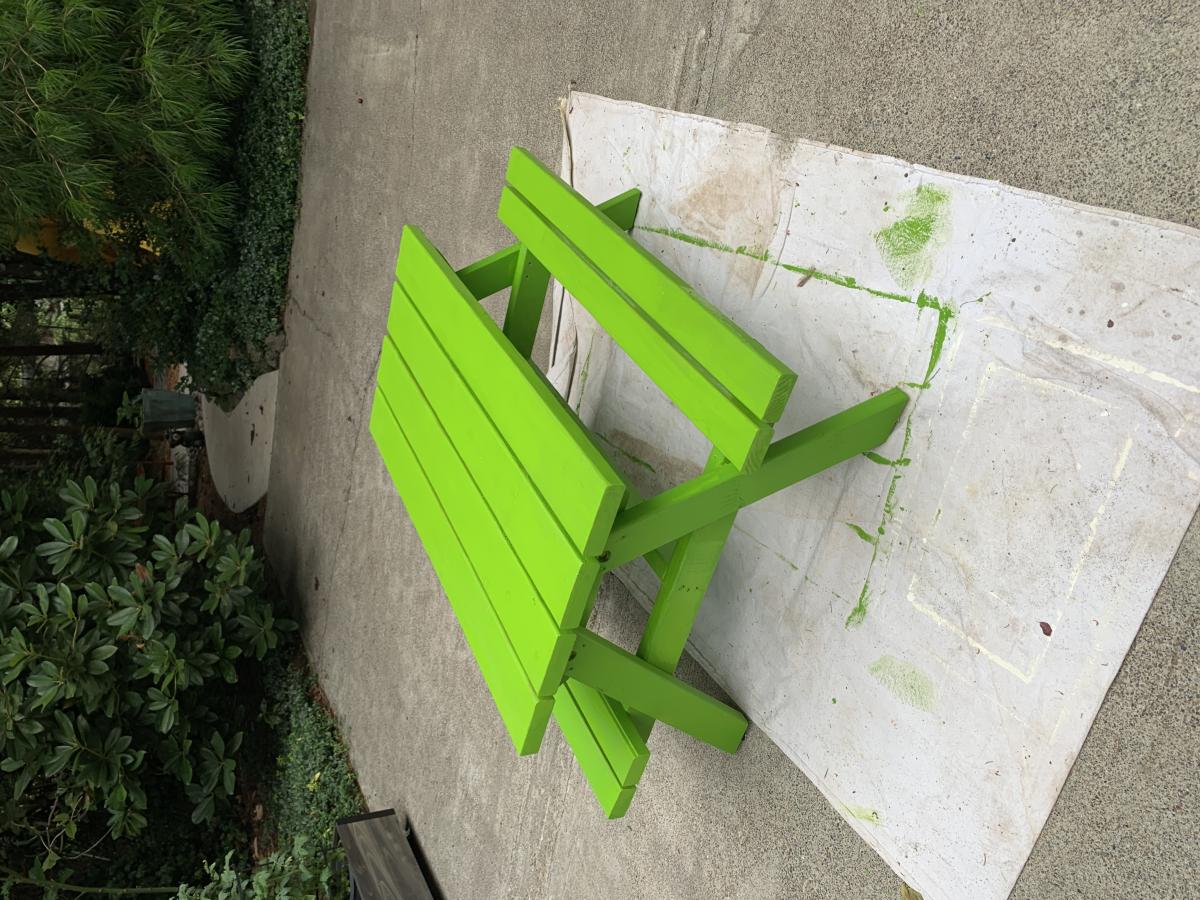
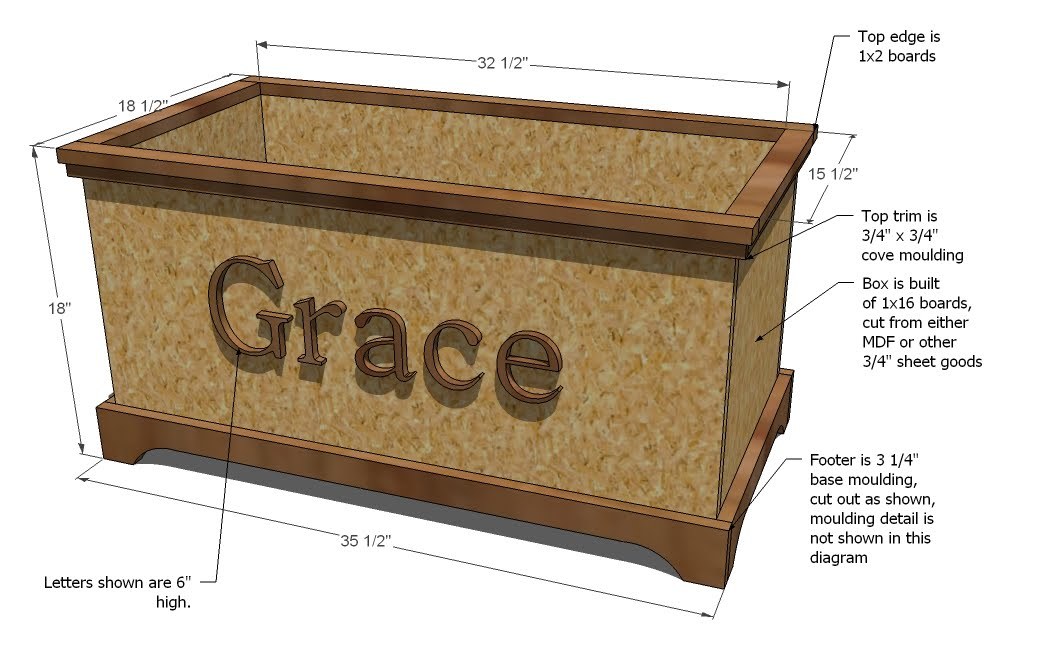
My daughter and I did this project together. It was our first wood working and painting project. Learned a lot in a short time. Plan was as said “Easy” although maybe a bit hard for us given we had no experience. All drawings and paintings were free hand.
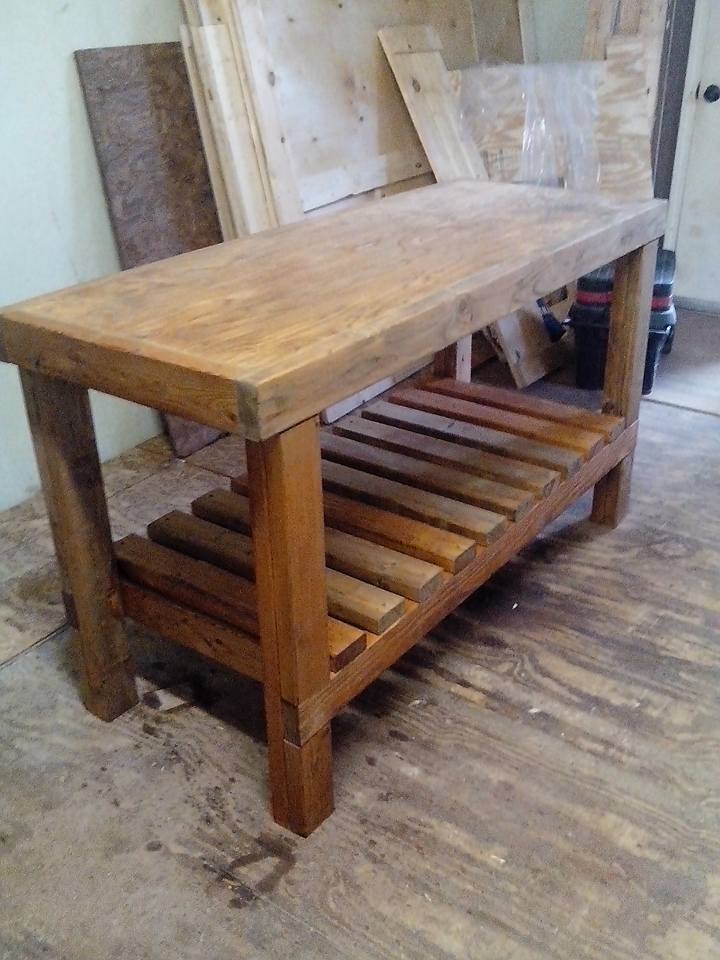
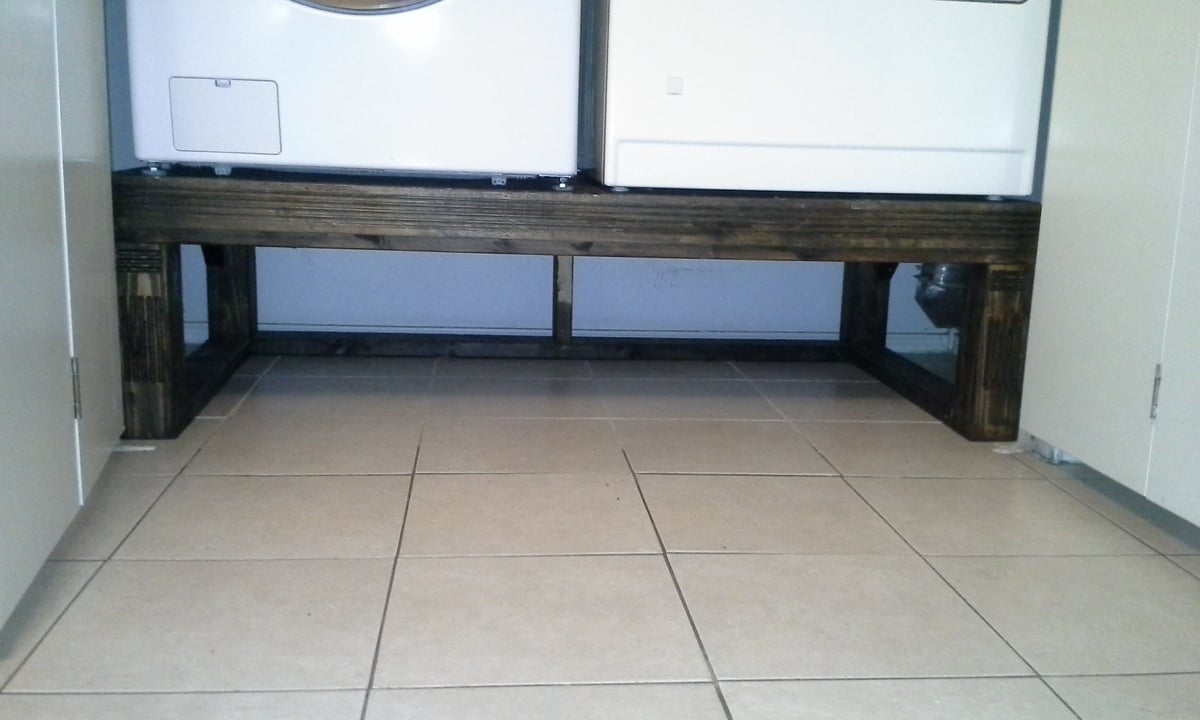
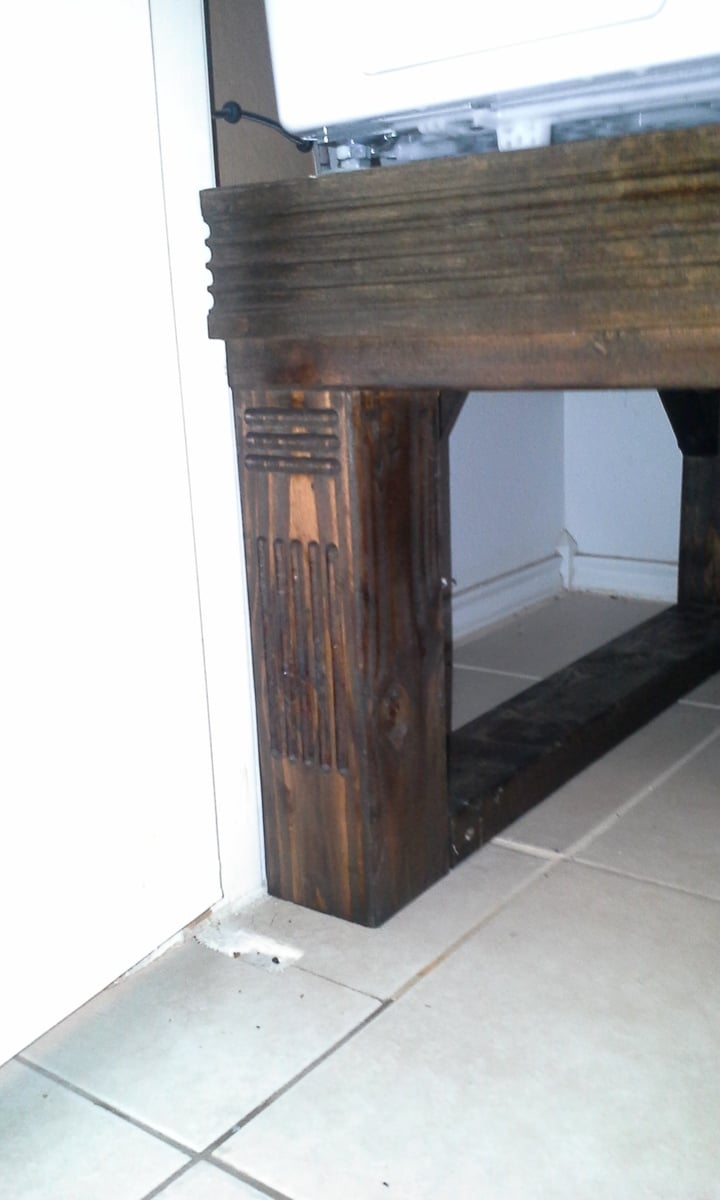
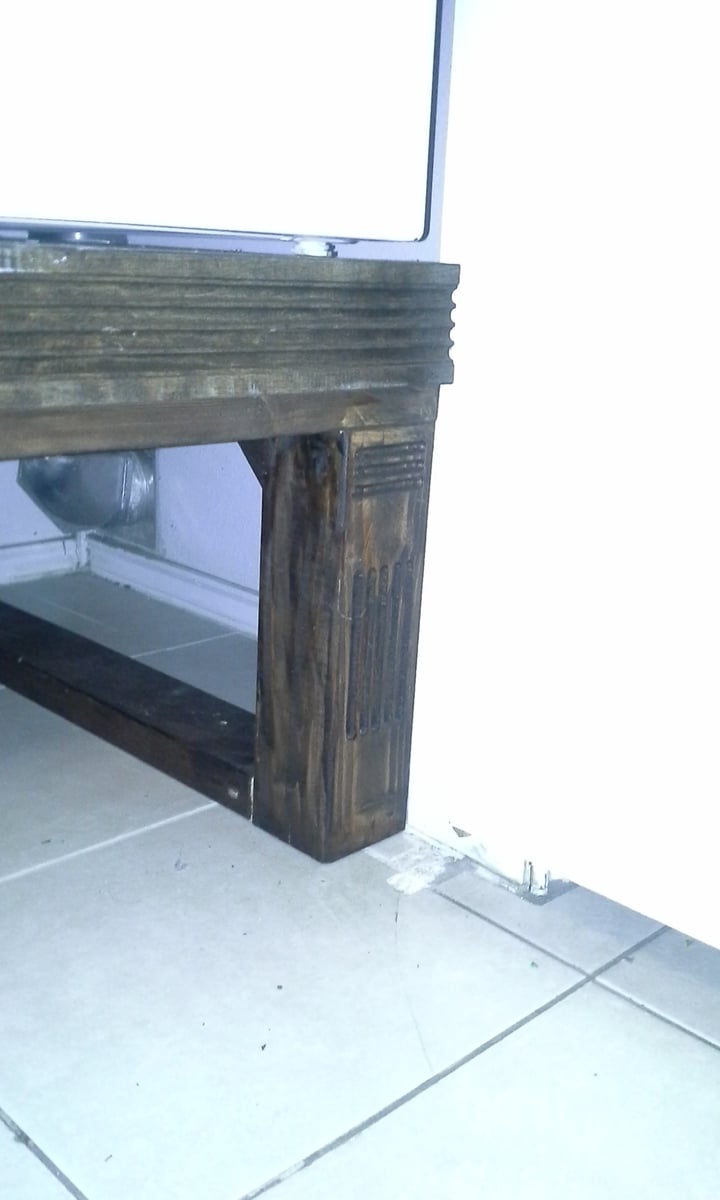
Instead of having the plywood top sit on top of the frame, I sunk it into the frame instead with 2x4 supports underneath.
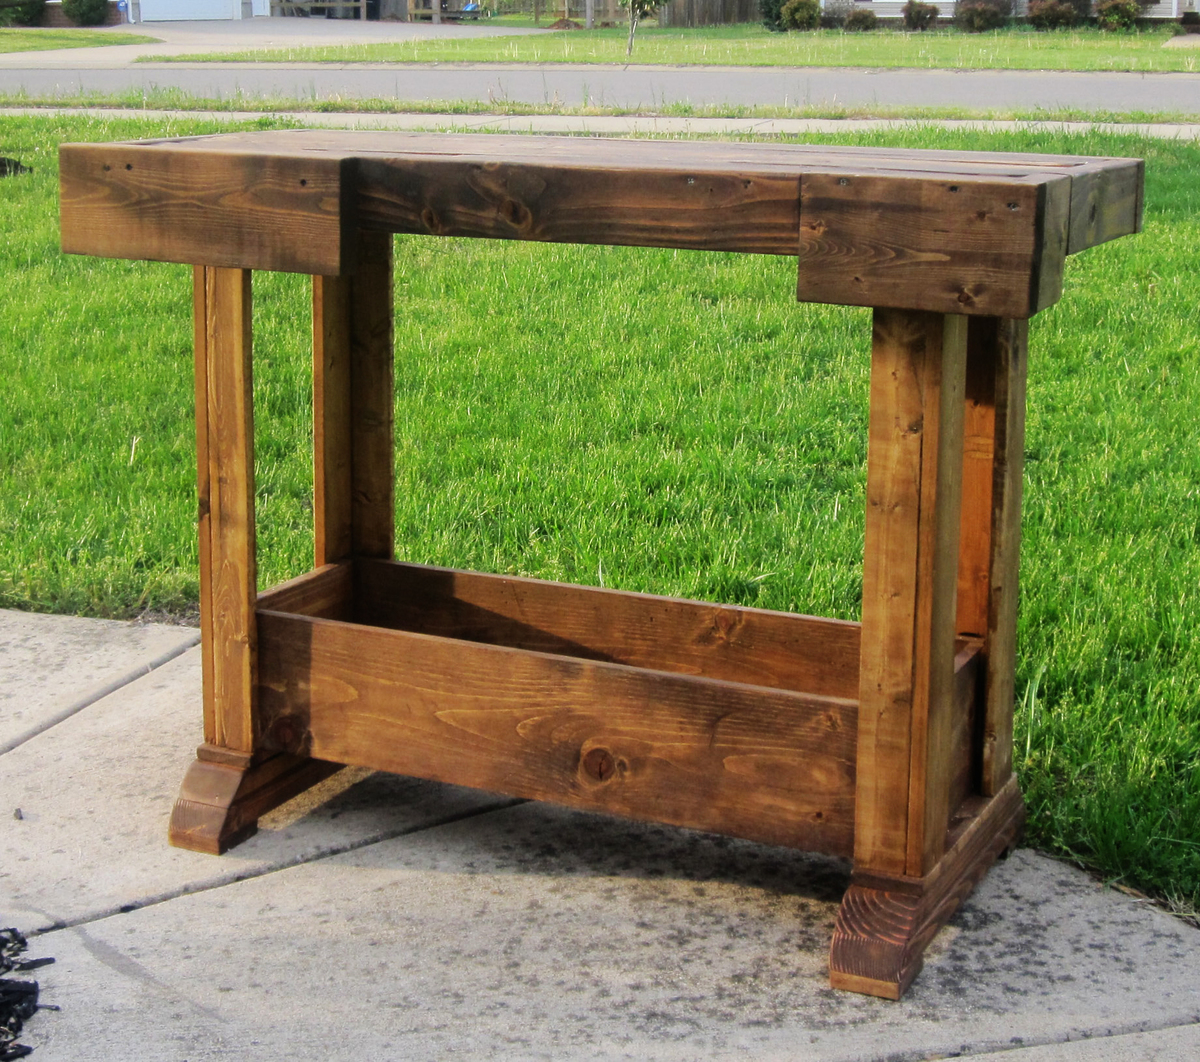
This was an easy project although it took us 3 weekends to get it finished. My son loves to help now but it slows down the process. We used wood we already had and reclaimed oak to make this table.
We had to resize the table to fit our entryway. The table design was 64” long and we made ours 48” in length. It was easy to do the math, the cuts for length were 75% of the original size. For example, the table top trim piece calls for a 64” cut, take 64 x 75% and you get 48. So that cut piece would be 48” instead of 64”. We kept all other measurements the same, both width and height. The only other change we made was in bottom shelf, it calls for a 1x12 and we already had a 2x12.
I am still looking for a metal piece(towel holder) to go on the front of the table.

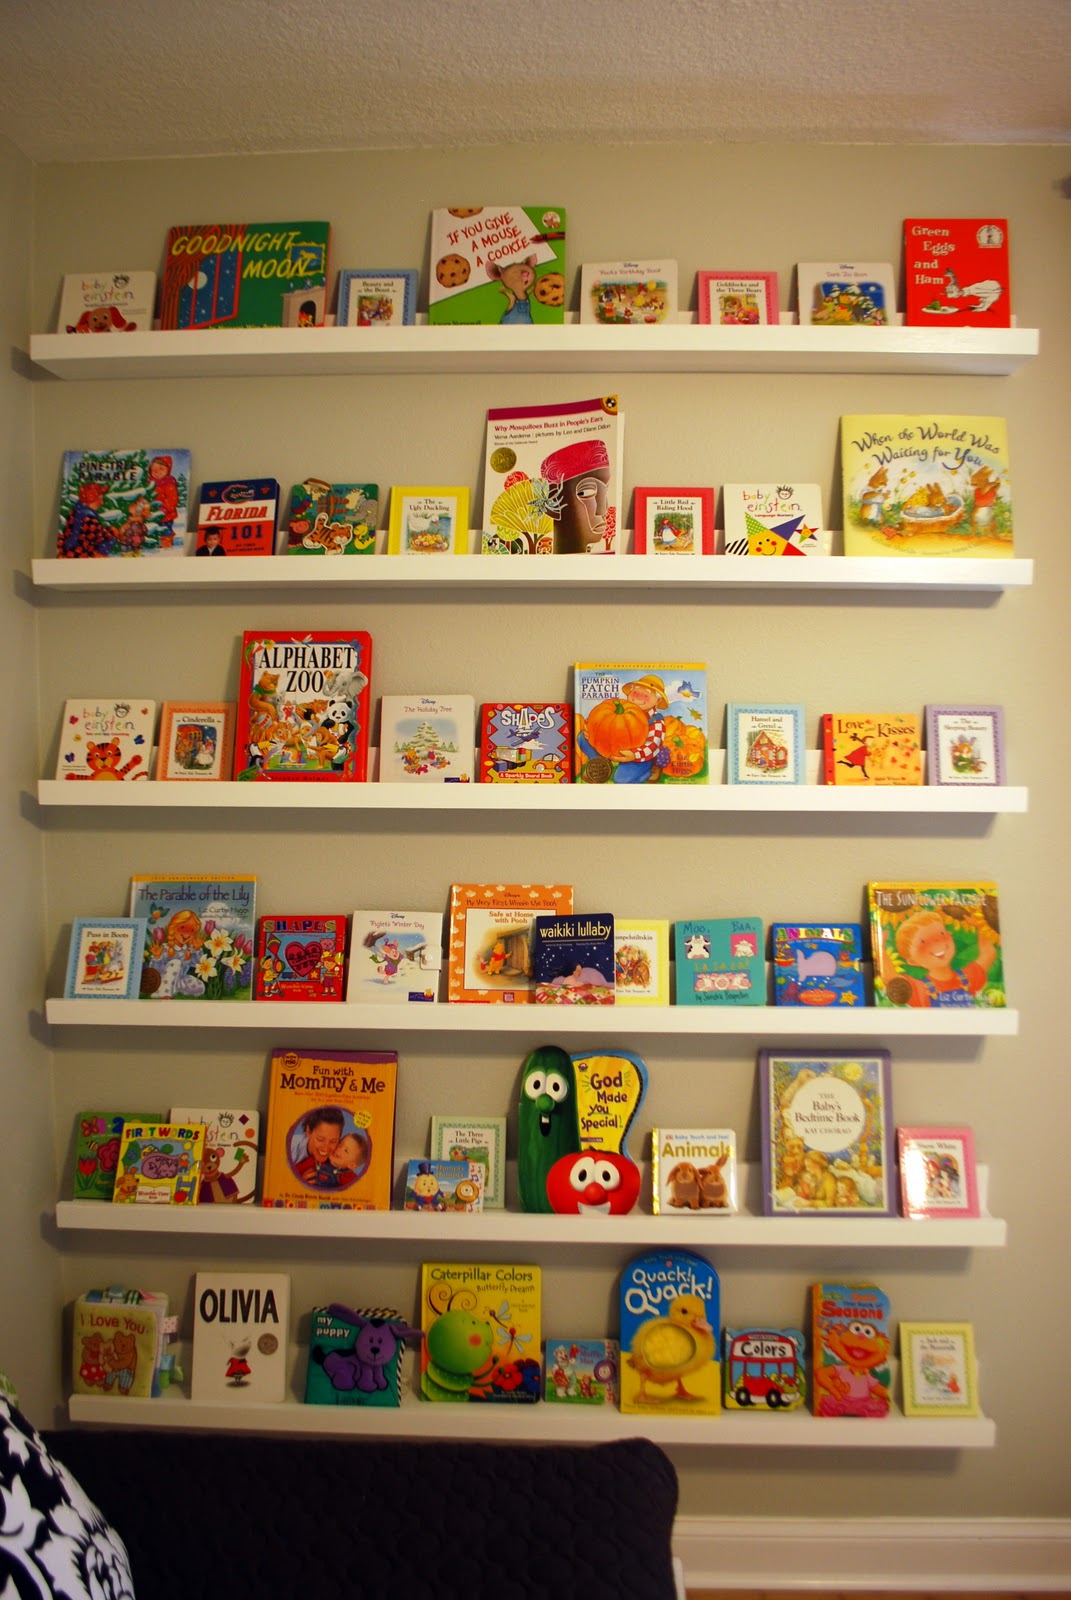
I built these bookshelves with the help of my husband for our daughter's nursery. They were so simple to build, the finishing work is what took the most amount of time. They're very sturdy, and we get tons and tons of compliments on the 'feel' that they add to the nursery!
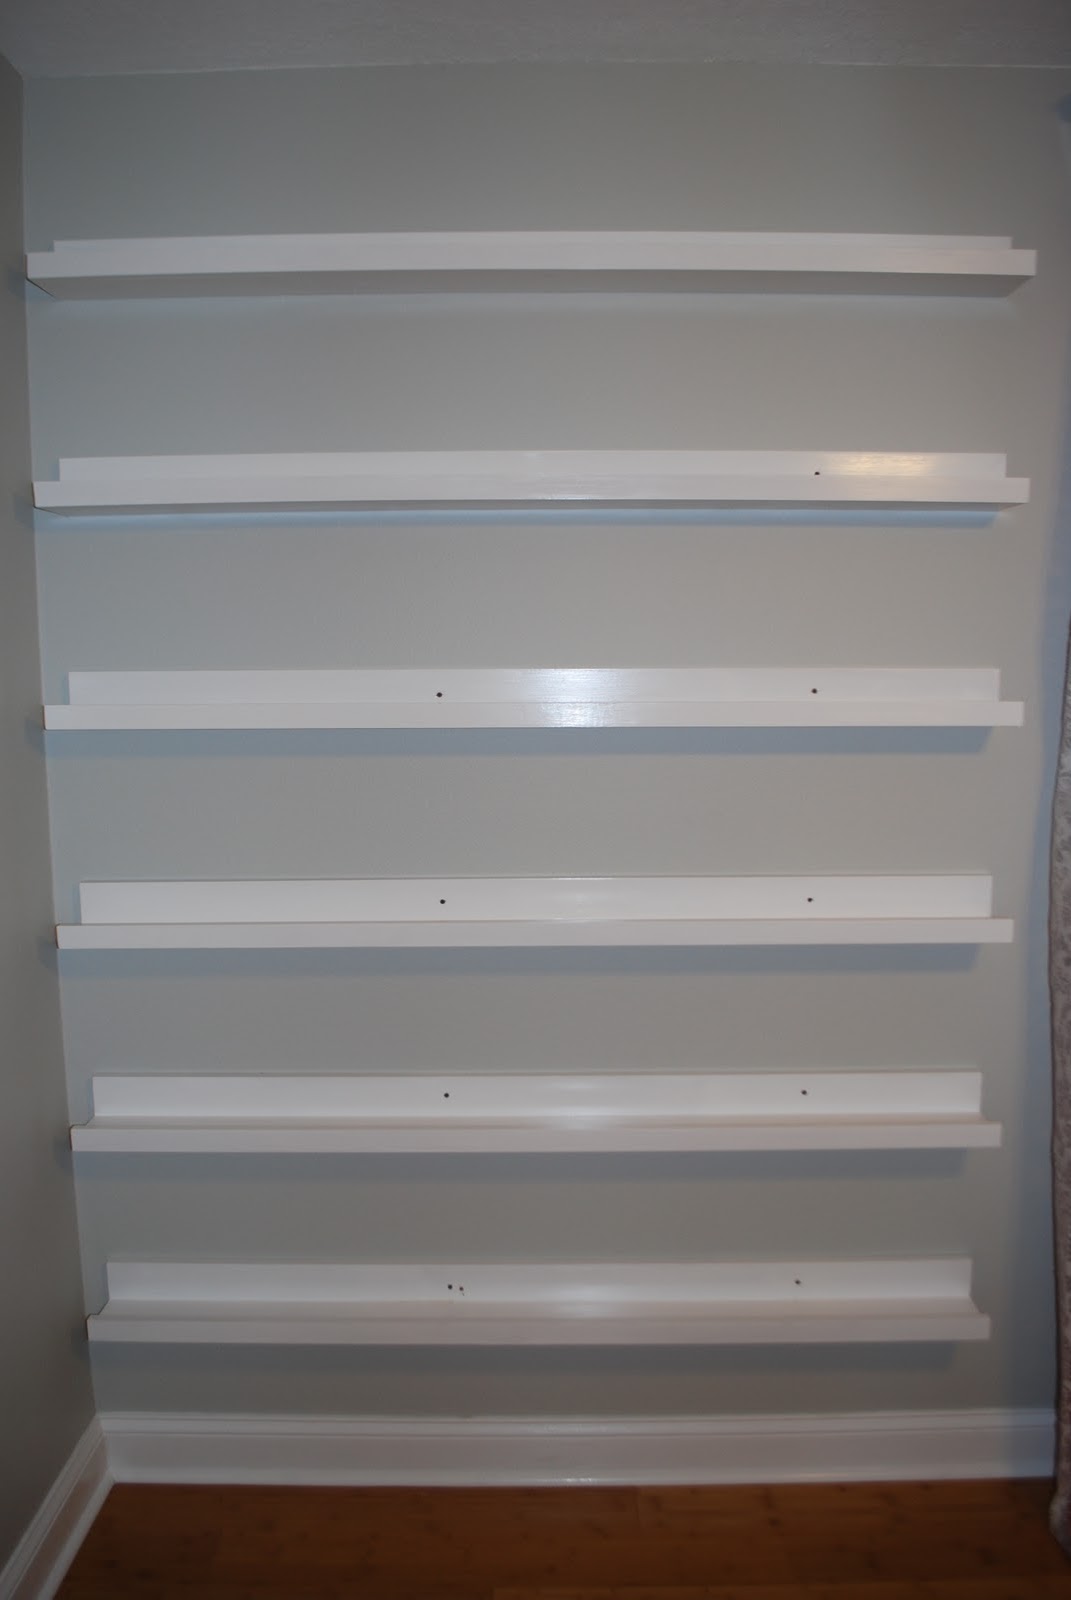
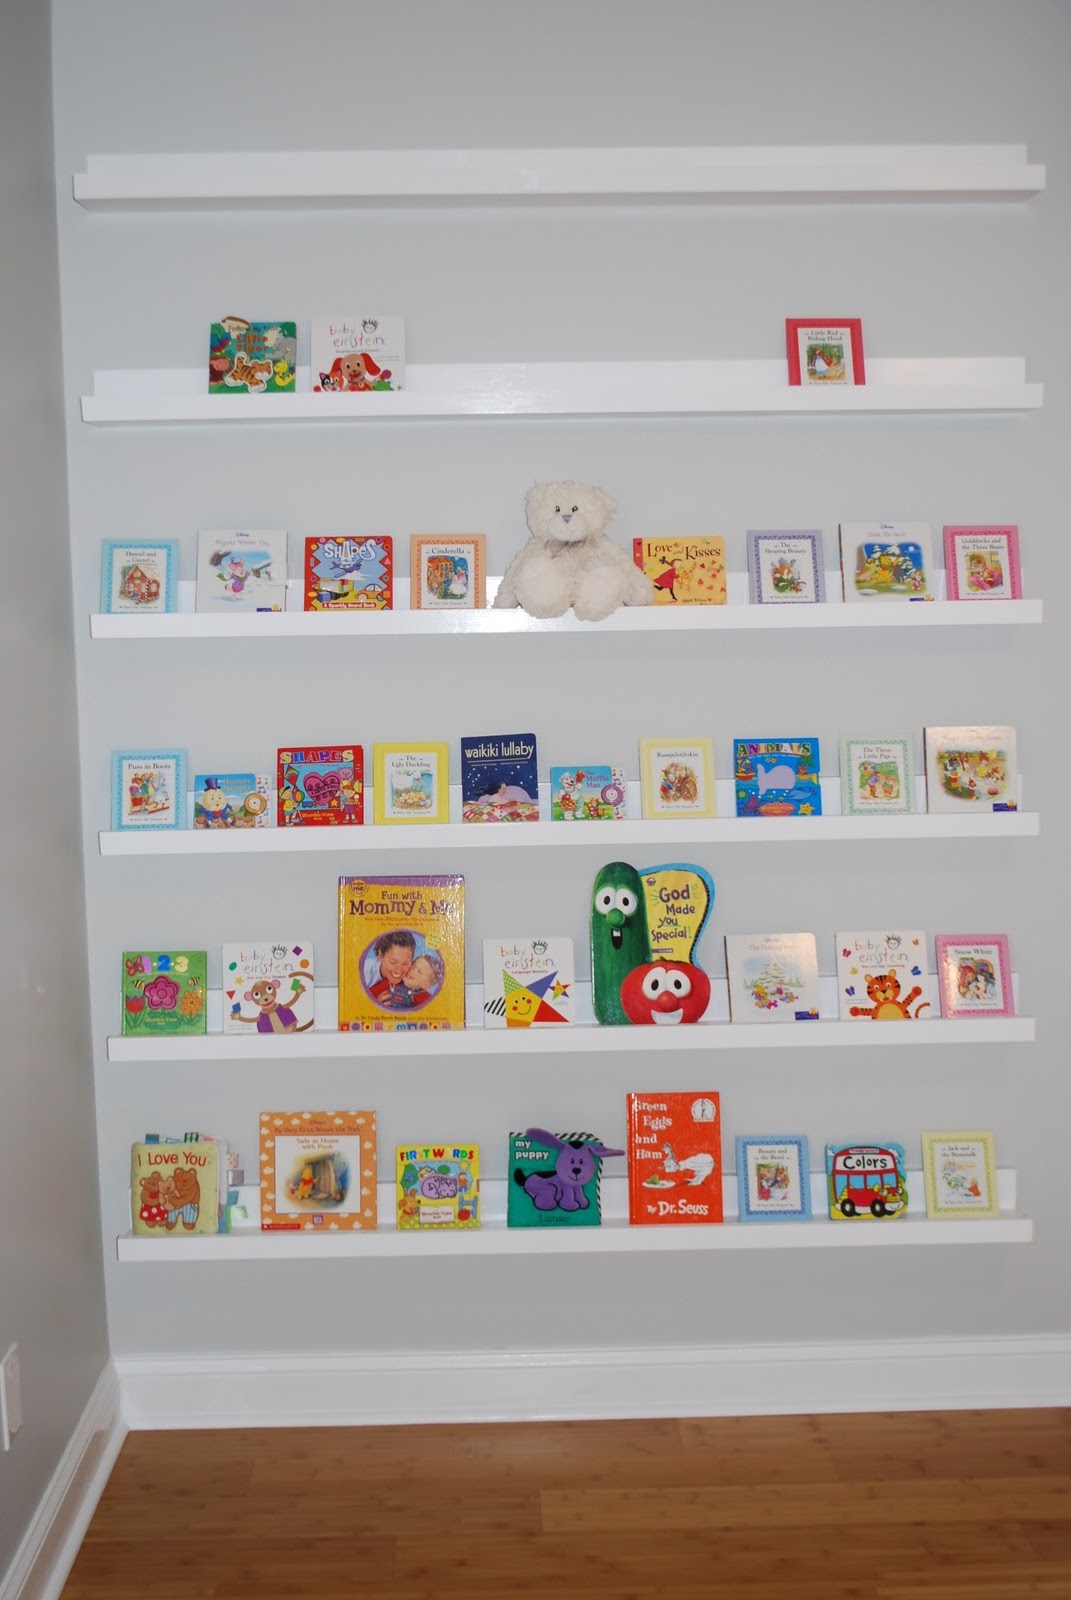
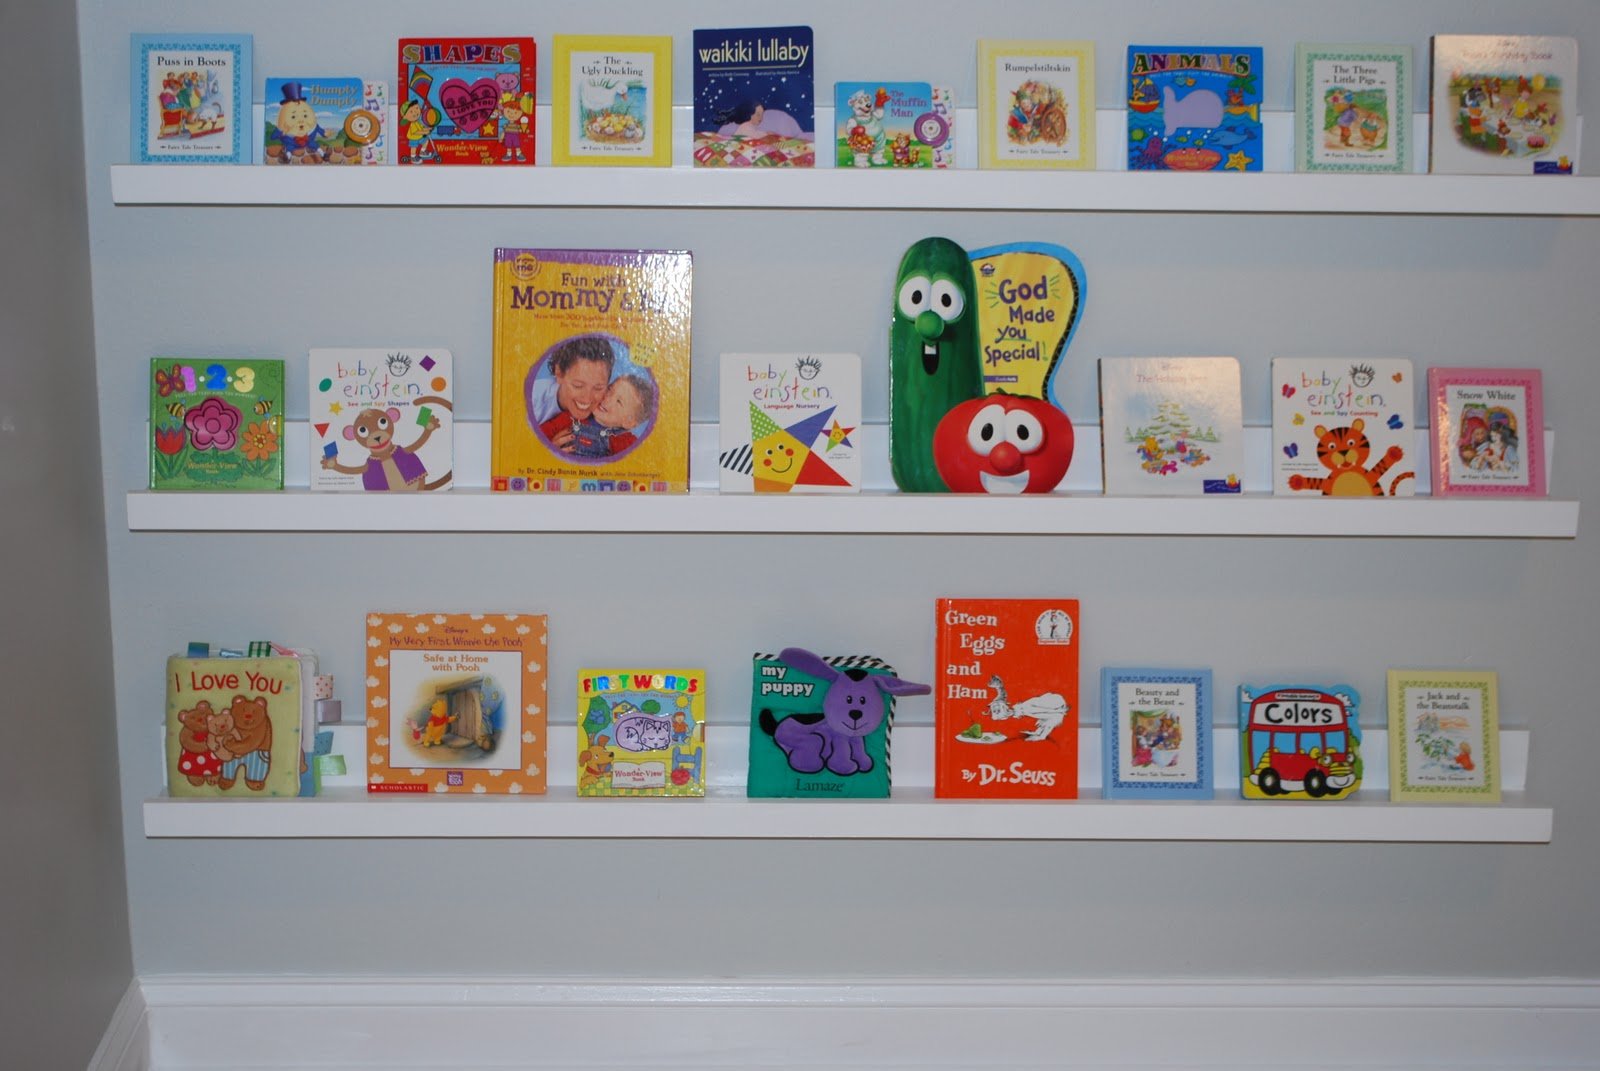
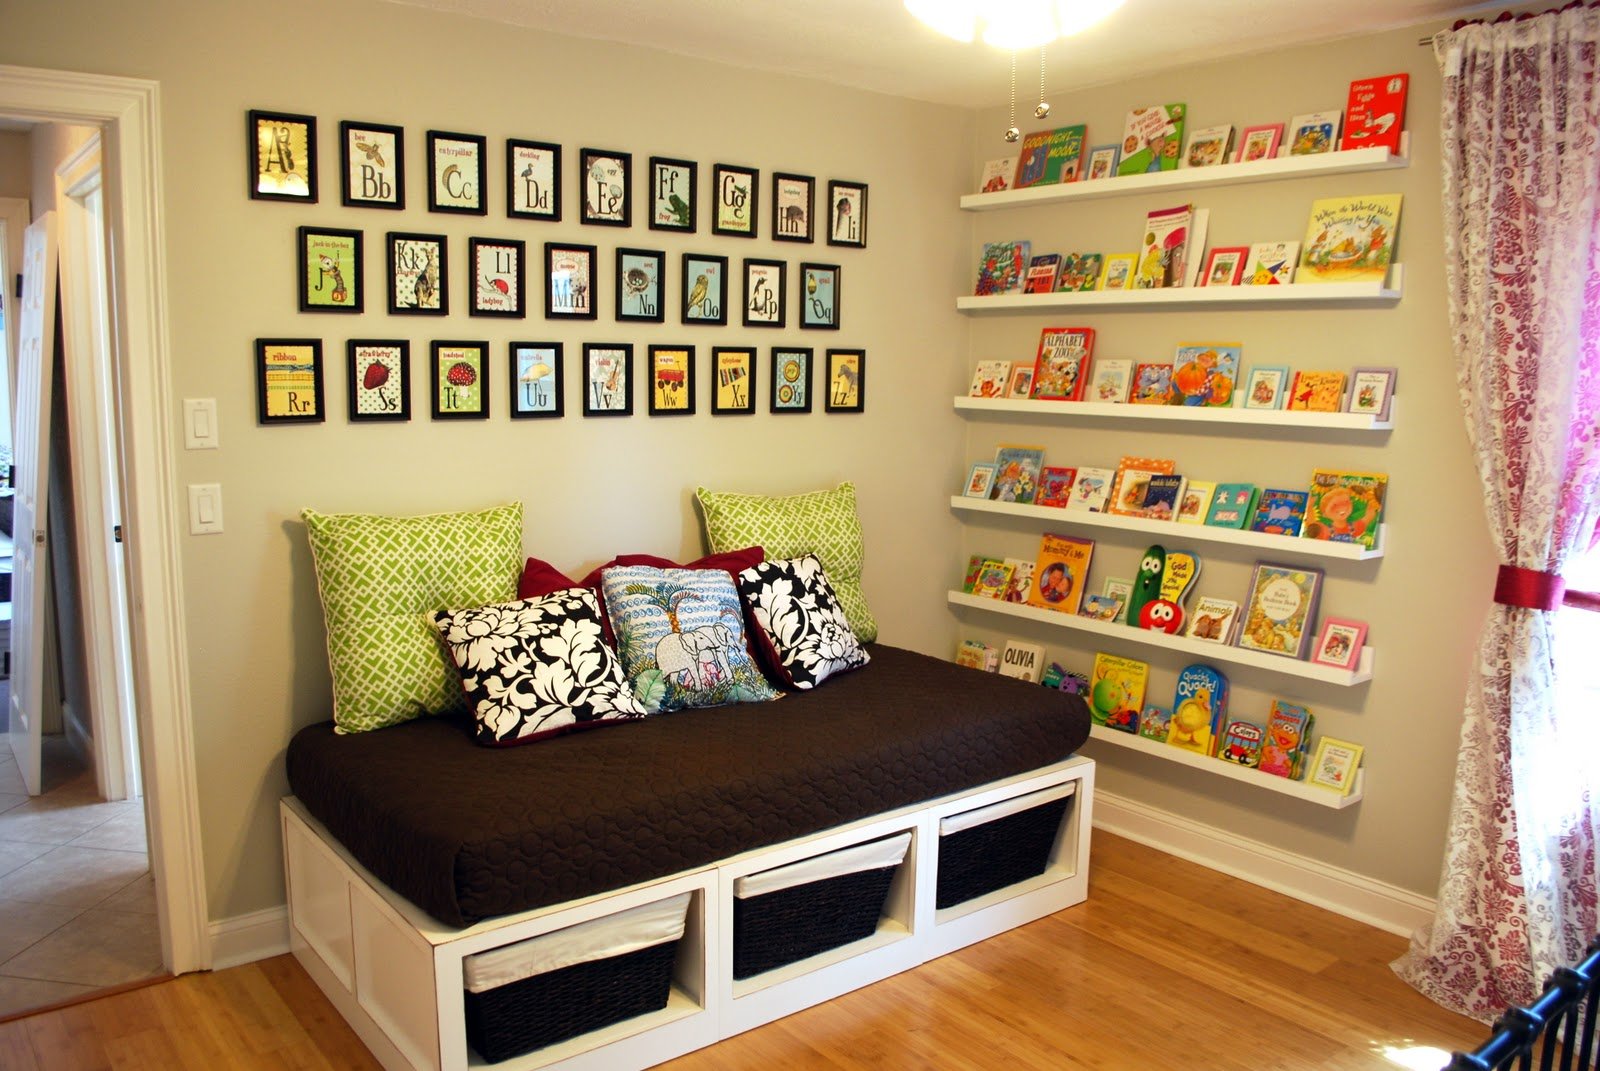
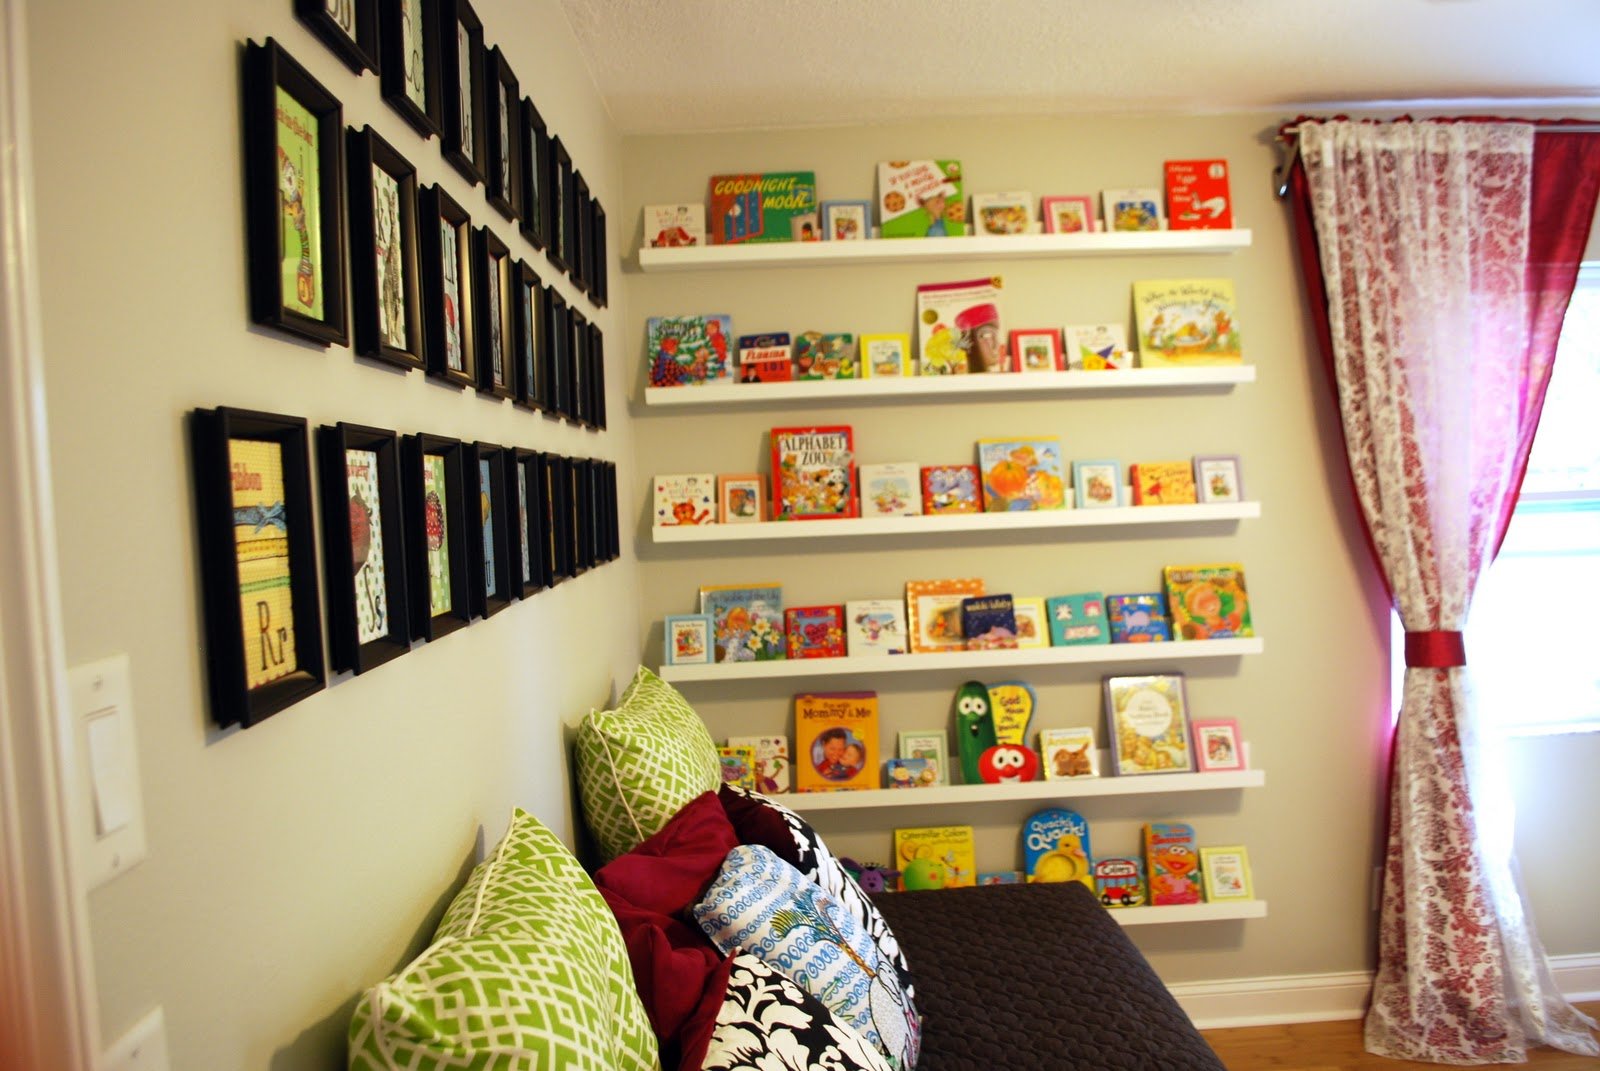
I pretty much followed the plans to the T. I did use 3/4" plywood for the middle shelf instead of the suggested wood. The hardware was the hardest part and mostly followed the previously posted DIY from Jamie's website with a few modifications.
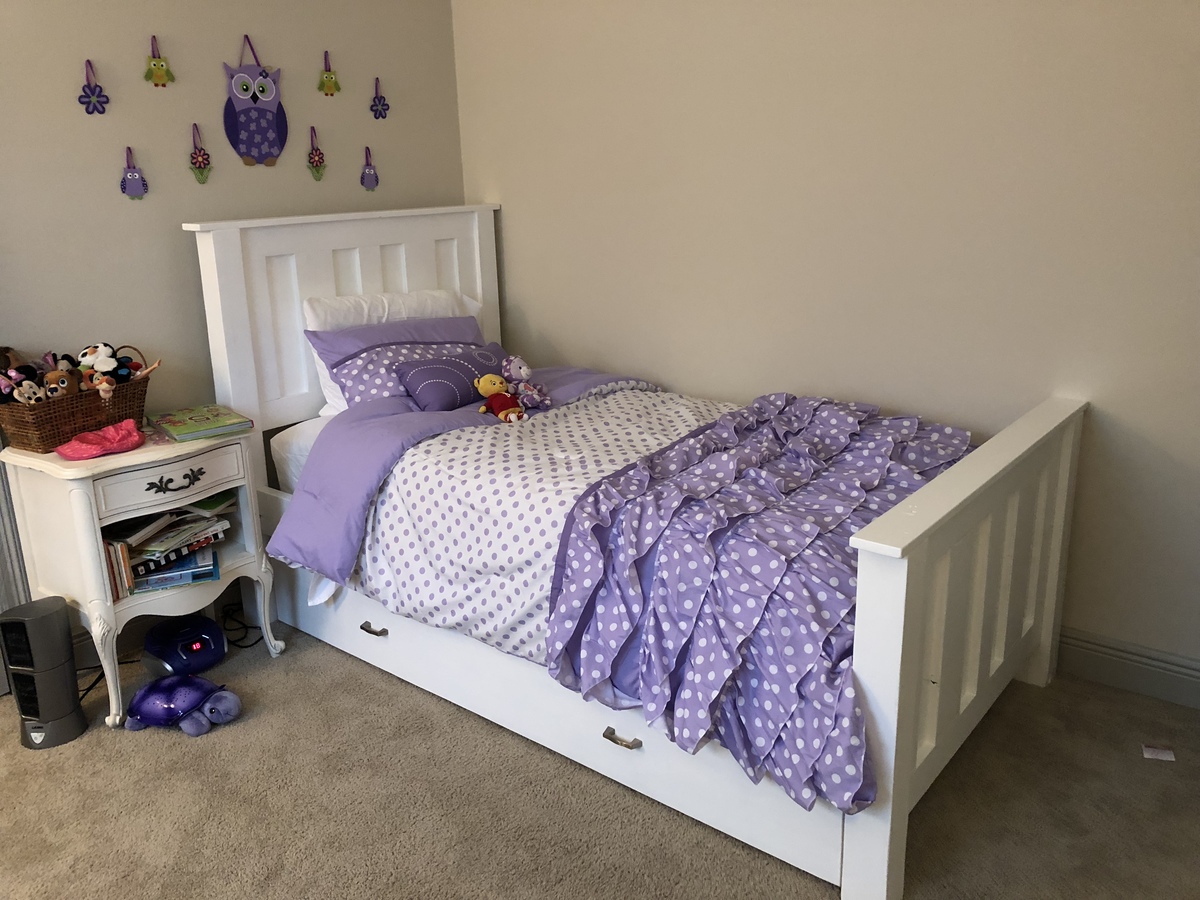
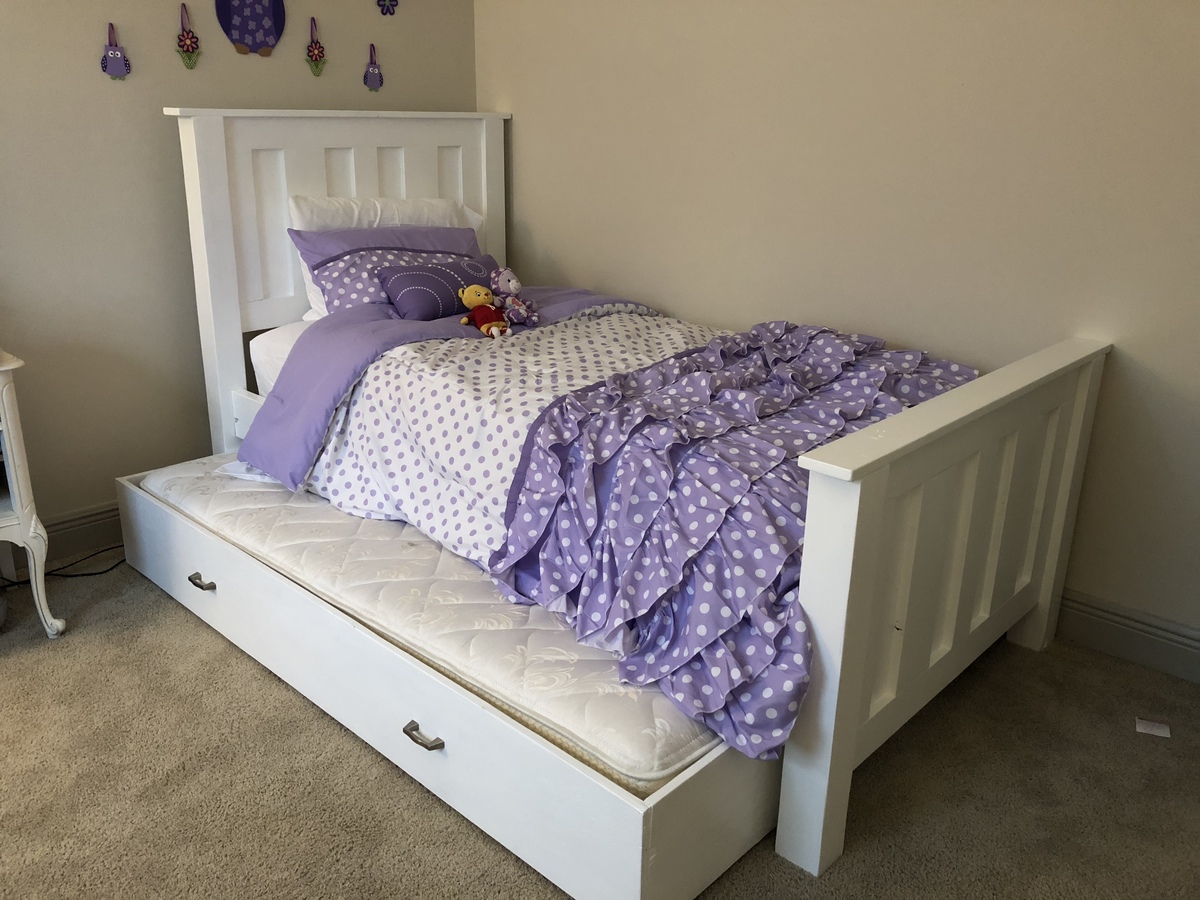
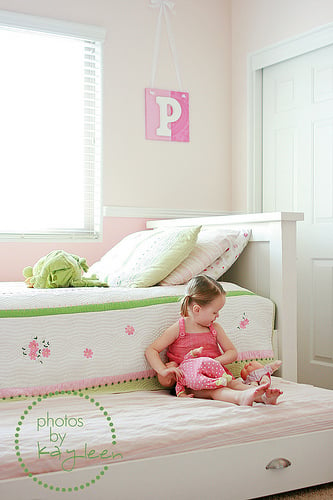
It was time for Addison to get a big girl bed. We used the Kentwood design and the trundle bed plans.
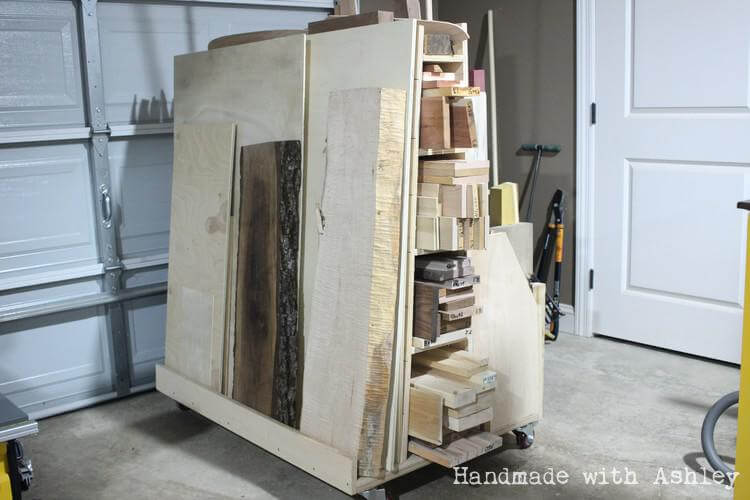
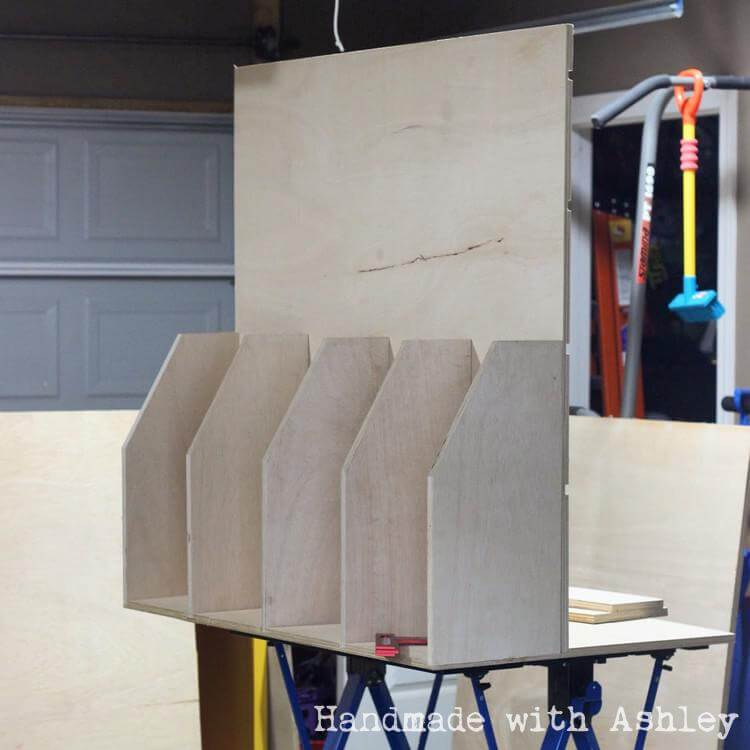
I followed plans from Woodworking for Mere Mortals. Steve Ramsey has a great build video for the project. You can check out the video on his YouTube channel. This lumber cart replaces a previous one that I built a few years ago. My old lumber rack could not store sheet goods and took up too much floor space in my garage. I disassembled the 2x4s from it and hope to recycle them for a future shop project.
For complete build details continue reading my DIY blog here.
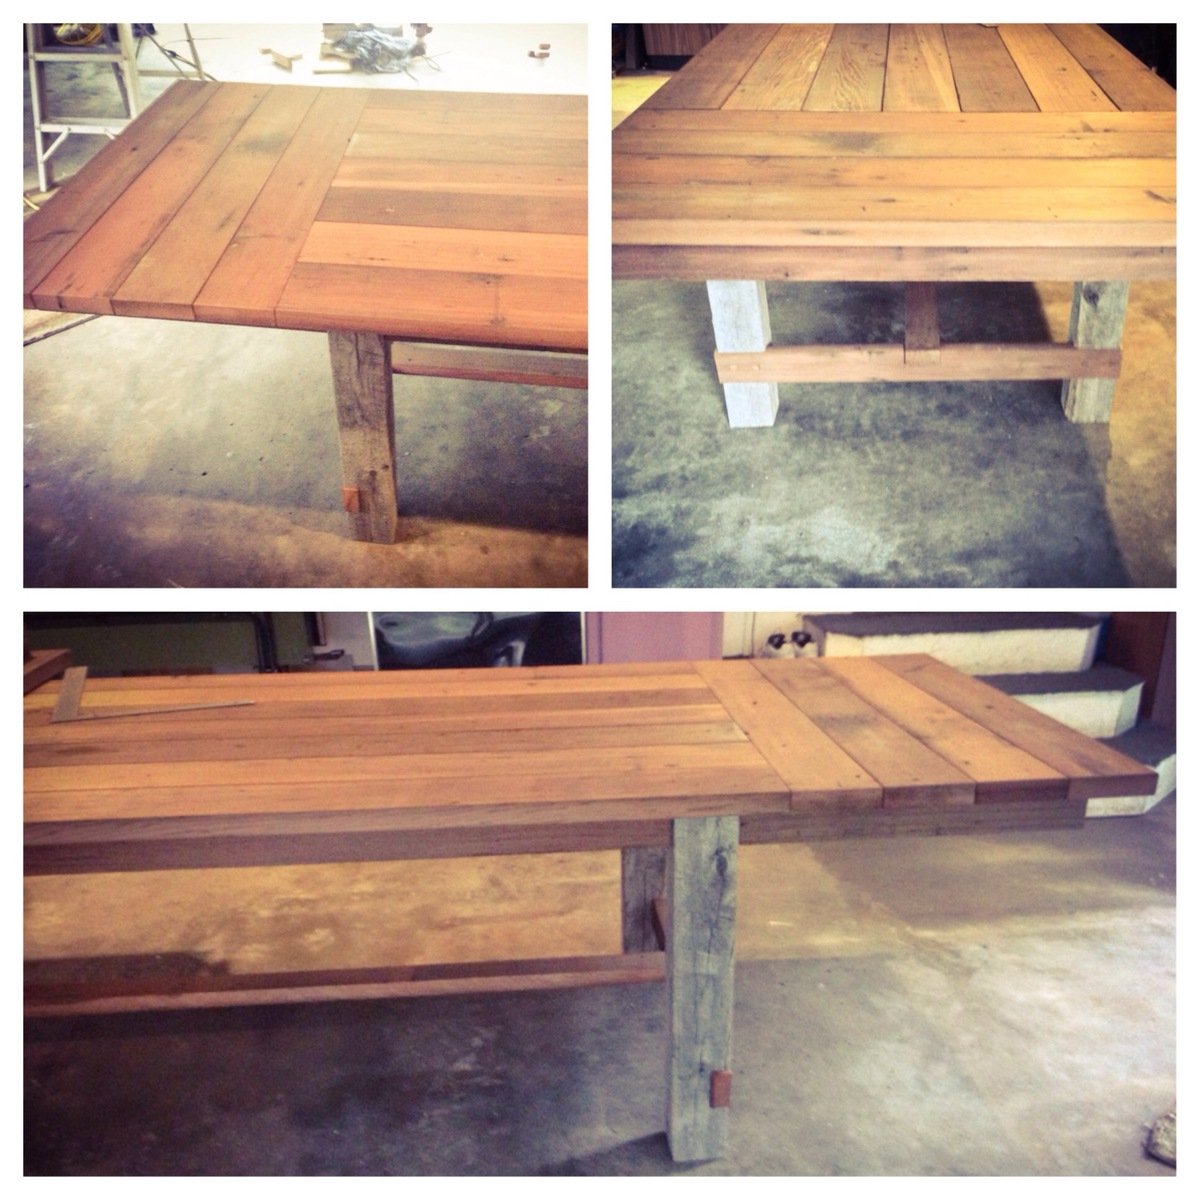
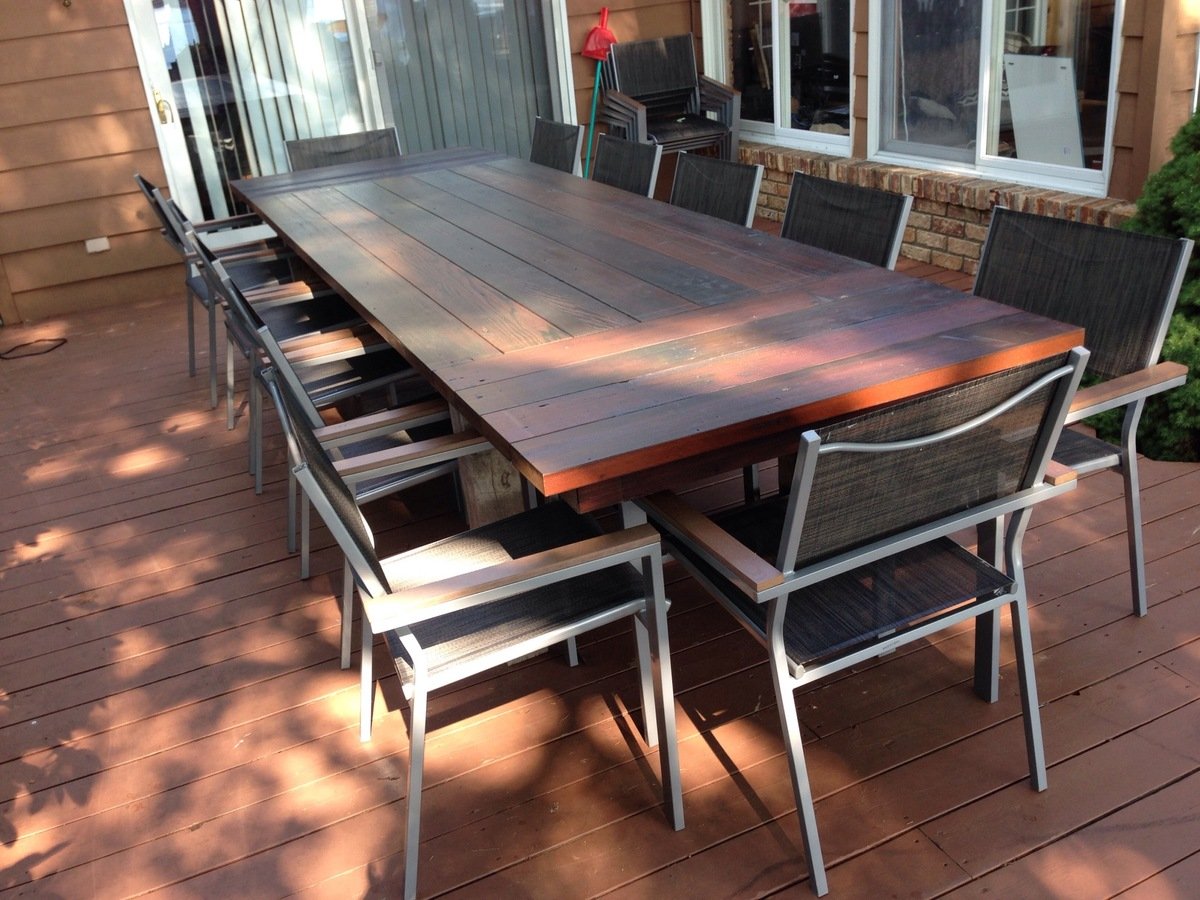
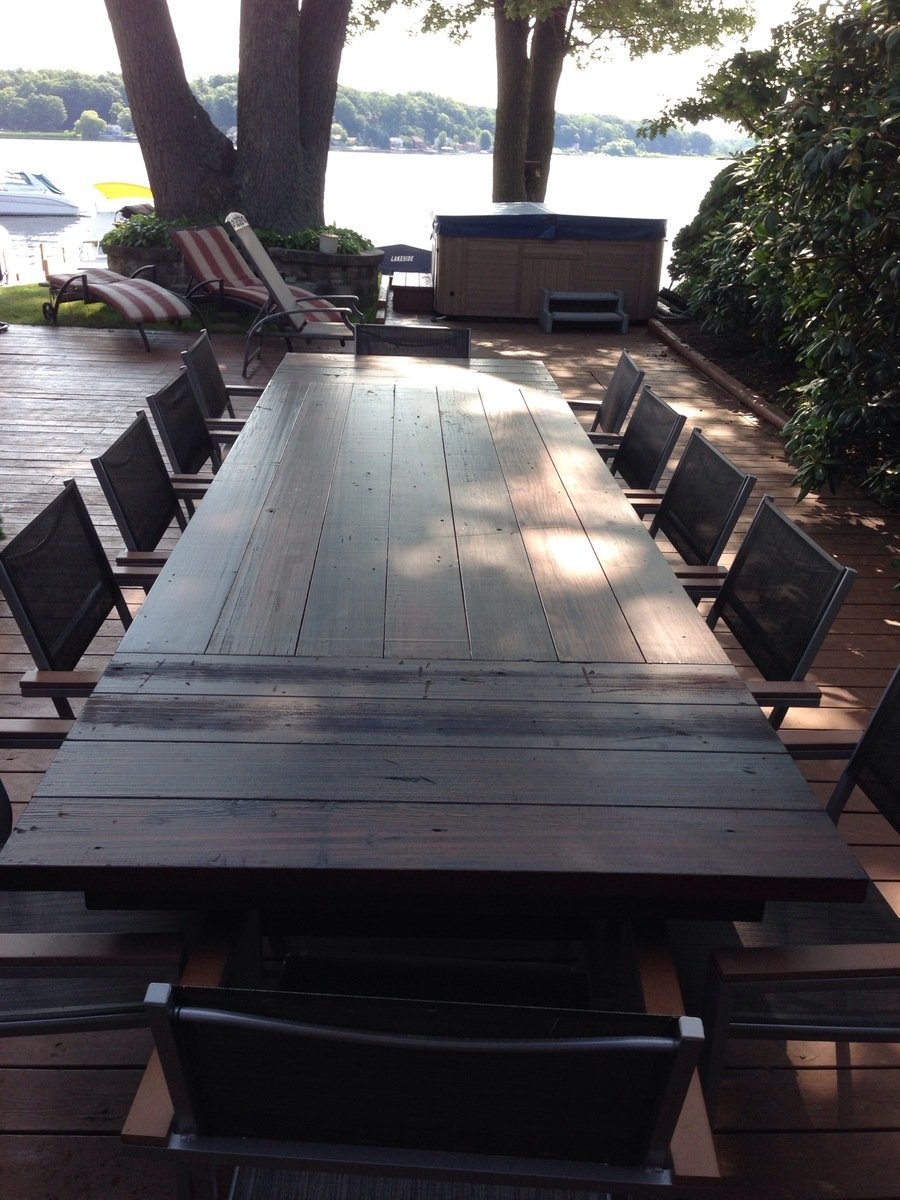
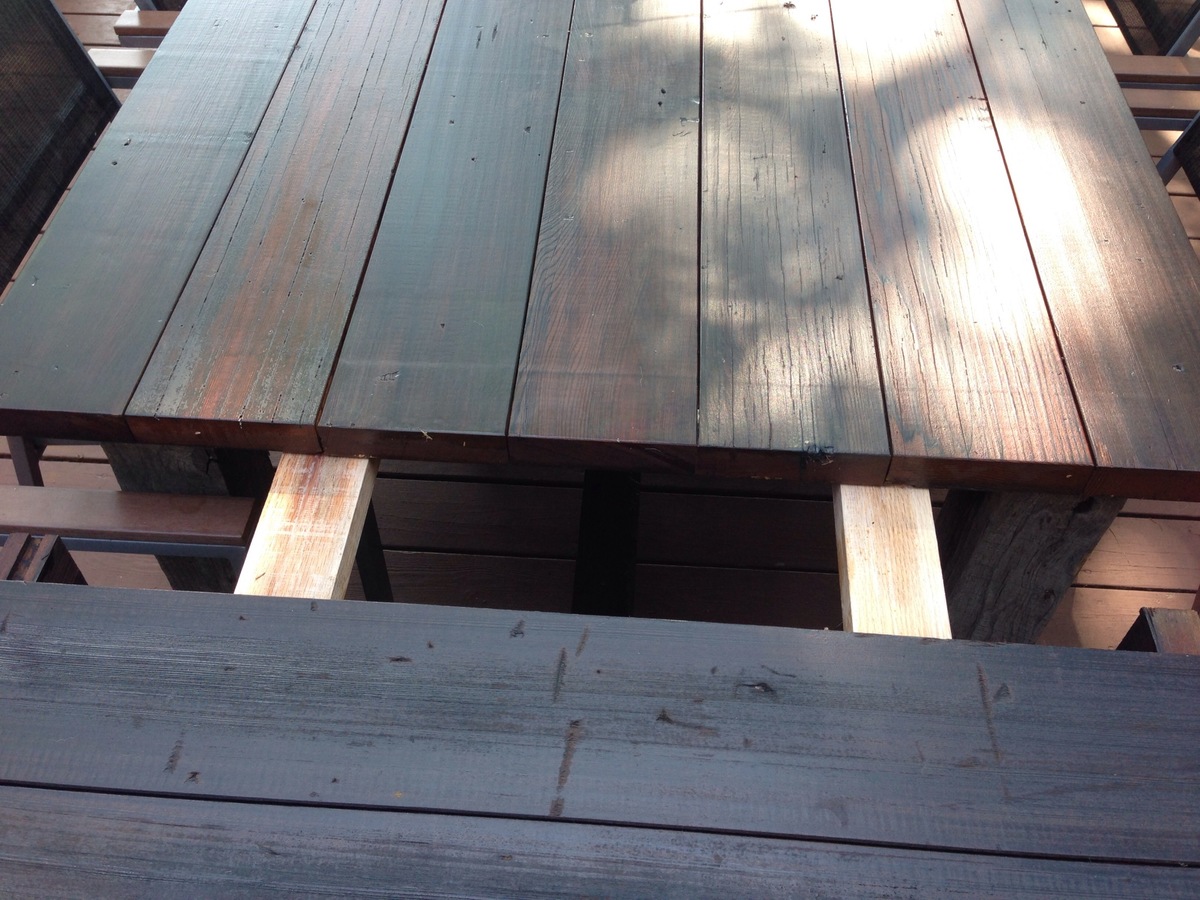
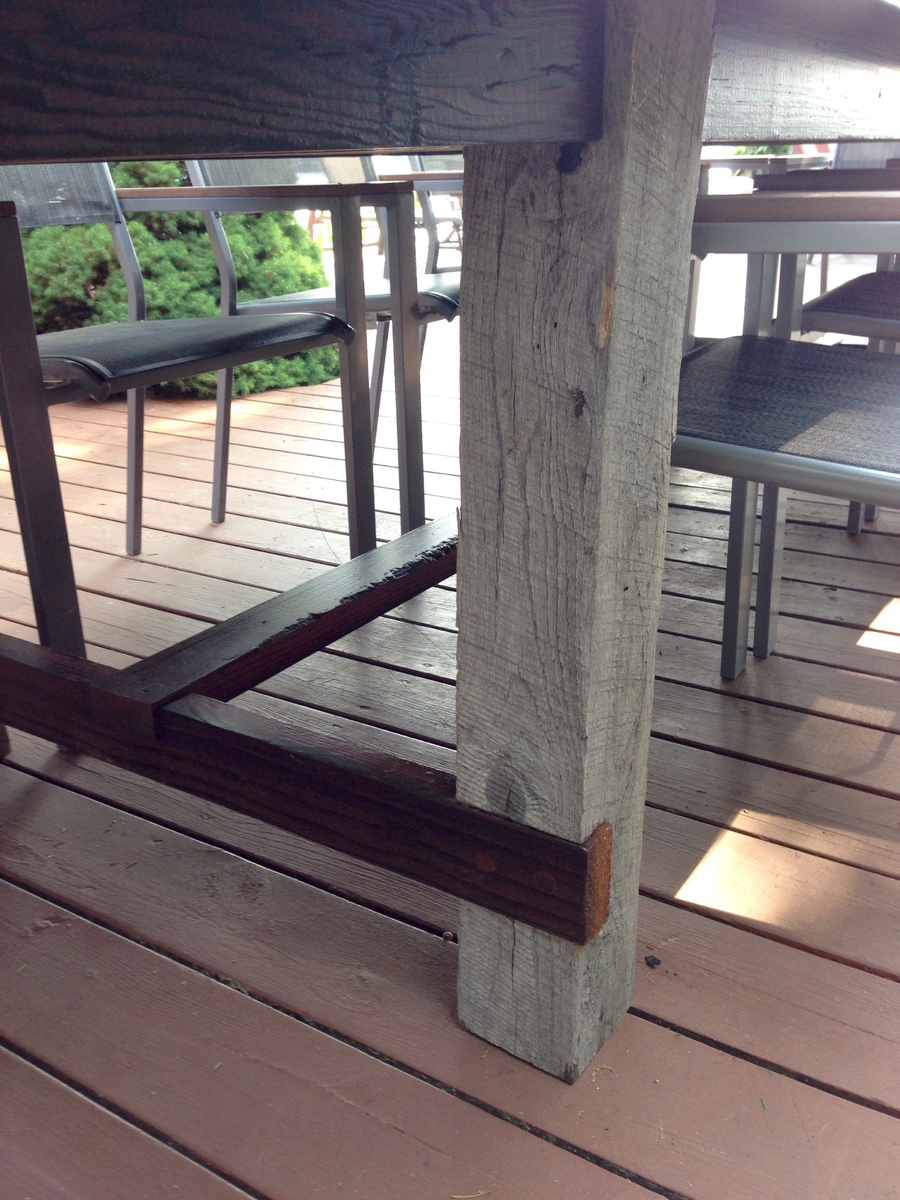
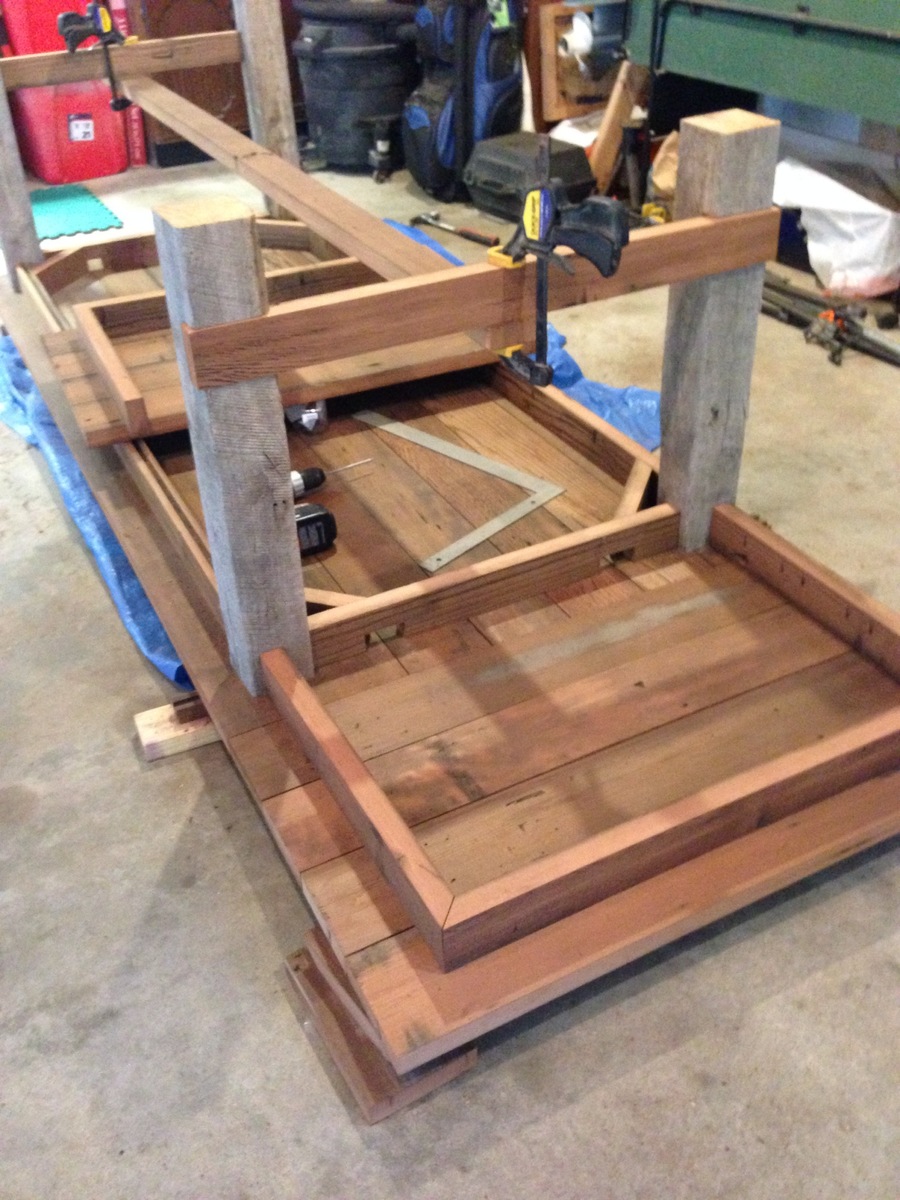
I had no experience building furniture prior to this project but I wanted a 12 ft outdoor table and could not find one. This tables center section is 8 ft and was built roughly following the plans for the farmhouse table. I added two 2 ft extensions at each end making the overall table 12 ft. The extensions included aprons so when installed they look to be part of the table. The extensions just plug into the end apron of the center section with 2x4 oak braces which engage in the apron and under the table approximately 2 ft from end. There is no visual sagging of the extensions. I finished the table with Sikkens DEK finish.
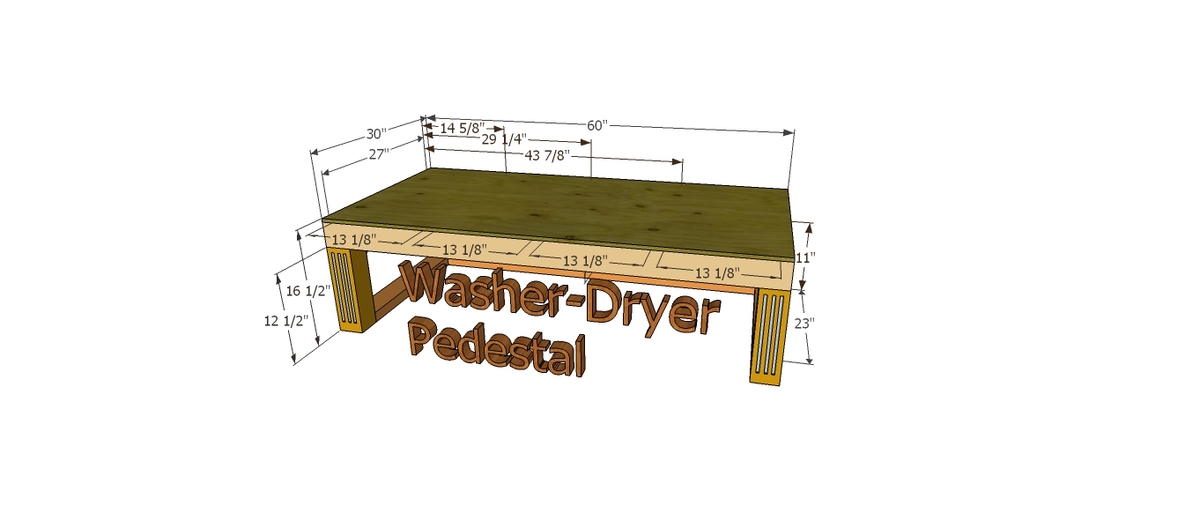
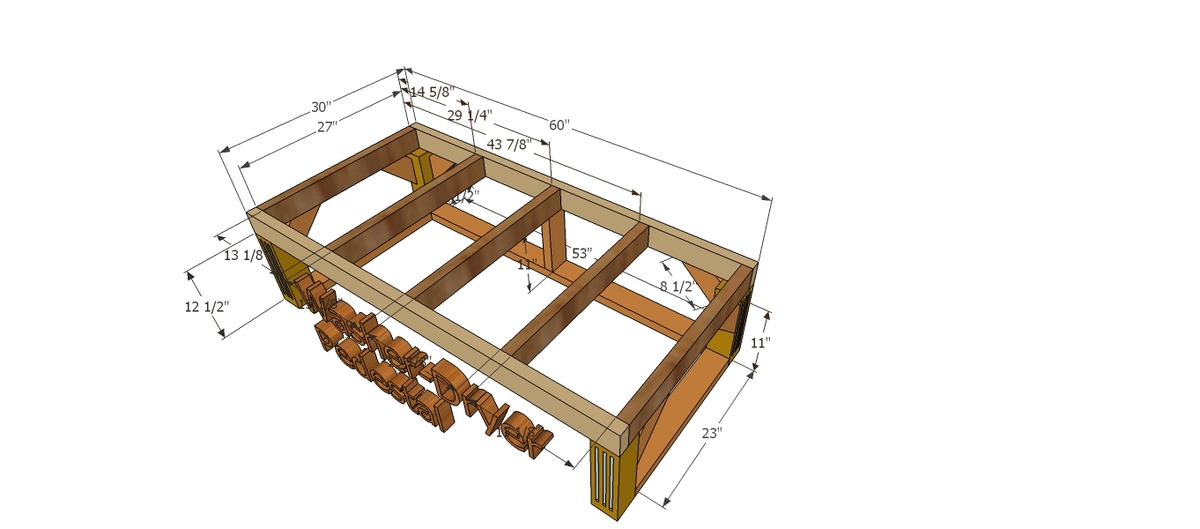
I had worked on this project a while ago, but did not had time to add my brag post. I actually modified the dimensions to fit my needs. I enjoyed making this pedestal along with my son.
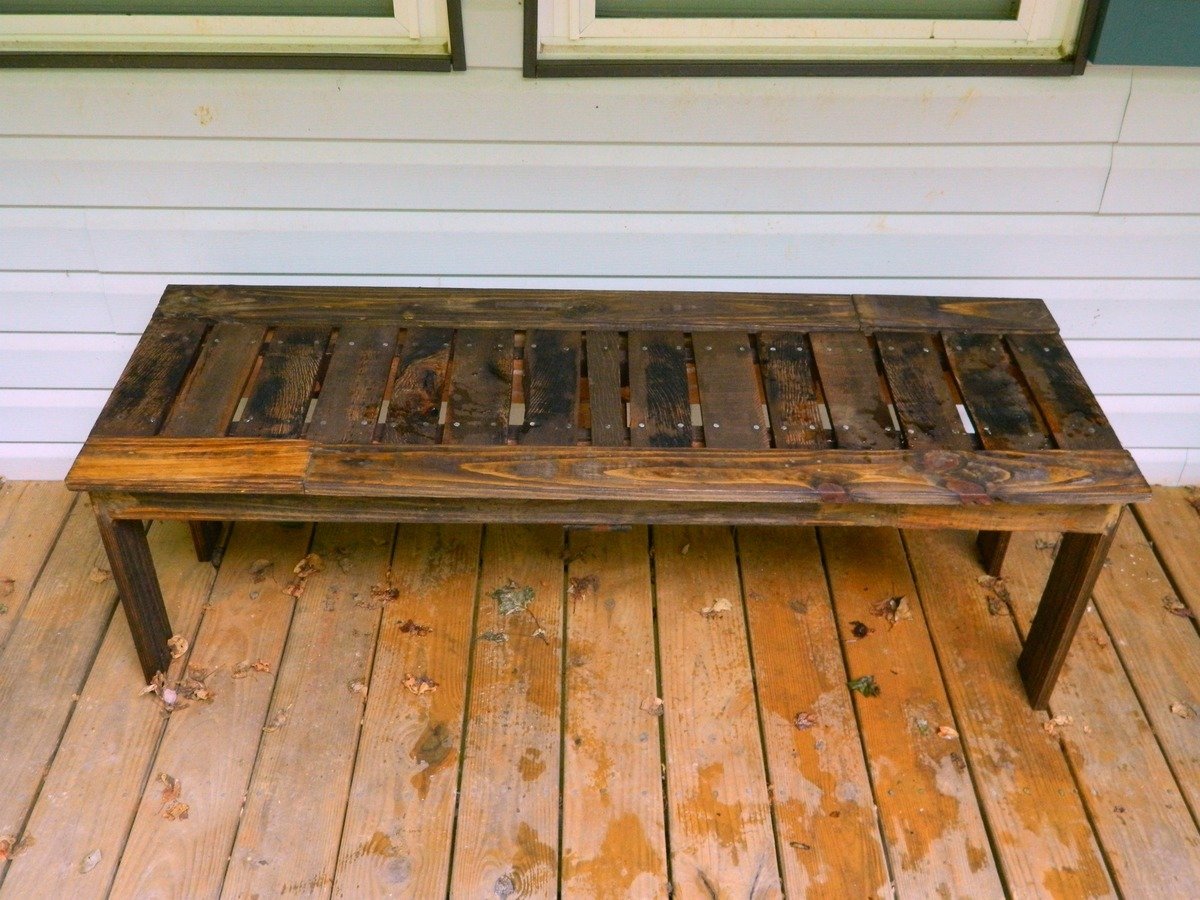
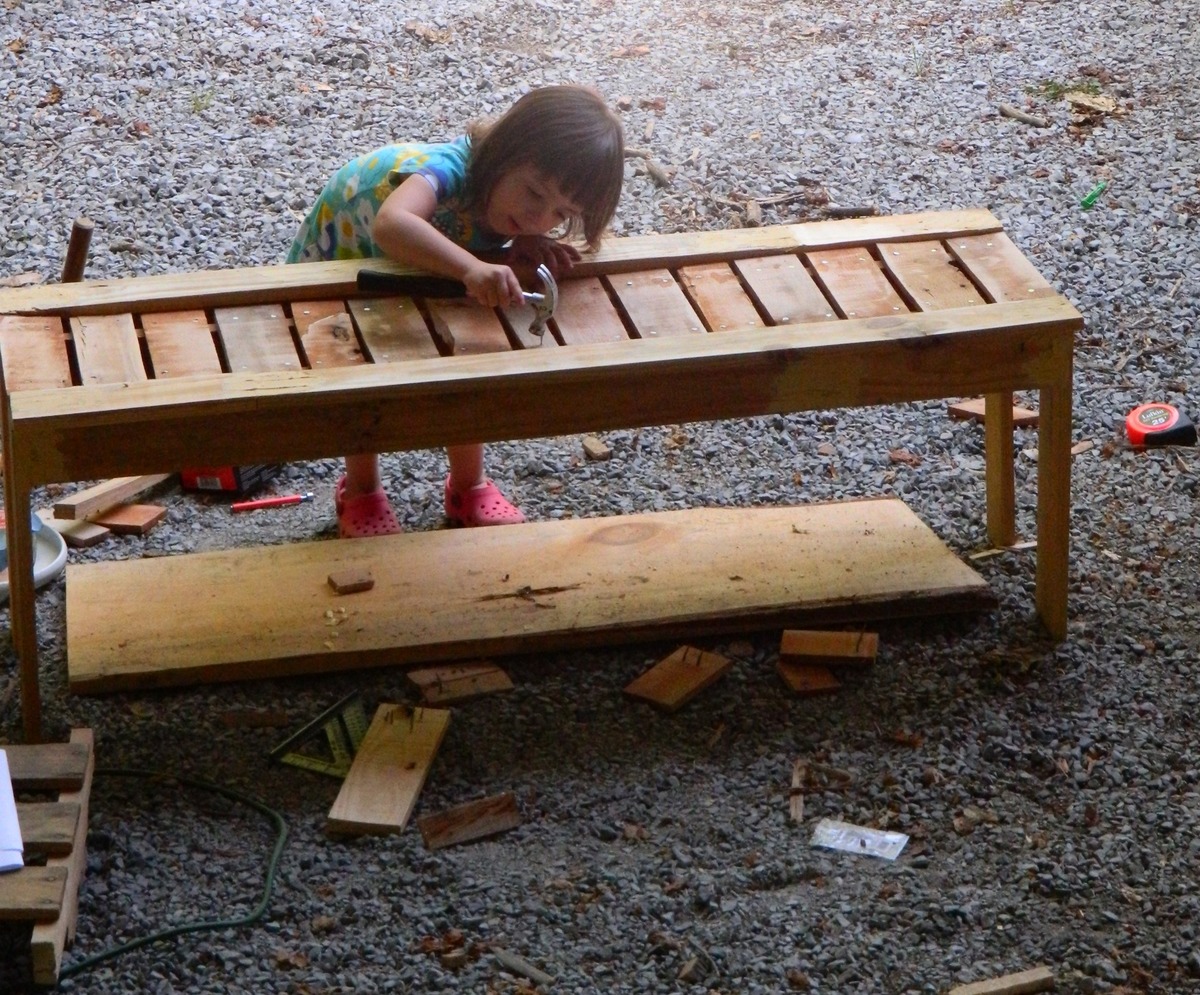
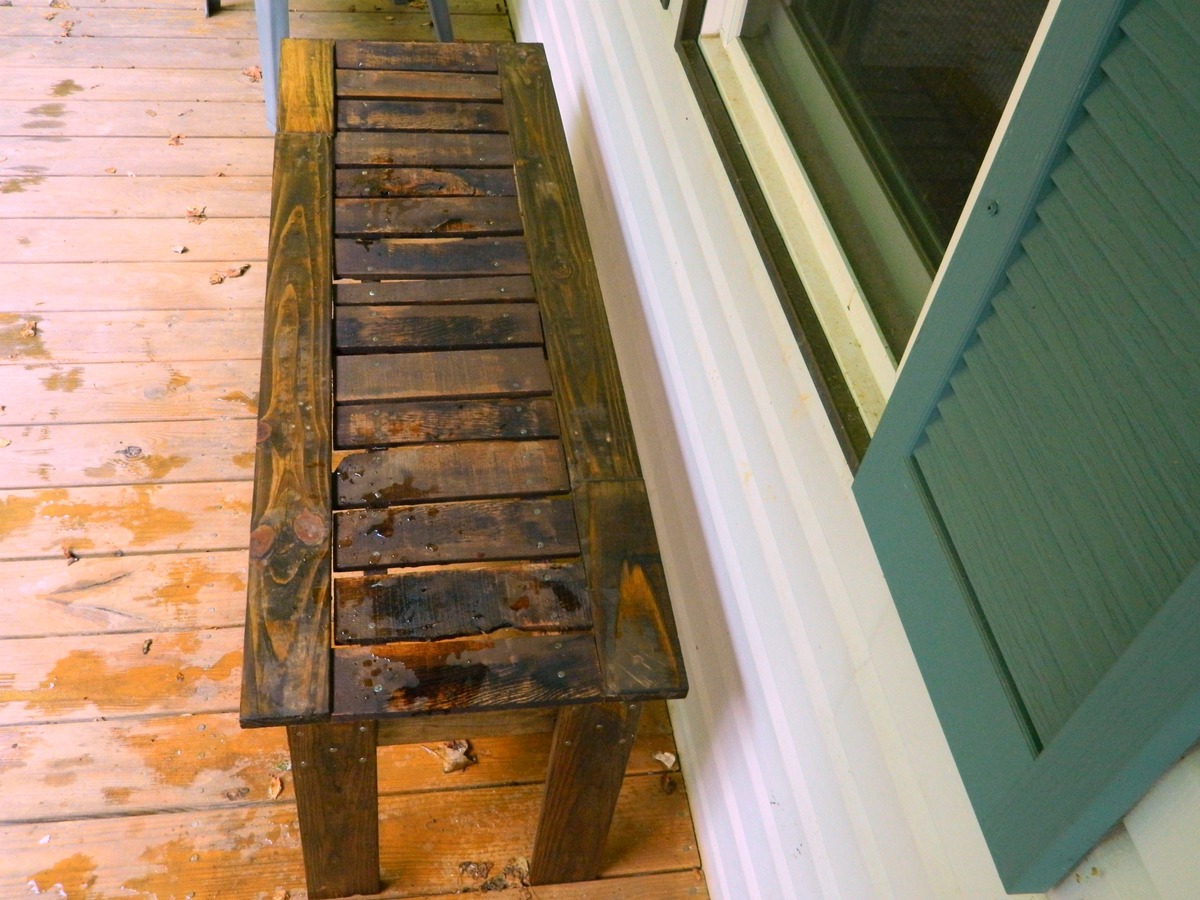
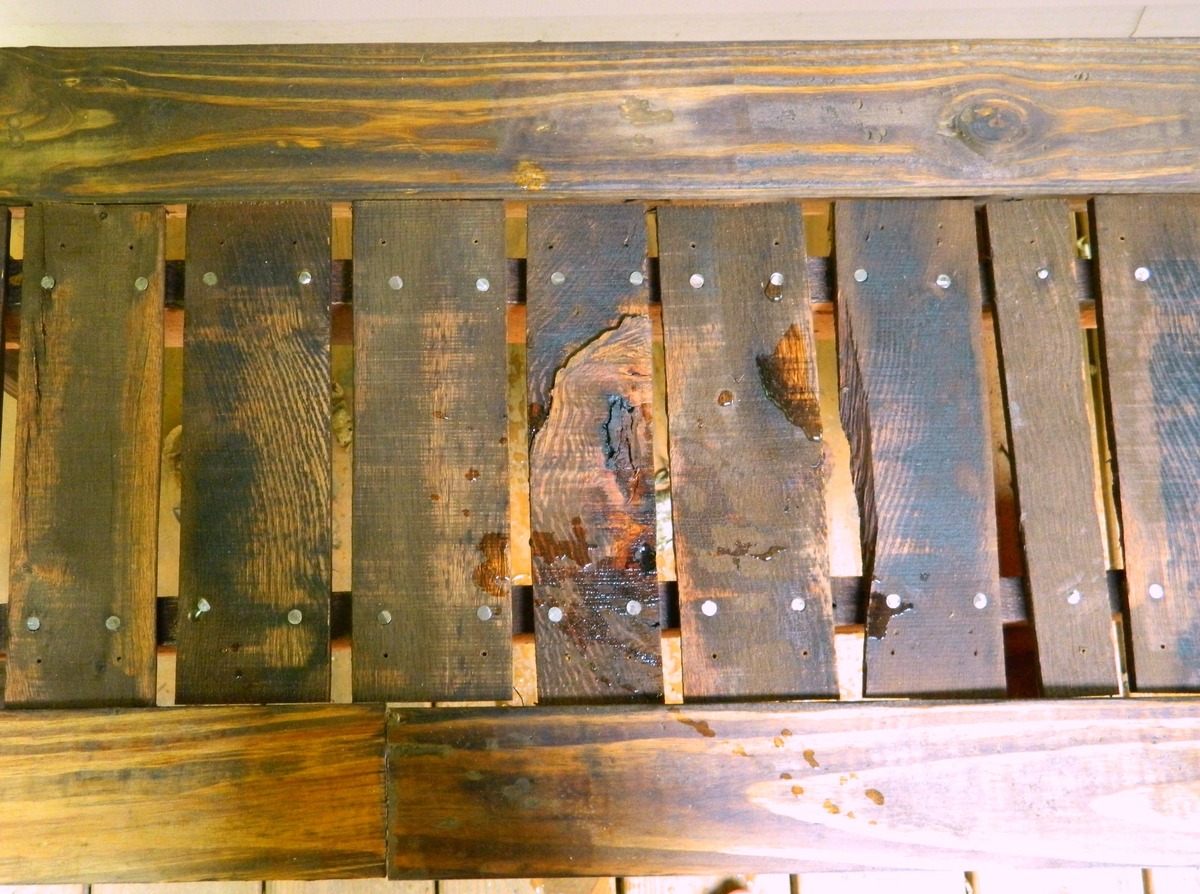
I had some left over wood from pallets and I really liked the look of the simple outdoor bench. One pallet was made out of some type of red colored wood and I decided the slats for the seat would look good in the red colored wood. The rest of the bench was from a lighter colored pallet. I used nails and glue to attach the seat slats so that my daughter could help. She loves to help, but does not like my drill even if she has hearing protection. See more at http://www.makeitlovely.com
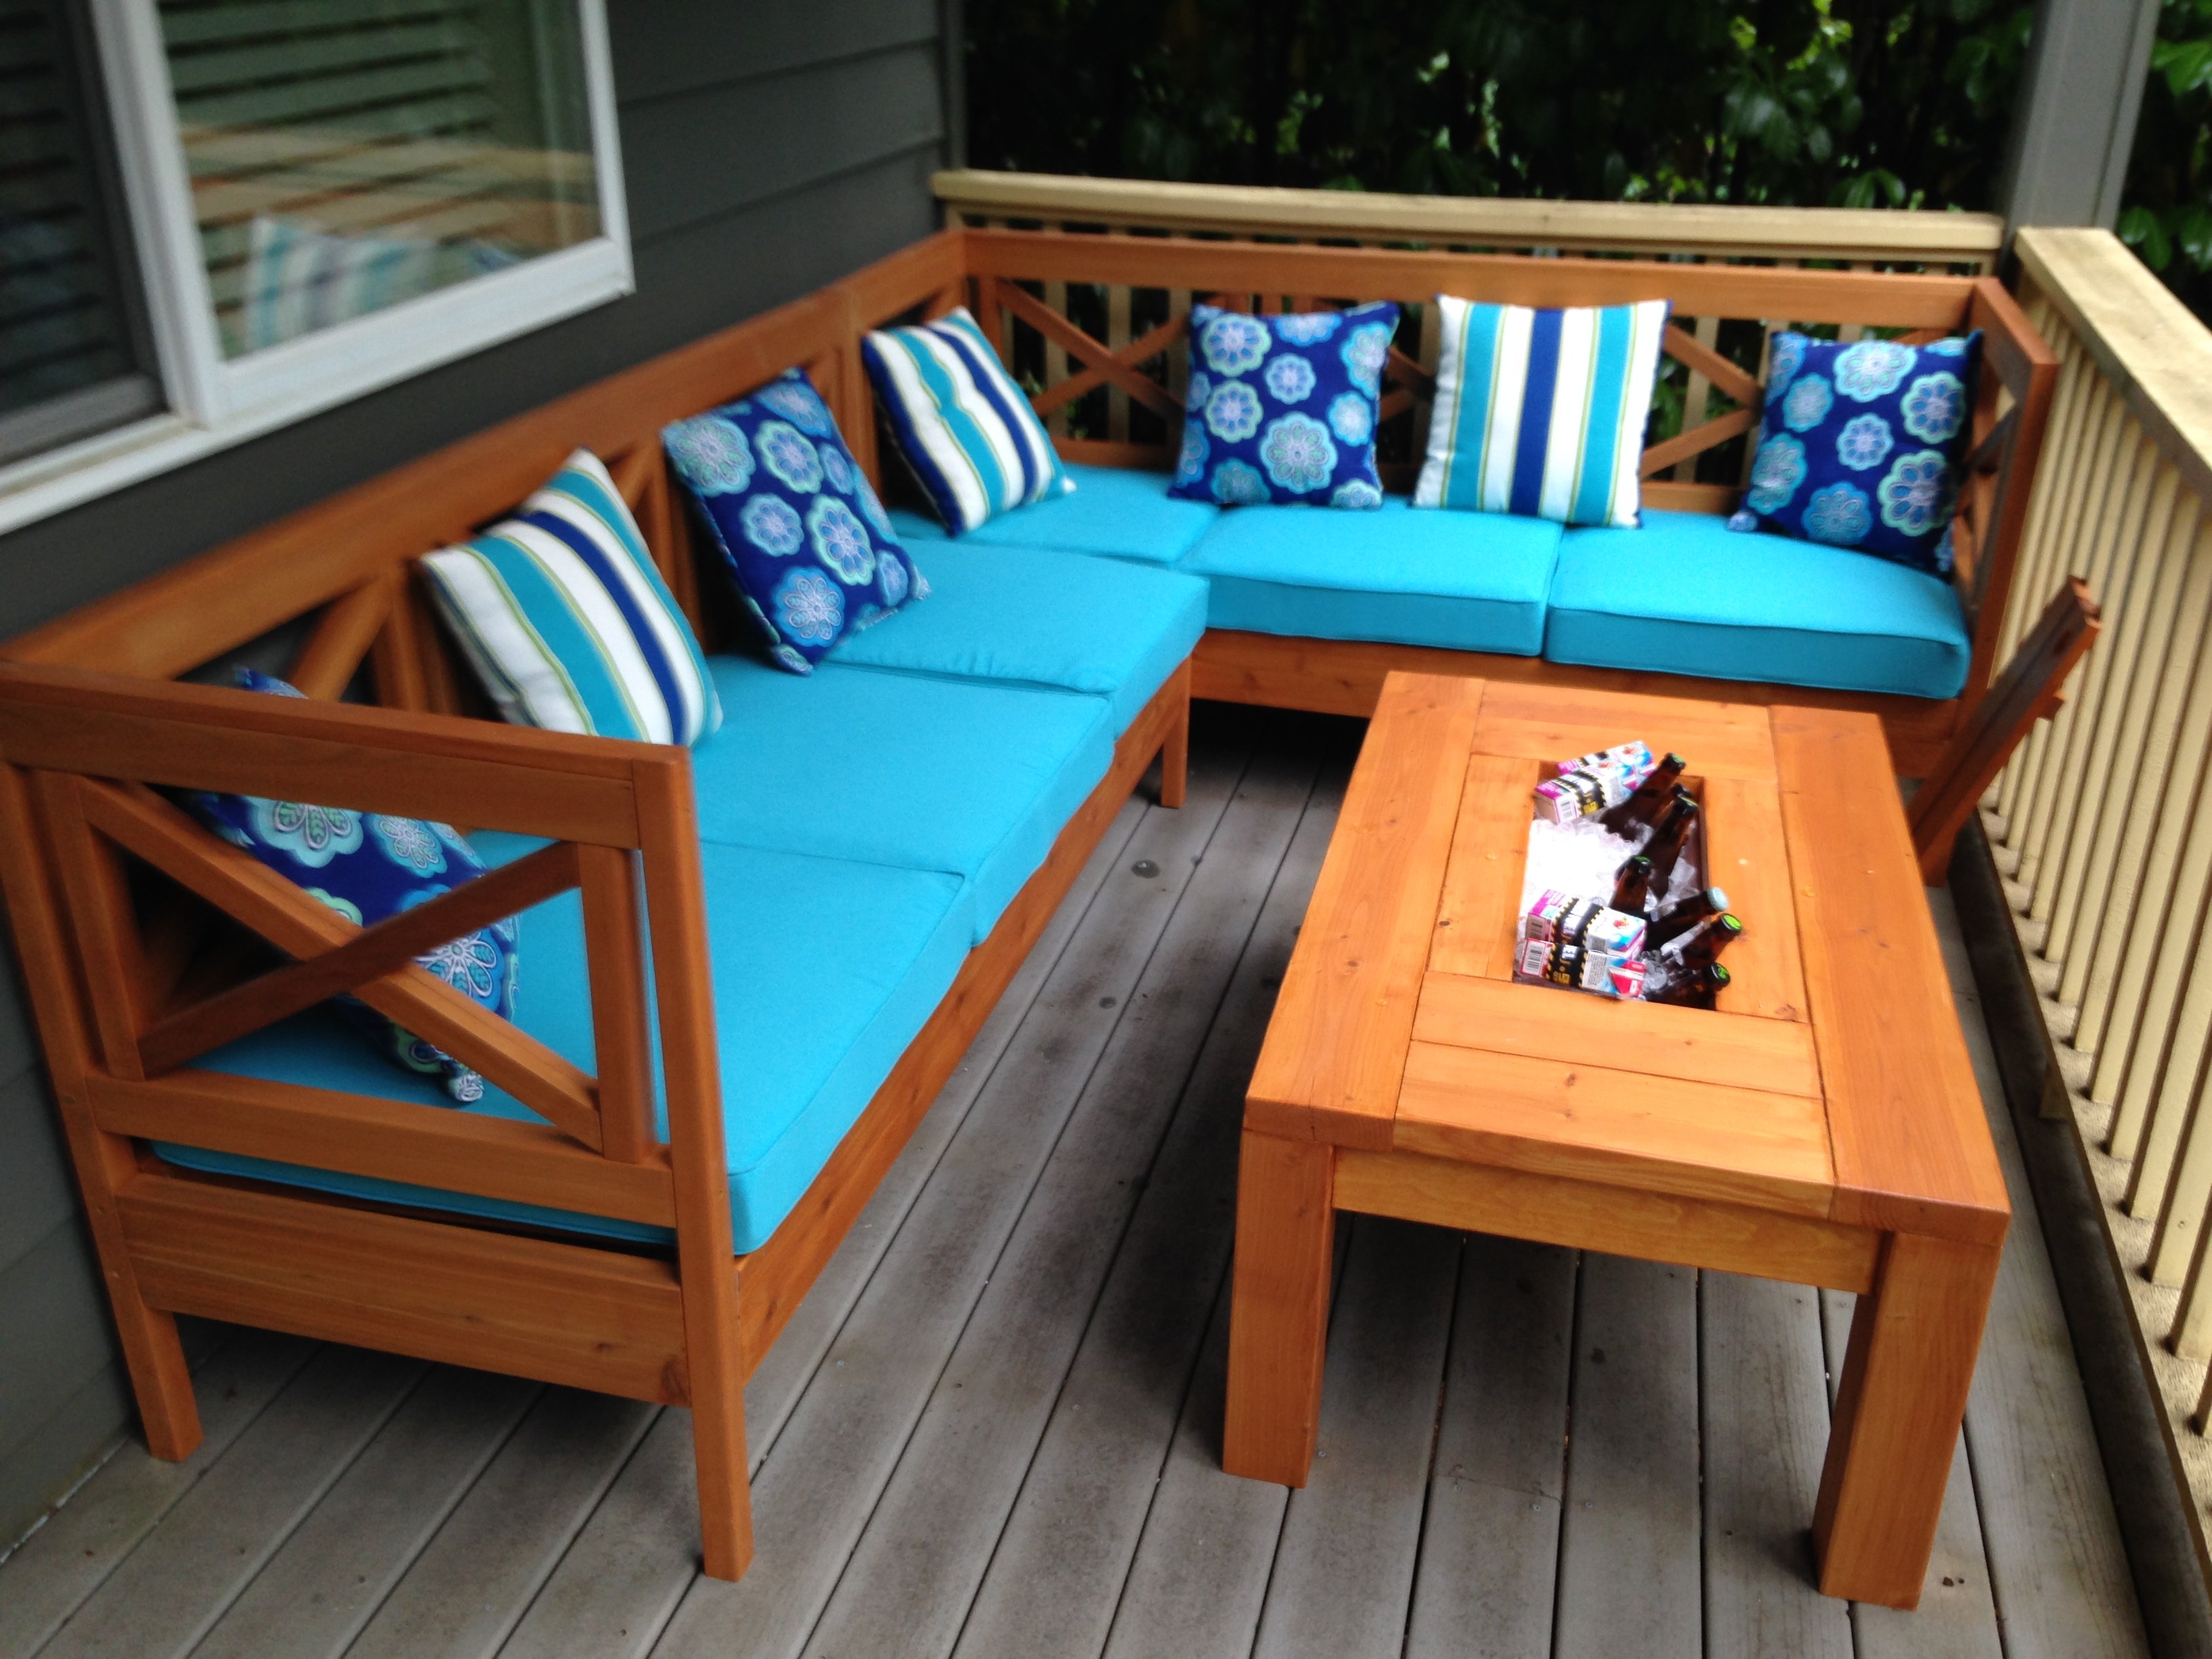
When I first saw the outdoor sectional plans from Ana I had to build this! The sectionals at potterybarn cost at least $1500 and that is without the cushions. I chose cedar for the lumber because I wanted a high end stained wood look that would stand up to the pacific northwest weather. I purchased most of the lumber from Orange and some of the smaller boards from a local lumber yard. Every board was cut first then sanded and stained before assembly. This made it look a lot more professional and no drips! There are just too many tight areas to do this after it is assembled. I made 2 Weatherly outdoor sofas and used the plans from the Weatherly loveseat to leave the end off of one of the sofas to make an L-shaped sectional. This fit perfectly for my narrow deck which is the beauty of DIY and Ana's easy to modify plans. I followed the suggestion of another brag post to attach the 2 sofas together with carriage bolts and nuts. It is important to be very accurate with all of the cuts because they have to fit together perfectly for the final product to look straight and measure correctly. Because there a about a million repetitive cuts in these plans I took the idea of another brag post and youtube and created a stop out of leftover lumber which really helped me keep my cuts accurate and saved me a lot of time. I really enjoyed using my new Kreg K5 pocket hole jig on this project which saved me time and my new Ryobi brad nailer that I convinced my husband I needed. I plan on using it on several projects which "require" a brad nailer! I bought six 25" cushions in turquoise from Pier 1 in mid-July which were on major sale and several pillows to match the color. I am somewhat of a beginner so I didn't adjust te plans to fit six 25" cushions so I had to have one cut down to 22" by a local upholstery shop (I could have purchased a 22" cushion but of course they were all sold out). I suggest at least a 3-4" depth cushion that is fairly firm, which Pier 1 cushion were.
I love the outdoor coffee table with built in beer cooler idea that another brag post had suggested.It uses a planter box as the cooler. I used the same stain which worked well and adequately waterproofed the table. It also has a cover for the cooler when it is not in use. I thought it was a nice addition.
I loved this project and how it turned out! Thanks for the plans and inspiration!!!


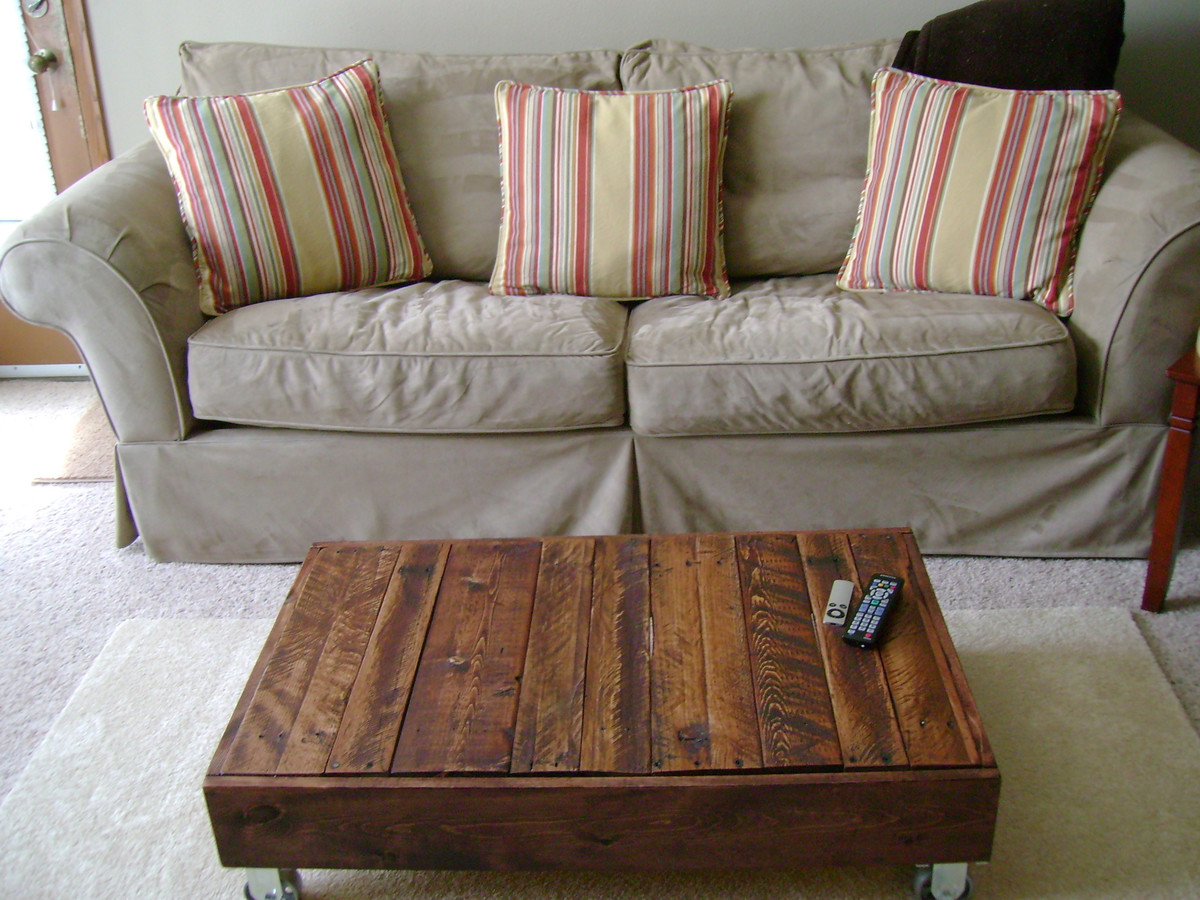
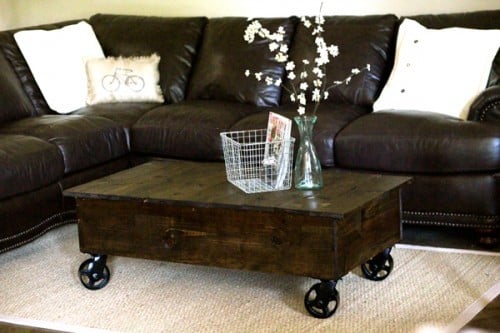
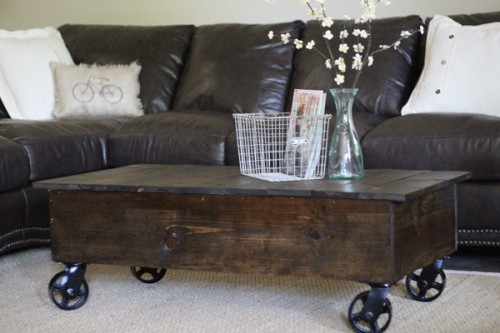
My first build! I tore apart two old pallets to get the surface boards for the table. The skirting is 1 x 6's from the hardware store. I need larger casters but am saving up for the real vintage ones.
Tue, 06/28/2011 - 02:26
You need to post what you come up with. Plus how did you get you photo on my comment posts?
Tue, 08/07/2012 - 00:05
My daughter cleaned her room so instead of renting a dumpster I hauled it to the dump i mean"land fill". Anyway instead of coming back the normal route they detoured us around the dump and I found the mother load of pallets. You could ask and they will be free if your "land fill" is like mine...
Tue, 06/28/2011 - 01:32
I worked at a candy factory that received several pallets all day long and I loved the ones that had writing on them, like Ghirardelli (a chocolate company), Blommer (chocolate manufacturer) and a few others! I've picked up a few and have made picture frames and shelving from some.
Tue, 11/01/2011 - 10:24
I took some pallets from the pumpkin patch last week, with the dream of making something similar!! I want mine a little taller so I am going to attempt a shelf or something, I have had my casters for weeks and was psyched to find the free pallets! Great Job!
Tue, 11/01/2011 - 10:24
I took some pallets from the pumpkin patch last week, with the dream of making something similar!! I want mine a little taller so I am going to attempt a shelf or something, I have had my casters for weeks and was psyched to find the free pallets! Great Job!
Thu, 04/05/2012 - 06:49
Love your site and the fact that you share so much info for Diy's. Where is the best place to get the caster wheels? Vintage are sooo expensive so I got to believe that they are out there new with the idea in mind to antique them..
Thanks for all that you posted and shared..

In reply to Caster Wheels? by Queenie (not verified)
Sun, 04/15/2012 - 12:03
The two best sources I've found for cart wheels are Menards and Harbor Freight. I think you can order them from Rockler or Lee Valley too, but I know that the two physical stores have a good selection and the prices are reasonable.
Mon, 04/23/2012 - 13:38
I love it! I've been searching for one to buy but might try to make my own now I've seen yours....and definitely more satisfying when you've build something yourself from scratch. Fab job.
Fri, 05/25/2012 - 23:21
With lots of wonderful options of North Experience Jakcets Outlet, you will be ready for all seasons and all sorts of climate conditions.Obtainable in only about every single shade from pink to orange, sky blue to lime green, this slim coat undoubtedly delivers a bit a thing for everyone.Hat, the particular size can influence the actual degree involving in shape.Karen Millen Dresses Neck marriage ceremony this year set off the rate of growth in retro type with the appeal of asymmetric solitary glenohumeral joint wedding ceremony attracts everybody's consideration, once again going back to fashion trends.Within the cold of winter,it truly is essential to have the protection from North Encounter Jackets.They even touched the actual He Damon the particular Hollywood celebrity.
Thu, 07/19/2012 - 22:23
"That’s is so impressive; I am very pleased by this post. Complete information on this post!!! I really like it"
Thu, 07/19/2012 - 22:25
"That’s is so impressive; I am very pleased by this post. Complete information on this post!!! I really like it"
Fri, 08/31/2012 - 12:15
I want something like this only I might make it taller. Also you can search Goodwill for antiquish castor wheels! Good job!
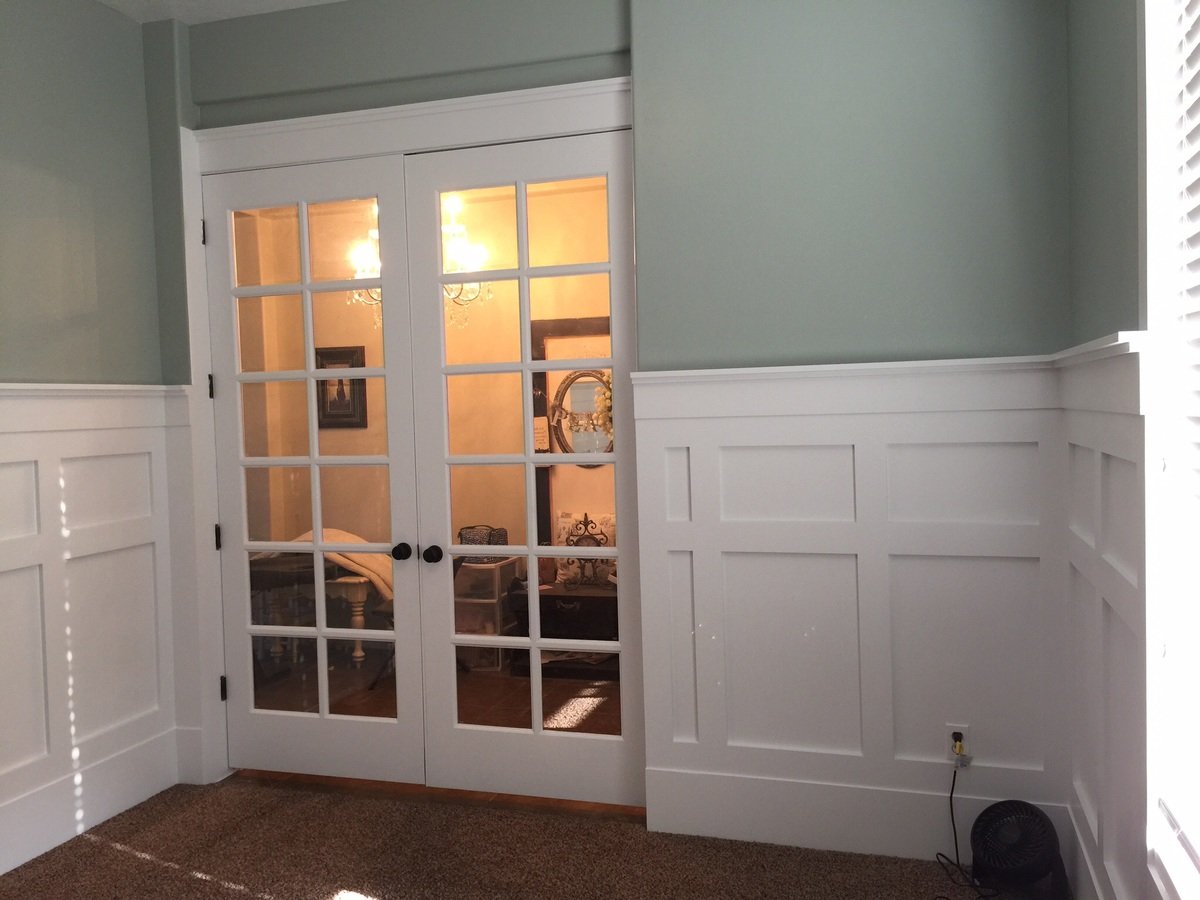
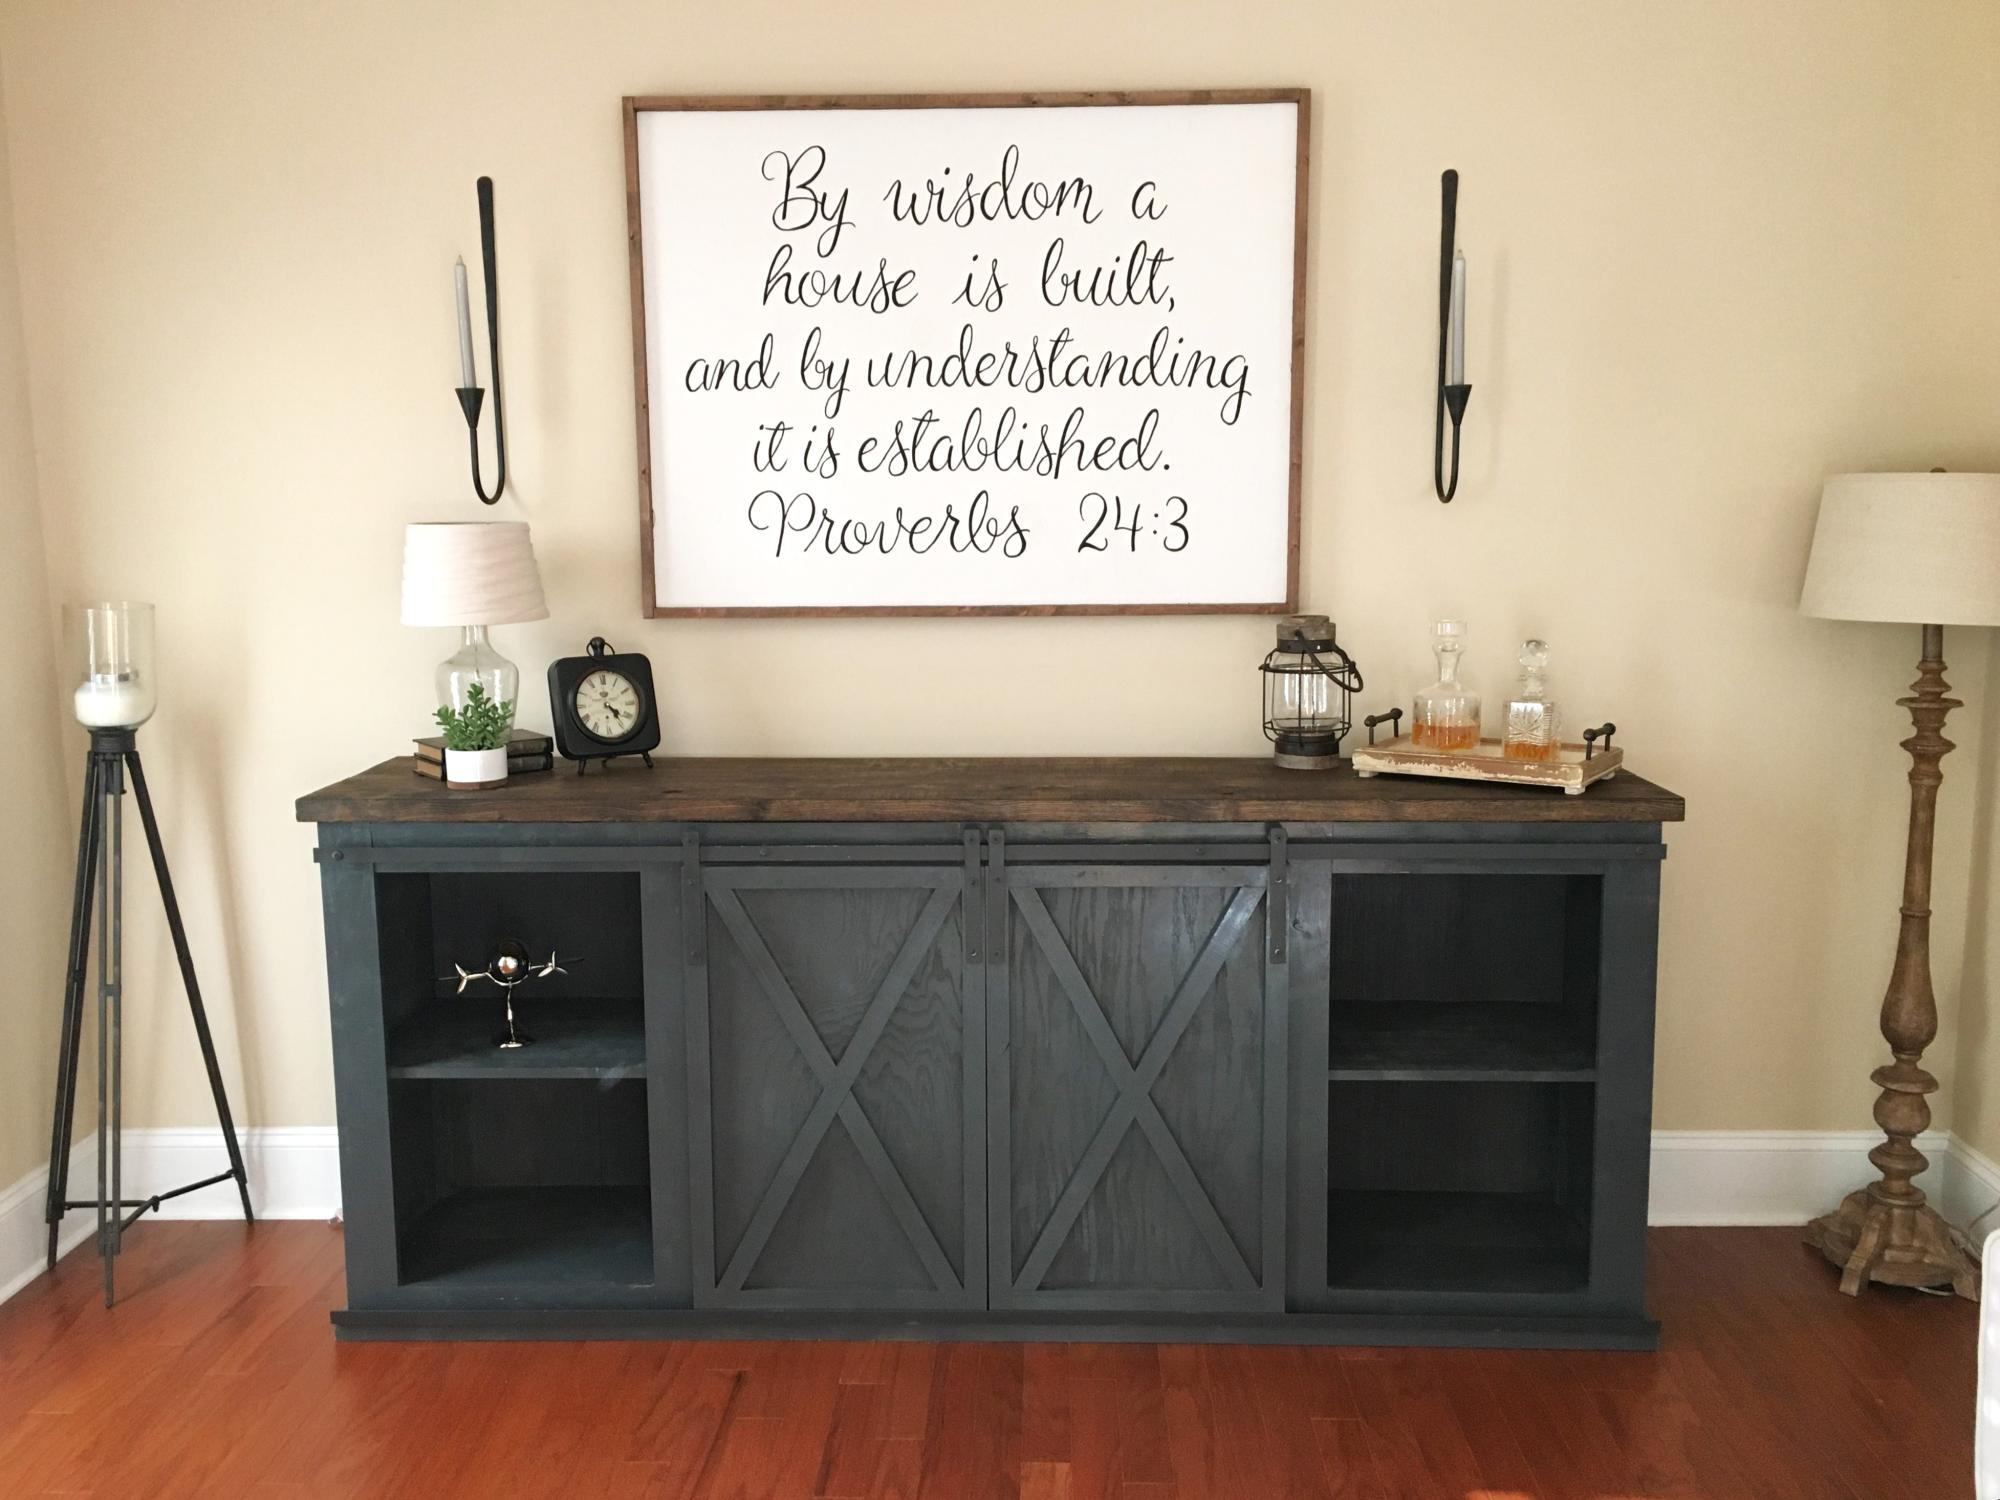
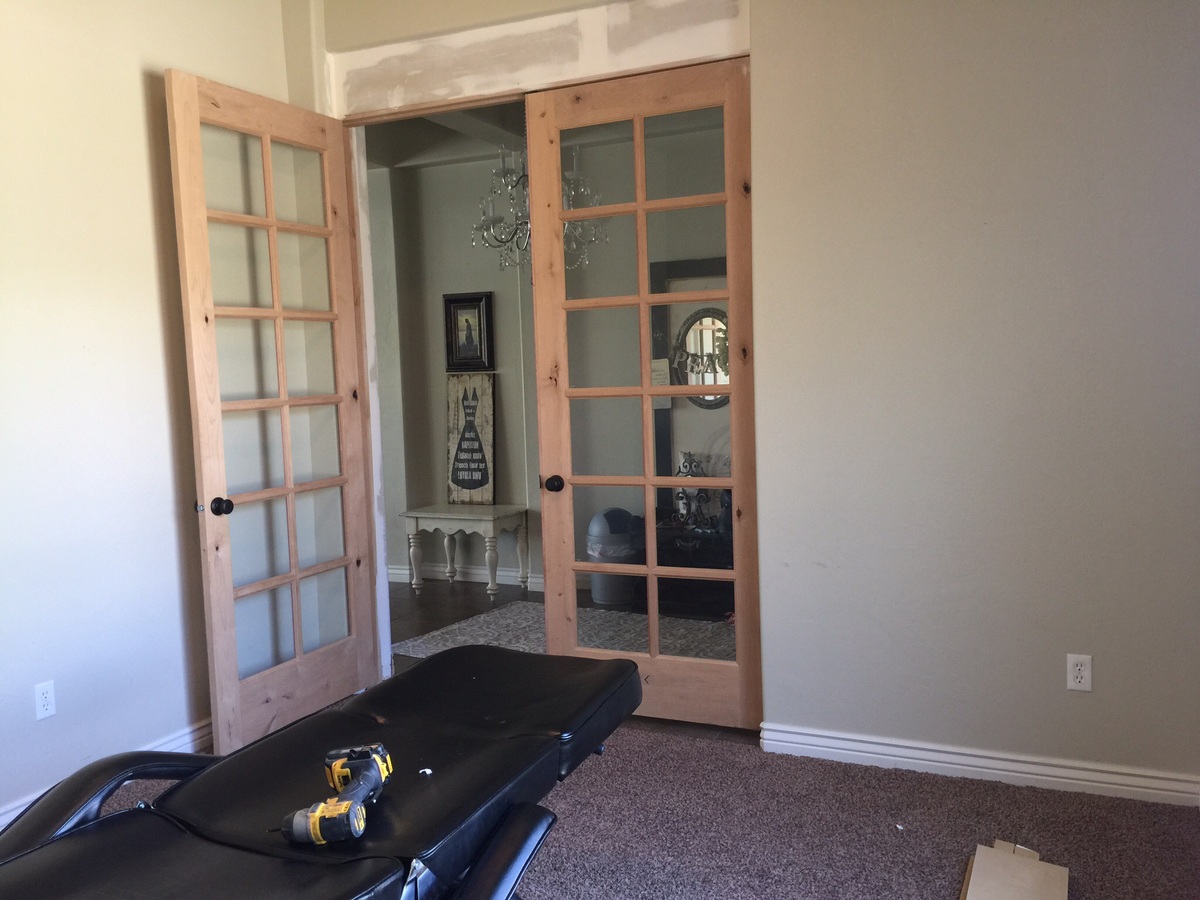
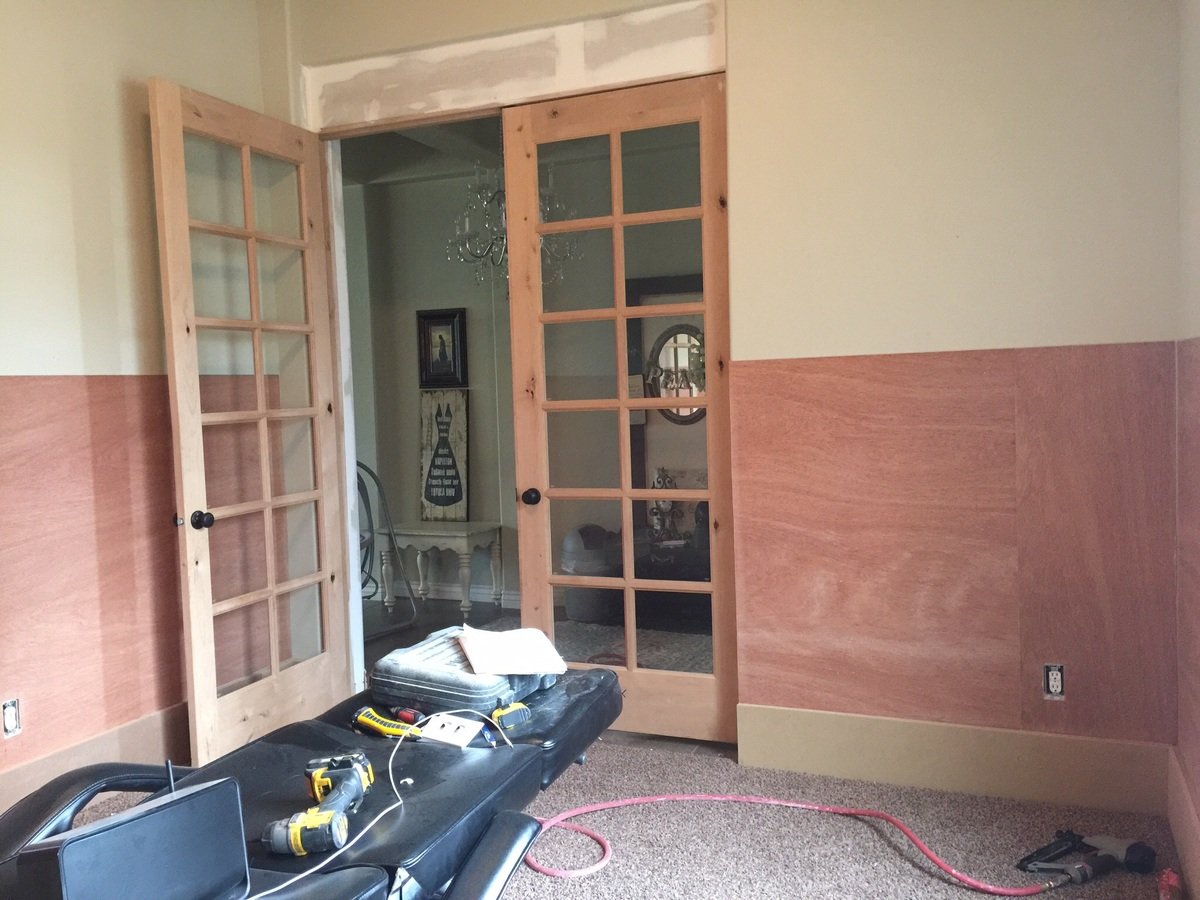
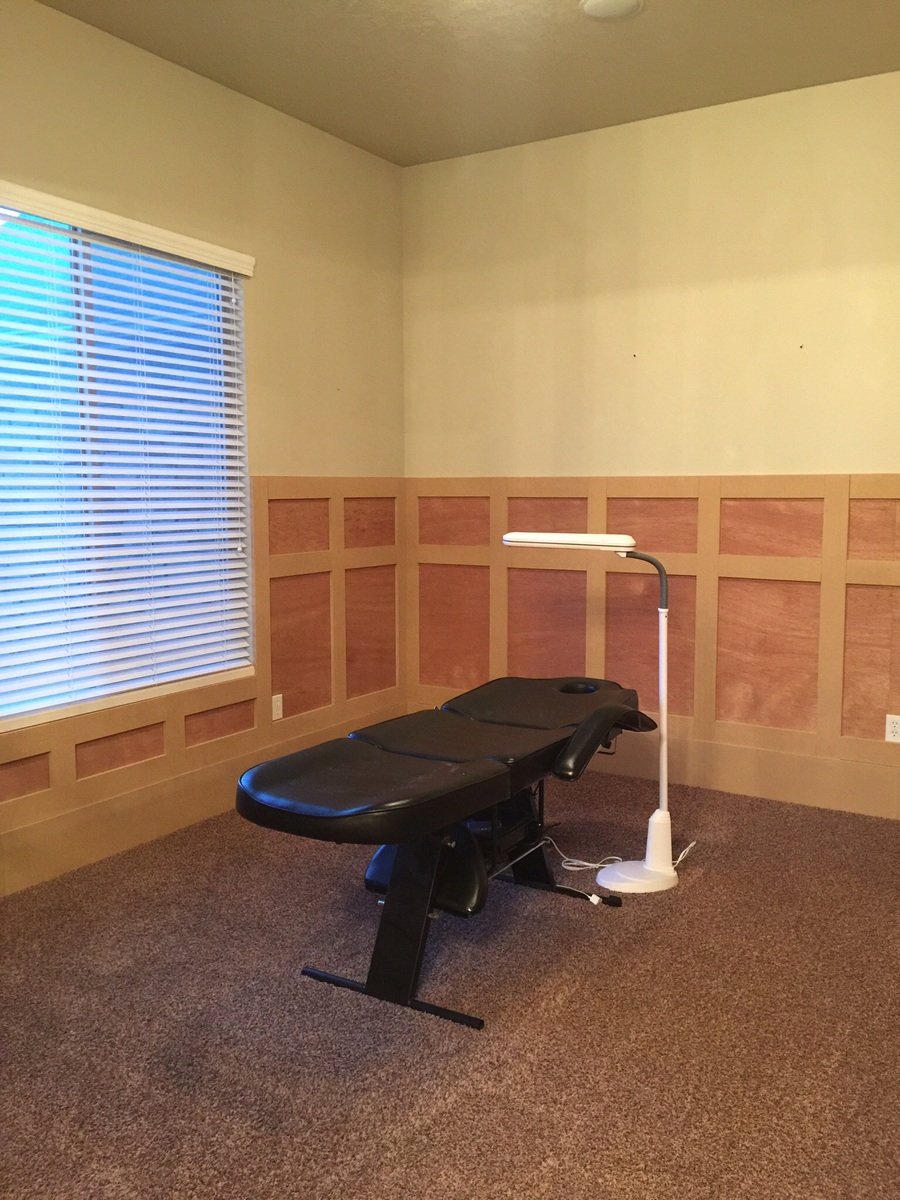
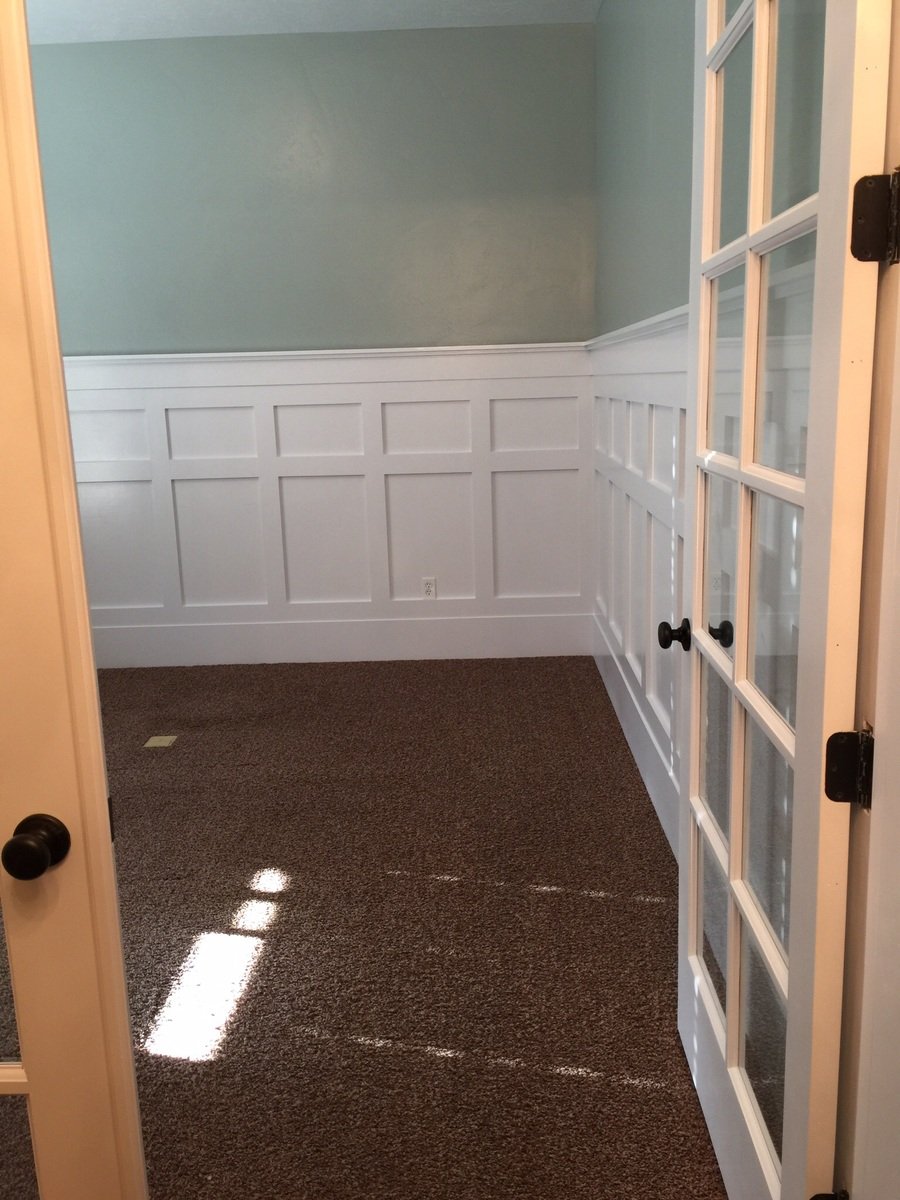
This was a project that took me about 4 weekends. Last year I installed the French doors. I decided that this was the year to finish them and the rest of my wife's office with a custom Wainscotting, based off the farmhouse style. In order to keep it cheap, I used 4' x 8' sheets of 3/4" mdf. I would then rip them to the width of my choosing, based upon design. Overall, I used 4 4'x8' 1/4" plywood (for backing), I used 5 4'x8' 3/4" mdf... At a cost of $29/sheet. After installation, filling holes and seams, I primed then painted using a spray gun. Total cost: about $350. The room is much more rich, and really lightens up the space.

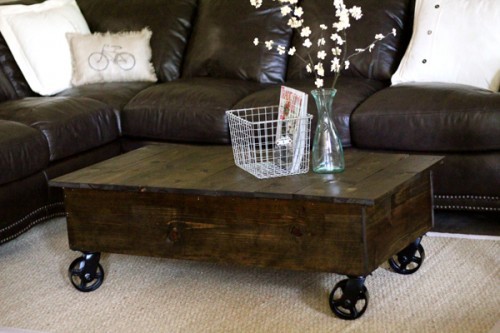
I used Ana's plans for her factory cart coffee table to create my new coffee table. It was super easy and cheap! I used 1x10's for the sides to make it a bit taller. I found my casters at Northern Tool for $12 a piece. That was the main cost of the table. I used Gorilla Glue and 2" nails to hold everything together. I had it done in a couple hours and I love it! You can see more details at http://www.shanty-2-chic.com/2011/06/crate-coffee-table-reveal.html !
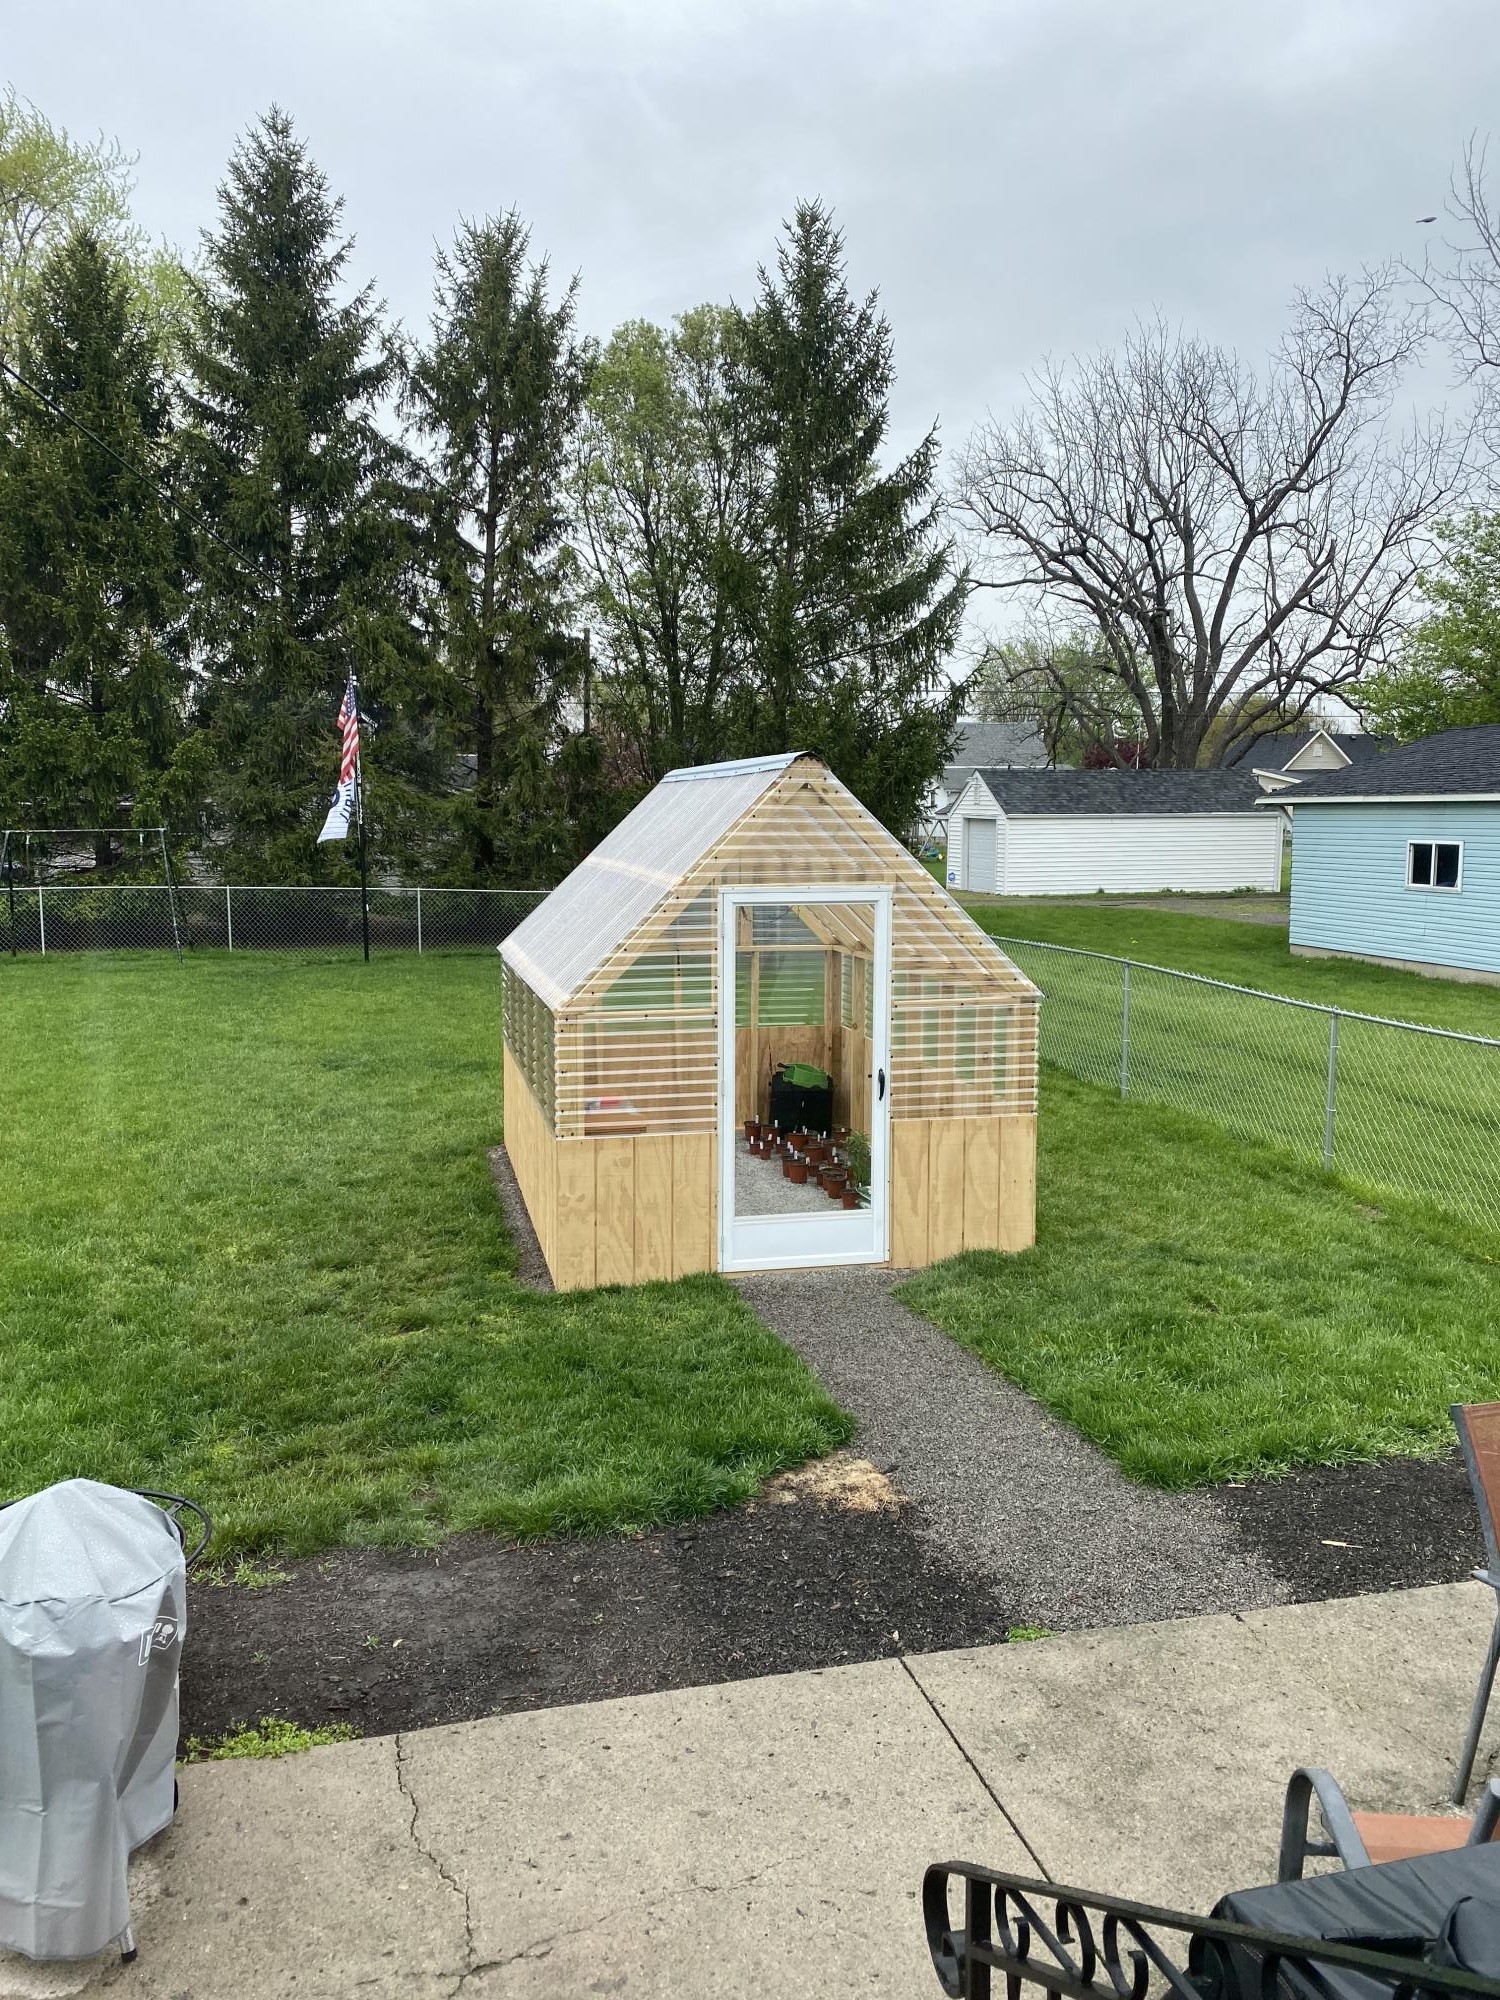
I am so in love with my greenhouse, it is amazing the plans were perfect and it went up without any problems, your designs are amazing and beautiful. We are going to do the chairs next!!!

My first Ana White project, constructed in the first months after I retired. Well used now, a peaceful place to work.

Comments
Ana White Admin
Wed, 10/06/2021 - 10:15
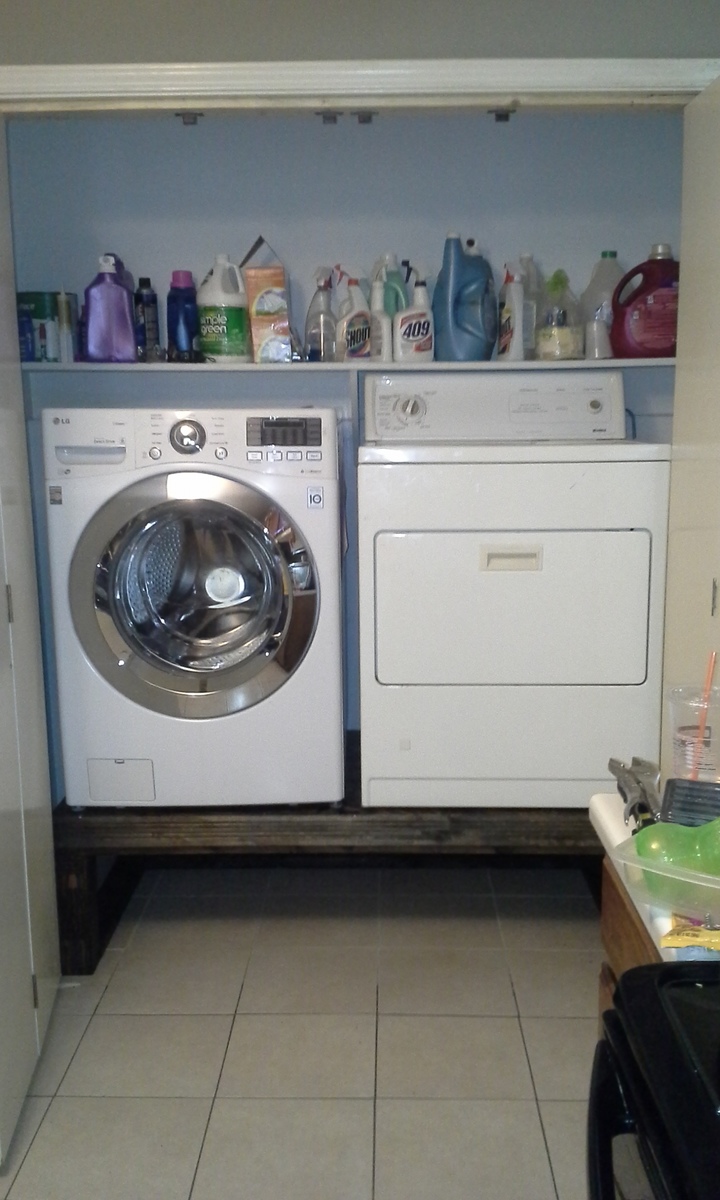
So much storage!
Great way to get the kids involved, it looks very nice, organized and functional! Thank you for sharing~