Community Brag Posts

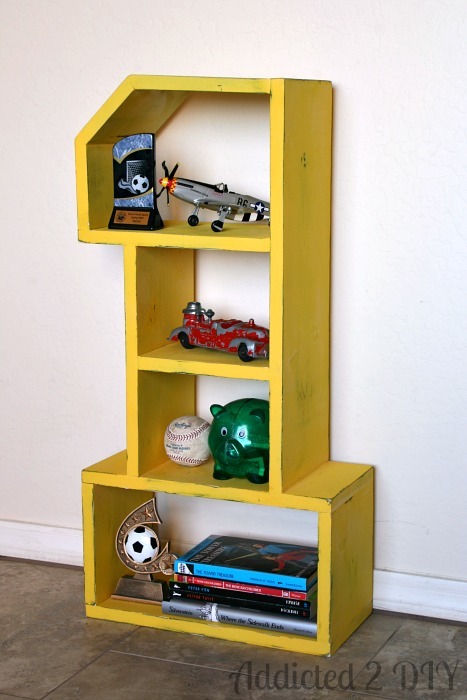
DIY #1 Shelf

Submitted by katie0910 on Thu, 07/03/2014 - 08:53

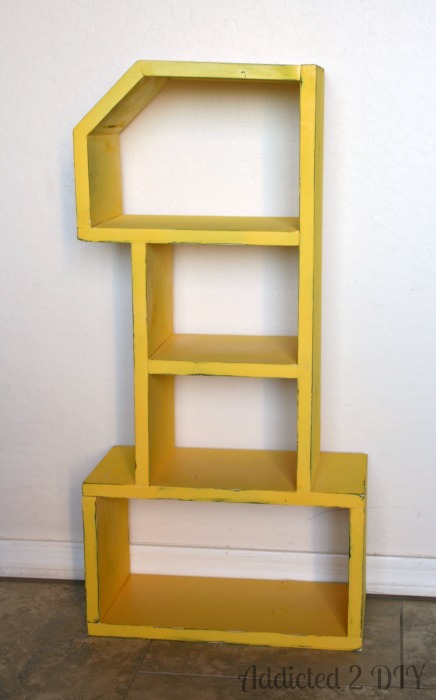
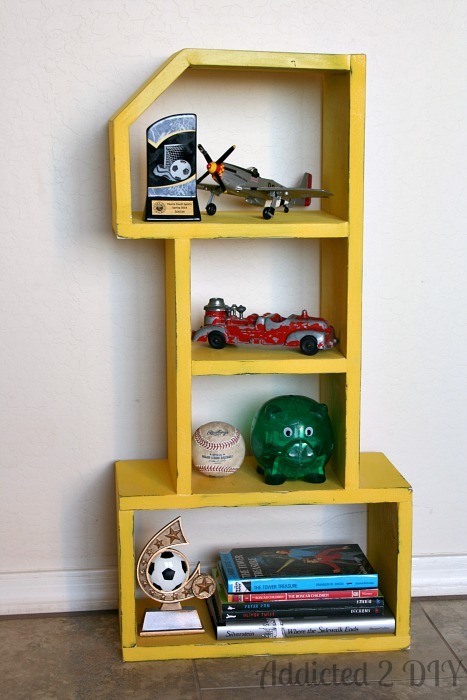
I built this PB Teen-inspired #1 shelf for my oldest son's bedroom. He has an all-star theme going on in there, so I knew this would be perfect for him. I modified the plans a bit and used standard 1" boards, rather than plywood. I am planning to hang it on his wall and I wanted to be able to have a sturdier shelf to do so.

Built from Plan(s)
Estimated Time Investment
Afternoon Project (3-6 Hours)
Finish Used
Glidden paint in Onyx Black
Glidden paint in Sunflower
Recommended Skill Level
Beginner

Large Modern Porch Swing + Ghetto Stand

Submitted by mrhelton on Mon, 09/10/2012 - 17:04

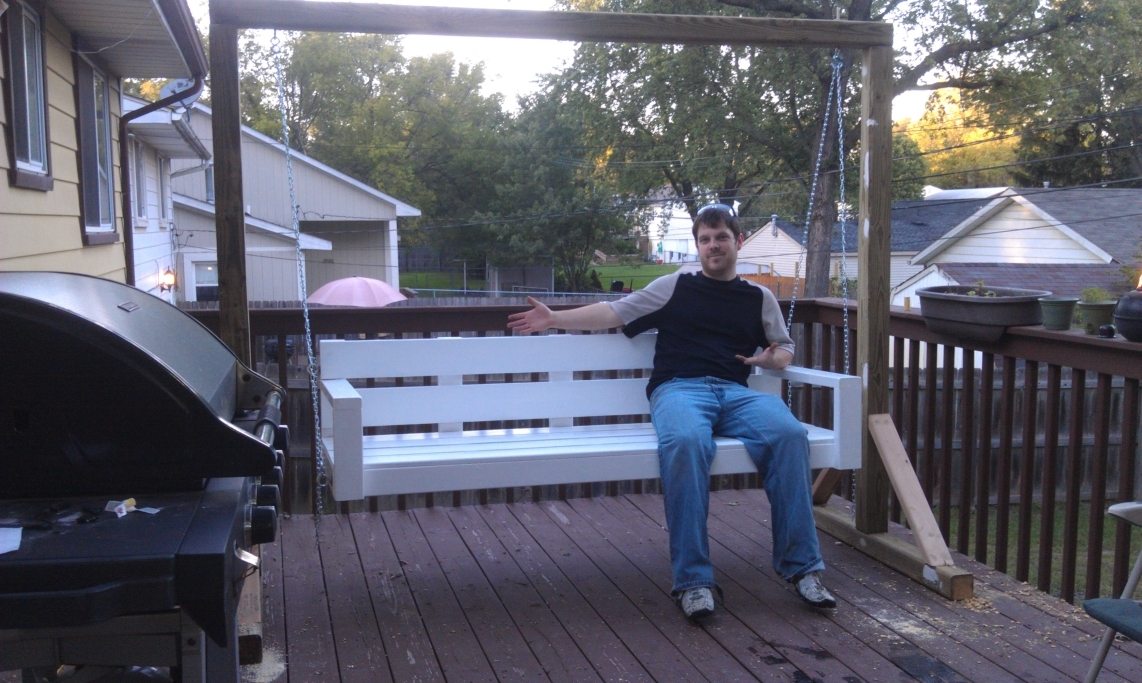
Made the swing then just kinda came up with my own frame.

Built from Plan(s)
Estimated Cost
$110
Estimated Time Investment
Weekend Project (10-20 Hours)
Finish Used
Just some semi gloss outdoor paint. Going to paint the frame in a few minutes.
Recommended Skill Level
Beginner

Comments

mikejillnelson

Tue, 09/11/2012 - 05:04

I have been considering making this bench for a friend but I wonder how comfortable it is...is it comfortable? Does it require a cushion? Is the back high enough to be comfortable leaning back in it for long periods? Also - how long did you wait to paint your pressure treated wood? I just recently learned you have to allow pressure treated wood dry out before painting...no one seems to tell you how long you have to wait though. Thanks for any help/opinions you share.

mrhelton

Wed, 09/12/2012 - 19:38

Honestly, it's not very comfortable. I think the seat part is a little too long, and the back is a little too short. We're going to put a beefy cushion on the back, and I think that's going to help because it will push us forward a little bit. It's not bad to sit in, but I definitely think it could be tweaked.

I let the wood dry out for 4 days (but I cut and assembled it the day I bought the wood). I'm not sure if that was long enough of not, but I was getting impatient, and, like you, couldn't find any real answers on drying time. It wasn't really that wet to begin, though. Hope that helps!

tracysmith

Thu, 09/13/2012 - 00:04

I thought my kids and I were the only ones who used "ghetto" as a way to describe things... but I have to say that your frame looks great, it serves its purpose so I have to respectfully disagree with you, it doesn't look anything like "ghetto" :-)

Joe (not verified)

Tue, 01/22/2013 - 10:02

Hey, can you post the dimensions of your frame? its exactly what I'm looking for. Do you have it screwed down to the deck? will it tip over?

Joe (not verified)

Tue, 01/22/2013 - 11:27

Hey, can you post the dimensions of your frame? its exactly what I'm looking for. Do you have it screwed down to the deck? will it tip over?

Sandpit with built in seats and lid - metric

Submitted by mrs_dt on Tue, 07/08/2014 - 01:49

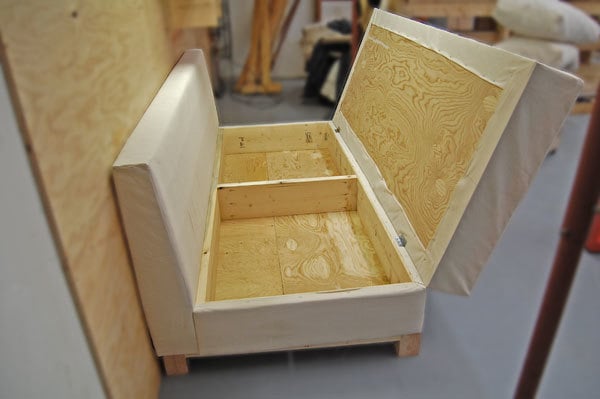
This was our first build from this website and we are so pleased! Having seen very involved plans on an Australian website for a similar sandpit, I was so pleased to come across this version, with its far simpler design!
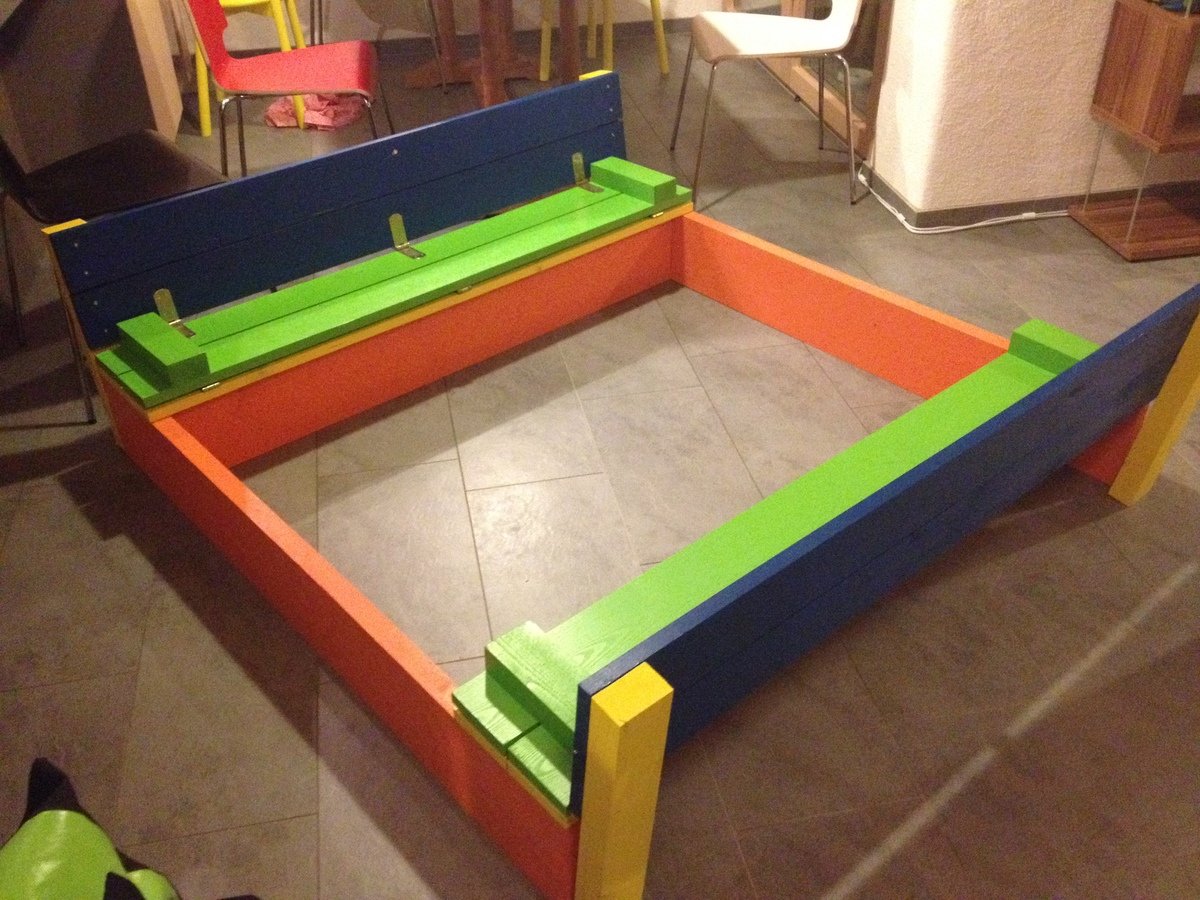
We wanted a slightly bigger sandpit, so I needed to do some modifications, and while I was enlarging it, I also converted to metric sizes, and designed specifically for the timber I knew I could buy locally (very obscure and inconsistent seeming German sizes). So the end result is a 1.5x1.5m sandpit, that has so far had 6 kids playing happily in it at once!
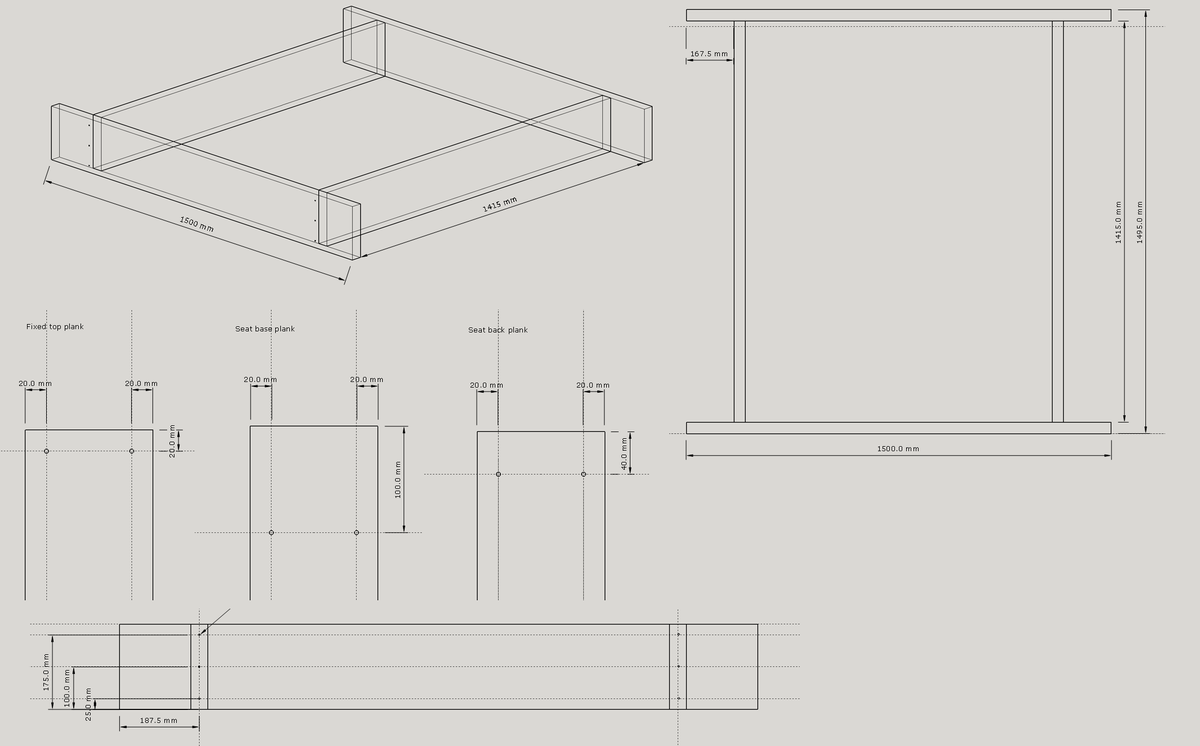
I've put in the drawings I used, and the cutting list for larger sizes in case anyone else is working in metric, or wants a bigger size!
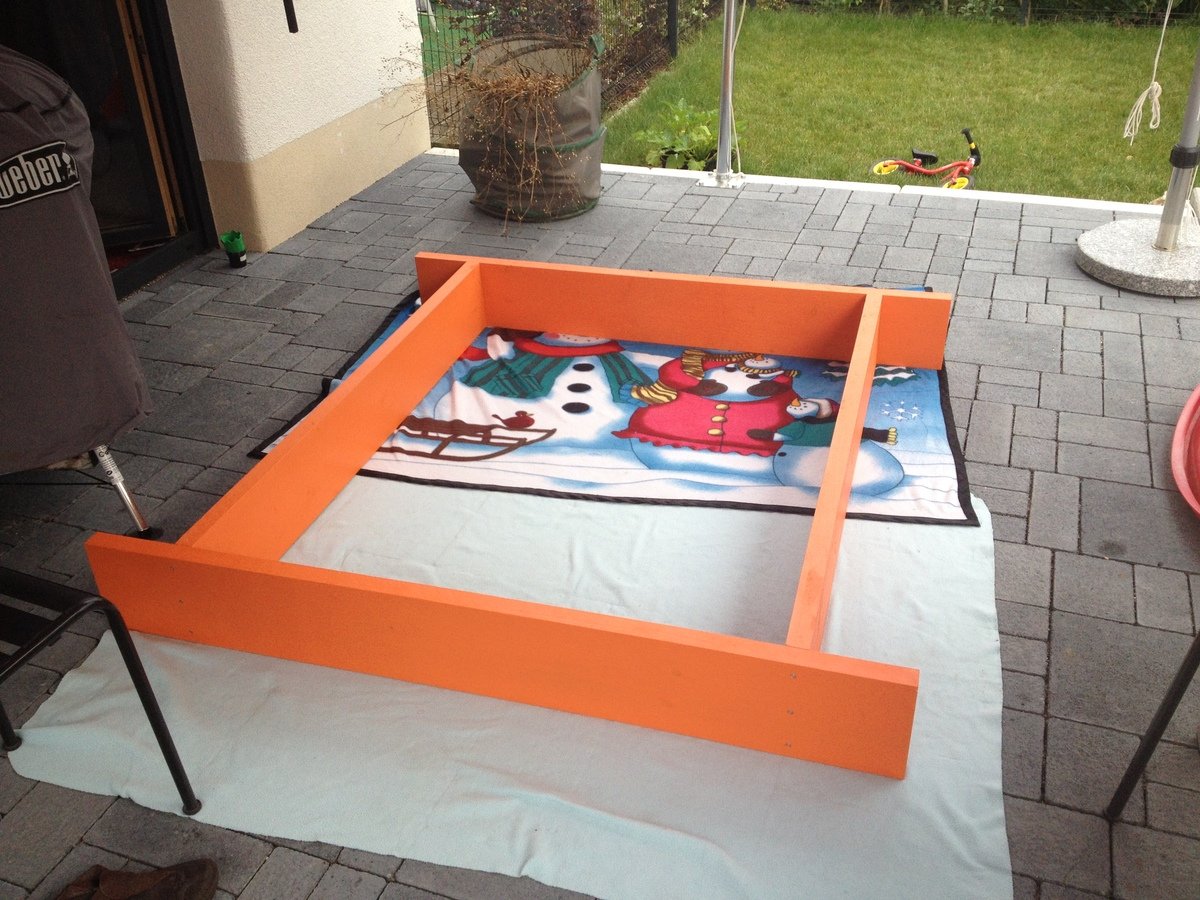
Our other modification was to offset the shorter sections of the base to run along the front plank of the bench seat - there were two main benefits for this - we need a lot less sand, as there is none wasted under the seat, and the seat is supported and can't bow downwards!
The dimensions and layout we used are in the images.

Supplies

Timber
2 - 200 x 40 x 3000mm
6 - 120 x 24 x 3000mm
1 - 80 x 50 x 3000mm

Hinges
12 - 140mm long (the original design had 8, we went with three per edge to allow for the extra width)

Self tapping decking screws
18 - 5 x 80
48 - 5 x 50
96 - 3 x 20 (or enough for your hinges, depending on the design)

Paint
3 - 375ml PU Acrylic Paint, suitable for exterior use (top planks and seat supports)
1 - 750ml PU Acrylic Paint, suitable for exterior use (base)

Weed matting and staple gun

Sand
I calculated I would need 20 x 25kg bags - in the end we needed 11 - don't ask me where we went so wrong!

Cutting list

2 - 200 x 40 x 1500 (long sides of base)
2 - 200 x 40 x 1415 (short sides of base)

12 - 120 x 24 x 1495 (top slats - just under half a plank, to allow for waste)

4 - 80 x 50 x 245 (armrests / seat braces)
4 - 80 x 50 x 495 (back supports of seats)

I gladly paid 5 Euro for the wood to be cut in Hornbach - it should have been more than this, but the guy was generous!

12 hinges (the original design had 8, we went with three per edge to allow for the extra width)

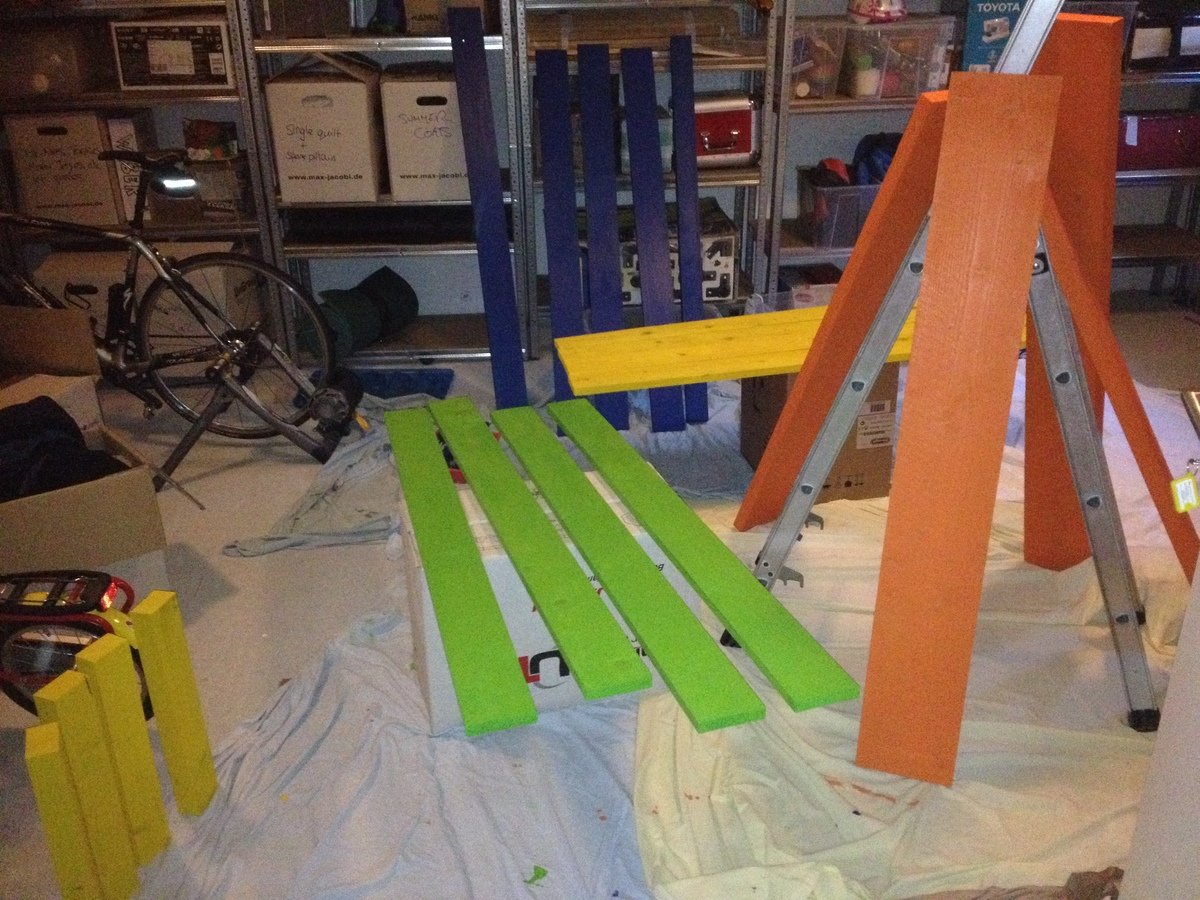
On Sunday we had the idea, on Monday I drew up the plans, on Tuesday I went shopping! Once all our wood was home safely, we sanded it down - most edges weren't badly finished, but there were a few splinters that needed getting rid of!
The next two nights Mr W gallantly set to work with the paint brush. After two nights, the wood all had two good coats of paint and we were ready to start assembling on Friday.
I pre-drilled the base of the bench before the second coat of paint - three holes for each butt joint - with some careful measuring this made screwing the base together really easy!
The top planks were also pre drilled, but there unfortunately my tiredness made me make mistakes, and some had to be re-drilled! Spacing the planks out took a lot of time, but I am glad I made the effort. I used cereal box, and experimented with different numbers of layers - I knew I wanted a theoretical 5.4mm gap, but it took some time to get the right number of layers of carefully creased and concertinaed card!

Having got our spacing wedge sorted, we screwed the blue planks in place at either end of the base. We then assembled the green seat section, and the blue/yellow back rest. Following a tip from the comments section, we added the hinge to the seat/back combo first, as this ends up being on the underside. Once those two hinged sections were made, they were then laid in place on the base (card wedge spacers in place) and then the final hinges added. The final assembly took about 5 hours - but this was partly because we started outside, then had to move everything inside when a huge thunderstorm rolled in!

The next morning we got busy with the staple gun and tacked weed matting over the base, then it was hauled in to position and filled up! For us getting this done and dusted was important, otherwise it could have dragged on a lot, but we are terribly proud that it was done in less than a week from being fist conceived!
I hope the metric/enlarged plans are of use to someone else too. One other idea we had, which we didn't get round to building in, was a support bar to be fitted when you close the pit, so the kids can play on top as a stage when it is not being used for a sandpit!
Built from Plan(s)
Estimated Cost
150 EUR
Estimated Time Investment
Weekend Project (10-20 Hours)
Finish Used
Painted with two coats of Polyurethane Acrylic paint
Recommended Skill Level
Beginner

Pottery Barn Style - Full Size Headboard

Submitted by Oshynlover on Thu, 10/13/2016 - 03:21

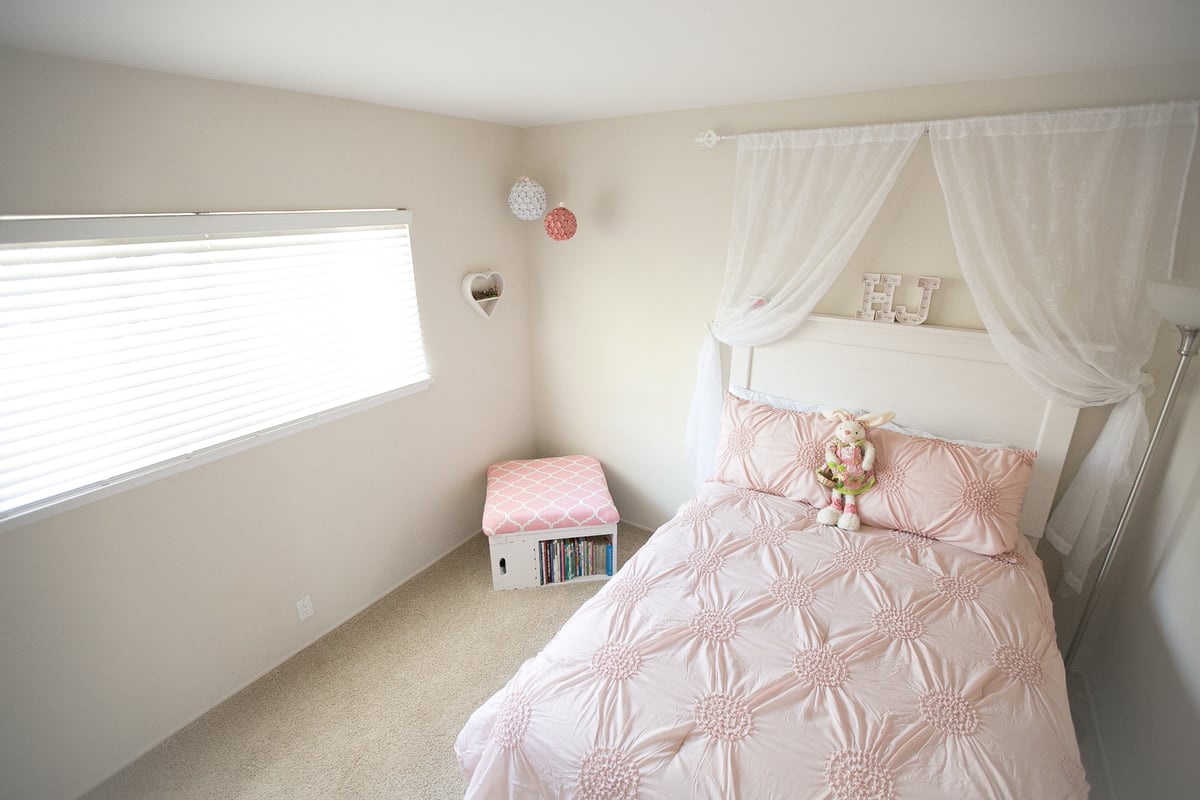
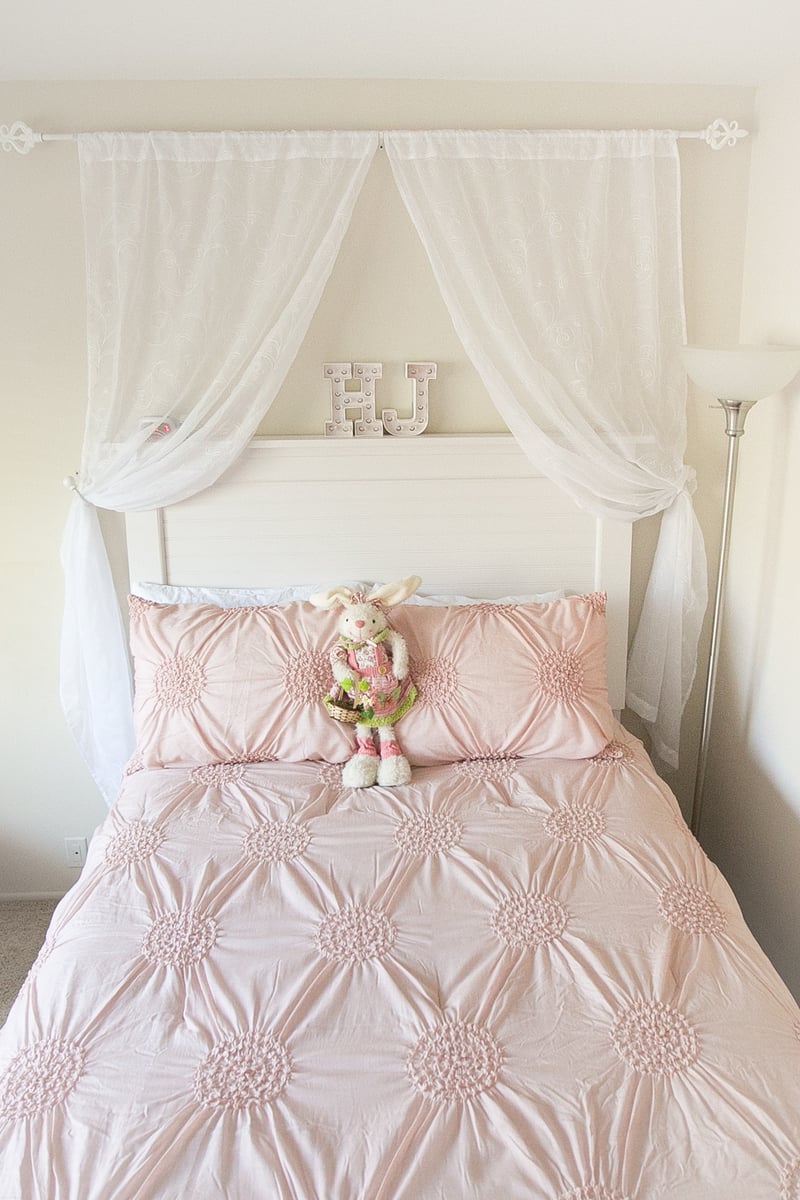
My very first big project!  My 6 year old daughter was in need of a new bed and a room makeover so I decided to build her a headboard which then turned into a whole new room!!! 


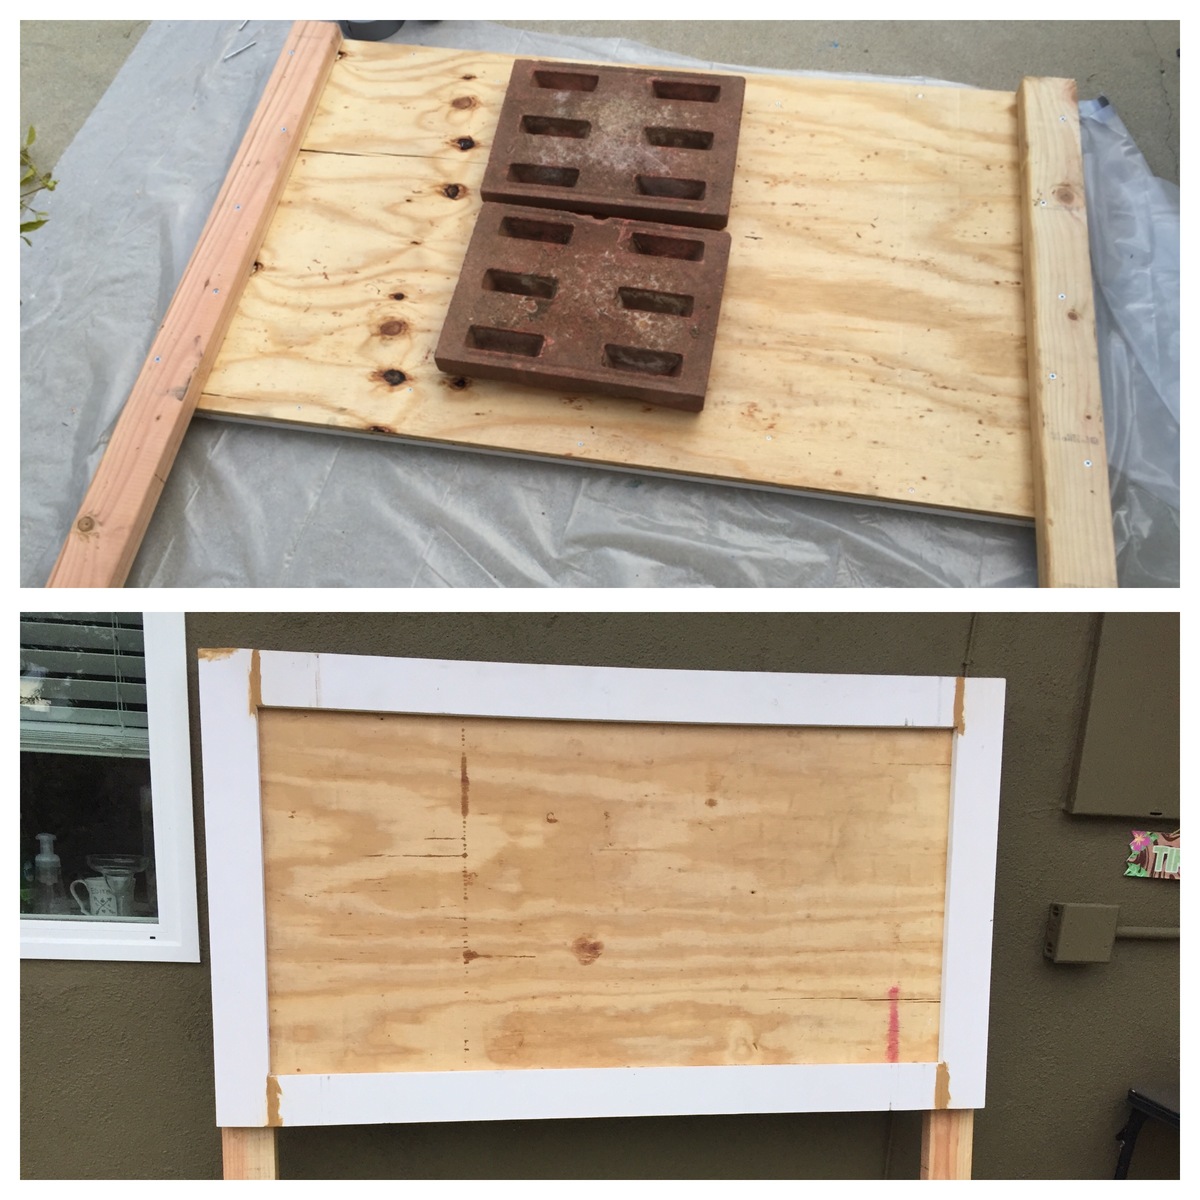
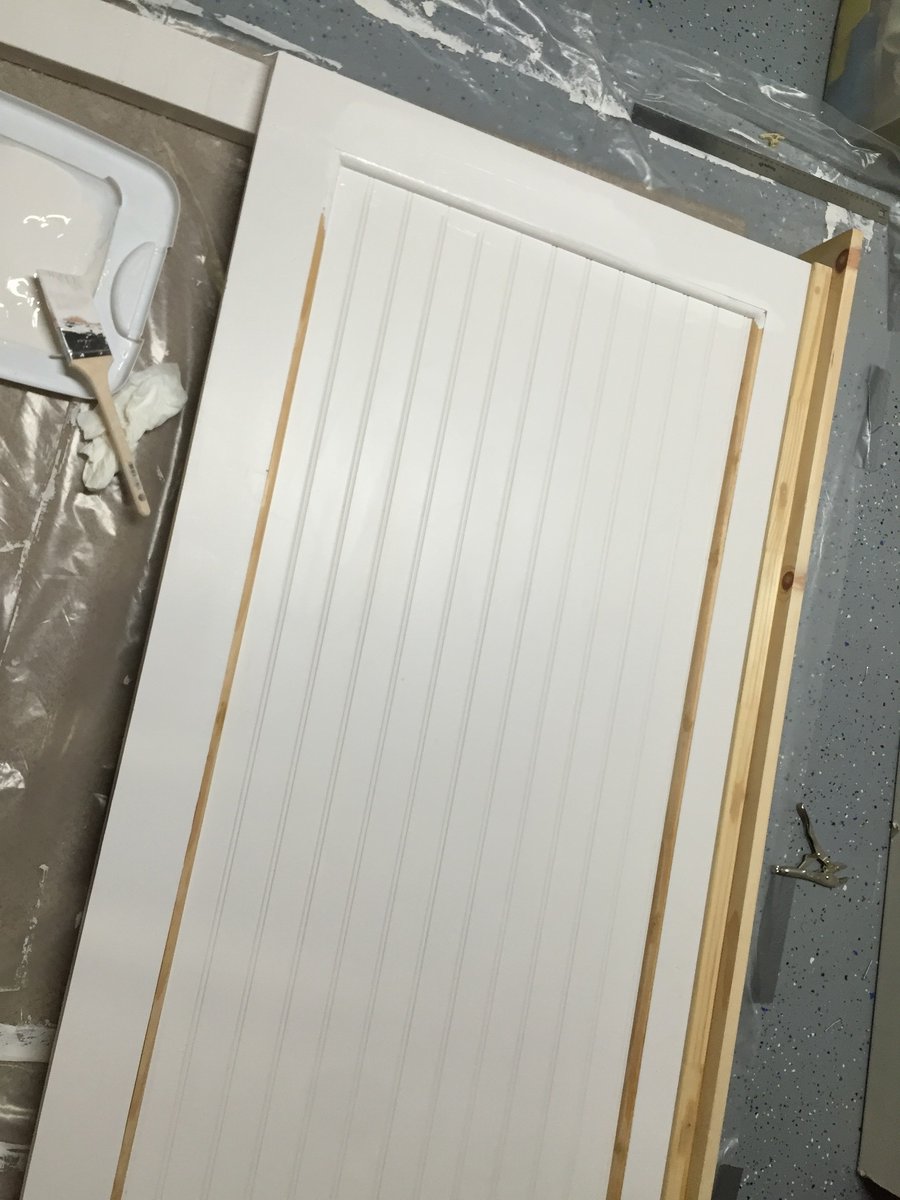
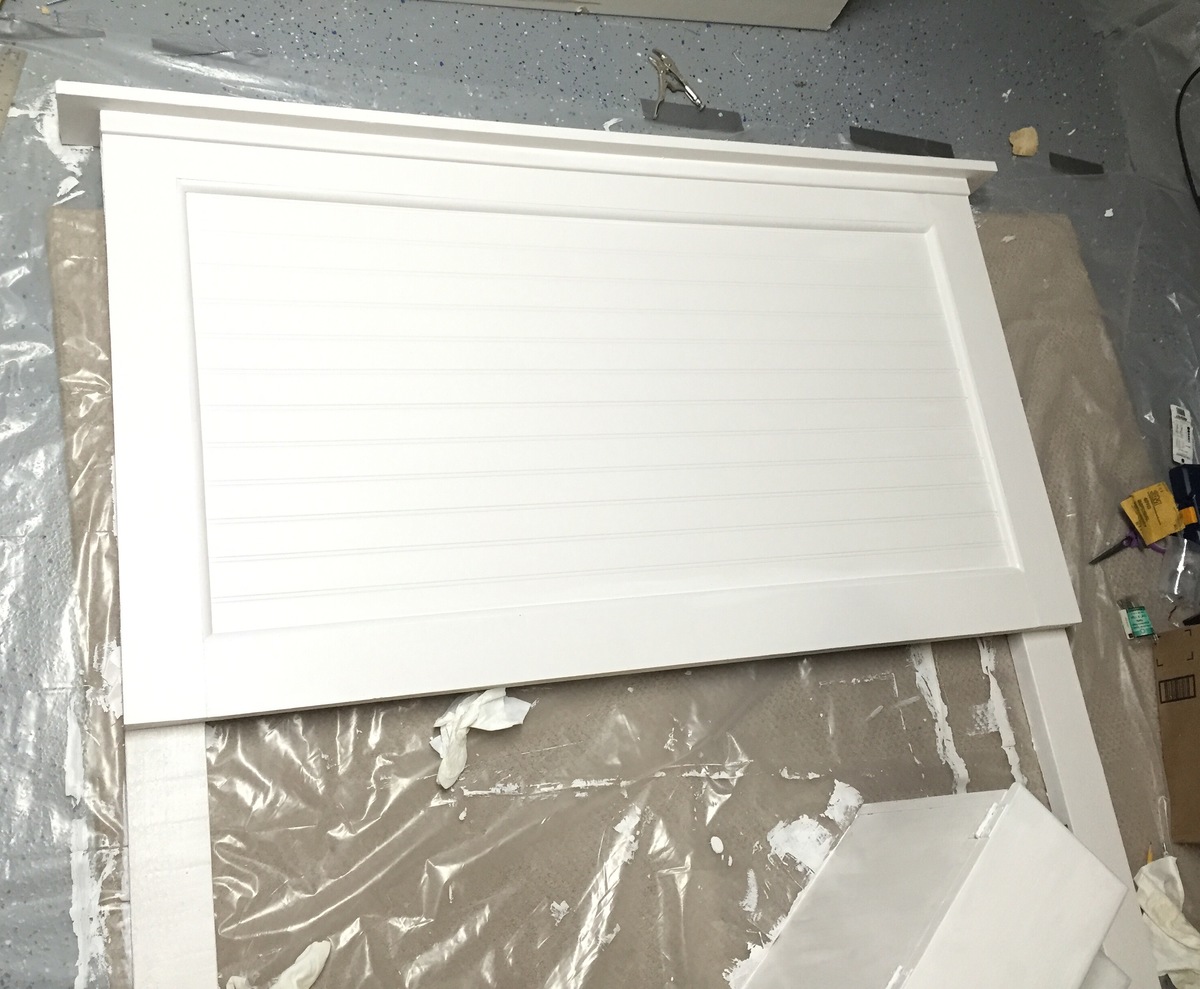
I really wanted it to it to have some dimension to it so I added some moldings and a mini shelf to the top of it.  I basically just designed it myself, based on what some of the $1000+ pottery barn ones look like and spent hours at the hardware store finding the perfect moldings.  


For the main backboard I used plywood, however to keep it light I used a sheet of molding and added a round edge to make it seamless.  


My my daughter was so excited Mommy built her whole room. 

Estimated Cost
$150 The Moldings added cost but can be made for less than $100 without it. But why would you??? It looks SO much better!!
Estimated Time Investment
Day Project (6-9 Hours)
Finish Used
Behr Semi Gloss
Recommended Skill Level
Beginner

Comments

Master Closet For My Wife

Submitted by Indy69 on Mon, 10/17/2016 - 17:10

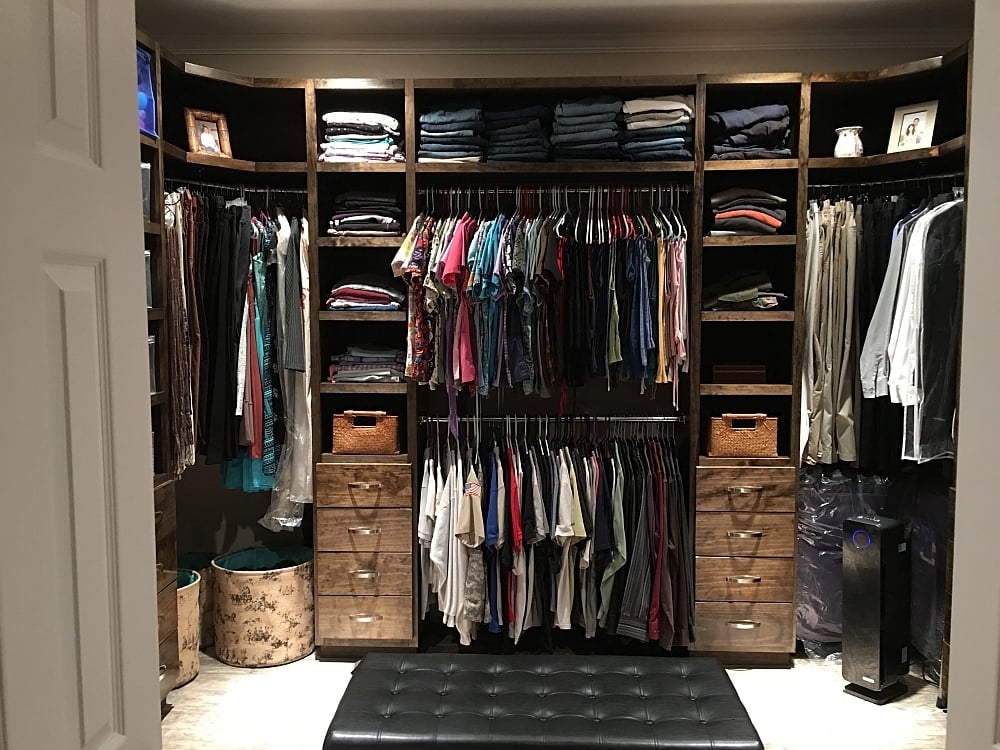
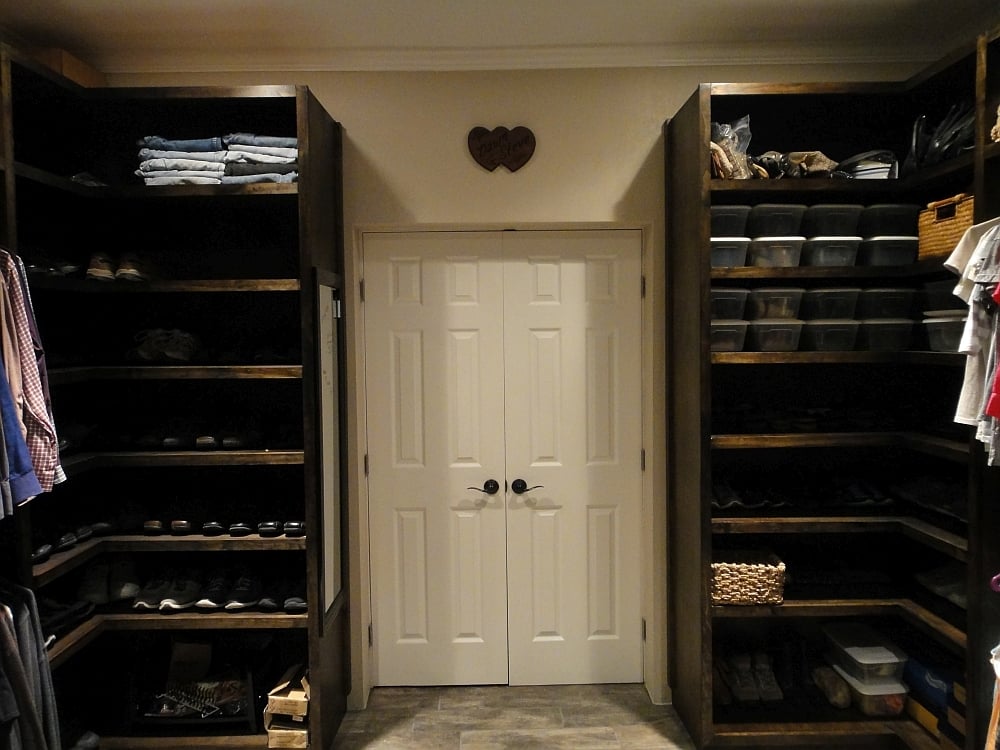
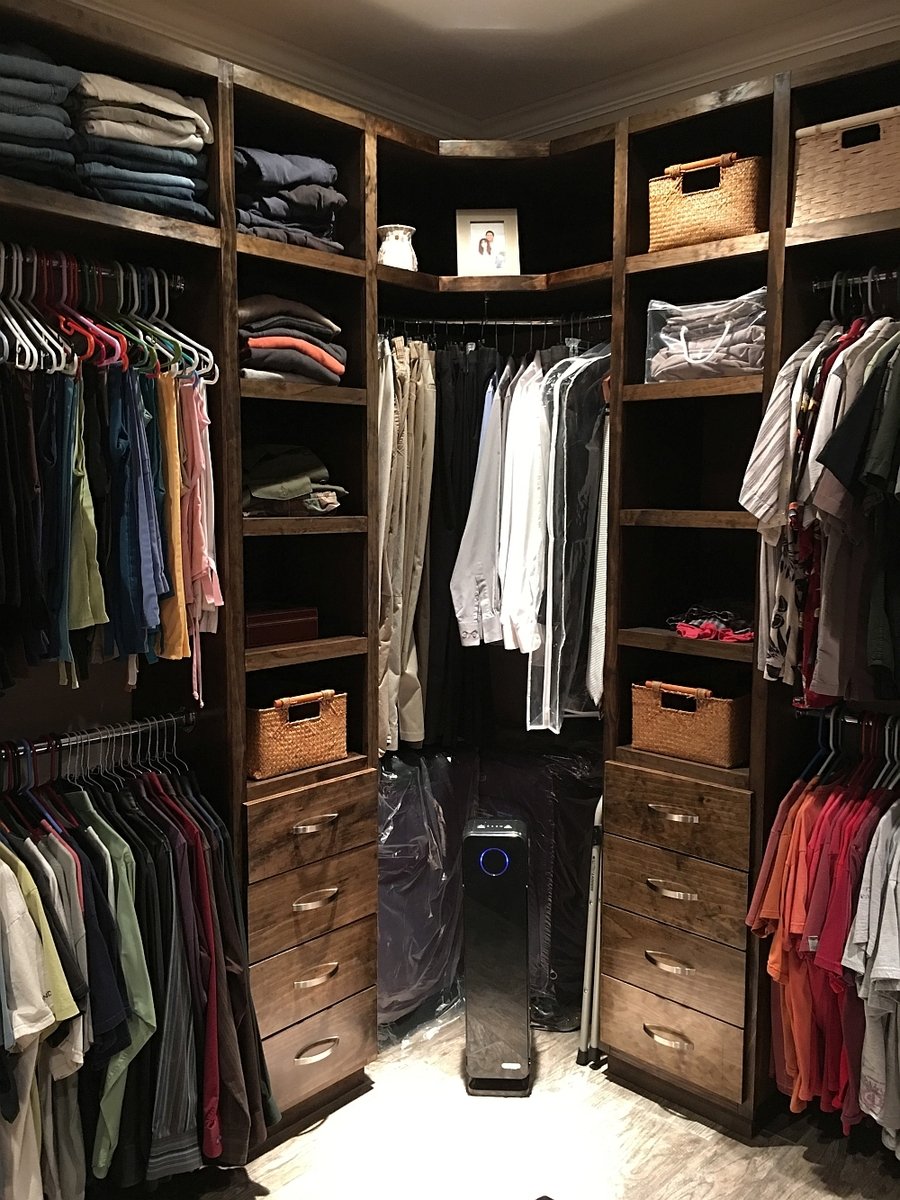
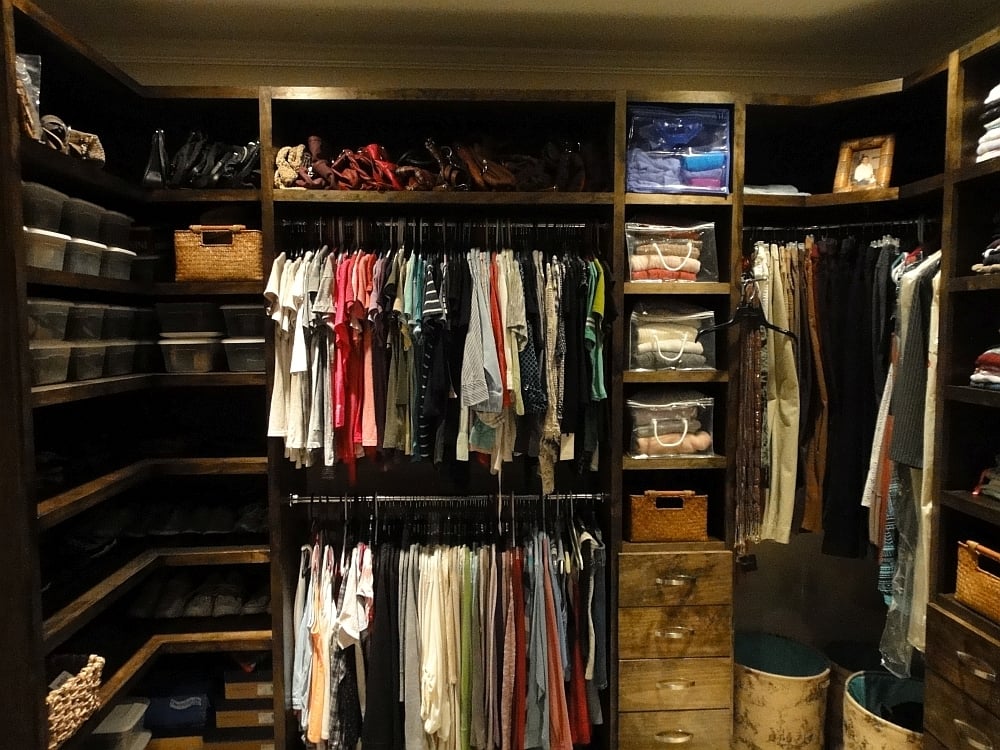
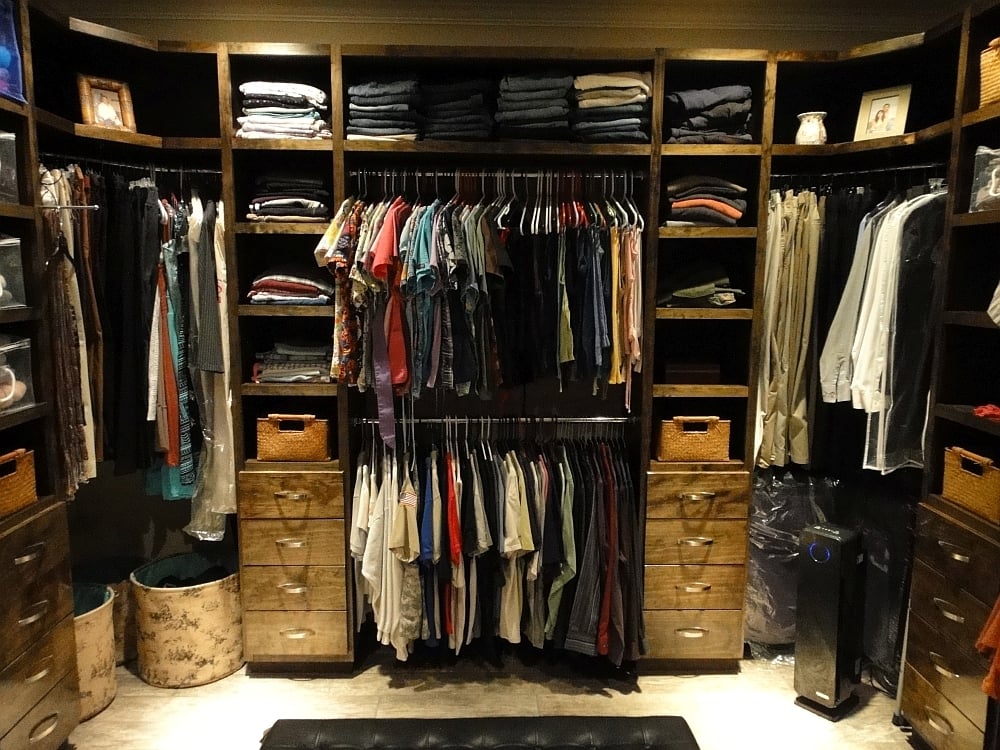
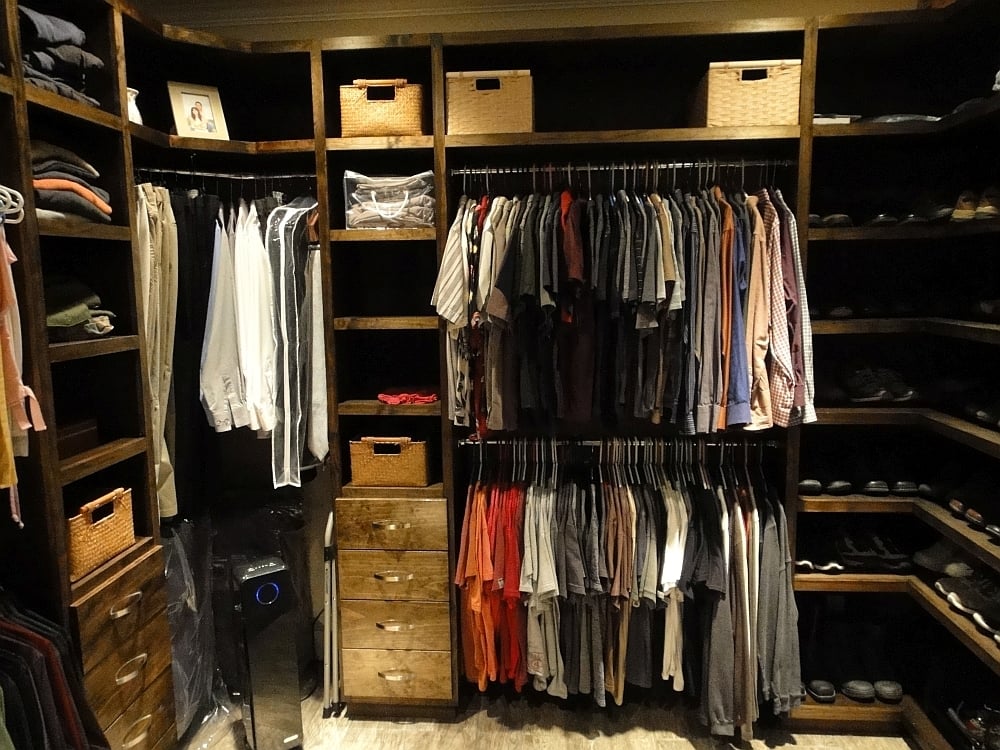
I expanded on the plans I found at Ana White and made this closet.  They are 8' high, and made from Birch plywood and 1x2's from my local Home Depot.  I ended up using 12 sheets of plywood and 18 1x2's.  Sanded and stained with Minwax Jacobean and Satin clear on the unit and semi-gloss on the drawers.  I intalled soft-close drawer slides that I found on Amazon for $120 for 15 pairs which included the rear mounting brackets, which I highly recommend using as they save you a ton of labor and make it much easier to install the slides. 


What I like most about my work, is that I found regular hanging rods that were too expensive or just plain did not fit the end sockets.  I used galvanized fence rod typically used for the top of chain link fences, and simply brushed them with 0000 steel wool and then polished them on my buffing wheel.  If you want the brushed look, simply don't buff them.  What was best about using fencing rods, was that it cost about a dollar a foot and was much stronger than buying the actual chrome rods which were over three times more money.


For the corners, you will see that they are three angled rods, which you can not buy anywhere.  So, I purchased 1" galvanized electrical conduit. and bent it with a tubing bender.  I simply measured what I needed, and put two 45 degree bends in the rod, installed 1" sockets on each end, and a center rod support for the middle.  These two were polished with 0000 steel wool and then polished to a chrome finish.  They look amazing, and the best part is that it cost $6 for a ten foot piece, which was more than enough to do both corners.  You cannot beat the cost of using fence rods and electrical conduit for closet rods. 


I plan to install a small drawer island in the middle later as I require a need for more drawere space. 


Thanks to Ana White for the help.  I already have a few more next projects lined up using her ideas here.

Estimated Cost
Under $1000 for everything
Estimated Time Investment
Week Long Project (20 Hours or More)
Finish Used
Minwax Jacobean with satin and semi-gloss
Recommended Skill Level
Intermediate

Comments

Rustic X Coffee Table

Submitted by Anonymous (not verified) on Tue, 10/25/2016 - 19:11

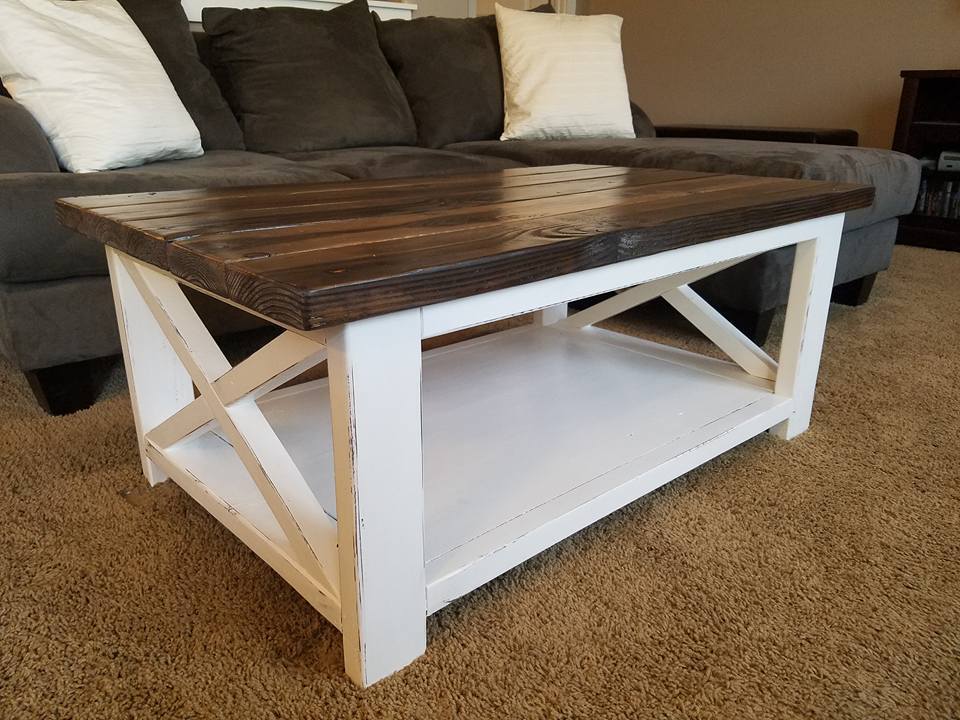
I had already built the Rustic X End Tables, and 3 years later I finally built the Rustic X Coffee Table to match!  I shorted the length by 8" and coated the whole piece in a steel wool and vinegar solution.  I then went back and used White Adirondack chalk paint by Folk Art for the base.  I sanded the edges lightly for the distressing and put 3 coats of Minwax Matte Polyurethane over the entire piece for the top coat.  I ended up putting 2 large wicker baskets underneath for extra storage and it is perfect!

Built from Plan(s)
Estimated Cost
$60-$100
Estimated Time Investment
Weekend Project (10-20 Hours)
Finish Used
Steel wood & Vinegar, White Adirondack chalk paint by Folk Art, Minwax Matt Polyurethane
Recommended Skill Level
Beginner

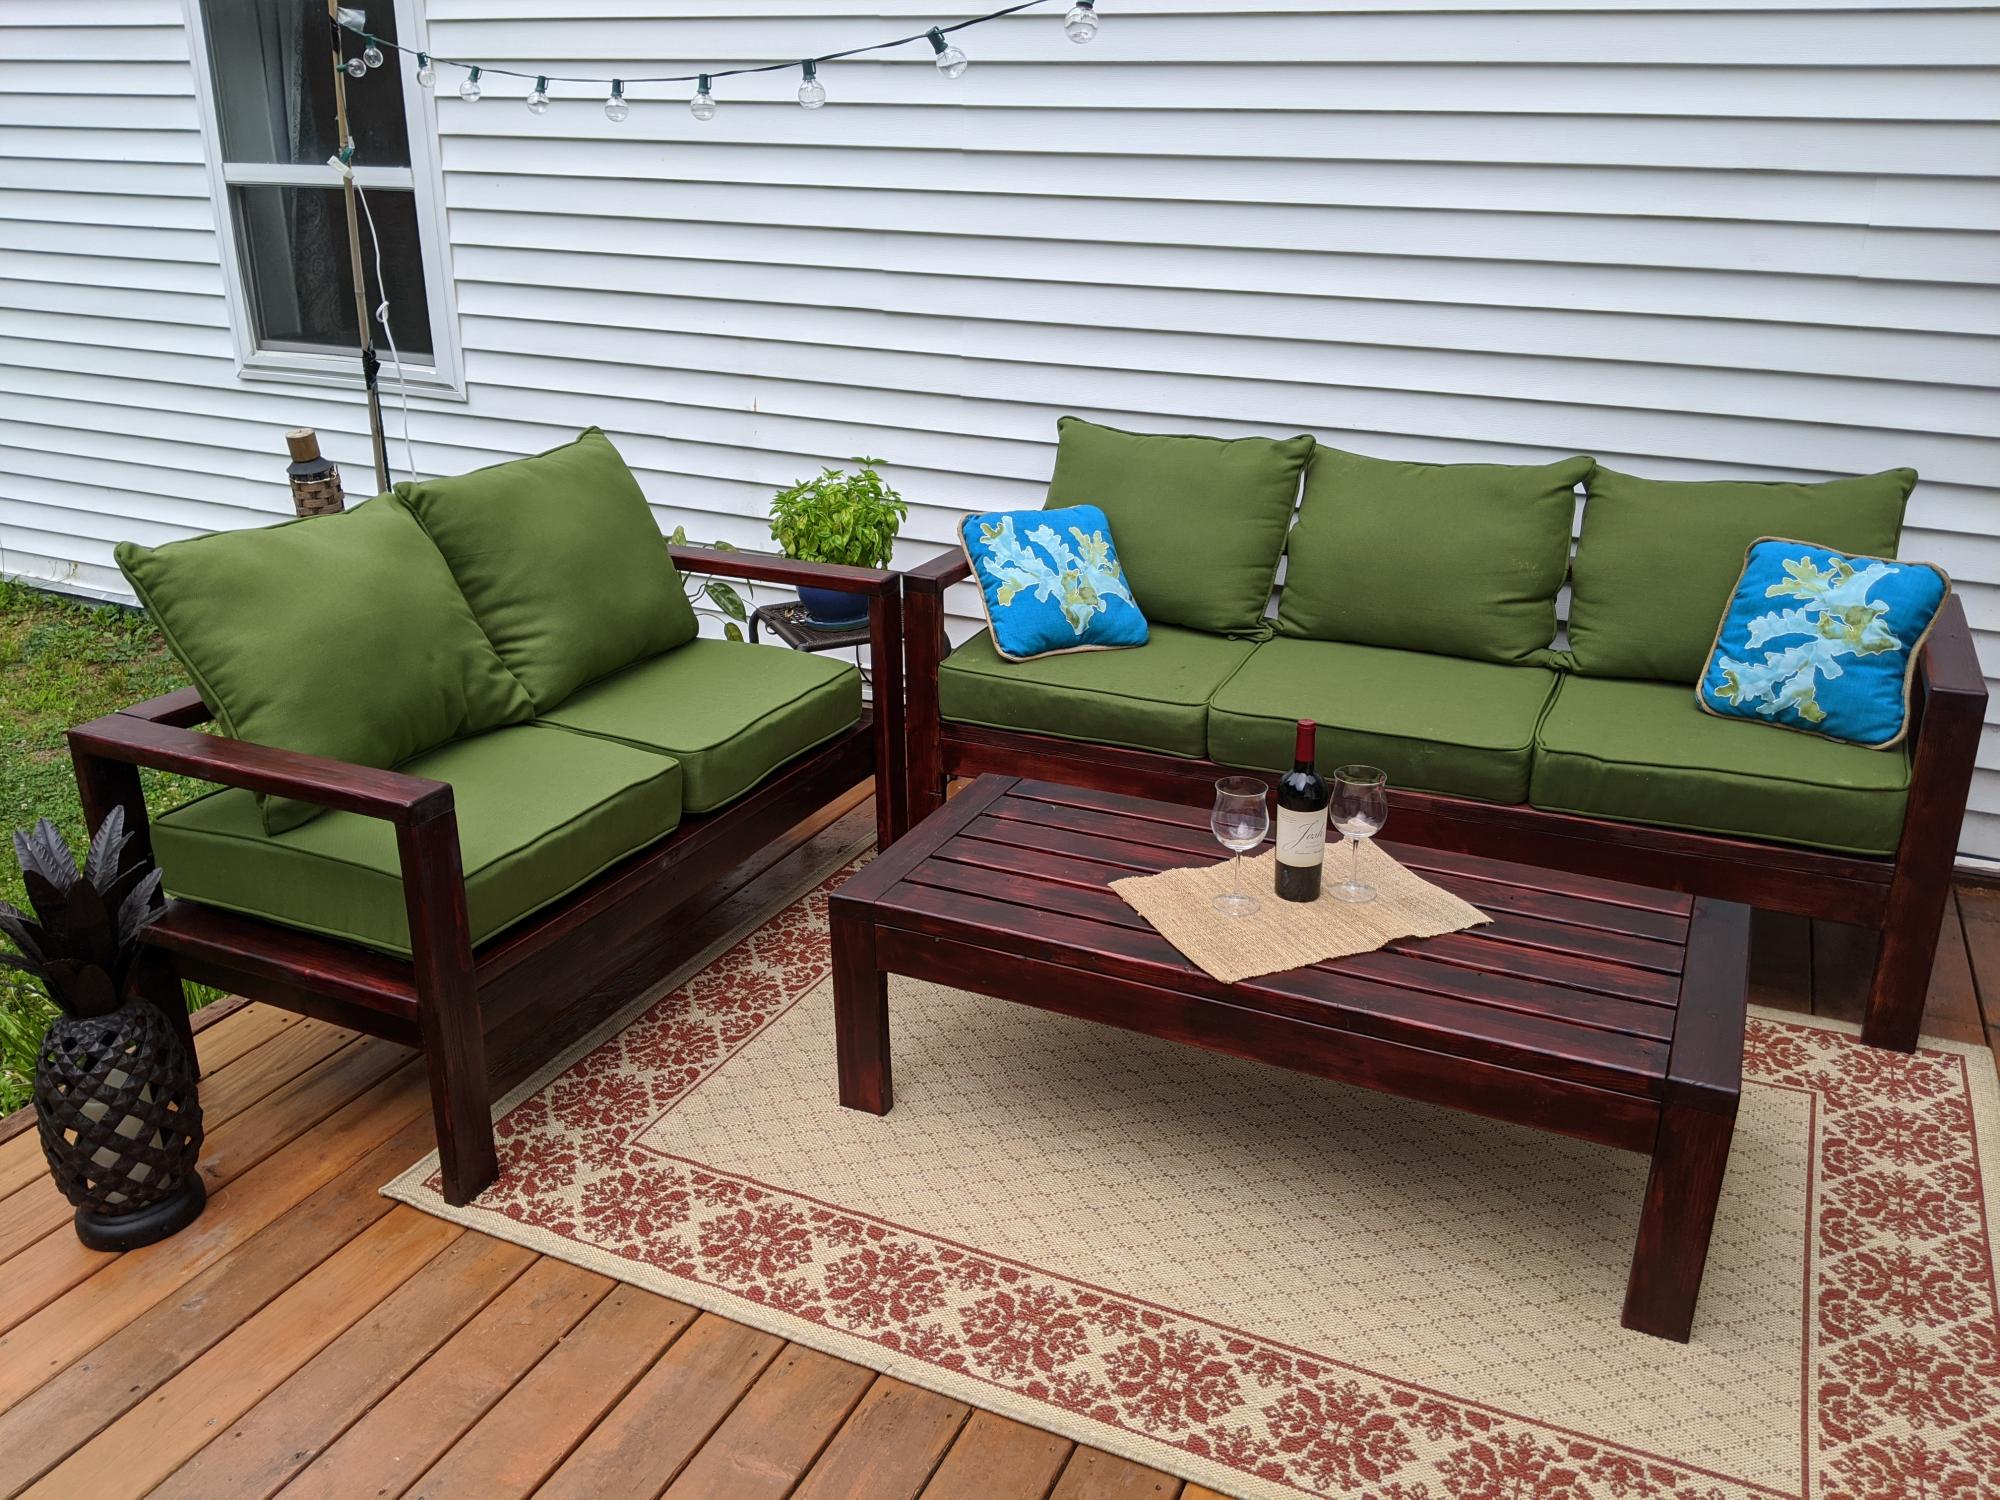
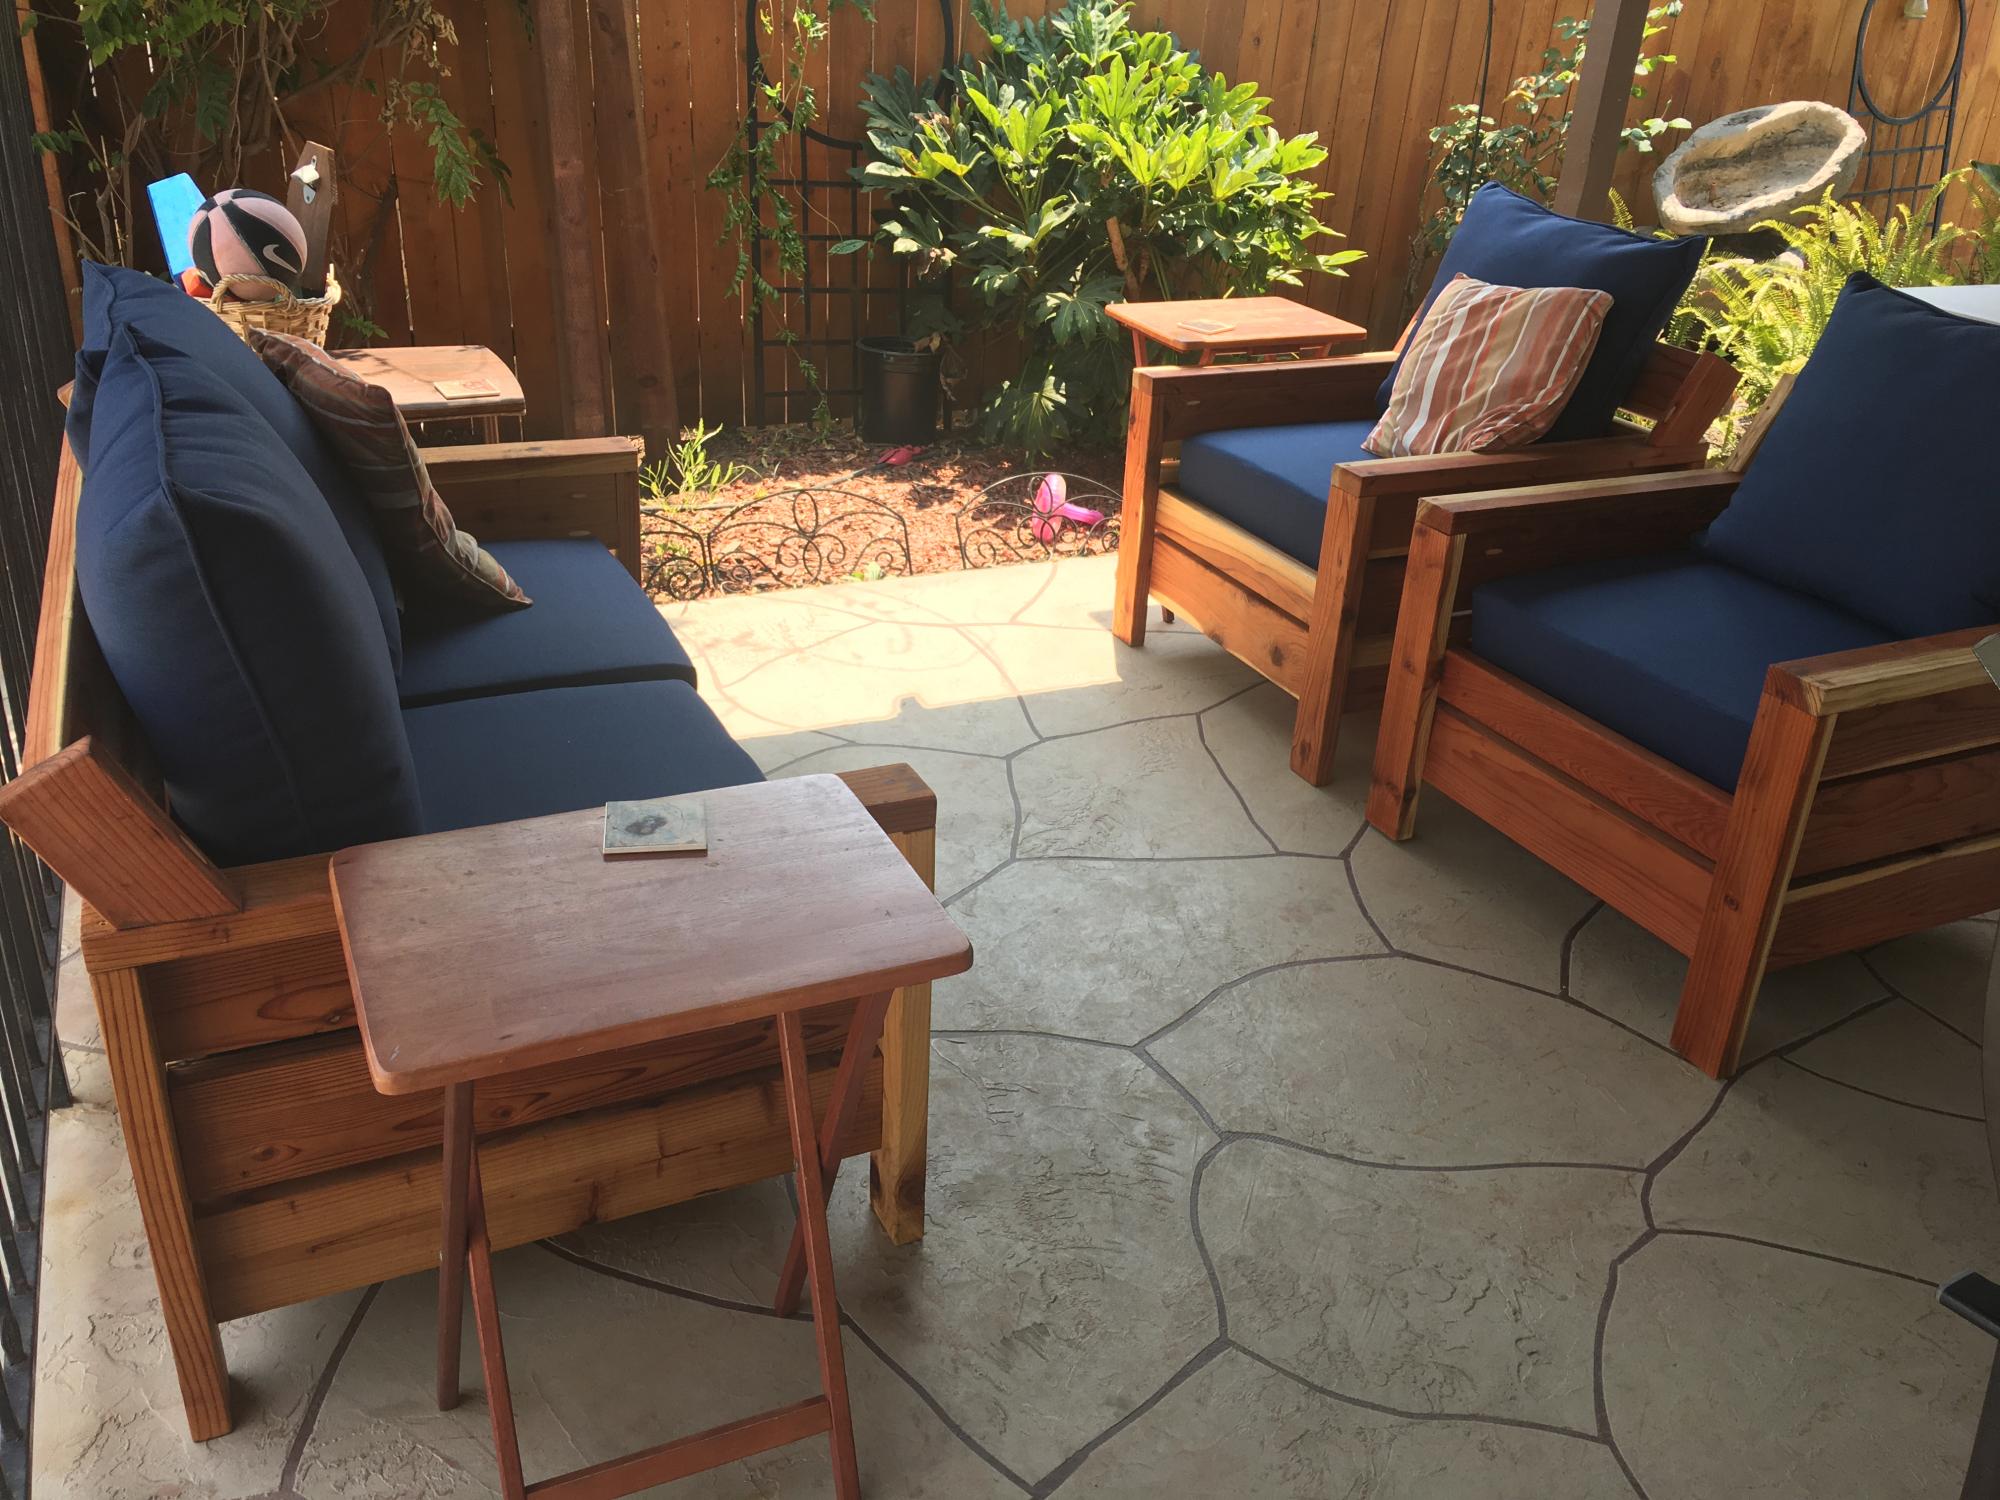
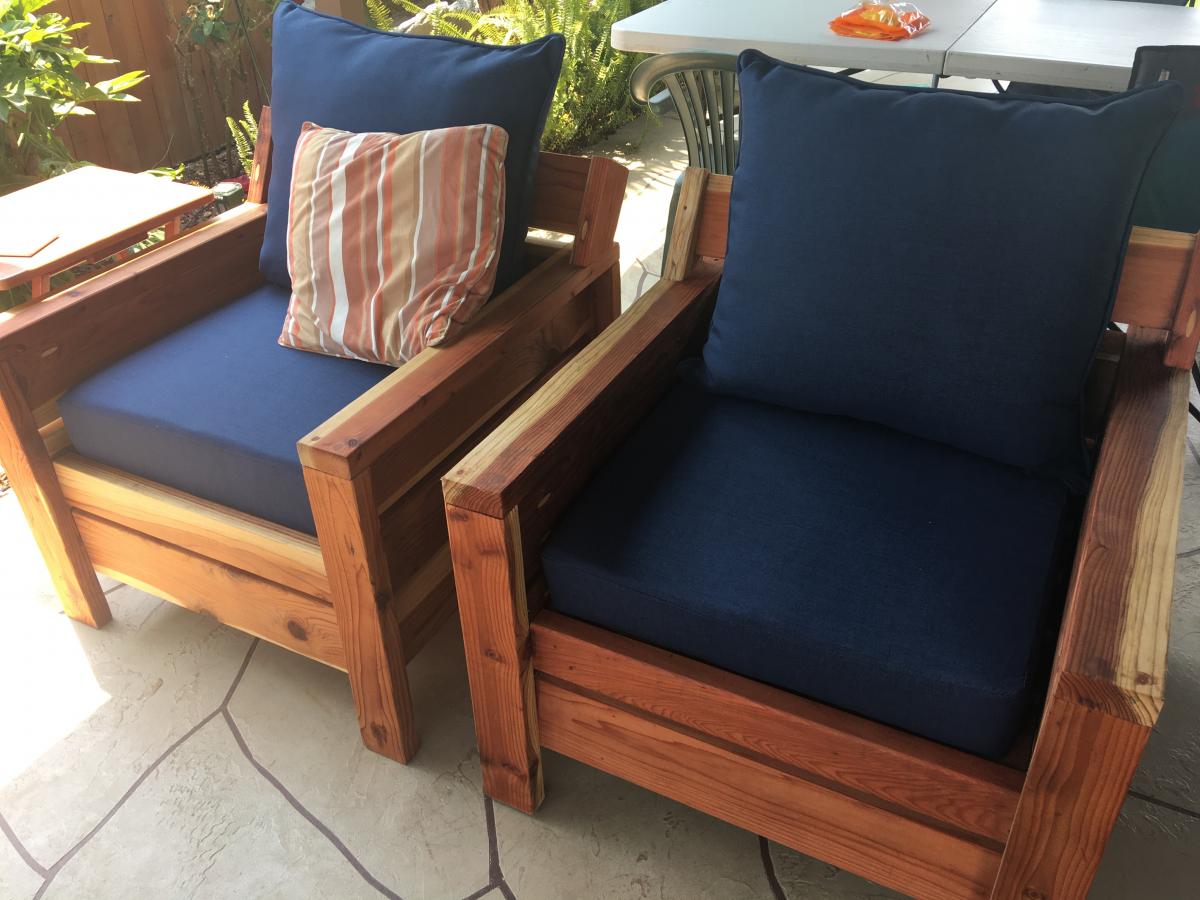
Outdoor patio furniture

Submitted by Anonymous (not verified) on Fri, 07/24/2020 - 12:19

Thanks Ana, for the great plans and inspiration!

Estimated Cost
$450
Estimated Time Investment
Weekend Project (10-20 Hours)
Finish Used
Minwax stain & polyurethane ( Bombay Mahogany)
Recommended Skill Level
Beginner

Laundry Basket Tower

Submitted by KeithT on Wed, 11/16/2016 - 08:32

I built this for our laundry sorting needs using the Brook 4 tall and lengthwise plan. I modified the plan to take the baskets width wise, added a little more distance between baskets, and added guide rails above each basket (except the top one) to allow them to be partial pulled out without flipping out. I also beveled and slightly rounded the front of the guide rails just for looks. I think it turned out pretty good for my first woodworking project.
 

Built from Plan(s)
Estimated Time Investment
Weekend Project (10-20 Hours)
Recommended Skill Level
Beginner

Storage Bed Success!

Submitted by maction17 on Fri, 08/08/2014 - 02:52

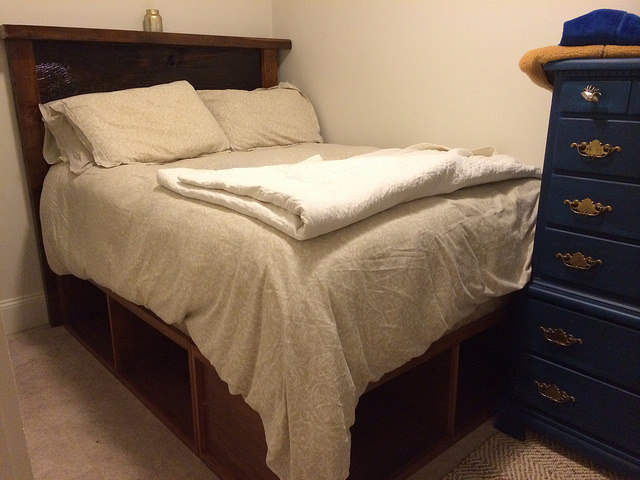
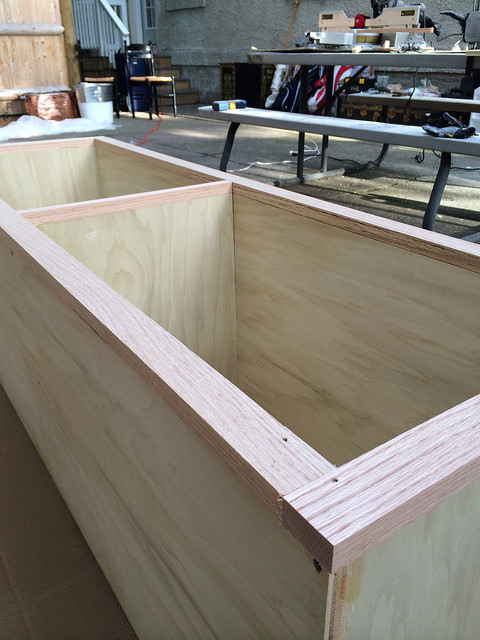
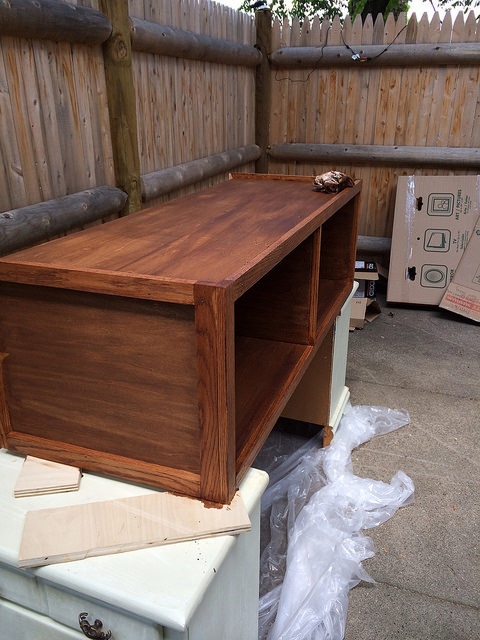
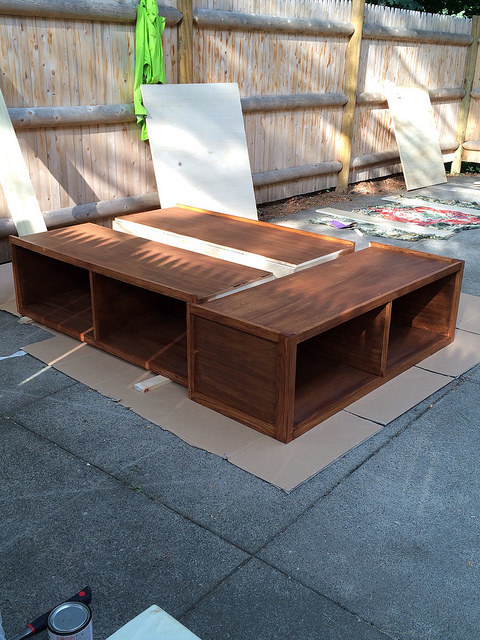
I took Ana's awesome queen-sized storage bed plans and jut made a couple minor tweaks for my full. Our bedroom is TINY, so I wanted queen (or king) sized drawers/cubbies, which means I kept 20" depth. The side boxes run 53" in length, 54" for the end. I used poplar ply for the boxes, red oak for the trim, and I stained everything with a Varathane Early American wood stain, followed by a couple coats of polycrylic. It came out beautifully, and I love how easy it is to move around and set up.

For the final step, I'm still debating adding drawers or doors, which would hinge on the bottom and secure with cabinet magnets. I'm leaning toward the latter just because our bedroom is so small it will make accessibility a bit easier.

Built from Plan(s)
Estimated Cost
$350
Estimated Time Investment
Weekend Project (10-20 Hours)
Finish Used
Varathane Early American; Minwax Polycrylic
Recommended Skill Level
Intermediate

Folding Work Bench

Submitted by Anonymous (not verified) on Tue, 08/11/2020 - 16:03

First build.

The plans and cut list were a tad off but I made a saw guide a cut it down from 36 to 24 after assembled.

I had HD do all my cuts but have since done my own!

Built from Plan(s)
Estimated Cost
Not sure bought tools, wood and hardware at same time ($160)
Estimated Time Investment
Afternoon Project (3-6 Hours)
Finish Used
None
Recommended Skill Level
Beginner

Porch Swing

Submitted by bbcarey on Tue, 10/23/2012 - 10:12

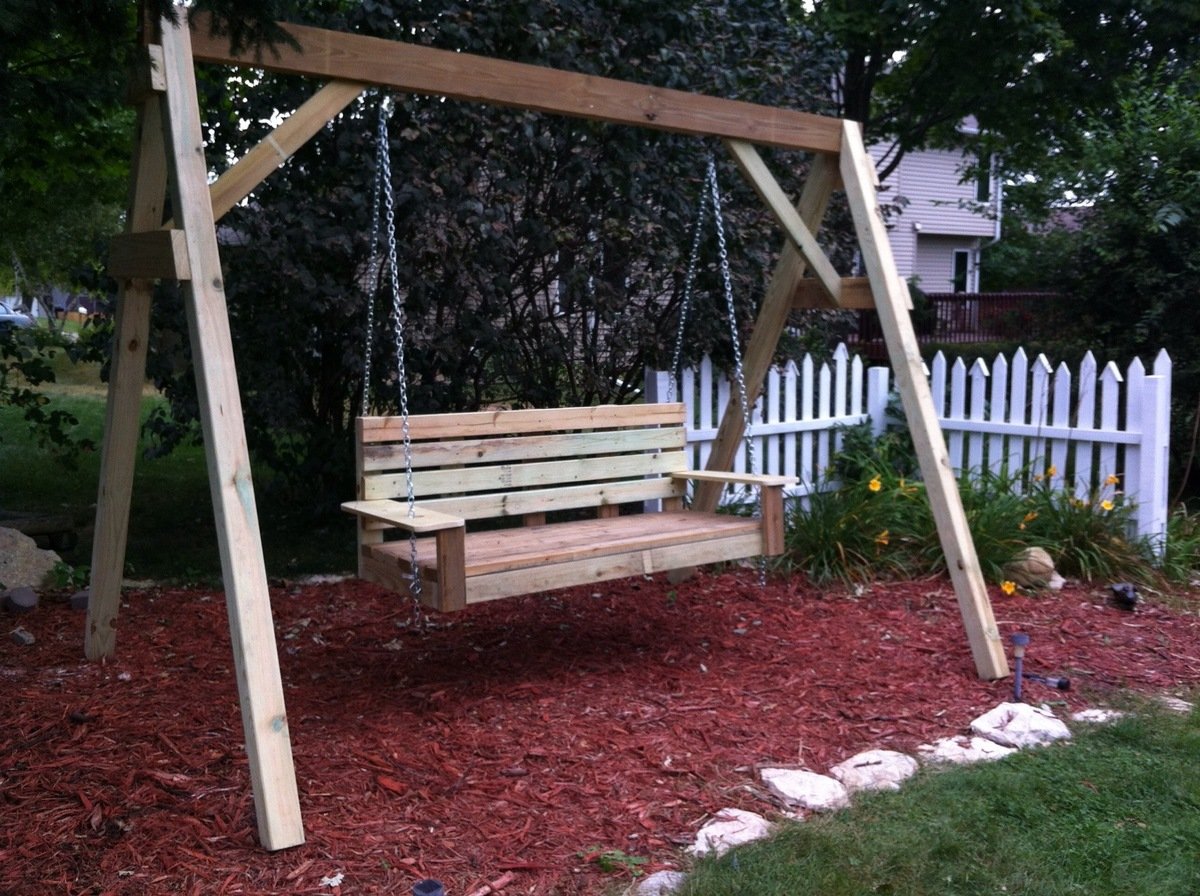
I wanted to make this porch swing ever since seeing it in the plan catalog (Large Modern Porch Swing). Just a matter of setting aside a weekend to get it done and then to find A frame to support it. I made the A-frame from a combination of this post:
http://www.buildeazy.com/newserve/swing_seat_support_dec07_1.html
and this one:
http://www.hgtv.com/home-improvement/custom-a-frame-childrens-swing-set…

I made the back a bit higher on our swing... and not quite as wide.

Reading several other blogs on this- I chose to attach the chains to the top back of the swing to keep it from tipping backwards...

Now just get to enjoy it!!

Built from Plan(s)
Estimated Cost
$50
Estimated Time Investment
Day Project (6-9 Hours)
Finish Used
Exterior Sealer/protector
Recommended Skill Level
Beginner

Comments

Sweet Pea Bed

Submitted by Anonymous (not verified) on Sat, 11/26/2016 - 16:24

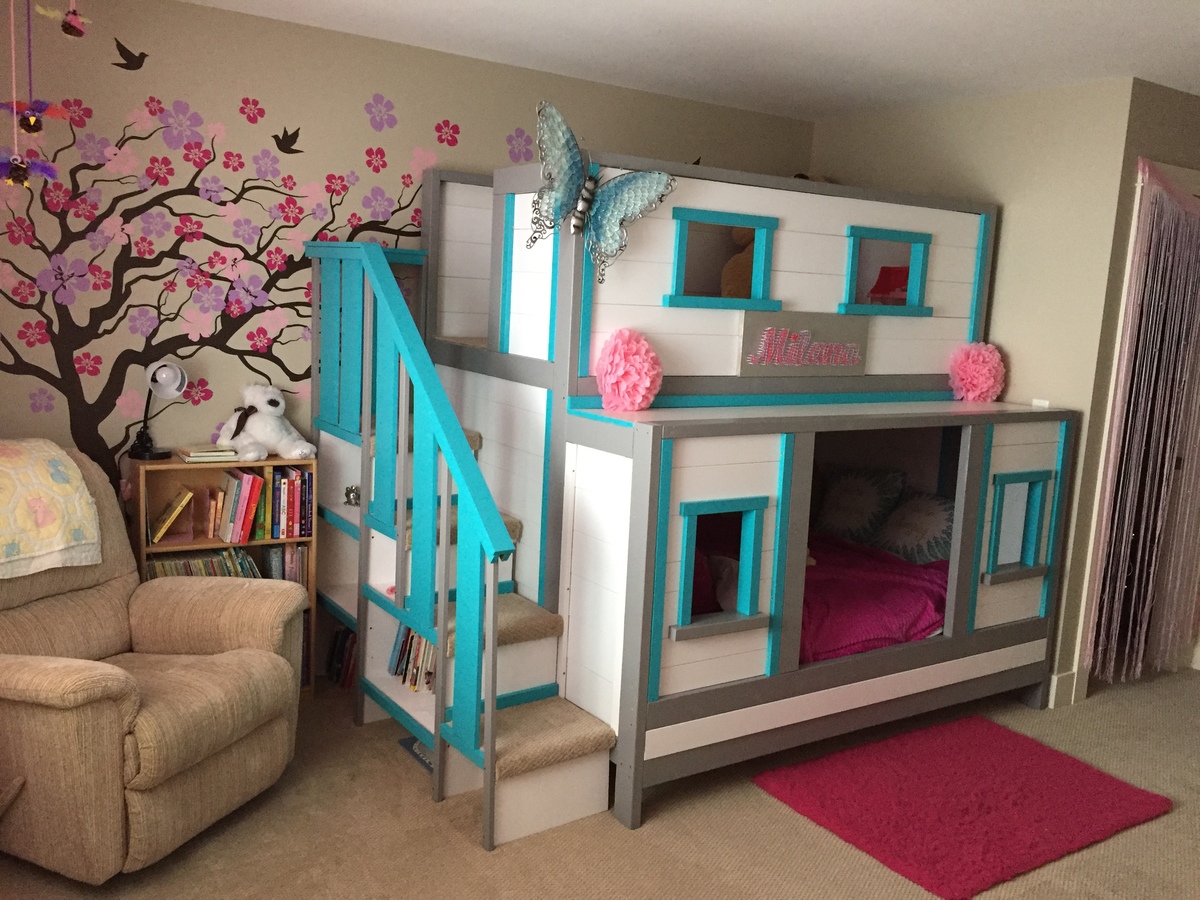
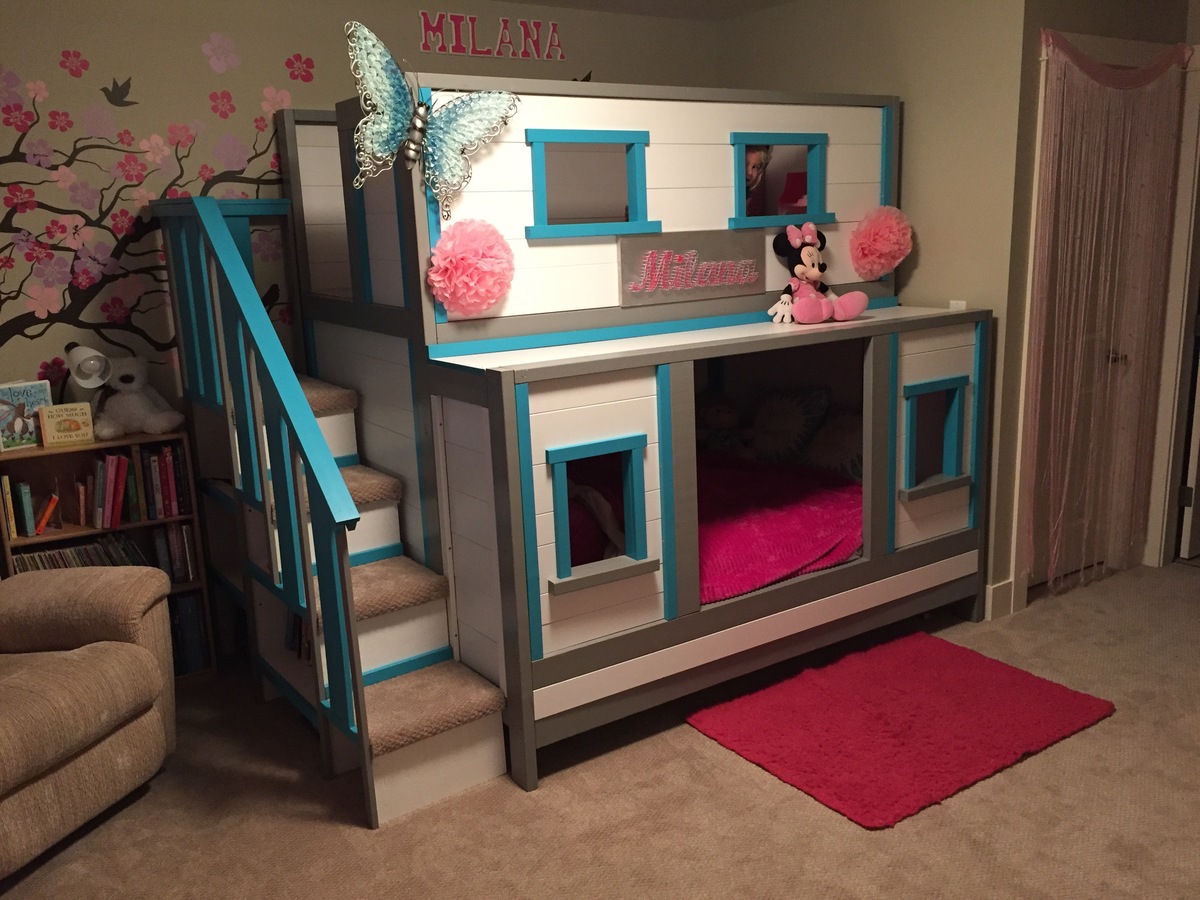
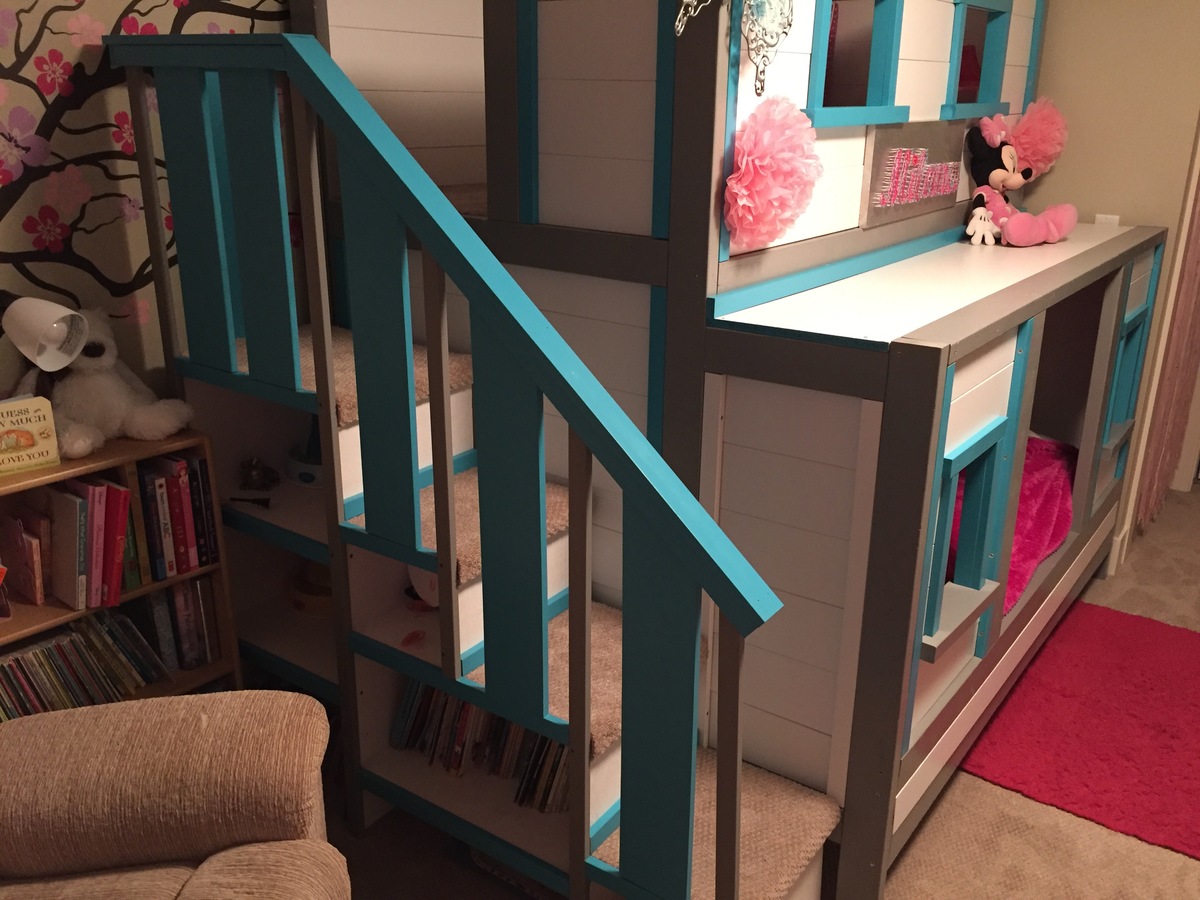
This project cost us about $850CAN and took us around a week (5ish hours a day) to complete. My husband and I are definitely not carpenters so it's not perfect but it's pretty amazing :)

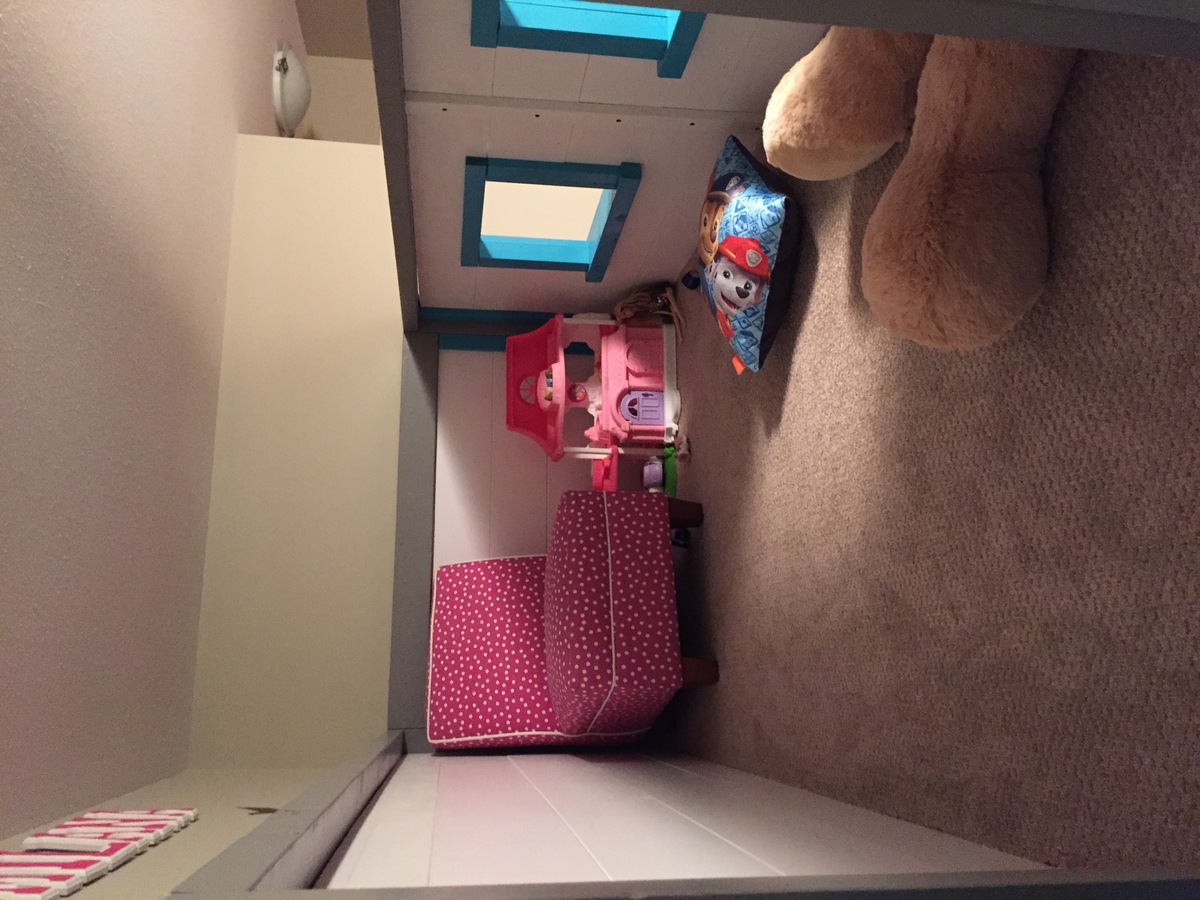
we made several alterations to the plans including making the bottom bunk larger to accommodate a double/full size mattress. We also made the "door" to the bottom bed larger with an opening of 30". Another alteration was we dropped the mattress cleats to 9" off the ground so that the mattress dat down in the bed. The bed is for our 2 year old so we thought she would have trouble getting in if it was much higher. This eliminated the storage area underneath but she has a large closets so we didn't think it would be an issue. 

The plans were great and pretty easy to follow. We are over the moon with how it all turned out! 

Estimated Cost
$850
Estimated Time Investment
Week Long Project (20 Hours or More)
Recommended Skill Level
Intermediate

Floating Corner Shelf

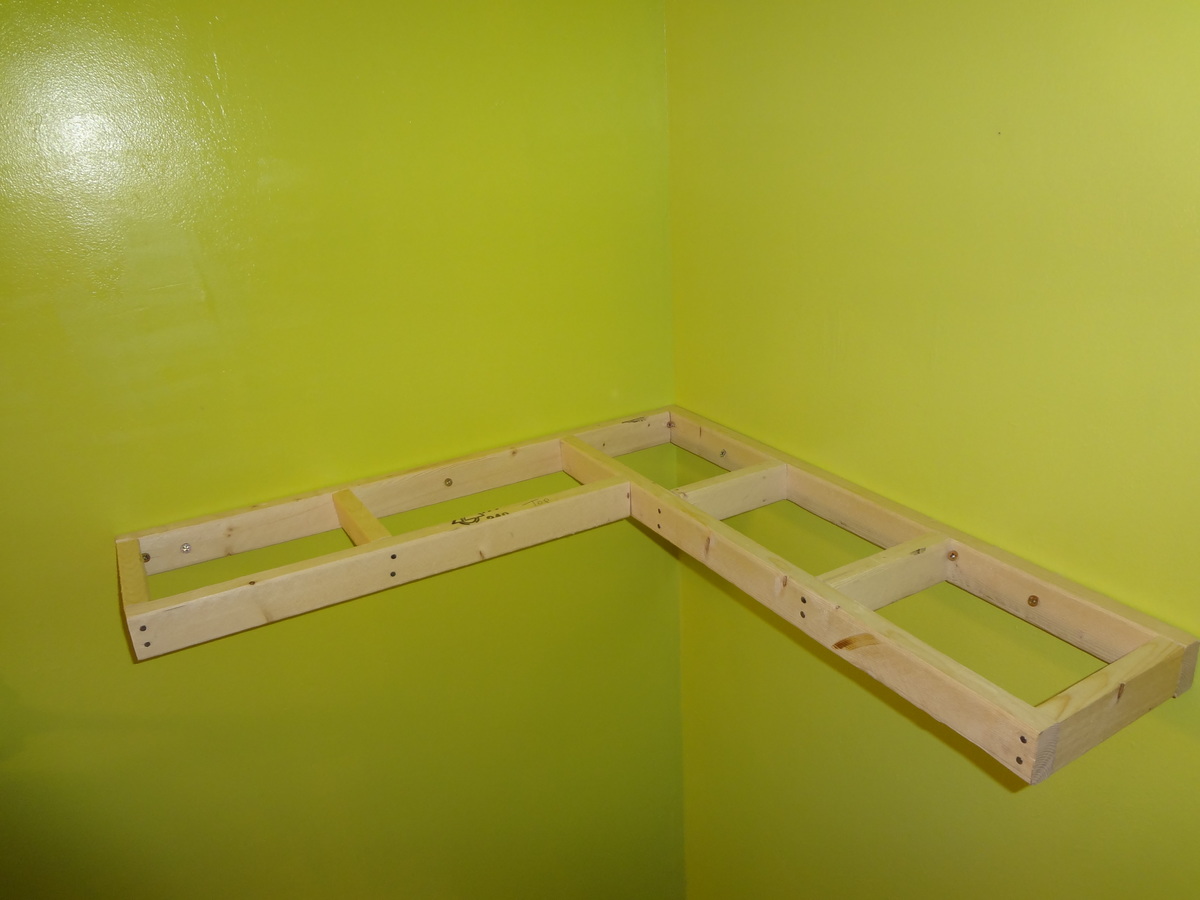
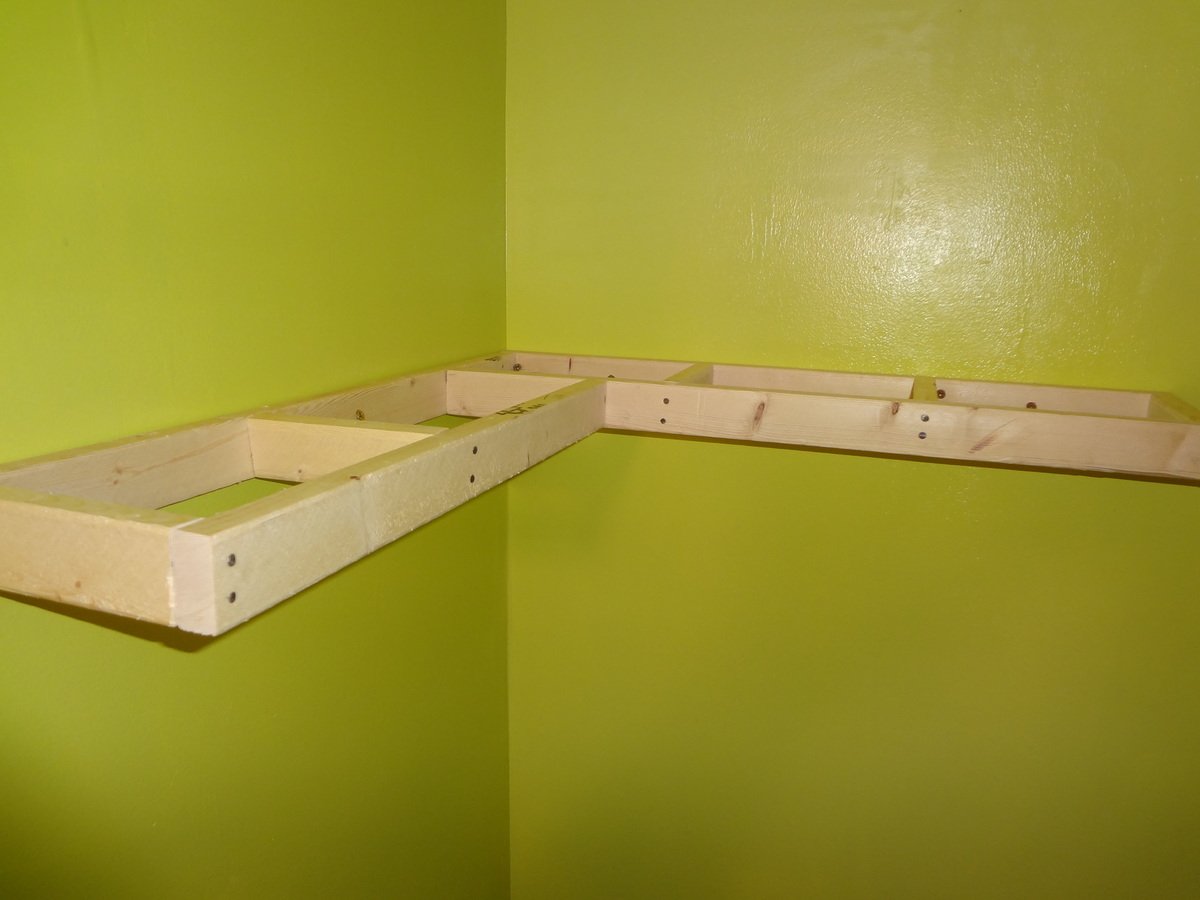
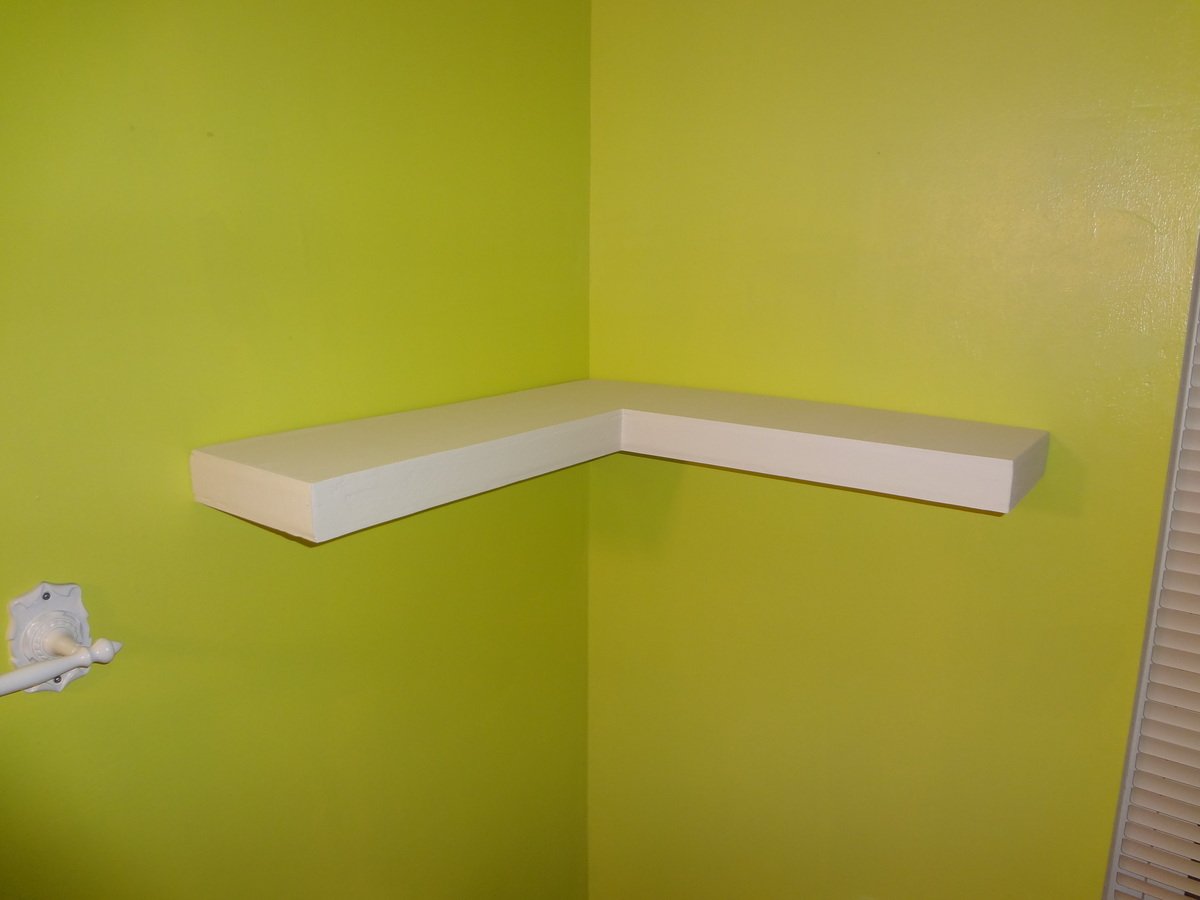
I wanted to do floating shelves in my bathroom but I have very limited space so I decided I was going to do floating shelves in a corner where I did have space. This is not going to be the only shelf, I will make another one to go above it. I was tired of having no storage space for things like toilet paper and towels so now we can use these floating shelves to do that for us :) Tomorrow I'm going to build the second one to go above this one. Making it for a corner is really no different than making it straight. The sleeve fit right over the frame I built and it looks beautiful I think :)

Estimated Time Investment
Afternoon Project (3-6 Hours)
Finish Used
White semi-gloss paint
Recommended Skill Level
Intermediate

Comments

jmr712

Wed, 07/27/2016 - 00:40

Hi, 

Love these shelfs!! what did you use to cover them please?

Modern outdoor chairs and sofa

Submitted by goose71 on Mon, 08/24/2020 - 23:09

Saw some of the other brags which includes a raised backrest so I incorporated that into my build. There's a 30 degree angle on the backrest (two 2X4's and one 2X6)

Estimated Cost
$500
Estimated Time Investment
Week Long Project (20 Hours or More)
Finish Used
Thompson’s water seal, clear.
Recommended Skill Level
Beginner

Rustic tv stand

Submitted by joslwea on Mon, 09/08/2014 - 09:54

Rustic tv stand made from pallets and reclaimed ship lap and 2x4's

Built from Plan(s)
Estimated Time Investment
Day Project (6-9 Hours)
Finish Used
Minwax early american
Recommended Skill Level
Intermediate

Comments

joslwea

Tue, 09/23/2014 - 20:39

I actually made this without the plans. I saw the picture on pinterest that wasnt linked to your site and just made my own plans for it. If I recall, I made it 5ft in length. BTW, big fan of yours! Your plans are so detailed and your pieces give me so much inspiration as a fellow furniture builder. If you have time I'd love for you to check out my facebook page, jennamaedesigns, and tell me what you think. I'm new to the building bizz but I love it! Thanks again for commenting
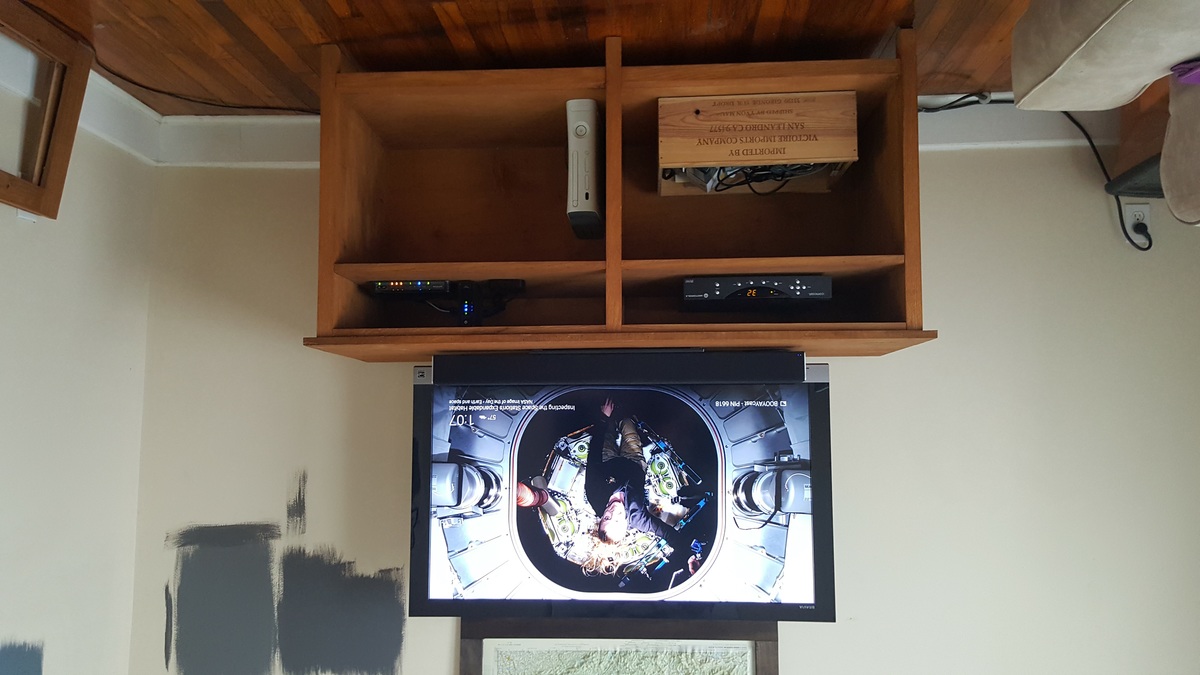
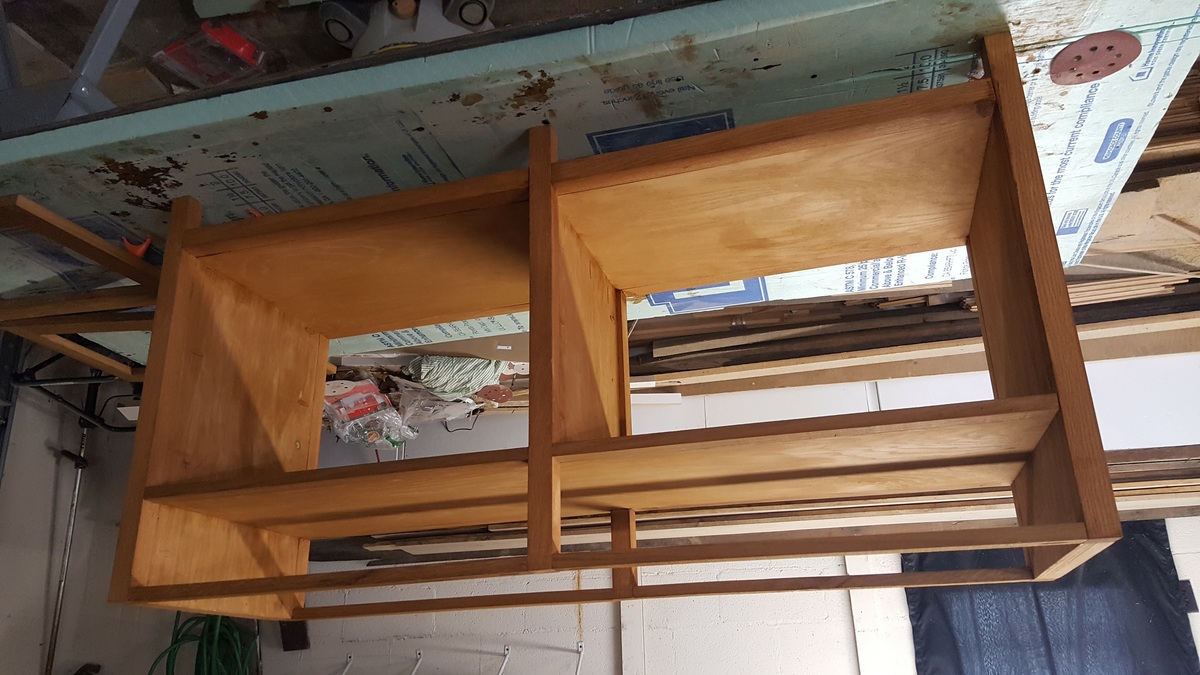
My attempt at the Benchmark Media Console

Submitted by Anonymous (not verified) on Mon, 01/02/2017 - 11:05

Had oak from my family farm that made up the top and trimwork. Purchased oak board for the legs. Sides and middle/bottom shelf from maple plywood. Decided against the flip down doors. Wasn't happy with he fit of the main doors due to a little off-kilter craftsmanship on my part, so will probably leave it open and add crates / some shelves the same height as the top row giving like 6", 6", and 11" or so.

Built from Plan(s)
Estimated Cost
$225 due to cost of Oak board (had to buy entire board $120, but have 5ft uncut left) and Maple plywood ($60), and used TransTint Vintage Maple dye instead of stain.
Estimated Time Investment
Week Long Project (20 Hours or More)
Finish Used
TransTint Vintage Maple dye mixed with water (about 1oz for a large mason jar) and Spray on Poly in Clear Satin. Wiped on dye liberally, wiped off excess as I went.
Recommended Skill Level
Intermediate

West Elm Knockoff Chevron Queen Bed

Submitted by Anonymous (not verified) on Fri, 01/13/2017 - 21:07

This was my first build and I am so happy with how it turned out! The plans from Jen Woodhouse were extremely easy to follow and I would definitely recommend this project to others!
Estimated Cost
$200
Estimated Time Investment
Week Long Project (20 Hours or More)
Recommended Skill Level
Intermediate

Farmhouse closet

Submitted by Anonymous (not verified) on Mon, 01/16/2017 - 04:56

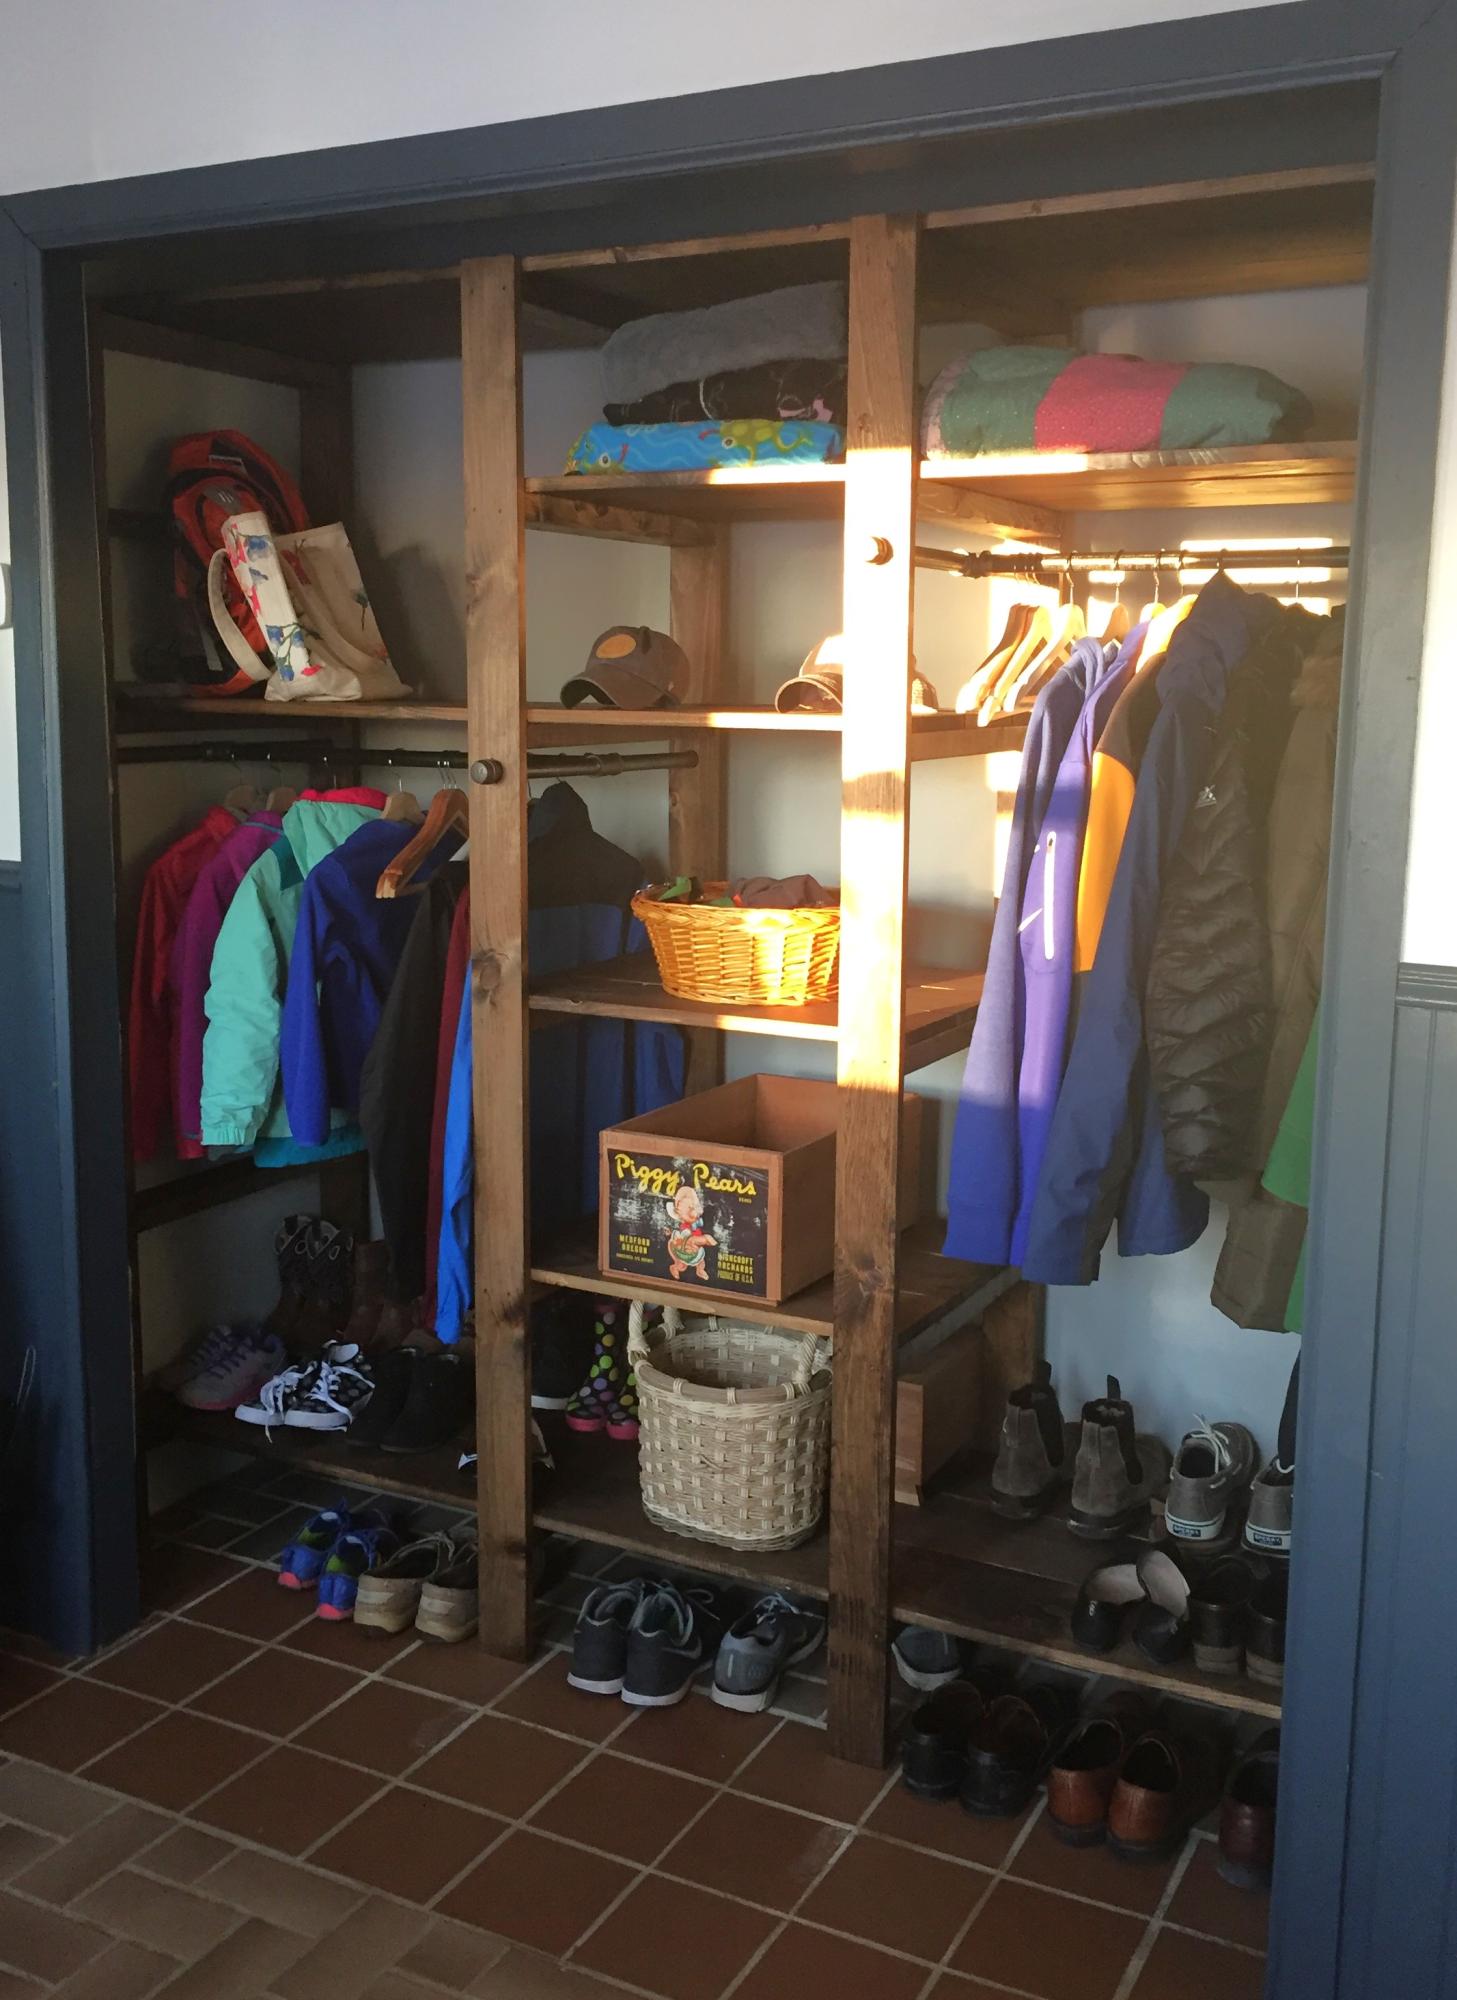
I had so much trouble deciding what to do with this HUGE closet in my breezeway.  Previously it had just one bar across the top and ugly sliding doors.  I loved Ana's design, but made several changes.  Since my closet was super deep (32") I extended the depth of her design to about 25".  I also staggered the rods for longer coats, and one that my 8 year old can actually reach to hang her stuff up!  I changed the shelf design up a little bit too!  Her instructions are super easy to change to your specifications.  I did end up spending about $350 on this project, but keep in mind I was using 3 - 1x8's for each shelf instead of 1x4s.  

Built from Plan(s)
Estimated Cost
$350
Estimated Time Investment
Weekend Project (10-20 Hours)
Finish Used
Minwax Dark Walnut
Recommended Skill Level
Beginner

100 Sq. Ft. Gable Shabin with Loft

Submitted by Emillie on Thu, 10/01/2020 - 11:45

We built a bunkie-style shabin for our off-grid vacation home. We wanted to keep it under 100 sq ft so we wouldn't have to worry about planning permission. This tiny shabin is 8ft x 12 ft with an 8ft x 7ft loft. It's perfect for our family of 4!

The whole thing (roof and all) cost around $6000 to build and we finished it in about 2 weeks. Phew! It was the perfect project for the summer.

Estimated Cost
6000
Estimated Time Investment
Week Long Project (20 Hours or More)
Finish Used
Sleeping bunkie for a family of four.
Recommended Skill Level
Advanced

Comments

Christmas Tree Shelf

Submitted by Anonymous (not verified) on Wed, 10/21/2020 - 08:50

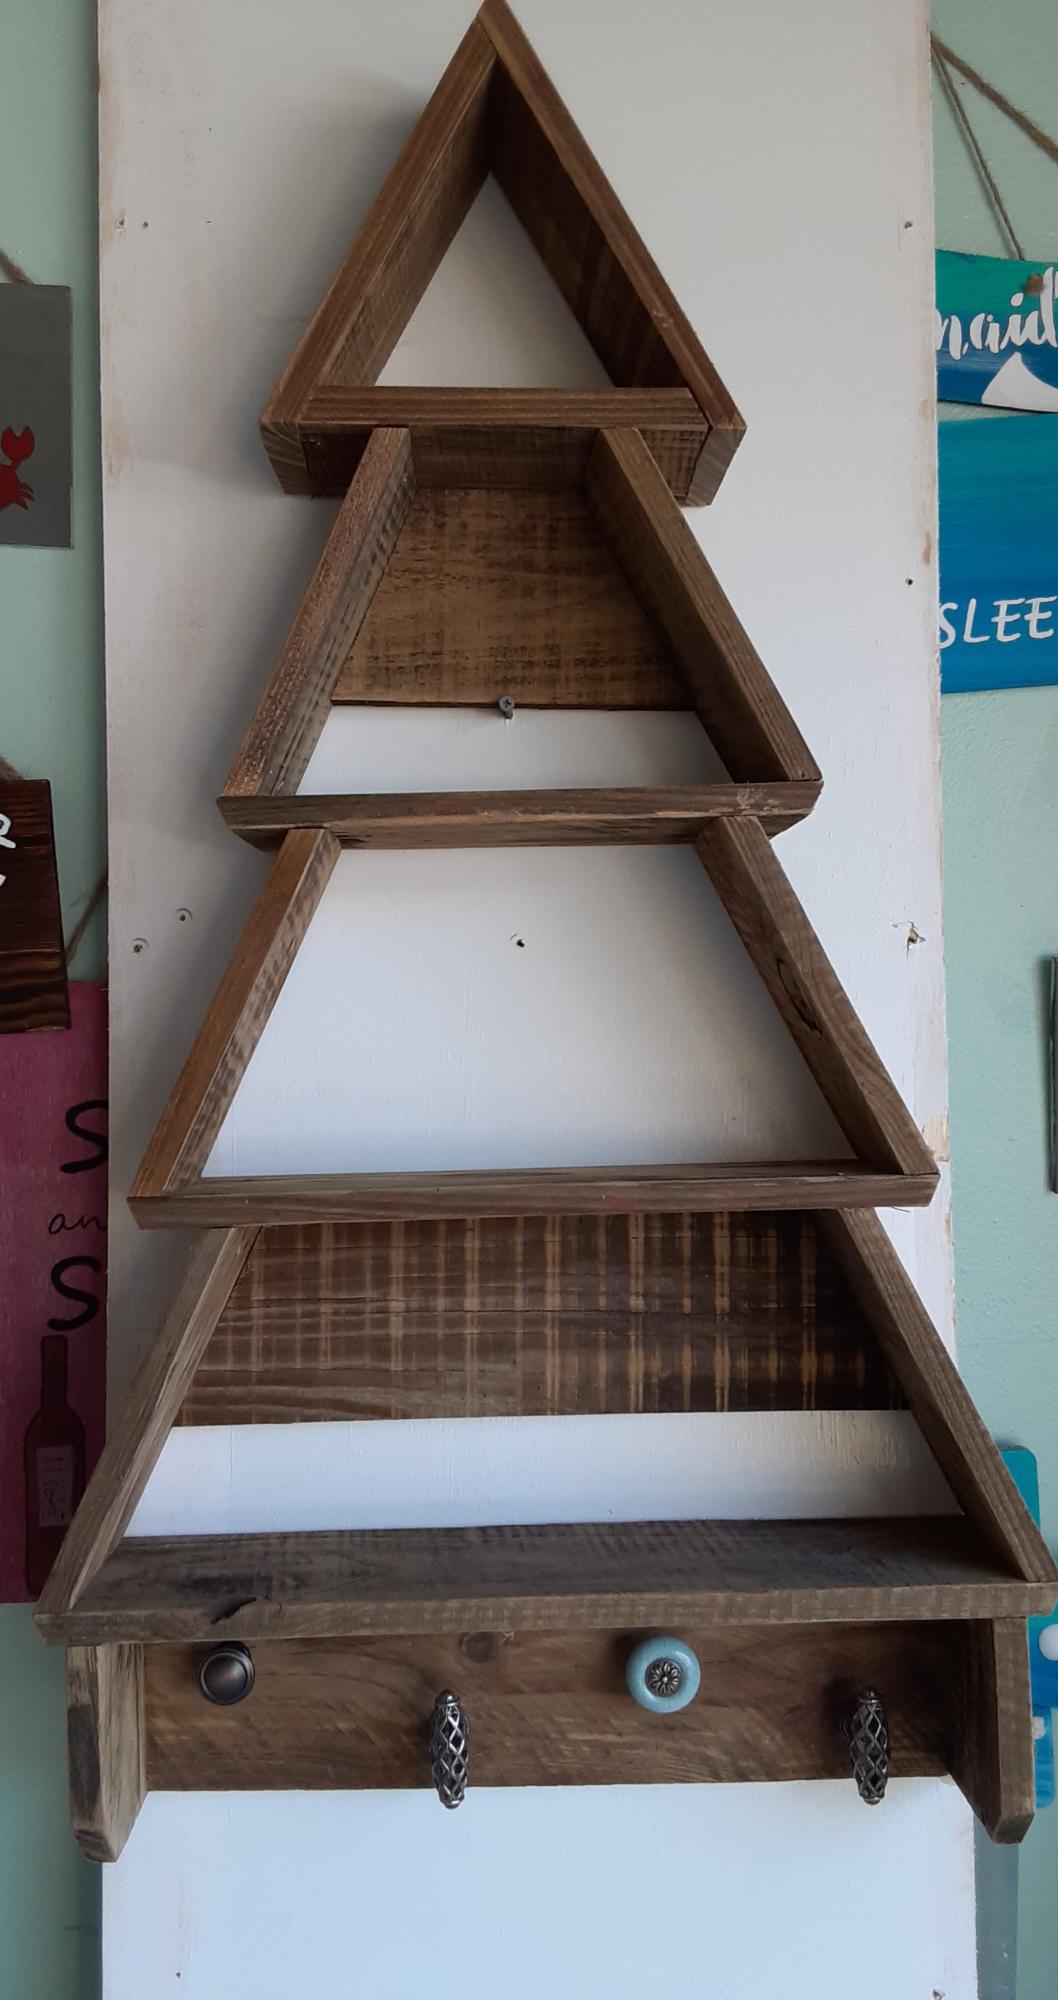
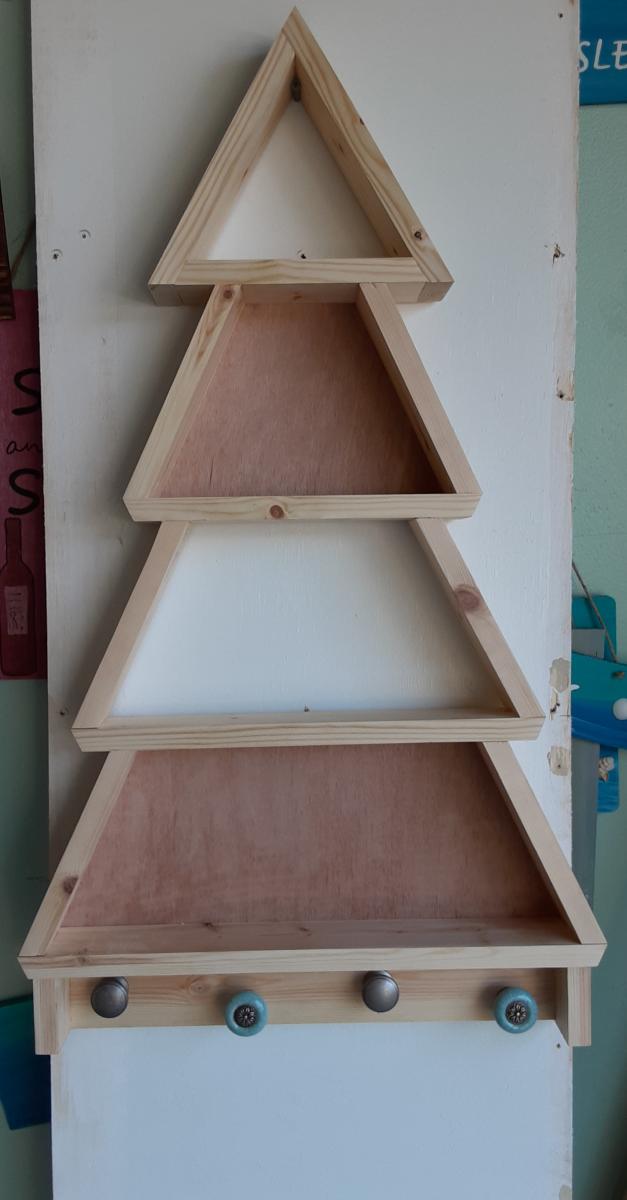
This is my first time using some of the power tools that this required, however, it came out SO CUTE! I put one together and someone bought it raw. I put one together as the video showed, and then did one out of old fence pickets that were cleaned up and planed by a neighbor. They both came out beautiful. We used knobs that we had in the shop and offset them a little to be whimsical.
Vasiliki

Built from Plan(s)
Estimated Cost
$8-12
Estimated Time Investment
An Hour or Two (0-2 Hours)
Finish Used
Entry way to home, by the front door.
Recommended Skill Level
Intermediate

Comments

Fancy + Mimi's Hall Trees

Submitted by Anonymous (not verified) on Sun, 02/05/2017 - 13:28

Took the fancy hall tree bottom and added Mimi's hutch to the top. Added a little bead board to the bench and top edges to cover up the plywood, and voila! My wife's Christmas gift. 

Estimated Cost
$250-300
Estimated Time Investment
Week Long Project (20 Hours or More)
Finish Used
White paint and polyurethane
Recommended Skill Level
Intermediate