Adirondack Chairs
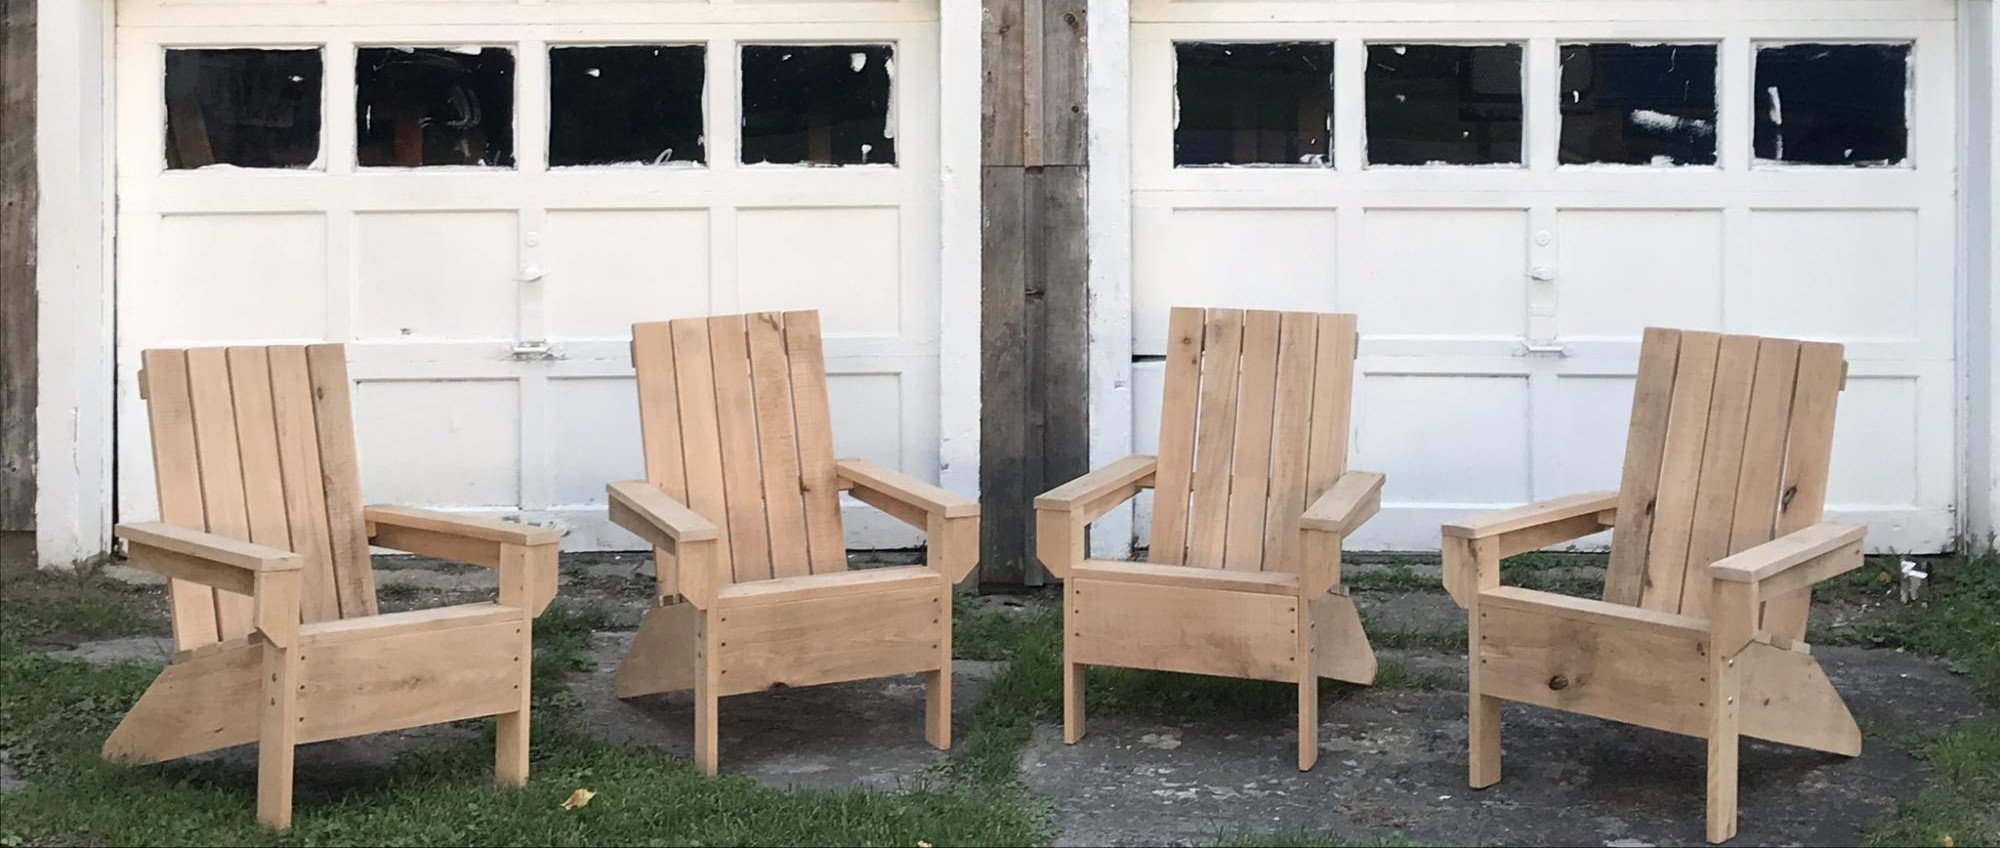
Needed some chairs, quick, for my daughter’s new fire pit. Used your design and the they love them.

Built from Plan(s)
Needed some chairs, quick, for my daughter’s new fire pit. Used your design and the they love them.
My first project, something I took on with my kids. Lots of fun, errors, and lessons learned. Used an hvlp for stain and poly, so much faster and easier than brush or rag staining.
Thanks for the inspiration and instructions.

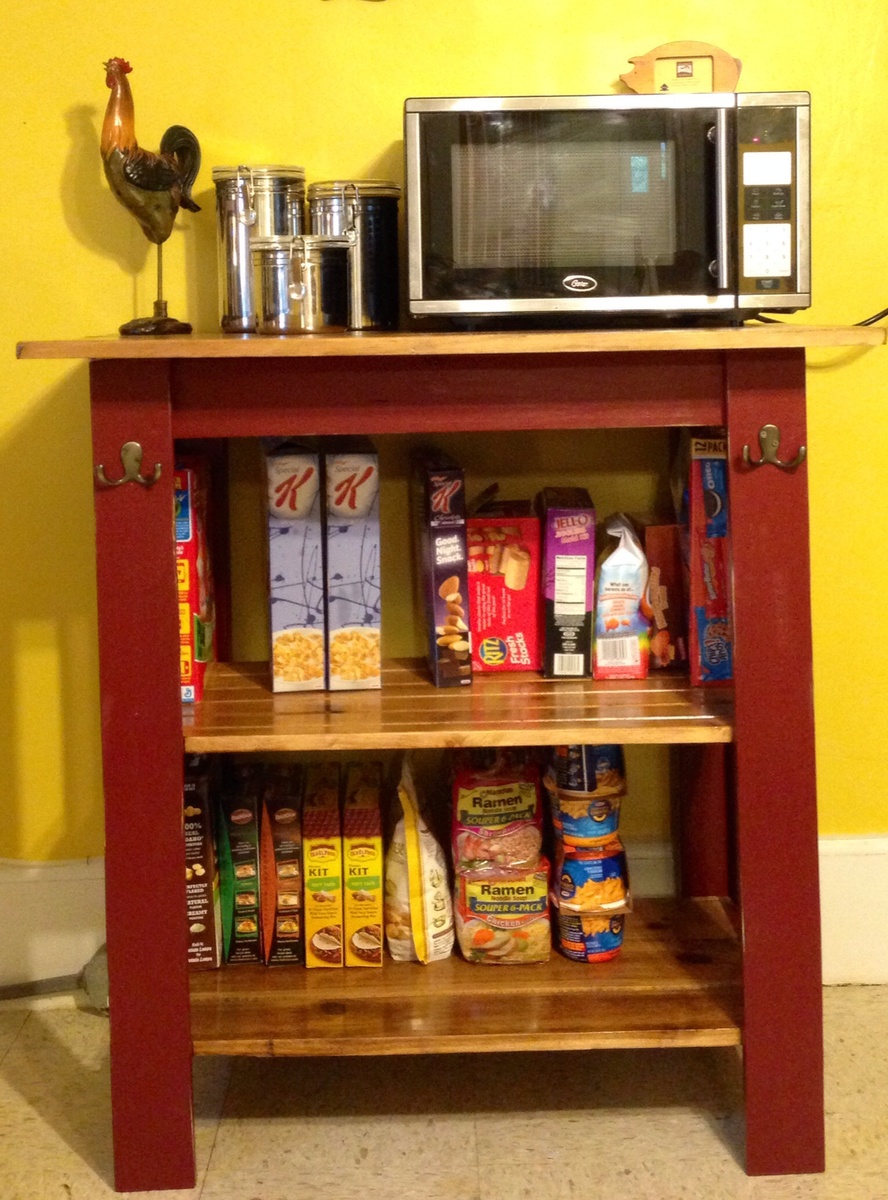
Added a shelf and made the console a microwave cart for my mom.

Fri, 11/14/2014 - 13:56
That's really nice! I love how it contrasts with your walls! And all from scrap even better...
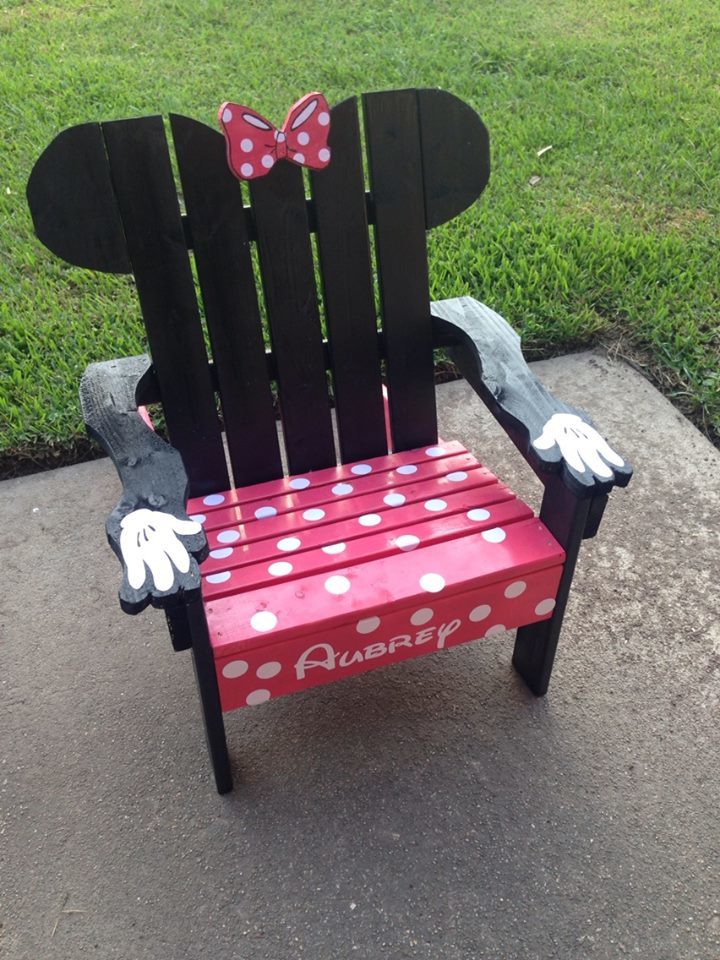
My daughter is into everything Minnie Mouse right now so I figured, why not!
Tue, 04/28/2015 - 12:04
Is there any way to get the plans for the minnie mouse chair? Would love to make this. I can open the plans for the basic adirondack chair, but not the minnie mouse one.
Thanks!

Sun, 07/24/2016 - 18:30
I am not able to download the minnie mouse chair
plans, can someone please assist?
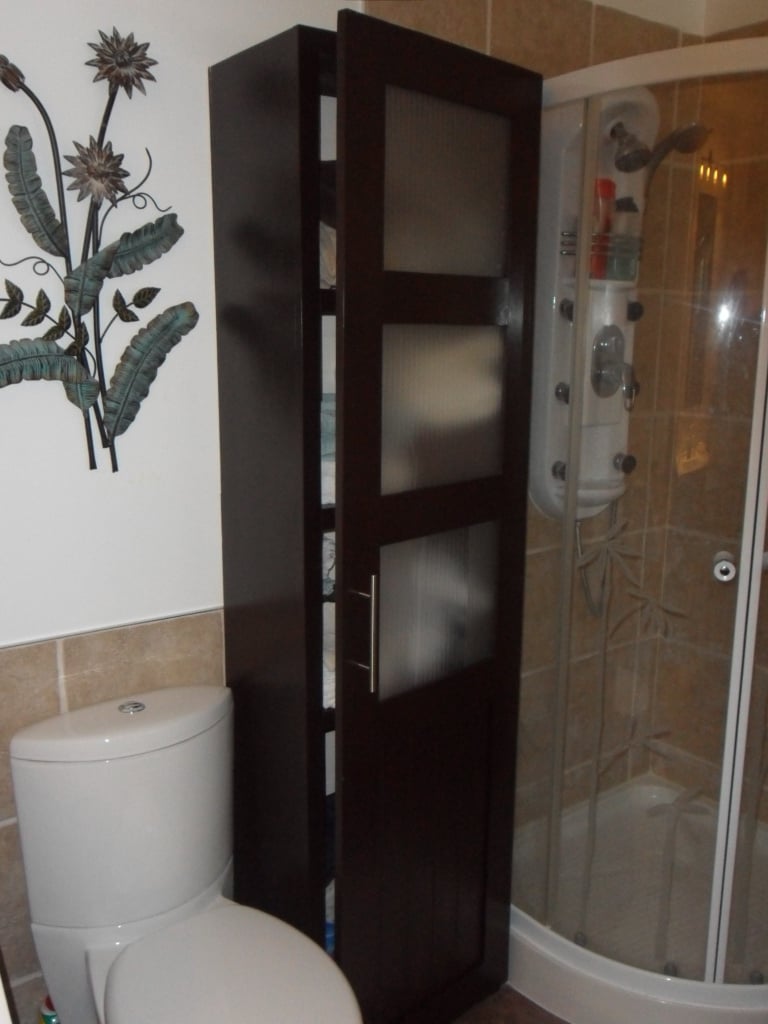
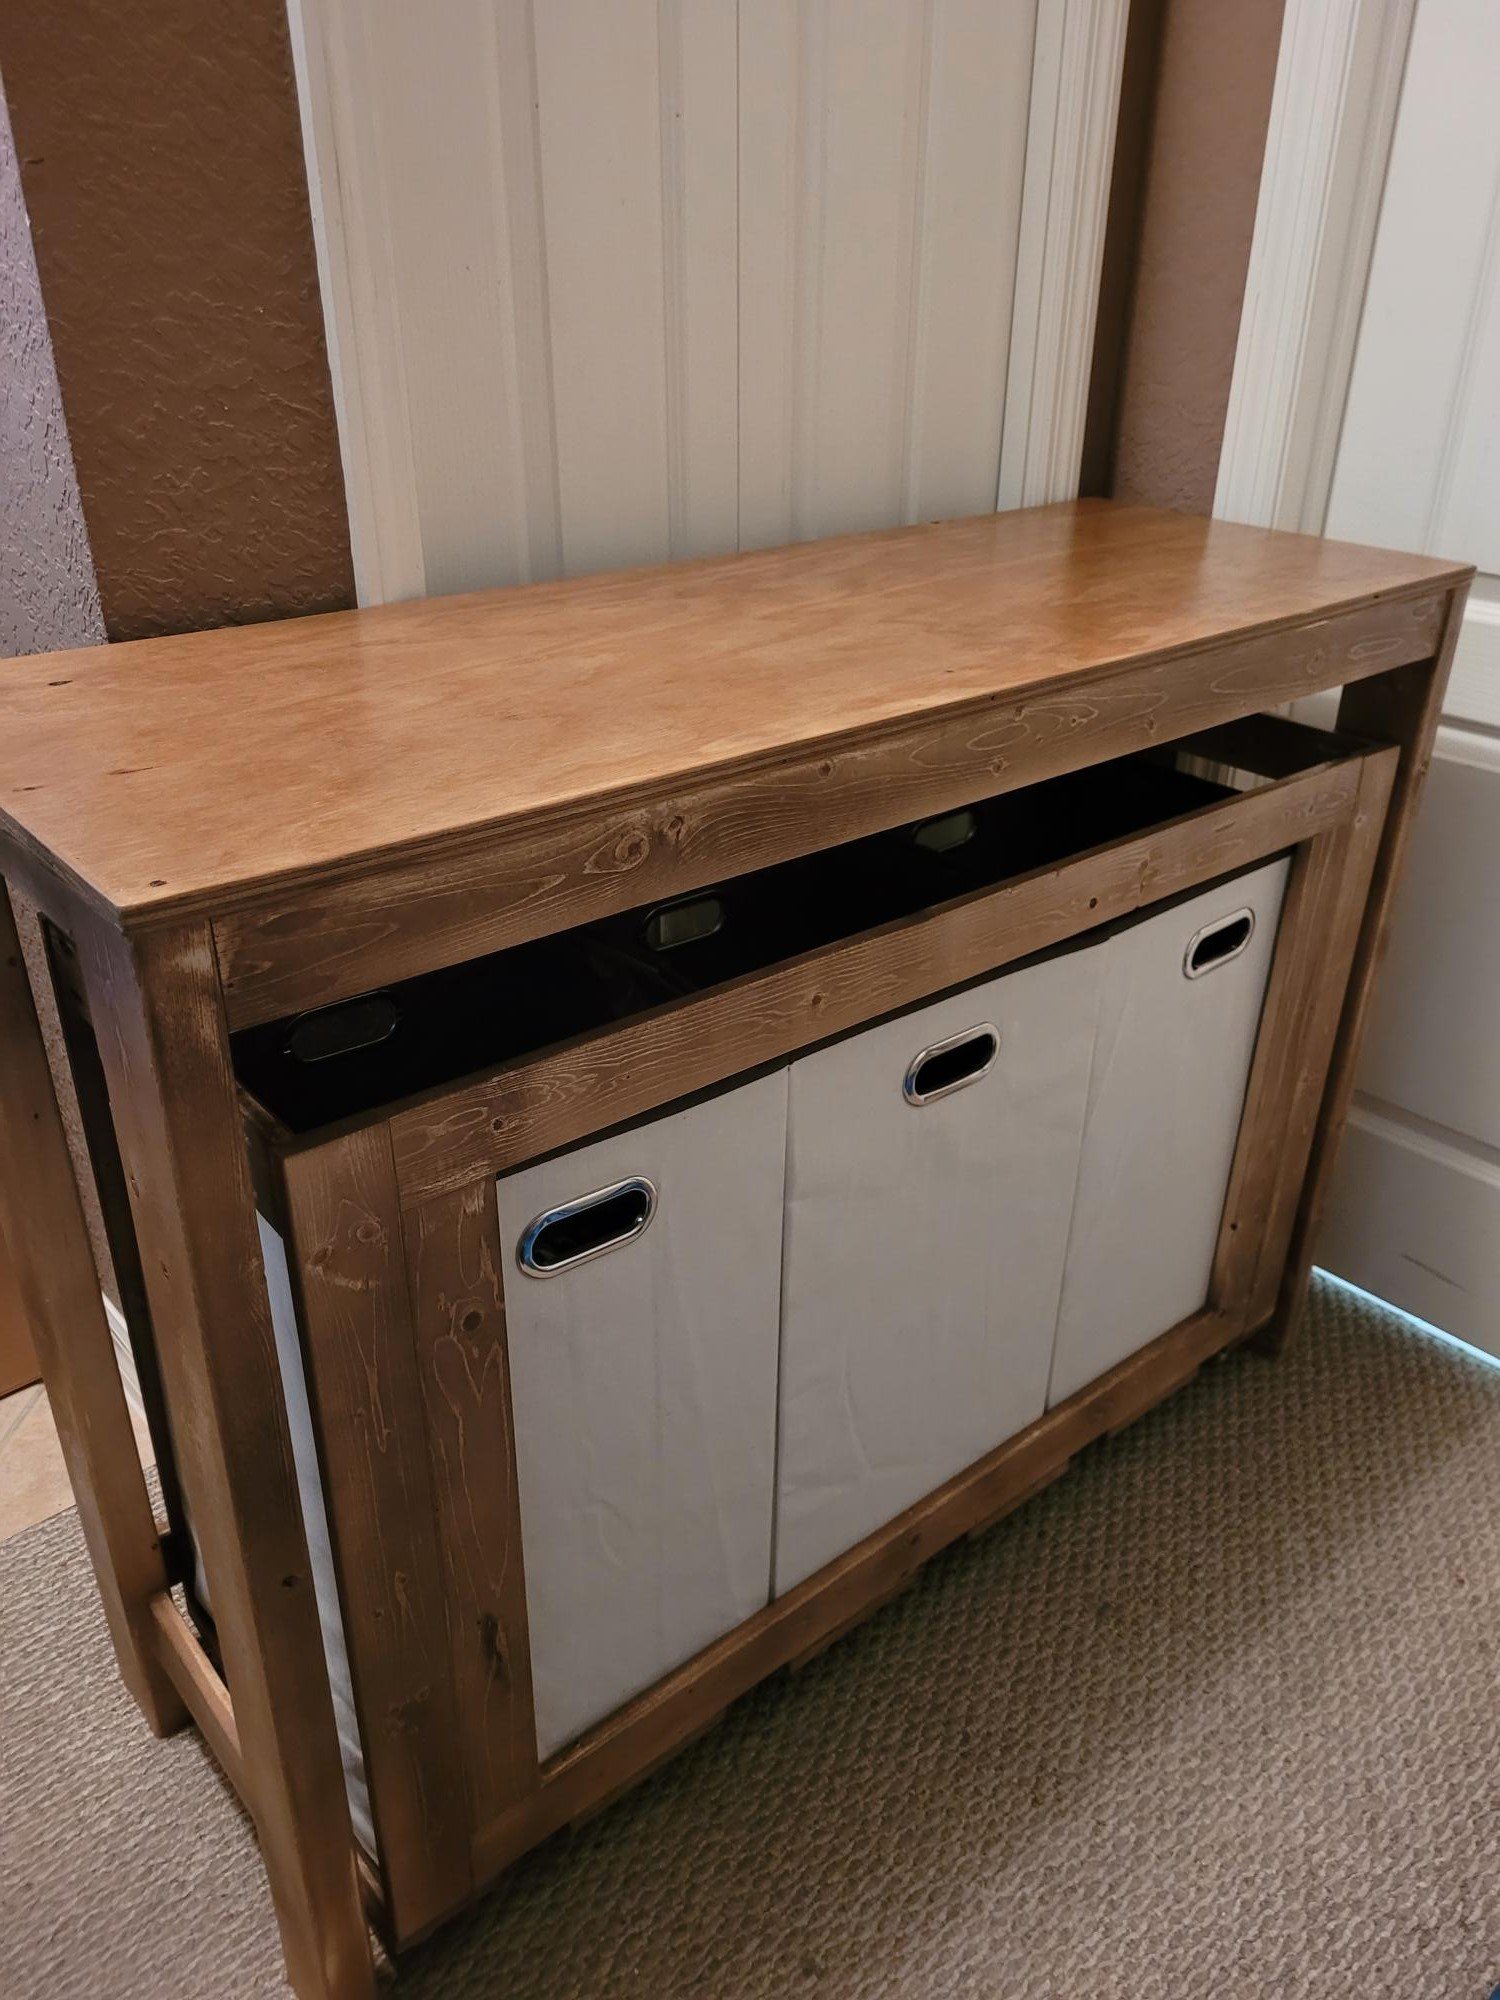
I loved the look of the Craft room Storage tower but modified to suit my wife's bathroom theme/decor. The inside back (MDF beadboard) is painted a milk coffee color to lighten it up. The door inserts are plexiglass, which was more expensive than glass but with 2 boys 6 and 2 it is well spent, and the MDF beadboard. Covered the plexiglass with self-adhesive film for glass on both sides to hide the towels inside. This project took me about 12 hours to complete but over a 3 month period, mostly spent on finishing the project with my boys underfoot or at 12-2am. YIKES!!! If i keep this up she will want to buy instead of letting me build.
Price List:
wood: $100
Stain/Paint: left over from house reno. would have been $15 stain $20 Varnish 30$ quart of paint
Handle: $7
Hinges: $4 basic style
I wanted to use Eurostyle hinges but opted to buy the Kreg system instead of Forstner drill bits.
Will be building another just different dimensions for laundry room makeover.
Sat, 01/26/2013 - 12:18
Thanks! It was my first furniture building project! I did a huge reno that i did on my house but that is construction and 1/8th in isnt as big of an issue as in furniture.

Mon, 01/28/2013 - 20:45
I've been wanting to build something similar for my bathroom! Yours turned out great. It inspires me to get to work!

I used the sewing table plans from Ana's sie to make a sewing table for my mother-in-law's birthday. She loves it. the plans worked great. I did upgrade the legs with some Locking table leg extensions from Amazon. https://smile.amazon.com/gp/product/B06VTJZHS6/ref=ppx_yo_dt_b_asin_tit… I also used pocket holes instead of just screws. If I made another one I would use a thicker piece of lumbar for the legs maybe a 2"X 2" instead of the 1"X 3" I'd used.


Sat, 12/19/2020 - 12:45
Excellent mods and additions to make this table last and last! Thanks for sharing!
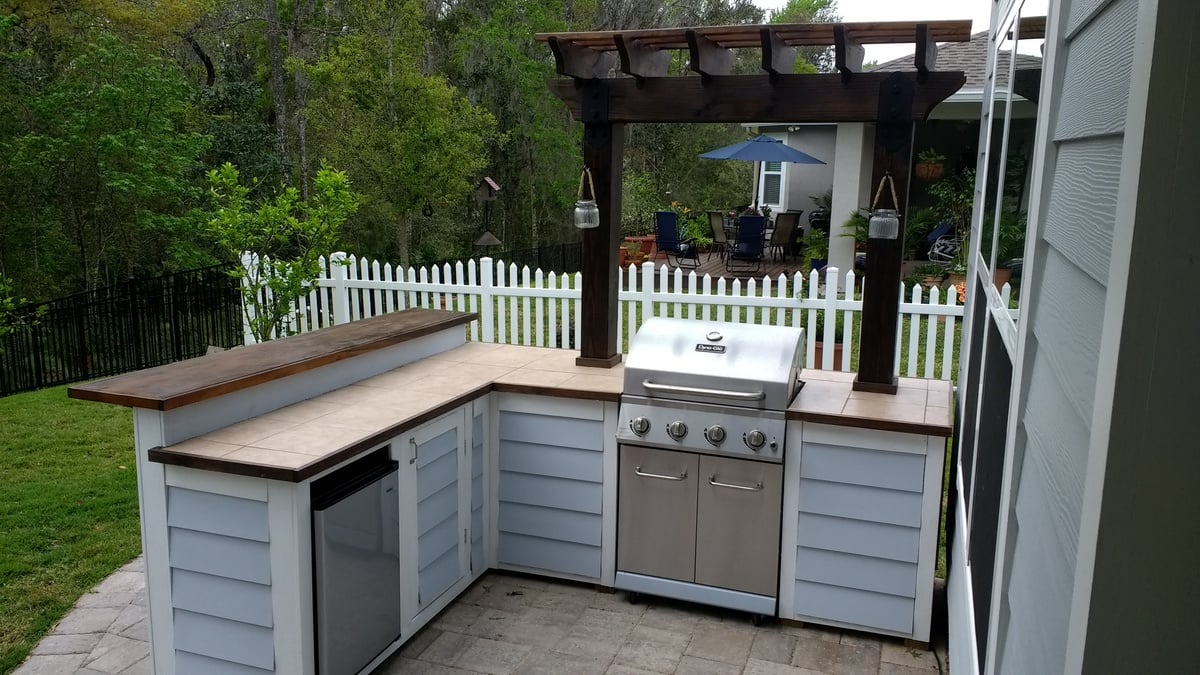
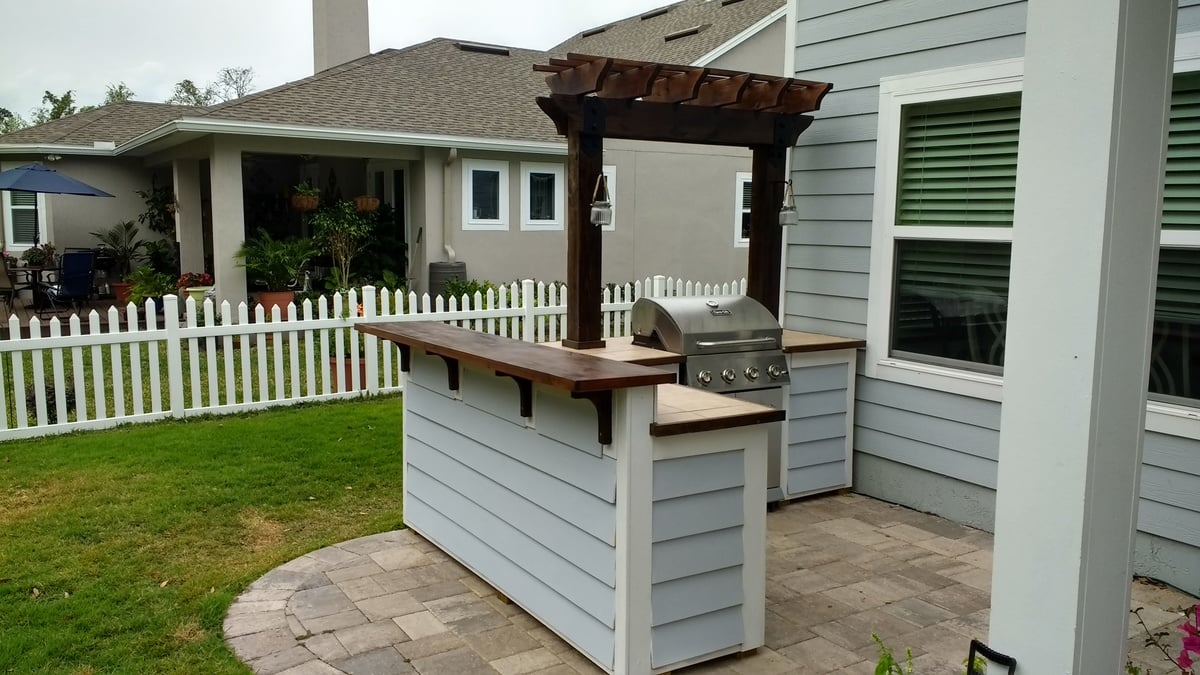
I wanted to build an L shaped outdoor bar with a 2 post pergola over the grill. I couldn't find any plans online that would fit the space I had, so I decided to build it myself with custom dimensions. The top bar is approx. 7'3" across, and 15" wide, while the distance from the right edge (next to the house) to the end of the bar is approx. 9'1".
I framed it with PT lumber and the 2 pergola posts are sitting on top of the pavers and supported internally within some of the framing studs. Since the pavers sit on top of concrete, I didn't feel the need to dig up the existing pavers and achor them in the ground.
I used hardiboard for the exterior and tiled the lower section of the bar.
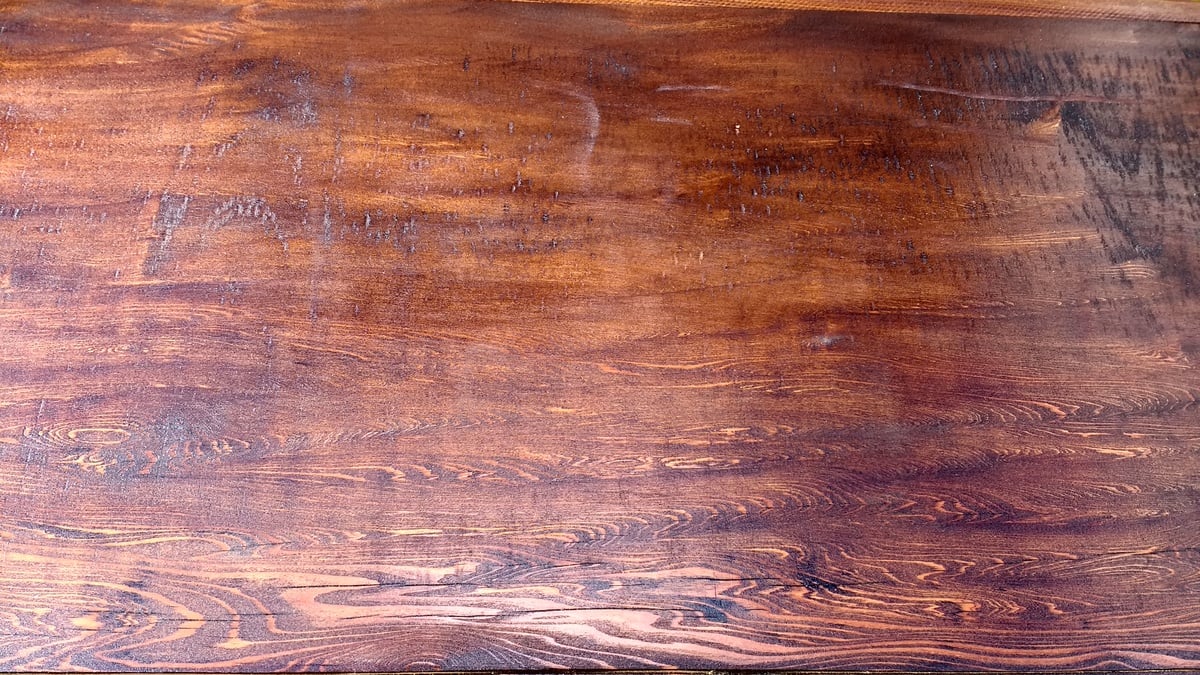
For the actual high bar top, I wanted to do something unique, and found a 900 year old scrap slab of Cypress at a local lumber yard. One side was smooth, but underneath was gouged out from different saw cuts and very uneven. I screwed a piece of 3/4" PT plywood underneath and trimmed it with 1-1/2" Cypress. I stained the whole thing with a dark honey colored stain and put a generous amount of poly on it once it was dry. There are a few cracks and nicks on it, but once it was stained, it looked awesome.

Wed, 06/19/2019 - 13:23
Looks awesome. I have been wanting something like this for a while now. Where can we can plans for this?
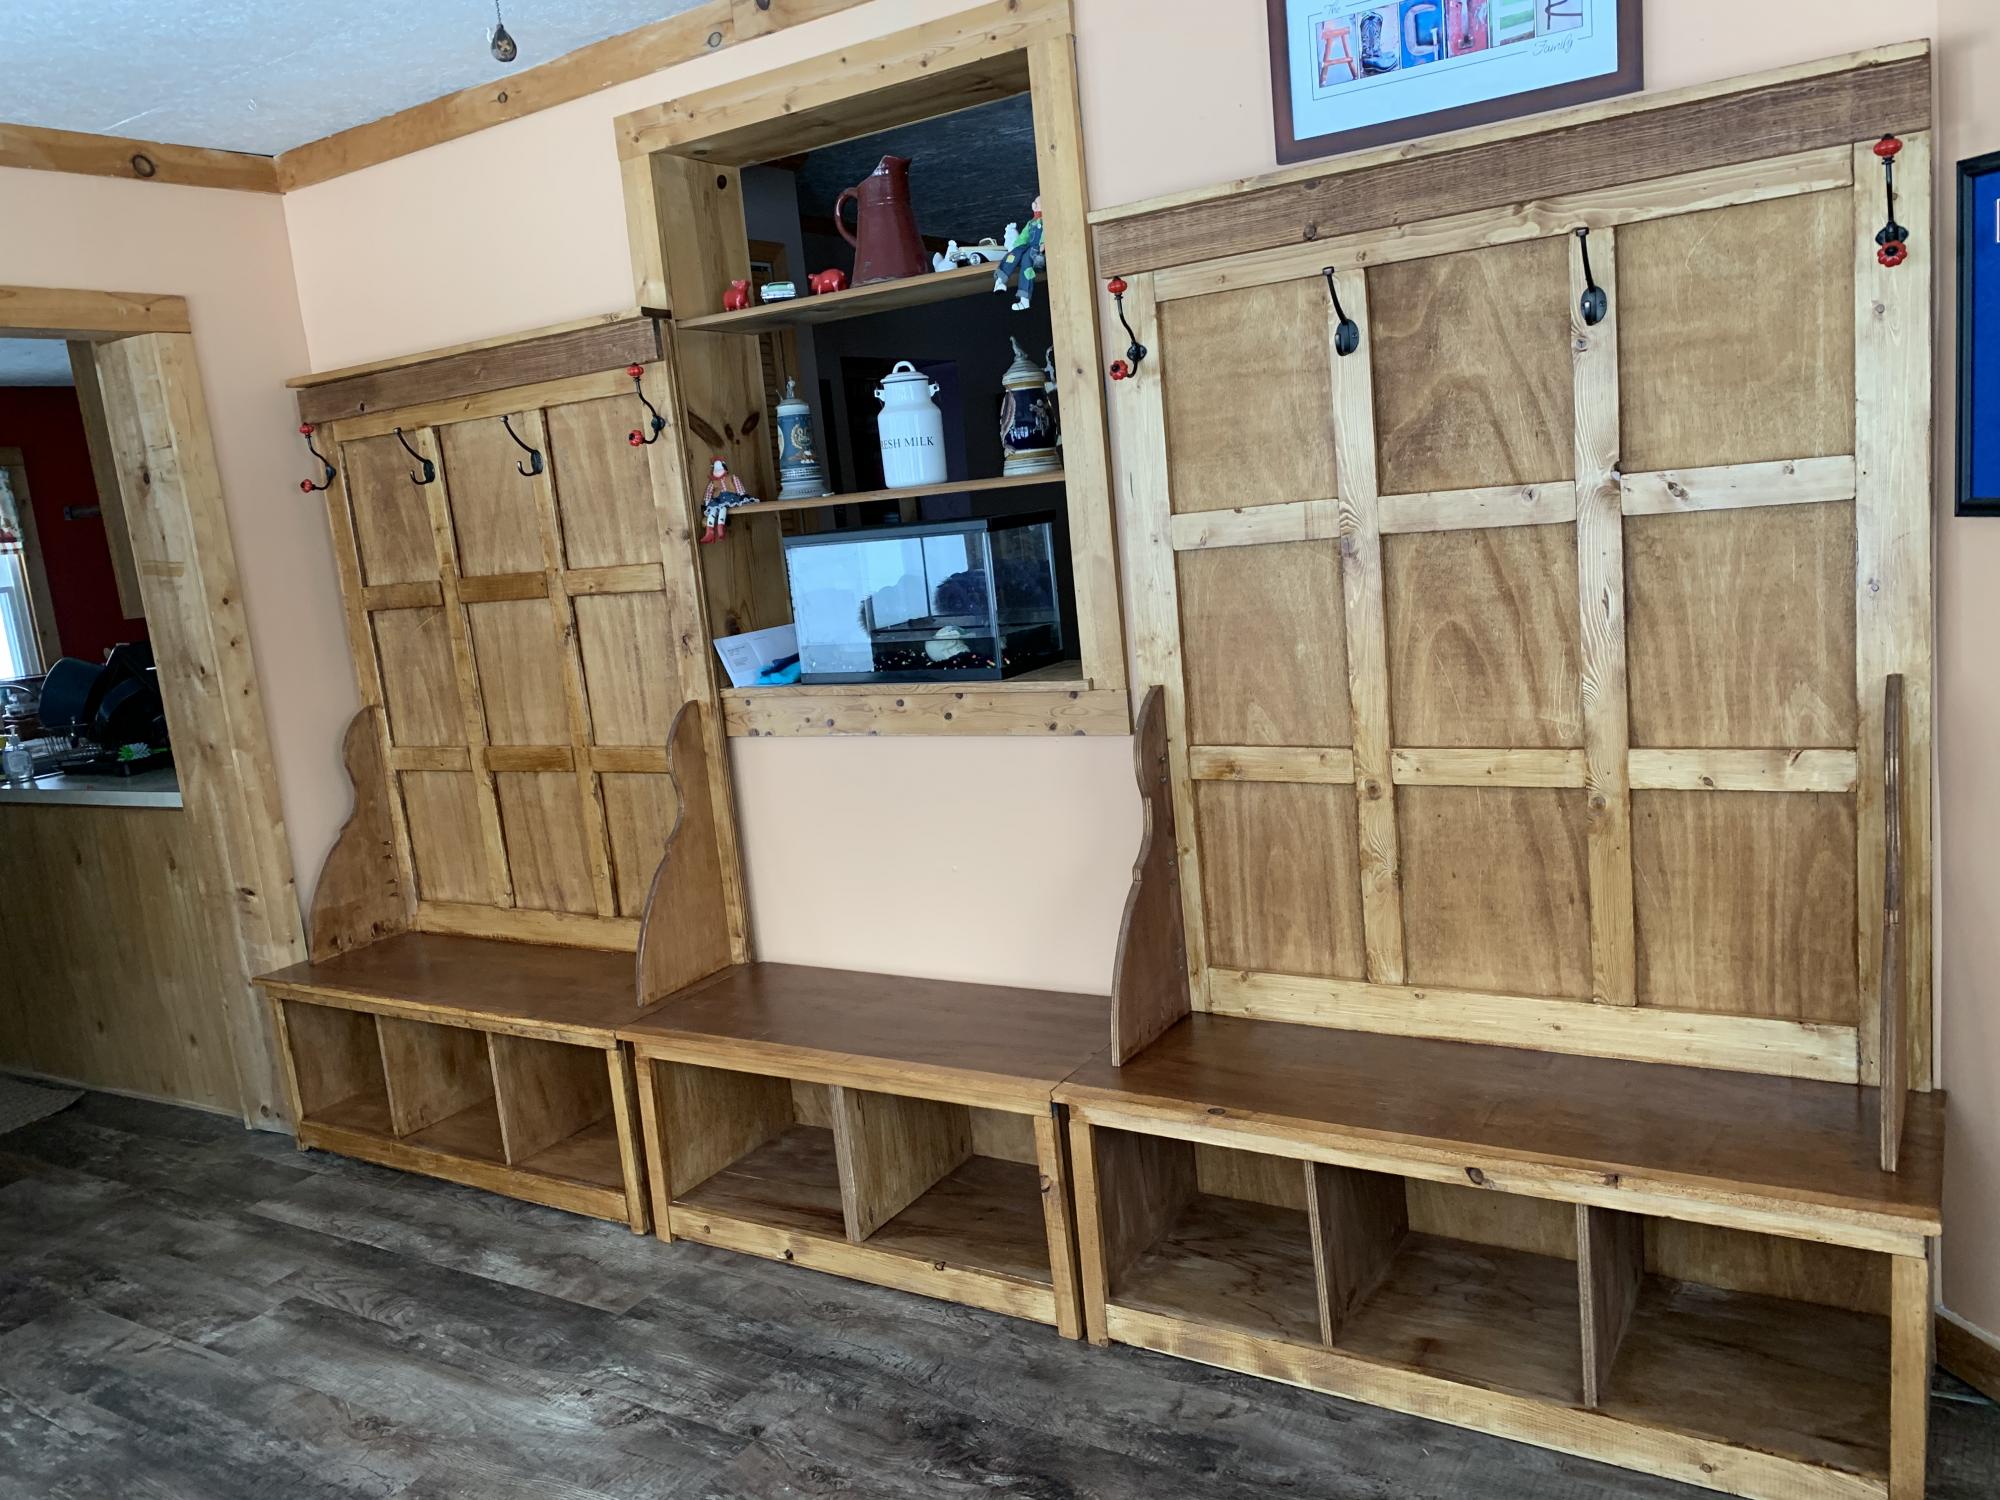
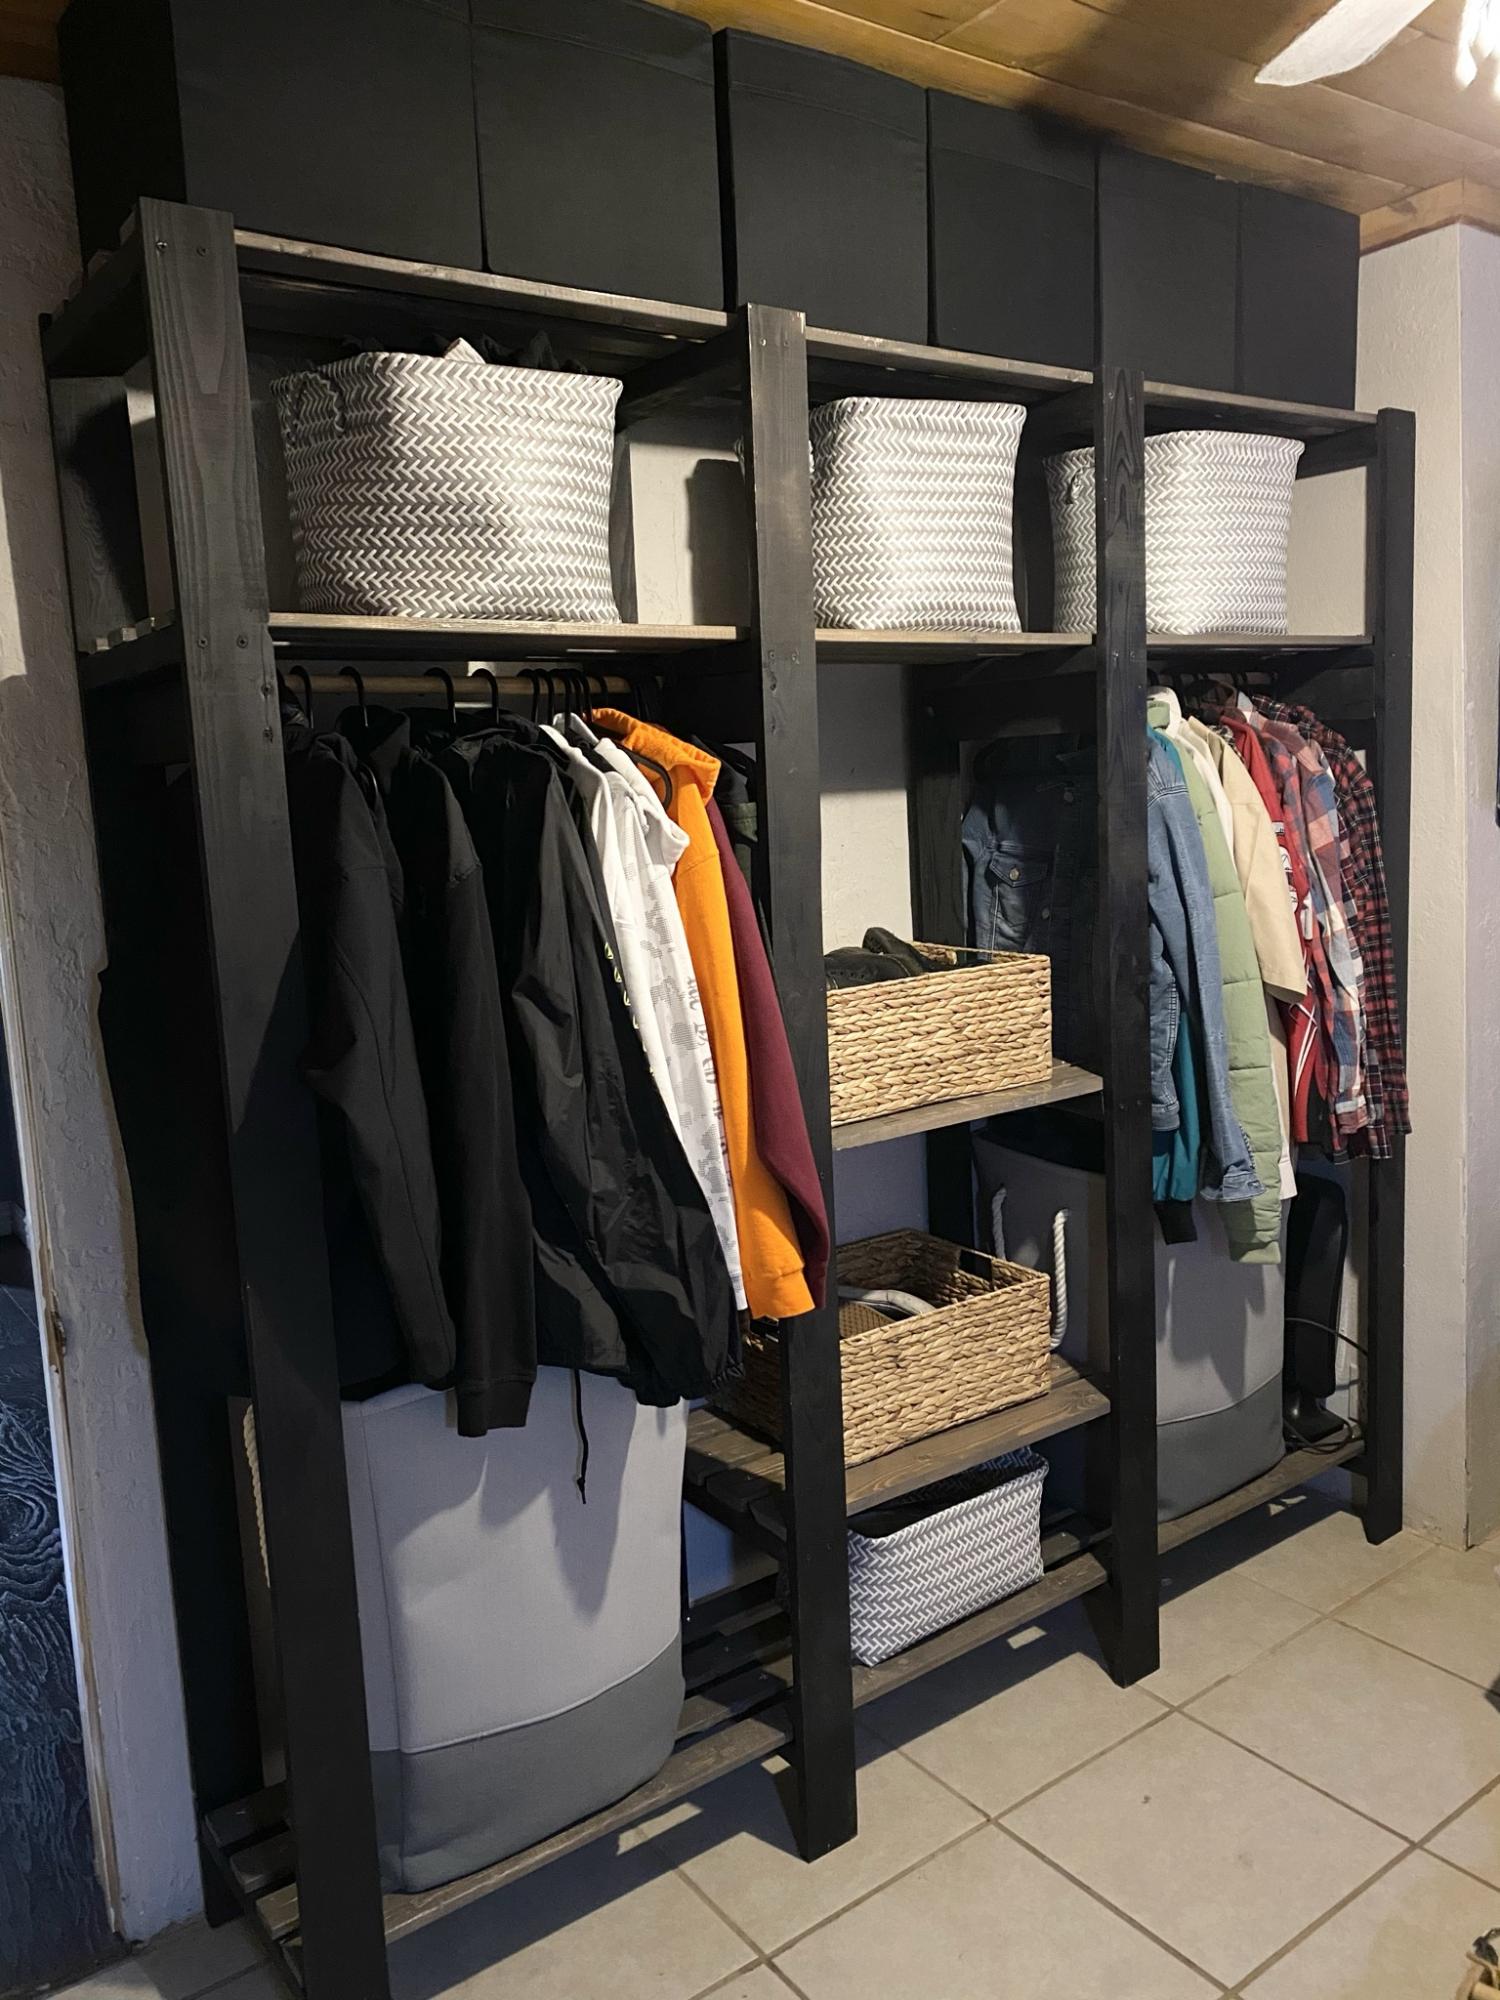
My kids outgrew the original locker I built for them. Plus we have adopted 2 kids through foster care. So my wife asked for a new locker. I found this design on the website and determined we needed 2. Then to make it better we wanted a bench to connect the 2. So I built a 3rd bottom of the locker and adjusted the measurements for the space we had. Turned out amazing.
Super fun project for a beginner. I almost want to do it over now that I have a pocket hole jig. Love Ana White plans, easy to follow.

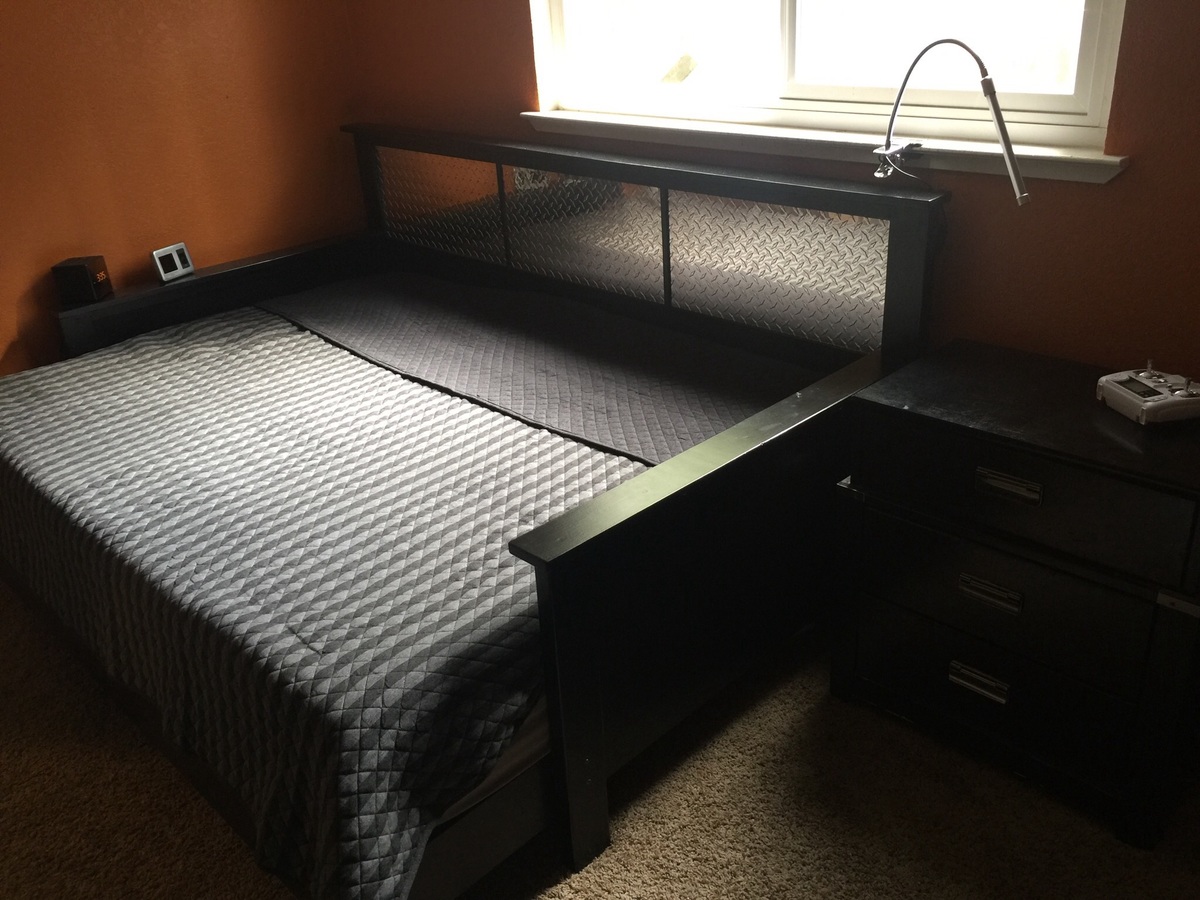
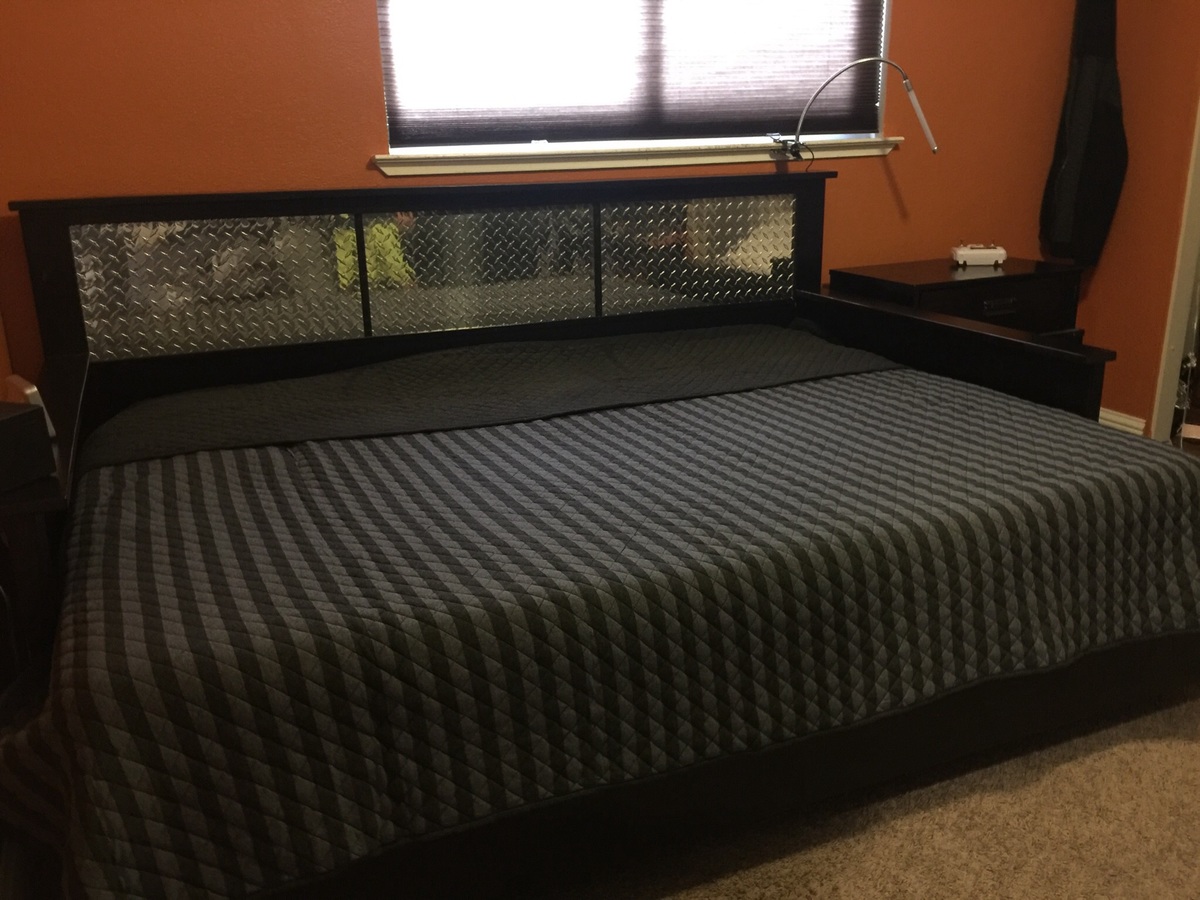
This is a hybrid between the Hailey daybed and the Hailey platform bed. My son is in love with this bed! Used aluminum diamond plate for the headboard.
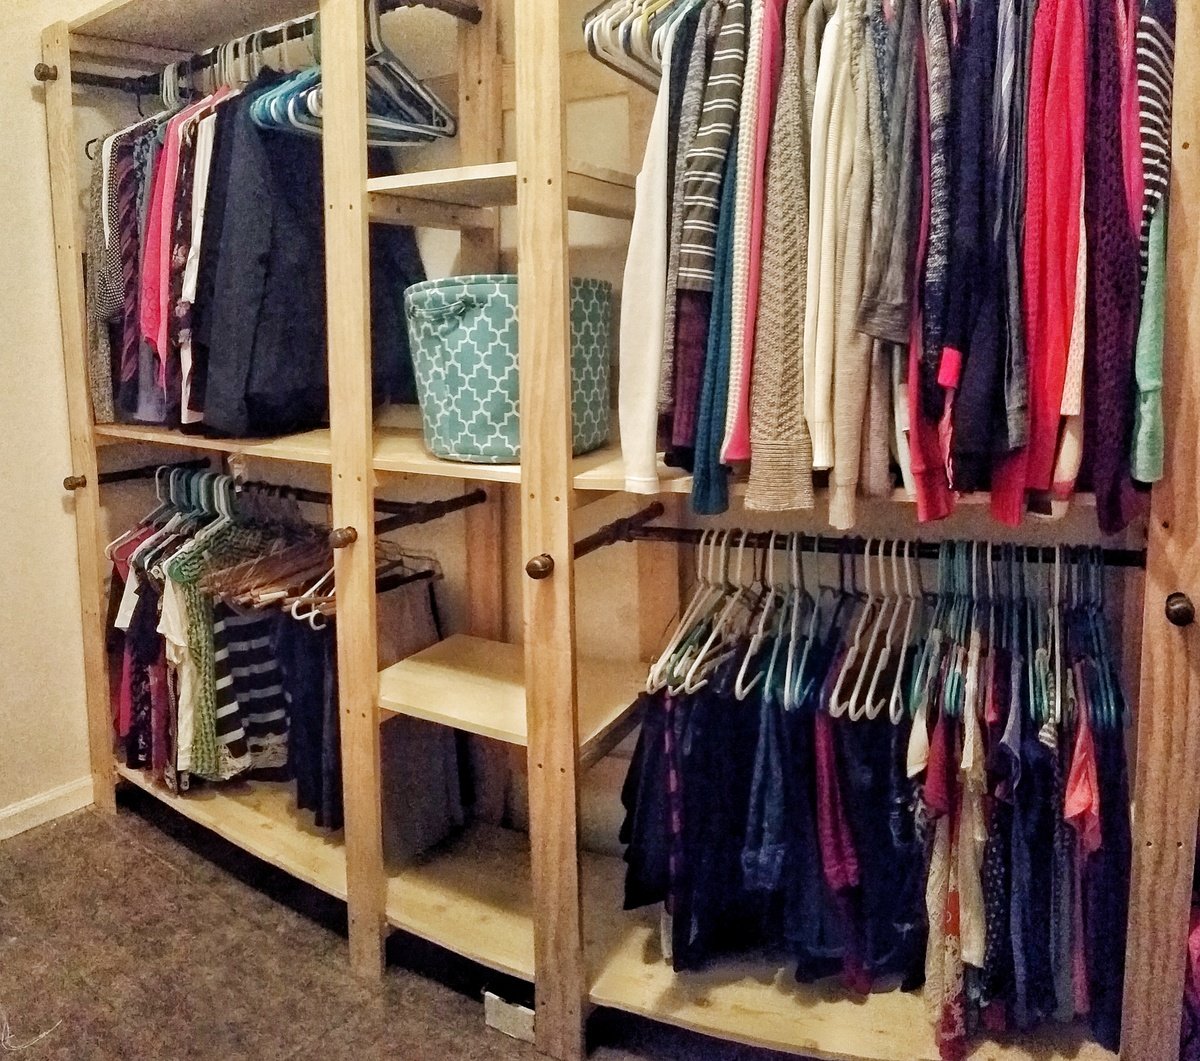
I used 8 ft precut boards for shelves and modified the design so there was enough room for two racks on each side. In addition I screwed 1x4 to the studs to secure the shelving to the wall. I have a 5 year old climber so it was best to be proactive and secure it. It was easy project took about 4 hours to complete. I plan to paint the vertical boards a medium gray and stain the shelves a dark coffee color.
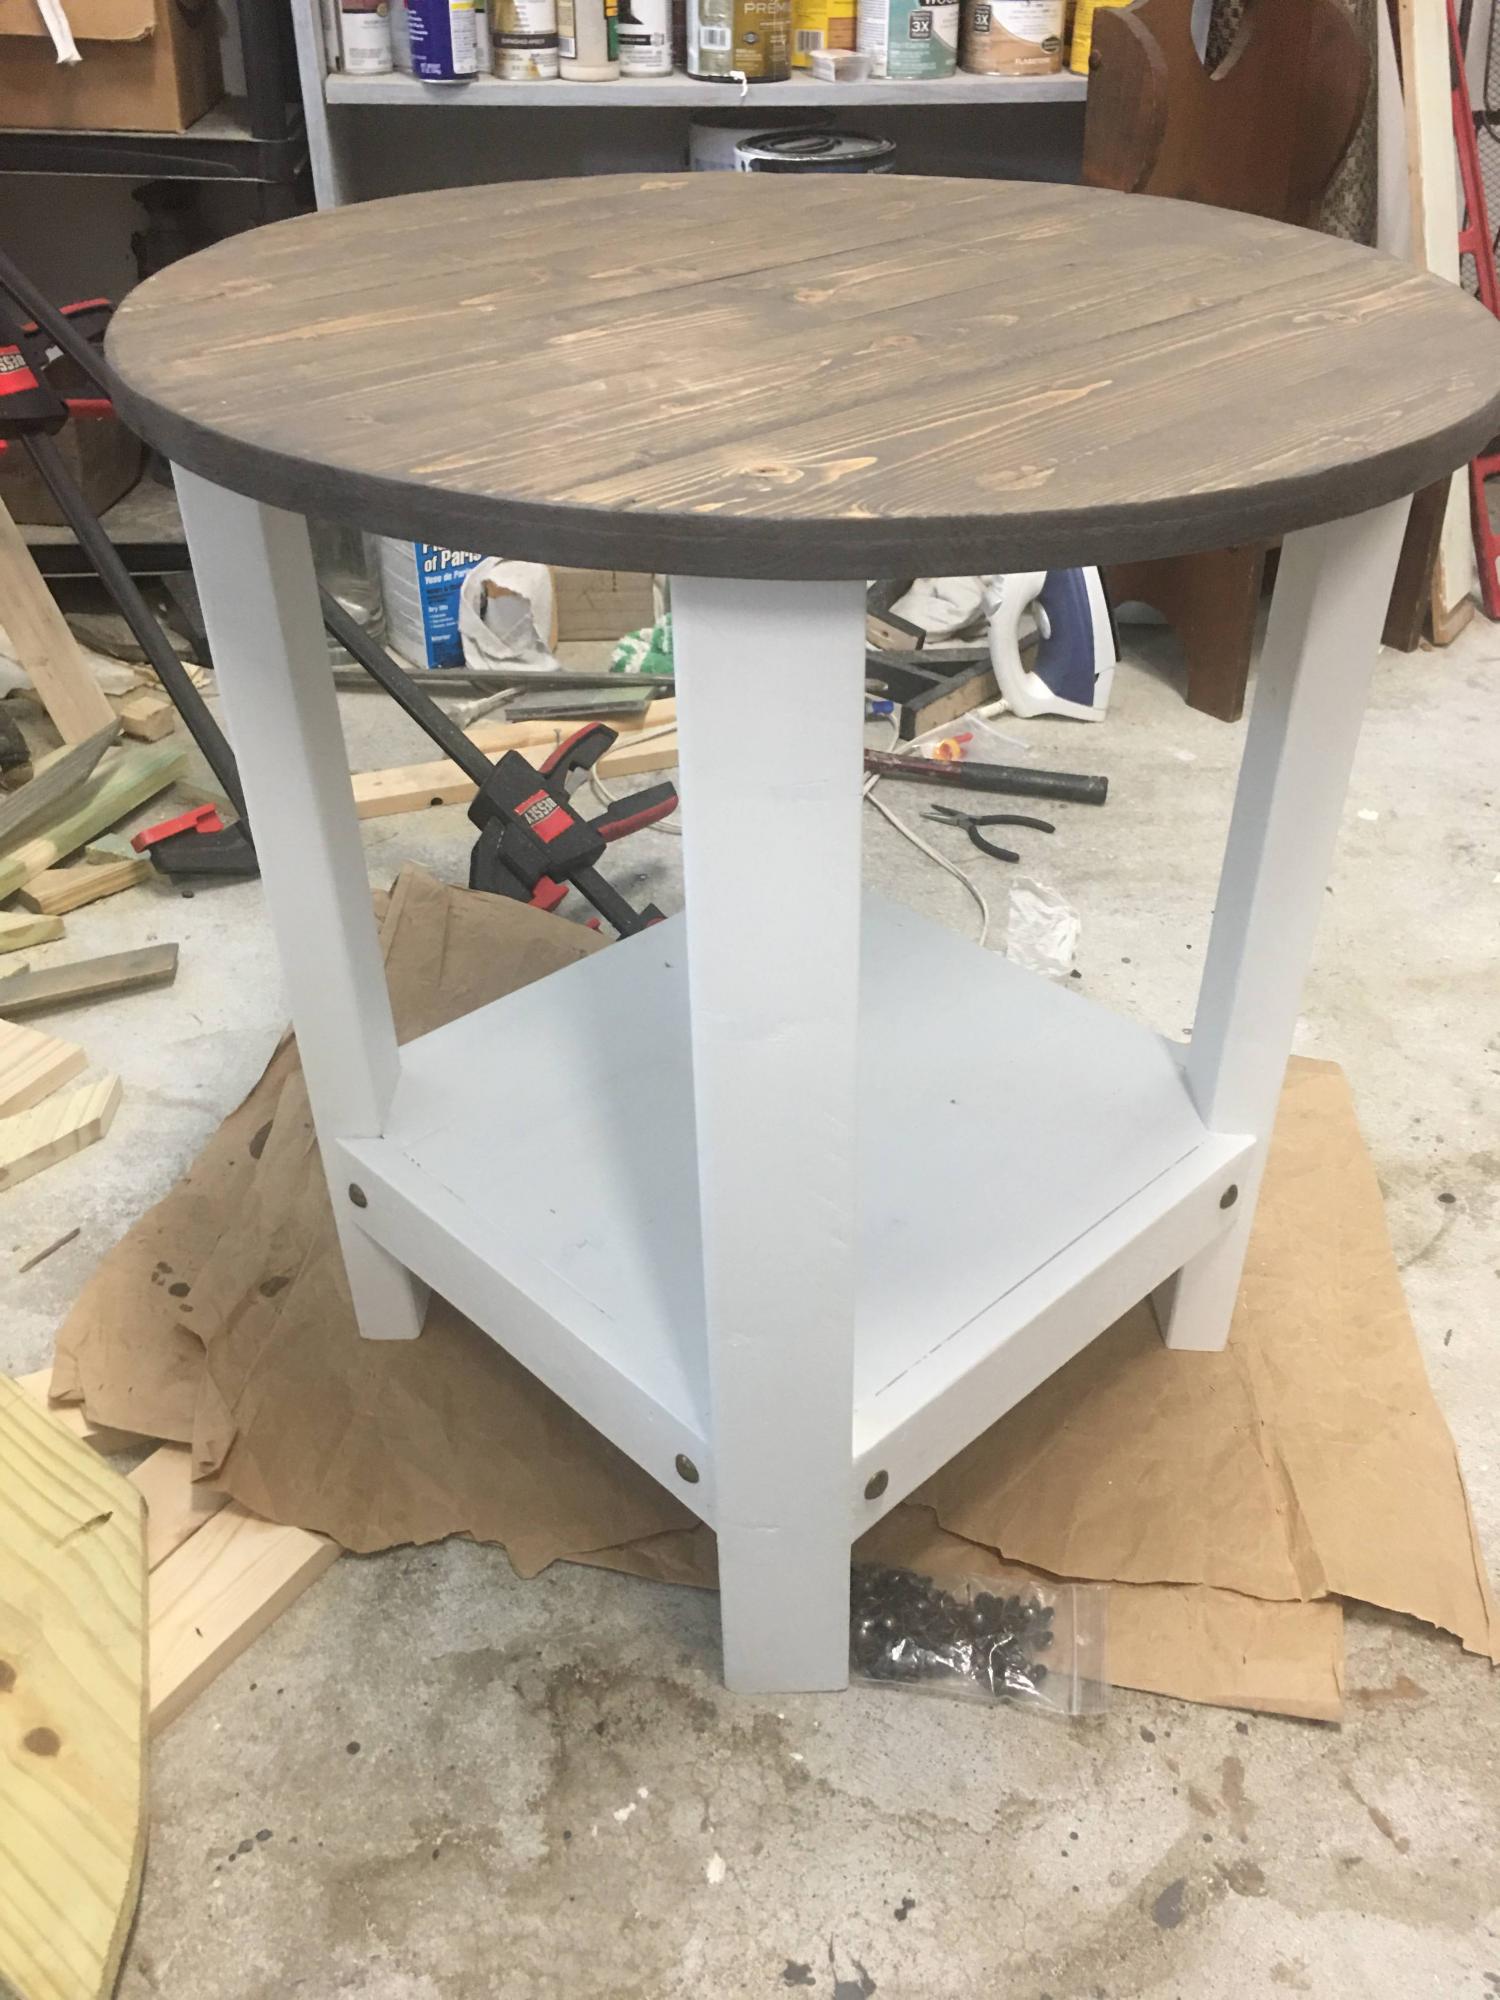
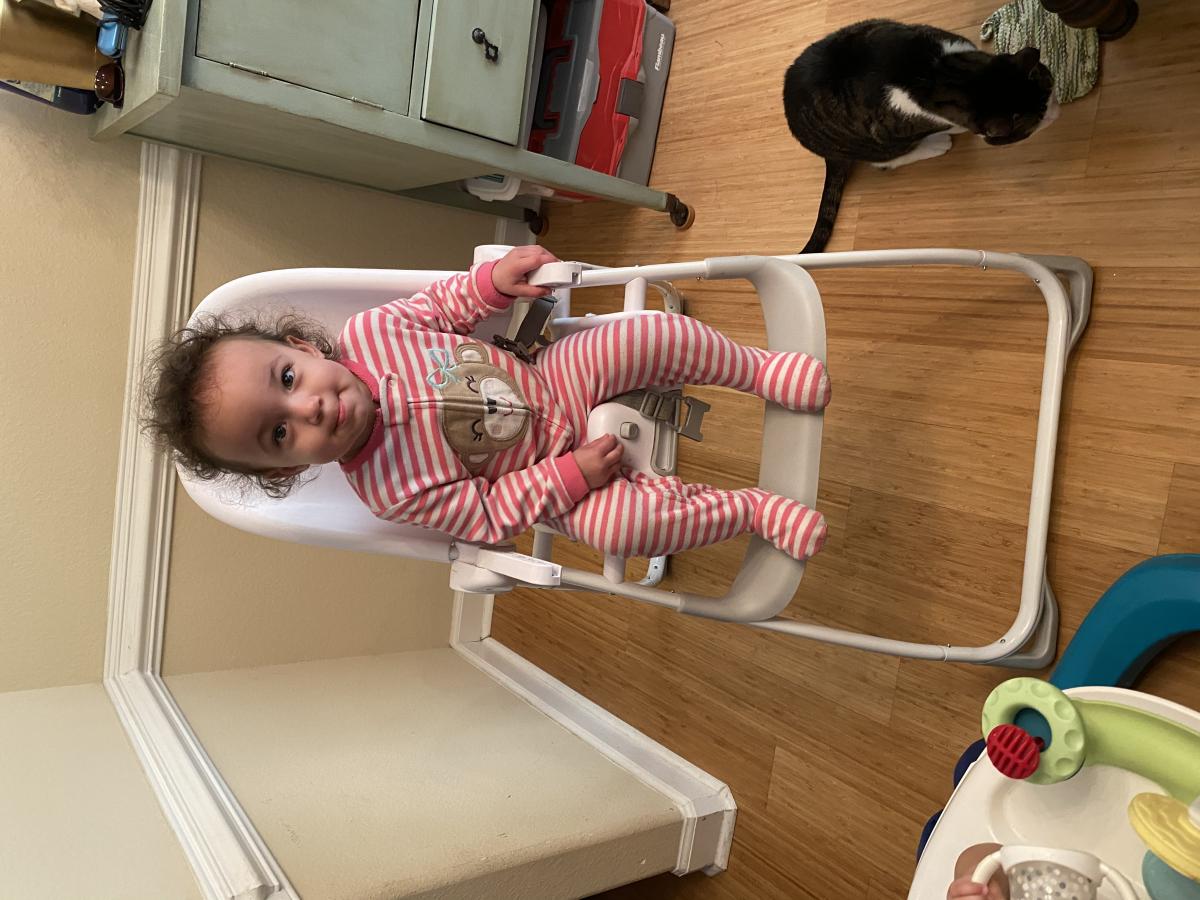
My daughter and son in law needed a small table for the babies room and this ended up being the perfect solution!! Absolutely love it!!
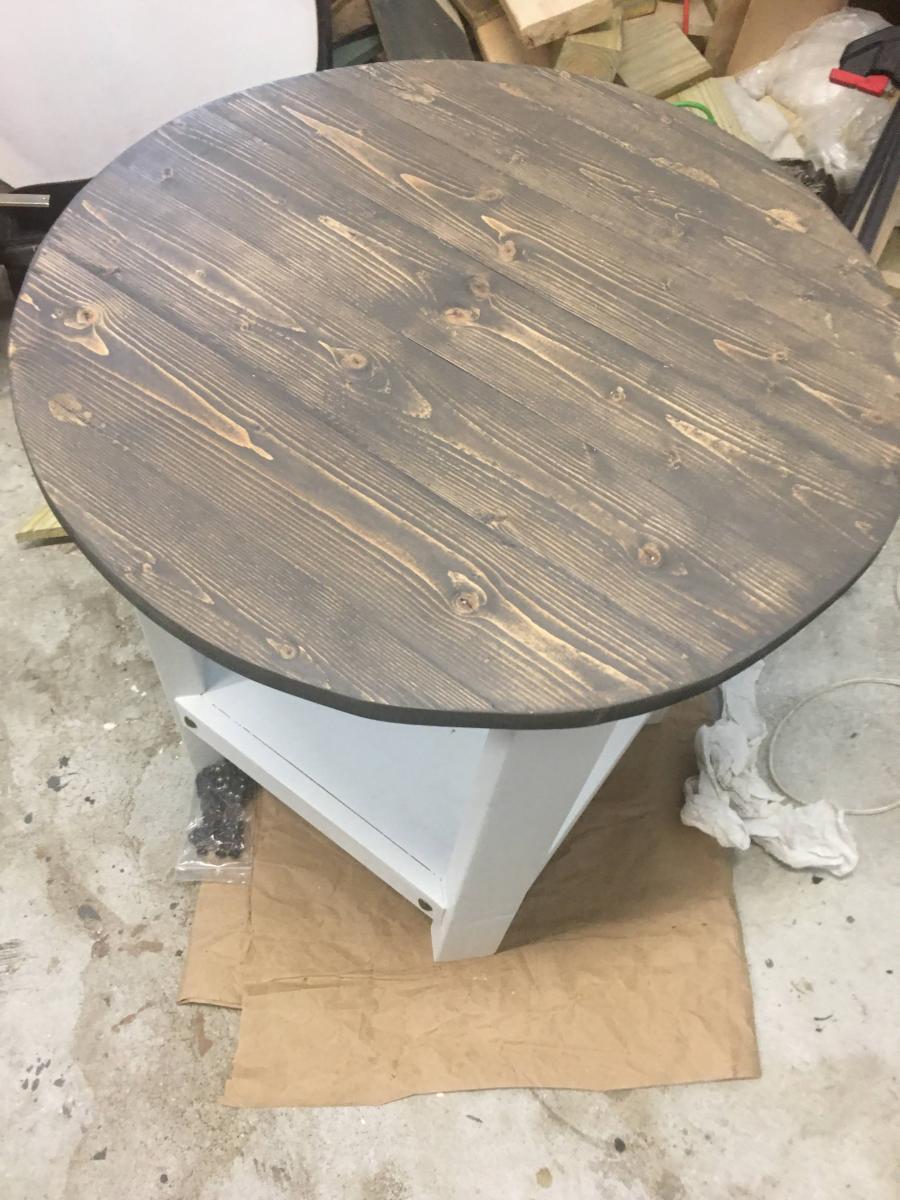
Fri, 03/19/2021 - 05:50
Needed a small table for the grand baby’s room.. this was the perfect solution
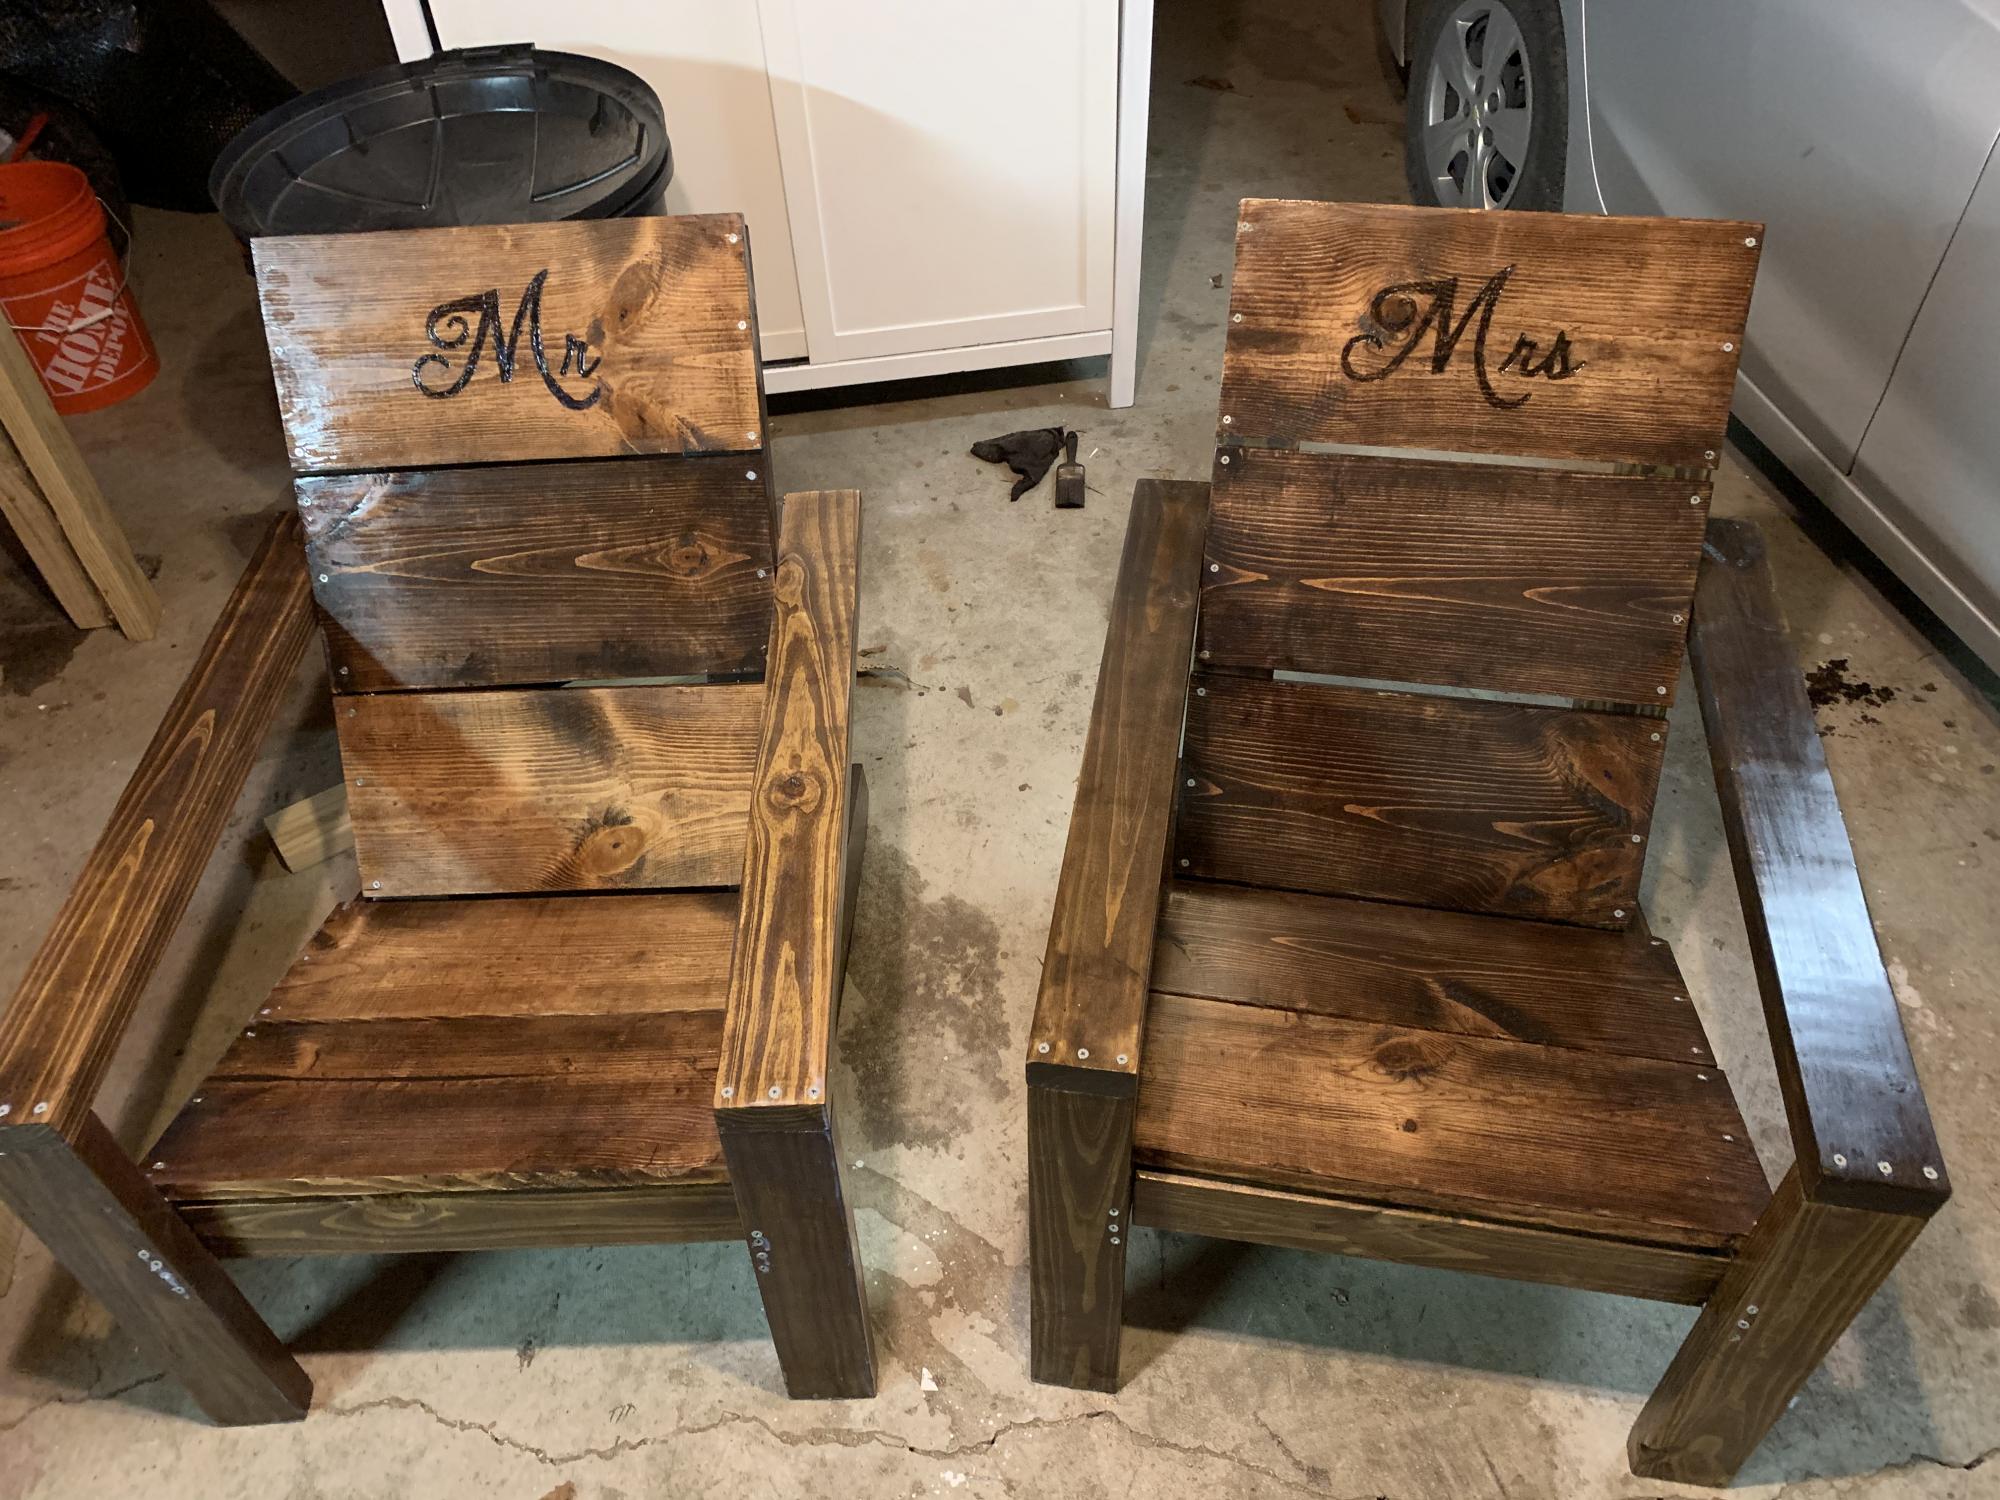
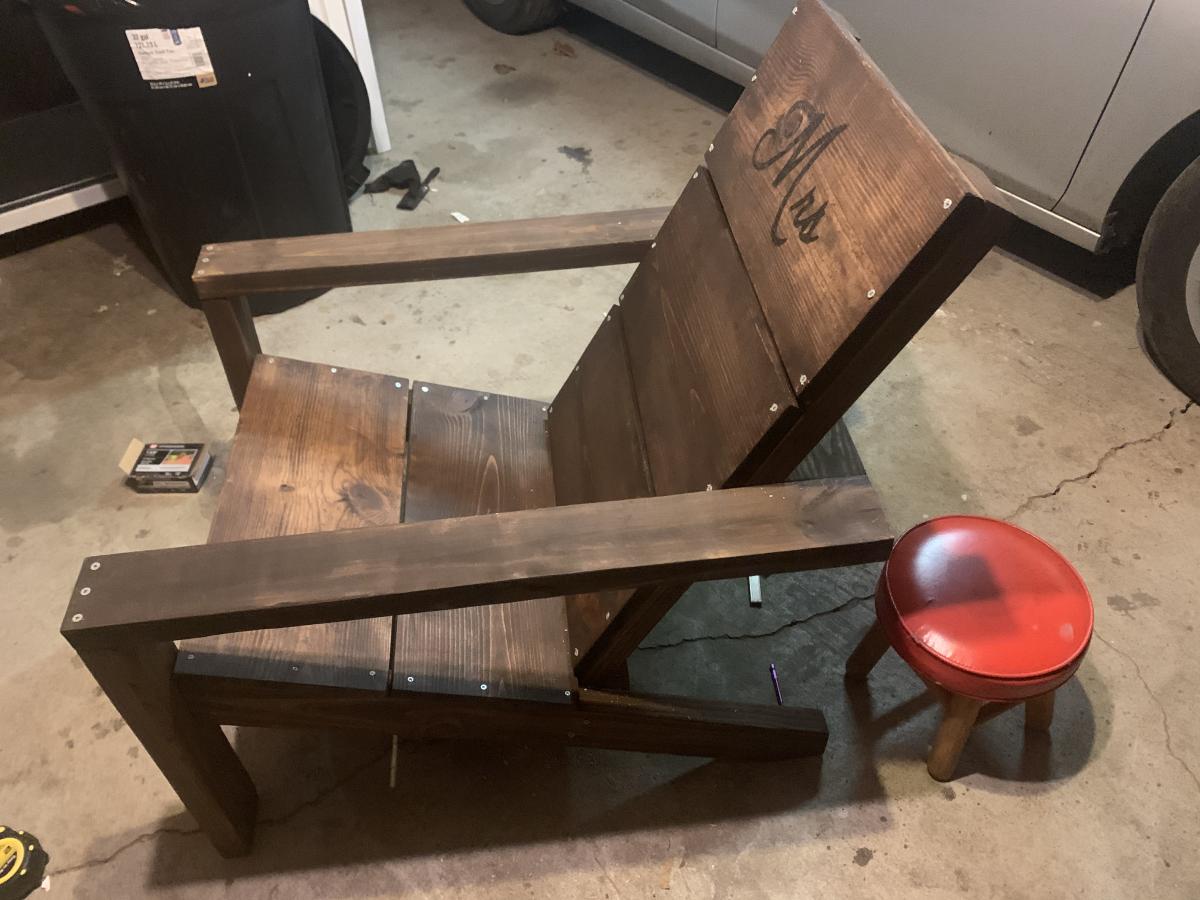
My friends were getting married so I chose these as their wedding presents due to them having fold out chairs for their new home. Wood burned the mr and Mrs. Used wood conditioning and stained with the rust oleum Kona. Then used the rust oleum glossy polyurethane x3 coats.

Thu, 04/01/2021 - 16:56
They looks great and I am sure the bride and groom will cherish them!

Thu, 03/28/2024 - 08:43
Our friends are tying the knot soon! It's such an exciting time for them, and I've gained a newfound respect for platforms like https://myeden.me/ They've met each other there. Now, my husband and I are brainstorming the perfect wedding gift. We want something unique, something that truly reflects their love story and will be cherished for years to come. Any ideas for Mr and Mrs wedding presents that will make a lasting impression? We will be glad to have a good recommendation.
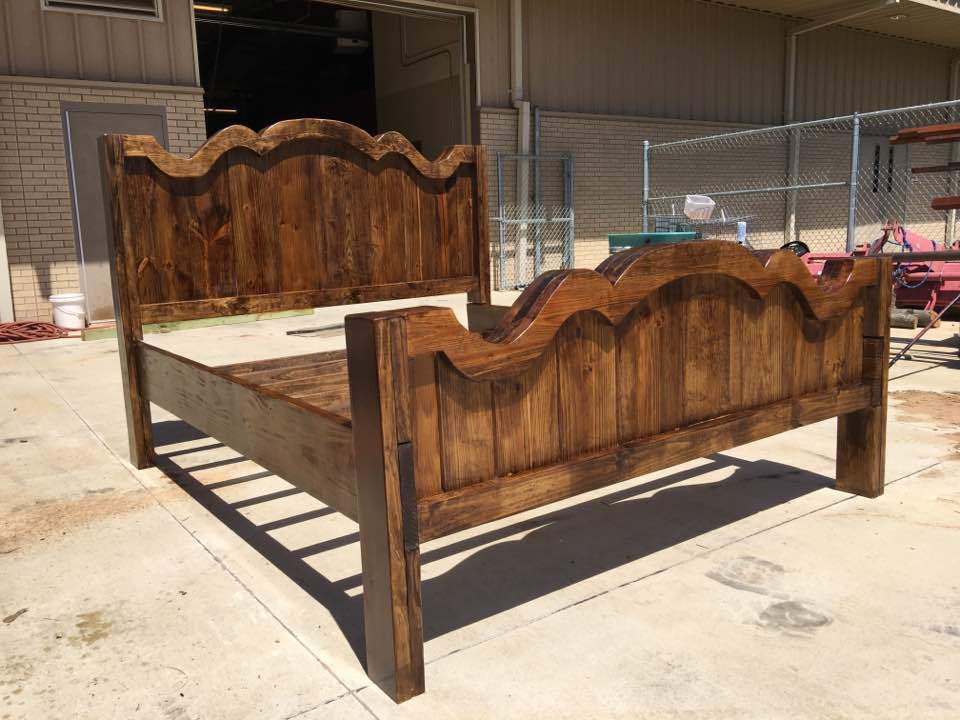
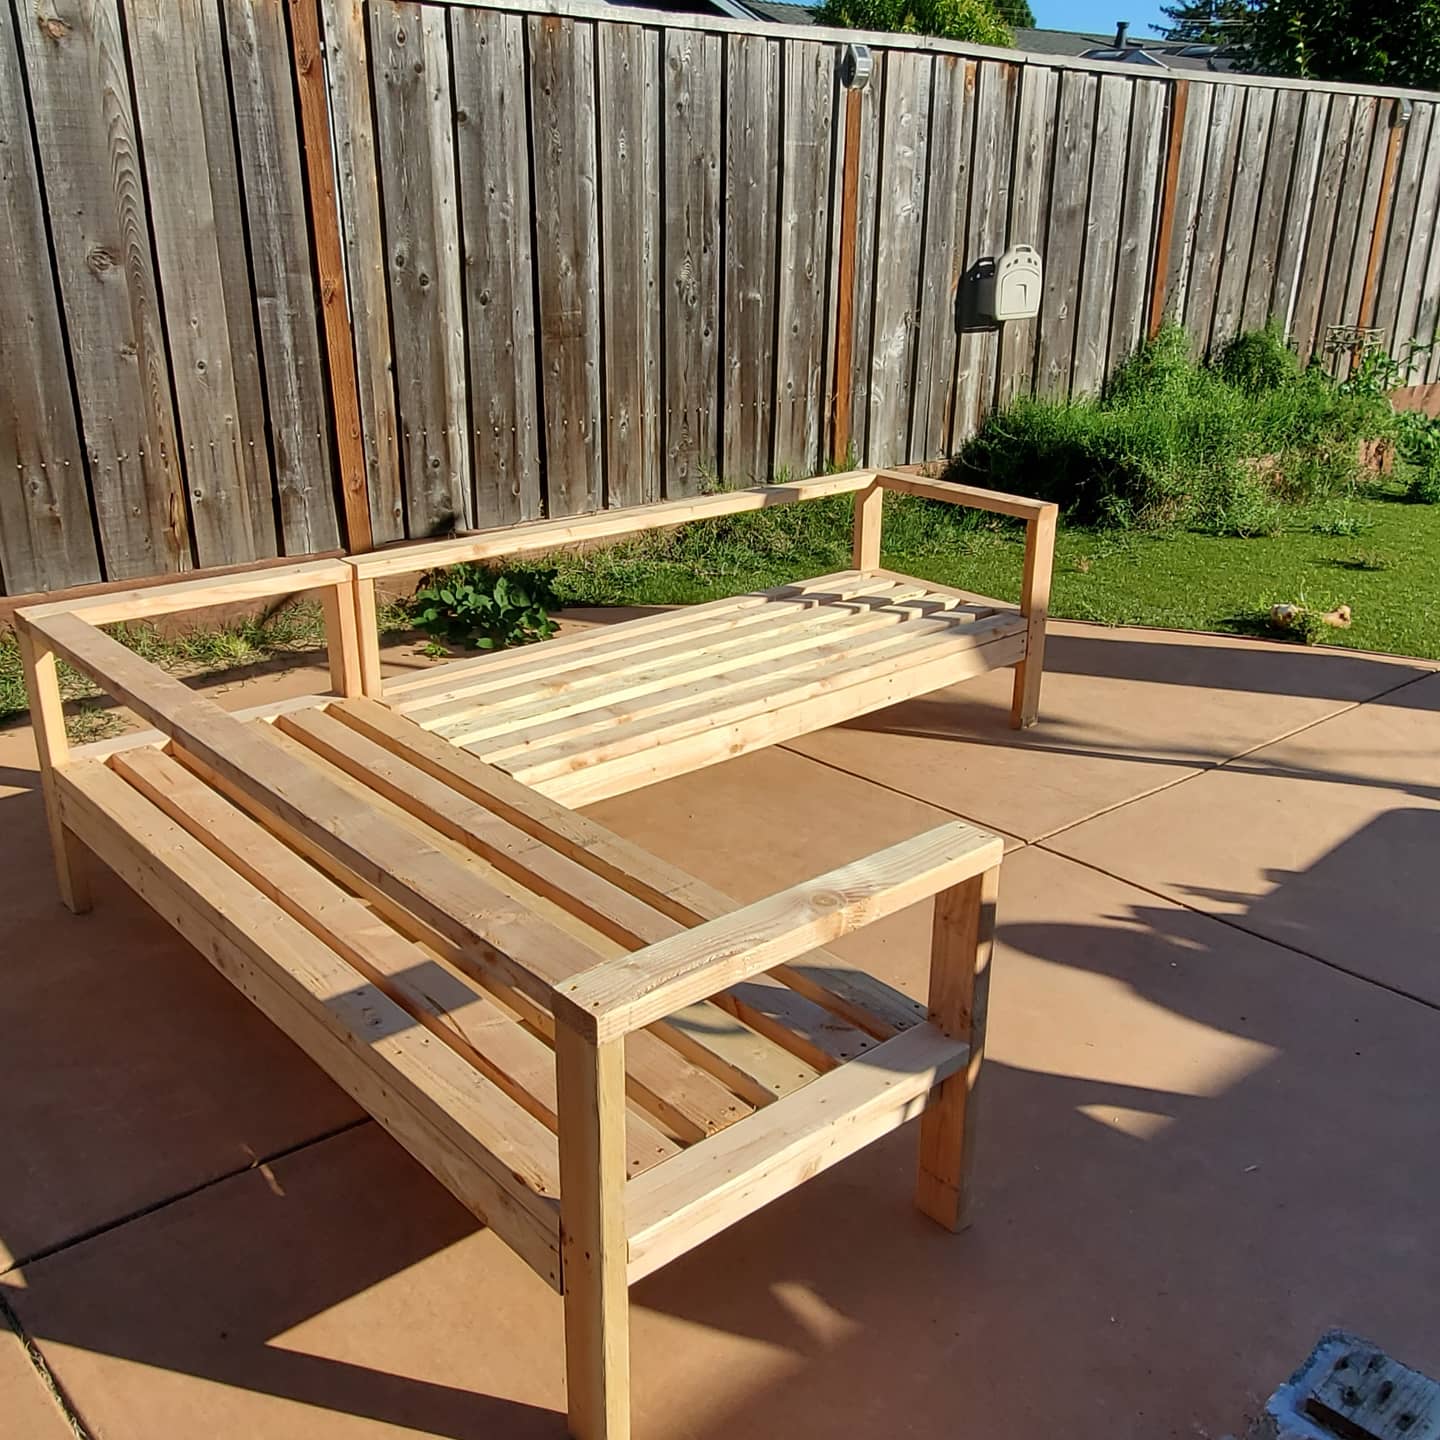
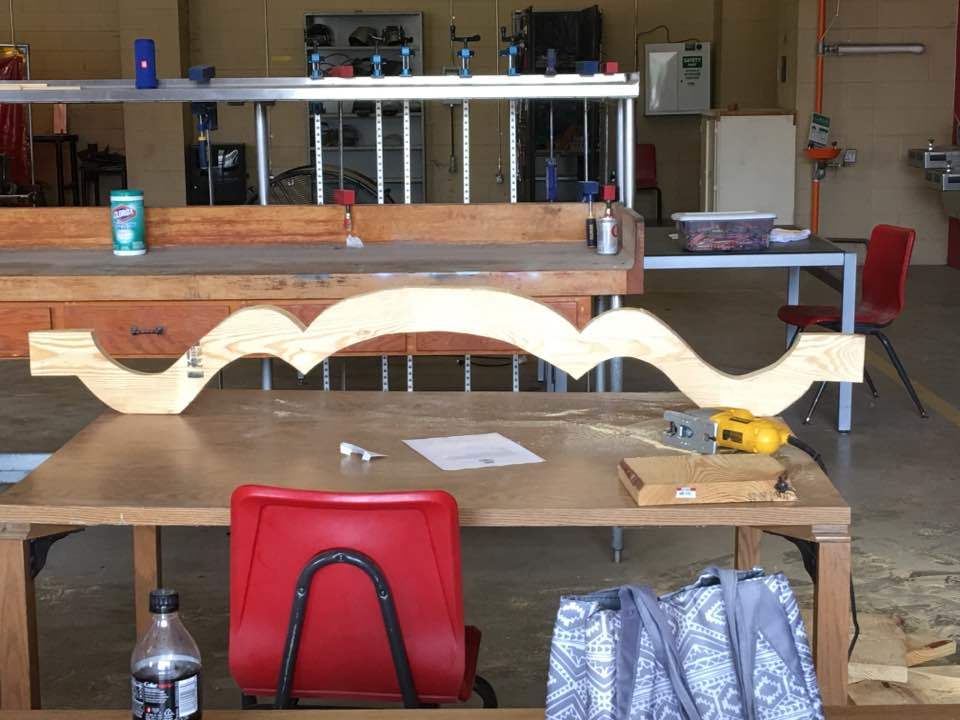
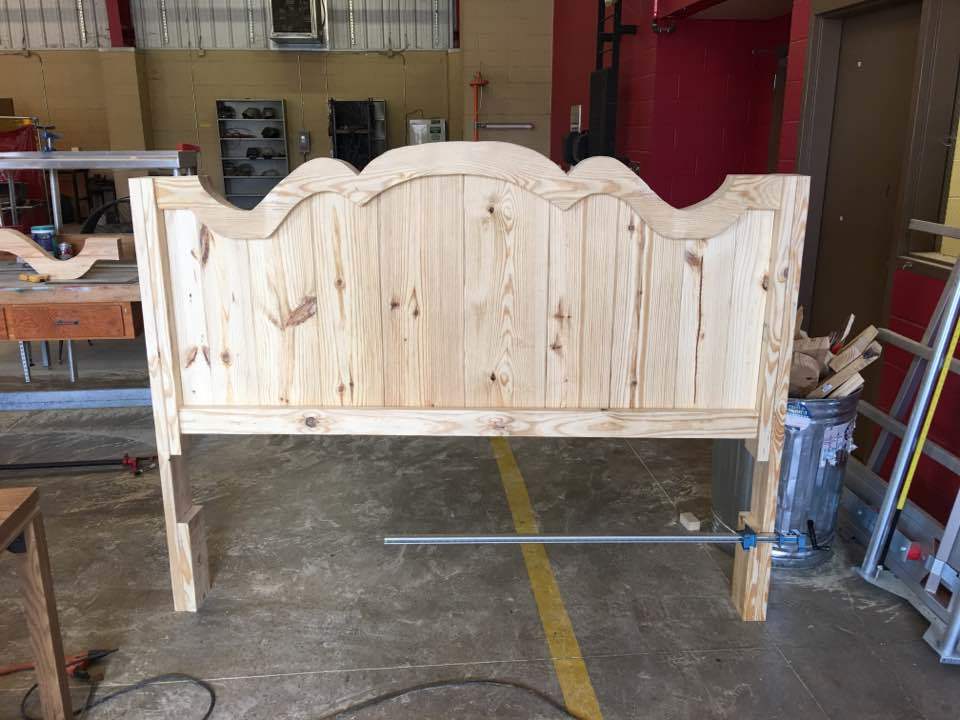
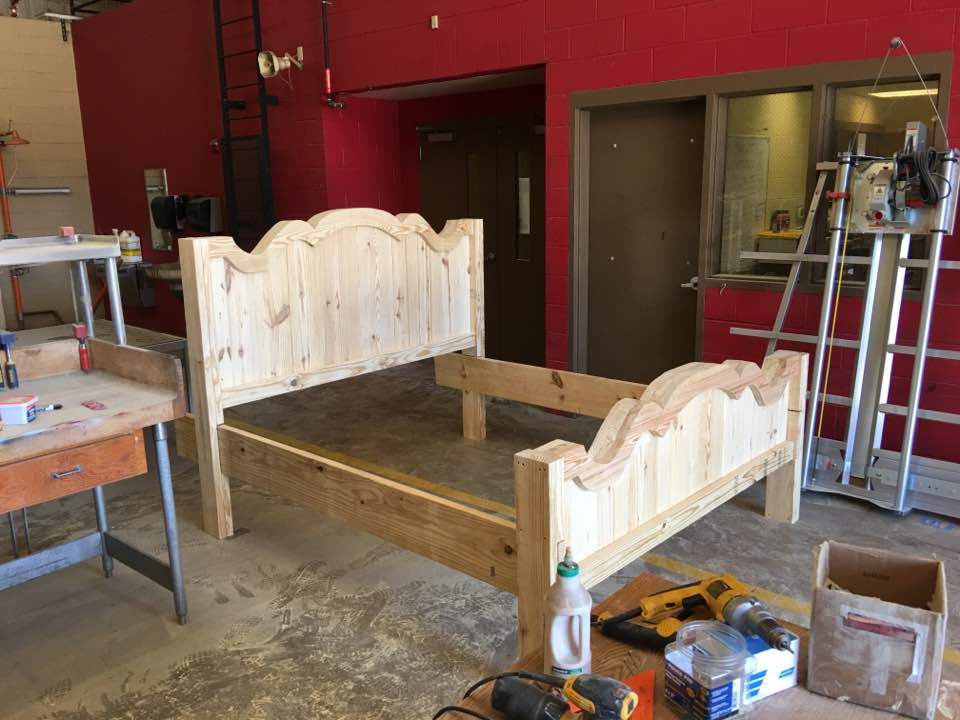
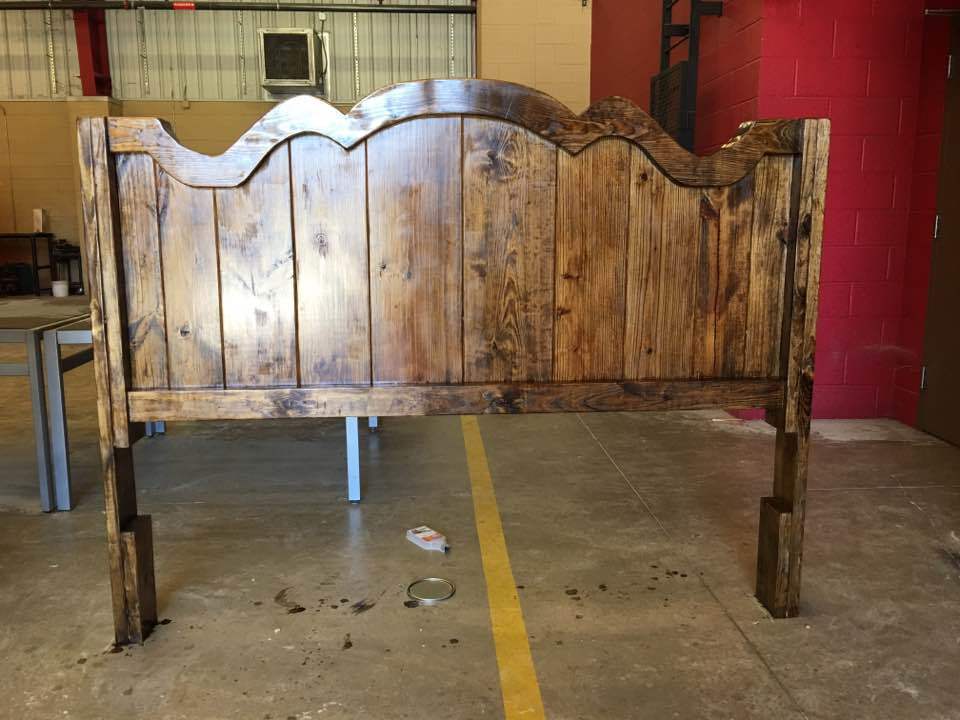
After showing my wife the plans, she did not like that flat top so I did some drawings until she liked what I had. I Modified the plans so that we could get what we liked. I used all 2" lumber instead of 1" because I wanted it to be nice and heavy. Raised the base of the side rails by 3" so that there would be more ground clearance, and used plywood under the slats so that we didnt need to use a box spring. I think it came out well.

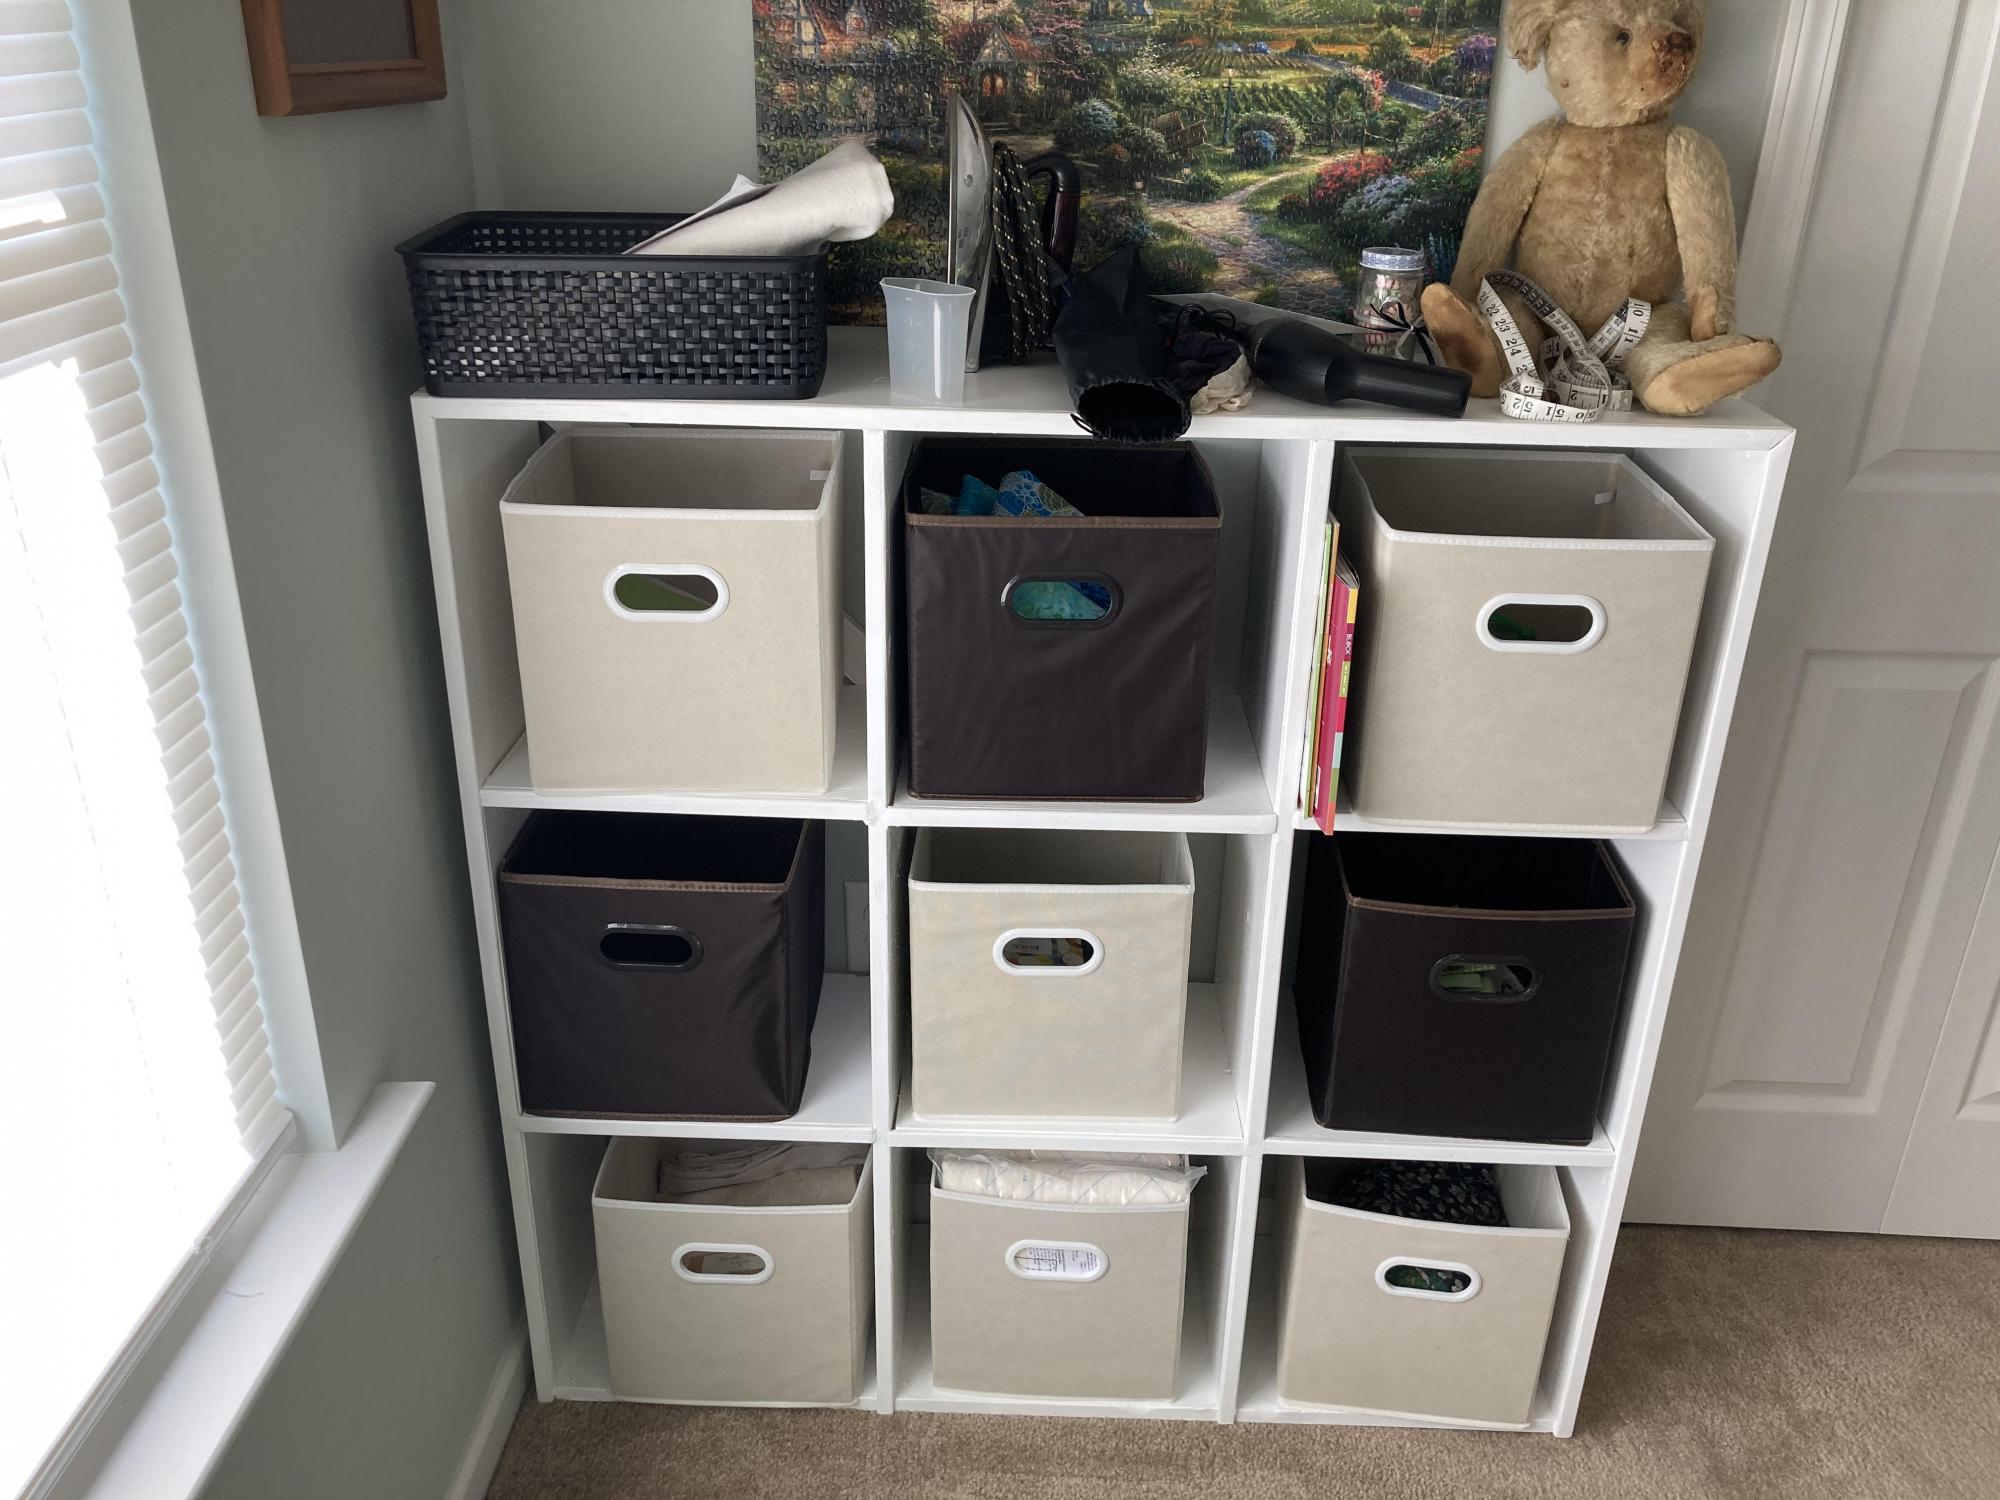
My wife is a crafter, and her room is chockful of material for projects planned and projects waiting to be inspired. Our house is not a large house, and I had this desire to give her some organization. She already had a cubby bookshelf similar to this one, but that was store bought. I have only recently begun building things in my retirement, and I wanted to give her something that was me. It turned out nice, if a little wobbly, but I fixed that with a couple diagonal cross pieces across the back. It fit the space we had perfectly. The important thing is she loves it, and has (obviously) filled it up nicely.
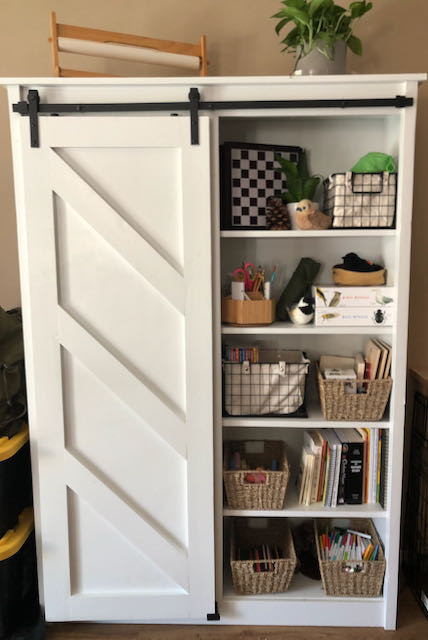
I LOVE, LOVE, LOVE this homeschool bookshelf my husband made from your plans! THANK YOU! We homeschool three children and the clutter was overwhelming! This bookshelf provides storage and a beautiful accessibility to supplies without the clutter! THANK YOU!
Fri, 06/04/2021 - 09:42
Nothing beats functional and beautiful! Thank you for sharing:)
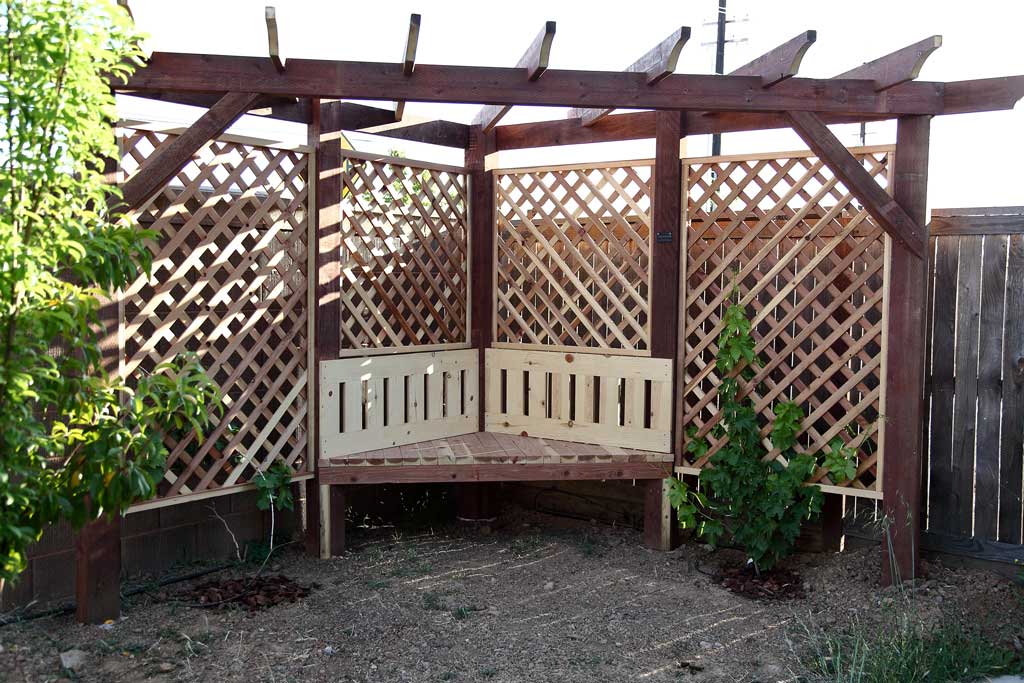
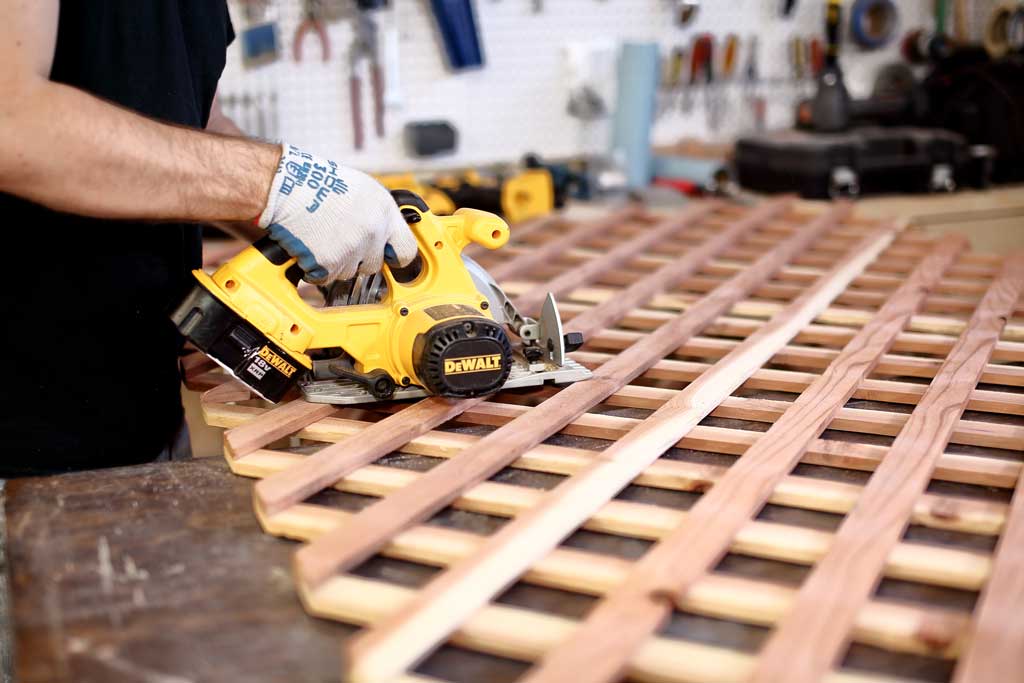
My brother-in-law planted a small grape plant in his backyard and wanted a trellis structure behind it for the grapes to climb on. He asked me to design and build it in the corner of his garden. After going through some designs, we decided to go with a corner arbor. When the project was complete, I created PDF plans on how to build a DIY Corner Arbor with a Bench that includes a trellis for the grapes to grow on.
See my website for additional pictures and how I've built it, TheDIYPlan.com
Closet
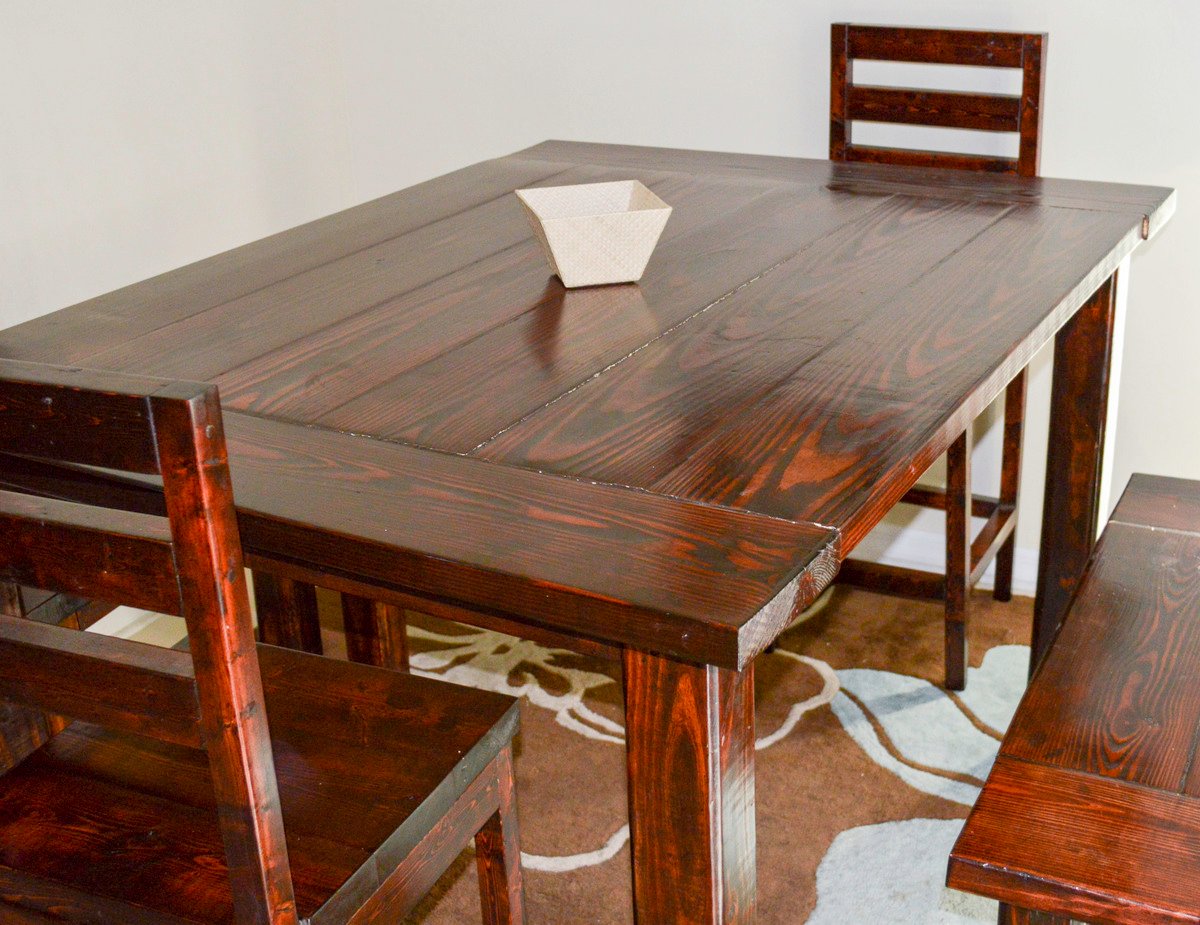
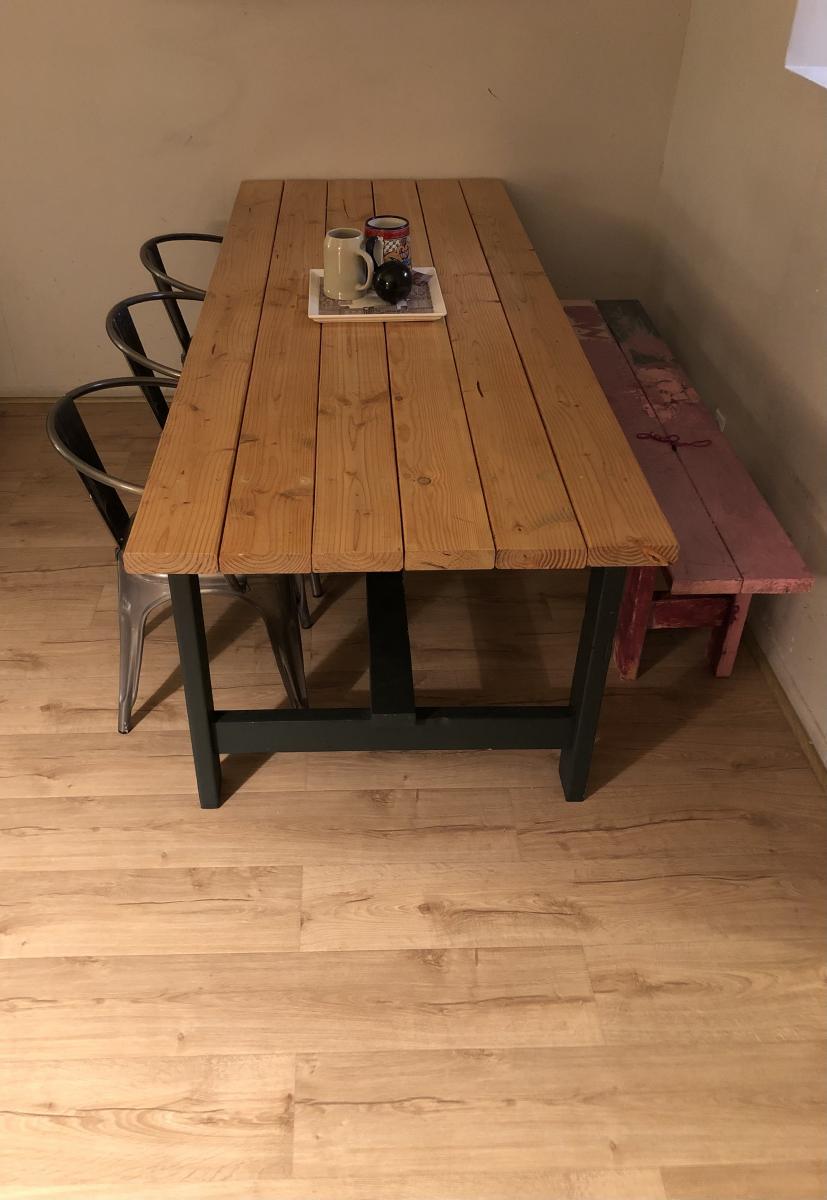
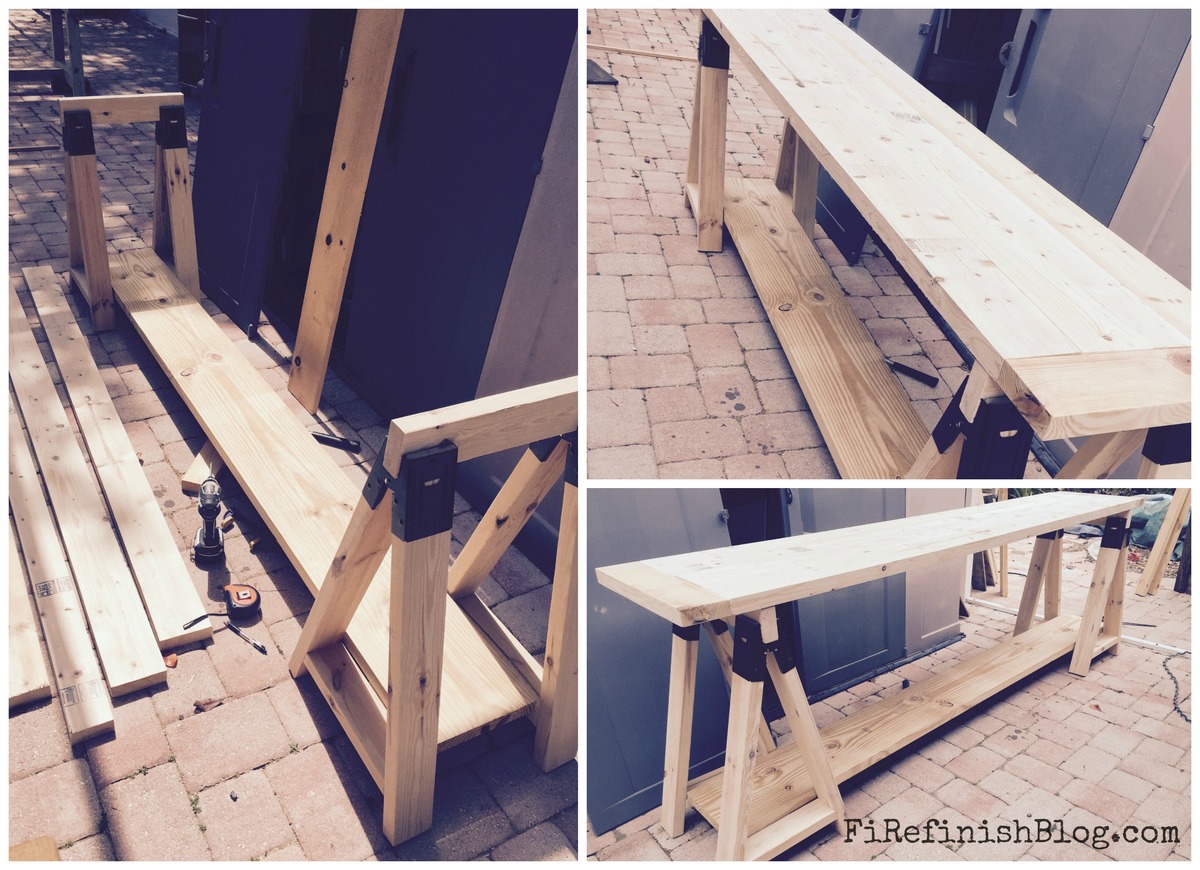
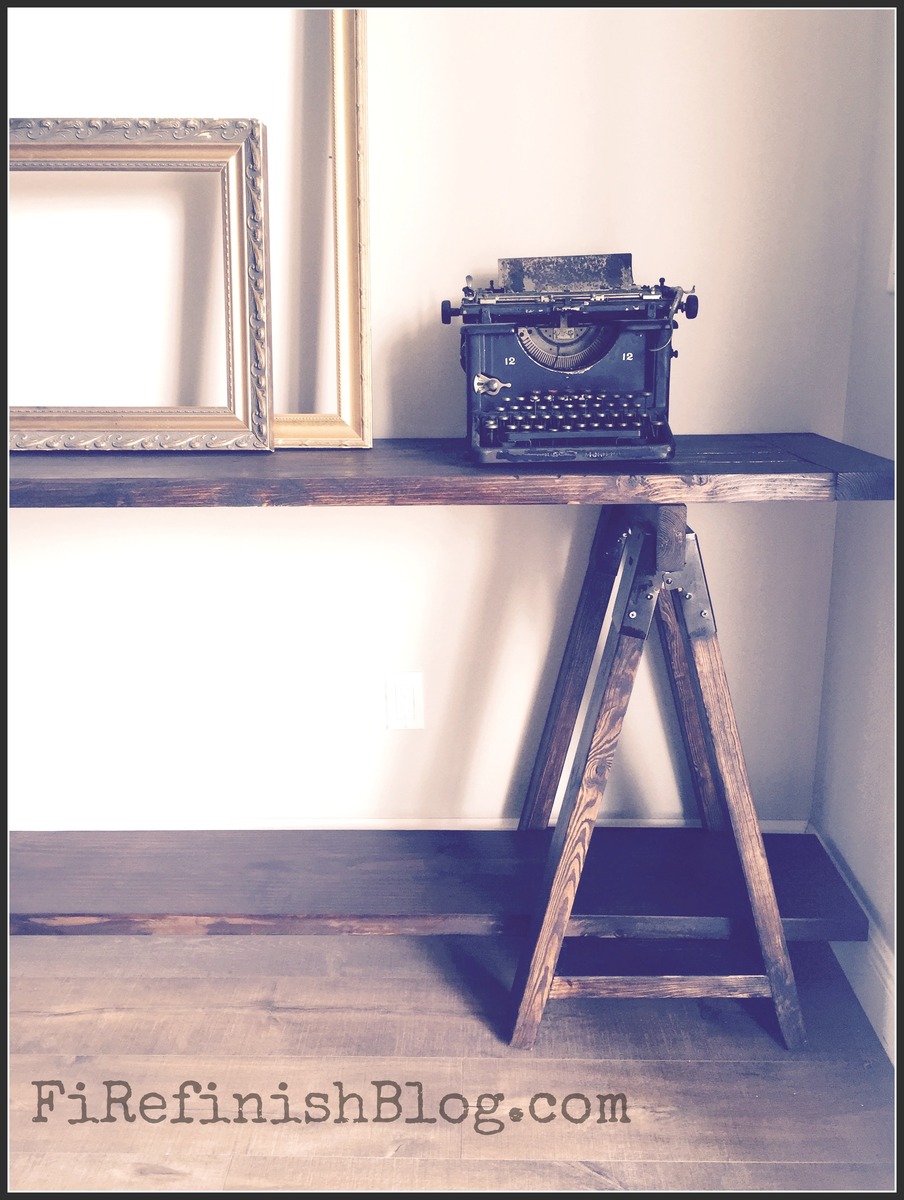
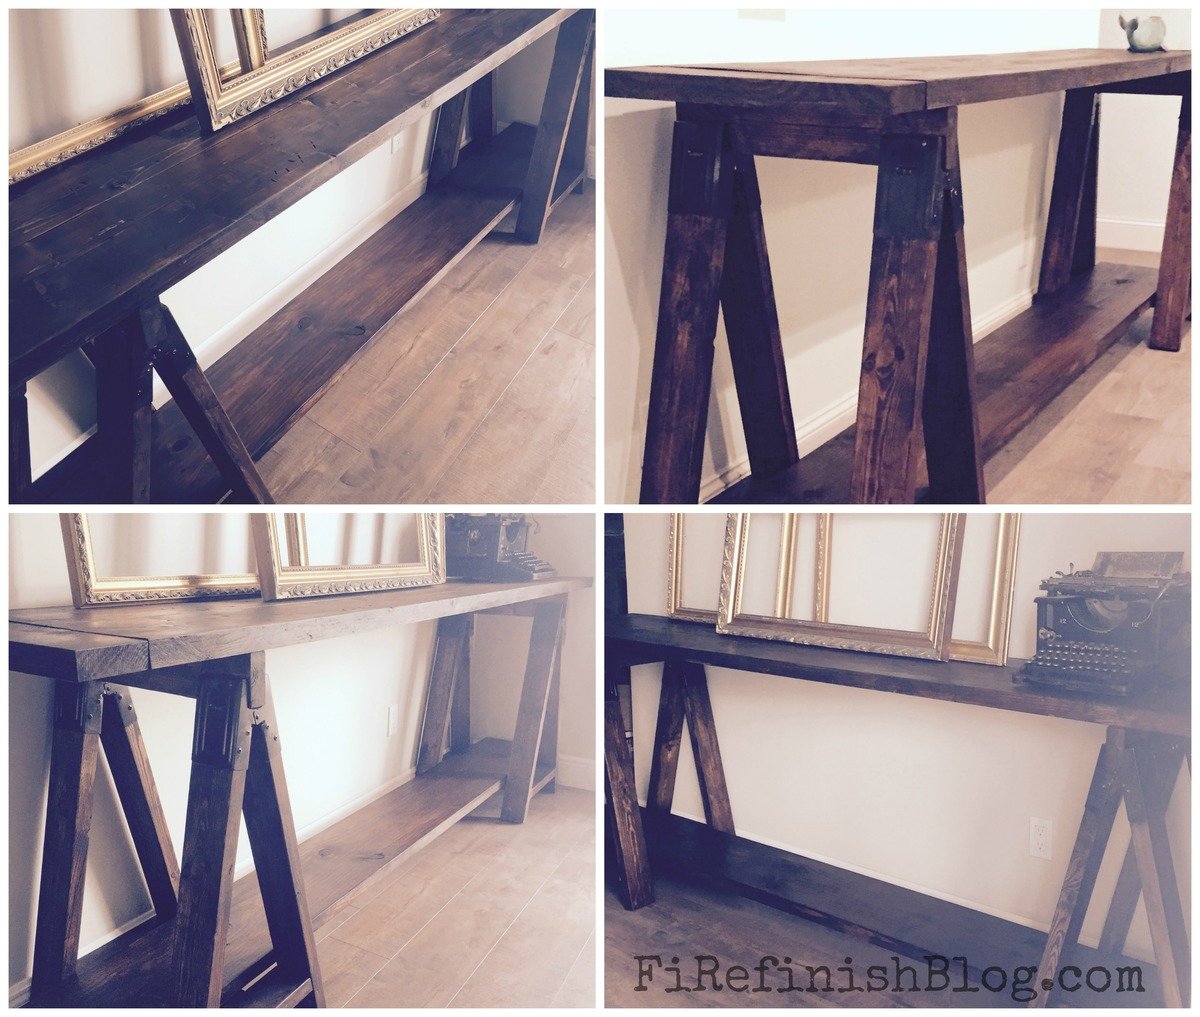
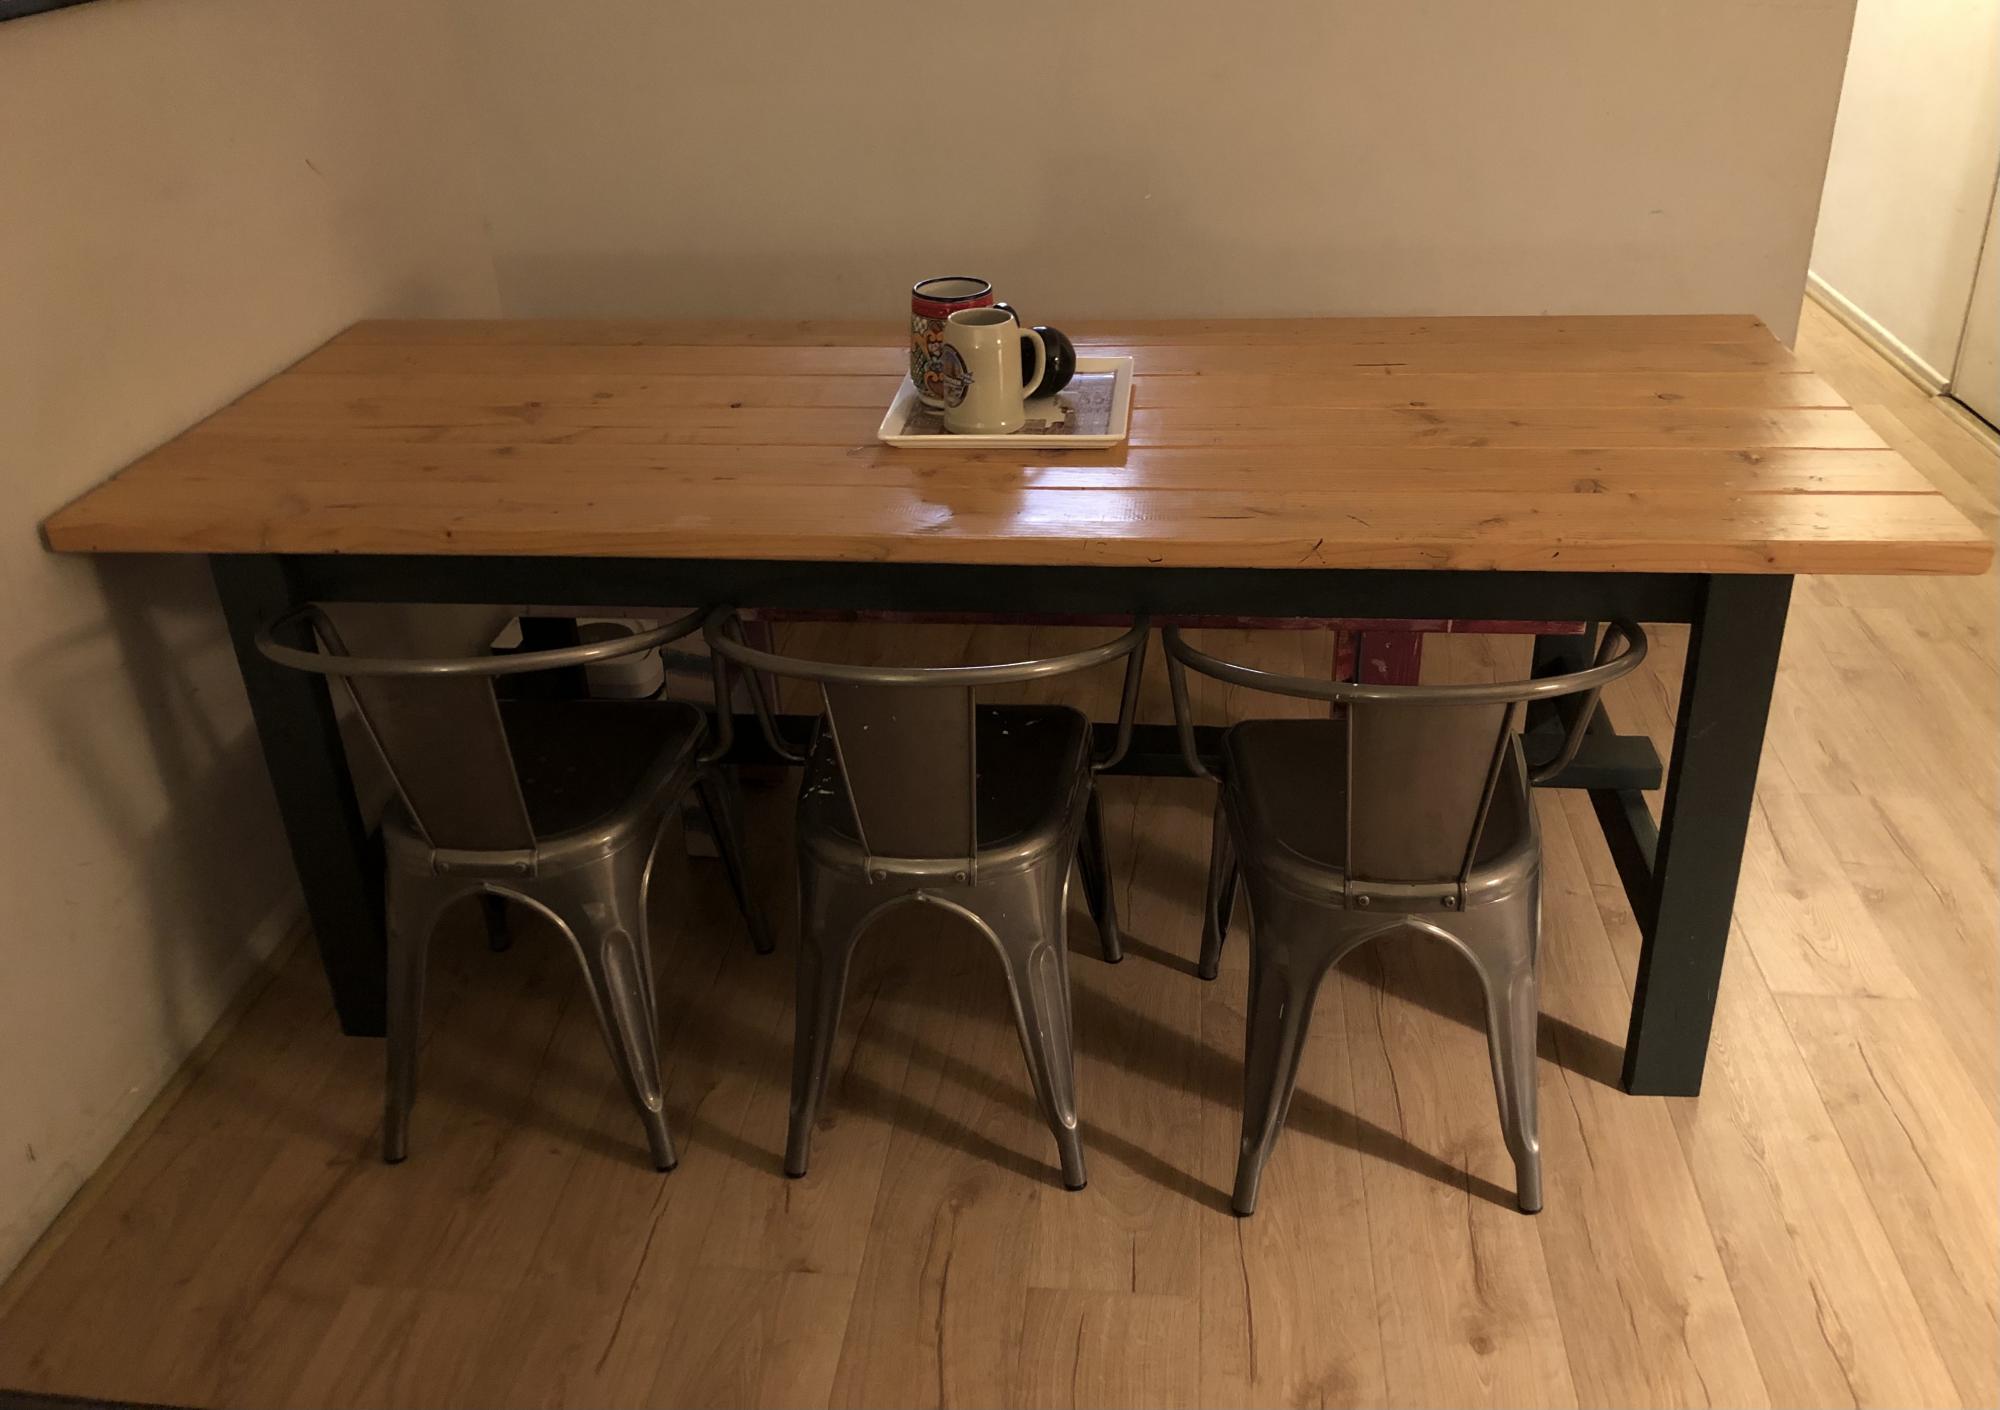
This was my first DIY building project. I wanted a counter-height table, so I searched websites looking for plans and eventually I found ana-white.com. I altered the plans a little and I added a farmhouse style table top. I used 2x8s for the table top which makes the table very heavy.
Tue, 03/17/2015 - 09:53
The benches are solid and we haven't had any issues with them being wobbly or unstable. The height hasn't really been an issue for my kids either (they got used to it very quickly). I did build two stools with backs in case one of the kids had a problem, but they prefer to sit on the benches.
I saw a similar table on Shanty2chic.com and created my own version :)
Absolutely love how this table turned out! I slightly modified the length to accommodate our space. Definitely a beginner friendly project. I used farrow and ball studio green for the base and just poly on the top.