Outdoor sectional
I changed the plans a bit and added backs to the chairs. I've never used a saw or a drill before, but I am thrilled with how easy this was to do. I love the end result!
I found cushions to go with the furniture at Target.
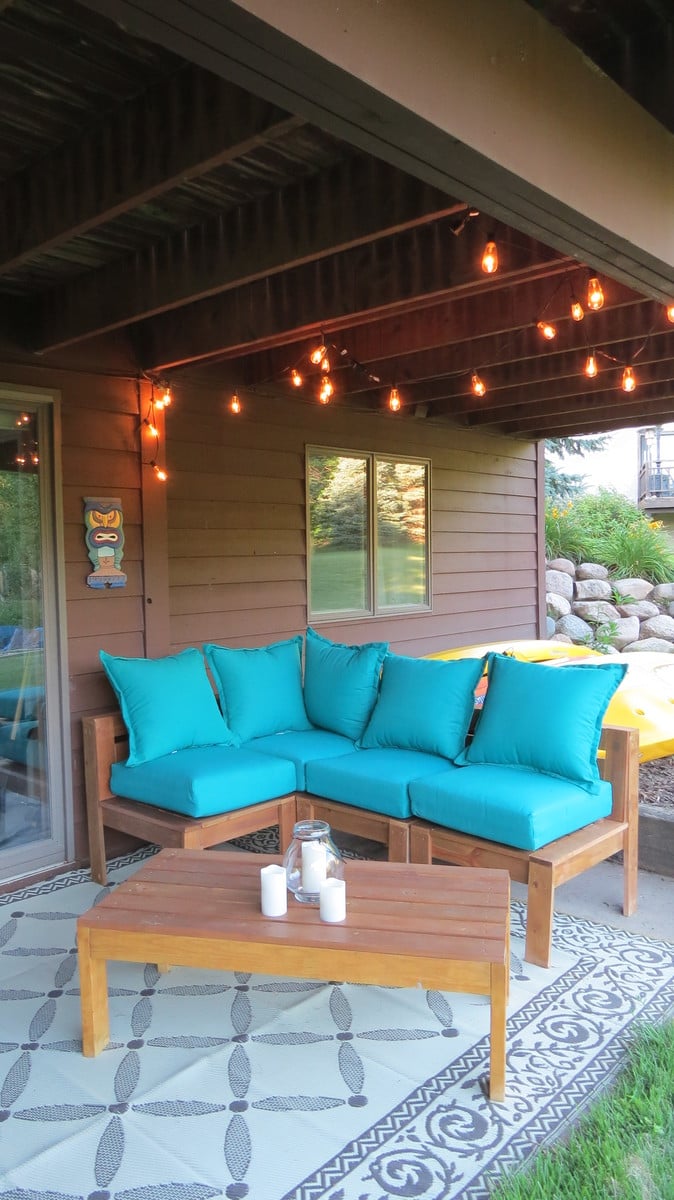
I changed the plans a bit and added backs to the chairs. I've never used a saw or a drill before, but I am thrilled with how easy this was to do. I love the end result!
I found cushions to go with the furniture at Target.

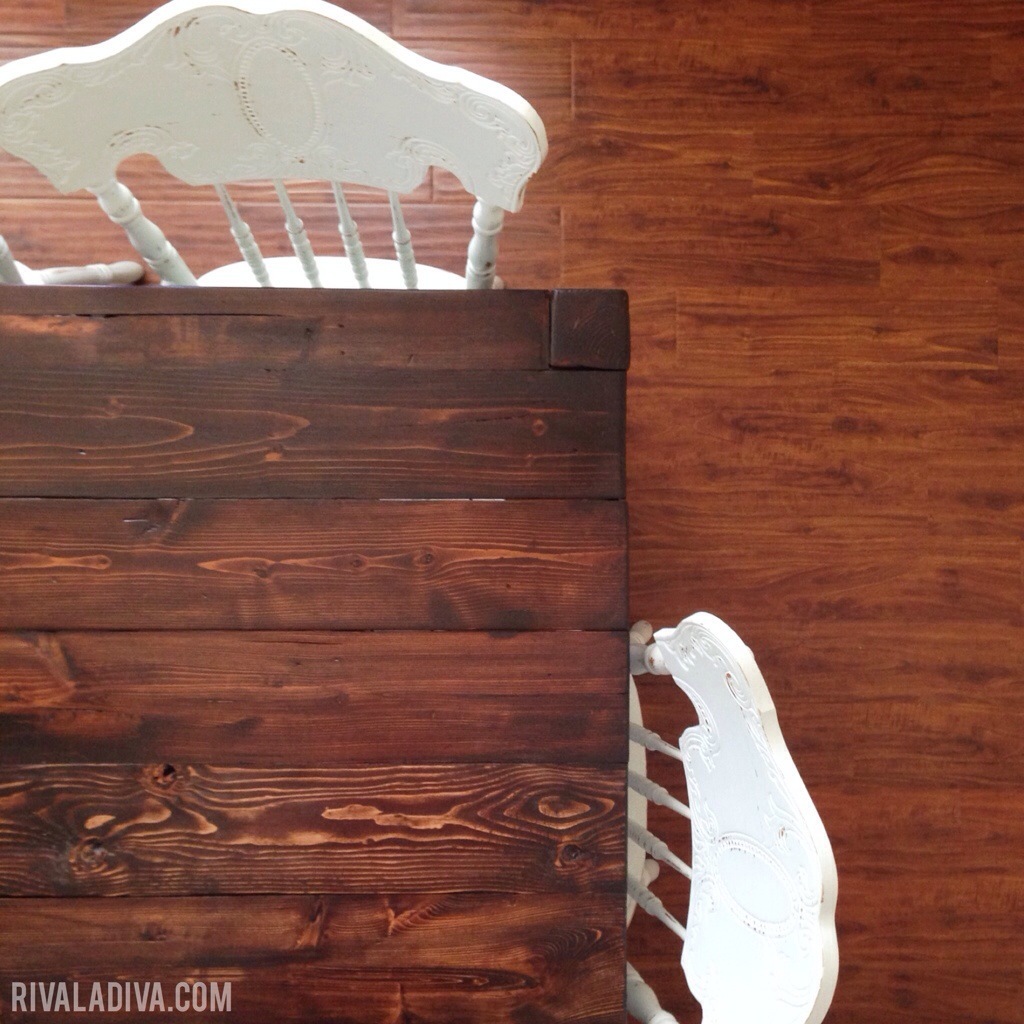
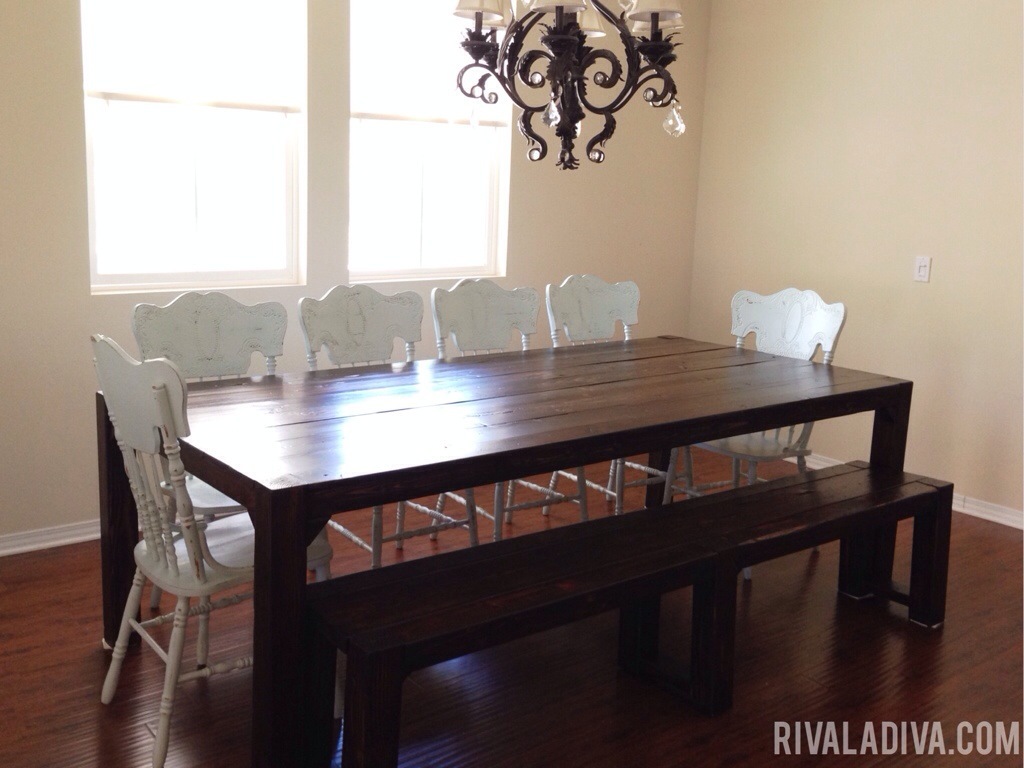
Flashback to last year when I found this way chic table at Restoration Hardware.
But the price tag is a bit steep for moi.
I have, like, a million kids, so… as I am a huge fan of Ana White and her amazing skills – I looked for a similar plan AND found one!
Well, you have to remember I have a million kids and I usually hangout with other families with their millions kids and there is never enough room, a 28″ x 58″ table is crazy small for my type of entertaining. Go big or go home, right?
So I drafted modifications for these plans – I am a seamstress and can draft sewing patterns, TOTALLY the same thing, right?
I am kidding, I really wouldn’t know, but so far so good.
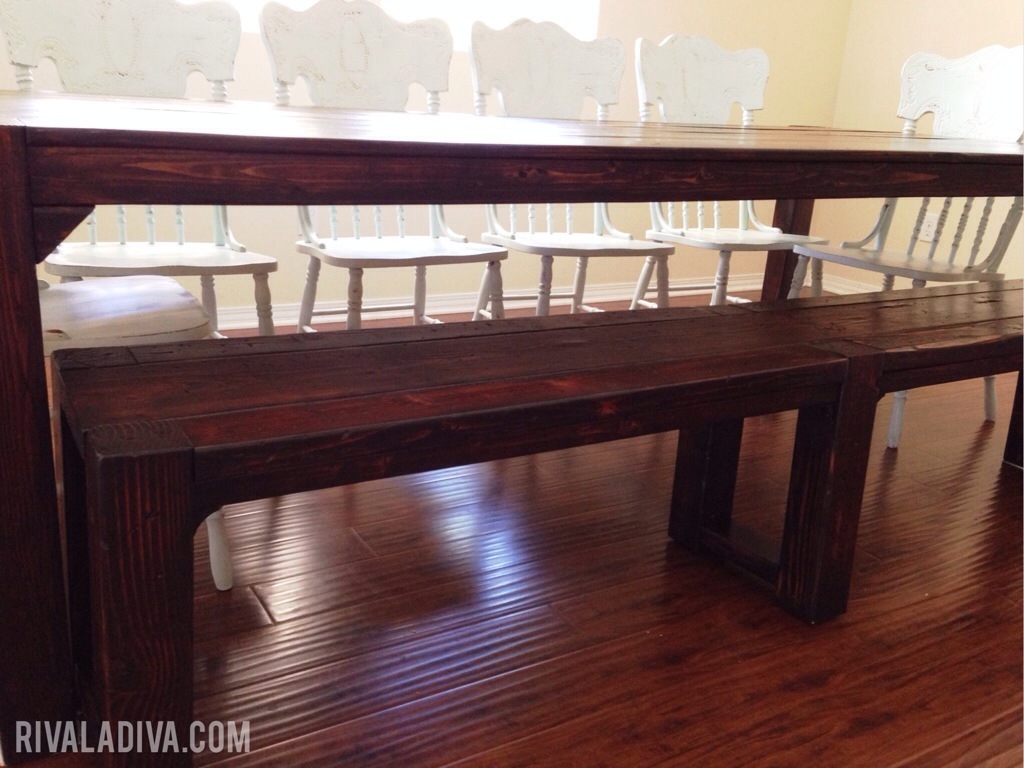
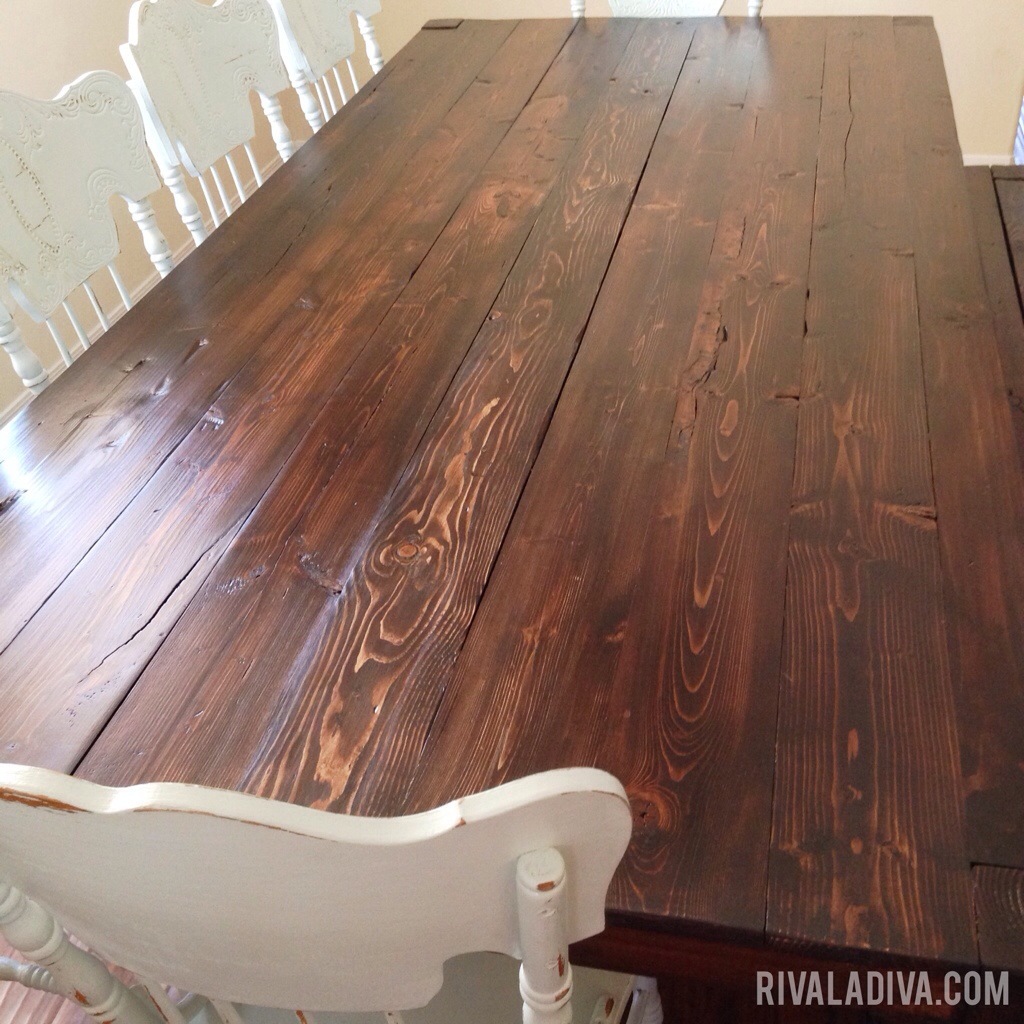
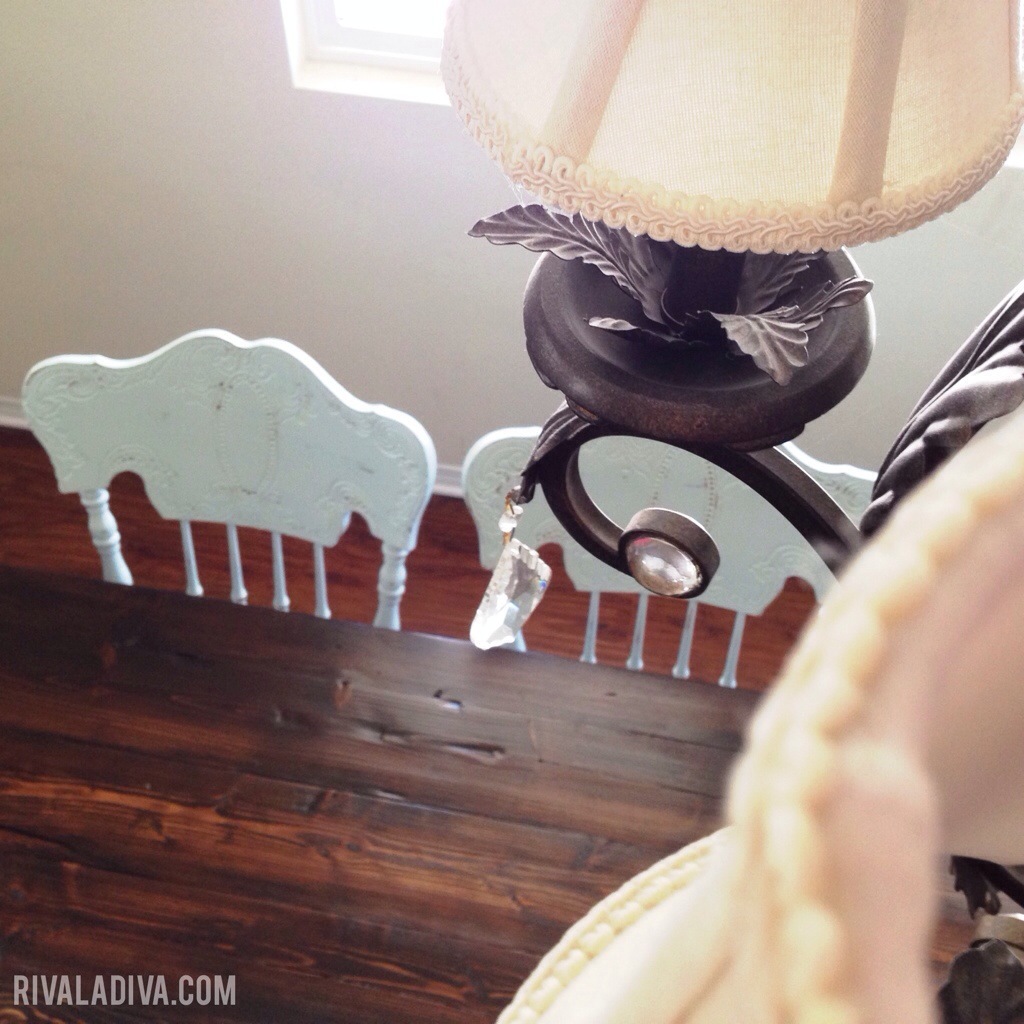
Anyways, I bought the wood and got to work and here's how it turned out!!
I would LOOOOVE to hear how you like it! :)
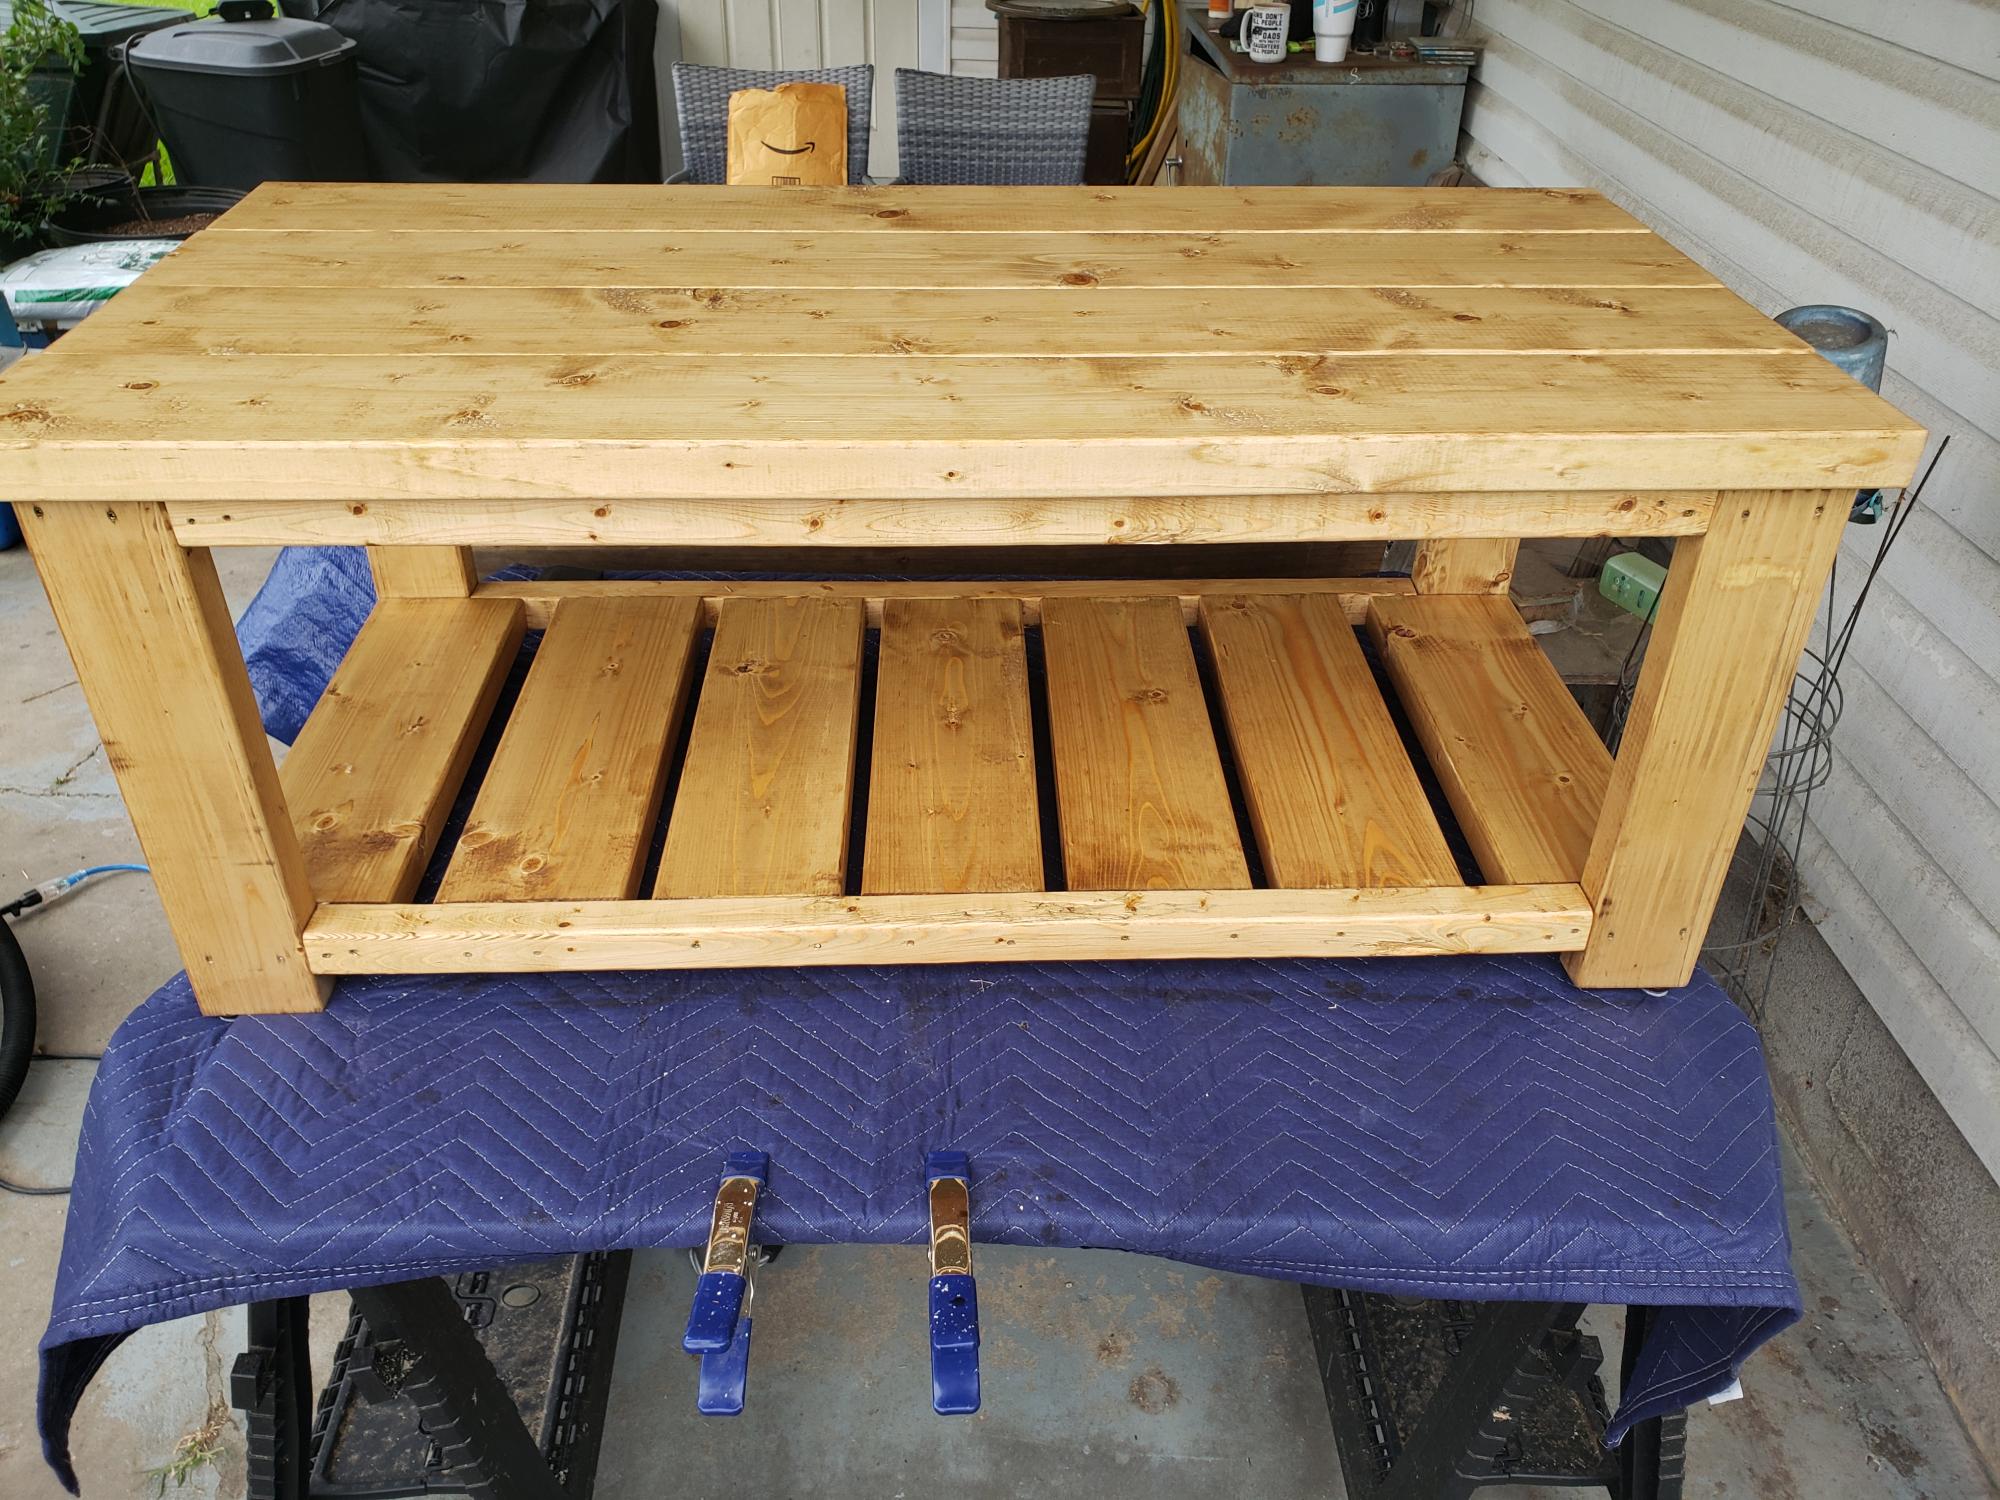
First build to sell. Has a few faults of my own doing. But, sold it in 24hrs. 😁
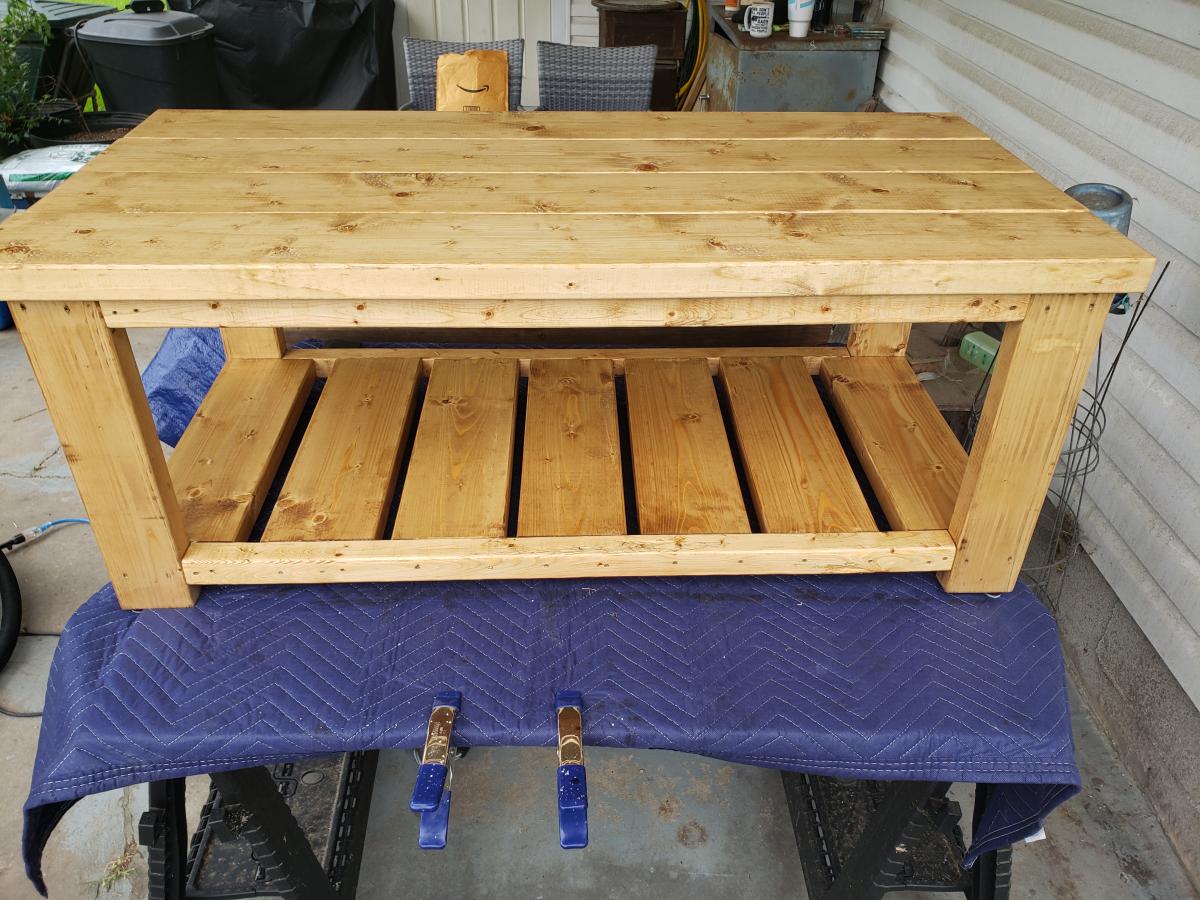

Love this plan! I used locking hinges instead of legs because it will overlap a bed in our guest room when in use. The hinges are rated for 250lbs and have held both of my sewing machines with no issues. I placed the middle shelf to fit my machines on the lower and standard fabric storage cubes on the upper. A metal adhesive measuring tape was added to the edge for convenience. This table will also be used as a buffet for family/group gatherings.
Wed, 12/02/2020 - 09:09
Hi! I need my sewing cart to be used without legs as well and have search everywhere for an appropriate hinge. Could you share with me what type & size you used? Did you change the sizes of the top to accommodate at all? Thanks!
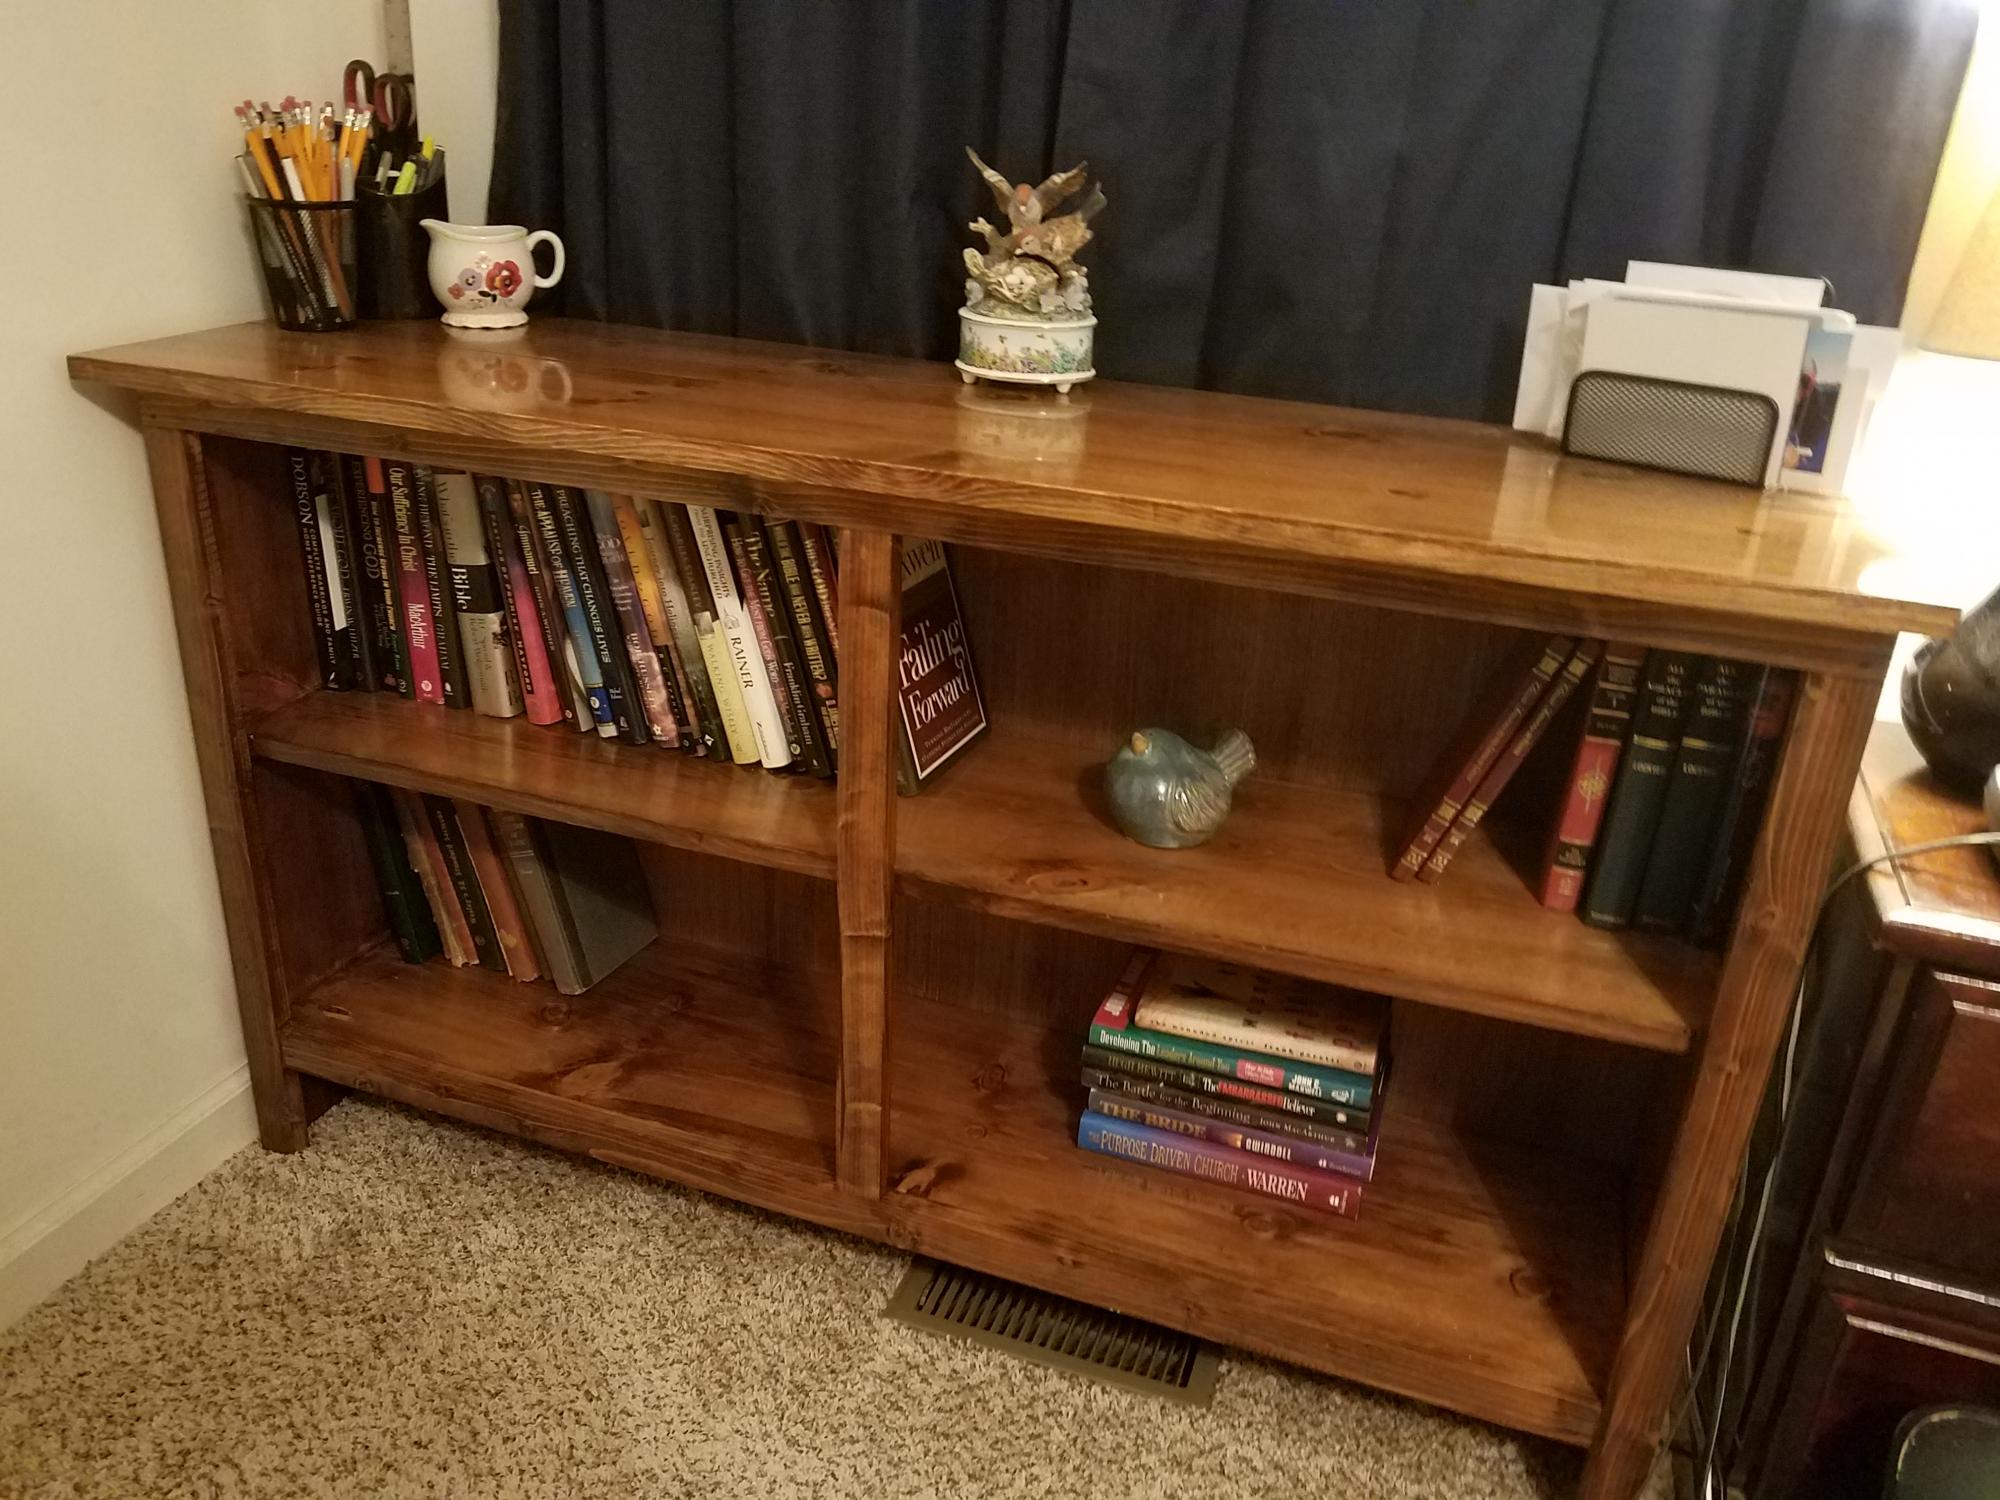
I started woodworking about 4 months ago and the first few things I made was a bit wonky. I didn't mind because it's solid wood and I was proud of myself for doing it.
I am 59 yrs old and I love building things! I now do better and made this shelving unit, and it's the best I've done so far.
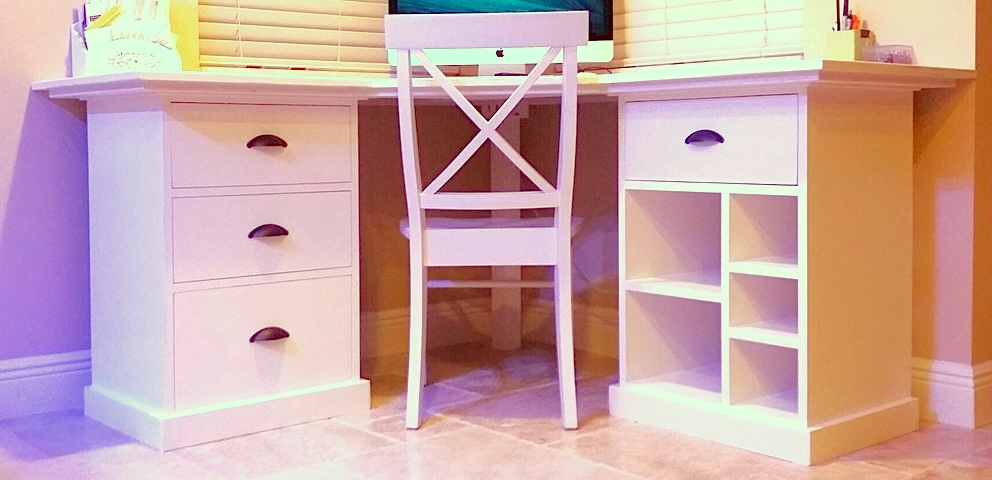
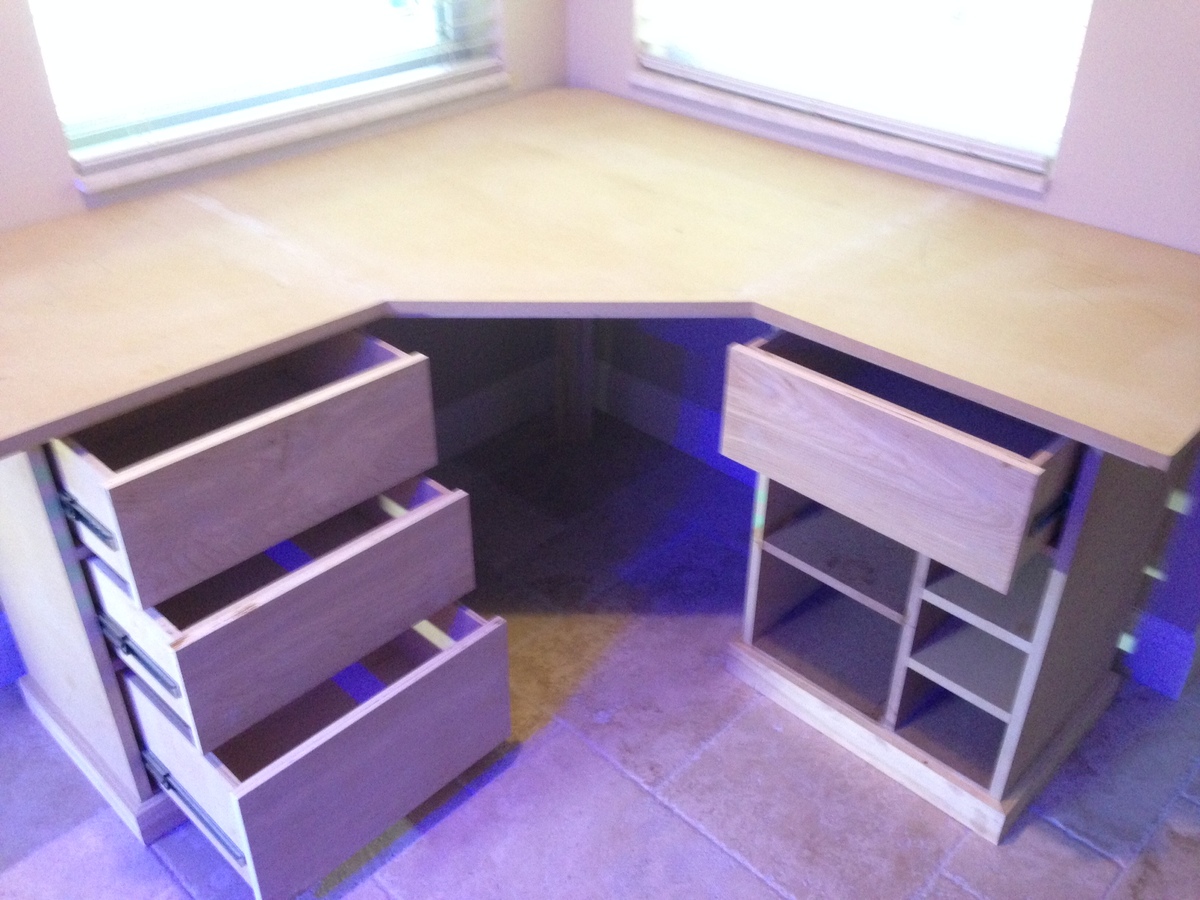
Beautiful Bedford Modular Desk (Pottery Barn)



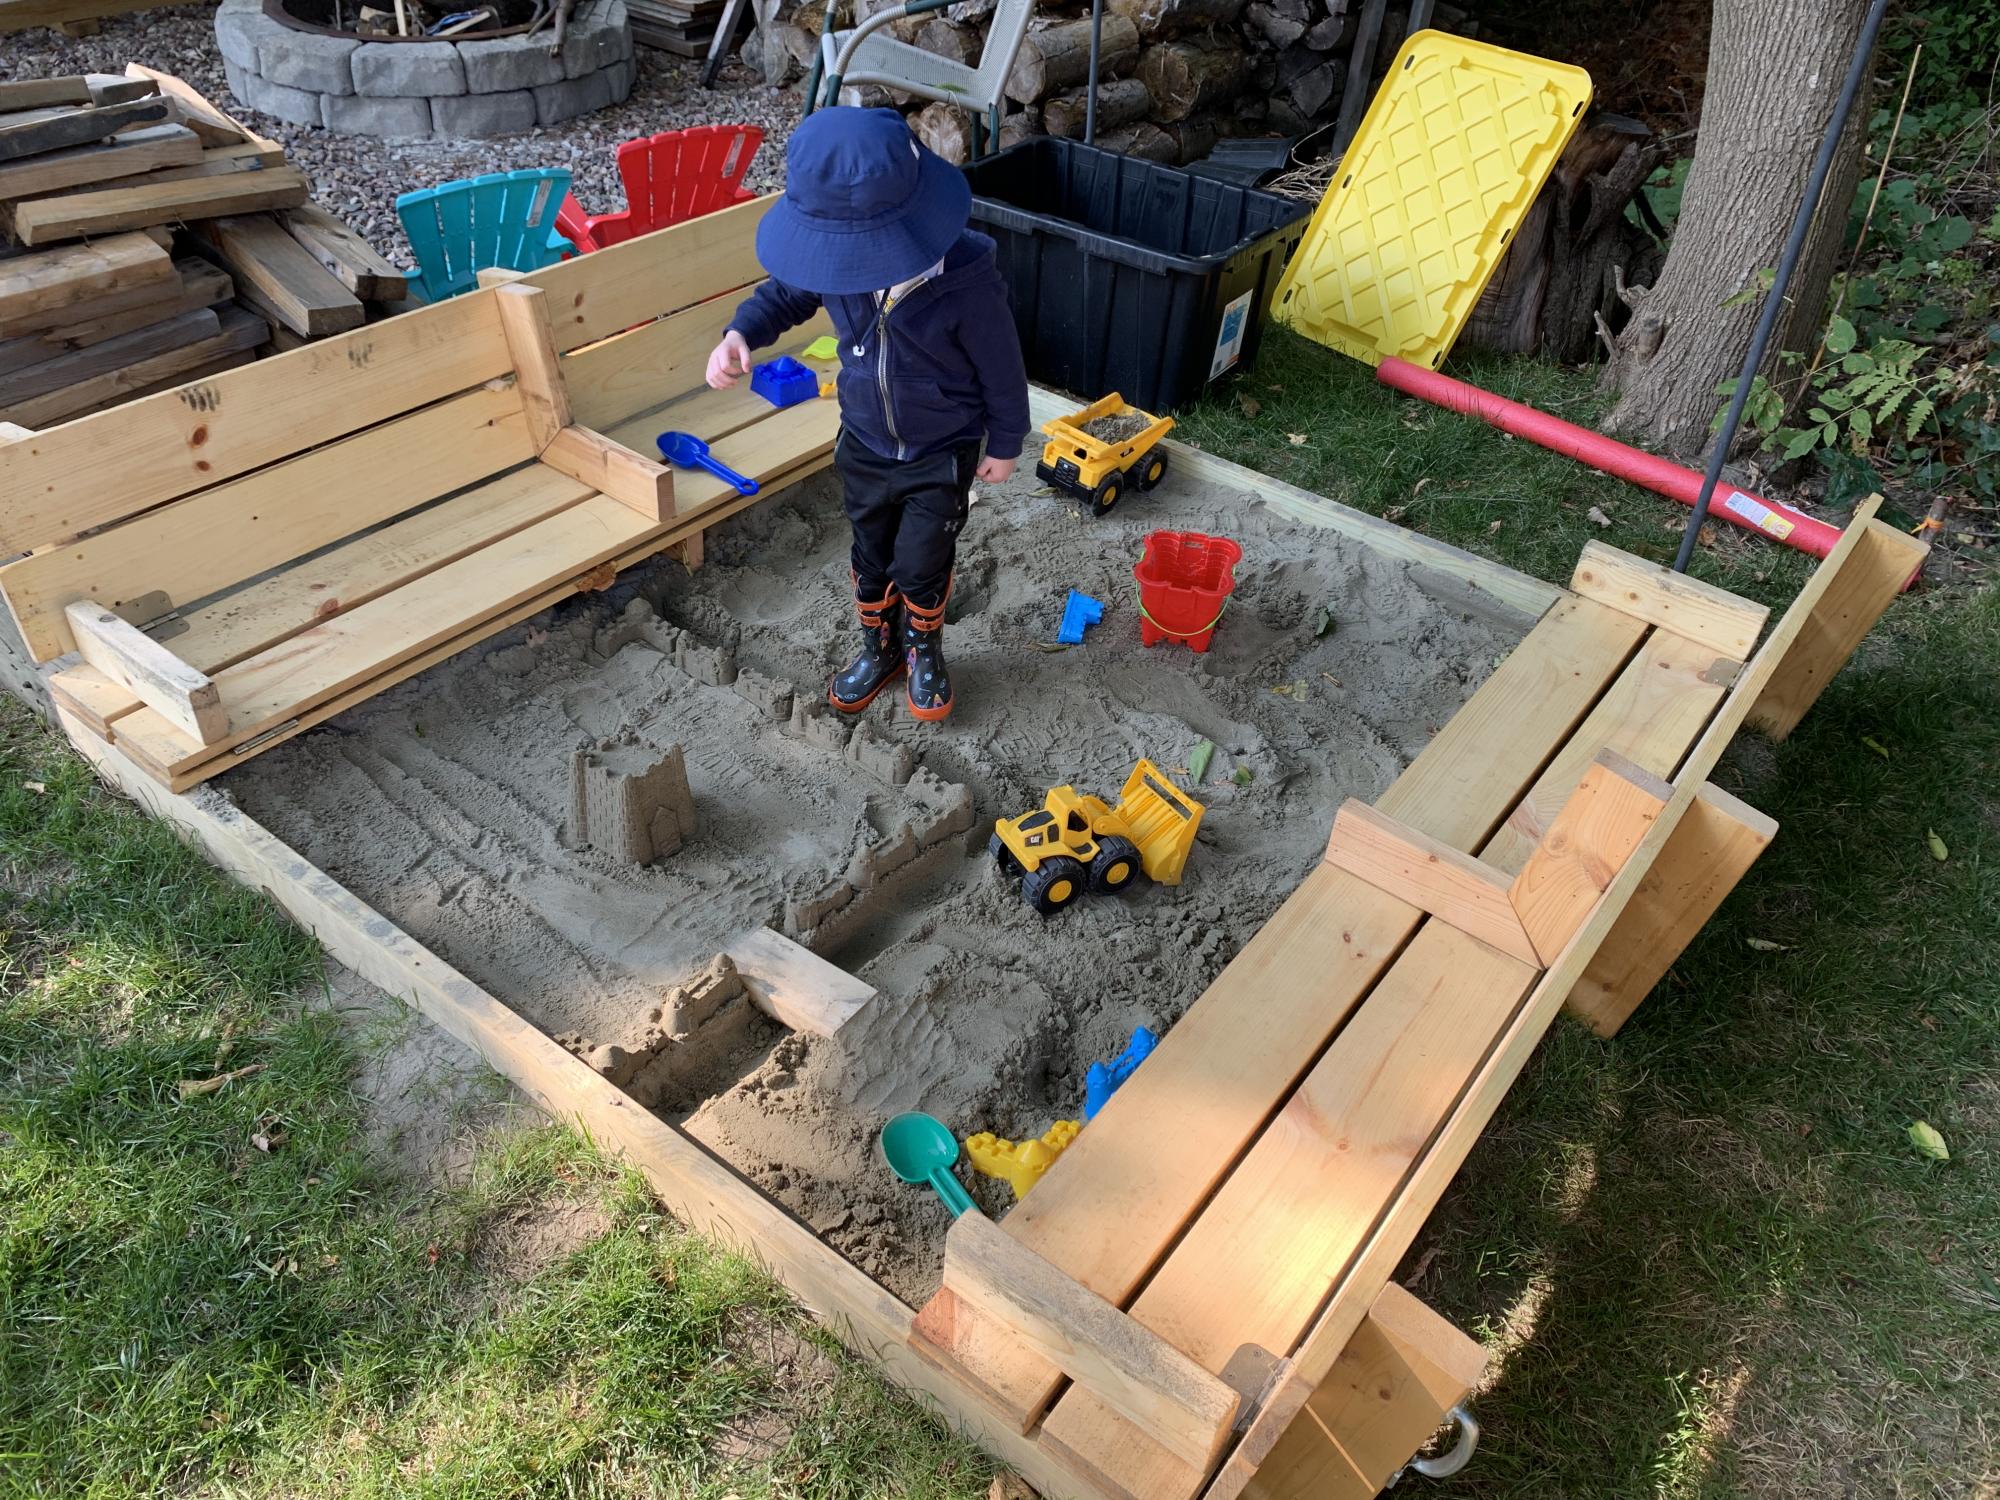
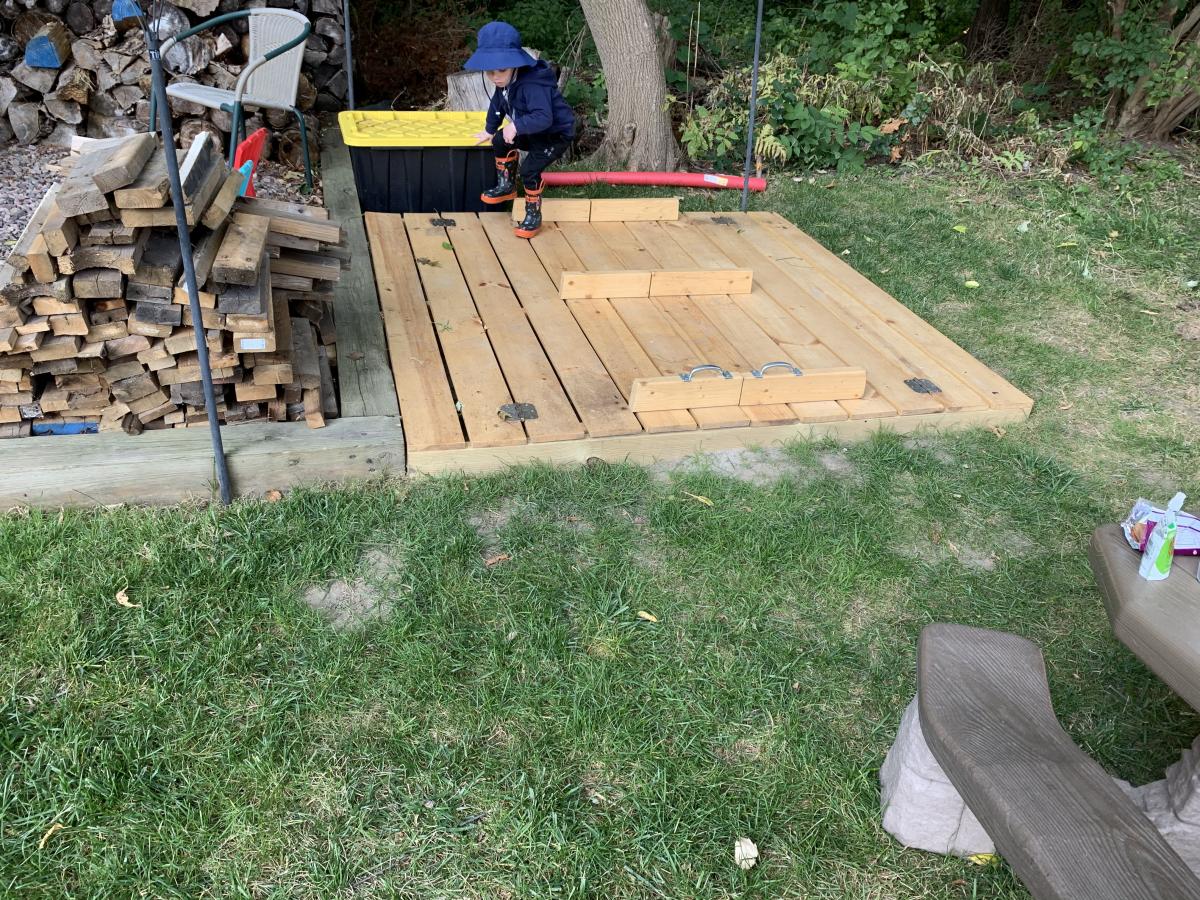
Made the sandbox 6x6. Recessed it so it sits flush with the timber’s around our fire pit area. I added extra armrests in the middle that double as supports when the lid is closed in case anyone wants to walk on it. Filled the sandbox full enough that the armrests sit on the sand when closed. It’s very sturdy now for walking on and the kids have tons of room to play. Thanks for a great plan to work from.
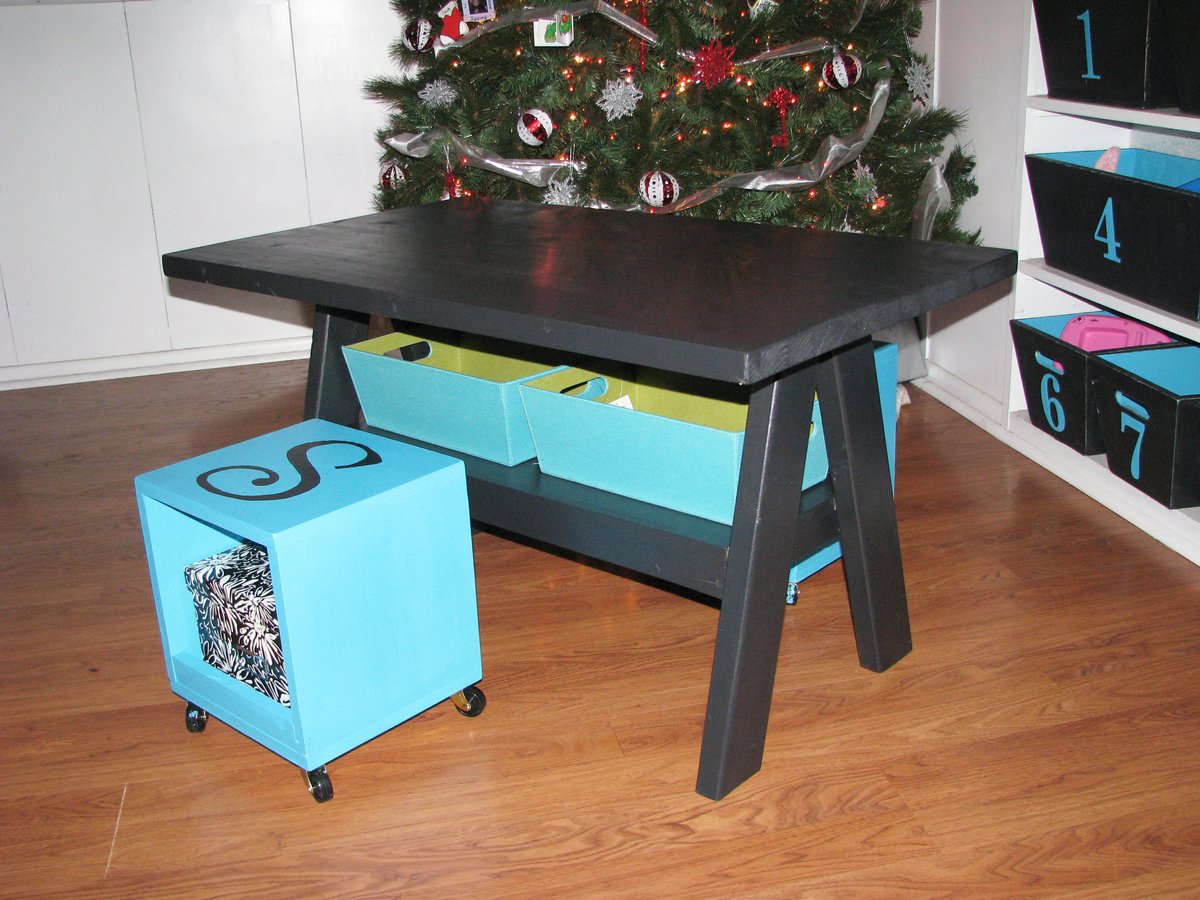
This is a last minute Christmas gift for my girls.It was very easy to build; took me just a couple hours to assemble it and a few days of secret sanding and painting.
It will be the girl's art table and will sit about where the Christmas tree is right now. Maybe now I can have my kitchen and dining table back:)
The cube seats were made from the plan over at Shanty2chic http://www.shanty-2-chic.com/2012/07/rolling-storage-cube-stools.html
And the tapered bins you see in the background on the right are made from this plan from That's my letter http://thatsmyletter.blogspot.com/2012/06/m-is-for-mudroom-bins-4.html

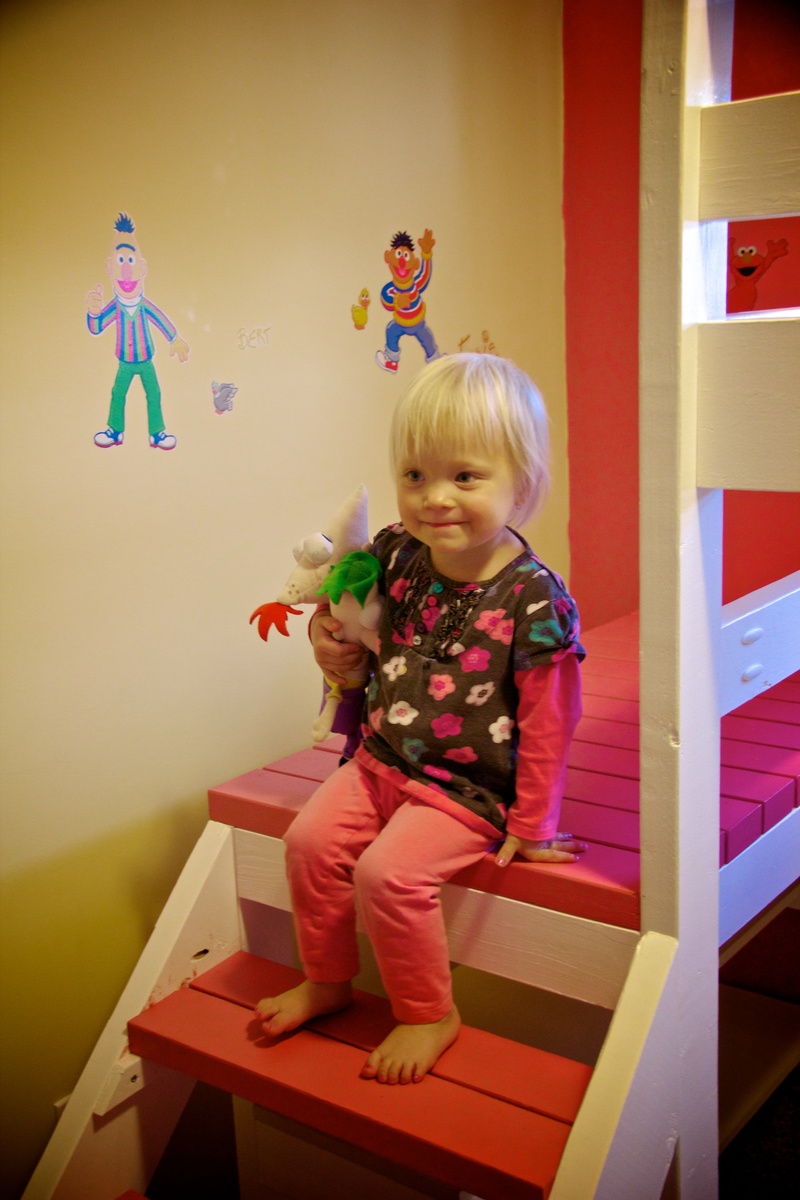
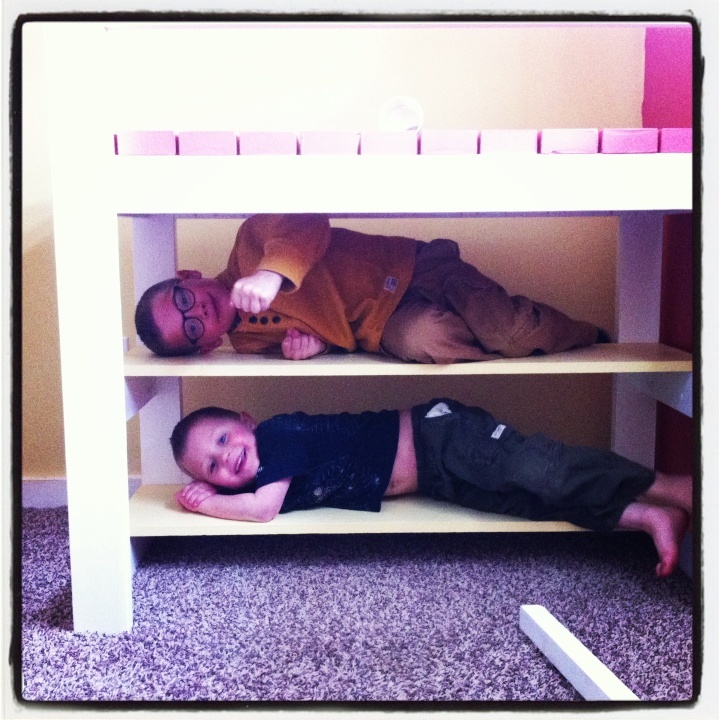
Sweet Pea bunk bed! I ended up making the lower half a playhouse since we had a play kitchen that fit perfectly inside.


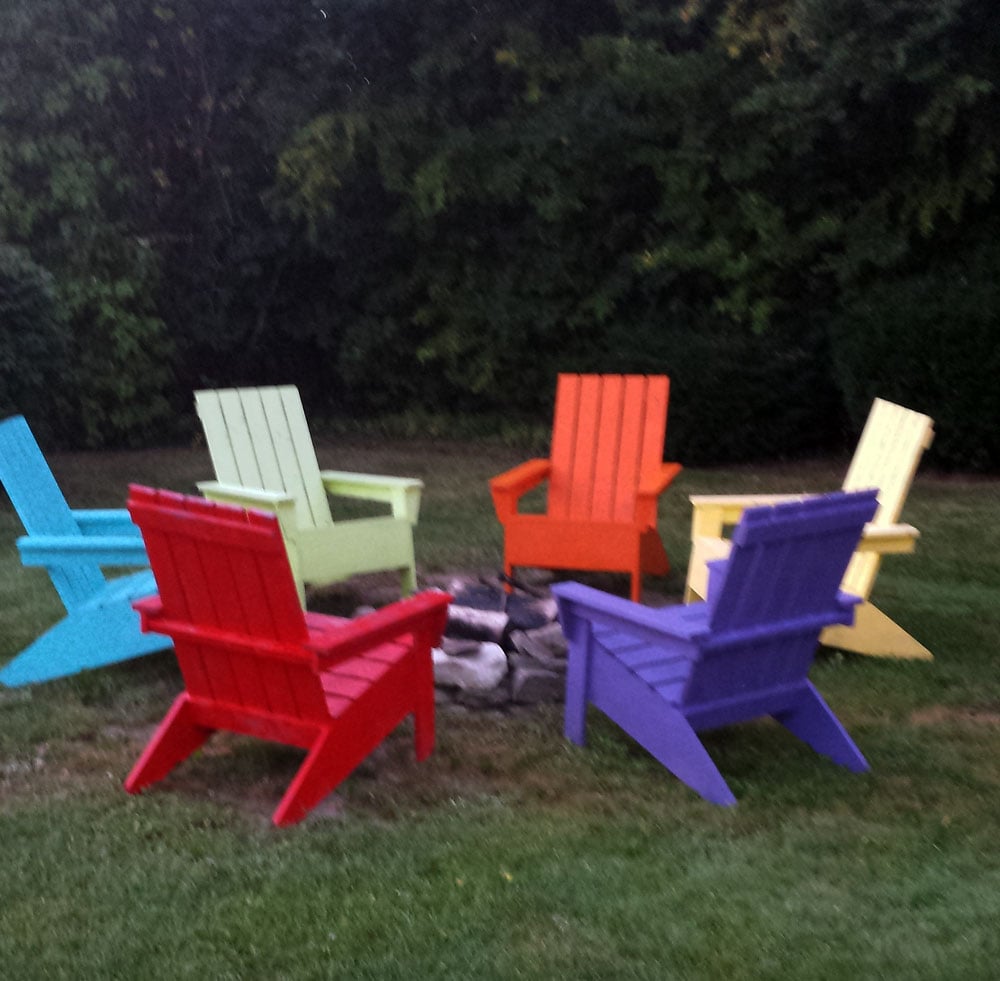
I completed these chairs about 3yrs ago. It was a great project and I learned a lot. I really appreciate this site and have made a sofa and 2 benches as well. Thank you Ana for the site and I wish HGTV or another station would pick up your DIY show!
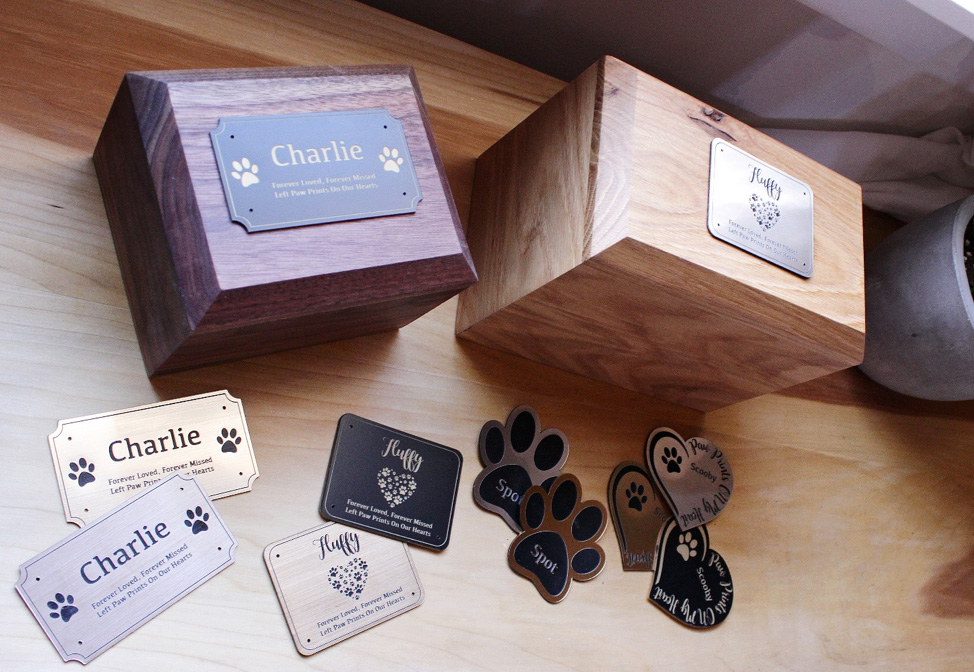
If you have pets, you know that they're family, too. And when you lose one, it's hard to let them go. But with pet cremation becoming more common lately, it's possible to keep them with you even after they've passed in a pet cremation urn.
But even if you don't want to use this project as an urn, this would make a great little keepsake box to keep a few special items—like a favorite toy, or a collar—in to remember them by.
So in this post, I'll show you how to make your own with some basic tools and lumber.
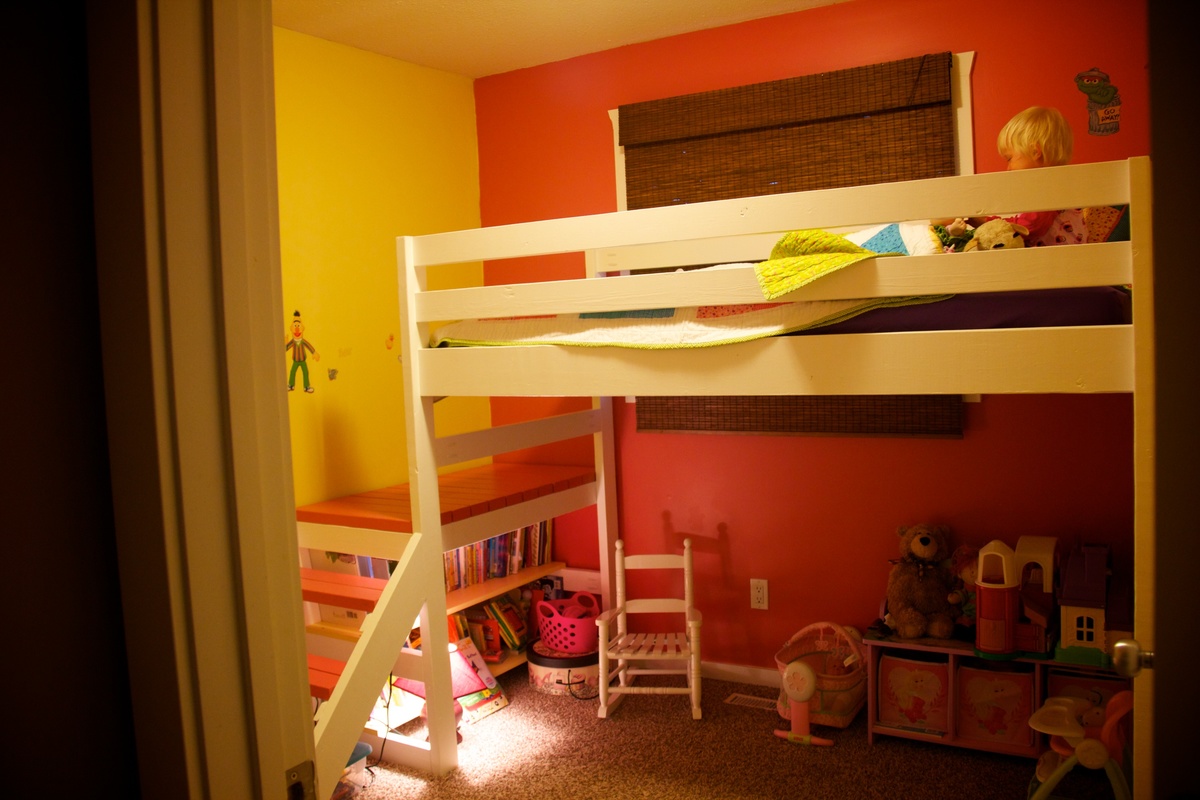
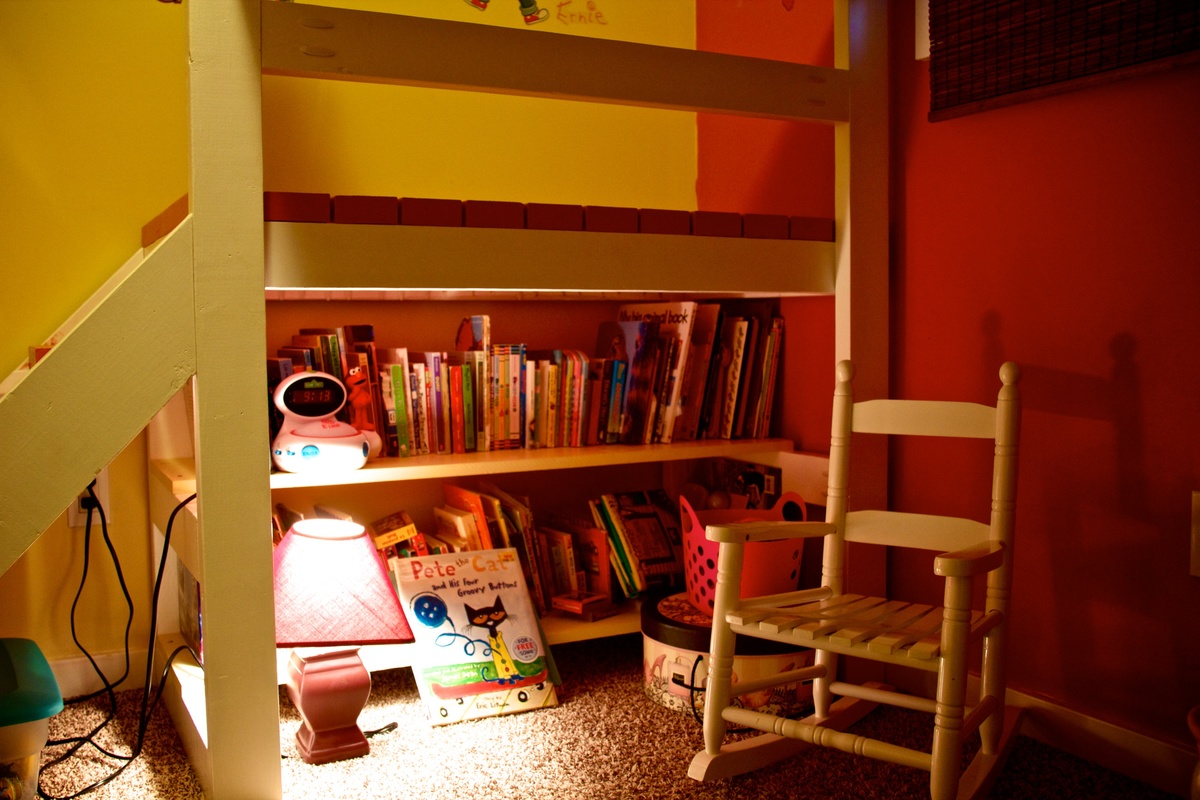
I came across the Camp Loft Bed on Pinterest a couple of months ago. My daughter was still sleeping in a crib, but I knew that she would need a big girl bed by summer. Since her room is small (inside walls measure just under 9'x9'), i thought a loft bed would be ideal.
I have NEVER done a DIY. I don't even own tools. But my step-dad is very handy, so I asked him to be my consultant and helper to tell me if I was doing things the wrong way! Fortunately, he was able to lend me a miter saw, some aluminum saw horses, and the odd screw (when I seemed to run out).
From start to finish, this was a 7 day project. I used construction grade spruce for my lumber, which cost me just shy of $100. I also went back the next day and bought a couple more 2x4s to make two shelves under the platform, which was another $30. I then pre-drilled with my new favourite tool the Kreg, and proceeded to sand, prime, and paint all of the pieces before assembly. With assembly being in my daughter's room, and having nice fresh paint on her walls and carpeted floors, I did NOT want to be finishing the bed in there, but there was no way I could move it into her room completely assembled. I did all the finishing BEFORE assembly.
Sand, prime, sand, paint, paint, paint. That process took three days, obviously not the entire day. Painting goes relatively quickly, but with boards, you paint one side, let dry, roate 90 degrees, paint, let dry, etc. I also had to work a couple of days in between as well. I went with Benjamin Moore Aura paint and that required three coats. I used to some leftover pink and yellow for the platform and shelves, but if I consider the cost, the paint set me back another $100.
I also had to order in the proper screws and I bought some of the white Kreg plugs to cover the exposed holes. Hurray for amazon! Even selecting the free shipping, the screws arrived within 4 days.
Assembly day:
My step-dad and I worked from 10:30-1:30. By this time, the bed and platform were completely assembled and in place. My daughter, however, needed to nap, so I put her down in her brother's bed, and we took a couple of hours off for lunch!
We then worked from 5-8:45 pm building the stairs, cleaning the room, measuring and screwing down the slats for the mattress, then making the bed and getting it ready for sleep. It seemed like a much longer day because in between, I had to run out and pick up a twin mattress, some extra screws, help my son play his new Skylander game, and deal with three kids trying to "help" with construction!
All in all, I am very pleased with the bed, with the plans, and with my first DIY. My kids are all in love with the bed and we spent a lot of time shooing them out of the room while we tried to assemble it.
Tips:
If I were to make this bed again (if my sons have their way, their beds are next!) I would not paint the wood, opting instead for a stained more natural look. I love the colours for my daughter, but what a pain all that painting and rotating the boards was. Paint was also a more expensive option for finishing.
That being said, if I do paint, I will NOT paint the ends of the boards that will be joined via pocket holes. In some cases, the boards were just a smidge too long to fit and we had to take the back to the saw and shave off the layer of paint in order for the board to fit.
I also opted to buy firm twin mattress as opposed to the plush ones. The plush mattresses add a lot of height and I was worried about my daughter having a bit too much fun up there and possibly tipping out from a high mattress. Stick to thinner mattresses on loft or bunk beds!
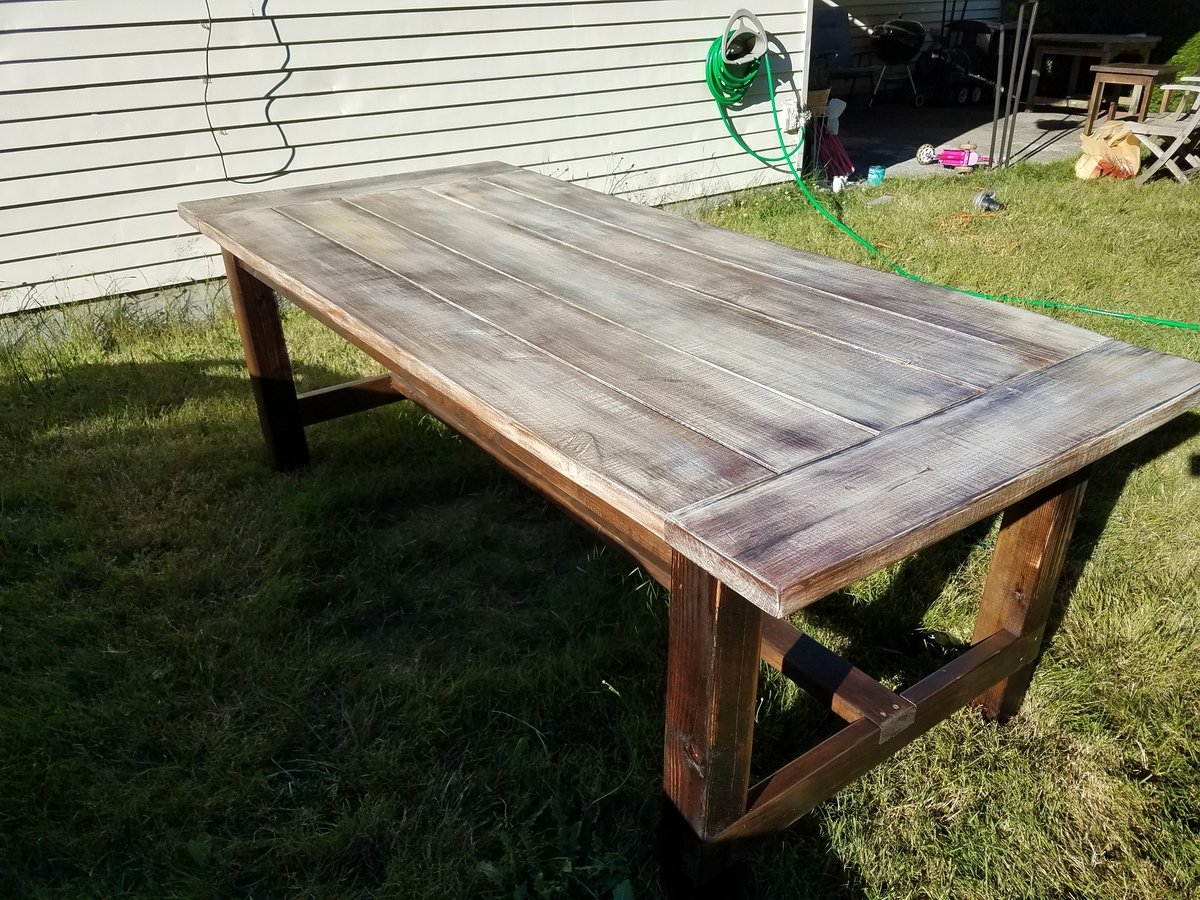
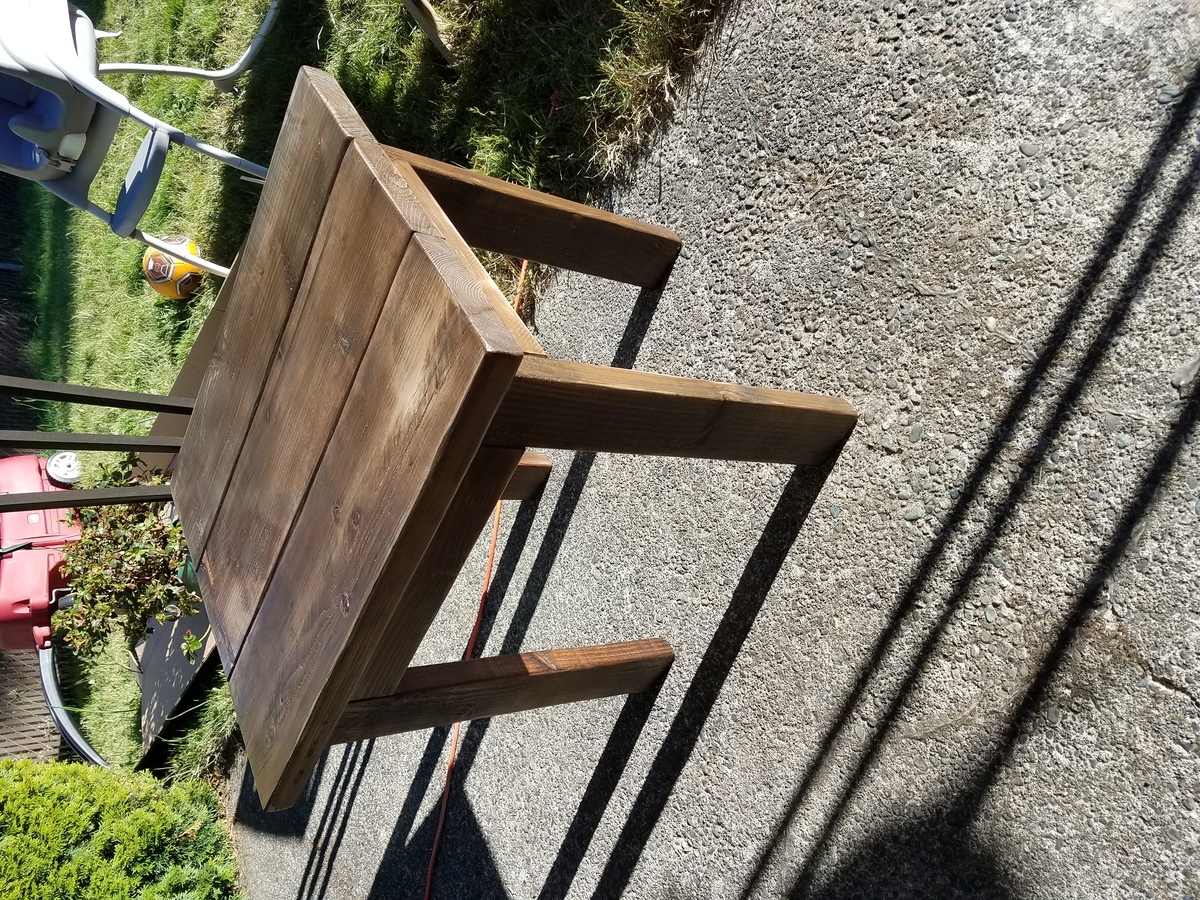
I liked the plans, and the table came out beautiful. Only issue is that there isn't much support for the bread board ends. Don't try to move the table by lifting up on the ends. May need additional bracing in the future. Was able to make a side table with the leftover pieces and an extra 2x4. Love it.
Having already built a rustic bench to go with my Farmhouse Table, I knew it would be the perfect guest "book" bench for my wedding. For only $15 (I had the lumber for the top on hand), and the help of all my bridesmaids during my bachelorette weekend, we built this bench in just about an hour. Everybody had a hand in it, which makes it even more meaningful. It sits at the foot of the Farmhouse Bed my husband and I built from reclaimed barnwood from my father. I love that we have something so hand-made and sentimental to commemorate our wedding celebration. It makes me smile every time I look at it!
Memorial Day weekend project for my wife and I. These will go around our firepit out back, but it was raining so we just took pics in the garage where they were assembled. I built the woven back bench and used the plan (and SketchUp) to modify the plan for 2 chairs as well. I mirrored the weave on the bench and the 2 chairs for a bit of visual contrast.
I also used the plan for the folding camp chairs but simplified it a bit by removing the upper strechers and dowels and just making the fabric on there permanently. These will only be pulled out if we have more than 4 around the fire.
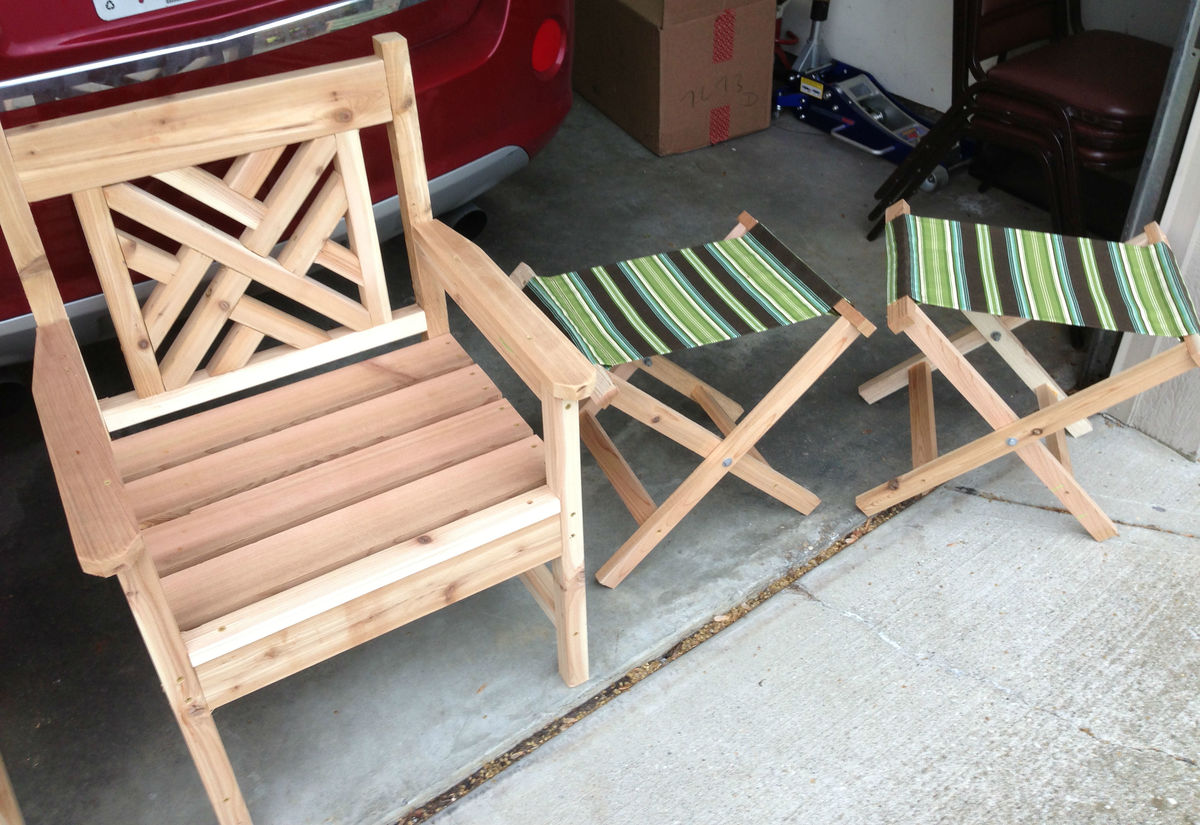
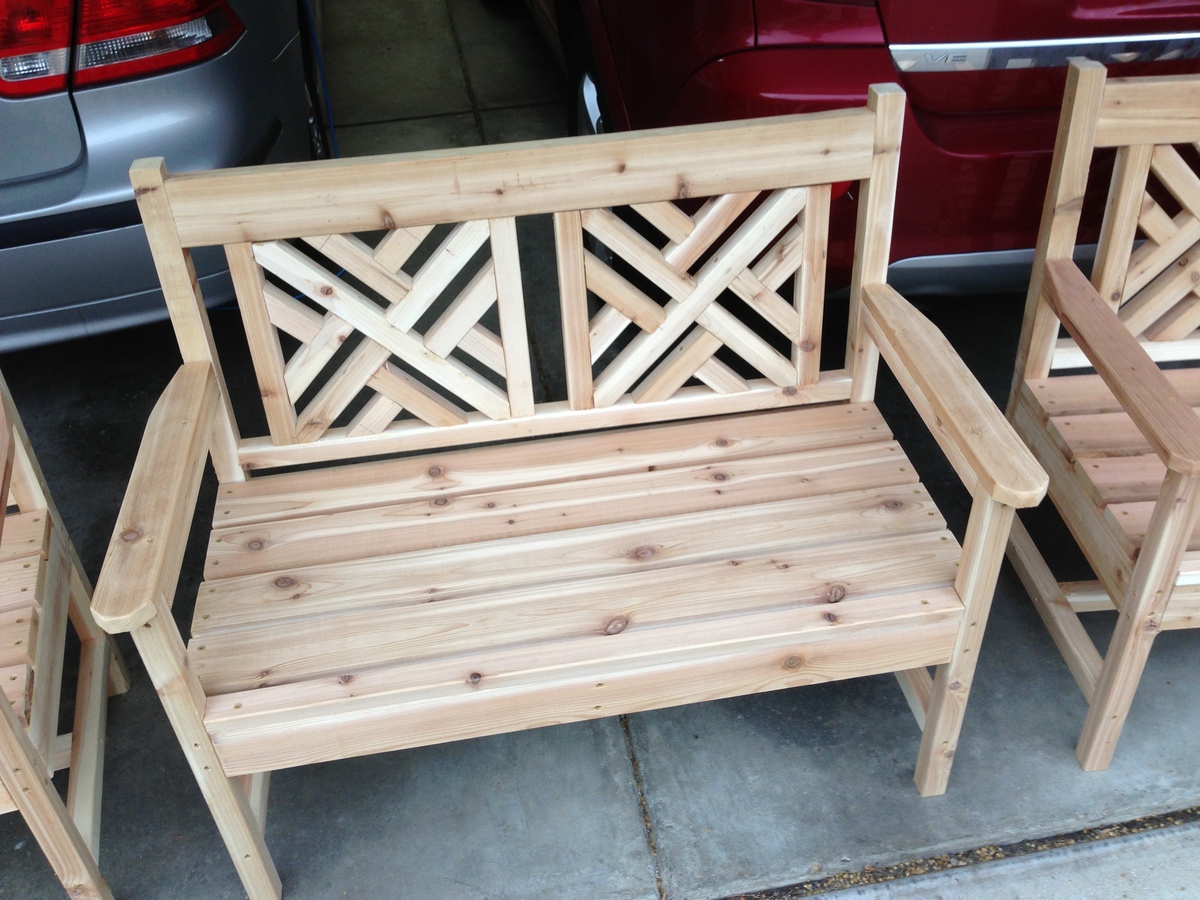
Sun, 08/18/2013 - 18:04
I've been thinking of making the bench, but I really like the chairs as well. Your set looks fantastic!
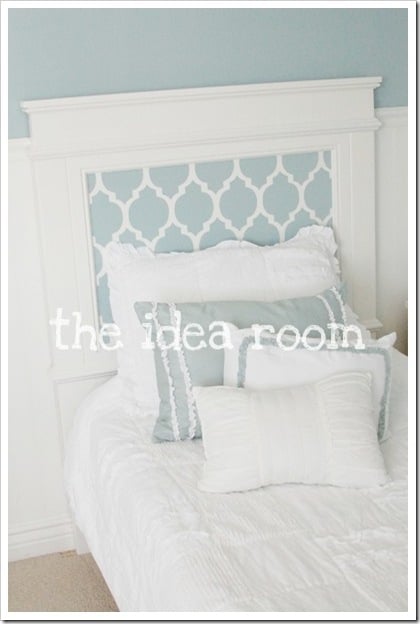
Loved Ana's Farmhouse Bed so we downsized it and made it into a twin size for our daughter. Took out the boards in the middle and painted a stenciled pattern instead.
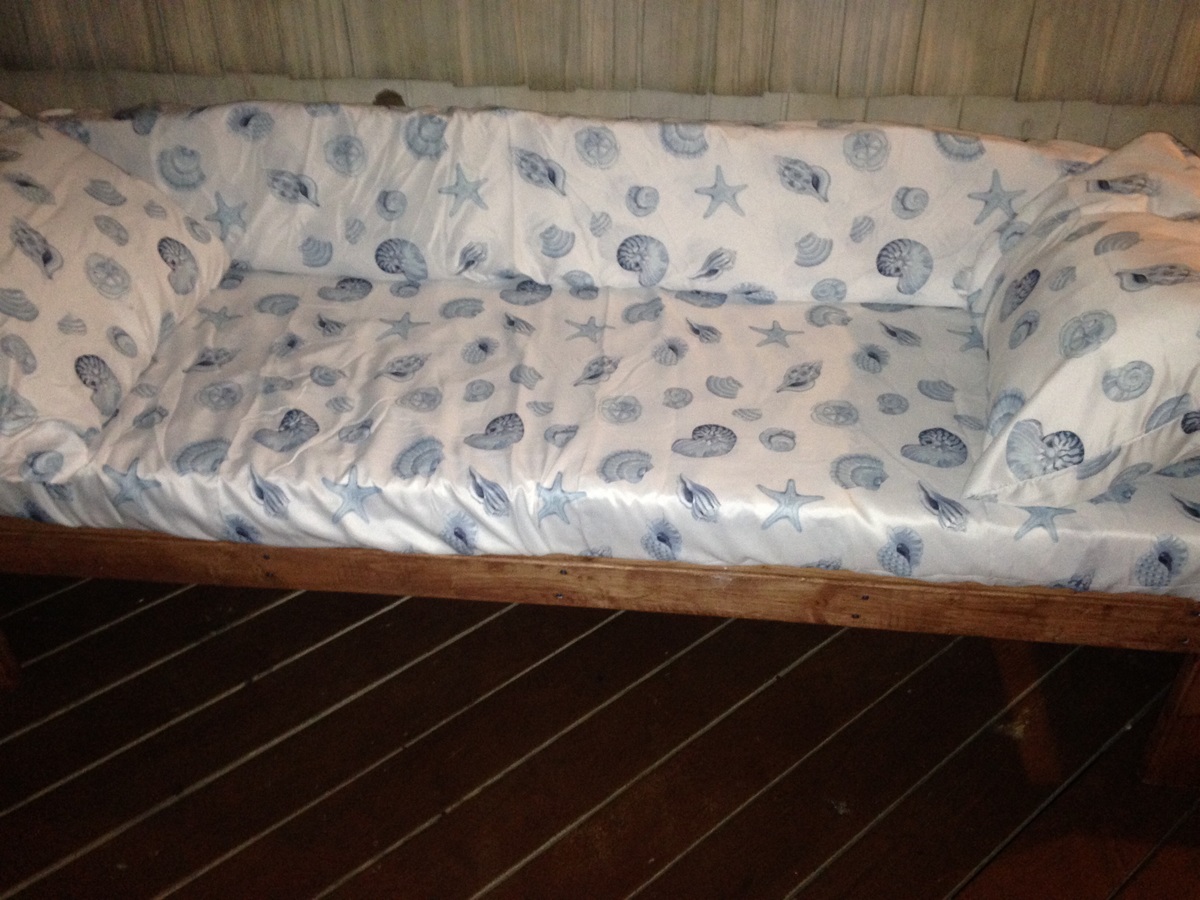
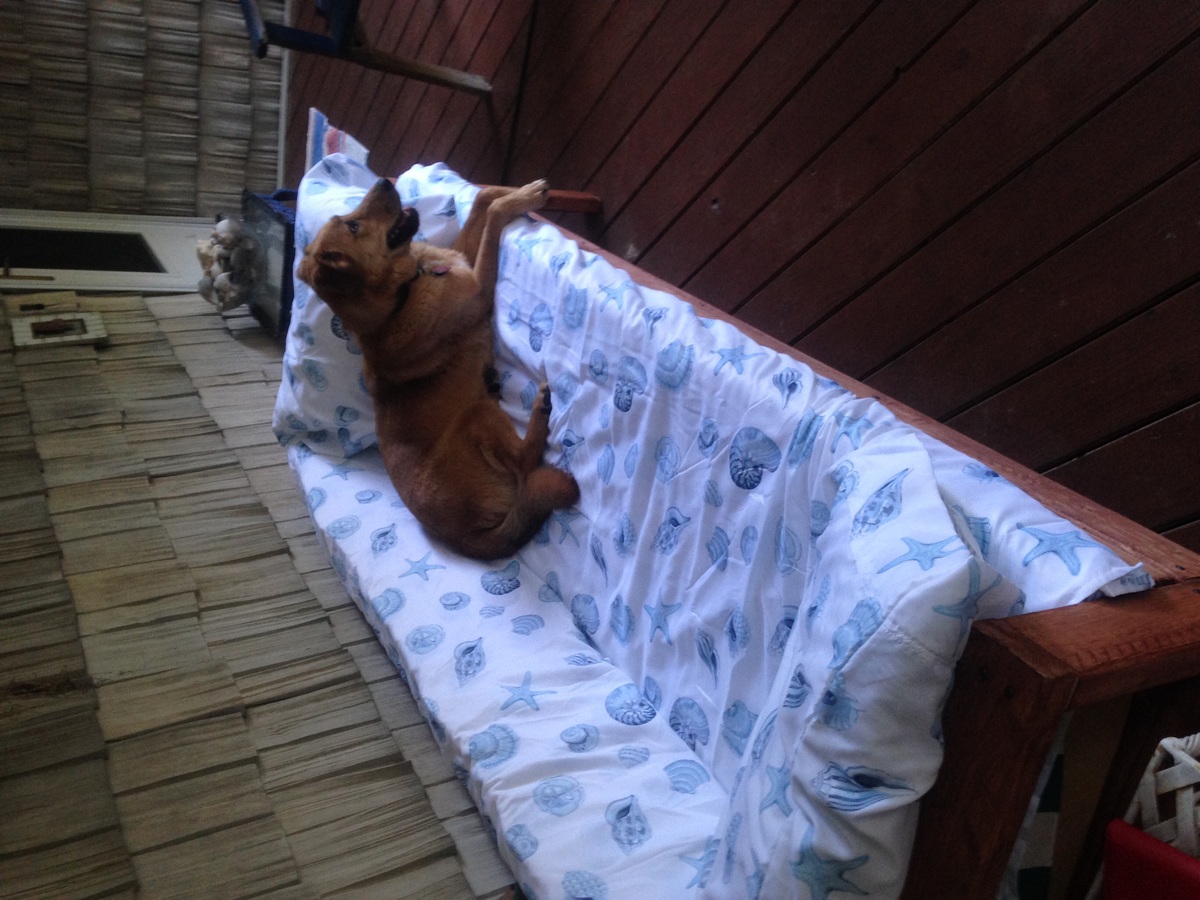
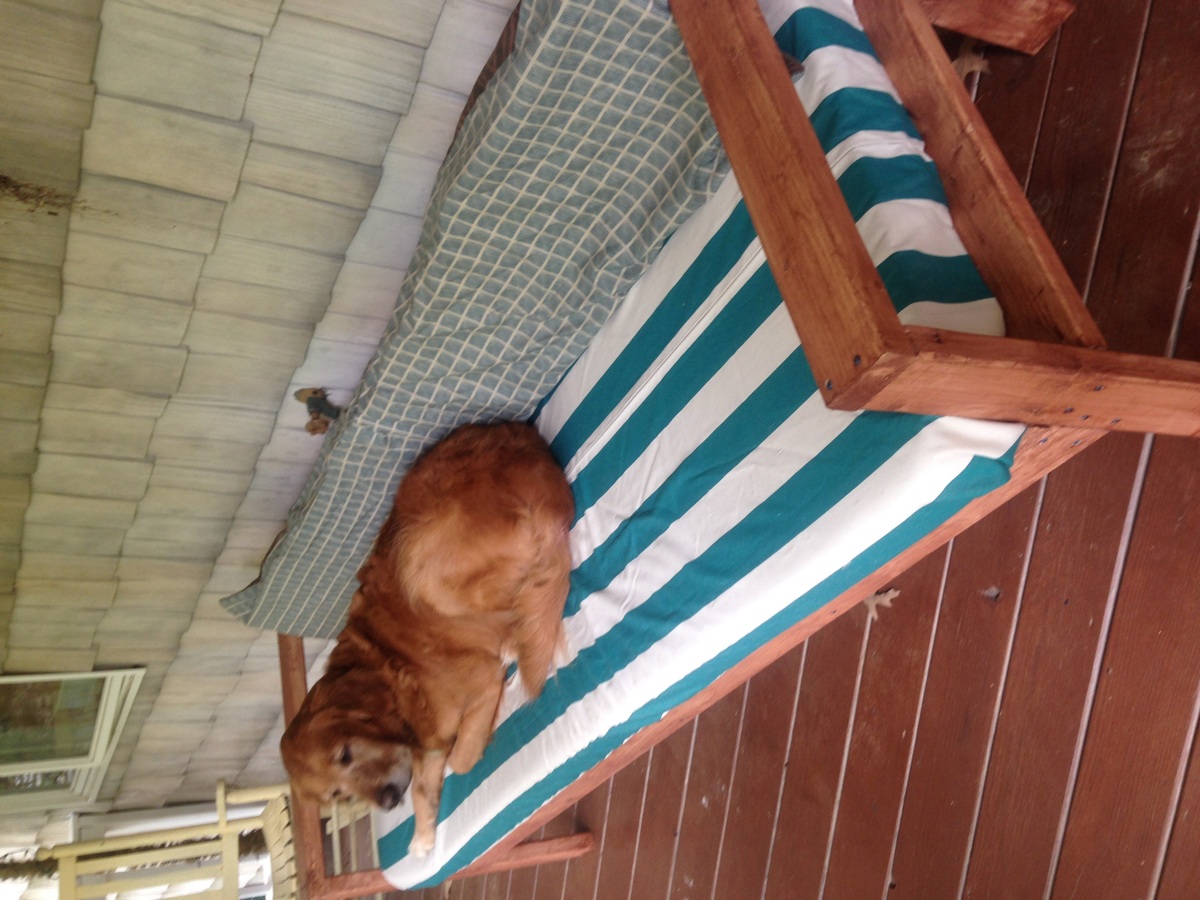
I made this with pine boards. I used an old twin mattress for the cushions and covered with some material I had on hand. I love it.
Sat, 06/06/2015 - 06:14
Looks like a great place to relax. Your Golden seems to be enjoying it!

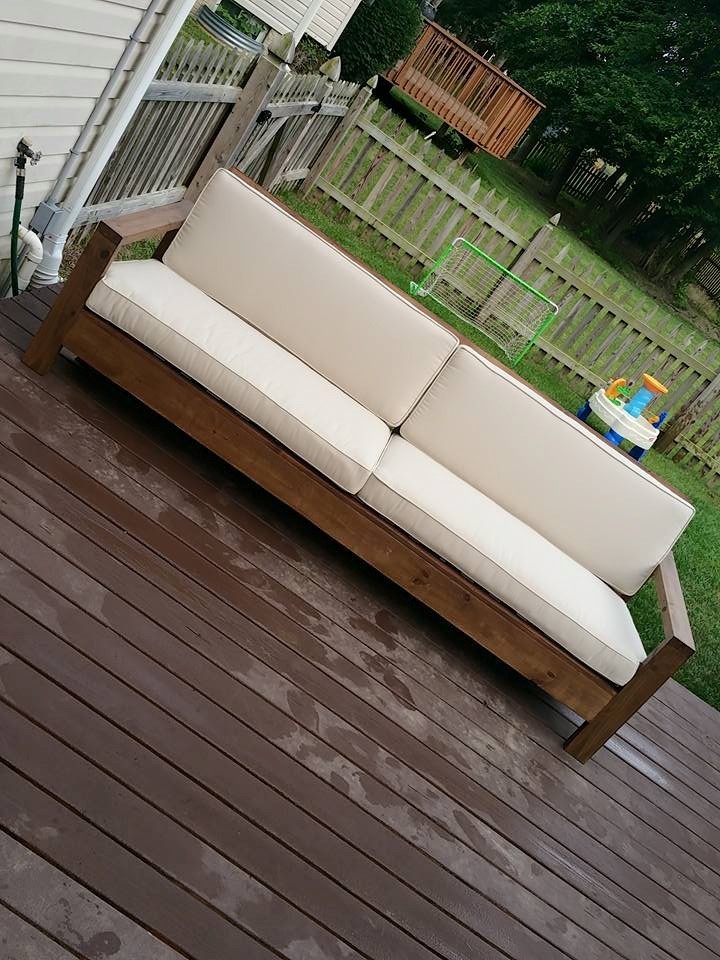
I followed the plan but made the sofa longer, the cushions were on clearance from Pottery Barn for $160 and the cushions are about 96 inches wide.
I used weather treated wood and did not want to spend more since its my first project. I used Behr exterior weatherproof transparent stain. I attached the seats back piece using a 2x2 attached on the bottom with screws and pocket hole screws are used to attach the 2x2 to both sides of the arm frame.
I love how it turned out. I was not expecting for it to come out this nice but I am really impressed.
I hope you guys like it too!
Total cost is around $240 including paint, wood, screws and the cushions.


I made the bunk beds from the simple bed plan, following tips from others who turned them into bunks. Instead of headboards on bottom and footboards on top, I used all headboards to add height, and made the posts a little longer so that an adult can sit up on the bottom bunk to read during bedtime. (the room has 9' ceilings) I used 2x4s glued and screwed together, as I could not find 4x4 non-pt posts. I made the ladder out of scrap 2x4s and the railings from scrap 1x3s. I did as suggested and attached the bottom header to the bottom of the top bed, which made it easy to attach. This bed is super sturdy! It will be painted one of these days!!
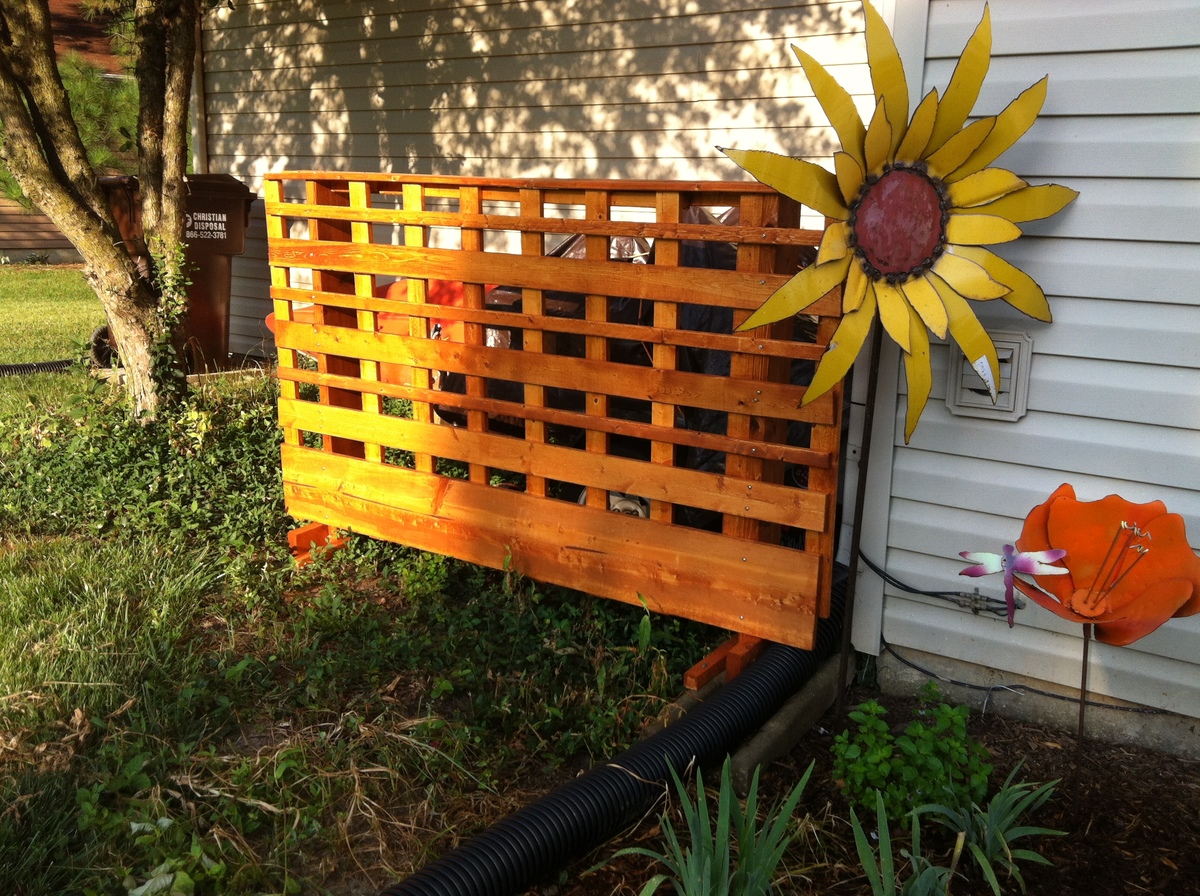
Technically, we are not allowed to store trailers or boats outside of our garage. Since our back yard faces a popular path for runners, pedestrians and cyclists, I came up with this solution and we have not been reported.
The size isn't ideal (peekaboo canoe), but I went with boards I already had. I didn't sketch this out ahead of time, just pieced it together using a 6" board as my vertical guide and a 3" board as my horizontal guide.
Instead of digging post holes, I built it onto feet so that it's free-standing and portable. We can move it any time we need to get the trailer out from behind it.
Next summer, I may put planter boxes on top and build a second panel as well.
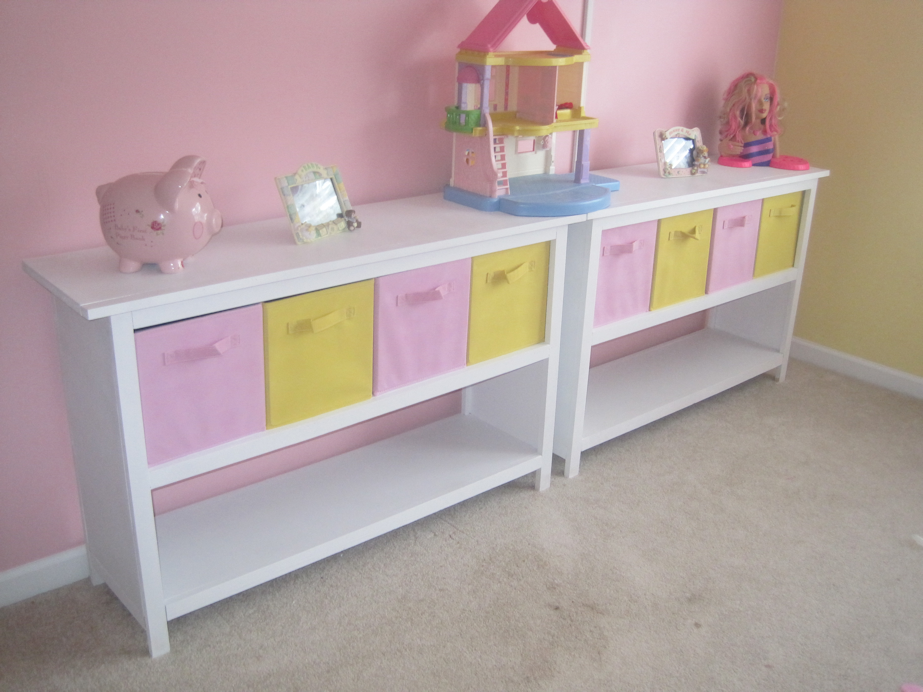
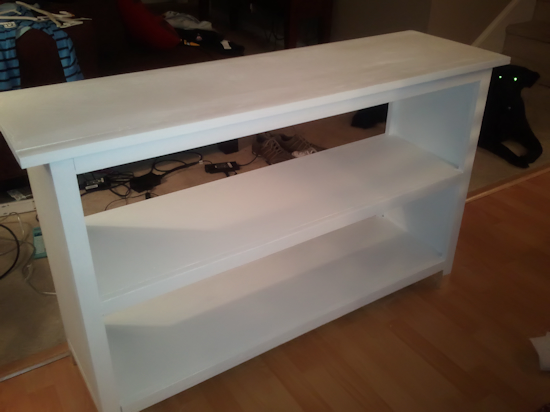
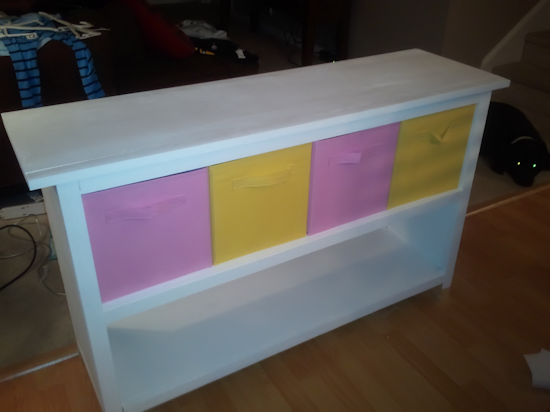
Had a Blast making these shelves for my daughters room last Summer! (sorry for just posting now) She had such a long plain wall I thought what a perfect way to take up space but still have places for her toys! She loves them as much as I do!
Wed, 06/15/2011 - 12:05
They look awesome! Love how the bins fit so perfect.