Community Brag Posts

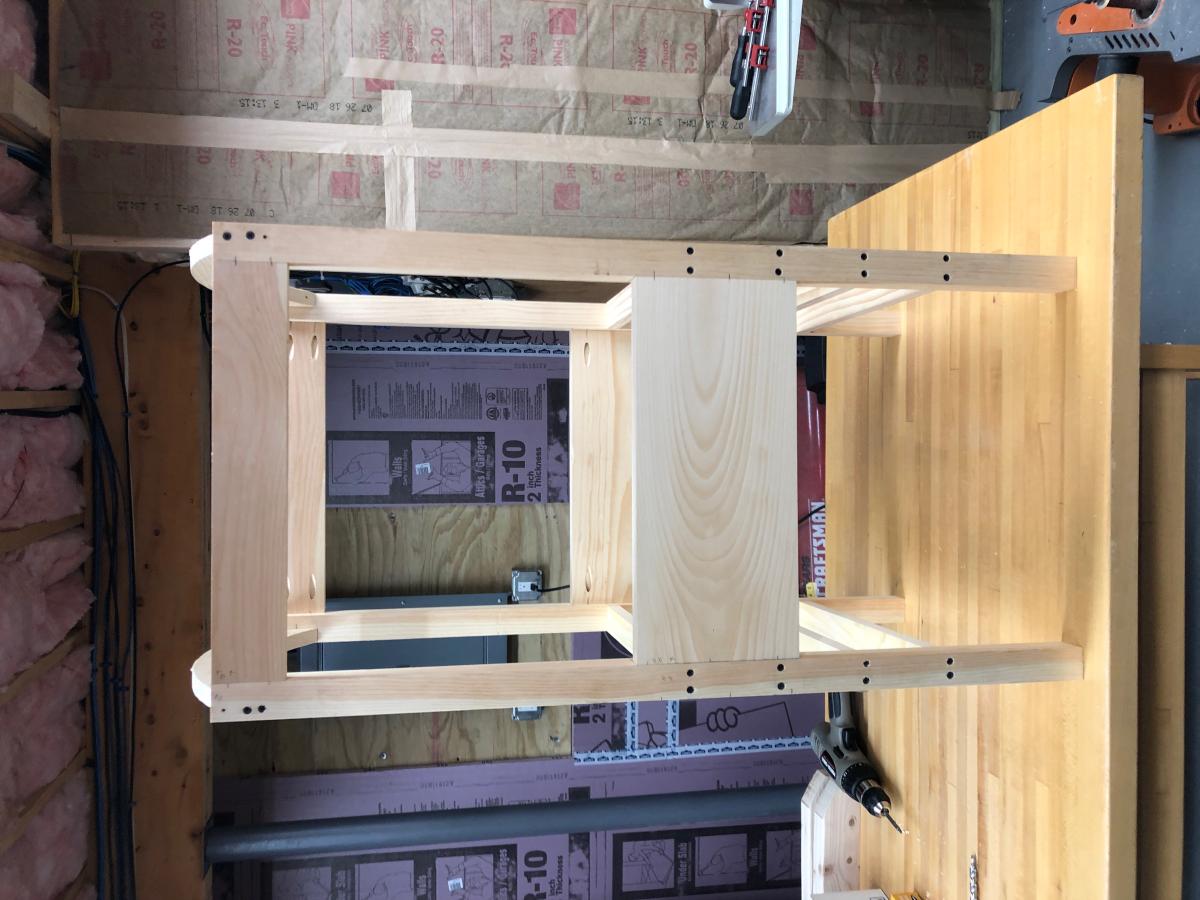
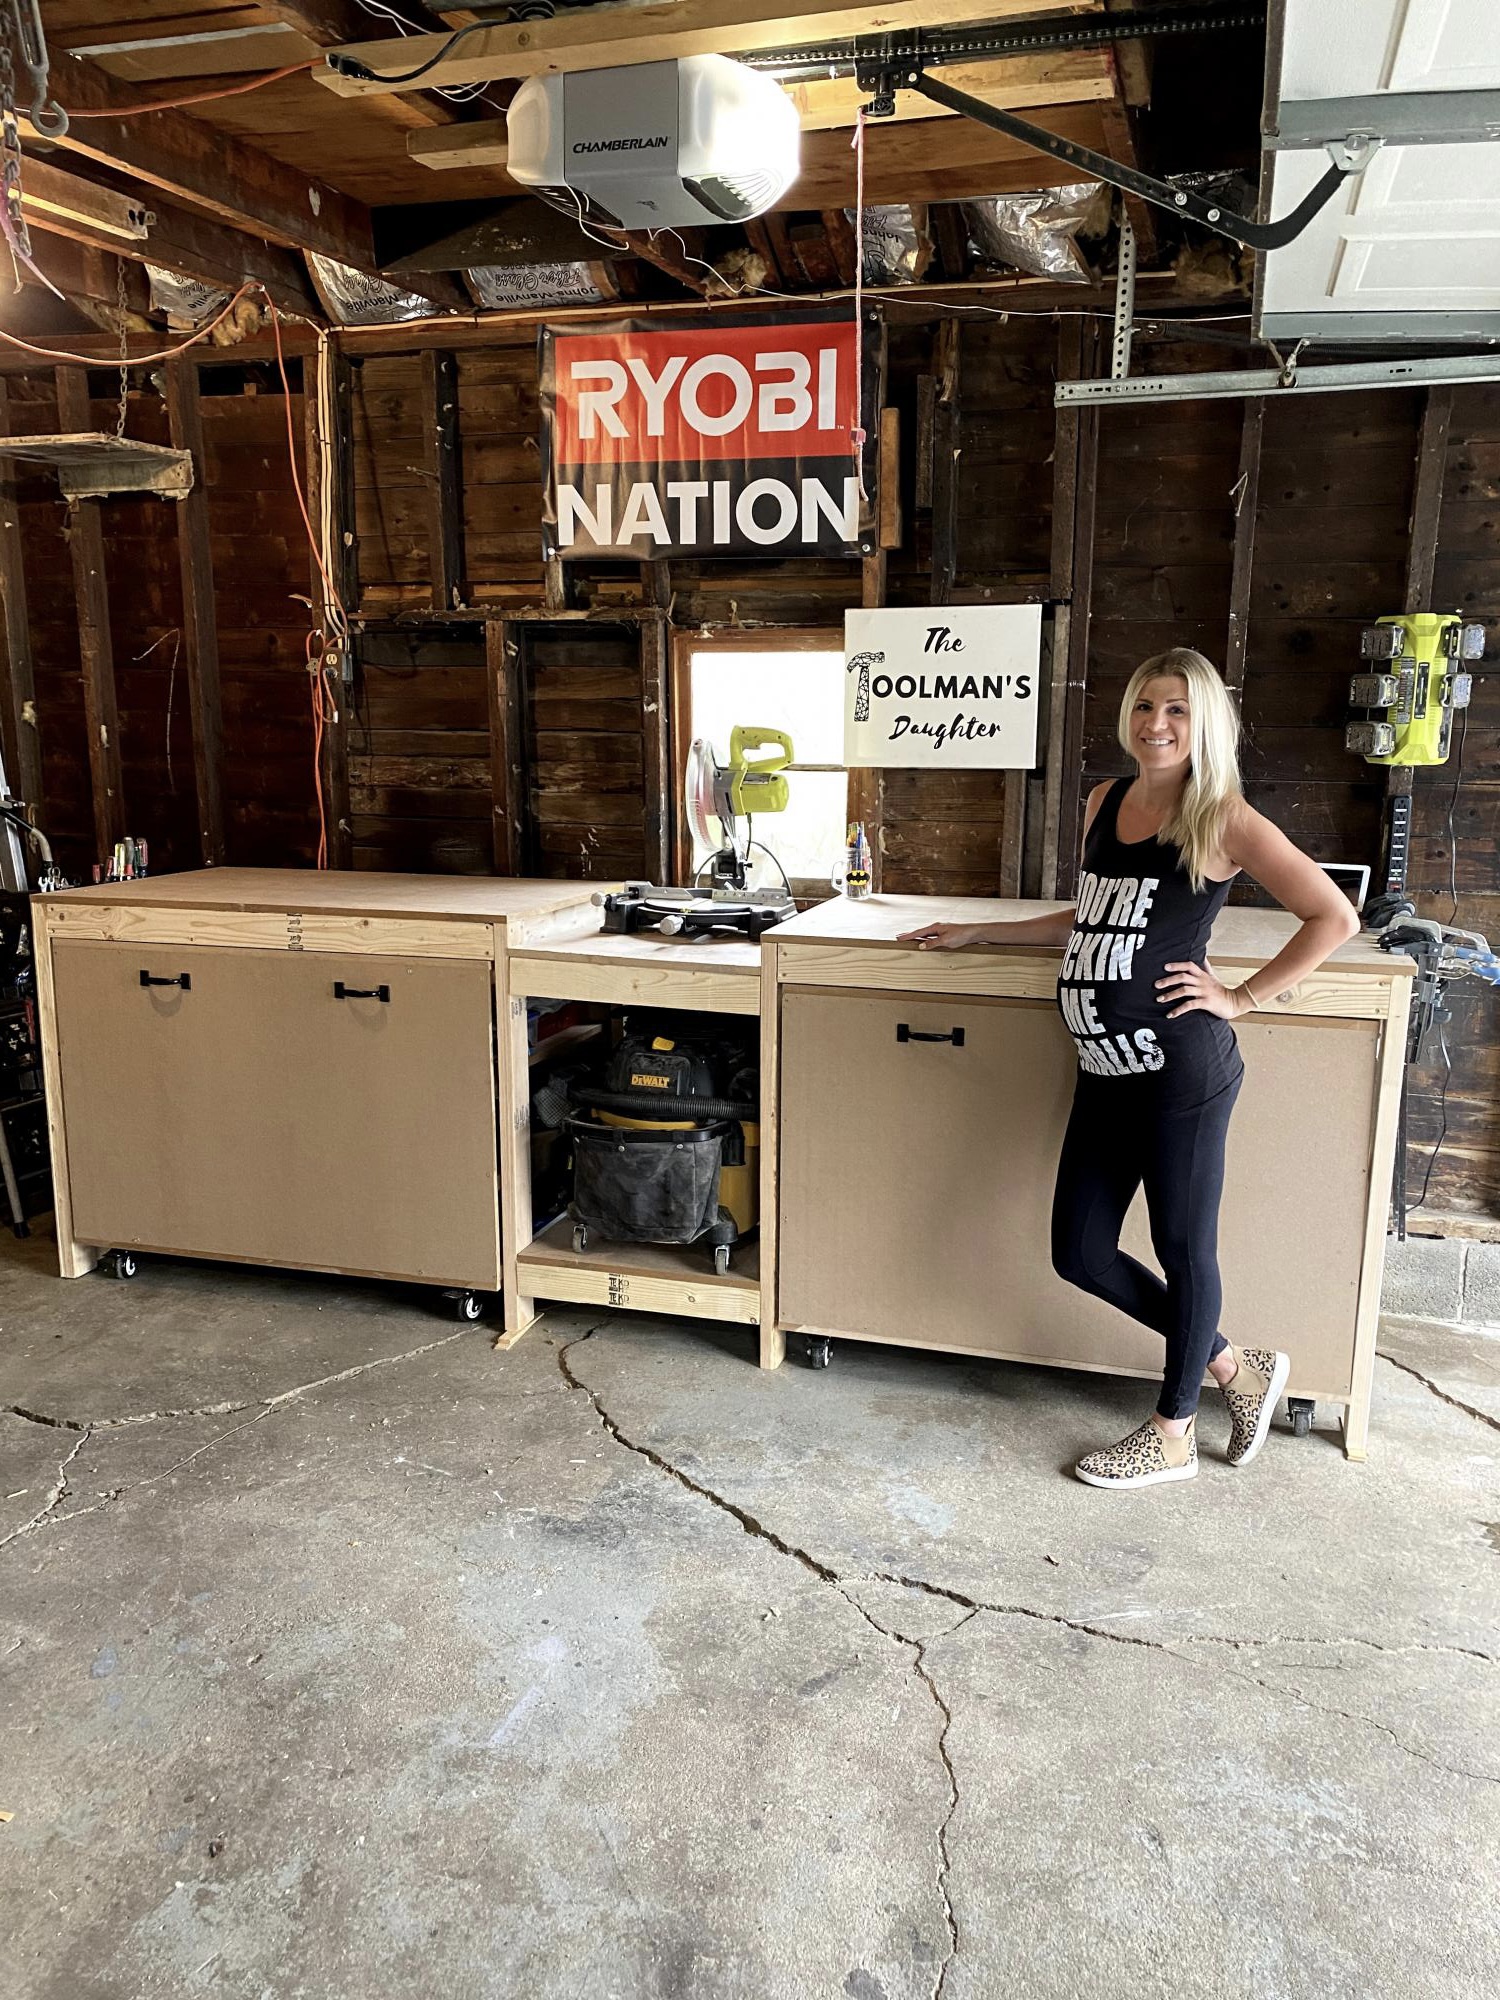
Mega work bench with miter station

Submitted by Anonymous (not verified) on Mon, 10/04/2021 - 16:51

When I was 8 months pregnant and going through my “nesting phase” I knew I needed to get my garage organized. Prior to building this, my tools were all over the place. To try to get it done before the baby came, I called my dad to help me out, and we built it together in just a couple days. It was a weekend I will never forget and I smile every time I walk into my shop knowing we did it together.

Comments

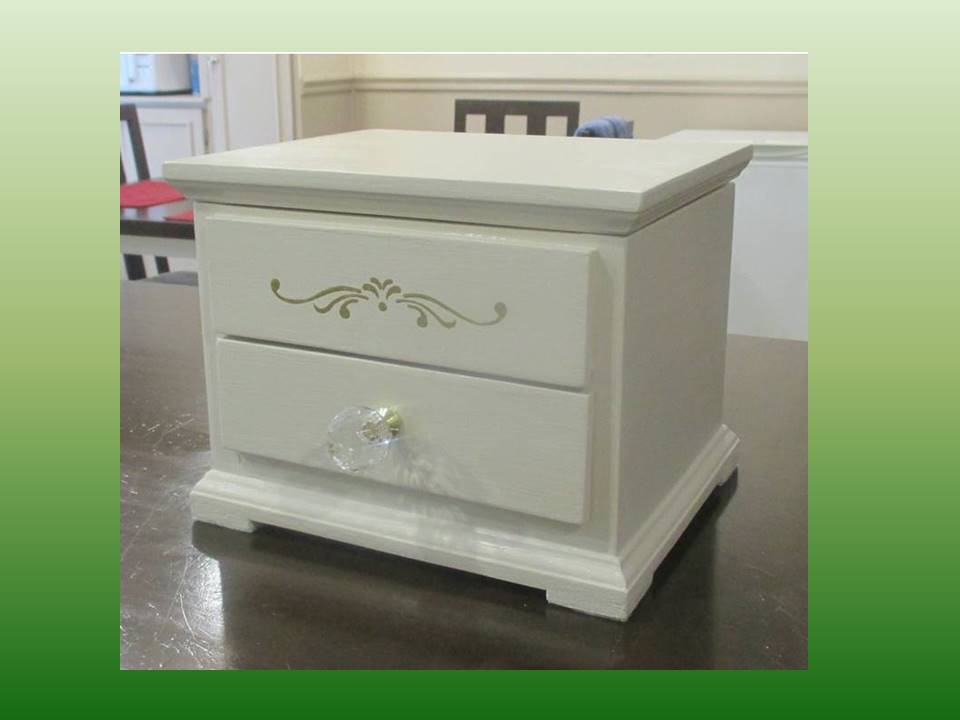
Jewelry Box Retirement Gift

Submitted by JoanneS on Mon, 04/20/2015 - 17:19

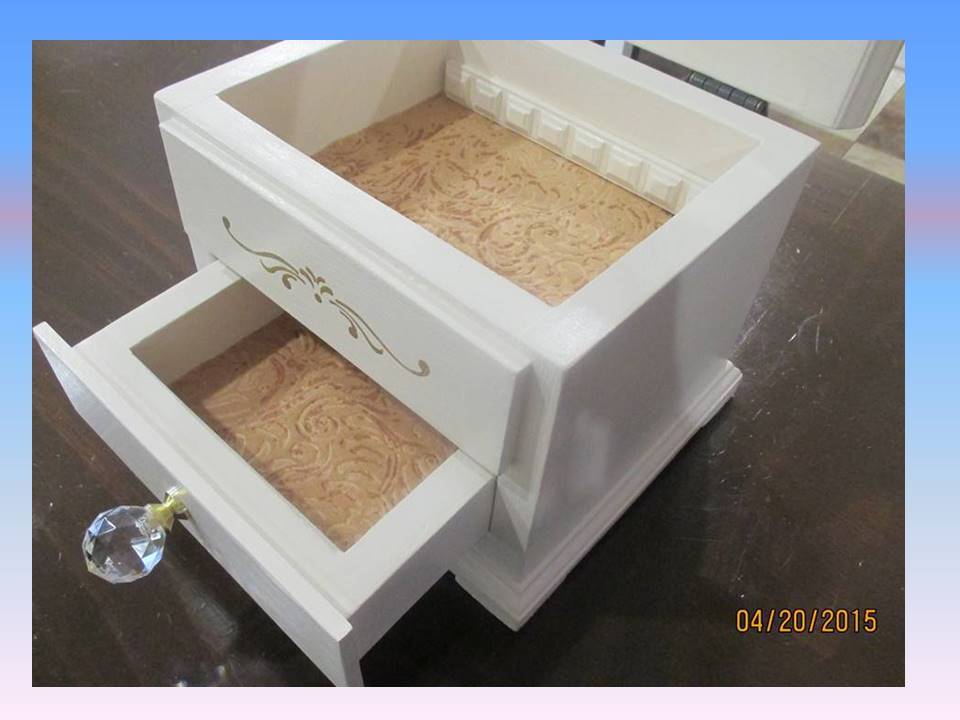
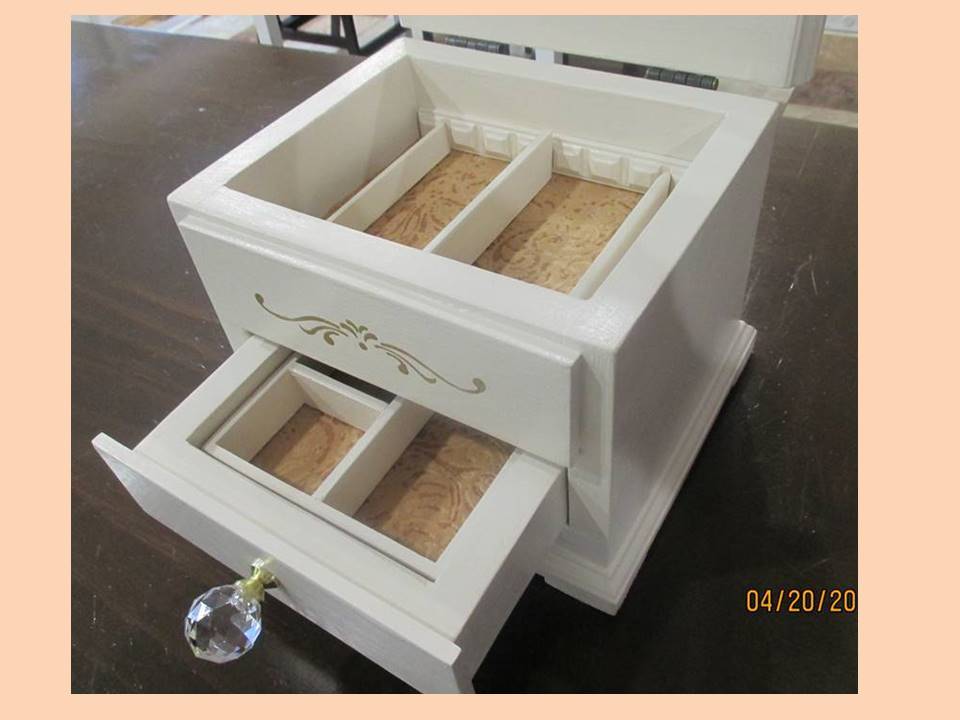
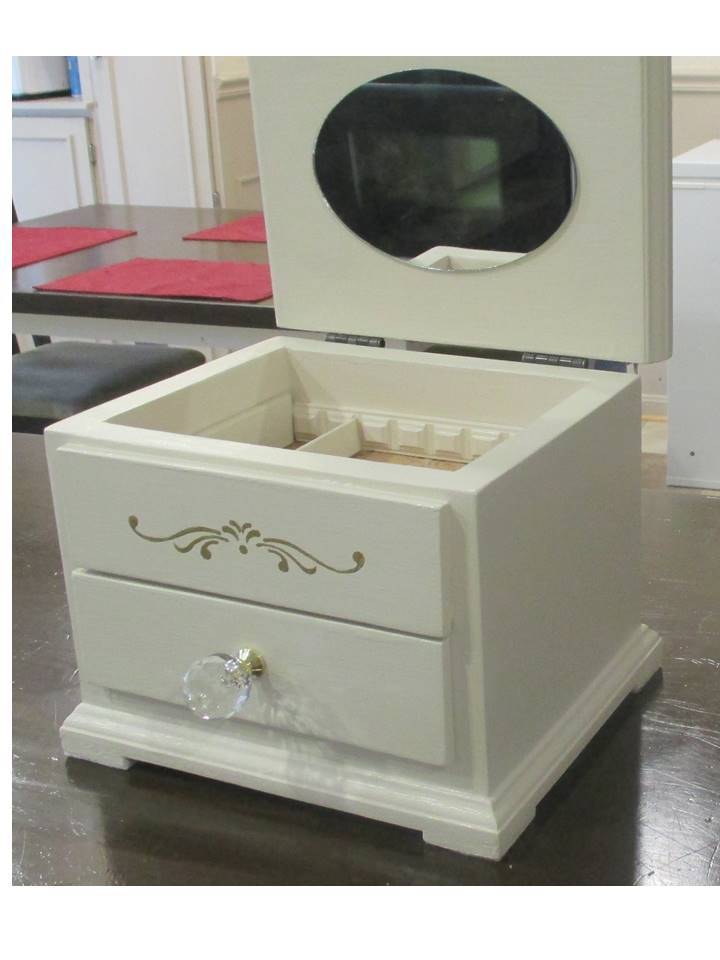
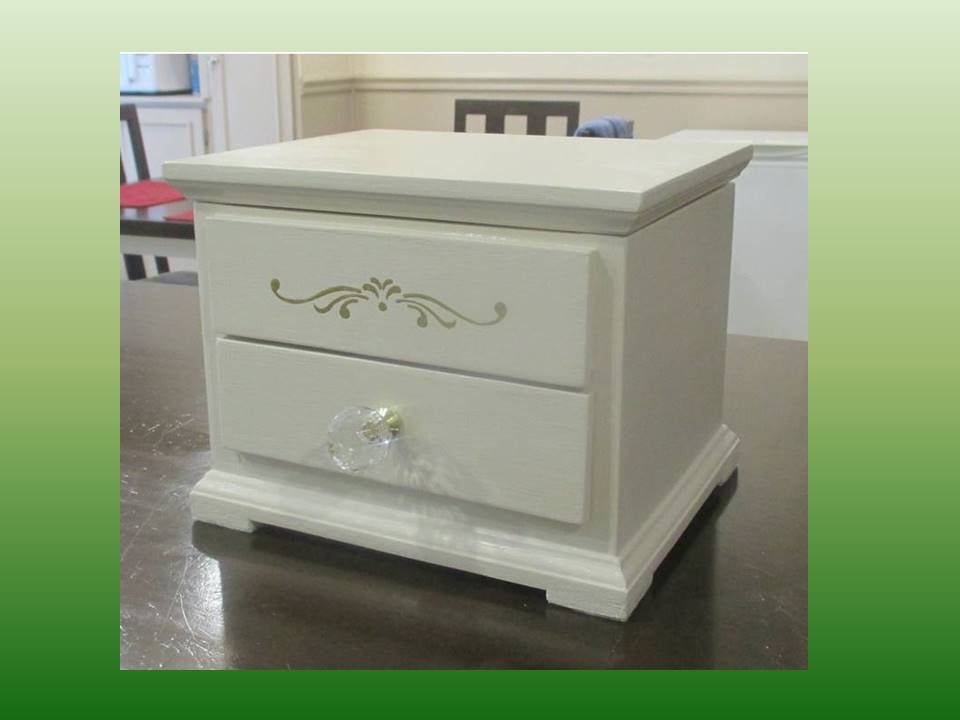
This jewelry box is a gift for a friend at work who is retiring.   It is a variation of the Easy Jewelry Box, with the following modifications:

Hinged lift-up top with mirror

Overlay drawer fronts from ¼” craft wood (Gold stencil on top false drawer front, and drawer boxes are 1/8” shorter than the shelf from front to back, to ensure the fronts sit flat against the box front and drawer back doesn't touch the box back at all)

The bottom is 2 pieces thick, to allow space for the drawer overhang and attaching the bottom moulding.

Solid wood back (instead of plywood)

Top and bottom edged with mini stop moulding to make the overhangs, and added feet made from lattice

Removable drawer divider tray and 2 heights of removable dividers for the top, made from dentil, lattice and screen bead mouldings

I really took my time on this build to get everything just right with the build and the finish.   Probably spent about 6 hours spread out over the last few weekends. 
 

Built from Plan(s)
Estimated Cost
Cost: 1x8 and 1x2 Lumber and finishes were already on hand (left over from other projects) and I spent about $25 for the mirror, hardware, felt, mouldings, and craft board.
Estimated Time Investment
Day Project (6-9 Hours)
Finish Used
3 coats Clark & Kensington semi-gloss paint + primer in Crushed Peanut, sanded between coats. Stencil: 1 coat Americana Gloss enamel metallic in glorious gold. Soft wax on the shelf and drawer bottom.
Recommended Skill Level
Beginner

Comments

Linda7

Tue, 04/21/2015 - 18:57

This is your best one yet, Joanne. Love it! :-)

JoanneS

Wed, 04/22/2015 - 18:29

Hi Linda, thank you for the nice comment! This was a fun build, and I'm very glad to say the gift was a big hit! :)

Bunk beds

Submitted by Anonymous (not verified) on Mon, 10/11/2021 - 08:03

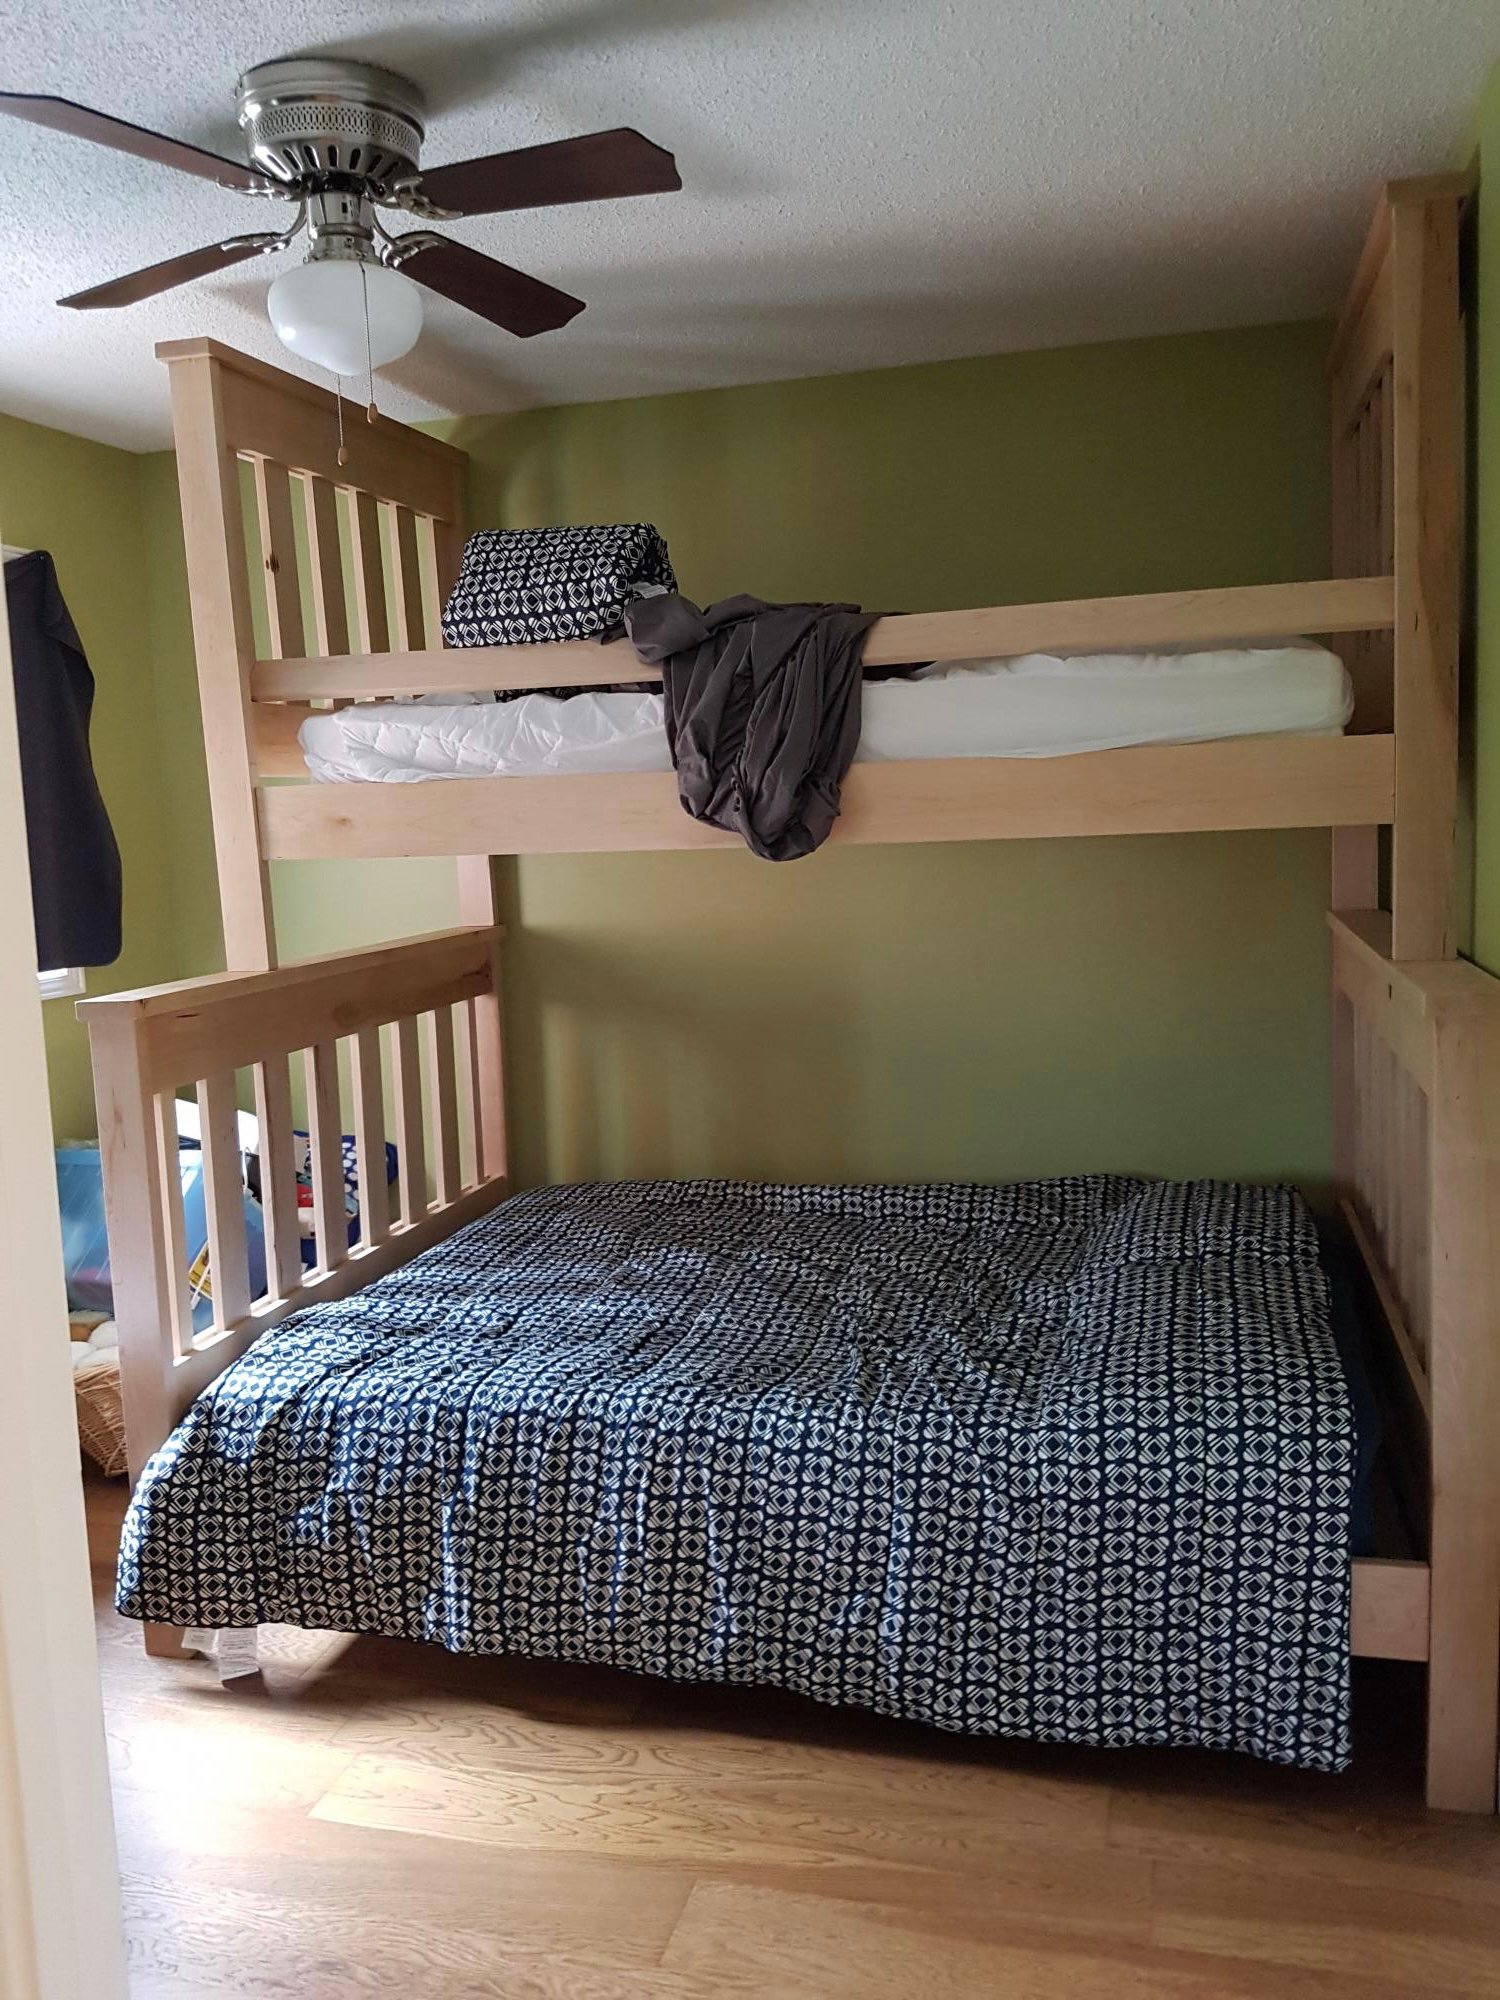
Double bed at bottom, twin at top, still have to make the ladder

Comments

inside corner wall cabinet

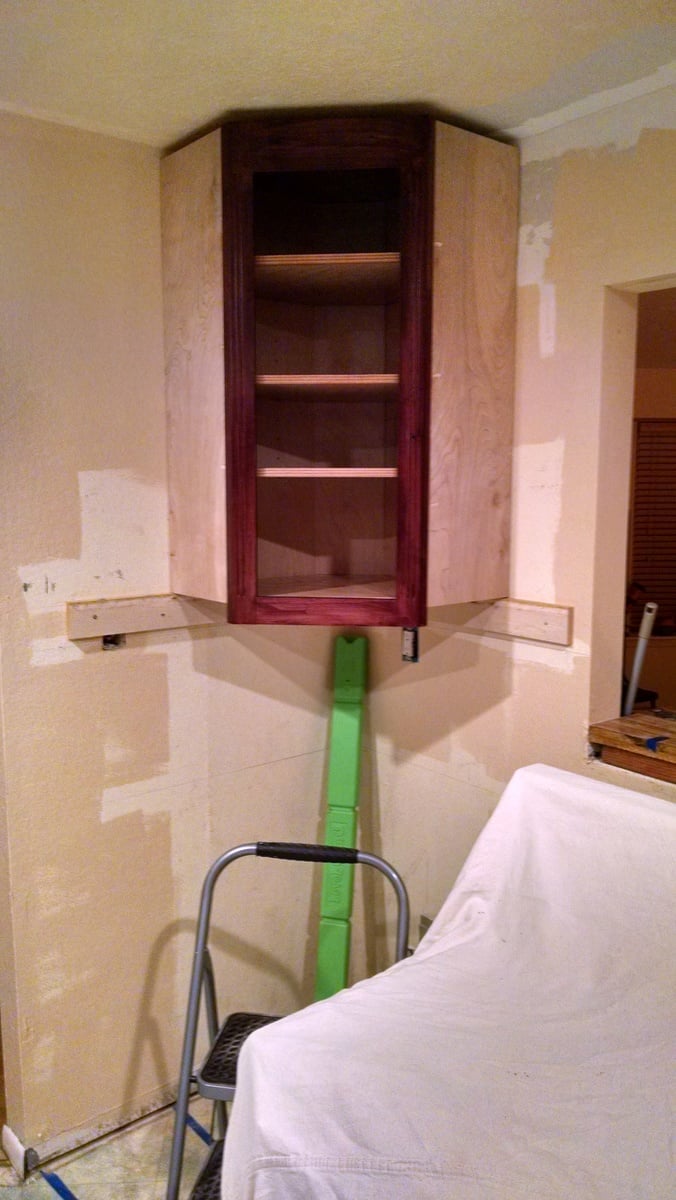
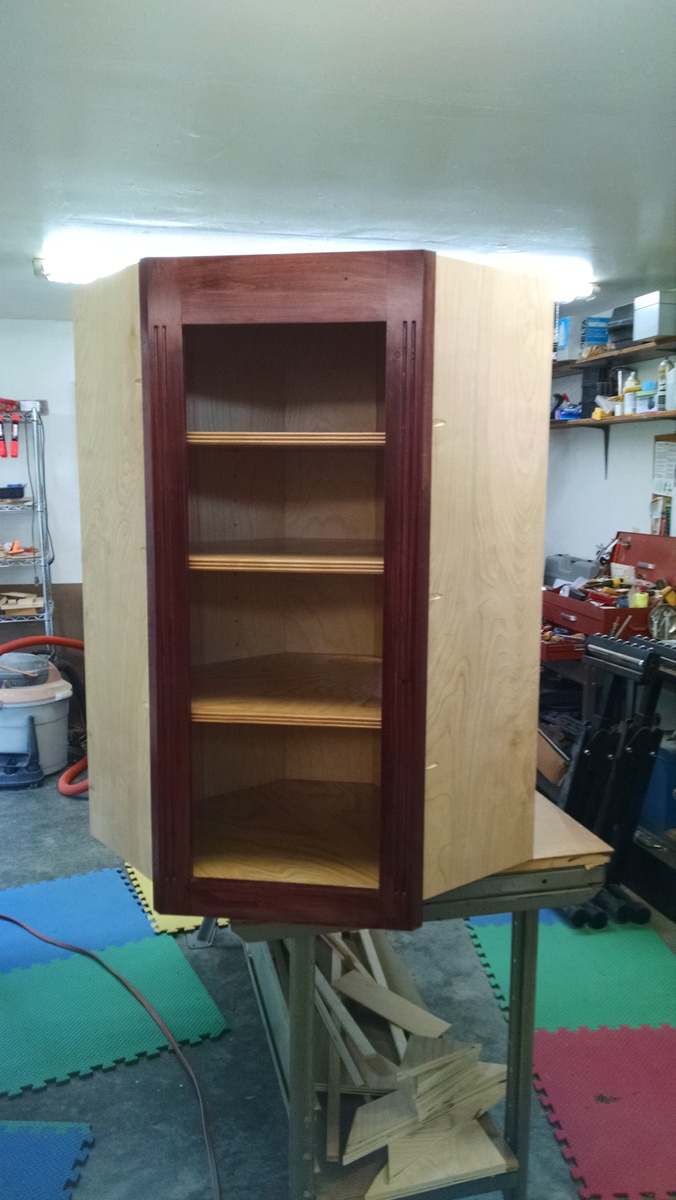
First cabinet in my kitchen remodel.


Built from Plan(s)
Estimated Time Investment
Weekend Project (10-20 Hours)
Finish Used
Sherwood by Sherwin Williams. Special purchase 5 gallon minimum. Water based lacquer. Dark Mahogany stain, HVLP sprayed on lacquer.
Recommended Skill Level
Intermediate

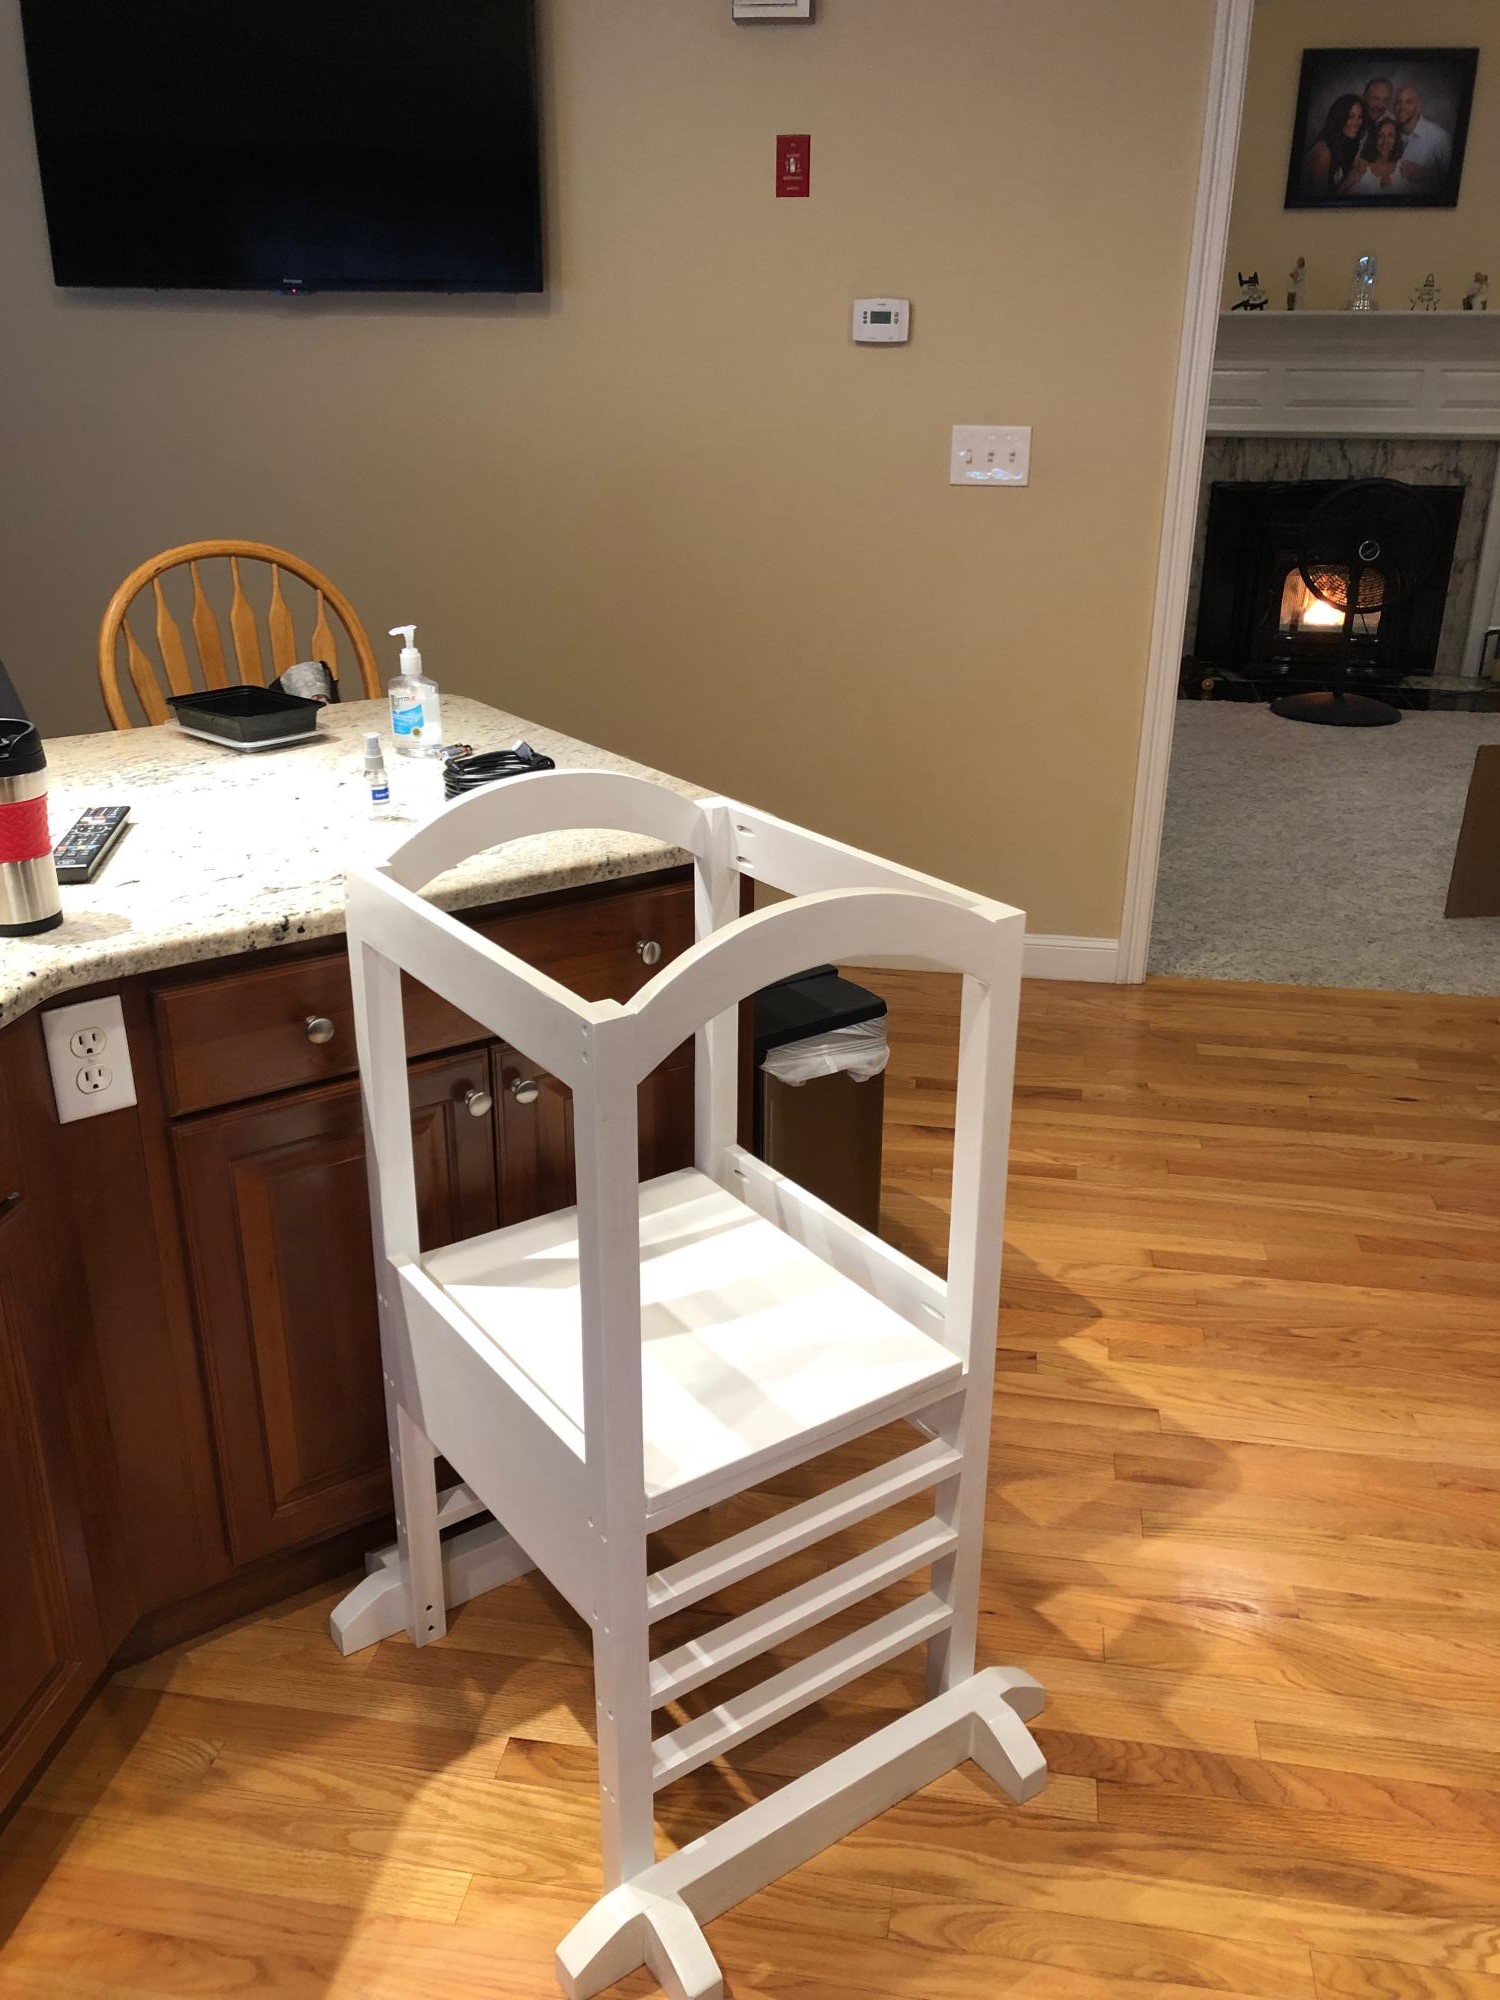
The Littlest Helper Tower

Submitted by Anonymous (not verified) on Wed, 11/10/2021 - 08:30

Built from supplied plan. Slight modifications made to curved rails and larger dimensional lumber used for corner rails.
This tower was built for my granddaughter Amara

Paul S.

Built from Plan(s)

Comments

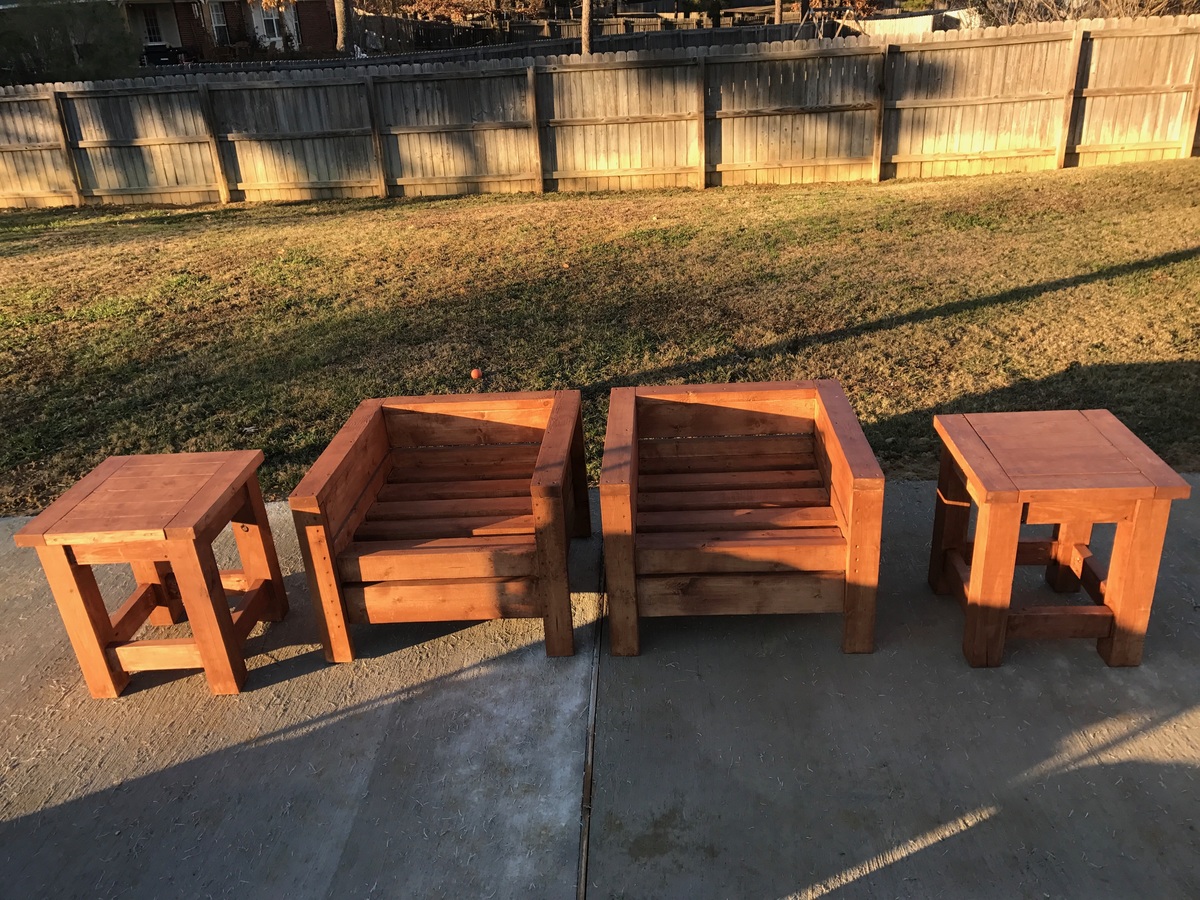
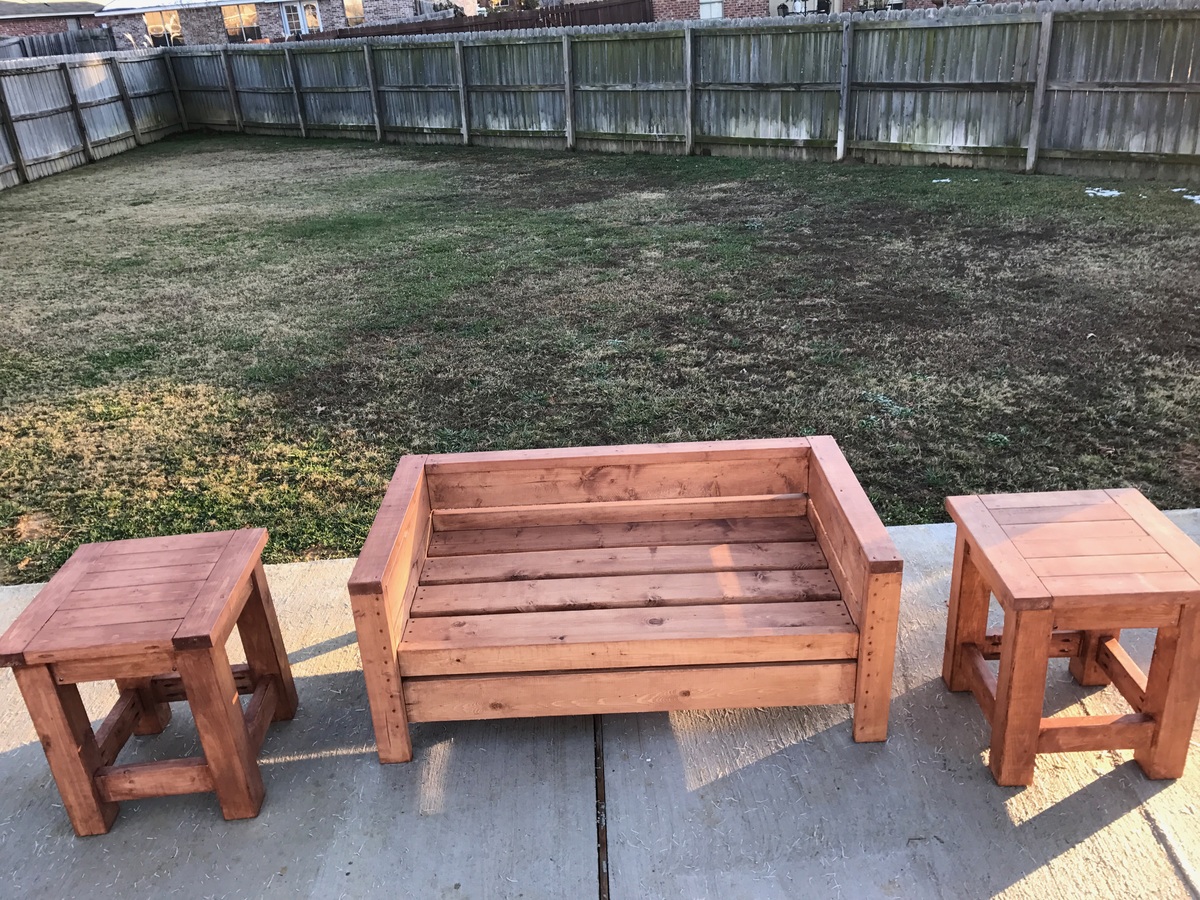
Modern outdoor chairs and tables

Submitted by mcneece on Mon, 12/18/2017 - 14:10

Project is still in progress but so far this has consisted of a firepit, 20x20 slab, 4 cypress columns, bistro lighting, 2 modern outdoor chairs, 1 modern outdoor bench, 4 matching tables, and a project screen.  To come: flower bed, projector storage stand with casters and hinged top, outdoor speakers, and possibly a green egg stand, and extending power to the back of the slab.

Estimated Cost
$75 per chair, $100 per bench, $40 per table
Estimated Time Investment
Week Long Project (20 Hours or More)
Finish Used
Thompson waterseal (transparent)
Recommended Skill Level
Intermediate

Beautiful Cedar Patio Table

Submitted by NeoMoses on Wed, 06/19/2013 - 13:48

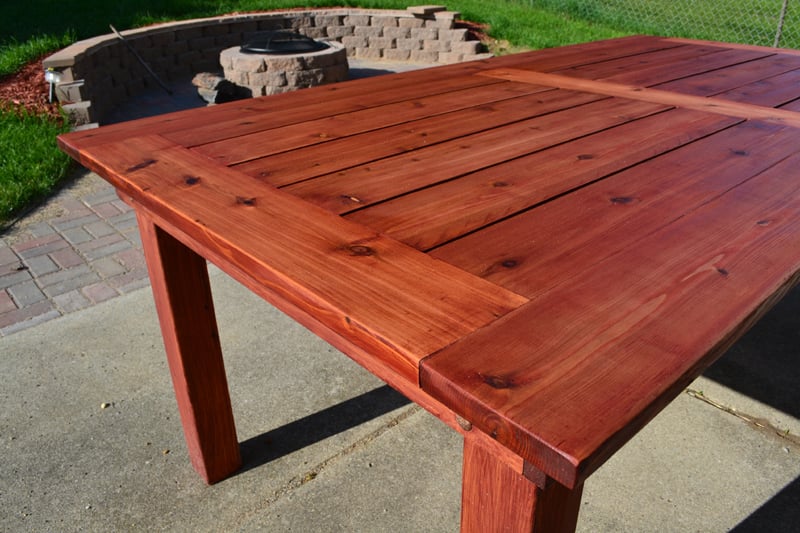
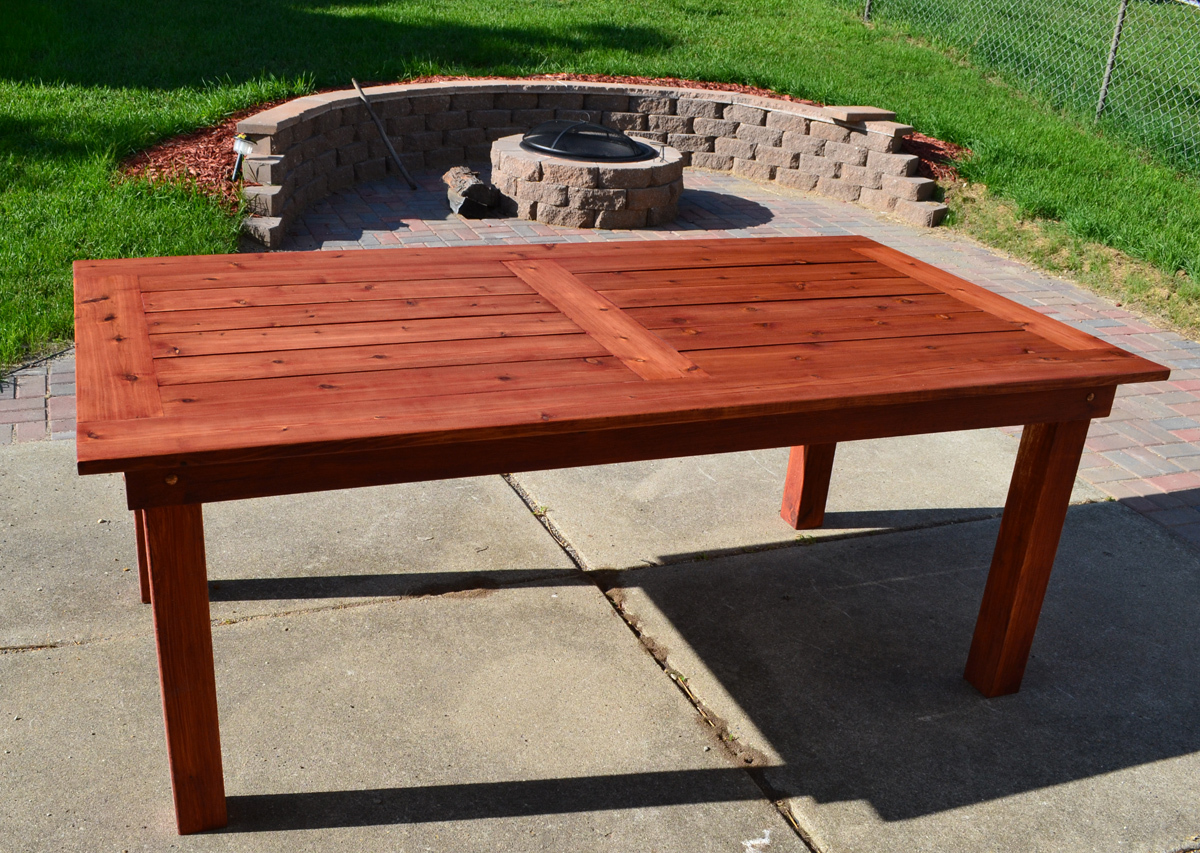
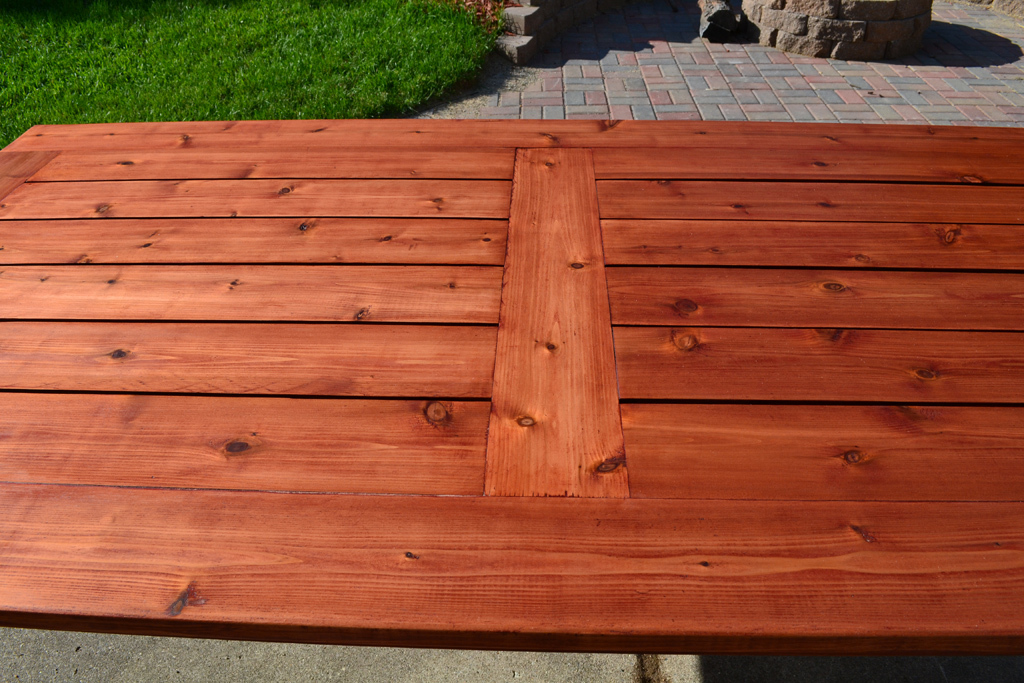
Slightly more elegant version of an outdoor cedar patio table. This is made from 100% cedar and joined using Kreg pocket hole screws. The finish is 2 coats of Sikkens Cetol MRD that has been hand rubbed on using a cloth, with 24 hours of dry time between coats.

Built from Plan(s)
Estimated Cost
$140
Estimated Time Investment
Weekend Project (10-20 Hours)
Finish Used
2 coats of Sikkens Cetol MRD, hand rubbed with cloth.
Recommended Skill Level
Beginner

Comments

odpdxo

Wed, 06/19/2013 - 23:22

I really like the way you modified this design and I would like to duplicate it. I am curious about how you changed to framework to accommodate table top with the boards running lengthwise. The original design has the framework running lengthwise, so I am assuming you added framing that runs perpendicular. Is there any way you could include pictures and measurements of the framework under the tabletop? Thanks. Great work!

Fantastic Garden Beds

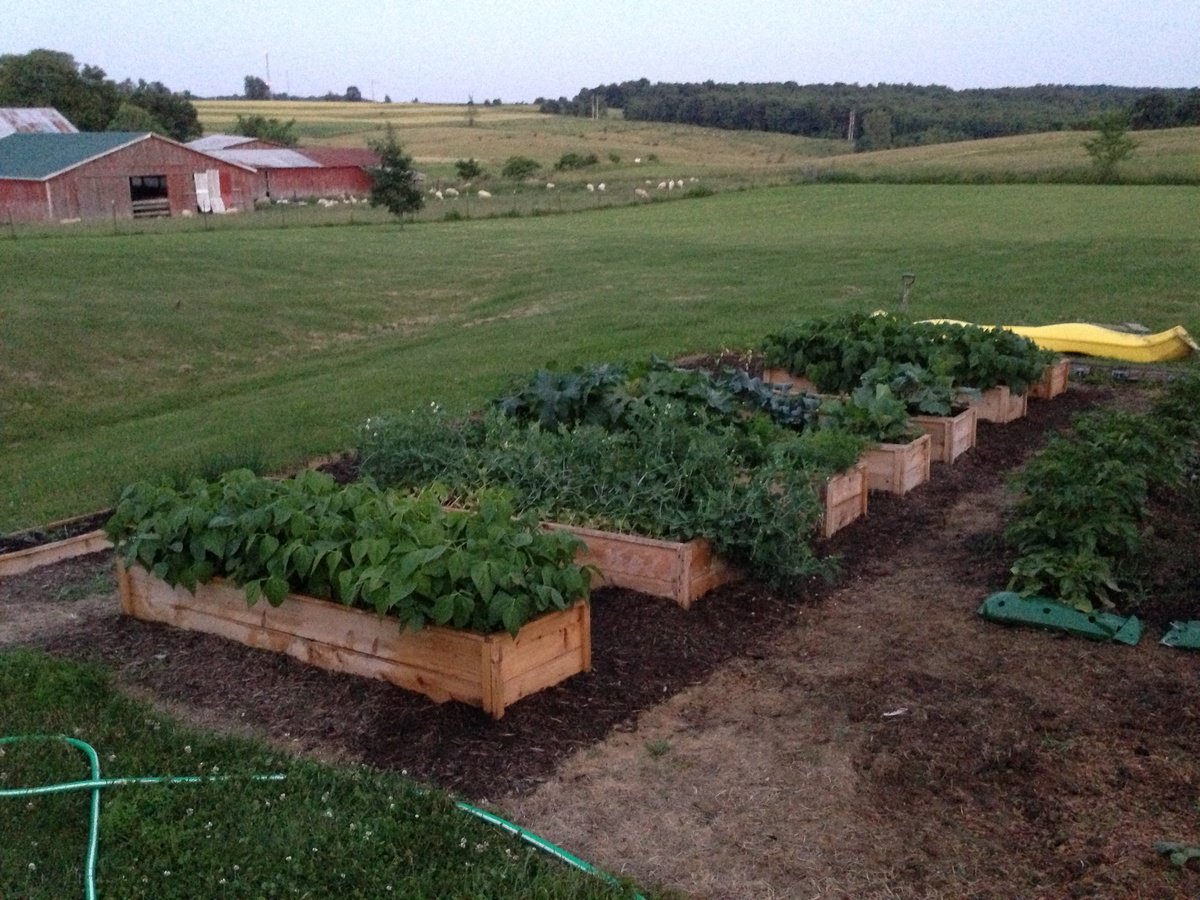
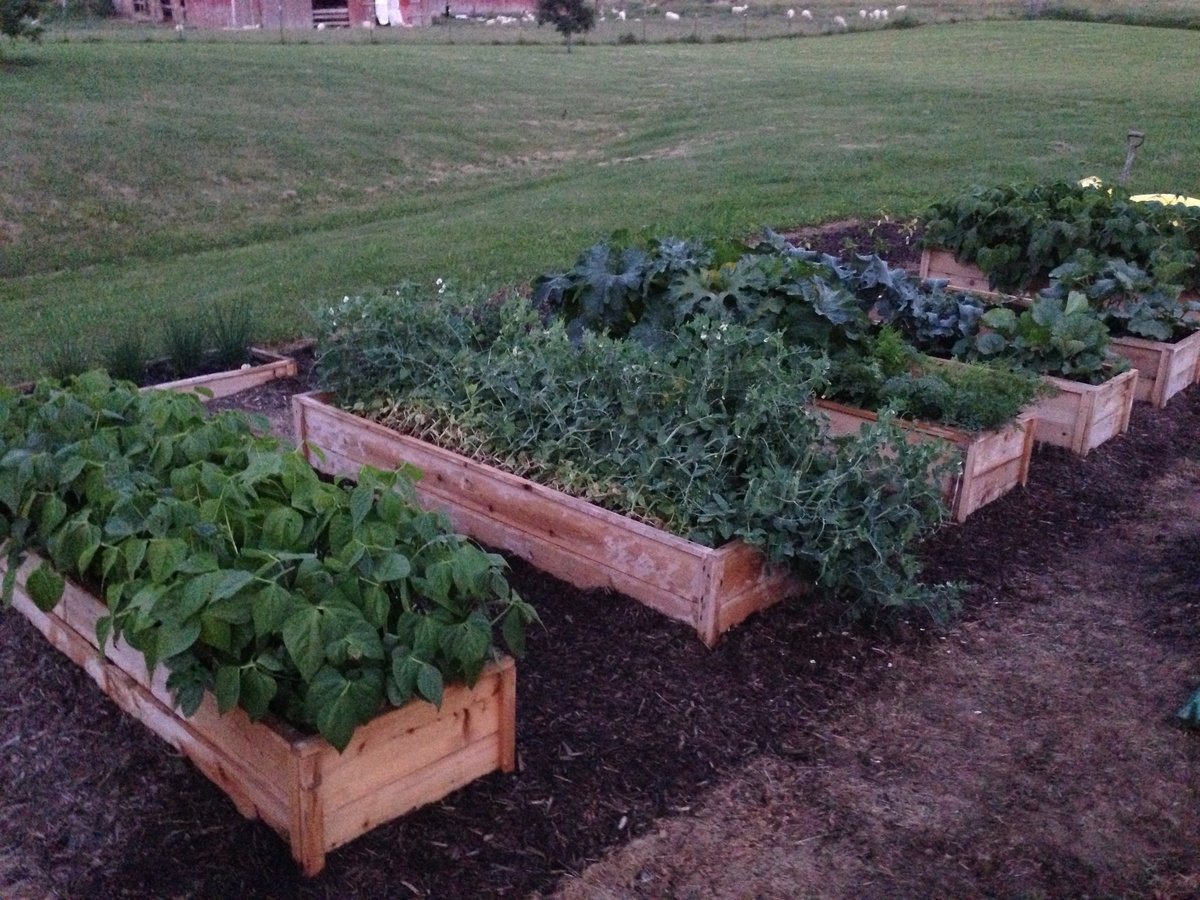
These garden beds are fantastic! They were so easy to build and look great in our backyard. We have always found ourselves with a garden covered in weeds or plants out of control. Our garden this year looks wonderful and we have hardly any weeds in the beds. Thanks for the great plans!
Estimated Cost
$15 each
Estimated Time Investment
An Hour or Two (0-2 Hours)
Finish Used
None
Recommended Skill Level
Starter Project

Comments

Seasonal And Holiday

Puzzle table

Submitted by Anonymous (not verified) on Sun, 12/26/2021 - 13:35

This is a table that will fit a large 1000 piece puzzle. The drawers can hold the pieces you believe would fit in that particular corner of the puzzle. When you need the room on your table this puzzle table is easily picked up and moved without disturbing the puzzle

Comments

Office Desk

Submitted by Anonymous (not verified) on Sun, 12/26/2021 - 15:13

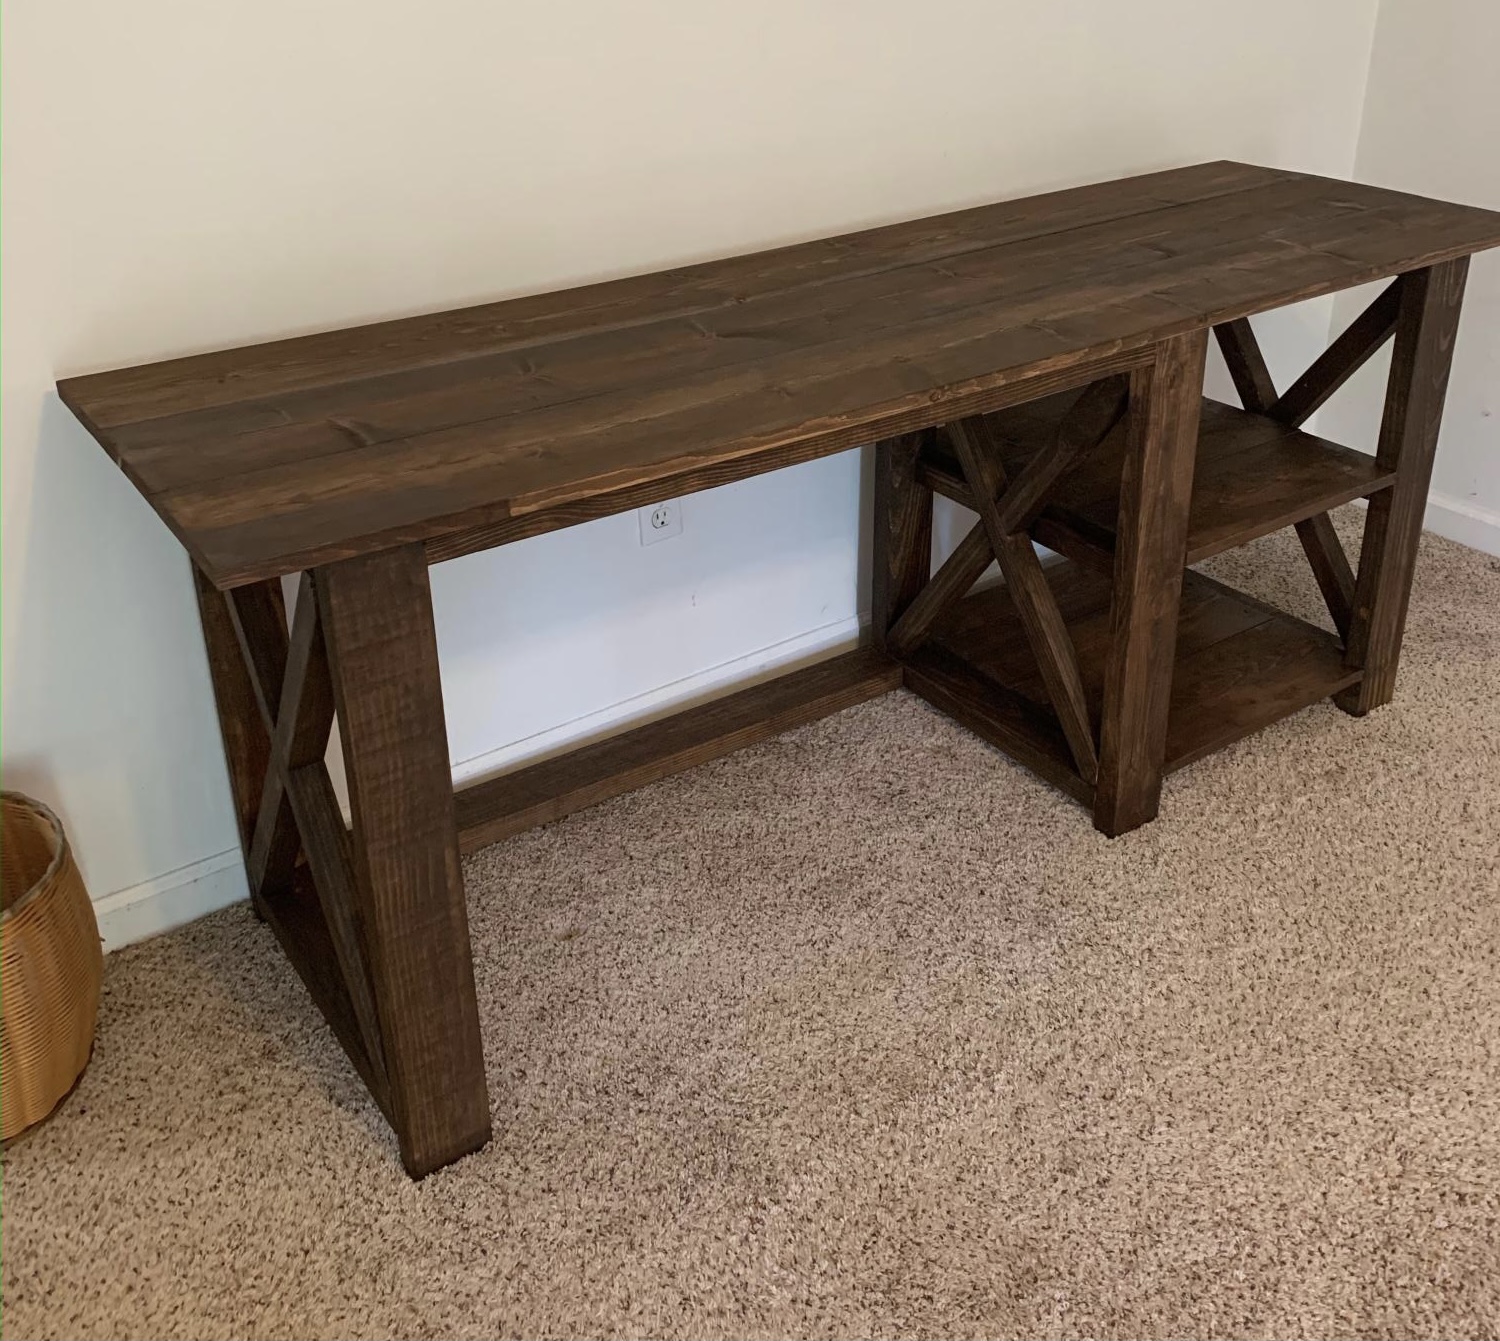
Used these plans to make this office desk for my daughter!

Built from Plan(s)

Comments

Modern Slat Top Outdoor Wood Bench

Submitted by ckaye on Sun, 07/07/2013 - 18:38

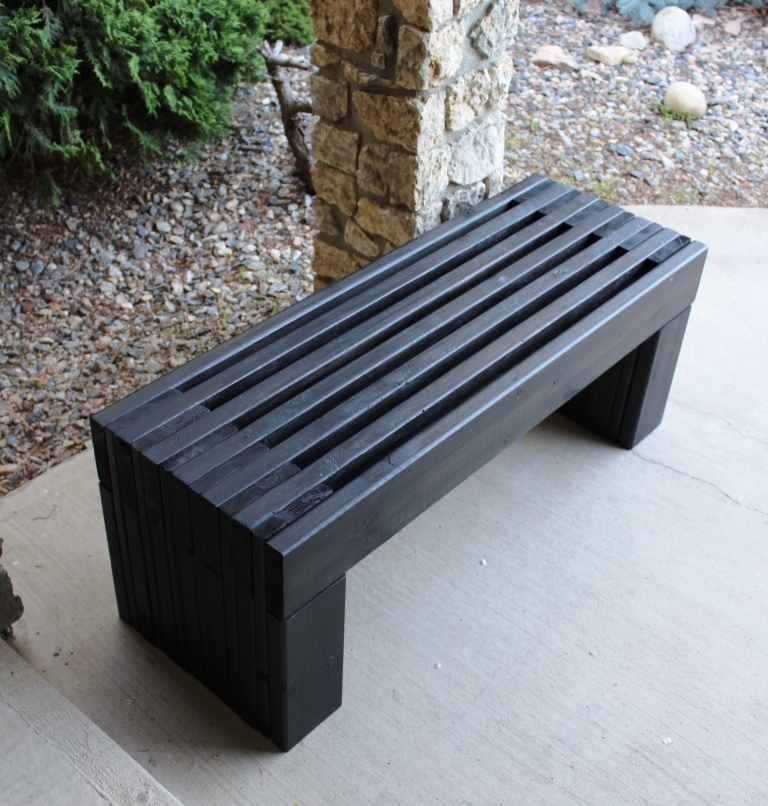
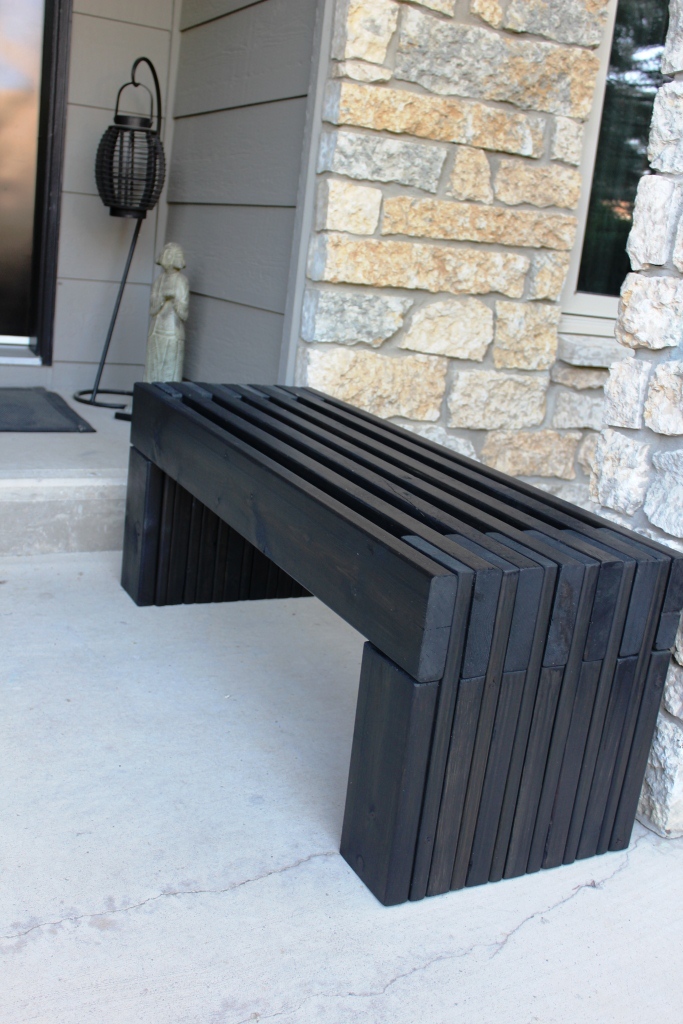
We wanted an outdoor bench for our front entrance way, this one is just what we were looking for! Thank you for the plans.
Estimated Time Investment
Day Project (6-9 Hours)
Finish Used
2" x 6" Spruce Black Stain
Recommended Skill Level
Beginner

Comments

beardjulie

Wed, 05/04/2016 - 10:01

I am really a novice. The plans say that the 1x4's should be 18-1/2" high? But the measurement of the vertical legs are 14", and the horizontal piece is 4" high, which adds to 18". It all looks flush in the photo. Could you explain what I am missing? Thank you so much!

In reply to by beardjulie

Rudystawarek

Wed, 05/04/2016 - 11:30

So from what i see in the plans Each 1x4 board is to be cut at 18" and the 2x4 is to be cut at 14-1/2". Cutting the 2x4 at 14-1/2" will insure the 1x4 and 2x4 are fluish for the end product. It doesnt seem to add up given the demensional names of the lumber hahaha however the actual width of a 2x4 (the one the will be going horizontal) is acutally 3-1/2". so then you cut you 2x4 leg piece at 14-1/2" and then lay the horizontal 2x4 on top the total height will be 18" and should be flush with your 1x4 that is cut at 18"

beardjulie

Fri, 05/27/2016 - 14:04

That is too funny! That is a dead give away that I'm new at this! Thanks you!

beardjulie

Fri, 05/27/2016 - 14:04

That is too funny! That is a dead give away that I'm new at this! Thanks you!

Farmhouse dining table with bench

Submitted by Anonymous (not verified) on Sun, 01/02/2022 - 14:20

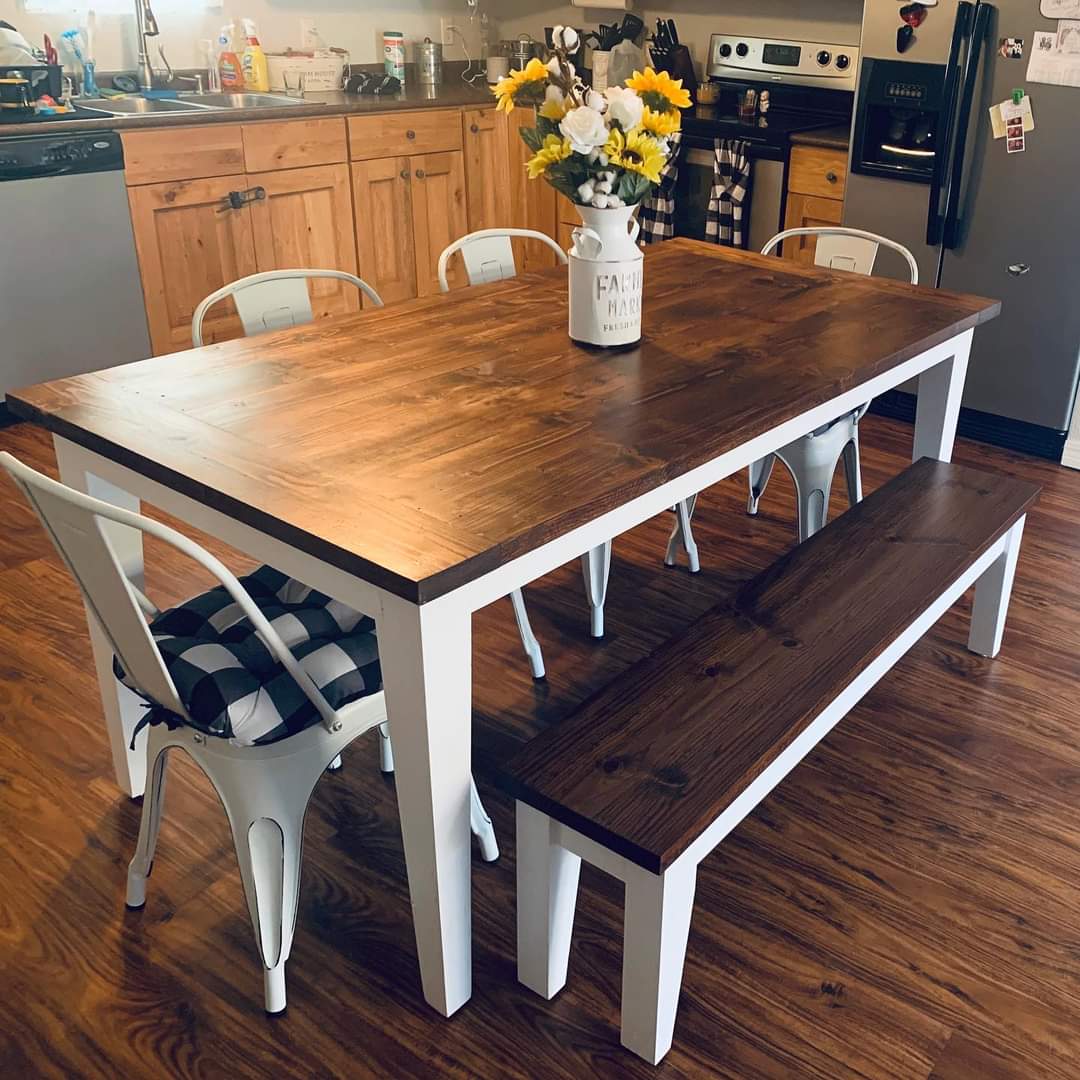
Simple design and fun to build. I did not however use the turned legs. I made a jig and went with tapered legs.

Built from Plan(s)

Comments

Narrow Farmhouse Table

Submitted by tfox on Tue, 05/31/2011 - 19:49

This is my take on Ana's Narrow Farmhouse Table project. I plan on adding a bench to one side and random color matched chairs to the other.

Built from Plan(s)
Estimated Cost
$100
Estimated Time Investment
Weekend Project (10-20 Hours)
Finish Used
Minwax Special Walnut stain with six coats of Wipe-On Poly. Finished with steel wool to knock down shine of poly.
Recommended Skill Level
Intermediate

Simple Daybed/Farmhouse-Bed-Hybrid

Submitted by uli on Mon, 06/06/2011 - 08:05

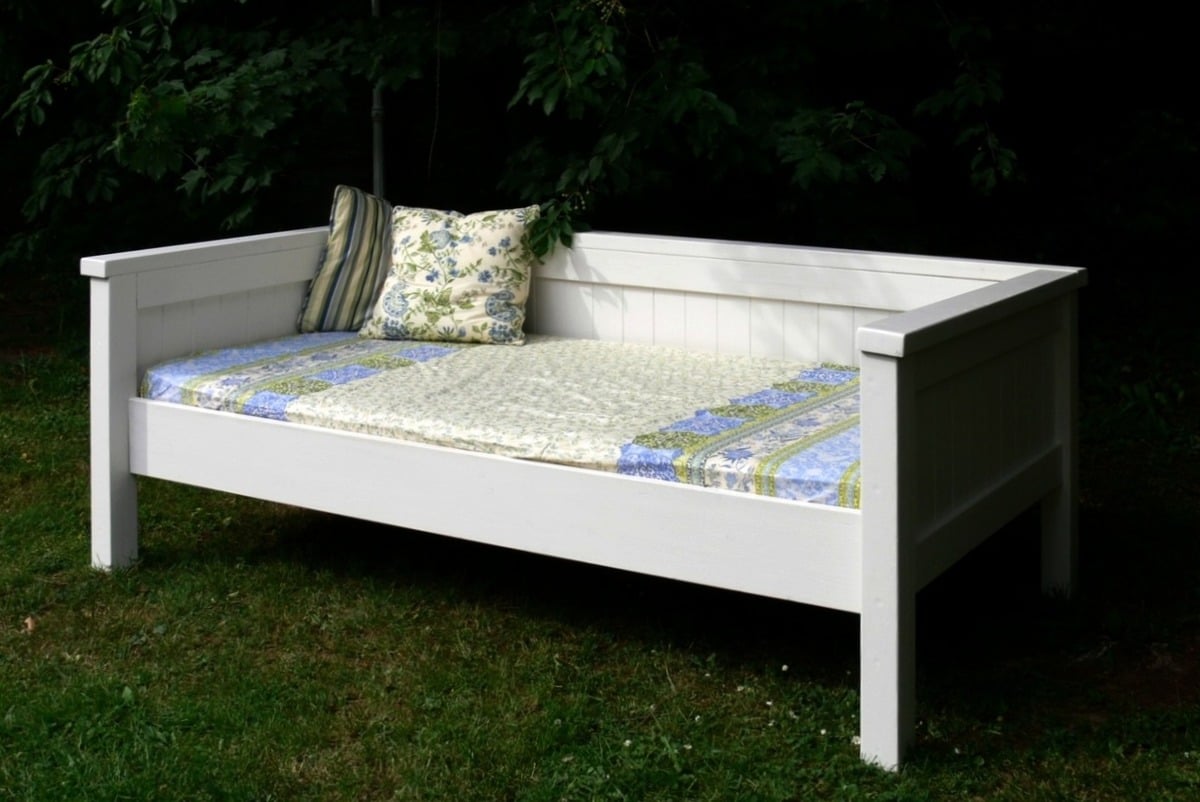
I needed a bed for my guestroom and decided to build a mixture of the simple daybed and the farmhouse bed. The back and the front rail are attached with bed brackets for easy disassembling.

Estimated Cost
175 $
Estimated Time Investment
Day Project (6-9 Hours)
Finish Used
Acrylic paint in antique white
Recommended Skill Level
Beginner

Comments

Guest (not verified)

Tue, 06/21/2011 - 09:42

Dear Uli, I love the daybed you created and I'm planning to build my own next week for our guest bedroom, which doubles as my project room. Could you tell me what height you made the bed? It looks lower than the average headboard height, but higher than the average footboard height. I'd like to make mine close to your, which I think is just perfect.

Thanks,
Sara

In reply to by Guest (not verified)

uli

Tue, 06/21/2011 - 13:30

Thx :-) I've made the panels 19,5" high, and the legs measure 31,5". On top of the panels I screwed and glued a timber, which is a little bit thicker than a 2x4. So the overall height is 33,5". If you like I could send you my sketchup file.

Uli :-)

Guest (not verified)

Tue, 06/21/2011 - 19:42

Thanks Uli,

Those dimensions will be a big help. I've constructed more than 30 pieces now, thanks to Ana, so it's no big deal for me to design my own plans and dimensions now. I'm hoping to complete this project before my sister comes out for a visit. Wish me luck!

Sara

Miss Martina (not verified)

Fri, 08/19/2011 - 23:58

Hi, Uli! Do you think you could please help me out by sharing your sketchup notes for the "Farmhouse-Daybed-Hybrid"? This would really help me to get a handle on building this project.
Thank you from Martina.
P.S.-Though we now live near Palm Springs, California, we lived in Sachsenhausen for nearly 2 years & office was in Wiesbaden. Though I prefer the climate here, I still miss Germany.

Rockin'Robin

Wed, 06/20/2012 - 21:00

Dear Uli,

I am brand spanking new here on Ana-white and I love, love, love your daybed. I would like to give it a go for my daughters. Is it possible to get your sketch up notes? This will be my first build and I am so nervous about trying something without having a plan in front of me. My email is [email protected]
Blessings, Robin

Guest (not verified)

Wed, 09/14/2011 - 07:56

I would LOVE it if you could send me your sketchup file too. I want to build this for my guest room.

Helleni (not verified)

Wed, 08/31/2011 - 14:27

I would love to make this for my son's room. I am a beginner, can you provide the file for me to look at too?

Guest (not verified)

Fri, 09/23/2011 - 12:39

Uli,

I absolutely love this daybed and have been searching for such a bed, even to buy, but have found nothing. My husband is super handy and loves wood-working, so I think I am going to put him up to the task! :) Could you e-mail me your sketch-up file as well? My e-mail is [email protected].

Also, is there room to put a trundle underneath...this is a must-have for us. Do you happen to have any plans for a trundle? If not, hopefully my husband can come up with something for that!

Thanks so much for sharing your great idea and plans!
Amy

Siobhan (not verified)

Tue, 11/08/2011 - 17:56

Hi Uli,

Would you email me the plans for this bed please? It's perfect and exactly what I have been looking for!

Thanks so much,
Siobhan

kharrel

Wed, 12/28/2011 - 20:50

Hi Siobhan, I was wondering if you could possibly send me the plans for this bed in a Word document or through email. I tried to access the plans you attached above but my computer wouldn't allow me to open it. Also, I saw where someone else asked if a trundle would work with this bed and if you had plans for that, if so I would love to see if we can try to tackle that project as well. My email address is [email protected]. Thank you so much!...you have inspired me!!!!

Cheri (not verified)

Mon, 01/02/2012 - 09:58

I LOVE this bed. Would you mind sending me your sketch up and plans as well? Thanks so much and have a blessed and happy new year!

Jenny Briggs (not verified)

Mon, 01/30/2012 - 06:12

Hi, your bed is beautiful, could you please send me your dimensions, I would like to attempt, making this but kinda do an L, with a twin, and then a toddler mattress, at the head, the smaller mattress, would be like the short side of the L! Very new to this, but I would like to give it a go!

Guest (not verified)

Sat, 02/04/2012 - 09:35

Uli,

I love this so much and as others have said...it is the exact height I think I would need. This is my first solo project (without help from the man in my life) and i would love all the help I can get. Could you send me your plans for the hybrid? email address is [email protected]

Thanks much,
Raven

RachaelA (not verified)

Thu, 04/12/2012 - 10:31

Do you have a mertials list you used to buy the wood, etc for this bed. We are wanting to build a similar bed and add a trundle drawer underneath. Any guidance you can provide would be great!

Rach

RachaelA (not verified)

Fri, 04/27/2012 - 10:54

We figured it out and added one more layer to the project. We are combining the simple daybed, farmhouse daybed and trundle. So far so good.

Kris Frye

Wed, 02/25/2015 - 20:15

That's exactly what I want to do. I cannot download Google SketchUp, (It requires Windows 7 or newer. I am still running XP.) so I cannot access the plans provided. Could you please share yours? I also need the bed to accommodate XL twin mattresses (upper and lower beds). I could make those adjustments to your plans if need be.

Judith (not verified)

Wed, 05/09/2012 - 01:39

Hi Uli, I just love your bed, I'm new to building your own furniture but since I saw your bed I wanted to build it so I'm doing it. So far I have made the laterals and the back panels and now I'm putting it all together. I have some questions and maybe you can help me... you used bed brackets for the back panel, how did you put these so that they won't be seen? did you put them in the top and bottom of the panel?

Thank you very much

Judith

kad050209 (not verified)

Thu, 06/28/2012 - 10:14

Hey! I love the way you used the farmhouse bed for this daybed. It's perfect for what I'm looking for. I wanted to make my daughter the farmhouse bed but, we always wanted a daybed at the same time. This is perfect. Do you have any plans you can share with me so I can start making this? Thanks! [email protected] is my email if needed

SerinaDee (not verified)

Tue, 07/17/2012 - 10:26

I absolutely LOVE this bed and it is exactly what I want. I know many people have asked for the sketches, sooooo if anyone has received them, could they please forward them on to me??? (of Uli, if you see this and you have them) I would greatly appreciate it. You should definitely post this as a plan post because I'm sure many others would love it!

my email is [email protected]

THanks so much in advance!!! :) :) :)

Jason Lebo (not verified)

Thu, 07/19/2012 - 12:58

Hi Uli,

Outstanding work. I am going t make this for my 2 year old son. Quick Question.

I am confused about how to attach the posts to the panels for the head board. I assume you drill in from the far left and right of the posts? Do you use wood putty to hide the holes later? Could you use pocket holes? Or would that not be as structurally sound. Any advise would be appreciated.

From the instructions:

Now attatch the 4x4 posts to the panels. Make sure you pre drill half way through the post and use the 4 1/2" screws. Line the top edges of the panel and the post, keeping everything square as shown. Screw into the panel where it is sandwich 3 boards thick. Put at least 6 screws in each post.

Renee Glaze (not verified)

Fri, 10/12/2012 - 20:37

Can you send me a copy of the plans for the daybed. Does it have a regular mattress or just covered foam. Thank you

Val Manchuk

Sun, 04/07/2013 - 10:27

This is a great idea for a spare bed in our home office. Under bed drawers would be a good place for oir storage, too.

josie.a.richard

Sun, 09/28/2014 - 06:43

I LOVE this. Could i please get a copy of your sketch/plan? I am very new to this, and I don't think I could recreate one myself just yet!

Thanks

J

Garden/Storage Shed

Submitted by Smokeydog on Mon, 08/03/2015 - 06:48

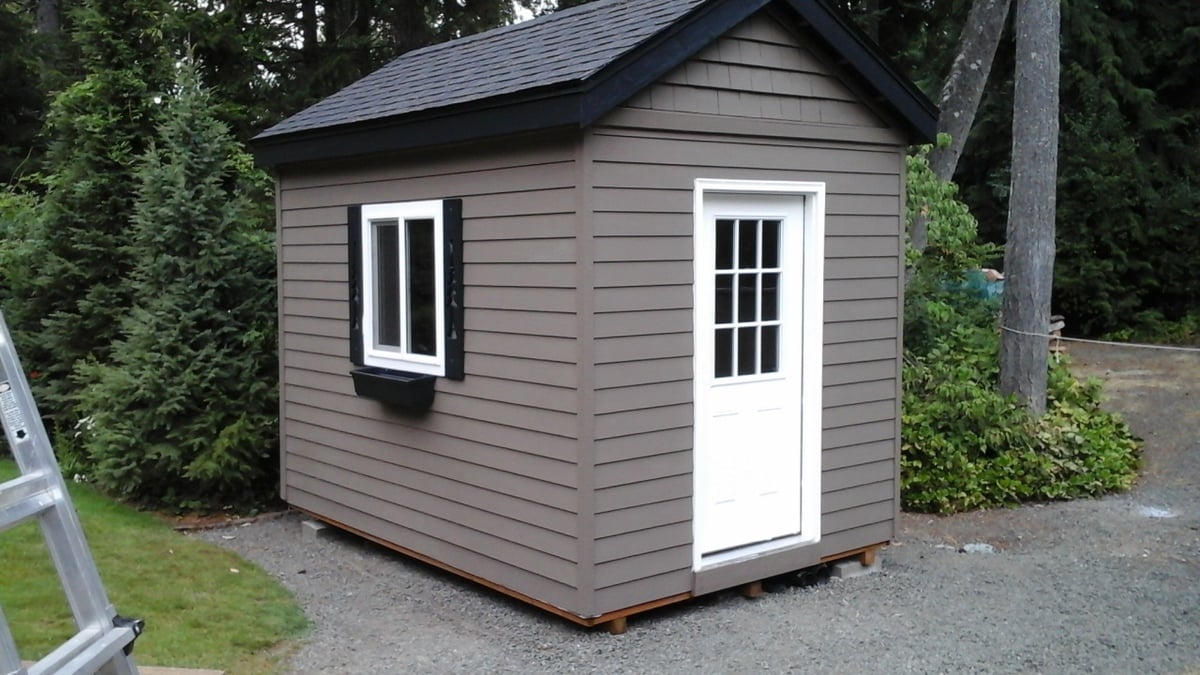
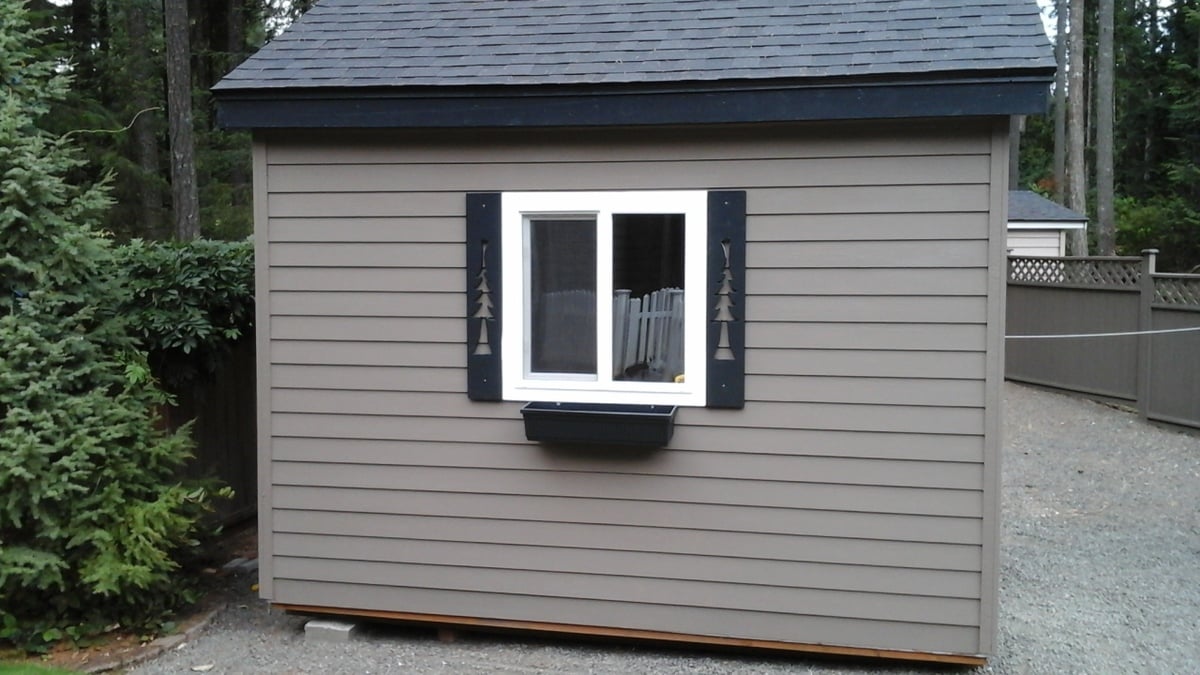
Building a storage shed was quite a jump for me but because of the confidence and experience I gained from Ana's  site I decided to give it a shot.  I acquired the plans online. It has 8 foot high walls and 3 feet of "attic space".  The shed is 8'x12'.  I used cement board lap siding.  It took about seven weeks to finish working a few hours here and there.  I really like it.  Even has a little window flower box.

Estimated Cost
2100.00
Estimated Time Investment
Week Long Project (20 Hours or More)
Finish Used
Benjamin Moore Paint
Recommended Skill Level
Intermediate

Comments

Rustic X Kitchen Island

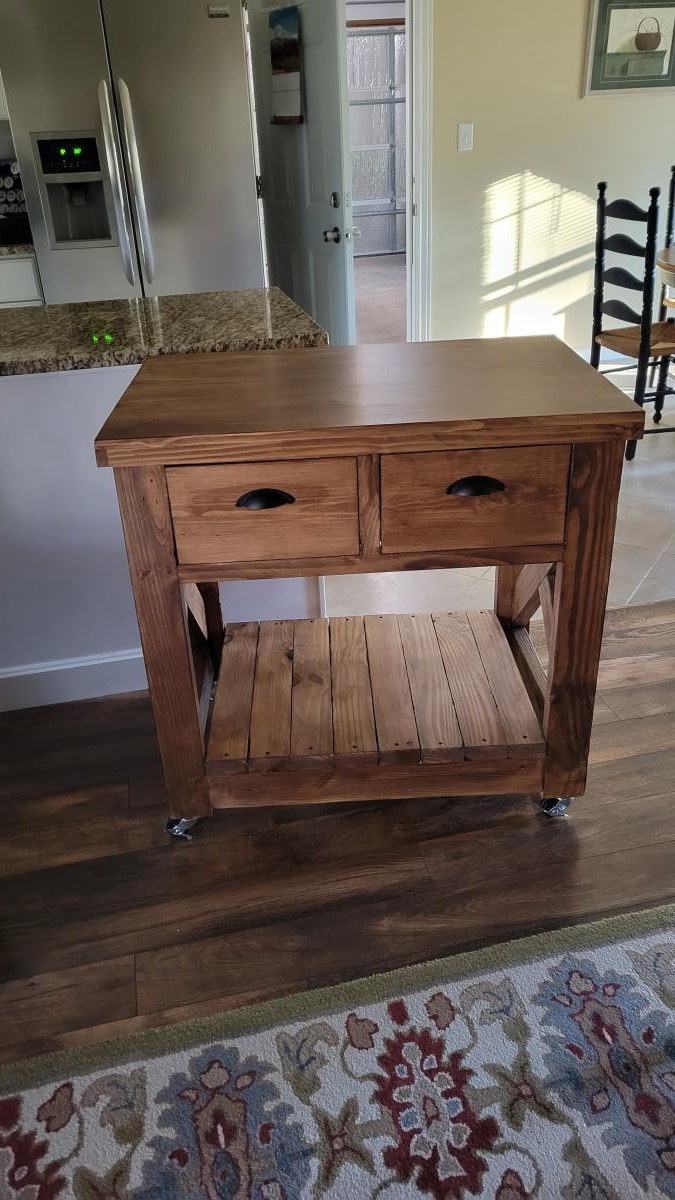
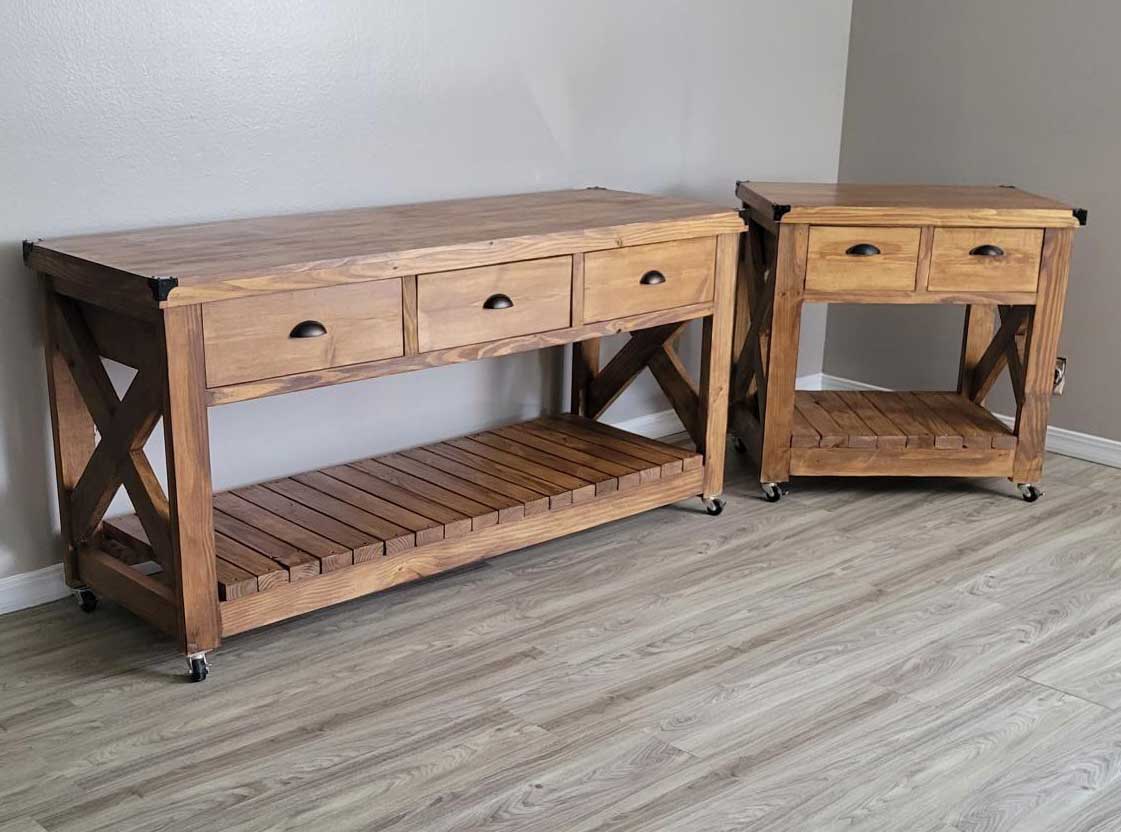
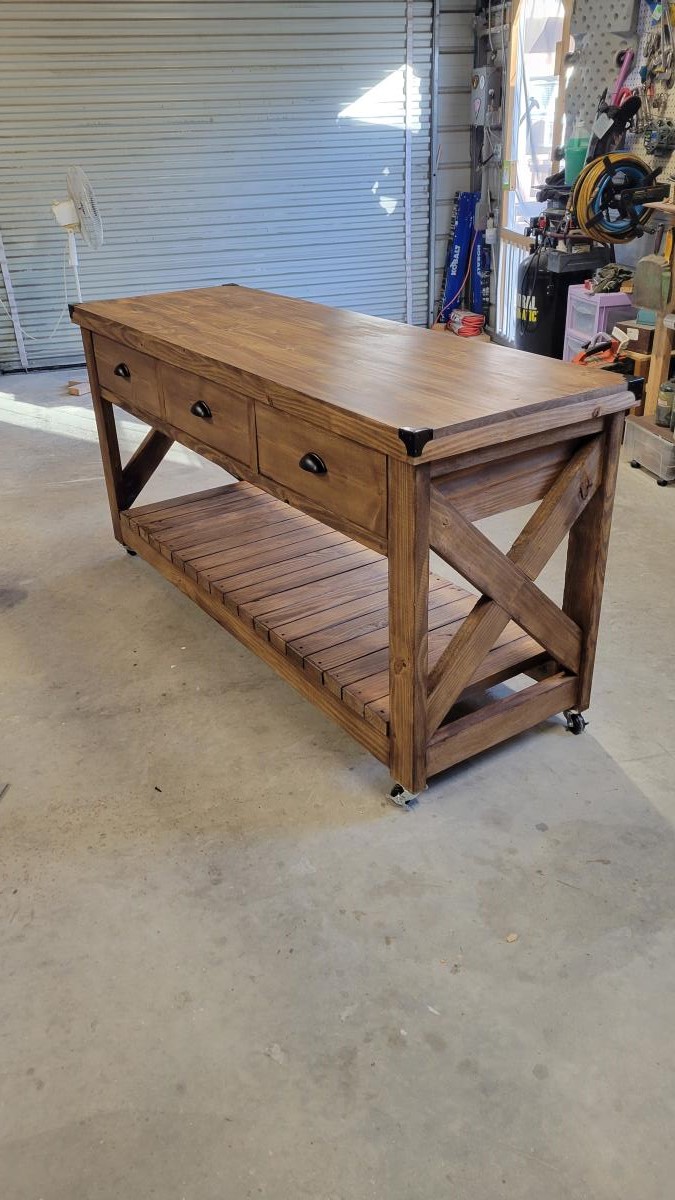
Submitted by Anonymous (not verified) on Thu, 04/21/2022 - 12:06

Used Ana's plans with a little modification.
I built 2 different sizes and donated to our church for their fellowship hall.

Comments

Expanded Cube Shelf

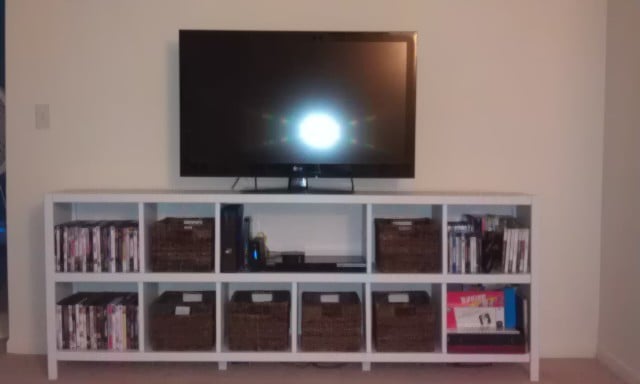
Submitted by ehansen25 on Fri, 07/26/2013 - 08:32

My husband and I needed more room and storage in our small one bedroom apartment. In order to get both we needed to get rid of our big hutch, desk and tv stand. So when I saw these cubes shelves I thought they would be perfect, then I saw TRACYSMITH's brag post a decided that was perfect! I painted it and did some organizing and it was probably the best decision we have ever made!

Built from Plan(s)
Estimated Cost
$150
Estimated Time Investment
Day Project (6-9 Hours)
Finish Used
I used a 2 coats of paint and primer in one, in a really, really light grey color (sorry I don't have the exact color). I just use a regular paint brush to apply.
Recommended Skill Level
Beginner

Kentwood Bookshelf

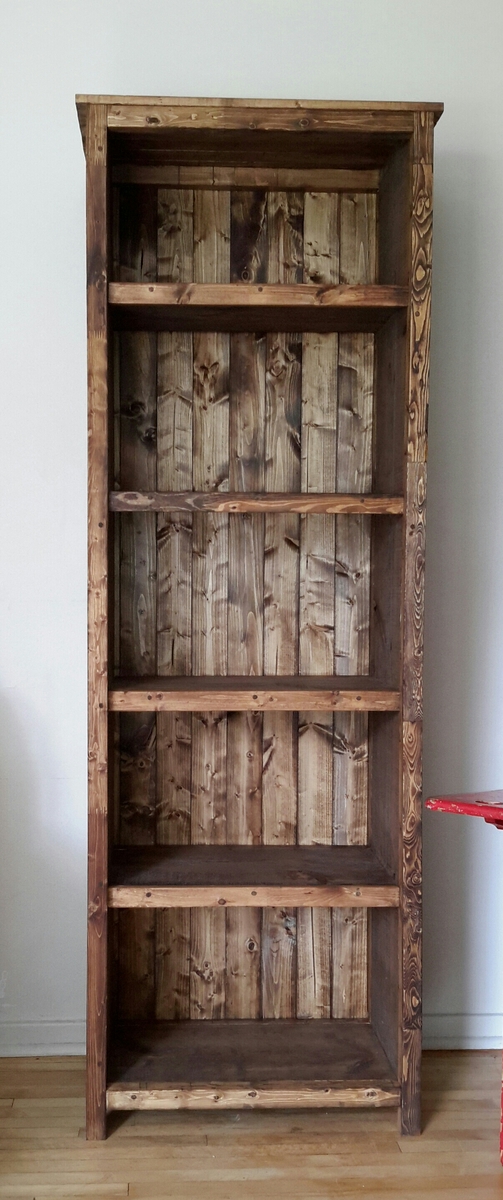
Submitted by worrow on Tue, 08/11/2015 - 17:33

I loved this from Ana's site so much we tacked one. Please note I glued, screwed and dowel ed the holes. I hate kreg jigs. We also made ours taller to add an extra shelf.

Estimated Cost
$90.

Provincial stain and triple coat poly
Estimated Time Investment
Weekend Project (10-20 Hours)
Finish Used
3m triple coat in 1 semi gloss not pictured. My image is stain at this point
Recommended Skill Level
Beginner

Comments

Fancy x farmhouse table... my version!

My version is a 7' table. I made the distance between legs 60" with a 8" overhang on each side. The stain is Olympic Driftwood. I also added 1 x 2 pcs on the ends for a more finished look & to secure the 2 x10's. One last thing, I used a router to round out all the outer edges of the table top and the legs.

Highly recommend....

I used some T braces/plates on the bottom of the table to connect legs with 60" pcs. Otherwise there is nothing to keep the legs square with the table.

Love the look...thanks so much for the plan!

Other notes: I used treated lumber so it's VERY heavy.

Built from Plan(s)
Estimated Cost
$130 ($100 lumber, $30 stain)
Estimated Time Investment
Day Project (6-9 Hours)
Finish Used
Olympic Driftwood
Recommended Skill Level
Intermediate

Comments

stepdiva

Sat, 08/30/2014 - 19:33

hi there..your table is great! can i ask if u think there is enough room at ends of table for a chair with the 8 inch overhangs that u did? i would like to do the same. thanks so much!!!
Tanya