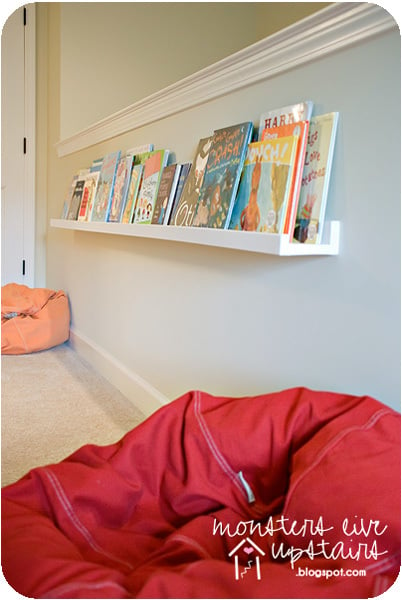
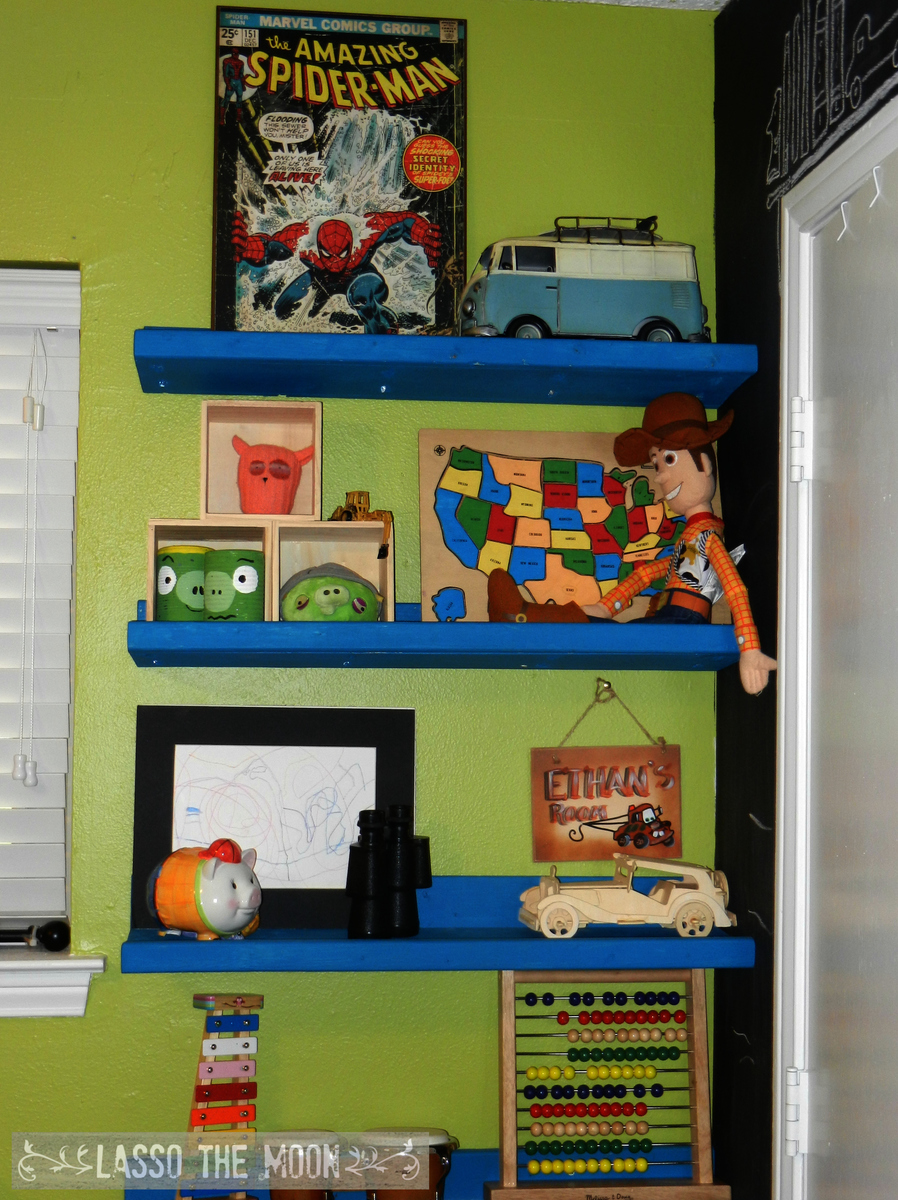
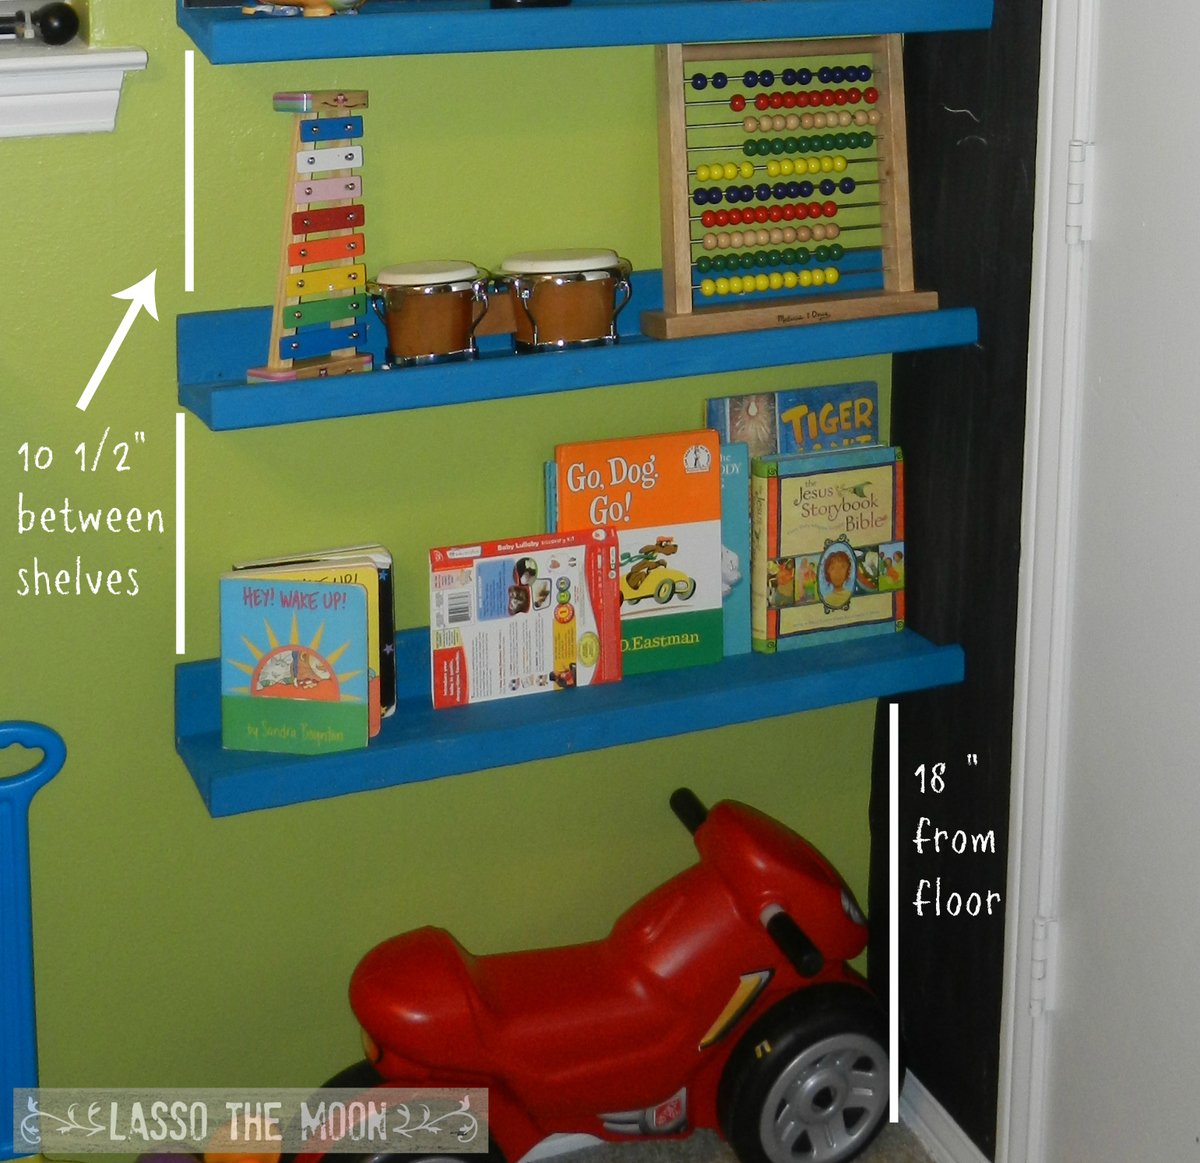
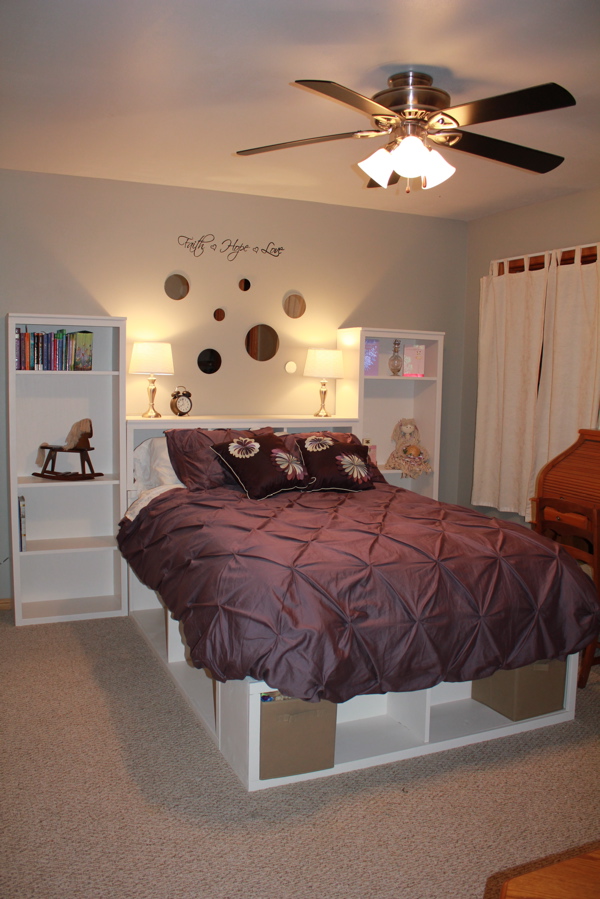
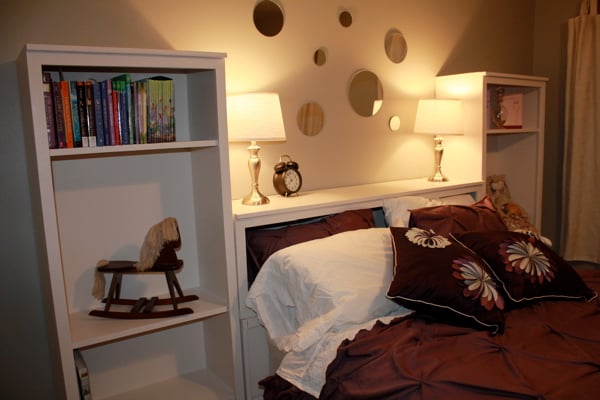
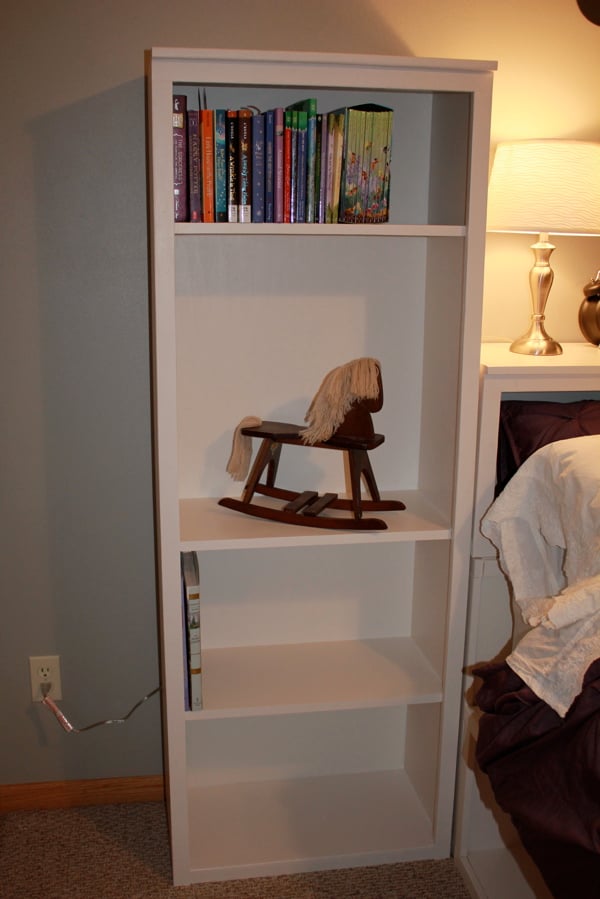
$10 Ledges Reading Nook
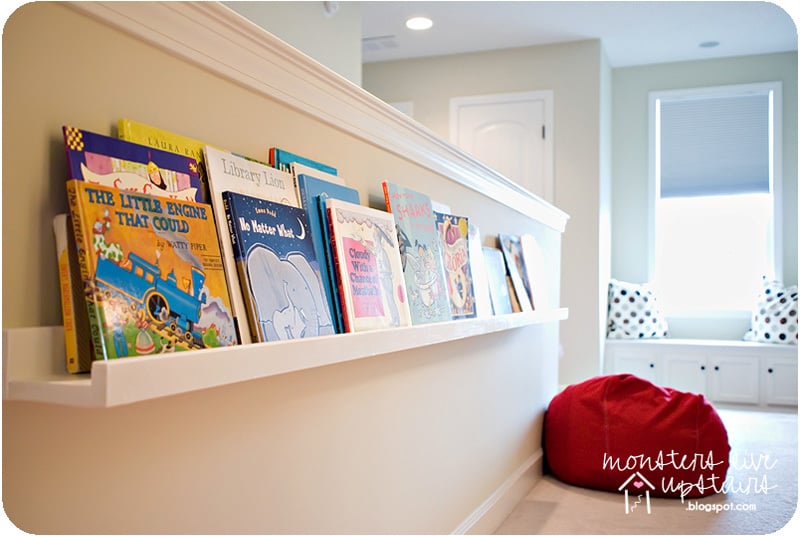
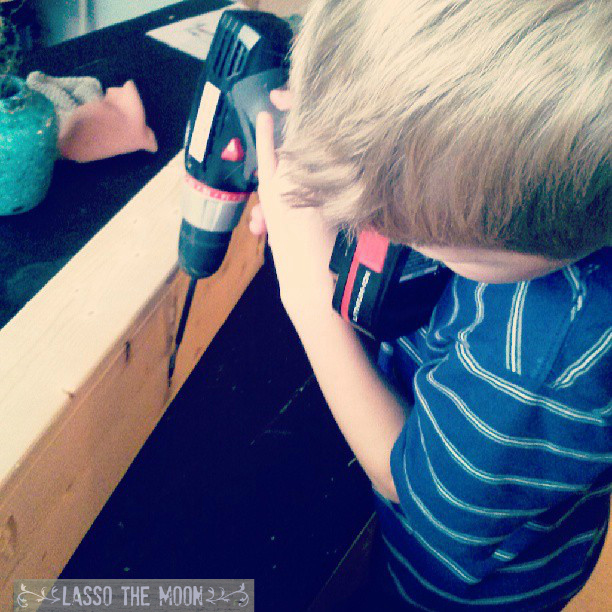
We needed something to help with our book storage problem - something easier for the kiddos to get to and also clean up. We've made the ten dollar ledges before for our kitchen, but this project was way more fun!
This bed is the perfect fit for my son's dinosaur room! I found tutorials for fairy canopies and modified it to create a "volcano" bed.
Built from Ana's Adirondack chairs from book.
Thank you Anna for providing the template plans for this project. My wife had a mirror leaning on the wall in our bedroom that rarely got used and jewelry all over the dresser. So thanks to you I was able to turn this cheap mirror into useful storage and organize her jewelry. Thanks!
Wed, 10/07/2015 - 10:18
Thank you for building!!! Your post just made my day, I'm so happy to see your build! I love the customization with the jewerly holders too! Thank you so much for sharing!
Sun, 09/17/2017 - 20:49
How did you attach rails? I still cannot figure out the best way to do it...
Thank you!
This table is massive with the top being 96" x 42" and 2" thick and sitting 31" high. The table can be done in a weekend and the bench was assembled the same way as the table out of scraps and was finished in about 4 hrs.
Sun, 10/11/2015 - 11:17
That is one beautiful set up you have there, thanks for sharing!
Thanks so much for the plans. Built it for my visiting nephew. Had a hard time with wood splitting, definitely predrill once you have the pocket holes lined up. I finished with food grade mineral oil, may go over it with beeswax.
I built this for my son and his fiance. I am leaving the staining up to my son. It is only the 3rd or 4th piece of furniture I have built. I still have to build the match for it. I'm sure it will be much better, since I have learned from my mistakes with the first one.
My new thing is hiding a stack of shelves behind an open door. There are so many rooms in my house that have this little piece of wasted space!
For my son Ethan's shelves, I made the 10-dollar ledges, but only 30 inches long. Also, because I used pocket holes to put them together, I made the "shelf" part from a 1x6, so they would have a little extra depth for showing off his treasures and lego projects.
These changed the entire look of the room. I love how they are out of the way, and are adding design to his room as well.
These were so easy to build!
Learn more on the blog post:
http://lassothemoon.typepad.com/lasso_the_moon/2013/08/boys-room-behind…
--Anna
I made the sliding barn door console from your plans. I liked it so much I made a 3 opening version for another wall. I found patio door rollers to use instead of taking apart a pulley in the directions from the that's my letter plan. I used old crates my parents had kept and scraps for my doors so it has sentimental value.
Easy project. I needed this bench a bit smaller due to space constraints so this is 28" x 42". I kept the height the same and finished the surfaces with some thick polyurethane. It should be noted my cost was a bit higher due to buying a sanded plywood, coated self-tapping screws and a more expensive polyurethane. I also went a bit slow on this project and it took about 2.5 hours including application of the single coat of poly.
Sat, 12/19/2015 - 09:10
Very nice job and great looking workbench! Thanks so much for taking the time to share!
This was all my husband - he did a great job using the modular desk plans to customize (its a bit larger) this desk for our office. He finished it this past weekend so not much on it yet!
Mon, 02/06/2023 - 12:21
WOW, this is so awesome, well done! Thank you for sharing.
Built from planked wood sideboard plan
i made a mudification in plans. it takes me two days to finish it.
Sat, 05/04/2019 - 13:33
Wow! That is quick work!
Lovely space! The X detailing adds so much.
Thank you so much for sharing a brag post!
Ana
My daughter wanted her room redone for her tenth birthday. We decided to go big with Ana's storage bed plans. I had so much fun building this and really learned a lot. It took me three months to find enough spare time to finish it, but it was worth the wait.
Mon, 11/07/2011 - 19:24
You did a really great job building the storage bed. I am in the process of building this same bed for my teenage son, only I'm not building the towers. Finding enough time to actually get a project finished is nearly impossible when you only have a few hours here and there! Your daughter will love all the extra storage space as she gets older.
Tue, 11/08/2011 - 05:19
Thank you very much! For such a large project, and only the second piece of furniture I have made, I couldn't be happier with the results.
I used the farmhouse table plans to build a base, and then used an 88" stretch of bowling lane from a bowling alley demo nearby. The sturdy base looks great with the 2" thick maple top. Thanks for a great plan.
Wed, 10/30/2013 - 12:57
Killer table! I really like the use of the bowling alley top!
These were a labor of love! I bought my first miter saw and decided this would be the project to try angles. It wasn't easy but I figured it out.
These were pretty easy otherwise to put together once you get past the stringers. They aren't perfect but they are very sturdy. I've had a few people ask me to make them one too!
This spring I was able to build the preschool picnic table for my son. Today we fully used it for a picnic breakfast with the cousins. It can easily fit up to four kids ages 2 to 7. (I also built the chairs in the fall)
Took some liberties on this one. Used paint stirrer sticks for the roof.
Our large lap dog finally discovered he could easily get whatever he wanted out of the trash, so I built the tilt out bin to help keep him out of trouble. lol. I made it cabinet height so we could move the microwave off the counter, and added a drawer to the extra space to keep garbage bags and such in.
Two hours and done!
Used you basic 2x4 bench / couch plan but added a sloped backrest and more 2x4s across for more support.
Jerry
Comments
mom24boyz
Mon, 07/04/2011 - 21:13
Cool
Love it! Looks great!