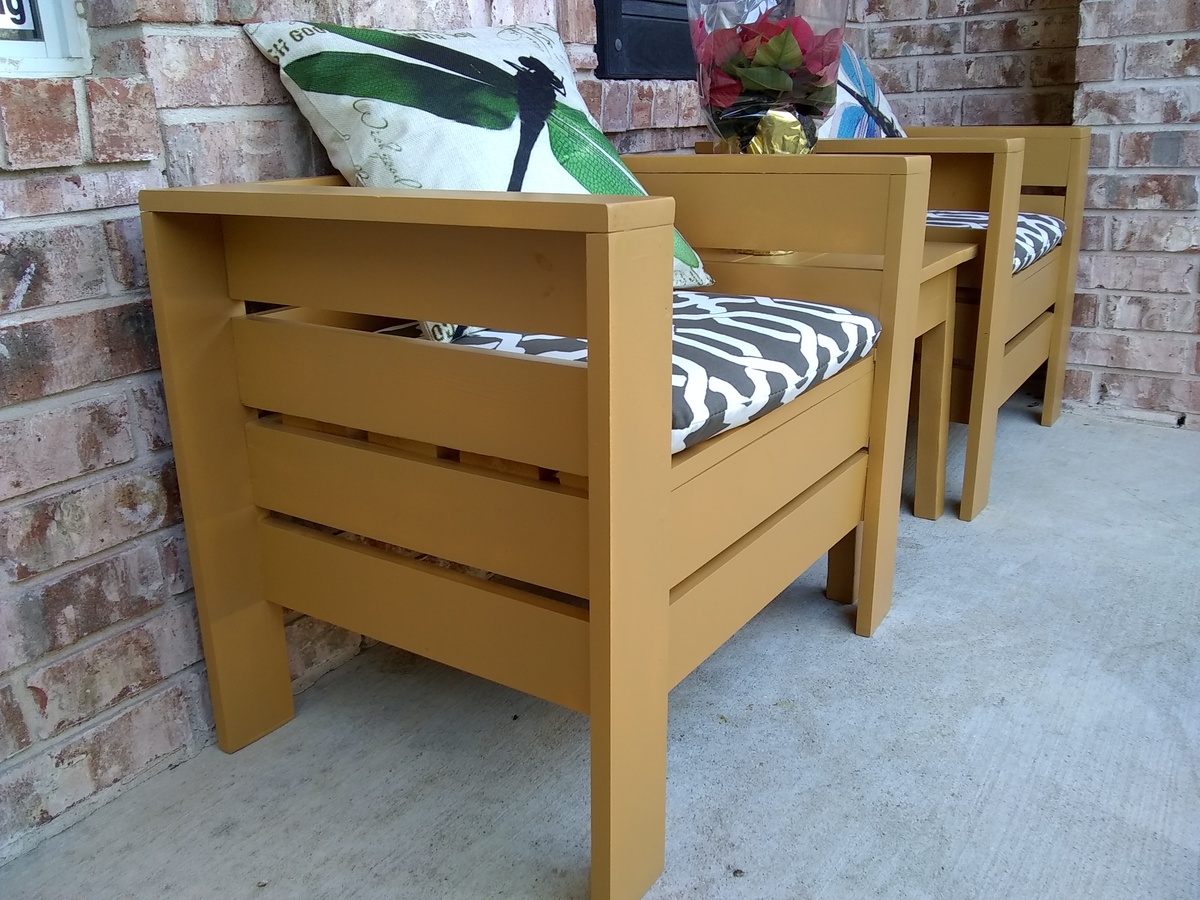
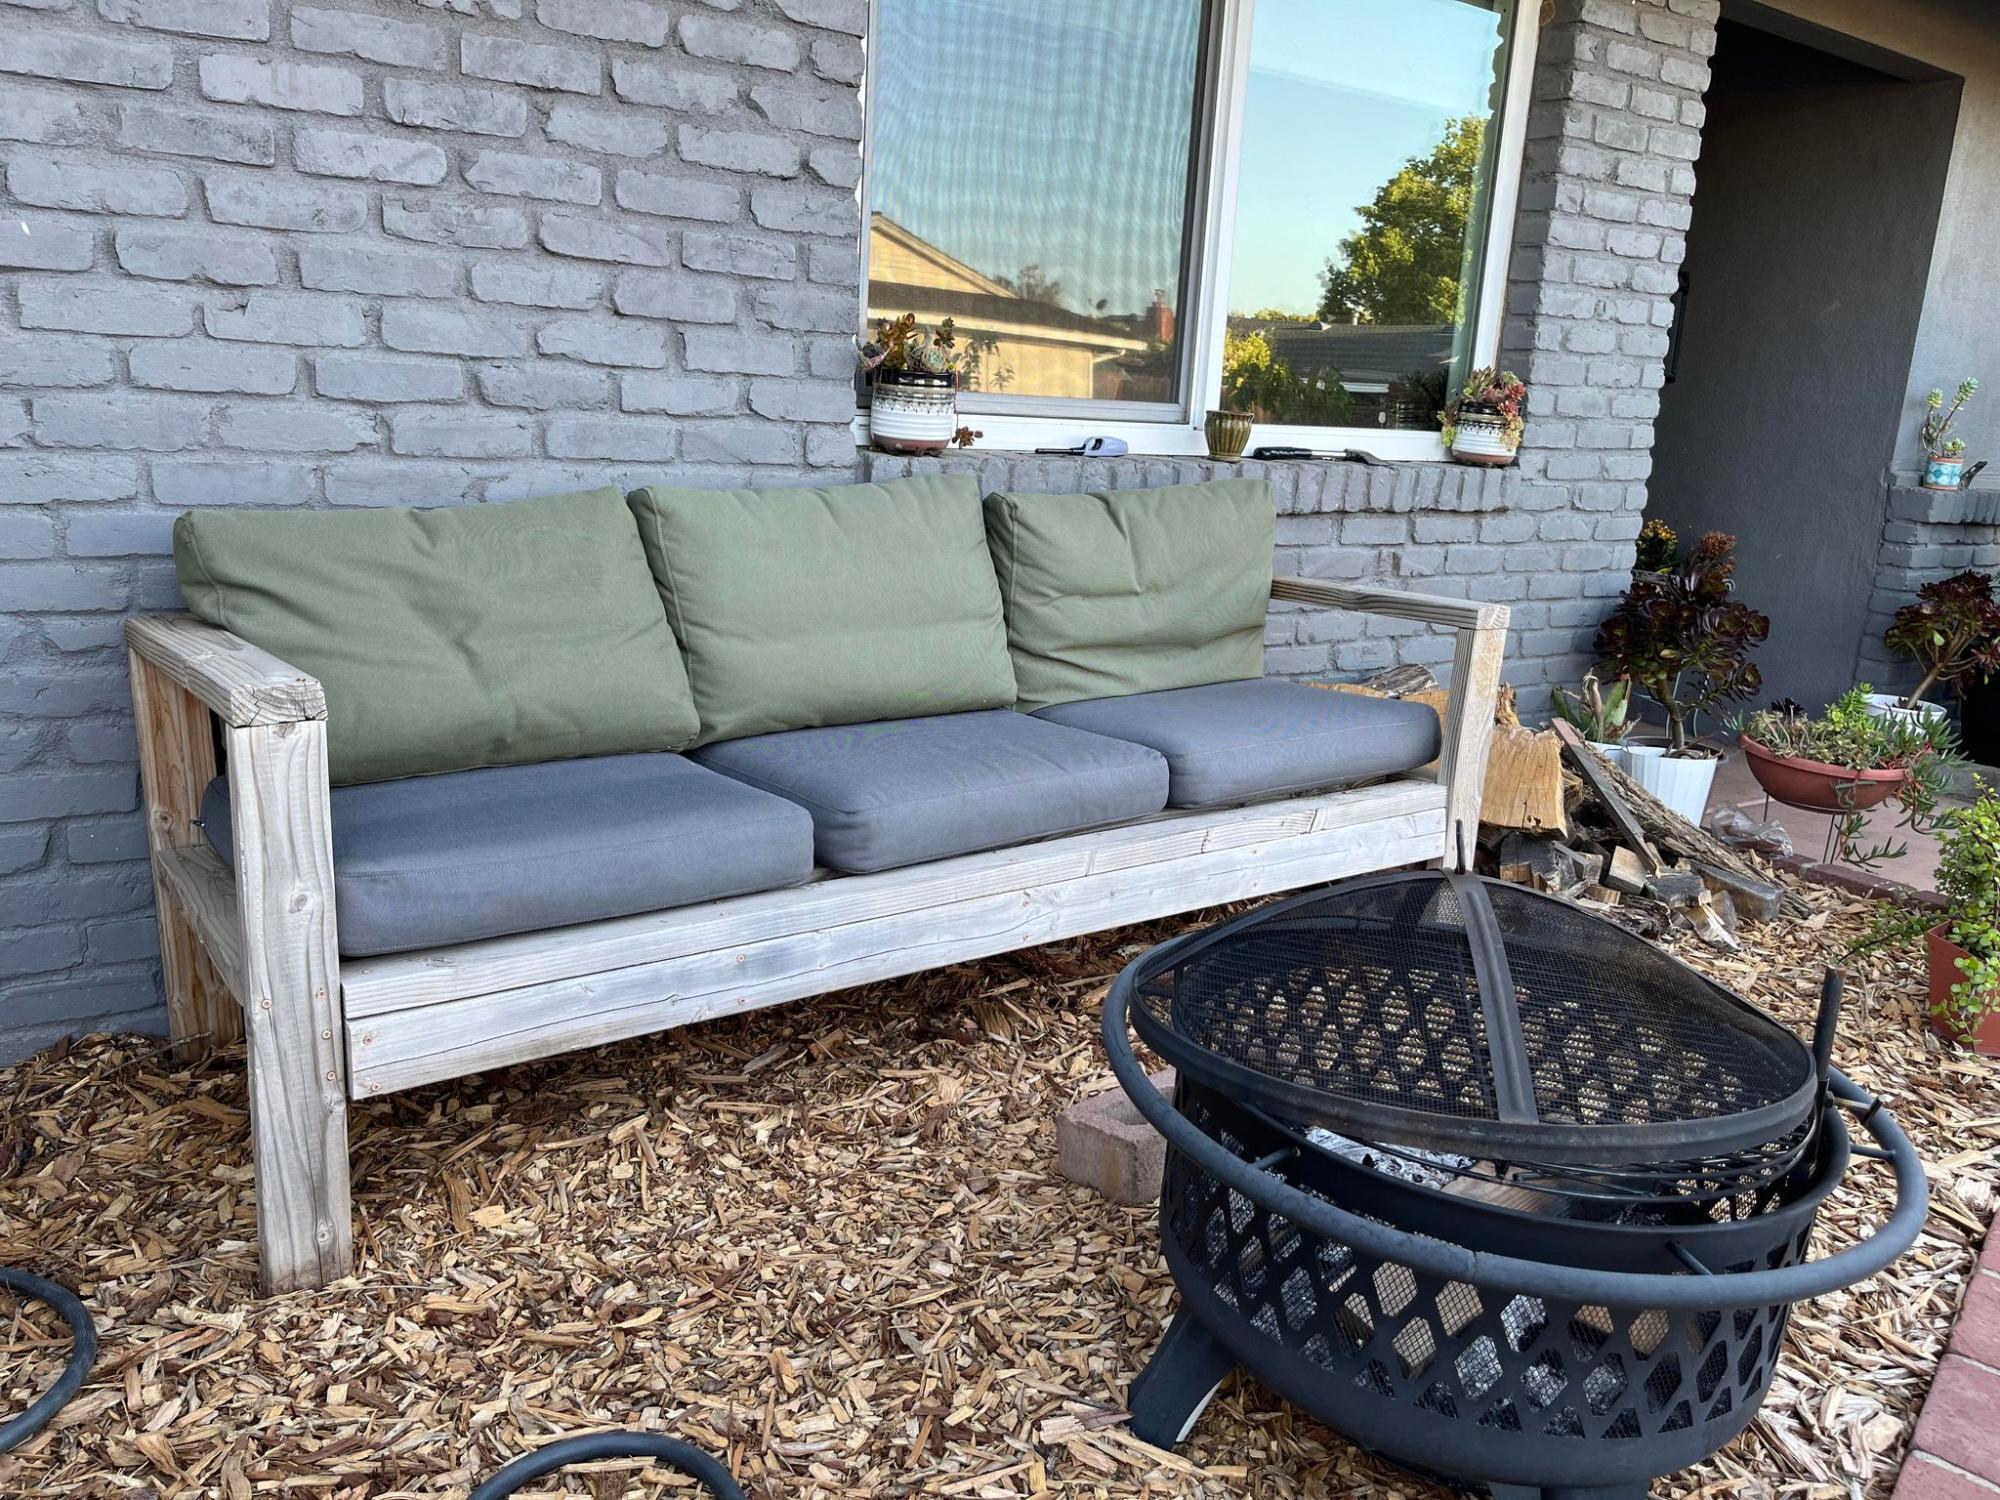
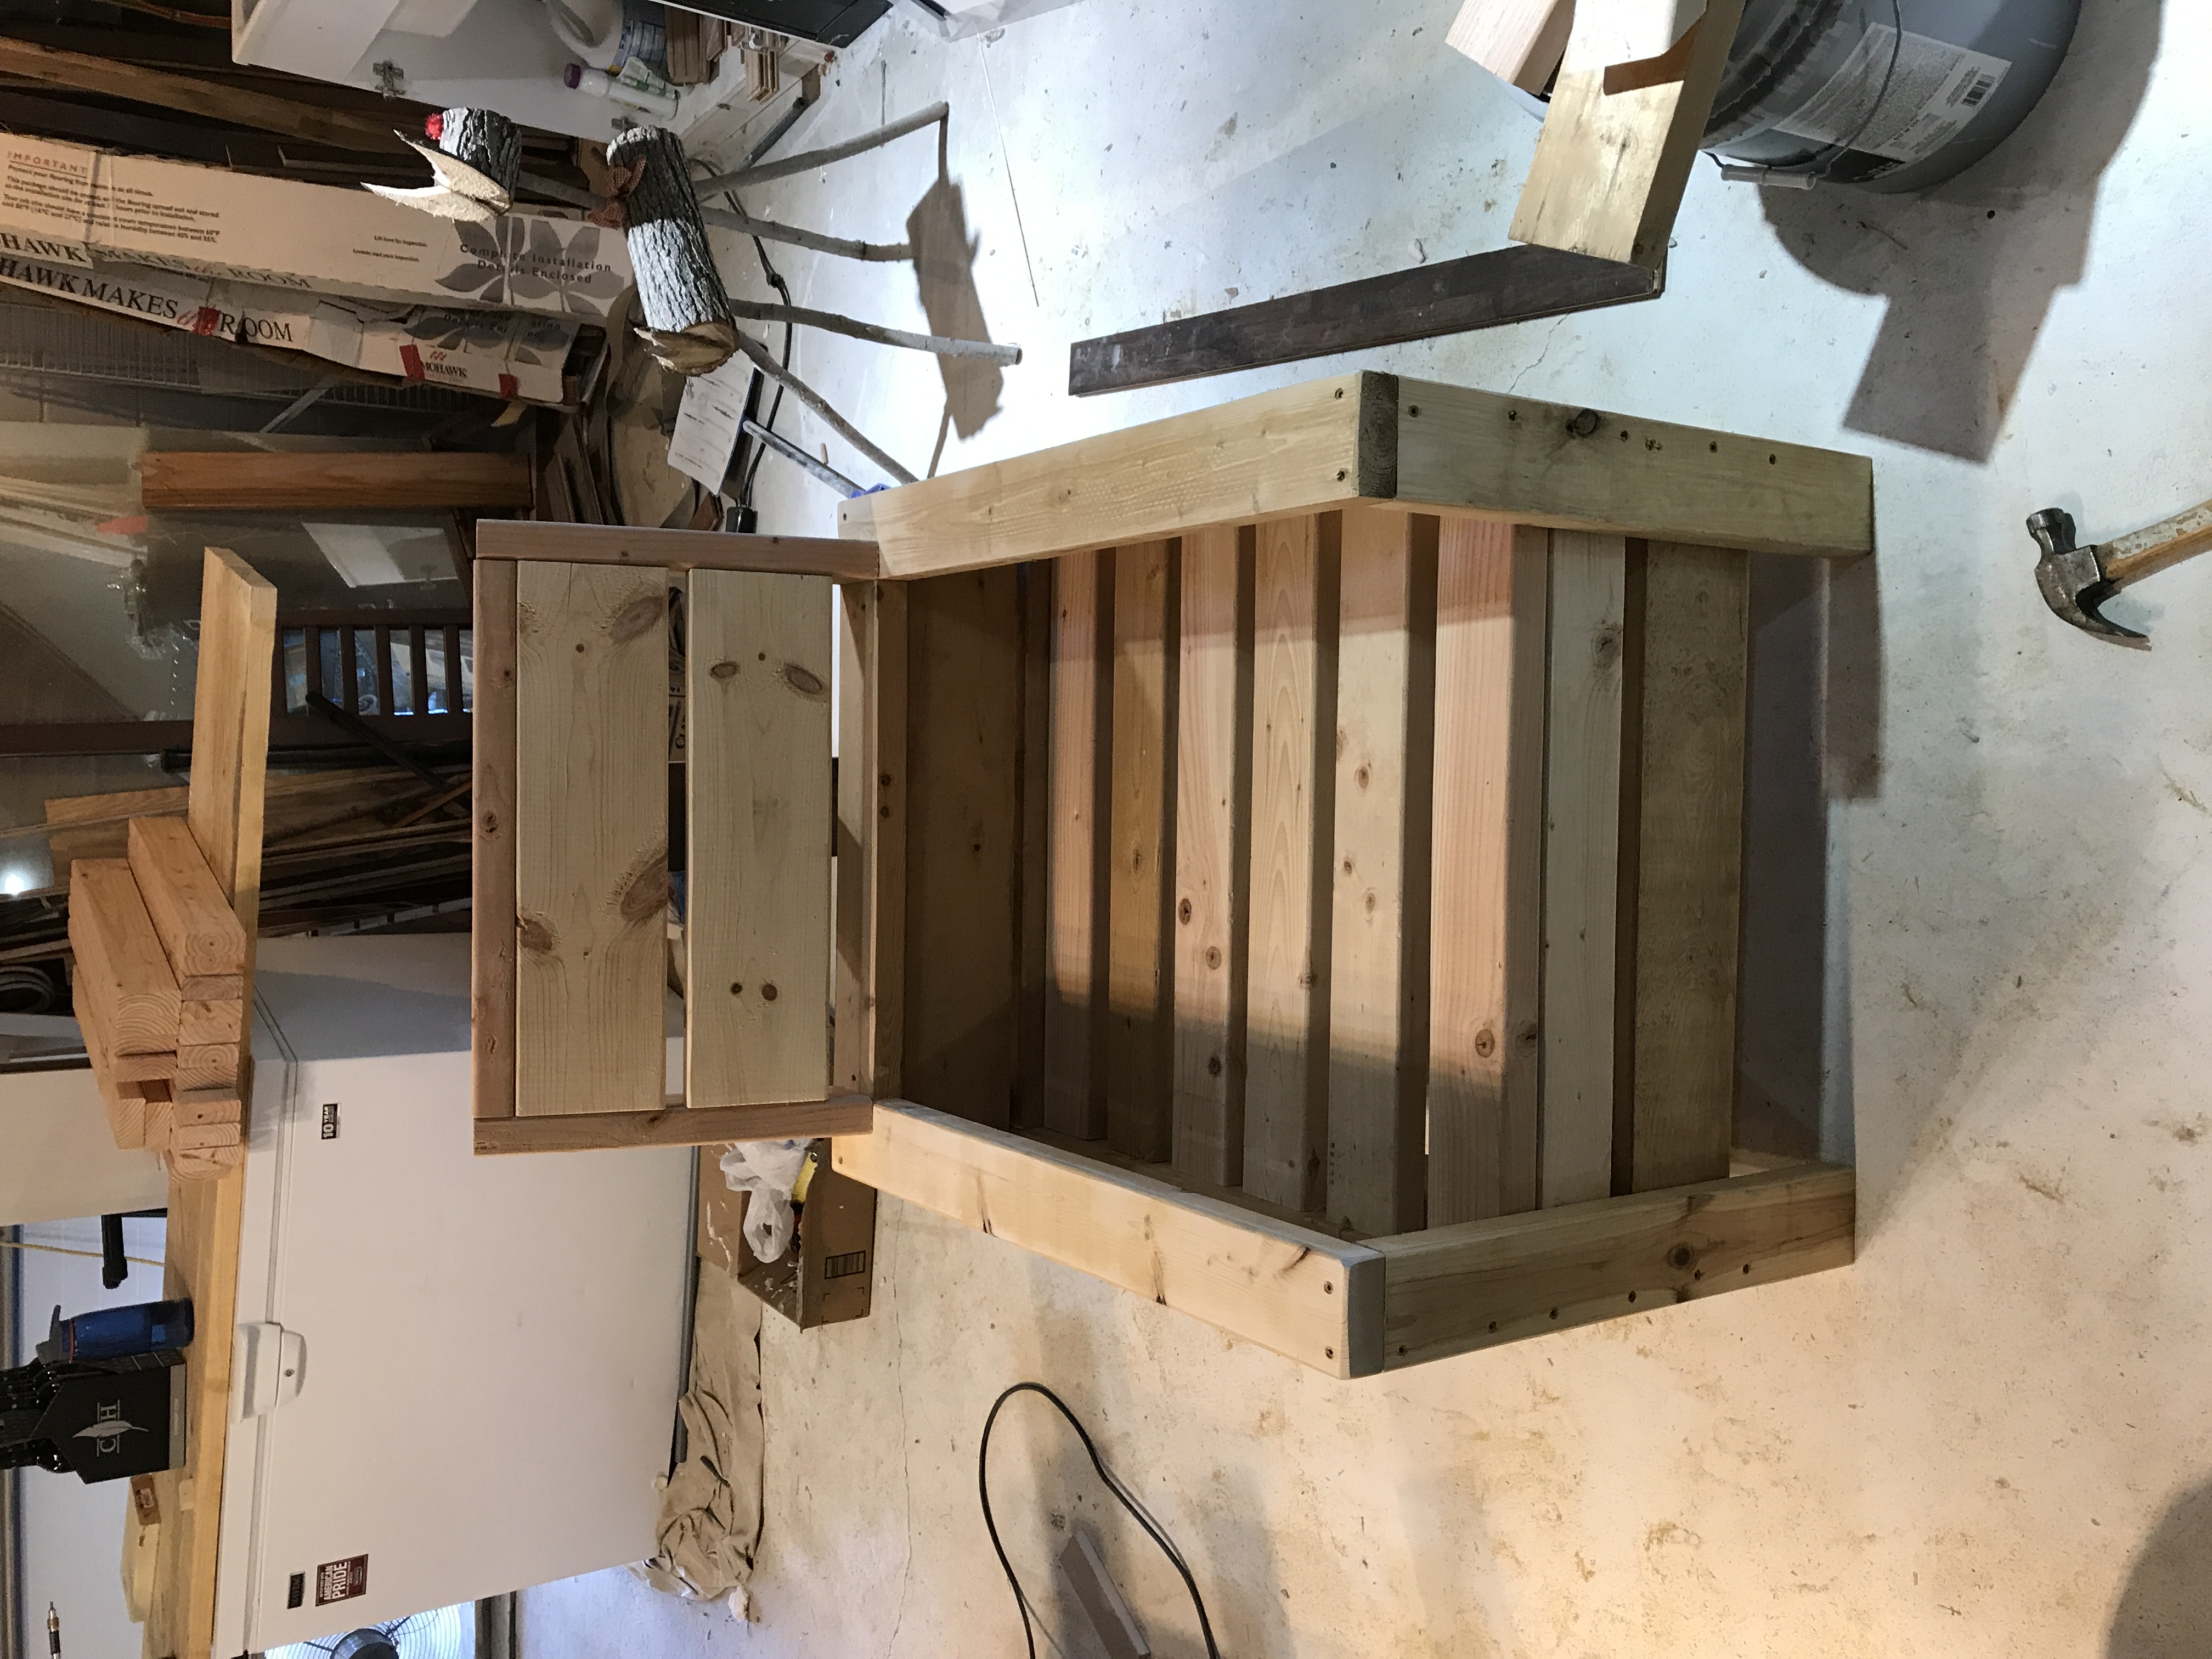
Outdoor Chairs
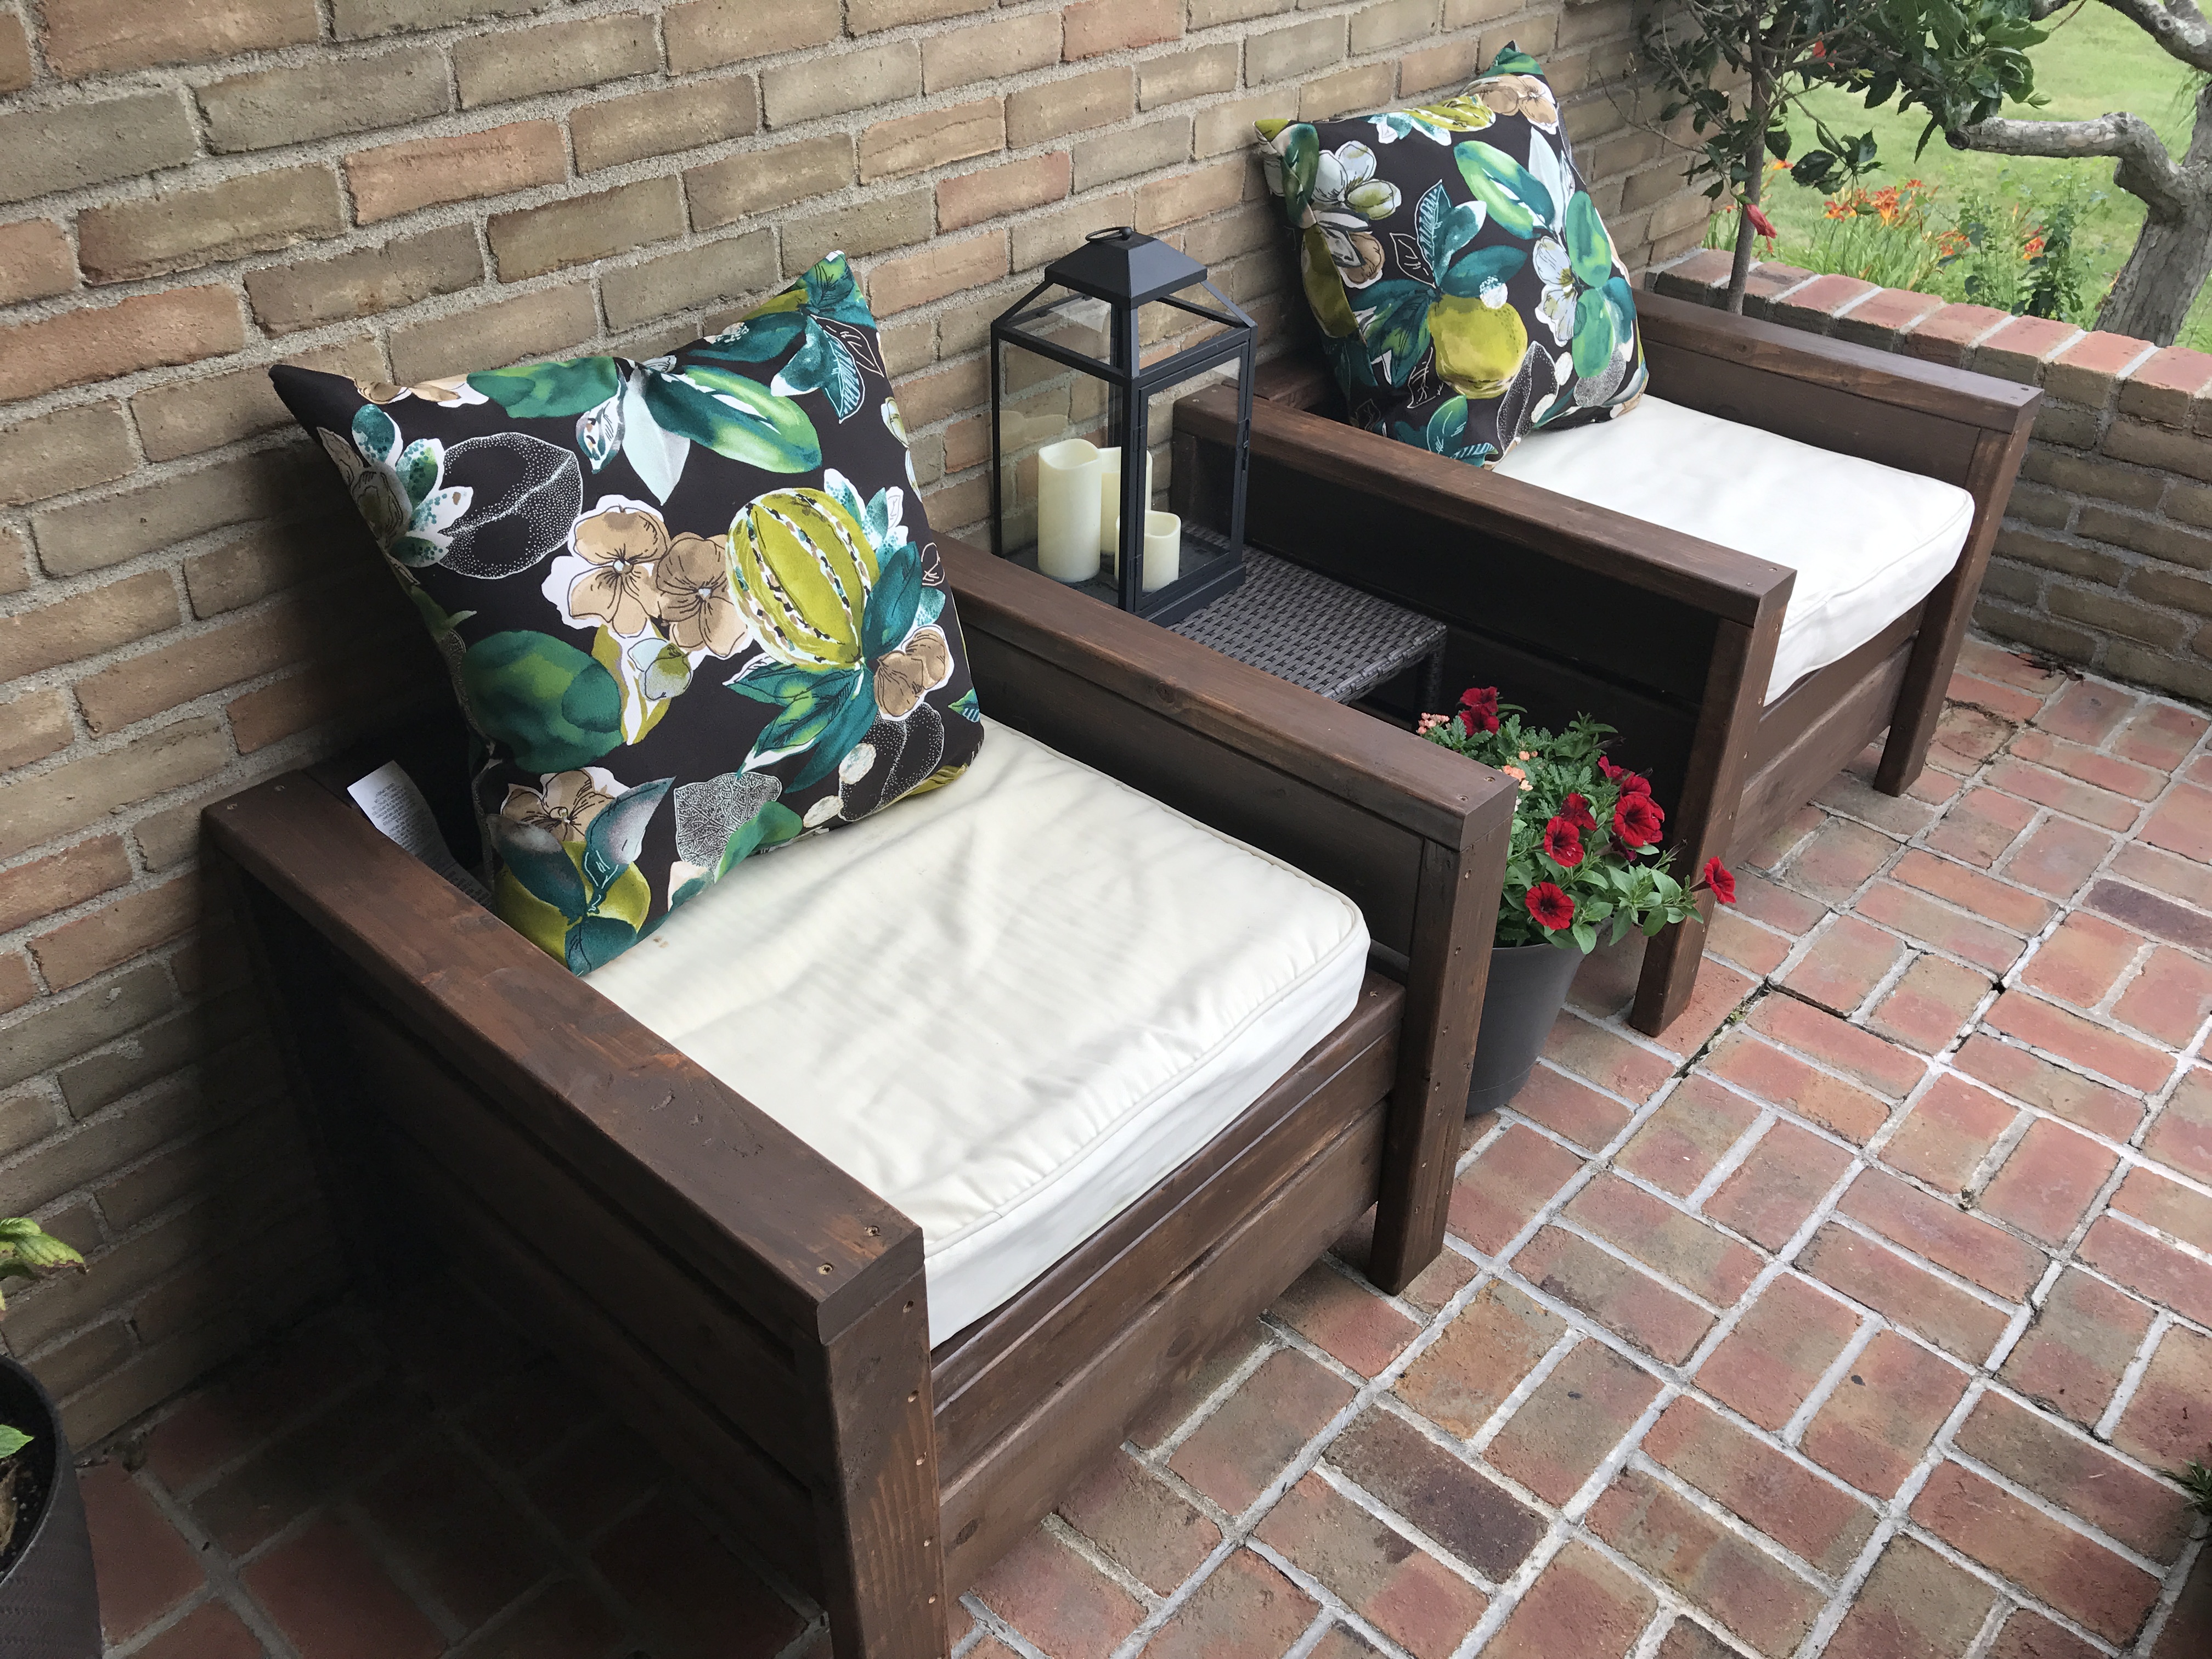
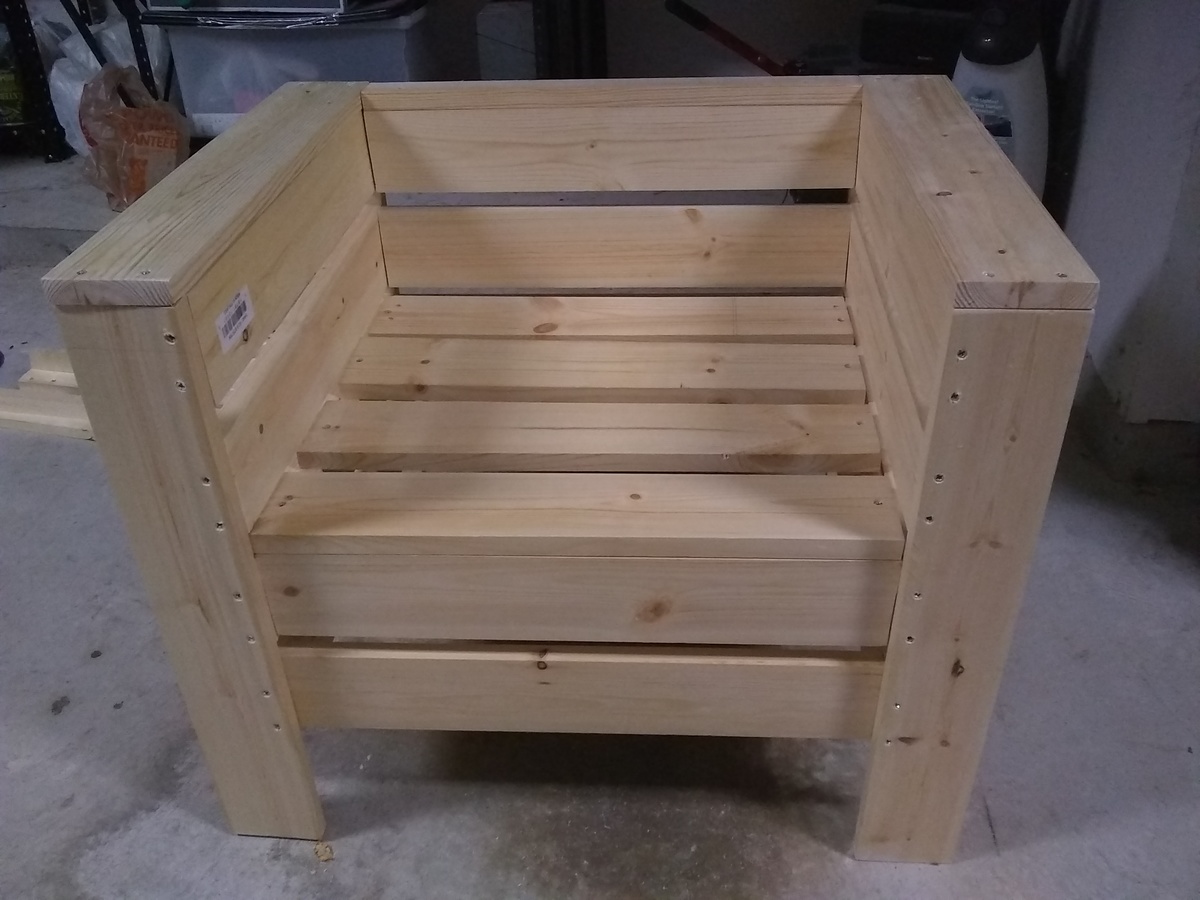
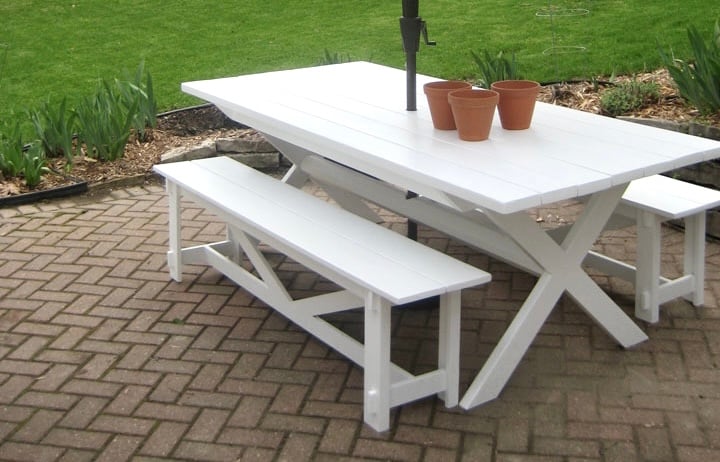
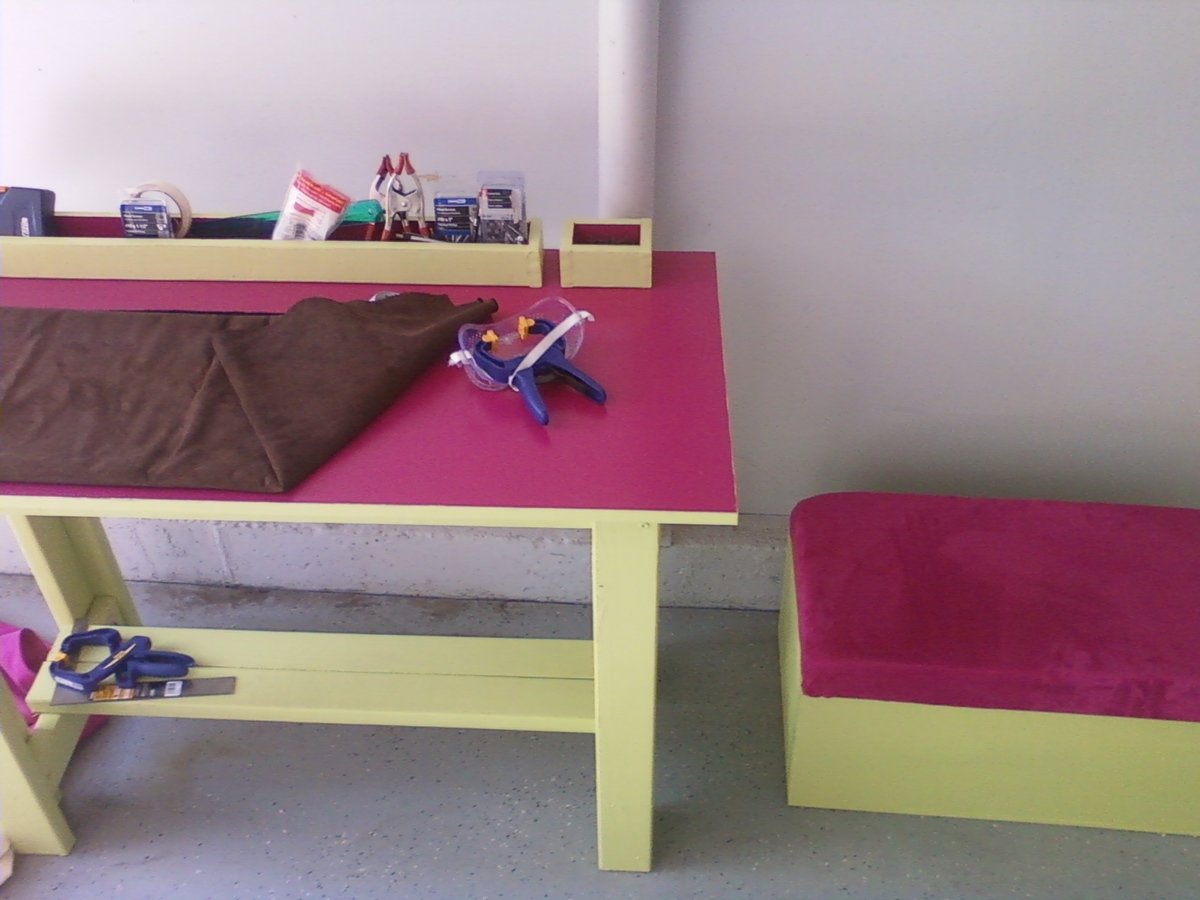
These were a fun build and pretty easy to put together. Certainly need to pre-drill pilot holes or risk splitting your boards.
I contemplated putting a back rest on the chairs but didn't end up needing them due to close proximity to the walls. Having the cut-list on hand was super handy as I just set a stop on my miter saw and was able to cruise through the cuts quickly.
Built from Plan(s)
Estimated Cost
60 dollars for materials, not counting cushions and pillows.
Estimated Time Investment
Day Project (6-9 Hours)
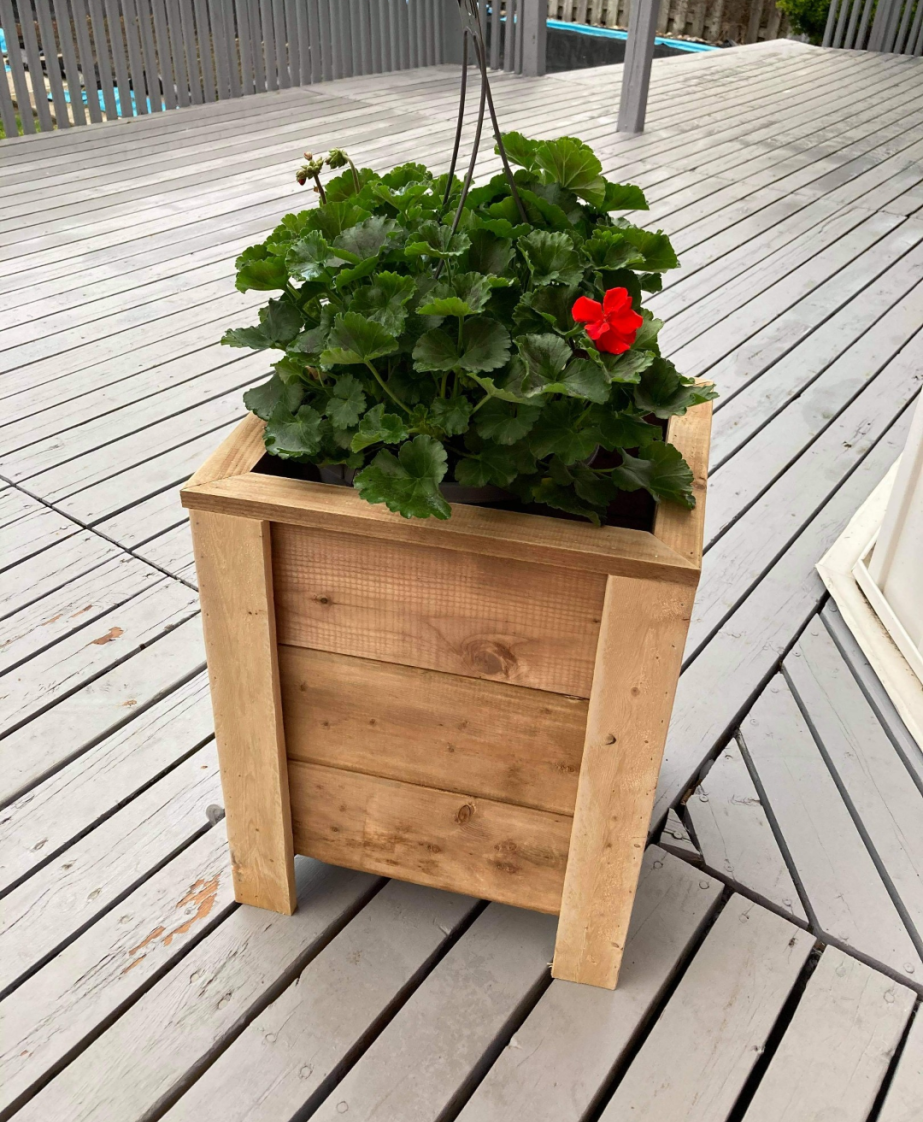
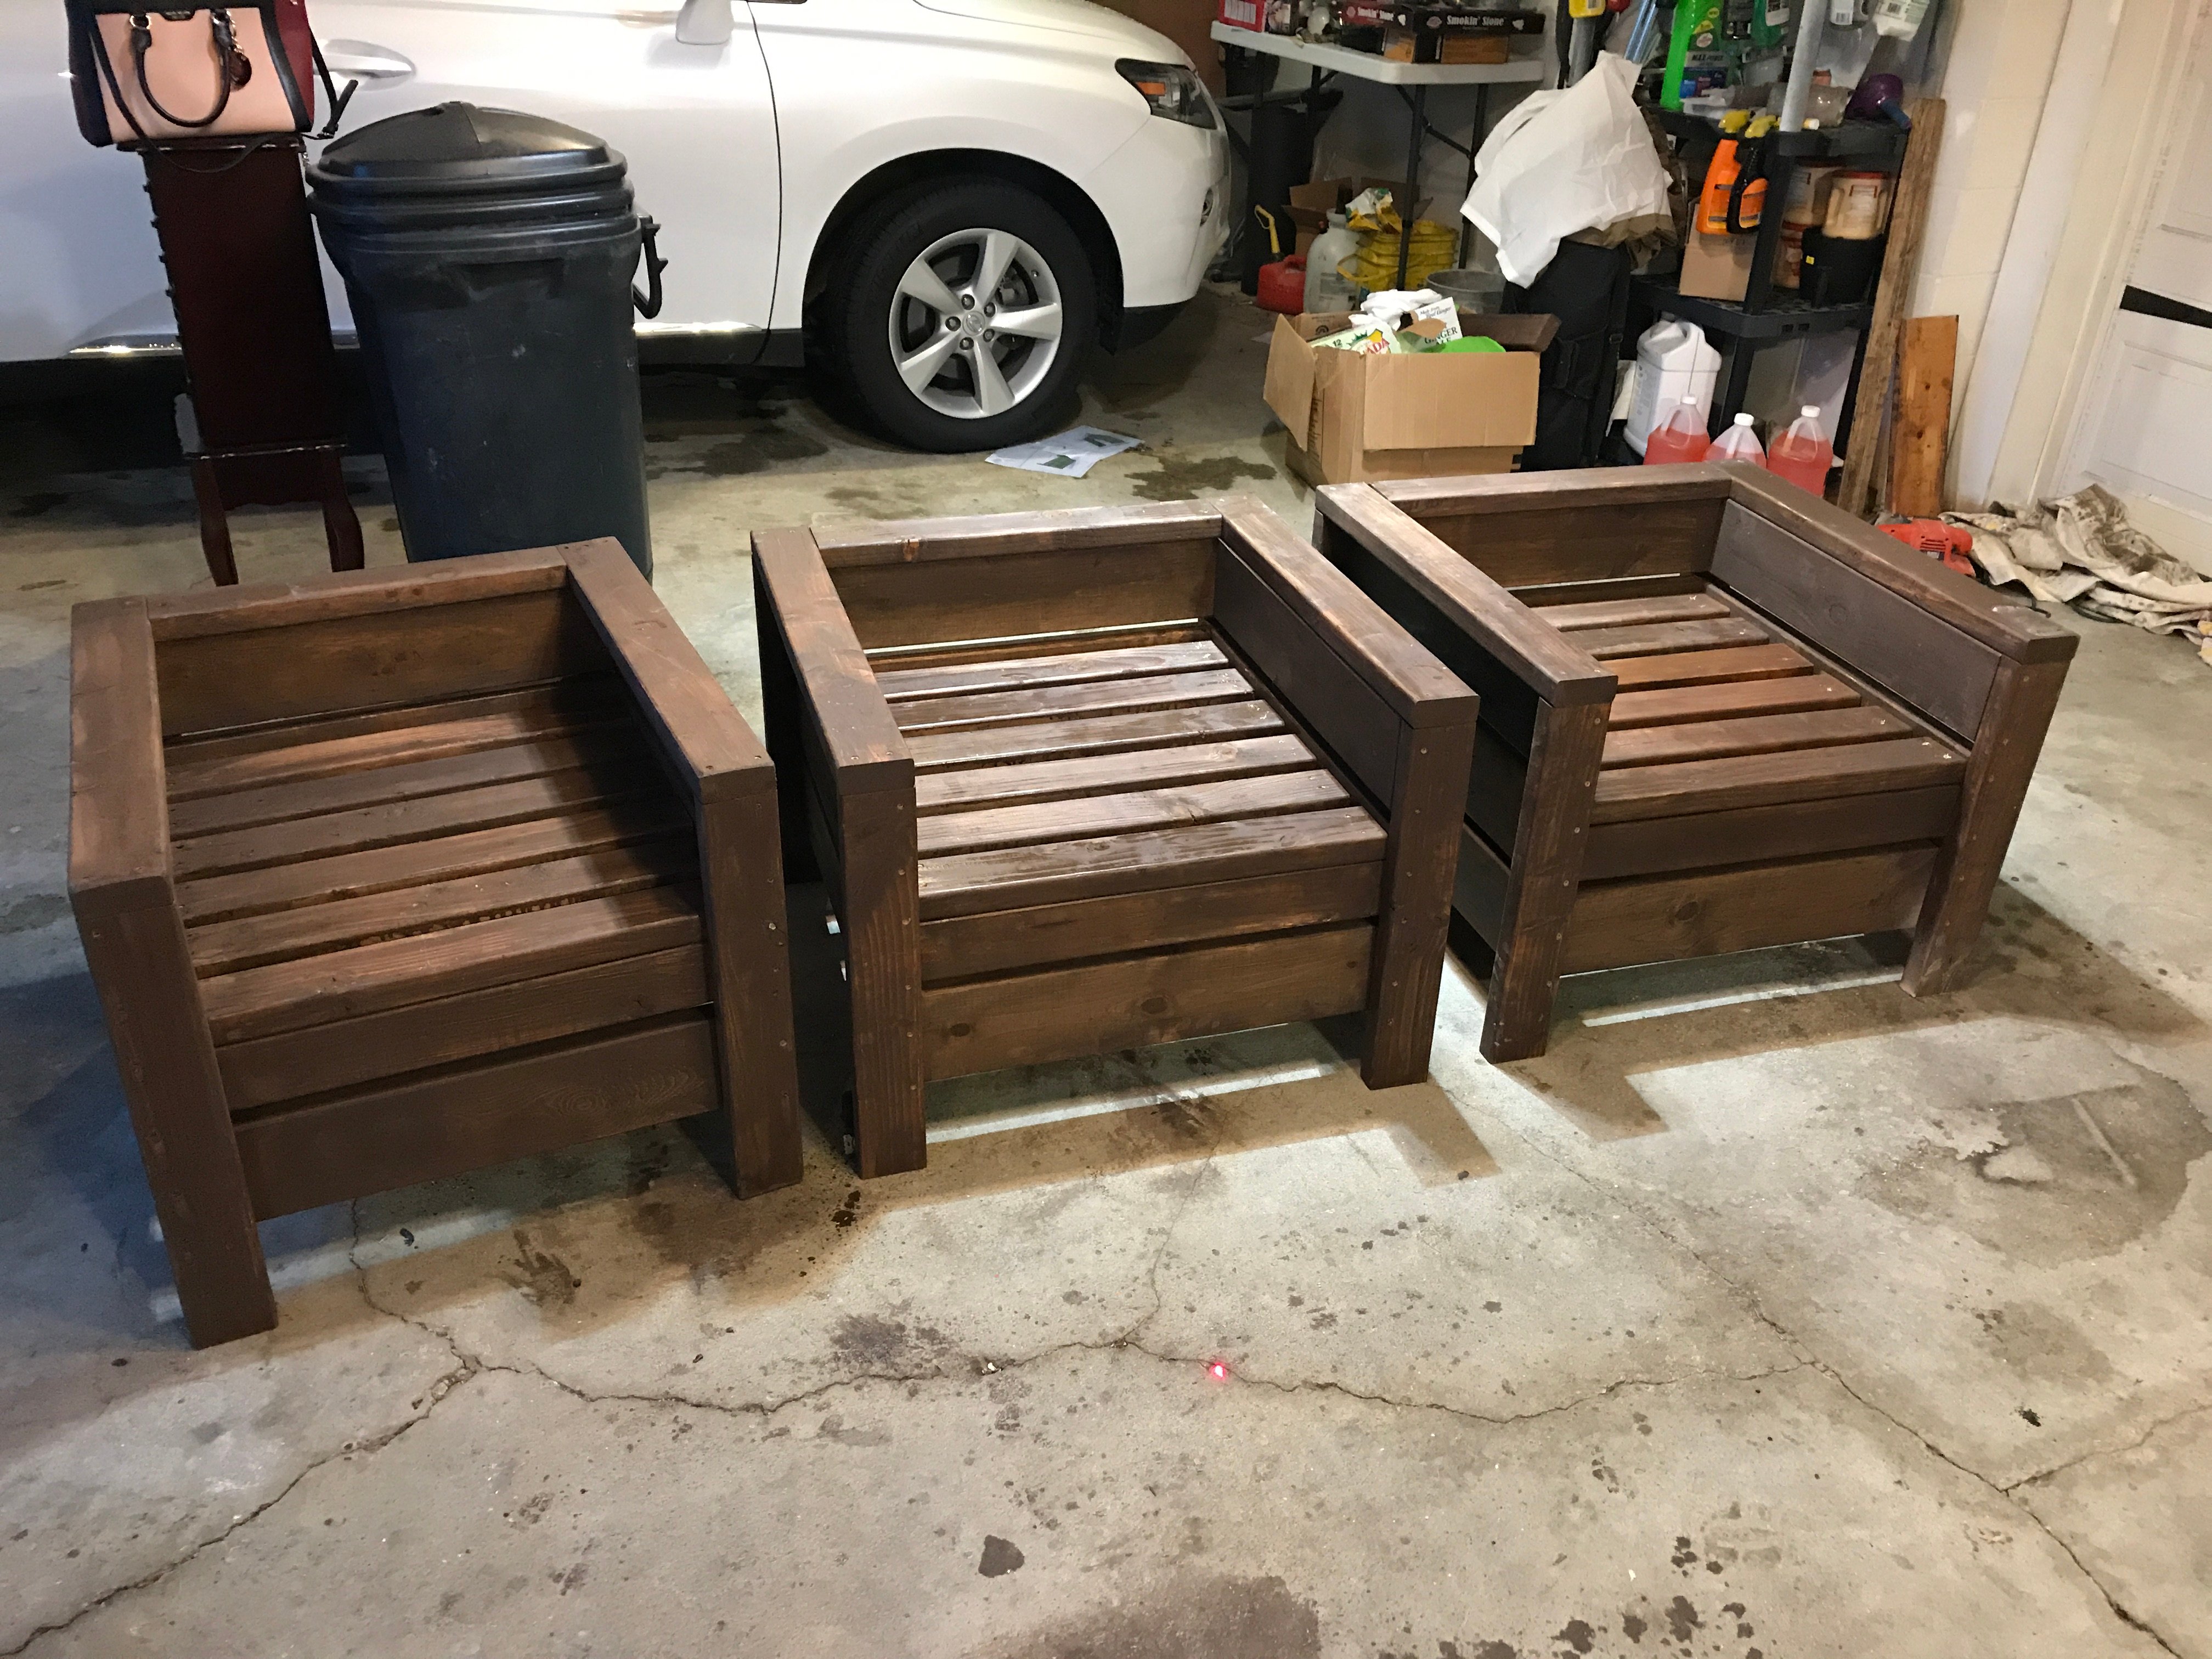
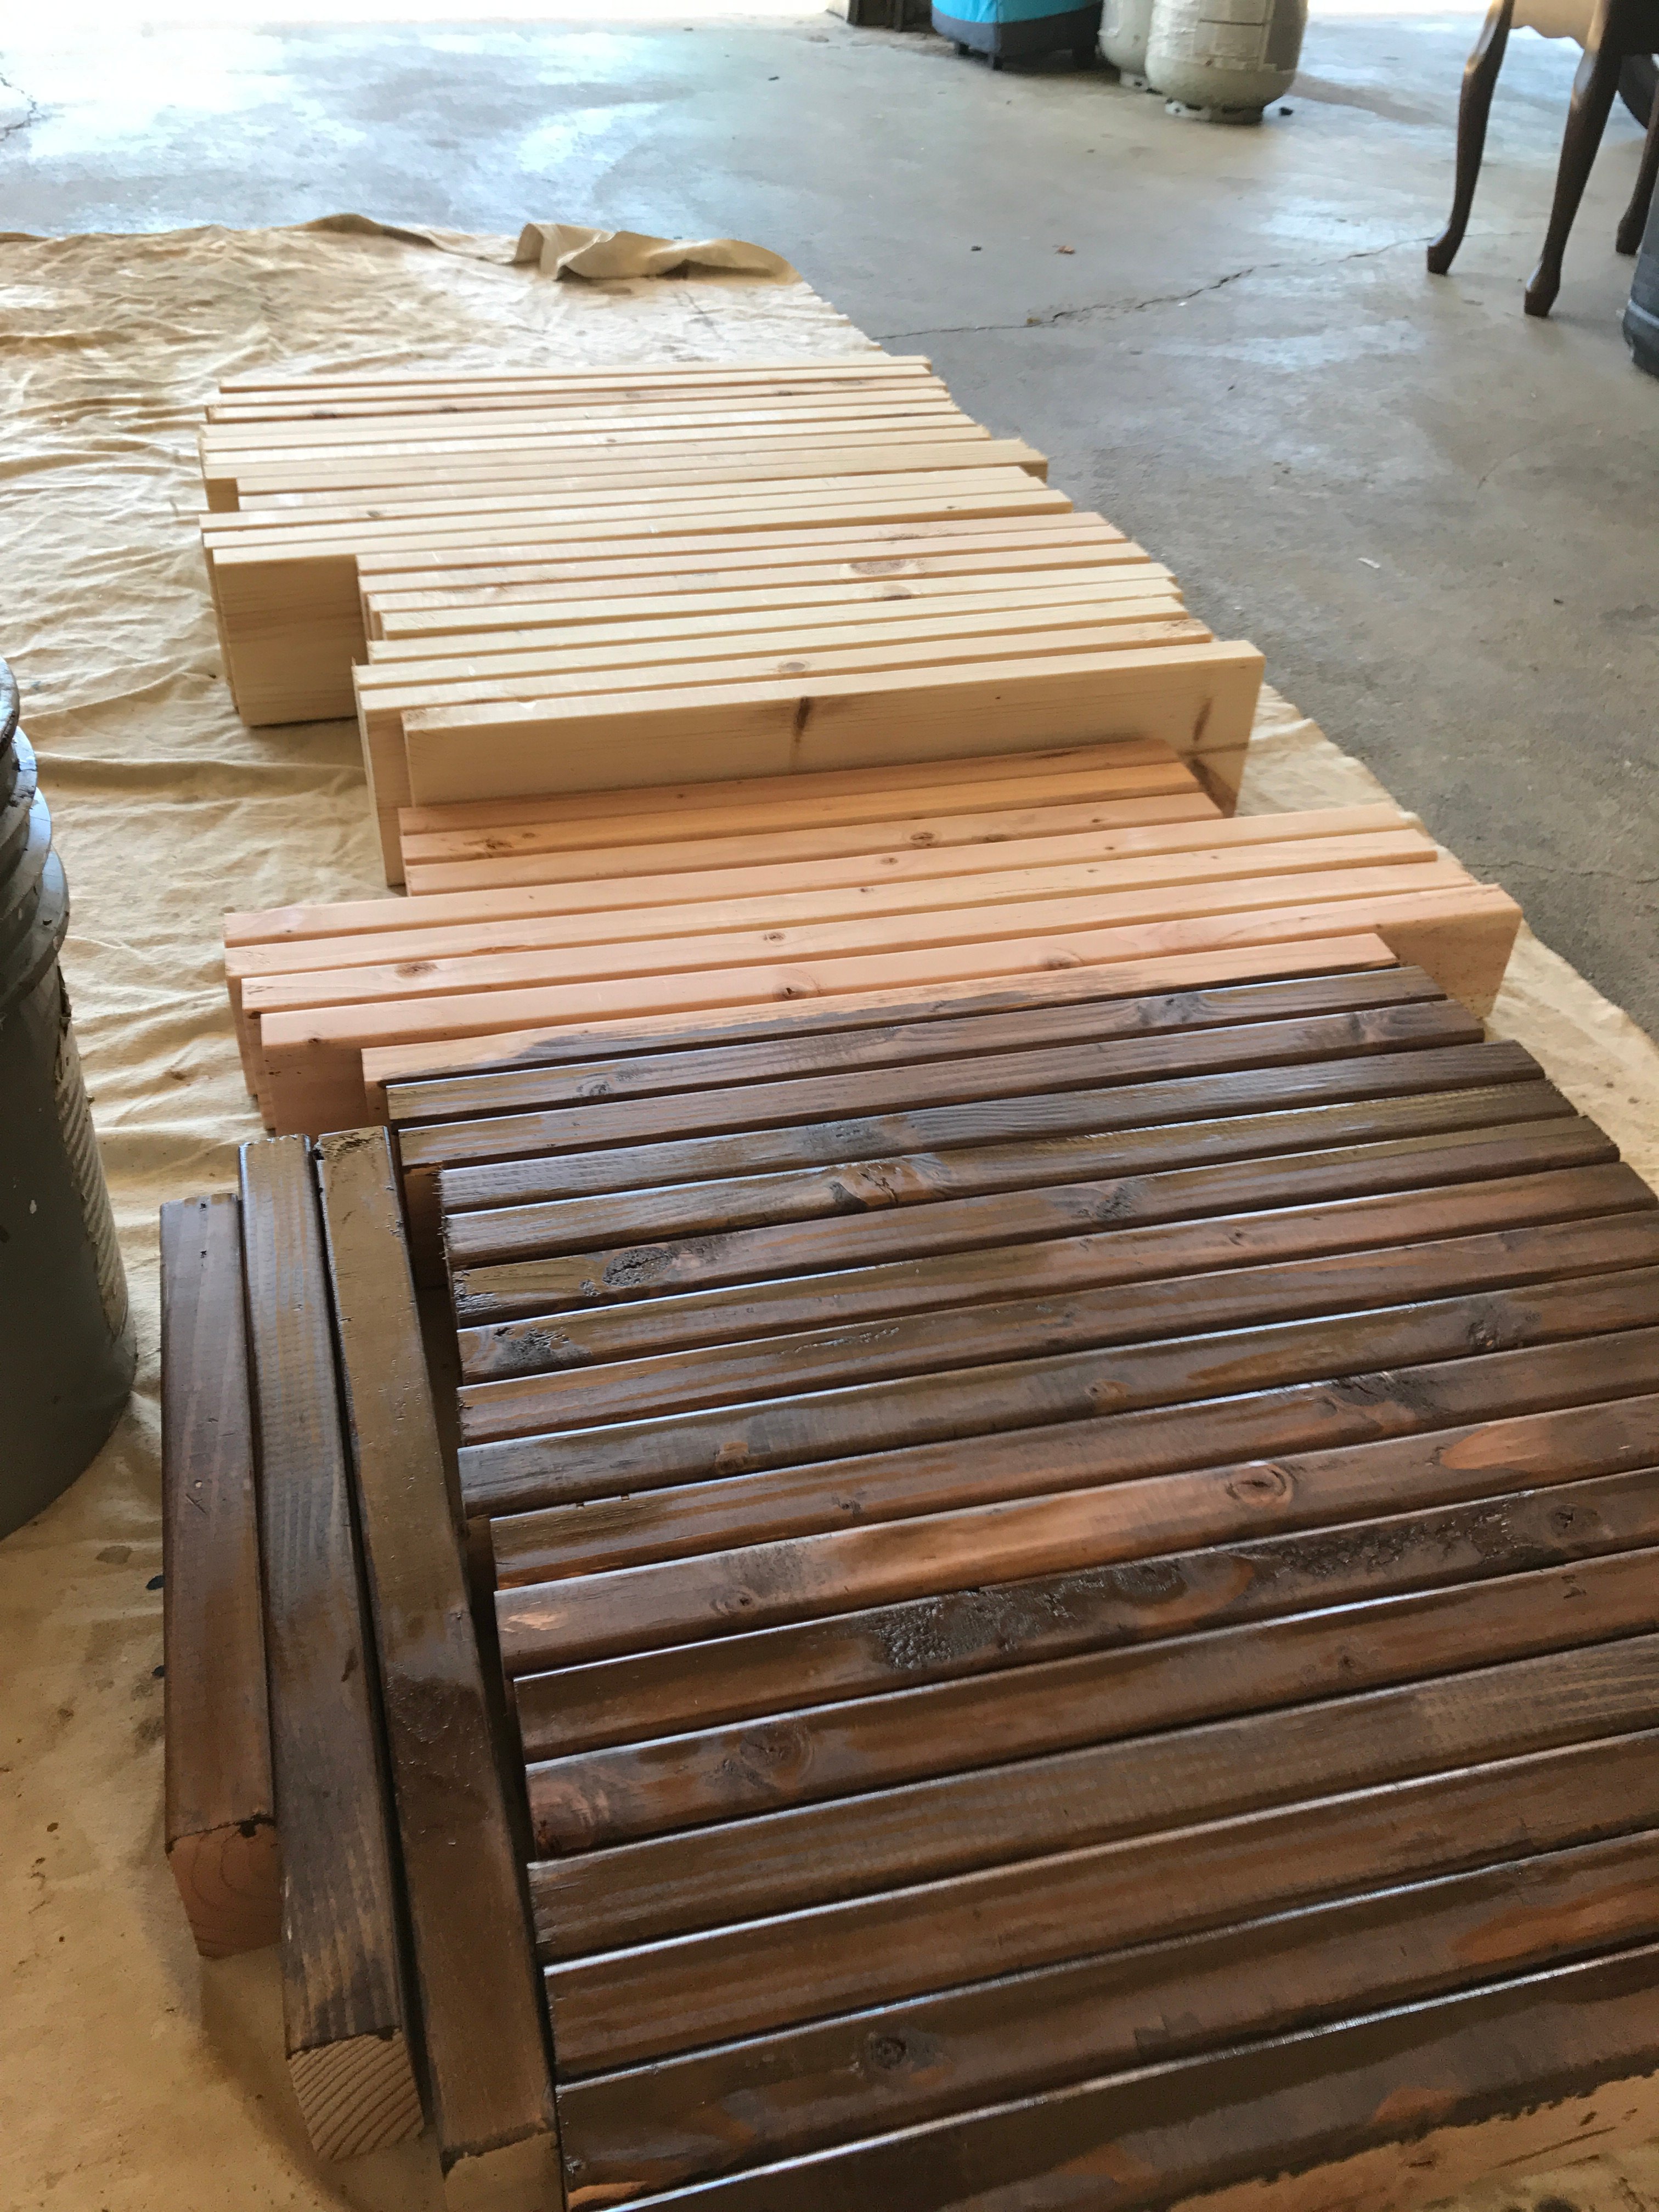
Finish Used
Olympic Deck Stain (709 in color) semi-transparent. Likely will seal with a clear coat later.
Recommended Skill Level
Beginner