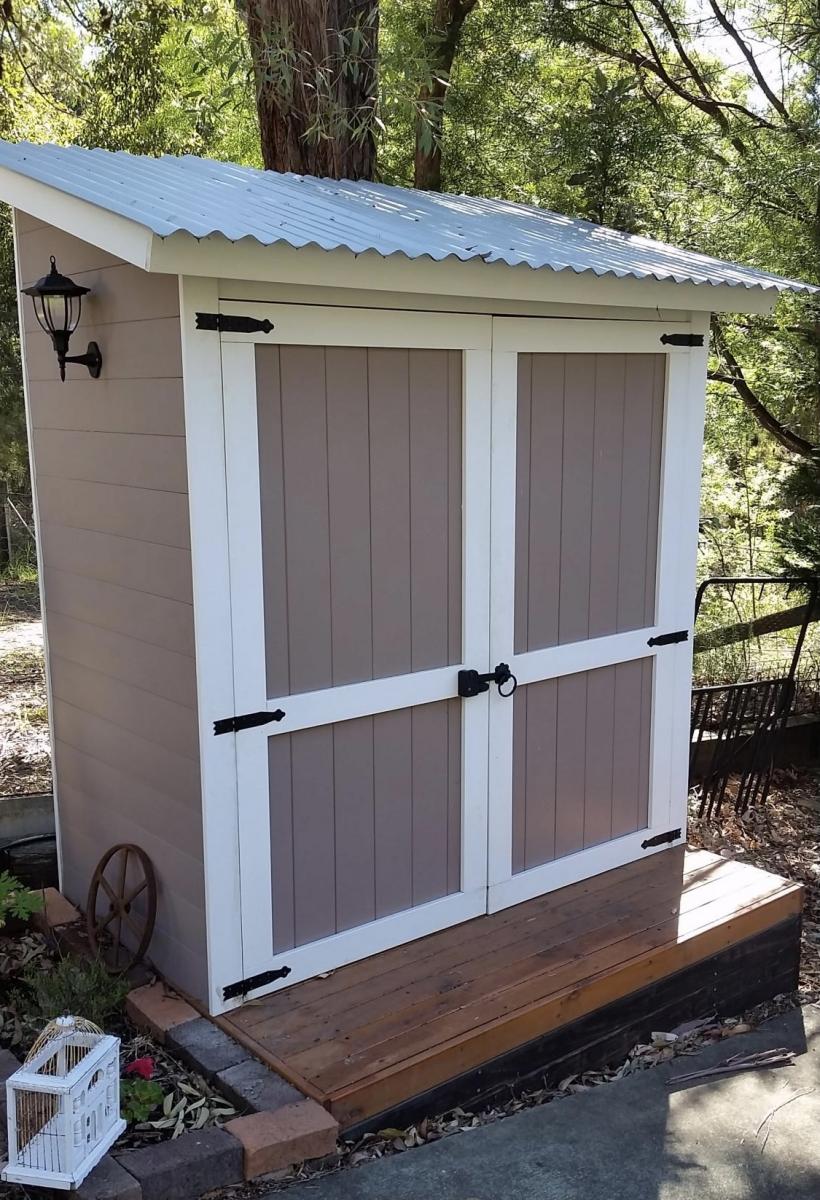
Garden Shed
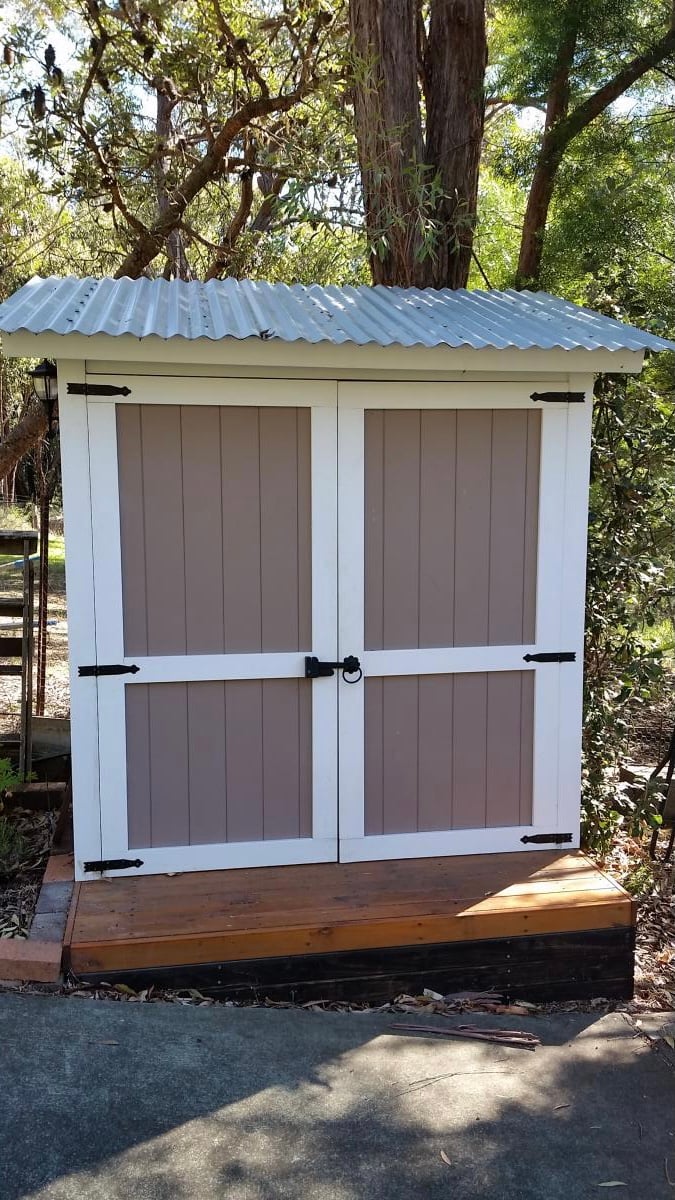
This was my first big Build! Thank you Ana for the free and easy to read plans.

Built from Plan(s)
This was my first big Build! Thank you Ana for the free and easy to read plans.
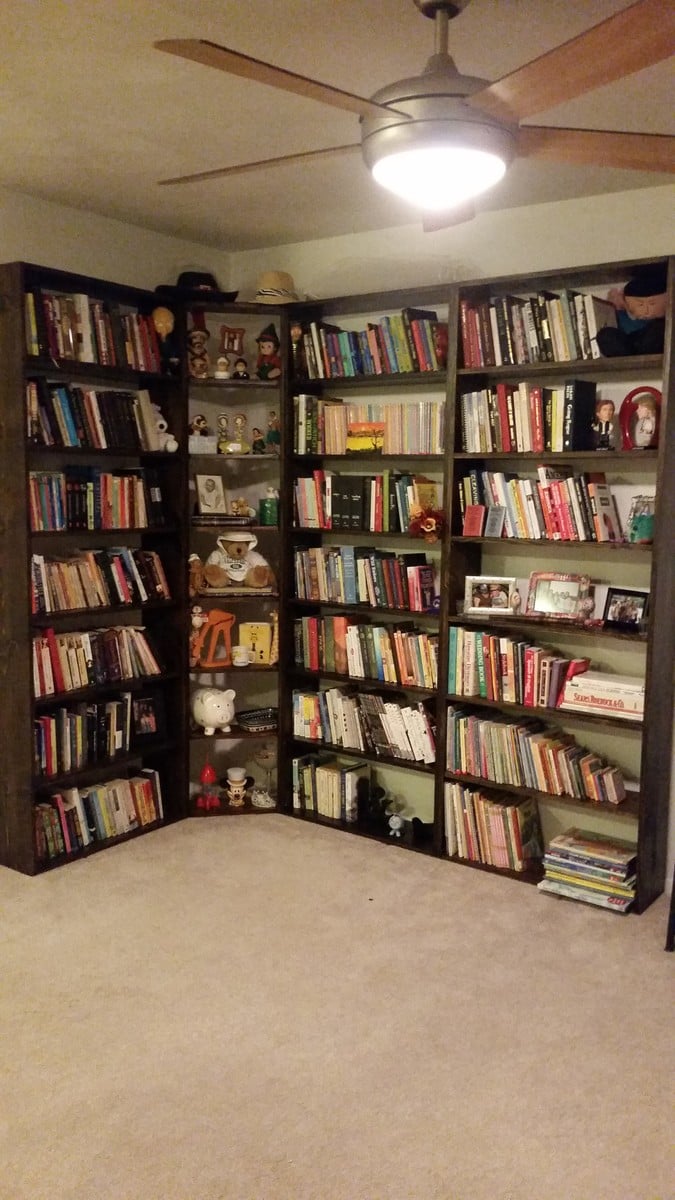
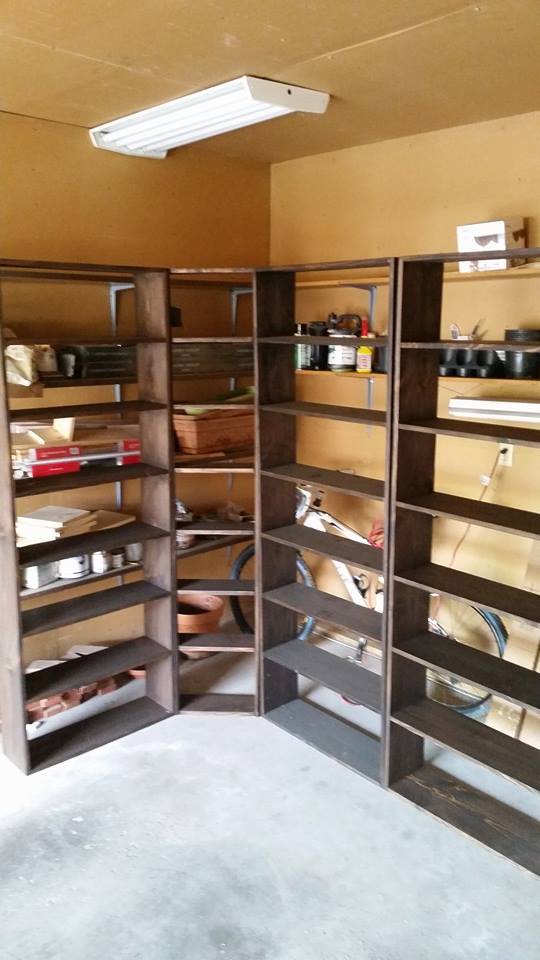
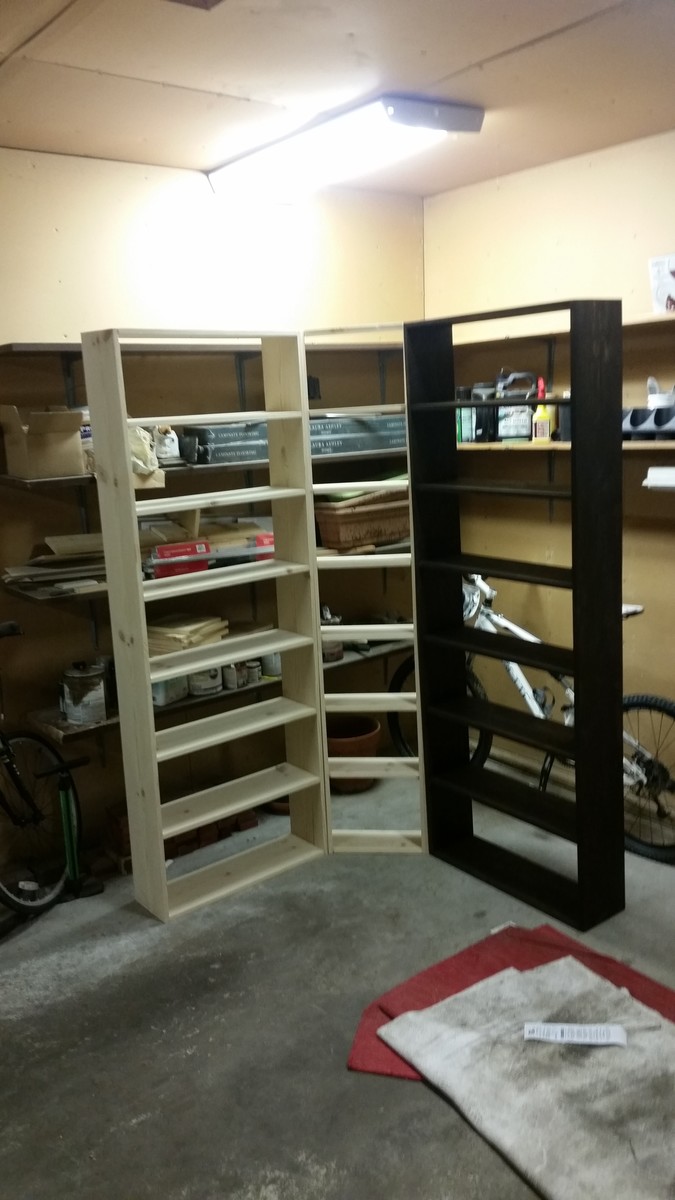
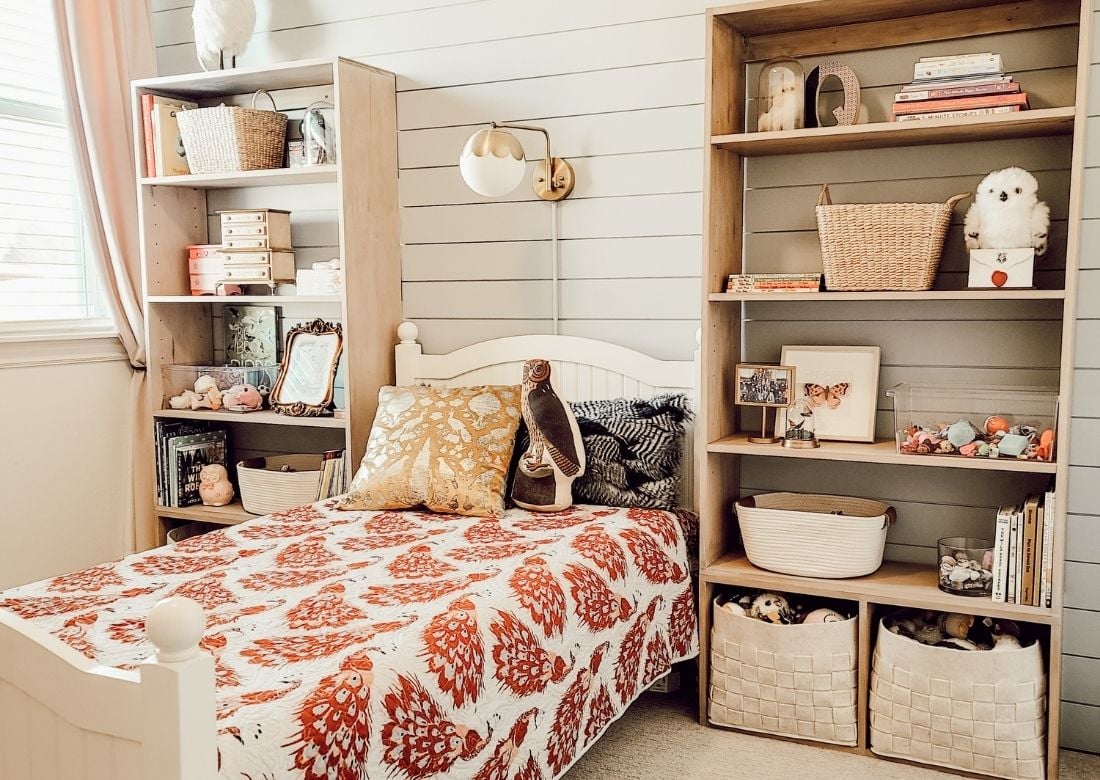
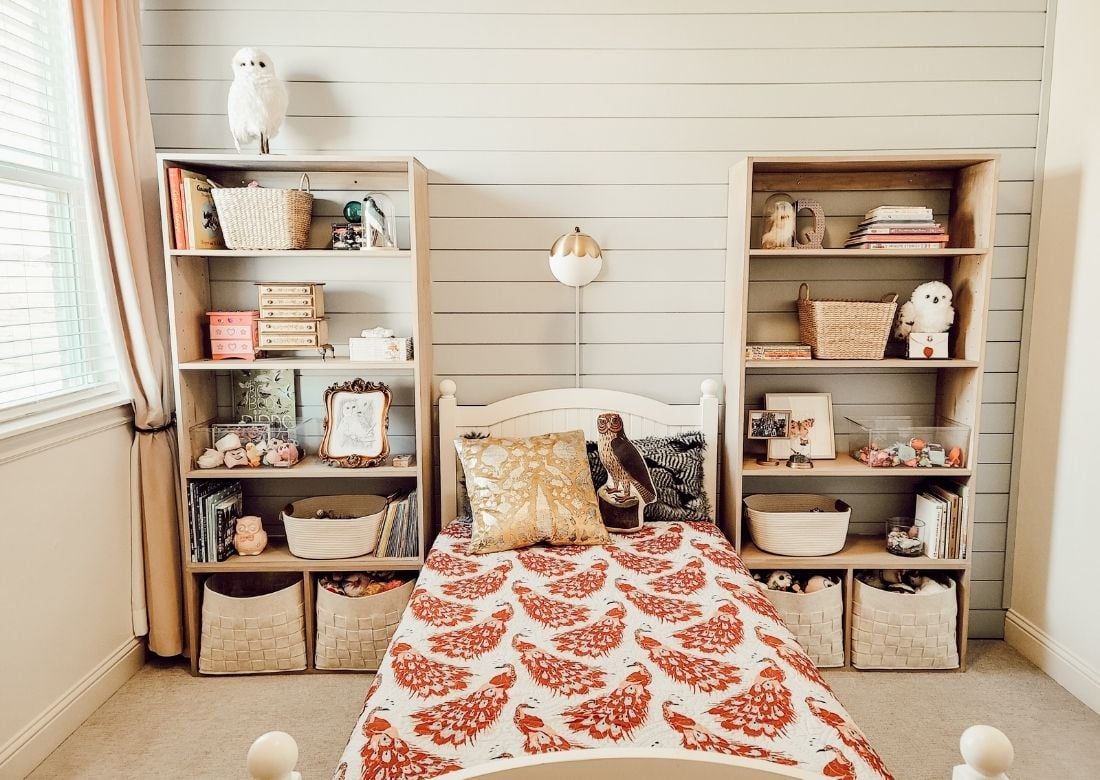
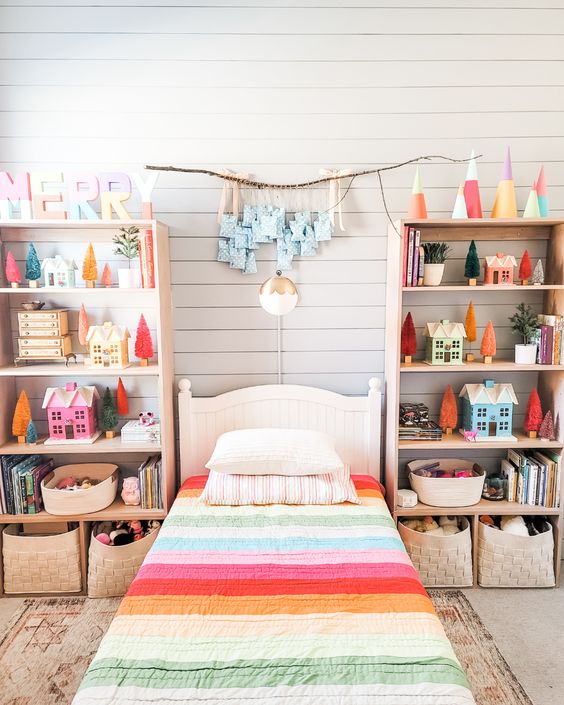
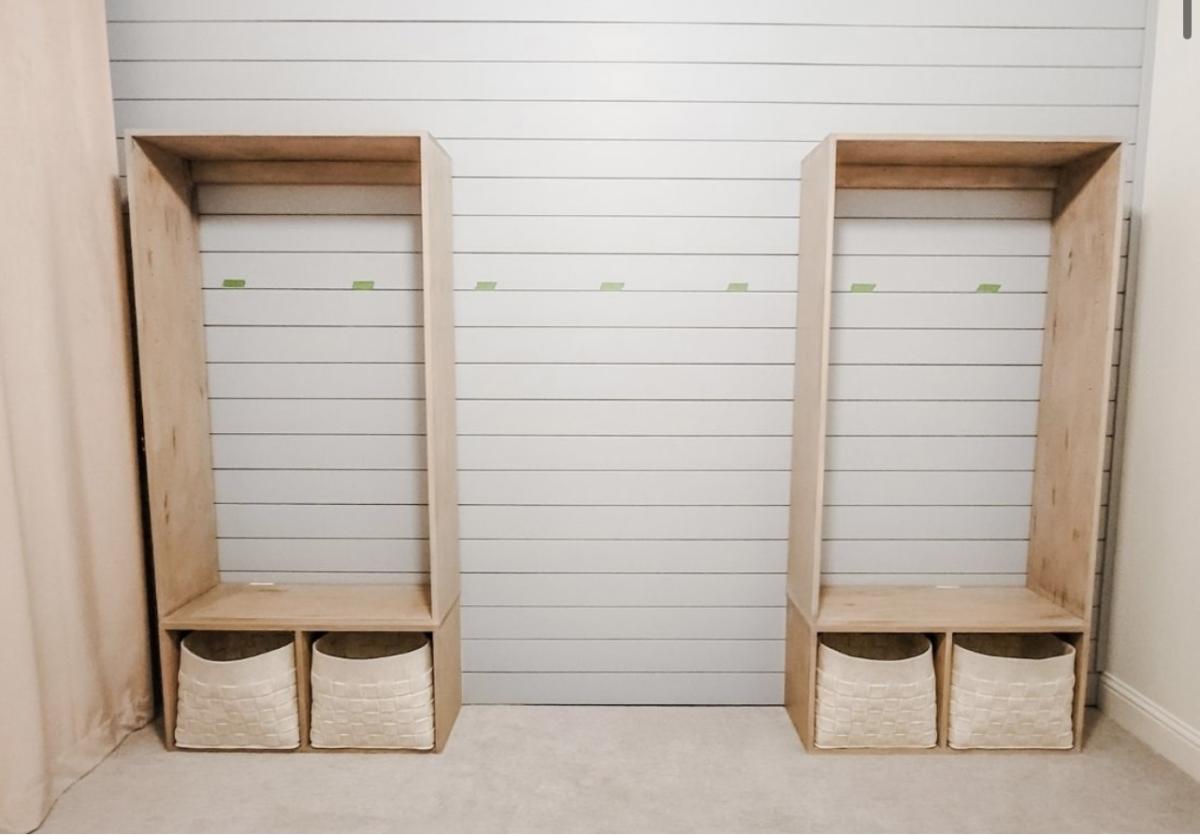
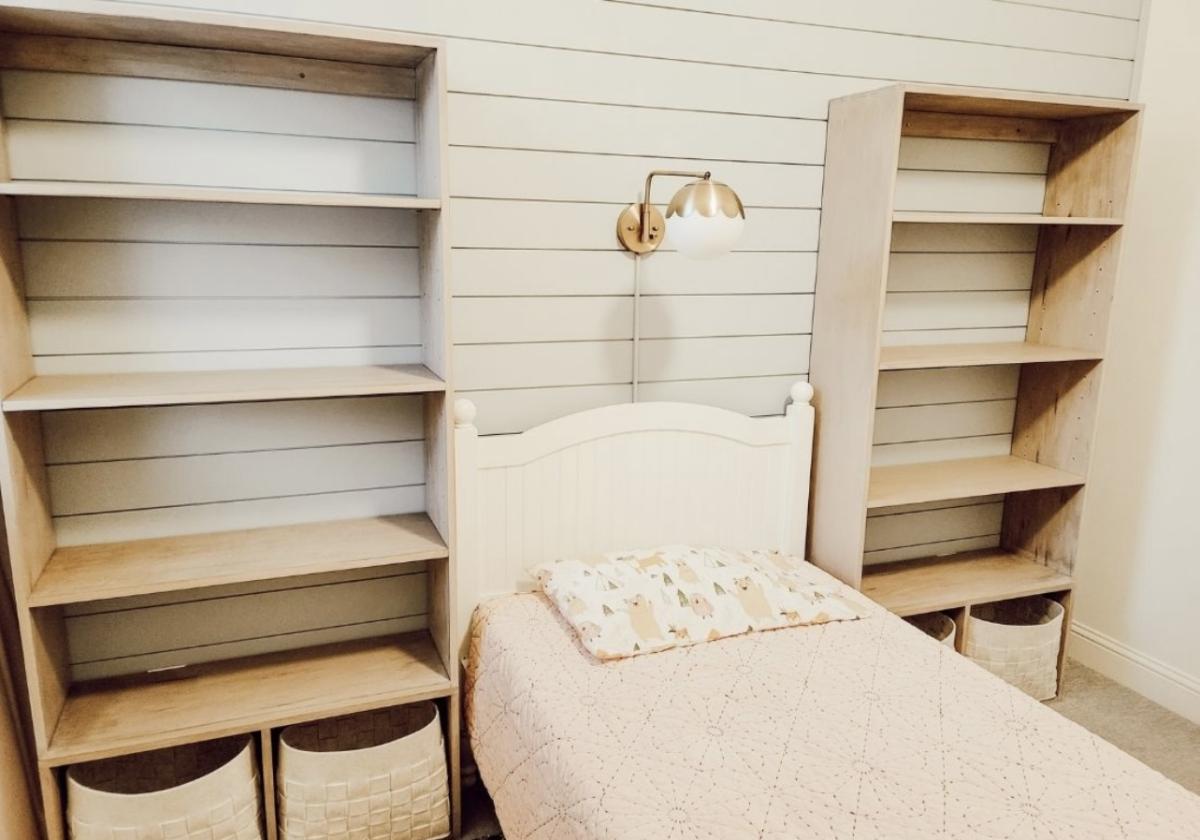
This is the project that inspired me to start woodworking. I'm a bookaholic and have always used cheap, particle board bookcases from Walmart for storage. They're fine for the price, but over time the shelves bow and they NEVER survive a move. When I outgrew the three units I had, I balked at buying a fourth, which I didn't really have room for anyway. Enter Ana White! This is actually based off a brag project under the IKEA Lack Inspired Bookcase. What I love best about building my own is that I can customize to suit my needs. I was able to put almost twice as much shelving into about the same area. And if I outgrow these, I can just build another!
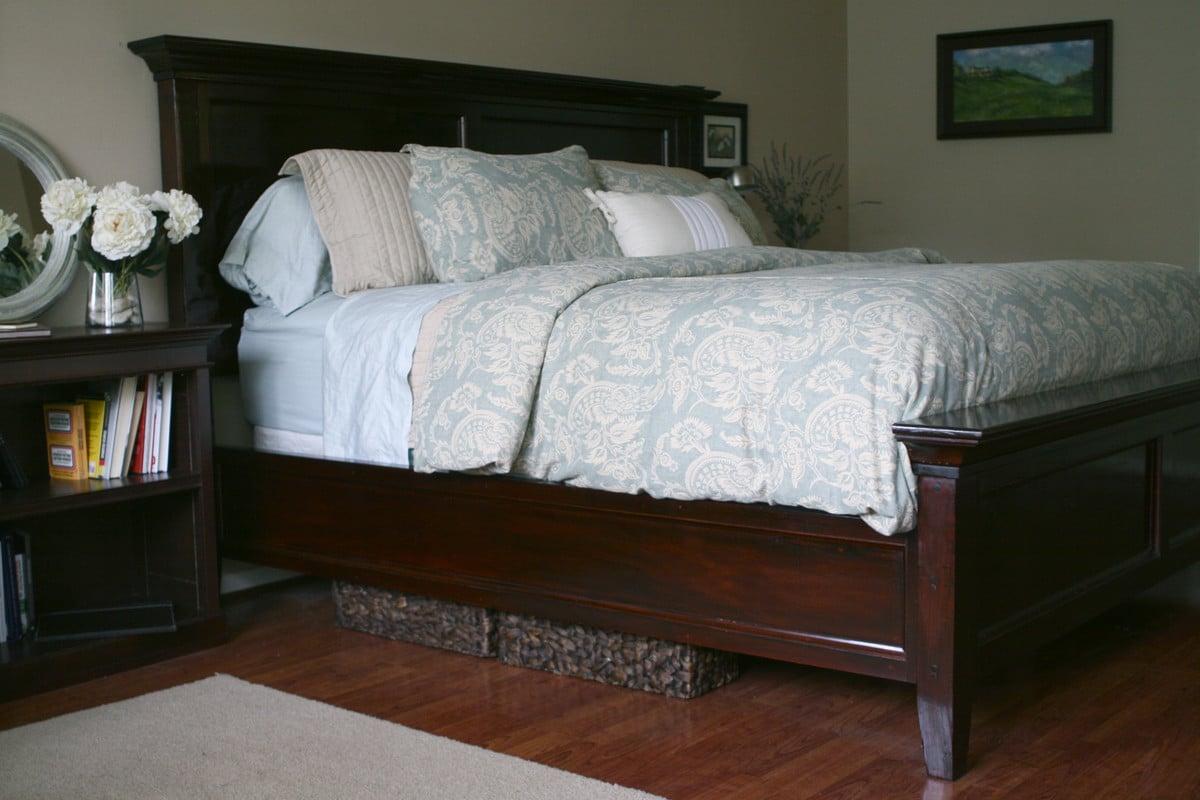
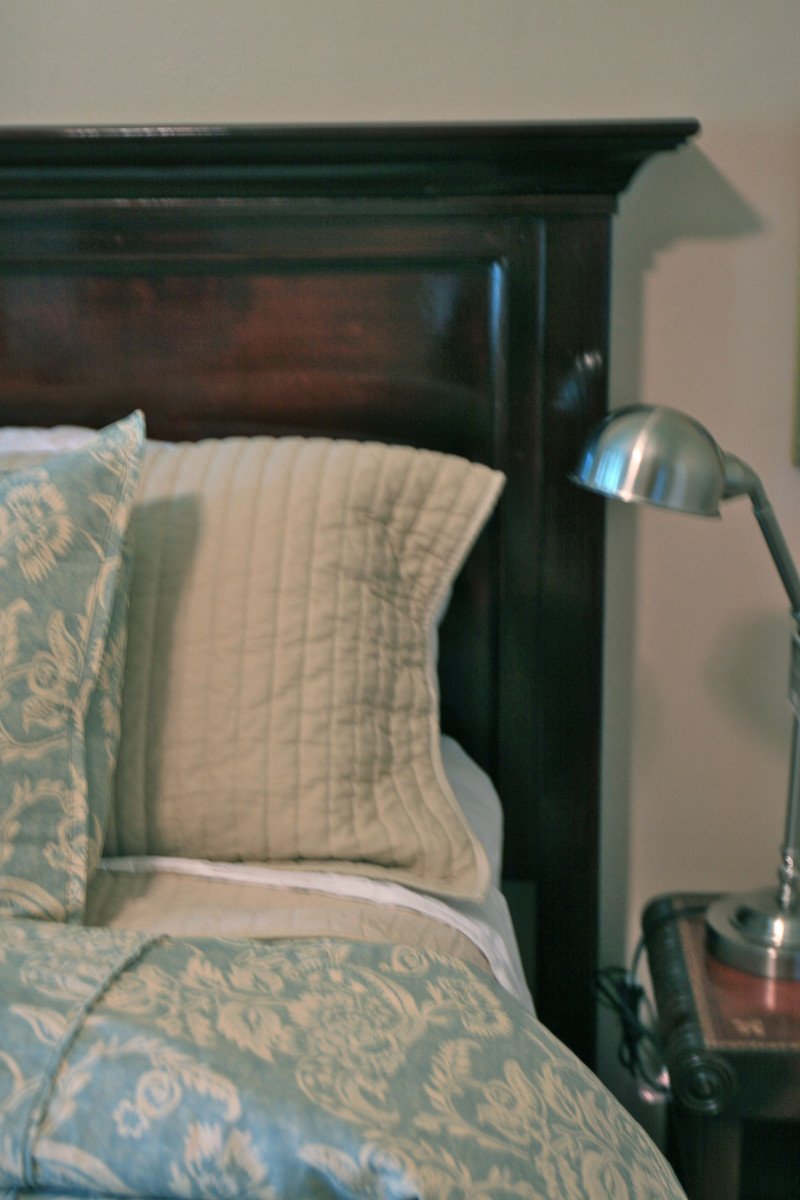
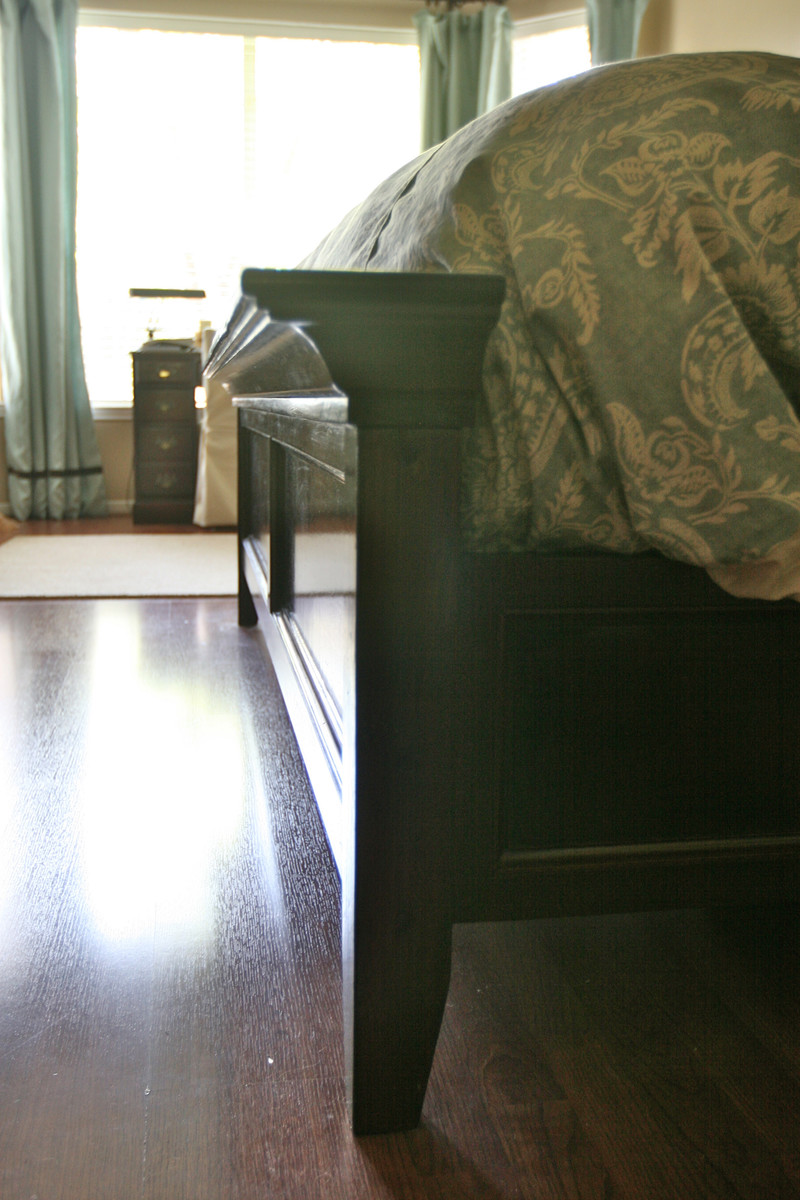
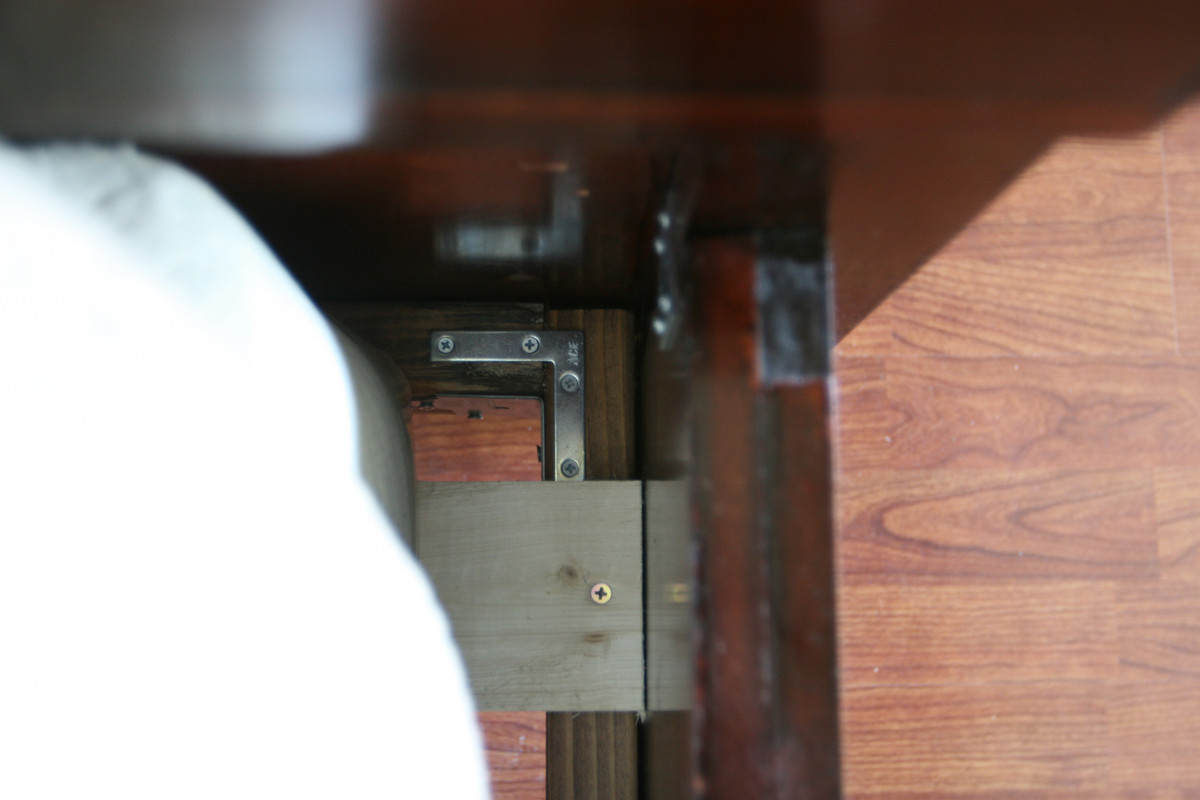
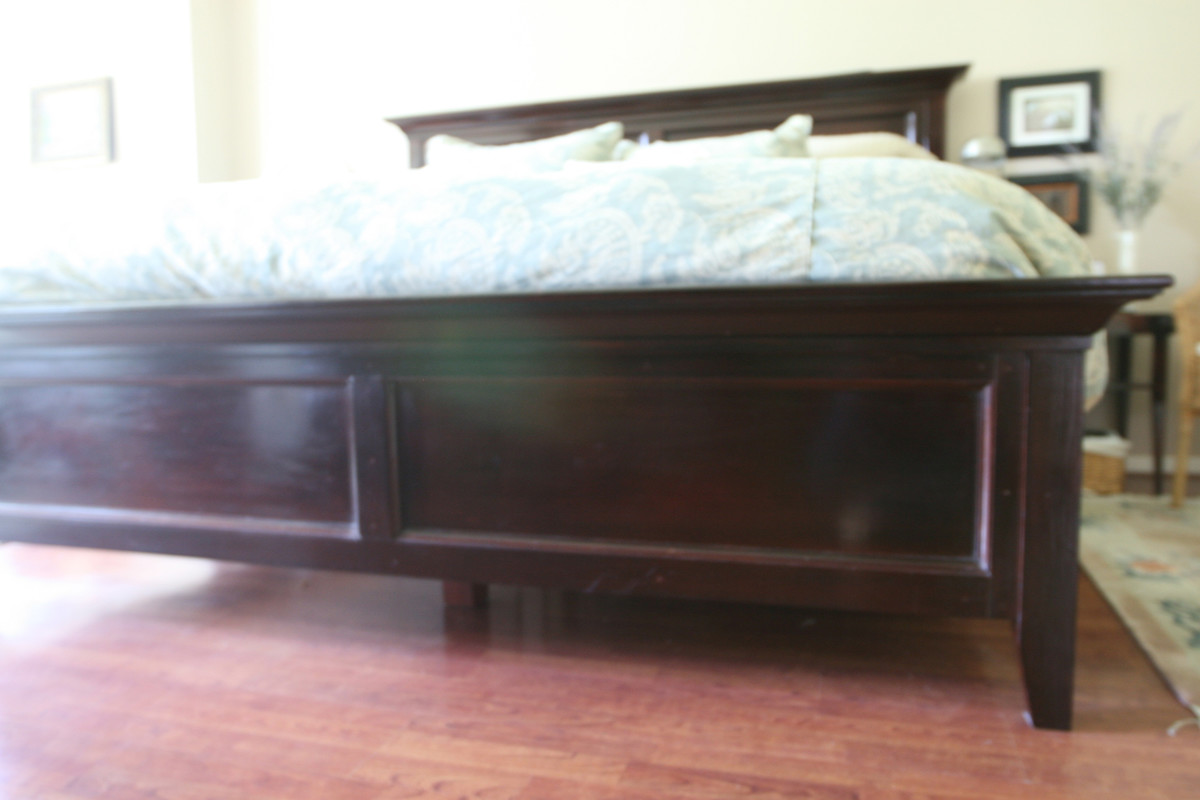
This was our first project. My husband and I took the Farmhouse bed plans and modified them to look more like the Hudson Bed from Pottery Barn. This is a King size bed with removable side rails and under bed supports so that it can easily be collapsed for moving.
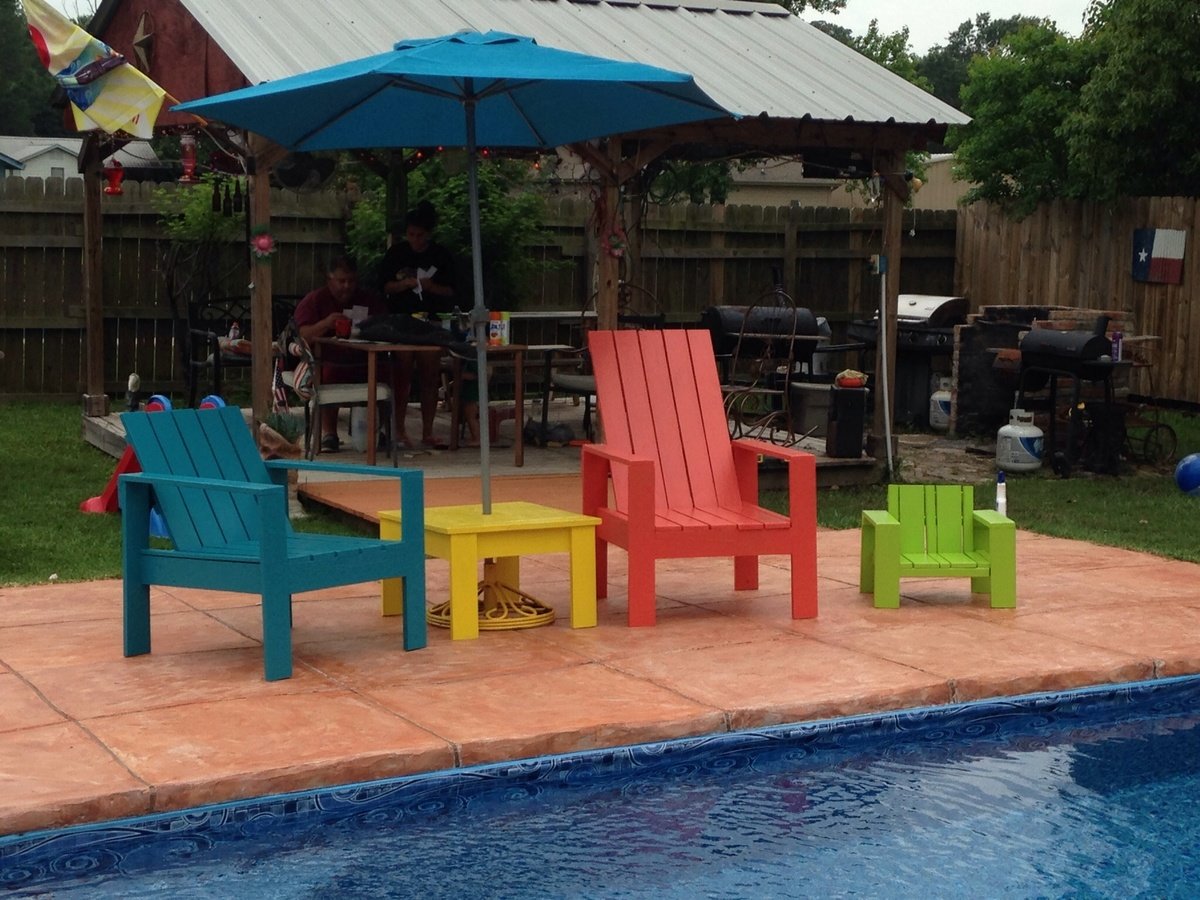
I made the back slats taller on the second chair (salmon colored one) so I could just lay my head back. They were so easy and I can't believe I did this myself! We made the baby chair with the scraps and our grandbabies love it!
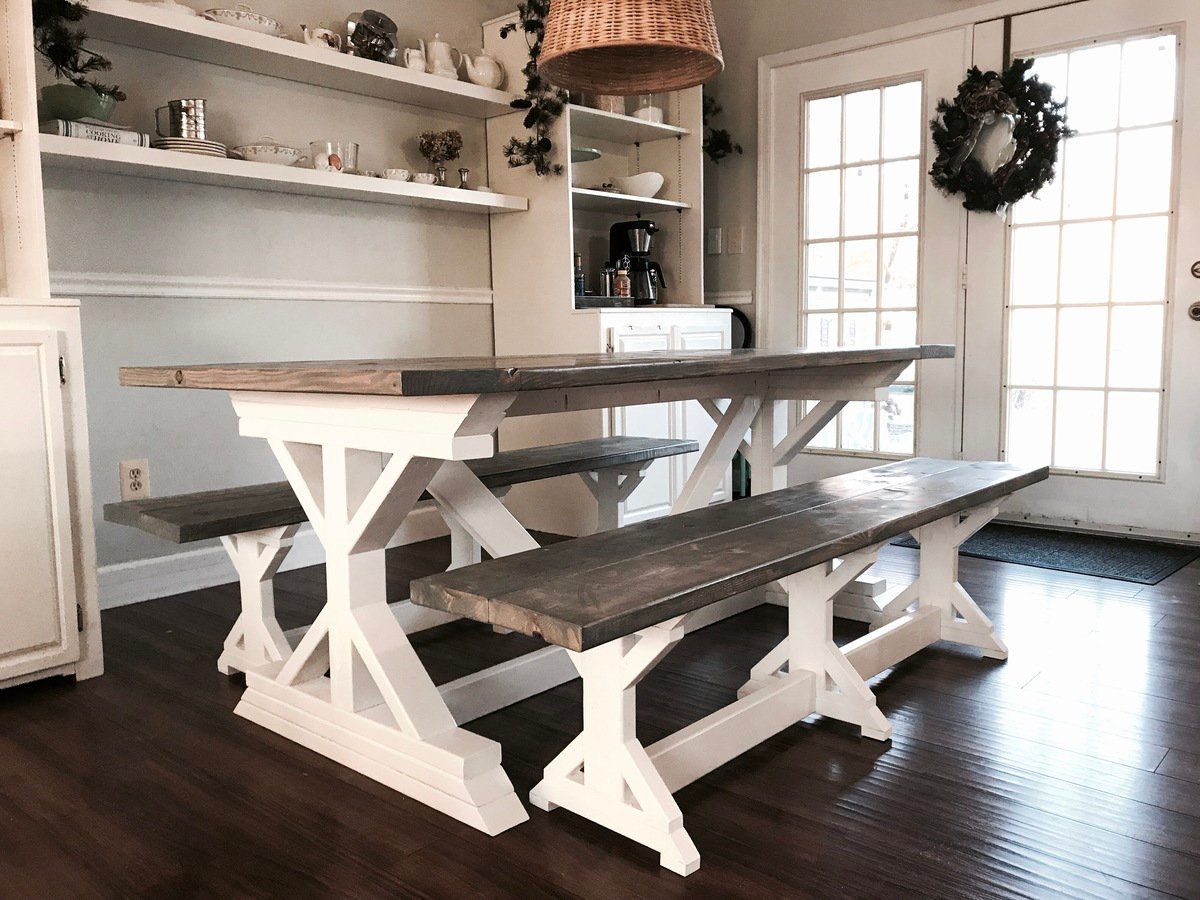
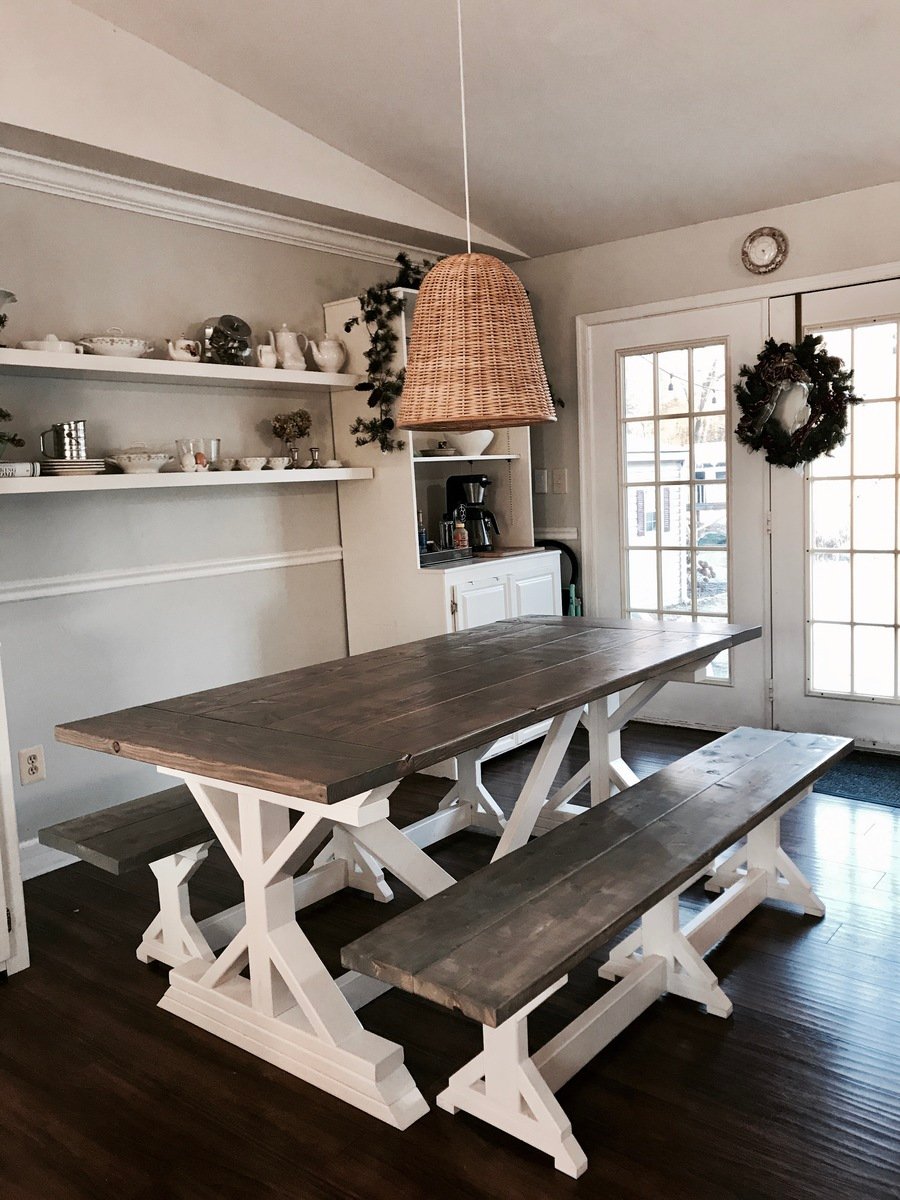
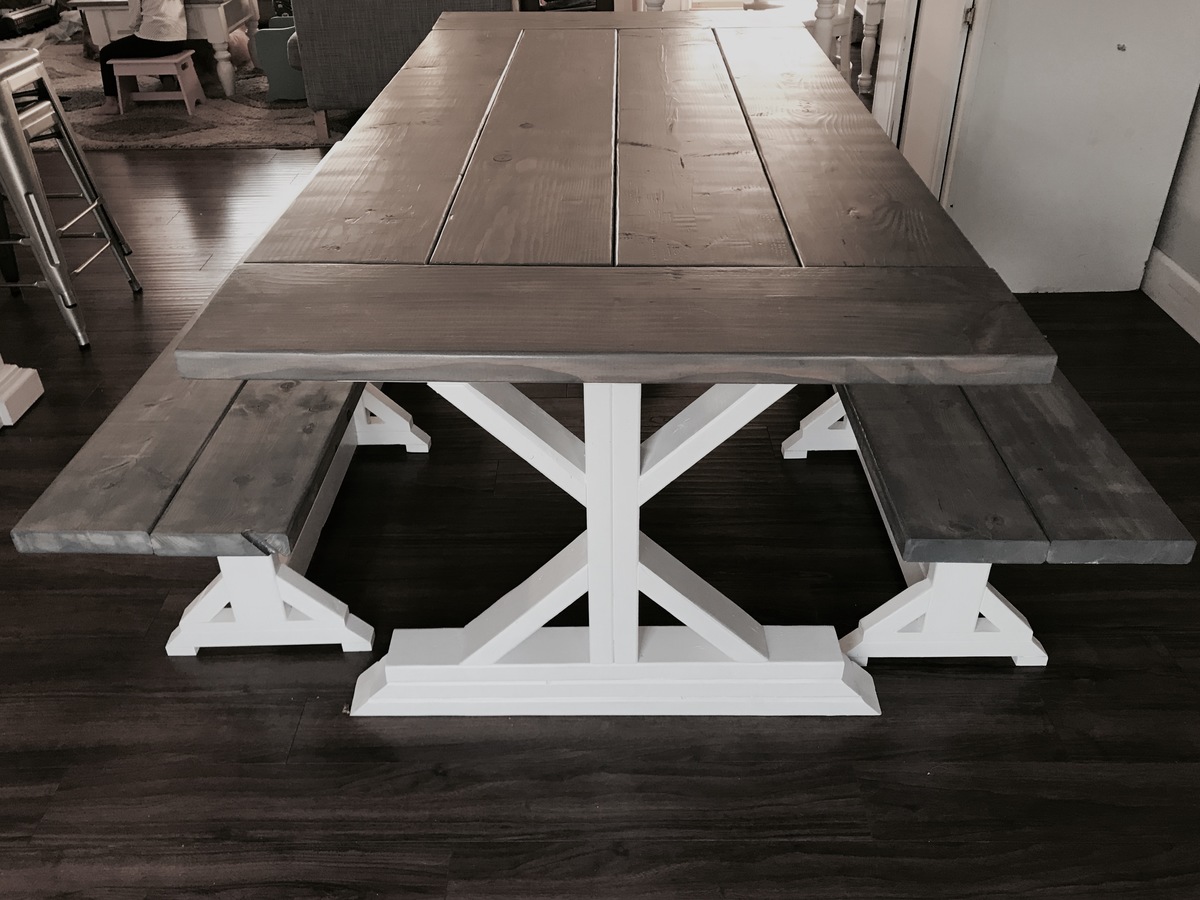
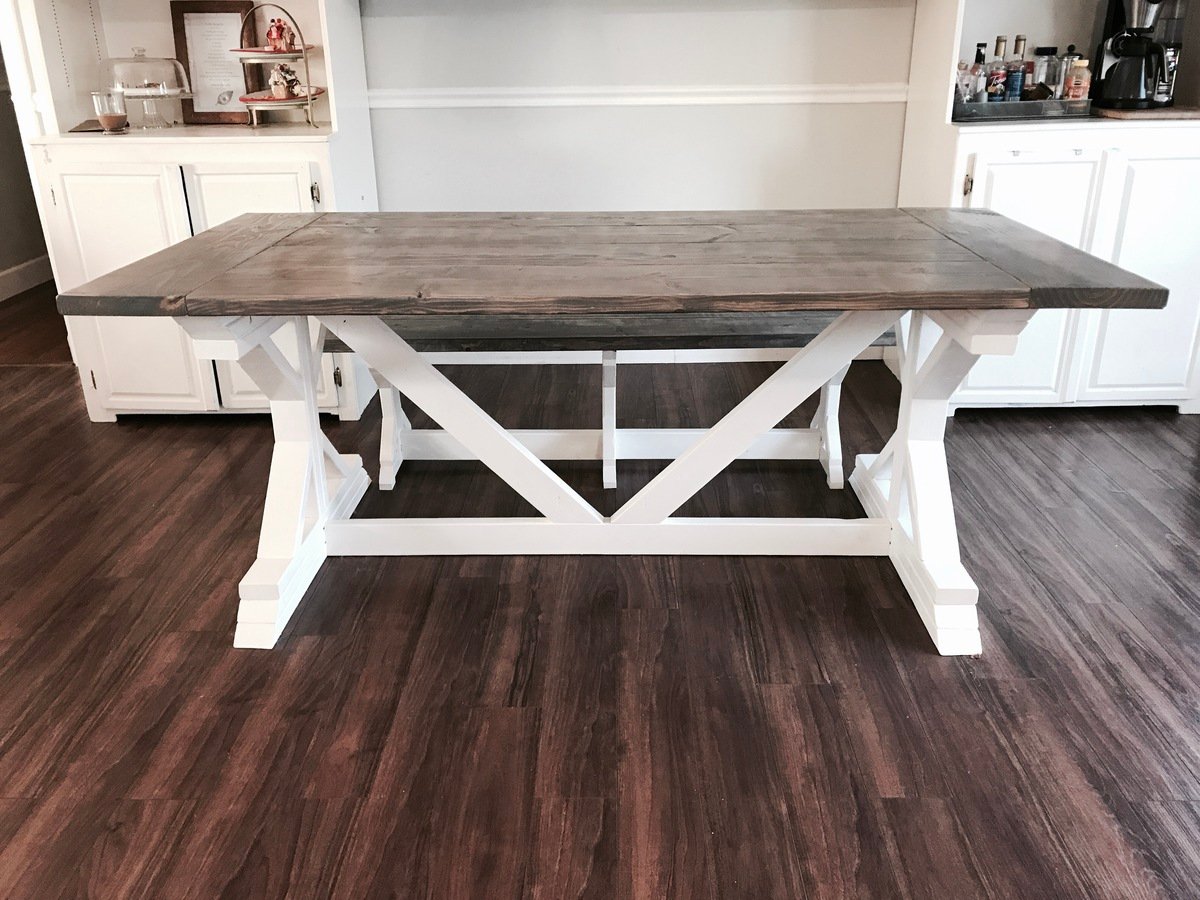
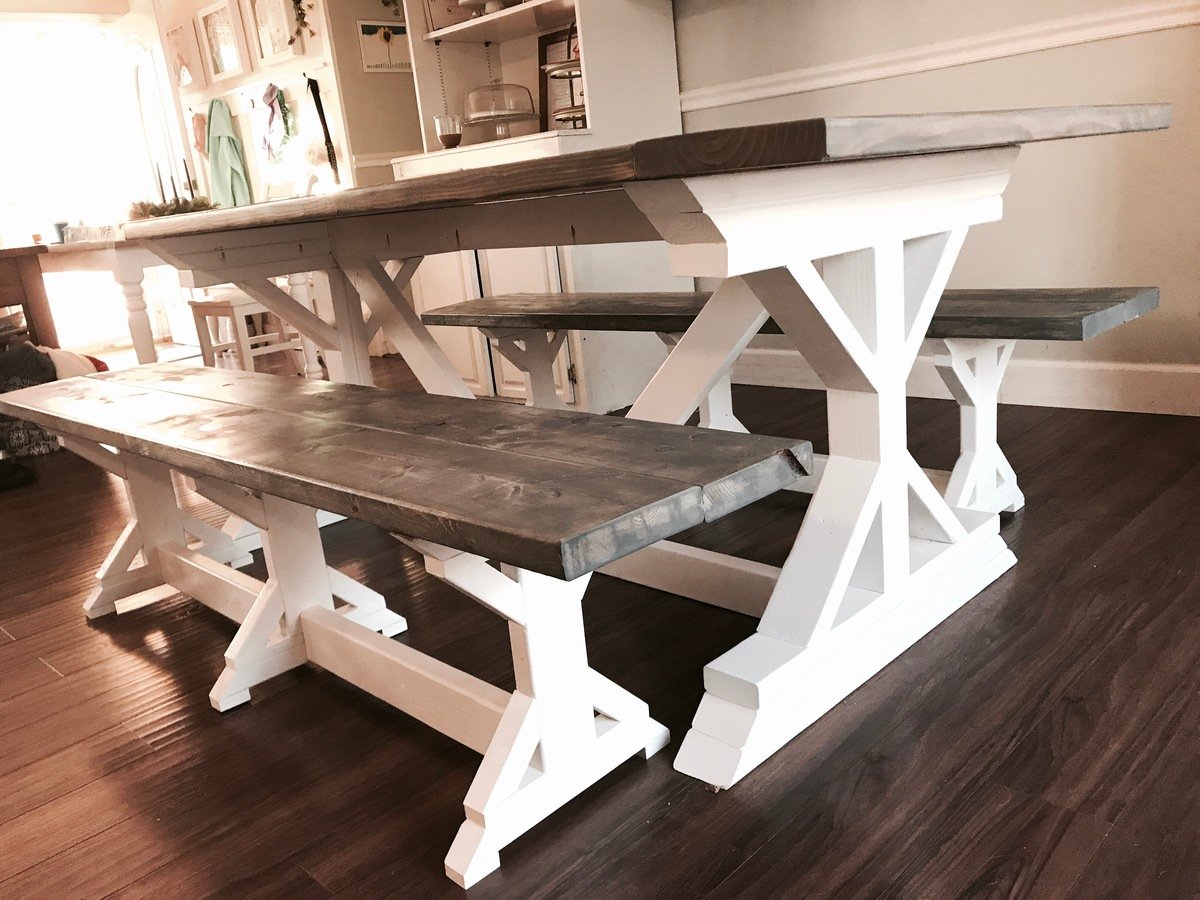
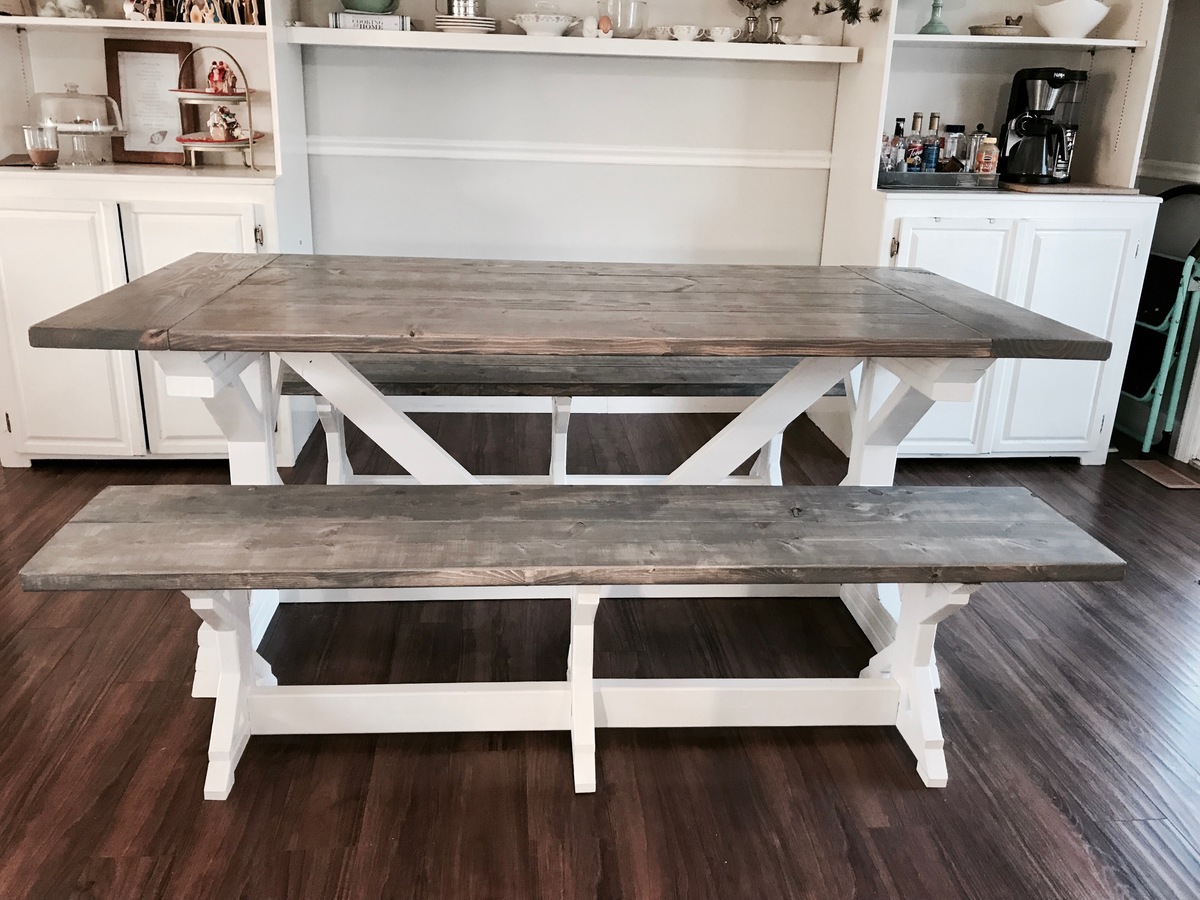
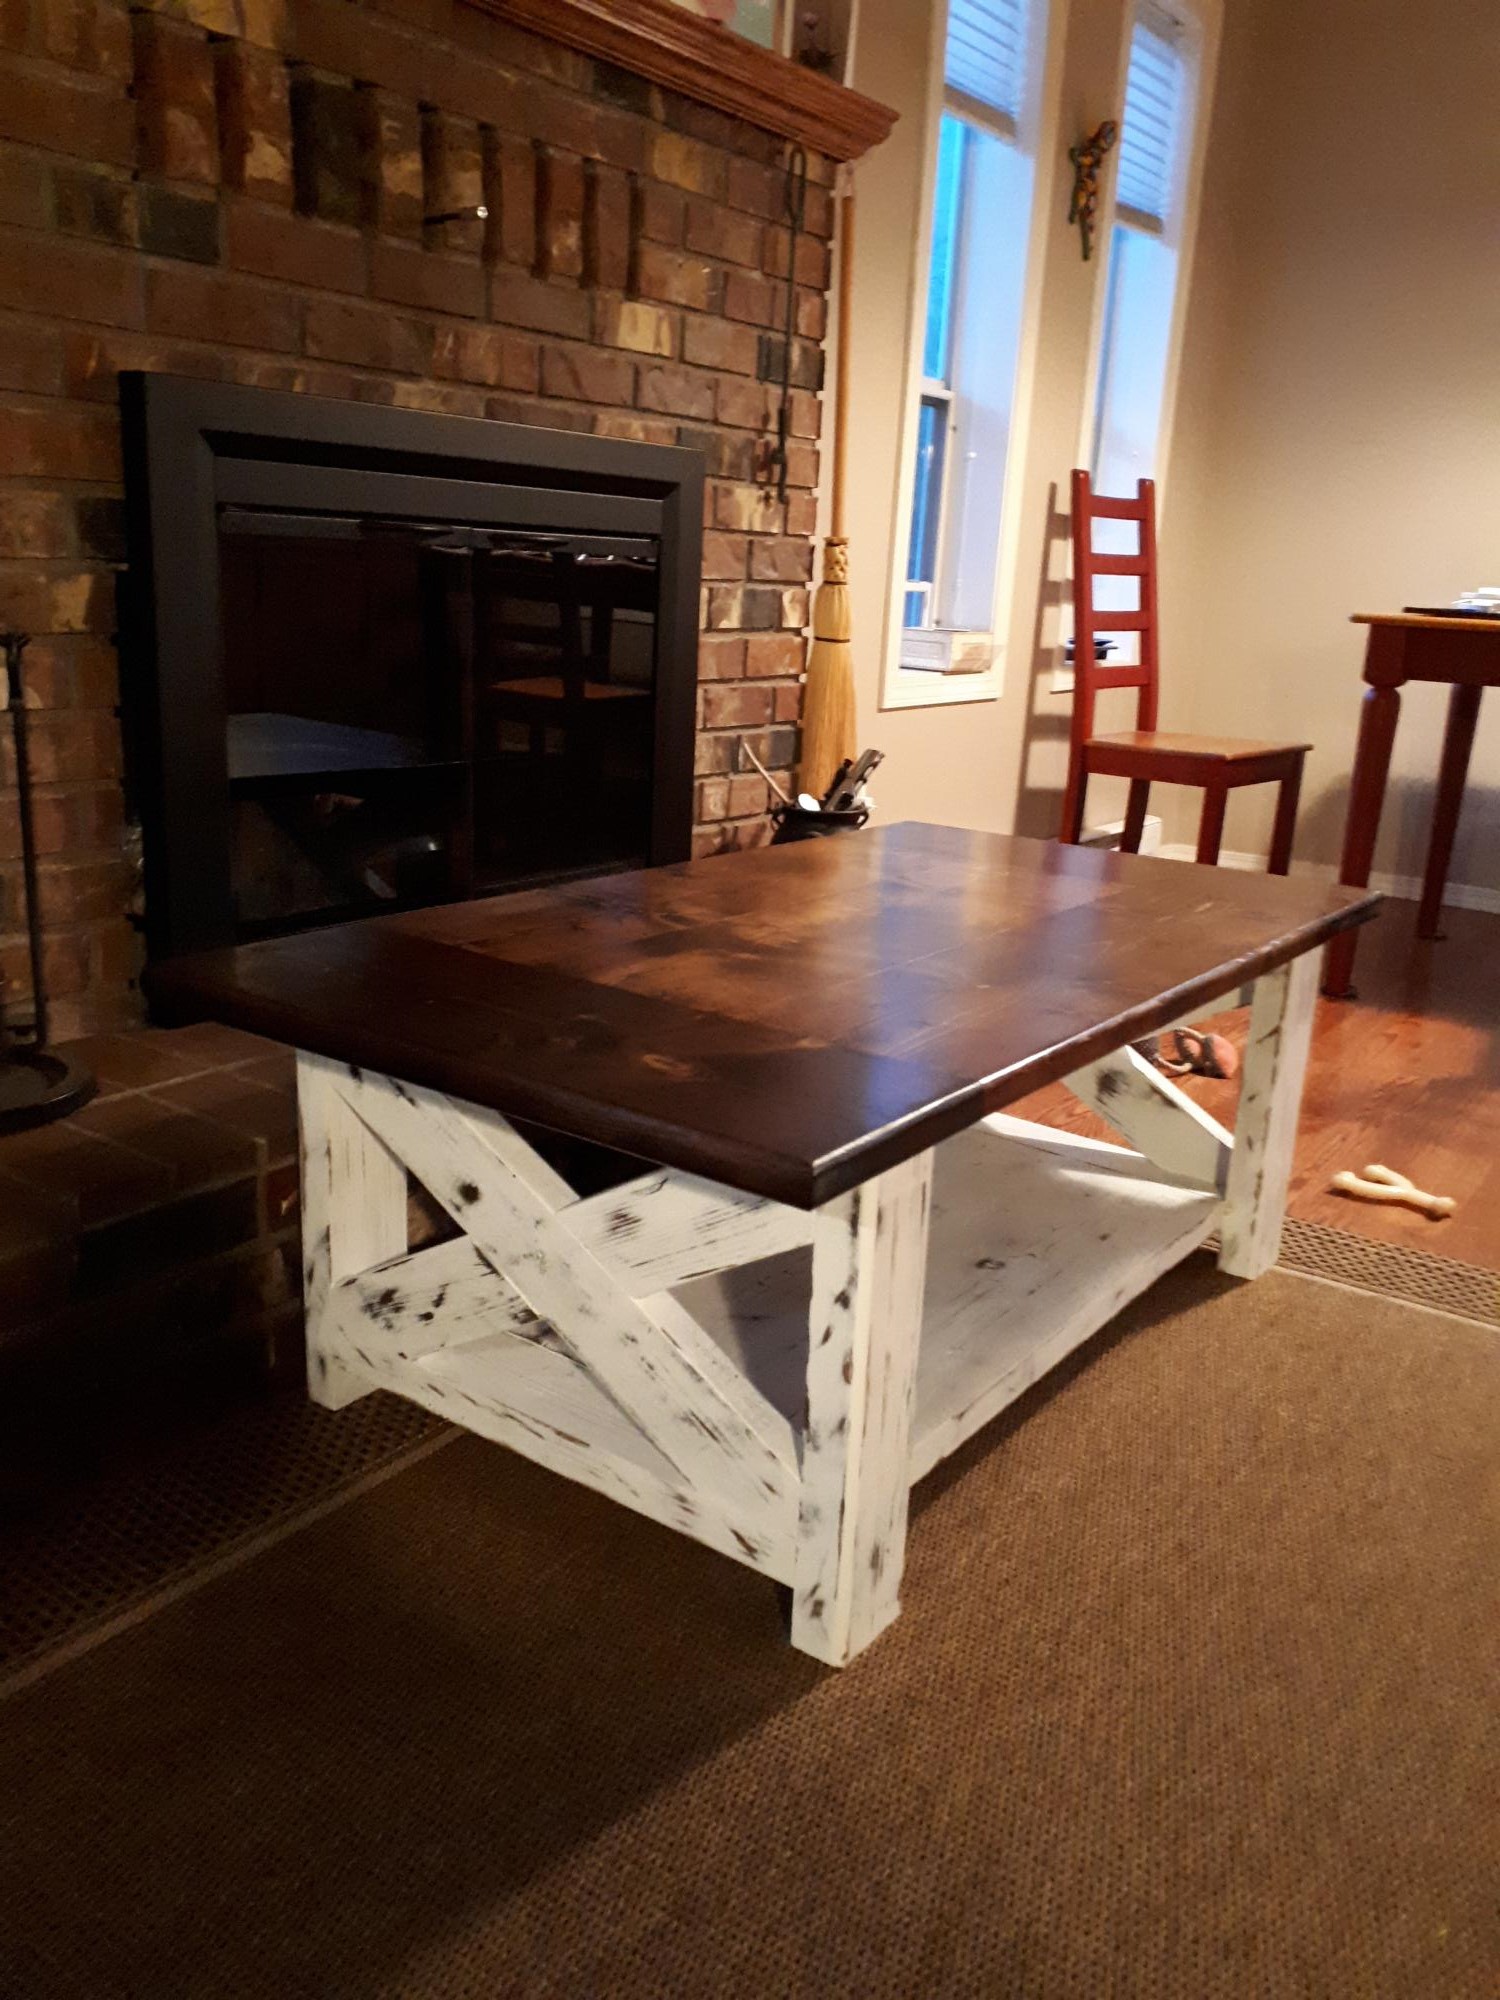
A beautiful 6 1/2 foot weather gray farm table. Thanks for the design, Ana!
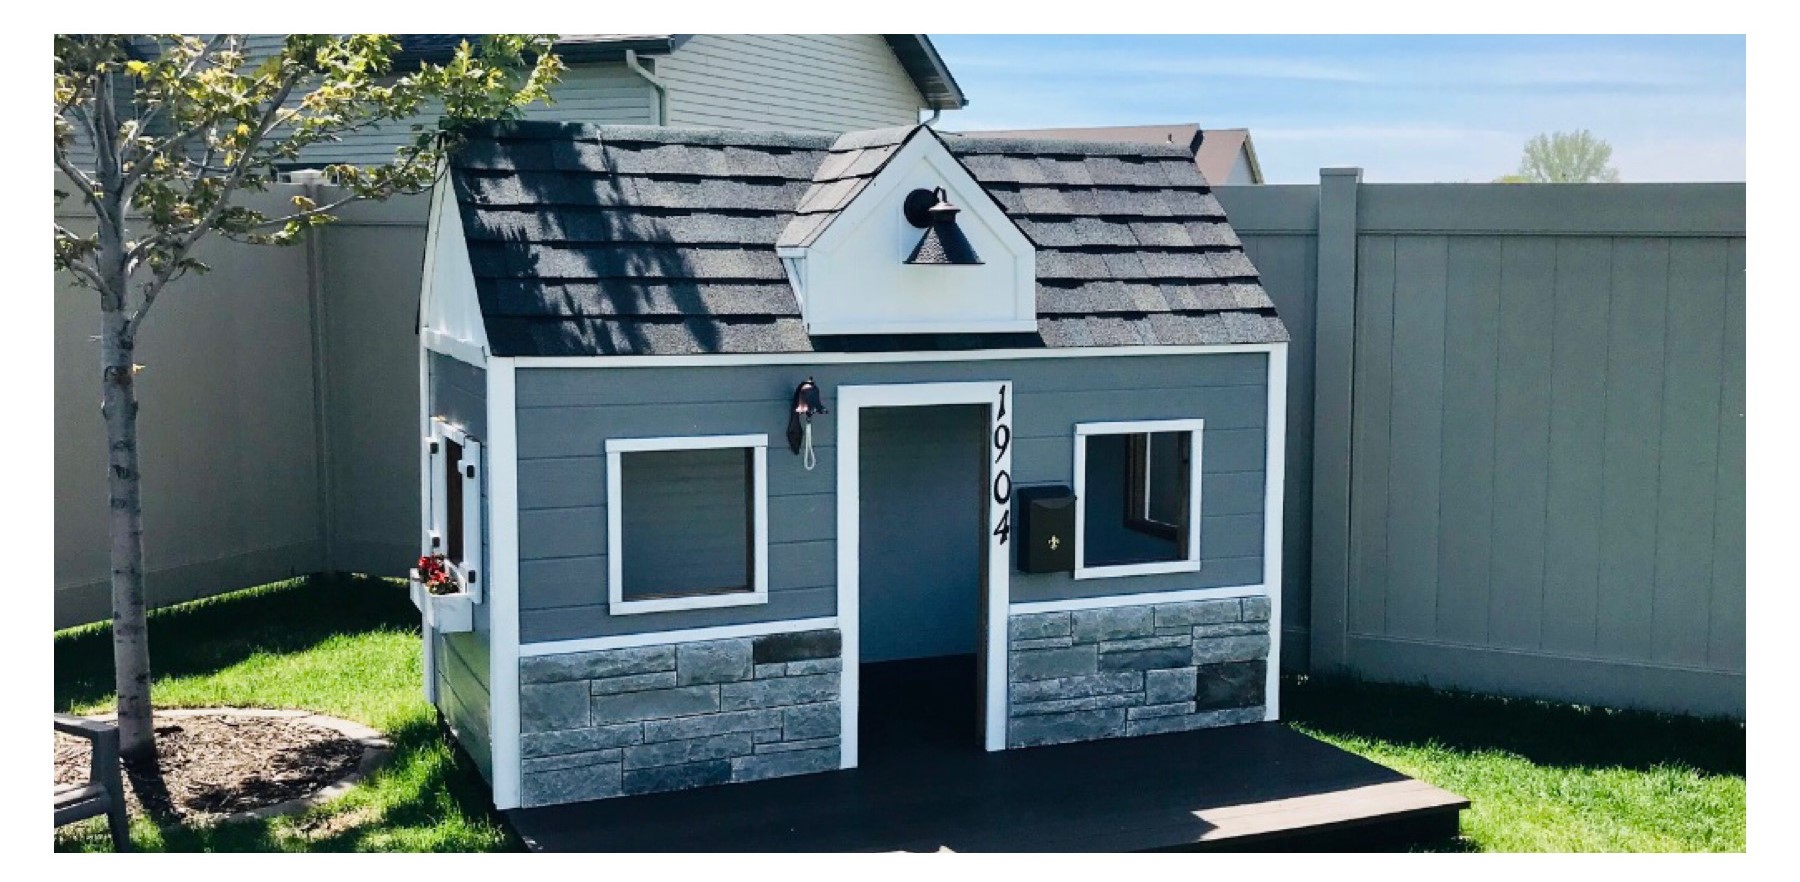
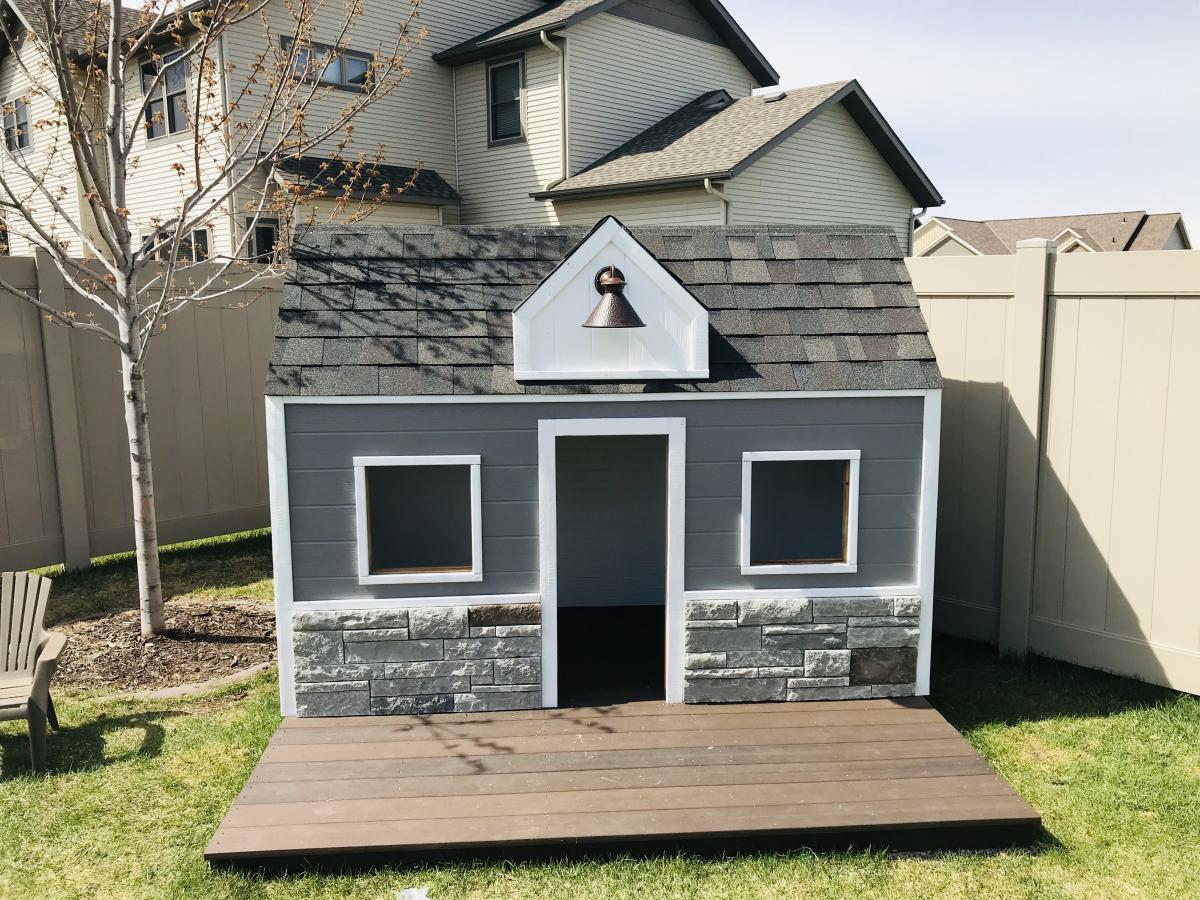
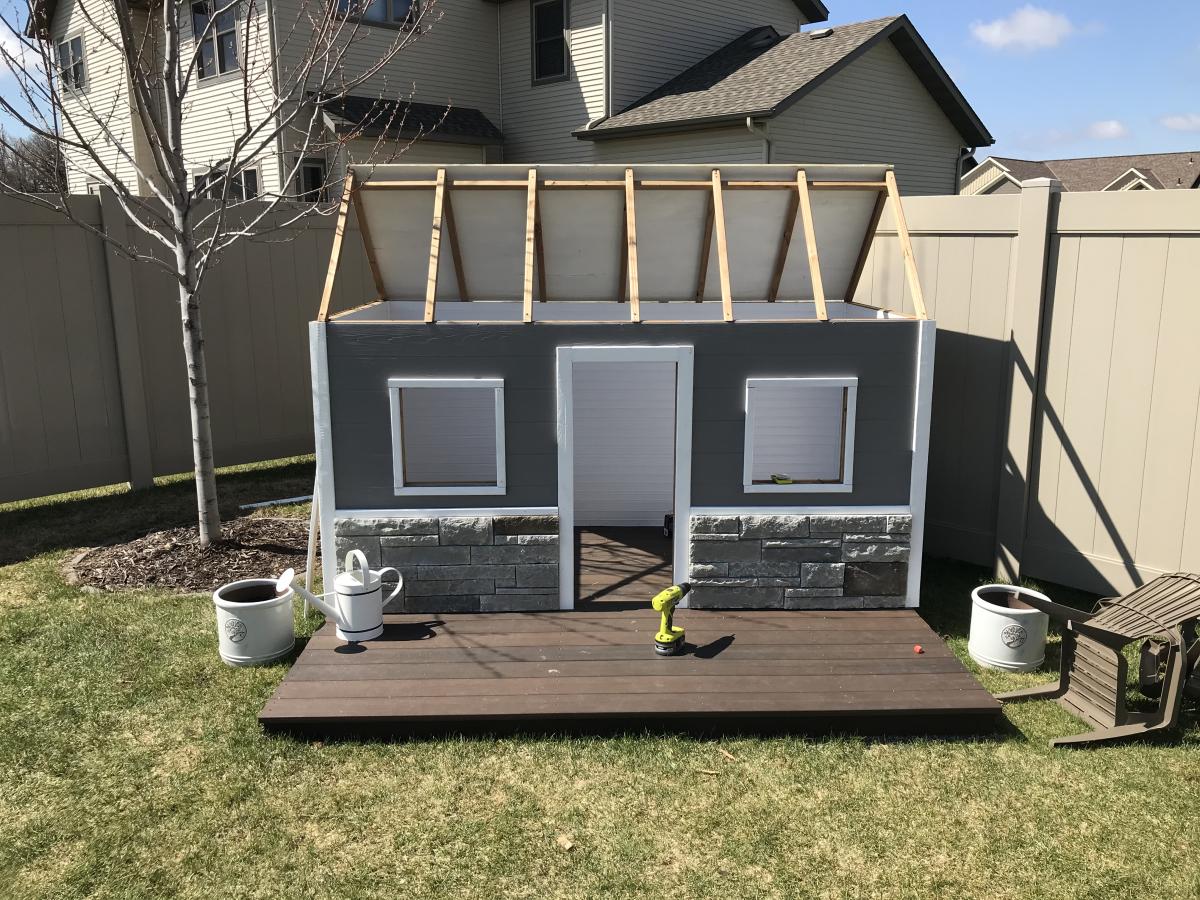
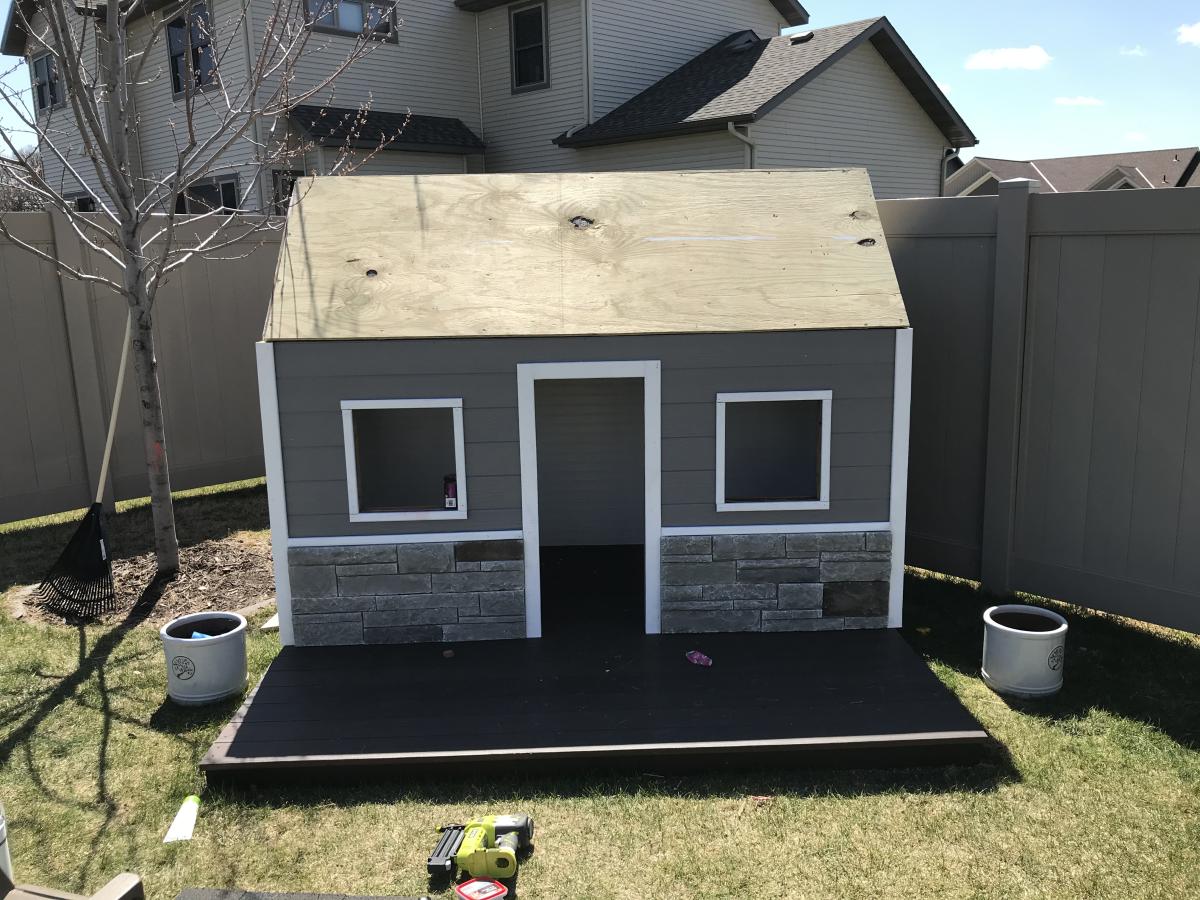
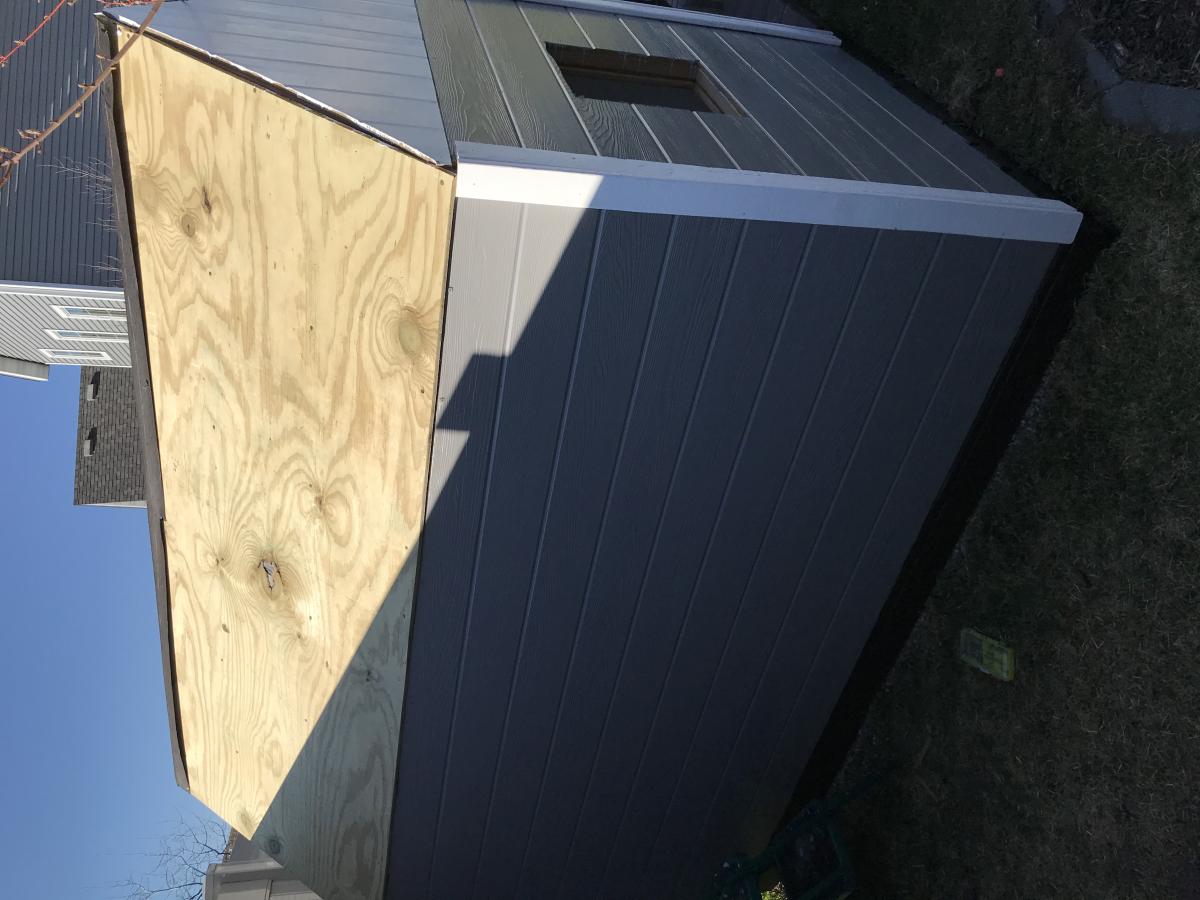
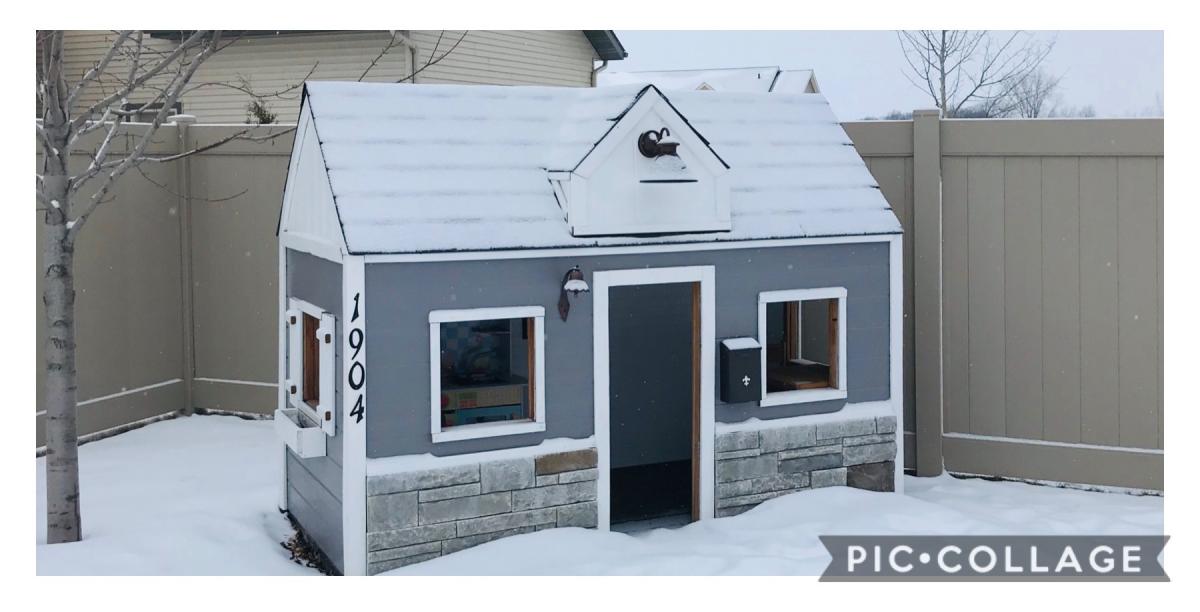
I combined a couple of playhouse plans for this one. The framing is 2x2 treated pine. The front is real stone. I tried to match our home the best that I could. The floor is made out of composite decking.
Sun, 12/26/2021 - 17:23
WOW, that is so awesome, love the real stone, composite decking and that you matched your house!
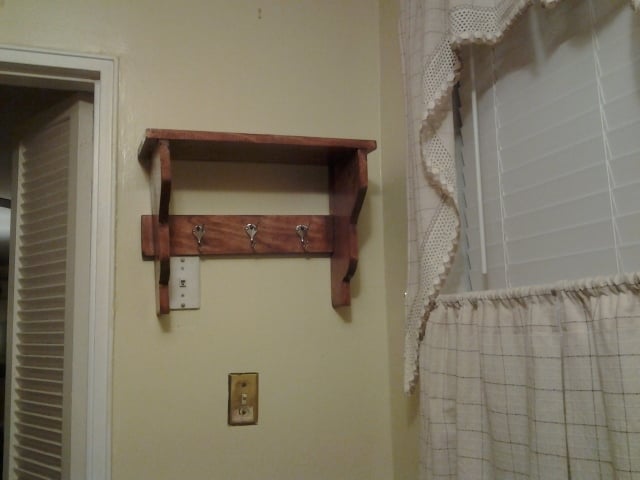
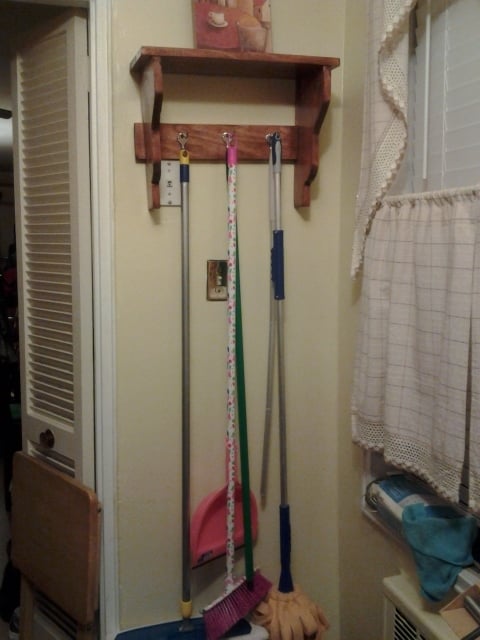
This is my first project. I had to shorten the width of the shelf to fit the space I had for it. The board on the back is also a 1x4 instead of the 1x3 that was in the plans. This was a great first project for anyone.
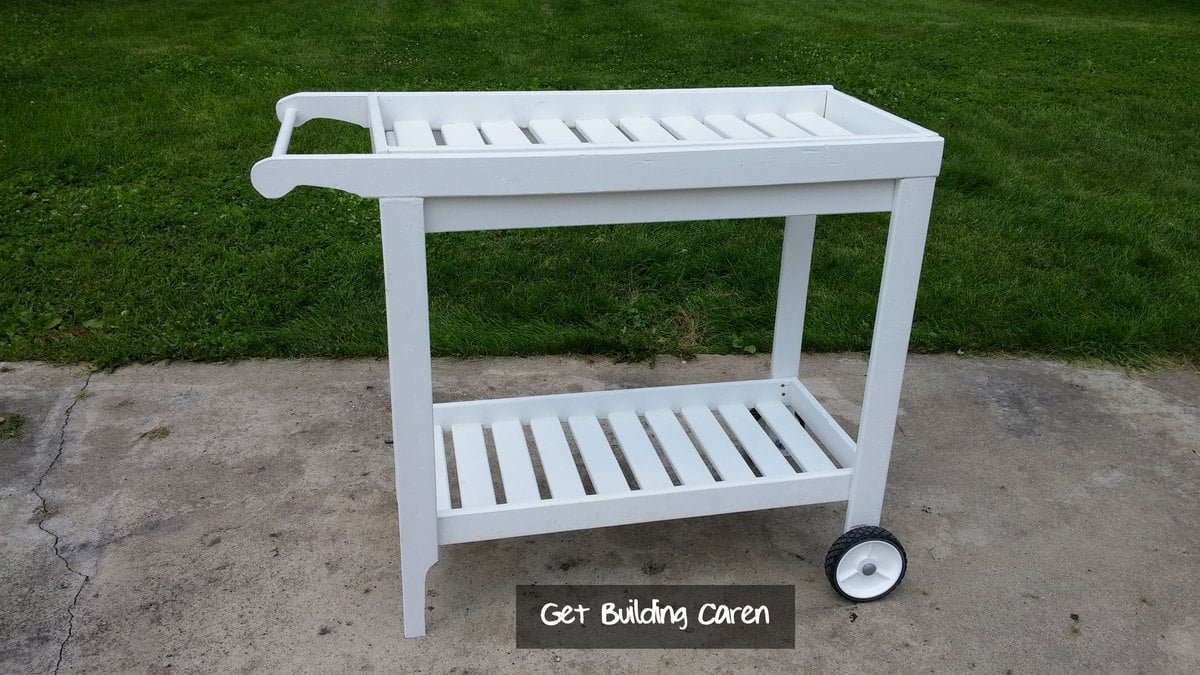
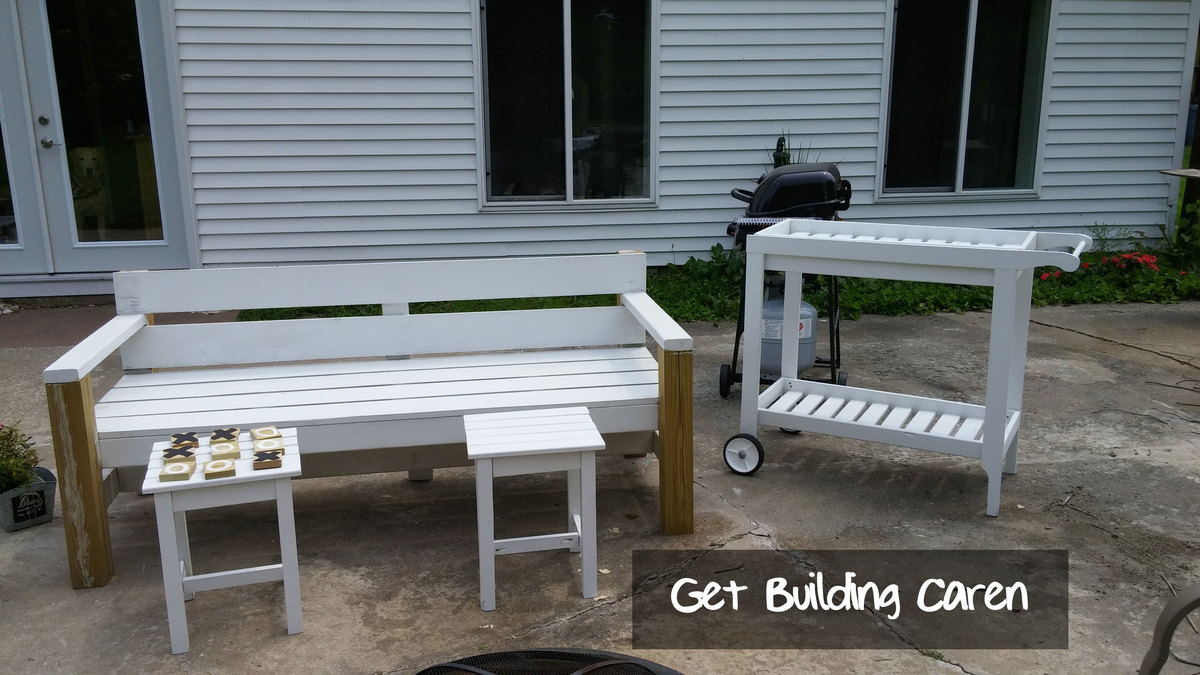
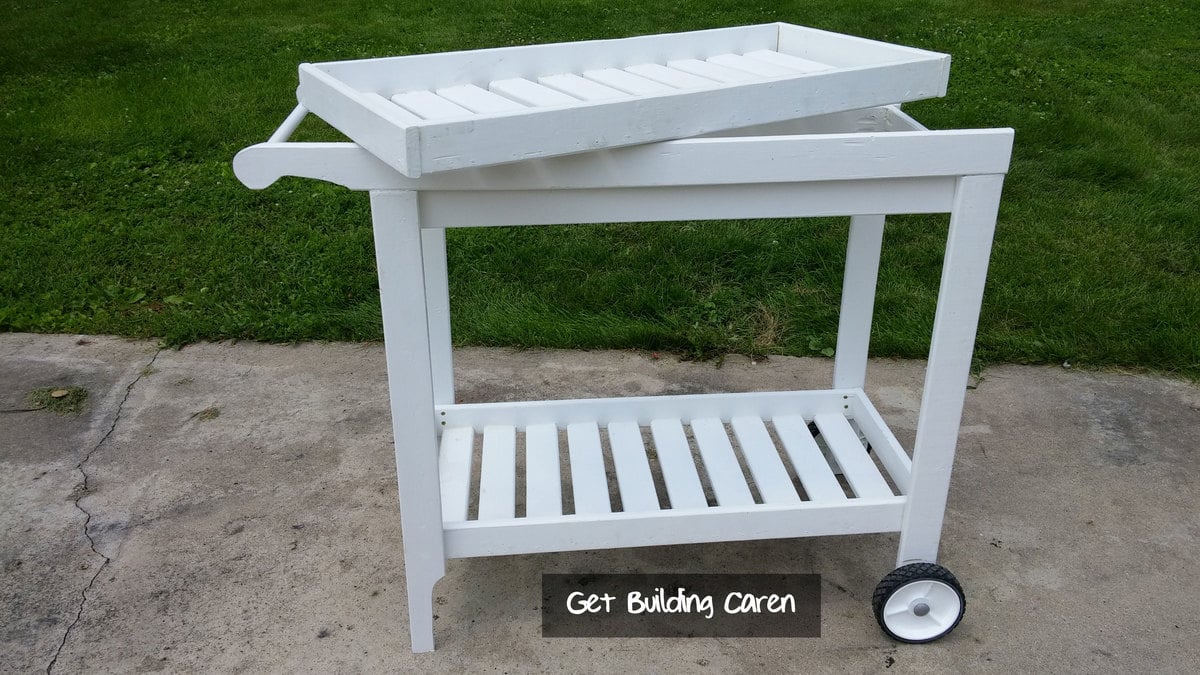
The rolling bar cart (or BBQ cart) with removable tray is the latest addition to my suite of DIY patio furniture. This site has become a bit of a building obsession with me. Even with the detailed instructions, I still found ways to make this project my own: I added a 3/4" dowel and plastic wheels, instead of wood rounds. I painted all the pieces with primer and exterior paint before assembling it, because it's hard to get paint between the slats, unless you have a spray painter. The white slat design of the bar cart, park bench and matching side tables goes with the white siding of the house for my own patio picnic.
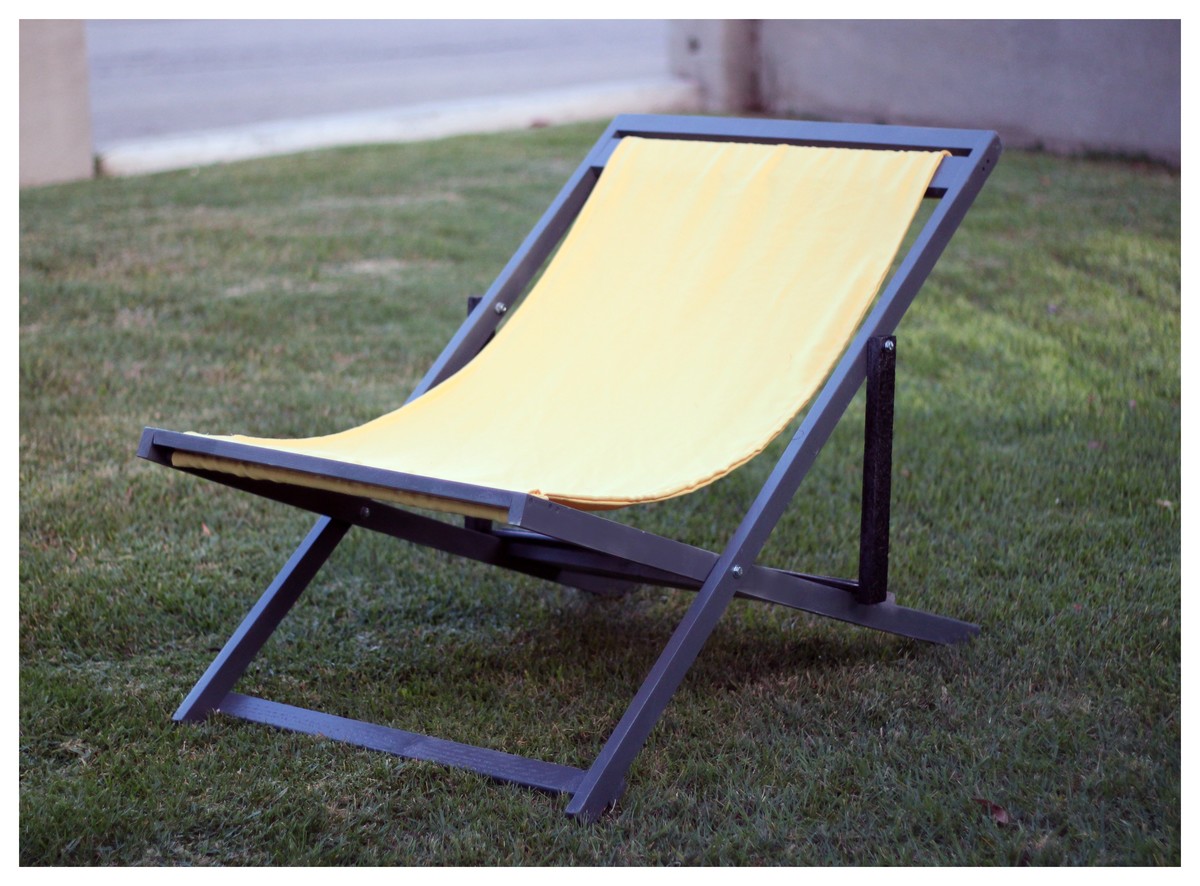
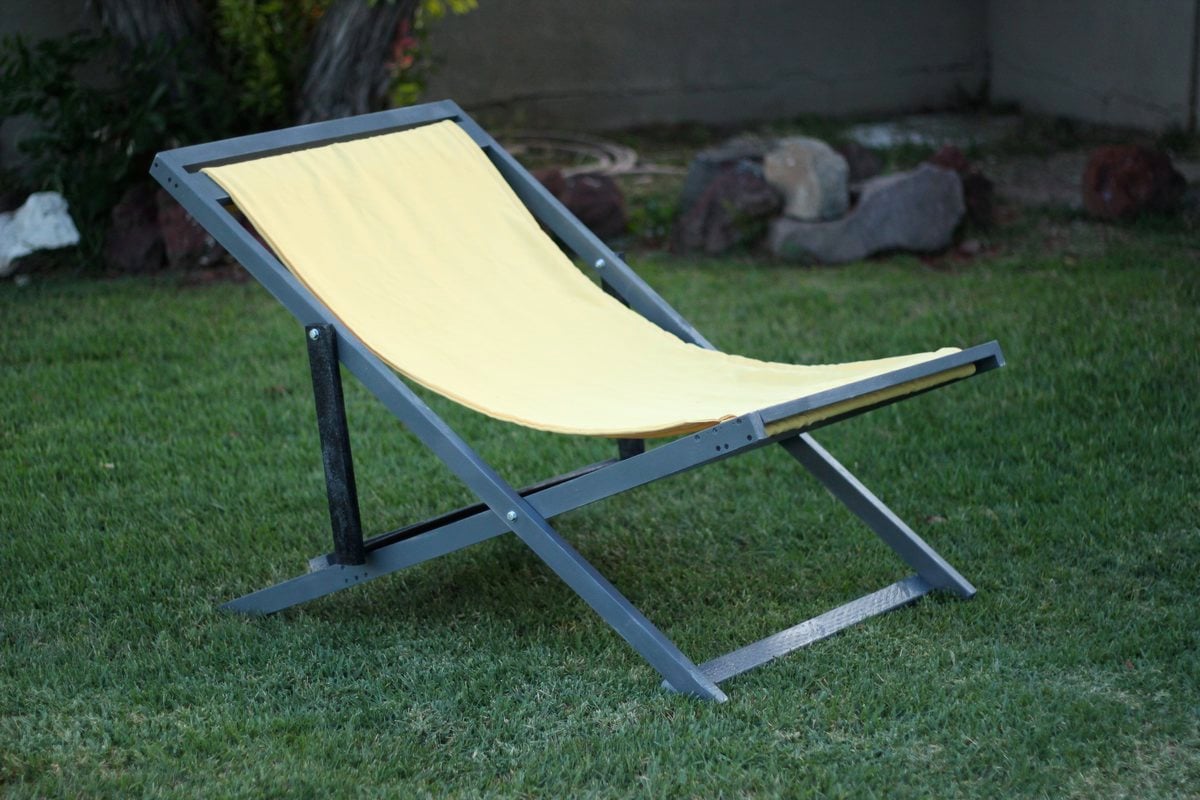
I originally started making this for a friend, but I think I may decide to keep it! I didn't purchase any wood or paint for this project - I had a lot left over from a previous project and was able to rip down other boards to 1x2s. The fabric was another left-over... I bought WAY too much to make cushions for the outdoor sofa as I decided I didn't need so many sofa pieces in the end. The only elements I purchased for this chair were the hardware and 1 can of primer... so it turned out to be under $10!
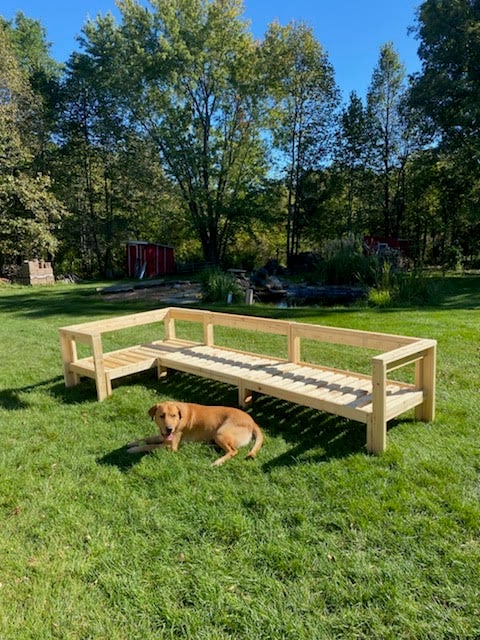
Outdoor wood sectional!
by Elizabeth
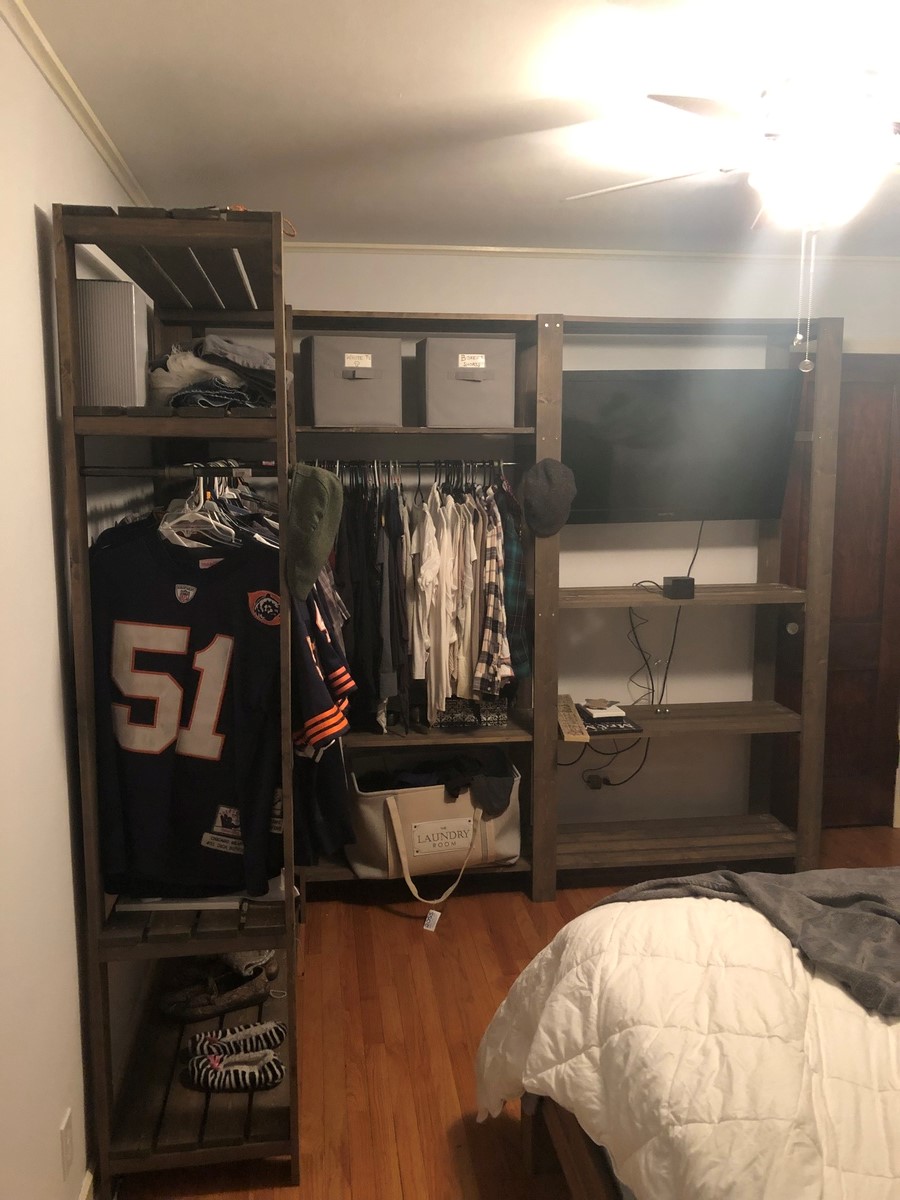
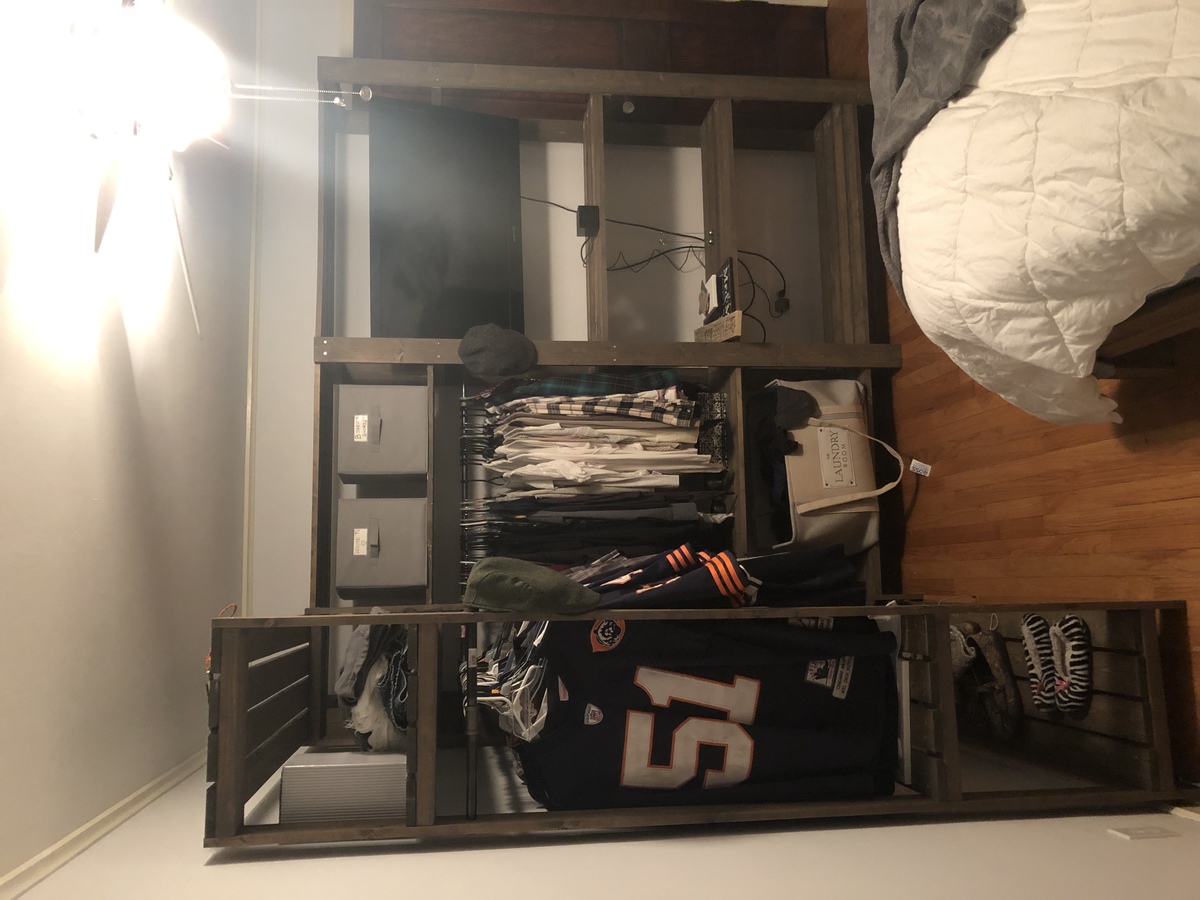
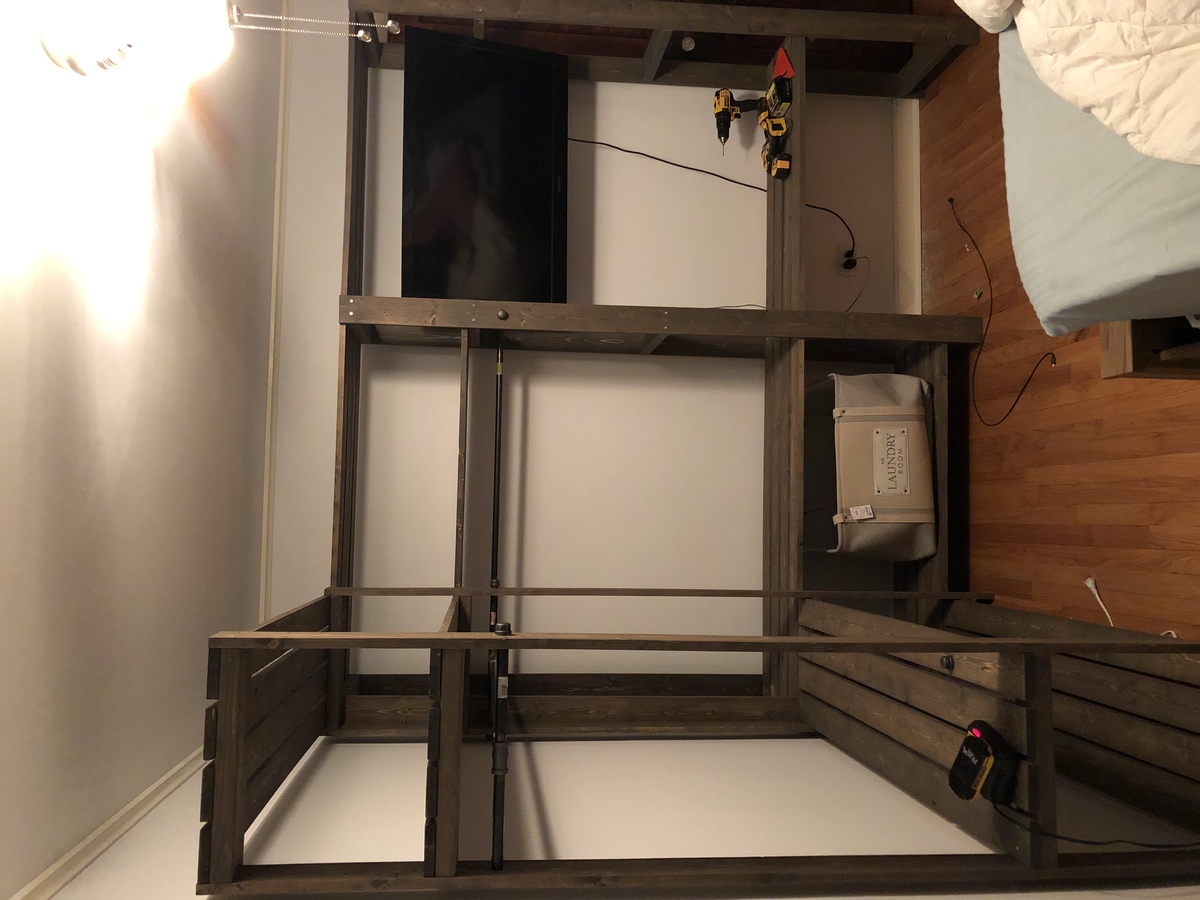
This was my take on Ana’s great idea and plans. My wife and I were in need of closet space in our small master bedroom and this worked out perfectly, plus it looks great! To gain some additional storage (and because I thought it would look cool) I decided to build the unit around our wall mounted tv and added 3 additional shelves. Sanding and staining all the board was by far the most time consuming. Assembly was a breeze. For anyone looking to build a large unit like this I recommend having a decent sized working area in order to stain all the boards and set them out properly to dry. Thanks Ana for the awesome design!
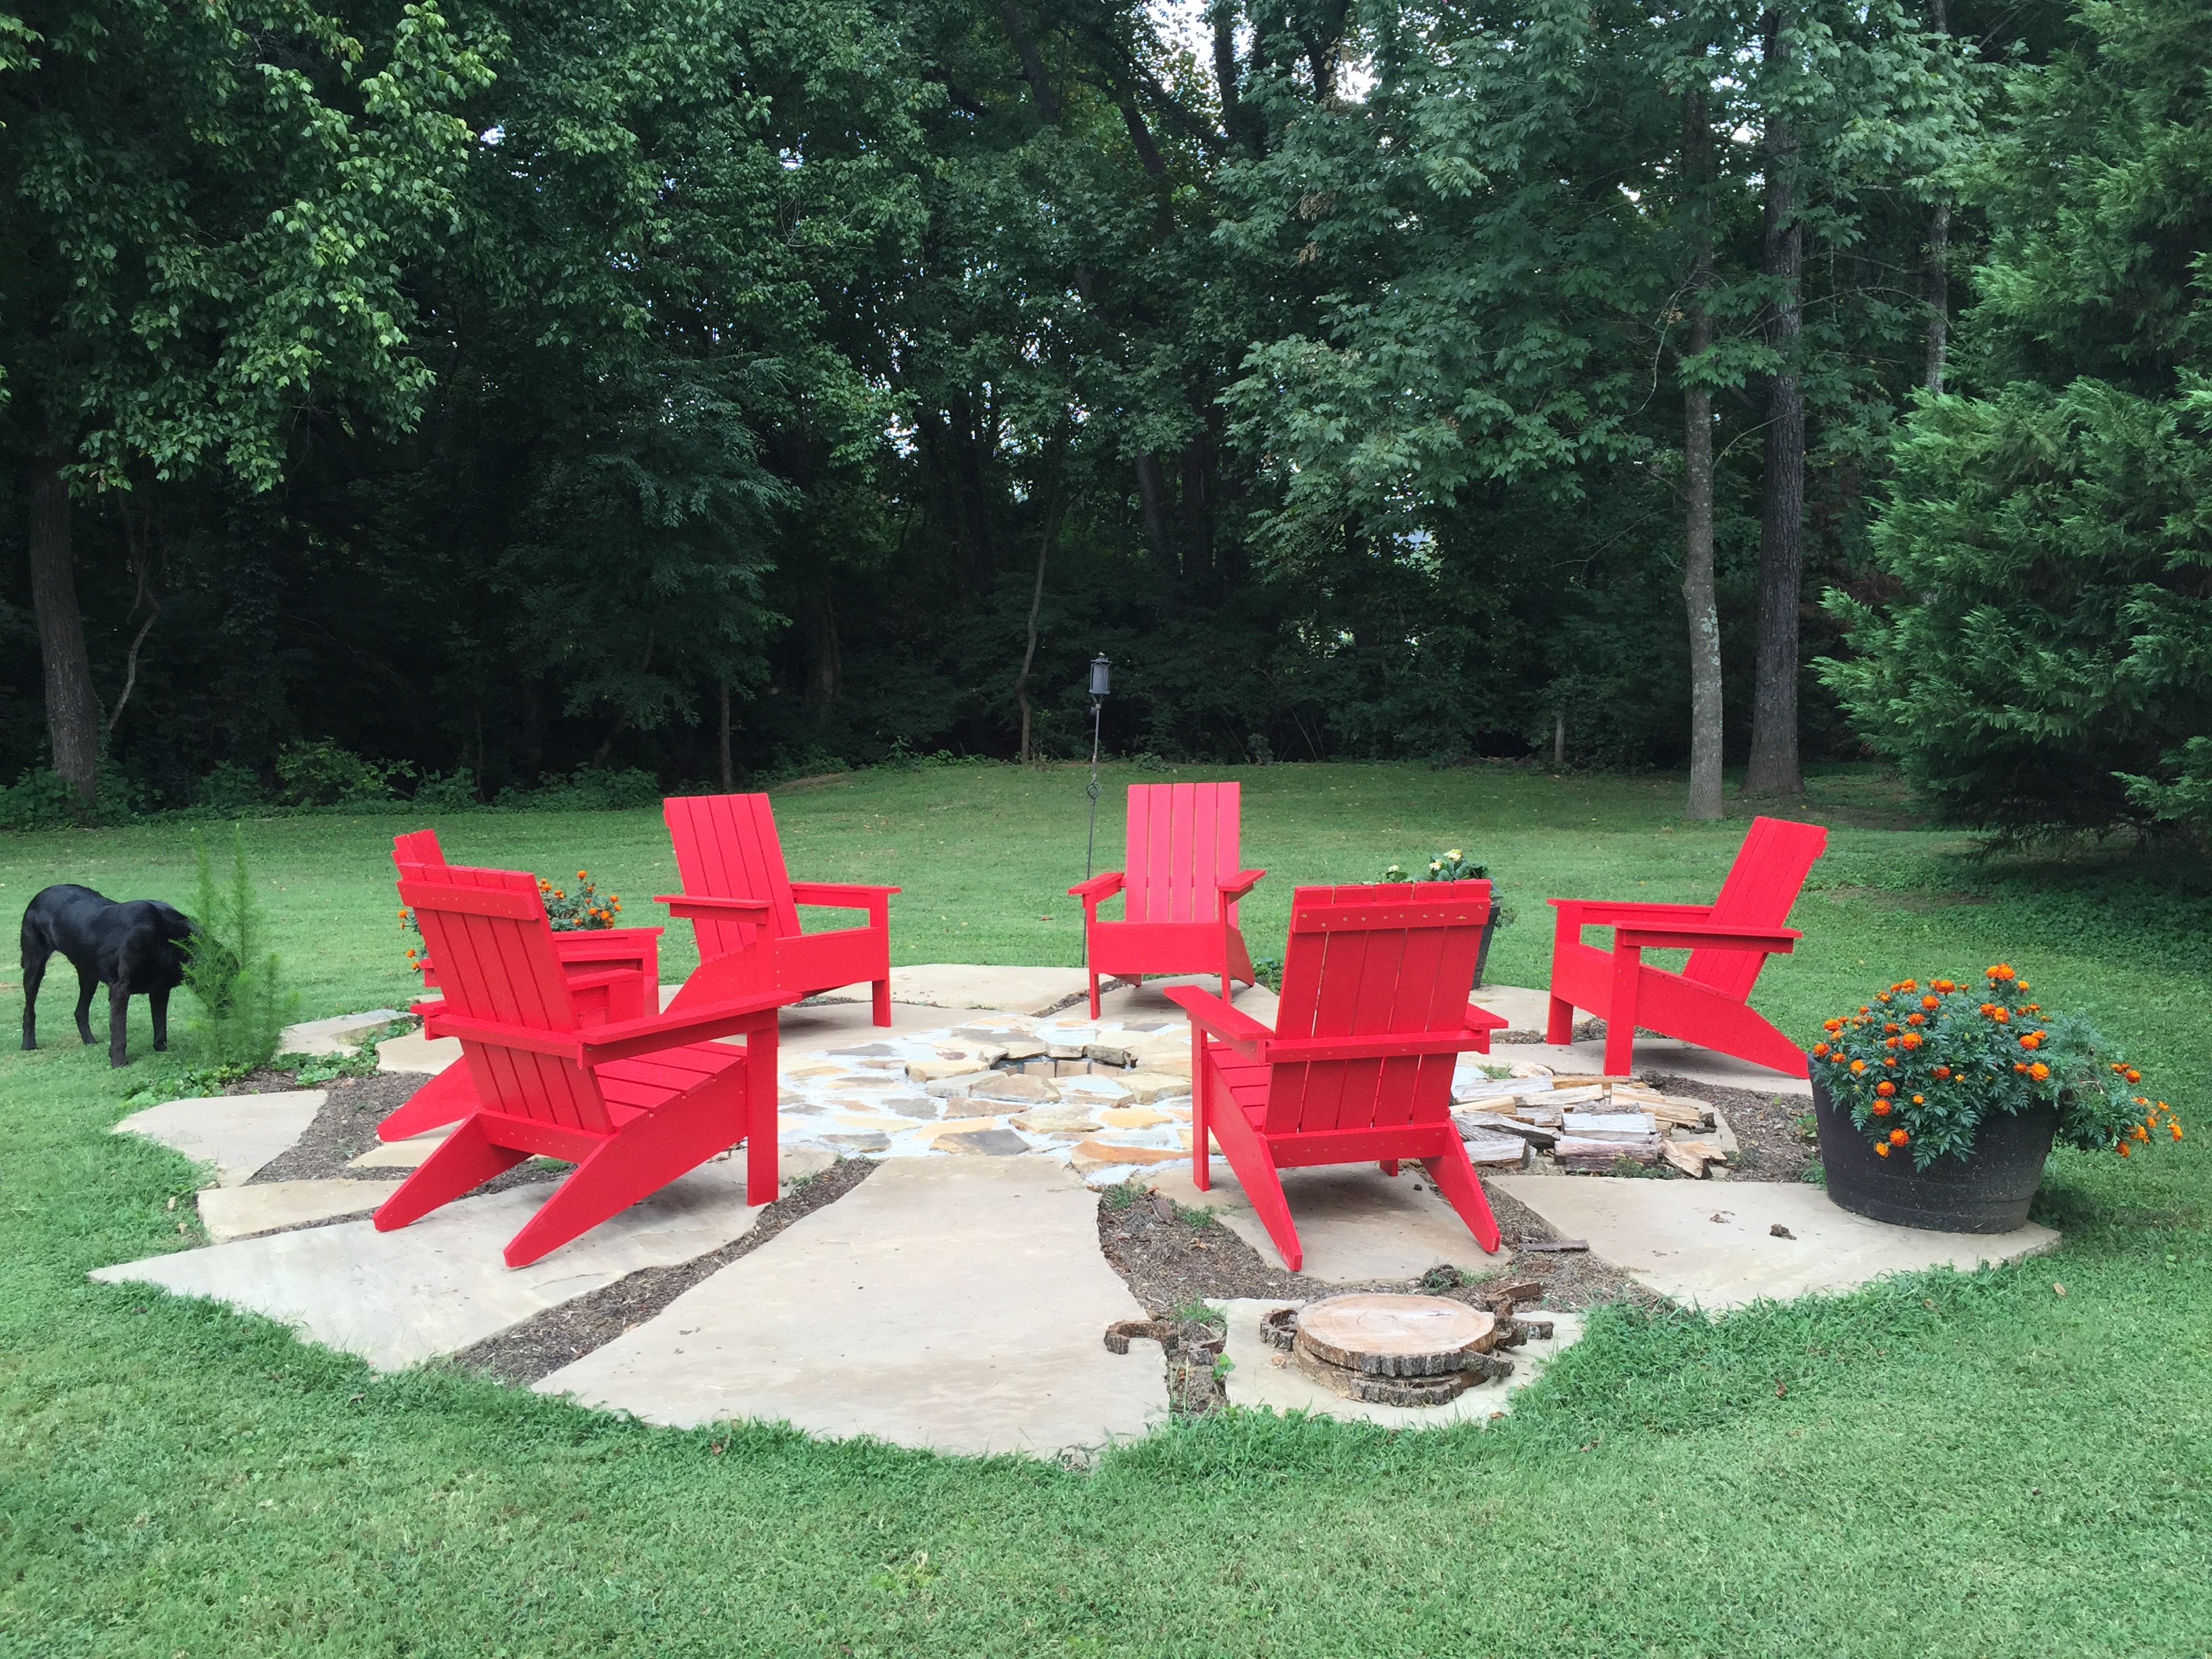
We had recenty been to Jasper National Park in the Canadian Rockies and saw beautiful red adirondack chairs out on many of the trails, so we built these to remind us of a great family vacation.
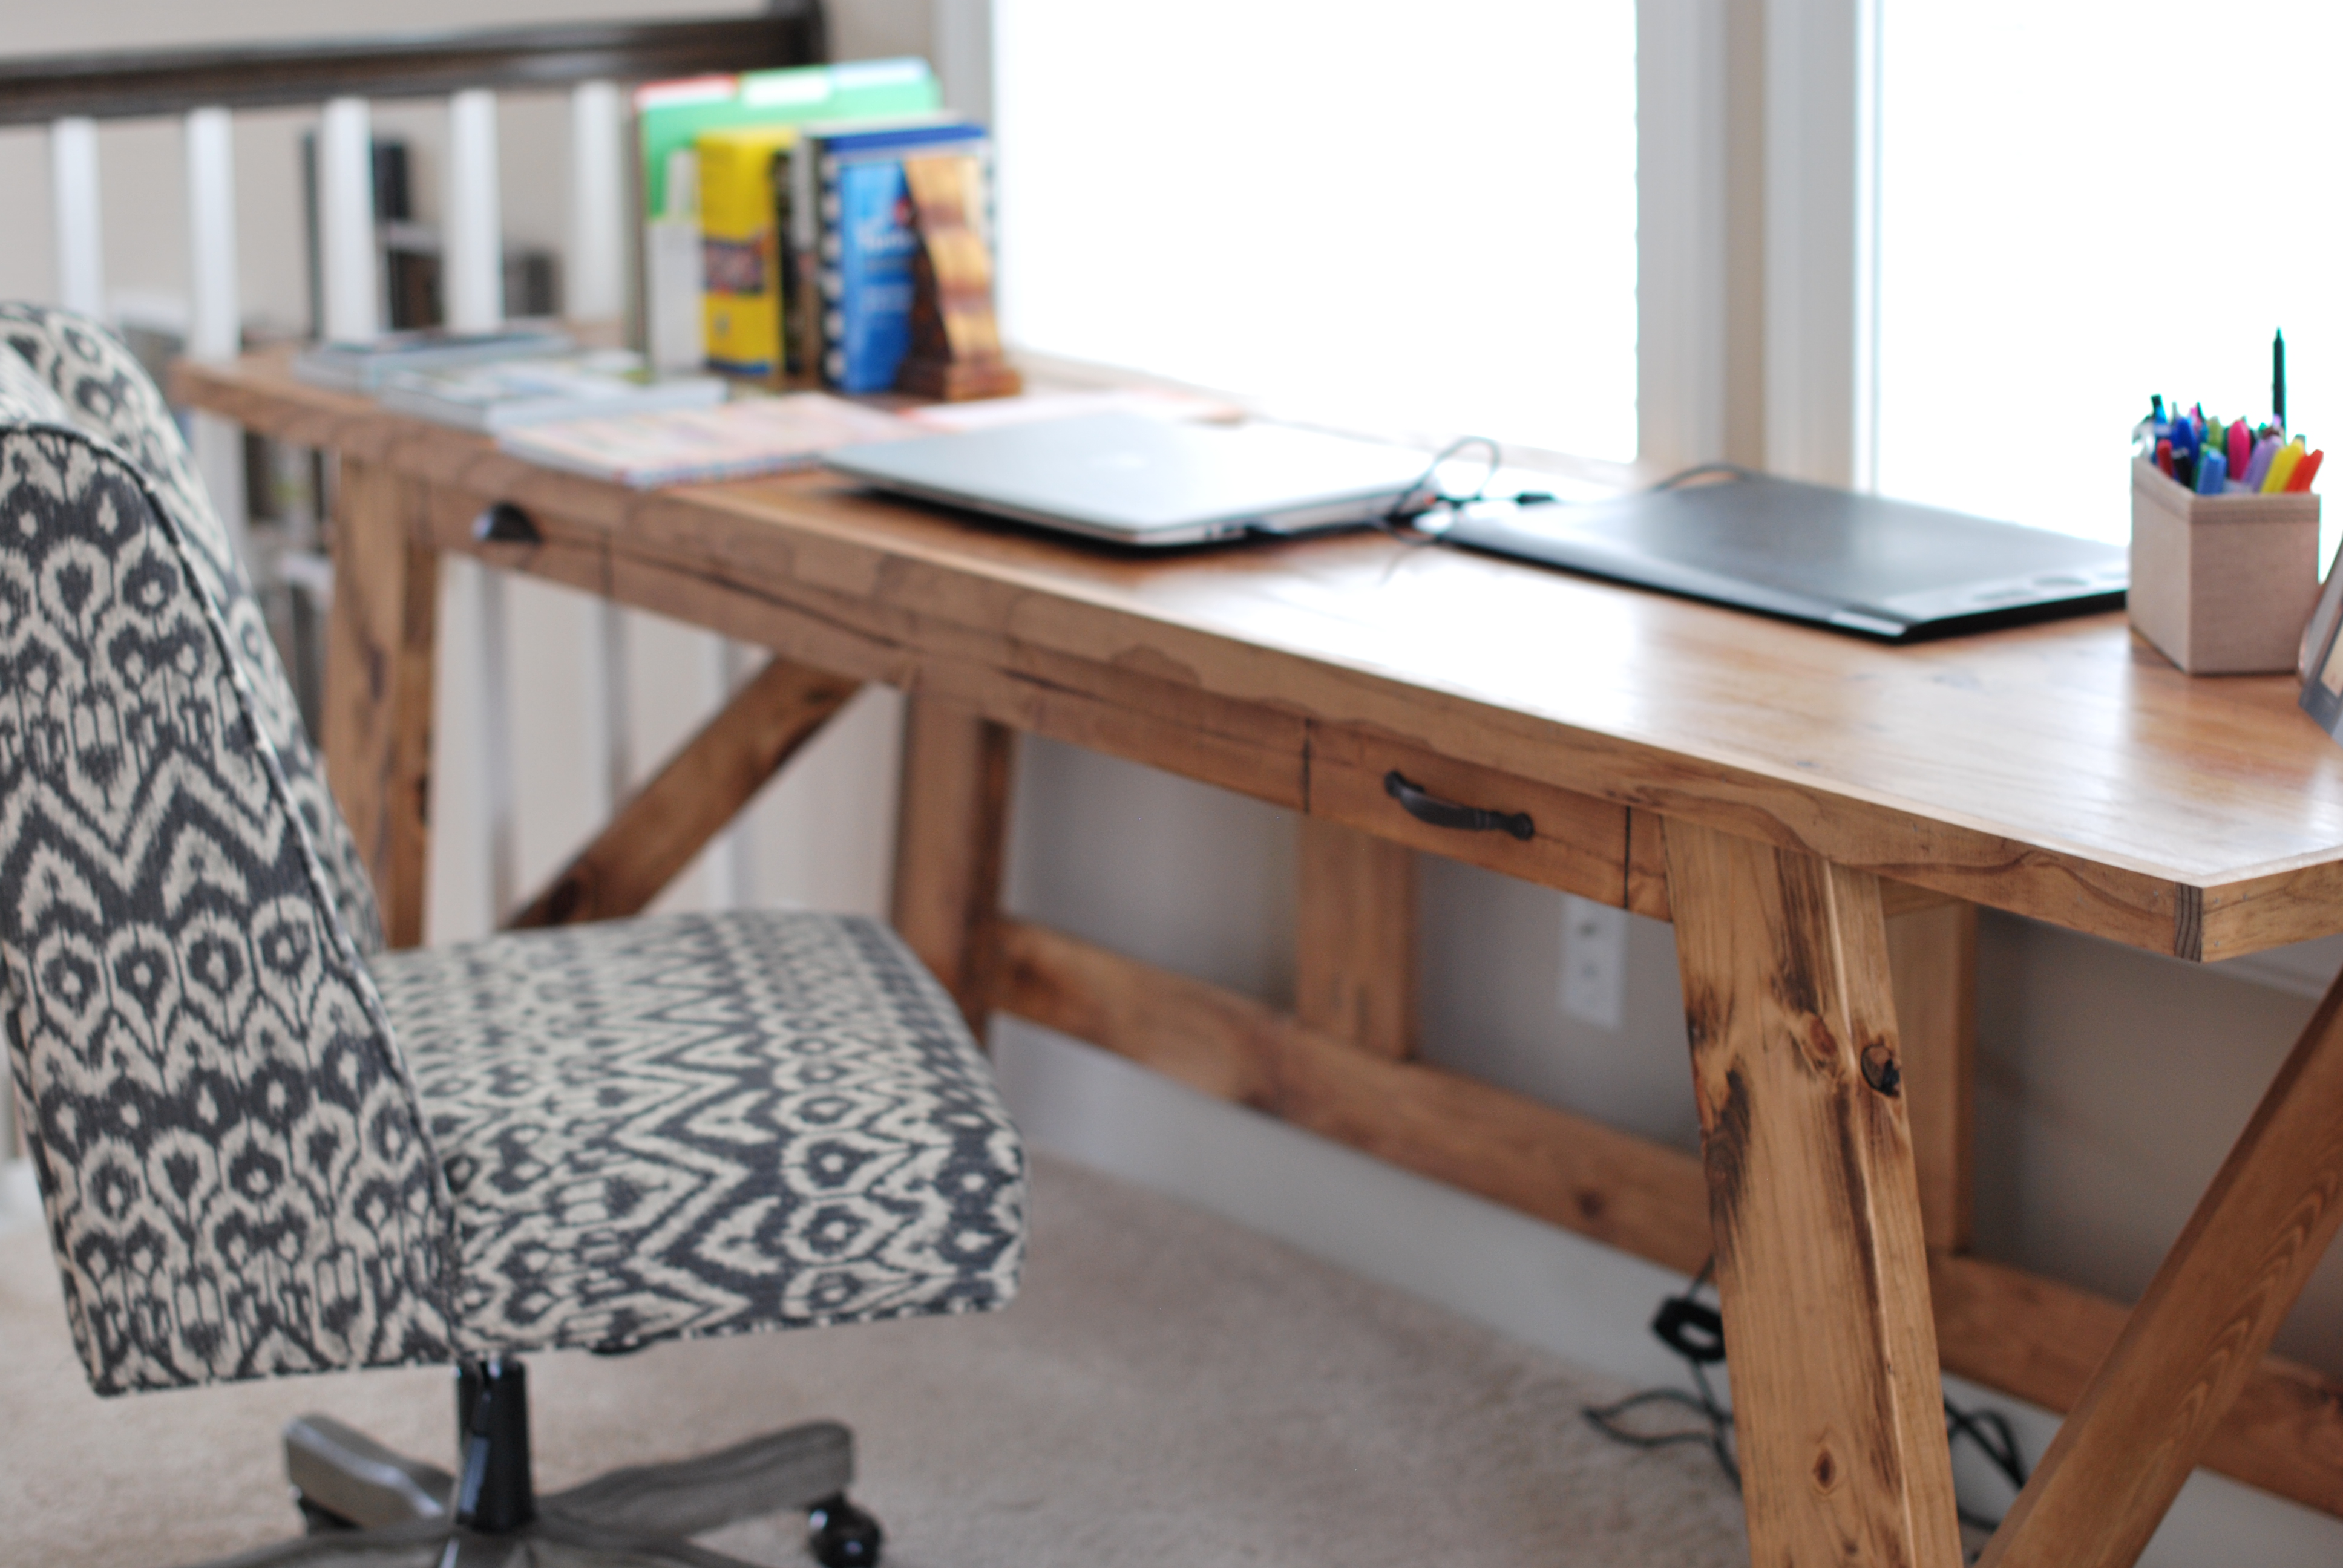
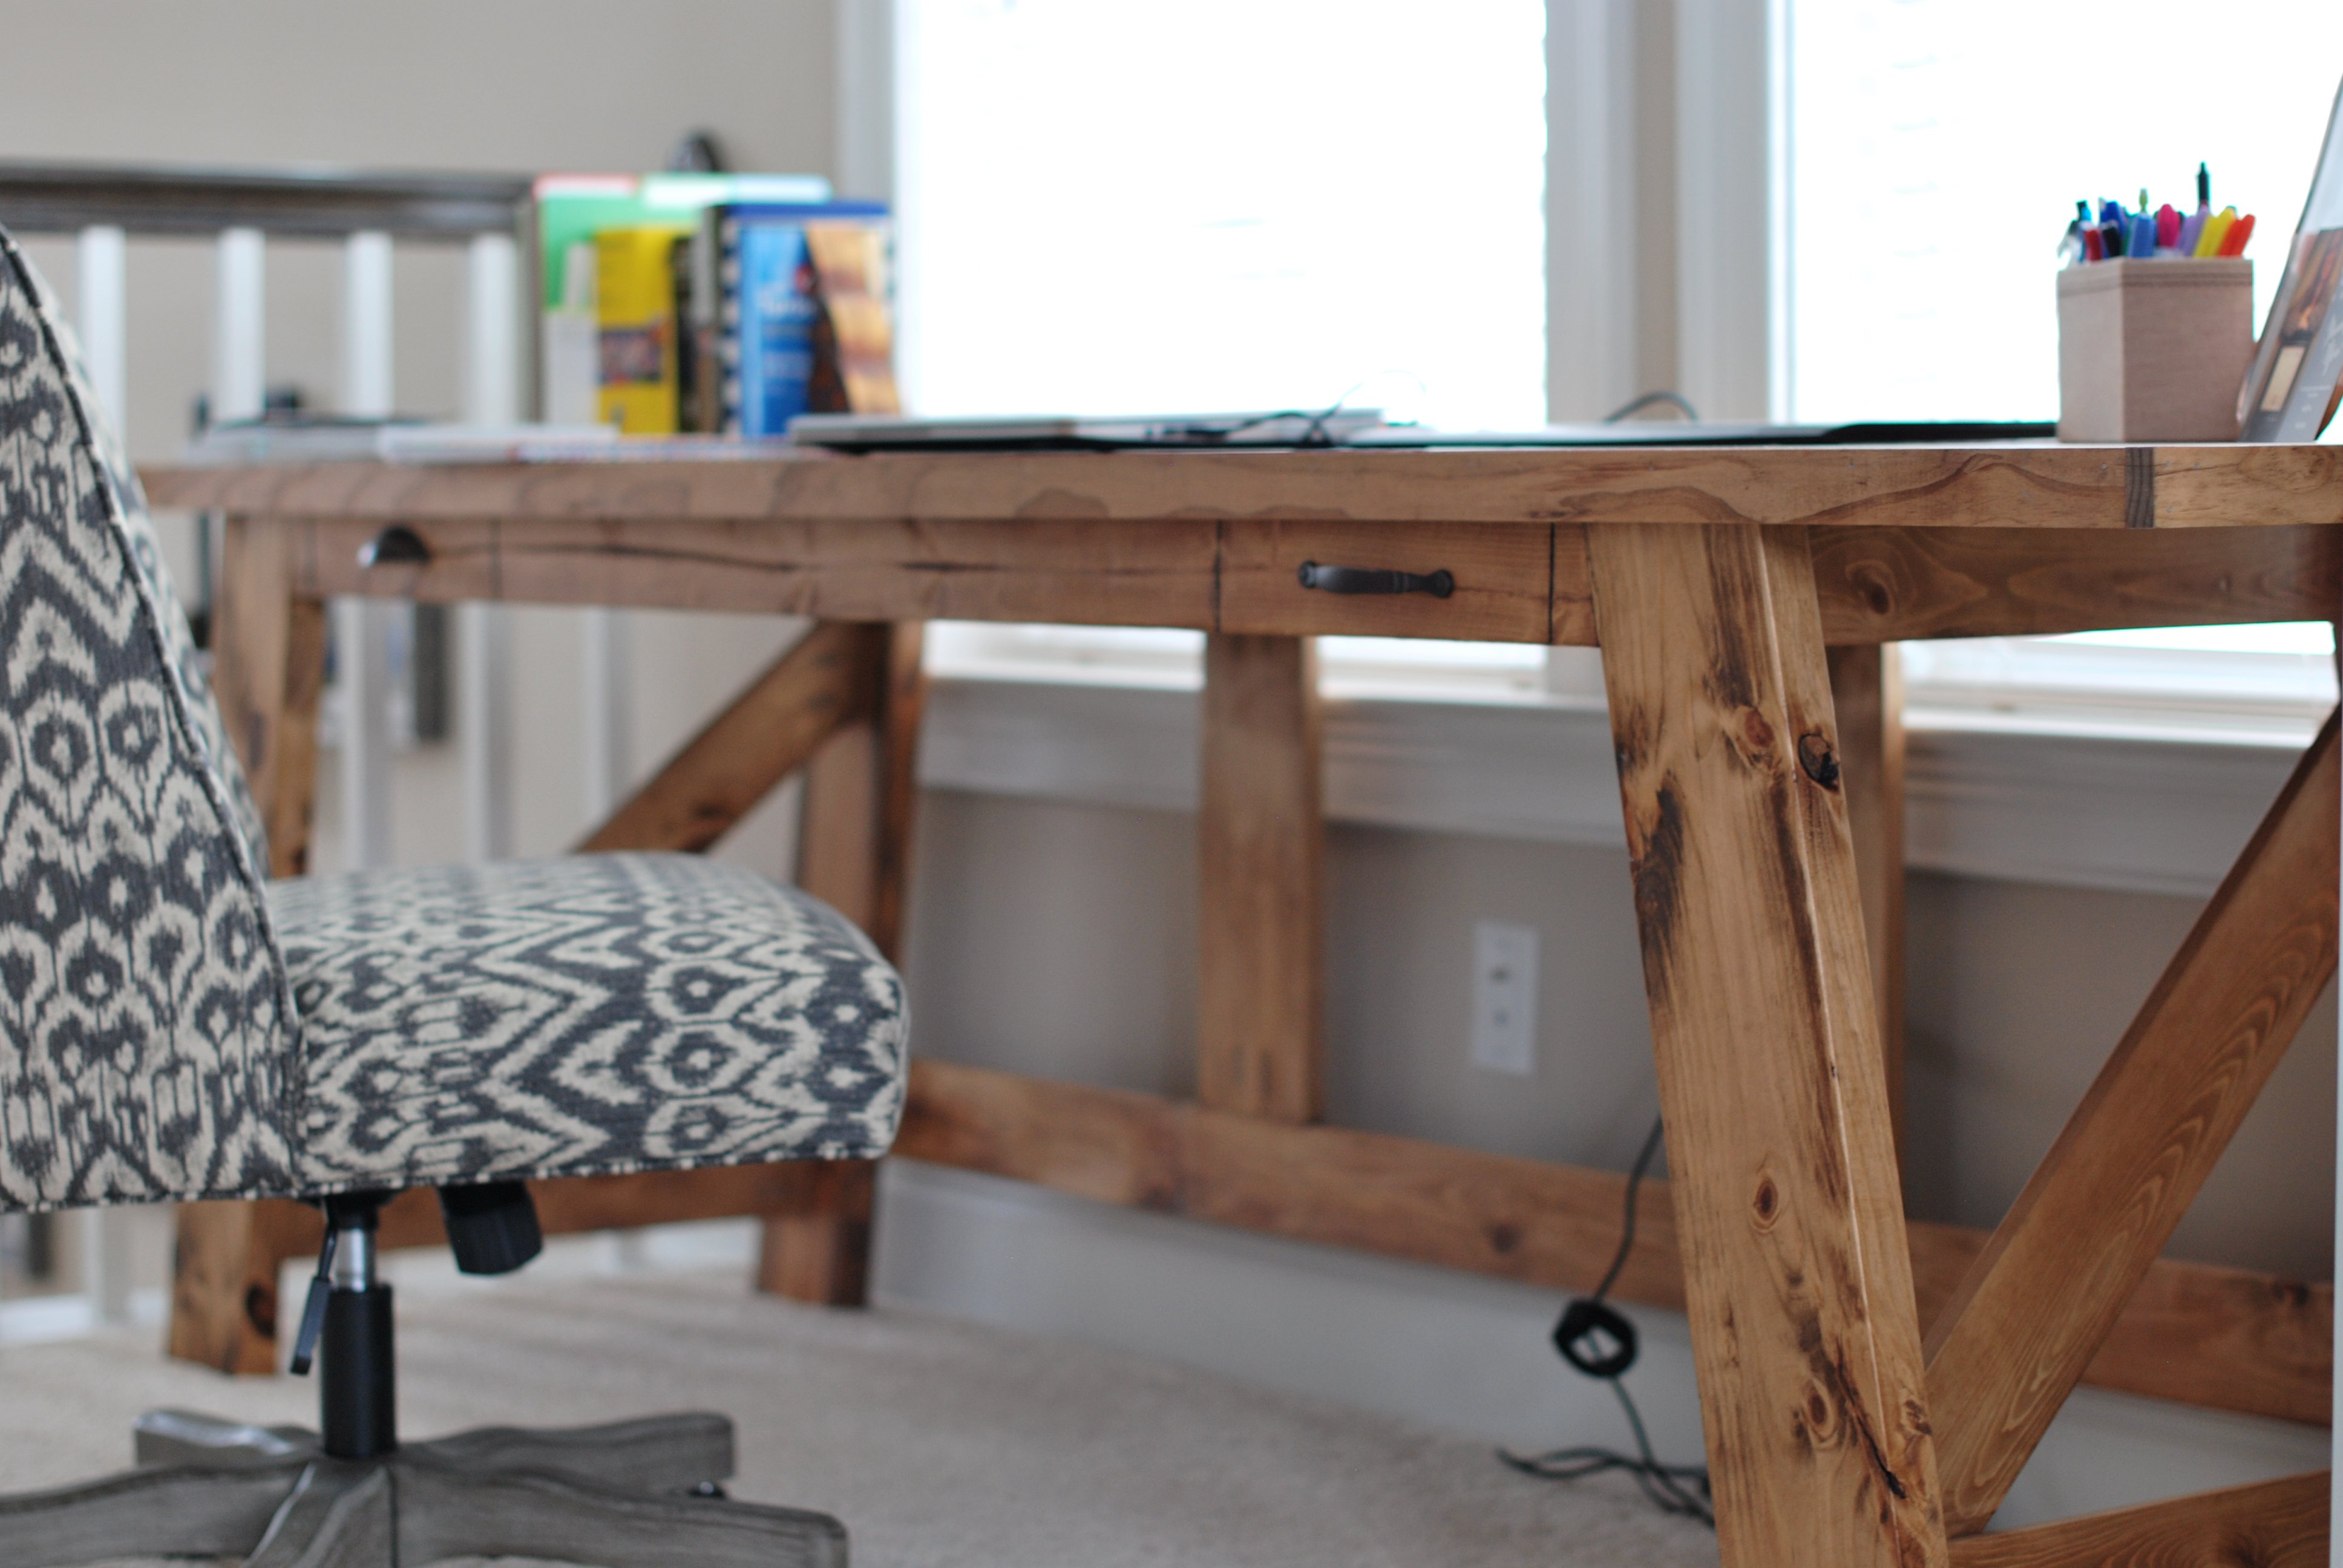
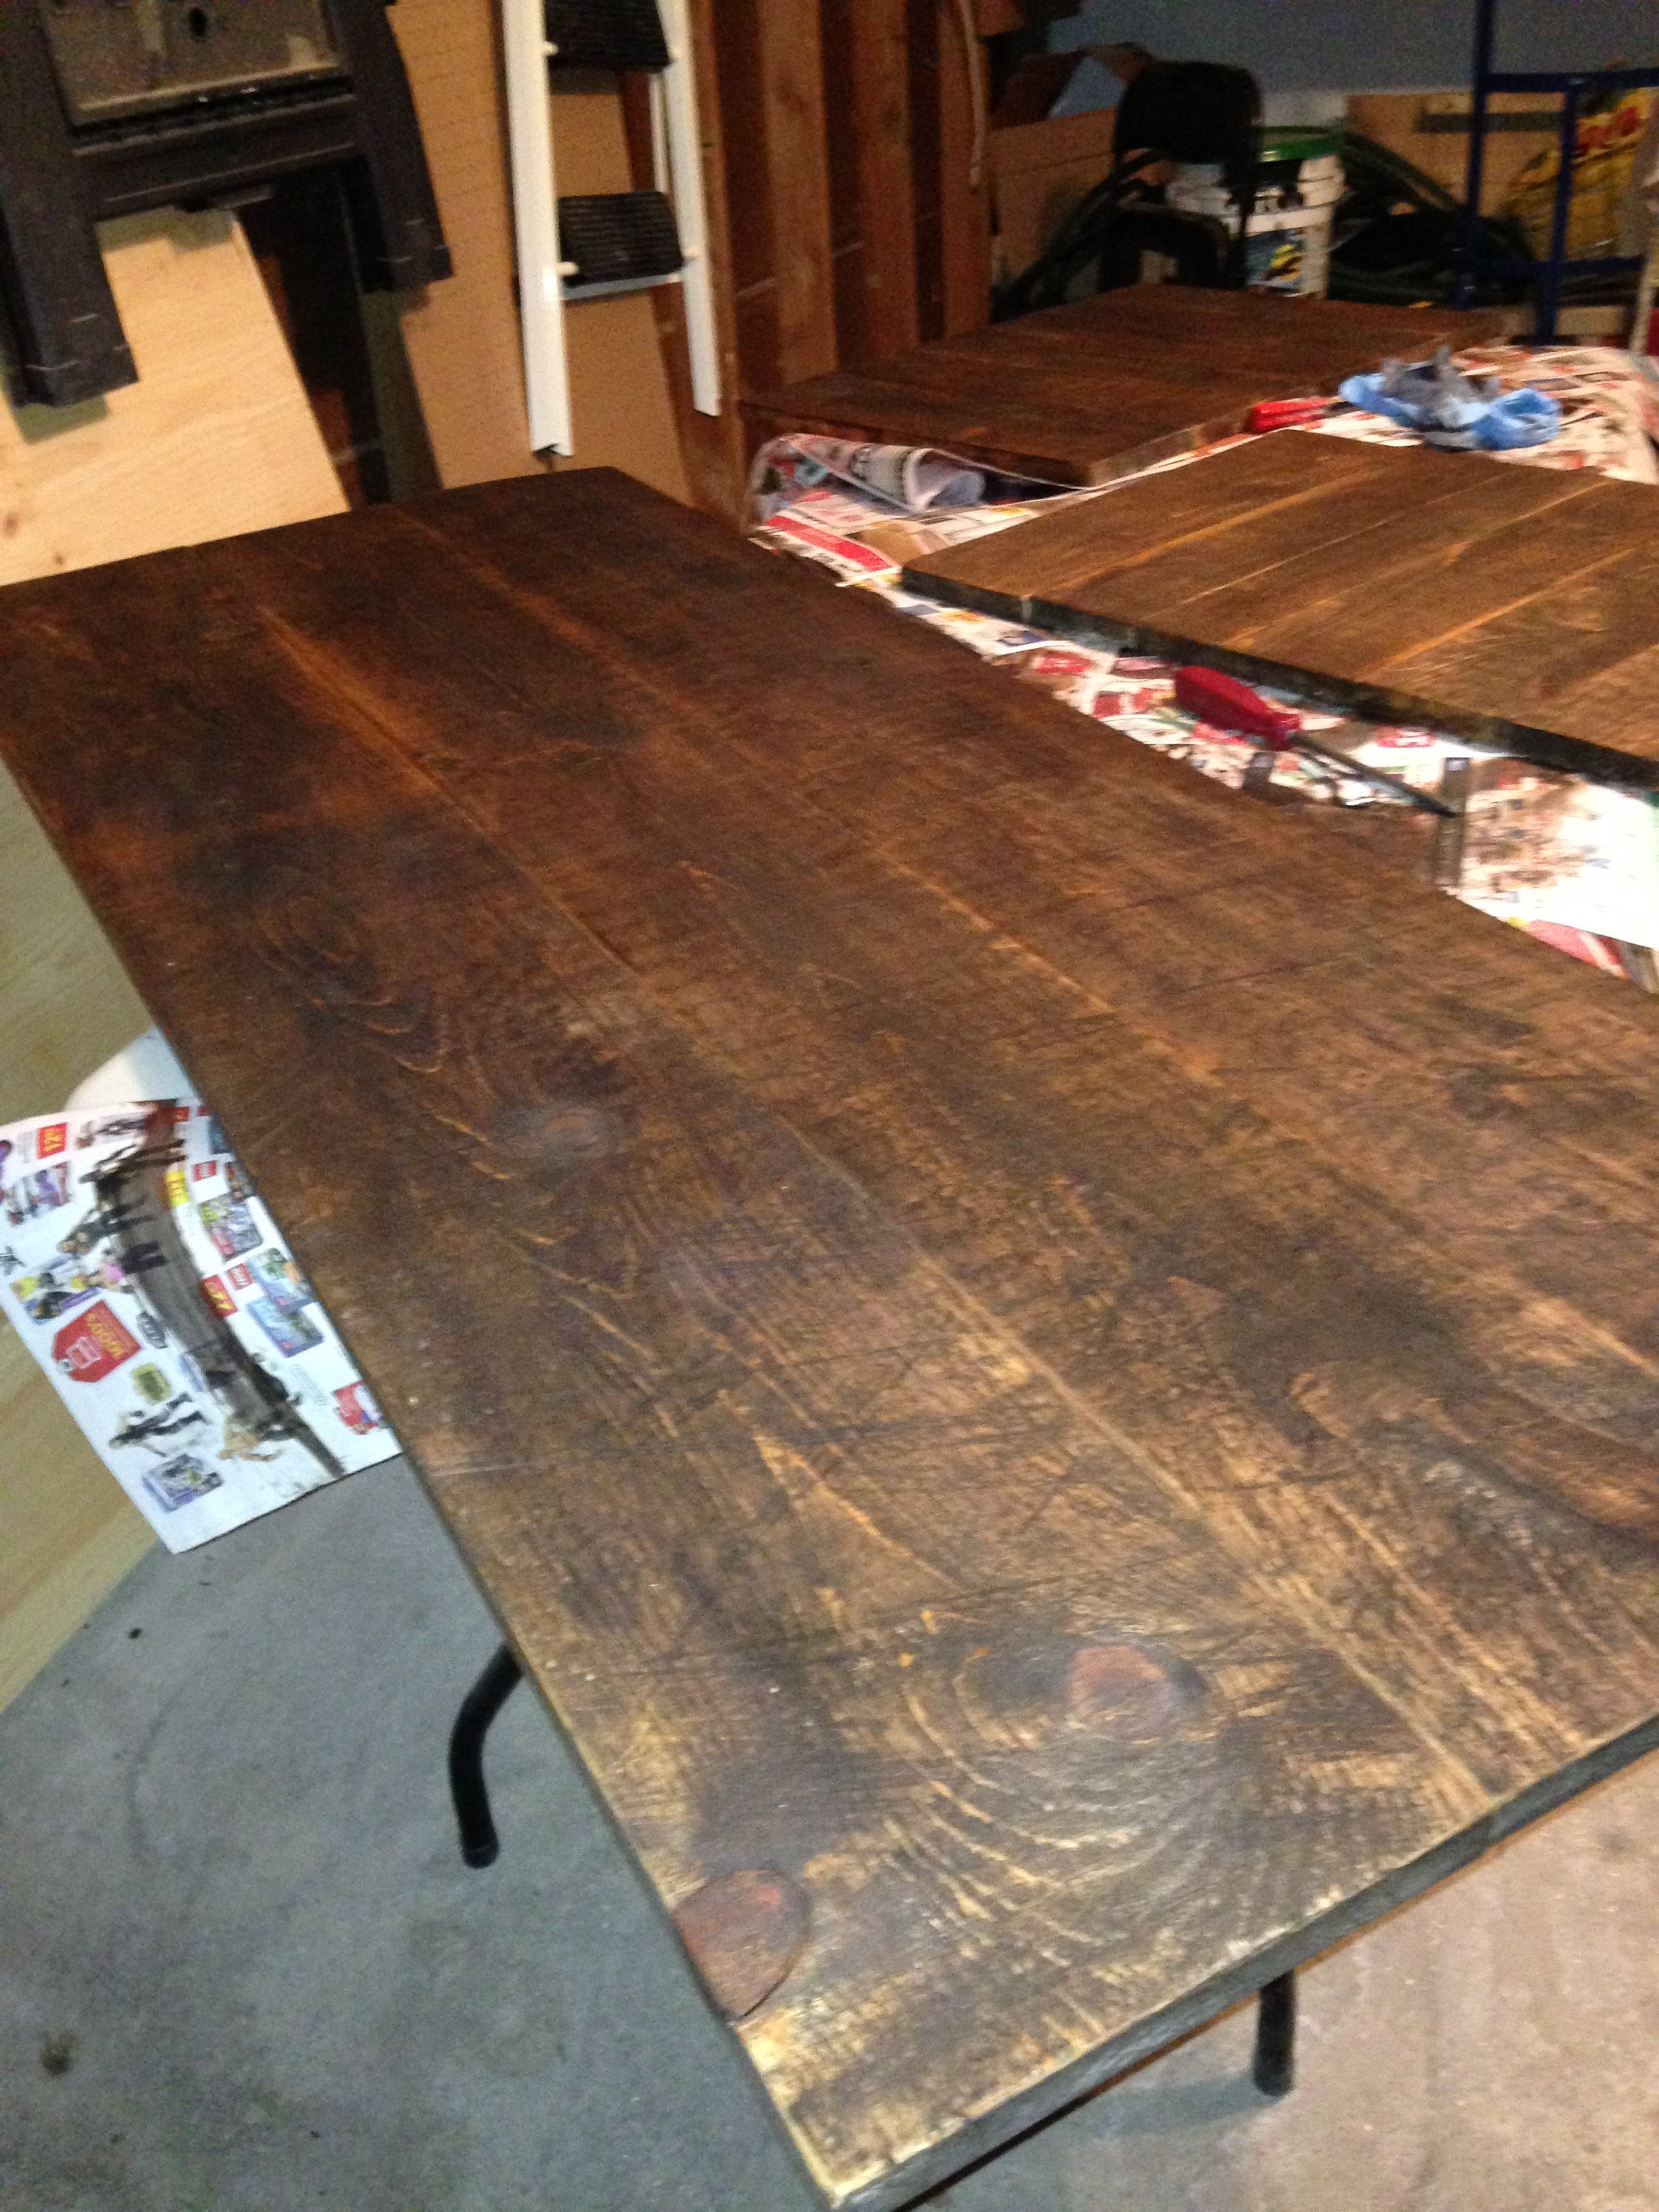
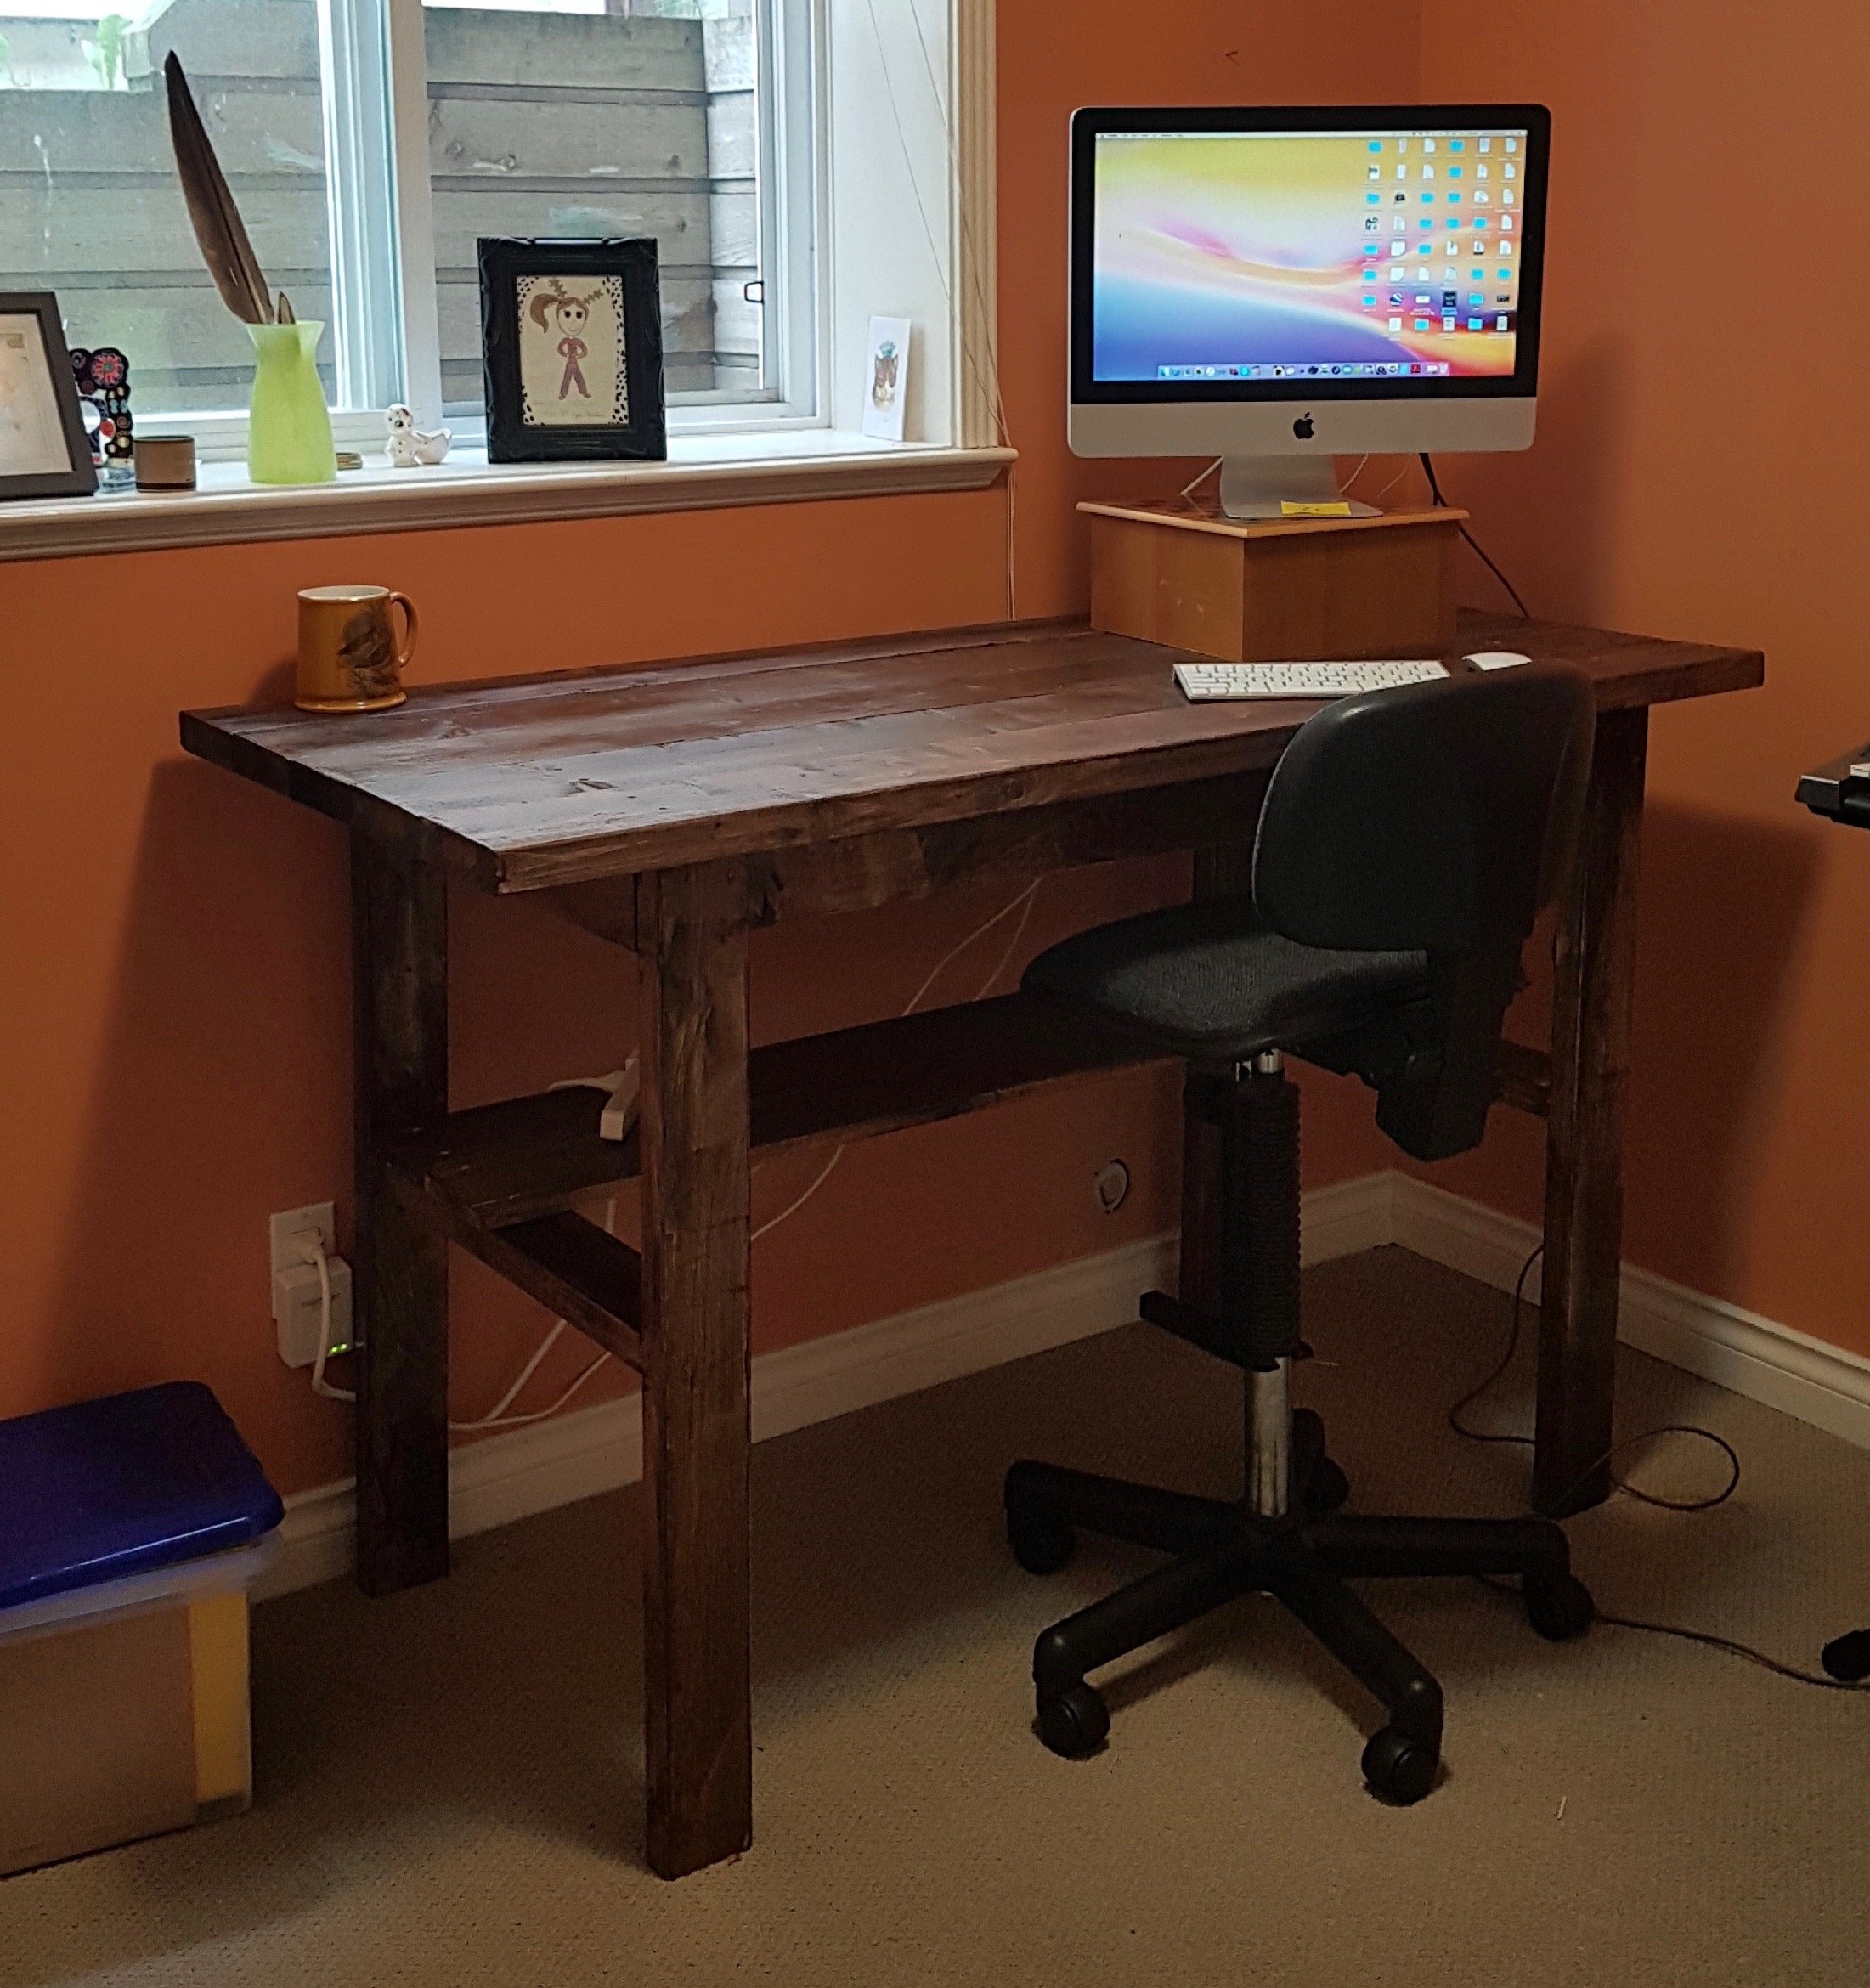
I build this desk from Ana White's Pottery Barn inspired Henry desk plan. I modified it a little in that I made the top almost 8 feet long to fit my space.

Mon, 11/23/2015 - 19:09
The finish looks gorgeous. I love the look, and beautiful photography!

In reply to The finish looks gorgeous. I by handmadewithash
Wed, 11/25/2015 - 16:25
Thank you, Ashley! ![]()
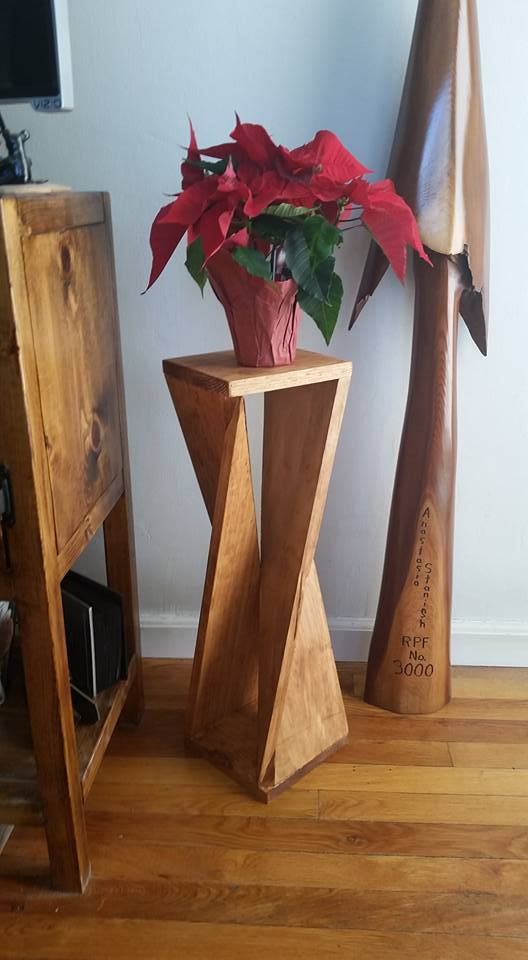
Saw this clever side table on Pinterest. It's made out of 1 1x8x8. I was able to figure out how to build a jig for the table saw to suit the project and then it was easy peasy lemon squeezy from there.
Mon, 12/21/2015 - 09:41
This is so clever and would make an inexpensive yet first-rate gift! I love it...thanks for sharing.
Fri, 10/28/2016 - 08:40
I would love to build this unique table, but can't seem to find some actual plans with dimensions and jigs
Fri, 10/28/2016 - 08:45
Would you please email me the plans for this table. Thanks so much
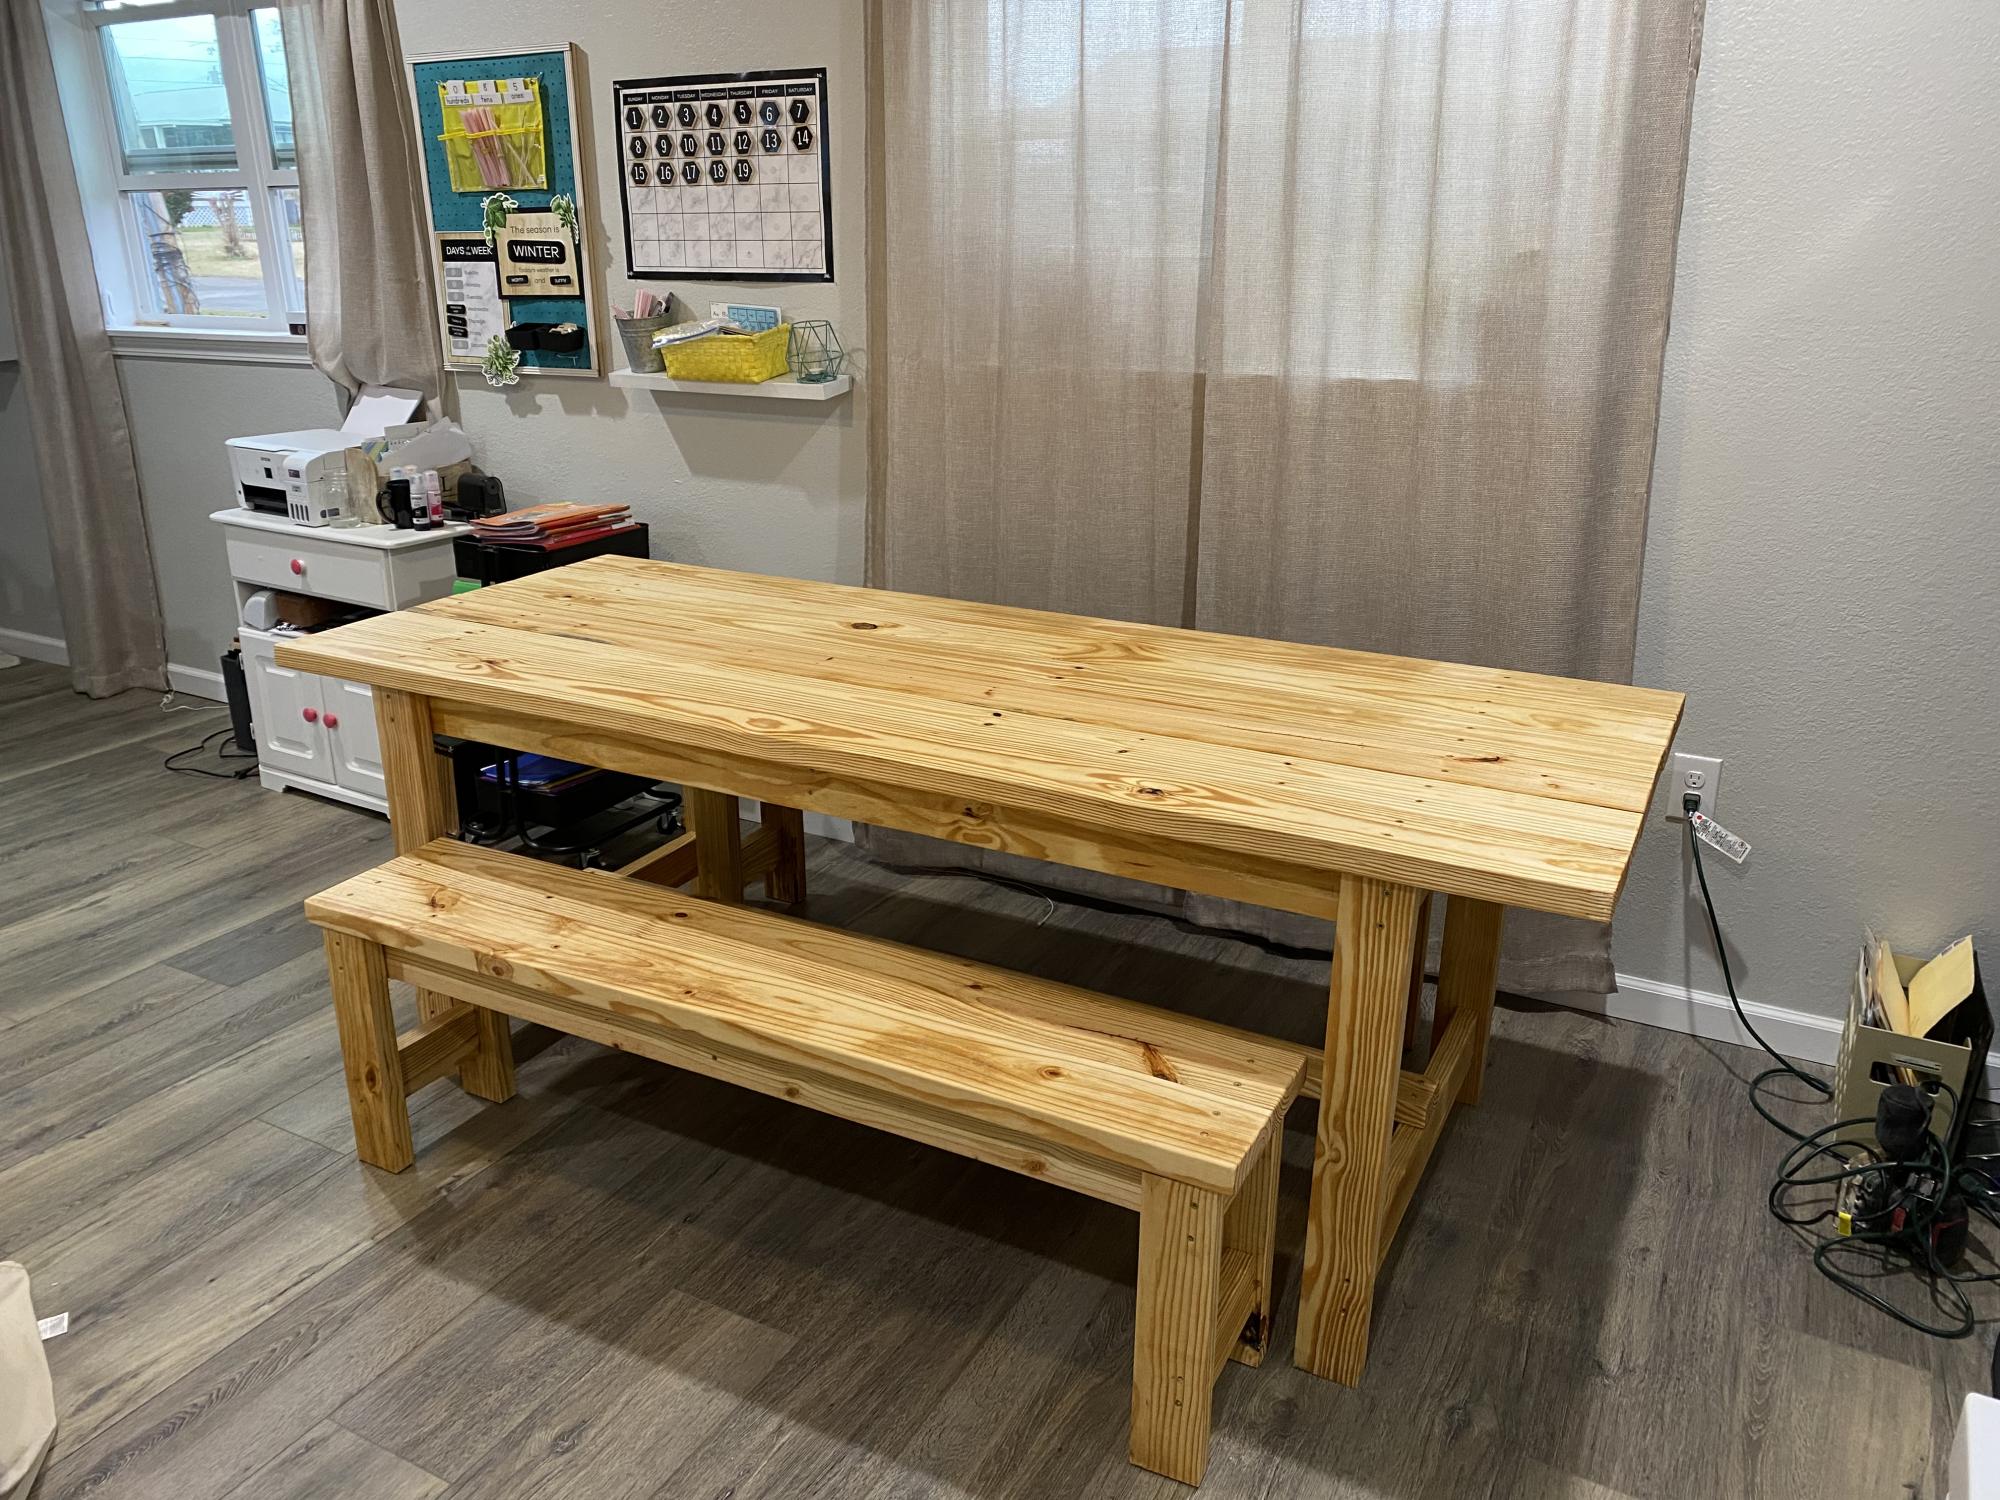
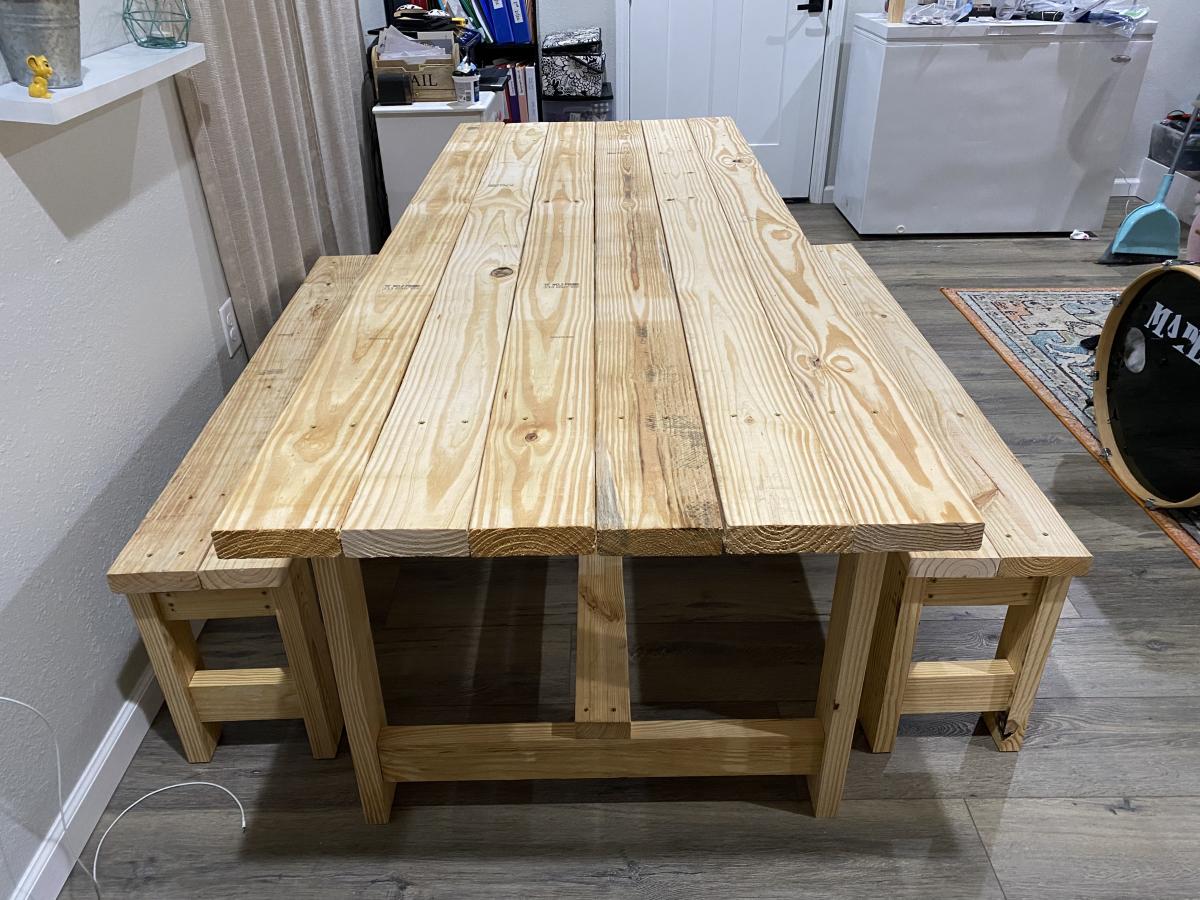
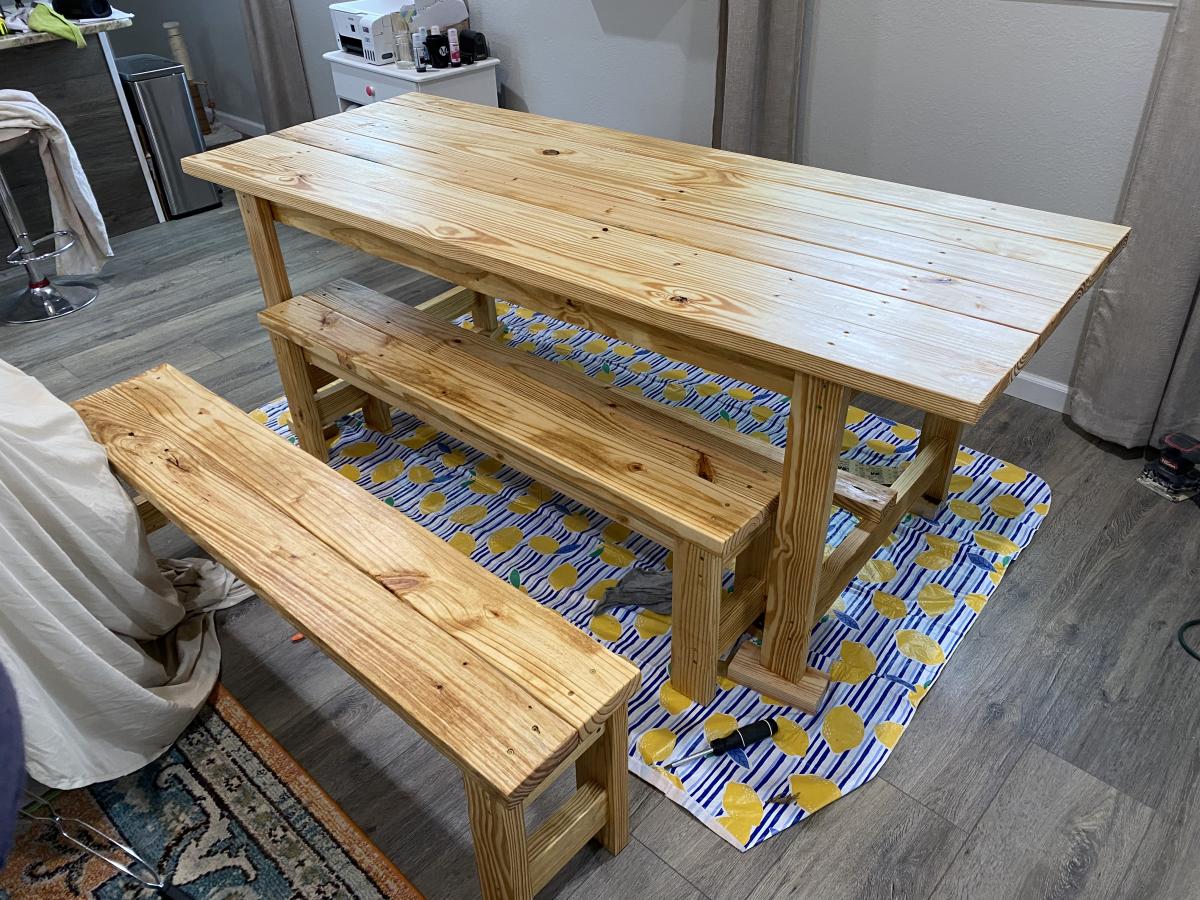
My mom and o completed this weekend project together! It was so fun to complete! The table is customized to 7ft and the benches made smaller than the original plans so they slide under the table when we’re not using it. We made it for our homeschool room. The kids are excited for this space already and we all have the room we need to get our work done! Under $200 start to finish! I used a prestain to prep the wood and then stained with watco danish oil in a natural finish.

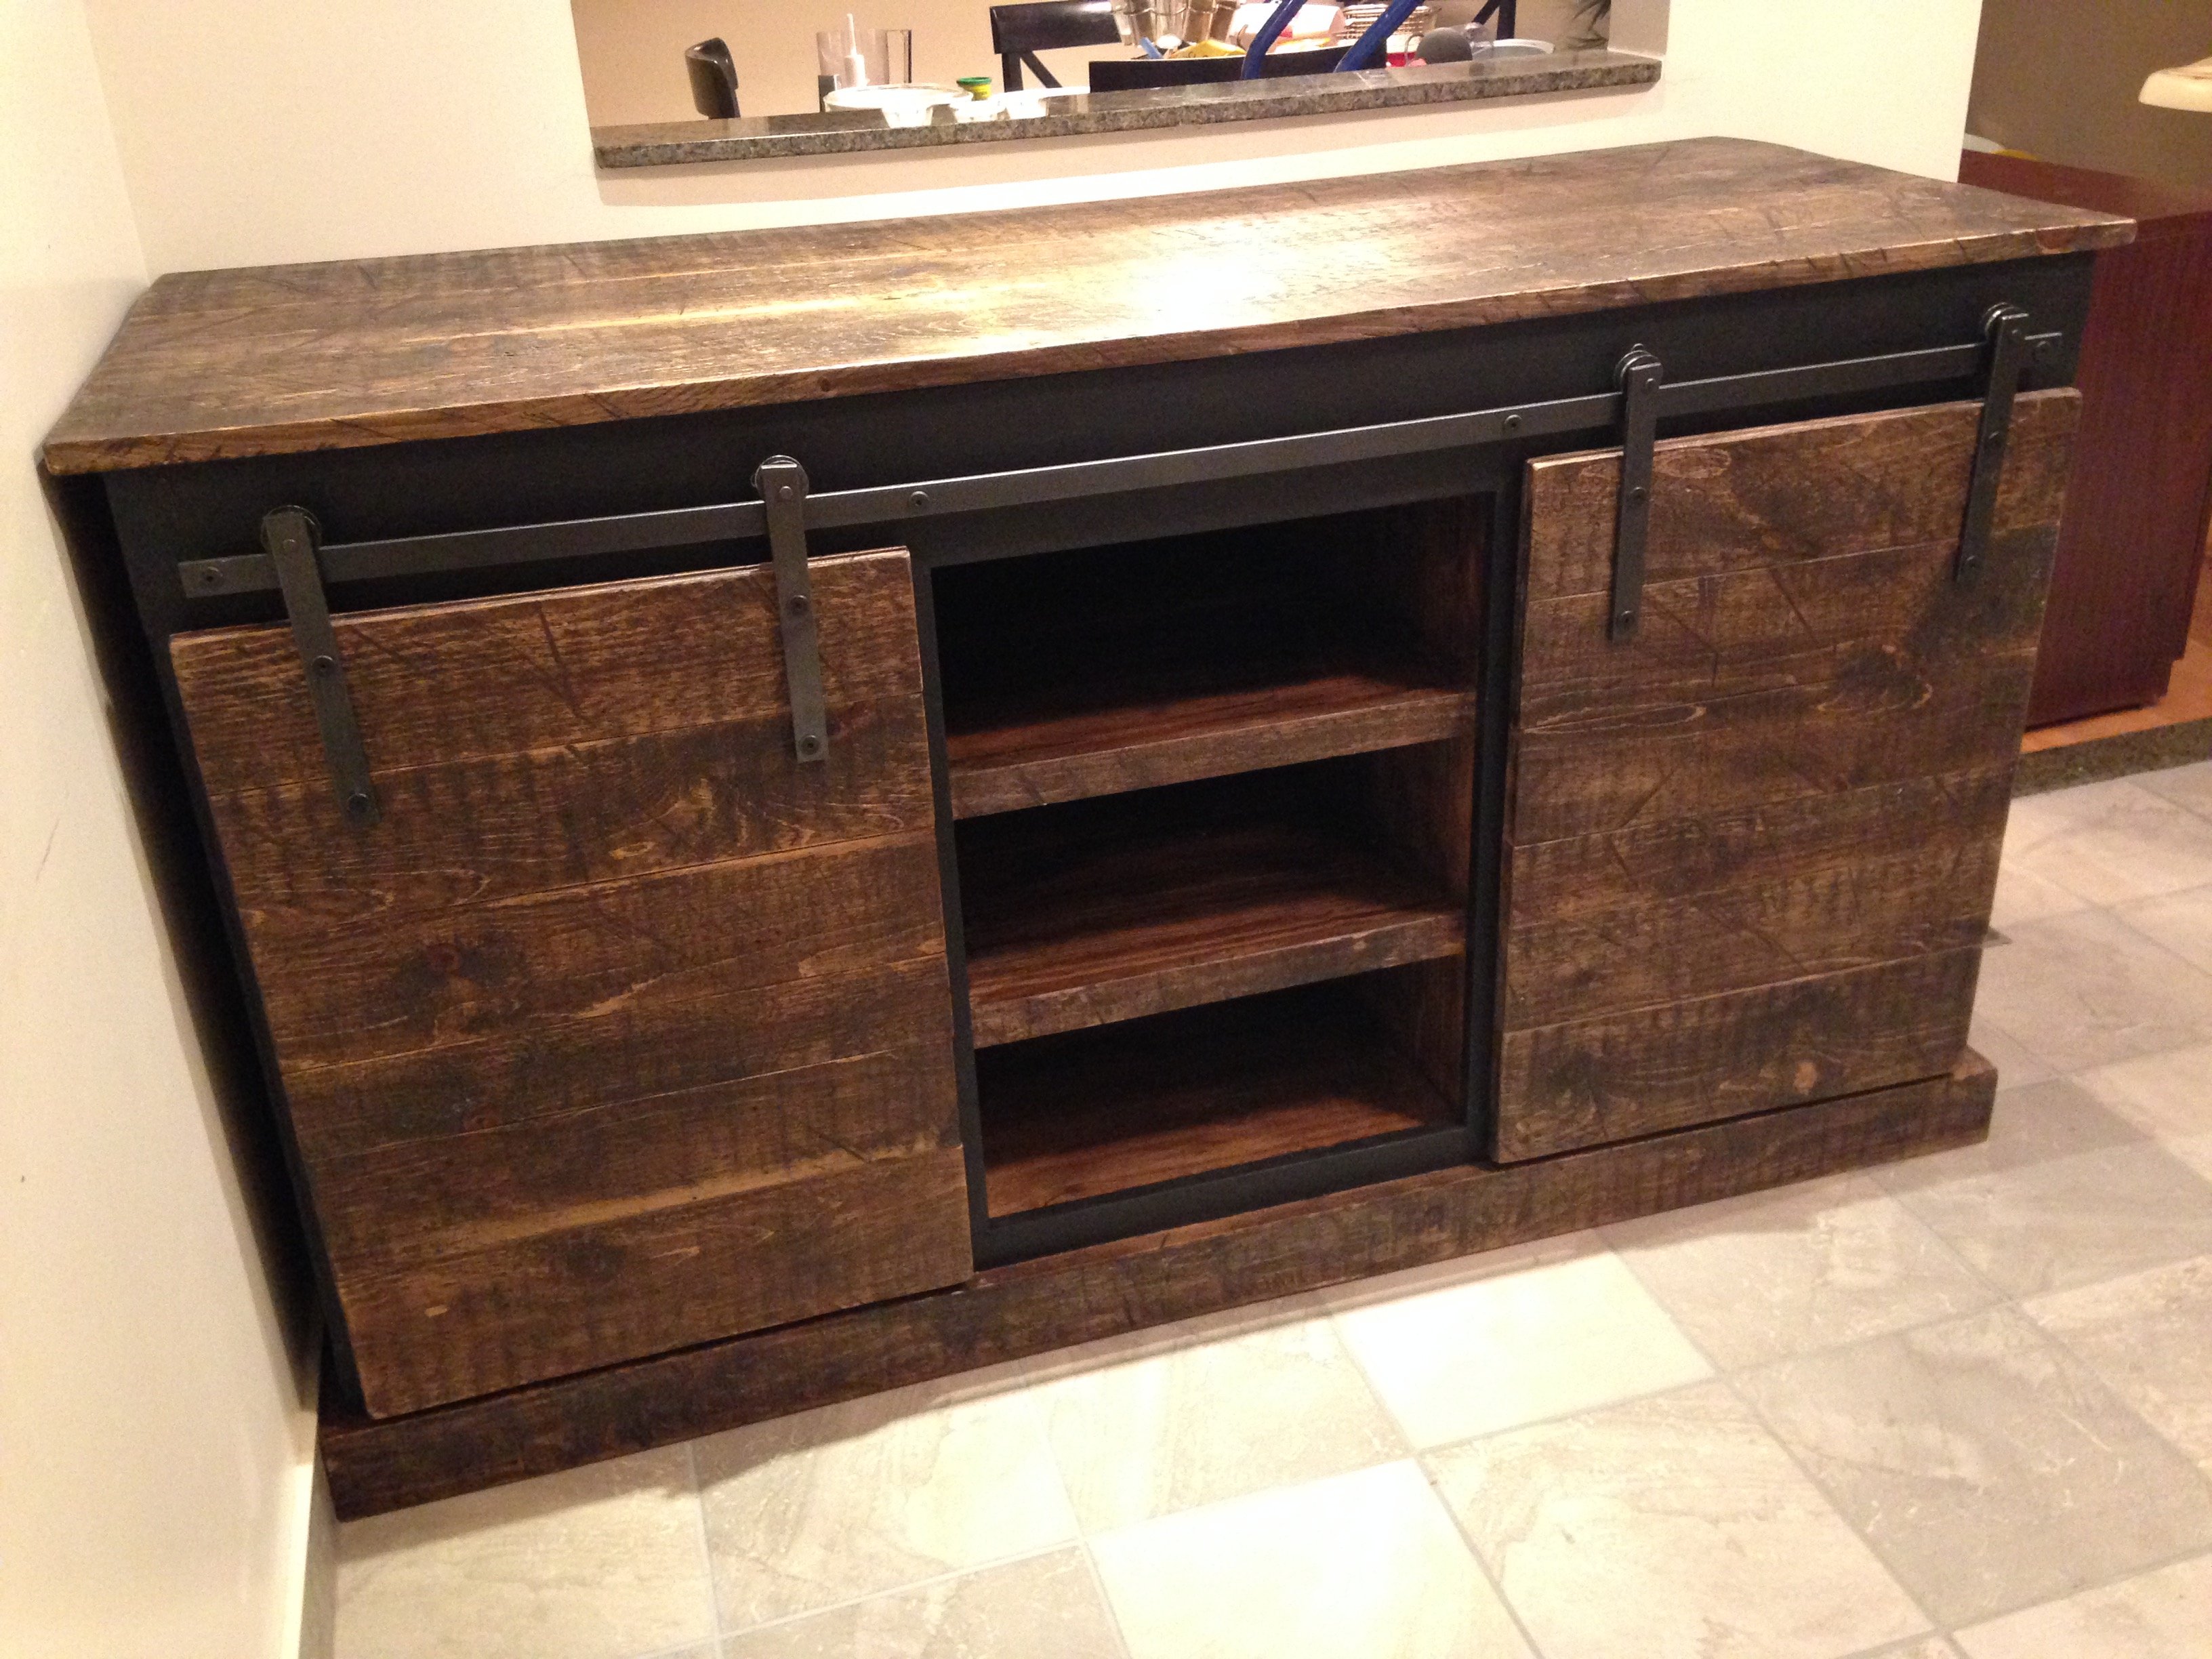
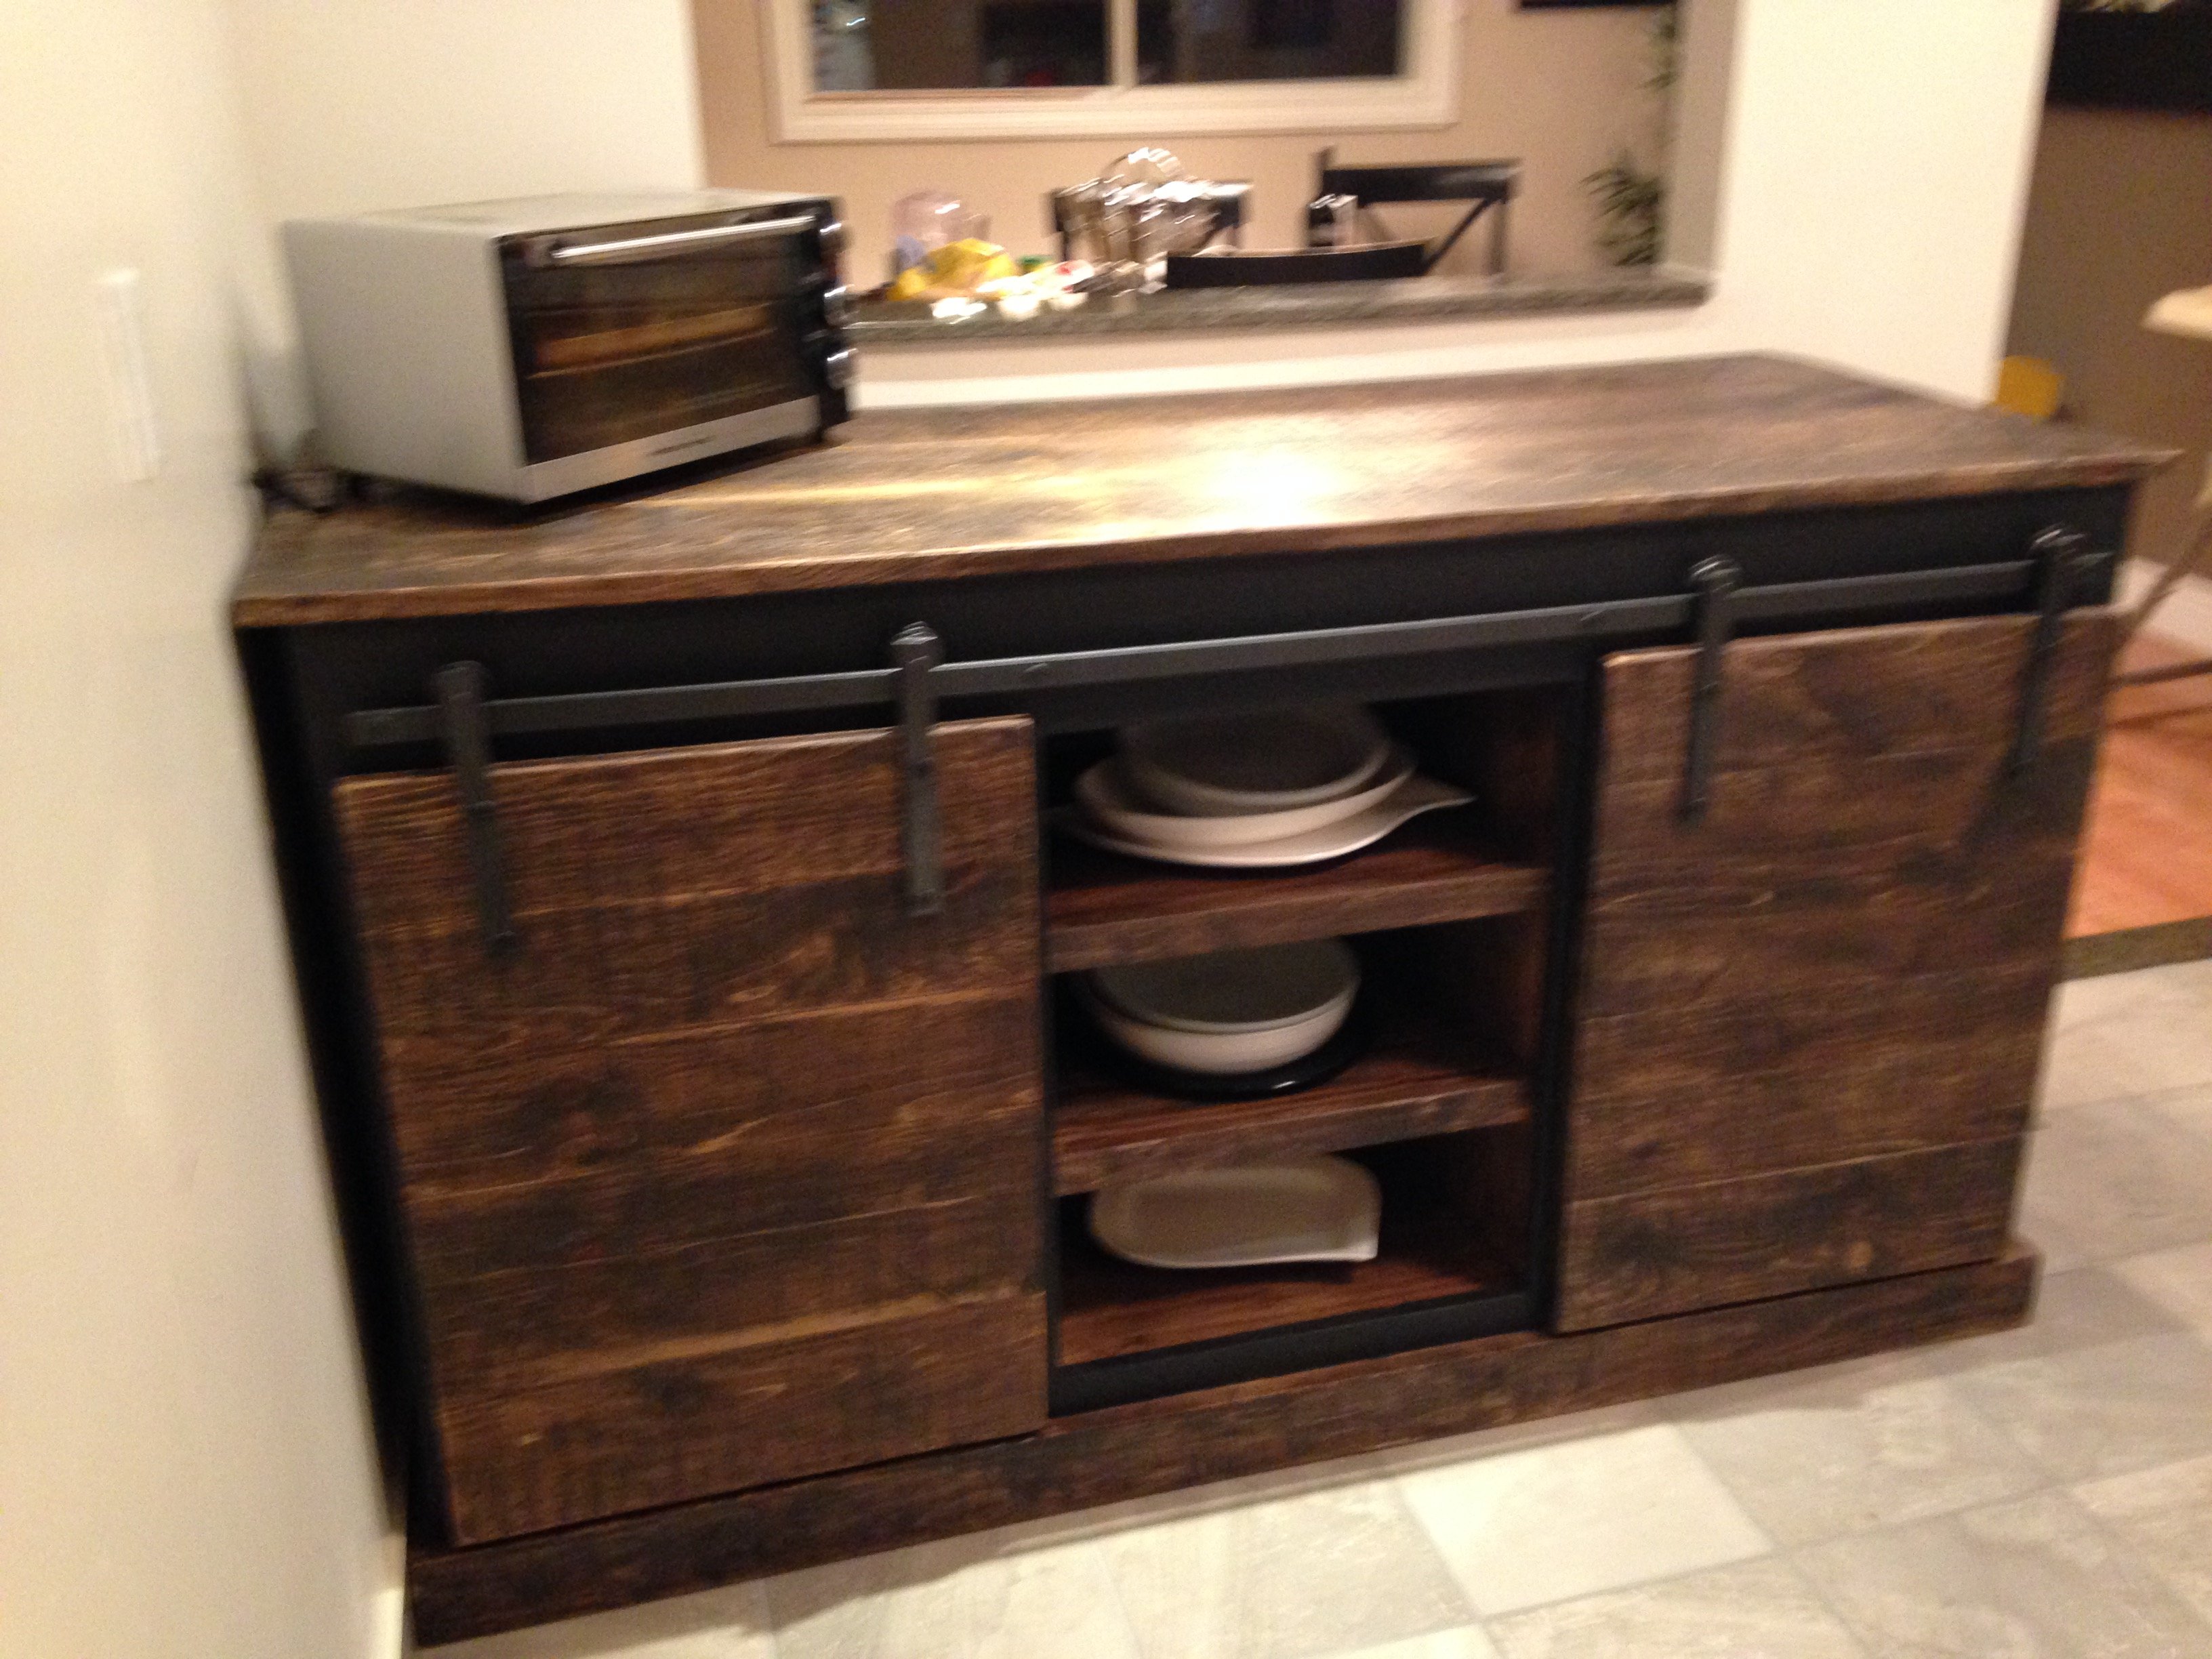
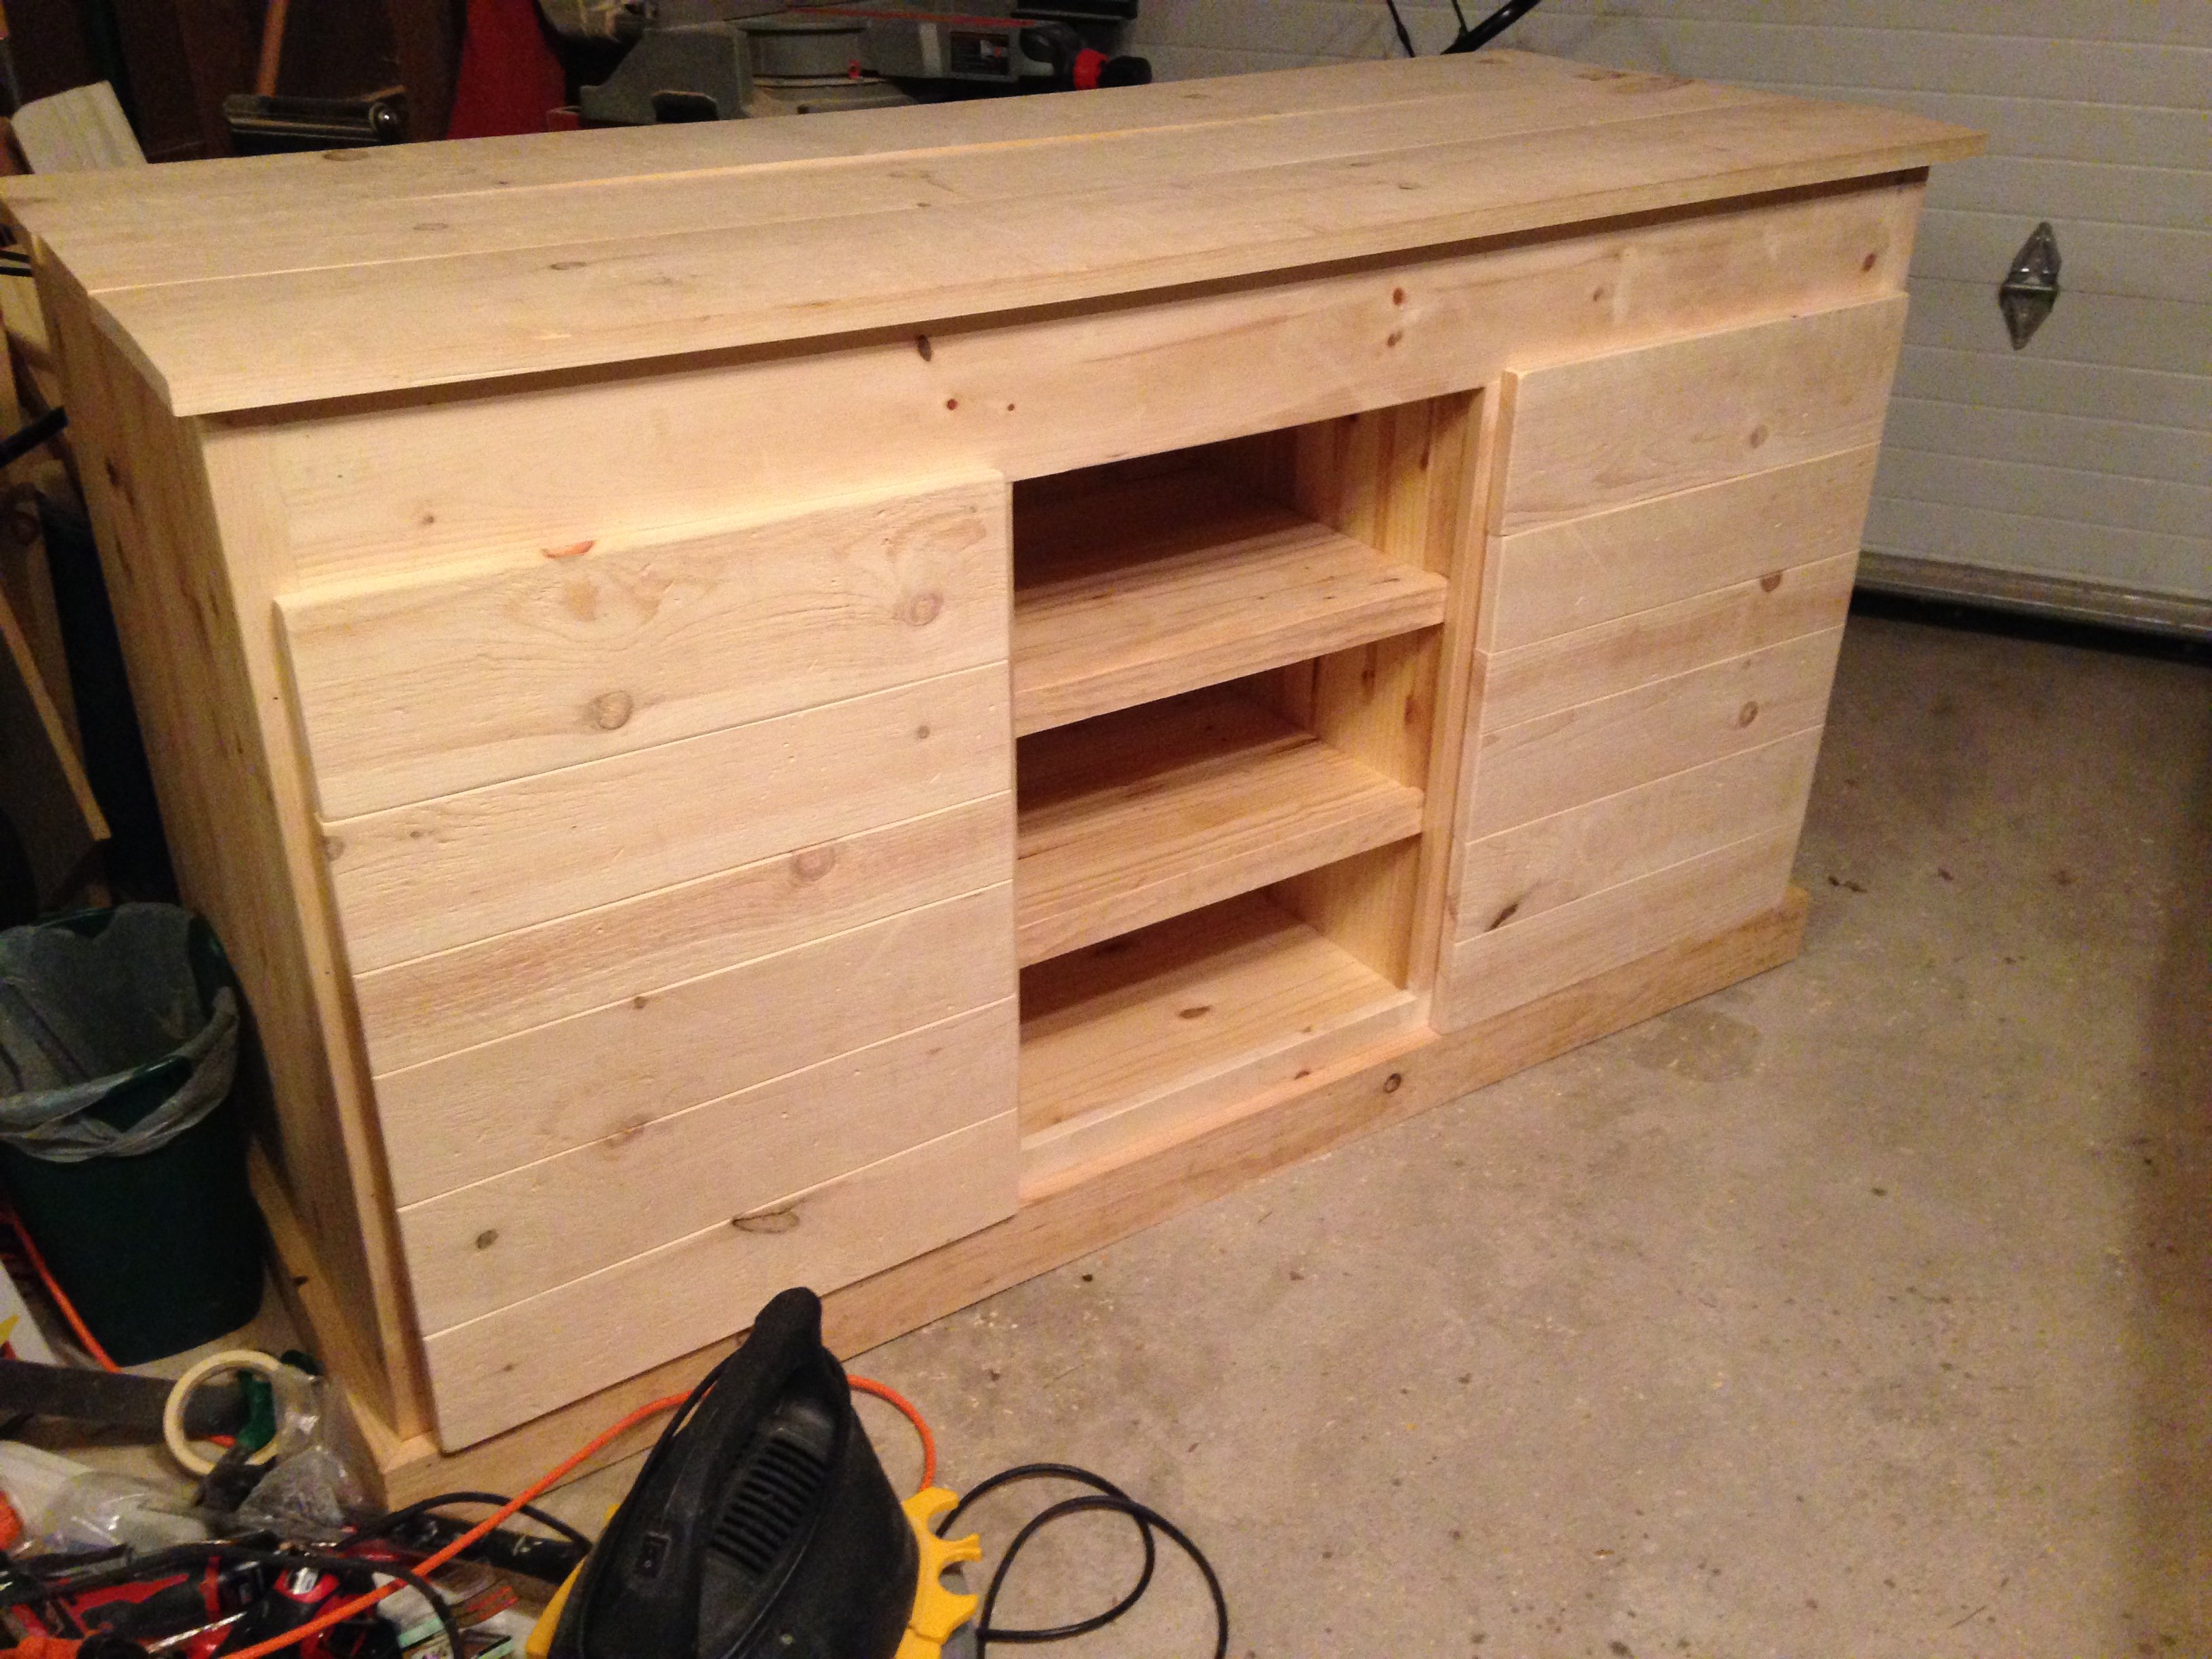
I built this console over about 2 months. I really wanted a barnwood look so I found this lumber place that sells pine that puts it through a machine and roughs it up on one side. I also added my own saw marks to it, screwdriver dents, rake dents, etc. to rough it up some more. Real barnwood is expensive and often isn't straight, etc. and since I was using this in my kitchen as a countertop I didn't want any spaces in my countertop. This was about a third of the price of barnwood. I wasn't sure how the look of it would turn out, but I think it comes pretty close to looking like the real deal! My husband helped me with the sliding door mechanism. We used pulleys for it and cut metal down to size. We discovered that using a nut and bolt on it didn't work, it just loosened and would come off so instead of using a nut and bolt to secure the pulley to the metal, we used a clevis pin and some washers. Works amazing! This was my first big build and I am very happy with how it turned out! Behind the sliding doors there is one shelf each. We have found there is so much room for storage!
I created this work table by modifying the Beginner Farm Table. I made it counter height and added a shelf underneath. It is 5 feet long and the top is five 2x6 boards. The shelf is 1x6 boards.
I purchased 4@ 2x4s and 3 @ 2x6x10 - I got the store to cut those in half (5' lengths). I cut the 2x4s on a miter saw.
This is my first project. It probably took a bit more than 6 hours given I was learning to use the saw and trying to find the tools to do the job.

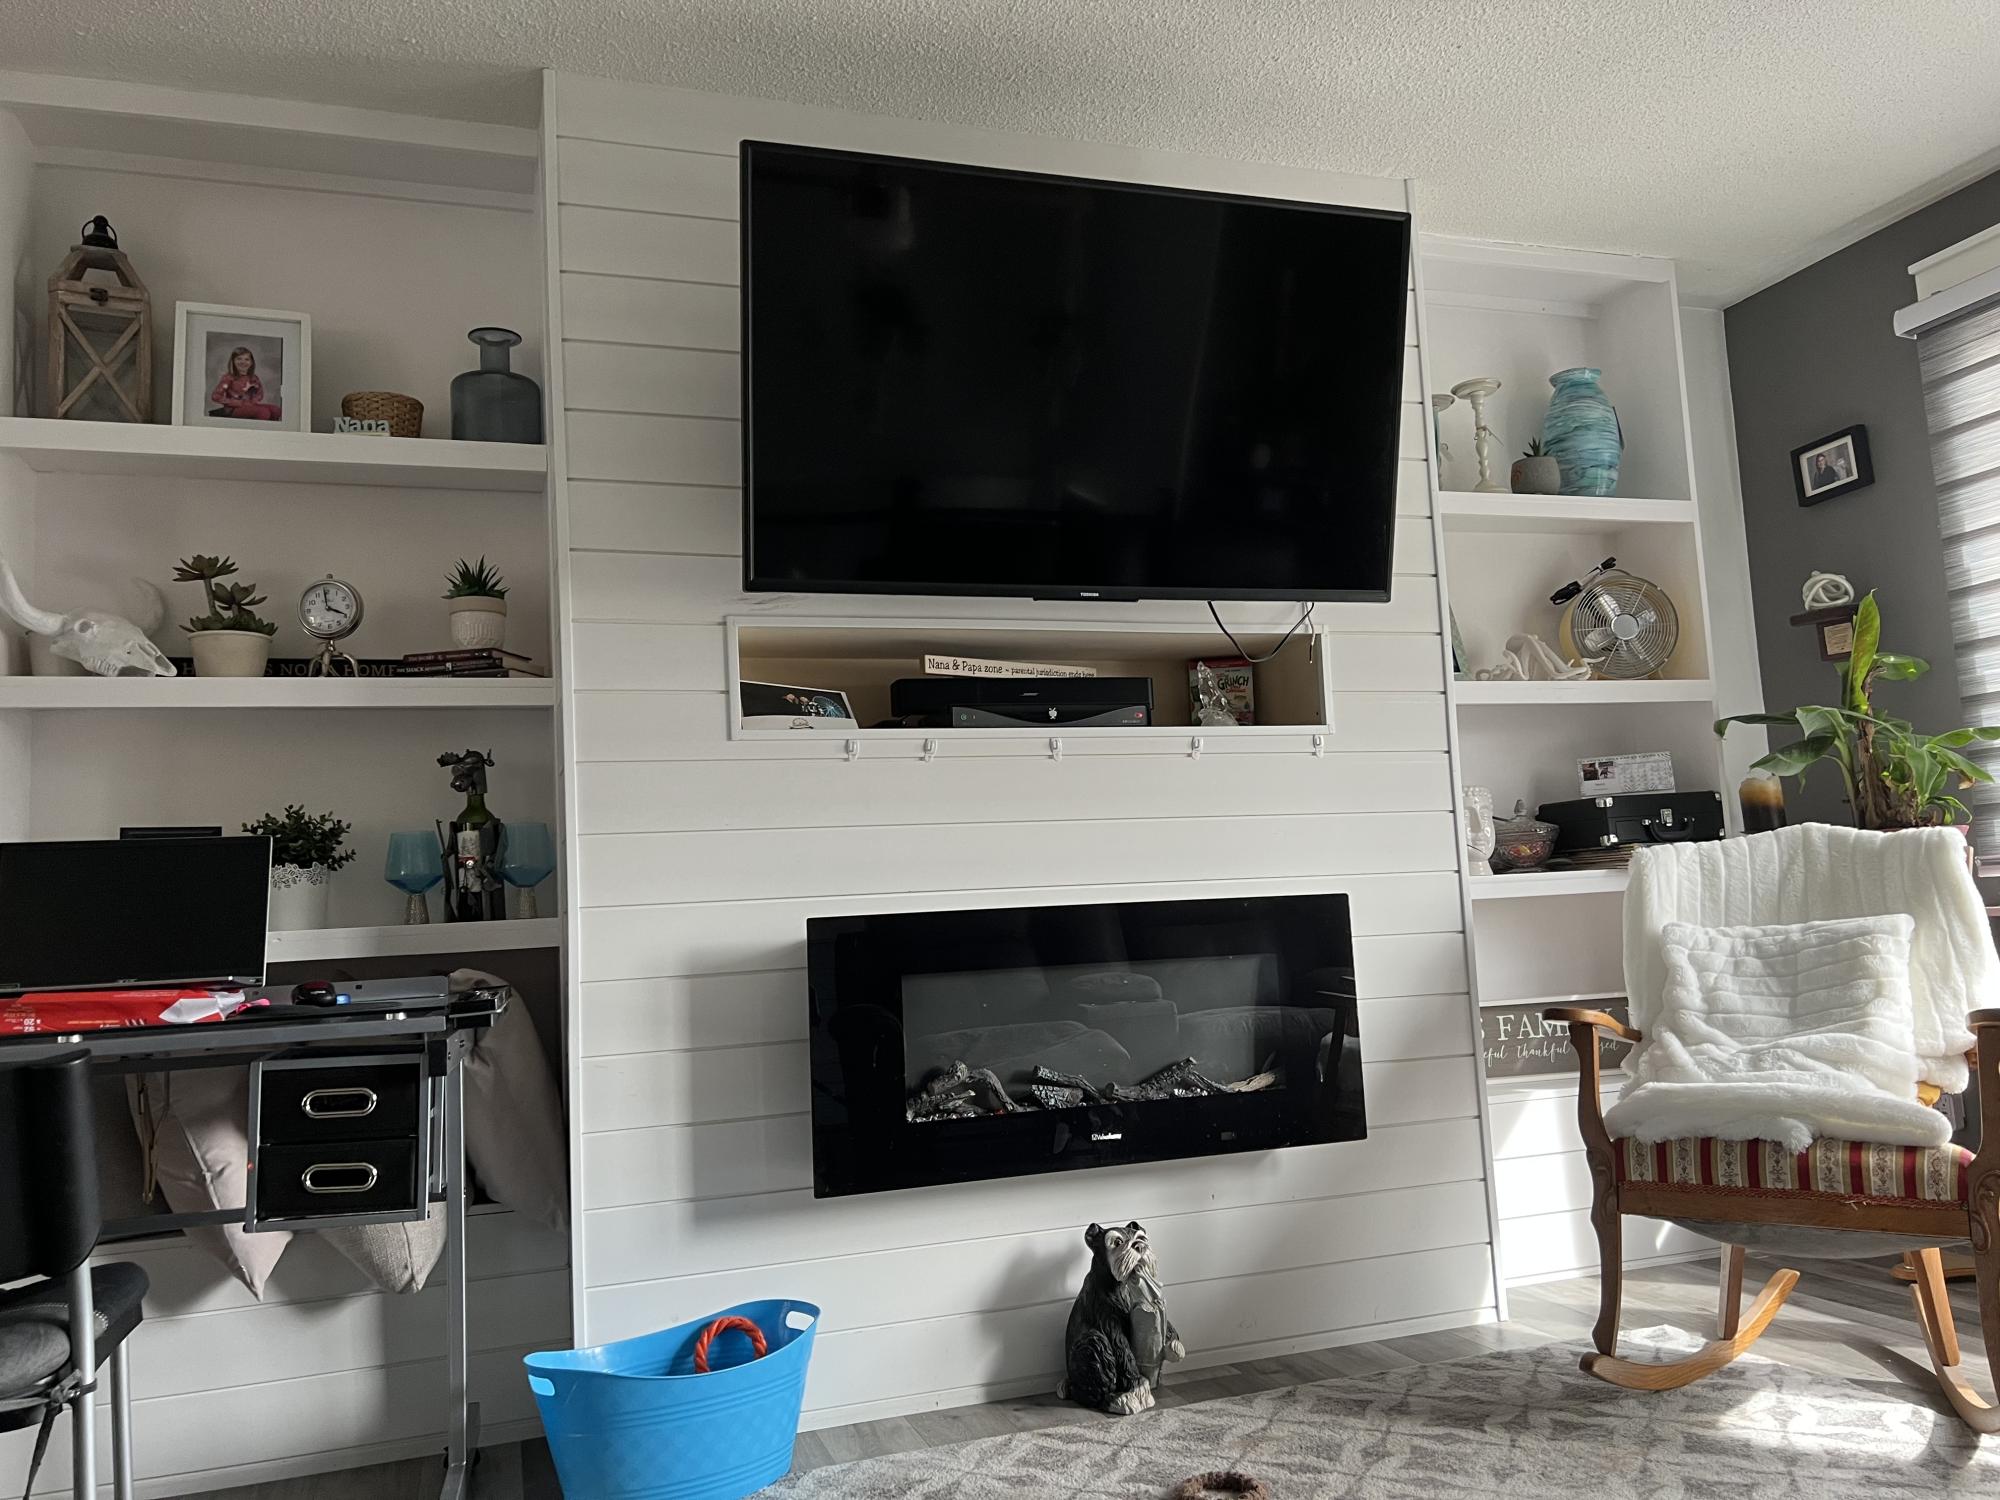
My wife wanted a fireplace in our main living room, then we added the shelving on each side
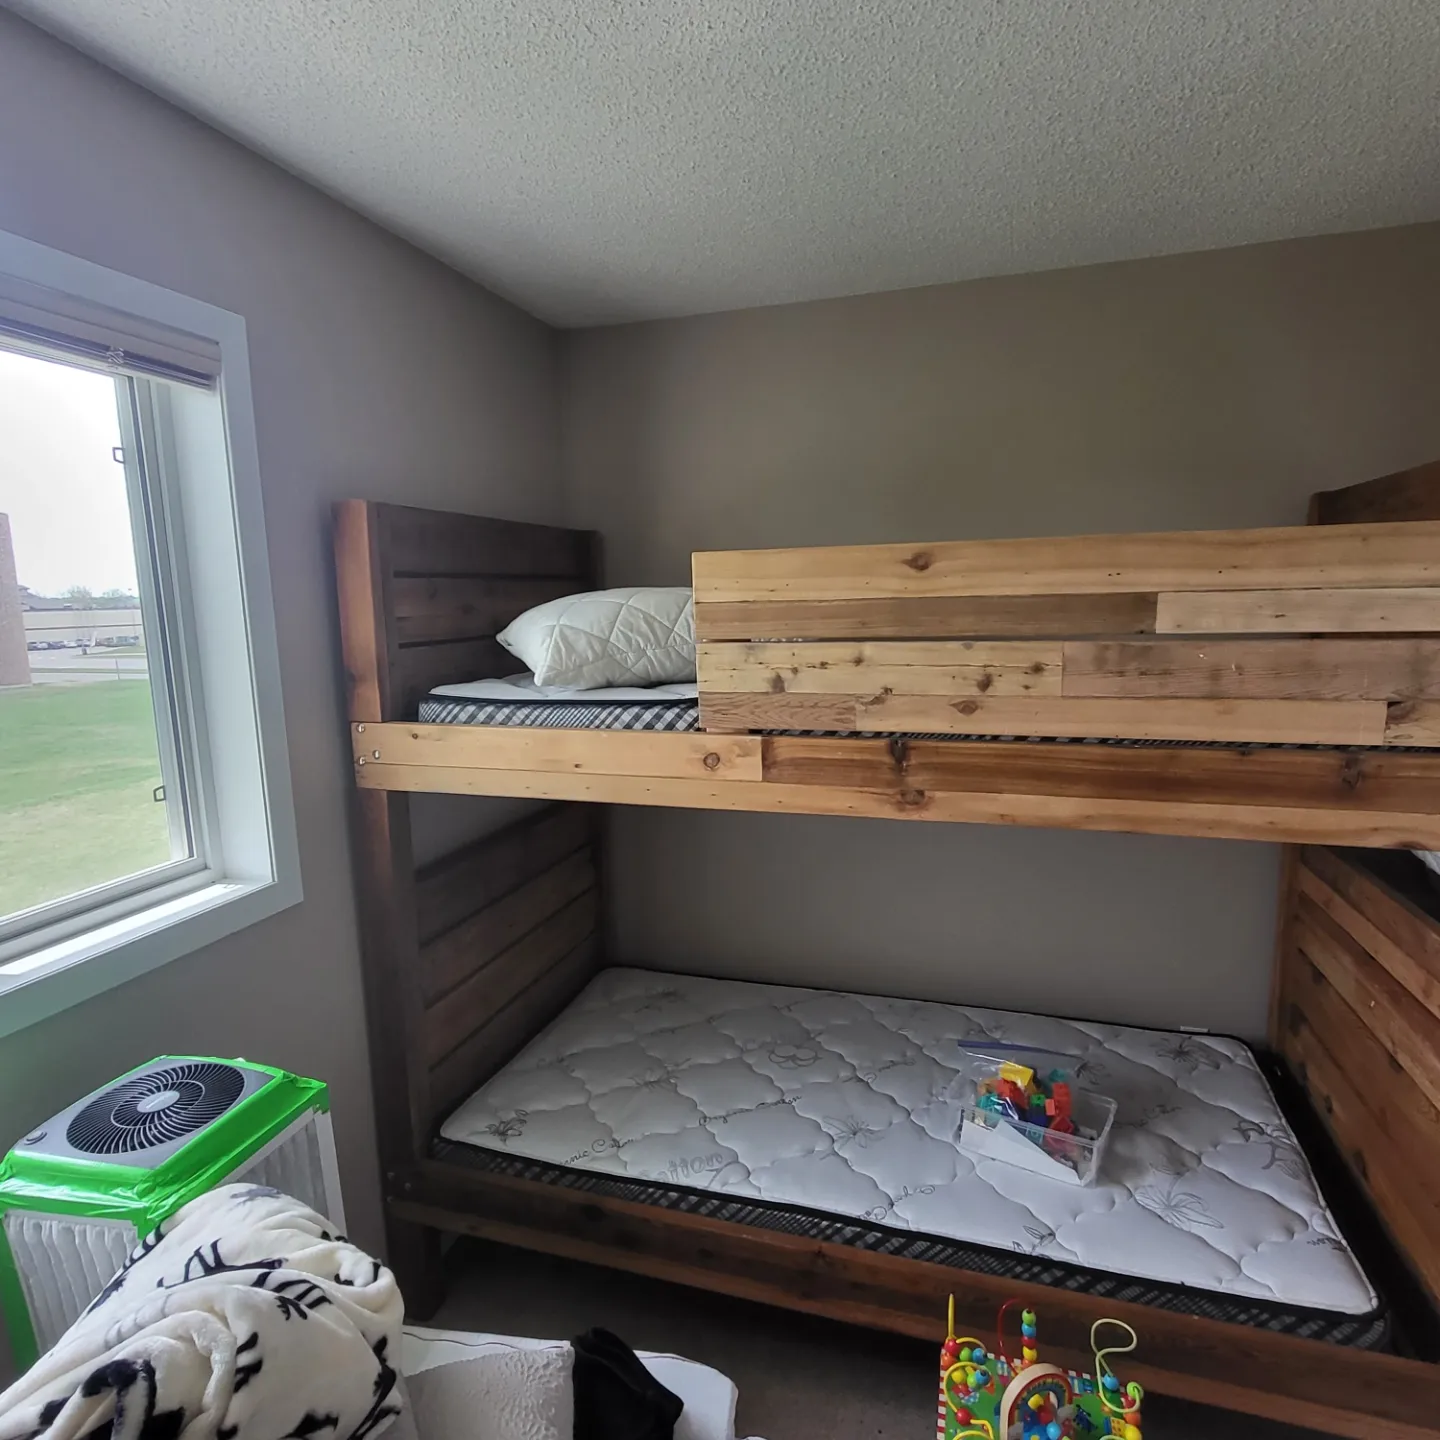
Loved this plan from Ana. Easy to follow and looks great. 100% reclaimed cedar.
Thu, 05/11/2023 - 19:39
Awesome build, thanks so much for sharing!

Comments
Ana White Admin
Tue, 10/18/2022 - 10:31
FIRST BUILD!!!
WOW, amazing work, this is beautiful!