Small cedar shed
First shot at using plans from Ana, and thought it was great! Can’t wait to try another!
These sturdy chairs are a wonderful replacement for plastic deck chairs! They are nice and heavy, and won't blow over in a storm! This project is a mix of Ana's Adirondack Chairs and the Simple Outdoor Lounge Chair. I combined ideas from the two plans to use the extra lumber we had left over from an outside project from last year. Left-over lumber included some 2x4 for the bottom frames, some 5/4 decking board for the seat, back, and arms, and a few balusters at the back. Most of the lumber was left over, so I only had to spend $20 for 2 boxes of Kreg screws and 2 pc 5/4 x 8 decking board. Finished with some left over exterior latex semi gloss paint. This was a fun weekend project - built the chairs on one day, and finished the sanding and painting the next day. My next project is a little outdoor table to go with them, and I have a few scraps left over to use for that. These chairs have received lots of compliments, and we've given Ana's web site name to several admirers. Ana, thank you for your wonderful plans!
Sun, 09/28/2014 - 18:15
Hi Mepaganjr,
I used the plan for the Simple Outdoor Lounge Chair
http://ana-white.com/2010/05/plans/simple-outdoor-lounge-chair
as my guide for the seat part, and the slant of the back,
and used Ana's Adirondack Chair
http://ana-white.com/2010/05/furniture-plans-adirondack-chair-ana.html
as the inspiration for the tall chair back and front legs. I did several adjustments to fit the mixture of sizes of 2x and 5/4 scrap wood that I had available. I traced a paint can lid to make the curve on the top of the chair backs.
A great plan that has a similar seat and legs is the Adult Adirondack Chair, which is in Ana's book, The Handbuilt Home, on page 174. That's a great plan because it only uses six 1x4's an one 1x2. If I hadn't been using up the mixed scrap lumber, I would have used the Adult Adirondack Chair plan.
Happy building! :) Joanne
My husband and I built these end tables together. The construction took about 3 hours.
In reply to Just Beautiful! by Ana White Admin
Thu, 03/26/2015 - 20:27
Thank YOU so much!
We had fun building them.
I took Ana's open base and drawer plans, added a few inches to the height (so that the base trim on the storage units would clear the base trim on our walls), and put them together to create a banquette-style bench with tons of storage underneath. We use the drawers for our family board games and photo albums.
First project my husband and me attempted- turned out awesome! Very sturdy bed. The metal frame and box springs are not attached, it just sits inside the wood rails, headboard and footboard. We worked on this a few hours at a time on Saturdays and Sundays for one month since we work full time. Definitely more projects to come!
Ideally we would’ve loved to have found a nice thrift shop coffee table and added a nice upholstered top to make a cheap and cheerful bench for the dressing room.
Unfortunately, no such table was to be found. So we did what DIYers do. We built one ourselves. Of course, as usual, we had big dreams and no clue where to start. In theory it seemed easy enough. Wood, nails…put them together.
After visiting Ana White’s amazing site, we came across this plan. Come on, it has the word EASIEST right in the title! It was perfect for us. Our bench is tweaked somewhat from Ana White’s.
This was my first building project ever! Even though it took longer than I expected to complete (I have four tiny kids and snagged an hour here and there during nap time over the course of many months), it was absolutely worth the time investment (and wait)! Hanging the doors was tricky (my awesome husband tackled that part), but other than that it was easy to put together. Finishing it was the hardest part by far. If I were to do it again, I'd probably do some preliminary sanding of the boards before putting them together and I would most certainly not use oak (I was talked into it by the HD guys) especially since I ended up painting it. I think it would have turned out just as great if I'd used a cheaper wood or MDF. Thanks for the plans Ana!
Submitted by Abigail Marolt on Facebook -
I made a your crib mattress sectional with an extra armless couch to make one large U-shaped design! It was my first project with a kreg jig and a circular saw, but it certainly won't be my last. We love using this couch every day!
I have used one of your cooler plans to create this one of a kind piece. Love your website - Thank you !
Wed, 06/19/2013 - 16:15
It was fun to do this project on the Father's Day with my Husband! It was a gift for him!
Mon, 06/01/2015 - 12:20
Been thinking about making one of these. As a Texan this one definitely appeals to me !
Great job, it looks really nice.
This was my first major build and while not perfect and I was little clunky building along the way, I’m happy with how it turned out and I think the girls will love it for Christmas. We are beach dwellers and surfers, but I’m also a former (always) a farm girl as well, so we put a surfing pig on it too. I wanted to keep it whimsical a bit so put starfish knobs for the burners. Took me a long time and more money than average probably because of learning curve as well as having to sneak work on it between working, toddler and infant. I got a Kreg and more tools for Christmas, so I am looking forward to more building!
update: My little destroyer broke the door within 10 minutes because it was too big for her to work around. So I “remodeled” it and made the door just the top half so that is her oven. MUCH BETTER. Now she can use it far easier and it isn’t dropping to the floor.
Had to adjust the measurements to fit the space I had to use it in my tiny kitchen but it turned out pretty well.
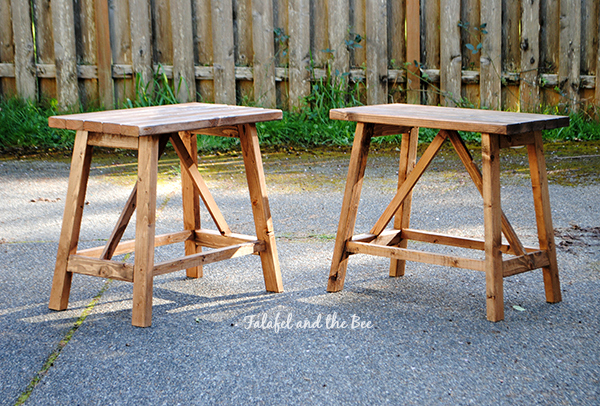
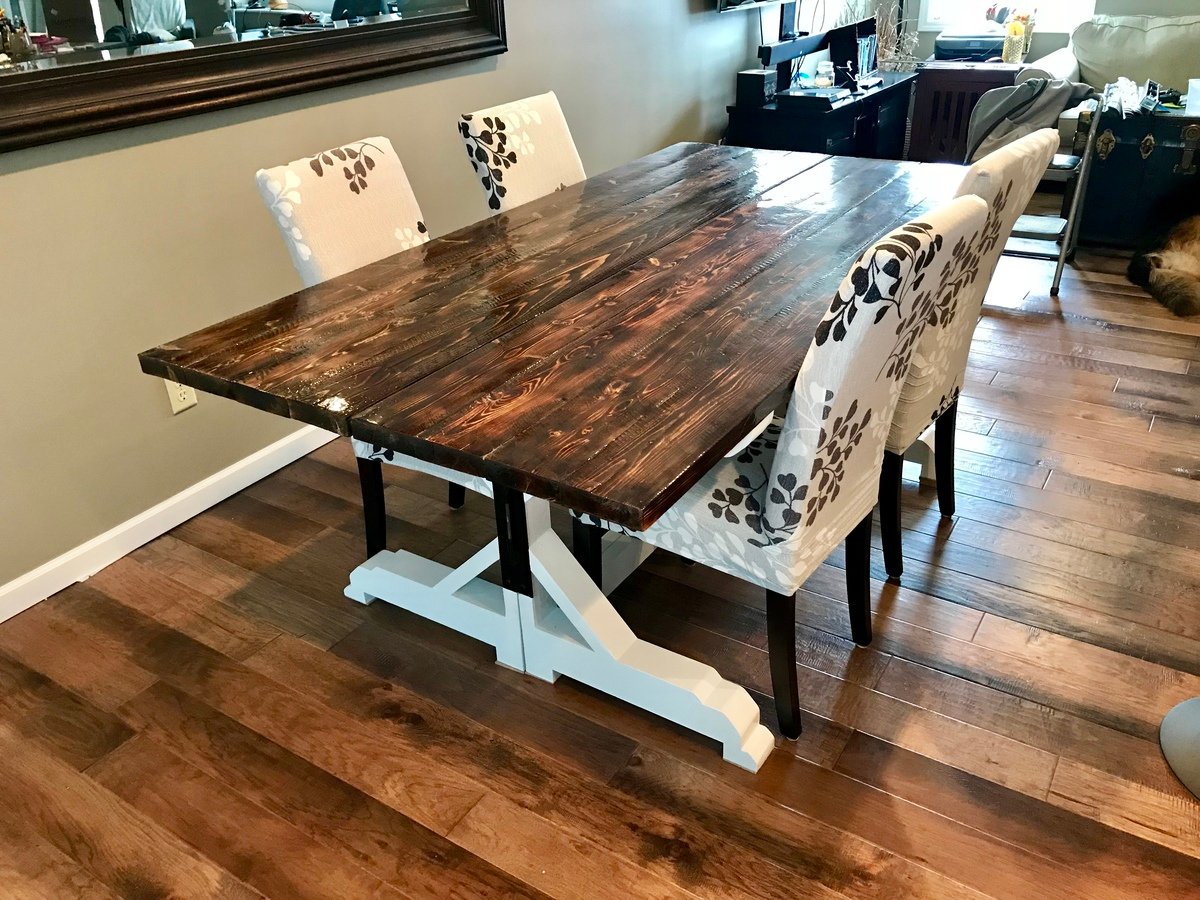
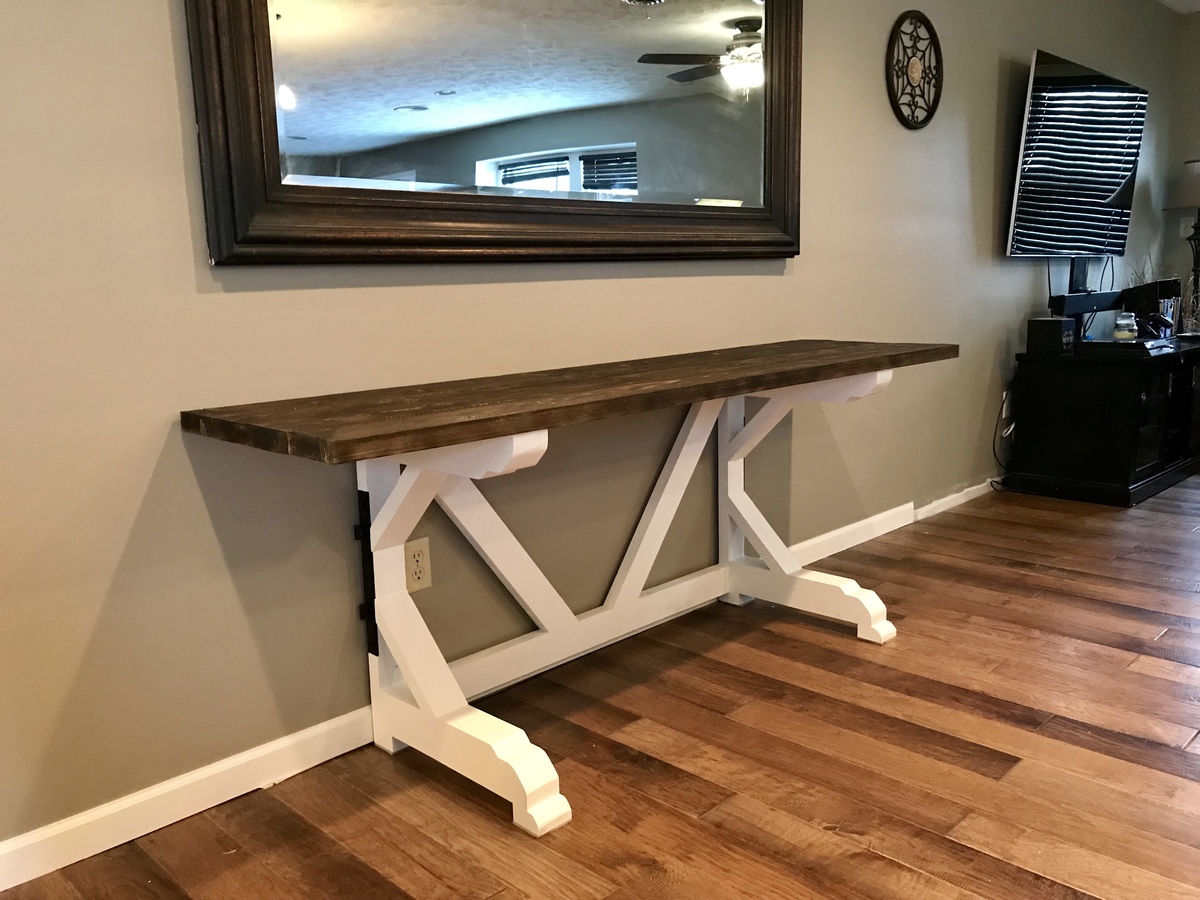
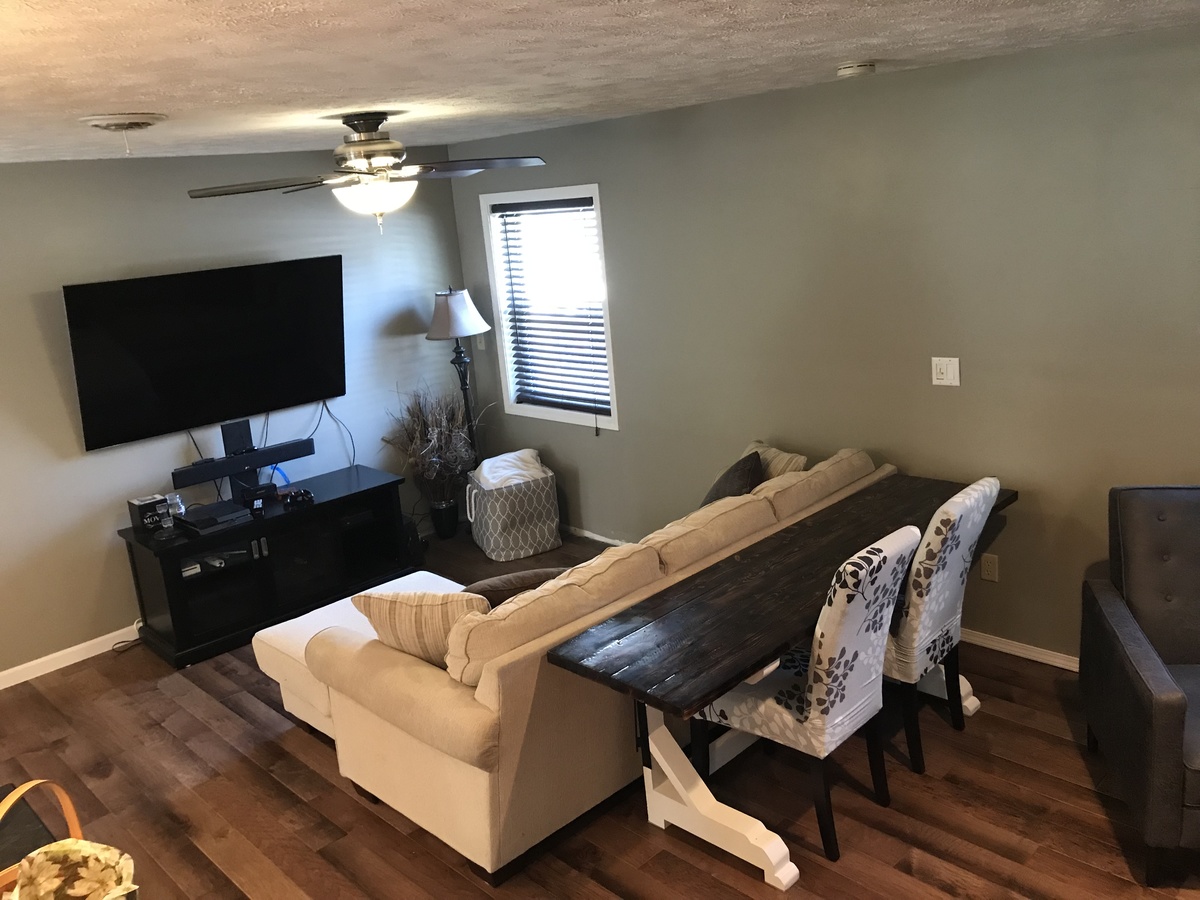
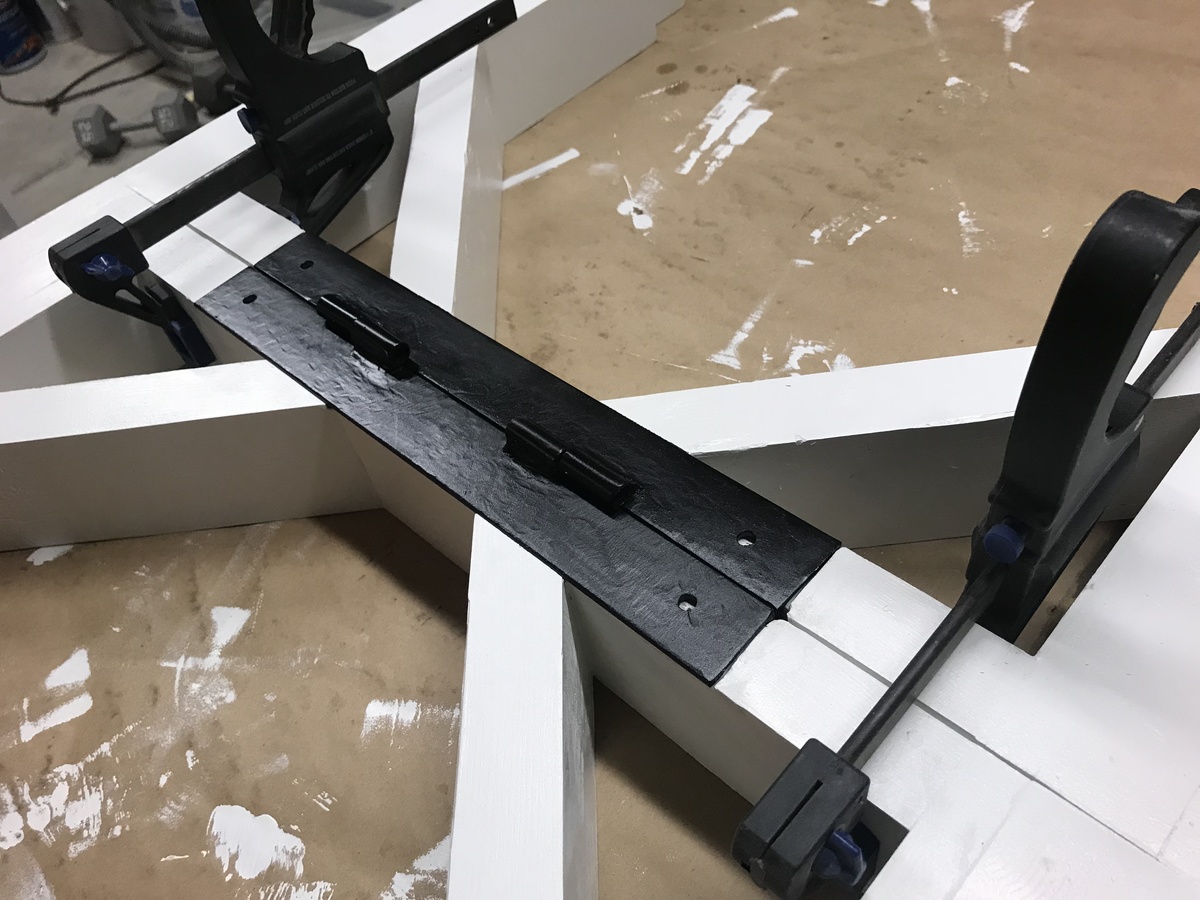
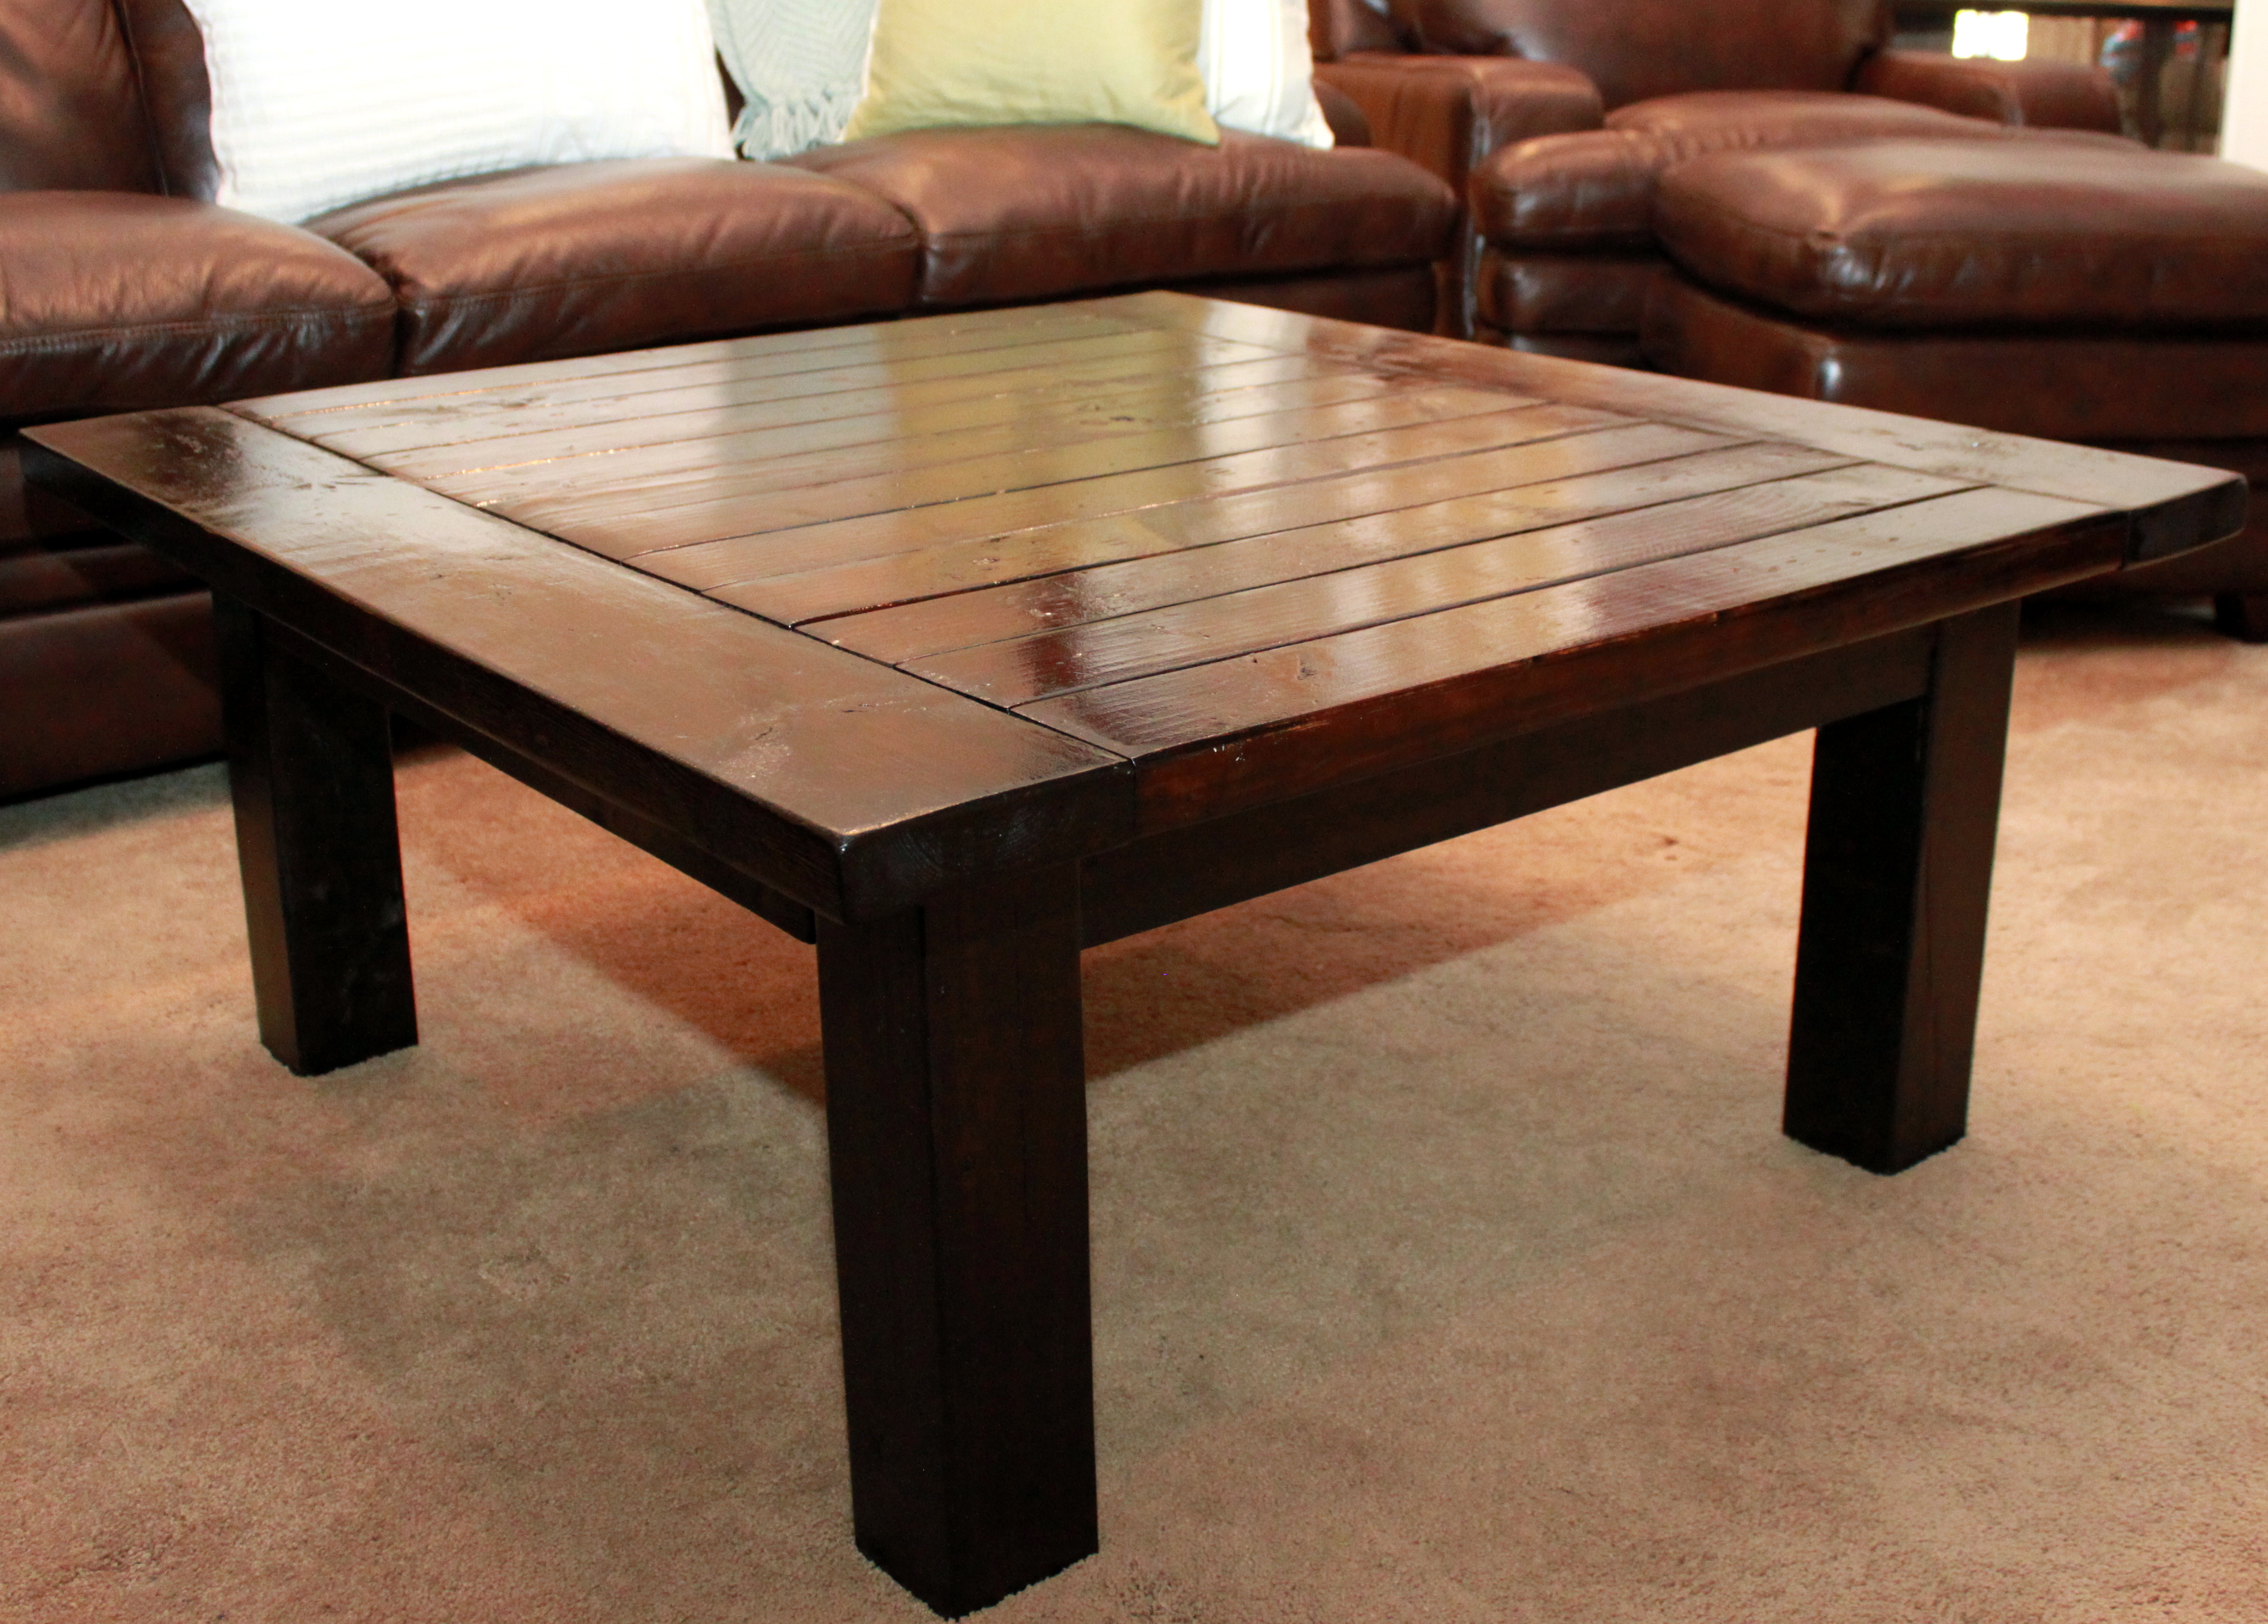
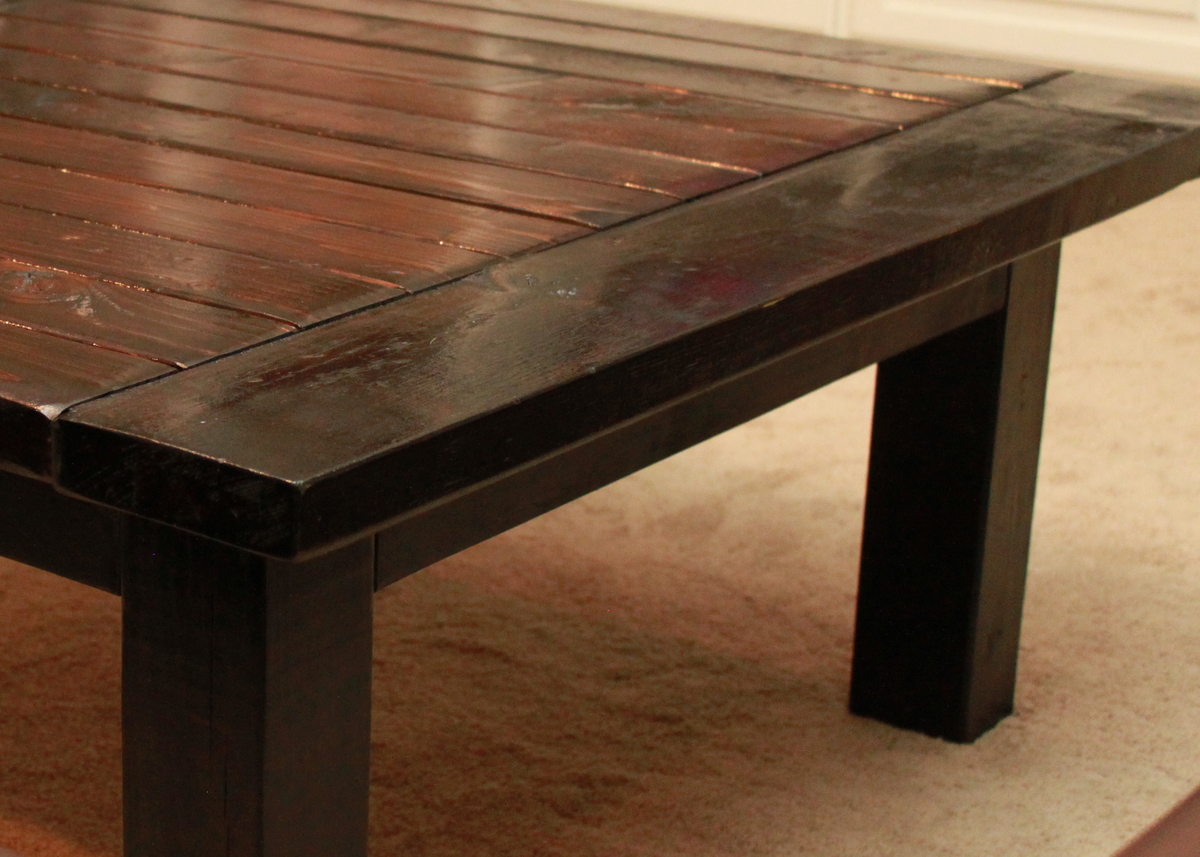
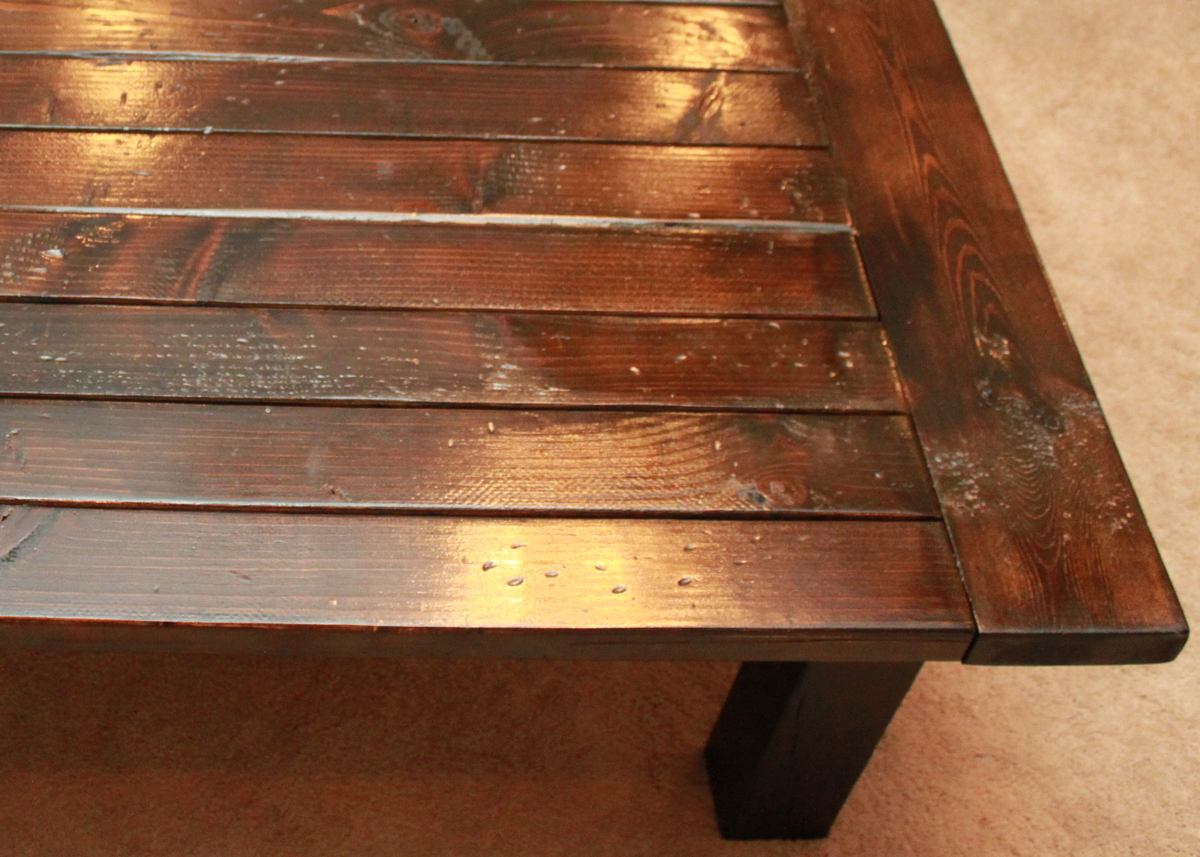
We have a smaller house and wanted a dining table as well as a table behind our couch. So, we got the best of both worlds with this minor customization. I simply split the two legs and tabletop in half, added additional feet, and built two supporting braces instead of one. For an added touch, I welded tubes to steel angle iron to make a hinge-style locking mechanism with steel pins. This locks both halves together (when using as a full table) and adds a little rustic black metal to the overall look.
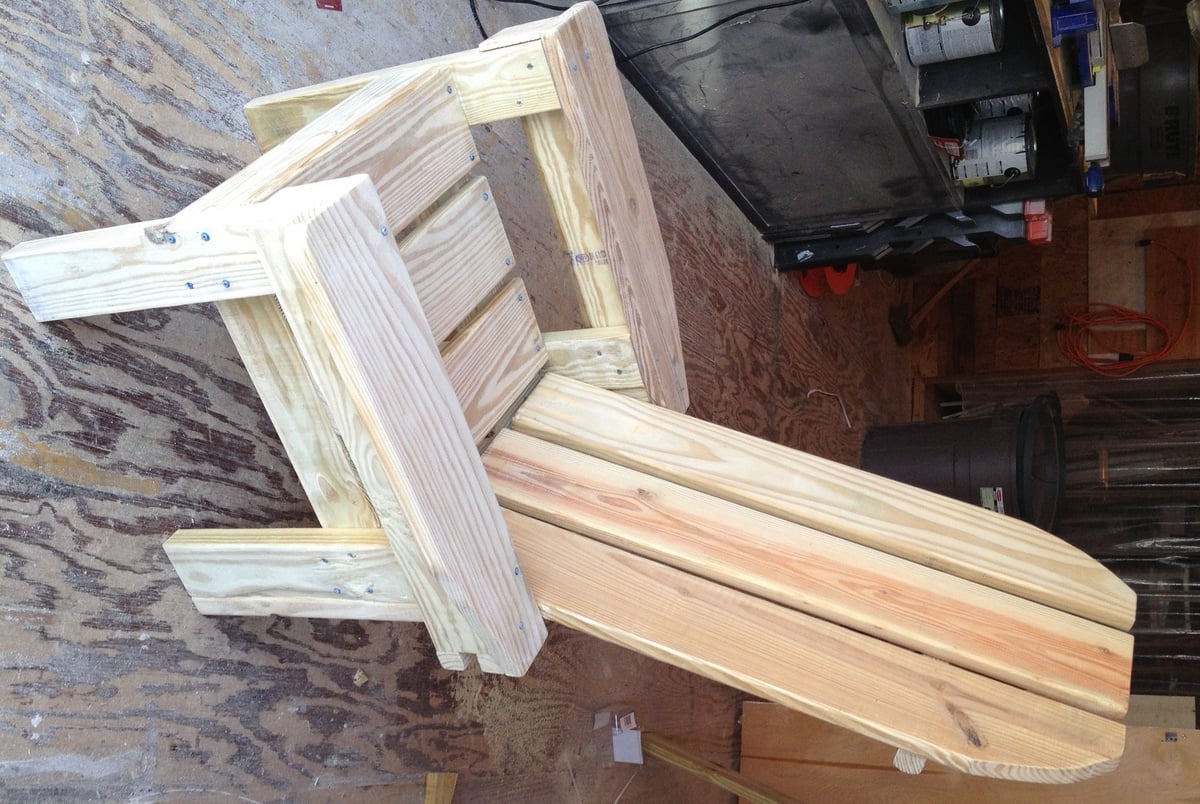
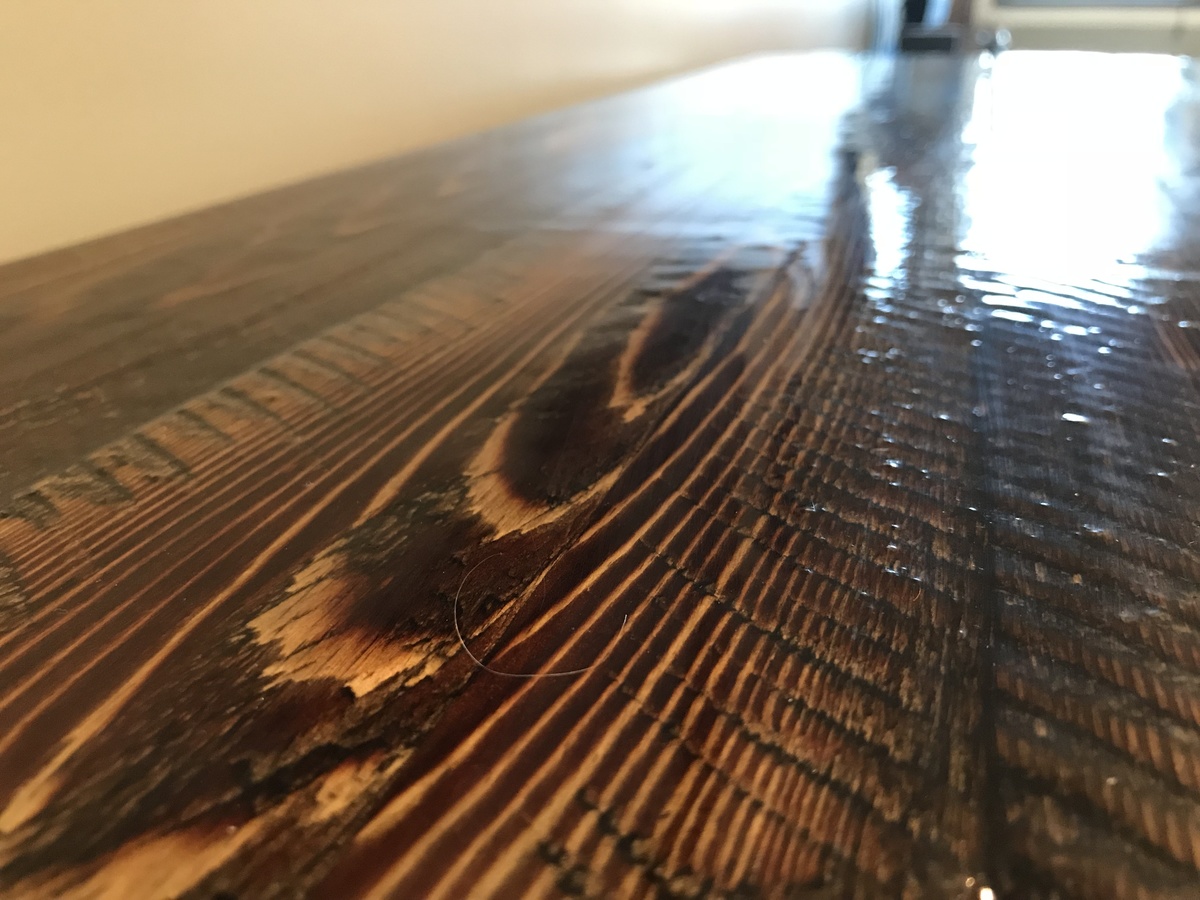
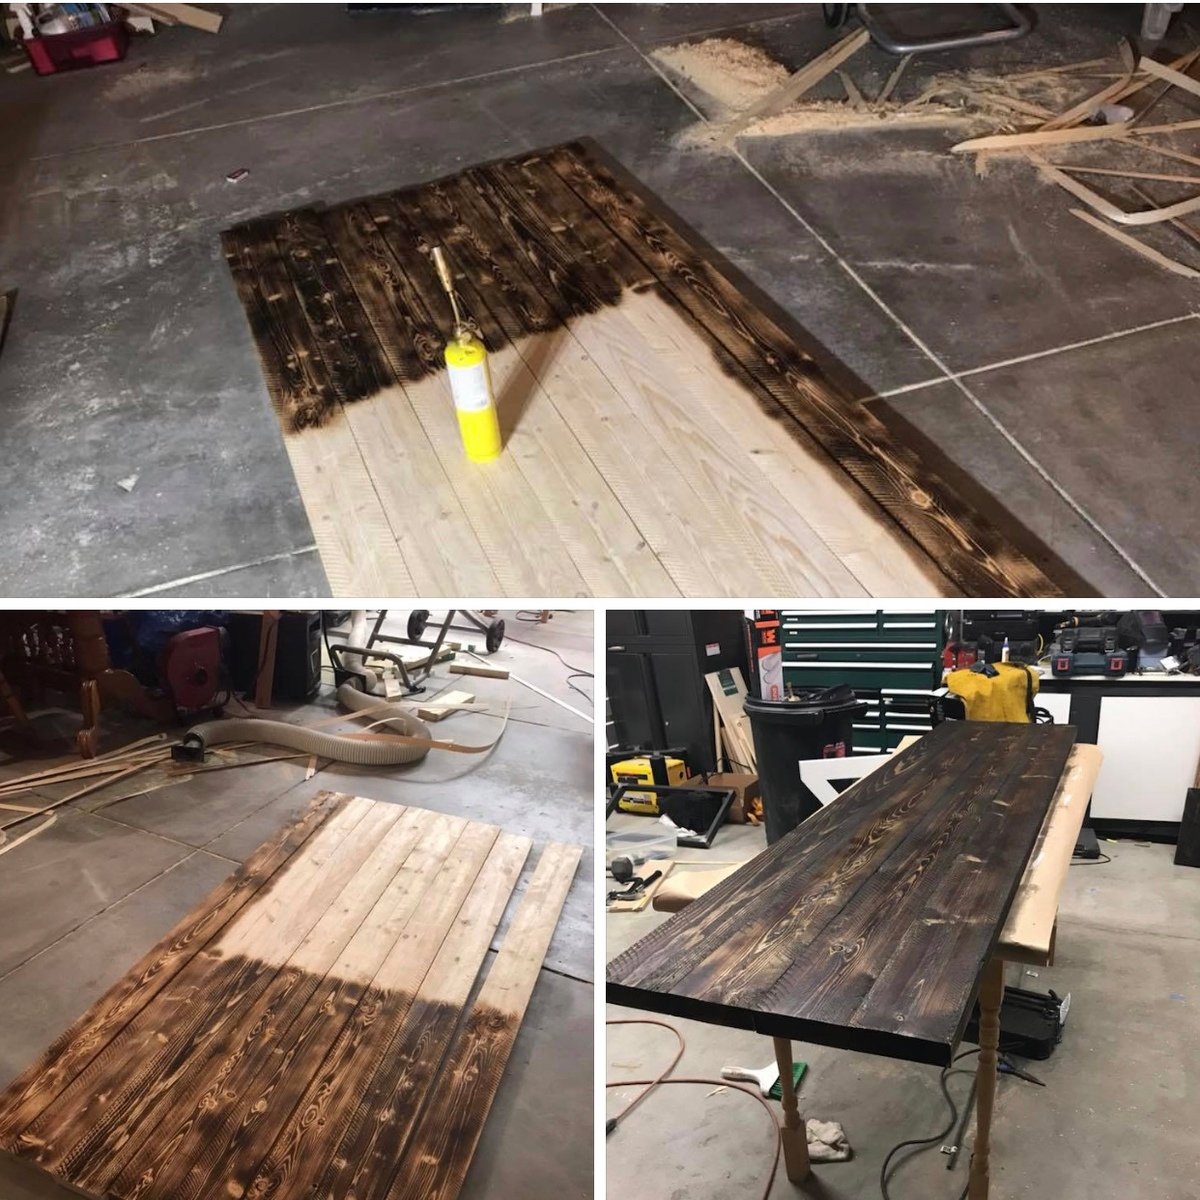
For the tabletop, I cut the sides off the lumber to get the square look. I then bent one tooth in my tablesaw and quickly cut the face of the lumber to give it a rough sawn look. I then belt sanded it all to smooth out the really rough spots. Then I shou sugi ban (burned) the top to burn off the splinters and make the grain really pop. I added a little stain to smooth out the light spots. Lastly, I put about 64oz of epoxy and lightly sanded with 0000 steelwool after it set.
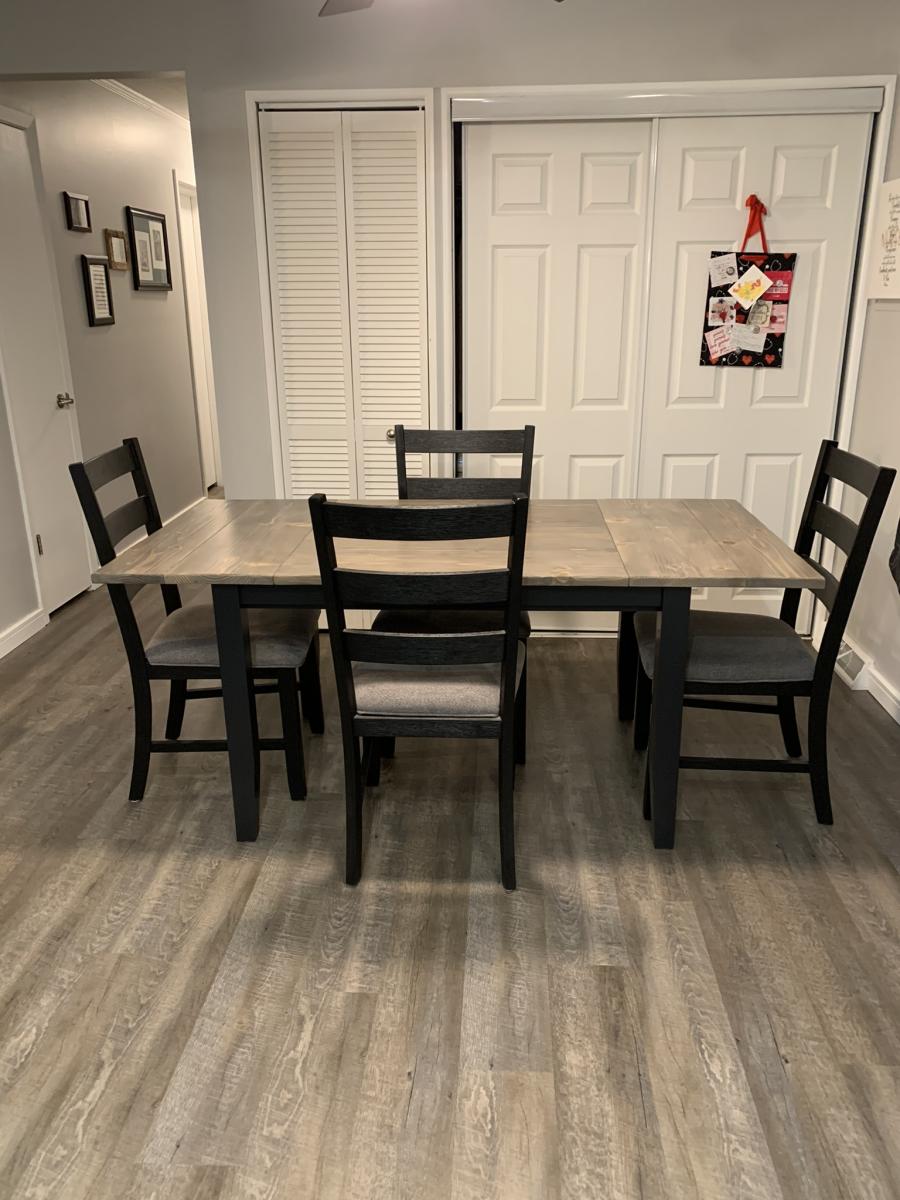
Please excuse the floor trim or lack therof. I just installed the new floor and decided our table was the higher priority. :P
I built this farmhouse table with leaves for my daughter. I wanted a farmhouse look but with a modern twist, and I also wanted breadboard ends that would pull out so she could insert leaves on each end to increase the size of the table for company. I used the plans for concept, and actually used the updated farmhouse table plans with pocket holes but couldn't find the plan link again for this post but made several modifications to achieve what I wanted. I planed all the lumber down to a true 1 inch for the top and also the trim to reduce the weight and chunky feel. I planed 4 x 4 untreated lumber for the legs to 2 1/2 inches and then tapered the bottoms as well to reduce weight and chunkiness and create a more modern feel. I built actual channels on the base for the extension bars which attach to the breadboard ends and I attached table aligners to the table, breadboard ends and the leaves so things would stay straight and even. I also glued together 2 x 4 and 2 x 3 pieces that had been planed down to a true 1 inch for the skirting and treated them as one piece when attaching to the legs so I didn't have so many screws going into the legs. I painted the base black with furniture paint and then put 2 coats of polyurethane over that and stained the top gray, then used a and 'wash' of watered down black paint over that and then 5 coats of polyurethane on the top. The table is 36 x 48 without the leaves and extends to 70 inches when both leaves are in place. I'm quite pleased with how it turned out.
Made from Ana White `s plan. Thanks for the help.
We bought a vacation home that has such a small kitchen. I knew we needed more storage. So I checked out Ana's plans and made this bad boy based on the Simplest Armoire plans.
The home is in the mountain/lakes area of northern New Hampshire, so I wanted to bring the outside colors in. I used Valspar Cabin Red paint and the Valspar Antiquing glaze over the top after distressing it a bit.
I originally planned to make the Lydia daybed as is, but we decided to make it with reclaimed materials after being inspired by redwood we found that had been salvaged from old pickle barrels. We ended up with chunkier posts for the legs (3 1/4" by 3"), and used a thick solid piece of wood for the front (2"x 7 1/2") , which did change the dimensions of our project a bit. We attached an old shutter to the plywood for the sides, and found salvaged bed post tops for the tops. We left off the scalloped edges because they seemed too delicate for the look we had going. Also, my husband had fun with his new router on the edges. We decided to use 1x8's for the slats under the bed b/c we thought it would give more support to the latex foam we had used instead of a traditional mattress. Because we move a lot, we wanted to be able to take the daybed apart if necessary. We attached the sides to the daybed with bed rail brackets. I posted more about the daybed on my blog. Sewing the cushions/pillows took much longer than making the actual daybed!
Our playroom needed serious help so as my first Ana White project I decided to tackle these shelving units.
I made a few modifications to the plans, but the overall simplistic design was what I was after. Thanks Ana!
When we bought new couches for our new house, we realized our existing rectangular coffee table would no longer work. We searched for larger, rectangular shaped tables in all the major furniture stores. We became disappointed in the limited selection as well as the high prices. The ones we found that could work were typically in the $800 to $900 range. I suggested to my wife that I could make something better and less expensive, which took her by surprise since I had never made anything before. That's when I stumbled unto Ana-White.com and found the tryde coffee table plans. After searching the brag post, I found where a few had modified the plans to the size and shape we were looking for. The plans and build were very straight forward and much simpler than I expected. The table came out great and fits in well in our new den with our new couches.
This sandbox has been around for some time BUT it is still a great project to build The plans were simple to follow and would be an excellent project for beginners. We built this for our grandson and future grandbaby. Was easy to complete in one day, including painting
Sat, 07/11/2015 - 20:31
It makes me happy, every time I see someone build this sand box. LOVE the color you chose! Great job!
I used your basic plans, but modified it to use some scrap wood I had from another project. I used blue stain pine, tongue and groove.
I made this toy box for my niece who is expecting her first baby (it's a boy). I know she likes things clean and uncluttered, so I added a lid, and then added some corner pieces to make it a little more juvenile.
It was so much fun.
Comments
Ana White Admin
Sun, 08/08/2021 - 12:16
Looks fantastic!
Nice spot, beautiful build!