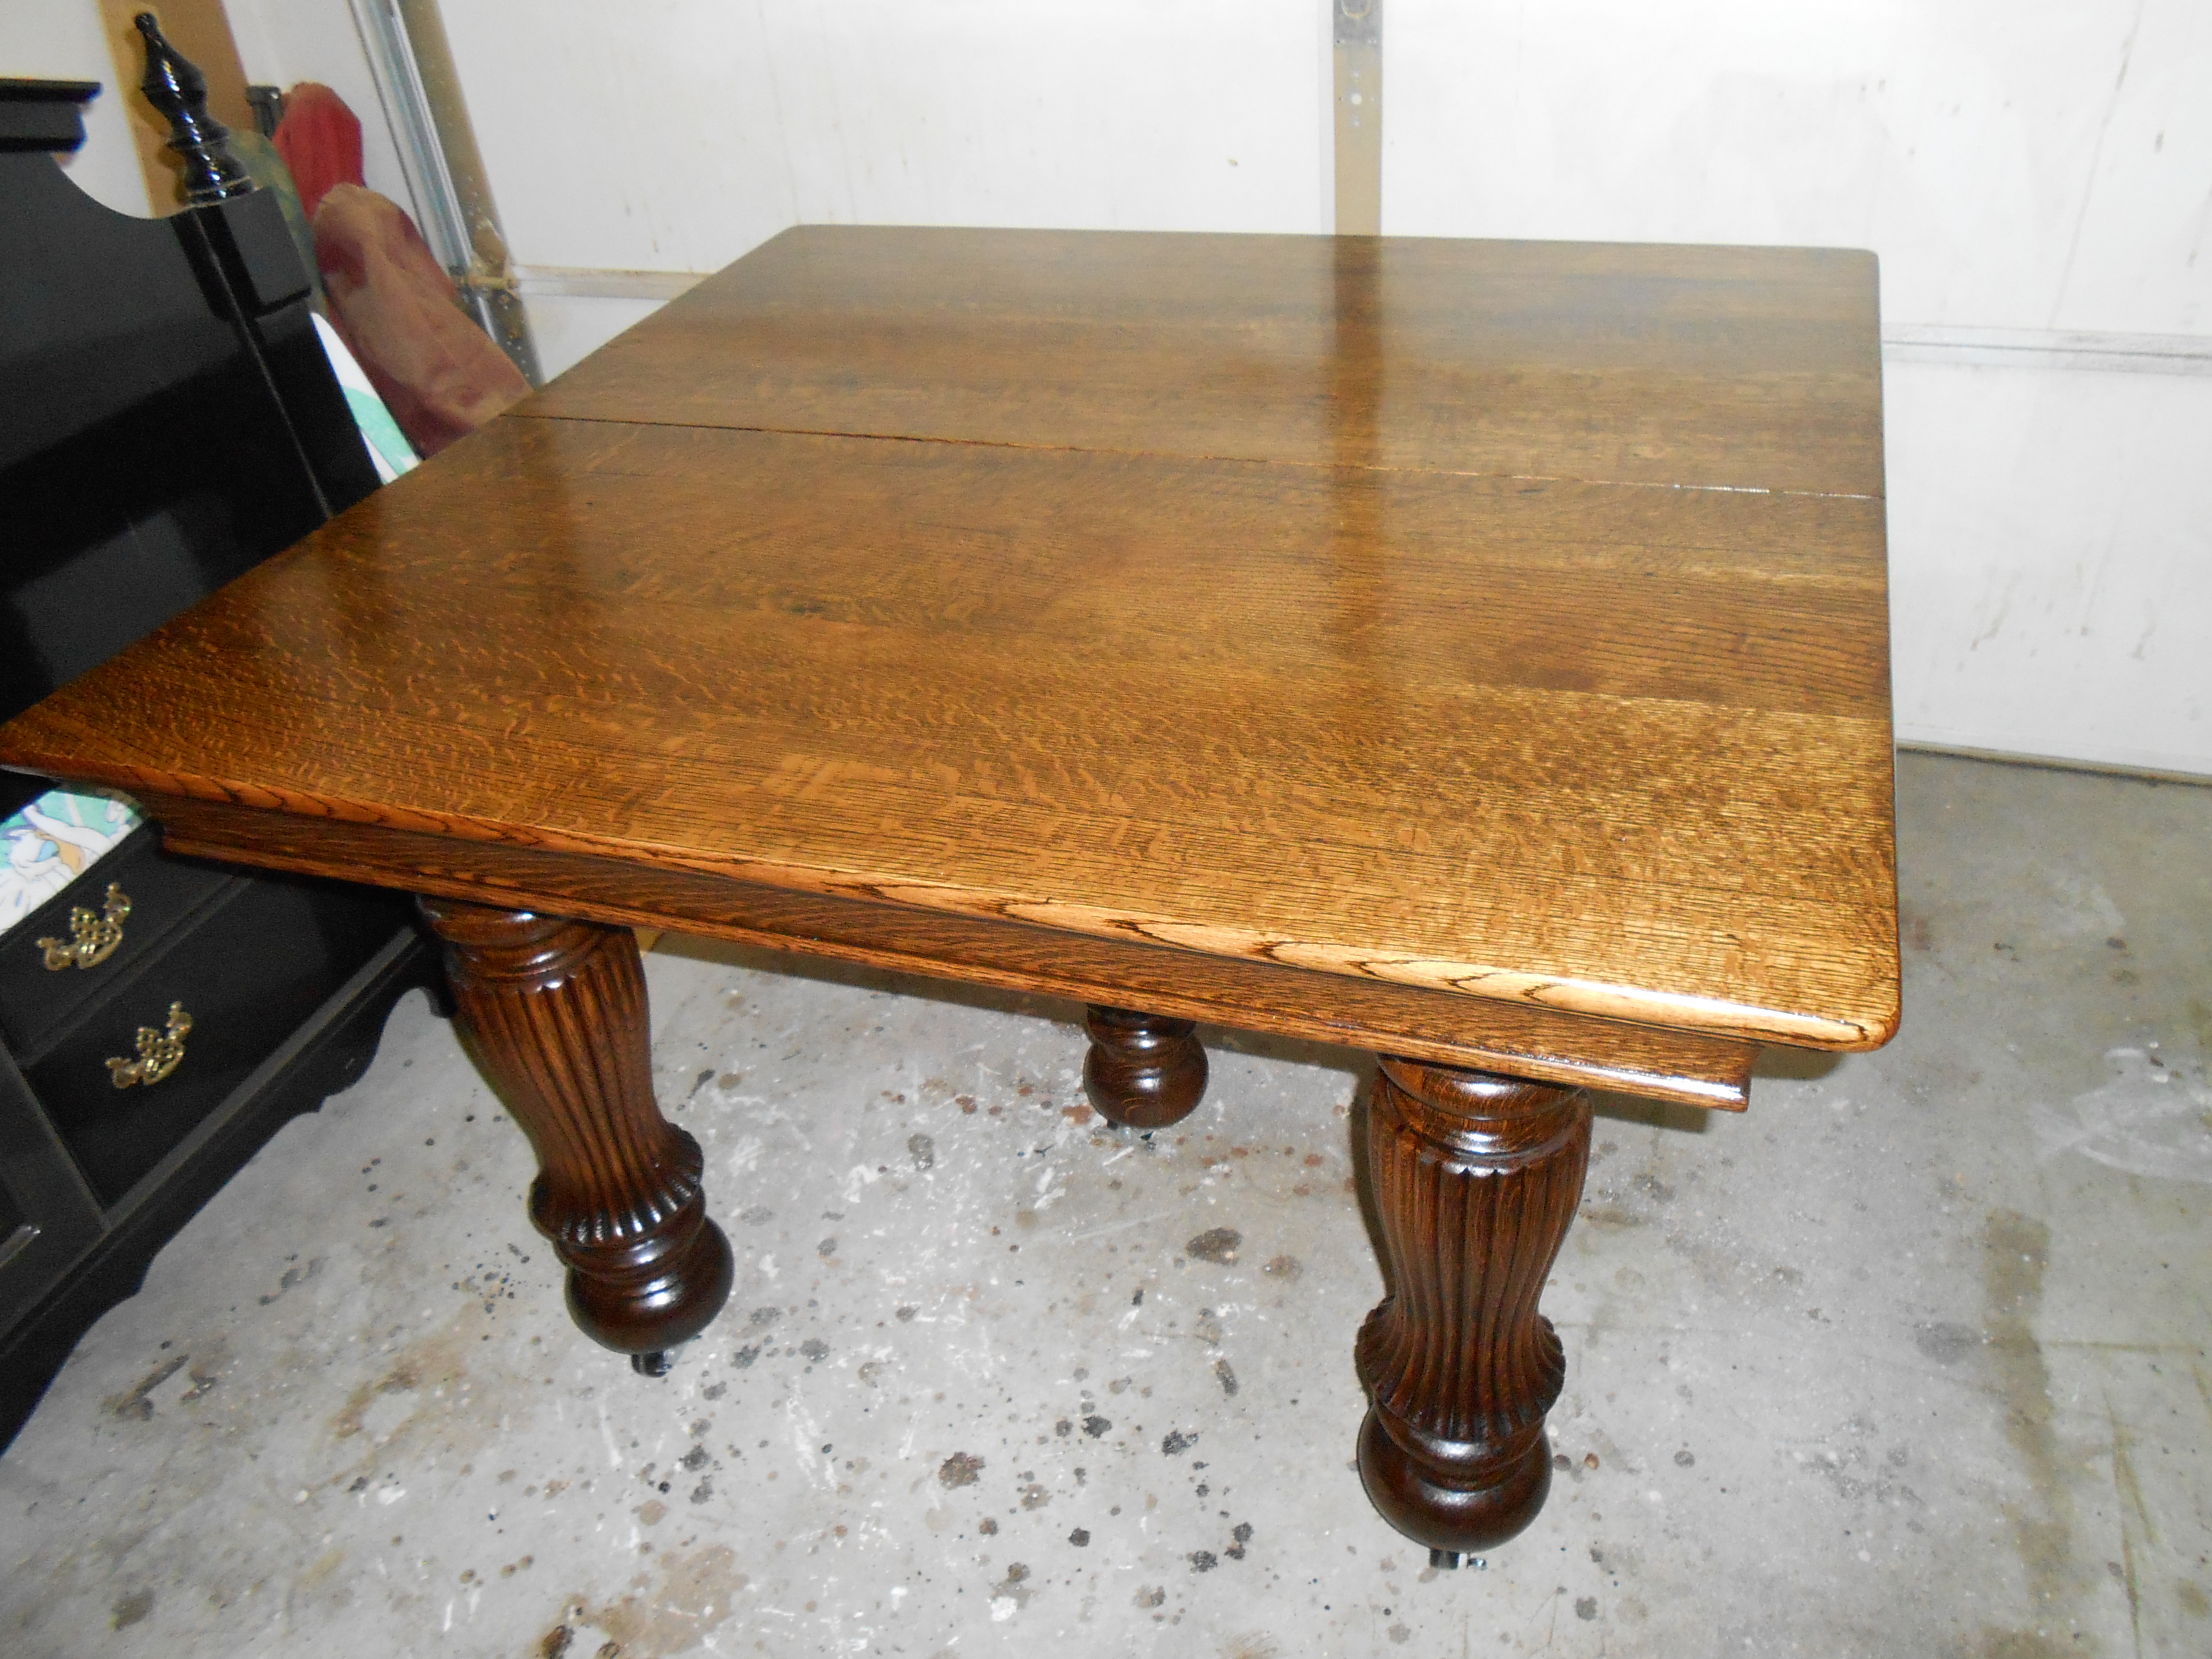
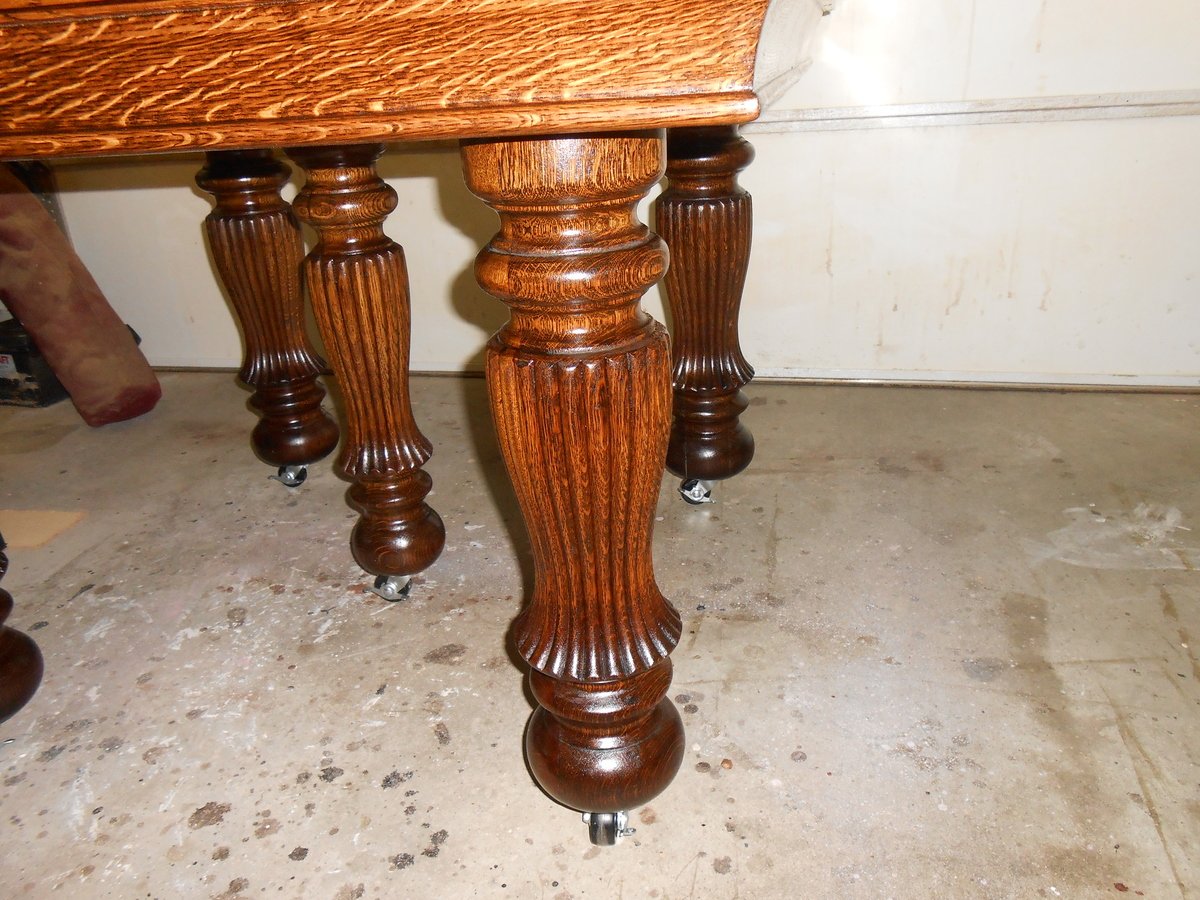
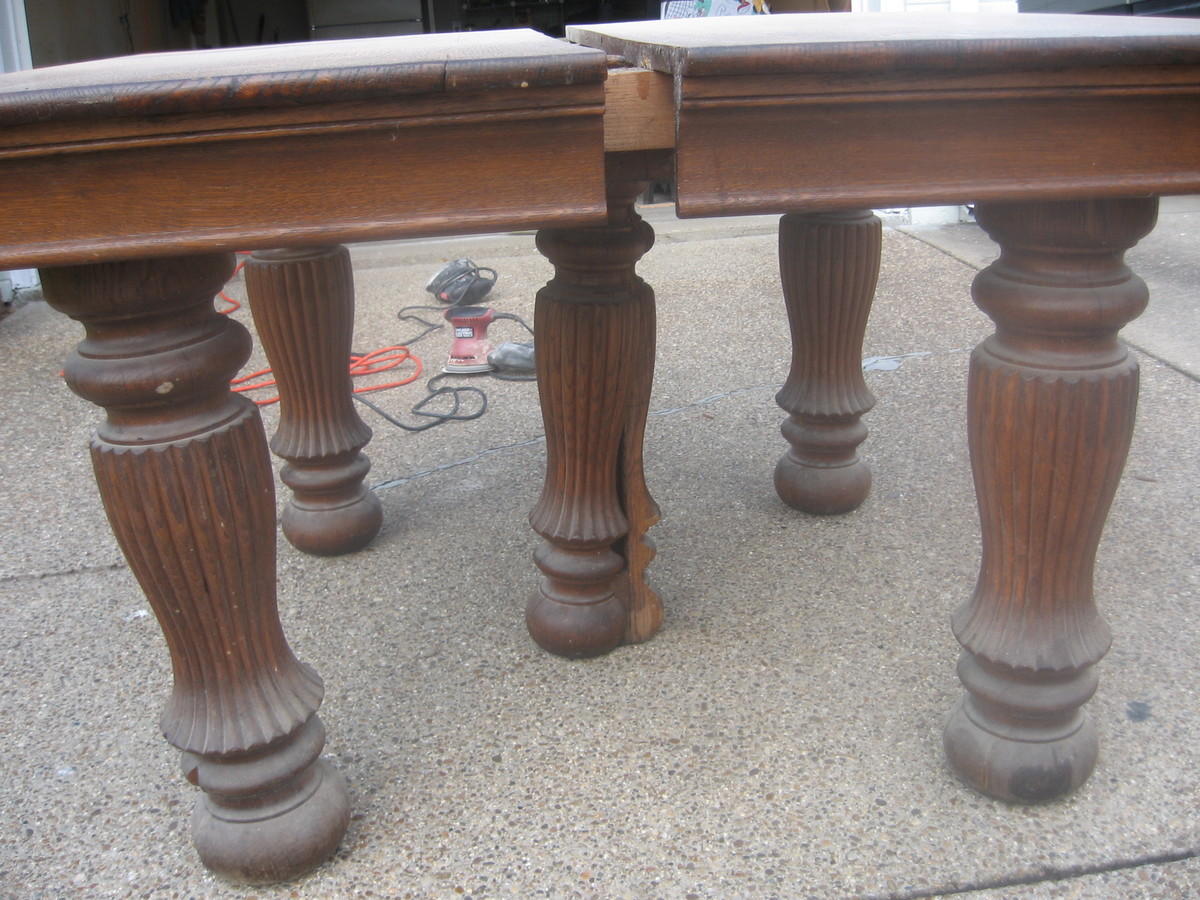
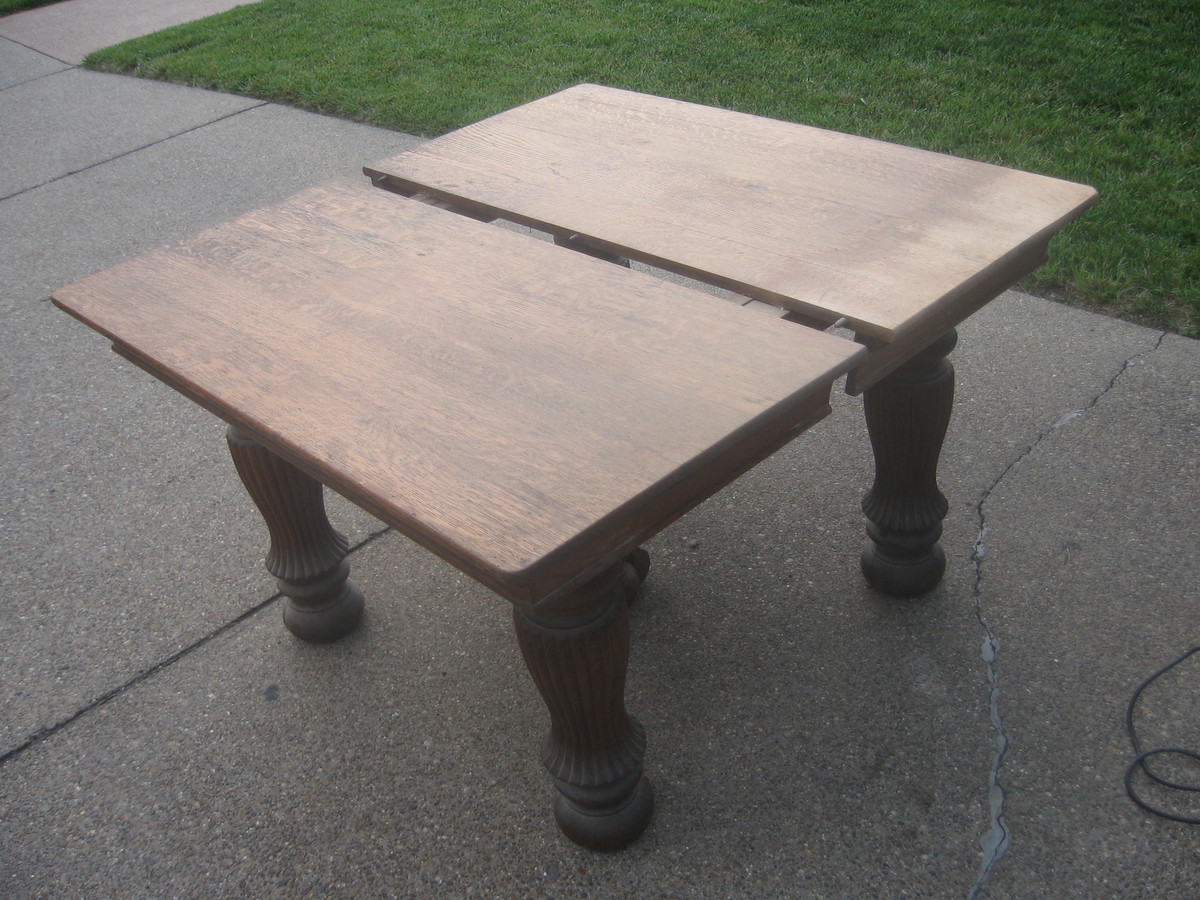
This is a solid, quartersawn white oak 5-legged dining table. It was originally built in the late 19th or early 20th century. The table was in need of a refinish. The massive turned and fluted legs were full of cracks, chips, and splits.
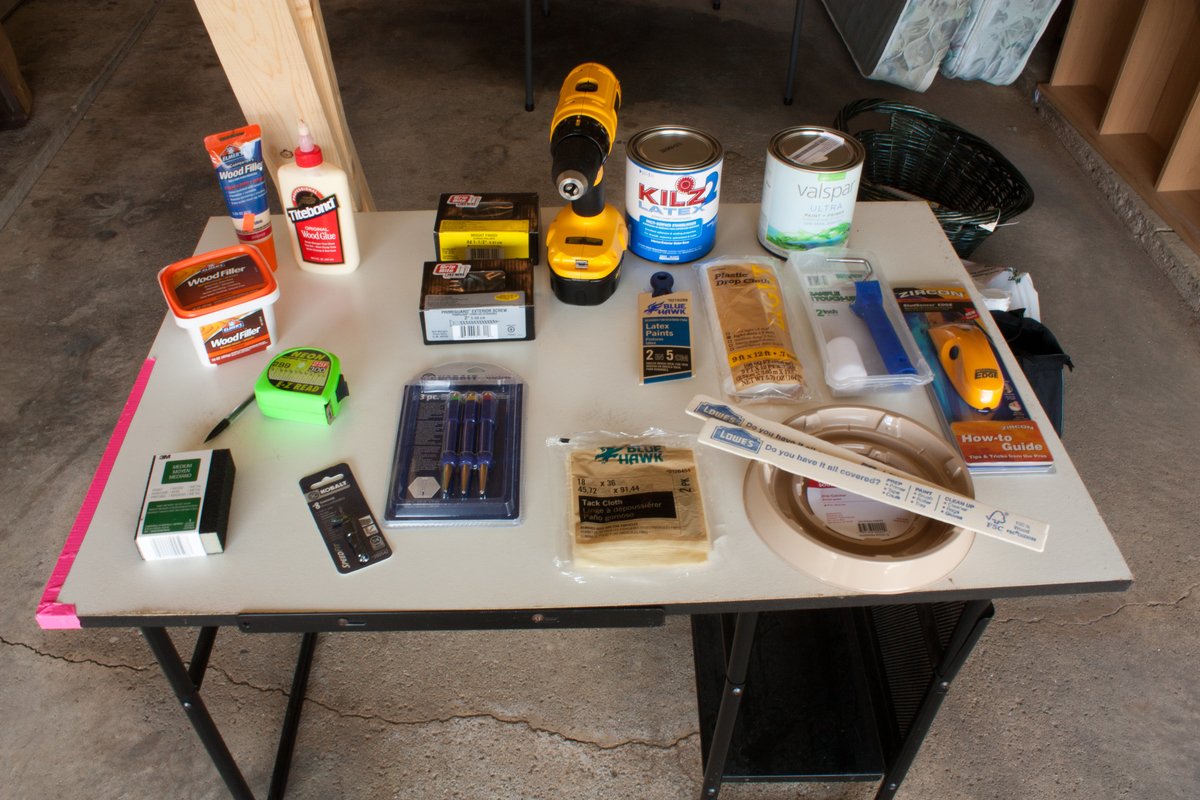
I took the table completely apart and began stripping and sanding. The legs were re-glued where needed and clamped. I filled the cracks, splits, and and chips with wood filler, sanded, and repeated until I was happy with the results. I replaced some bracing and replaced the screws where needed. Heavy duty casters were added. They have brakes/stops that can be locked to keep the table from rolling on a hardwood or tile floor.
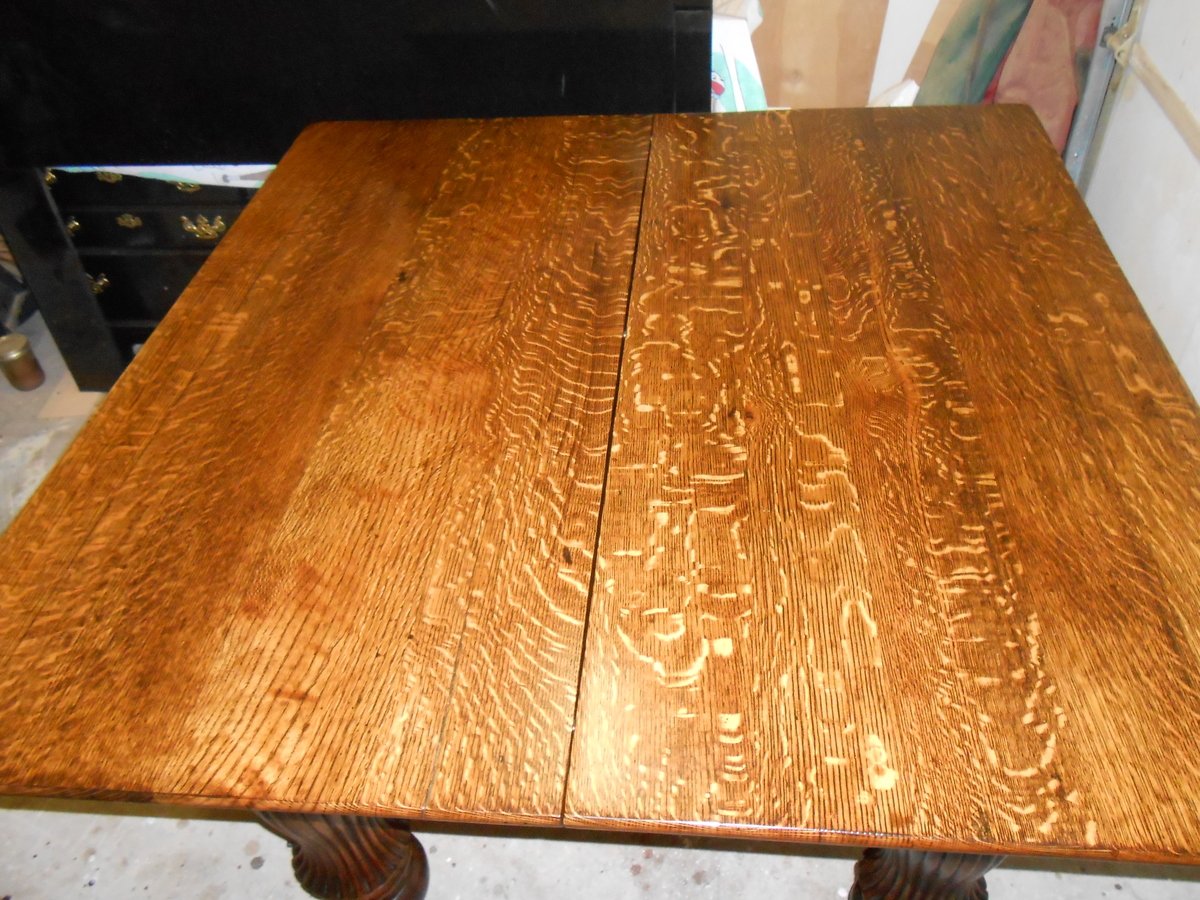
Once the final sanding was completed, I applied 2 coats of Minwax Dark Walnut stain with a foam brush. I wiped down after each coat after waiting 10-15 minutes or so. After drying I began applying Minwax Fast Drying (oil based) polyurethane. The table received 3 coats and the top received 6 coats. I hand sanded with 220 grit sandpaper between coats.
After applying the final coat of poly to the top, I allowed it to cure 48 hours. I then hand sanded the top very lightly using 400 grit paper. I did the same using 0000 steel wool. I then added a few drops of dish soap to a cup of water and wet sanded with the 0000 steel wool. I used a circular motion to remove any scratches. I then wiped down the table and buffed out two coats of Johnson Past Wax with an orbital buffer. It resulted in a super smooth finish.
I am very happy with the results. By the way the table if for sale ($600) and is located in Evansville, Indiana.


Comments
Lady Goats
Sat, 07/11/2015 - 20:31
Yep... Still love seeing this built...
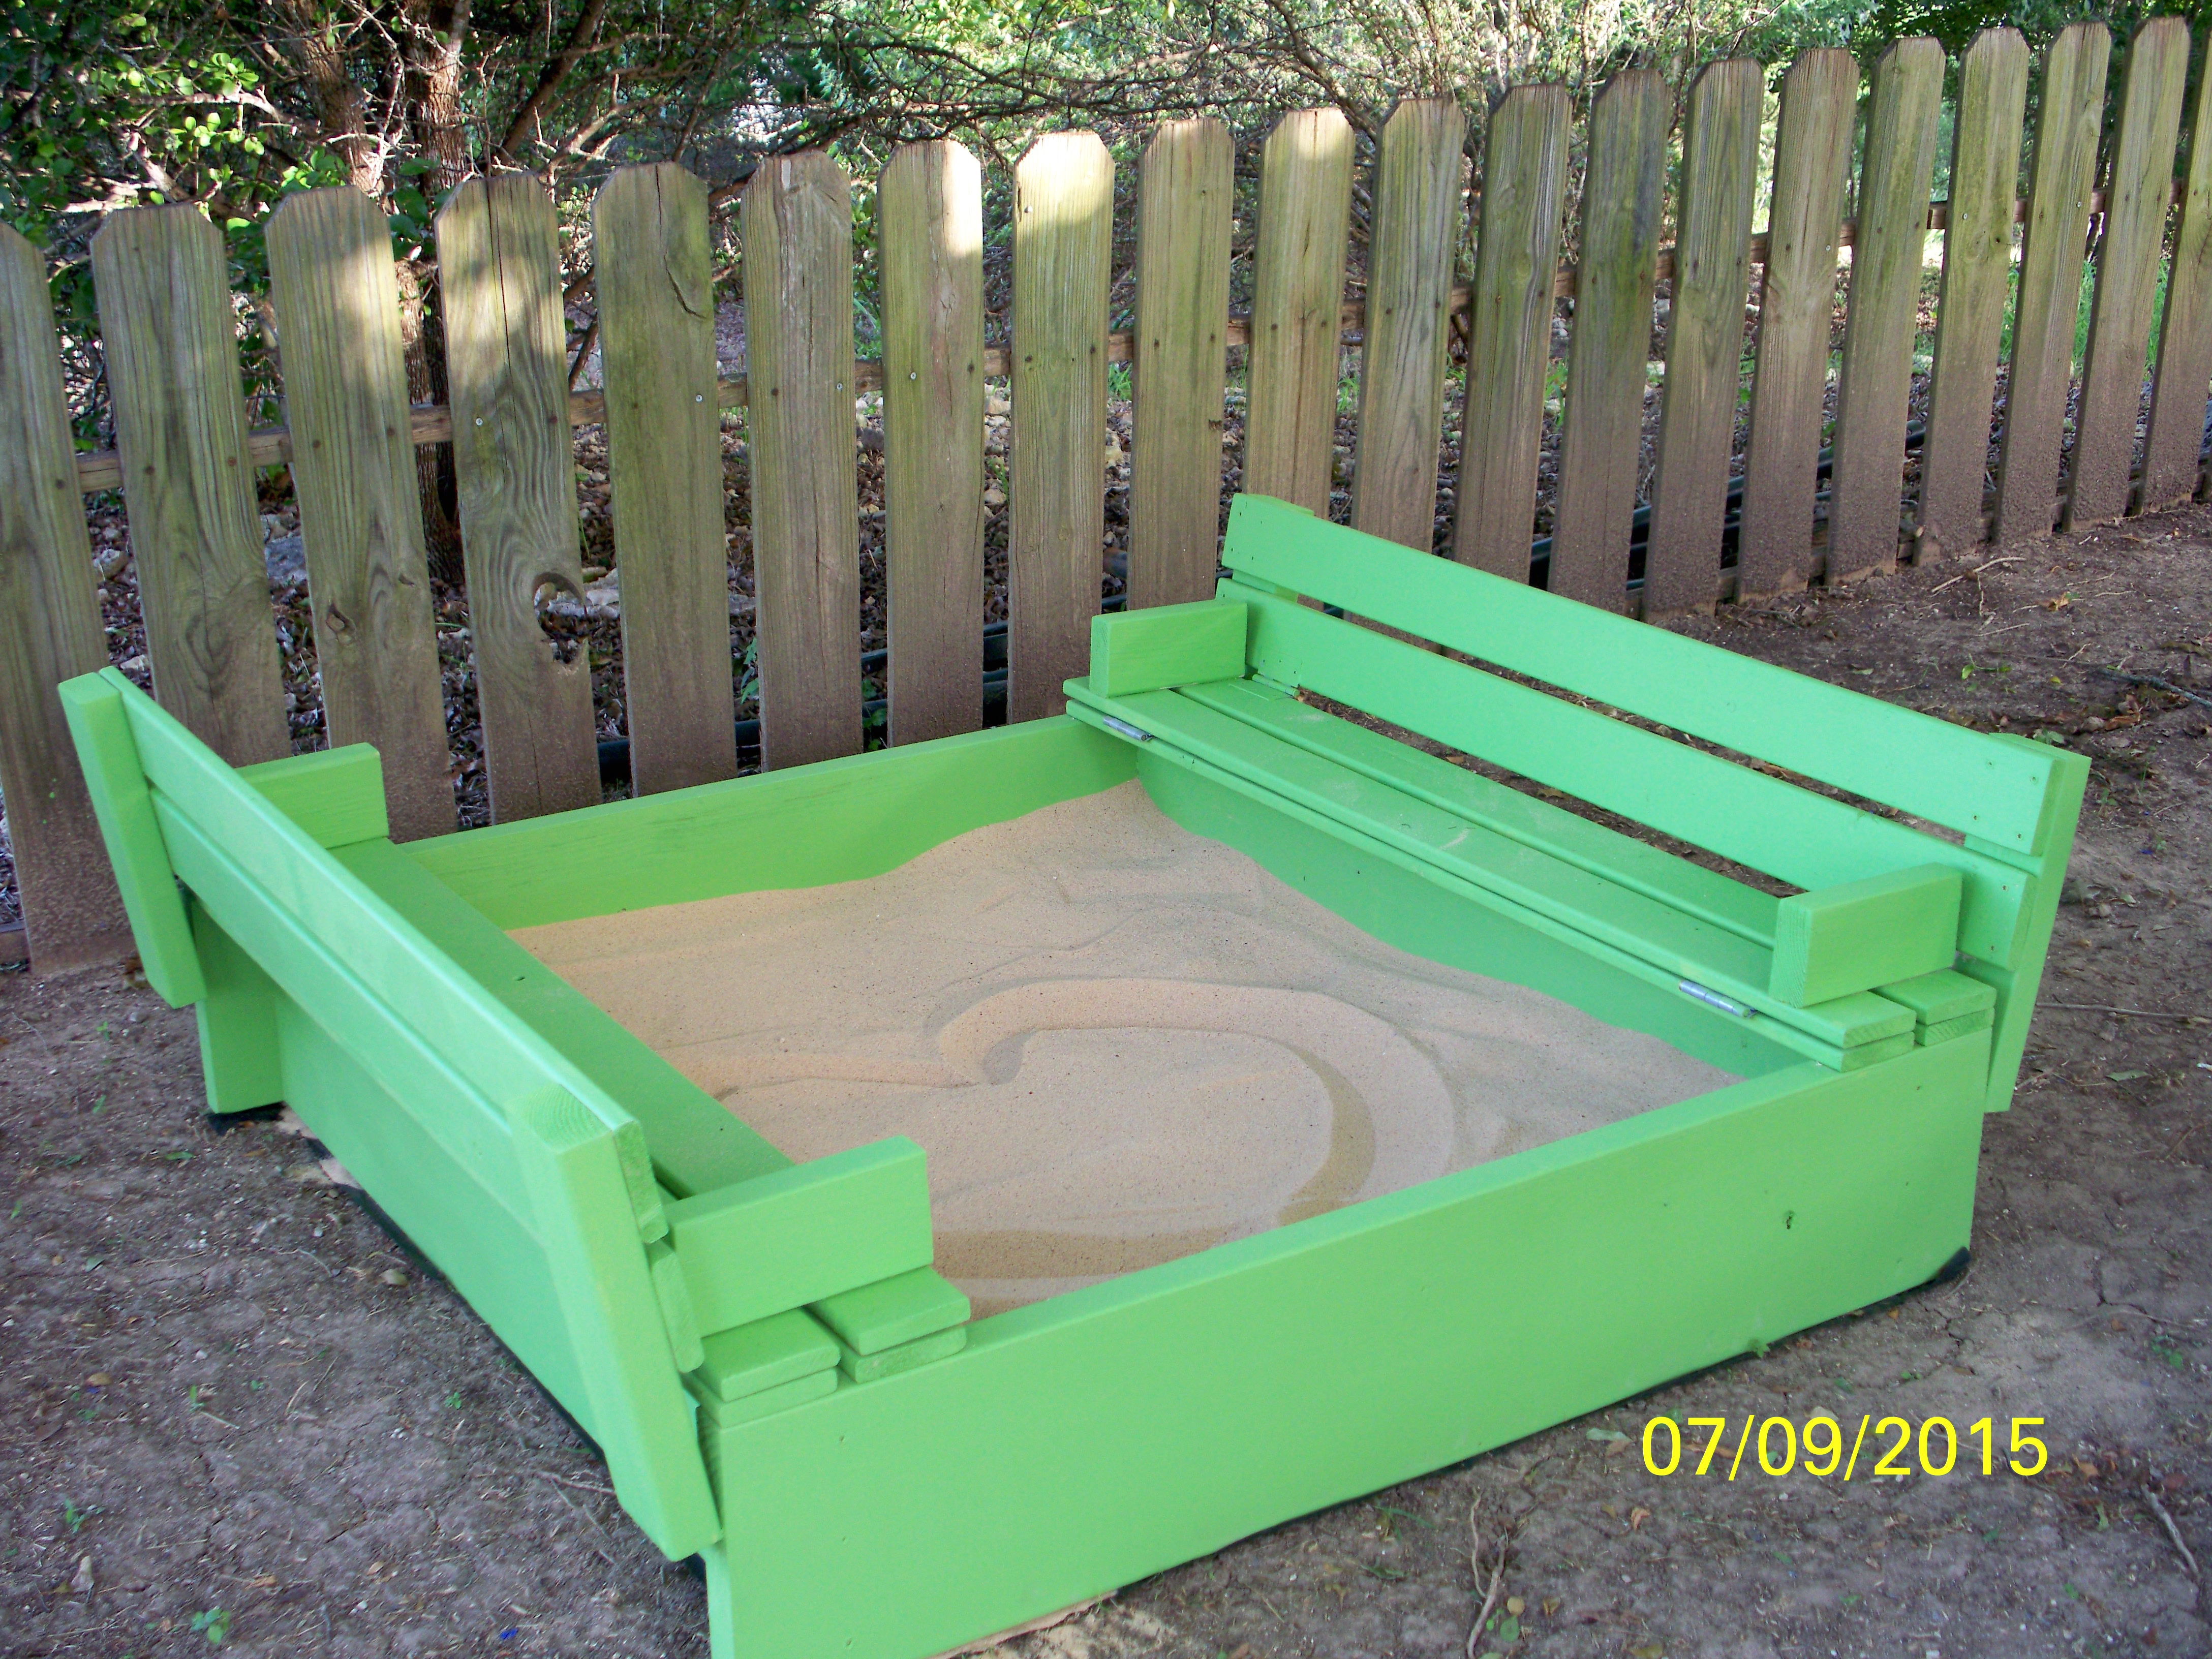
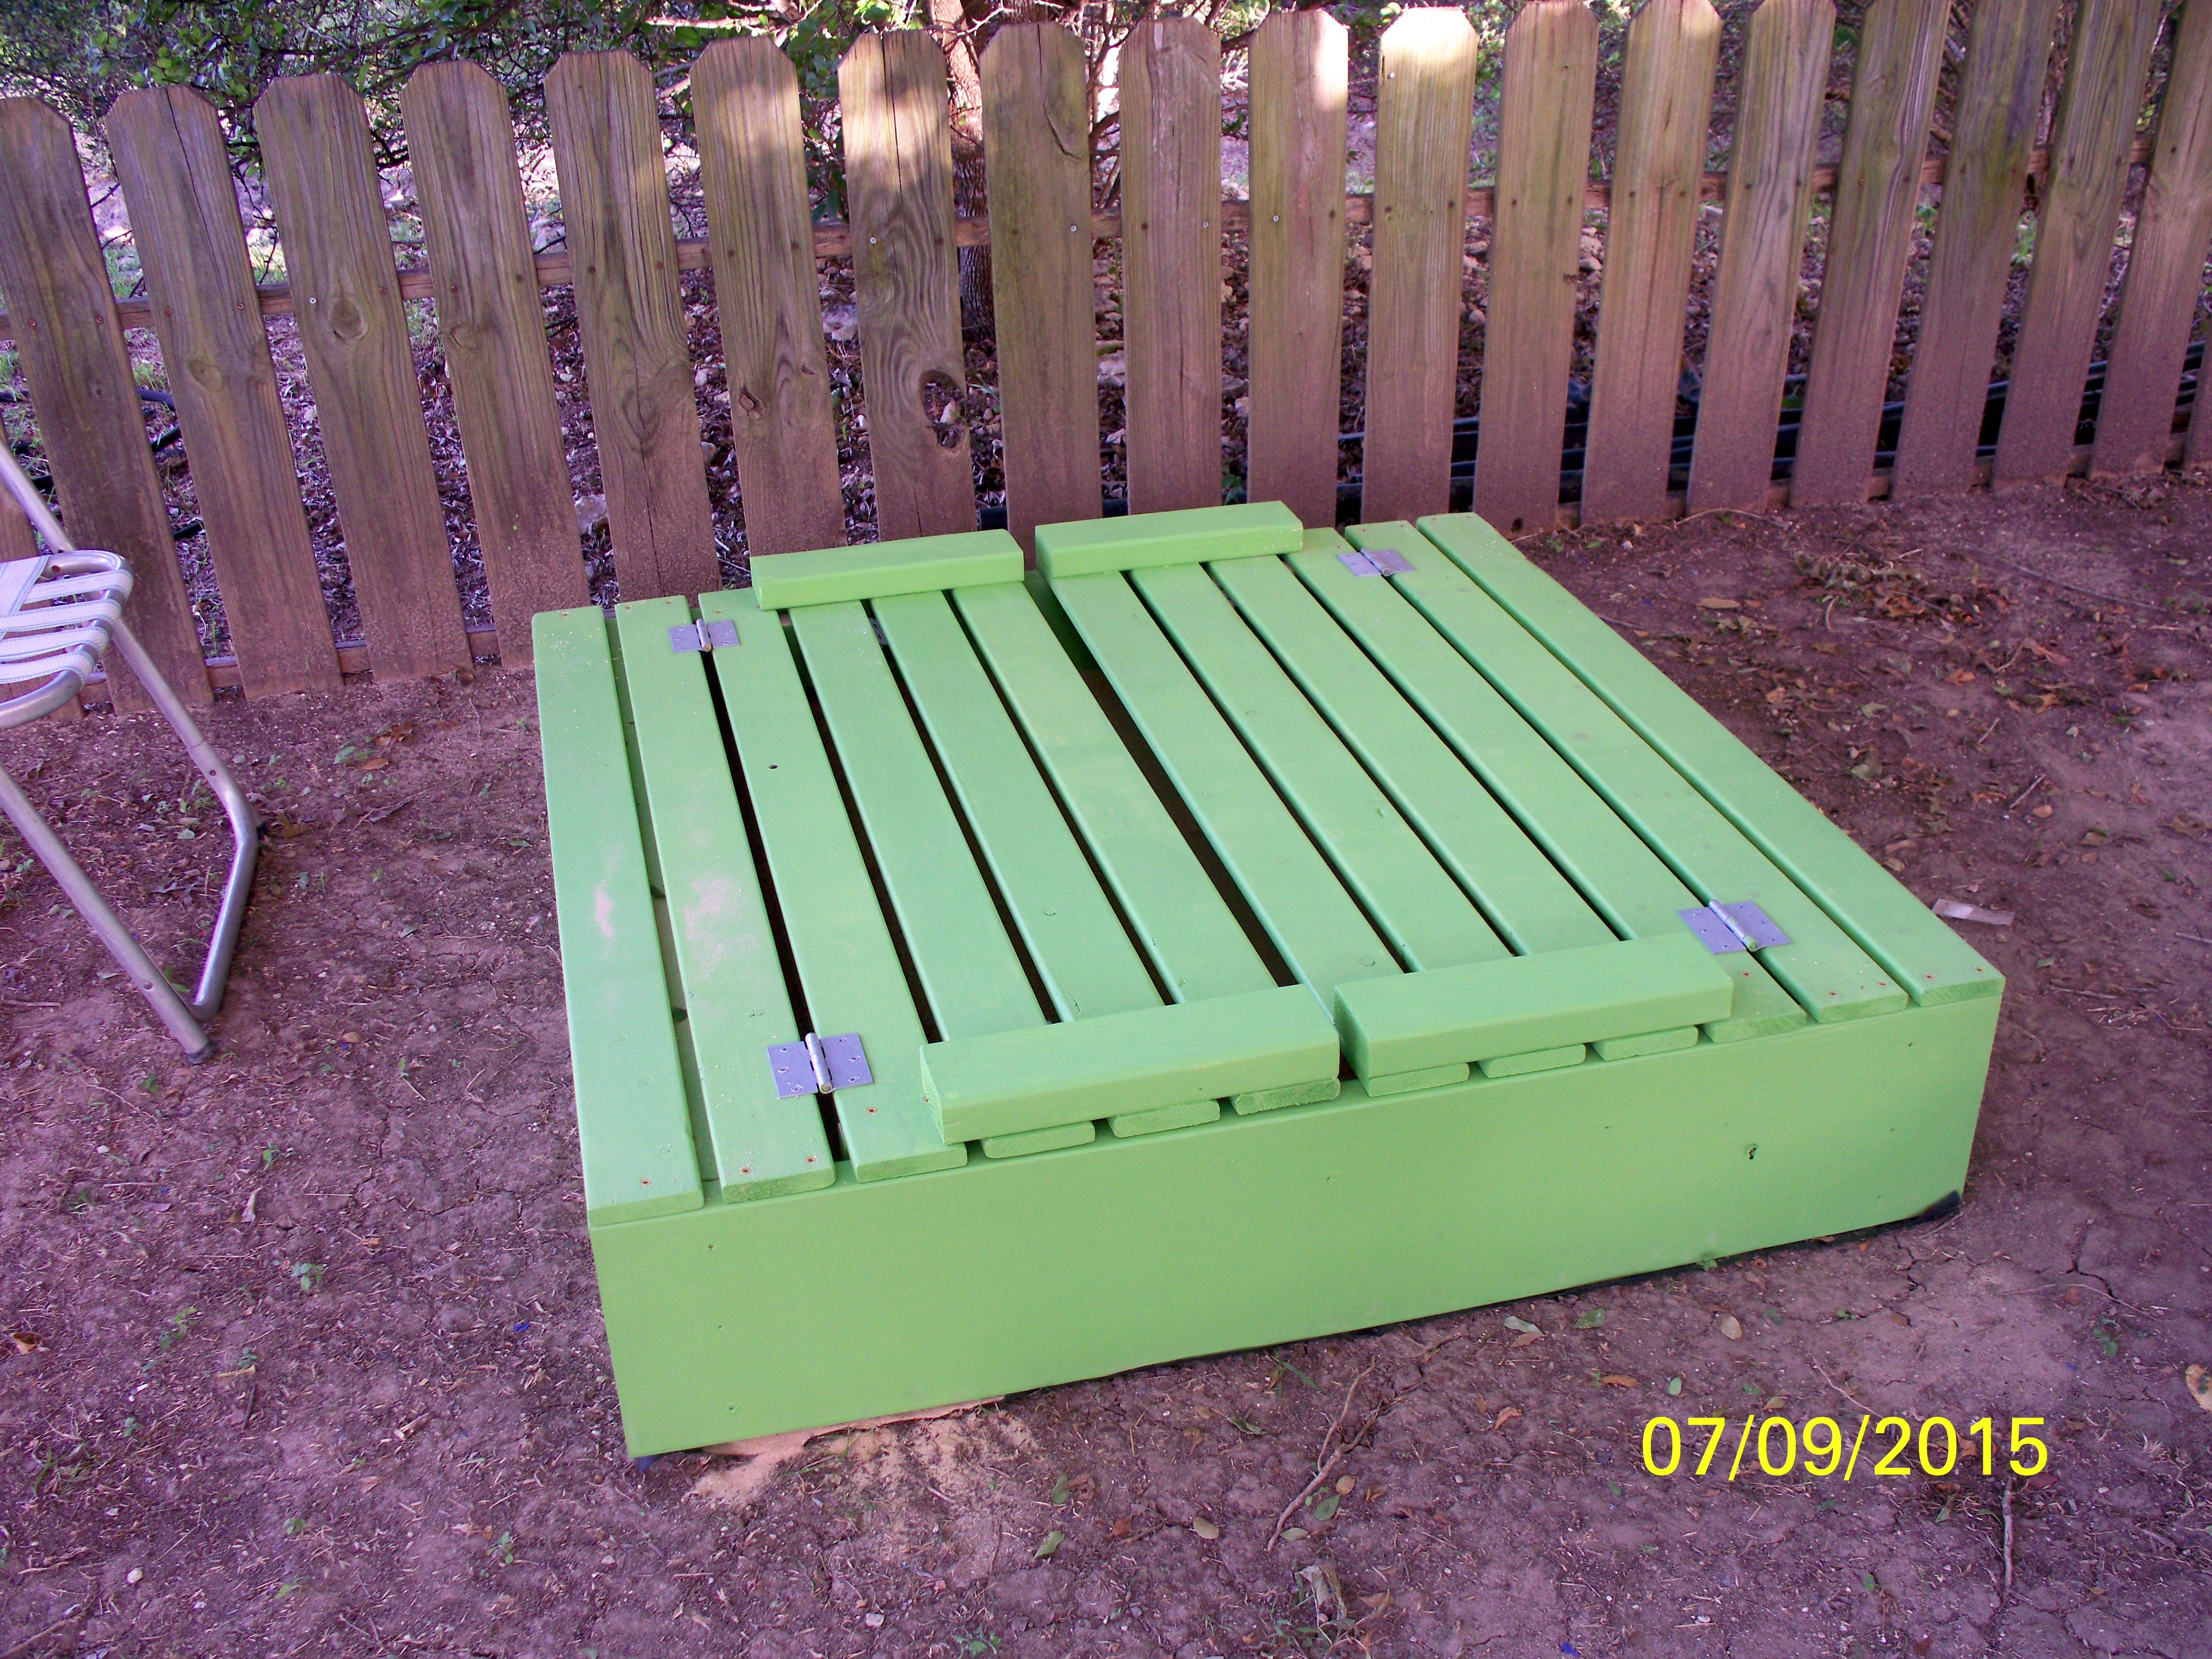
It makes me happy, every time I see someone build this sand box. LOVE the color you chose! Great job!