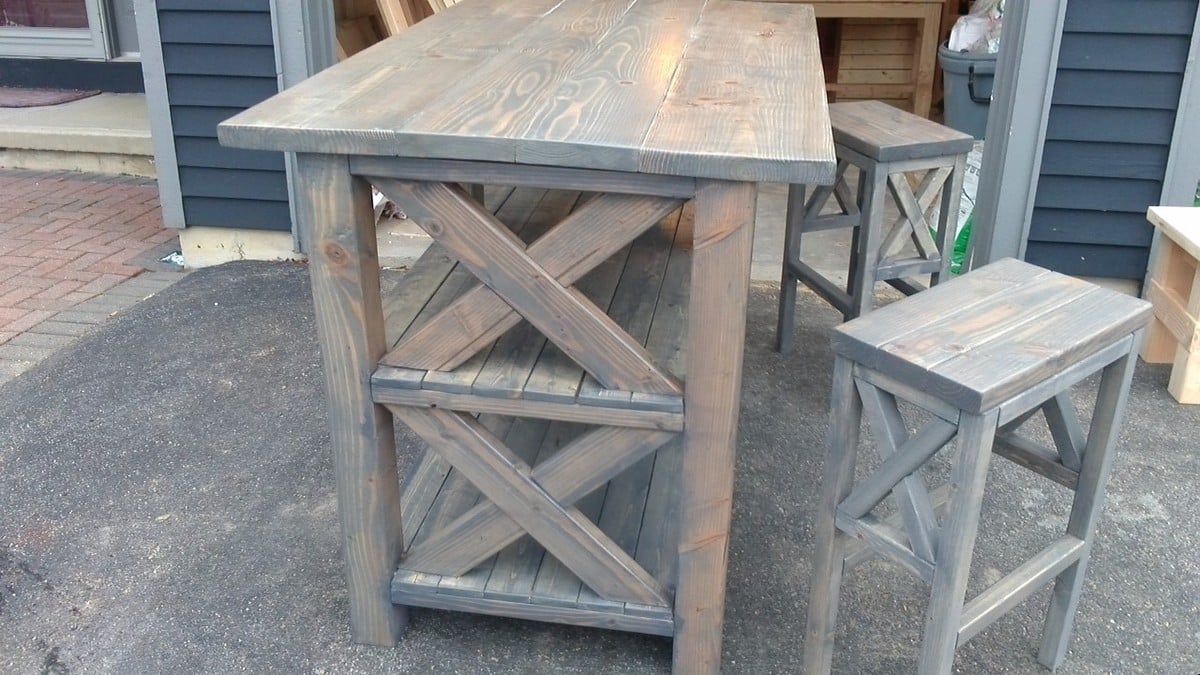
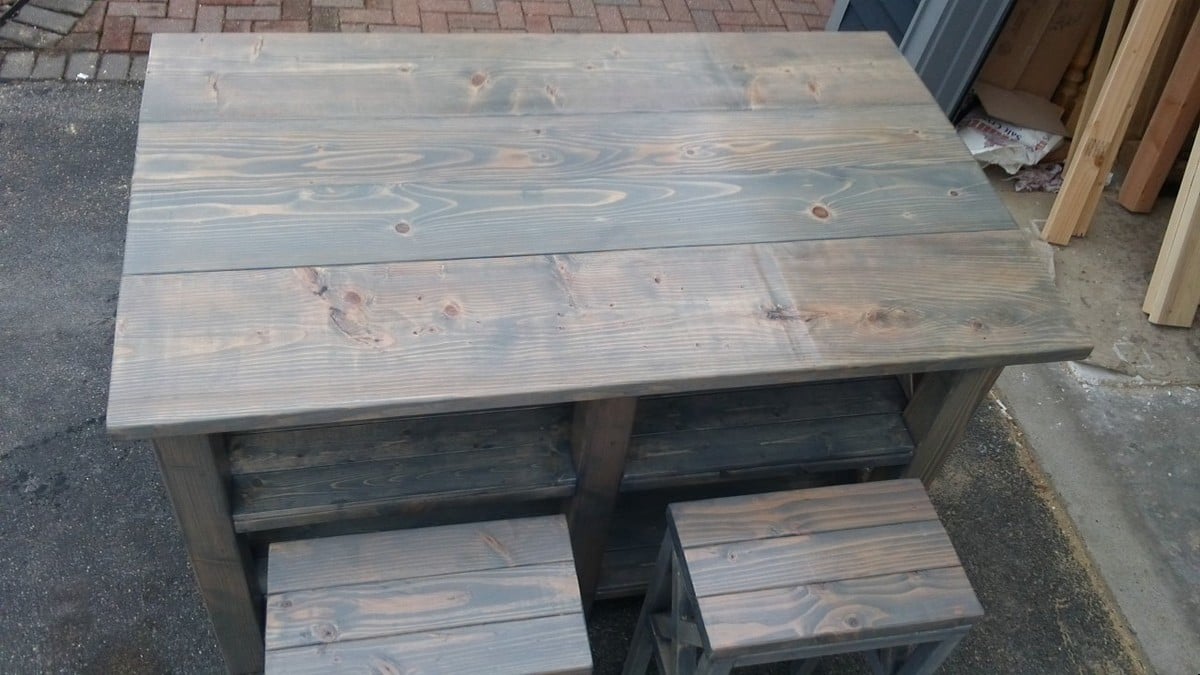
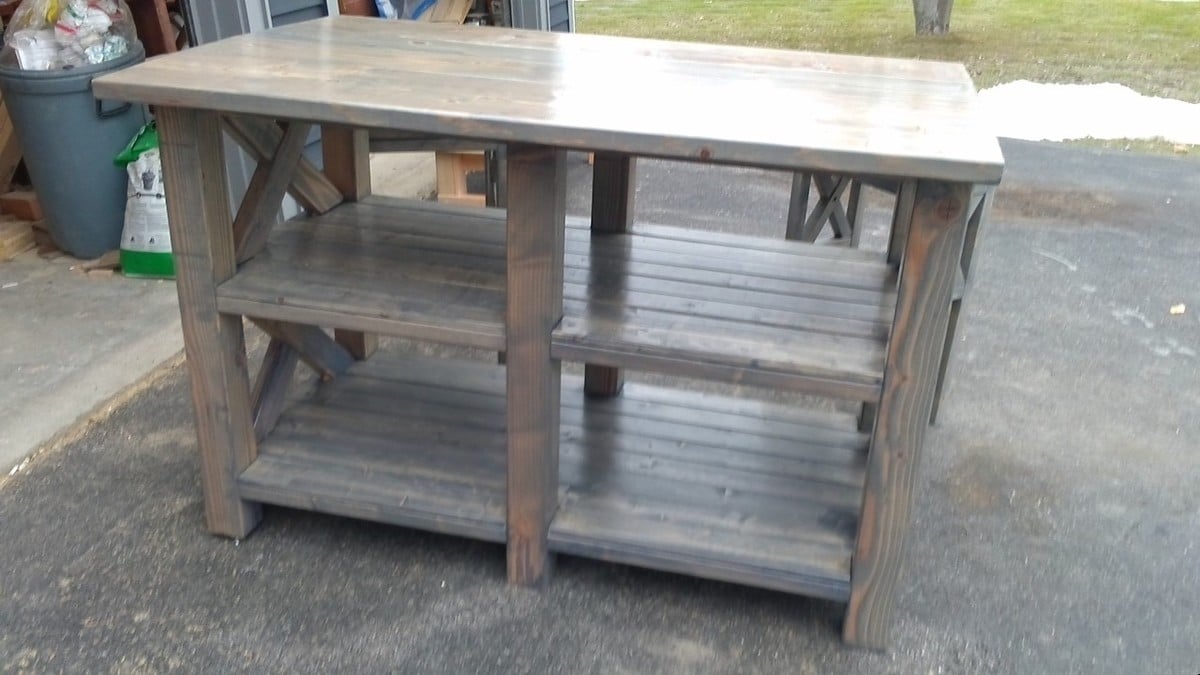
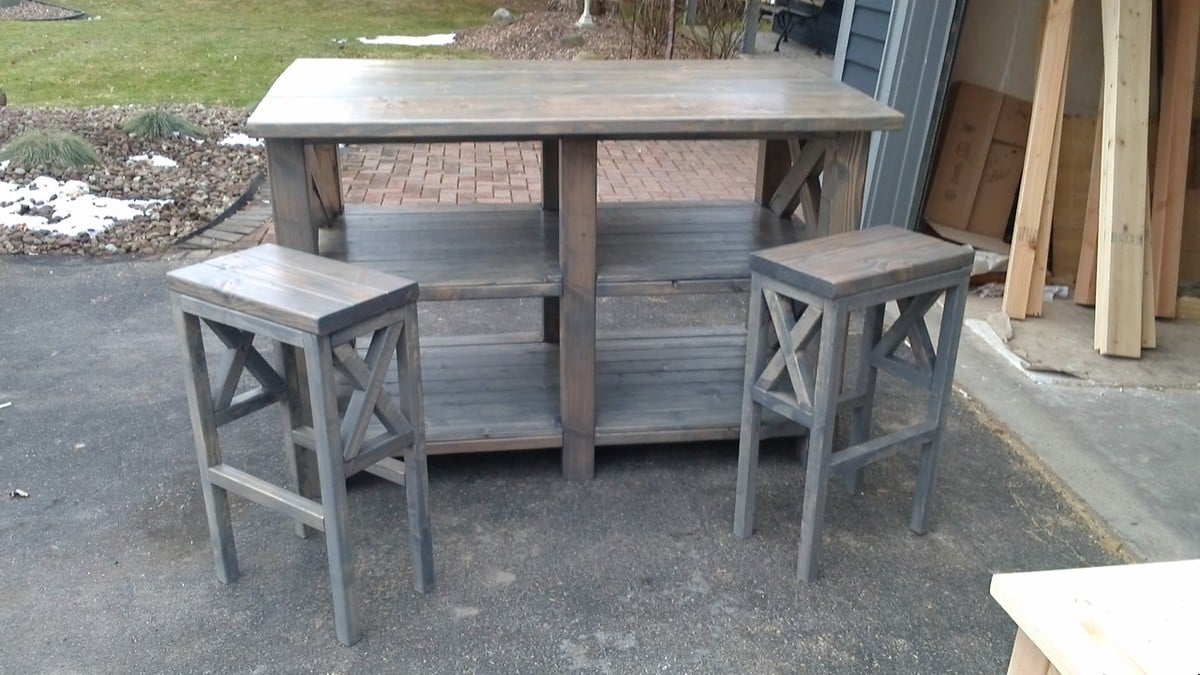
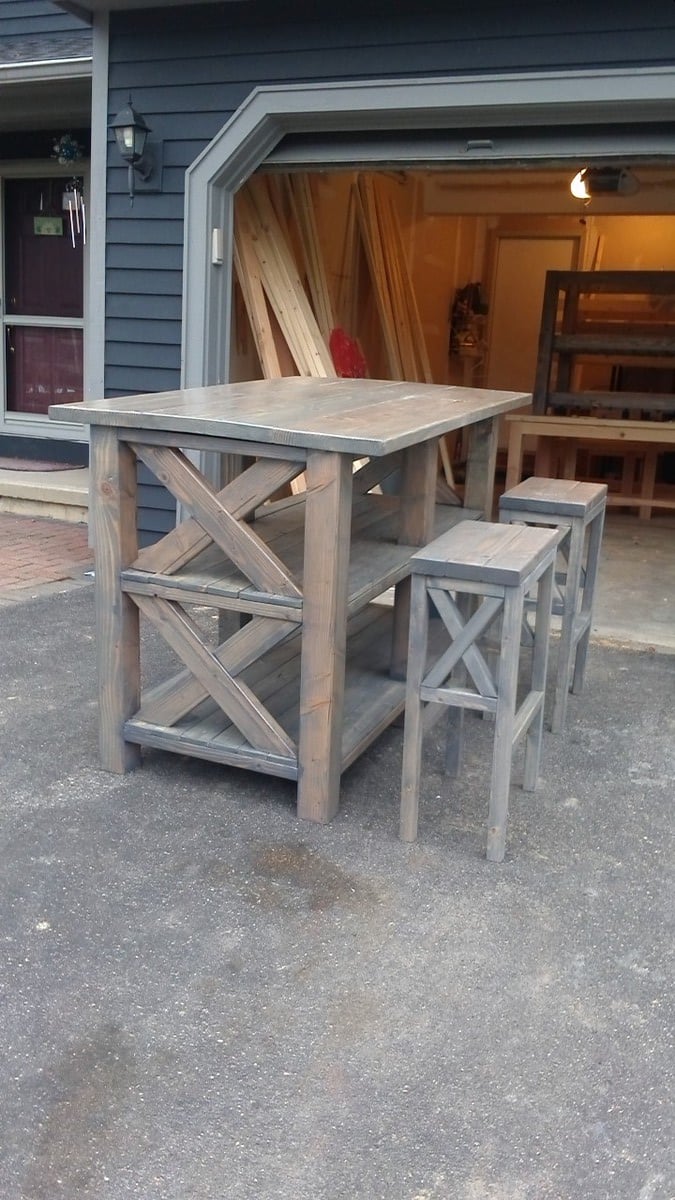
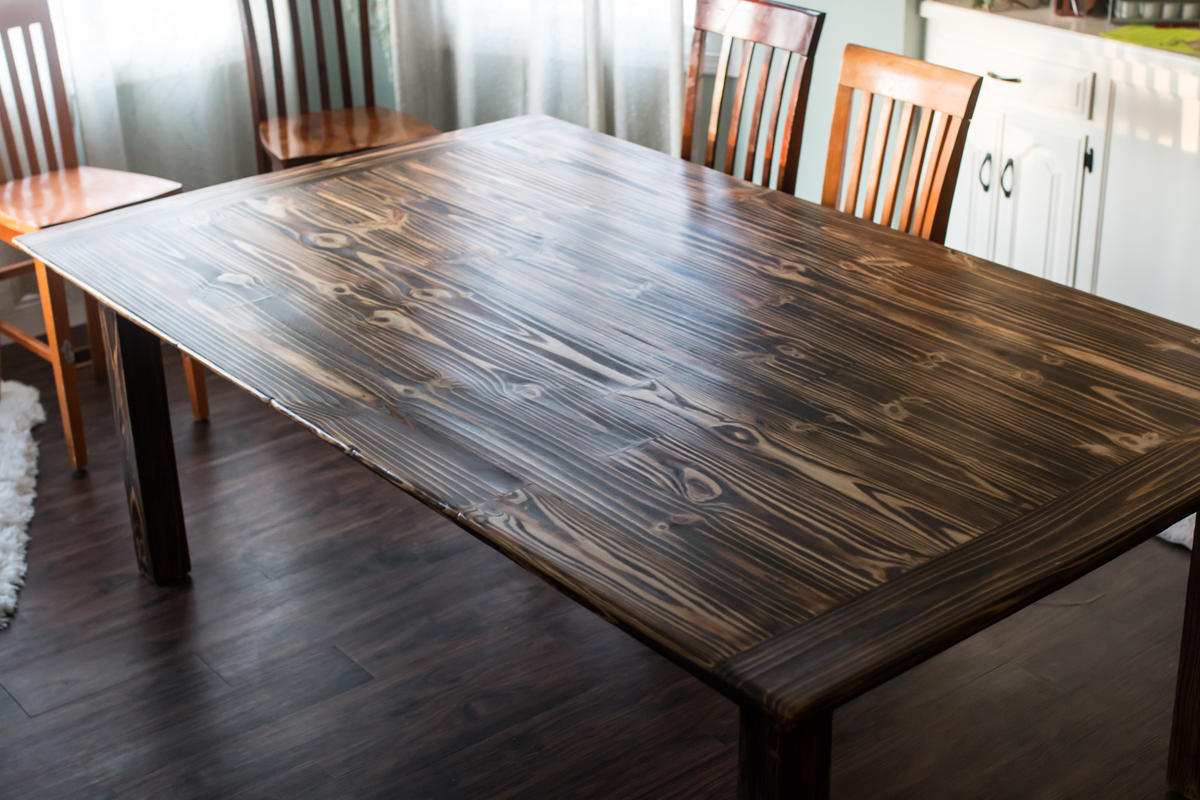
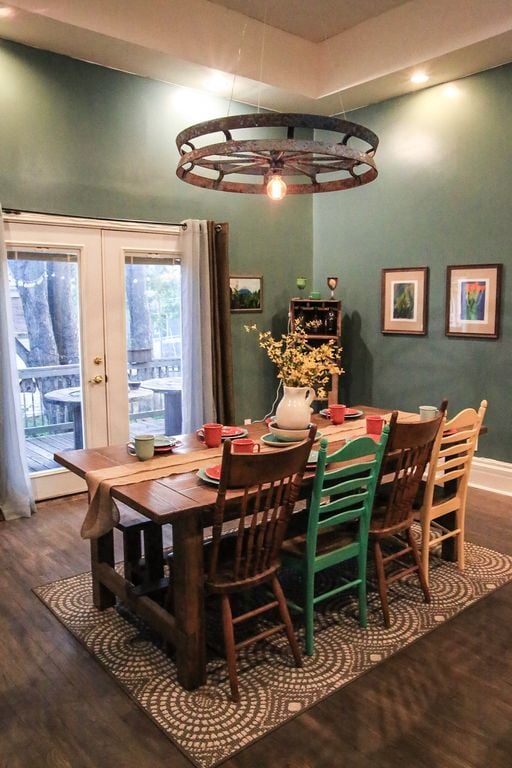
Piper's Dining
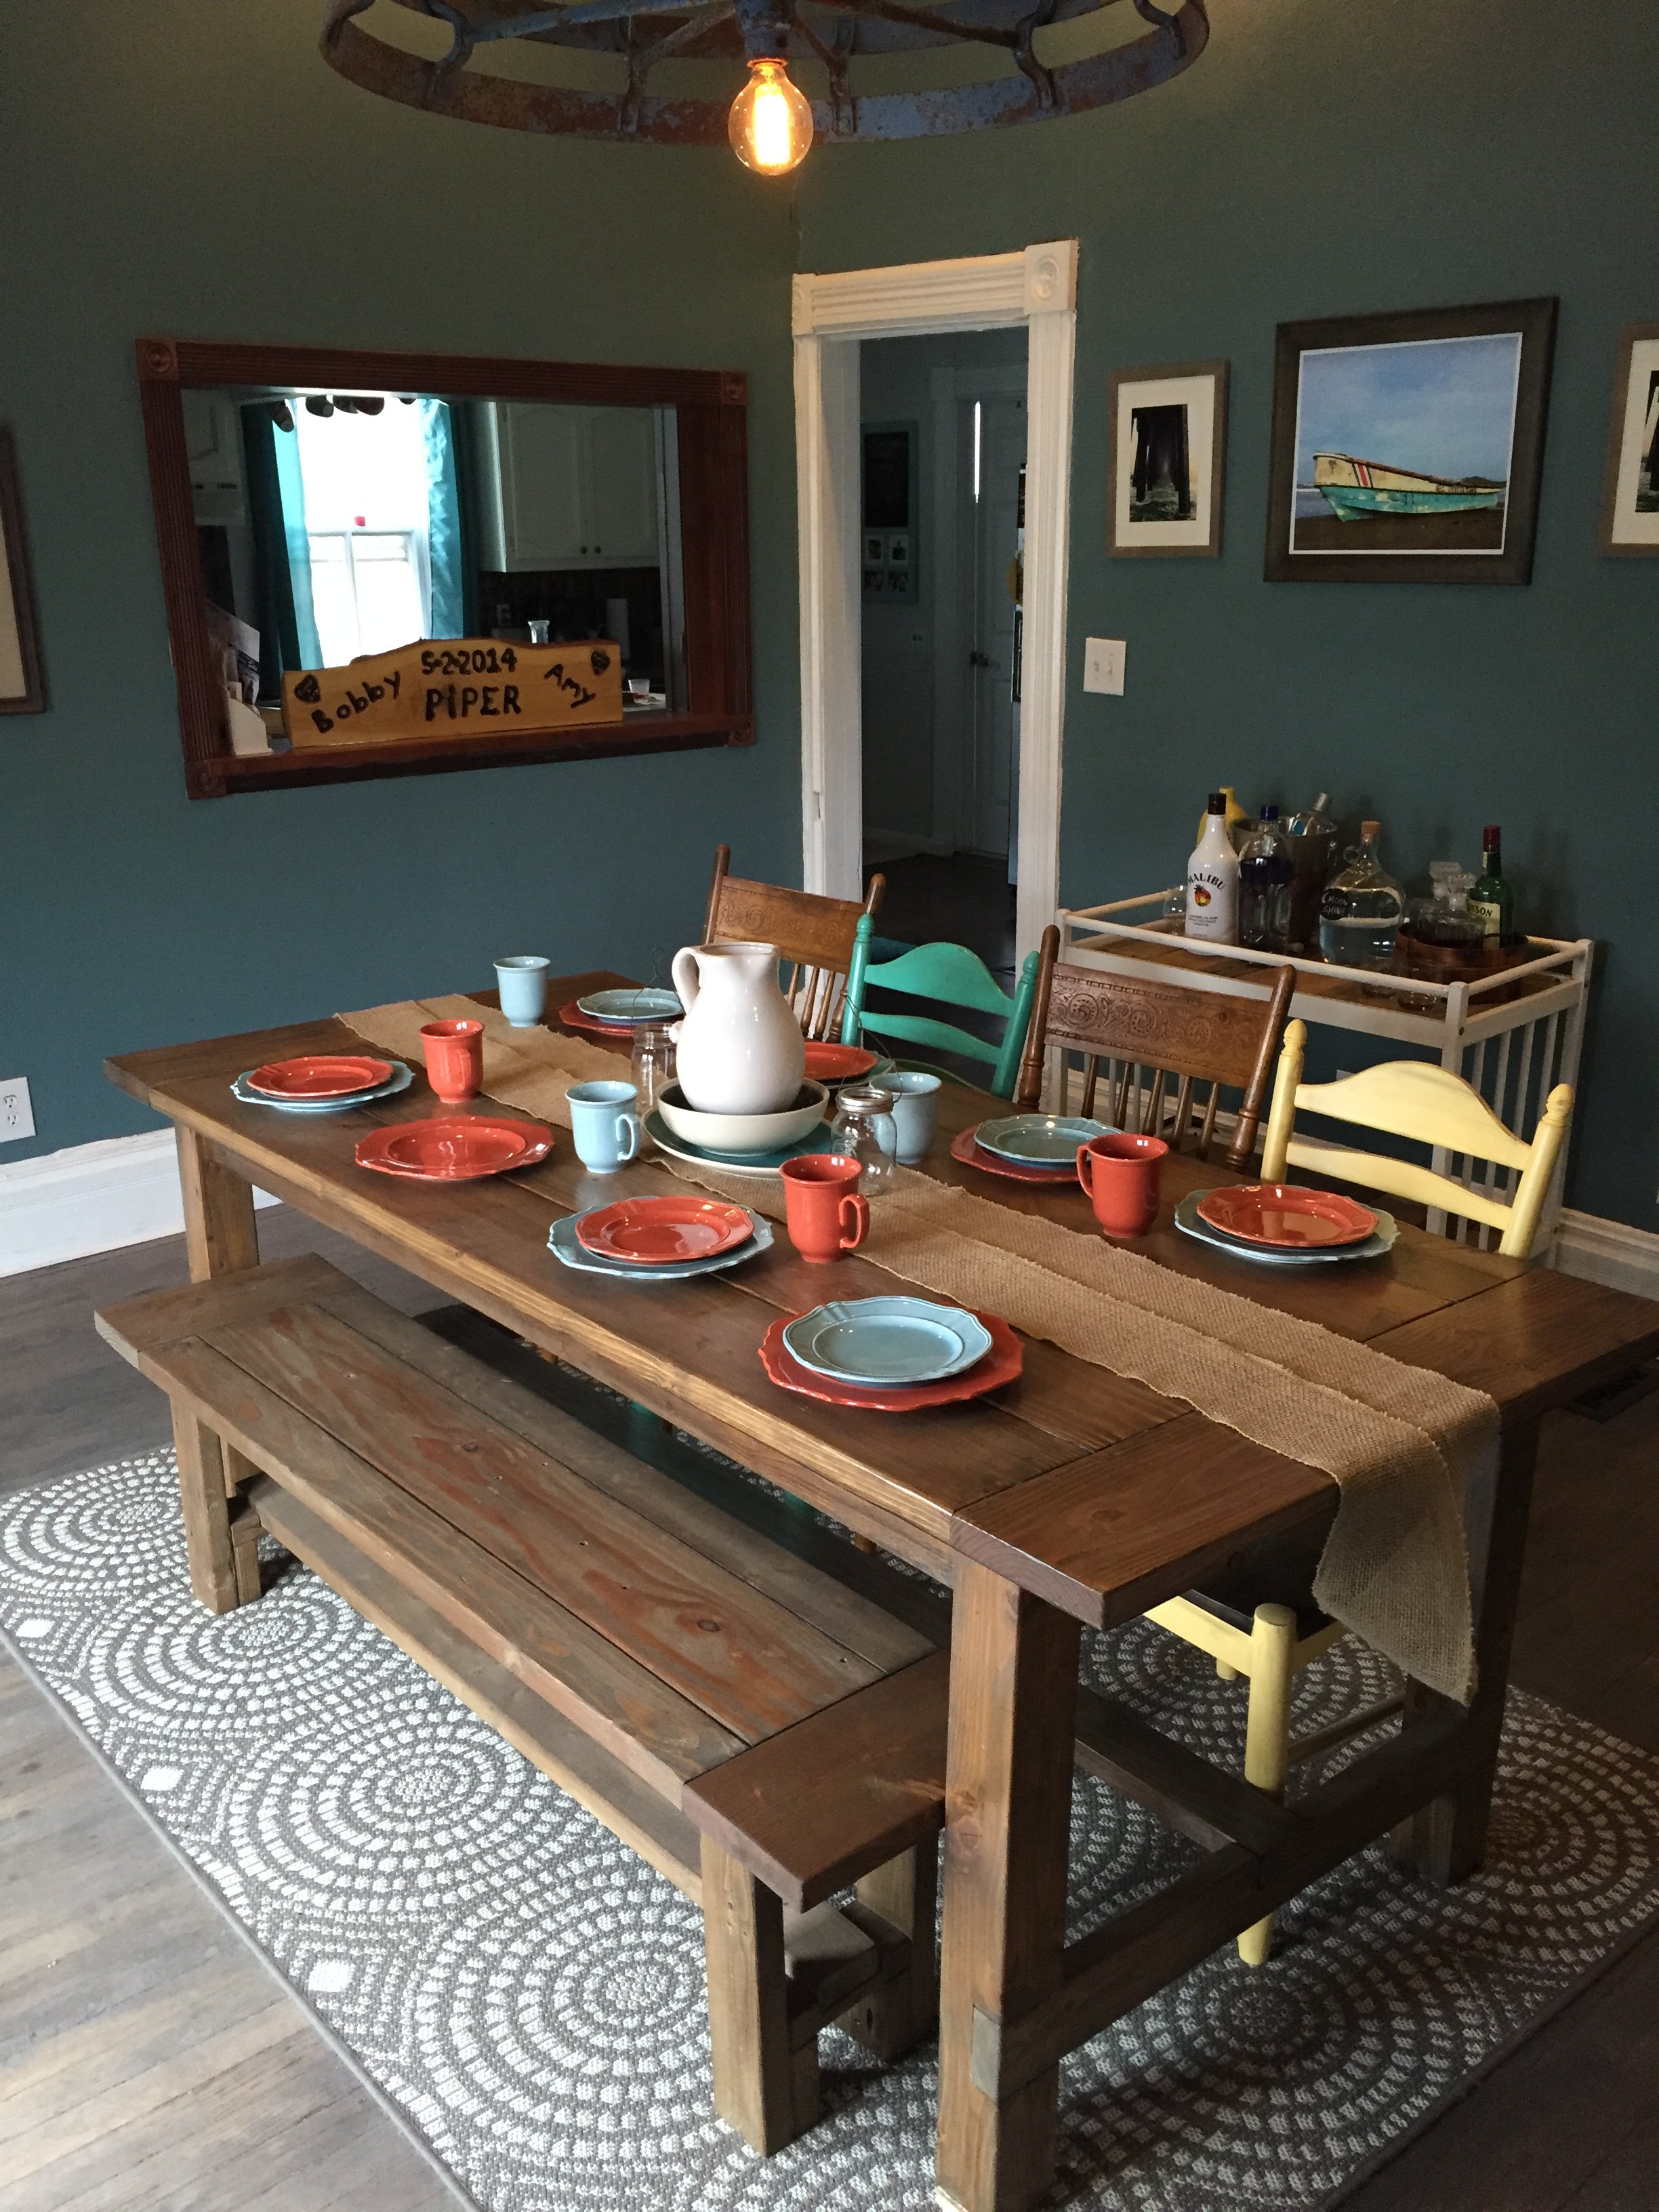
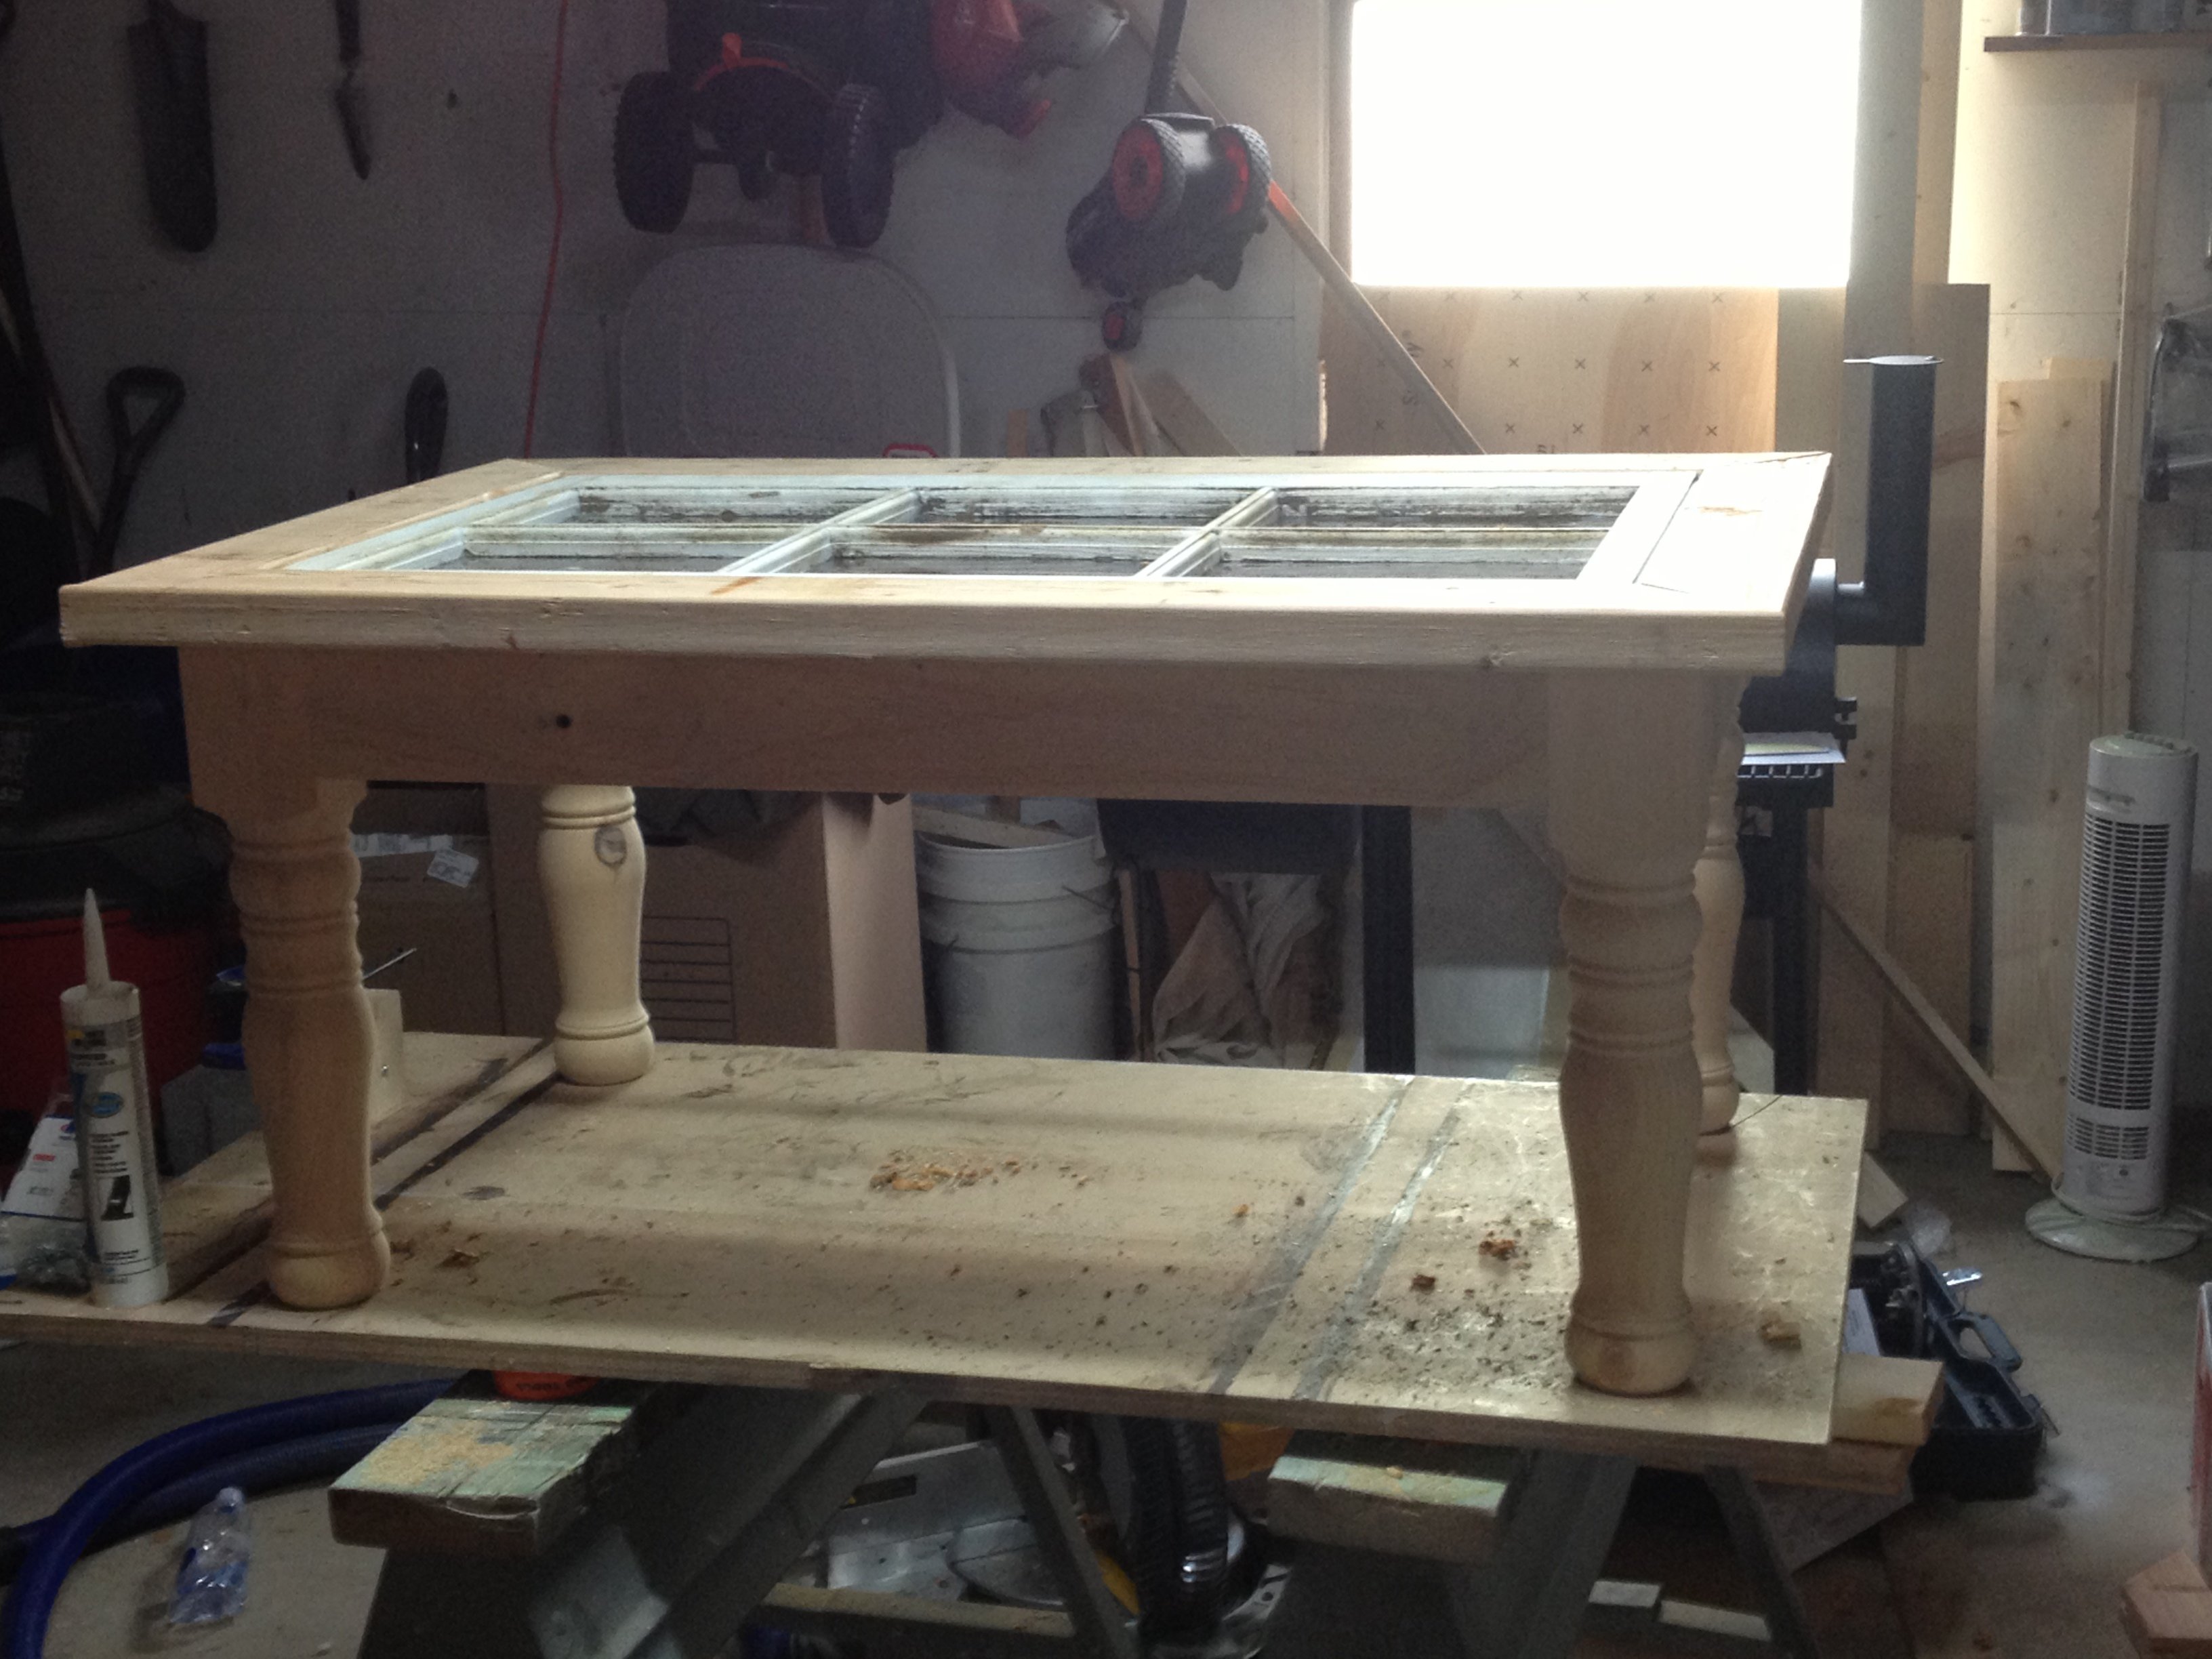
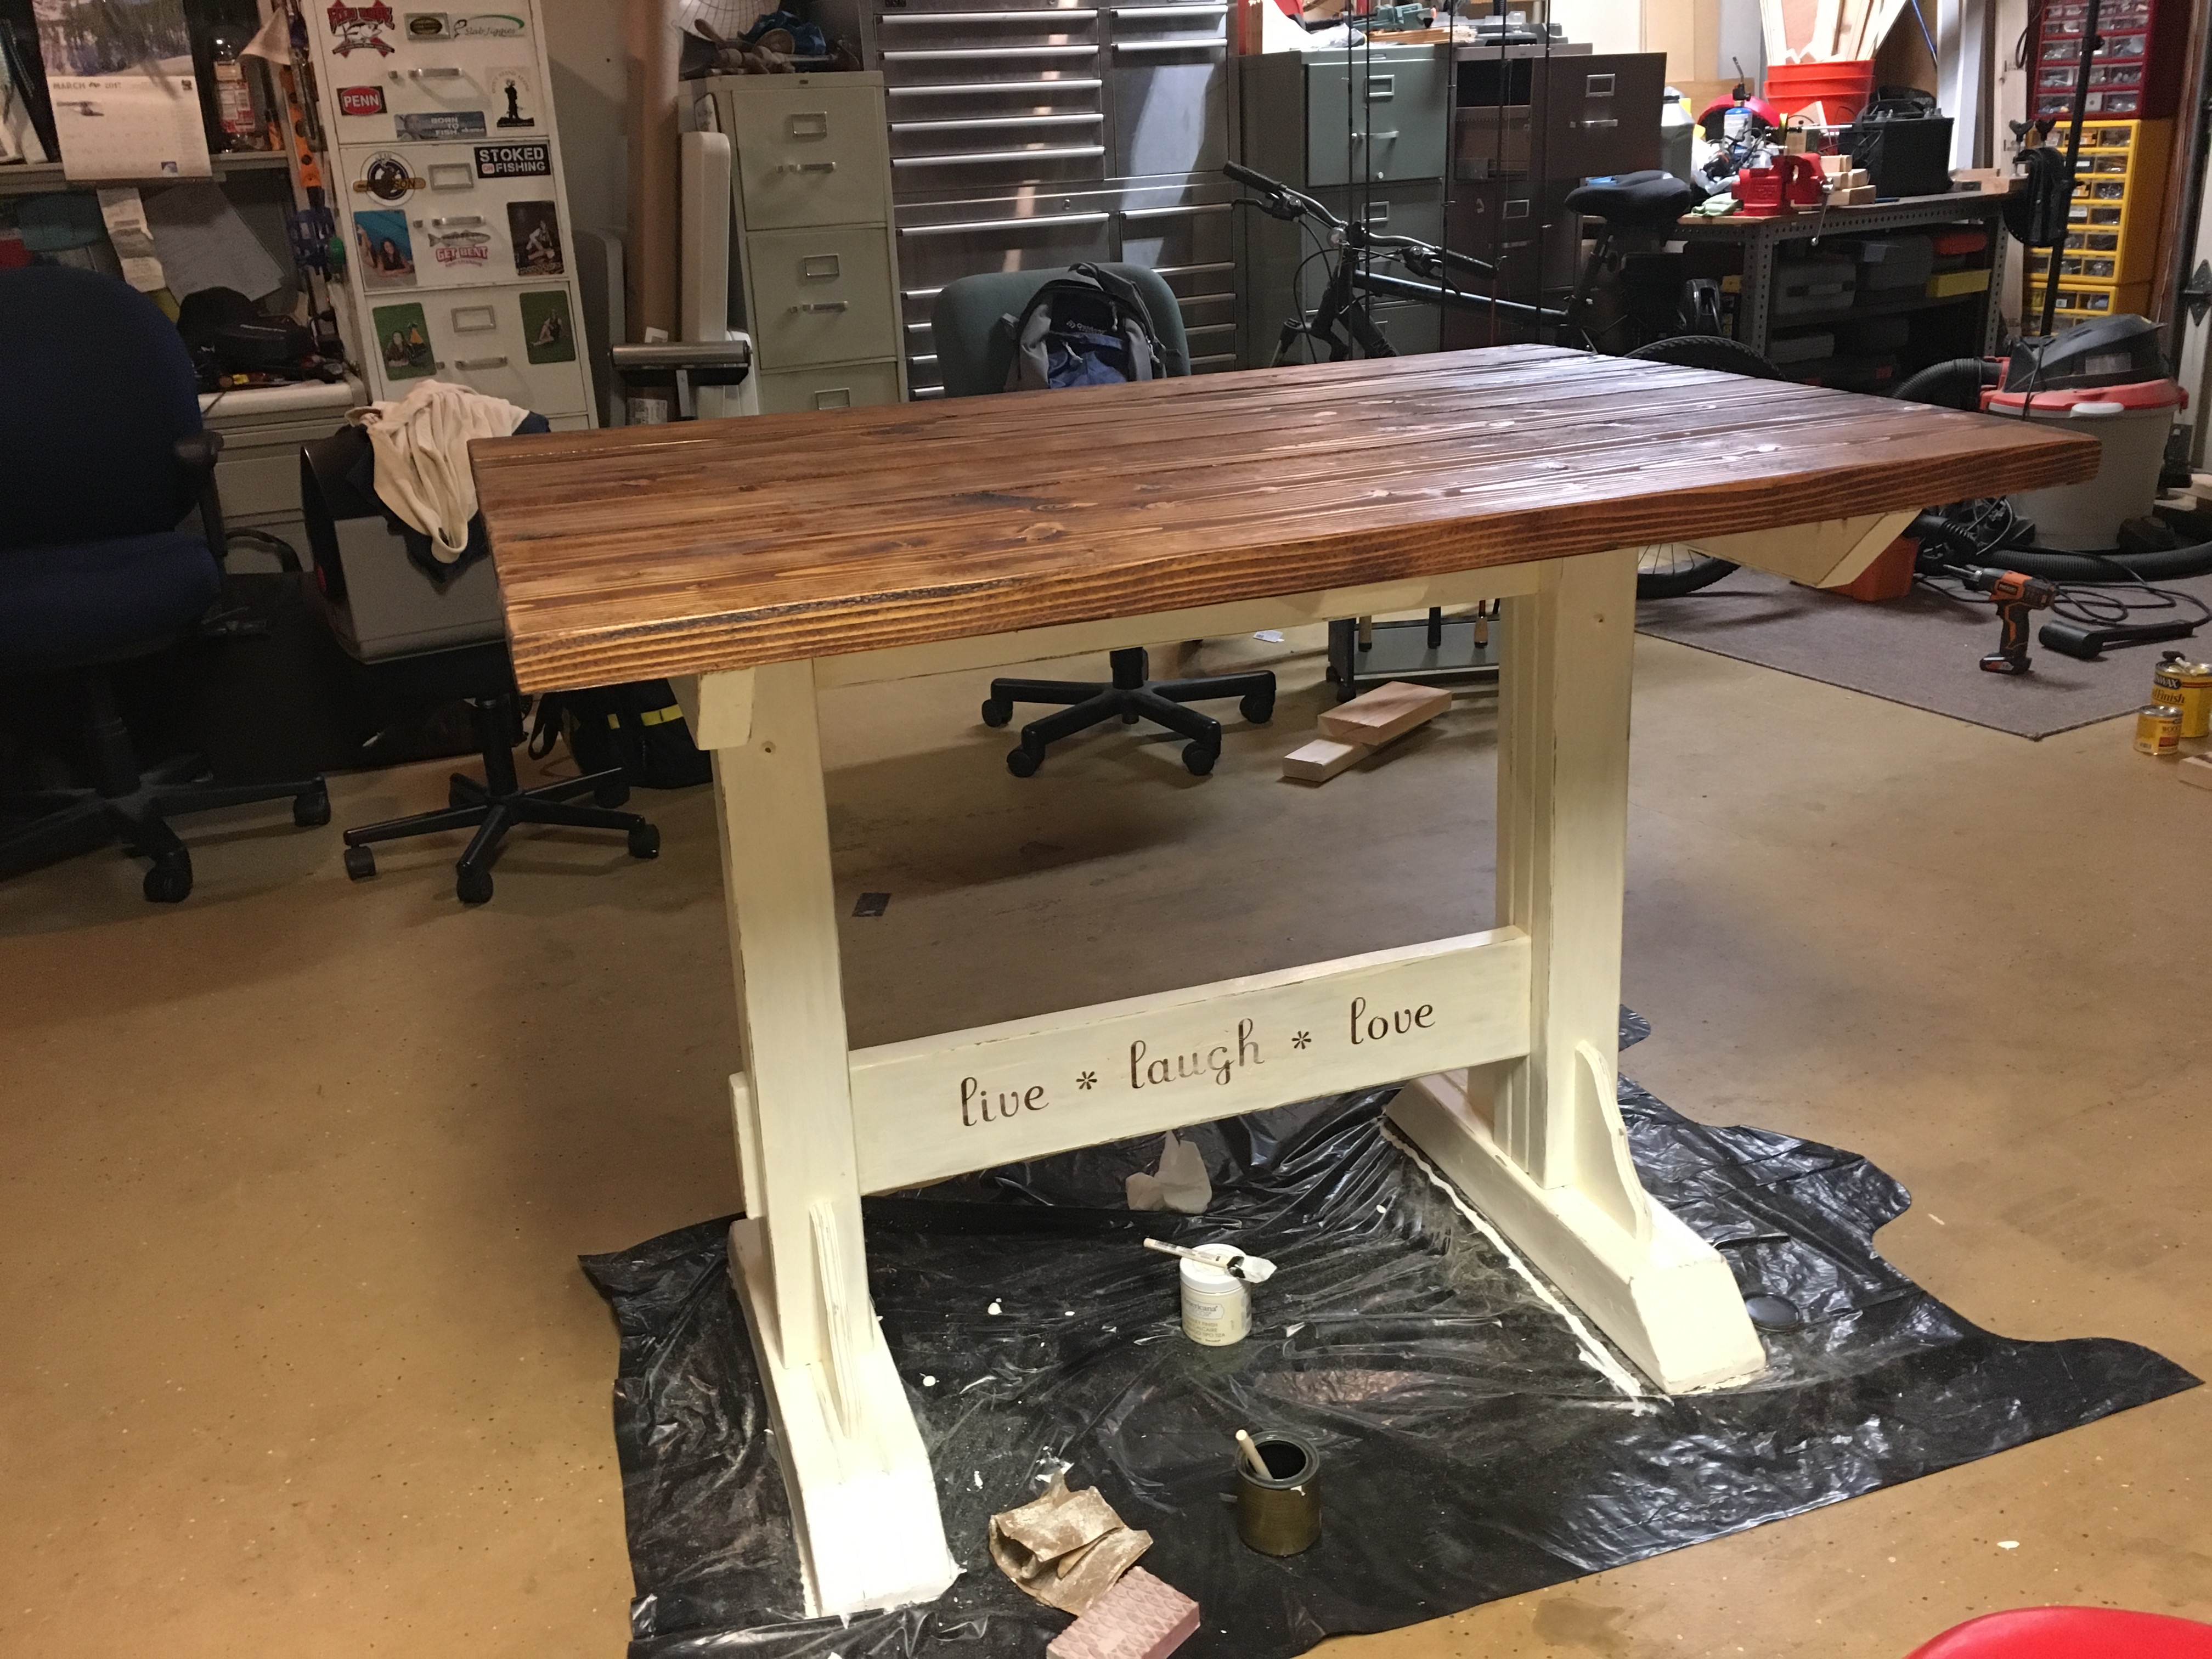
This was just the right table design for our history home built in 1880! Love the plans and easy to build!
Built from Plan(s)
Estimated Cost
Table- $95 without Kreg Jig cost($20) or screws
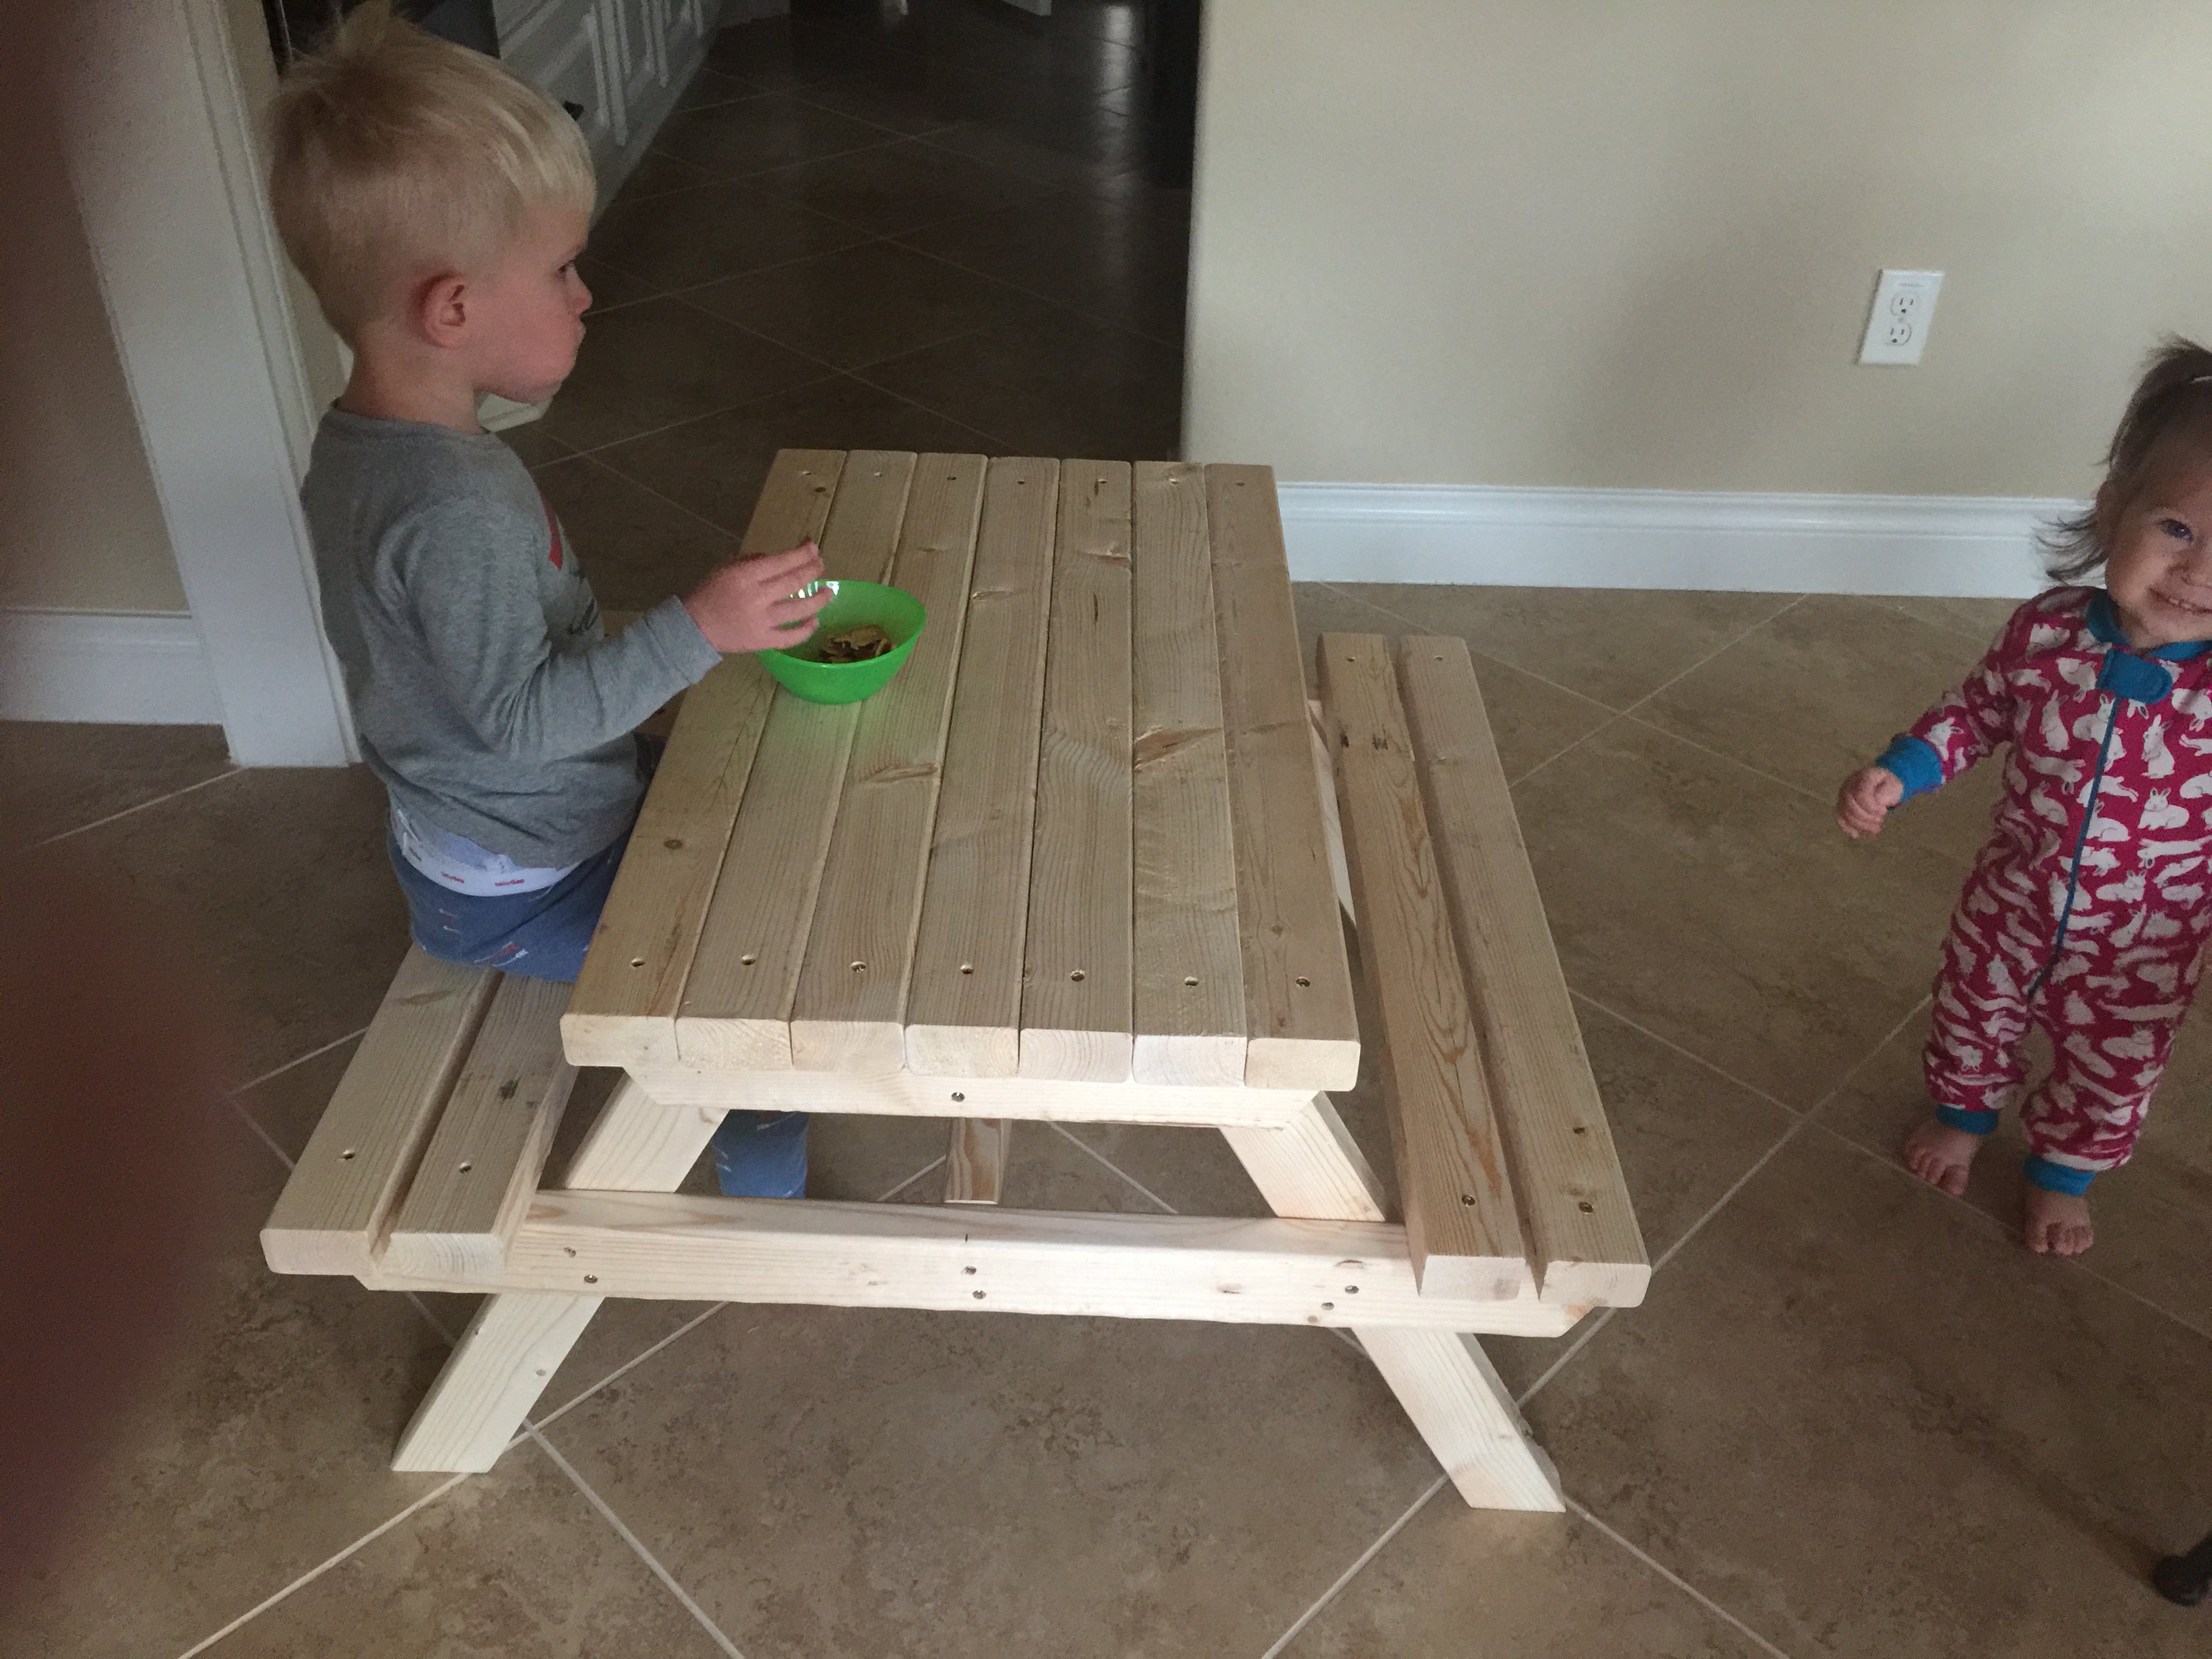
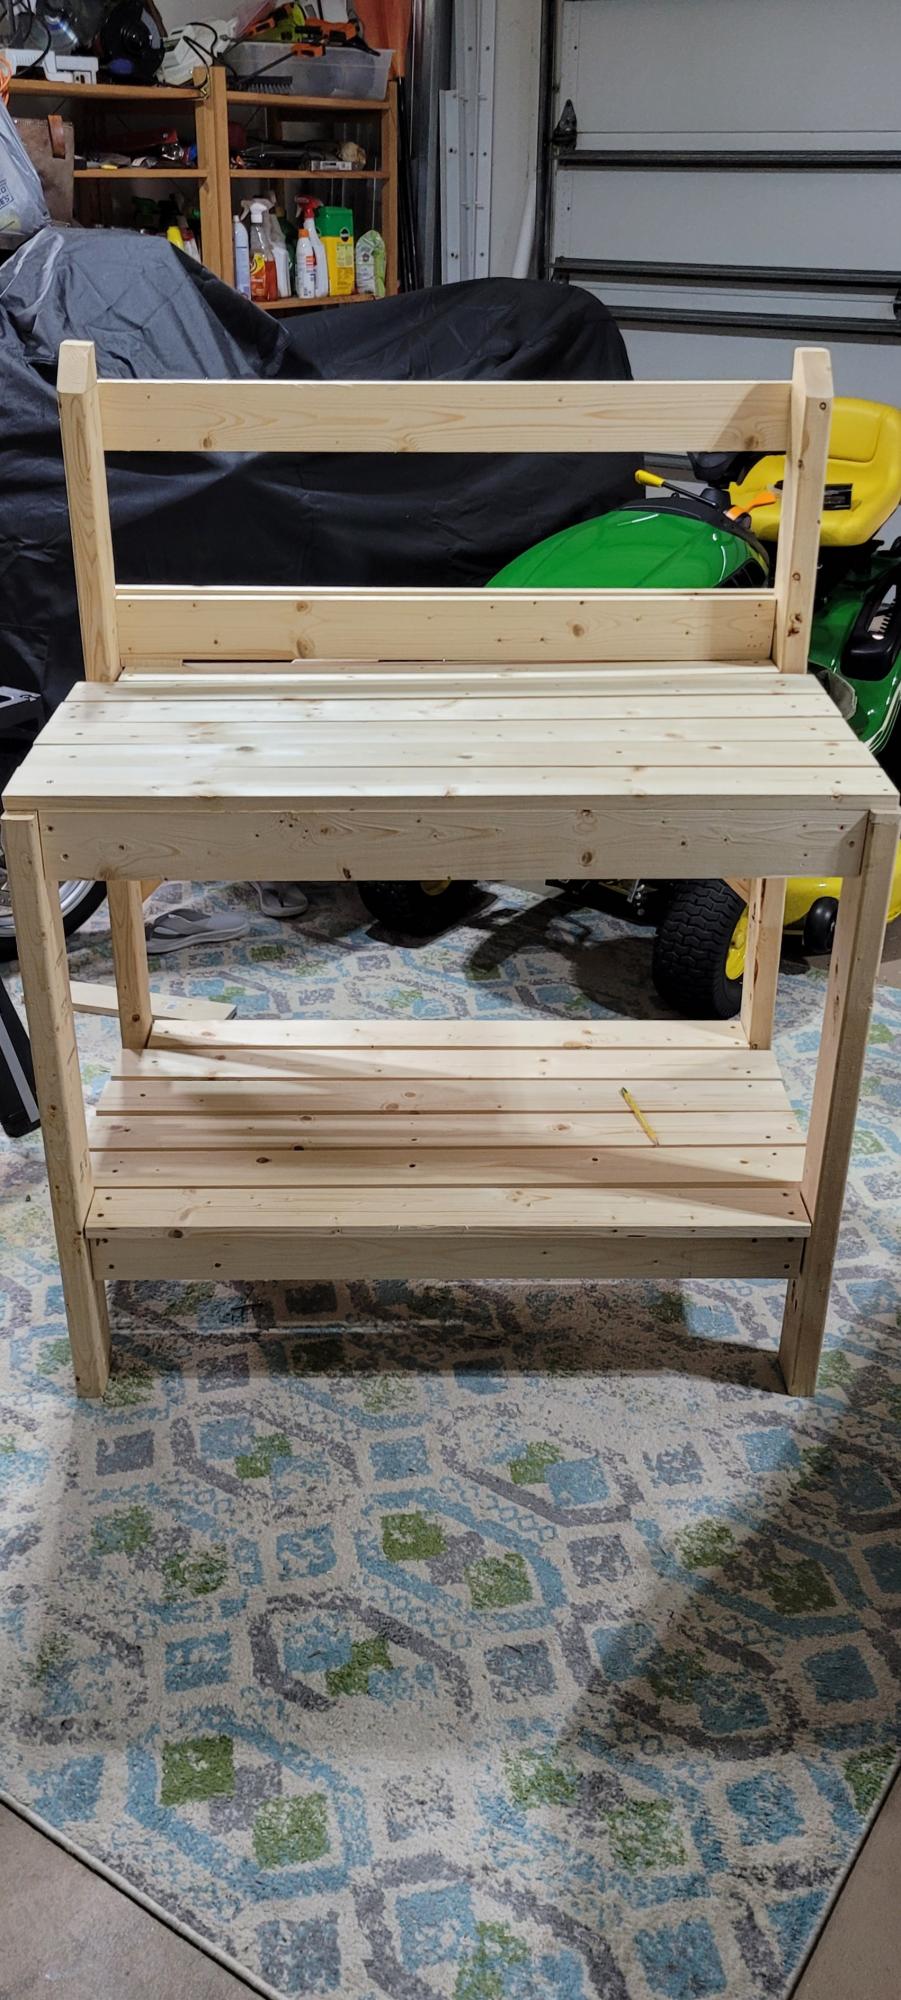
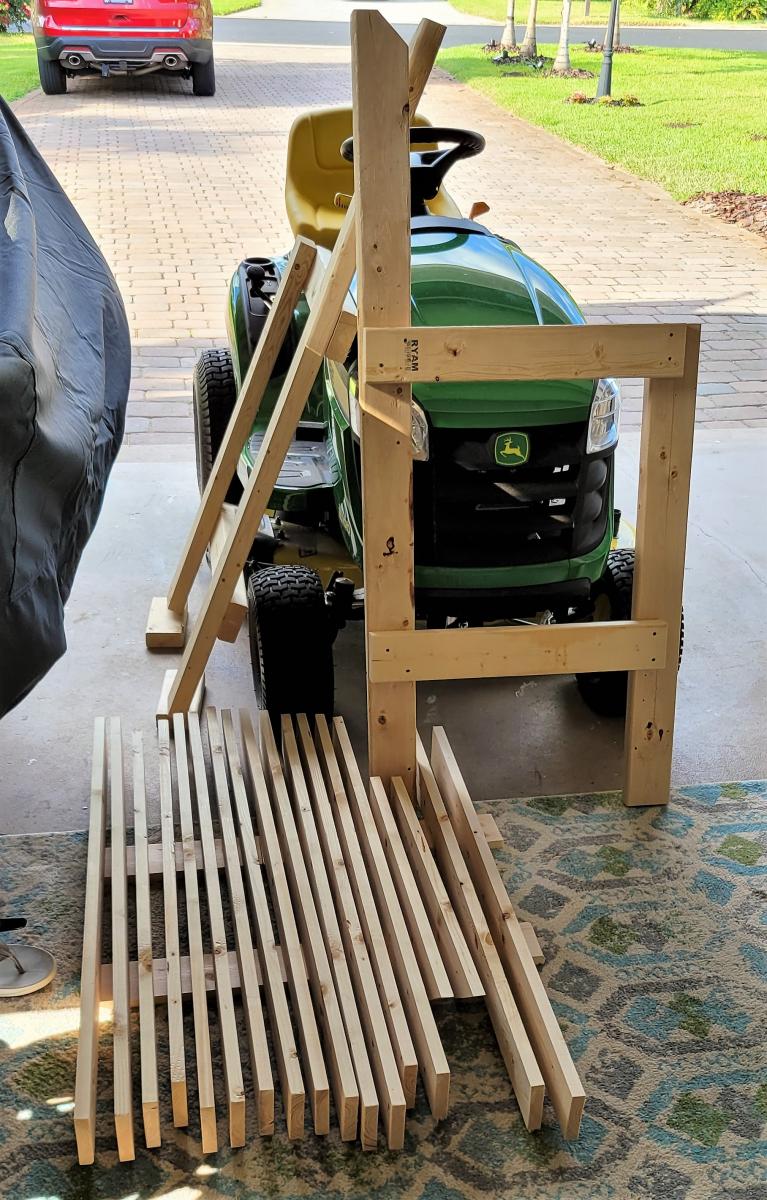
Bench- $24- screws
Bench- $24- screws
Estimated Time Investment
Week Long Project (20 Hours or More)
Finish Used
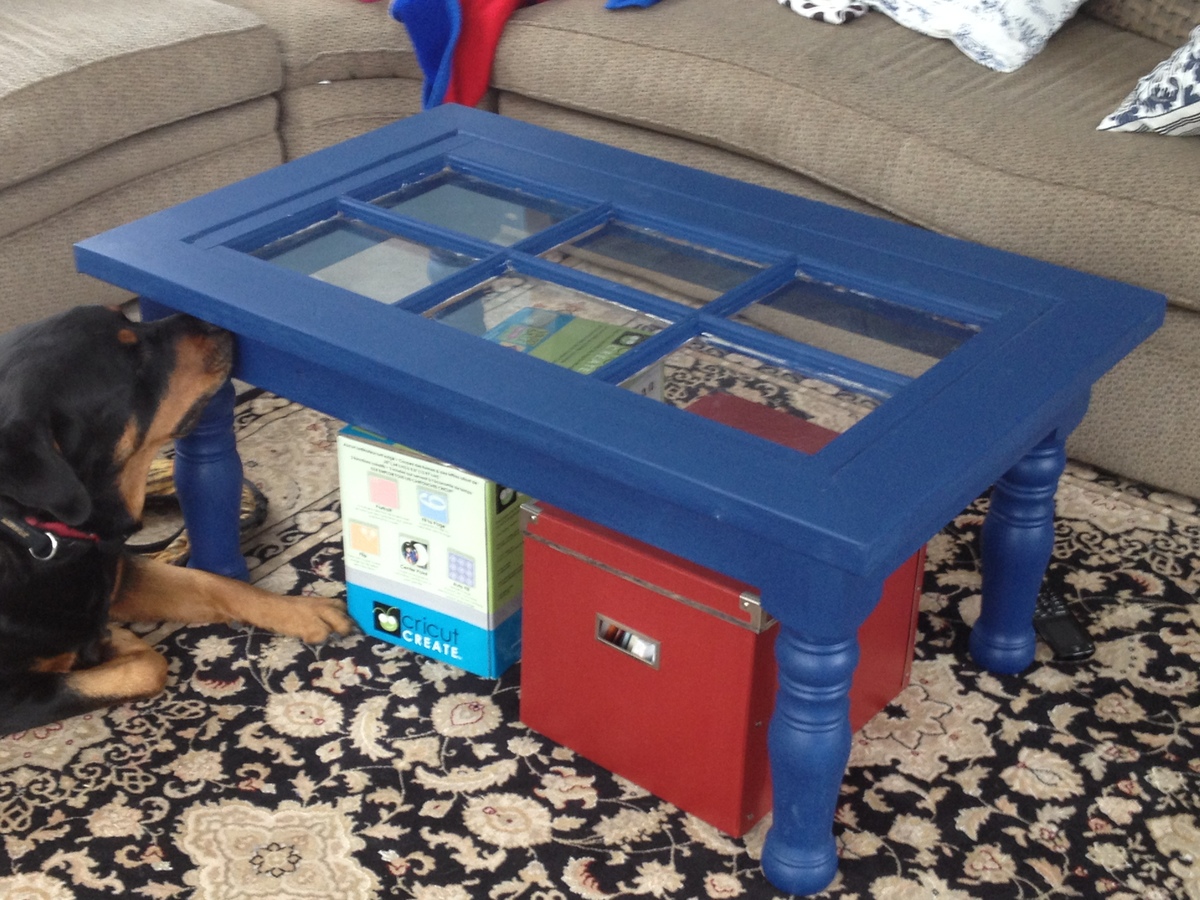
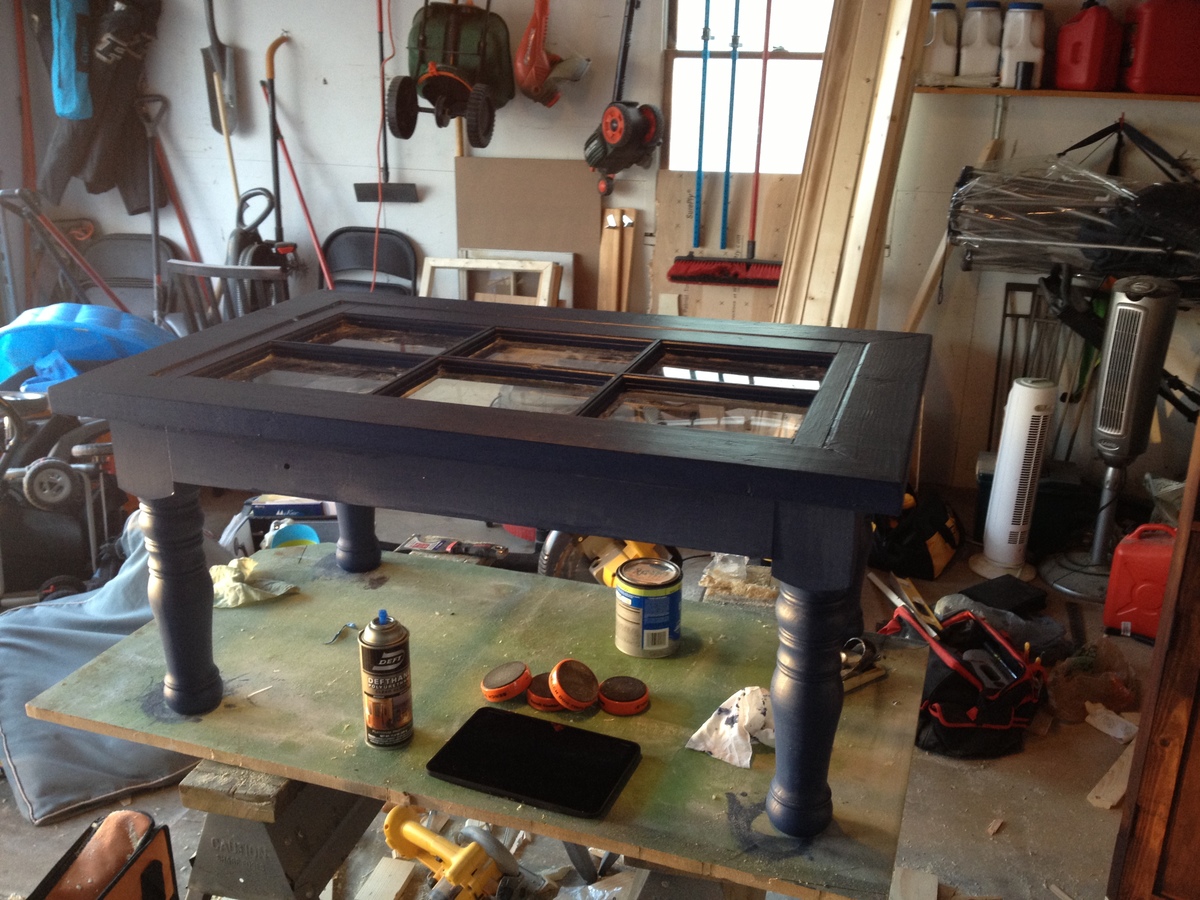
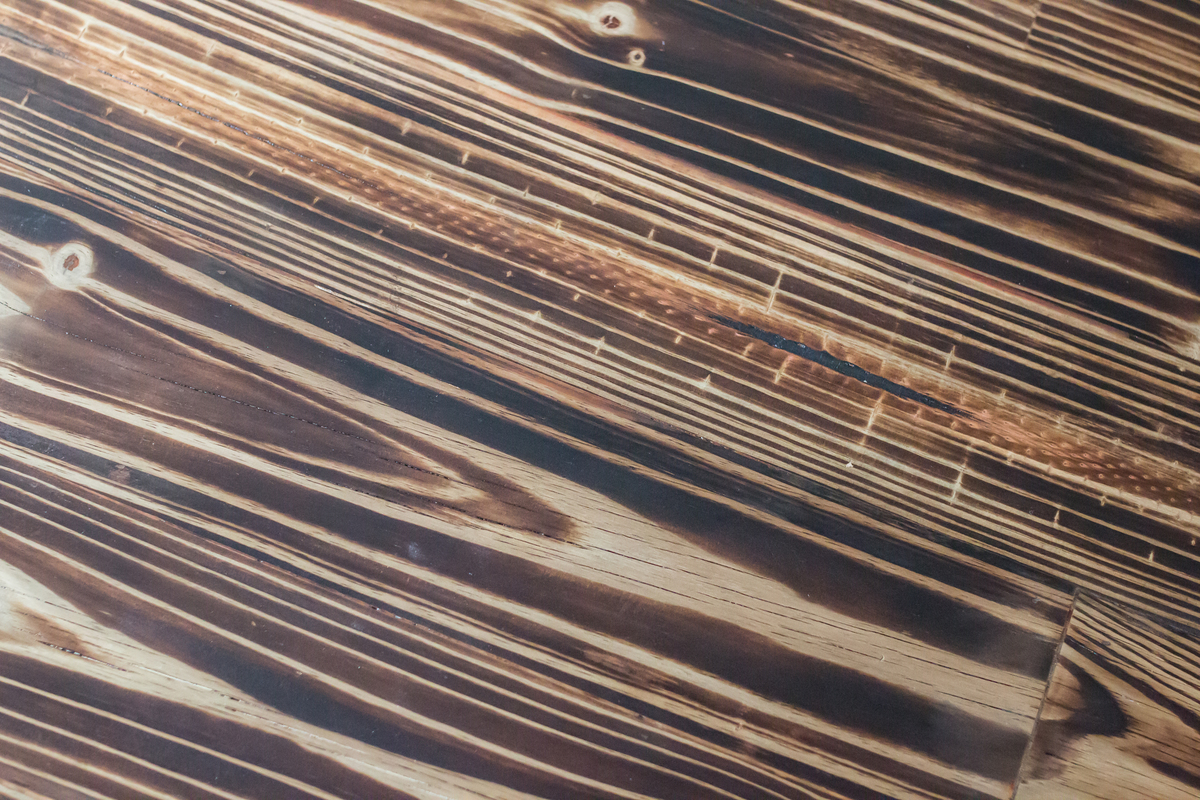
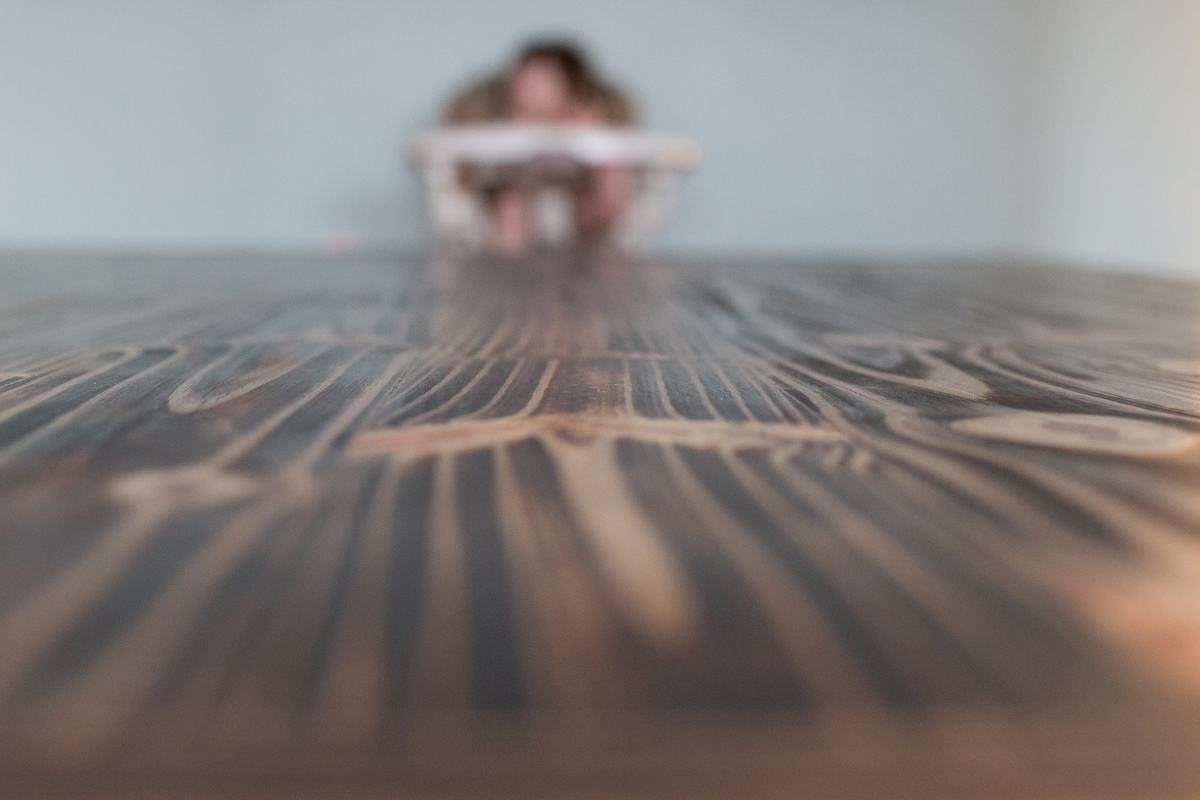
Wood primer first on all surfaces,SW Rustic gray, minwax mahogony low lights and satin minwax poly finish(5 coats)
Recommended Skill Level
Intermediate