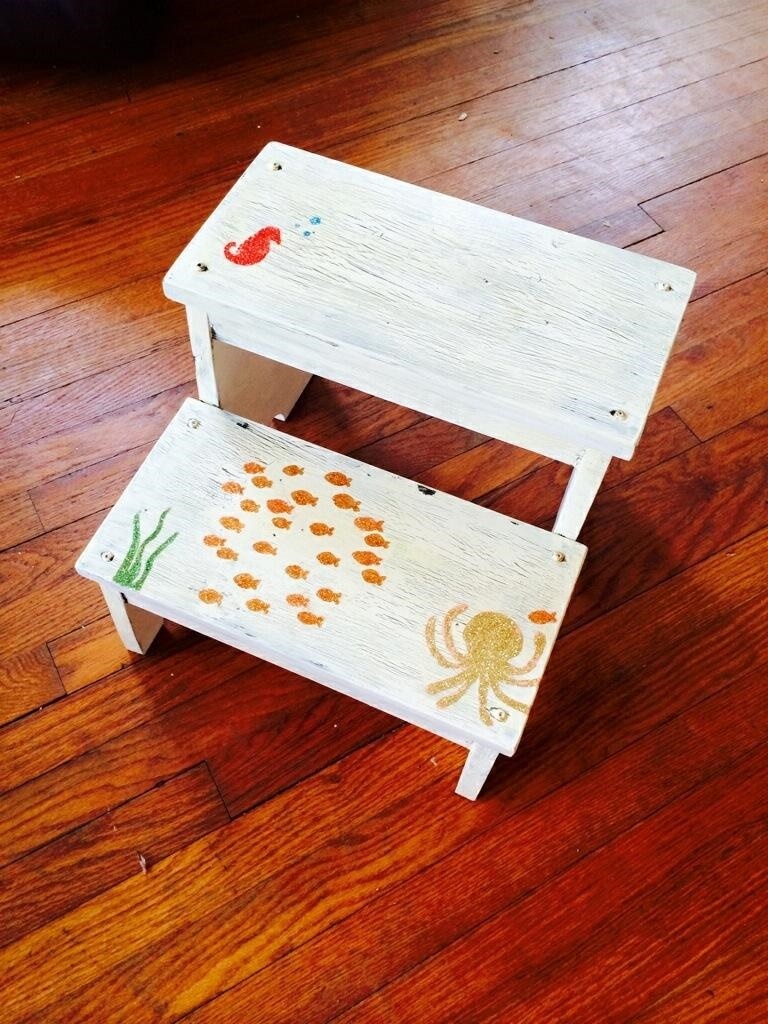
Baby's first step stool
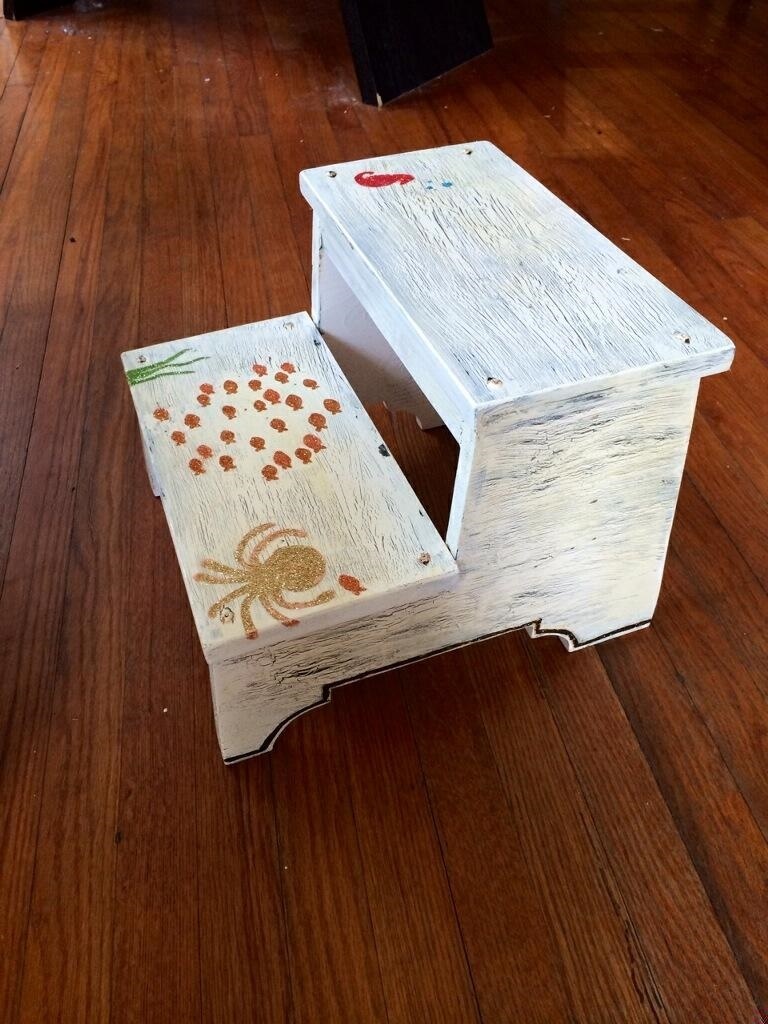
I made this for our first new family addition. My wife is 20 weeks pregnant and we find out if it's a boy or girl tomorrow at 0800! So excited, and thanks to Ana for the great plans.
Nate
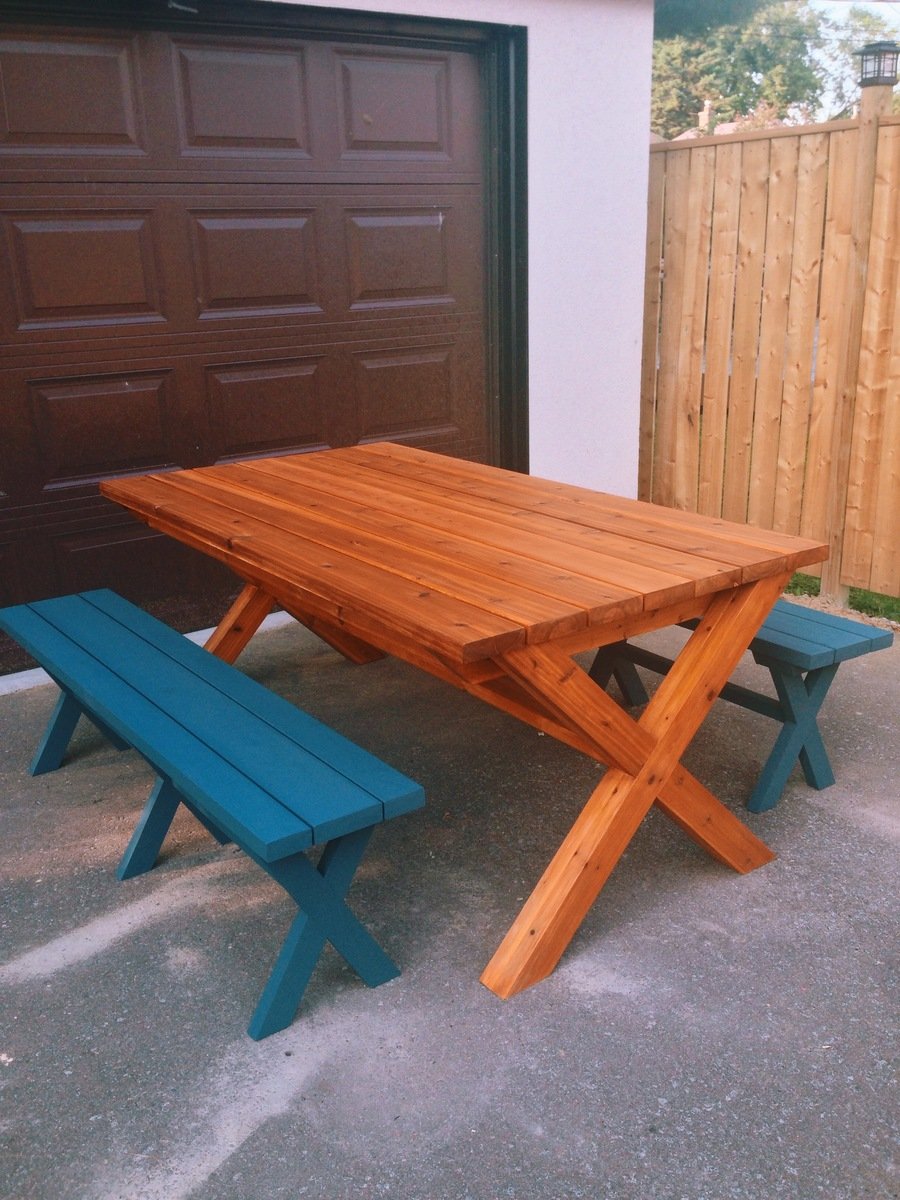
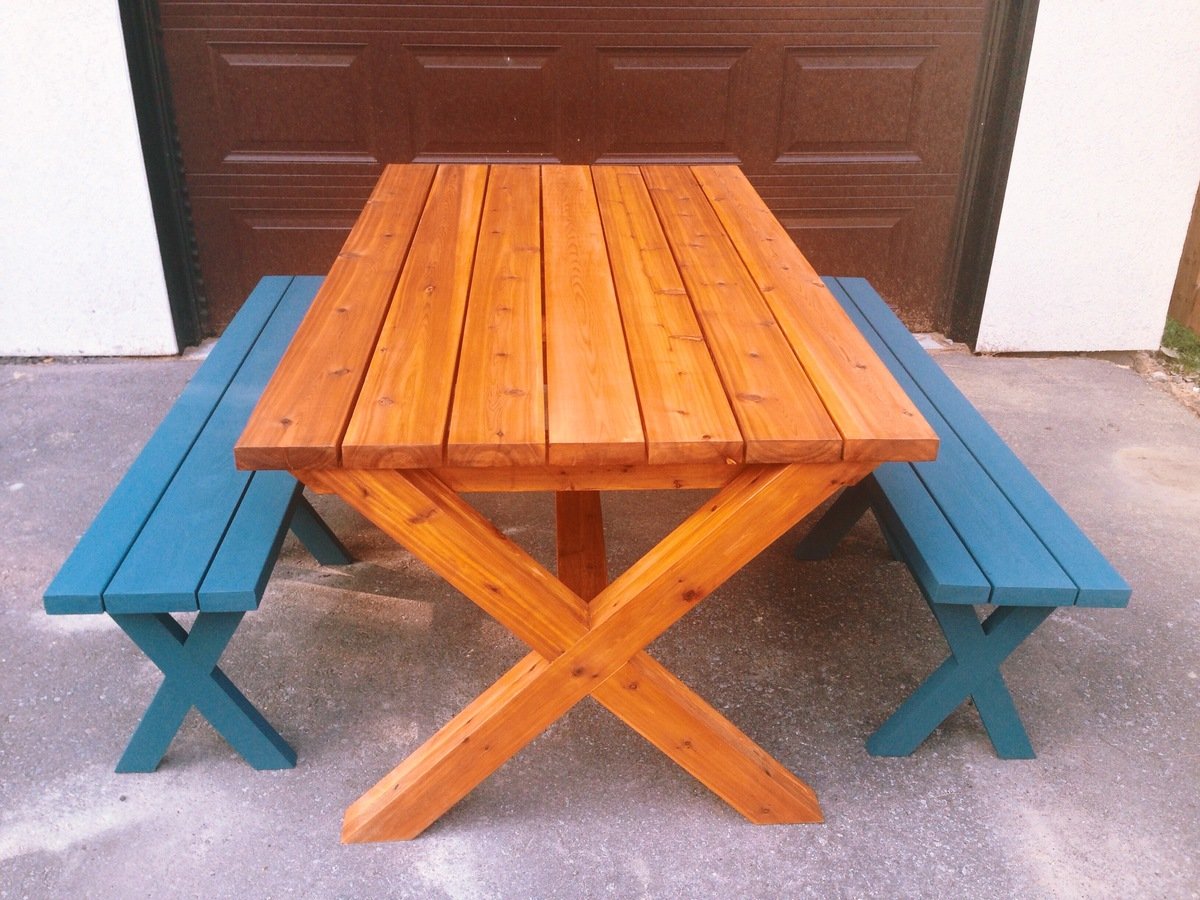
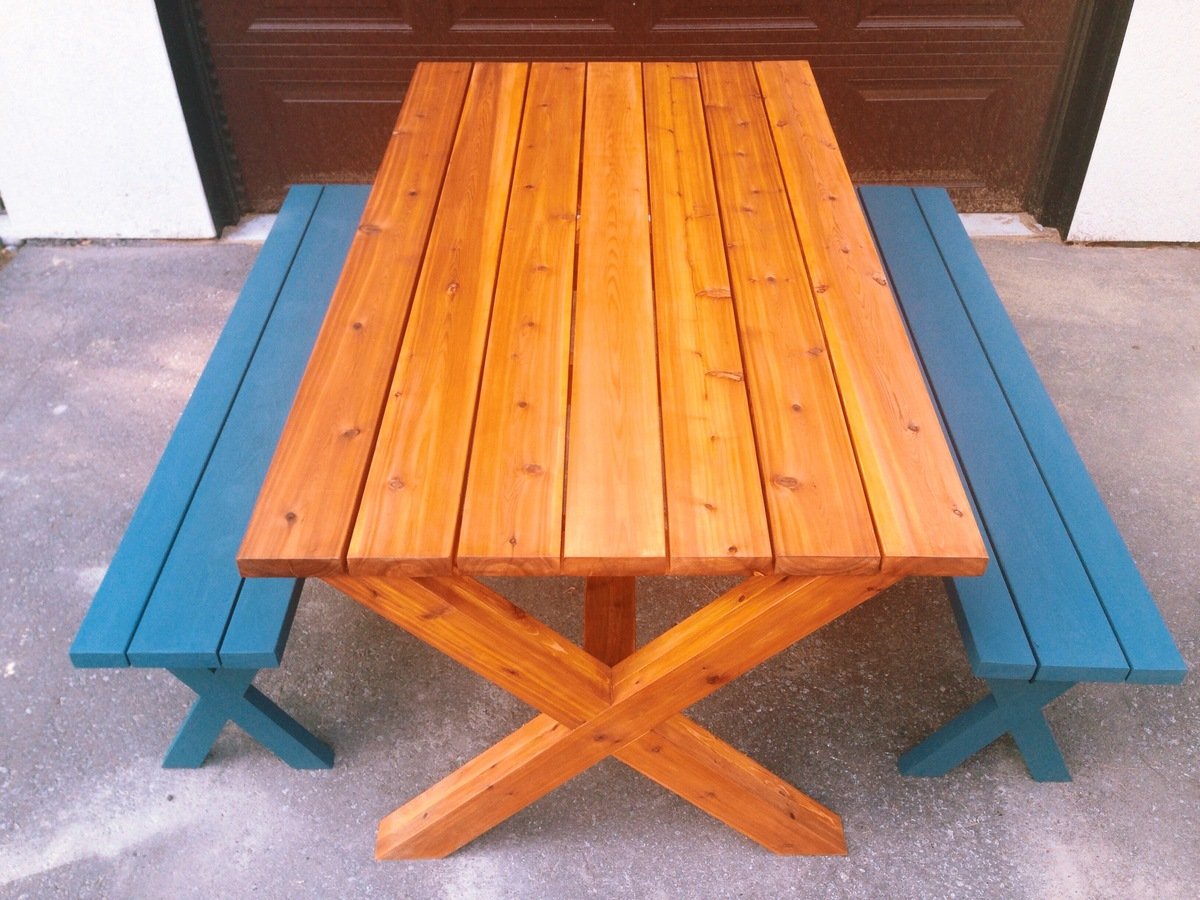
Built from Plan(s)
Estimated Time Investment
Afternoon Project (3-6 Hours)
Finish Used
I applied an ebony stain first. When dry added glue over stain and painted antique white before glue dried for the "crackle" effect. Polyurethane applied afterwards (yellows the paint a bit, but that's what I was going for). My wife then painted the sea life and we covered in a spray on enamel to finish.
Recommended Skill Level
Intermediate