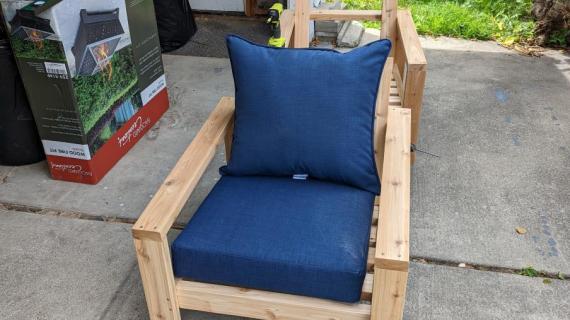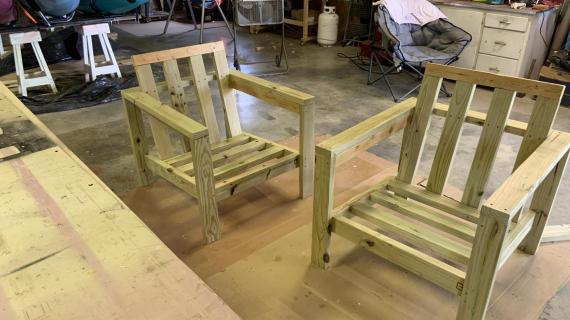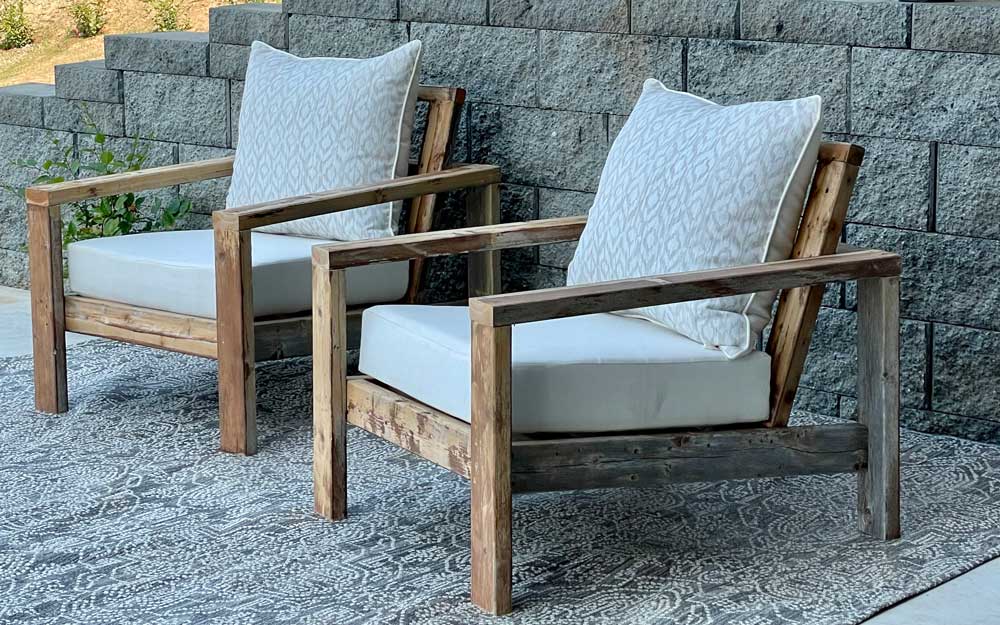
Essential Wood Outdoor Chair Frame for Deep Seat Cushion

The free plans on this website are supported with advertising and affiliate revenue.  When you click some links in this plan, you may be helping us earn a small commission.  Thank you for supporting this website.


Wood Outdoor Chair for Deep Seat Cushion
Difficulty
Beginner Projects
| Print this plan

Free plans to build your own outdoor chair frame designed to fit deep seat cushions.  This is an easy, beginner woodworking project that makes a very comfortable and sturdy patio lounge chair.  Free step by step plans from Ana-White.com

Collections

Are you looking for beautiful, comfortable deck chairs, that are easy to build?  

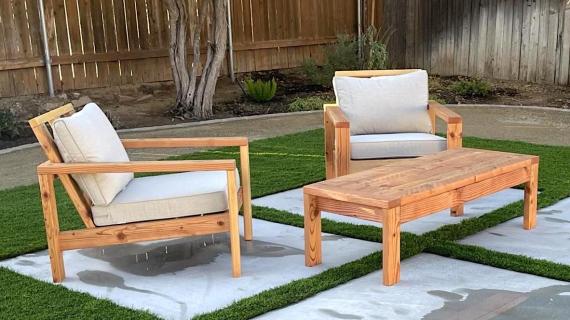
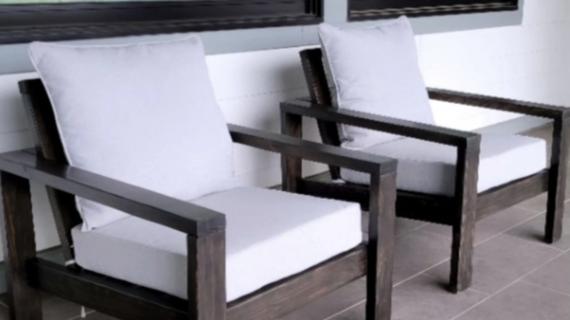
After countless hours of designing and brainstorming, several prototypes and adjustments, I'm so excited to share with you what I consider the ultimate DIY outdoor lounge chair!

diy outdoor lounge chairs

Why I Love These Outdoor Chairs!

  • Easy to build with basic tools
  • Sturdy and substantial, all 2x4 construction
  • Inexpensive to make - about $50 with cushions on sale (compared with $300-$400)
  • Fits most deep seat cushions, easy to adjust for different cushion sizes
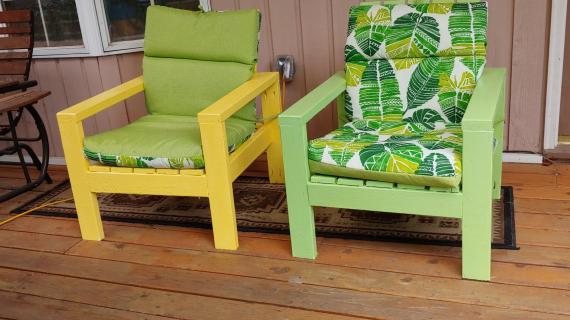
  • Beautiful wood grain can be stained or painted any color
  • Super comfortable!

Must Watch Quick Video of Building These Outdoor Chairs!

Want to see this chair from all angles?  See the quick build process?  We hope this video tutorial helps you:

FAQ About These Outdoor Chairs

  • Where did you get your cushions?  Off the shelf at Lowes. 
  • What kind of lumber should I use?  Cedar is preferred but it is more expensive.  You can also use regular old 2x4 boards - just finish them appropriately so they are weather resistant.
  • What kind of finish do you recommend? I recommend any finish that is suitable for painting decks or fences.  Do NOT use a film former - the paint will crack and peel as the wood expands and contracts.
  • Is there enough of a back to keep the cushions in place?  For my cushions, yes.  But if you were concerned, it's easy to add additional boards, one vertical 2x4 @ 24" centered in the back would do the trick.  Just attach at the base, center and top.
  • Can I use indoors?  Yes, yes, yes!  This would be a great inexpensive indoor chair too! 
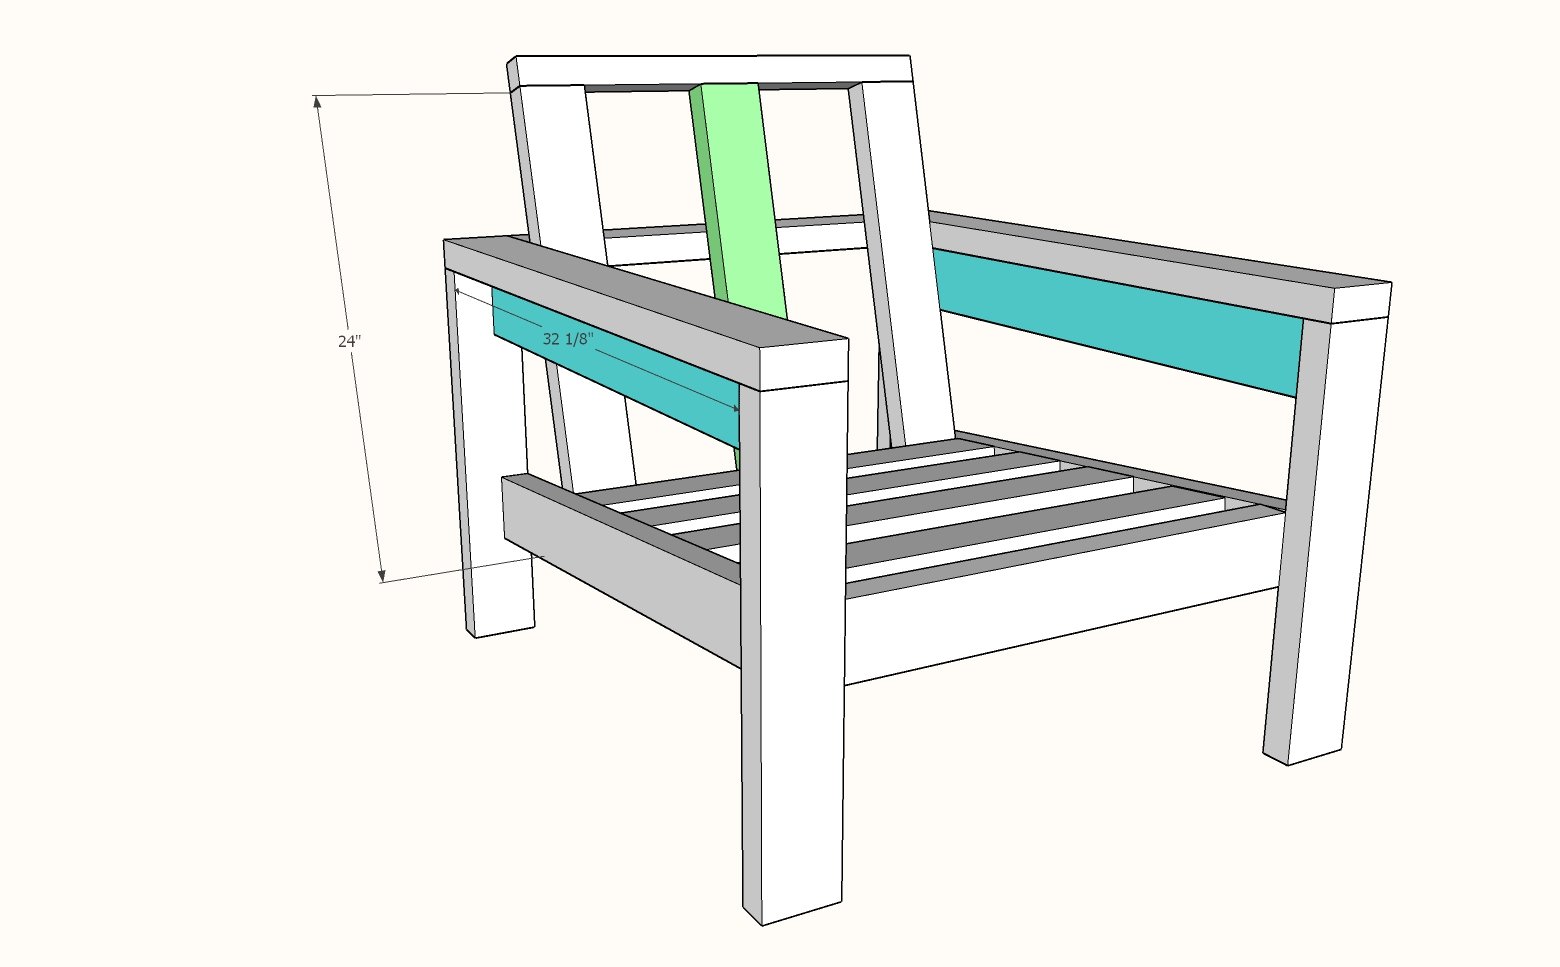
  • How can I make this chair even more heavy duty?  A 2x4 @ 32-1/8" under the arm rest and between the legs, screwed from the legs and top, flush to the inside, would be a huge beef up.  Also screw to the angled back.
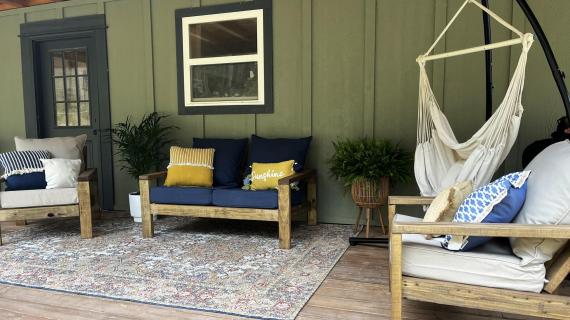
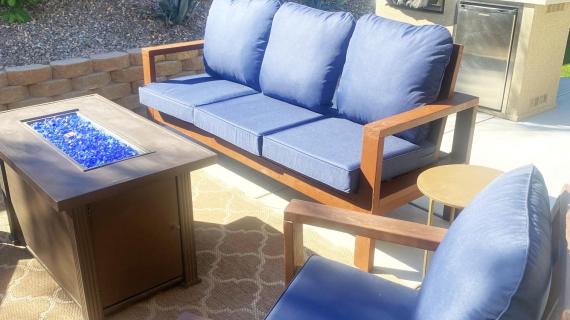
  • Can I make this in a loveseat or sofa?  I haven't personally tested it, but this reader did and shared photos.

Wood Outdoor Chair for Deep Seat Cushion

Thank you for trusting me with your outdoor plans.  These plans are free to use.  Please, though, send a picture back, it is very gratifying to see your results!


Here's Some Tips to Build Better Outdoor Furniture

tips for better outdoor furniture builds

Want to build better outdoor furniture?  Over the twenty years I've been building, maintaining, and enjoying my own outdoor furniture, I've learned a few tips that can help build longer lasting furniture.  

 5 QUICK Tips for Better Outdoor Furniture


Pin For Later!

Wood Outdoor Chair for Deep Seat Cushion

Dimensions
Wood Outdoor Chair for Deep Seat Cushion
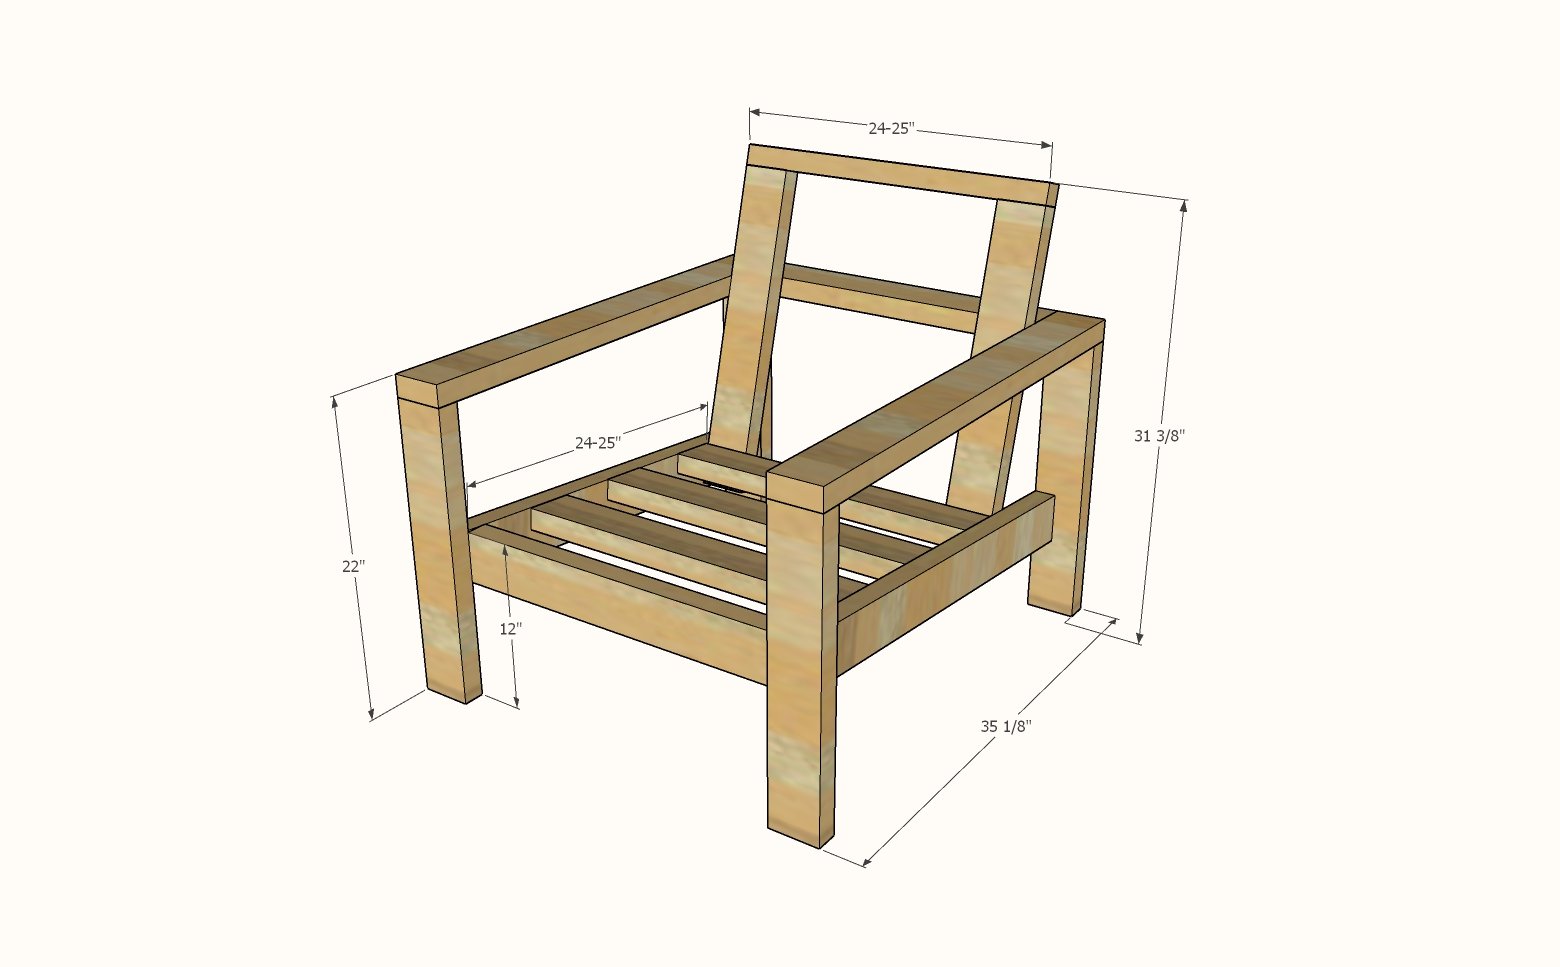
Chair frame dimensions shown in diagram - designed for standard deep seat cushions.

Preparation

Shopping List
  • 5 - 2x4 @ 8 feet long
  • 1 - 2x2 @ 2 feet long (or rip down a 2x4 scrap)
  • 50 - 3" self tapping wood screws
  • Exterior finish (fence, deck or siding products)
  • Deep seat cushion set (24" x 24" x 5" or 25" x 25" x 5" seat cushion)
Cut List
  • 2 - 2x4 @ 35-1/8" - arm rests
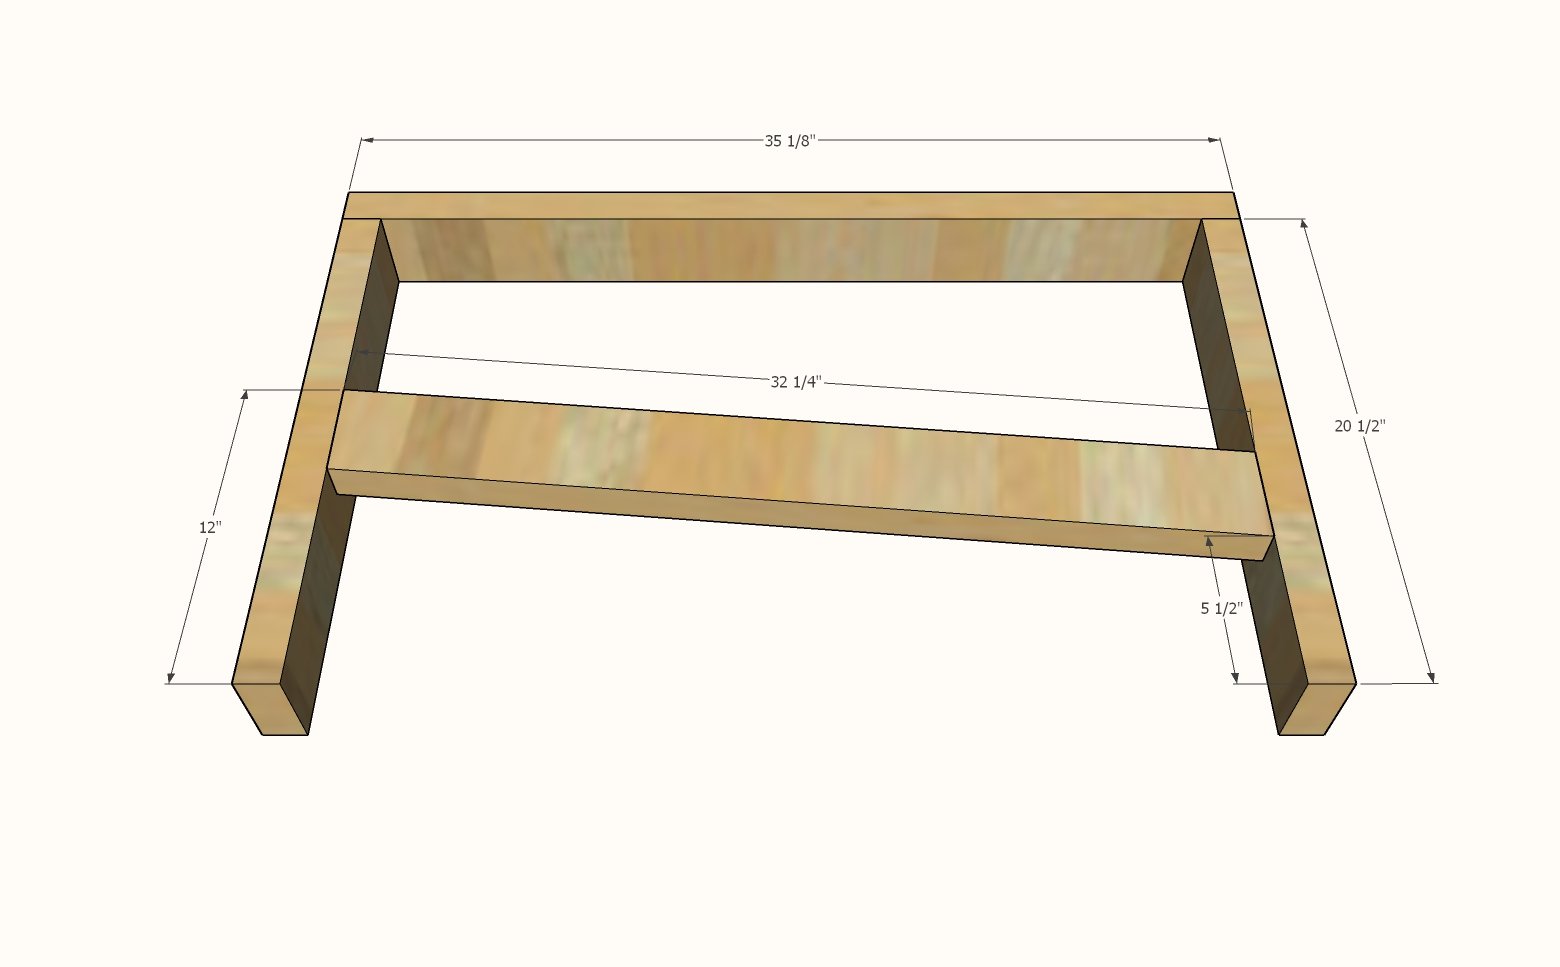
  • 2 - 2x4 @ 32-1/4" both ends cut at 5 degrees off square, ends are parallel, long point to short point measurement - seat stringer
  • 8 - 2x4 @ 24"
  • 4 - 2x4 @ 20-1/2”
  • 1 - 2x2 @ 24" (or rip a 2x4 scrap down to 1-1/2" wide and use)
Cutting Instructions

Cut the longest boards first to fit all cuts on the 2x4 boards.

Tools
Tape Measure
Pencil
Safety Glasses
Kreg Jig
Drill
Miter Saw
Power Sander

Instructions

Step 1

Attach the armrest to the legs with two screws per joint.

Mark the seat stringer placement and attach with two screws per joint.  For thinner seat cushions, the seat stringer can be moved upward.

Step 2

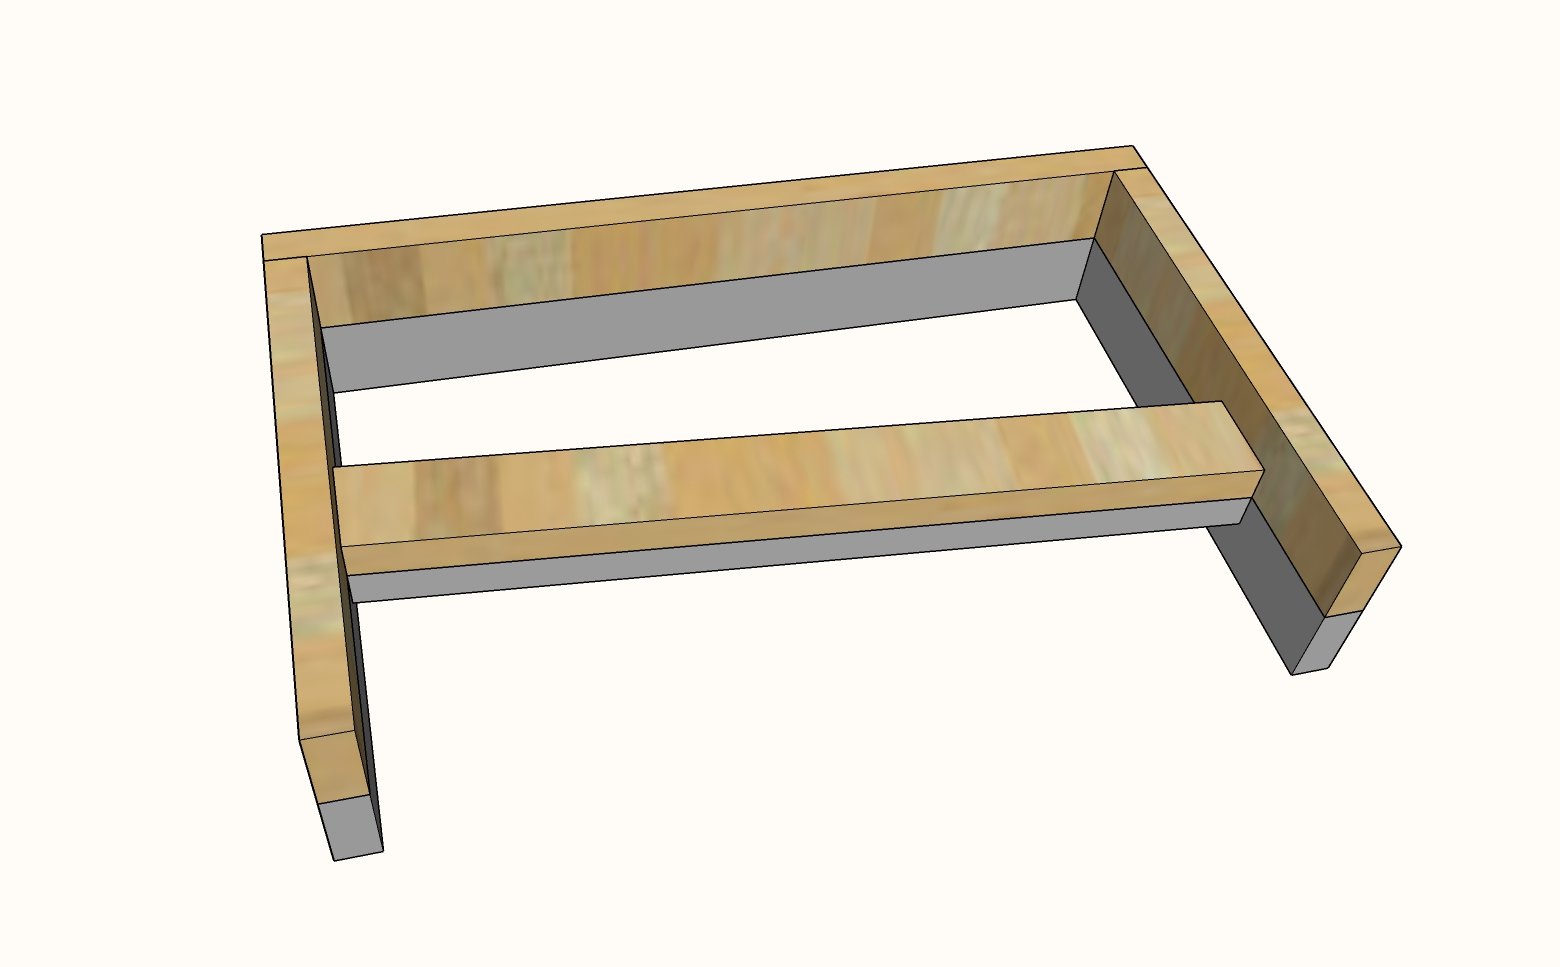
Attach the second armrest to the remaining two legs.

Then position on top of the first arm rest and position the seat stringer so it match the first seat stringer.  The two arm rest need to be built in mirror.  

Attach with two screws per joint.

Step 3

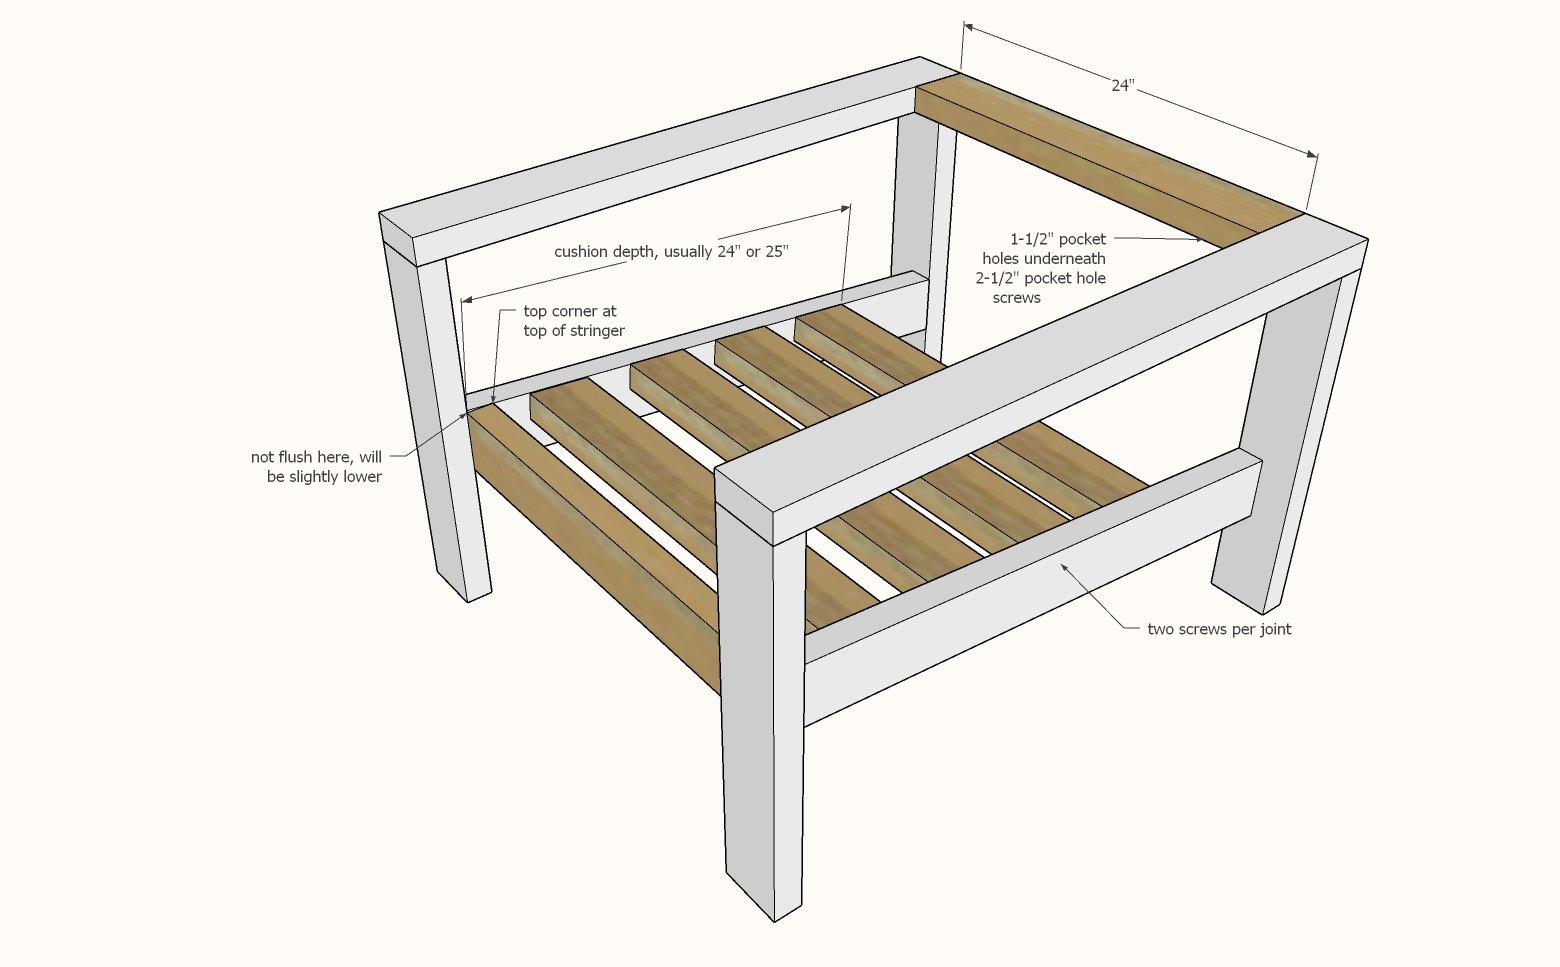
Attach the front apron with two screws per joint.

Measure back the depth of the seat cushion (24" or 25") and attach the back seat slat.

Then evenly space the remaining slats and attach.  TIP: Place the center slat and attach, then center the remaining two slats.

Use 1-1/2" pocket holes and 2-1/2" pocket hole screws to attach the back support.

Step 4

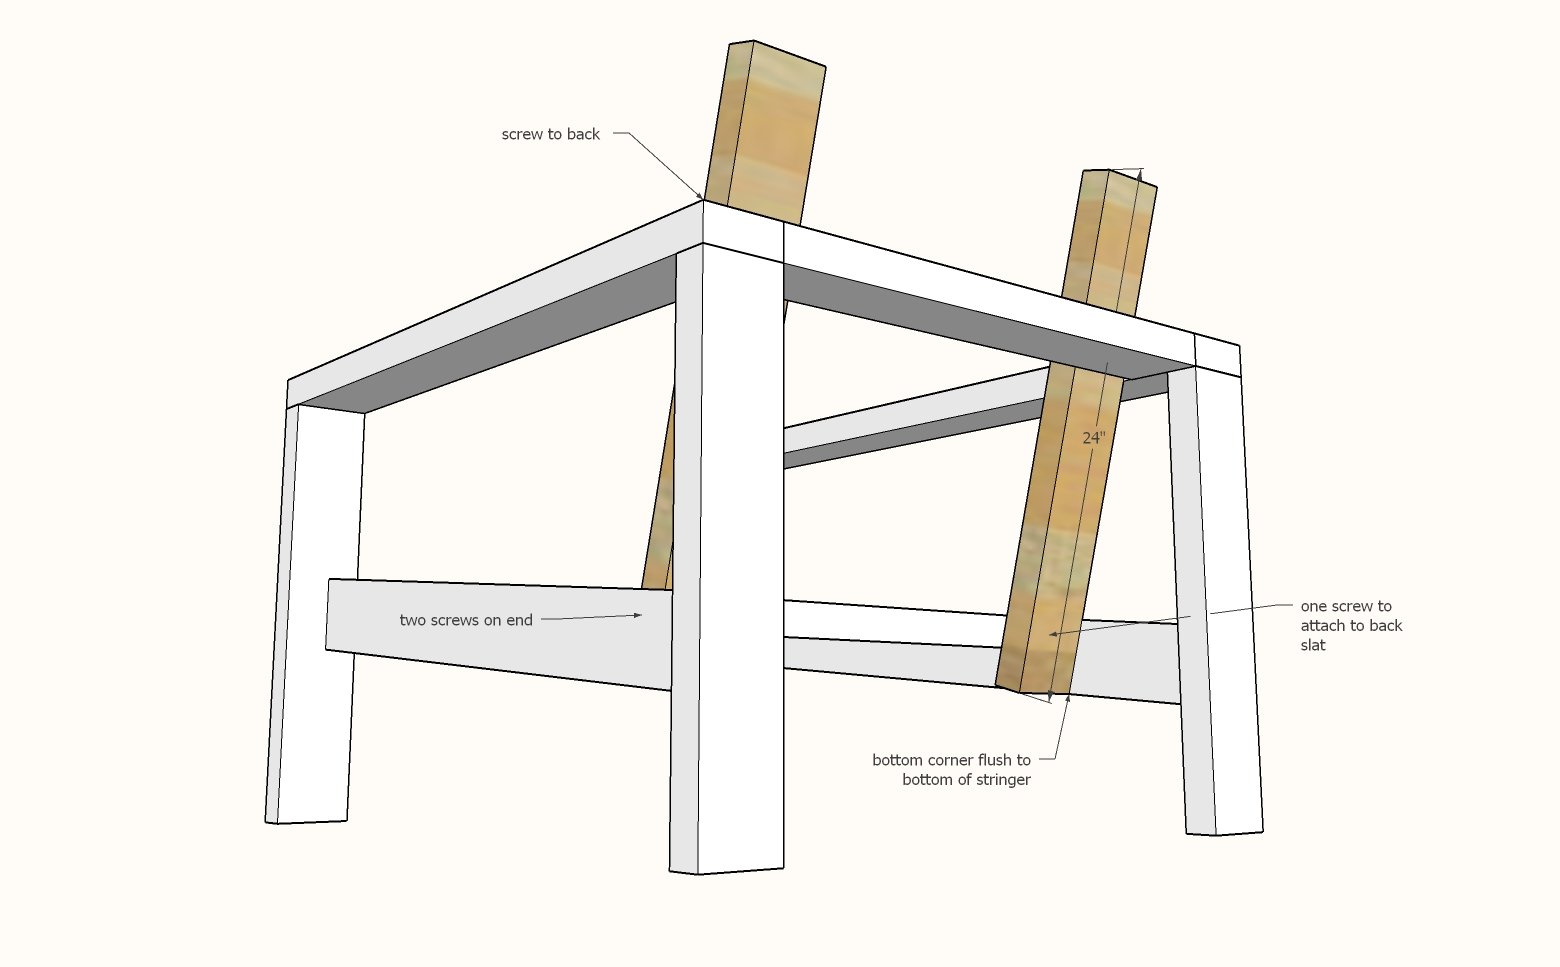
Position the remaining two 2x4 @ 24" at the back of the last seat slat.  It will rest on the back rest.

Attach to the seat stringer.  Then attach at the back and the base - these boards add considerable structure to the chair and act as a cross bracing.

Step 5

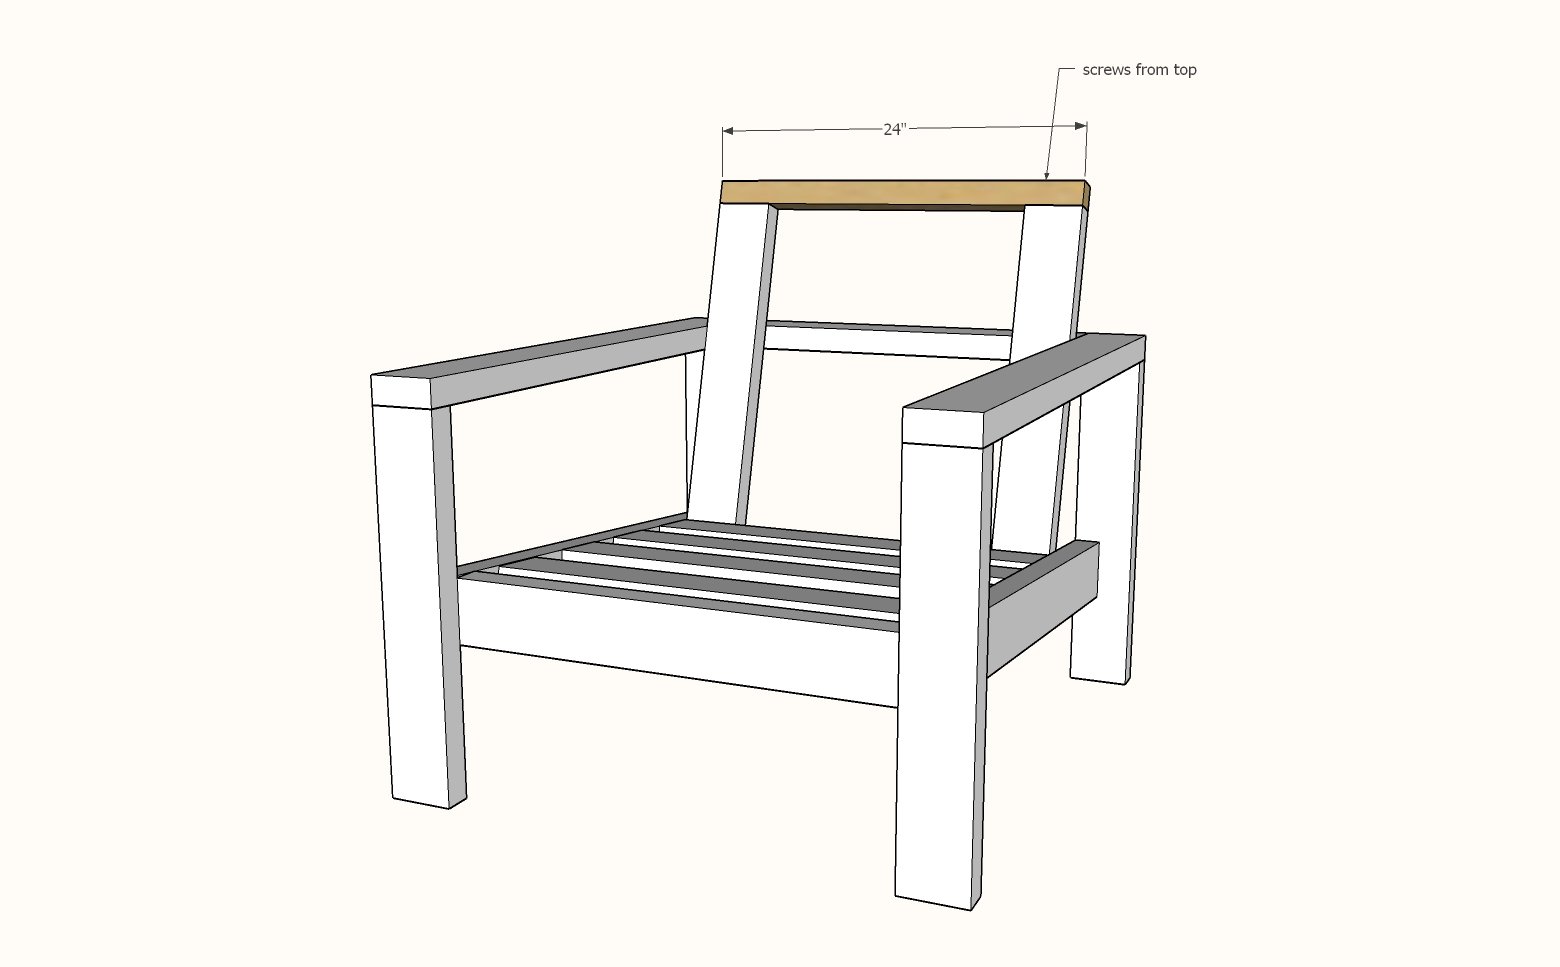
Measure and cut the top 2x2 to fit.

If you have a tablesaw, you can rip a 2x4 down in size and attach it at the top.

Step 6

For more back support, a third board in the center is recommended.

For an overall "beefier" chair, add the arm supports and screw from top and legs.

Comments

rjmacbay

Sat, 07/09/2022 - 05:25

Nice and easy, I have been looking for plans to replace chairs that the squirls have destroyed using recycled 2x4 and pallets, this is the one, thanks for sharing.