Building the desk was pretty straightforward. I actually saved a little money going with the 2x6s (4 of them was under half the price of a pine project panel) rather than the panel which I actually brought home first. I went with the 2x6s instead because it felt sturdier, and the straightest panel I could find was a little warped (which I didn't want to force).
My biggest piece of advice is, if you don't have a wood planer, DO NOT use a Kreg Jig to assemble the top first. 2xWhatevers just don't seem to "lay" the way you want them to if they're all connected together. I built the legs, added supports and then used glue and 2" finish nails to secure the top, butting them up as close as I could (there's only very minimal gaps, ~1/16 or less) It is SOLID. I filled in the nail holes with Elmer's stainable wood filler. After staining, I used a tiny artist brush with the stain on the filler so it could penetrate a little longer. Worked like a charm!
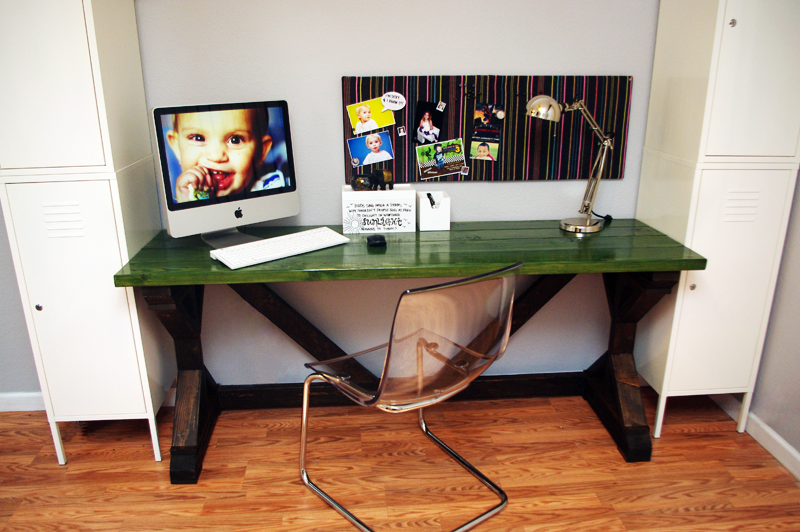
We decided to go with a color stain on top because it's going in a craft room/office so we wanted it to be bright and fun to get our creative juices flowing. The walls are a light gray so we figured we could afford some color :)
TOP TOPCOAT: Safecoat Acrylacq in Gloss (LOVE this stuff - and water based, though you can use it over oil based too, after 24 hours)
LEGS STAIN: Minwax oil-based in Dark Walnut
LEGS TOPCOAT: Rustoleum Polyurethane in Matte (like used in Shanty2Chic's post)
Comments
jrbamberg
Tue, 10/21/2014 - 09:08
Pocket Holes for top
I did use pocket hole screws for the top. It wasn't ideal but it worked. I had to use long pipe clamps and two pieces of 3/4in wood strips under the pipes to create flat pressure on the top across the seam. I found that if I din't use the brace the top with the pocket hole screws in the middle would cause it to bow in the center with the ends upward as if I were over tightening. Once I prevented the bowing with clamps and flat boards it came together smooth and flat.