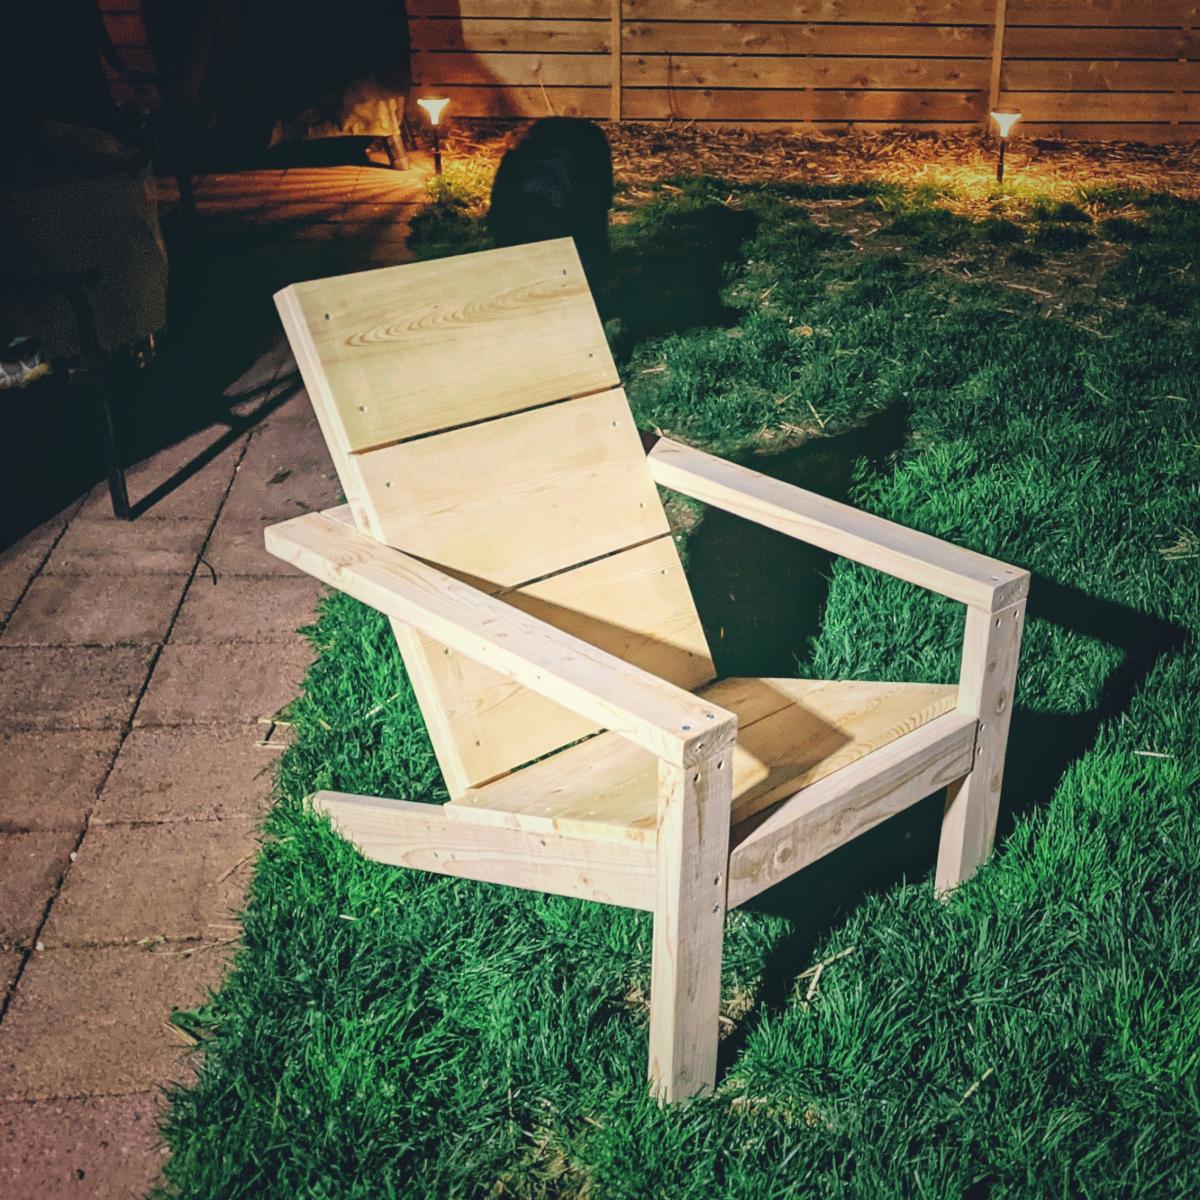
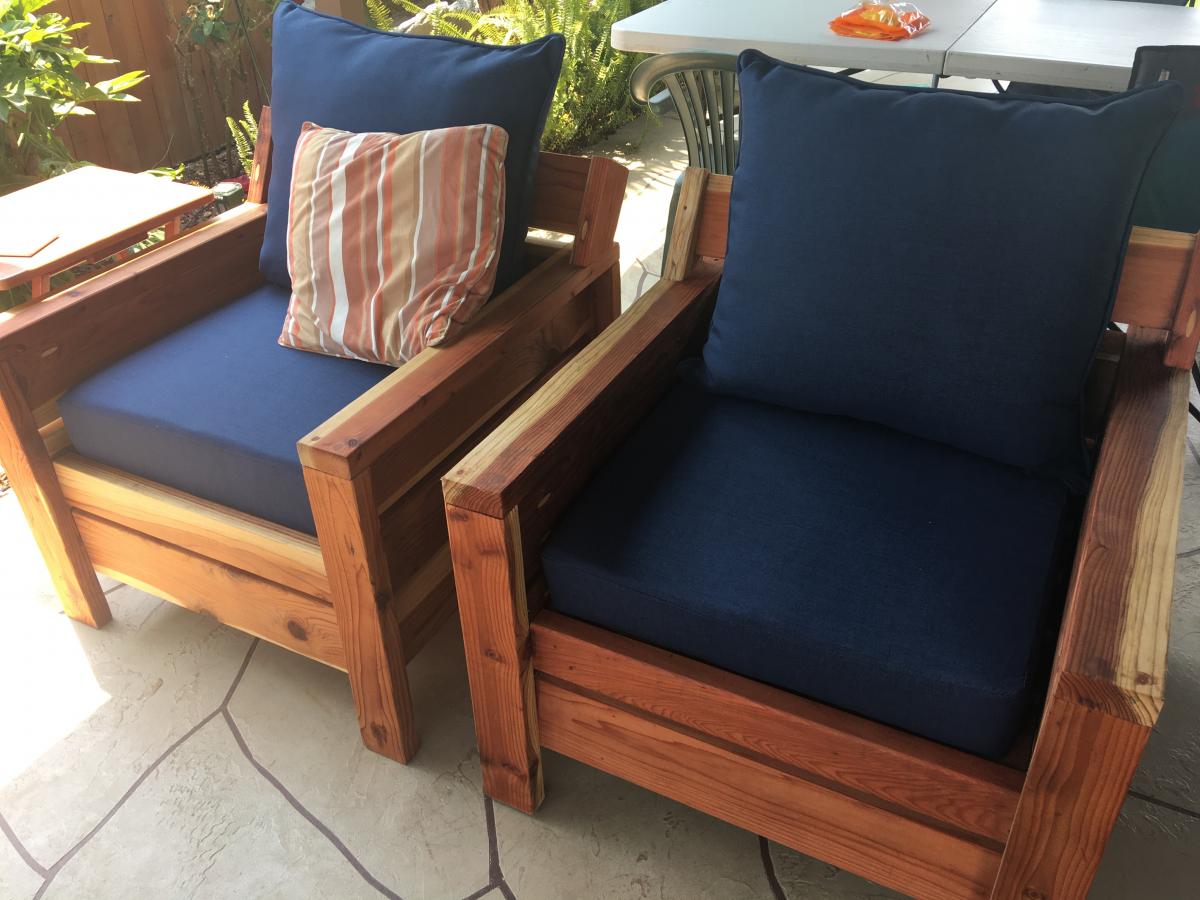
Modern adirondack chair
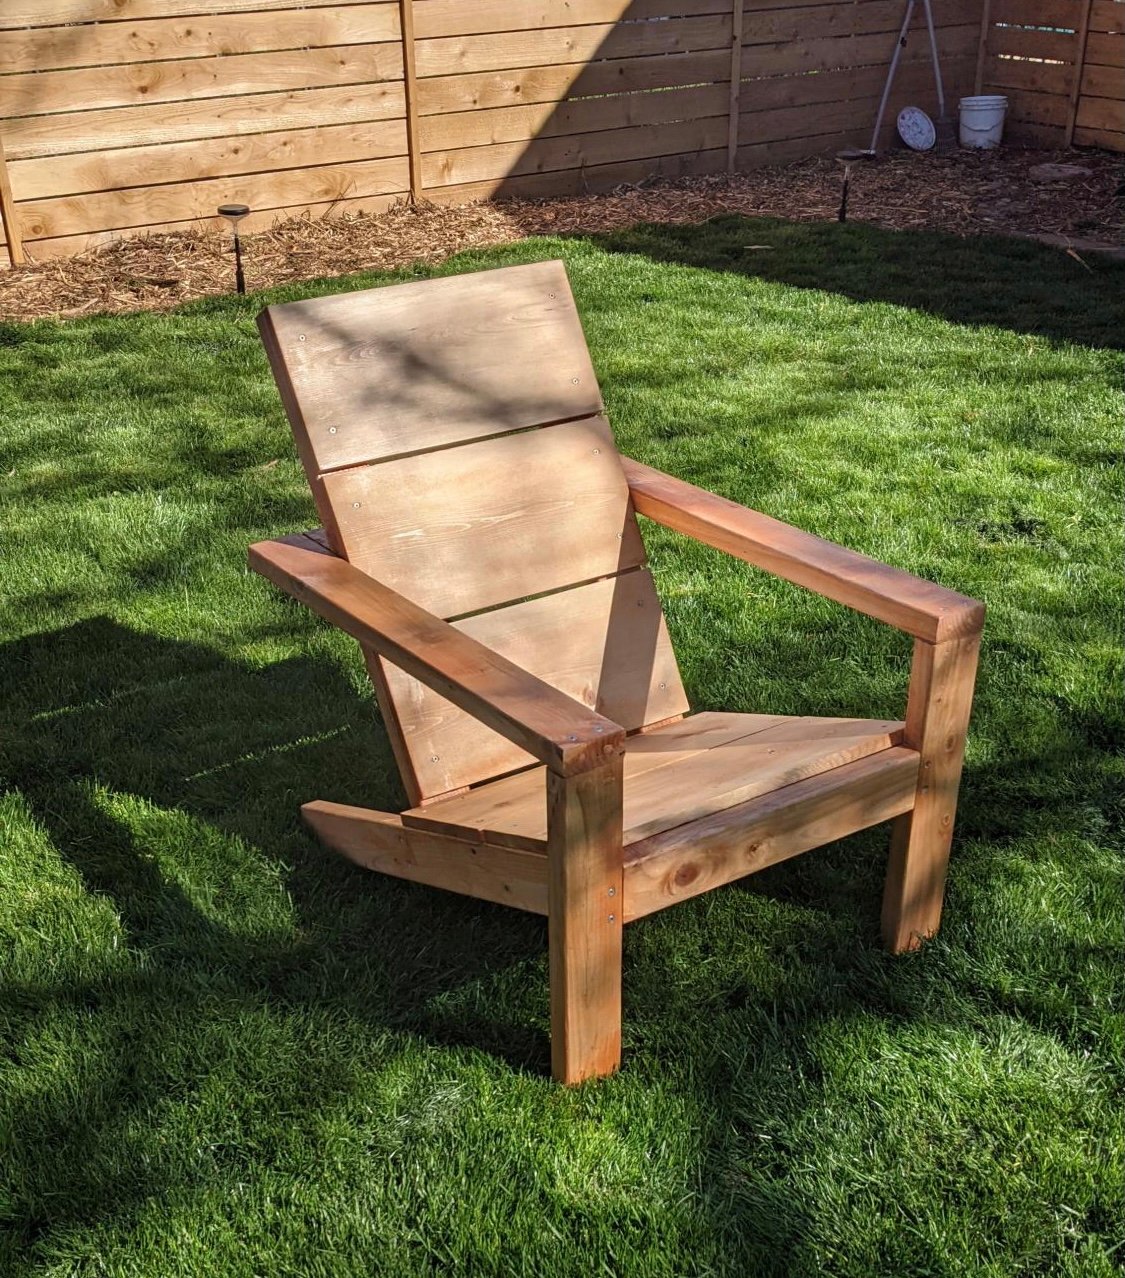
I've made 2 of the Modern adirondack chairs. Really enjoyed the plans and the video for help as I'm new to woodworking. I look for new plans all the time to see what I might build next
Built from Plan(s)
I've made 2 of the Modern adirondack chairs. Really enjoyed the plans and the video for help as I'm new to woodworking. I look for new plans all the time to see what I might build next
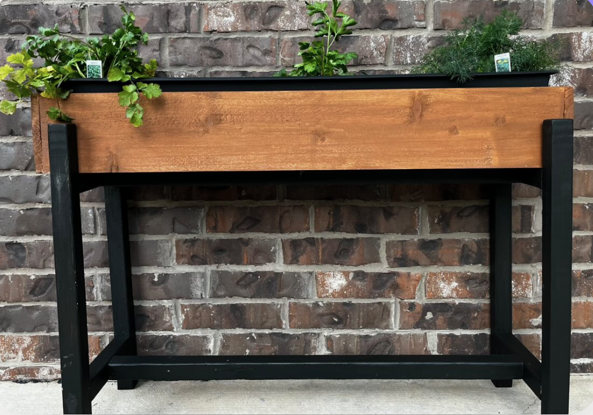
"Here's a pic of the planter I made! I modified it to fit a 36" planter. I LOVE it. Thanks!!"
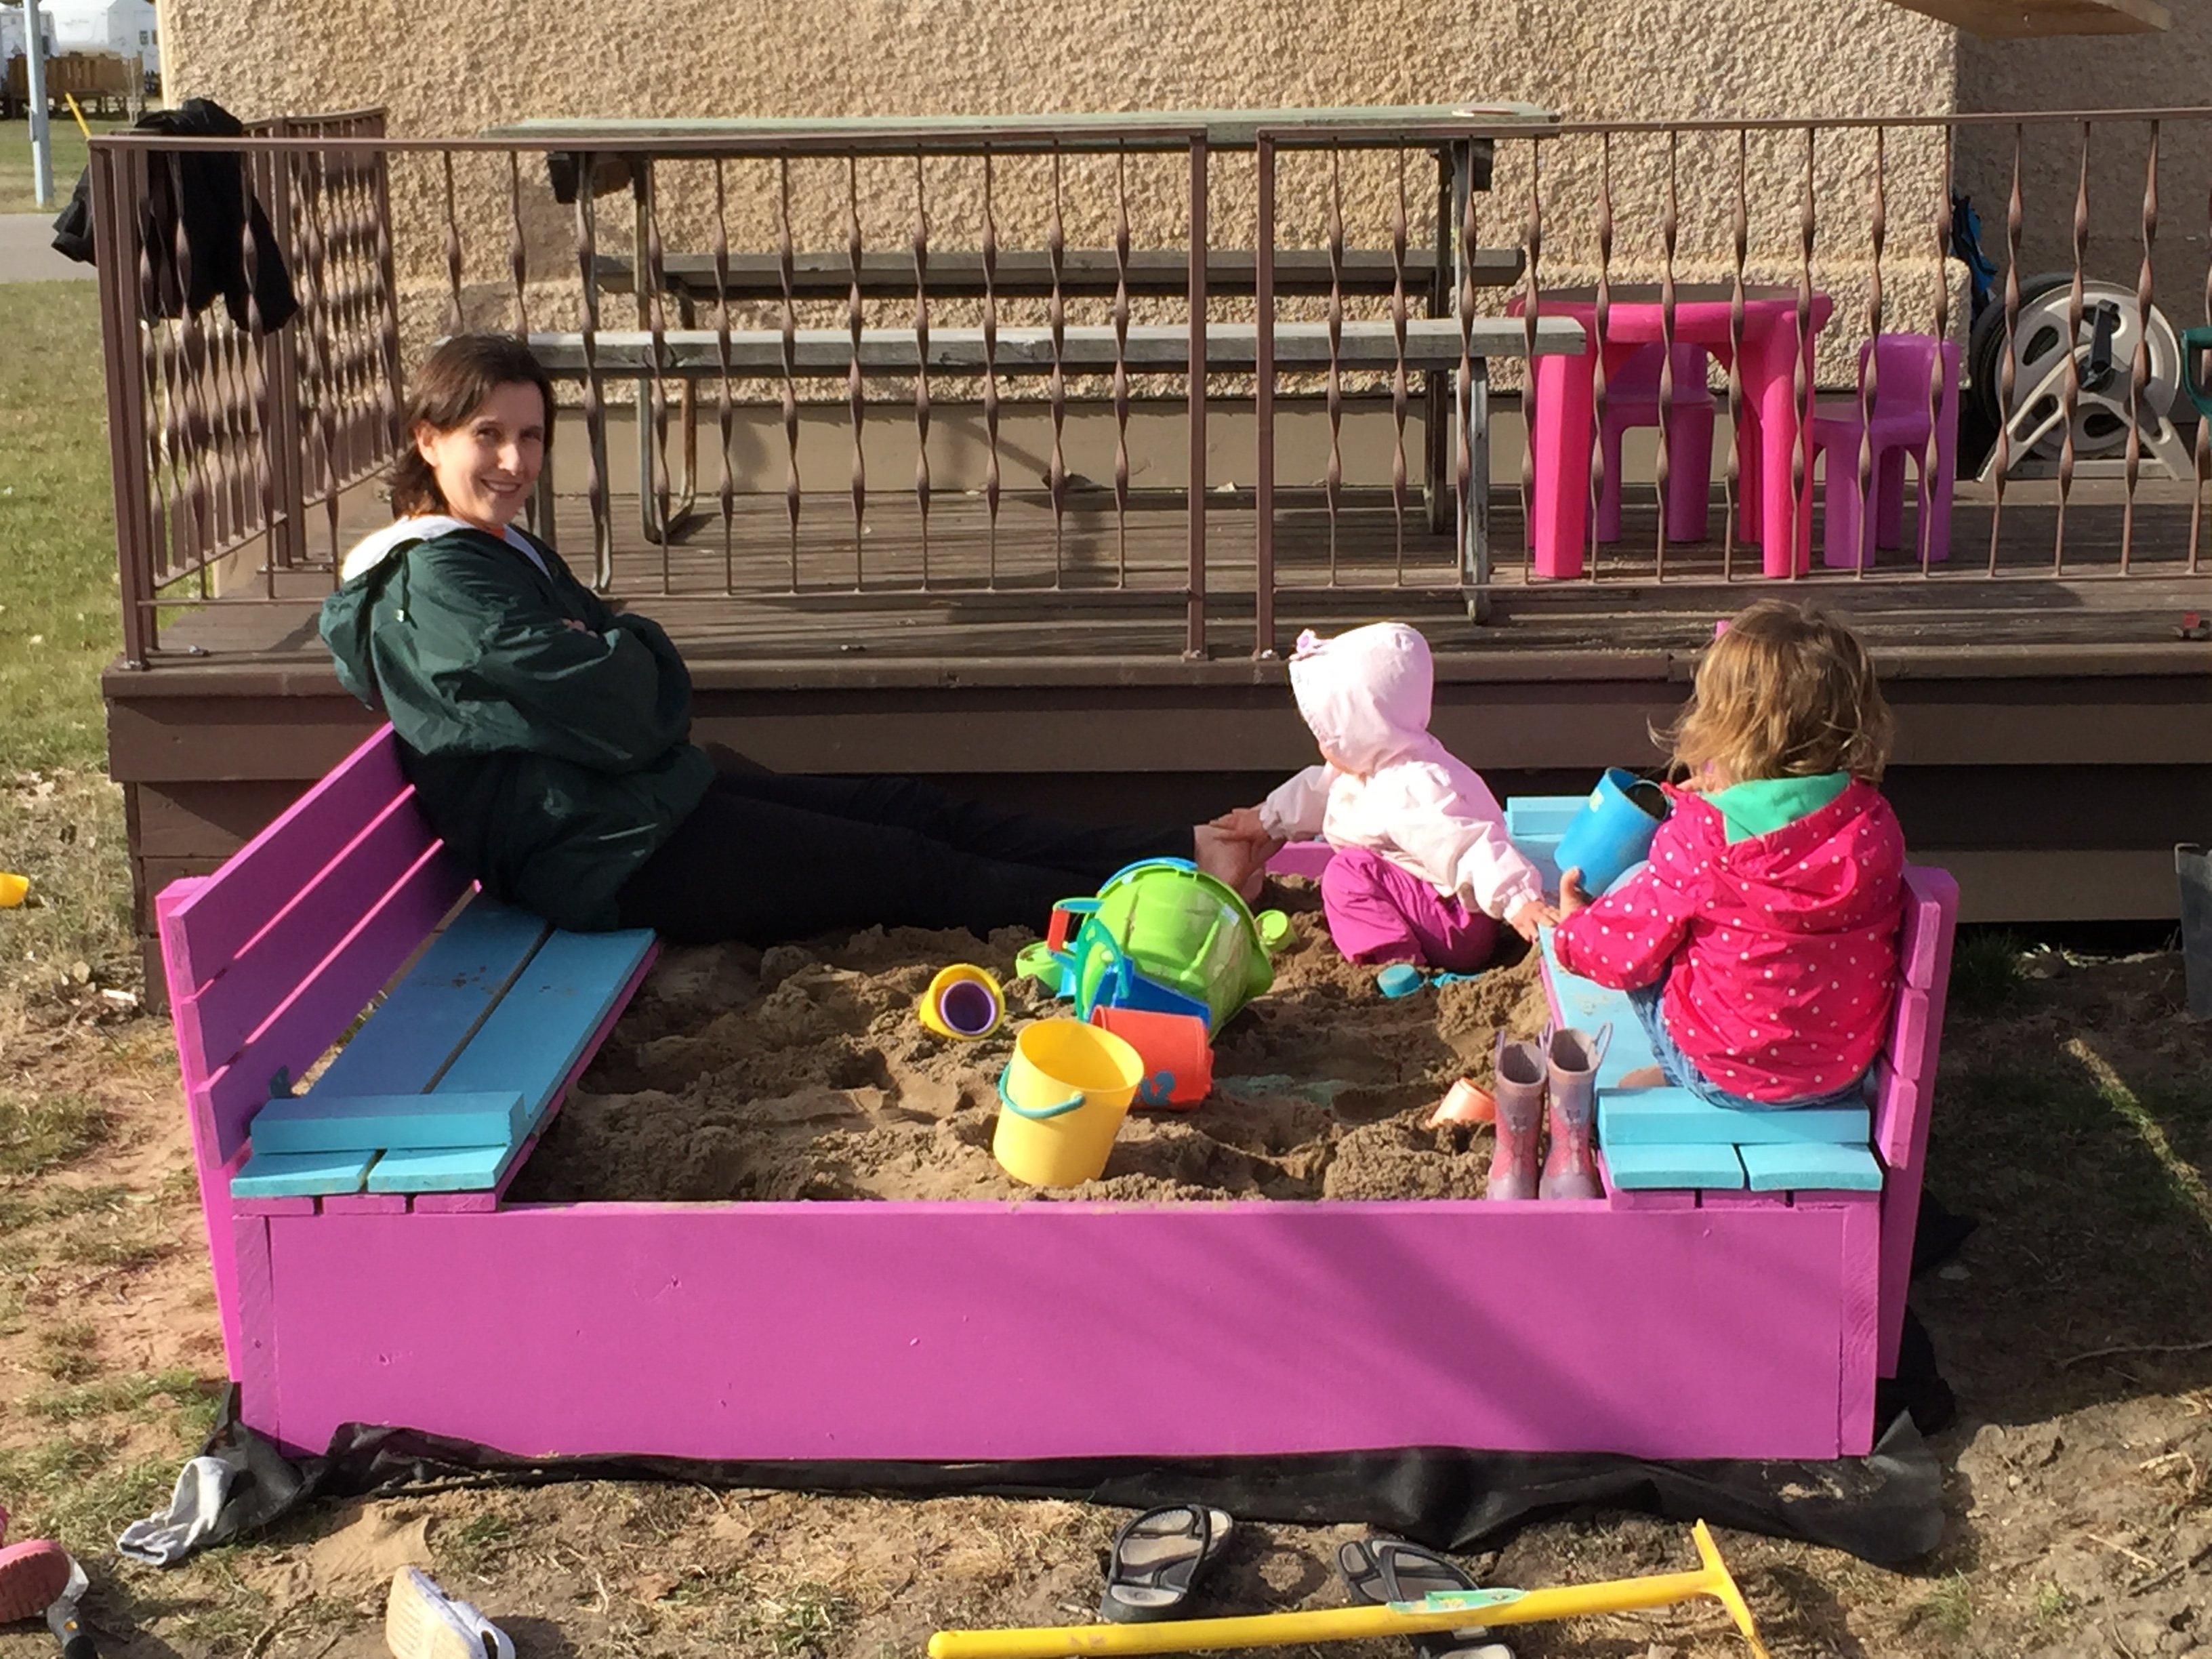
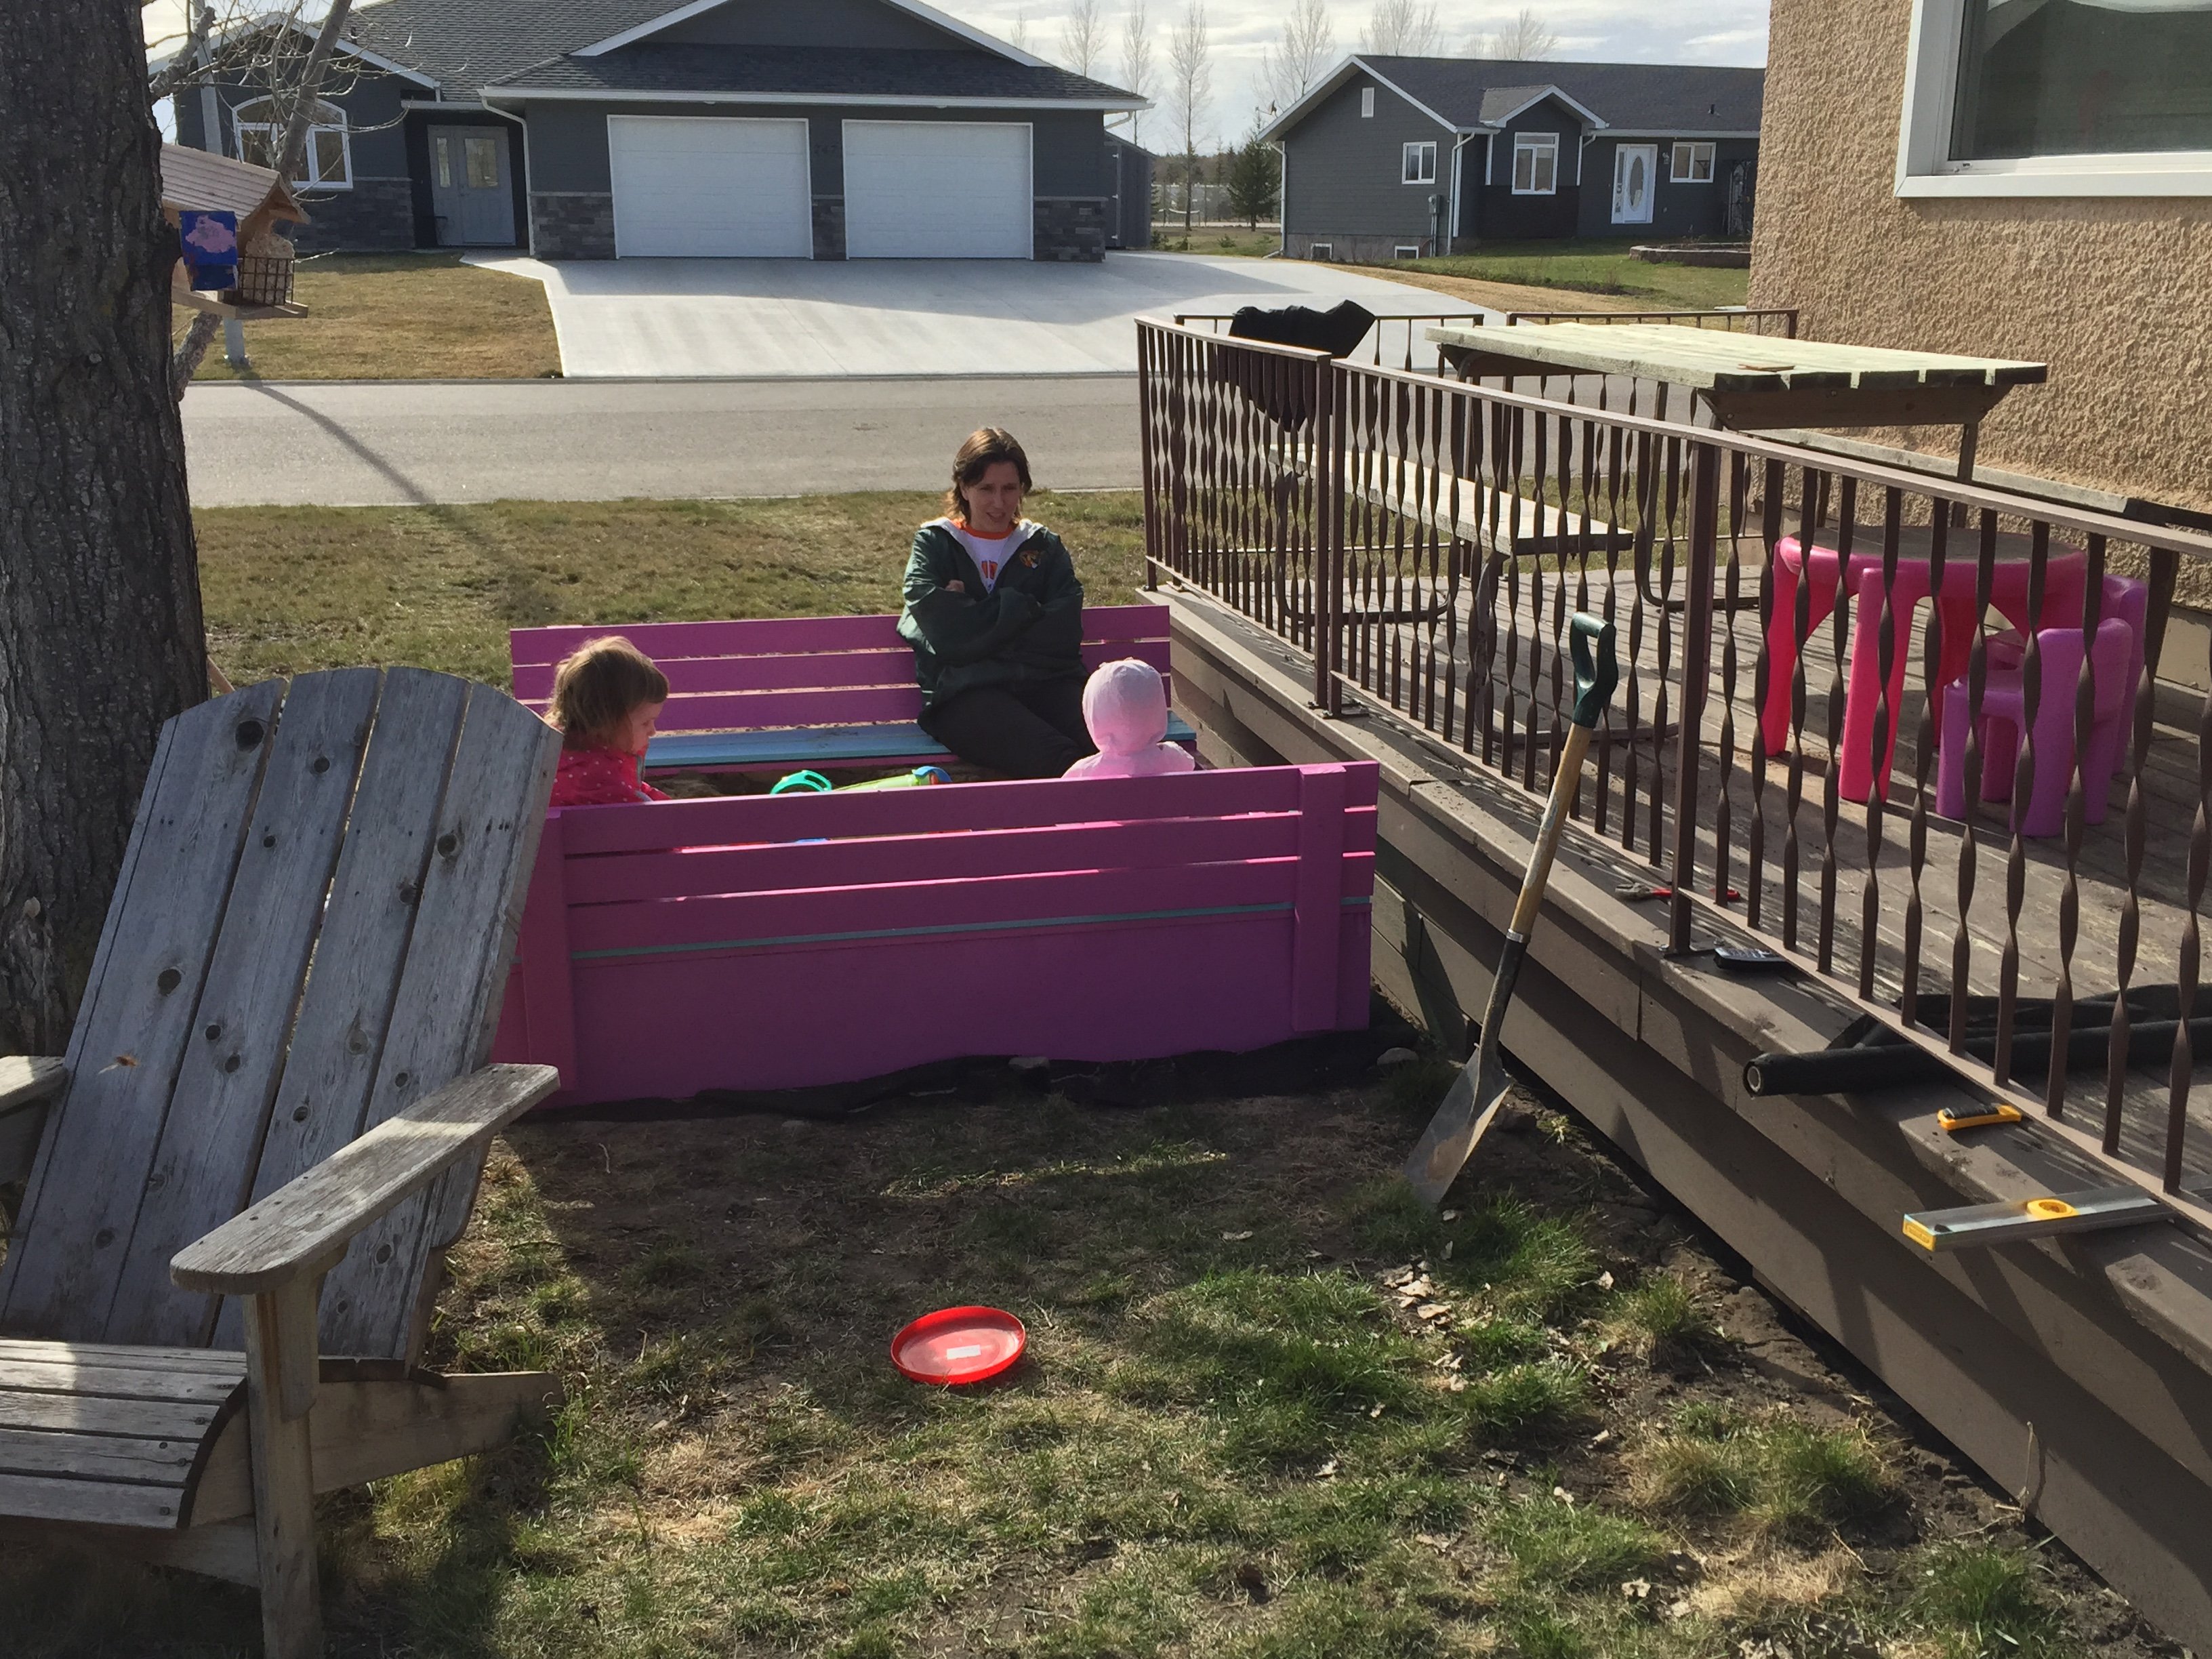
6'x6' with 12'' Treated Sides, 1x4 and 1x6 SPF tops/seats and 2x4 Brace under Seats to accommodate the 6 foot span. Sanded and Painted.
Completed in 2 days, couple hours each day, sanded/painted all boards before assembly.
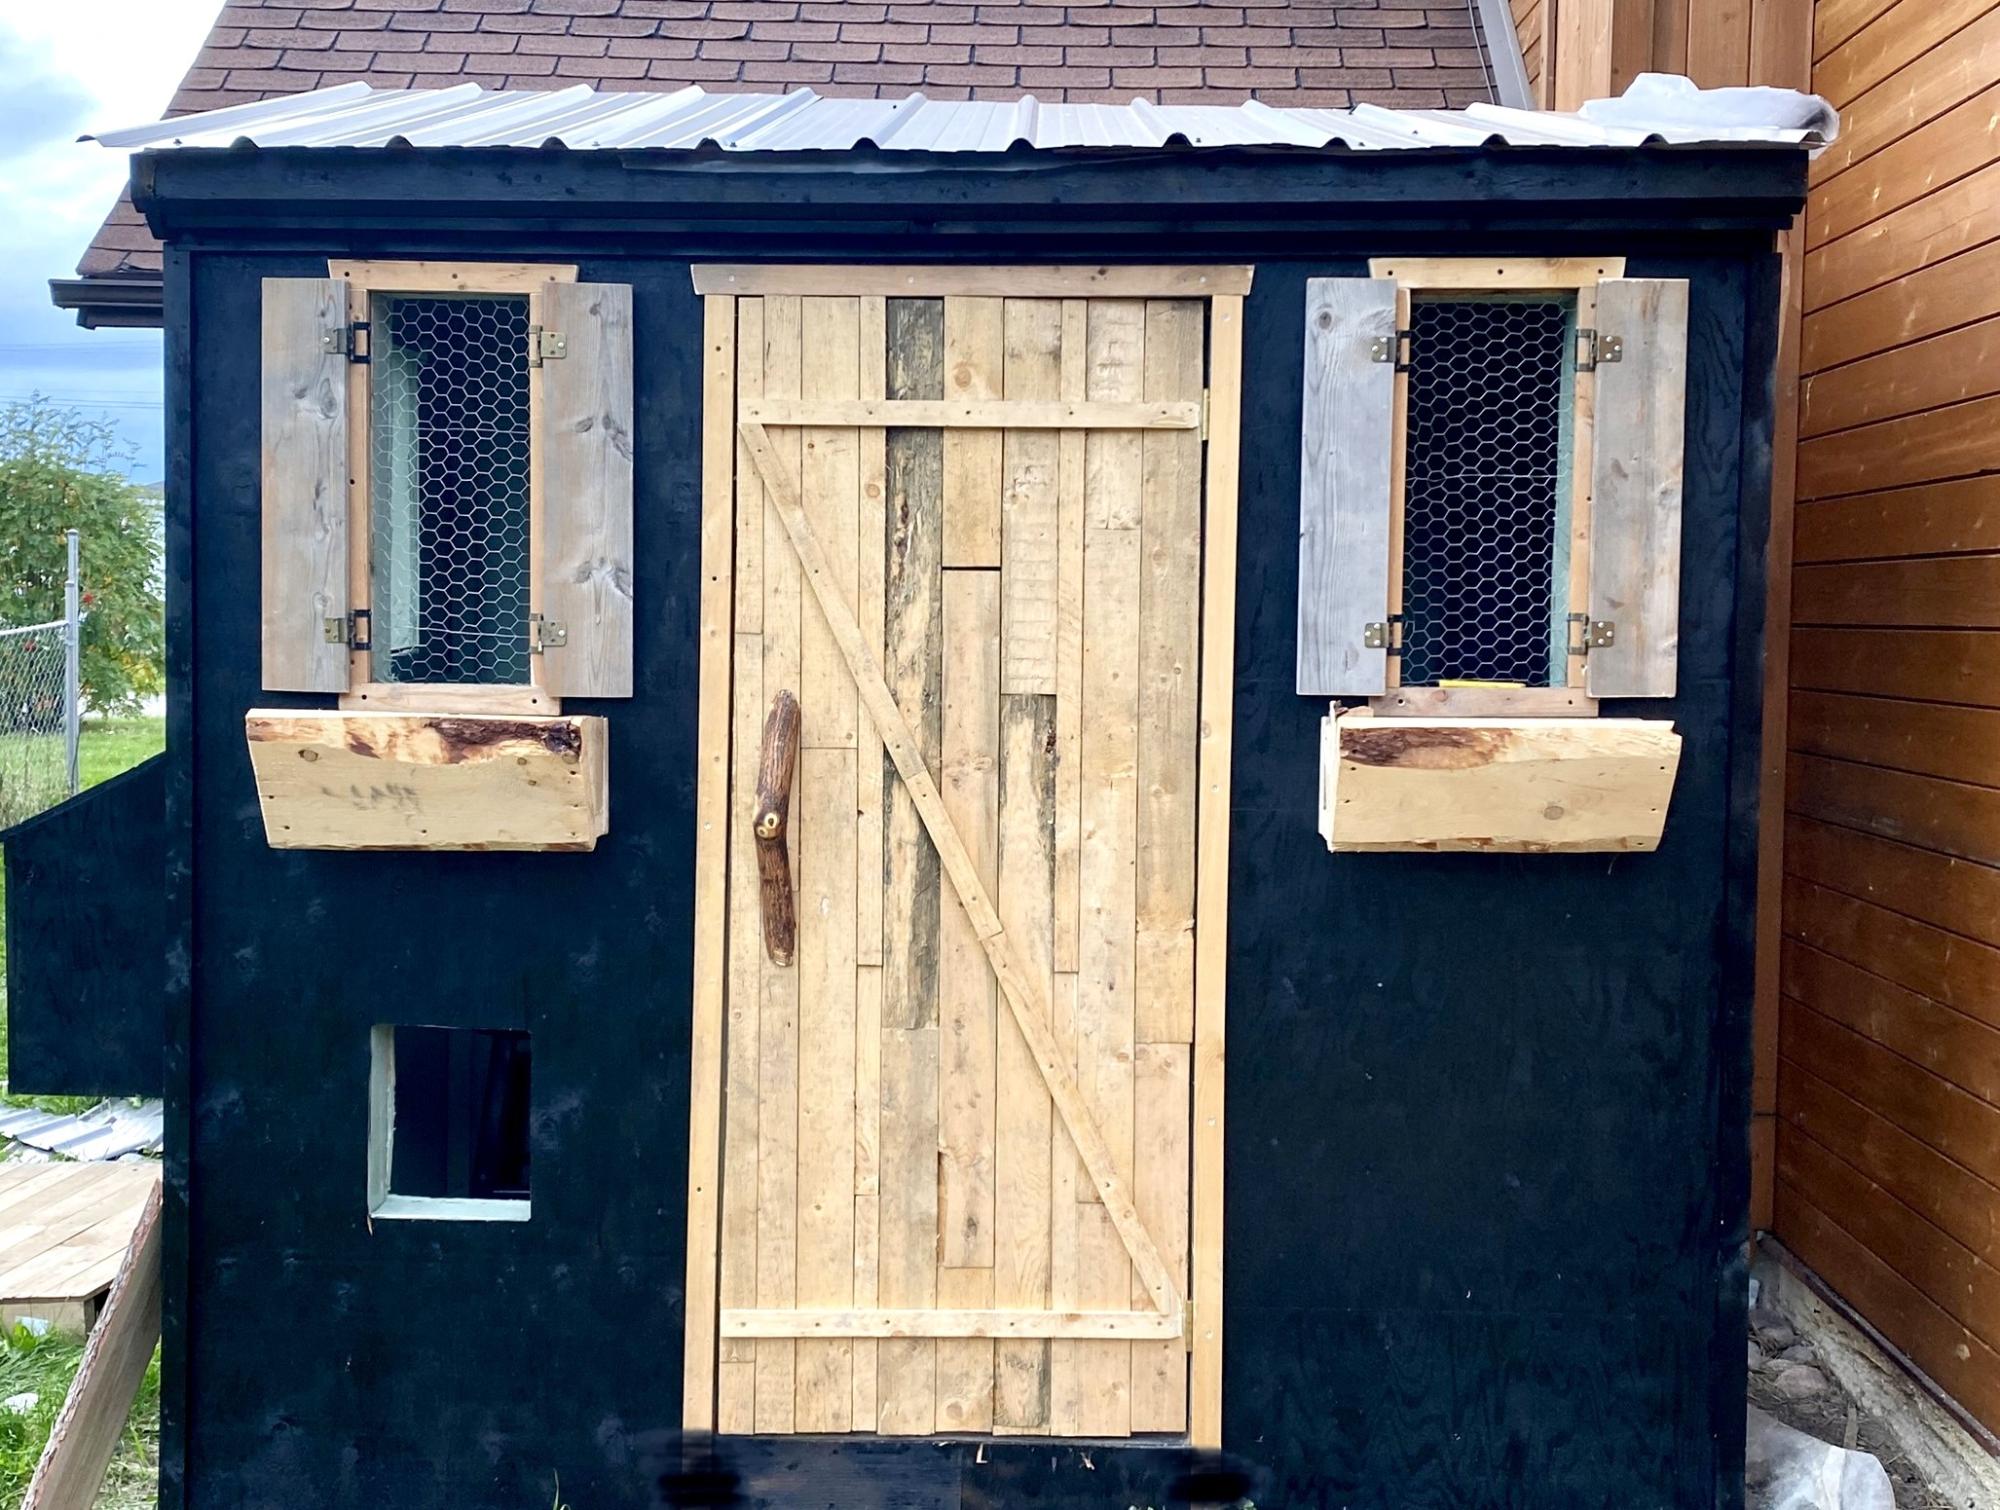
I’ve wanted a chicken coop for a while, and I wanted it cute. I love how it turned out!
Aj
This was my first attempt at building anything....ever. It was so incredibly fun and I certainly learned a lot. My 8 little chickens are loving their new home and I can't wait to build my next project!
Wed, 06/19/2013 - 11:51
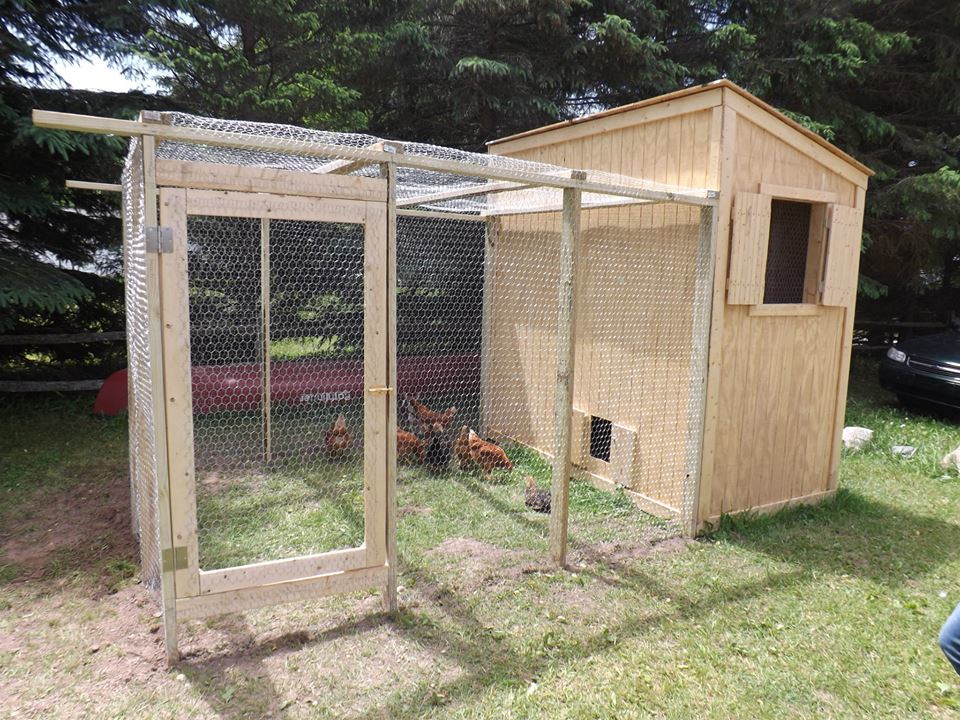
Hello! Could you repost the picture / info on your chicken run? I keep getting "page not available" and I've been trying for days :O) I think I want to build that chicken shed (too big for 3 hens?? It's just so cute!) and a run like that to go with it! Thanks! Have a great day!
Wed, 06/19/2013 - 11:51
Hello! Could you repost the picture / info on your chicken run? I keep getting "page not available" and I've been trying for days :O) I think I want to build that chicken shed (too big for 3 hens?? It's just so cute!) and a run like that to go with it! Thanks! Have a great day!
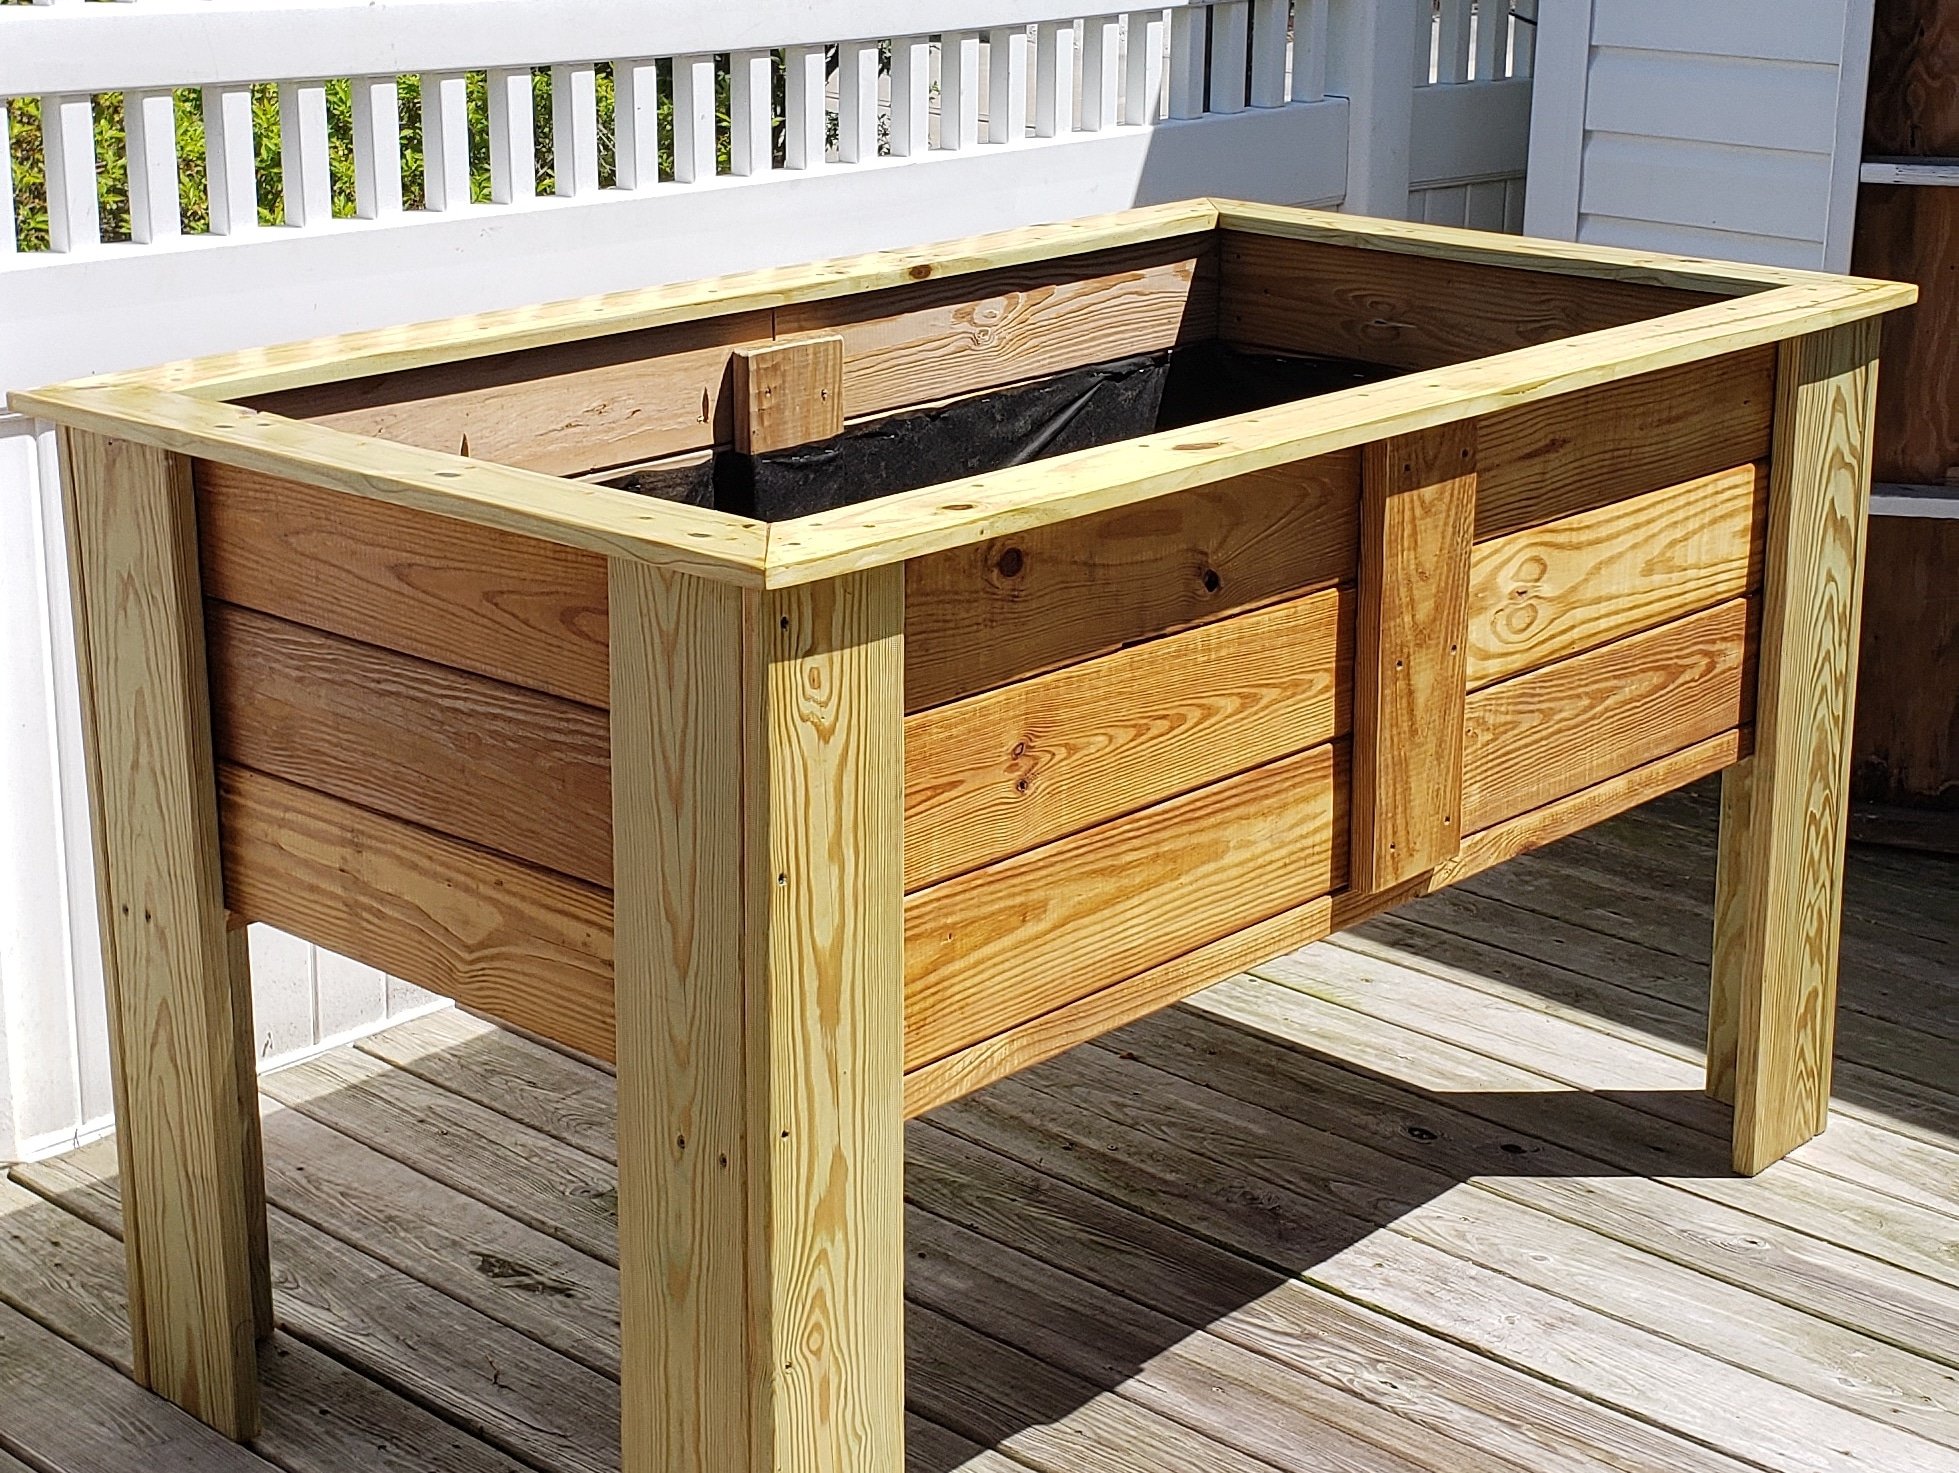
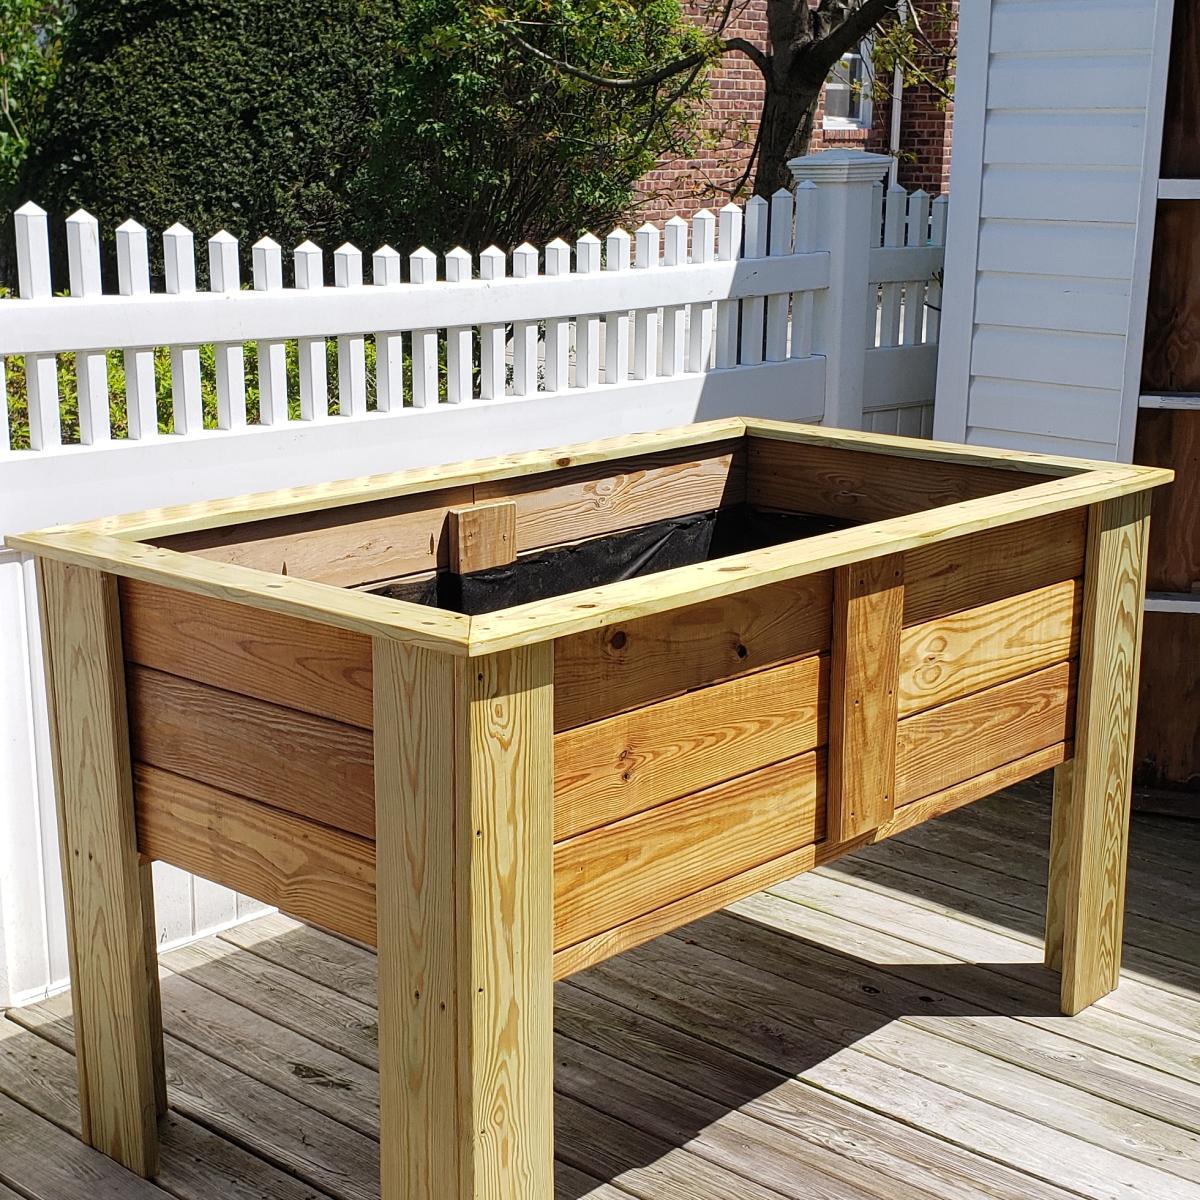
A friend of mine has issues with her knees but loves gardening so I built this to allow her to continue gardening. She loved it.
I didnt follow any particular set of plans I watched several you tube videos and combined different ideas from the videos to develop my own plan.
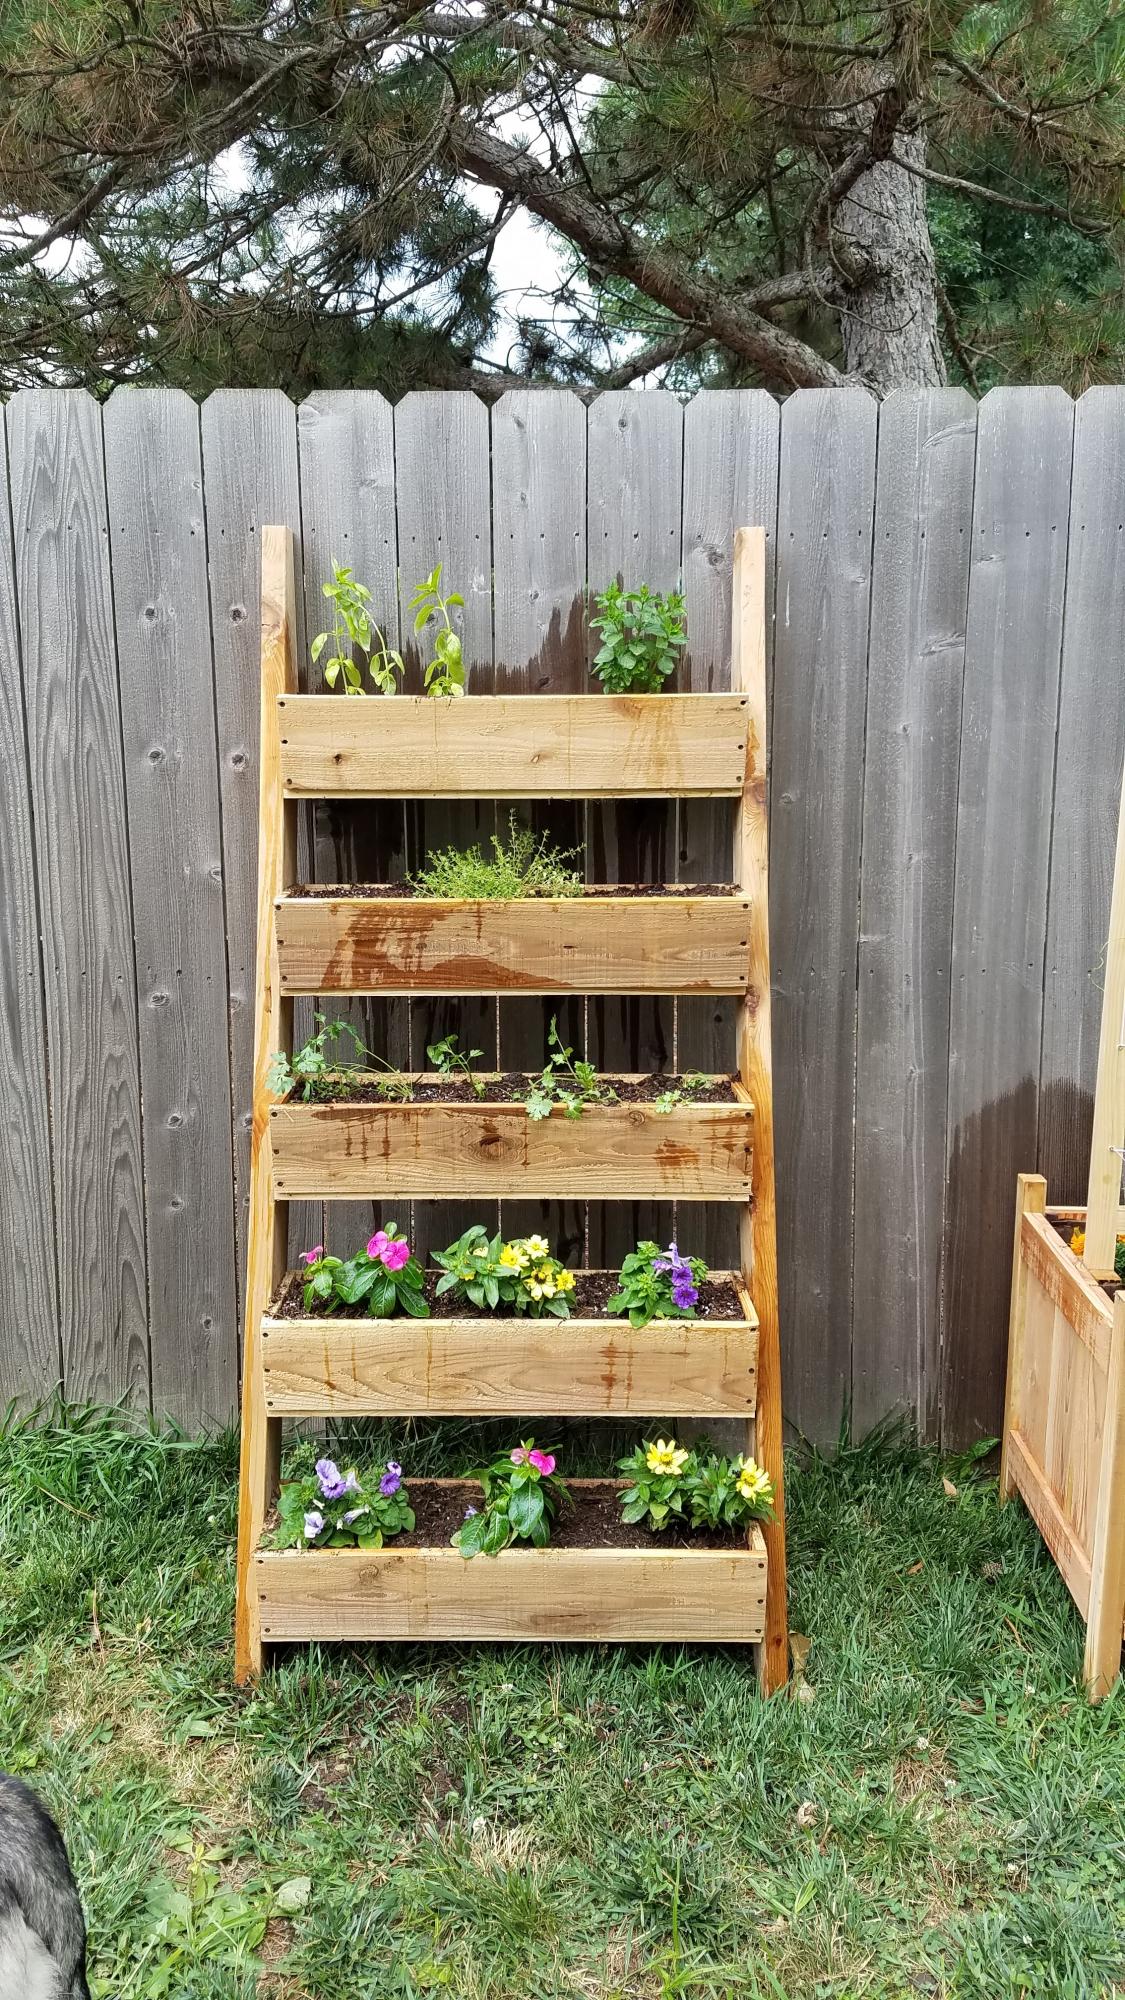
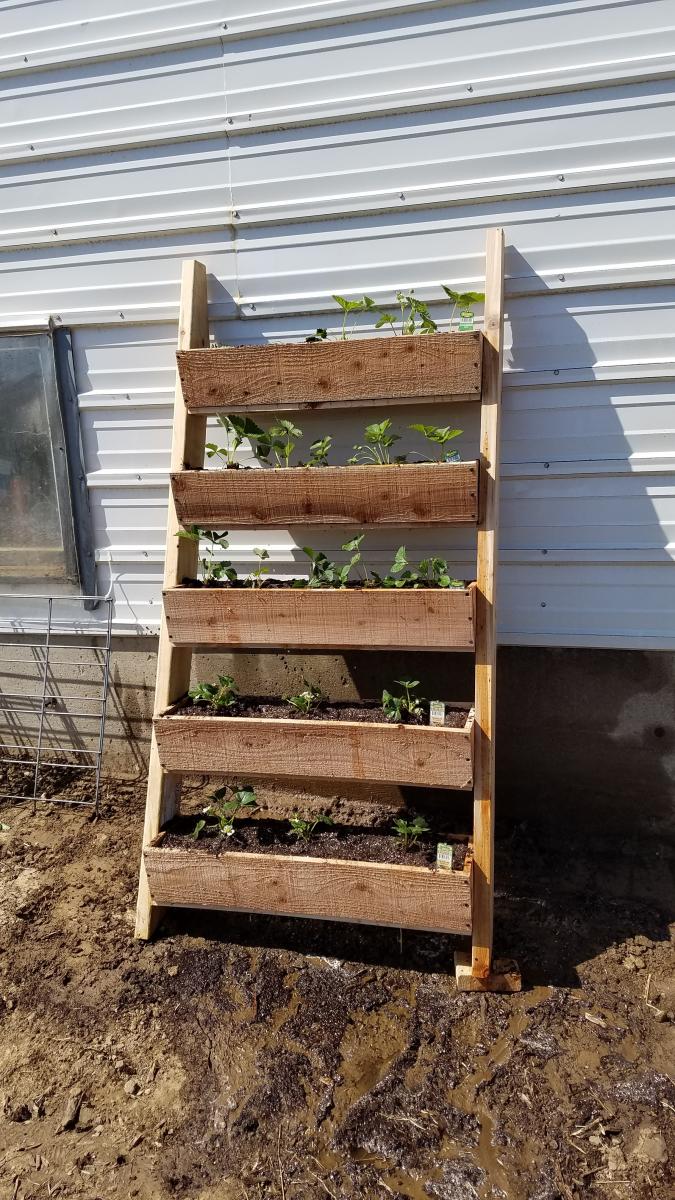
Made two of these this spring. One for strawberry plants, and one for herbs and flowers. Made according to plans.
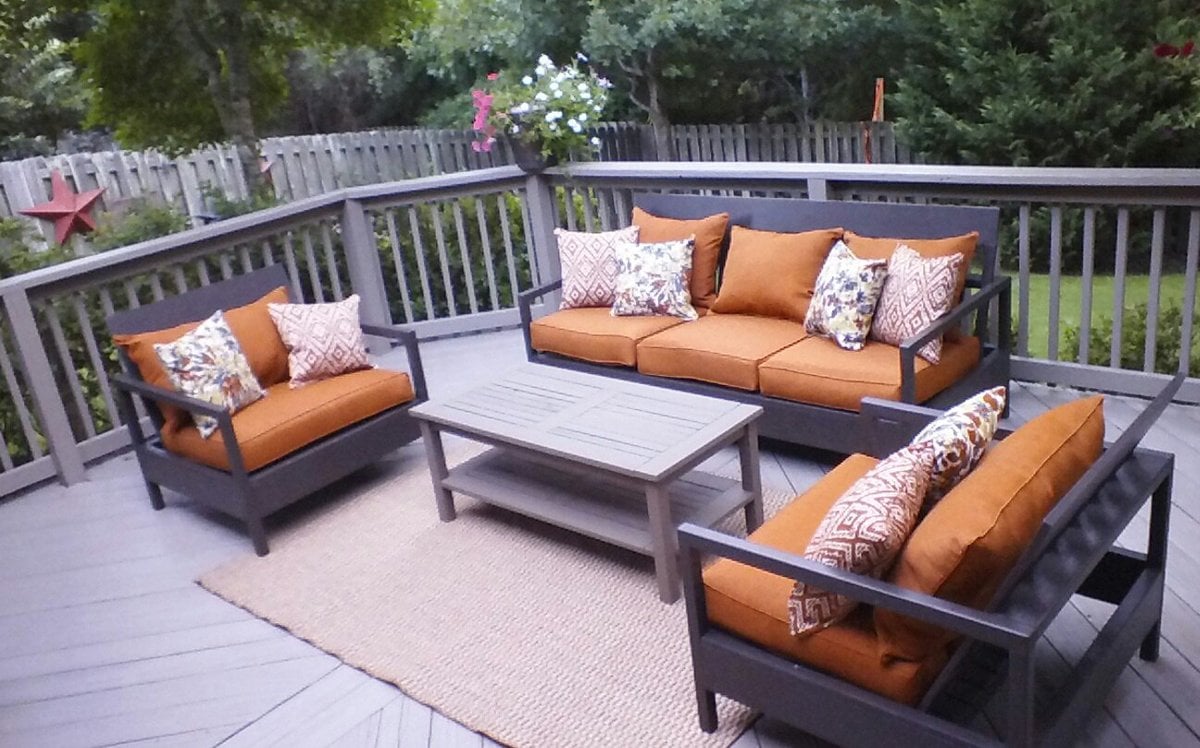
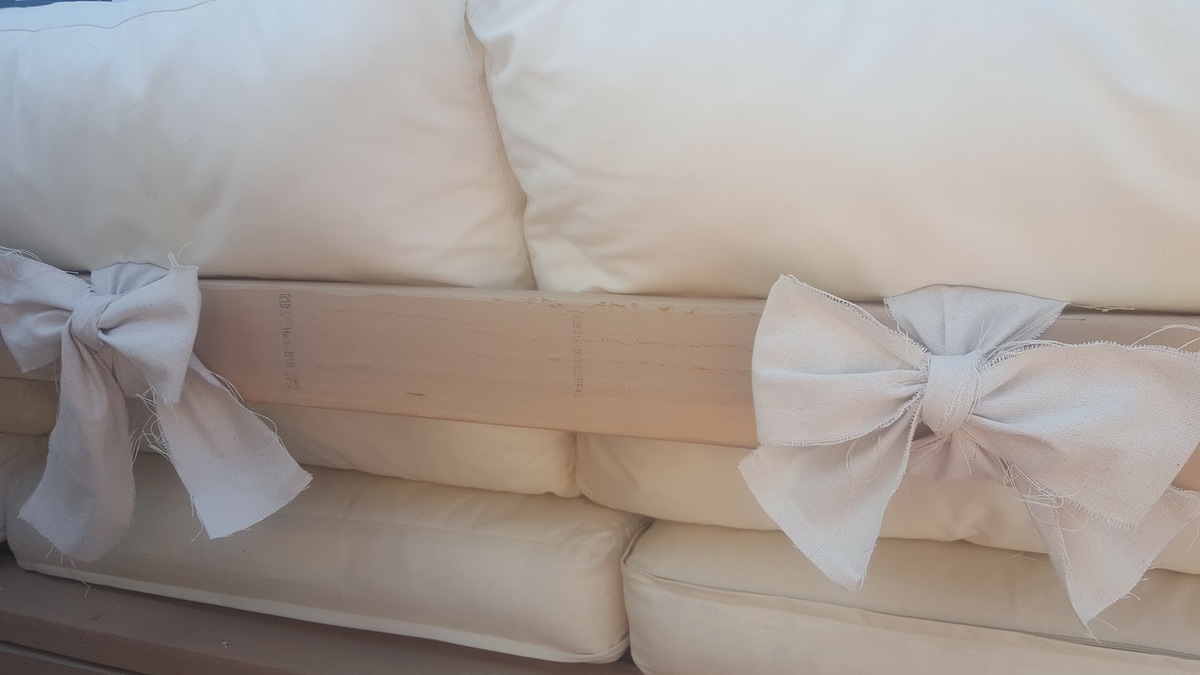
Well this was first project my hubby and I tackled together. He actually let me use the power tools. The plans were great! Loved having a shopping list! I made the cushion s myself. I have to say, I wish I had made the couch and chairs the size of cushions available at Lowes . AFt e r you buy foam batting fabric and chording I found set at lowes for a lot less but I am so happy how it all turned out . Thks for providing plNz!
Saw some of the other brags which includes a raised backrest so I incorporated that into my build. There's a 30 degree angle on the backrest (two 2X4's and one 2X6)
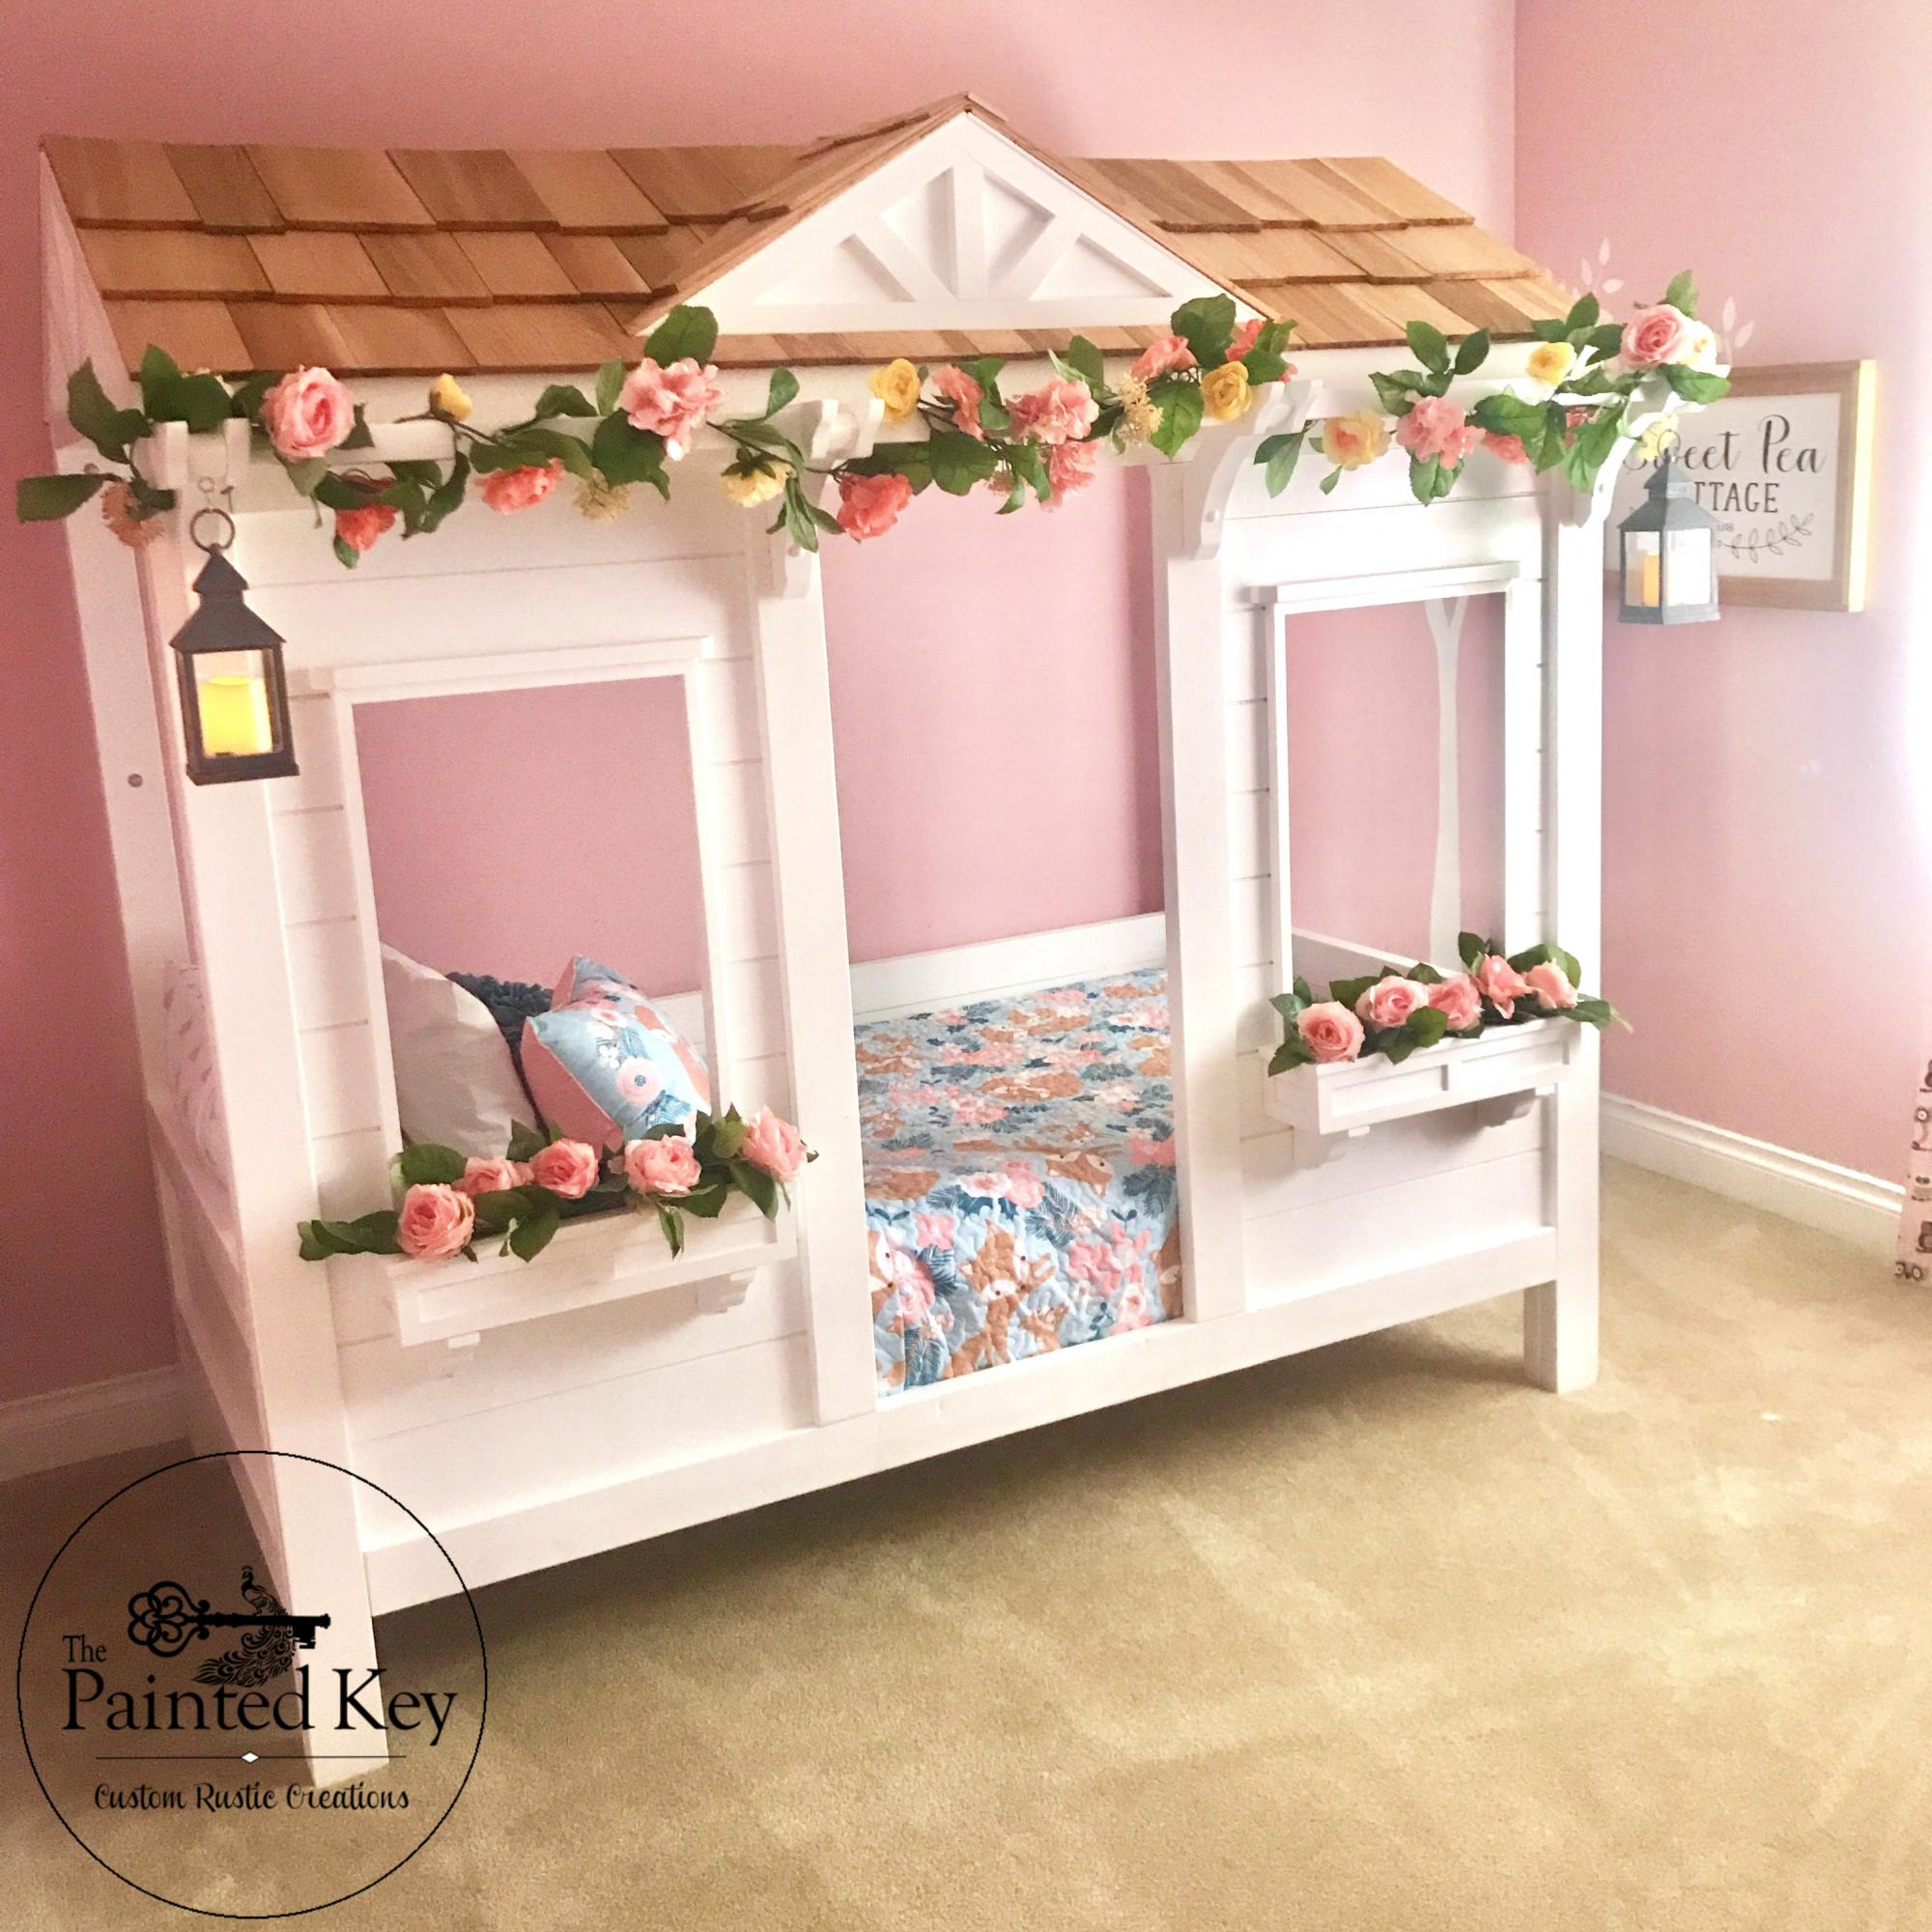
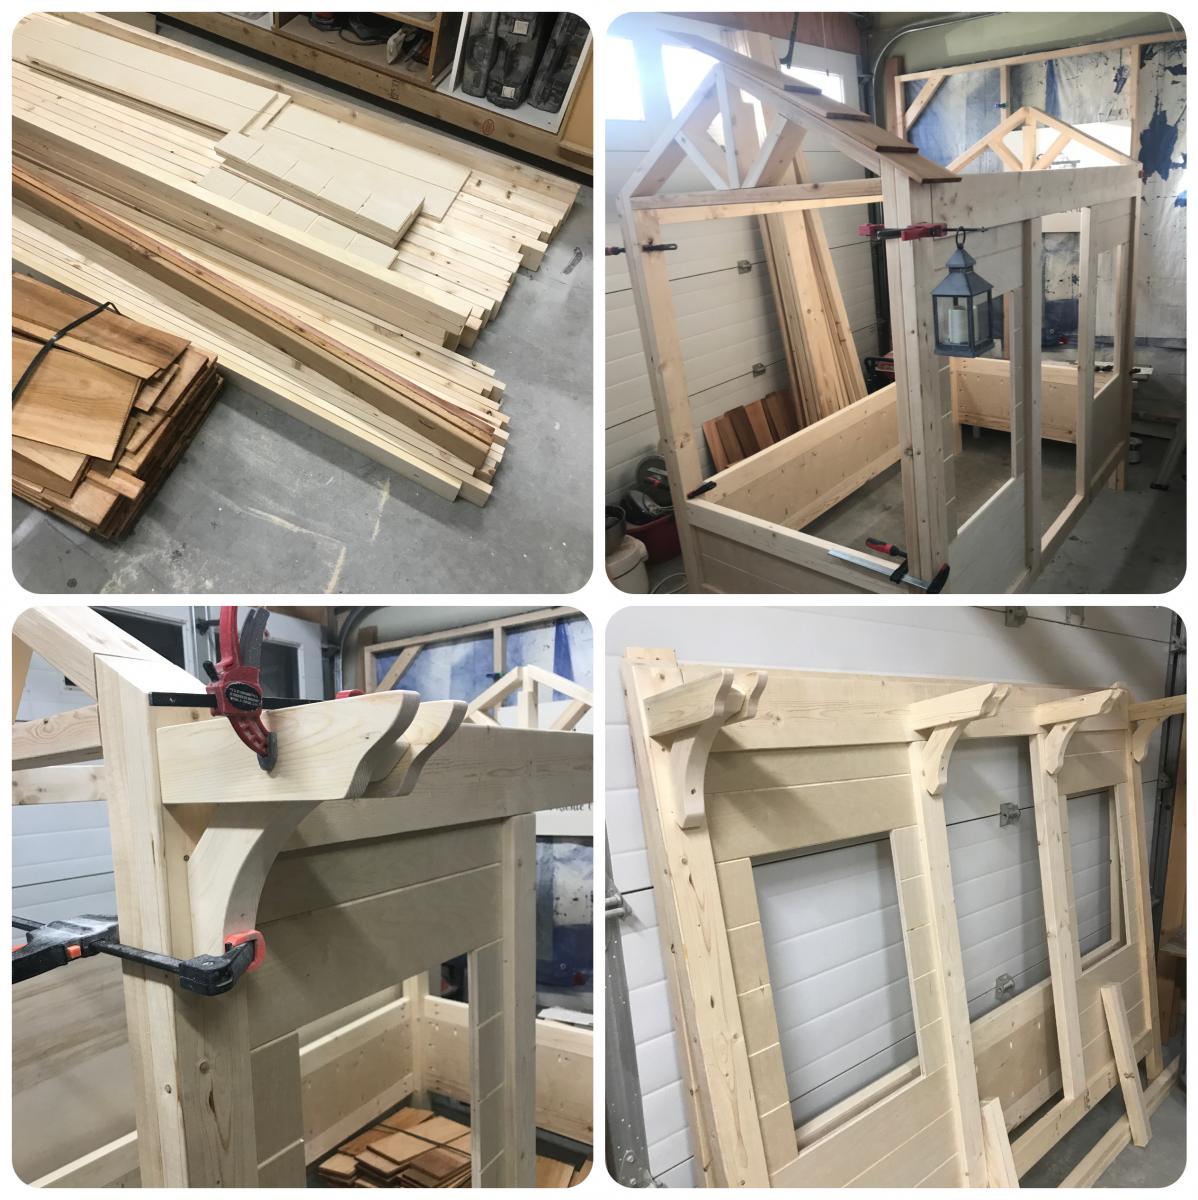
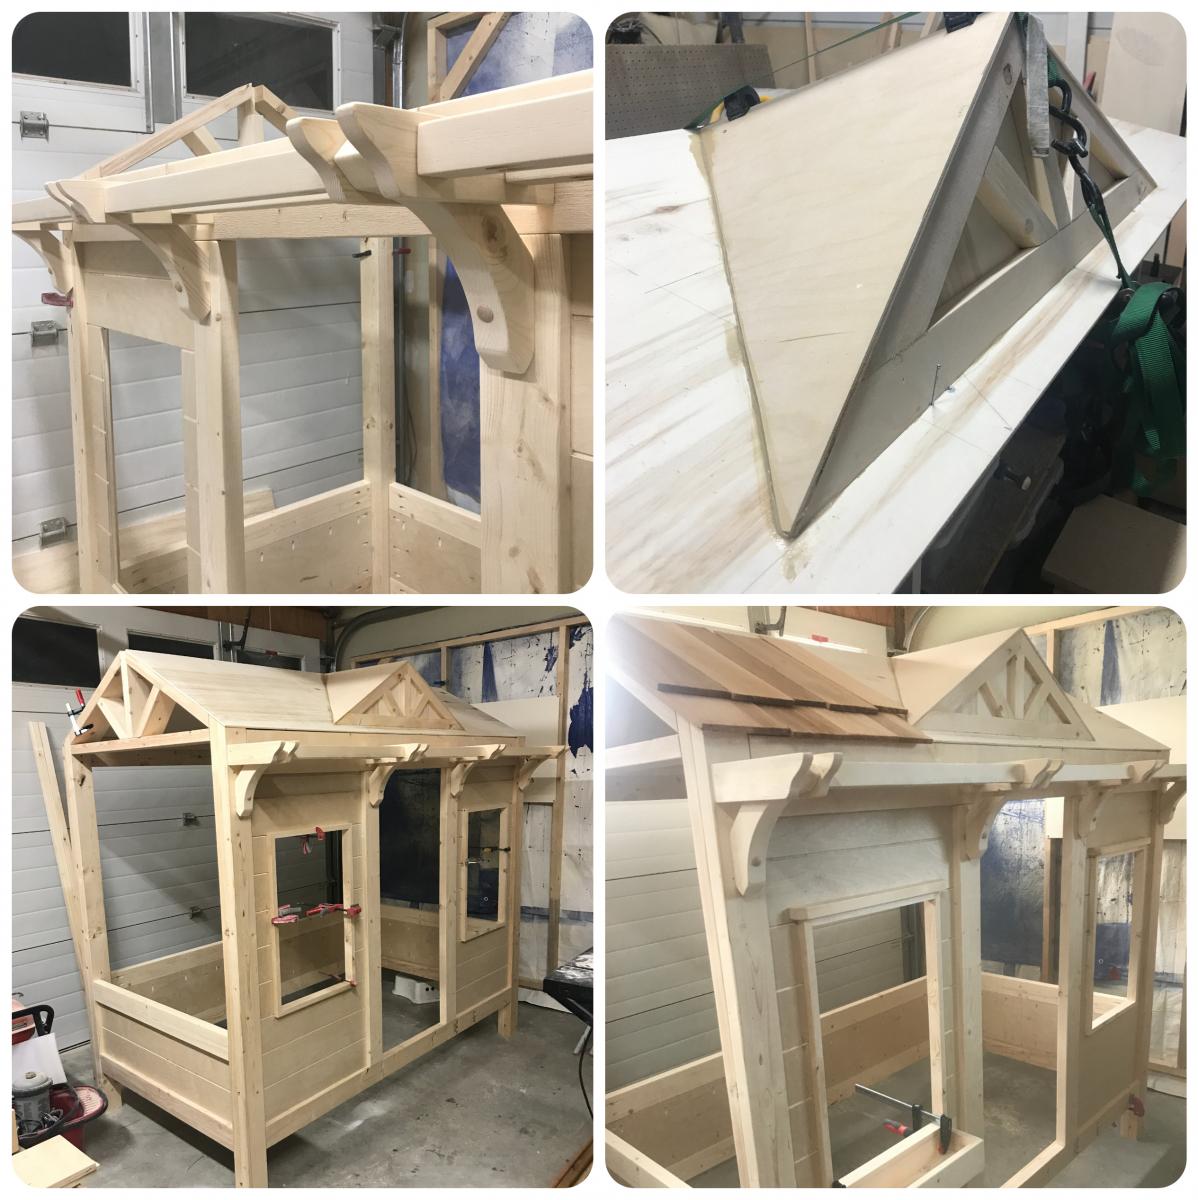
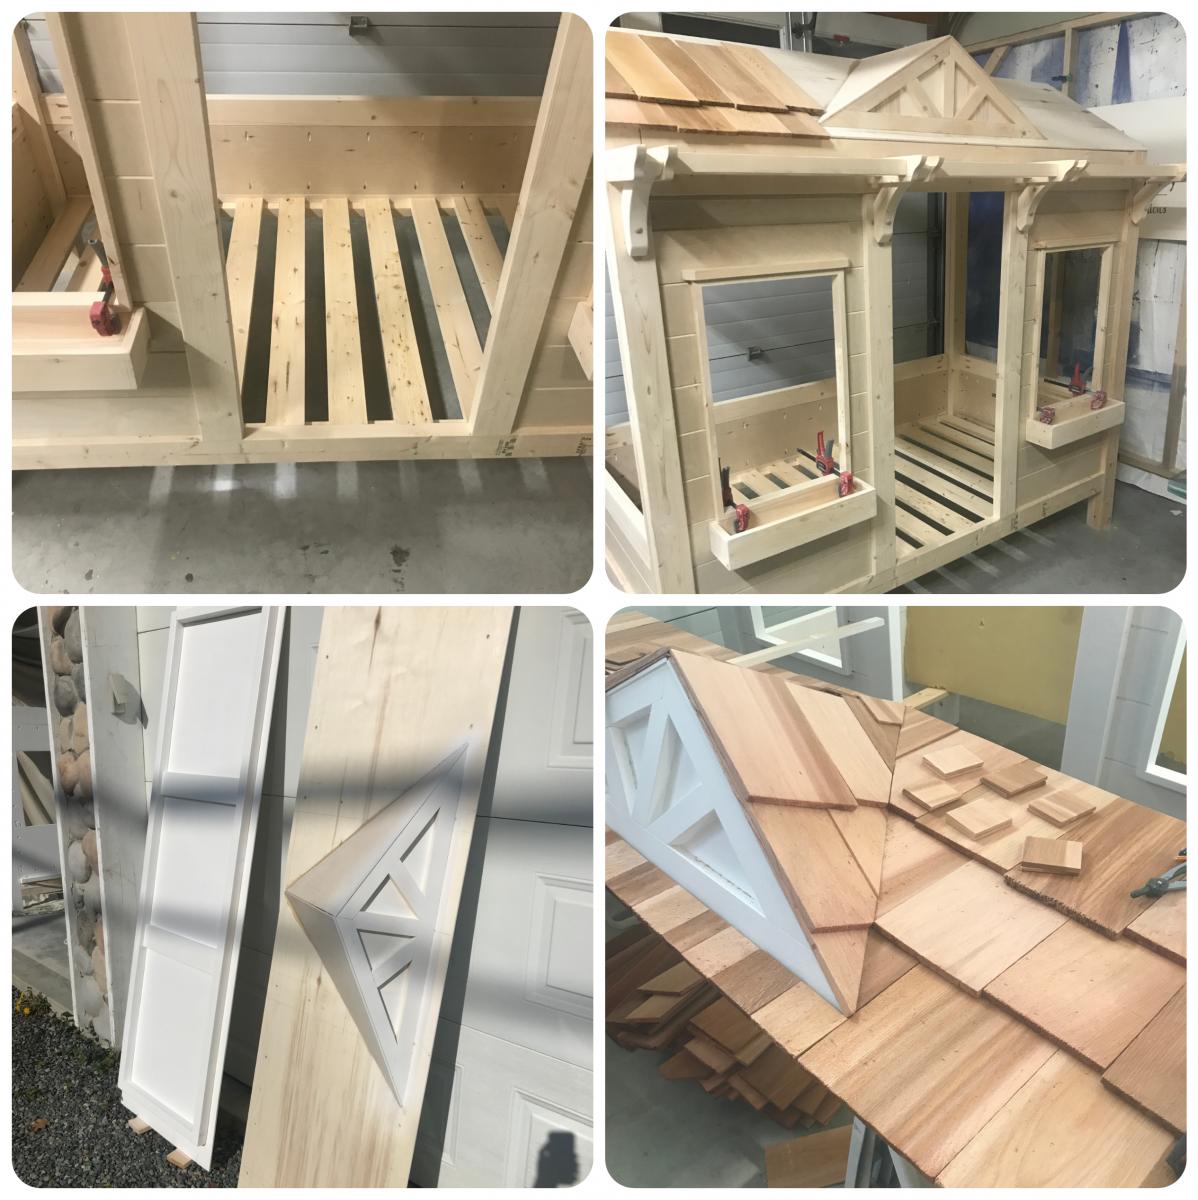
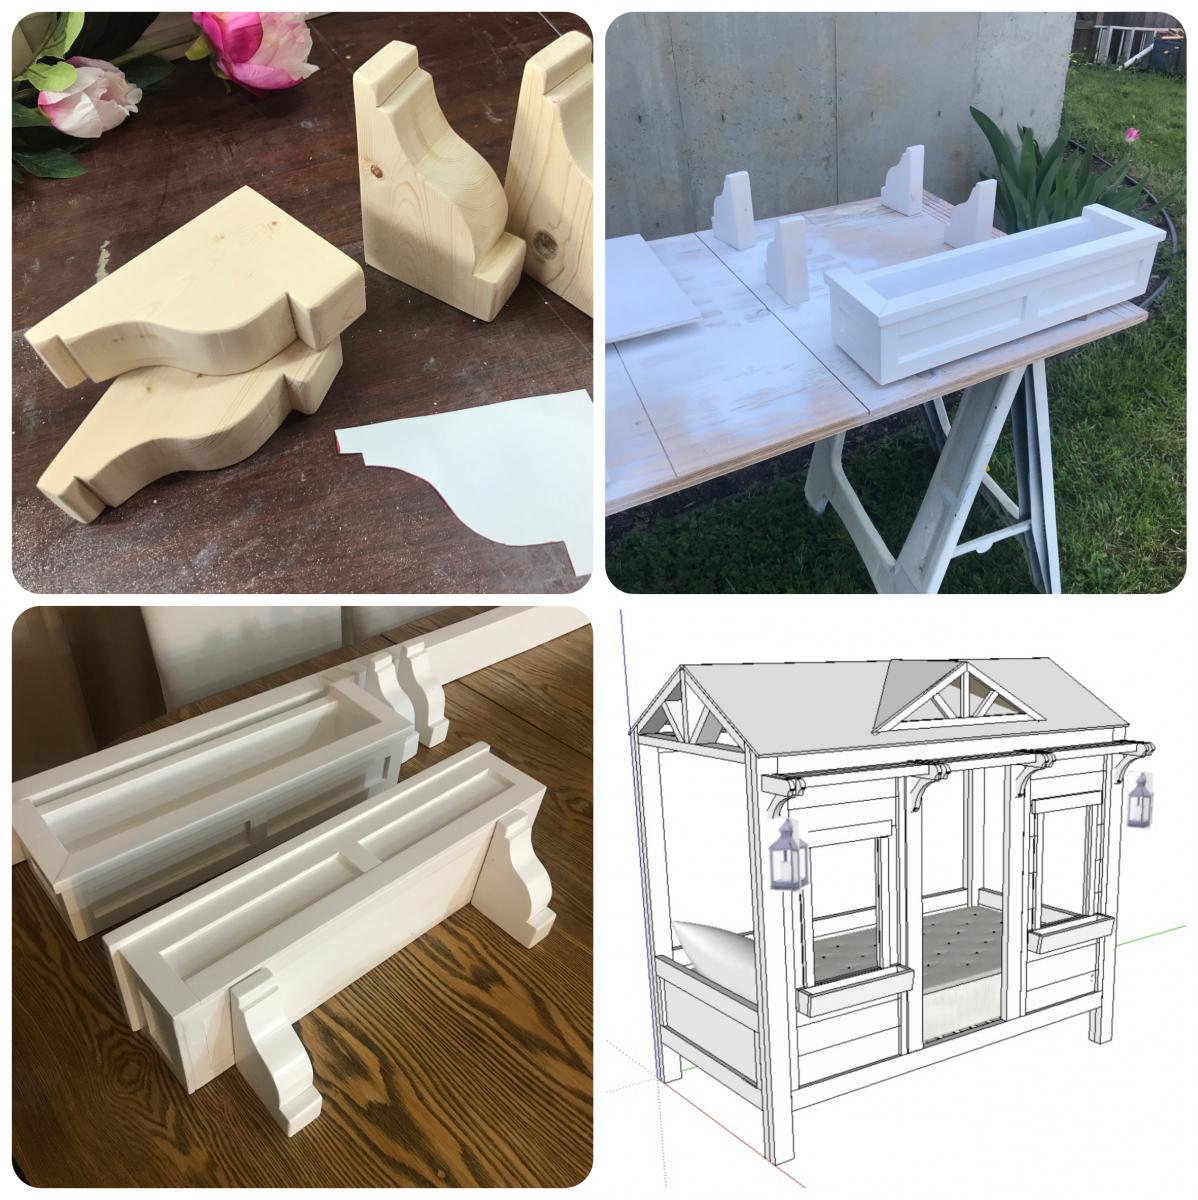
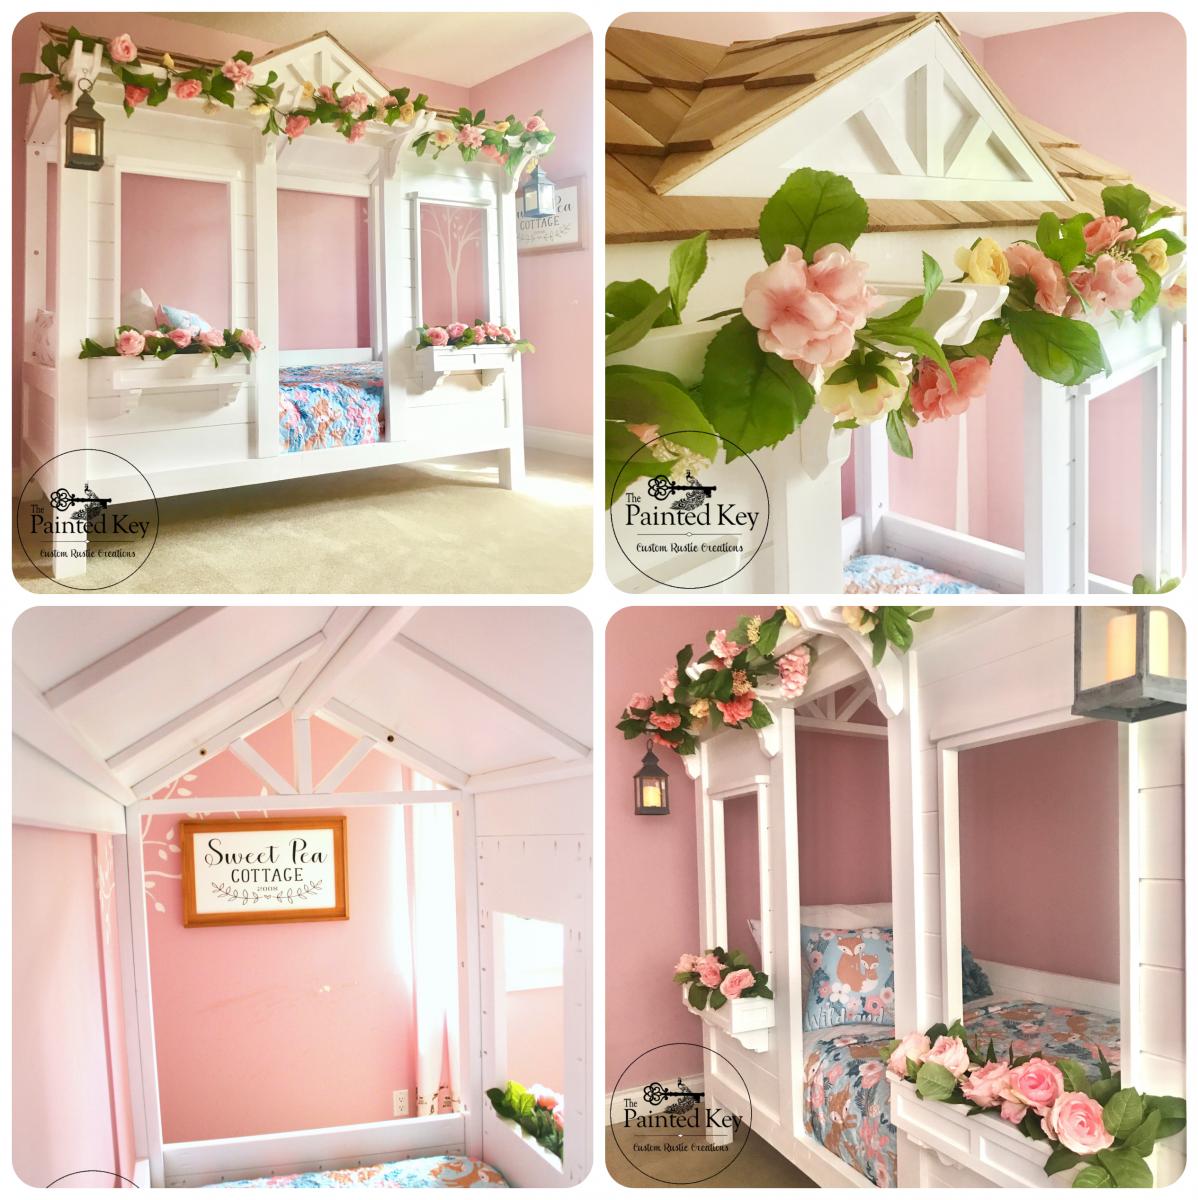
What's a mom to do when she can't choose between the cabin bed, the little cottage loft bed and the sweet pea garden bed? Head over to google sketchup and sketch up a set of plans incorporating favourite aspects of all three beds! This one had been in the planning stages for over a year and I’ve called it “Sweet Pea Cottage”. It took me about 3 months to build in my spare time and I couldn't be happier with how it turned out. Of course our daughter loves it as well! Who wouldn't want to sleep in their own little house bed! :) I used spruce and 3/4" purebond plywood for the main build. To give the plywood panels a planked look, I cut the front into various size rectangles so I could run them through my table saw using a 1/4" dado blade before assembling the pieces together with pocket holes. The roof panels and dormer are 1/4" plywood glued and screwed to a frame and then I used construction adhesive to adhere the dormer to the front roof panel as well as adhere the cedar shakes. Painted with Behr Pure Ultra White and topped with a satin polyacrylic. I left the cedar shakes raw but if I built it again, I think I would top them with some sort of flat or matt sealer as the rough texture makes dusting them a bit difficult. One of the first questions I get is "how difficult is it to make the bed?". Surprisingly it's not that hard. Because the bed is so open on each end and we have it set up in her room with access on three sides, it's easy to manoeuvre the mattress a bit to change the bedding.
Thu, 02/17/2022 - 08:15
I love this bed. I would like to make one for my Grand-daughter. Do you have plans for this cute bed? I just signed up today so I wasn't able to see the comment section. I'm sorry if this has already been asked.
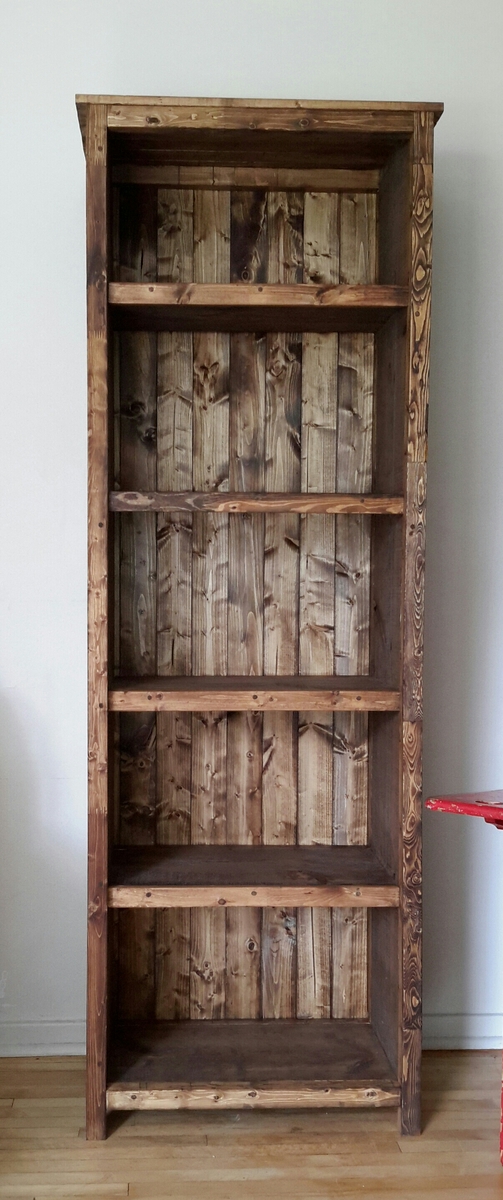
I loved this from Ana's site so much we tacked one. Please note I glued, screwed and dowel ed the holes. I hate kreg jigs. We also made ours taller to add an extra shelf.
Wed, 09/02/2015 - 06:33
Can you tell me the length of your 1x12 sides to make it a 5 shelve case? Thank you and your's looks great!

I’ve been working on building up to this playhouse for a while. Just got the doors on and am pretty pleased with what’s my first project of any size. Built on top of a modified version of the playhouse deck with a to be added (hopefully) swing in front. Color selection by the end customer (who’s 8). Modified to add 12 inches for a 5’ doorway. Thankfully I caught that at the last minute for the kiddo. Still a menace if I forget to duck. But super roomy once inside.
Sun, 06/12/2022 - 09:04
Love the shades of blue, thank you for sharing your awesome creation!
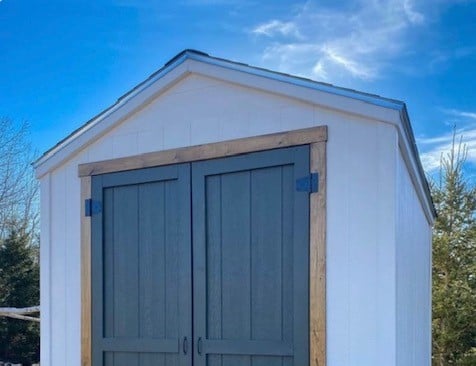
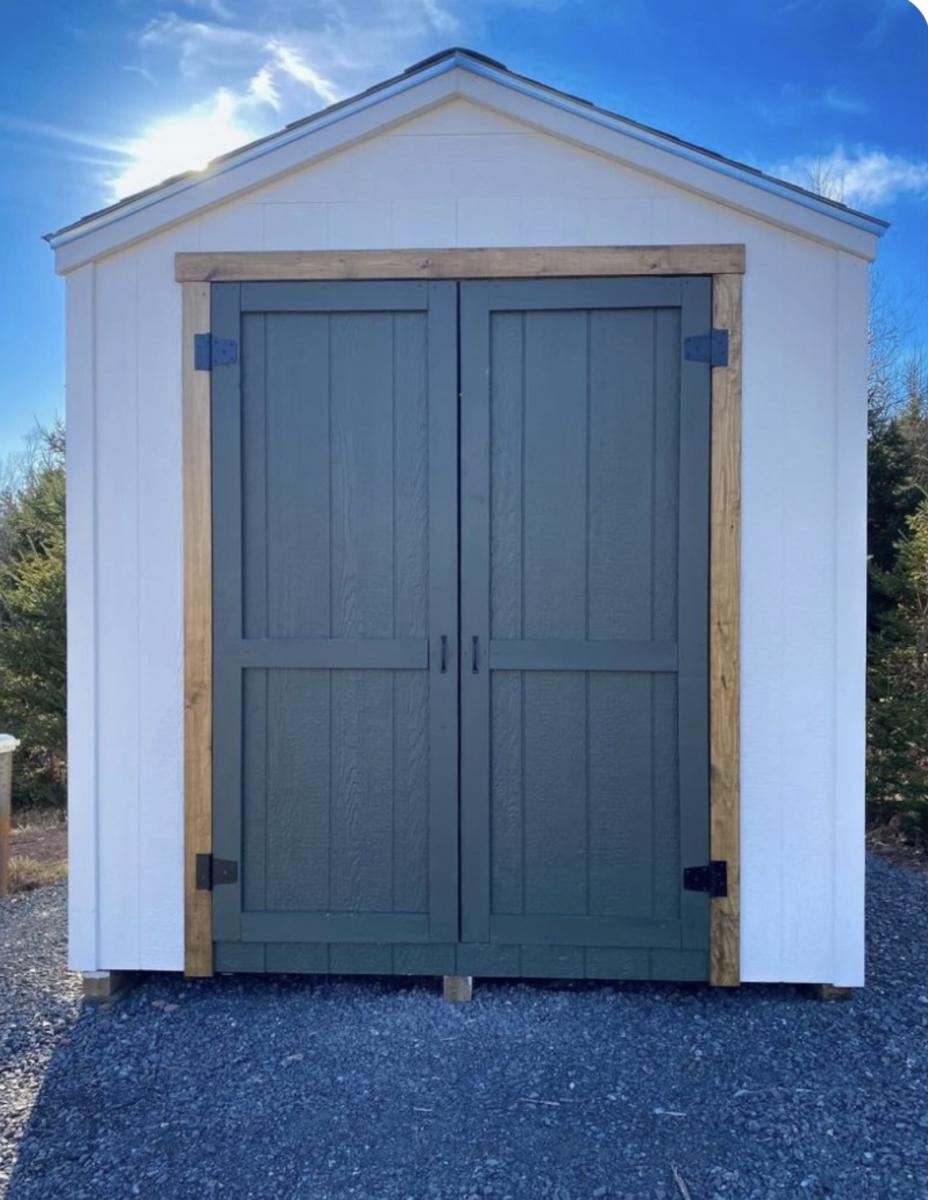
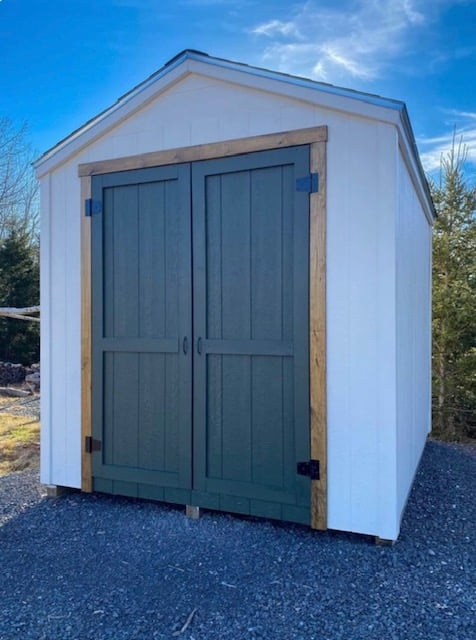
I made your 8x10 shed! Turned out so well, thank you for the amazing plans.
Julia Eliopoulos
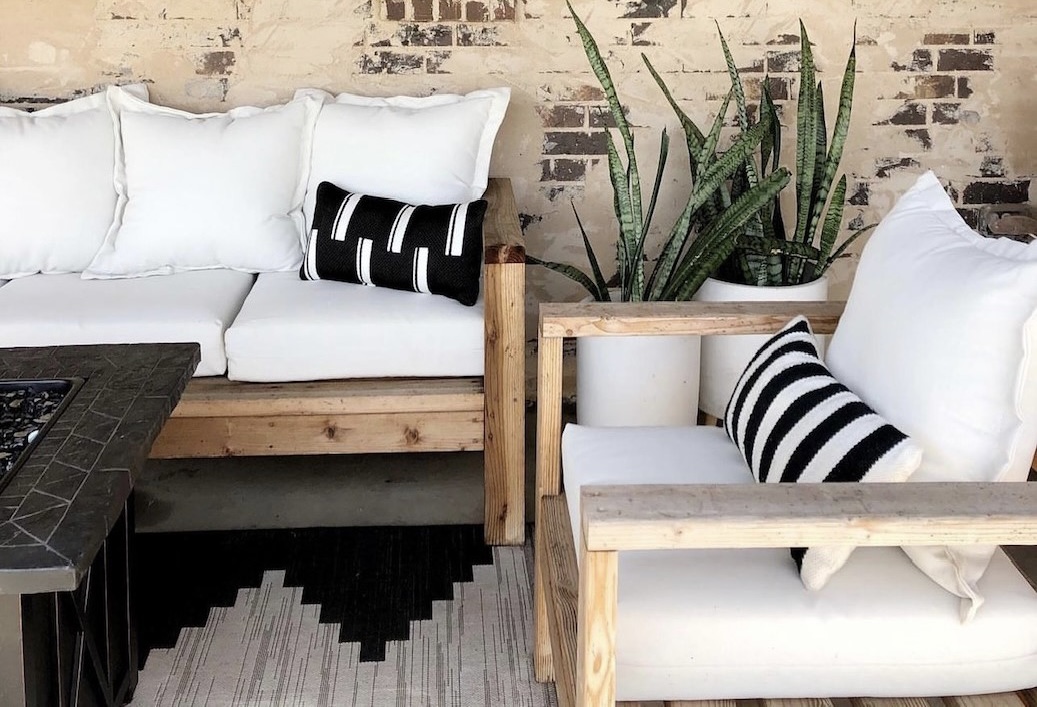
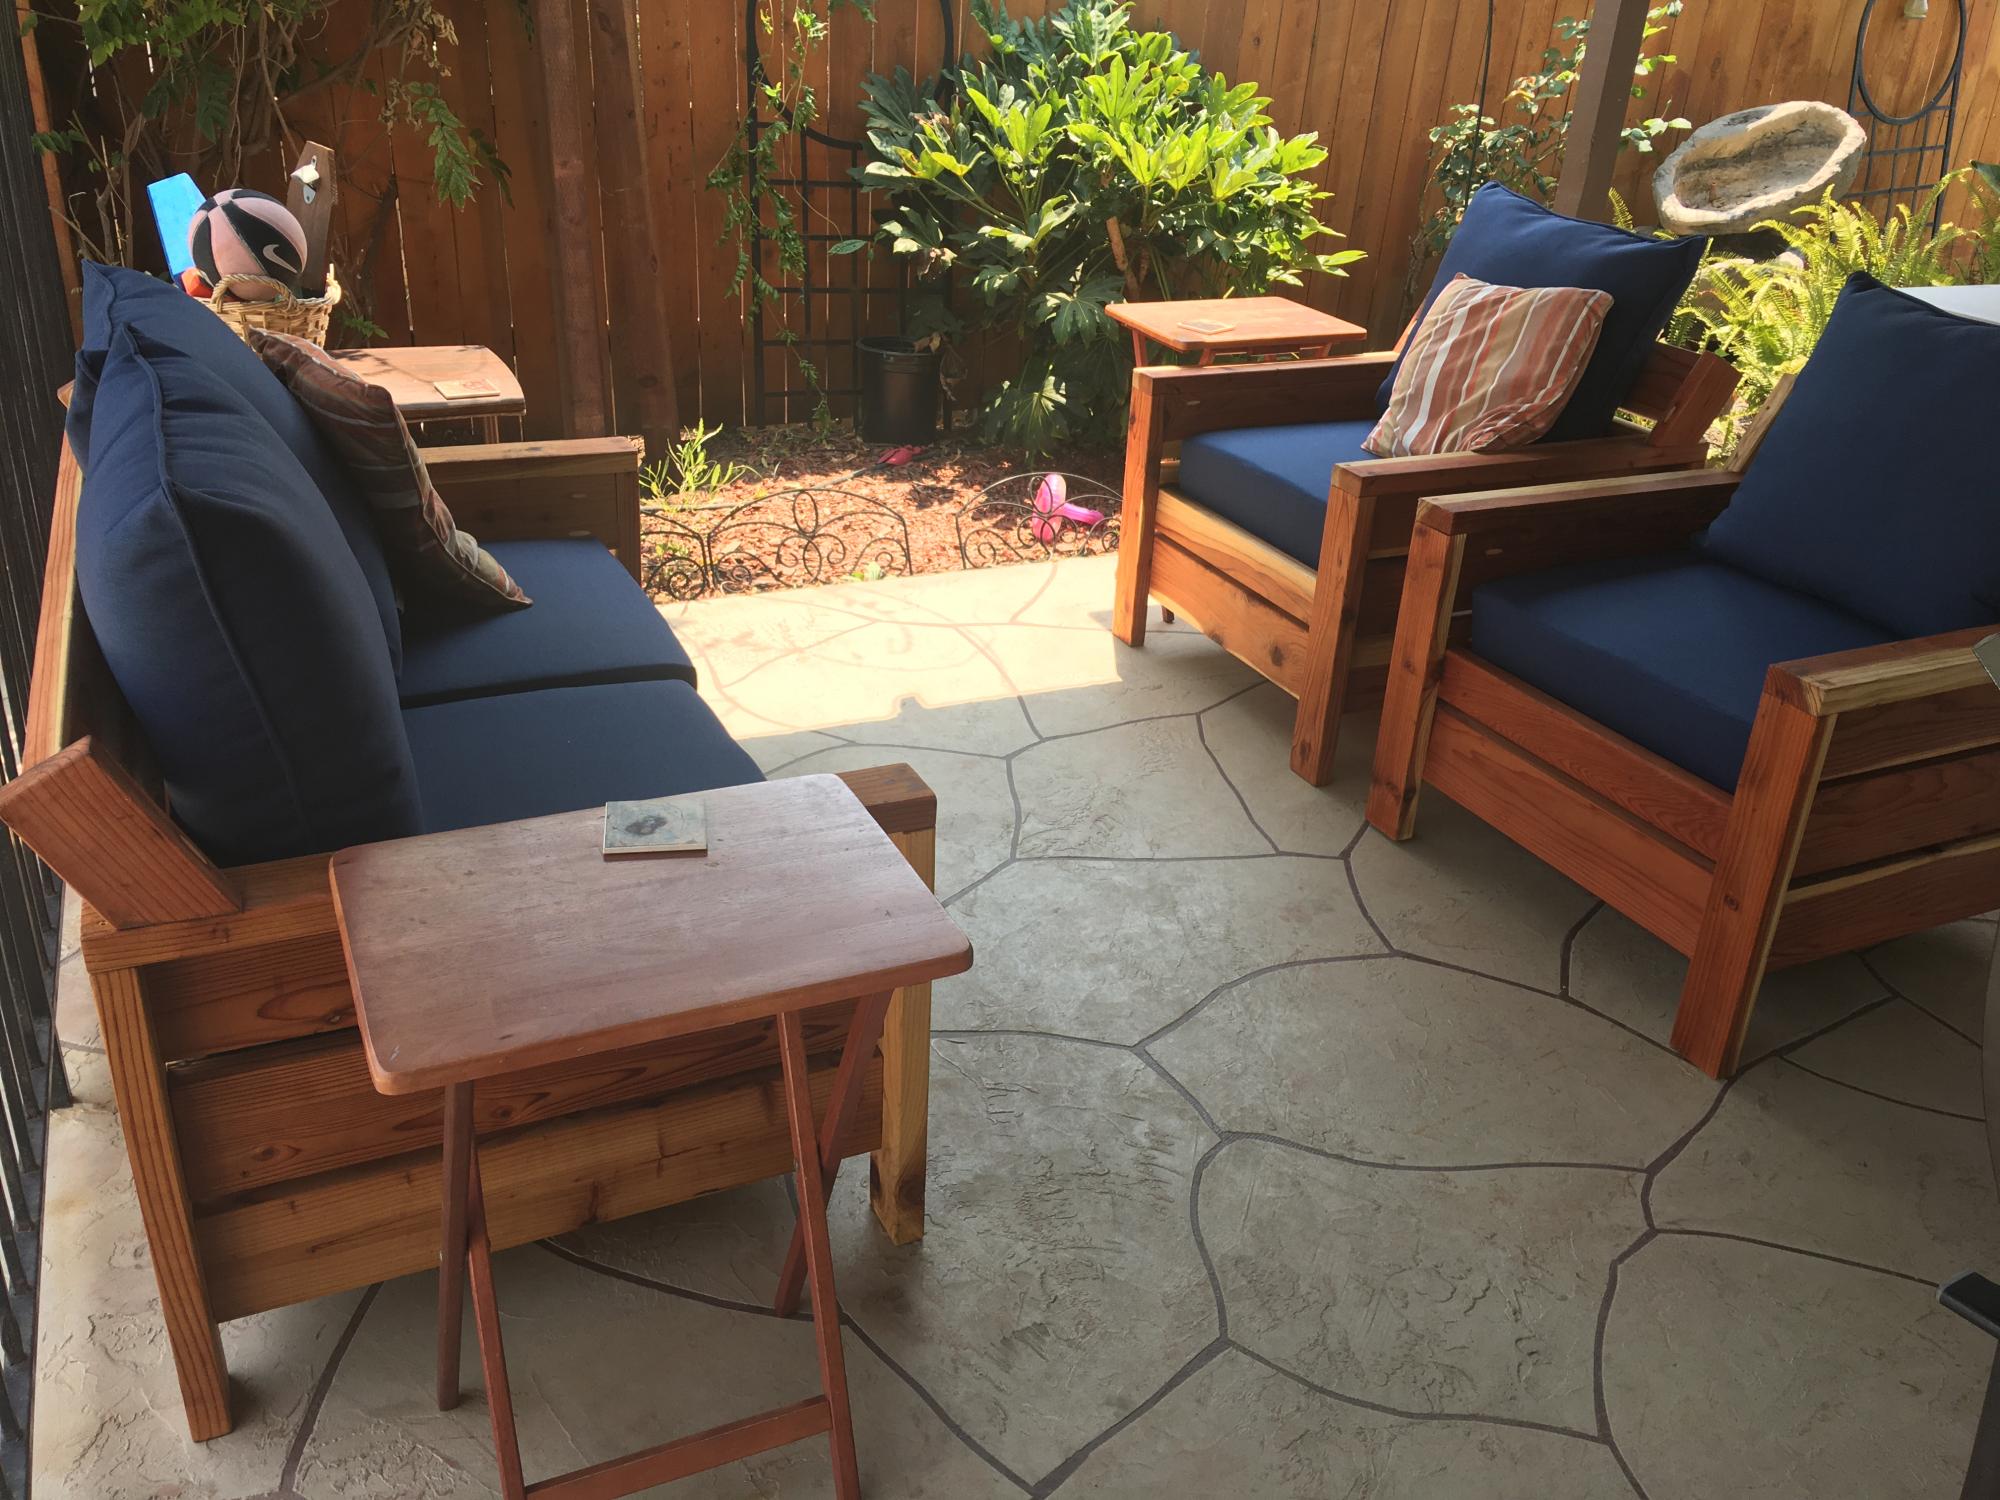
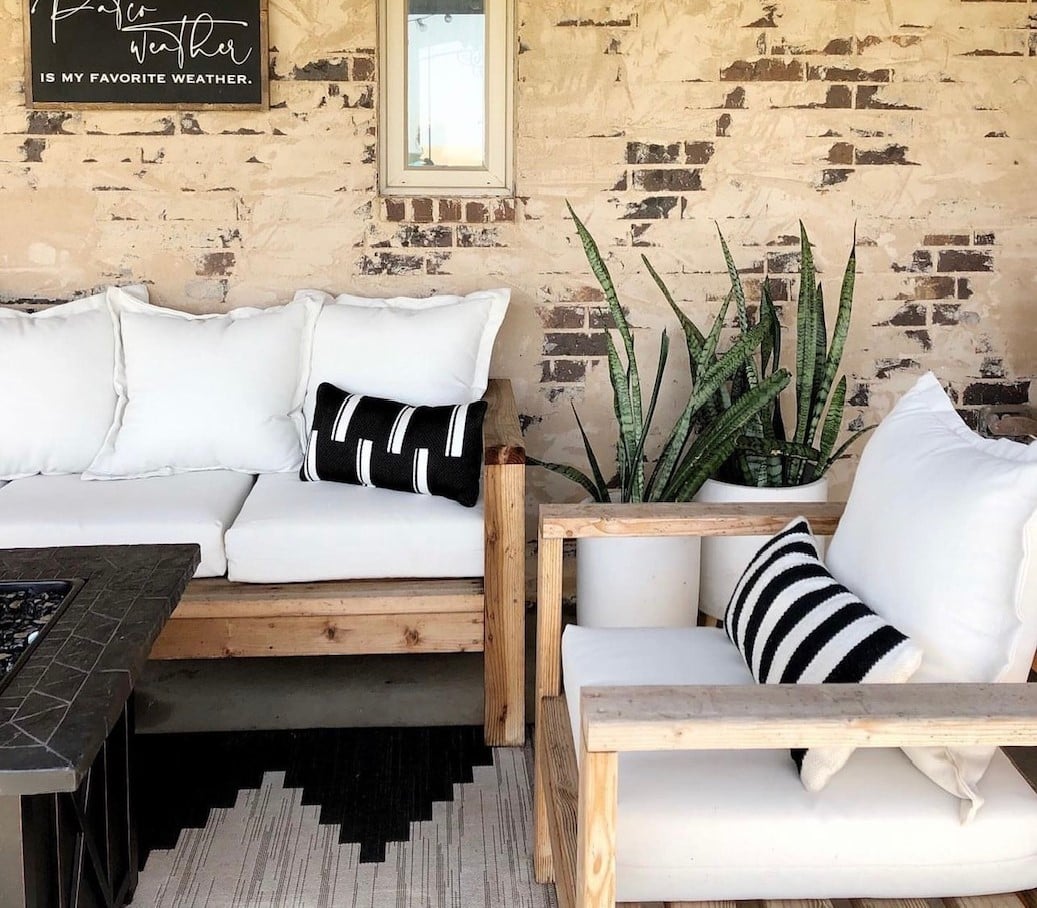
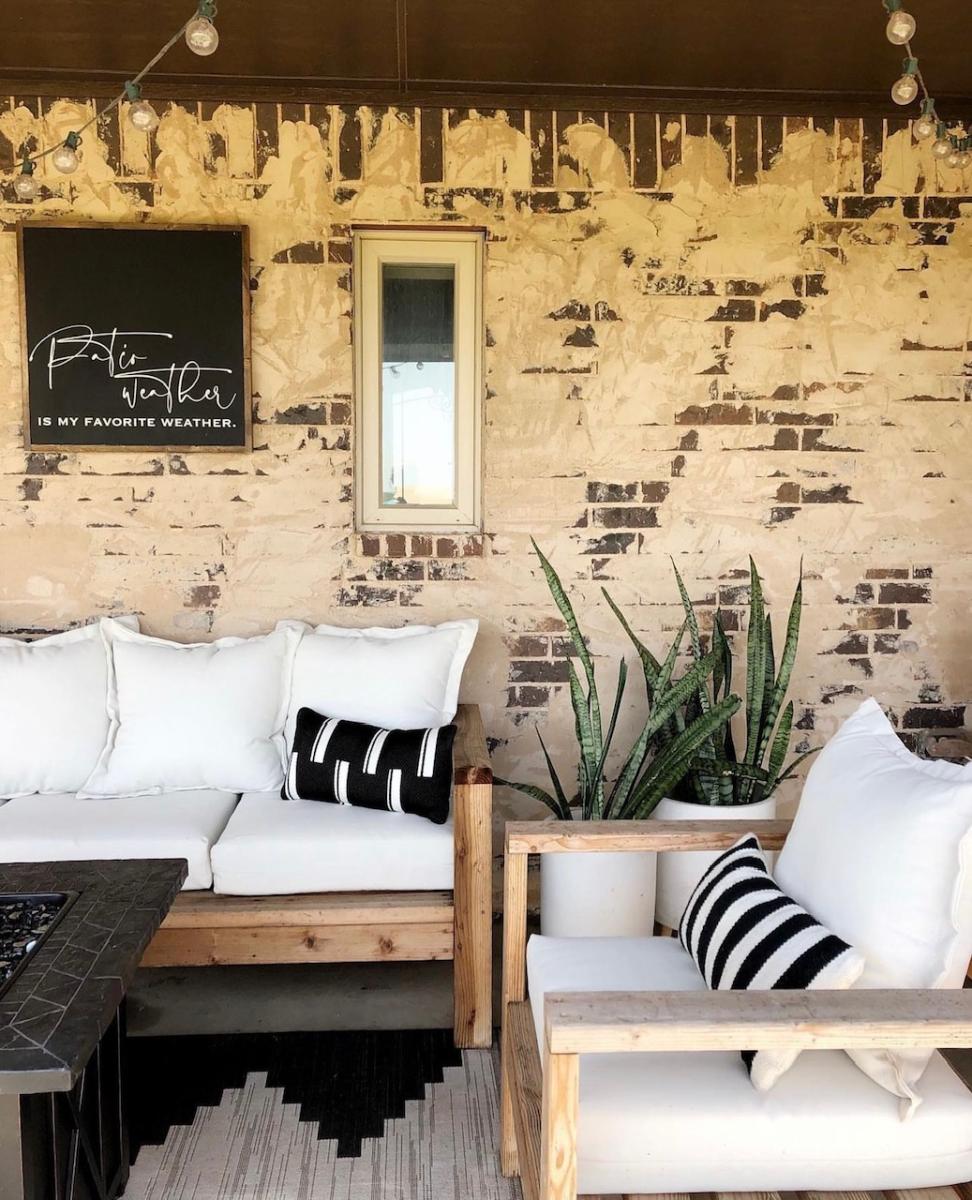
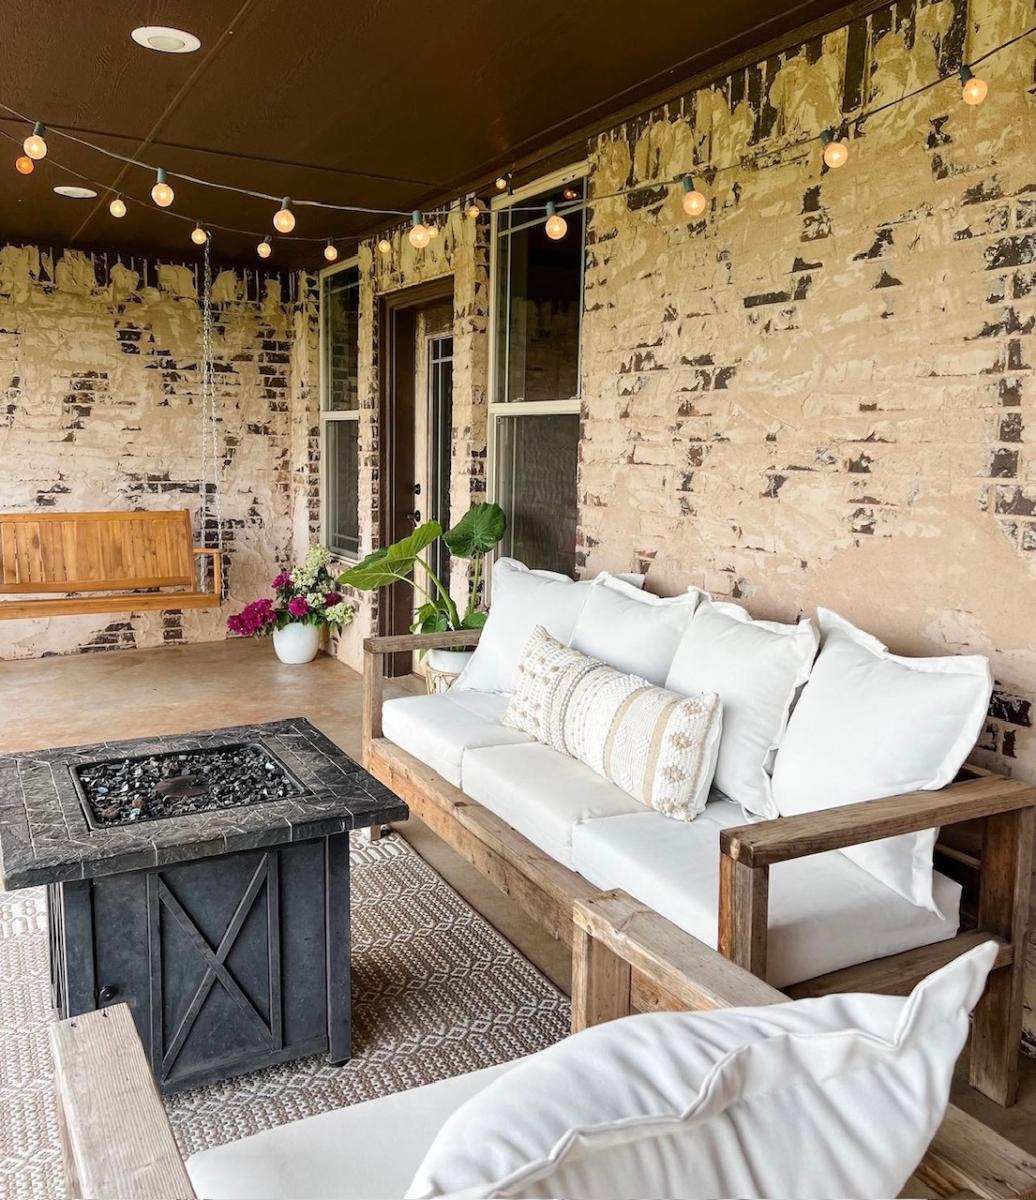
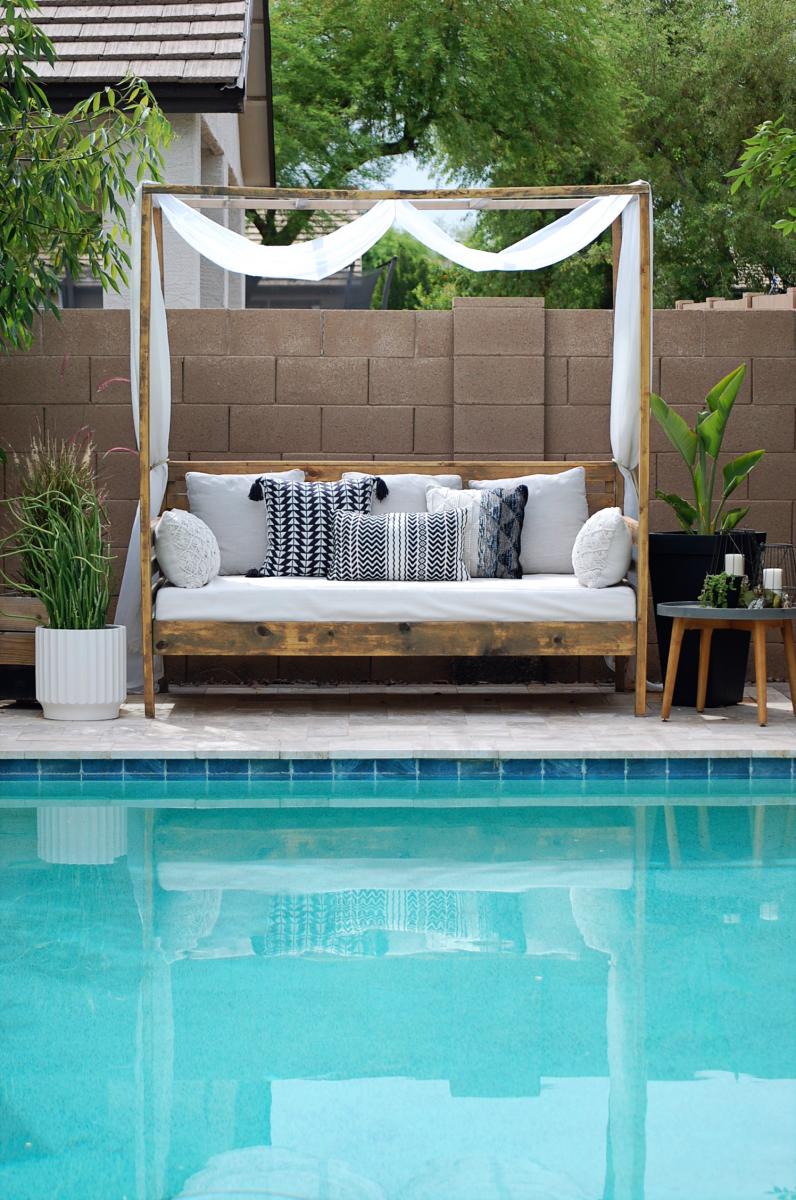
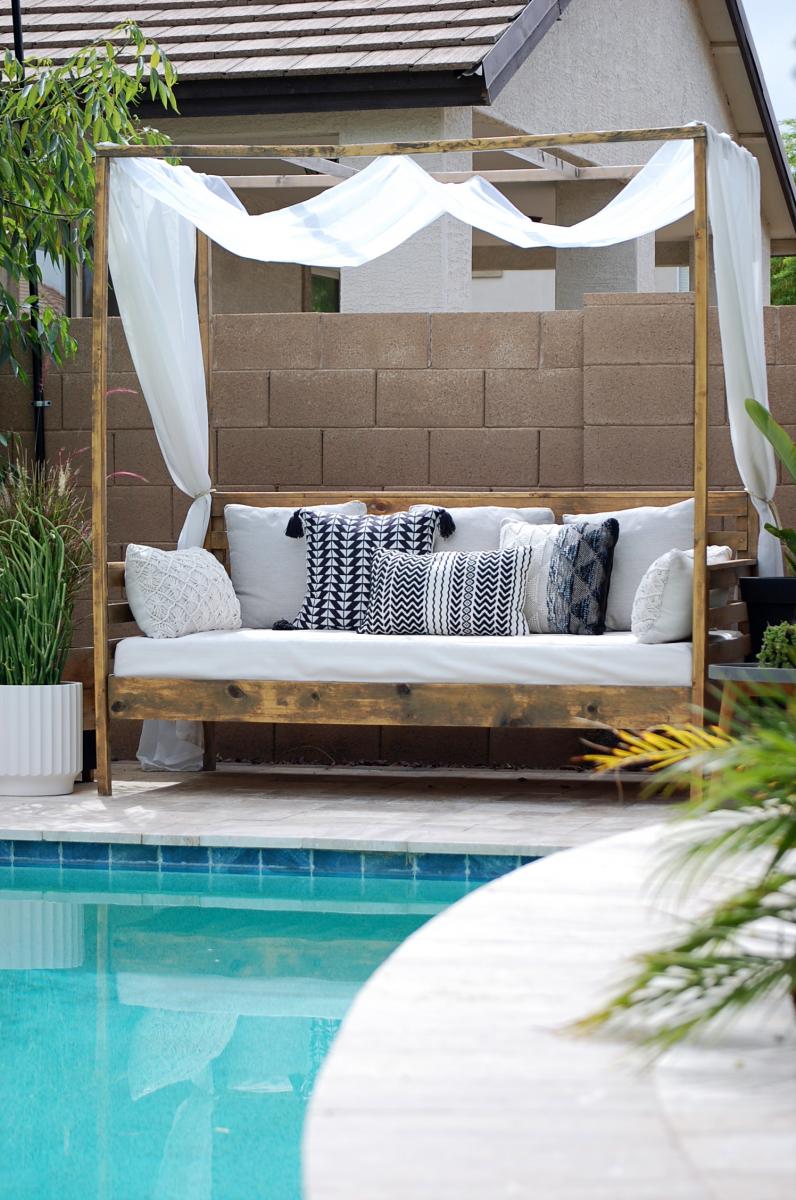
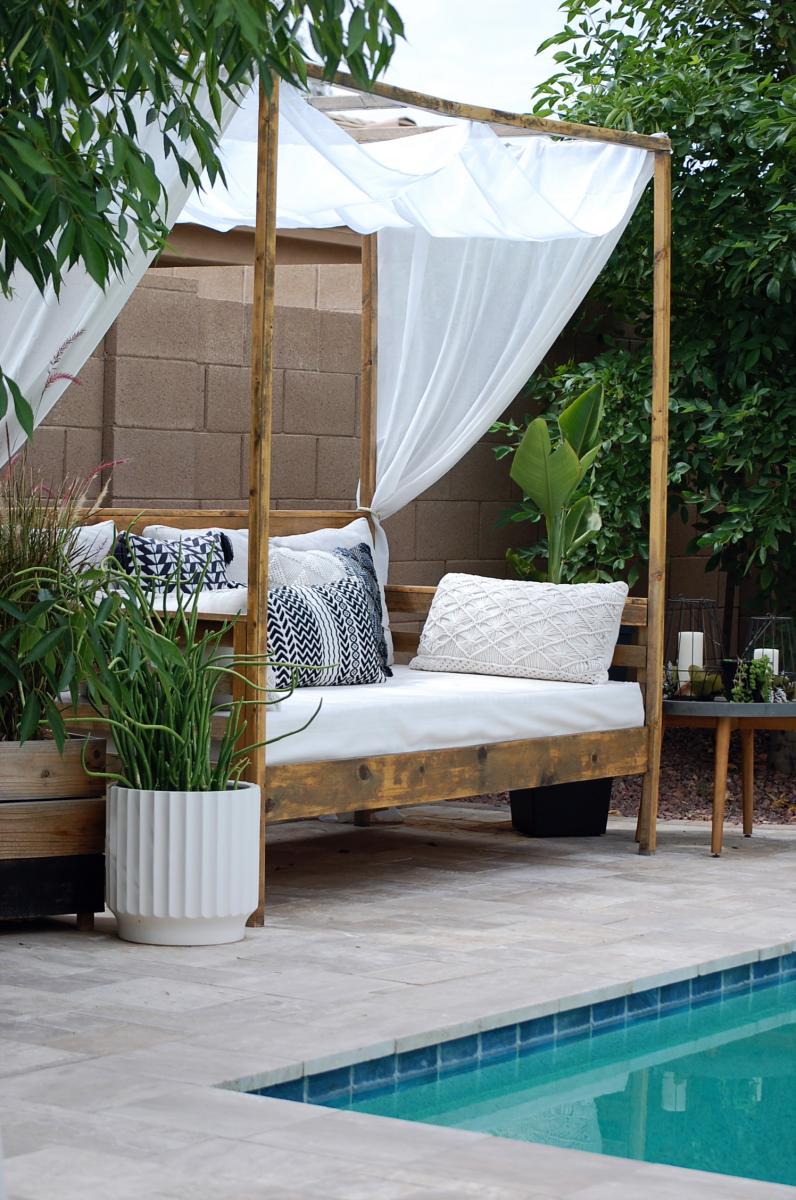
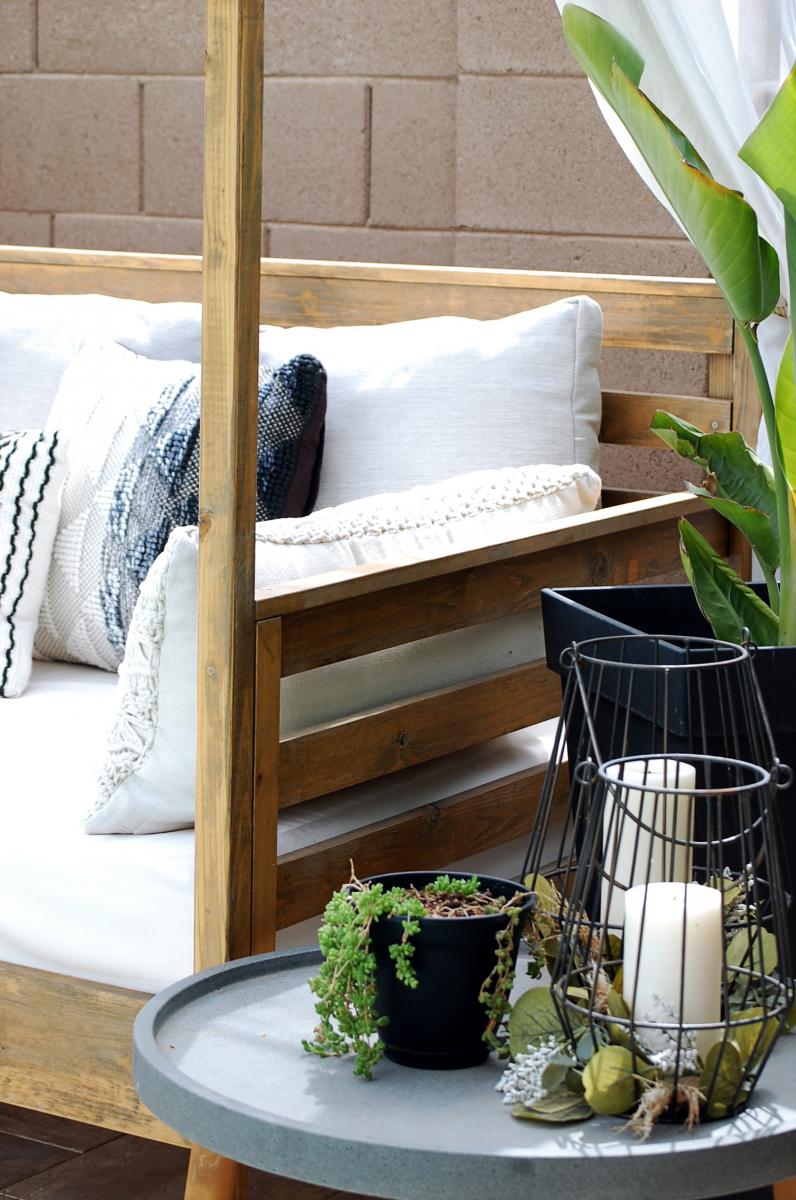
How cute is this new patio sofa I made out of 2x4s??? I used Ana White's plans and tweaked it just a little. I could not be happier with how it turned out and proud that I did it myself.
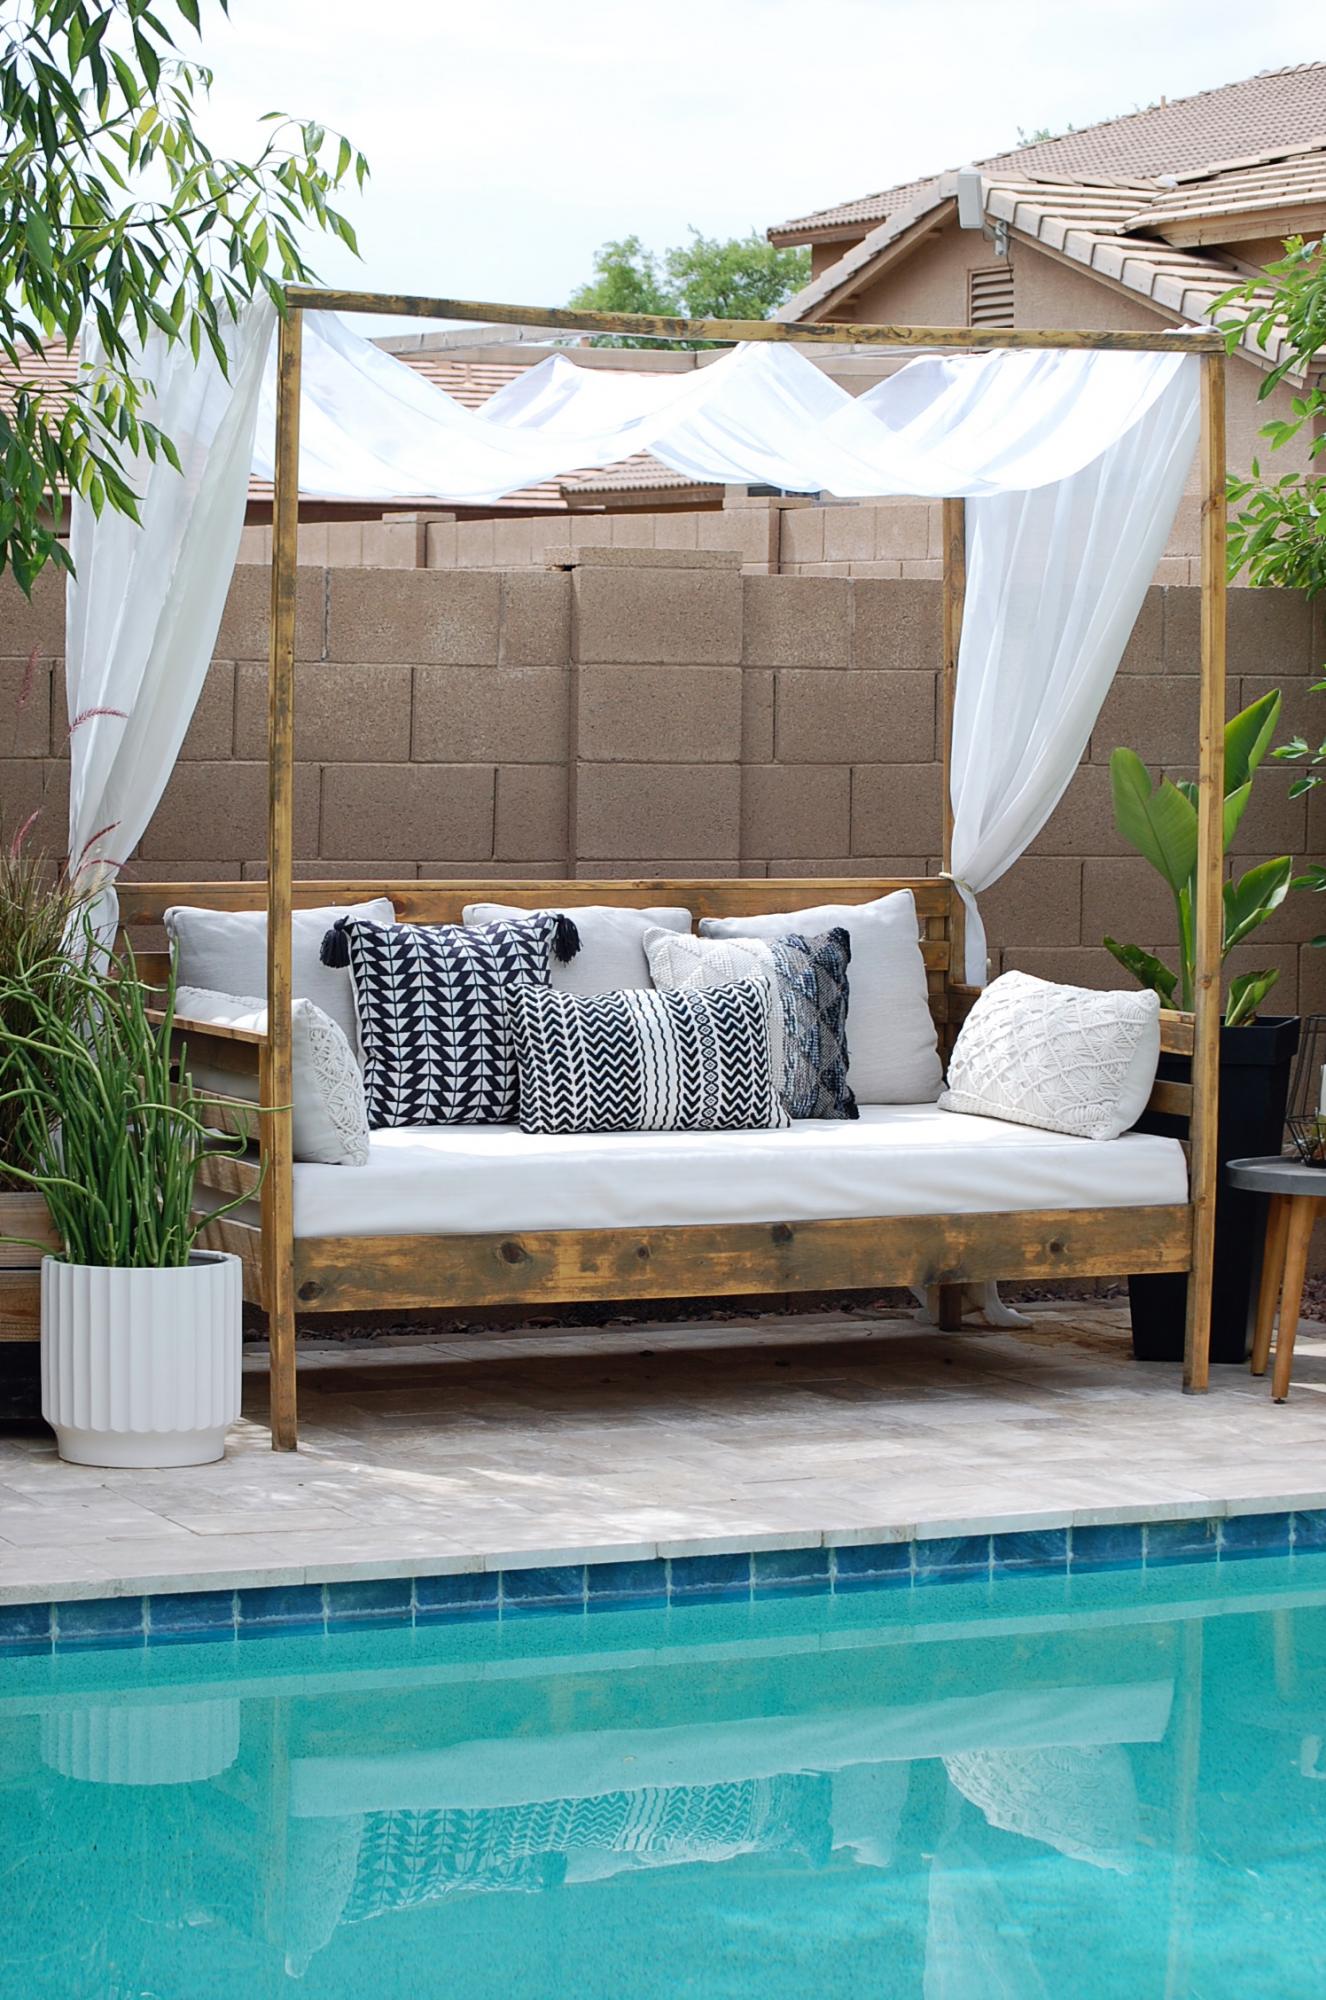
I built this outdoor daybed to add a cozy and inviting space to my backyard. It was a fairly easy build, which I managed to tackle by myself. Head over to the blog for more details.
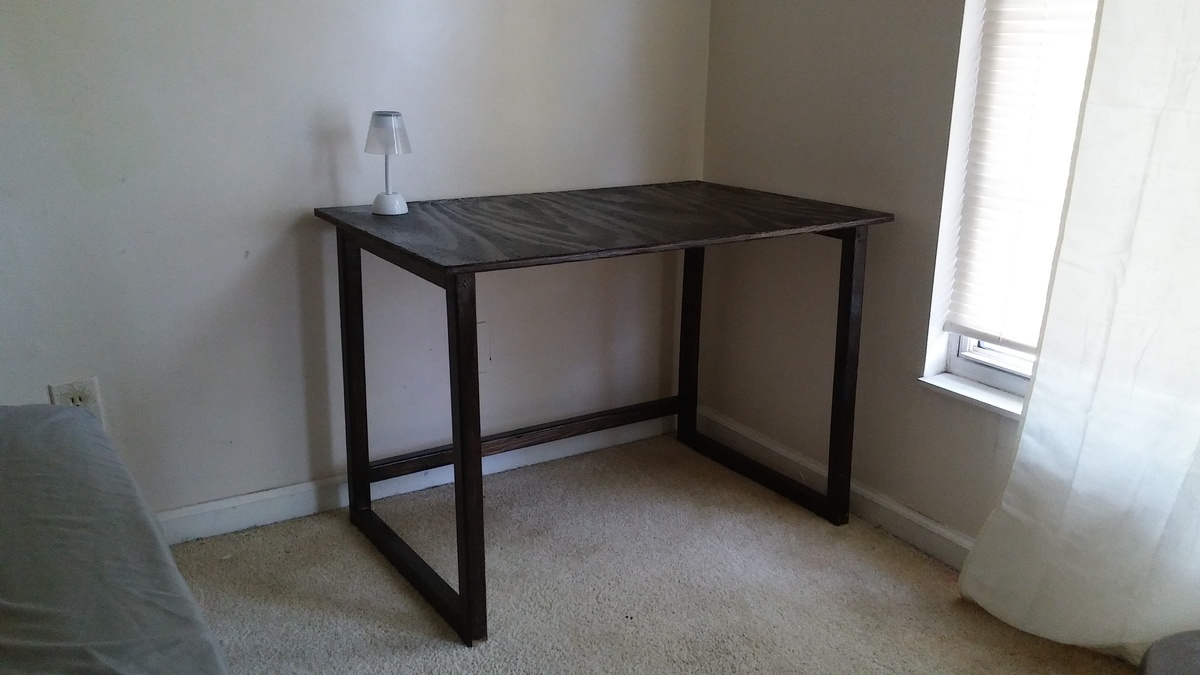
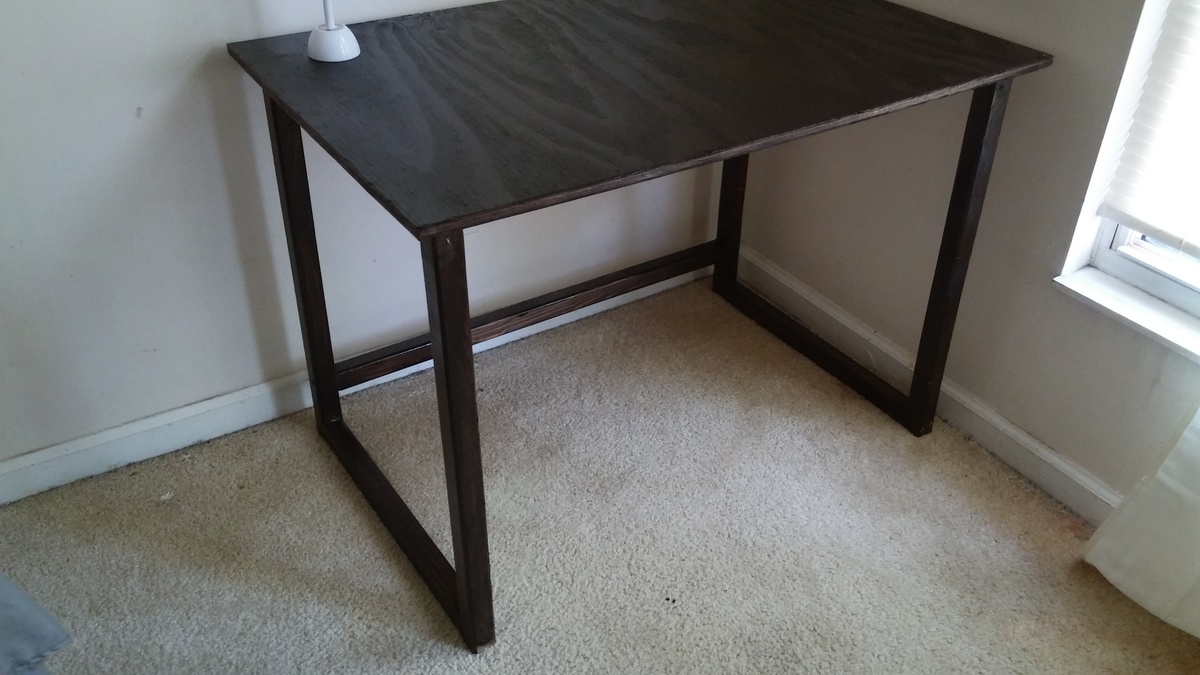
This 2x2 desk base was the perfect size for our 6' exchange student. He needed plenty of room width and length wise. We went with stain in Kona. More time was spent staining then building.
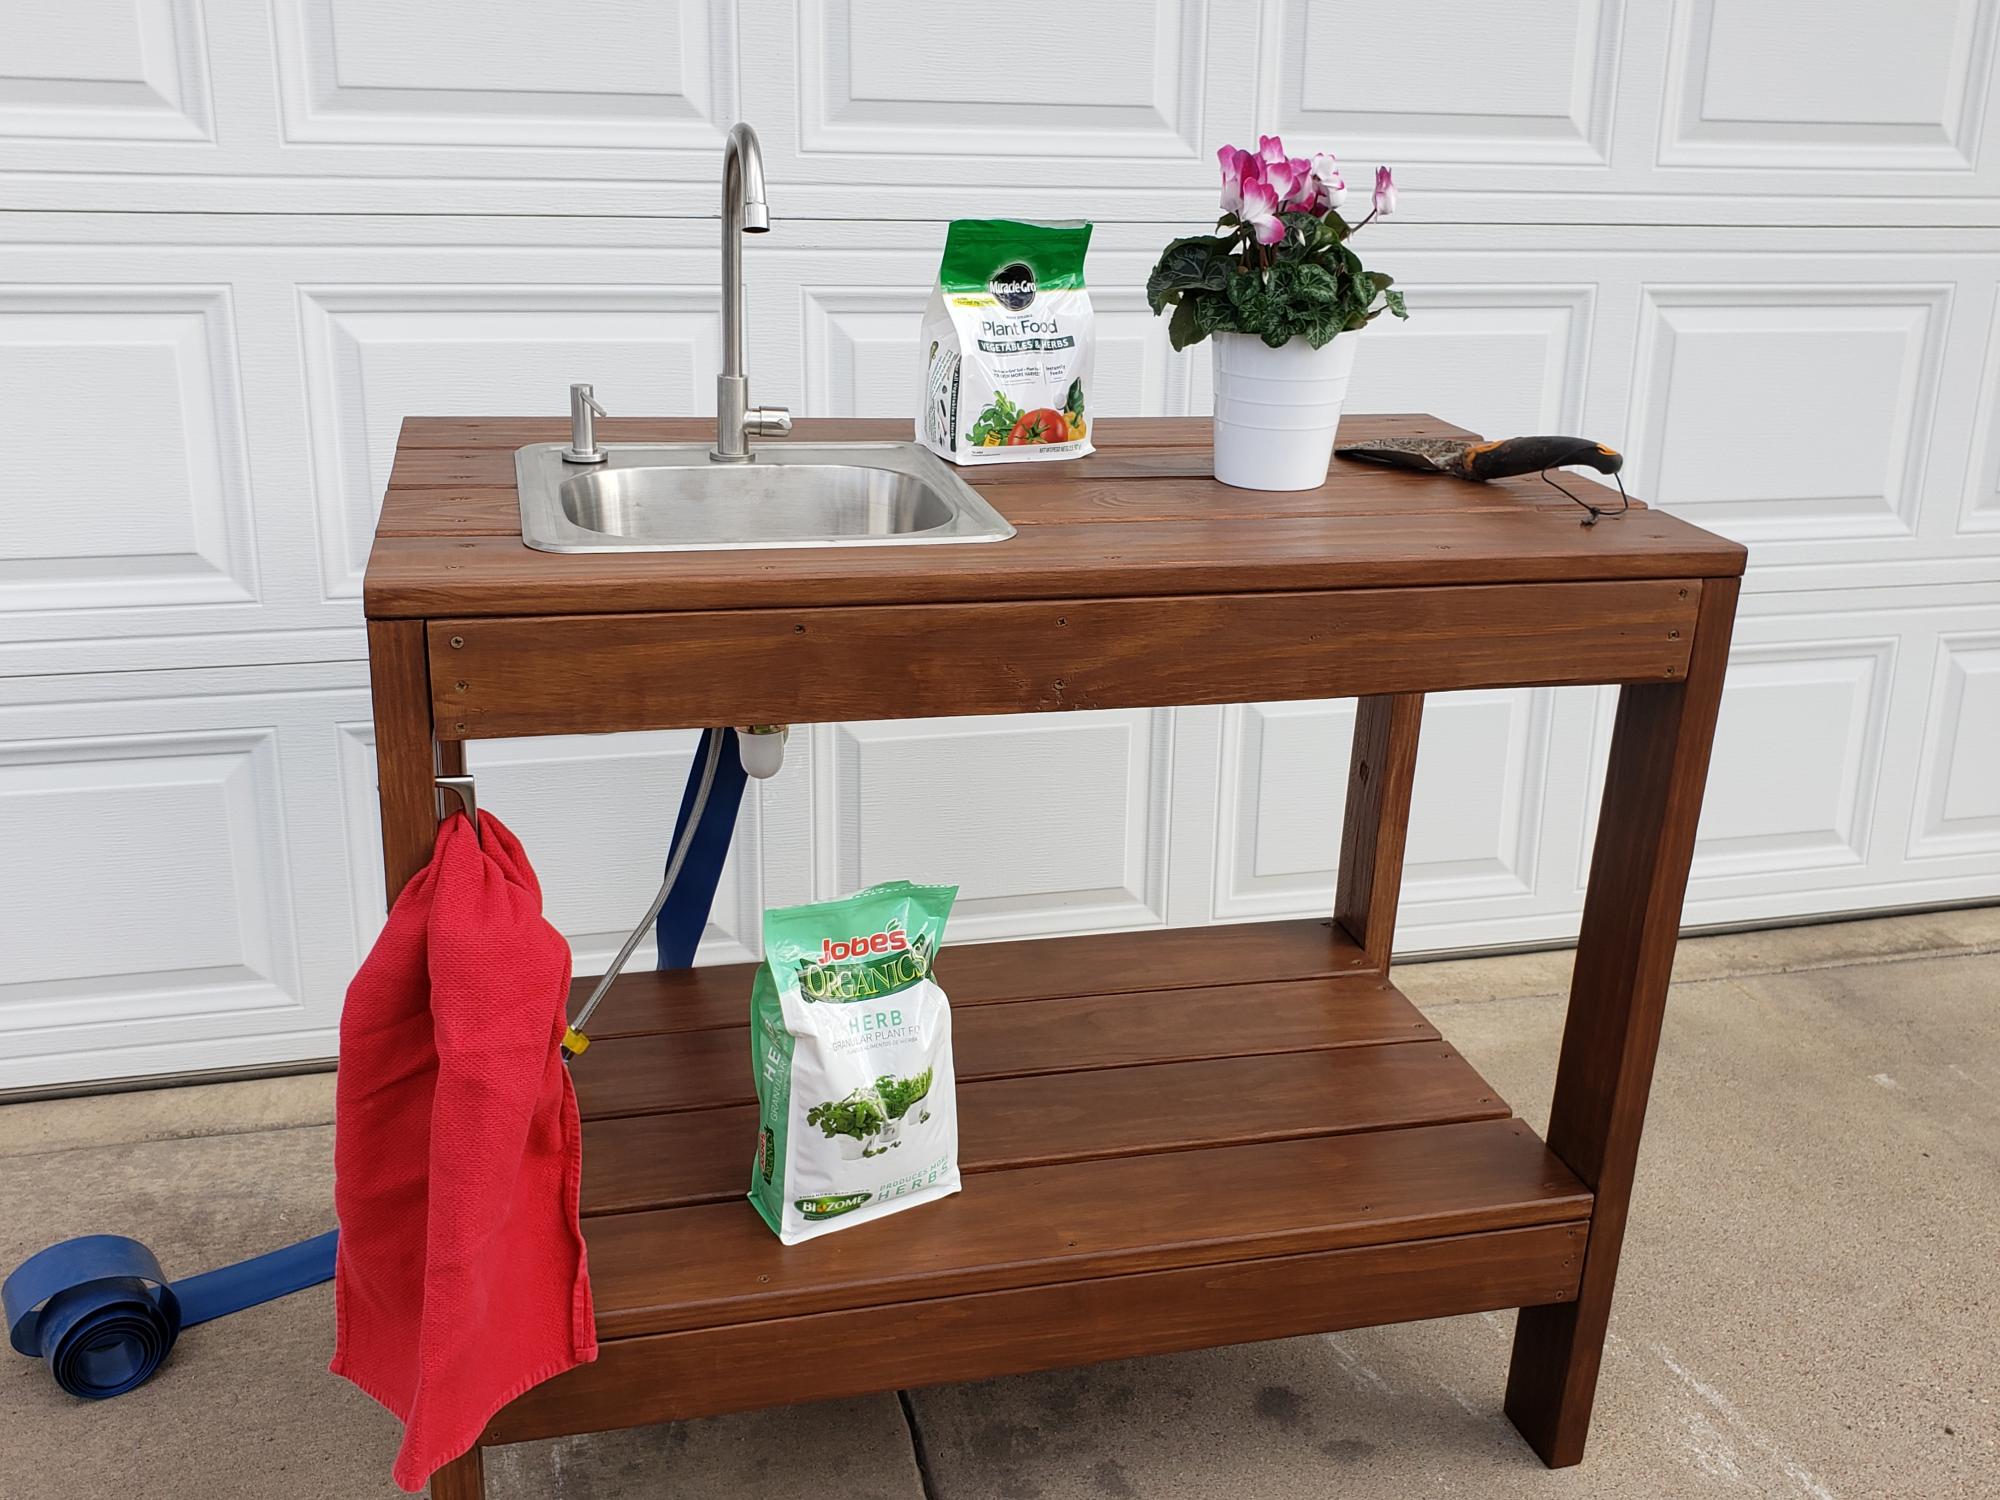
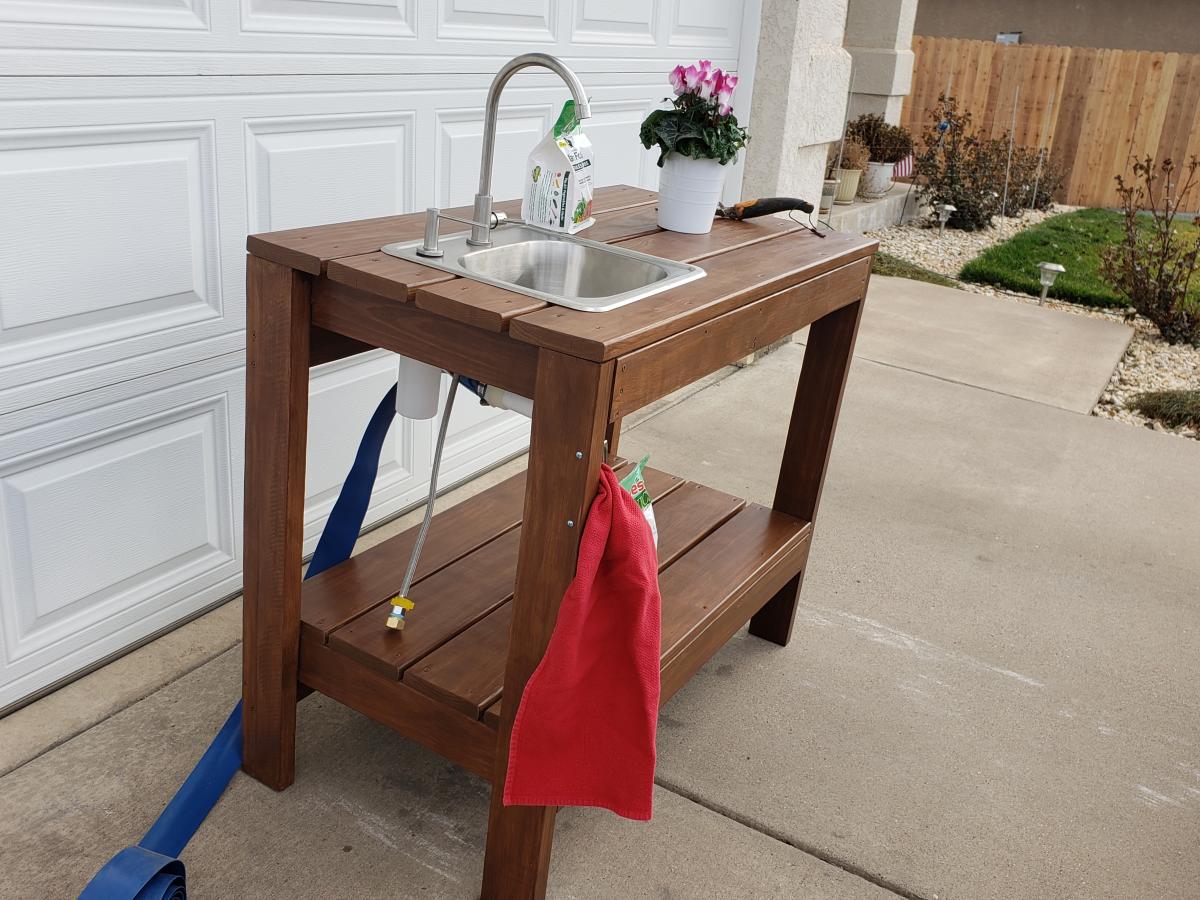
Added an outdoor sink to the potting bench.
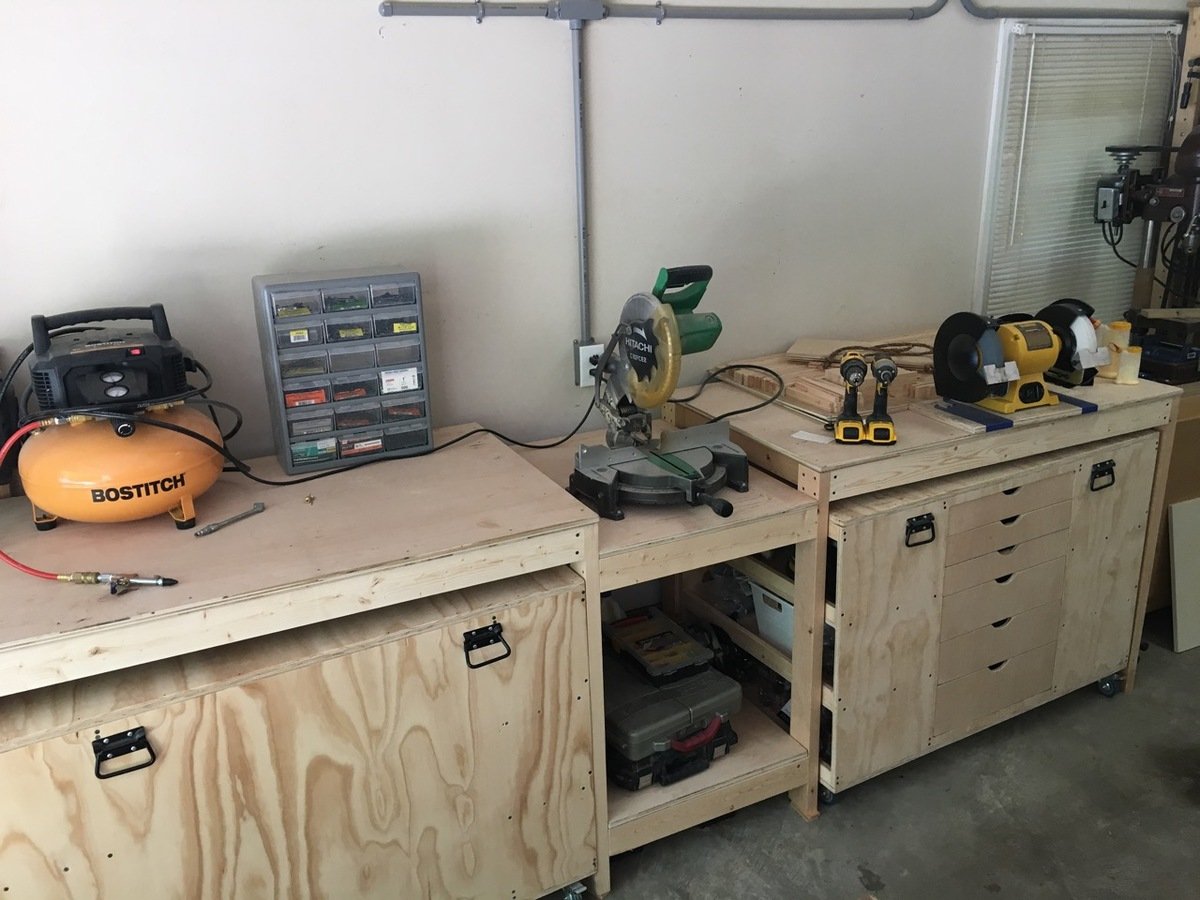
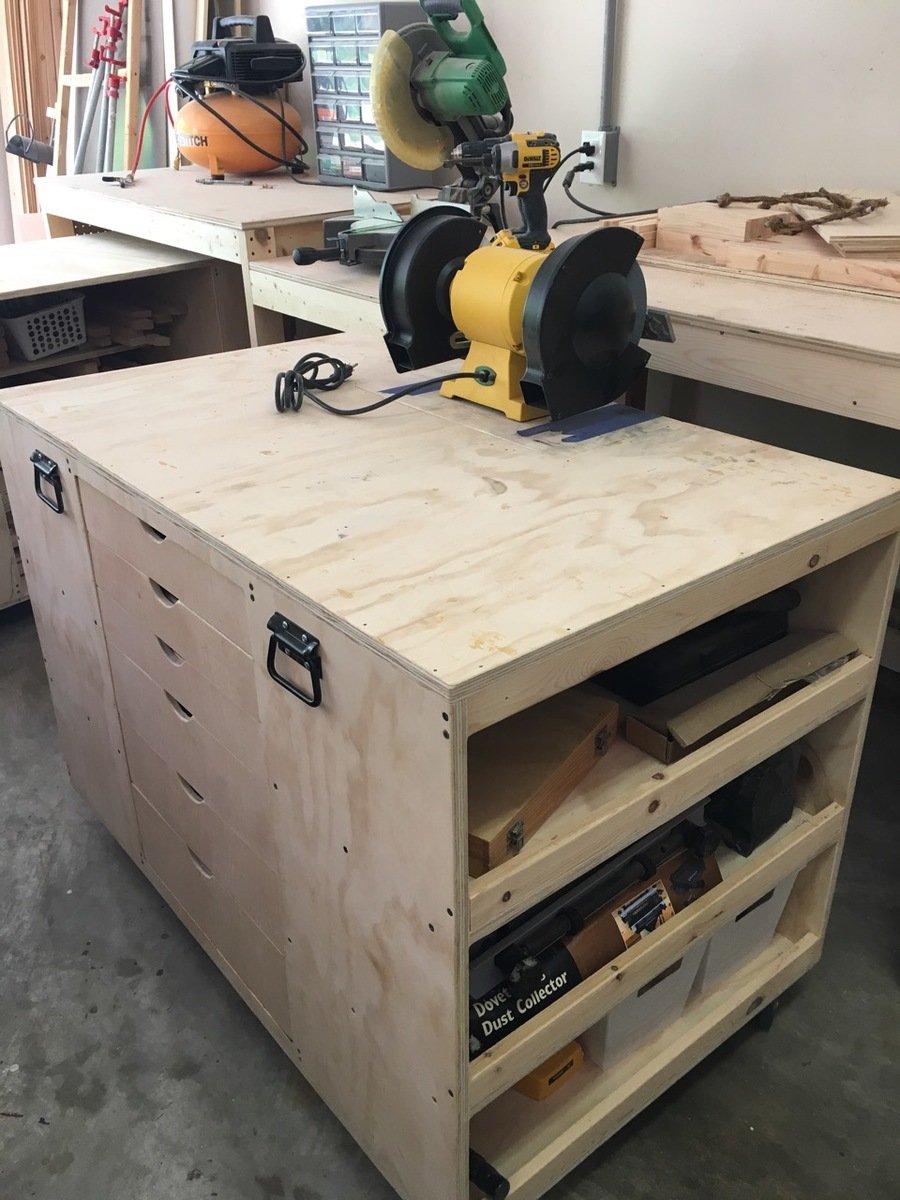
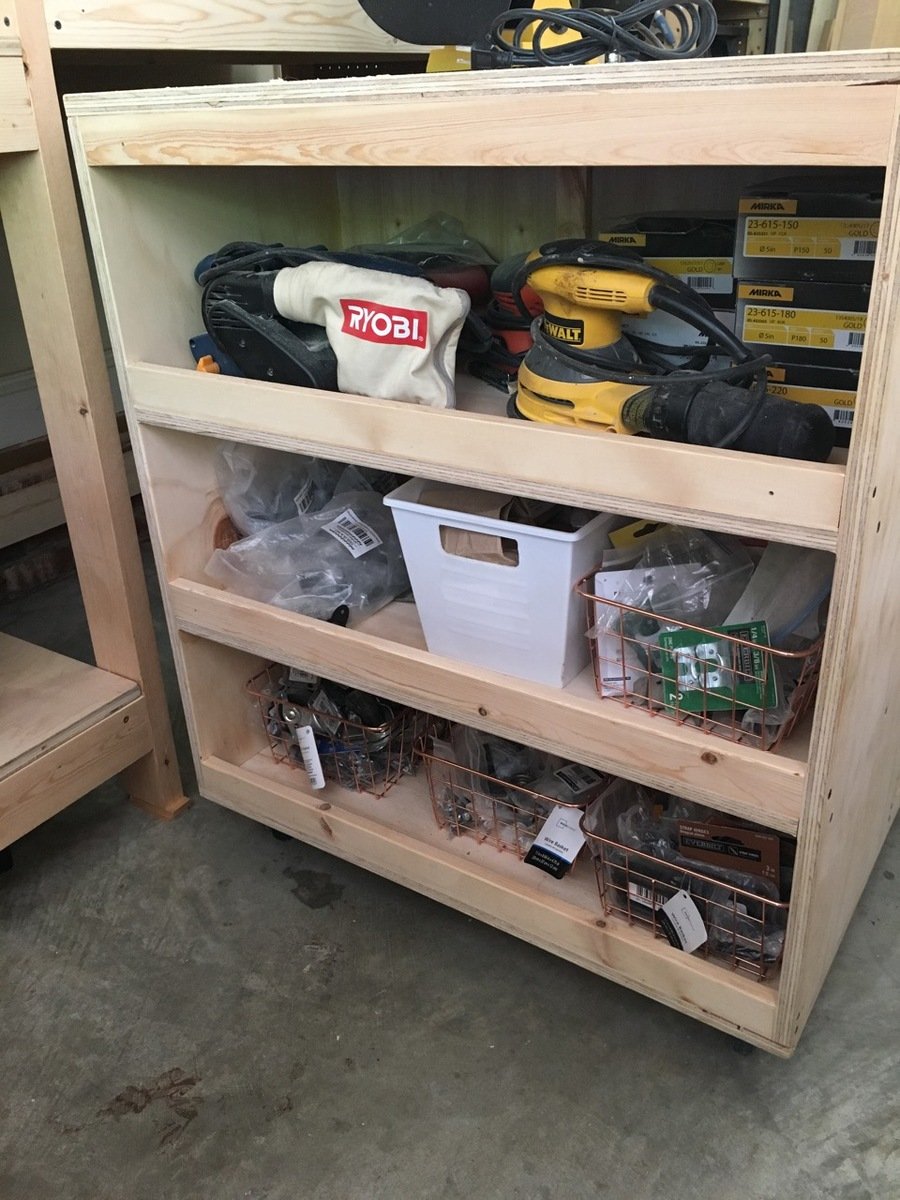
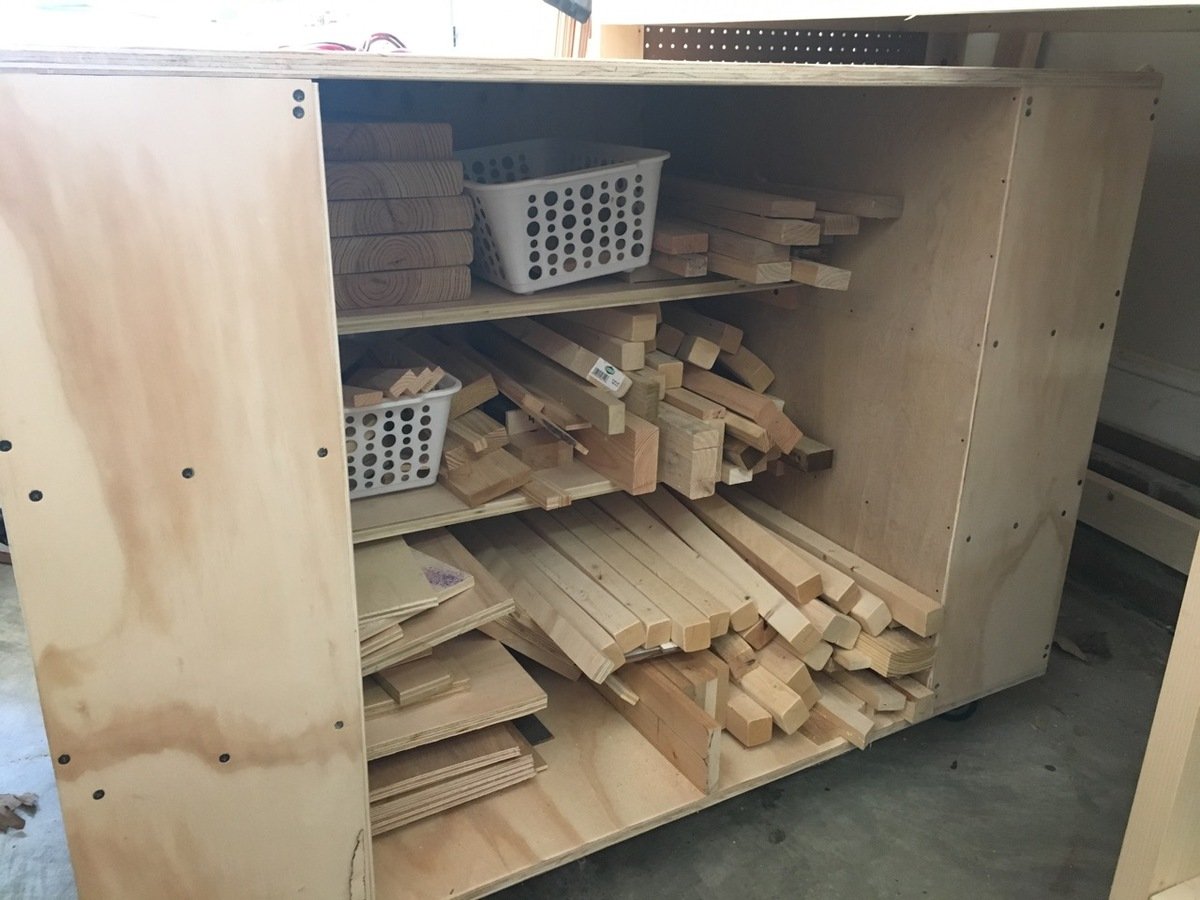
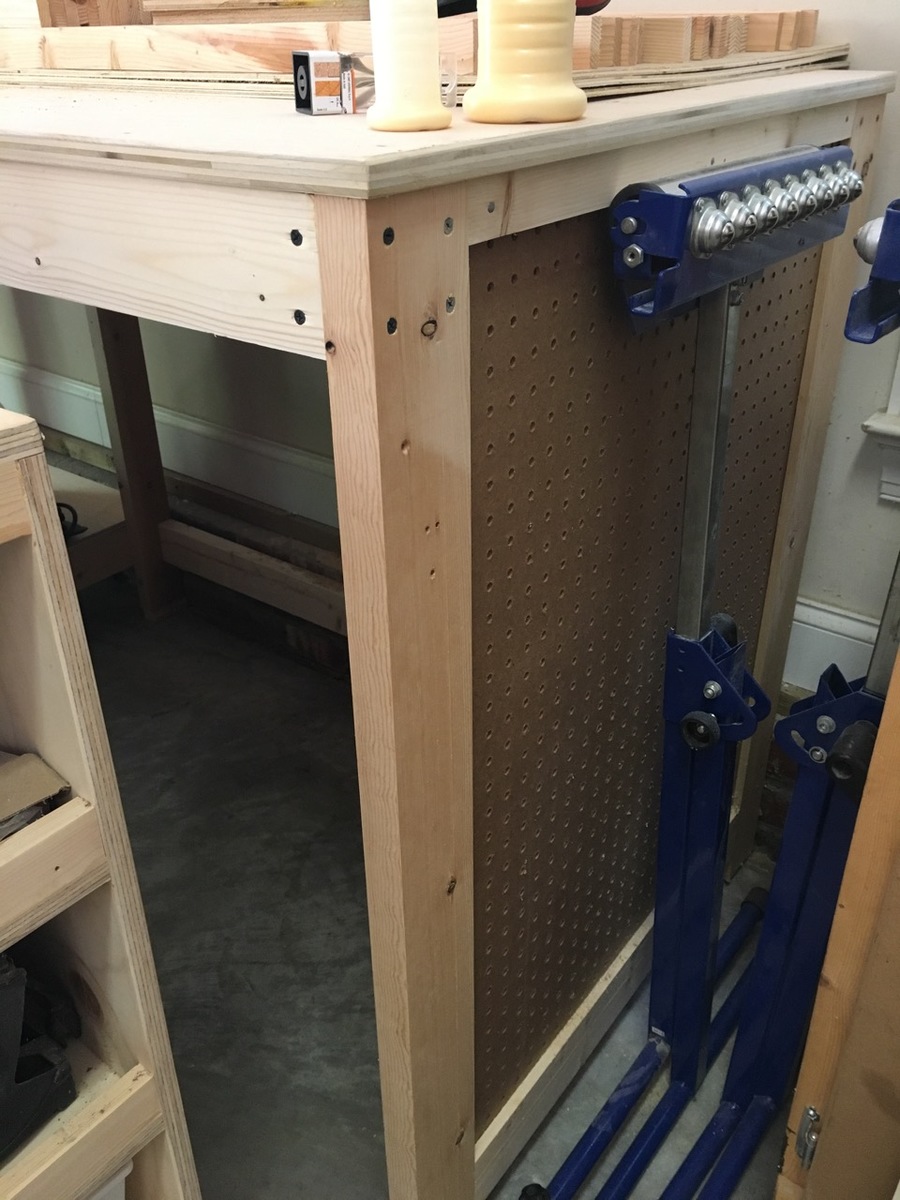
I'm so happy that I found the plans for Ana's miter stand and rolling carts! It was just what I needed for my garage shop... so everything can be organized and stored compactly but things can pull open and expand when I have a project (which is all the time, actually).
The actual miter stand was super easy to build - the carts took a few days working non-stop (when the kids permitted).
I made a few obvious changes from the plans:
-made deeper shelves on one of the carts
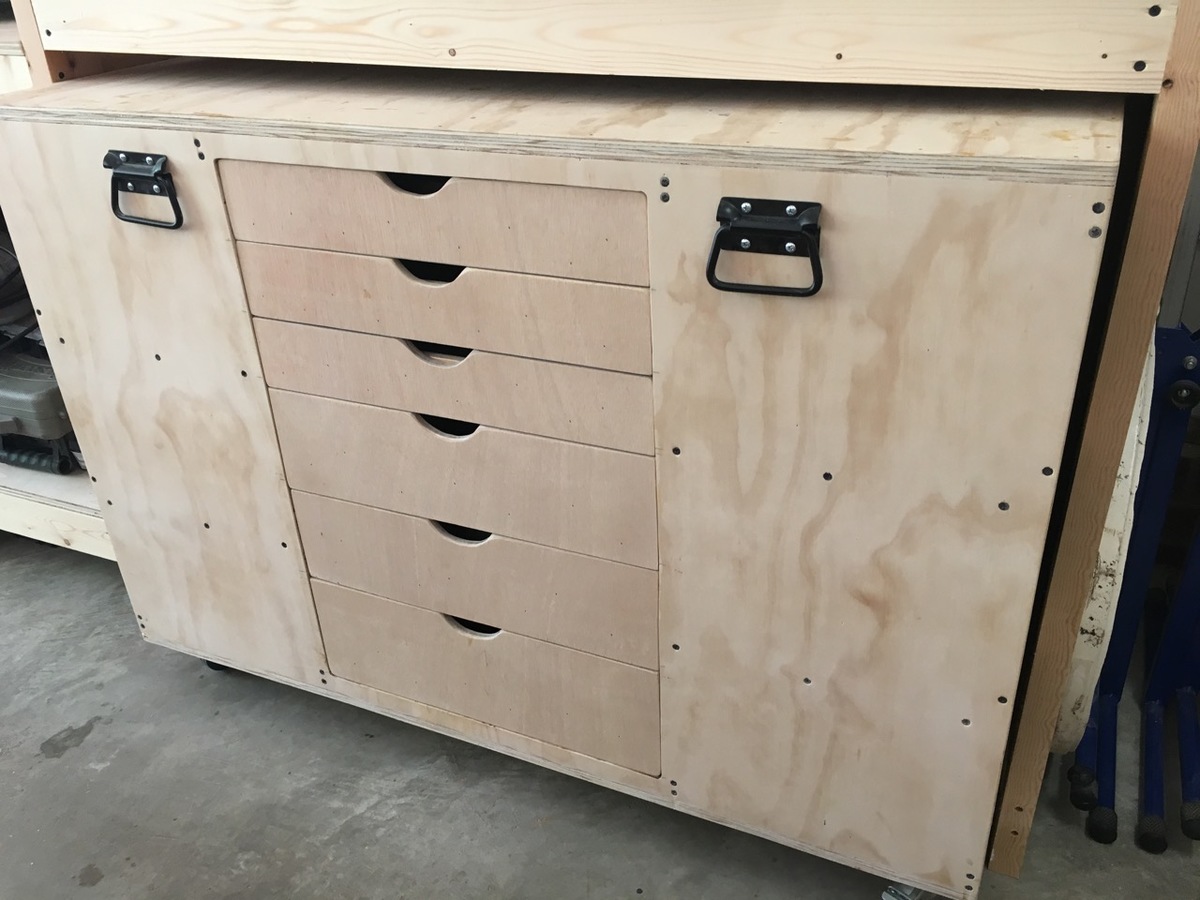
-added drawers on one of the carts
-added ped board on the end caps of miter stand
Something I didn't consider before building this was the slope of our garage floor. There's a 3" difference from one end of the legs to the other so I had to use riser blocks to get everything perfectly level. Unfortunately there's no way to level the carts as they aren't stationary but they slide in/out just fine.
I'd recommend this build to everyone! Check Home Depot clearance often for deals on plywood!
Wed, 02/07/2018 - 11:35
Would you be able to share the original plans? It seems that once the contest ended, the links to the plans stopped working.
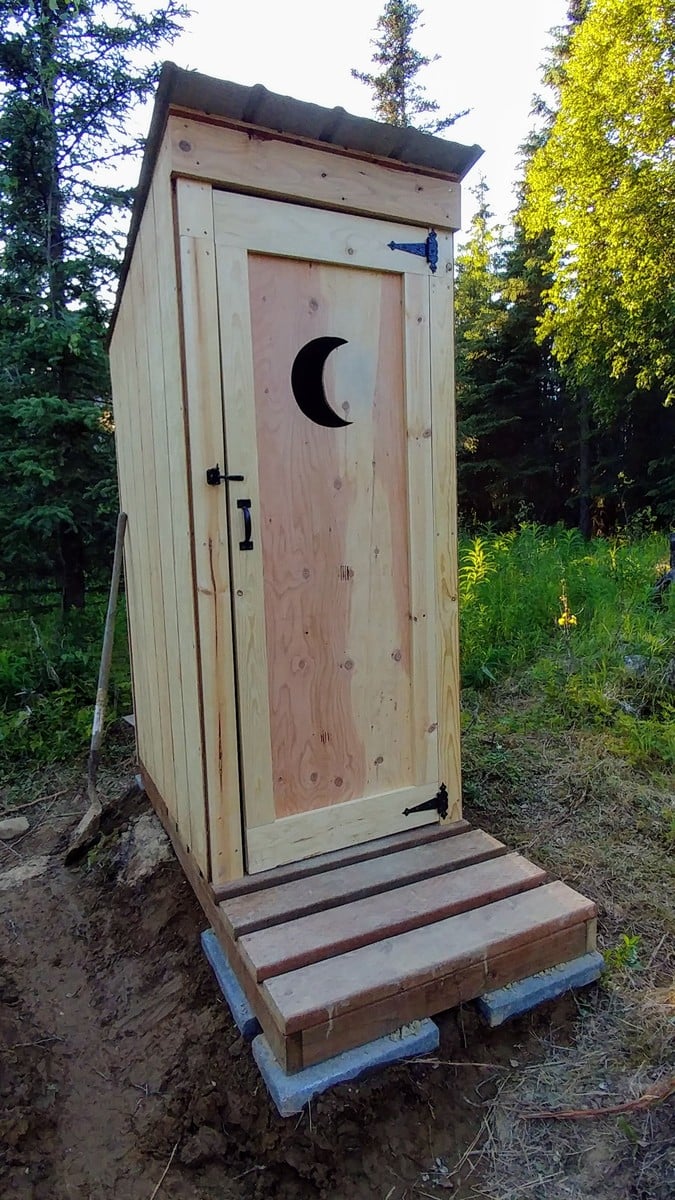
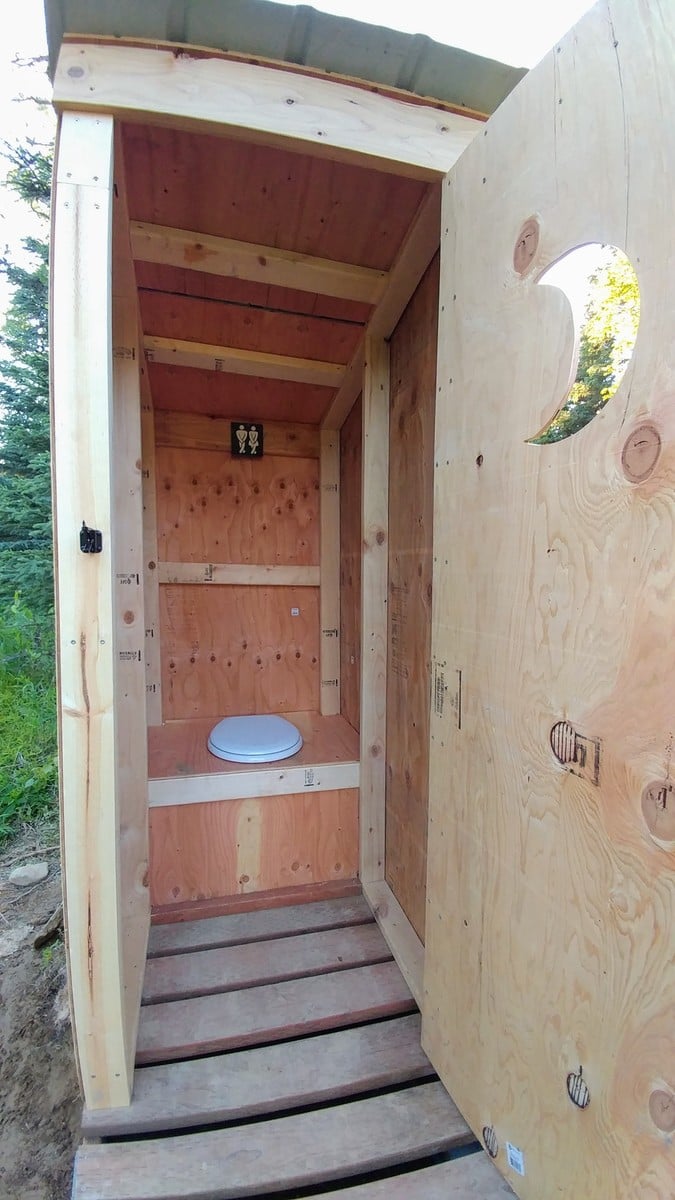
I built this outhouse to go with a dry cabin I'm working on, and also as an emergency backup for my house. I used treated lumber on the base/deck and splurged on T-111 for the siding. I wanted to use greenhouse polycarbonate for the roof, but found a piece of metal roofing in my shed that was exactly the right size so I used that instead. I thought about doing a fancy cutout on the door but ended up going with a half moon because it was easy. I'm thinking about cutting out stars of different sizes all over the rest of the door to let in more light. I'll trim and stain it next summer.
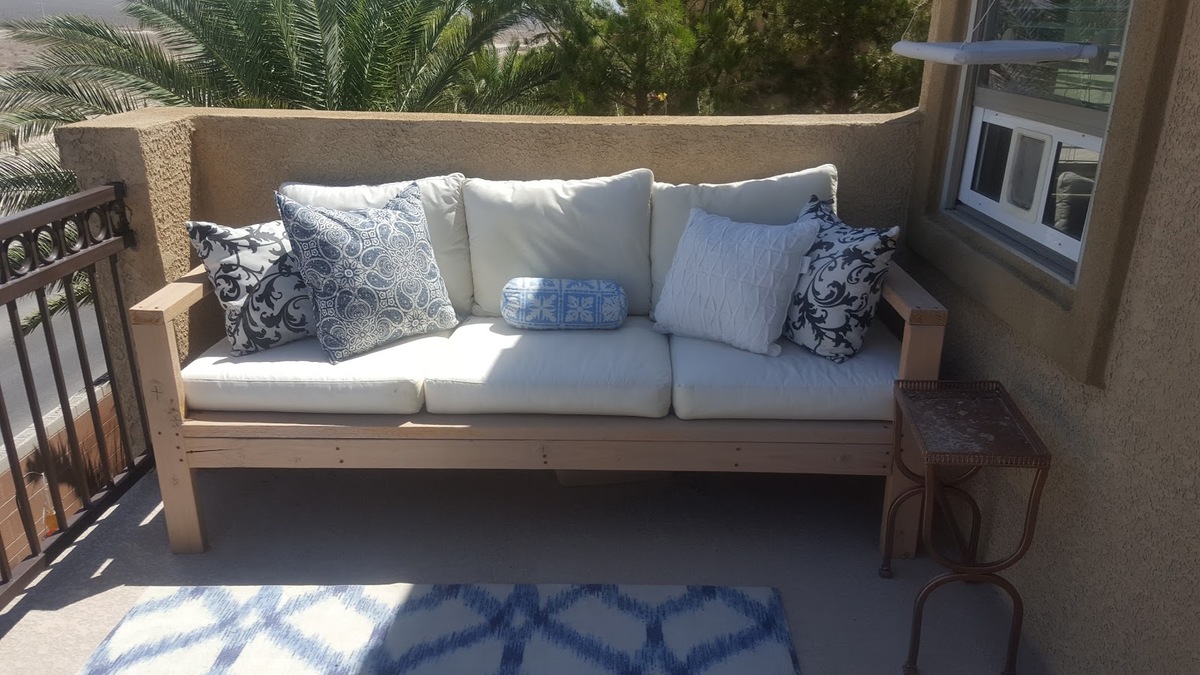
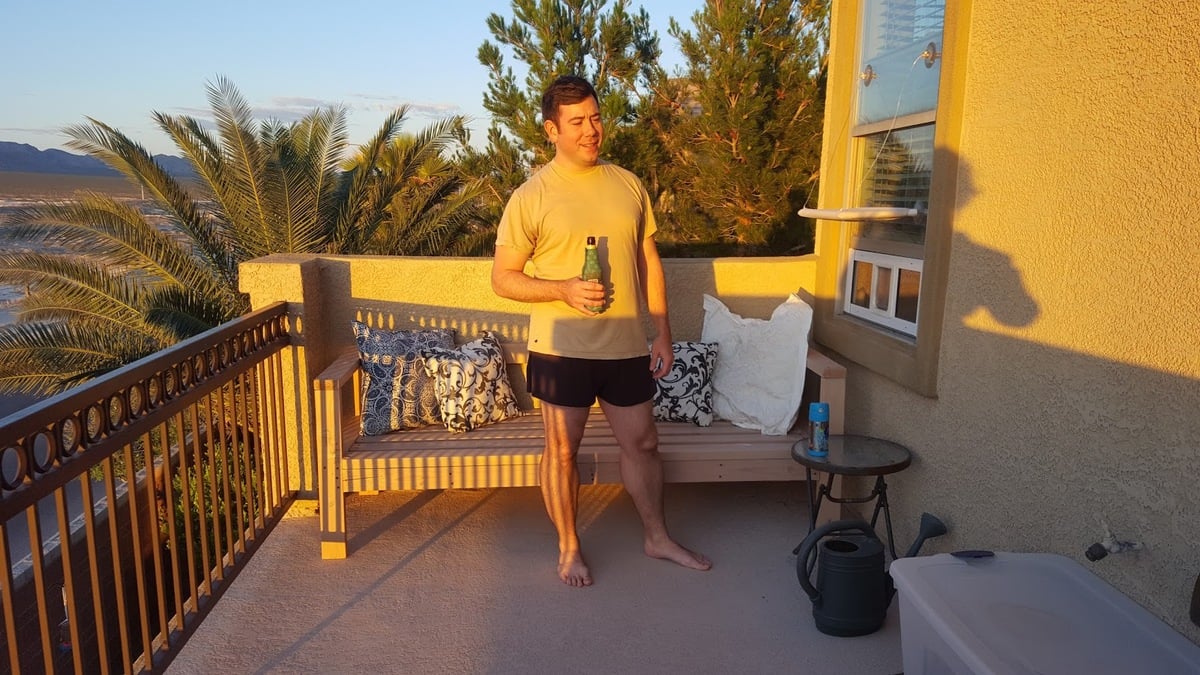
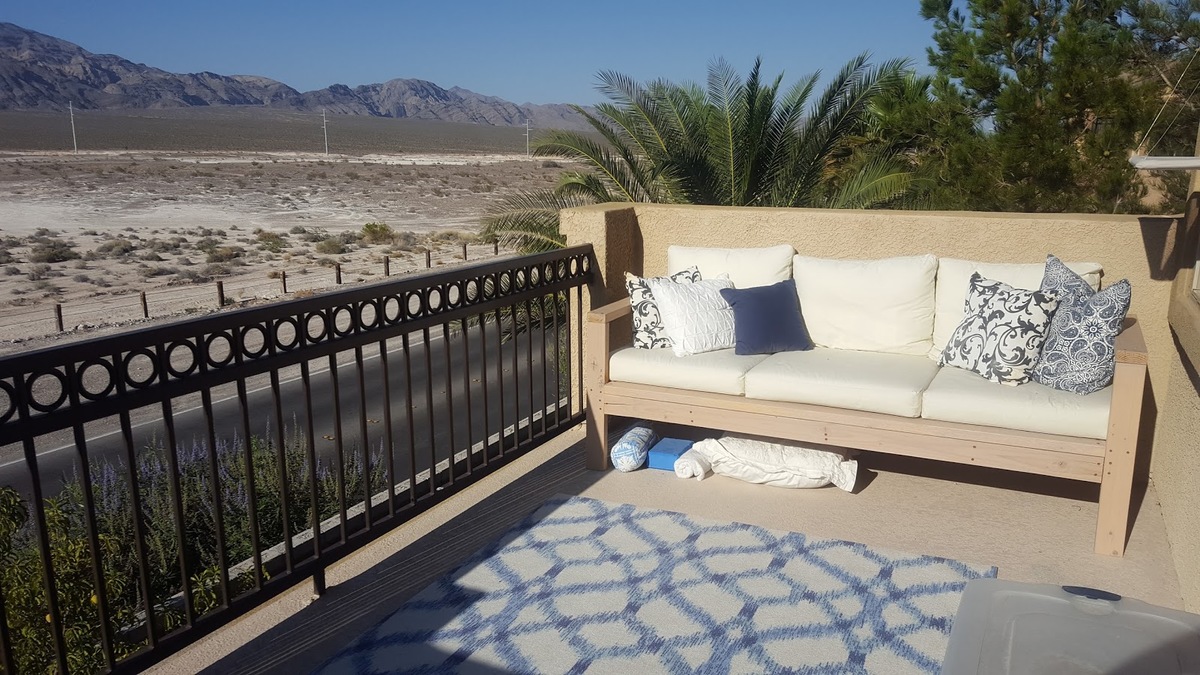
Decided to build Ana's outdoor sofa for our Master Balcony and love the results. I was a bit impatient to finish the build and therefore did not take the time to use pocket screws for a more finished result, (which I will do next time). Regardless, I love how the sofa turned out and would reccomend for anybody to build. The cheapest outdoor cushions I could find were from Ikea and we spent around $160.

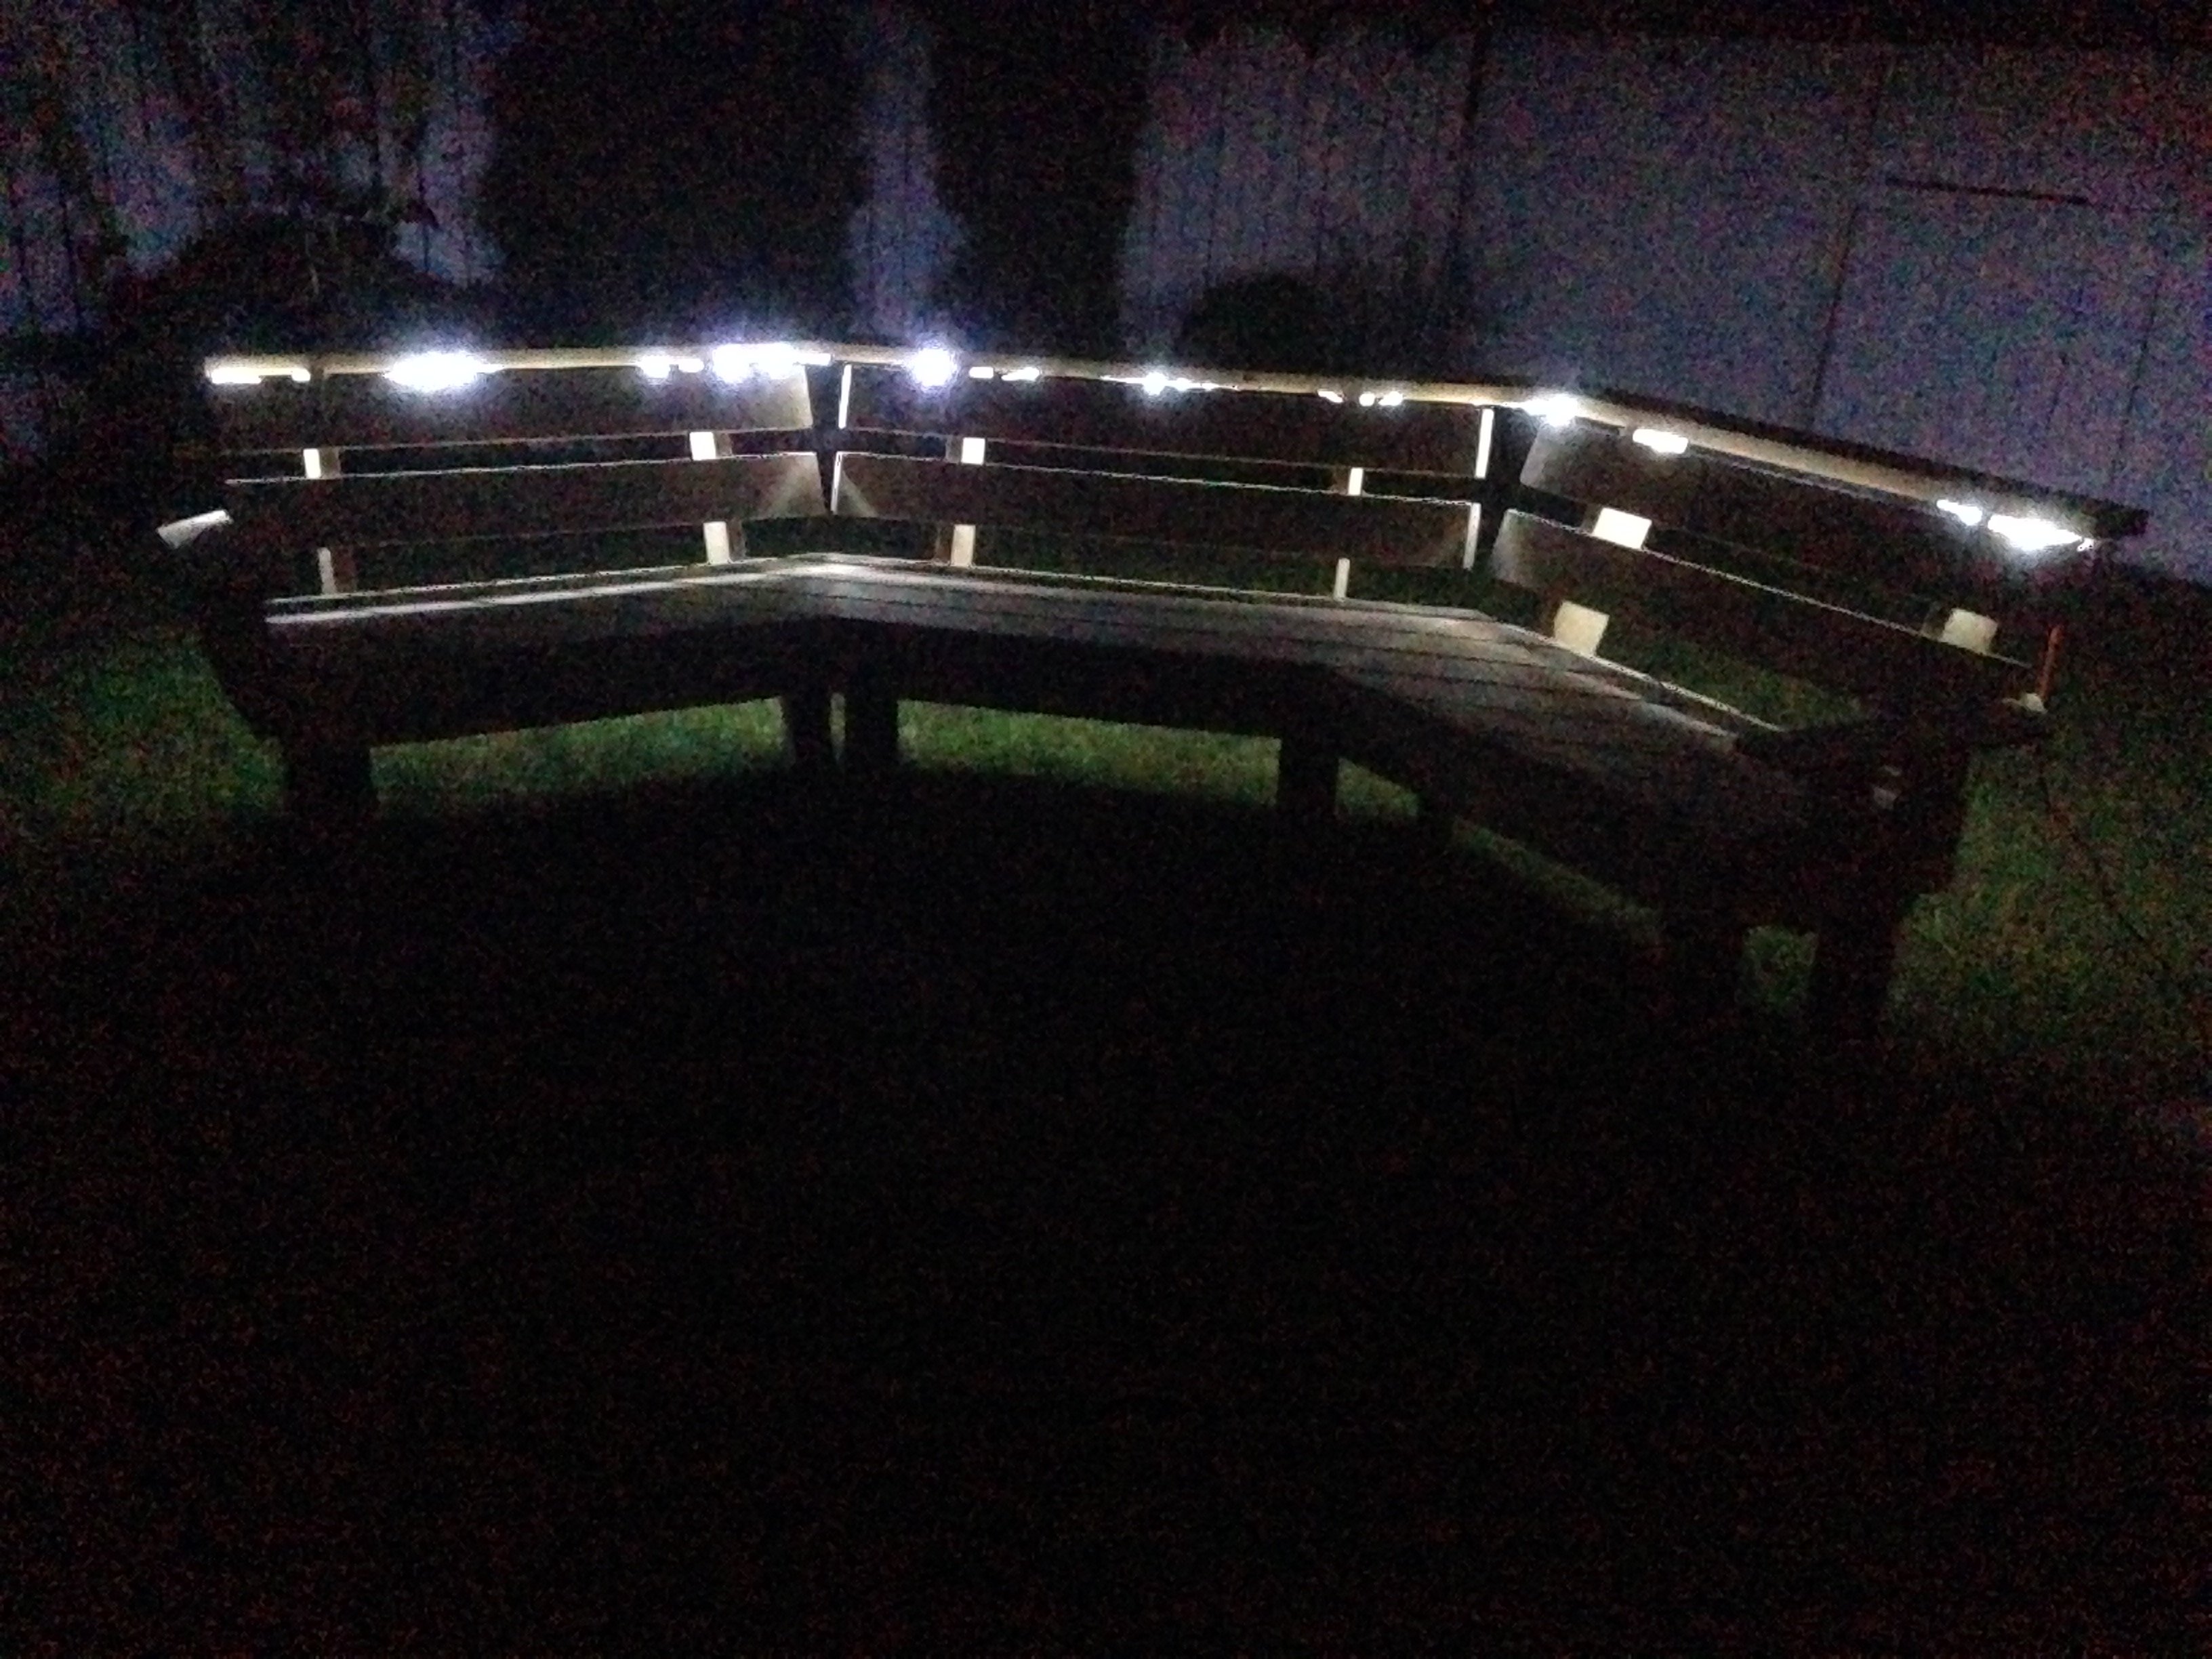
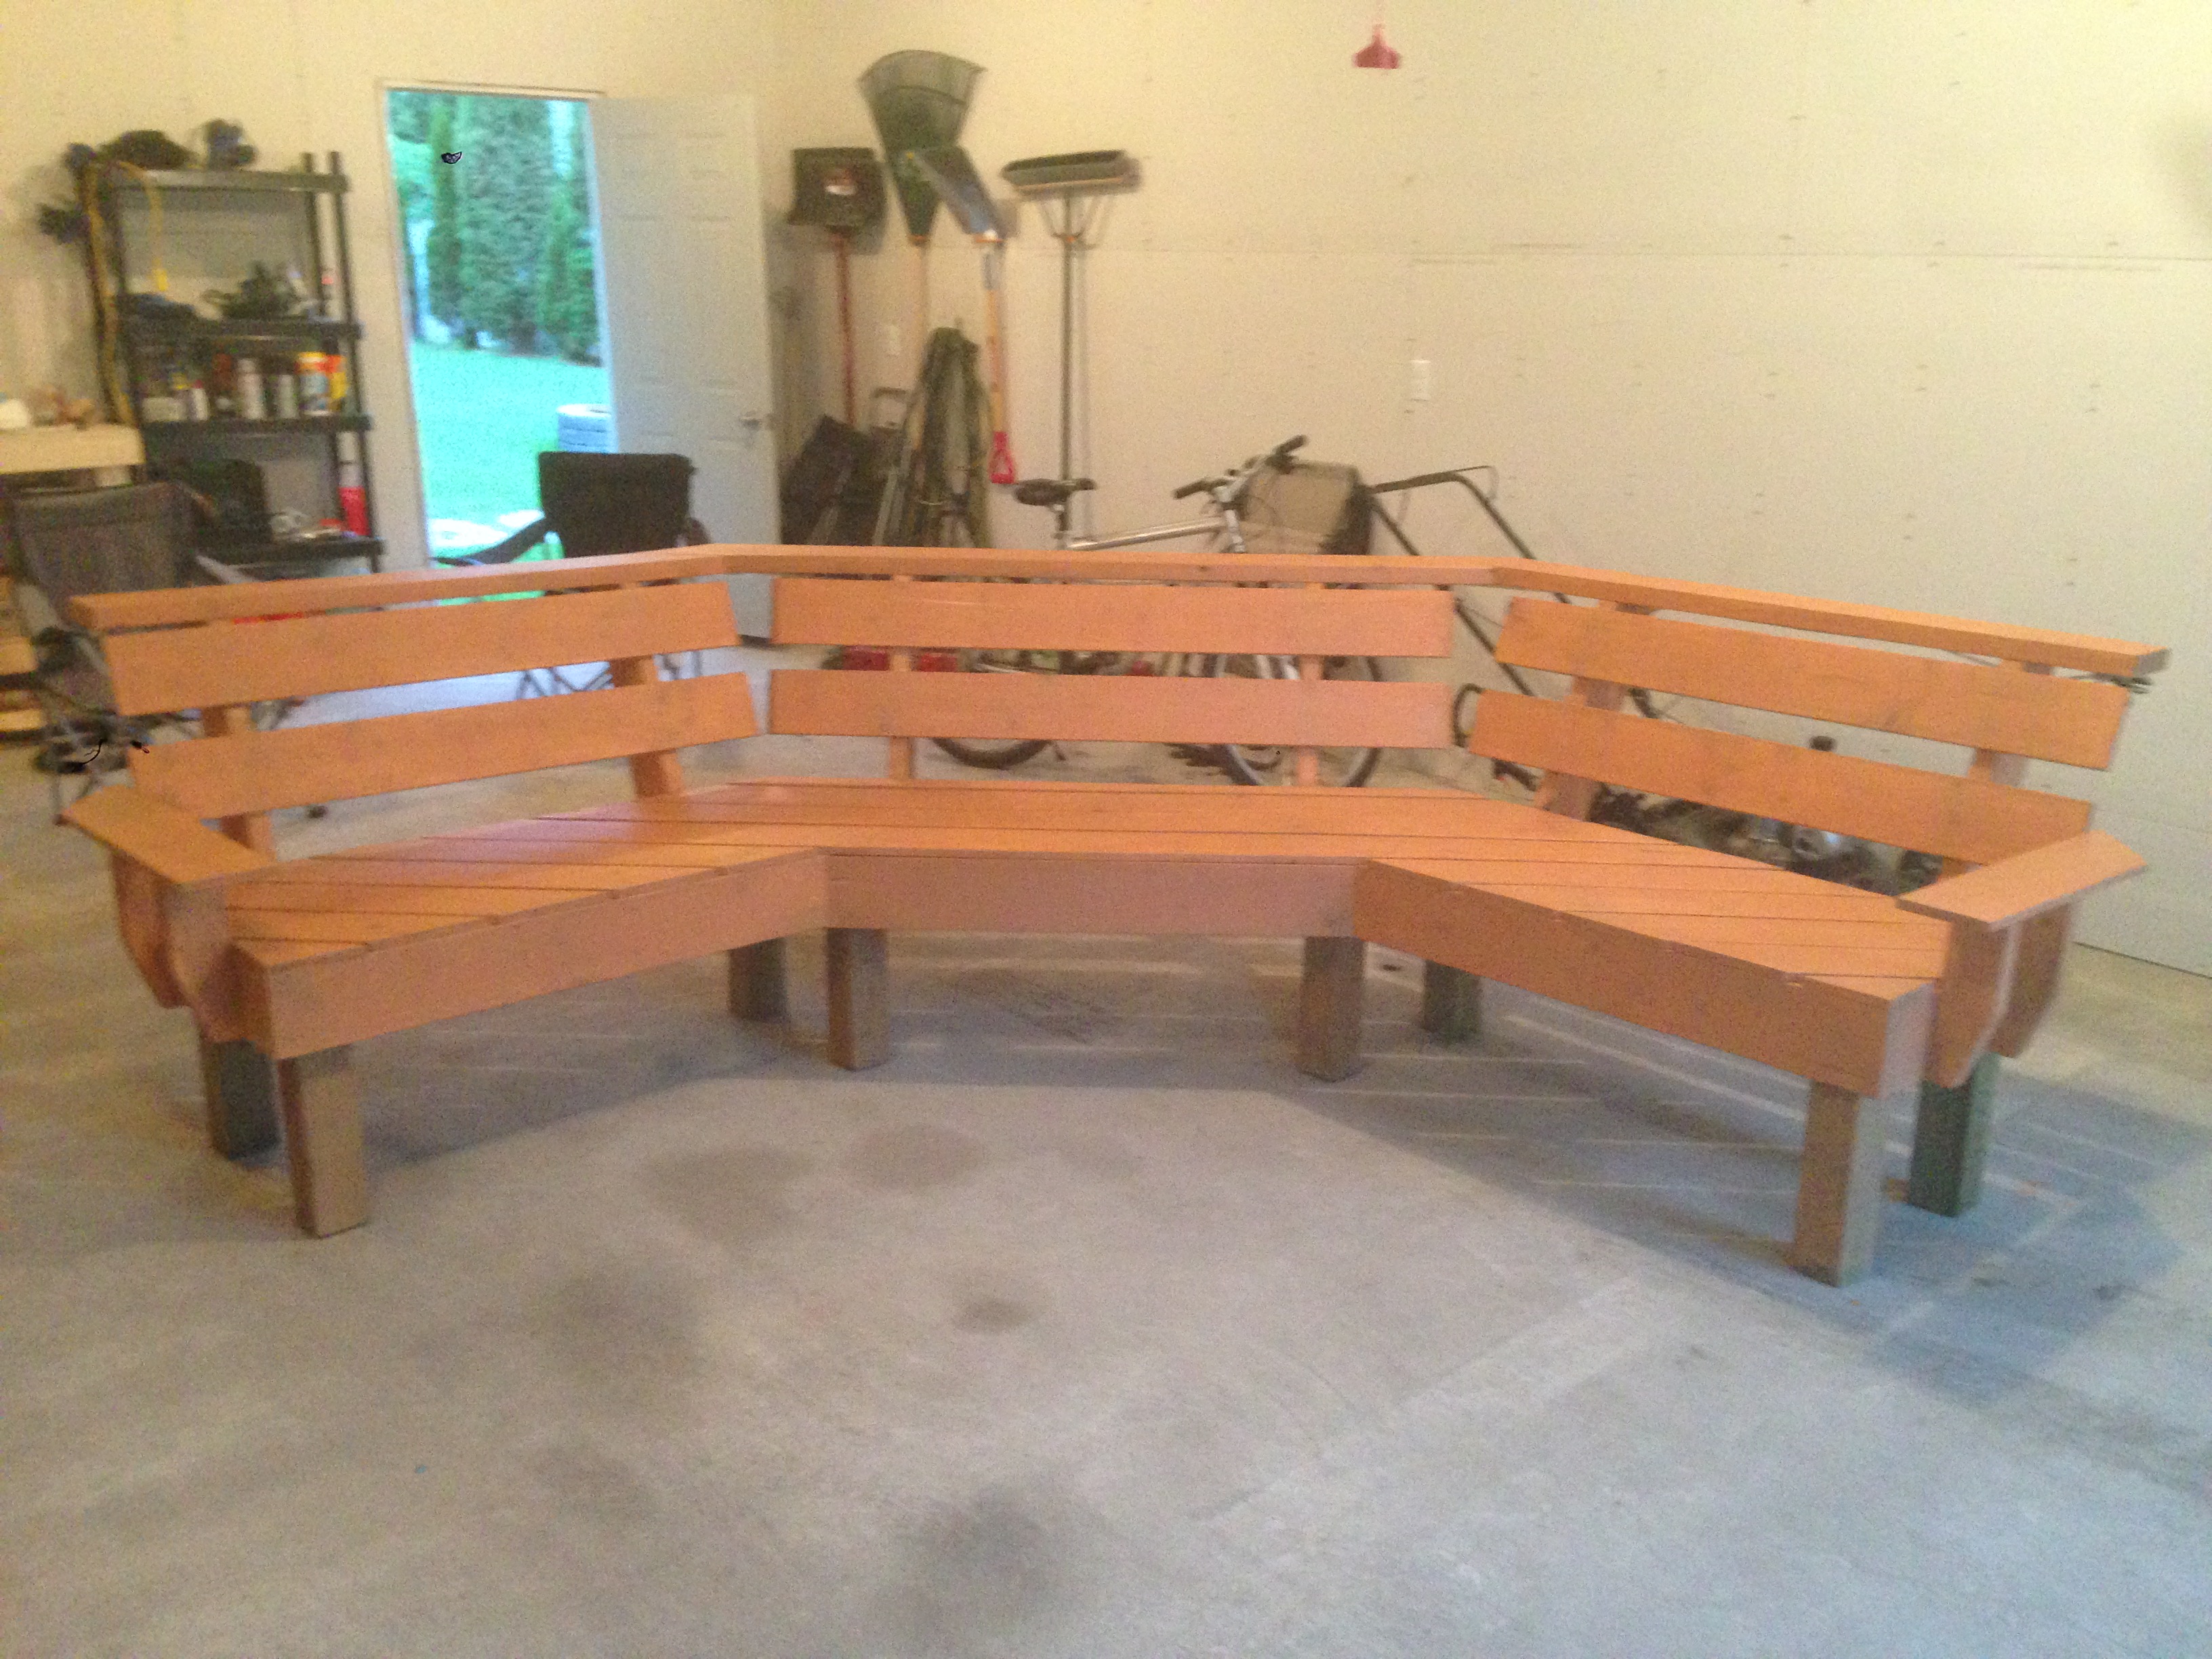
I followed your idea but i think my bench is a touch smaller. I decided to add arm rests on each end, I kept the top beverage ledge or "Bever-ledge" as I call it and ofcourse I added rope lighting along the underside. This was my first ever DIY project.


Comments
Ana White Admin
Wed, 10/06/2021 - 10:27
Great job!
Thank you for sharing, it looks amazing!