Comfy Outdoor Chair with Deep Seat Cushions
DIY Outdoor Wood Chairs
by Tara
Built from Plan(s)
DIY Outdoor Wood Chairs
by Tara
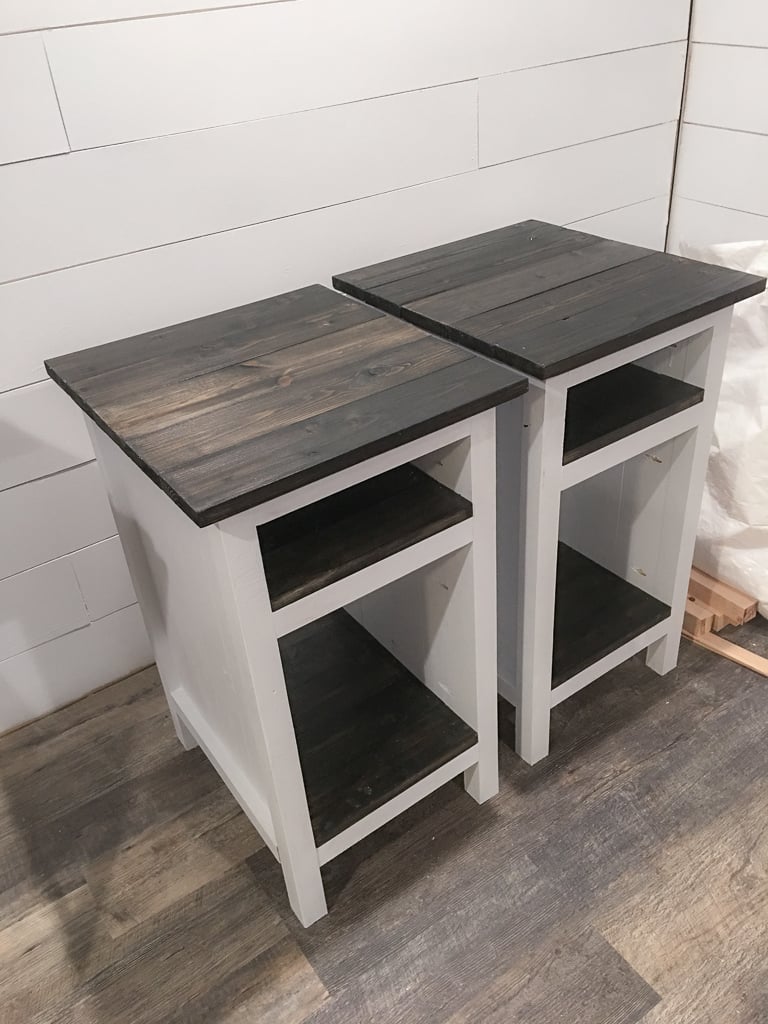
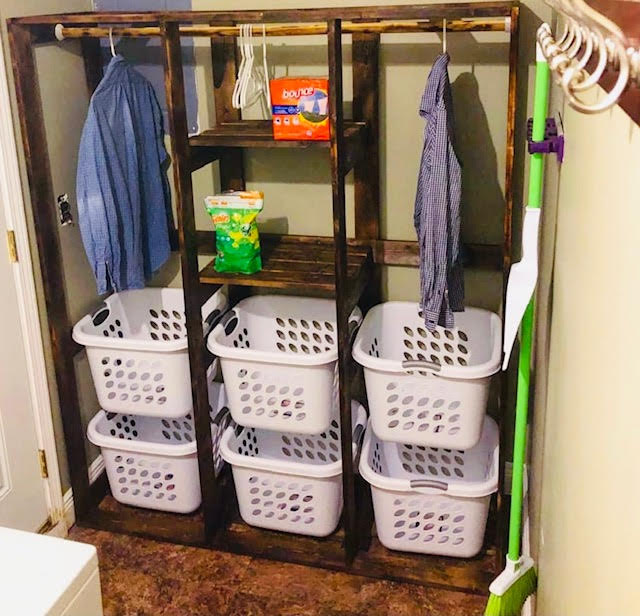
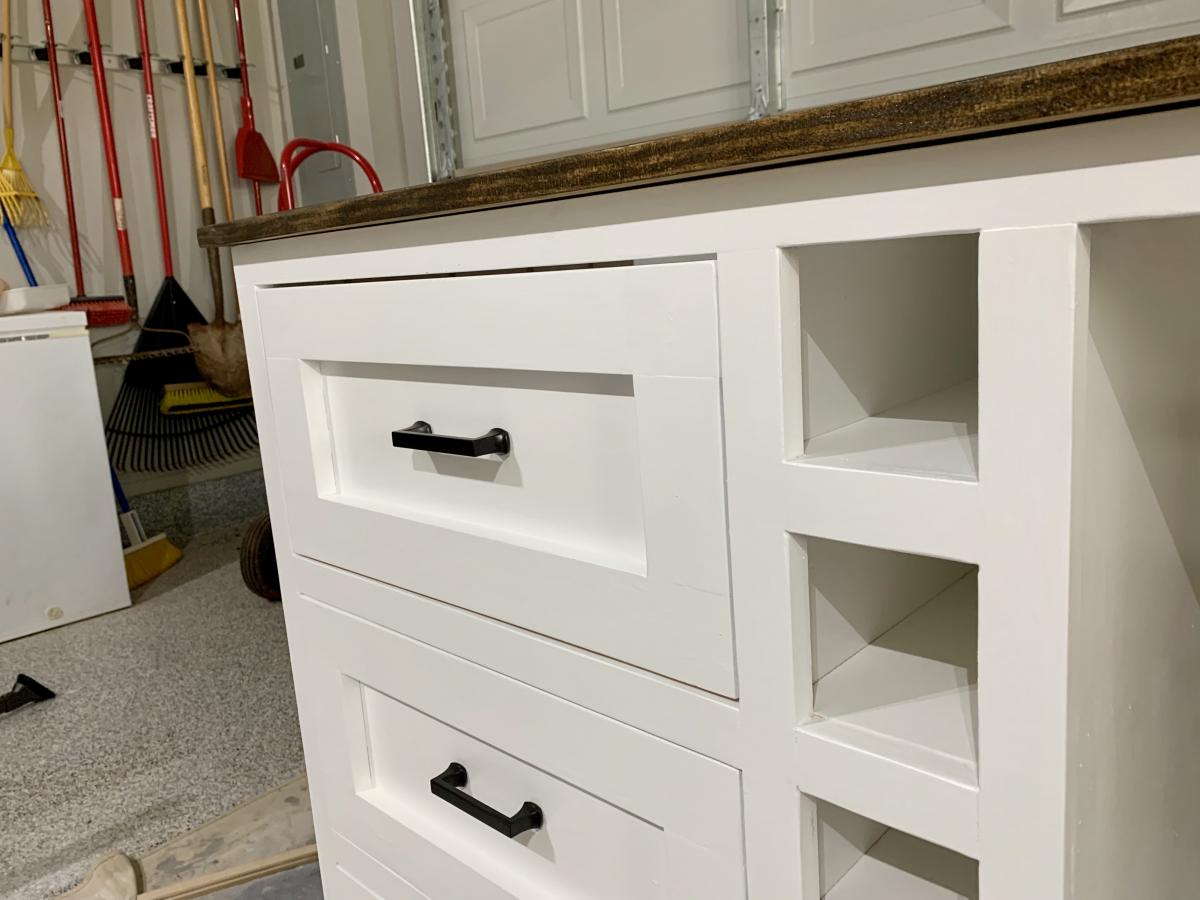
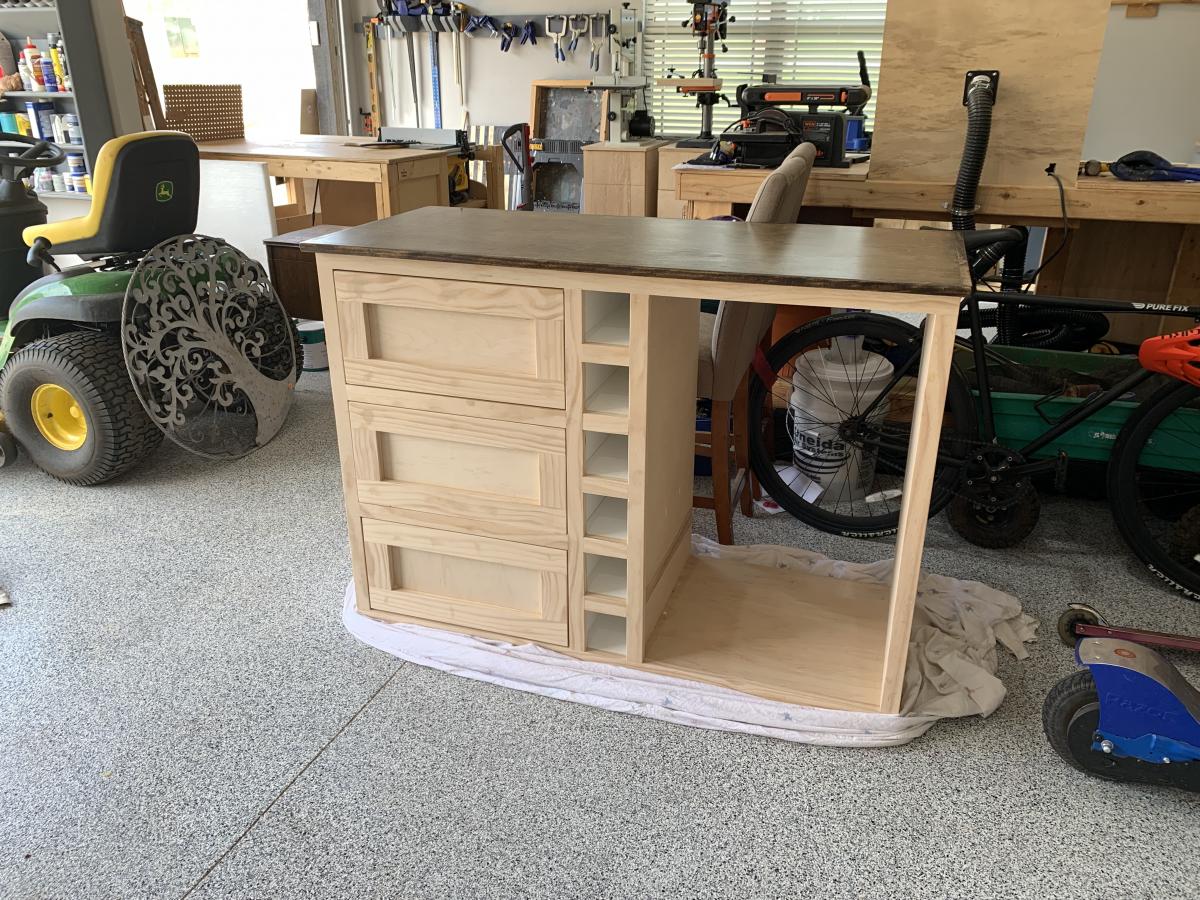
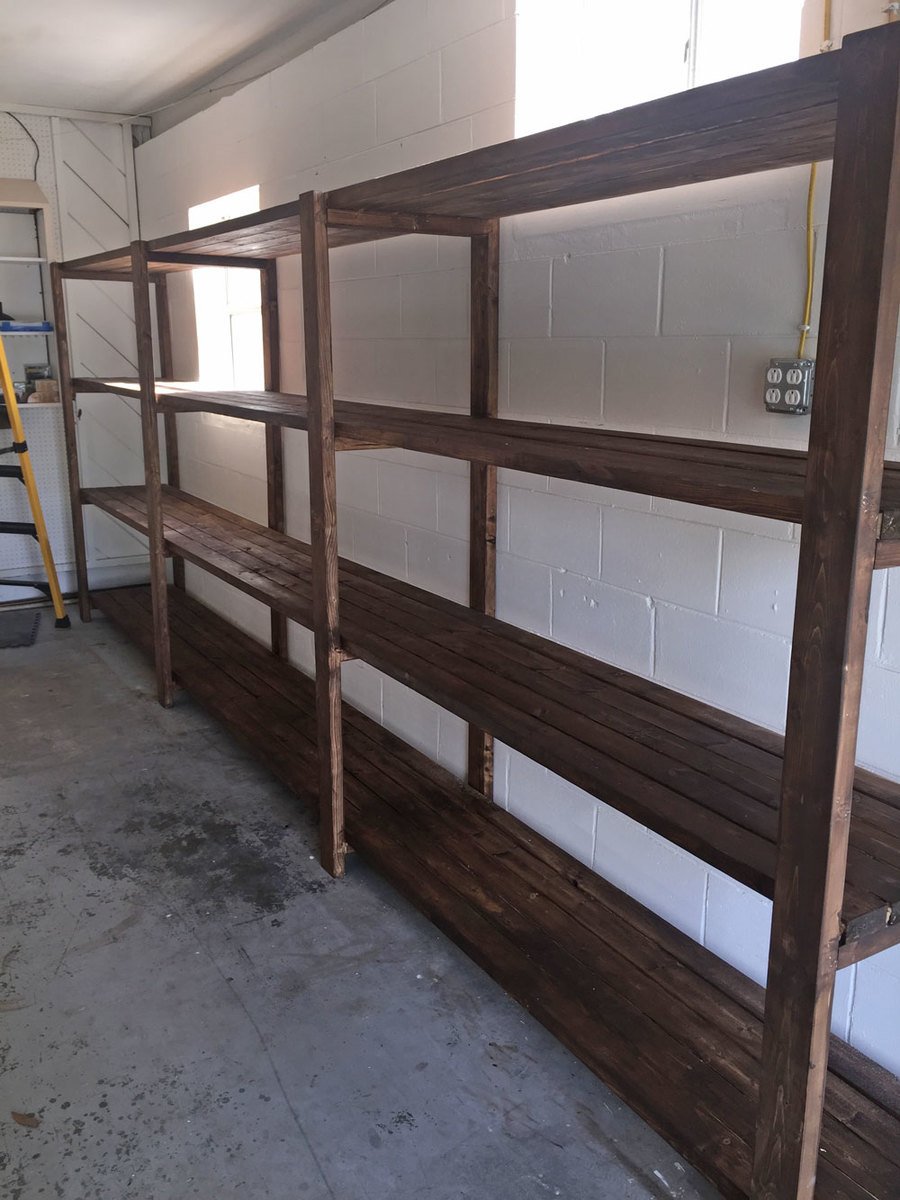
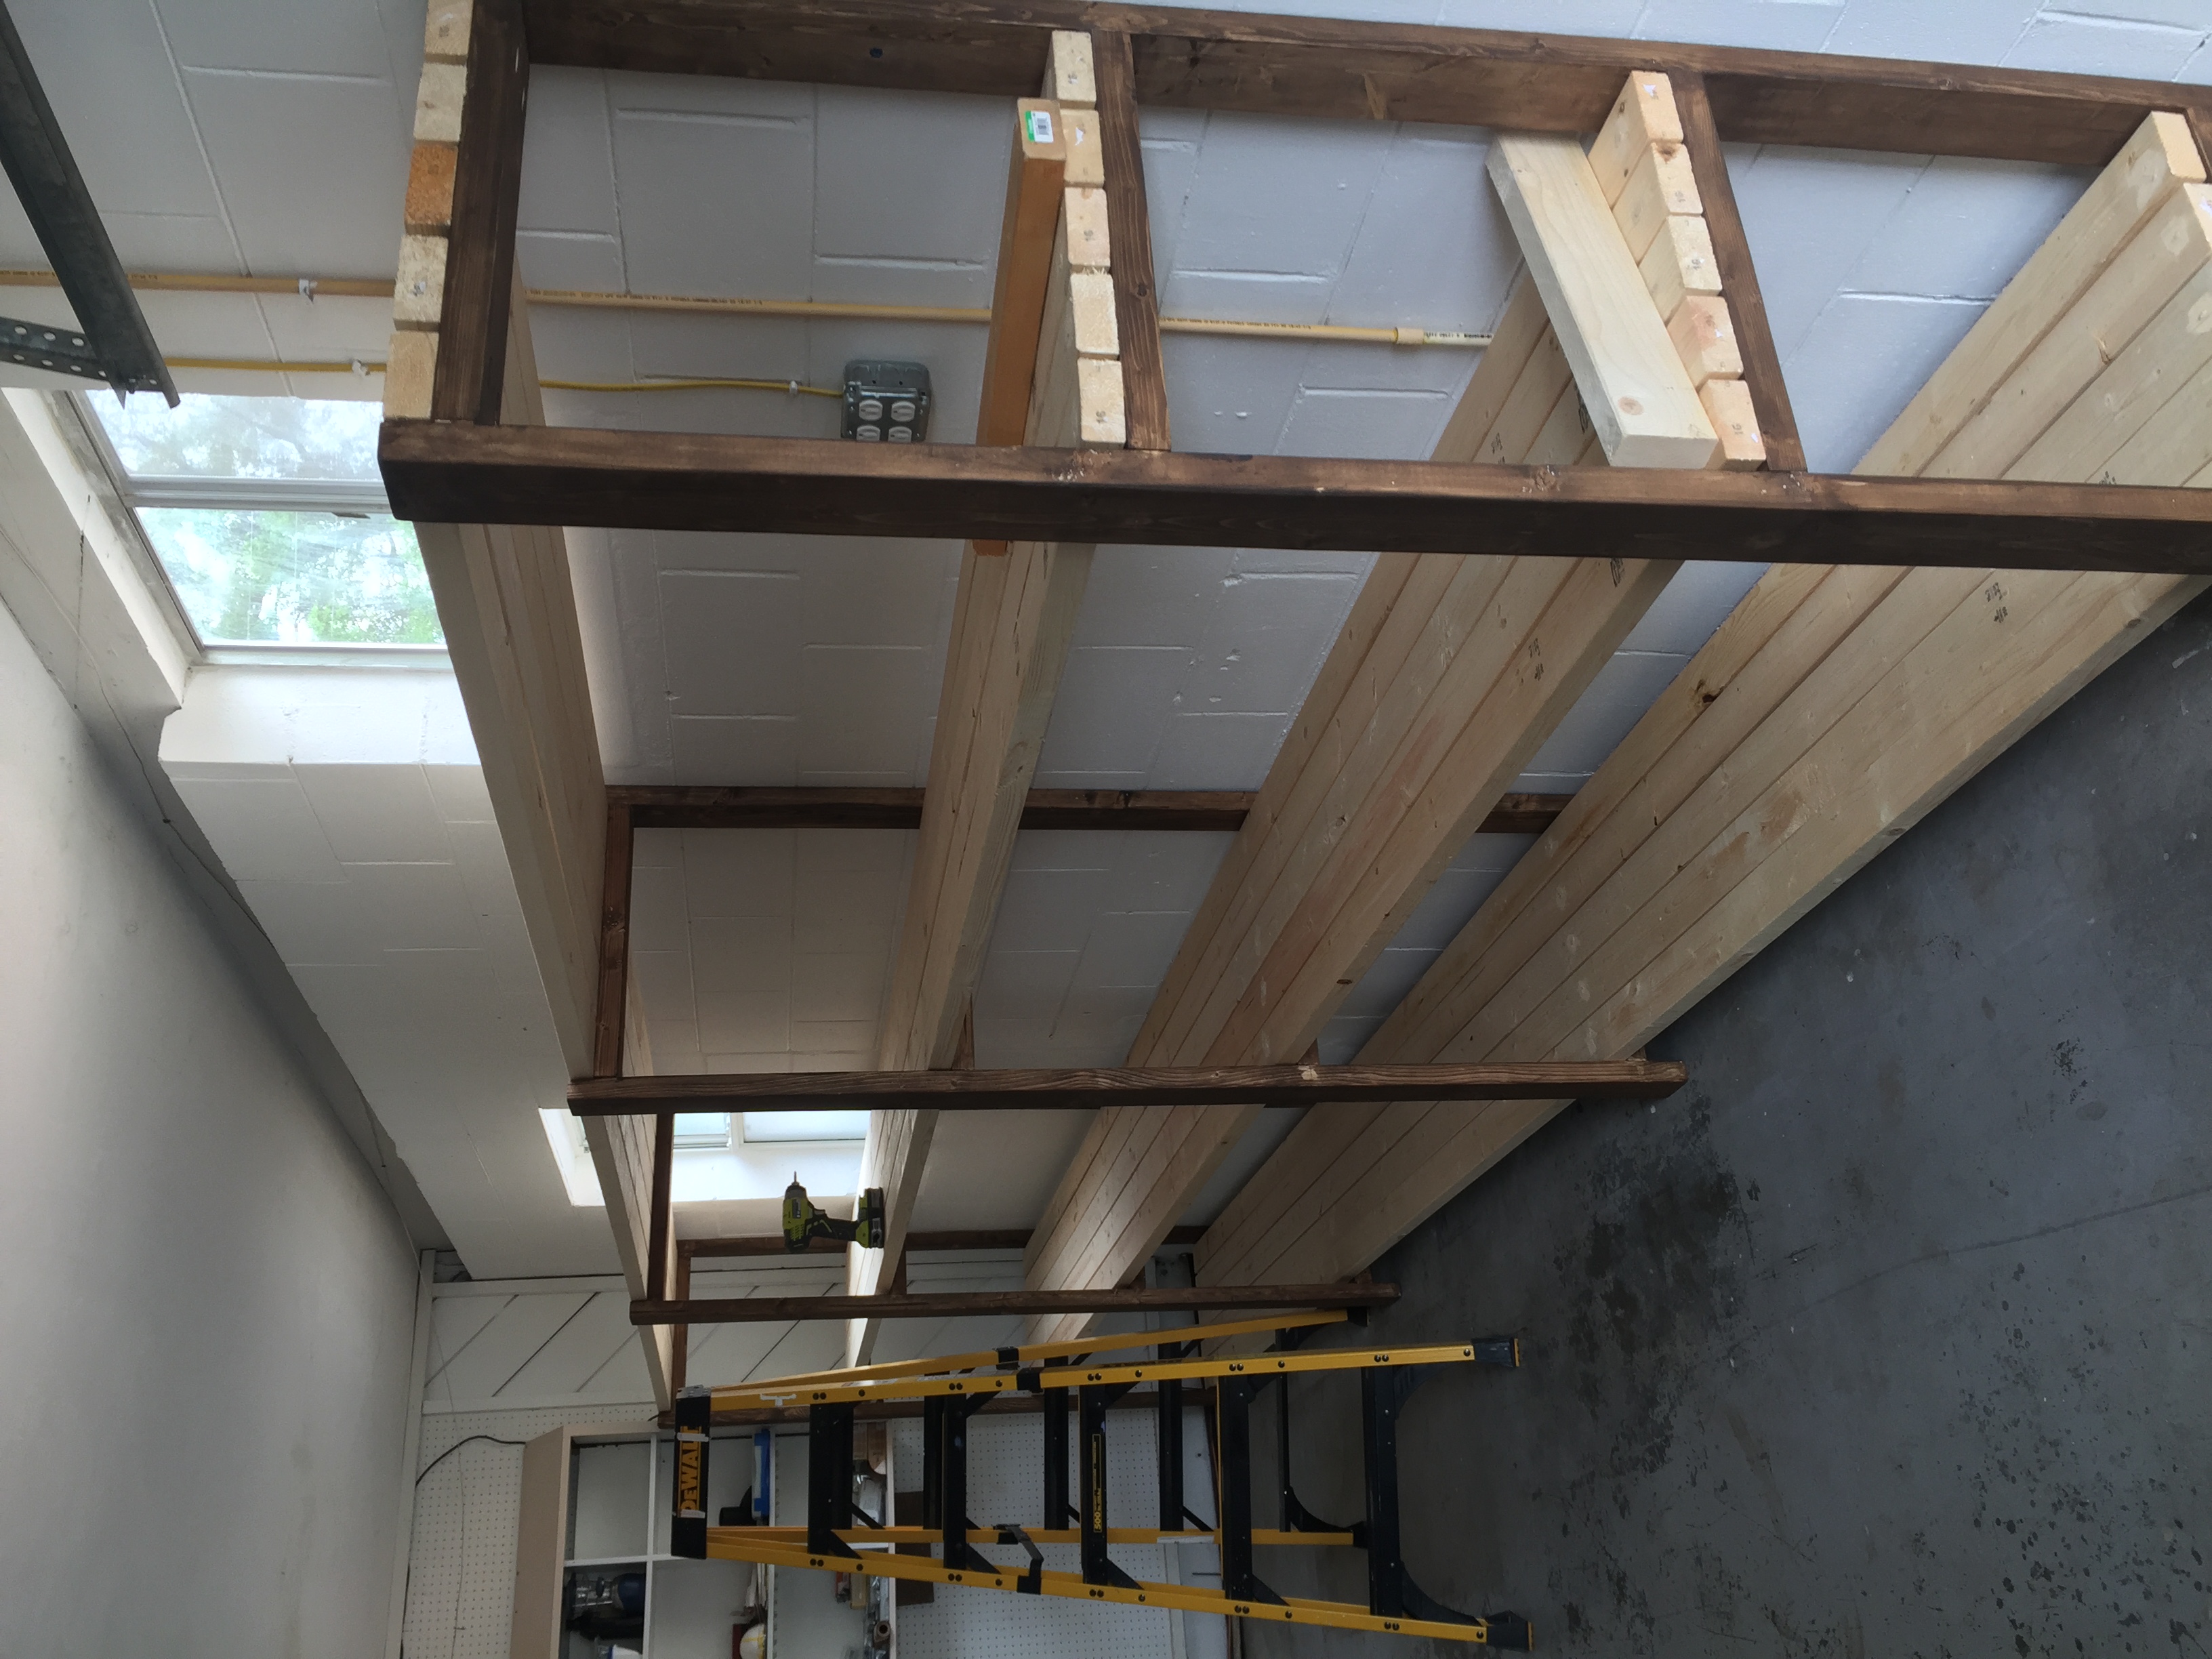
These are made from the three drawer plans but modified the size to meet our needs and used planks for shelves instead of drawers. Painted white and black gel stain.
UPDATE FROM ANA - We have received MANY requests for this plan and have created a plan inspired by this post here.
Shopping List (for ONE bedside table) + Tools
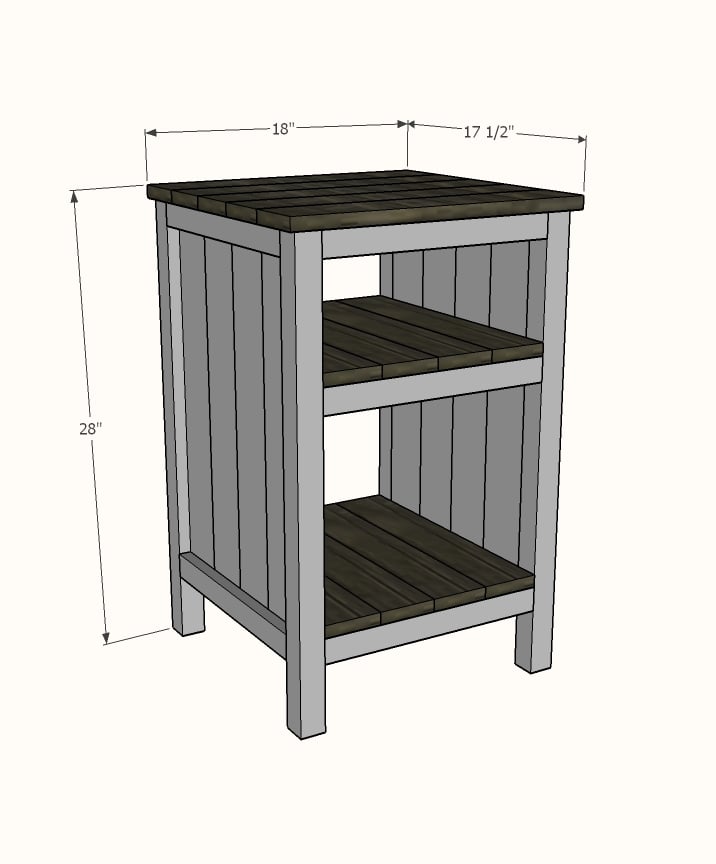
Cut List (for ONE bedside table)
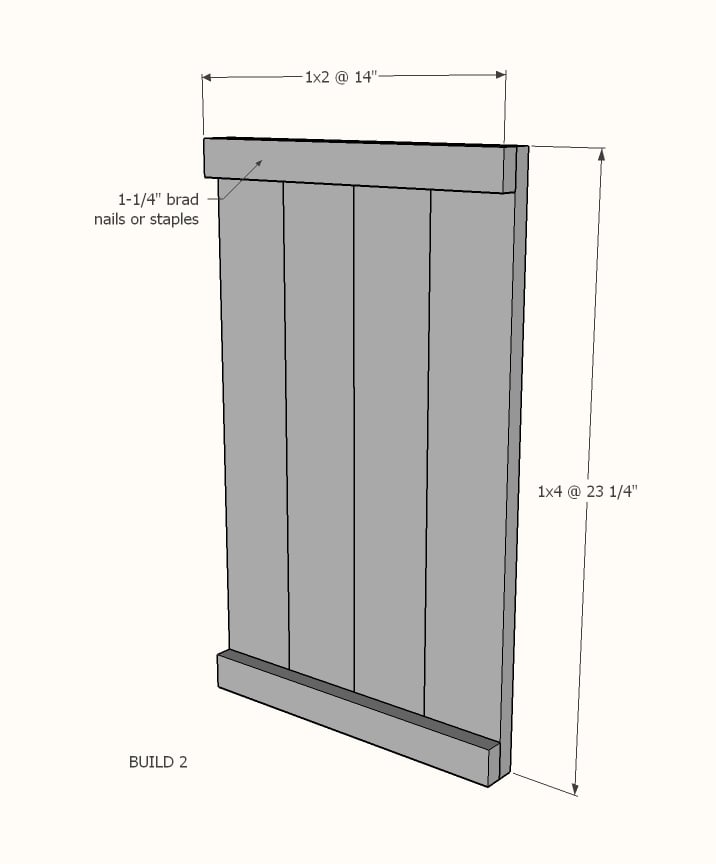
Cut 1x4s and 1x2s with miter saw. Layout side panel 1x4s as shown above. Measure and cut 1x2 to length. Nail the 1x2 to the 1x4s, two nails per overlap with glue. Make sure your side panels are square. Build two.
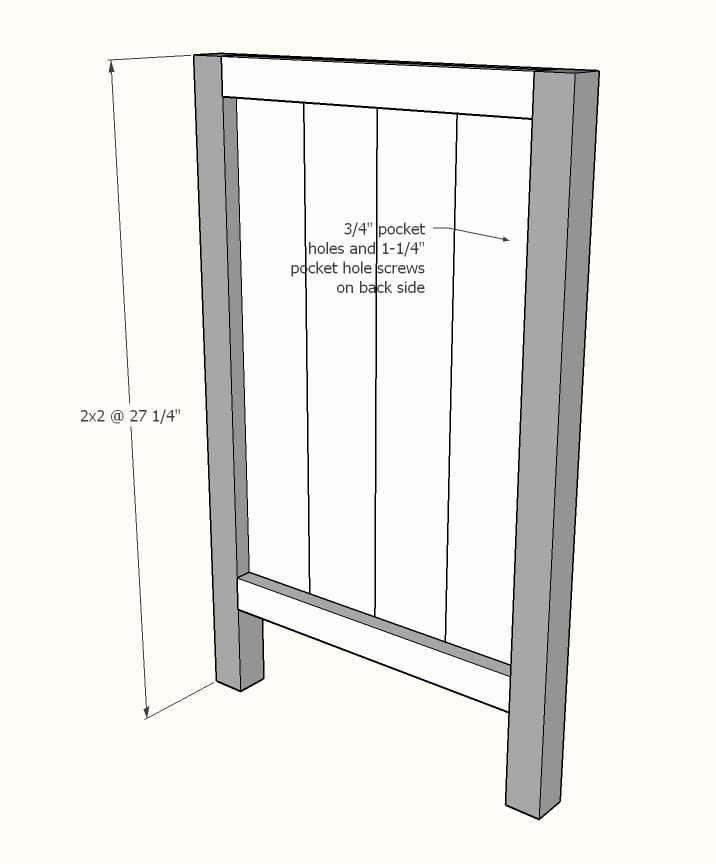
Drill 3/4" pocket holes on inside edge of 1x4 ends as shown above. Cut 2x2s with compound miter saw. Attach to the 2x2 legs with 1-1/4" pocket hole screws.
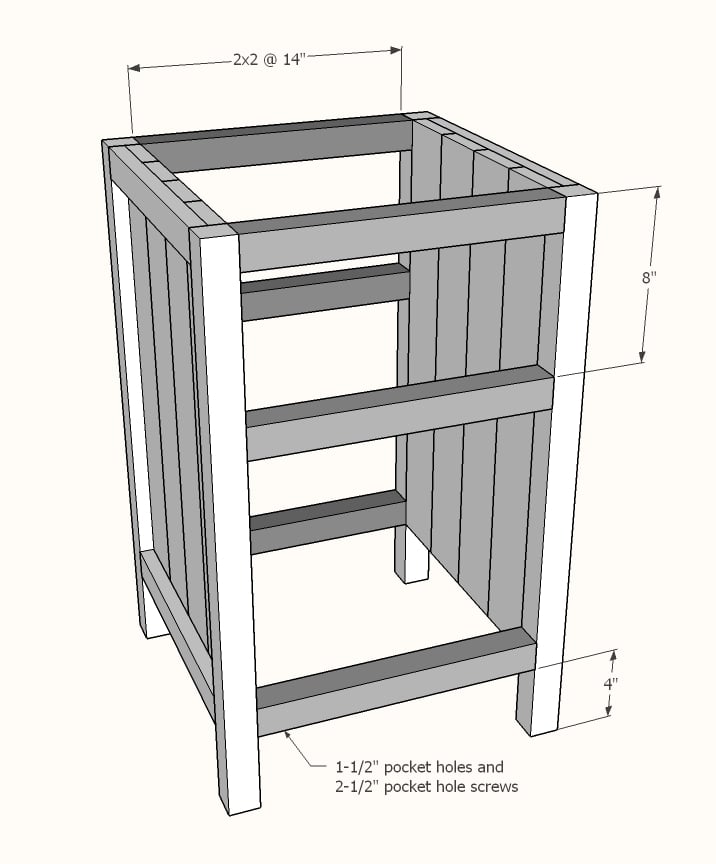
Set Kreg Jig to 1-1/2" setting. Drill 1-1/2" pocket holes on end of each 2x2, one per end. Attach to 2x2s with wood glue as shown above.
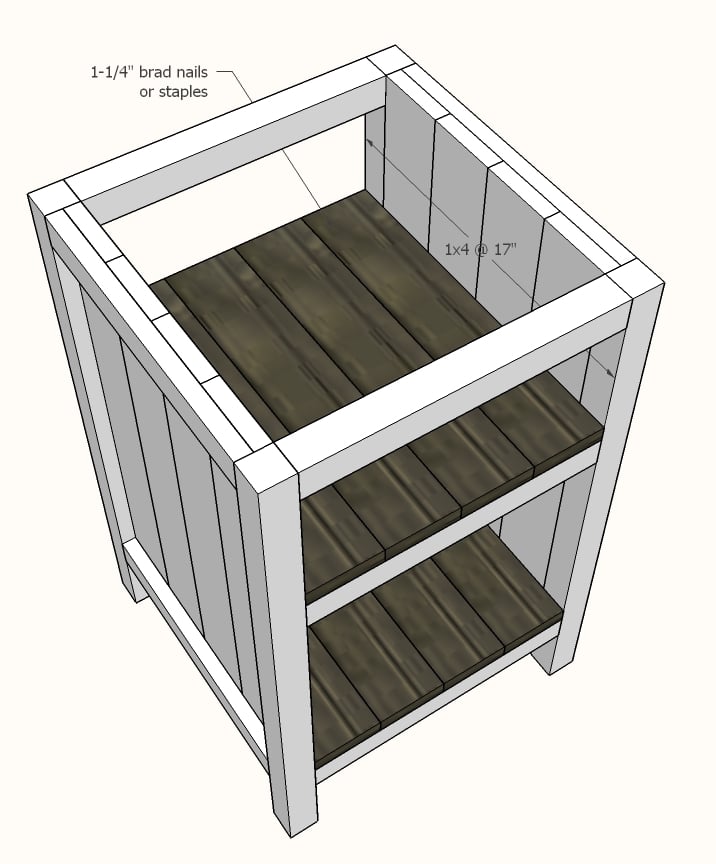
Cut 1x4 shelf boards with compound miter saw. Nail and glue to the inside of the project as shown above.
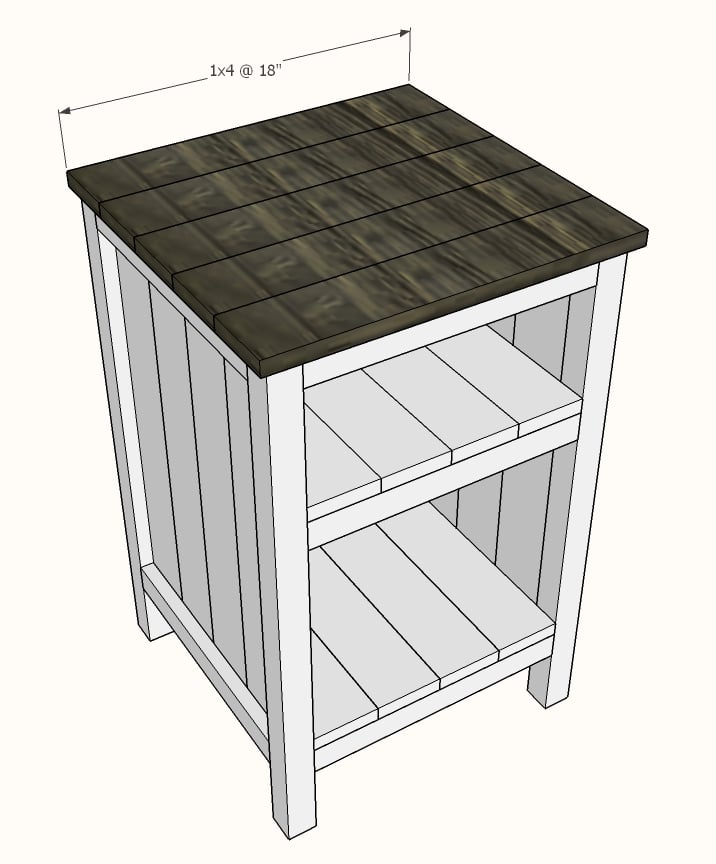
Cut 1x4 top boards with compound miter saw. Nail and glue to top with 1-1/4" nails and wood glue.
If you wish to add a back, measure and cut from 1/4" plywood and attach with 3/4" brad nails.
Mon, 02/12/2018 - 16:24
Is there plans for this one? Its gorgeous and I'd love to build it!

In reply to Is there plans for this one? by laurahamer07
Thu, 06/07/2018 - 15:37
Hello, this nightstand was built using these plans http://www.ana-white.com/2011/06/reclaimed-wood-look-bedside-table instead of adding drawers the builder added shelves. The shelves can be 3/4" plywood or 1x boards.
In reply to bedside end tables by karenlouder
Thu, 06/07/2018 - 15:40
Hello, this nightstand was built using this plan, but instead of drawers, simply measure and cut shelves to fit from 3/4" plywood. http://www.ana-white.com/2011/06/reclaimed-wood-look-bedside-table

Wed, 07/24/2019 - 09:24
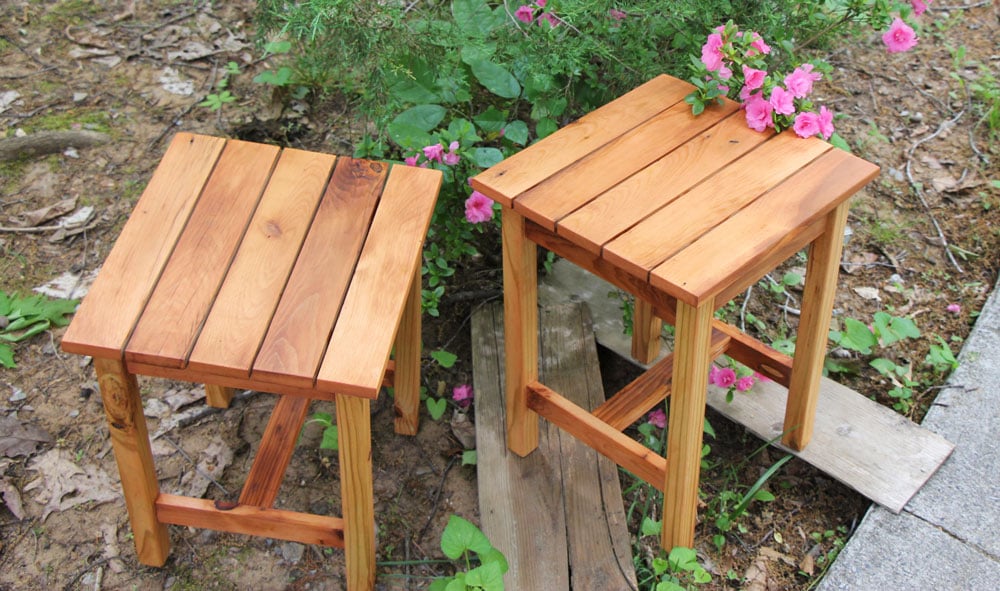
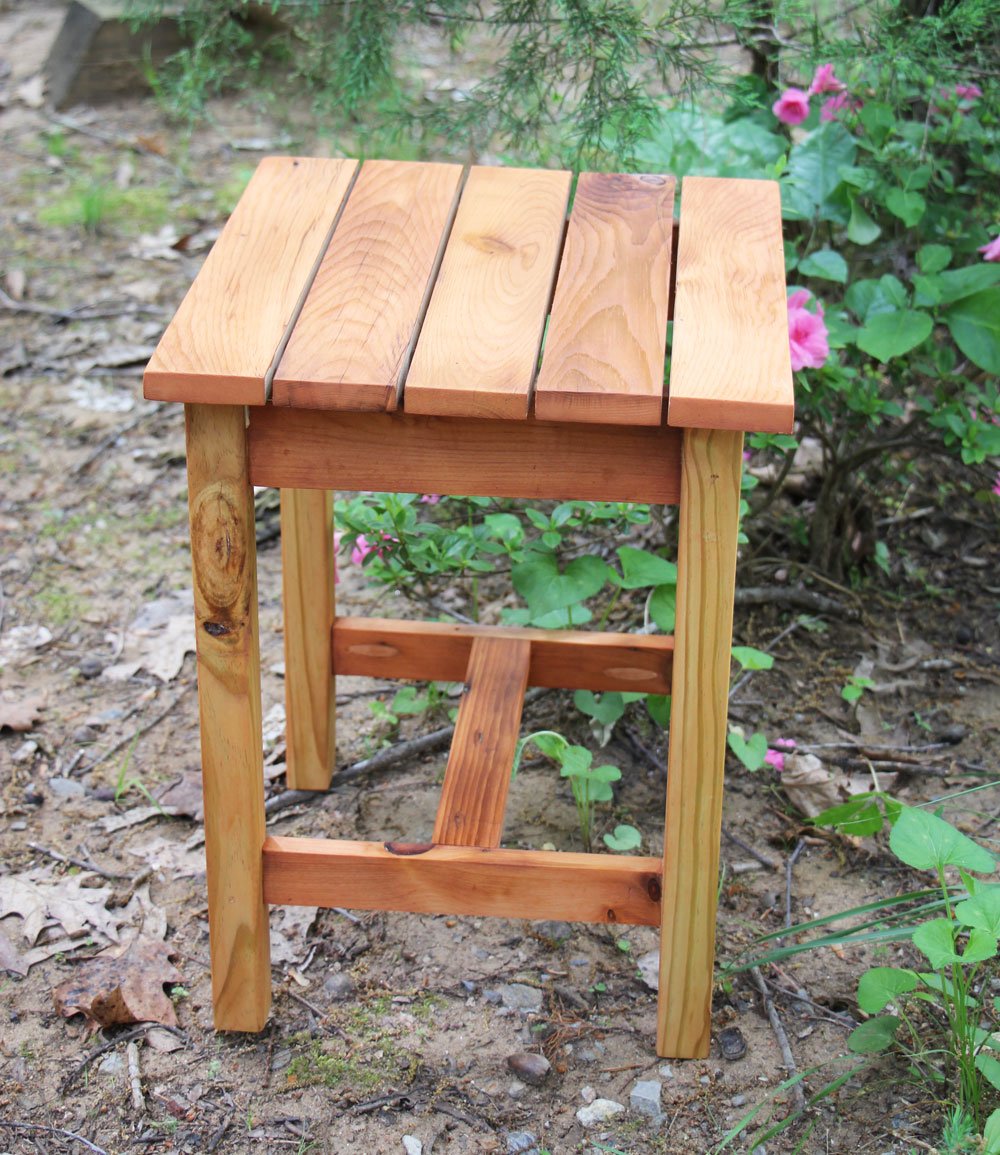
It's taken us a couple of weekends, but we finished our bedside table. We made two, but one still needs painting.
Thank you for the plans. We had a great deal of fun and learning experience making these.
Want to see it? https://www.facebook.com/photo.php?fbid=2830583376957272&set=pcb.283058…
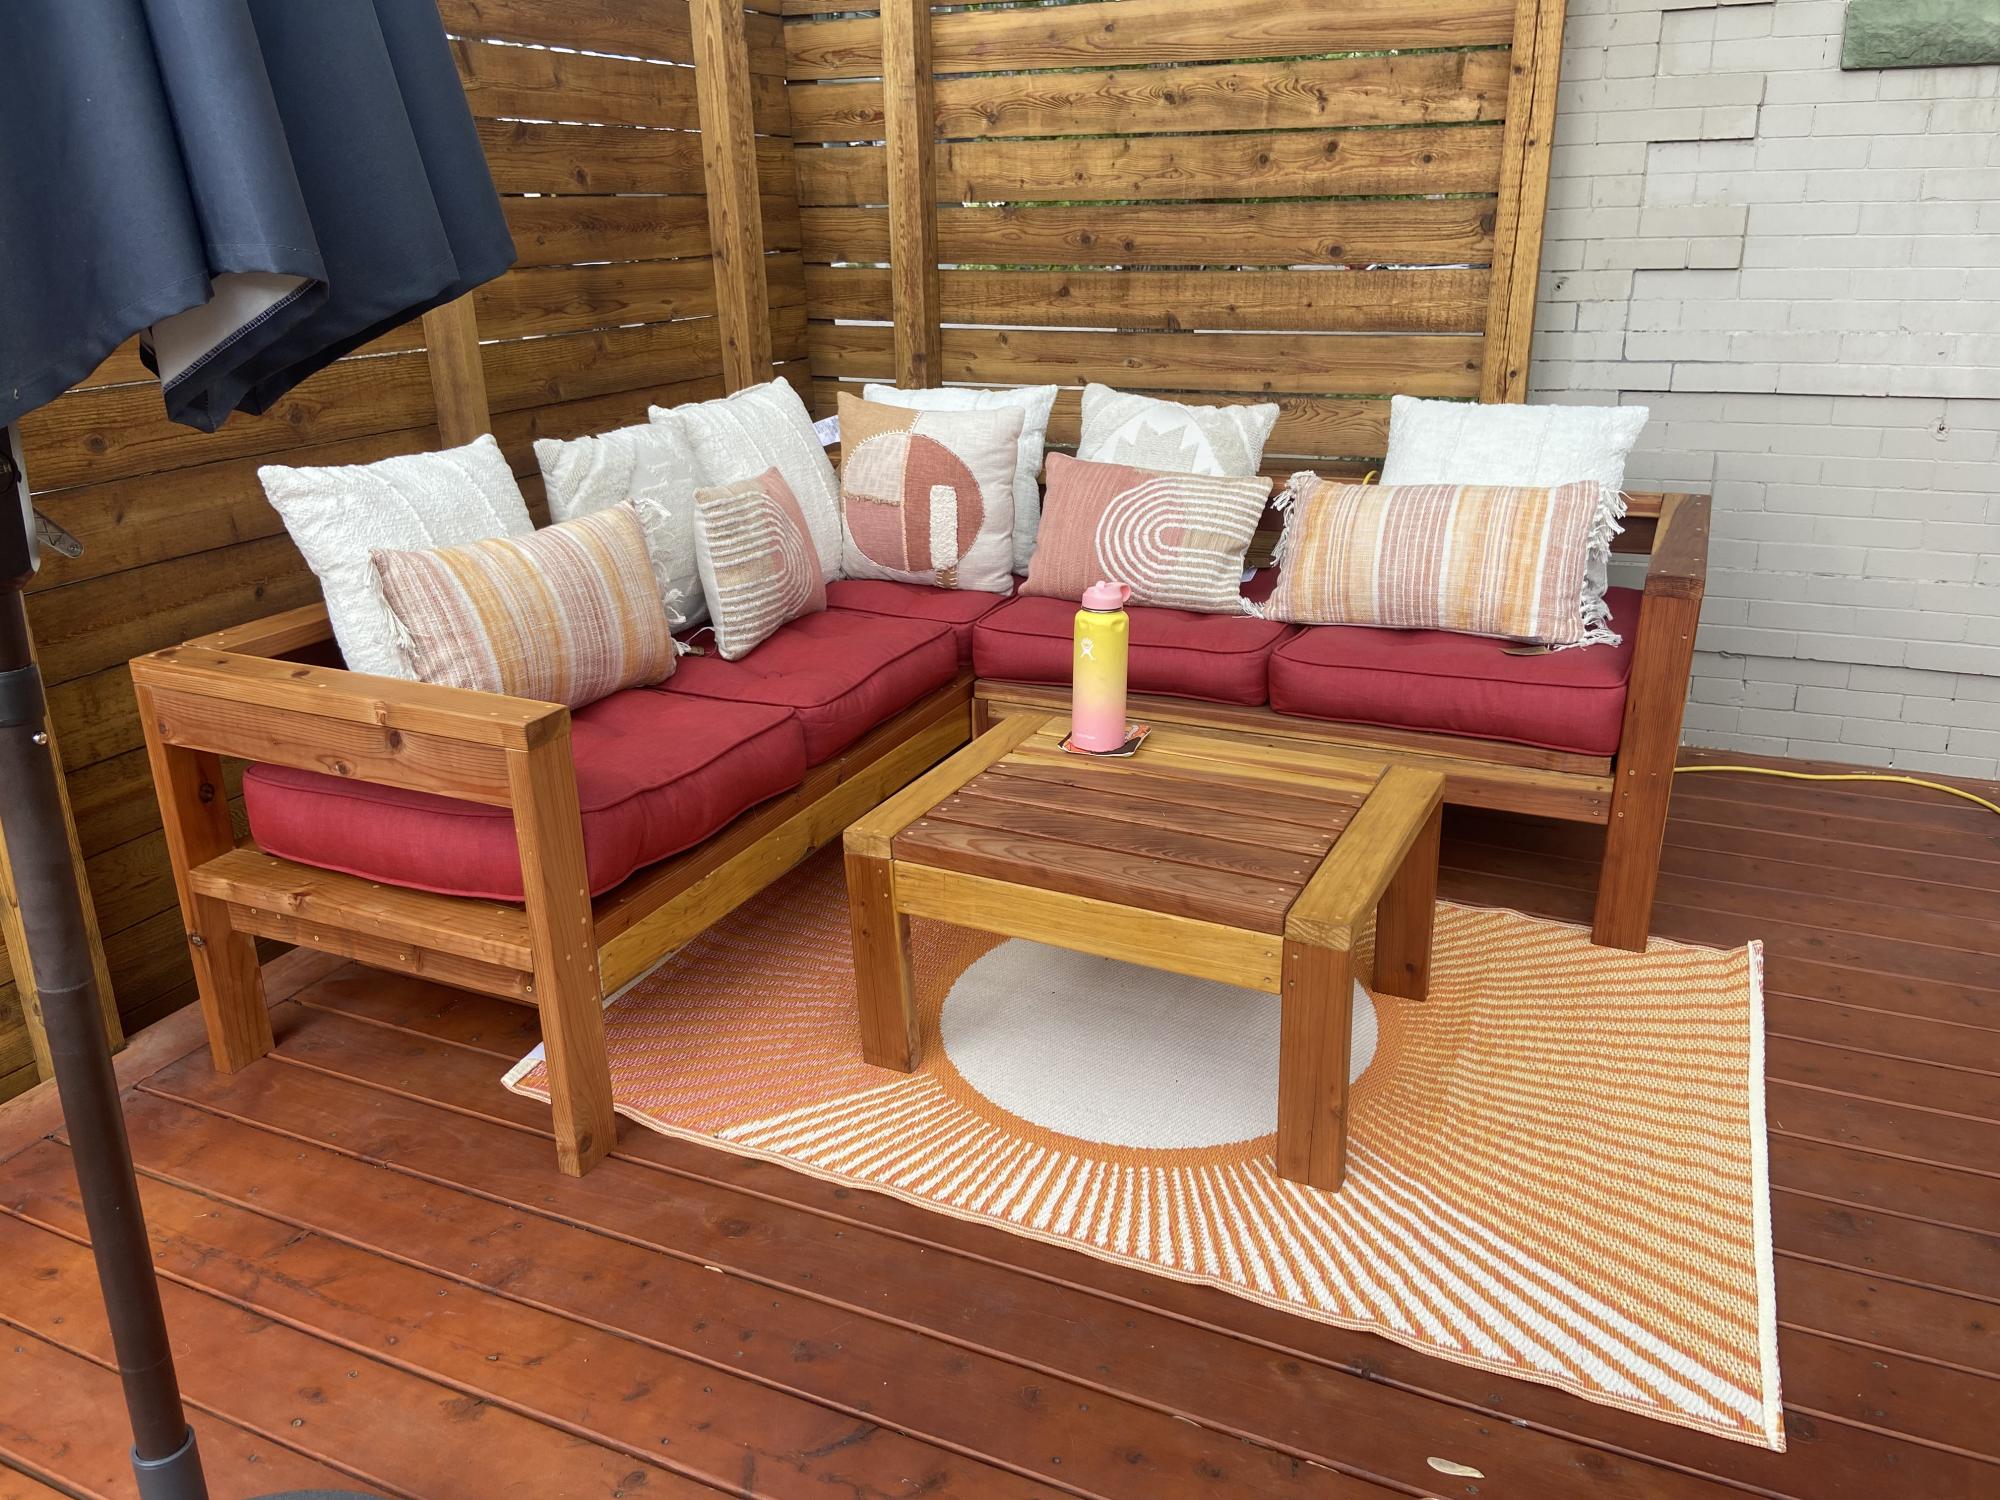
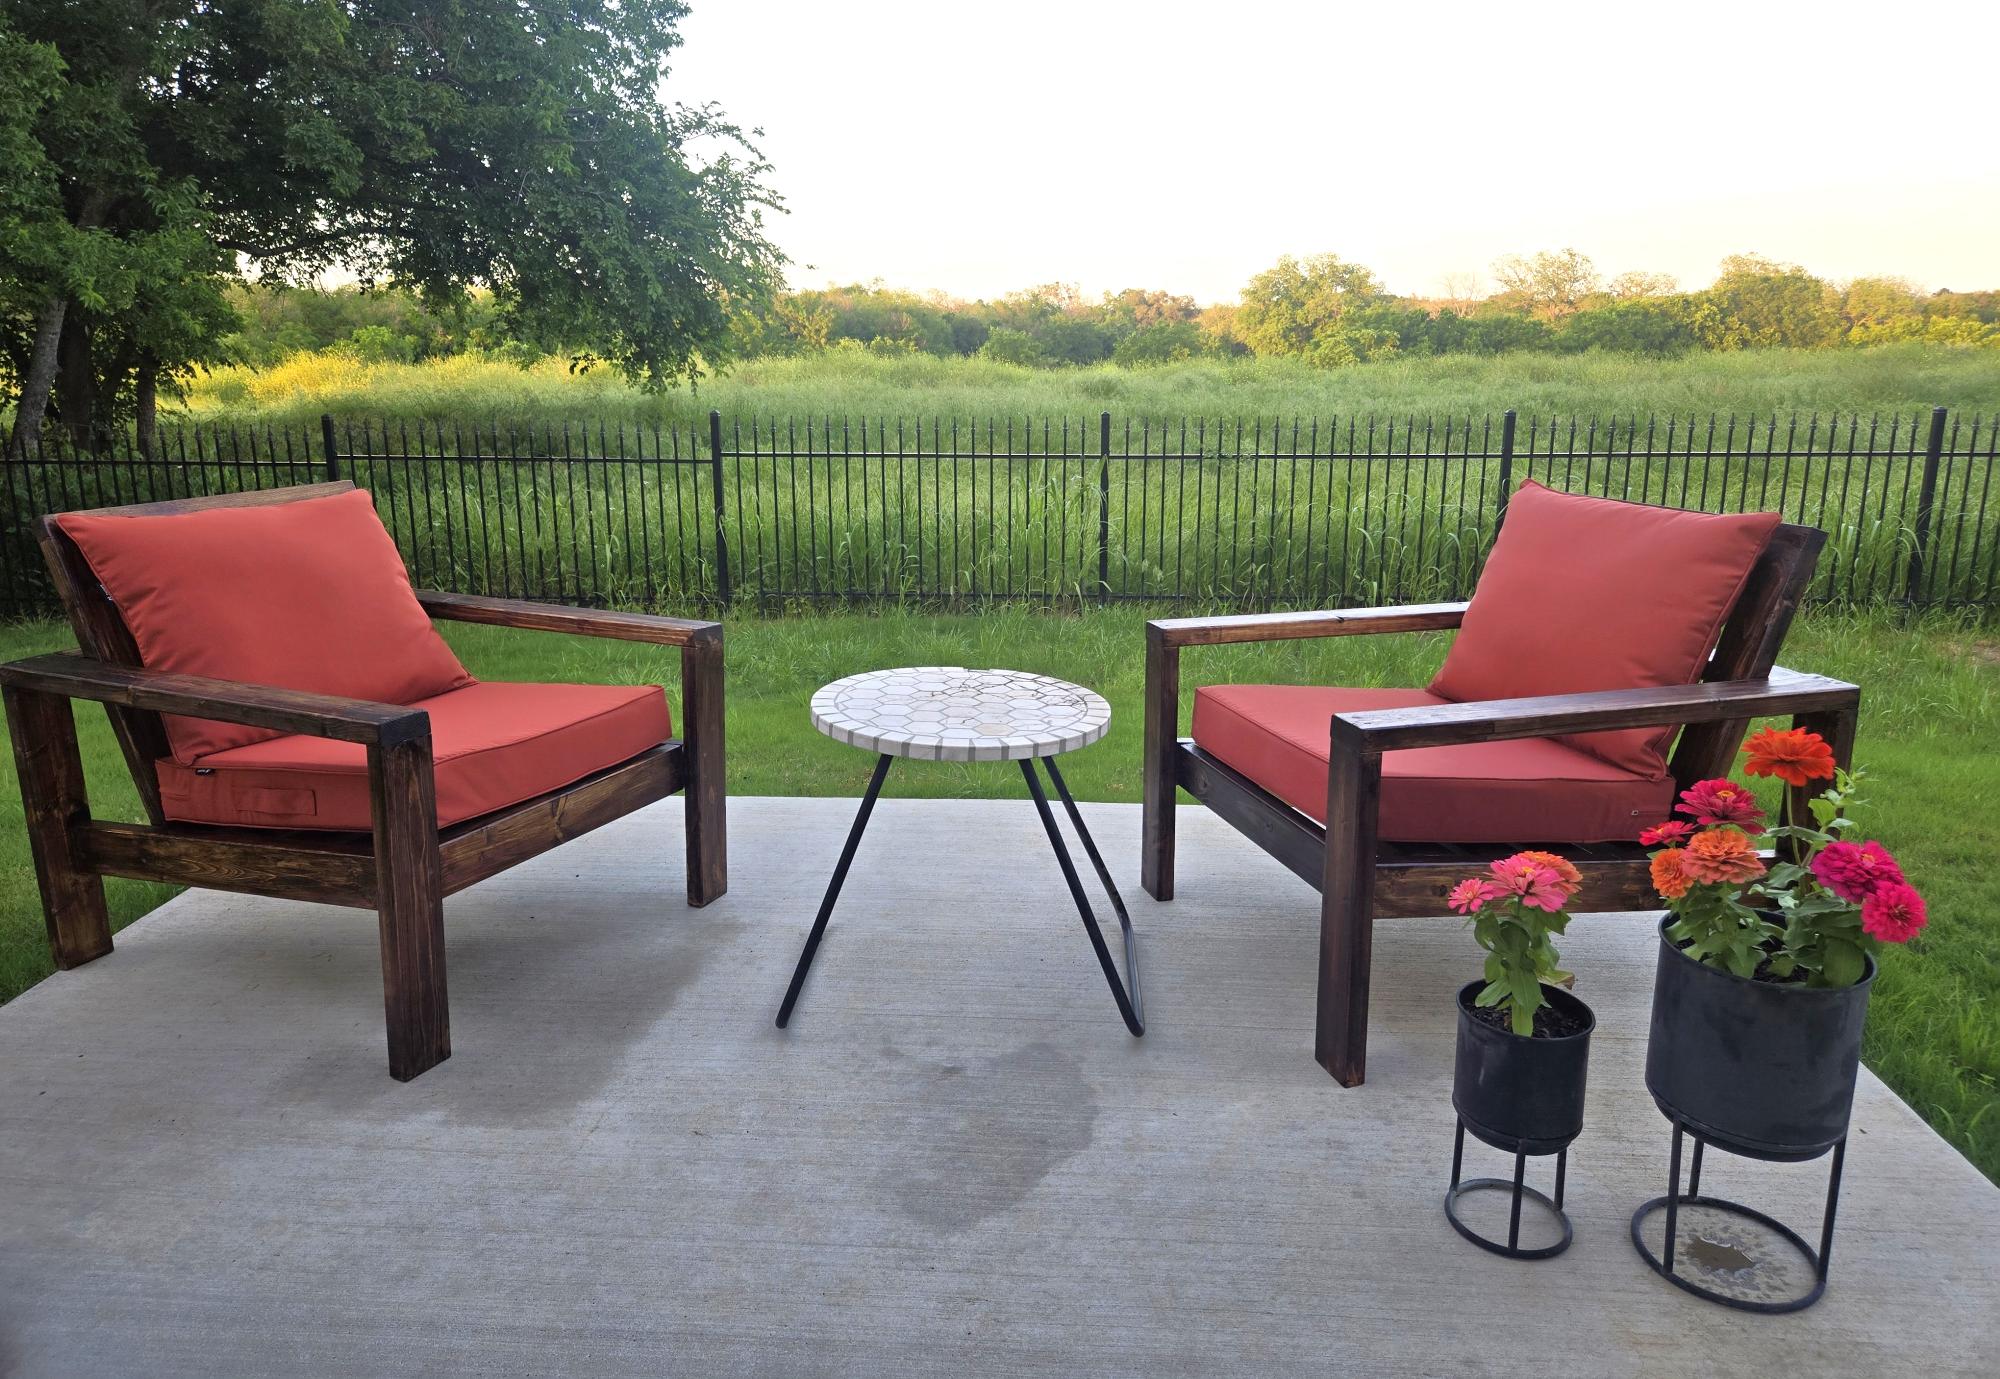
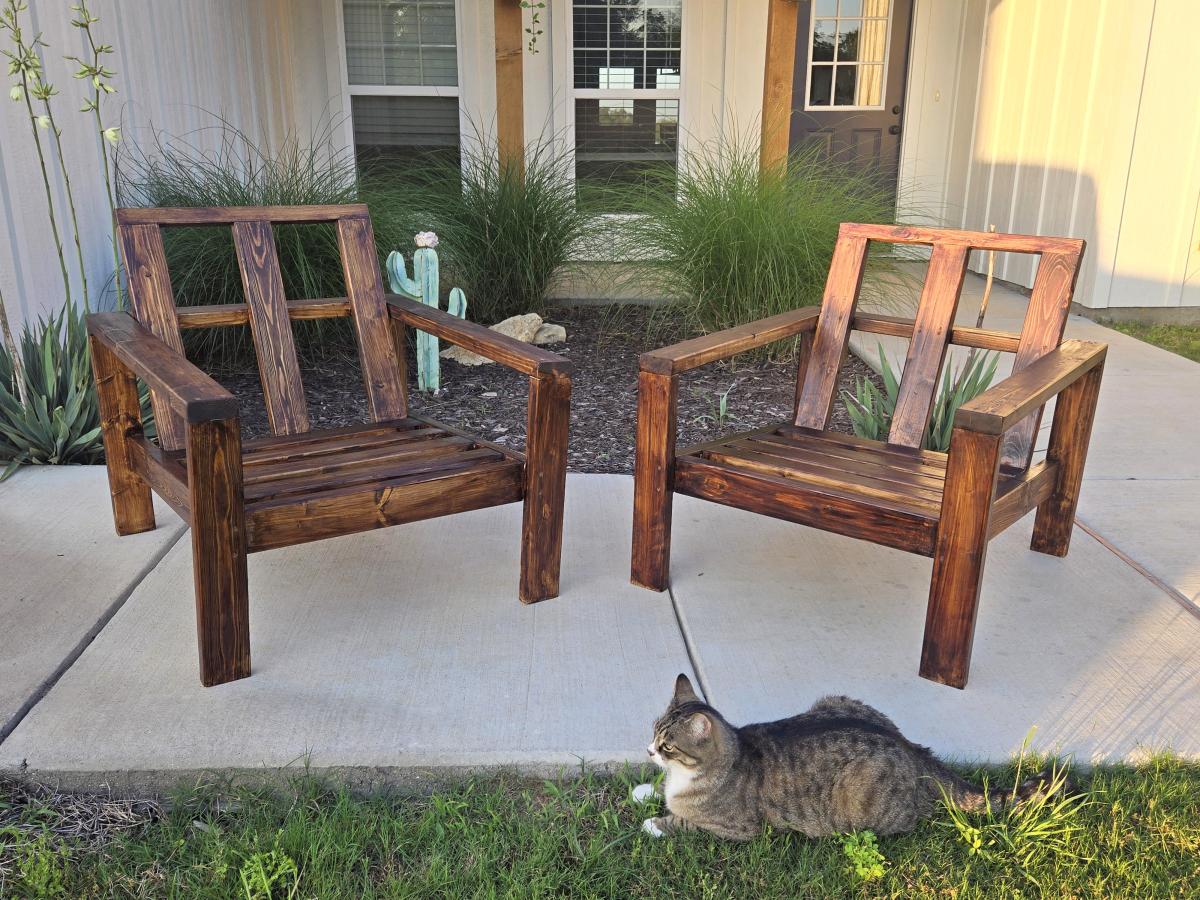
I built the two piece sectional + table and adjusted the sizing so the lengths of the sectionals pieces are the same.
Turned out amazing. So much fun building this and I can’t wait for my next project!
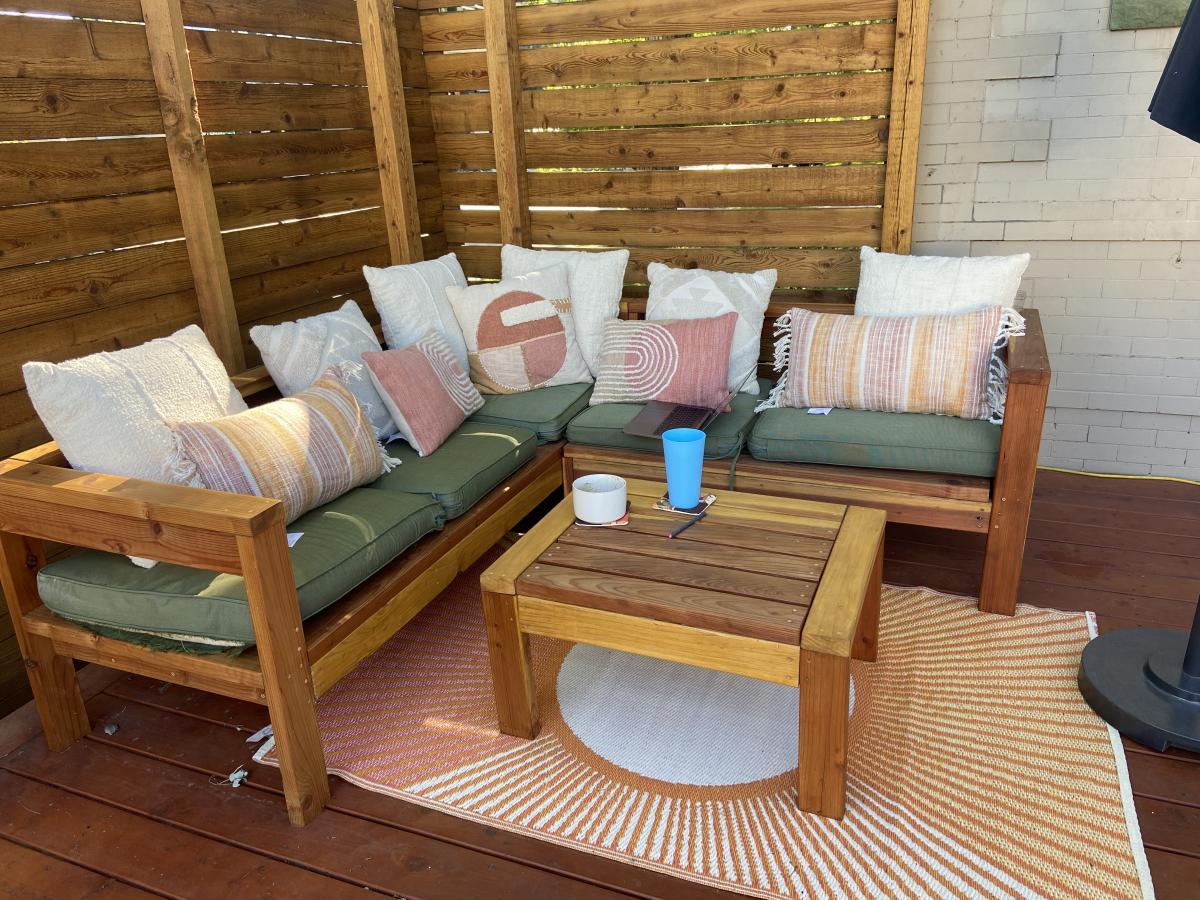
This was my first attempt at making anything out of wood. I was thankful for guidance from my husband but I did it myself!!!
Sat, 05/04/2019 - 13:30
Great job! These little side tables are perfect! LOVE!
Thank you so much for sharing a brag post!
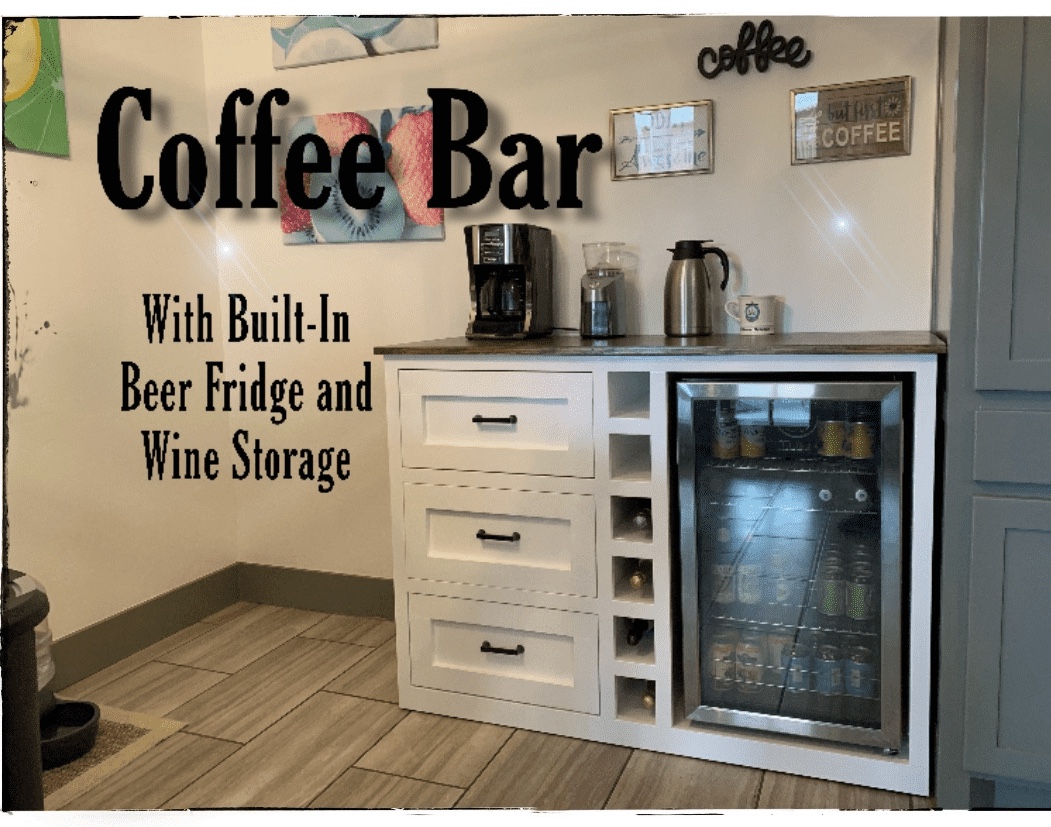
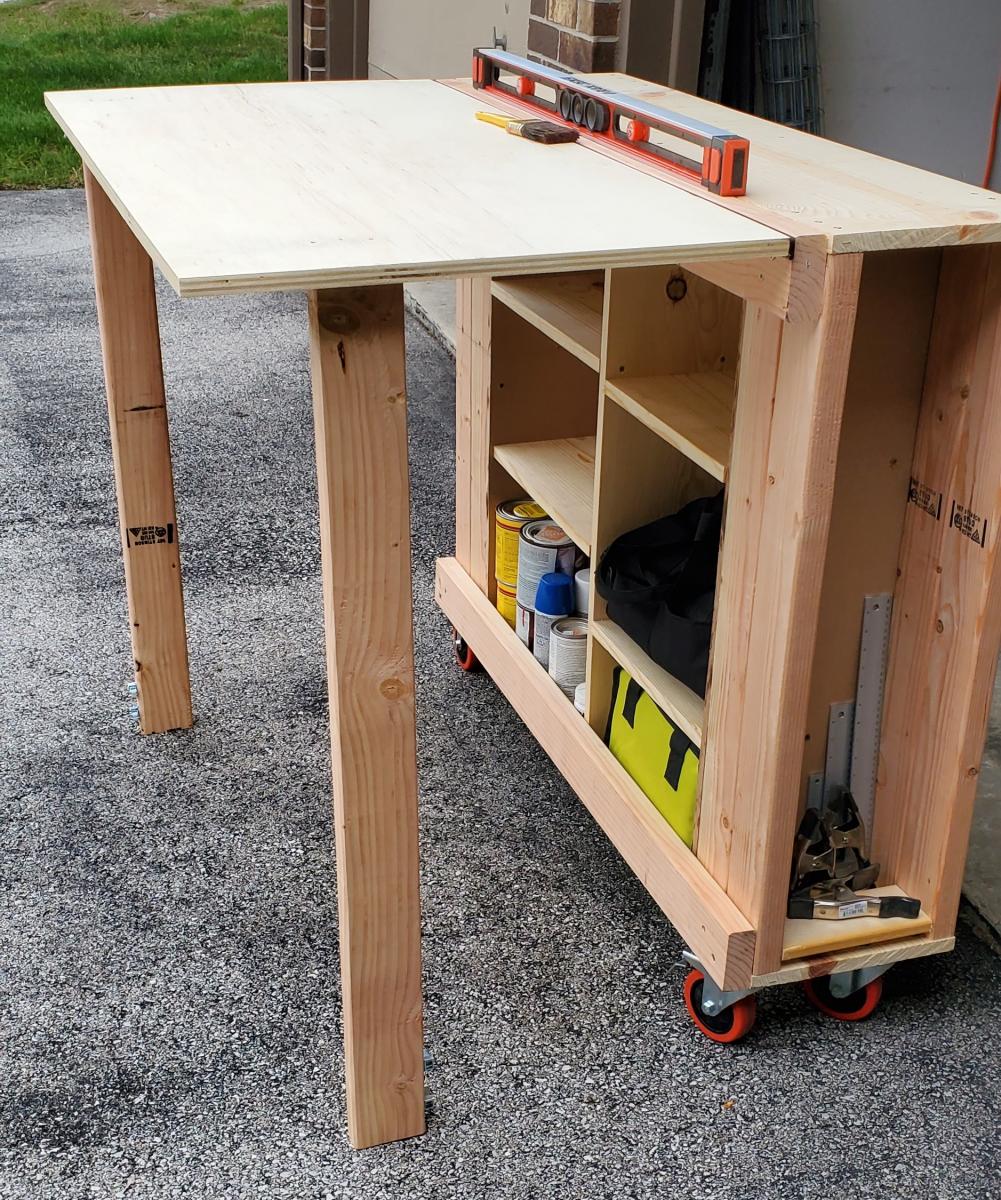
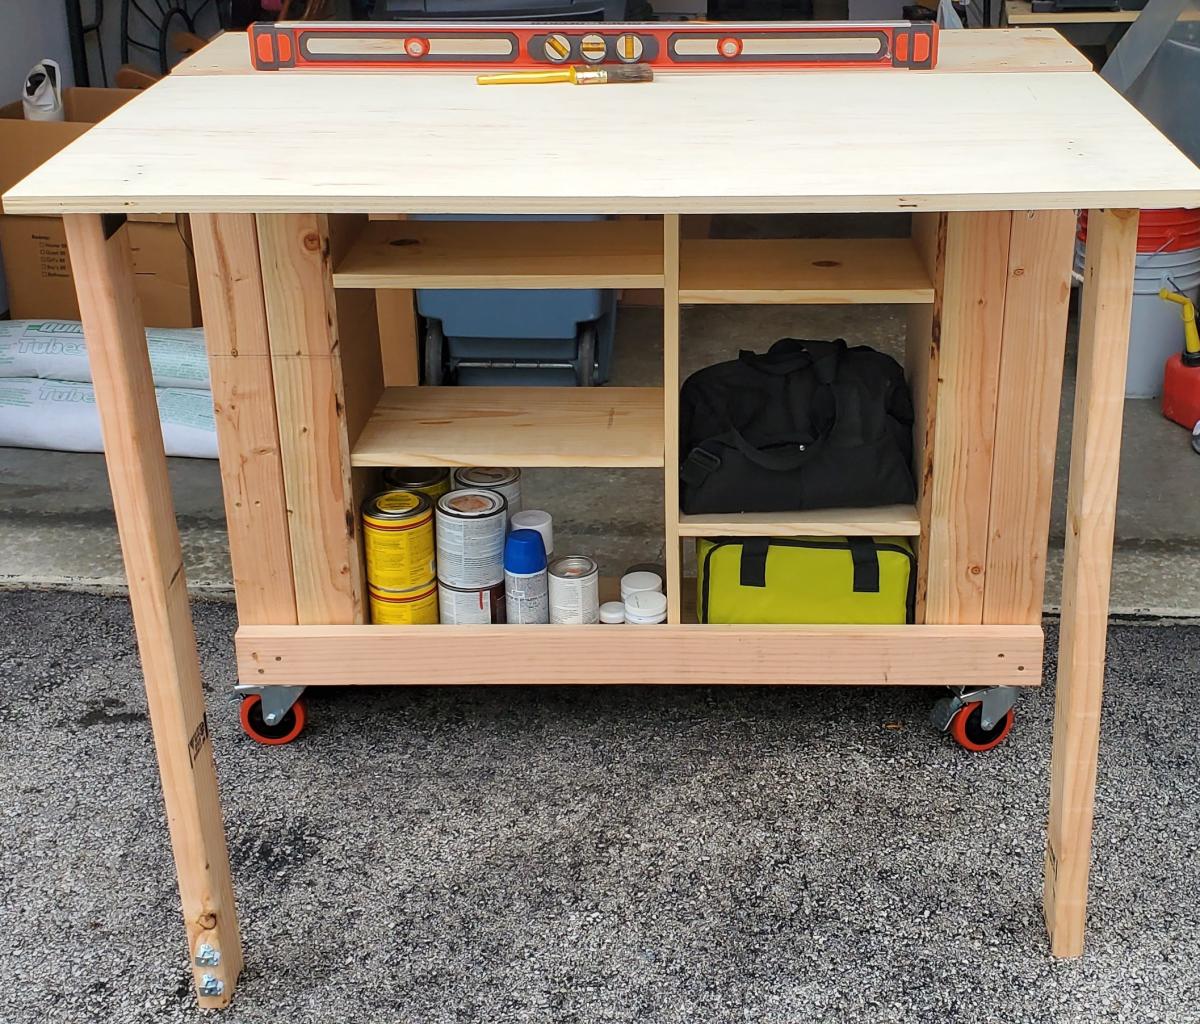
We made a beverage station for the corner of the kitchen!

Mon, 07/08/2019 - 10:46
We didn't use a plan for this but, if someone wants to build it, check out the linked YouTube video.
Tue, 07/09/2019 - 11:11
Amazing! Thanks so much for adding a brag post and linking to your video!
Fri, 07/31/2020 - 09:43
Hello! Was looking to see if this is something you would be interested in building for us? We are in love with this project but don't have the tools or means to do it ourself..
Can talk about pricing / size etc.
Thanks!
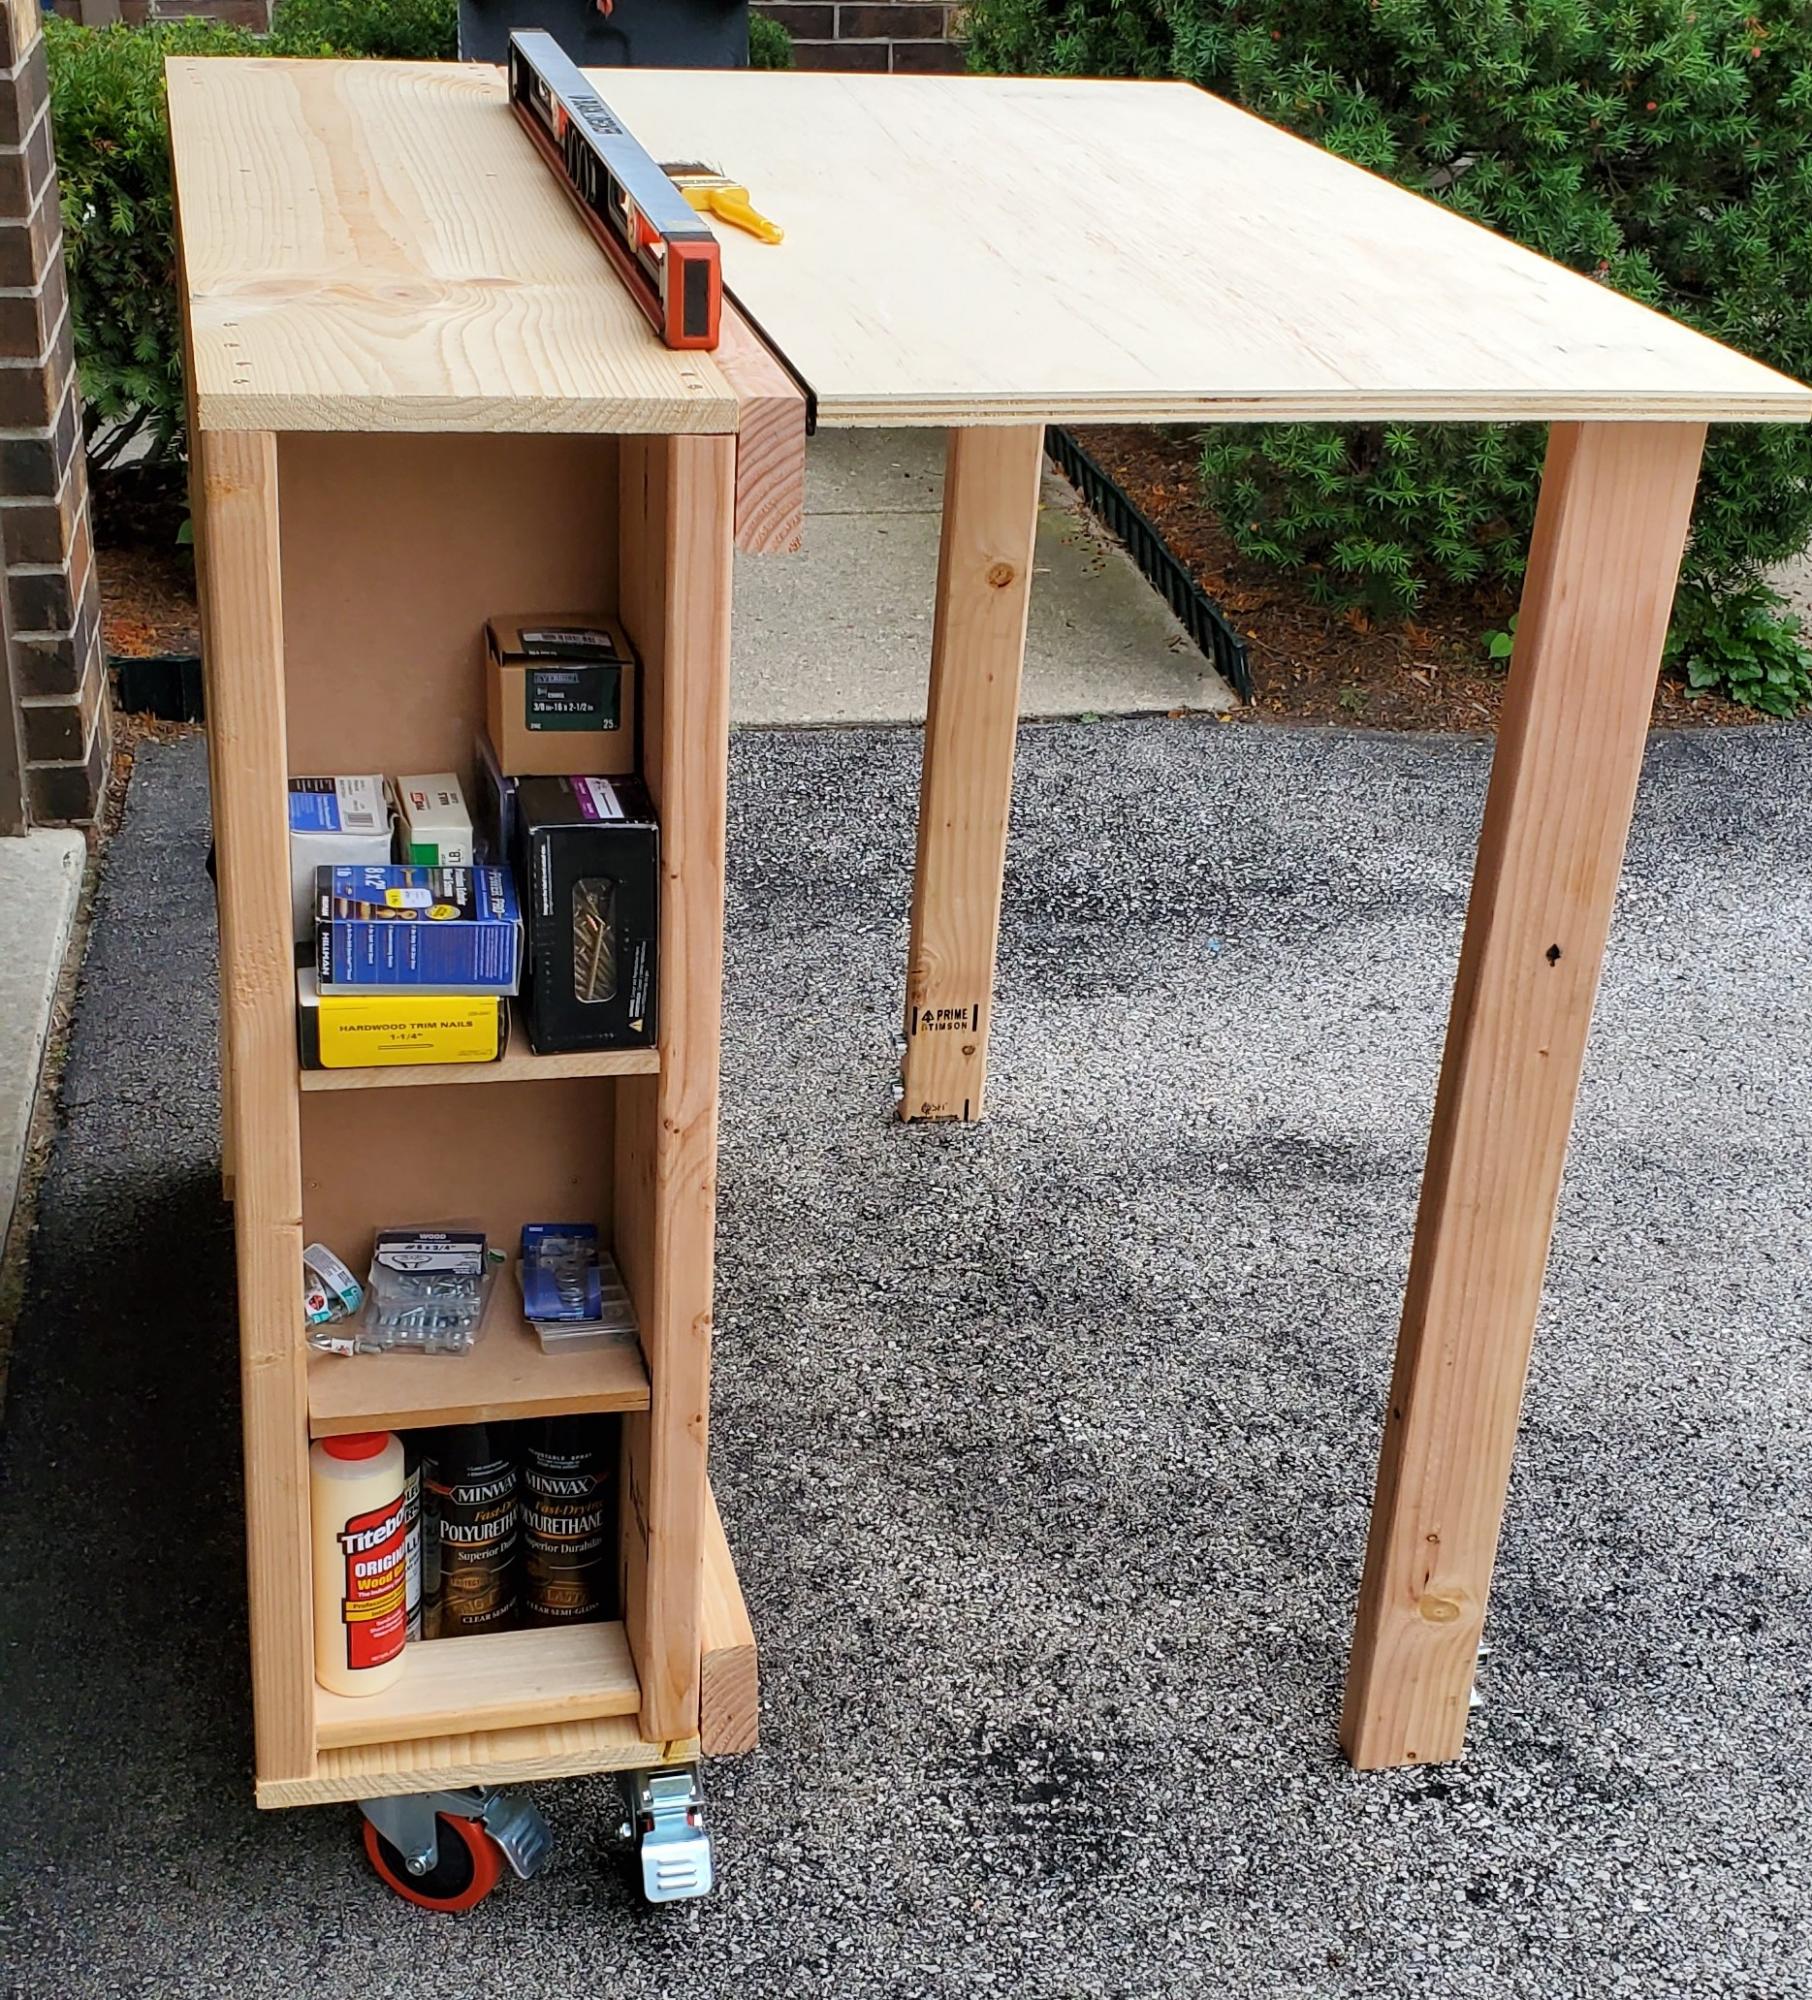
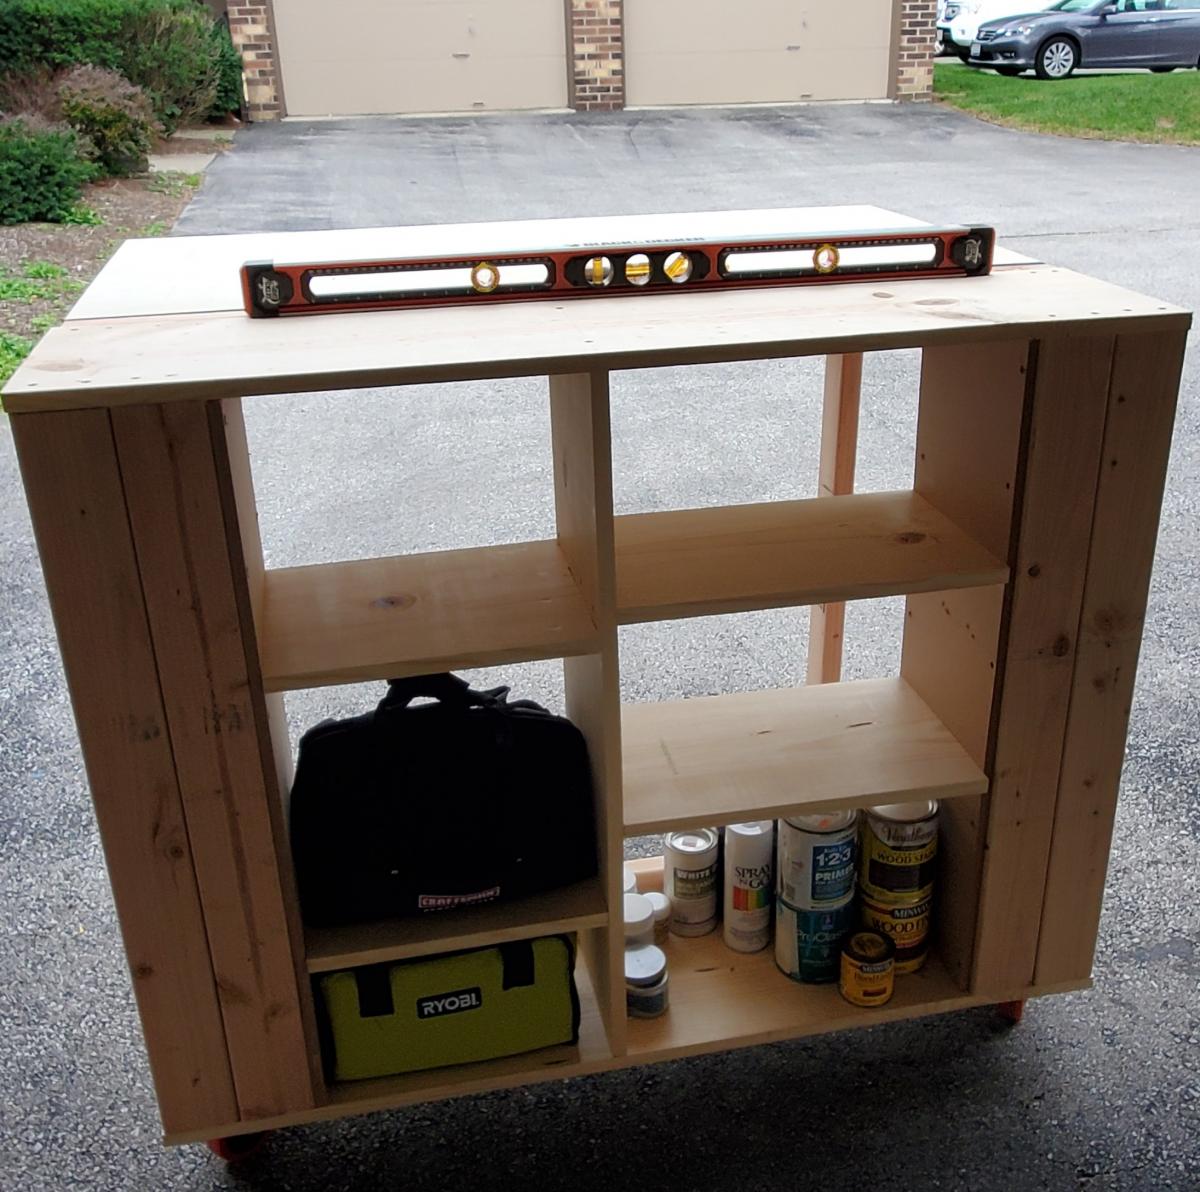
We chose this project because we have a small garage and space is at a premium. The dimensions of this build fit well in our limited space and allowed us to organize items such as paint, stain, screws and nails into one central location. I chose 2x4's on the sides to give it a more stable feel. Our garage and parking lot are all sloped and with the 2x4's this prevented the twisting. It feels solid and the wheels are smooth. We picked everything up at Home Depot. The screws that came with the hinges are to long and my husband used the Dremel to grind them down. You could just buy shorter screws. This is one of my firsts builds and I've definitely learned a lot of lessons along the way. Measure, measure, then measure again before you cut a piece and use a level surface to make level pieces. Overall, everyone in my family played a part in helping me build this piece and so I love it and will cherish this piece and the memories always. Thanks Ana for all your fun videos, sharing your life with your family, and providing resources like this plan to us for free. I'm thankful for my son who bought me a compound miter saw for Mother's Day and other family for buying me a Ryobi circular saw. I'm truly blessed and loved. Thanks
Mon, 08/31/2020 - 11:19
I love how you used the 2x4 on the sides. great idea

This build was also a lot of fun! I made an extra brace to hold the wait of two sitting on the bench. Thanks again Ana for your plans!
David Marks
This is my first project ever built. I can't thank you enough for this site. I already have several other projects I want to build around the house because of this site. Thank you so much!
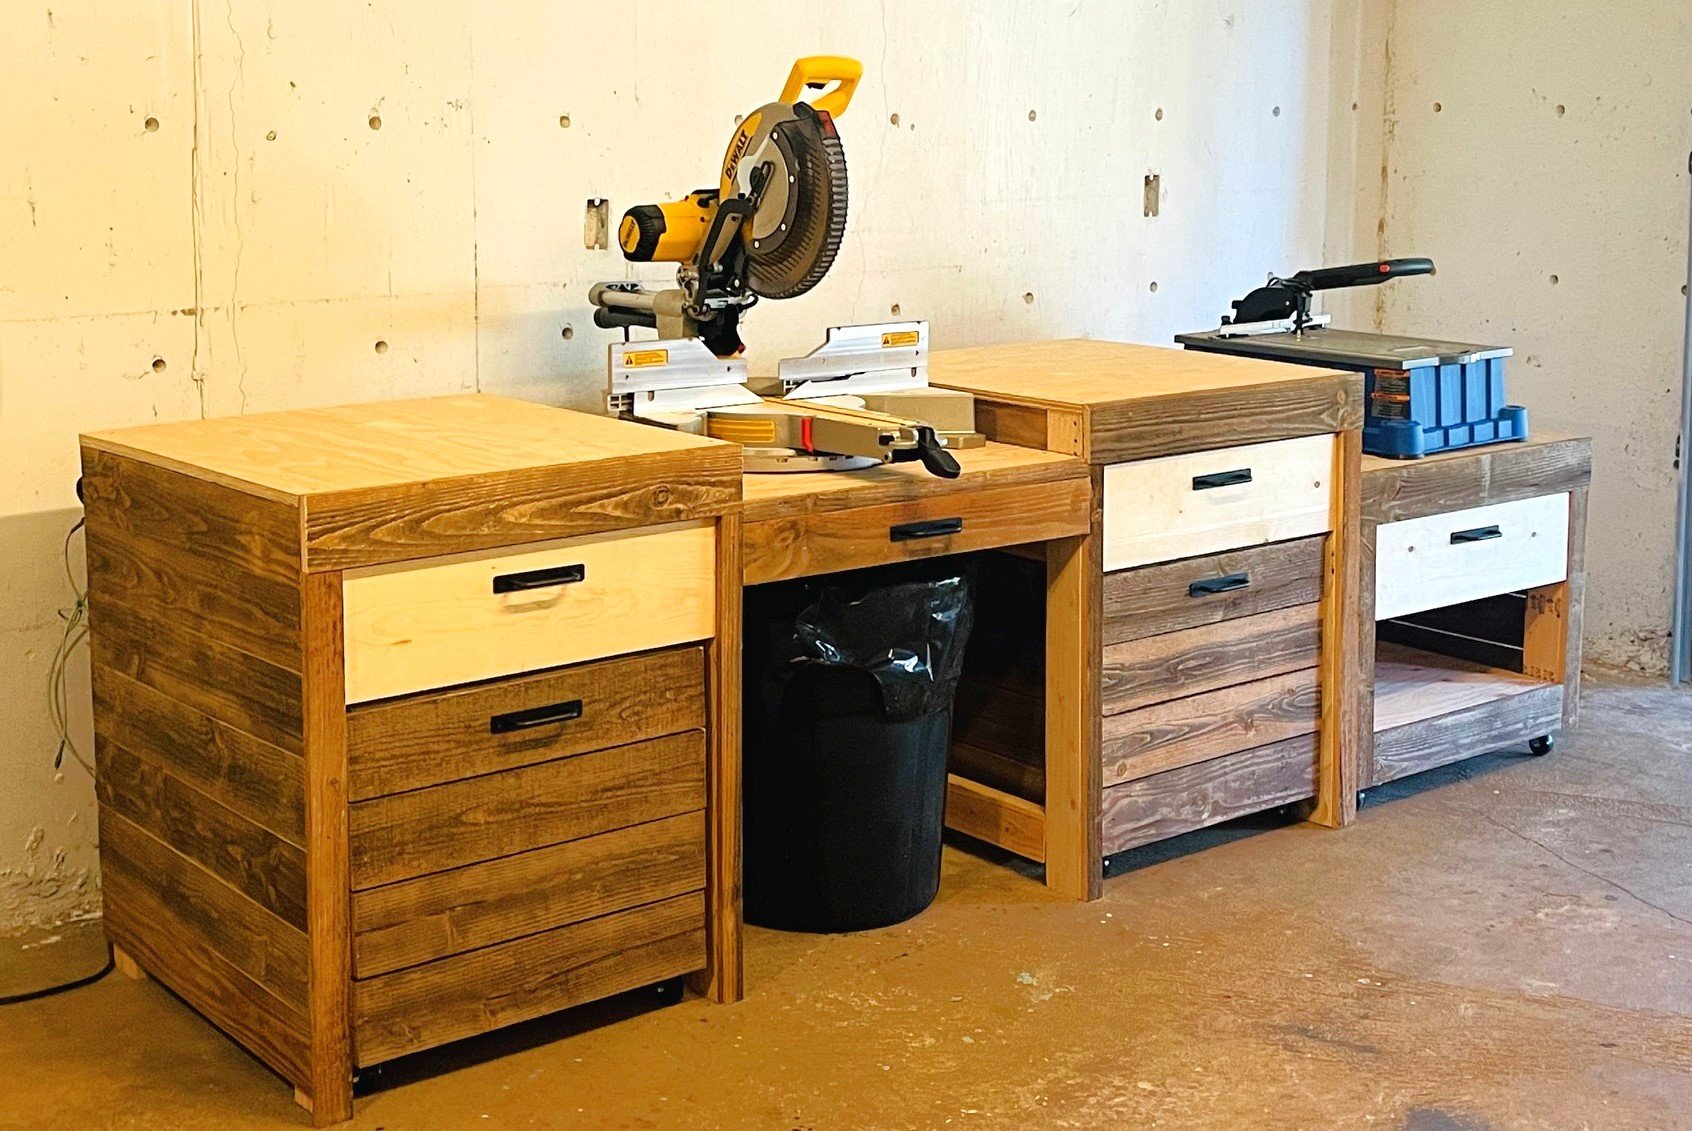
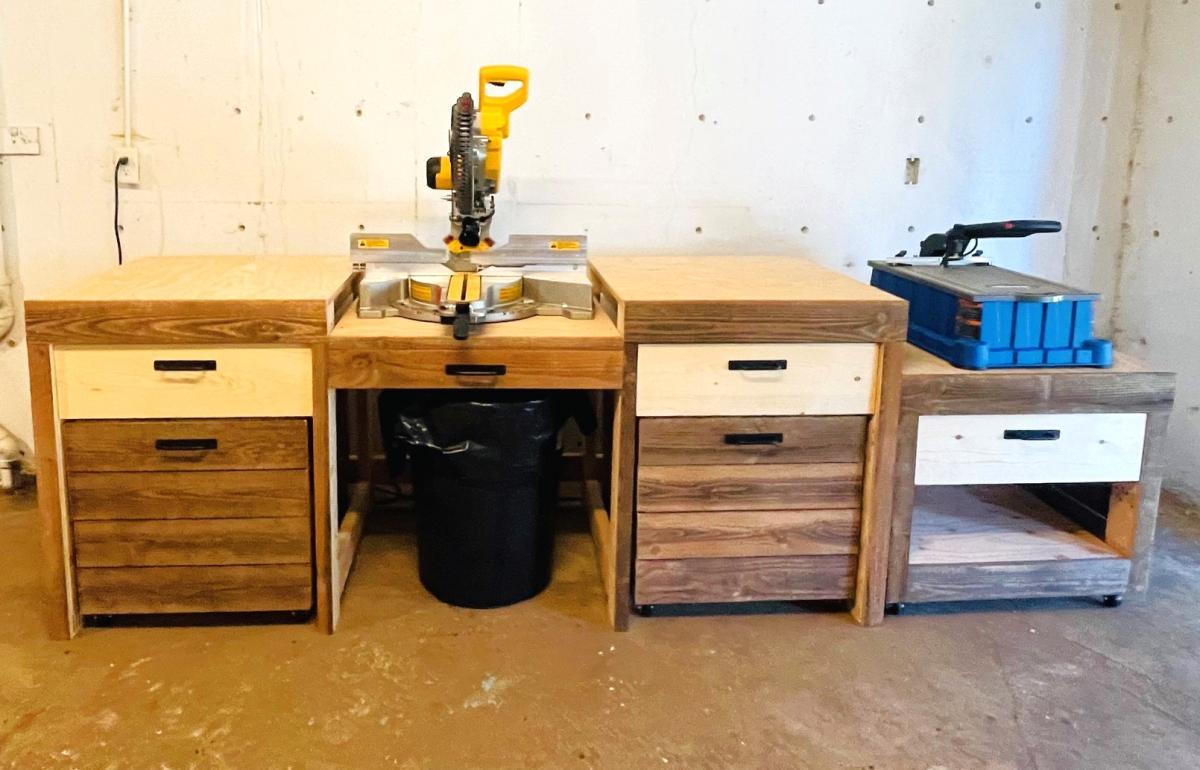
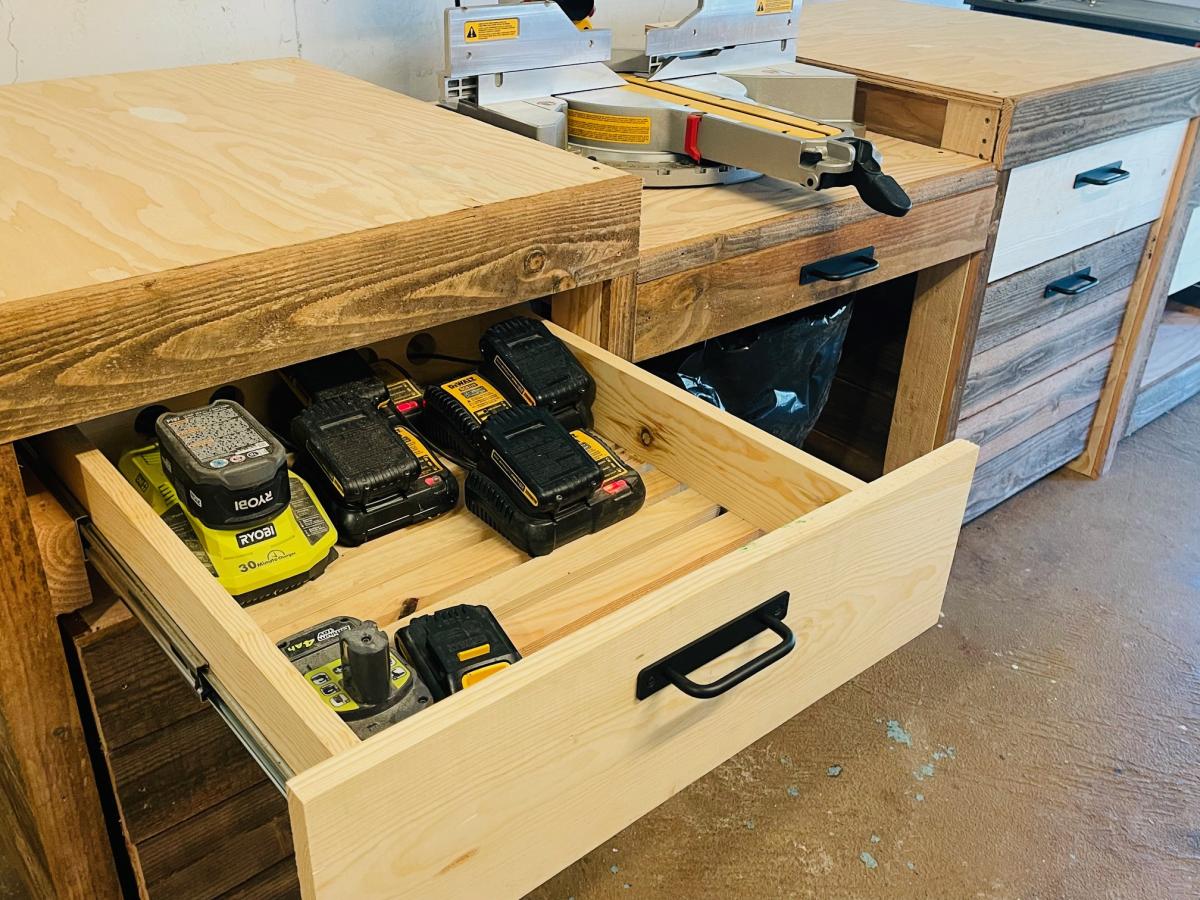
Using Ana's Ultimate Workbench Plan and her easy drawer method I built this. I decided to do storage carts that roll in and out for small scrap lumber storage. The Kreg Foreman got it's own cart, I made it so the deck of the machine was at the same height as the work surface. I added a drawer so all of my kreg bits and screws can be in one place. I had batteries and chargers laying all over my small shop, so I incorporated a battery charging drawer. I'm excited for the projects to come using my new set up!
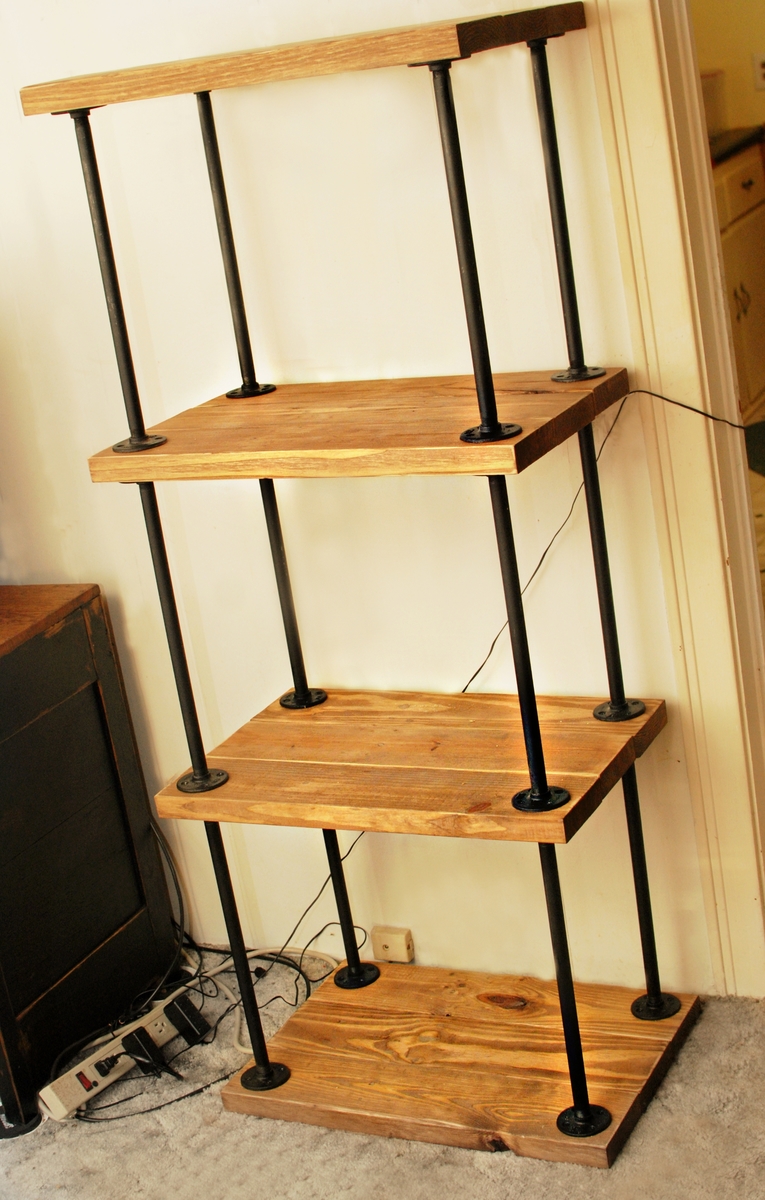
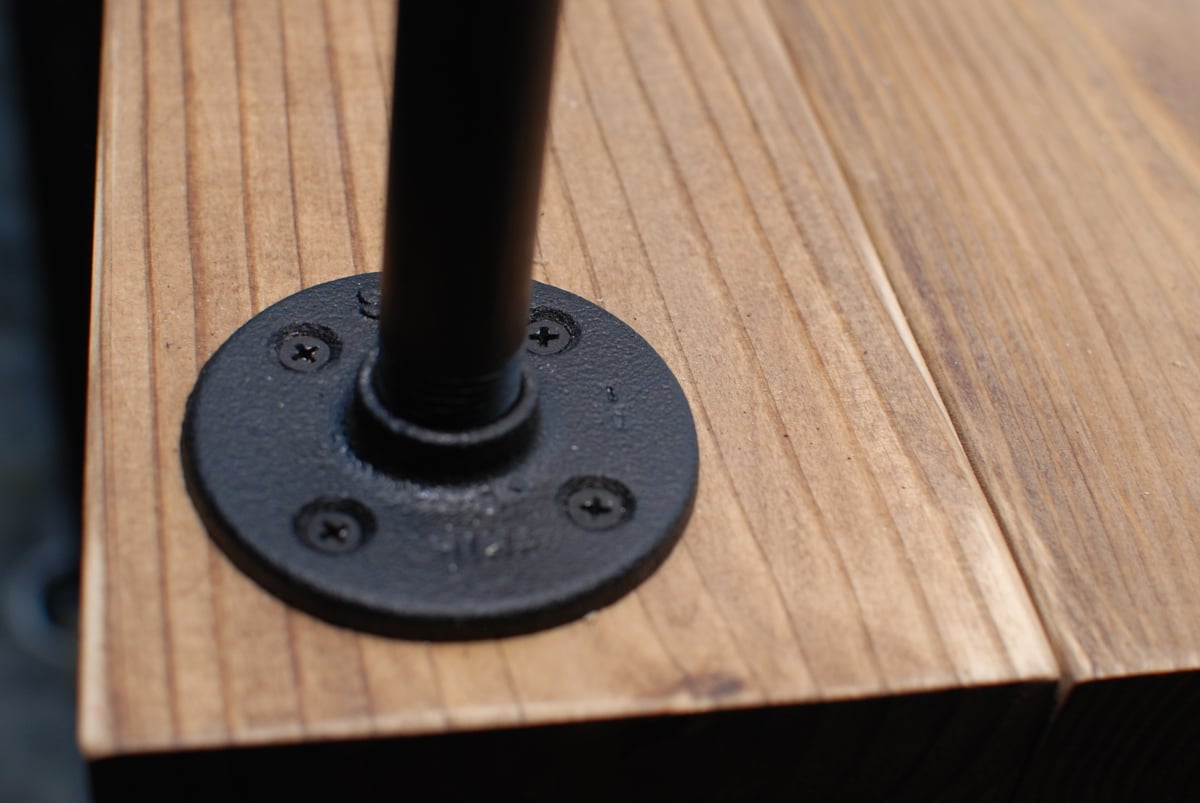
1/2 ' x 18" black pipe was used along with 1/2 ' flanges. The wood was re-purposed 2x6' pine lumber that had been used for pallets, that would have been thrown away. The boards were joined with a Kreg Jig, It will house my stereo components.

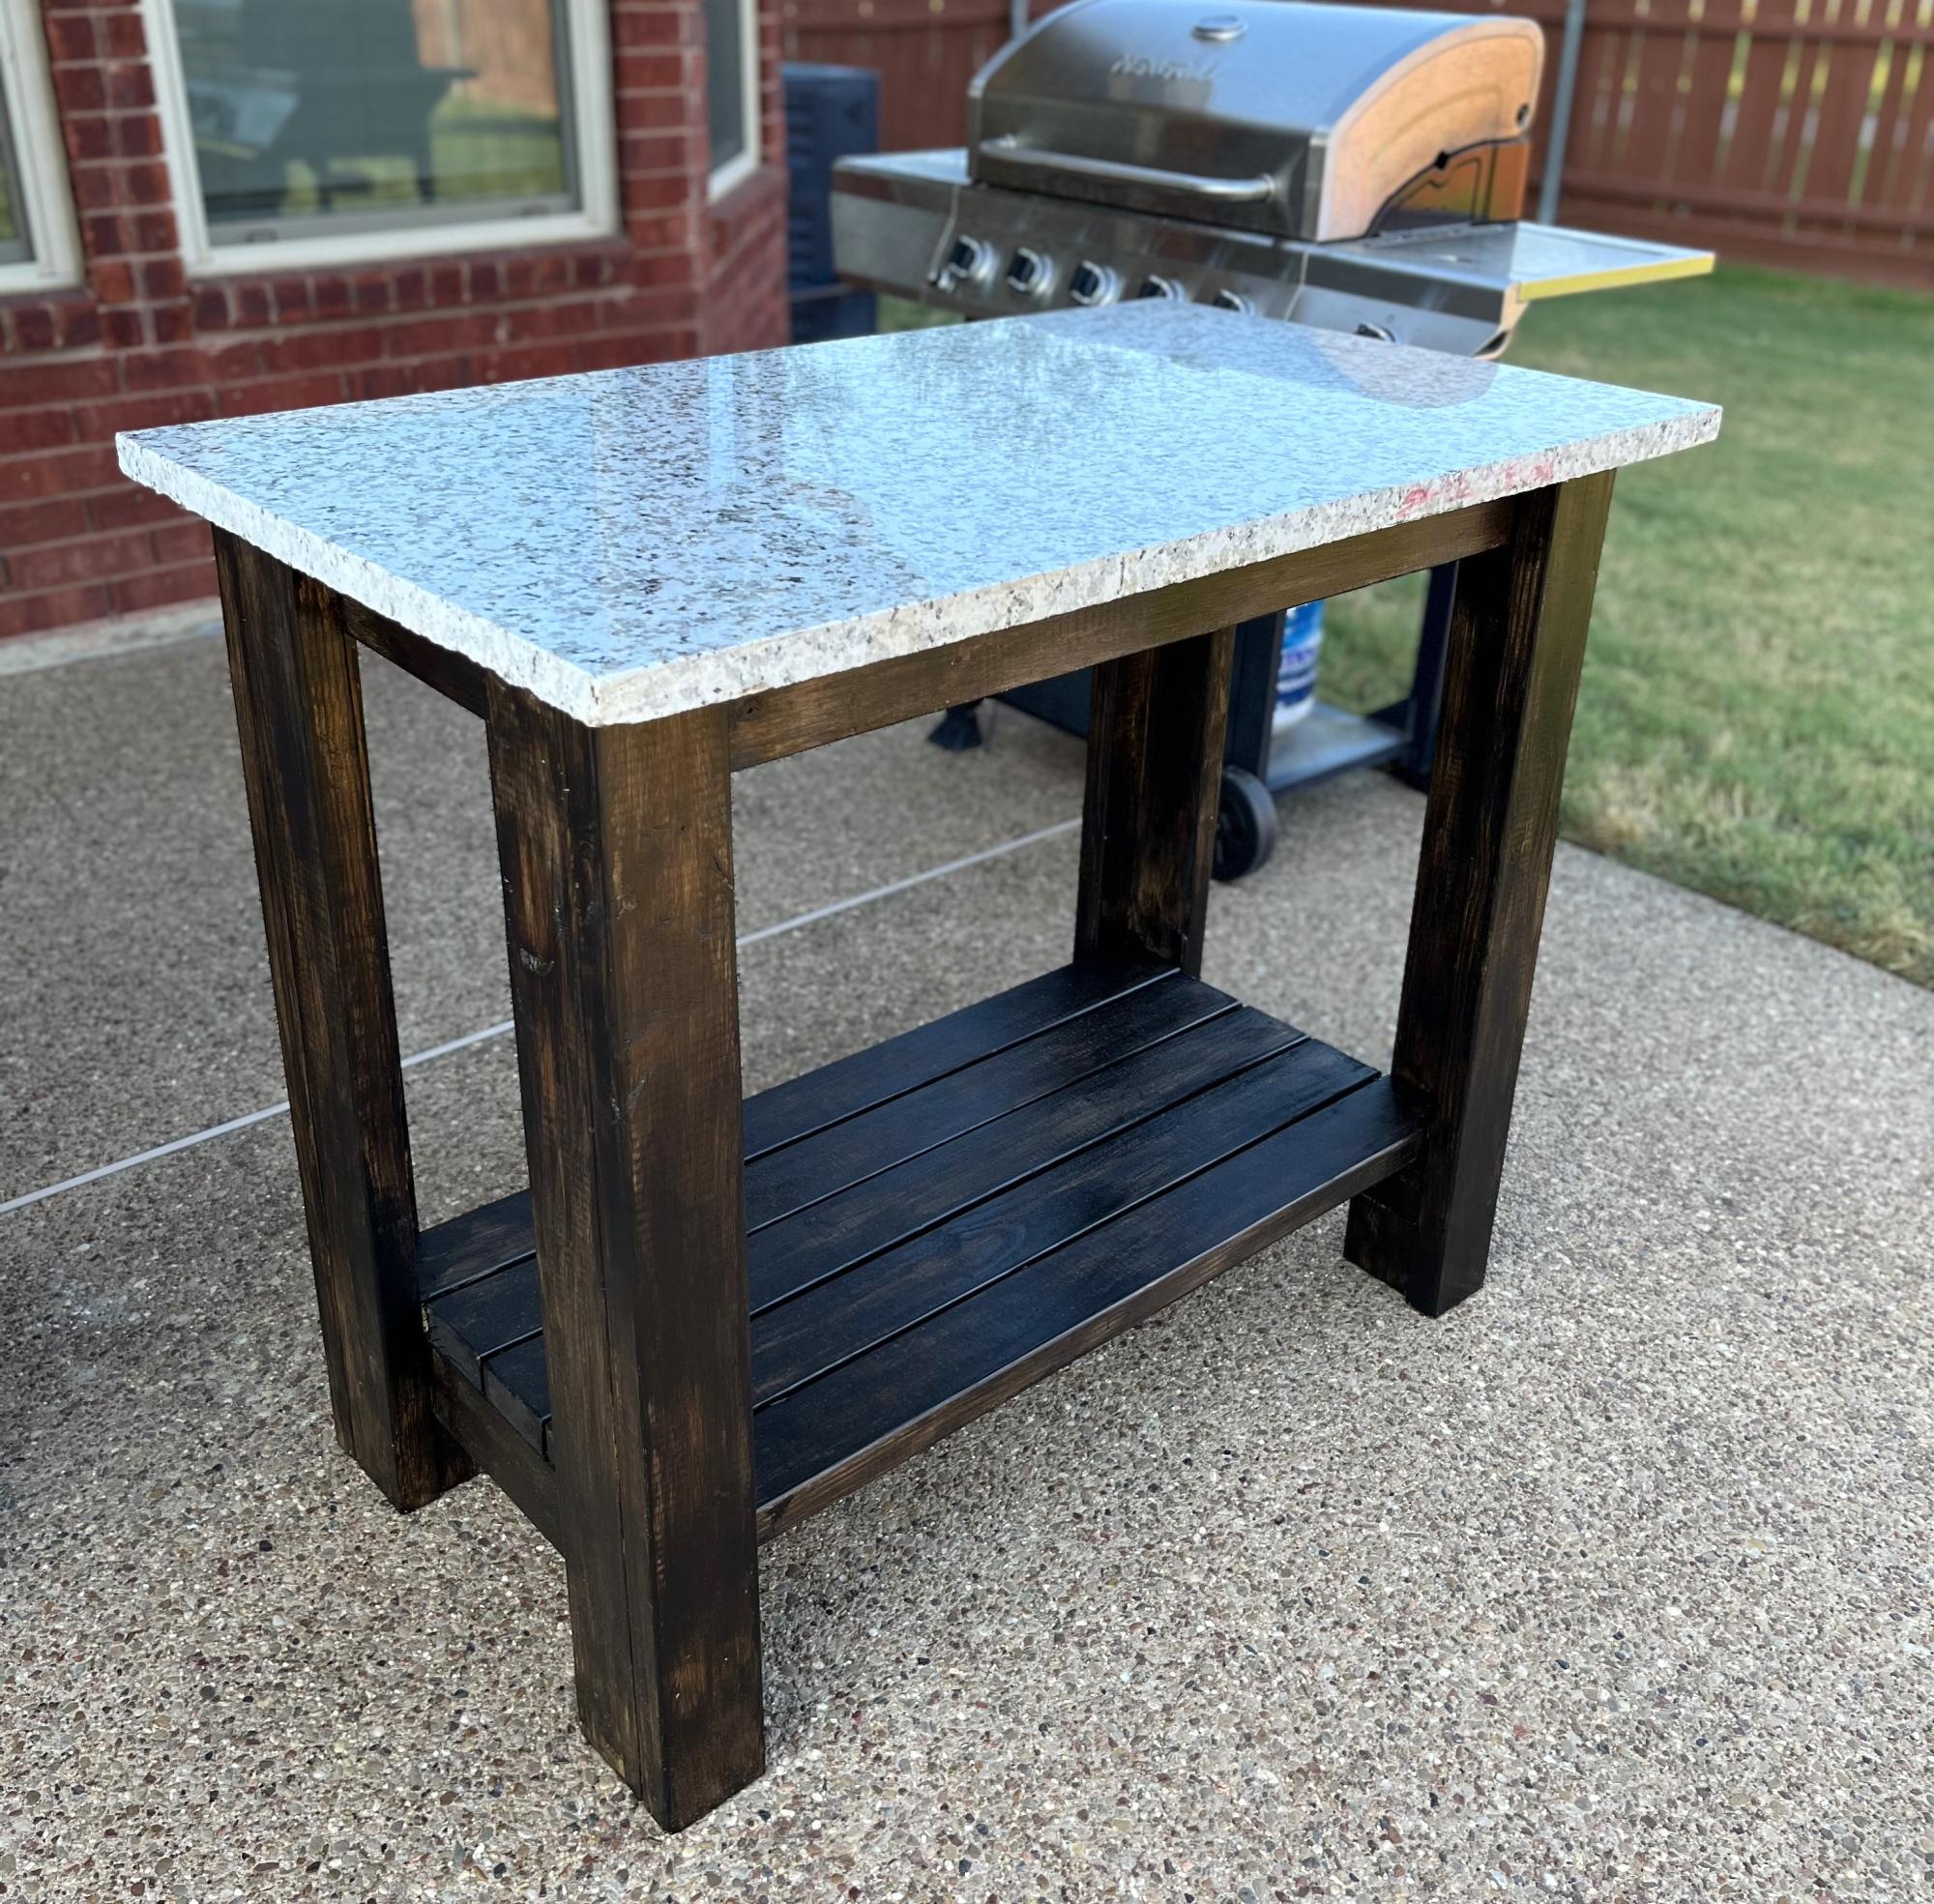
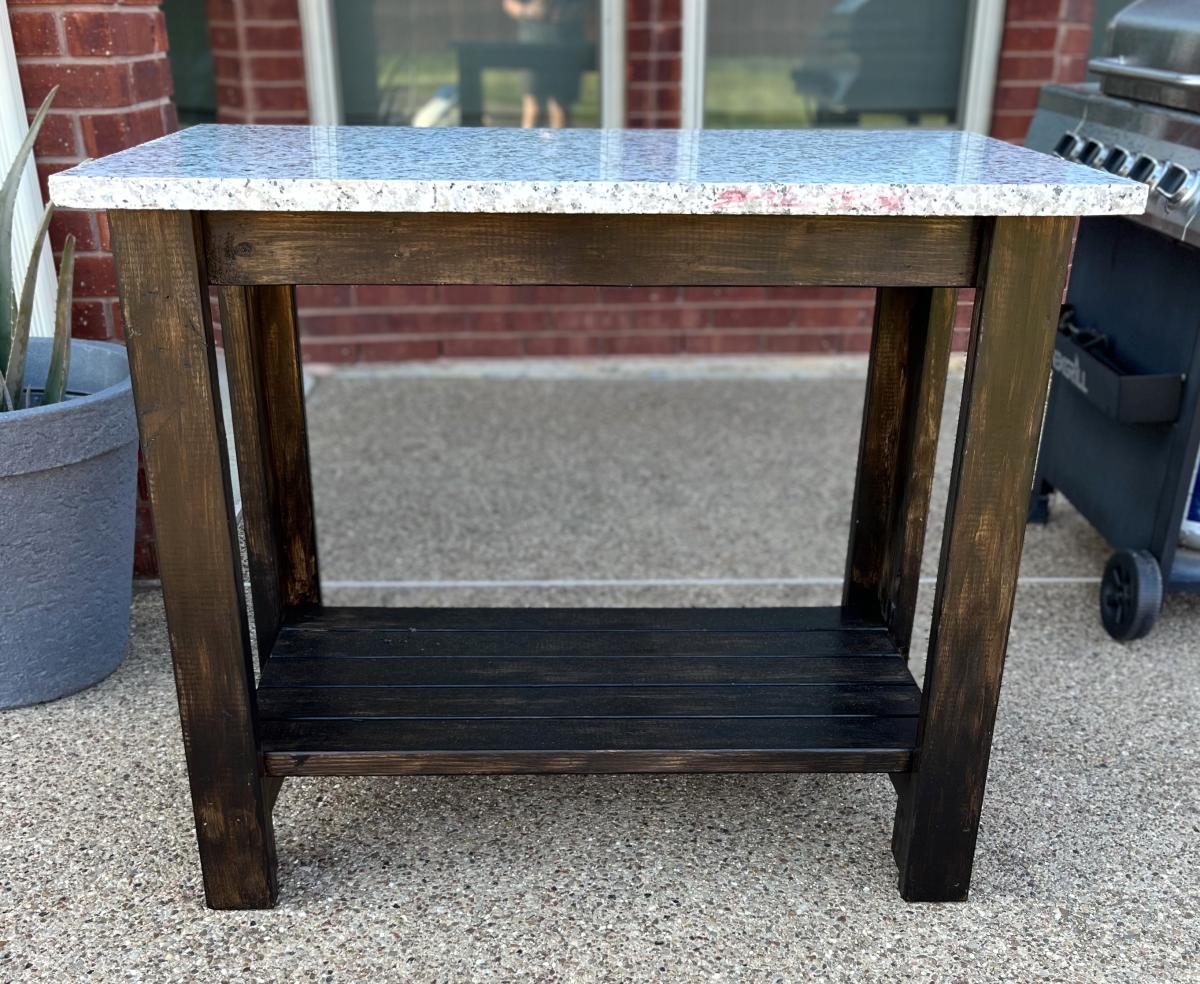
I used some leftover marble from having our countertops replaced and modified the plans to fit the marble. Love my new grill table!
Shawna
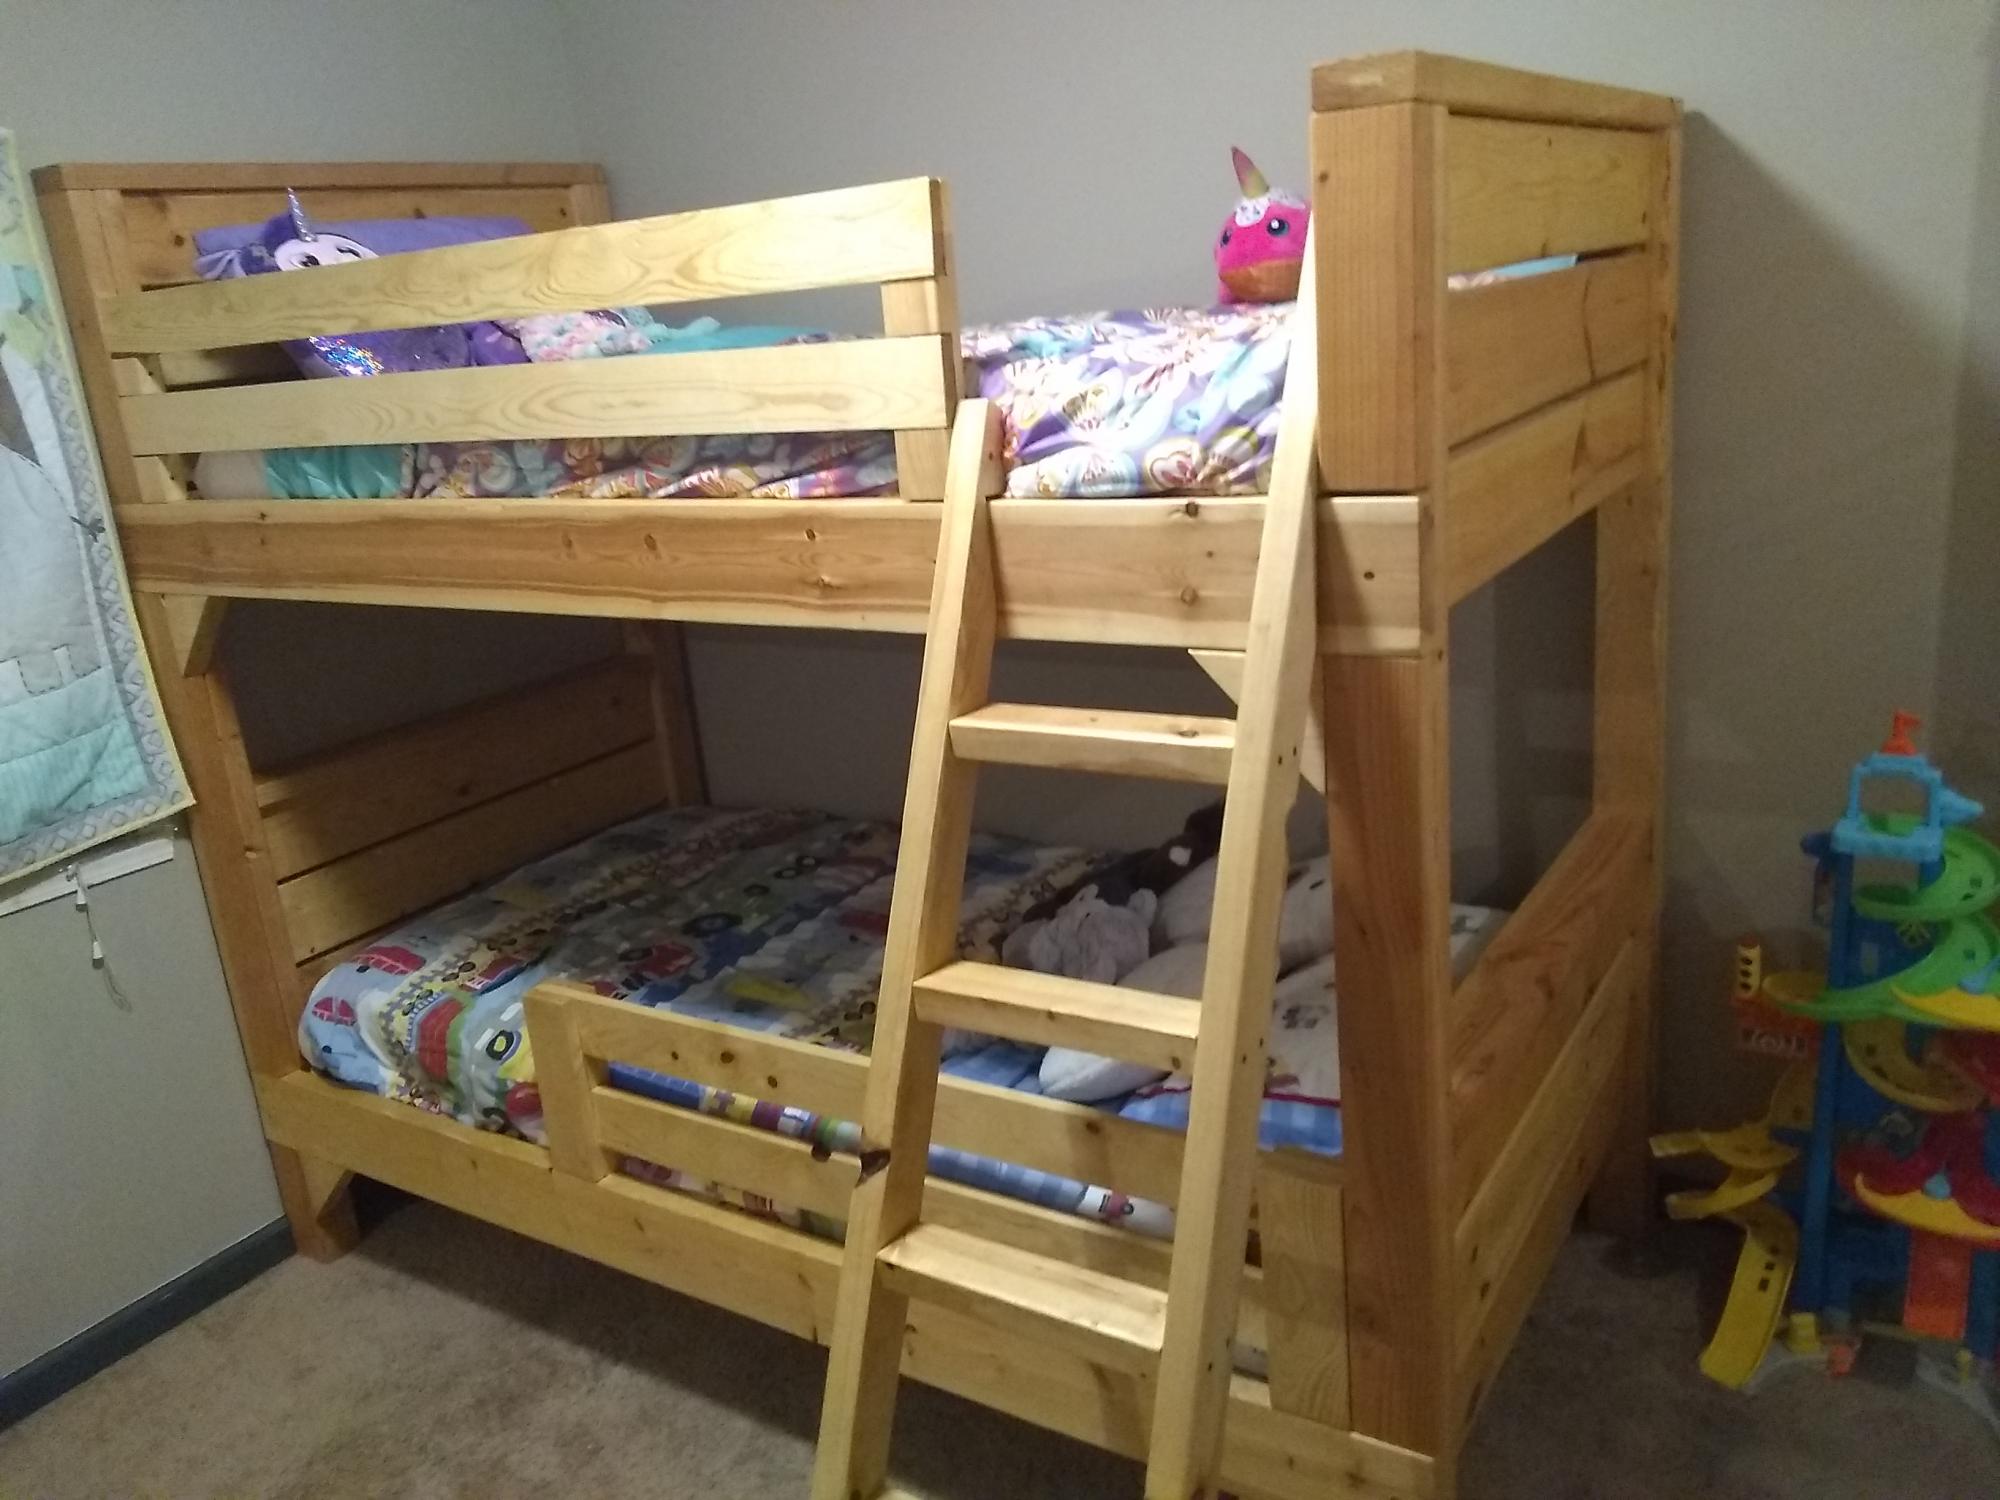
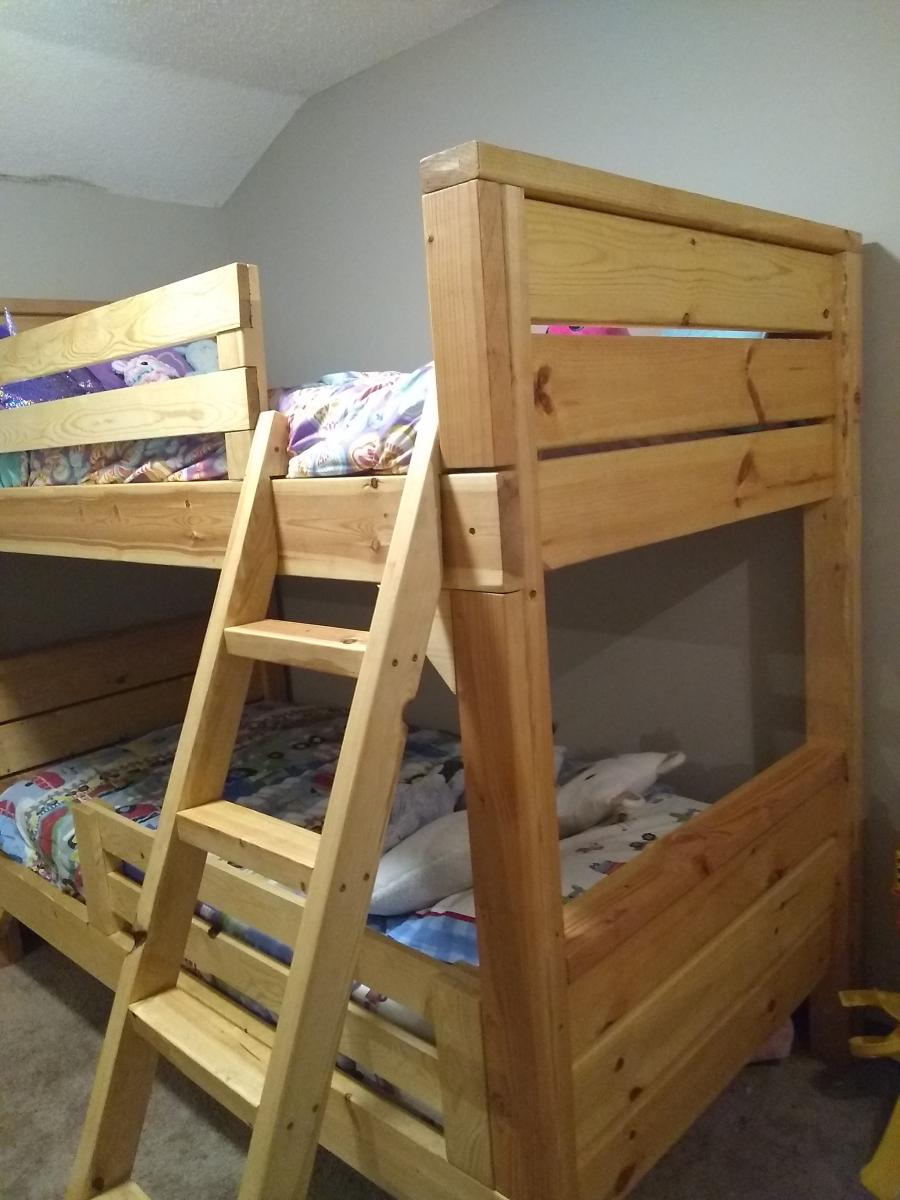
I built this bunk bed from the plans here on Anna white, I love this site. I think it came out really good. It took a little longer than expected because I sanded every piece down, every corner, every side, every end, because it's for my kids.
I devised the ladder myself for my situation and modified the rails I found as well.

My husband used the plans from this website to make a single Murphy bed. He didn't make any changes, save for building the frame out of solid poplar and using birch plywood for the flat surface the mattress sits on when it's unfolded. We trimmed it to mimic the the lines of a built-in in the same room, and stained it Jacobean to make it look dark. It's a solid piece of furniture and is saving us tons of space.
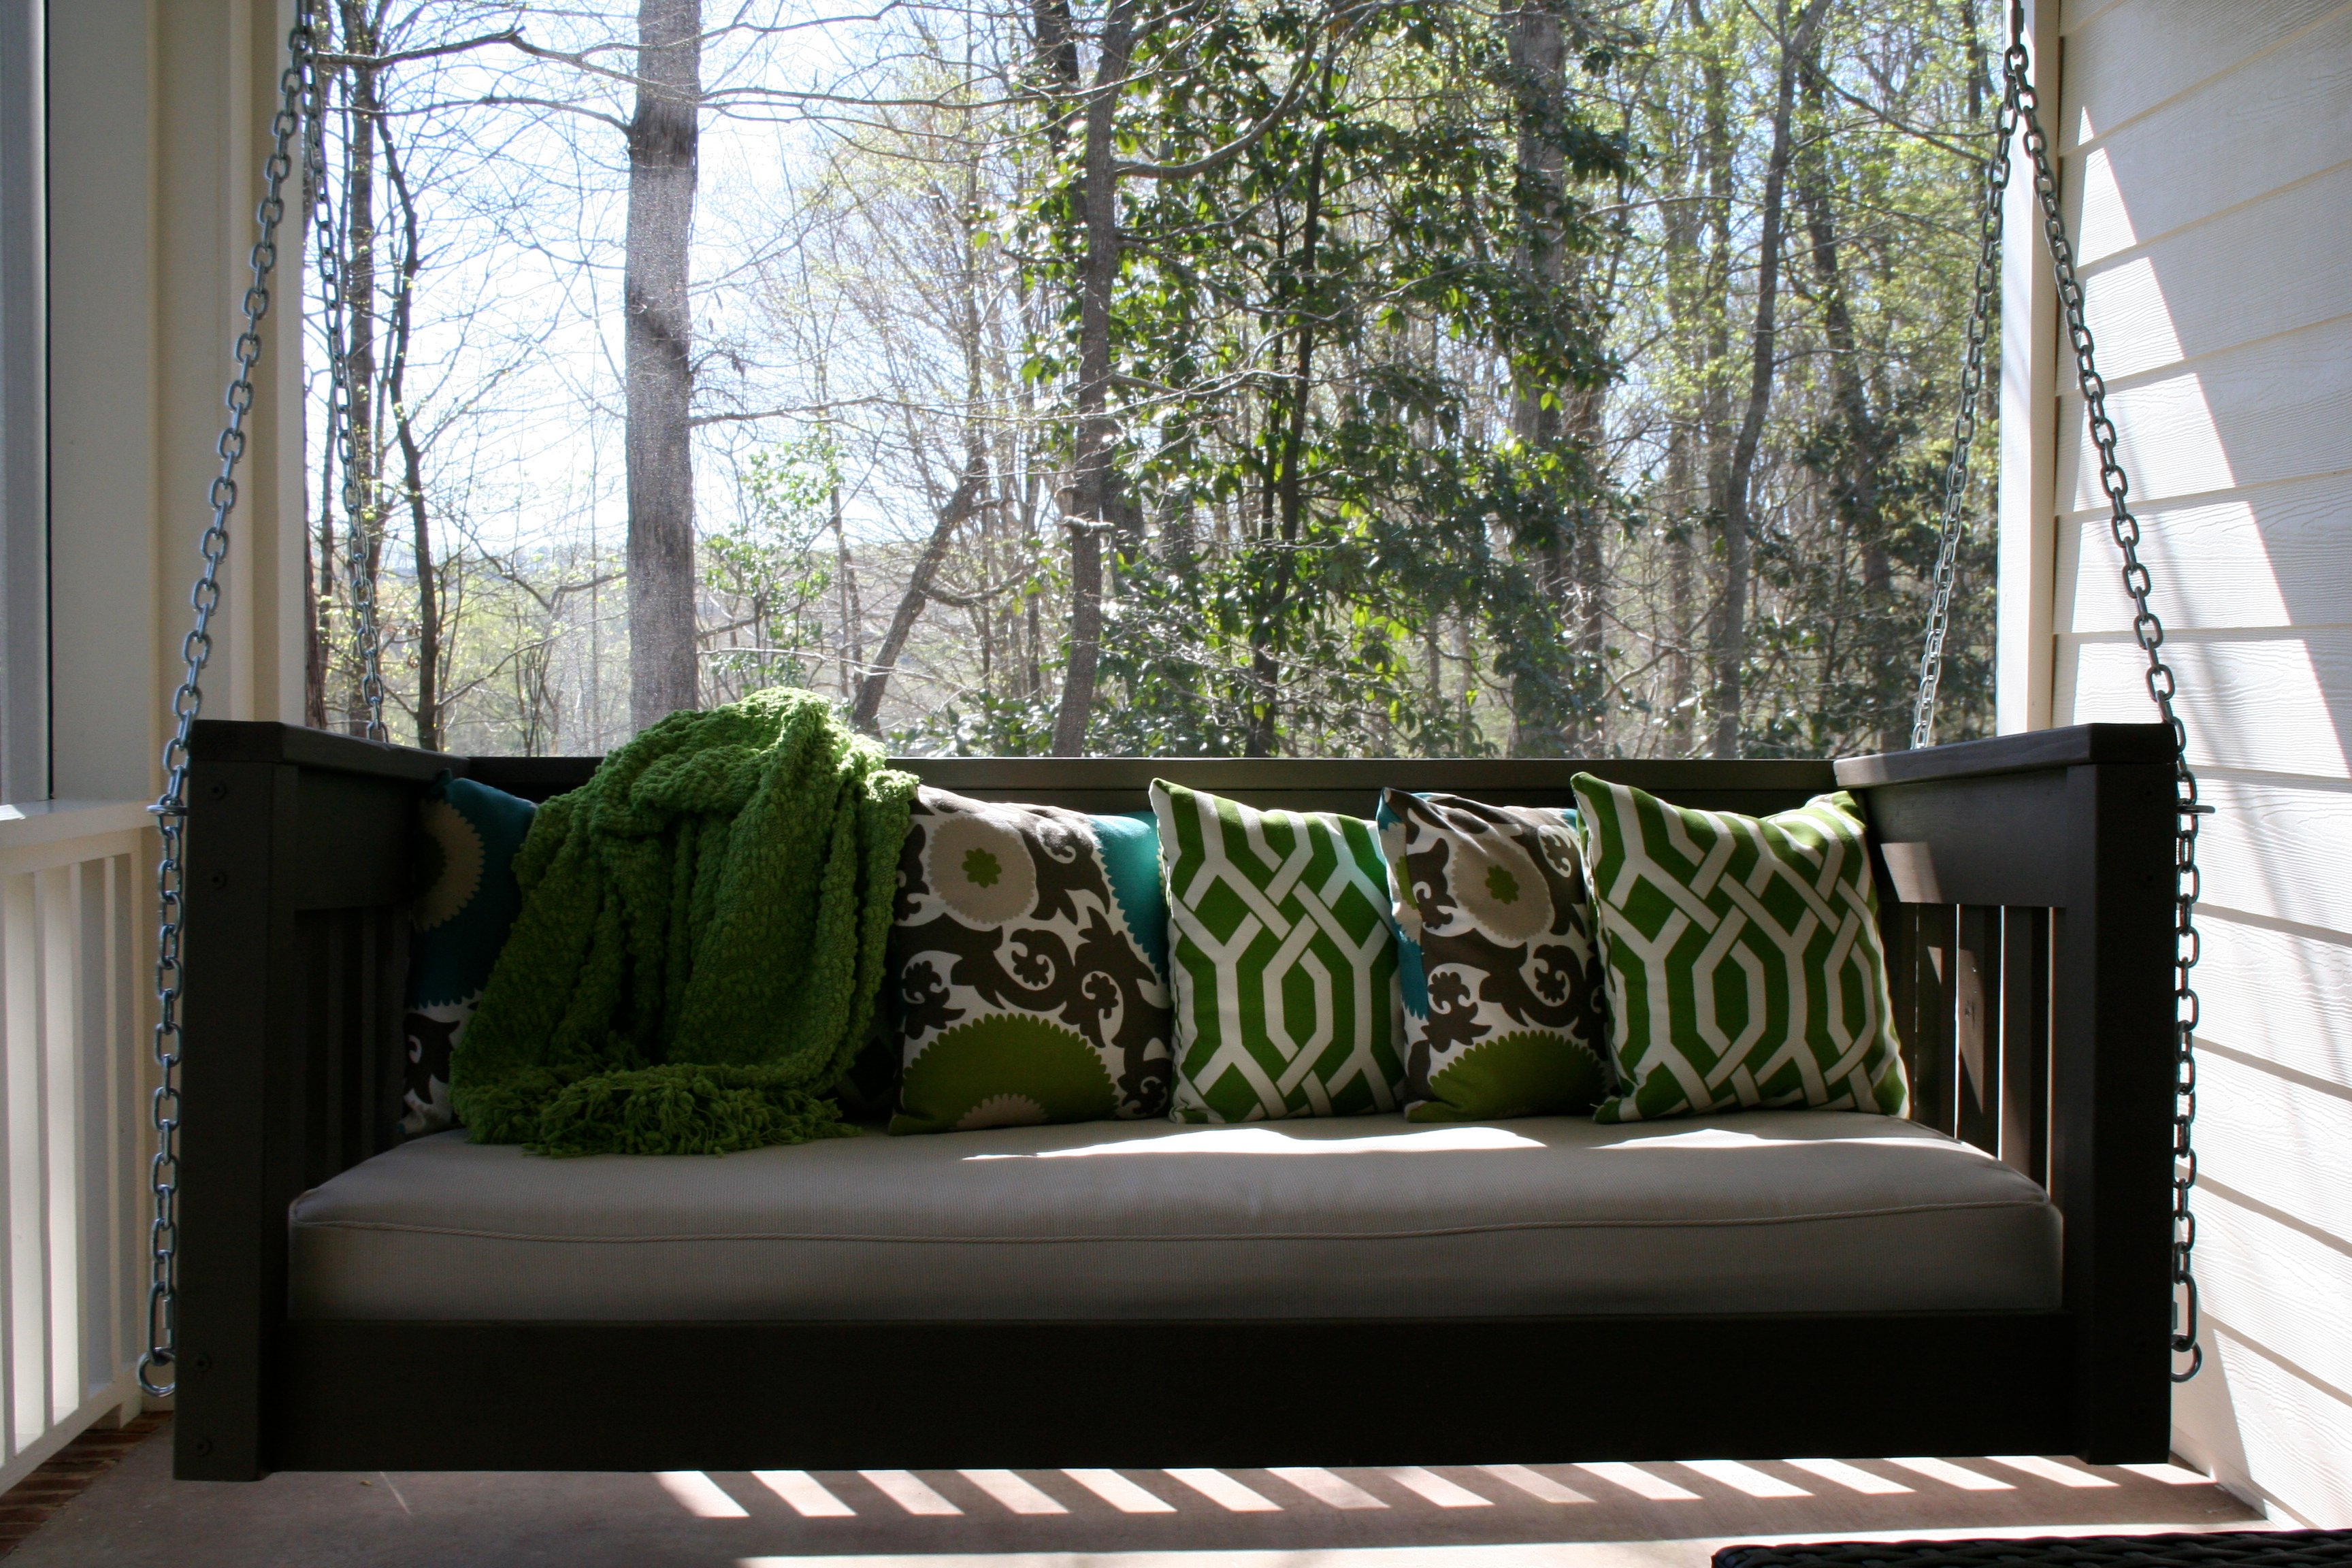
I wanted to make a large porch swing but just couldn't find the exact design. I wanted to be able to stretch out and take a nap but also be able to have a back to lean against. Most plans that I found were just basically a box you could put a mattress in and then hang. So I found Ana's plan for a basic daybed and chopped off the legs and raised the back just a little. It's perfect!! Thanks Ana. The plans were very simple to follow. This is my first project and I think it turned out great.
Sat, 07/26/2014 - 07:37
Looking forward to do one like this !
Do you still have the measurement for the back you have raised ?
Really nice !
Thanks :-)
Sat, 09/20/2014 - 16:33
Thanks! The height of the back and sides is 28 inches.
Tue, 11/18/2014 - 17:38
We made the bed and it looks awesome! Thanks for making the plans easy to follow and providing the picture, which was a fantastic reference. I do have a question for you in regard to how you hung the beg. We would like to hang this from our porch, but can see that we simply have 2x4 roof trusses. We are concerned that the weight of the bed (pretty heavy) plus mattress and support plus a person may be too much. Any additional information you could provide on how you hung the swing would be greatly appreciated! Thanks!
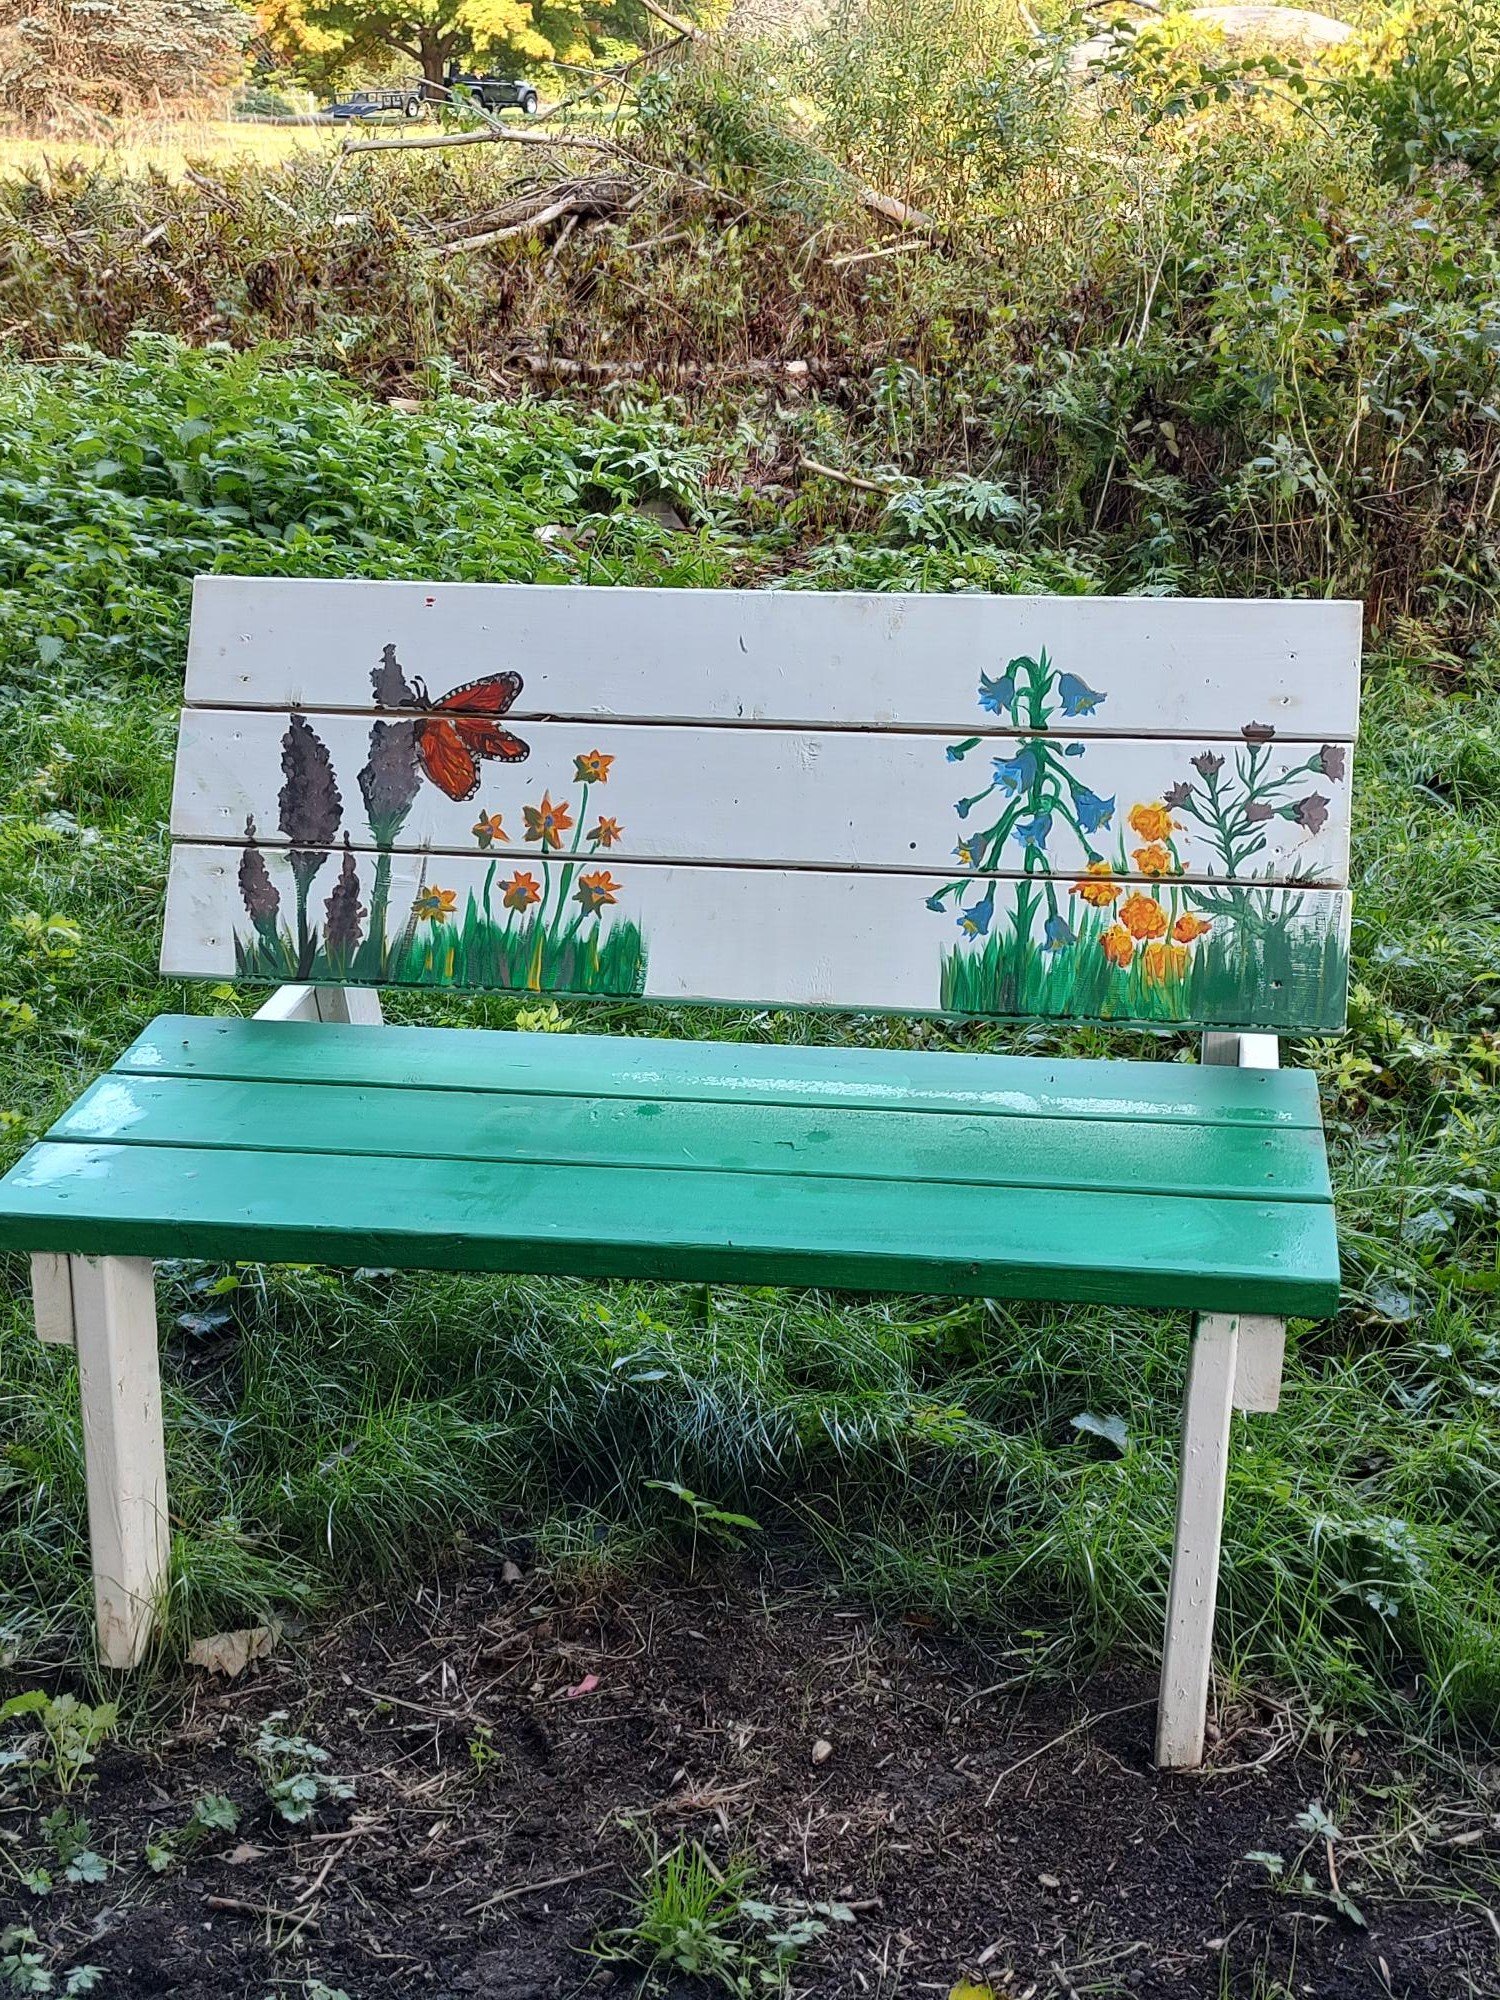
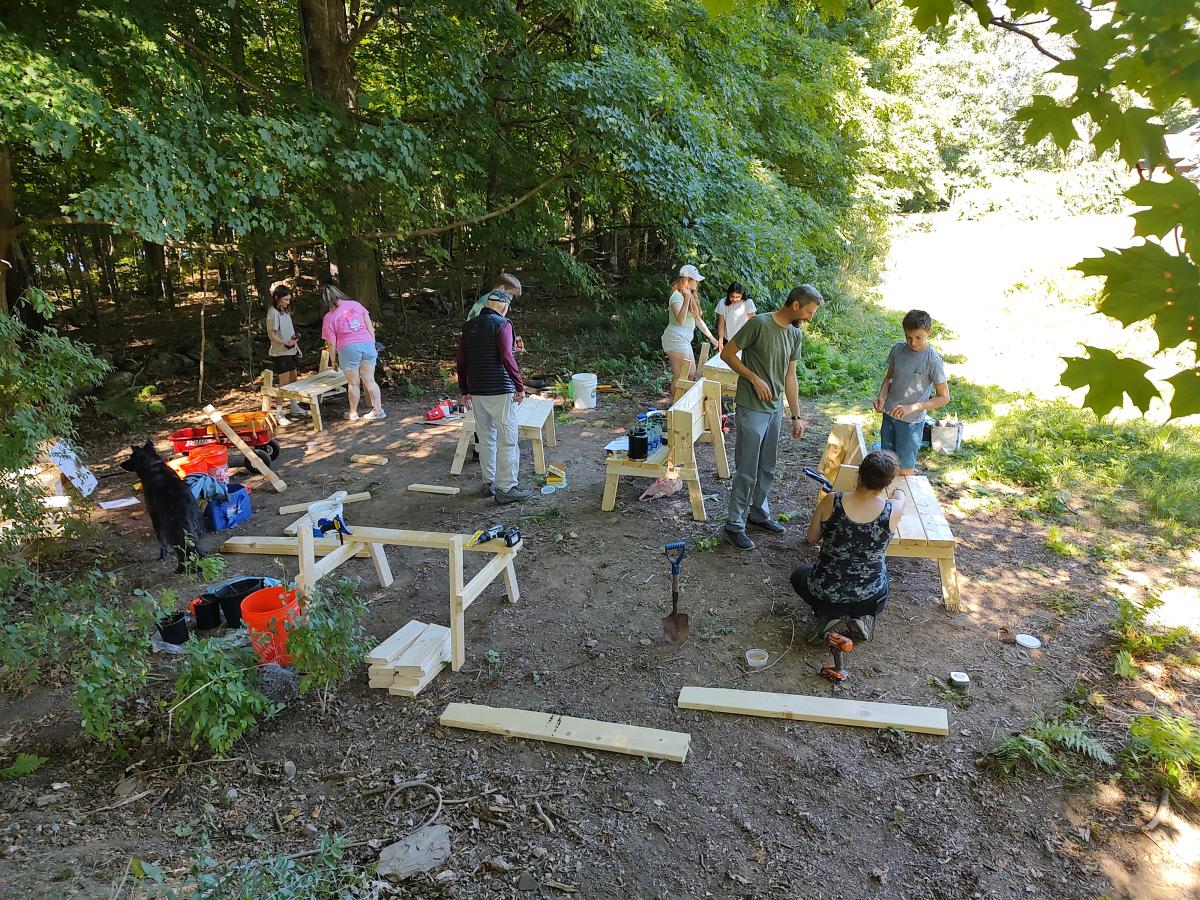
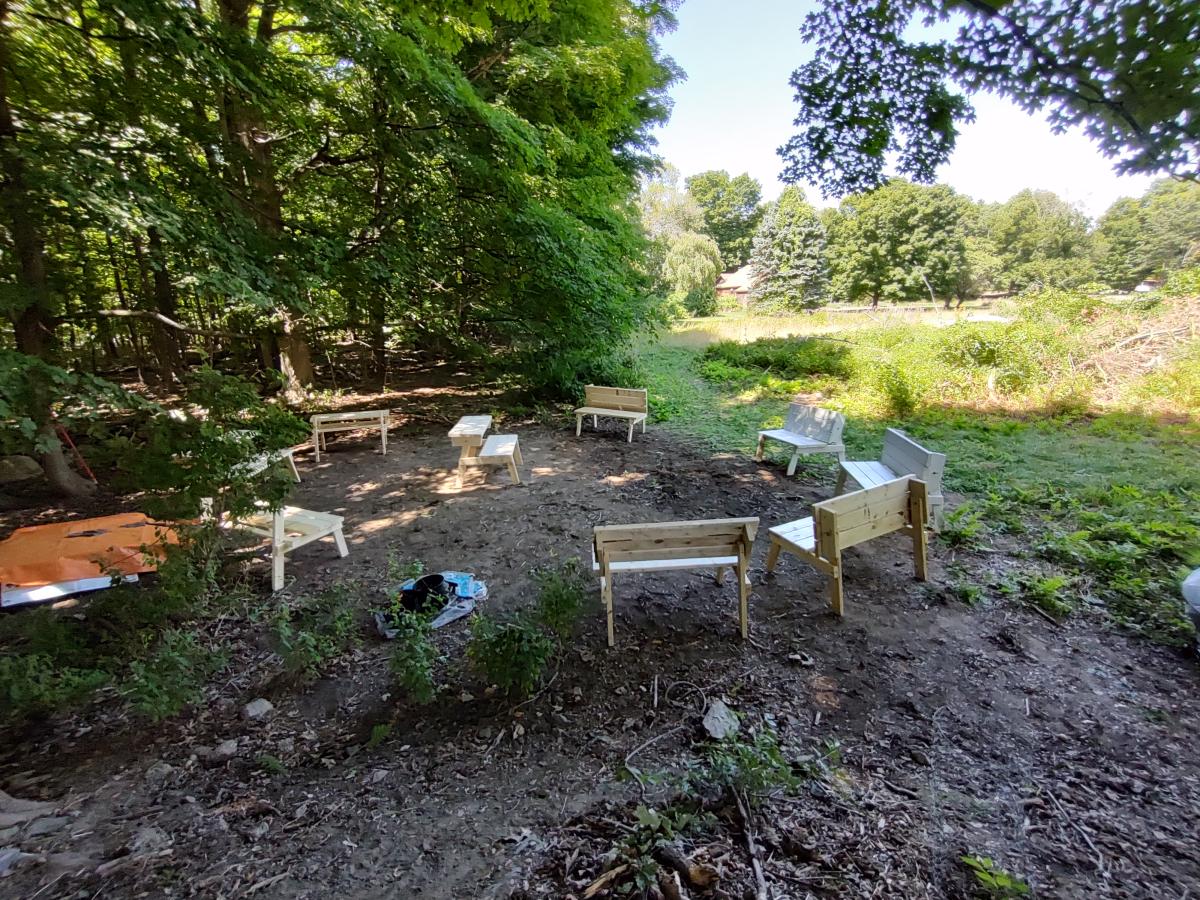
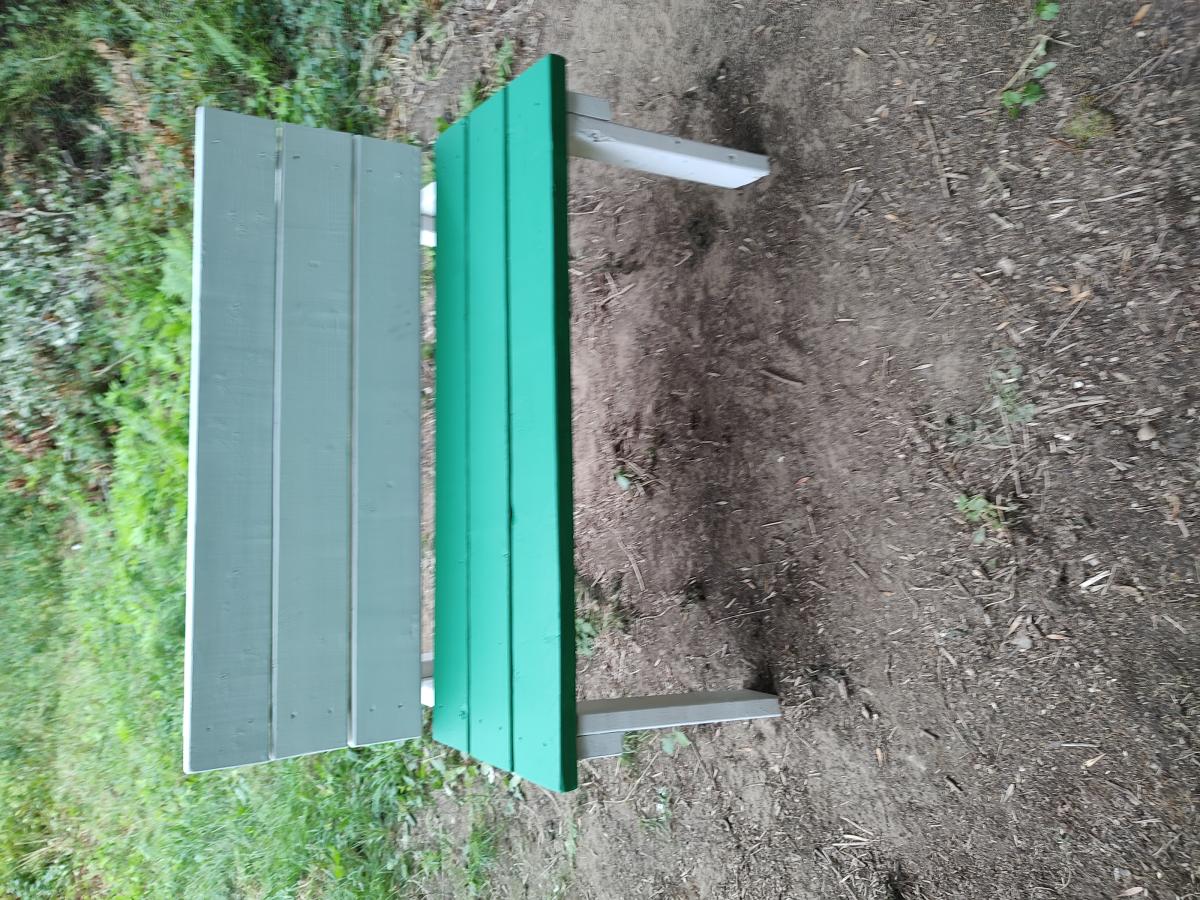
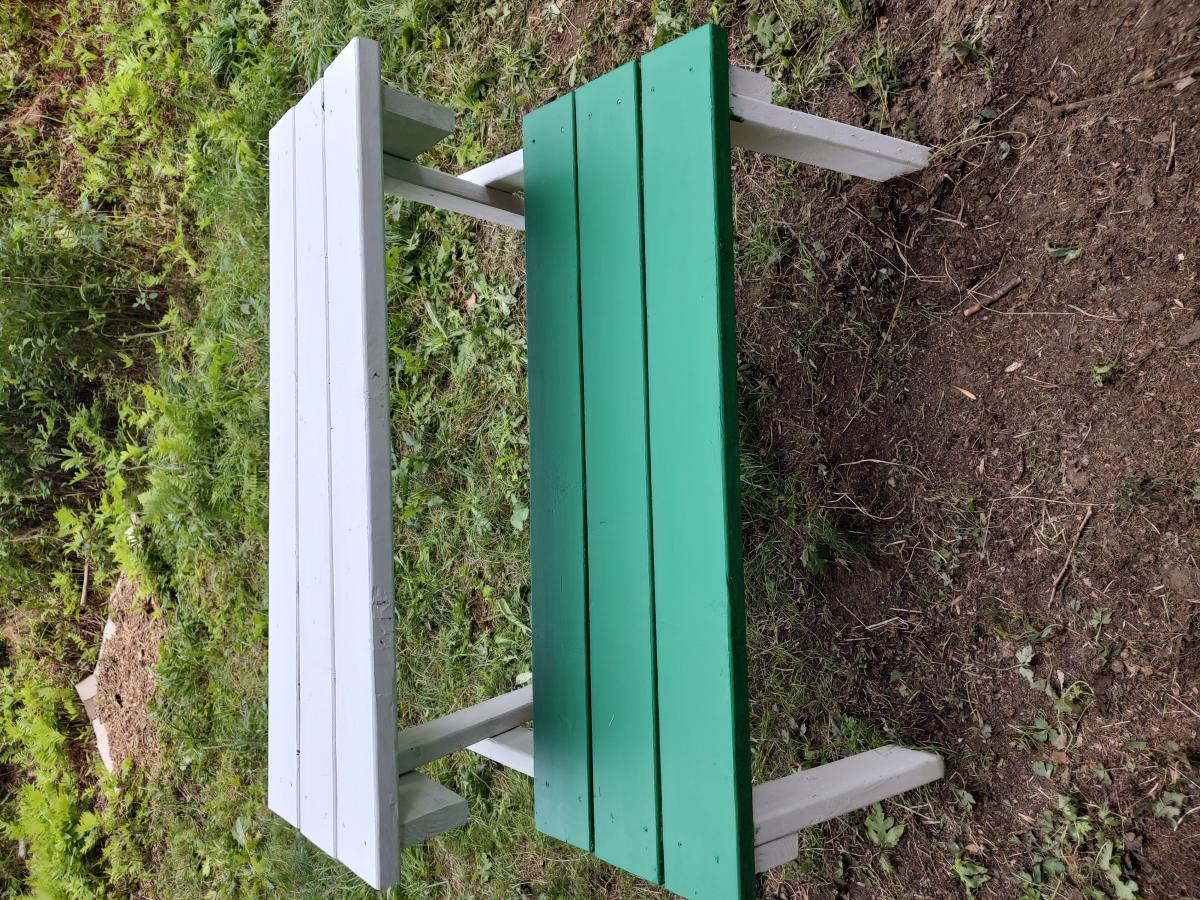
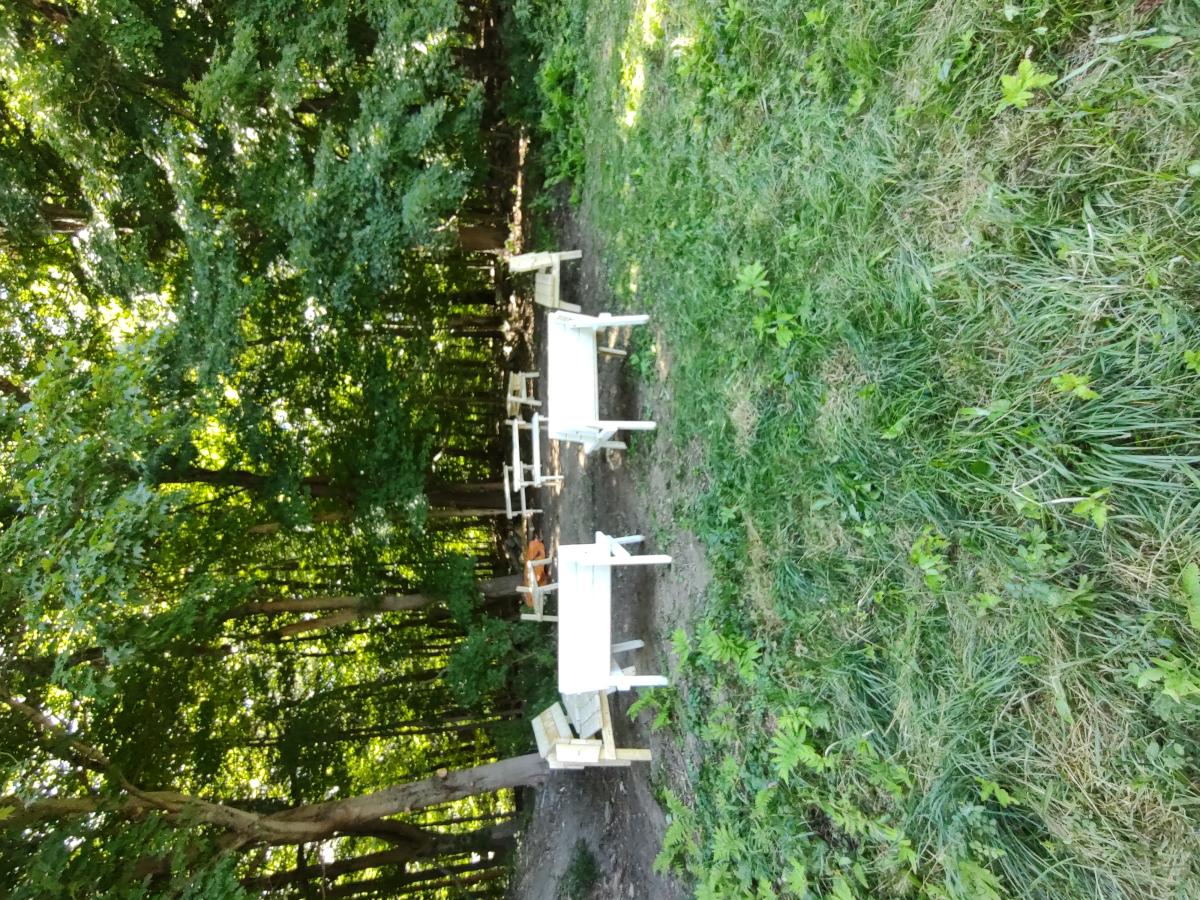
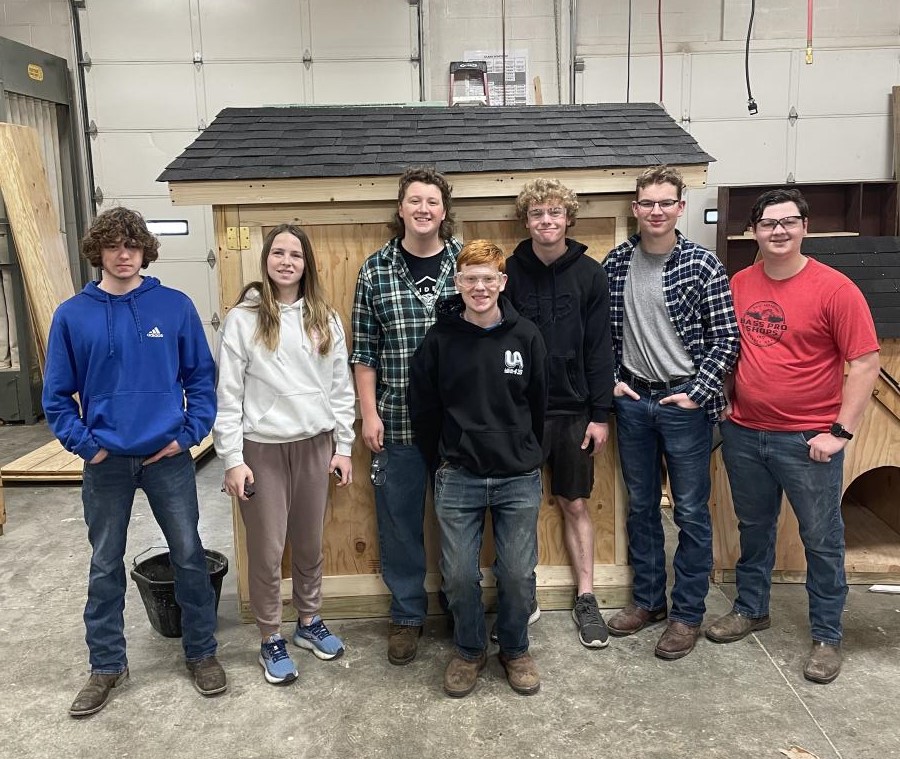
The high school environmental club built an outdoor learning space for classes. The plans were super easy to follow and the students were able to put them together with minimum direction. Imagine being able to take your lessons while out in a field beside the woods! Thank you Ana!
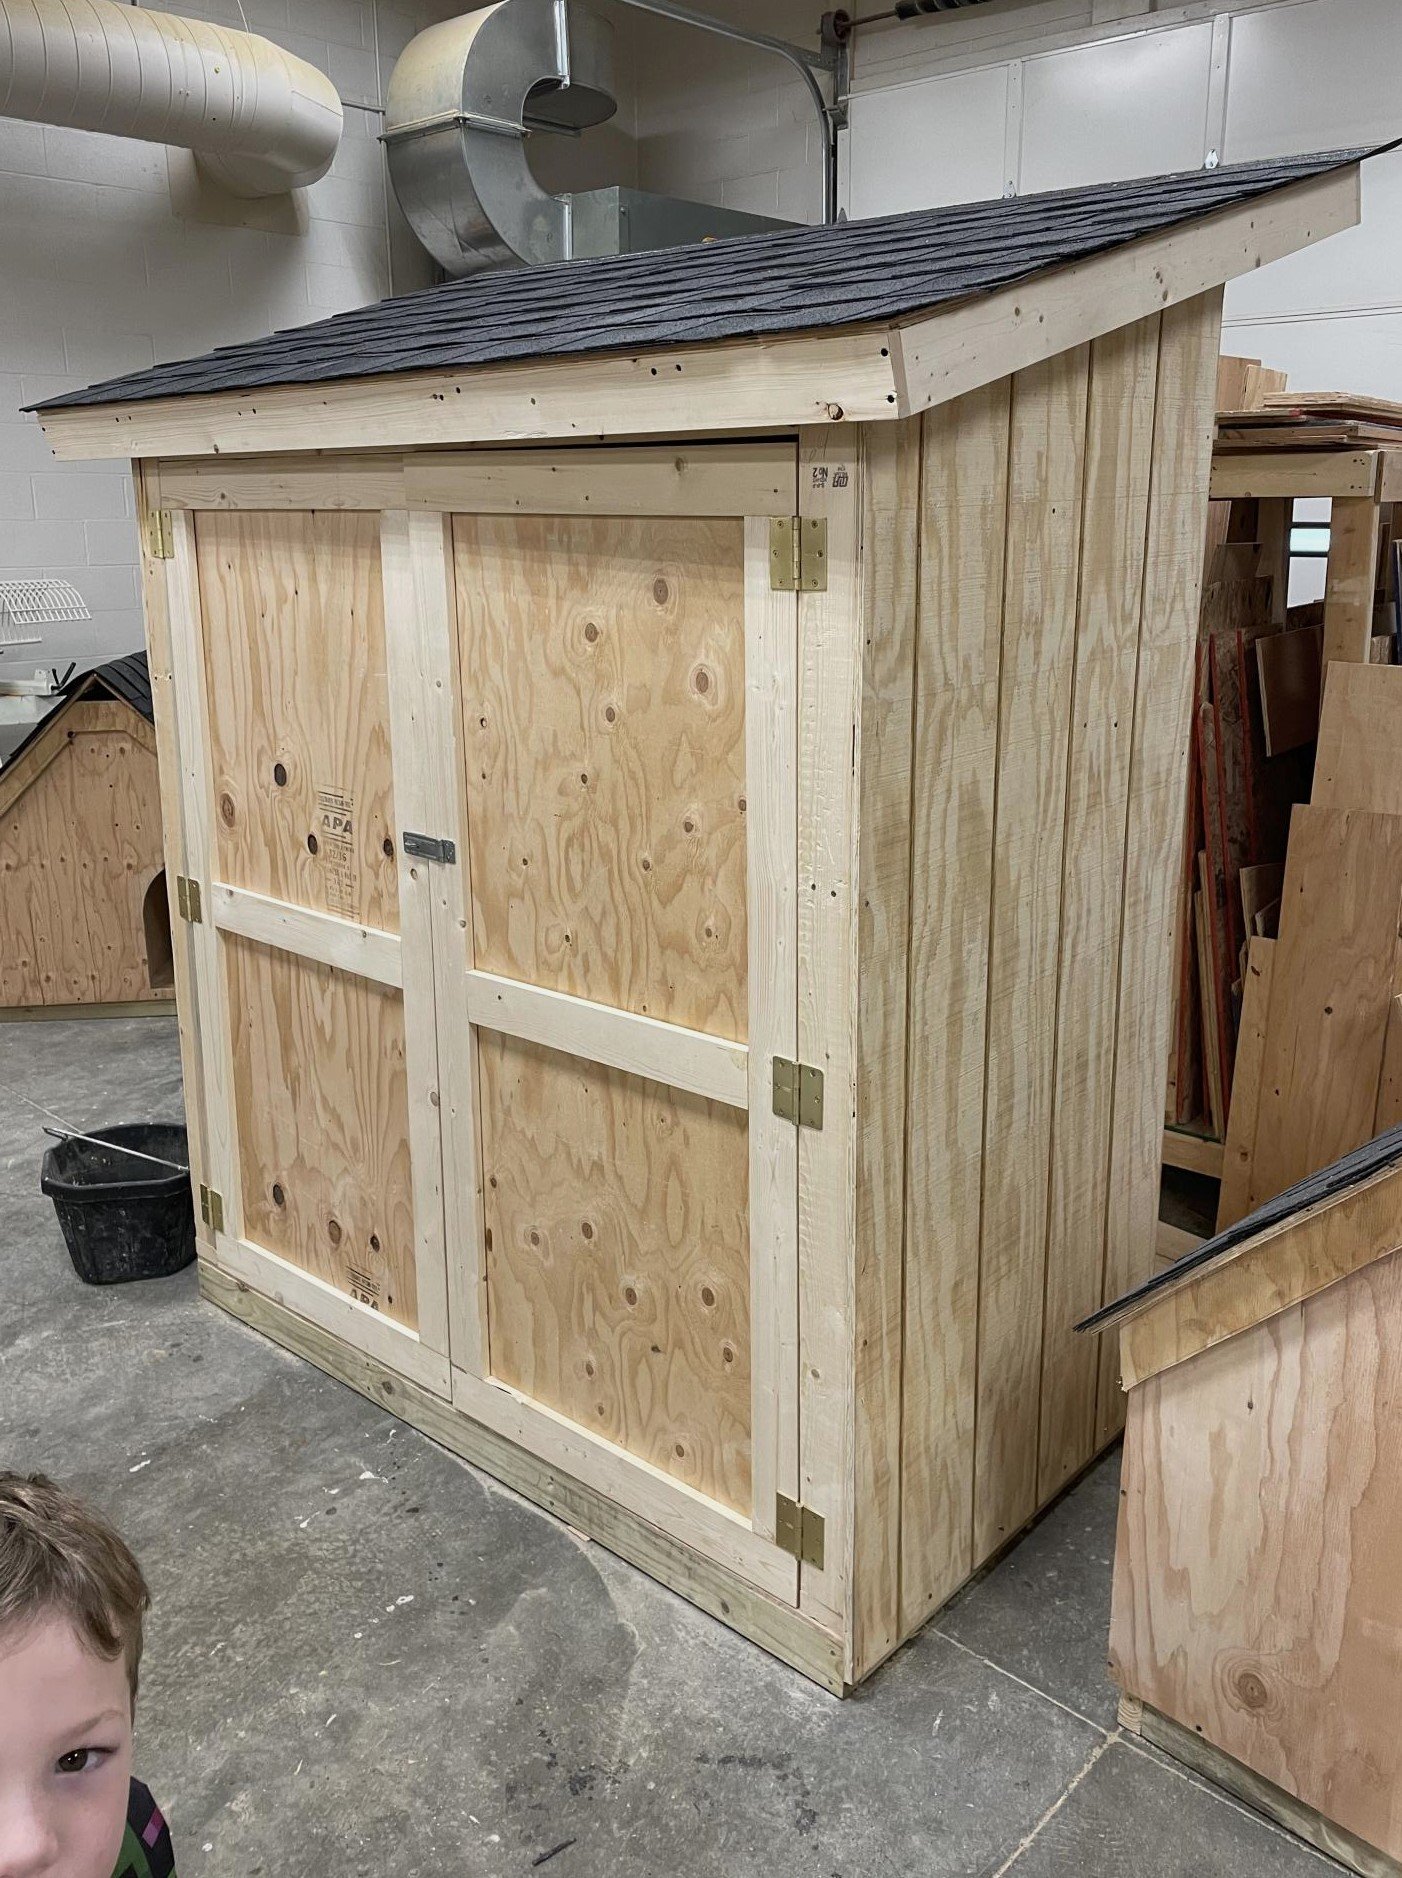
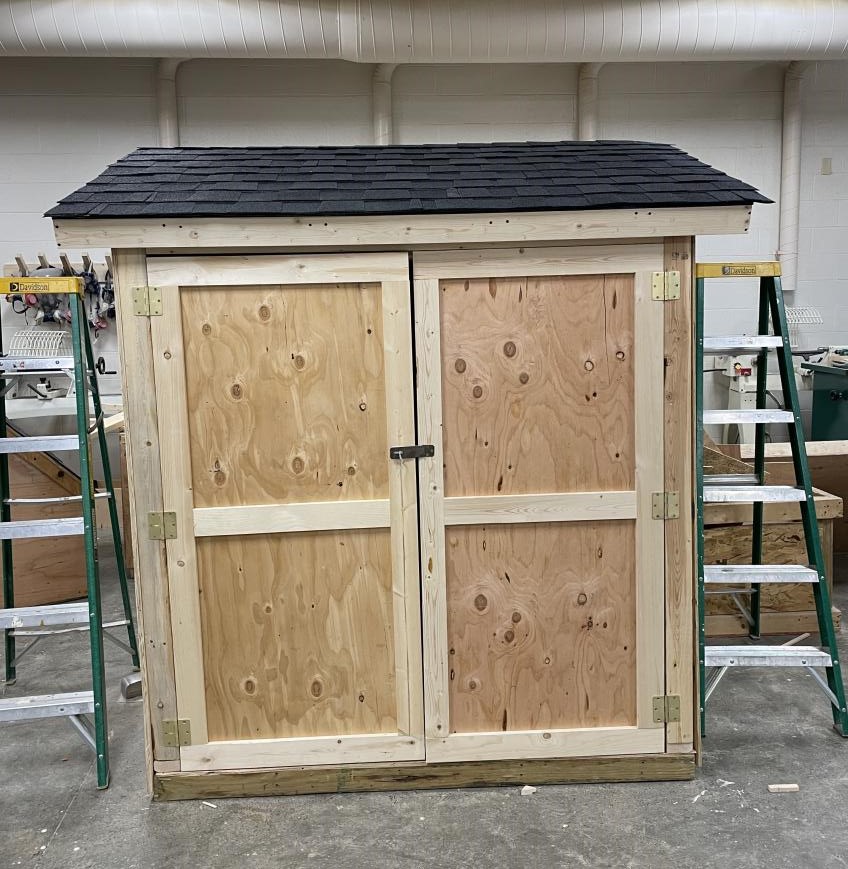
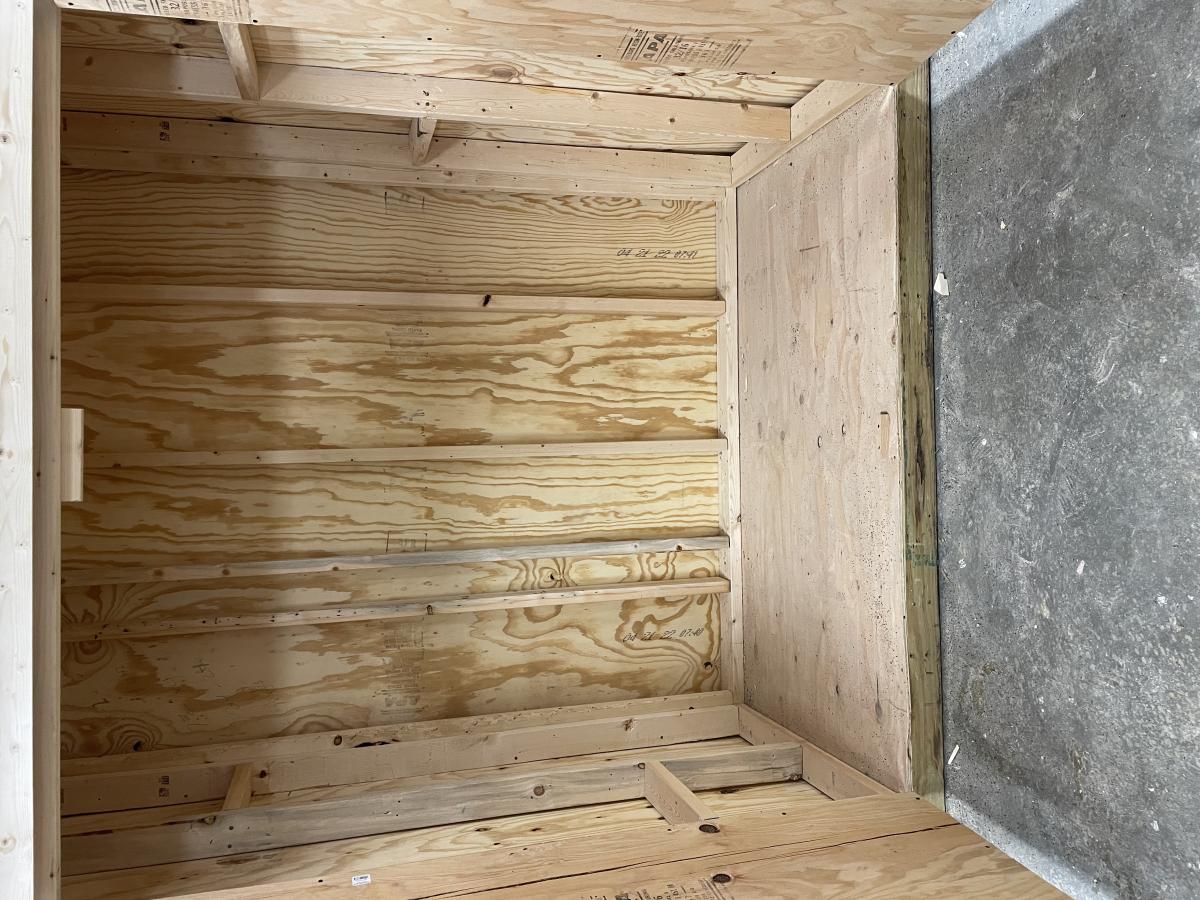
I’m a first year teacher of construction class at Waterloo High School in Illinois. We recently used your Small Cedar shed instructions with some modifications for a class project. It’s a bear getting cedar right now, so we used T1-11 for the outside and 2x4 for the frame.
Sat, 03/25/2023 - 09:14
Very fun and job well done! Thank you for sharing.
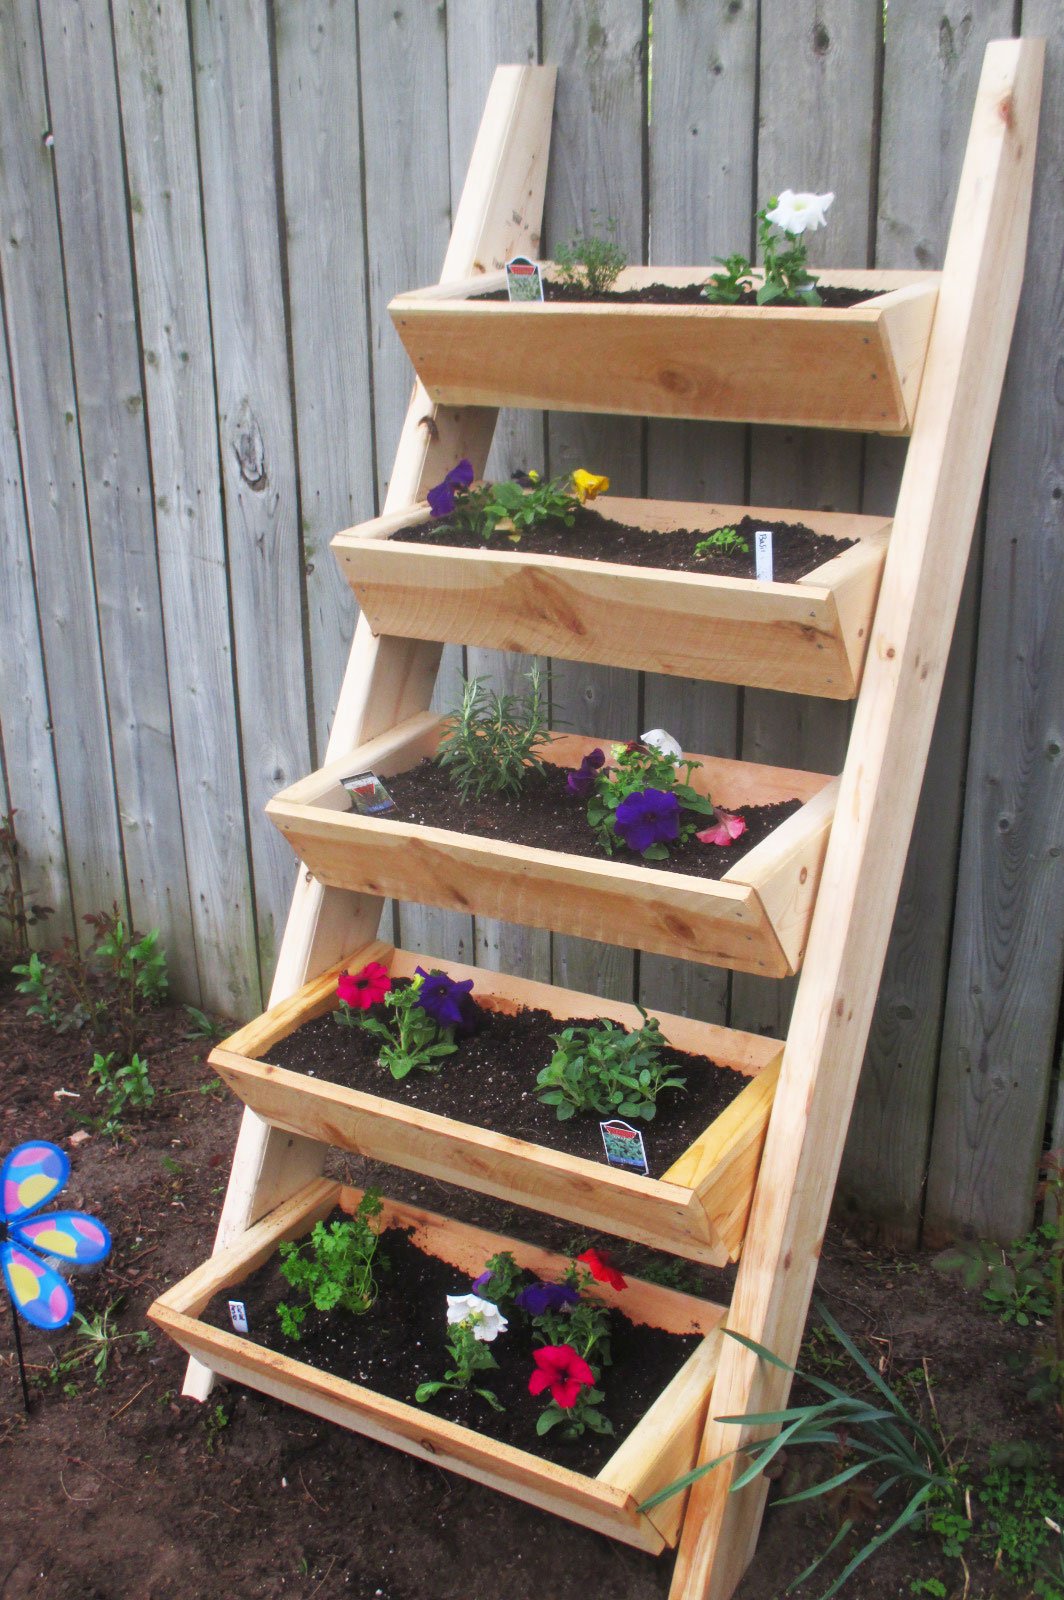
Living on a small city plot, this vertical ladder planter was just what I was looking for to grow my herbs and flowers. I am not an experienced builder but the plans were easy to follow. It didn't take me much time at all to complete this project. Now I am looking forward to fresh herbs and flowers all summer.

I built a big kids see saw using 2x6's all around with a 2x8 seat. The center post is 30"h.


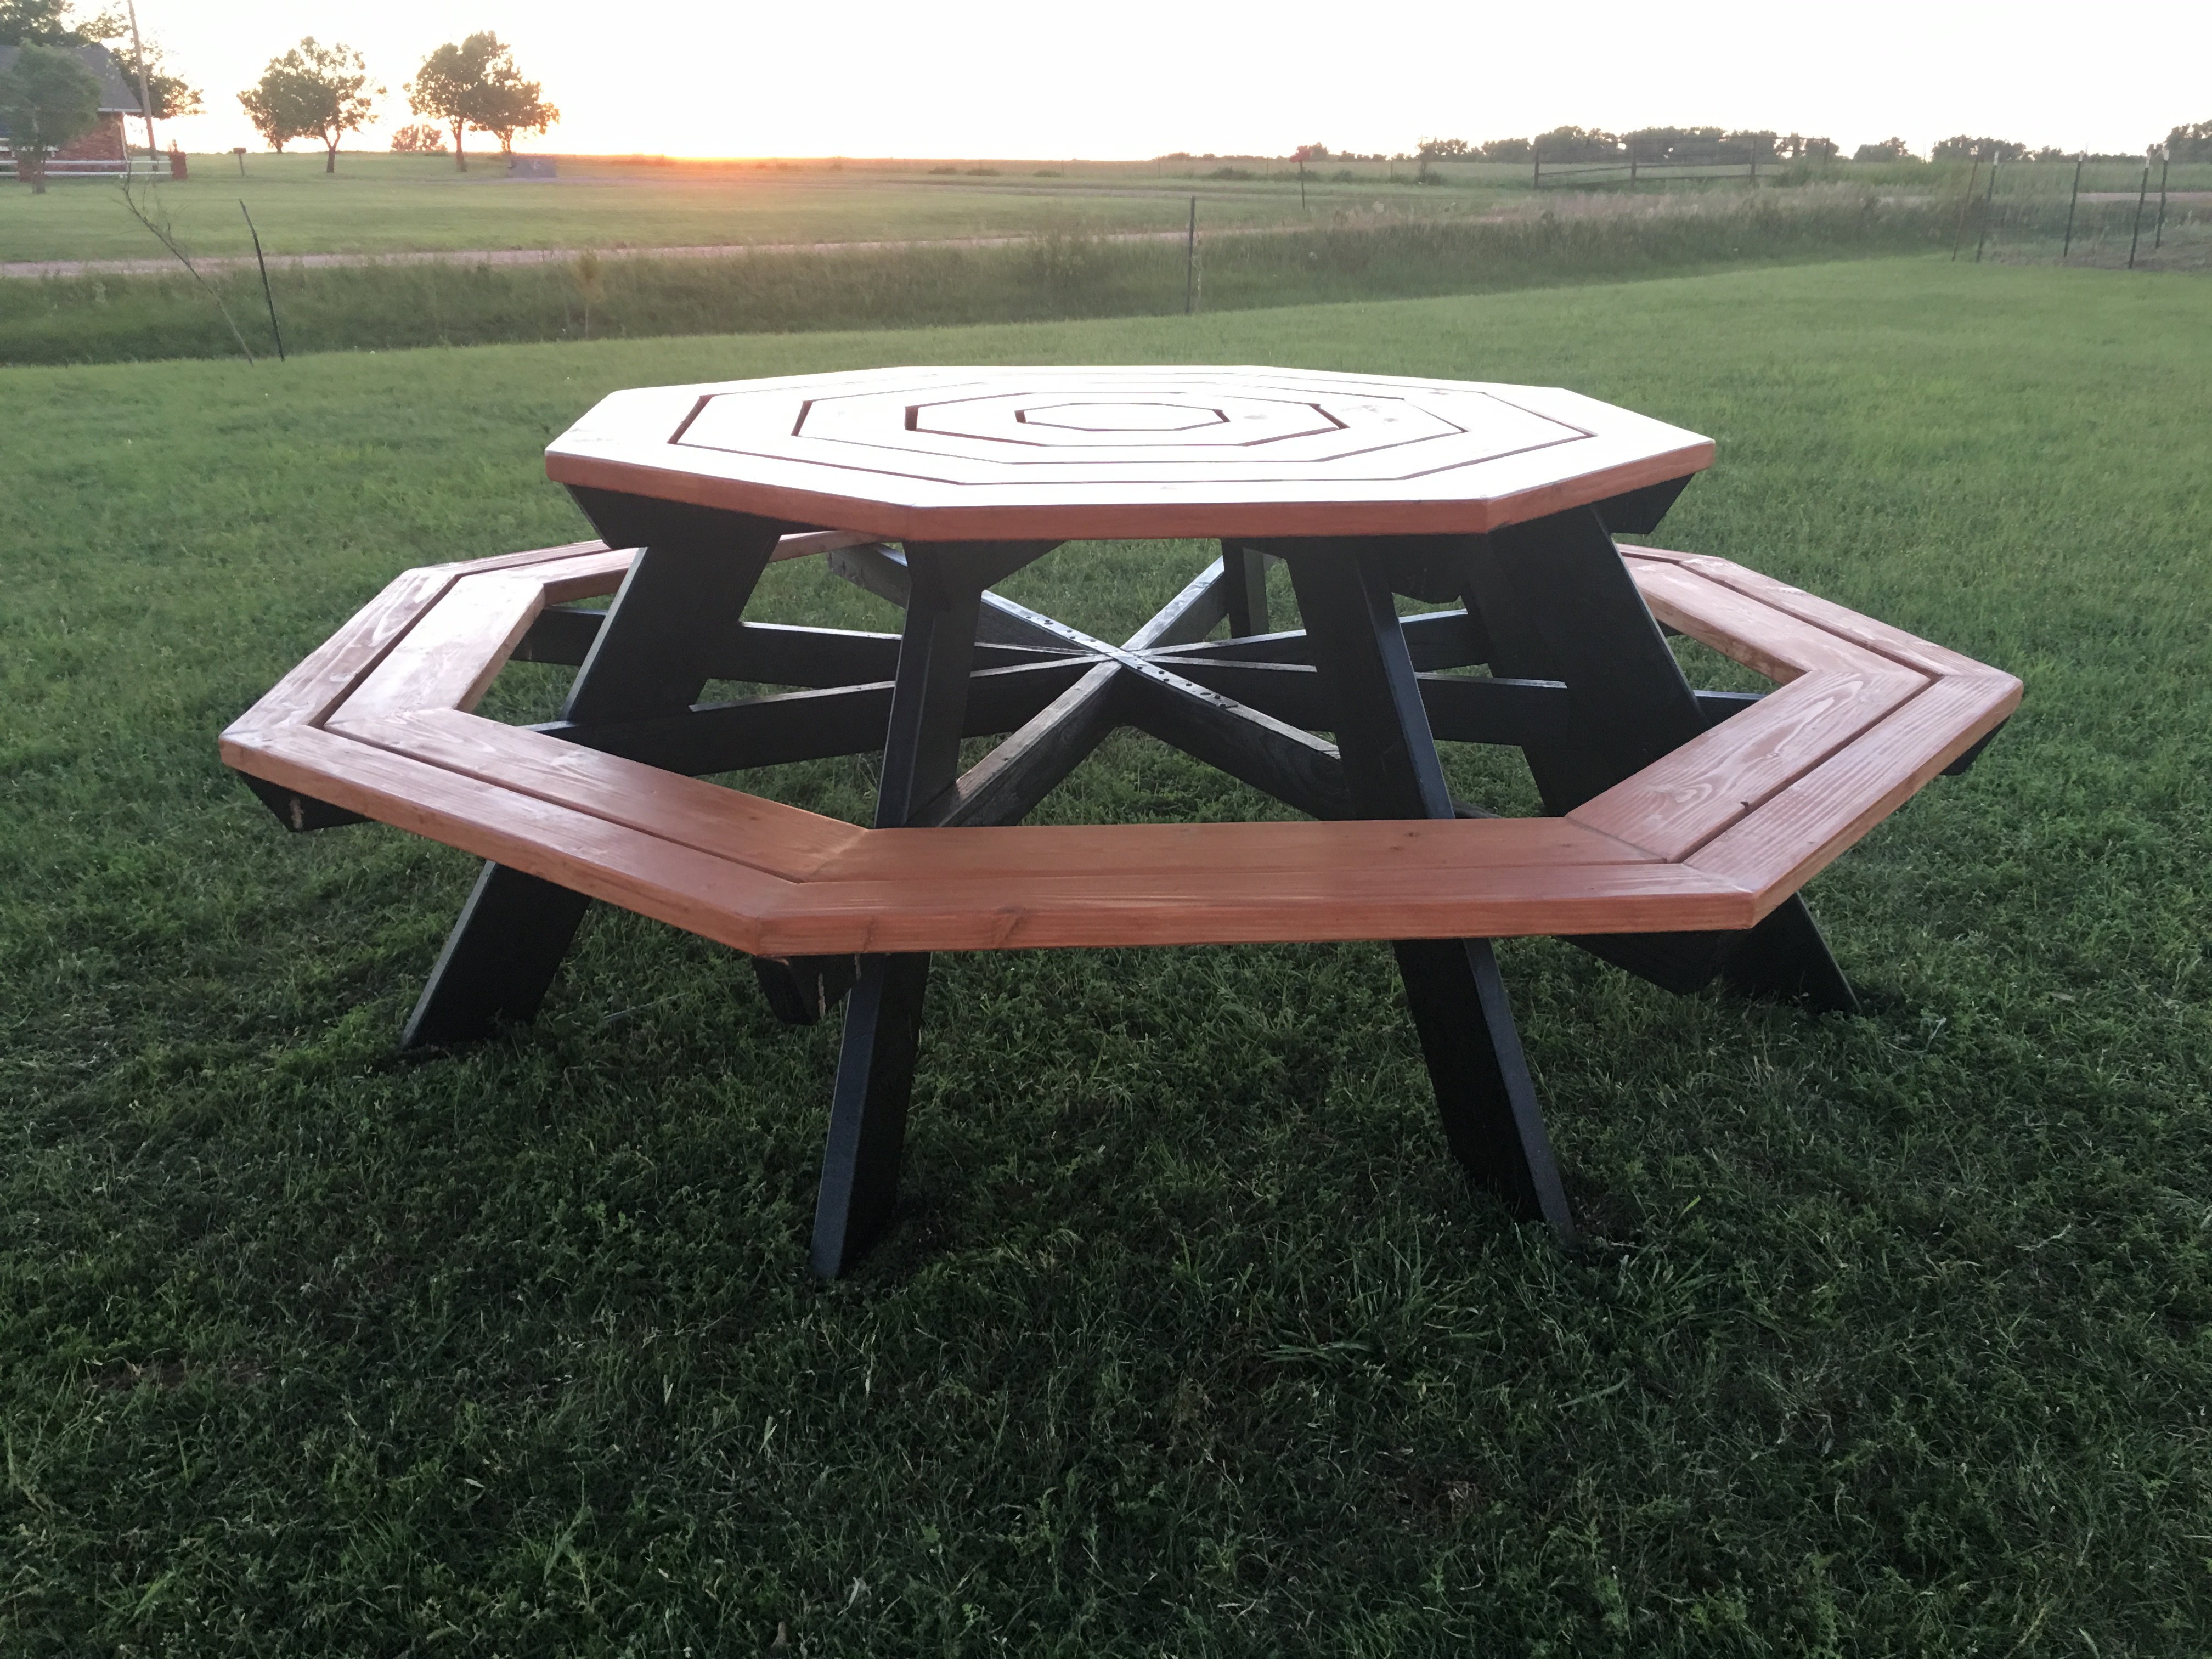
I love our new table.
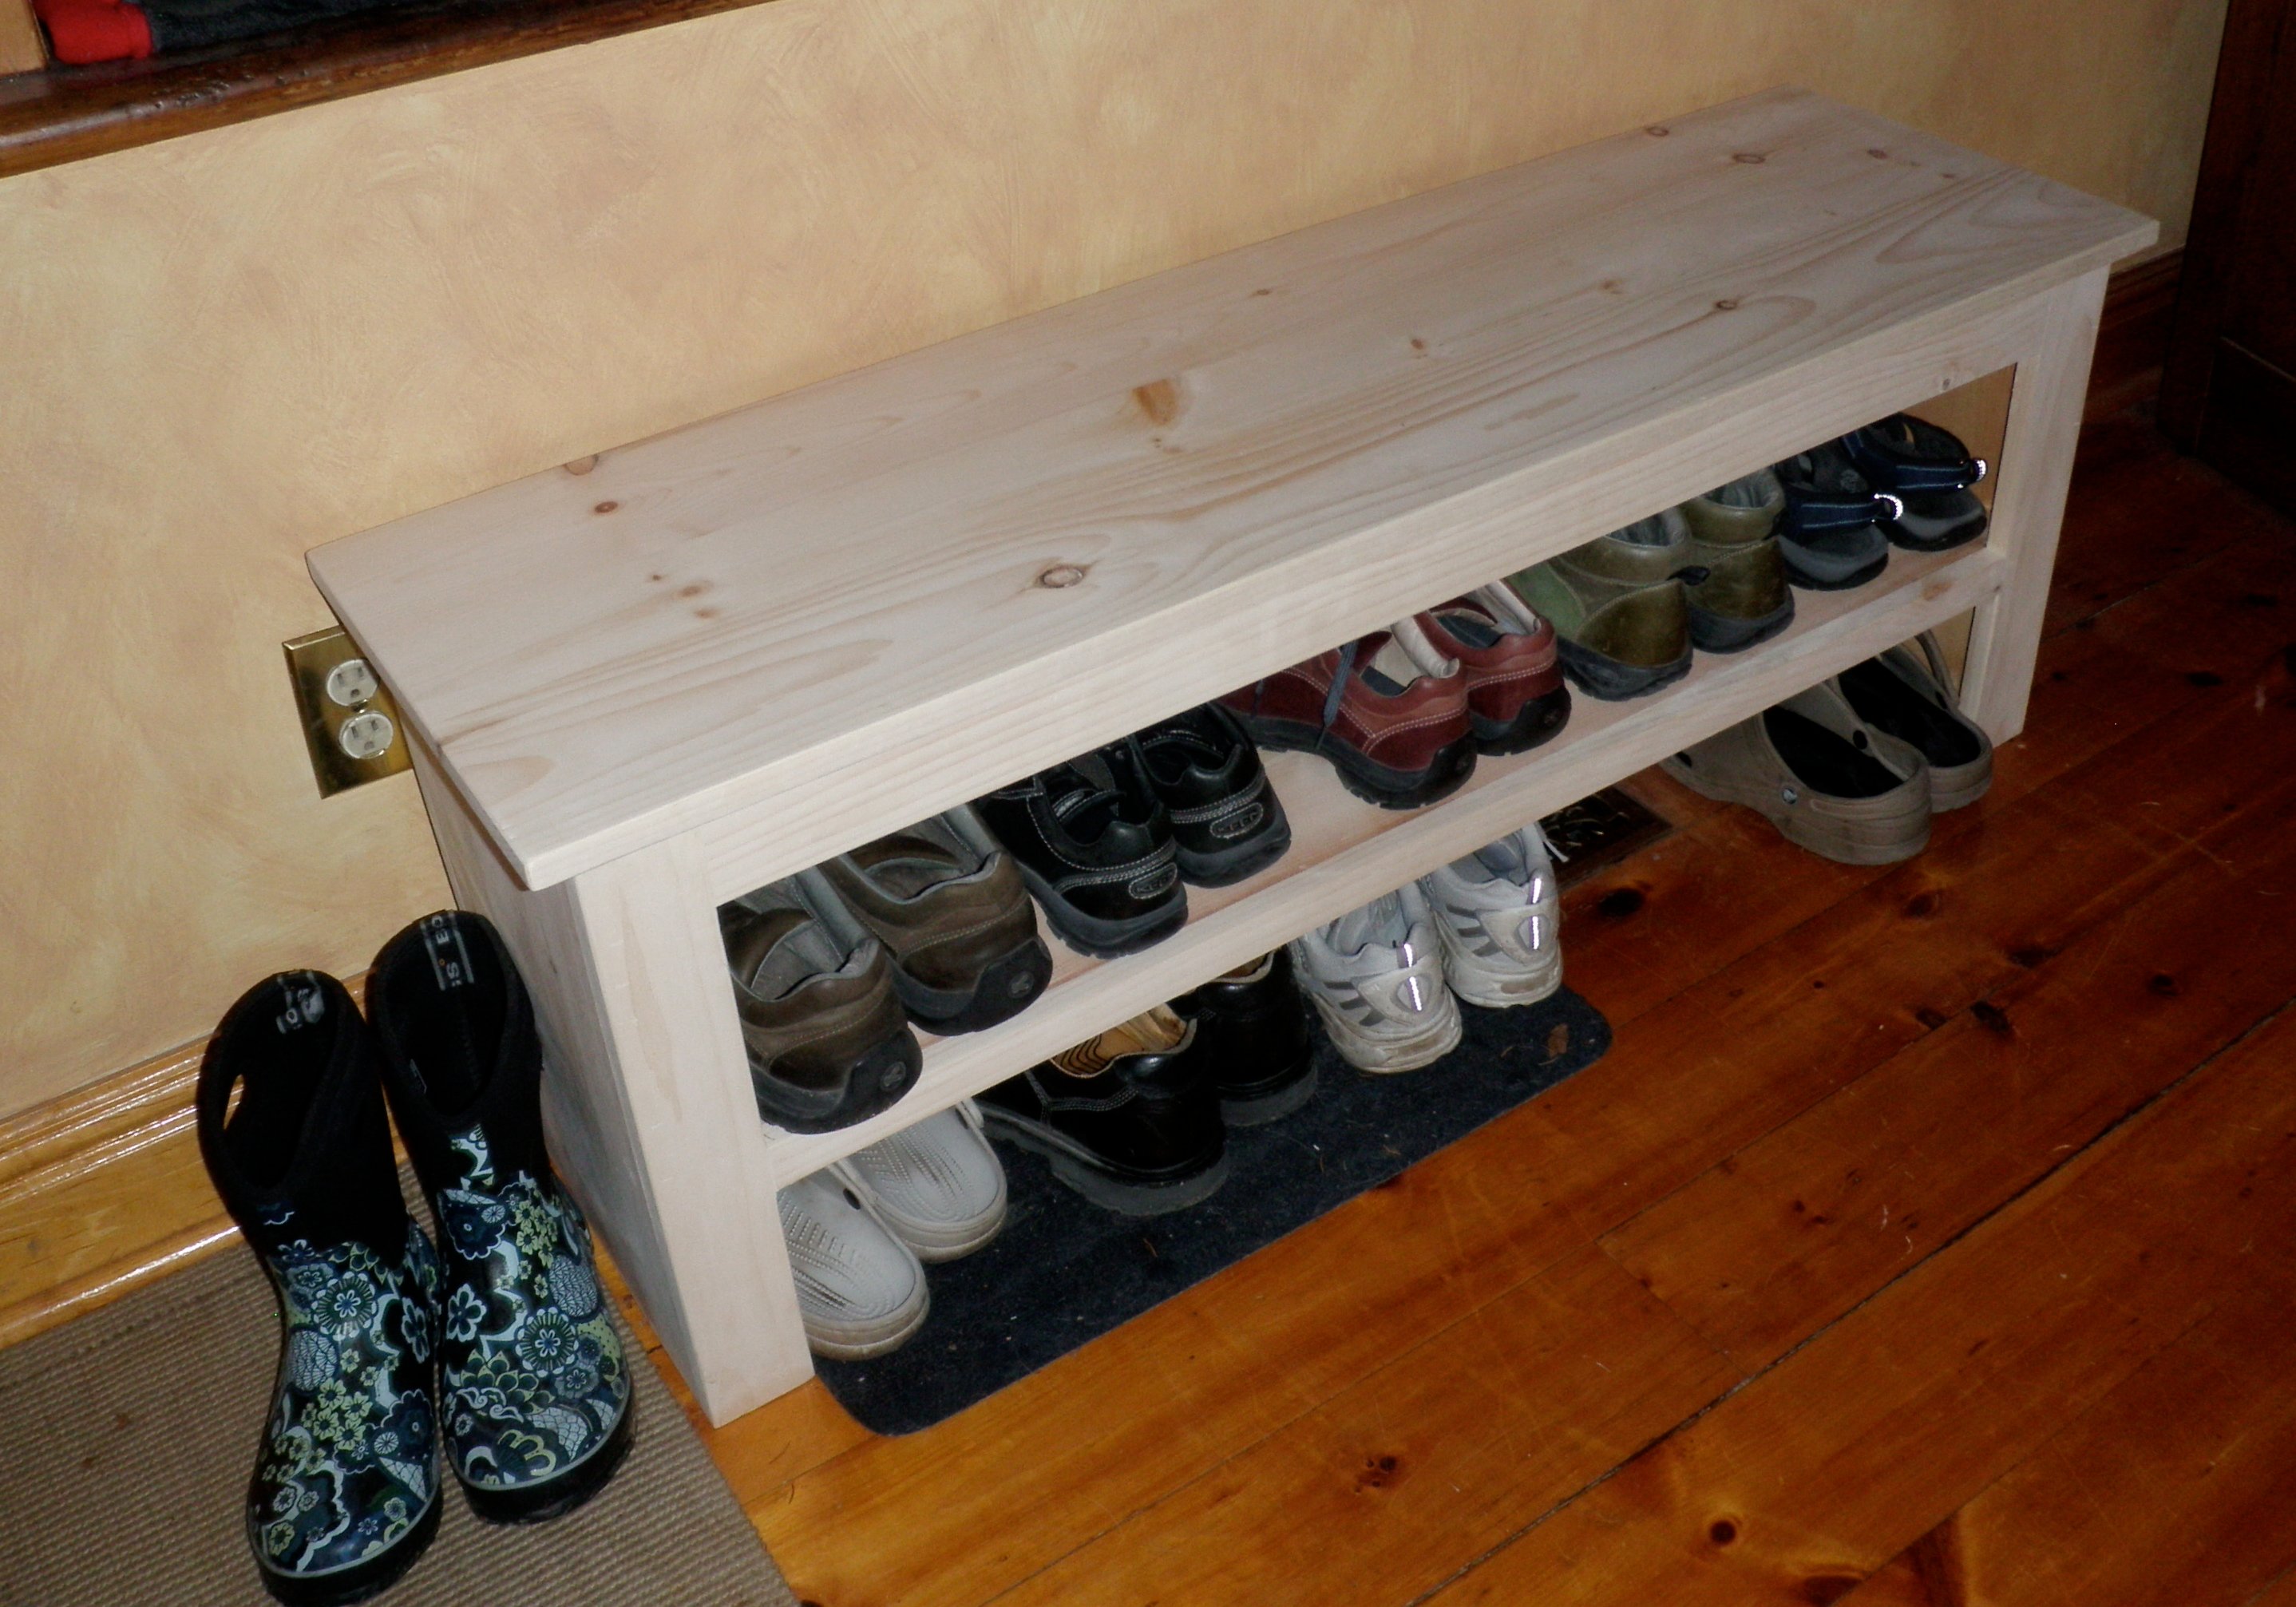
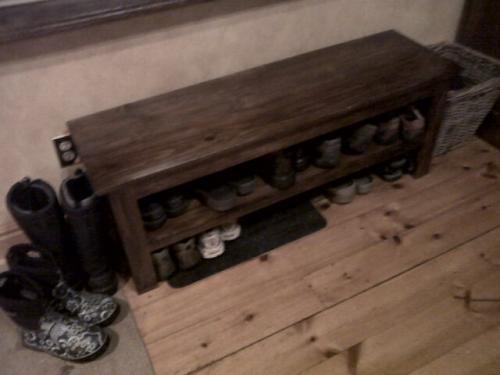
I've officially stopped stalking and started building! First project a modified spa bench. Still have to stain it, but it already makes the big pile of shoes by the door look neater! I'm a hands-on person and not afraid of power tools (got a band saw for my birthday!) but it's still a challenge building a piece of furniture. I've already learned lots of do's and don't do's for next time!
Thanx a bunch for your site, Ana! It definitely gets the mind plotting great projects to come!