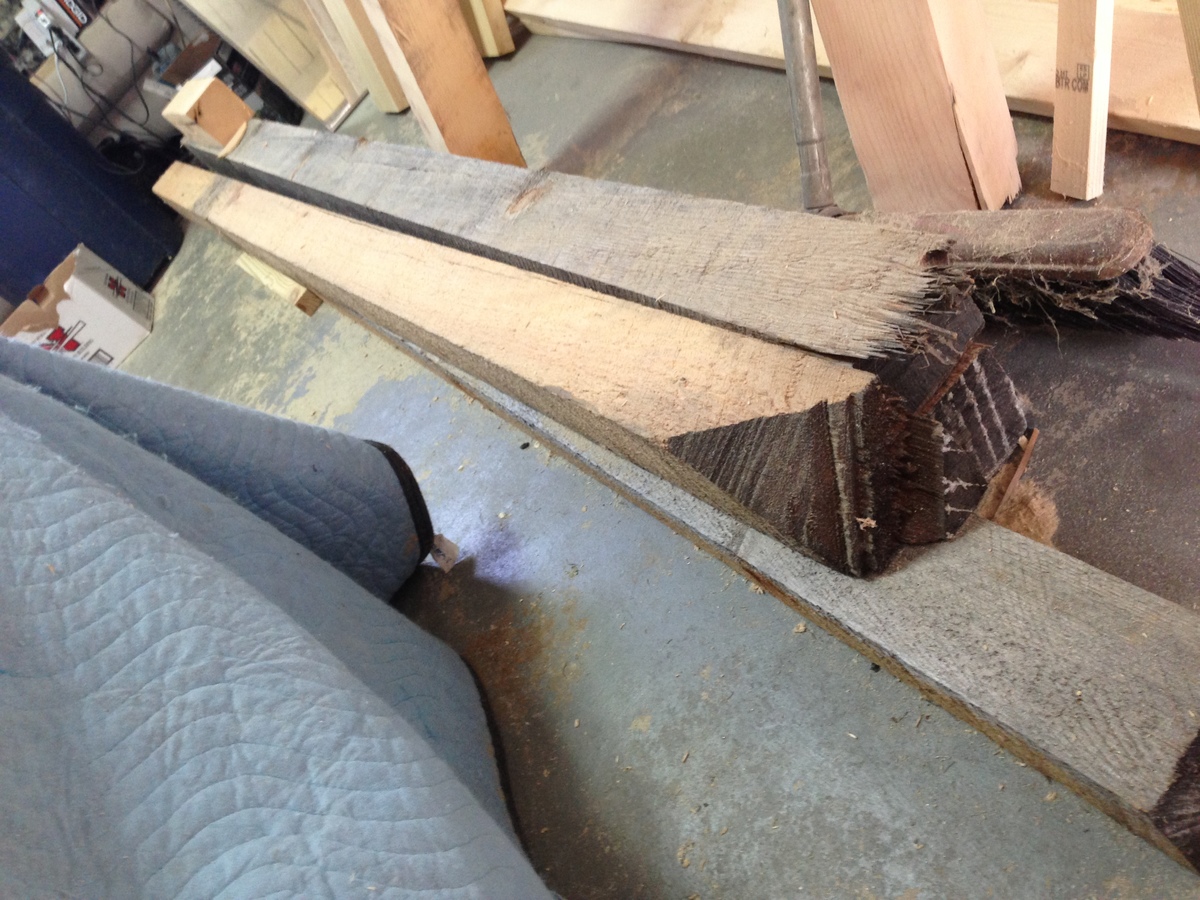
This Project was my second build. I had a few issues finding the materials required to even build it. Everything was found easily except the 4x4s. Everything here in my part of NC is either already pressure treated or cedar. Since everything else is Pine that really didn't float my boat. Plus for 1 4x4x8 of cedar cost $29 and for a color i didn't even want it wasn't even considerable. After calling around to a few places and no success i finally though of calling a lumber mill.
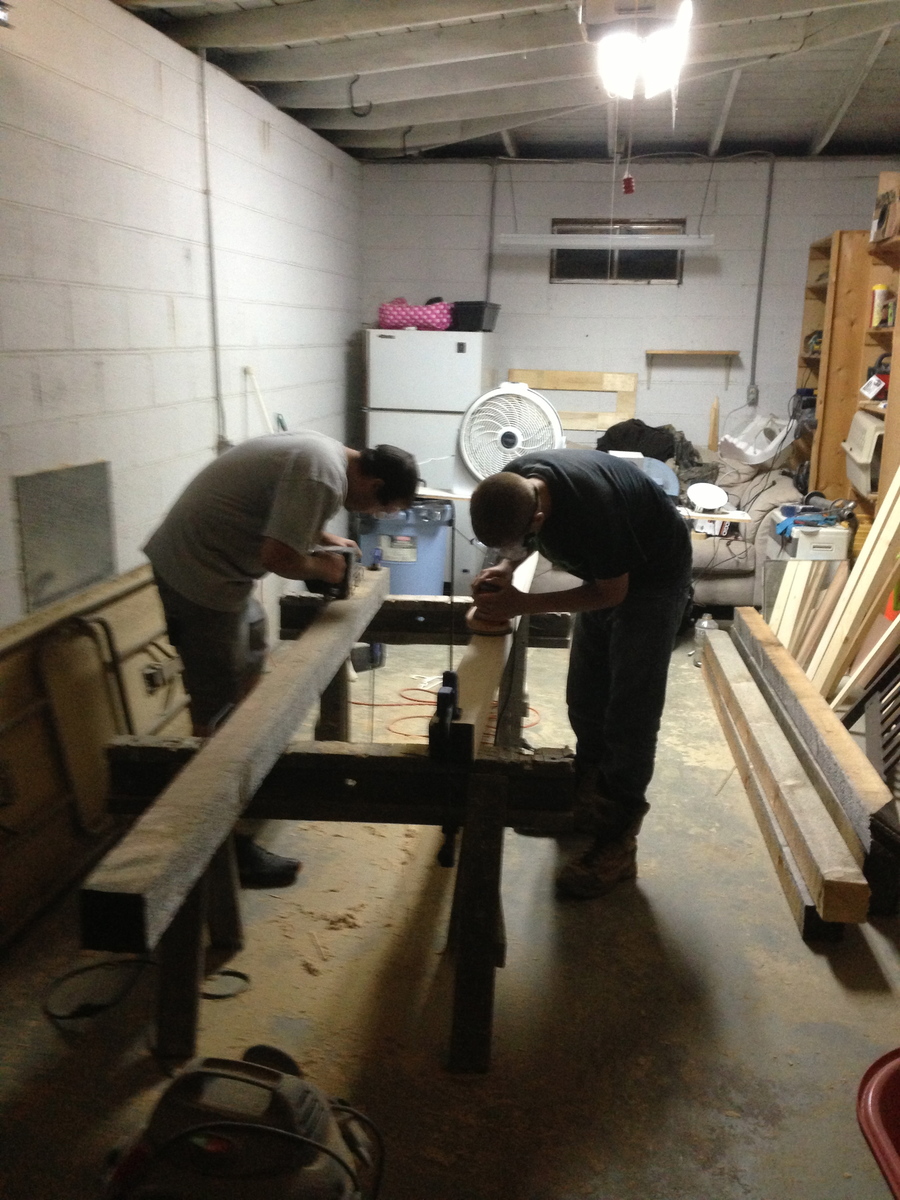
The Lumber mill had what i wanted for really cheap 4x4x8 for $5 but they were in rough condition. I had to do a lot of sanding to get them into workable condition. oh and by the way these are really 4x4s none of that 3.5in stuff here and man are they heavy.
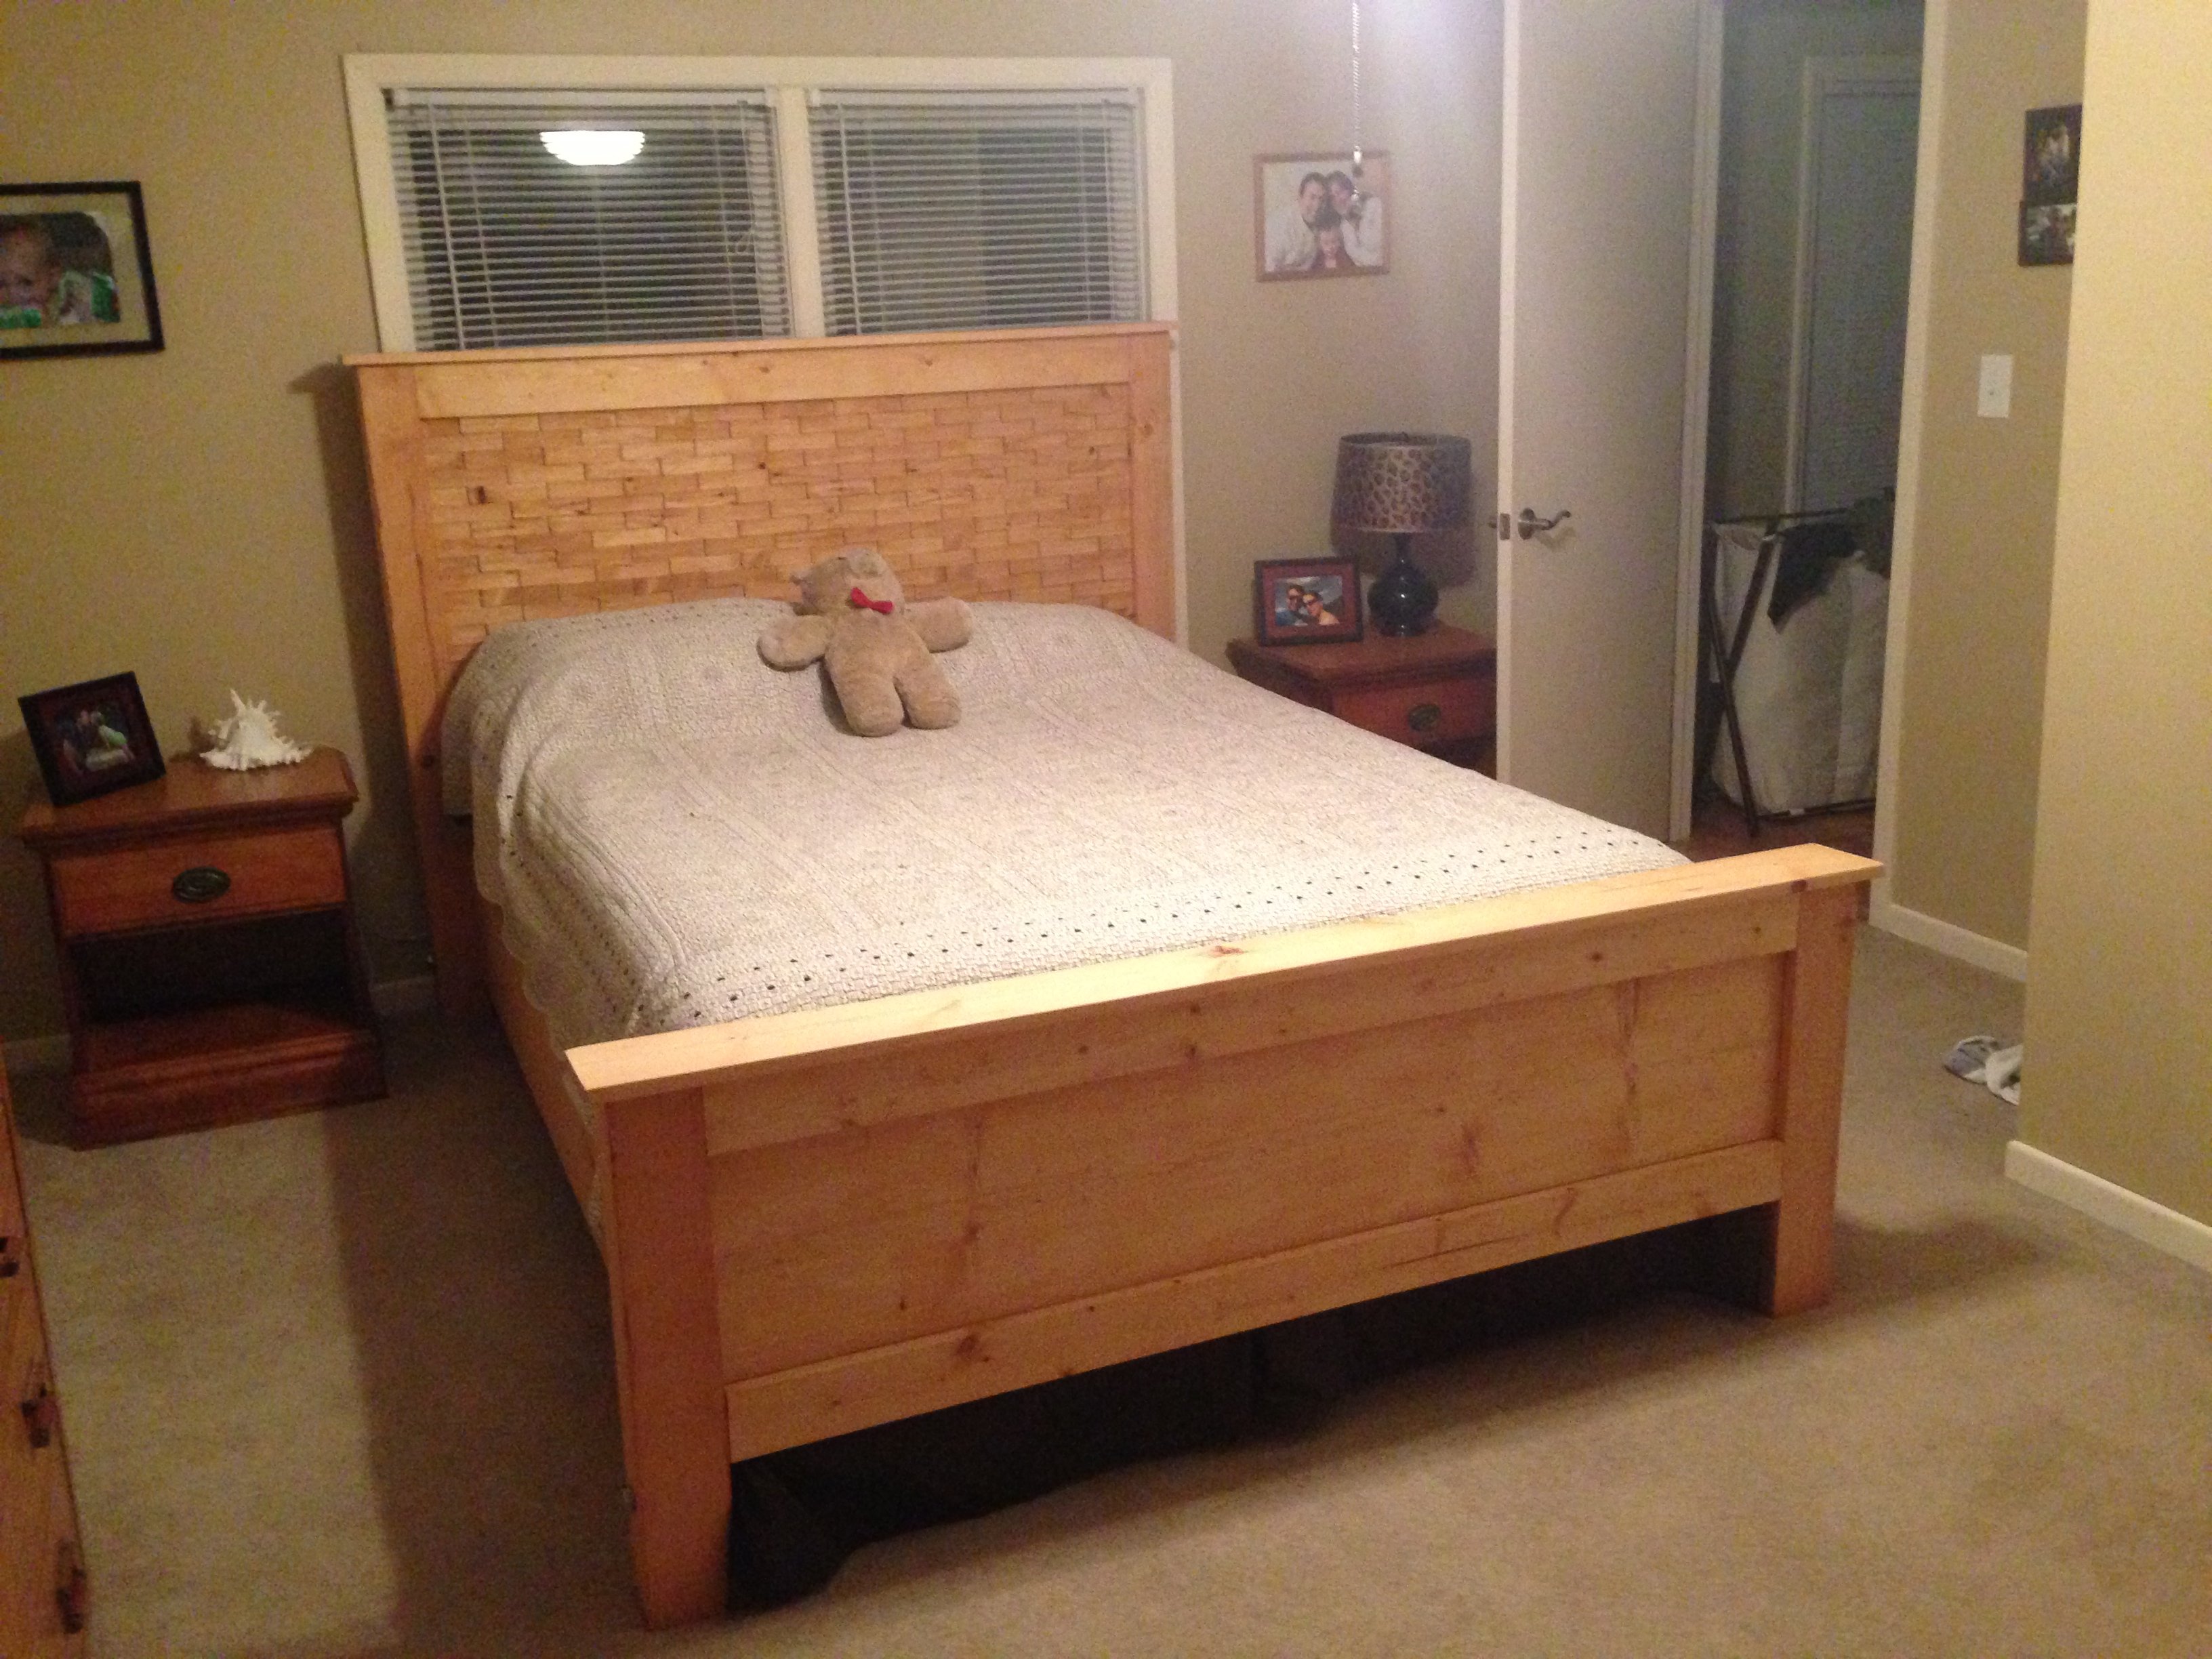
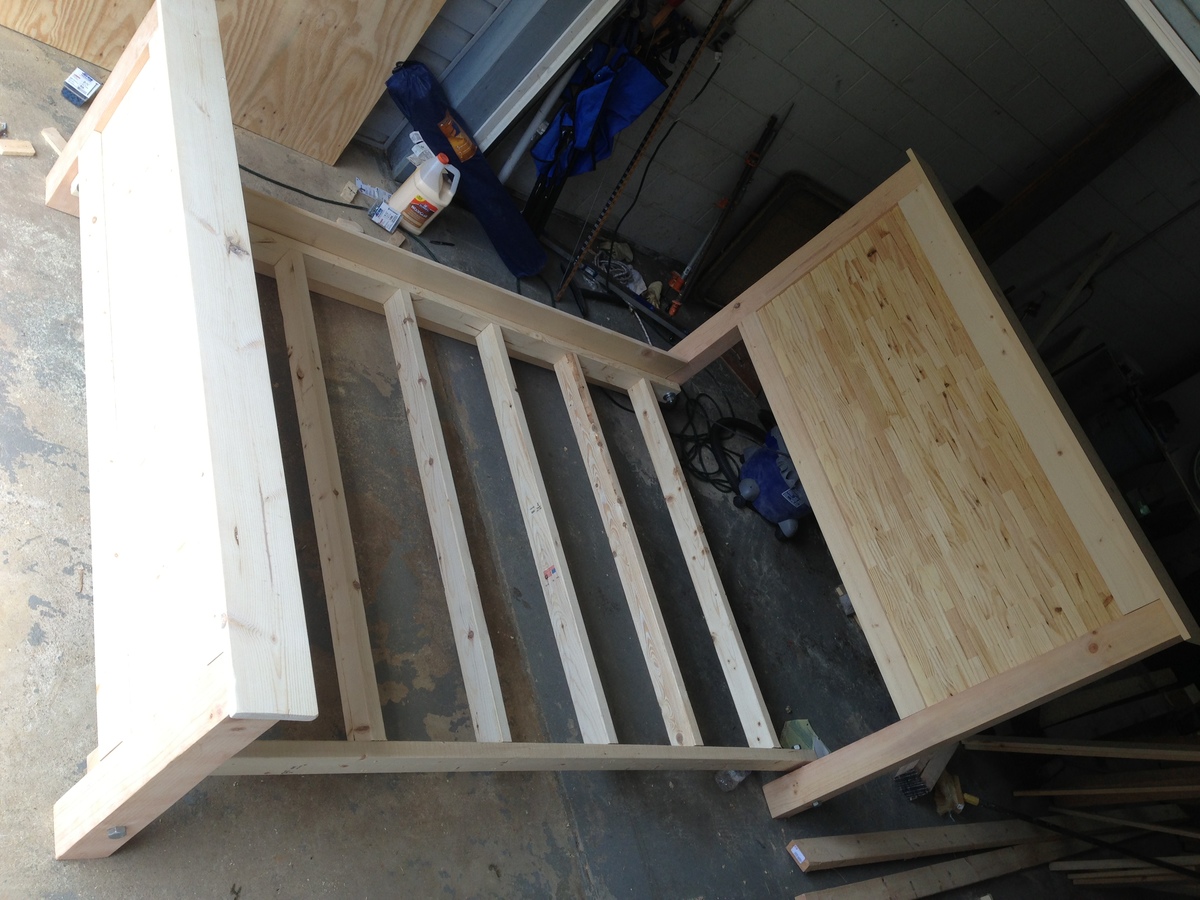
Once i Started building my girlfriend decided she wanted the footboard to be higher and she didn't want to see any plywood for 1 we were going with a light finish and didn't think it would look to good. Instead of the footboard being at 20in high we raised it to 26. This allowed me to use some existing wood i already had to fill in the holes of exposed plywood. I used a 1x12 and 4 1x4s, i really only required 2 1x4 but to continue with the raised look of the footboard i used 4.
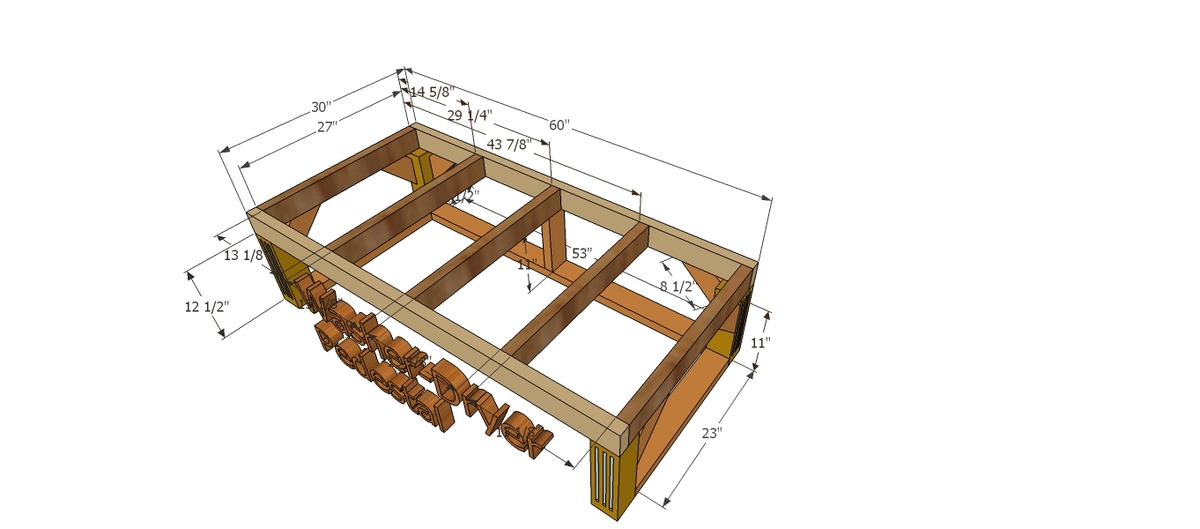
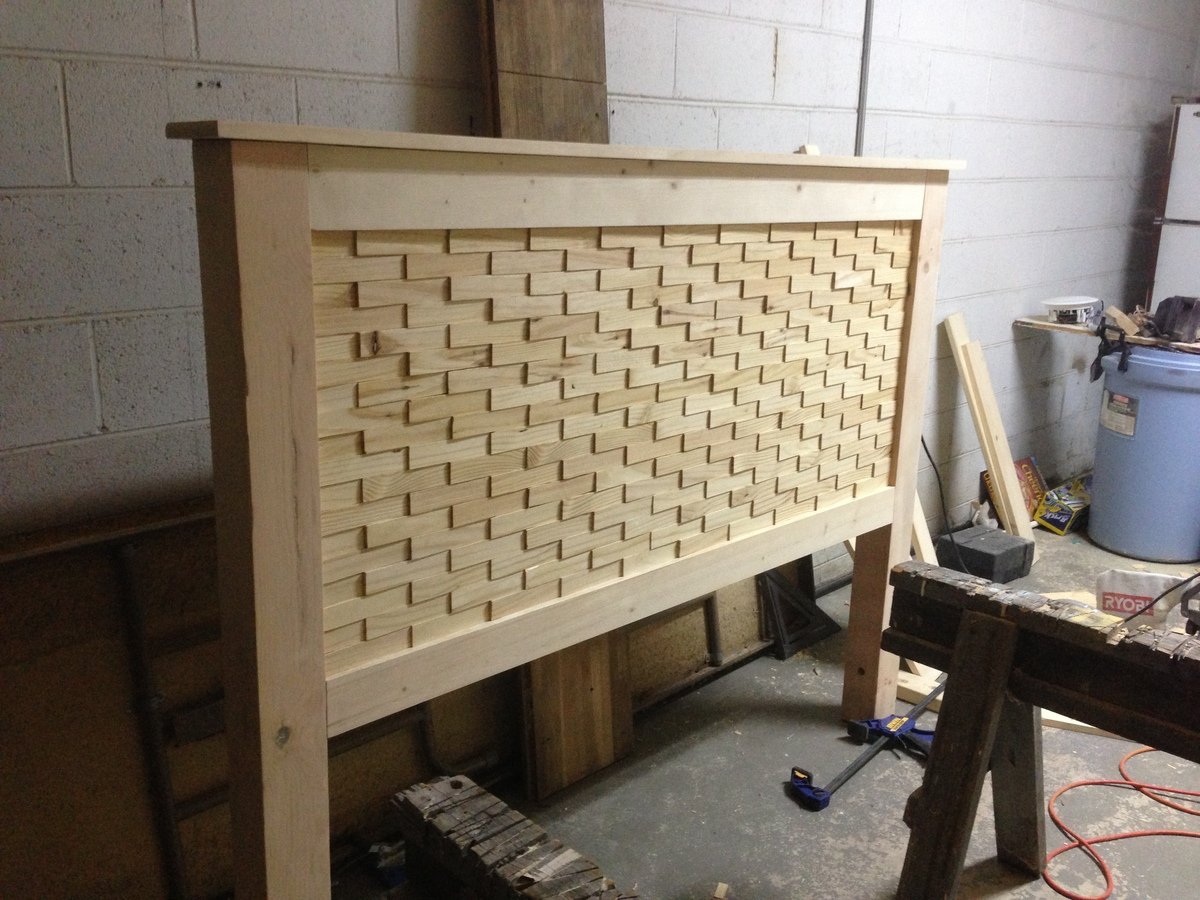
As far as the headboard goes i had to change that up a little bit as well. Im not sure if it was just because of the queen size or the fact that the lumber place i used to buy the 1x3s only had round edges so i opted to go with the 1x4s. Well because of that when i got to the last row of shims it was less than 1/2 the size. So resolve this issue again i used a existing 1x6 and replaced the top 1x4 with it. i made a line on the 1x6 which was taller then the headboard and cut it off with my circle saw so its now like a 1x5. Also on a side note when it came to the shims i cut them all 6in long due to the fact the center of the head board was 60in. it gave me an easy 10 shims per row. i used wood glue to hold them in place.
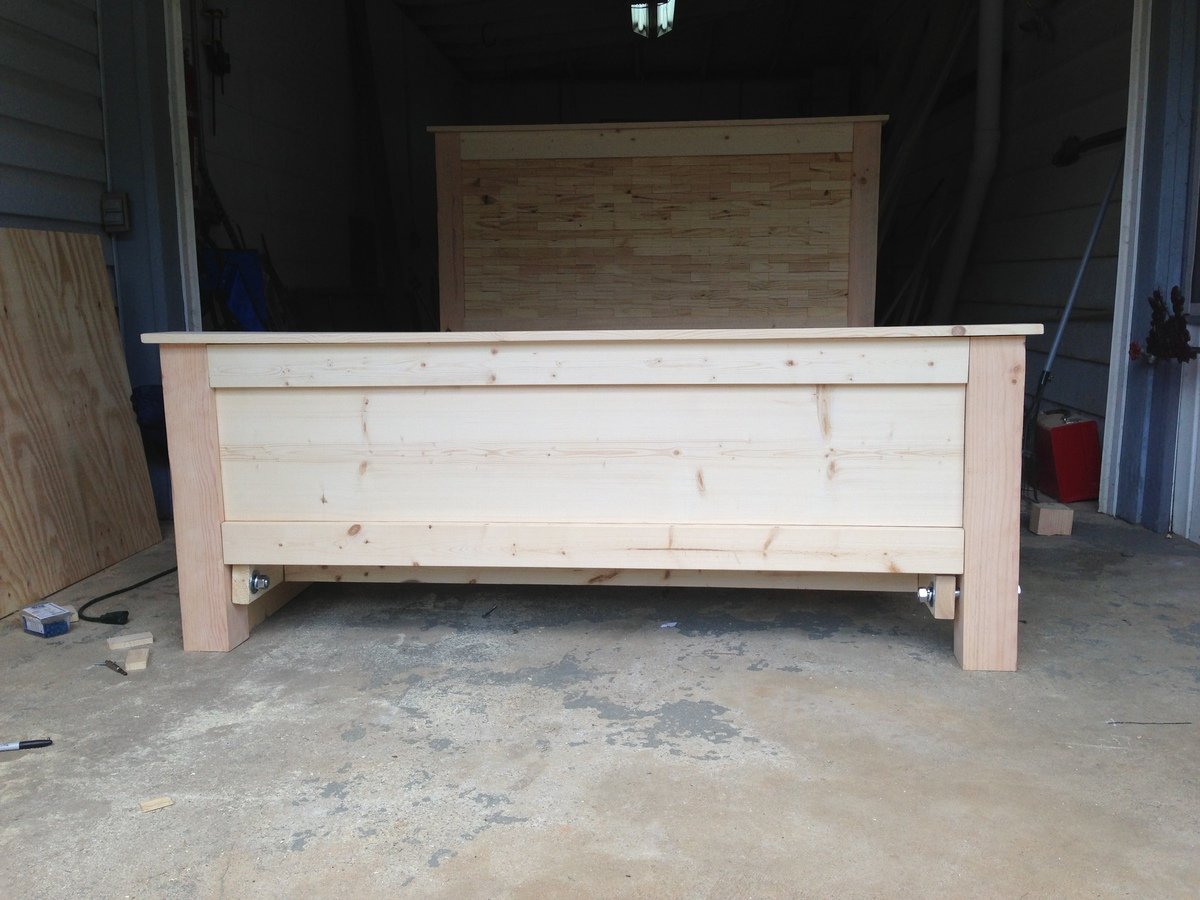
When it came to hooking the headboard and footboard to the bed frame i used 3/4s in-7in Lag bolts. this allows for easy on and off plus theres no way im breaking through them.
I loved this build but man those shim took forever. Sanding the 4x4s took me about 2 days. This job took me about 1 week to complete it working on it a few hours a night. But it was well worth it. I loved the way it turned out. its bigger than i though it would be but its workable.
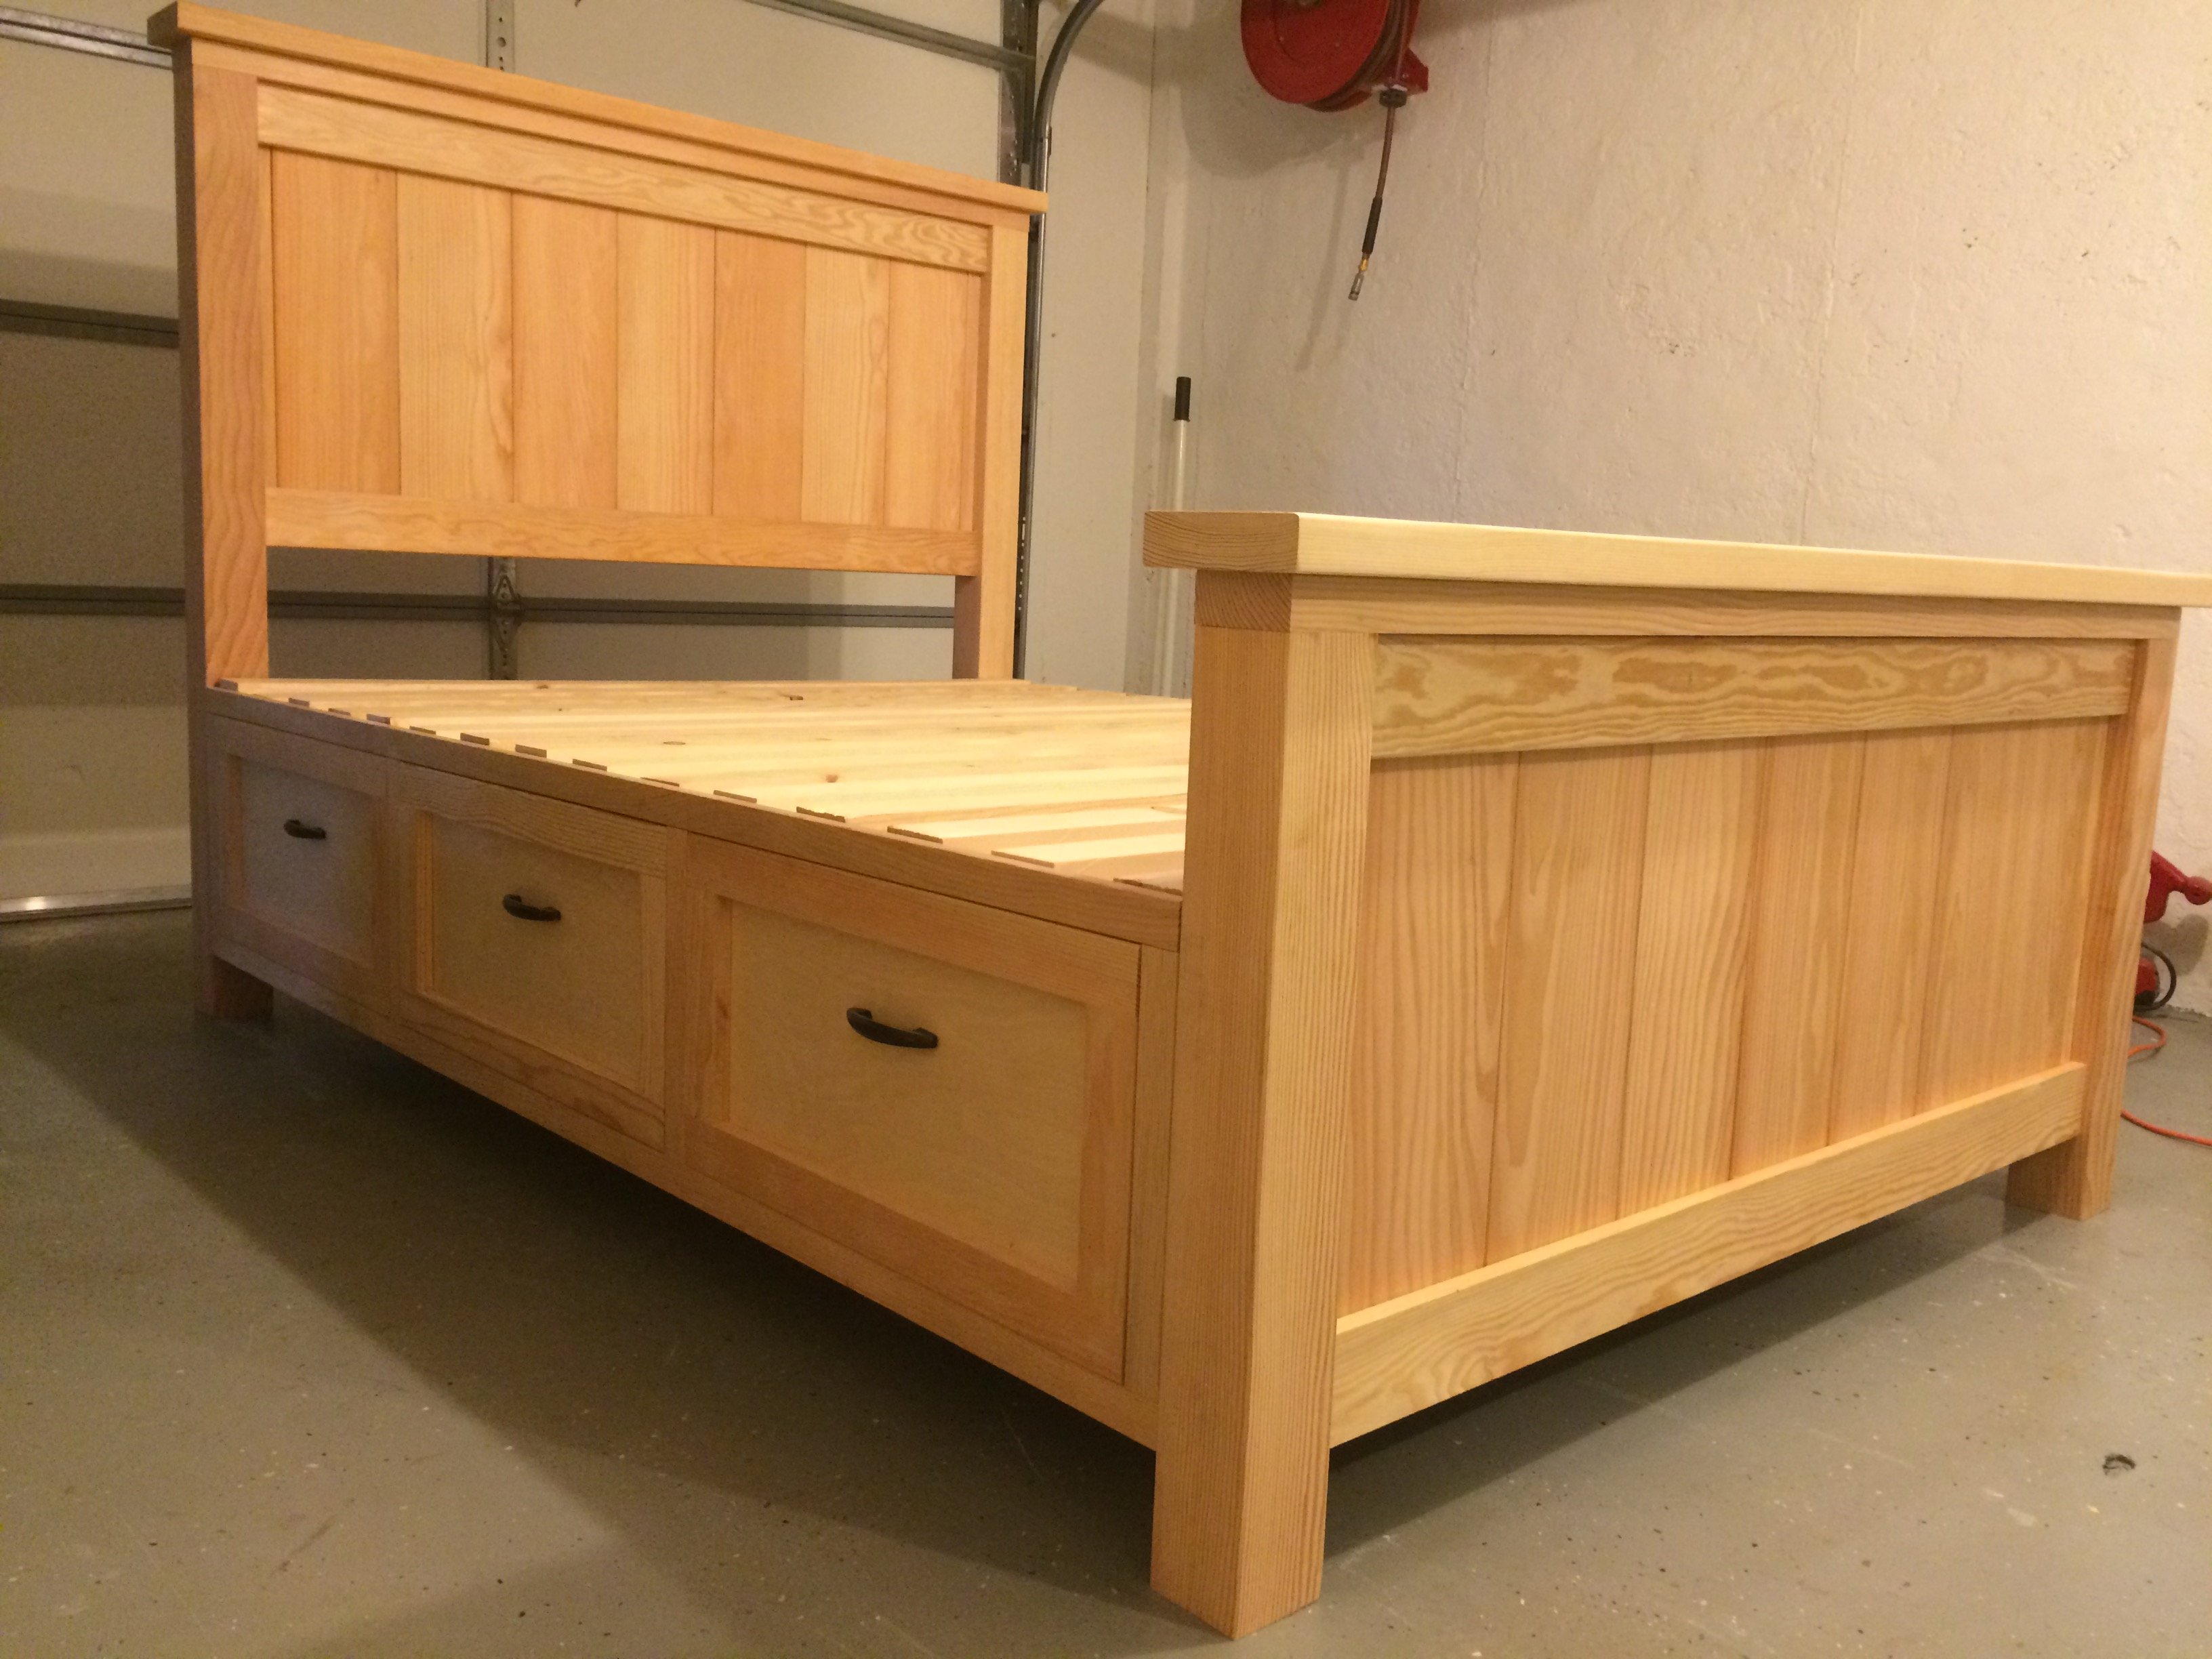
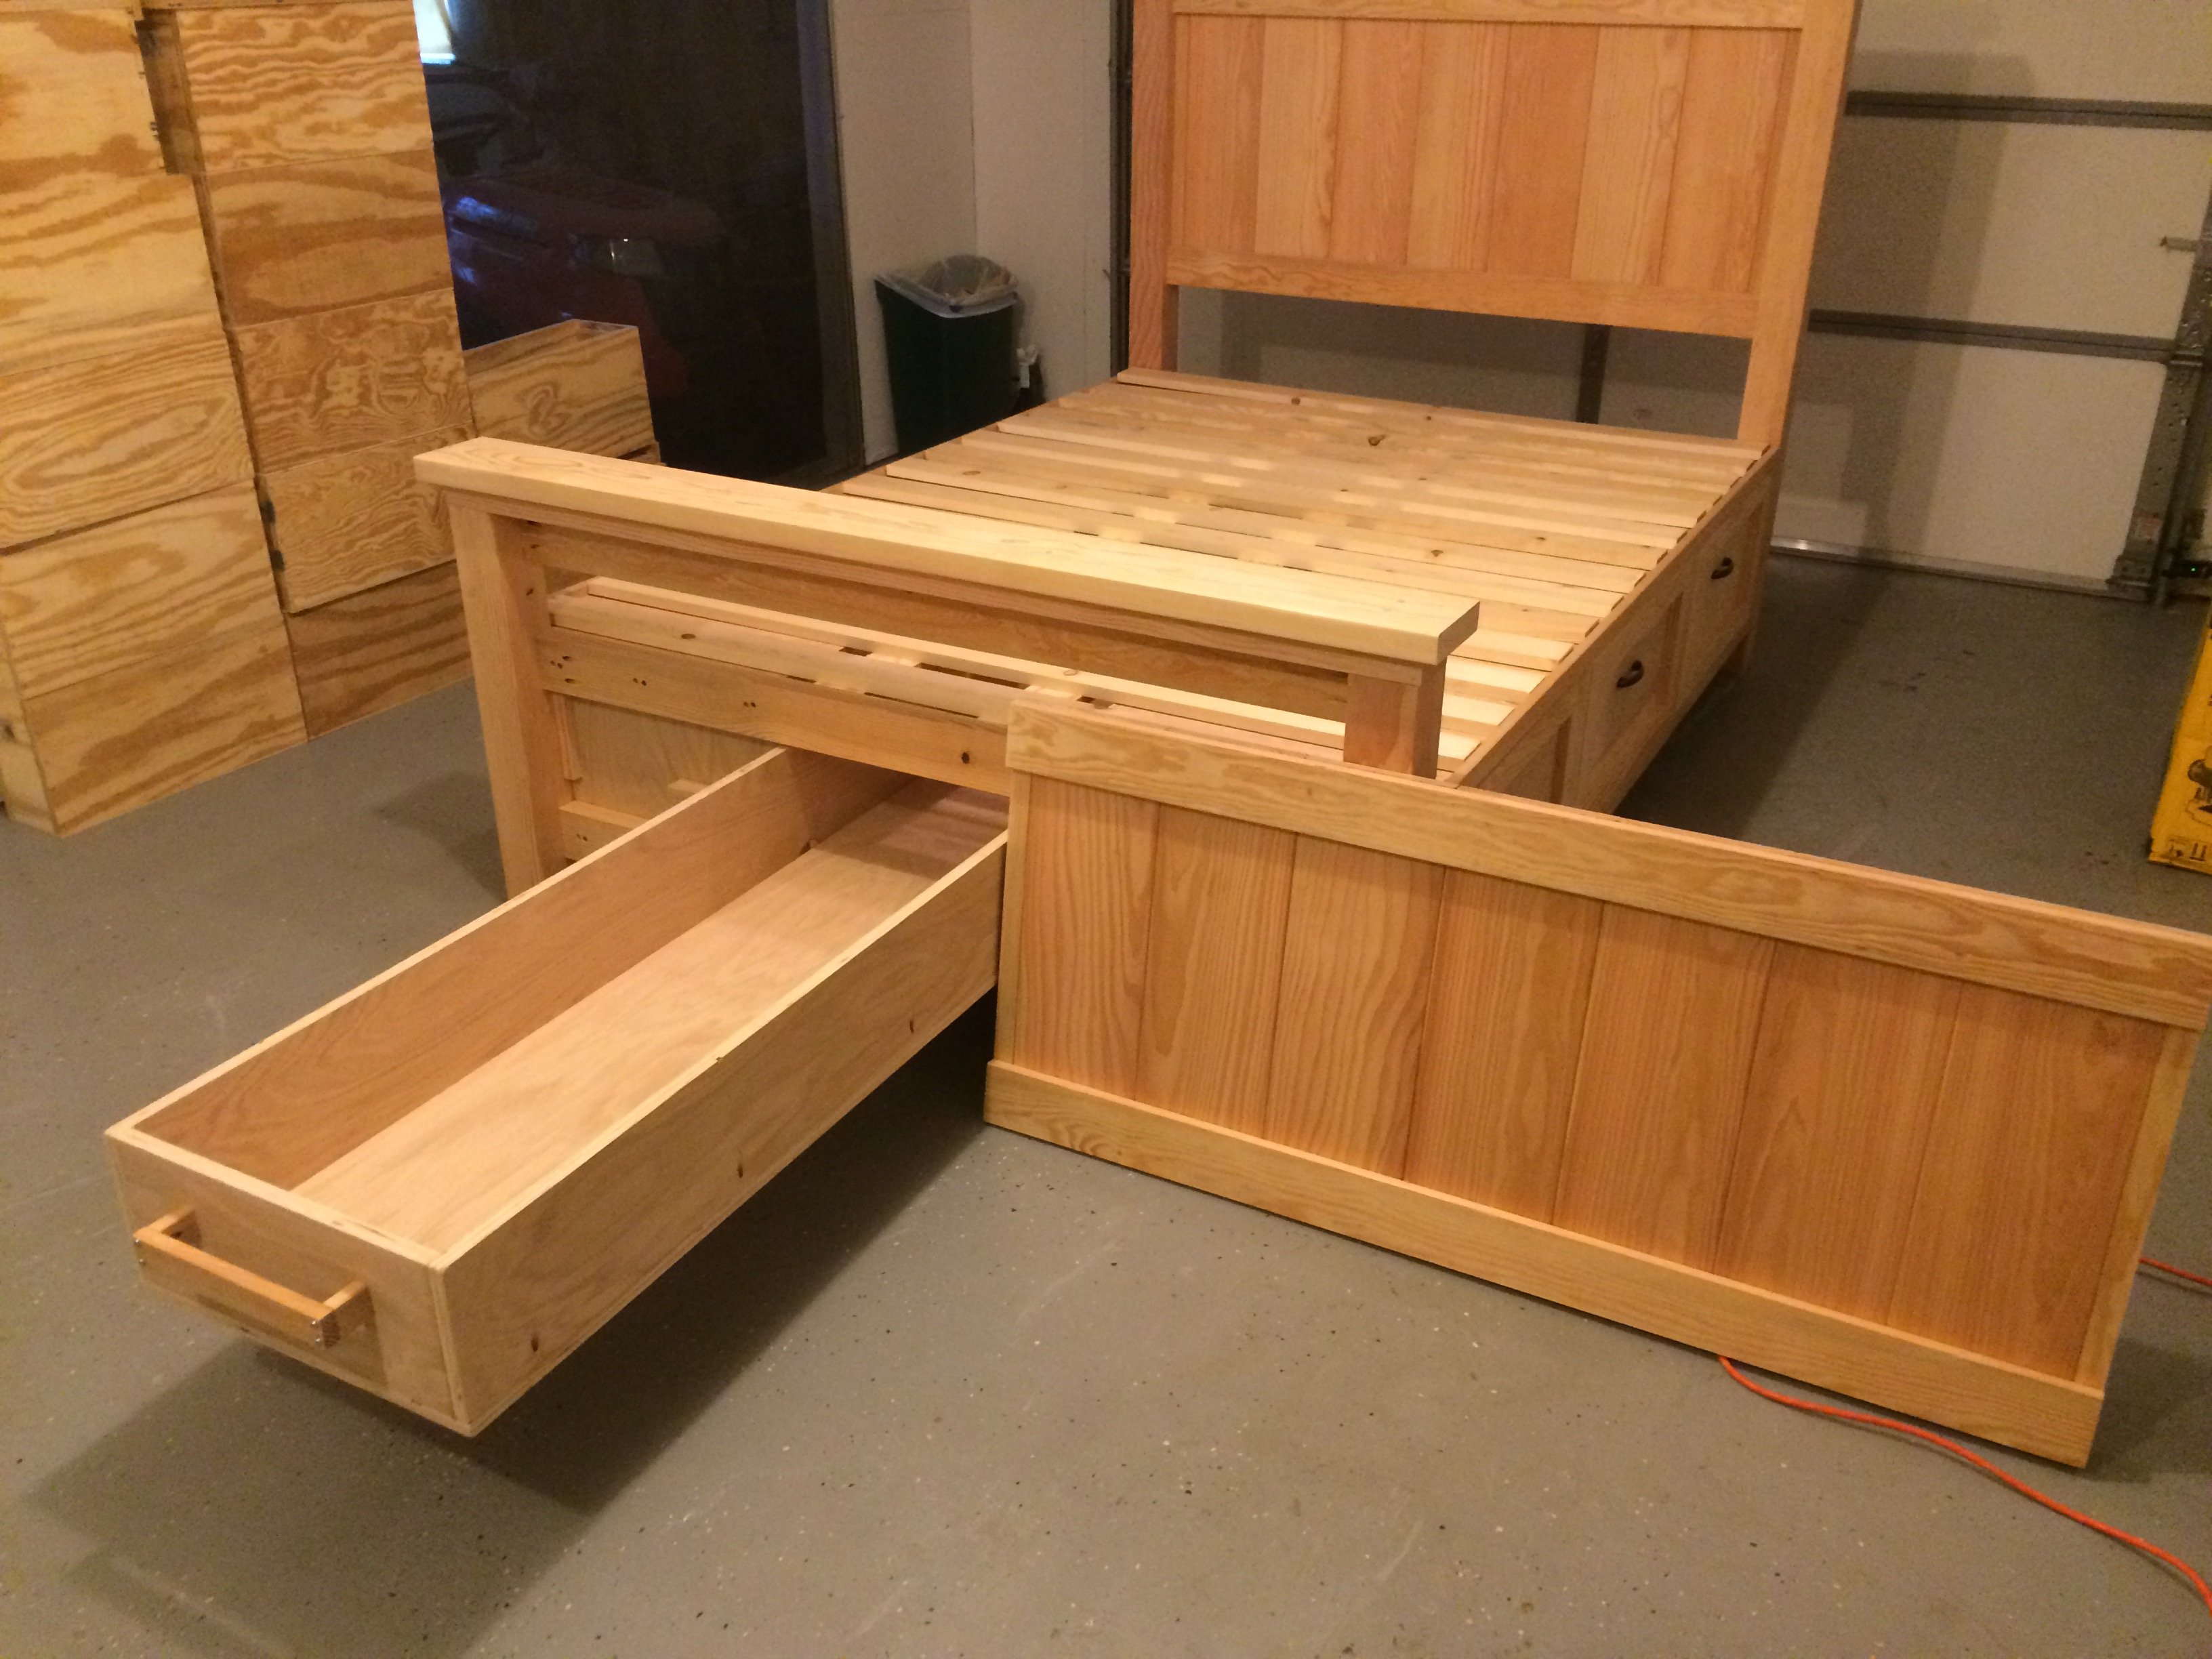
 ). Because I added the hidden drawer, I changed the opptional center support to 4X4 blockes that were pocket screwed under the center of the boxes. I ended up using birch plywood and fir for this build. For my first bed build I'm fairly happy with how it came out. Thanks again!
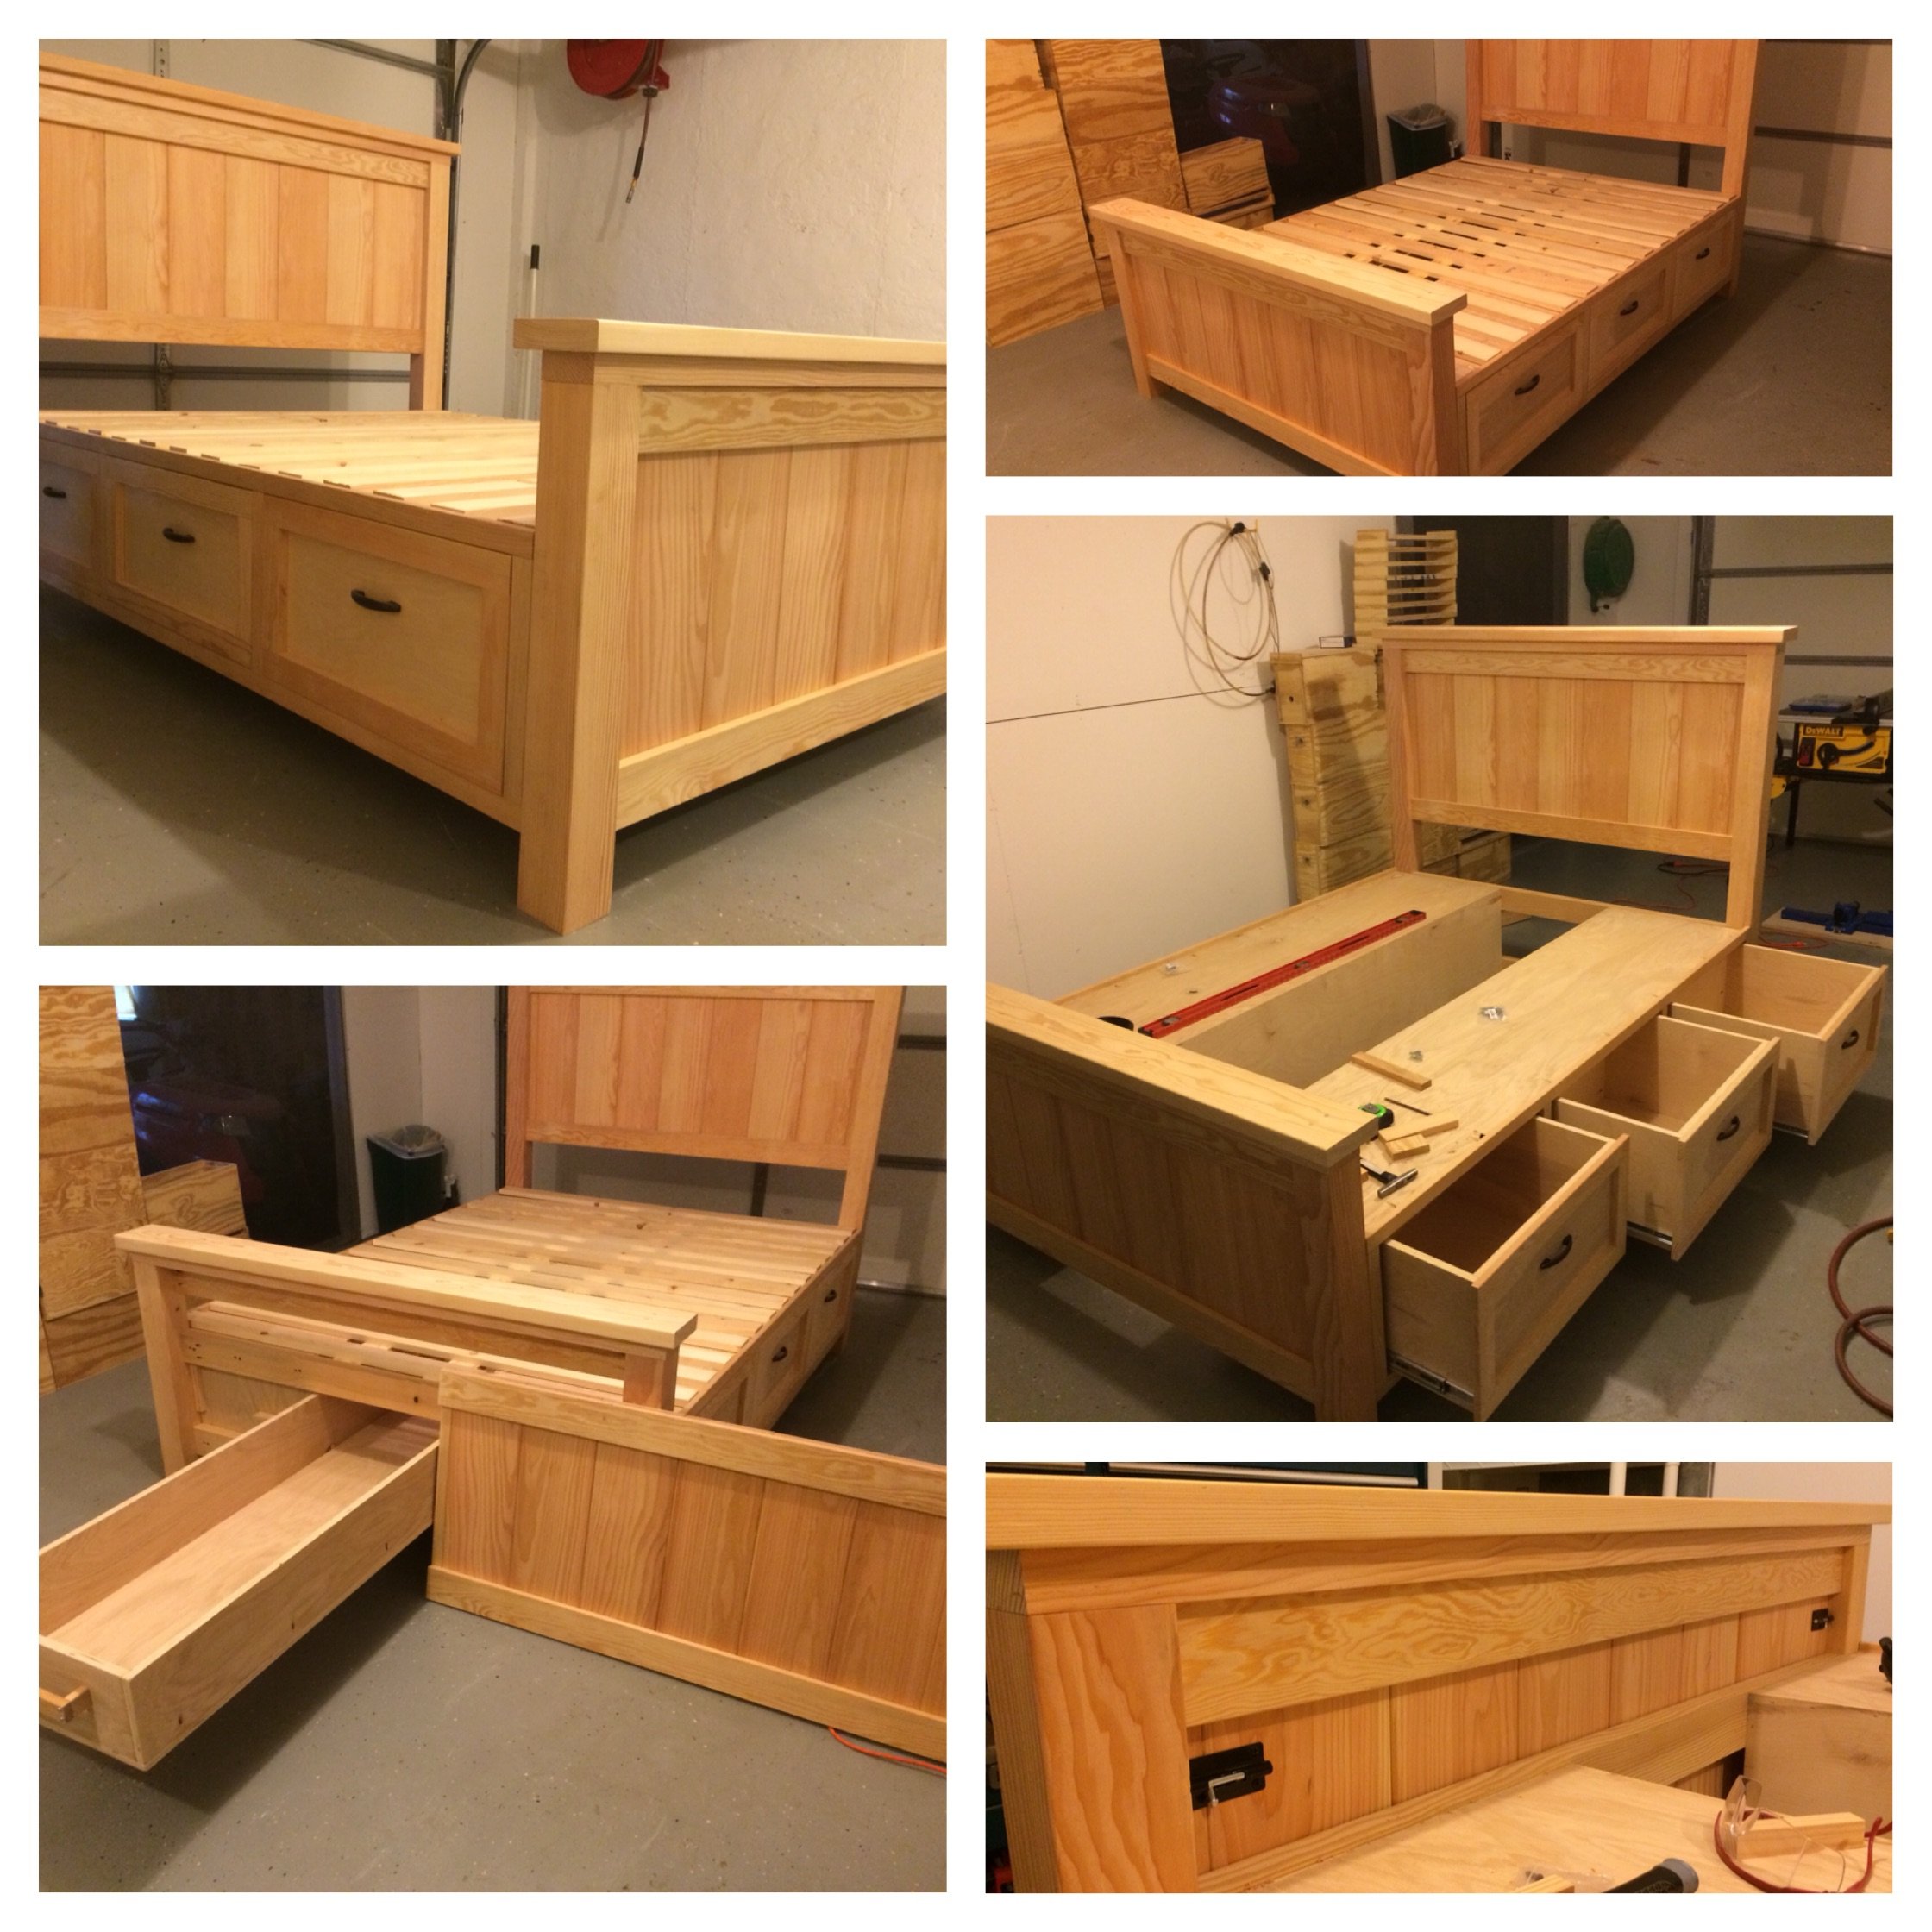


Comments
Queequeg
Thu, 03/31/2016 - 14:36
Pictures
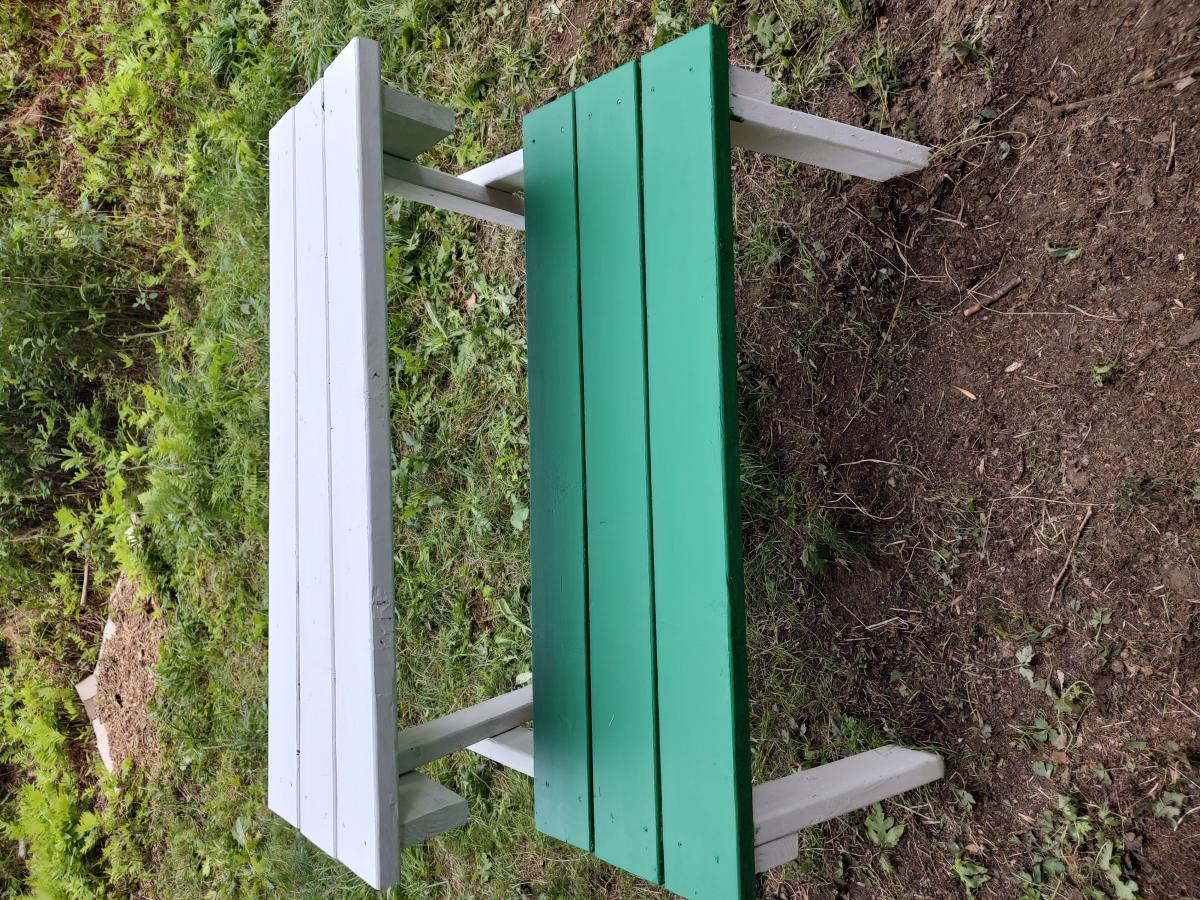
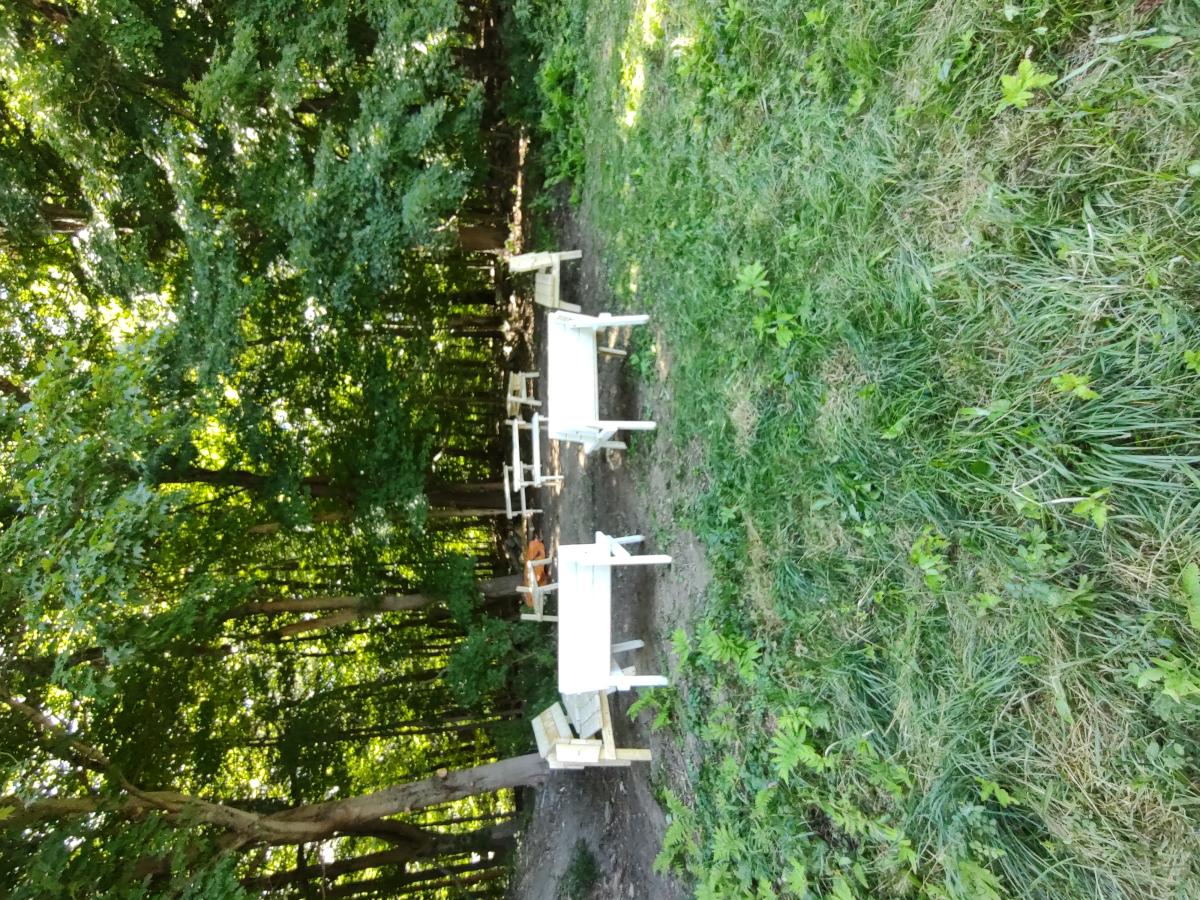
Didn't realize the photos were rotated. Can't figure out how to fix that! Oh well. :)