Community Brag Posts

L-Shaped Desk

Submitted by flyboy599 on Wed, 01/01/2014 - 08:16

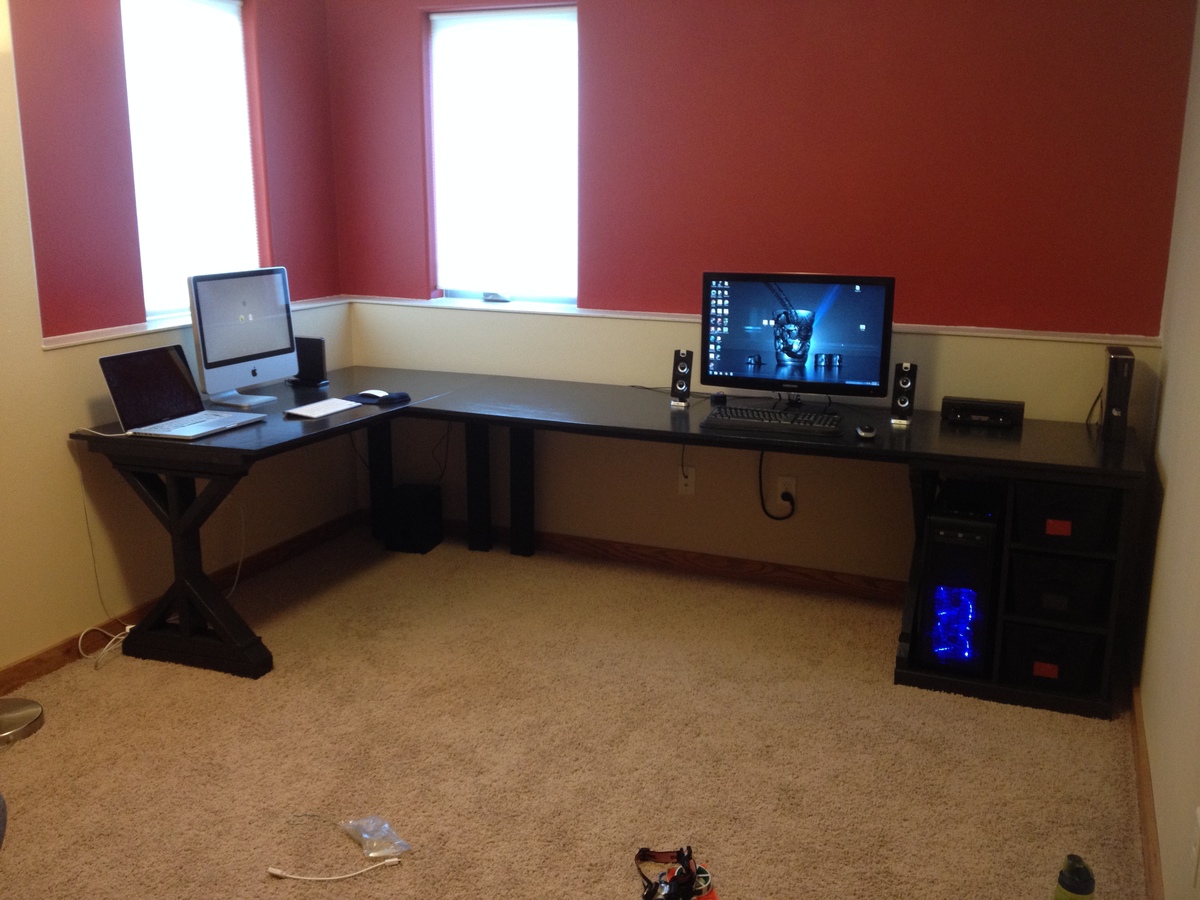
This desk was made using the "Fancy X Desk" and "Modular Office Base" plans. A CPU enclosure was added with a similar "X" design. The top is 3/4'' plywood with 1x2's and 2x2's providing the framing. A 1x4 runs down the back of the desk with a cord try to hide cables.

Estimated Time Investment
Weekend Project (10-20 Hours)
Finish Used
Black paint and primer in one with 5 coats of polyacrylic on the work surface.
Recommended Skill Level
Beginner

Comments

ksc70x

Thu, 01/07/2016 - 15:16

HI, The desk is awesome and I thought I would make this my first attemt at building something.

But I am unable to find the instructions.

Please help.


Thank you.

ksc70x

Sun, 01/10/2016 - 08:46

Ok after reading the subject matter I realized that this is the merging of two different desks.

Can you post a photo of how you joined them.

The support for such a long desk is my concern, with out it having any middle support or at the the corner?


Thank you.

ksc70x

Sun, 01/10/2016 - 08:47

Ok after reading the subject matter I realized that this is the merging of two different desks.

Can you post a photo of how you joined them.

The support for such a long desk is my concern, with out it having any middle support or at the the corner?


Thank you.

Planter Boxes

Submitted by rendall28 on Mon, 06/22/2020 - 16:26

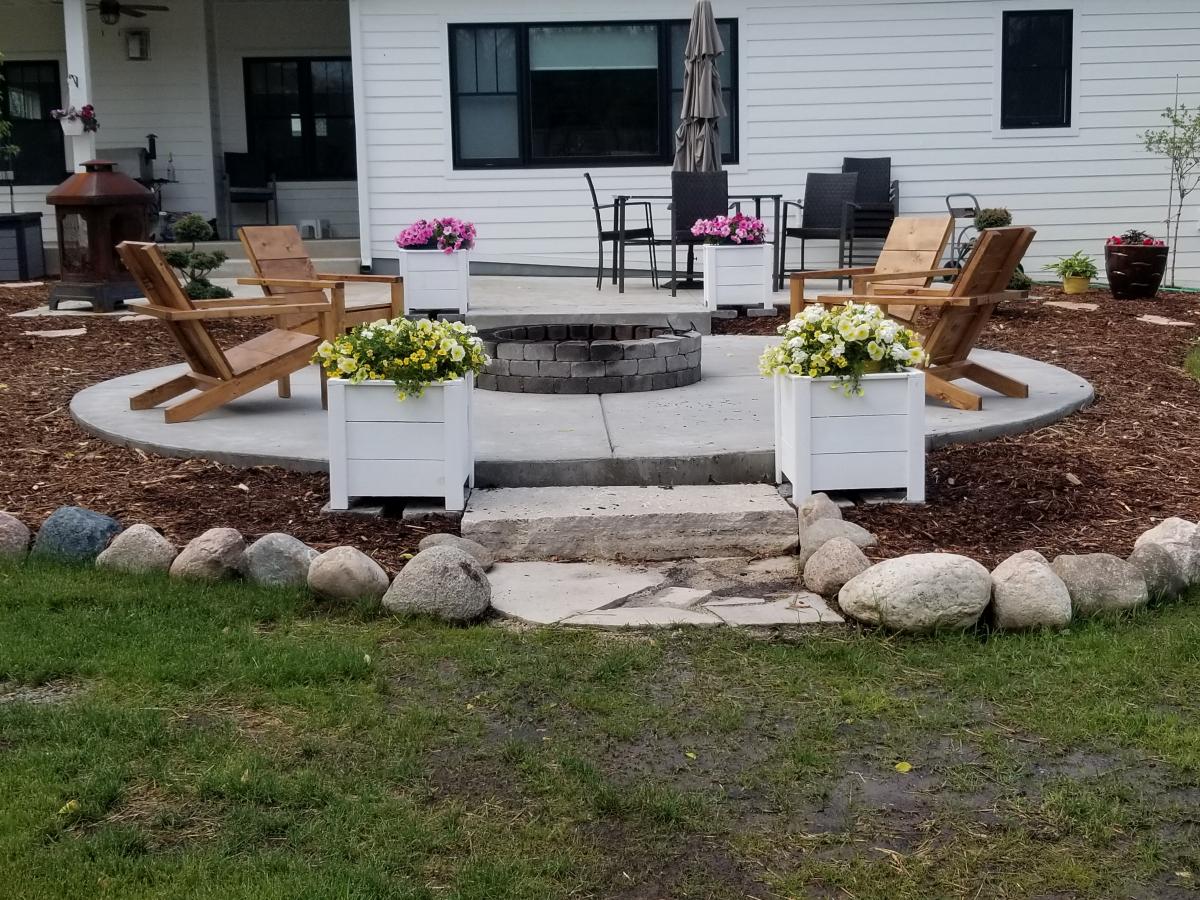
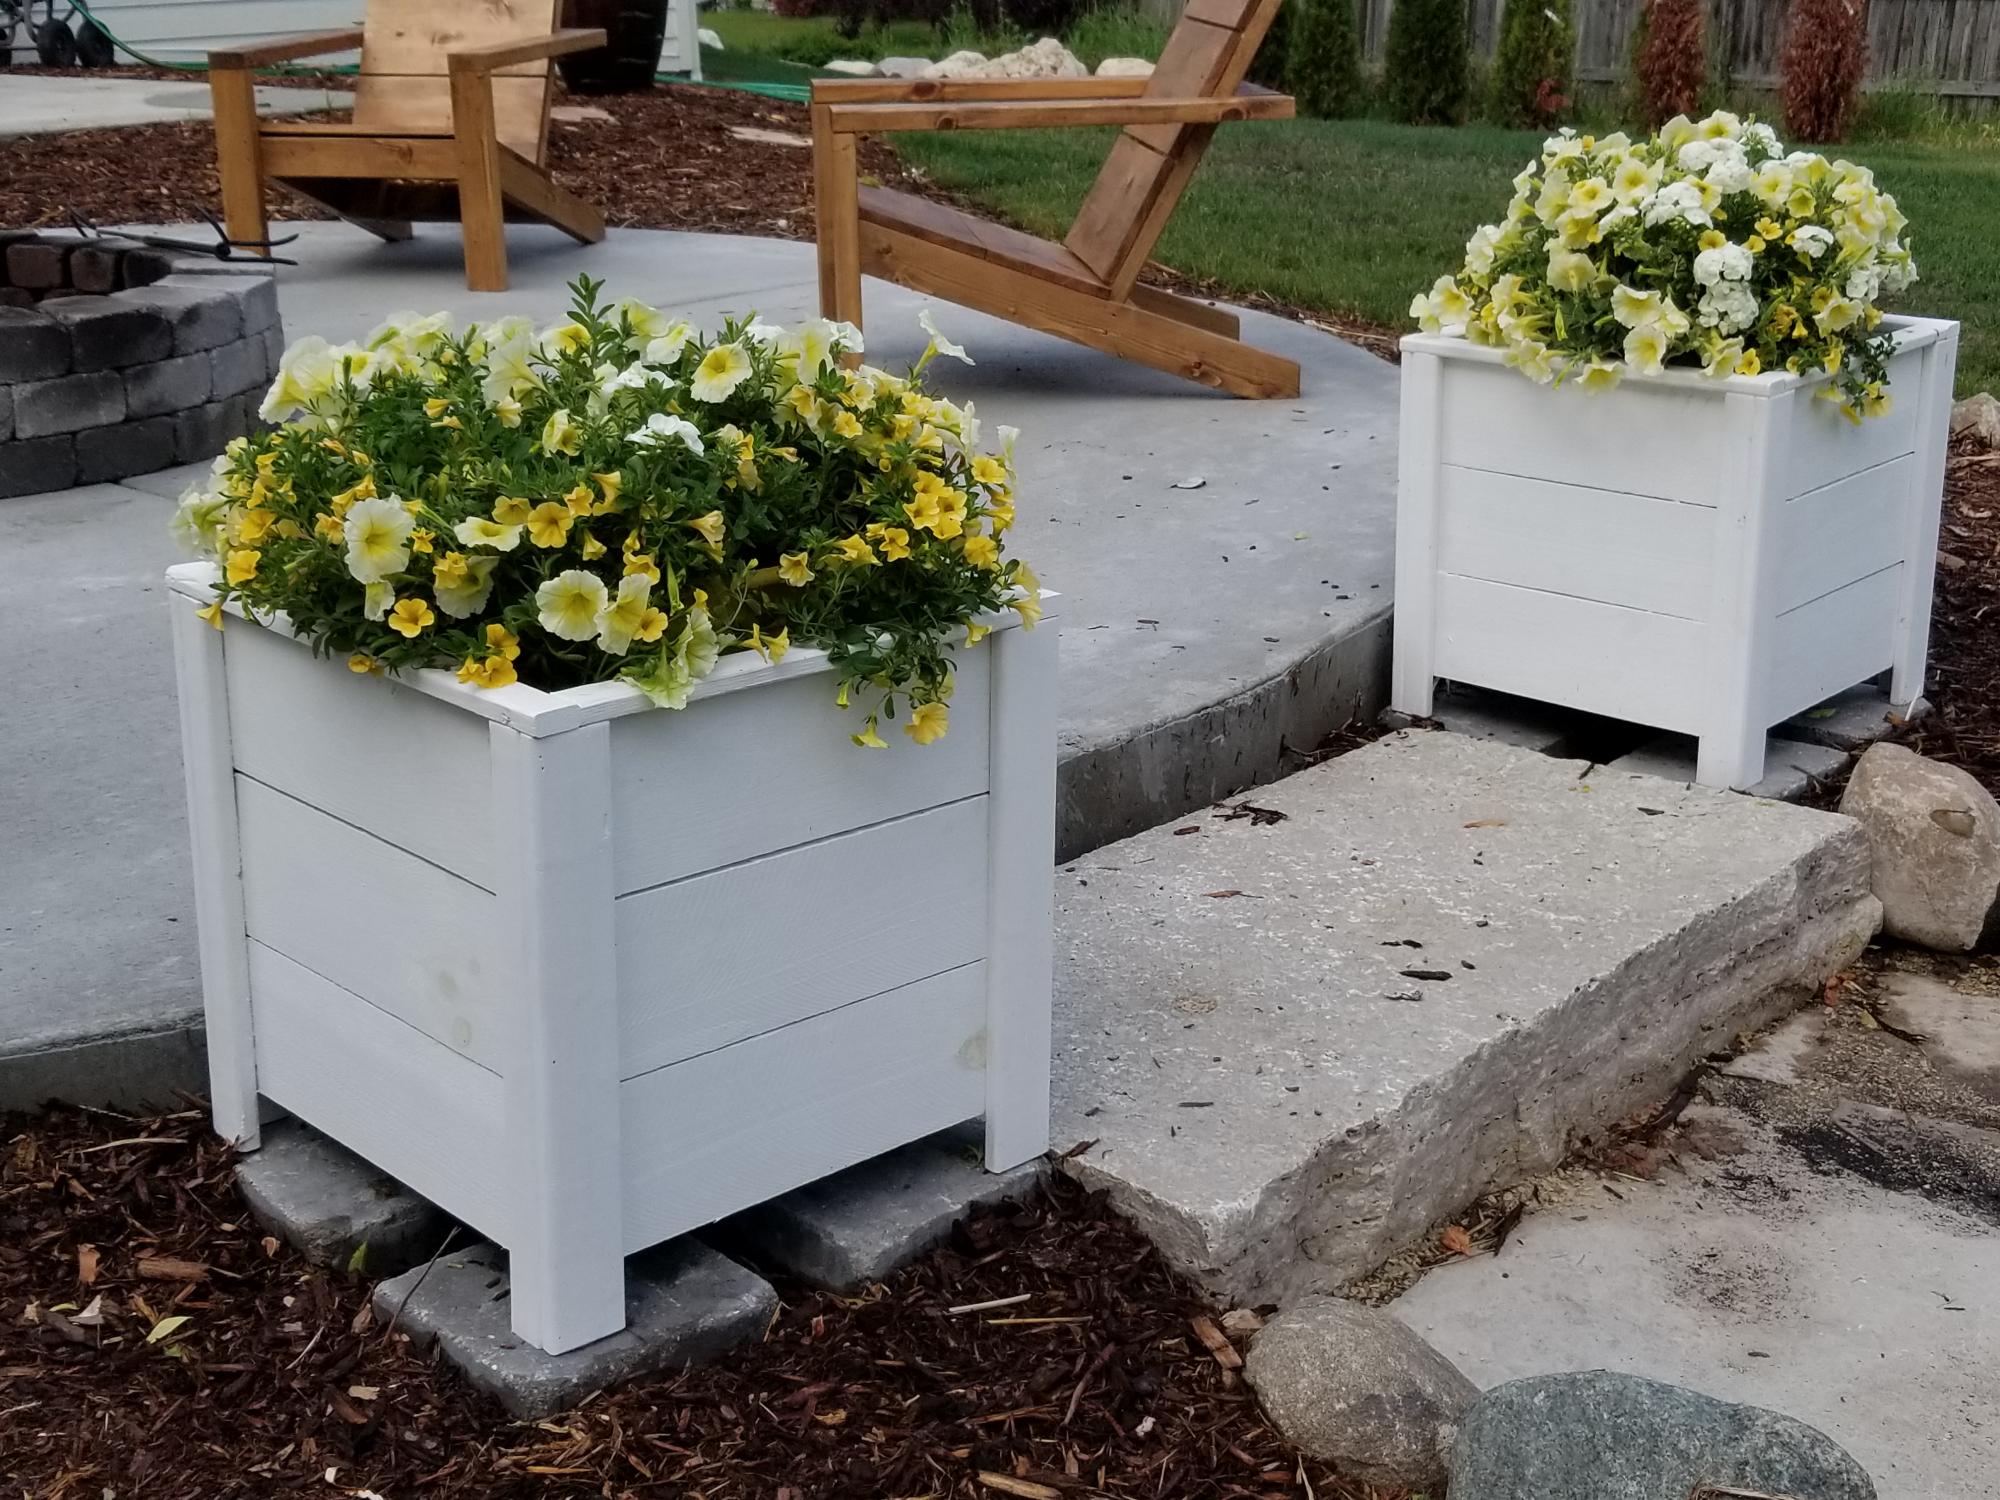
I followed the plan exactly including the suggestion of the fence paint (2 coats). This was a very easy build. It took much longer to paint than it did to build. These boxes are the perfect accent on our new patio/firepit.

Estimated Cost
$10/box for the wood
Estimated Time Investment
Afternoon Project (3-6 Hours)
Finish Used
Behr Fence Stain (white) 2 coats
Recommended Skill Level
Beginner

Comments

Seasonal And Holiday

Hemnes cabinet with wire mesh

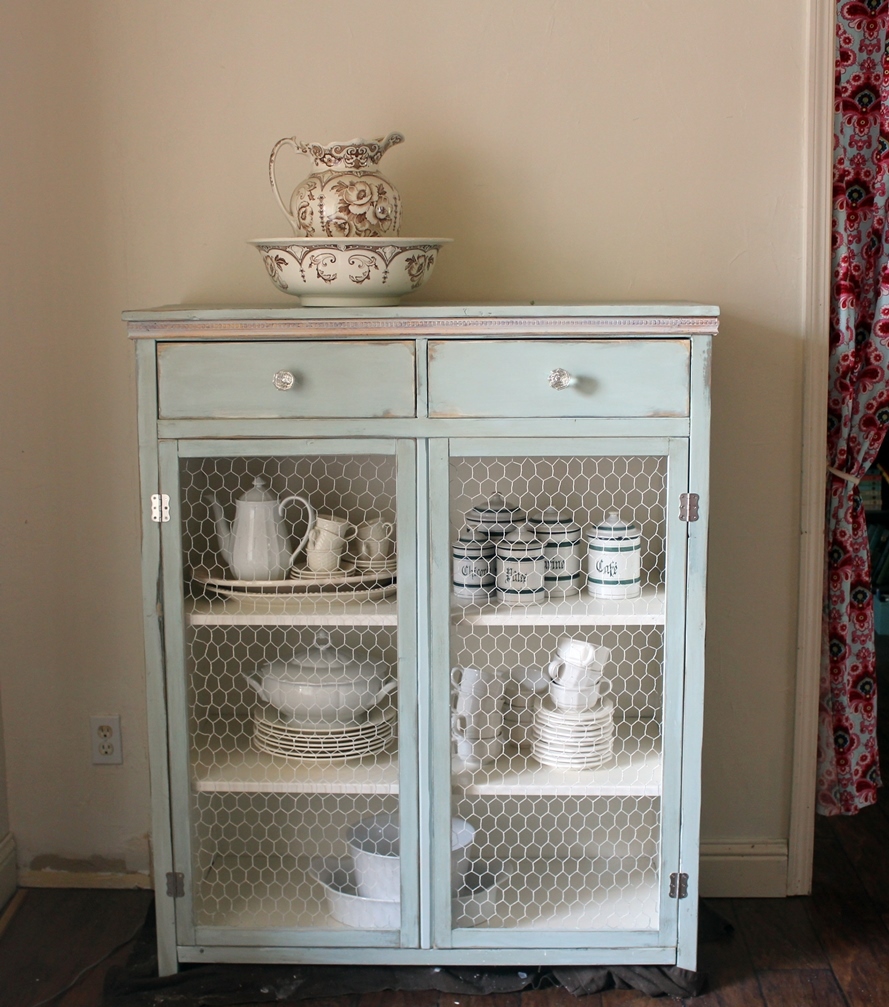
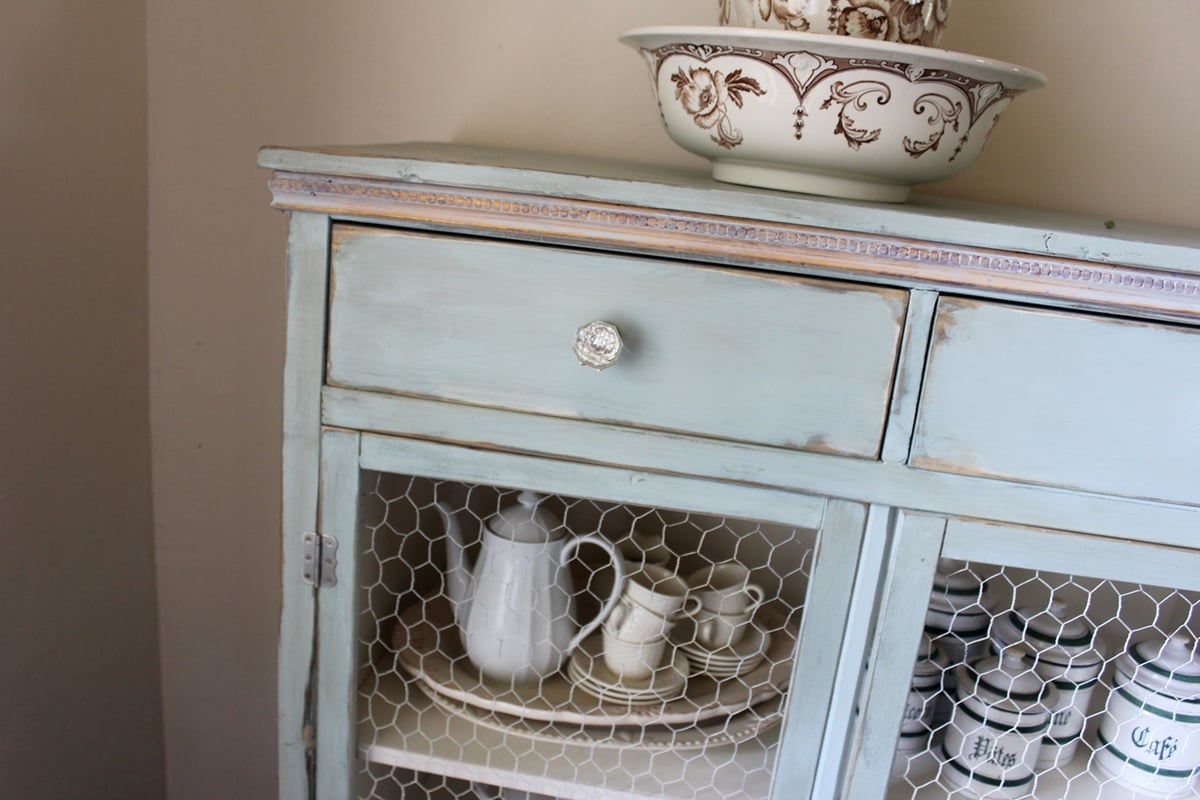
I'm still pretty new to woodworking so this cabinet took a little longer than it probably should have. I made the drawers a little deeper than the plans originally called for, which changed the height of the cabinet doors, but otherwise, all the other dimensions are the same. The laminated glass would have added another $100 to the cost so I used a chicken wire mesh that I dry brushed with the white I used on the interior. The knobs are from Anthropologie and I added a little trim piece around the top. I really love how much this cabinet holds. It is very versatile.

Built from Plan(s)
Estimated Cost
$100 including wood, hardware and paint
Estimated Time Investment
Weekend Project (10-20 Hours)
Finish Used
I used a custom mixture of Annie Sloan's Chalk Paint ( Duck egg Blue) and an antique white. The mixture was about half blue and half white. I finished with a couple of coats of dark wax.
Recommended Skill Level
Beginner

Comments

CroomScM

Sun, 10/30/2016 - 13:07

love it! Did you have any issues getting the drawer in when the slides are installed? We installed the slides on the drawer box and then the slides on the case and we had to loosen some to actually get the drawer in, because the little wheels of the slides were basically blocking us from pivoting it in. Thanks!

Upholstered Toy Chest

We made these toy chests for baby shower gifts.  We followed the plan for the most part.  We skipped the notching on the front of the chest, and opted to upholster the top.  I added names to the front as well to personalize them a bit as well.  Overall, it went pretty smooth, once we got going.  The plans were clear and easy to follow.  This was our first build off of plans from Ana-White, and I think they turned out pretty nice! 

Built from Plan(s)
Estimated Time Investment
Day Project (6-9 Hours)
Recommended Skill Level
Beginner

Comments

Modern Slat Top Outdoor Wood Bench (Customized)

Submitted by worrow on Mon, 02/20/2017 - 07:21

We had seen the modern slat bench before, and stumbled upon the plans on Ana-White, we did look further to see if we could find a style for us and had seen one made entirely out of 2x4's that also cam with plans, http://diycandy.com/2015/06/modern-williams-sonoma-inspired-diy-outdoor…

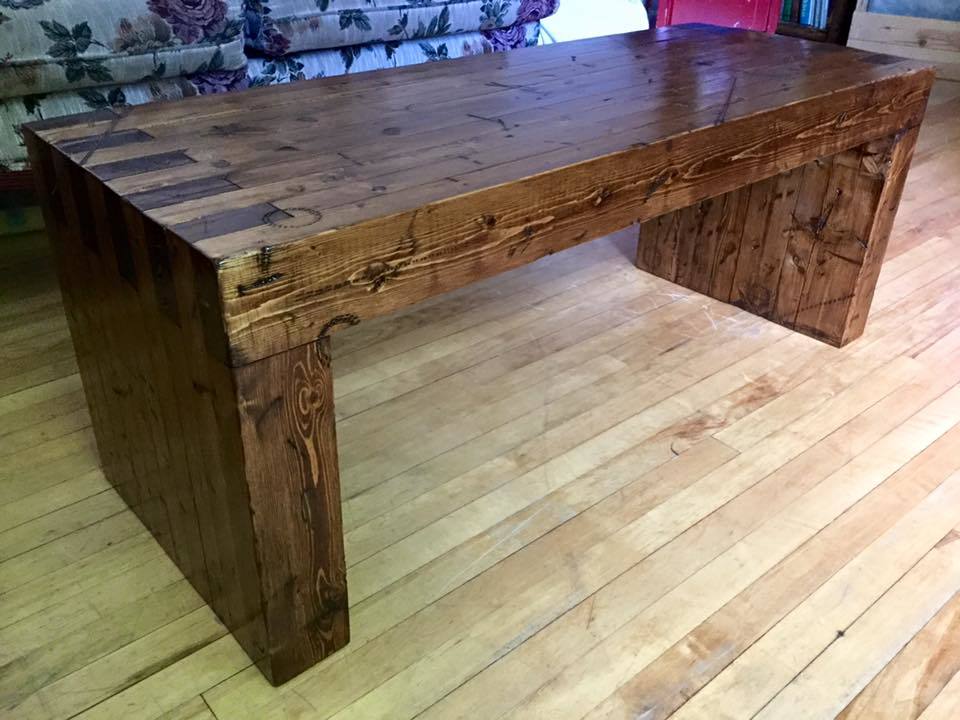
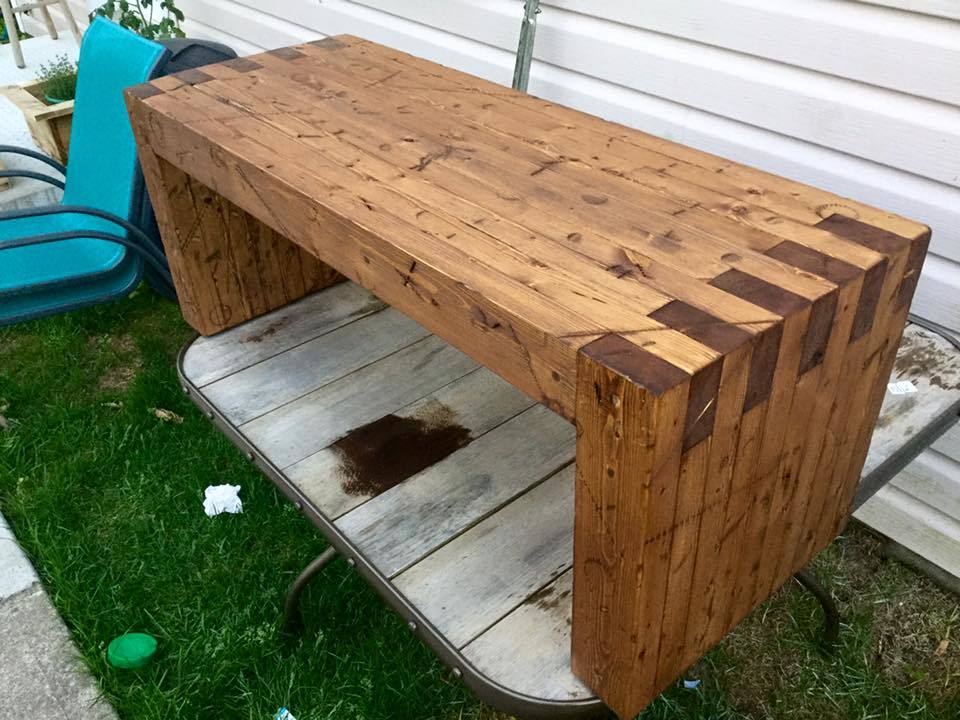
I thought I would share mine as it differs slightly, I opted to age my bench before staining as well as added adjustible feet so I can level it no matter where I put it. I am using mine as a coffee table, and if I have too many people over, I just use it as a bench to accomodate.


I hope that everyone enjoys the look of how my bench turned out. To reproduce the look of mine I described and linked the 2 products I used for the finish. But I also used the following power tools, Table Saw, Drill and Sawzall, belt sander and palm sander. I used the sawzall as I made a slight error and had some overhang that needed trimming. We used numerous items to get the outside beat up prior to the stain and sealer. The finished product looks amazing and I don't fear someone running away with it at 80lbs.
Estimated Cost
$35 (CAD)
Estimated Time Investment
Weekend Project (10-20 Hours)
Finish Used
Minwax Dark Walnut Stain (Home Depot) https://www.homedepot.ca/en/home/p.wood-finish---dark-walnut.1000406356.html?autoSuggest=pip

Varathane Triple Thick Matte (Home Depot) https://www.homedepot.ca/en/home/p.triple-thick-clear-matte-946ml.1001004379.html
Recommended Skill Level
Beginner

Strawberry planters

Submitted by DevonWood on Thu, 04/08/2021 - 00:17

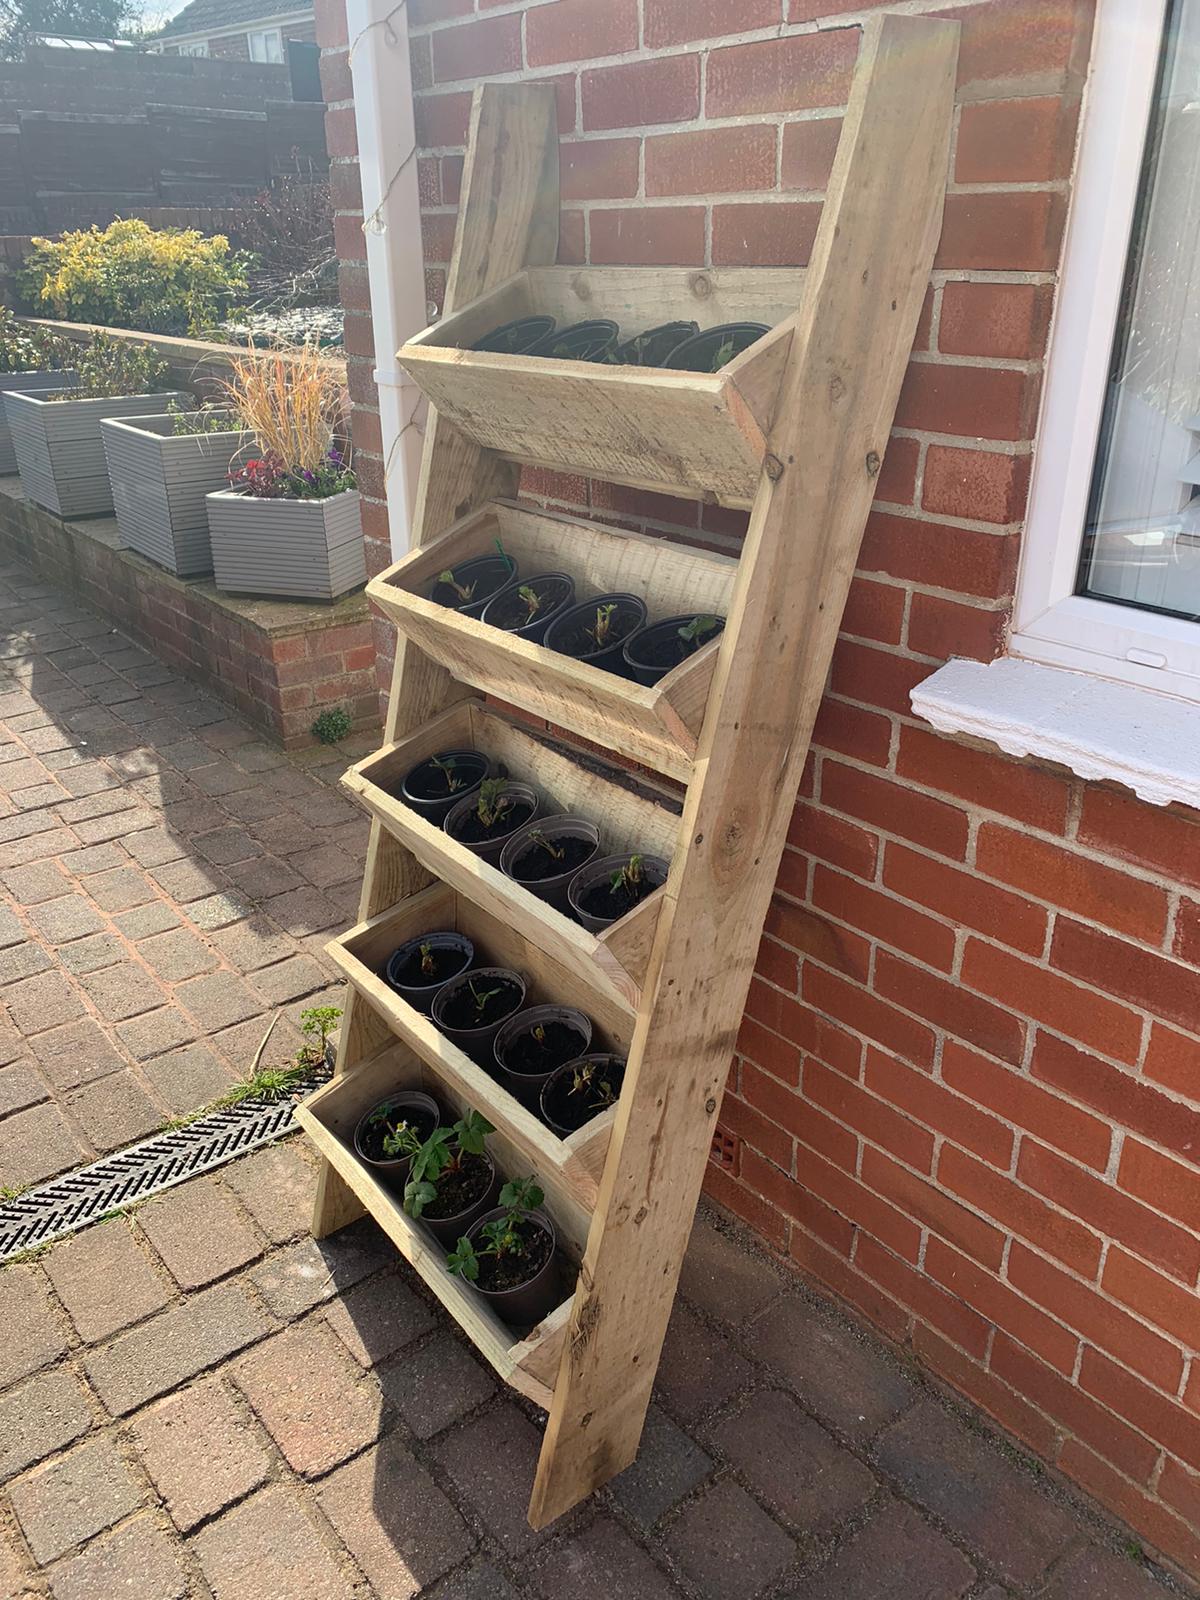
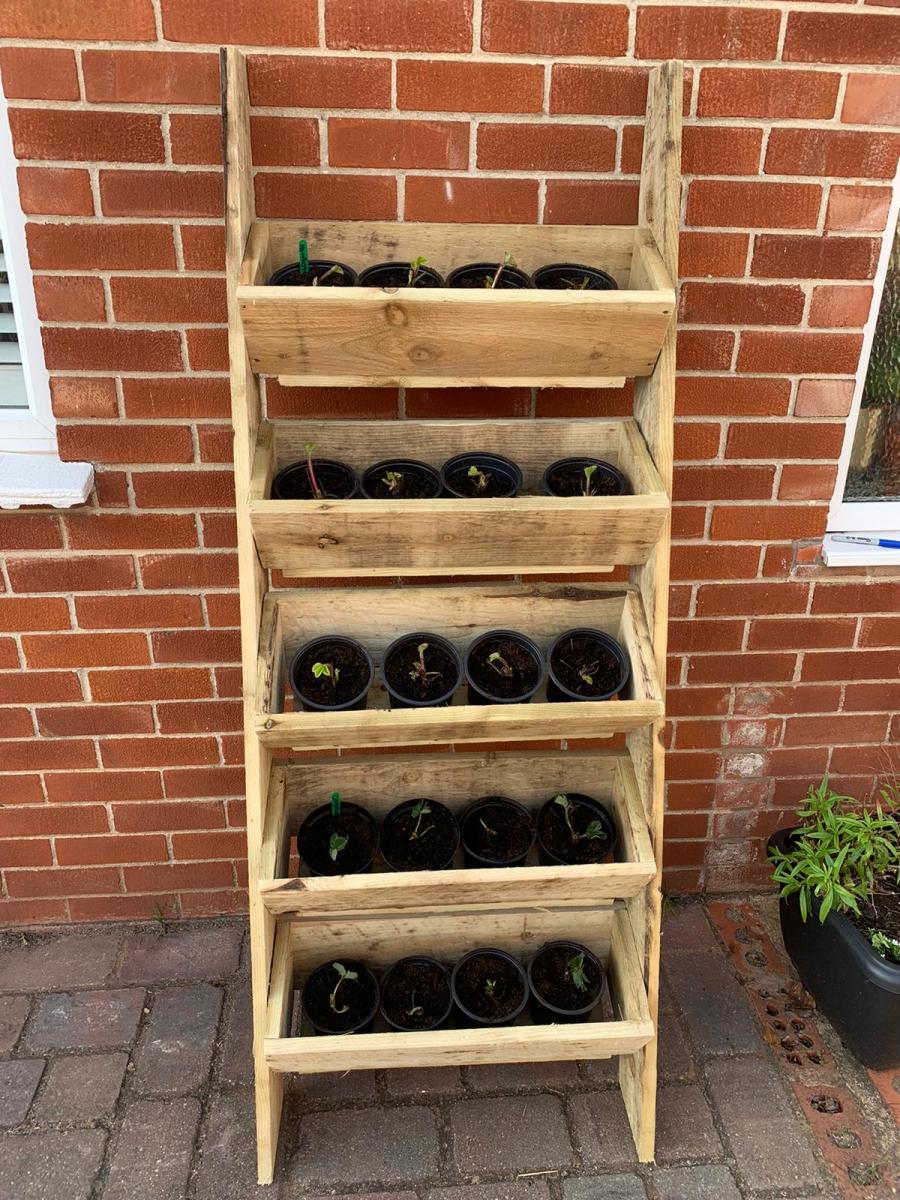
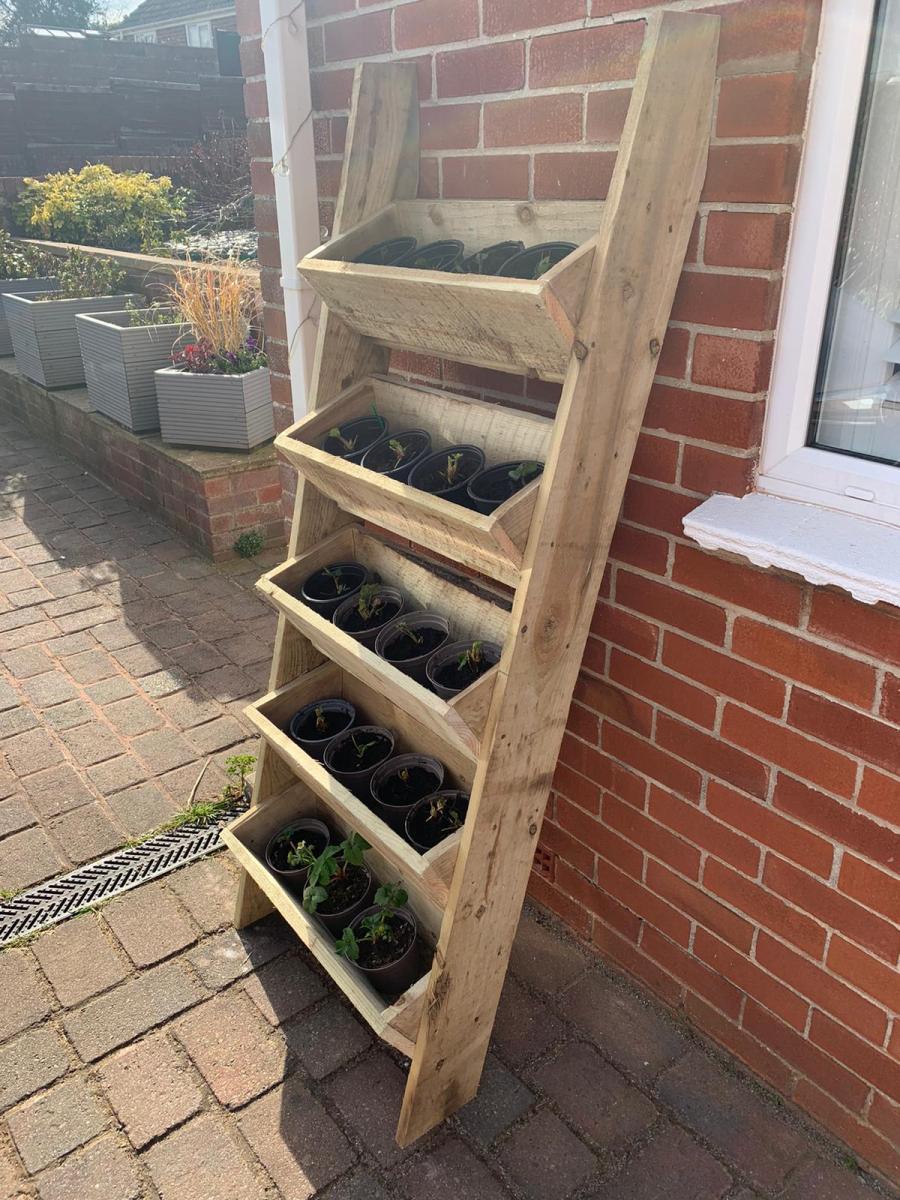
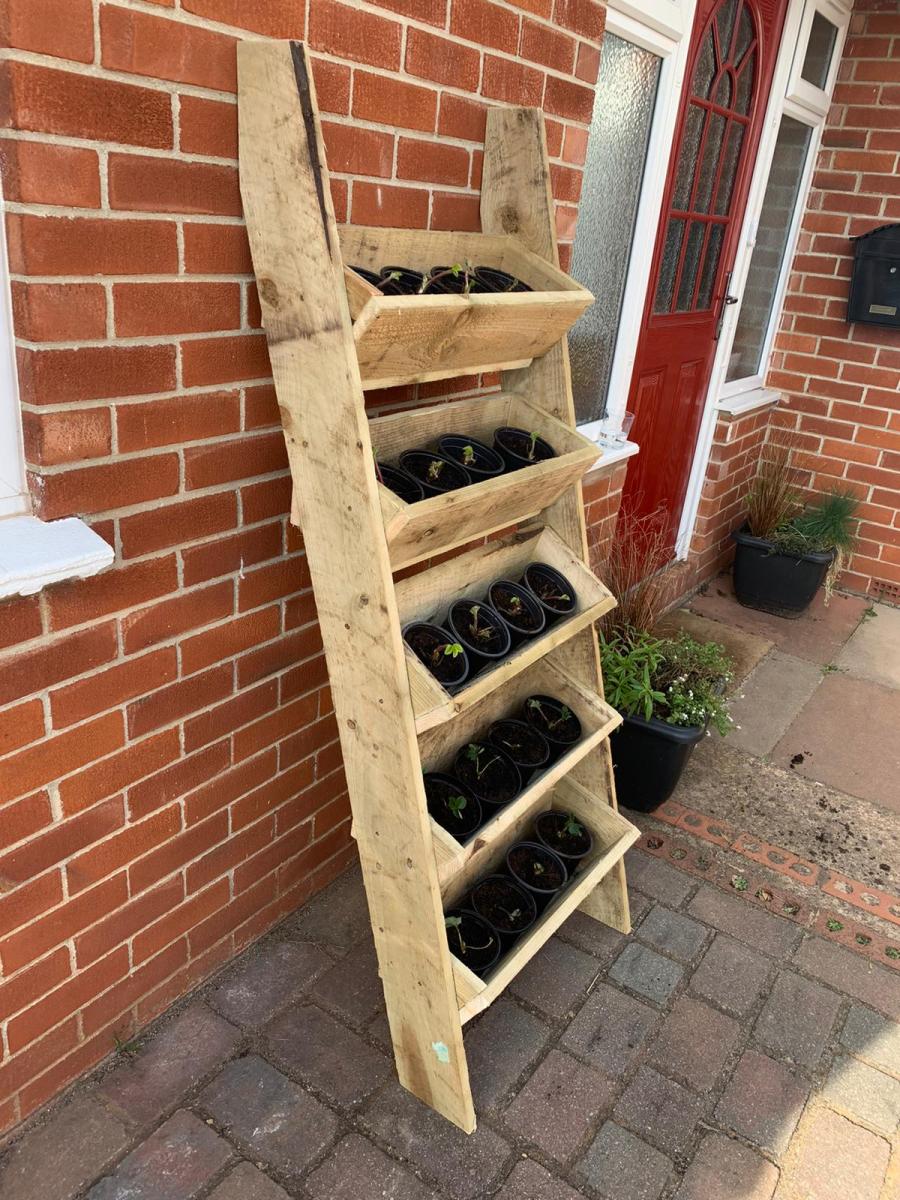
Using plans from this website here are pictures of two, five tier strawberry planters.
Each tier is wide enough for 4 plants in one litre pots.
Estimated Time Investment
Afternoon Project (3-6 Hours)
Recommended Skill Level
Intermediate

Comments

Faux Fireplace with Hearth

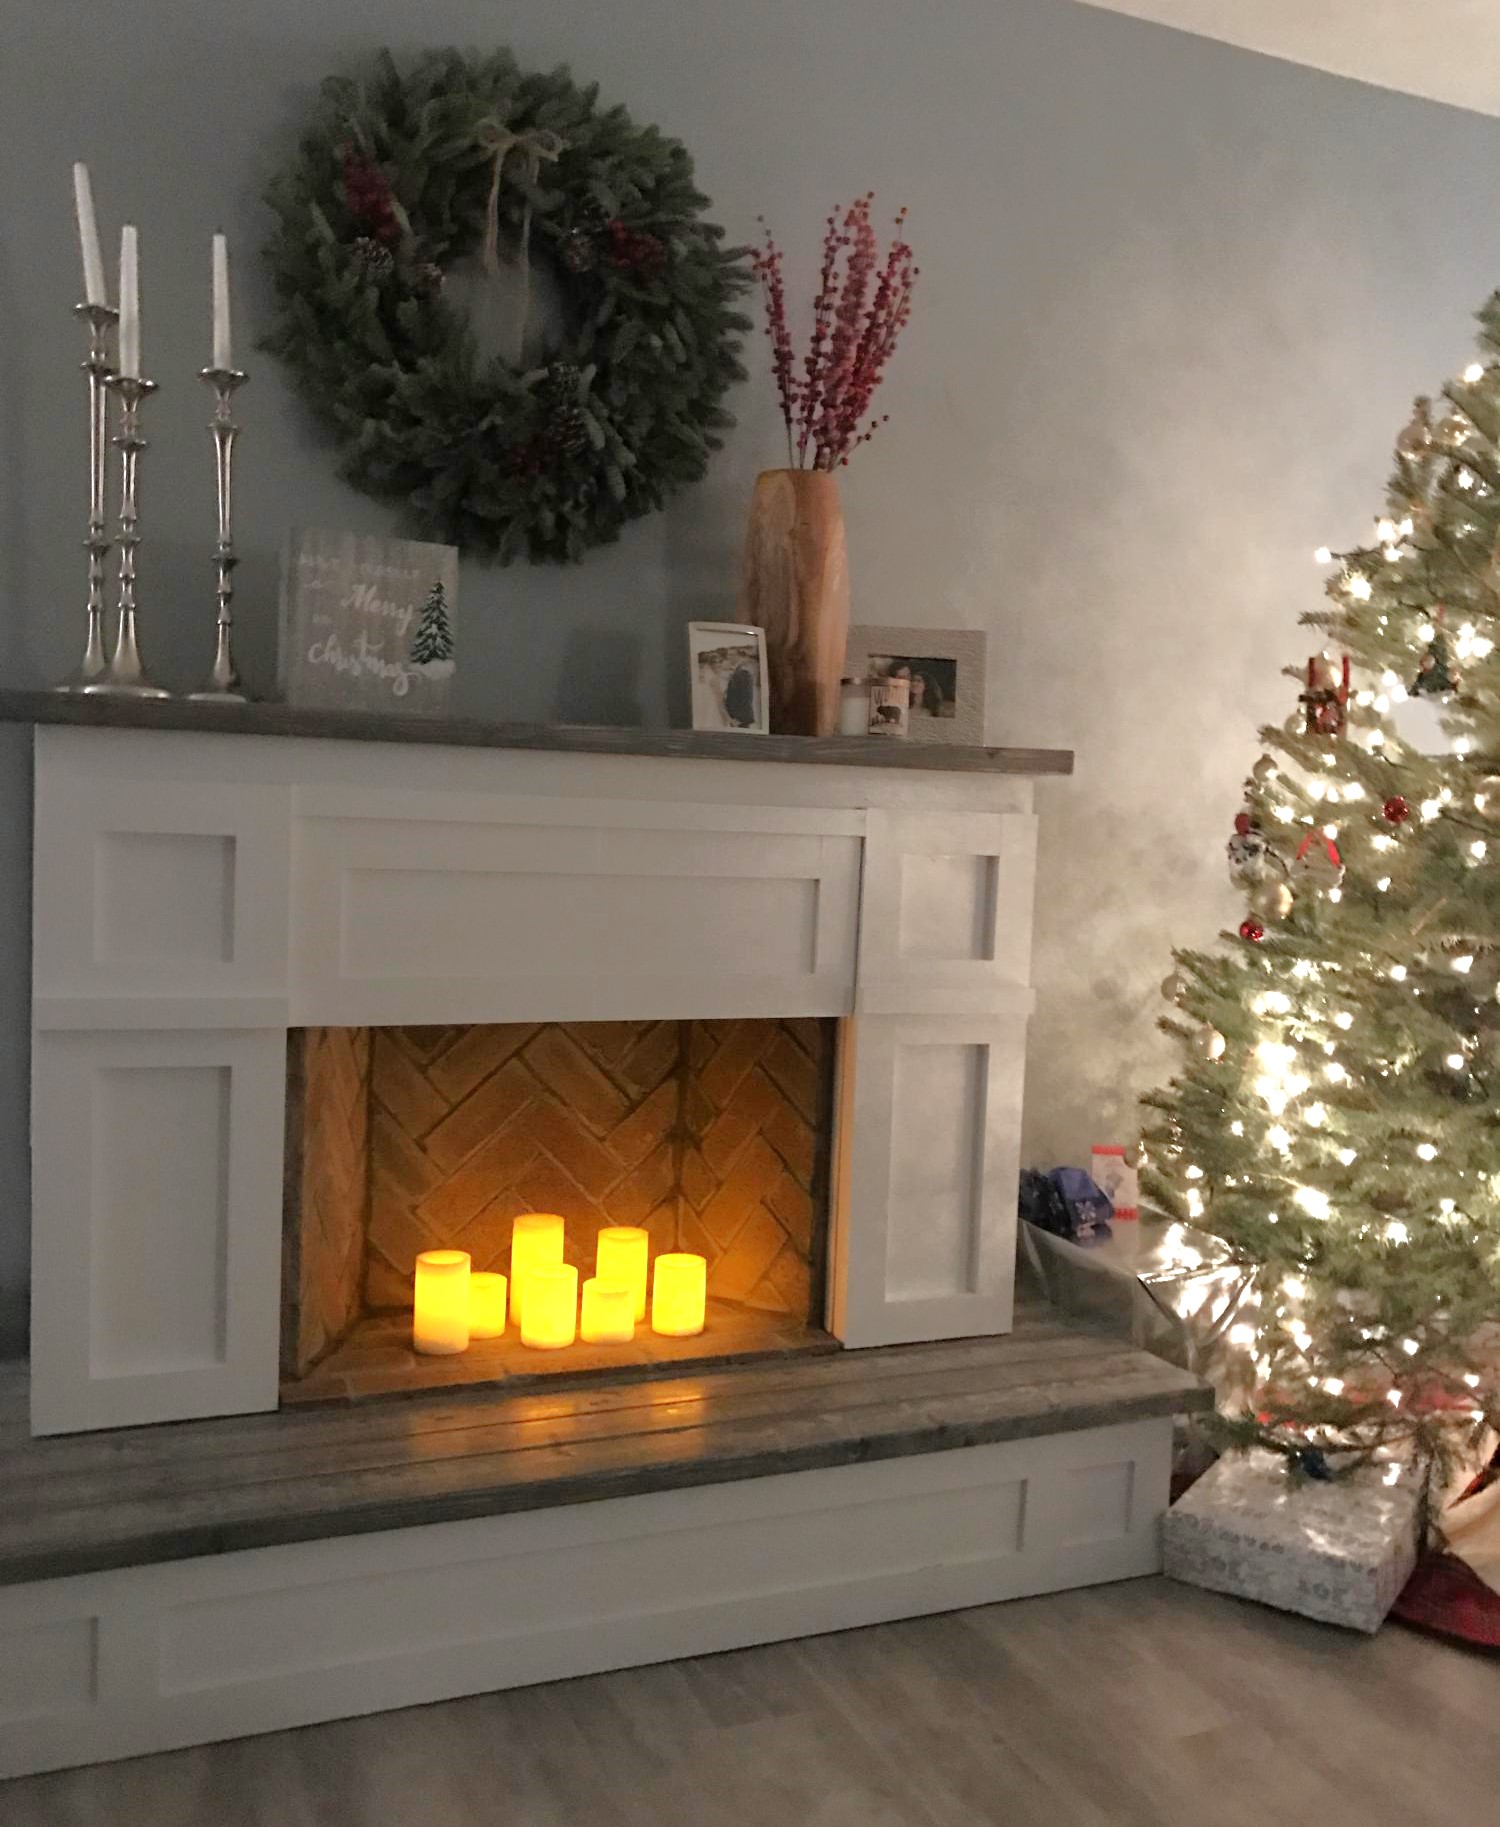
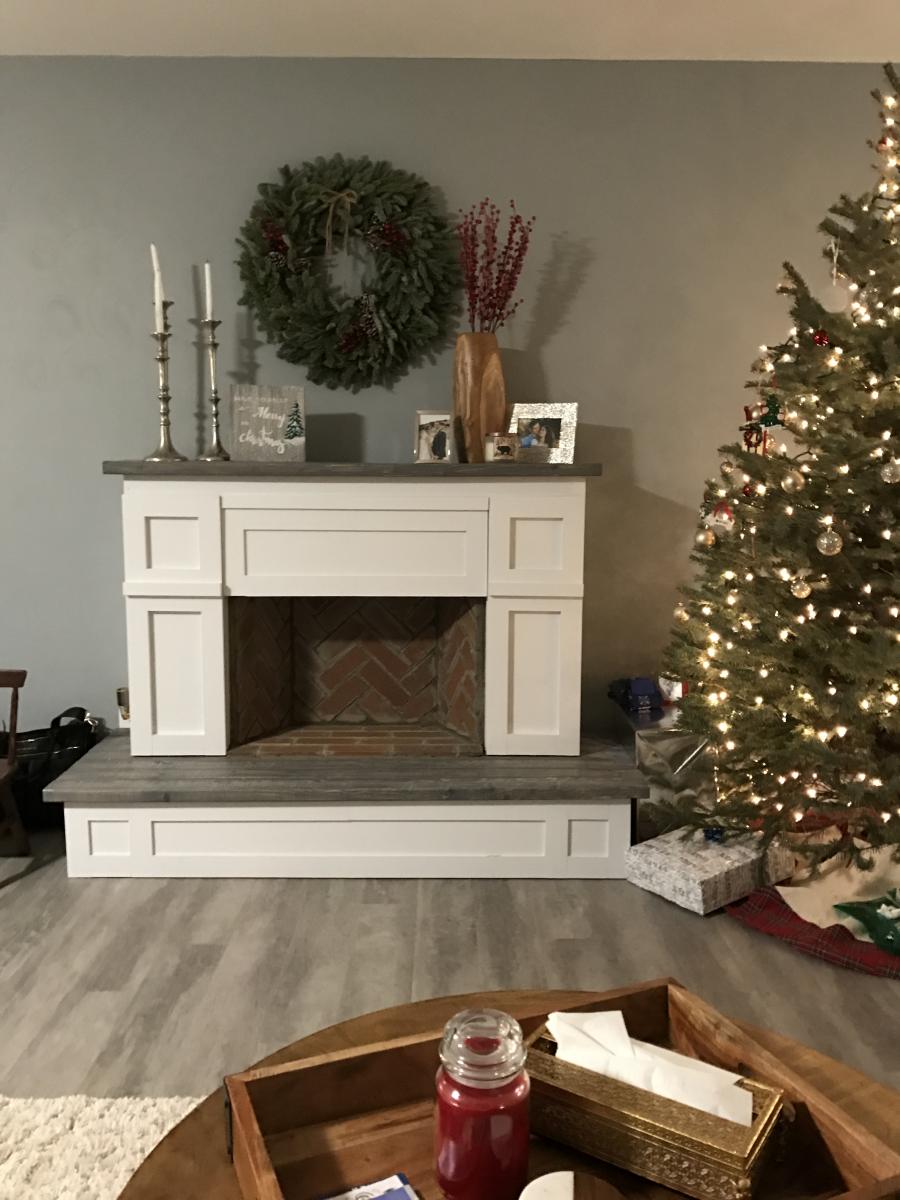
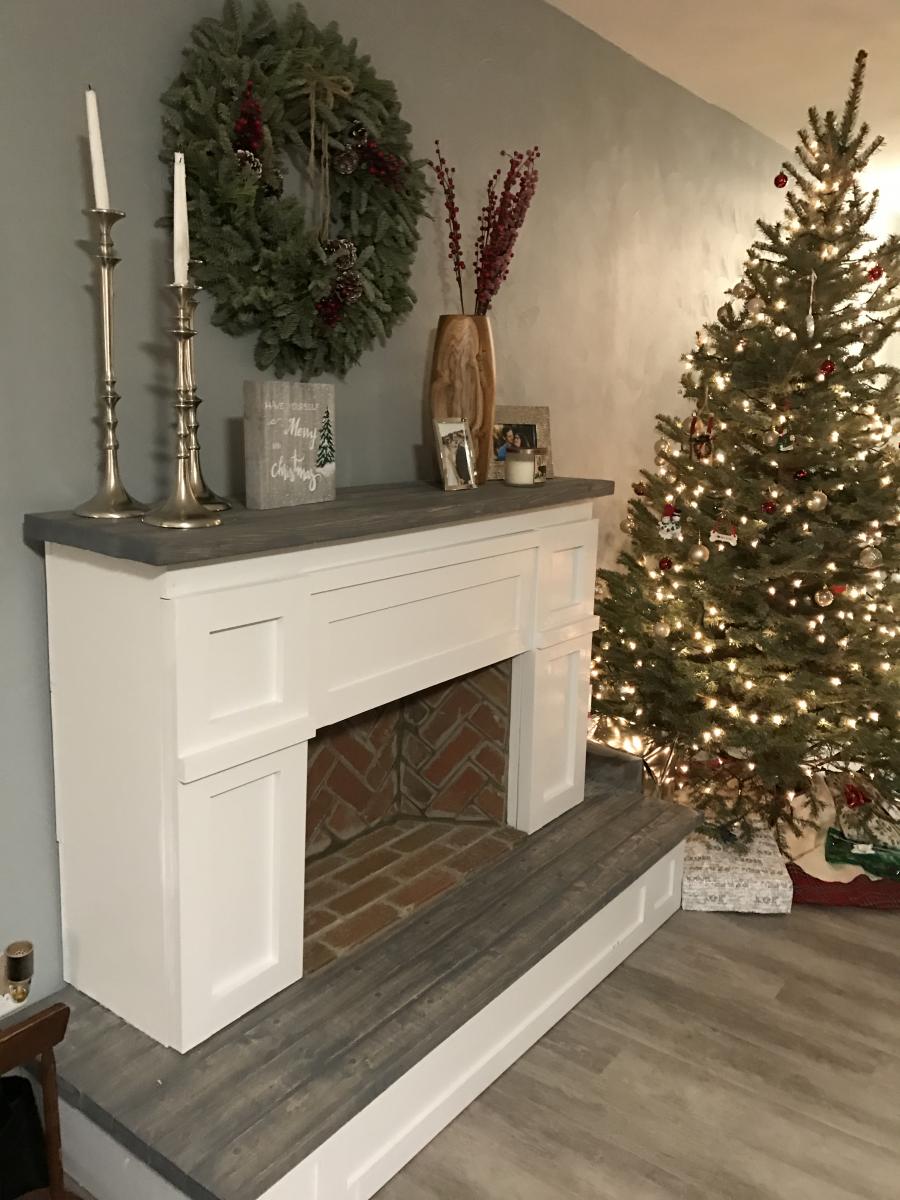
We made some modifications by adding a hearth for additional height (the room we have it in is very large and open) and joining 2x4s for the mantel and base which I stained grey for contrast. We decided to use thin brick for in the "firebox" to make it look more realistic. We also have a newborn and spent over two months putting it together a little at a time in our free moments so I'm not sure how long it would actually take to do at once, but cutting and putting up the brick was very time consuming. 

Estimated Cost
$250
Estimated Time Investment
Week Long Project (20 Hours or More)
Finish Used
White paint, Minwax "Classic Grey" stain
Recommended Skill Level
Beginner

Comments

westmoundstar

Thu, 08/27/2020 - 11:16

This looks great! I'm actually in the middle of this build with the hearth as well. Couple questions....
How did you connect the two pieces? Also, did you connect to the wall? I'm assuming you didn't leave the 5 1/2 inch gap on the bottom of the fireplace and connected direct to the hearth. Let me know, thanks!

Seasonal And Holiday

Sewing Table for small spaces

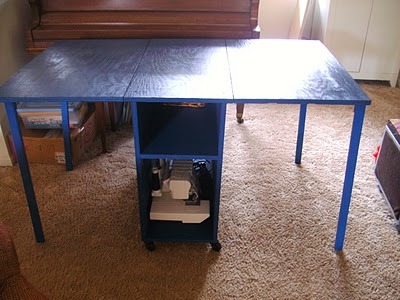
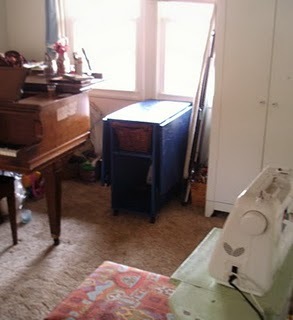
I loaded this project months ago, but somehow it was removed I believe during one of the websit updates. So far in my wife's crafting life she generally cuts things out on the floor. It's not so good. Our dining room table is usually covered in food or playdough so she generally just spreads things out on the floor. I realized how much she needed a table, and armed with new power tools from Christmas and my birthday, I set out to make me a crafting table. This was my first project.

Built from Plan(s)
Estimated Cost
$40
Estimated Time Investment
Afternoon Project (3-6 Hours)
Finish Used
Minwax blue rub on stain and sealer
Recommended Skill Level
Starter Project

Comments

Curved Bench

Submitted by stevez8420 on Sat, 08/08/2015 - 13:41

I followed your idea but i think my bench is a touch smaller. I decided to add arm rests on each end, I kept the top beverage ledge or "Bever-ledge" as I call it and ofcourse I added rope lighting along the underside. This was my first ever DIY project.

Estimated Cost
150
Estimated Time Investment
Weekend Project (10-20 Hours)
Finish Used
I used a Cedar Tone semi-transparent finish which turned out a little more orange than i though but it still looks good!
Recommended Skill Level
Intermediate

Chaise Lounge

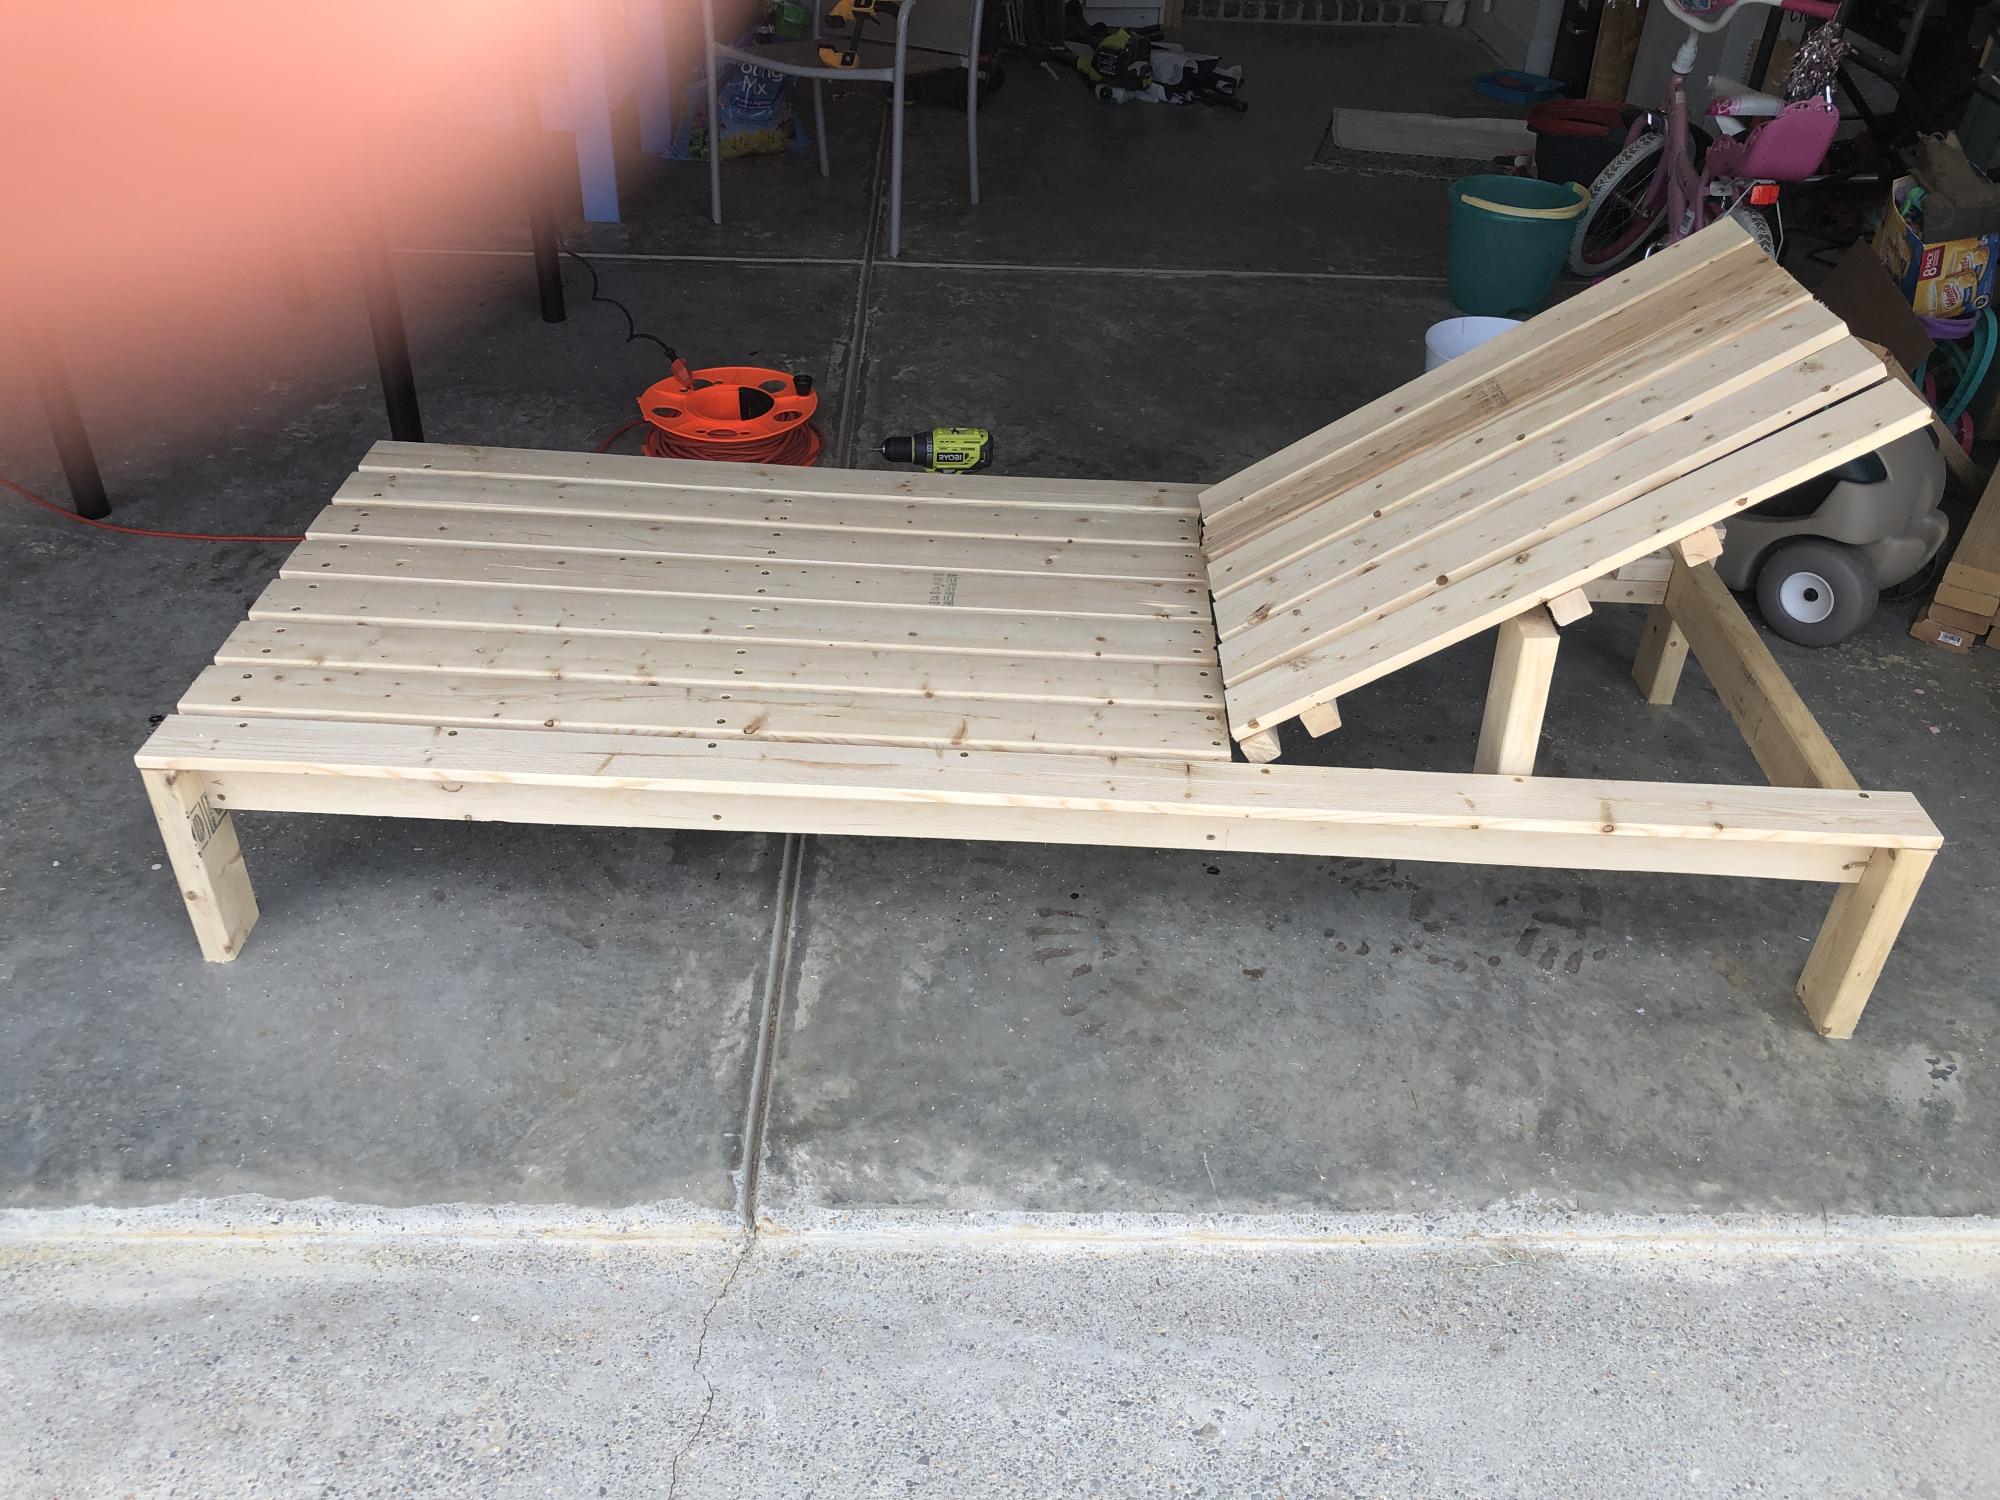
I built this chaise lounge for my daughter from your plans. She will paint it tomorrow. Thanks!!!

Comments

Sandbox with built-in seats

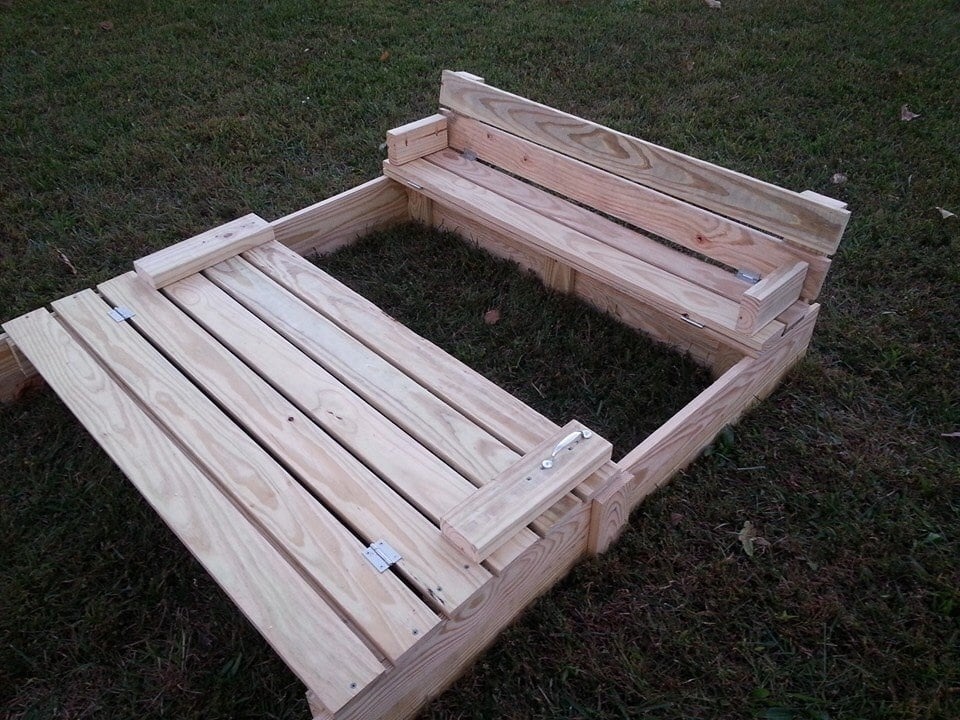
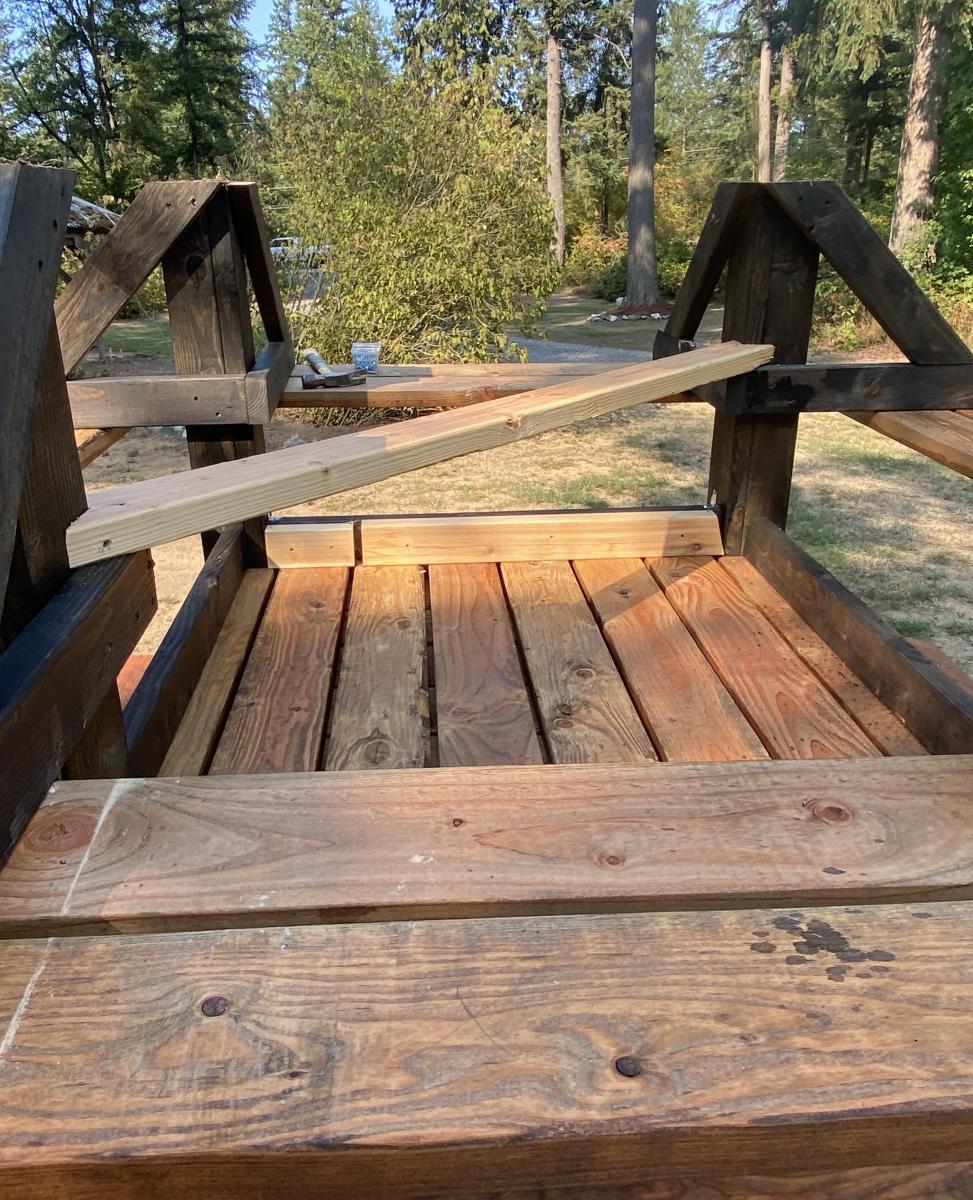
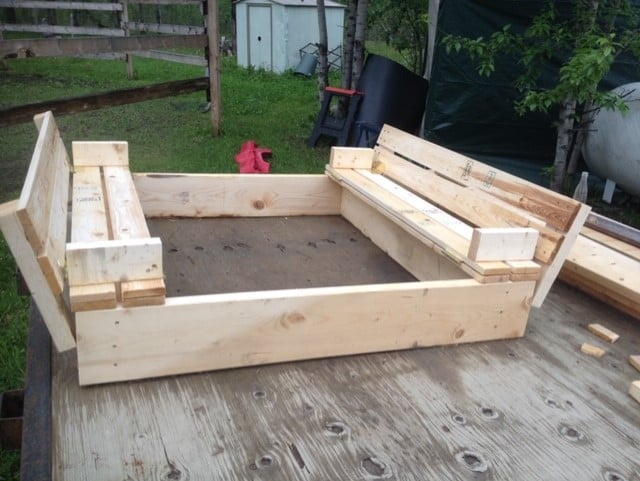
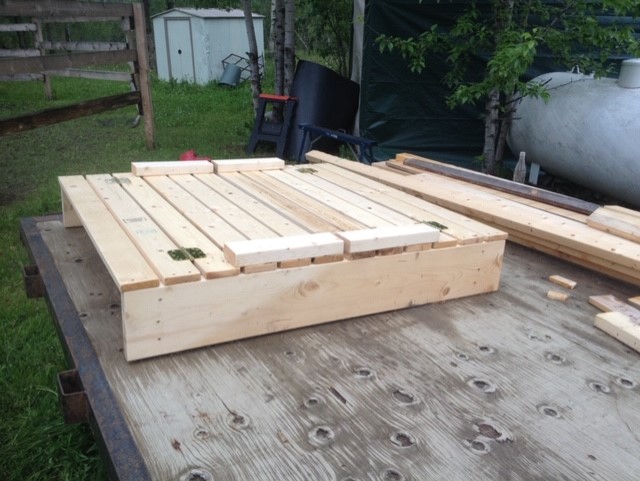
I modified this a tad from the original plans to suit my needs. I will eventually be adding a platform with attached slide and swing set.

Plans were easy to follow. My store didn't have 1x8's so I stacked 1x4's and used my Kreg jig to join them together and then I added extra bracing.

I had seen this on Pinterest a couple years ago and thought it was the coolest thing! Io excited I was able to build it myself!

Built from Plan(s)
Estimated Cost
About $40
Estimated Time Investment
Day Project (6-9 Hours)
Finish Used
None yet. I will stain and seal everything when I get the entire play set finished.
Recommended Skill Level
Beginner

Double Wide Cedar Fence Picket Storage Shed

Submitted by moosmani on Mon, 11/11/2013 - 03:12

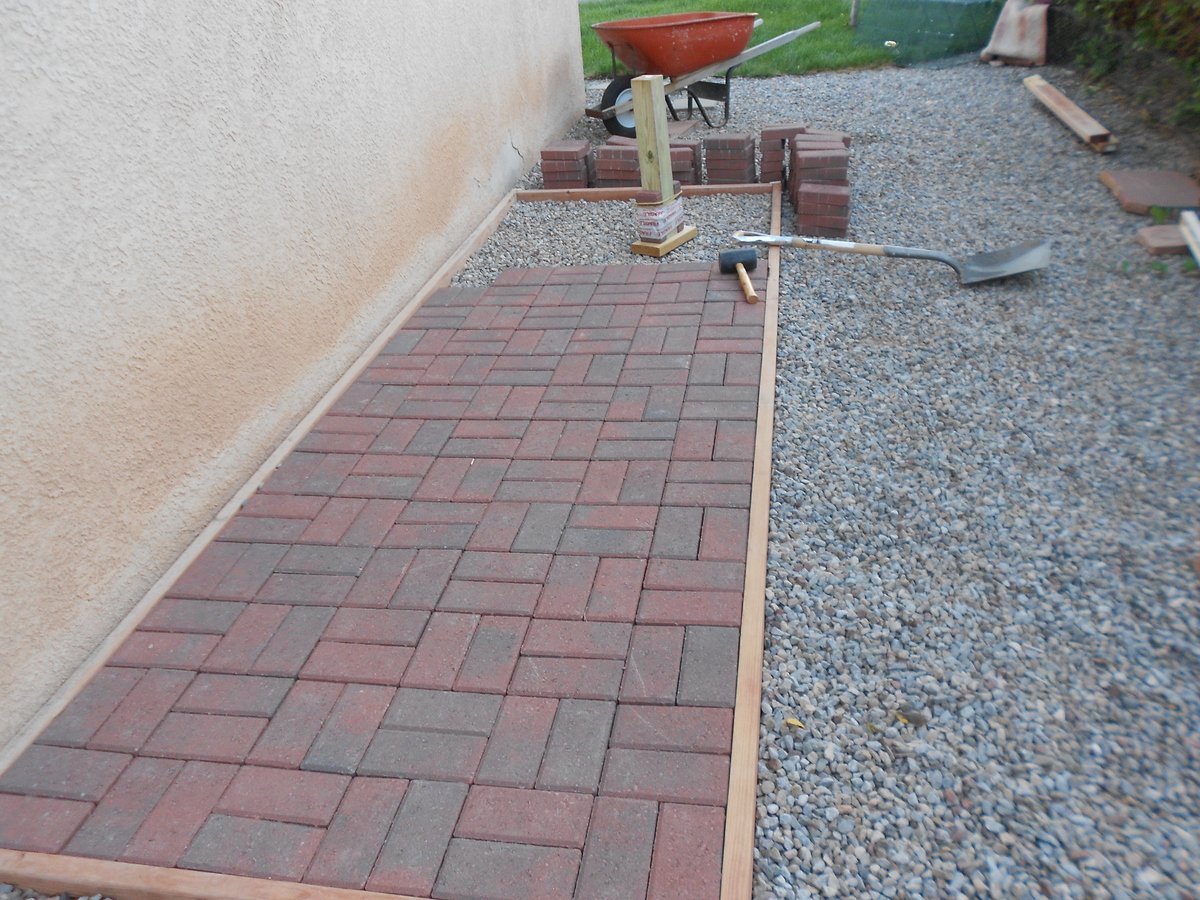
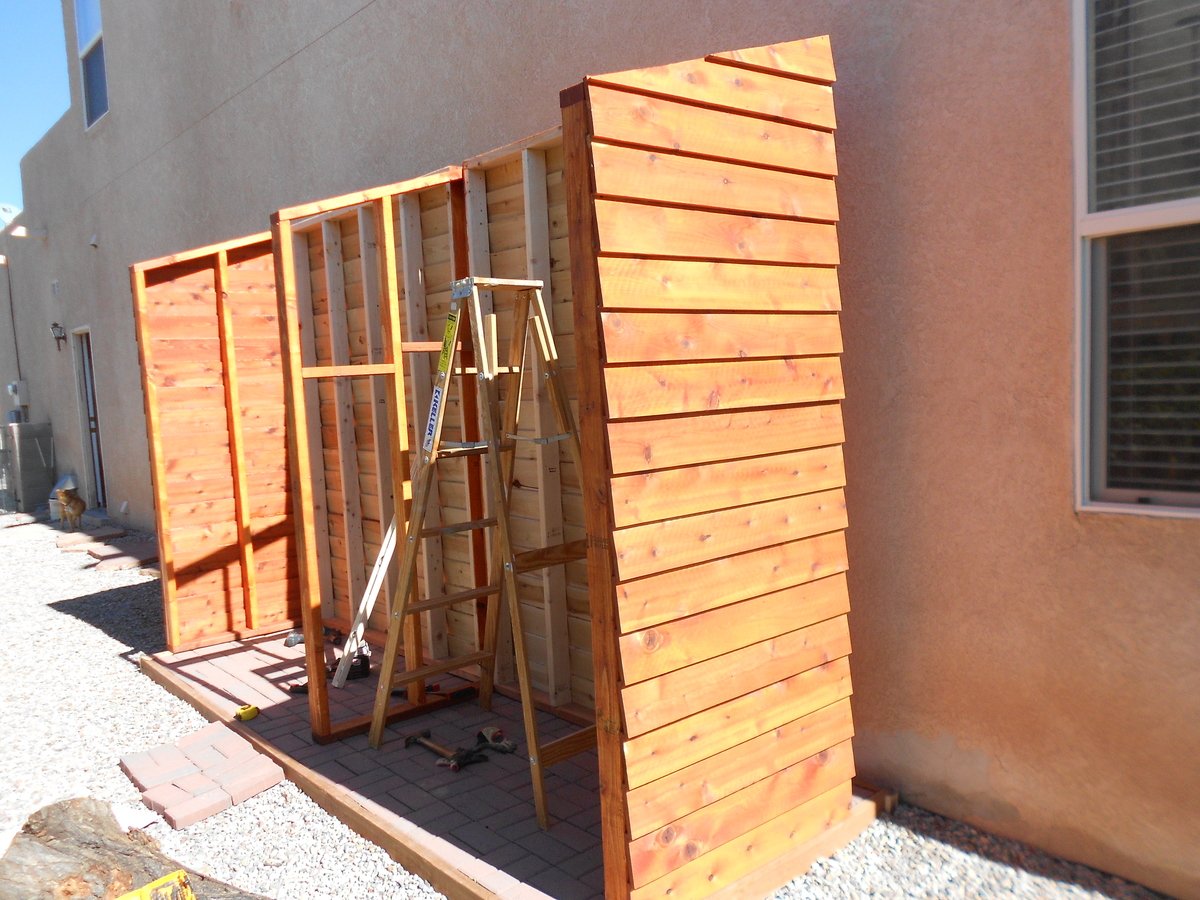
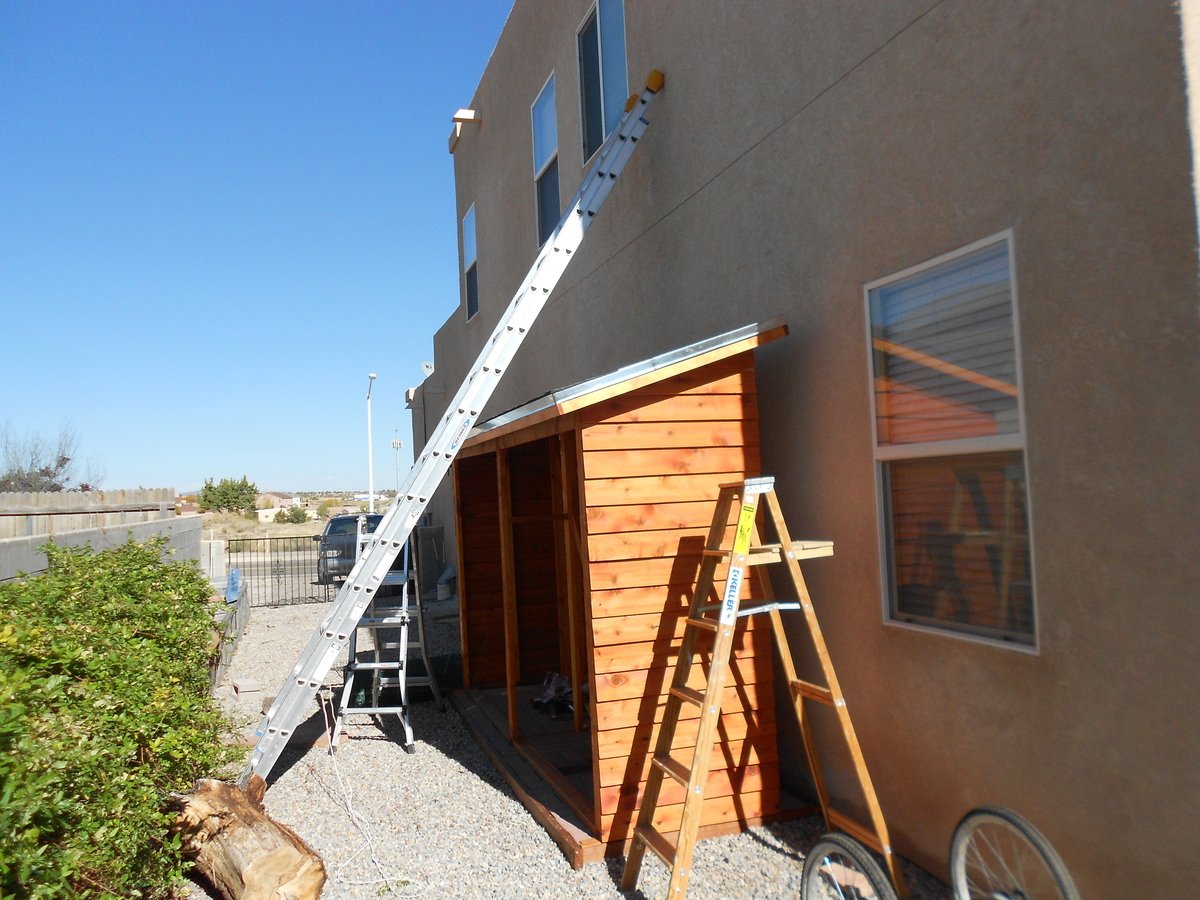
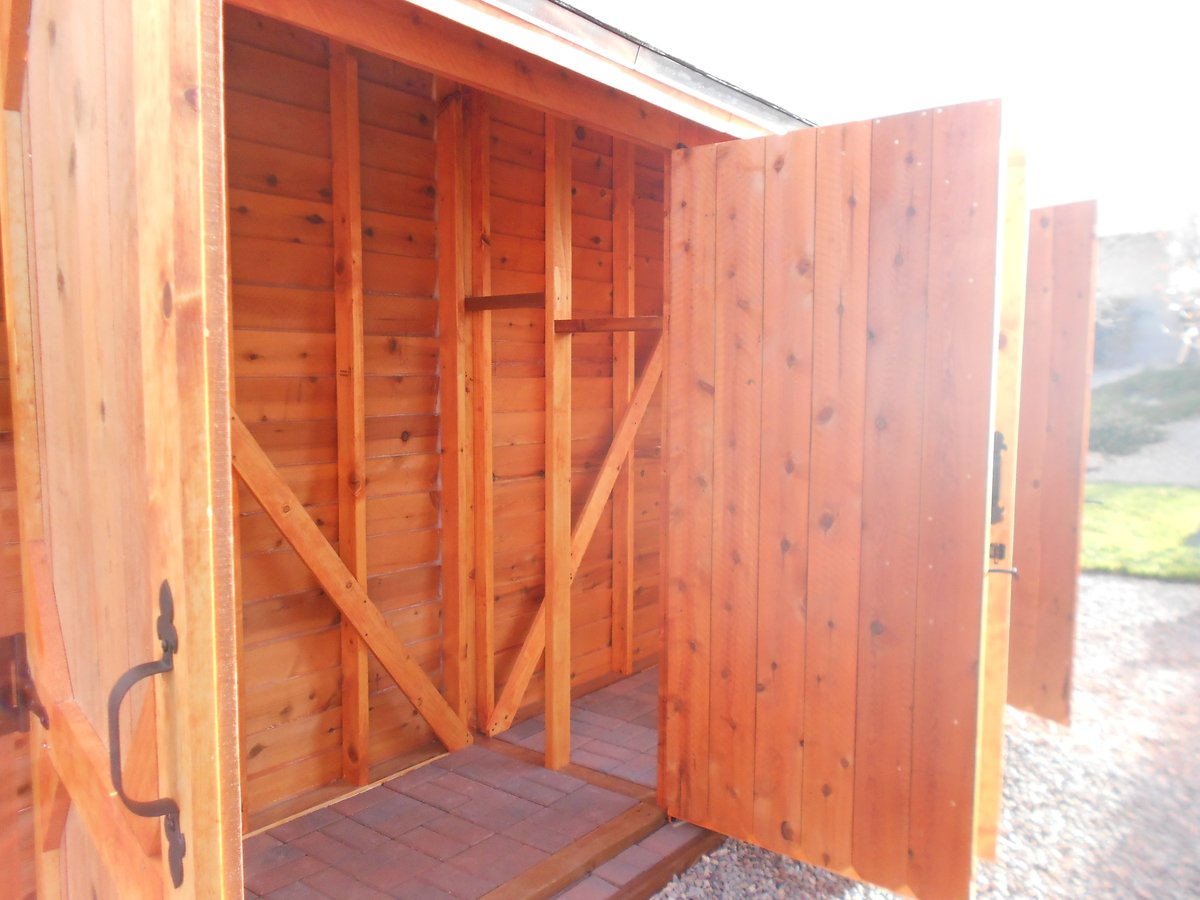
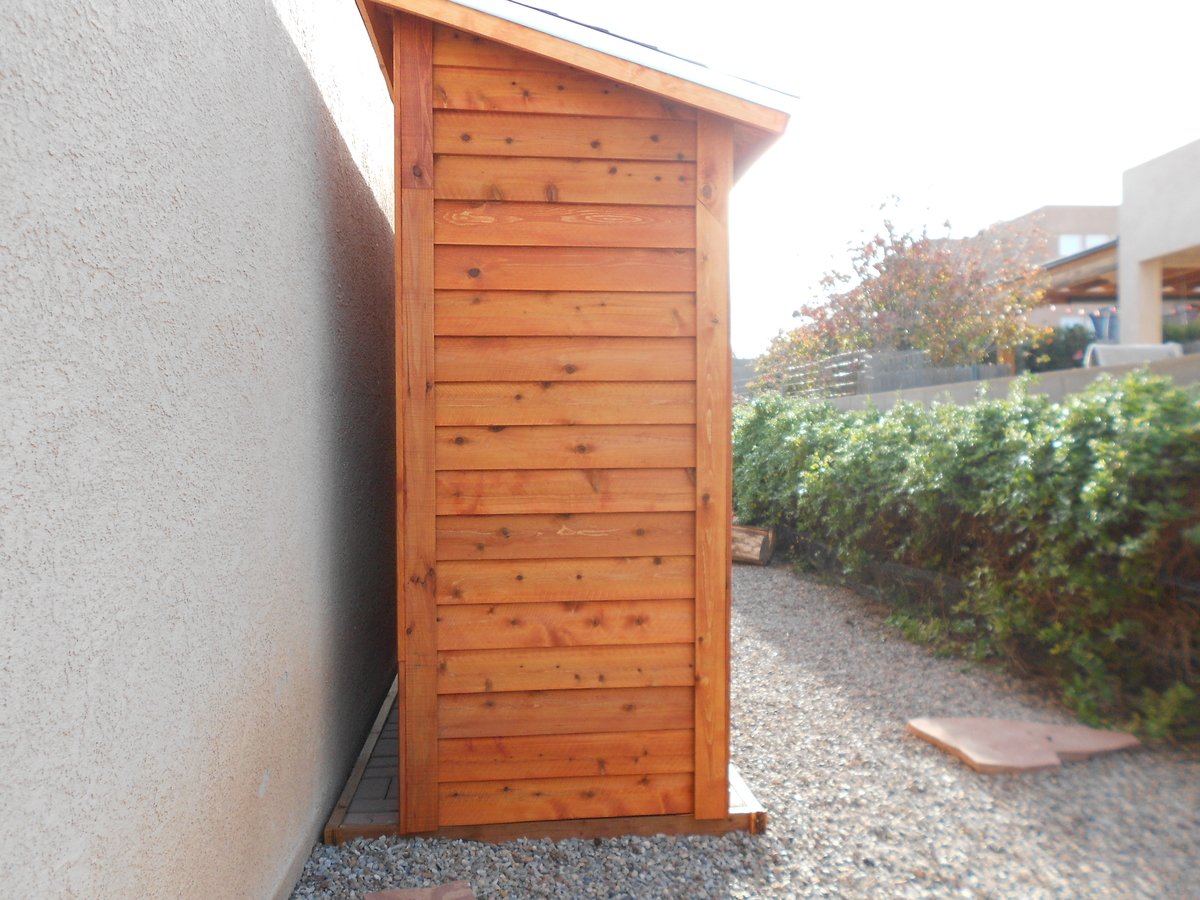
I read and studied every comment and brag post about this shed. I must have read the plans a hundred times before I got up the courage to tackle it. It’s a very attractive and affordable shed design. I thought a double wide version would be perfect for our long, narrow side yard, and it is! I mostly stuck to the plans except for a few things. I made it 10” taller overall so there would be plenty of head clearance under the doorway. That was a very easy modification. I used 2x4s for the walls instead of 2x2s because we have high winds in our area. That modification was a little bit more challenging, but I planned it out and it worked! Also I used 2x6s for the headers instead of 2x4s. I also added 2x4s at the thresholds because I couldn’t image making it stay square without them. I basically made two sheds joined by a common wall in the center. I did not increase the depth, mostly because I was afraid to mess with the angles and how that would change the pitch of the roof. Joining two sheds together meant that I didn’t have to put the exterior pickets on the middle wall. But it also meant that I had to build 4 doors. Yuck. They were difficult to get lined up and level, but I was amazed it actually worked and that all the doors operate properly and smoothly. I was questioning the wisdom of my decision to do 4 doors while I was in the thick of it, but now that all the work is done, I love that I can open all 4 doors and have easy access to absolutely everything in the shed. Very convenient! I told my dad I was building a shed and he recommend that I add cross braces. It seemed sturdy enough without them but it certainly can’t hurt. My dad knows everything about building and I know nothing, so I took his recommendation. If I were to do this again, I would overlap the cedar pickets by 1” instead of ½”. My pickets were not quite wide enough. I could swear they shrunk after I applied the stain/uv protection. I used liquid nails along each lap but it didn’t hold. Where the glue DID hold tight, the wood split lengthwise. Anyway, for whatever reason, gaps appeared and I spent a fortune on clear silicon applied on the interior walls to make it water tight. I had to keep going back for “just one more tube.” So with hind sight I would have been better off just buying a few more pickets and increasing the overlap. Another thing I might do is make it deeper. I decided against it initially because I was worried that increasing the depth would make it flimsy. Now I don’t think that would be a problem. This shed is sturdy. I can’t say thank you enough. Great plans and a great website! I am completely hooked.

Built from Plan(s)
Estimated Time Investment
Week Long Project (20 Hours or More)
Recommended Skill Level
Intermediate

Comments

moosmani

Mon, 11/11/2013 - 14:56

I kept every receipt from caulking gun to stains and brushes. I just now added it up and it came to (cringe) just under $900. But I have lots of left overs for another shed and it's still a huge bargain. Other sheds that are similar to this plan are much smaller and start at $1,999 and up! I think it was well worth it to have a sturdy bargain shed that's also beautiful.

t0mpr1c3

Sat, 01/22/2022 - 23:01

It looks great with the stain. I think your Dad's advice was good. Also I like that the heavier timbers add rigidity to the frame.

Seasonal And Holiday

Farm House Table and Bench

Submitted by Anonymous (not verified) on Fri, 05/05/2023 - 08:52

Reclaimed Wood Bedside Table

Submitted by Ktosaka on Fri, 11/22/2013 - 07:31

I had inherited some bed frame wood from our local Re-store and have been working it into projects here and there. We needed some actual night stands and I loved the look of the Reclaimed Look Wood Nightstand, but they were a little too tall for our bed. The height of the original plan is 28" and I ended up taking out one drawer for a total height of 20". I also found two sets of drawer slides at the Re-store and decided that an open shelf on the bottom would better suit our needs, so I crossed the reclaimed plan with the farmhouse plan to create a shelf on the bottom. The bottom is built the same way that the sides are, but attached so that the 2x2 is on the underside.

I didn't have enough wood from the bed frame to make two full tables, so I used Douglas fir 2x2's for the legs (the best the local big box home improvement had that day for my price) and white board for the table tops and every other board for the sides and shelves. This was my second real building project, so they were really easy to put together, but it was a lesson in making everything super square because of the drawer slides. The finish I used also goes great with a 130 year old dresser that you can see a bit of next to the finish table. The wood only needed one coat to reach the color closest to that dresser and it hid the fact that I used three different types of wood in this project. Overall they are just what we needed in this space. The bed frame is IKEA, but I am thinking about making the Reclaimed Look Bed Frame to match the tables in the future.

Estimated Cost
$75 for two side tables
Estimated Time Investment
Day Project (6-9 Hours)
Finish Used
One coat Minwax Provincial stain with two coats of Minwax Wipe-on Poly. I like the look of the wipe-on, but this is the first time I've used it so I'm hoping two coats is enough. For the application, I went with old cotton socks.
Recommended Skill Level
Beginner

3 Square Picnic Tables!

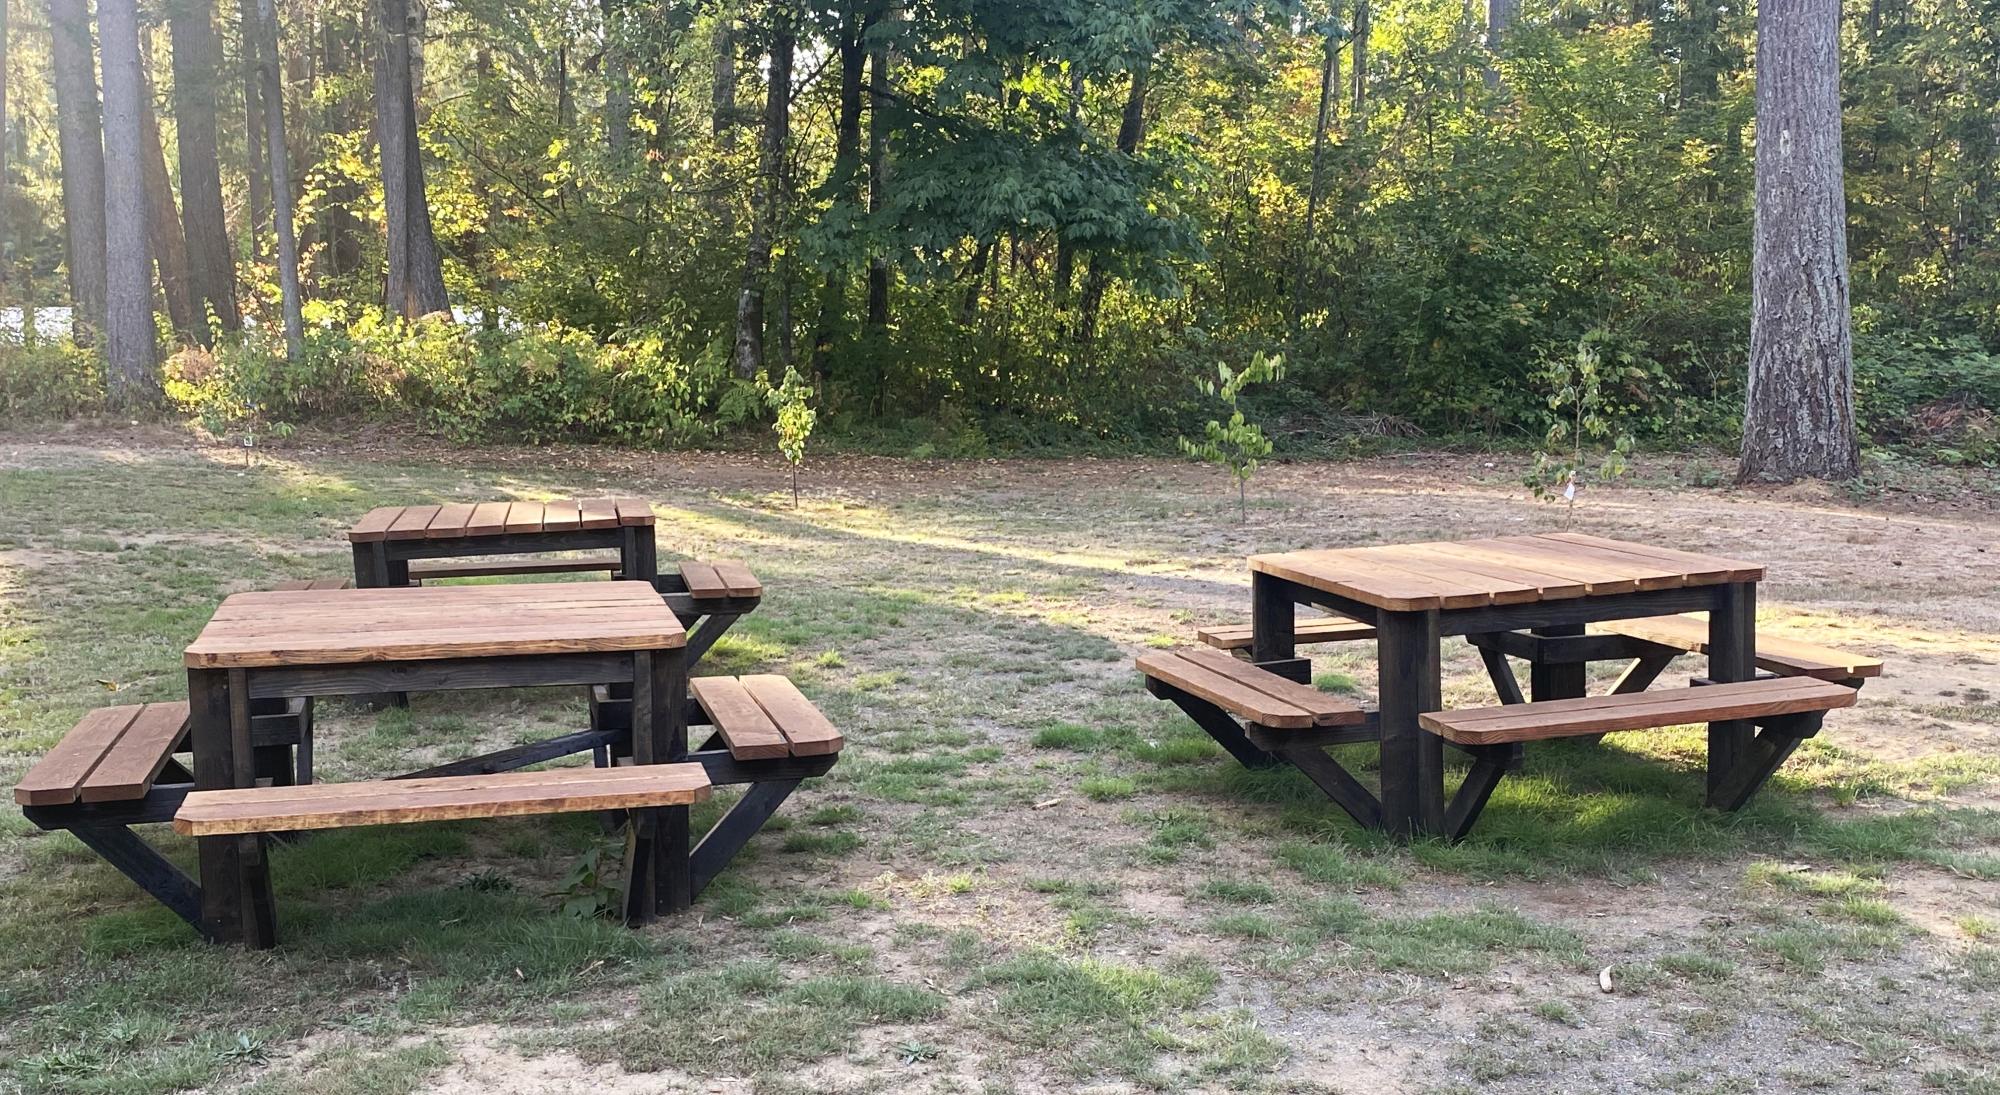
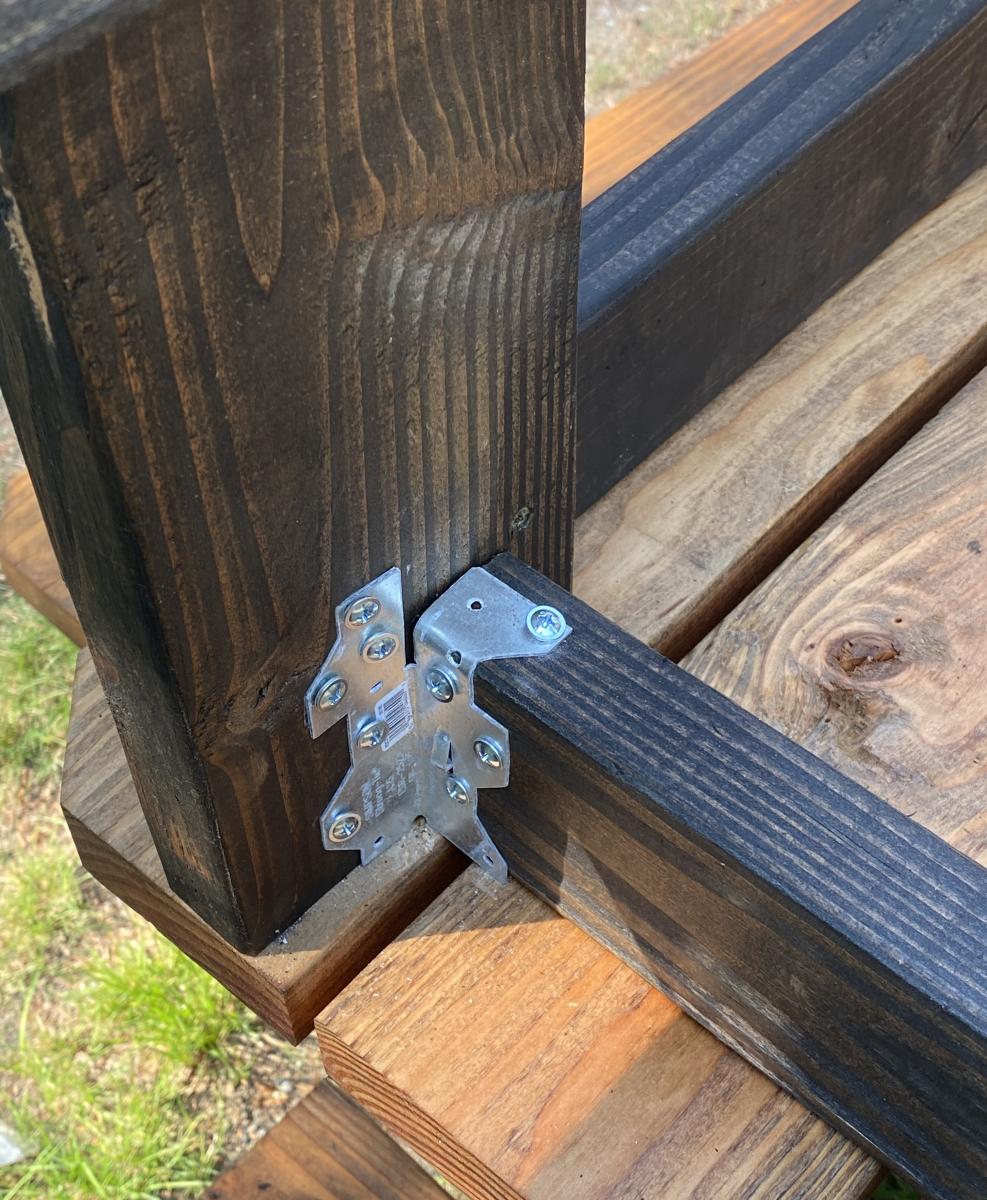
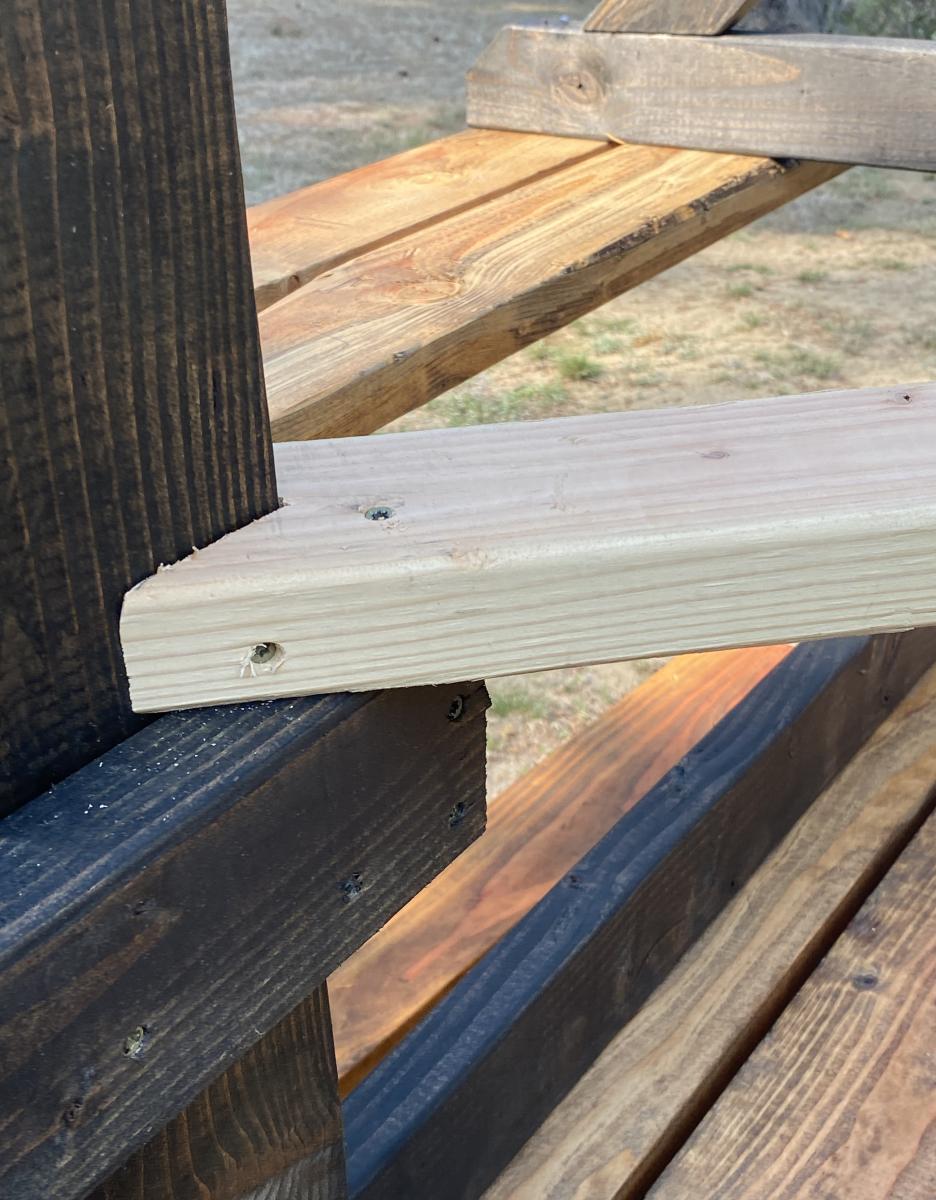
I built 3 of the square picnic tables, as we have a large extended family. I enjoyed the project and the results. I did end up adding a cross brace and some metal clips, they added a little more strength for the table when it was full of people.

Thank you for sharing your plans.

Rick

Built from Plan(s)

Sandbox with Seats

I built this sandbox for my kiddo's because we have cats! It was great. Easy to build, great plans for it.

Built from Plan(s)
Estimated Cost
$50 CAD
Estimated Time Investment
Afternoon Project (3-6 Hours)
Finish Used
Minwax 2-in-1 in Natural
Recommended Skill Level
Beginner

Reading Loft

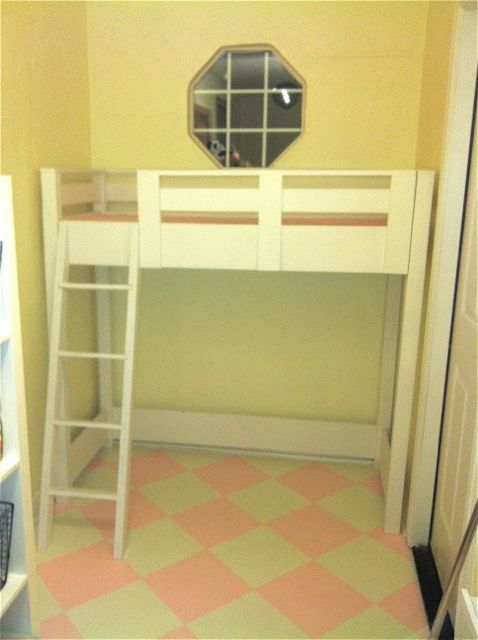
We converted our mud (junk) room into our daughter's playroom. The room is awkward (5' X 12'), but I knew I wanted a reading loft by the window. The area we were working with was 63" wide and 23" deep. I wanted the loft to come right up to the window which is exactly 5'. This is obviously not a standard bed size so we couldn't just buy something. I came across your site (love it!) and found the loft bed plan. I reconfigured the loft using our measurements and my husband is the one who actually built it. It turned out so well! I still have some pillows to make, but my daughter and her friends have already been spending a ton of time up there!

Built from Plan(s)
Estimated Cost
$175
Estimated Time Investment
Weekend Project (10-20 Hours)
Finish Used
Glidden Swiss Coffee Satin Paint. I used two coats with a roller.
Recommended Skill Level
Beginner

Beach Cottage Dresser

Submitted by stacynabby on Mon, 03/24/2014 - 20:36

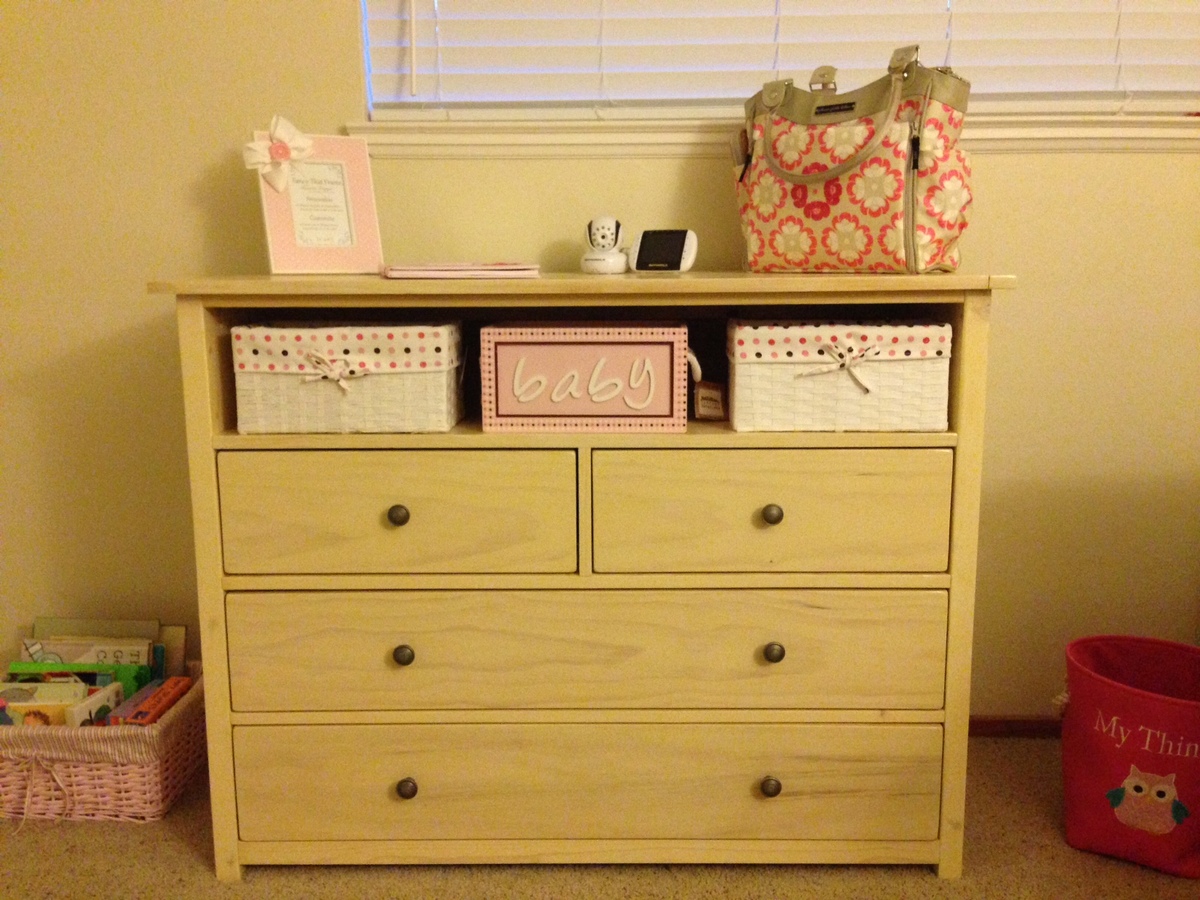
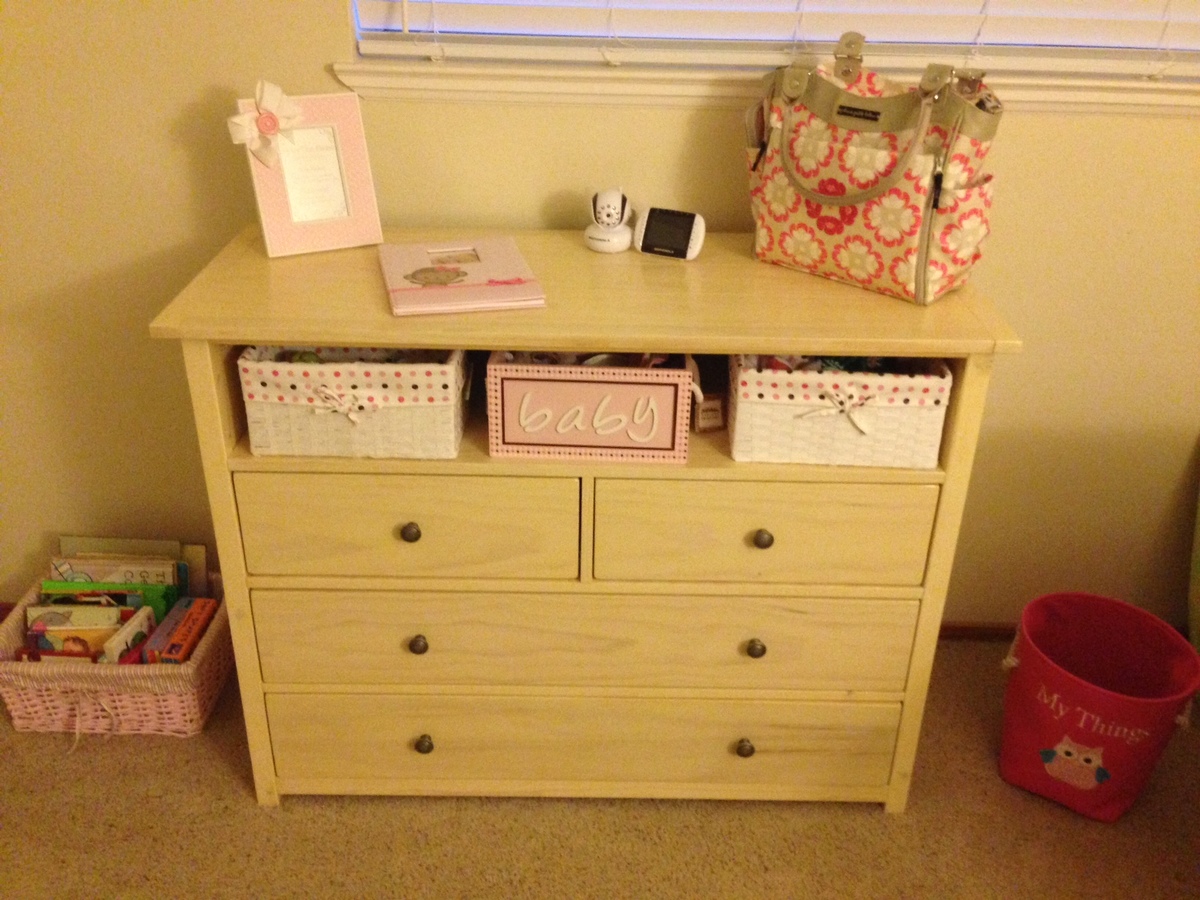
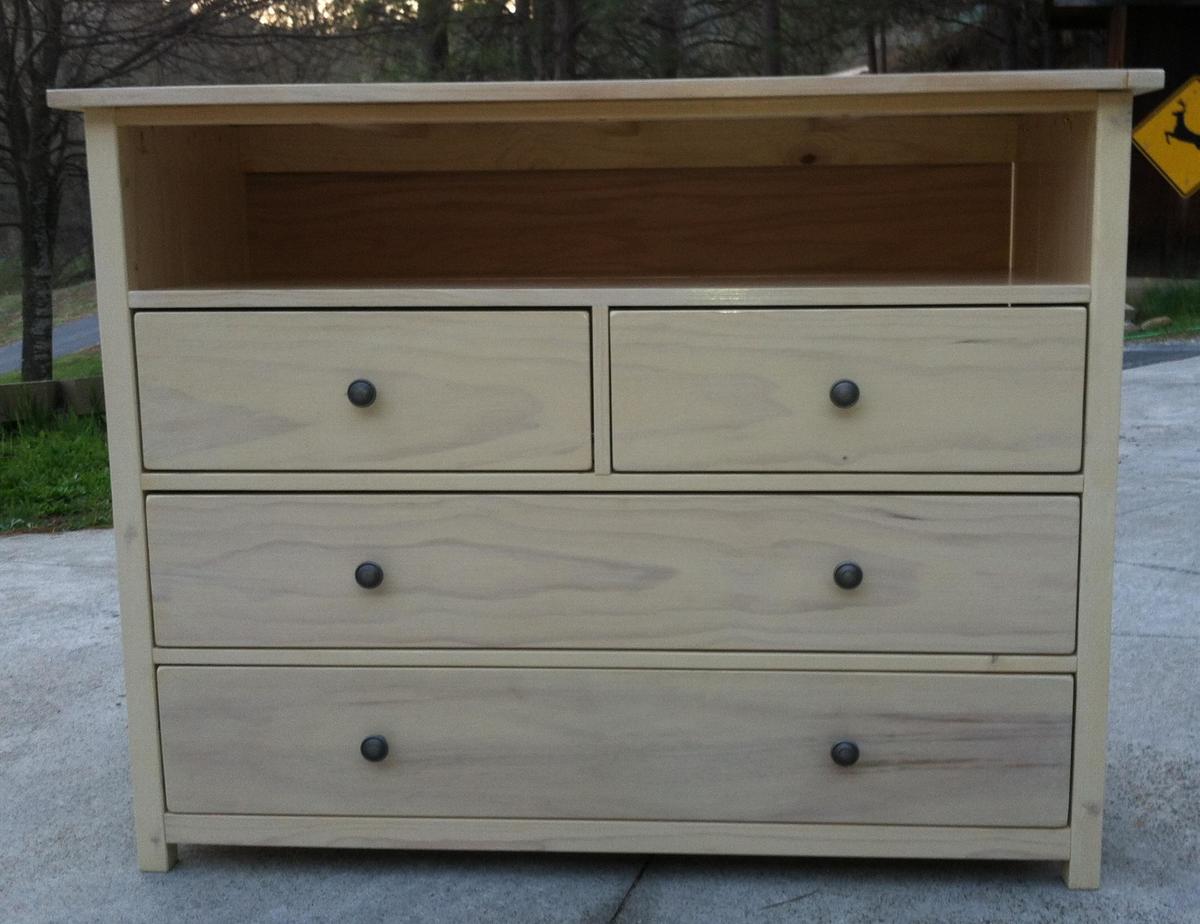
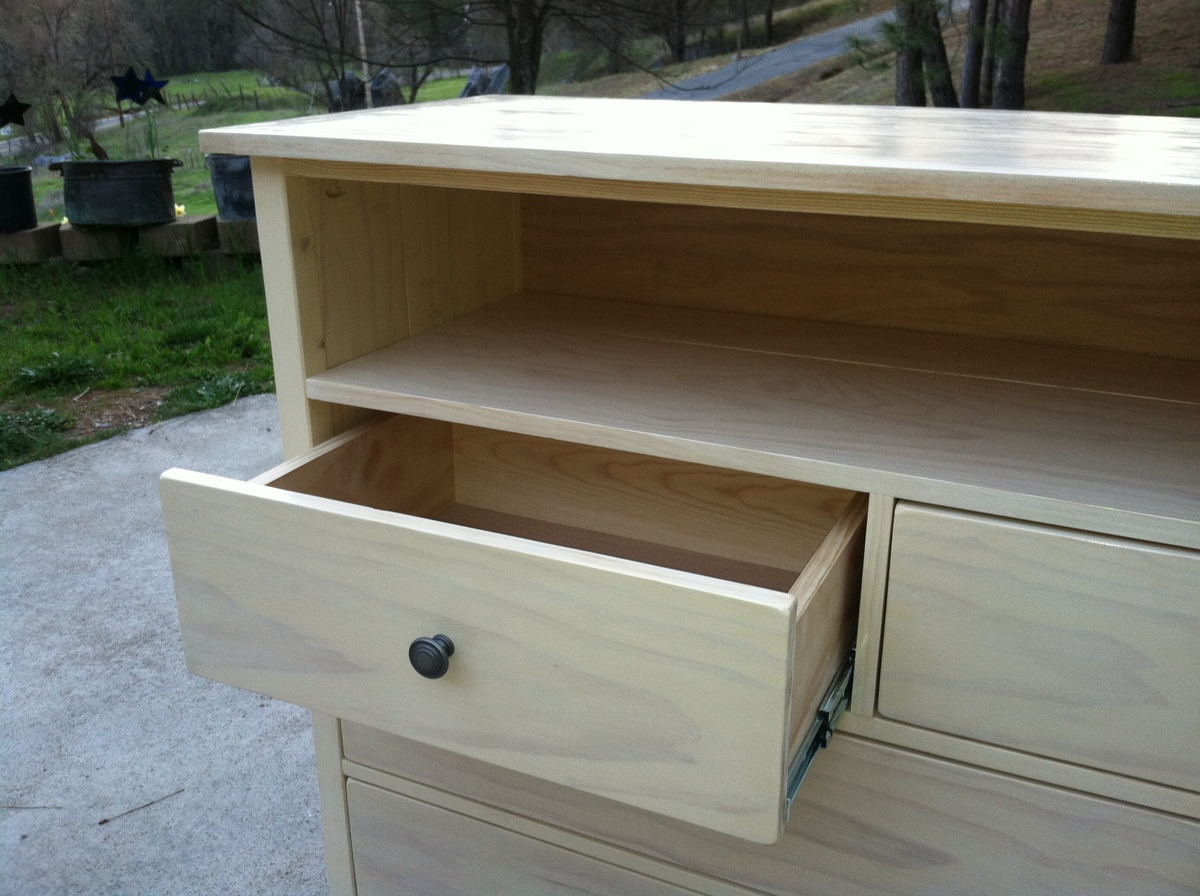
My friend, who is expecting a baby, asked me to build a changing table for her. She provided me with a couple of things on her wish-list. 1. to have a big enough top to change a baby (of course) 2. a cubby or cubbies for easy access to baby stuff 3. big enough drawers to house all those cute baby clothes. Well, she was given a couple of changing tables and the project just turned into a dresser. In any case, the Patrick Beach Cottage Dresser was a great design to work off of. This was my first build that I made for someone other than myself or my family. Every build becomes my favorite and this one is my newest favorite.

Estimated Cost
$300 (I used a better grade lumber)
Estimated Time Investment
Weekend Project (10-20 Hours)
Finish Used
Two coats Rust-o-leum wood stain - willow (looks like a whitewash)
Four coats Minwax glossy polyurethane
Recommended Skill Level
Intermediate

Comments

mommyof2cuties

Wed, 03/26/2014 - 23:39

Wow! You did a gorgeous job & you're friend is very lucky to have received such a beautiful gift. Initially, when I saw you're photo, I thought it was a media dresser. The cubbies could also be used for TV components (DVD player, cable box, ect.) I can only hope to make such a great piece someday.

Modified Simple Outdoor Dining Table

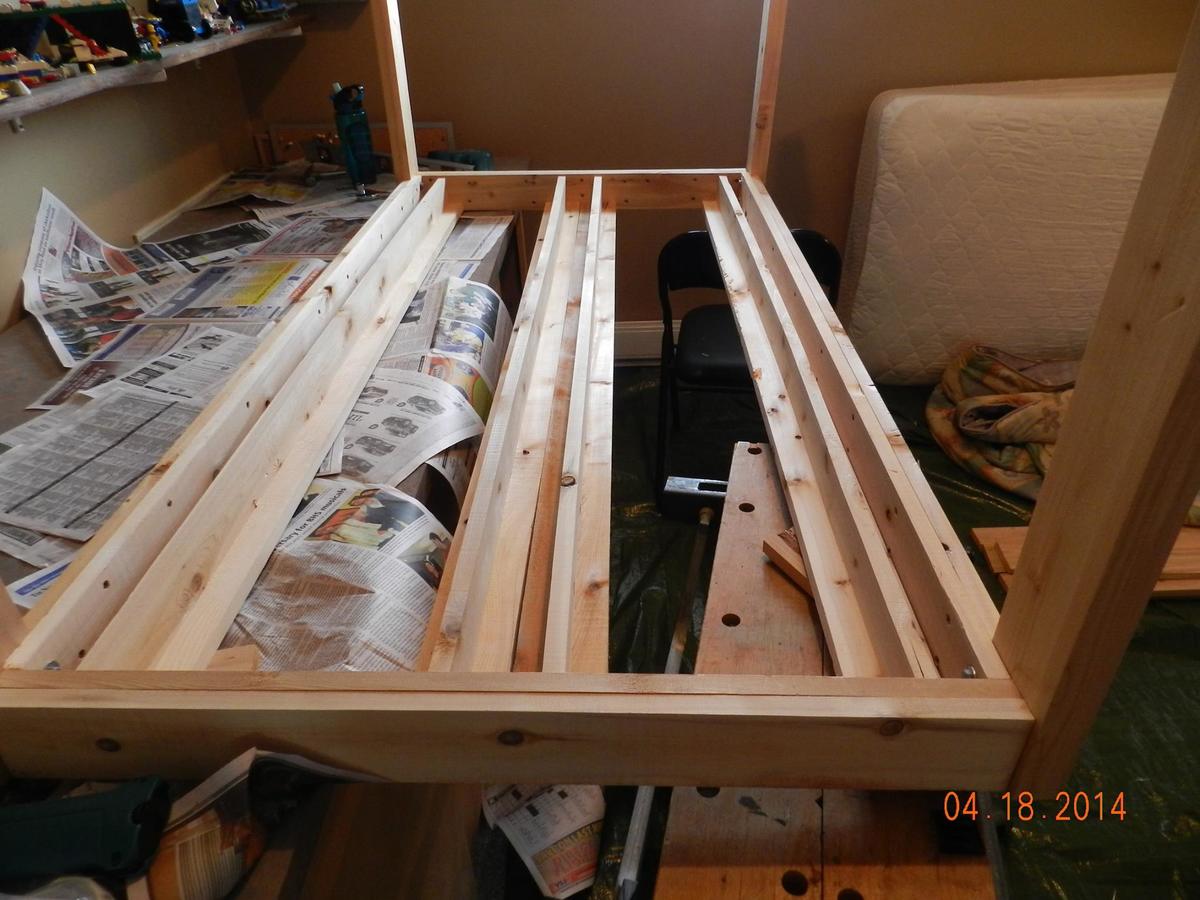
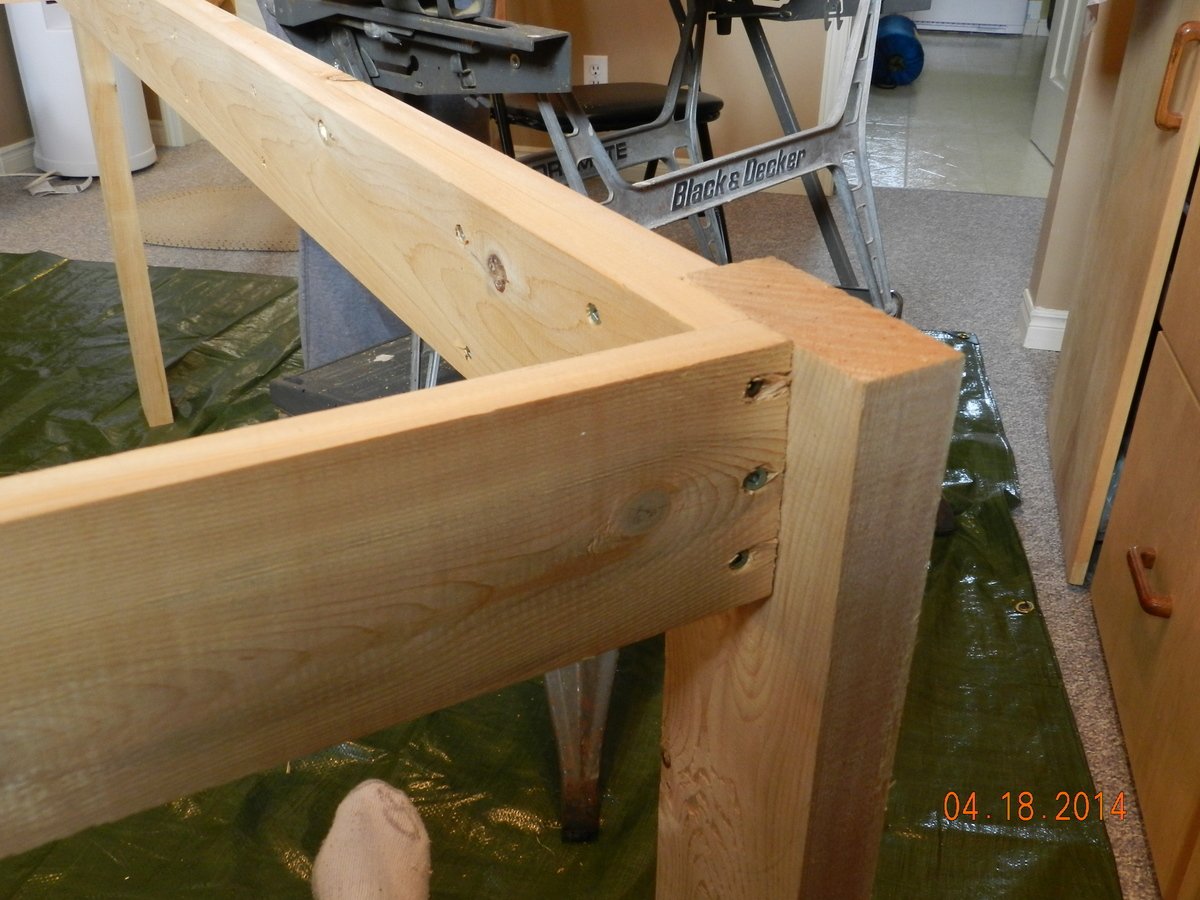
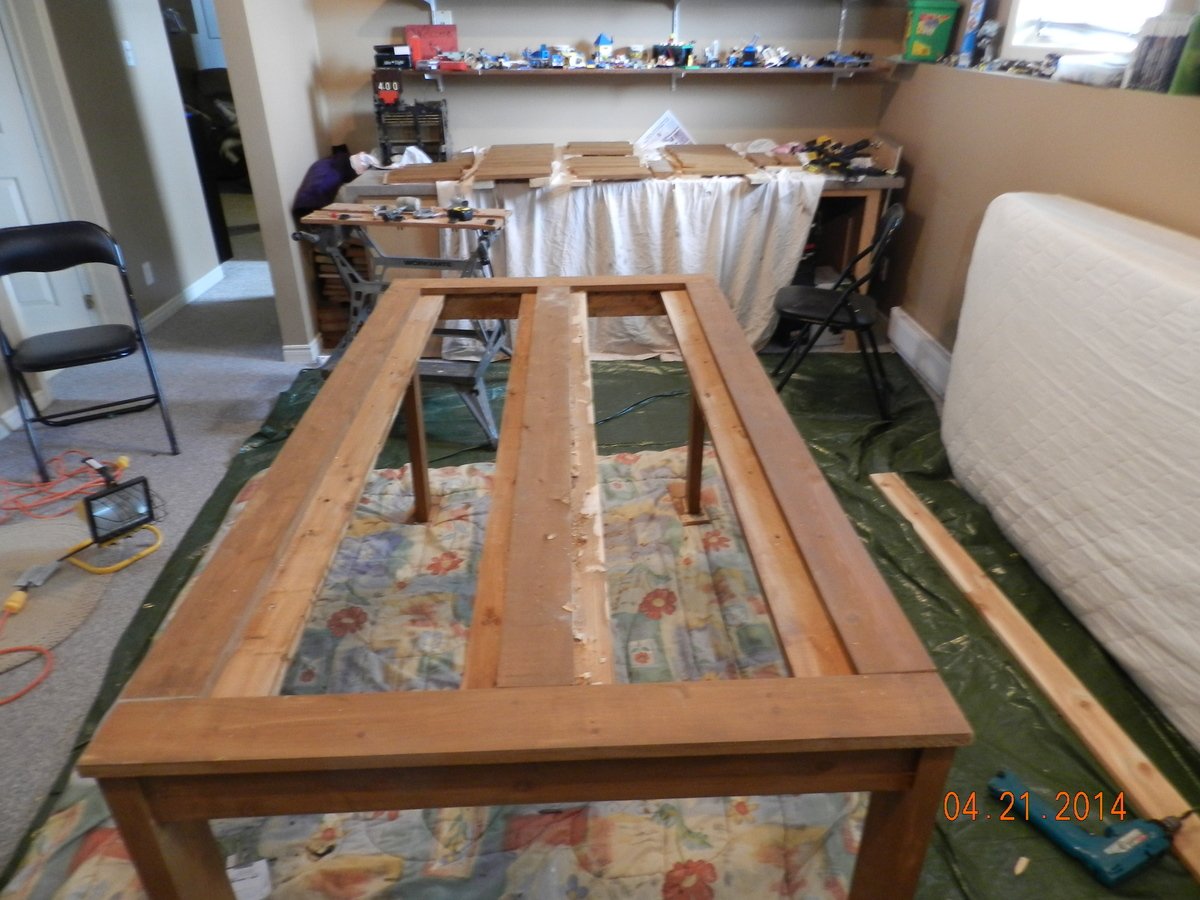
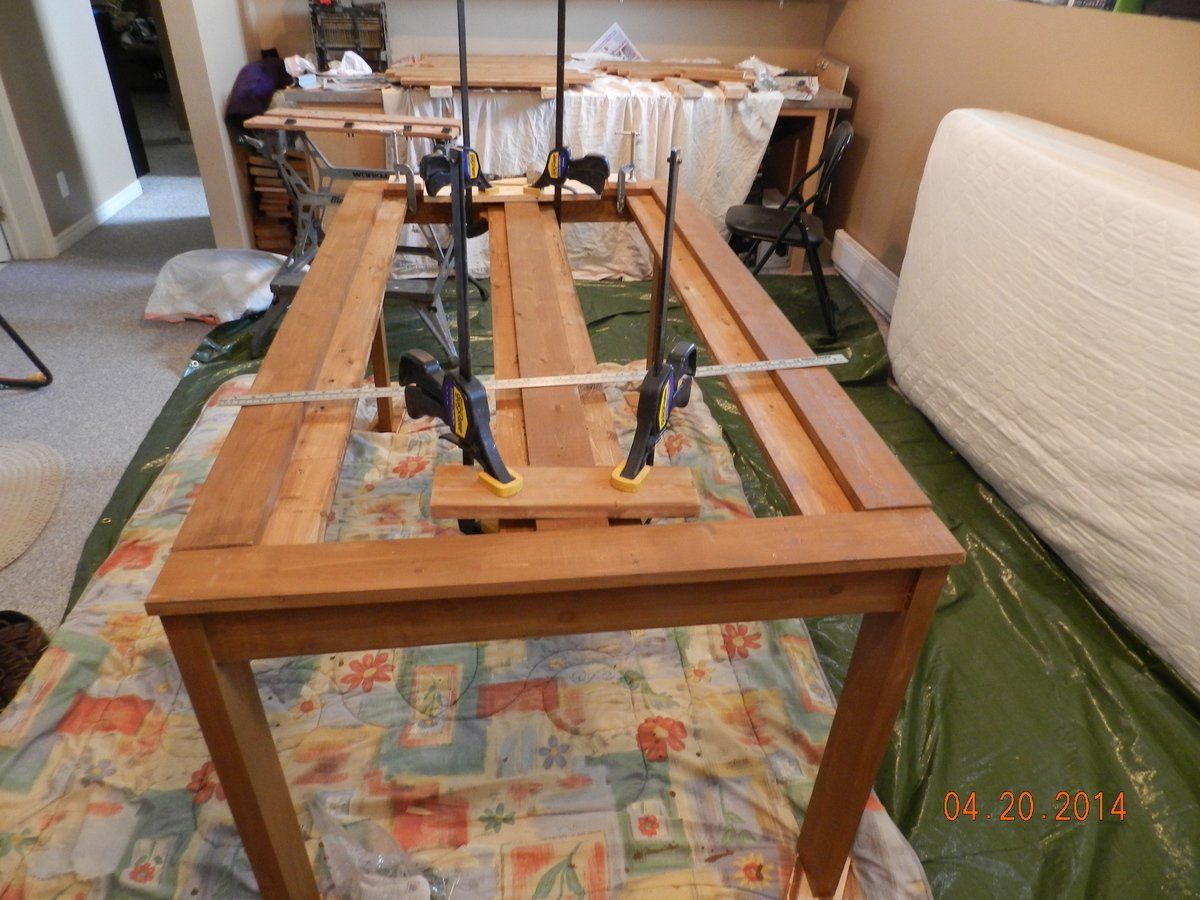
Submitted by DD5.1 on Sat, 04/26/2014 - 20:00

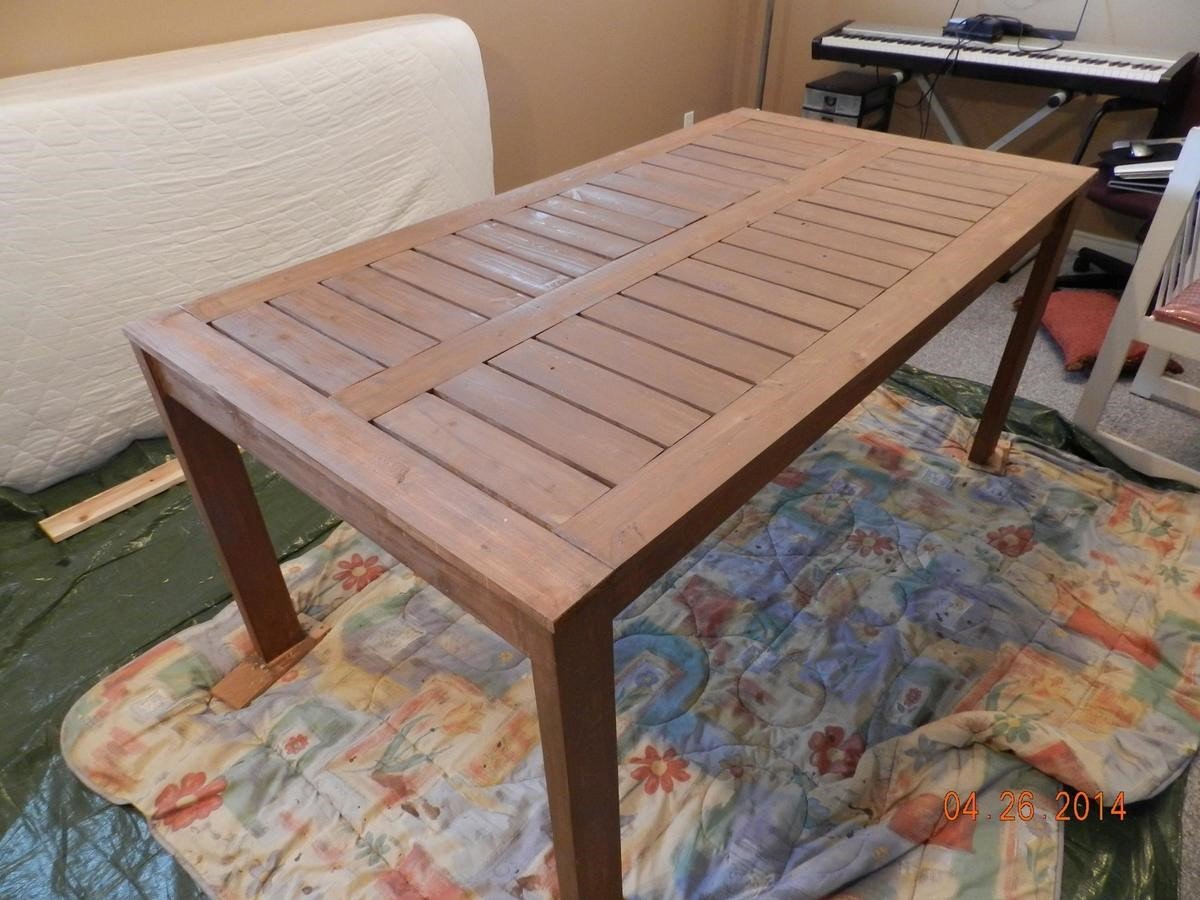
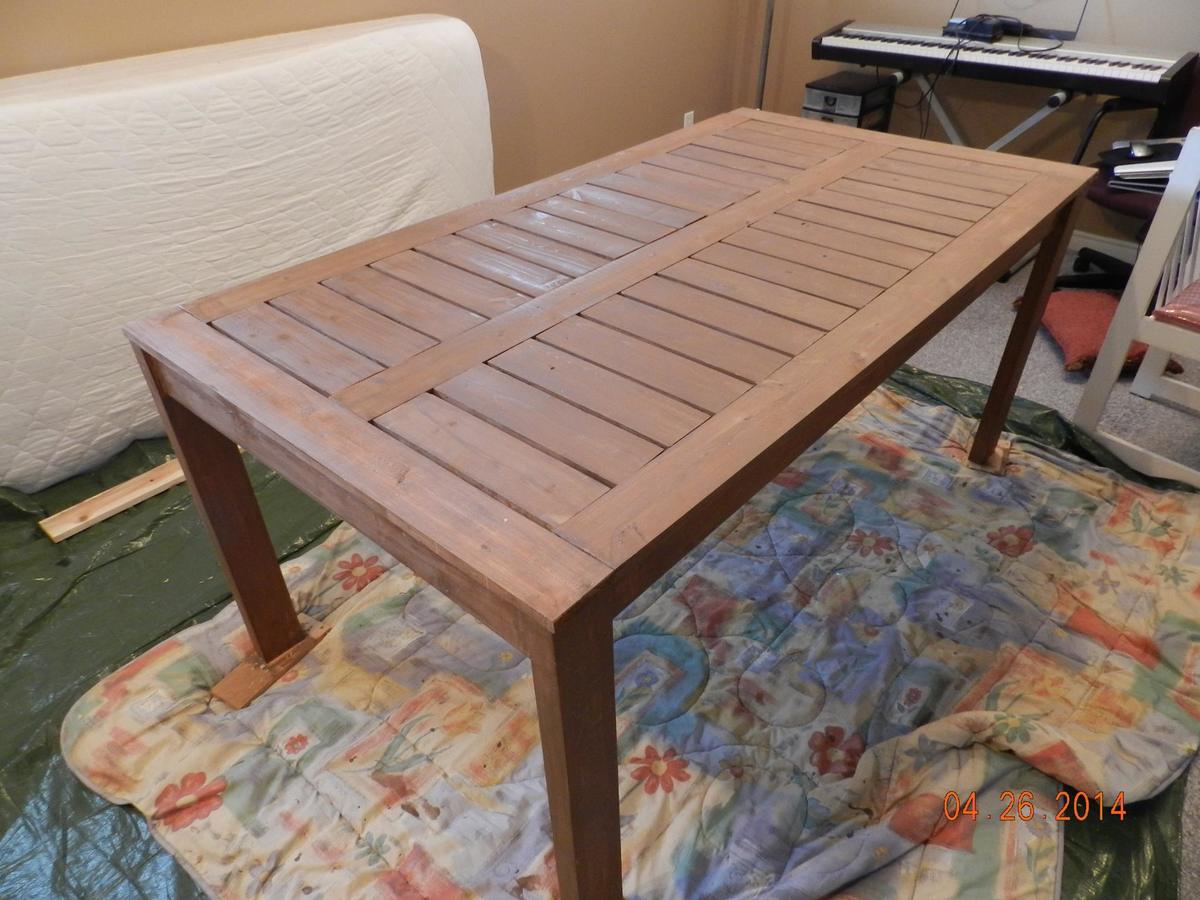
I didn't make any changes , his orginal design was great. Hope these pictures help others. I tried to link to the modified-simple-outdoor-dining-table but wasn't able too.

Built from Plan(s)
Estimated Cost
120
Estimated Time Investment
Weekend Project (10-20 Hours)
Finish Used
make sure you stain as you go
Recommended Skill Level
Beginner

Comments

DD5.1

Sun, 04/27/2014 - 14:06

Found the plans "modified-simple-outdoor-dining-table" and I built it. Very nice table, I posted more pcitures to help others

DD5.1

Sun, 04/27/2014 - 14:06

Found the plans "modified-simple-outdoor-dining-table" and I built it. Very nice table, I posted more pcitures to help others

Catio heaven

Submitted by bhoppy on Fri, 09/04/2020 - 15:43

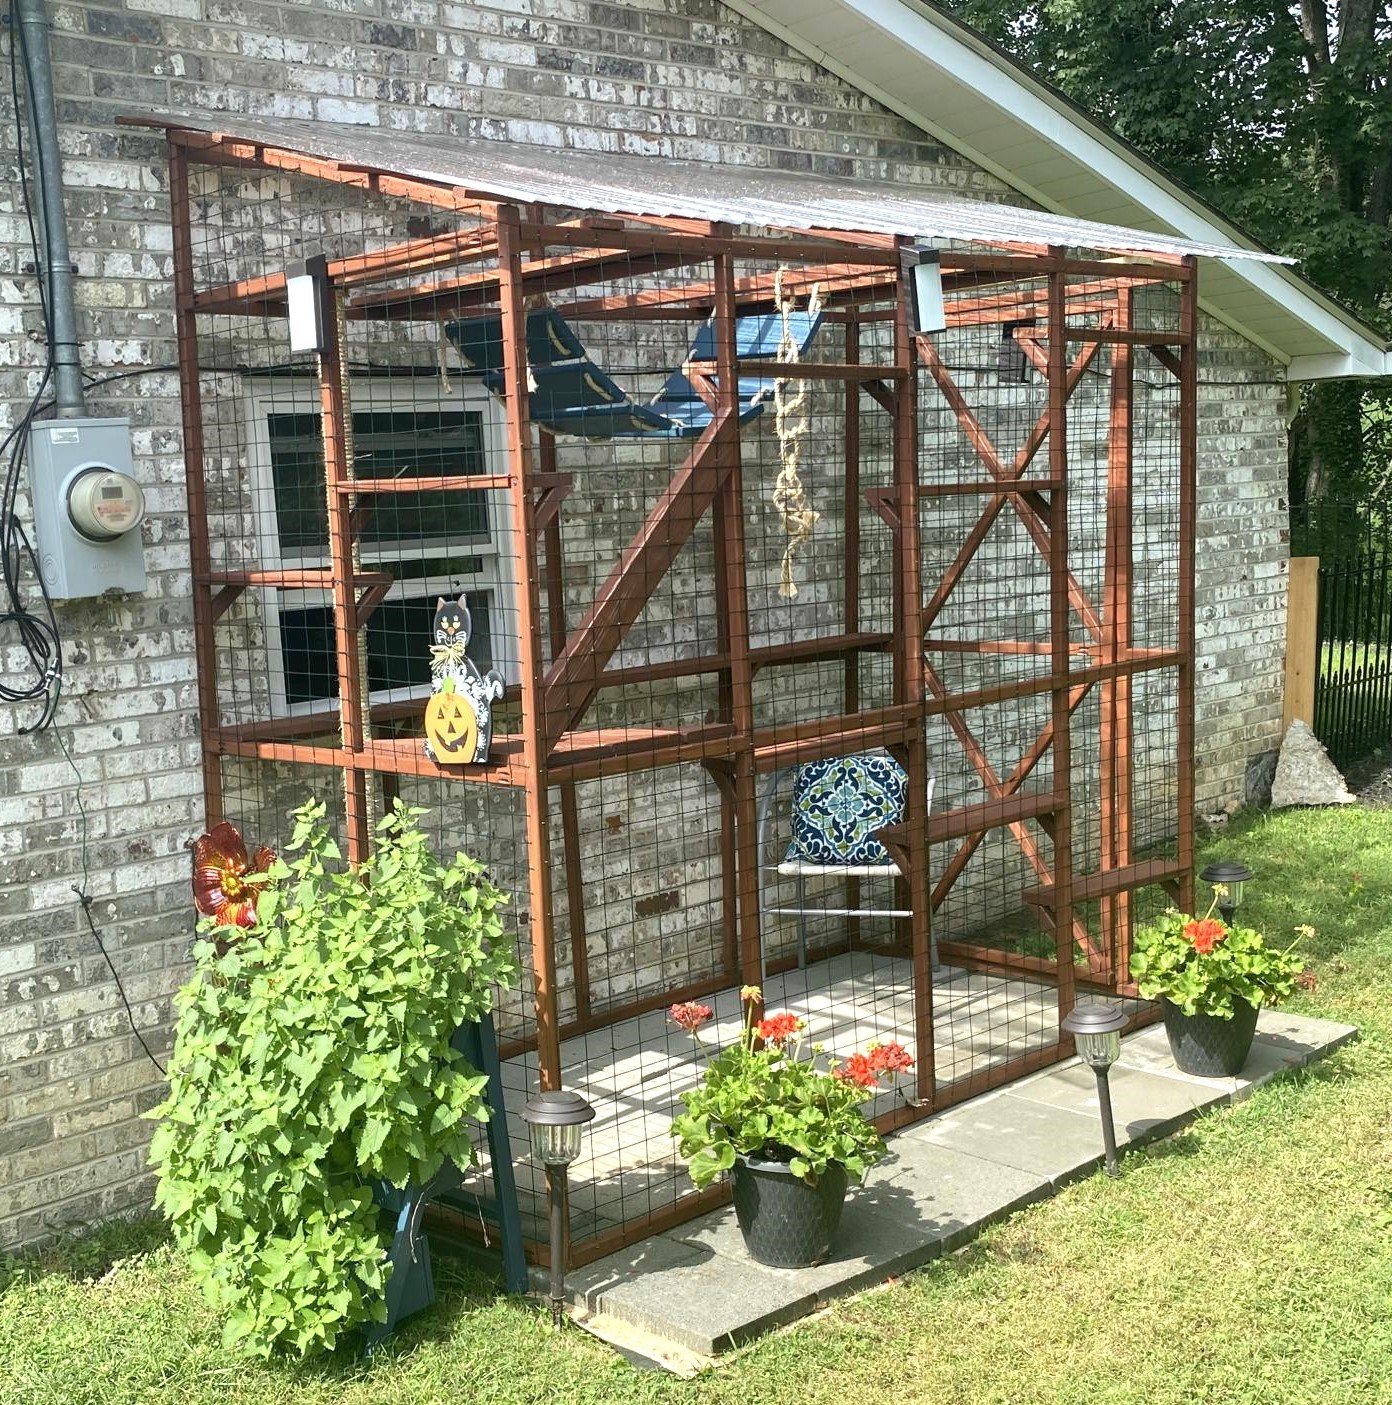
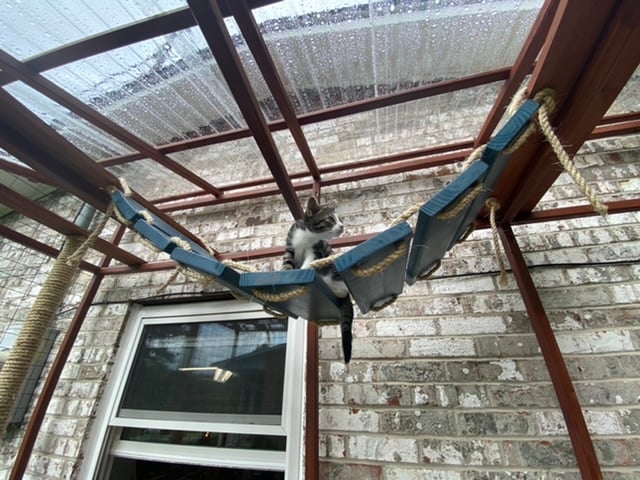
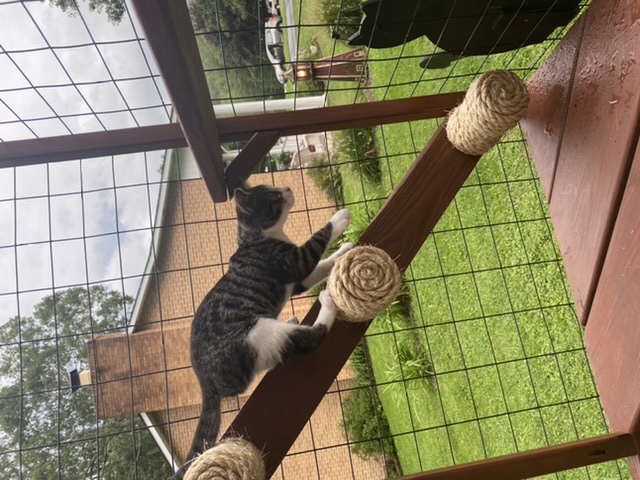
Ana doesn’t have a plan for a catio but she does for a playhouse and a cedar shed made from 2x2’s. I sort of combined my knowledge from making her plans over the last 10 years and came up with this for my cats. It was fun to make!! My baby kitten is loving it. I used garden fencing and stapled it to the outside and pocket holes for the walls. I made each wall individually like the playhouse then connected them once in place.


Estimated Cost
$250
Estimated Time Investment
Week Long Project (20 Hours or More)
Finish Used
Cabot semi transparent outdoor deck and fence stain. ($9 oops section)
Recommended Skill Level
Intermediate

Comments

Wifey

Wed, 06/09/2021 - 12:36

Thank you for sharing! My daughter wants a cat for her birthday but it can't be inside due to our son's allergies. Roaming outside isn't really an option because we have coyotes. We are going to use one of these in combination with an underground electric fence.

Seasonal And Holiday