Community Brag Posts

Reclaimed Wood Bedside Table

Submitted by Ktosaka on Fri, 11/22/2013 - 07:31

I had inherited some bed frame wood from our local Re-store and have been working it into projects here and there. We needed some actual night stands and I loved the look of the Reclaimed Look Wood Nightstand, but they were a little too tall for our bed. The height of the original plan is 28" and I ended up taking out one drawer for a total height of 20". I also found two sets of drawer slides at the Re-store and decided that an open shelf on the bottom would better suit our needs, so I crossed the reclaimed plan with the farmhouse plan to create a shelf on the bottom. The bottom is built the same way that the sides are, but attached so that the 2x2 is on the underside.

I didn't have enough wood from the bed frame to make two full tables, so I used Douglas fir 2x2's for the legs (the best the local big box home improvement had that day for my price) and white board for the table tops and every other board for the sides and shelves. This was my second real building project, so they were really easy to put together, but it was a lesson in making everything super square because of the drawer slides. The finish I used also goes great with a 130 year old dresser that you can see a bit of next to the finish table. The wood only needed one coat to reach the color closest to that dresser and it hid the fact that I used three different types of wood in this project. Overall they are just what we needed in this space. The bed frame is IKEA, but I am thinking about making the Reclaimed Look Bed Frame to match the tables in the future.

Estimated Cost
$75 for two side tables
Estimated Time Investment
Day Project (6-9 Hours)
Finish Used
One coat Minwax Provincial stain with two coats of Minwax Wipe-on Poly. I like the look of the wipe-on, but this is the first time I've used it so I'm hoping two coats is enough. For the application, I went with old cotton socks.
Recommended Skill Level
Beginner

Sandbox with Seats

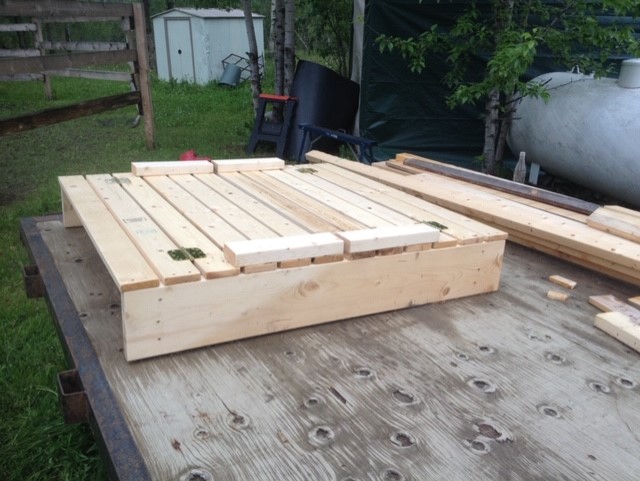
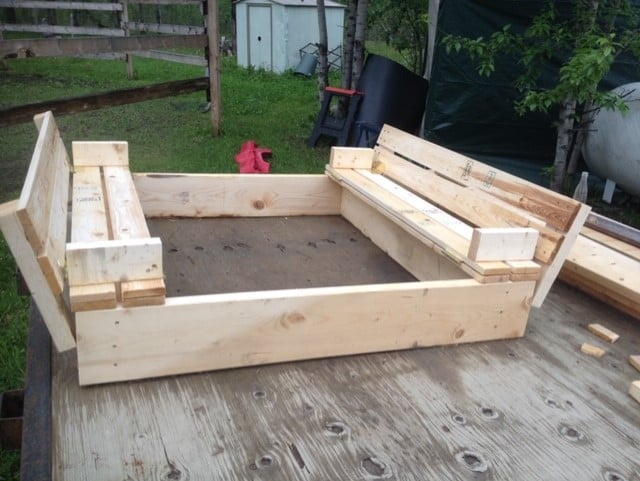
I built this sandbox for my kiddo's because we have cats! It was great. Easy to build, great plans for it.

Built from Plan(s)
Estimated Cost
$50 CAD
Estimated Time Investment
Afternoon Project (3-6 Hours)
Finish Used
Minwax 2-in-1 in Natural
Recommended Skill Level
Beginner

Reading Loft

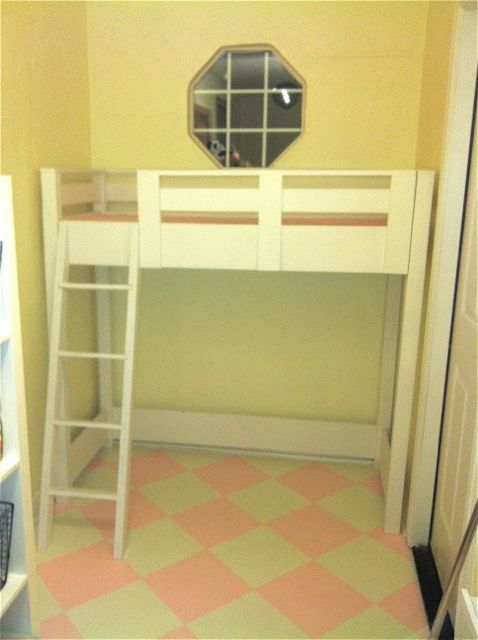
We converted our mud (junk) room into our daughter's playroom. The room is awkward (5' X 12'), but I knew I wanted a reading loft by the window. The area we were working with was 63" wide and 23" deep. I wanted the loft to come right up to the window which is exactly 5'. This is obviously not a standard bed size so we couldn't just buy something. I came across your site (love it!) and found the loft bed plan. I reconfigured the loft using our measurements and my husband is the one who actually built it. It turned out so well! I still have some pillows to make, but my daughter and her friends have already been spending a ton of time up there!

Built from Plan(s)
Estimated Cost
$175
Estimated Time Investment
Weekend Project (10-20 Hours)
Finish Used
Glidden Swiss Coffee Satin Paint. I used two coats with a roller.
Recommended Skill Level
Beginner

Beach Cottage Dresser

Submitted by stacynabby on Mon, 03/24/2014 - 20:36

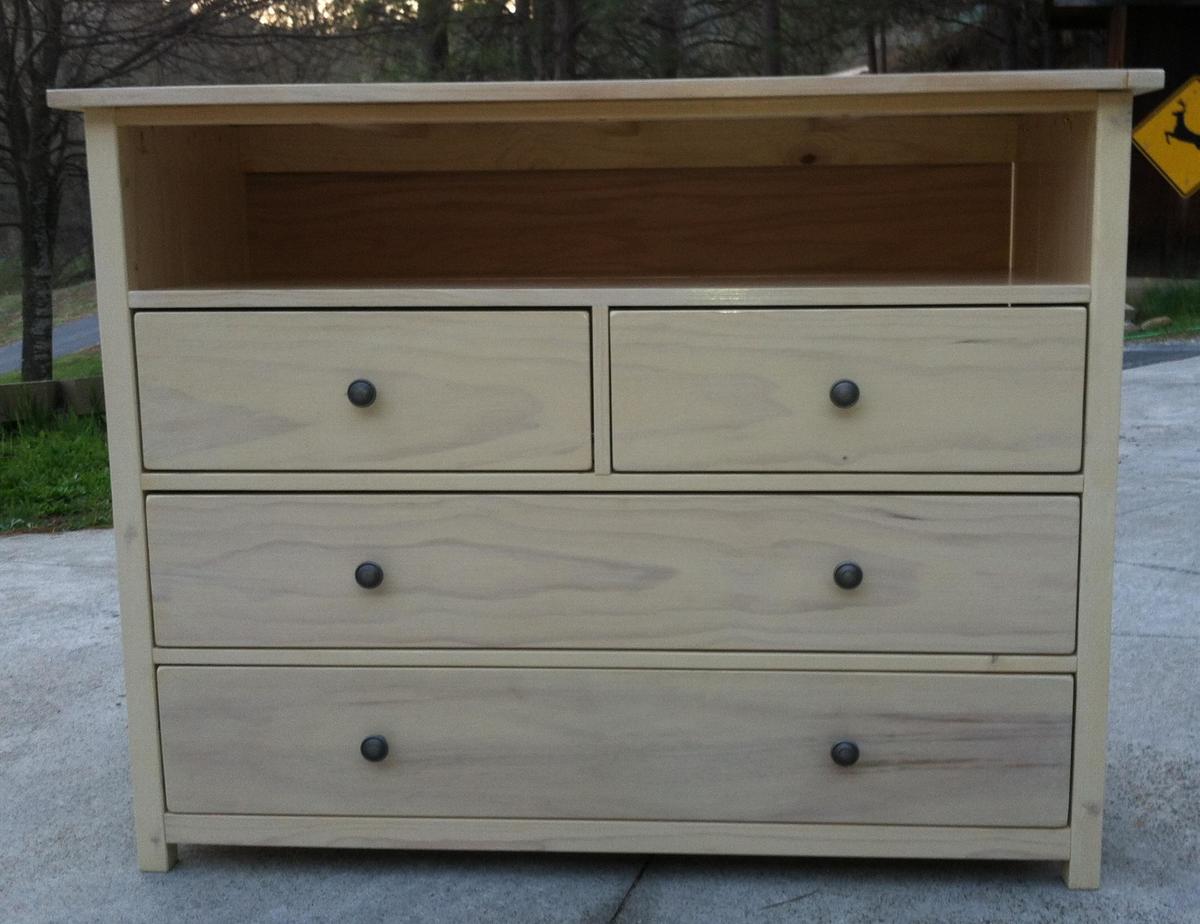
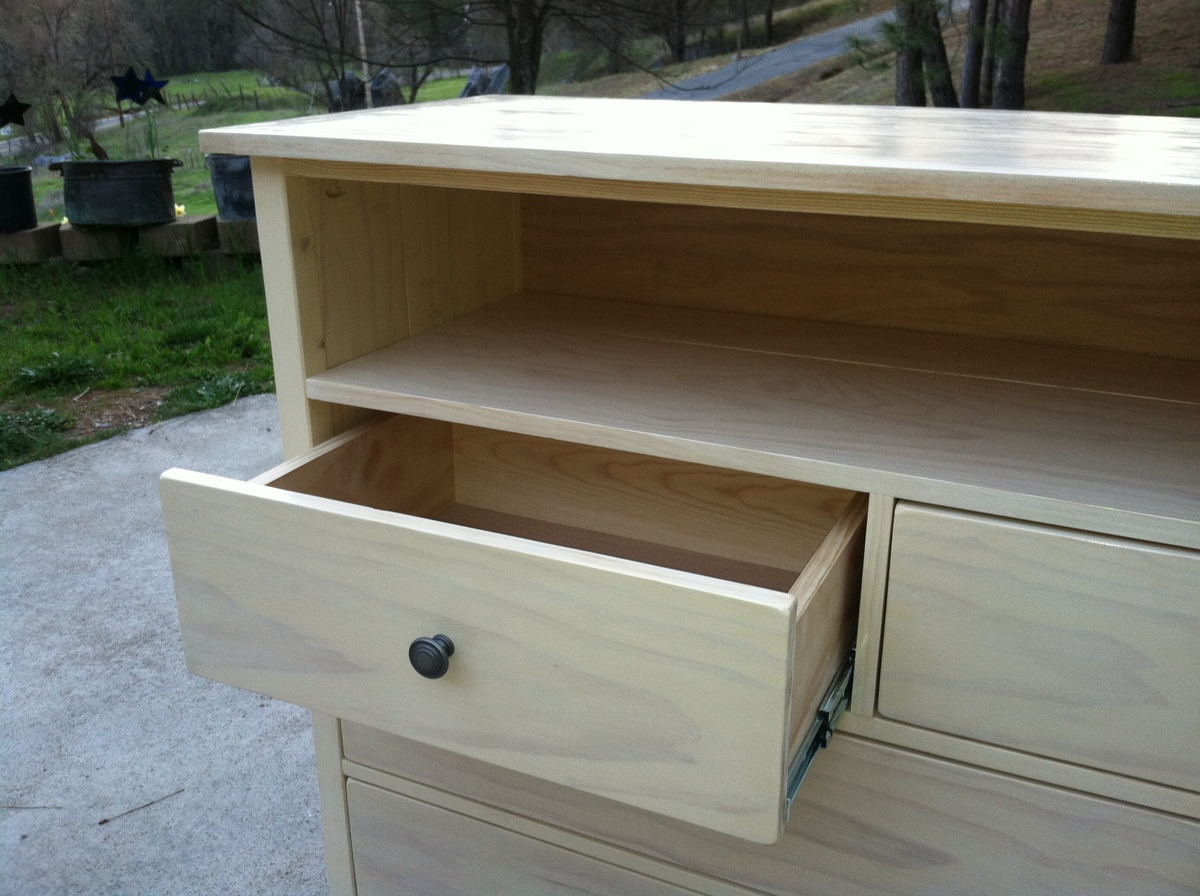
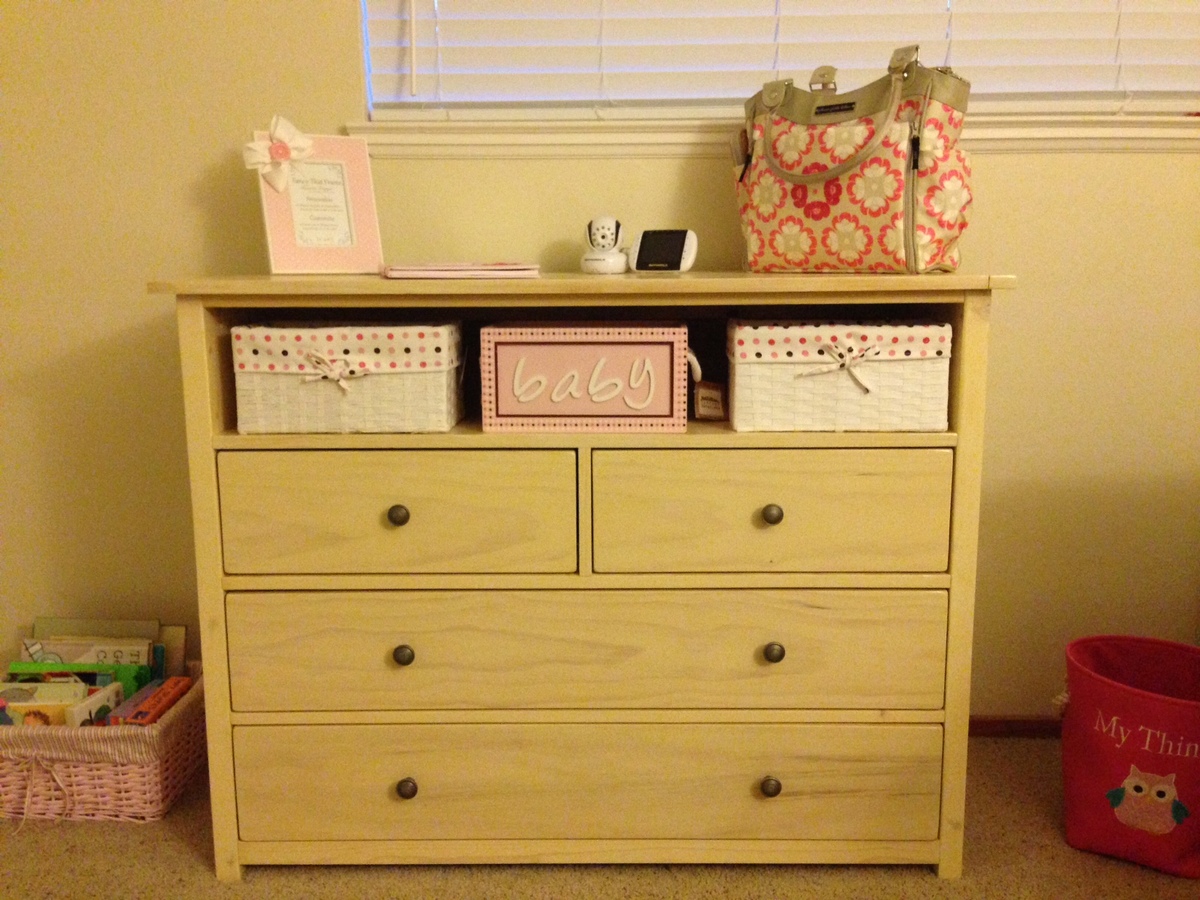
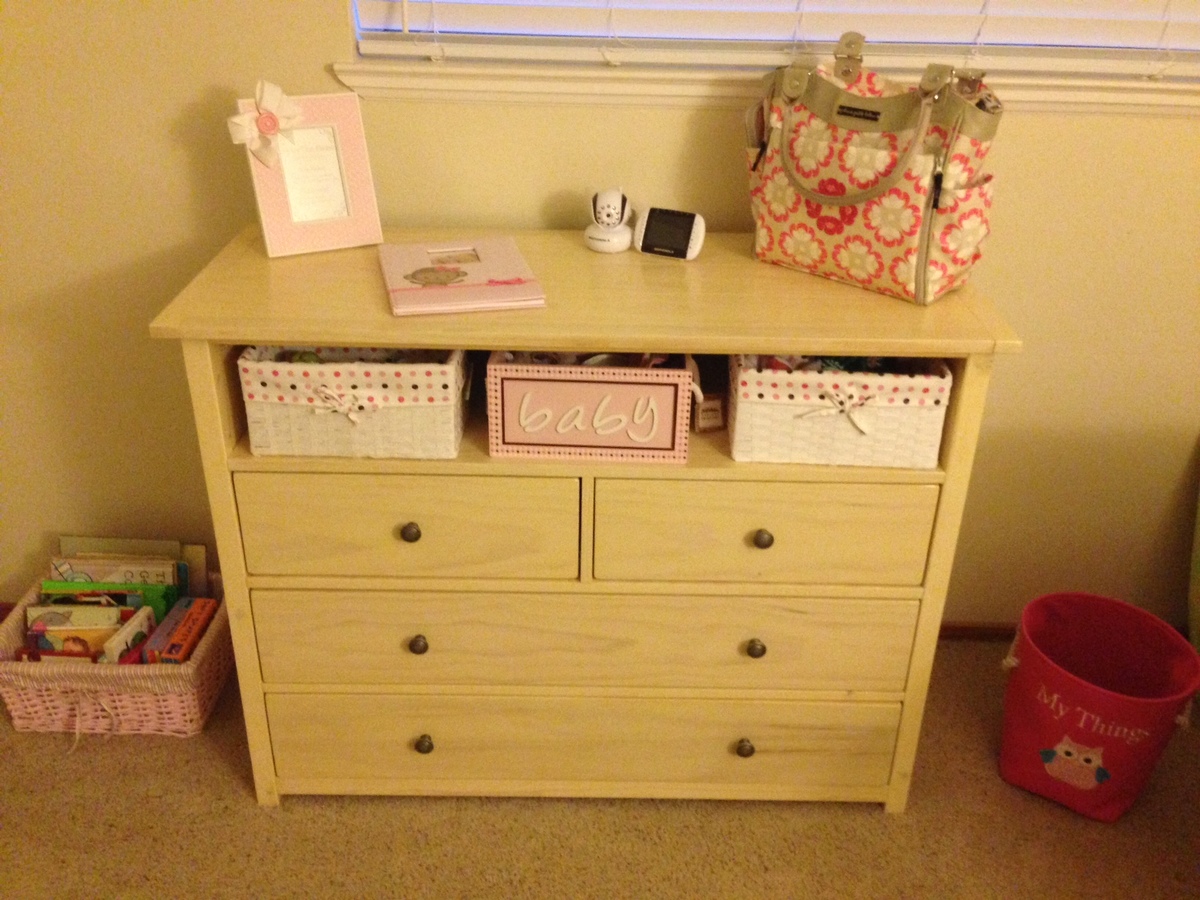
My friend, who is expecting a baby, asked me to build a changing table for her. She provided me with a couple of things on her wish-list. 1. to have a big enough top to change a baby (of course) 2. a cubby or cubbies for easy access to baby stuff 3. big enough drawers to house all those cute baby clothes. Well, she was given a couple of changing tables and the project just turned into a dresser. In any case, the Patrick Beach Cottage Dresser was a great design to work off of. This was my first build that I made for someone other than myself or my family. Every build becomes my favorite and this one is my newest favorite.

Estimated Cost
$300 (I used a better grade lumber)
Estimated Time Investment
Weekend Project (10-20 Hours)
Finish Used
Two coats Rust-o-leum wood stain - willow (looks like a whitewash)
Four coats Minwax glossy polyurethane
Recommended Skill Level
Intermediate

Comments

mommyof2cuties

Wed, 03/26/2014 - 23:39

Wow! You did a gorgeous job & you're friend is very lucky to have received such a beautiful gift. Initially, when I saw you're photo, I thought it was a media dresser. The cubbies could also be used for TV components (DVD player, cable box, ect.) I can only hope to make such a great piece someday.

Modified Simple Outdoor Dining Table

Submitted by DD5.1 on Sat, 04/26/2014 - 20:00

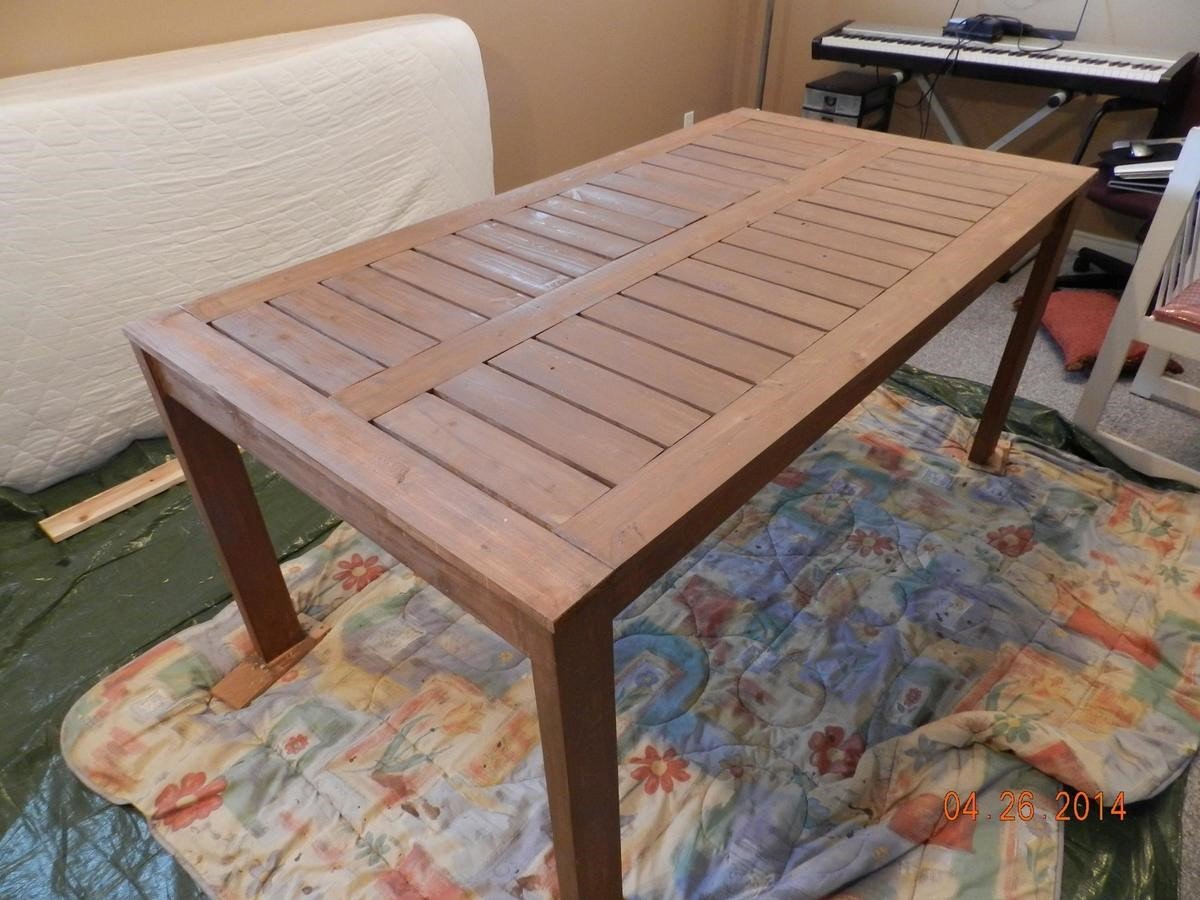
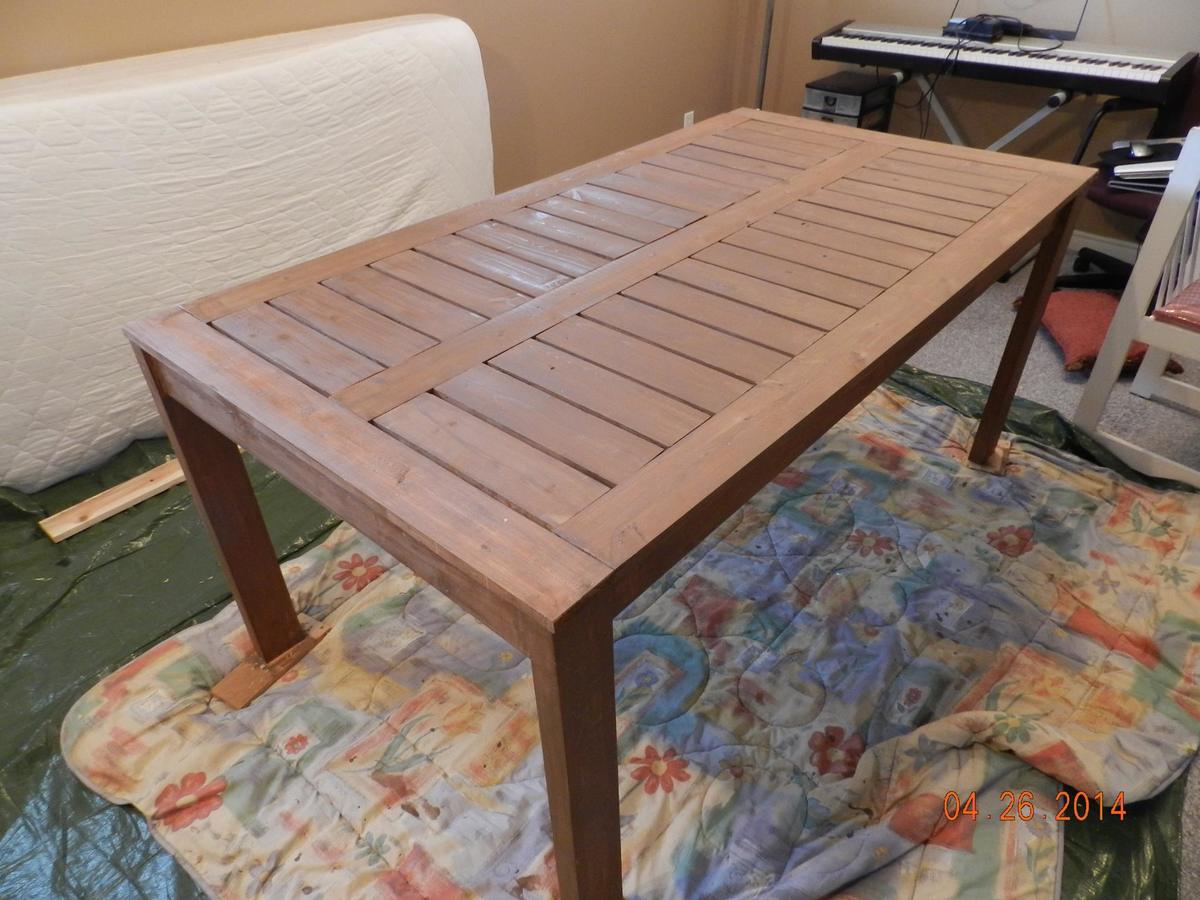
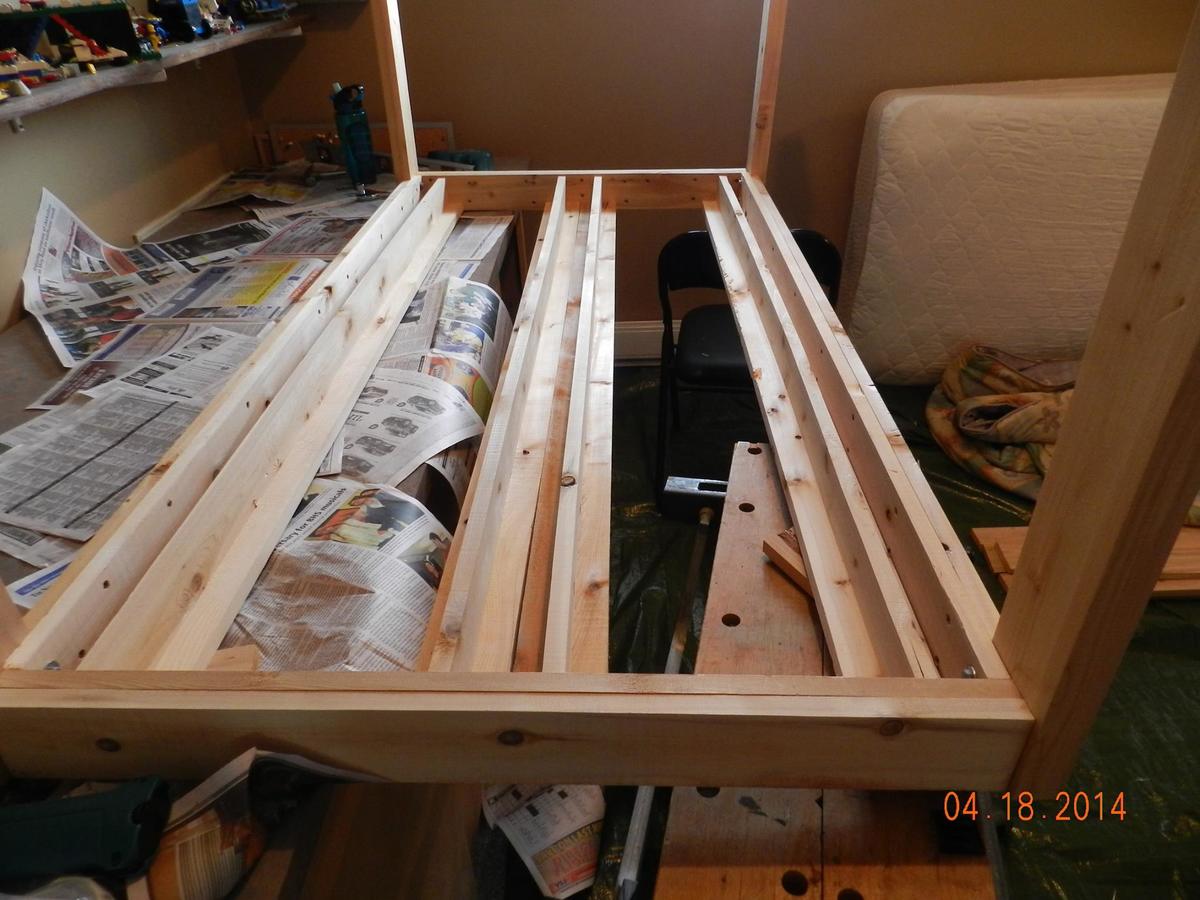
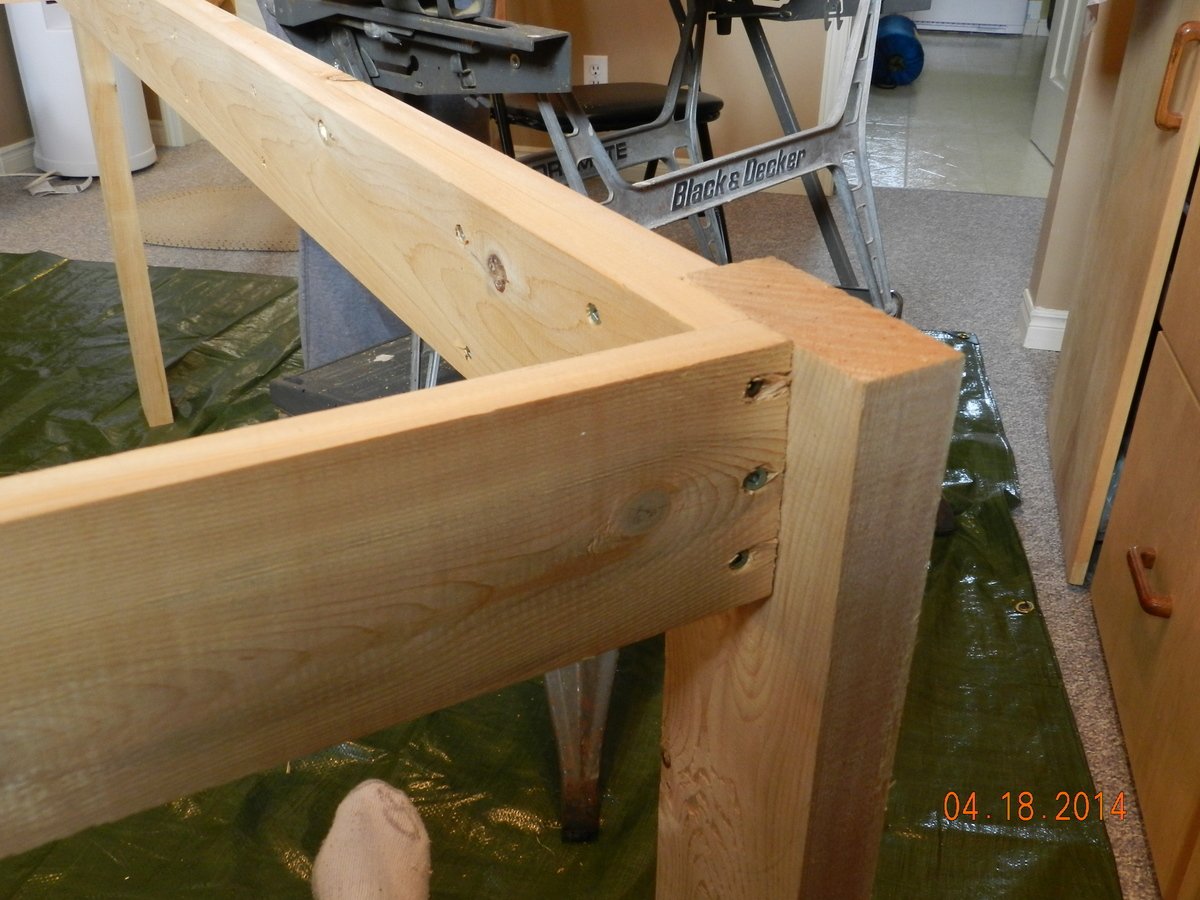
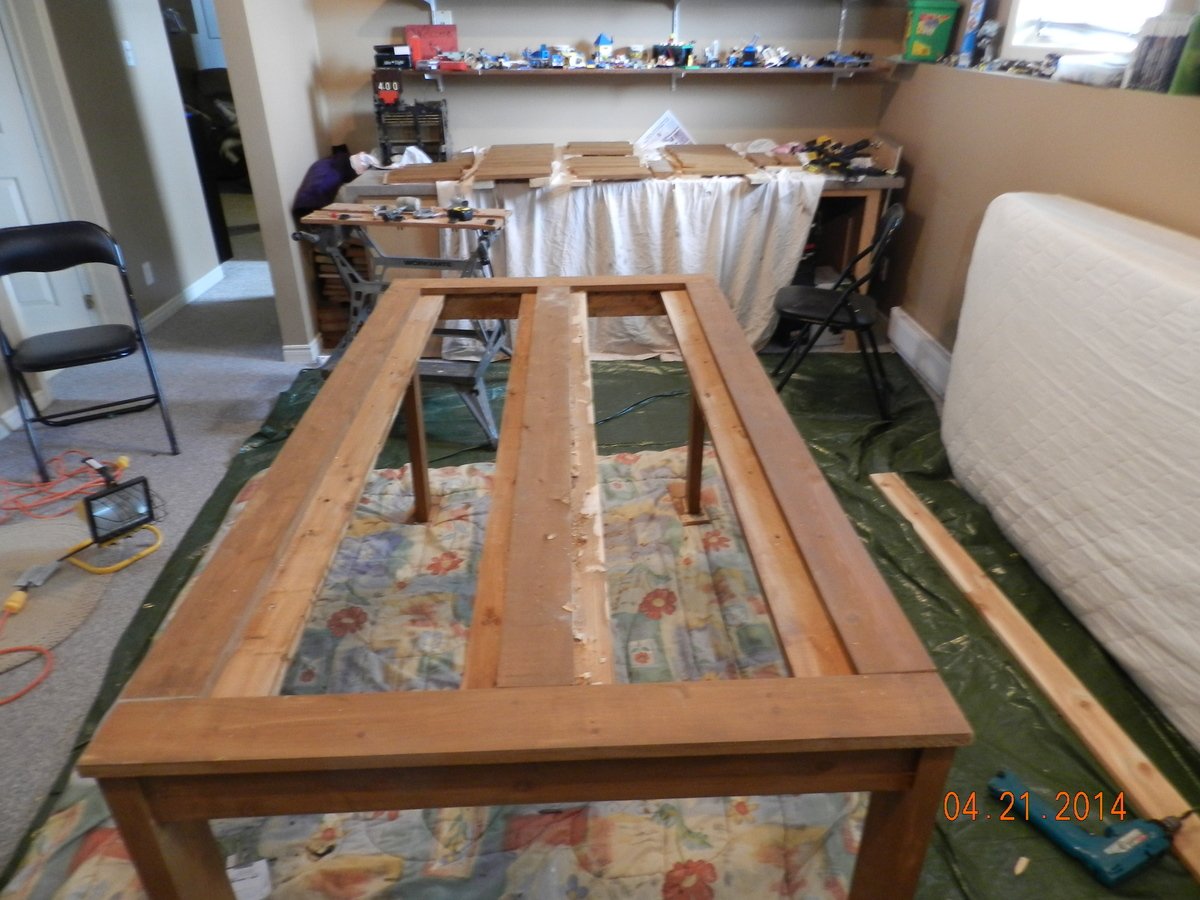
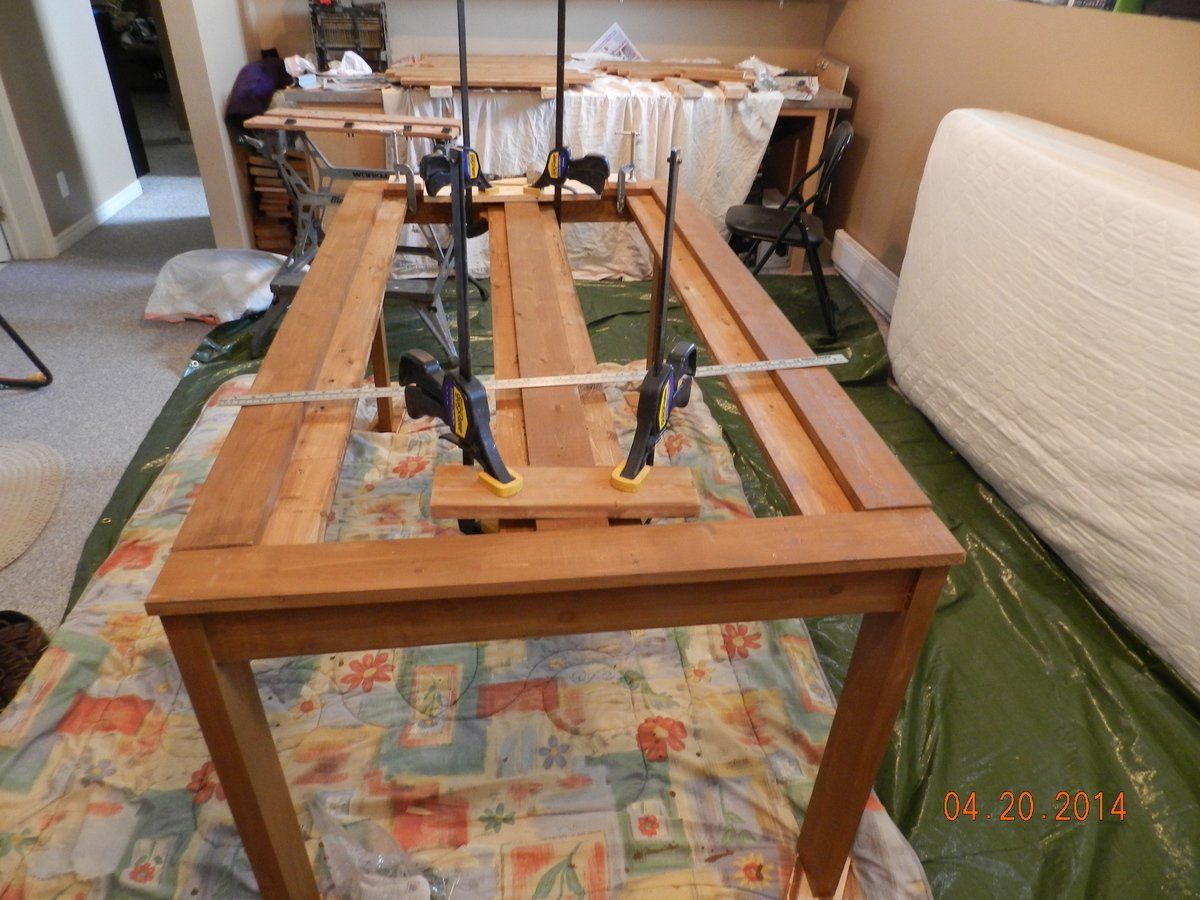
I didn't make any changes , his orginal design was great. Hope these pictures help others. I tried to link to the modified-simple-outdoor-dining-table but wasn't able too.

Built from Plan(s)
Estimated Cost
120
Estimated Time Investment
Weekend Project (10-20 Hours)
Finish Used
make sure you stain as you go
Recommended Skill Level
Beginner

Comments

DD5.1

Sun, 04/27/2014 - 14:06

Found the plans "modified-simple-outdoor-dining-table" and I built it. Very nice table, I posted more pcitures to help others

DD5.1

Sun, 04/27/2014 - 14:06

Found the plans "modified-simple-outdoor-dining-table" and I built it. Very nice table, I posted more pcitures to help others

Upholstered Toy Chest

We made these toy chests for baby shower gifts.  We followed the plan for the most part.  We skipped the notching on the front of the chest, and opted to upholster the top.  I added names to the front as well to personalize them a bit as well.  Overall, it went pretty smooth, once we got going.  The plans were clear and easy to follow.  This was our first build off of plans from Ana-White, and I think they turned out pretty nice! 

Built from Plan(s)
Estimated Time Investment
Day Project (6-9 Hours)
Recommended Skill Level
Beginner

Comments

Modern Slat Top Outdoor Wood Bench (Customized)

Submitted by worrow on Mon, 02/20/2017 - 07:21

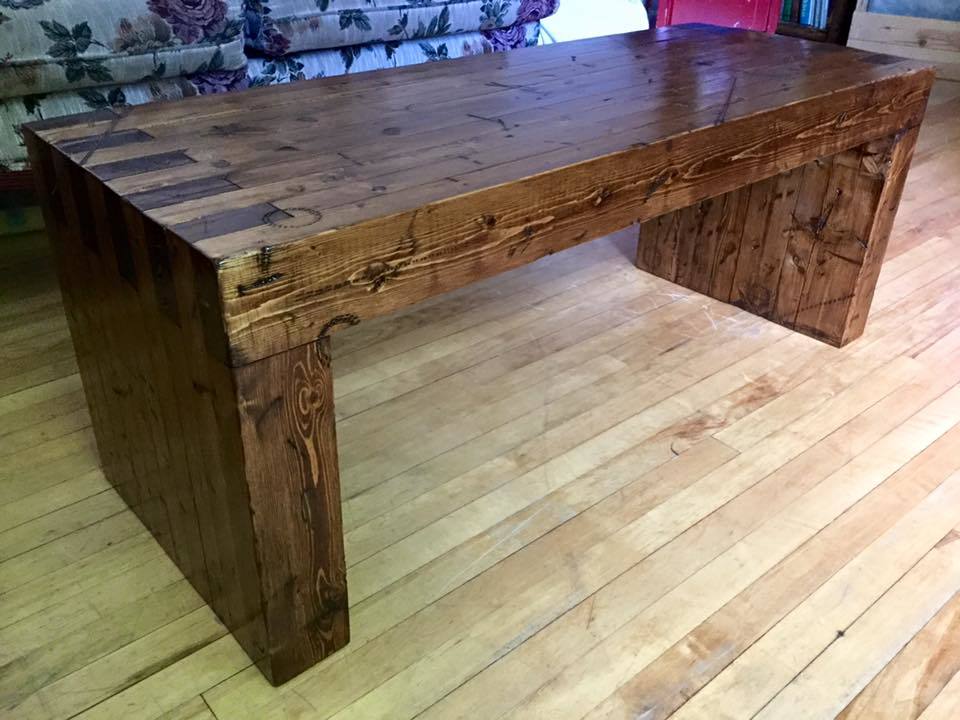
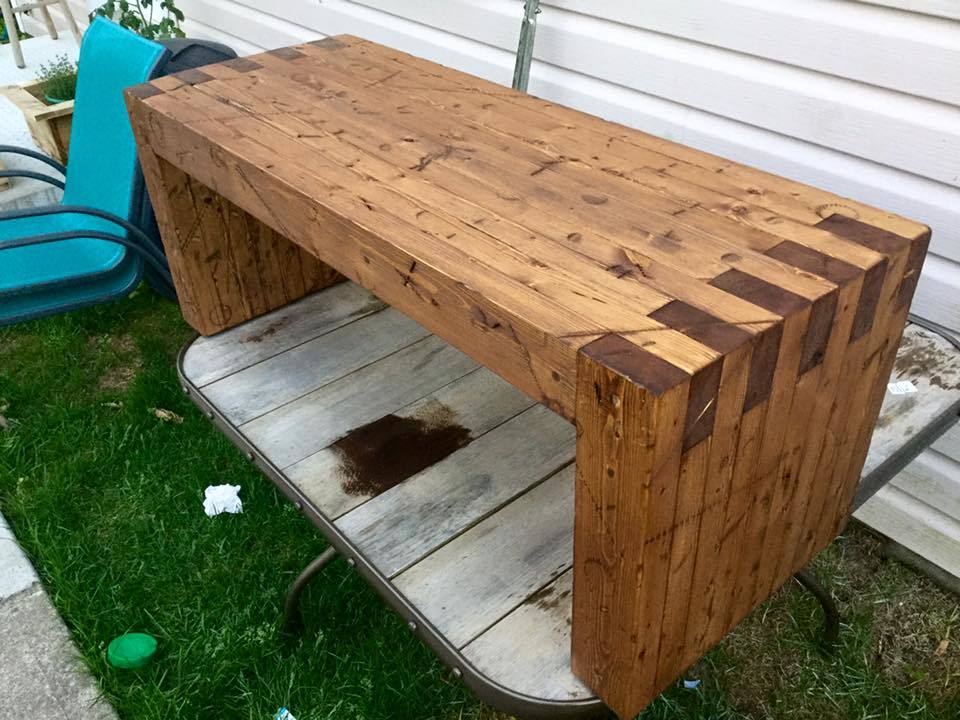
We had seen the modern slat bench before, and stumbled upon the plans on Ana-White, we did look further to see if we could find a style for us and had seen one made entirely out of 2x4's that also cam with plans, http://diycandy.com/2015/06/modern-williams-sonoma-inspired-diy-outdoor…

I thought I would share mine as it differs slightly, I opted to age my bench before staining as well as added adjustible feet so I can level it no matter where I put it. I am using mine as a coffee table, and if I have too many people over, I just use it as a bench to accomodate.


I hope that everyone enjoys the look of how my bench turned out. To reproduce the look of mine I described and linked the 2 products I used for the finish. But I also used the following power tools, Table Saw, Drill and Sawzall, belt sander and palm sander. I used the sawzall as I made a slight error and had some overhang that needed trimming. We used numerous items to get the outside beat up prior to the stain and sealer. The finished product looks amazing and I don't fear someone running away with it at 80lbs.

Estimated Cost
$35 (CAD)
Estimated Time Investment
Weekend Project (10-20 Hours)
Finish Used
Minwax Dark Walnut Stain (Home Depot) https://www.homedepot.ca/en/home/p.wood-finish---dark-walnut.1000406356.html?autoSuggest=pip

Varathane Triple Thick Matte (Home Depot) https://www.homedepot.ca/en/home/p.triple-thick-clear-matte-946ml.1001004379.html
Recommended Skill Level
Beginner

Strawberry planters

Submitted by DevonWood on Thu, 04/08/2021 - 00:17

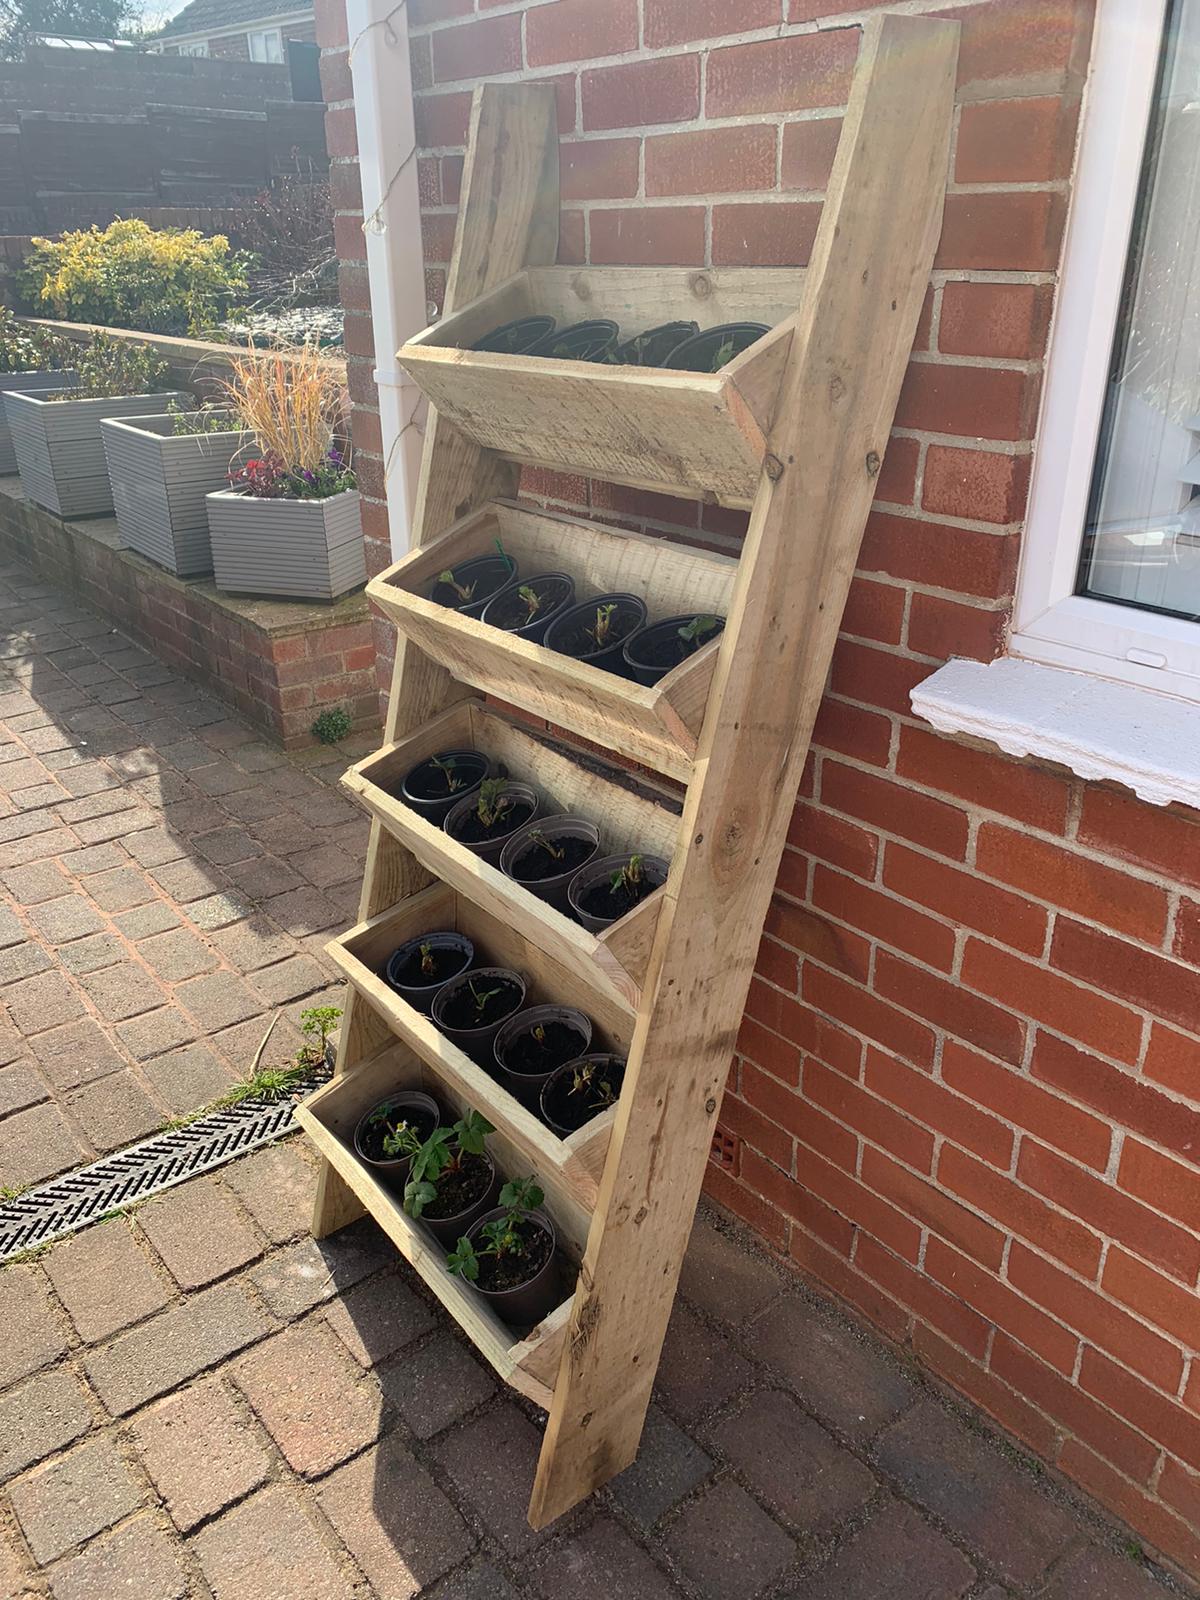
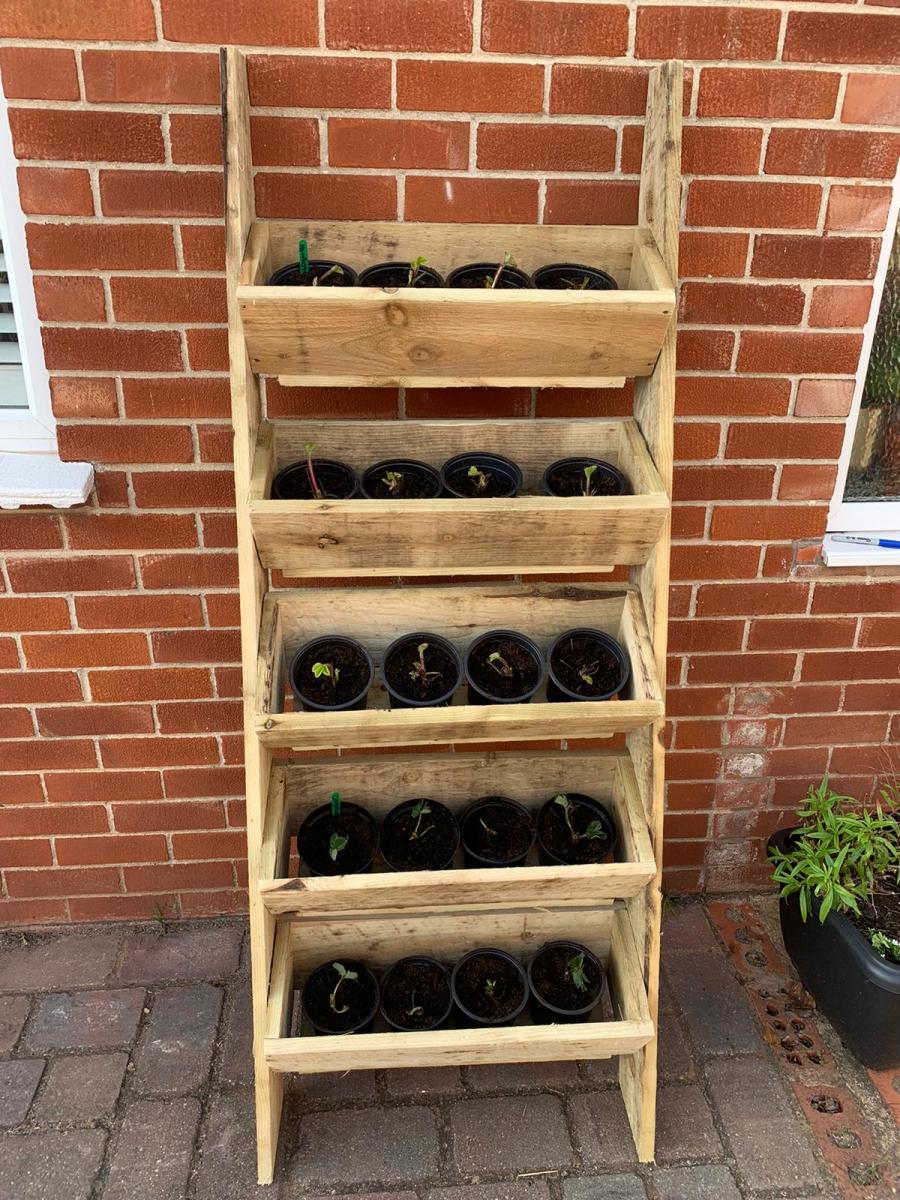
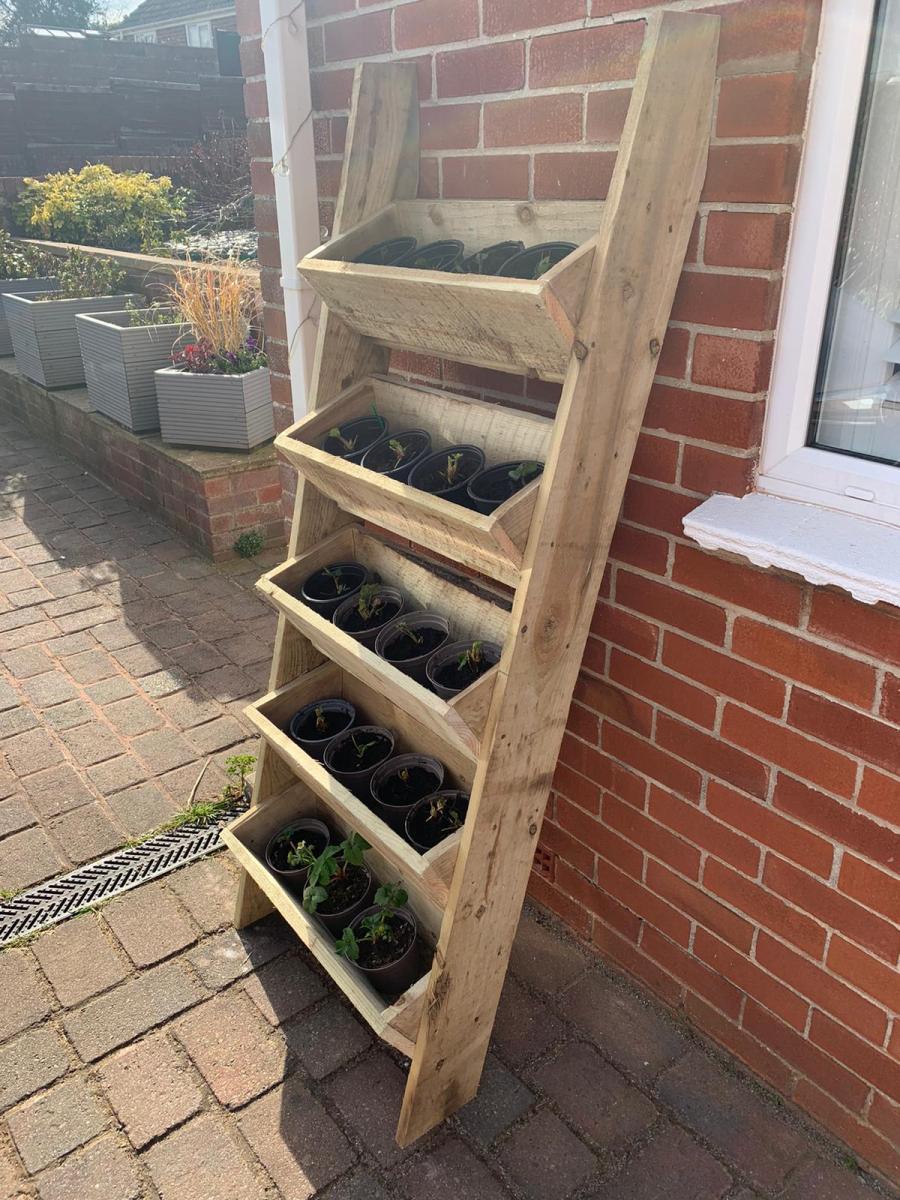
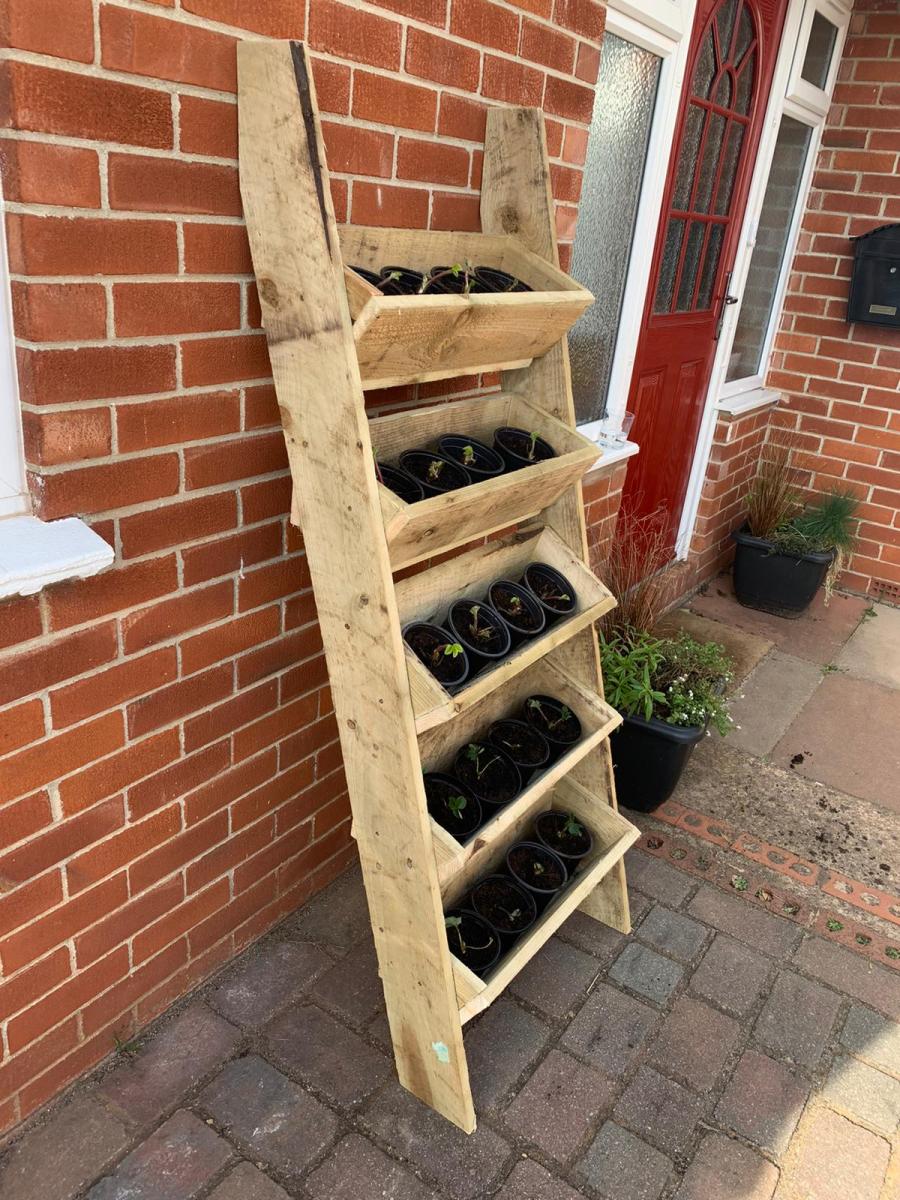
Using plans from this website here are pictures of two, five tier strawberry planters.
Each tier is wide enough for 4 plants in one litre pots.

Estimated Time Investment
Afternoon Project (3-6 Hours)
Recommended Skill Level
Intermediate

Comments

Faux Fireplace with Hearth

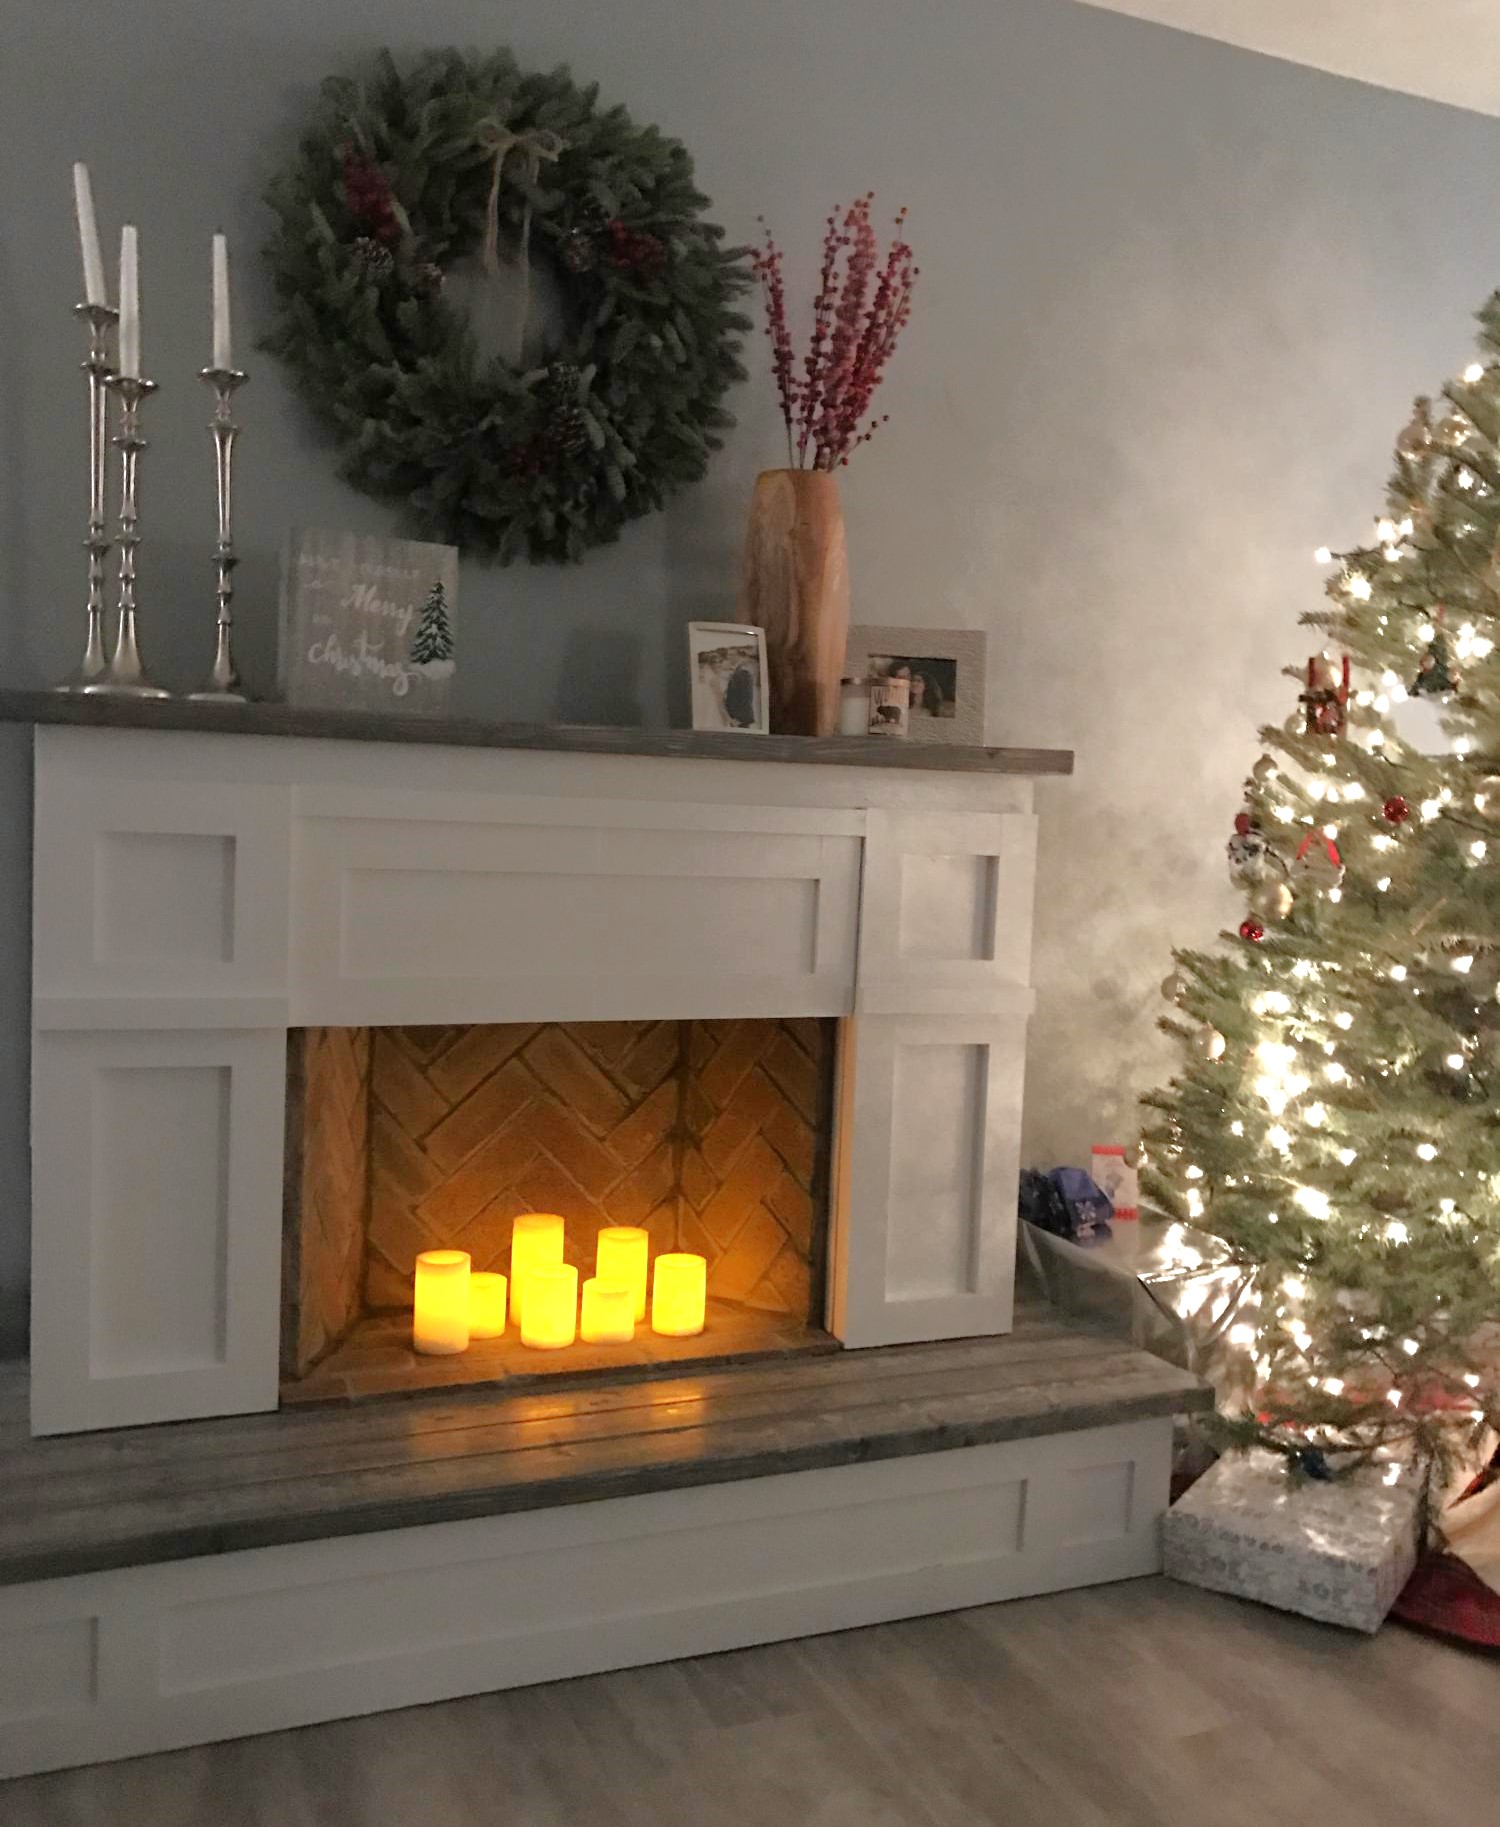
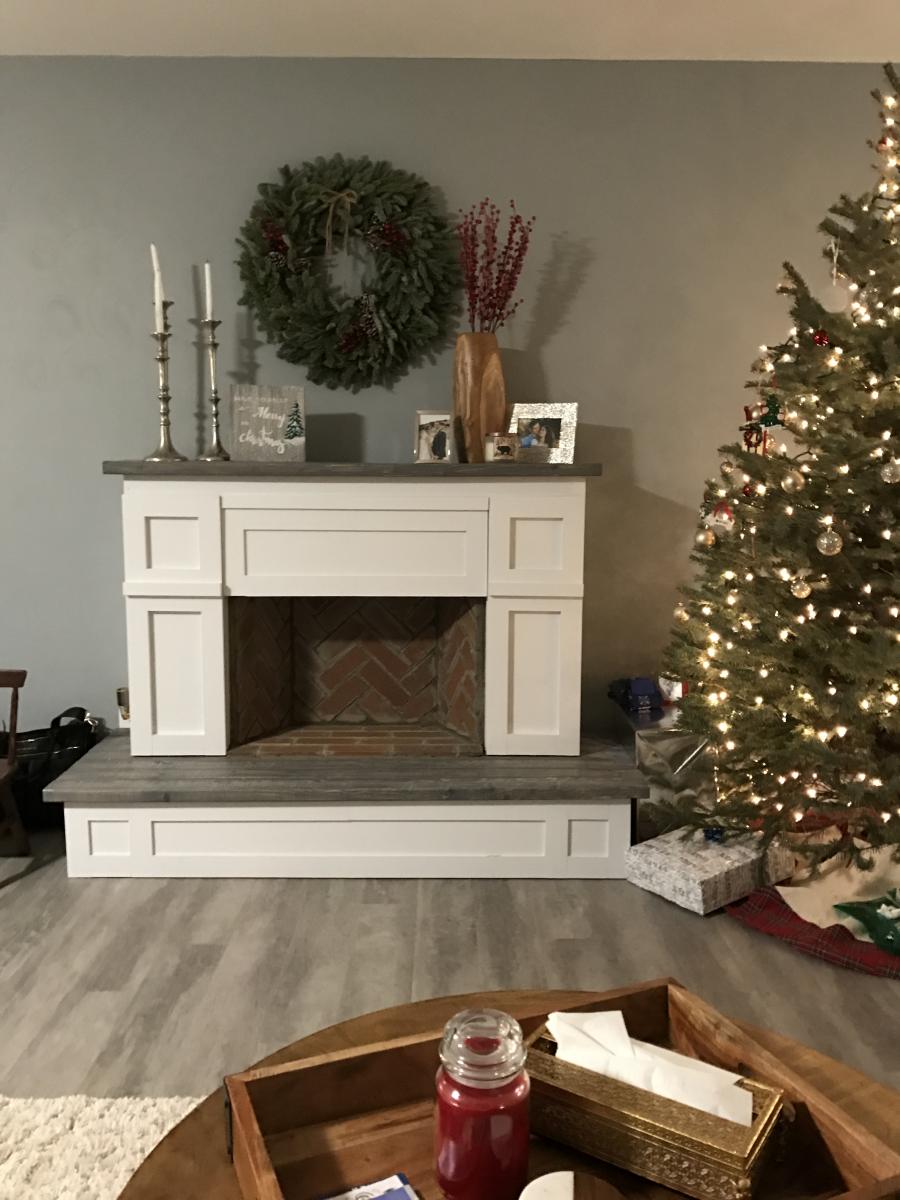
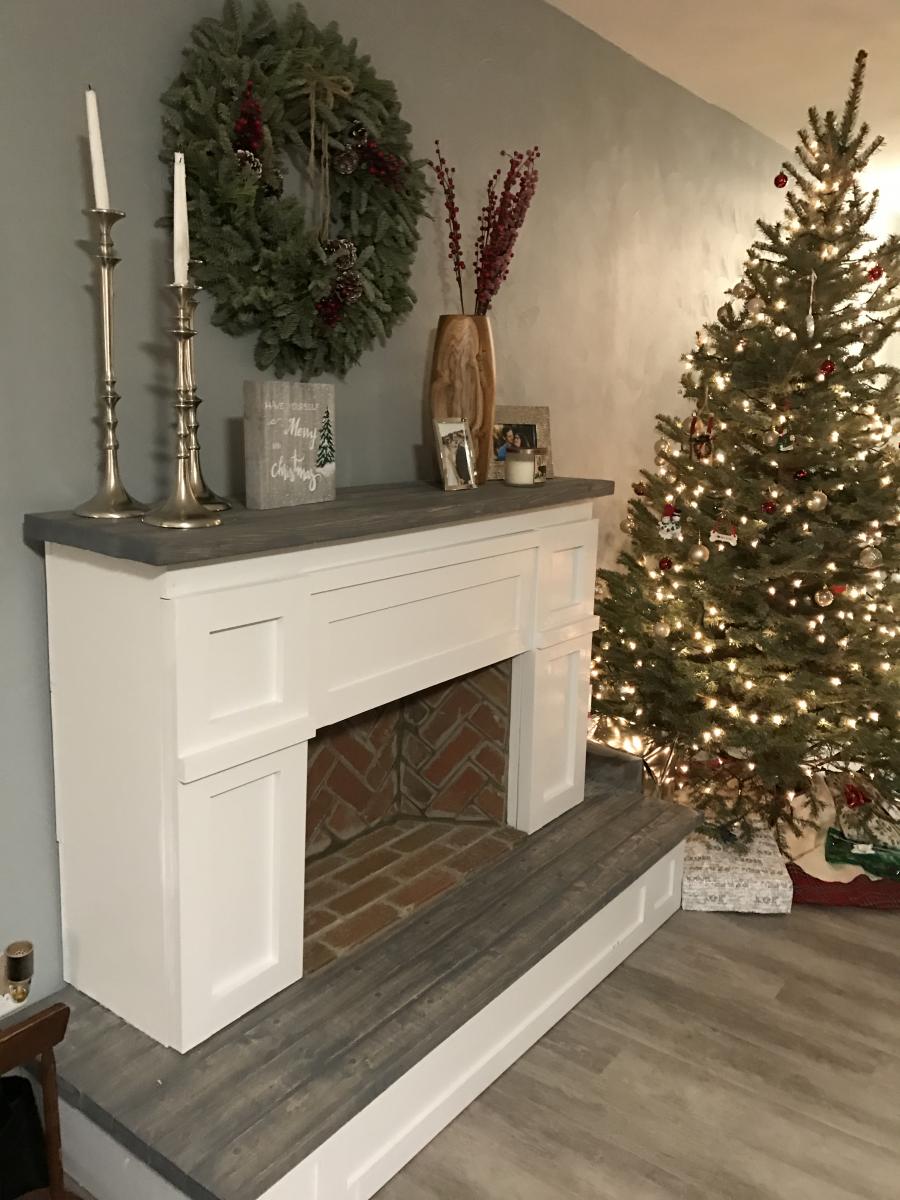
We made some modifications by adding a hearth for additional height (the room we have it in is very large and open) and joining 2x4s for the mantel and base which I stained grey for contrast. We decided to use thin brick for in the "firebox" to make it look more realistic. We also have a newborn and spent over two months putting it together a little at a time in our free moments so I'm not sure how long it would actually take to do at once, but cutting and putting up the brick was very time consuming. 

Estimated Cost
$250
Estimated Time Investment
Week Long Project (20 Hours or More)
Finish Used
White paint, Minwax "Classic Grey" stain
Recommended Skill Level
Beginner

Comments

westmoundstar

Thu, 08/27/2020 - 11:16

This looks great! I'm actually in the middle of this build with the hearth as well. Couple questions....
How did you connect the two pieces? Also, did you connect to the wall? I'm assuming you didn't leave the 5 1/2 inch gap on the bottom of the fireplace and connected direct to the hearth. Let me know, thanks!

Seasonal And Holiday

Sewing Table for small spaces

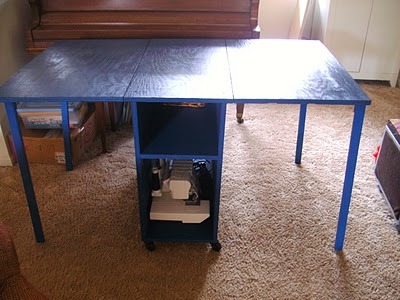
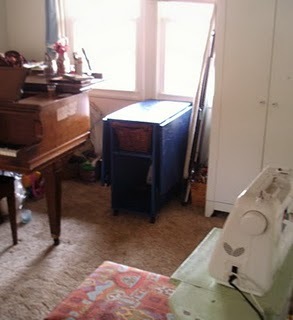
I loaded this project months ago, but somehow it was removed I believe during one of the websit updates. So far in my wife's crafting life she generally cuts things out on the floor. It's not so good. Our dining room table is usually covered in food or playdough so she generally just spreads things out on the floor. I realized how much she needed a table, and armed with new power tools from Christmas and my birthday, I set out to make me a crafting table. This was my first project.

Built from Plan(s)
Estimated Cost
$40
Estimated Time Investment
Afternoon Project (3-6 Hours)
Finish Used
Minwax blue rub on stain and sealer
Recommended Skill Level
Starter Project

Comments

Curved Bench

Submitted by stevez8420 on Sat, 08/08/2015 - 13:41

I followed your idea but i think my bench is a touch smaller. I decided to add arm rests on each end, I kept the top beverage ledge or "Bever-ledge" as I call it and ofcourse I added rope lighting along the underside. This was my first ever DIY project.

Estimated Cost
150
Estimated Time Investment
Weekend Project (10-20 Hours)
Finish Used
I used a Cedar Tone semi-transparent finish which turned out a little more orange than i though but it still looks good!
Recommended Skill Level
Intermediate

Planters

Submitted by Anonymous (not verified) on Fri, 05/26/2023 - 07:47

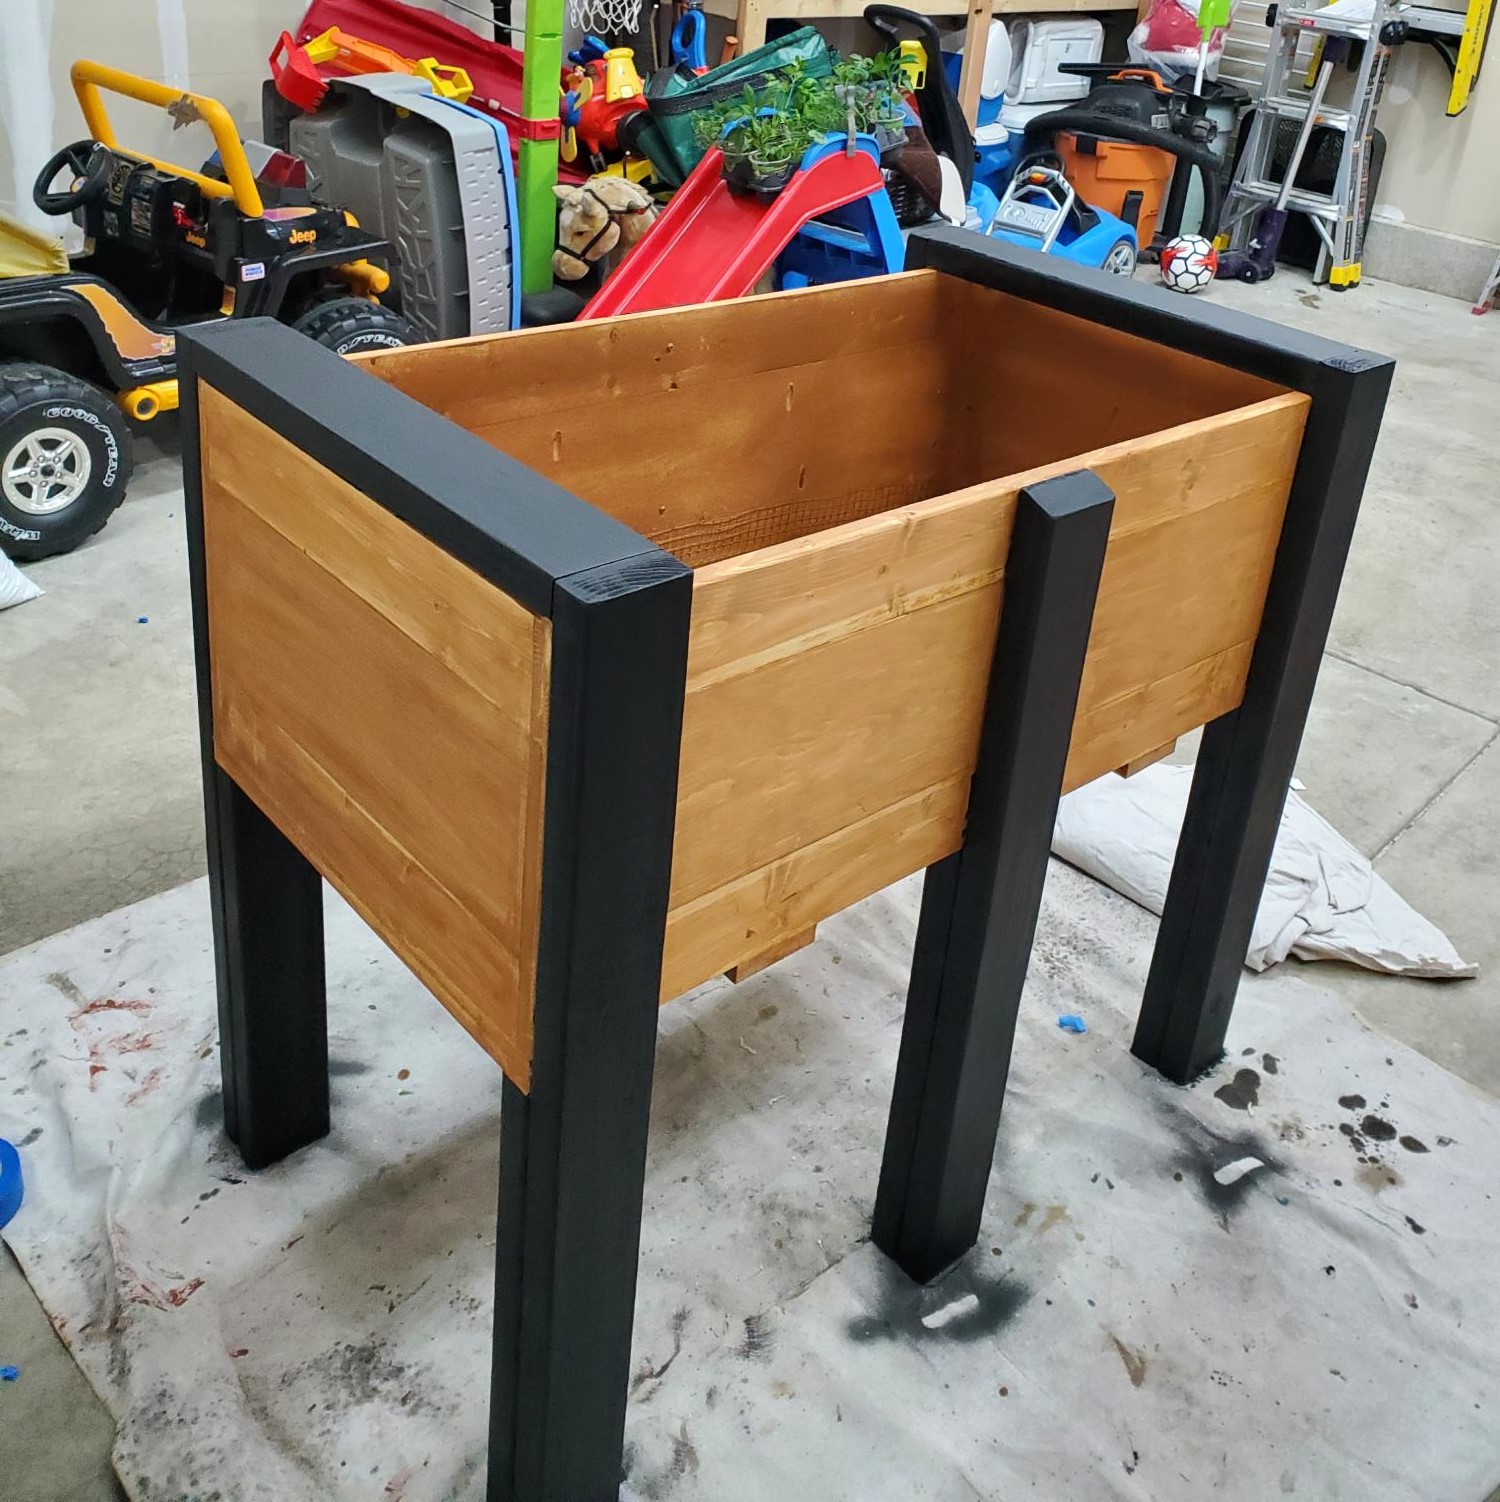
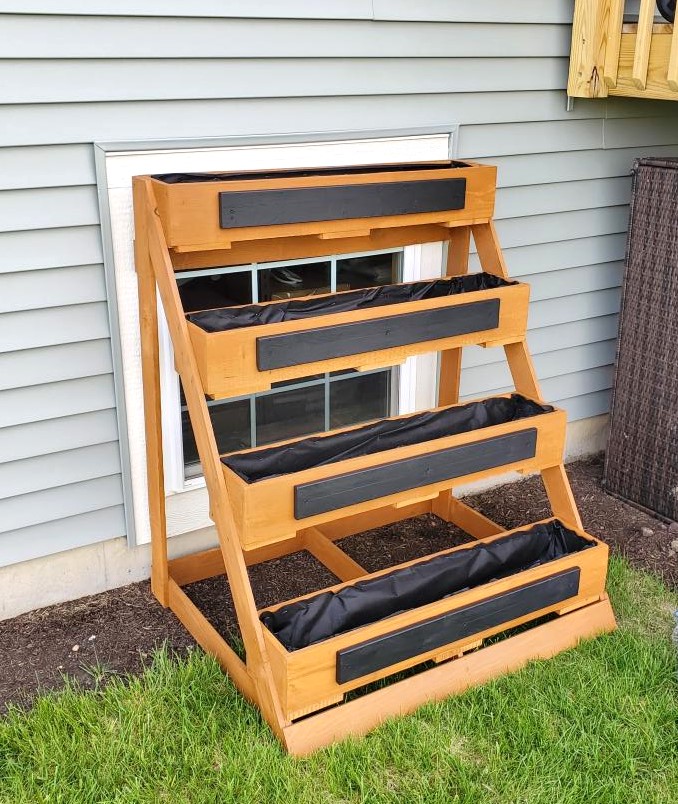
Hi Ana. Been a fan of yours. My name is Ed. Wood working is my hobby. And its always nice to look at your plans, and put my own spin on it. My wife wanted a planter for our deck. So I tweaked your plans and made them a little bigger. I Also built her a herb garden too. With these new planters; it should put a stop to the rabbits eating everything.

Thanks for your inspiration.

Comments

Modern Sectional Sofa

Submitted by reinkense on Fri, 05/30/2014 - 17:22

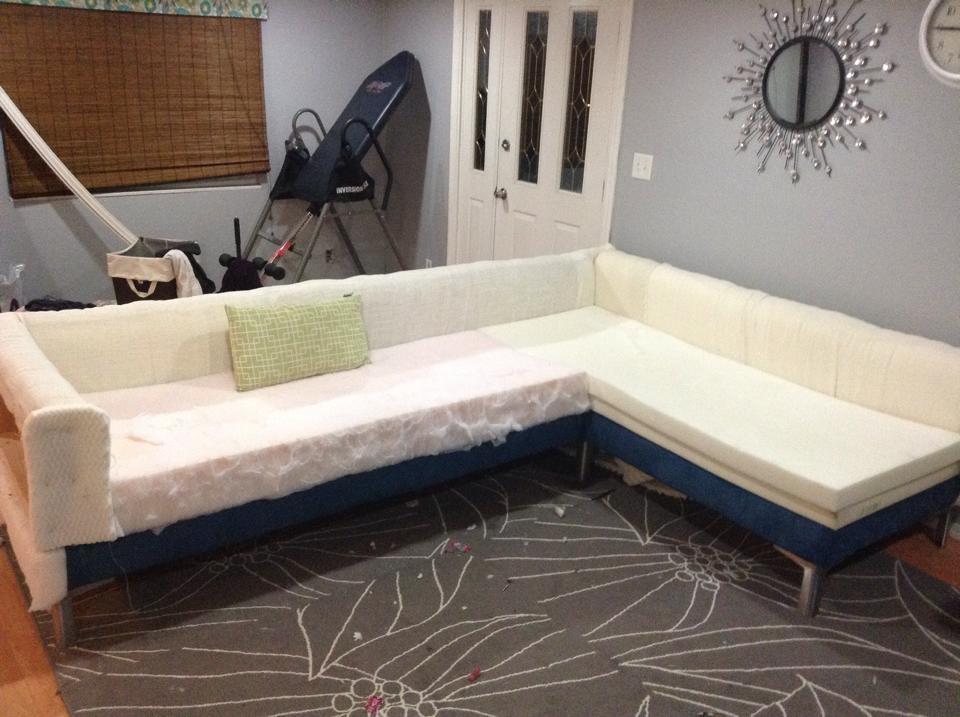
I looked all around my town for a sofa that meet my needs. I wanted something with tall legs, modern lines and fit my living room. I did not have $3,000 to buy one online so I said to myself why not???


Estimated Cost
$400
Estimated Time Investment
Week Long Project (20 Hours or More)
Recommended Skill Level
Intermediate

Comments

reinkense

Sat, 05/31/2014 - 15:58

Thank you! I am really proud of it. I was thinking of putting together some plans.

Samigdal

Fri, 12/25/2015 - 17:48

Are there step-by-step instructions for building this posted anywhere?

walthoca

Fri, 01/06/2017 - 11:06

I am so impressed. We recently spent a small fortune on a sectional, but yours looks equally beautiful. You are incredibly talented! 

DIY Greenhouse with Reclaimed Material

Submitted by Anonymous (not verified) on Fri, 05/03/2024 - 08:00

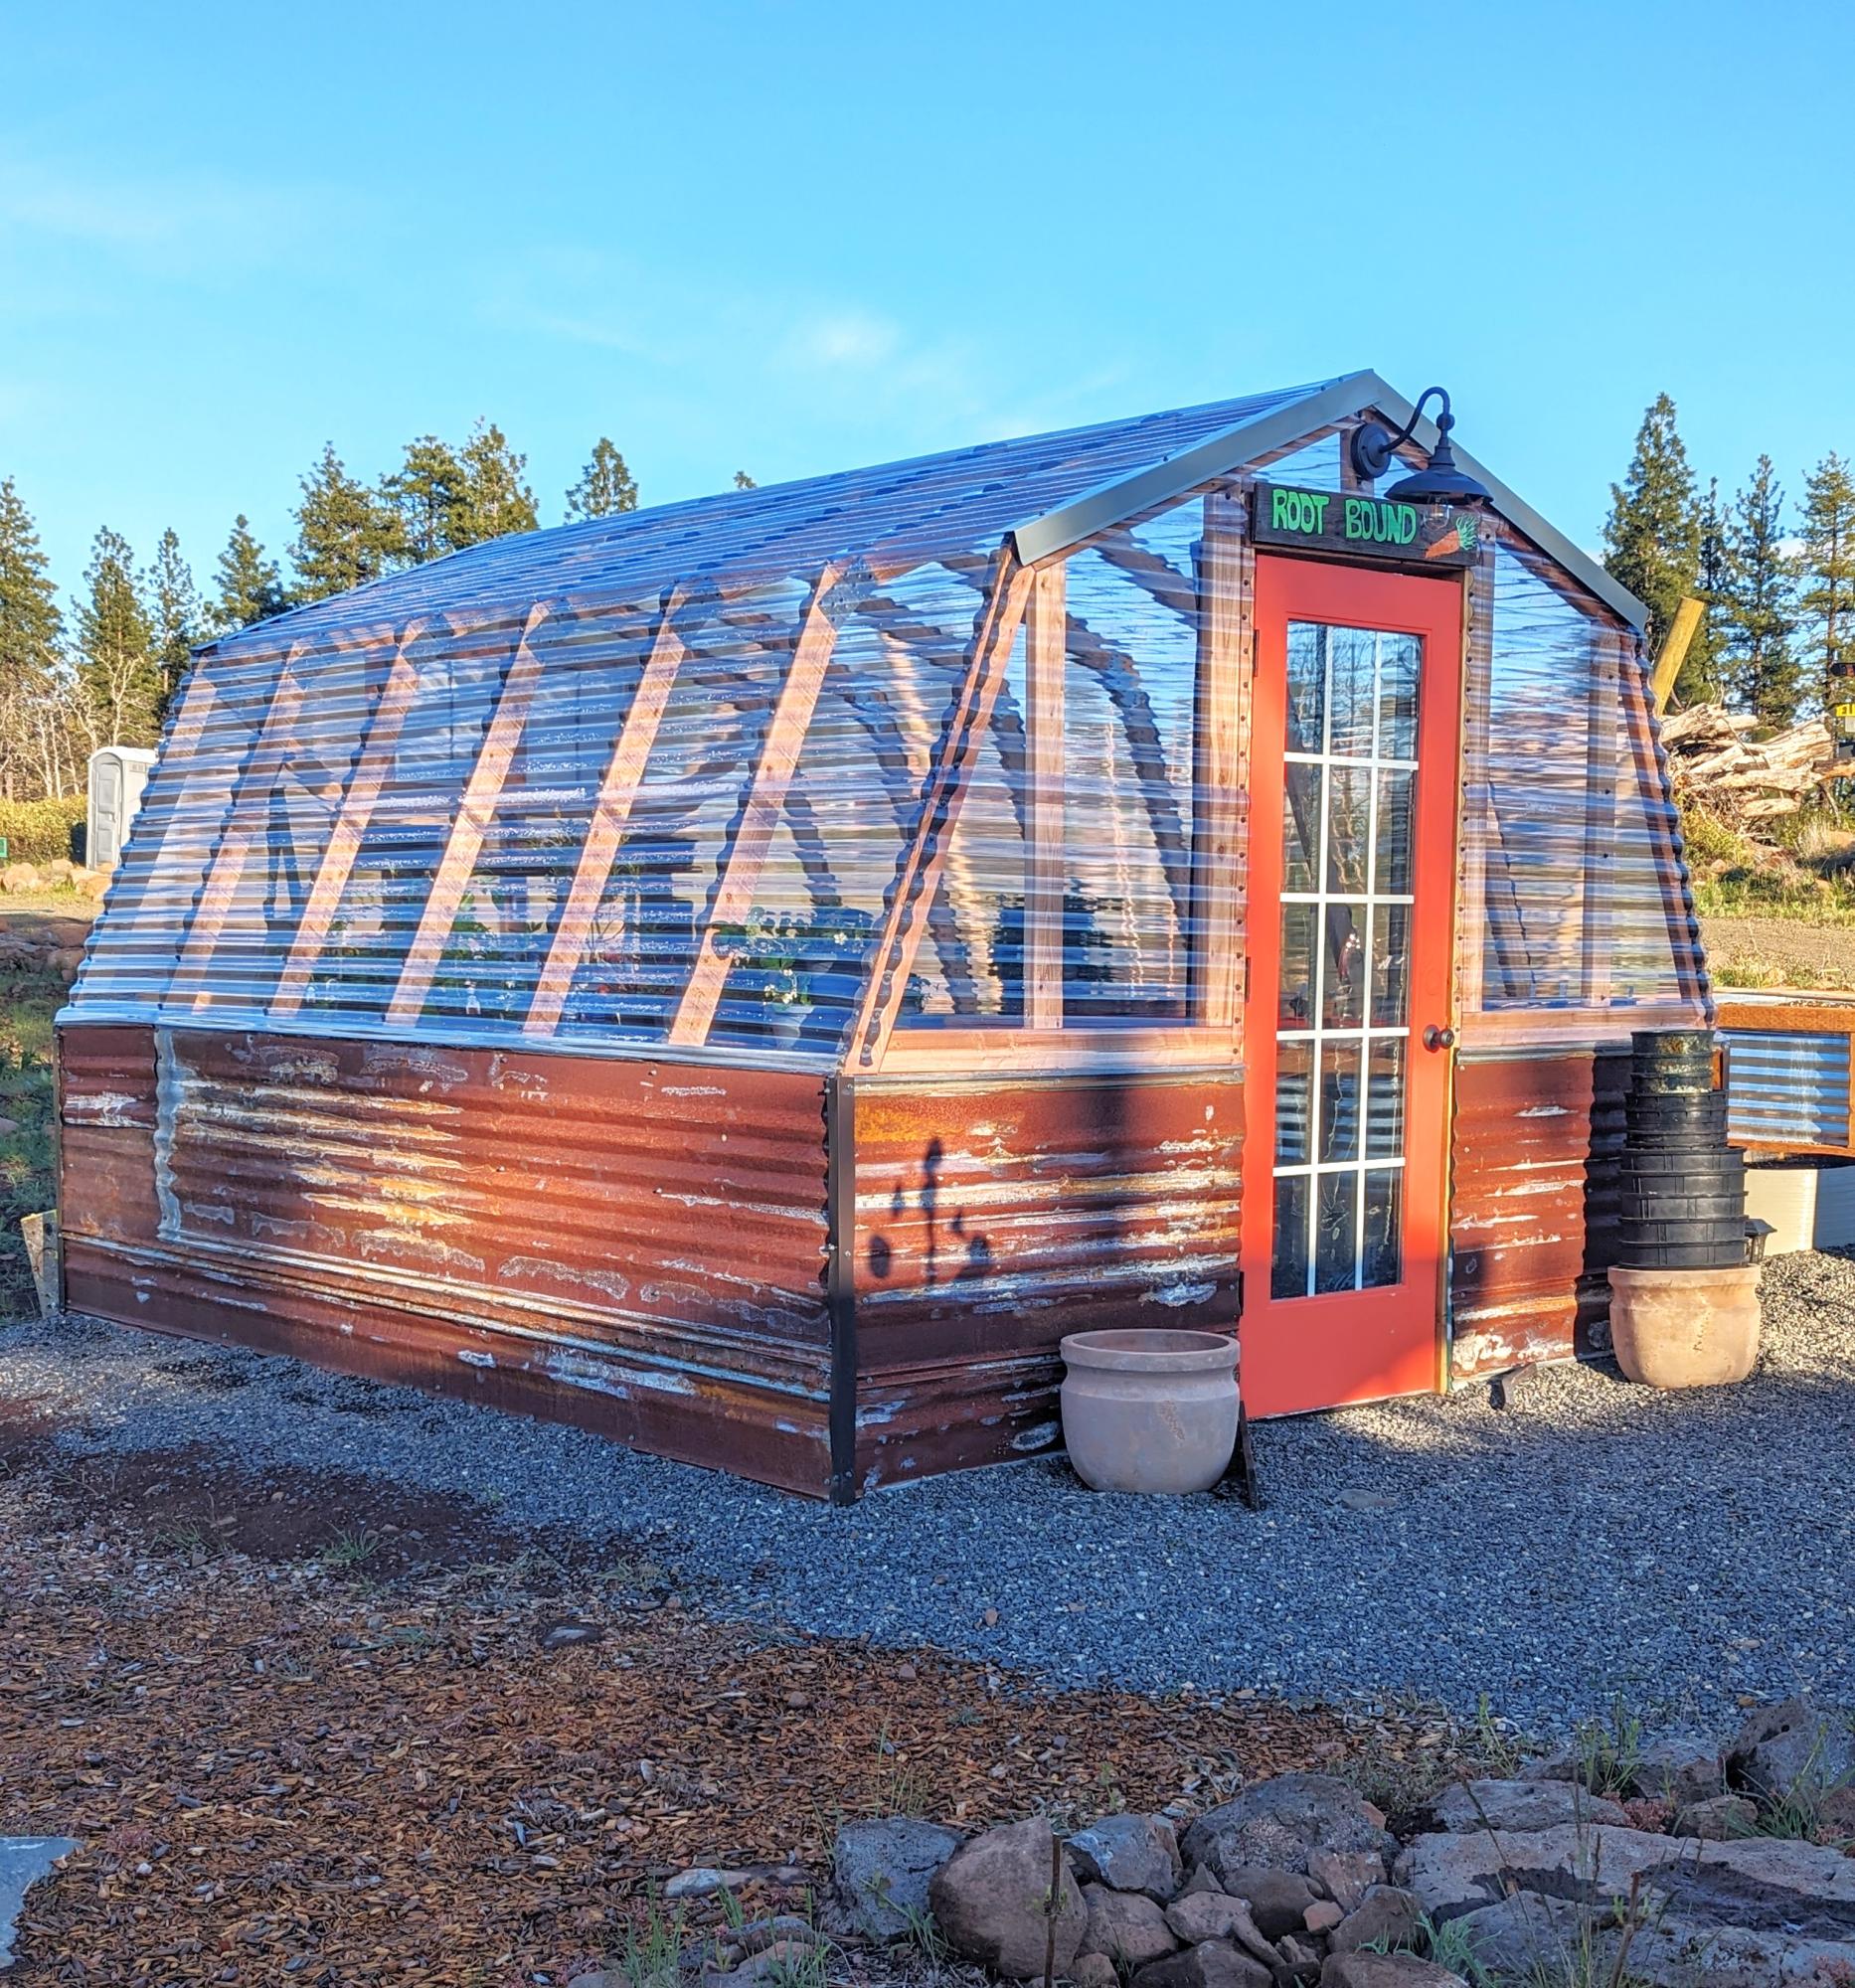
My wife & I did this in two weekends, we're not that handy but your plans were easy to follow. Mostly reclaimed material. So fun & we love it!
Thanks!!

Tammie & Scott

Built from Plan(s)

Custom size bathroom vanity

Submitted by Eliyahu on Sun, 11/25/2012 - 13:02

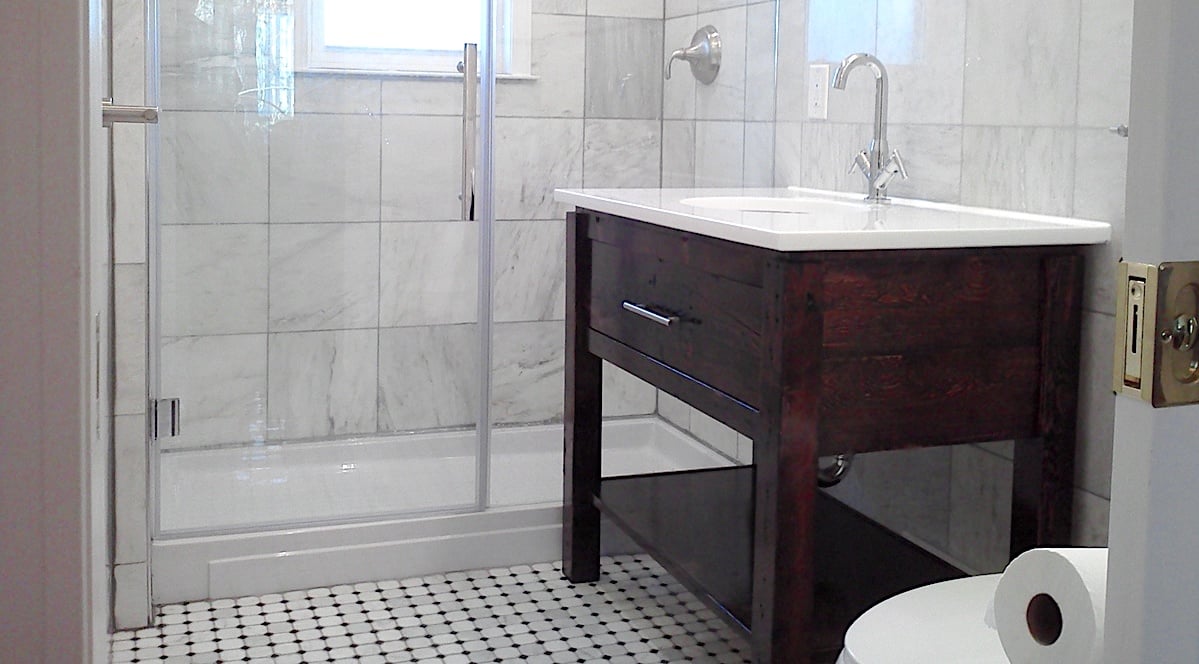
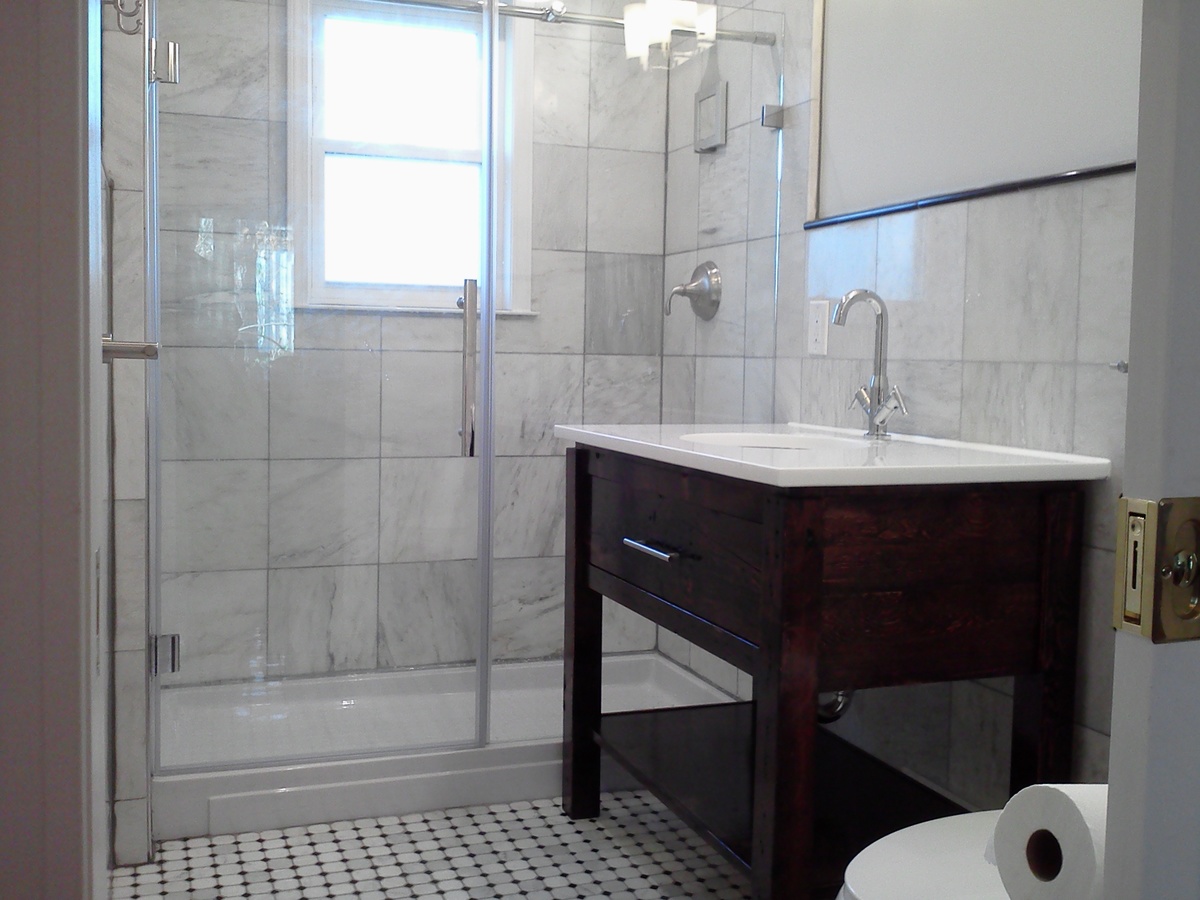
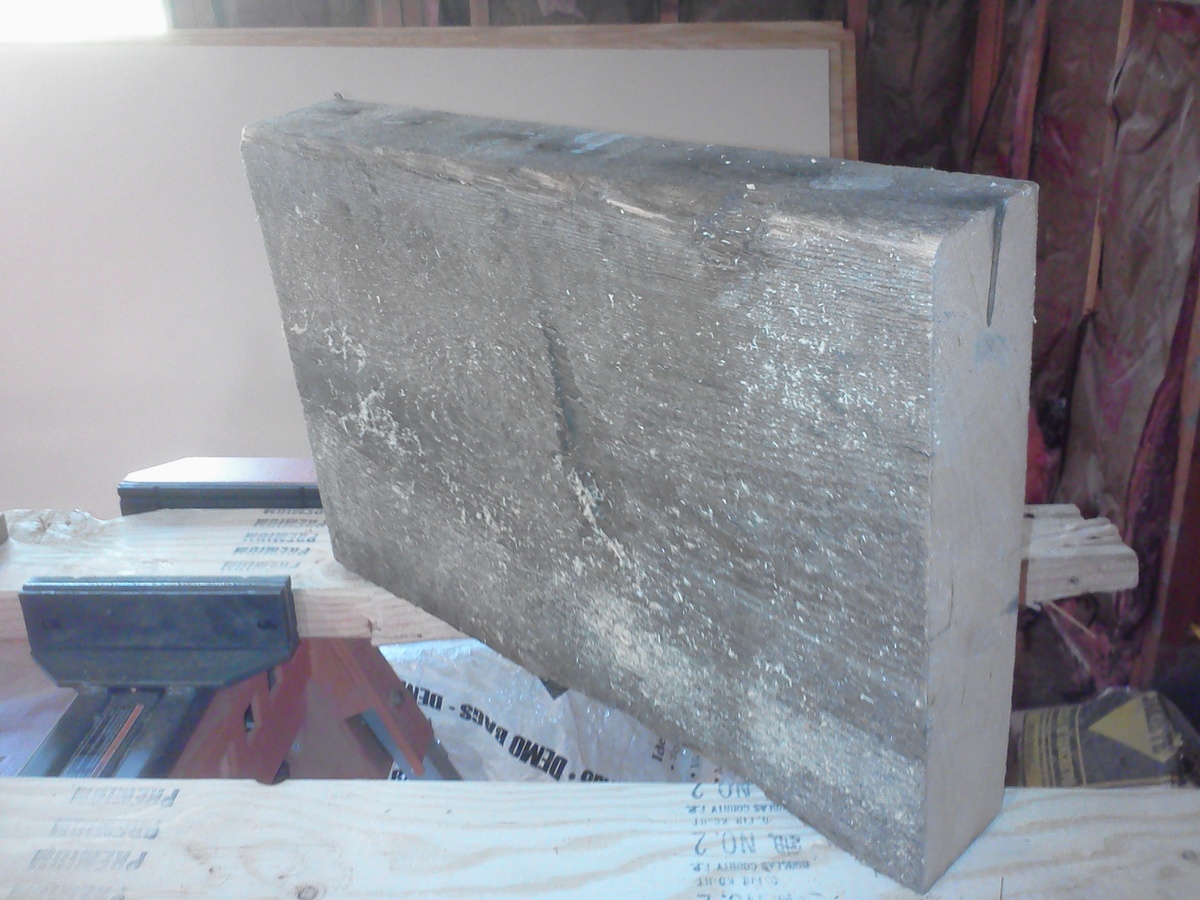
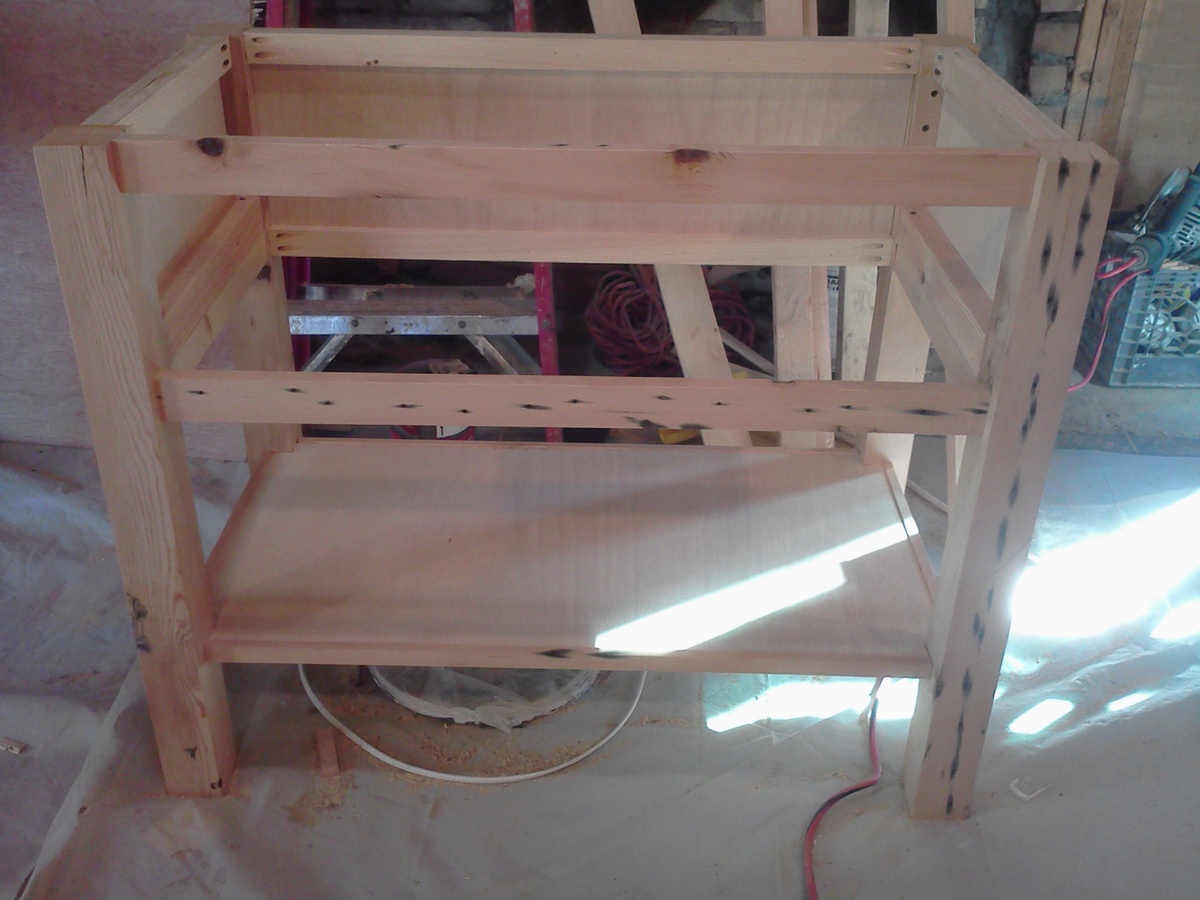
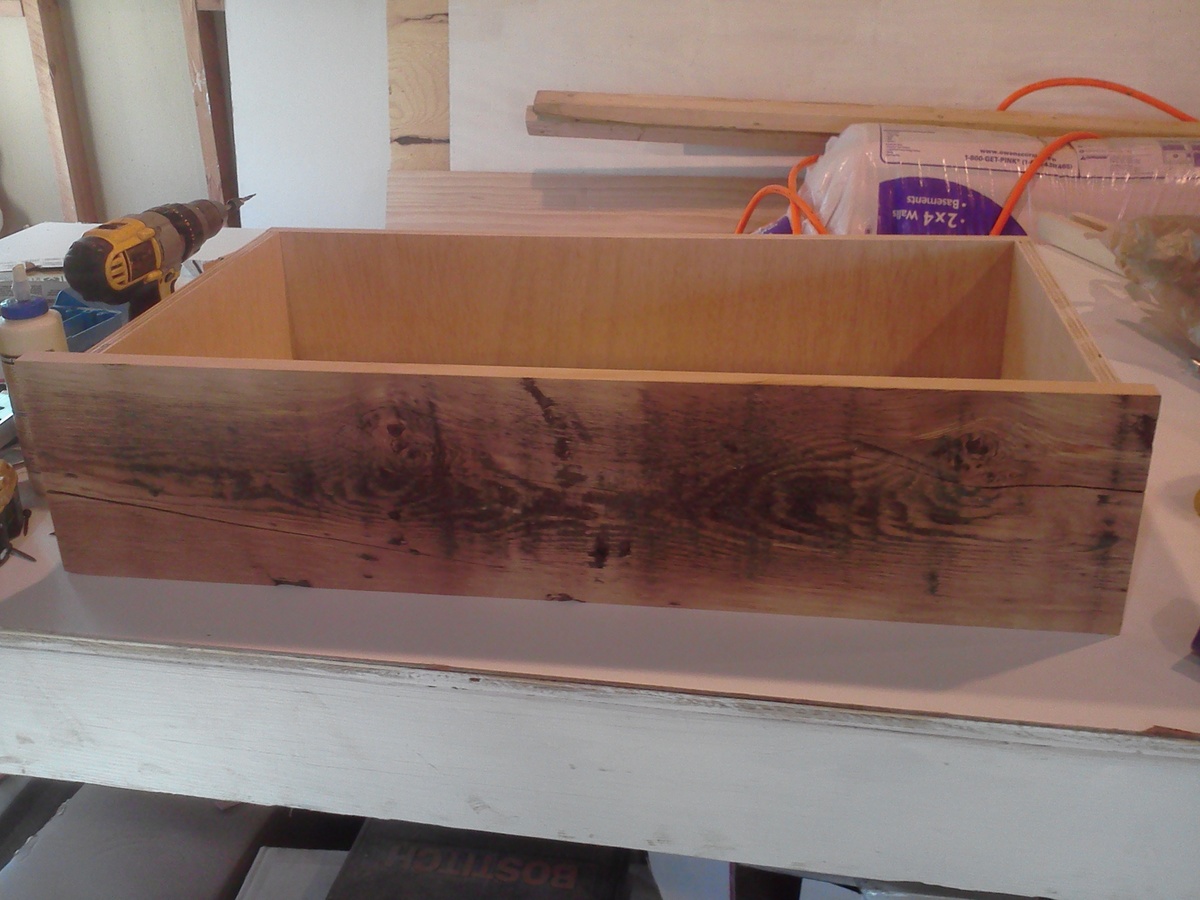
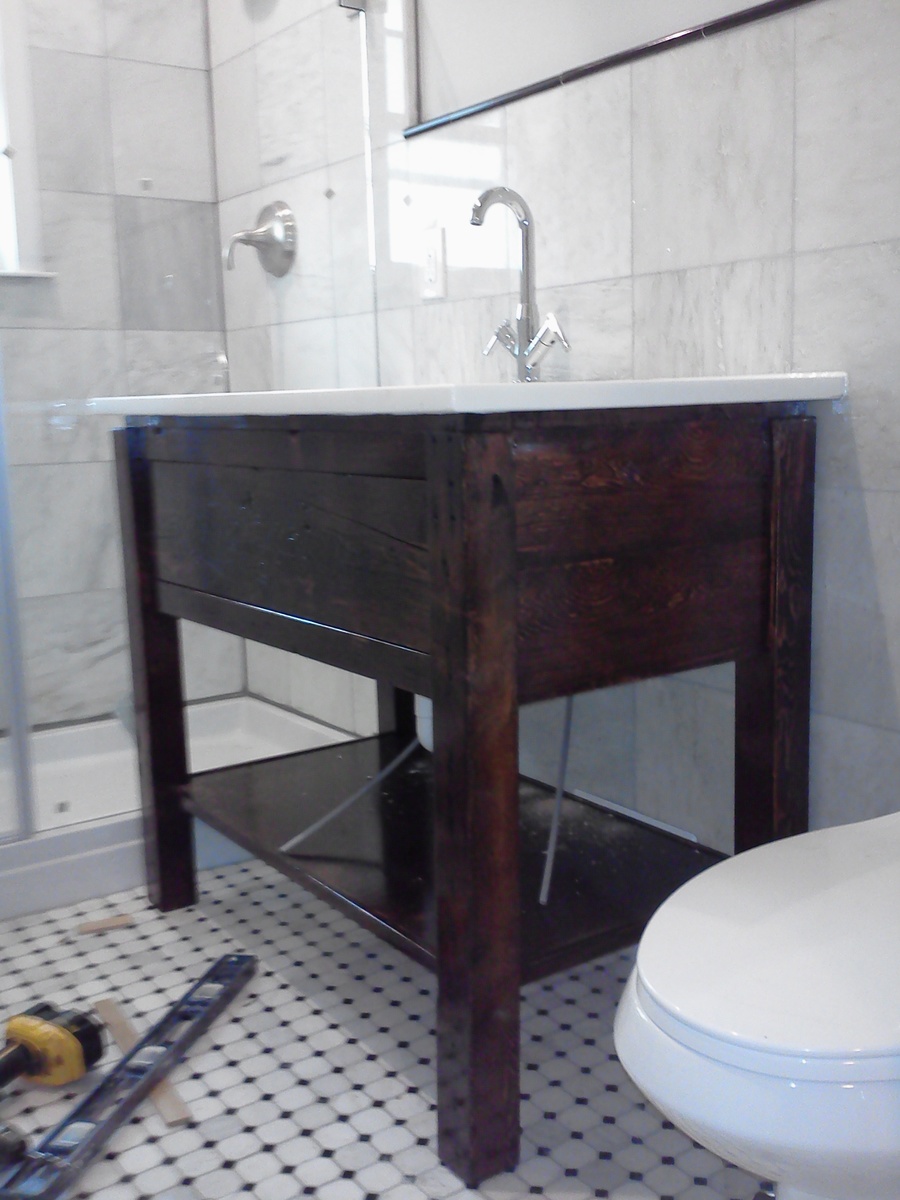
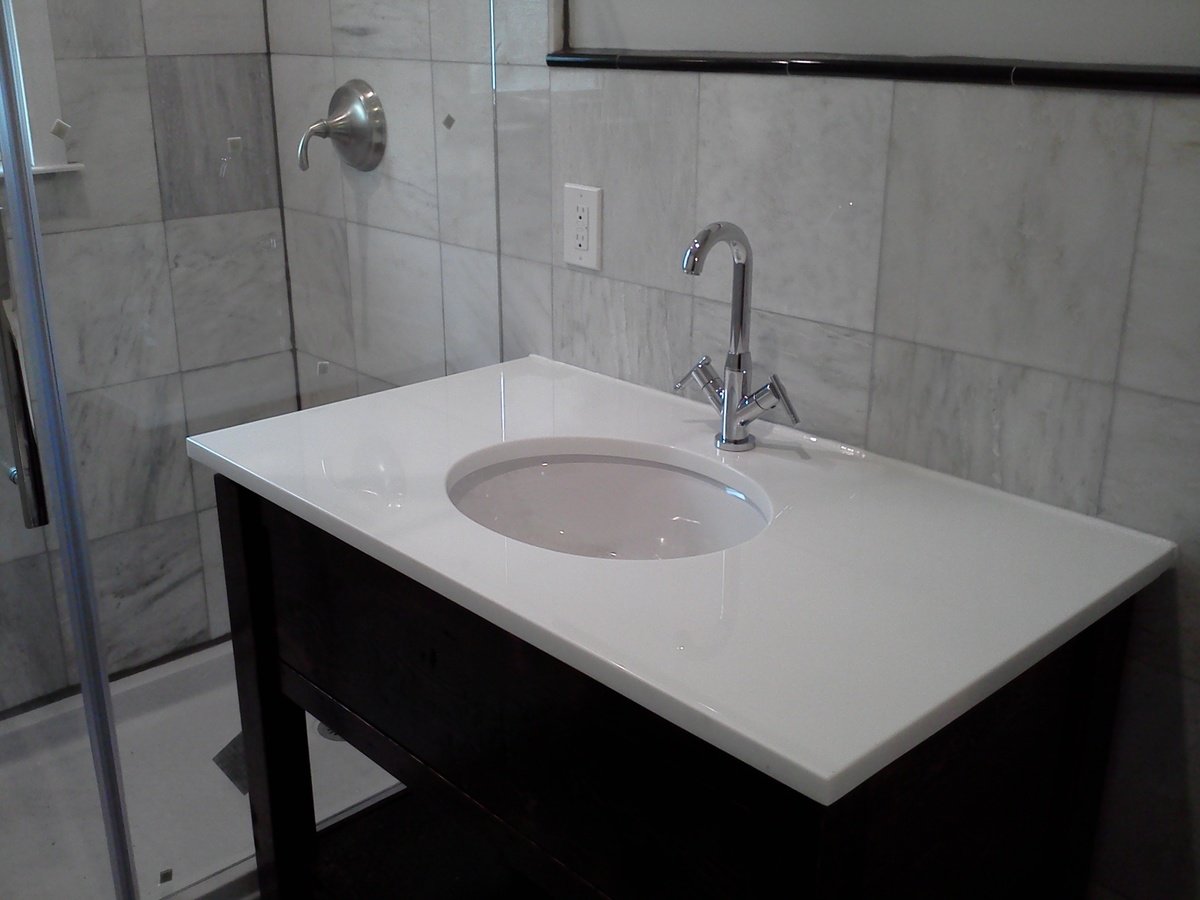
Hello, this is my first post and i wanted to thank Ana for this great website. my wife and i bought a new house and we renovated one of the bathrooms. i looked all around for a bathroom vanity and i could not find anything that was simple yet classic and elegant that would fit the place and compliment the space. so i started by ripping down a 4 x 12 beam that i bought from a salvage yard and turned it to the vanity. the vanity measures 38" x 24 "x 34.5" and it has a full size pull out shelve and a soft close hinges and it has an open bottom shelf. the finish is dark walnut and high gloss polyurethane. if you have any questions feel free to ask. Thank you.

ana white bathroom vanity

Built from Plan(s)
Estimated Cost
materials about $200
Estimated Time Investment
Week Long Project (20 Hours or More)
Finish Used
dark walnut
Recommended Skill Level
Intermediate

Comments

Carra (not verified)

Tue, 11/27/2012 - 08:51

The vanity is very nice but I LOVE the shower!

Farmhouse Counter Stools

Submitted by wbengle77 on Wed, 09/23/2020 - 09:09

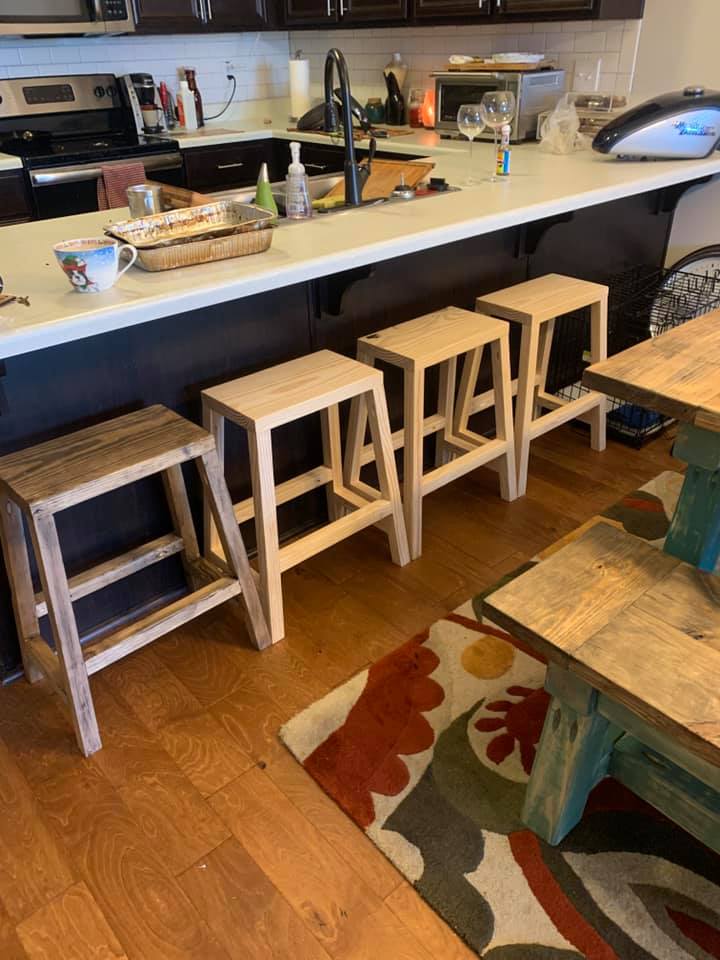
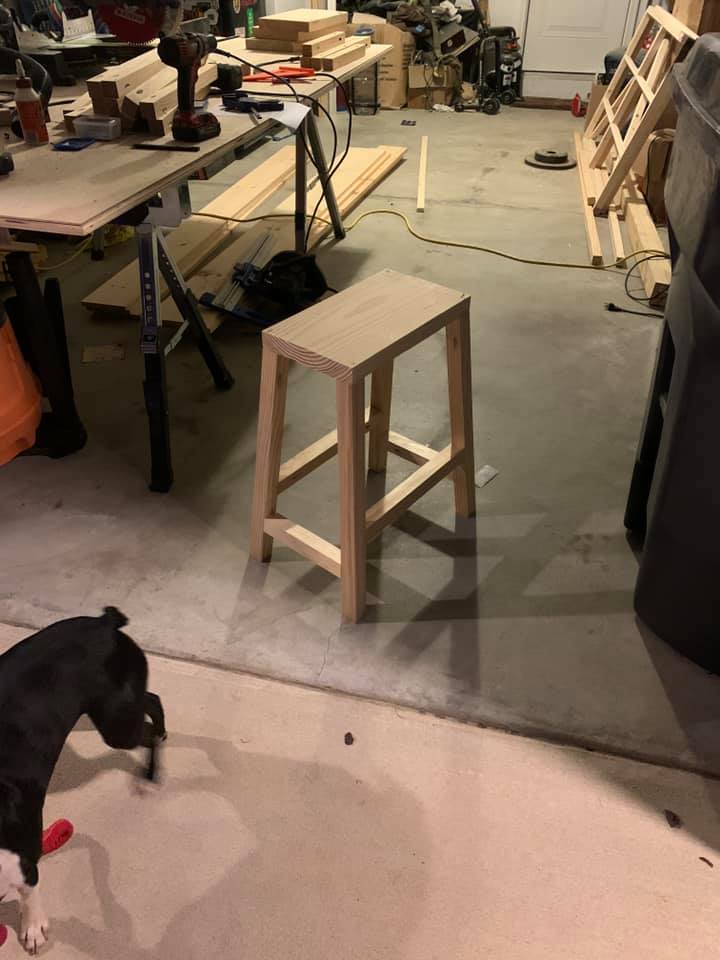
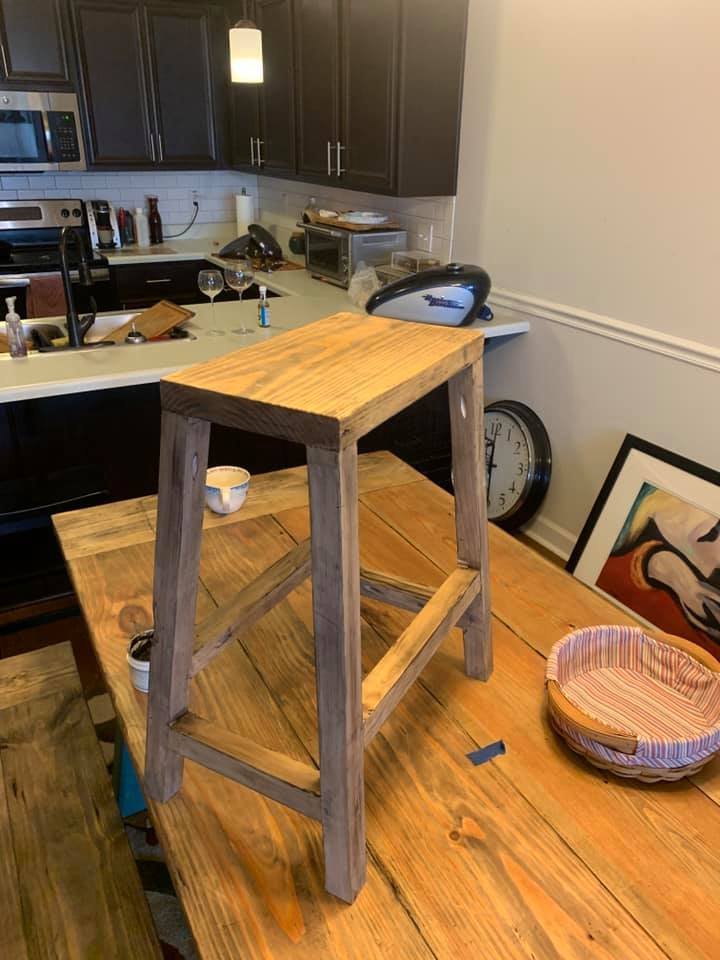
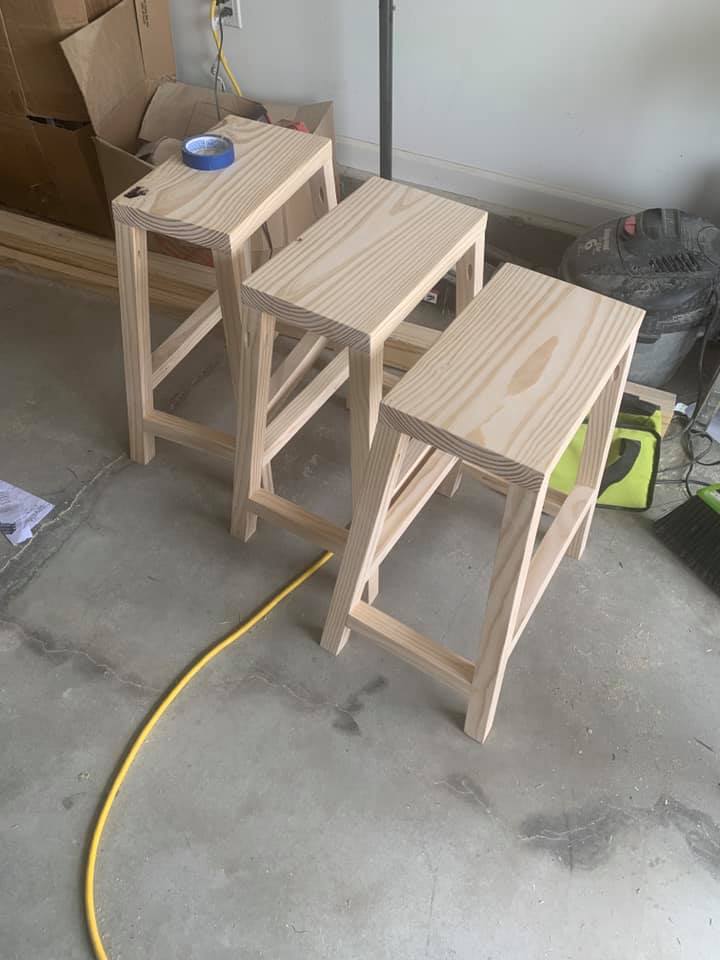
This was a pretty strait forward project, the only change i made was the wood used. I did not use the 2x2 furring strips i opted for the upgraded Select Pine Boards. So it changed from 3 bucks to 12 a board. I also used metal nylon feet.

Built from Plan(s)
Estimated Cost
depends on wood and finish
Estimated Time Investment
Afternoon Project (3-6 Hours)
Finish Used
I used an antiquing wax, then I used butcher block oil and wax to finish.
Recommended Skill Level
Starter Project

Comments

Mater Chair for a child.

Submitted by justjeff52 on Mon, 12/01/2014 - 13:44

This is a chair I made from the Super Easy Adirondack Chair plan from your website.

Estimated Cost
$75.00
Estimated Time Investment
Weekend Project (10-20 Hours)
Finish Used
paint
Recommended Skill Level
Intermediate

Comments

Cube bookcases

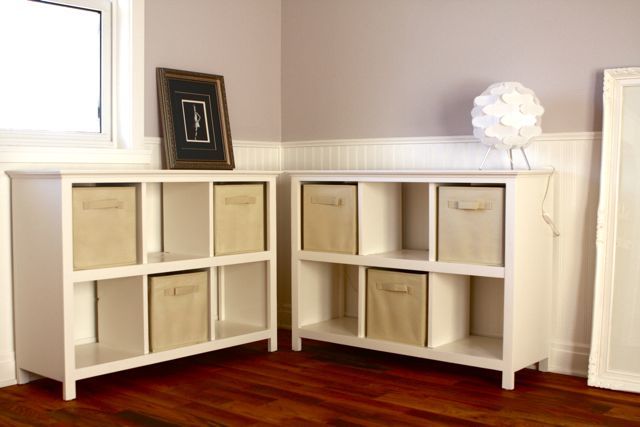
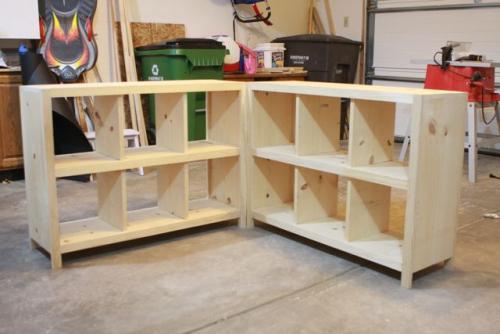
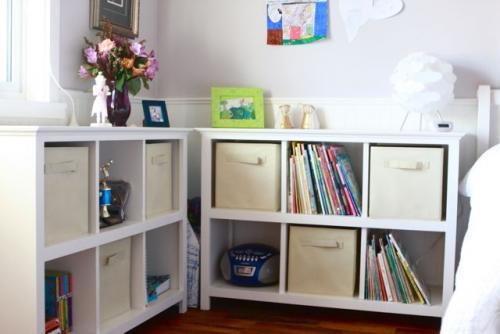
As part of my daughter's big 8th birthday bedroom re-do, I knew she needed some new storage for books and...er...stuff. You know how kids accumulate little scraps of paper, photos, tiny toys. I can't stand to see that kind of stuff lying around, so these cube bookshelves seemed like a great solution for the problem. The canvas "drawers" are from Target and were not expensive. I followed Ana's Six Cube Bookshelf plans very closely with two exceptions. First, I shortened the legs an inch to ensure that the units would be short enough to fit under the bedroom window. Second, I added an overhanging 1/4" MDF panel to the top of each bookcase and trimmed out the bottom of the panel with cove molding. The rest of the wood used was solid pine. I'm now working on building a third unit for my other daughter's room. This time I was smart enough to finish the insides of the cubes before putting the whole bookcase together. Getting into those corners once the project is complete is time consuming and difficult. Painting the insides of the boards ahead of time has proven to be much simpler.

Built from Plan(s)
Estimated Cost
$100
Estimated Time Investment
Weekend Project (10-20 Hours)
Finish Used
Sherwin-Williams ProClassic in semi-gloss followed by satin Minwax Polycrylic.
Recommended Skill Level
Beginner

Washer/Dryer Platform Pedestal

Submitted by Dimarc67 on Fri, 04/17/2015 - 10:45


THE MOTIVATION
After a recent washer outage (that I was ultimately able to repair myself), my wife and I talked about eventually replacing our front-loading washer/dryer set.  One of the bullets I hate biting is paying the exhorbitant prices for the matching pedestals for new washer/dryer sets.

Having just bought a good set of cordless powertools, and having watched my father when I was a kid build countless household fixtures, window dressings, furniture pieces, etc., I decided to try my hand and construct a permanent platform for our current washer/dryer set, thereby eliminating the need to ever buy manufacturer pedestals again.

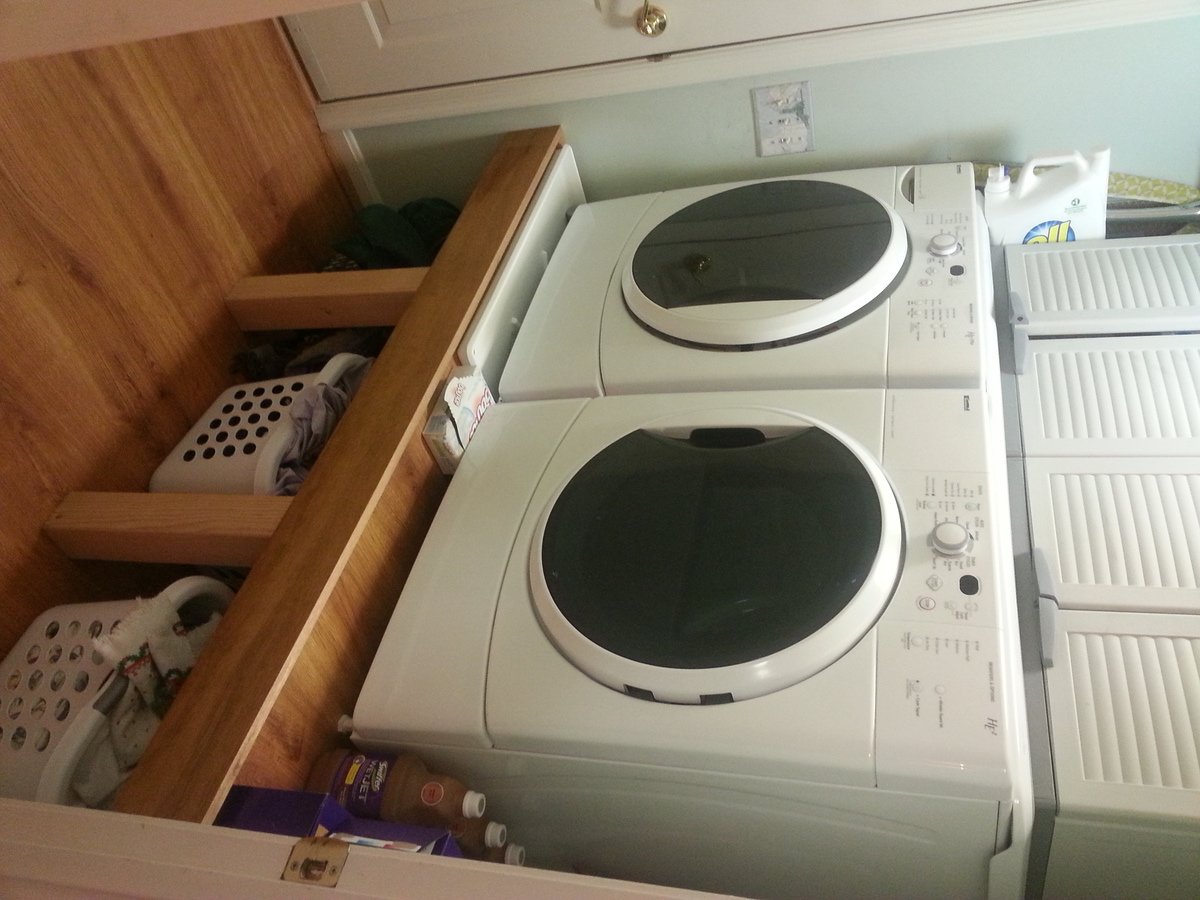
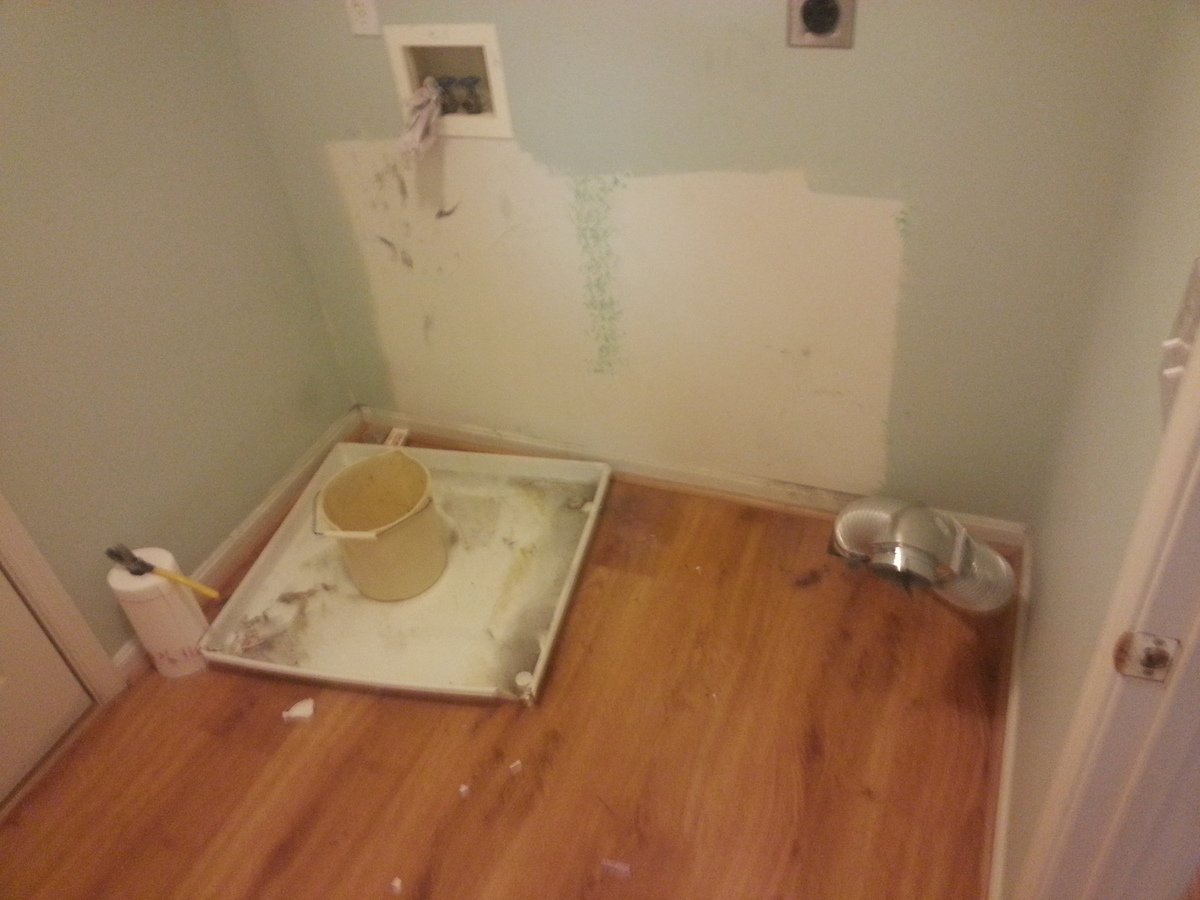
The existing pedestals were a standard 15" high, with a storage drawer, which we felt was still not high enough for comfort.  And, the washer pedestal drawer was entirely inaccessibl due to the 2" walls on the washer drain pan, so its drawer was totally useless, wasted space.

And, lastly, we really wanted more space for clothes baskets full of laundry, which we generally stacked (full and haphazardly) on top of the machines.


THE CHALLENGES
The largest challenges were mainly logistics, and gravity.  The washer/dryer would have to be unavailable for at least 2-3 days while they sat disconnected in the next room waiting for their new home.  So I coordinated with the family so they'd know when they needed to have their laundry done, or tough it out until I was done.

There was no way to know for sure what the drain connection for the washer pan looked like until I got the washer out.  So it was a small gamble that I'd be able to get the parts needed to extend the drain pipe up to the new platform right when I was ready for them.  Fortunately, this was no issue at all.

The biggest challenge turned out to be toward the end when it came time to lift our 230-lb. washer onto the new platform.  I seriously considered disassembling the washer to the point that I could remove its molded concrete counter-weights, but instead (and arguably stupidly) elected to use a large hydraulic car jack to raise the washer.  This ultimately worked, but I have to STRONGLY ADVISE AGAINST trying this.


THE SPACE
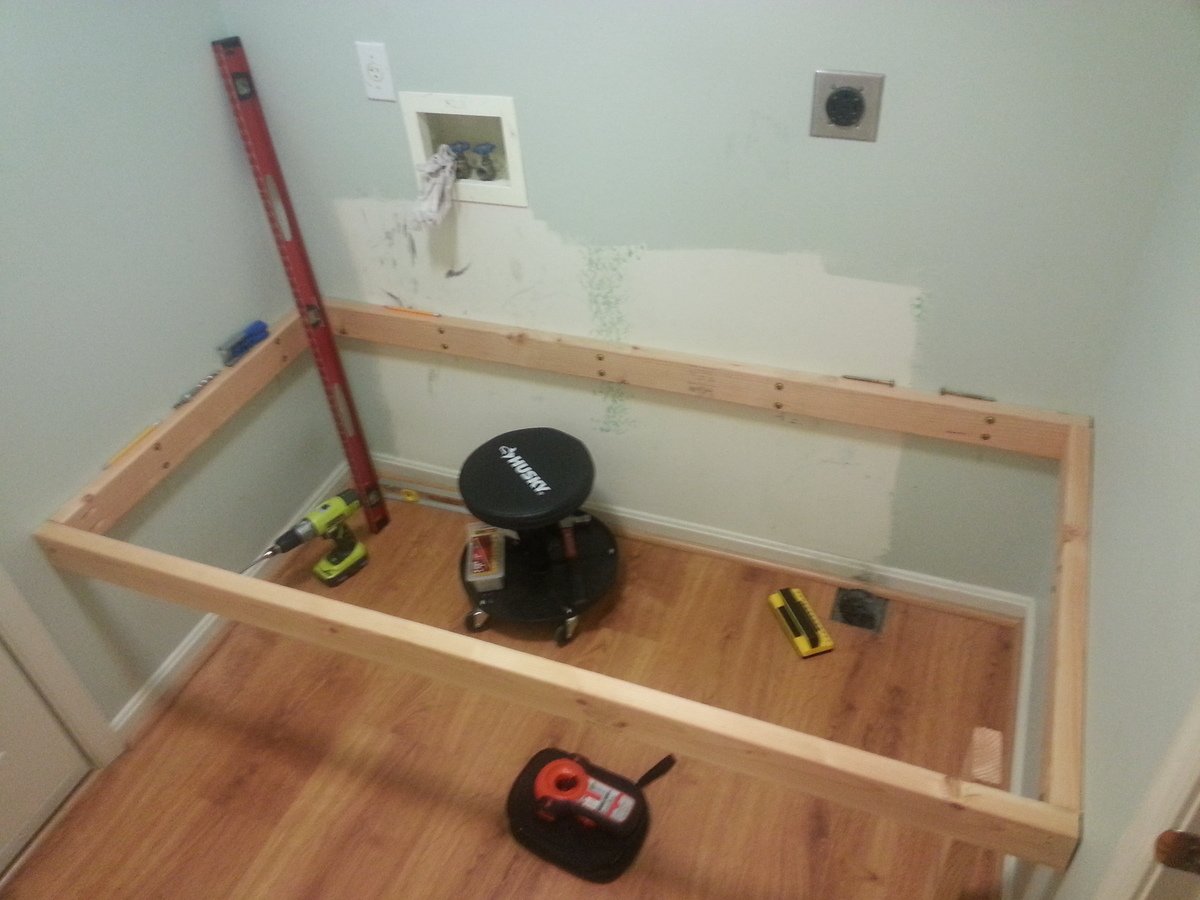
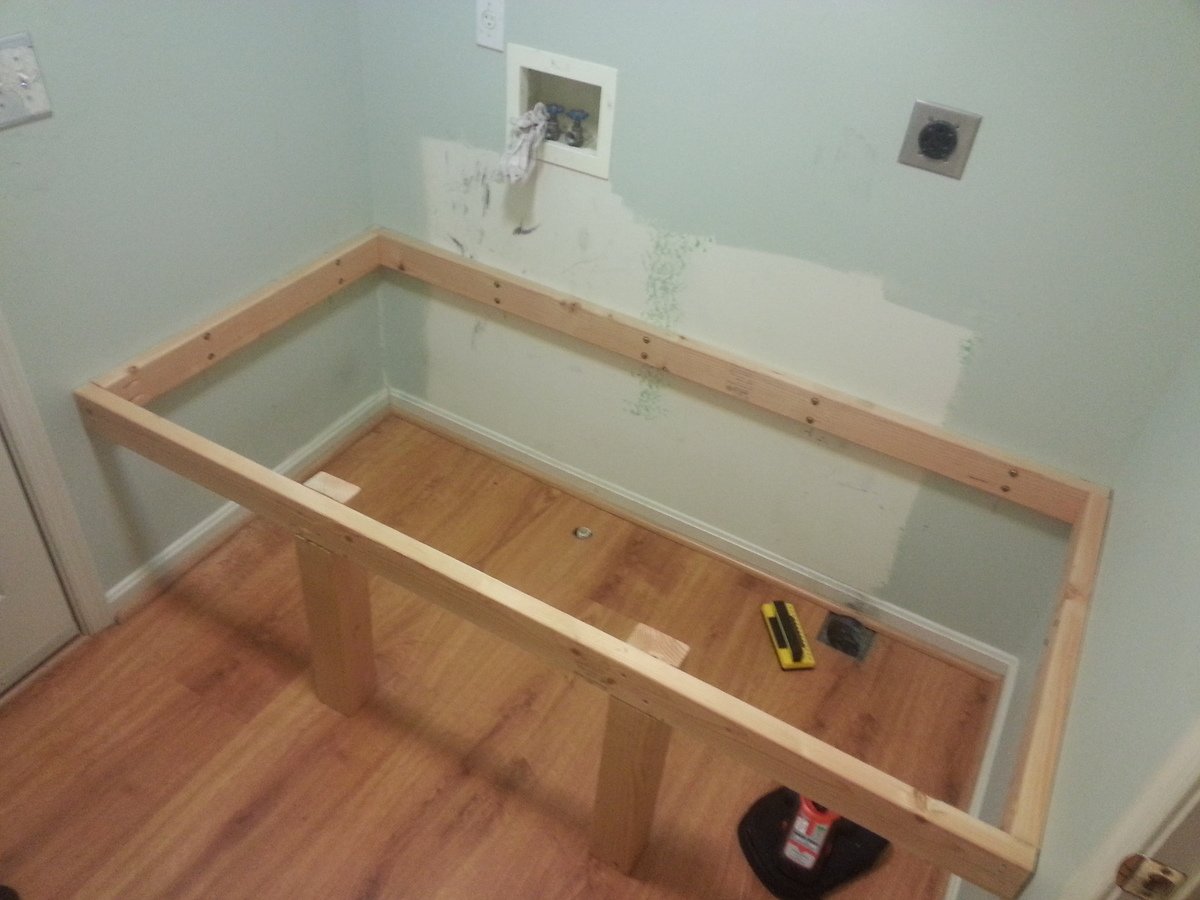
Our laundry room is also the "mud room" between our kitchen and the garage.  It is only large enough for the two machines, and the walk way between the two doors--in total, about 70.5" square.  Building the platform from wall-to-wall made the most sense, and minimized framing by fastening edge framing directly to the wall studs. 


THE PLAN
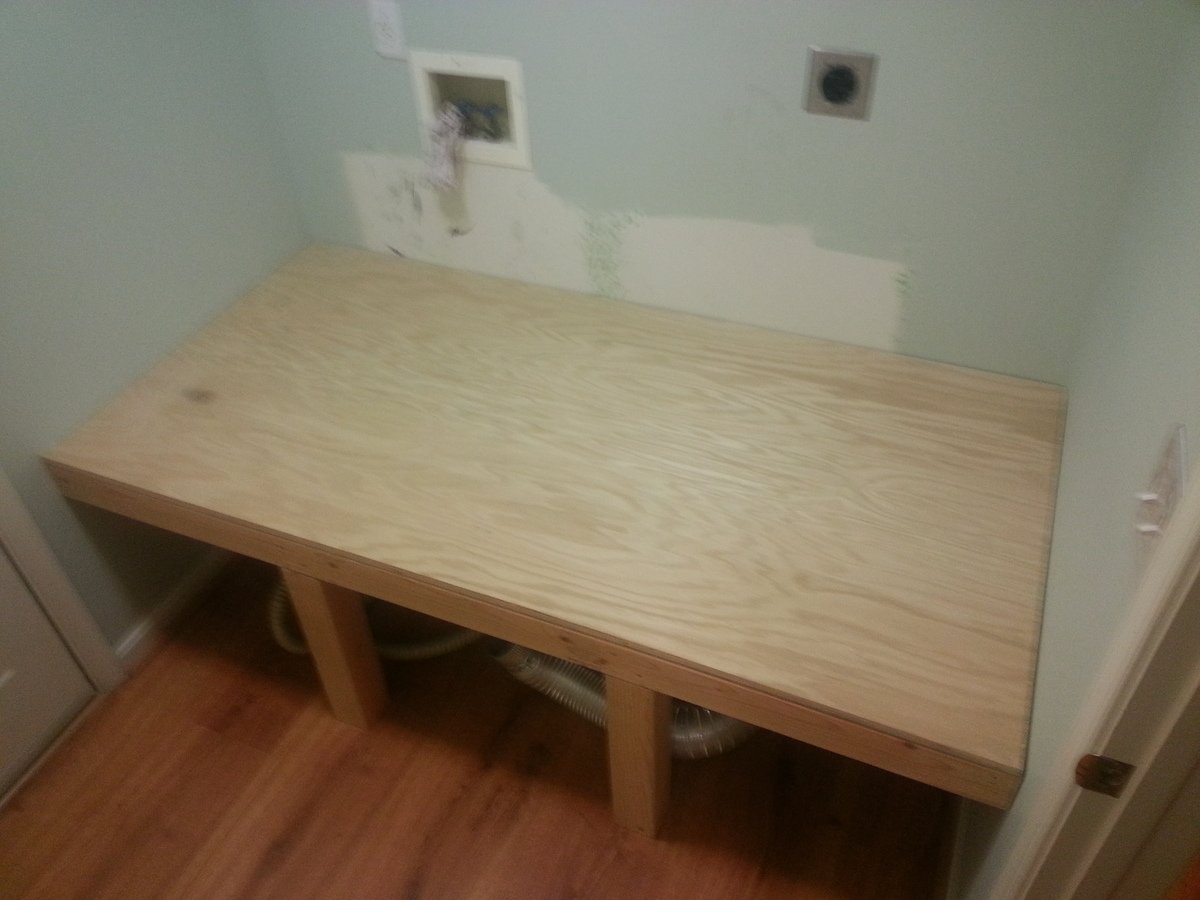
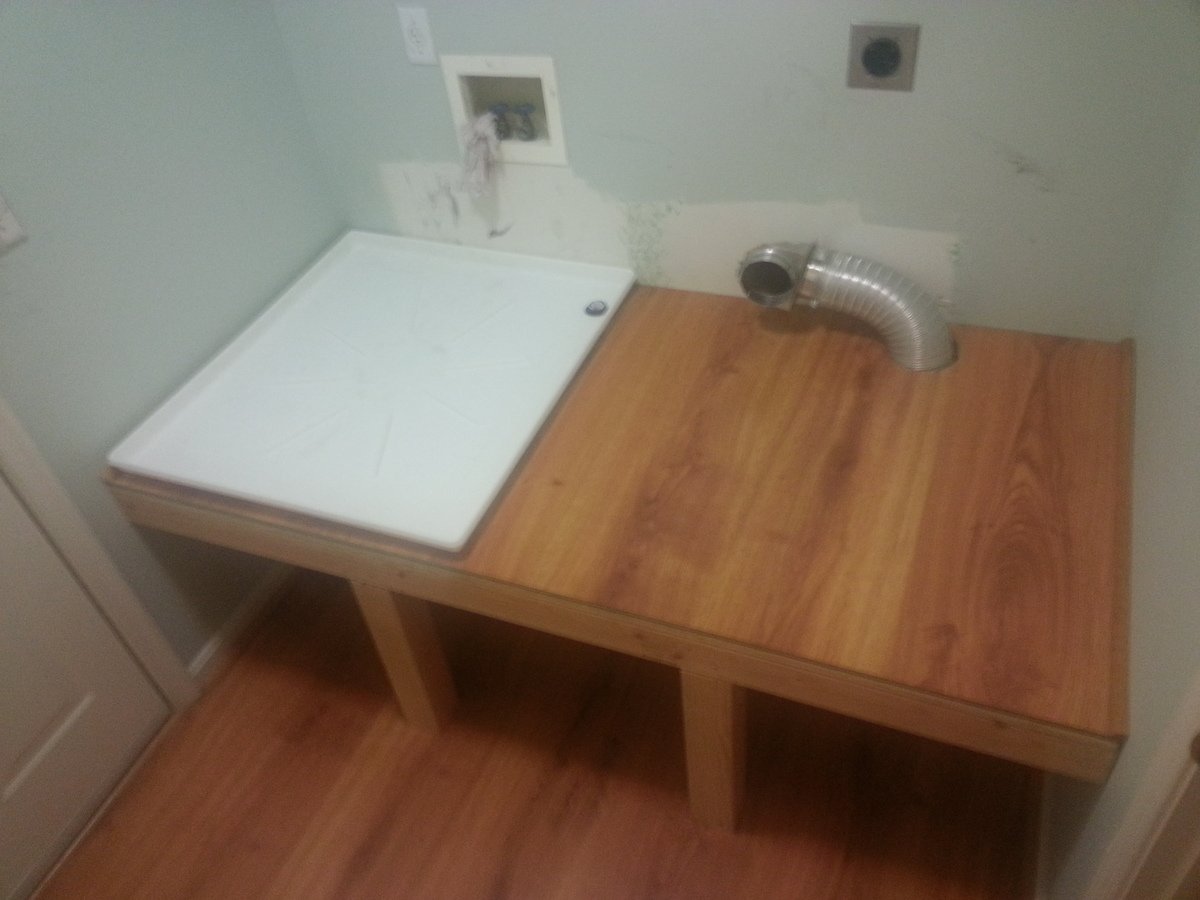
Pretty basic:  2x4's all around for the edge framing--back and sides fastened directly to the wall studs, and front 2x4 supported by two, notched 4x4 legs.  3/4" plywood for the subsurface, and 1/4" laminate faux-wood flooring on top (left over from reflooring, so it matches the floor below).  Bore holes for the washer pan drain and the dryer vent.  1" quarter-round molding on the sides, and 5.5" face piece flush with the top of the molding across the front (spare lauan I had looks perfect).  I also made a point of putting the machines on the platform before the face piece since it might have been in the way or damaged.

Anyone will tell you that it's best to at least sketch out what you want to do so you can minimize surprises, forgotten parts, etc.  I, of course, did virtually none of that, and made several course changes and corrections along the way.  For this project, I was lucky that I didn't need to backtrack at any point, and probably won't learn this lesson any time soon anyway.  However, you SHOULD.


TAKE-AWAYS
The main mistake I made was while gathering the platform dimensions for cutting the plywood.  It was only blind luck that kept me from having to do it more than once (and having to buy more than one 4x8 sheet).  I know that it's actually very unlikely that two adjacent walls are perfectly square, so I made a point to measure the width between the walls at the back and at the front--and, sure enough, found a 1/8" difference--wider at the front.  But when I measured and marked the plywood for cutting, I measured both distances from the precut edge, and then cut.  By doing this, I inadvertently assumed that one of the back corners was perfectly square. 

What I should have done was used a carpenter's square in each back corner to extend a square line from the back edge to the front, and then measured from the square lines to their respective side wall.  This would have accounted for neither back corner being square.

Fortunately, my mistake wasn't big enough to keep the plywood from fitting, but it was very, VERY close.


GIDDY
I honestly couldn't be happier with the finished project (or more smug).  We've raised the washer/dryer 9" higher than they were (24" off the floor), and we now have basket storage underneath all the way across.  I placed two 24" plastic cabinets on top, which still leaves room for the detergent right over the soap inlet on the washer.

And, most importantly, I got to use every powertool I own.  Kinda beats "the quick brown fox jumped over the lazy dog" thing, huh?
 

Estimated Cost
Most of my project made use of spare lumber and materials I've had on hand forever. The 4x8 sheet of plywood was about $30 at Home Depot.
Estimated Time Investment
Weekend Project (10-20 Hours)
Finish Used
Natural. No finishing, staining, or painting. Lauan has a natural stained oak coloring, so it was perfect for the facing. (A soft wood, Lauan--"lao-AHN", also sometimes called "Philippine Mahogany" simply for the darker color--used to be as readily available as pine, but I haven't seen it in stores for many years.)
Recommended Skill Level
Intermediate

Comments

Back