Community Brag Posts

Dining / Gaming Table

Submitted by bette9182 on Mon, 04/25/2016 - 13:18

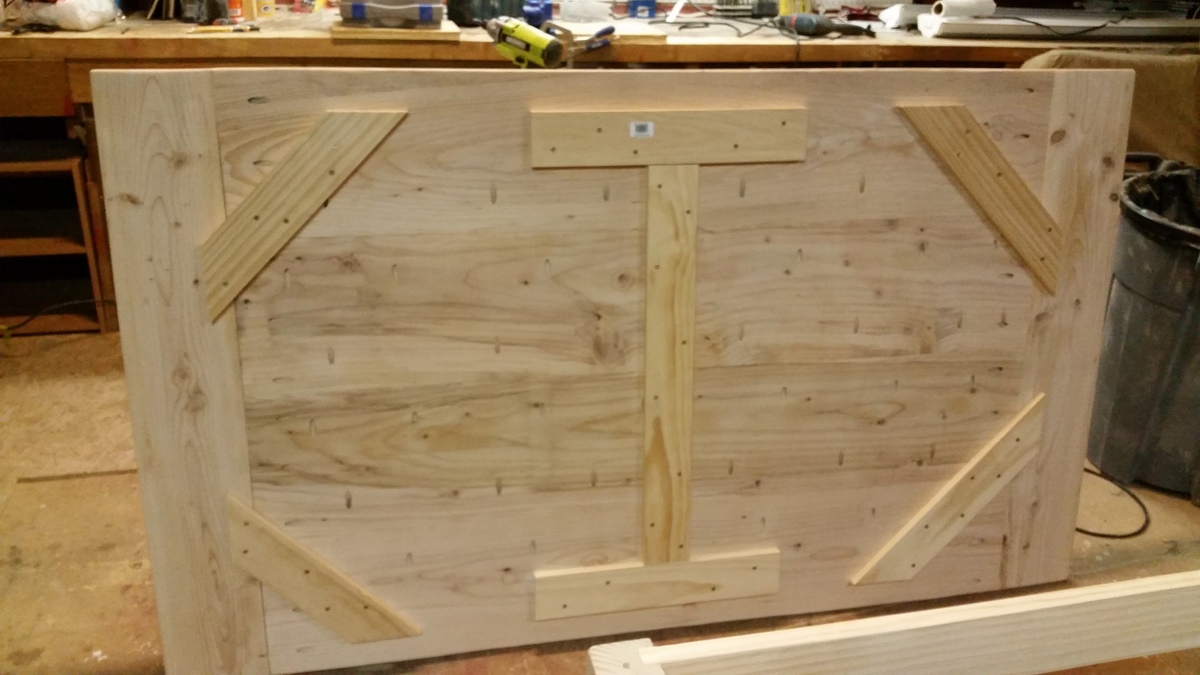
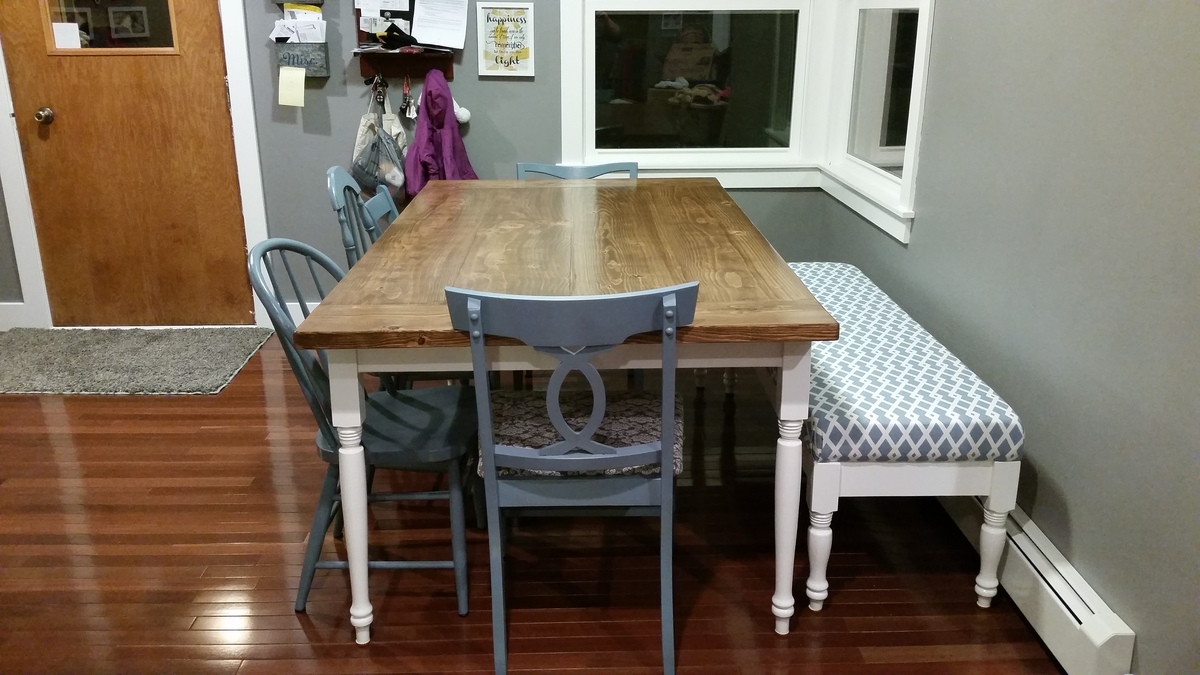
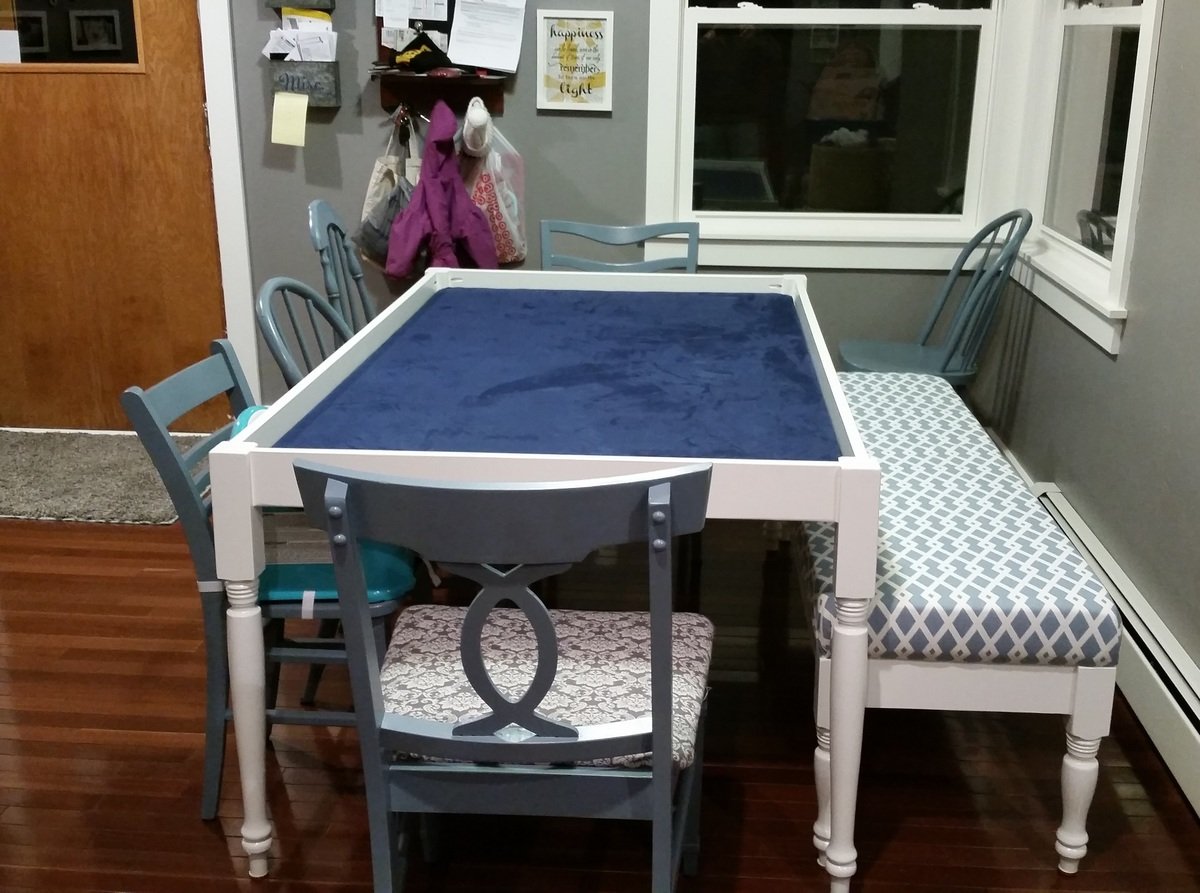
My wife and I were looking for a new dining table, the one we had was a bar height which worked well for our daughters high chair, but she was going to be transitioning to a booster seat . We shopped around and had sticker shock at the cost of a dining room set. We enjoy playing board games and I had been looking into possible buying a board gaming table, but those more expensive and some had long lead times as well. I tossed out the idea that I could make our table and my wife agreed but gave me a deadline. I had built a few smaller pieces before but nothing like this. I based my plans off the farmhouse table for the top and used store bought legs. The top needed to be sturdy since it is not attached to the base, I did add blocking on the back so the top doesn’t move around and it is heavy enough that it doesn’t flip up if you lean on it. I moved the typical supports down to the bottom of the side rails and added a ¾” piece of MDF that I had for the gaming top. We used spray adhesive to attach some batting and used blue suede for the gaming surface since we are fans of Doctor Who. I added handles to the top on the inside to help when it is moved off the table for gaming. I built the bench too and made it so we could slide it under the table to save on space when we did not need it. The other chairs are hand me downs and Salvation Army finds that we spray painted. The only addition that I have to make is to build some sort of cup holders.
Estimated Cost
$150 - 200 with all the chairs and fabric.
Estimated Time Investment
Week Long Project (20 Hours or More)
Recommended Skill Level
Beginner

Comments

Super Easy, Super Awesome! Thank you Ana & Ashley

Submitted by jhavinga on Tue, 03/18/2014 - 09:24

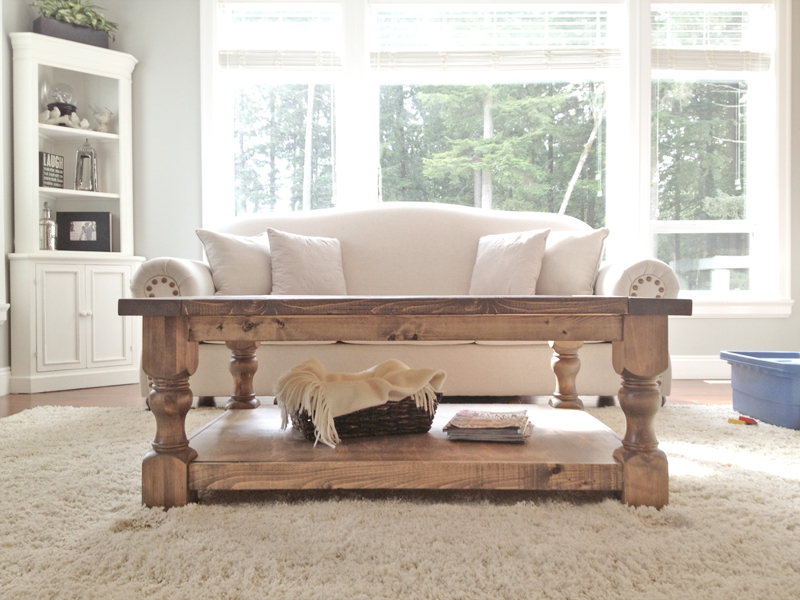
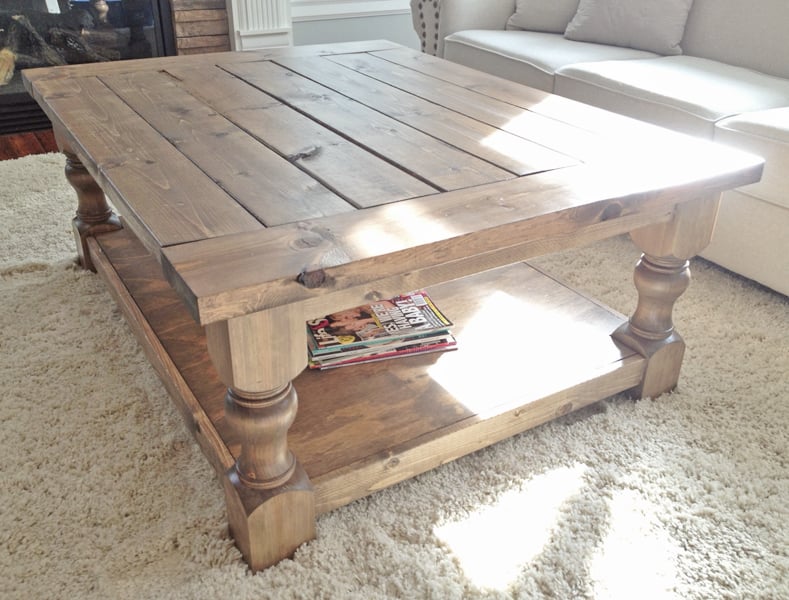
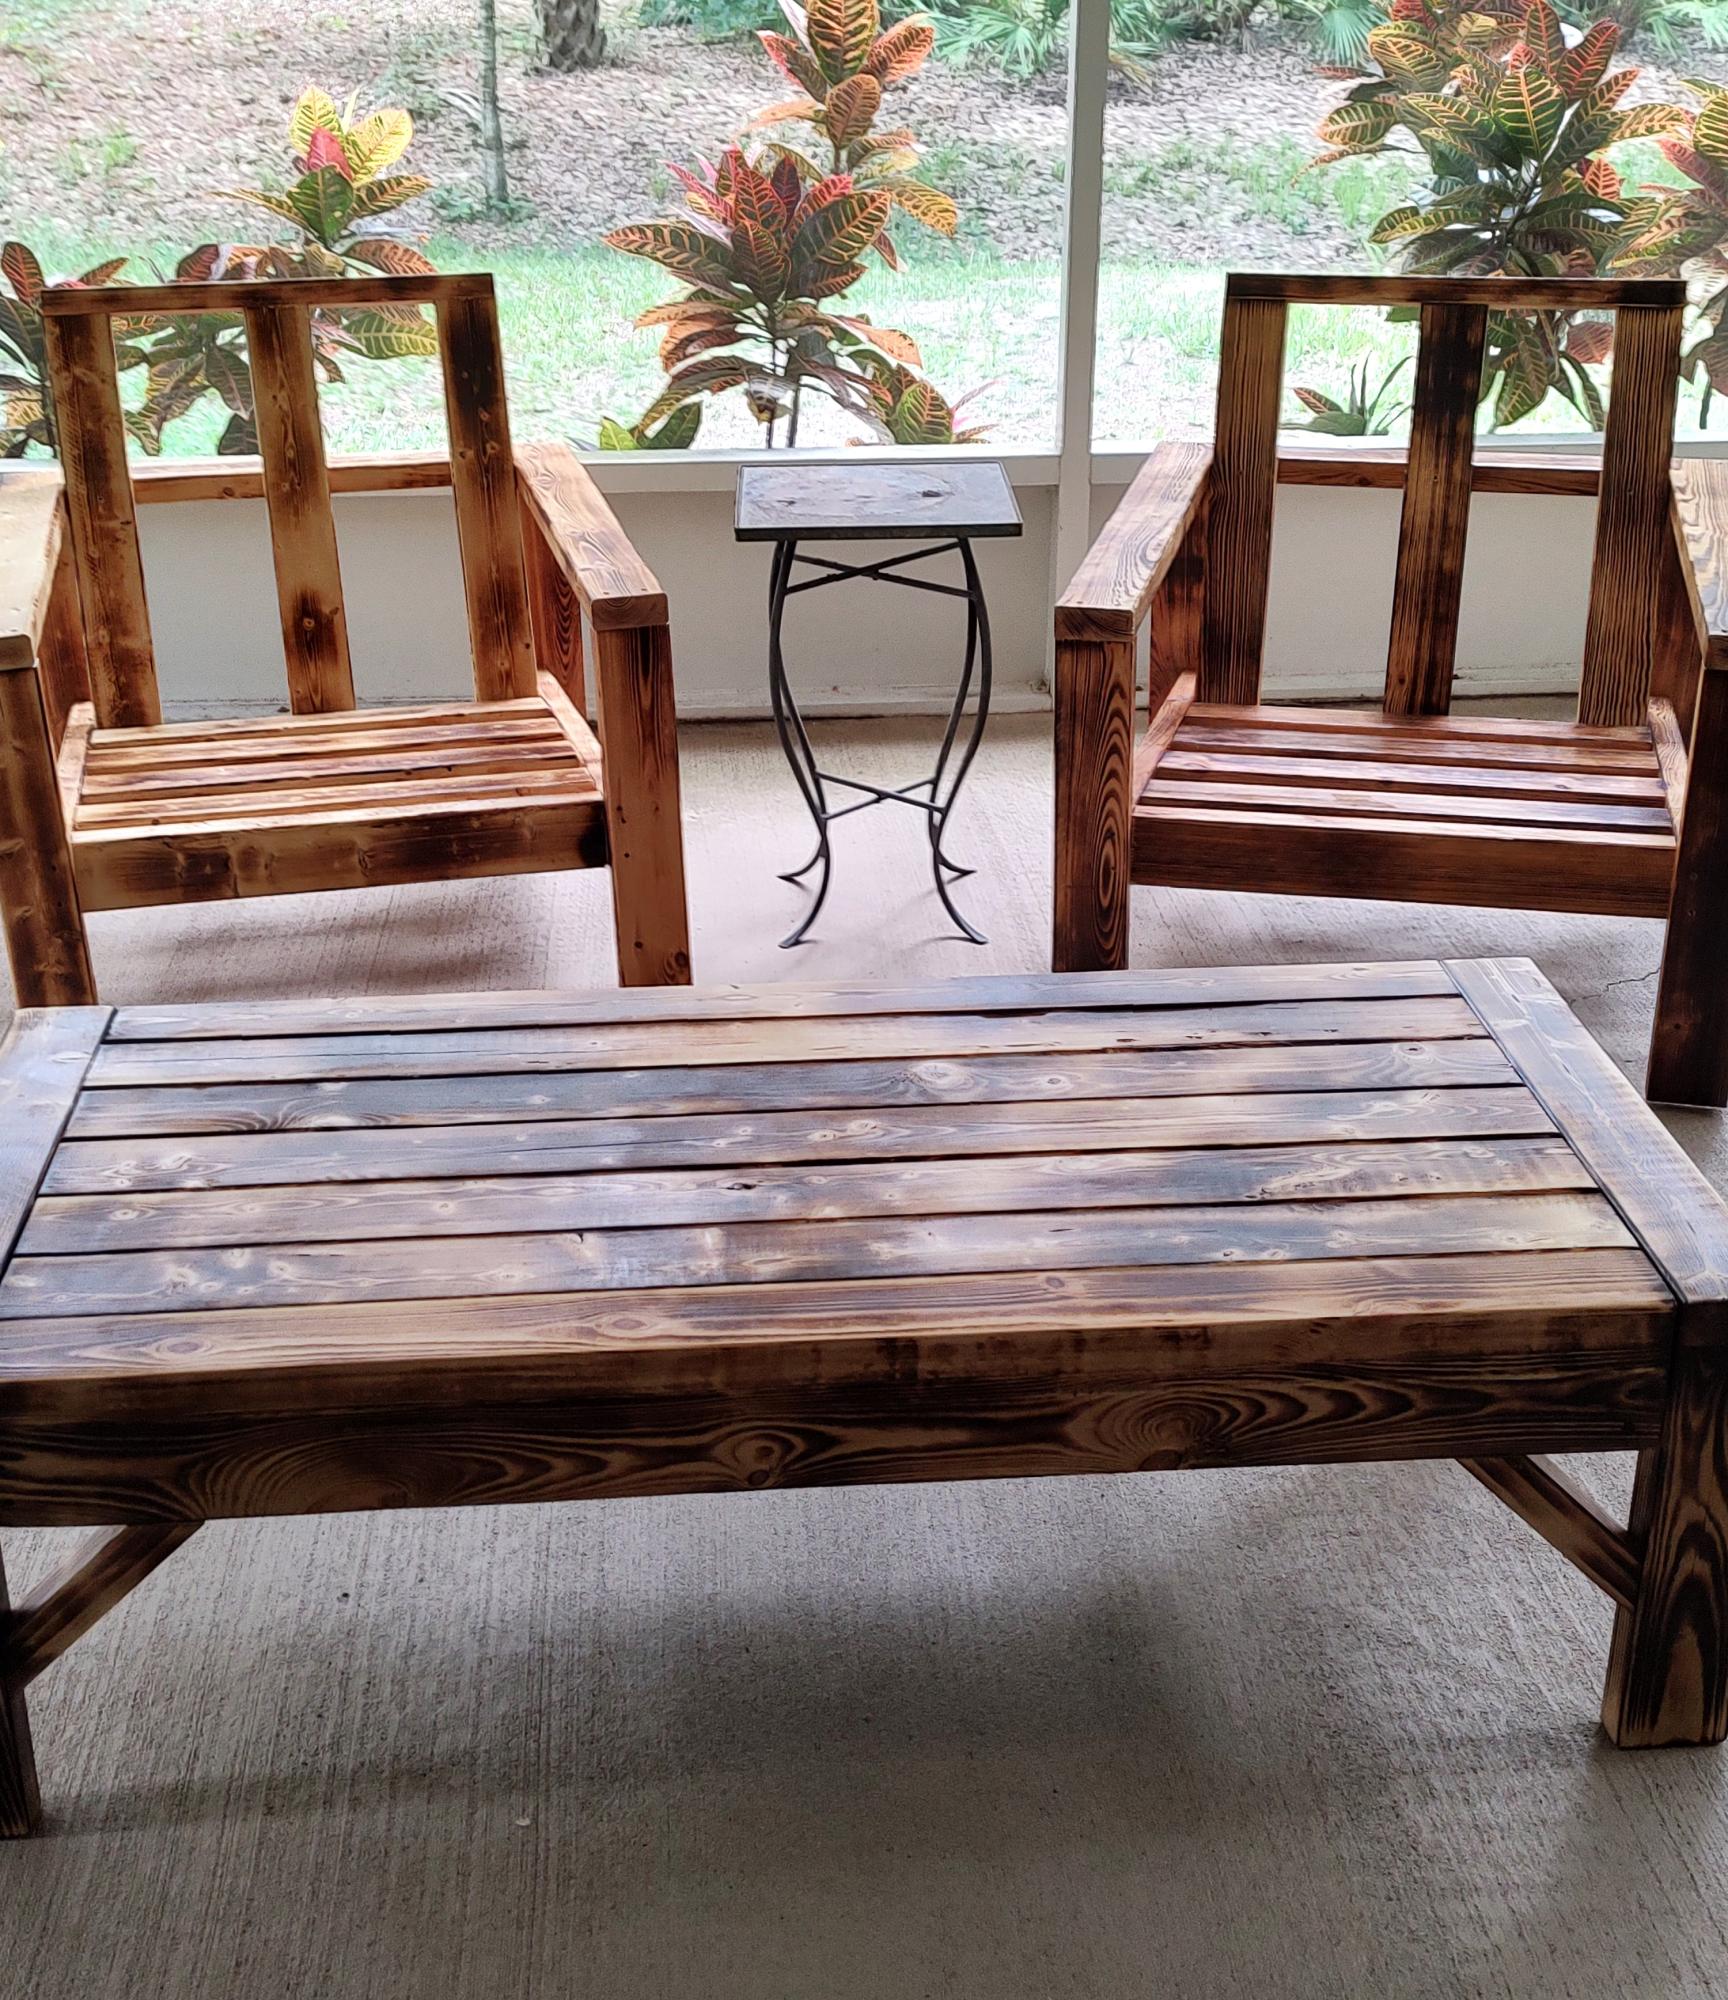
Loved this Coffee Table and wanted to suprise the wife for christmas, so being my first project I got started! had no idea what I was doing but they were great instructions, and the KREG JIG is AMAZING. altered the plans a bit to make it a rectangular coffee table (added 12 inches) instead of square to fit our living room better. Now to tackle the next project!

Built from Plan(s)
Estimated Cost
$200
Estimated Time Investment
Weekend Project (10-20 Hours)
Finish Used
Used 2 different stains to get a brown/gray finish. just one coat of each!
Minwax Weathered Oak & Minwax Special Oak.
Recommended Skill Level
Beginner

Comments

MichelleC

Wed, 03/19/2014 - 07:39

I absolutely LOVE the finish on this, thank for sharing!!! For the estimated cost you put $100, is that without including the cost of the turned legs? Did you get the legs through Osborne? I think I NEED to make this coffee table and use that finish!

jhavinga

Wed, 03/19/2014 - 09:02

Now that you brought it to my attention you are absolutely right, I completely forgot about the cost of the legs. including the cost of those, it does come to $200 dollars, ill change that. I also did get the legs from Osbourne. As for the finish yes do it! I am really happy with how it turned out :) thanks again and let me know when your coffee table is done so i can check it out!

Cheers,
Justin

Mandybeck

Wed, 08/27/2014 - 21:35

This is absolutely beautiful!!!! Quick question... You said you used weathered oak and special oak for the stain. Did you mean special walnut? I can't seem to find special oak! Thanks!!!

usmcjeff7489

Fri, 07/17/2015 - 12:59

Being as yours is much lighter (and i like it more than the darker). Did you use the wood conditioner and how long did you leave the stain on for? it almost looks like once it was on you were wiping it off. Love it well done :)

Also, do any of you guys use the paste wax when finished? I was thinking about following the stain with some poly to seal it. any suggestions?

Podium for My Wife's Classroom

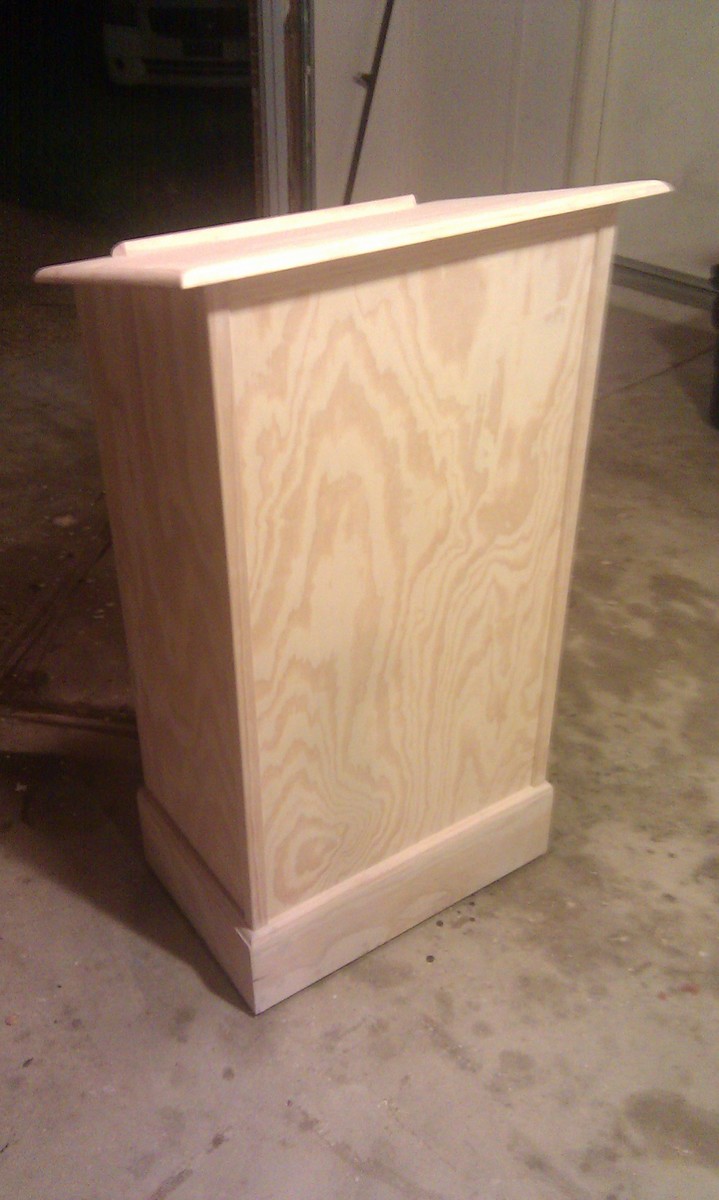
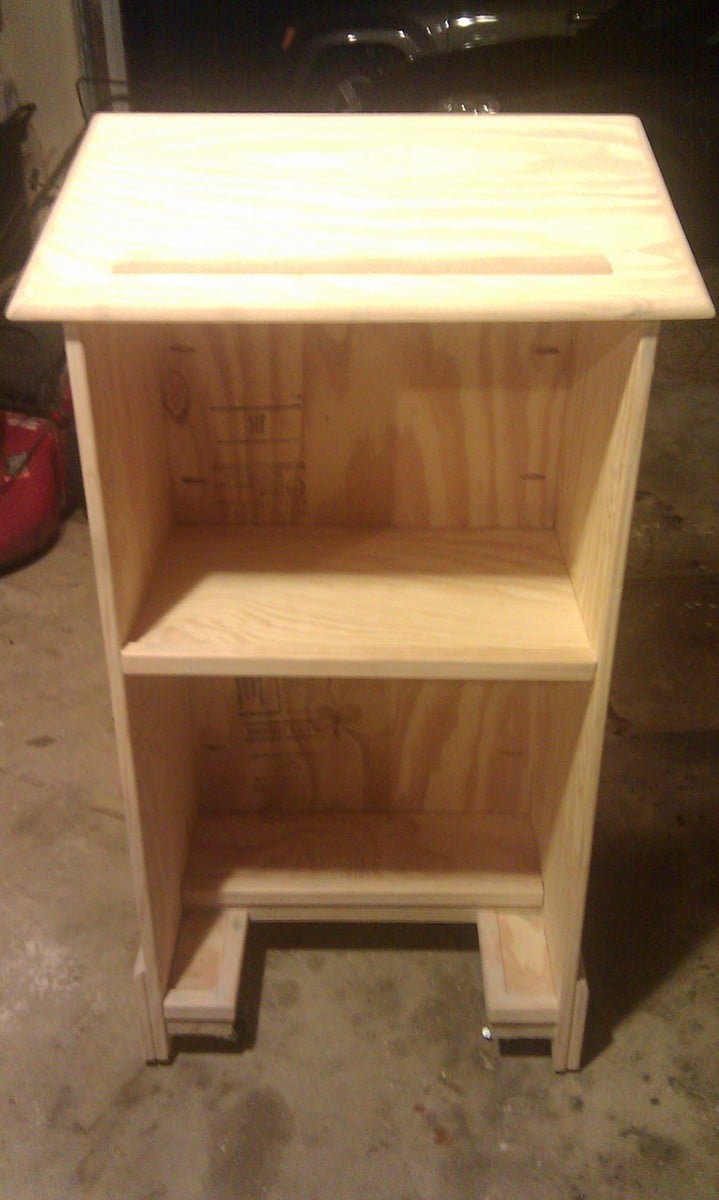
This is my first try at building furniture. I've built larger things in the past like decks and a fort for my nephews, but never furniture. Even though I used the plans to build the main box, I did change up the bottom and added some new stuff. I added wheels to the bottom my wife could easily move it around her classroom. I didn't want to put a square base on it because I thought it might hit her ankles when she was standing close to it. So I sort-of notched it out to give an opening for her feet and I used some scraps to create a short shelf at the bottom. I also added more trim that the plans call for. I cut strips of the pine plywood for the base molding and topped it with quarter round. I used corner trim for the front corners, the self inside and the bottom notched shelf. I also used screen trim for the back of it. I think it came out nice and I've very pleased with it. I used 2 coats of Minwax PolyShades American Chestnut on it.

Built from Plan(s)
Estimated Time Investment
Weekend Project (10-20 Hours)
Finish Used
Minwax PolyShades American Chestnut
Recommended Skill Level
Beginner

Modern tree house

Submitted by Anonymous (not verified) on Sun, 06/14/2020 - 11:24

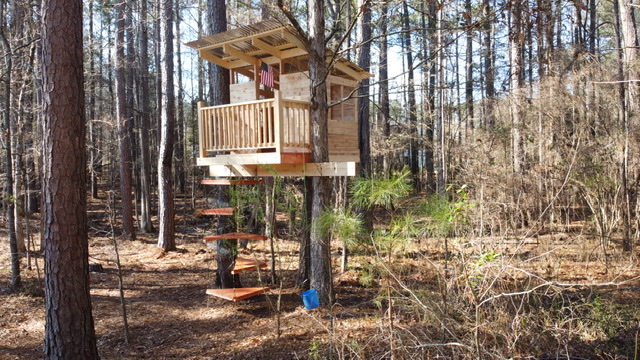
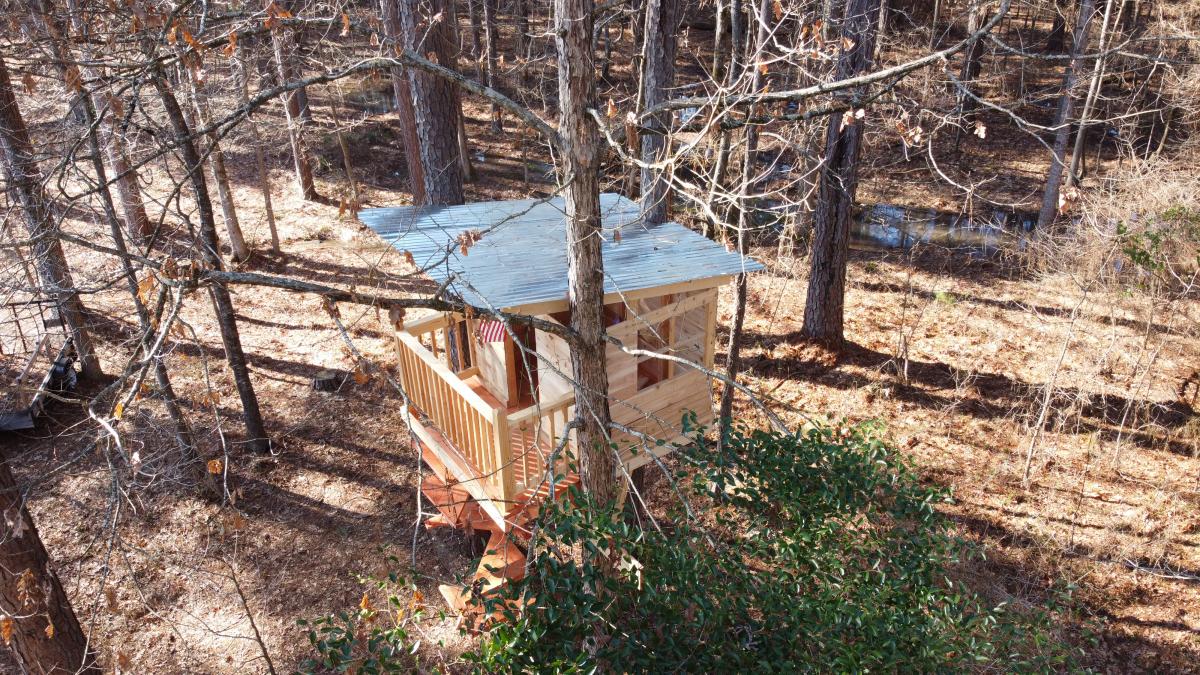
I modified the modern tree house plan and added some safety features for young kids. I did a spiral up ladder enclosed with a mesh net so they can’t fall very far. I also added more siding and put cross bracing in window wells to limit opening size. Finally, a full porch style railing and the main support beams are pinned at one end and have a self designed treehouse sliding bracket to allow for tree movement in the wind.

Estimated Cost
$1500
Estimated Time Investment
Week Long Project (20 Hours or More)
Recommended Skill Level
Intermediate

Comments

kmccrac2

Sat, 10/30/2021 - 07:09

Hi! I know this post was forever ago, but this is exactly how I want the treehouse to be for the my kids! I am trying to see if there was anyway you could show me how you did the modifications! I’d be forever grateful!

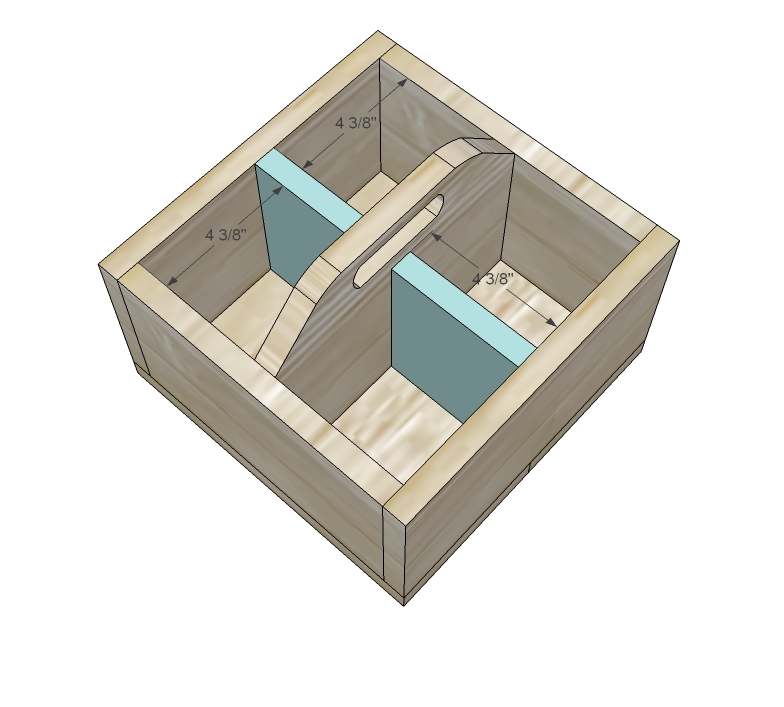
Tool Organizer

Submitted by Anonymous (not verified) on Thu, 07/02/2020 - 07:02

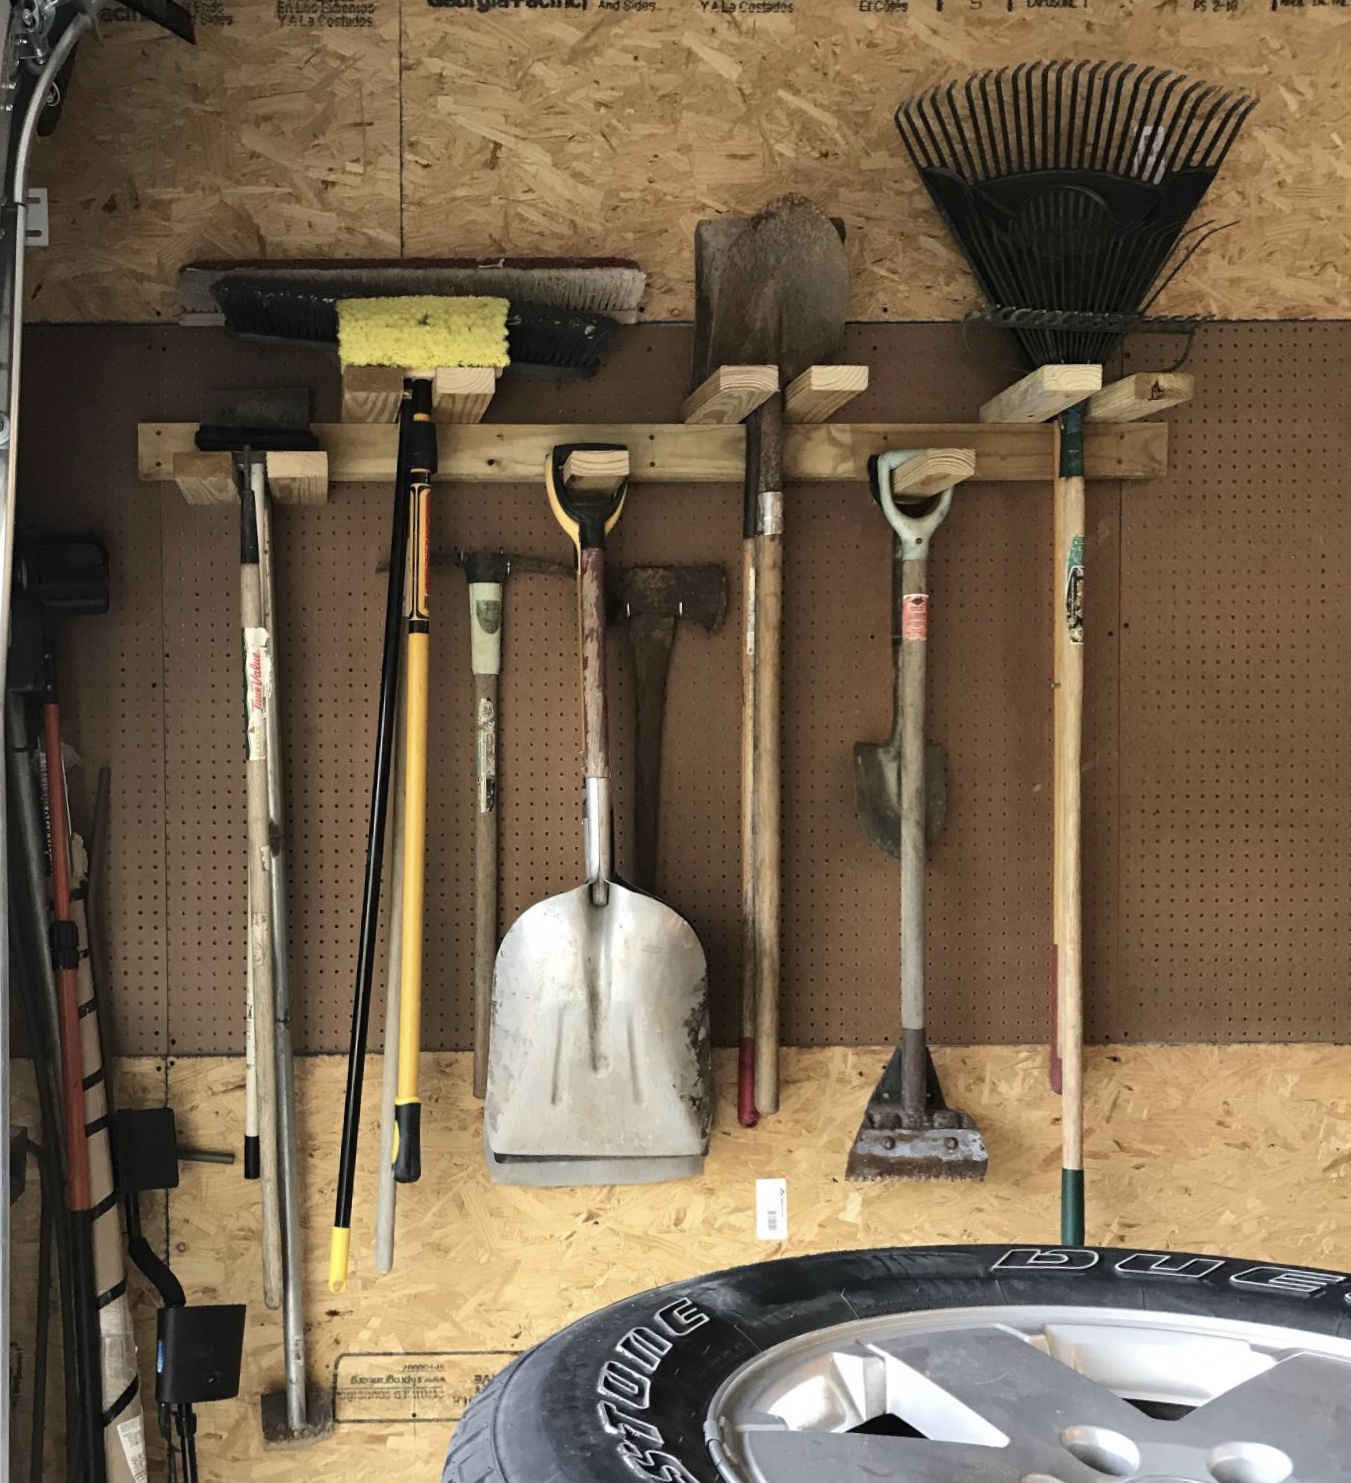
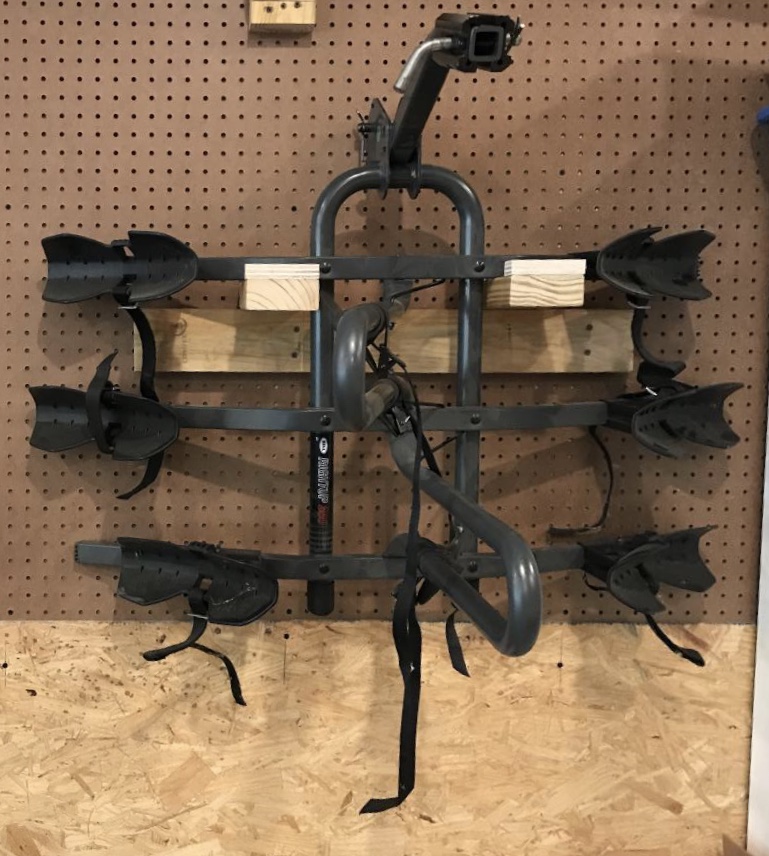
I’m very happy with my tool organizer. I also used the tool organizer idea for bracket to hang our bicycle rack. We love the way it all came out. Thank you so much for sharing!

We run a fence company. The best thing about this project is that it cost me $0!! I used 2X4 cutoffs that we were going to trash!

Built from Plan(s)

$40 Ping Pong table top game

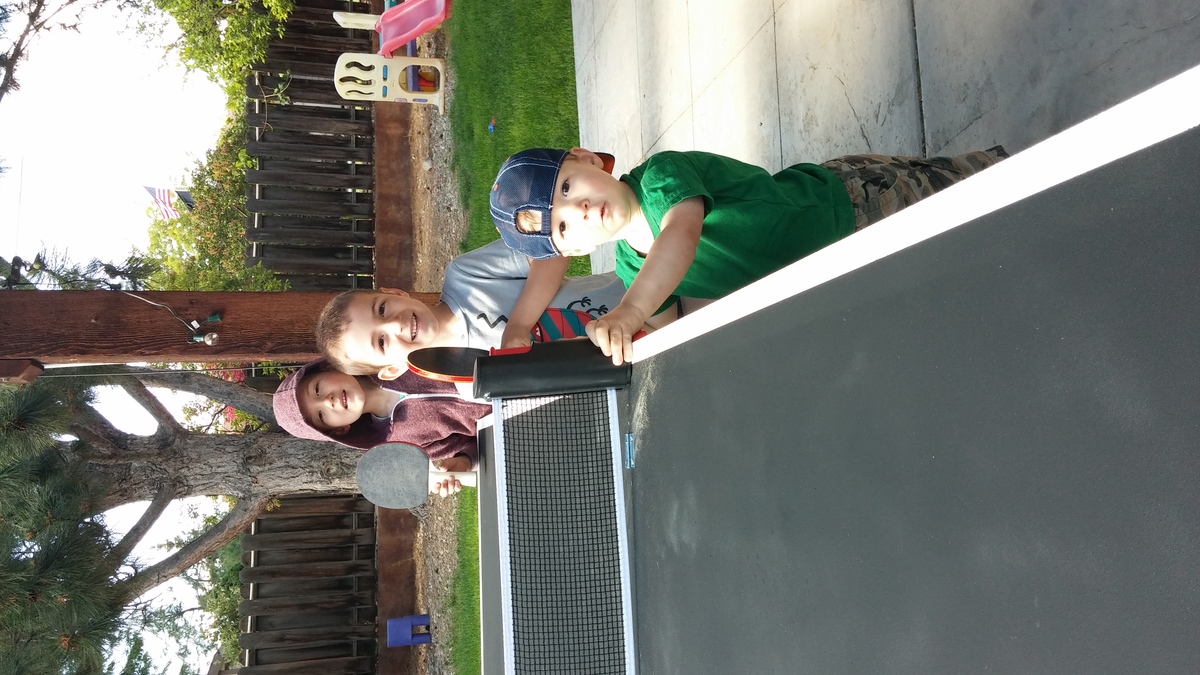
With Father's Day rolling in, my sons and I needed a gift, stat! My husband thinks that Table Tennis is the quintessential father-son activity, so that was an obvious choice.
We needed something easy to make, easy to store, and budget friendly. With a 6, 4, and 2 year old helping out, I made a foldable mdf ping pong table that could easily be placed on our picnic table outside.
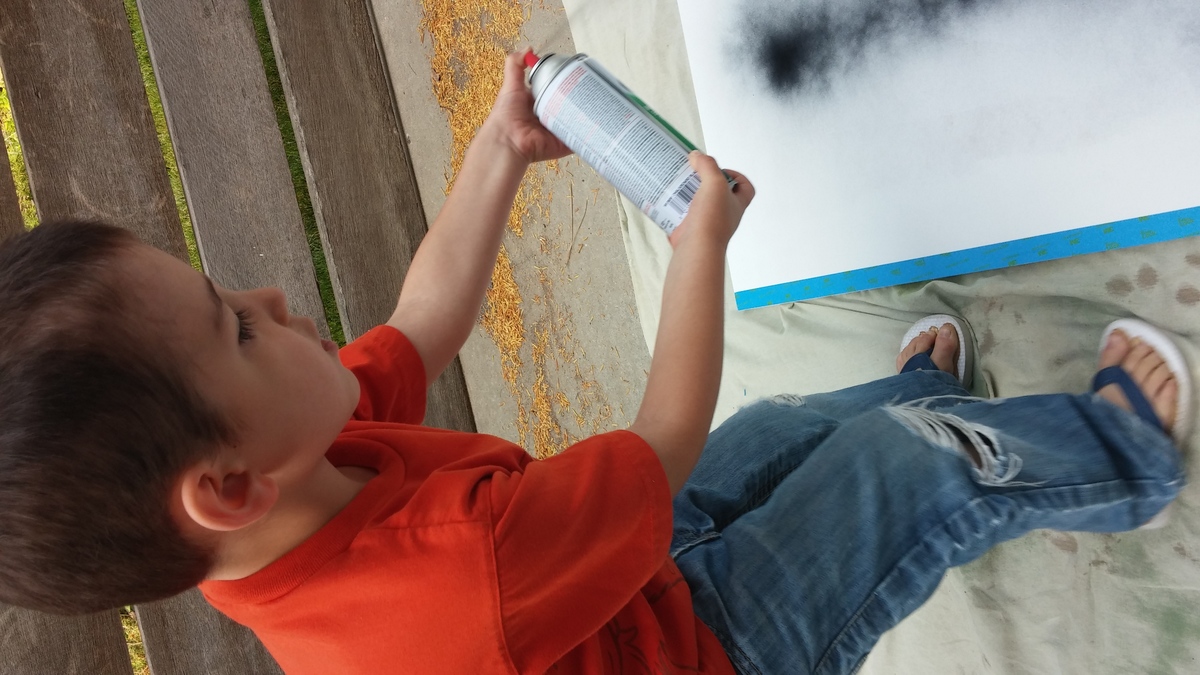
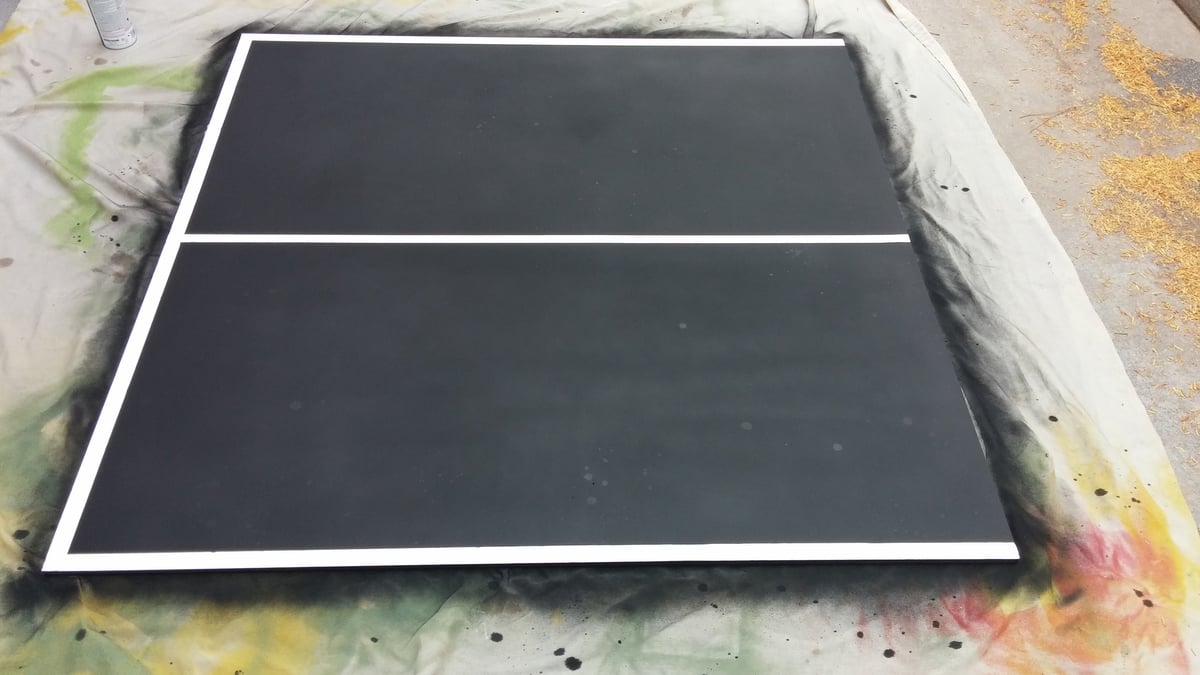
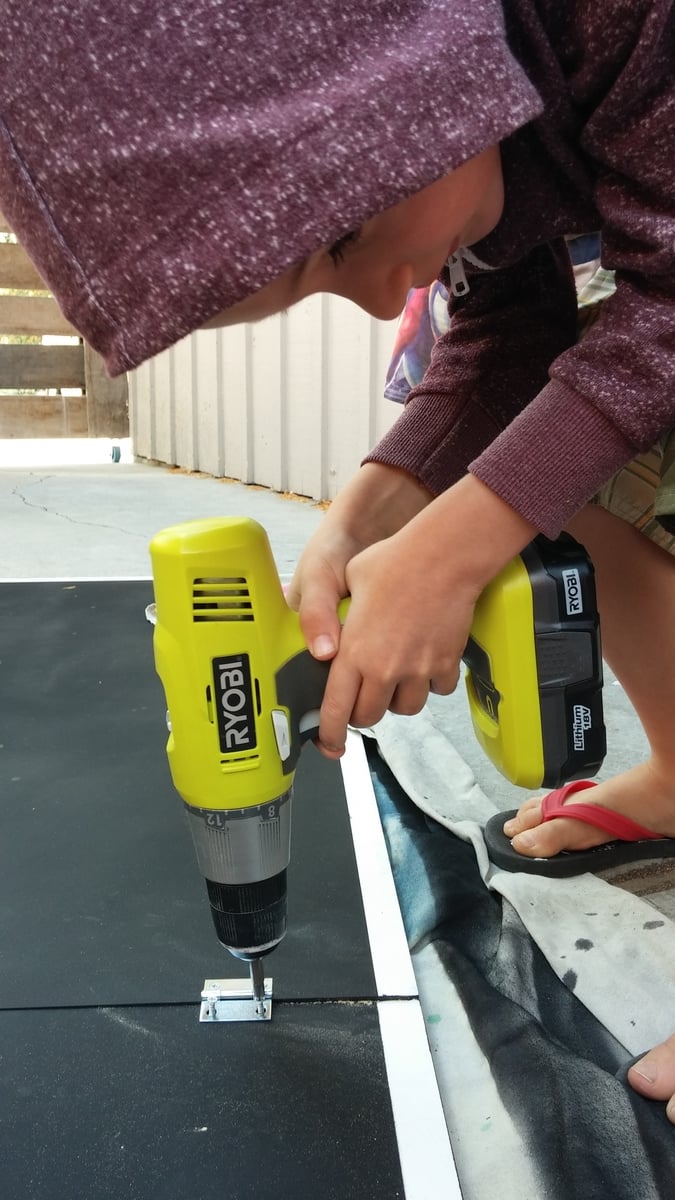
We had home depot cut the mdf in half, primed it, taped off some lines, spray painted it with chalkboard paint (bonus, you can keep score!), and screwed 4 small hinges to attach the 2 halves. We added a removable table tennis net, some paddles and balls, and have played nearly every day!

Estimated Cost
$40
Estimated Time Investment
Afternoon Project (3-6 Hours)
Finish Used
Chalkboard spray paint
Recommended Skill Level
Starter Project

Comments

Mud Kitchen

Submitted by Noyehx4 on Mon, 07/20/2020 - 12:48

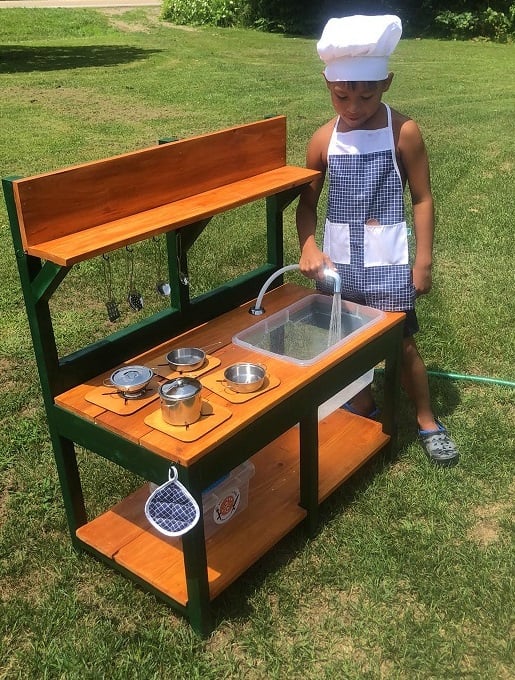
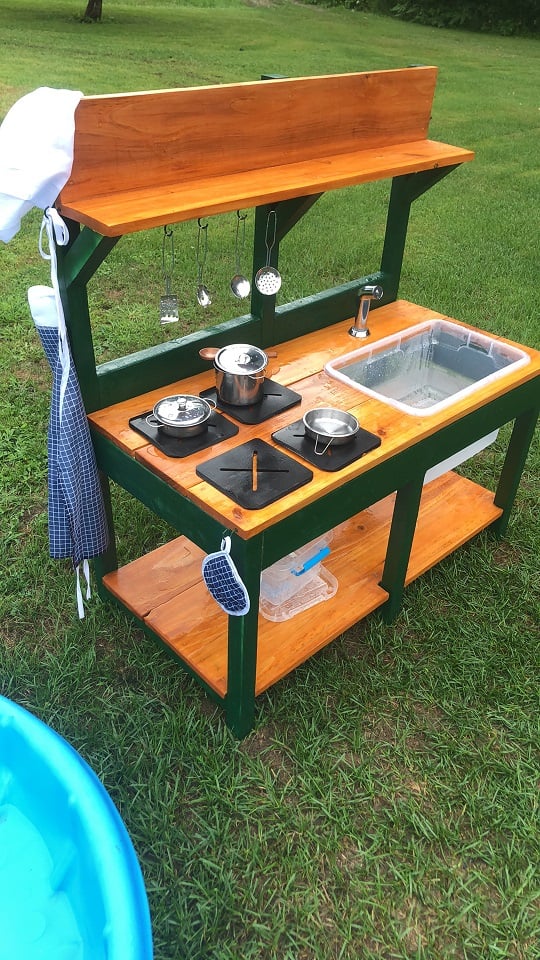
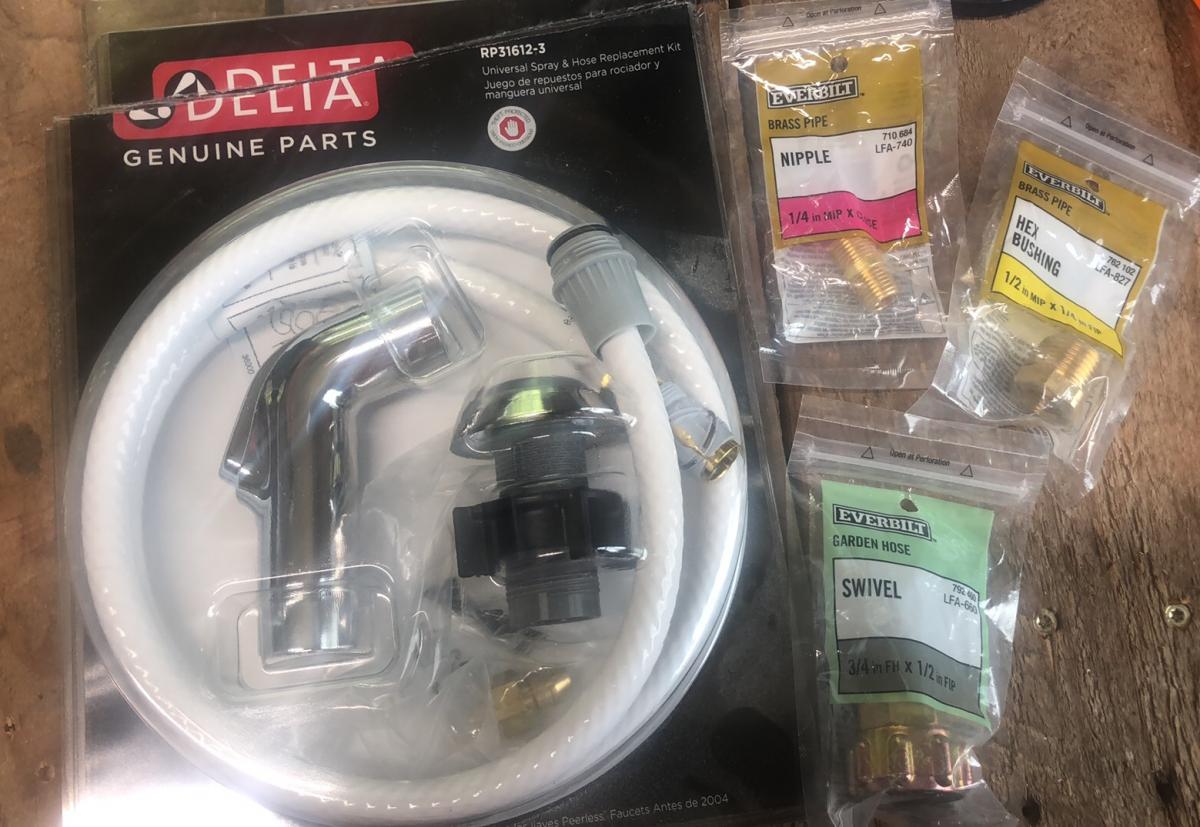
This was my first build, like ever. I am very proud! Props given to my hubby who is a carpenter by trade. I went back and forth on stains and paint colors at home depot. He didn't rush me and was awesome the entire time! He actually picked up the supplies, and is now a fan of the self tap screws! He thought he knew where everything in home depot was, but he had to ask to find those LOL. He wanted to use his new nail gun, but I wanted to follow the plans. The plans are awesome! We decided not to add an oven door just yet. Likely will soon. (Avoiding pinched fingers for now) I also have the knobs for the front, but it was hot and since I had only just stained them, they needed time to dry and second coat yet. (I kind of forgot about them once I finished them with my new dremel) We purchased the hose kit from the kitchen section at home depot. It came with everything, I searched market place and even posted asking if anyone had a used one for sale. No luck. This was $20 and came with everything, the guys at home depot showed me what adapters to get to ensure that it would hook up to our garden hose, and we grabbed those too and they worked perfectly! I messed up cutting one of the angles for the shelf the wrong way, but there was enough scraps for my husband to help me fix it. It was a fun build, and so rewarding to see our kids playing with it! I used my dremel 4300 and it wasn't powerful enough for the thicker wood, so my stove tops are thinner, but he actually enjoys setting them up and spraying them off the table with his hose! I painted the brass hooks green when we were painting the kitchen so they would match. The pots and pans came with the little tote and the apron chef hat and pot holder. It was a perfect finishing touch. *Edit to add photos kitchen hose kit from home depot, reading comments, others had a hard time finding adapters. I suggest taking what you have with you to home depot so they can show you what adapters you need. We needed three because we have a quick attachment on the end of our garden hose, (for our sprayer) now little mans mud kitchen can be connected and disconnected easily!
Built from Plan(s)
Estimated Cost
$75
Estimated Time Investment
Weekend Project (10-20 Hours)
Finish Used
Rust-Oleum Ultra Cover 2X Enamel Spray Paint and Behr Semi-Transparent Waterproofing Exterior Wood Stain and Sealer
Recommended Skill Level
Starter Project

Big Sandbox with Lid

Submitted by flinchball on Mon, 09/21/2020 - 13:18

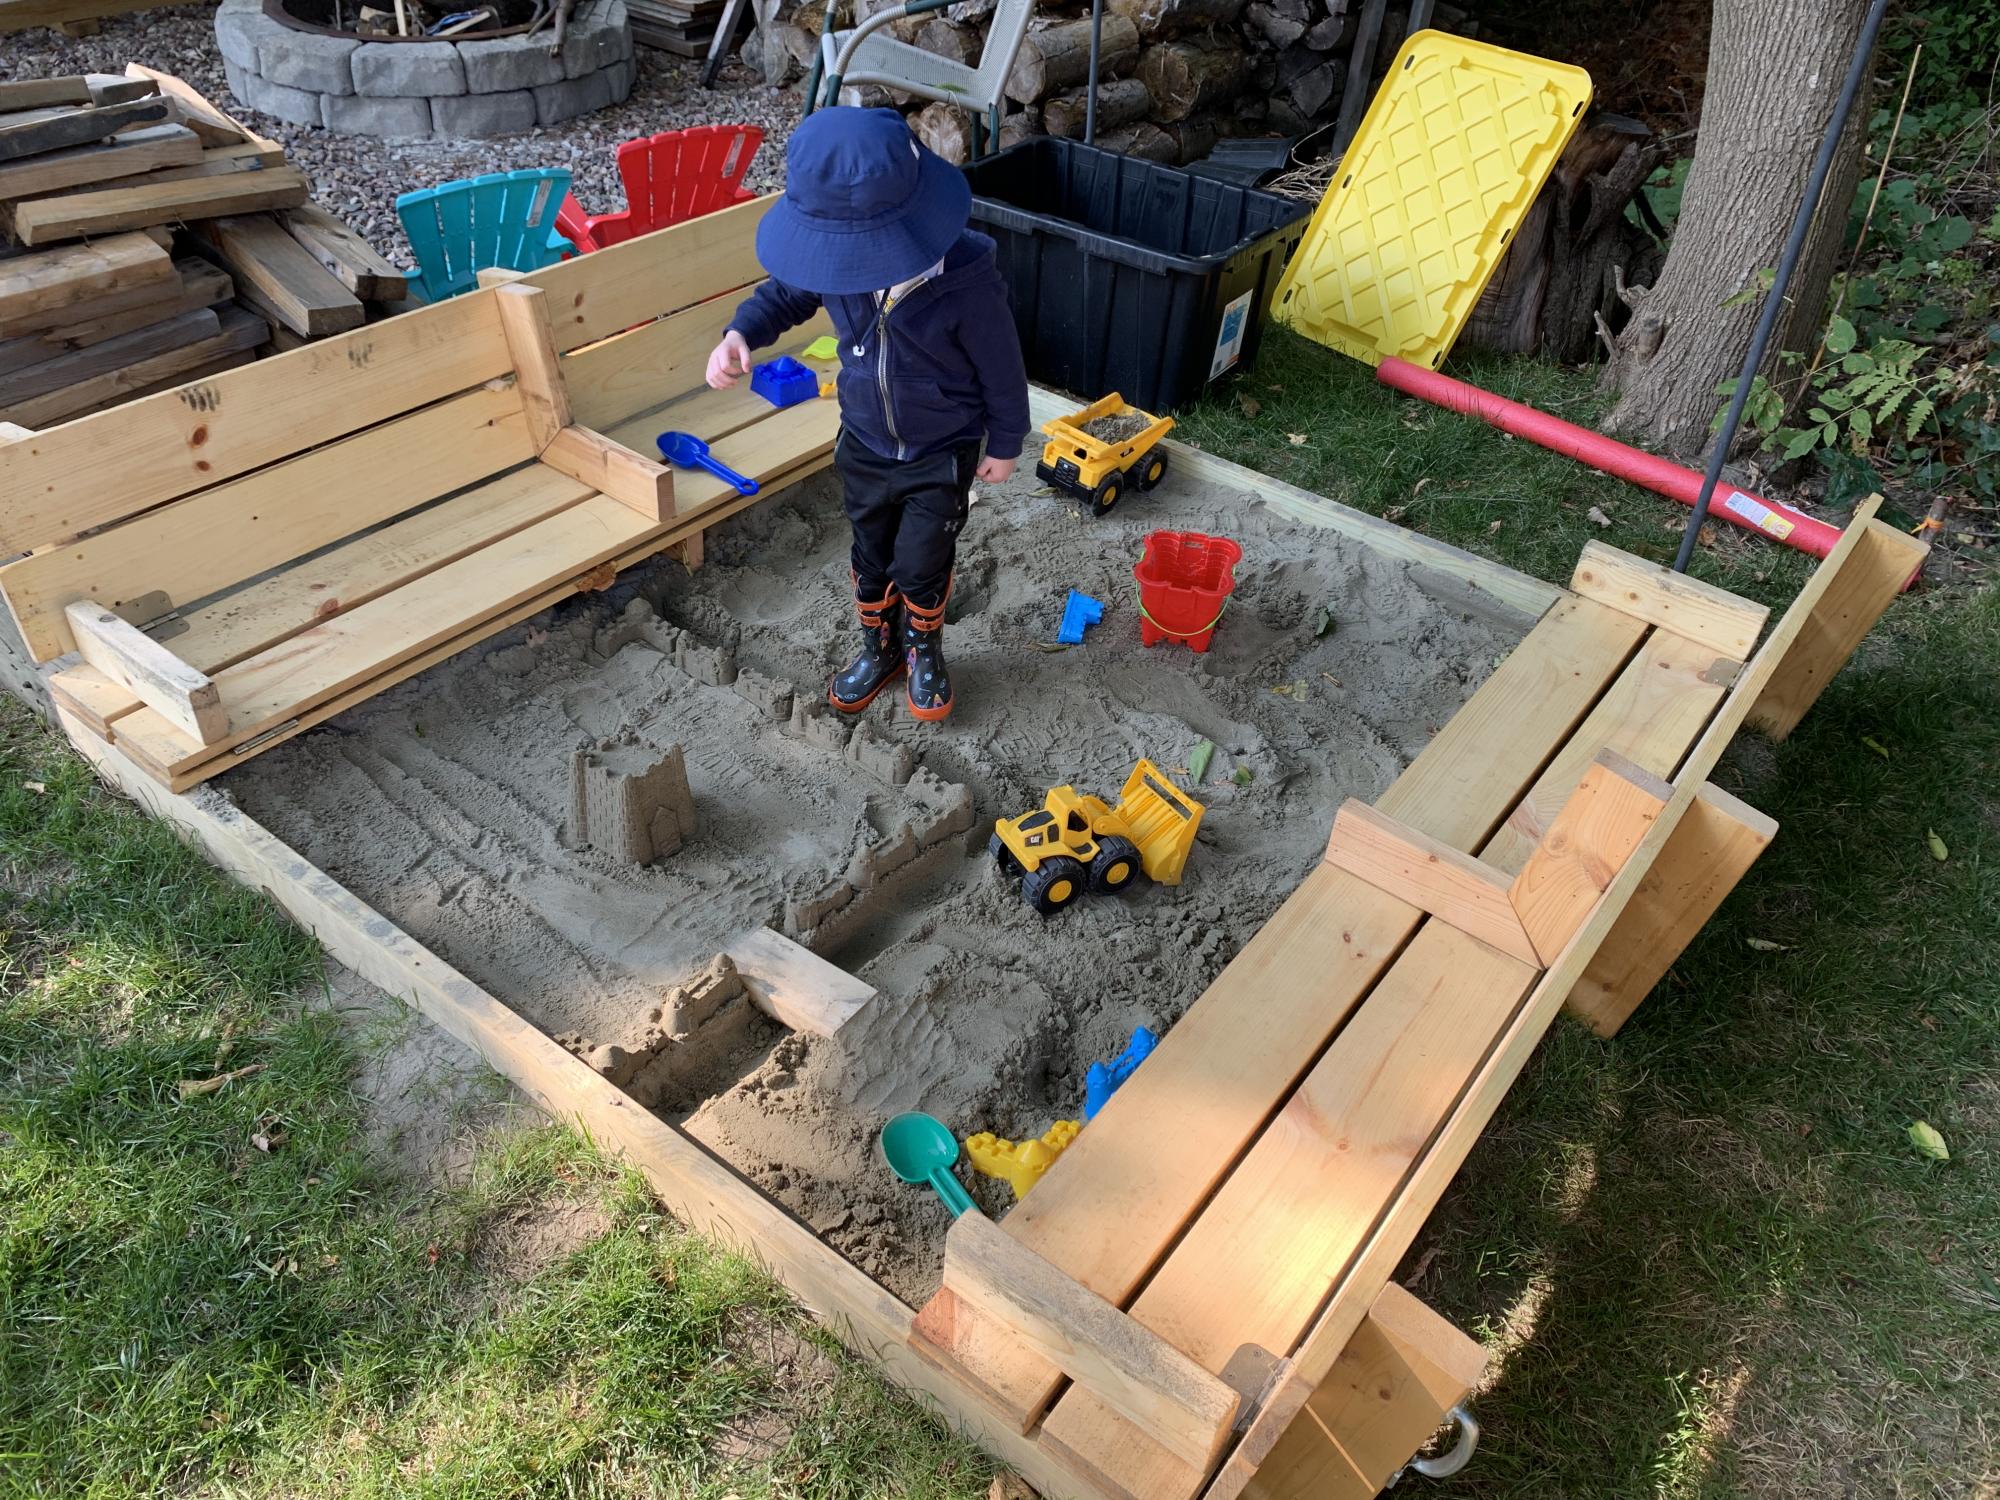
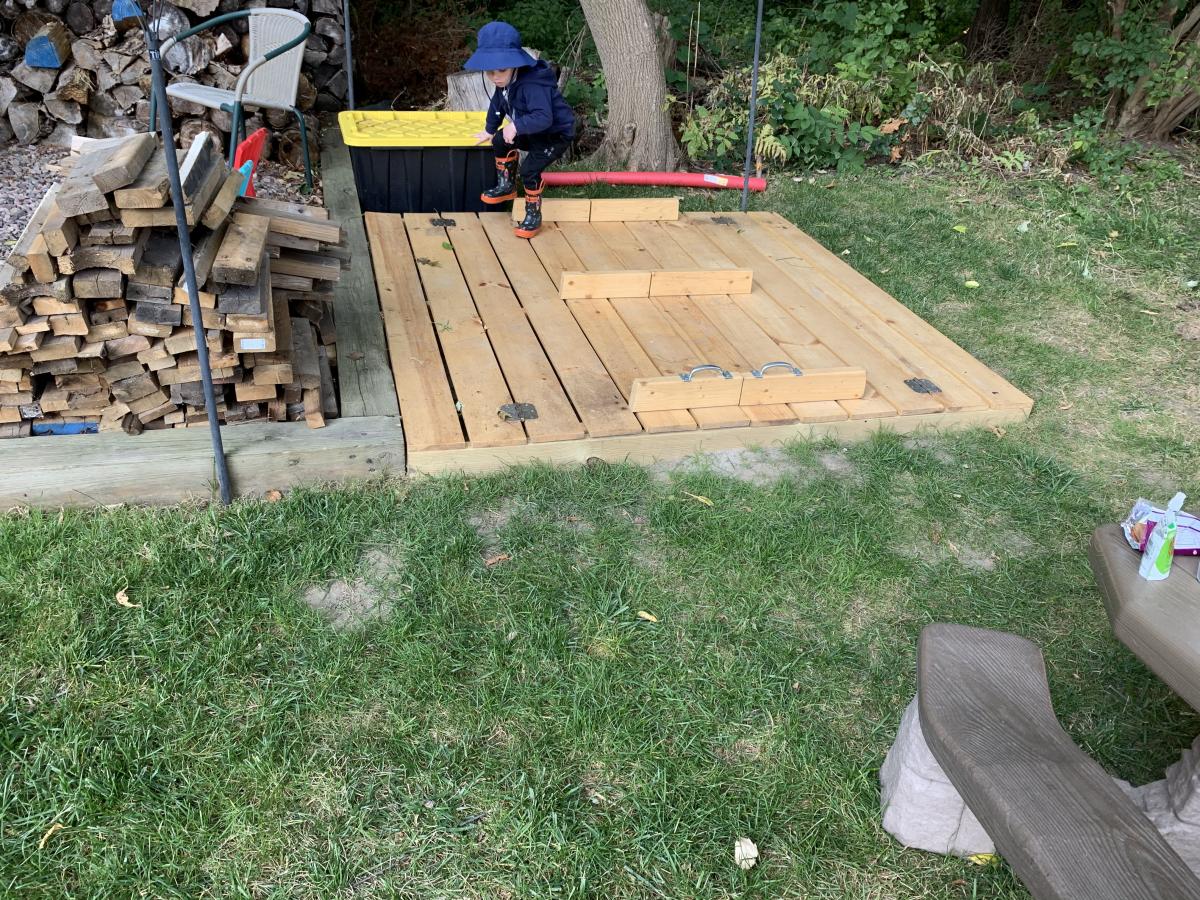
Made the sandbox 6x6. Recessed it so it sits flush with the timber’s around our fire pit area. I added extra armrests in the middle that double as supports when the lid is closed in case anyone wants to walk on it. Filled the sandbox full enough that the armrests sit on the sand when closed. It’s very sturdy now for walking on and the kids have tons of room to play. Thanks for a great plan to work from.

Built from Plan(s)
Estimated Cost
$100
Estimated Time Investment
Day Project (6-9 Hours)
Finish Used
Boiled linseed oil.
Recommended Skill Level
Beginner

Comments

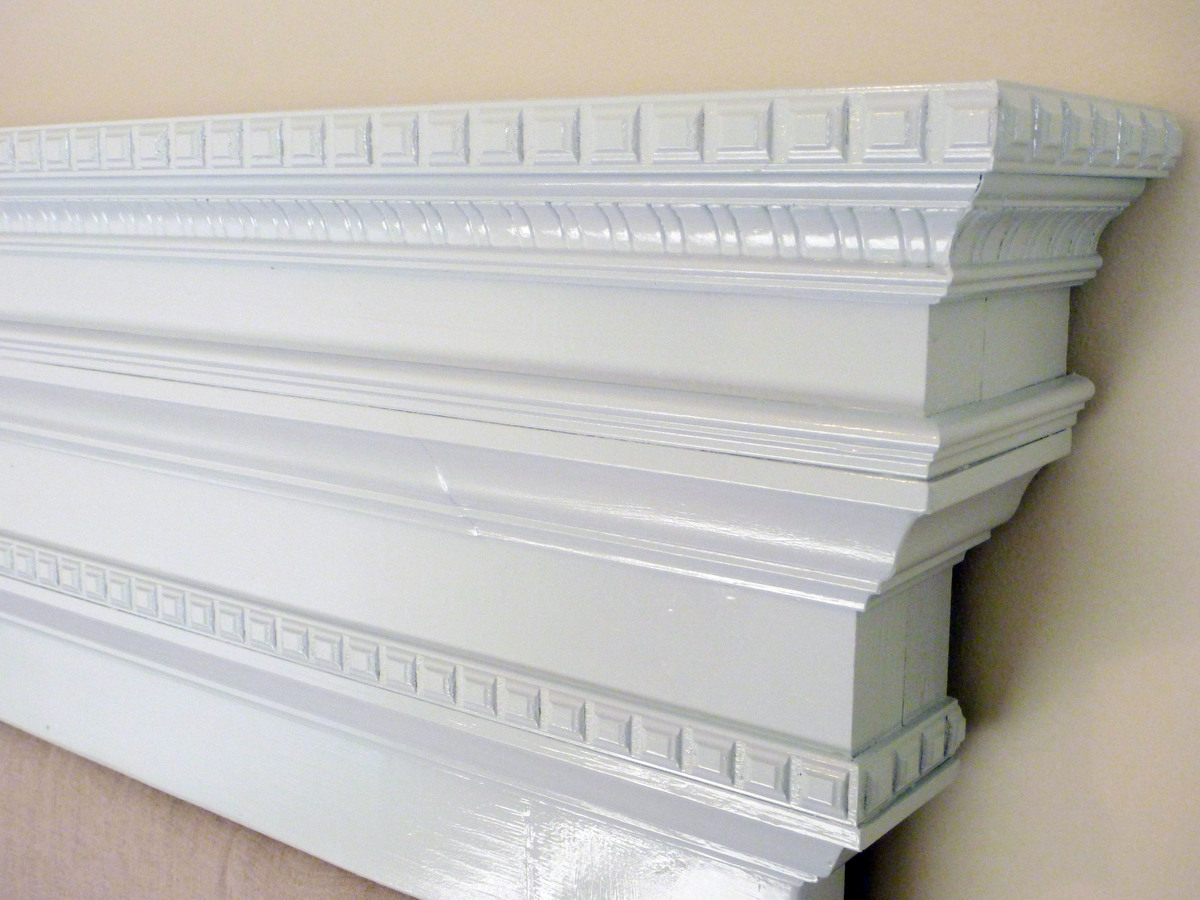
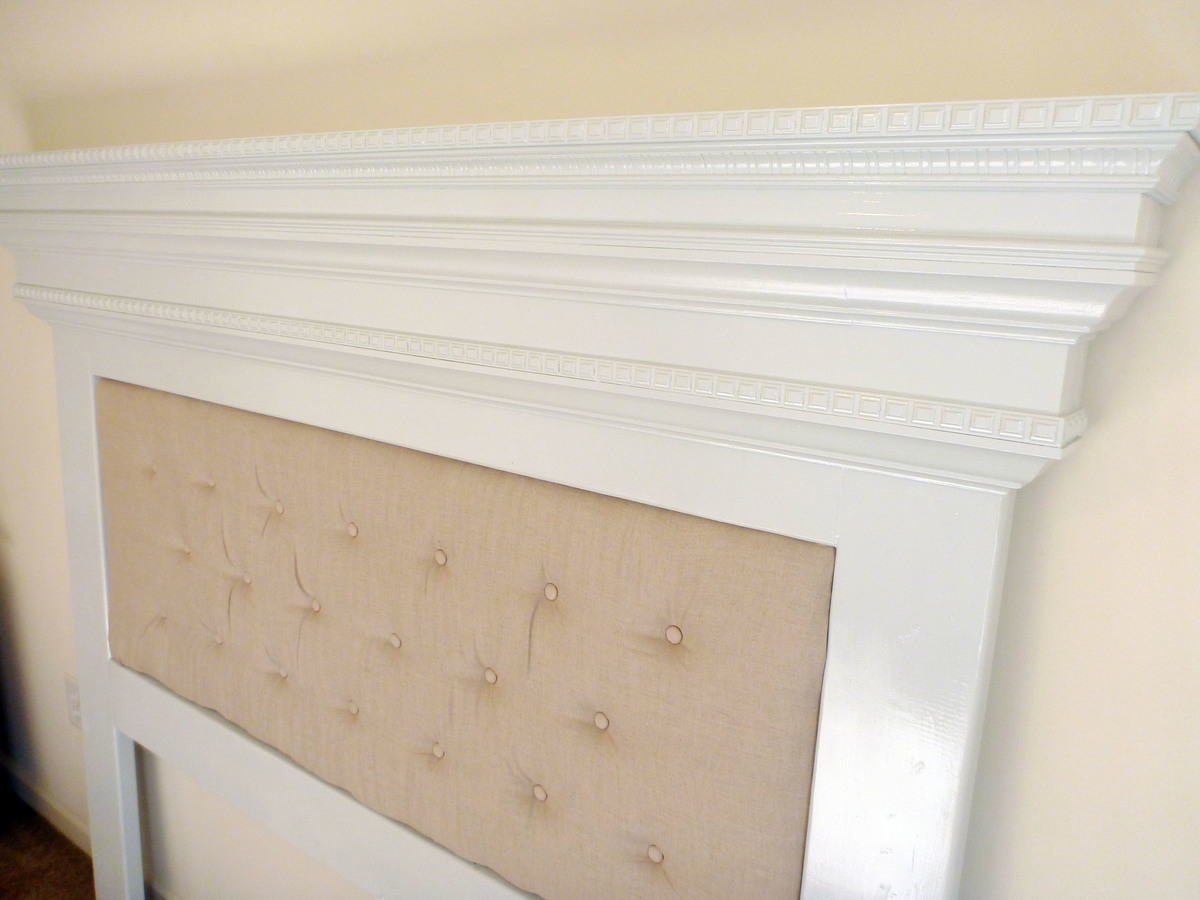
Our Mantel Moulding Headboard with a Unique Twist

Submitted by jwwilson24 on Sun, 01/06/2013 - 12:15

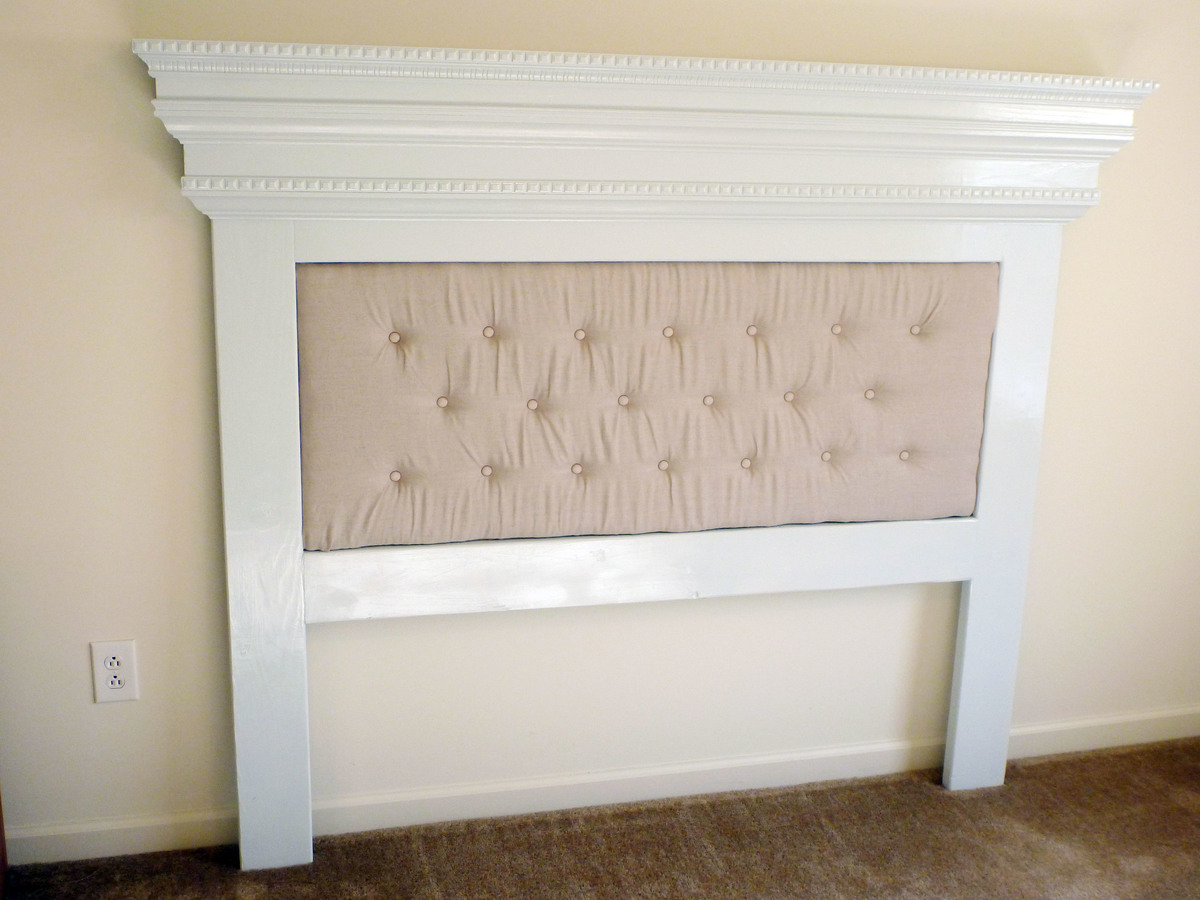
The charming Mantel Moulding Headboard with a unique accent feature where the "fire" would normally be. We created a tufted cushion for this open space to create a unique twist.

My wife and I completed this project over 4 days, but still under 20 hours not including wait time for wood filler and paint to dry.

Built from Plan(s)
Estimated Cost
$165
Estimated Time Investment
Weekend Project (10-20 Hours)
Finish Used
After sanding down the wood with a medium grit sandpaper, we brushed on an initial coat of primer. After the primer dried we applied between 2-3 coats of Valspar Radience Paint and Primer (spray paint) Gloss Azure Snow. This awesome color gives you the classic white with hints of grey and blue.

If you go the paint and primer combo you do not necessarily need to brush on the primer first. For a more smooth and glossy look of the wood accents more counts may be needed but please wait until the first coats are mostly dry.
Recommended Skill Level
Beginner

Comments

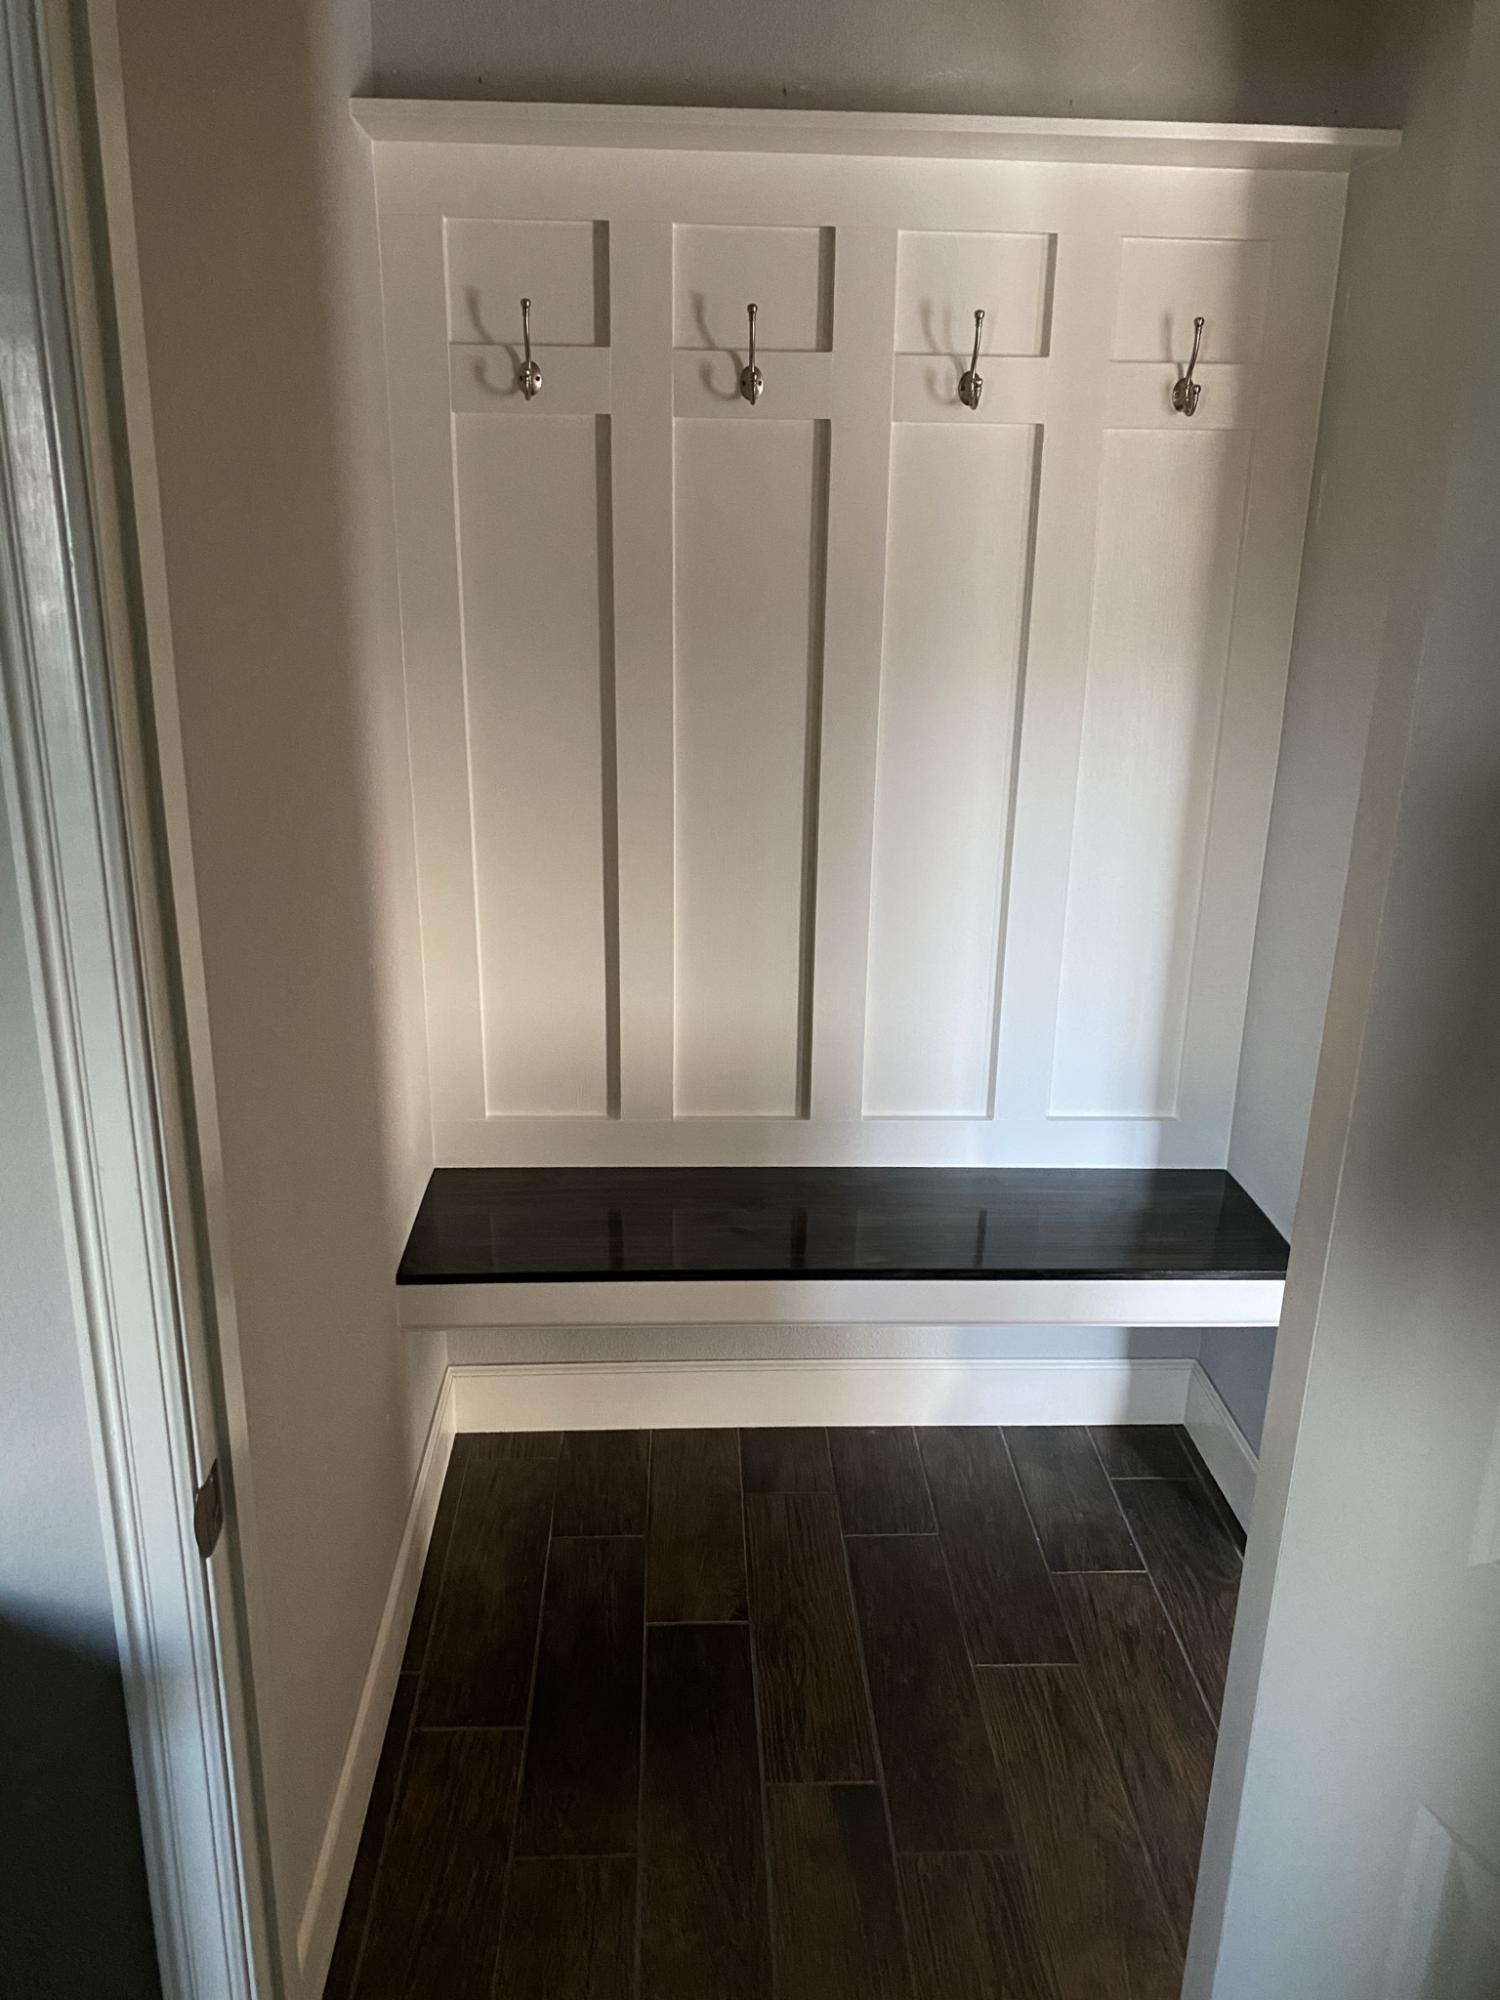
Mud room Bench

I mimicked one of the brag post on this webpage. I used 1x4s and luan for my back. The seat is 2x4s with a project panel stained and polyurethaned. I am grateful for people sharing their wonderful projects on this site for inspiration.

Estimated Cost
140
Estimated Time Investment
Weekend Project (10-20 Hours)
Recommended Skill Level
Intermediate

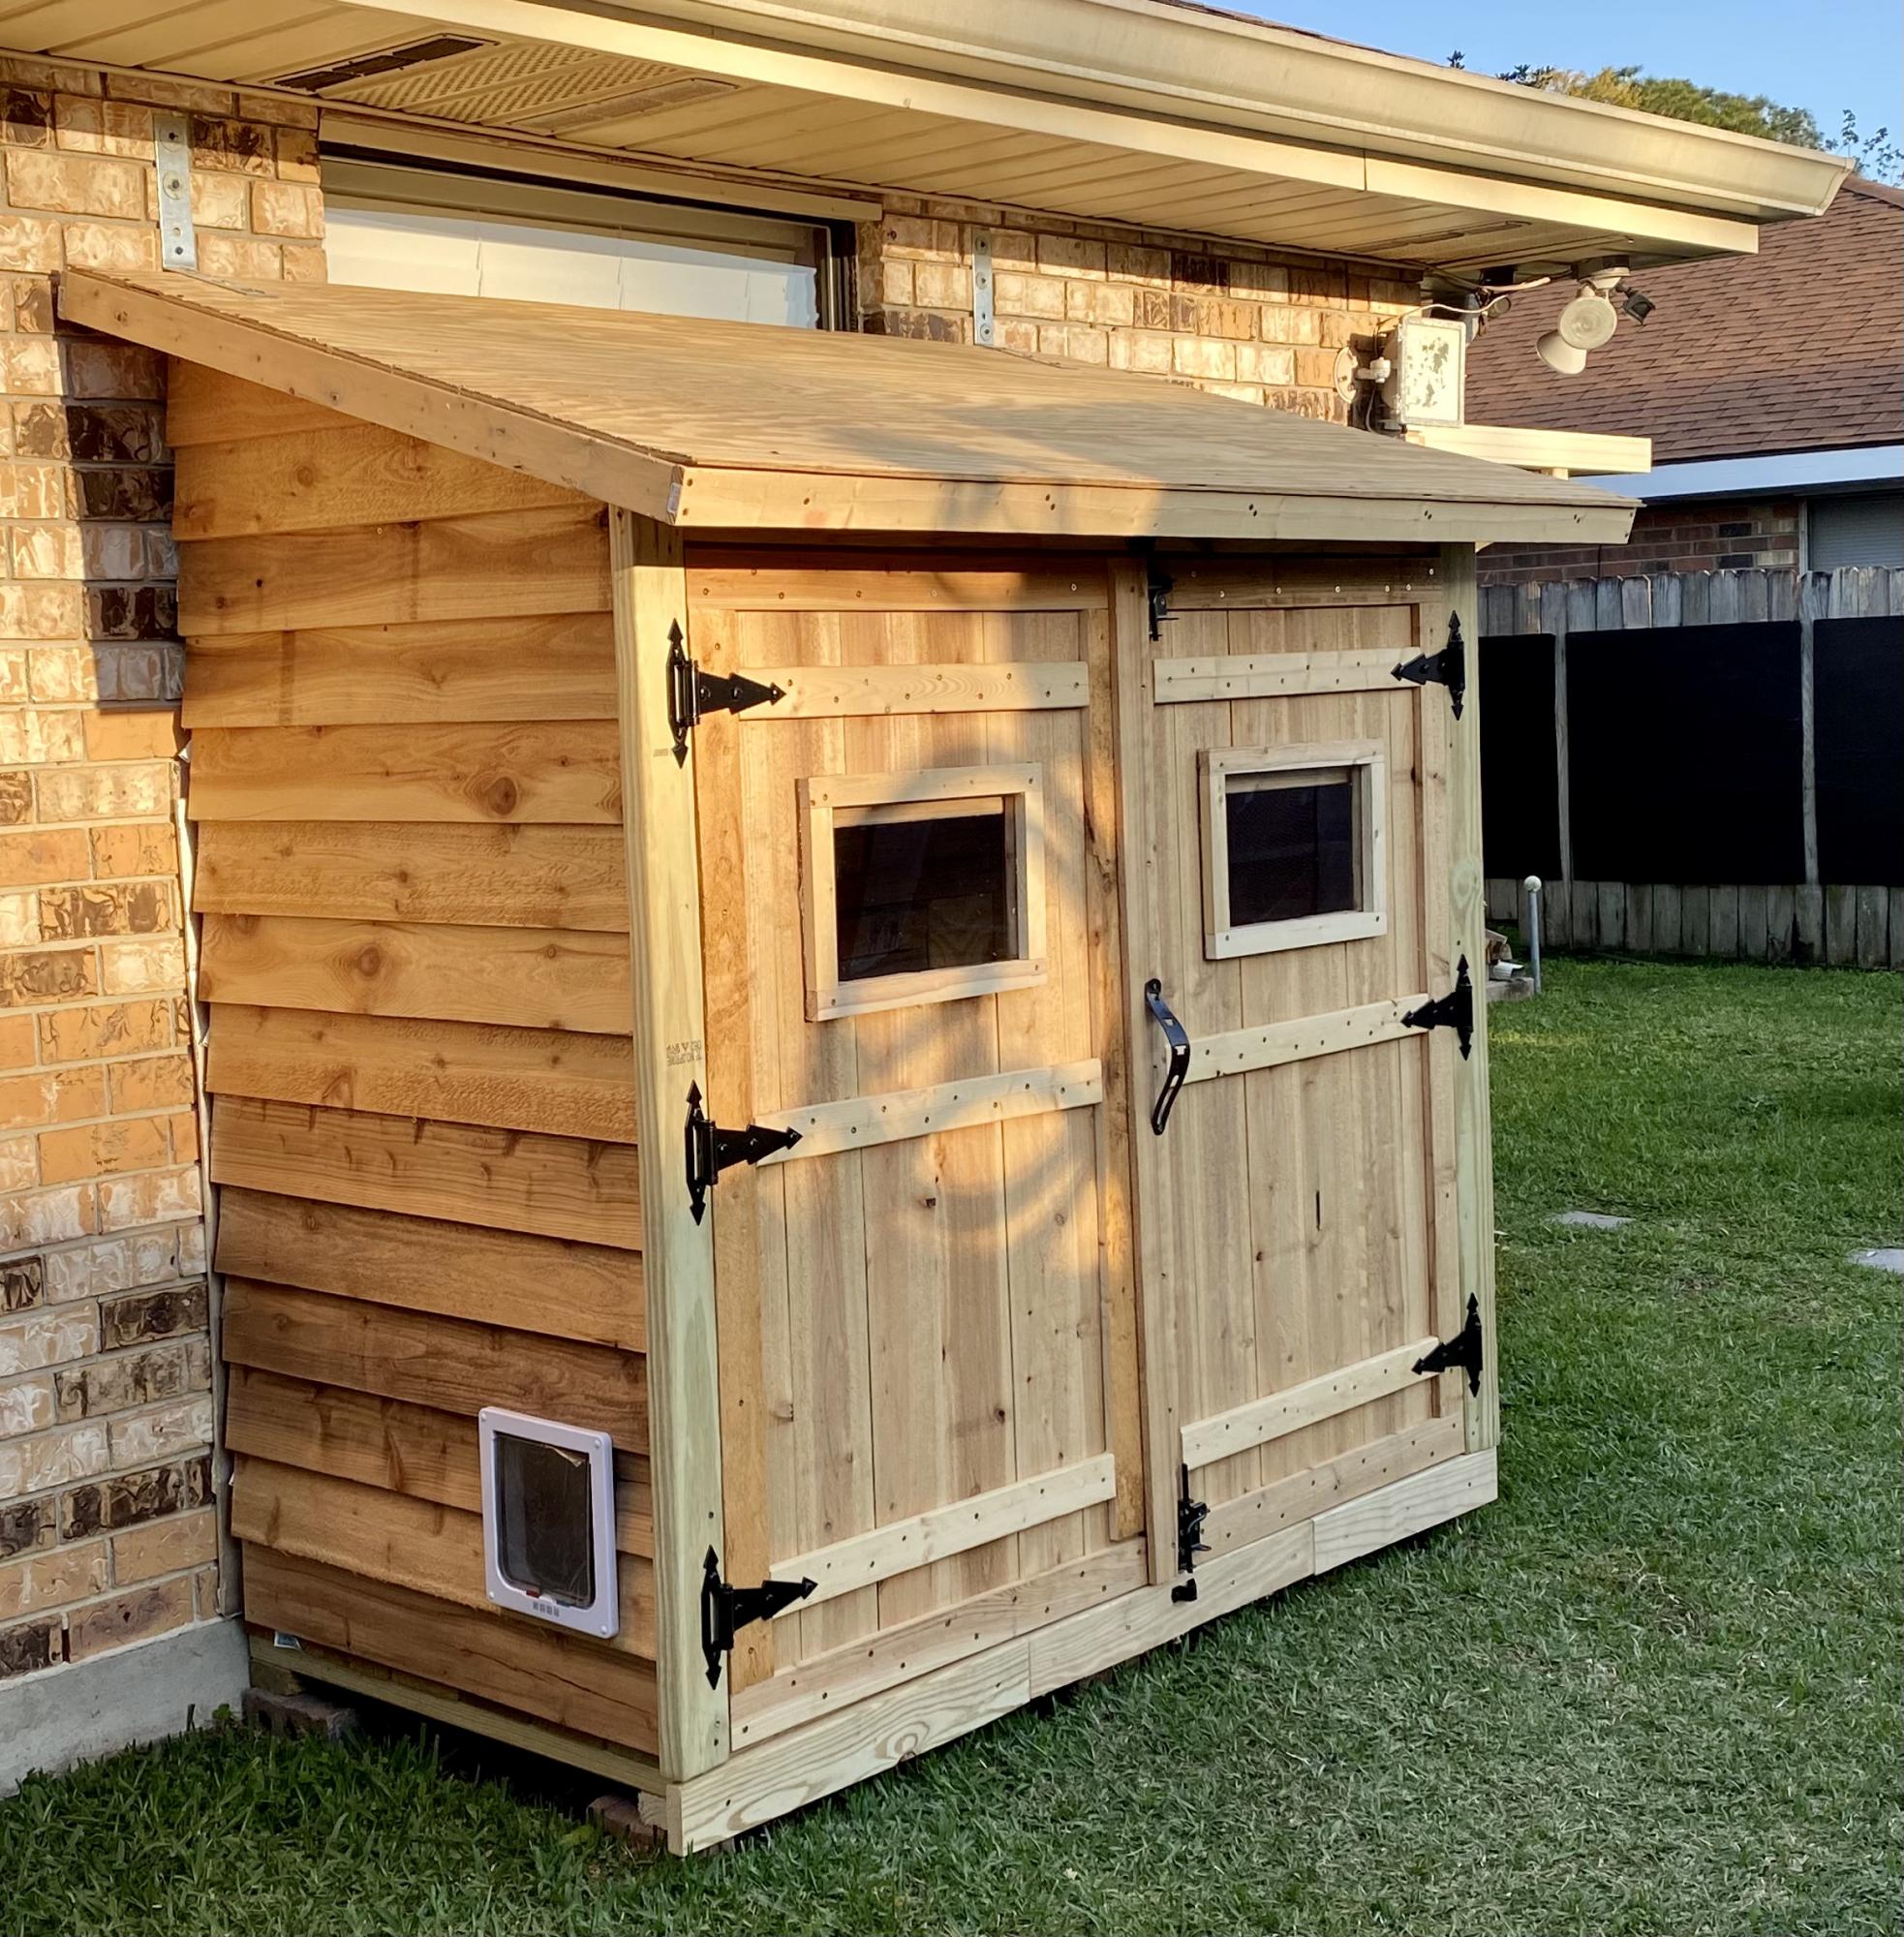
Kitty Outhouse

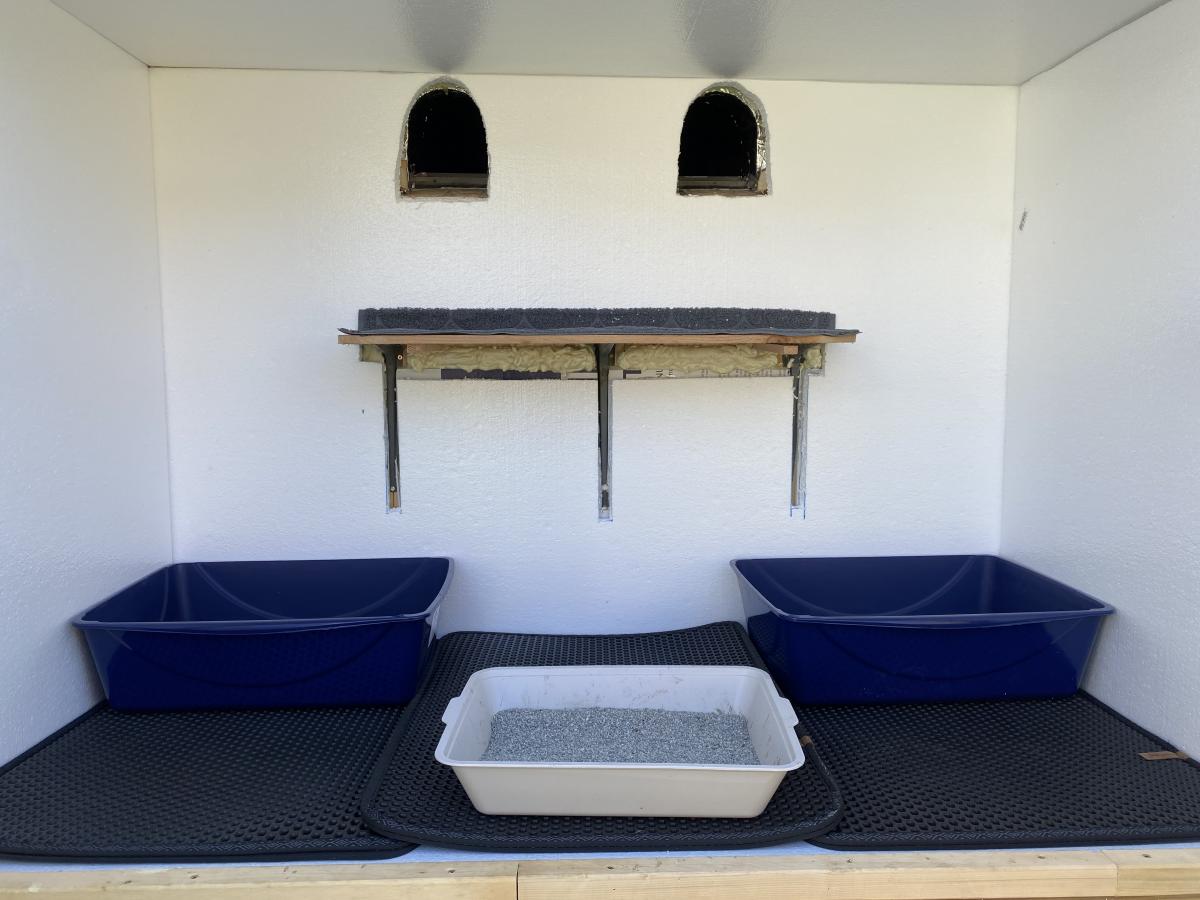
My first Ana White project. Built Ana’s awesome small cedar shed as an outhouse for our many cats. The have access to it from inside the house. Great way to keep litter boxes and the mess out of the house. It is stand alone, and attached to the house, in front of a bedroom window. There are two ‘entrances’ as well as two, one-way, escape hatches, if a cat in the outhouse is interrupted by another cat (I.e. a male cat comes in and the female feels trapped) they can exit to the outside (one way so no critters can come inside!). Ana has easy to build plans, great site! I plan on making the square table just posted today for my newly refurbished deck. Keep in mind, my estimated costs and time reflect a LOT of additional features on the inside. The shed itself, very easy, simple, inexpensive. Very little waste with Ana’s projects as well.
Built from Plan(s)
Estimated Cost
$500
Estimated Time Investment
Week Long Project (20 Hours or More)
Finish Used
No finish, at least not yet.
Recommended Skill Level
Intermediate

Comments

Amazing Farm Table and Benches

Submitted by Anonymous (not verified) on Mon, 10/04/2021 - 19:55

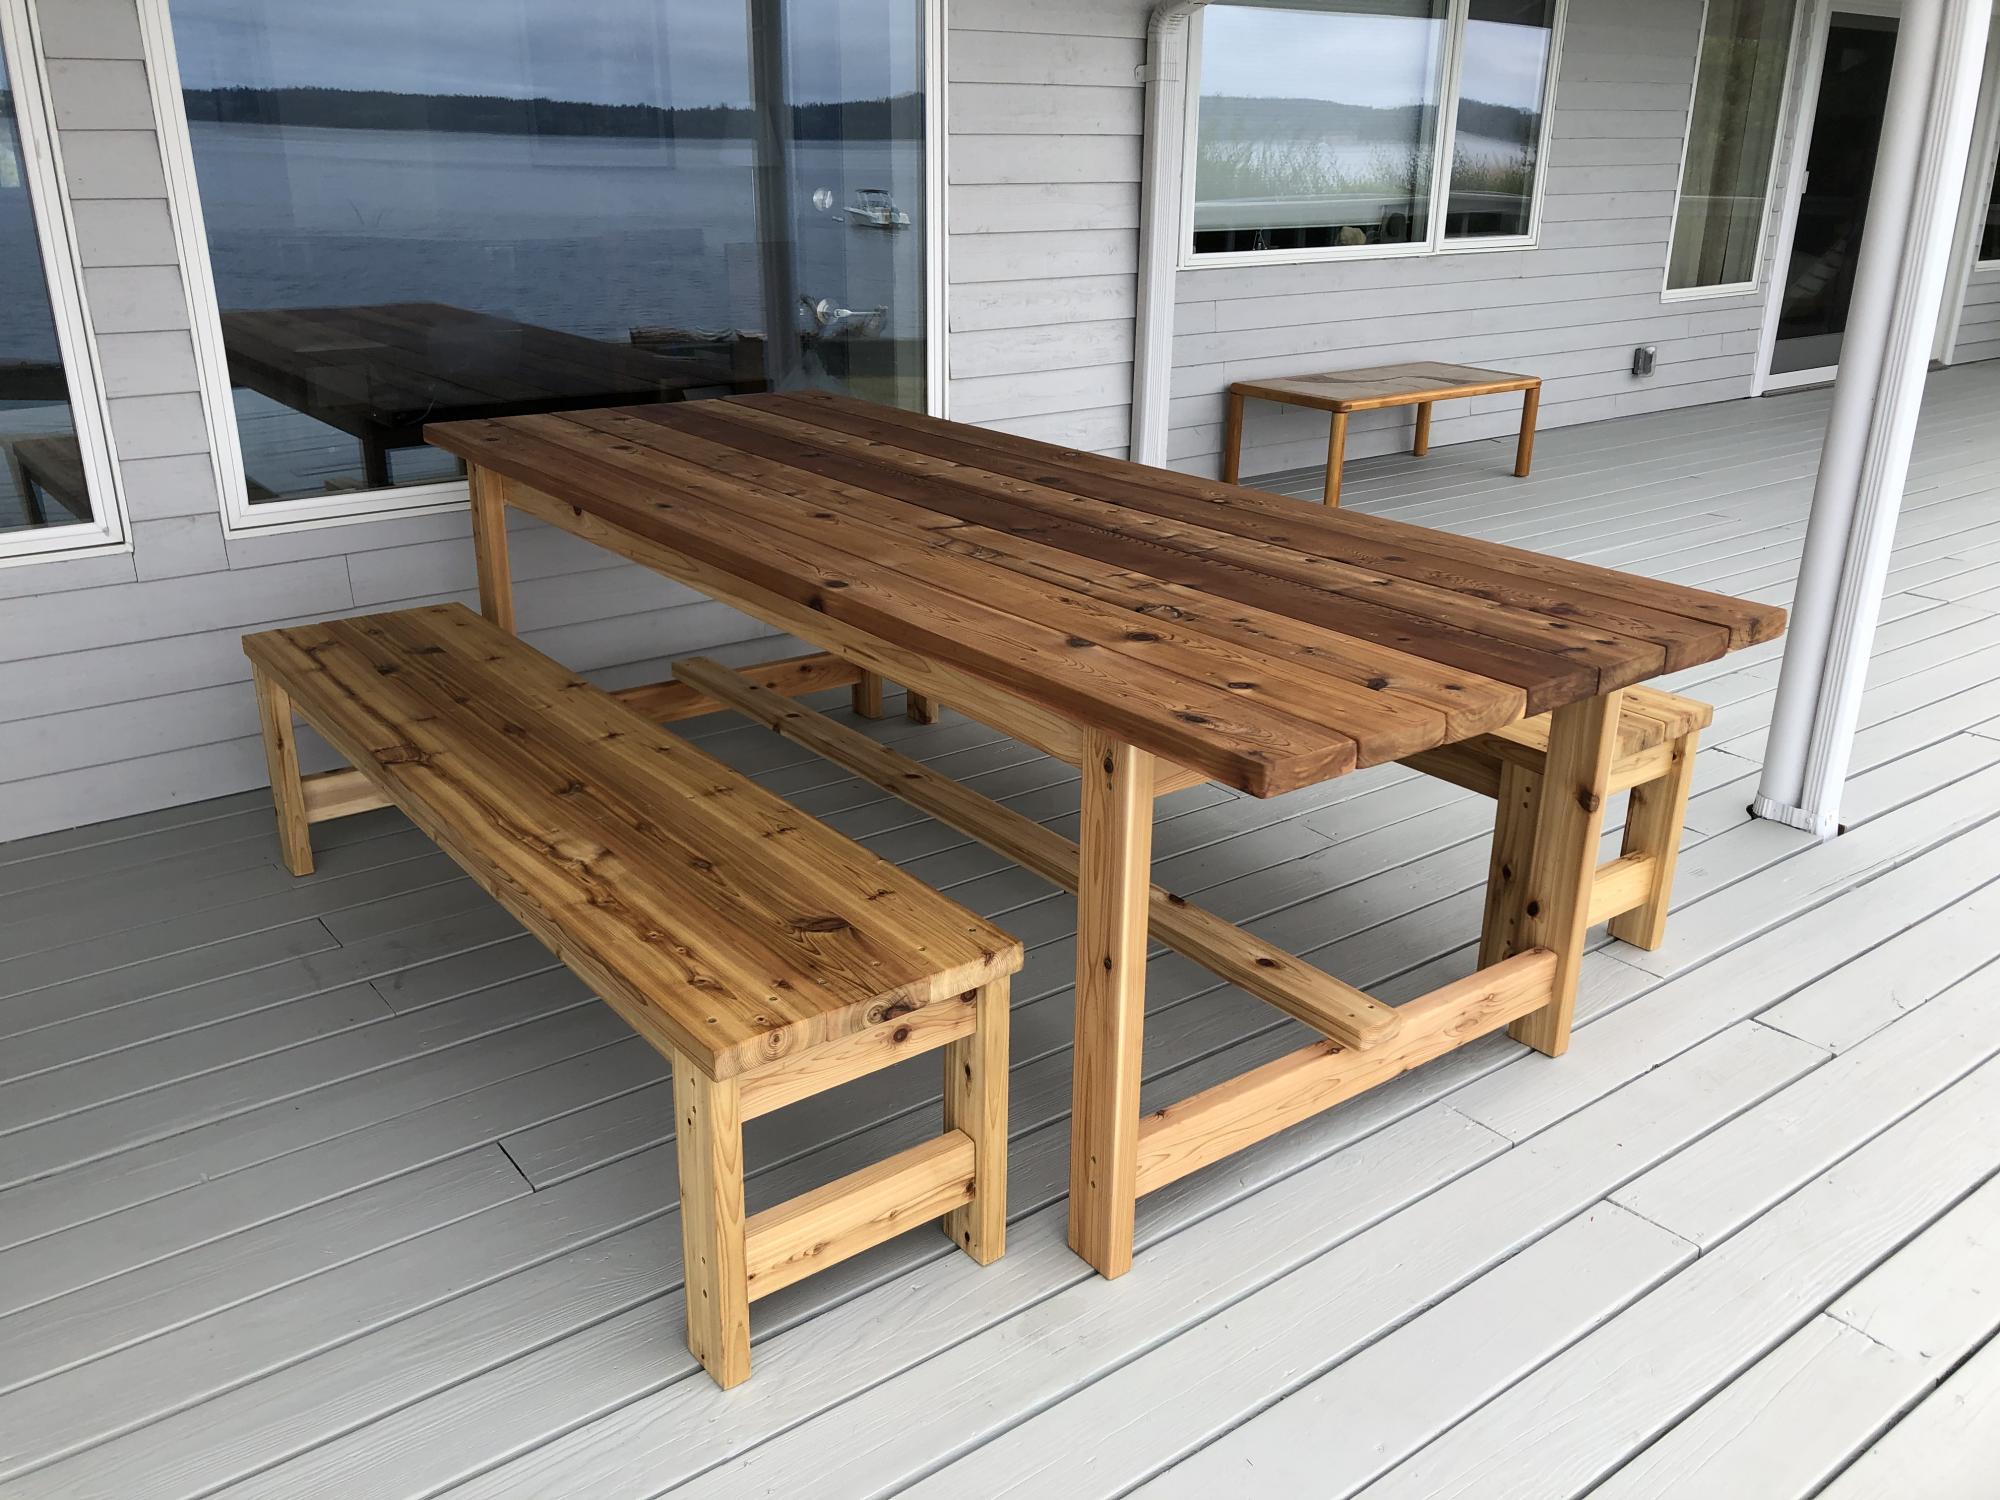
Built this deck dining table and benches from Lowes cedar, and the results way exceeded my expectations! The plans were so well written, it was easy to slightly modify (made both table and benches wider and longer) and the build was very simple. The clear directions helped give me the confidence to do this and we have got so many nice compliments. There was nothing this sturdy and simple even available to buy. I even built a coffee table and bar table after modifying the plans a bit. Thank you Ana!

Comments

Little Kids Picnic Table

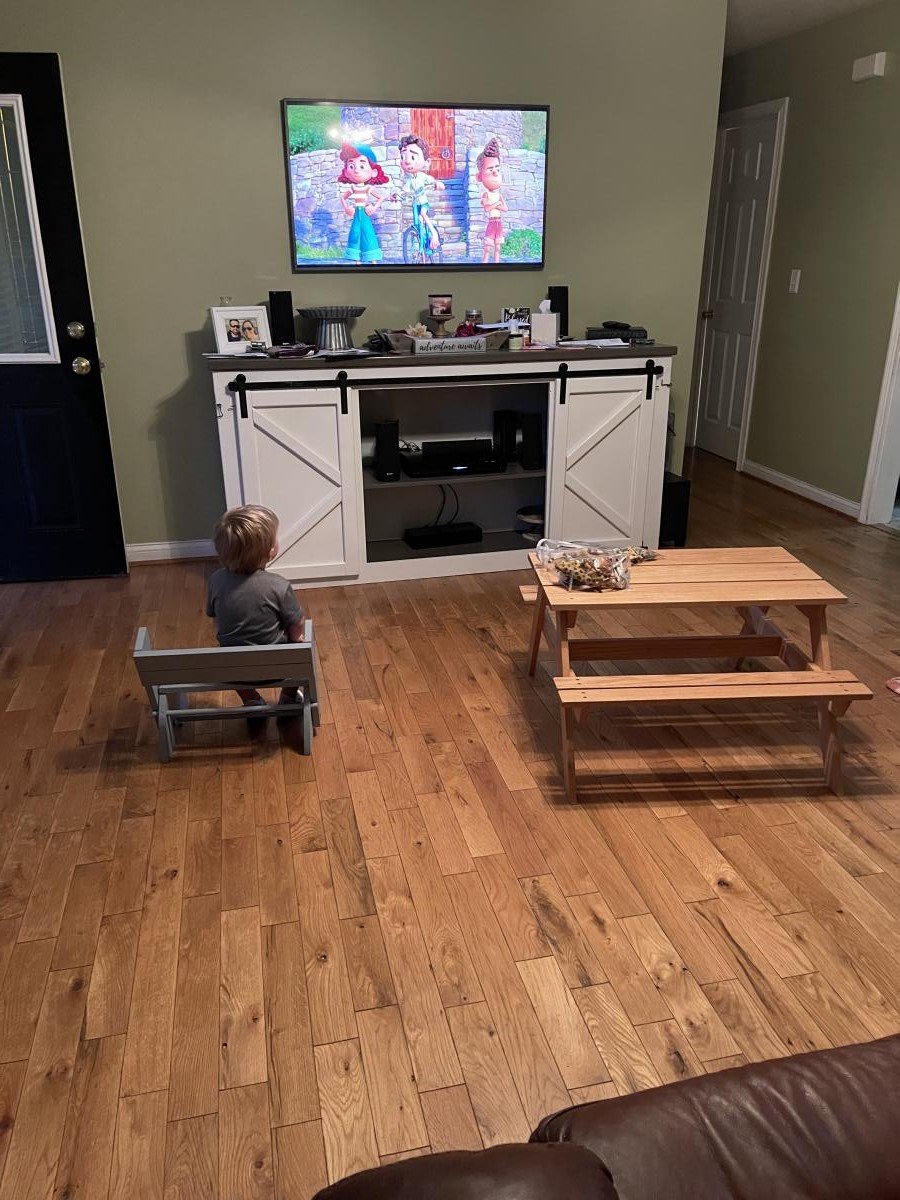
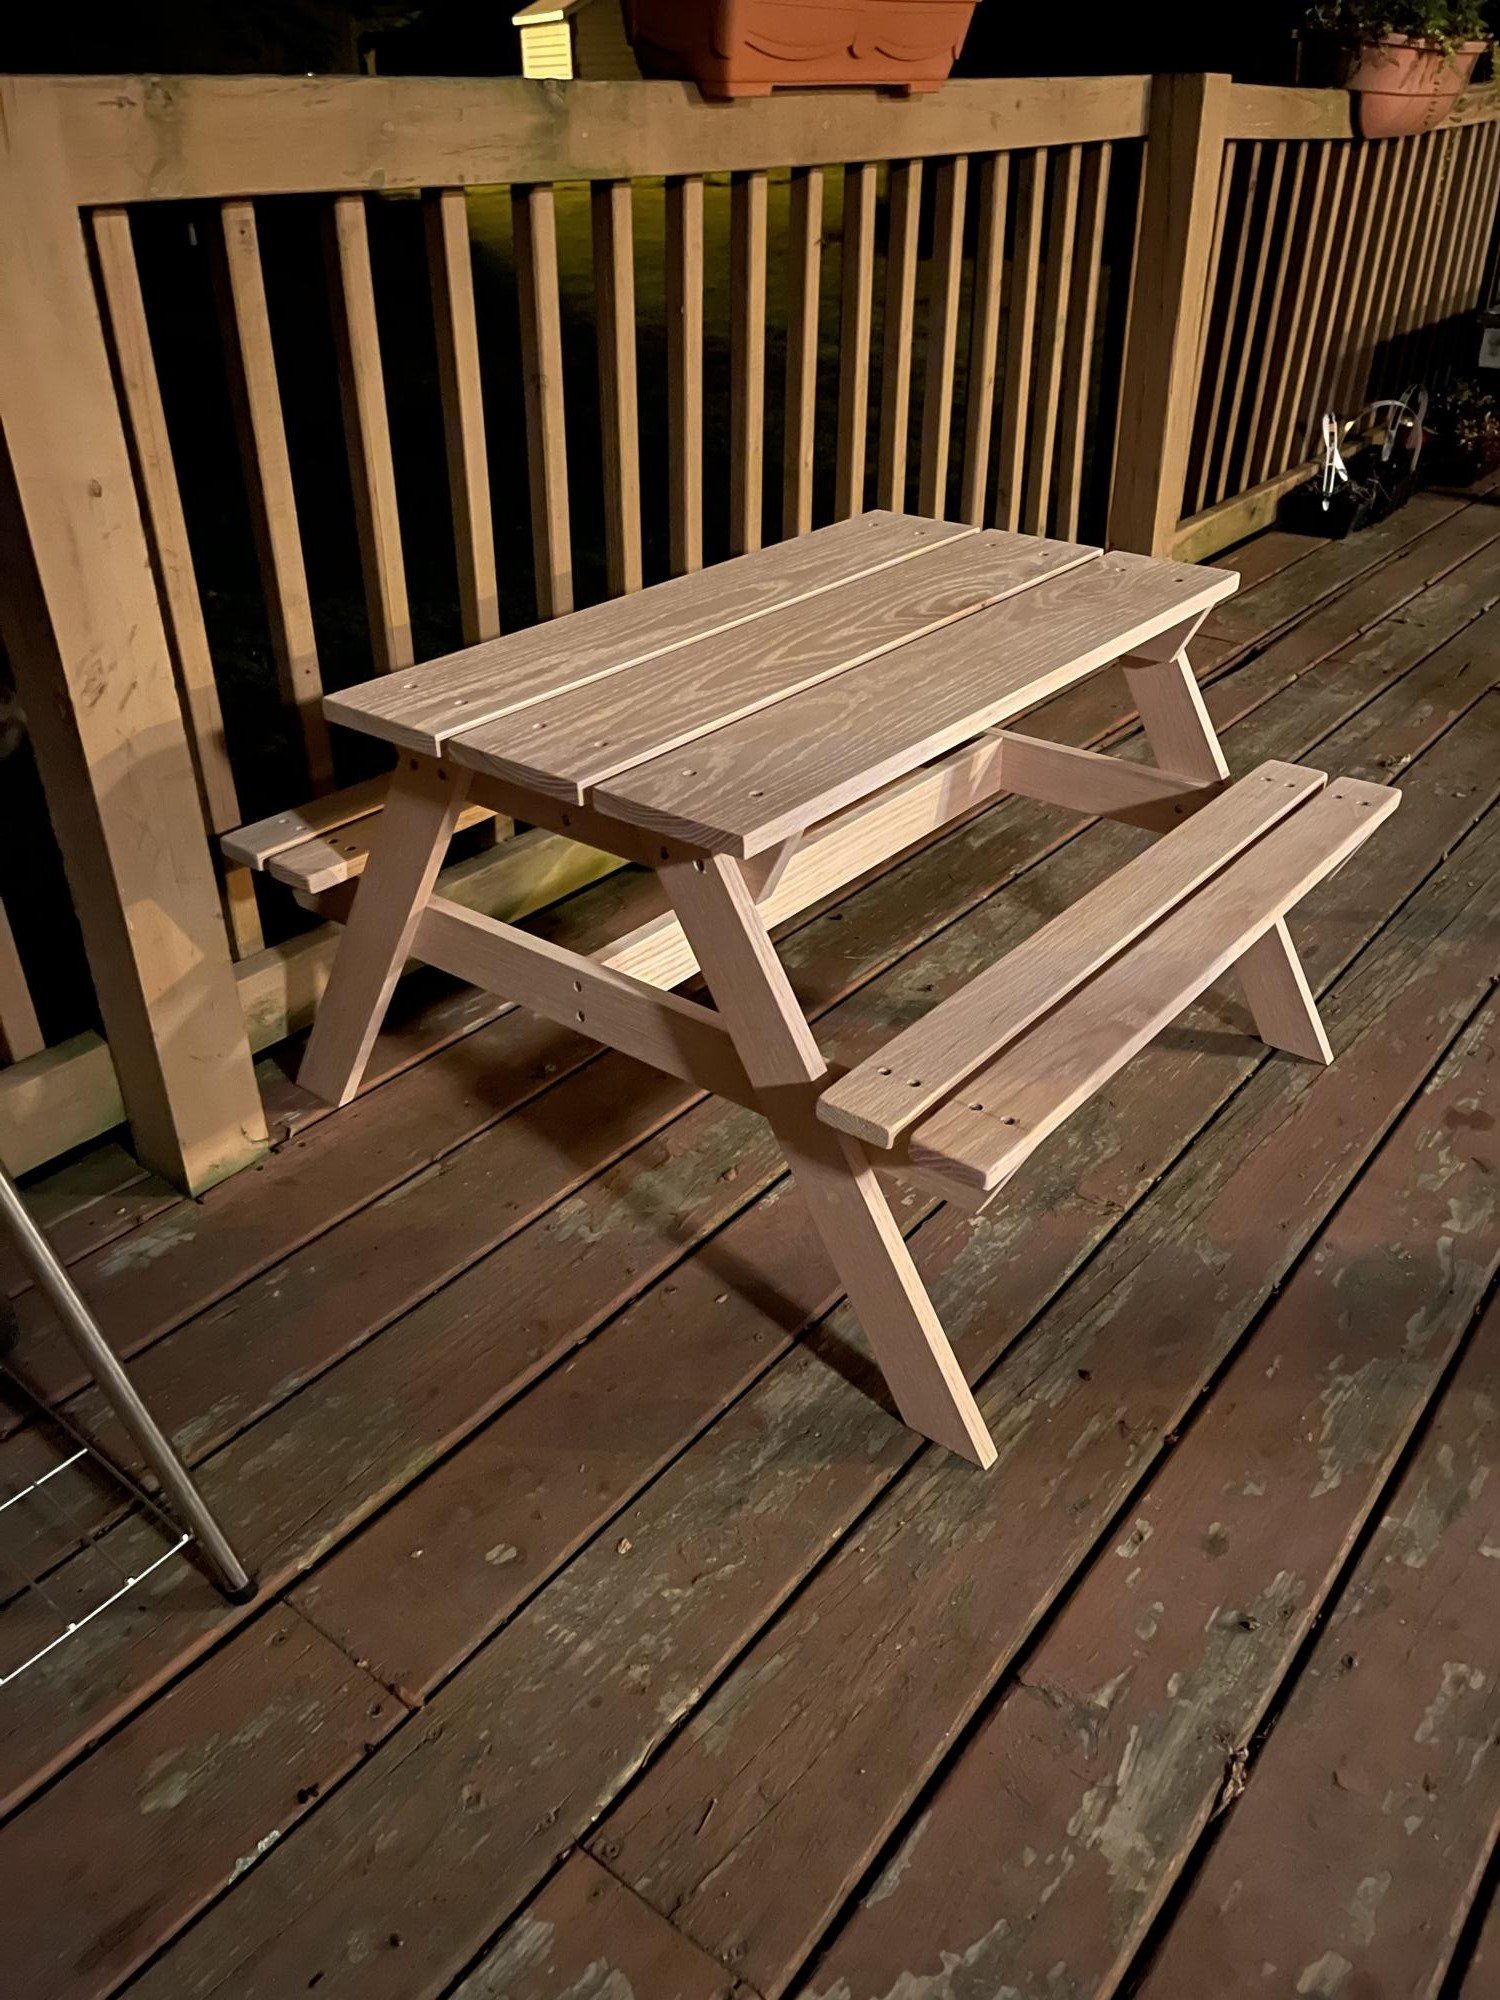
This little table was built for our grandson who loves it so much, it was taken inside. About 6 hours, and he took possession of it. Amazing piece!

Built from Plan(s)

Comments

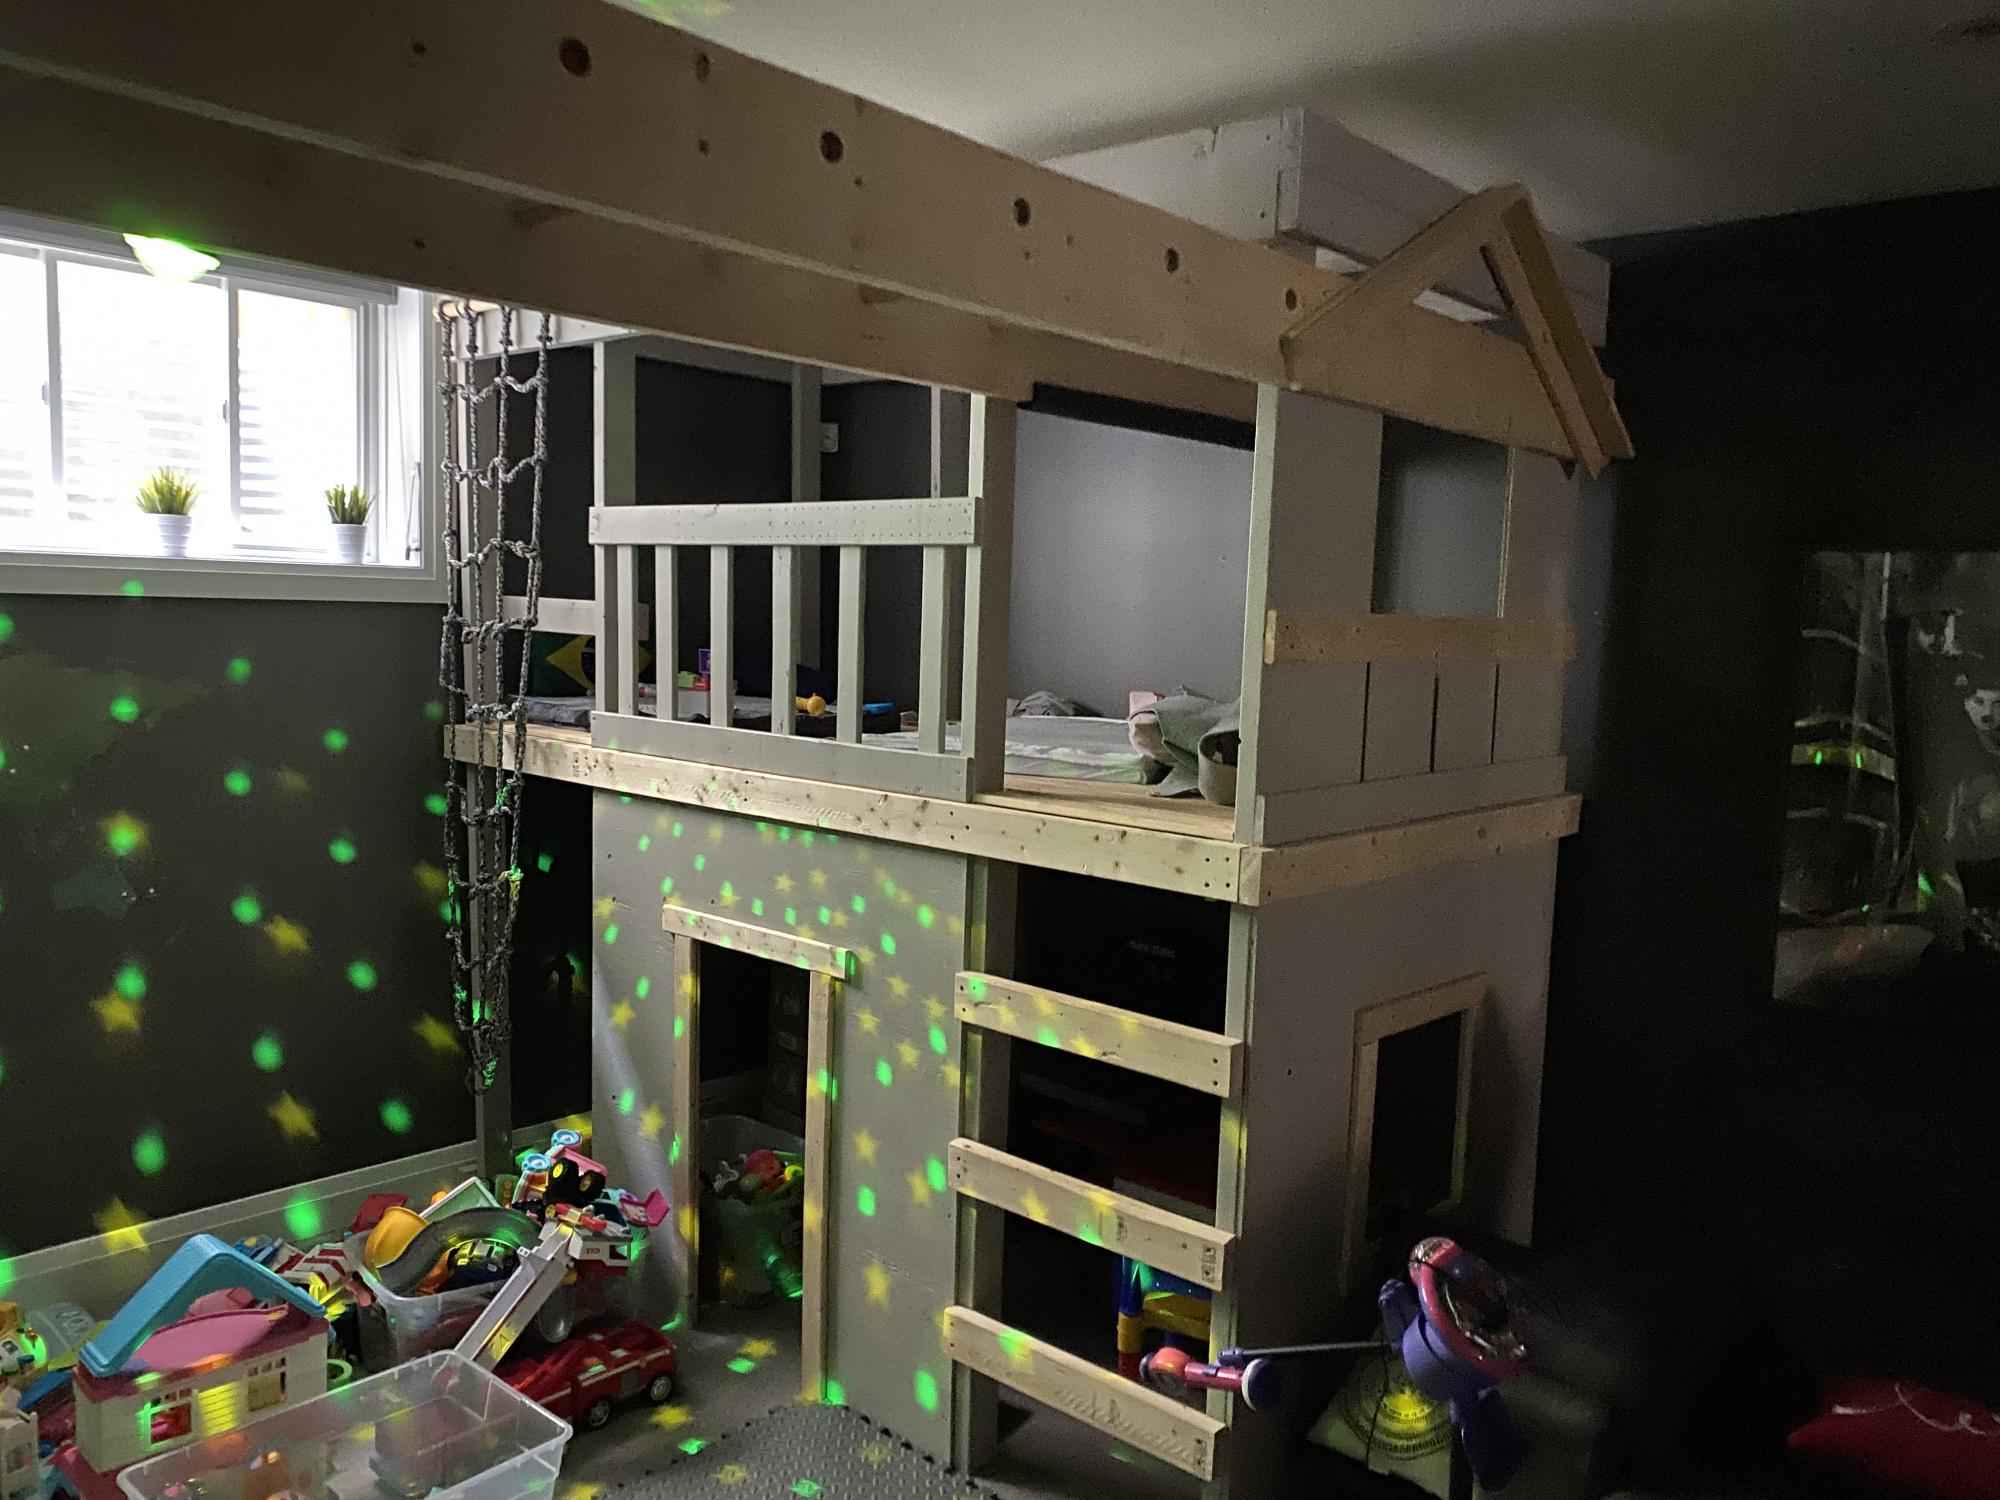
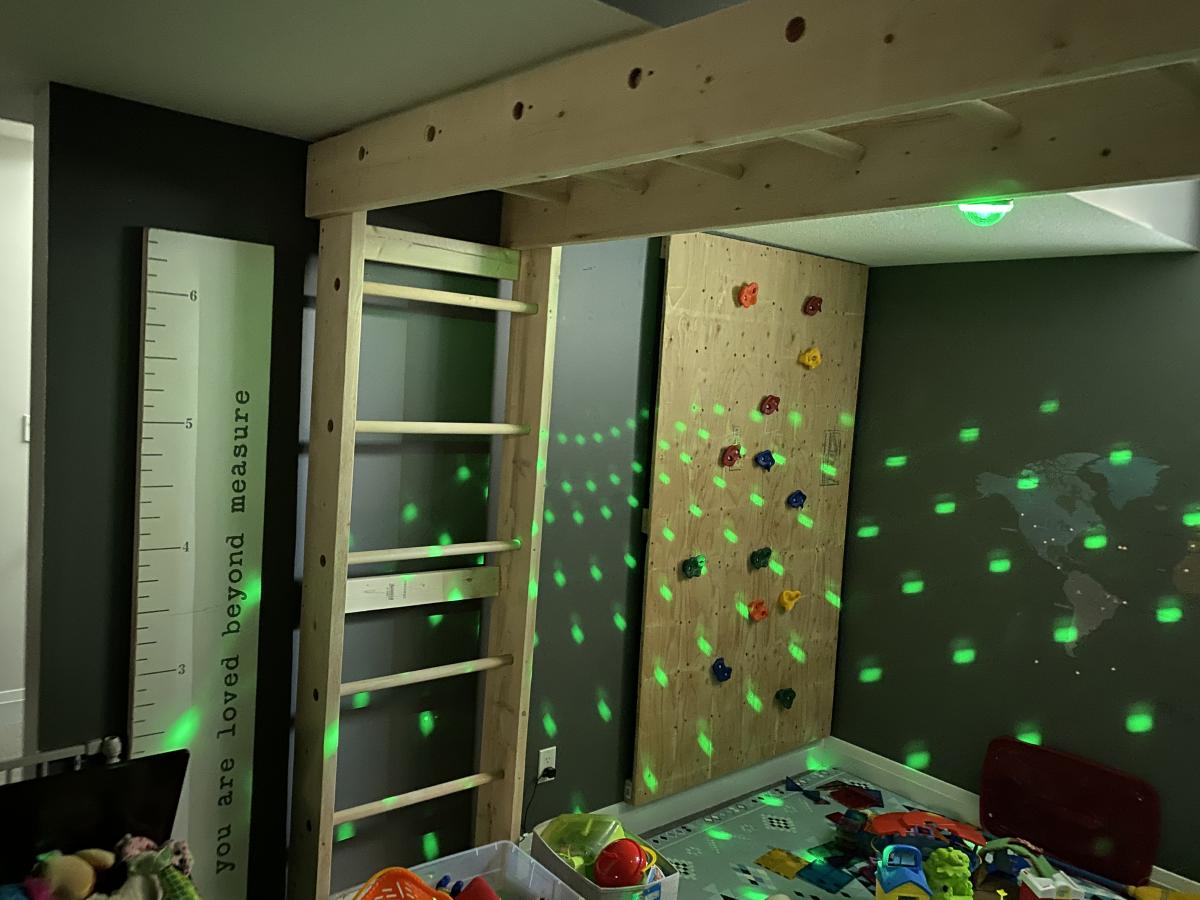
Monkey bar and play house

Submitted by Anonymous (not verified) on Sat, 10/09/2021 - 06:21

Inspired in one of your projects this was my first project with wood and turned out a go to place for the kids and guests to play all the time.
Thank you for the plan. Kids appreciate it too.

Comments

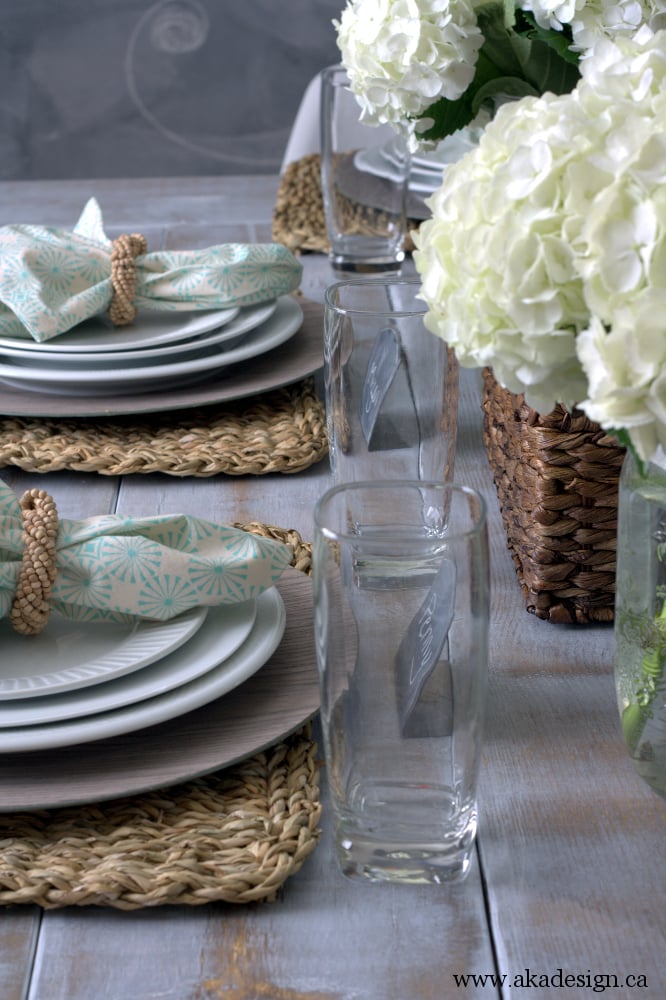
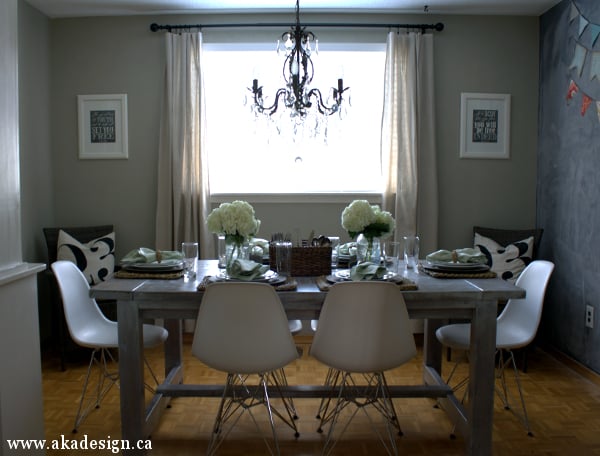
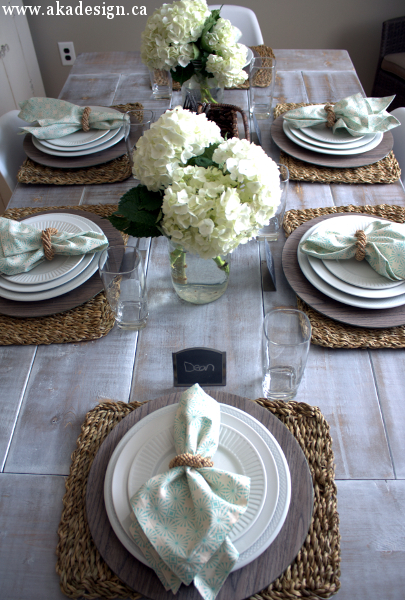
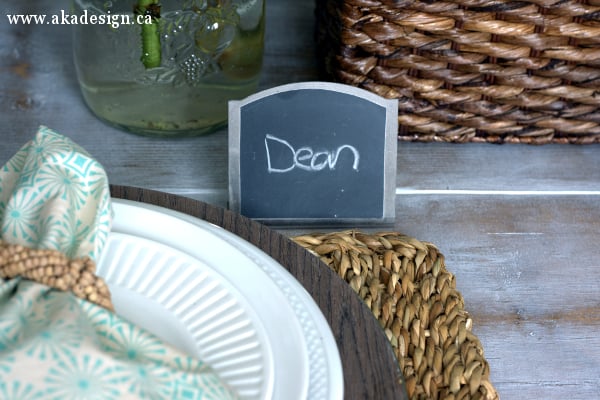
White Wash Pickled Farmhouse Table

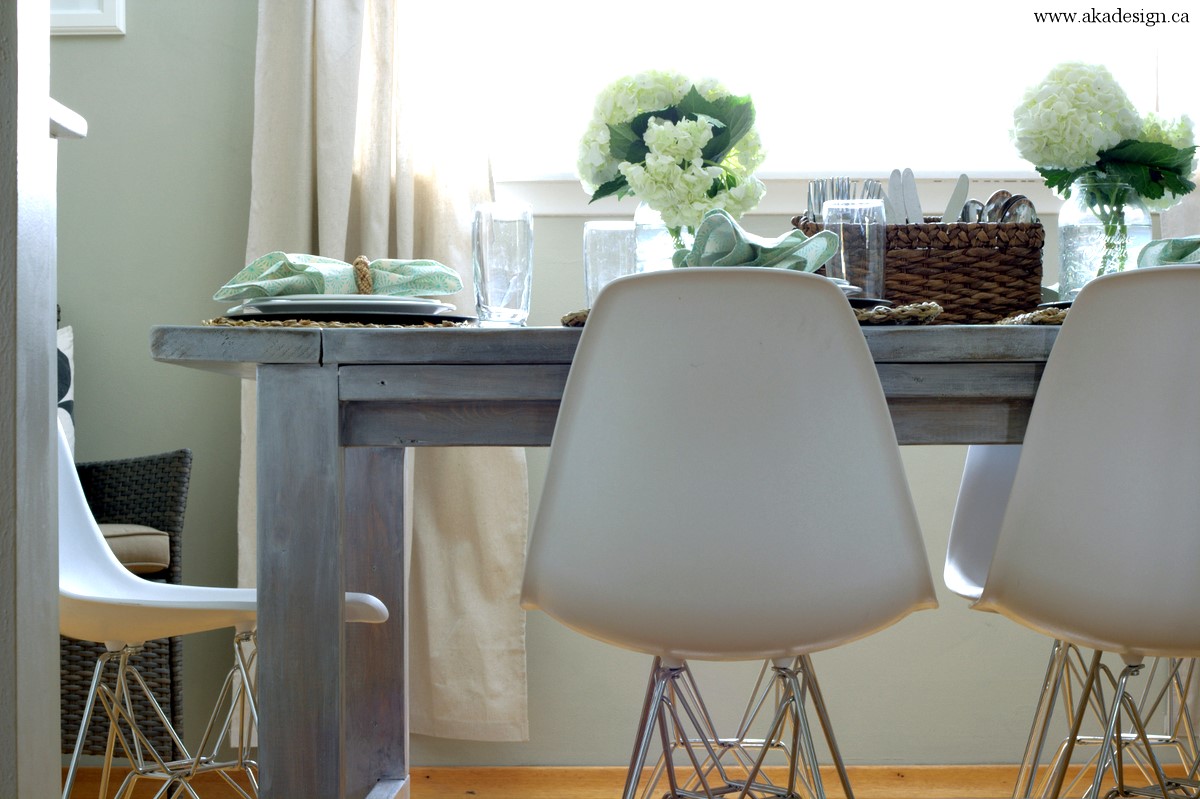
When we sold our last house, we sold the dining room furniture we had custom built with it. We did projects, homeschooled and ate off of a folding table for the first 7 months we lived in our new house. Until we built our new farmhouse table!

Estimated Cost
300
Estimated Time Investment
Weekend Project (10-20 Hours)
Finish Used
We chose to white wash/pickle our farmhouse table. All the instructions can be found here: http://www.akadesign.ca/white-wash-pickling-get-the-restoration-hardware-look-for-less.
Recommended Skill Level
Beginner

Comments

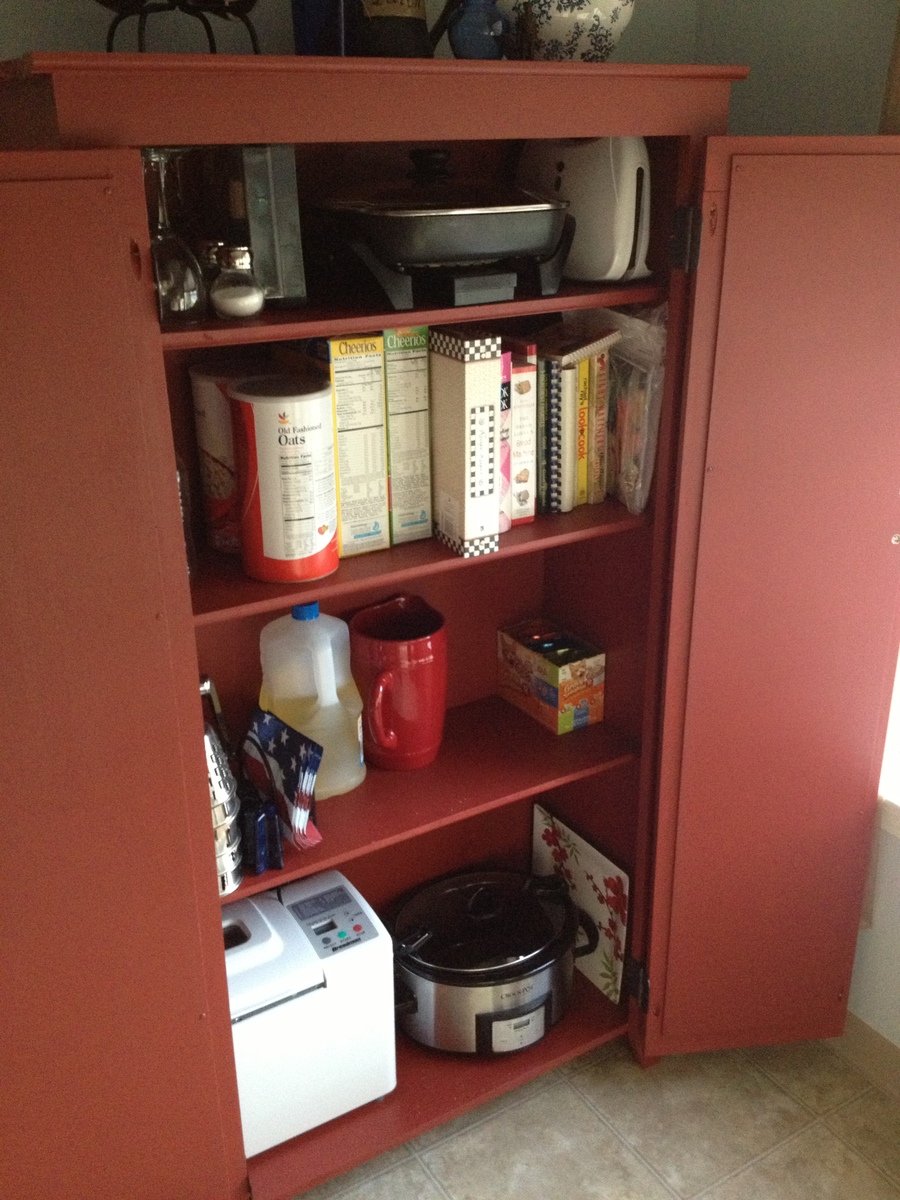
Kitchen Cabinet

Submitted by rjustice21 on Thu, 09/26/2013 - 09:18

My wife and I needed space in our kitchen to store various items. This cabinet works perfectly for that purpose.

Built from Plan(s)
Estimated Cost
$100
Estimated Time Investment
Weekend Project (10-20 Hours)
Finish Used
Dark Red paint. I am not sure of the name.
Recommended Skill Level
Beginner

Comments

mybartmart

Fri, 09/27/2013 - 21:17

That paint colour is beautiful. As is the pantry, very well done. I wish you could find out the name and brand of the colour. It is stunning.

mybartmart

Fri, 09/27/2013 - 21:17

That paint colour is beautiful. As is the pantry, very well done. I wish you could find out the name and brand of the colour. It is stunning.

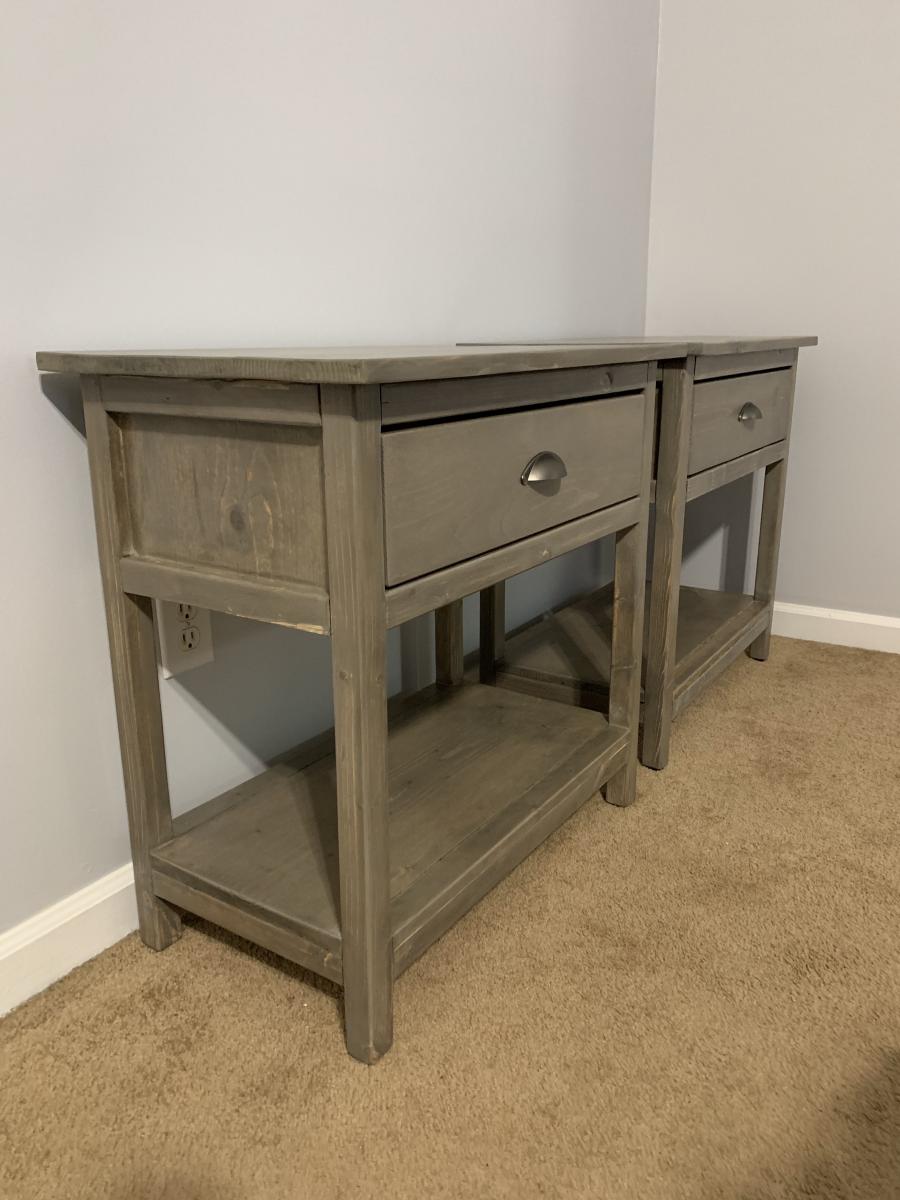
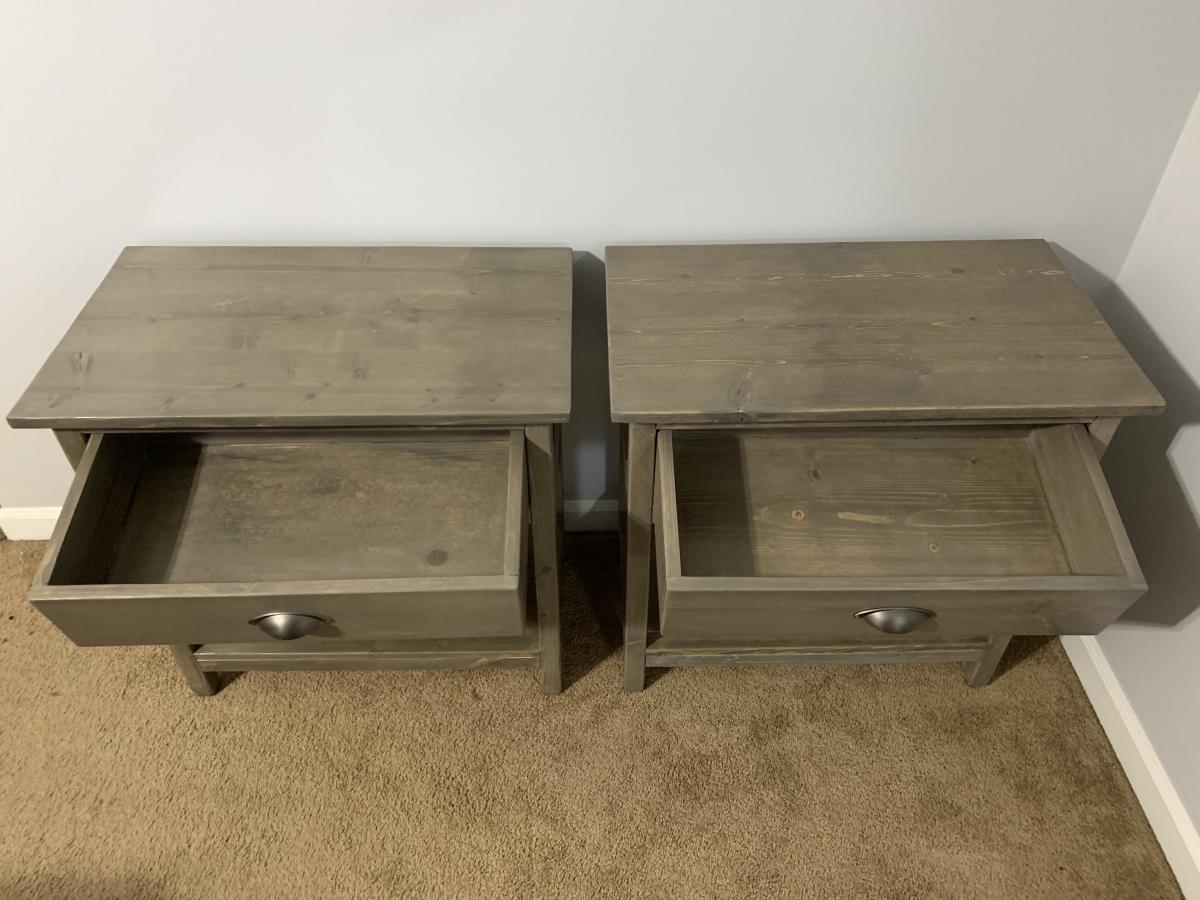
Rustic Side Tables

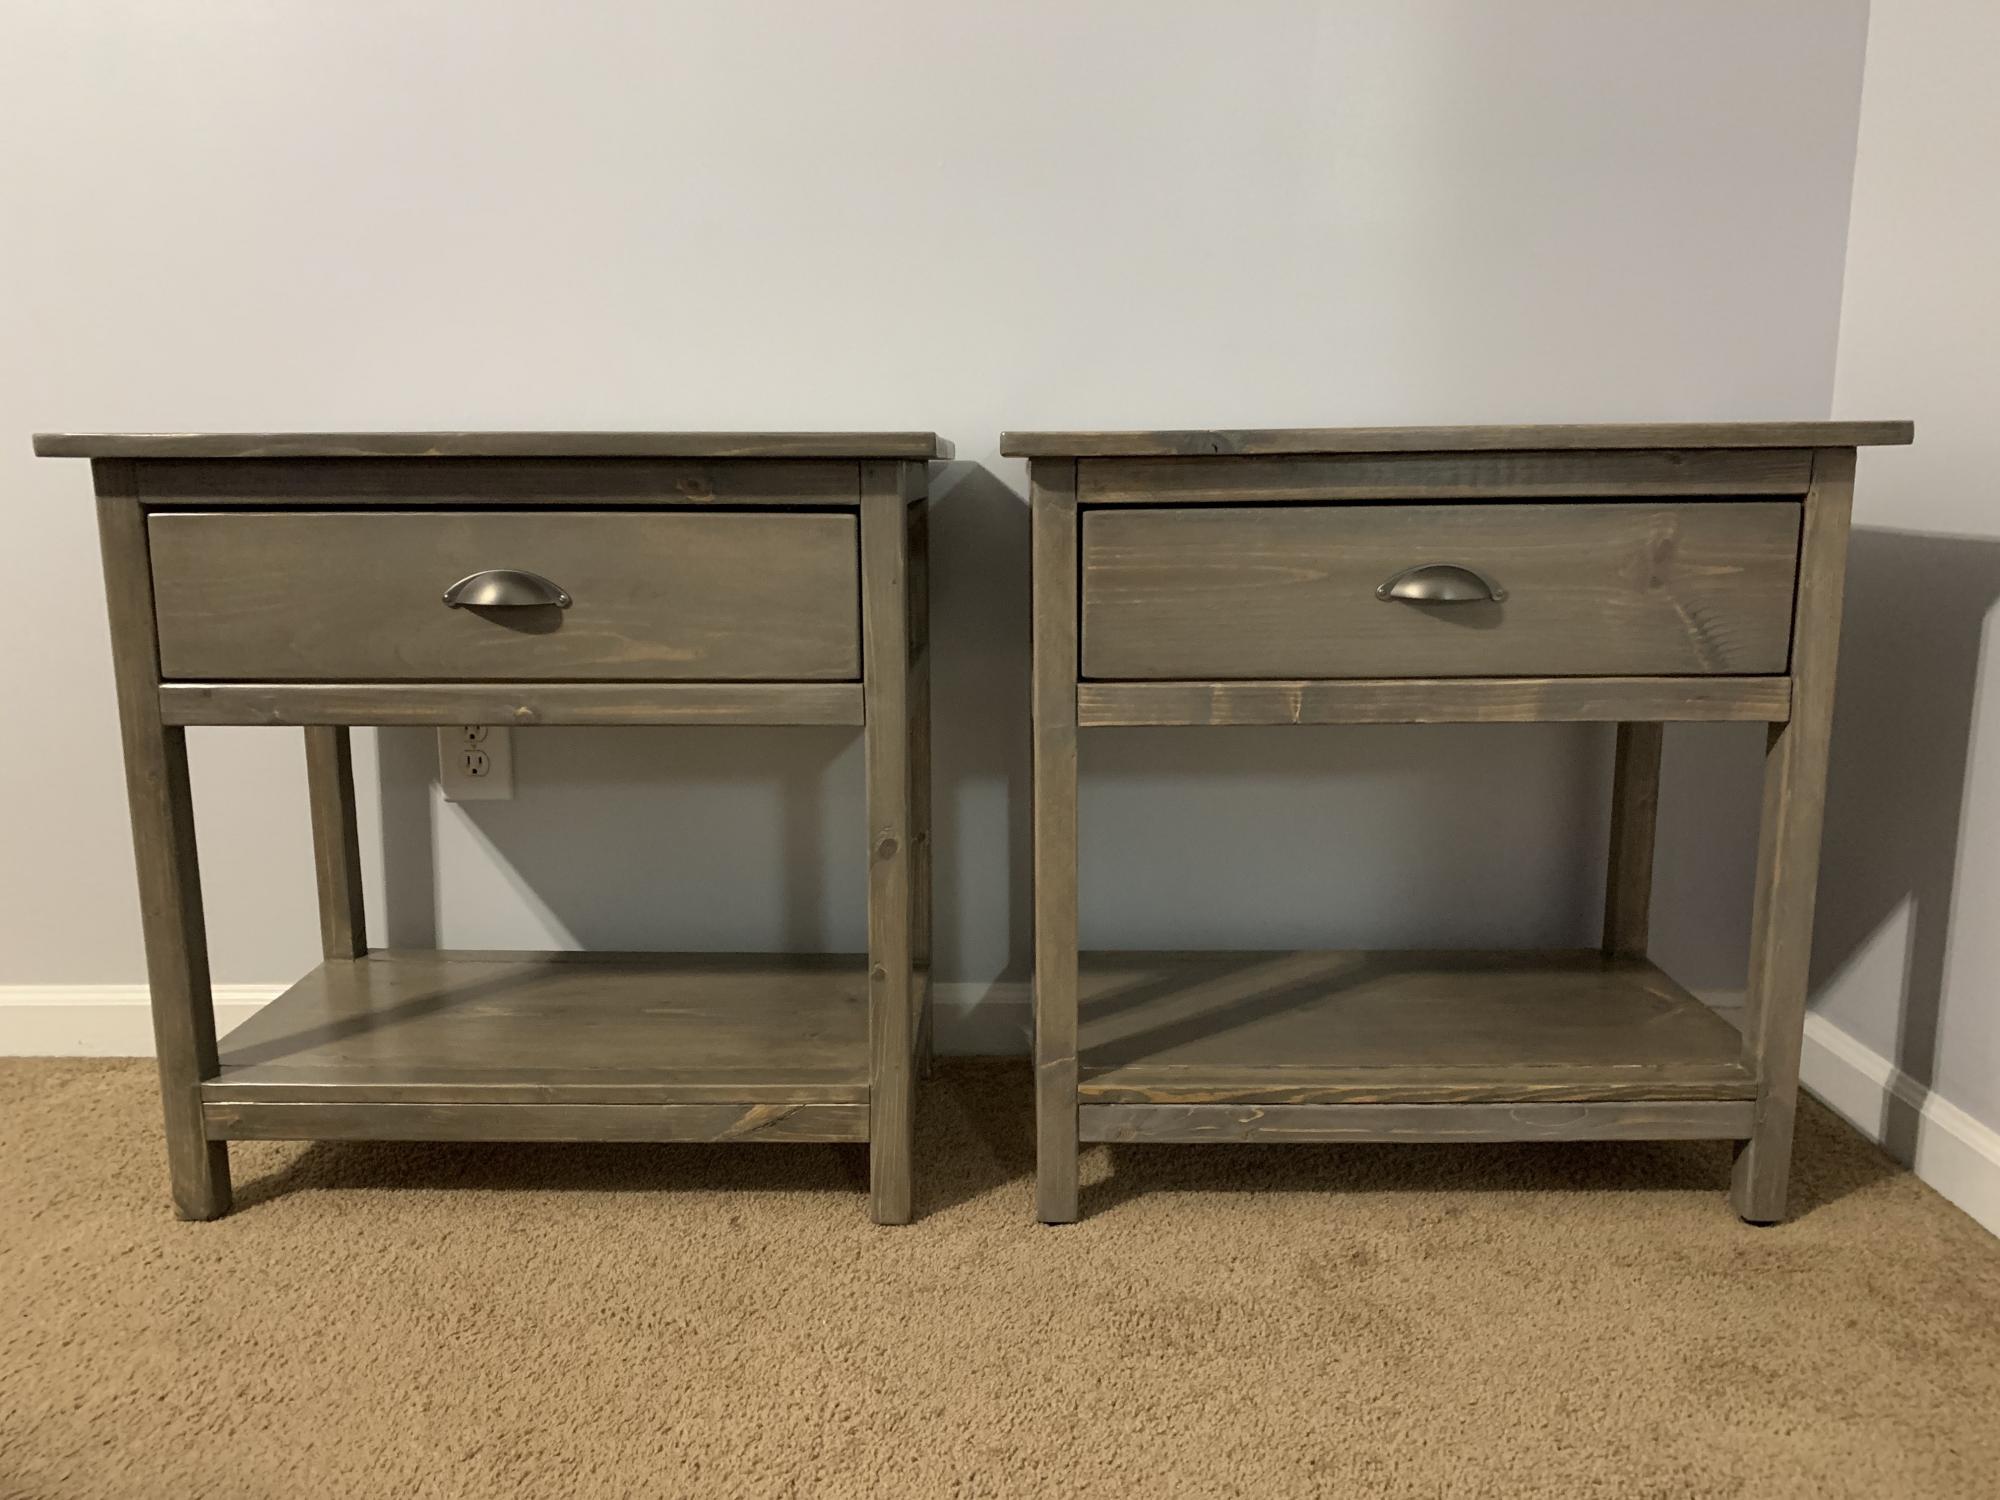
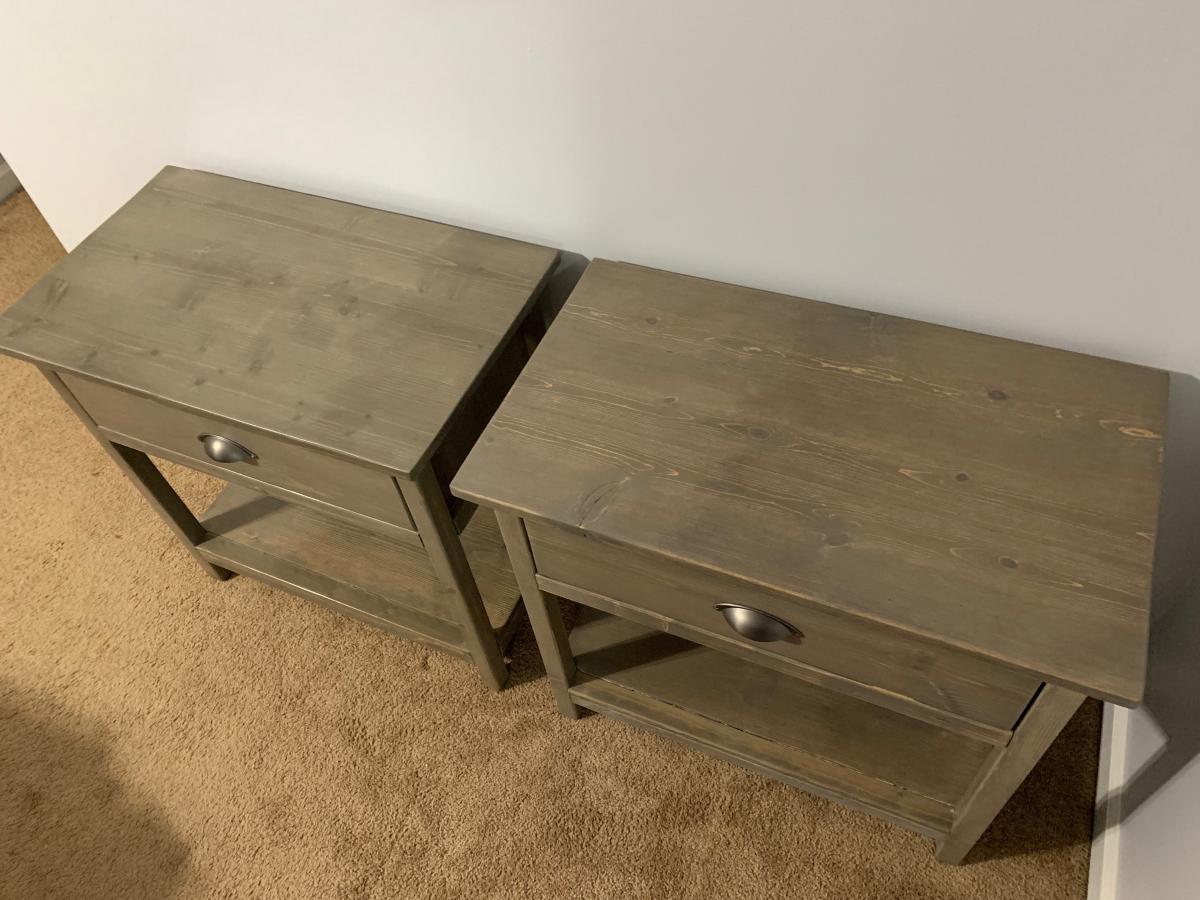
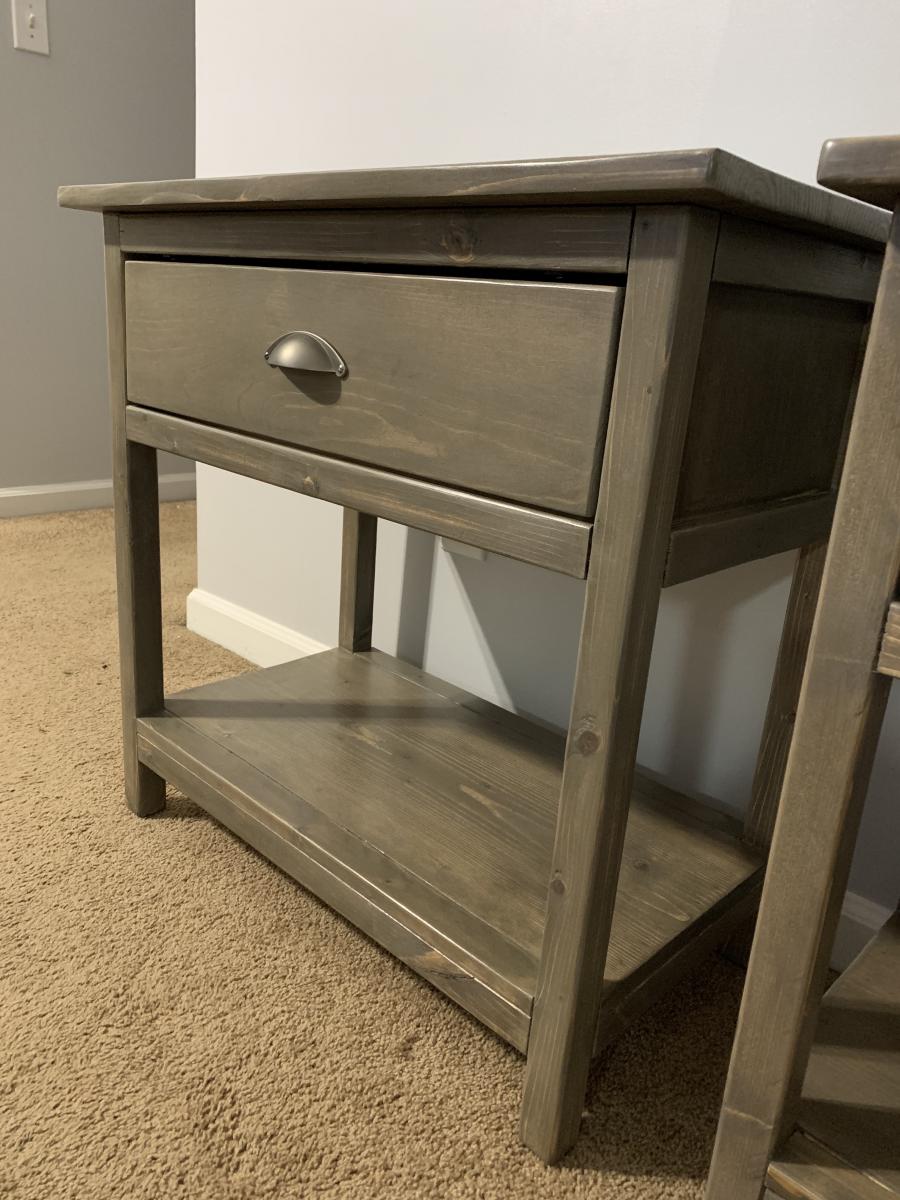
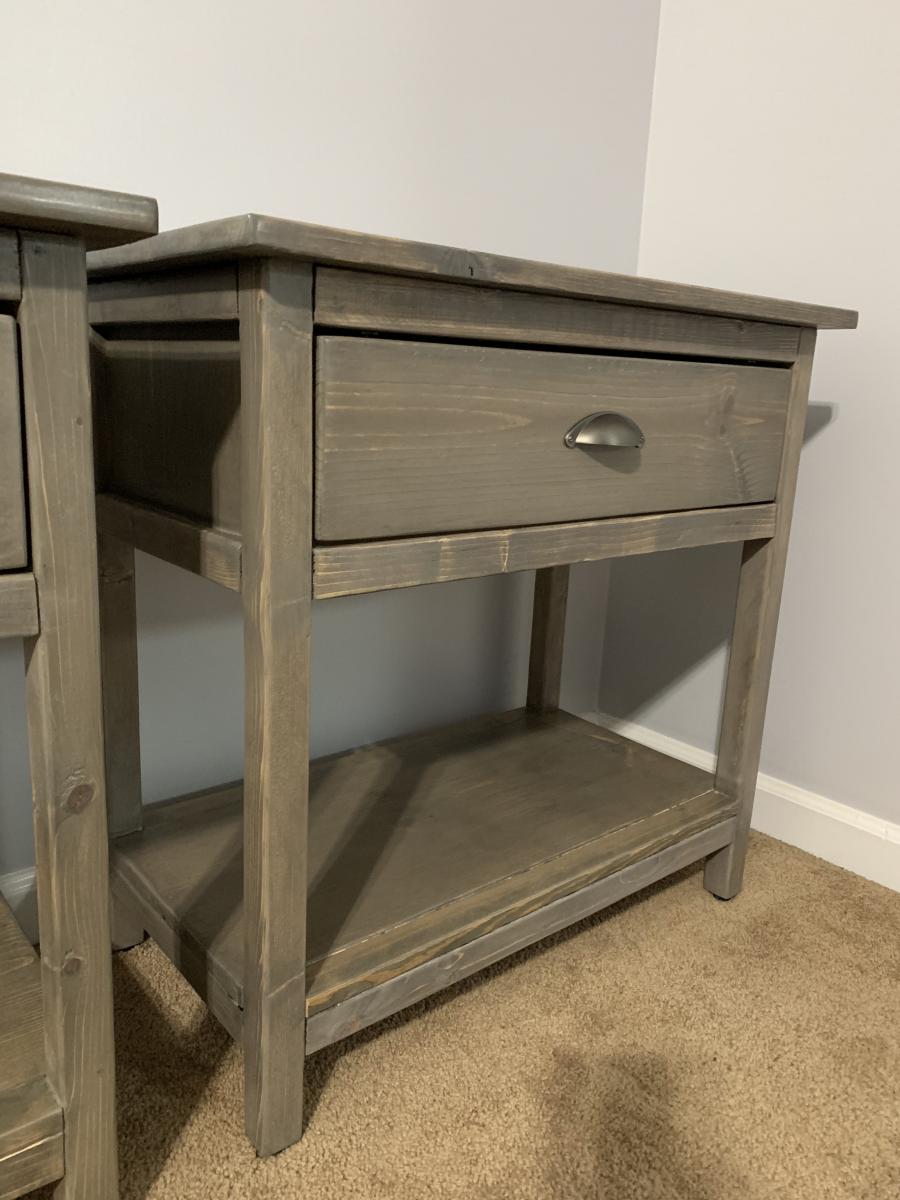
Submitted by zawatkins on Sat, 02/01/2020 - 16:05

Made these side tables and they turned out great! I did buy some drawer stops from Swisco to keep the drawers from falling out. 

Built from Plan(s)
Estimated Cost
$115
Estimated Time Investment
Weekend Project (10-20 Hours)
Finish Used
I used Minwax stain - first stained with Dark Walnut and then before it was dry, I put Simply White over top and immediately wiped it off. Then 3 coats of polyurethane
Recommended Skill Level
Beginner

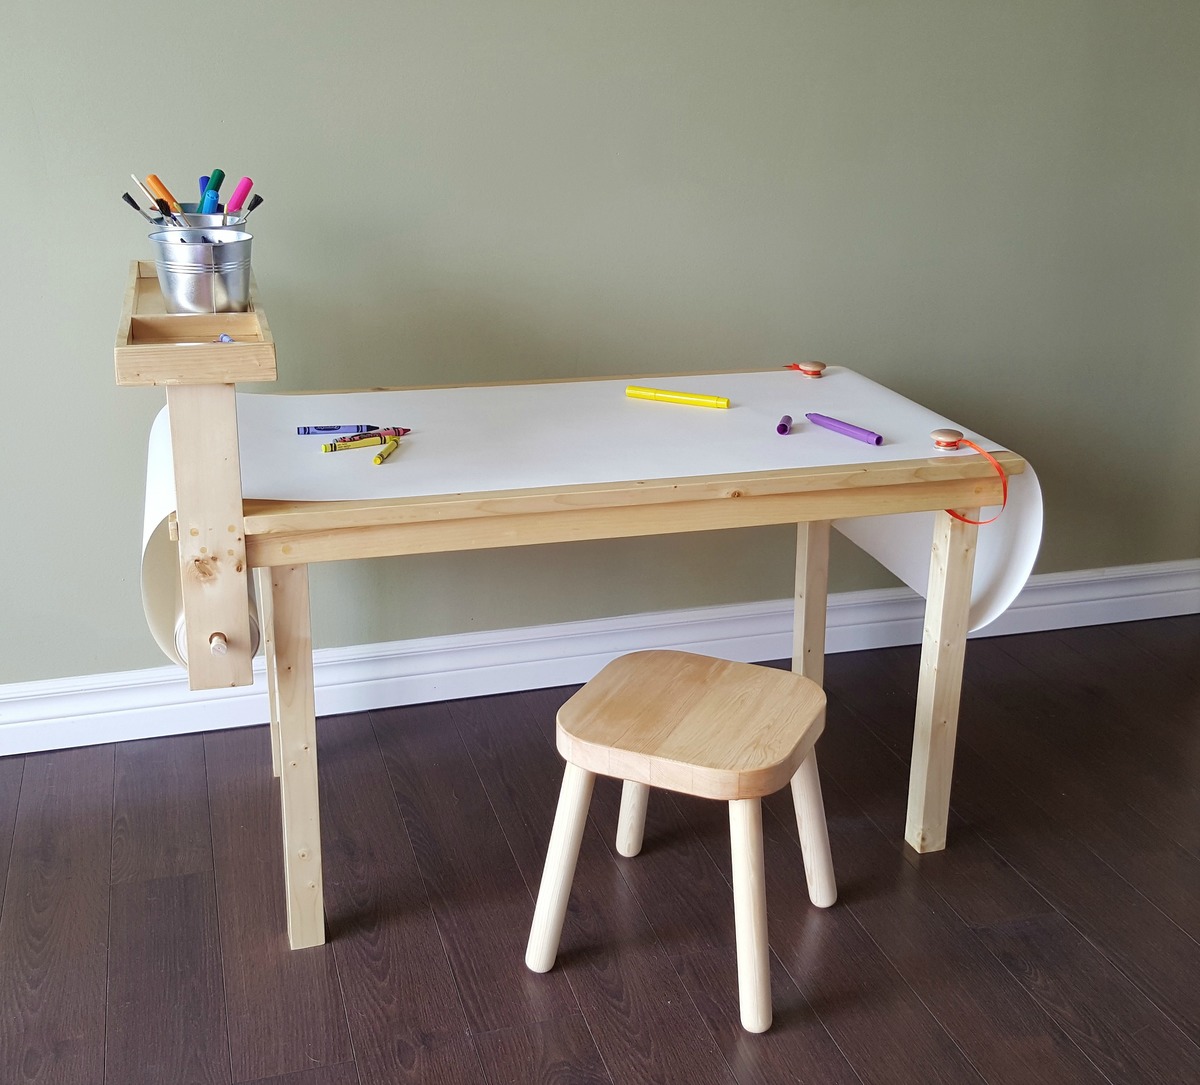
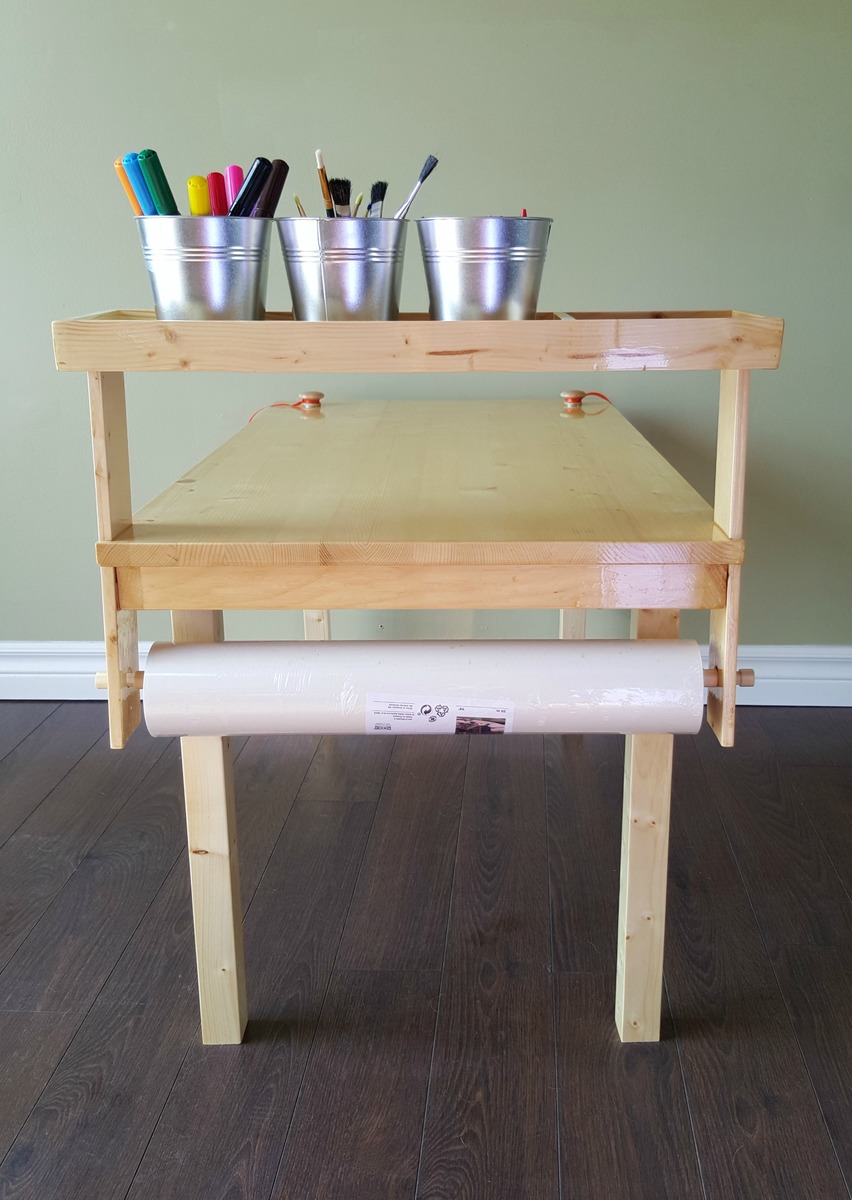
Children's Craft Table with Attached Paper Roll

Submitted by bdel on Fri, 06/03/2016 - 12:17

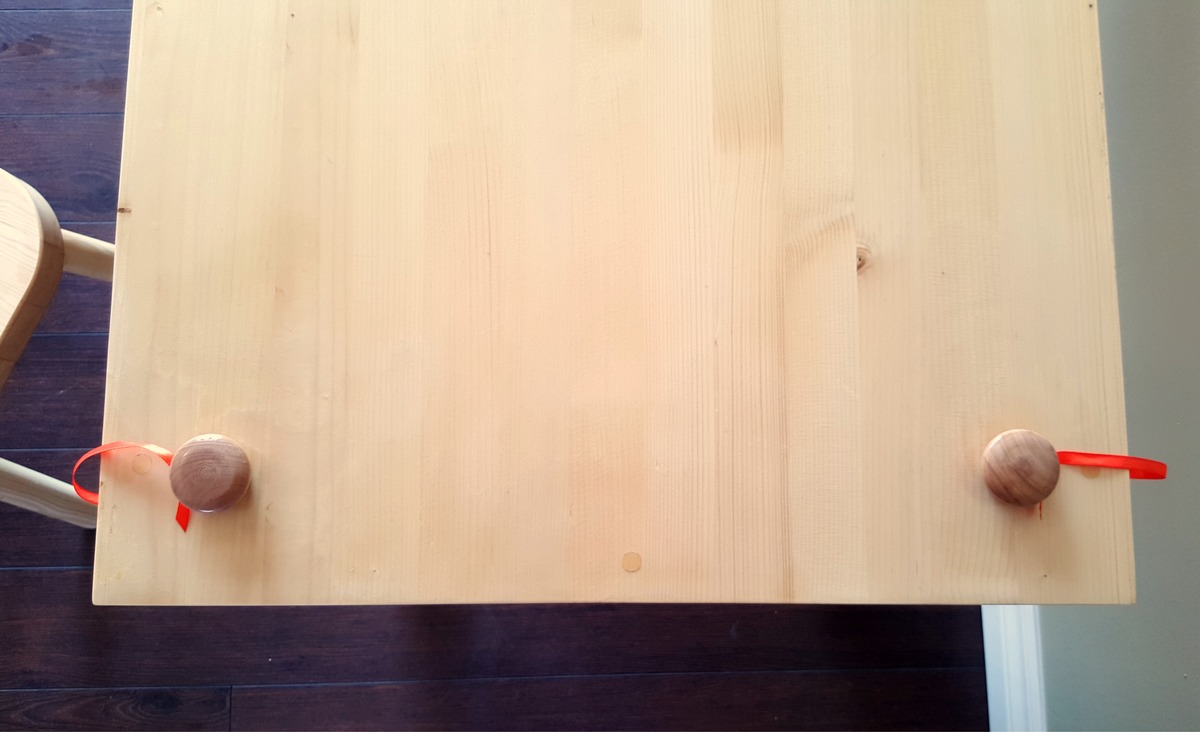
This table was a birthday gift for my 3-year old cousin. It was fun to brainstorm ideas to get it exactly the way we wanted it instead of buying one pre-made. Once we had our plans it was an easy build, done over a weekend. A full list of materials as well as step-by-step instructions can be found in the blog post linked. The top is a 20x36 pine shelf board with a 1x2 pine apron attached underneath. There are vertical support boards to hold a raised tray for supplies, and to hold the paper roll under the table. Note that the table legs are inset at one end to accommodate the paper roll. We added two magnets to the face of the table and tied two knobs (with metal washers glued on) to the underside. The paper can then be sandwiched between the magnet and the metal and won't move around while the artist is at work. It's our favorite feature! There are also magnets glued to the inside bottom of the tray to hold the buckets in place and keep them from being knocked over easily. This project was so much fun! I love having the chance to share it with you all!

Estimated Cost
$70
Estimated Time Investment
Weekend Project (10-20 Hours)
Finish Used
Minwax polyurethane in clear semi-gloss. Lightly sanded between coats. Sanded with ultrafine steel wool before final coat. Note that the polyurethane may discolor the wood putty and make it stand out.
Recommended Skill Level
Beginner

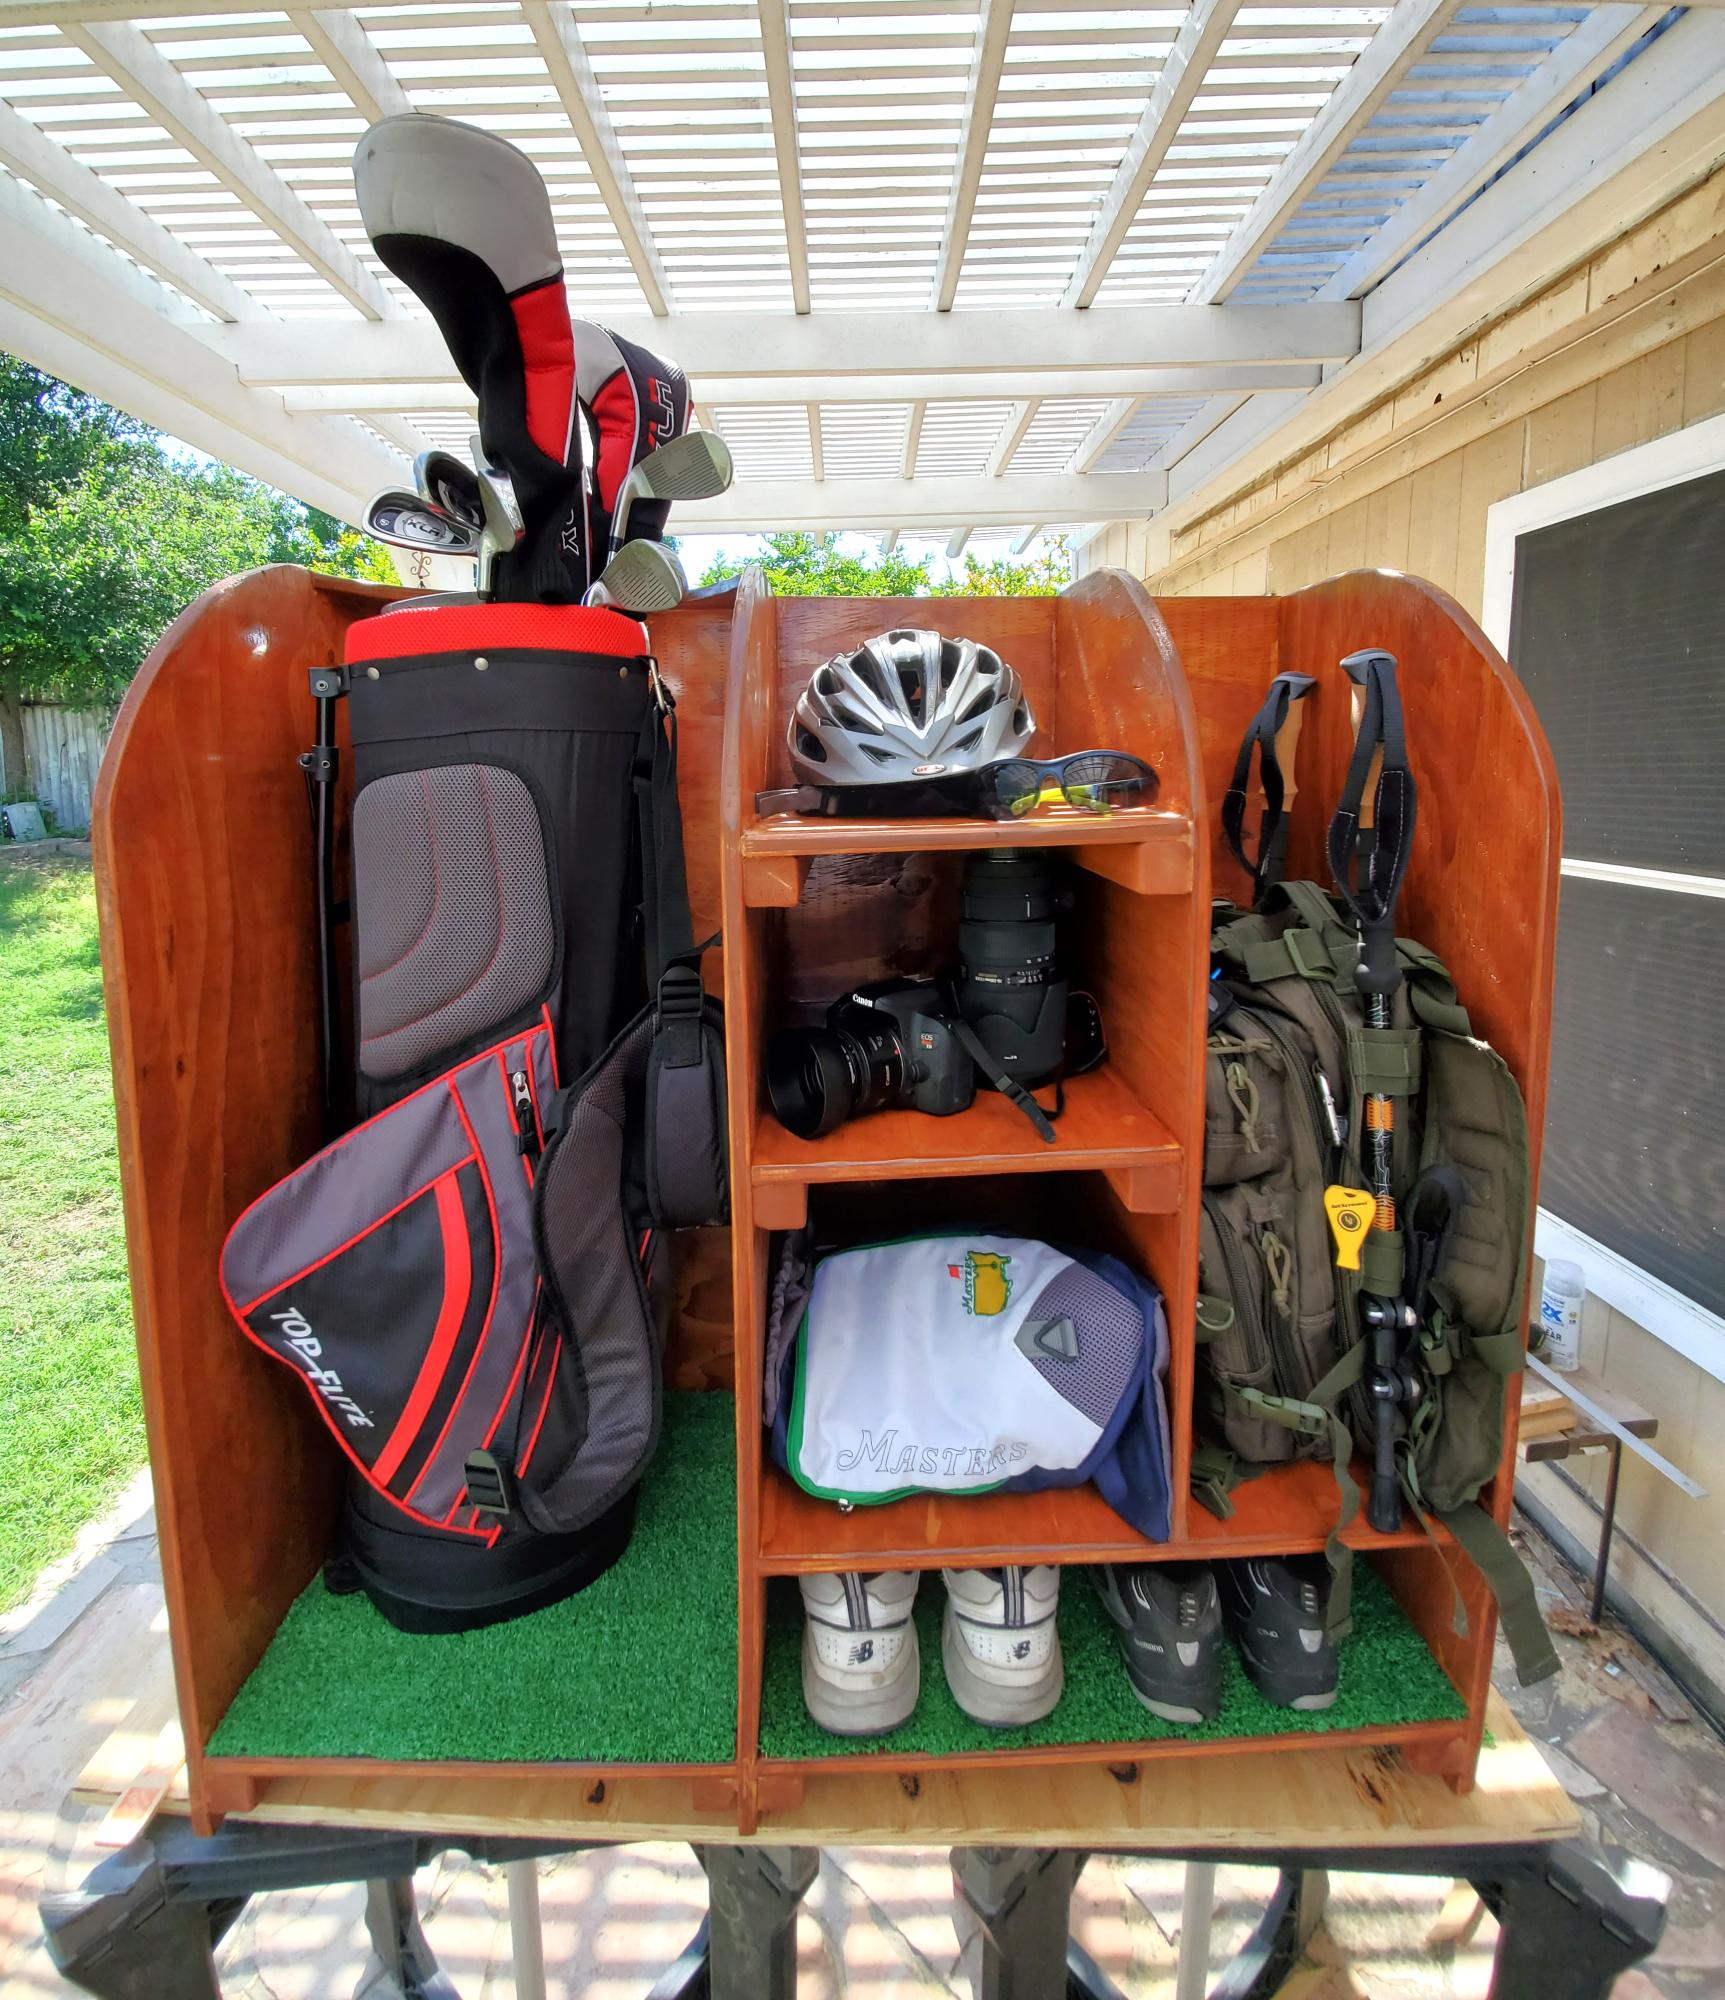
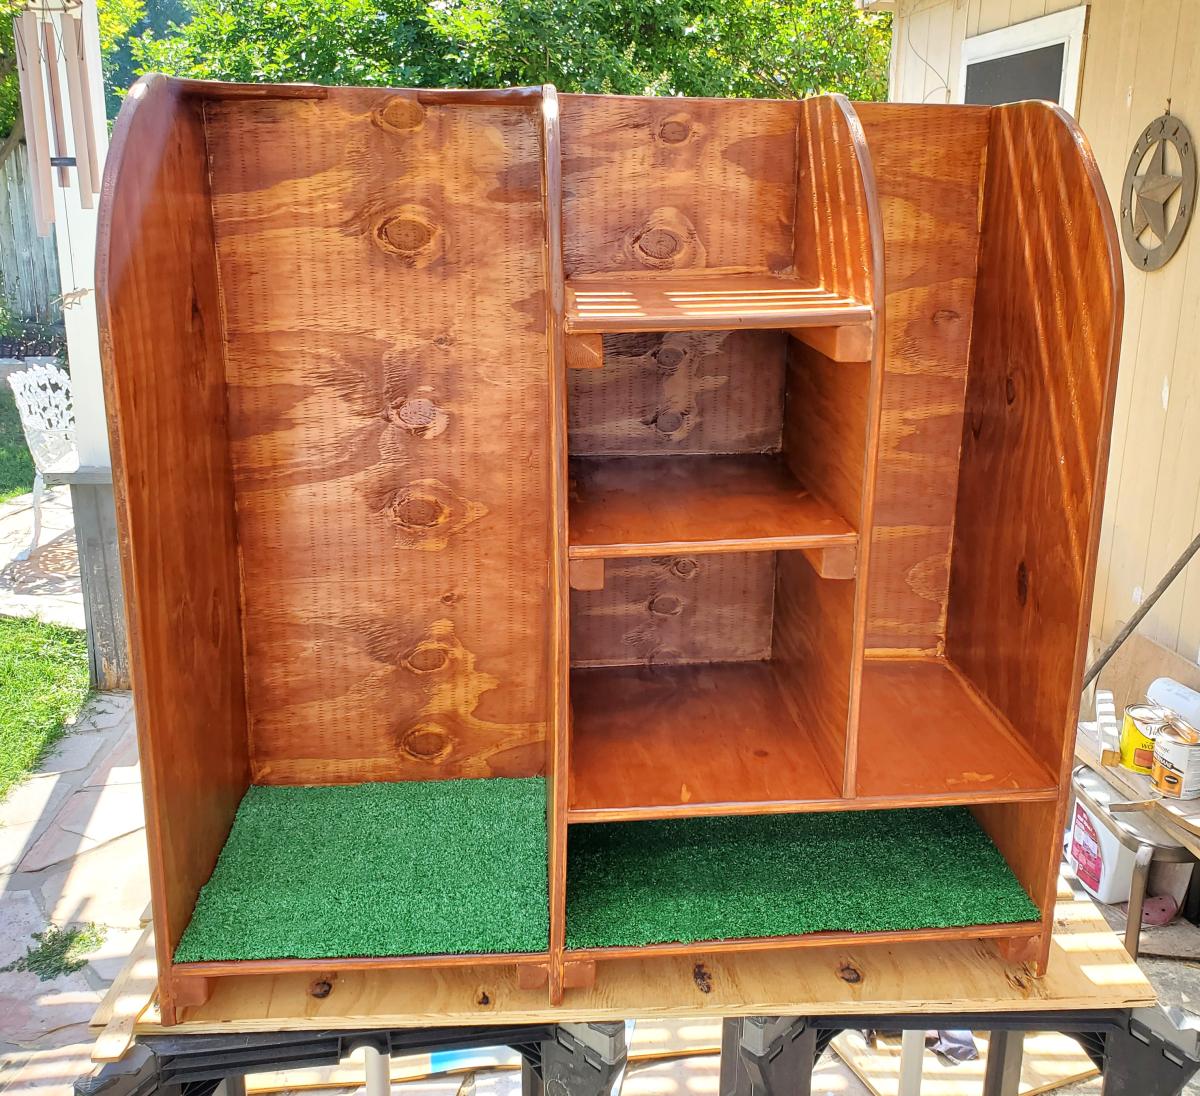
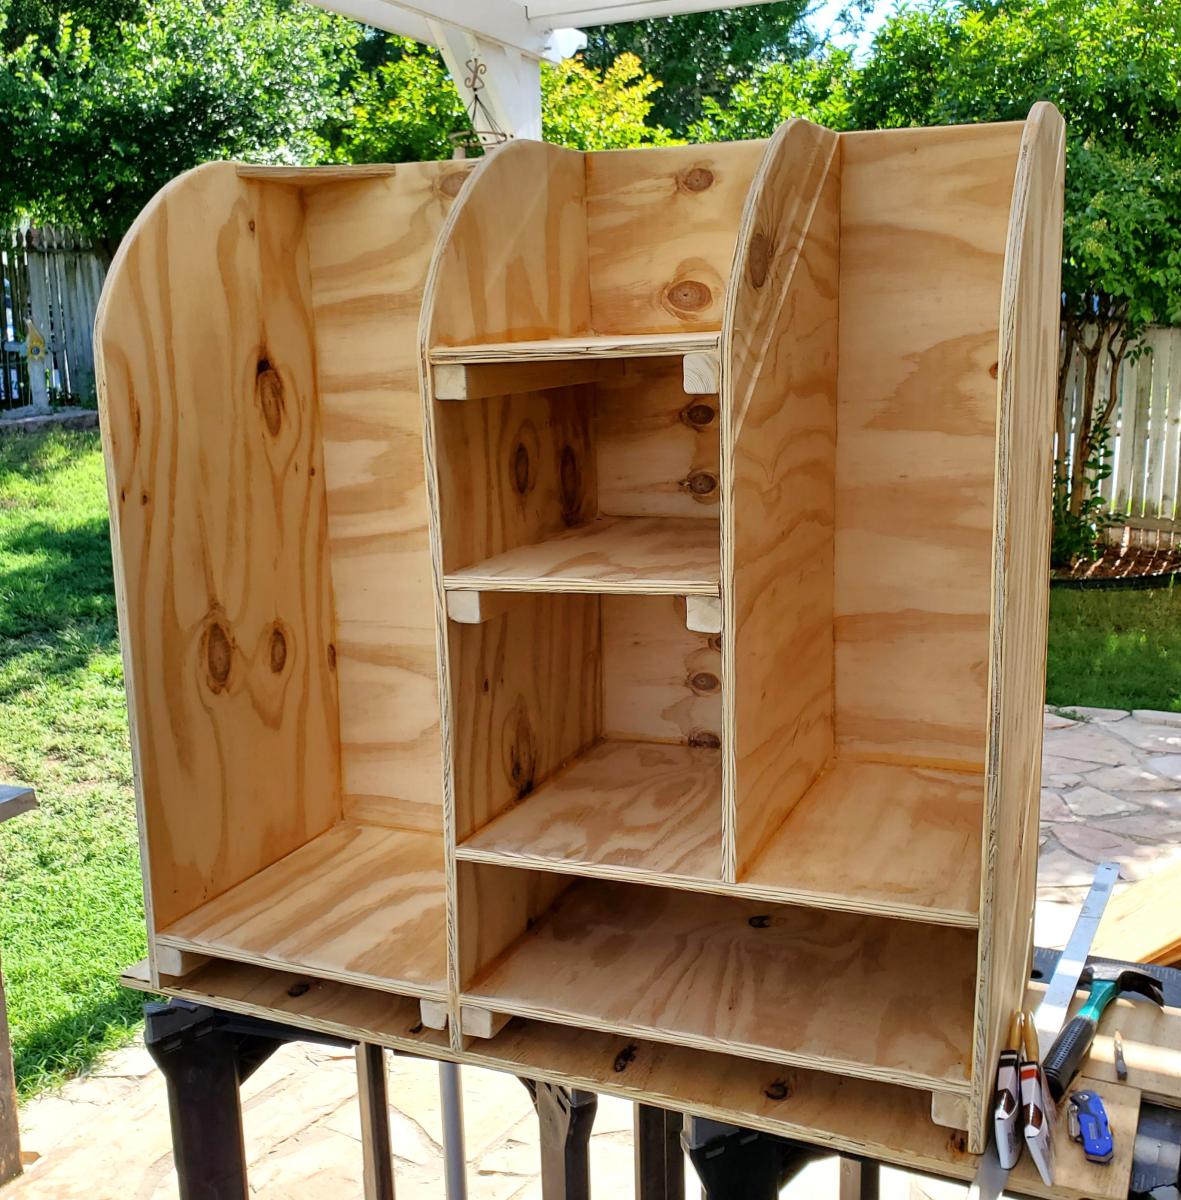
Golf Bag Stand

Submitted by Anonymous (not verified) on Sat, 11/18/2023 - 12:11

Golf bag stand
Can’t remember if found this plan here or not but get most my plans here. Fun and easy build.

Comments

Modern slatted bench

Submitted by Whimwhams on Mon, 06/27/2016 - 11:51

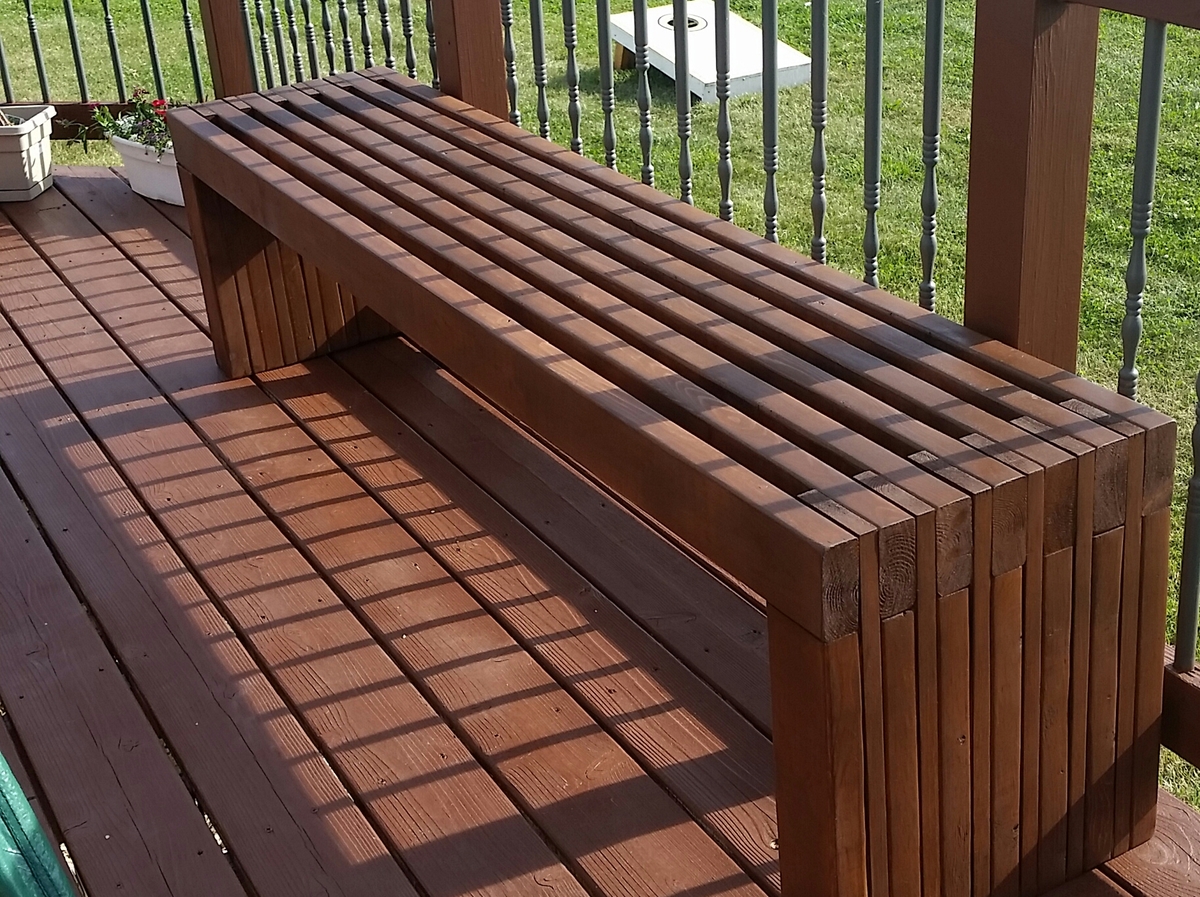
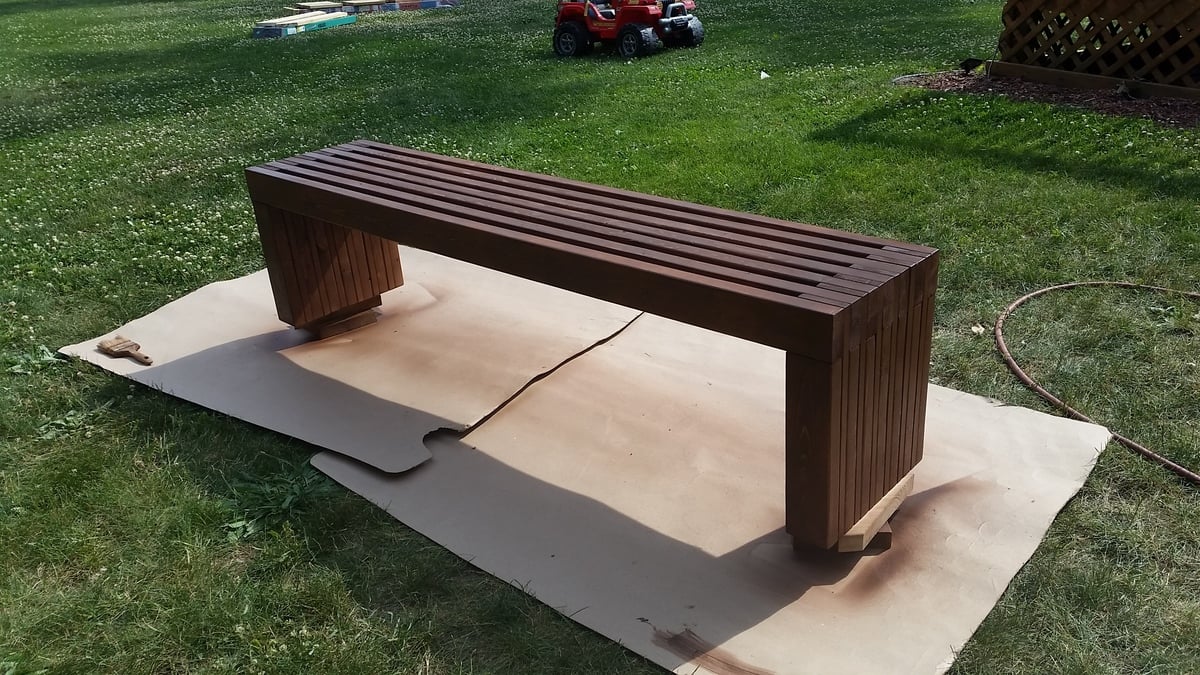
I made this for my sister the day before her house warming party. It was a pretty easy build. I used wood glue and 2" nails. Using a nail gun, this came together pretty quickly. I do wish that I had wide enough clamps to hold everything in place while it dried, because there were a few gaps due to some imperfect boards. I used 104" stud length boards, so I only need to purchase 7 instead of 9. this was enough to make the cuts for the top and both leg pieces from each board. the price was the same and we had limited space in our van for boards, so this was a better option for us. I used a sprayer hooked up to an air compressor to apply the stain and was able to get in between the slats fine with this method, brushing over it as I sprayed. Luckily I chose the same color as her deck not knowing, so it matches great. Now I need to make one for myself! :)

Estimated Cost
$40
Estimated Time Investment
Afternoon Project (3-6 Hours)
Recommended Skill Level
Starter Project