Community Brag Posts

Pallet Inspired Coat Rack

Submitted by thehallway on Sat, 02/09/2019 - 15:33

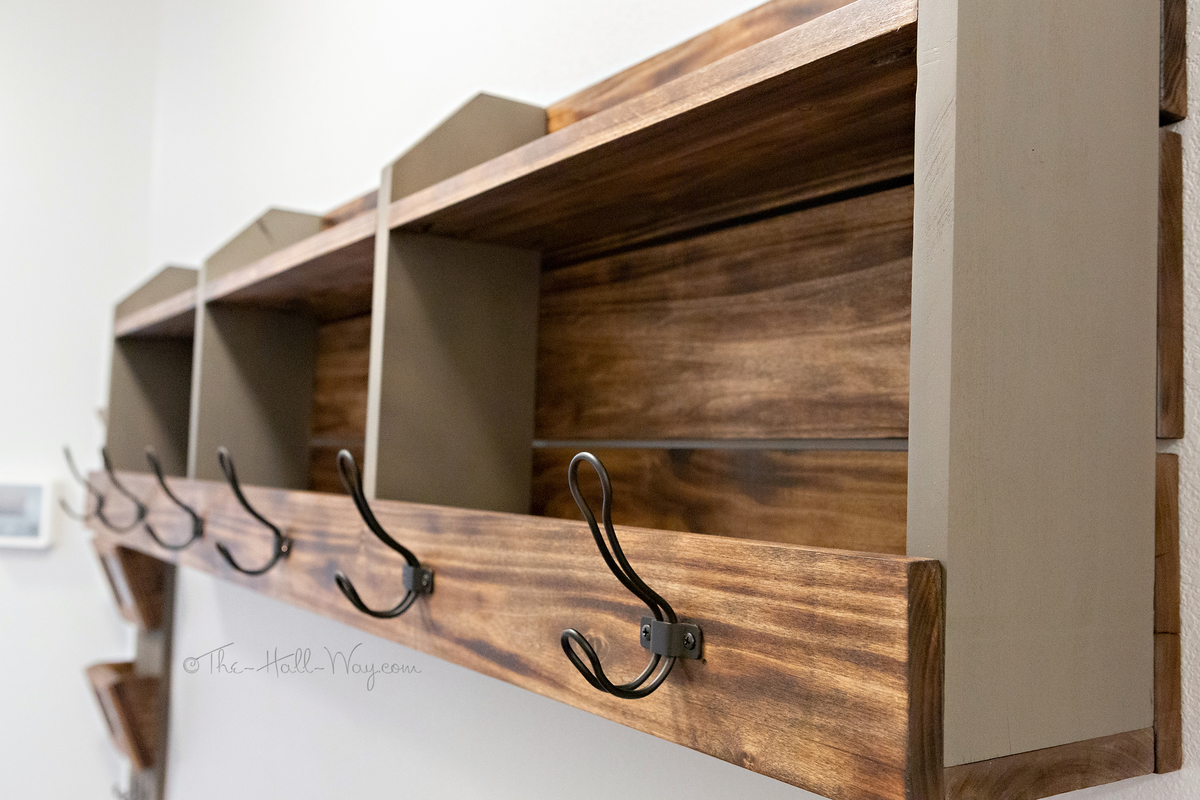
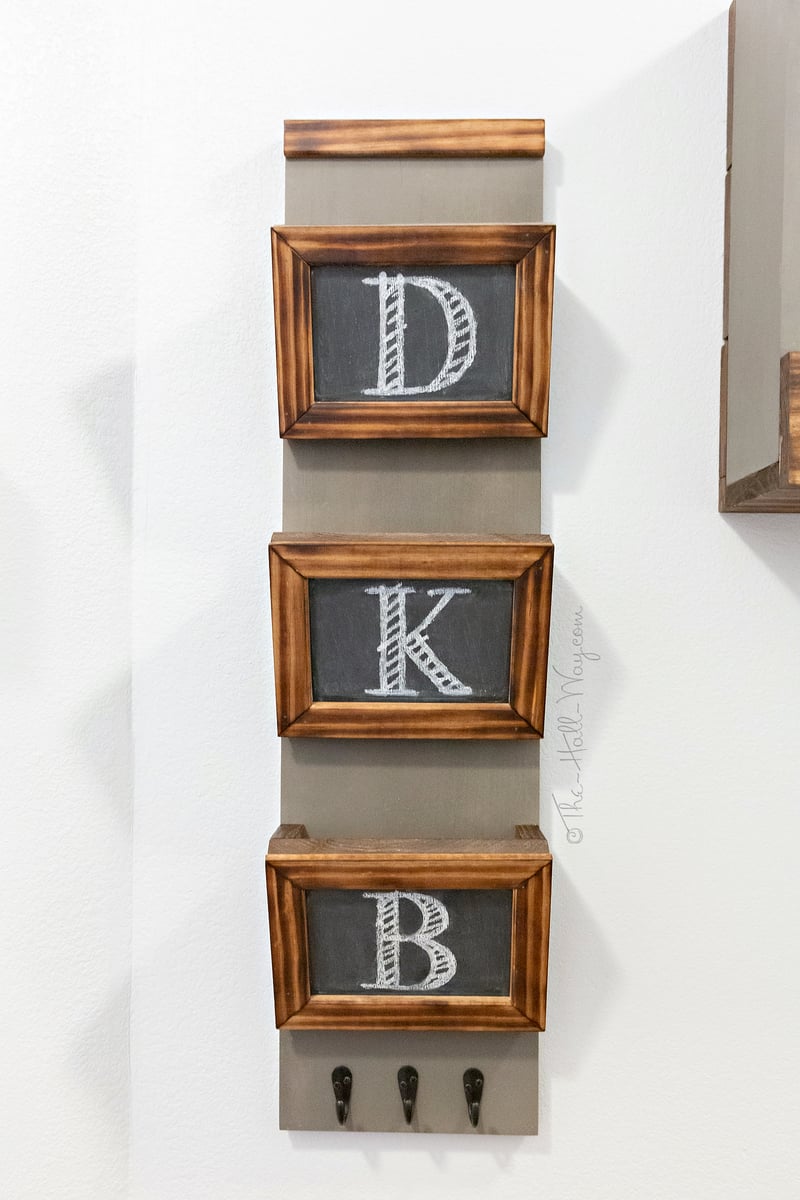
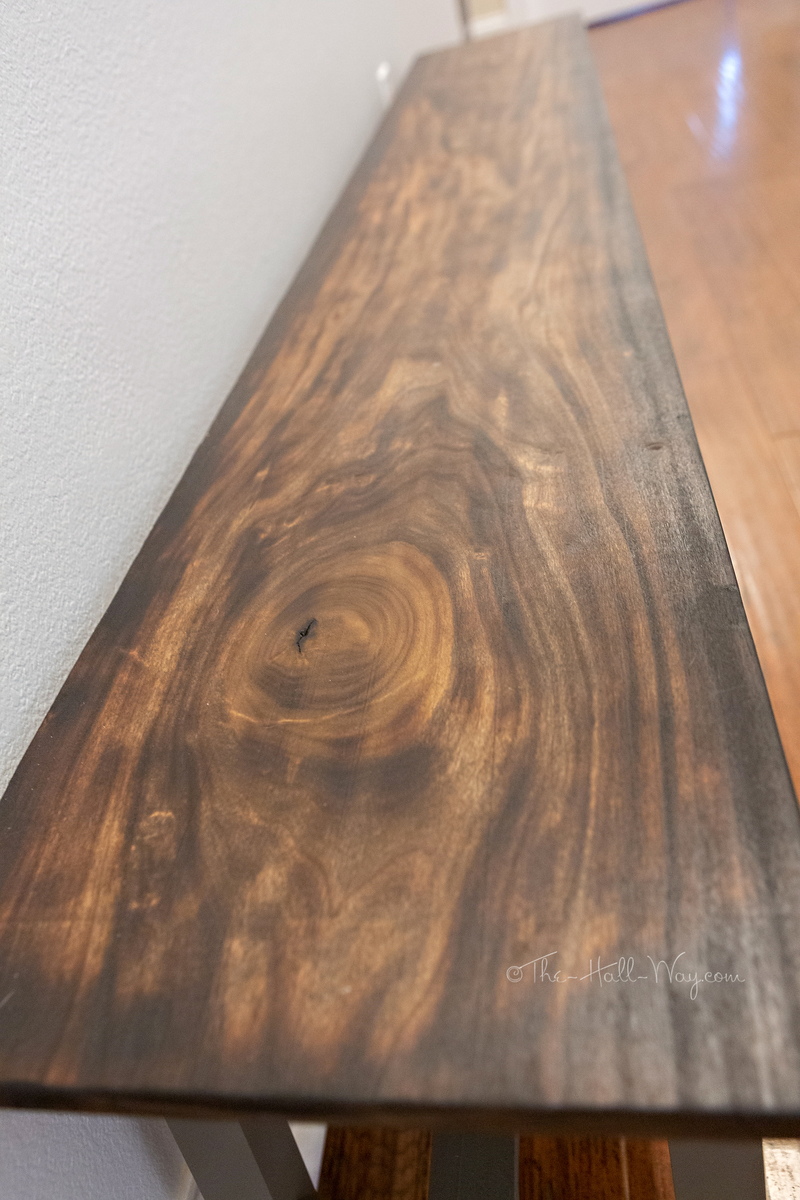
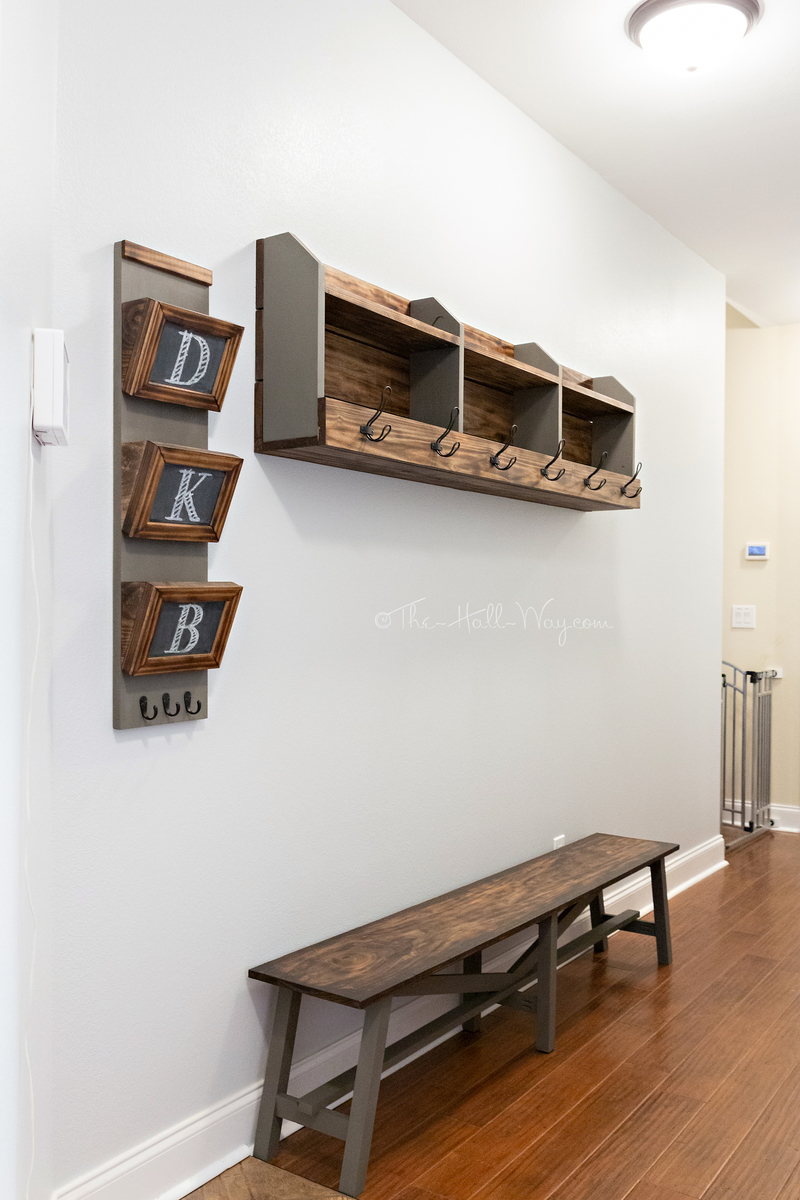
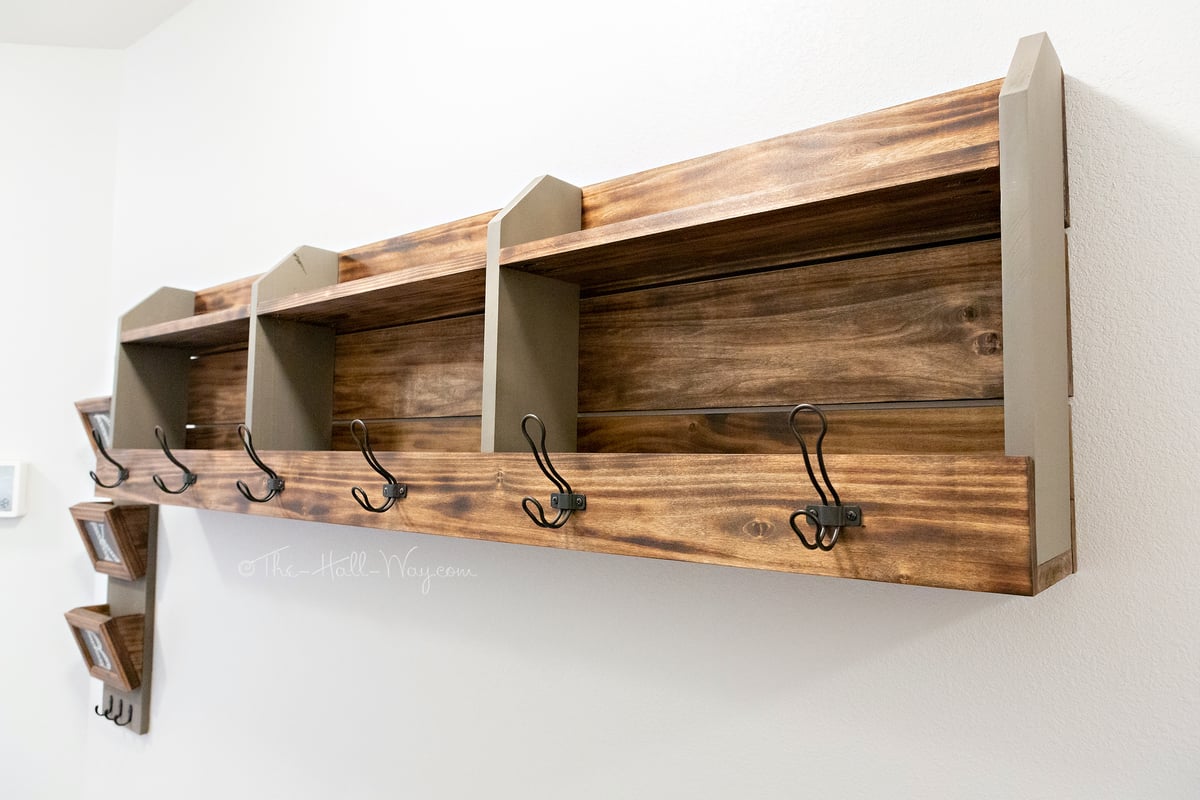
I built the coat rack along with the mail sorter and rustic bench for the long hallway to the garage since our new house doesn't have a mud room. I modified it to a length of 6'.  All but a couple pieces are made from poplar.  I burnt the stained pieces with a torch, then put a quick coat of Special Walnut on them.  The painted pieces are Rustoleum Weathered Wood.  Hooks are from Home Depot.

Estimated Cost
<$100 due to already have wood on hand
Estimated Time Investment
Weekend Project (10-20 Hours)
Finish Used
I burnt the stained pieces with a propane torch, then put a quick coat of Special Walnut on them.  The painted pieces are Rustoleum Weathered Wood. The mail sorter has Chalkboard Paint on the front pieces.
Recommended Skill Level
Beginner

Comments

Flip Top Storage Bench

Submitted by Linda7 on Tue, 10/01/2013 - 15:40

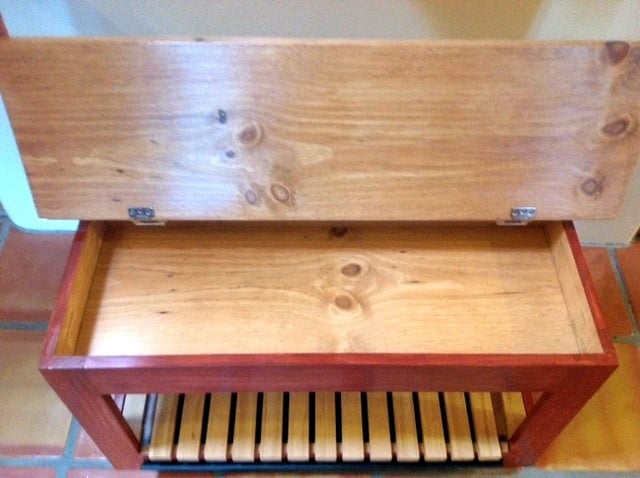
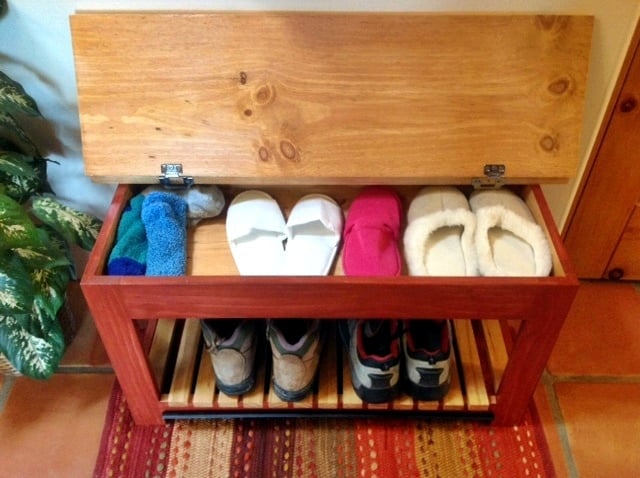
So my sister's house is on a rural, sandy lot. Did I mention sand...lots of sand. Her tile doesn't react well to sand-covered shoes , so they needed a place for guests to take off street shoes to replace them with spa booties. I offered to build them a storage bench for that purpose.
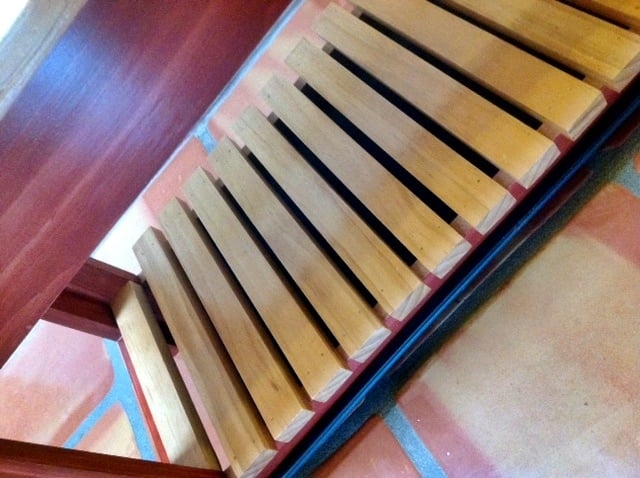
I modified the bench to make it shorter as per my sister's request. She also wanted the lower shelf modified to place a boot tray on it to catch the sand. I suggested replacing the lower shelf with rails to place the shoes on so the sand could fall off onto the boot tray. We nailed finish nails into the legs under the rails and slid the tray onto them. Now she can remove the tray easily to dispose of the...sand.
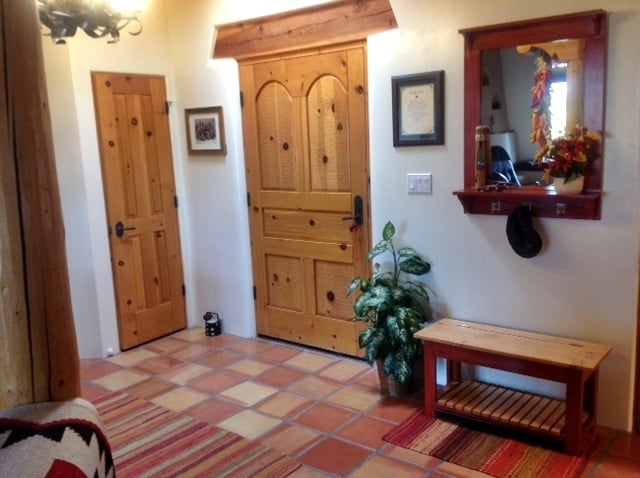
The finish on the body matches the mirror, which hangs above it. The lid of the bench was stained to match the finish on the doors, posts, etc. I used wrap around inset hinges from here: http://www.rocklerpro.com/product.cfm?page=5135&rrt=1
I checked this as a weekend project because of dry time for stain and poly.
Thank you, ANA for the awesome plans.

Estimated Cost
About $65
Estimated Time Investment
Weekend Project (10-20 Hours)
Finish Used
Minwax Express Color "Crimson" for body; Minwax "Ipswich Pine" water-based stain, followed by three coats of gloss poly for the top.
Recommended Skill Level
Beginner

Trofast Toy Storage Solution

Submitted by CassieD on Fri, 09/30/2011 - 17:27

I had been asked a few times for these plans, but as someone else posted a similar one, I'll just stick to a blog post for now and describe my differences. I made this shelving unit January 2010, just after I found out of I was pregnant with my third child, and it's been a lifesaver since then. I desperately needed a toy storage solution (and purging), as shown in the 'eek' kids closet below. I didn't like the shape of triangular Ikea ones, as they spanned more floor space than I cared to give up. Plus, I wanted a place to put *almost* all of my kids toys, so I wanted it to be tall. I'm so glad we did, since we've moved twice (also, 'eek') since than, and it's made packing and unpacking the kids toys super (SUPER) easy. At first, I was afraid that the kids would go crazy and just tear down every bin at once, but it hasn't happened yet. Unlike the other plan that was posted, I used white sliders that ikea sold. I'm not sure if they still sell, as I don't see them online. It cost an additional $24 (they were $1/2), but seemed worth the extra money. I didn't have a router and wasn't particularly confident with our table saw skills. Plus the Ikea version had some really thin areas that made me nervous that it would break easily. I tried to keep it easy and just had to line up and screw the sliders in. Now that I'm a little more confident with a table saw, I'd give the router style a-go. I used two sheets of cabinet grade plywood, each costing about $30. I ripped down some pine boards to cover the front edges, which made the unit look loads nicer. However, I wish I would have used maple, instead of pine as they got dented almost immediately. Not a big deal though. The three shelves were sort of an afterthought, but turned out to be great for puzzles and other type toys. I didn't use backing or cross supports initially, but put some in after we moved. You can see them in the last picture below. The heater in our temporary house caused the slightly-bent sides to become very bent sides. That caused the drawers would spontaneously fall out, which was always quite the shock and disappointment. I put in some supports in the back, which I wish I did initially as it would have made manufacturing easier. Also, If I were to go back, I would put one cross support in the front-middle, as the boards are so tall, it needs something to help maintain the shape in the front. I've found that even in a perfect fitting slider, really heavy buckets would bend just enough to flex out of them to crash... so don't plan on filling one of the large buckets with matchbox cars and sticking it on the top. Regardless, we've learned our lessons, made it work better, and has been a huge success in our house for a while now.
Estimated Time Investment
Weekend Project (10-20 Hours)
Recommended Skill Level
Intermediate

Comments

Supermom77 (not verified)

Sat, 10/01/2011 - 14:22

Great work. Love the colors. Do you have directions on training the kids to put the toys back?
In reply to by Supermom77 (not verified)

CassieD

Tue, 10/04/2011 - 19:42

Haha, I guess a little. Picking up when they aren't motivated is an ongoing battle. However, I did find having a specific place to put items with labels helped a lot, albeit with screaming. Actually the labels would probably be the best motivation of all of it.

The ideal is to have the kids only play with one bin at the time, but with more than one kid, that theory very quickly gets muddled... One child wants to play with one toy and one wants play with another, then "lego houses can't be broken down" and "polly pocket is using those blocks for the house" and so on. So it's more of a end-of-the-day(week/month/year haha) pick-up routine.

However, there seems to be a light at the end of the tunnel. My oldest (almost 6) seems to have caught on that the faster she picks up, the sooner she can move onto other activities besides playing (coloring, playdough, etc.), and is starting to pick up as soon as she's done without us even asking. I think getting an allowance has also helped with that.

That was way more than I thought I was going to comment, but I guess it goes to show you should never ask a Mom her opinion on something, unless your ready for a lecture :)

birdsandsoap

Thu, 10/13/2011 - 21:44

I love that your labels have pictures on them! I thought I should have done that way back when since my children are too young to read. Easy to find and easy to put away. Good job, Mom!

Modern Farm Table

Submitted by AnnieAtoZ on Sun, 10/06/2013 - 22:44

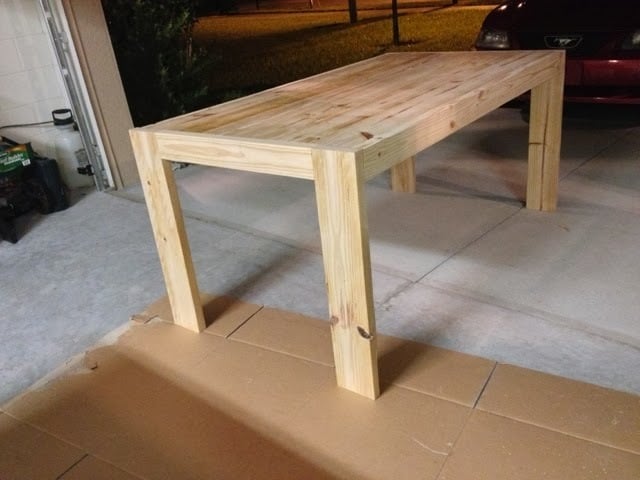
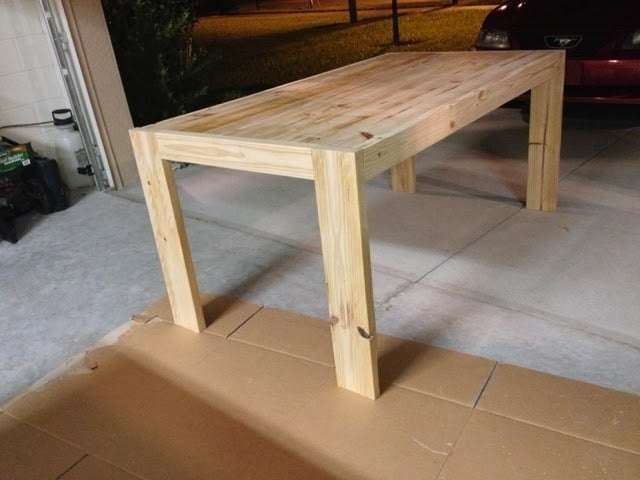
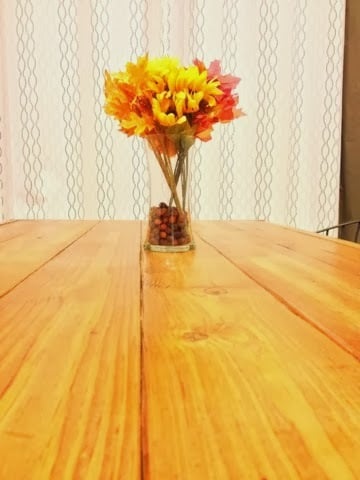
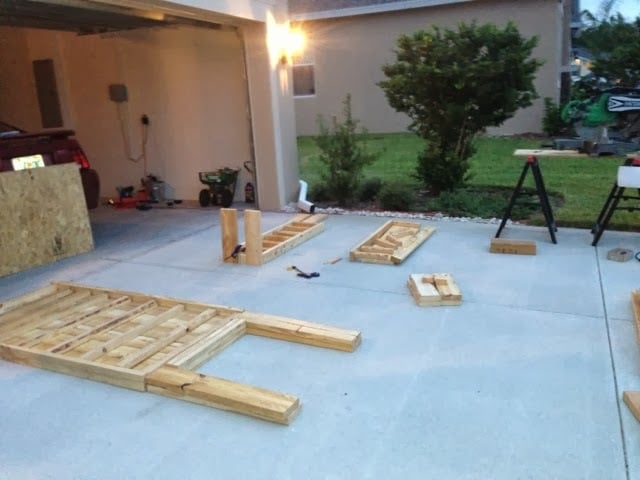
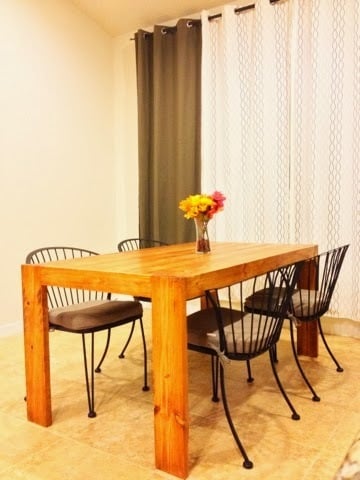
This project was a true labor of love by a first timer. We are first time homeowners and built our home, which was completed spring of this year. Like most wives, I wanted all the bells and whistles in this home. The bells and whistles add up, and next thing you know, we're eating most of our meals on our granite island upgrade, instead of a new dining set. My husband took it upon himself to purchase tools off of Craigslist and research online for modern farm table plans. He came across Ana's site and loved how she broke everything down in her plans. This was the plan he used http://ana-white.com/2009/11/plan-modern-farmhouse-table-knock-off.html The cutting, sanding, and putting the table together took about four to five hours, but staining and waiting around made the project about twenty hours. Also, everything cost $50 on our end, whereas, the West Elm table I wanted is $700. I'm one happy lady, especially since I think our table looks way better than the one from West Elm. I'm excited to report that my husband is currently refurbishing chairs to go with this beautiful table! Thanks a million for your easy to comprehend plans, Ana. You're the best. Here is a post where I featured my favorite piece of furniture http://www.AnnieAtoZ.com/2013/09/diy-modern-farmhouse-table.html

Built from Plan(s)
Estimated Cost
$50.00
Estimated Time Investment
Weekend Project (10-20 Hours)
Finish Used
Golden Oak mixed with American Standard. Satin polyurethane finish.
Recommended Skill Level
Beginner

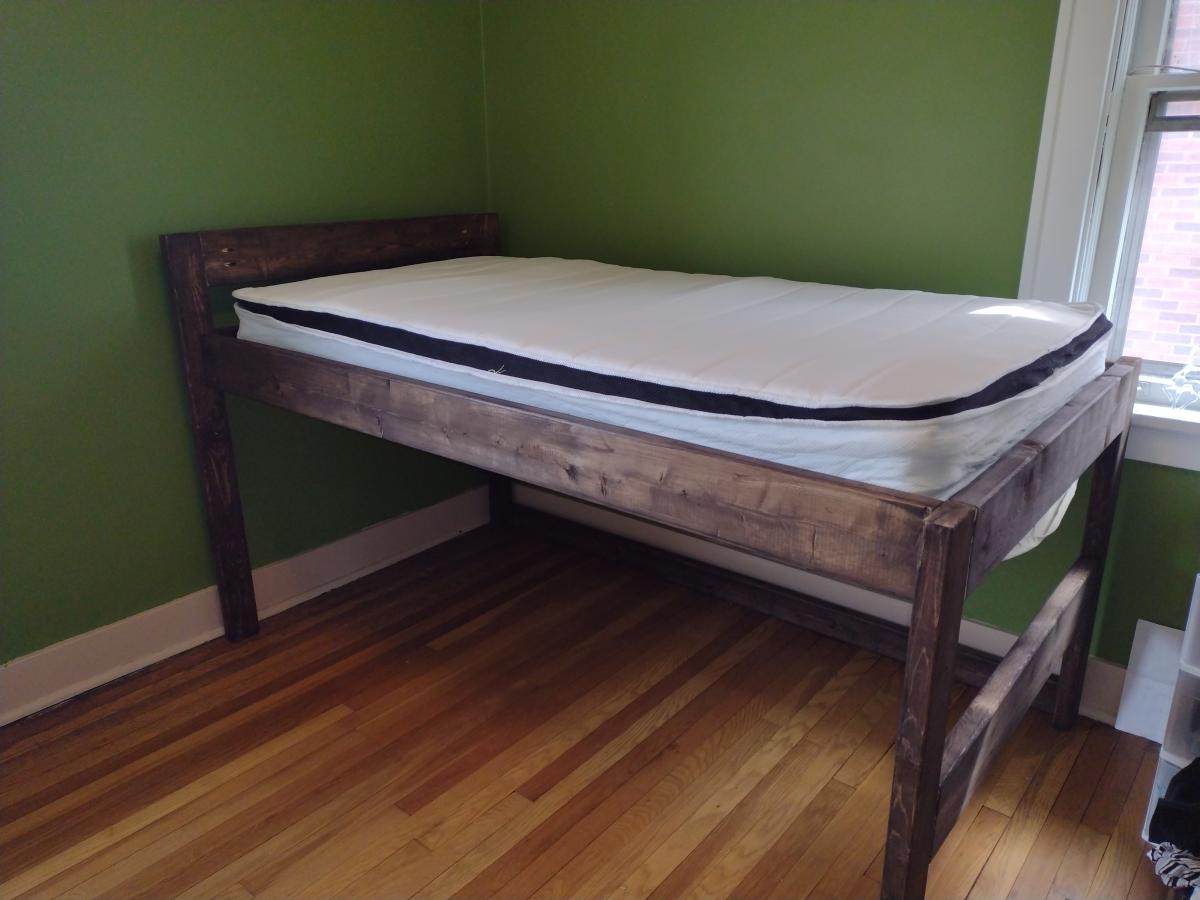
New bed for my youngest

Submitted by Anonymous (not verified) on Mon, 04/10/2023 - 15:45

Moved into a new house after a fire destroyed almost everything, rather than buying new beds for my kids, we decided to build! They turned out beautifully, and the kids love them! Decided to modify the camp loft bed, removing the stairs and using the foot of the bed a ladder style.

Comments

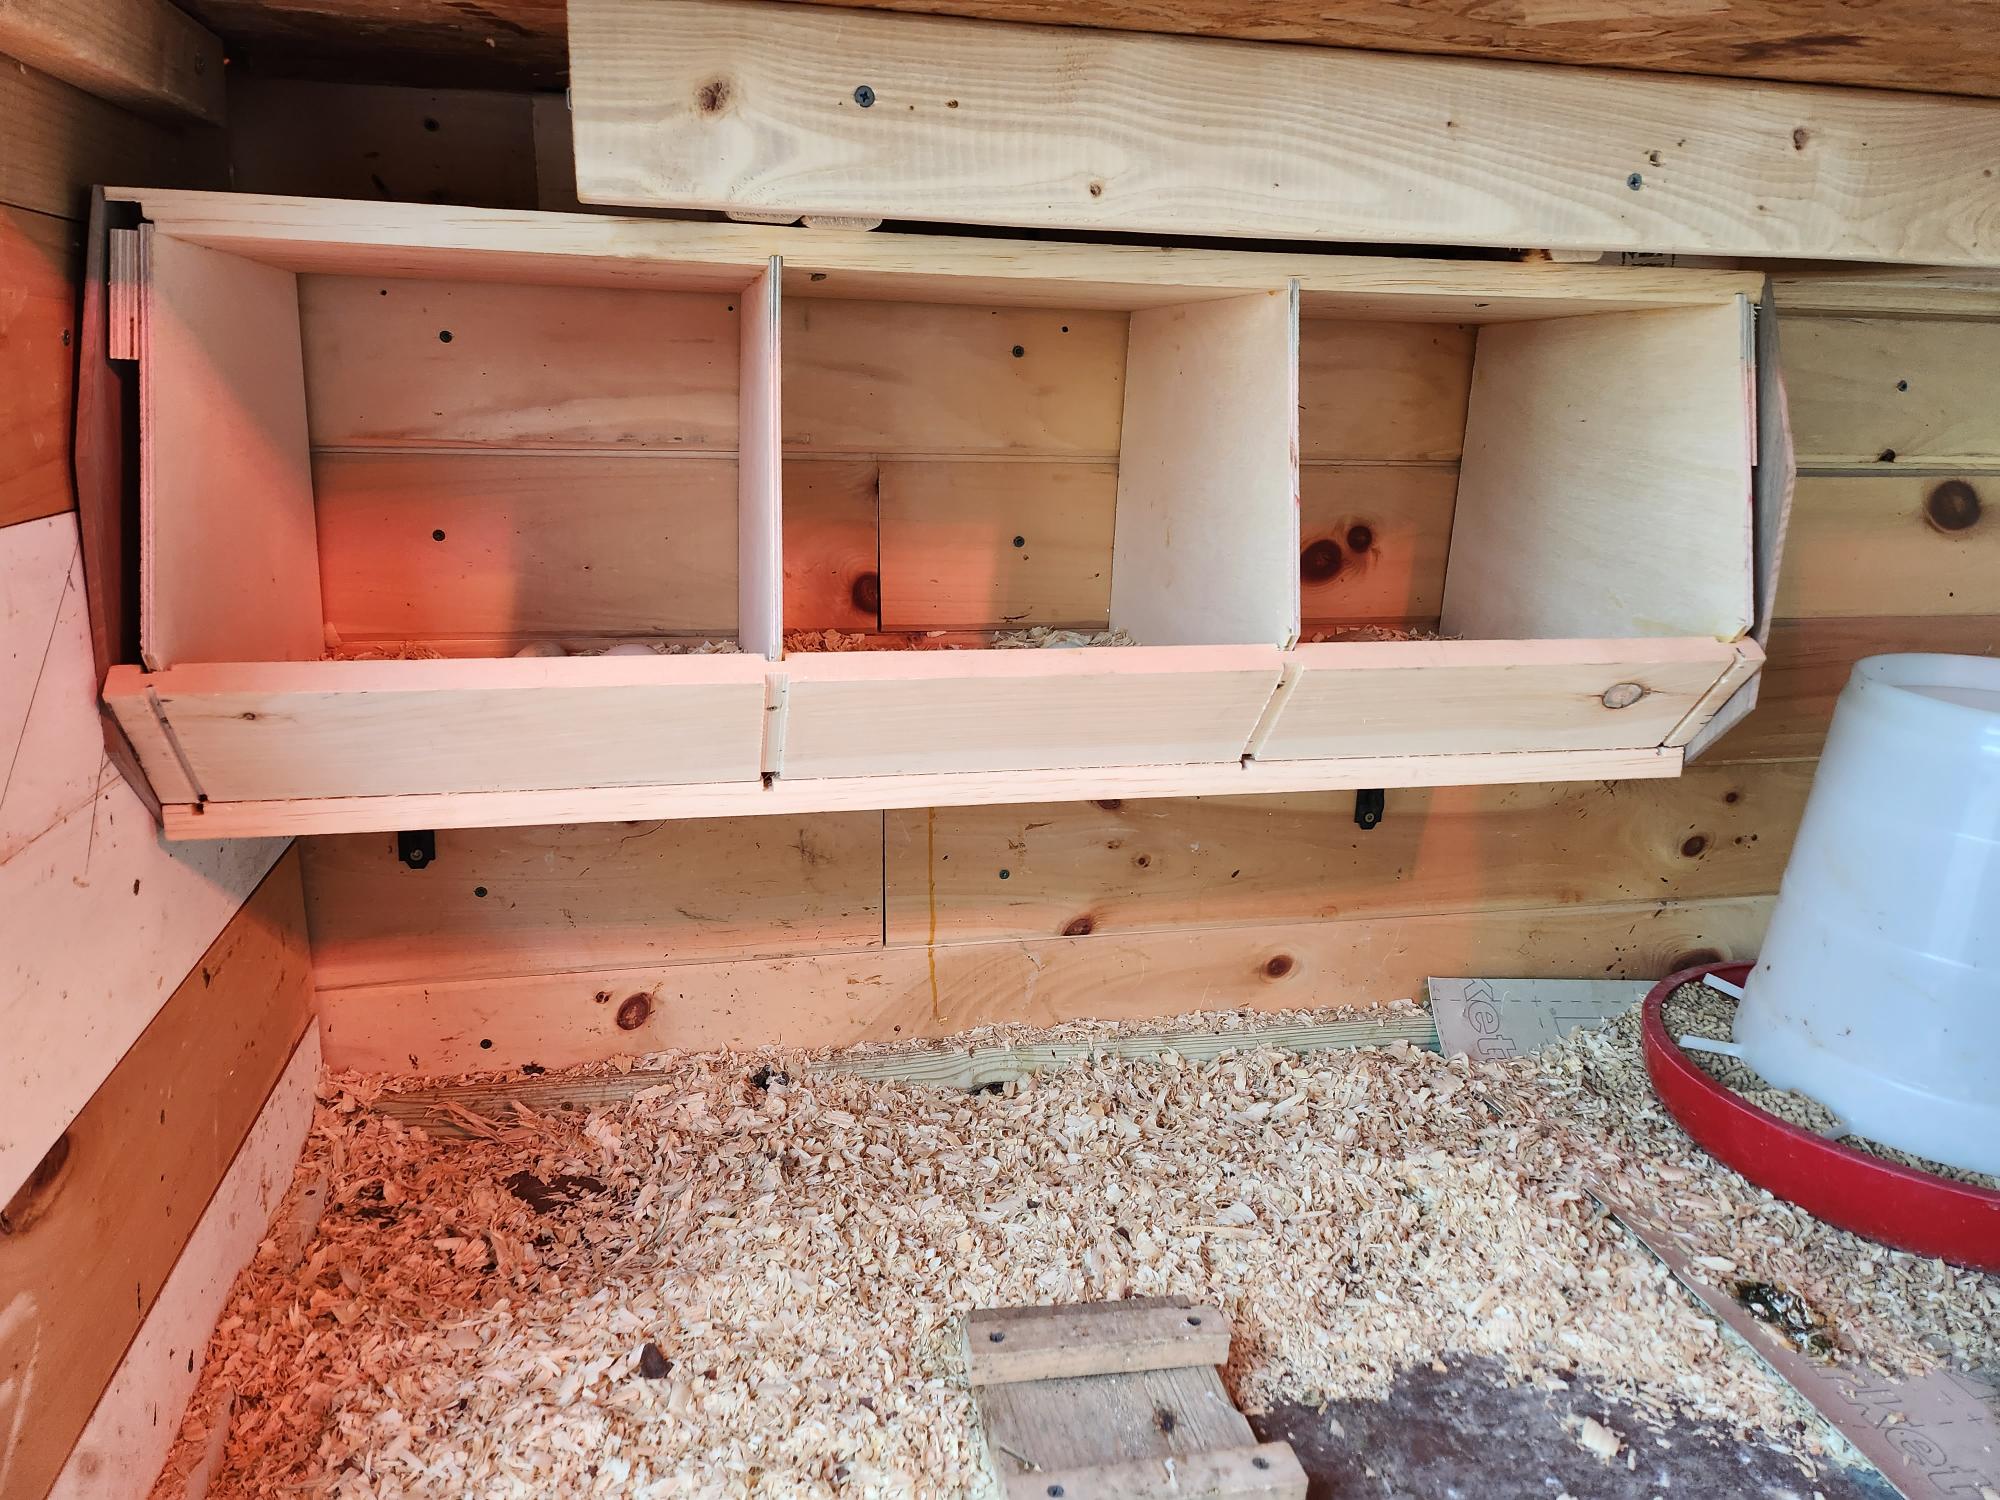
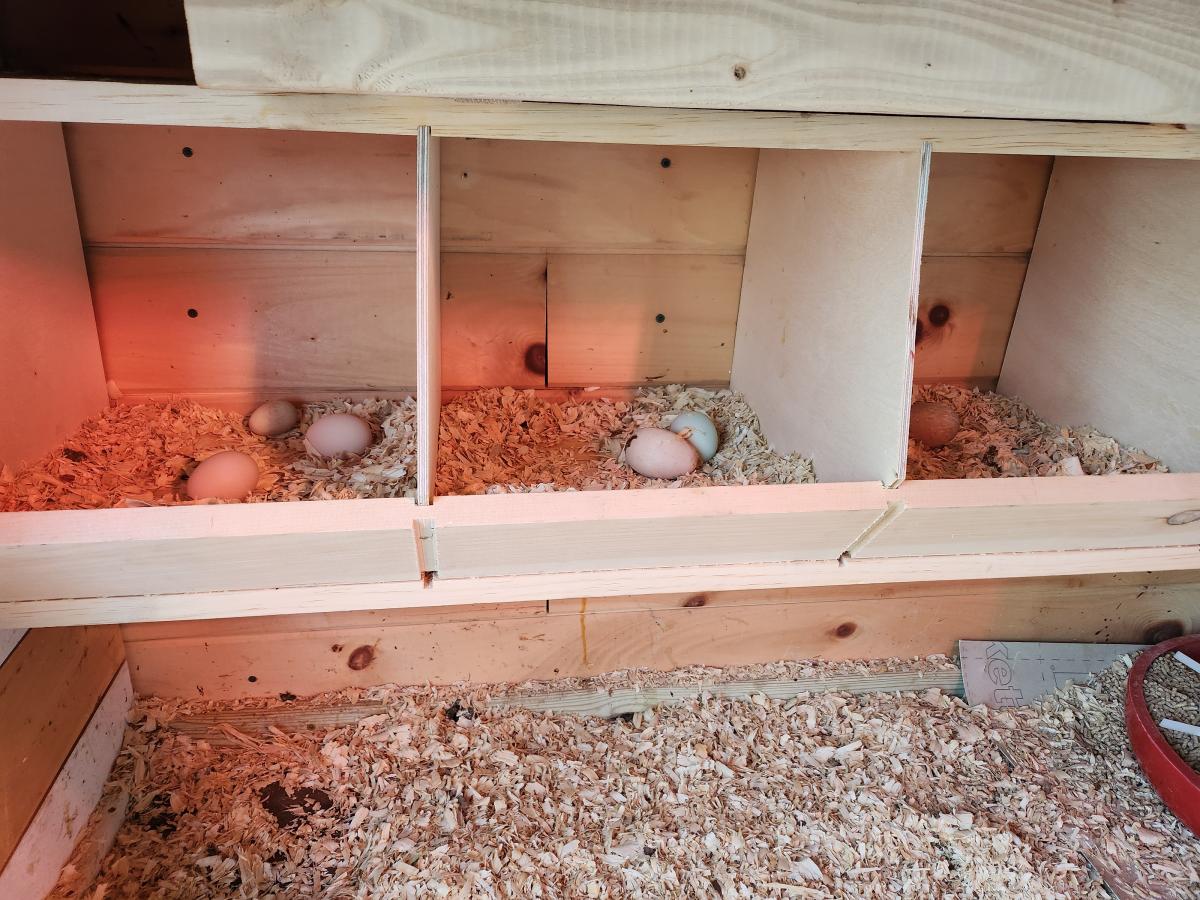
chicken boxes that work!

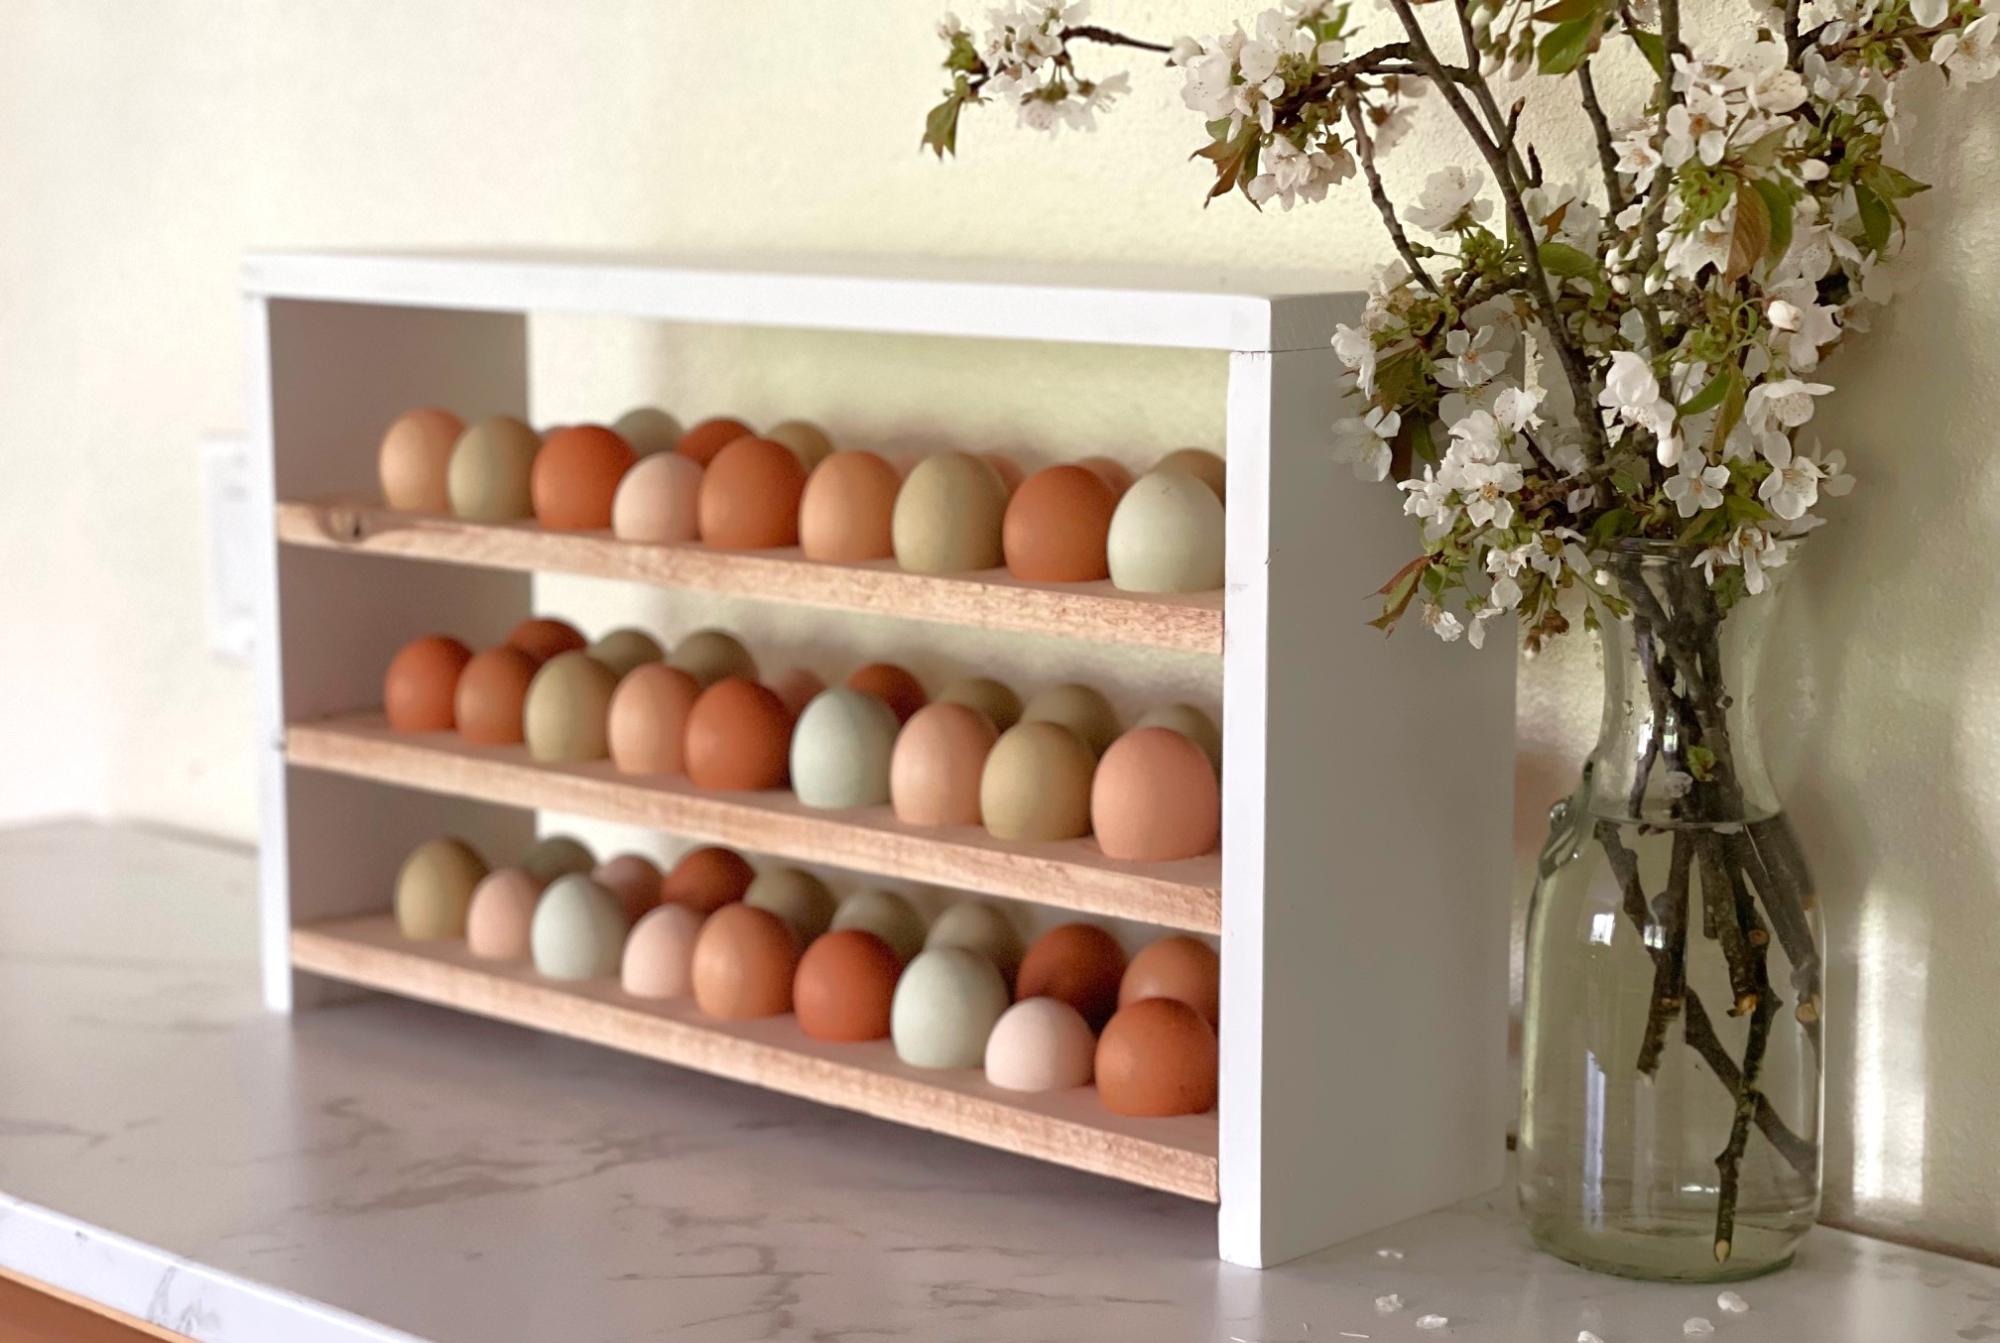
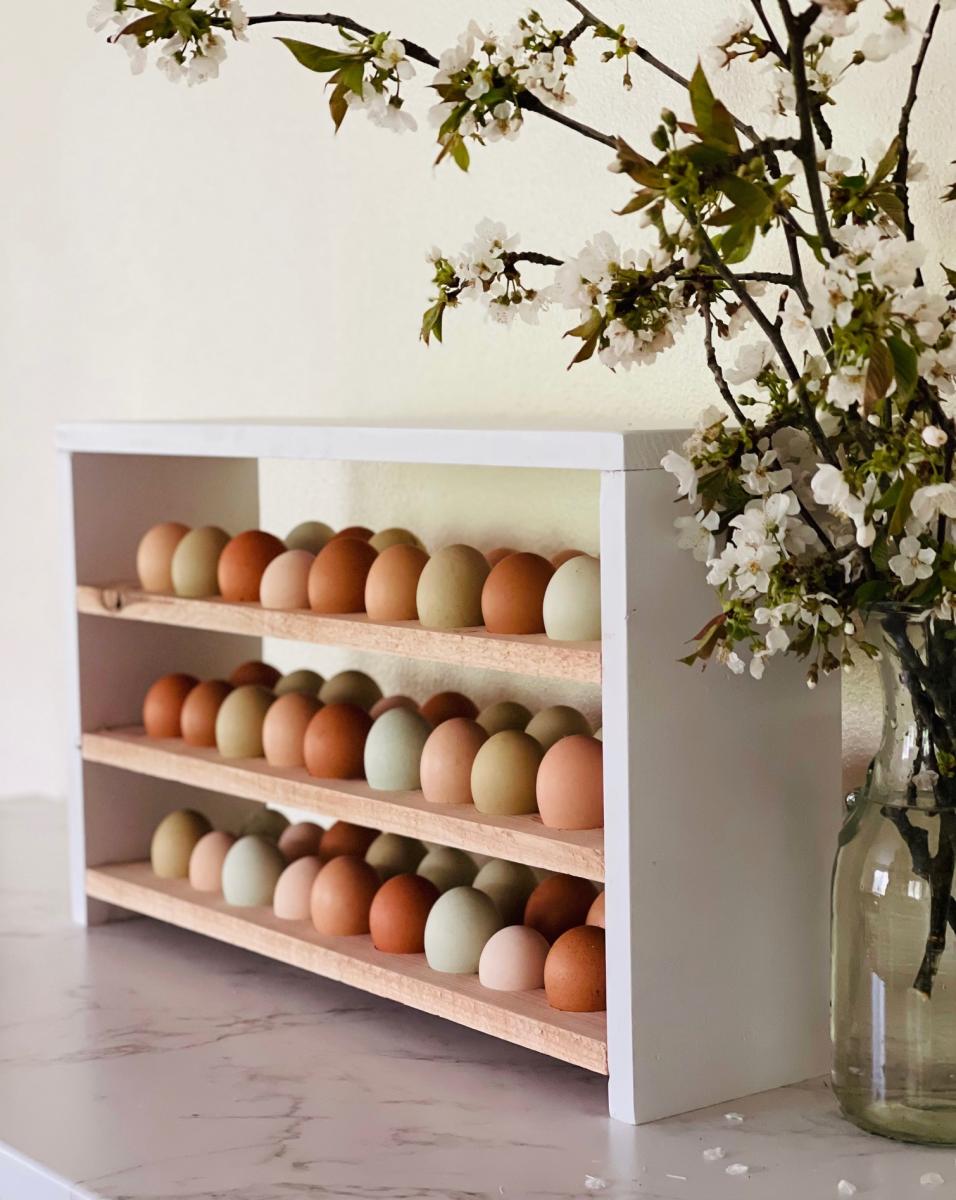
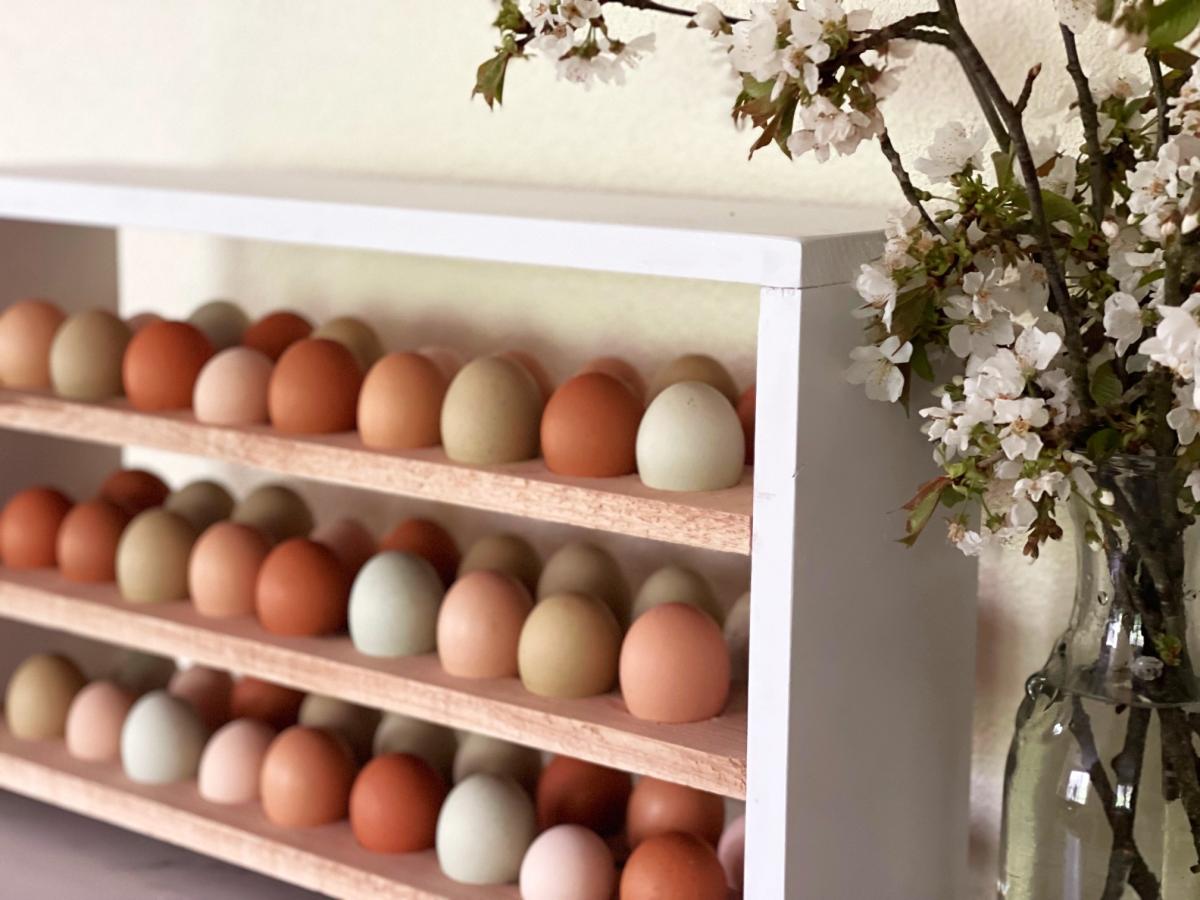
I have tried all sorts of nest boxes. No one ever used them. I decided to make the one from Anna White's site. I used joinery to attach the various pieces. The best thing of all: I find girls sitting in the boxes and take eggs from them. It really is awesome. I got a photo with real eggs and you can also see the wooden eggs to entice them to try it out. Thank you so much! I will build another one for the other side of the the wall.

Built from Plan(s)

Comments

Camp Loft Bed with Stair, Junior Height

Submitted by Anonymous (not verified) on Sat, 02/27/2016 - 12:23

This was a fun project for my husband and I! My 4 year old absolutely loves her bed. We have plans to add a curtain to the bottom to let her open and close it for her reading nook (or as curtains for her "stage")! :) 

Estimated Time Investment
Weekend Project (10-20 Hours)
Recommended Skill Level
Beginner

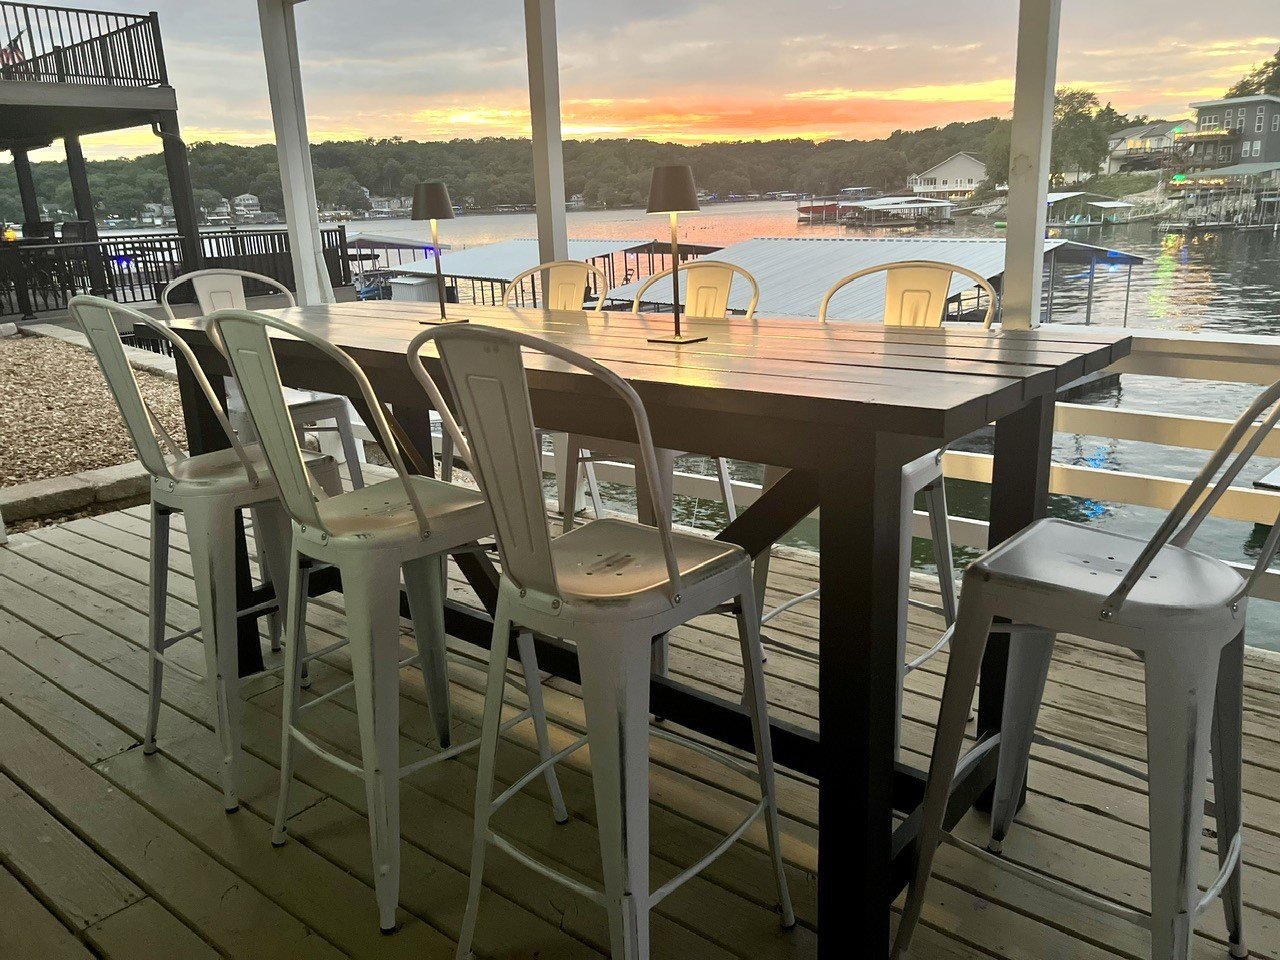
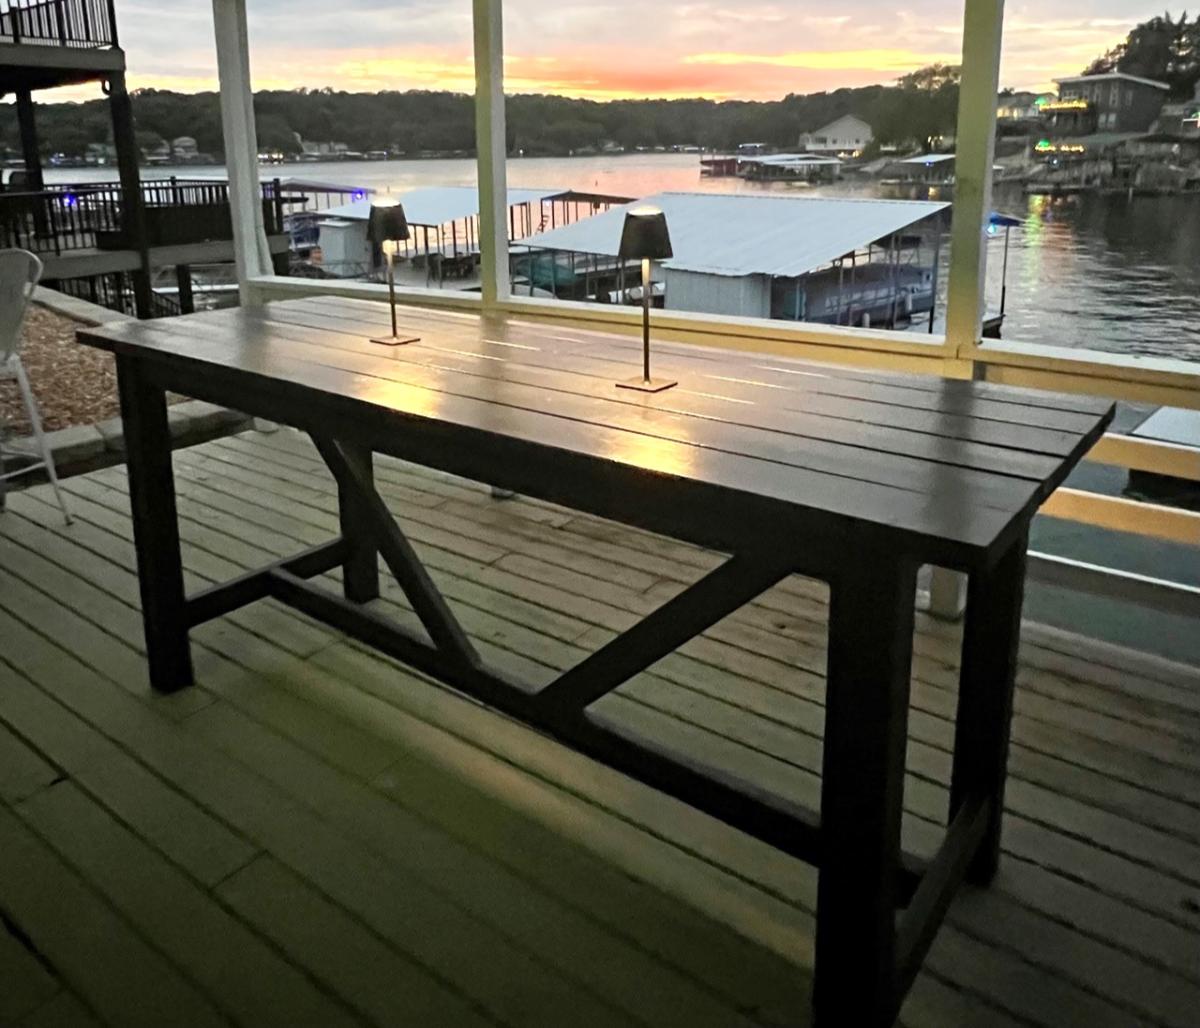
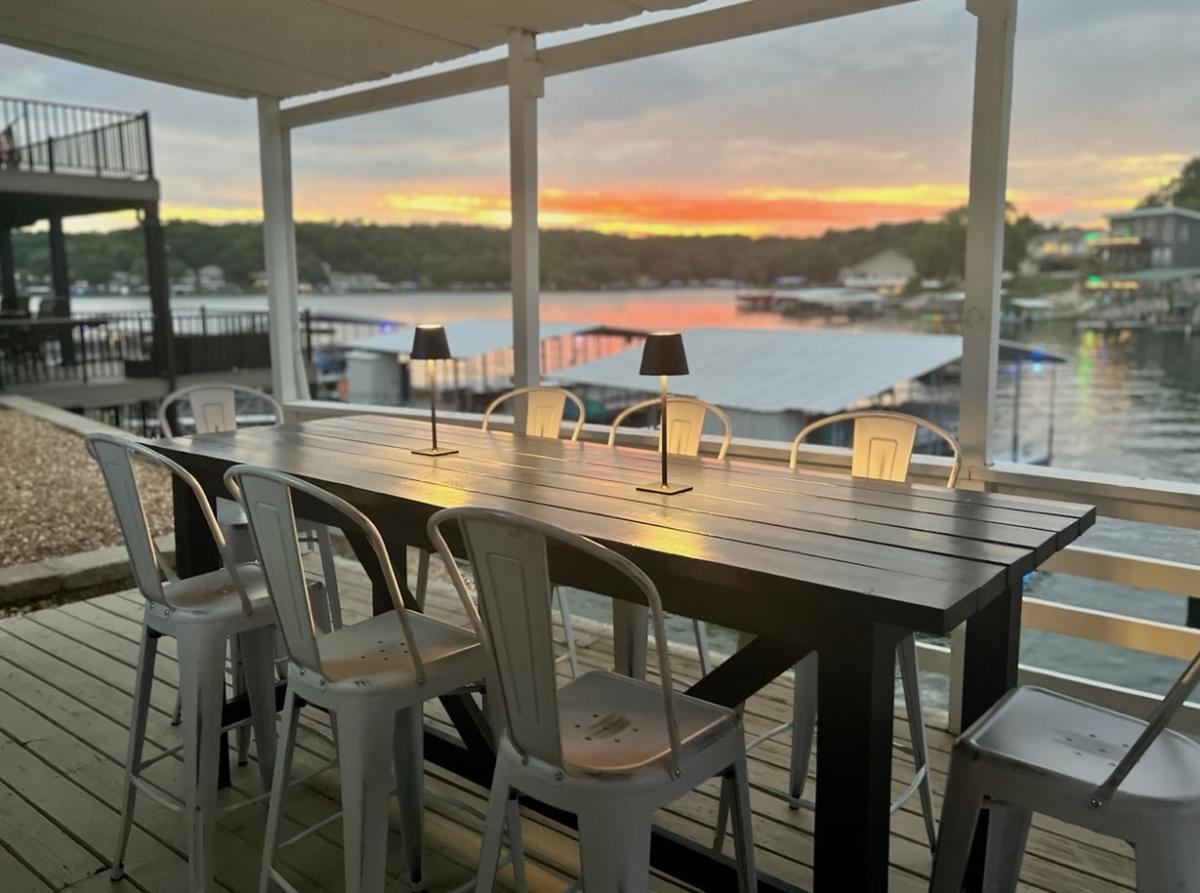
Bar Height Outdoor Table

Submitted by Anonymous (not verified) on Sun, 08/27/2023 - 12:42

We had this unused lower deck and this bar height table was the perfect addition. We have place now to hang when too hot or it’s raining. My husband and I built it in one weekend and your plans where great.

Julie Moran

Built from Plan(s)

Comments

Seasonal And Holiday

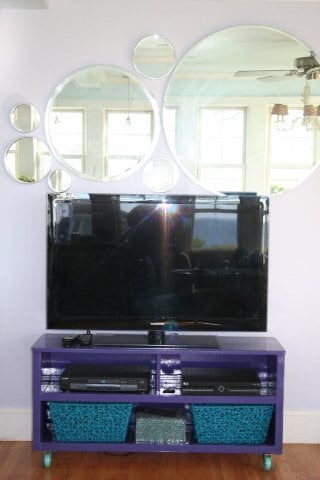
Media Console - Revised Ana White Design

Submitted by Indydil on Wed, 05/16/2012 - 10:27

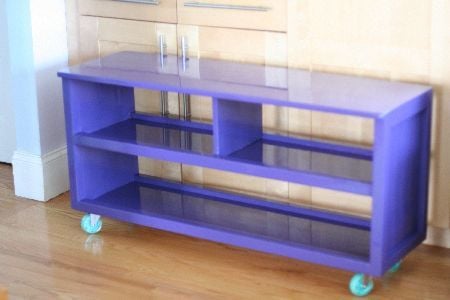
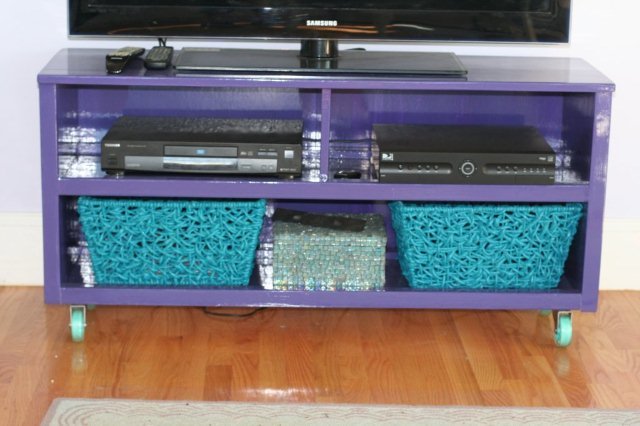
What a fun project. Based on Ana White's Media Console that was very close to what I wanted. I changed up the size to work in my room. I needed a shorter length to fit the space I had. I did not use the doors or drawers. For my first project they intimidated me a bit. I also needed access to the TV box.

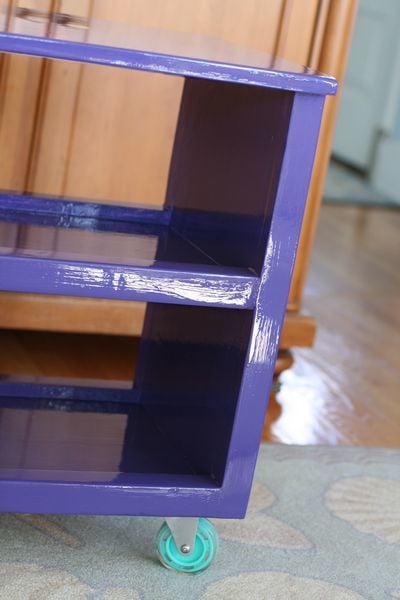
I subtracted for the legs so they ended flush with the bottom of the console and used some fun wheels to be able to move it around. Finally, I did not like seeing all of the cords behind it so I added a back with cutout for the cords and painted it the same color as the console.

As it was built "on the fly" I did not keep detailed measurements to share. Can't wait to pick out my next project! Thanks Ana for all you do.

Built from Plan(s)
Estimated Cost
$150.00
Estimated Time Investment
Weekend Project (10-20 Hours)
Finish Used
TV Console. Paint was Find Paints of Europe Hollandlac Brilliant in one of their purple colors.
Recommended Skill Level
Starter Project

Garage Shelves

Submitted by scoricha on Mon, 01/09/2017 - 11:01

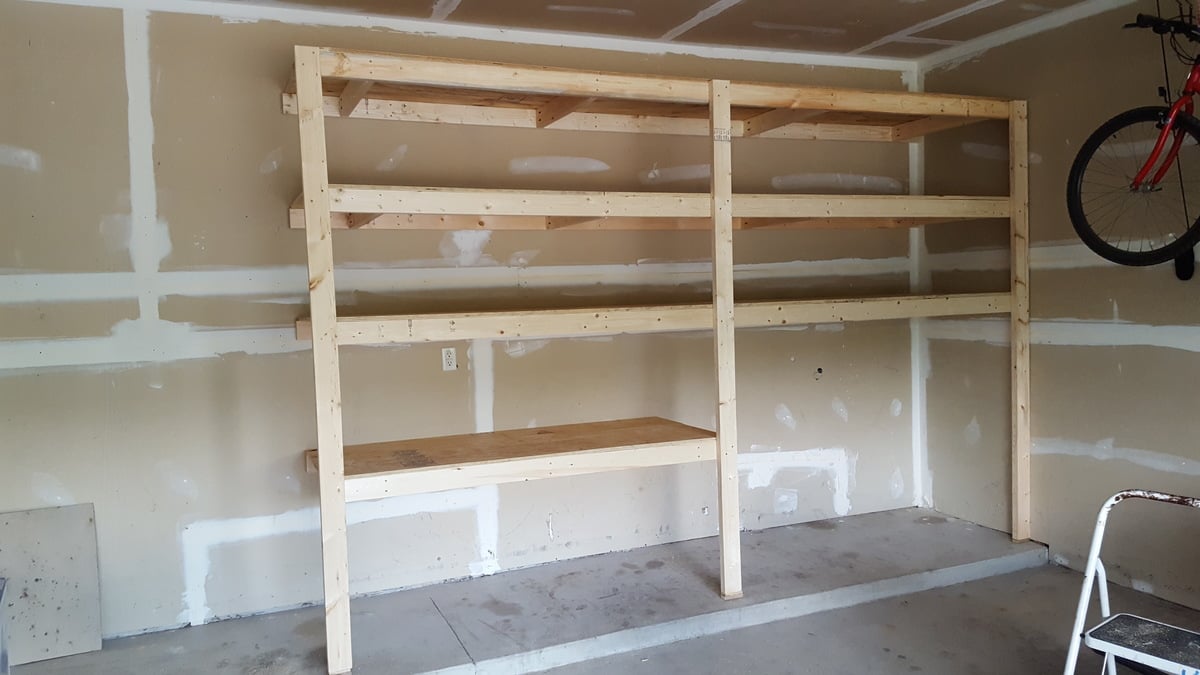
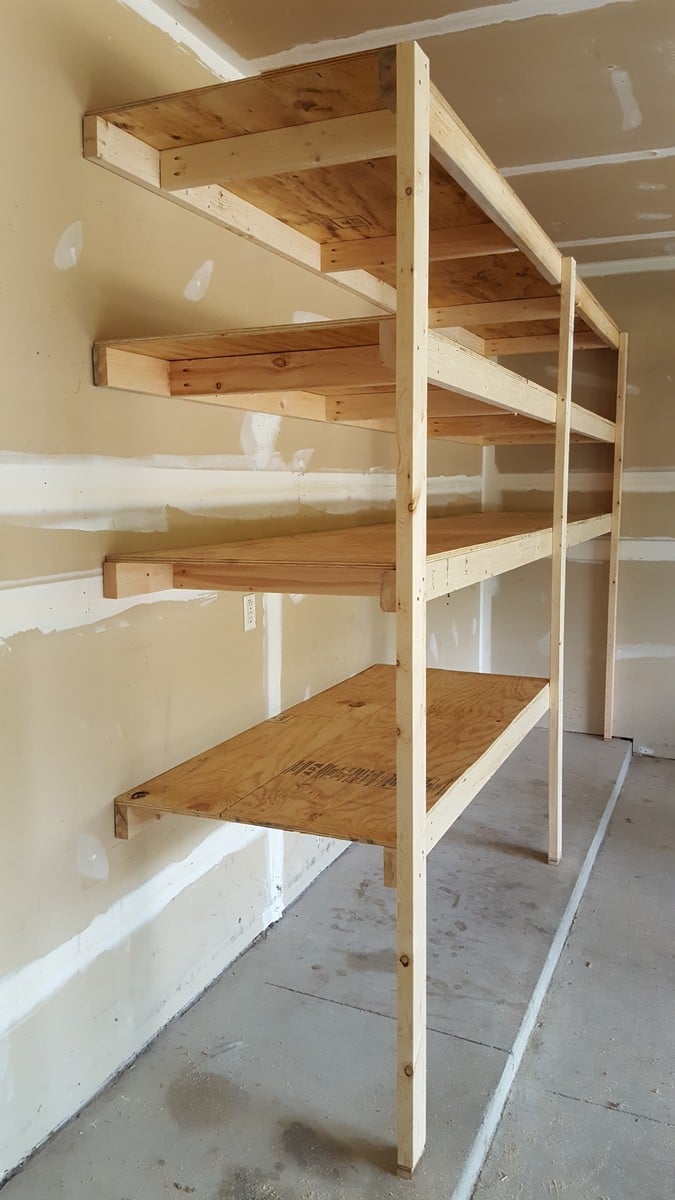
I am loving my new garage shelves.  They were my first woodworking project and very easy to do!  I left the bottom right side open to fit my outdoor table and chairs in the winter (I live in Michigan).  I also used thicker plywood than plan because my shelves are a bit deeper.

Estimated Cost
$130
Estimated Time Investment
Weekend Project (10-20 Hours)
Finish Used
none
Recommended Skill Level
Beginner

Shoe Dresser

I had this space in my mudroom that was a perfect spot to make a custom shoe dresser. I adjusted the plans I found on this website to custom make storage for shoes. Now this weird little space is functional.

Built from Plan(s)
Estimated Cost
80
Estimated Time Investment
Day Project (6-9 Hours)
Finish Used
Rustoleum chalk paint Serenity Blue, classic grey and special walnut Minwax
Recommended Skill Level
Intermediate

Comments

Farm House Table

Submitted by Anonymous (not verified) on Mon, 02/13/2017 - 13:42

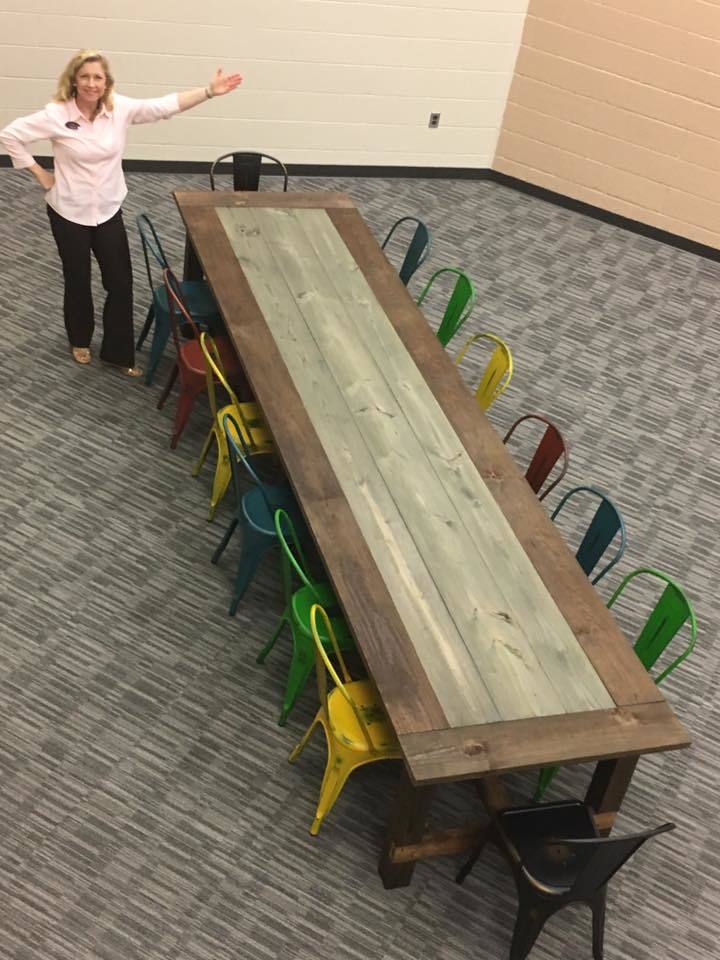
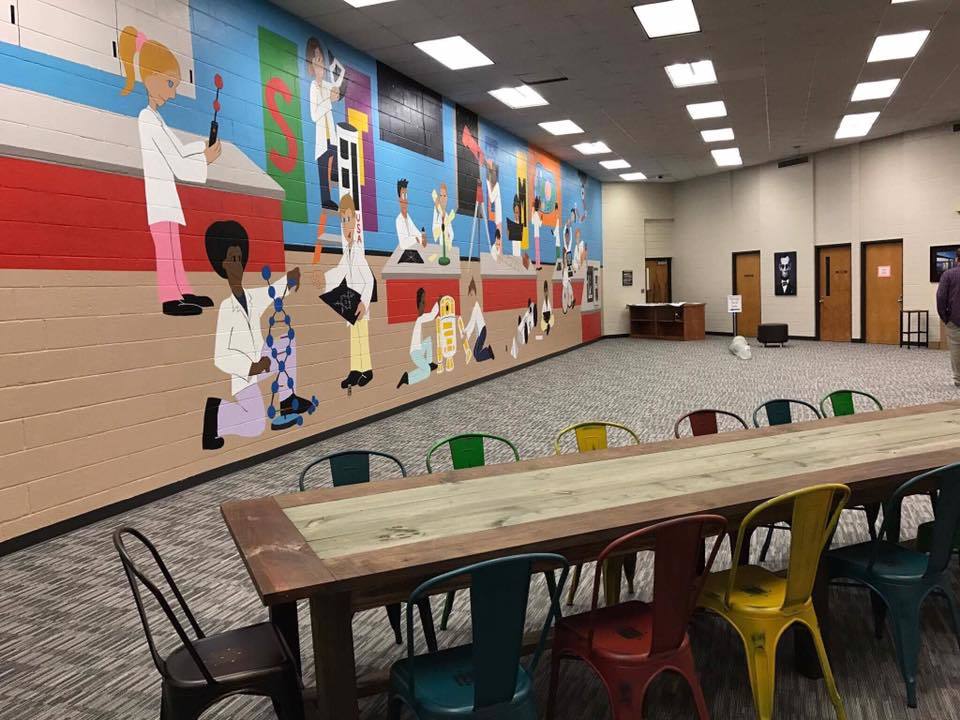
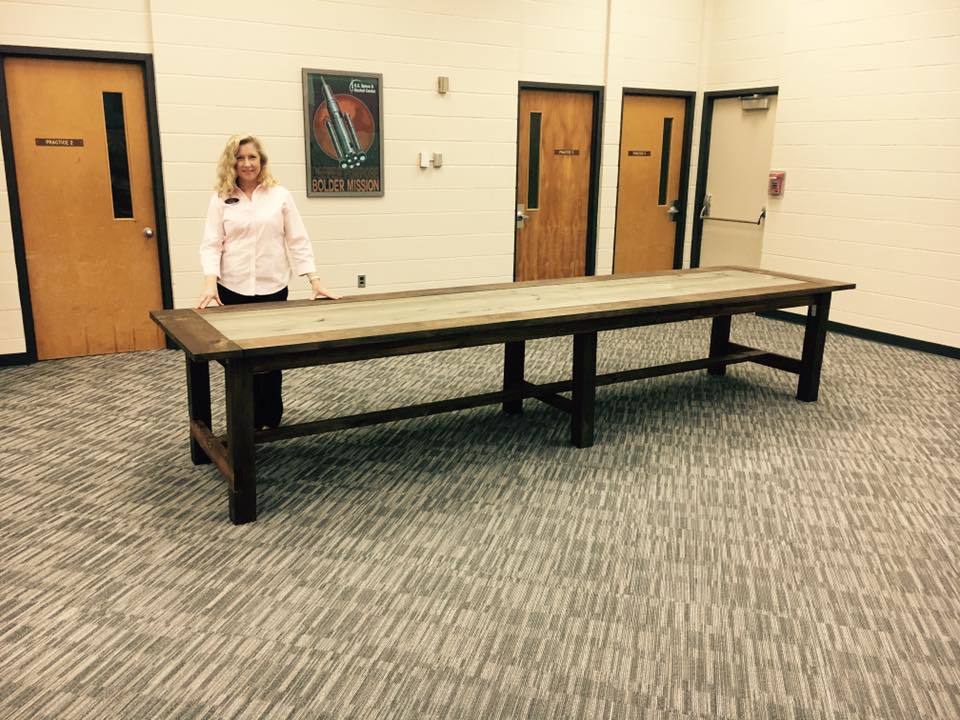
I am not a carpenter, I do not even have a tape measure. I got tasked by my leadership dothan class to build a farmhouse table for the academic dream room which is part of the Bright Key Program. Which is being renovated at Honeysuckle Middle School. Found your plans and got inspired. One glitch they wanted this table to be able to sit fourteen chairs. So I had to make a few adjustments like increasing the main boards to twelve foot. Because of your plans, many urban middle schoolers will have a place to get tutored considering cafeteria tables are so expensive. I am a believer of your plans. The positive feedback I received was well worth my time and would not of been a sucess without your plans. I did mine with pocket holes as well. 

Estimated Cost
146.37
Estimated Time Investment
Weekend Project (10-20 Hours)
Finish Used
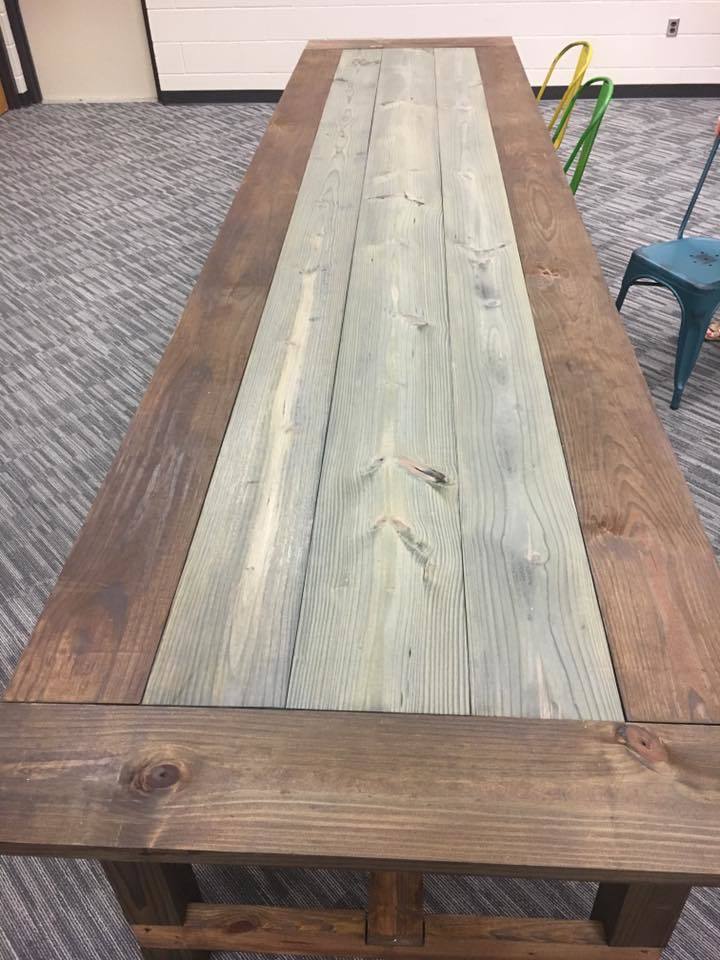
American 230 and the middle a bluish grey.

Spent an hour picking out lumber. All boards are not the same length. Ran through a planer and I found it eliminates the need to sand. But remember not to plane them to different heights. Pocket holes are great but I found some really nice table joints at Lowes that looked classy with the kreg screws.
Recommended Skill Level
Beginner

Comments

2x4 (and 2x6) Modern Adirondack Chair

Submitted by HR Dad on Mon, 12/28/2020 - 15:43

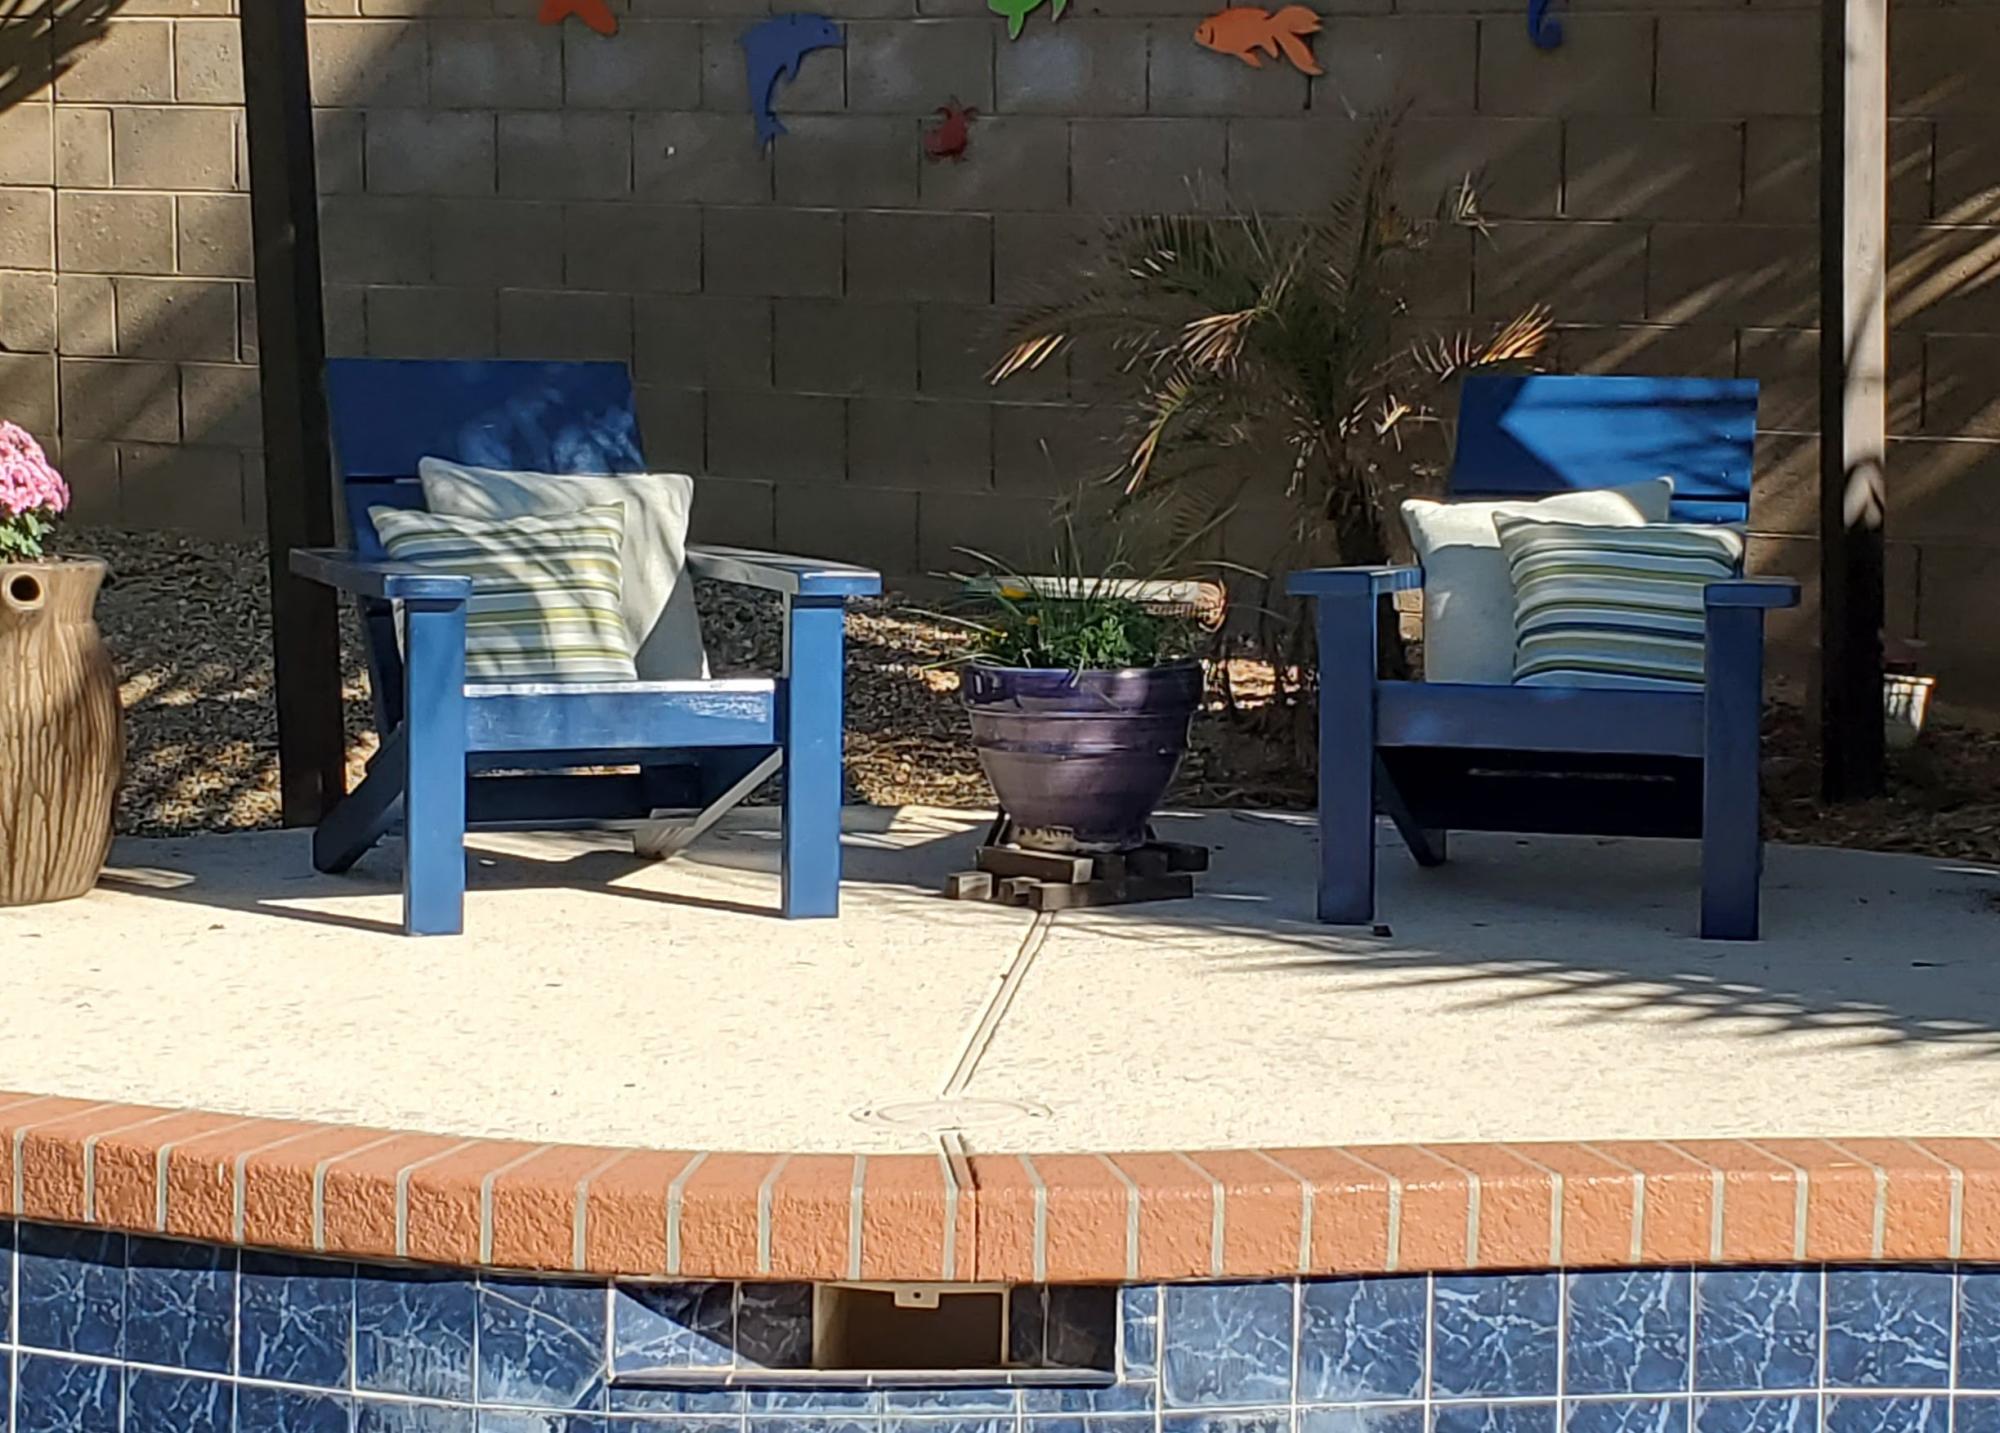
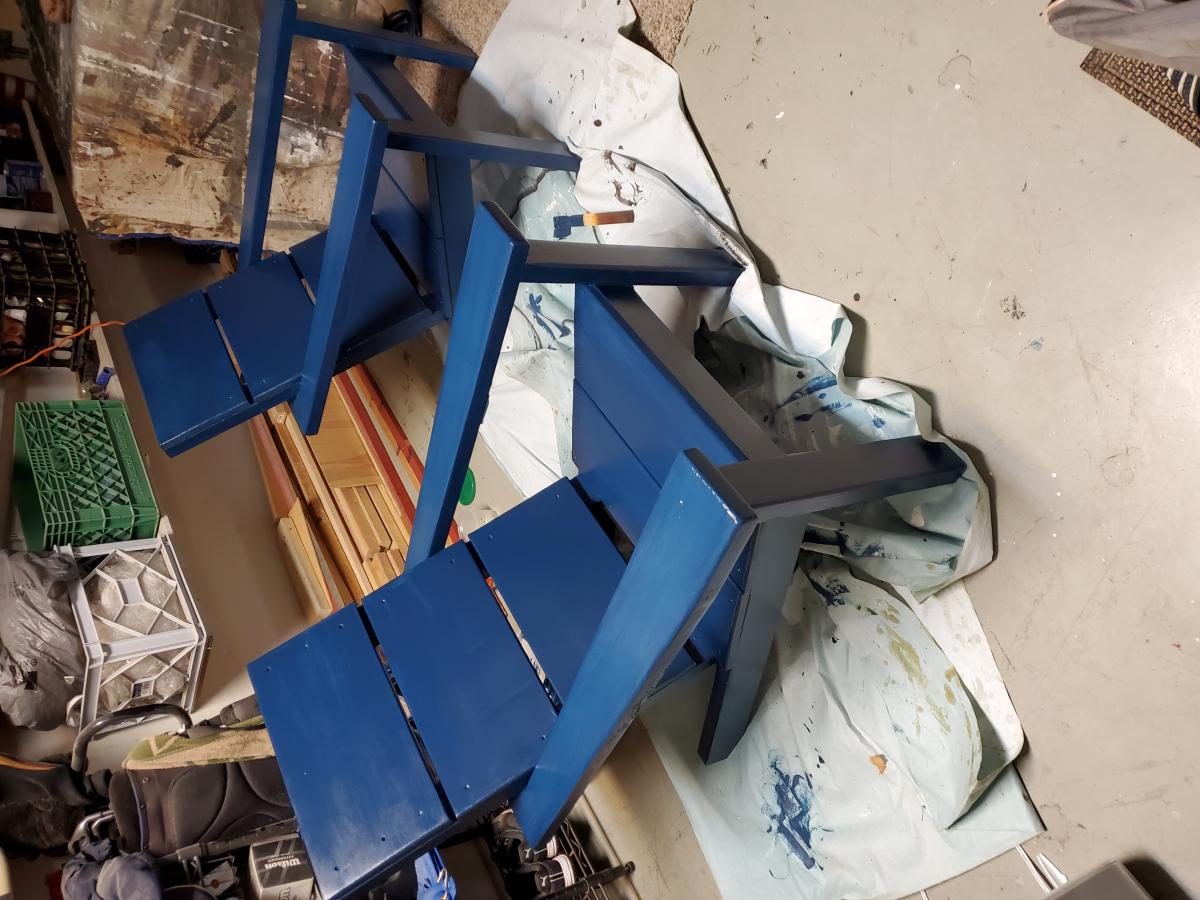
Been wanting to make some Adirondack chairs for years; have about 10 different plans saved that one day I could get to. These 2x4 modern plans made getting them done quickly possible due to simplicity of the cut list and cheap cost of materials. The only real change I made was to use 2x6 for the arms; I cut a taper along outside edge and increased the length of the arms by about an inch and a half to overhang the front legs a bit. Since I just used basic framing lumber, I milled all of the boards first with table saw and planer to make square consistent edges. And, I chose to use pocket screws in as many joints as I could so I wouldn't have screw holes on any visible faces. Add in a lucky find at the big box store paint return; scored this blue exterior paint for $2.00 a quart, and my weekend project turned out pretty good. Now I've got two neighbors that want 'em.

Estimated Time Investment
Weekend Project (10-20 Hours)
Finish Used
1 qrt Glidden Exterior Semi-Gloss; got it so cheap, I used the whole quart. Multiple coats.
Recommended Skill Level
Beginner

Bench

Submitted by Anonymous (not verified) on Mon, 06/05/2017 - 13:31

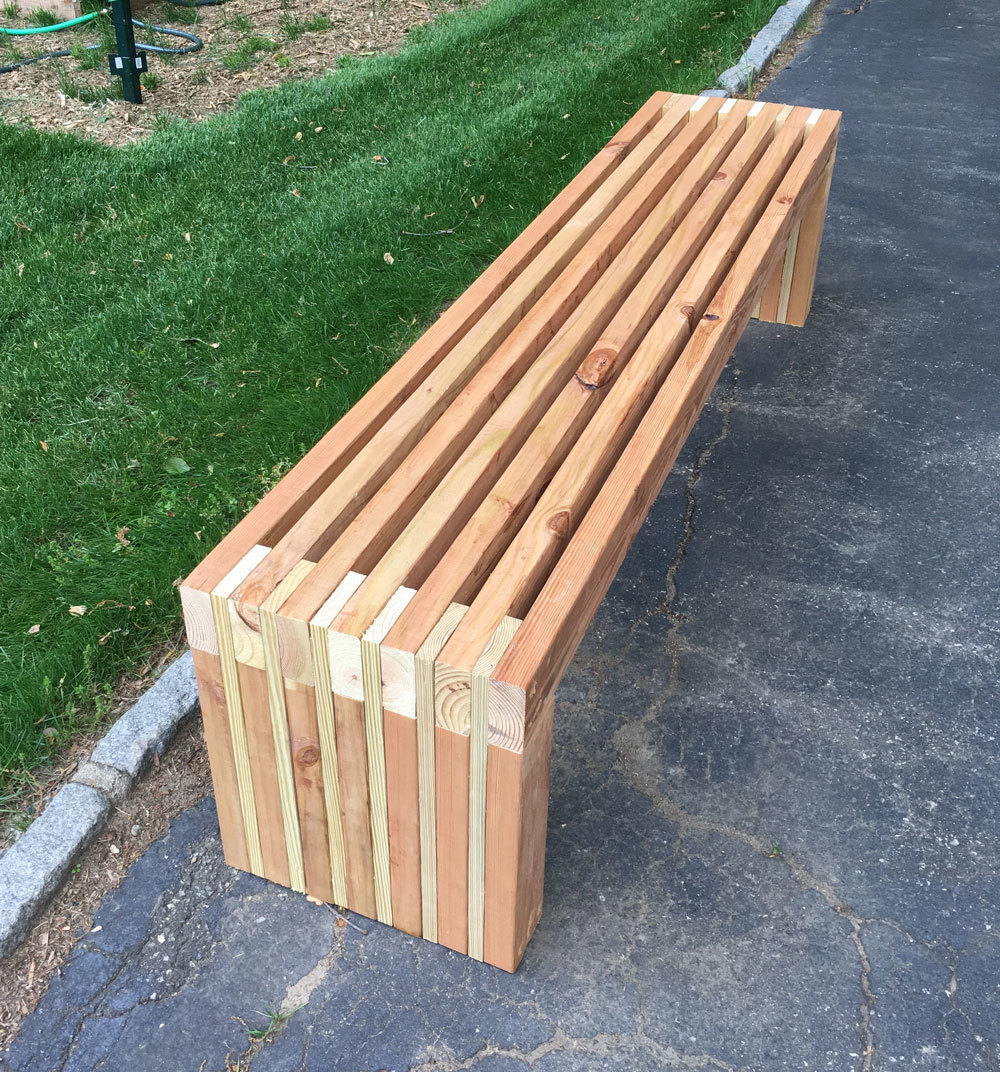
Great bench

Estimated Cost
$100
Estimated Time Investment
Day Project (6-9 Hours)
Recommended Skill Level
Beginner

Sewing Table

Submitted by deschudon on Tue, 04/23/2013 - 07:34

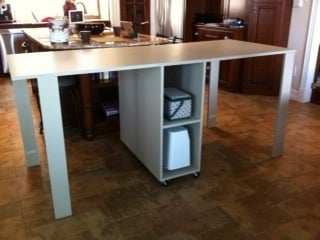
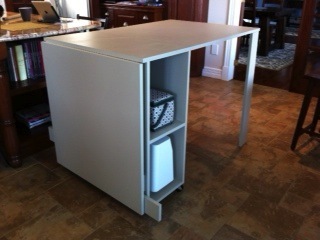
We did it in MDF as suggested, used piano hinges, and changed the height to 36" because I'm used to work at counter height and wanted a larger surface, plus I don't mind sewing sitting on my stool. We had the store cut all the pieces, but this table is very heavy using this material. We also made the legs at 4" considering the weight. The only disadvantage of making it 36" high is that the legs will stick out once folded, unless you have the room and adjust the depth at 36" as well. I overlooked that detail but in the end, I don't mind since this table is stored away out of the view when not used. It did soak up a lot of paint... Already used it and it's great to have my space ready to use roll away, not having to clear the counter or dining table to work.

Built from Plan(s)
Estimated Cost
$144 CAD
Estimated Time Investment
Weekend Project (10-20 Hours)
Finish Used
Behr paint, satin finish.
Recommended Skill Level
Beginner

Comments

jwk

Tue, 01/28/2014 - 05:11

Do you happen to have the new measurement layout for what you did????!!
I was trying to work it out, but math isn't my strongest suit!
Also-- did you consider making it wider so the legs wouldn't stick out??
(I am planning for plywood instead of mdf)
thanks!

Cedar Outdoor Stools from bench

Submitted by sylvialh on Fri, 08/27/2021 - 05:21

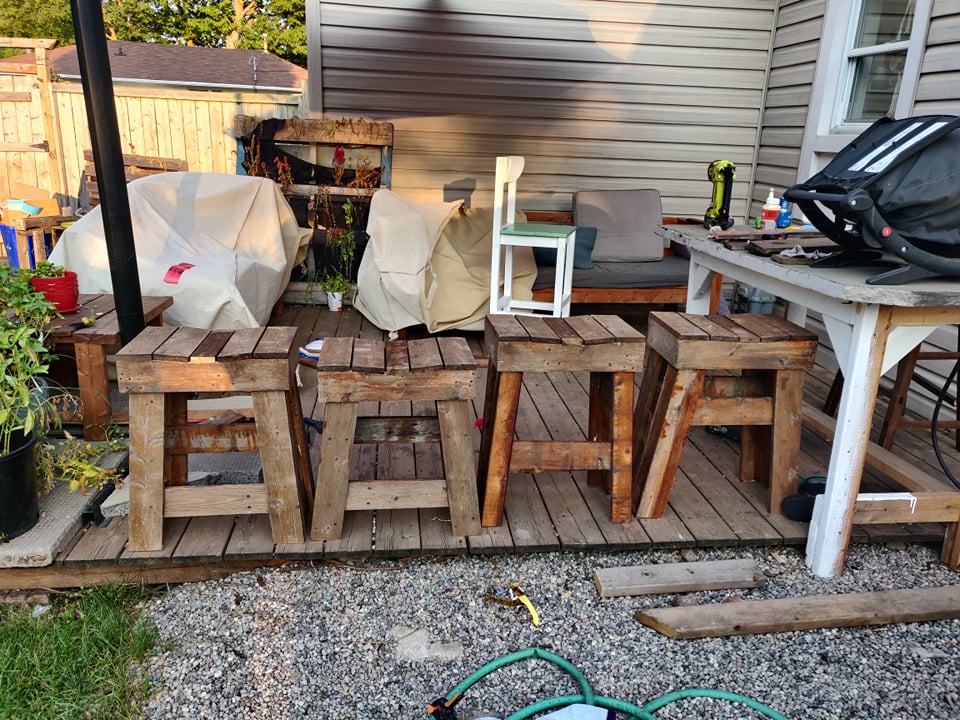
one of my first ana white plans was a cedar outdoor table and chairs that I was never 100% happy with but never the less lasted ten years before yesterday when I decided to undo all the screws (I didn't use glue on this one and it wasn't a kreg project - probably why I wasn't happy with it!).

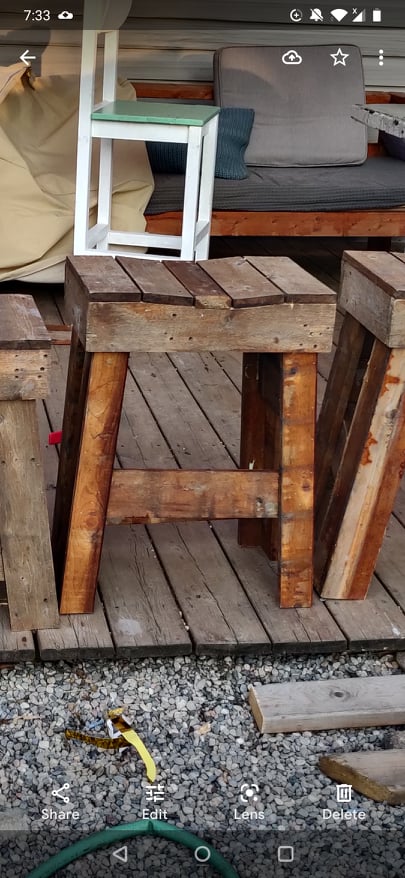
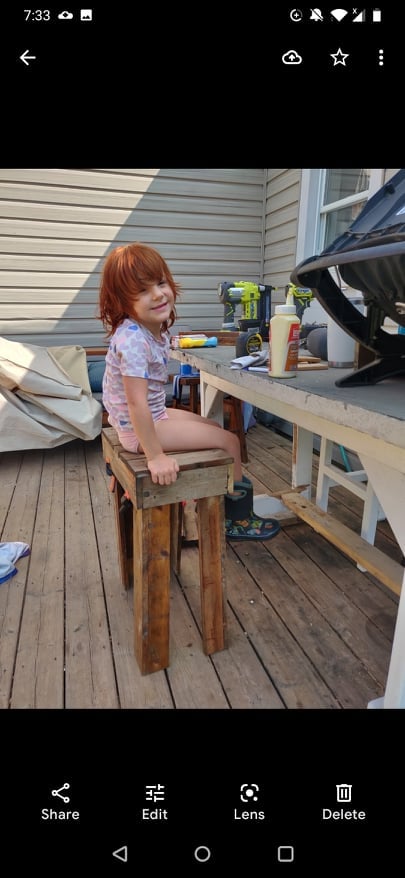
I transformed those simple benches and table into four stools (varying heights for various members of the family) as well as a cedar planter. So the wood was 100% from the previous project so there is a lot of variance in the stain.

I sort of merged the adirondack stool and the farmhouse counter stool patterns as I didn't do both a bevel and a mitre cut I just a 5 degree mitre for the legs.

I used 1x3 and 1x4 for the legs and joined them together to make an L (I saw this on another brag post on the site) because I wanted to reuse the wood that I had leftover from the bench.

I put together the entire project using glues and brad nails but I will be adding some extra screws for longevity.

for the top, I took a 1x4 and traced a slight angle out of the top based on that of another stool I had and cut it out with a jig saw, to make the seat a bit more comfortable than the flat seat on the farmhouse stools. They are very comfortable and this was such an easy mod!

Comments

Small Dresser/Changing Table

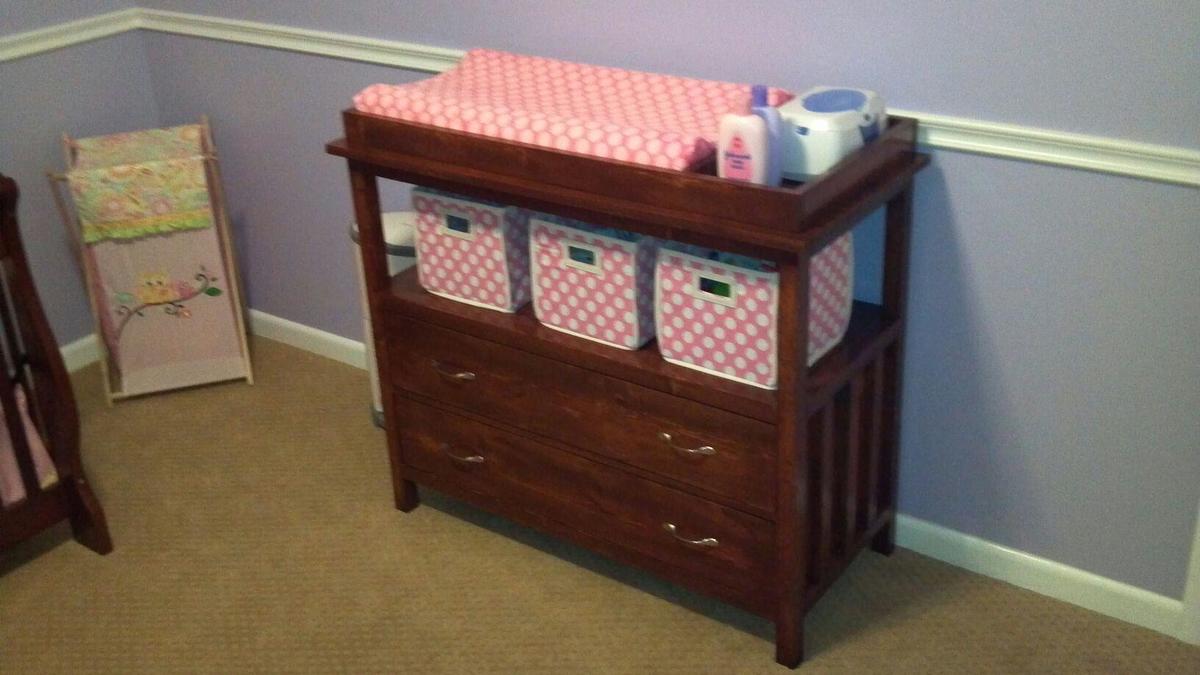
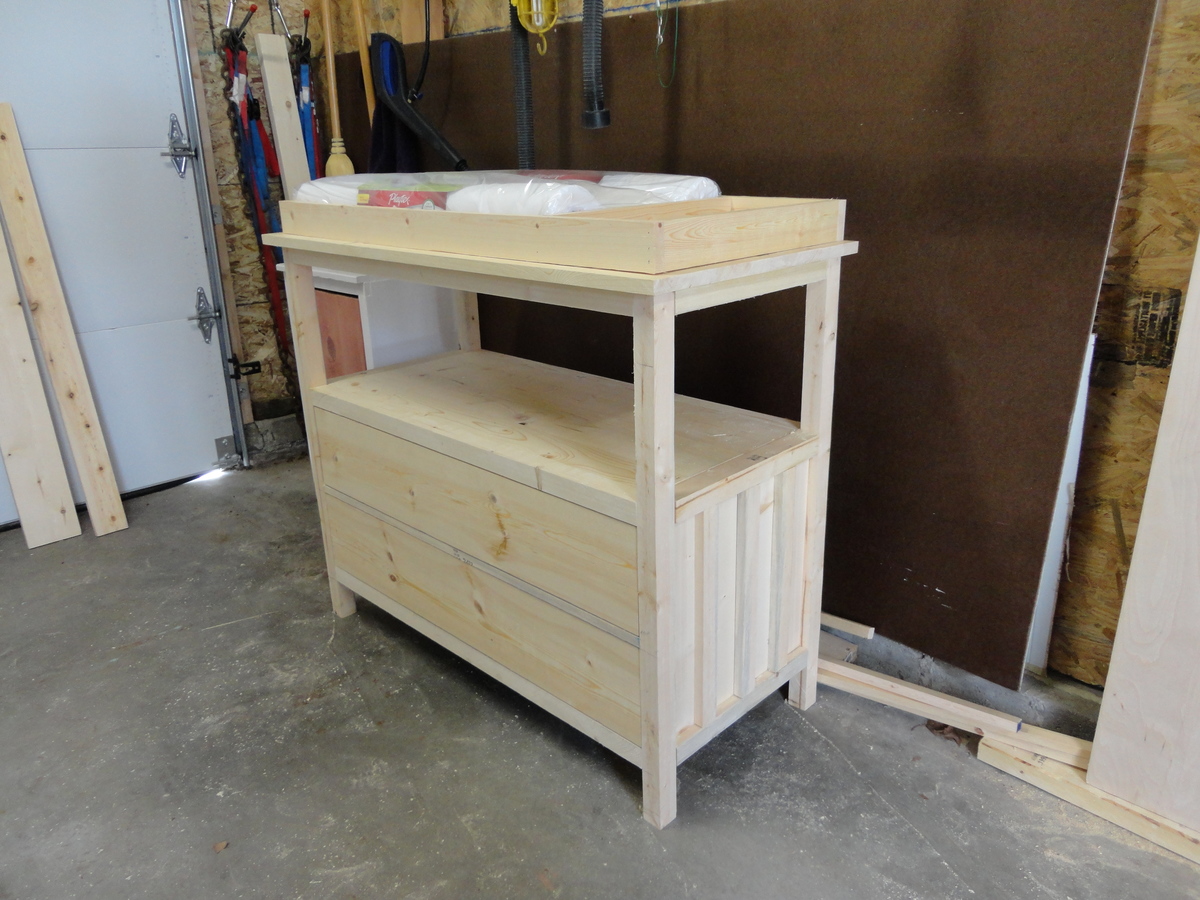
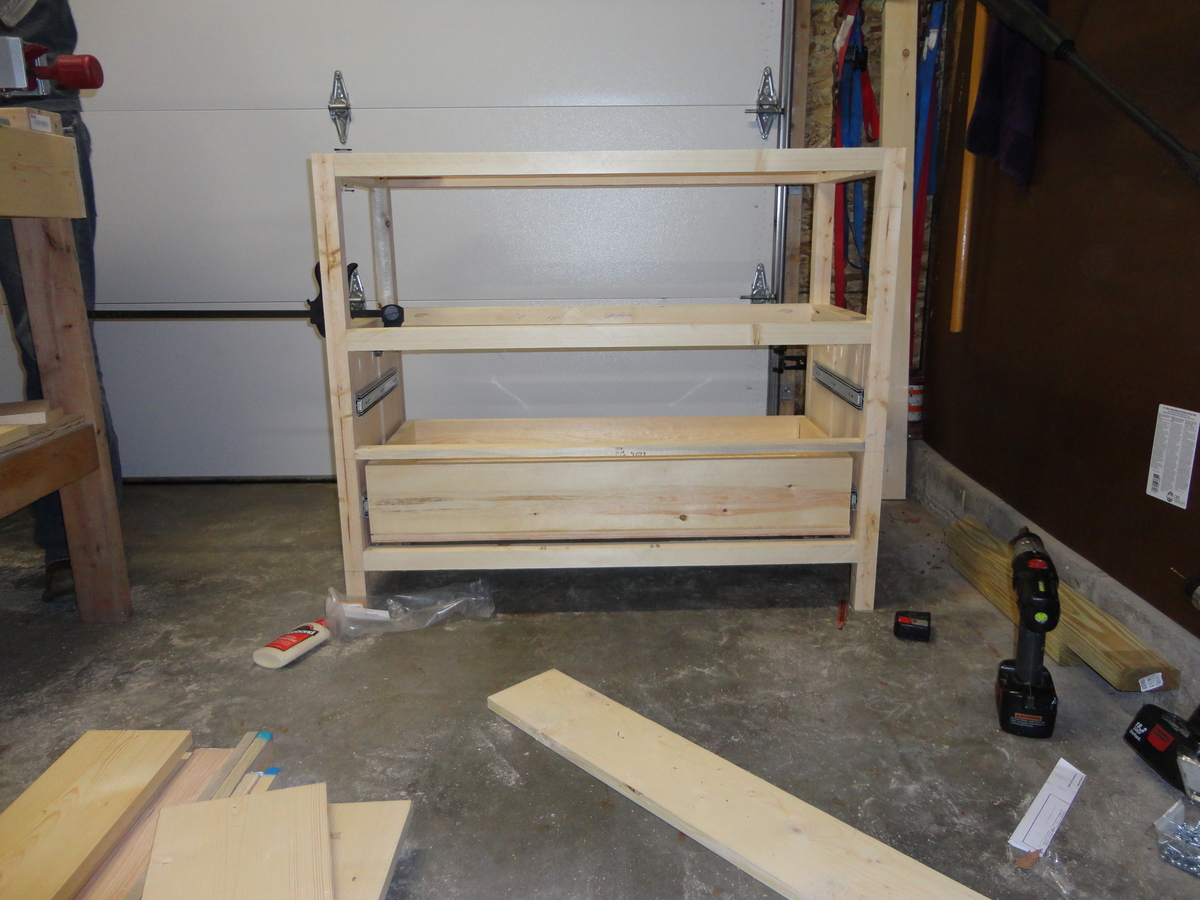
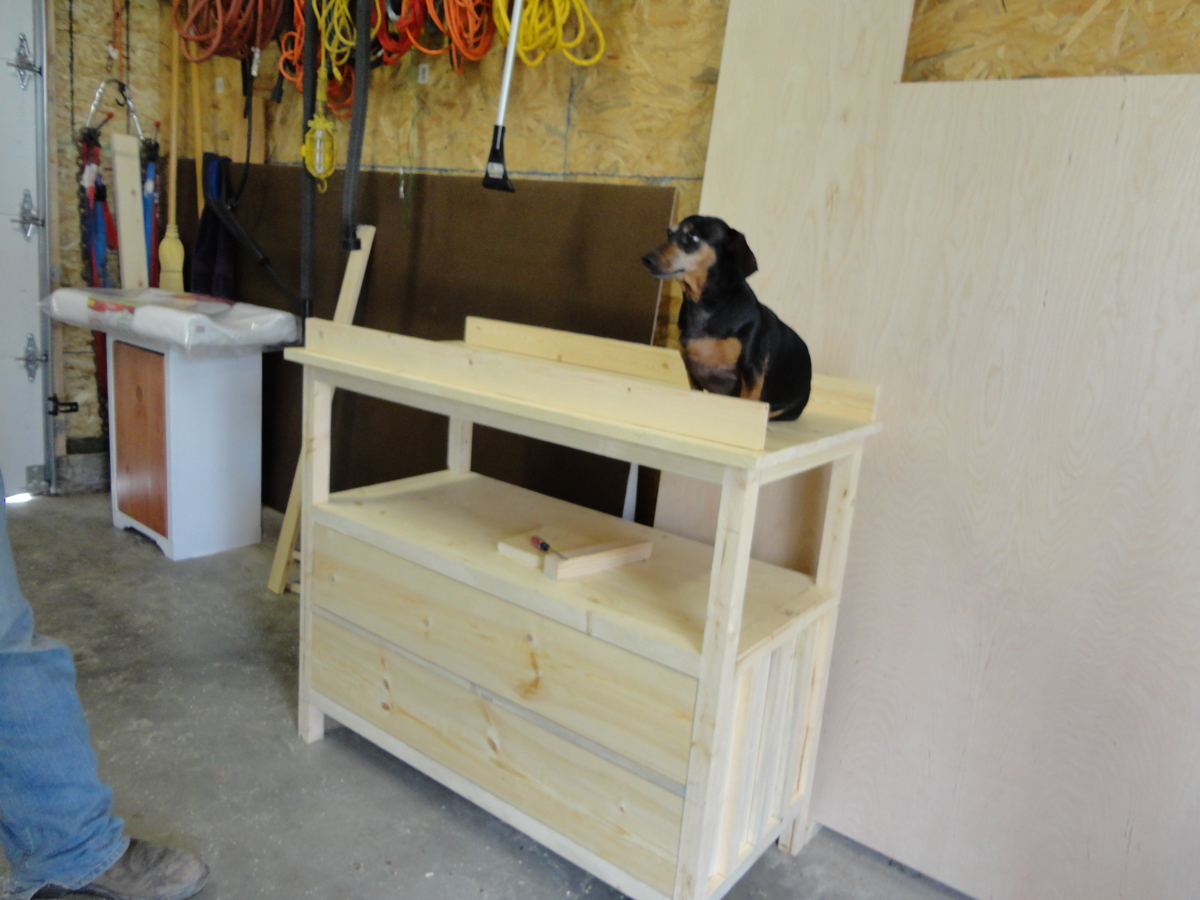
When my wife and I found out we were expecting our first child, I knew I wanted to build as much as I could for the nursery. This is how I ran into Ana White's website. Since then, I have built several pieces of furniture all inspired from Ana's designs. It had been over 10 years since I had done any kind of woodworking and I'm finding myself enjoying it now more than ever.

For our changing table, I used the idea of Ana's Small Dresser, and chose to put the shelf on top, we figured it would be more useful to have bins located on top for lotions, diapers, etc We had a great time building this changing table, and it is very rewarding to see the finished product. Thanks Ana for all of the great ideas and plans!!!

Estimated Time Investment
Week Long Project (20 Hours or More)
Finish Used
We used a Sherwin Williams stain that was color matched to our crib.
Recommended Skill Level
Beginner

Comments

wishingbee

Sat, 12/21/2013 - 20:02

I'm determined to build as much as our future child's furniture as possible, and I am very much inspired by this build. Really love the drawers you placed on this piece- they look great!

thofland

Wed, 04/23/2014 - 04:17

This is beautiful! I am going to make this for my daughter as she is going to have my first grand baby. Could you tell me the over all height is and the drawer and shelf heights are?

Back