Community Brag Posts

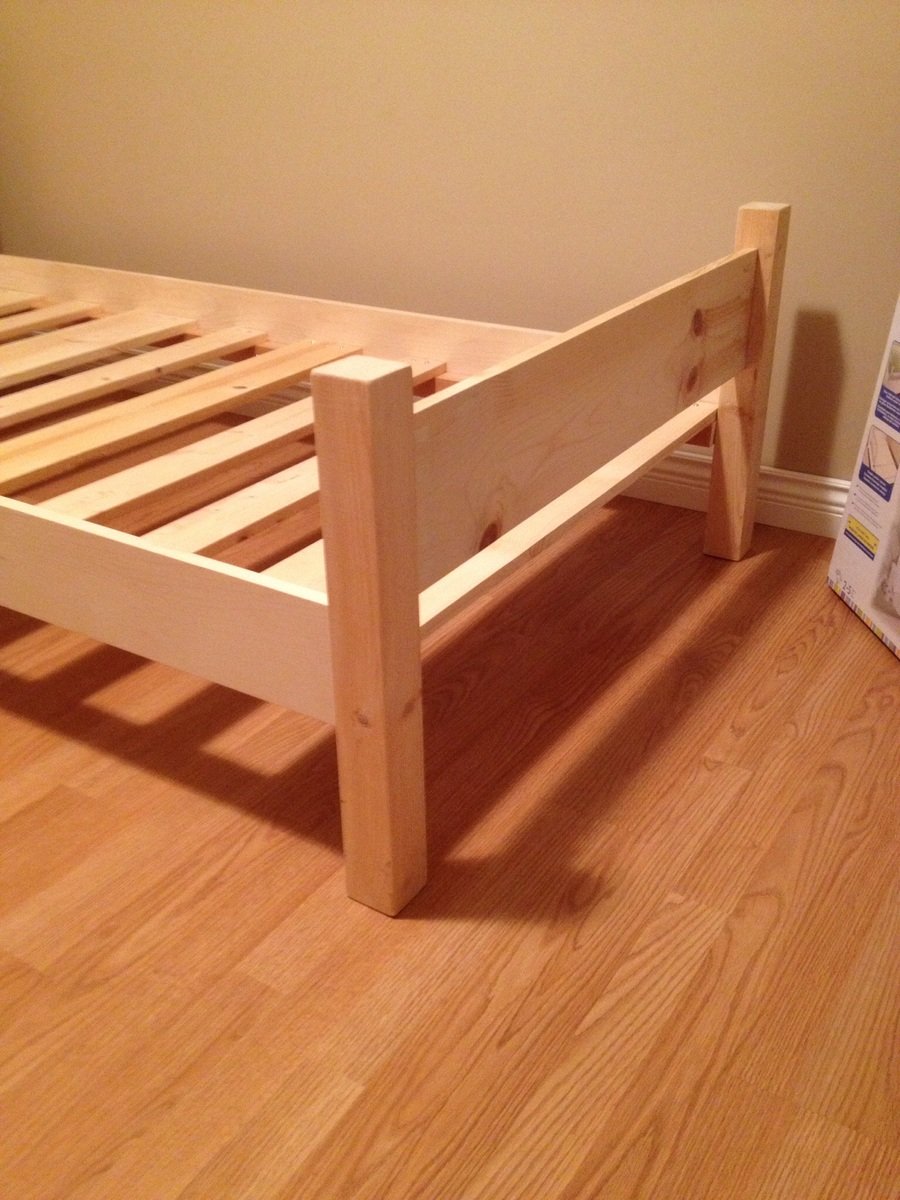
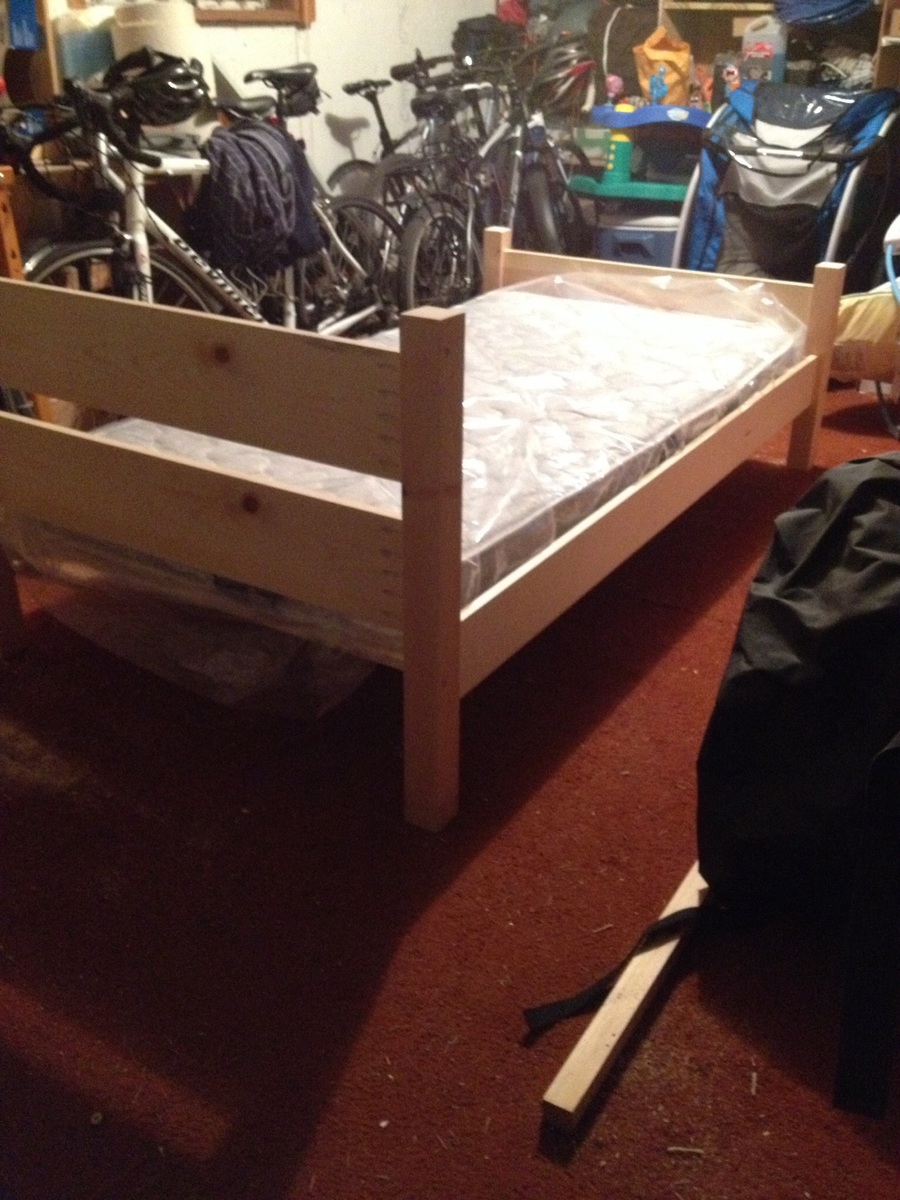
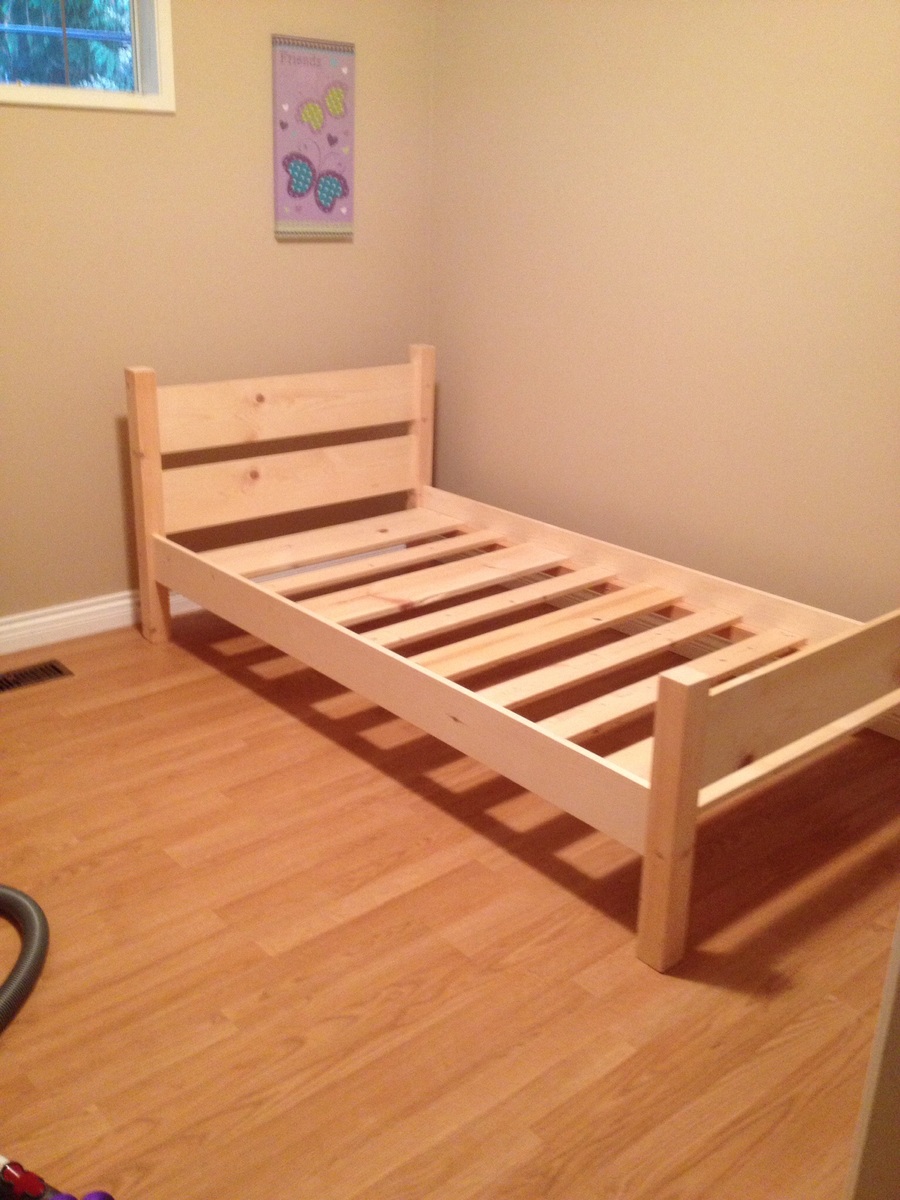
Toddler bed

This site introduced the Kreg Jig which was a game changer as far as allowing me to give this a go. Thanks to the various posts for inspiration particularly Suzie_R. I added an off the shelf guard on the bed - photo to follow. I built the dimensions to fit a day mattress that I bought.

Estimated Cost
I expect that I spent around $100 on pine for the job and I made an initial investment on the Kreg Jig.
Estimated Time Investment
Weekend Project (10-20 Hours)
Finish Used
None until the chalk and crayons come out!
Recommended Skill Level
Beginner

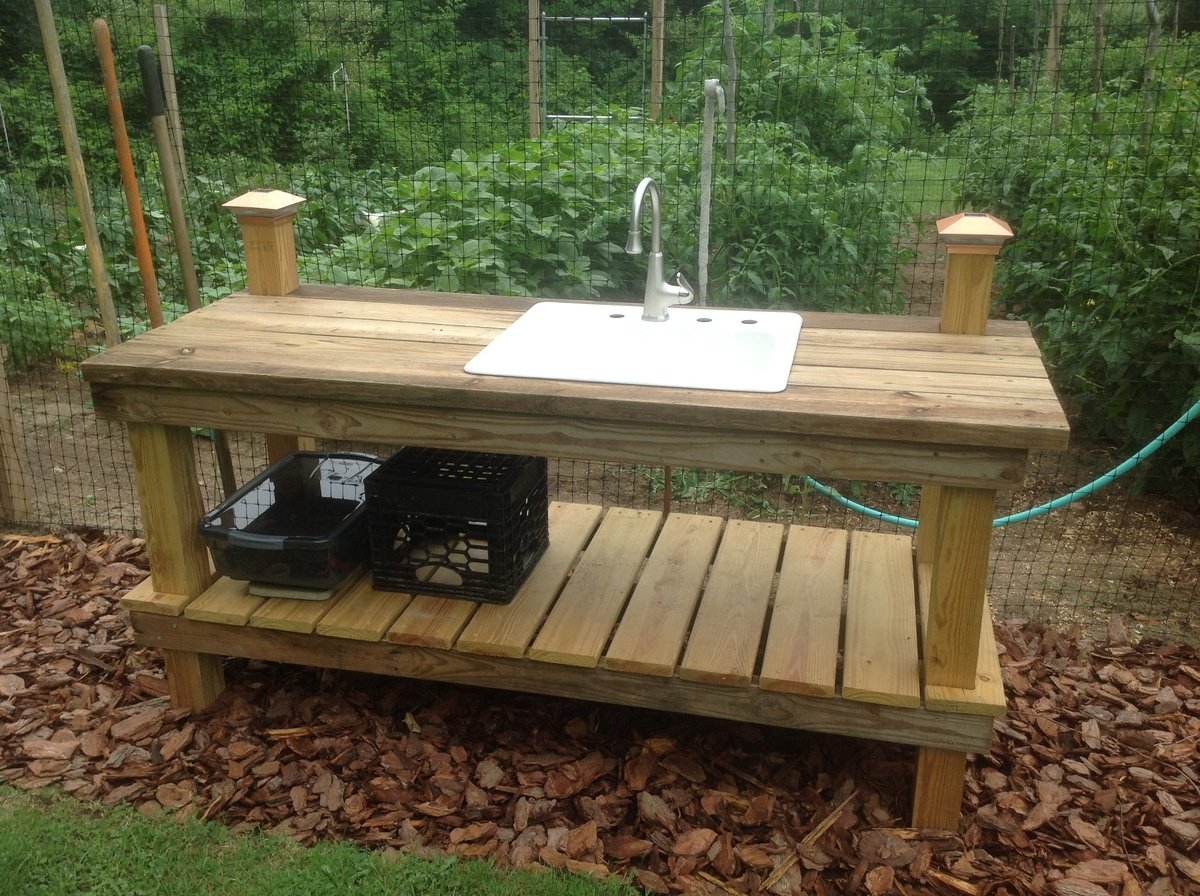
Sturdy Workbench Sink

Submitted by Anonymous (not verified) on Mon, 05/01/2023 - 09:57

Used sturdy workbench plans with 2x6 cedar top for outdoor sink. Turned out much better than I expected!!

Built from Plan(s)

Comments

Over the toilet medicine cabinet / storage

Submitted by skyzen on Tue, 11/19/2013 - 17:06

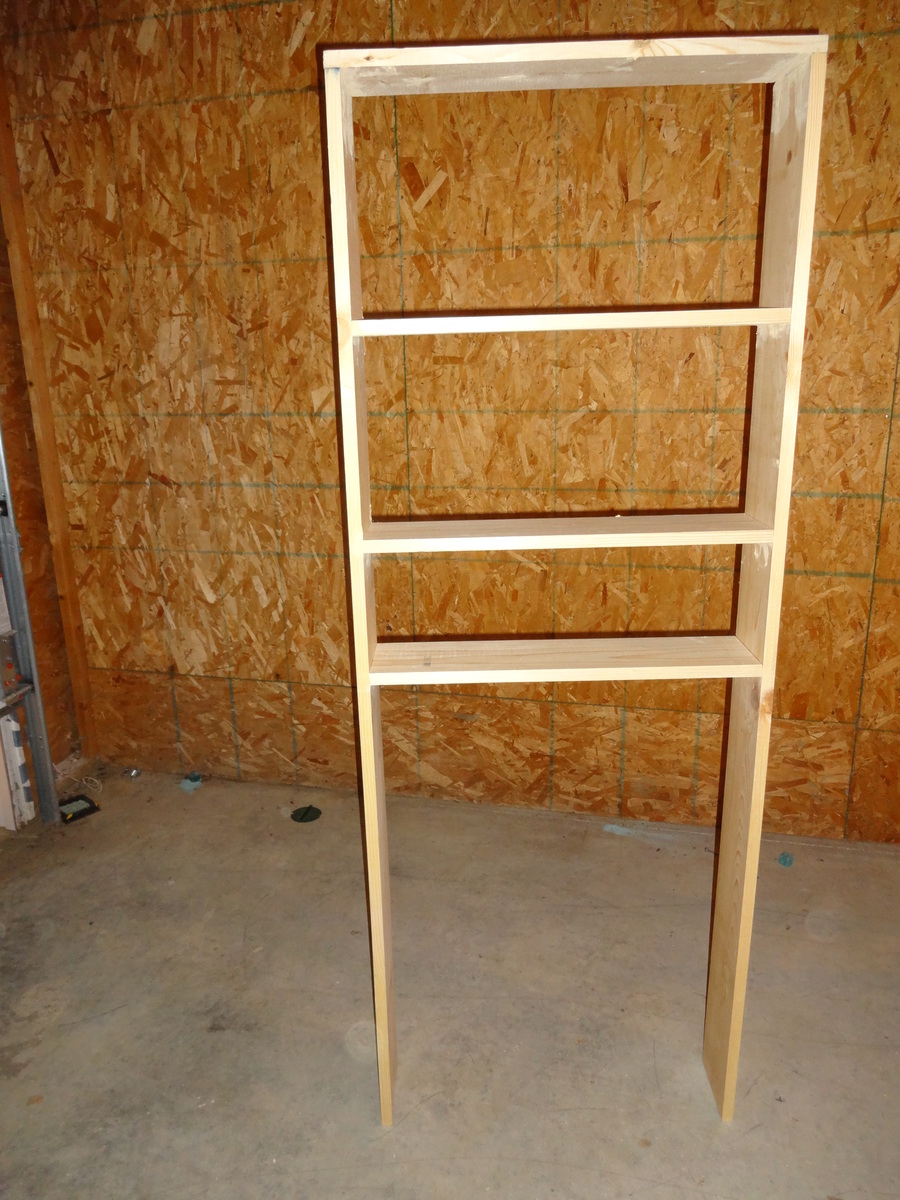
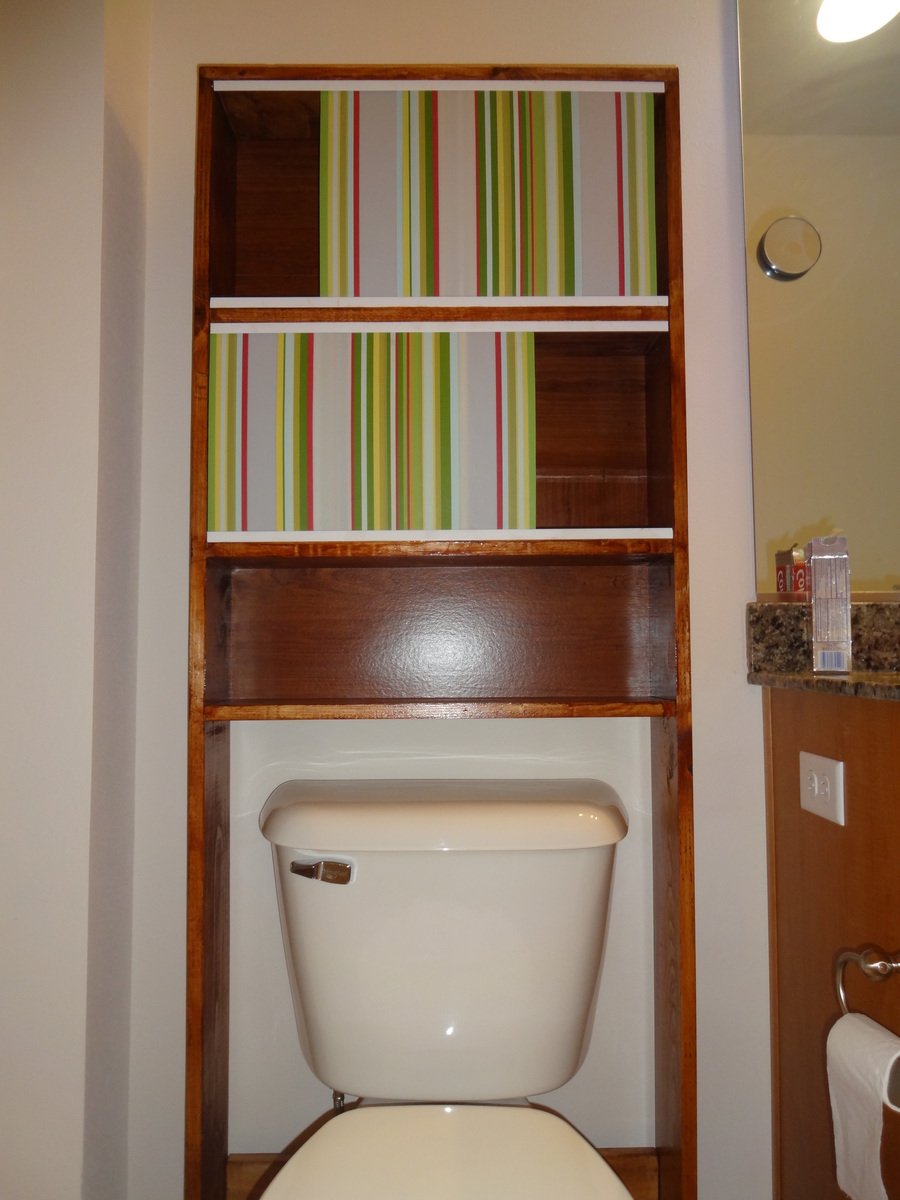
I recently discovered your blog and got really inspired. After building a couple of beginner projects following your plans, i started to think about making something that can be used as medicine cabinet and does not take much space. Came up with the idea for this over the toilet storage rack.

My goal was to recycle/reuse some of the stuff that was sitting in my garage.
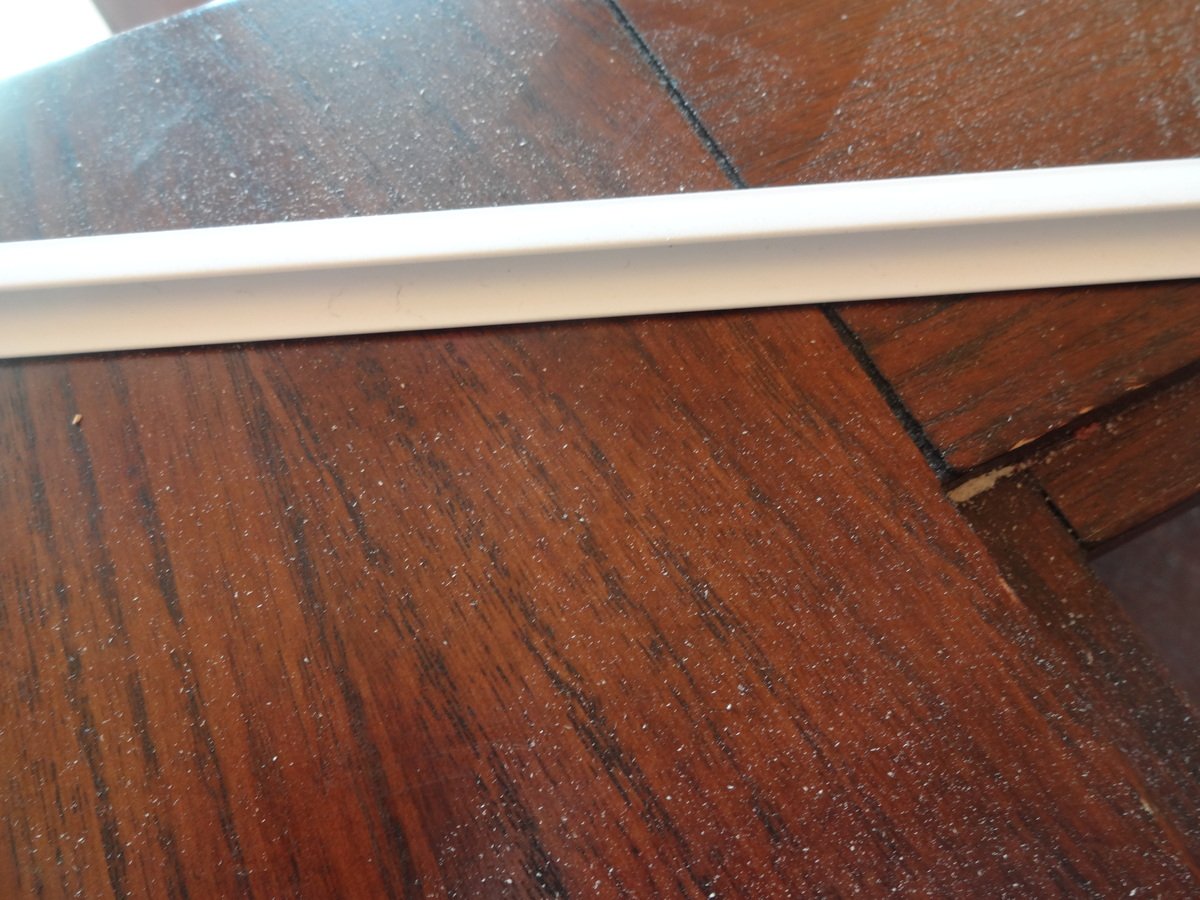
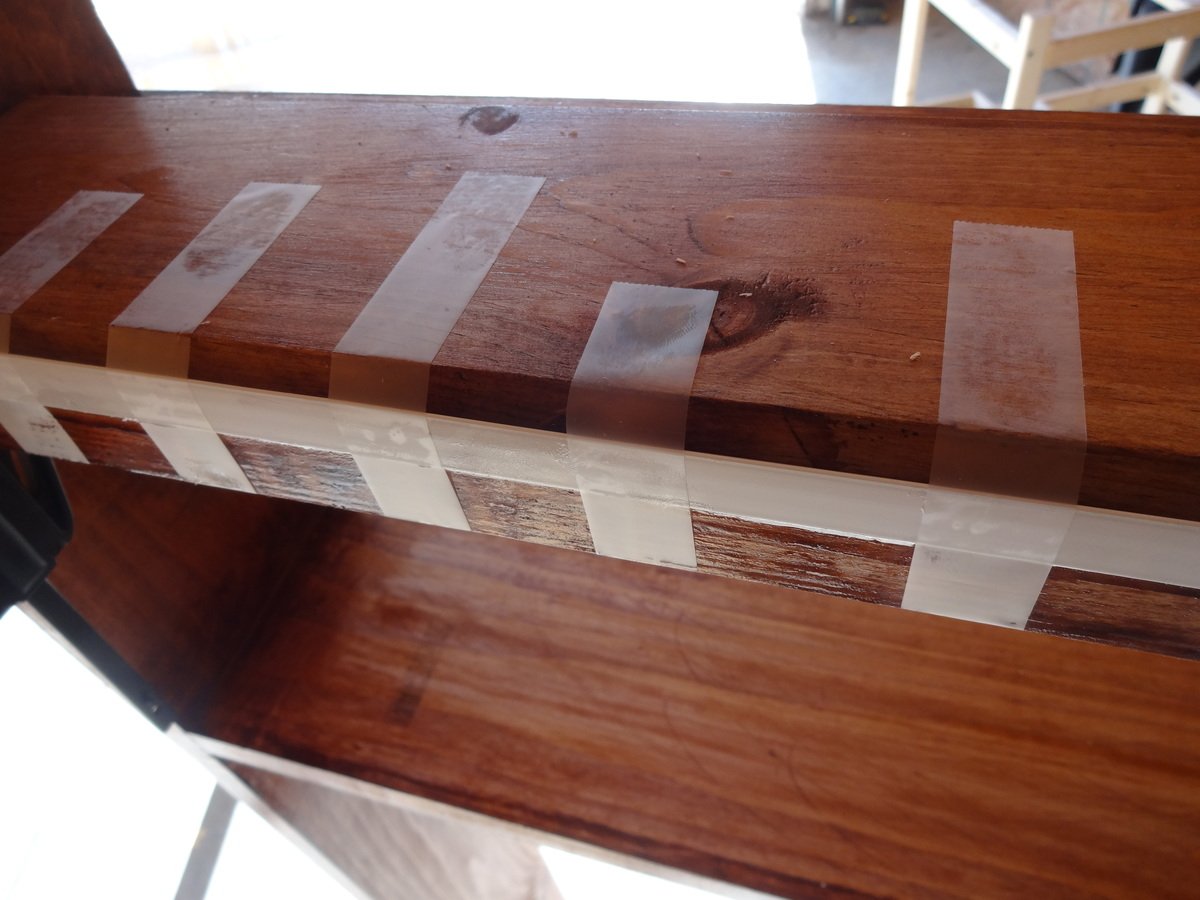
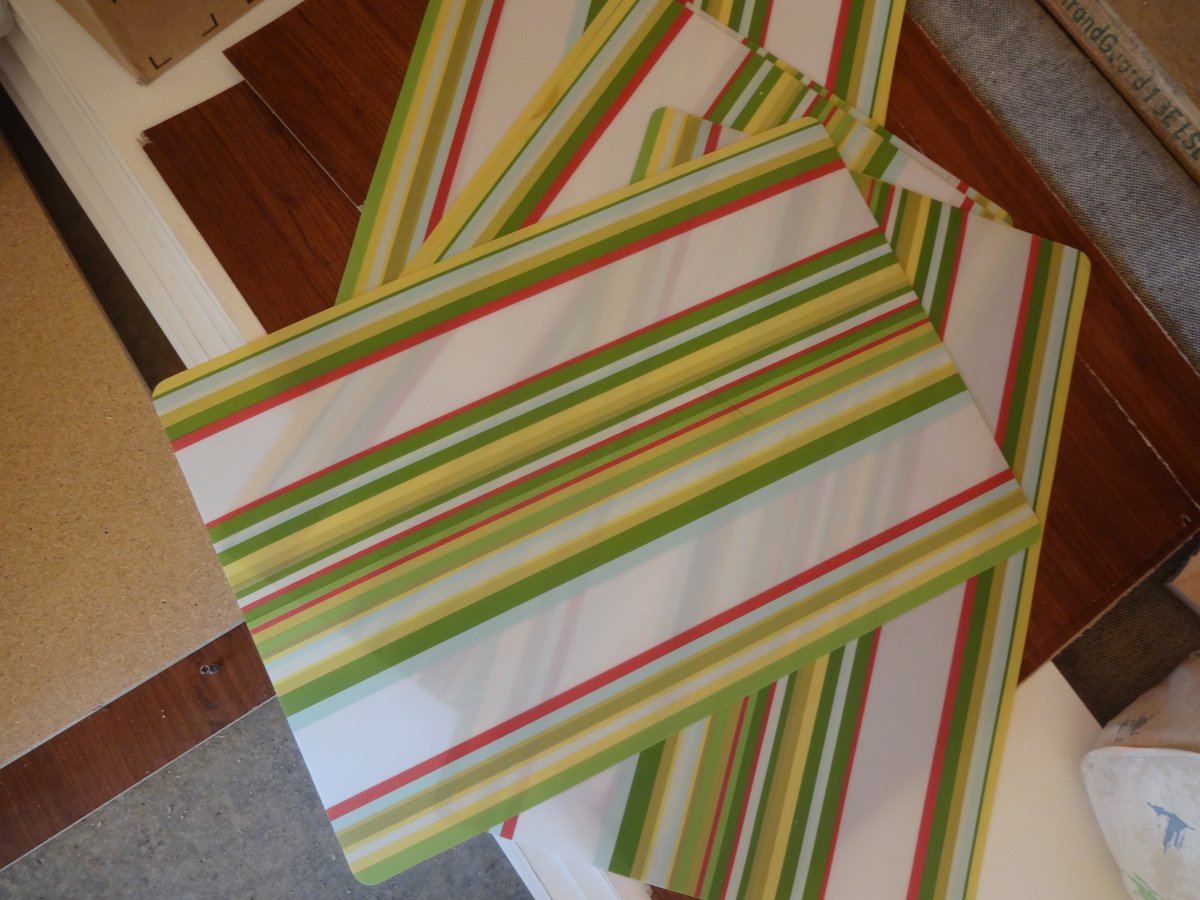
Started with building a frame using 1x6s (24 inch for shelves and 72 inch height). Used plastic table mats were used as sliding windows. Found a PVC trim (8 ft) for $2 at lowes that has been used as the rails/track for the windows. The back is piece of cardbord that was scrap from an old broken ikea bookshelf.

I am pretty happy that i recycled some stuff and made this in less than $15.

Estimated Cost
$15
Estimated Time Investment
Afternoon Project (3-6 Hours)
Finish Used
Minwax Bombay Mahogany Satin
Recommended Skill Level
Beginner

Comments

kevinwdavies

Tue, 12/01/2020 - 14:20

Did you do anything to the bottoms of the legs to prevent wet floors from wicking into the wood? I am wanting to build something similar to replace a particle board cabinet-in-a-box because the particle board did soak up water and get ruined. What I'd REALLY like are metal end caps with an adjustable foot (like you put at the bottom of a table leg) but I can't find a combination of the two anywhere.

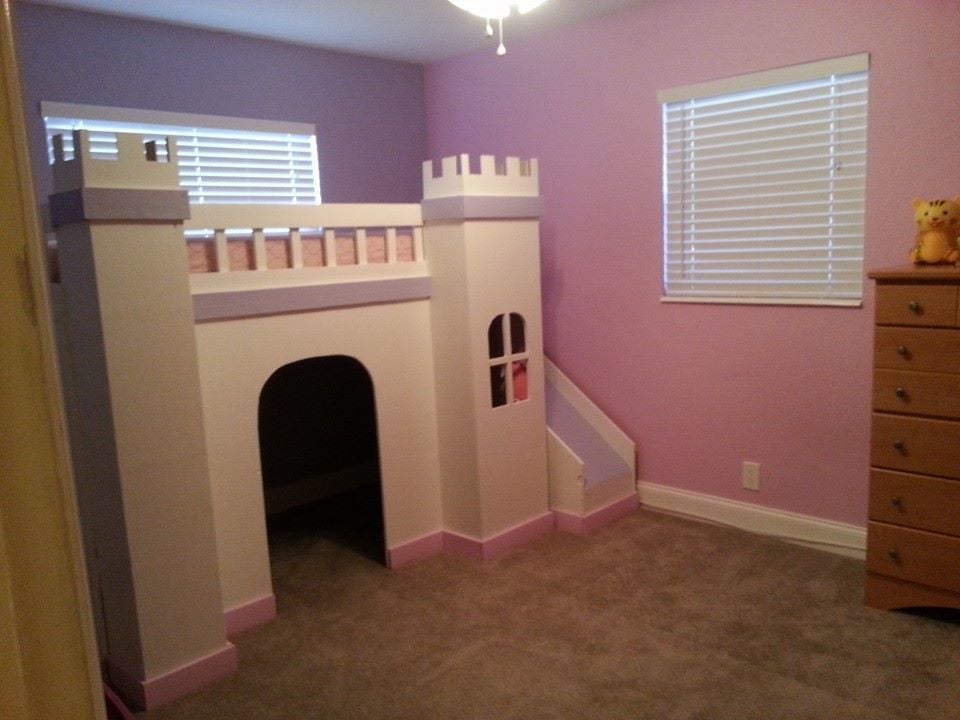
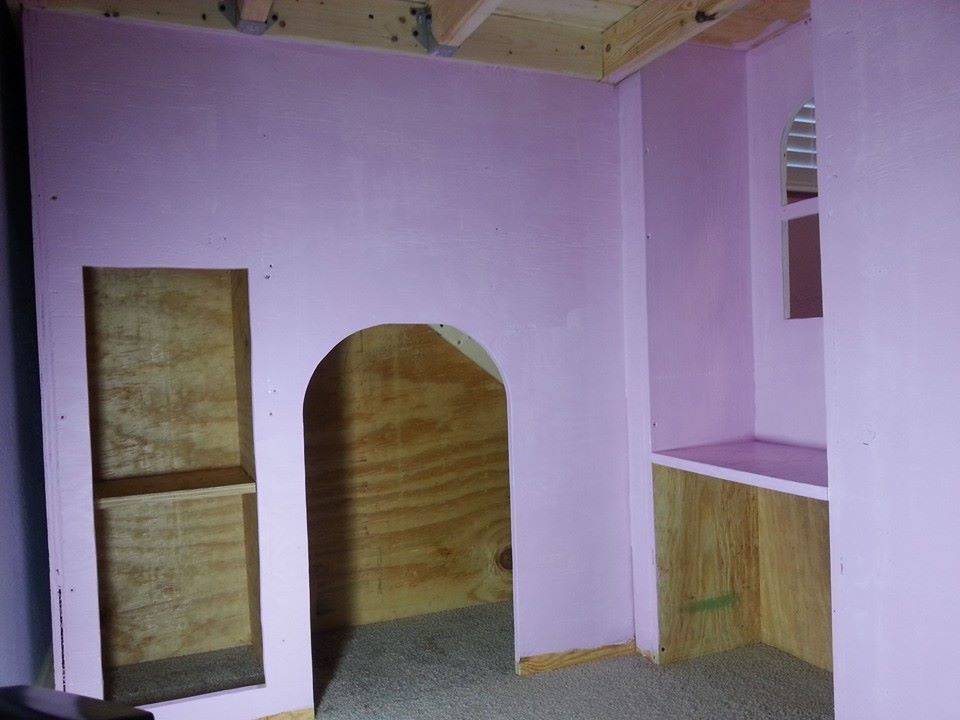
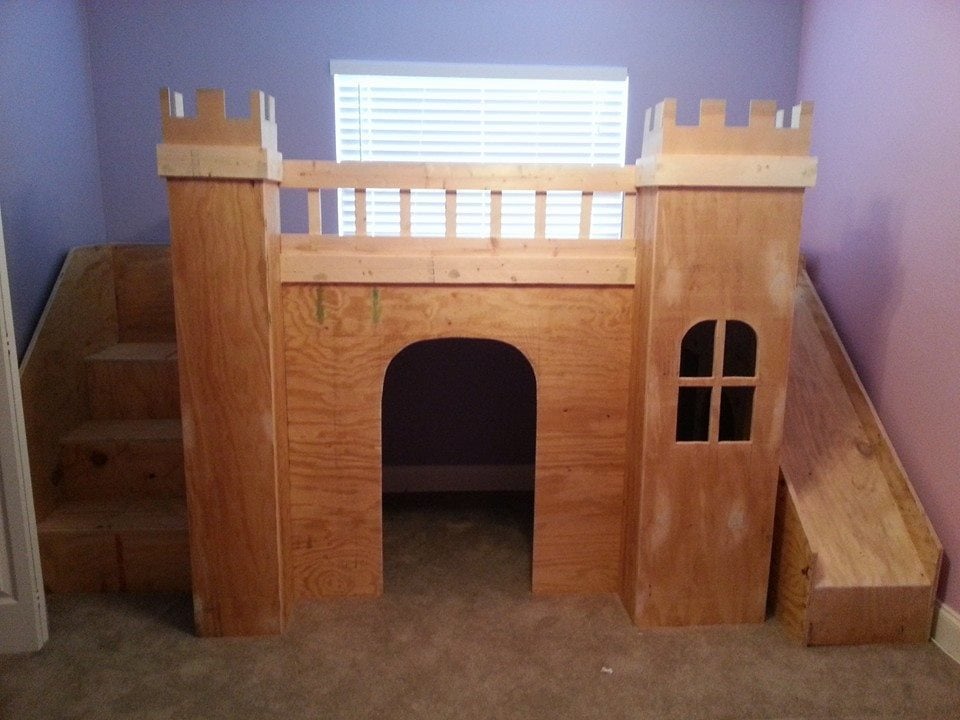
Princess Castle Loft Bed

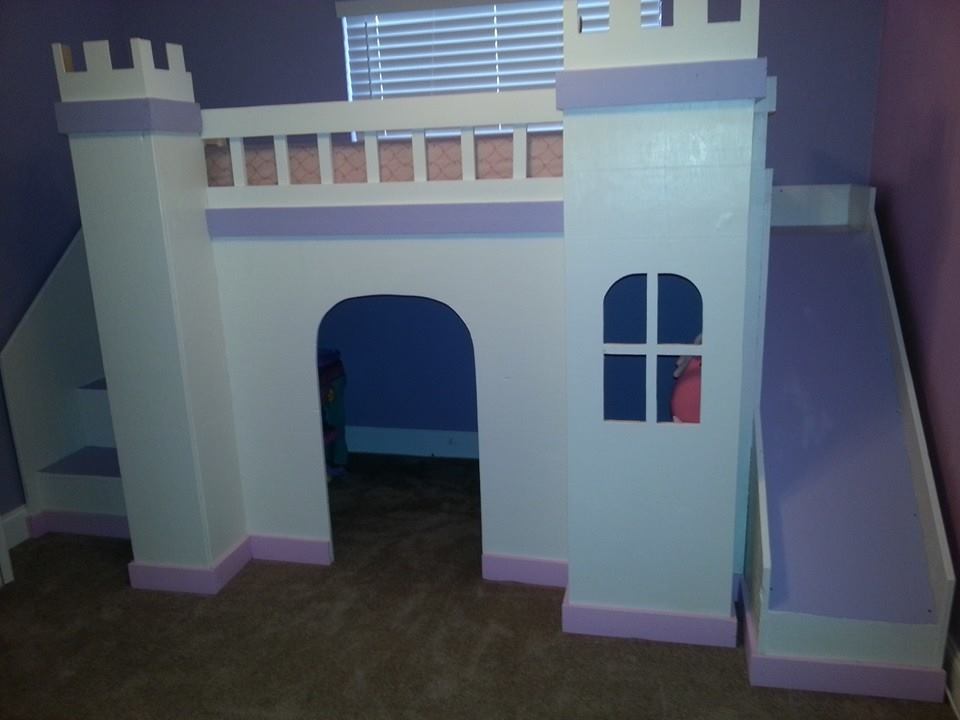
We used the plans from this site to build this for our daughter. We did however make the bed part a bit more sturdy to ensure that no one would get hurt and to make sure it could support any weight. We added 4 2x4s across the bed like rafters and screwed the slats on top of them.

Estimated Cost
$350
Estimated Time Investment
Week Long Project (20 Hours or More)
Finish Used
Paint
Recommended Skill Level
Intermediate

Comments

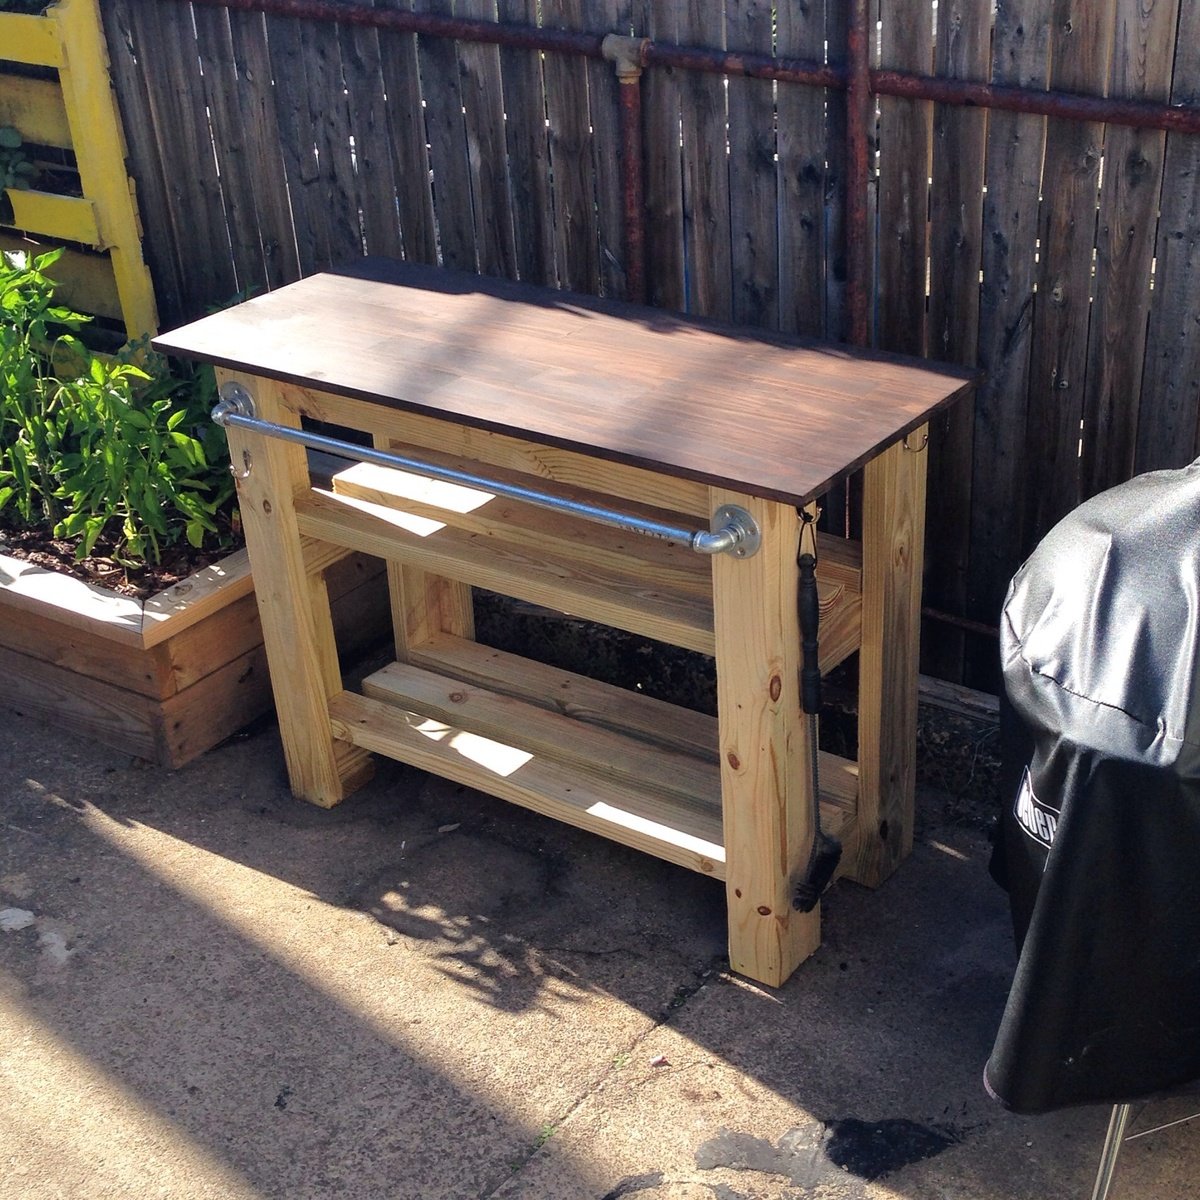
Outdoor Grill Station

Submitted by Anonymous (not verified) on Tue, 09/05/2023 - 09:21


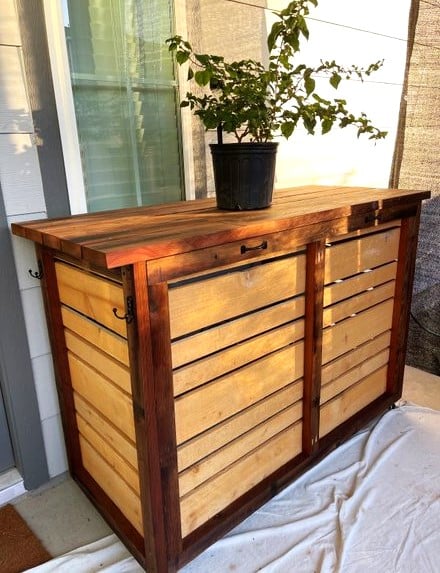
This rolling bar was inspired by Ana White's plan.  It is used as a bar and conceals an electric smoker and a grill.  I added handles for moving and some hooks on the sides.  I stained the salvaged 2 X 6 's and brushed on clear oil based poly on the new Cedar fence boards.

Billie

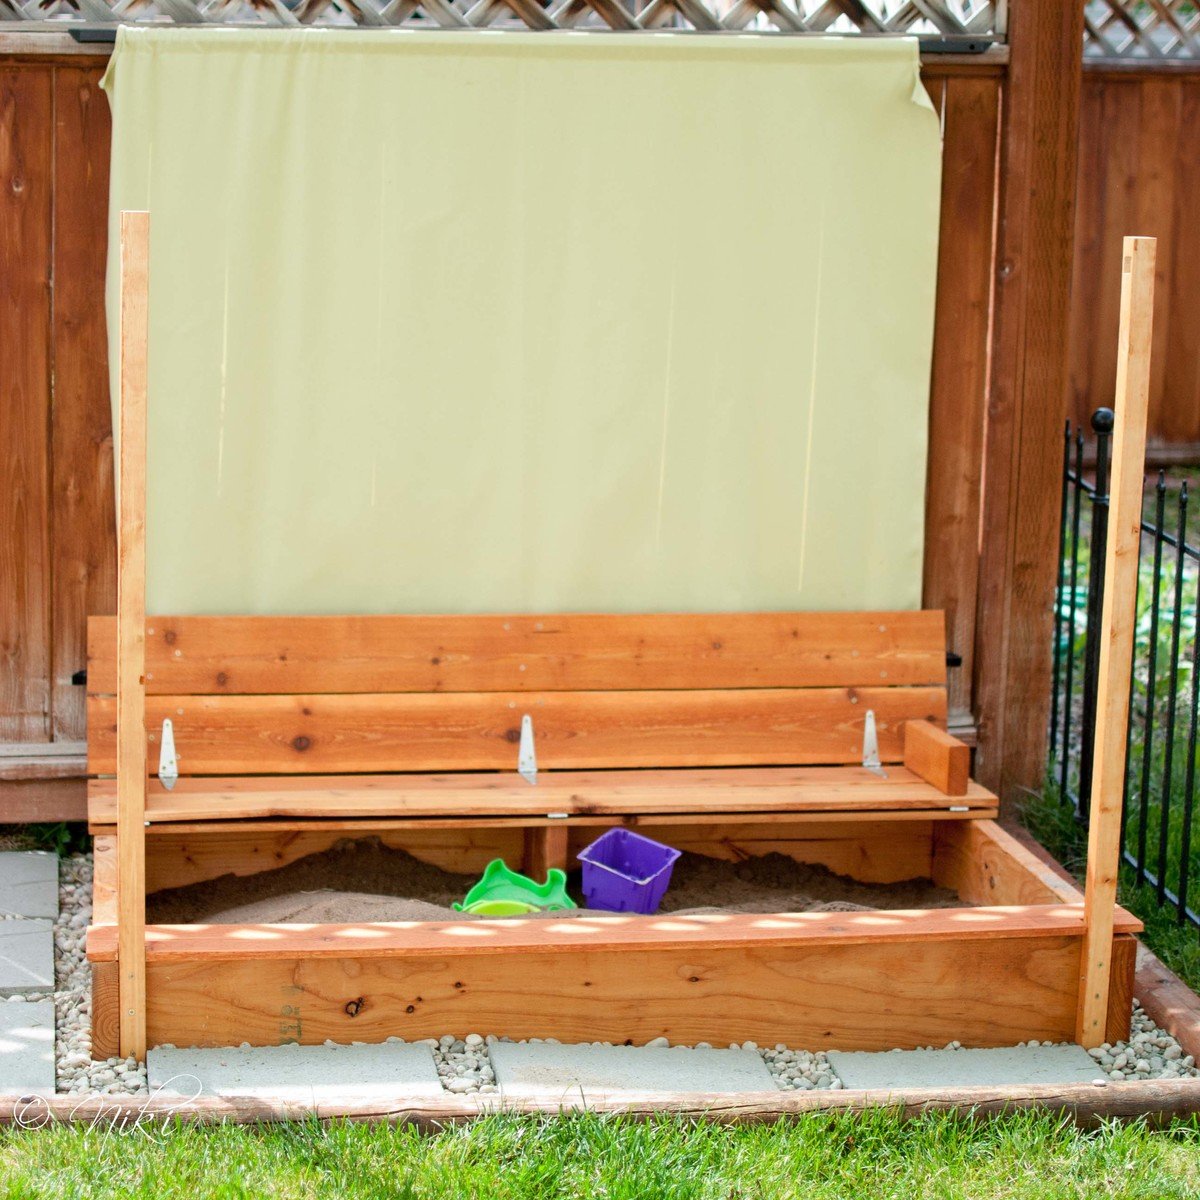
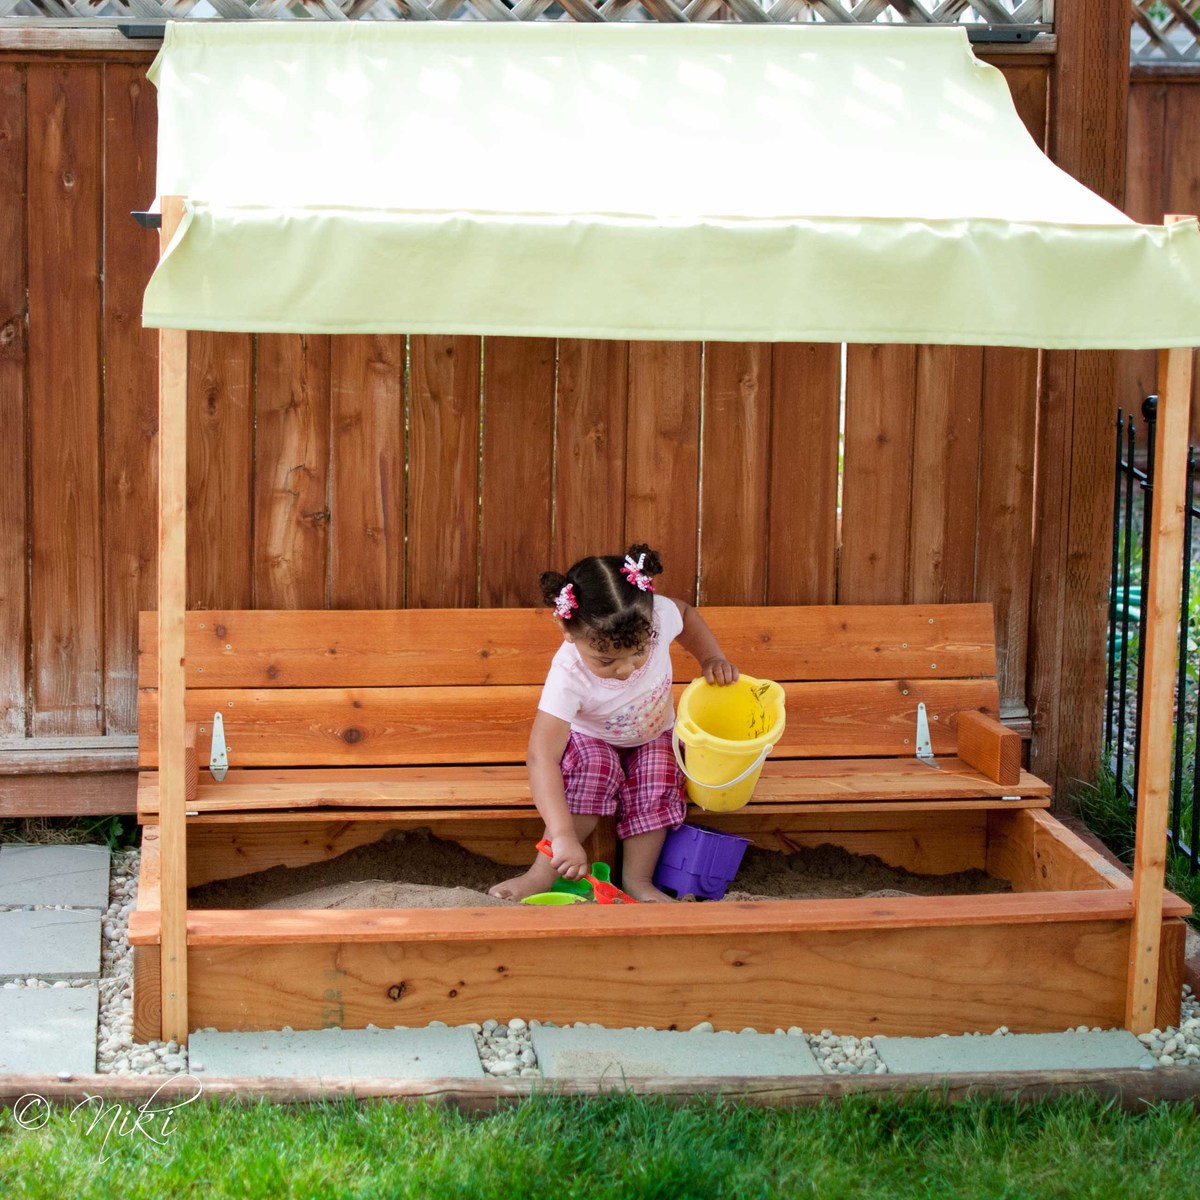
Modified Sandbox with built in seat

Submitted by niki on Tue, 05/22/2012 - 17:57

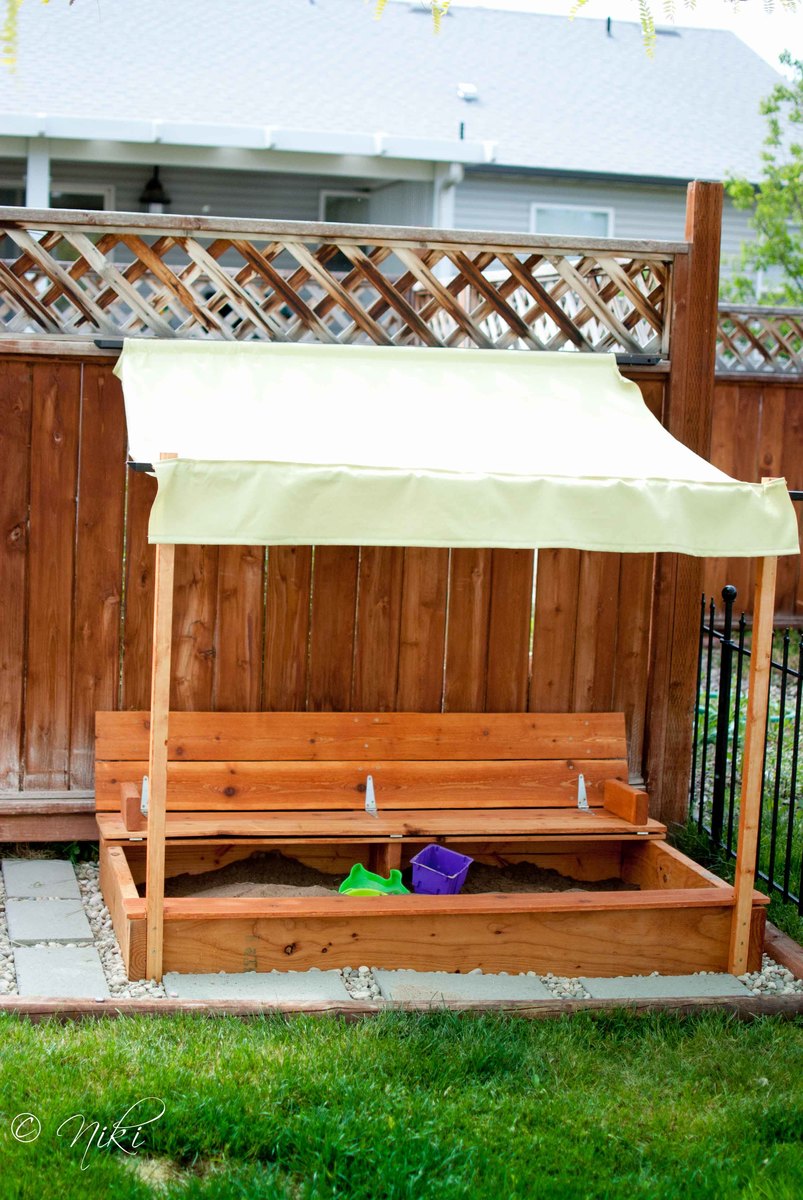
"Cellar? What cellar? We don't have a cellar... Oh, you mean the new sand box! Here, let me get some shade too."

I'm not sure why, but I can never seem to follow plans exactly. I guess that's not entirely true. I CAN follow plans exactly, but I almost never do. Maybe it's some sort of passive rebellion or something, but I usually have to put my own spin on the things that I build. Sometimes it works out in my favor. Sometimes not. This build was a little of both.

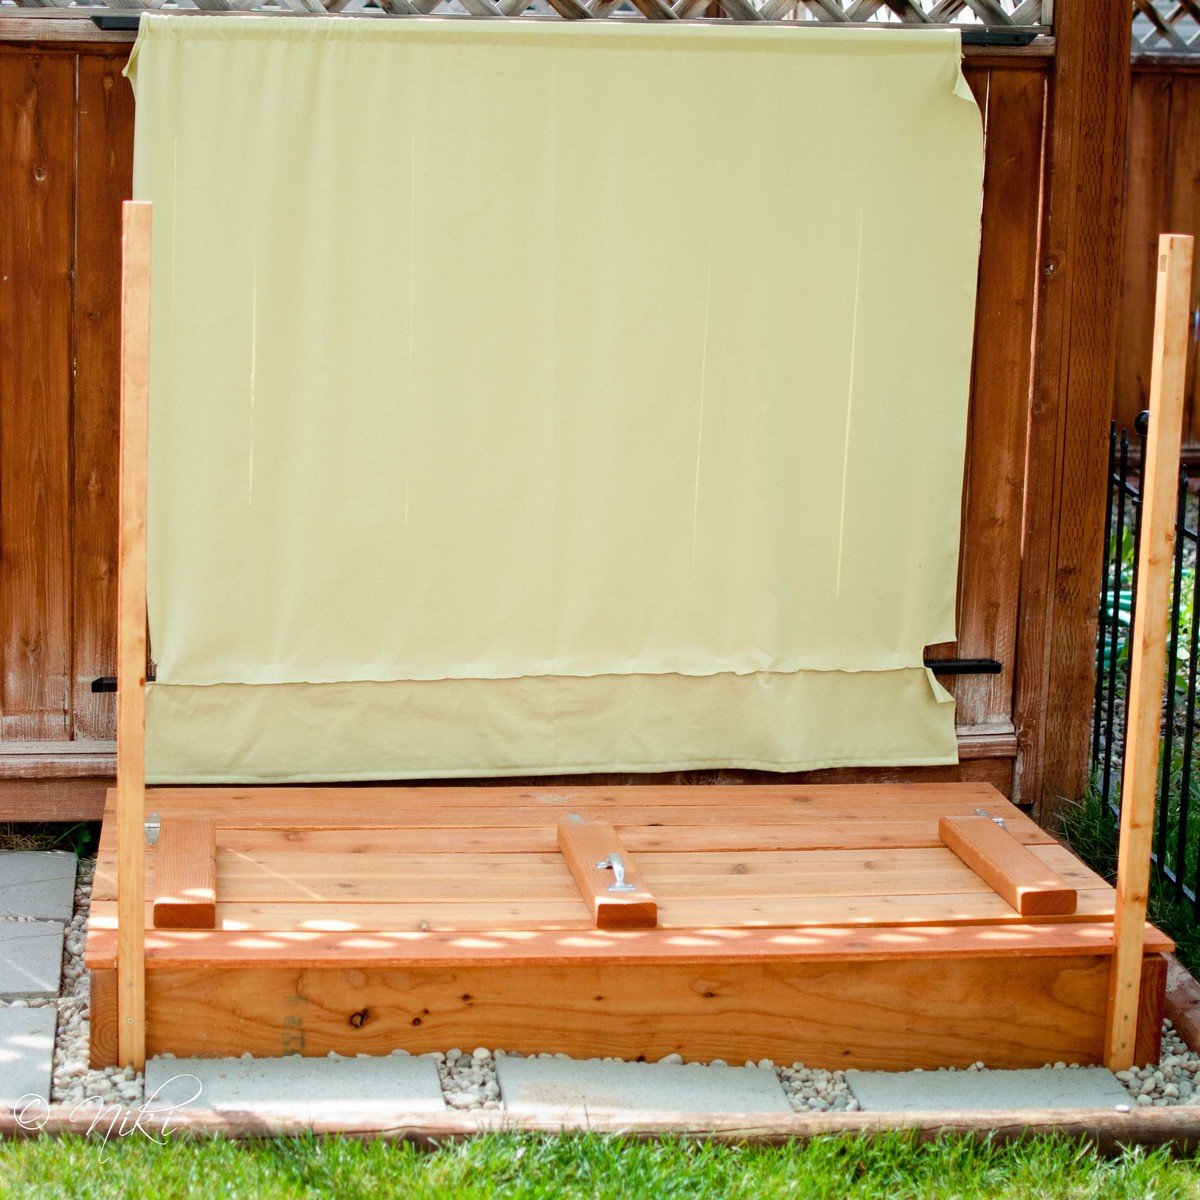
I decided to only build one bench in our sand box. This cut down on a lot of supplies. By making it longer a single bench and making it longer, it covers about the same amount of square feet, just in a rectangle instead of a square. When pricing lumber, I noticed that 2x8's were cheaper than 1x8's. So I went with those instead. It can't hurt to beef up the sides a little, right? This required some easy calculations on the cut list. I also decided to use 1x6 fence planks instead of 1x4 whitewood or pine. The fence planks were cheap, and I figured they would look nice in the back yard. They are also naturally pest and rot resistant. They required extra sanding to take the rough off. However, this is one place that I'm thinking the modification didn't work in my favor. The fence planks are not as thick as the whitewood. This combined with the increased length makes the the top pieces feel pretty weak. I put a little support piece under the bench. I'm quite sure the bench would not have held up well without the support.

Because this is an outdoor piece, I dry fit everything, and then stained everything before assembling it, to make sure all of the edges were well protected.

Cost breakdown (not including canopy)
Fence planks $14
2x8x8 $11
hinges $9
handle $2
stain $10

Built from Plan(s)
Estimated Cost
About $50
Estimated Time Investment
Day Project (6-9 Hours)
Finish Used
Preserva-wood in Pacific Redwood color (aka the cheapest outdoor stain I could find)
Recommended Skill Level
Beginner

Comments

tnavis

Thu, 03/07/2013 - 08:49

I just love the changes you made to this sandbox! Can you tell me what you used for the construction of the canopy? Thanks!

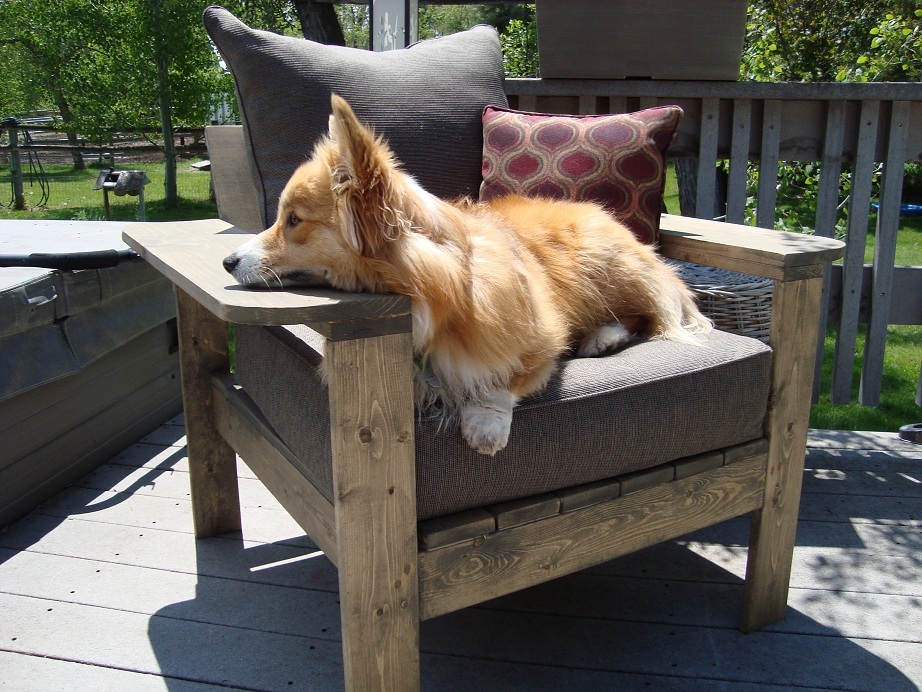
Deck Chair

Submitted by bigskygirl on Tue, 05/29/2012 - 12:44

I used the plans for the simple outdoor lounge chair and just made the arms wider, the cushions came from Target.............the dog loves it !

Built from Plan(s)
Finish Used
Benjamin Franklin oil based Dragons Breath
Recommended Skill Level
Beginner

Comments

Londons91 (not verified)

Sat, 07/28/2012 - 18:06

My husband and I love to sit outdoors and read with a hot cup of tea. The wide are will be perfect for us. Would you mind sharing the cost of your project?

Camey21

Sun, 09/14/2014 - 22:04

Hi!  I would love to make this patio set but I am having some trouble with cushions. I noticed that Ana stated this chair will use a standard size 20x20 cushion.  On your notes it says you got your cushions at Target, are they 20x20, I love the deep cushions but cant seem to find any that sized. Are yours 20x20, or did you modify you project? If so, what dimensions did you use? Thanks so much!!!

Camey21

Sun, 09/14/2014 - 22:05

Hi!  I would love to make this patio set but I am having some trouble with finding cushions. I noticed that Ana stated this chair will use a standard size 20x20 cushion.  On your notes it says you got your cushions at Target, are they 20x20, I love the deep cushions but cant seem to find any that sized for the bottom ones. Are yours 20x20, or did you modify your project? If so, what dimensions did you use? Thanks so much!!!

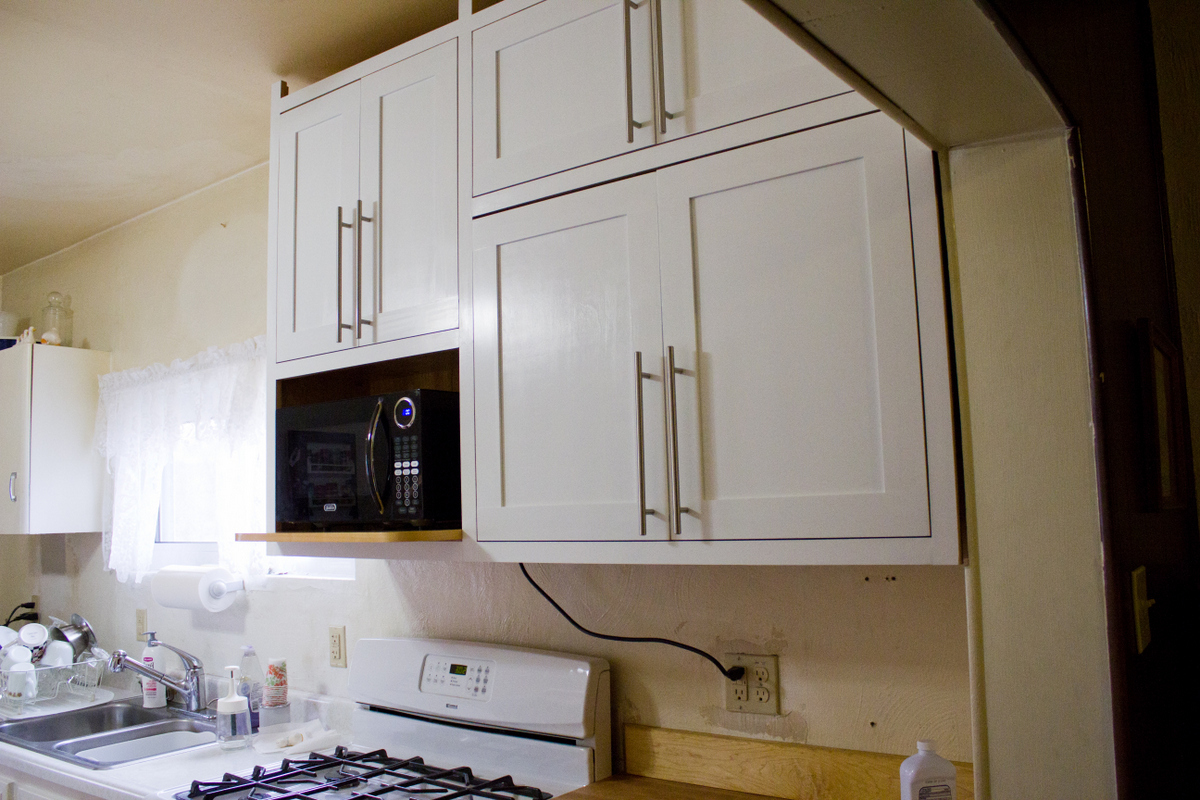
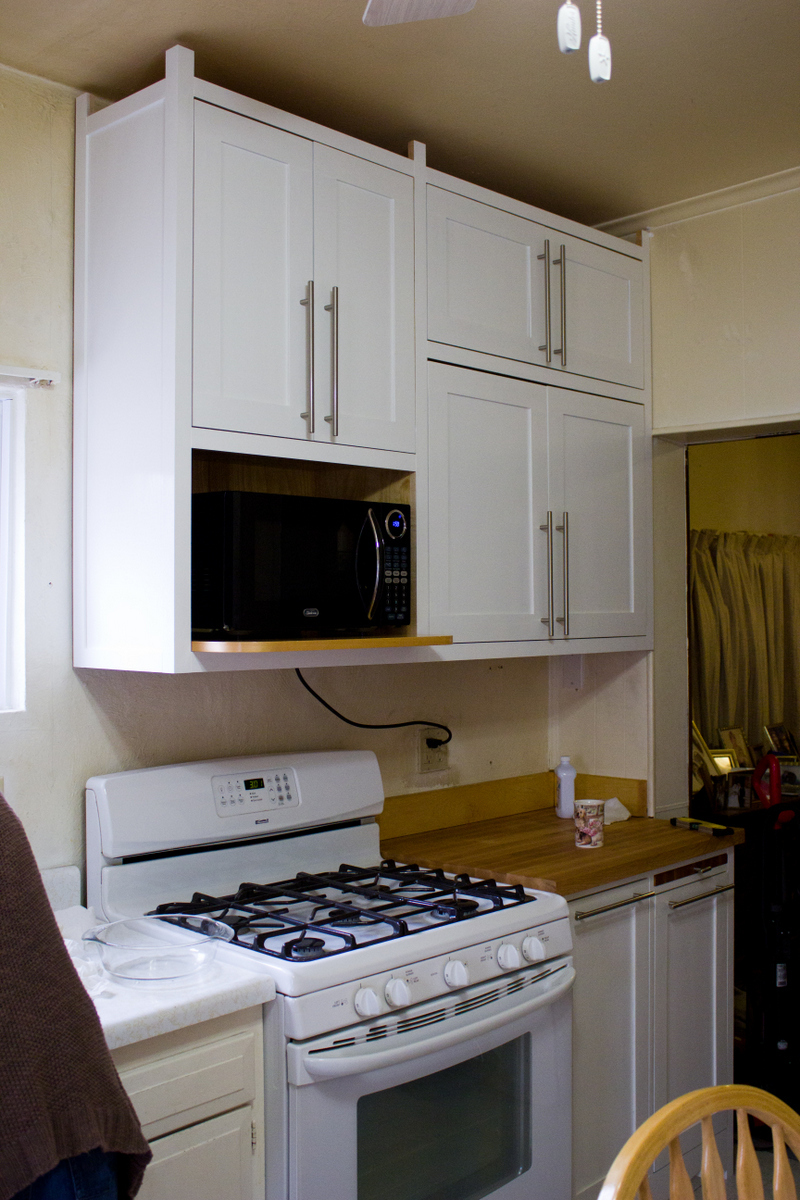
Upper Cabinet Awesomeness

Submitted by romanweel on Fri, 04/04/2014 - 15:01

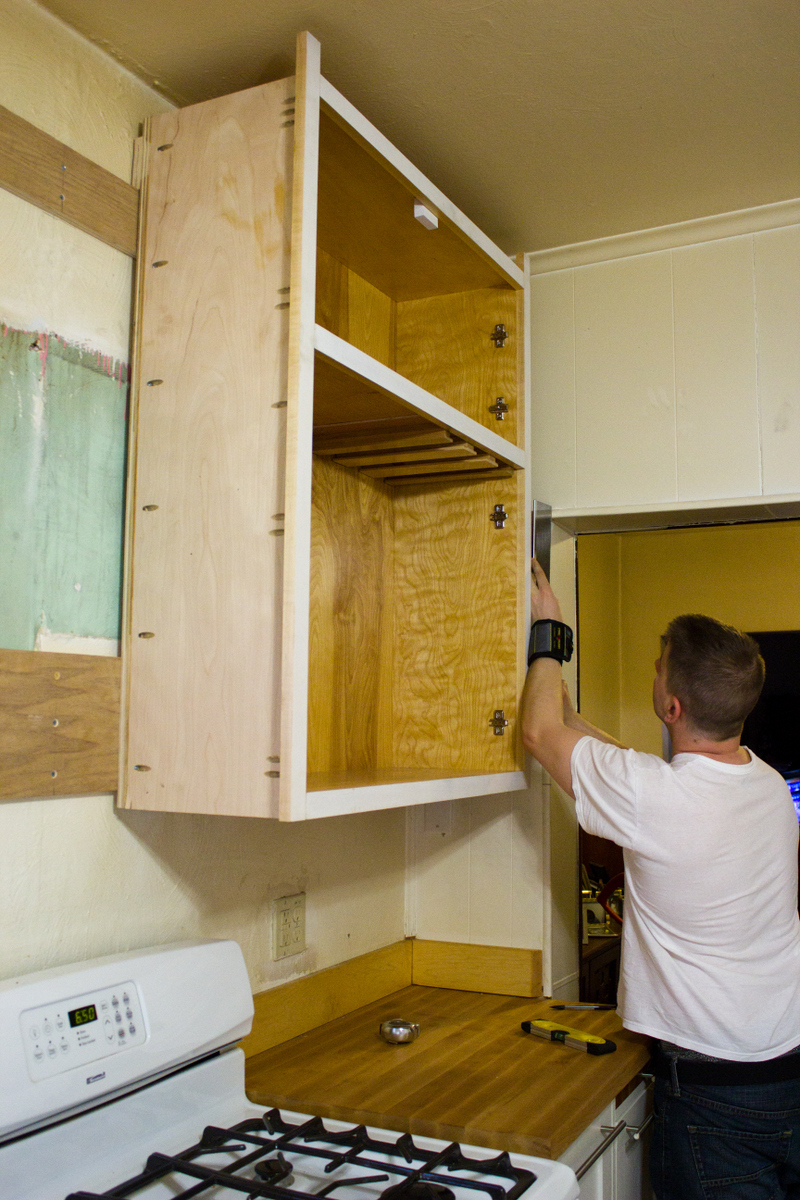
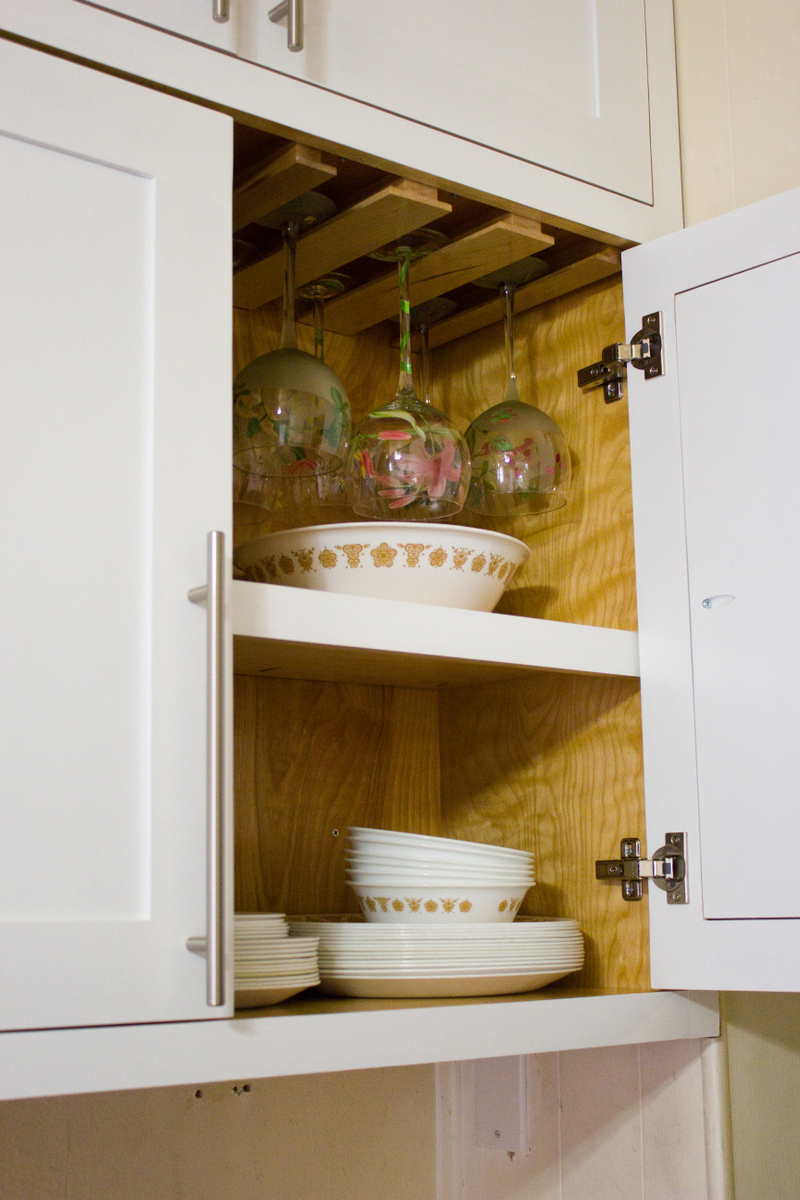
This is the sequel to my first kitchen cabinet build, the awesome base unit to the right of the stove. It's another custom design to fit the space (and replace some horribly inefficient metal cabinets that, while cute, really looked like they belonged in a different kitchen). And my first time working with maple and edge banding! Thank you, thank you, no applause please. I'm calling this project "intermediate" skill only because I chose to router the doors and install cup hinges. Otherwise, they're just big boxes on the wall, for real.

The carcasses, shelves, and door panels are all Purebond plywood. The face and door frames are 1x2 and 1x3 maple. The french cleat used to hang the two pieces is also plywood (more on my blog about that). Unfortunately, I don't know enough about wiring to add/move that outlet so that the microwave cord could be hidden...but at least the microwave itself is off the counter! It doesn't have to be perfect to be beautiful.

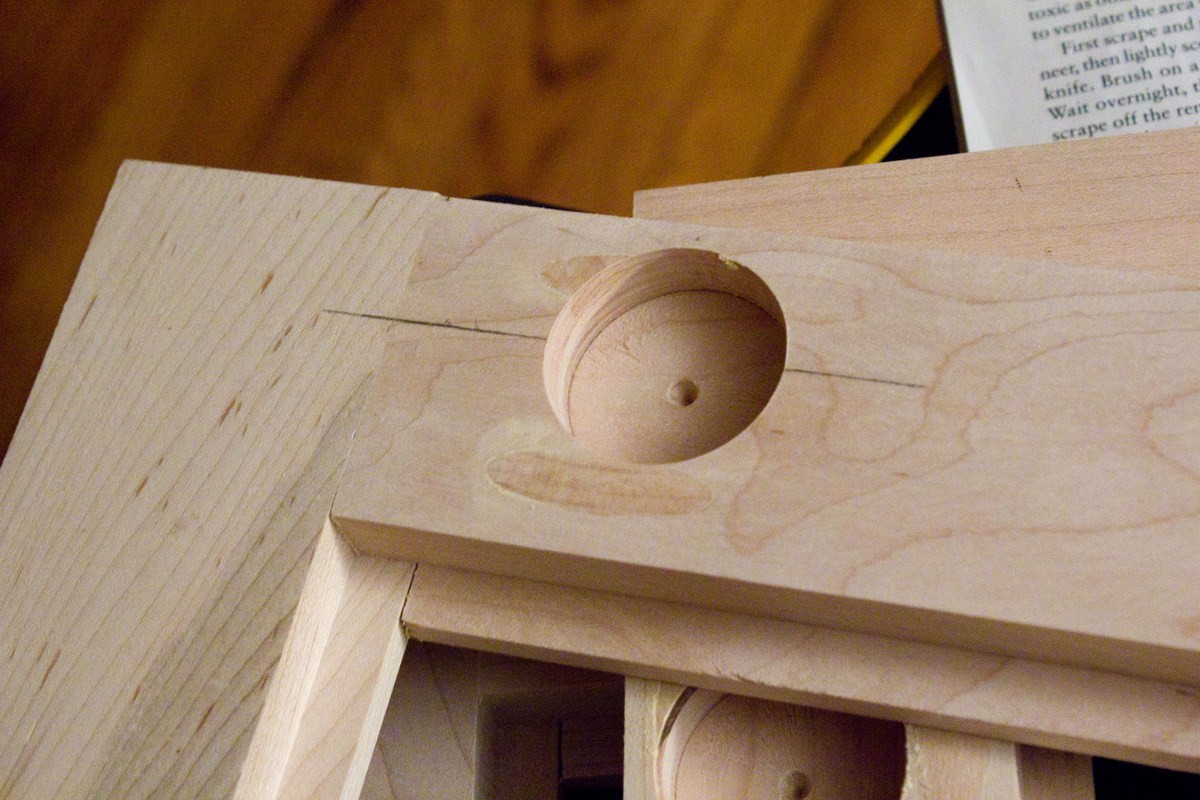
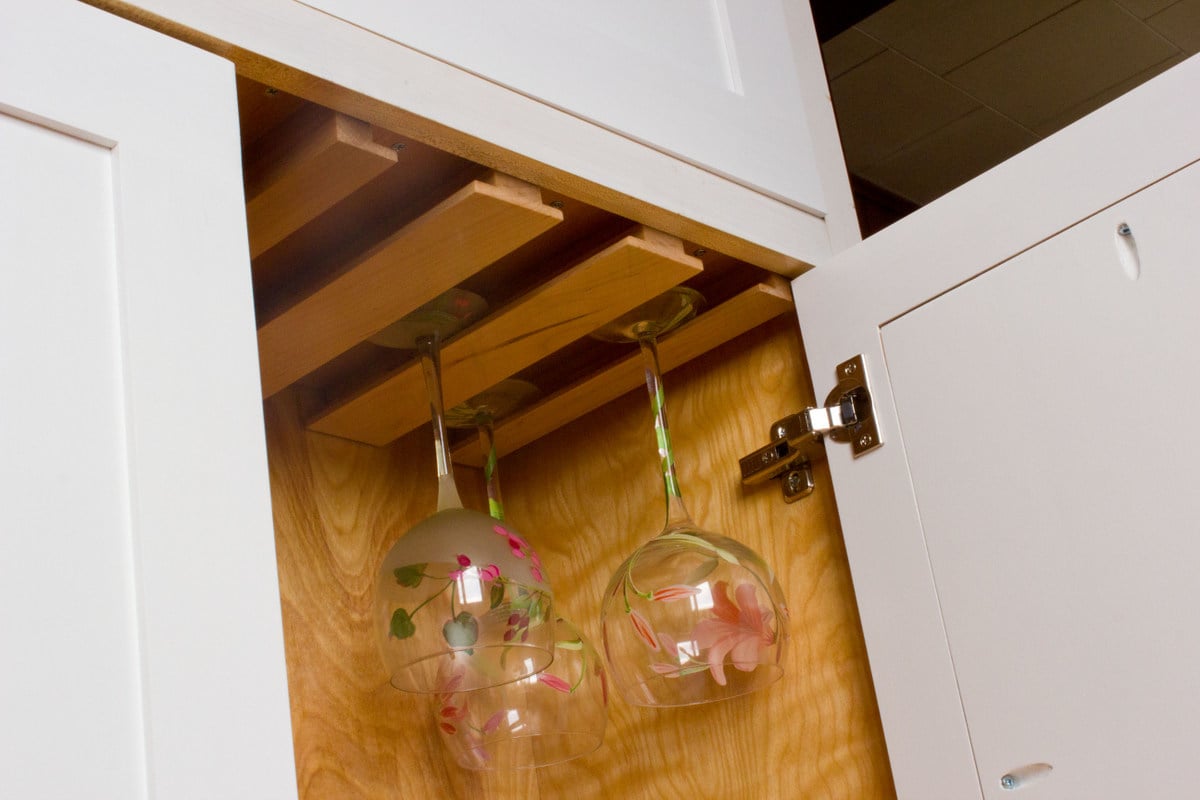
The wineglass storage is a sort-of take-off on a few other plans on here and some pieces I saw down in Amish country. It's a little rough-looking outside of the cabinet into which it is installed because I didn't design that element very elegantly. Plus I kept changing things on myself mid-stream.

The concealed cup hinges...were totally intimidating. And at first I bought into all the hype about "you HAVE to use a drill press or you'll RUIN your doors", but in the end I just eyeballed it with a plain old forstner bit, and all 6 doors turned out fine! Plus, I got to use Blumotion hinges...you physically cannot slam these doors!!

I'm super proud of this project, and my mother-in-law (in whose kitchen they reside) is thrilled. Btw, the crown moulding is not yet installed, which is why the trim pieces up top look so funny.

Estimated Time Investment
Week Long Project (20 Hours or More)
Finish Used
Sherwin Williams ProClassic Interior Acrylic Latex Enamel, plain old white
Polyurethane on the shelves (which in retrospect should have used polycrylic...they turned out a little yellow, which is unfortunate)
Recommended Skill Level
Intermediate

Comments

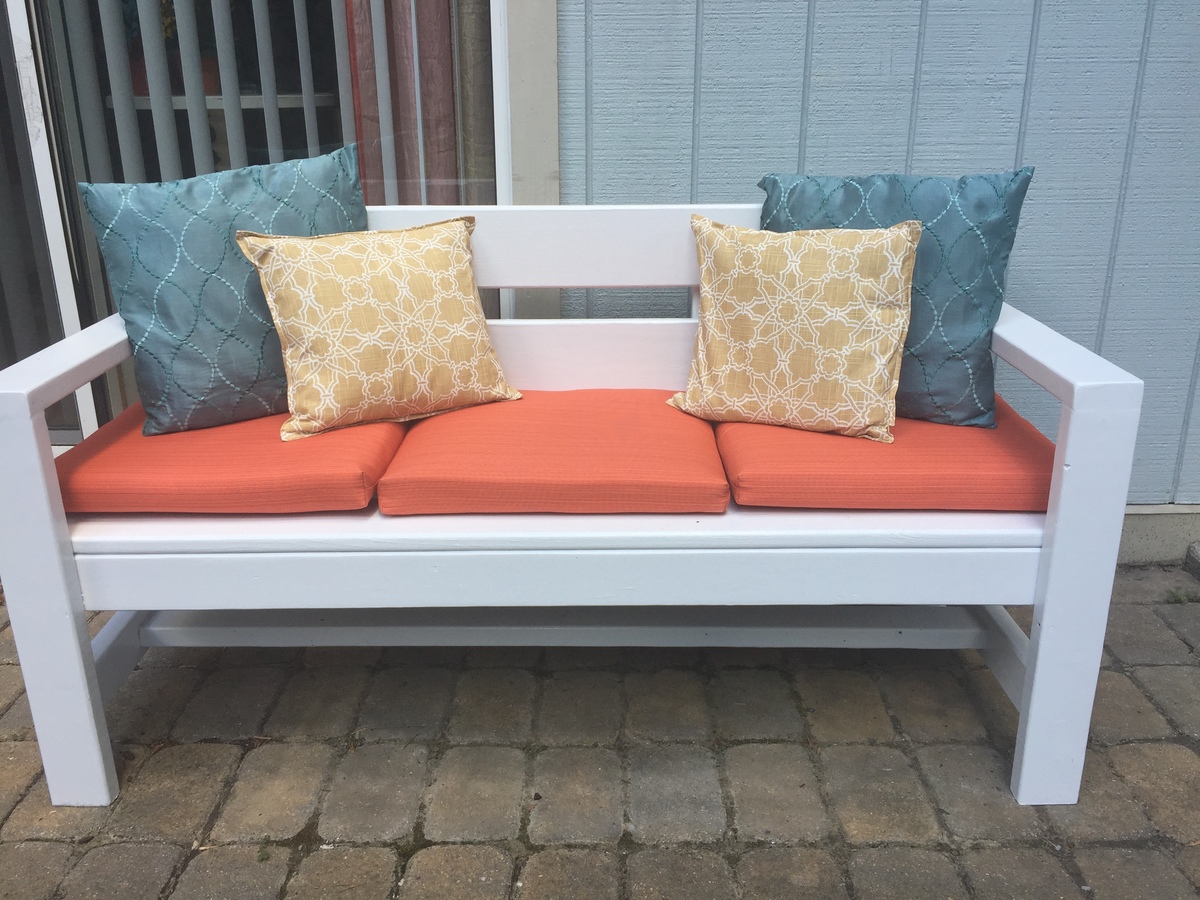
Love my bench

Submitted by Anonymous (not verified) on Wed, 08/10/2016 - 19:31

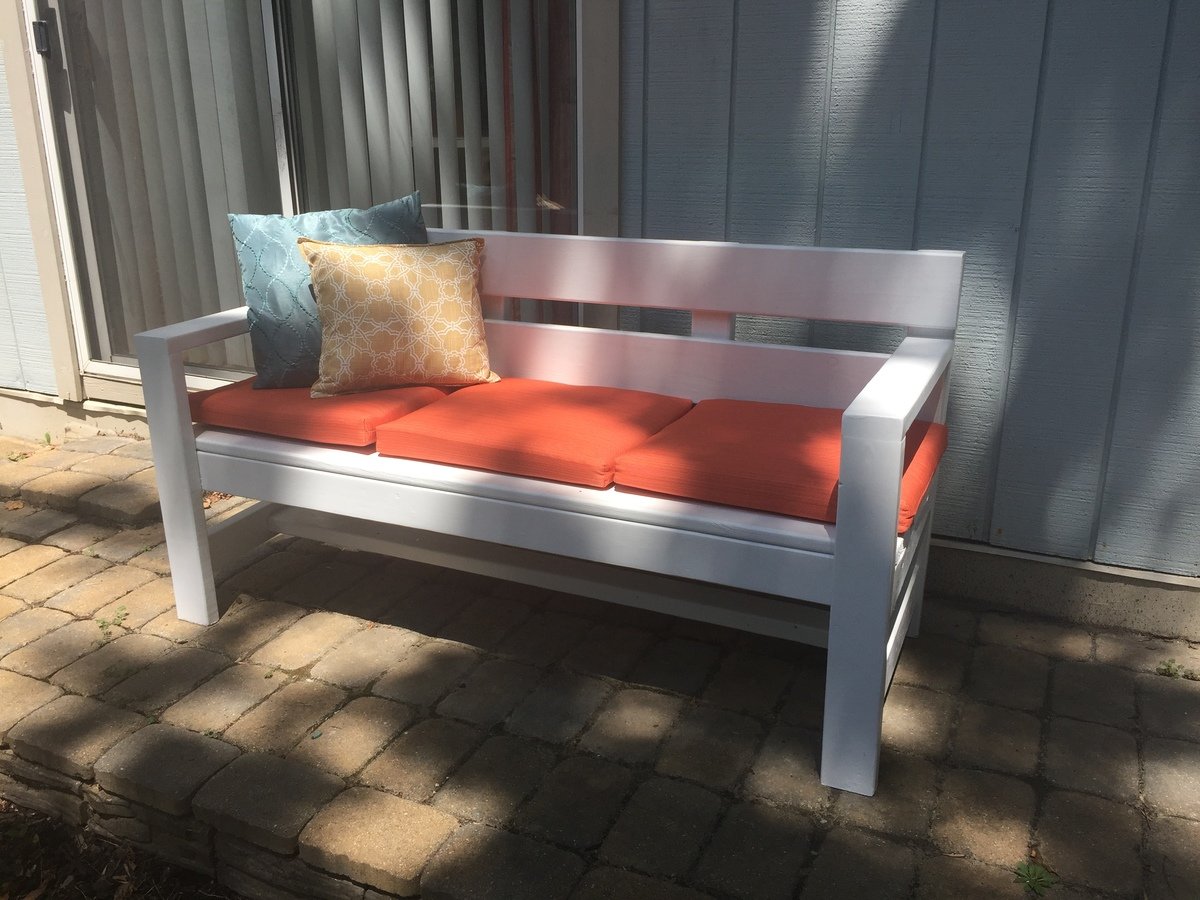
I changed the dimensions to make it a little smaller to fit the front of my house. My husband and I now spend our evenings sitting there drinking tea and enjoying the nice weather.

I spent close to $60 and ordered 3 cushions from target for $8.99 each.

Built from Plan(s)
Estimated Cost
$60
Estimated Time Investment
Day Project (6-9 Hours)
Finish Used
Rustoleum semi gloss in white
Recommended Skill Level
Beginner

Better Than I Hoped!

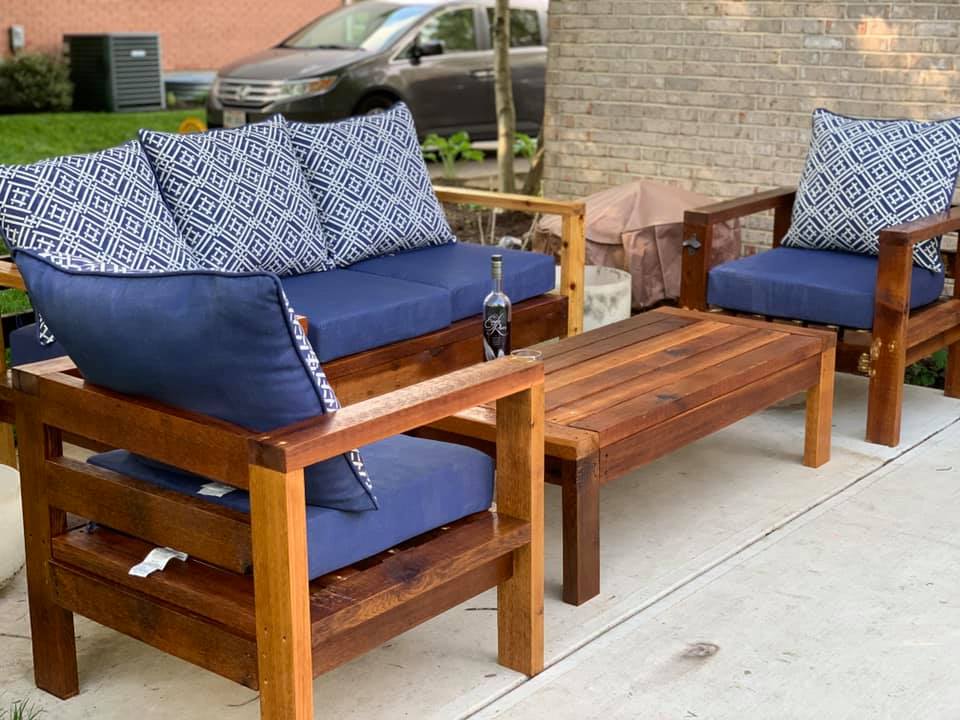
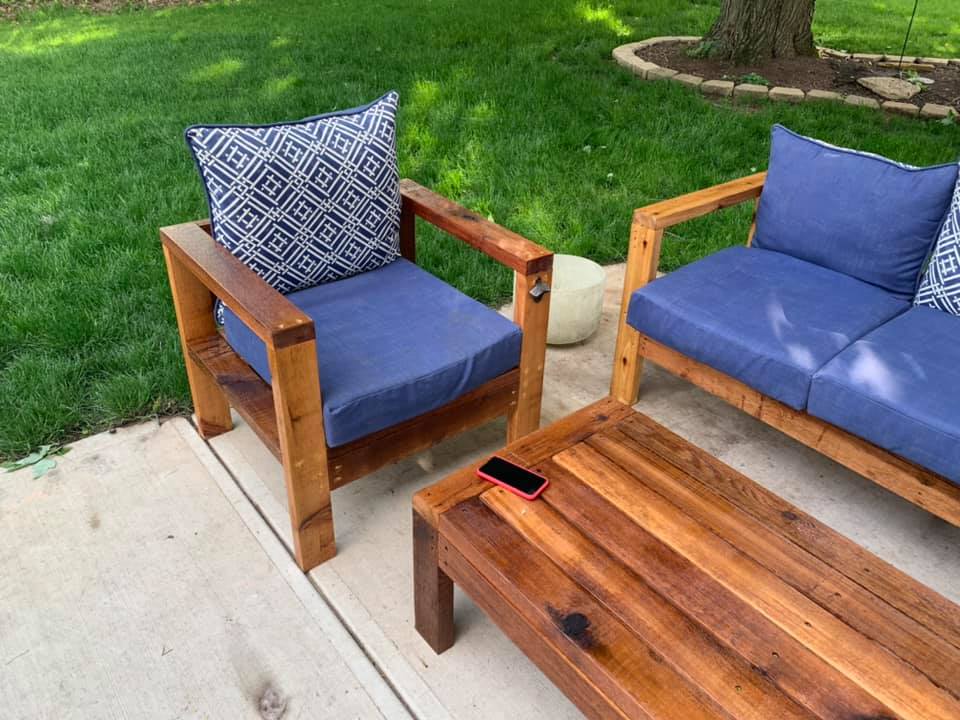
Been working from home for the past two months due to the health crisis. To stop from going crazy from being at home with my wife and four kids, I decided up pick up a hobby - here's where my homie Ana enters! I didn't want the sectional for my patio, but certainly the couch, chairs and table. The only mistakes had were my own (using wood putty, not sanding it well), but the plans were spot on. The only real issue I ran into was the cedar wood I used wasn't 1.5 x 3.5, but 1.75 x 3.5. This caused me to make additional cuts were I otherwise would not have needed it. Other than that, just remember to make the longest cuts first... I ended up needing to buy about five additional boards because it.

Estimated Cost
$350 (I used cedar, which is much more expensive)
Estimated Time Investment
Day Project (6-9 Hours)
Finish Used
Minwax Spar Urethane, clear
Recommended Skill Level
Beginner
Seasonal And Holiday

Raised Bed Garden Enclosure

Submitted by Anonymous (not verified) on Thu, 05/28/2020 - 17:08

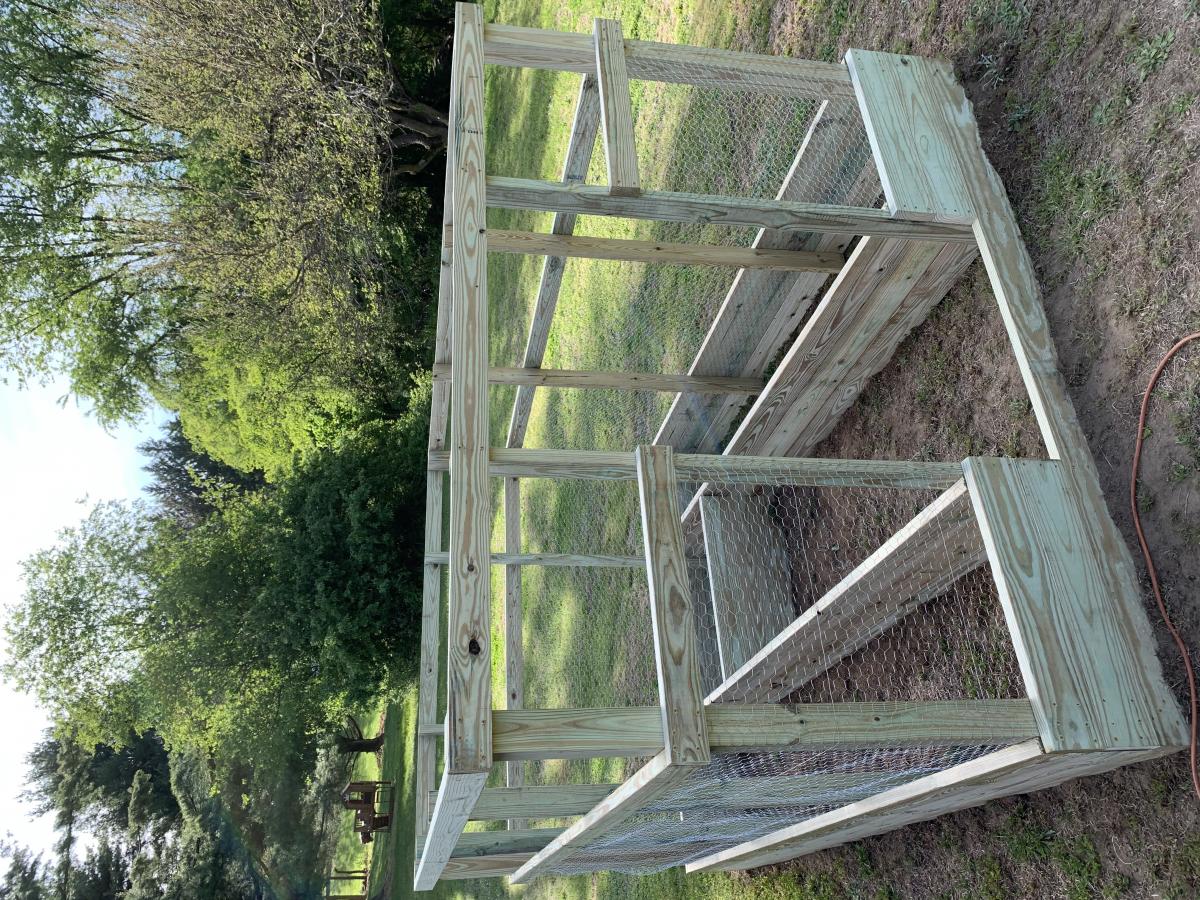
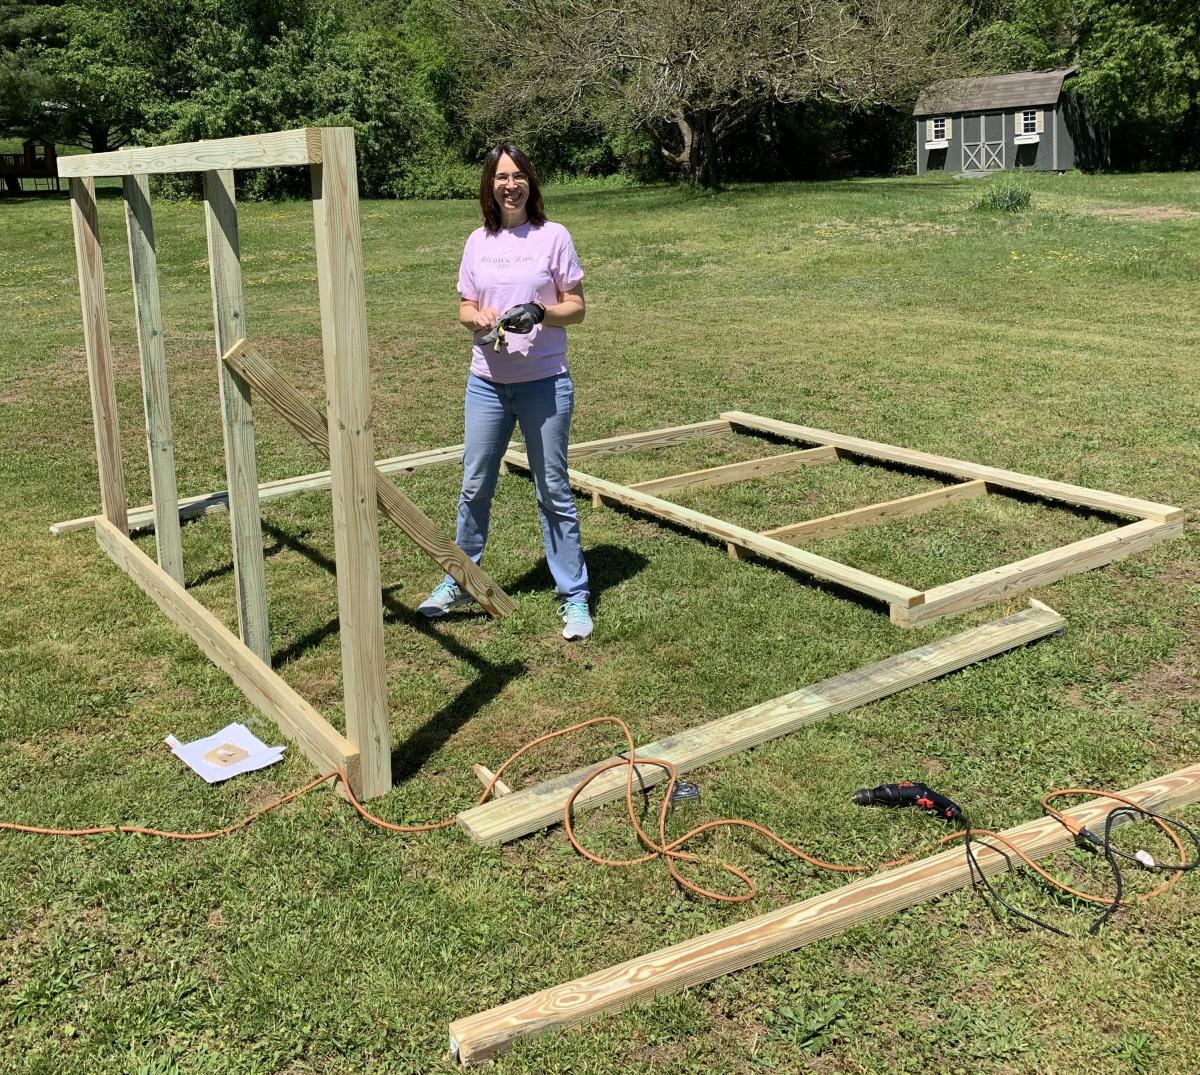
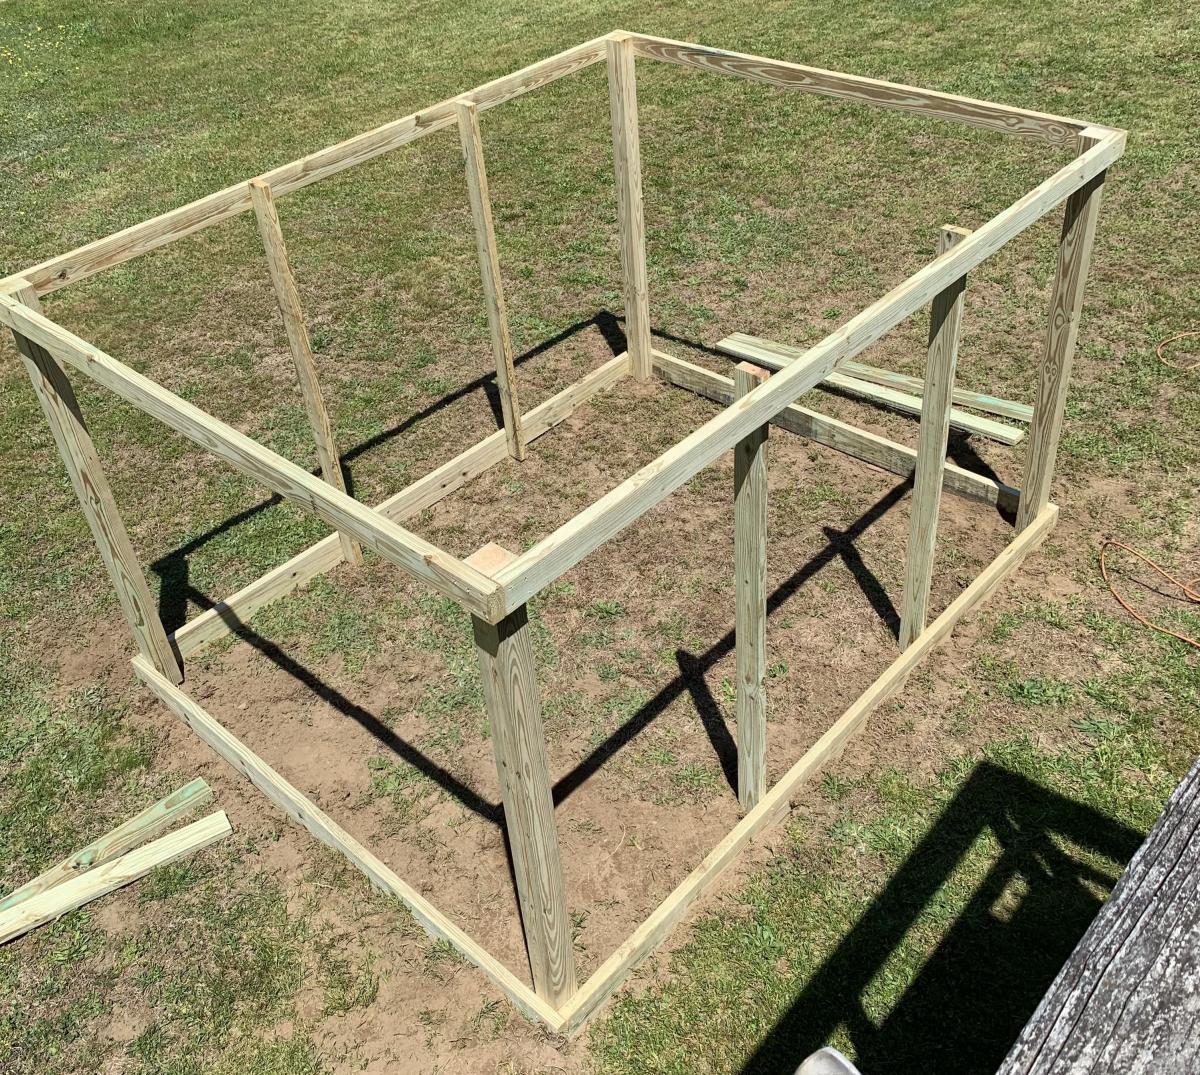
We perviously had a larger garden farther back in the yard, it was on the ground which is very hard and rocky. It was tough to till and maintain, so it was taken down a few years ago.

My wife and teenage daughter have green thumbs and have planted herbs and tomatoes in pots over the past few years, but this year they wanted something more substantial. After an online search we found this plan.

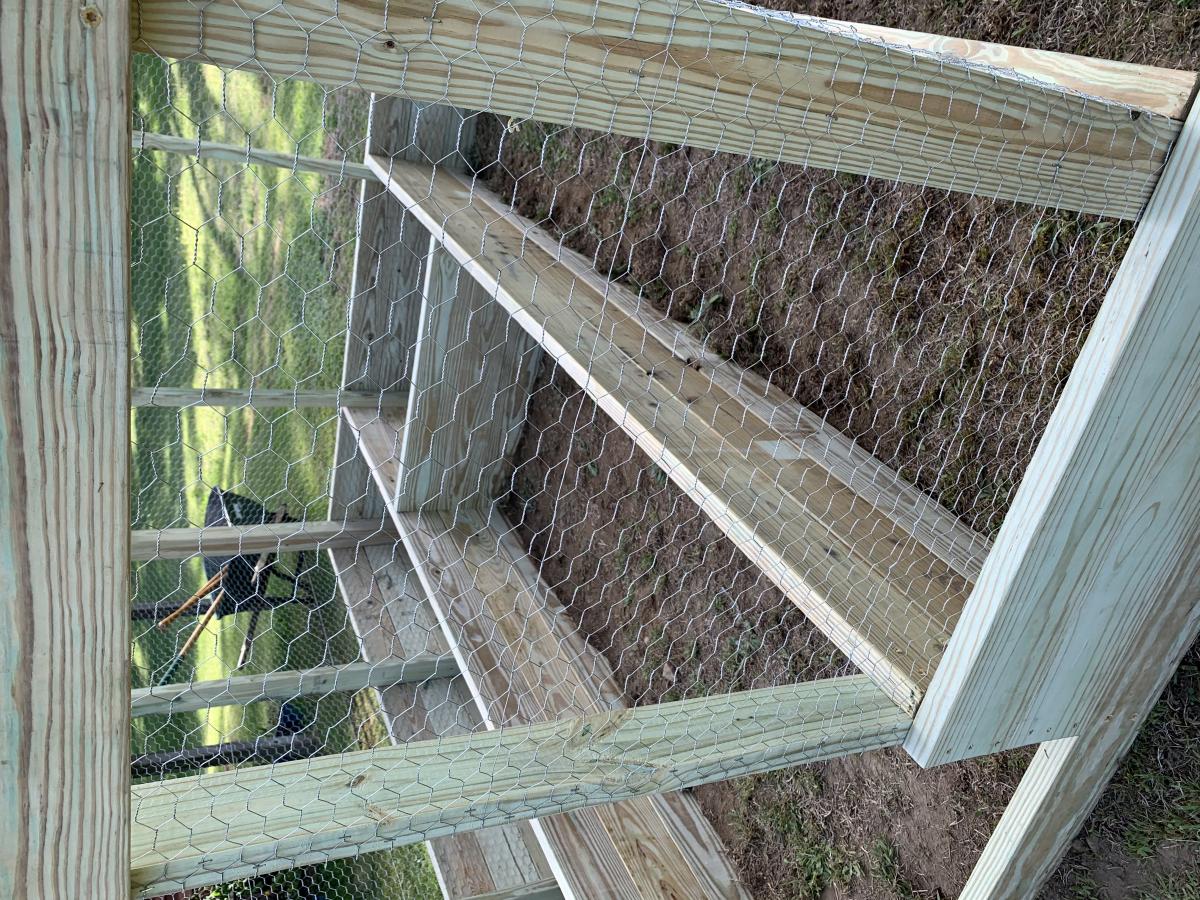
It was a bit small for what the girls had planned, so with a little bit of tweaking, we changed the depth of the enclosure to 10'. It was pretty easy to do. Also the girls wanted the beds to be a bit deeper, so we made them three 2x6's deep instead of two

It was built by my wife and I in one weekend, well actually the truth is we built the entire enclosure, minus the door on Saturday about 10am and finish up about 5:30pm. I built the door the next day and we hung it together.

Just an FYI, I have quite a bit of woodworking experience and have a workshop with table saw, band saw and much, much more. I did use the table saw for most of the cuts, with the exception of the gate support which I cut using the band saw.

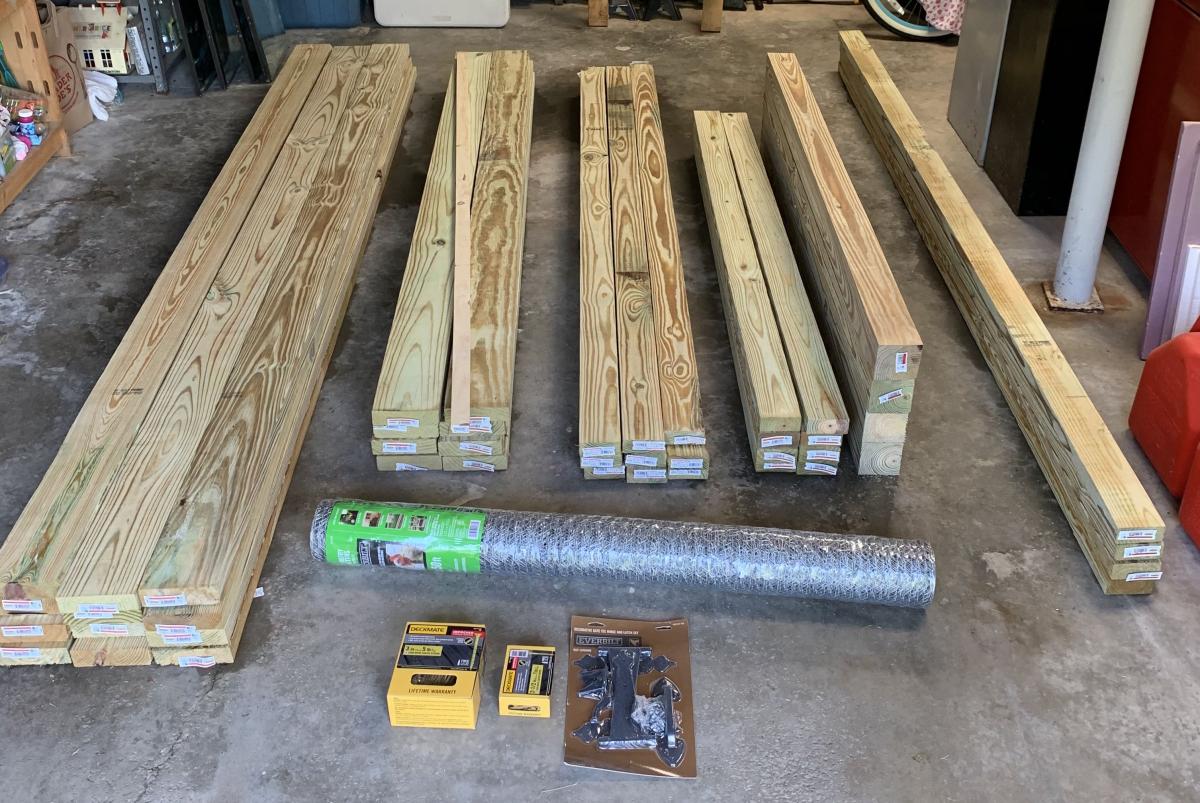
One caveat, if you have the lumber yard cut any pieces for you, make sure all the lumber is the same length. It's kind os a nit picky thing, but none of the lumber was exactly the length shown on the labels. If you want all the joints to be "perfect" I suggest measuring and cutting all the pieces to the correct length to match the plans.

We also used an industrial hand held staple gun to fasten the chicken wire.

The cost of all the materials, including two sets of work gloves came out to $447.92 from Home Depot in 2020.

We are now waiting for a delivery of the top soil to fill the beds. Since we used weatherguard lumber, we are going to gat plastic sheeting and line the beds.

It was a fun project and my girls are looking forward to planting all their seedlings.

For fun we made a time lapse video, which I have uploaded to Youtube. If you watch closely, you will see that we started the build in one area of the yard and moved it because the ground sloped much more than we originally thought.

https://www.youtube.com/watch?v=h7vvBLy034U&list=WL&index=112&t=0s

I hope that our experience may help others in some small way.

Thank you Ana for making these plans available!!
Built from Plan(s)
Estimated Cost
$447.92
Estimated Time Investment
Weekend Project (10-20 Hours)
Finish Used
None.
Recommended Skill Level
Intermediate

Comments

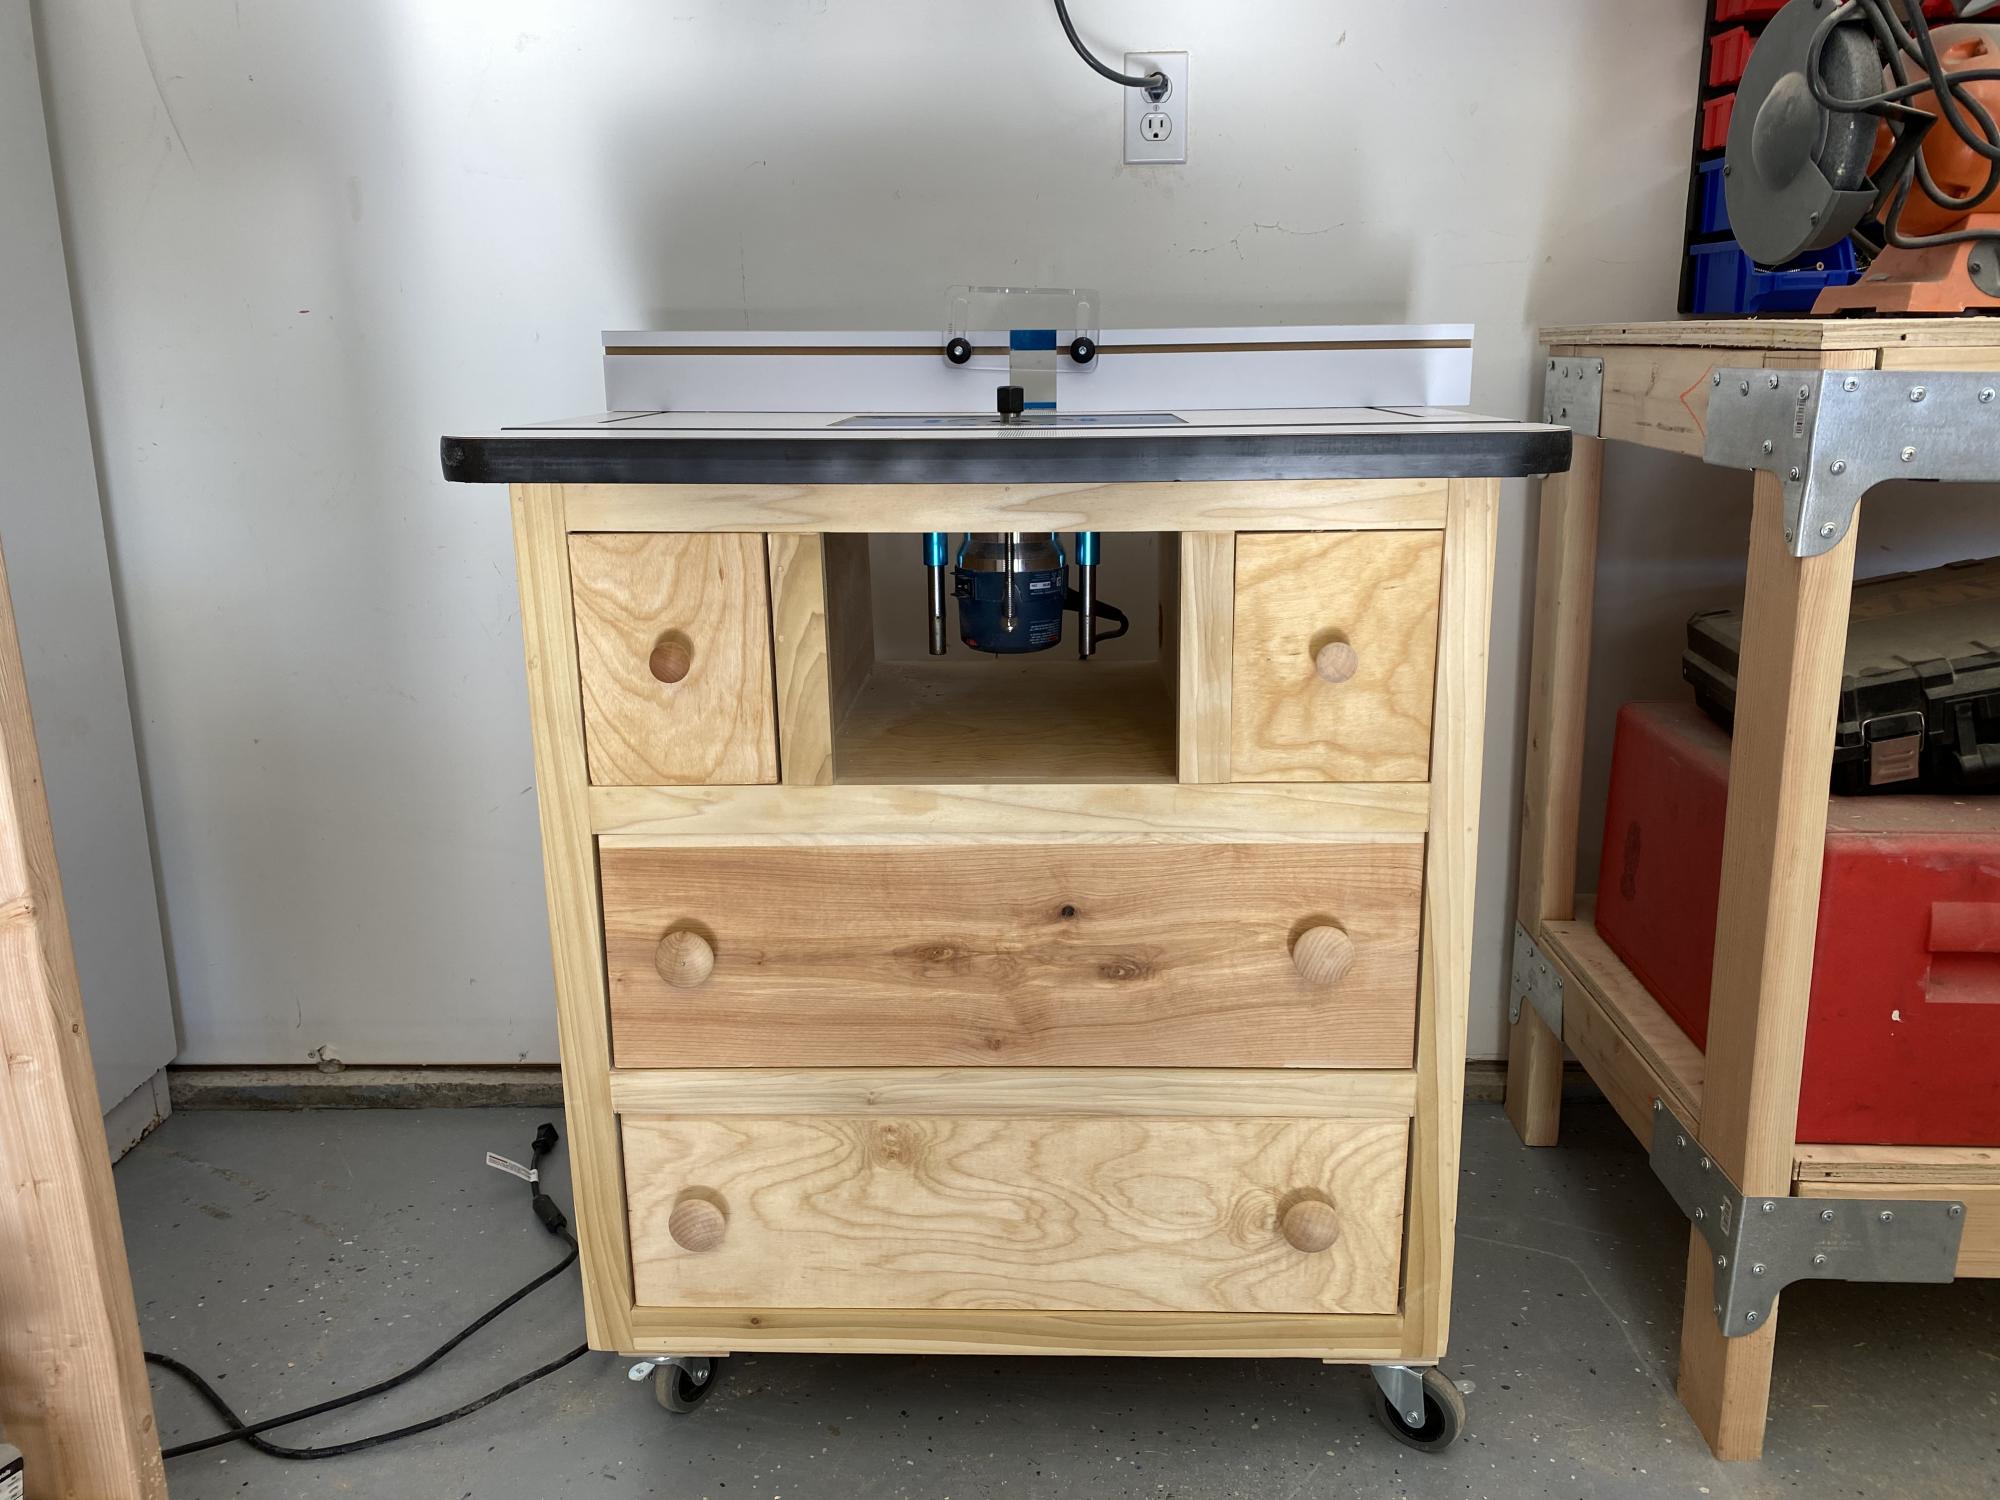
Patrick’s Router Table

Submitted by Anonymous (not verified) on Thu, 06/18/2020 - 14:44

As a beginner woodworker I was searching for a router table project and came across this one. I constructed it entirely out of birch plywood. I will admit is was a challenge for me as I had never done drawers before. The biggest challenge was the small drawer for bit storage. I used a Rockler table top and it worked perfect. Overall I’m pleased with the way it turned out and have already used it in several projects

Built from Plan(s)
Estimated Cost
$200
Estimated Time Investment
Week Long Project (20 Hours or More)
Finish Used
Linseed Oil
Recommended Skill Level
Intermediate

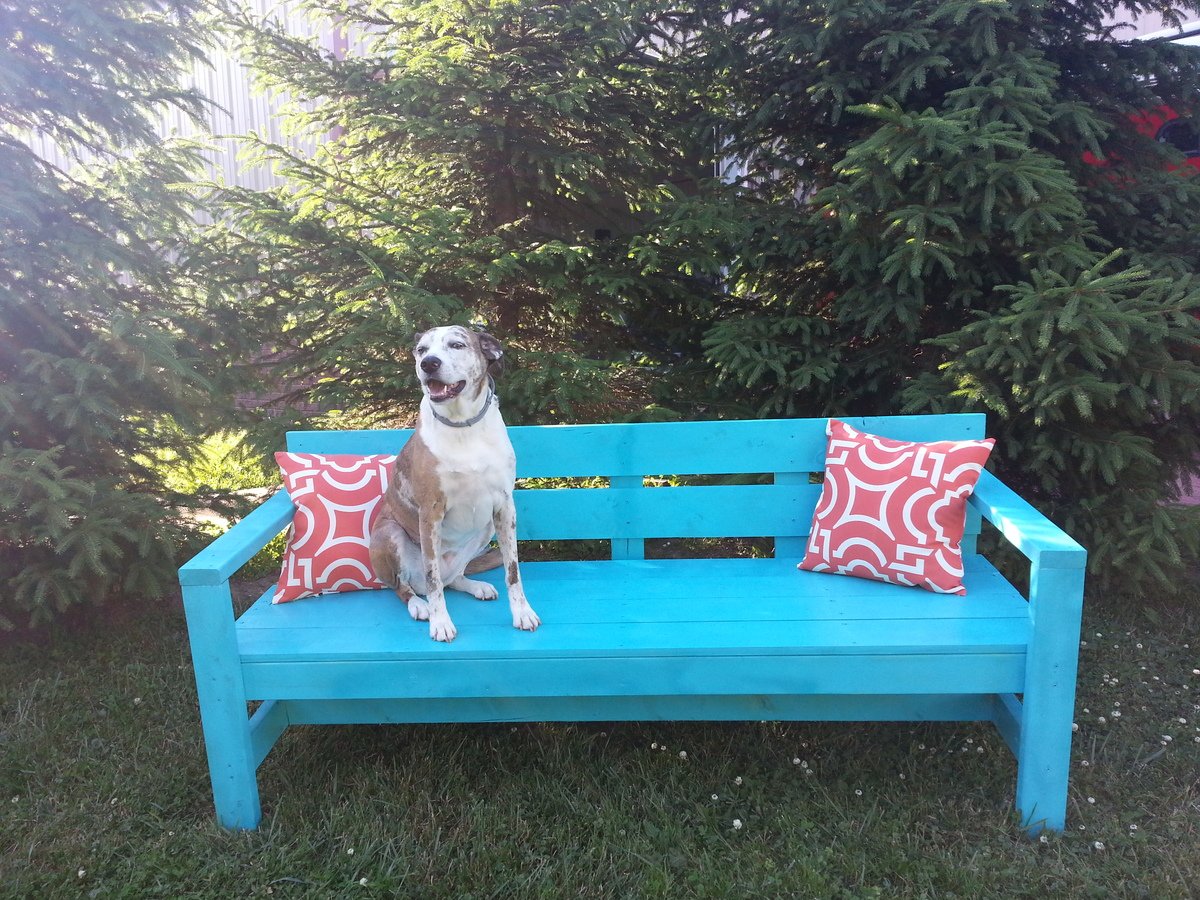
BLUE BENCH

Submitted by spustay74 on Mon, 06/16/2014 - 05:26

This was my wife and I's first Ana White project. We are now hooked, and loved spending time together building something we will enjoy for years, and our dog mindy of course was the first to test our beautiful bench out!

Thanks Ana,

Steve & Courtney

Built from Plan(s)
Estimated Cost
80$
Estimated Time Investment
Day Project (6-9 Hours)
Finish Used
Rustoleum Spray paint, Clear coat sealer. If we did it again, we would use regular exterior paint instead of spray paint.
Recommended Skill Level
Beginner

Comments

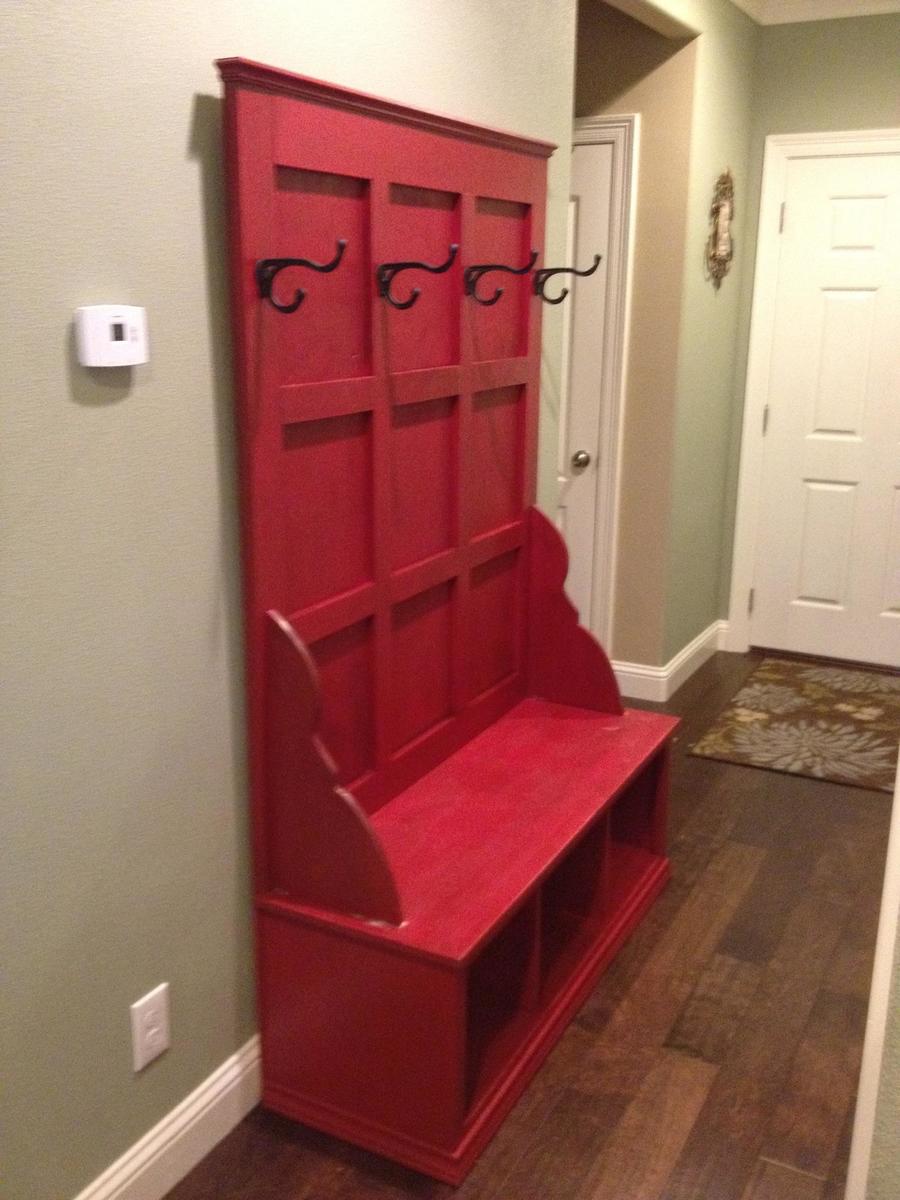
Red Fancy Hall Tree

Submitted by keason5 on Tue, 08/28/2012 - 09:14

This was my first wood working project in a very long time. I was a little nervous about doing it because it would be on display in the main entry way of our house and I didnt want to make any mistakes. It took a little longer than I had hoped, but I think going slower helped make it perfect.

Built from Plan(s)
Estimated Cost
$200
Estimated Time Investment
Weekend Project (10-20 Hours)
Finish Used
painted red then roughed up the edges with sandpaper for a vintage look. then applied a brown glaze to antique it.
Recommended Skill Level
Beginner

Comments

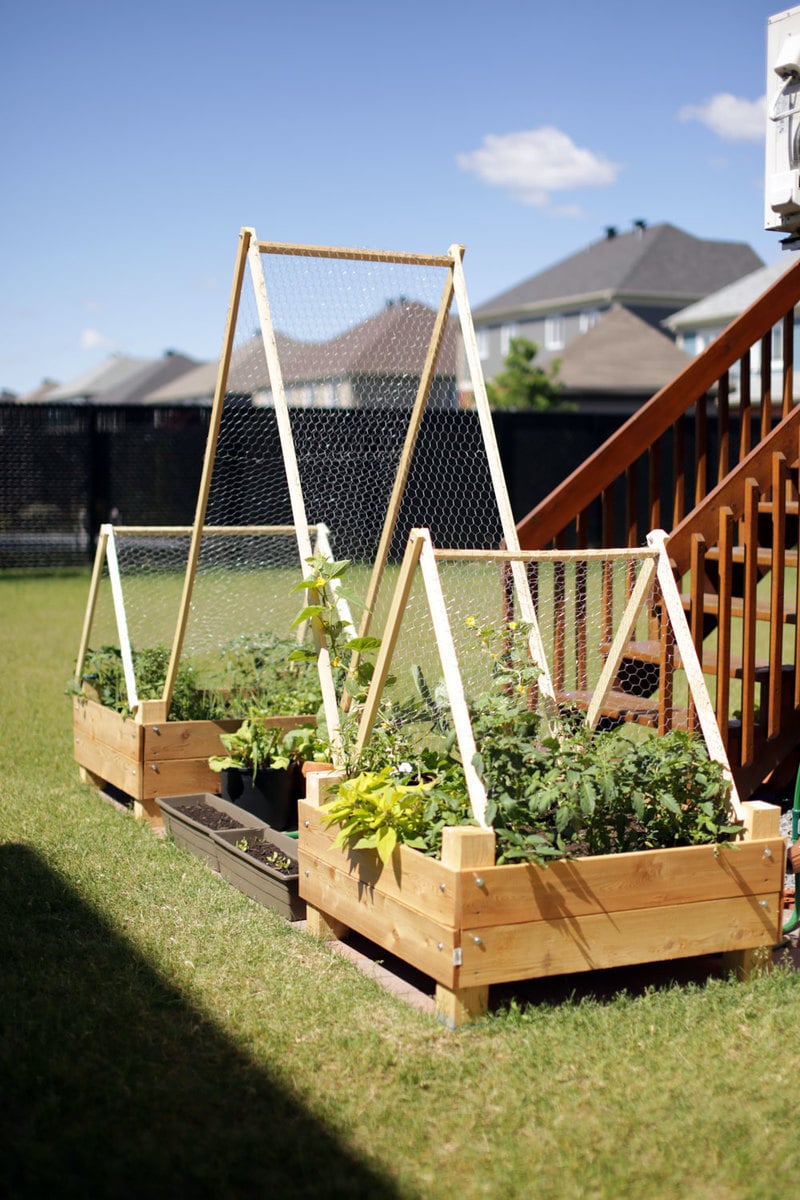
DIY Garden Box with Trellis

Submitted by JenFarrell on Mon, 06/30/2014 - 07:13

We wanted a small garden to fit on the back patio stones and this plan fit well. We reduced the height because we have 3 small children to "help" water the plants. The trellis was hoping that we could extend the amount of produce we could grow. They're very heavy, sturdy and straightforward to build. Thanks very much!!
Estimated Cost
$120
Estimated Time Investment
Weekend Project (10-20 Hours)
Recommended Skill Level
Beginner

Grill Station

Submitted by JDillen on Sat, 07/05/2014 - 15:32

Grill station

Built from Plan(s)
Estimated Cost
100
Estimated Time Investment
Afternoon Project (3-6 Hours)
Finish Used
Rustoleum Kona
Recommended Skill Level
Beginner

Potting Bench for Father's Day

Submitted by GretchenM on Wed, 07/16/2014 - 09:49

I started with the potting bench by Between Naps. I made it longer and taller (for my dad). There is a tool holder along one side and I added a sink, for washing the veggies newly harvested from our garden. We ran the water from our house faucet and will blow out water for winter. All that's left is running a pipe from the drain to leach out across the perimeter of the garden. Most of the lumber was given to me (pressure treated even). And I bought the sink from a junk guy for $50. My dad was so impressed and I think it may be my best present project ever. I can't believe I made that! Oh yeah, the end caps have solar lights, nighttime gardening! Ya never know!
Estimated Cost
175
Estimated Time Investment
Day Project (6-9 Hours)
Finish Used
None. Get this where you want it before screwing shelf and counter boards or putting in sink; it's really heavy.
Recommended Skill Level
Intermediate

Comments

jvos

Thu, 07/17/2014 - 12:05

That is awesome! I want a sink for my garden (and a cooktop for outdoor canning) so I am very jealous. :)

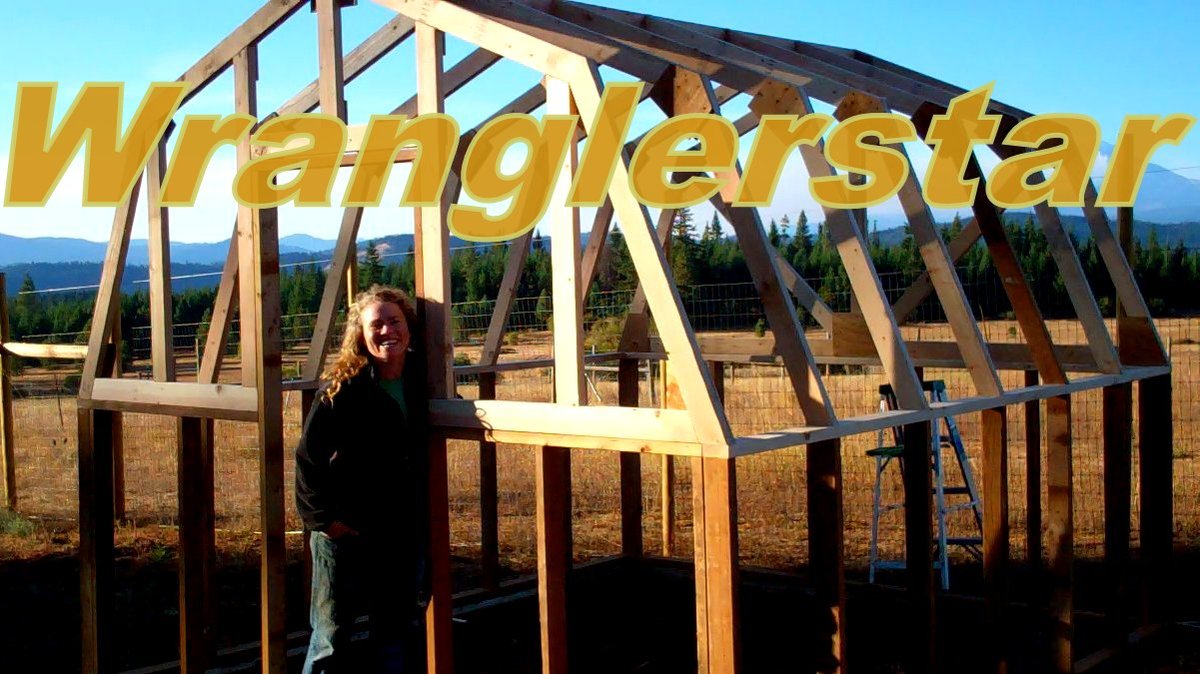
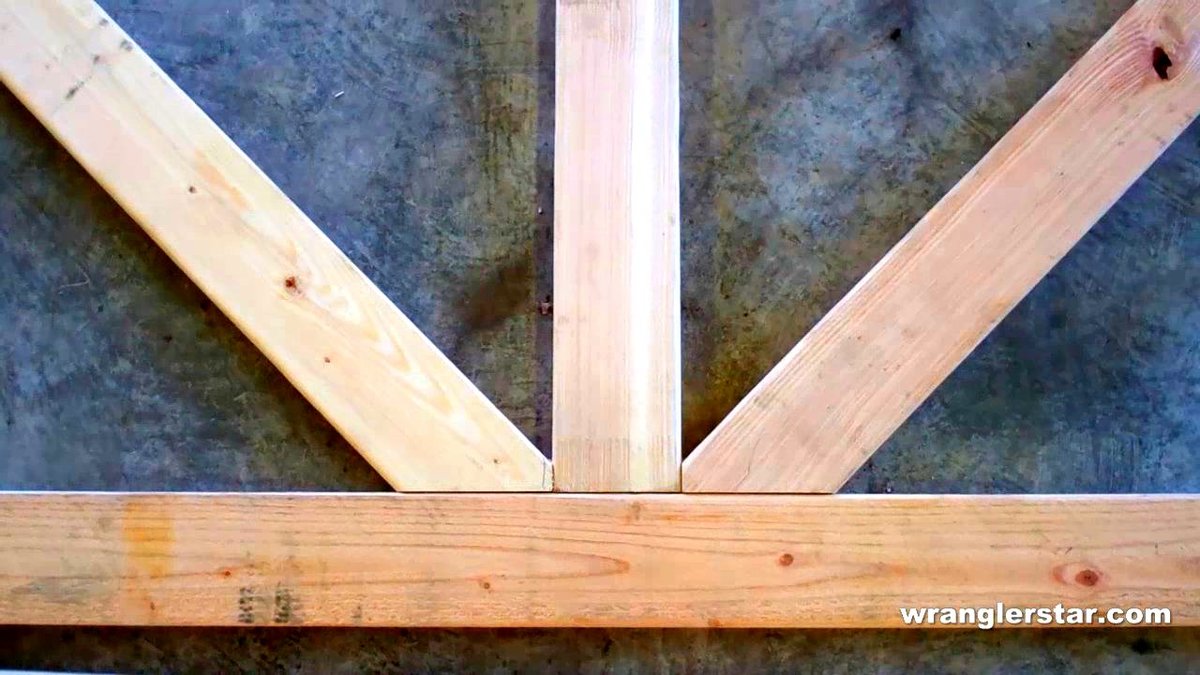
Wranglerstar Greenhouse

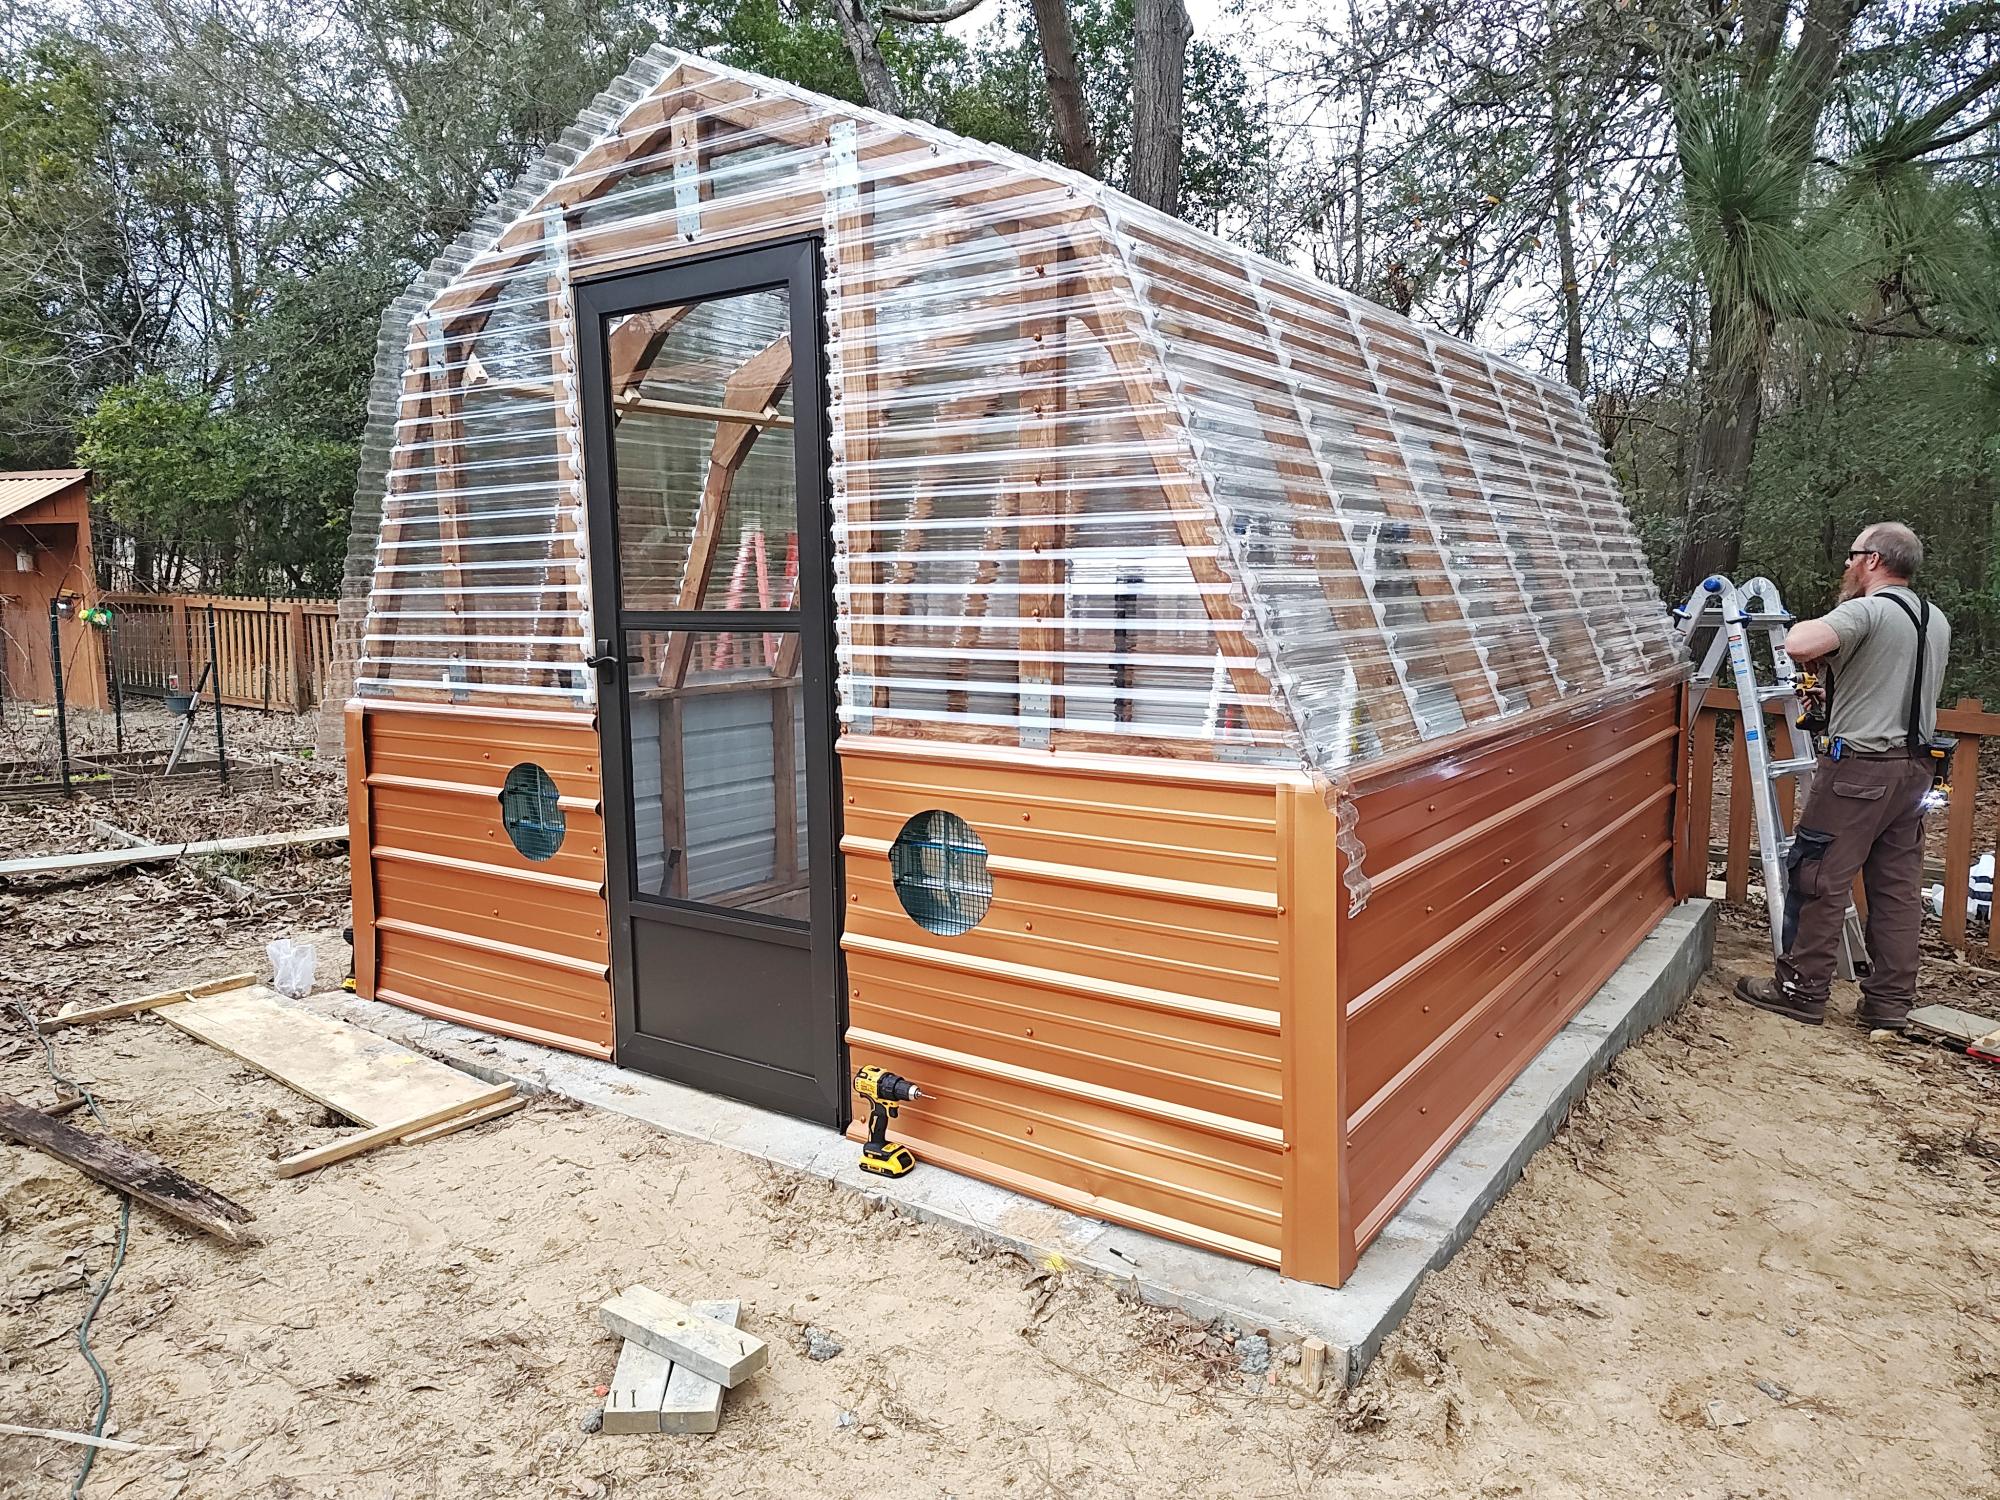
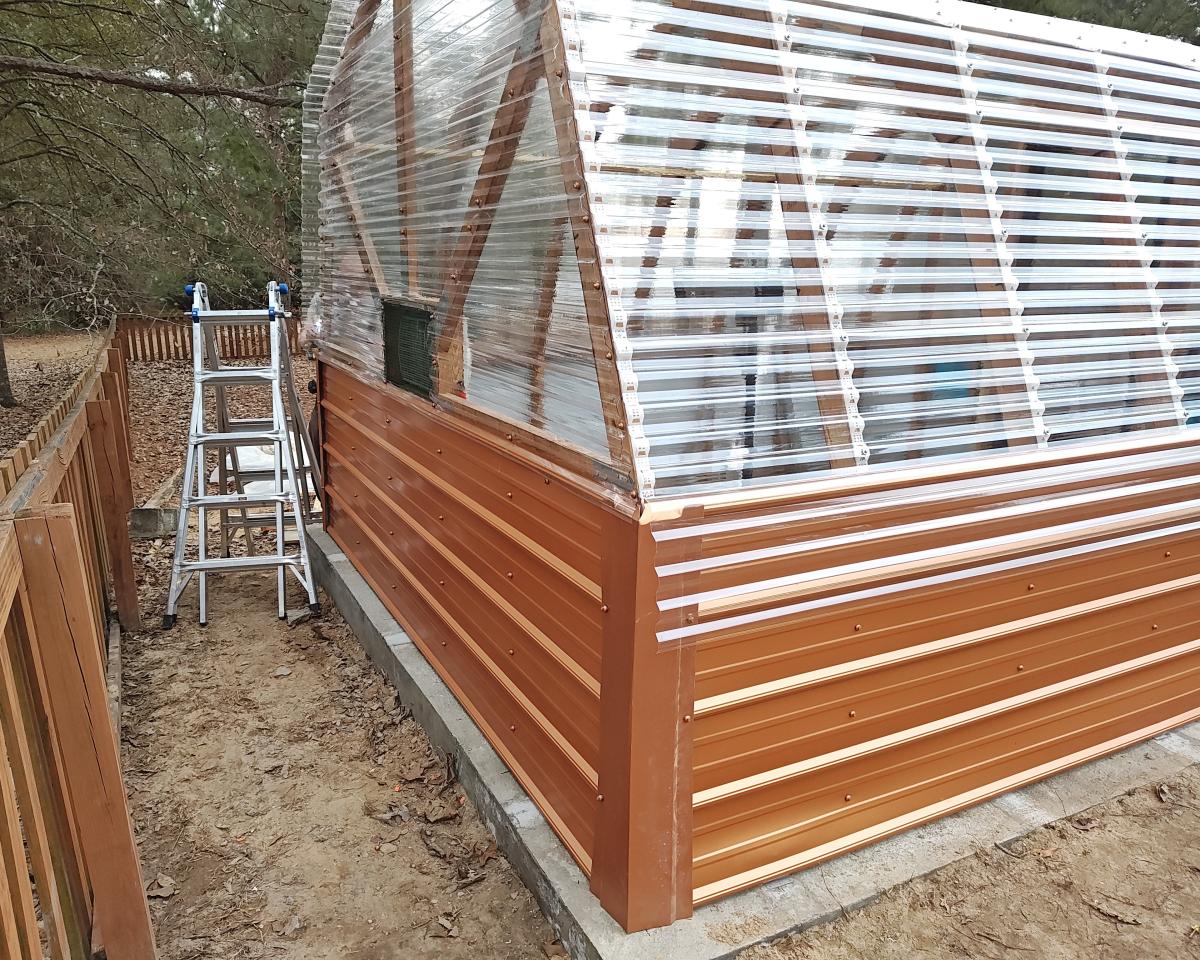
Thank you Ana for the excellent plans. We have been talking about this for months and are excited finally have a greenhouse. We live in the mountains and this will help extend our growing season. Please tell Ram thank you from the Wranglerlerstar family.

Built from Plan(s)
Estimated Cost
$750
Estimated Time Investment
Week Long Project (20 Hours or More)
Finish Used
stain
Recommended Skill Level
Advanced

Comments

jnow8687

Sat, 08/31/2019 - 12:34

Did you extend the base height? I want a greenhouse to enclose trees that do not do well in the winter and I think I would like to raise the base height a foot or so.

Back