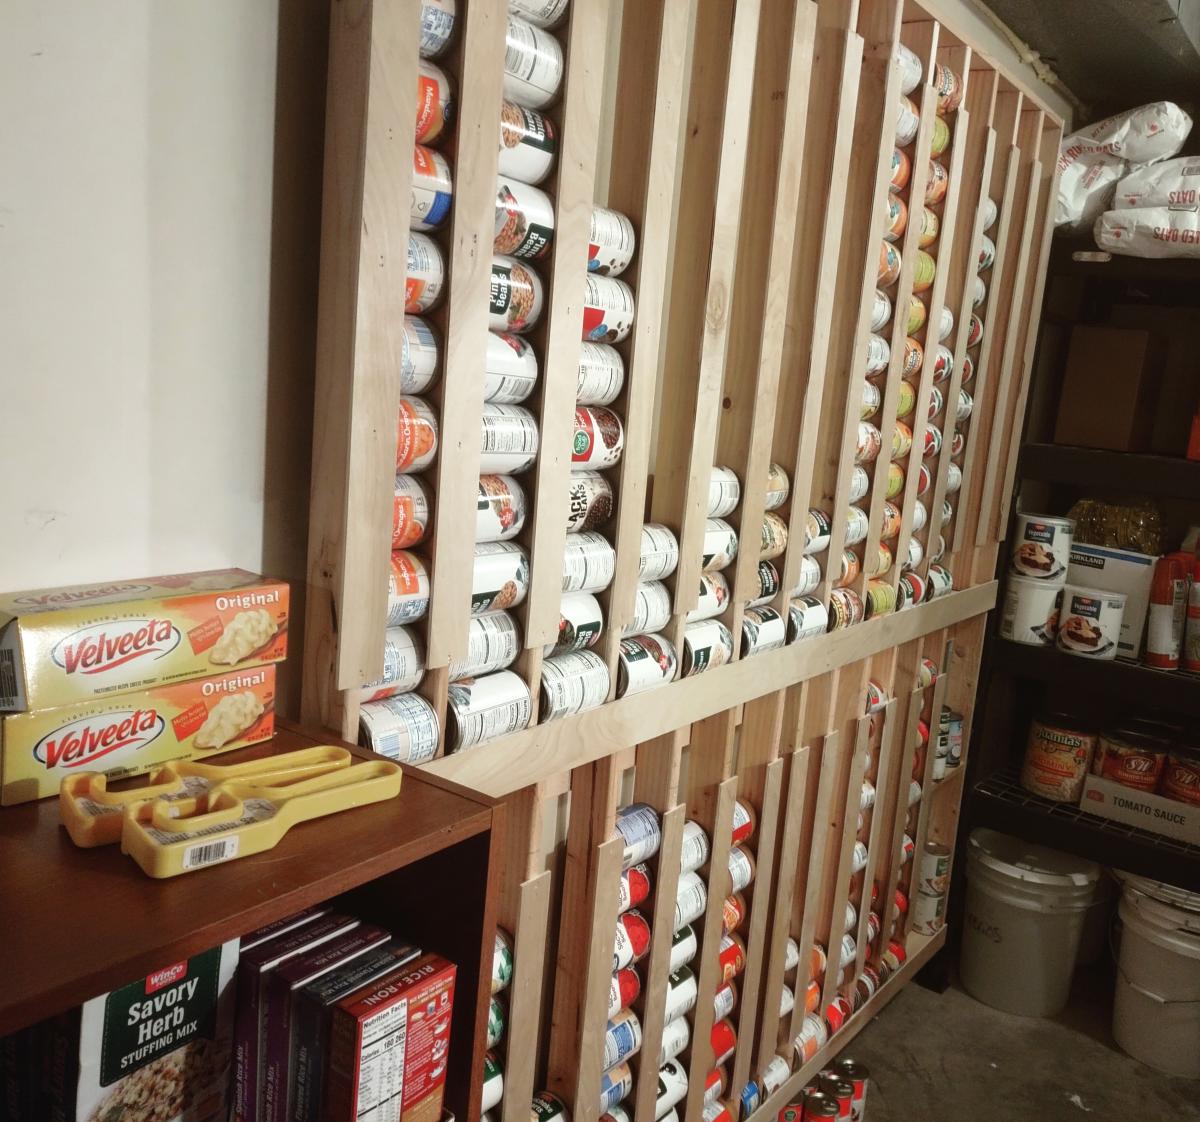
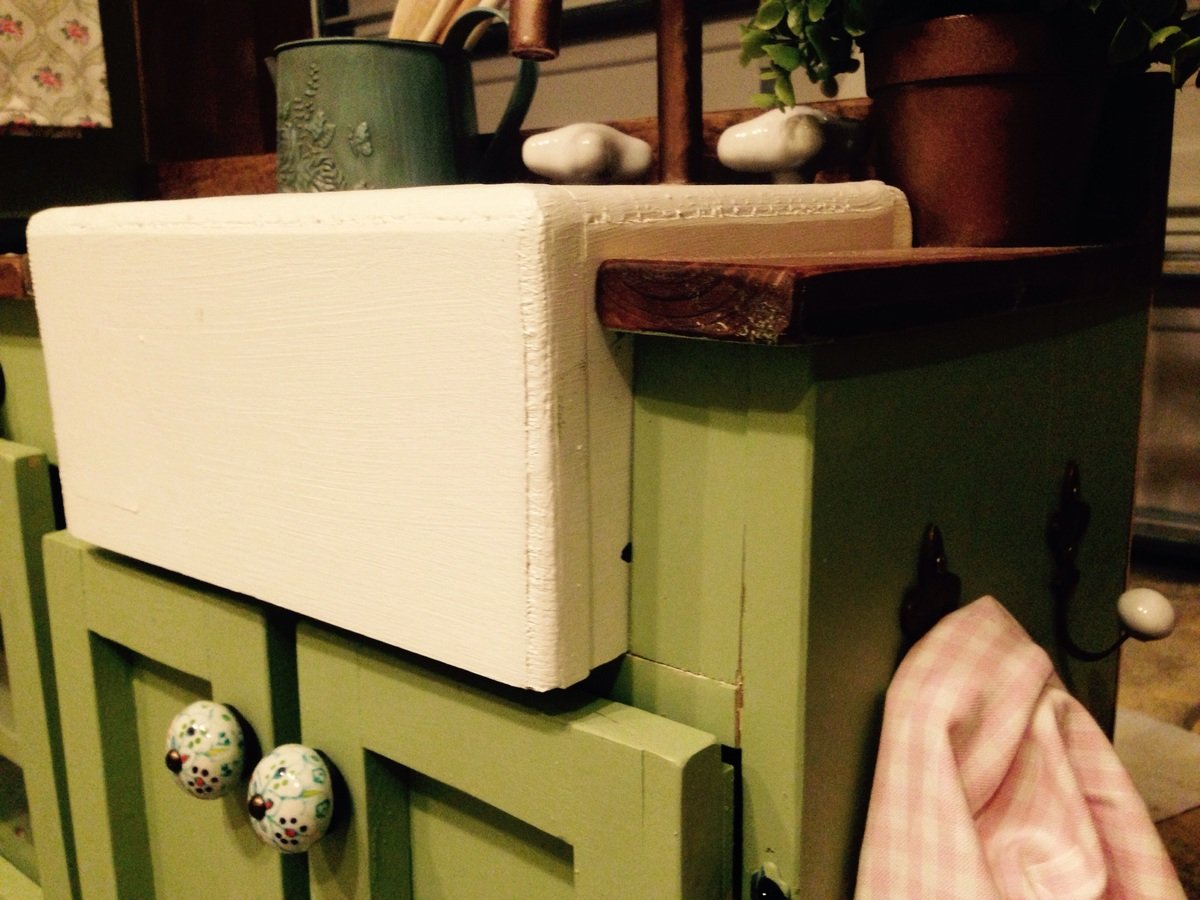
Canned Good Storage Wall
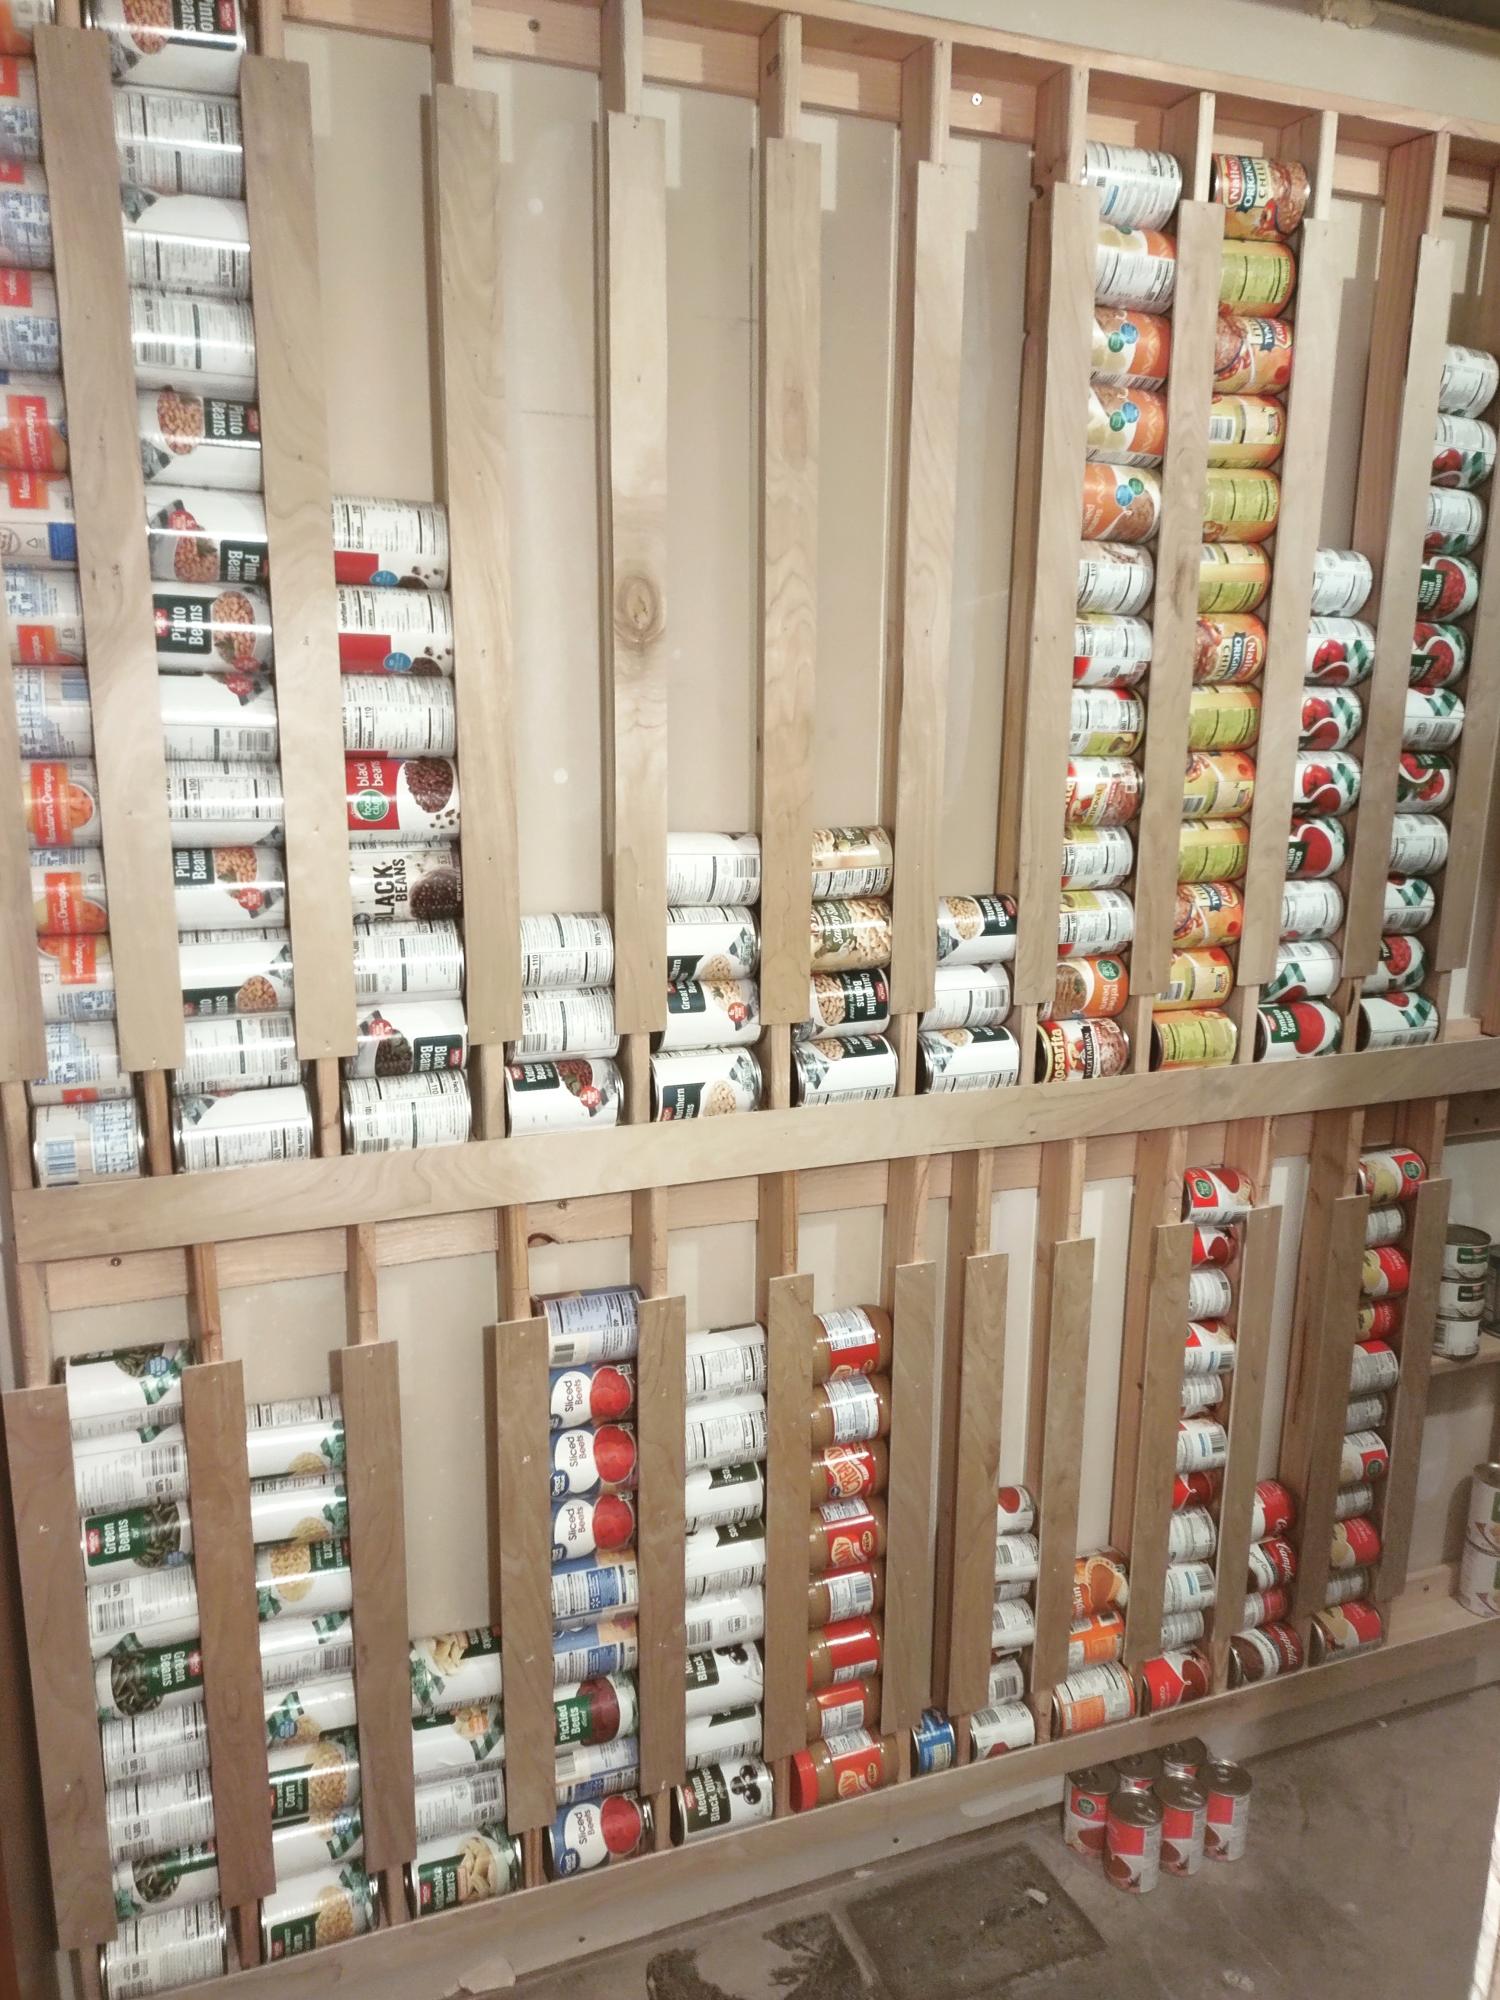
We love our new can storage!
Shayla Shumaker
Built from Plan(s)
We love our new can storage!
Shayla Shumaker
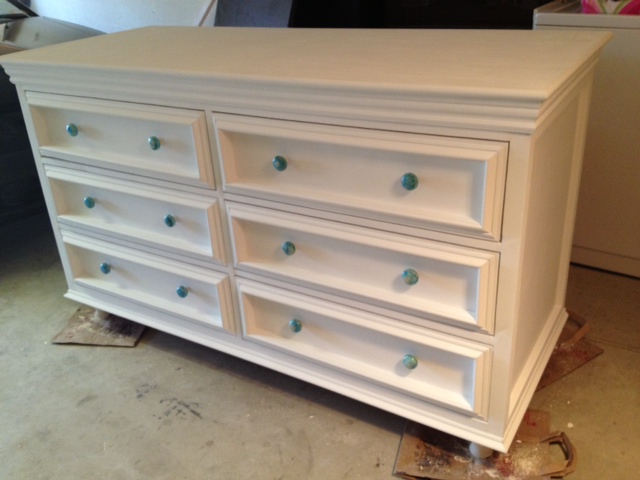
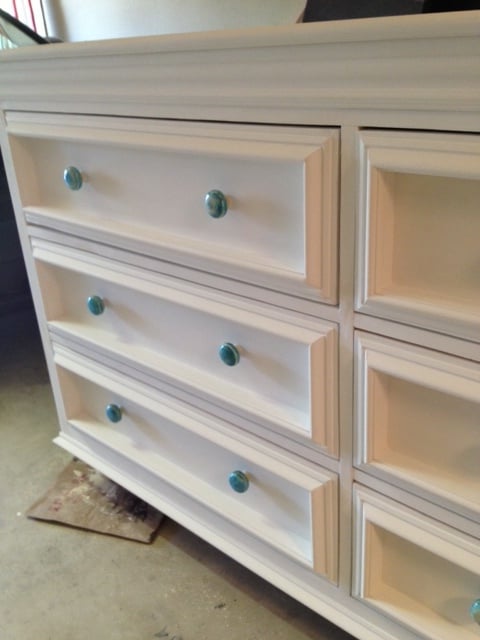
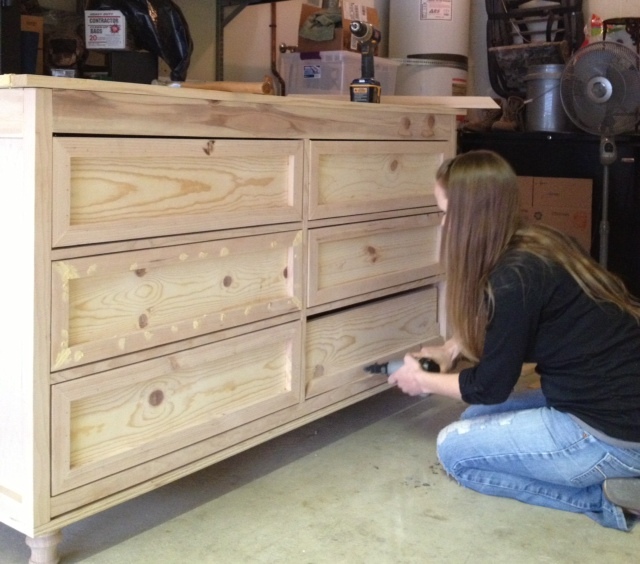
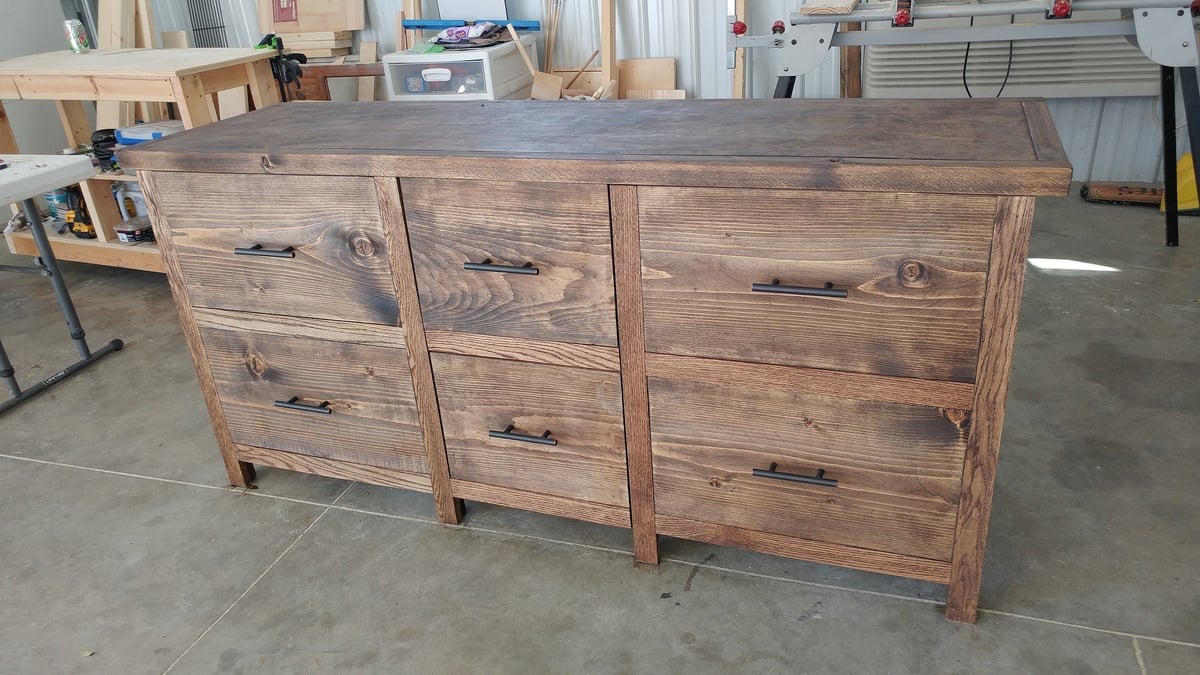
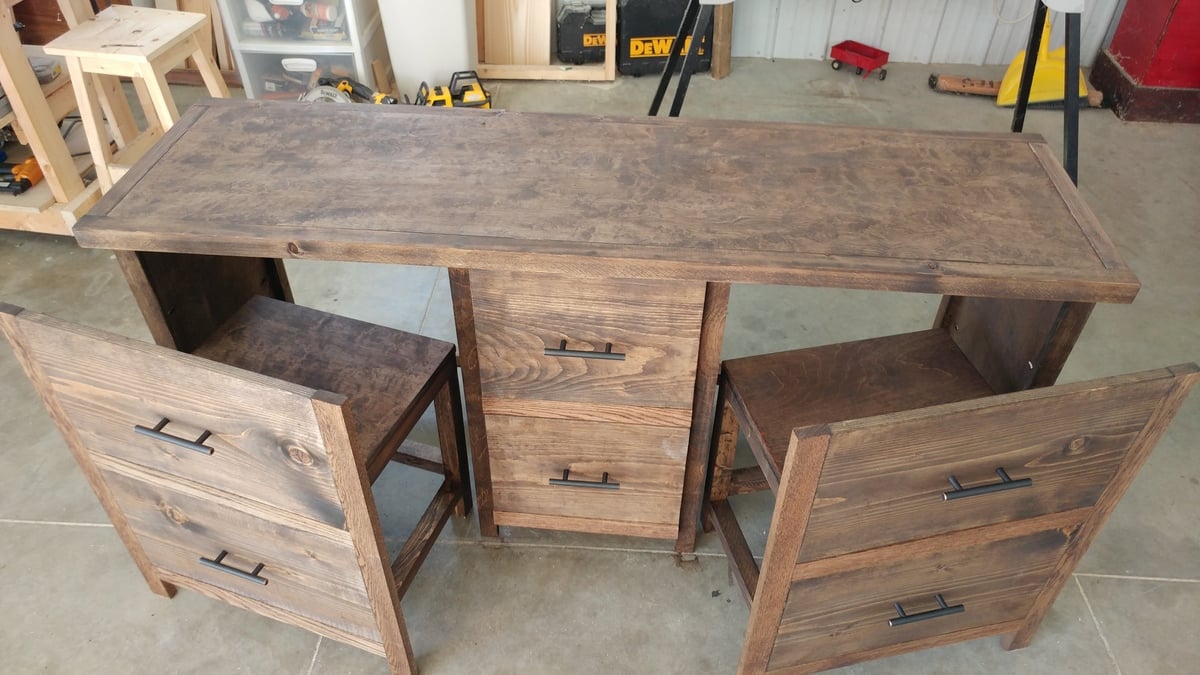
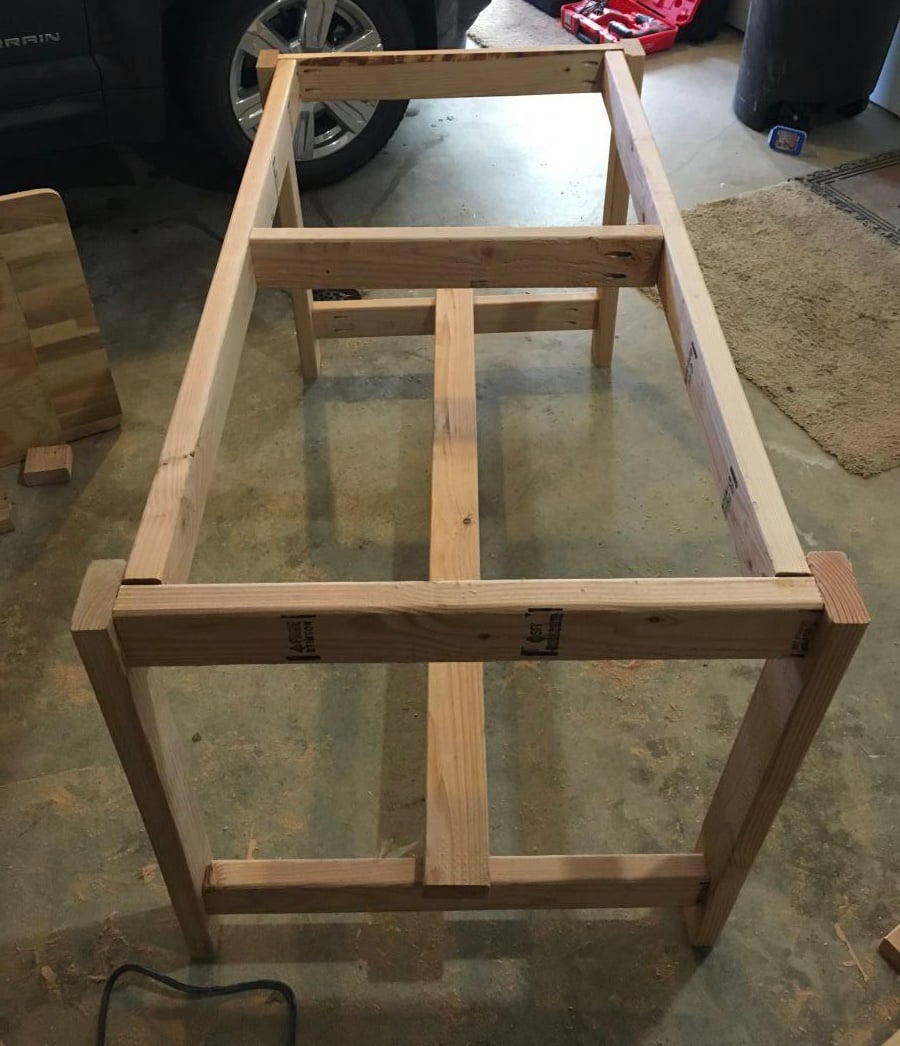
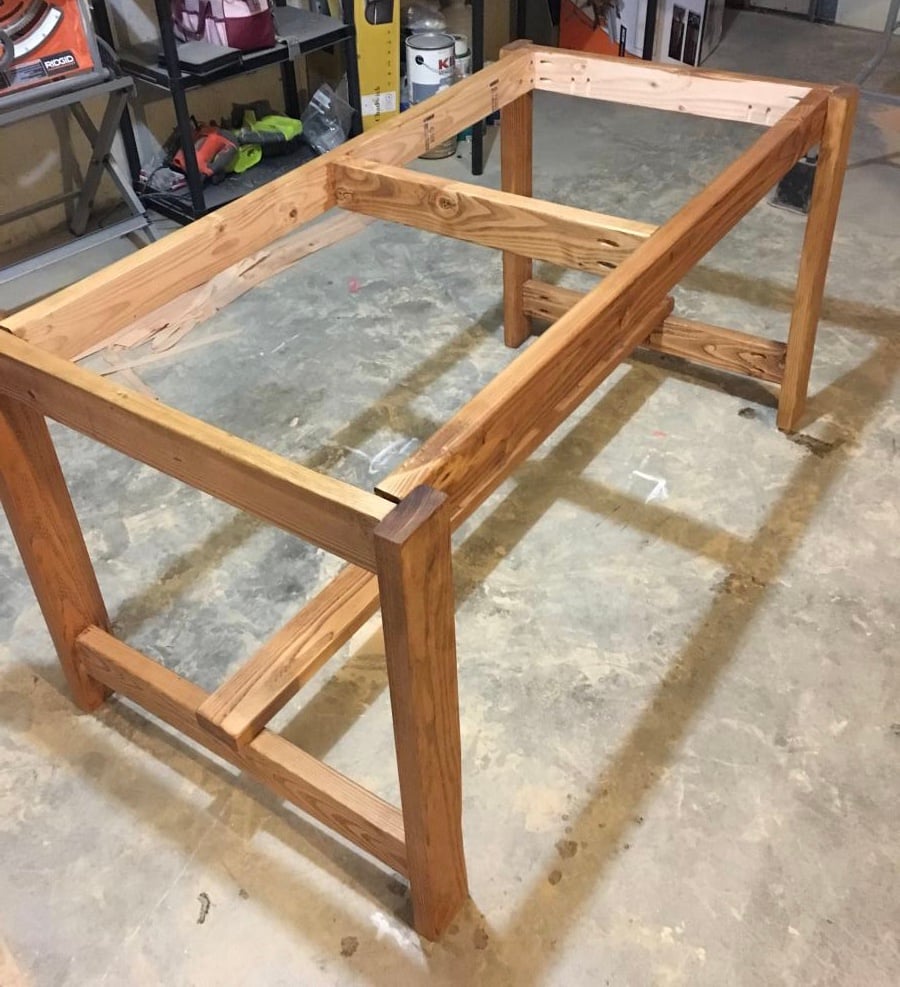
Similar to a previous poster, I was inspired to build this project to use as a combo dresser/changing table for our first child's nursery. It took quite a few days worth of work (spread out over a couple of months altogether) but I finally finished the bulk of the work a few days before entering the third trimester of pregnancy, phew! I think we'll enjoy this piece for years to come, thanks Shane and Ana for the plans! (Please excuse the poor lighting and ugly garage, we haven't set up the nursery yet so the dresser may be living in the garage until we do!)
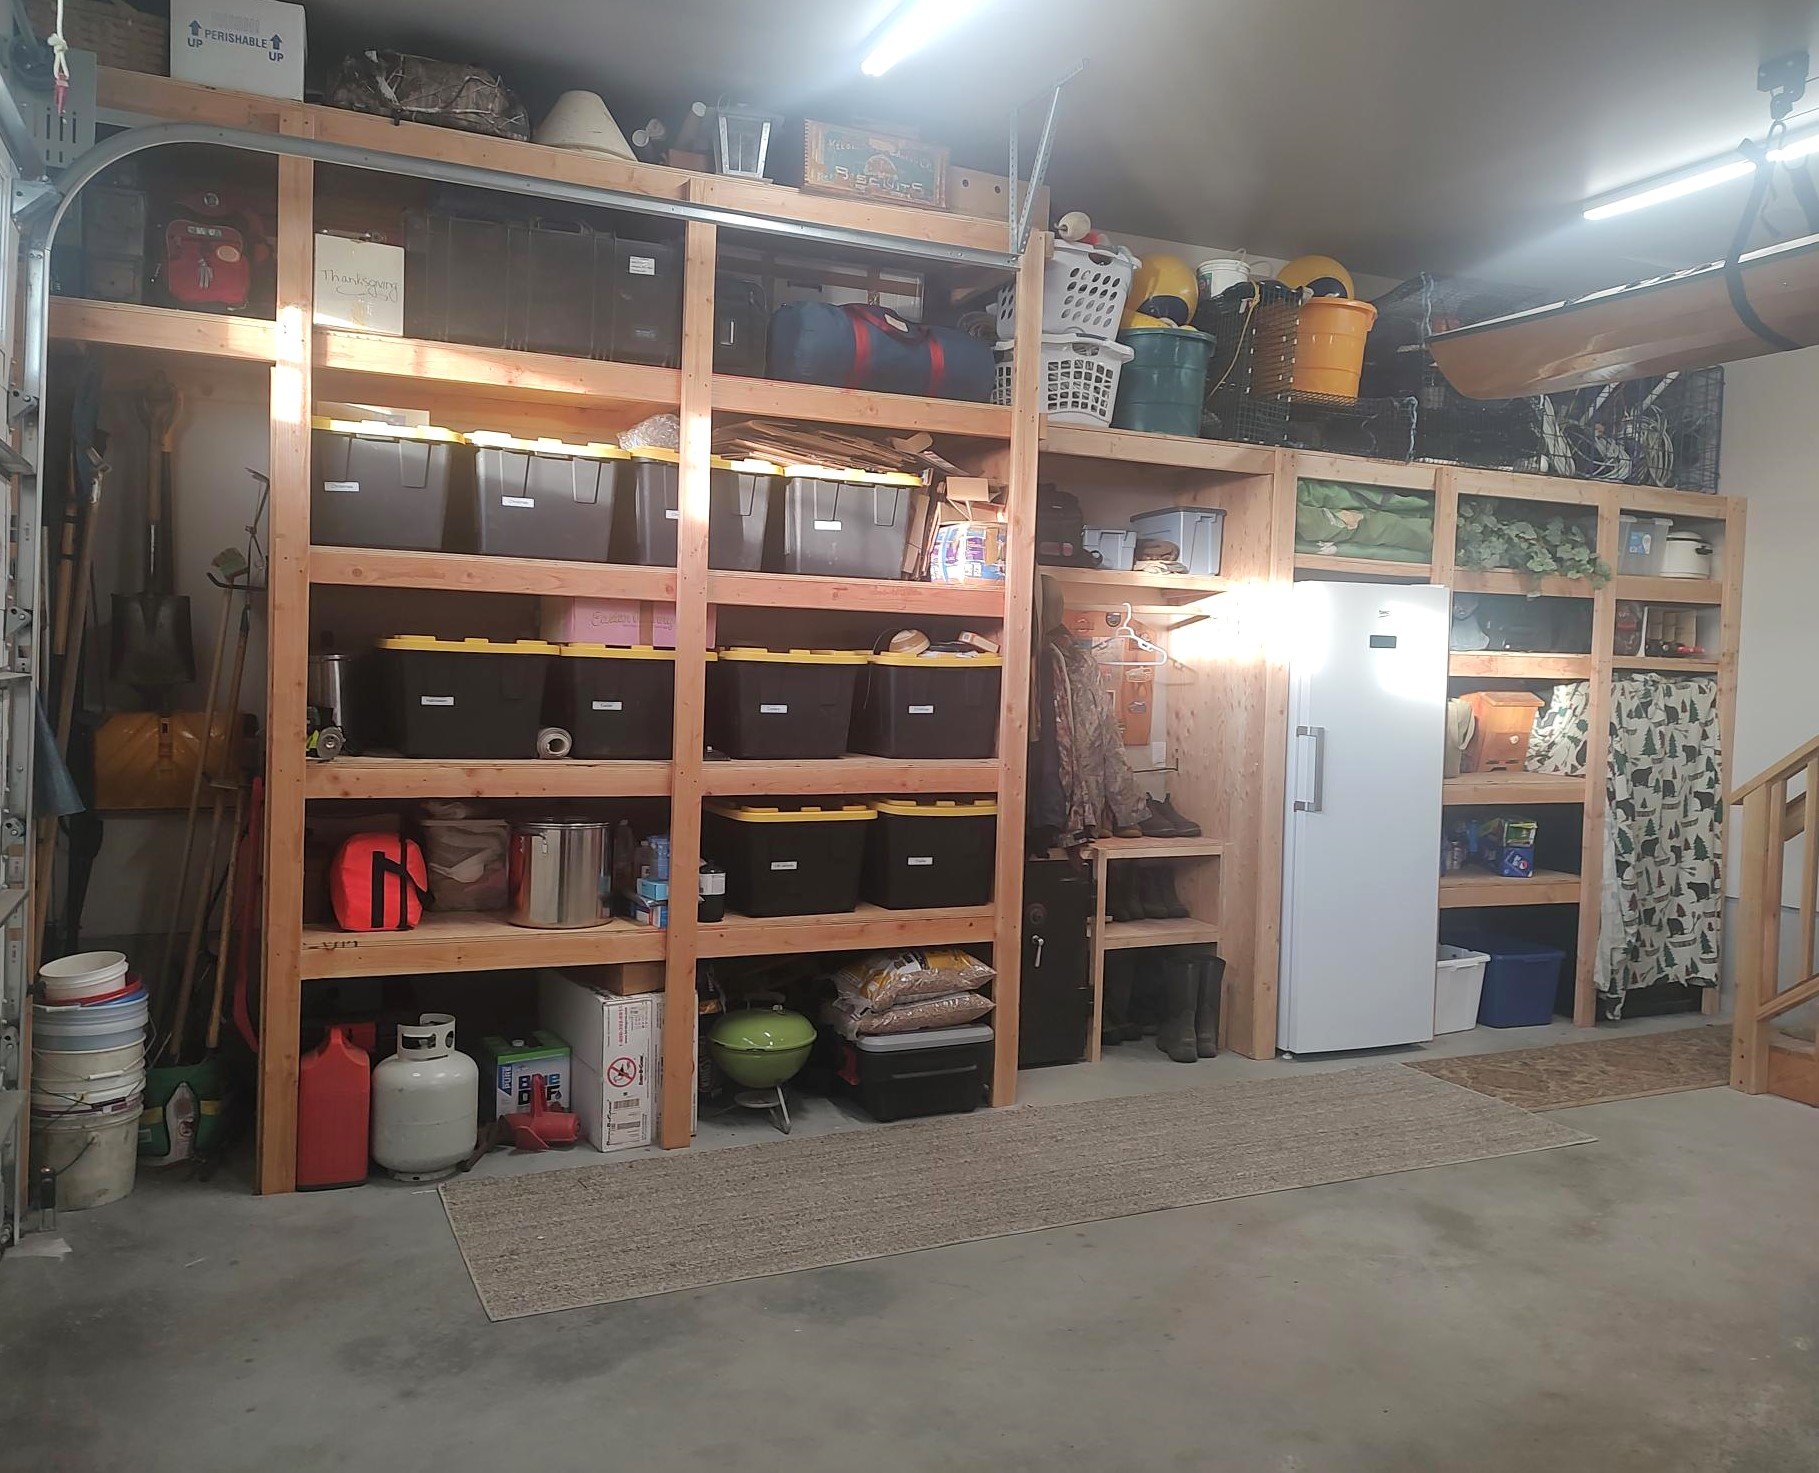
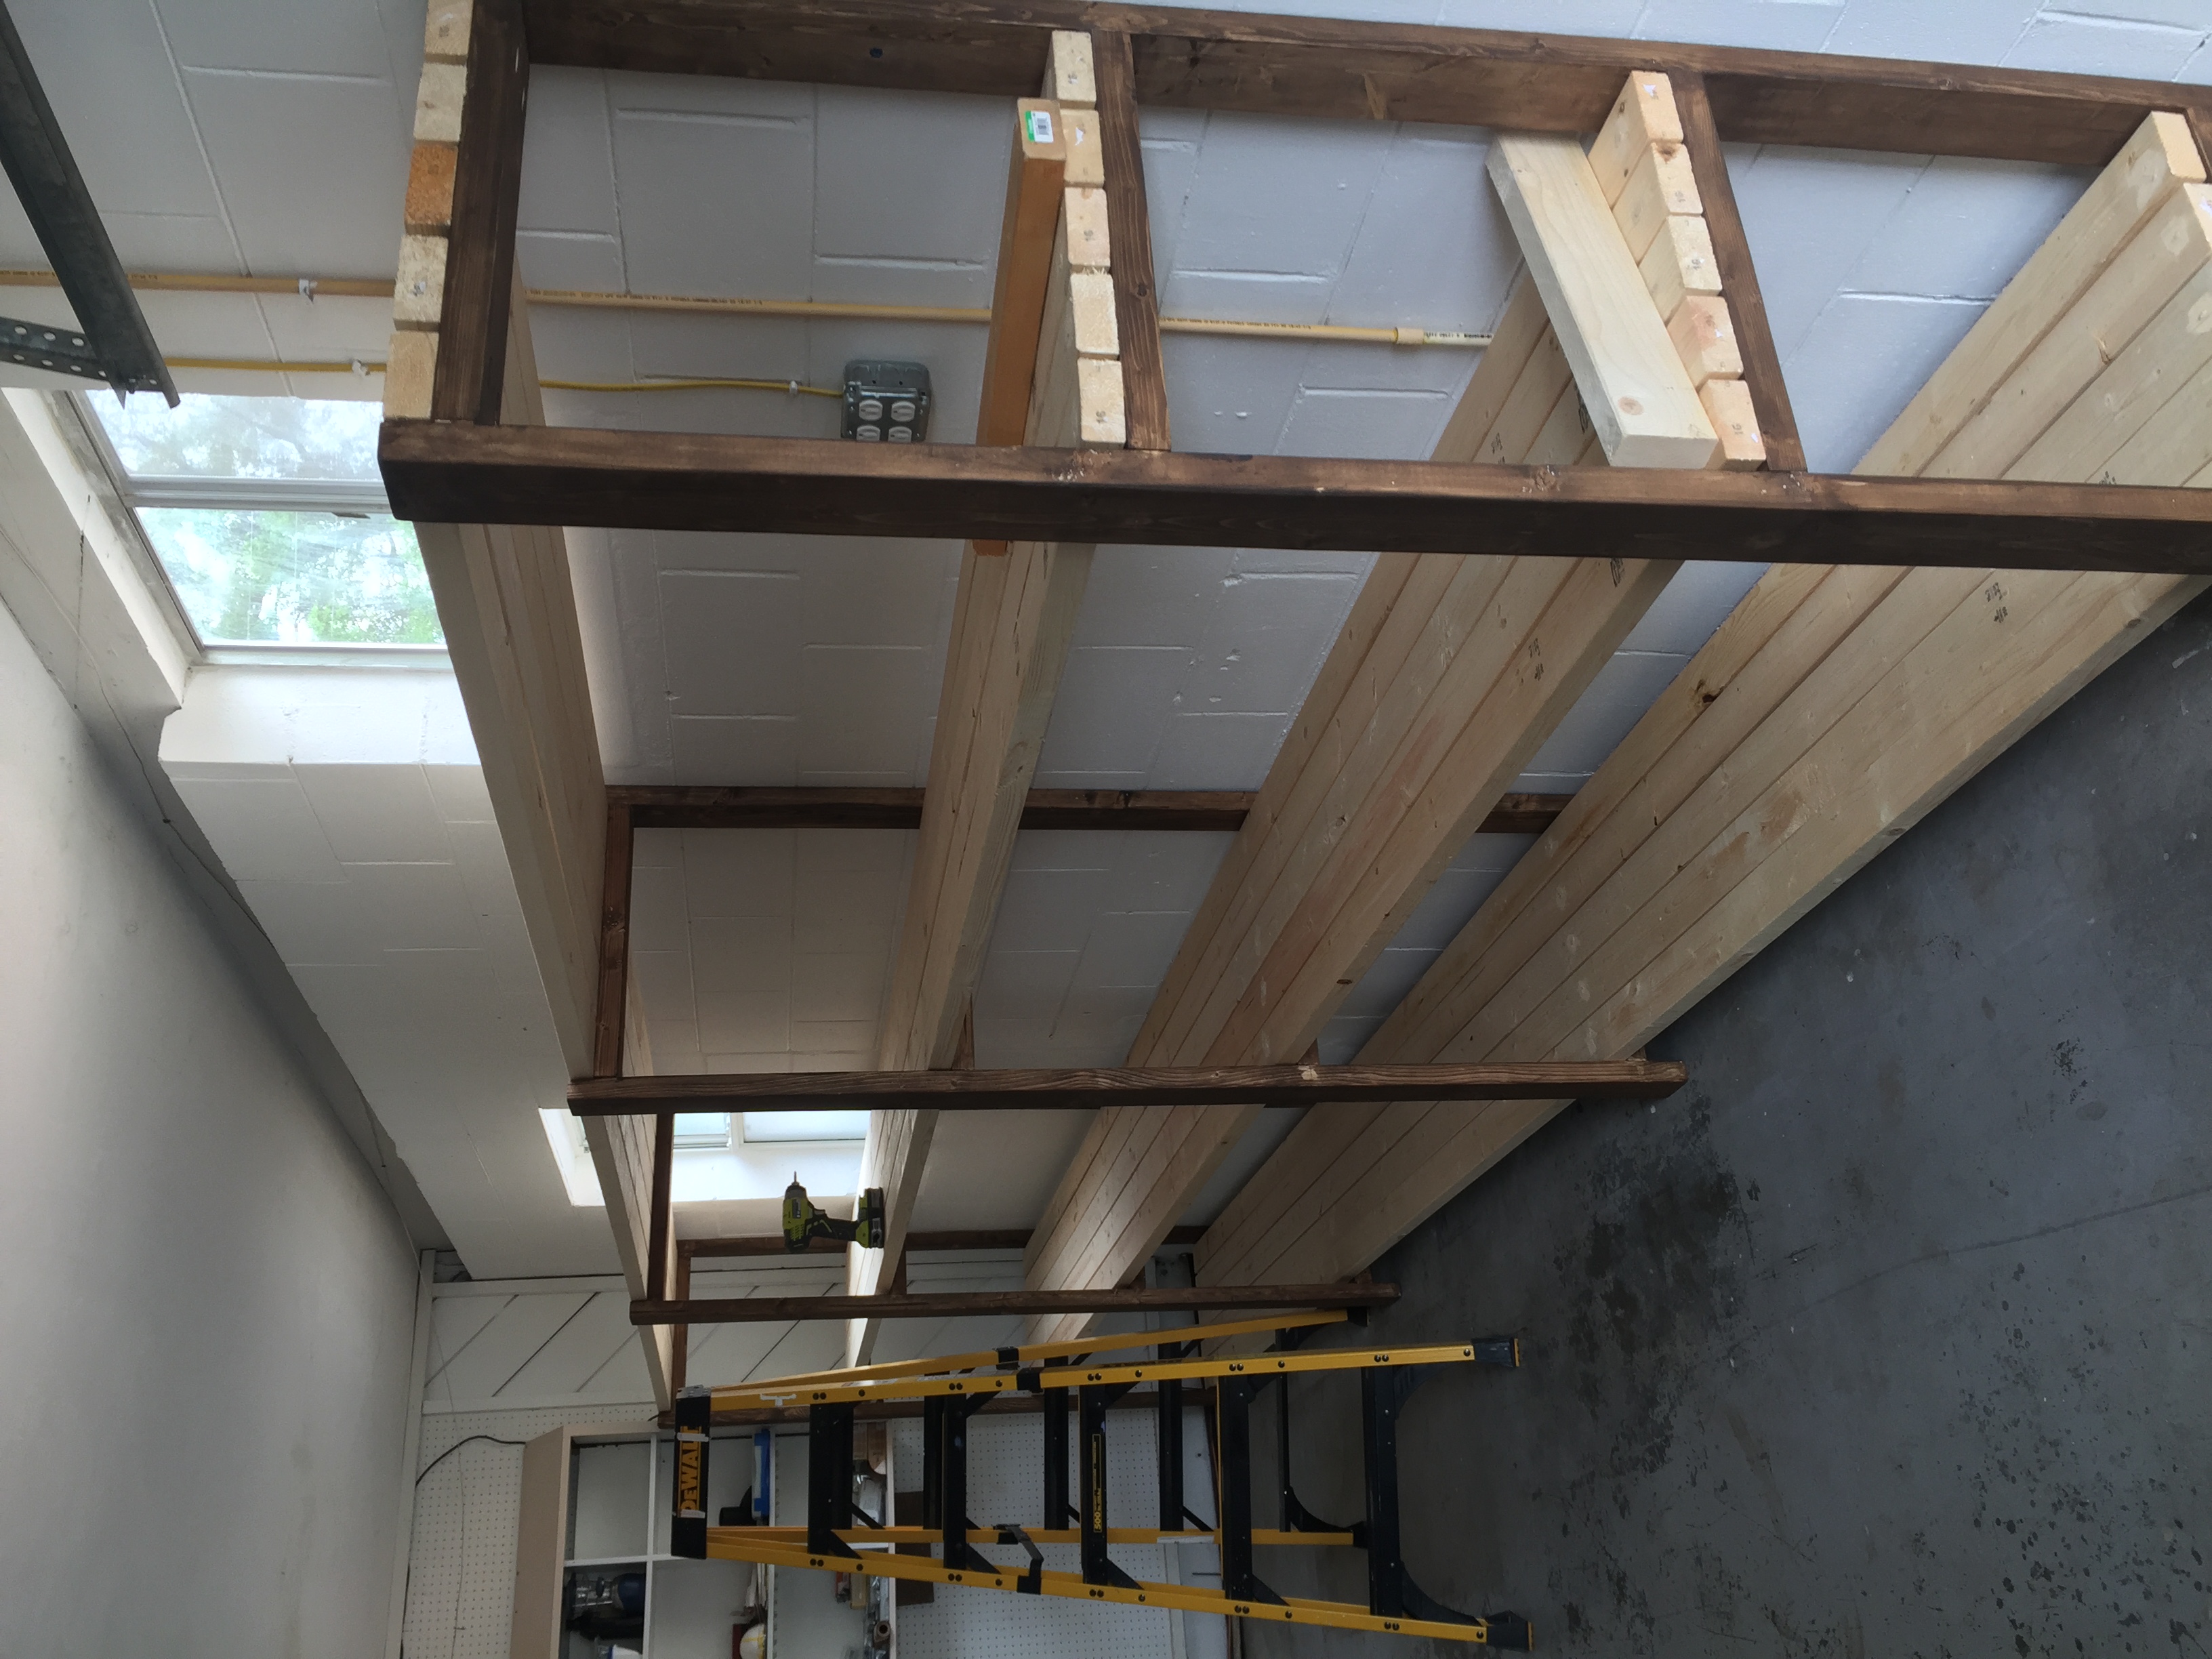
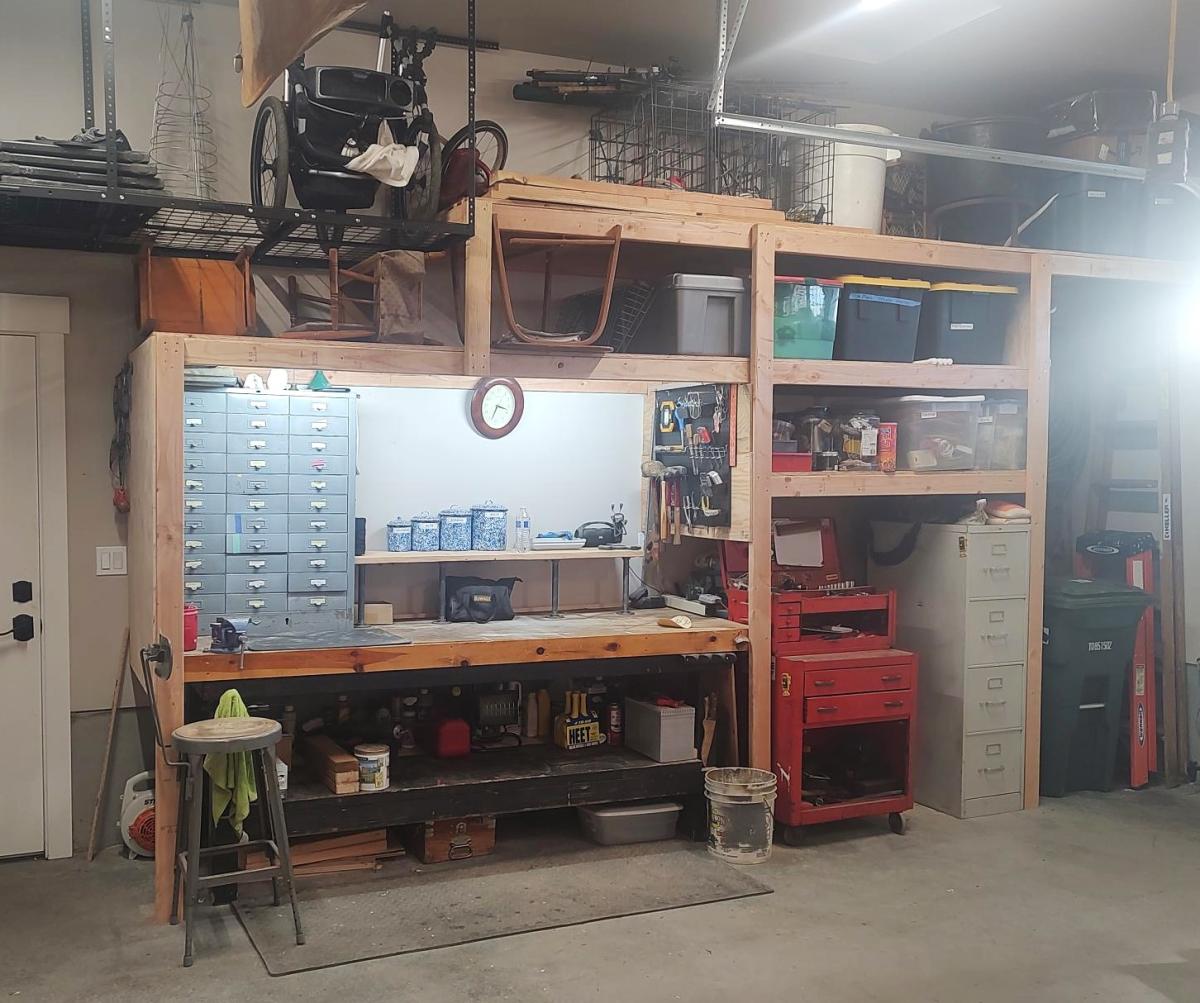
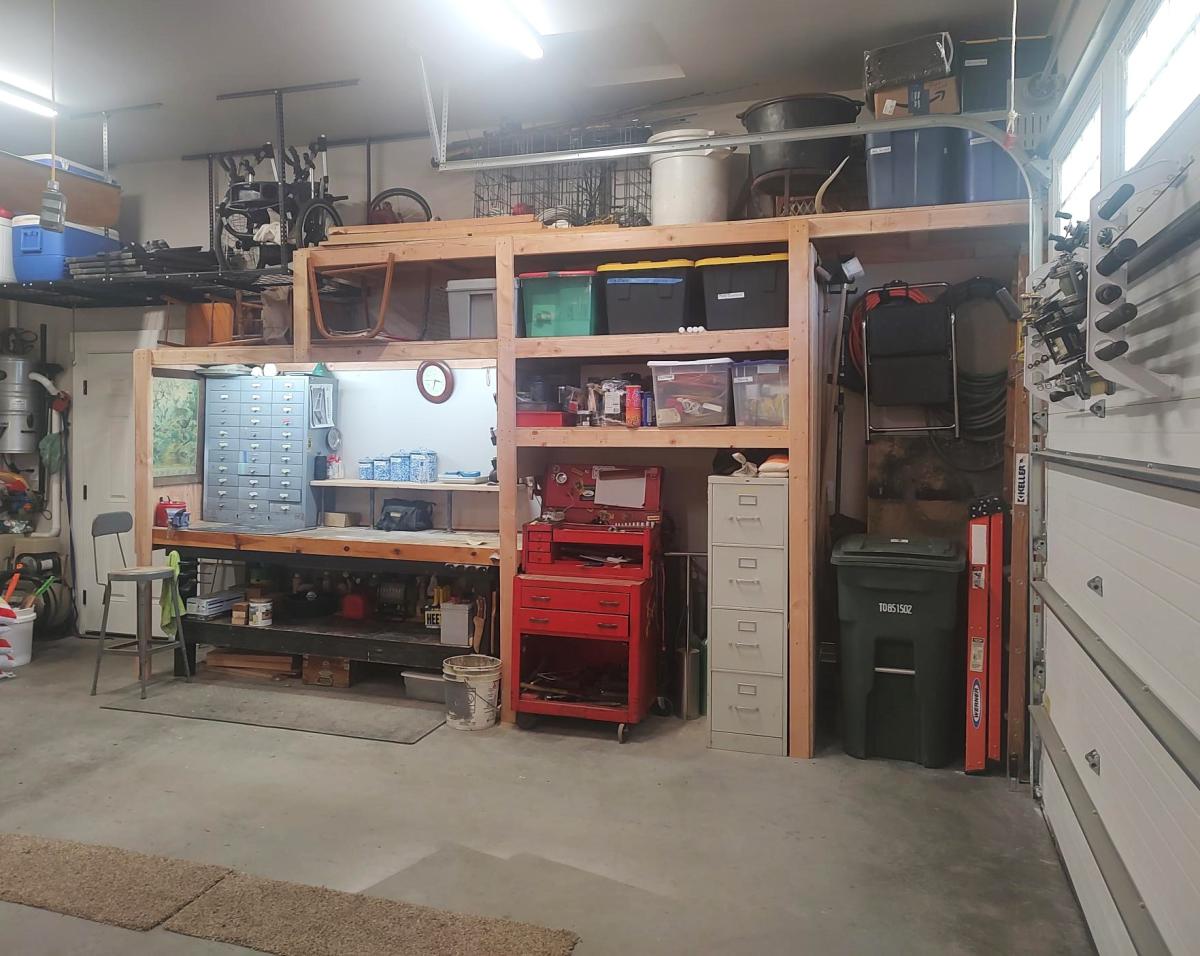
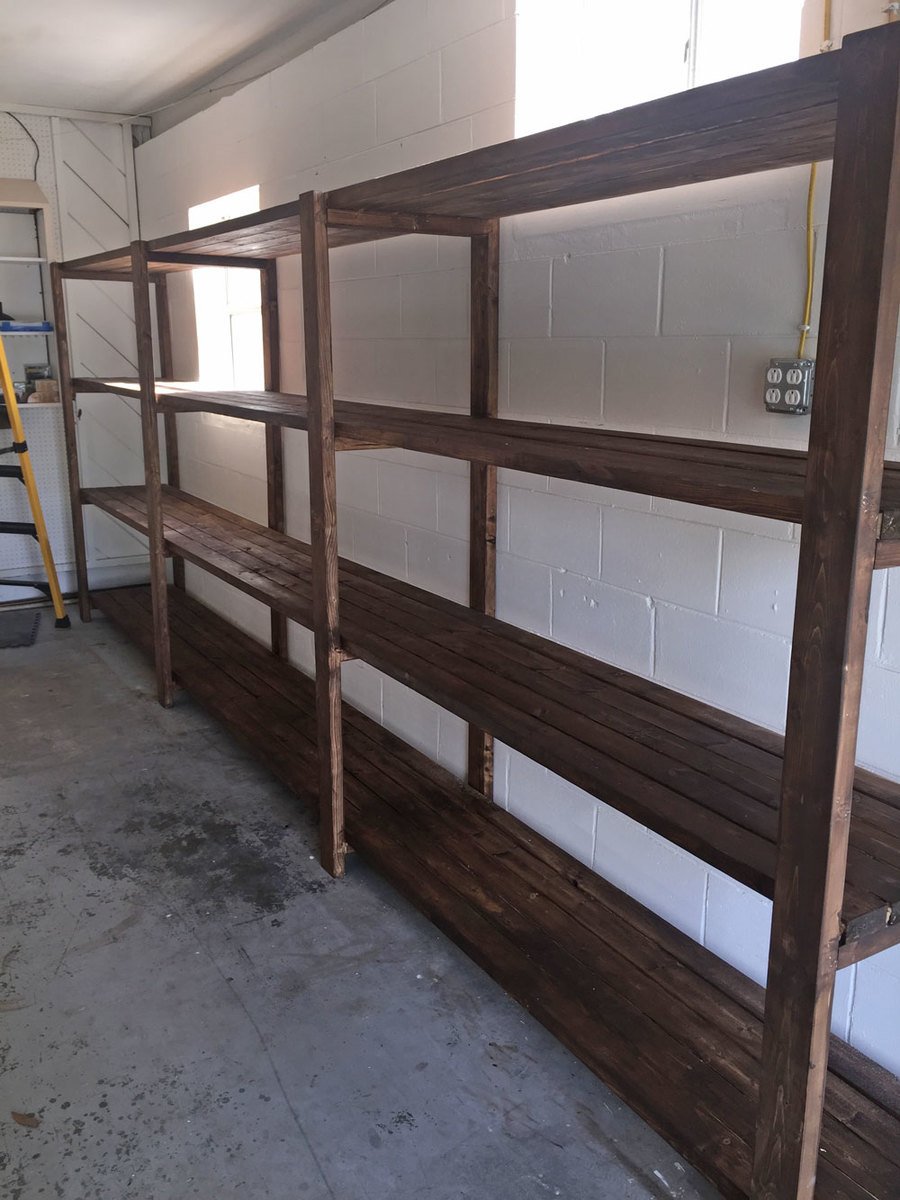
I just finished shelves on both sides of my garage using your video. I built a coat rack and boot rack. I also made space for tall items like tools and ladders near the garage door. I had to also build in a gun safe, freezer and my work bench. Everything came together and now I have everything in bins on shelves.
Gary Hoffman


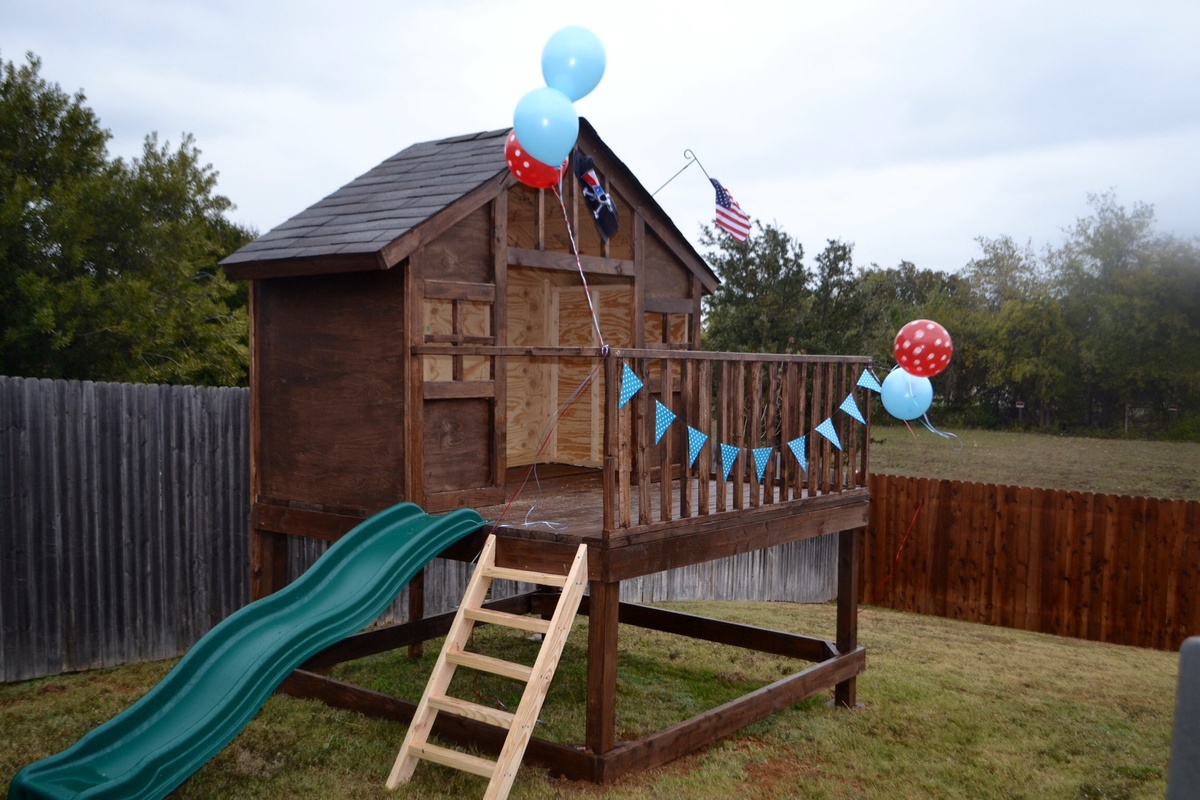
Cluckingham Cottage wasn’t built in a day, but it WAS built by a DAME!
A-frame instructions were pretty helpful considering the builder knows nothing about construction. I made a few modifications to accommodate my 5 chooks + 2 bantams . Sturdy and tight structure.
I shrunk the size and dumbed down the plans to fit my skill level.

Mon, 10/10/2016 - 09:08
I love what you did! It looks so great! I prefer this style, which is more simplistic than the other. Great work!!

Mon, 10/10/2016 - 10:28
Love how this turned out - the simpler drawers is just as (if not more) beautiful!
Tue, 10/11/2016 - 14:56
Thanks! I wish I would of set up an account before I posted so I could get notifications. I honestly didn't think anyone would notice it :)
Tue, 10/11/2016 - 14:58
I am so excited that people noticed this :) Is there any way of putting this under my account? I didnt make an account until today and I would like to get notifications. I have my project on my facebook page and can prove that I made it with other pictures. Thanks!
Mon, 01/20/2020 - 07:44
I would love to see this in a farm-house (rather than rustic) aesthetic along with drawers under the seats for extra storage. Maybe on casters with a fold up extension on the other side? So many ideas running through my head with this!
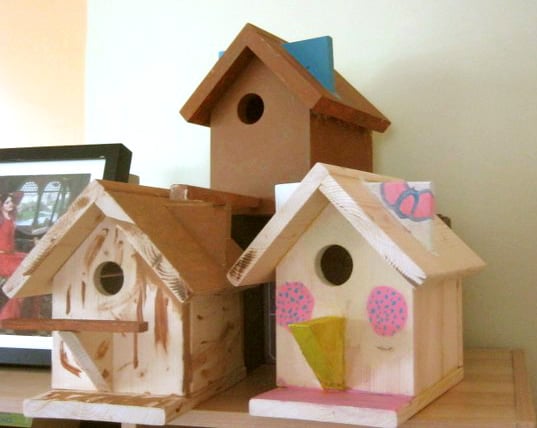
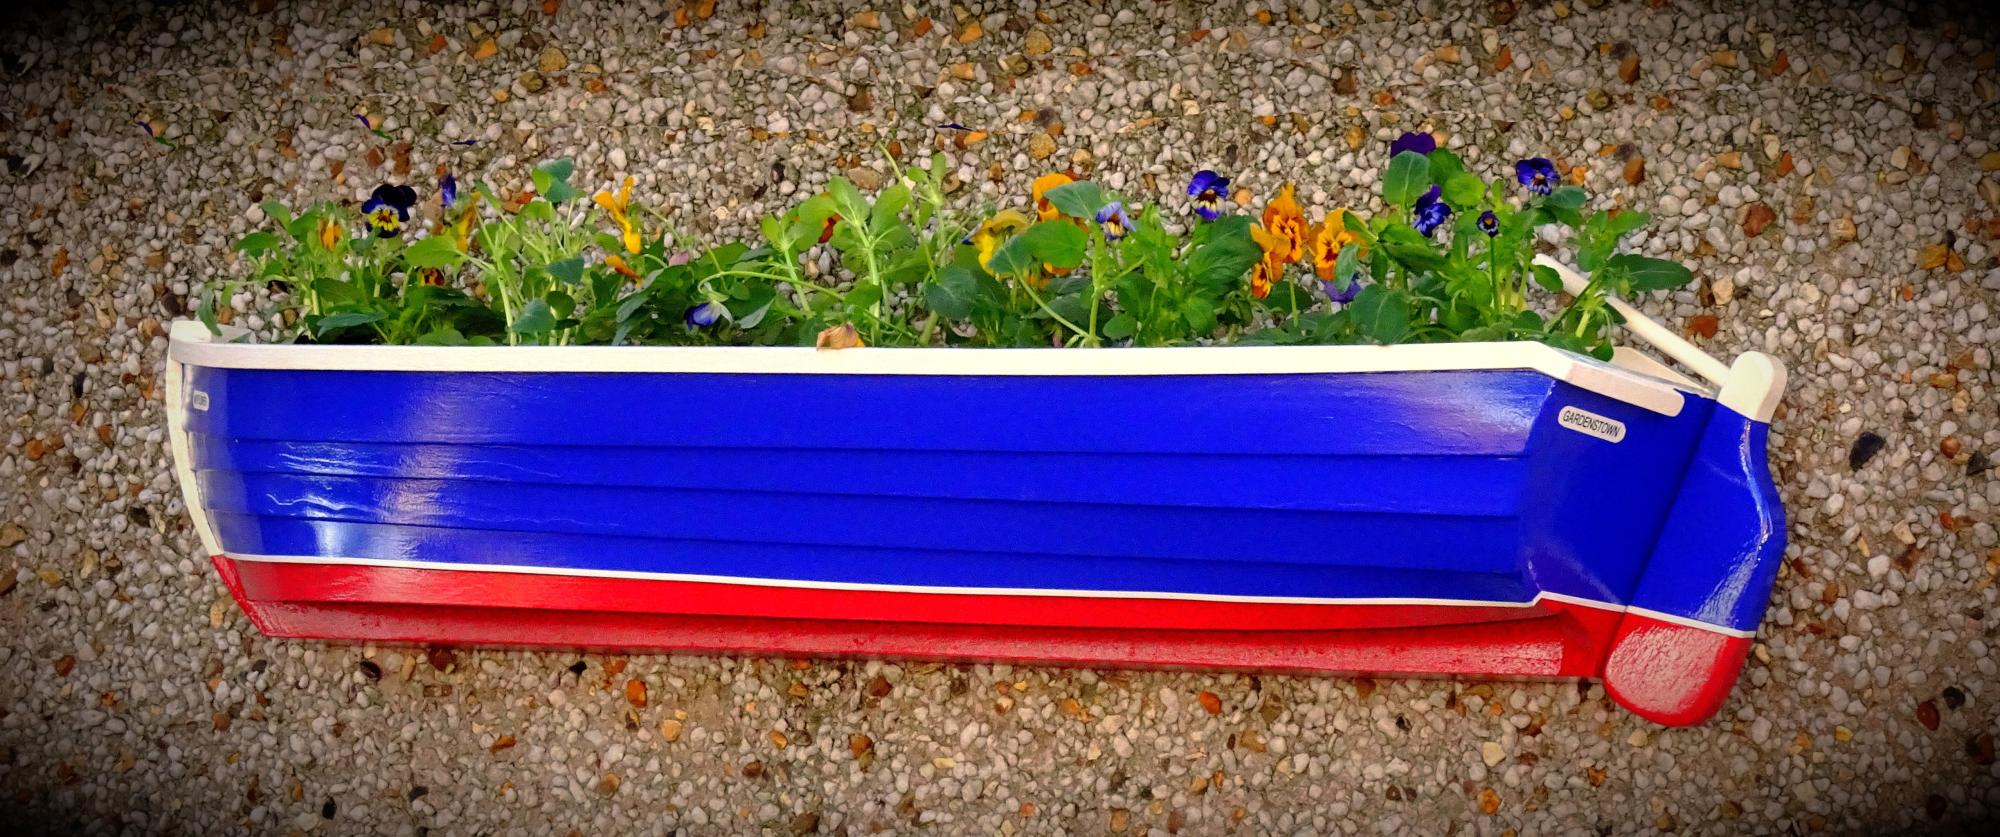
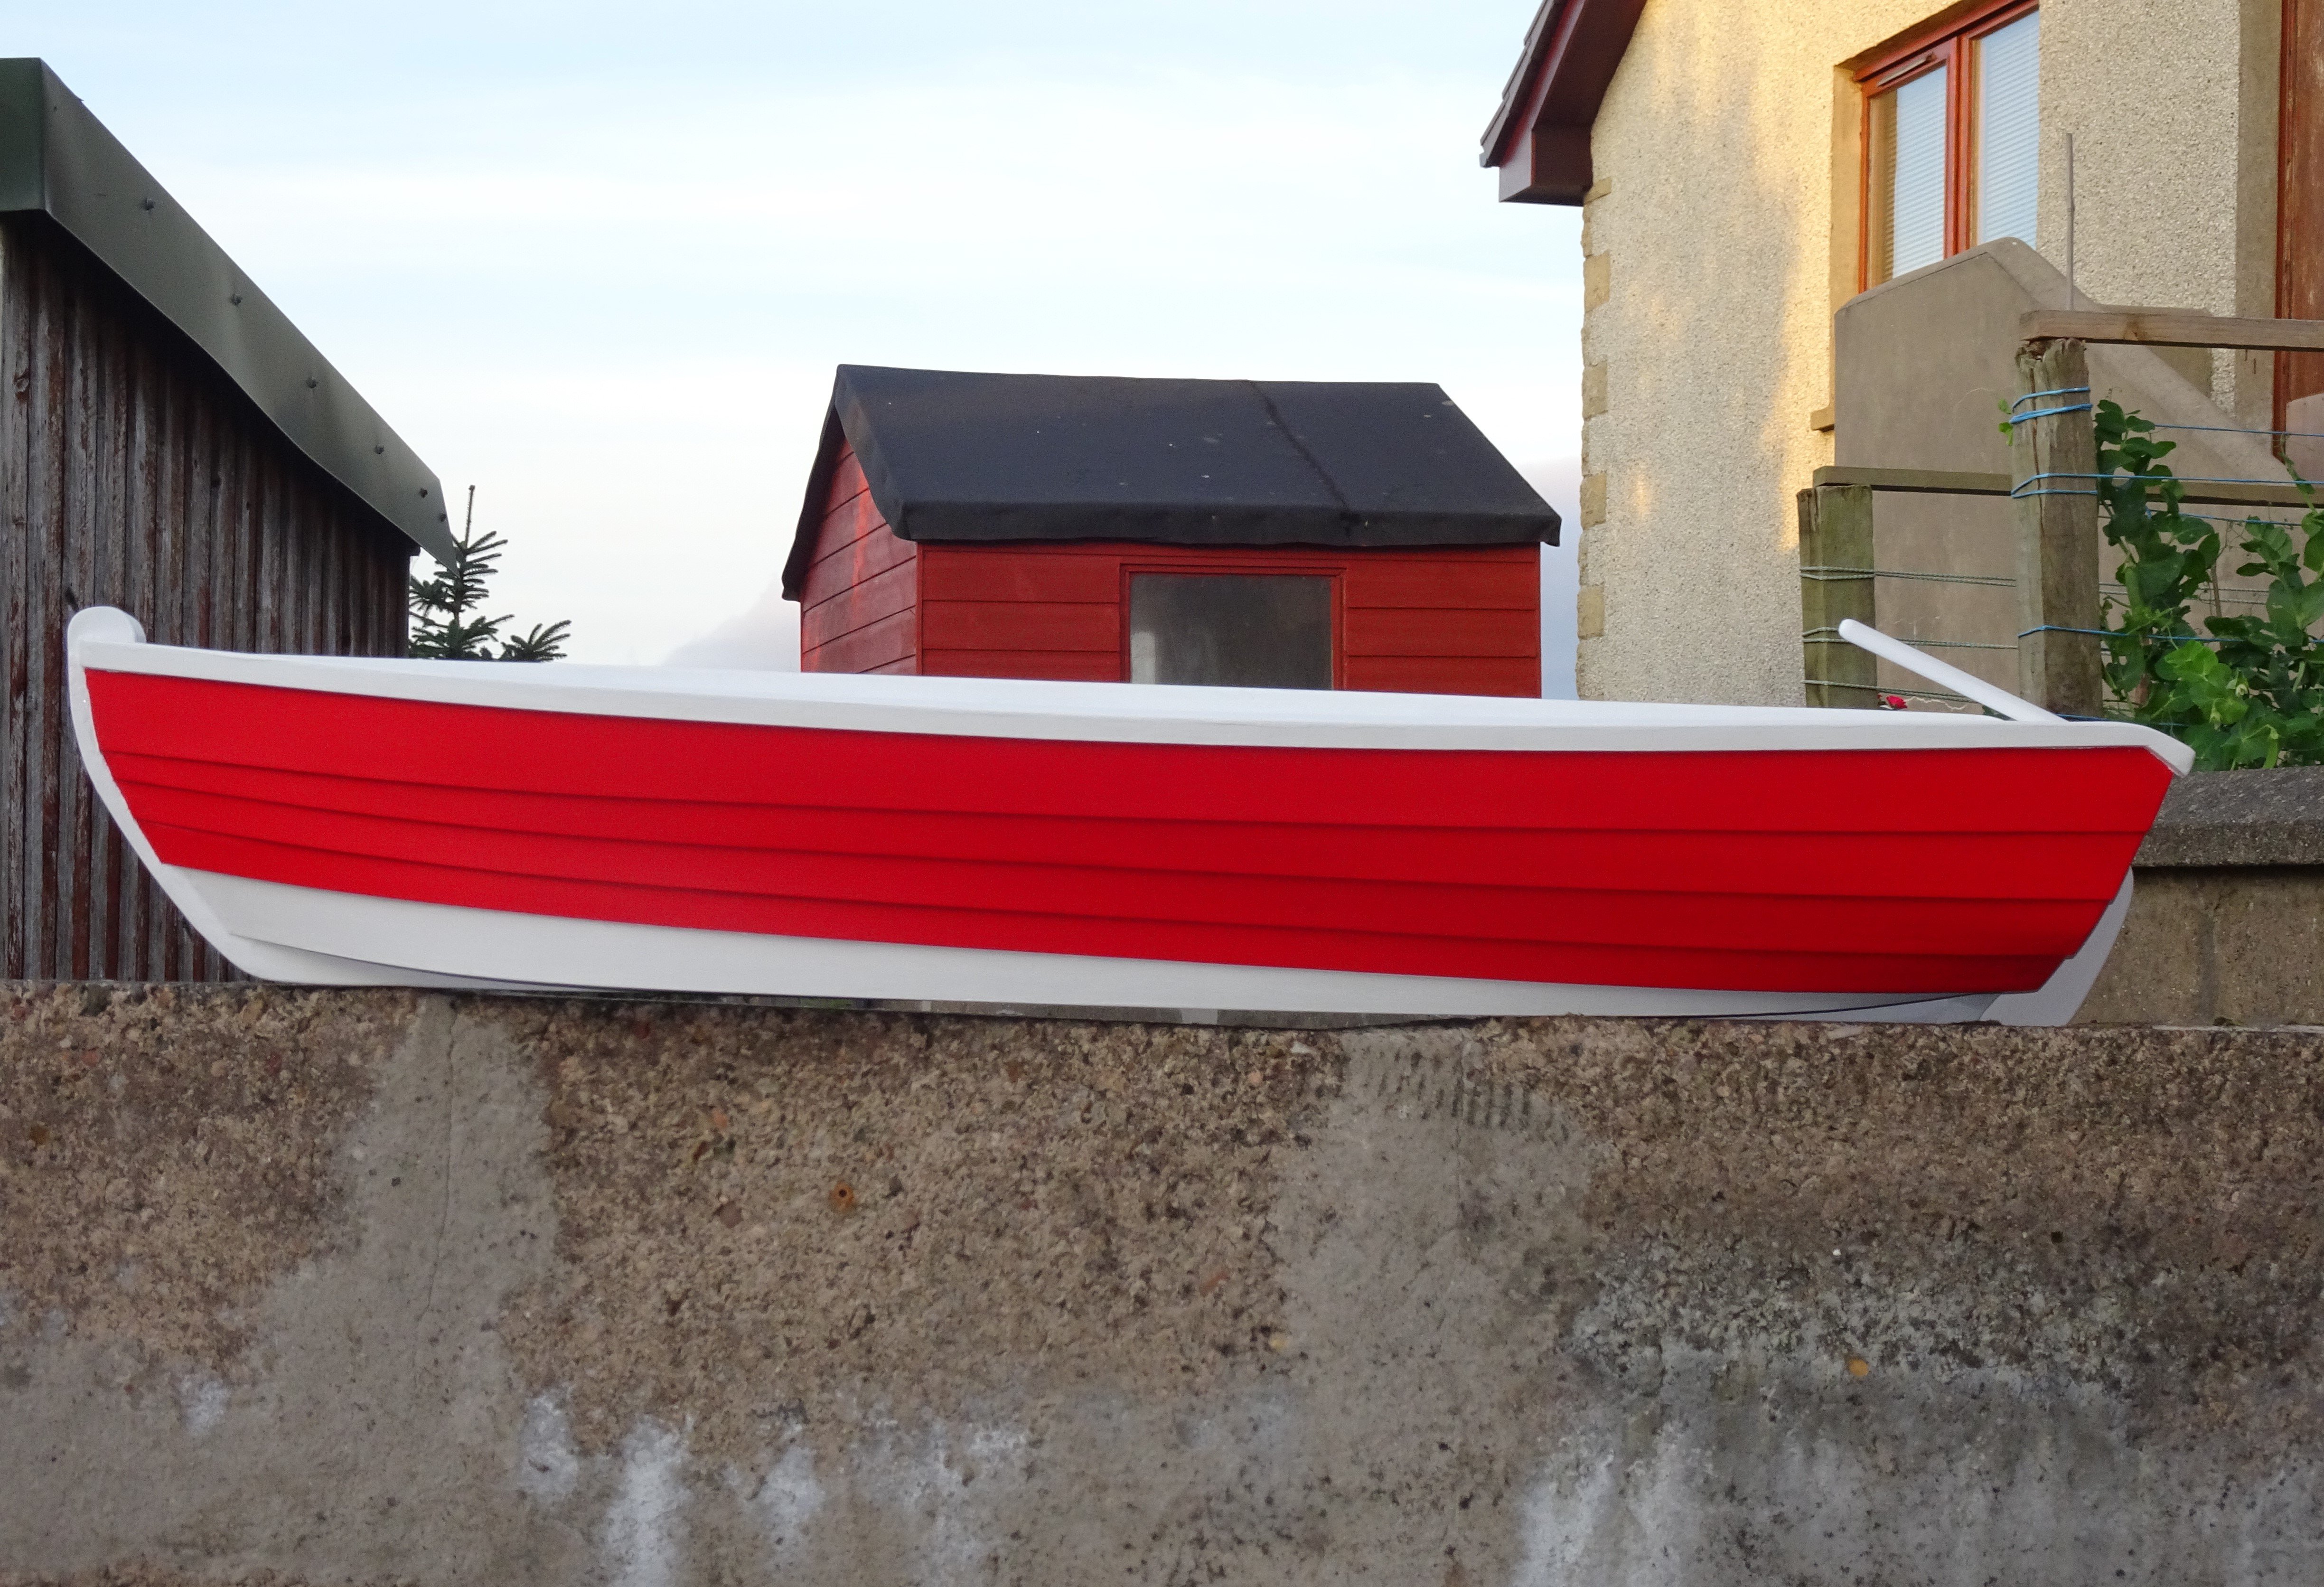
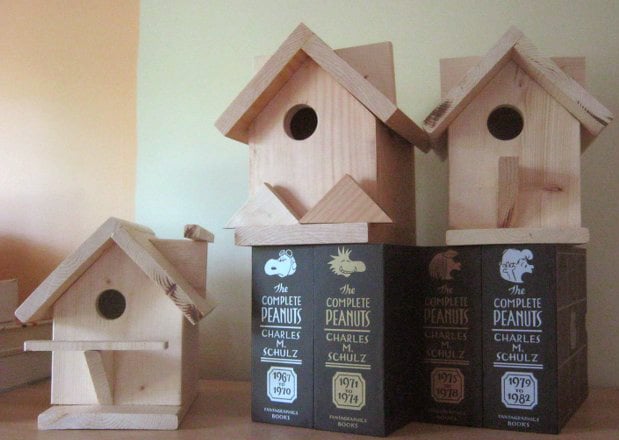
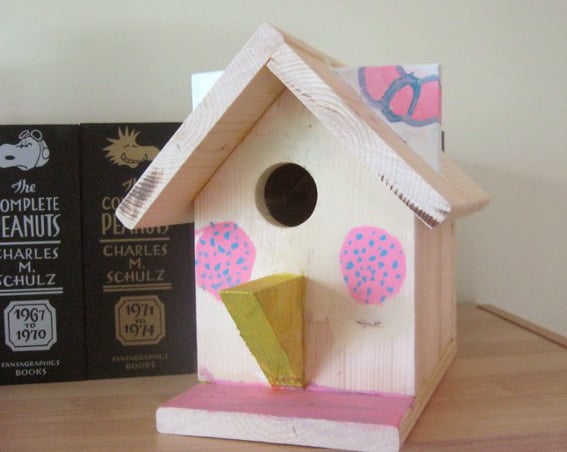
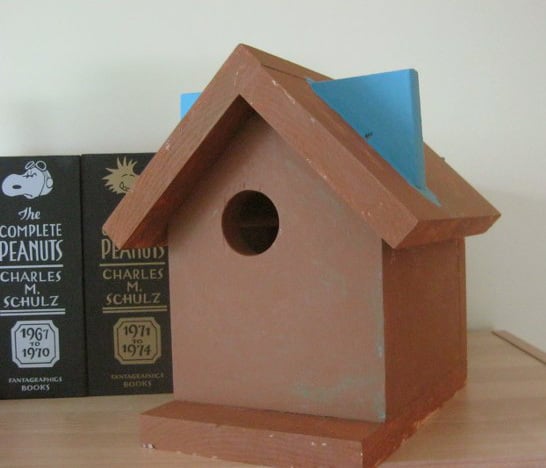
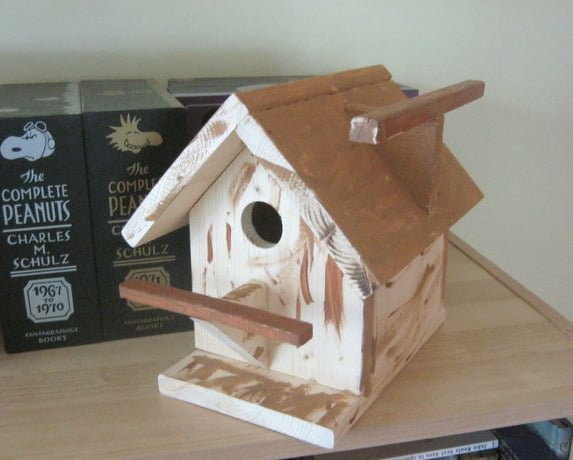
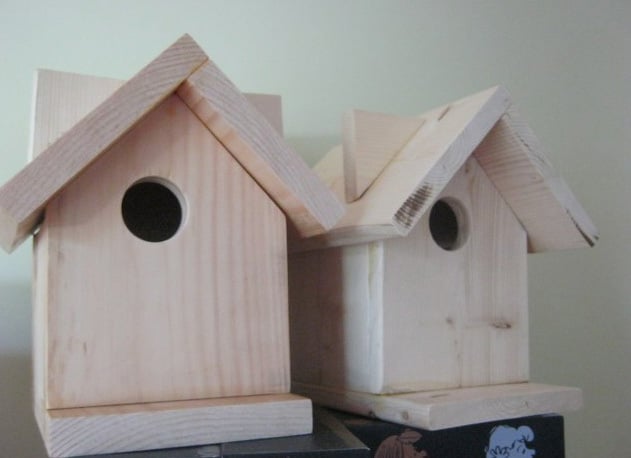
Our first plan from Ana White. It was really easy to follow and this was a fun project to do with the children. We used pine wood because it was cheaper than cedar, so we will try to not put them directly under the rain.
We were able to make two birdhouses in removing .25 inch in one birdhouse. We used wood we already had for the third one.
We let the children added some details to the birdhouses. Because of the birds we want to attract here, one hole is 1.25 inch and the other two are 1.5 inch.
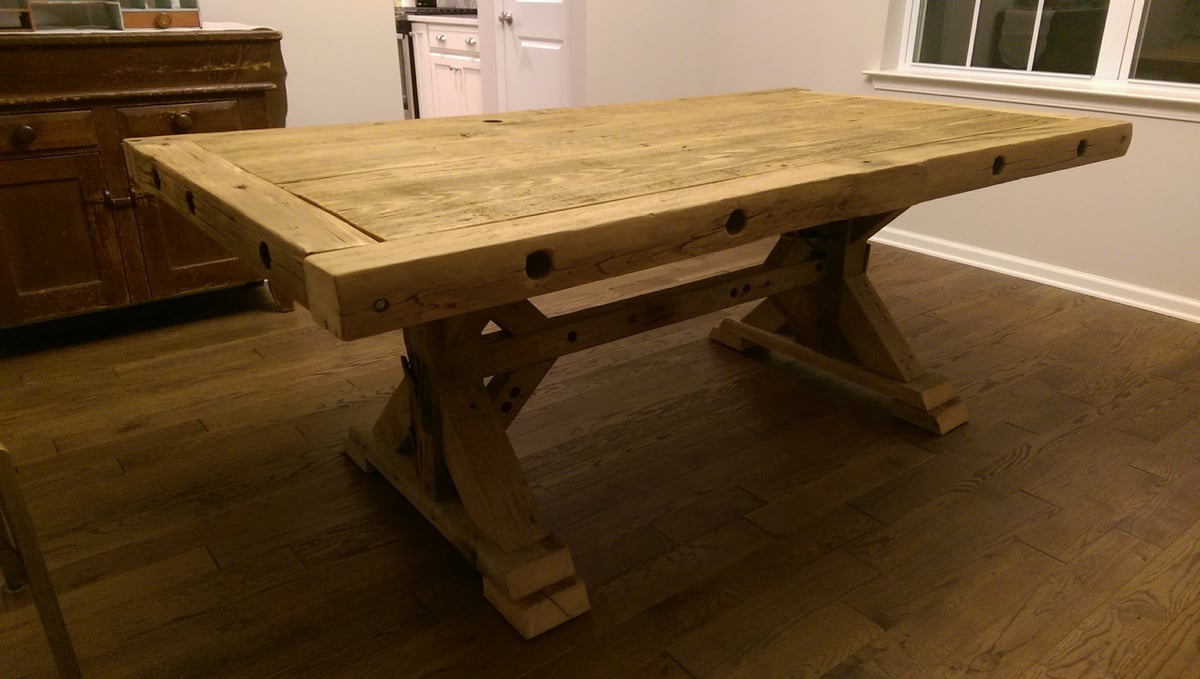
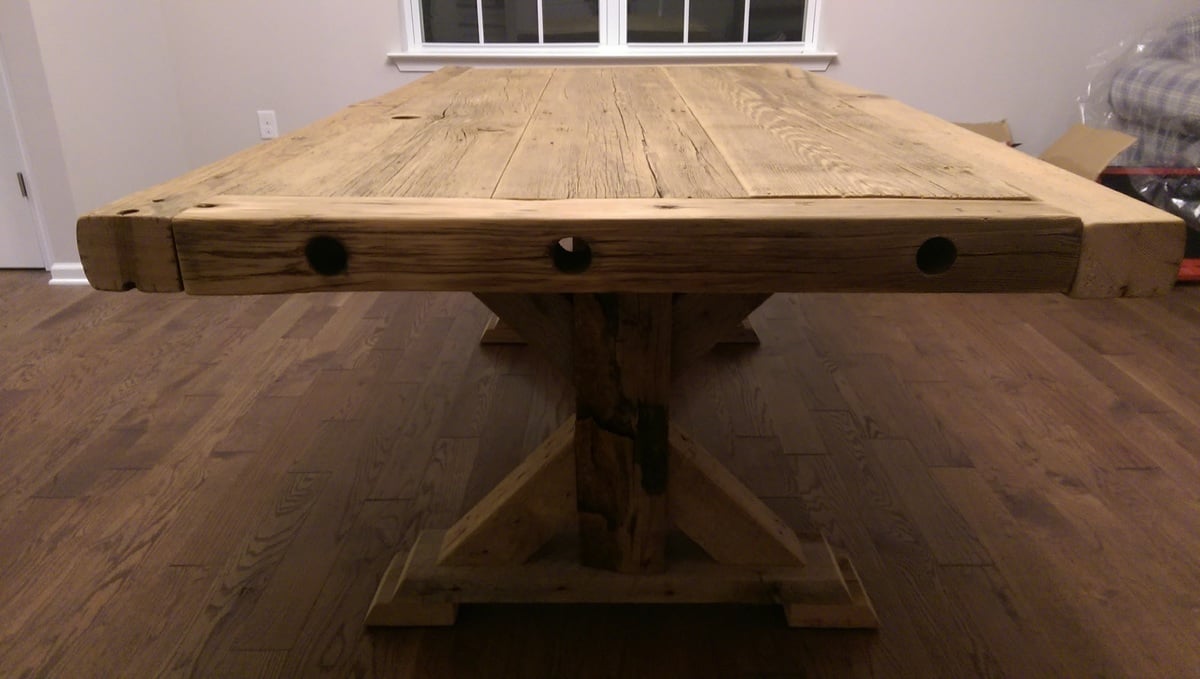
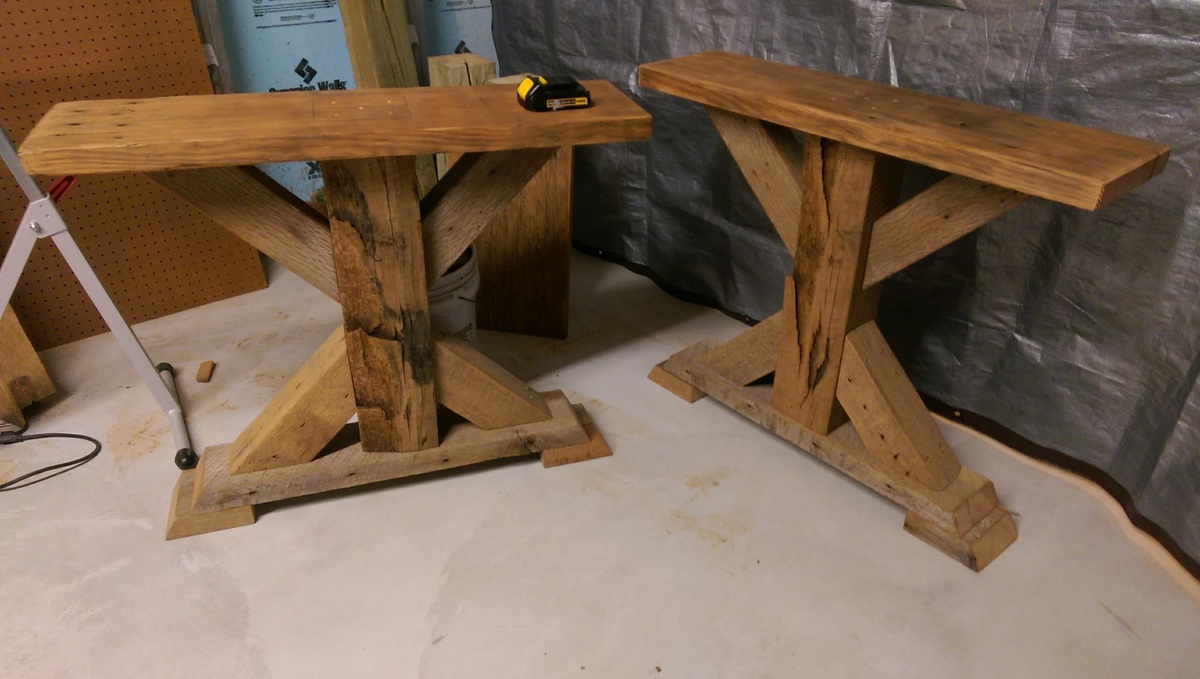
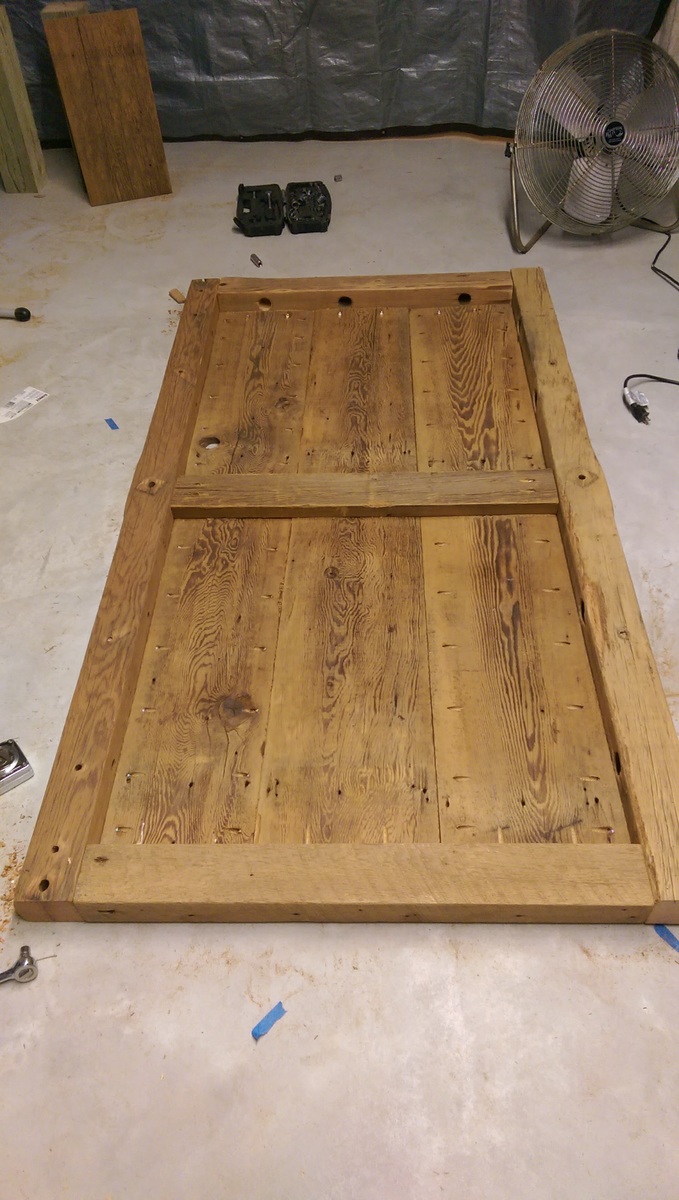
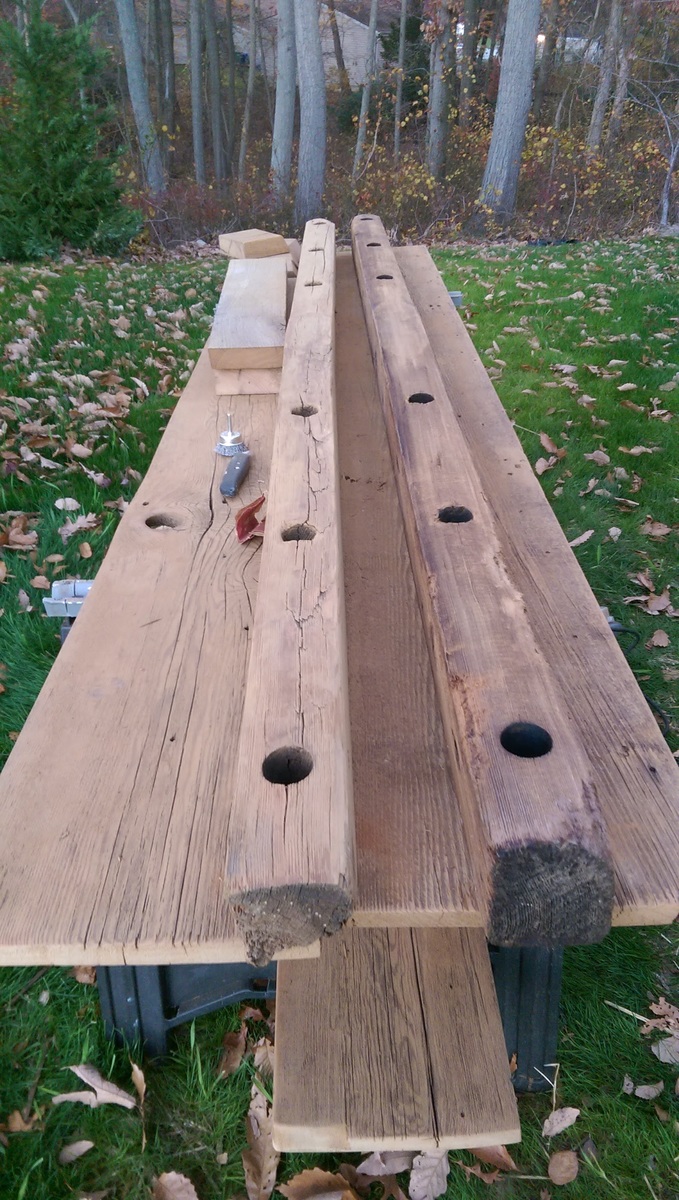
I was lucky enough to know someone who's property had 4 barns that were on the virge of falling over.
I removed wood from the barns I needed, some wood was just inside the barns. The thick pieces with holes going around the table were actually old telephone poles (horizontal section).
The plans were straight forward, but prepping, cleaning, sanding the wood from an old barn was the most time consuming. Also hardly anything was straight or square!
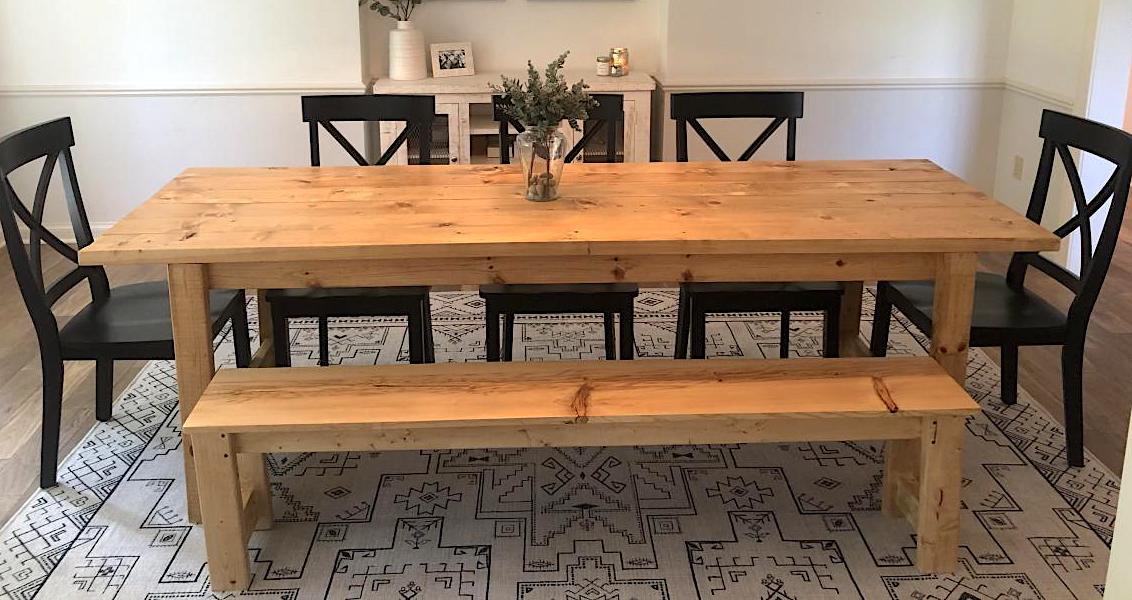
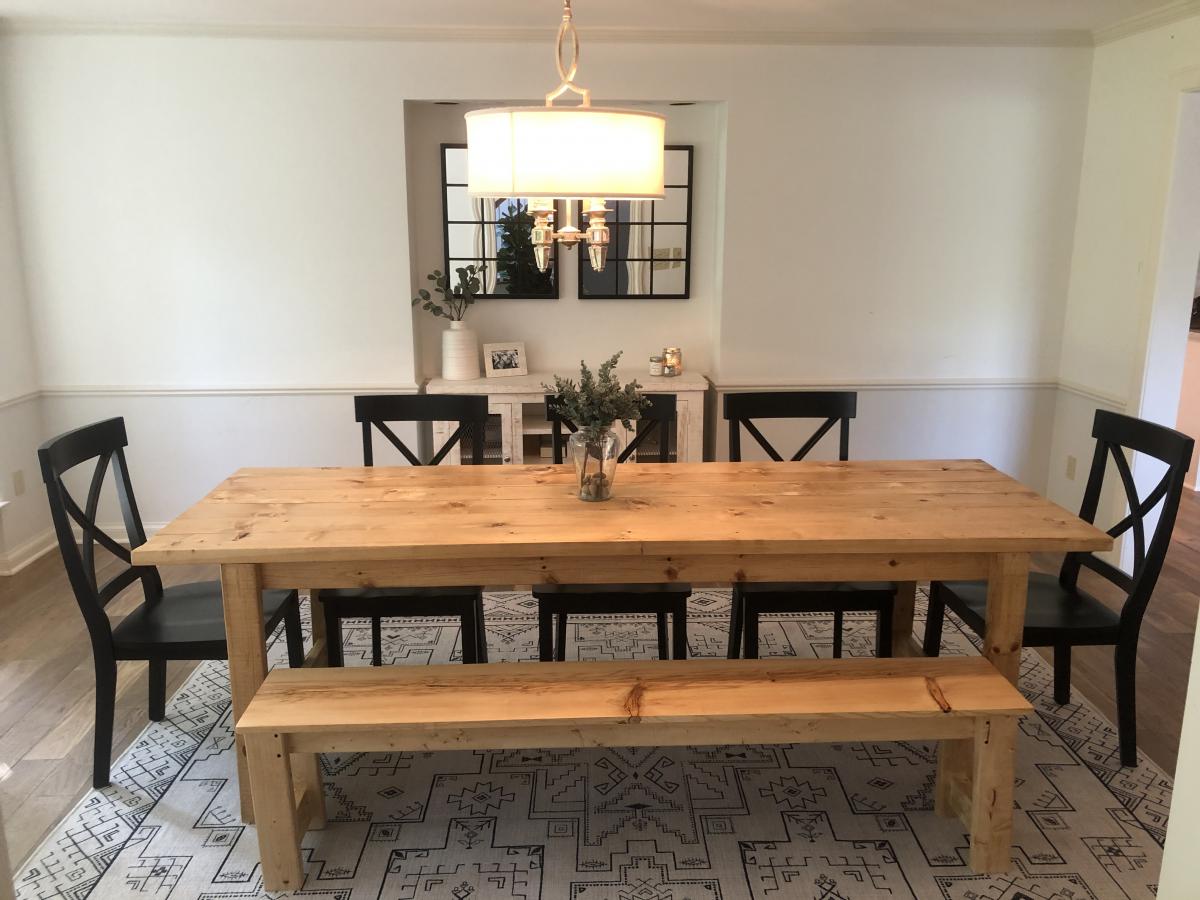
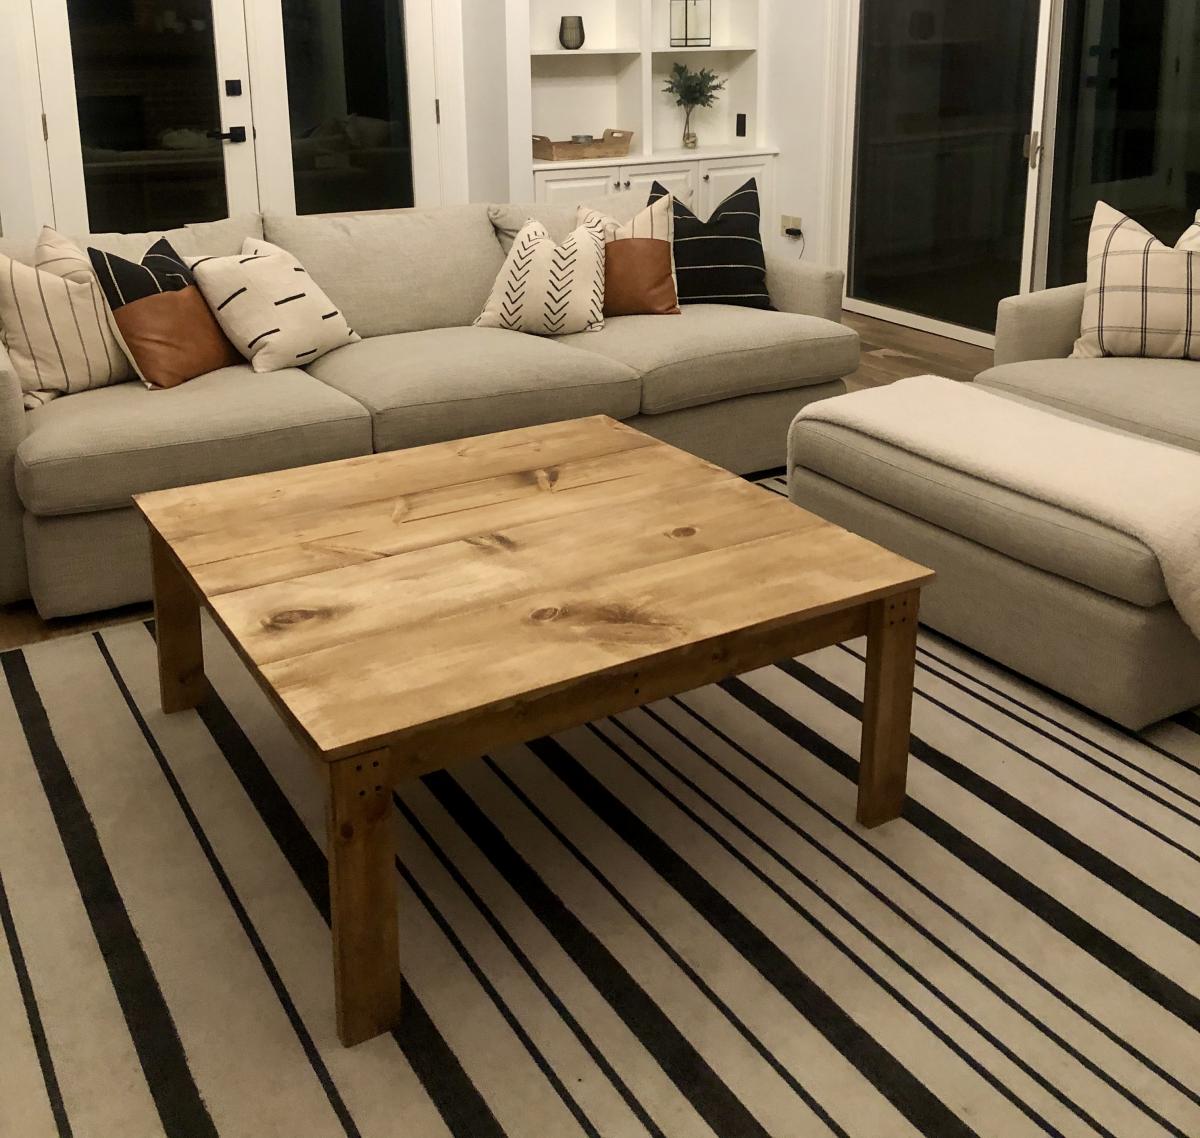
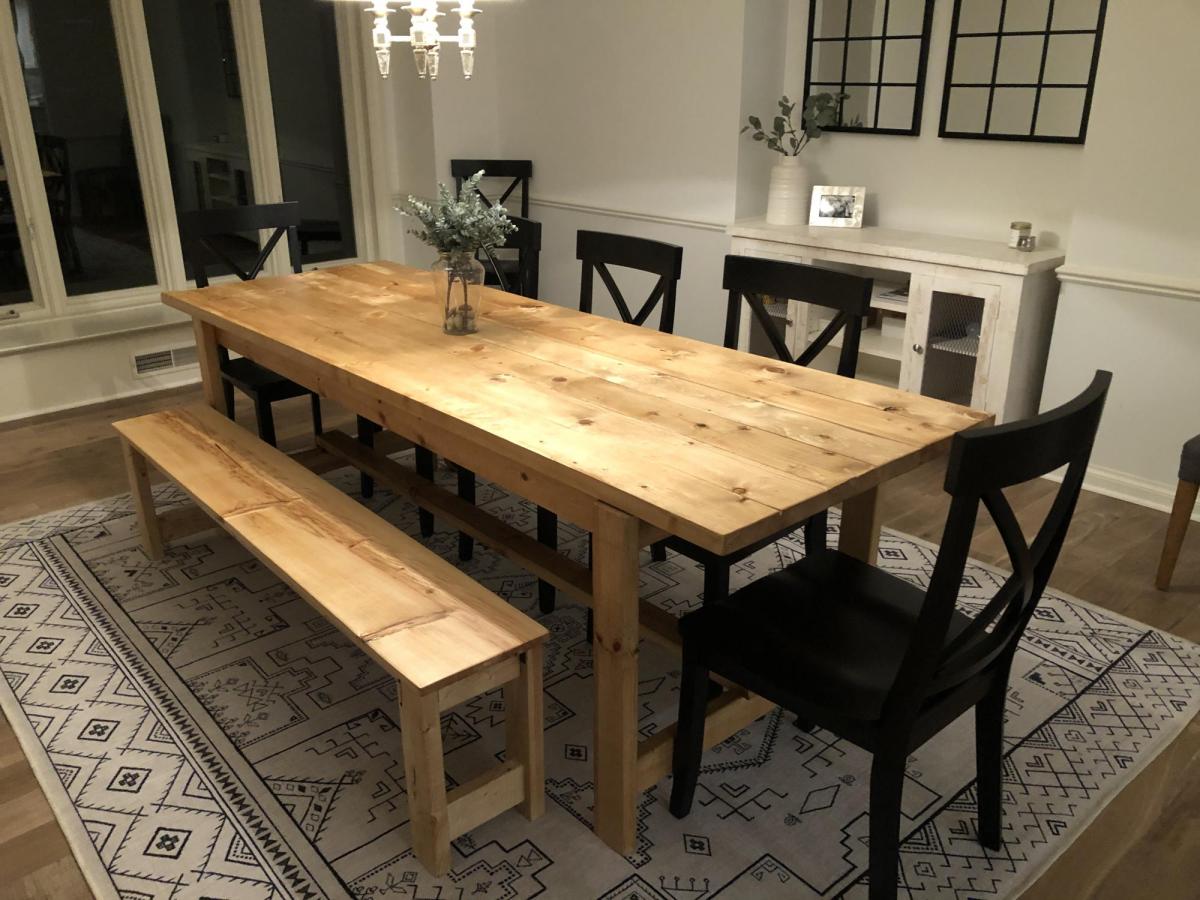
Love this! The farm house table and bench (1st photo) were my first 2 wood project ever. They came out great so I decided to make a coffee table using modified dimensions (2nd photo) and used poplar for the table top instead of pine. Poplar took to the stain I used really well. The farm table is Danish Oil, Light Walnut and the coffee table is in Danish Oil Dark walnut. I used wipe on Poly to finish both tables and I used matte black wood screws for an accent on the base of the coffee table. Everything else was assembled with a compact circular saw and pocket holes w/ a Kreg Jig. Thanks for the plans!
Mon, 10/19/2020 - 23:48
Ana white is a superb personality. She is doing a superb job in the agricultural field. I want to know more about the farmhouse table but now it's easier to finish the assignment at https://ifpnews.com/how-to-finish-your-dissertation-during-lockdown and get all the help about. Even I am more interested in vertical farming. Please guide me in this regard.
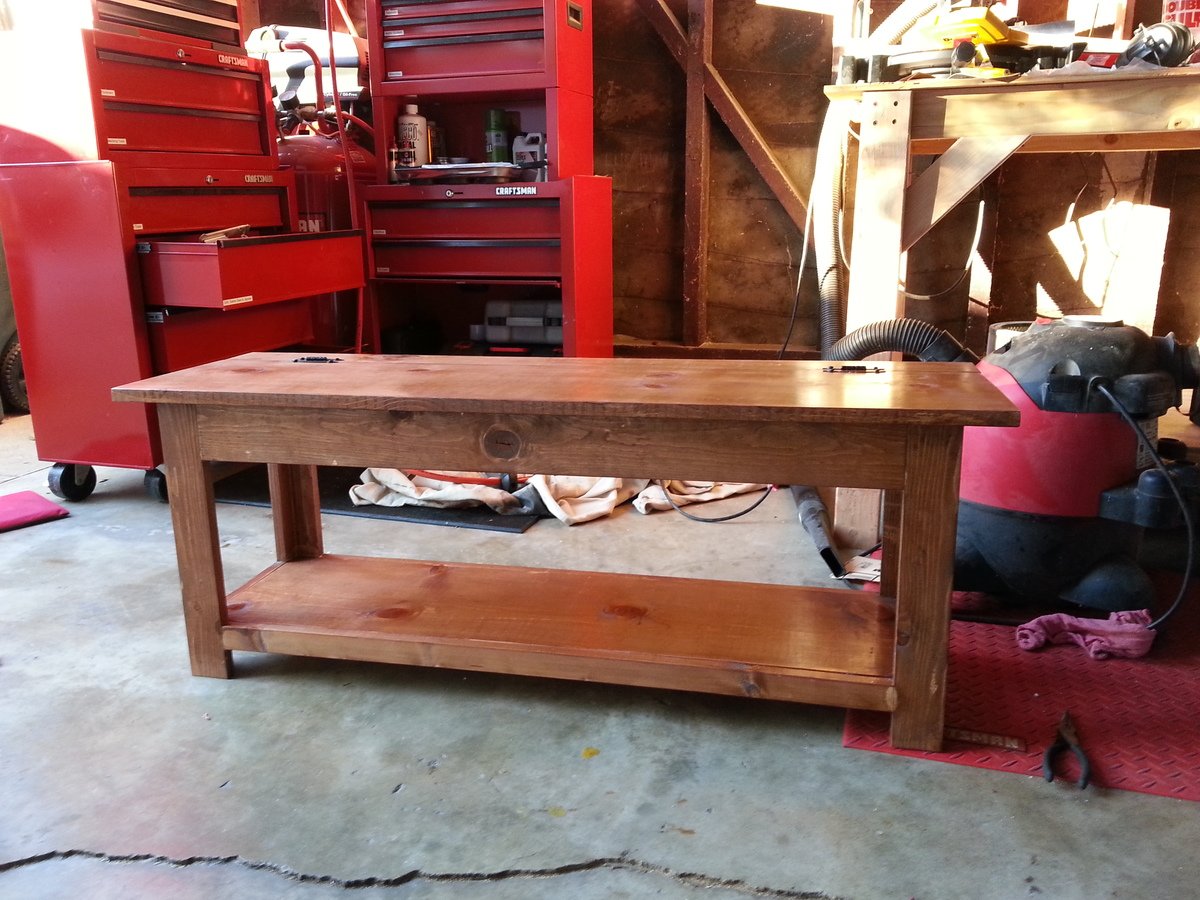
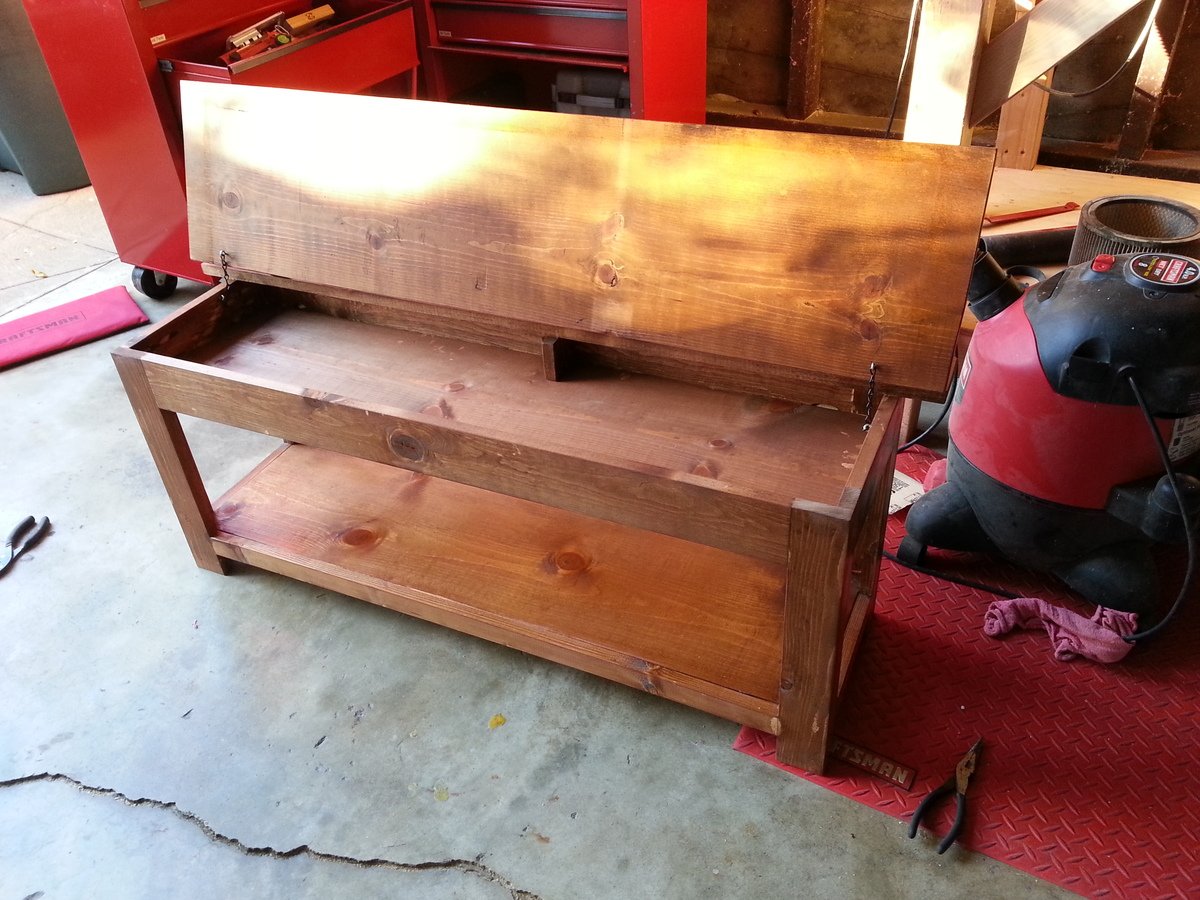
This bench works great as a piano bench with storage inside for all of the sheet music. I added one little 4x4x.75 piece of wood inside in the middle because I found that the 1x12 seat would flex in the center but after adding that piece of wood it was solid. I also added eye hooks and chain for the top so that it does not flip all the way backwards.
Love how this turned out!! Thank you thank you Ana!! Plans were great, I think we got it done for just about $250!
Thanks again!
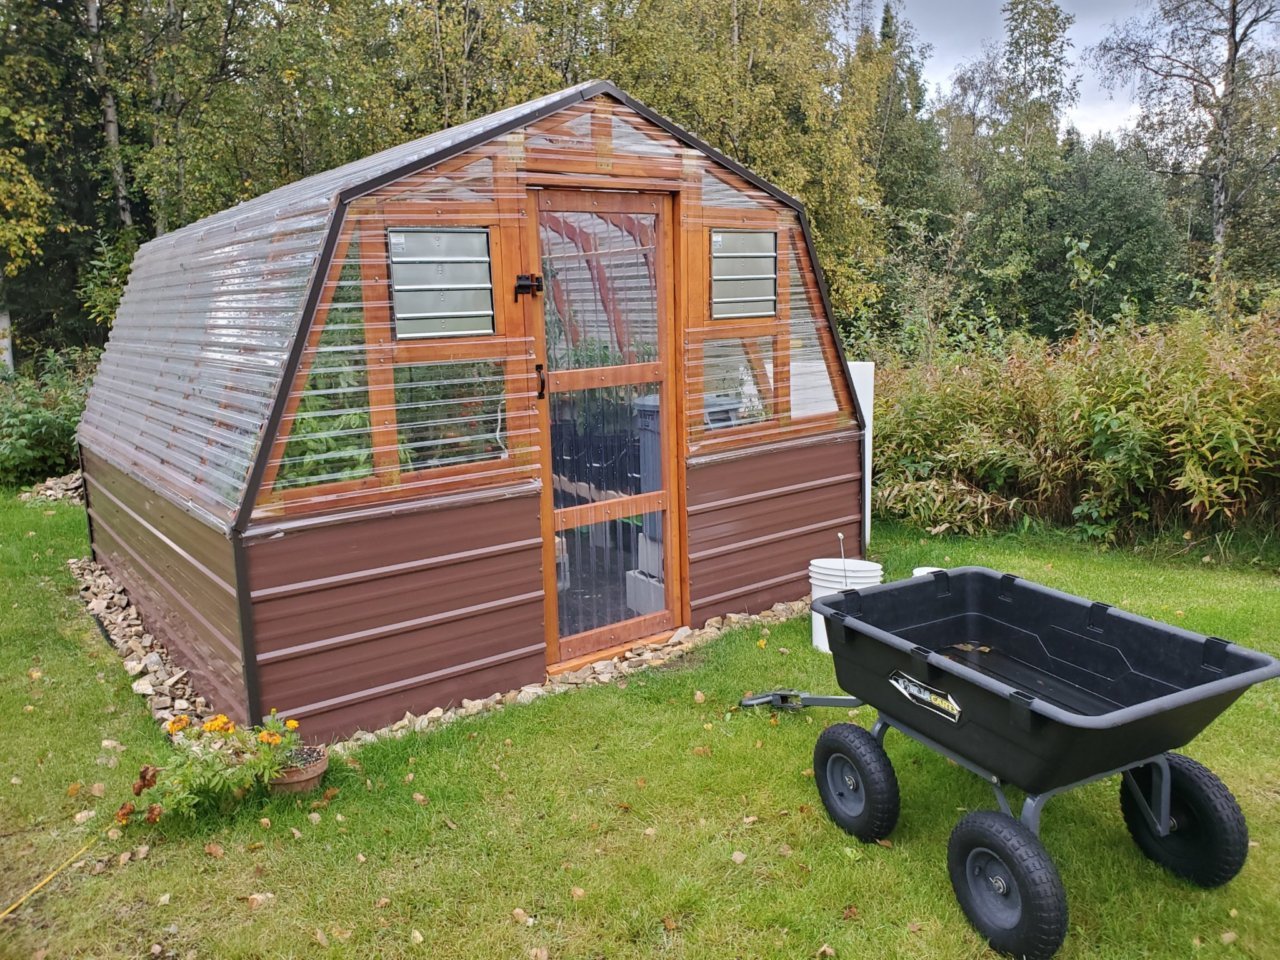
It was truly great for us to find a greenhouse design from a fellow Interior Alaskan blogger. We kept coming back to this design, enough times to where we decided to actually build it.
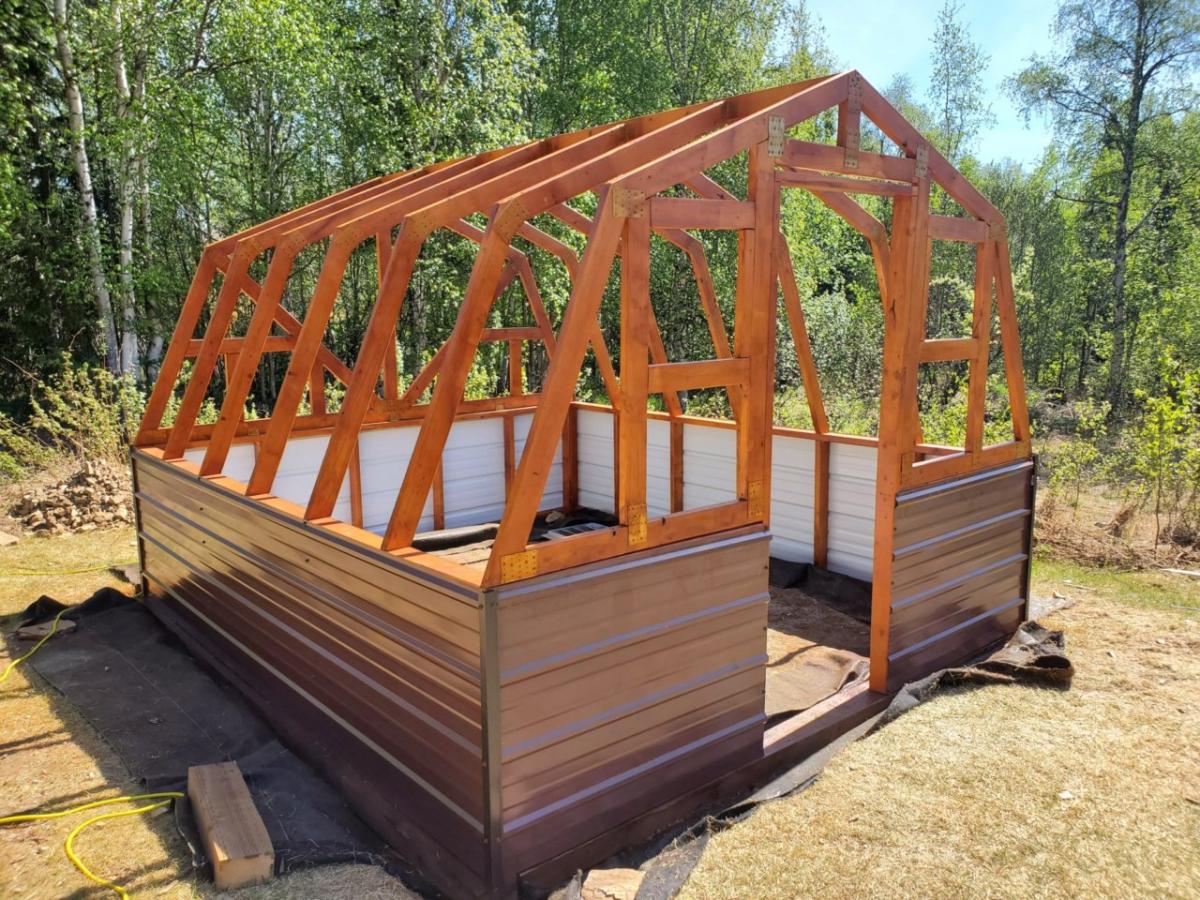
We would be the first to admit that tackling a gambrel style building was slightly intimidating and not what we had in mind for our very first self-built building! But, we faithfully followed the cut lists and directions. It turned out beautifully! If you're in the same boat, have confidence that you can build this too!
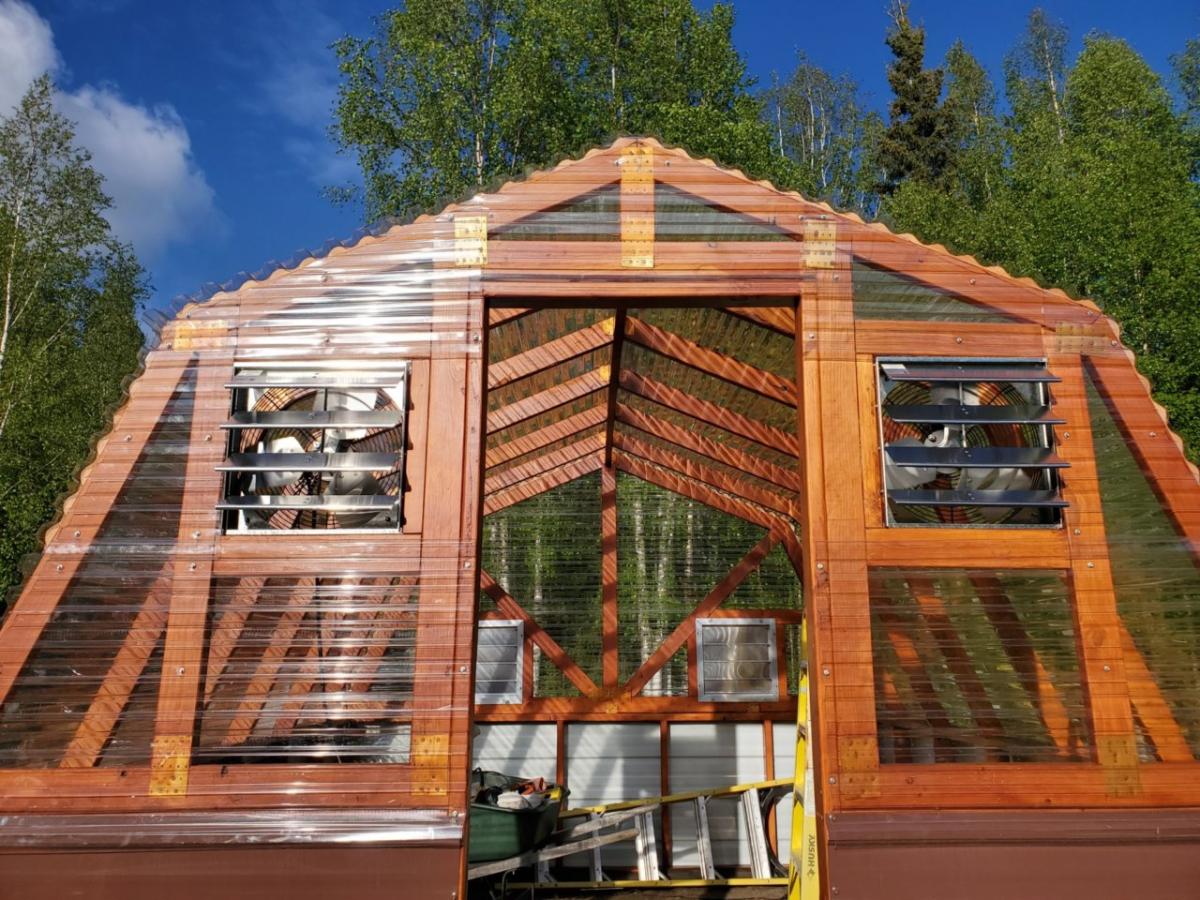
We love the options available for making it your own. We decided to stain the greenhouse lumber of ours to match our cedar sided home. We also built a semi frost-resistant foundation, since we're a little north of Ana at 65 degrees and sometimes experience frost heaving. We also added full climate controls to ours, adding both fans and louvers that keep our greenhouse at perfect temperatures.
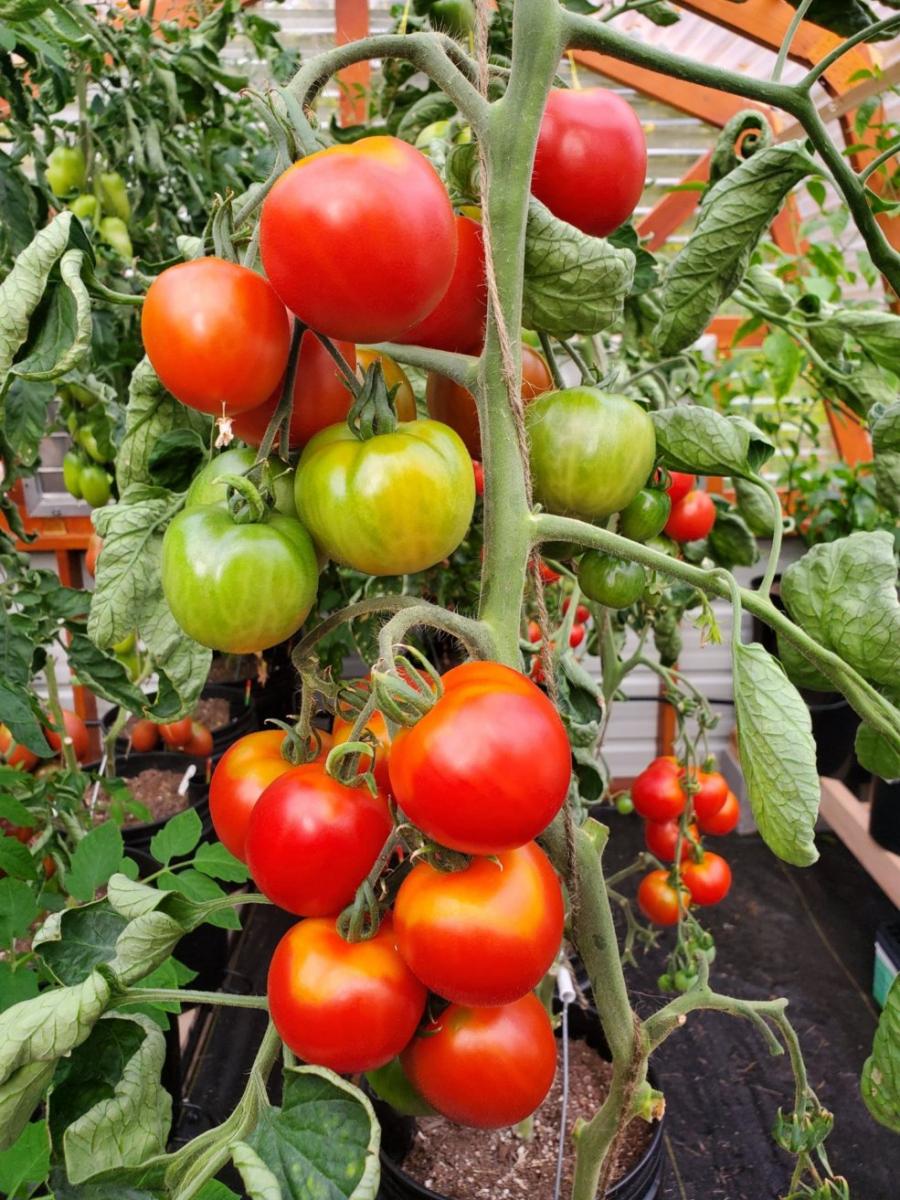
The performance has been great! Building this greenhouse has been the single greatest thing we have done in our years of subarctic gardening. We might even consider building a second greenhouse down the road. No matter how big your greenhouse is, it's never quite enough!
Thanks for the great plans, Ana! We appreciate your work!
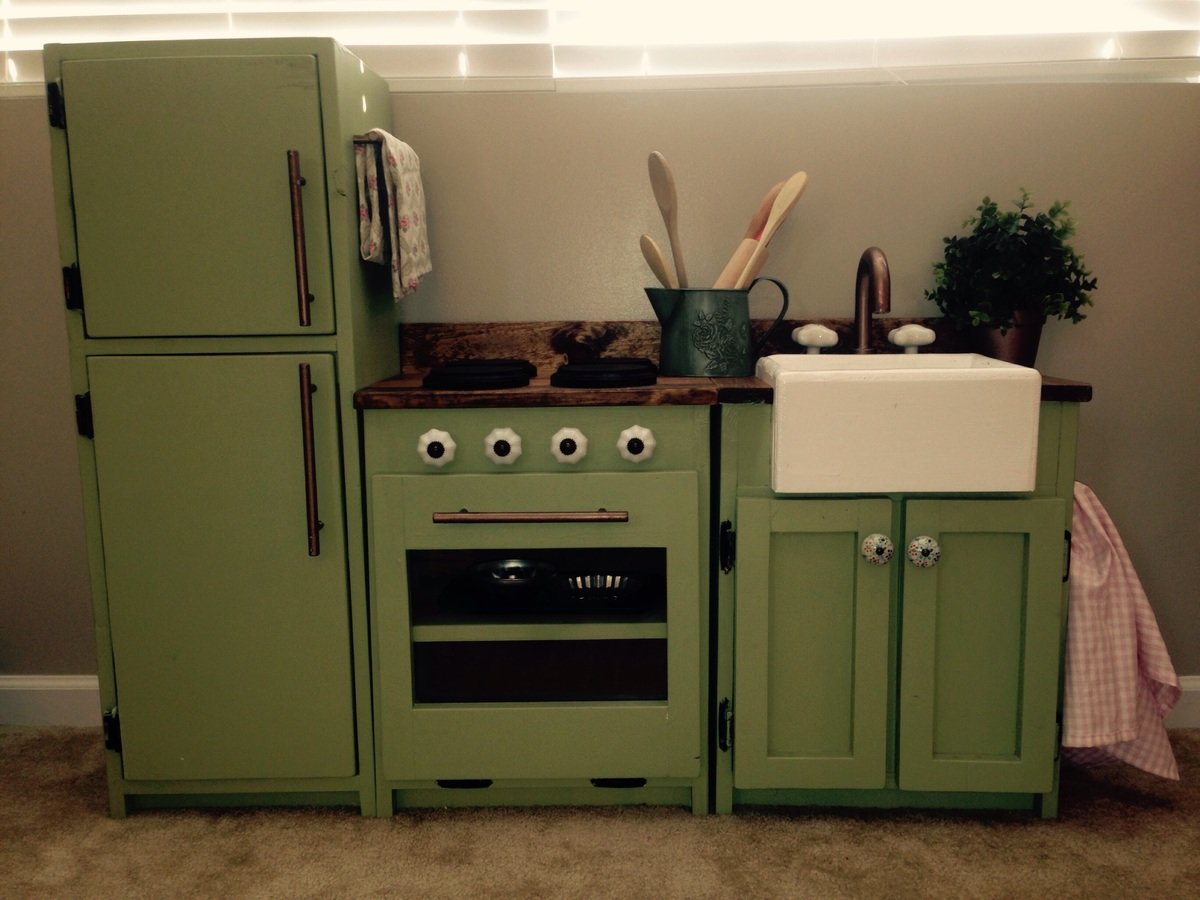
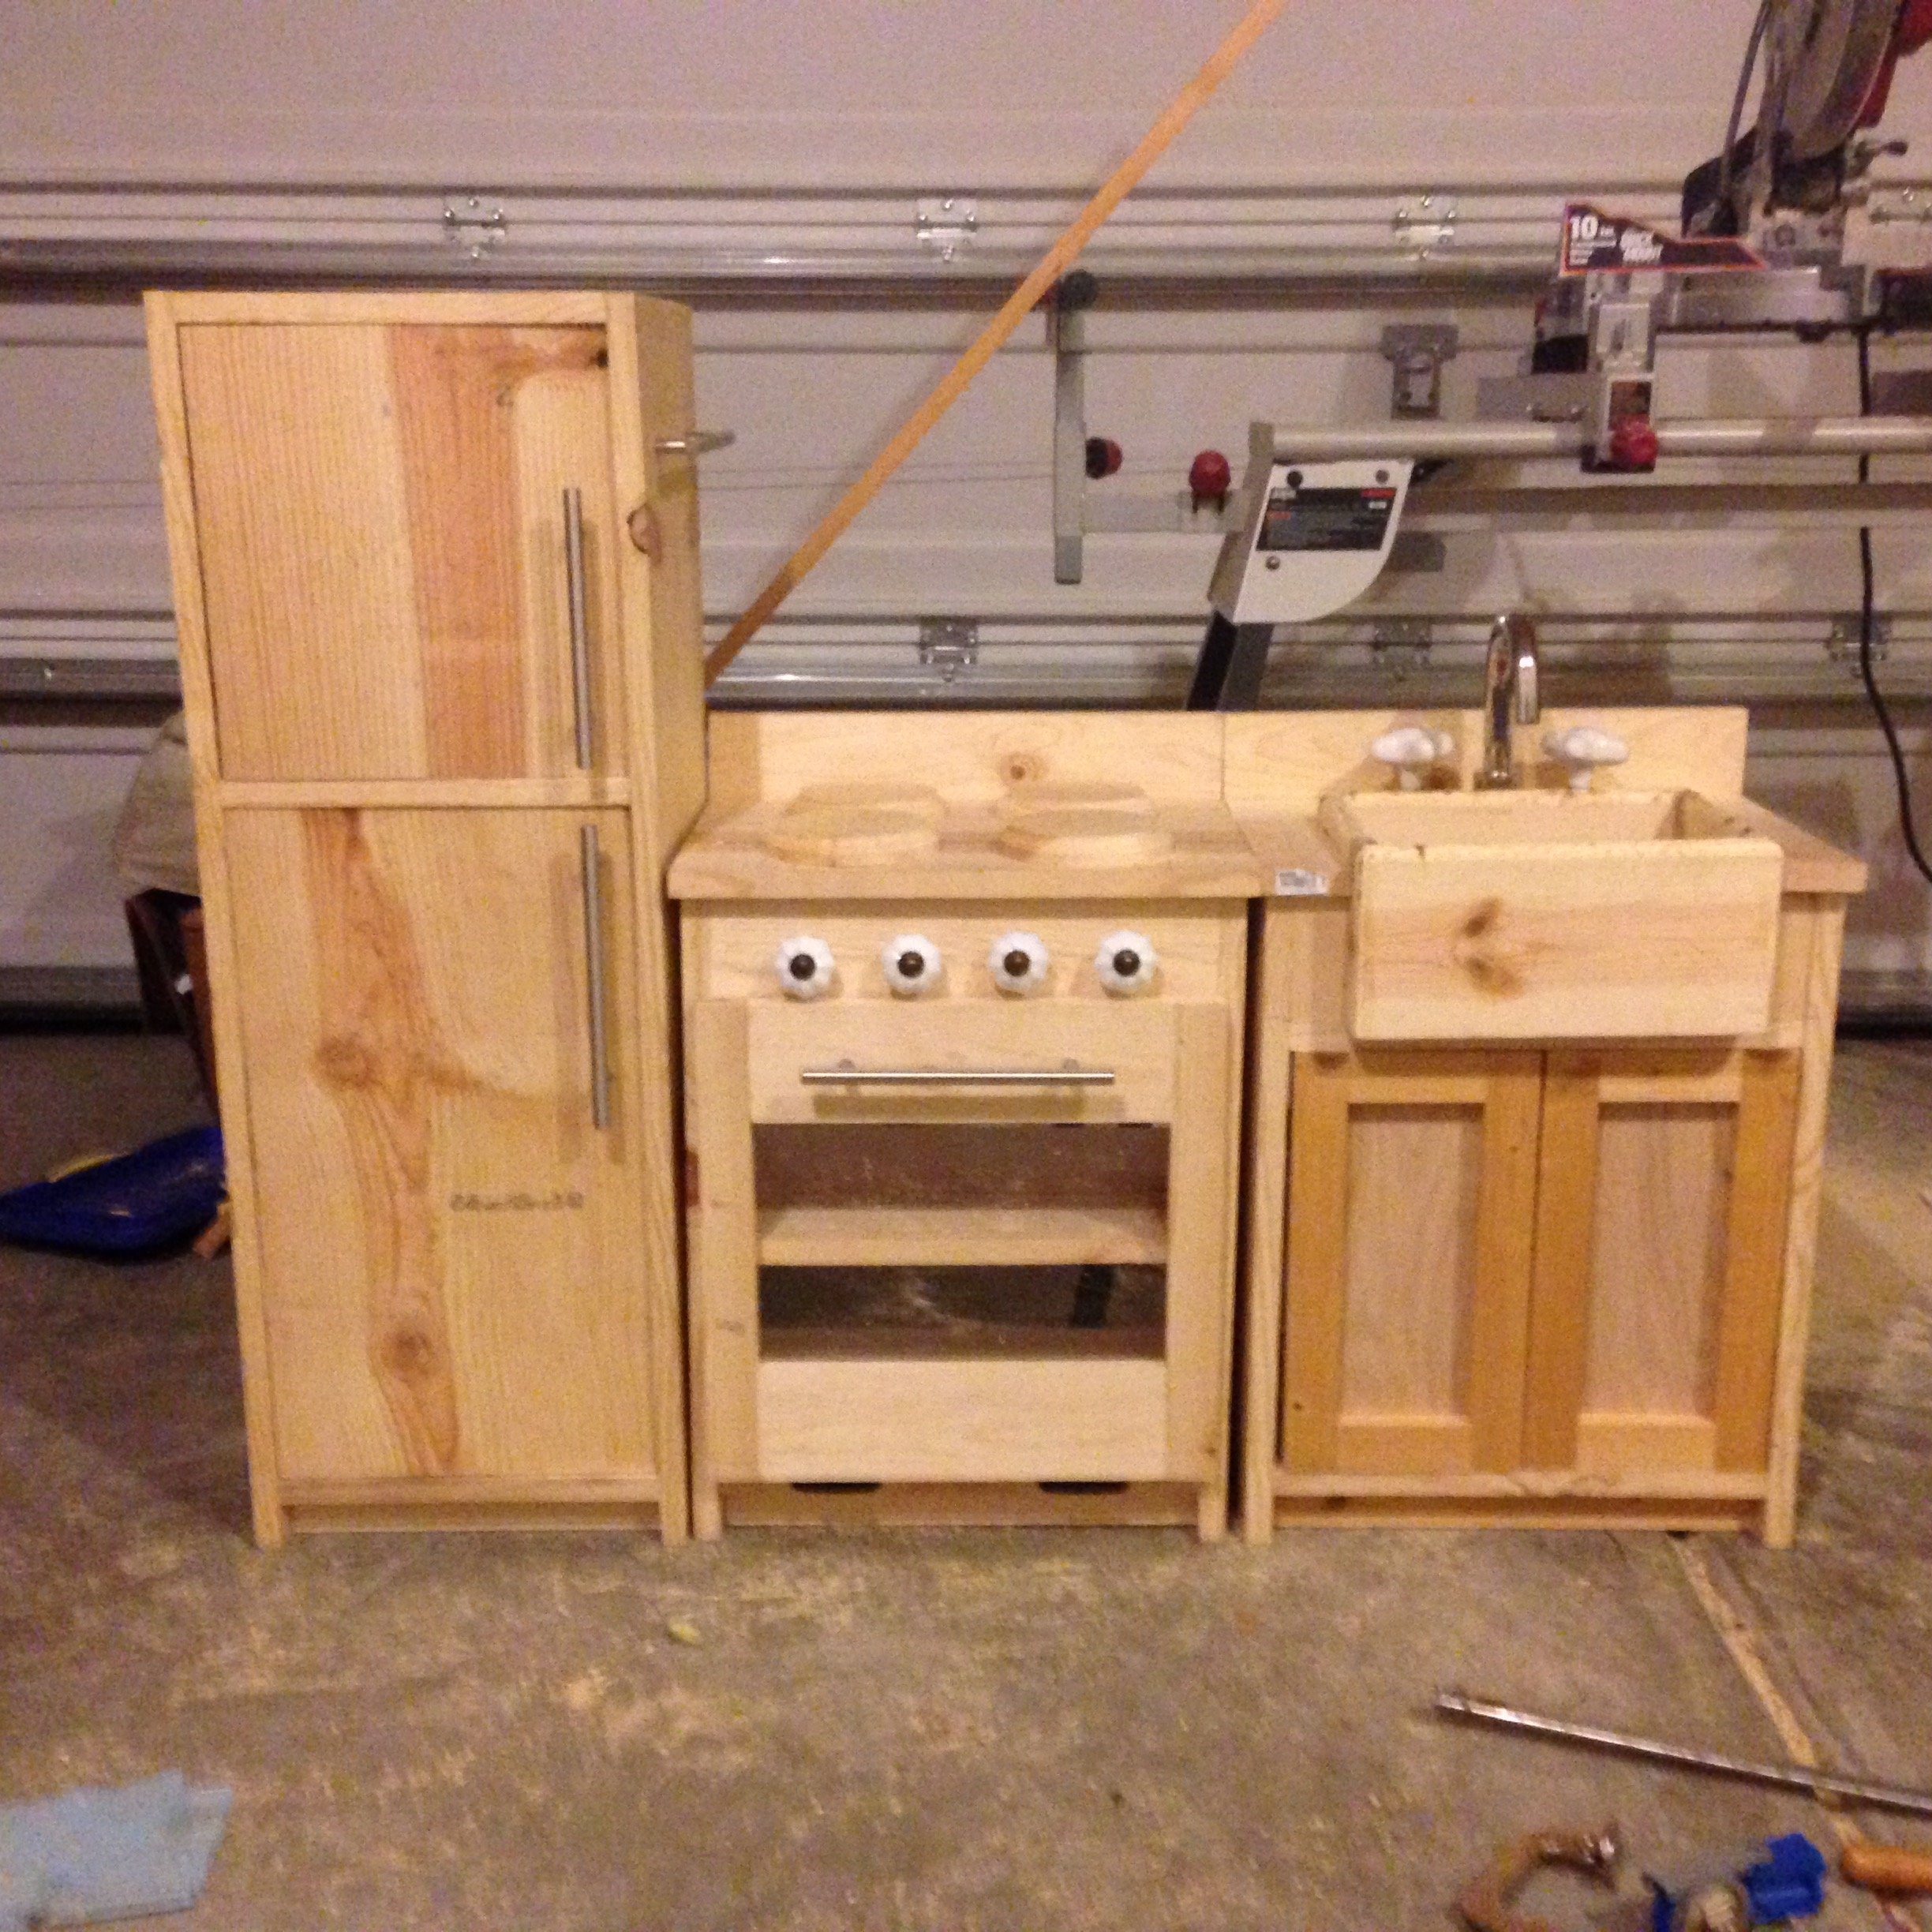
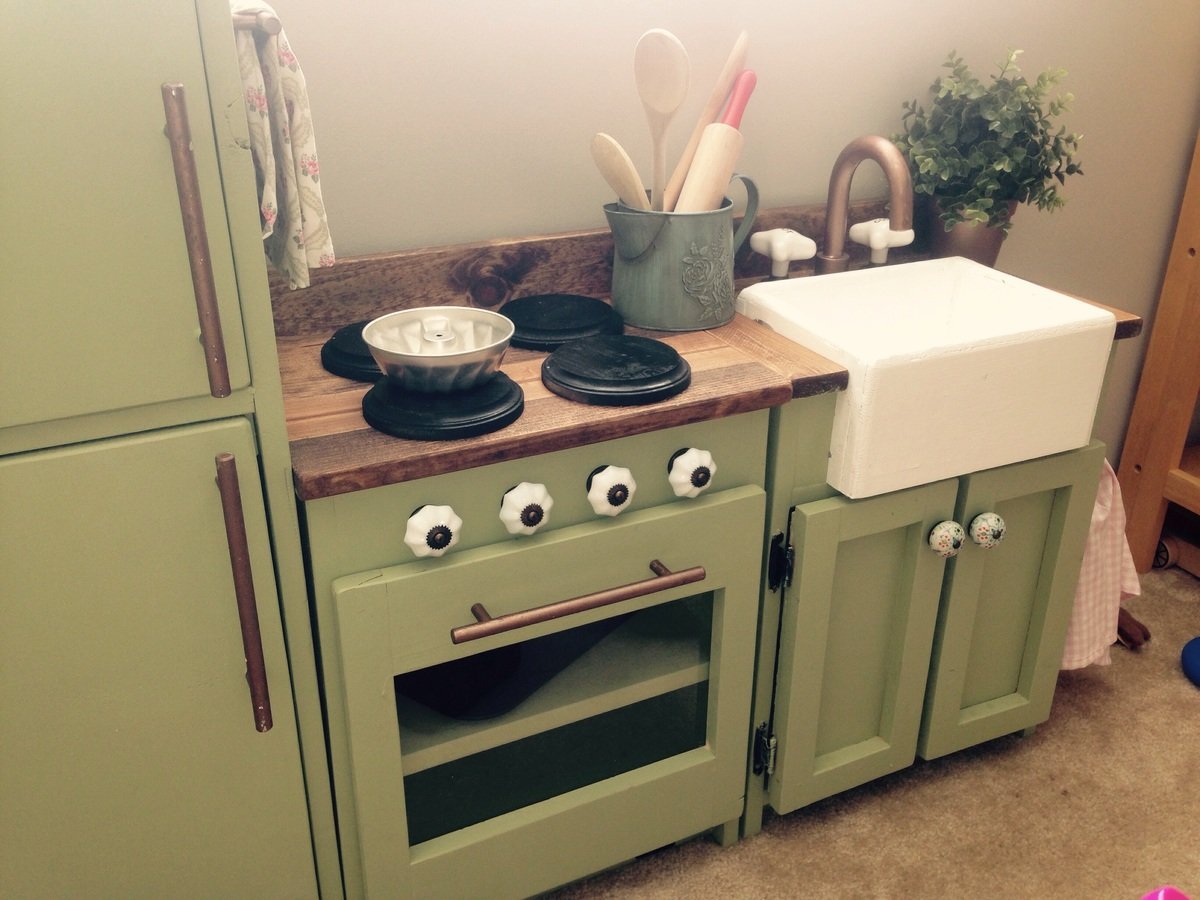
We really wanted to give our 2 year old a play kitchen for Christmas. We also didn't want to spend the money on the likes of the Pottery Barn set, and weweren't sold on the lesser-expensive options. Fortunately, a quick internet search led me to Ana White's website and plans for this play kitchen. As someone who has never built anything before, the plans seemed very doable. All of the brag posts were also inspirational and sold me on starting this project. I worked on this an hour or so after work for a couple of weeks, and then a few longer nights running up to Christmas Eve (always a bit of a procrastinator!). As neither my wife or I know how to sew, we decided to turn the space underneath the sink into a cabinet. The paint color was left over from painting our kitchen and family room, and we decided to stain the stove and counter tops. Overall, we are very pleased and proud with how this turned out, and our 2 year old loves playing with the set!

Wed, 12/31/2014 - 13:15
This looks awesome! Love all the details and the green color with the stained counter. Great job!

Wed, 12/31/2014 - 15:17
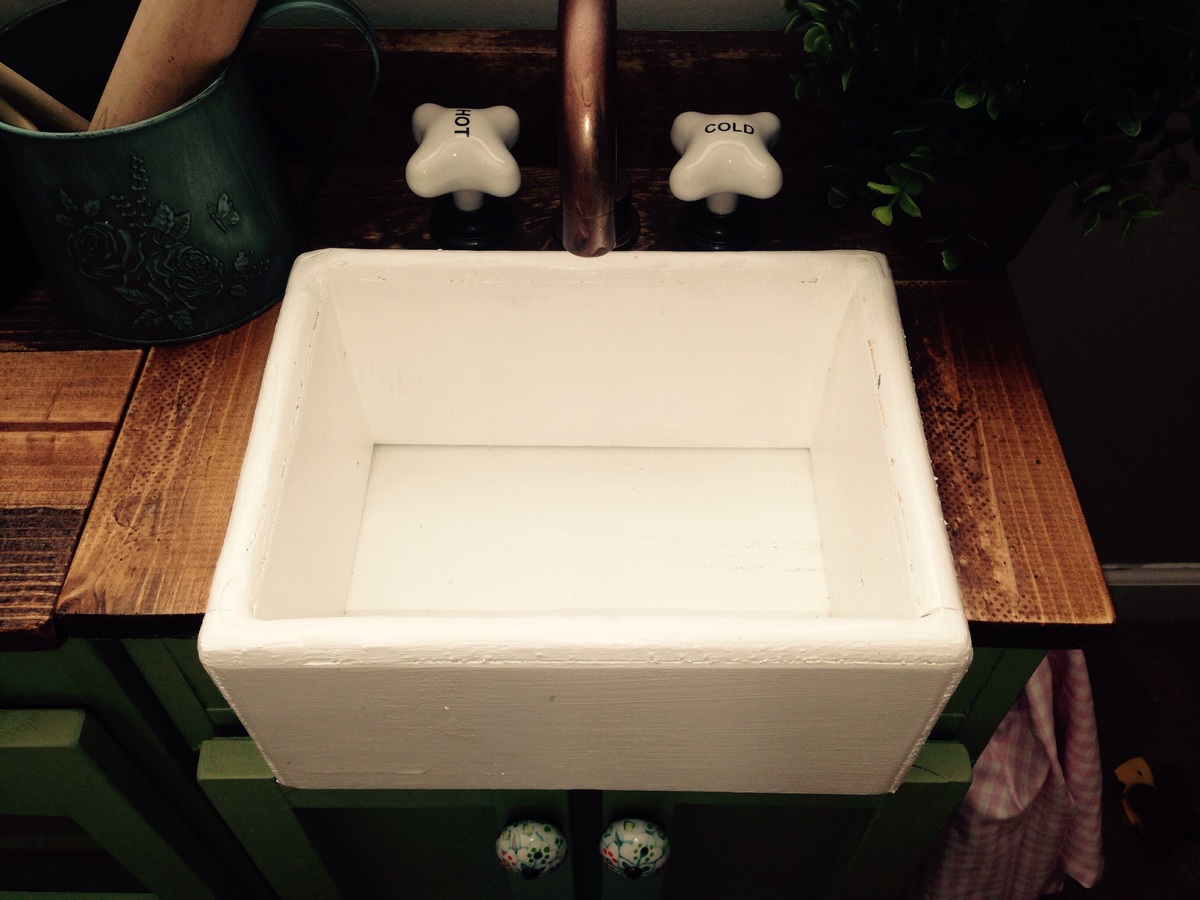
This is so adorable. I especially love the little sink.
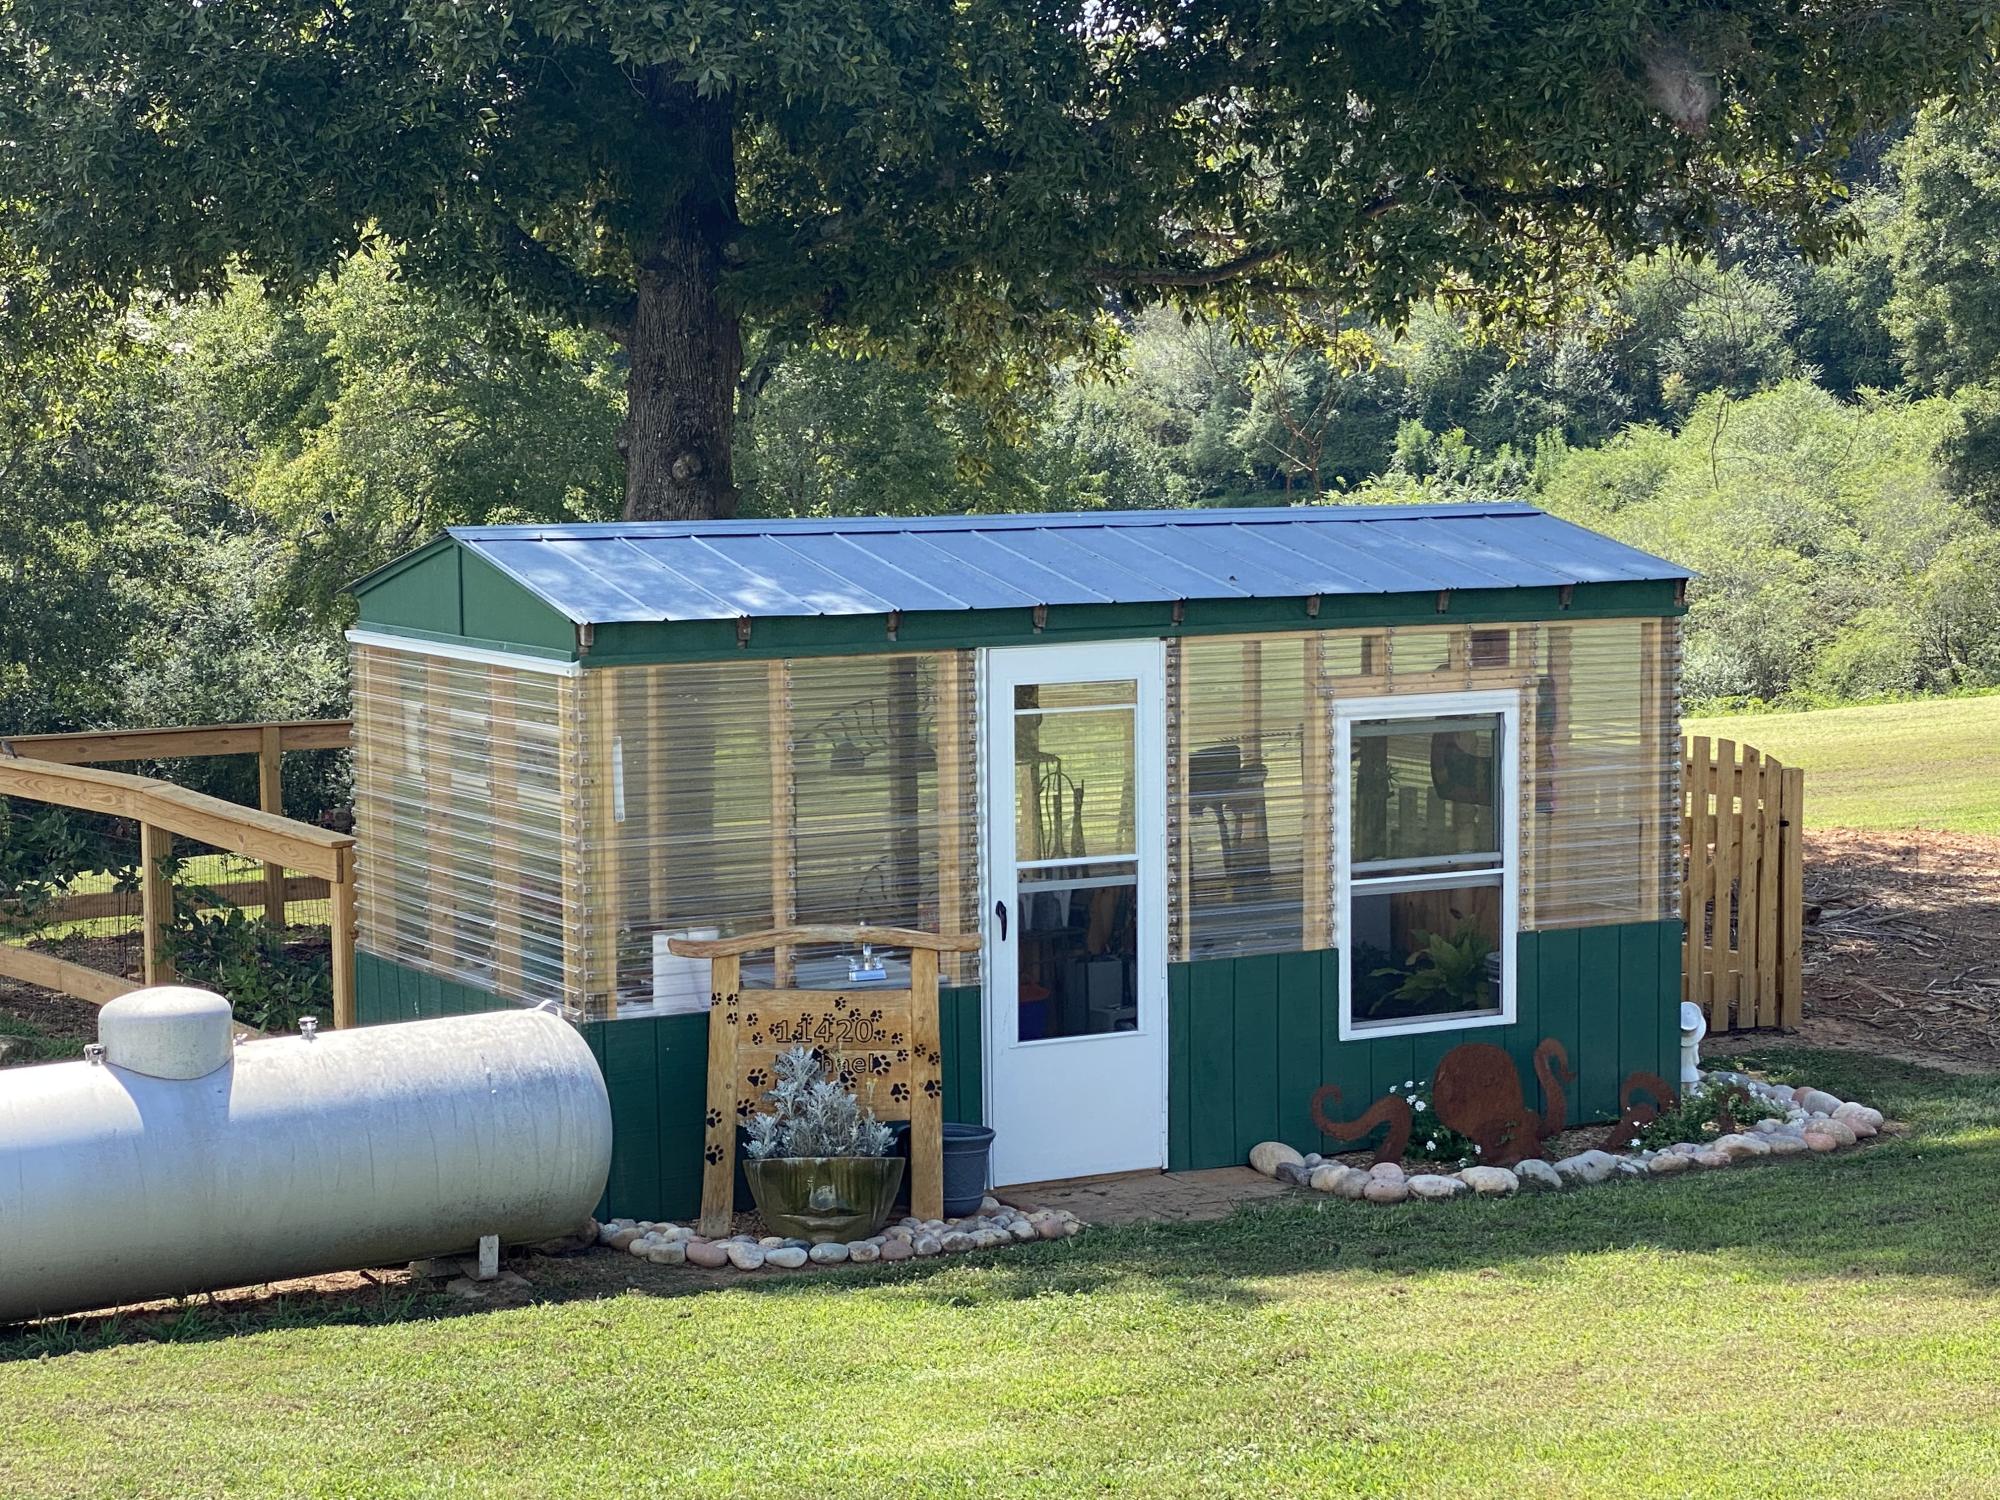
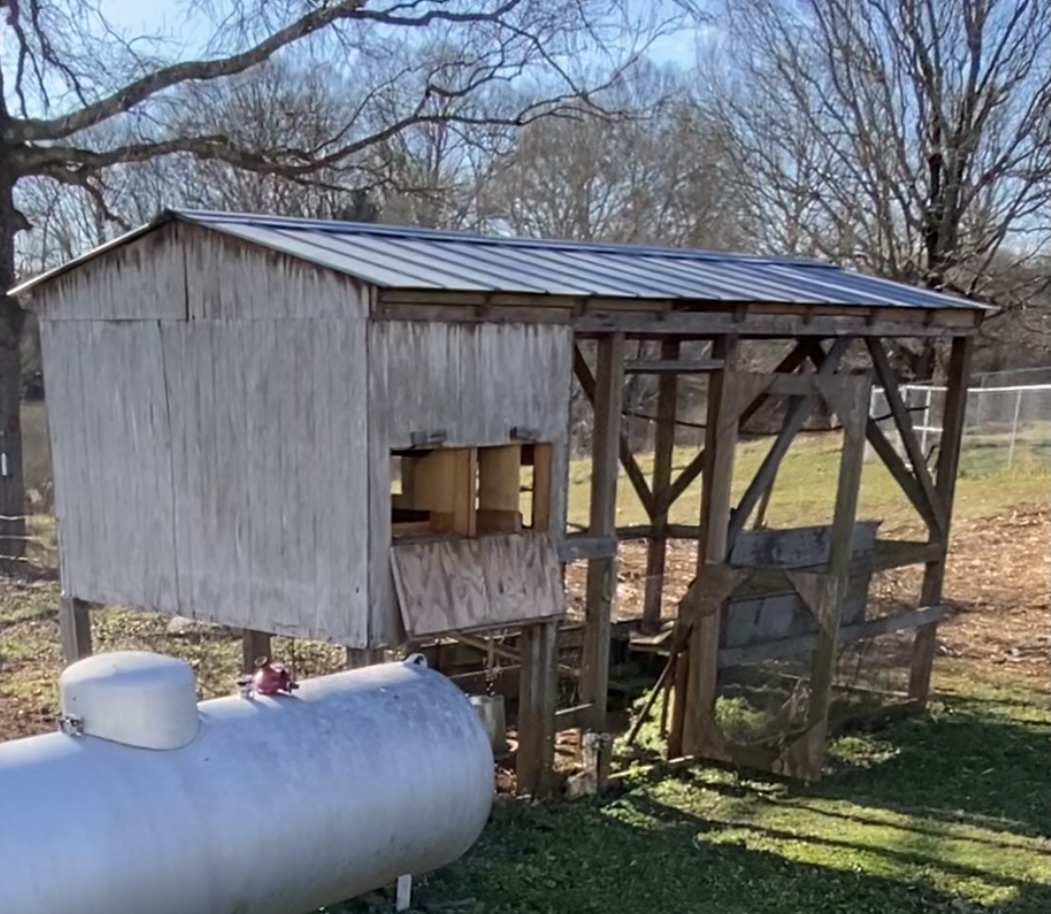
Using a couple of the Ana White Plans and YouTube videos, converted a run-down, Carpenter Bee infested chicken coop into a functional greenhouse with running water and electricity.
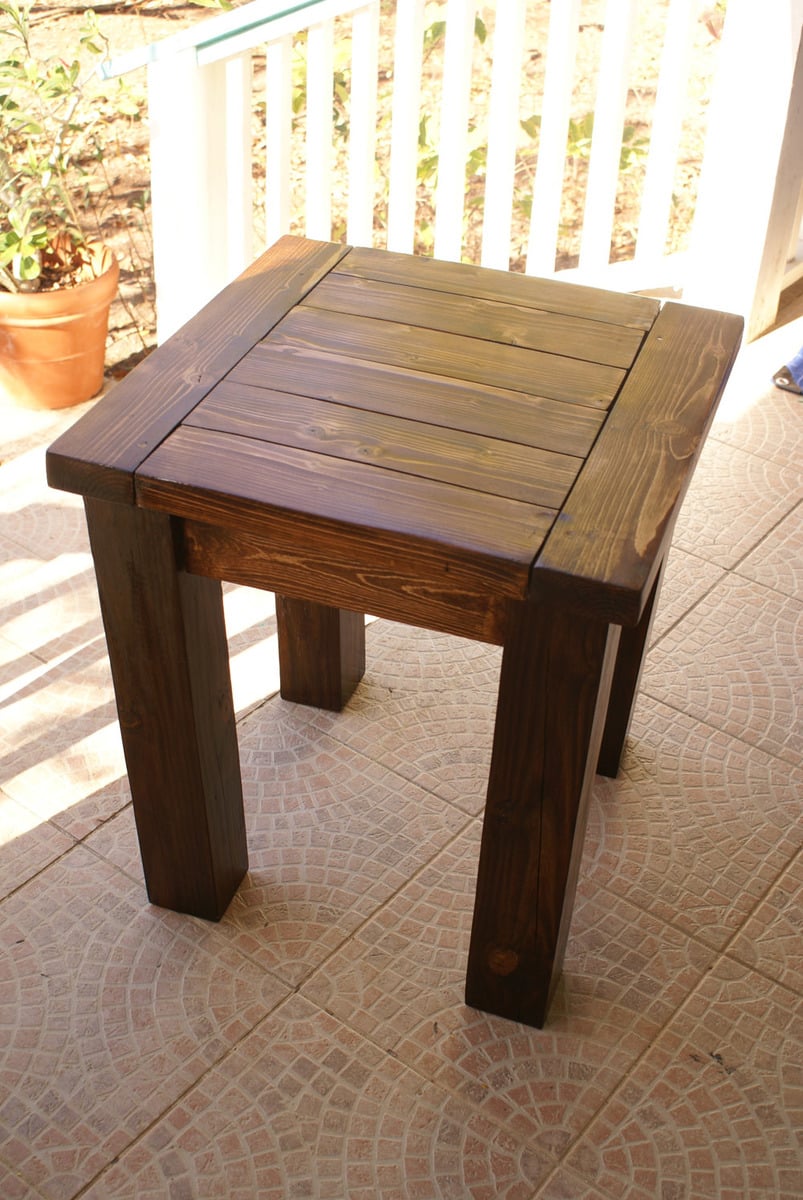
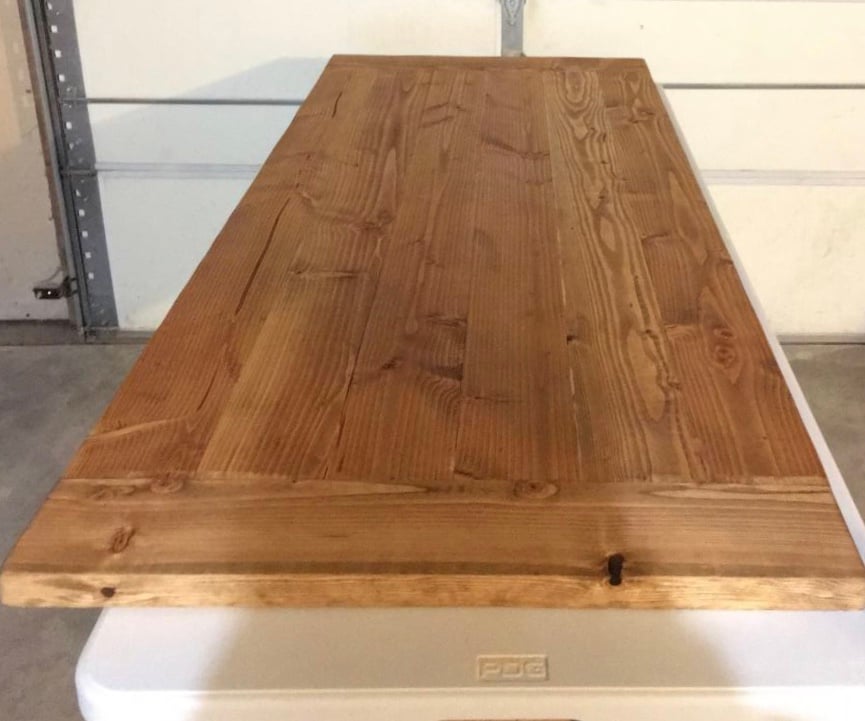
Love the simple look of this collection! This was my first table to do. I will be doing more...such a great and sturdy table. The wood is absolutely beautiful stained too!

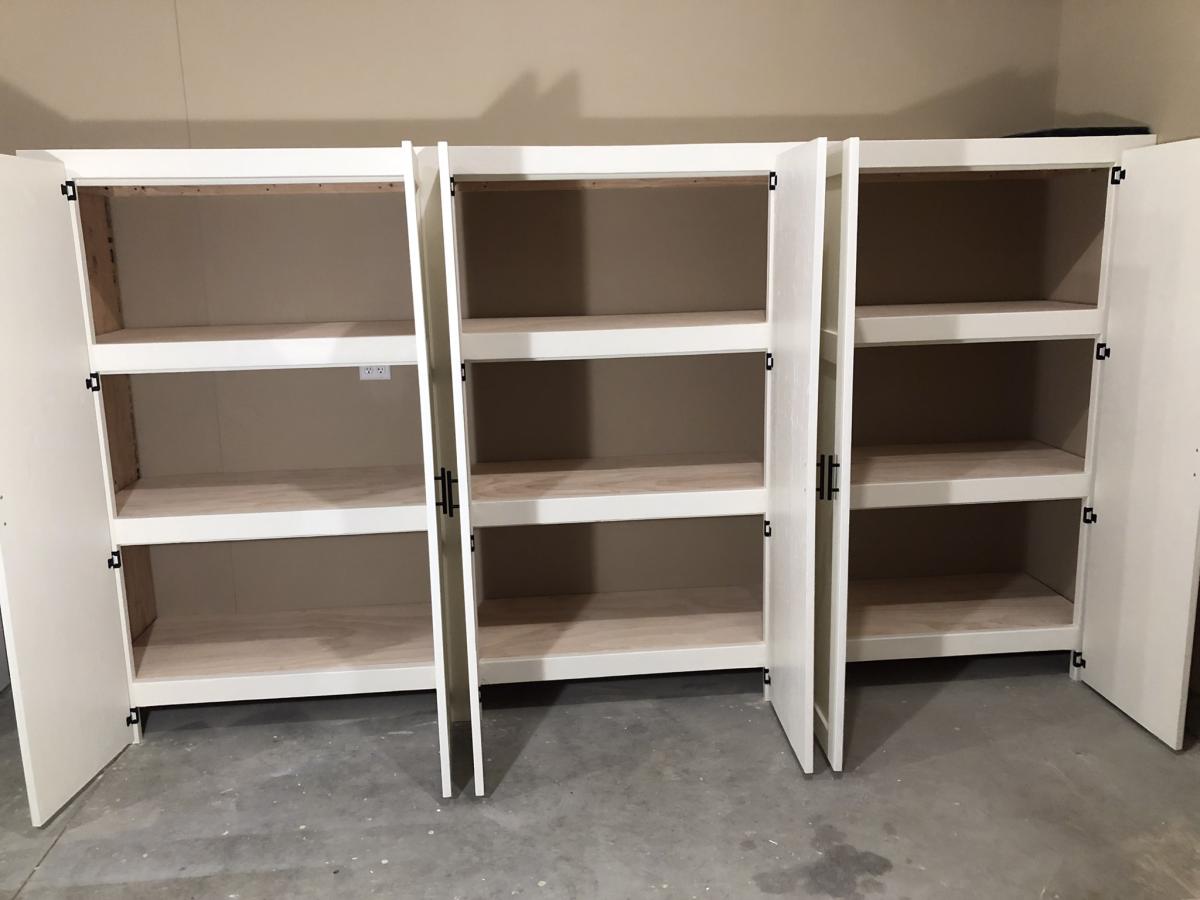
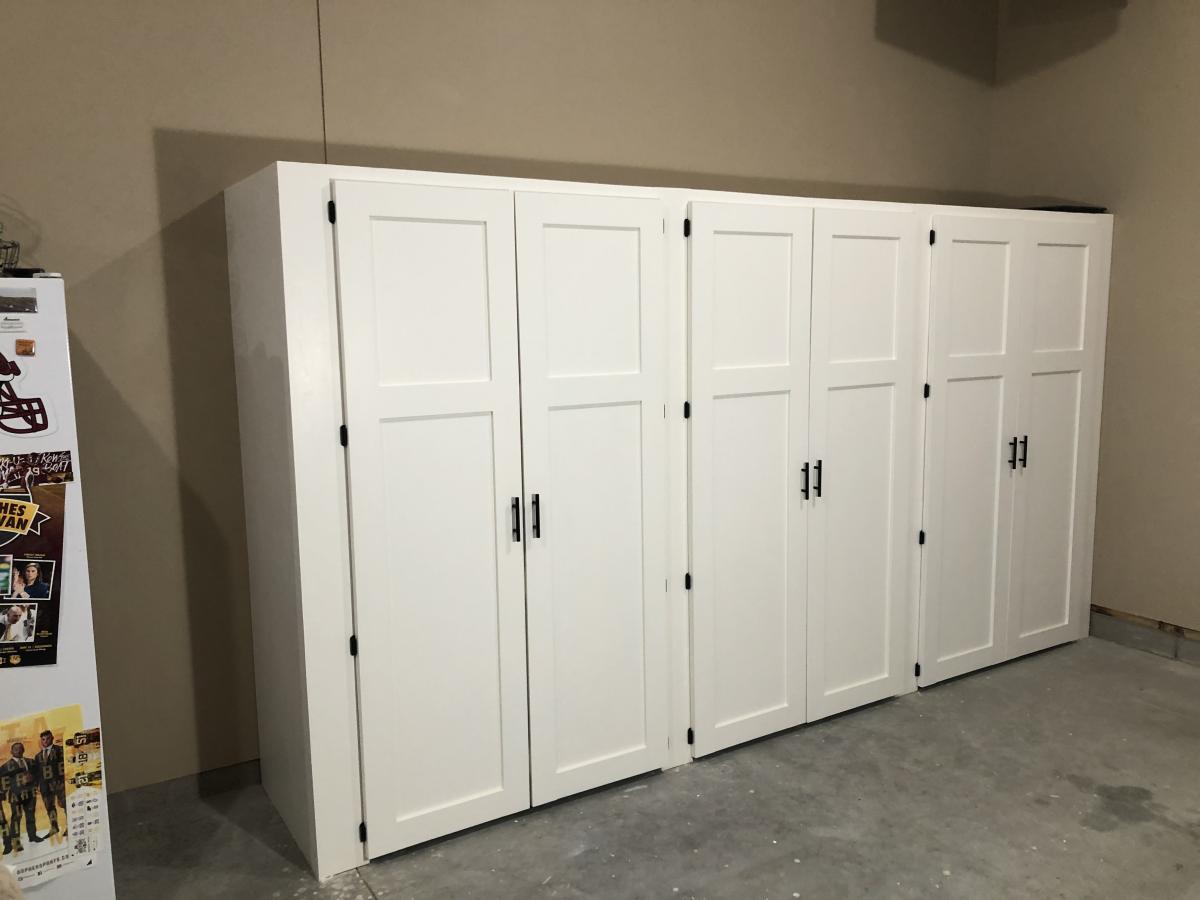
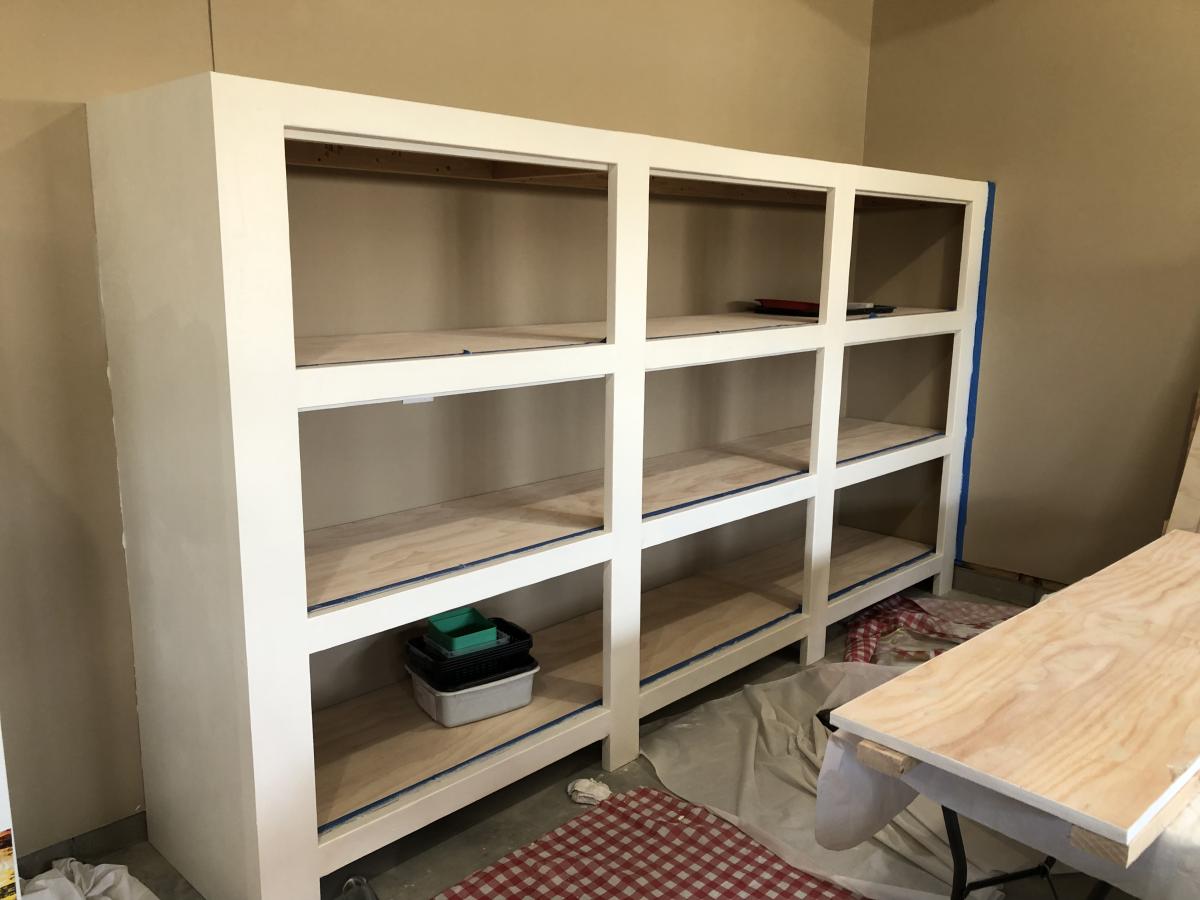
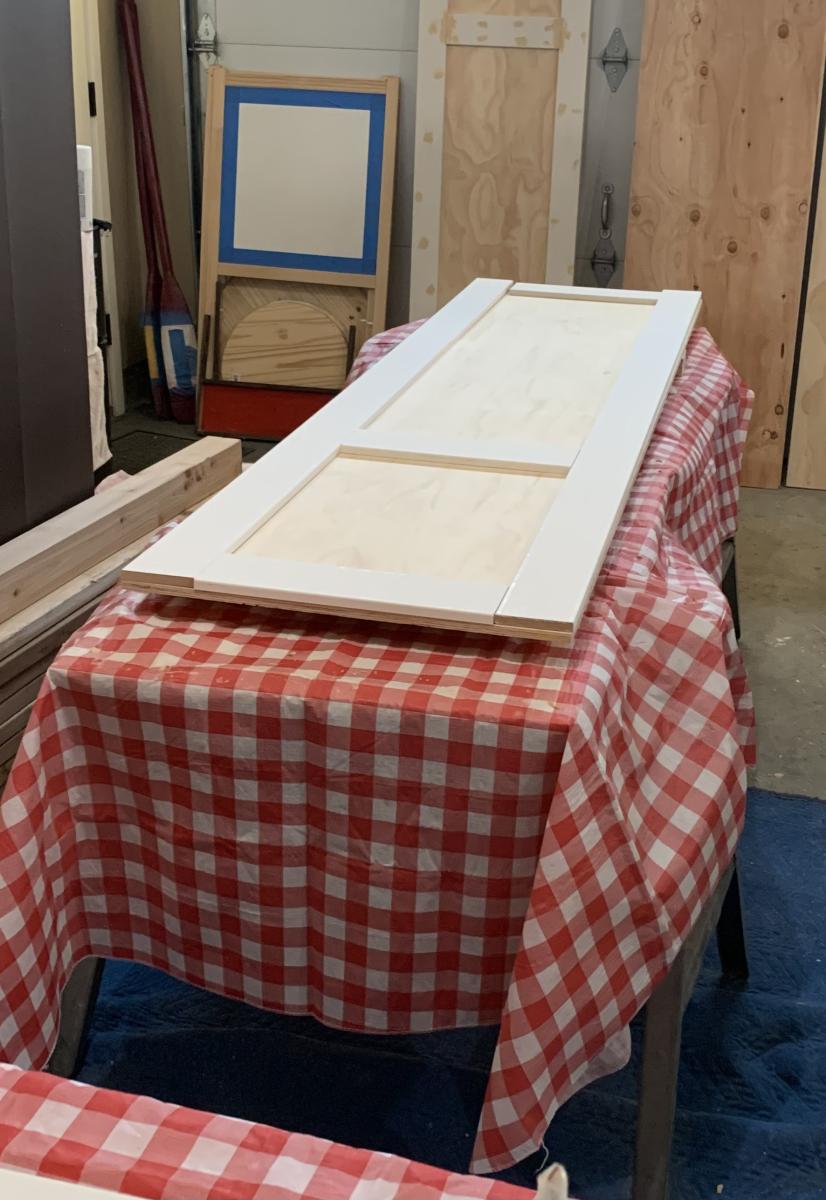
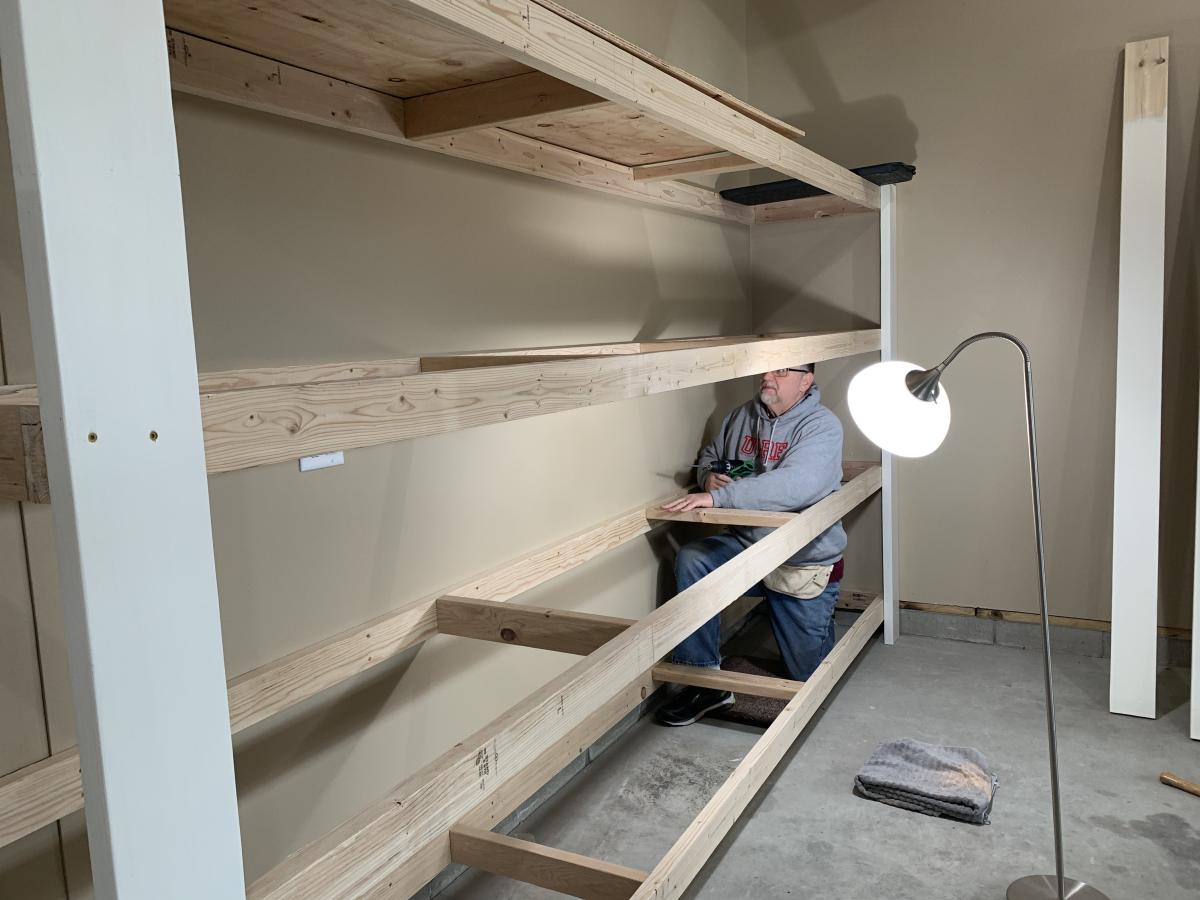
Thank you so much for the two videos we watched of you and your husband explaining and demonstrating how to build garage shelves. We used your plans as a guide. We chose to add shaker style doors to create cabinet shelves. We absolutely love them. We are not handy as you can see we had a living room lamp for a work light and a lifetime table as a work bench. Thank you!
The Paulsons
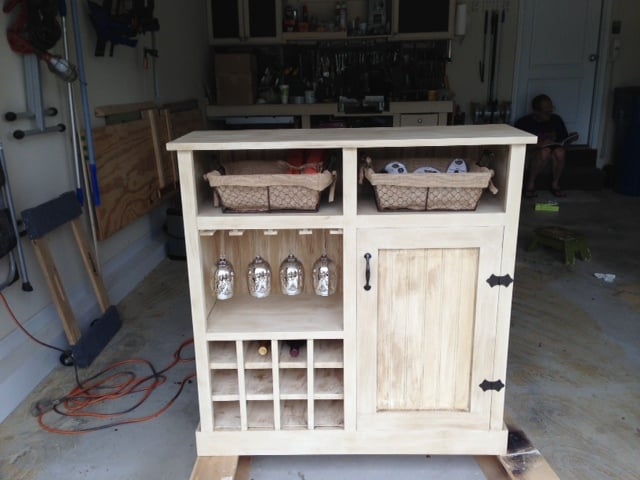
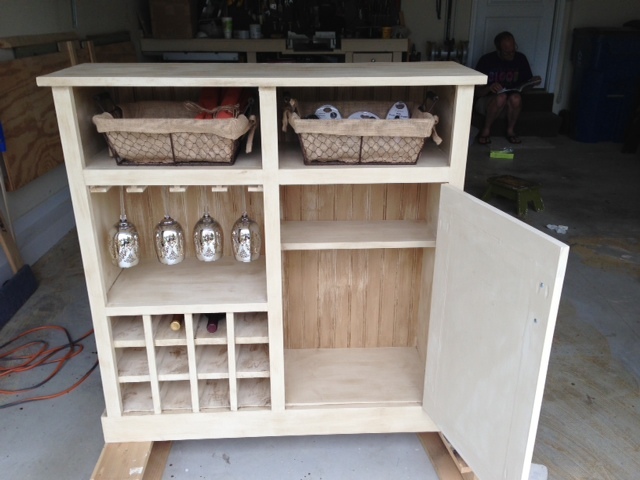
Happy Tuesday everyone! Today I am going to share a project with you that I built with the help of some plans from Ana-White.com.In a weekend we carved out a custom wine cabinet we will be donating to a local children’s charity here in St Peter’s, MO. This lovely cabinet was created from the SHANTY OPEN SHELF CONSOLE, which was designed for the Shanty sisters at Shanty-2-Chic blog site. We altered the plan to make it a wine cabinet which came out spectacular! Ana, thank's again for providing your free plans. I will be happy to upload the altered plans in a couple days so you can all enjoy them! Happy wood working!
Wed, 08/07/2013 - 14:43
Thinking this would make a great Christmas Gift idea for quite a few of my friends! Can't wait for the altered plans!
Thu, 08/08/2013 - 17:55
The plans are in process - Hope to have them posted this weekend to your Ana's site!
Sun, 08/18/2013 - 08:46
Looks great! Any idea when the altered plans will be available? Itching to get this built for my SO.
Tue, 08/27/2013 - 13:51
I'm adding this to the top of my build list as soon as the modified plans are uploaded! Thanks for taking the time to add them.
Wed, 08/28/2013 - 17:10
Wine Console Altered Plans
Sorry it took me so long, our blog over at Hello...I Live Here has kept us busy with all our new visitors. But as promised here are the altered plans to help you make the wine bottle holder and stemware holder.
MAKING THE WINE BOTTLE HOLDER:
Start your project with Ana White's plans. Finish the whole thing, but only make one door. Leave the other side open and alter as follows to get your wine holders:
1. First cut 3 additional shelves 17 5/8" wide. Make sure you Kreg 3/4" holes on the right and left side of the shelves, connect to the sides with 1 1/4" PH (pocket hole screws - Kreg).
2. We spaced each of our shelves 3 1/2" apart, allowing 12 bottles to be stored in the wine case.
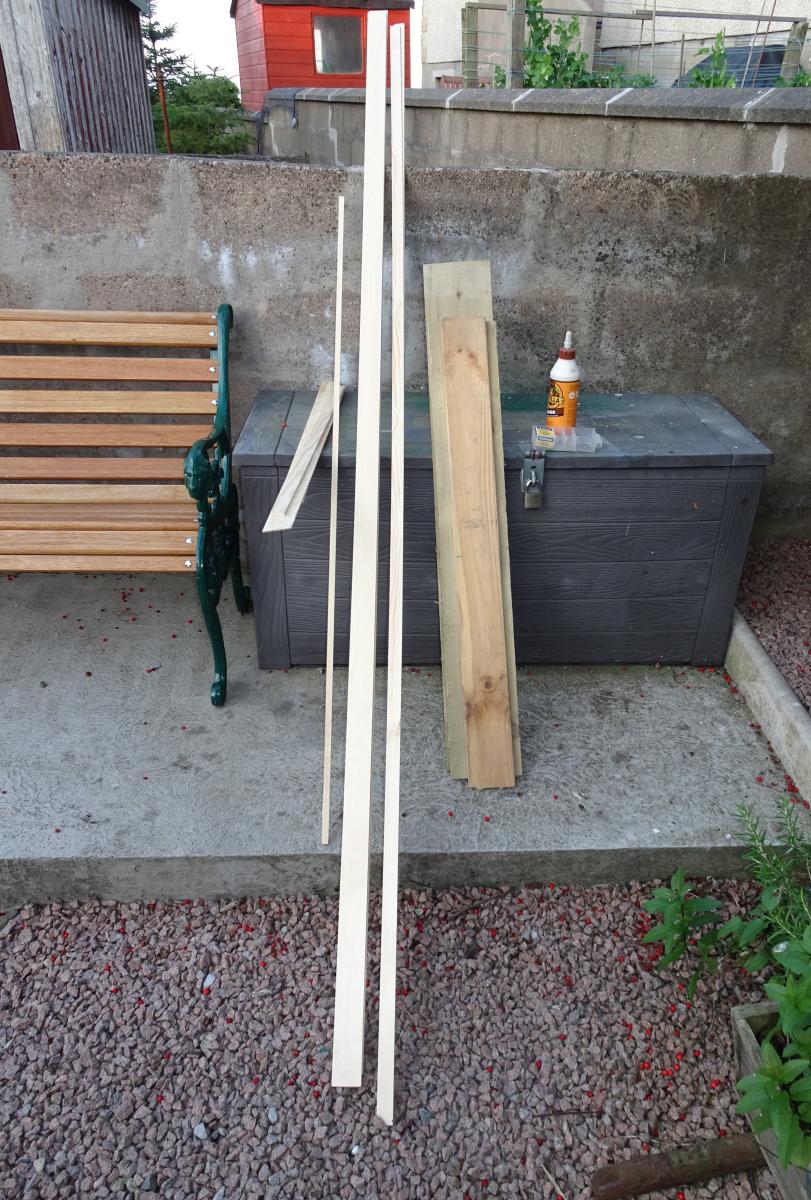
3. Cut in half length wise a 1x2 board. This will give you a horizontal stringer about .75" wide.
4. We customized the top shelf board to fit the distance - we did not want the board to hang down interfering with the wine storage. We trimmed this board to 3/4" to match the shelf thickness. Then glued and nailed into place.
5. Once the top board is in place, measure the distance from the bottom shelf to the top shelf to just under the top shelf board from step 4. With a pencil mark the stringer and cut to size, and install with glue and nails. This step needs to be completed 3 times 3 1/2" apart from each other. You should now have 12 square boxes making your wine storage.
6. On each shelf behind the three stringers, we placed a divider to keep the bottles from hitting one another. Each divider is 1/2" square, and 11 1/4 long, to match the shelf depth.
MAKING THE WINE STEM HOLDERS:
Now that you are done building the box for the wine holder, we can move on to the stemware holder.
1. We purchased .25 x 1.5" x 36" poplar flat wood. This will make the bottom of the T's and L's stem ware holders.
2. Then we used 1/2" square pieces of poplar to make the L and T mounts. Mount the flat poplar to the 1/2" squares making 2 L shaped pieces for the Right and Left side of the unit, then make 3 T's for the centers. You will use glue, and clamp them down tight, then nail together.
3. Hang each L shape on the Left and Right Side of the unit with finish nails. The next part is kind of trick and depends on the size of the stem bottom you will be hanging not all base bottoms are the same. Once your L's are hung, take the stem wear you will be hanging and rest it into the L shape holding the glass (do not let go of the glass it will break if dropped). Then position the T shaped molding to accommodate your stemware. Move the glass in and out of the L and T until you get your desired width for your stemware. Mark the T you are holding with a pencil , carefully sit down the stemware and mount the T shaped holder. Continue until all 3 of the T's are hung ( we used glue and nails to complete this process).
We used a bead-board backer instead of plywood to give it that French country feel.
We hope these plans help you build a piece you love! This piece of furniture brought the charity we donated it to $500 extra dollars to help their children. We at Hello...I Live Here were very proud of the job we did and that we got to help some wonderful children!
Visit us at www.helloilivehere.com or stop by our Facebook page and give us a big like once you complete your project!
Happy building ;-)
- LC
Thu, 08/29/2013 - 13:01
Thanks so much for posting the plans! My sister has been asking me to make this for her since she saw the pics a couple of weeks ago.
Side note: I'm from St. Louis, MO, so seeing you were from St. Charles caught my eye!
In reply to Thanks so much for posting by Joeboxer1013
Thu, 08/29/2013 - 16:06
No problem - we are actually in Ballwin MO - stop past our page and see the other things we do - helloilivehere.com
LC
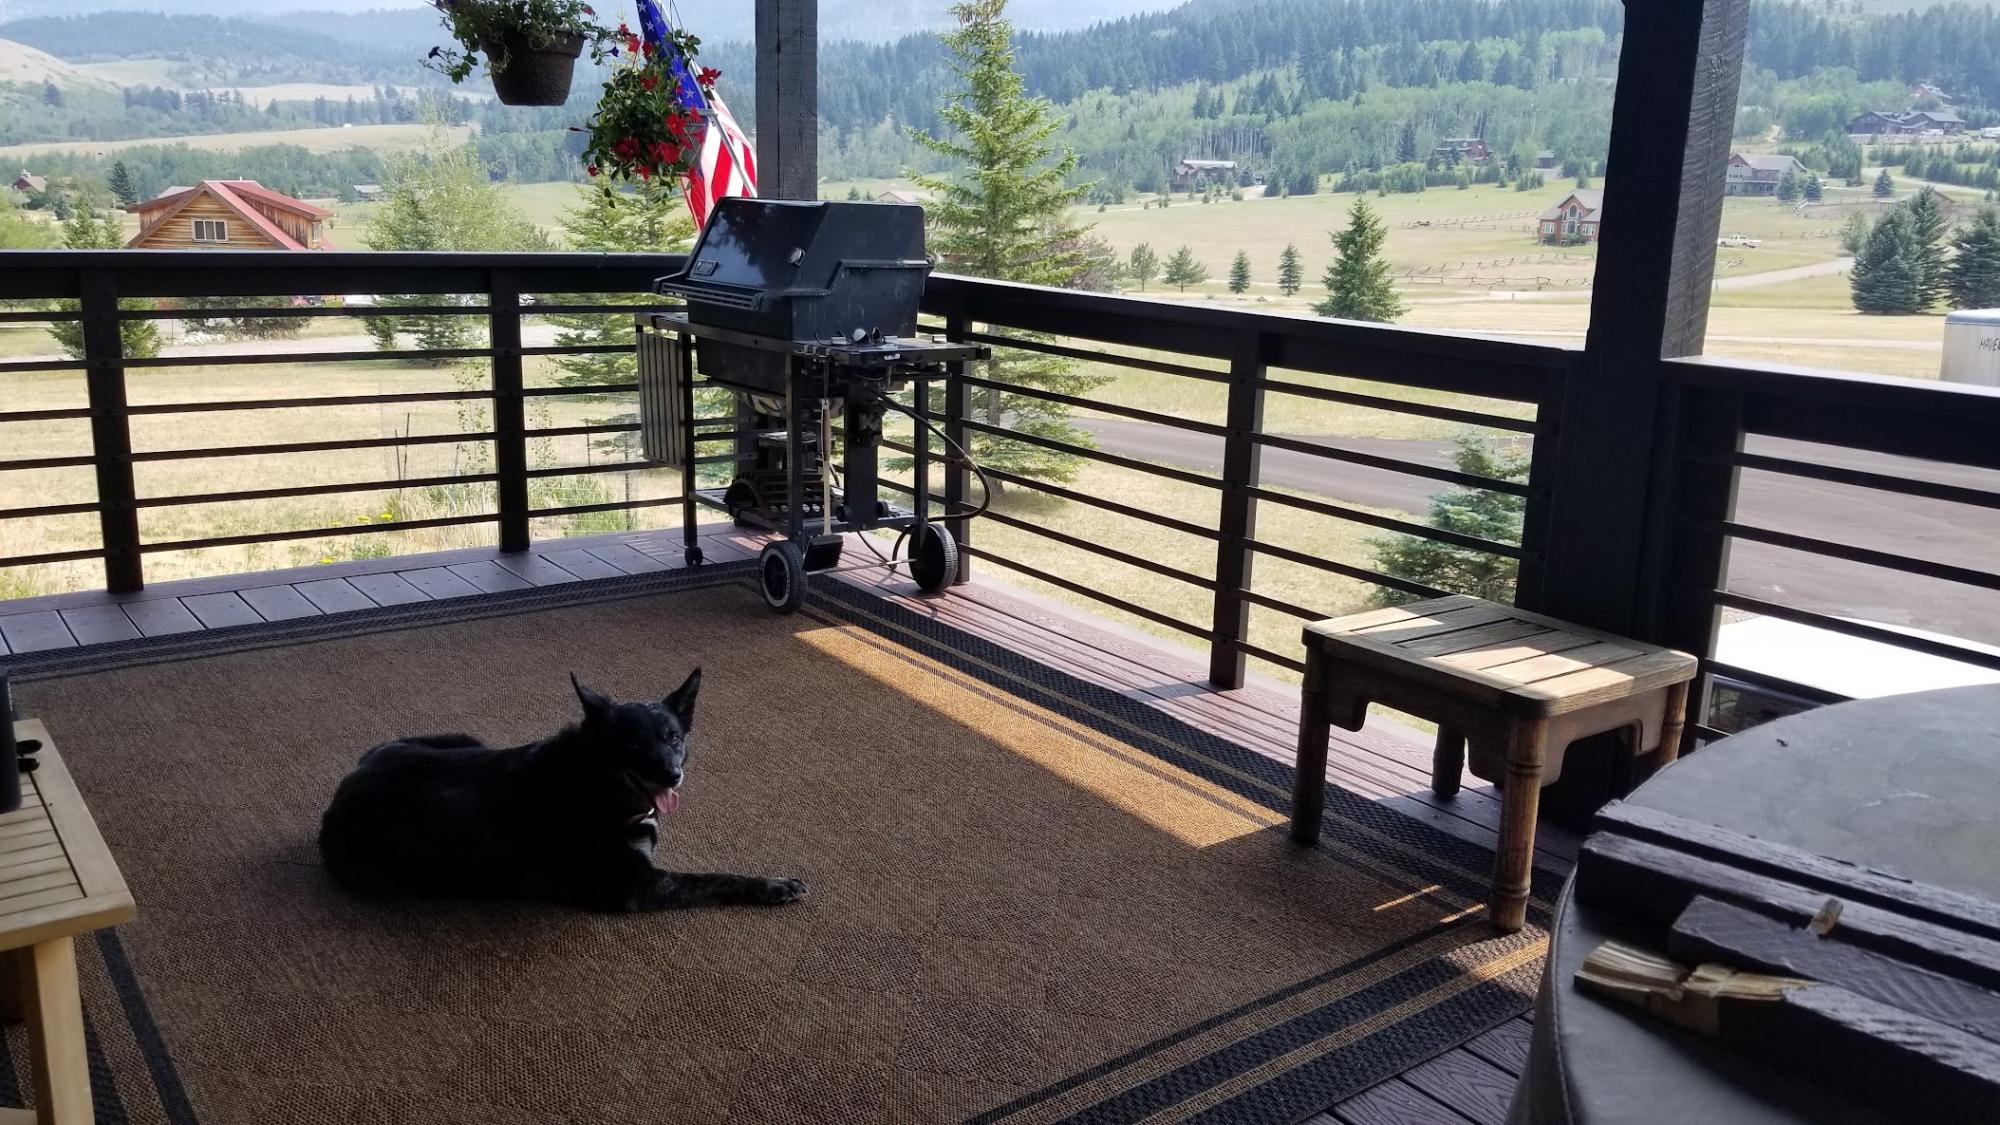
Inspired by the modern farmhouse railing we decided to install the same style on our deck. Our old railing was aged an deteriorated. The project took about two weekends, one to treat the metal with black magic, another to build the actual railing. We love how it looks!
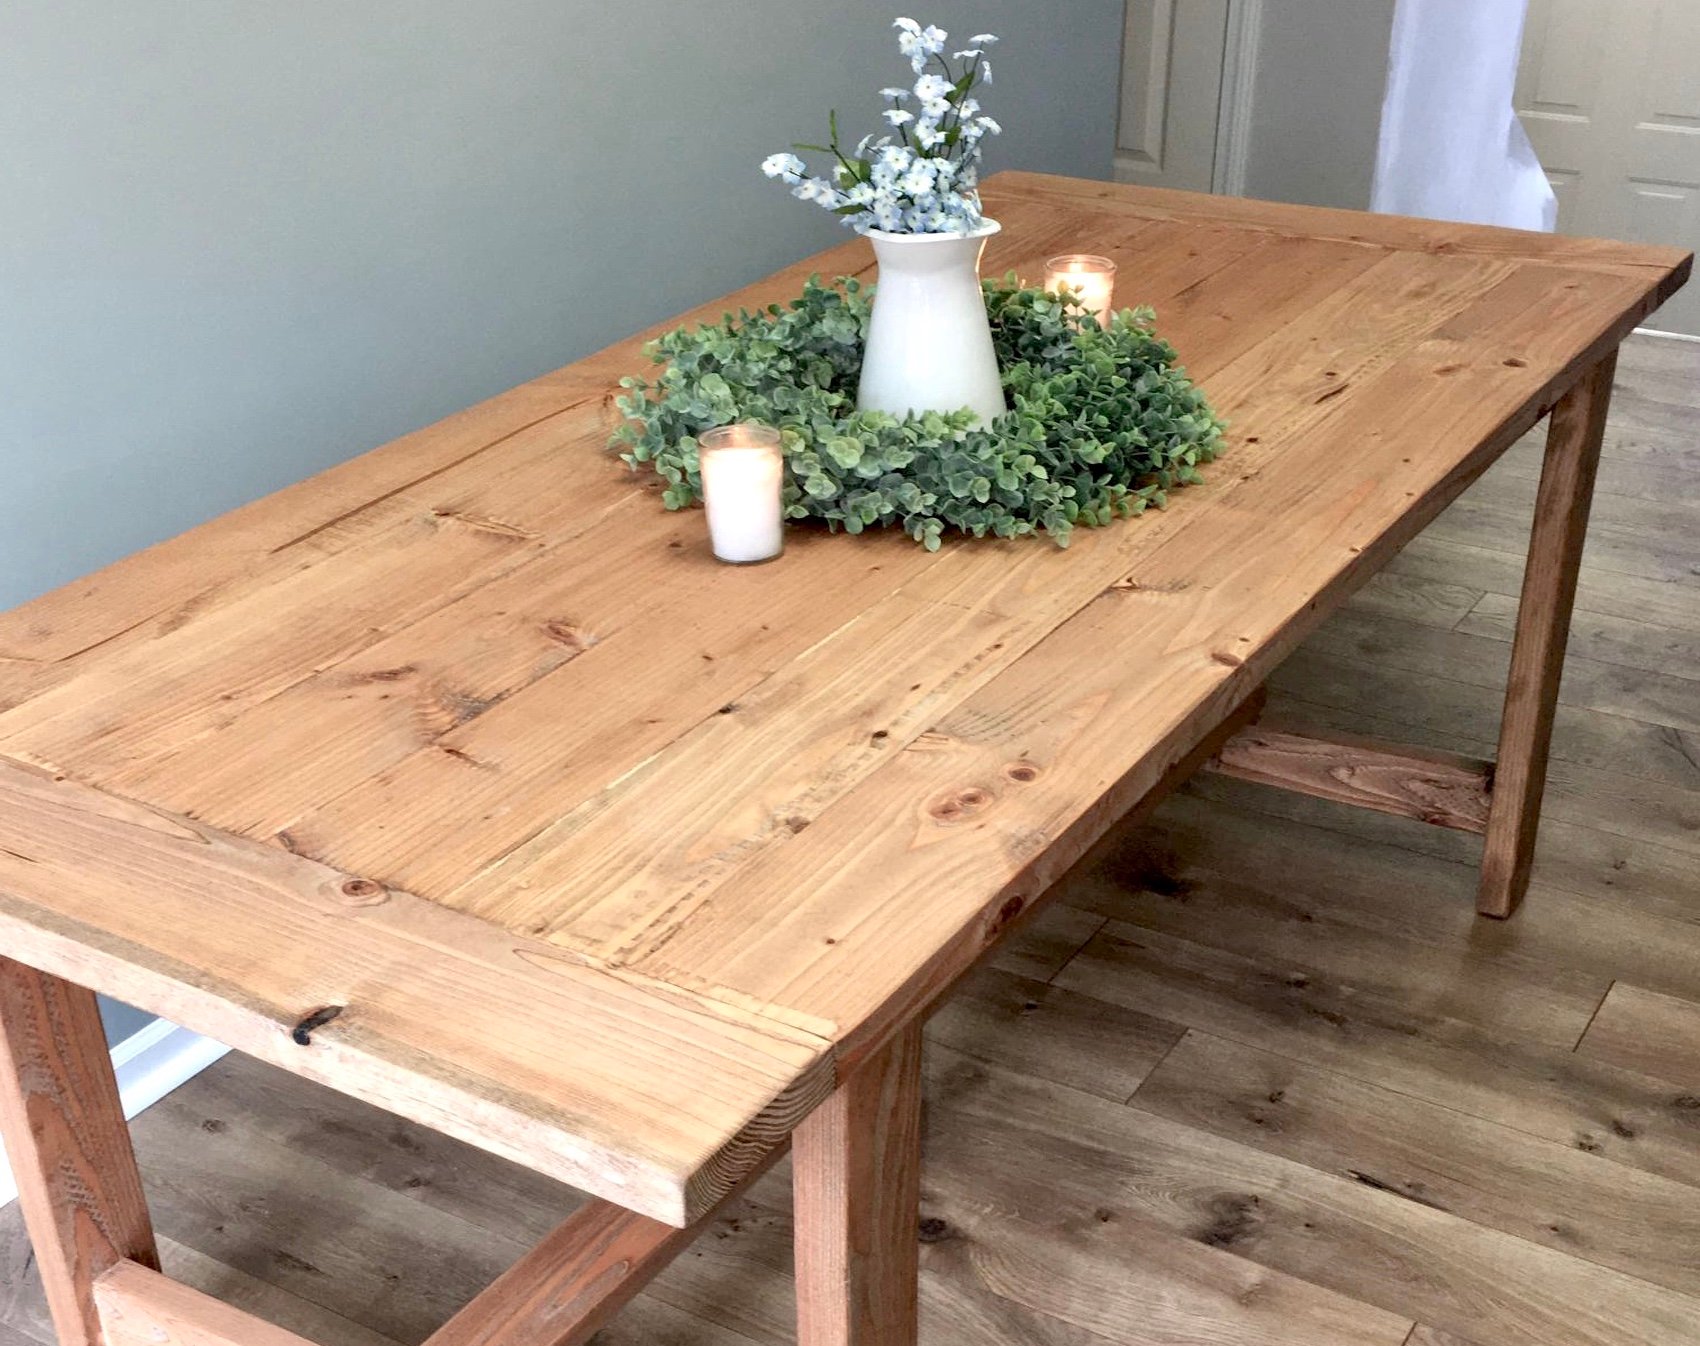
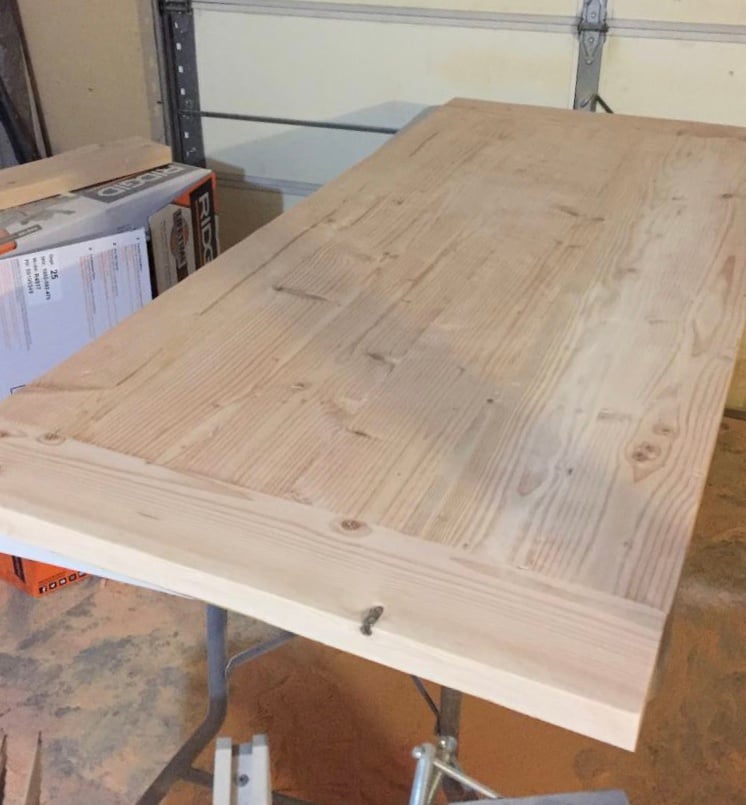
This project was actually my first build (besides a small blanket ladder). I used the Ana White plans every step of the way! Since this build I have created coffee tables, side tables, console tables, head boards and a bed frame. This table gave me the confidence to try an original project of my own. Although this table was fairly simple, it was the project that started it all. That is why I chose for this piece to be my brag post.
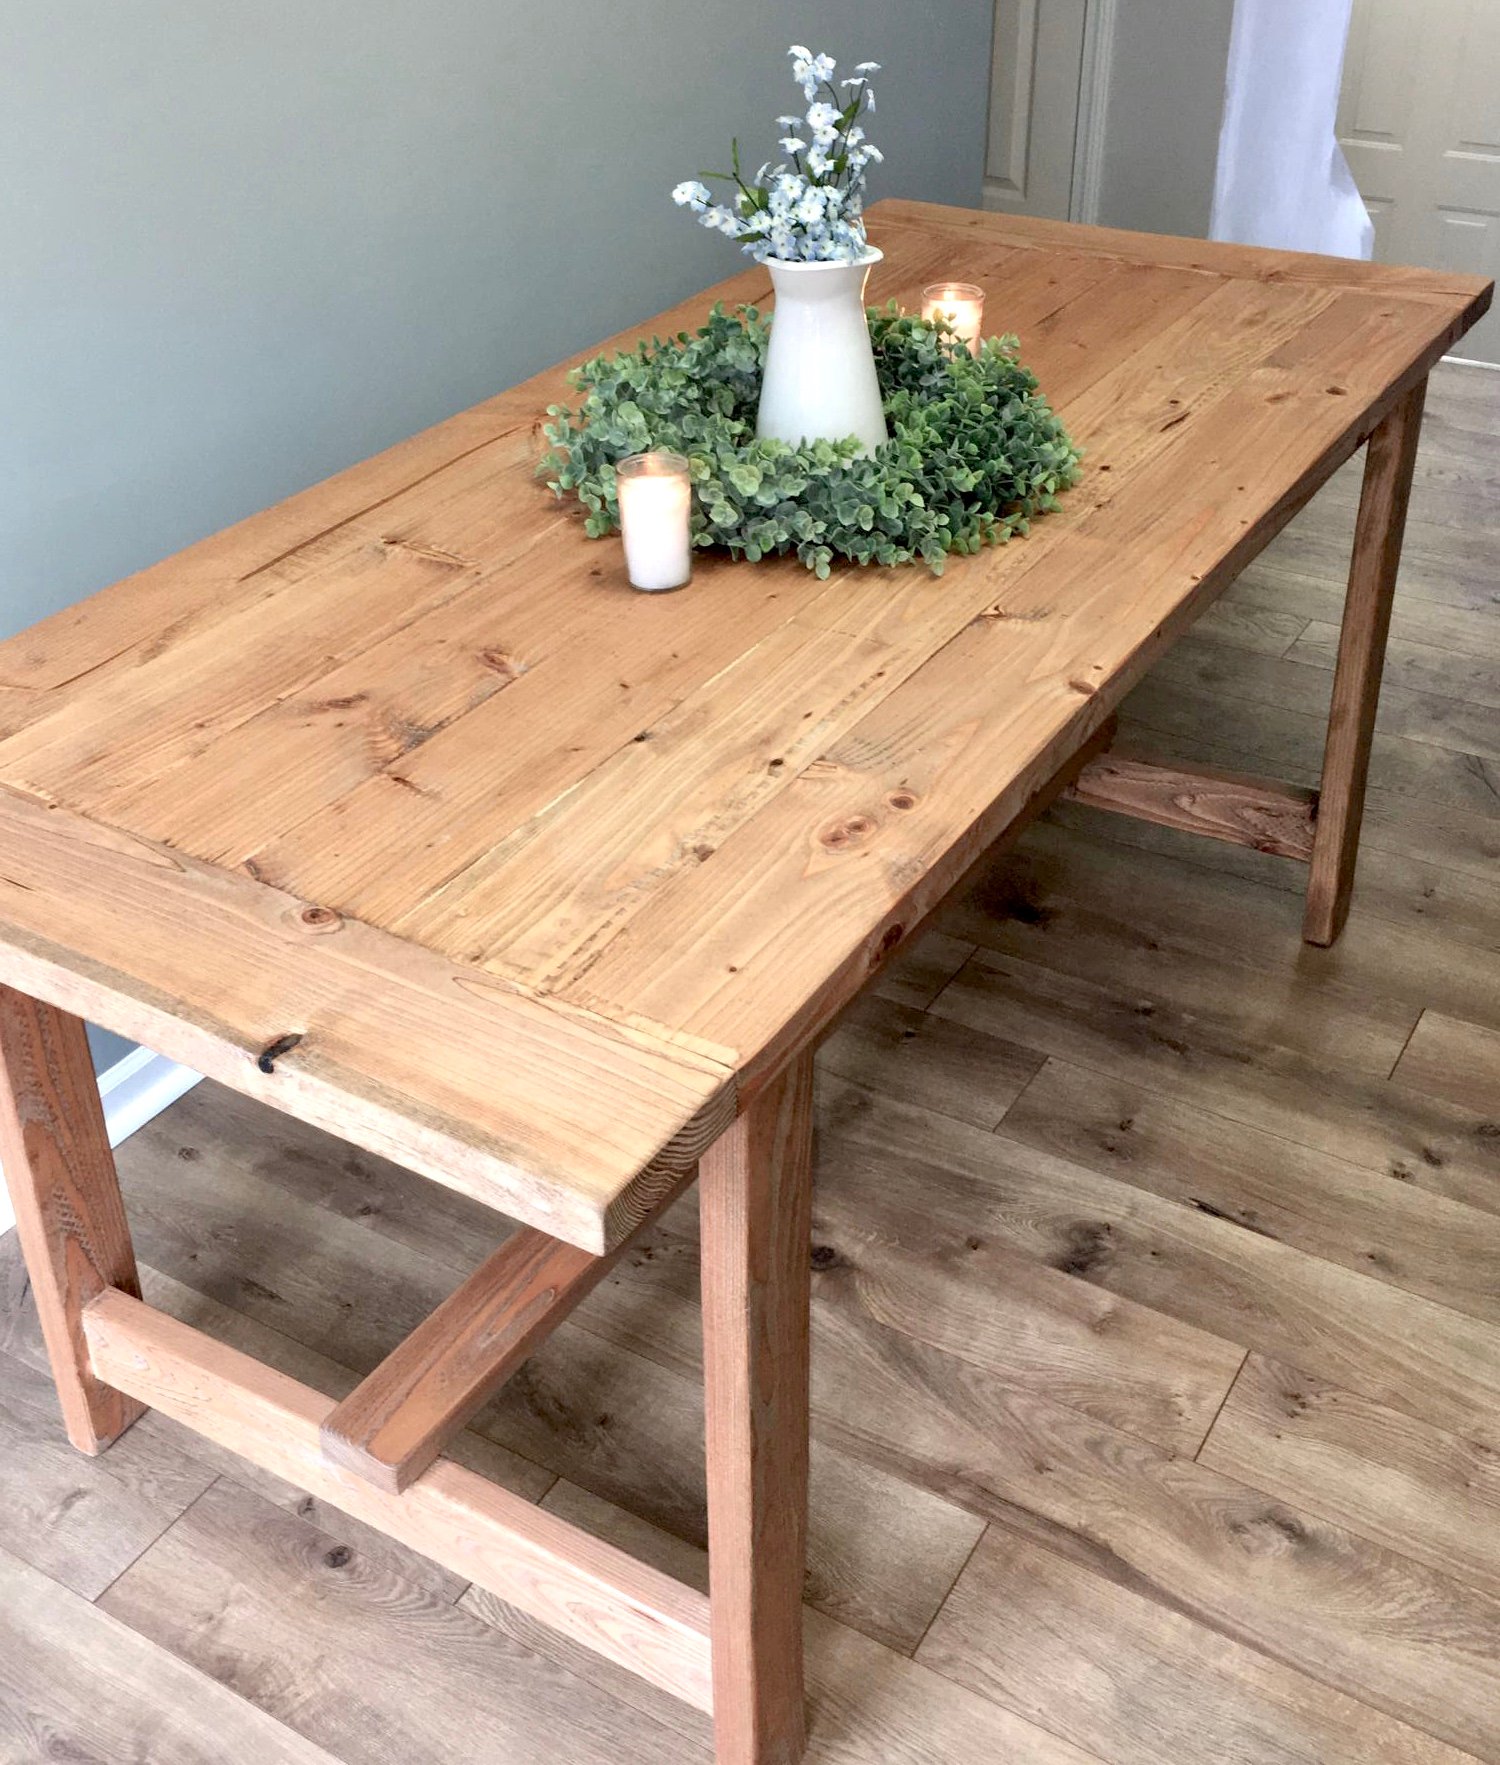


This build was also a lot of fun! I made an extra brace to hold the wait of two sitting on the bench. Thanks again Ana for your plans!
David Marks
This is my first project ever built. I can't thank you enough for this site. I already have several other projects I want to build around the house because of this site. Thank you so much!