2x4 outdoor sofa
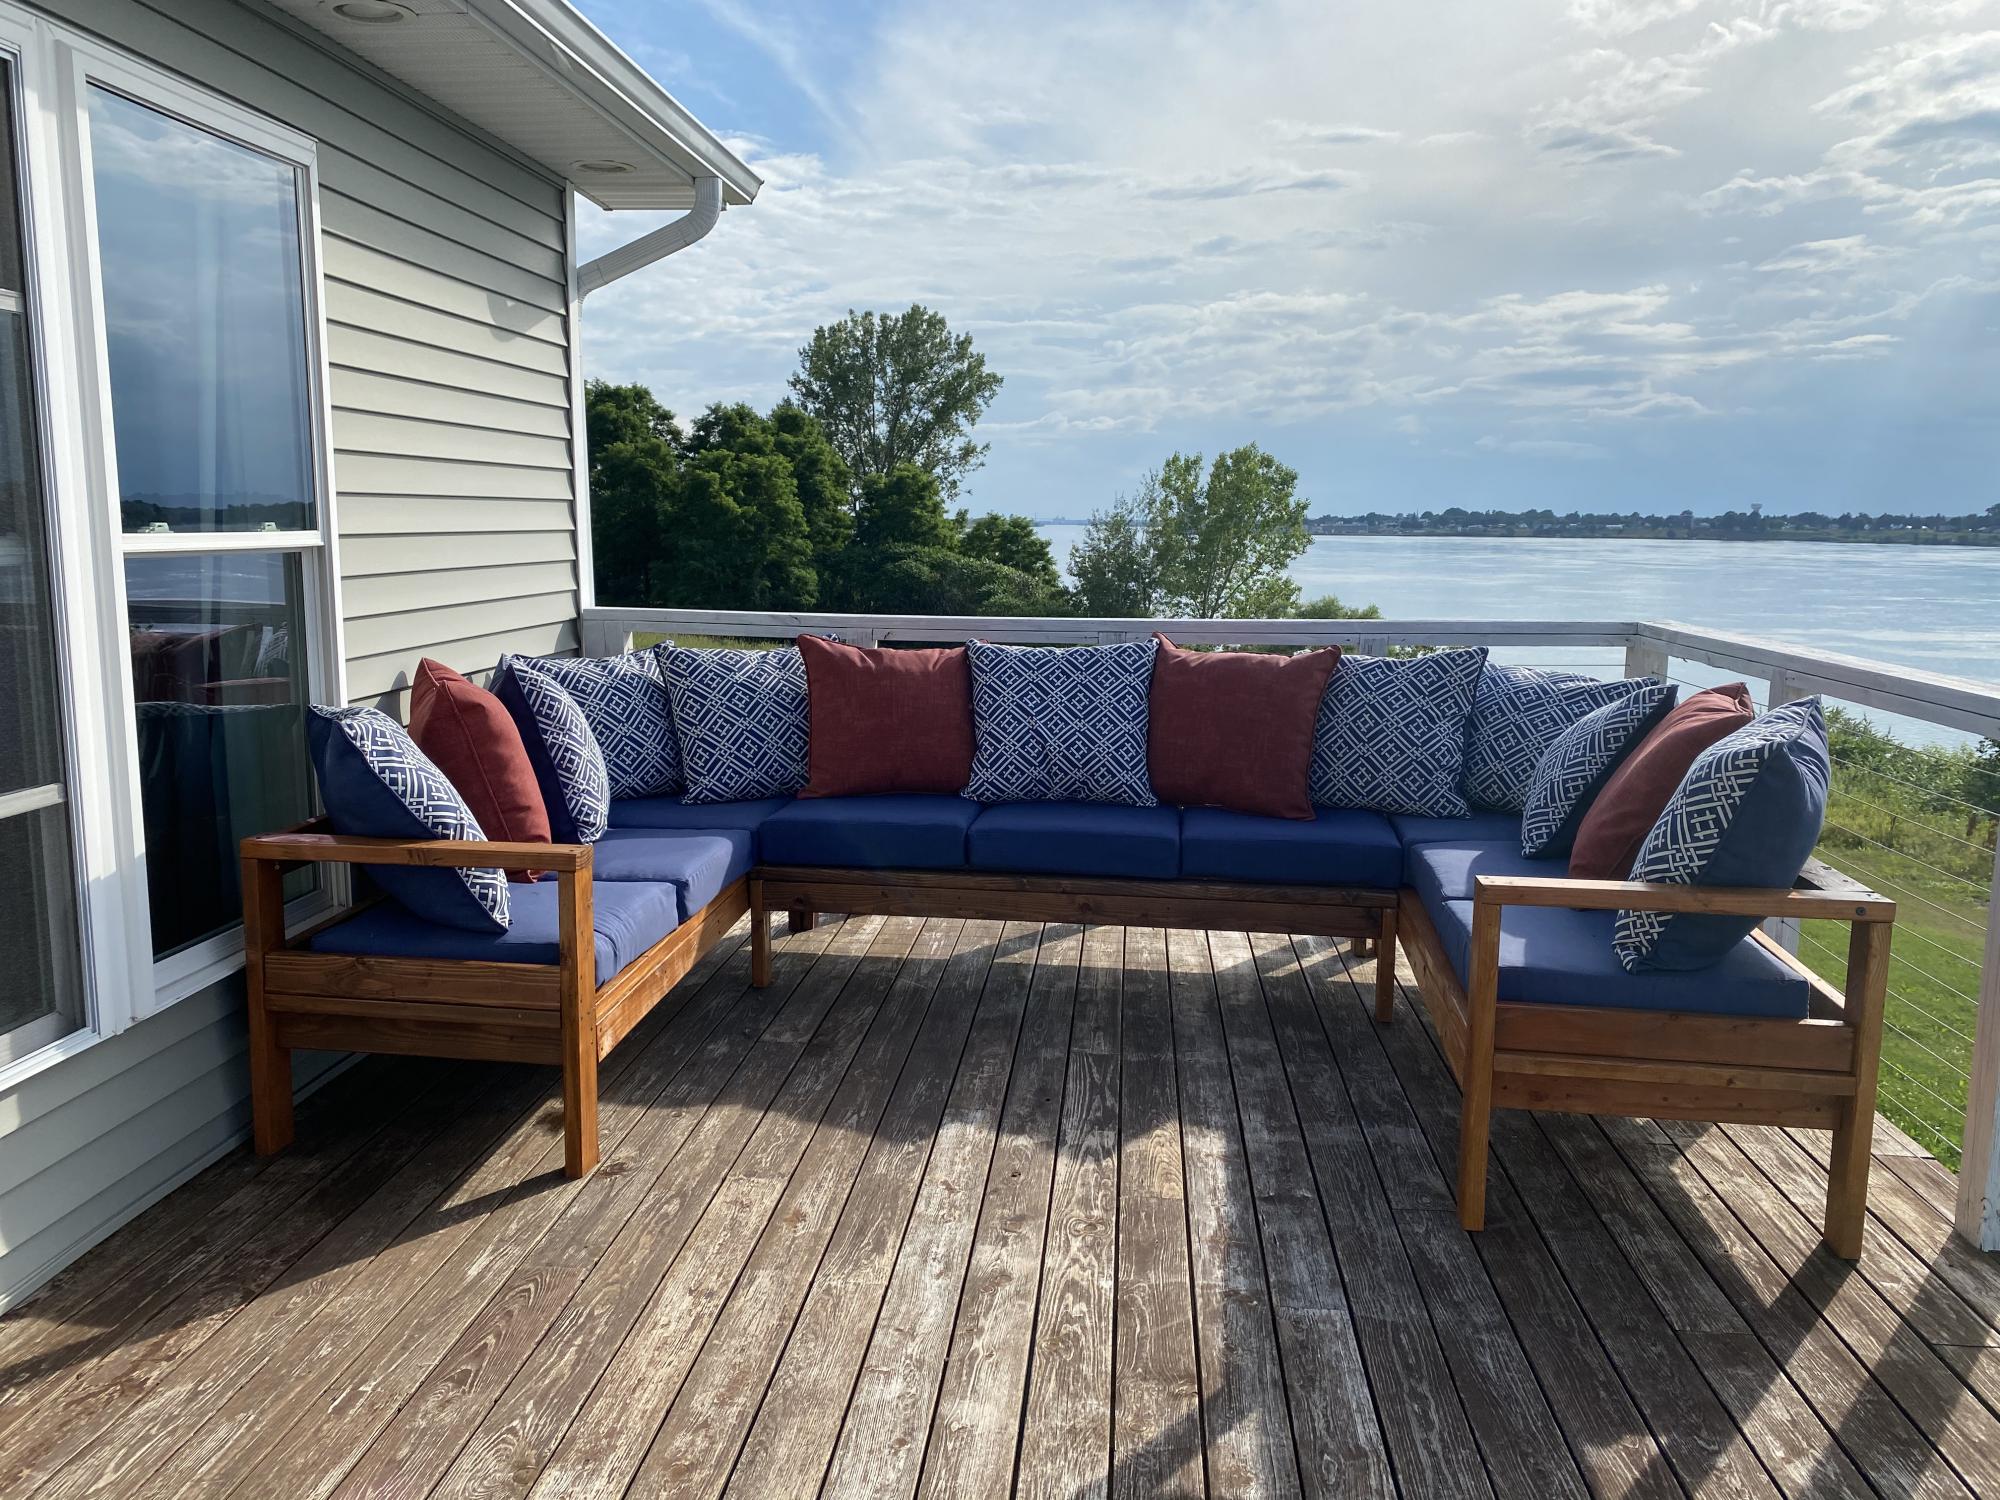
I love my new outdoor sofa! Was a great quarantine project with my teenage children. Finished it off with a ton of cushions from Lowe’s.
Built from Plan(s)
I love my new outdoor sofa! Was a great quarantine project with my teenage children. Finished it off with a ton of cushions from Lowe’s.
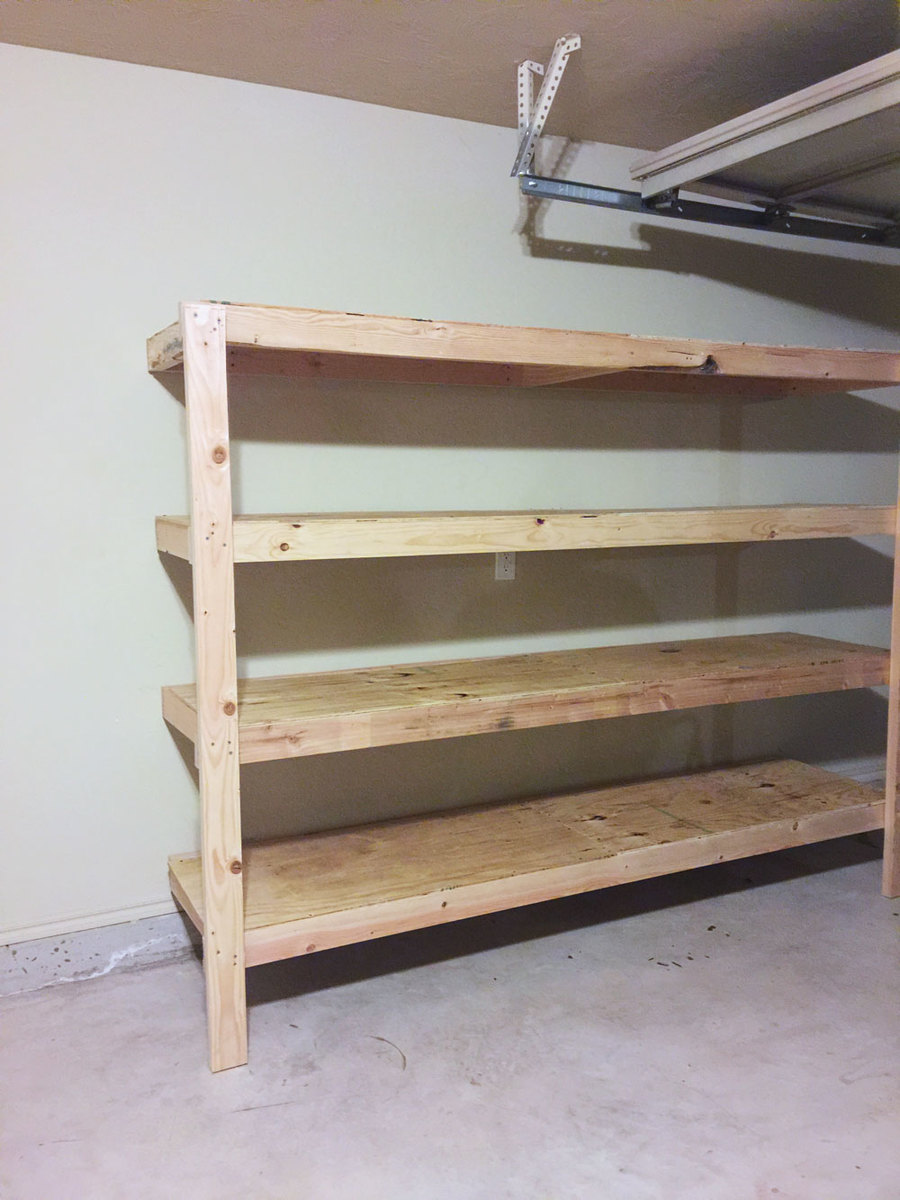
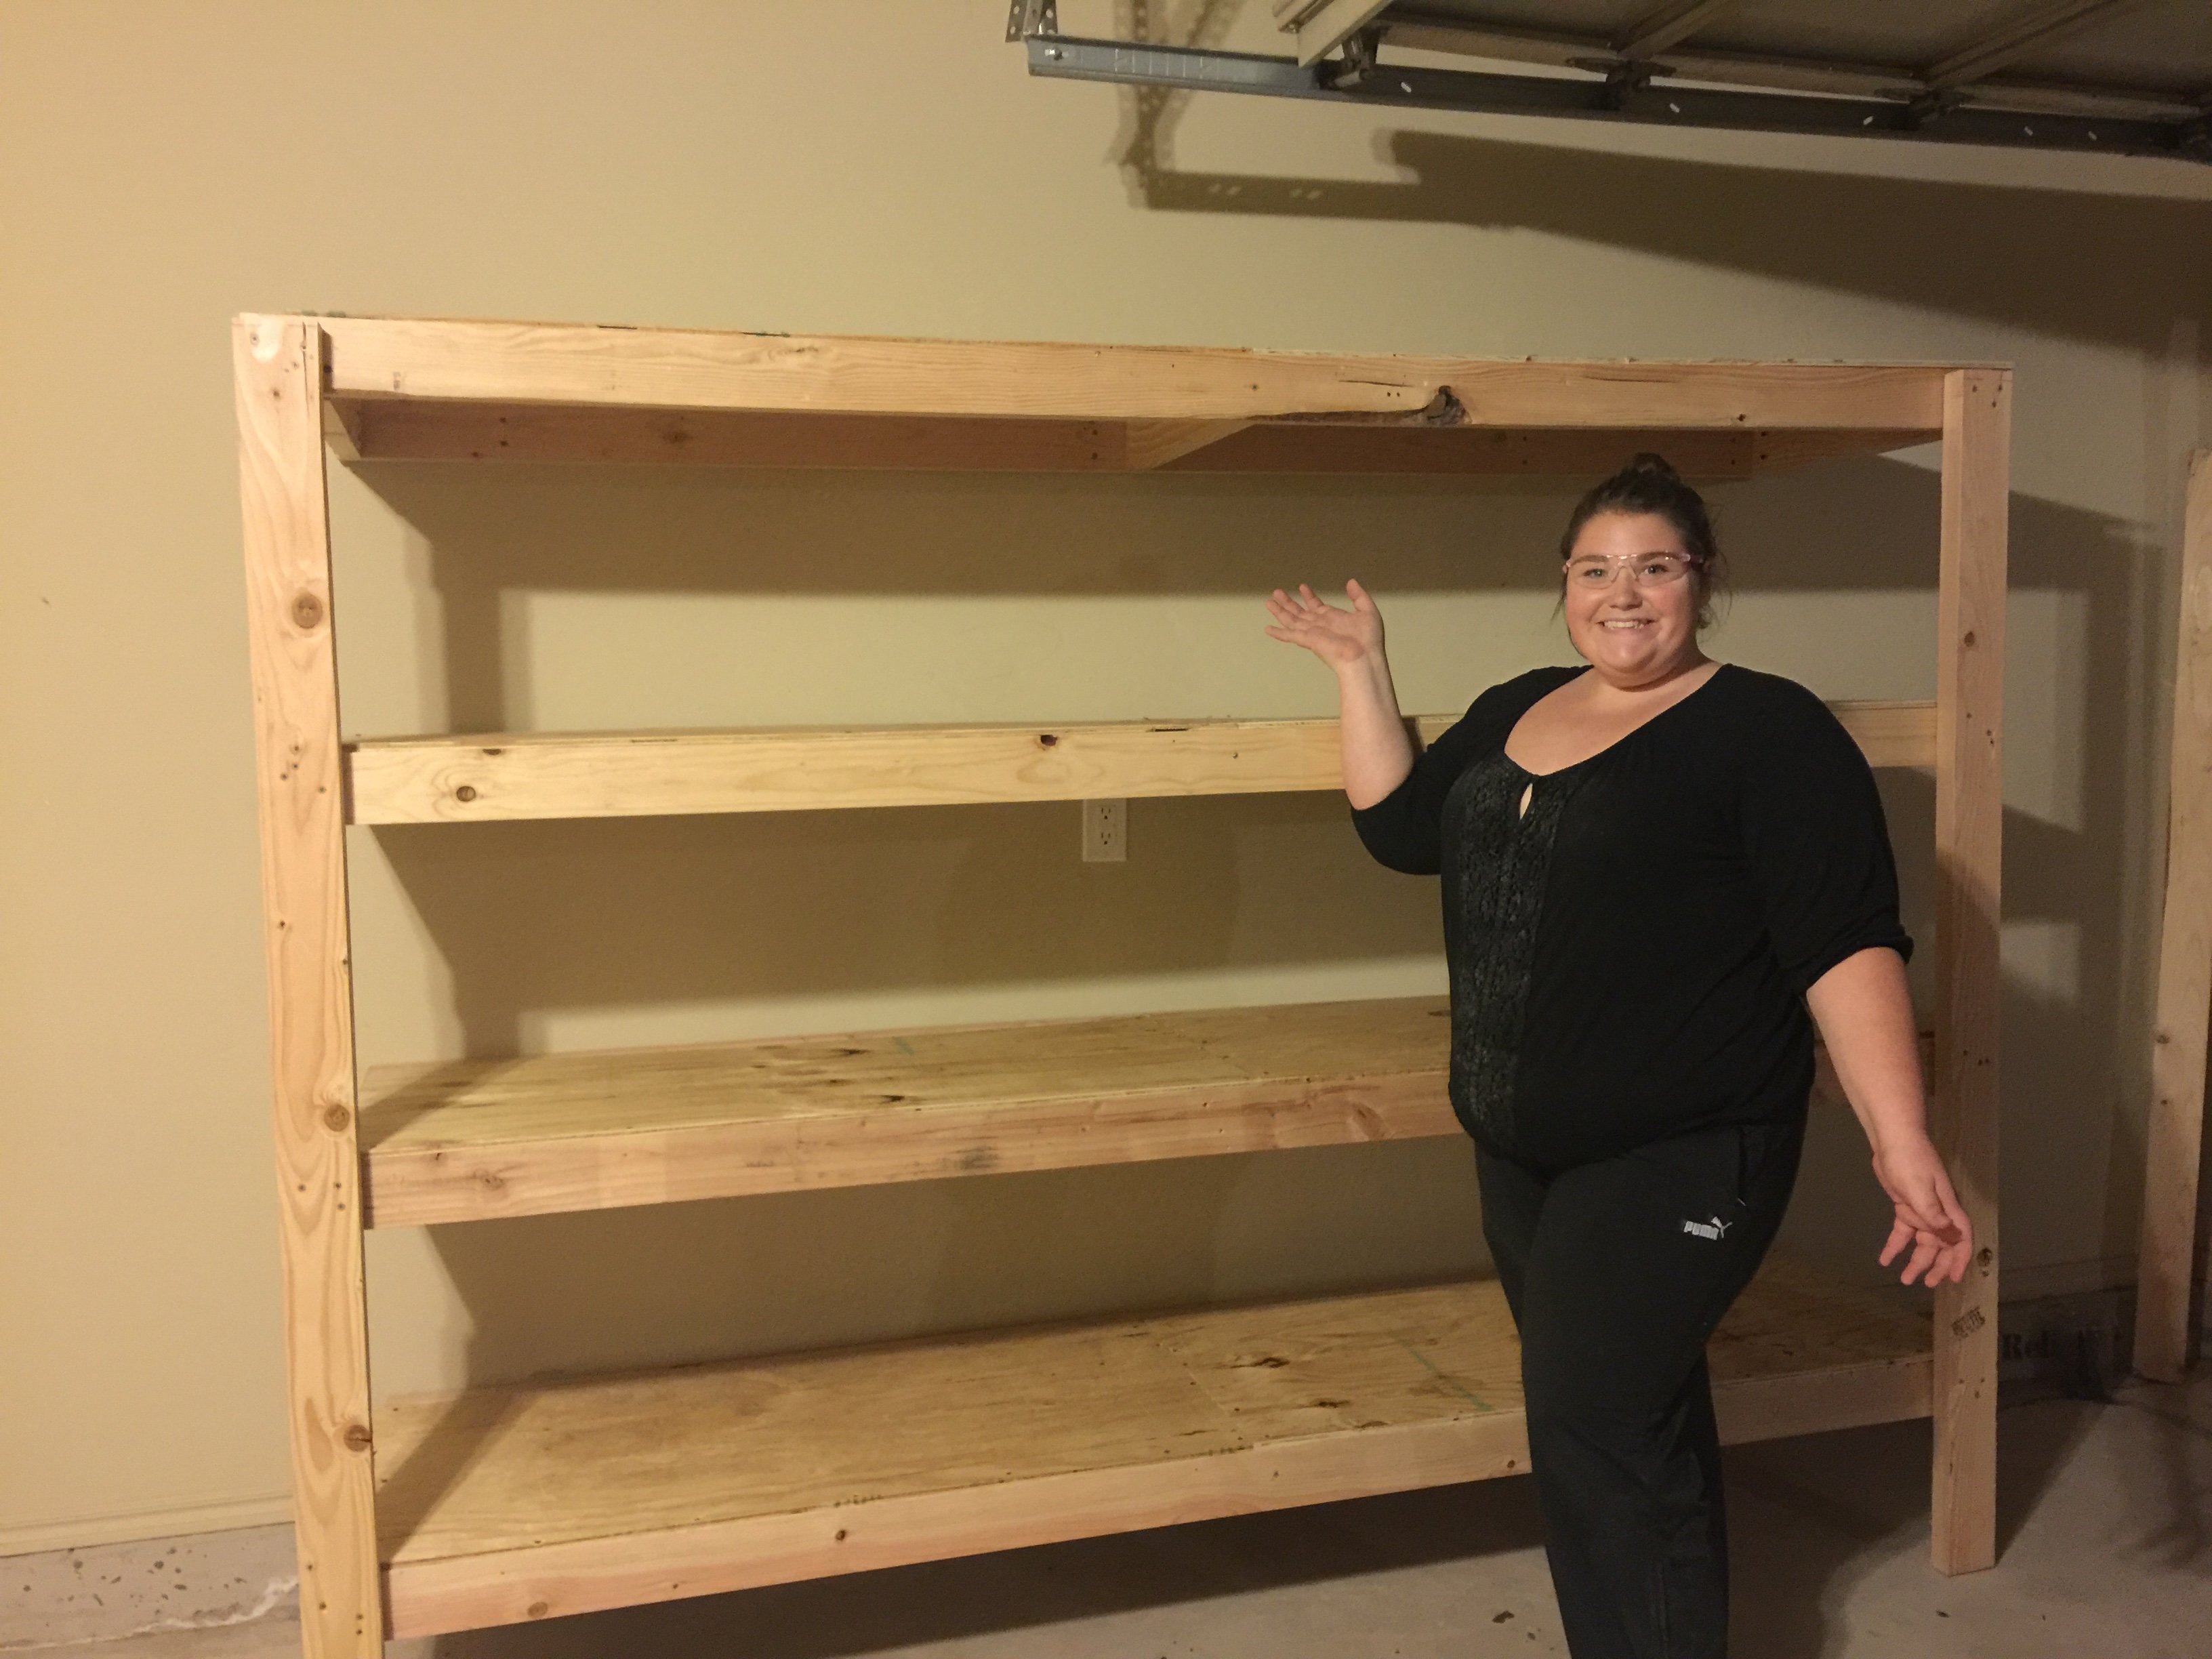
Wanted some easy storage shelving that didn't break the bank. These were perfect! $79 is what it cost for ours (which includes the $20 Kreg Jig). Lumber was only $58.68 and I bought and extra 8 foot 2x4, so it could have been slightly cheaper!
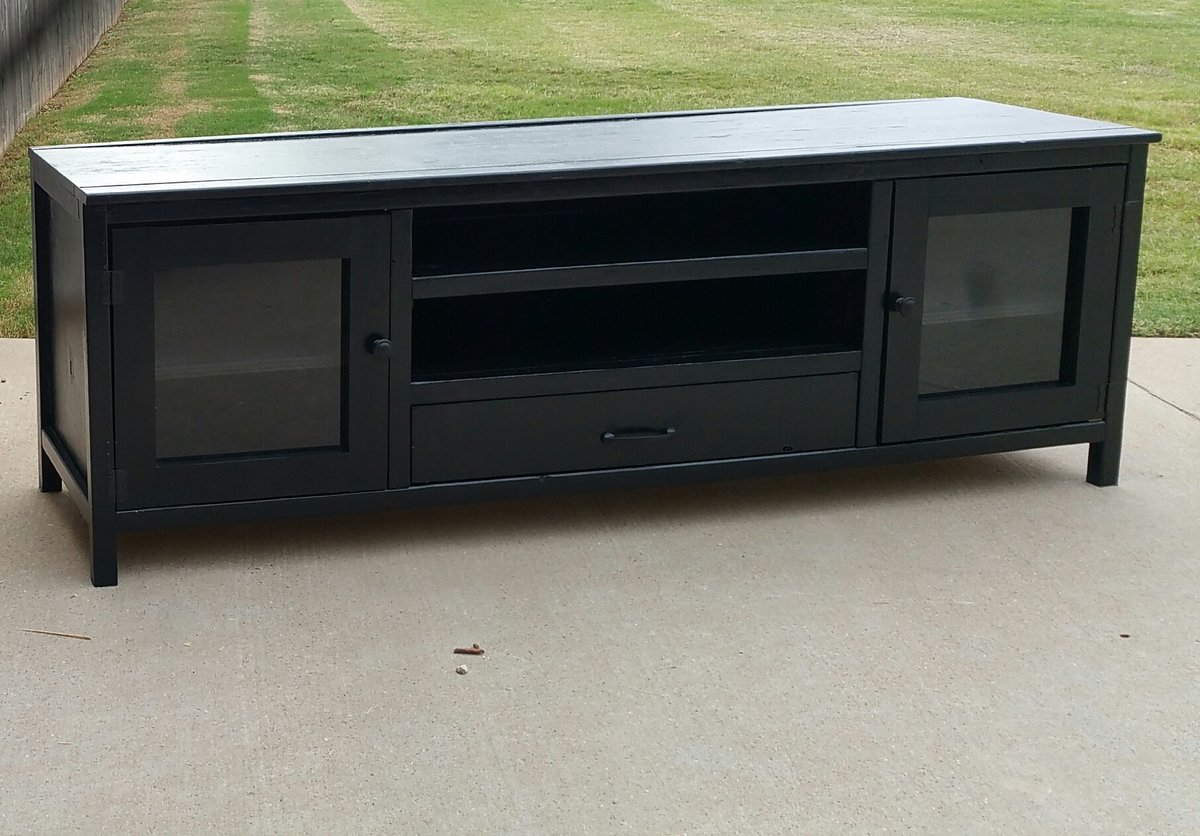
This measures 70in wide. I added a second shelf as well. I used plexiglass in the doors. I really love how this turned out!
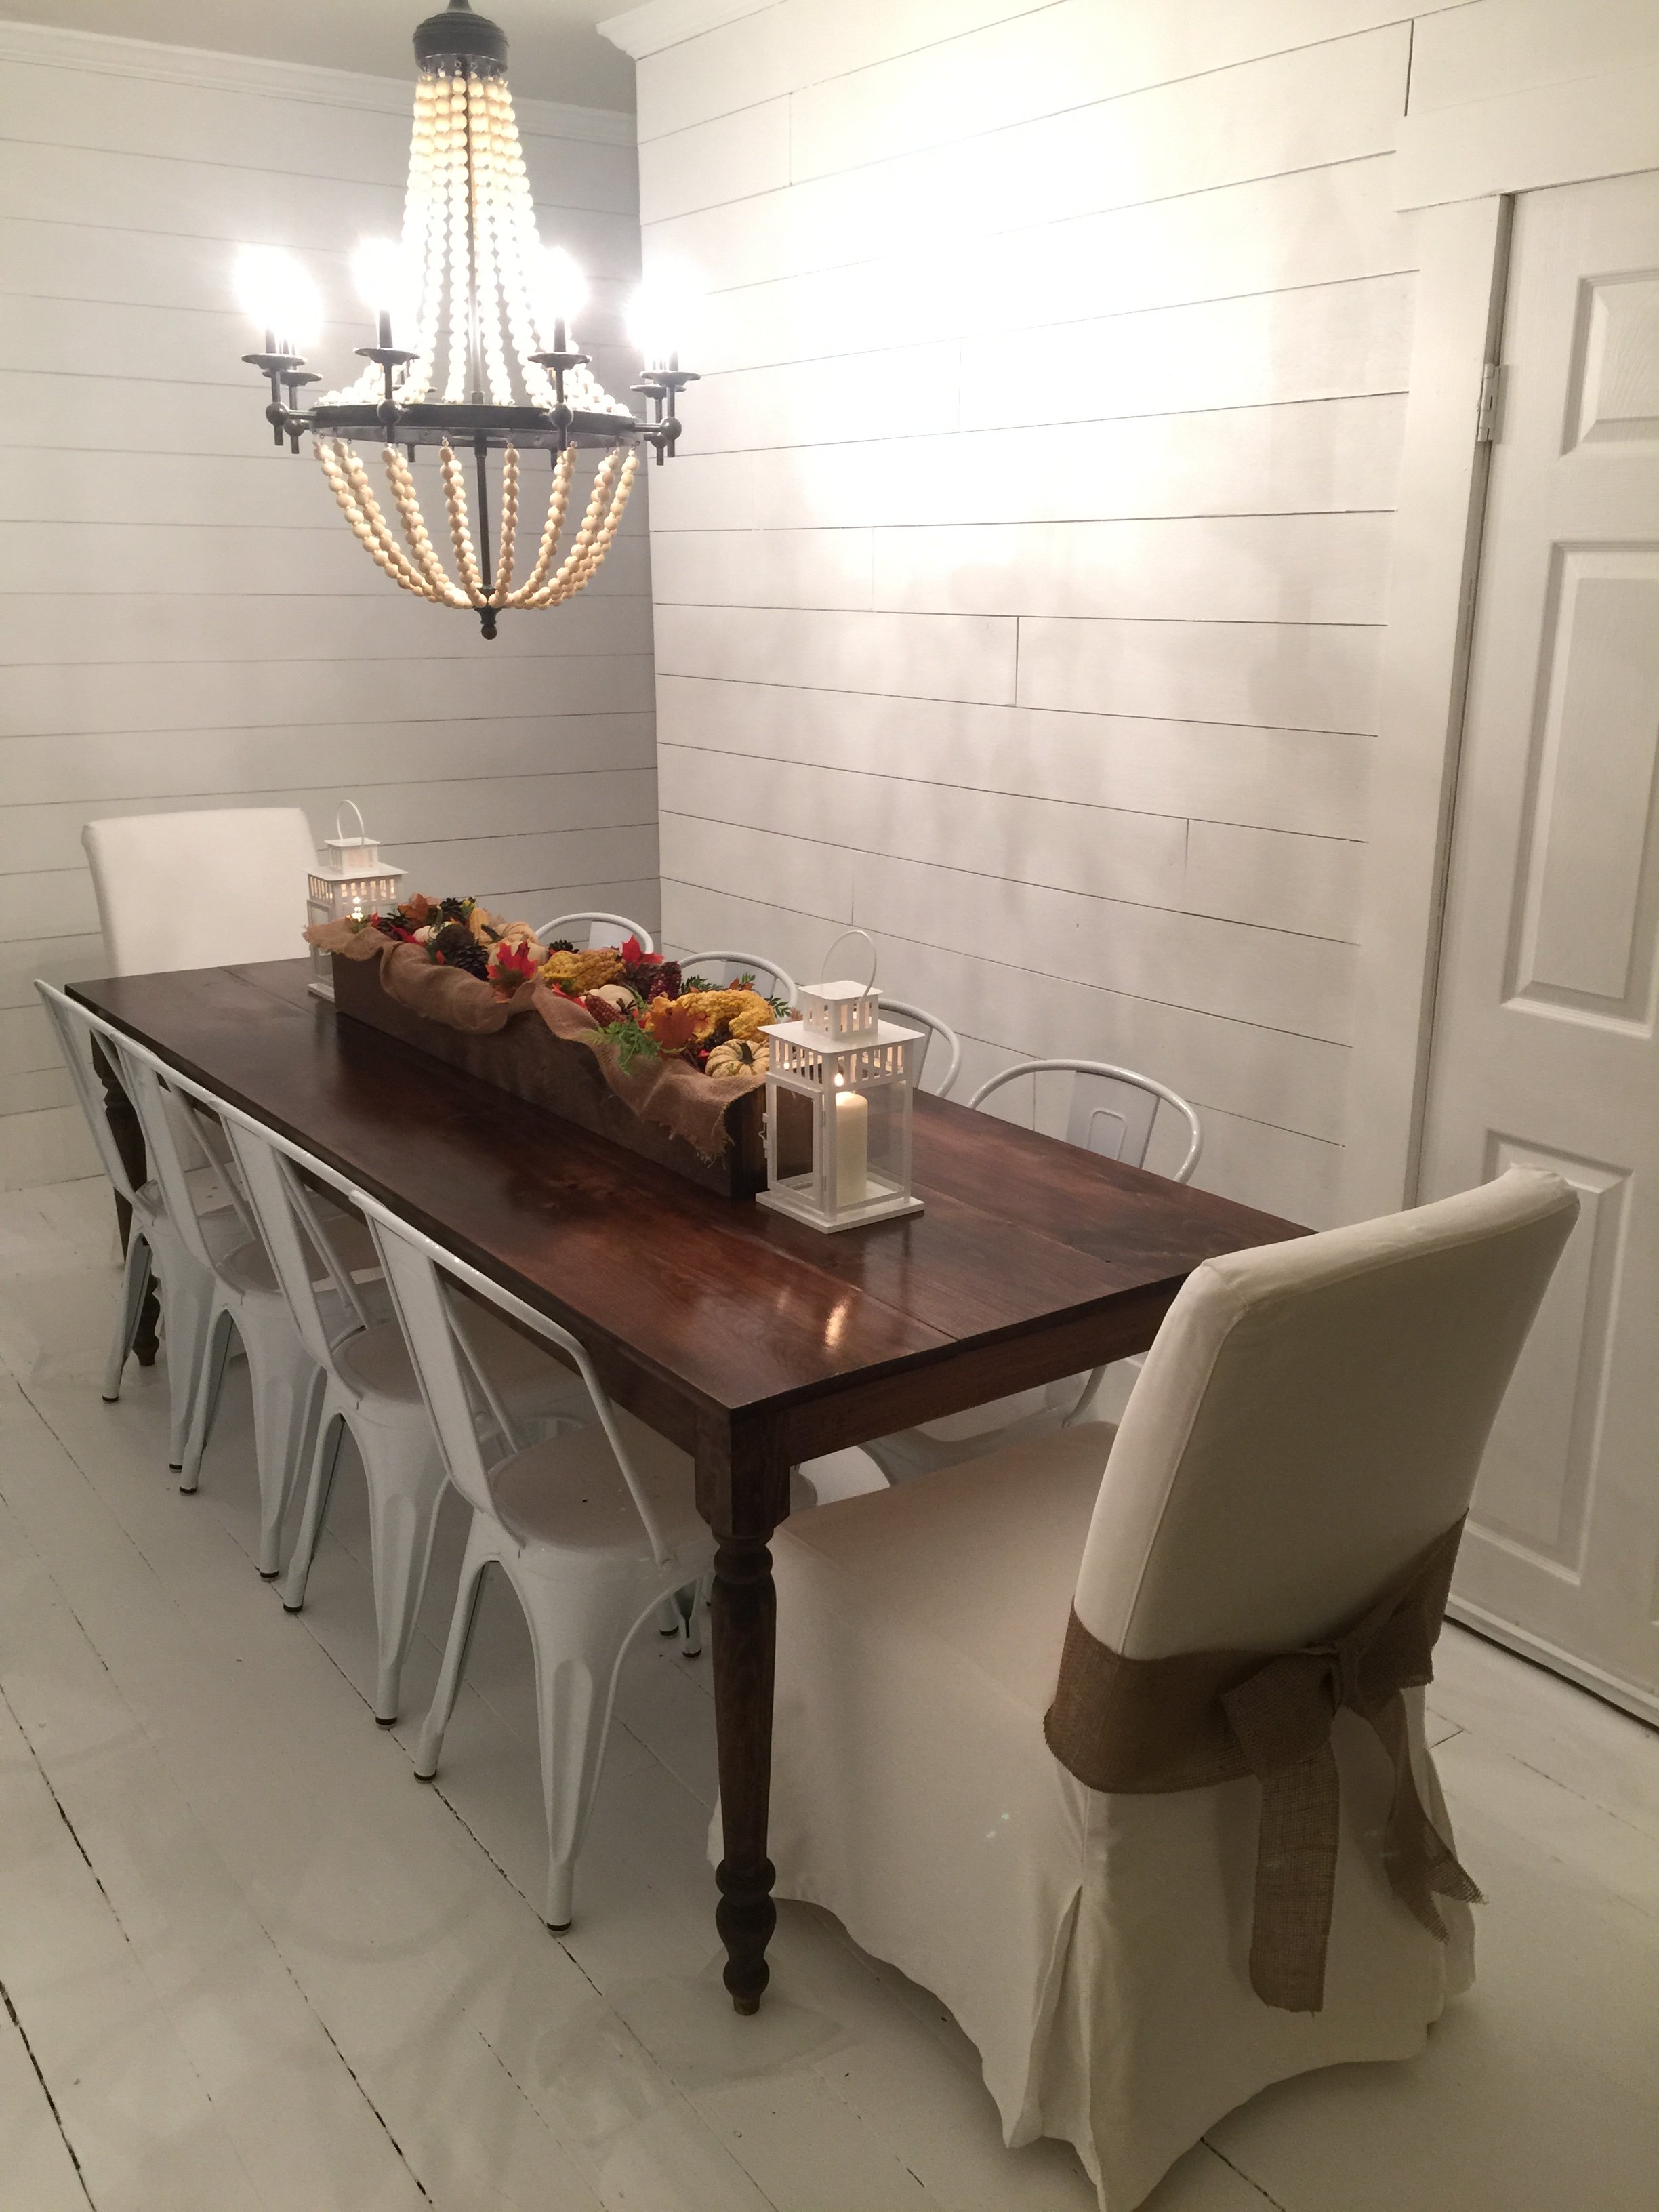
First table my husband and I have ever made, and it turned out beautifully!
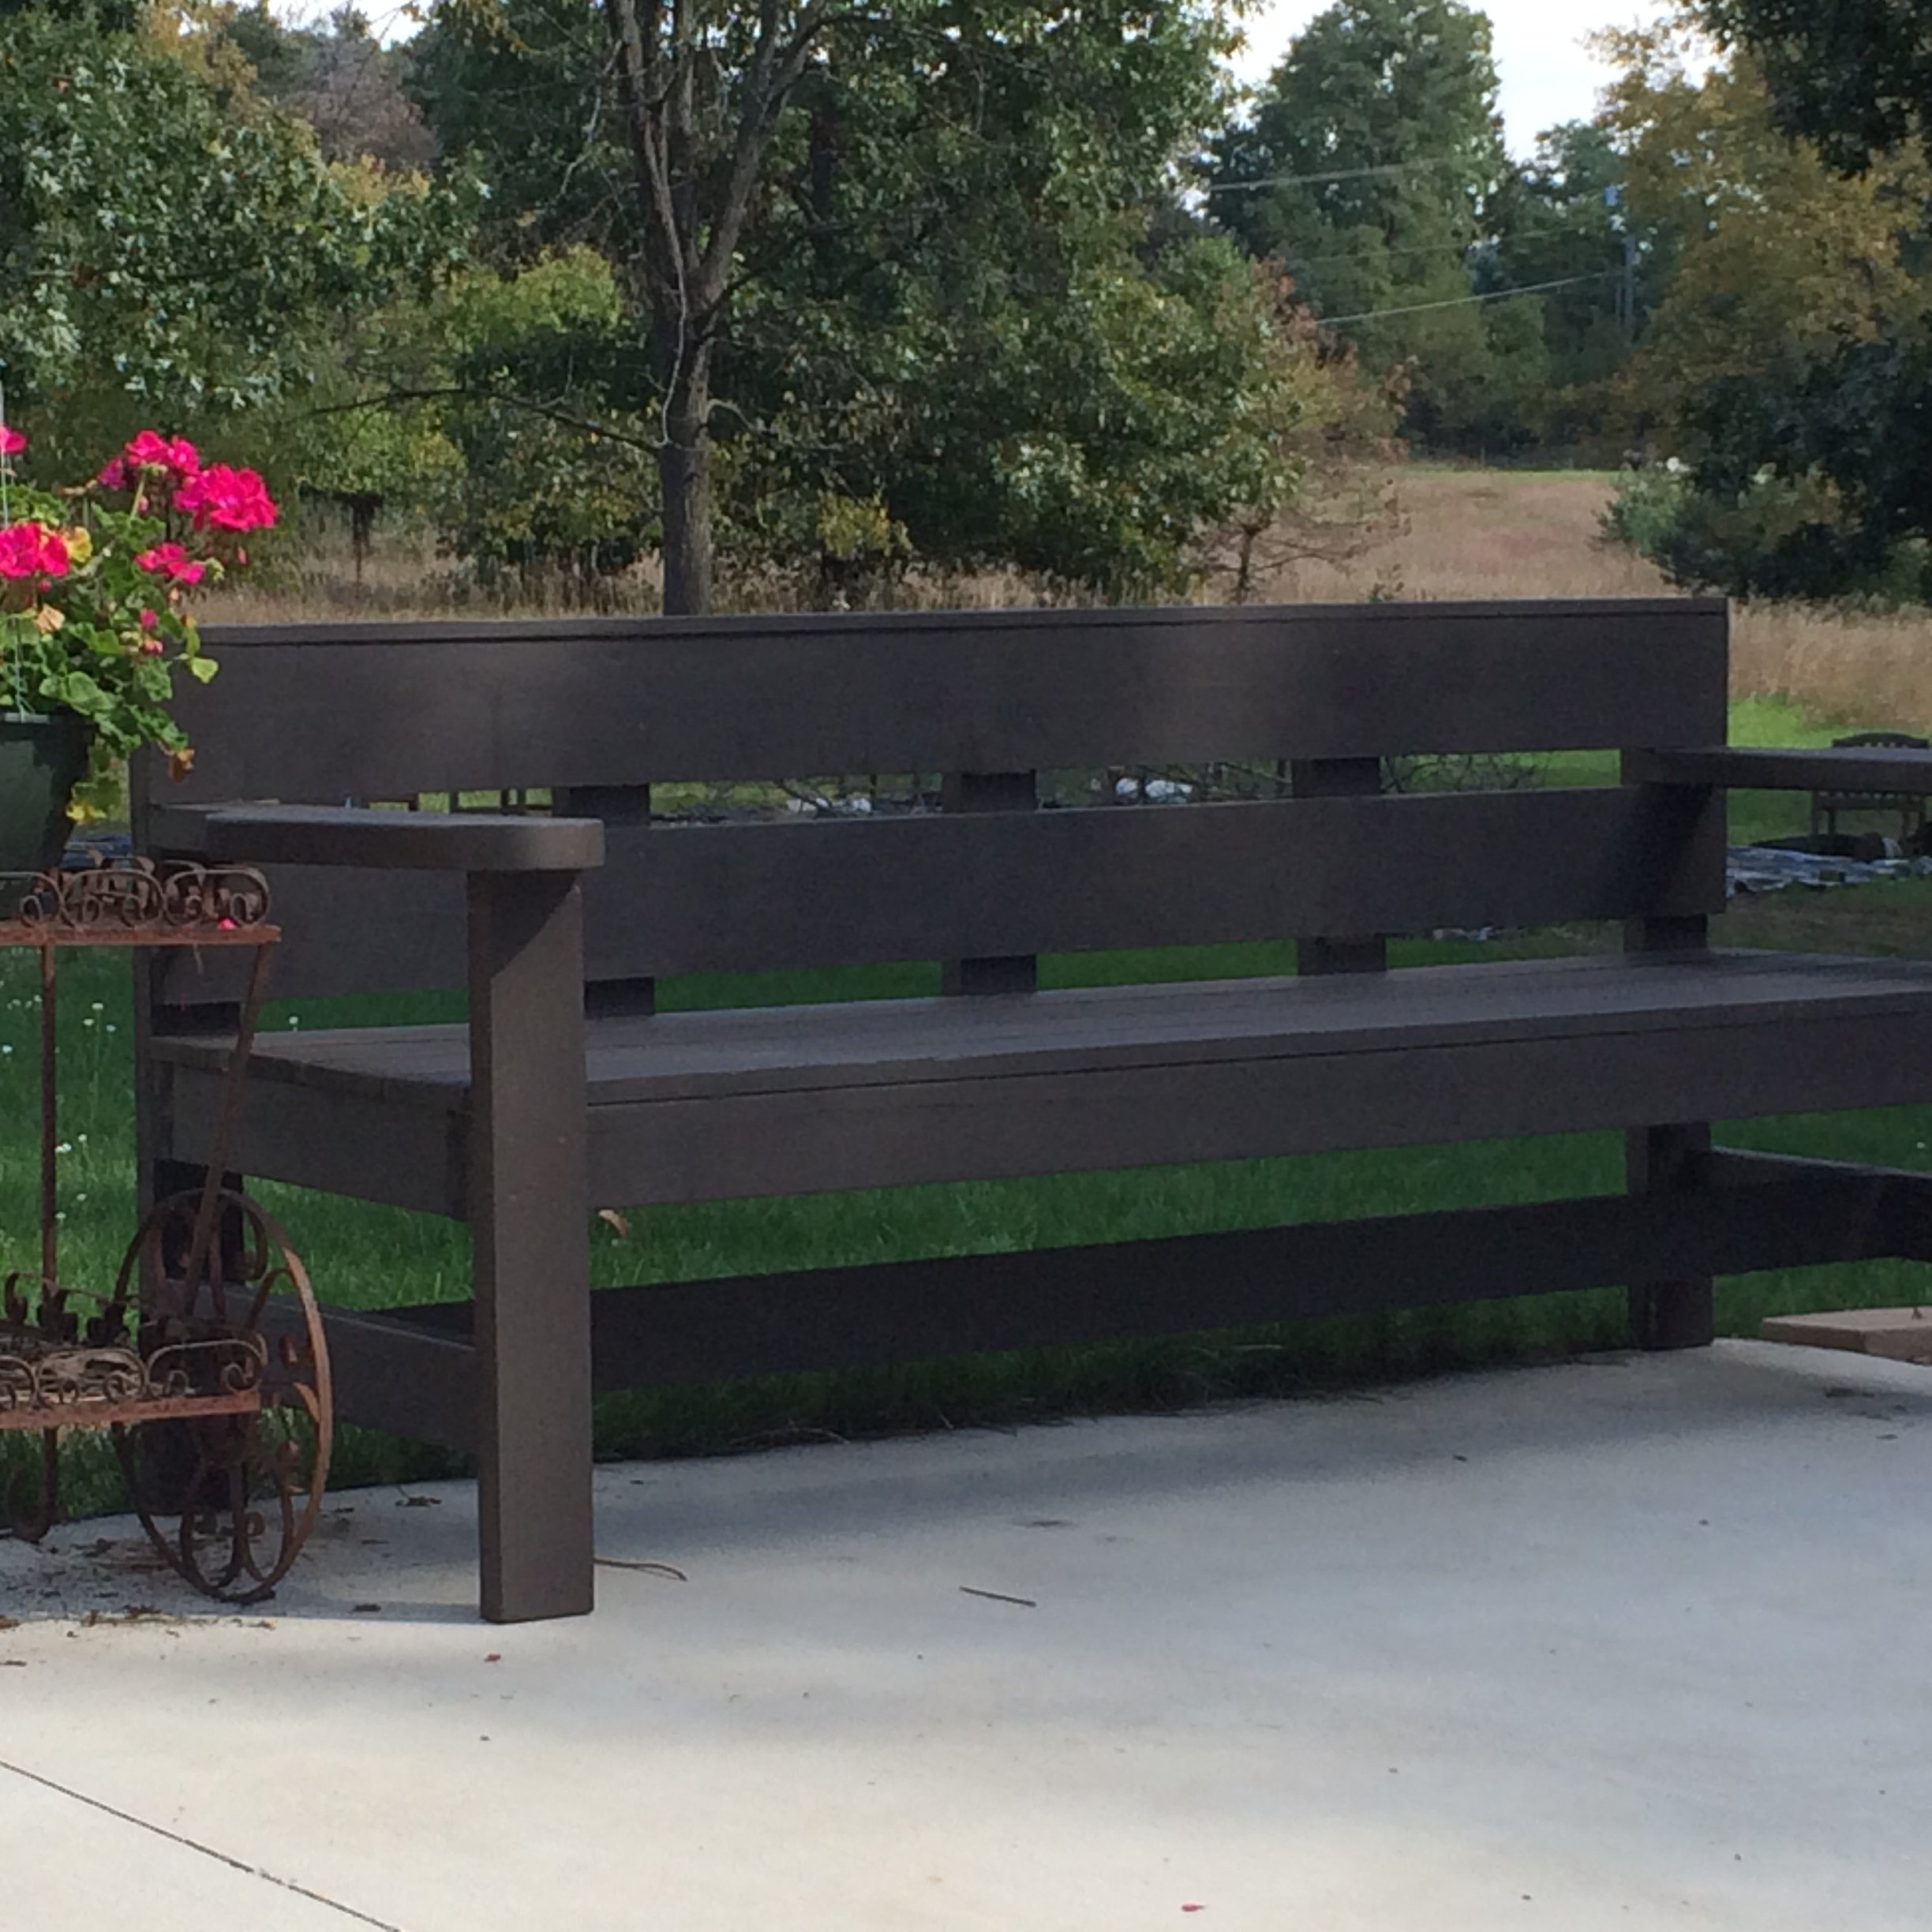
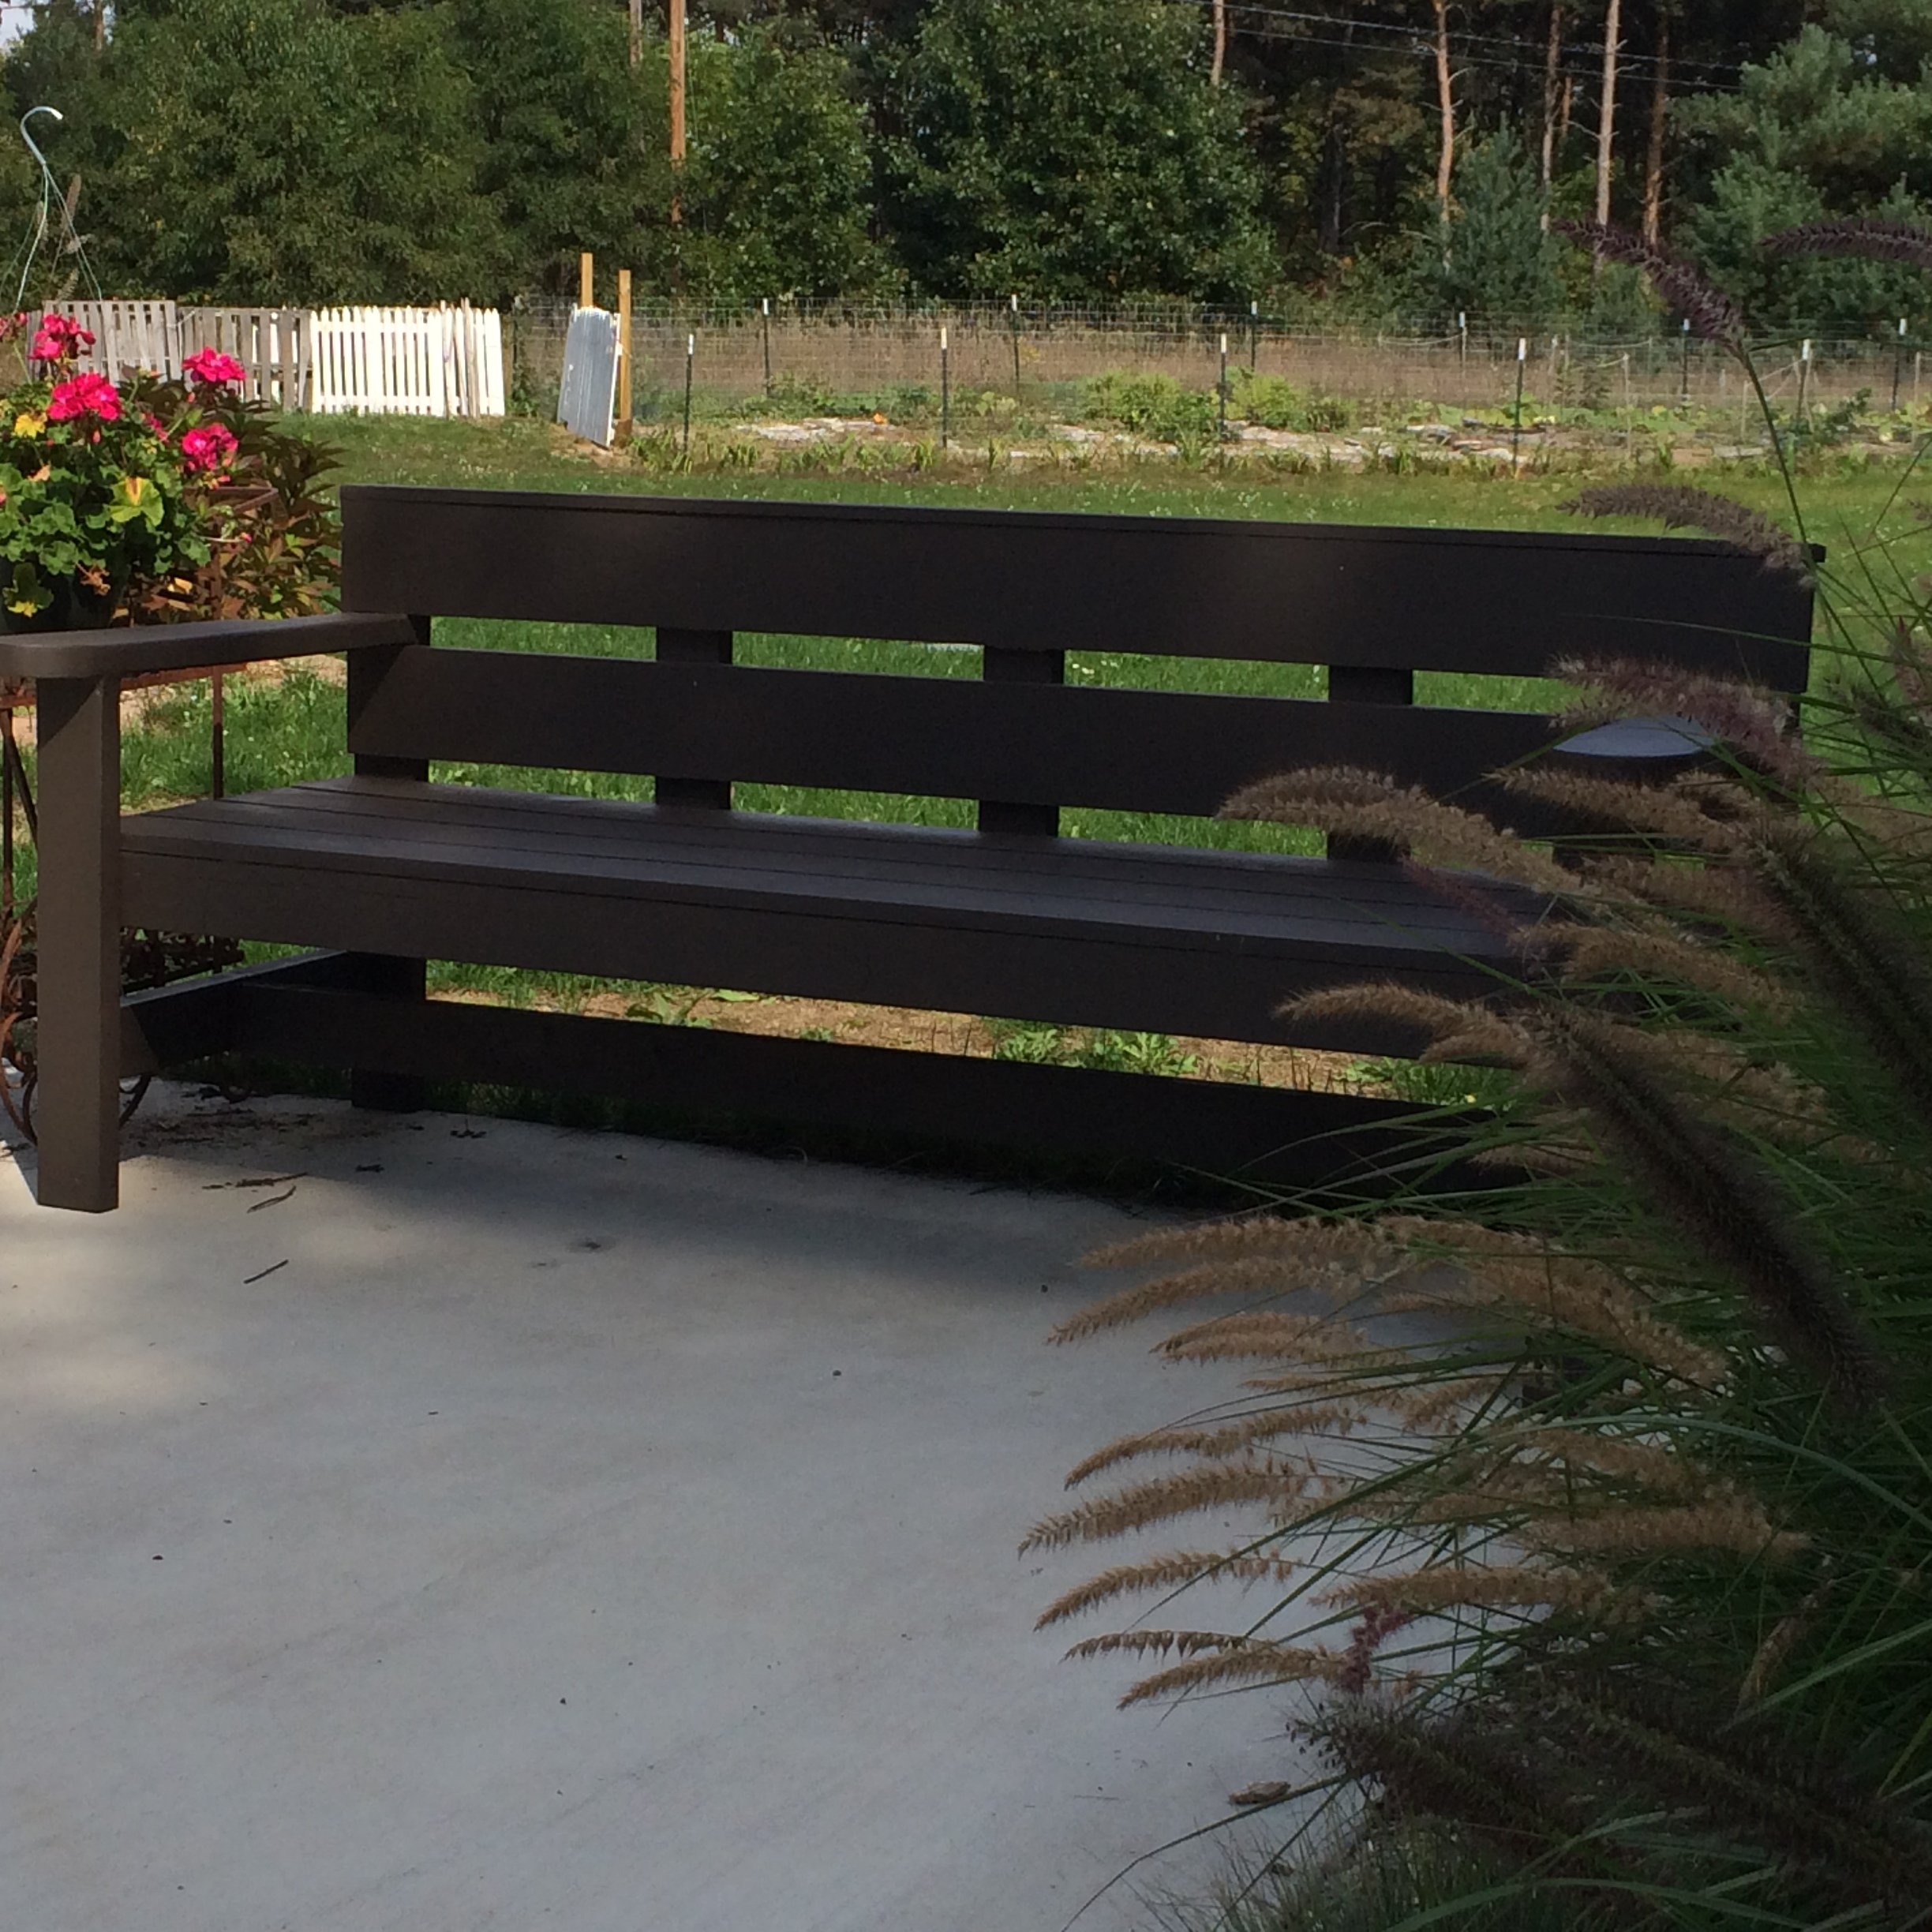
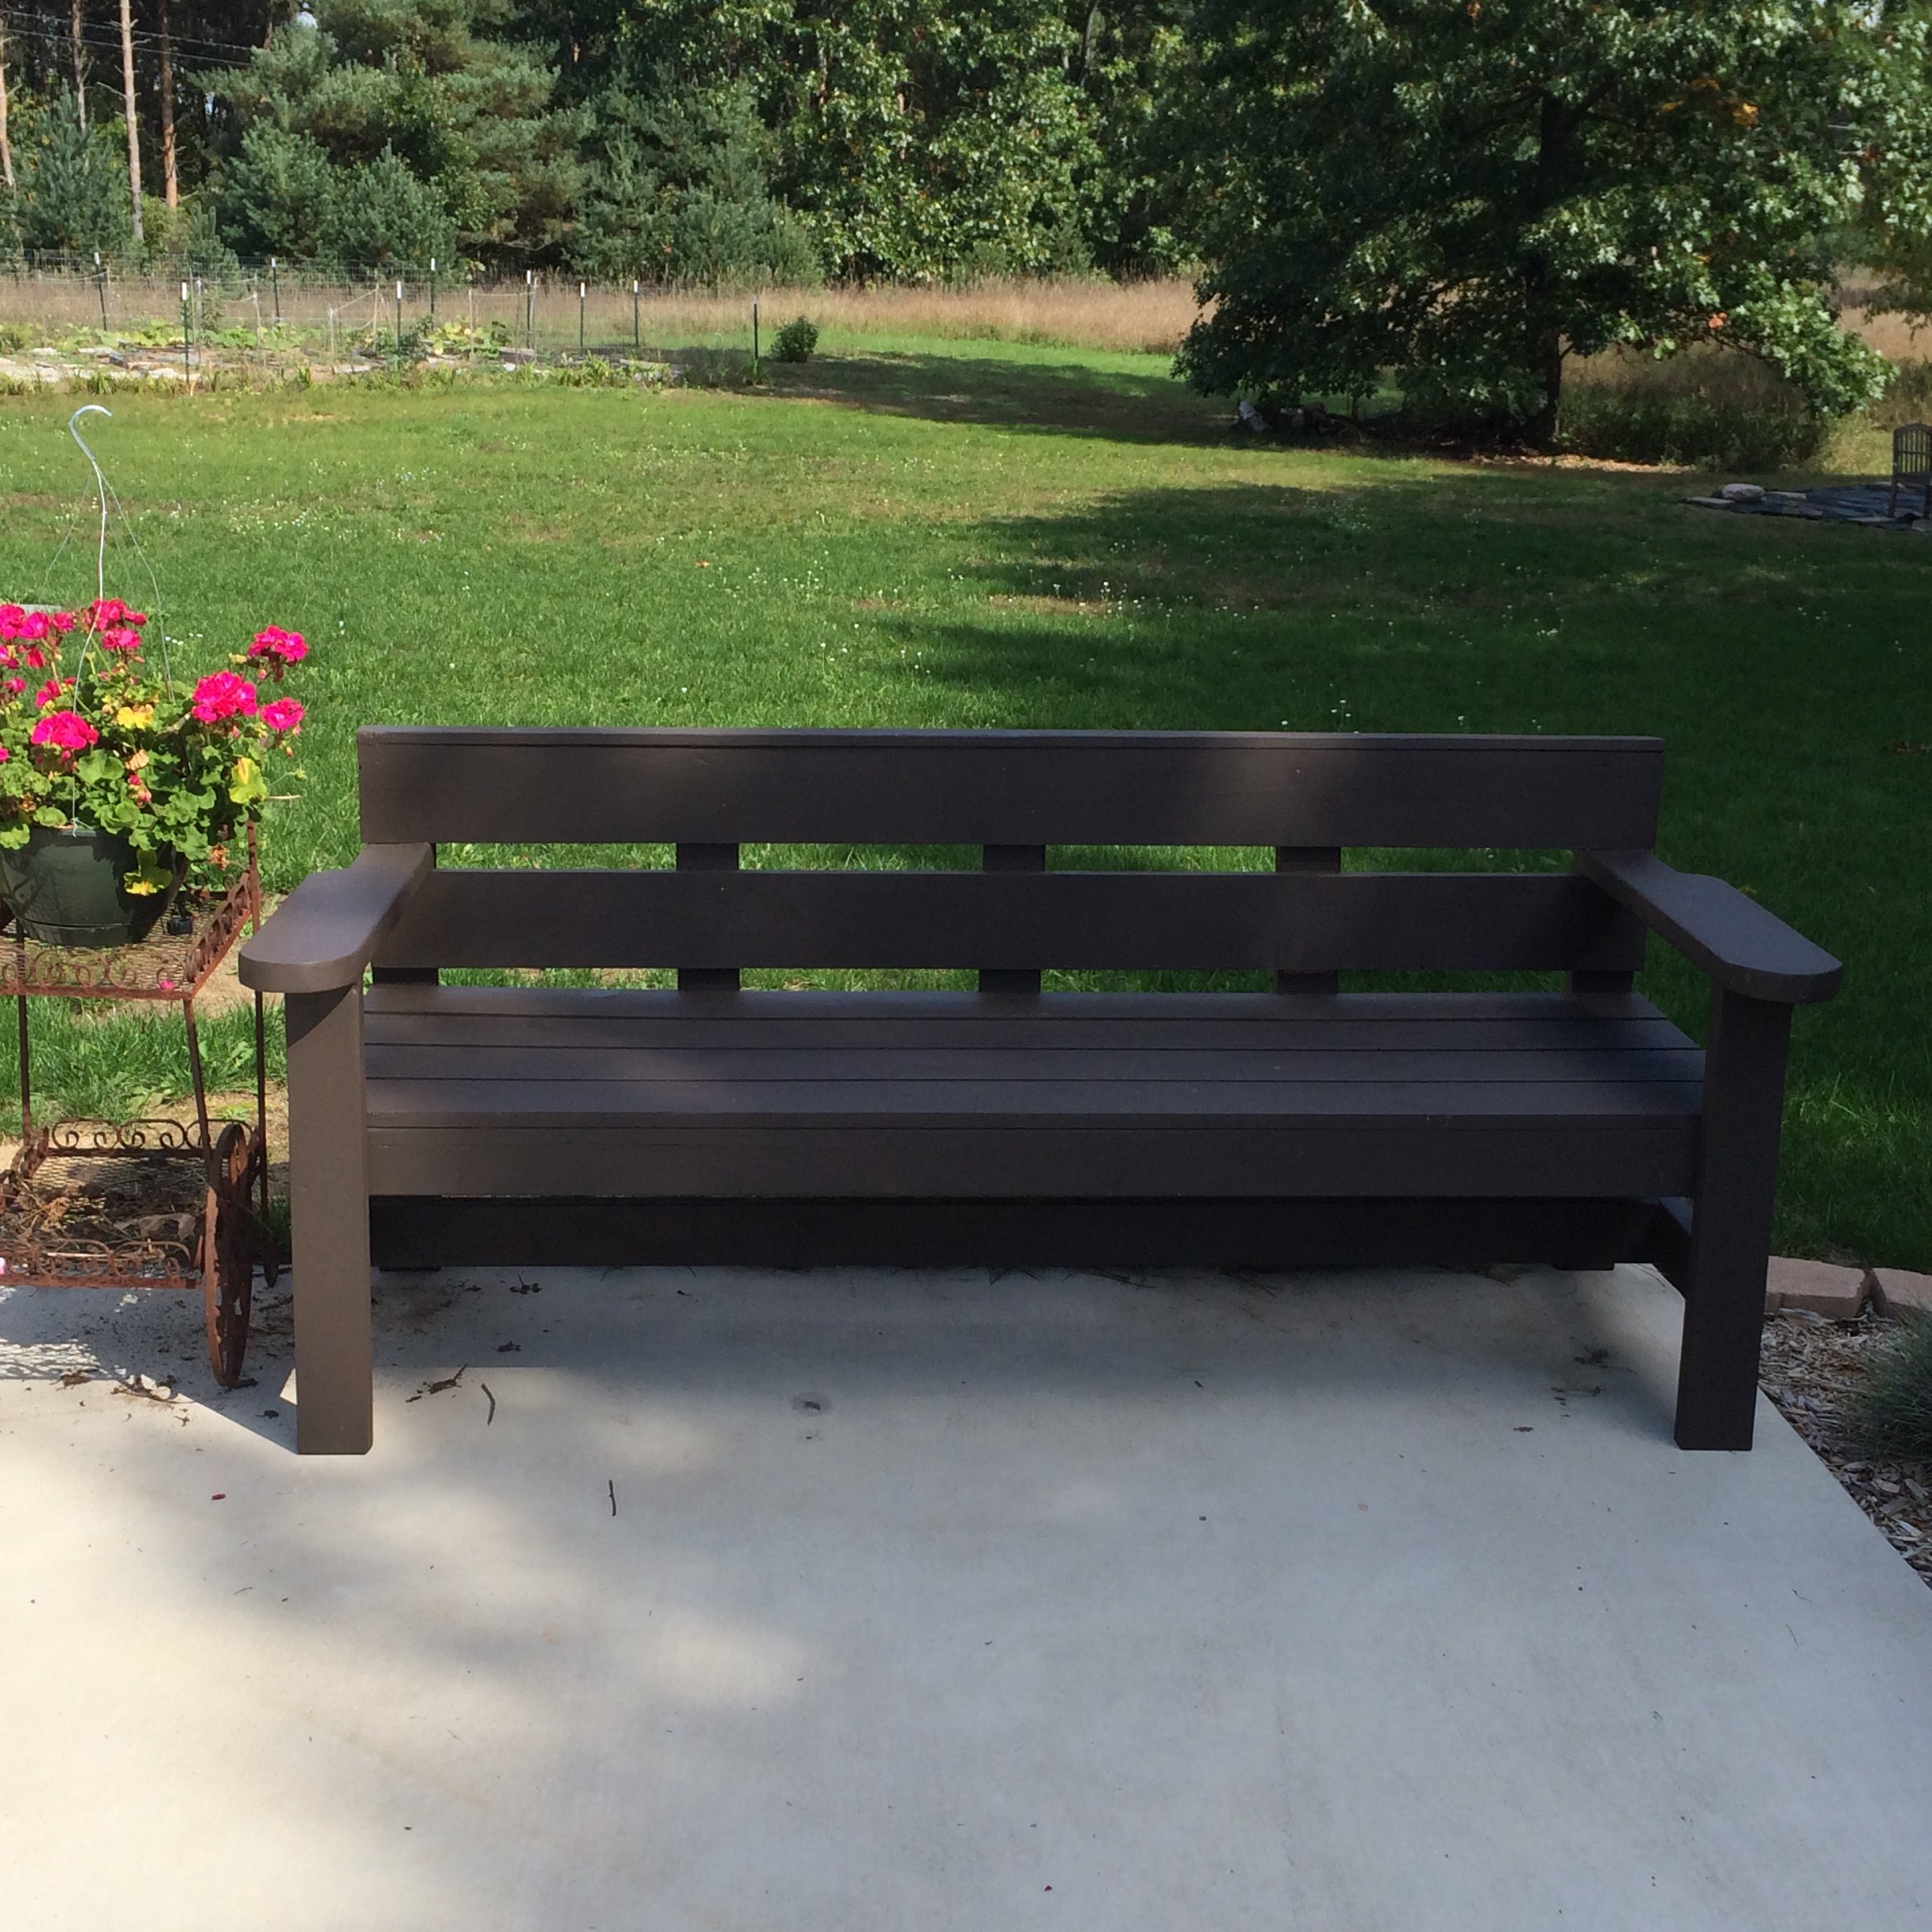
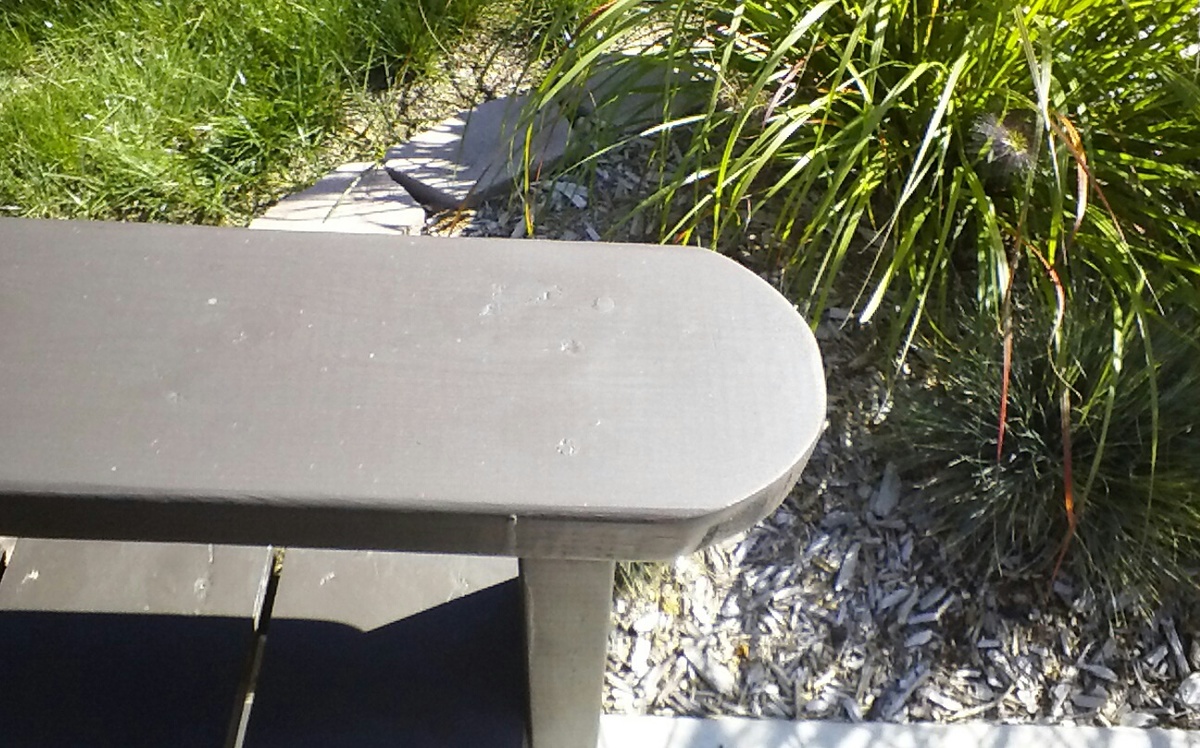
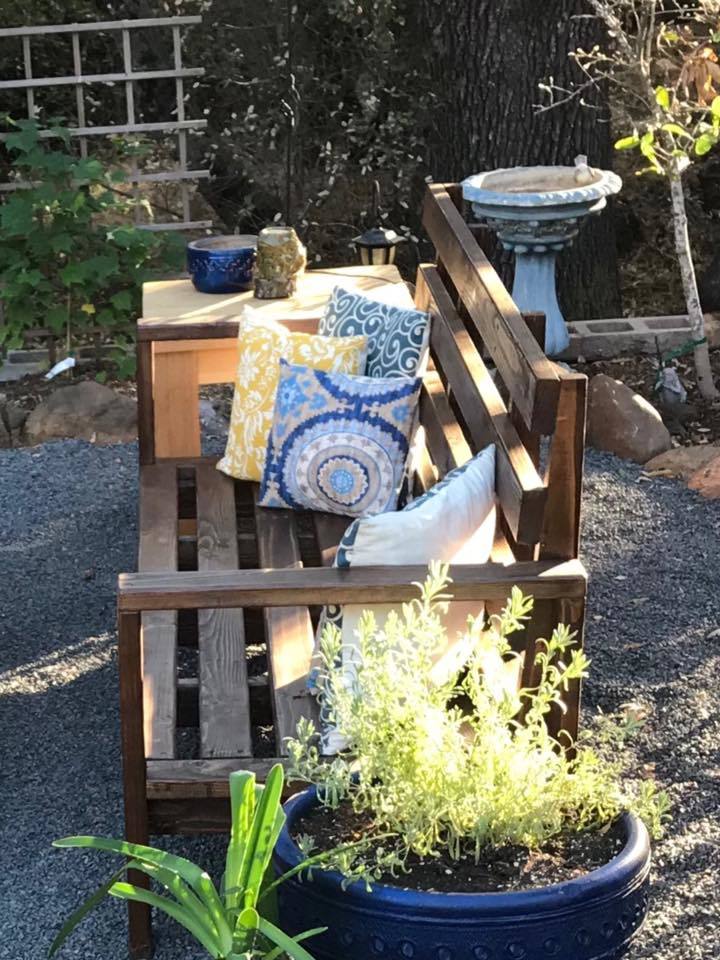
Spent an hour or so an evening after work to make this bench . Also made the umbrella stand but haven't drilled the hole for the umbrella yet so it' s still in the garage. Love the bench, it's long & deep enough to lay down upon. Made the arms from a 2x6 and rounded the front w/ a jig saw, made the other end the same size as the 2x4, and made them longer than the plan. Pretty simple, did use pocket holes in places. First major build & 1st brag.
This was my first project using an Ana White plan....Modified it a bit...quite happy with how it came out...it was very low cost to make and a lot of fun.

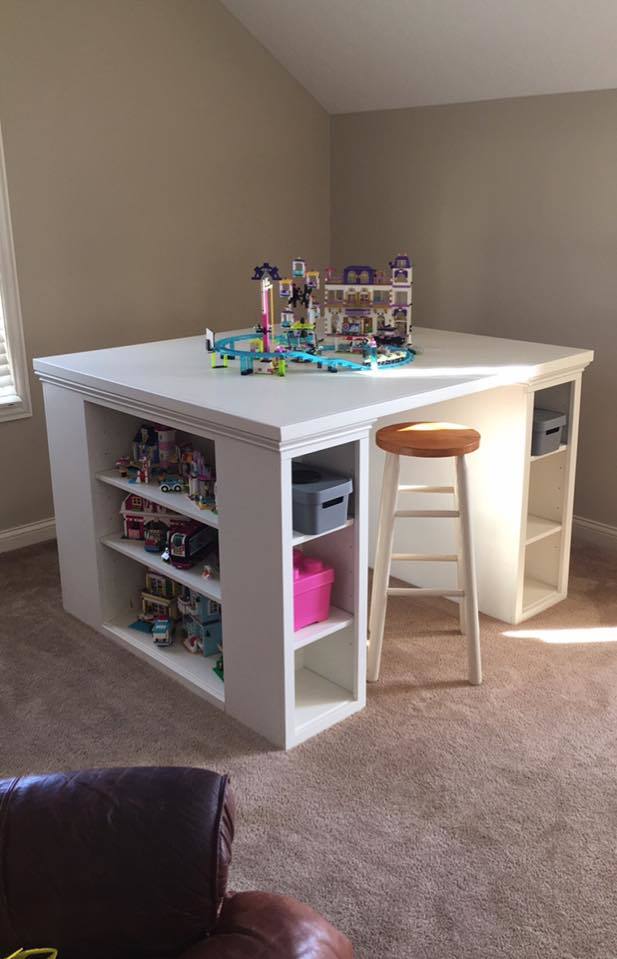
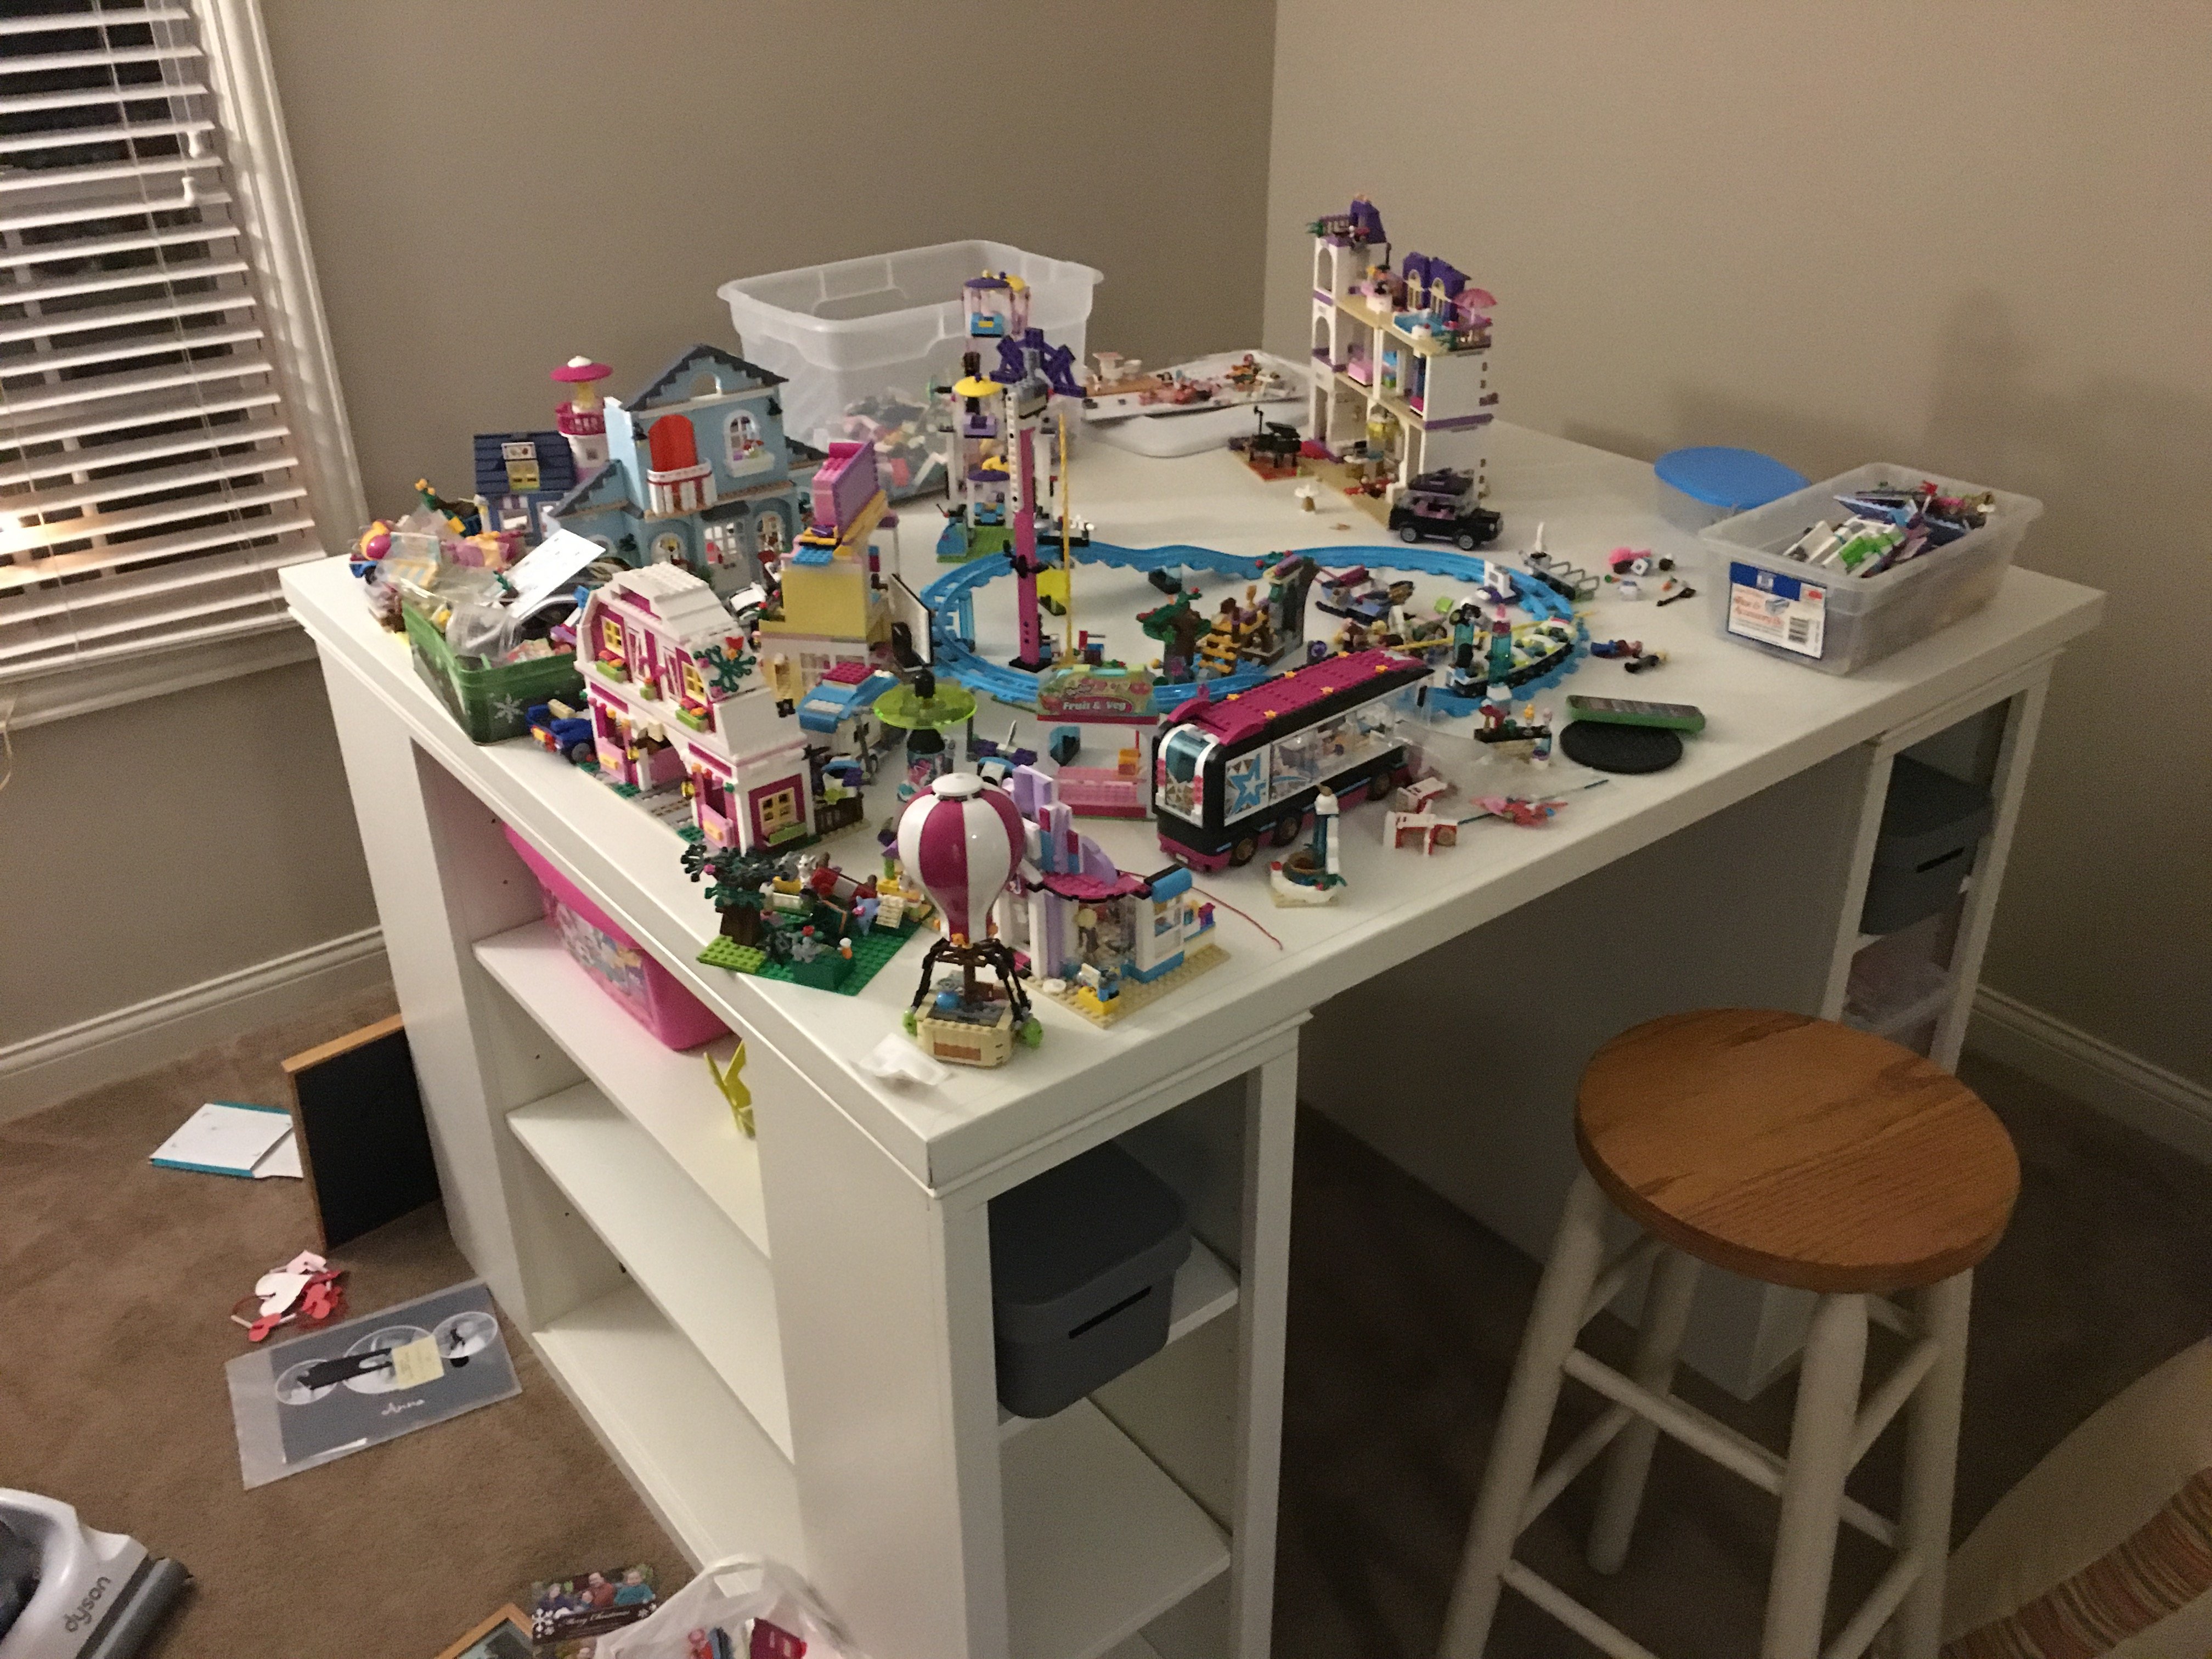
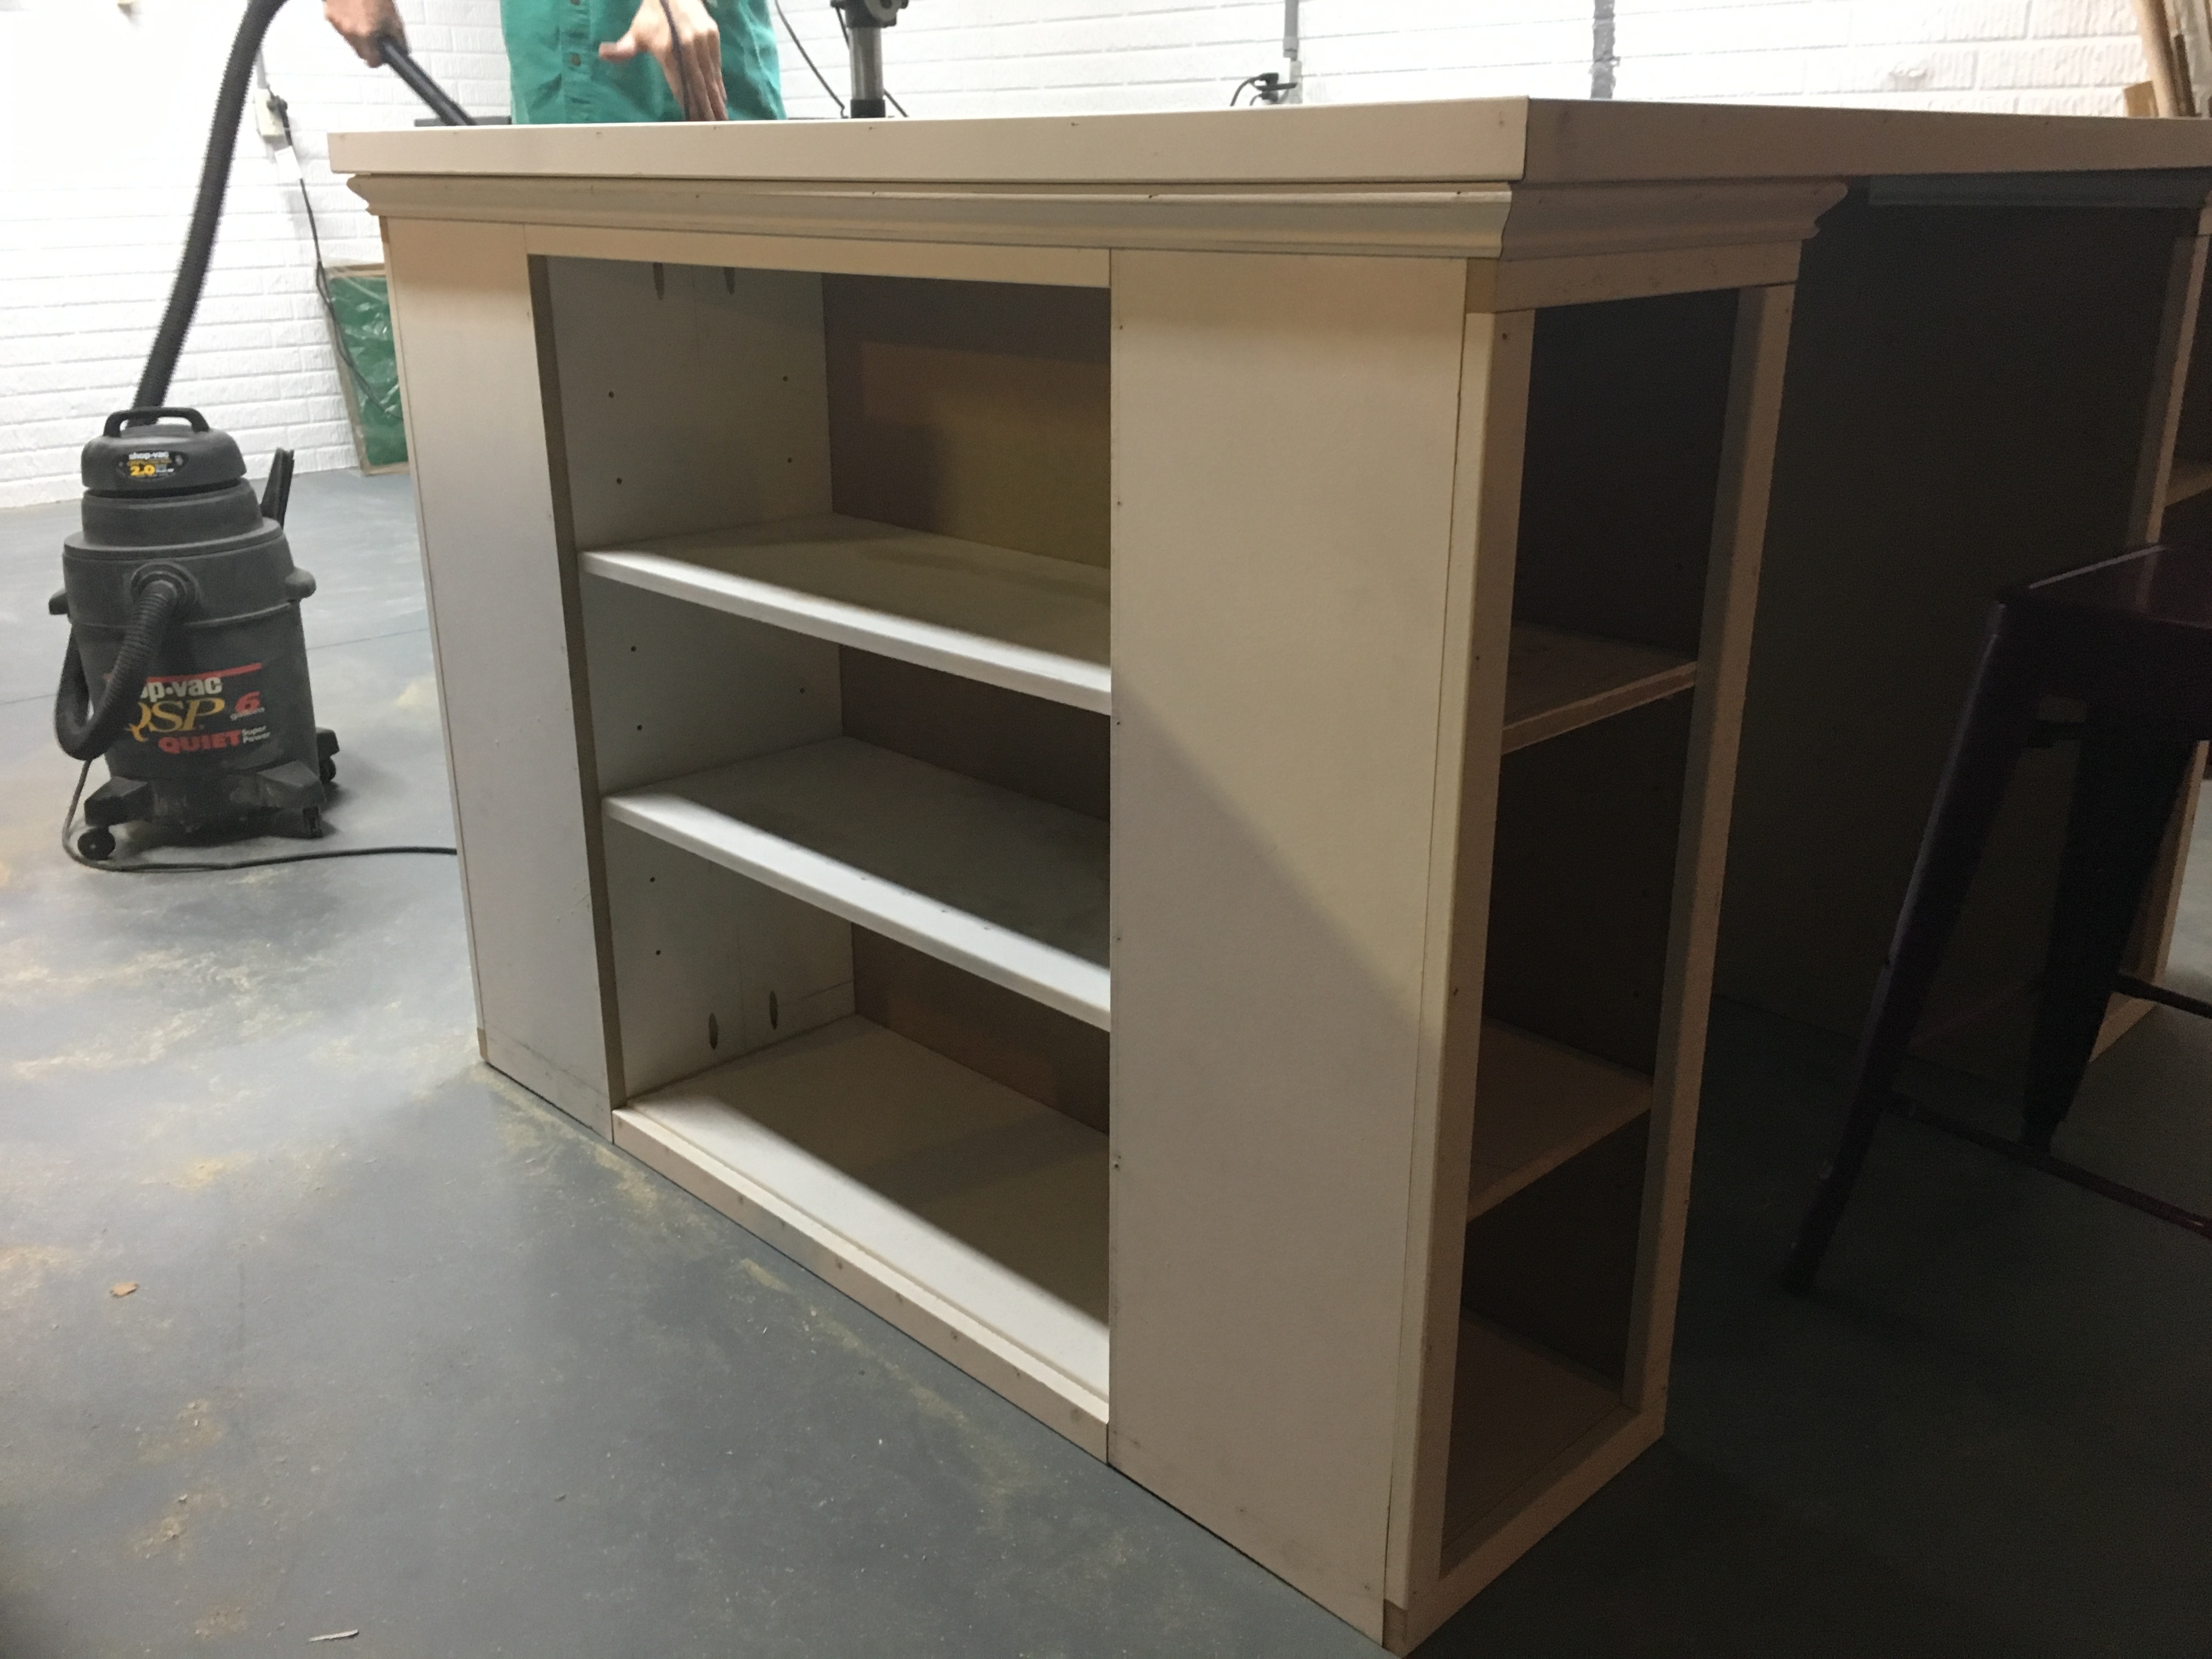
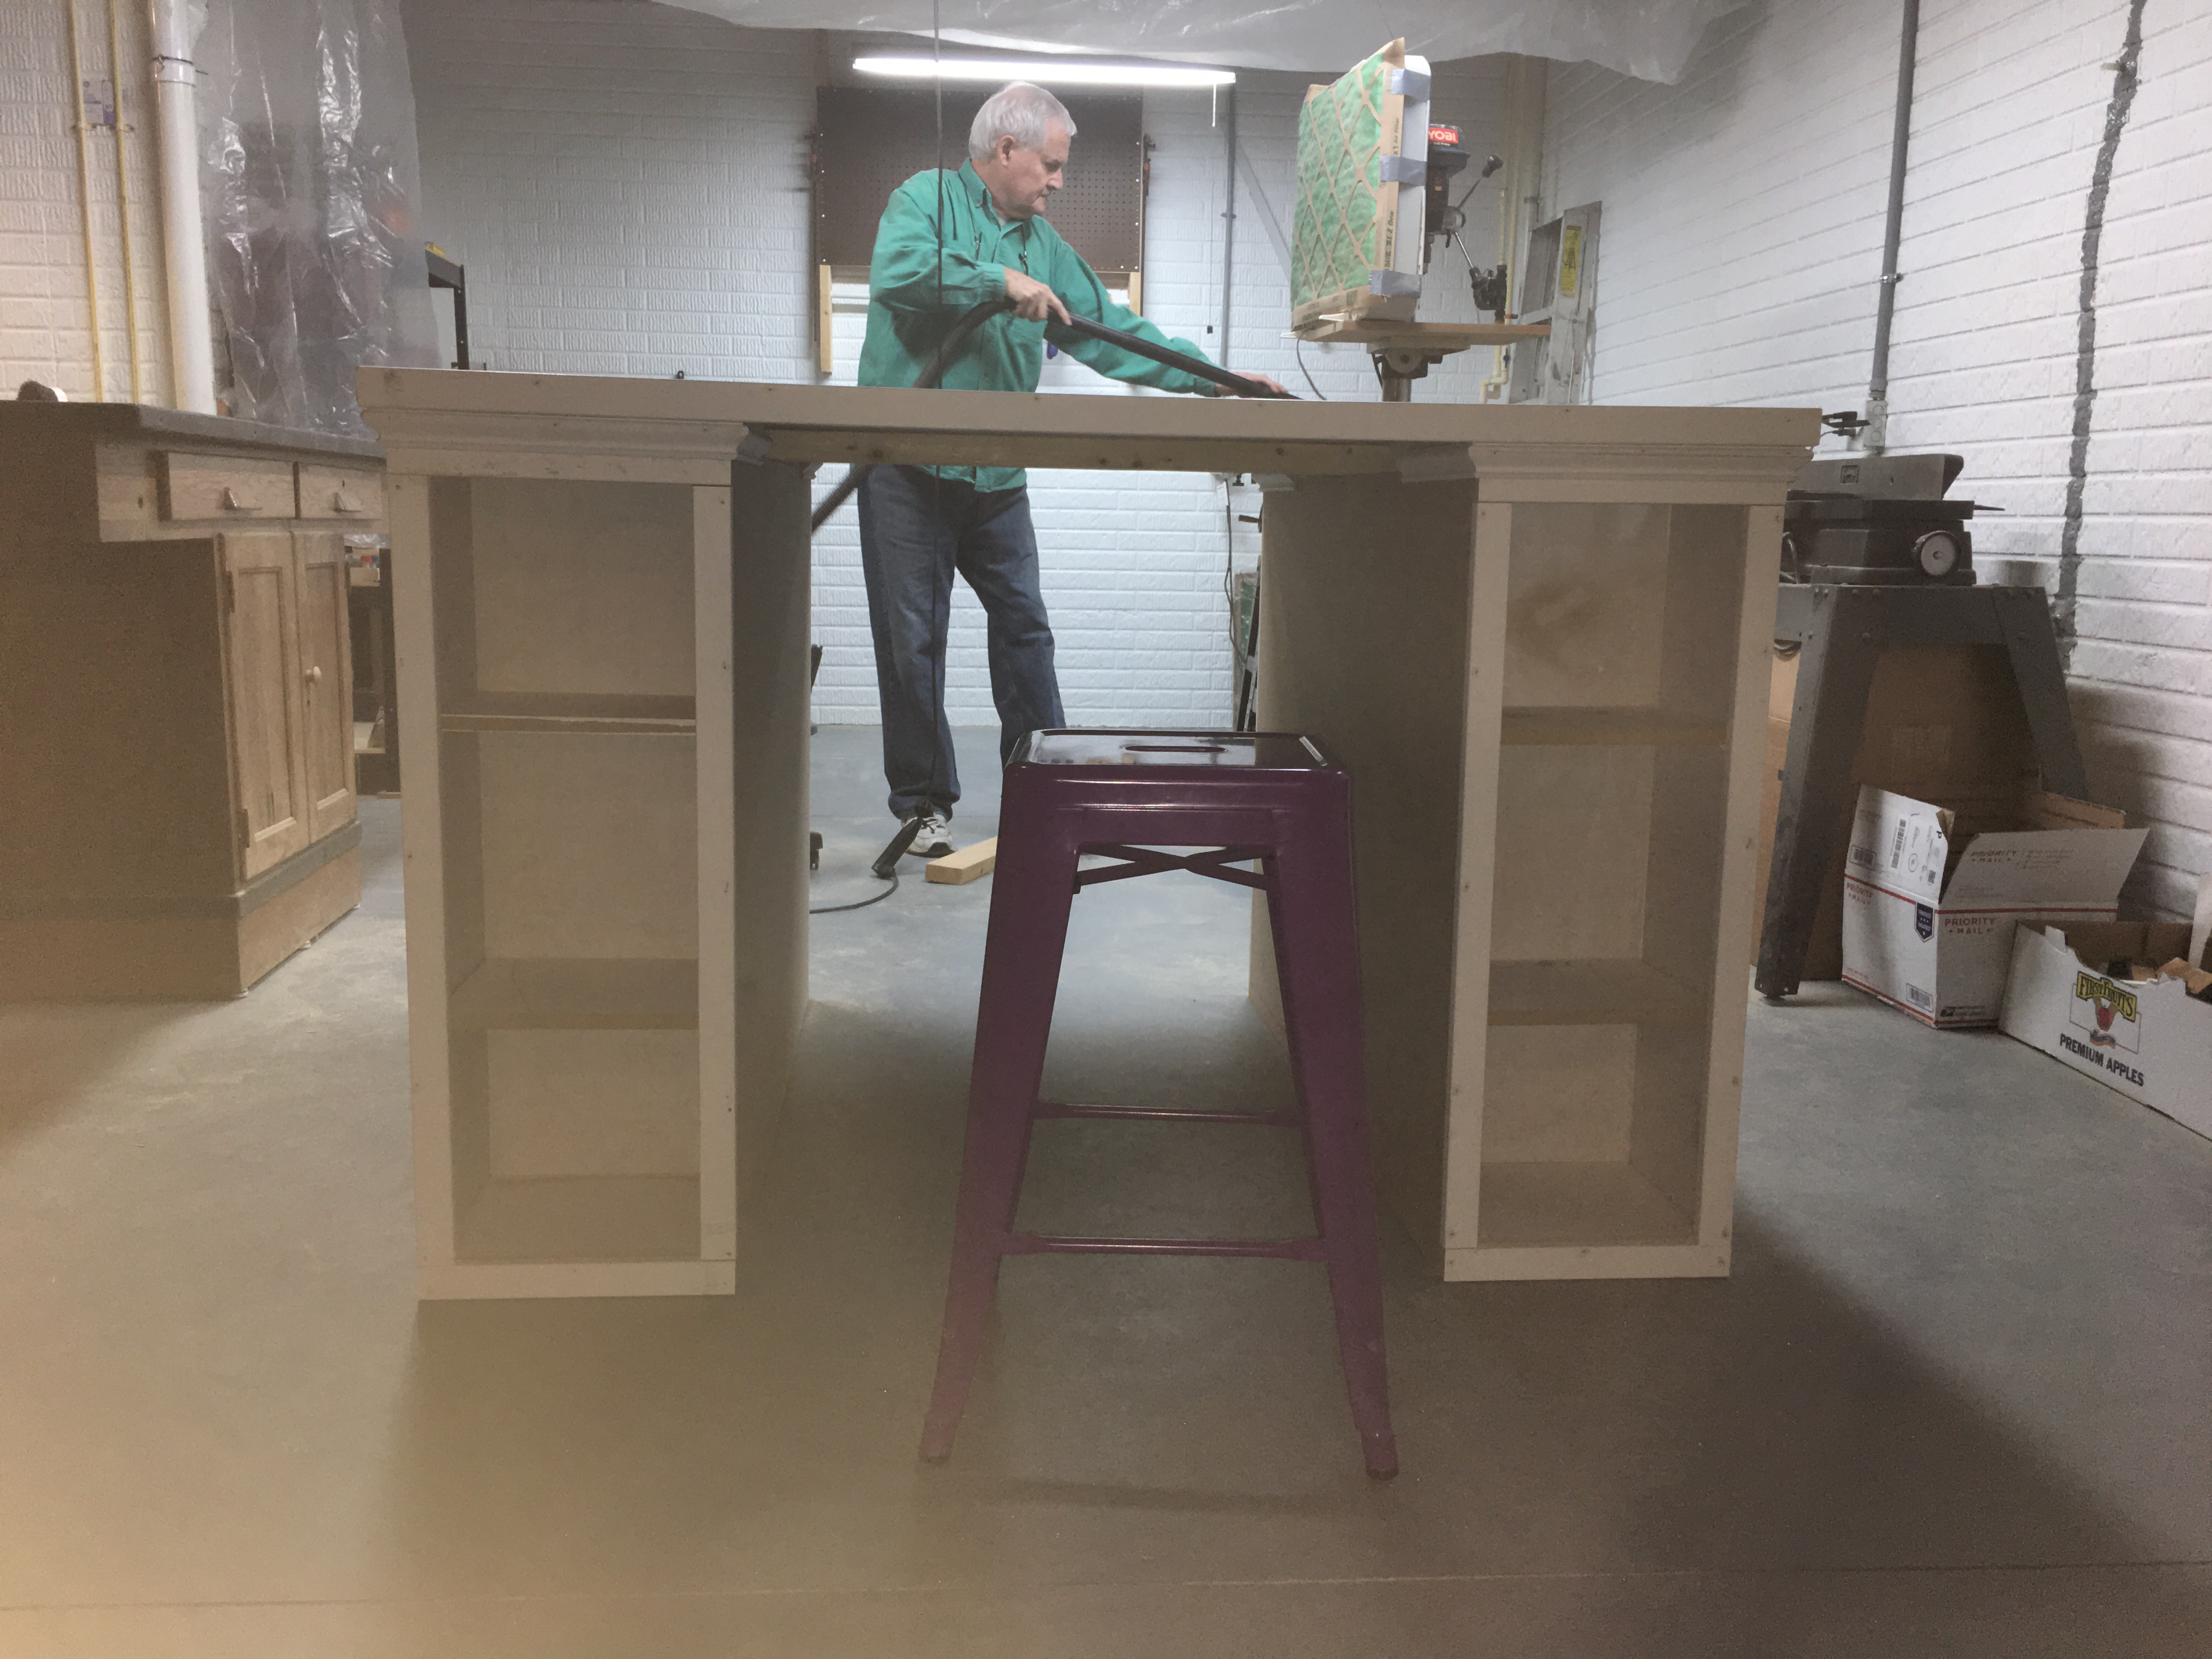
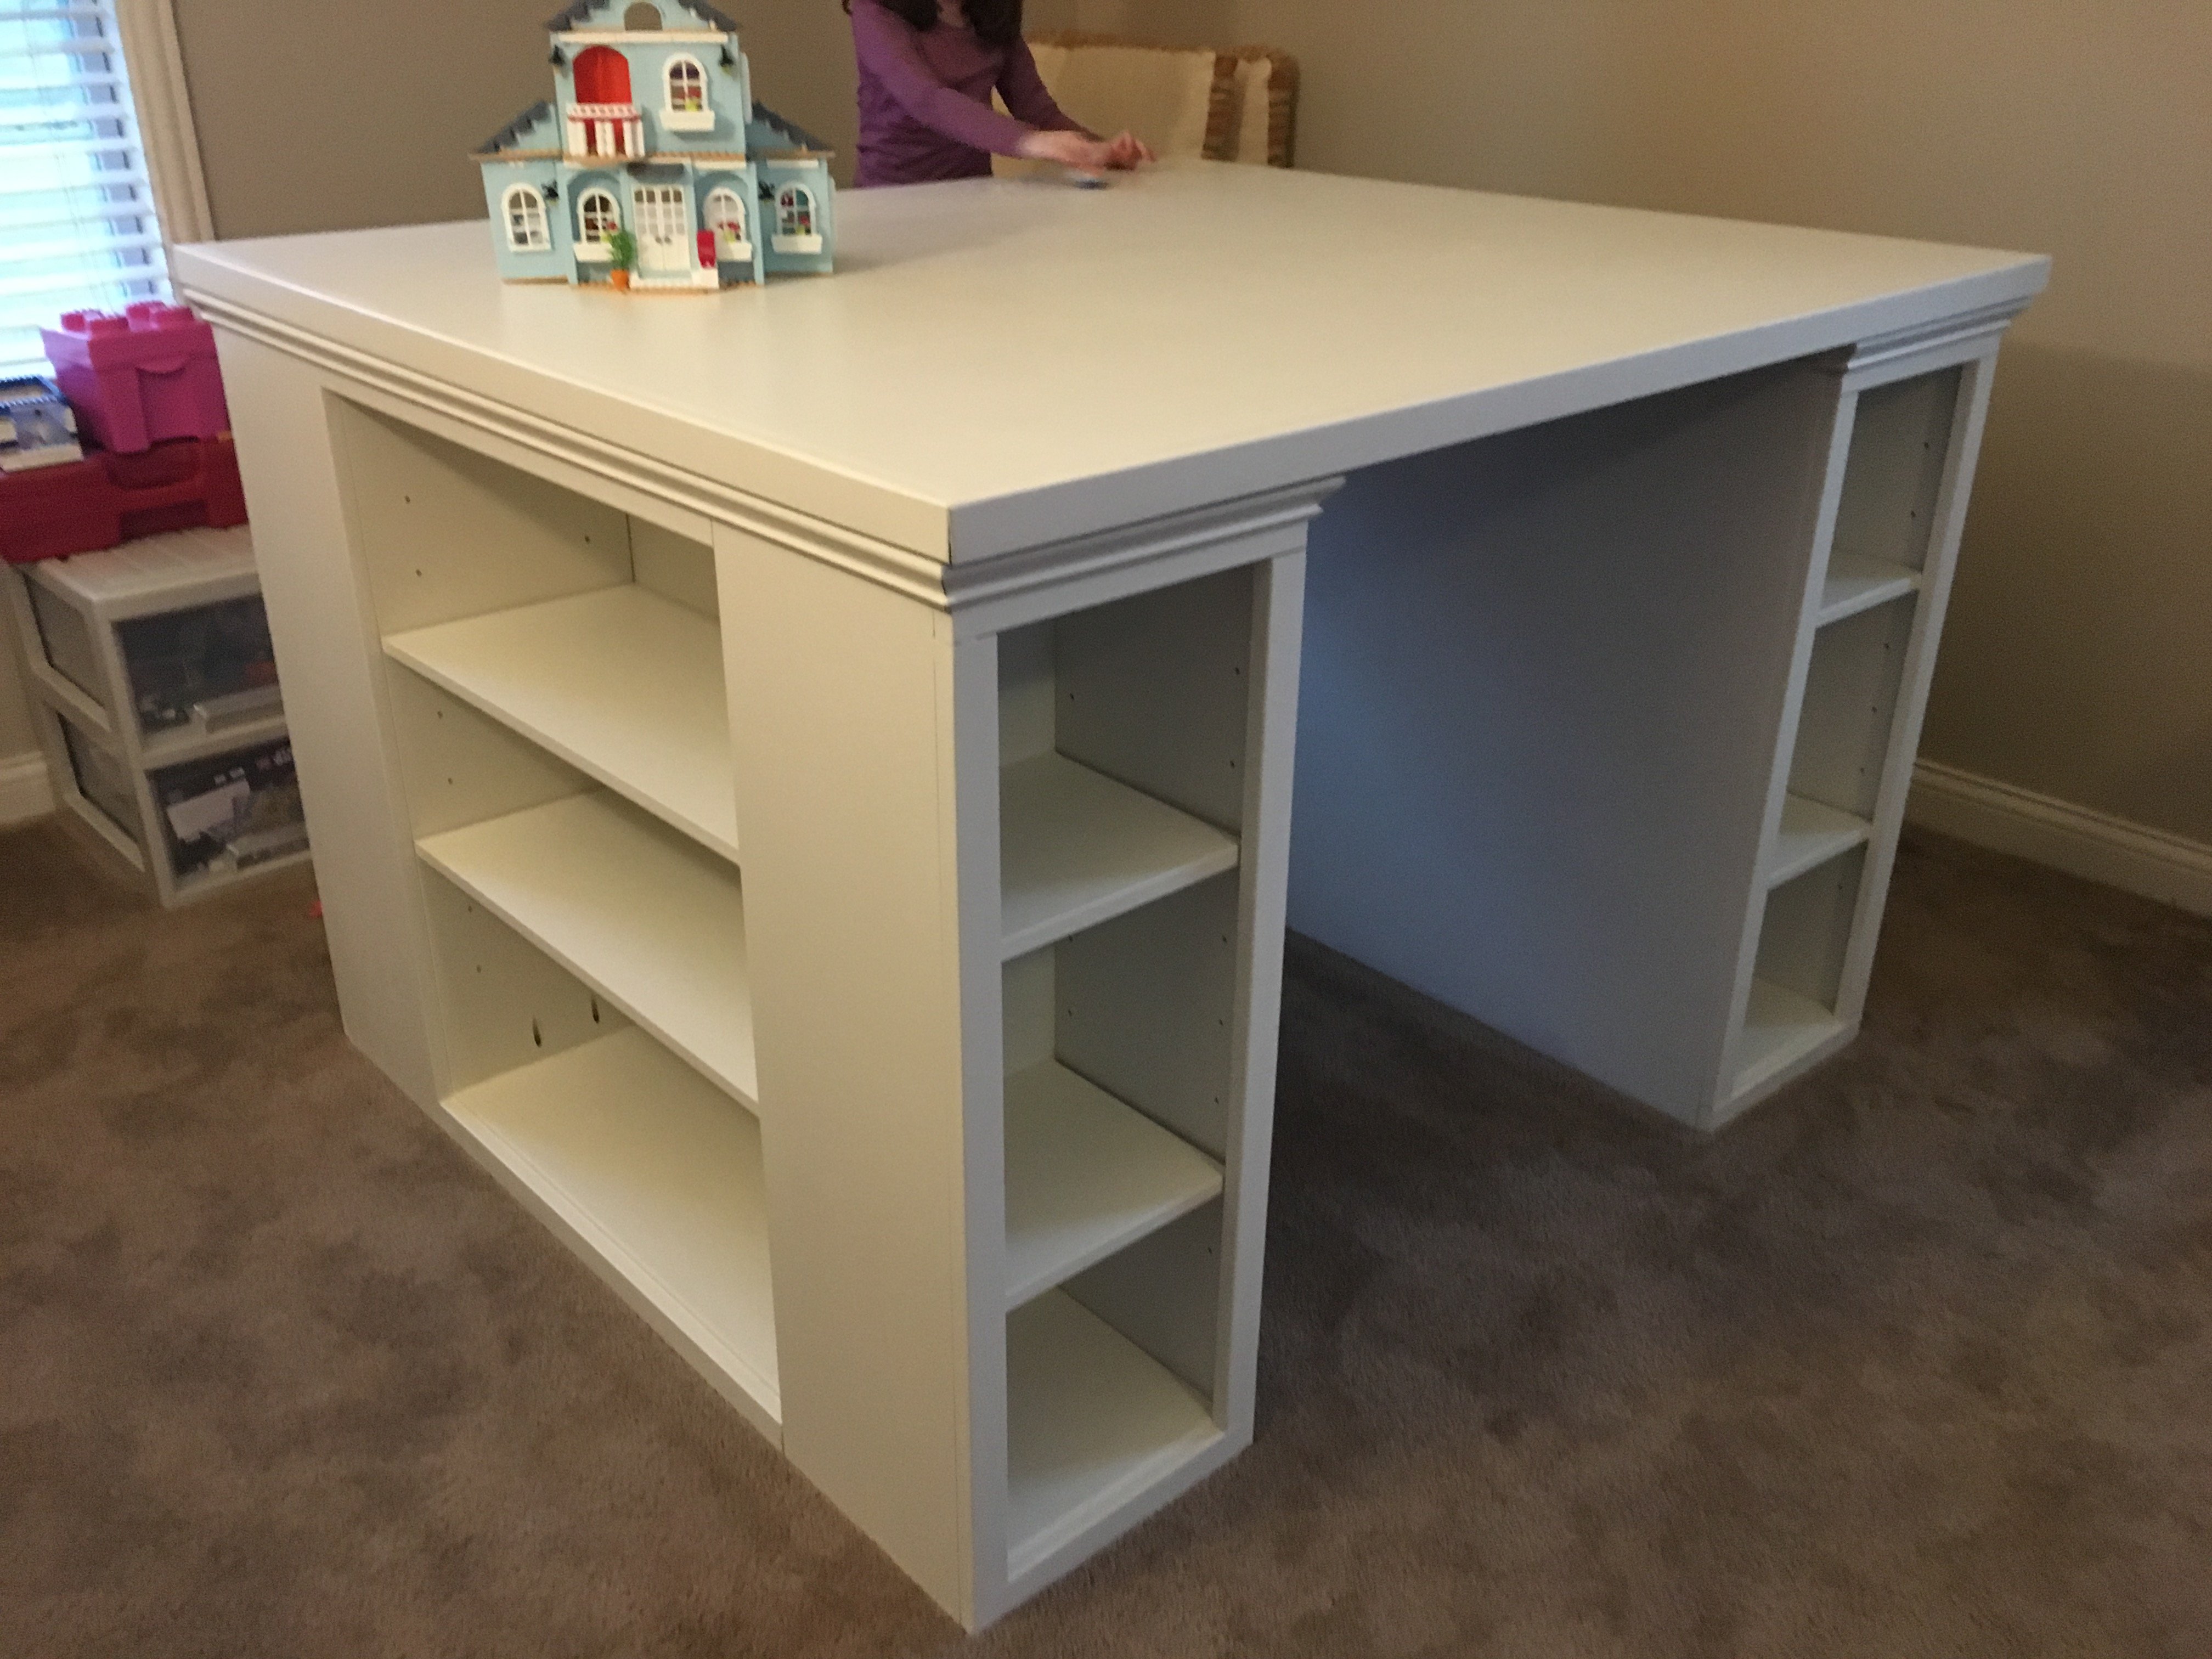
This is my more traditional take on the modern craft table (I guess that means it isn't technically "modern"!). We call it the "Lego Table" at our house. I doubled up the ends like others have so that my two daughters can have their own sides. My wife asked that the there be backs on the side shelves so that items aren't pushed off. I also added trim around the tabletop and molding to give it a bit more traditional appearance. Finally, I made the shelves adjustable.

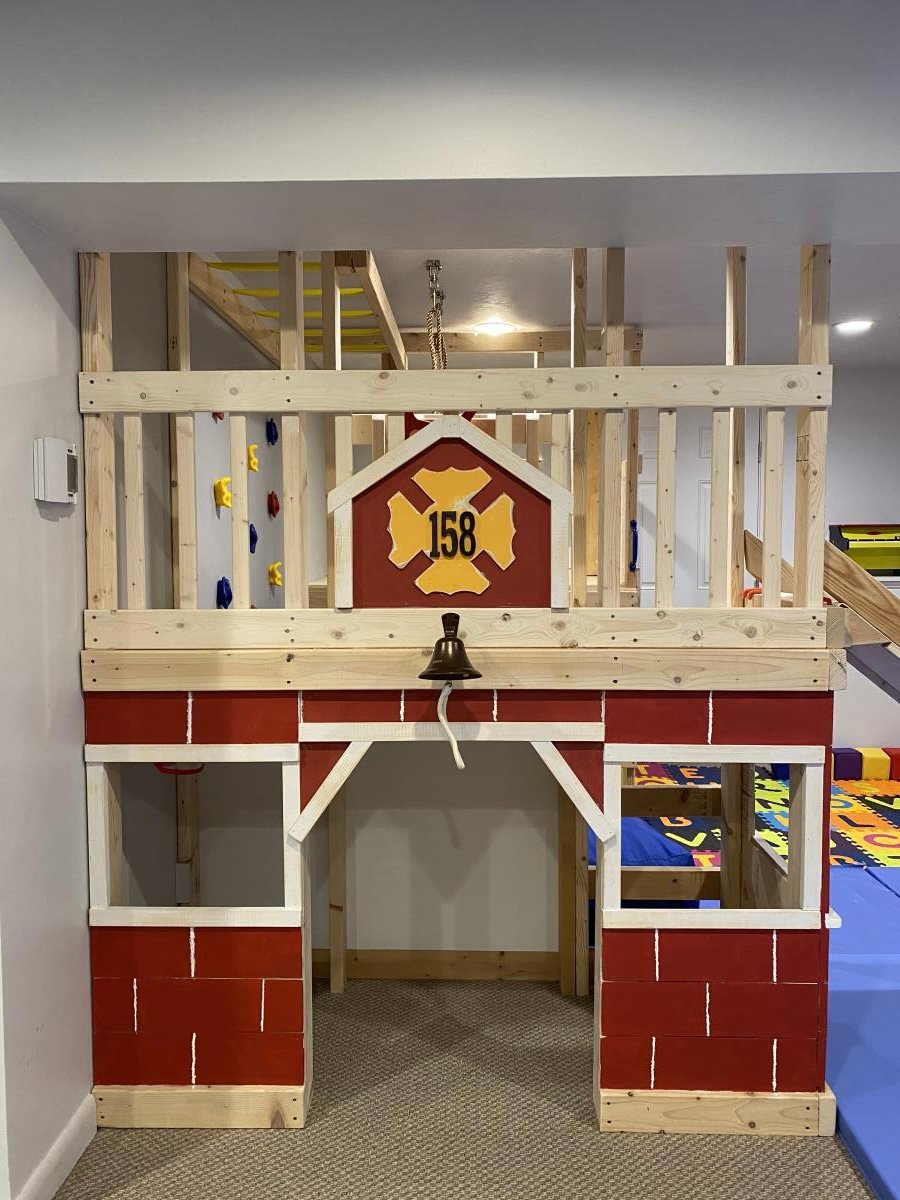
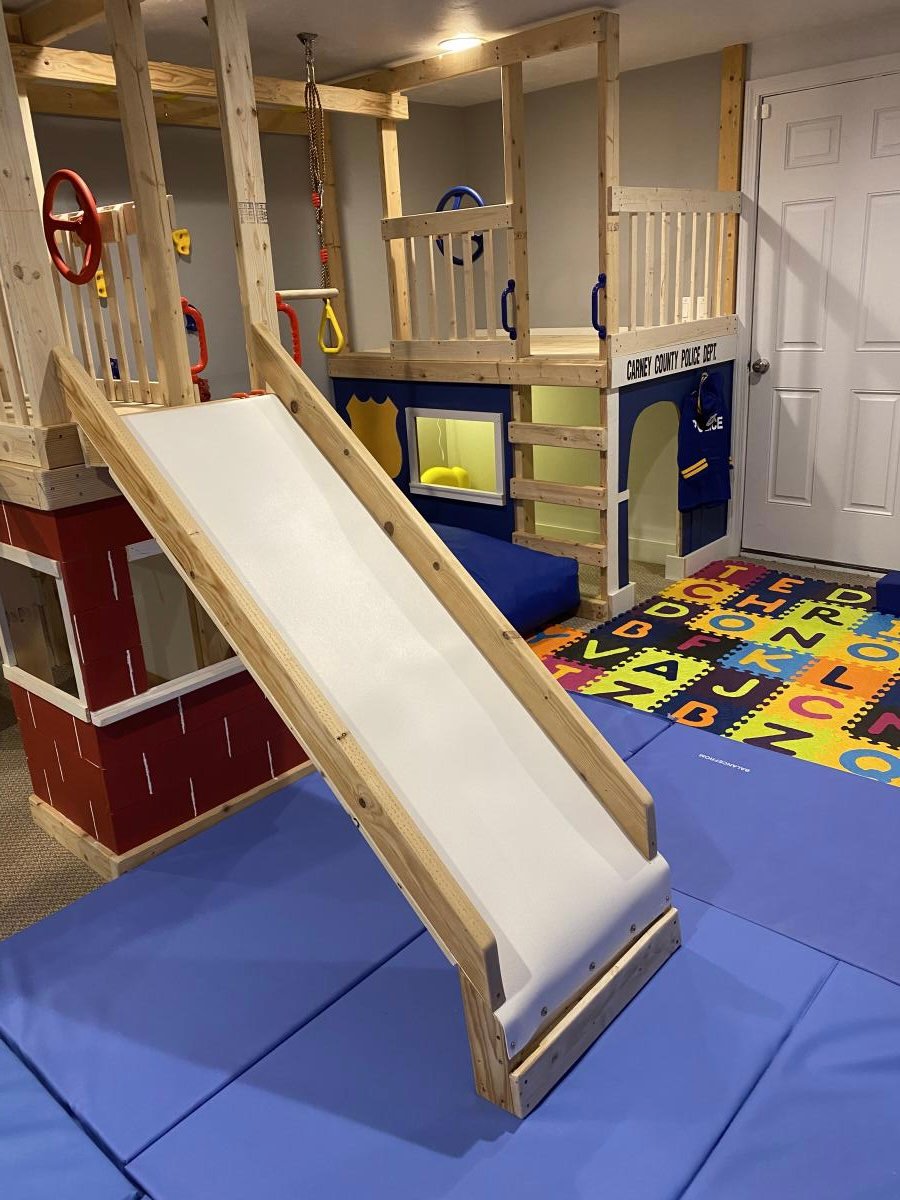
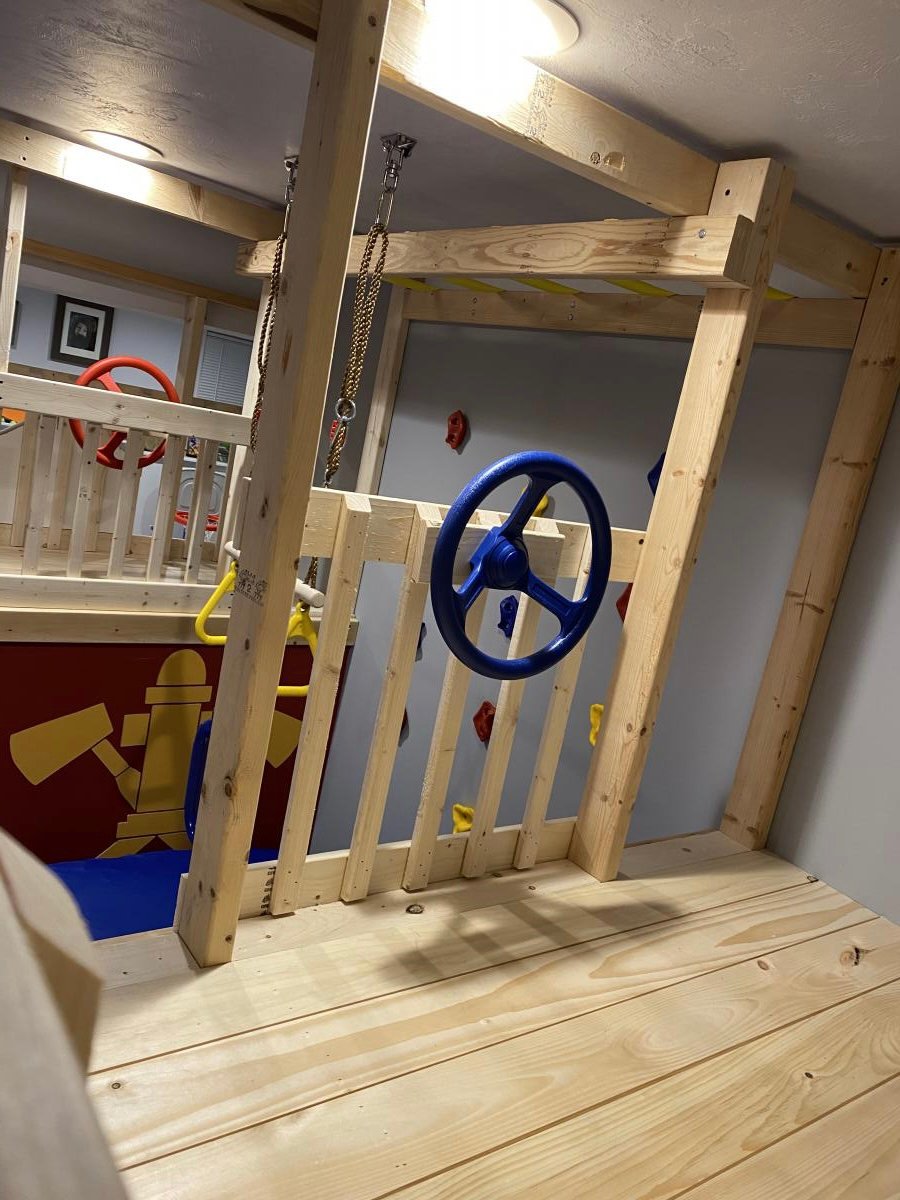
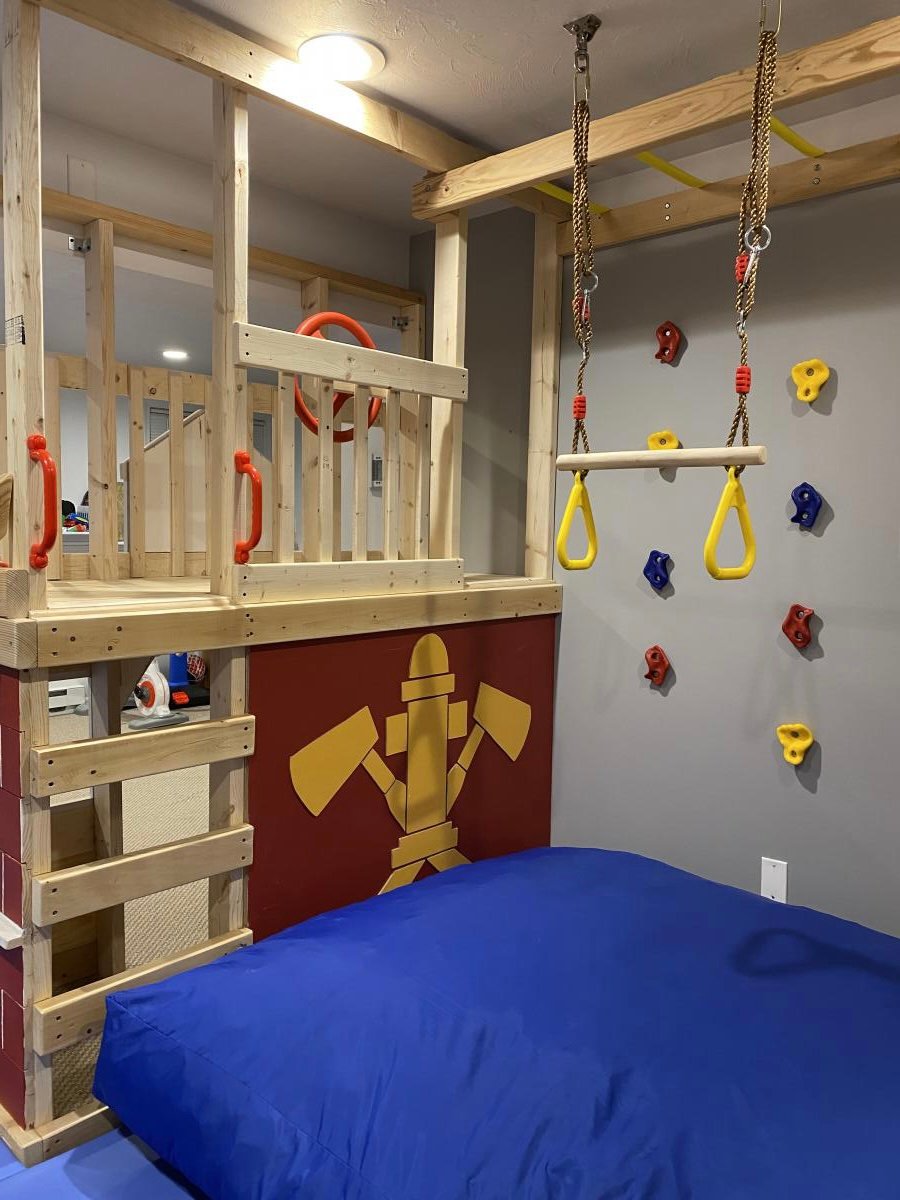
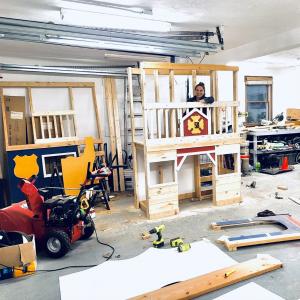
With Christmas approaching and the realization that my three young boys had way too much “stuff”, I enrolled the help of my dad to build this amazing basement play area. When I found Ana’s plans for the play gym with monkey bars, I knew we were in business. I modified the design to fit our space and we were off. Such a fun build and my boys absolutely love spending time down there. Thanks so much for your continued inspiration and the confidence you give us mamas to build with the big boys, Ana!!
In reply to Fabulous! by Ana White Admin
Fri, 01/08/2021 - 16:23
Thank you so much!! 🙏
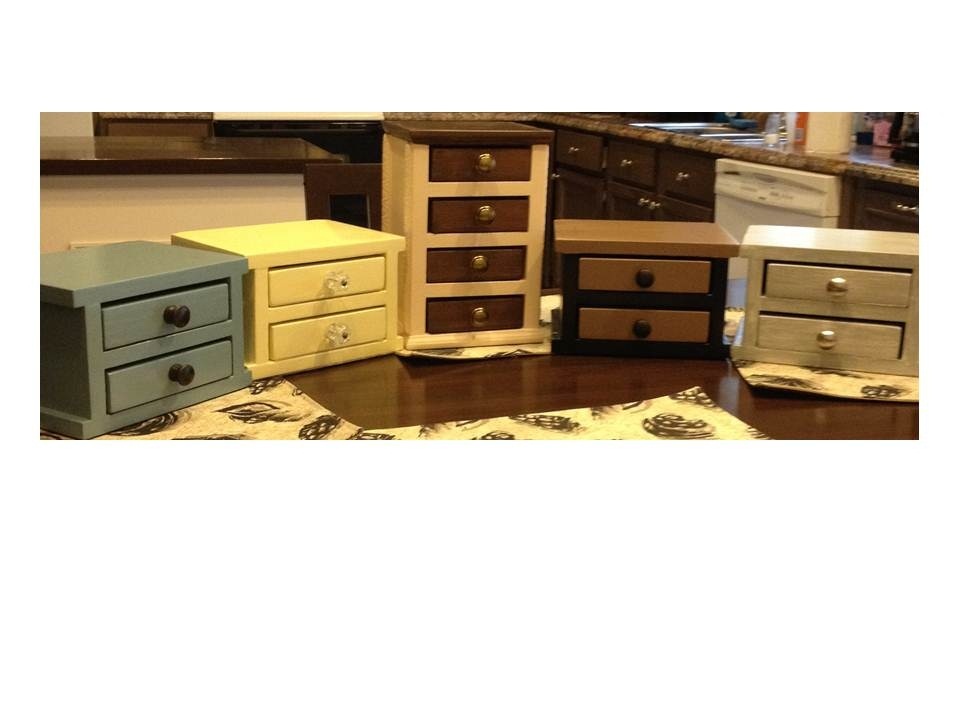
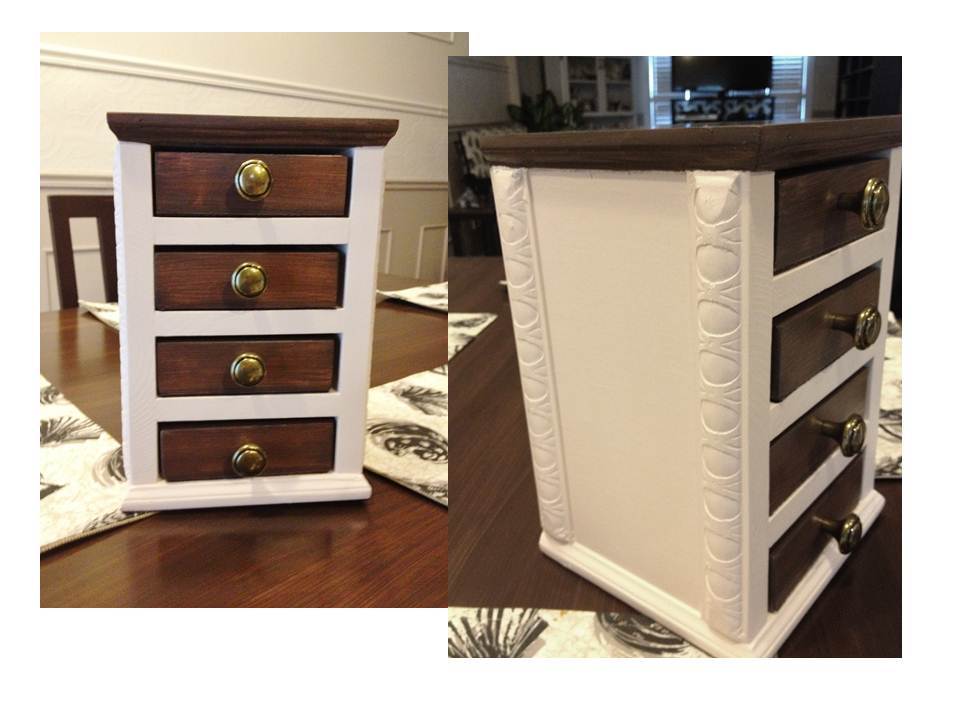
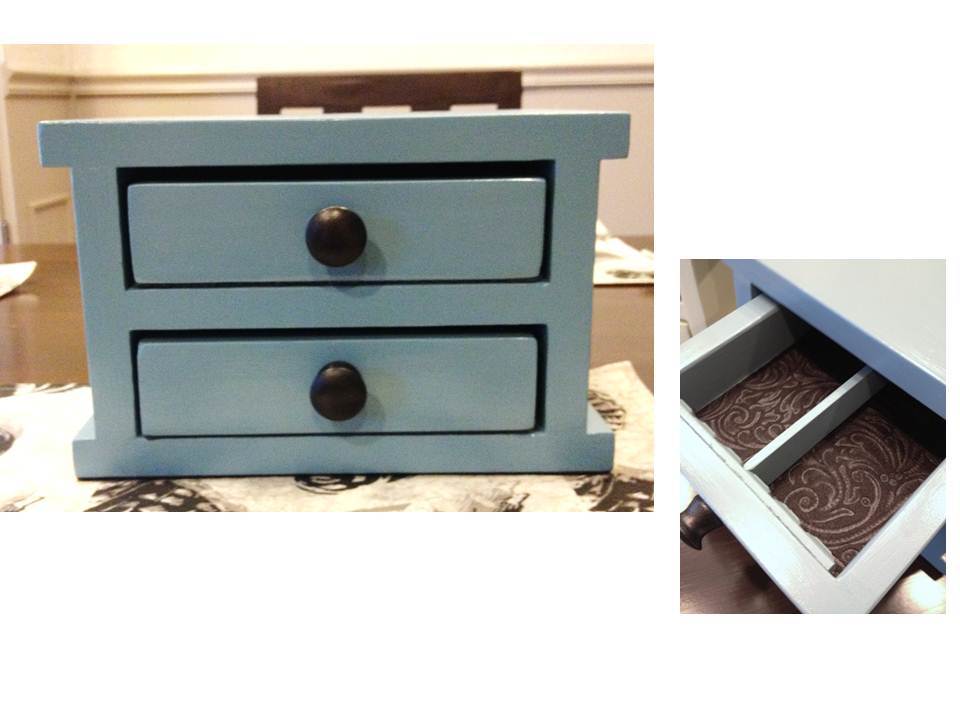
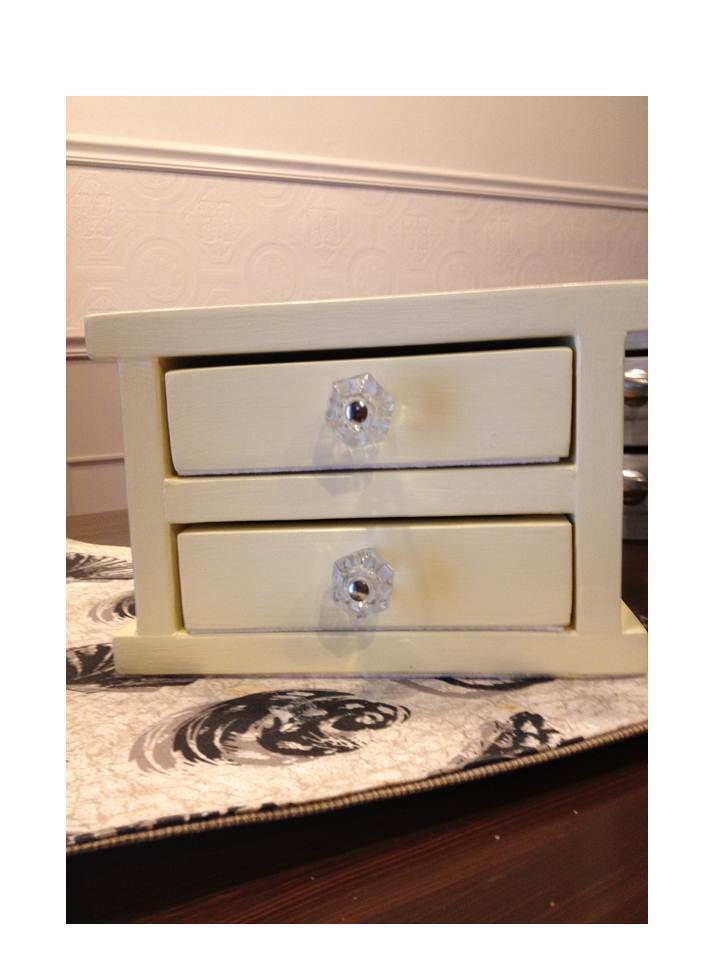
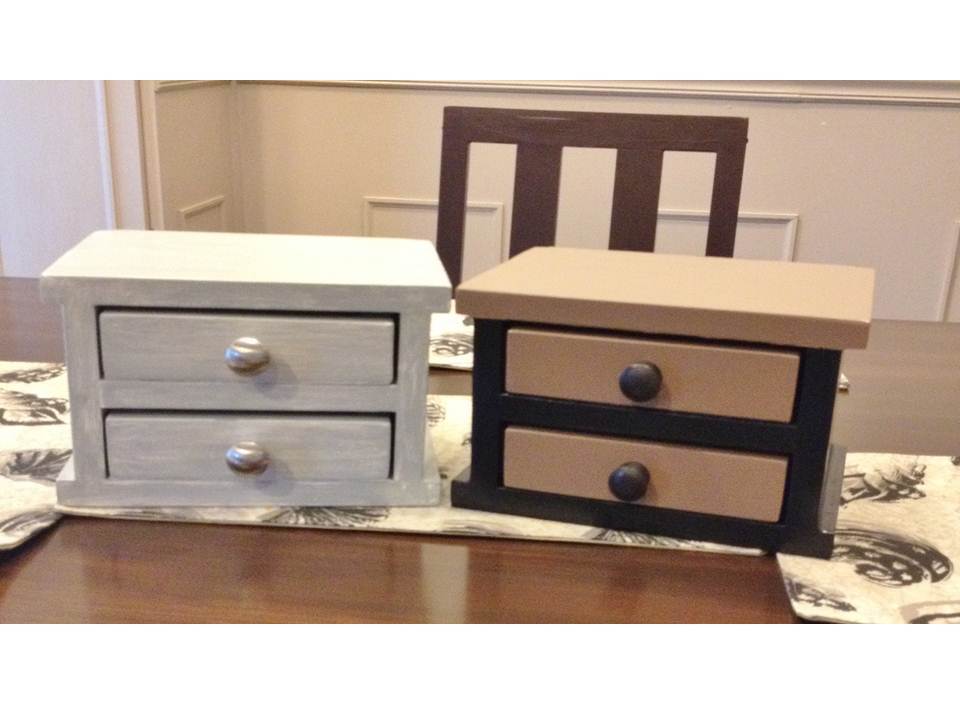
For Christmas gifts this year, I built several different jewelry boxes from the Easy Jewelry Box plan. The center one is a variation of the plan, made taller and narrower (that one was for Mom). The drawers are all lined with embossed felt and the 2-drawer boxes have adjustable drawer dividers. These all have sticky-back felt on box and drawer bottoms. The tower style box has added trim. Each one was an afternoon build. These were super fun to build and were a huge hit with Mom and my friends!

Wed, 02/27/2013 - 12:58
Thanks so much for the nice comment! :) I had a blast building these, and thinking up the finishing combinations I thought they would enjoy. I'm always partial to the ones I build for Mom. :)

I modified the origianl plans by making the cabinet taller. I also built 2 cabinets and trimmed them both together to make it appear as if it is 1 giant cabient. It measure over 7 feet tall and just over 6 feet wide. I did add an additional 1x2 brace in the center of the cabinet to help support. I also cut an additional 1x4 to use a brace when anchoring it to the wall. I also chose to add an additional 2 trim pieces to each door because they are much taller than the original plan doors.


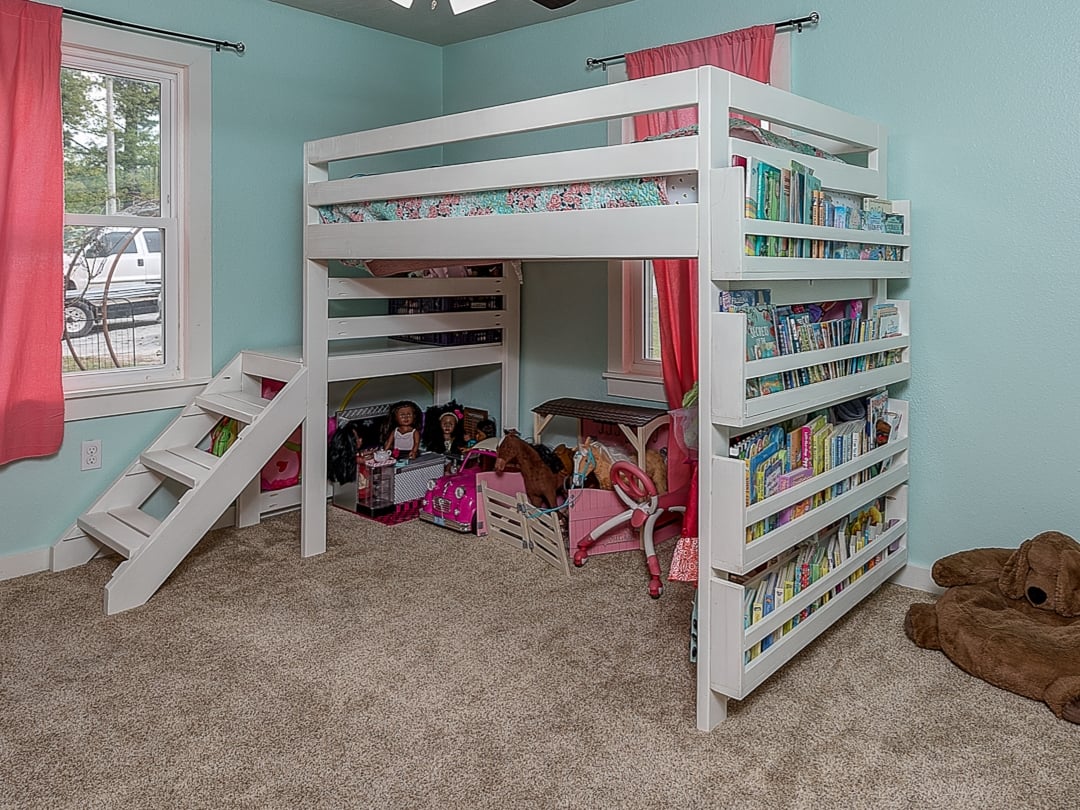
We love the loft bed! She always wanted a bed with stairs and this one was the perfect height for me to still help make the bed.
Submitted by Carla Santiago on Facebook -
We did a bench, I got your plans off Pinterest. We just put a slight slant to the back and we love it. Thanks for the great plans.
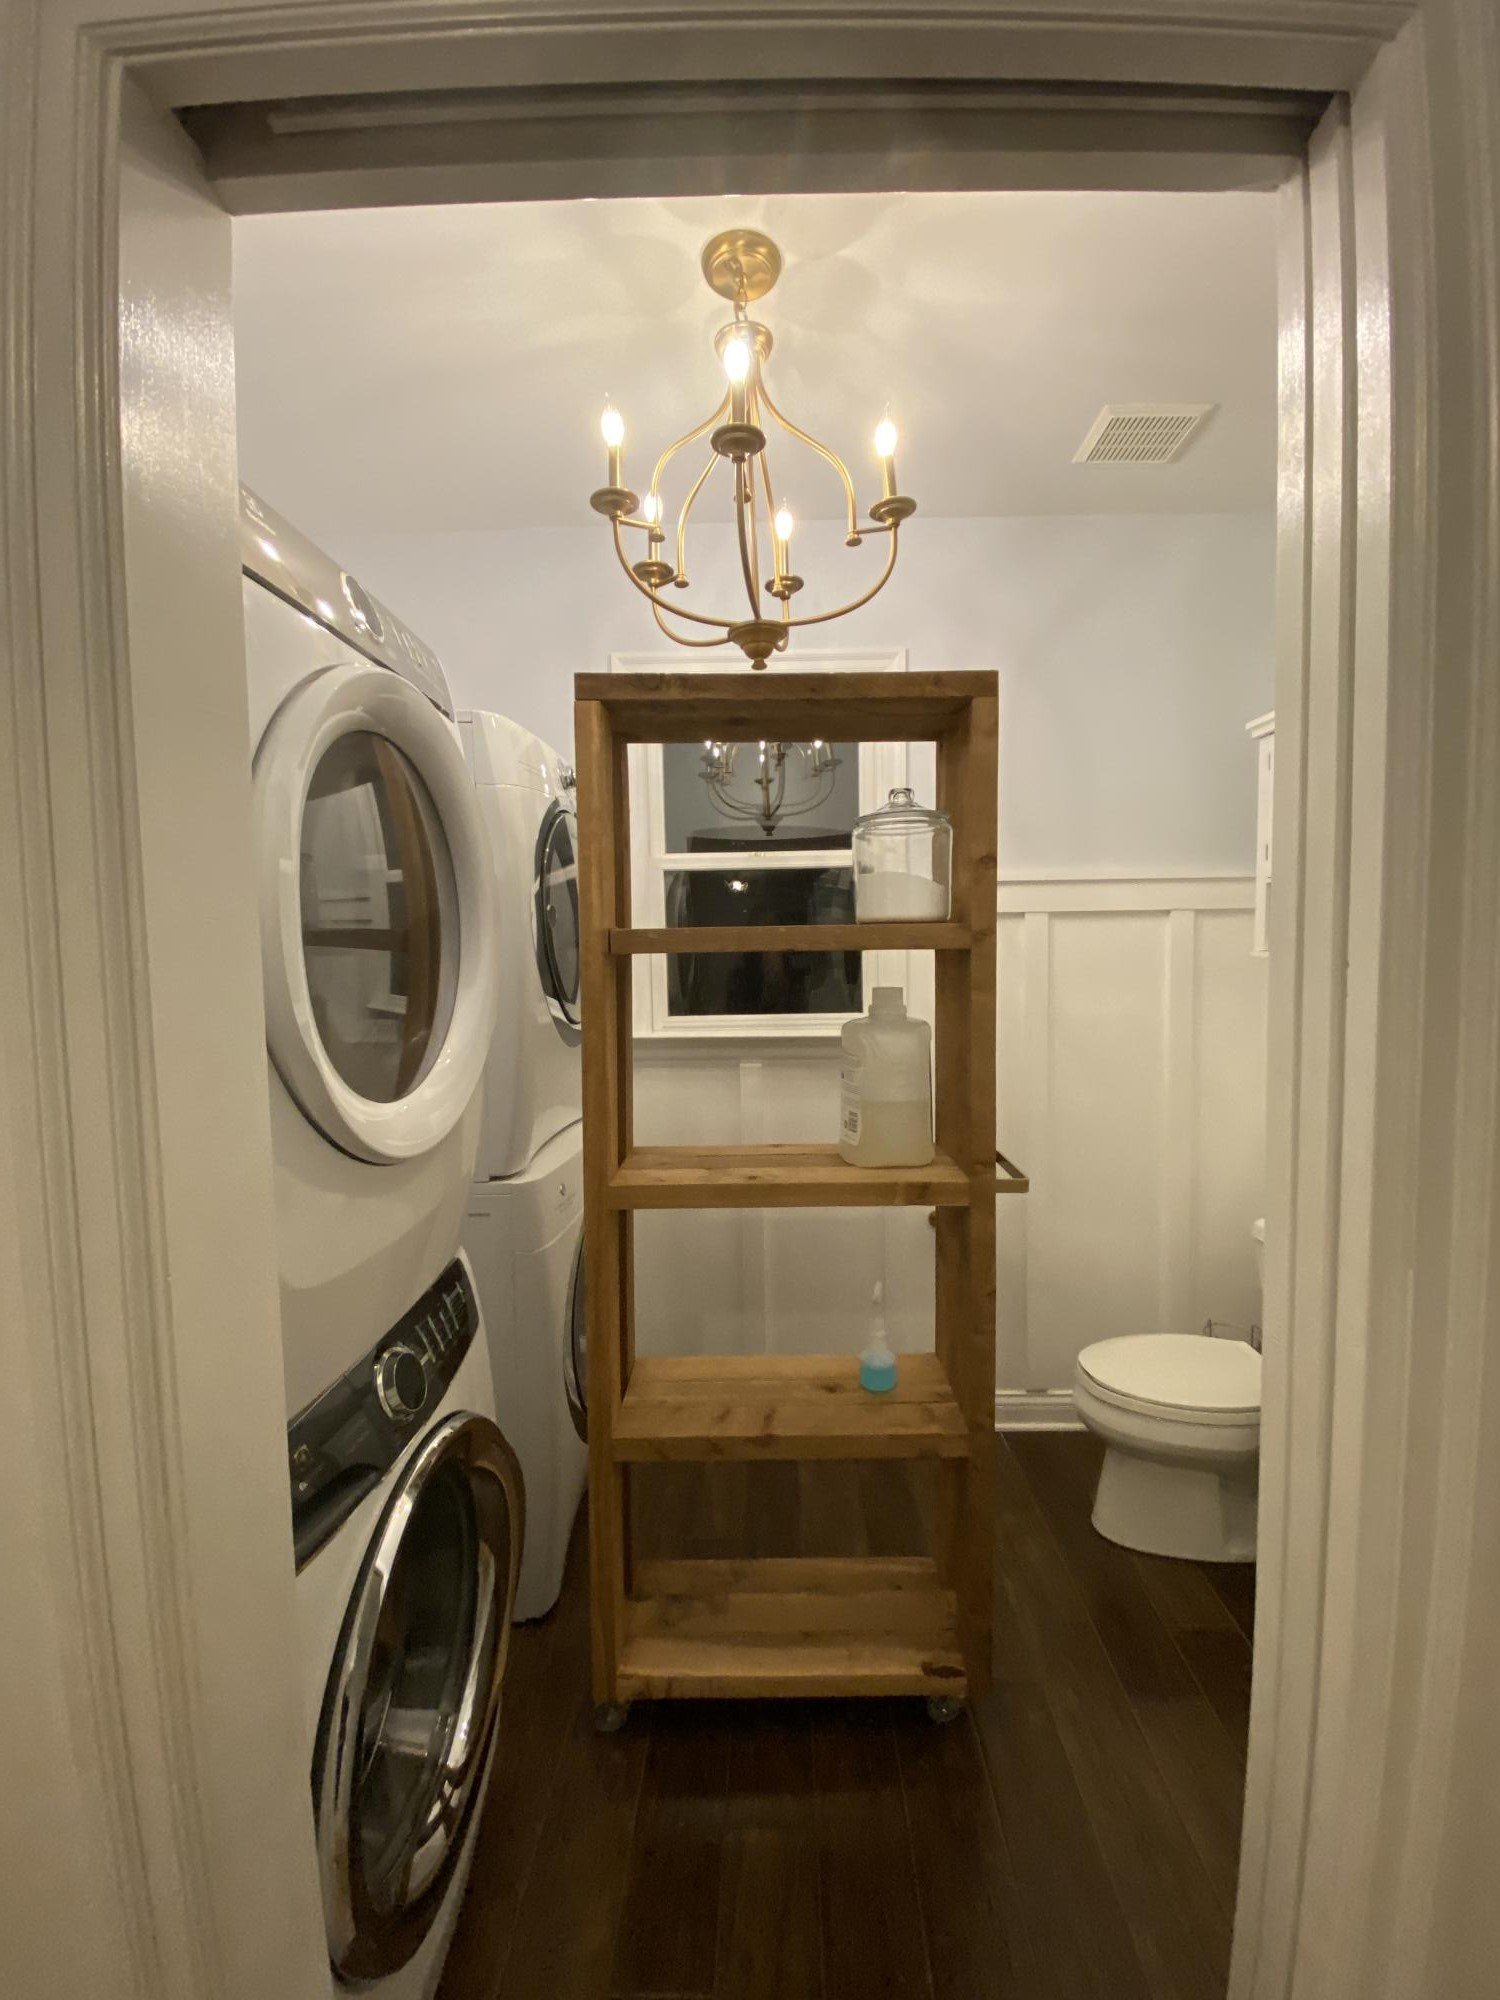
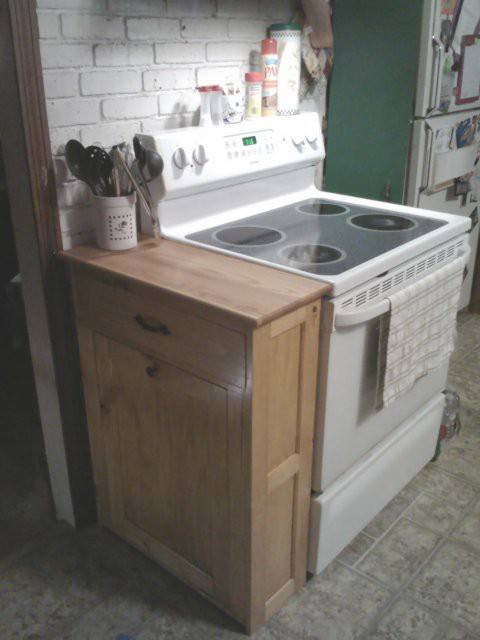
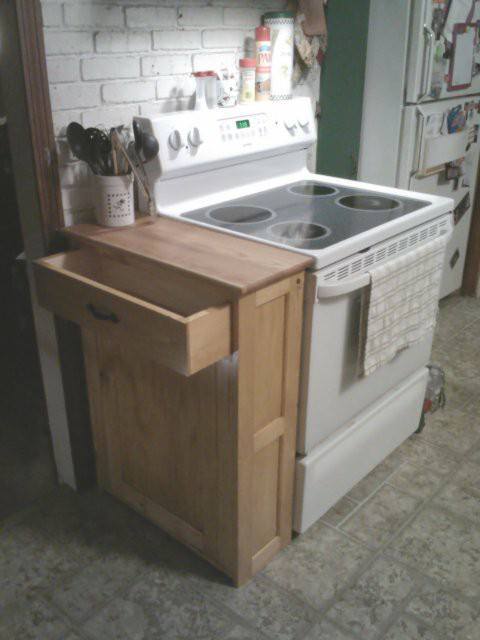
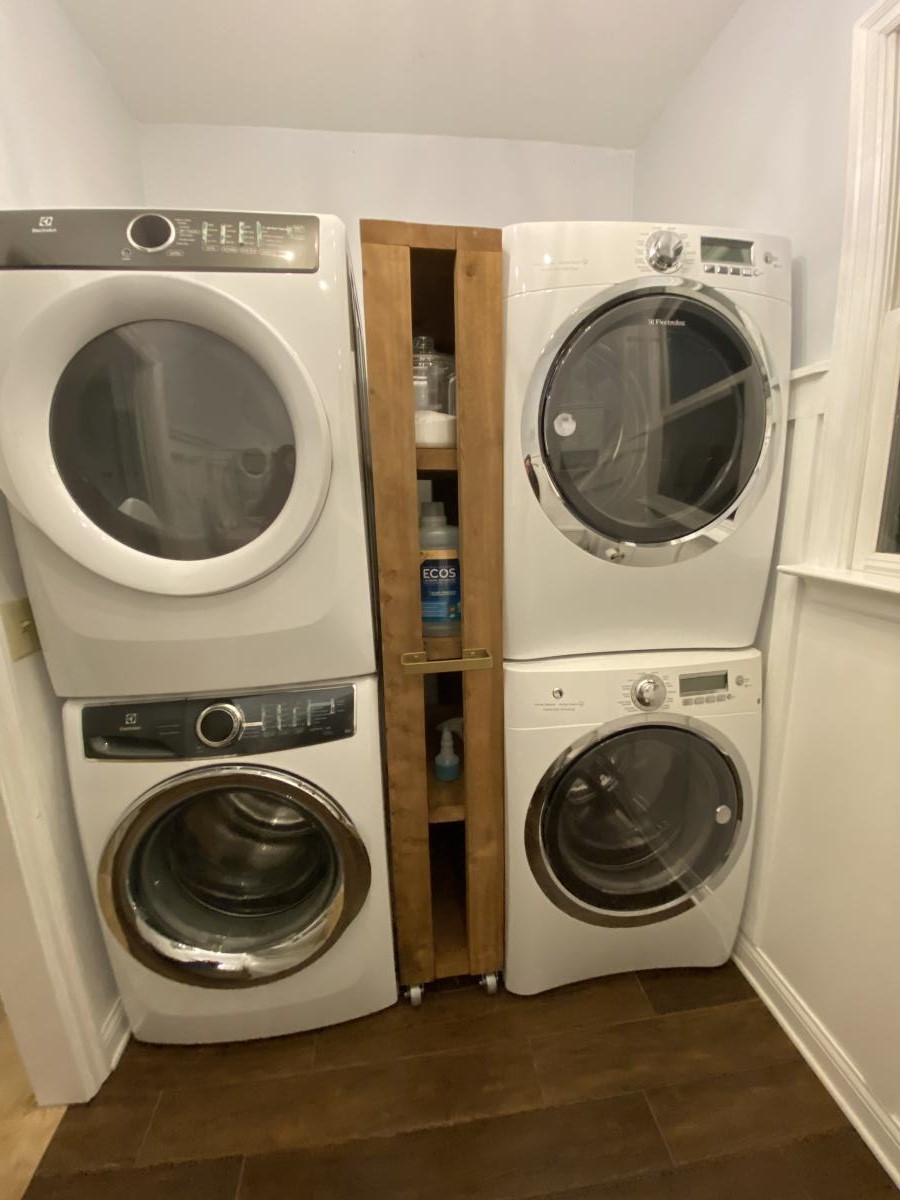
This is my first build! It came together really easily. I modified the dimensions to fit my space. I didn’t add the black pipes, simply because I couldn’t find all the pieces, or the corner brackets, and I think it looks great without them. I added a handle (a towel bar I found on Etsy) to pull it in and out. I used rough cut cedar, and have not finished it. I’m not sure if I will. I wanted to spray paint the wheels, but the person that helped me attach them (a.k.a. my dad) was ready to to help me before I had them painted! But I love it, and it really adds functionality and stoage to this little gap between our washers and dryers.

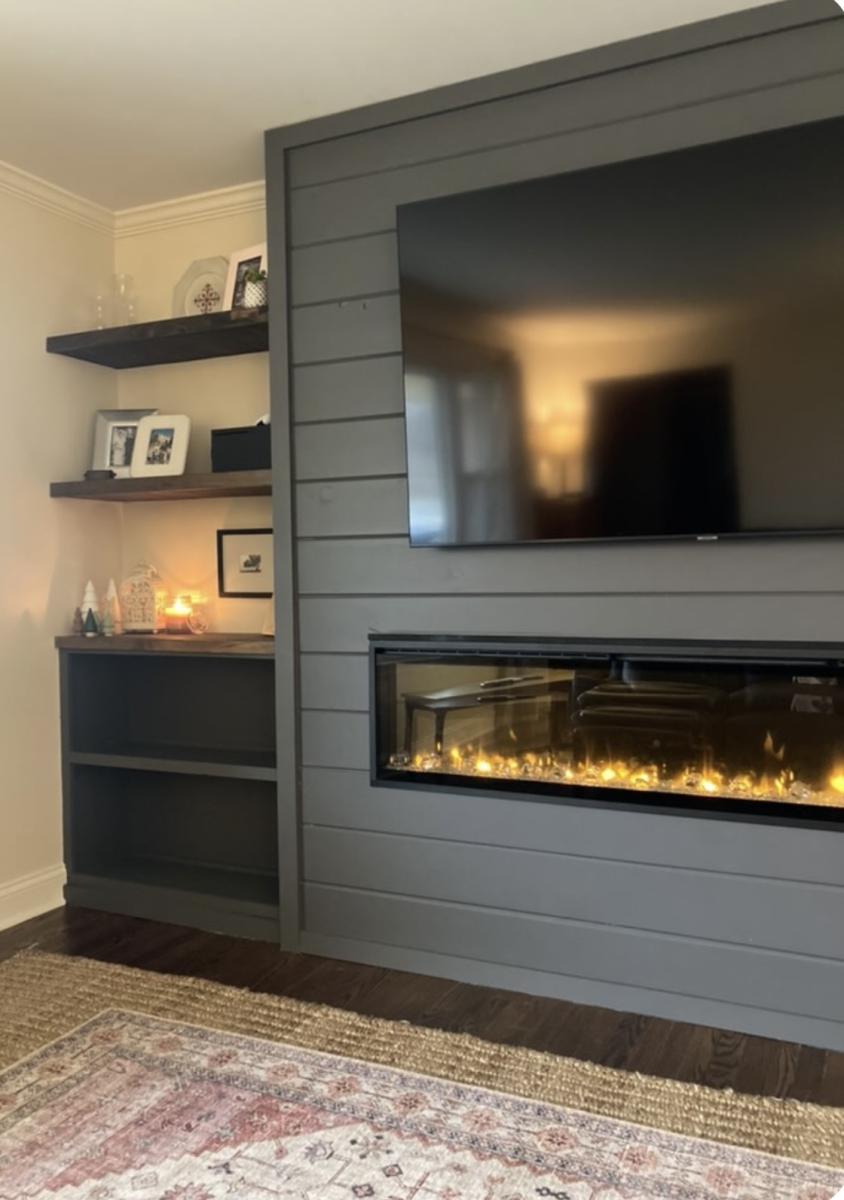
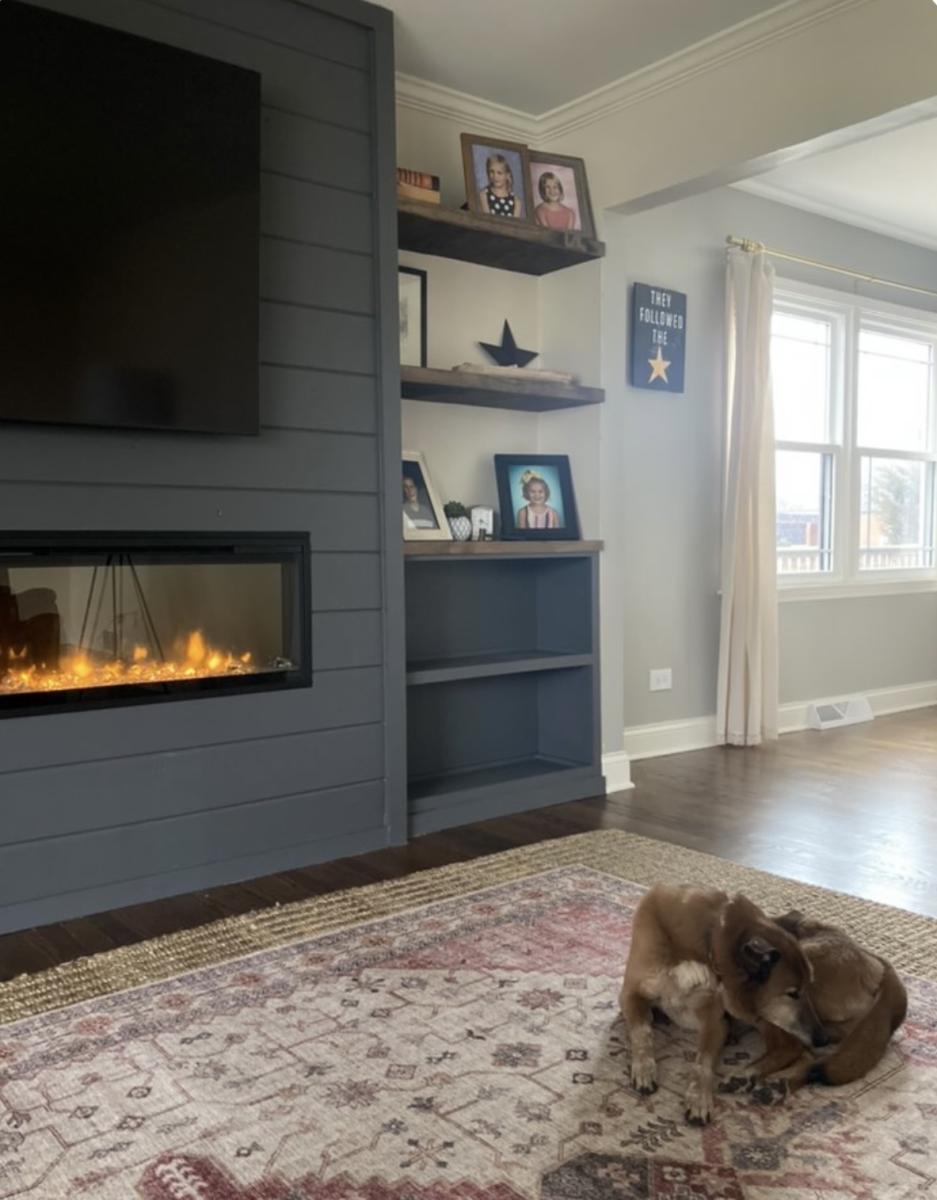
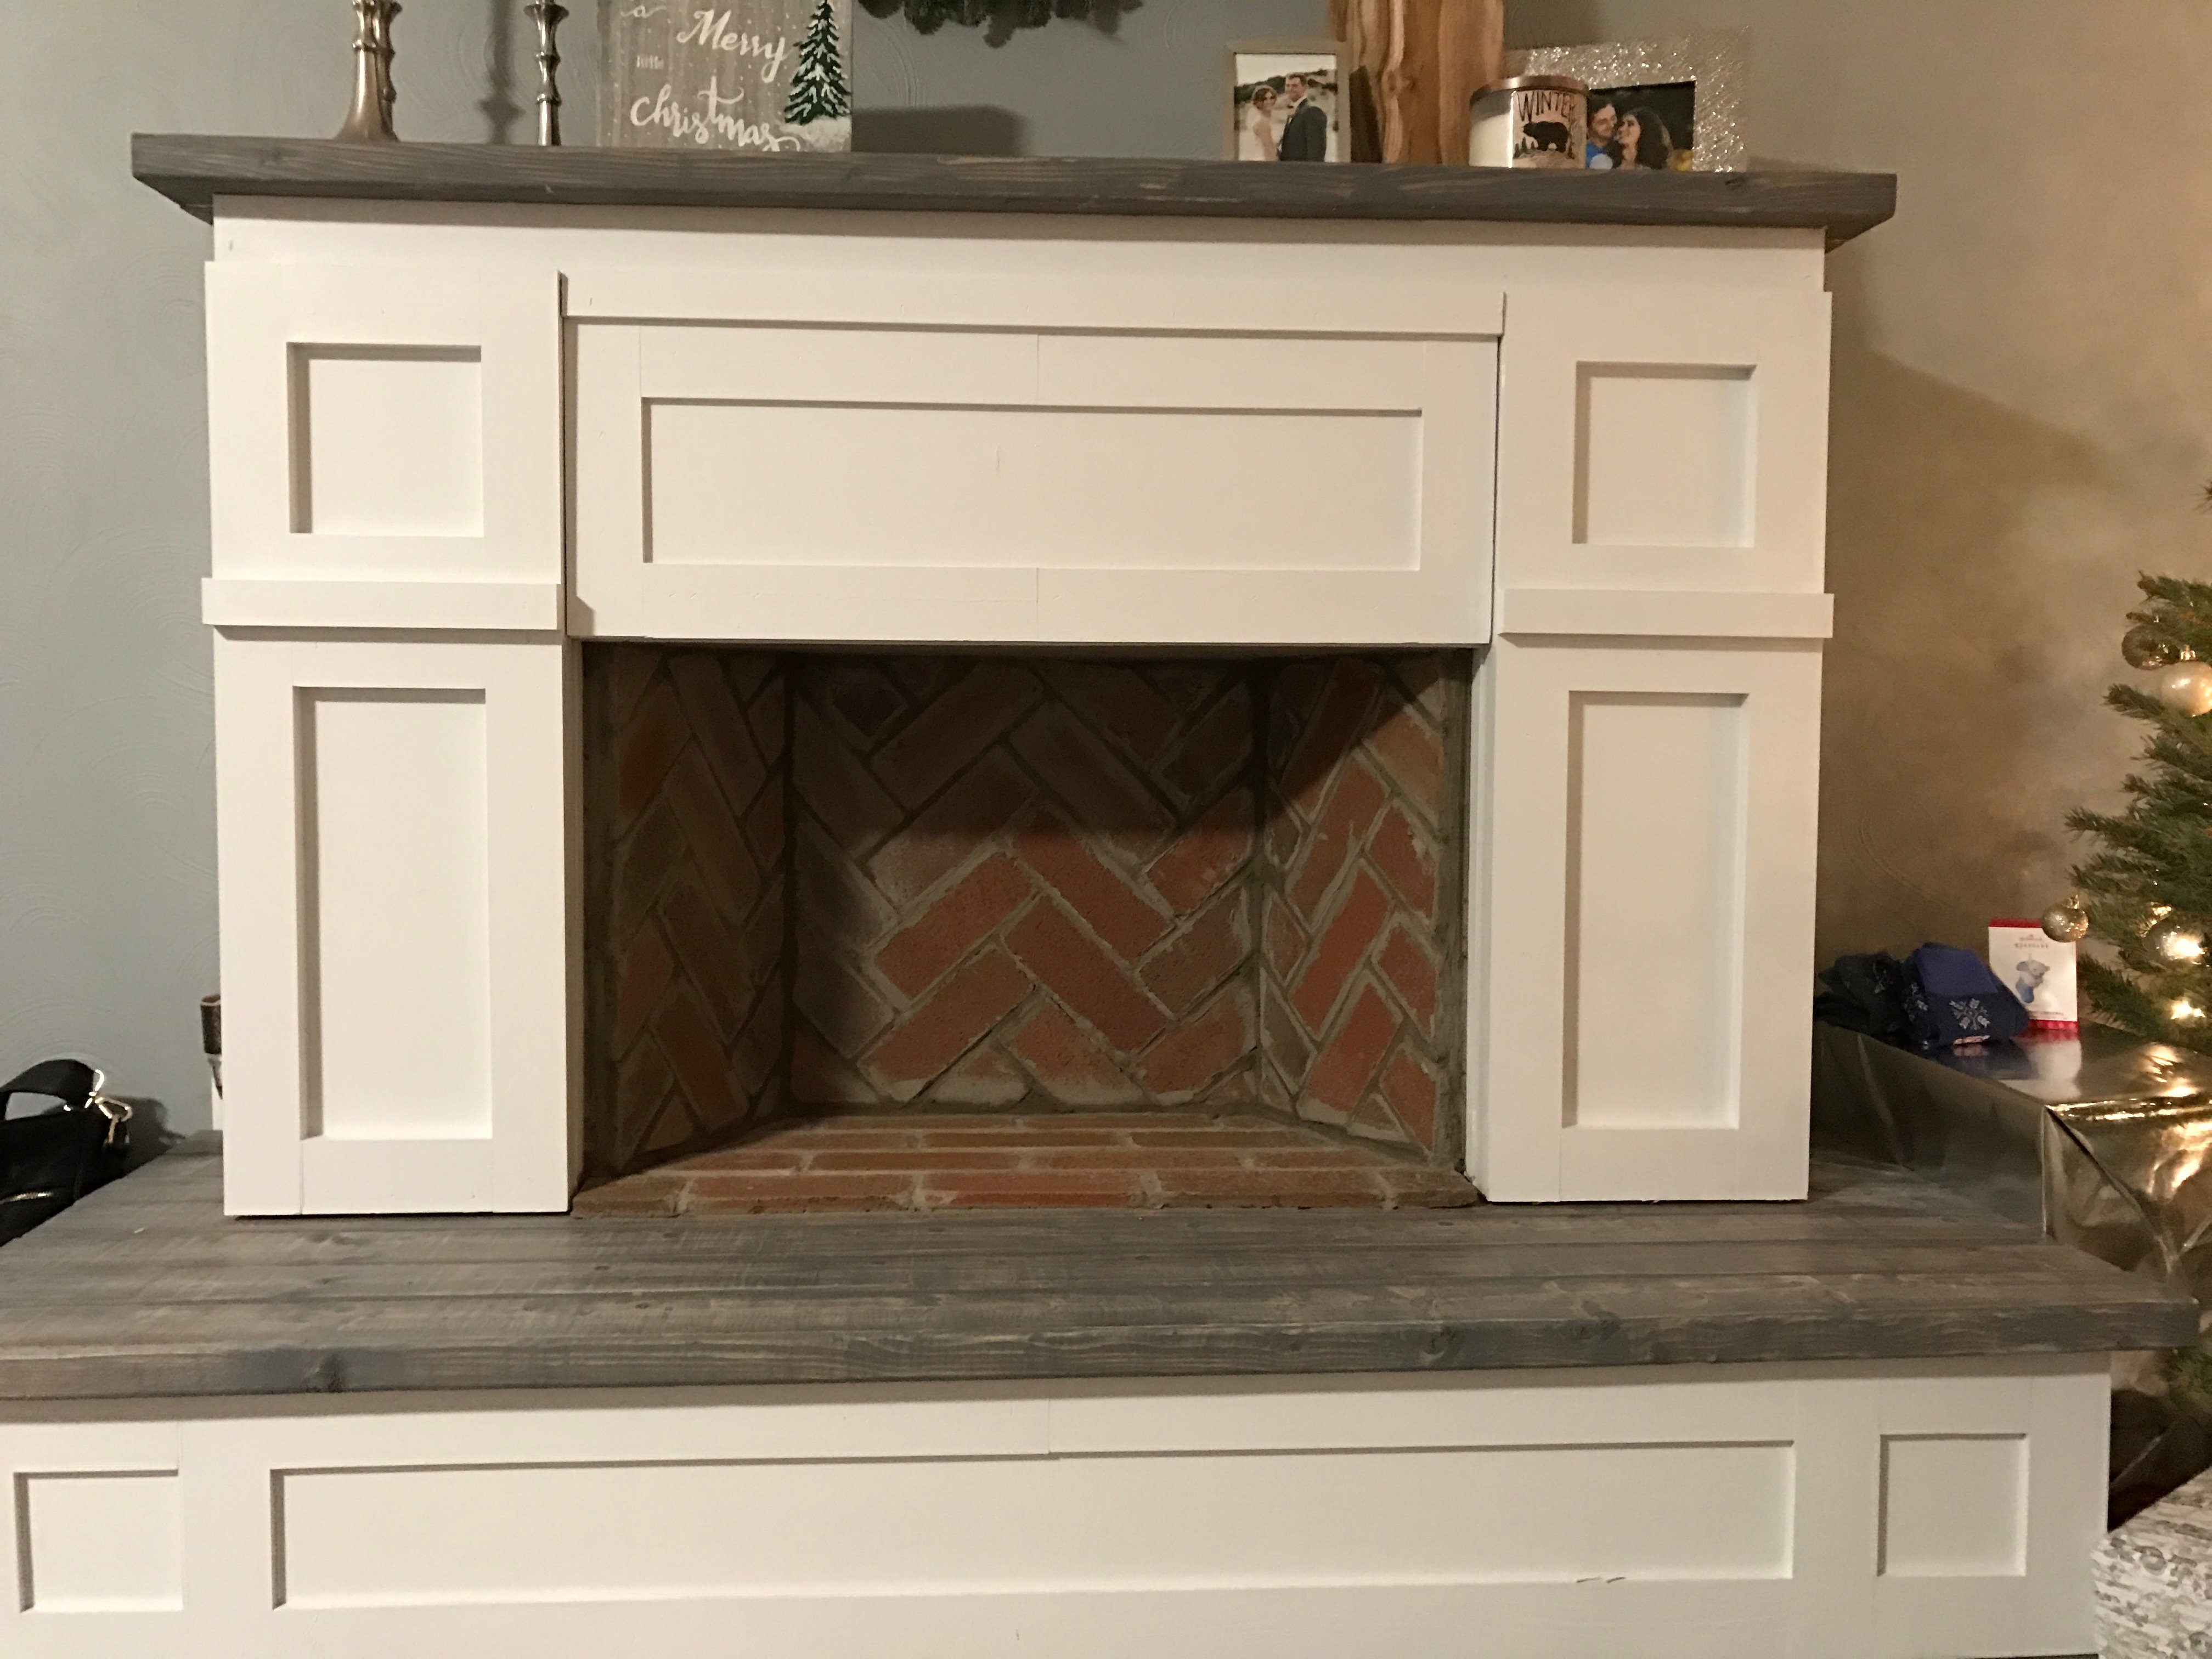
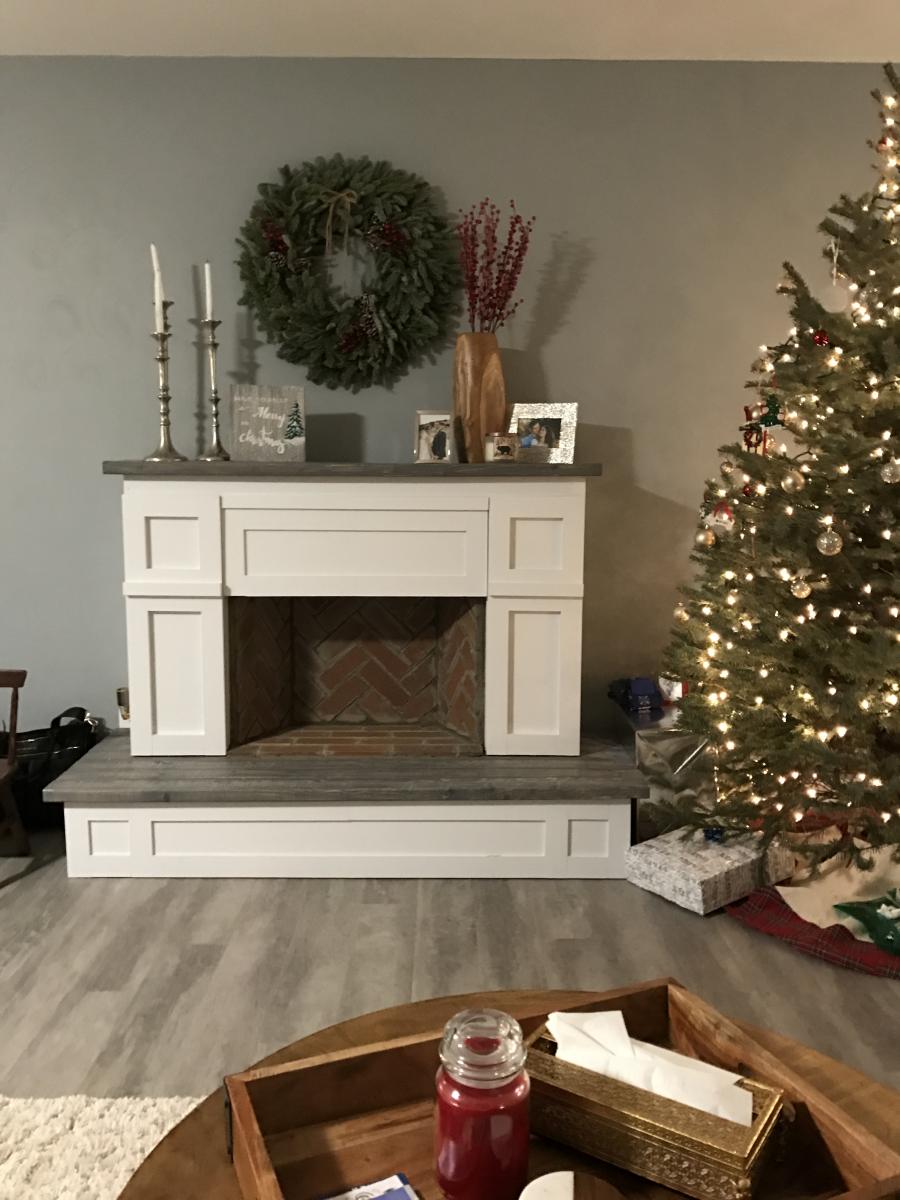
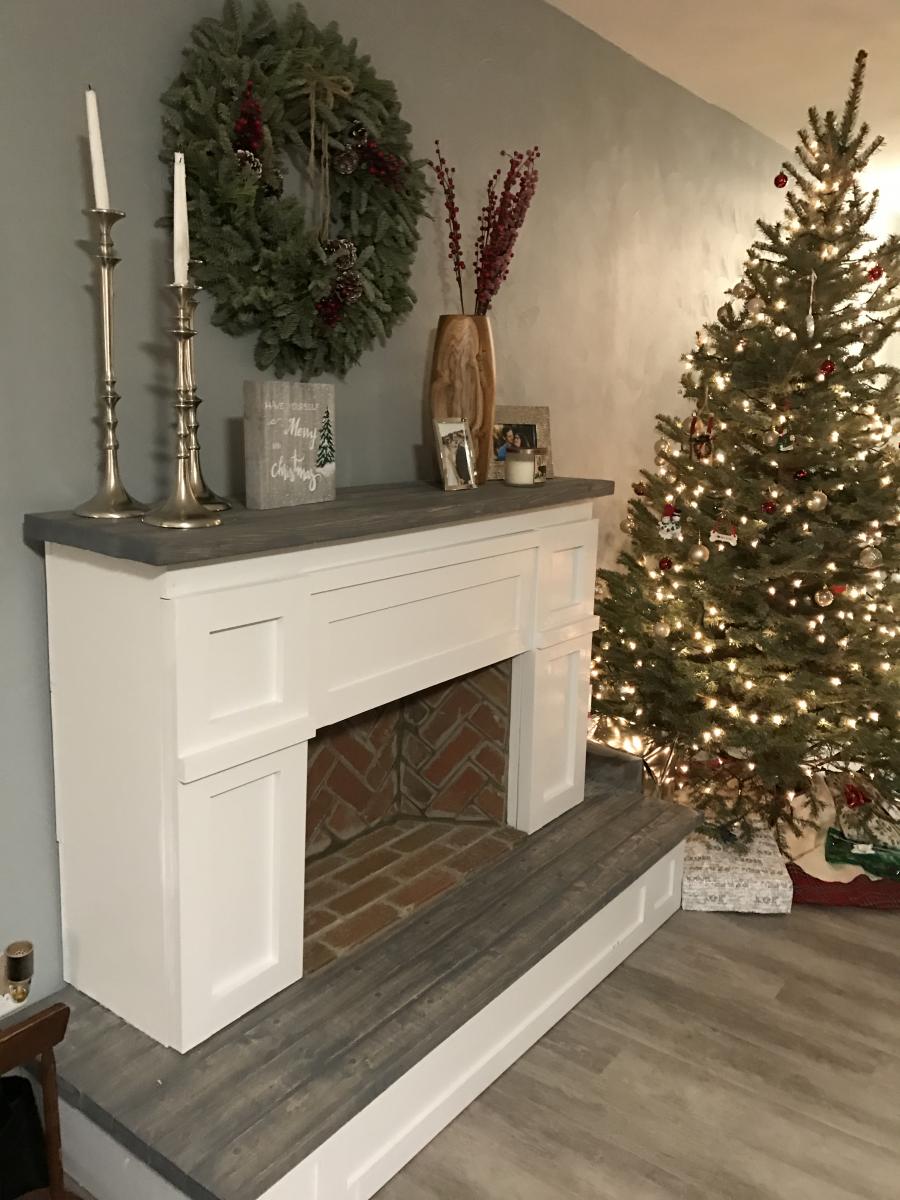
We made some modifications by adding a hearth for additional height (the room we have it in is very large and open) and joining 2x4s for the mantel and base which I stained grey for contrast. We decided to use thin brick for in the "firebox" to make it look more realistic. We also have a newborn and spent over two months putting it together a little at a time in our free moments so I'm not sure how long it would actually take to do at once, but cutting and putting up the brick was very time consuming.
Thu, 08/27/2020 - 11:16
This looks great! I'm actually in the middle of this build with the hearth as well. Couple questions....
How did you connect the two pieces? Also, did you connect to the wall? I'm assuming you didn't leave the 5 1/2 inch gap on the bottom of the fireplace and connected direct to the hearth. Let me know, thanks!
Mon, 10/26/2020 - 06:55
Absolutely beautiful and what i have been searching for!! Can you send me the plans for this?
Sat, 11/14/2020 - 21:06
Did you receive the plans? If so, can you please share!
Sat, 11/14/2020 - 21:06
Do you have the plans for creating this fireplace with a hearth? Would love to build over thanksgiving break!
Sat, 11/21/2020 - 21:16
Very nice fireplace would you happen to have the plans for it?
Thu, 04/01/2021 - 21:27
Would it be possible to send the plans for this beautiful faux fireplace?
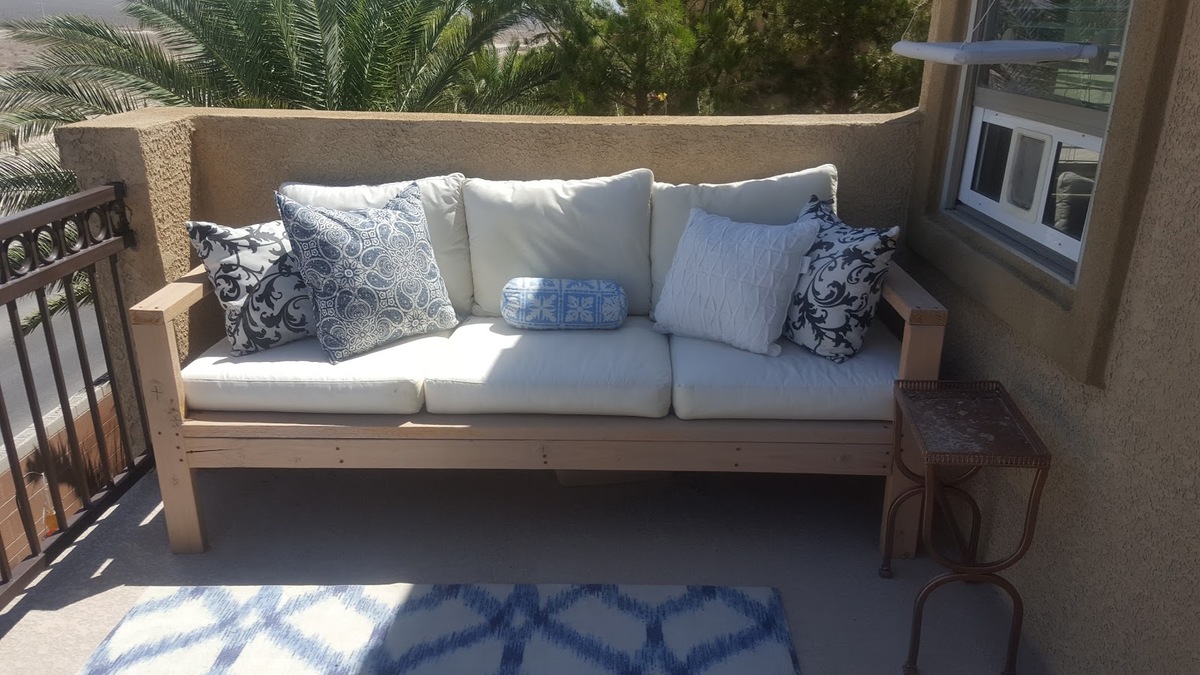
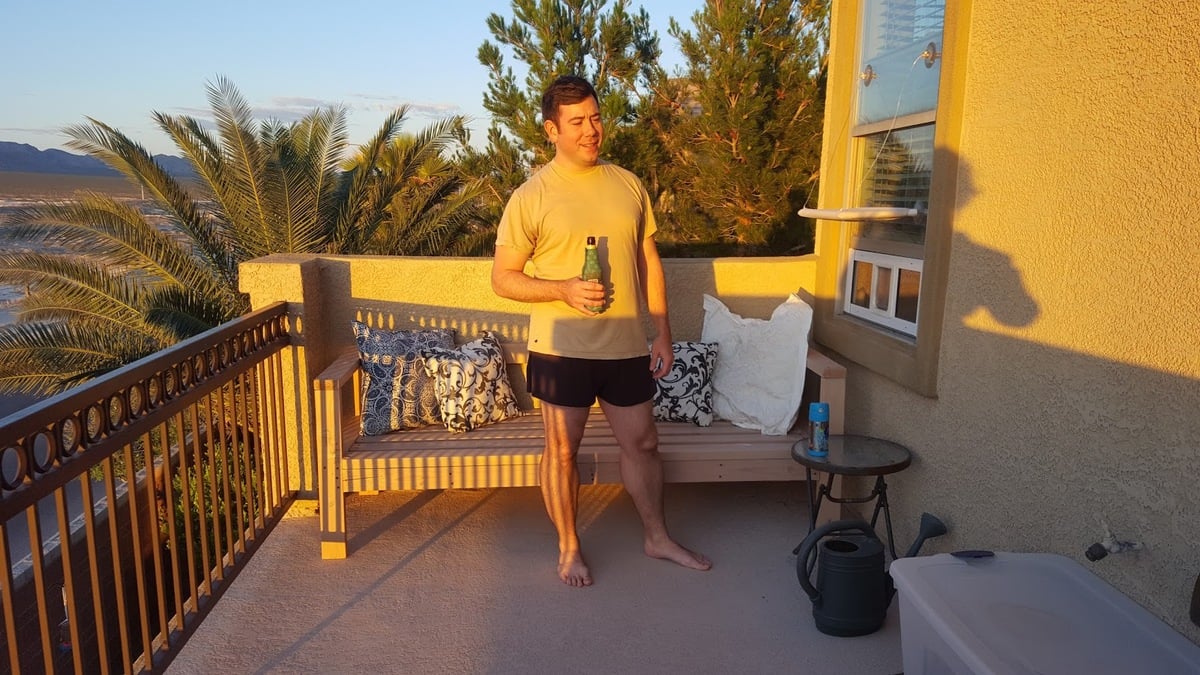
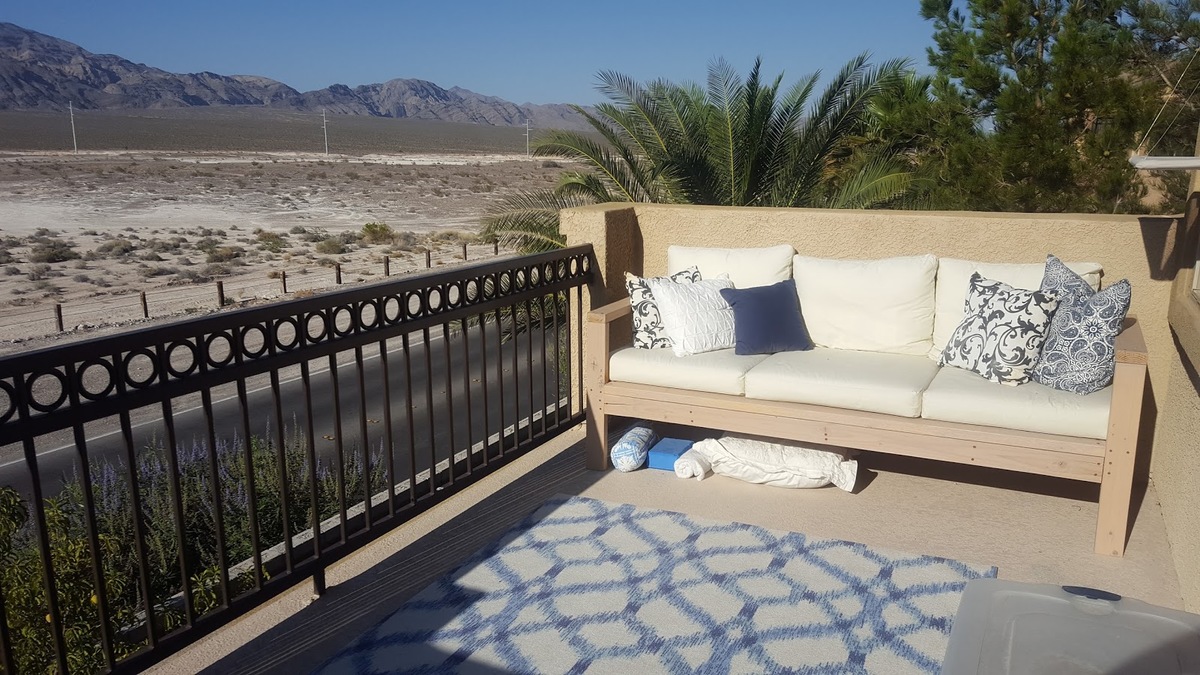
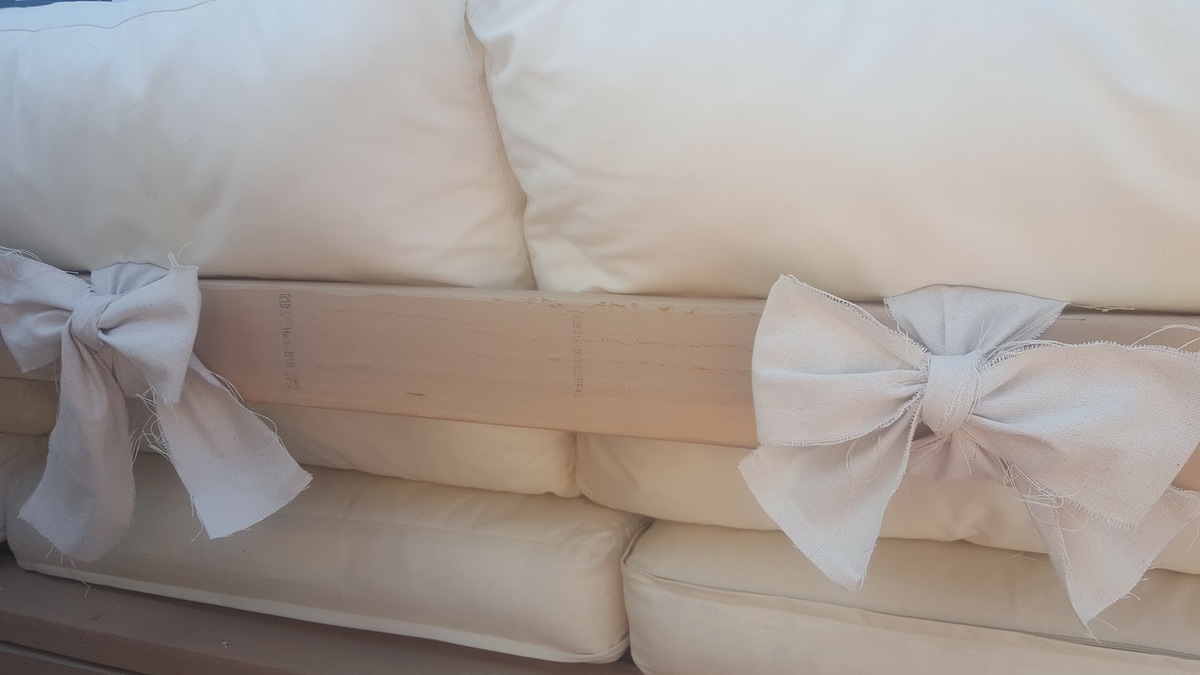
Decided to build Ana's outdoor sofa for our Master Balcony and love the results. I was a bit impatient to finish the build and therefore did not take the time to use pocket screws for a more finished result, (which I will do next time). Regardless, I love how the sofa turned out and would reccomend for anybody to build. The cheapest outdoor cushions I could find were from Ikea and we spent around $160.

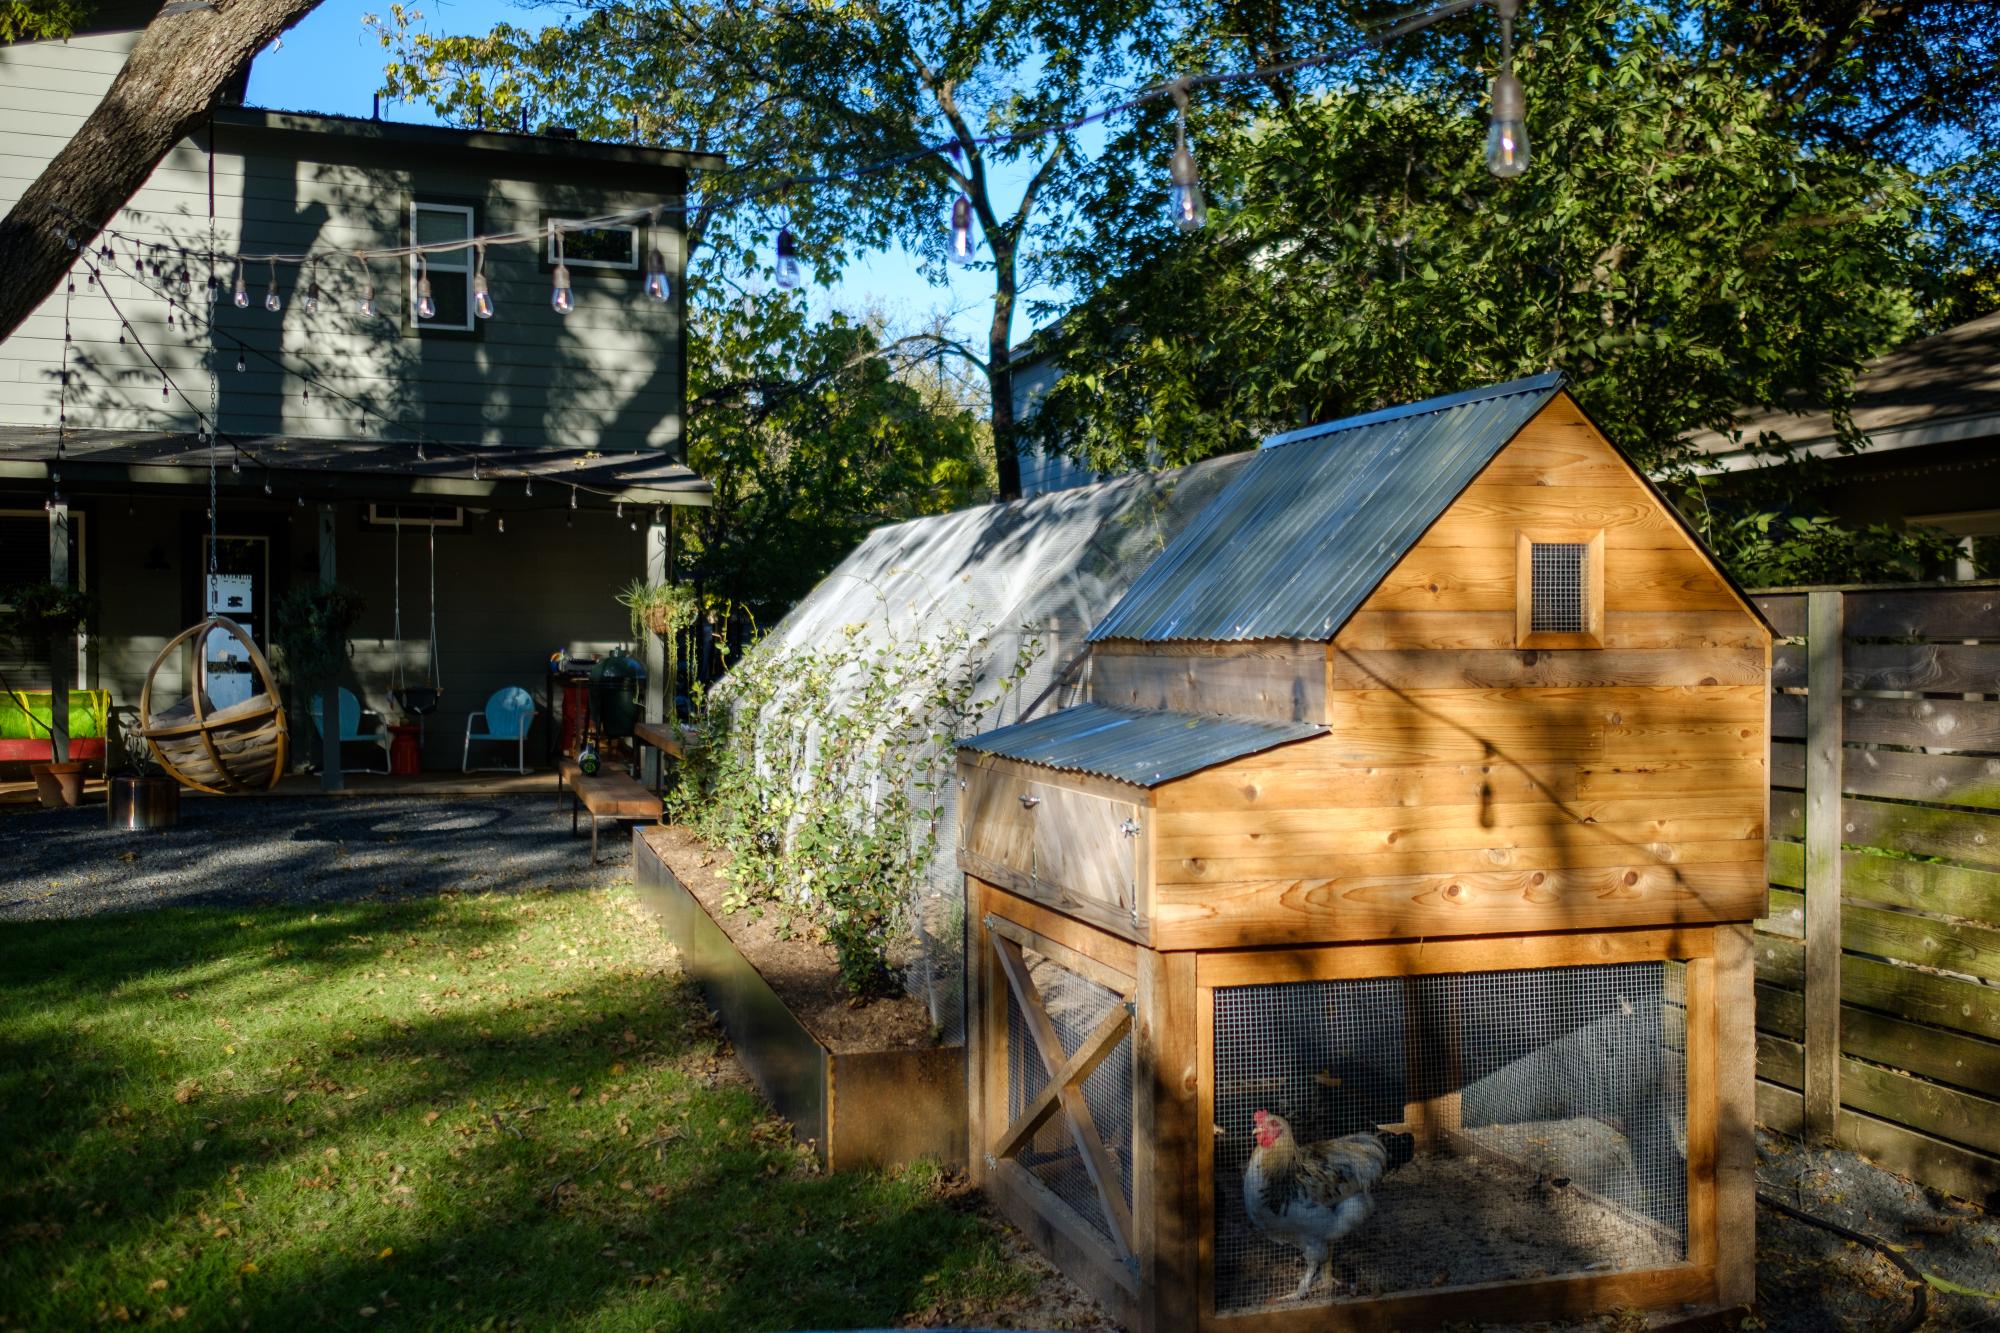
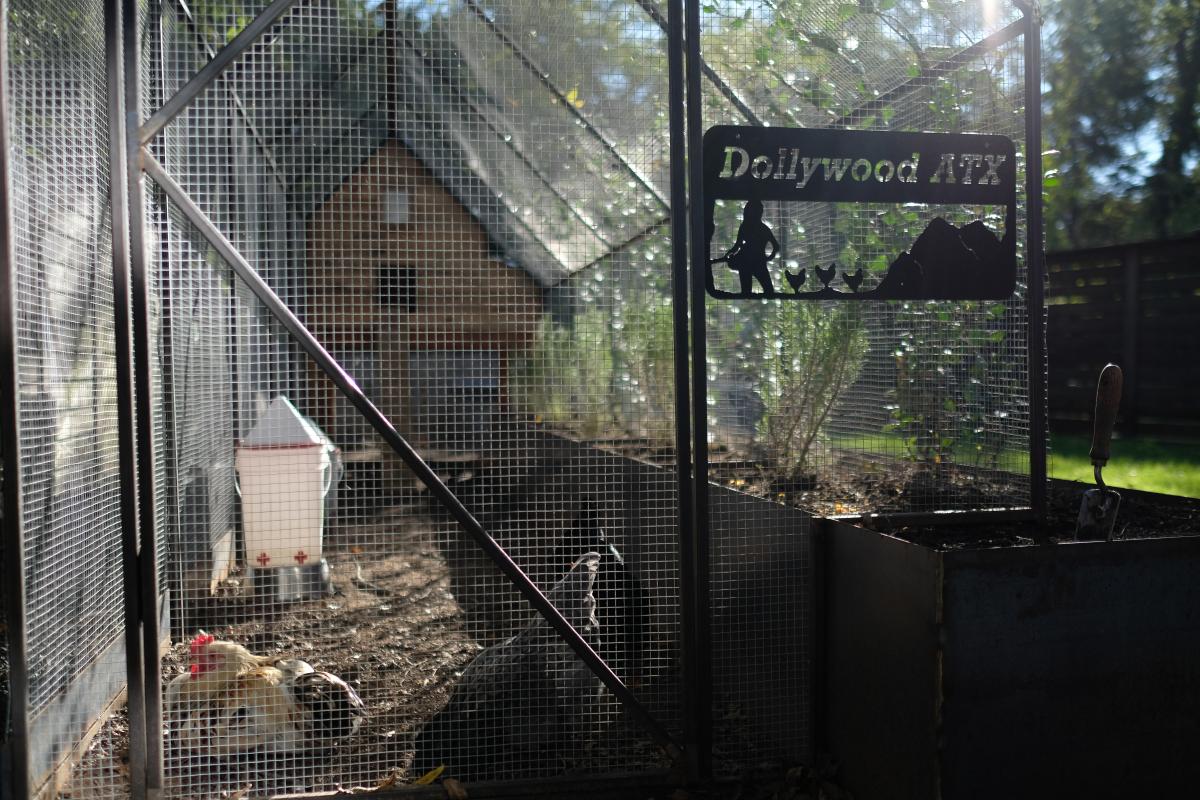
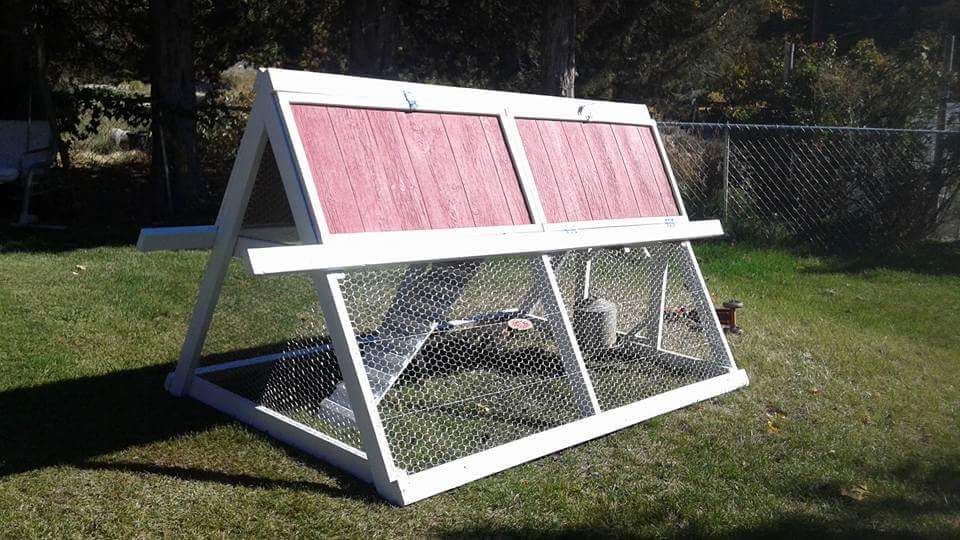
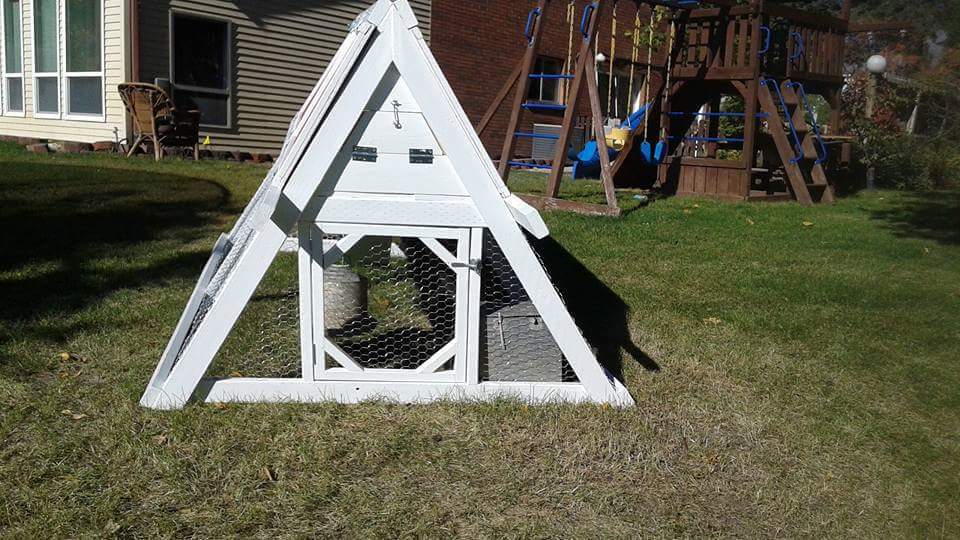
When we became accidental chicken owners, we had to build a coop fast. I found the plans for Ana’s replica of the Williams Sonoma chicken coop and got to work. They were very easy to follow and easy to modify to fit our own needs and aesthetic. We decided to enlarge the coop and remove the planter in the original plans do we could accommodate more chickens while keeping the original footprint. Instead of plywood, we used cedar reclaimed from an old fence we had recently replaced. We also enlarged the rear door to make clean out as easy as possible. I cut pieces of corrugated plastic that fit inside the door and windows to winterize the coop when temps drop below freezing. The run is designed to follow the shape of the coop and is large enough to give our 5 chickens plenty of space. The planter box runs the length of the chicken run, providing some plants to munch on inside and shady vines that will eventually cover the outside. Thanks for the awesome plans!

Had a blast with this project and am getting more confident with drawer slides. I built a matching dresser that is much shorter and wider. It can be found here: http://www.ana-white.com/2018/08/DIY_furniture/bedroom-dresser

Mon, 08/03/2020 - 18:44
I must be missing the link to the plans for the dresser. Sorry, could you help me find the plans?
Wed, 09/30/2020 - 17:13
I would also like the plans?? Any help finding the link?
Mon, 12/28/2020 - 11:12
Are the plans available for this piece? Its beautiful! If so, please let me know.
Thu, 08/12/2021 - 15:35
Any way to get a copy of these plans? I really like the look and want to give it a shot. Have to make a few of these if all goes well for all my boys.
Thanks
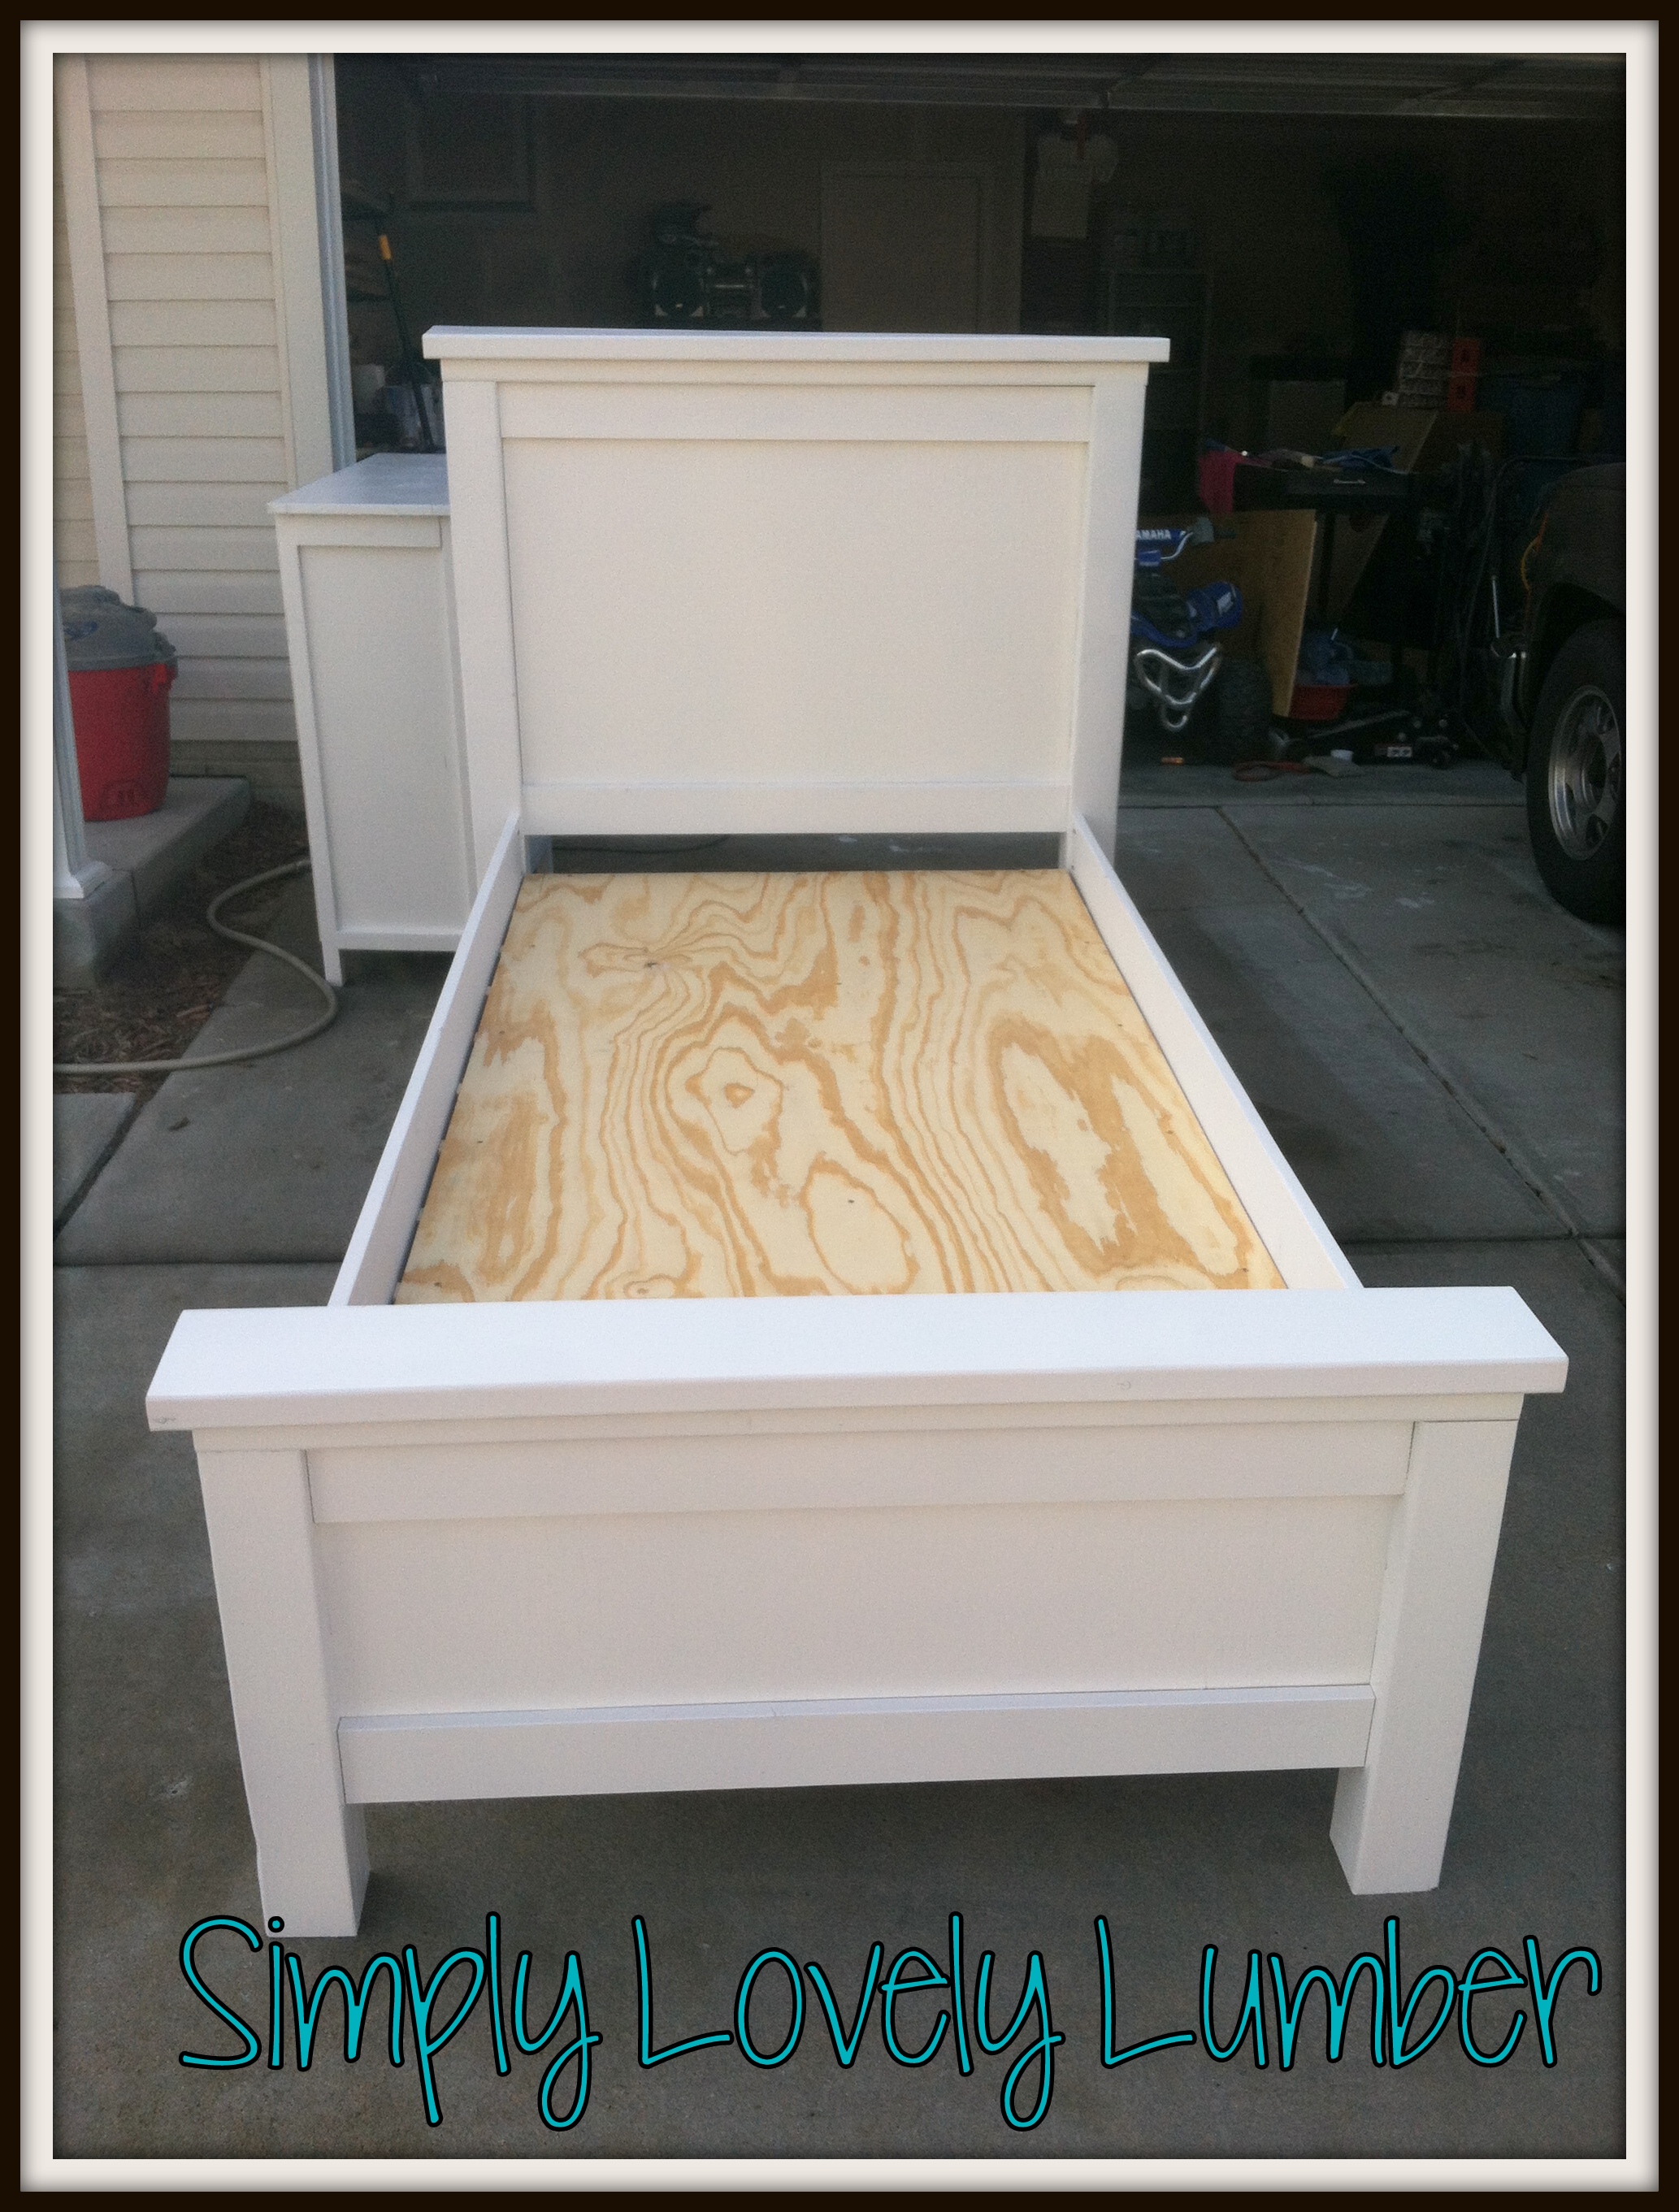
I made the farmhouse bed and patrick cottage dresser. This bed was so simple to make and looks great! I have step by step pictures on my blog.
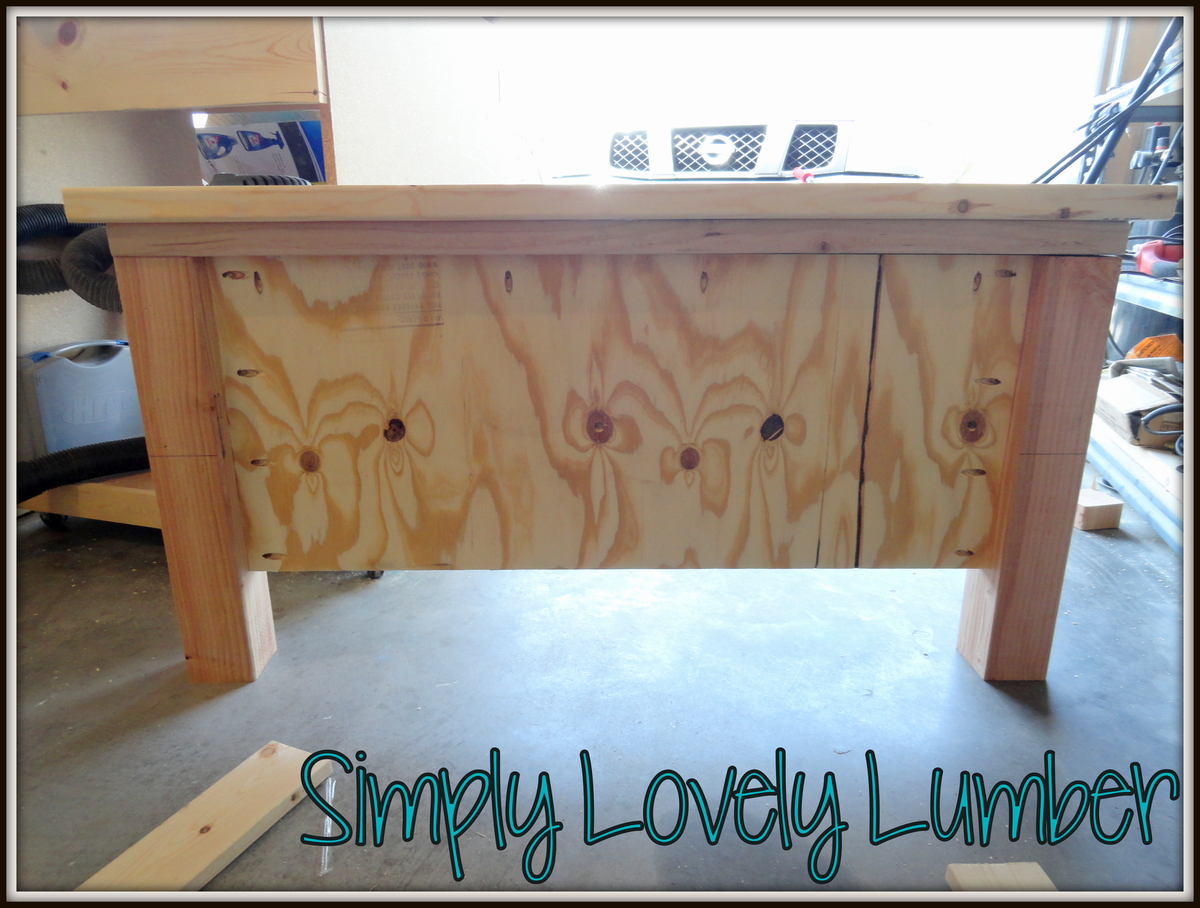
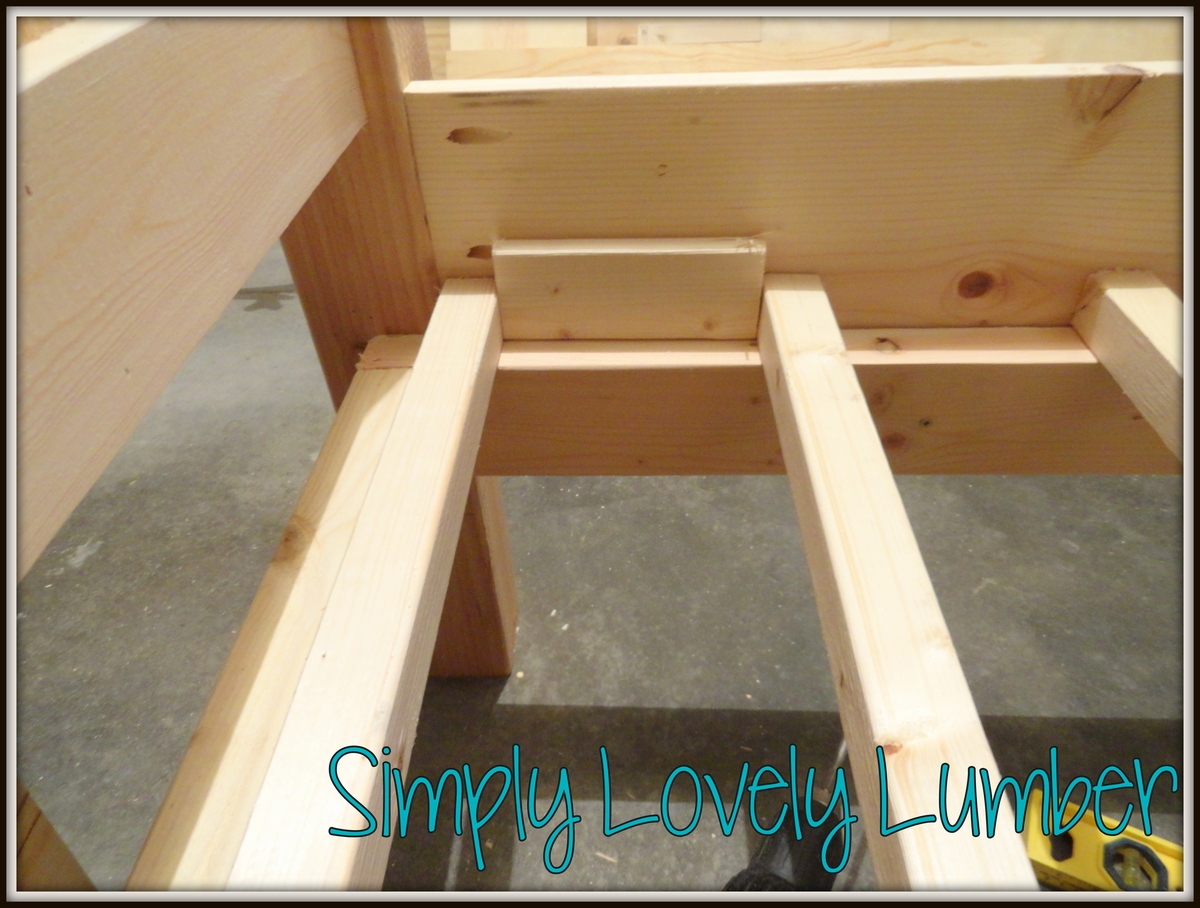
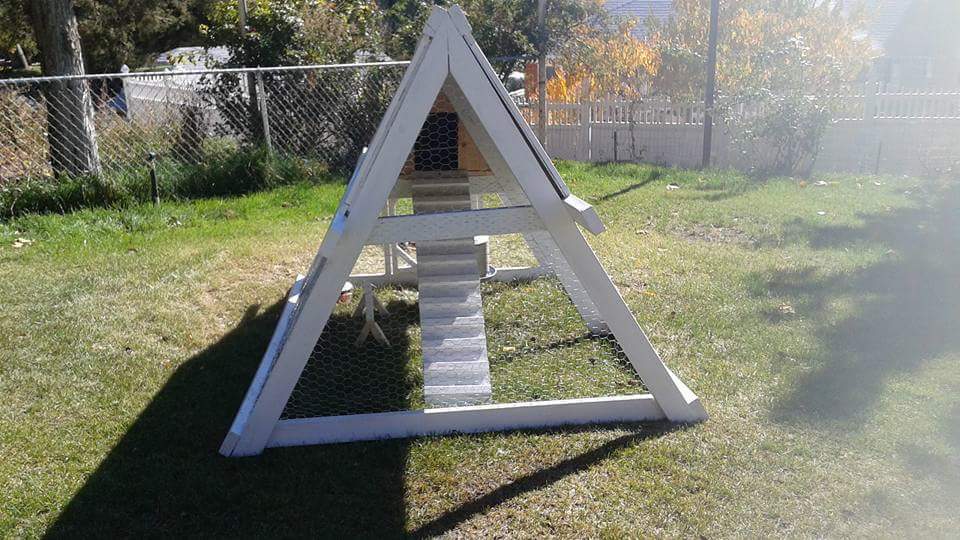
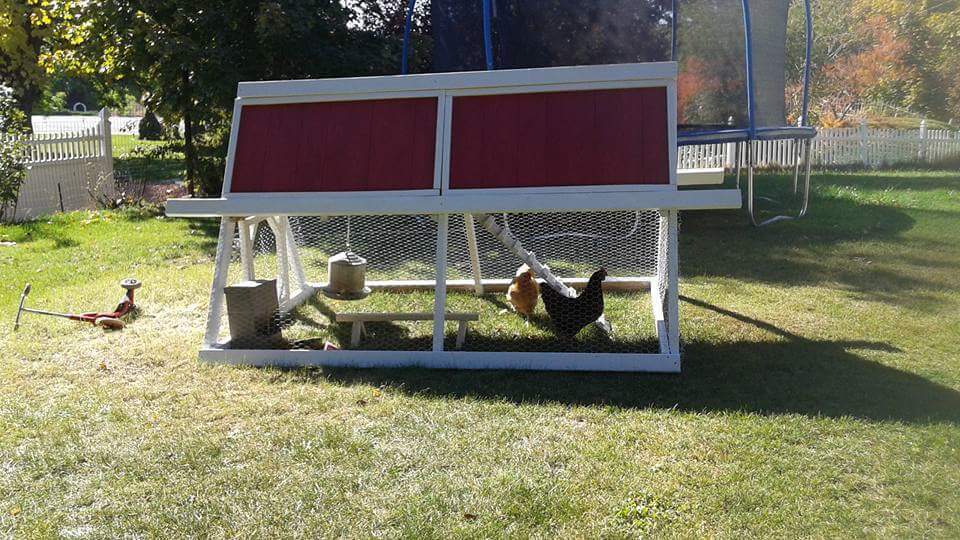
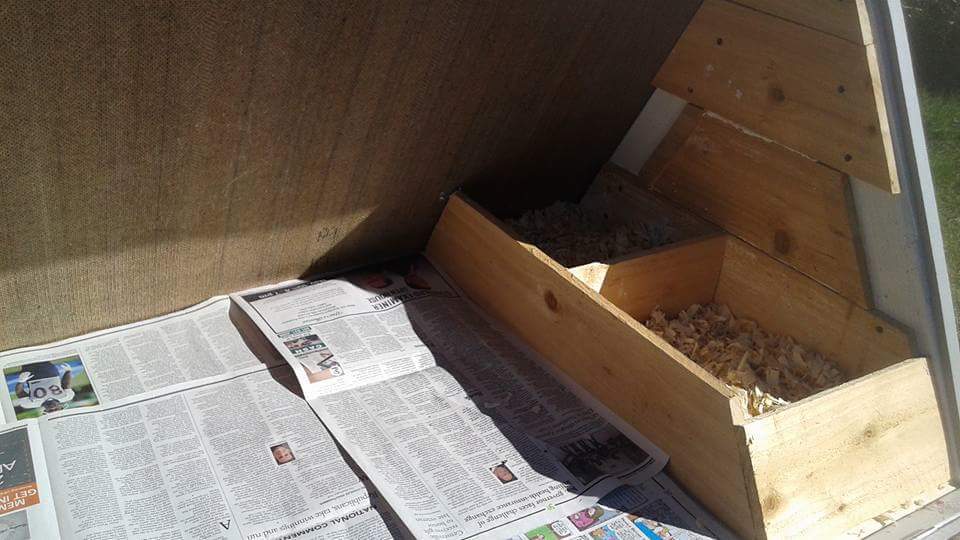
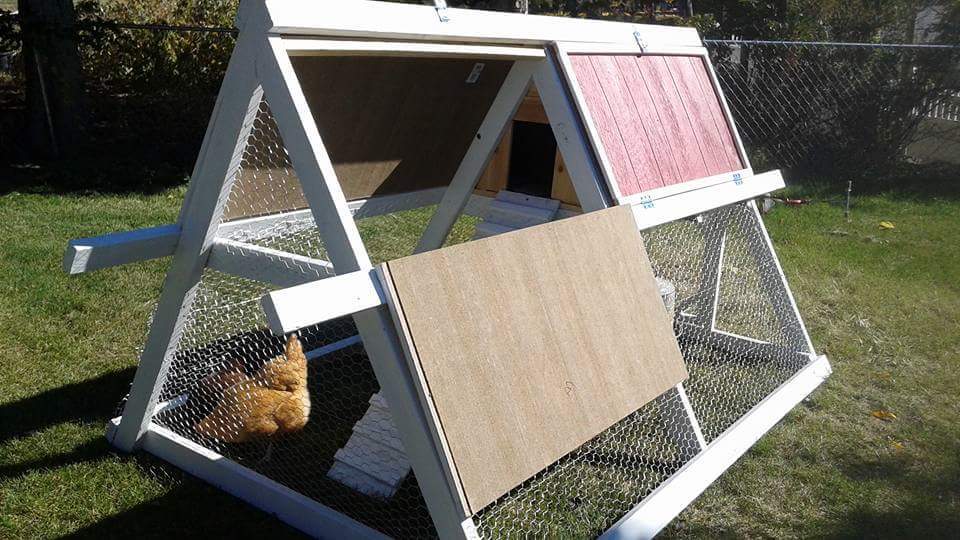
I love how my co-op turned out! I added a few things. I made a door for egg collecting, I built 2 nesting boxes. I made a door for access to food and water and I made the middle 2x4s 10 feet so we found move it around the yard. It cost about $130 for me. I had some extra wood that I used for the boxes and ladder. The chickens and myself are enjoying the new coop.
Tue, 04/07/2020 - 15:12
Love how it turned out! You've done the add ons I was also thinking of: adding nest box and egg collector.
Still happy with your design after real life experience?
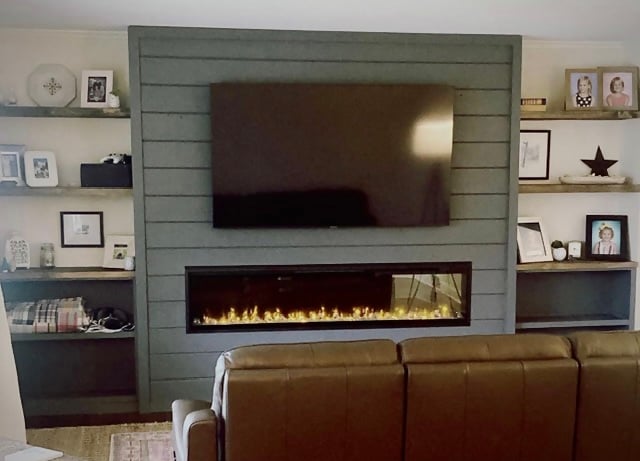
Entire wall fireplace built-in!