Cedar herb stand
Awesome project
Built from Plan(s)
Awesome project
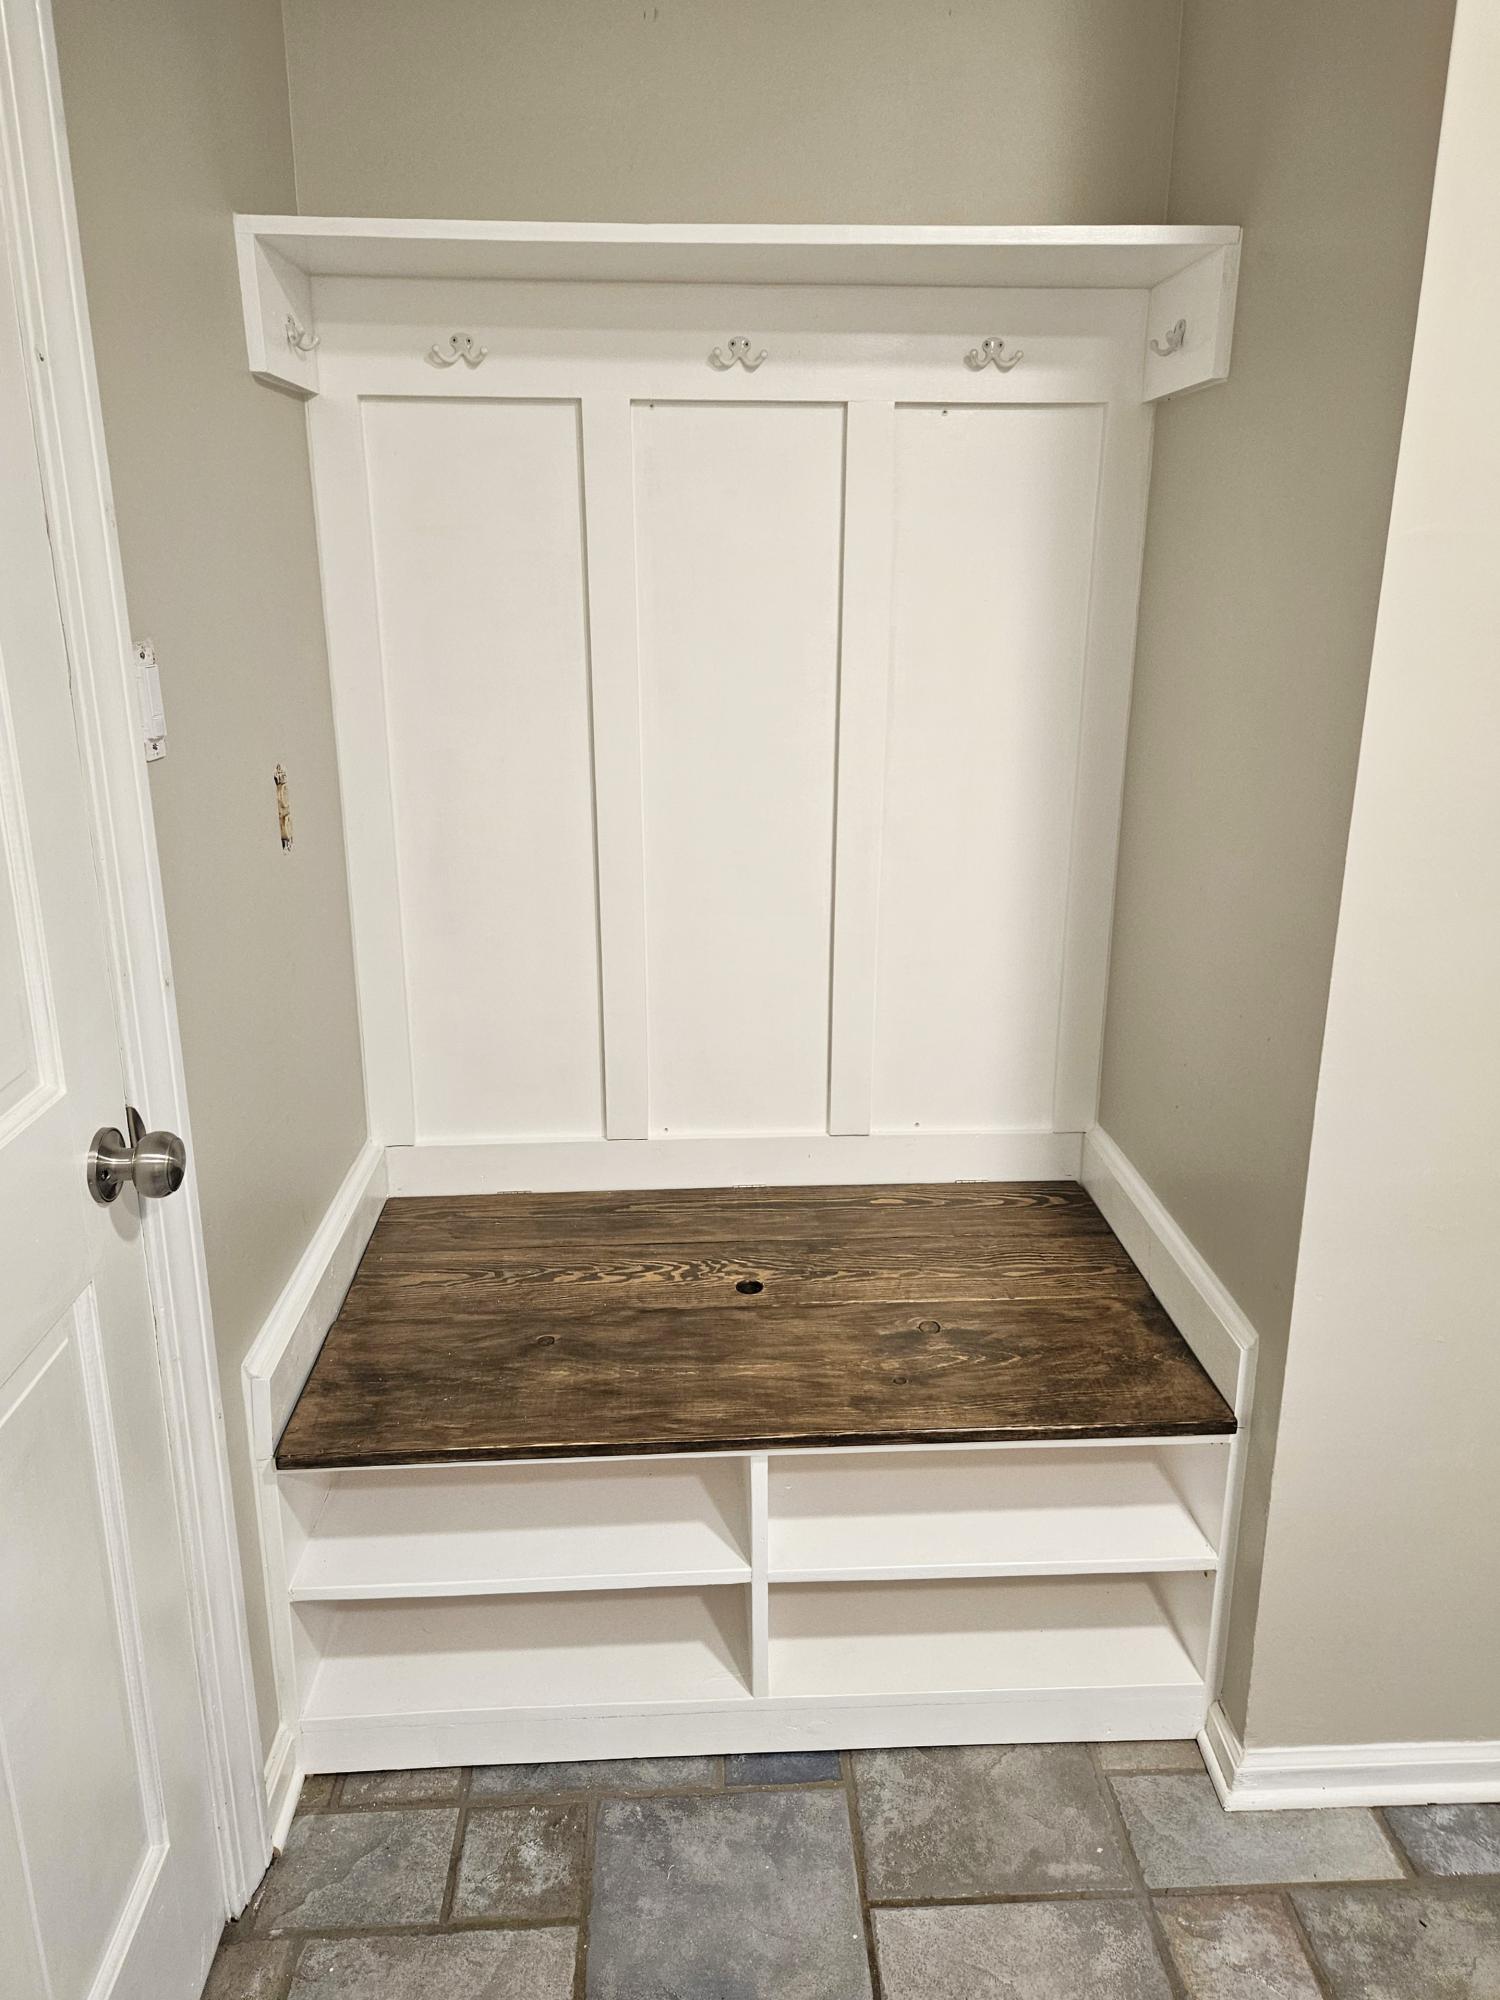
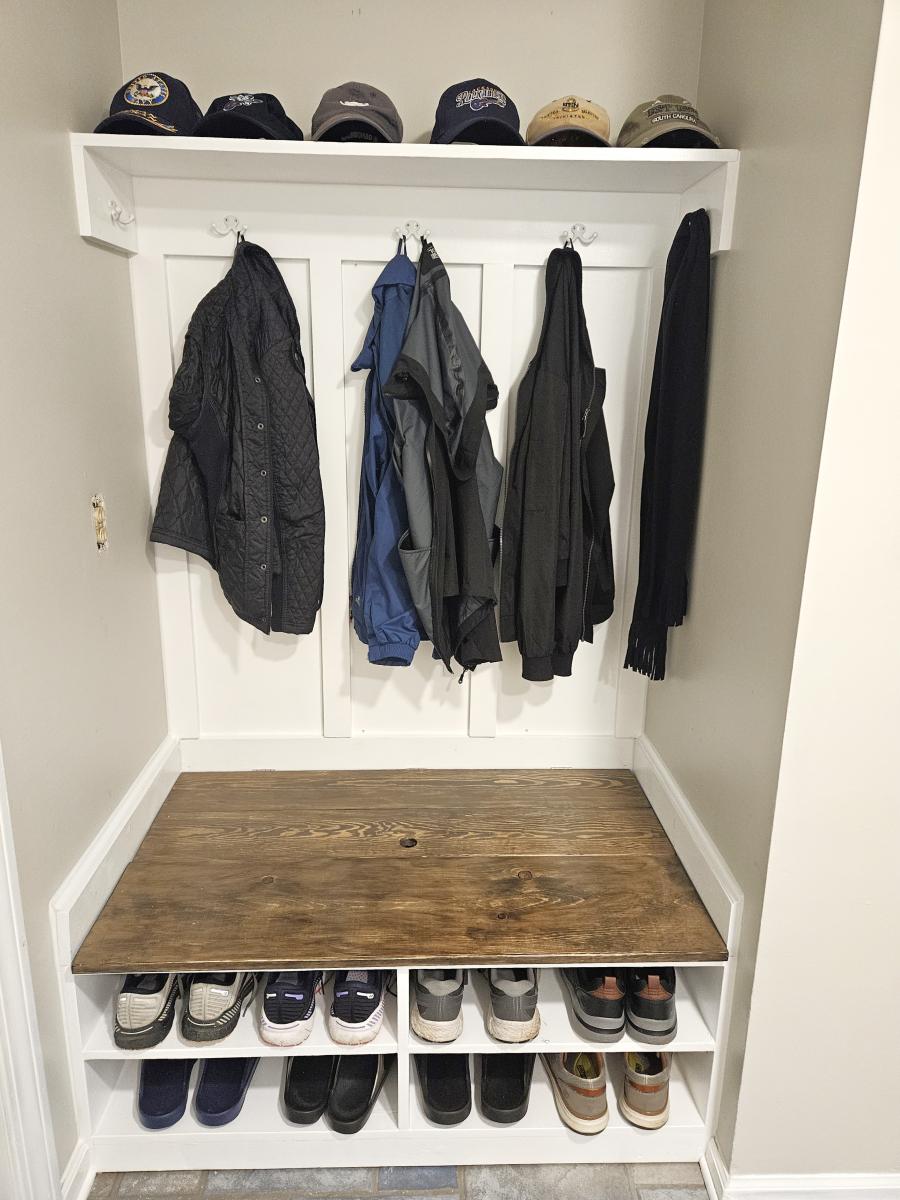
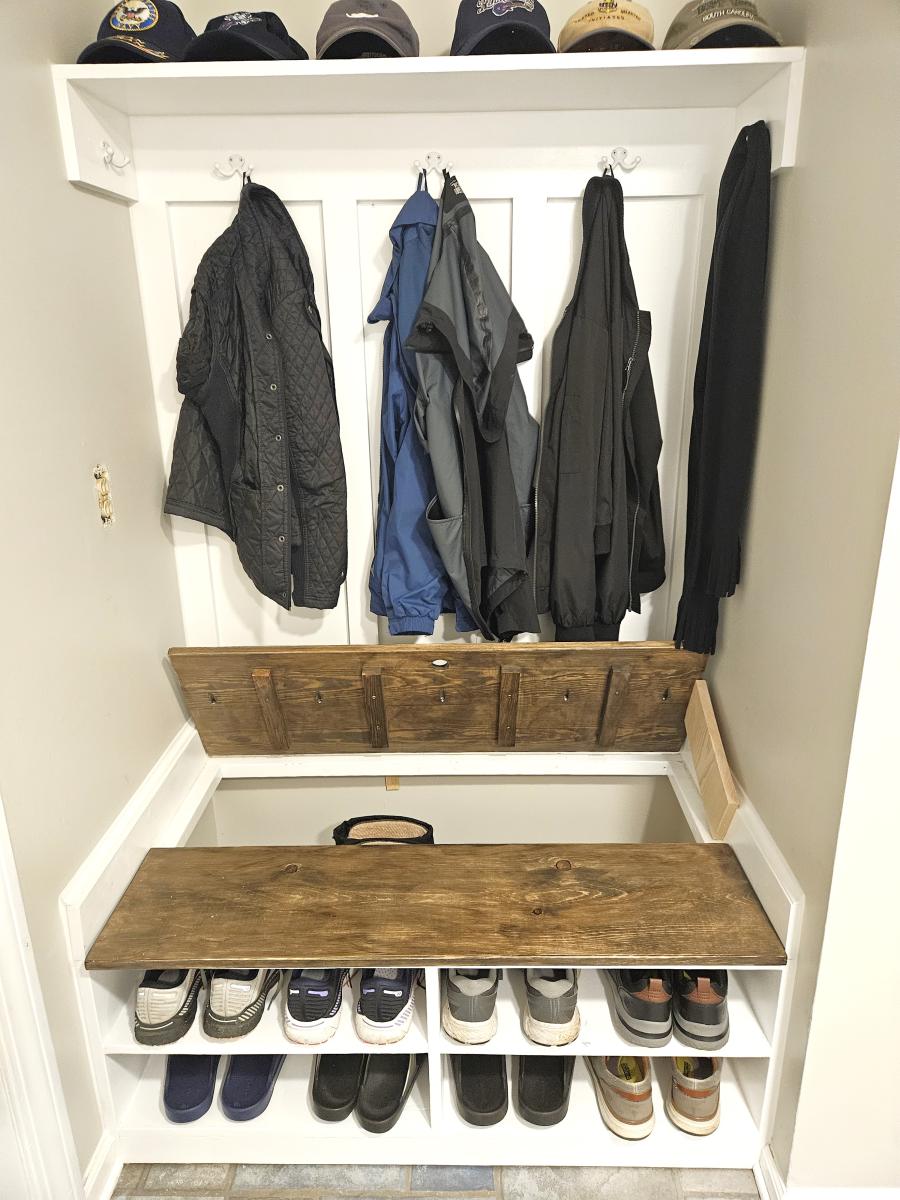
Built the drop zone bench with hidden storage in the laundry room. Modified to fit in 45 inch space where a built-in desk was. A fun and easy build. Thanks Ana for the great ideas and plans.
Don Toy
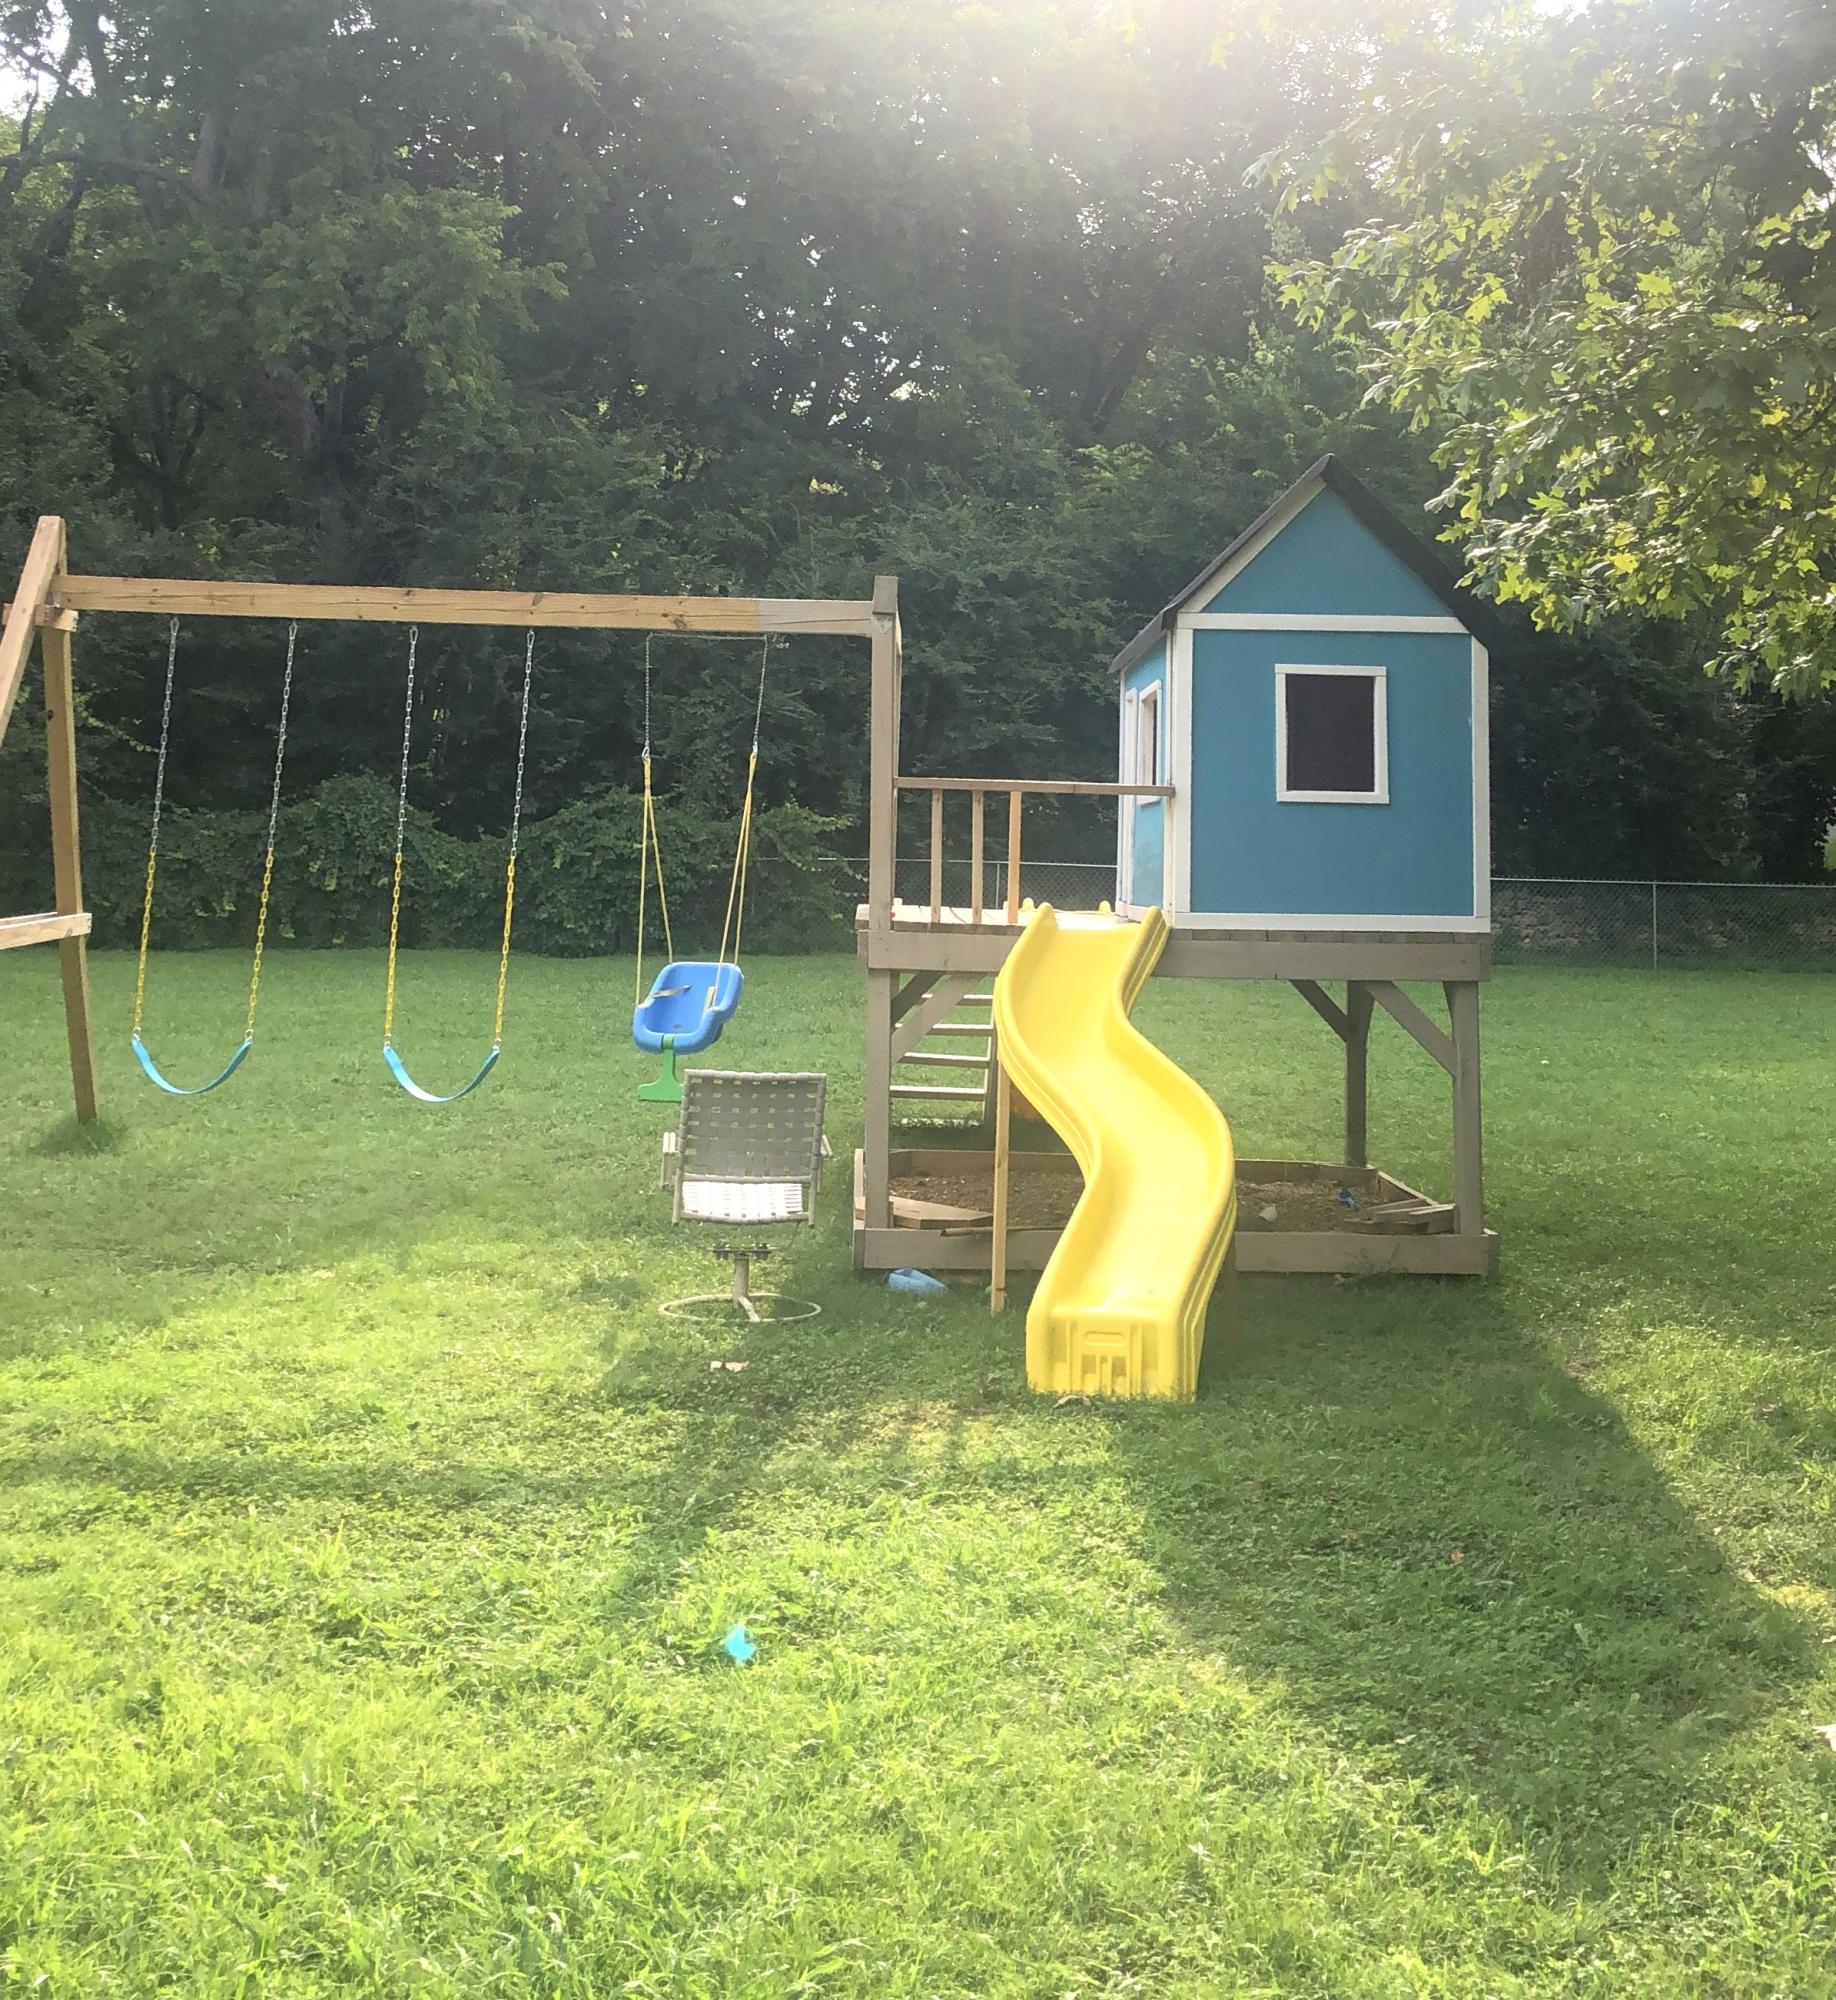
The one toy that we could not live without! Started this as a 2020 covid project and play on it everyday.
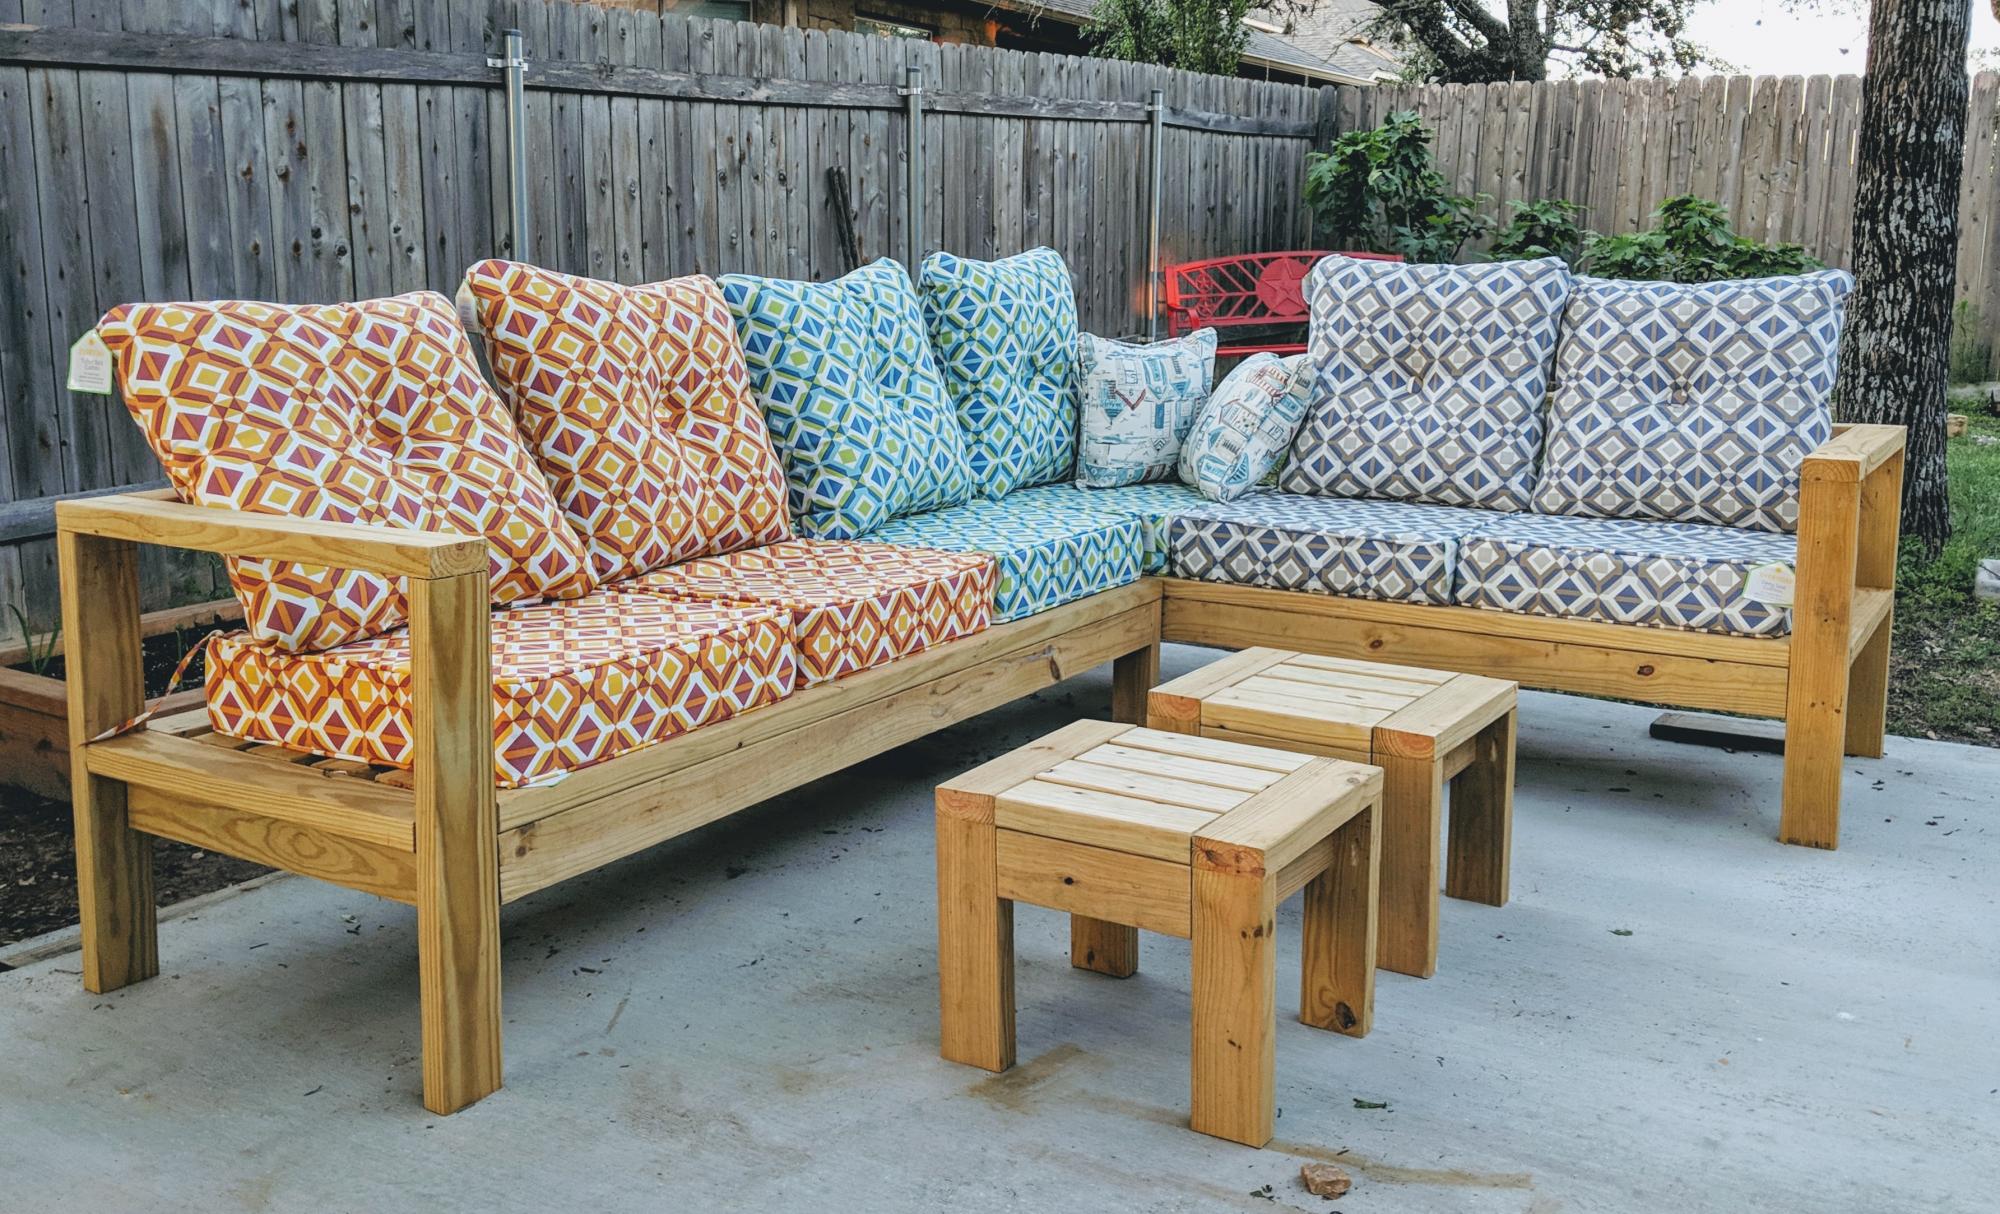
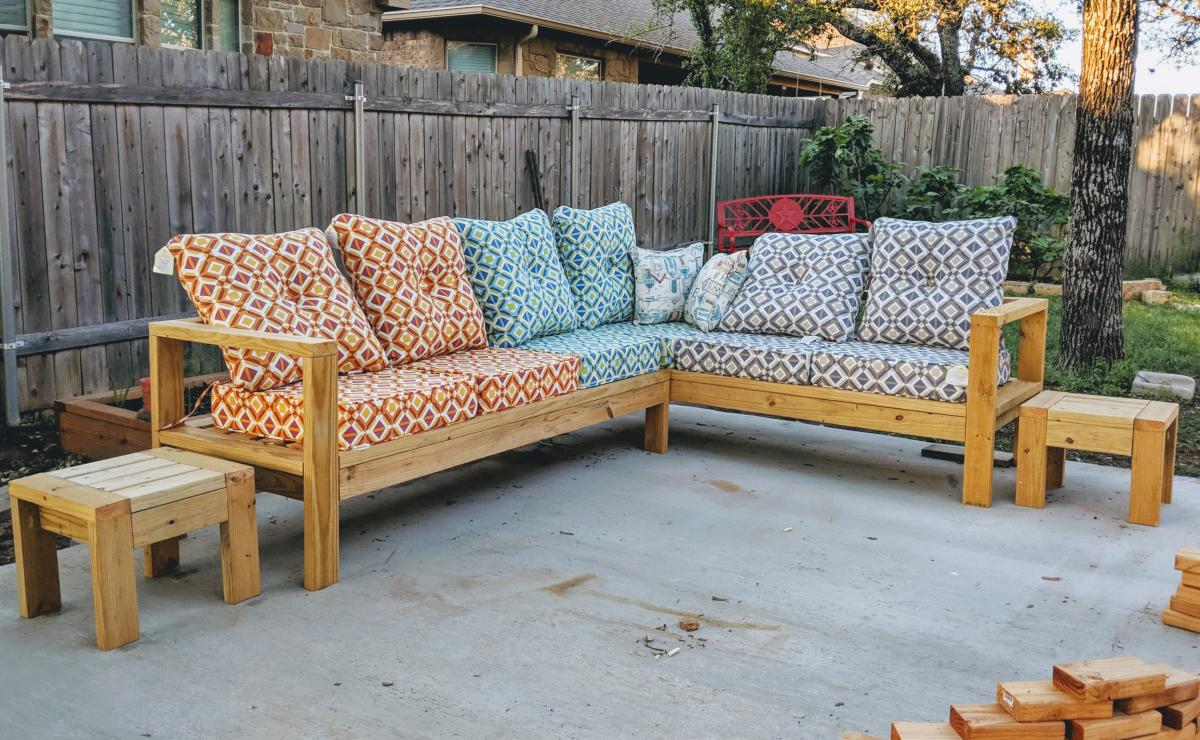
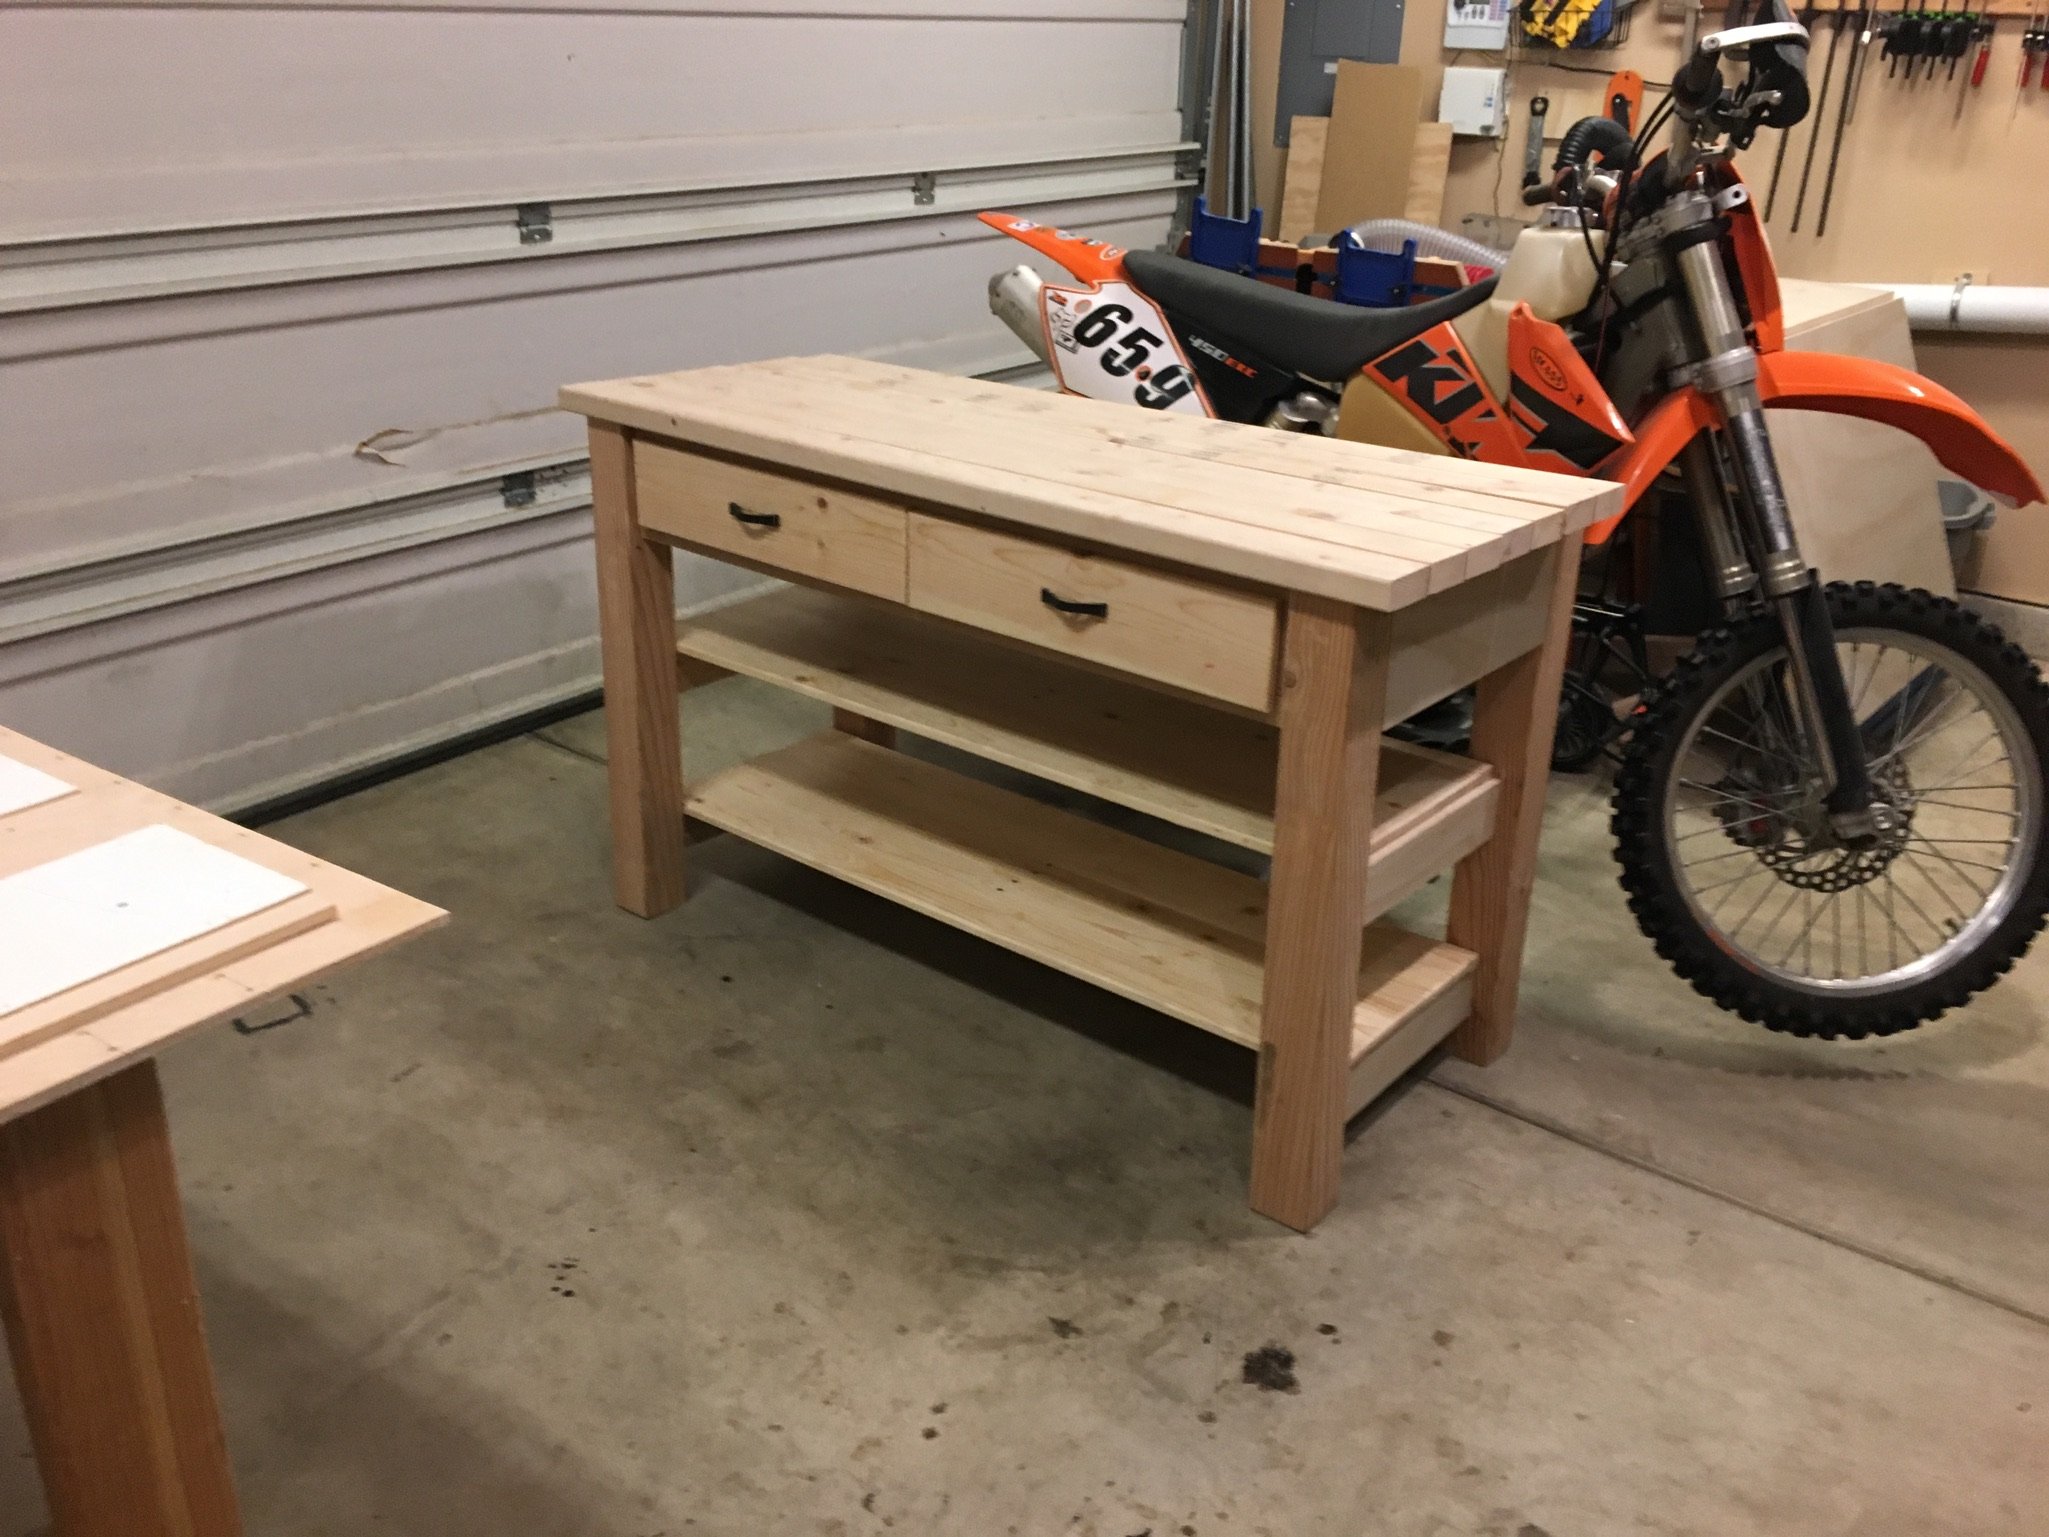
I reduced the size of the 2x4 coffee table to make 2 end tables. They can be used as additional seating when needed.
Fun project!
Hesasmoothoperator
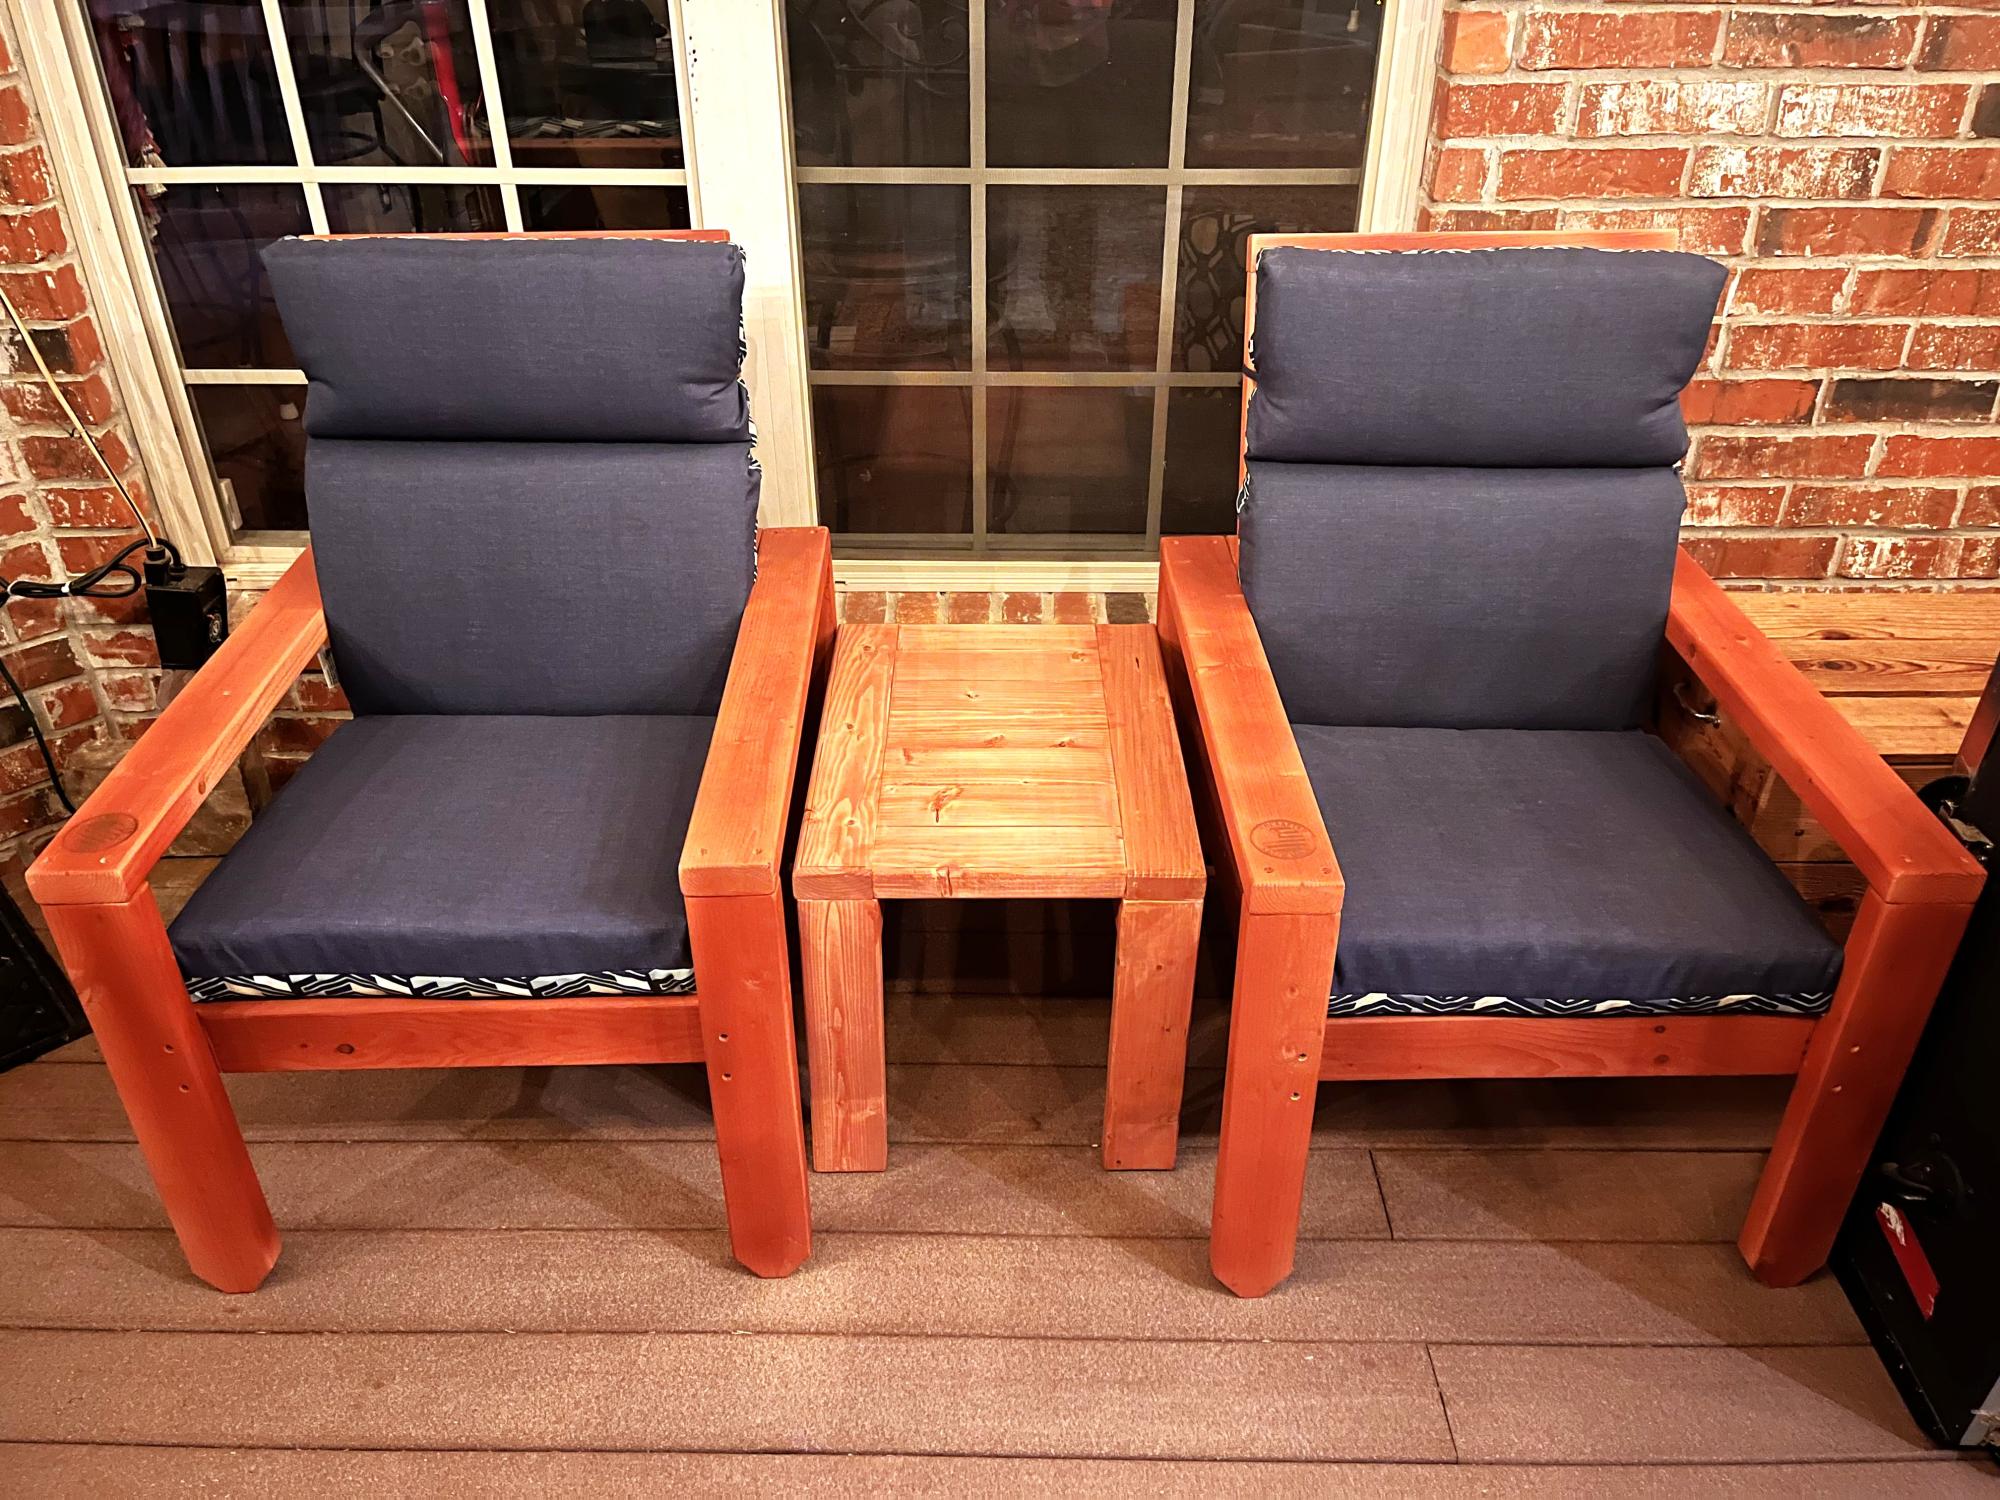
Posted the chairs recently. Here they are with the side table. Side table used 100% pocket holes.
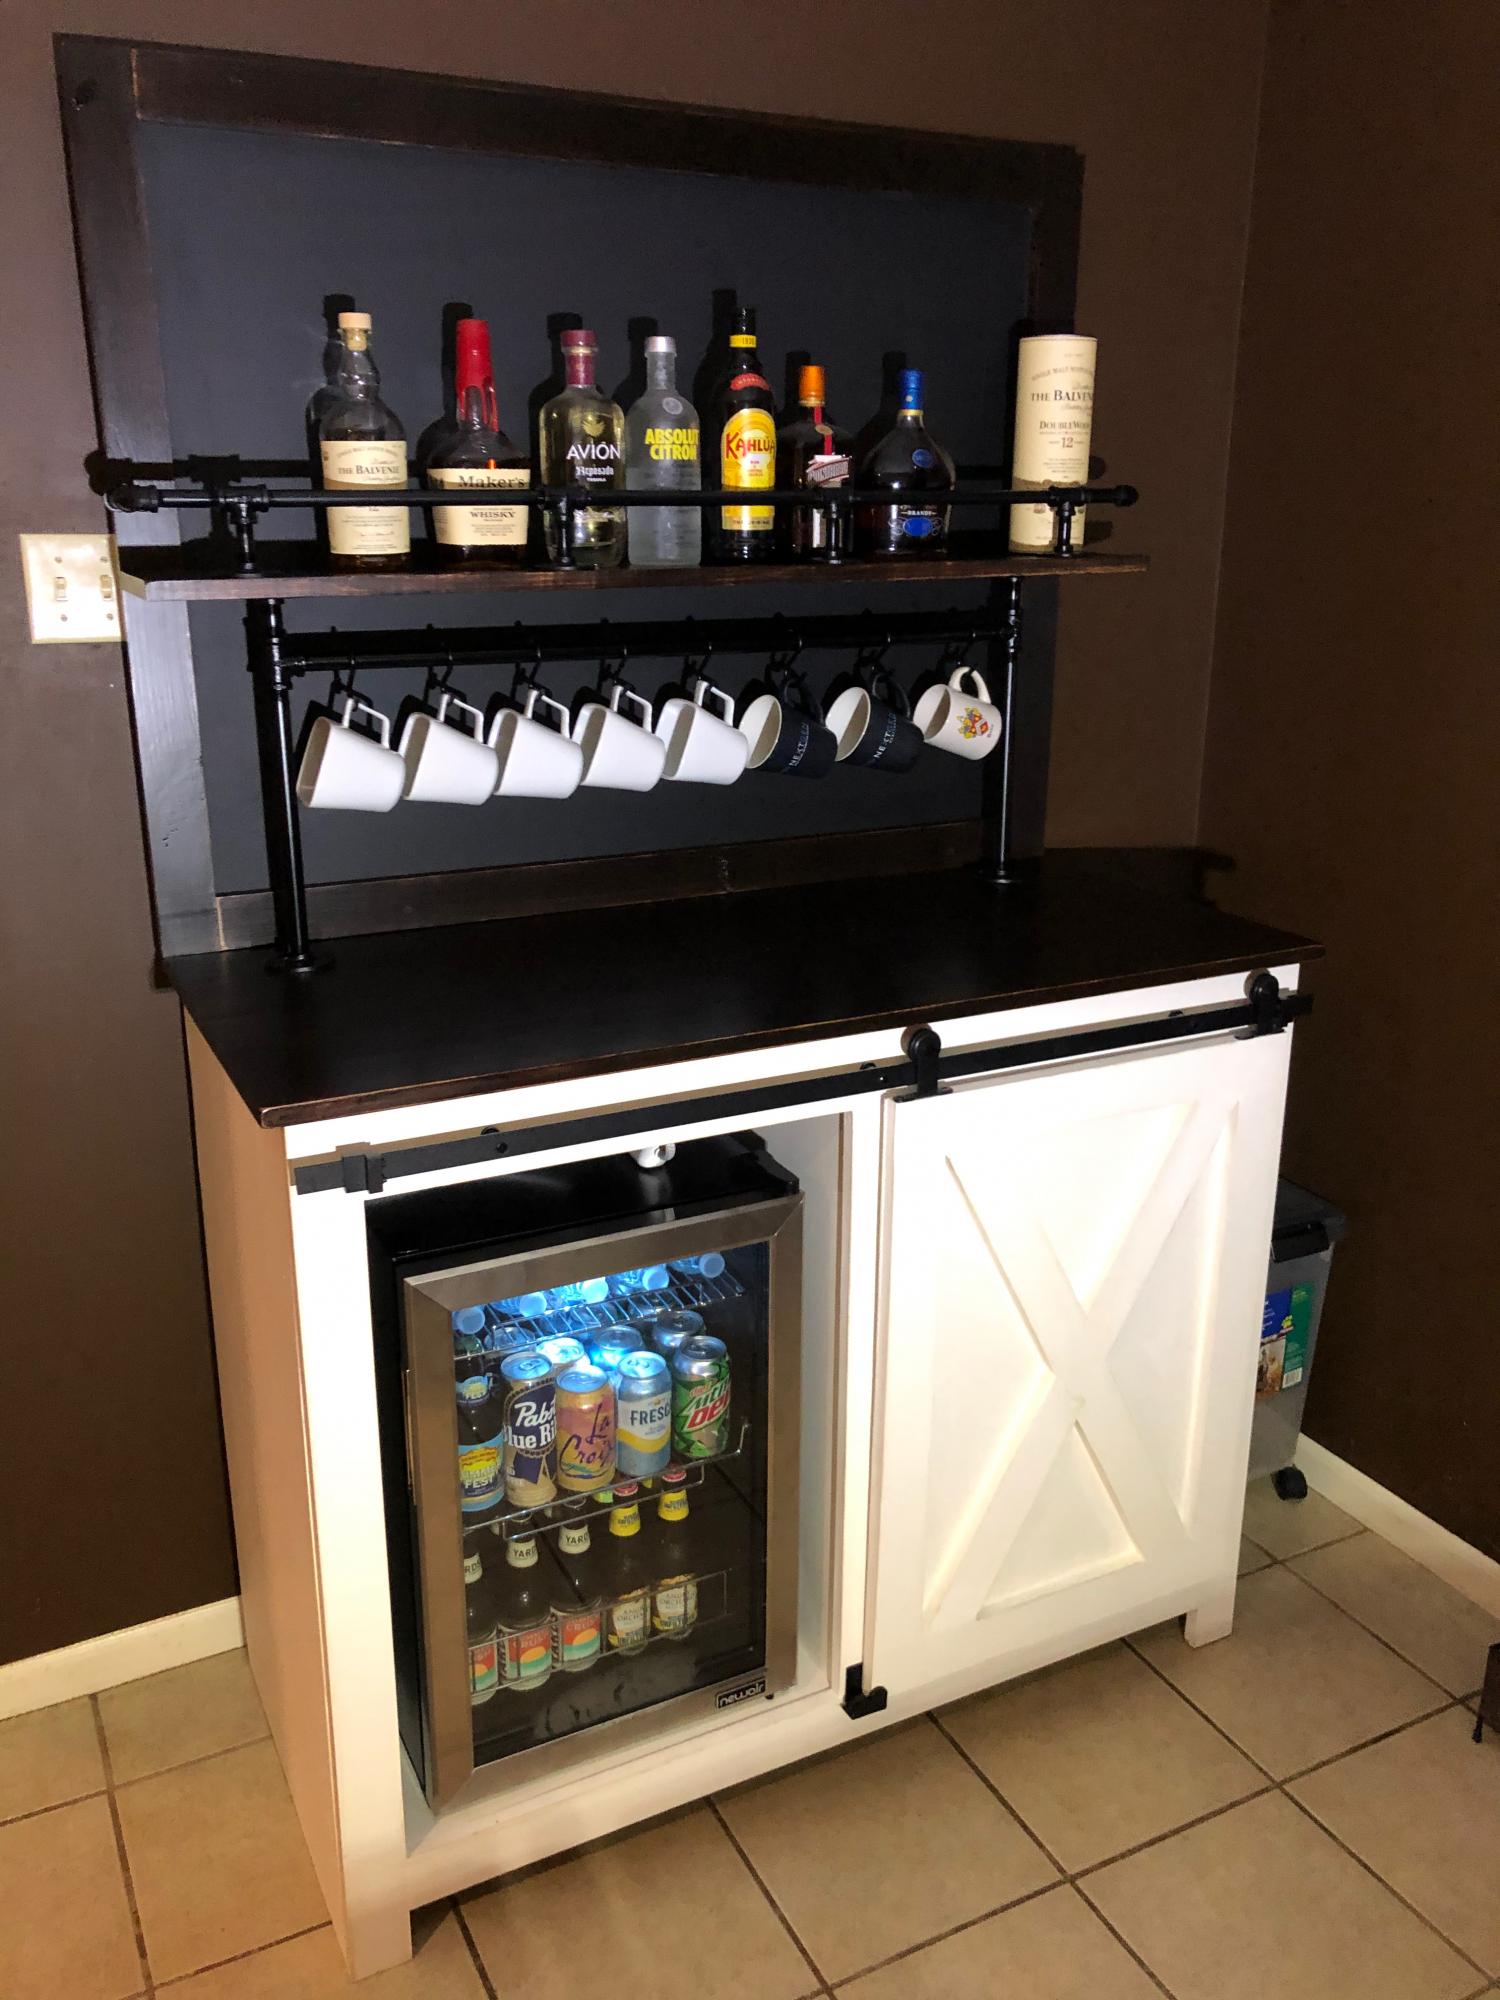
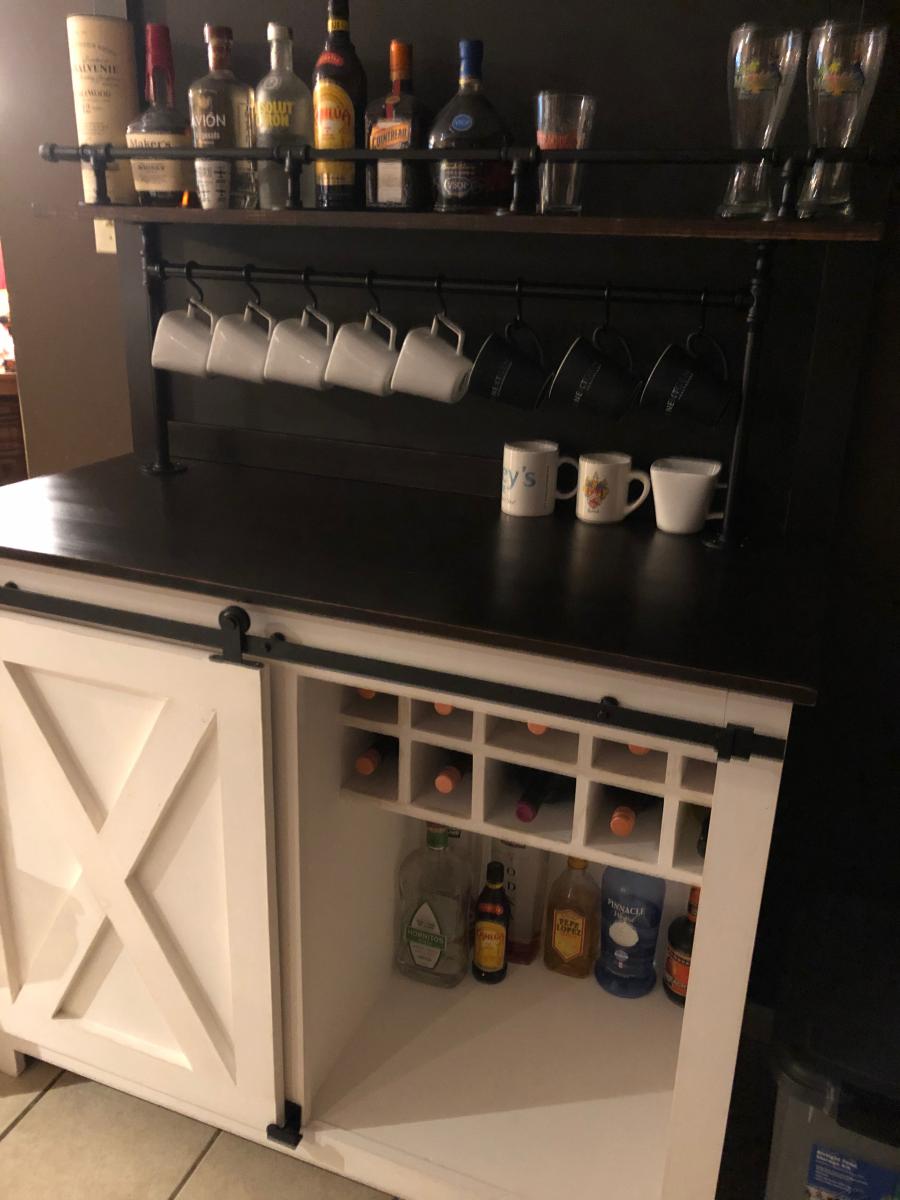
After seeing this same cabinet on Etsy for $2000+ I decided to try building my own. This was built using Ana's plans for the Barn Door Cabinet with Mini Fridge and Microwave. On top of the cabinet is a custom chalkboard which I anchored to the back of the cabinet. Attached to the chalkboard is a shelf for liquor. The rail is made from 3/8" black iron pipe from Home Depot & Amazon. Unfortunately, my Home Depot did not have nipples larger than 6 inches so we had to source 12" from Amazon. The fittings and shorter nipples came from Home Depot. The supports for the shelf and coffee mug rack are made using 1/2" black iron pipe and fittings which were 100% sourced from Home Depot. The finish for the borders of the chalkboard and cabinet top were stained using Varathane Stain + Poly. The color is called "Mission Oak" and it is a satin finish. The hardware for the barn door was purchased from Amazon.
NOTE: If you decide to build a similar version of this I'd consider leaving at least 33.5" on the inside where the refrigerator sits so you can fit a 120-can refrigerator instead. Most are 33.5" tall. I prefer to drink beer from a bottle and the space in a 2.2 cu. ft goes quick when bottles are placed inside.
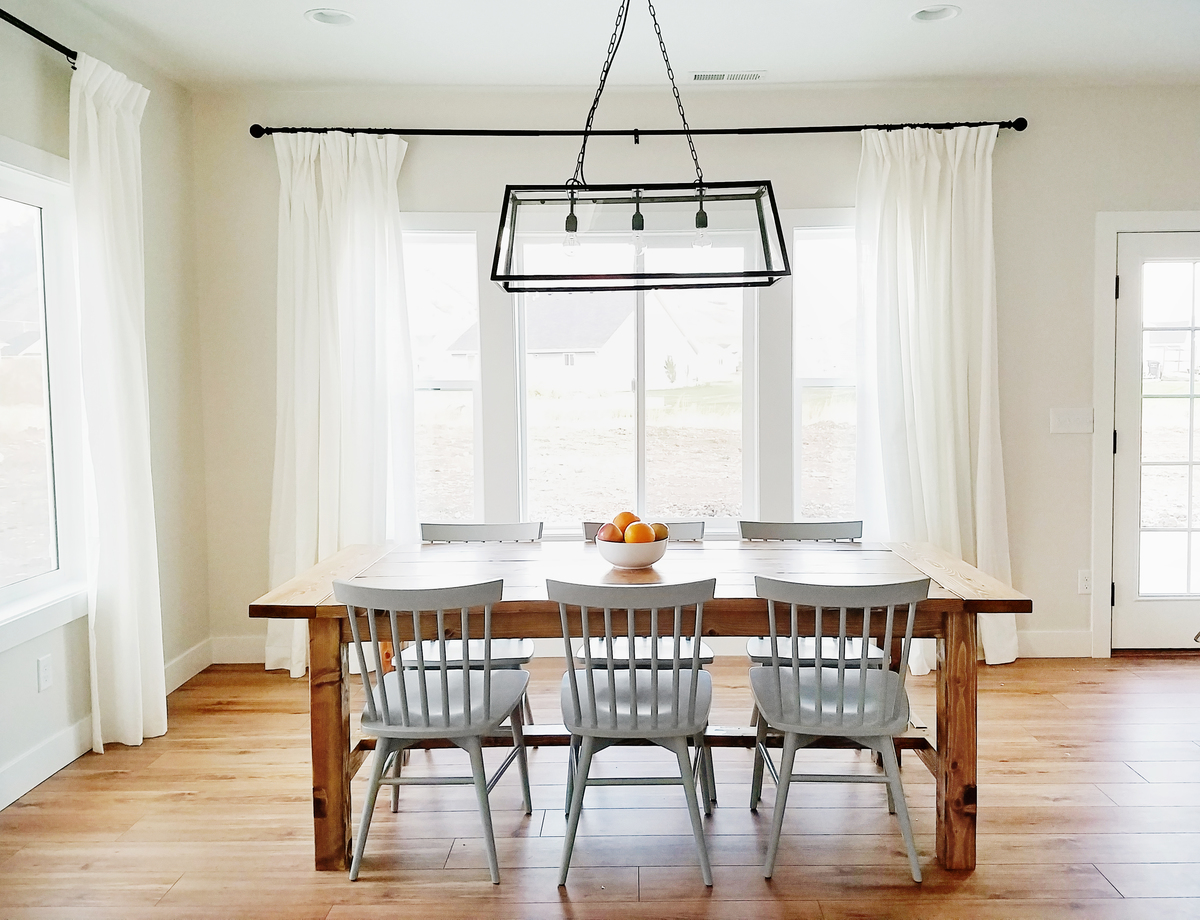
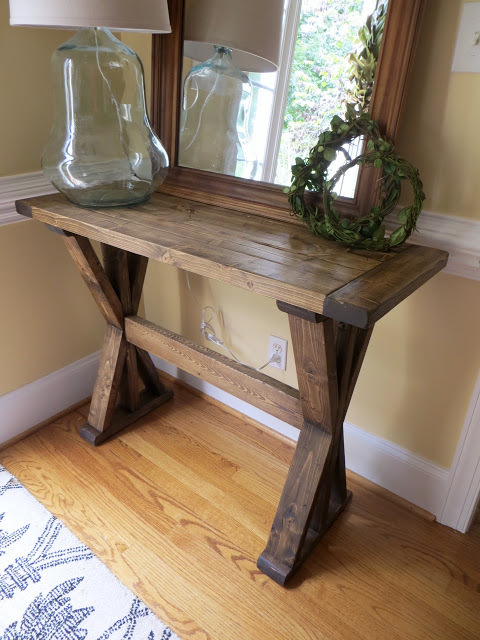
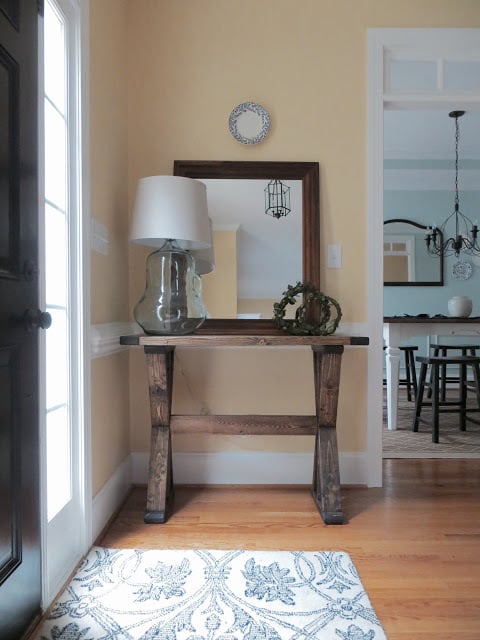
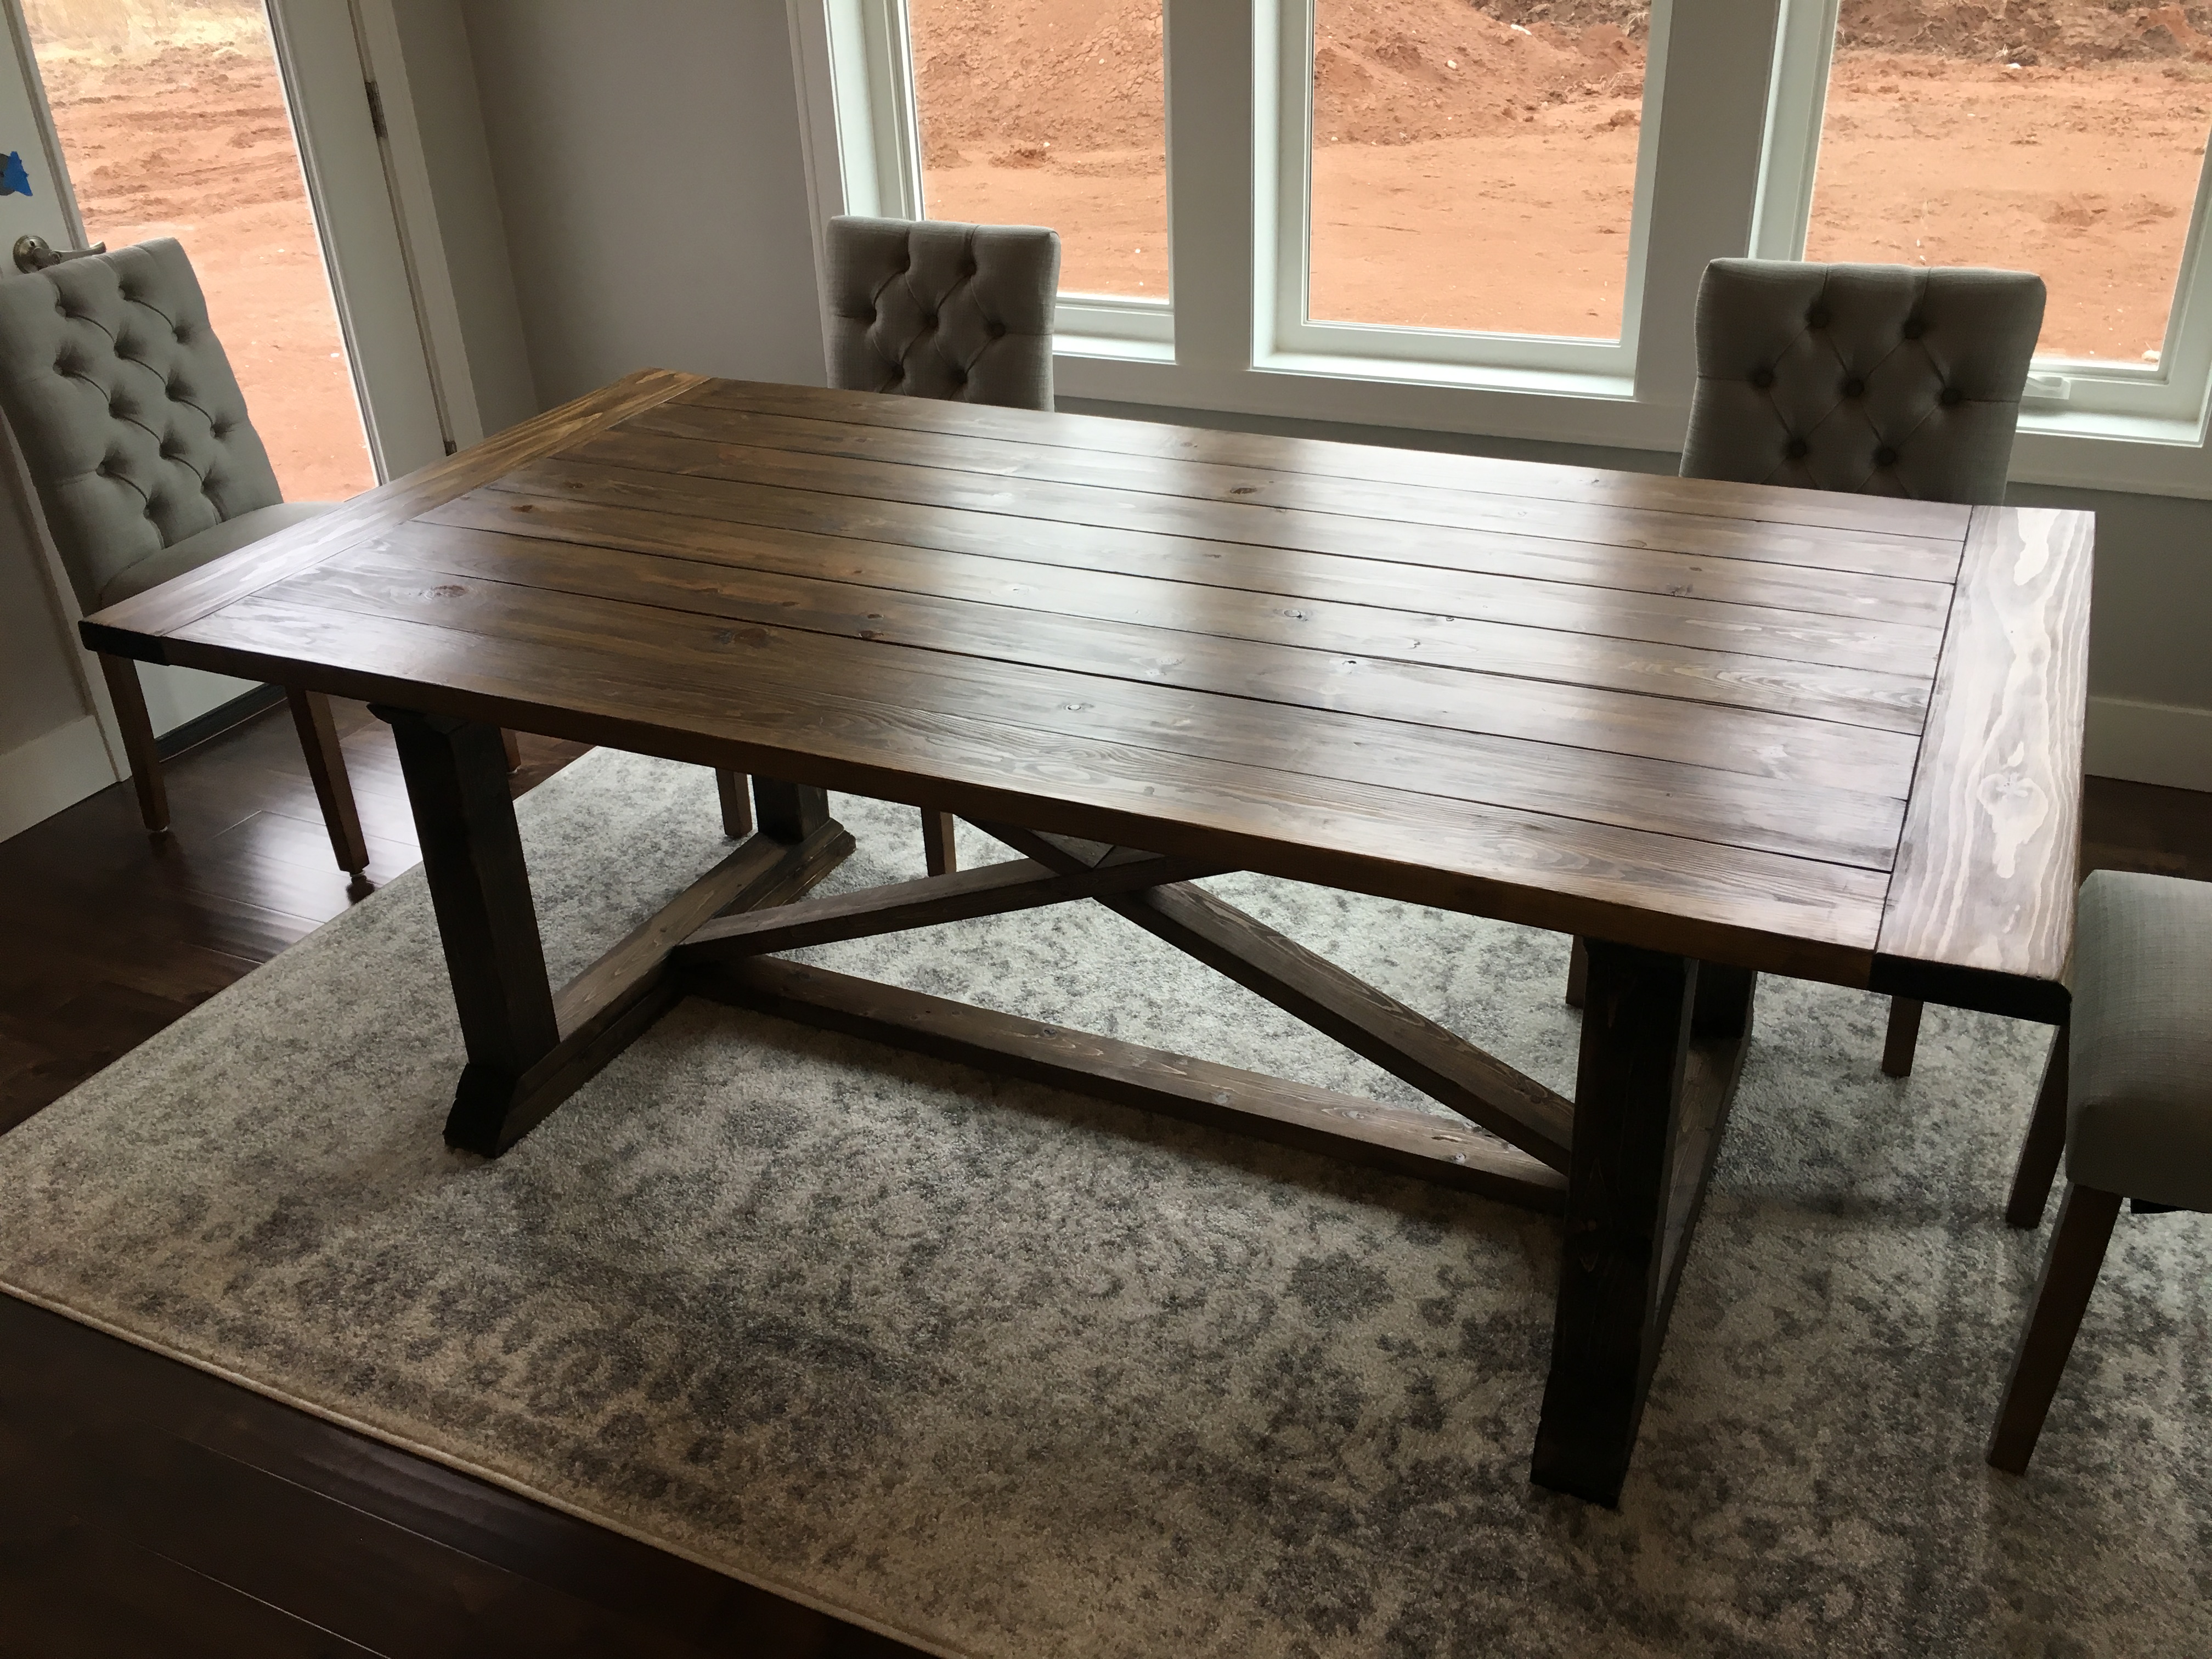
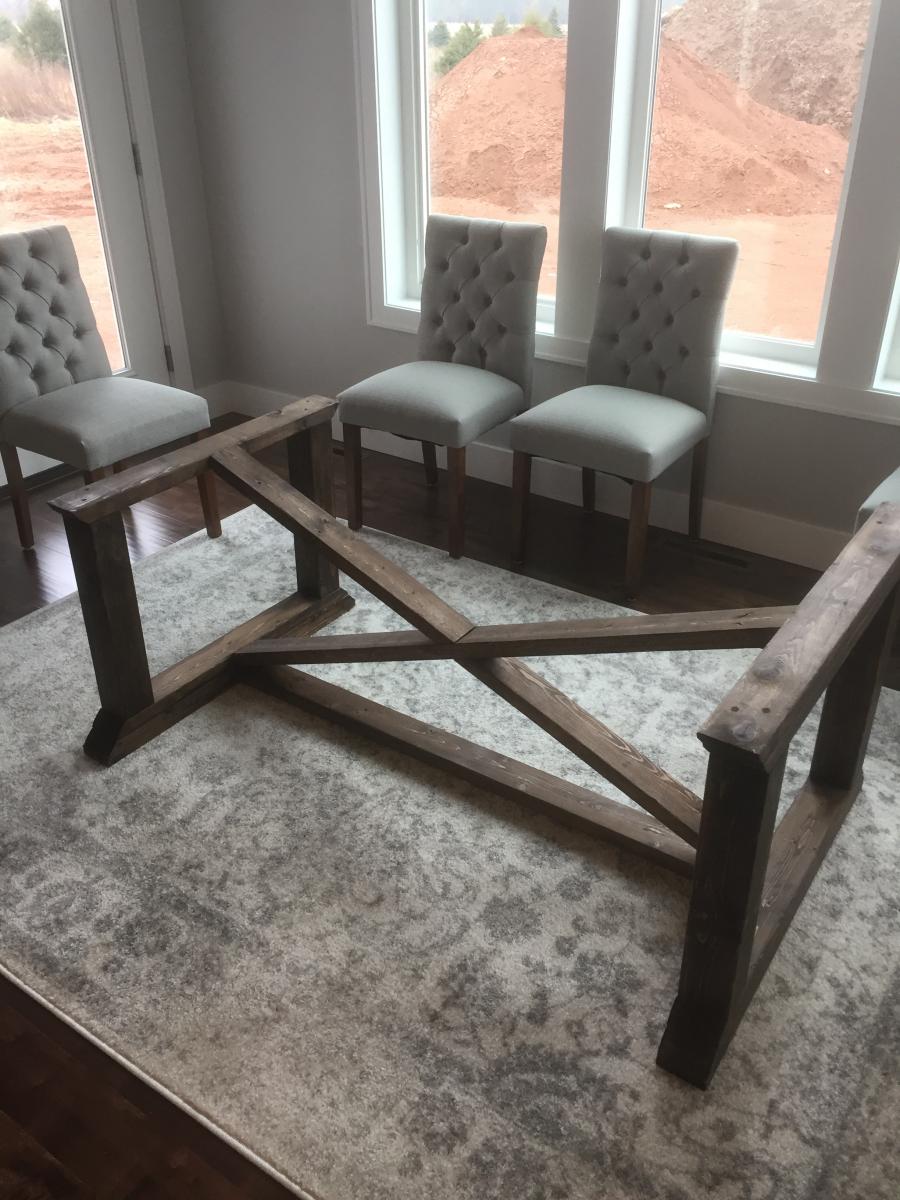
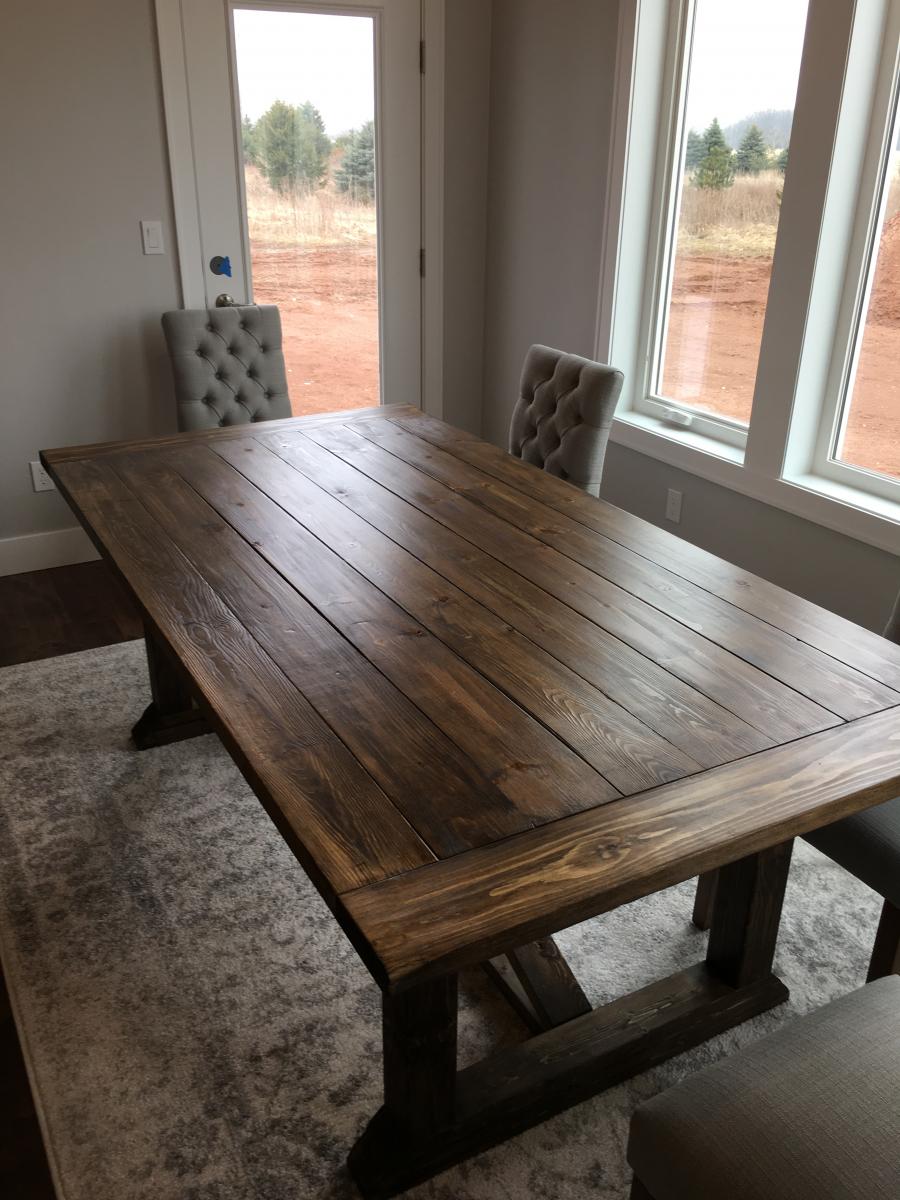
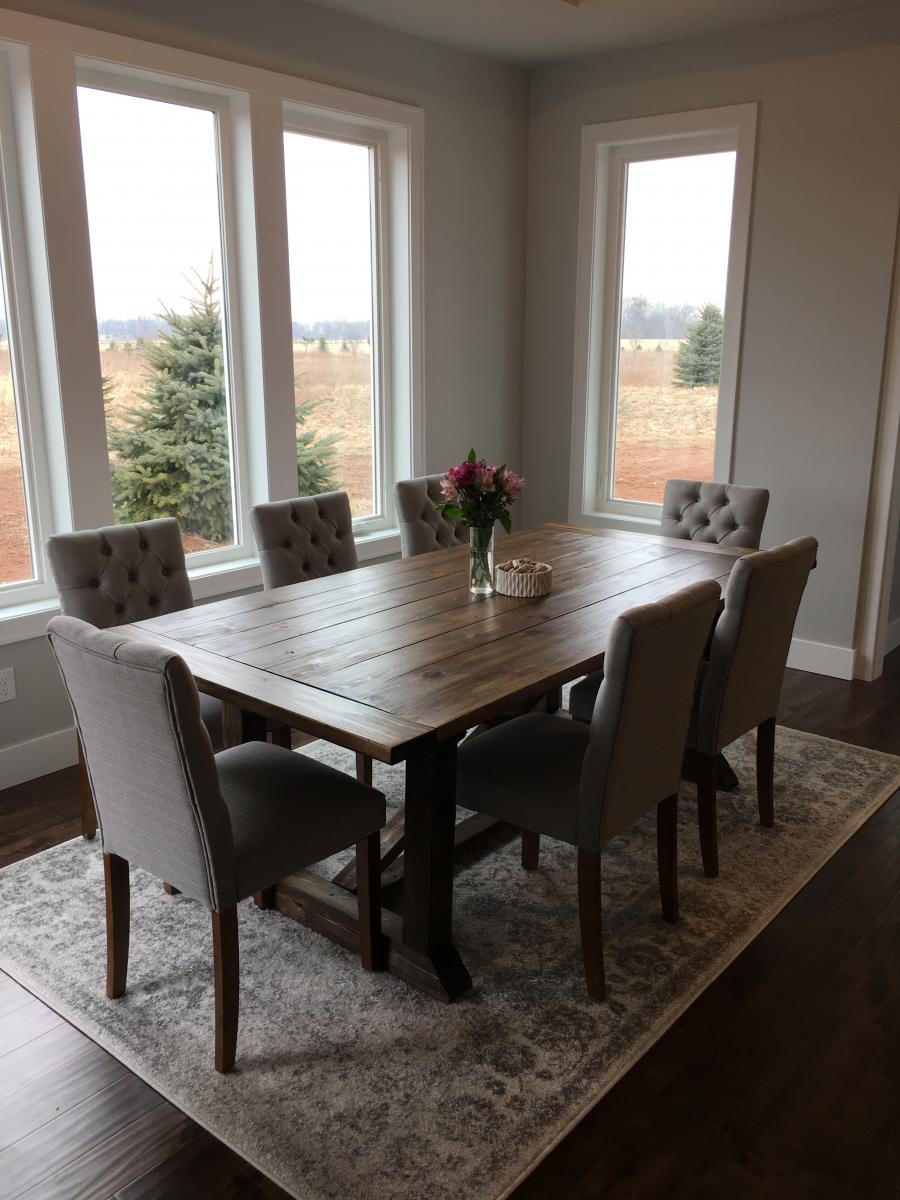
We love the look of farmhouse tables but we wanted to try building our own rather than spending over $1500 on one.
We saw this tutorial on pinterest and we decided to make it our first woodworking project, we love how it turned out!
Wed, 09/21/2016 - 20:22
You did a great job, can't believe it's a first project! What's next?:)

Thu, 09/22/2016 - 09:15
Truly amazing first project! Can't wait to see what's next for you guys! Ana
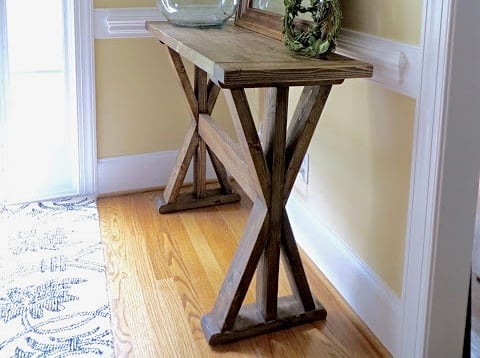
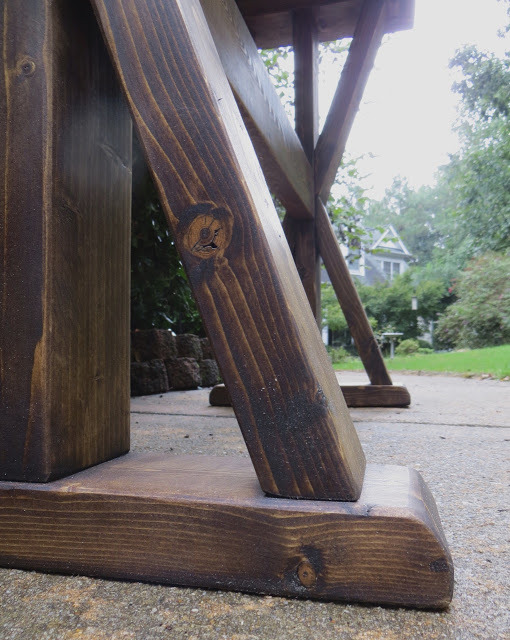
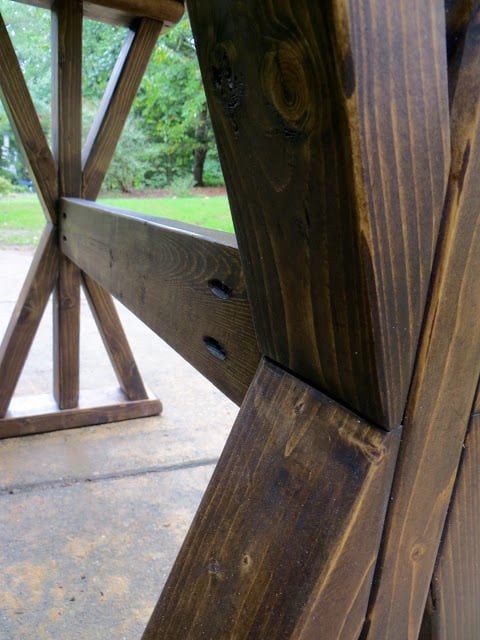
This table is built out of only 2x4's - that's 5 boards for about $15! It was pretty easy and took half a day. If the fancy angles are too hard to cut safely I recommend doing 45-degree angles! I'm happy to have a nice entryway - first time my whole life! :)
I've created a post on my project blog wth instructions & pictures for anyone to make their own.

Sun, 09/25/2016 - 09:42
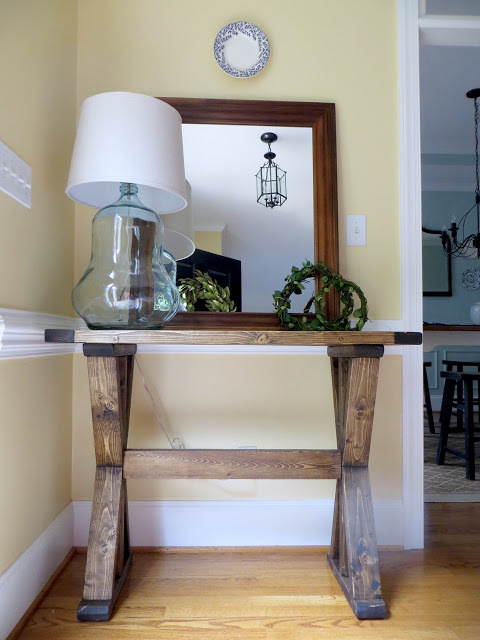
Your entryway is beautiful! Love this console, it is gorgeous!

In reply to Your entryway is beautiful! by Ana White
Tue, 09/27/2016 - 12:16
Thank you Ana! You made my day! It was such a treat to see it posted on your Facebook page! I told my husband that NOW that "I am famous" (haha) that I should be able to get the jointer & planer I've been begging him to let me buy! I'm thinking maybe a direct message from you would be just the trick! :)
Wed, 01/29/2020 - 13:54
What angle were the leg cuts? More than 50* because my saw wont go that far. Please let me know.
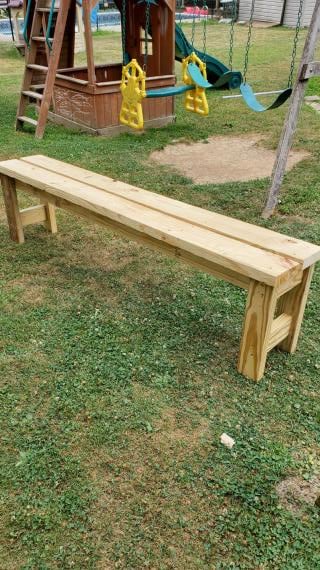
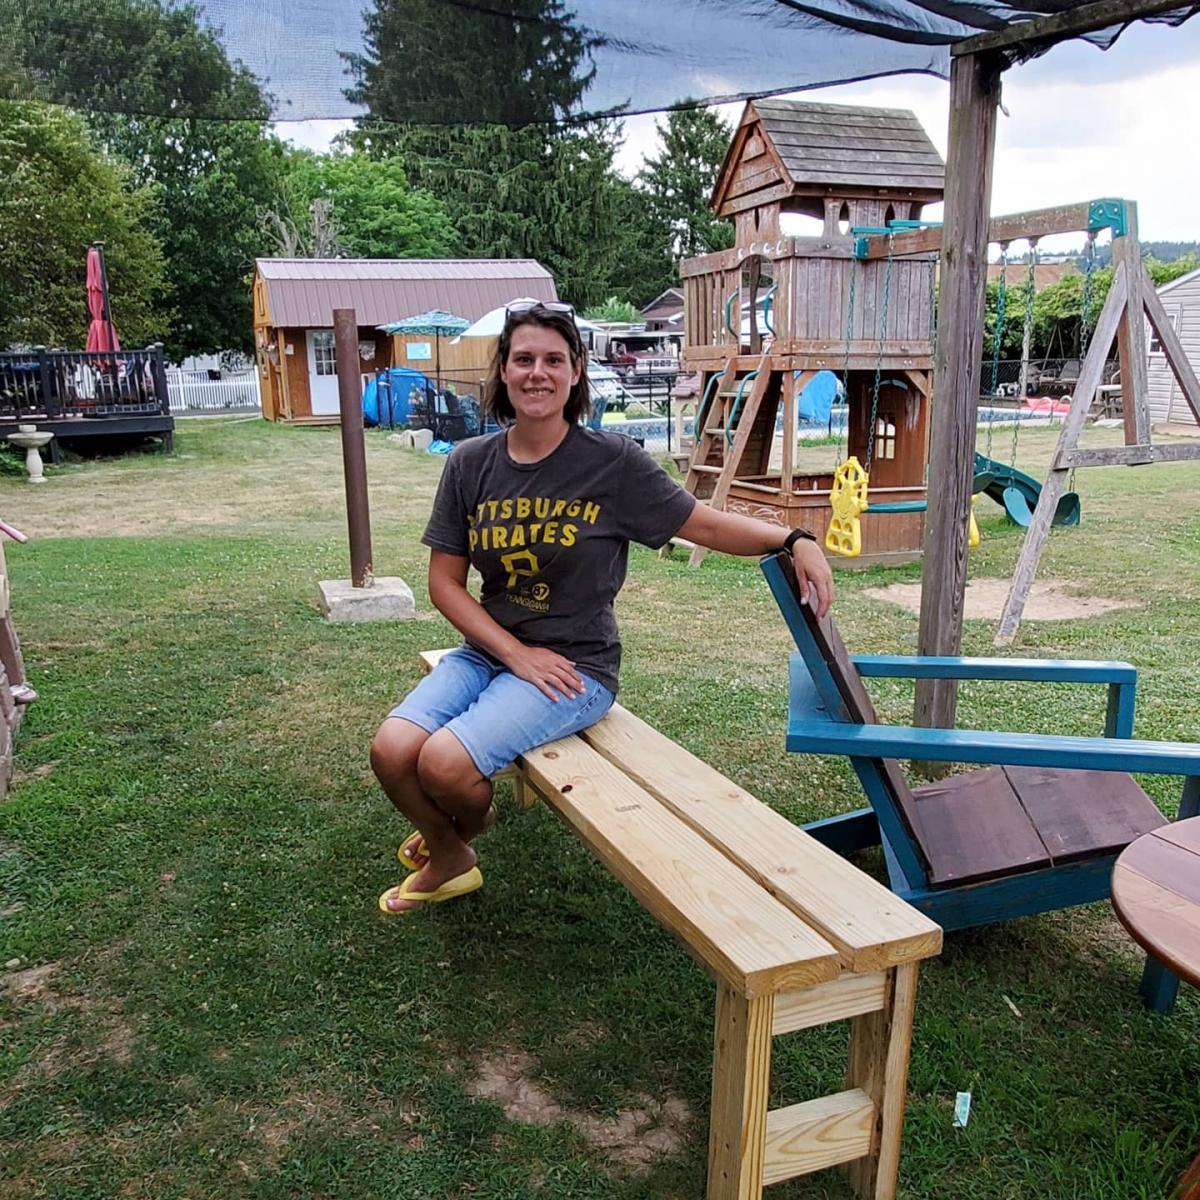
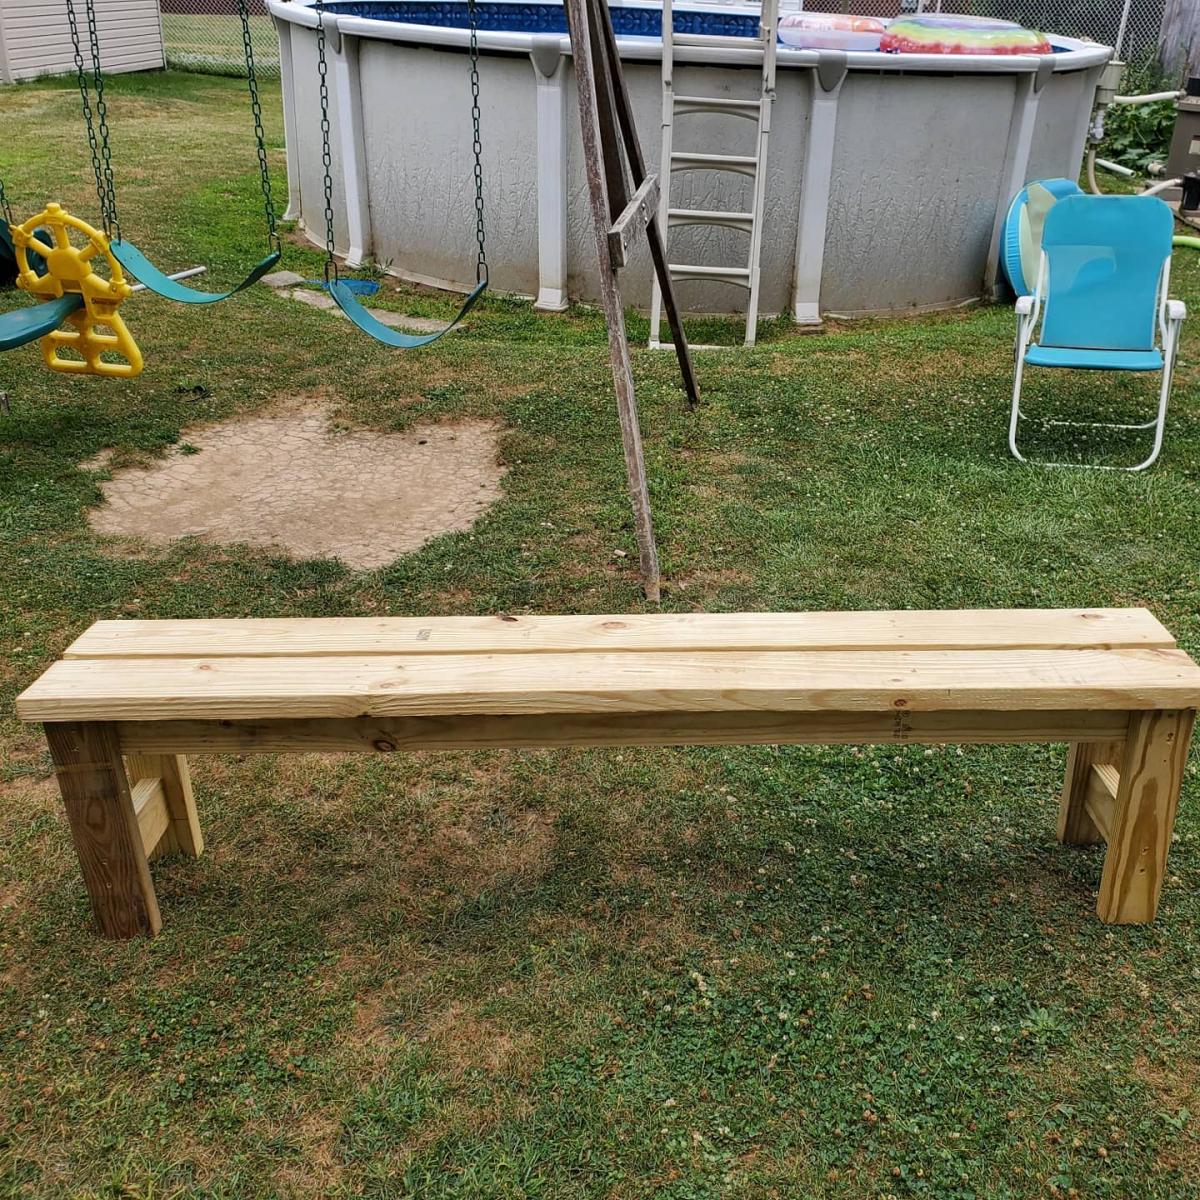
Great, sturdy, easy build!!! Looks amazing and will be my new picnic outdoor seating. I cannot wait to build the next bench and table to go along with it. Thank you for the plans!!!!
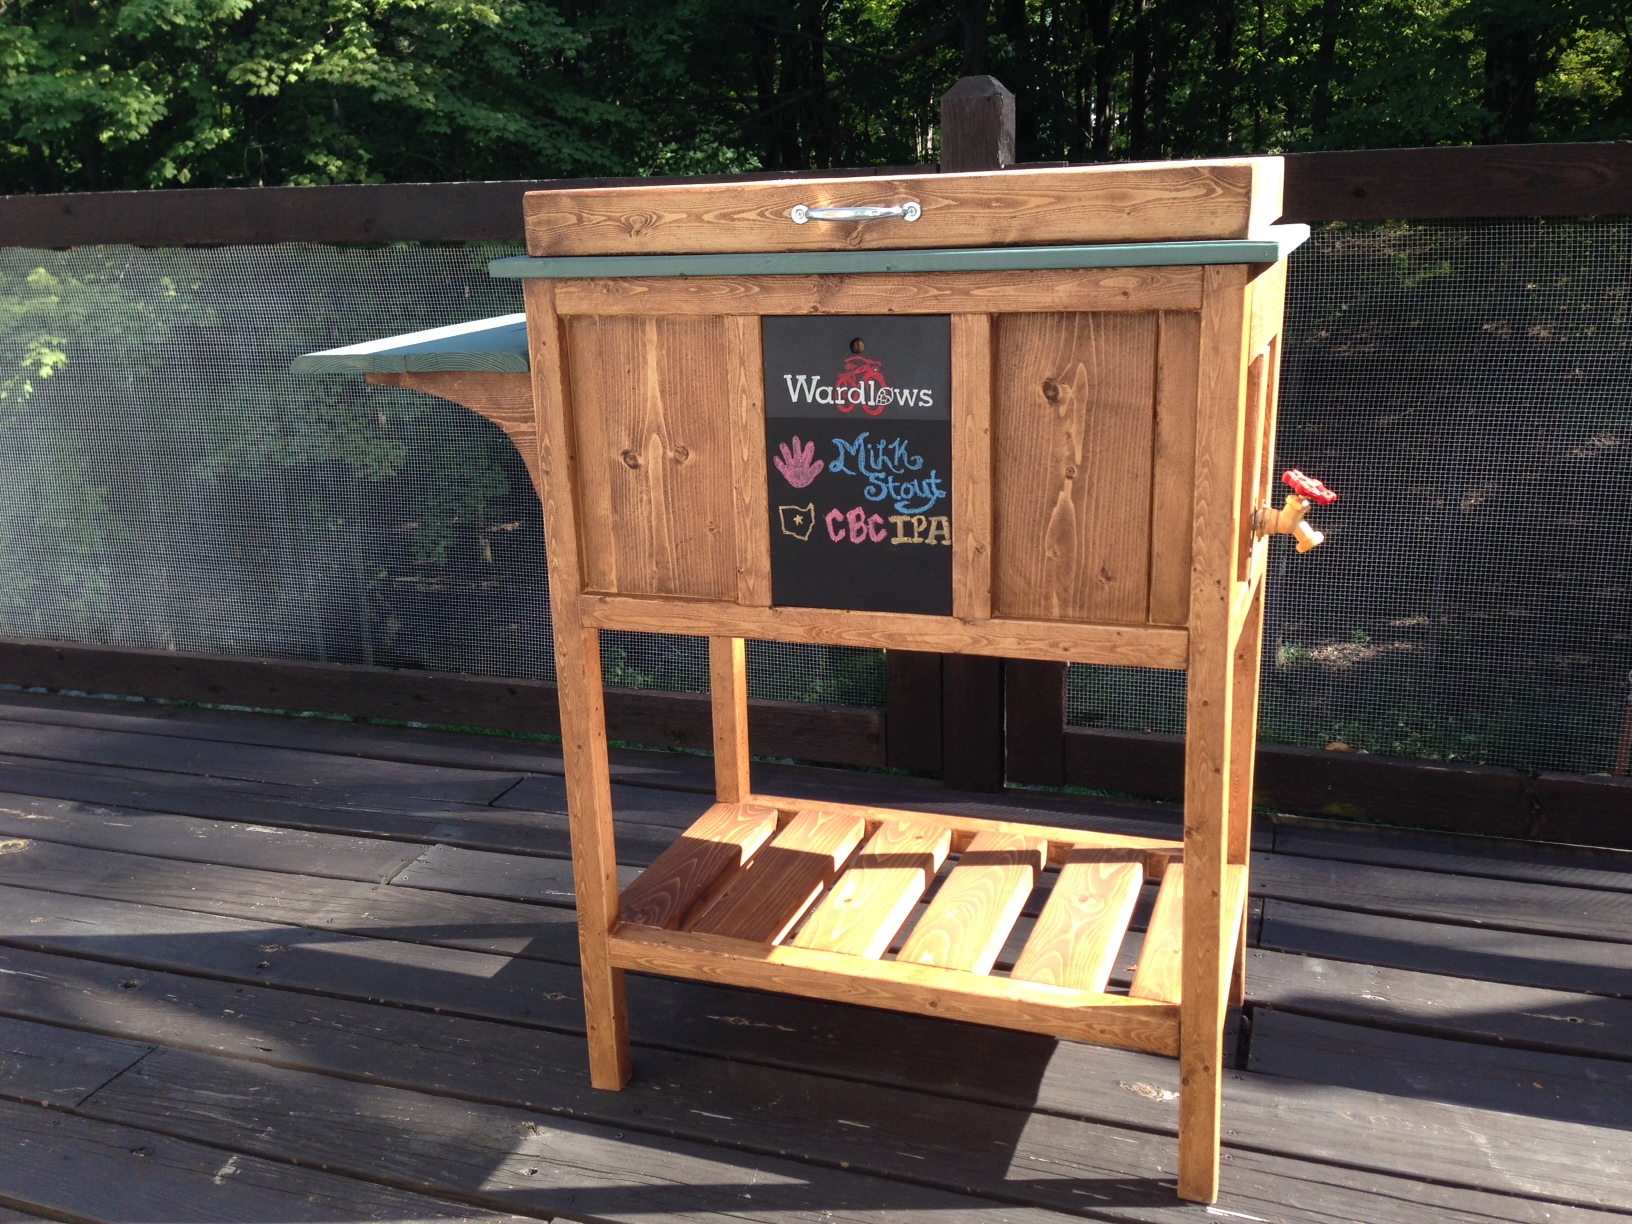
We built this as a birthday gift for family members and boy were they excited. We, though, were not excited to let it go. So happy with how it turned out. The plans are good for reference but make sure to make your own measurements when using milled lumber from a big box store. Some of the the changes we had to make on the fly were to the back and front panels having to use a different combination of board sizes to fill it in without massive gaps. Its recommended that you lay them out first before attaching them to the frames. Also the measurements on the cooler lid were smaller by 1/4" to 1/2" of what's listed in order to get a snug fit. The shelf on ours is two 1x6's cut to the width of the whole project (around 16.5") and then the shelf brackets were also 1x6's cut to a length of 10". Brackets are mounted inside the legs using wood glue and three 2.5" screws through the backside/inside of the cooler box to hide (obviously done before the cooler was inserted). For drainage we attached a 2" piece of 1/2" inside diameter clear tubing that was fed/jammed through the cooler drain and pulled through the other side and then a 1/2" push on adapter, threaded on the other end screwed unto a 1/2" faucet head. Drilled a 3/4" hole about 2.5" (center mass) from the 2x4 cooler base through the middle piece on the side. We placed the cooler in first and used a pair of pliers to grab the clear tube and line it up with the hole and then pushed a long screw driver through the tube from inside the cooler in order to guide the faucet head/adapter combo into the tube and stiffening the tube so it didn't collapse when pushing it on. We couldn't decide what do to with the center display piece and then remembered we had a can of chalkboard spray paint left over from another project. We spray painted the whole menu board and then painted the "logo" at the top before clear-coating it with a protective enamel. Its a snug fit so the pressure holds it in place but you could also use velcro strips on the back if that tickles your fancy. We took the snug fit route that way if they didn't want the menu board in. A 1/2' hole was drilled towards the top so they can use a finger to pull the board out.

After a lot of cutting, screwing, chiseling and sanding... oh and a lick of paint! My new little Saddle Seat Stools are complete. Time will only tell whether they will hold up to the abuse the boys give them especially Brodie! These new stools only cost me $48 to make the pair and I got all the timber from Bunnings
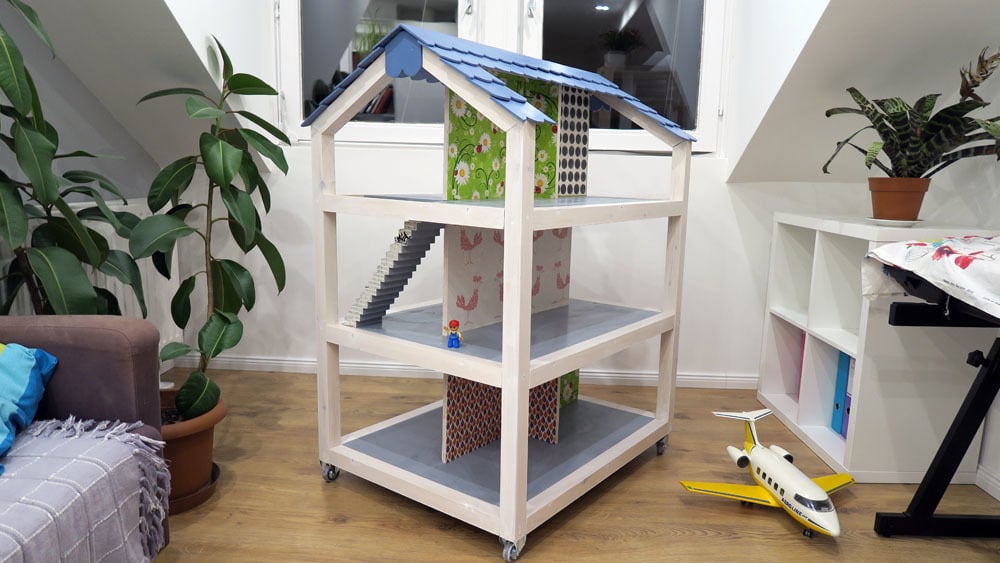
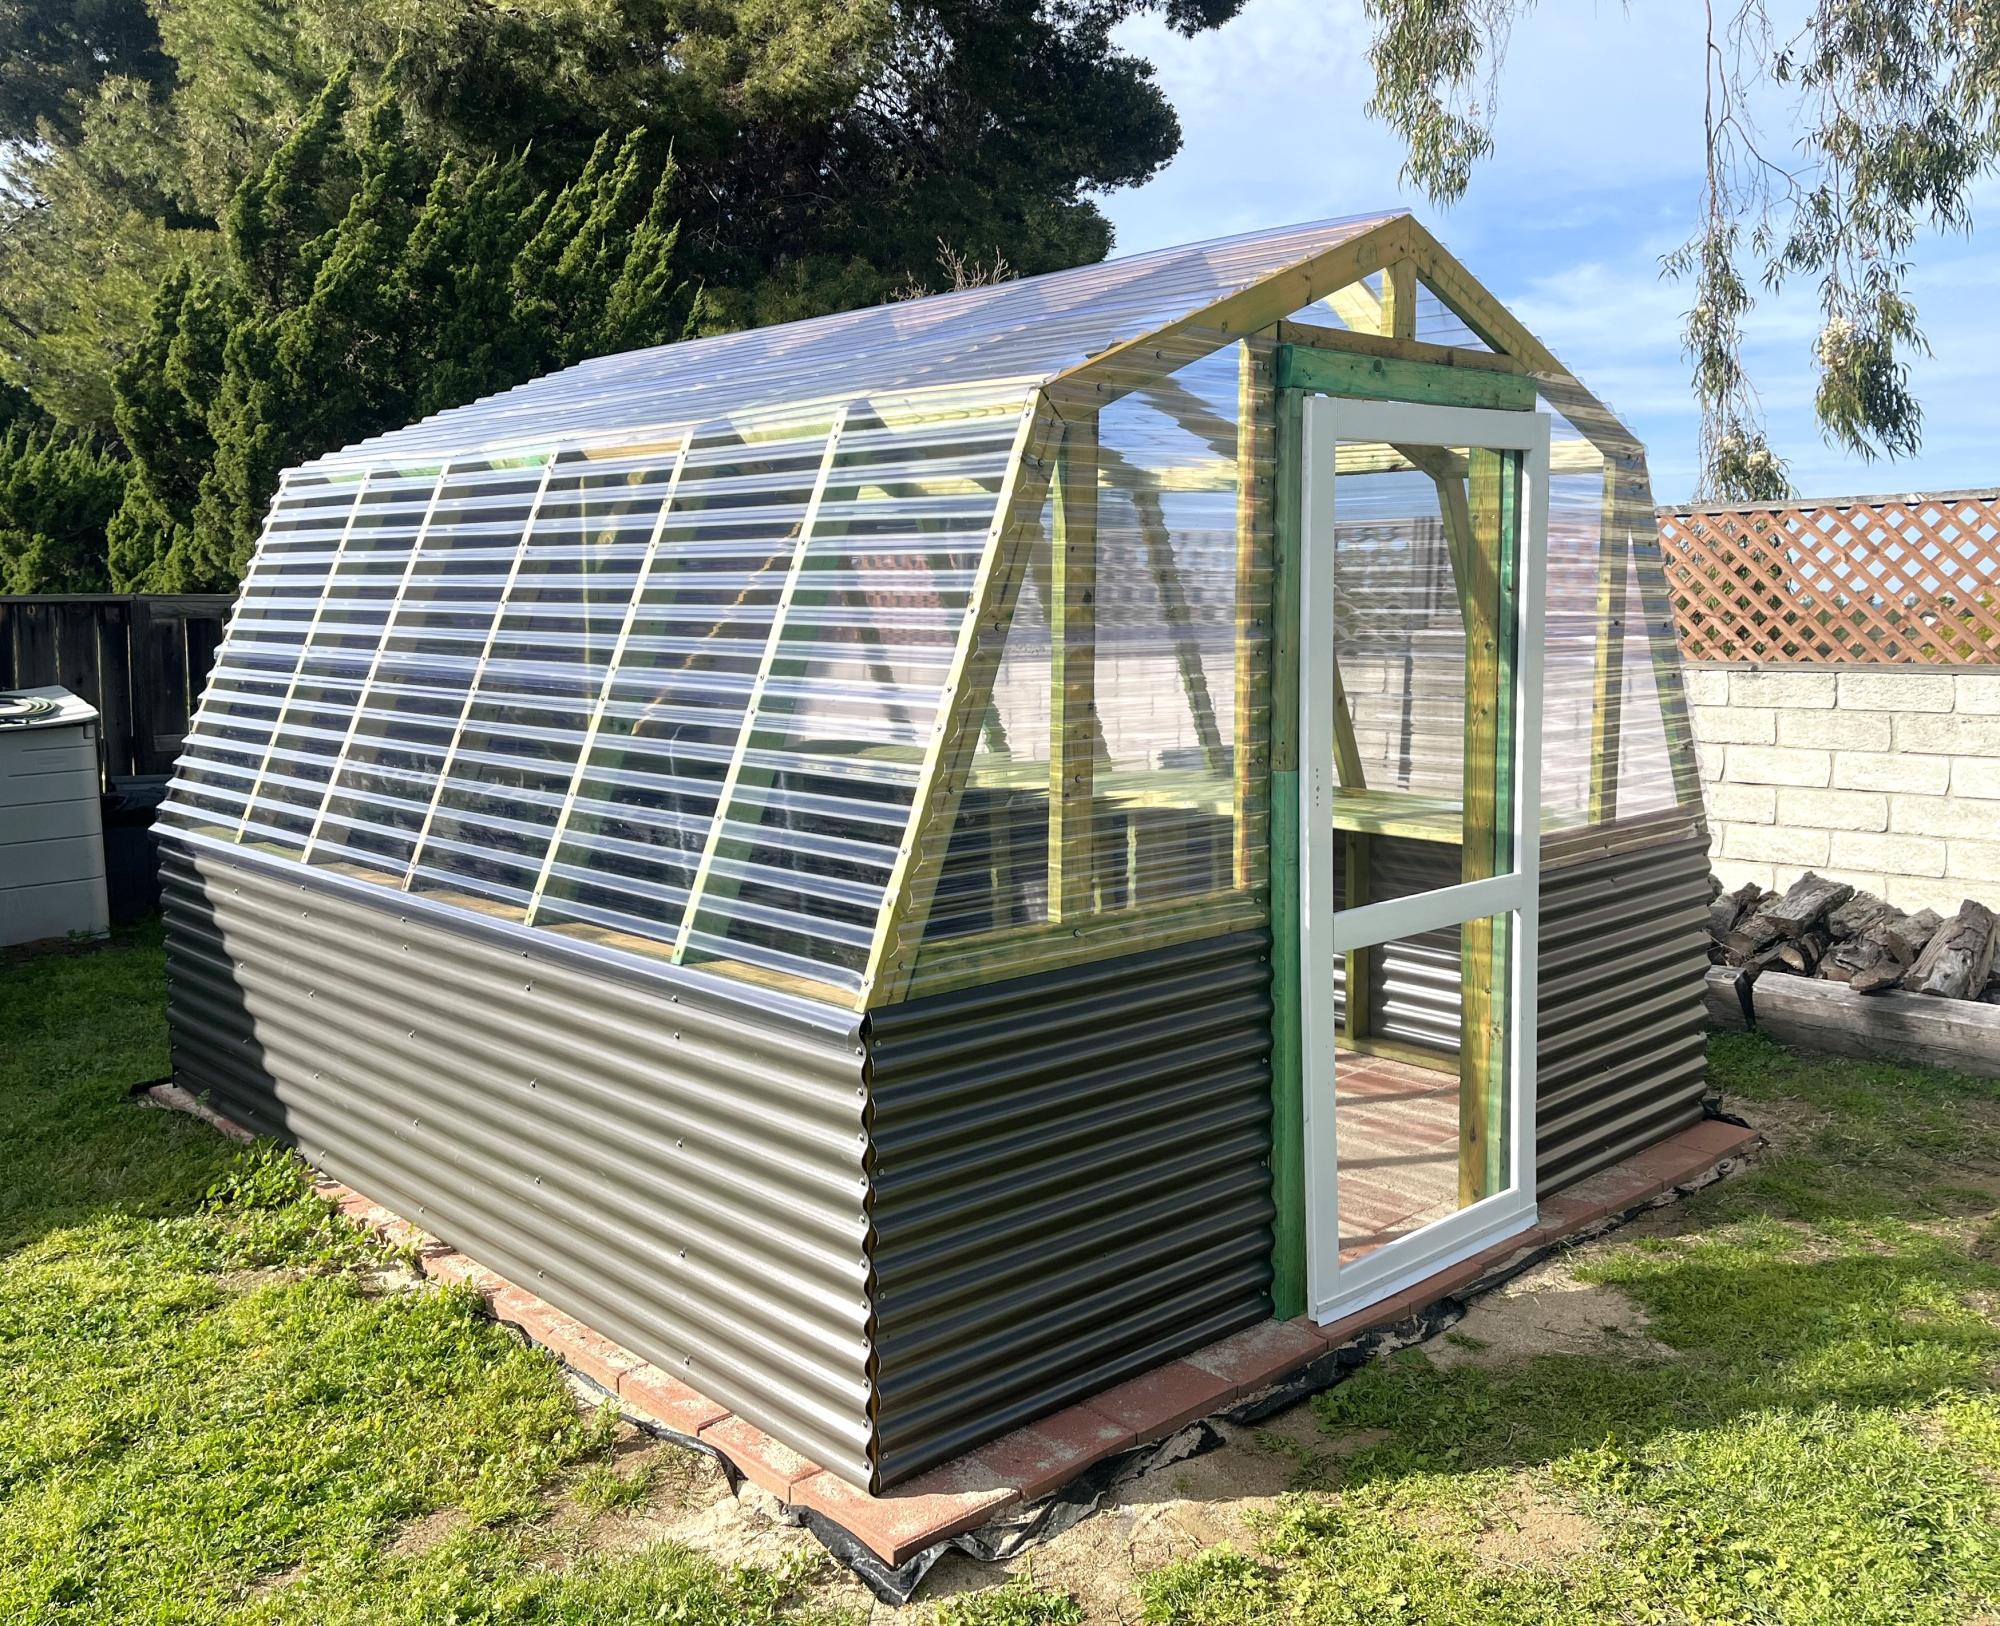
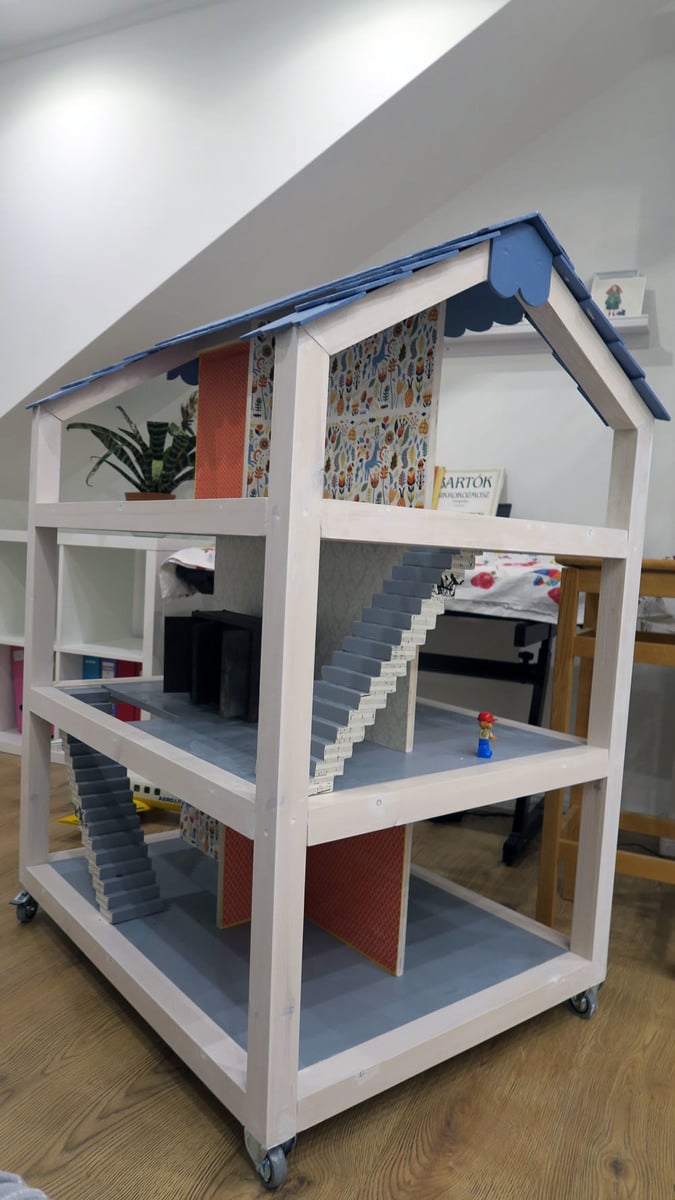
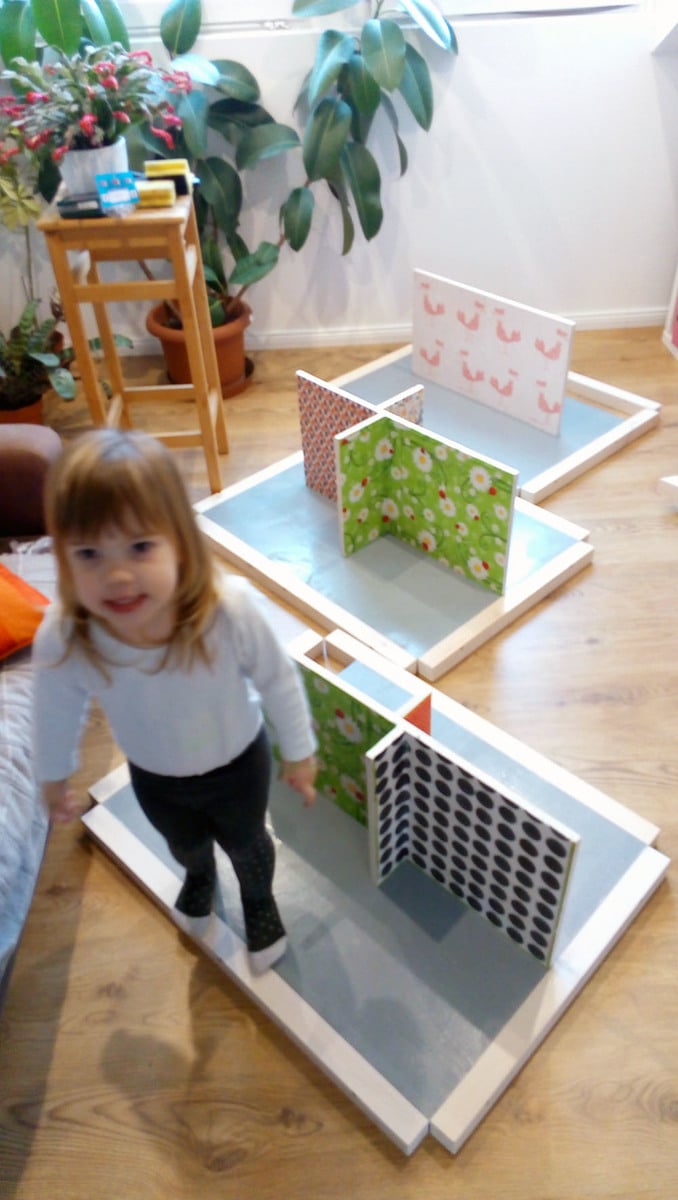
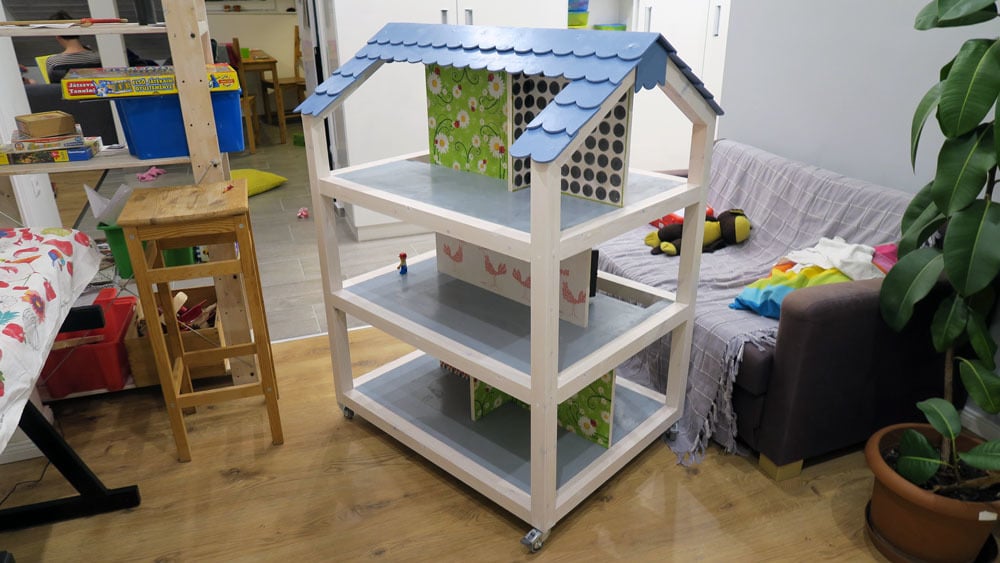
Thanks Ana for the plans, it was big fun to build! Had to do it while babysitting after work hours in our Budapest appartment, so all our neighbors had a lots of fun too while sawing and drilling in the night!
At the start I had some difficulties with your inches and feet, but at the end I had to realize that milimeters weren't my thing either... but it looks good from the distance. Still needs to be filled with furnitures and dolls, but that will be the task of Rozika.
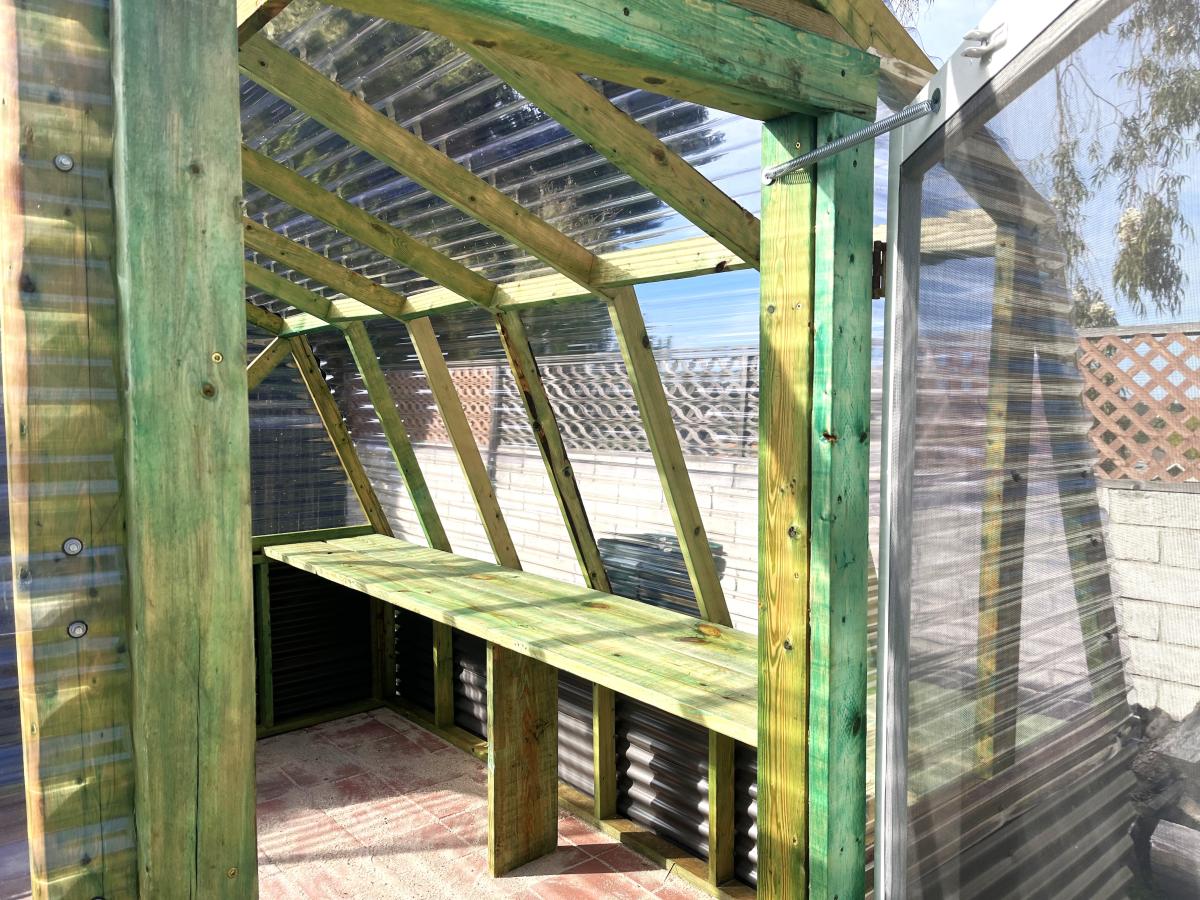
Thank you Ana. As this is for outdoors -I used treated wood and Marine Ply - a fair bit more expensive. I followed the instructions to the letter - ordered the timber, did all the cuts and then began putting together. At that point I realised that treated Irish 4x2 is different to Alaskan standard 4x2! No worries though - as the instructions were well laid out and easy to follow - I only needed to cut an additional 1/2 an inch (aprx) off the 8 &1/2 pieces and a minor adjustment on the bottom shelf. A big, big thank you. Even though it was a fast build i've learned so much from it. It has a lovely logic and is very pleasing for the soul. I'll be retiring the white fold-up table in the 2nd picture - if you look carefully at it you will see the mark-up (jig marks) for artist easels. I hope your family has got through the health crises safely. If ye are ever in Ireland - come visit Waterford and give me a shout. Thanks again - Conor

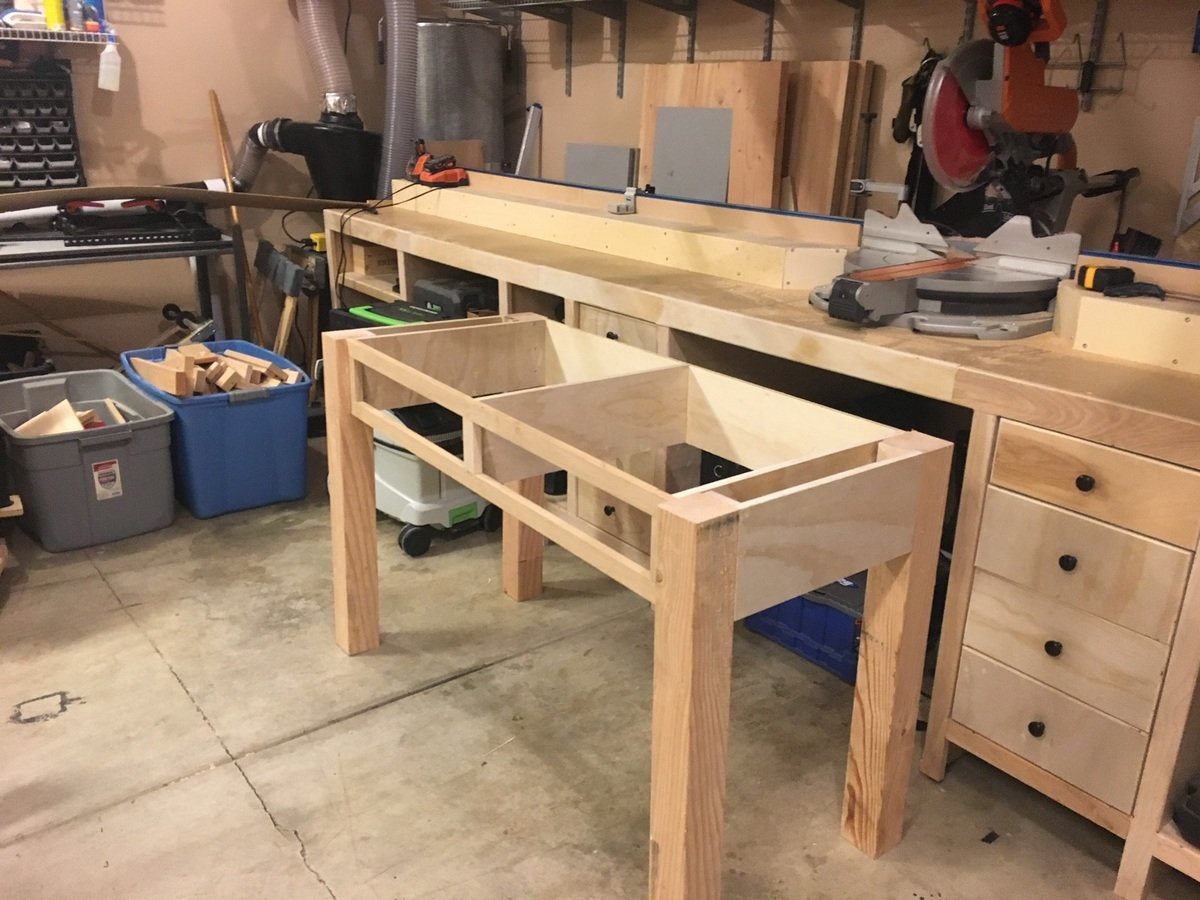
This DIY desk provides workspace for two people. A portion of the desk is for my oldest son during homeschooling and the other portion is for my husband while he continues to work from home. Cost : $35 Difference in length, width and height will result in a change in price.
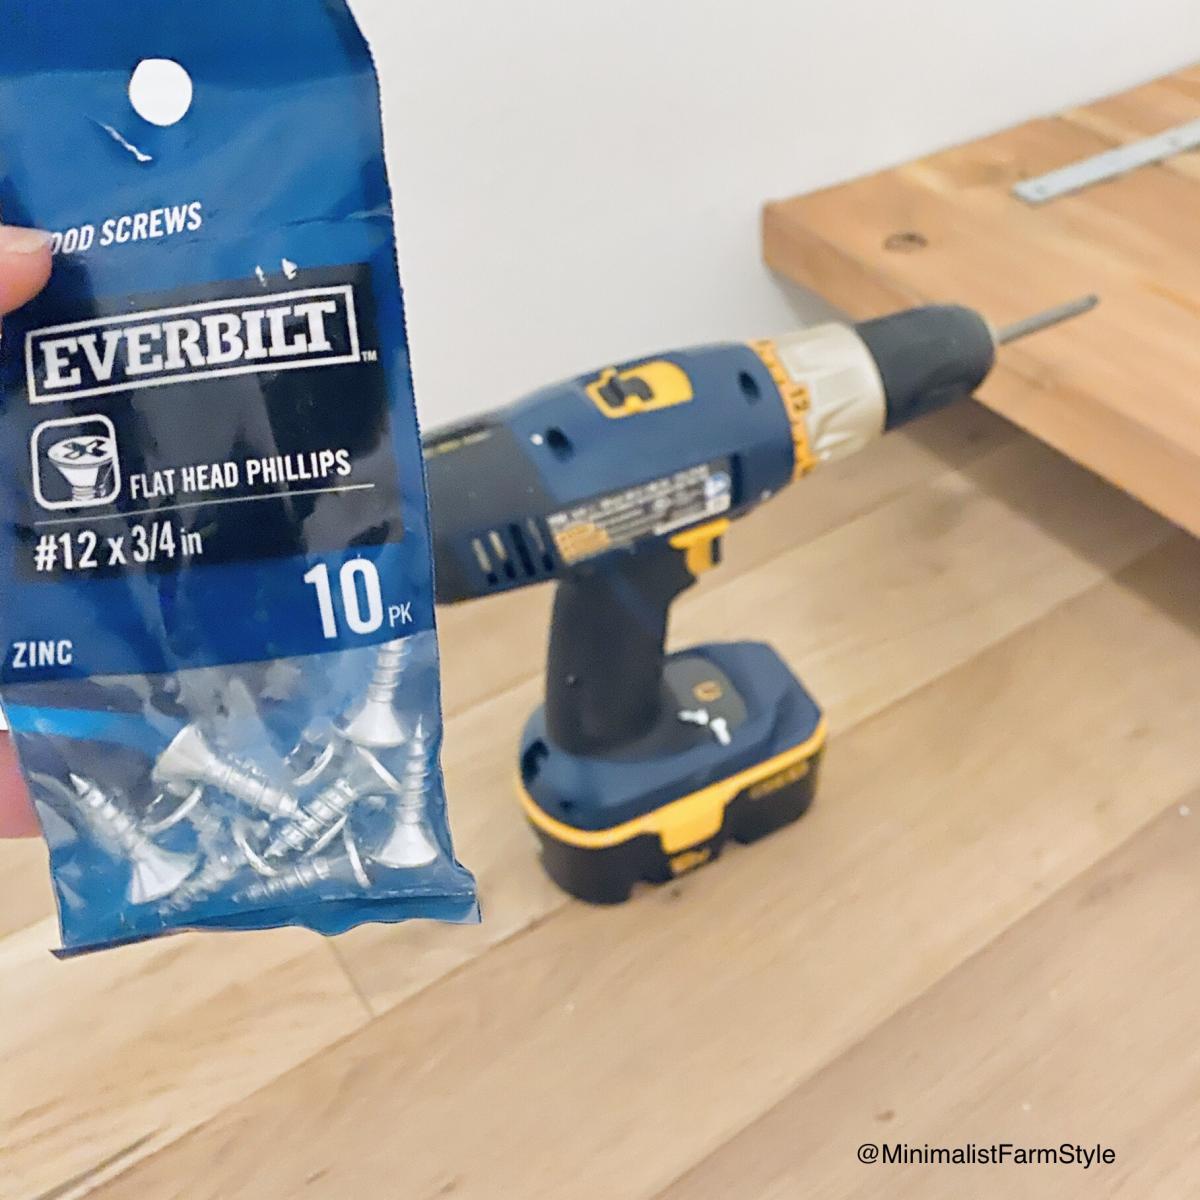
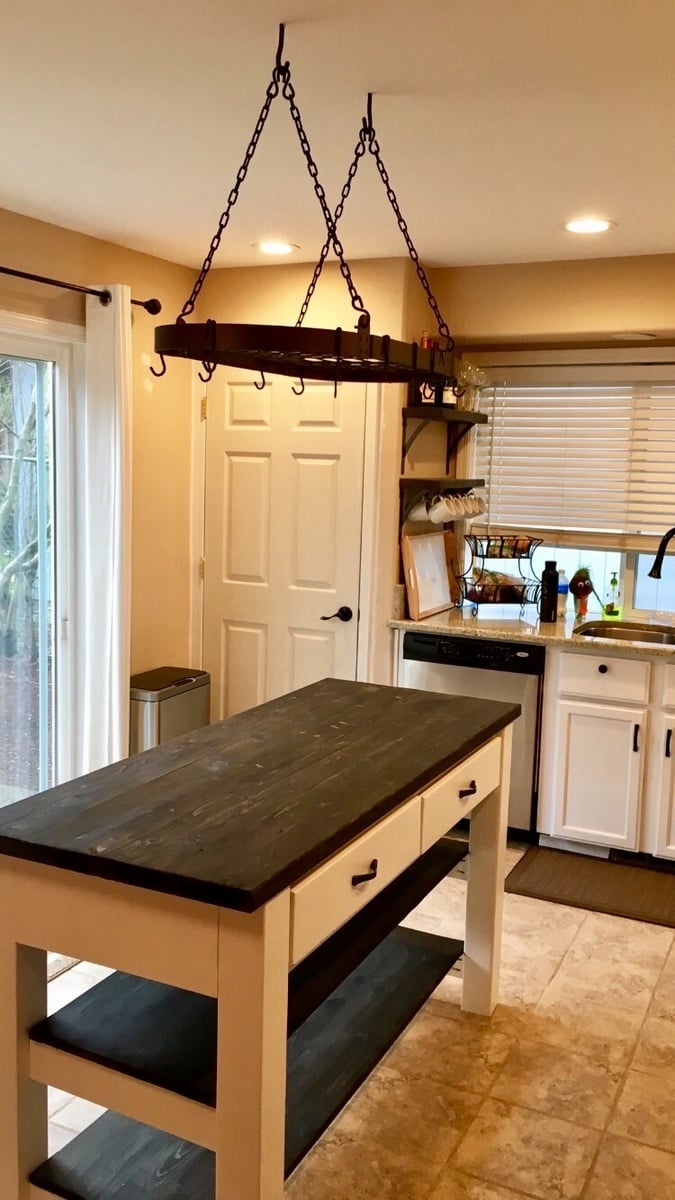
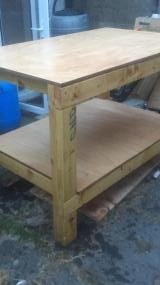
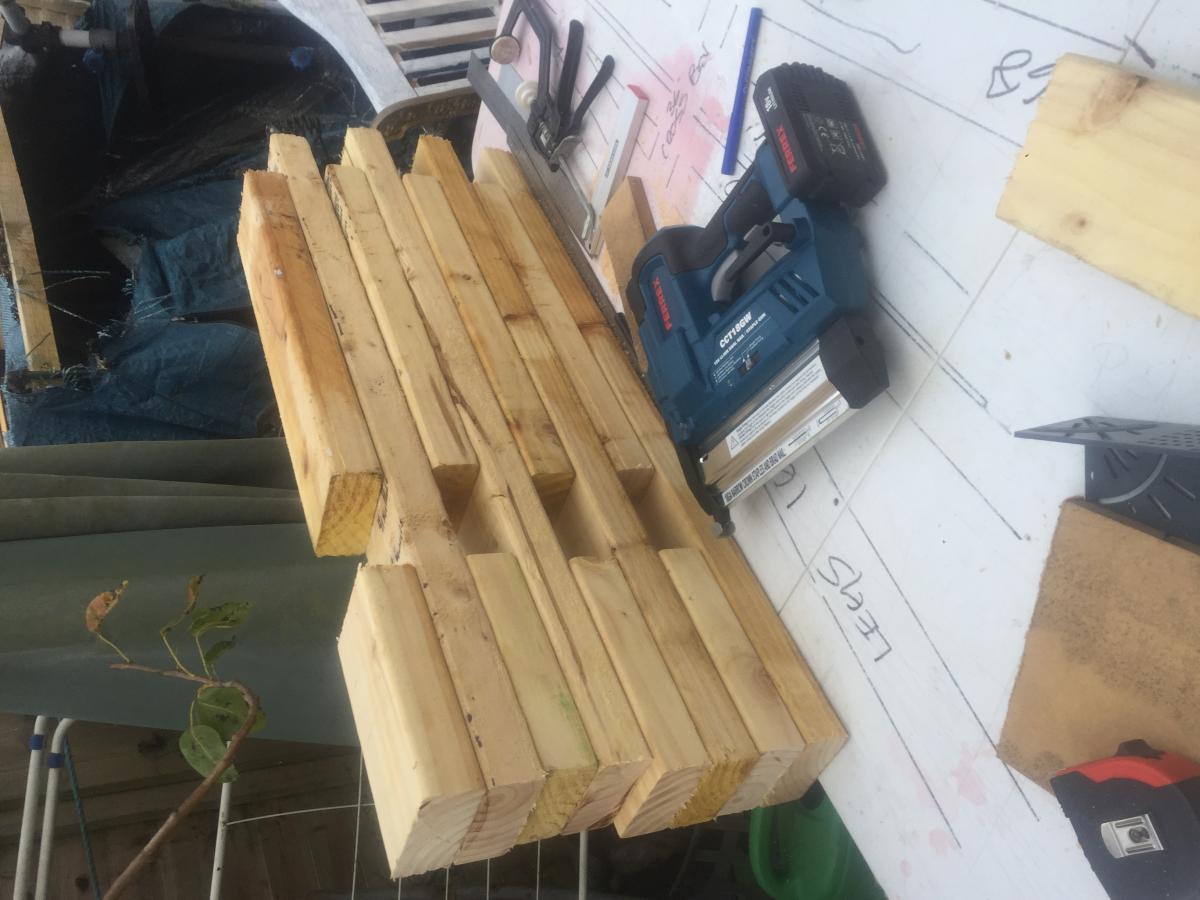
I decided to add this island to my kitchen as I had a lot of open space in my kitchen. It gave a lot more counter space and when I adjust the pot rack, it will open up an entire cabinet too! The body is painted the color my cabinets are about to become and the stain matches some other woodwork in the house. I applied polyurethane to the stained pieces and plan on using cutting boards to avoid the look of a beat up butcher block as well as the maintenance that goes with them! Wherever I could hide the edges, I used plywood instead of 1x8's as I had leftovers from a bench I made.
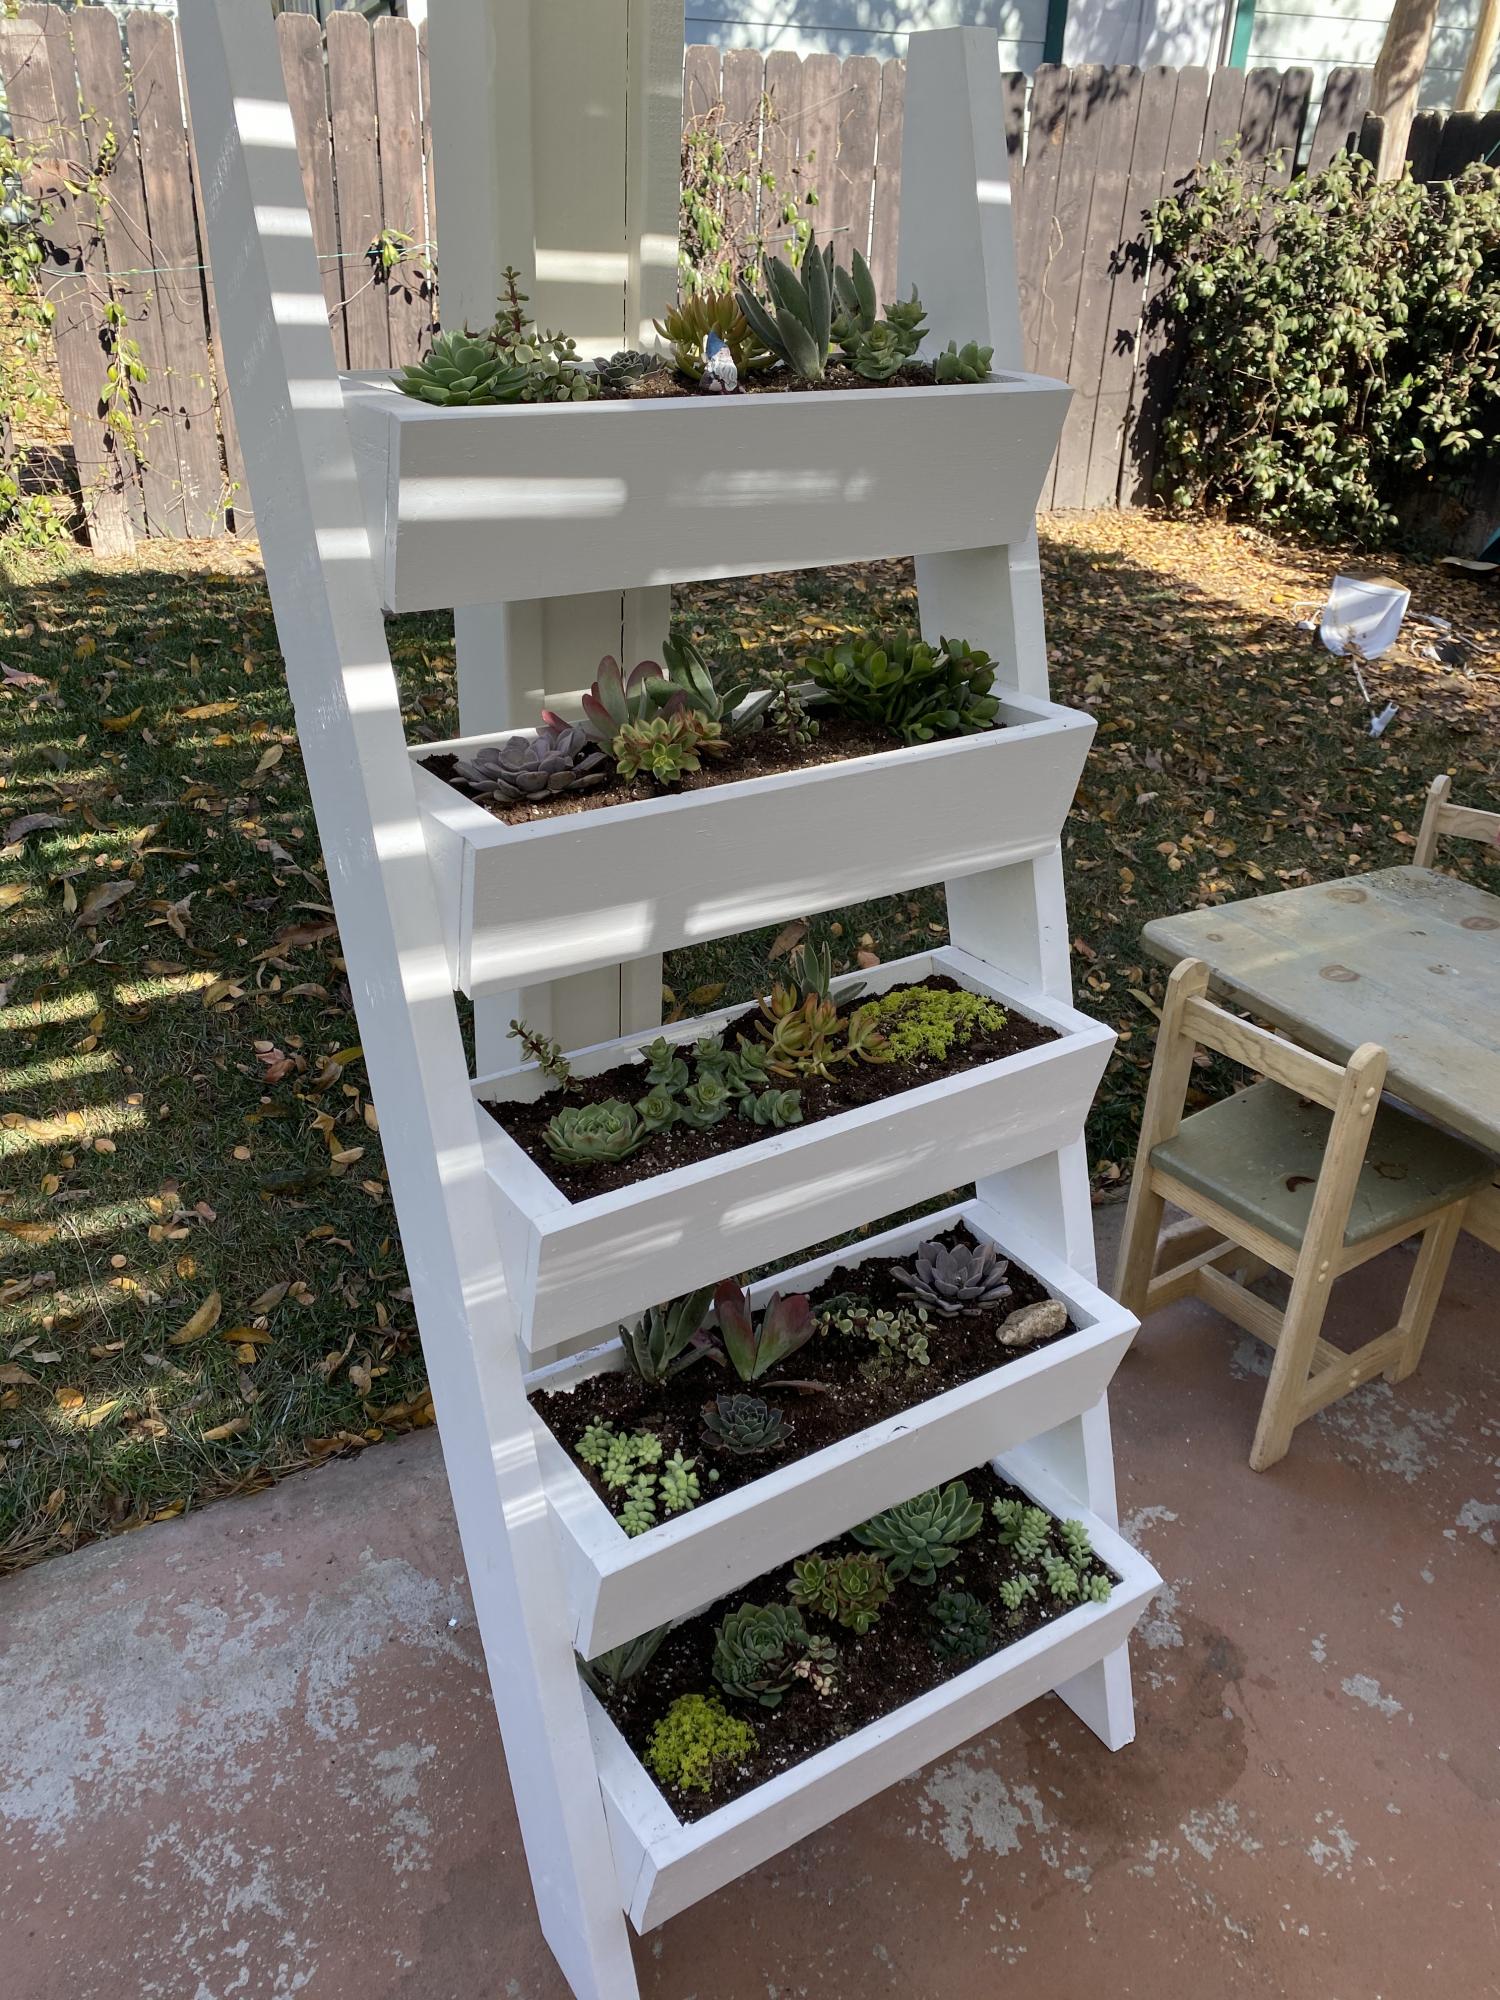
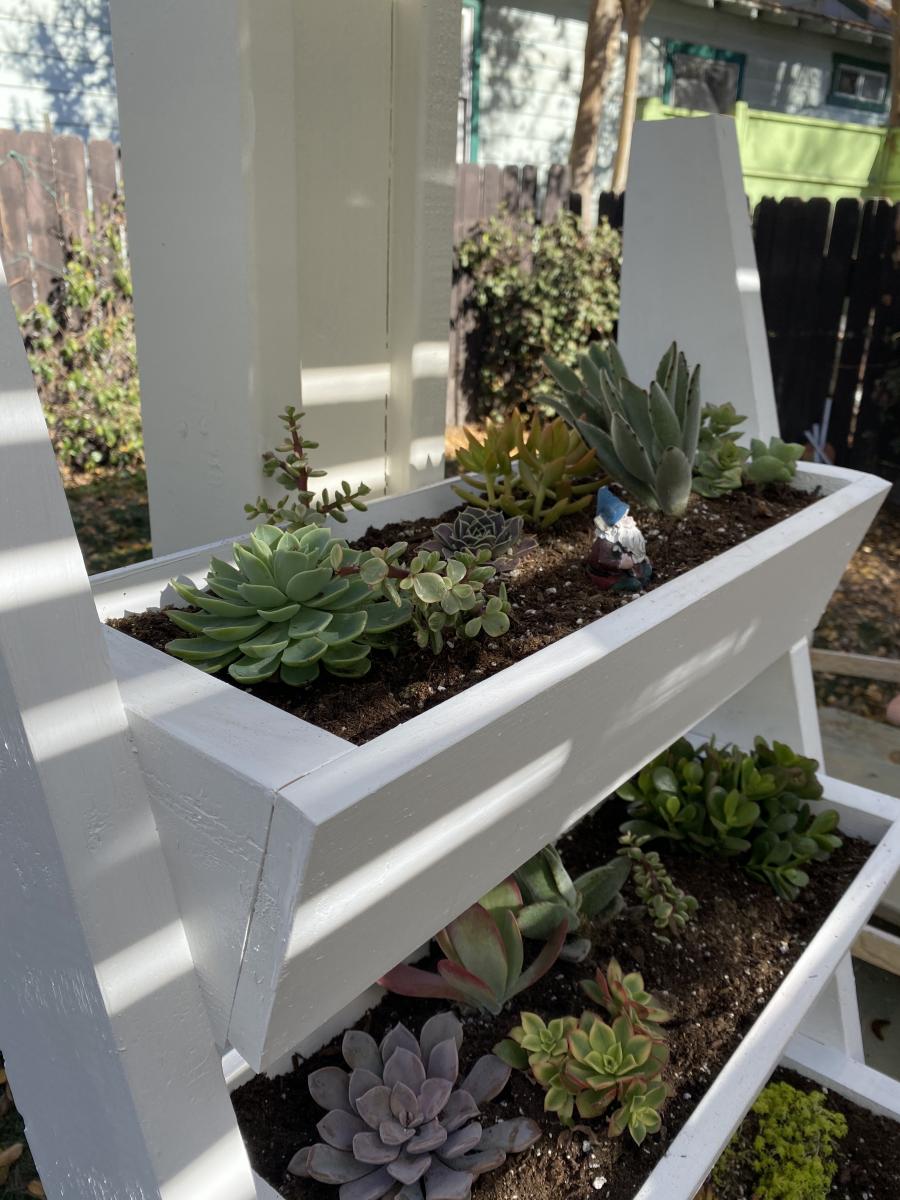
Made this over a few afternoons during the interesting year that is/was 2020! First DIY project and really enjoyed it! I used an opaque white stain and it's filled with succulents from our local nursery (Lincoln Nursery in Pasadena, CA). Painting took the longest as one coat of the stain still let some of the knots in the wood show through. Thanks so much for the plan and inspiration!
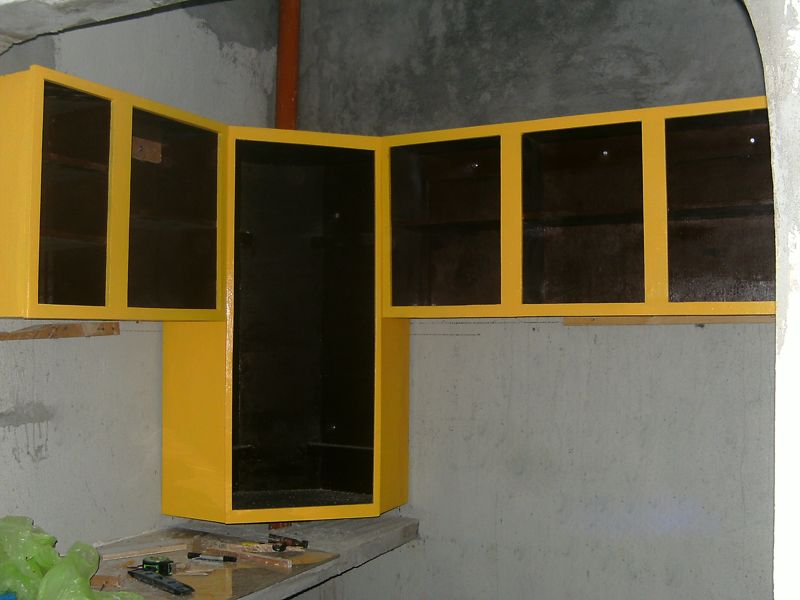
I saw http://www.ana-white.com/2013/02/plans/wall-kitchen-corner-cabinet and knew this was the project I wanted to do in our new home. The side cabients are from http://www.ana-white.com/2013/12/plans/36-wall-cabinet-double-door-momp… project, redesined to fit the wall-kitchen-corner-cabinet plans. This was my first cabient build. Still have to install doors. I am happy way it came out and so is wife.
Thanks Ana for your great site and plans. My next project is the storage sofa :D
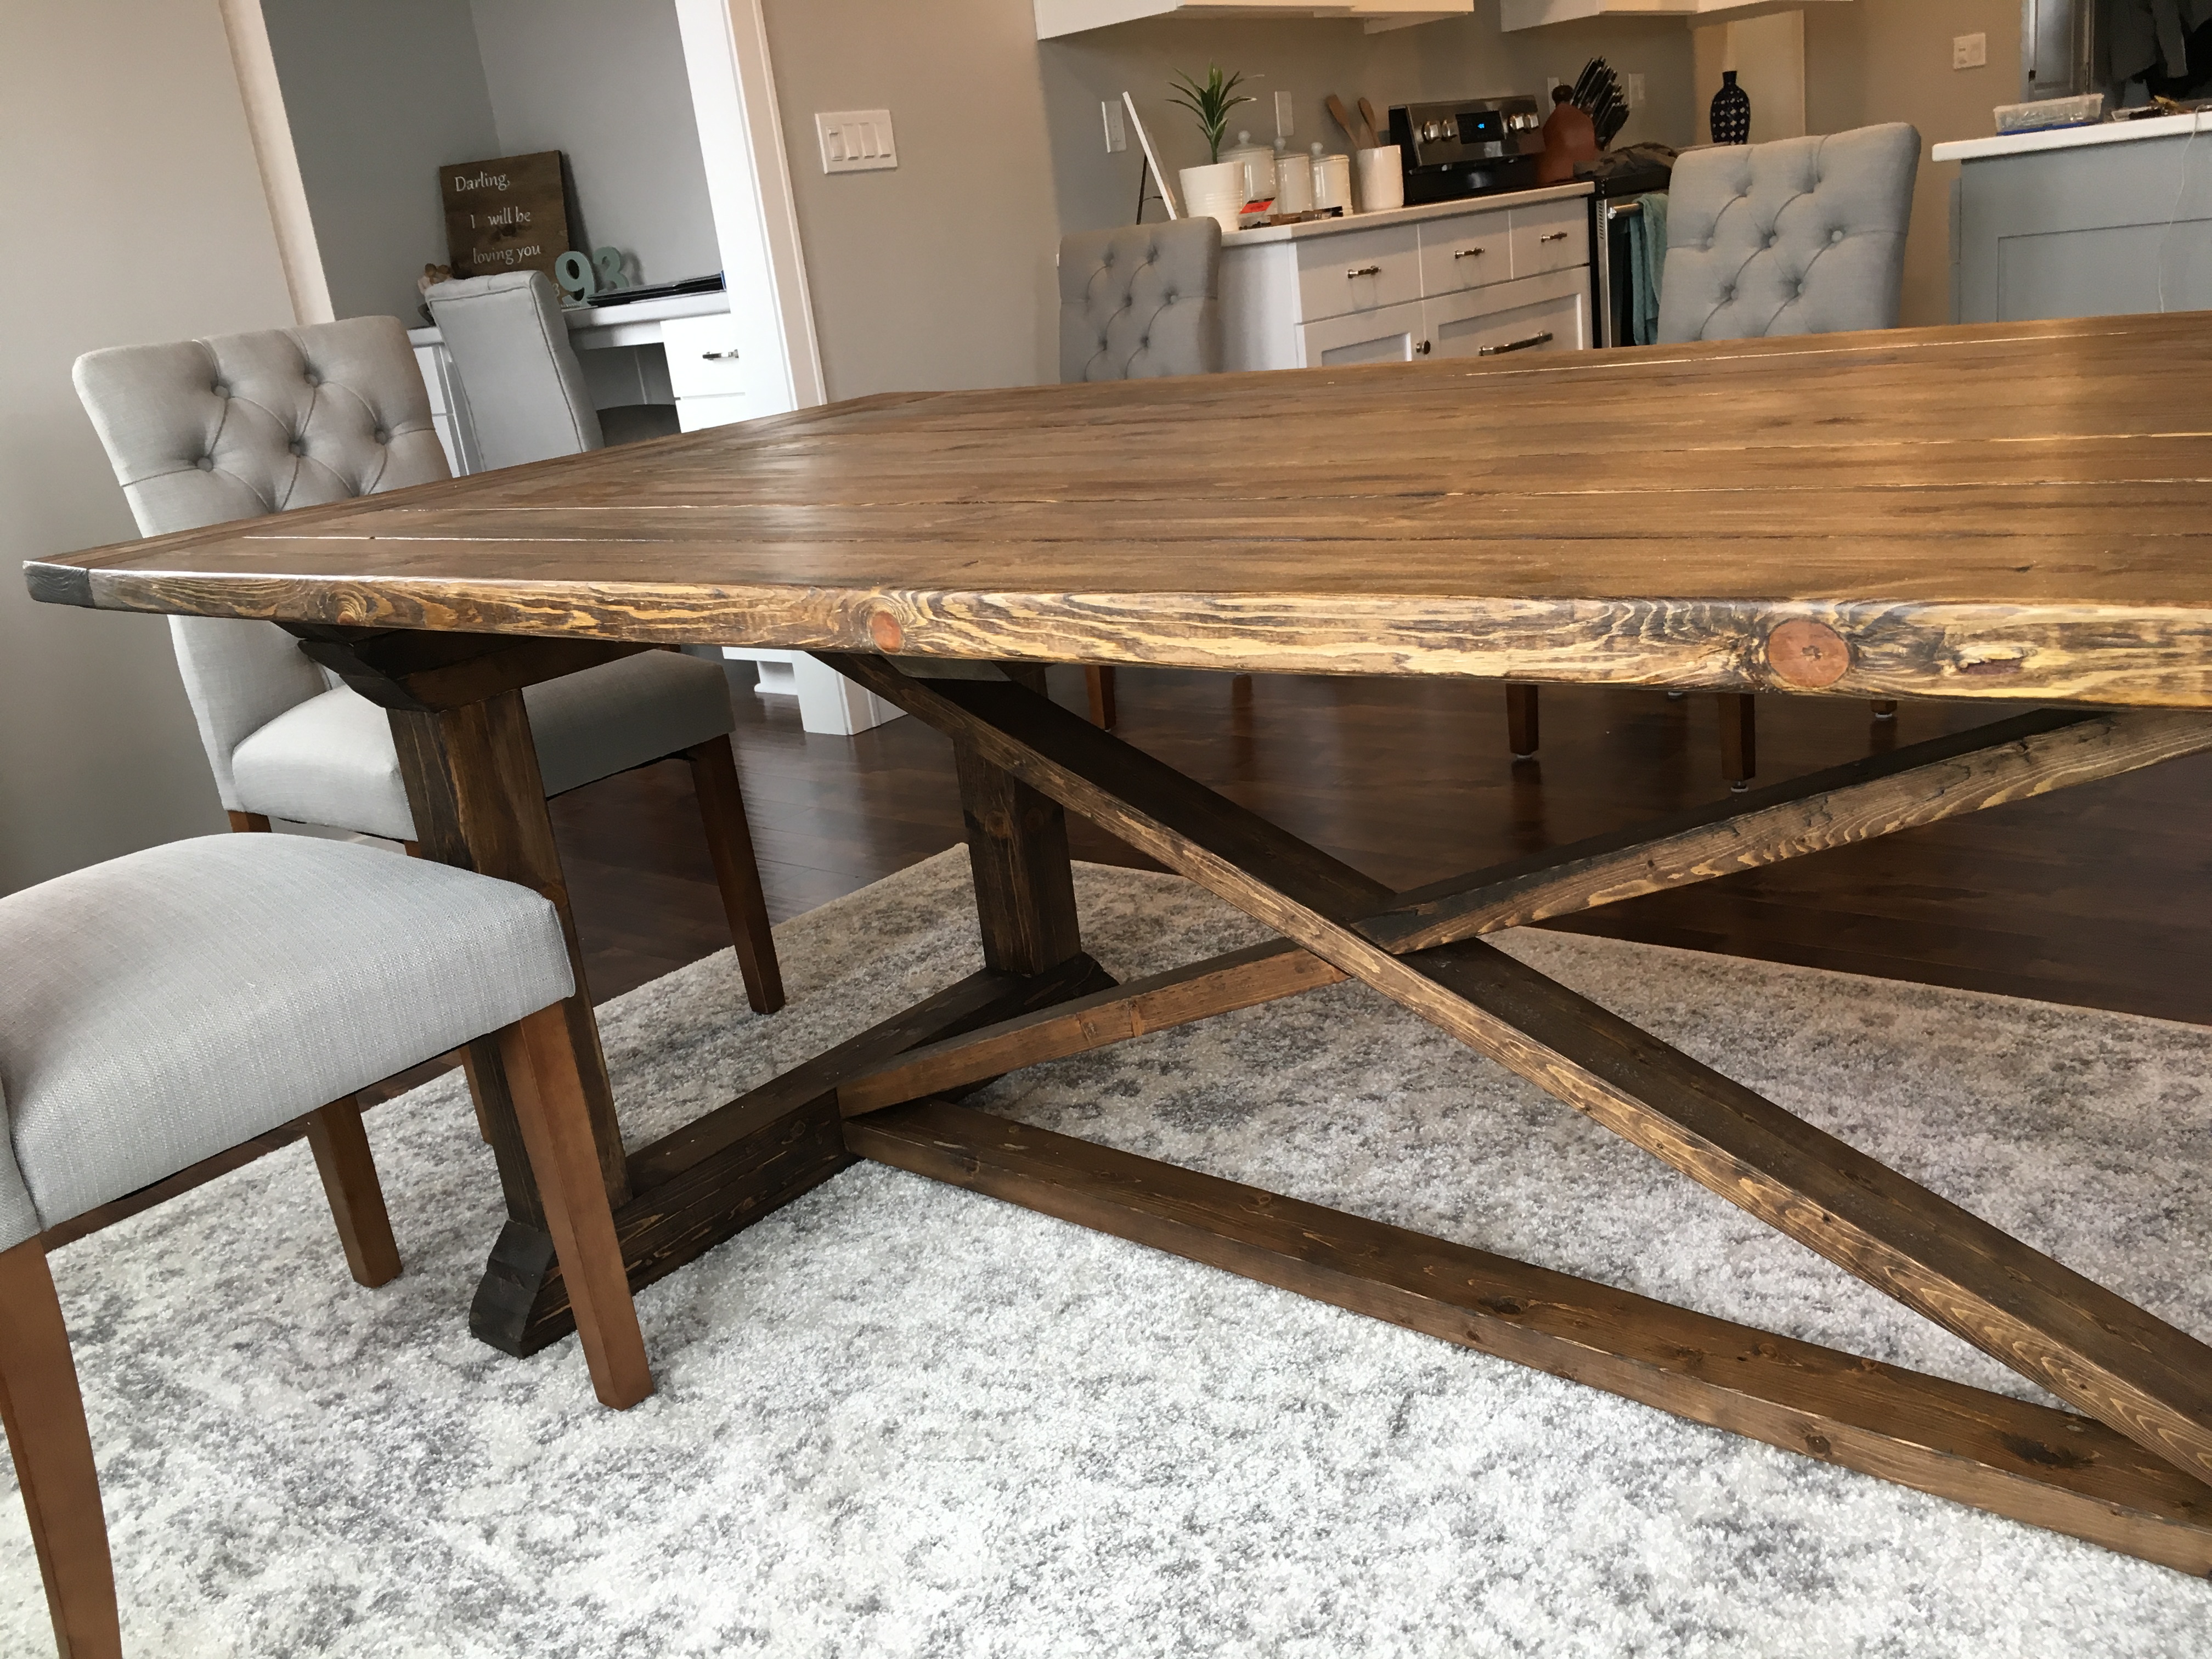
Adjusted the plans to 7' length to fit room size.
Sat, 07/18/2020 - 11:00
What dimensions did you adjust to get this at 7 feet? It looks beautiful! We are new to building and 7' is what size we were looking for our dining room table.
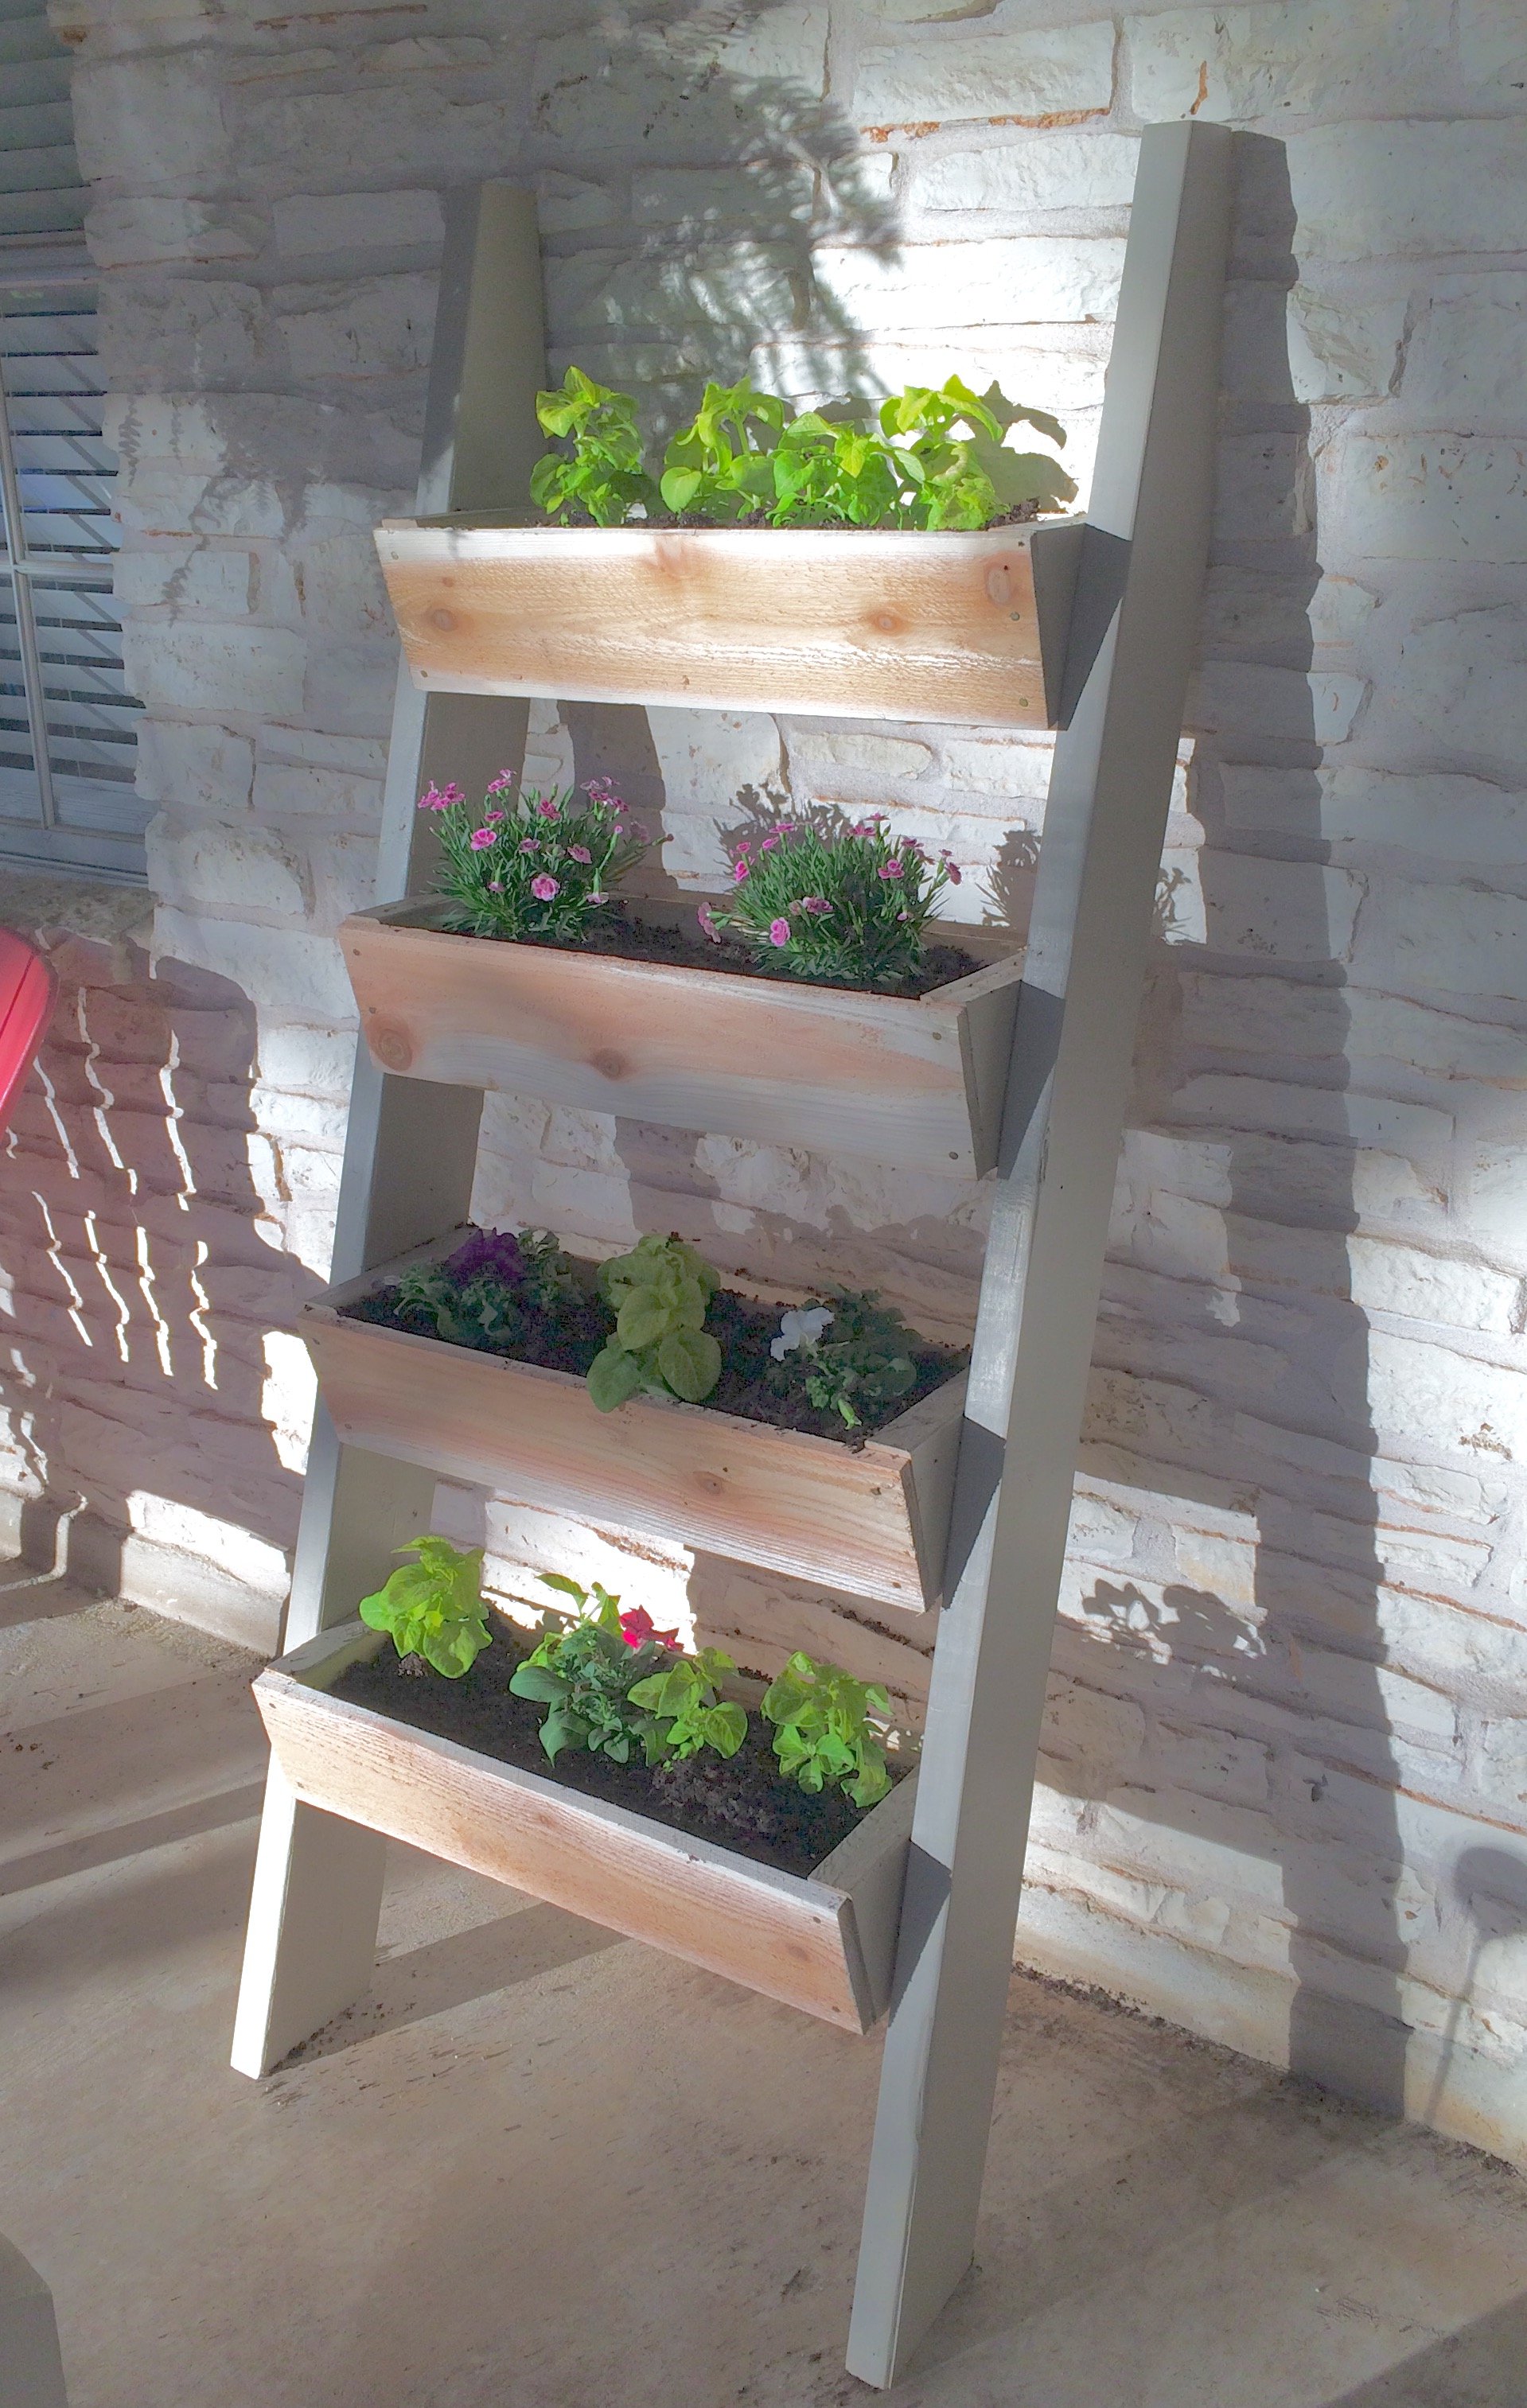
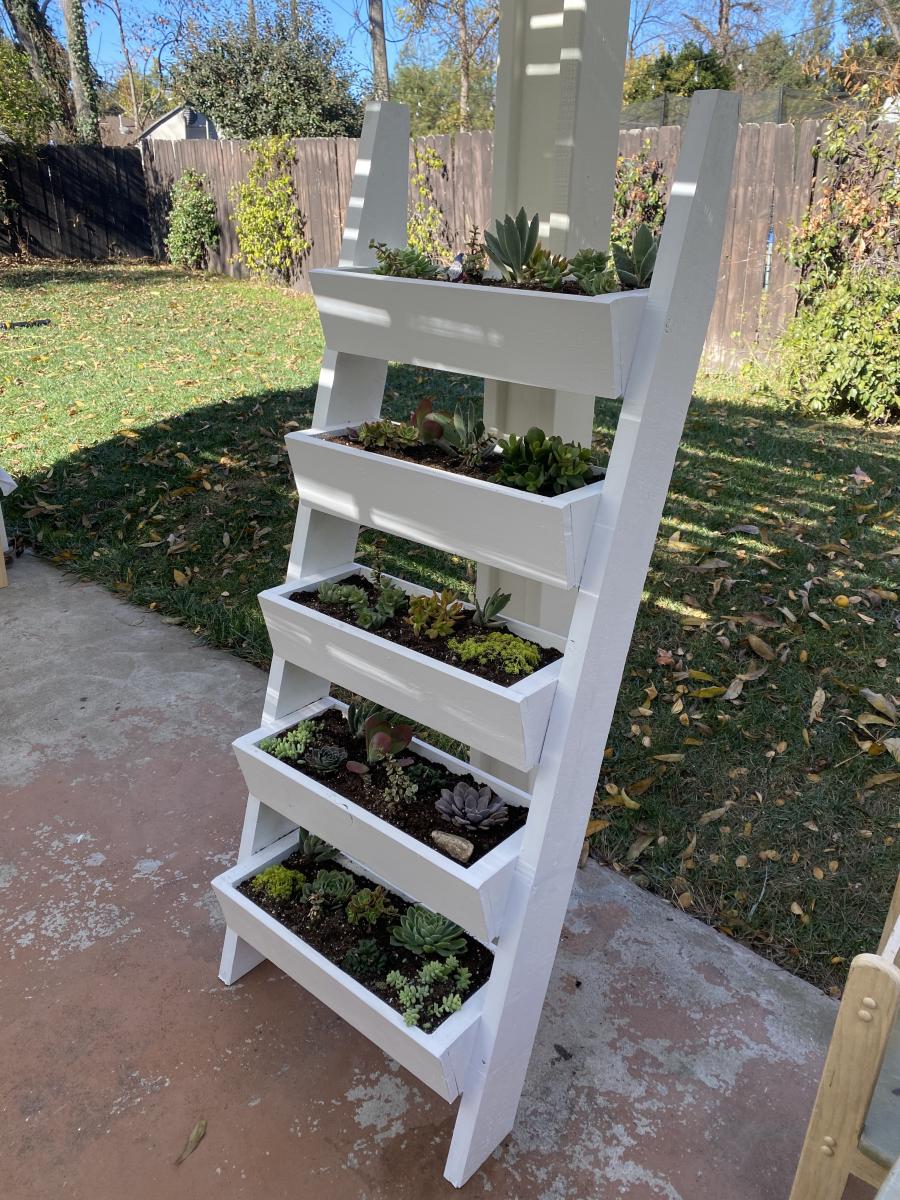
This planter was so easy to build! super cute, fun, spring project.