modified chaise lounge
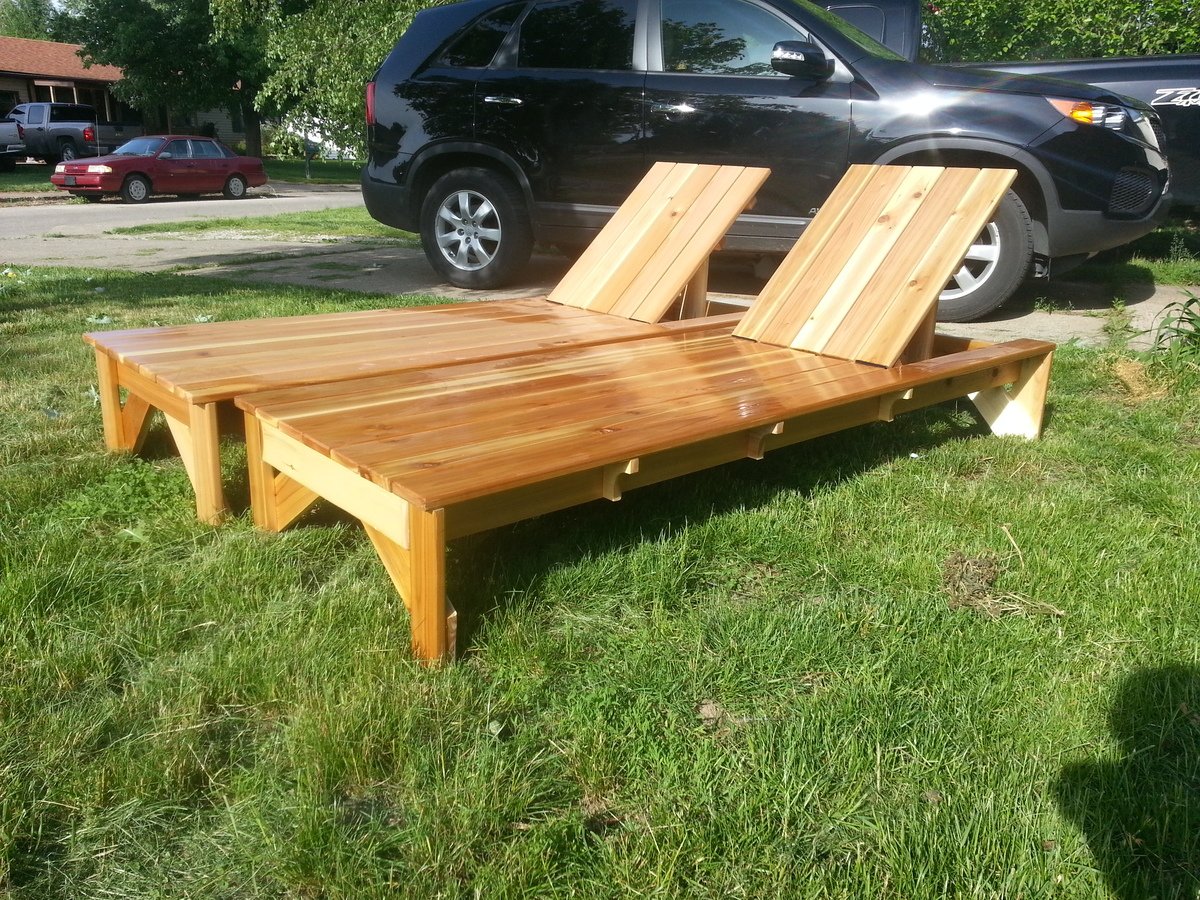
These are solid cedar. They also have several coats of polyurathane. They both got wet sanded and buffed for final coat. They were also modified with leg braces amd braces along side decking. Enjoy!
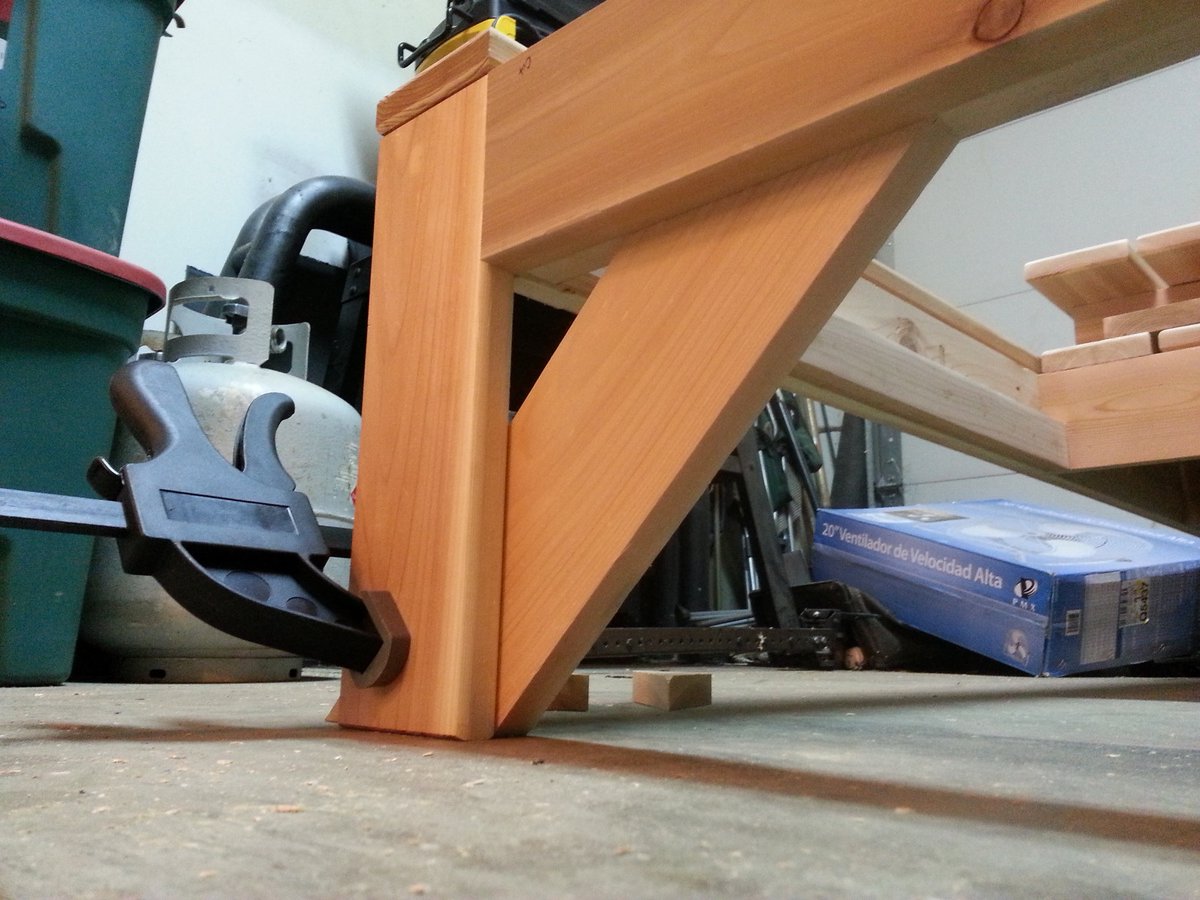
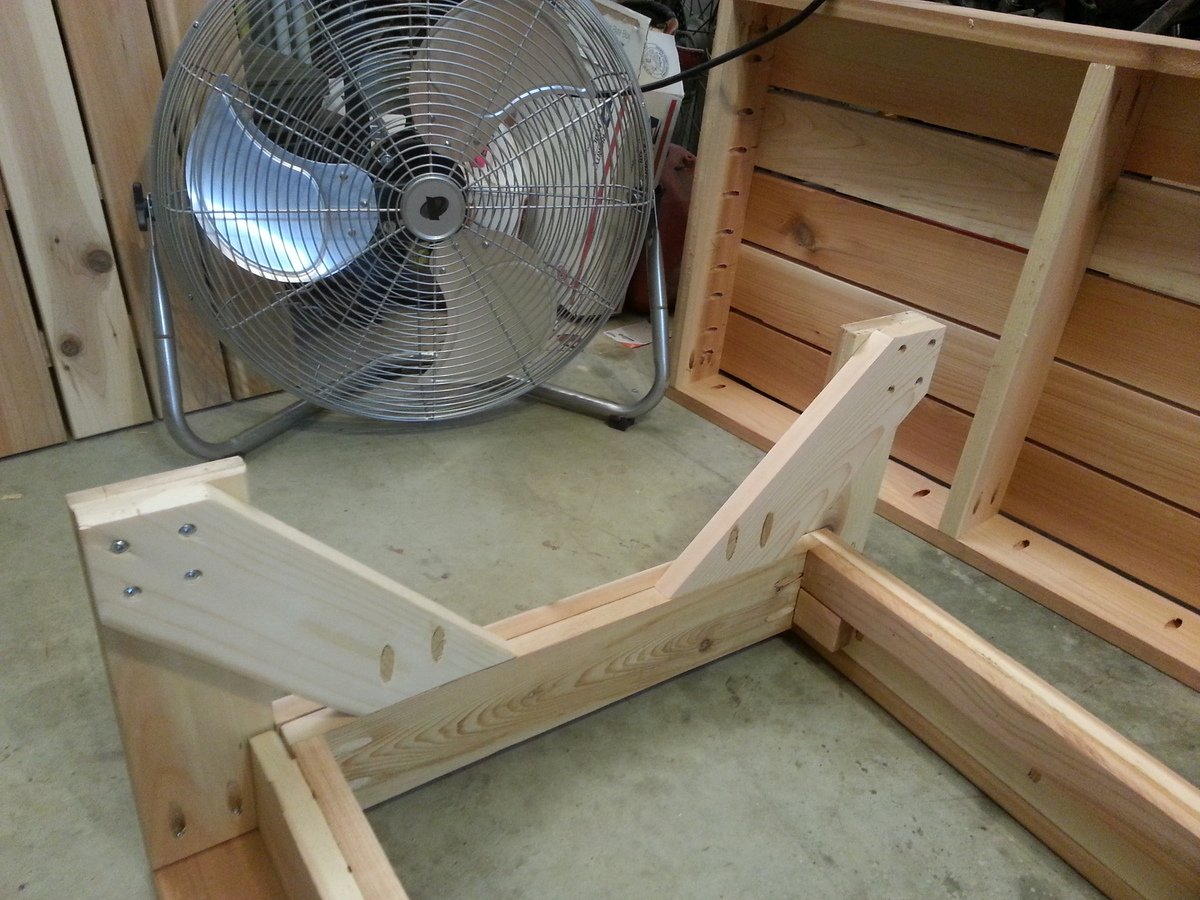

These are solid cedar. They also have several coats of polyurathane. They both got wet sanded and buffed for final coat. They were also modified with leg braces amd braces along side decking. Enjoy!


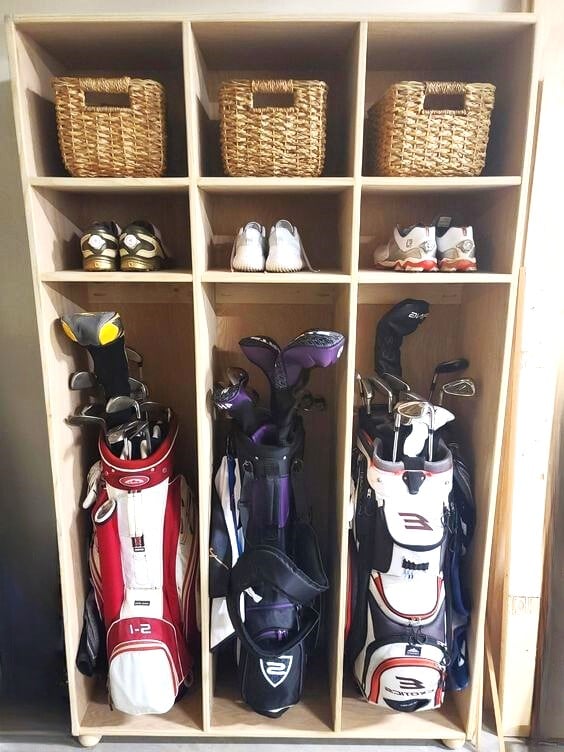
Utilized the plan for the Locker Book Shelf-Full Size and modified it a bit to convert to a golf club locker. Definitely keeps all the clubs, shoes, and accessories organized and eliminates the clutter. My wife loves it, course she added the baskets, which makes it look awesome! Actually this is how I stumbled upon Ana White's website. I was looking high and low for a plan for golf club lockers, and found Ana's website as part of the process. Best google search I've ever done!
Mon, 04/11/2022 - 14:51
WOW, that looks awesome and is the perfect storage solutions for all the golf gear! Thank you for sharing.:)
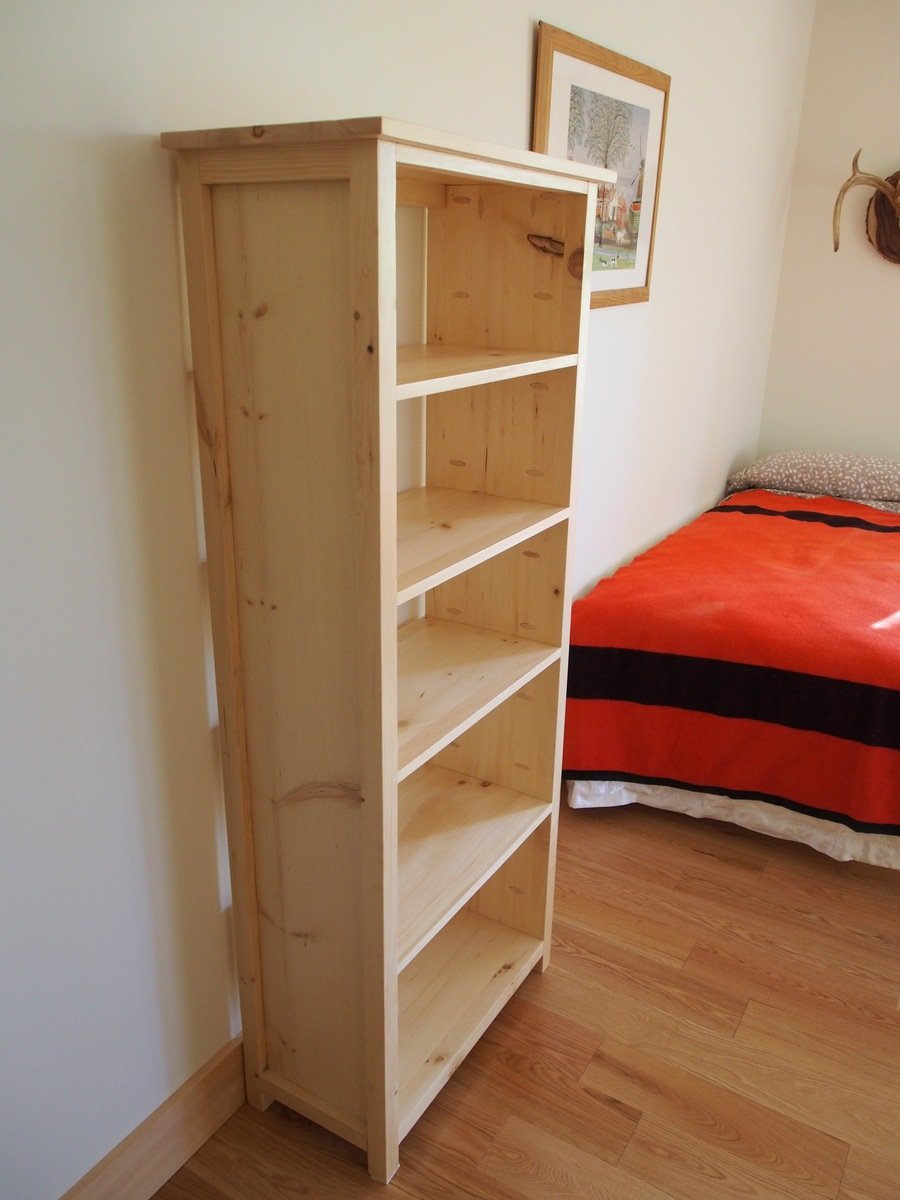
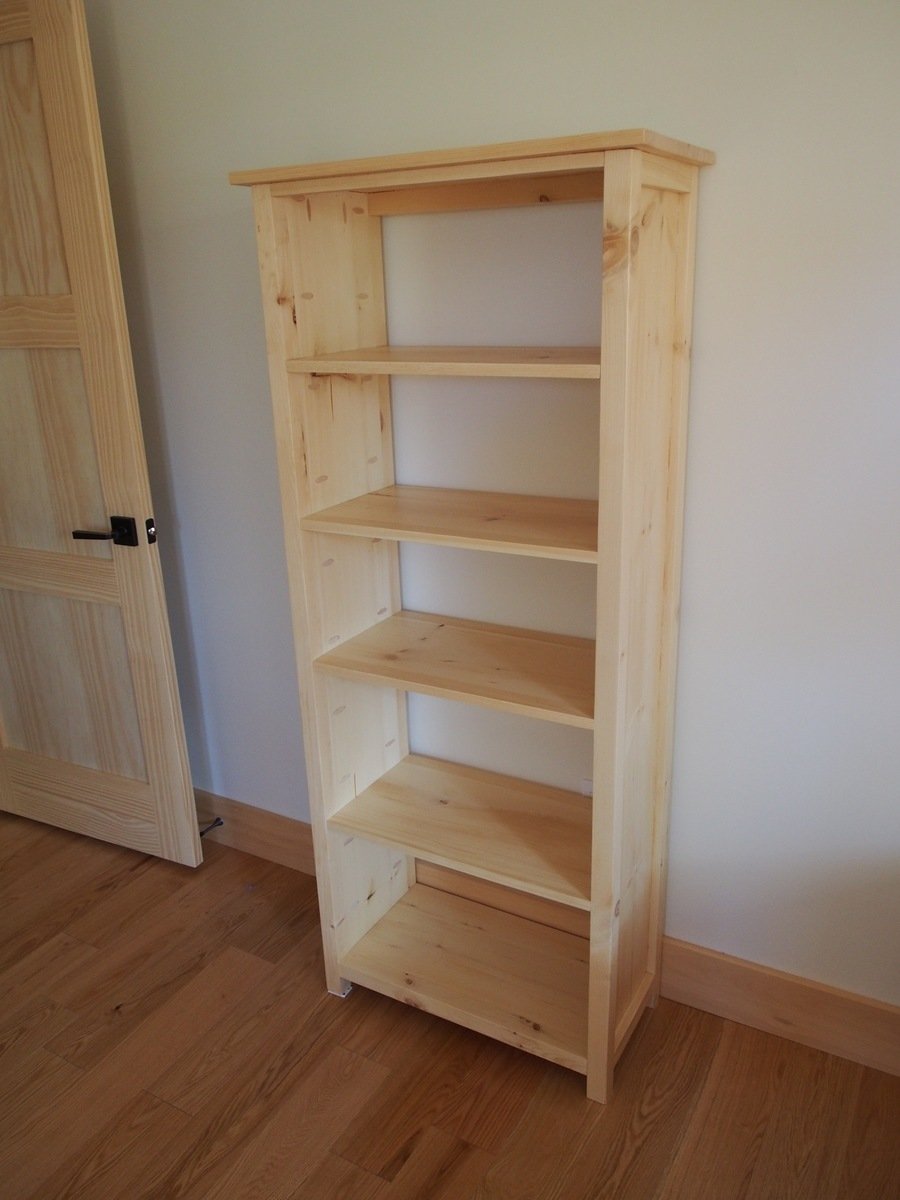
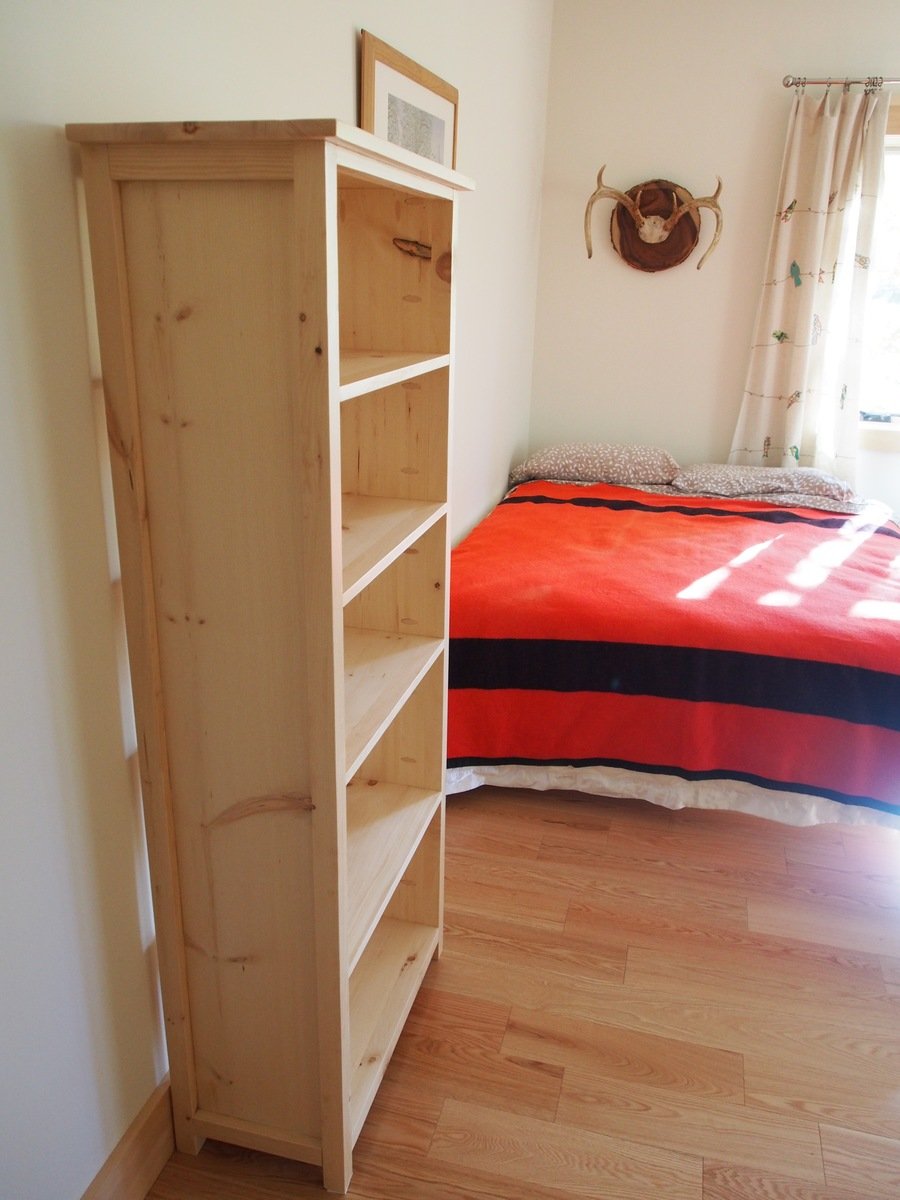
I used 1 x 10s to make the bookcase a little shallower, and left the back open. Thanks for the great plan.
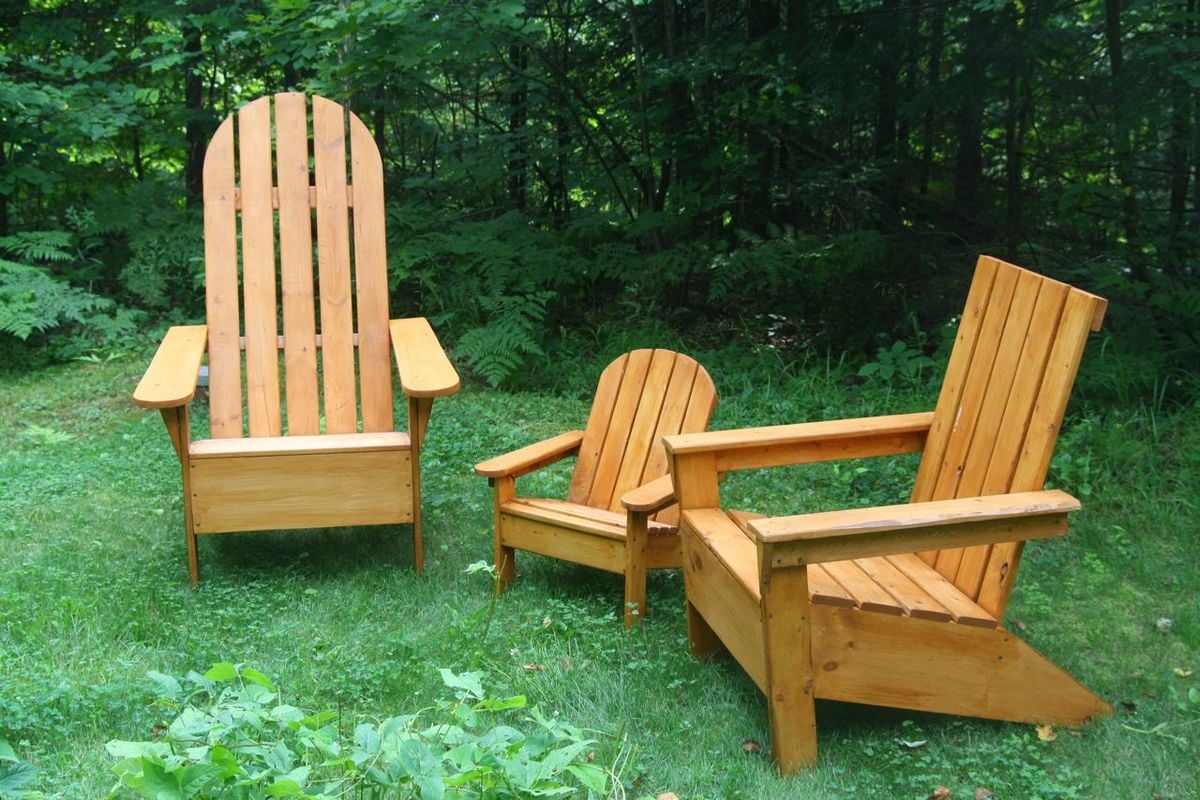
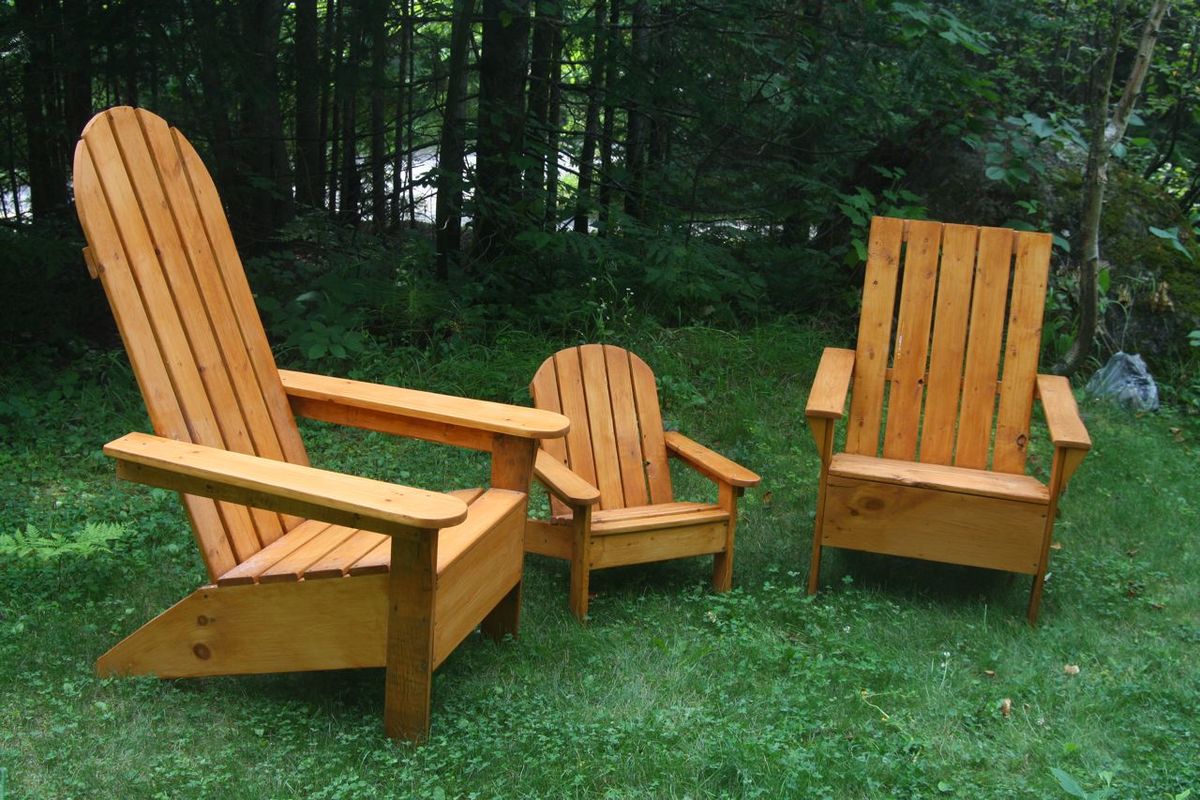
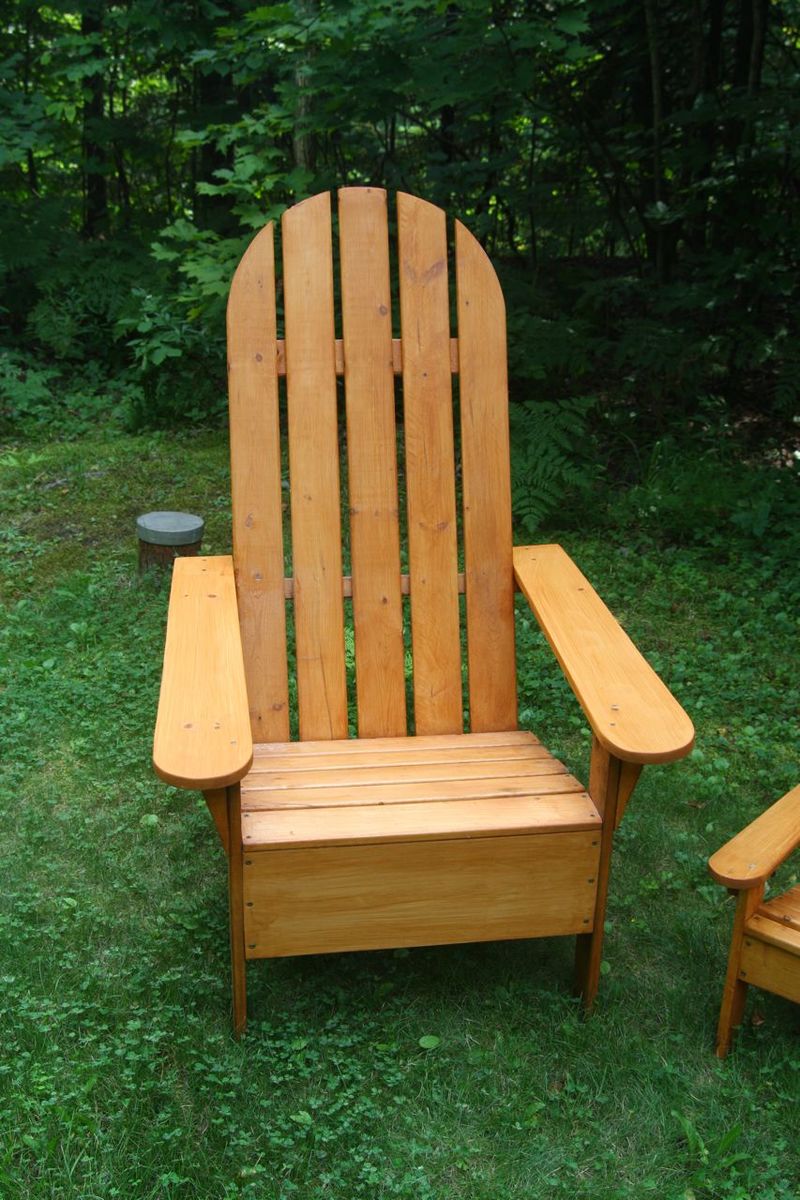
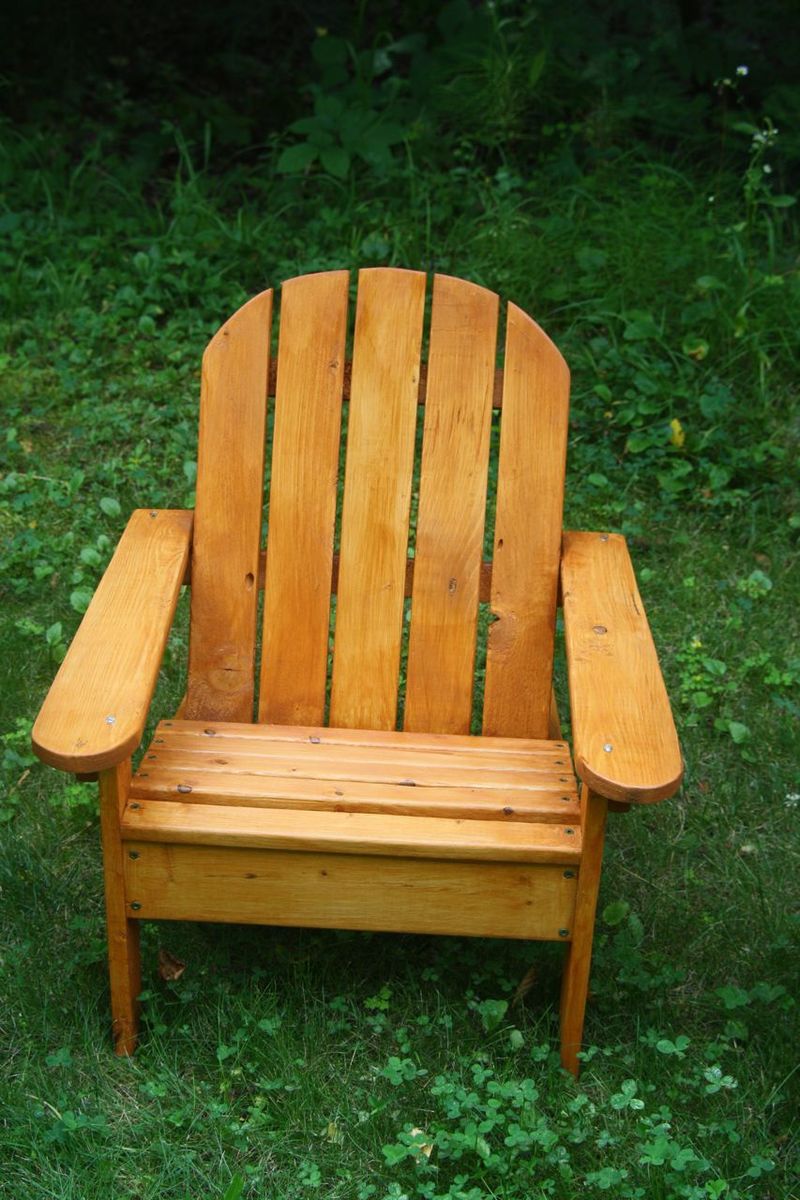
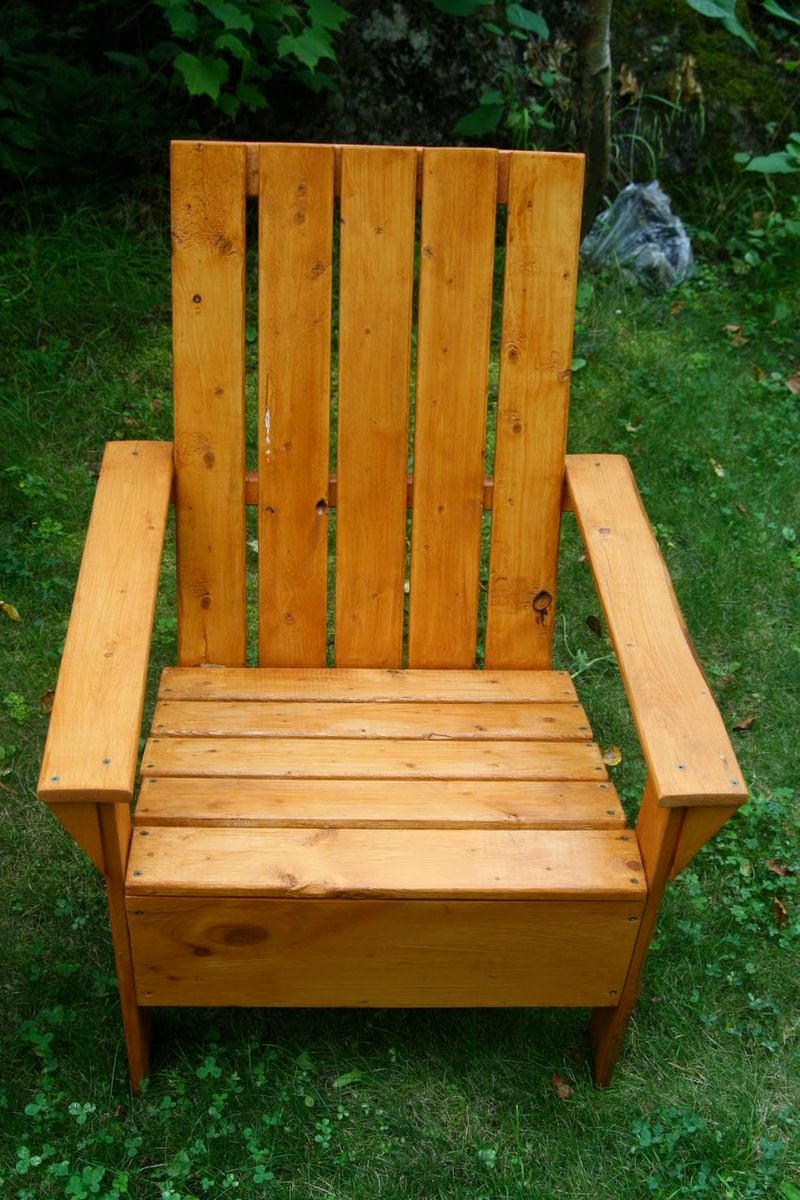
I've always wanted Adirondack chairs but found them way too expensive to buy. I found Ana's plan a while ago and promised myself I'd make one this summer. Well I enjoyed it so much I did three of them!
Mon, 08/15/2011 - 08:31
Those are awesome! All you need to make now is a doll adirondak chair and you've got a complete set of Ana White Adirondack chairs! ;)
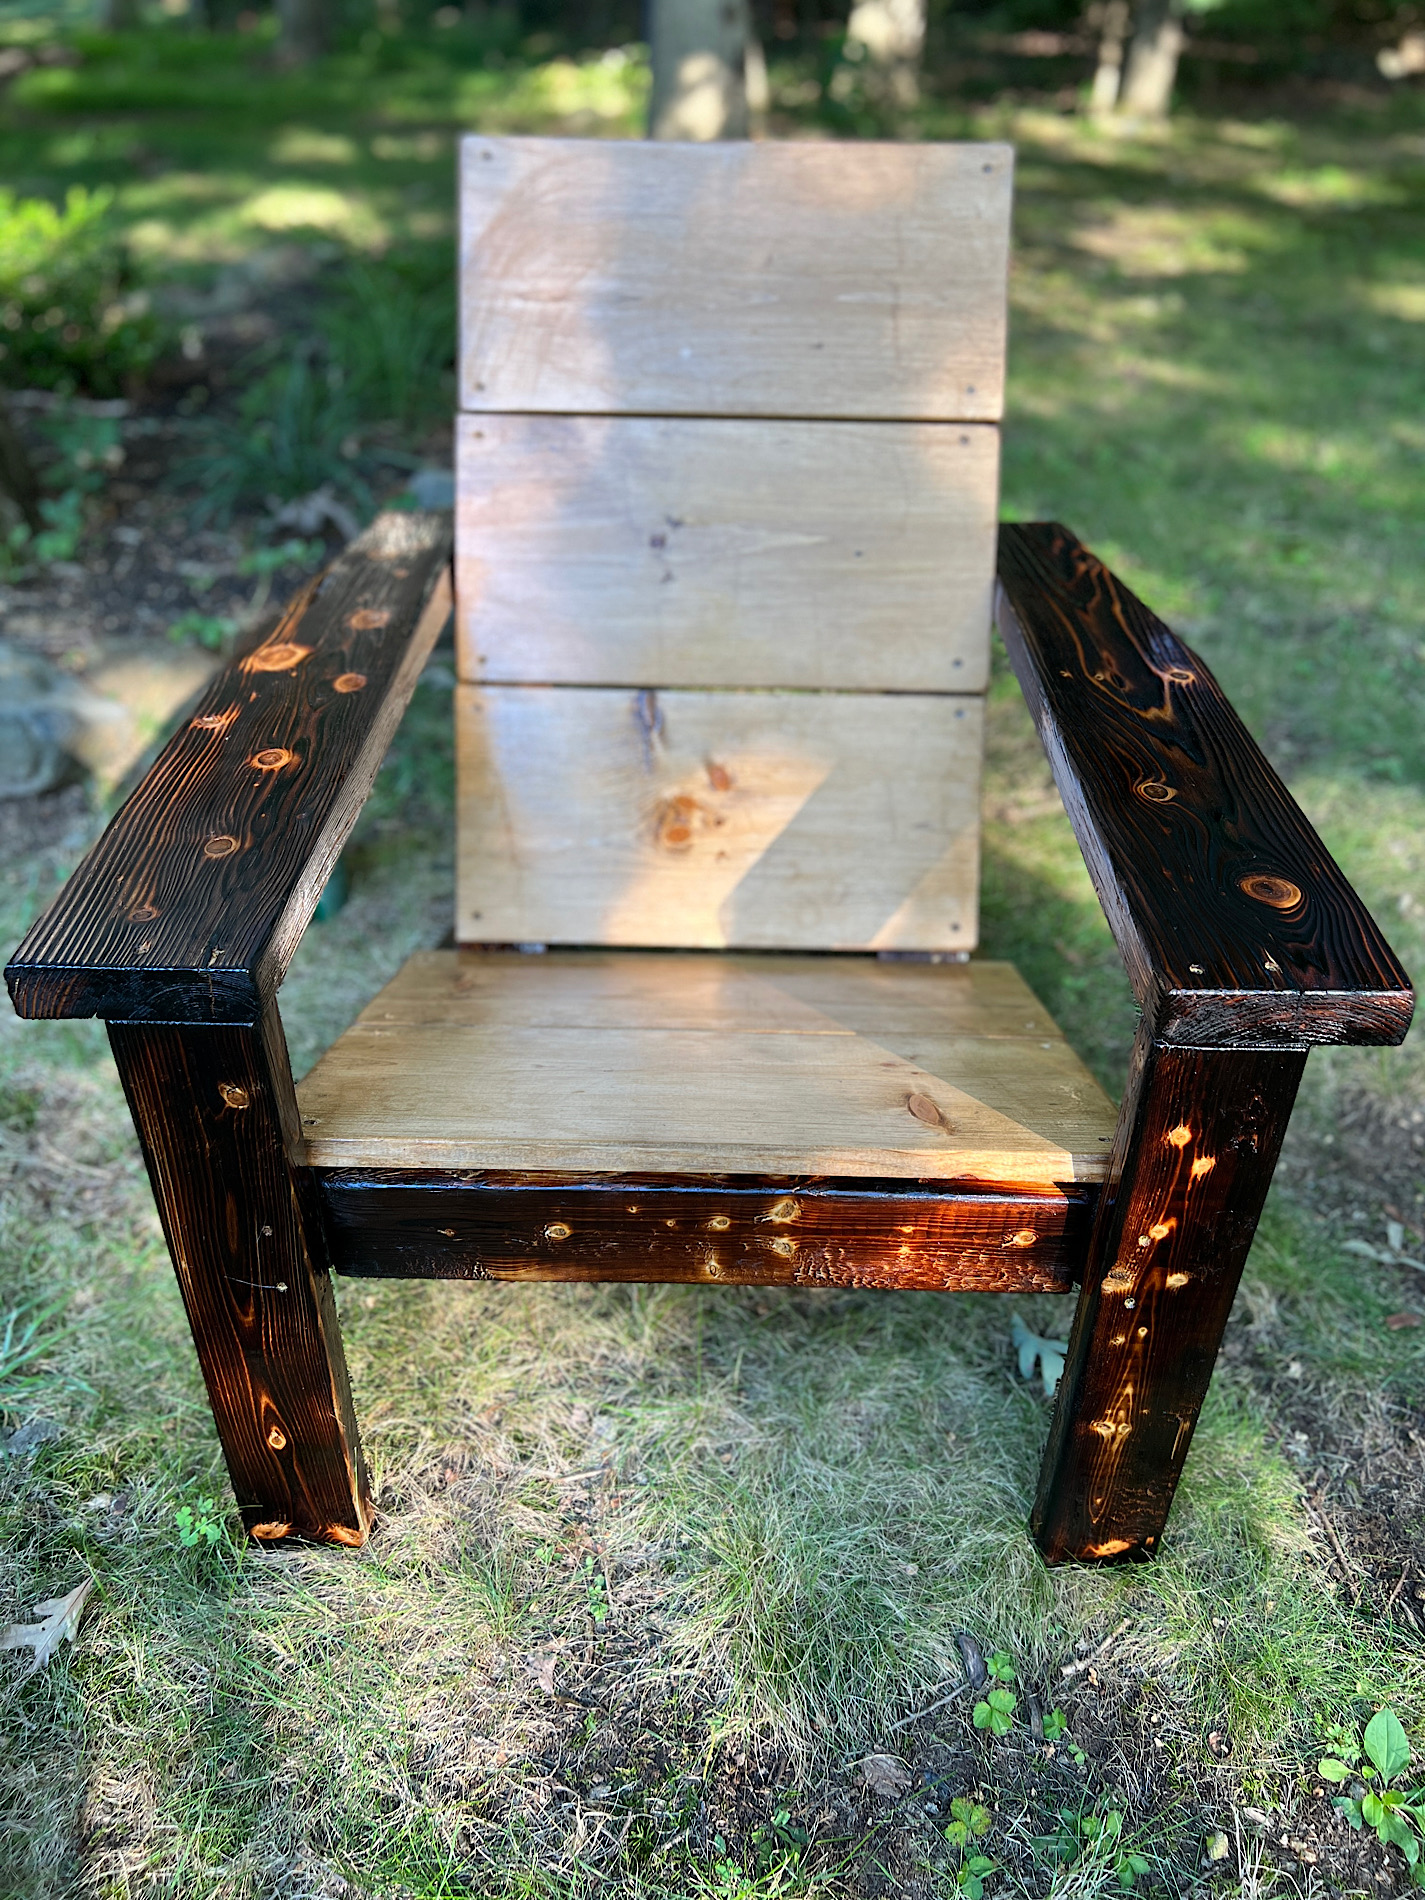
Made one change to plans. I used 2x6s for the arms. I used the Shou Sugi Ban burning technique to finish the 2x4s and 2x6s. I stained the back and set and the applied a couple coats of poly. Love the chairs! Building a couple more sets for around the fire pit. Thanks!
Thu, 09/15/2022 - 08:25
Love the wider arms and the finish is beautiful! Thanks for sharing.
Thank you! My favorite & first is from your mud kitchen! I put in running water!😂 For the GrandLuvs!”
@penny.vanderlugt
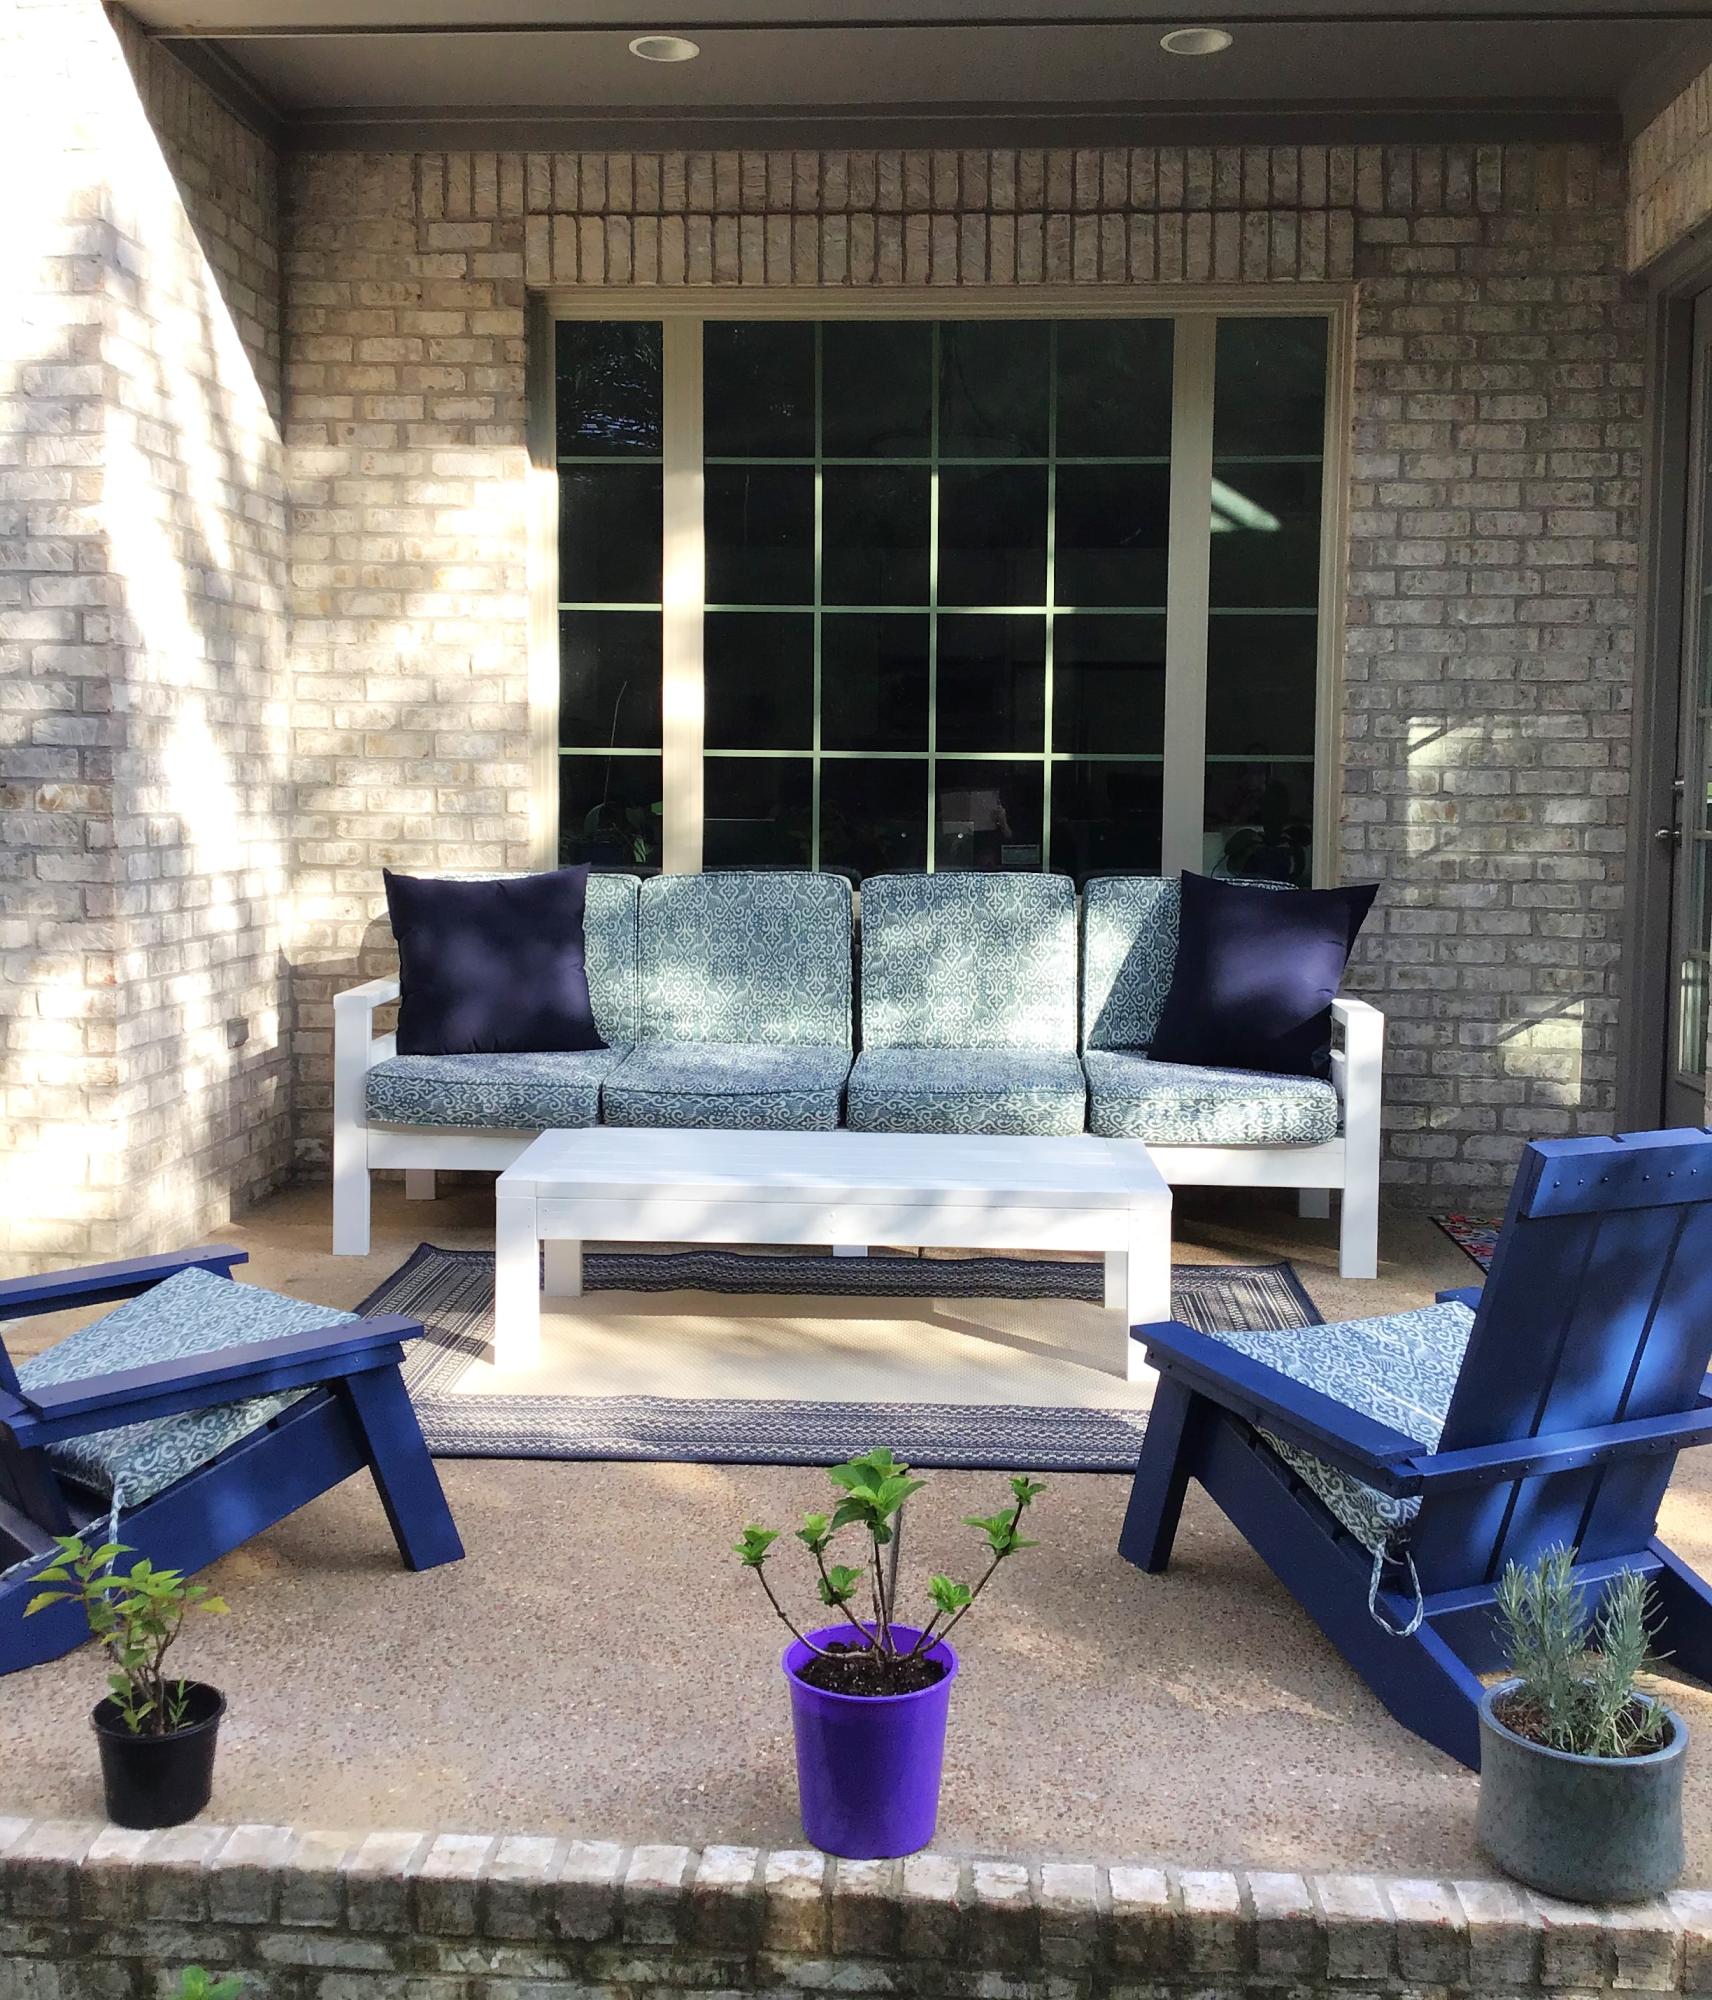
I decided to build my patio furniture and built a couch, with cushions, coffee table, 2 Adirondack adult chairs and one child’s Adirondack chair. It was so much fun to plan and build all of the furniture and so enjoy going out there on cool days! Thanks to Ana White for all of the plans! This is my 20th Ana White project! On to my next project! Plans were outdoor modern sofa, modern Adirondack chair, kids Adirondack chair, 2x4 outdoor coffee table.
JoAnne
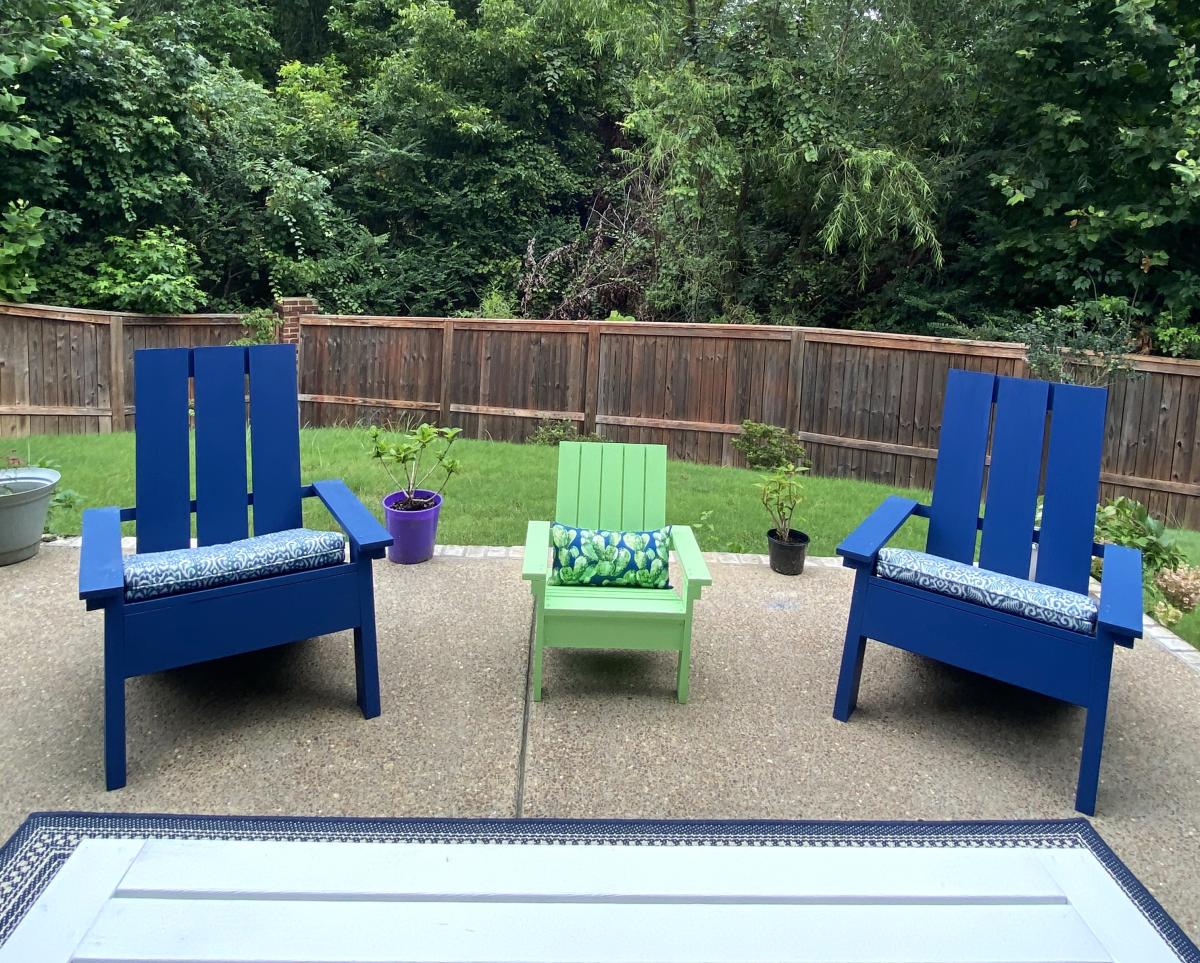
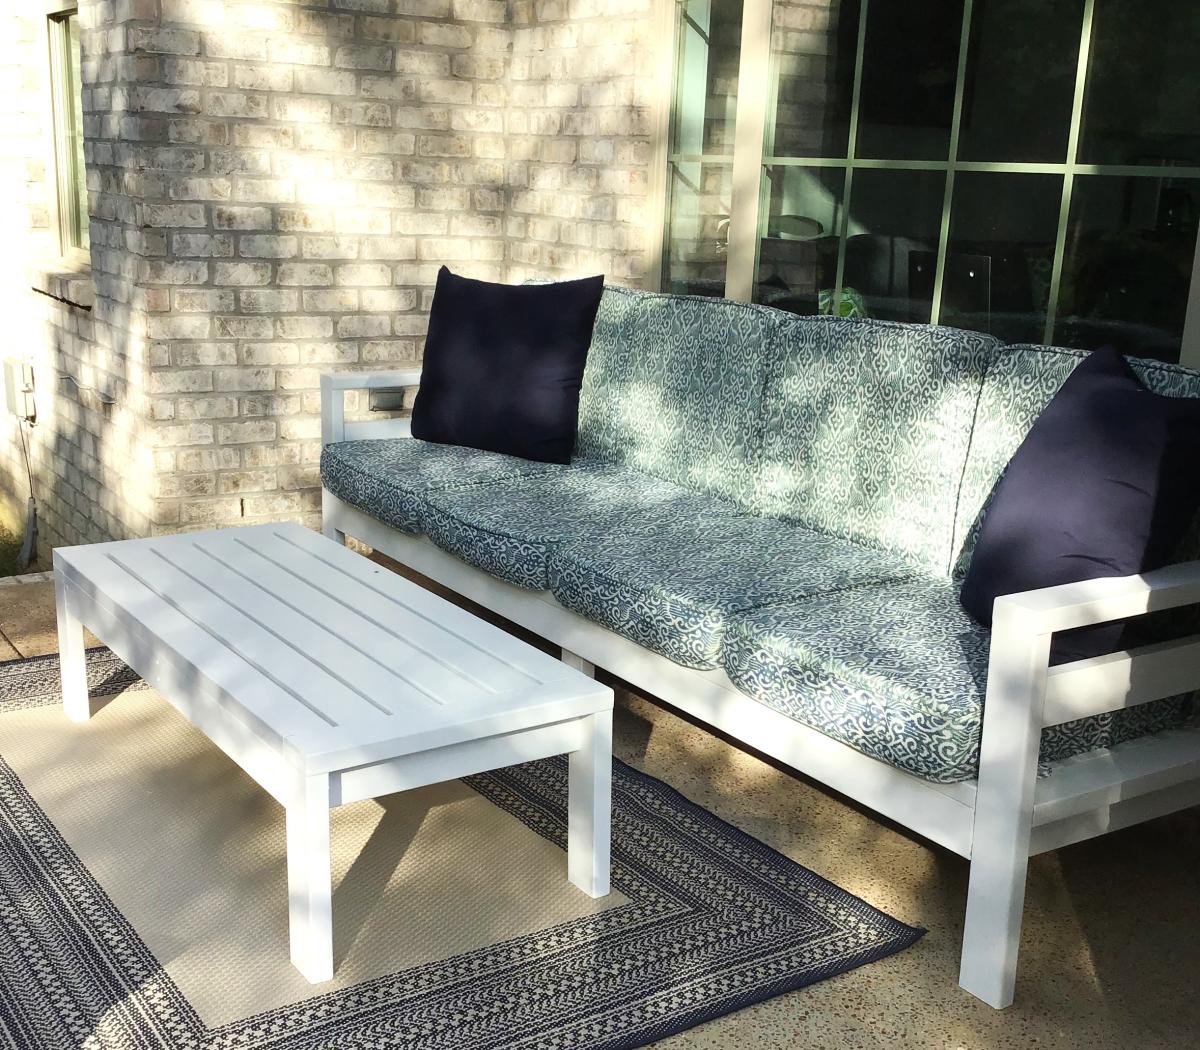
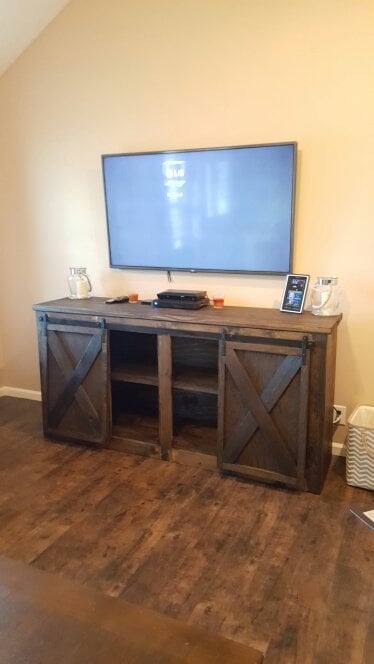
Thanks Ana for your amazing tutorials, you are starting to help bring my house to life!
My son needed more room in his bedroom...and to be rid of the very girly furniture he inherited when he moved into his "big boy-ish" bedroom. At 10 yrs old, it was high time he got a bed that wasn't pink-tinged, white washed pine with 4 posters and enough curlicues to choke a forest. He also needed a desk which I couldn't really fit in his room with the armoire and chest of drawers that came with the Queen sized bed.
So off to Ikea we went and I saw a black loft bed for $300, but it was really, really high which meant I would have to cut it down and it was not sturdy at all. I looked at PB and saw the $1800 bed. Um, no - that wasn't happening. So, off to Ana-White I went and I'm so happy I did!
I built the full sized version of these plans and, to keep costs down, used wood I had on hand. This meant I had to work a bit at the cuts, but it all worked out.
Mods:
1) I modified the railings to have the ladder at the end of the bed to keep away from the ceiling fan.
2) Because I put the ladder at the end of the bed, I got very nervous about having a soon-to-be teen climbing on to a ladder secured to a 1x10 that was only connected to the side railings with glue and screws. So I sandwiched extra 1x3s over the bottom rails and attached them to the top railing.
3) I was very nervous about making sure that the bed was adequately supported so I put a 2x4 down the center instead of the 1x2.
4) I went a wee-bit overboard screwing things together to the point where it's a bit embarrassing and now I have to paint over the screw heads.
5) I made the ladder treads with 2x4's, modifying the inside spacer board cut lengths.
Because I had quite a bit of lumber on hand, the bed only ended up costing me about $90.
For the bookcase, I did end up buying the 1x12s and the adjustable shelf railings. I made the book shelf the entire width of of the bed and split the two sections based on width of the 1x24 board I bought for the desk. I only put the backer board up half way so that the daylight could get underneath the bed and make it not so cave-like.
The book case cost me about $70.
The desk was the easiest...but most costly item. A 1x6x24, 4 table legs and the table leg mounts ran me about $80. The plexiglass top that I had cut for the top cost me about $80.
Time wise, this would have taken me a lot less time than the 4 months it took - but I worked on it as I could and when I could, by myself. I got some friends to help me bring it upstairs and put it back together, but it was mostly done when I could fit in some time.
My son LOVES this and it really does give him so much room!!! Thanks Ana - I really appreciate it!
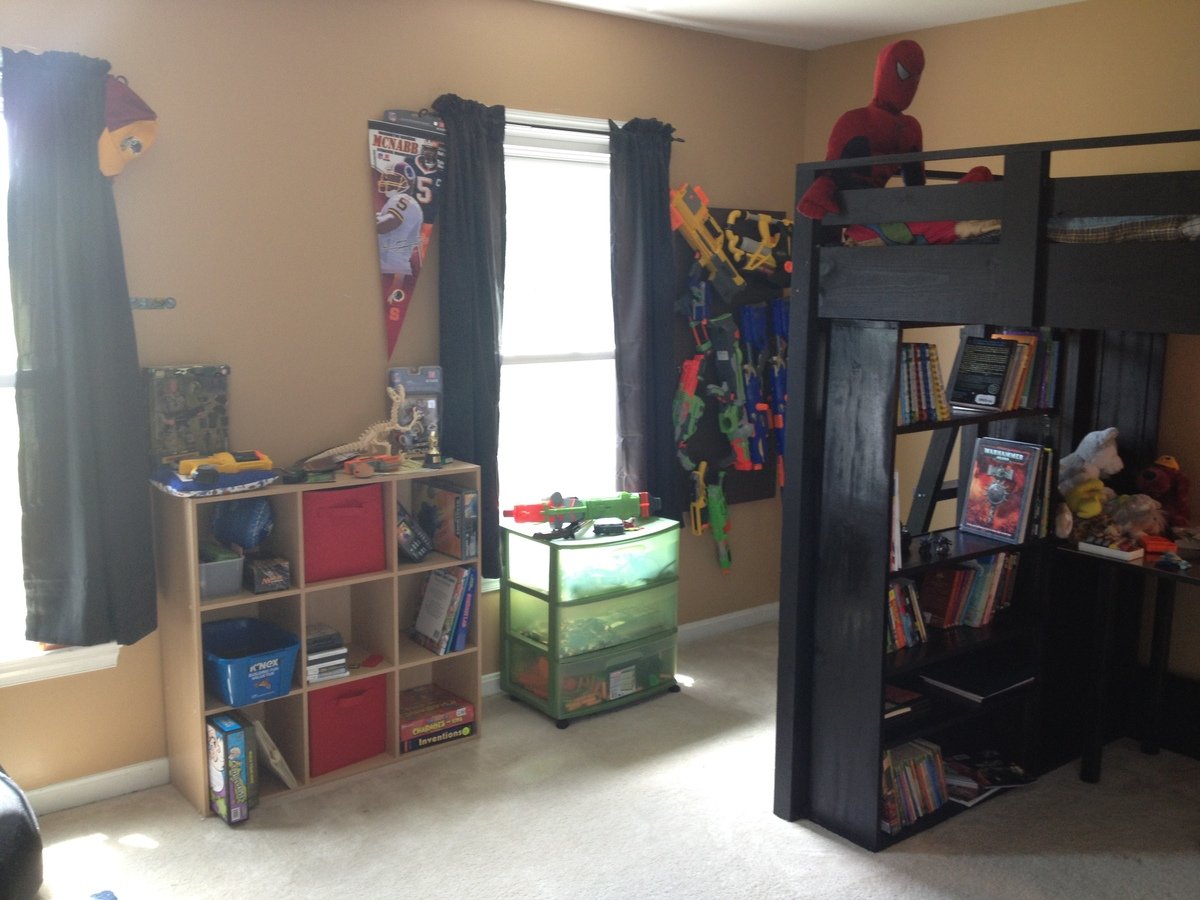
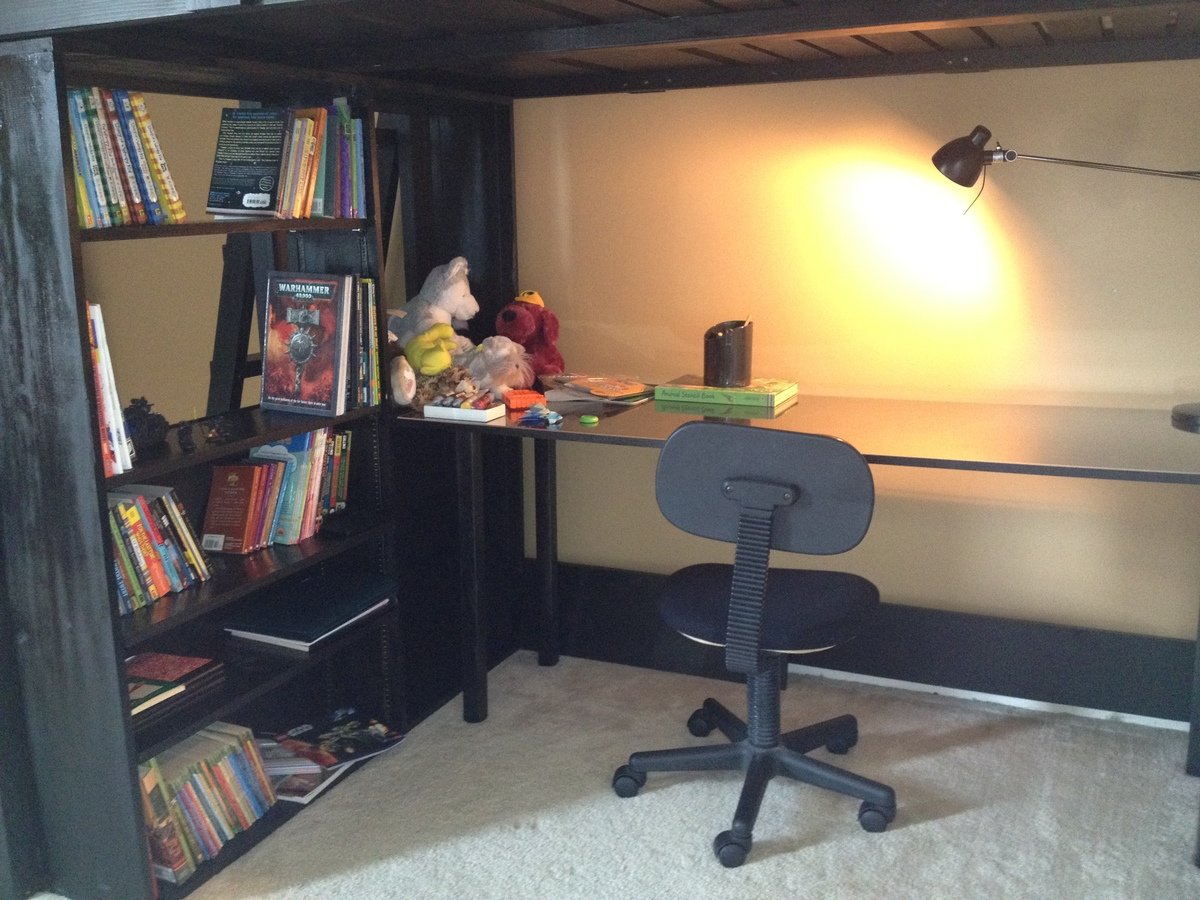


Thu, 01/17/2013 - 08:42
Hello,
Where might I find the modified loft bed plans that allow for a full-sized mattress and the under desk-shelves?
Thank you!
Fri, 01/18/2013 - 07:38
Hi!
To modify this to be full sized, I just added 15" to the width of the bed. Ana said this in the plans:
Cutting Instructions:
Converting to Full Size This bed can easily be converted to full size. You will simply need to add 15″ to all boards that run parallel to the ends. This includes the planks, end top pieces and the slats. Shopping list will need to be adjusted as well.
So I modified the cuts to the head and foot board parts and the full size mattress fits perfectly.
For the shelving underneath, I just looked at some of Ana's other plans for shelves and winged it.
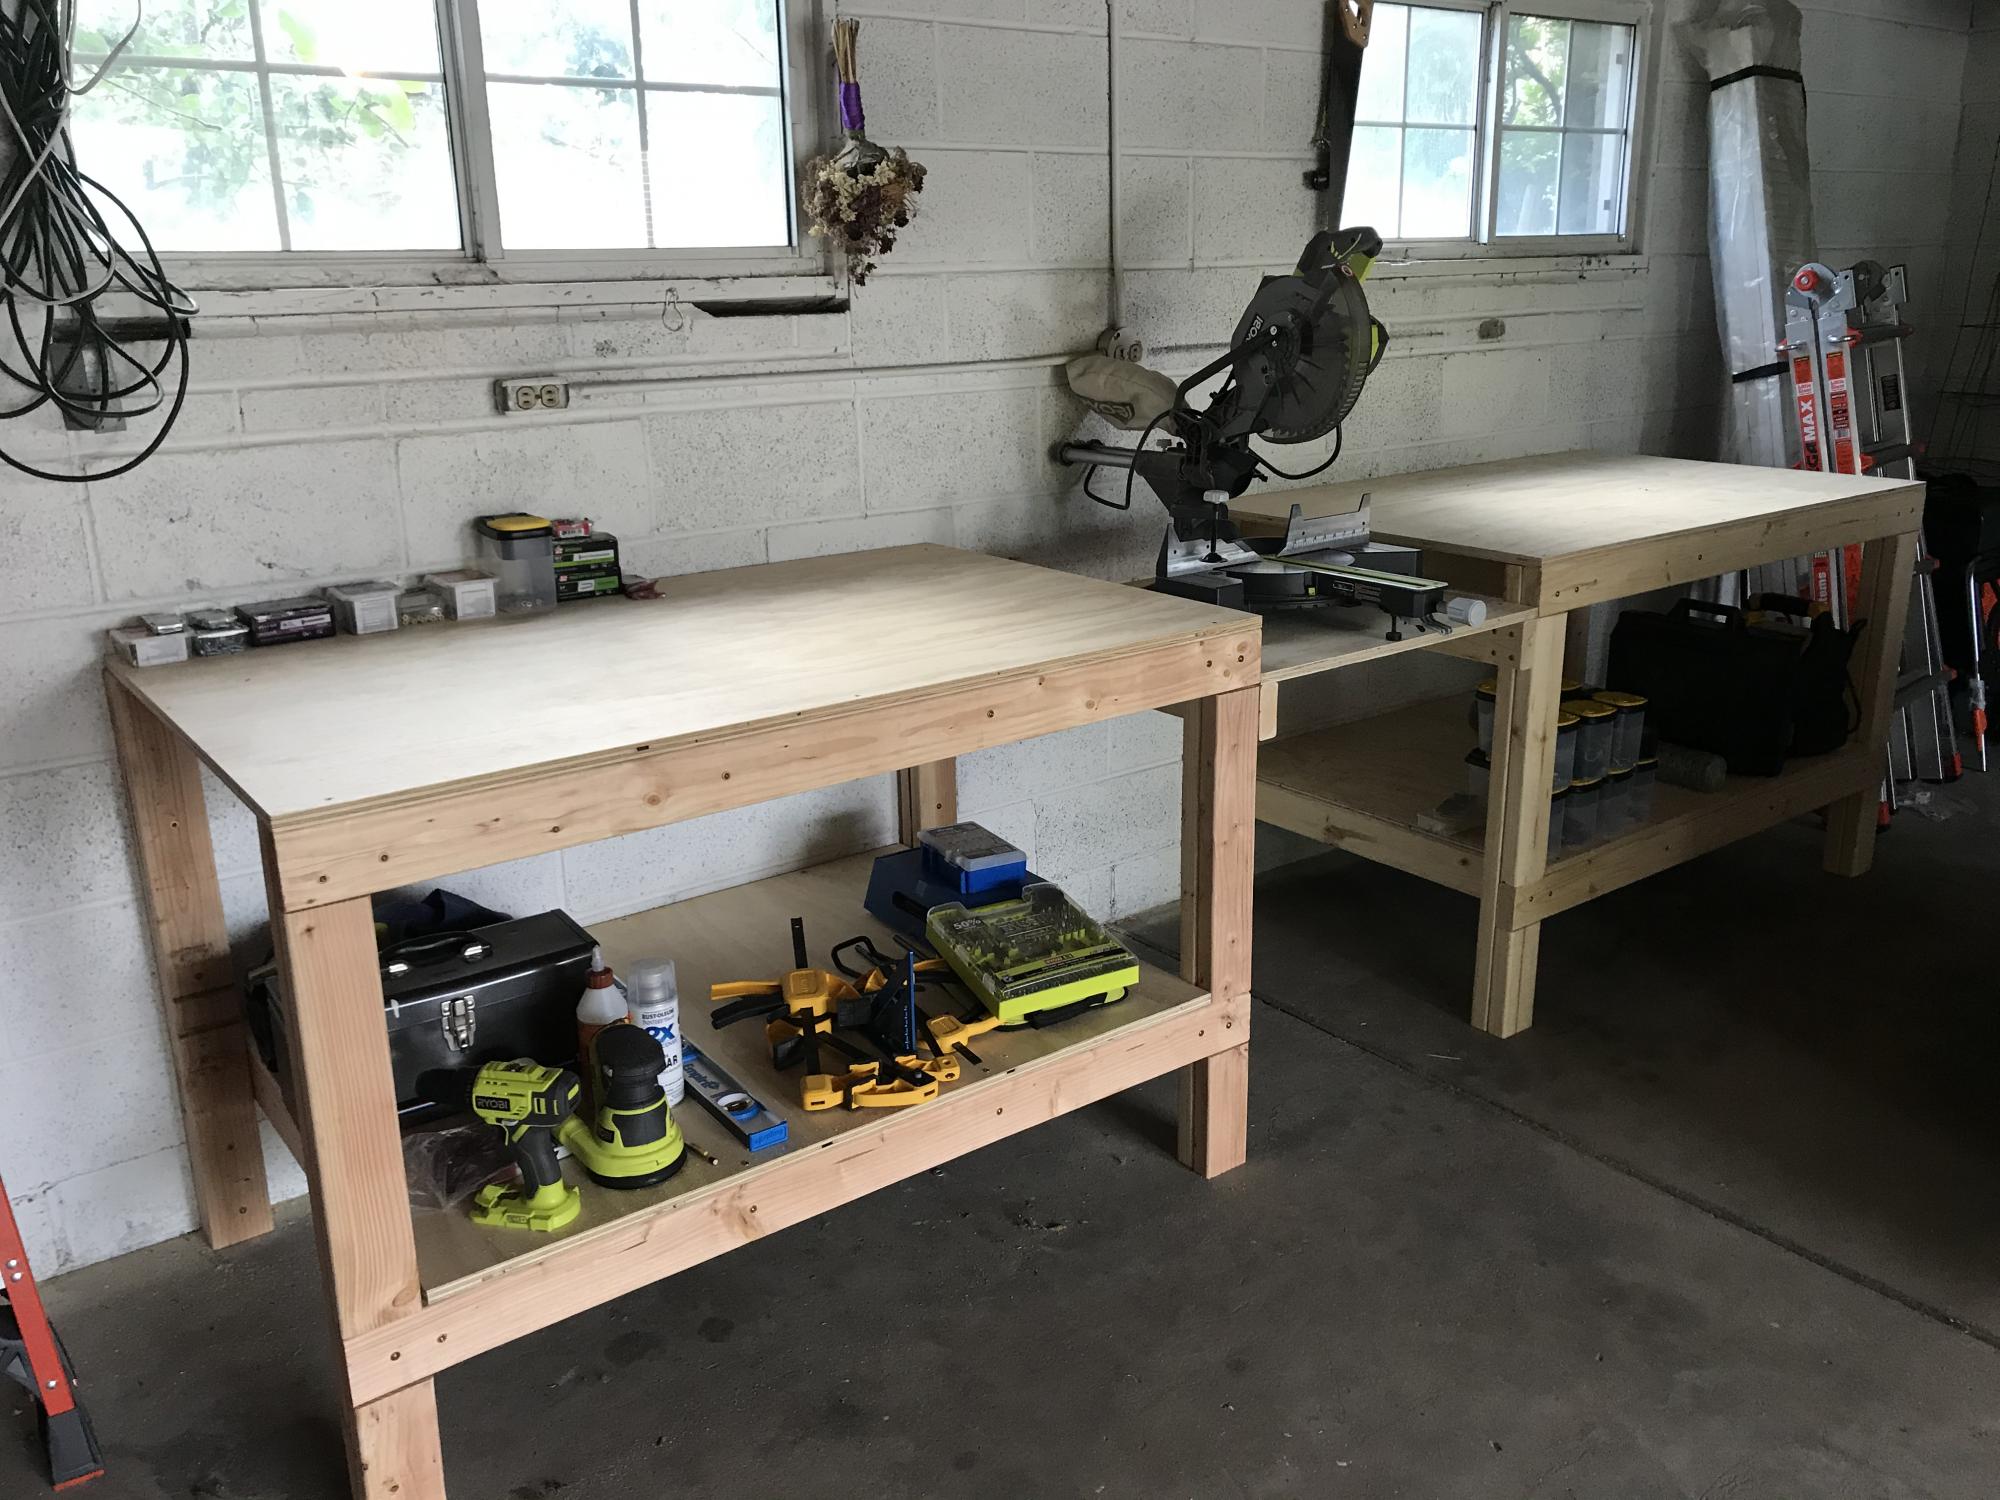
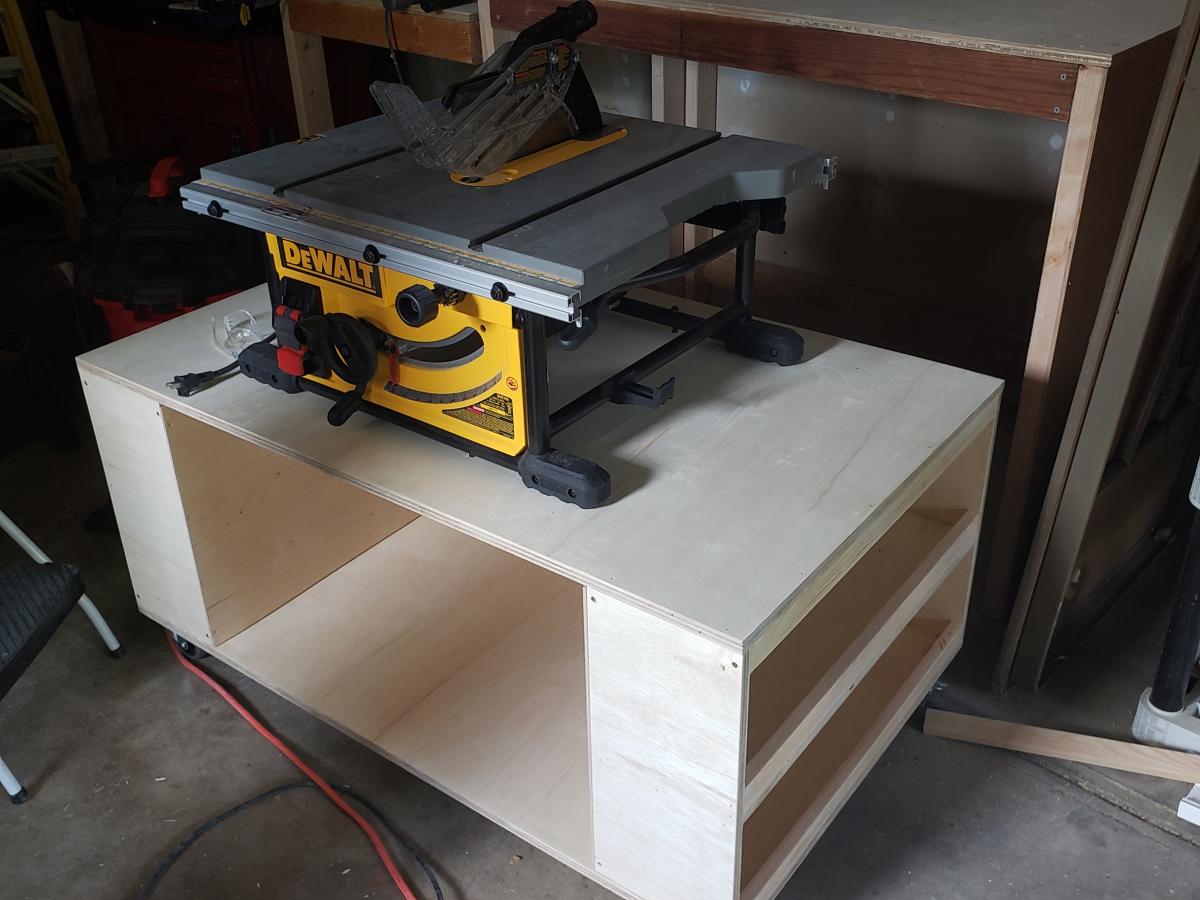
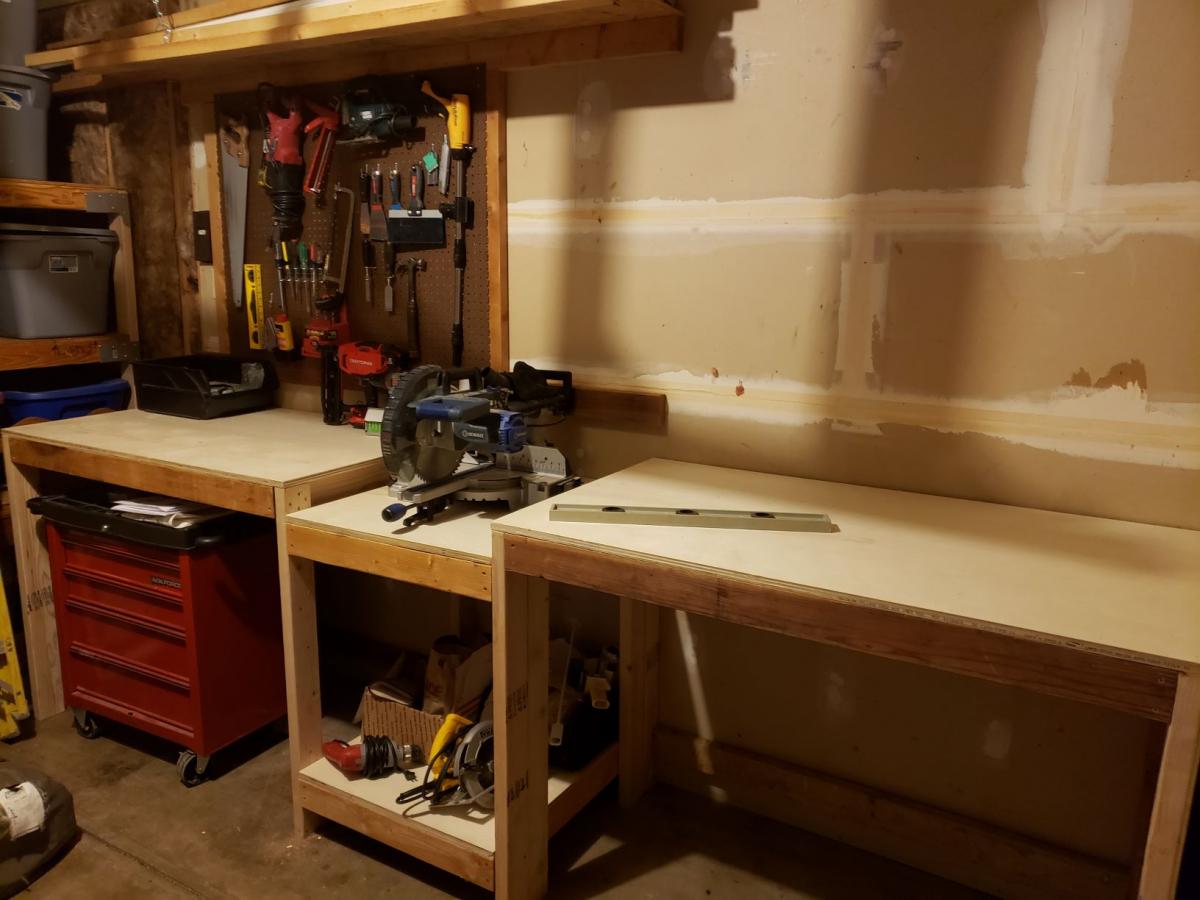
Built 2 of the workbenches for our garage. The plans made assembly very easy and quick. We had Home Depot cut the plywood to size.
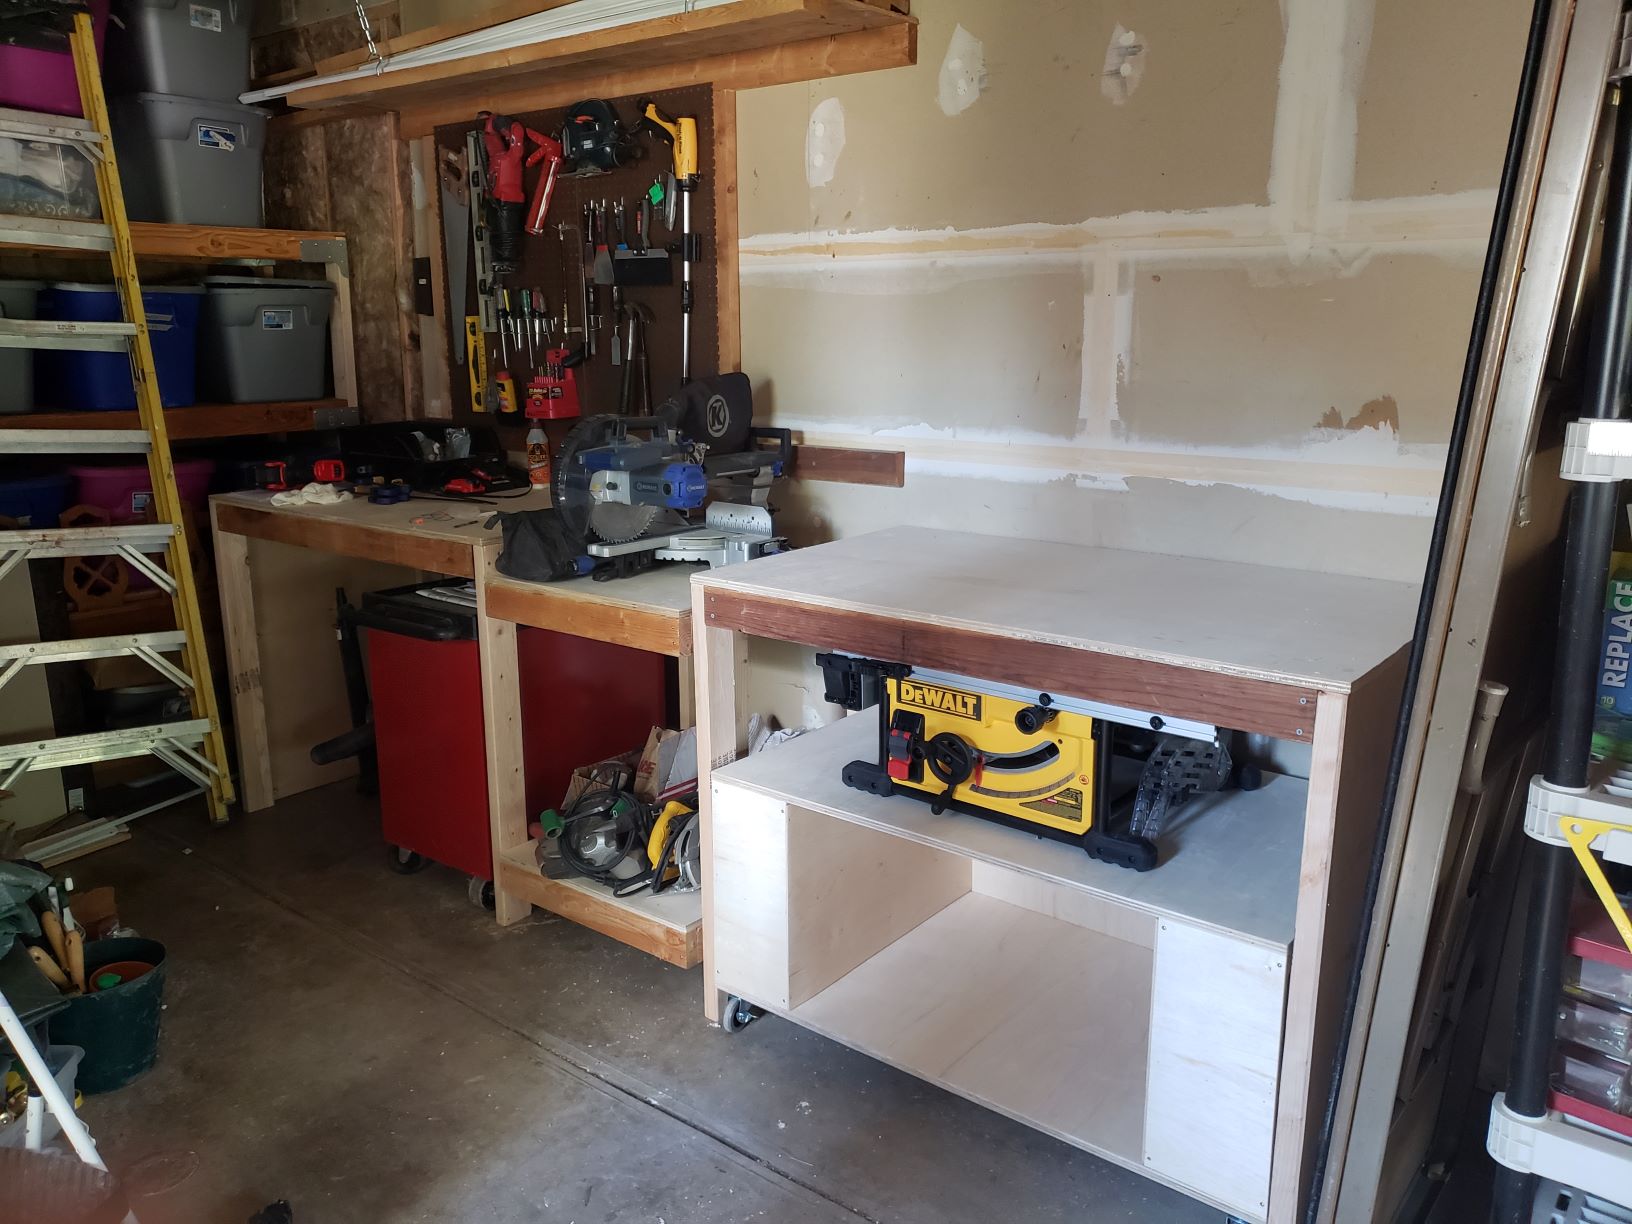
I altered the original plans in the following ways:
I'm not that experienced with projects so here are a couple of things I learned:
Thanks for the great plan! Now I can start on all the other projects on our improvement list.

We had some leftover granite from an outdoor kitchen build and wanted to maximize the use of it. We loved the look of a rustic table from Pottery Barn and set out to find something that was asking the same aesthetic. I came across the Jilly and Mia workbench console and thought it would work great with some minor modifications. I shortened the overall length and height, went with some heavy duty casters to support the weight of the granite, and reinforced the cross beams that would support the 3/4" plywood sheet and granite. I went with cedar for this build since it was outdoors and I'll finish it with a clear sealant.

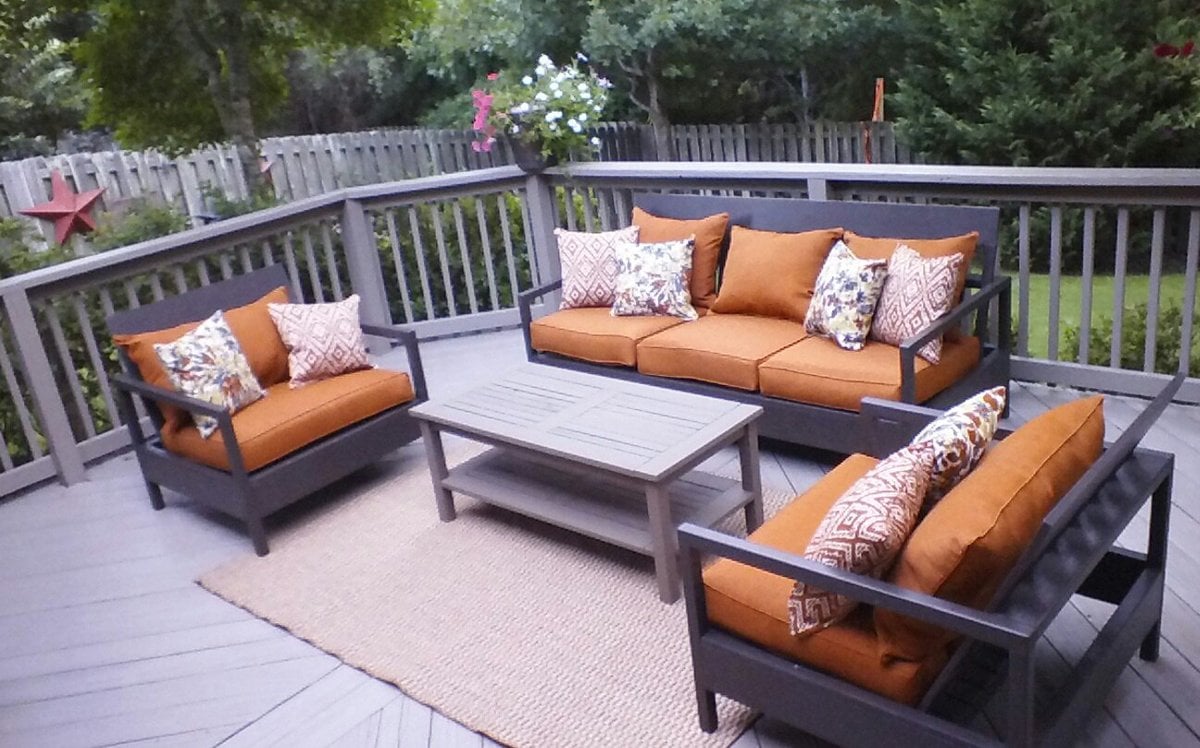
Well this was first project my hubby and I tackled together. He actually let me use the power tools. The plans were great! Loved having a shopping list! I made the cushion s myself. I have to say, I wish I had made the couch and chairs the size of cushions available at Lowes . AFt e r you buy foam batting fabric and chording I found set at lowes for a lot less but I am so happy how it all turned out . Thks for providing plNz!
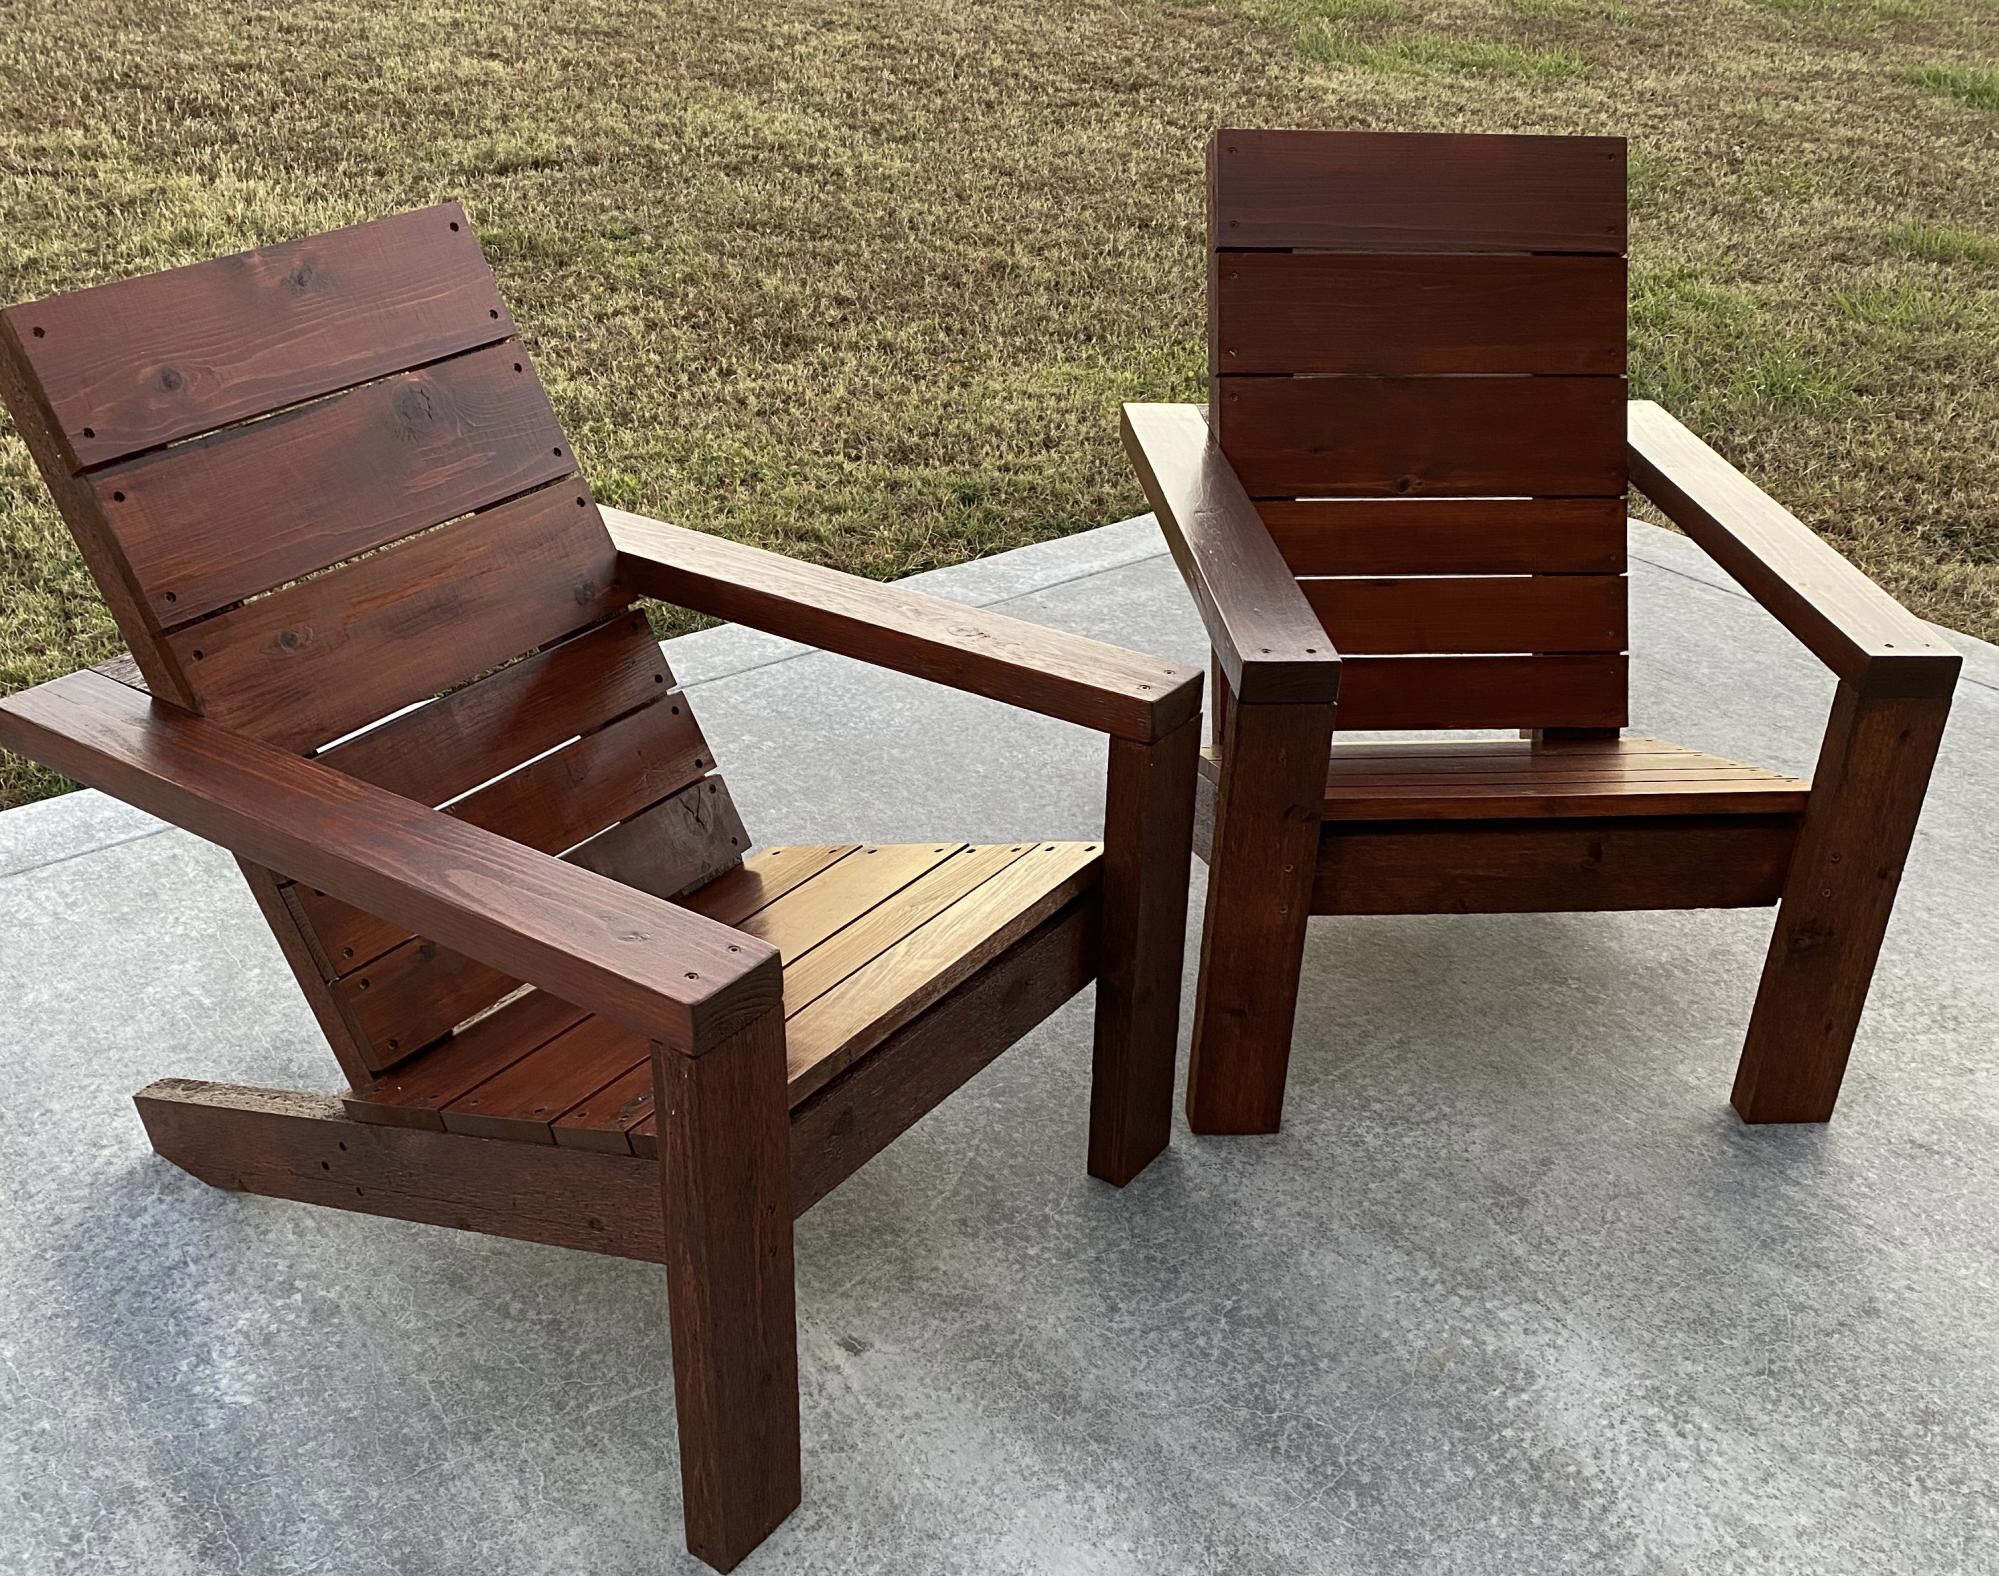
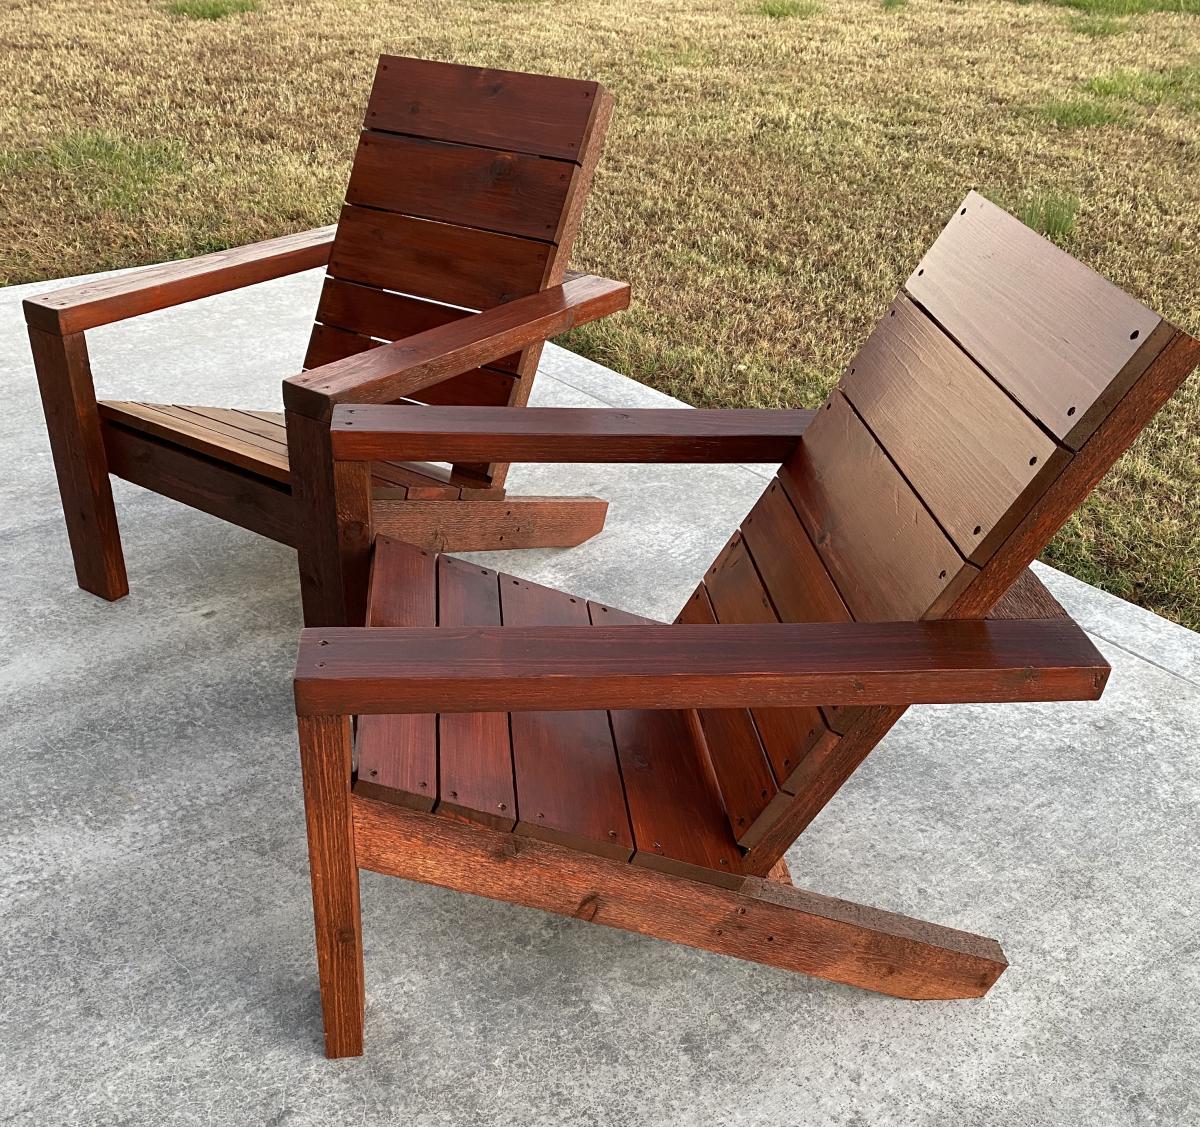
I used Western red cedar to build my chairs. The build was a little more expensive but well worth it. The chairs were stained with Cabot’s Australian Timber Oil ( Jarrah Brown). Thanks for the plans Ana, your site is awesome and you do a great job! Mark

Mon, 11/16/2020 - 12:31
Thanks for sharing Mark, definitely worth the extra investment!
Loved this project! We had an old headboard so my wife came up with the idea to cut off the top posts and use them as legs.
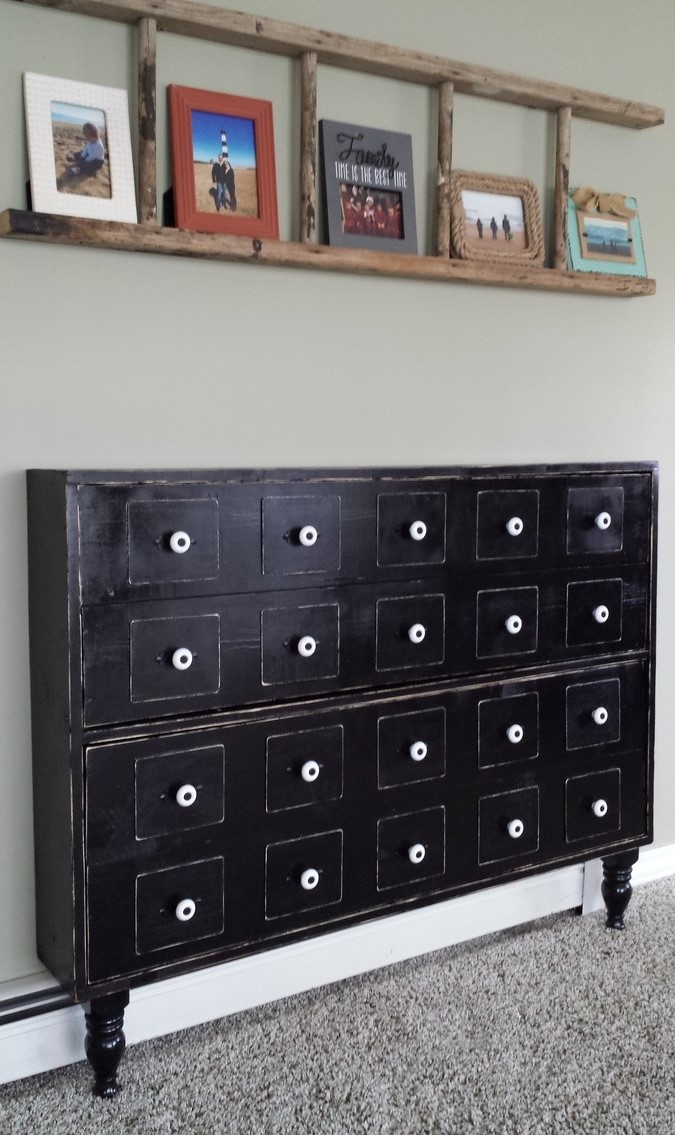
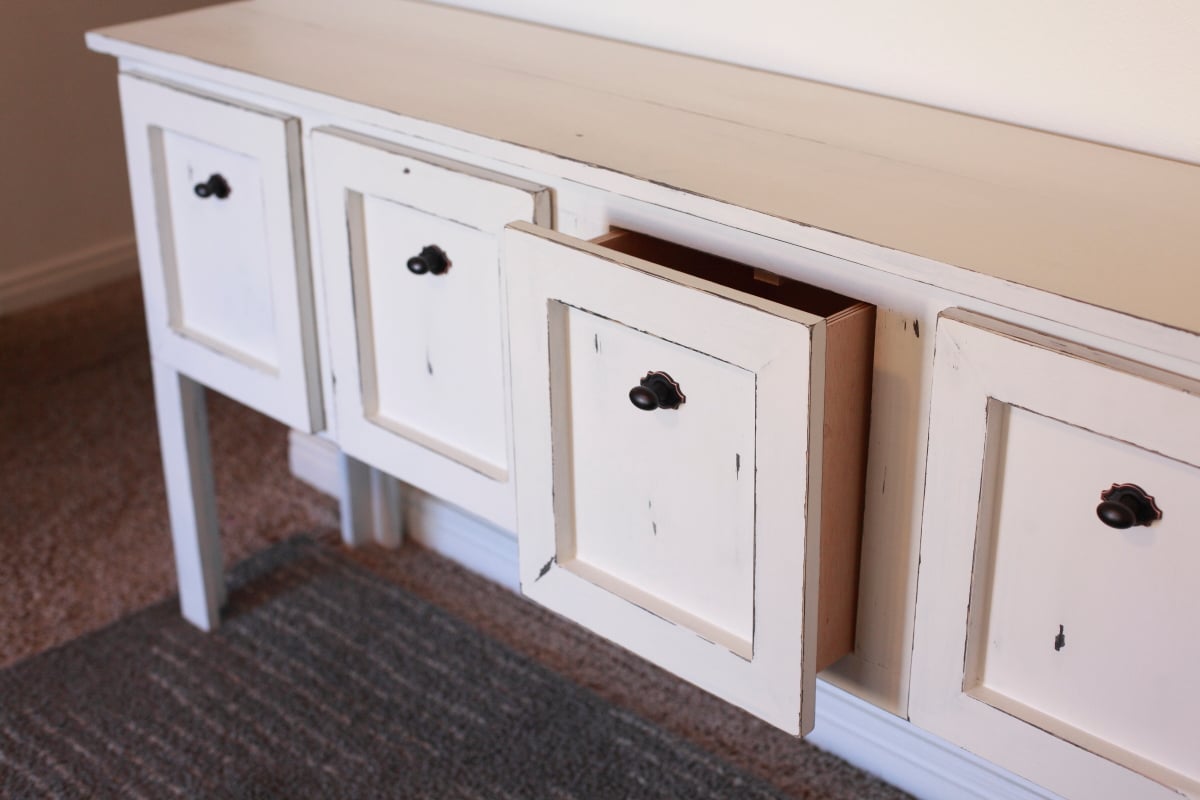
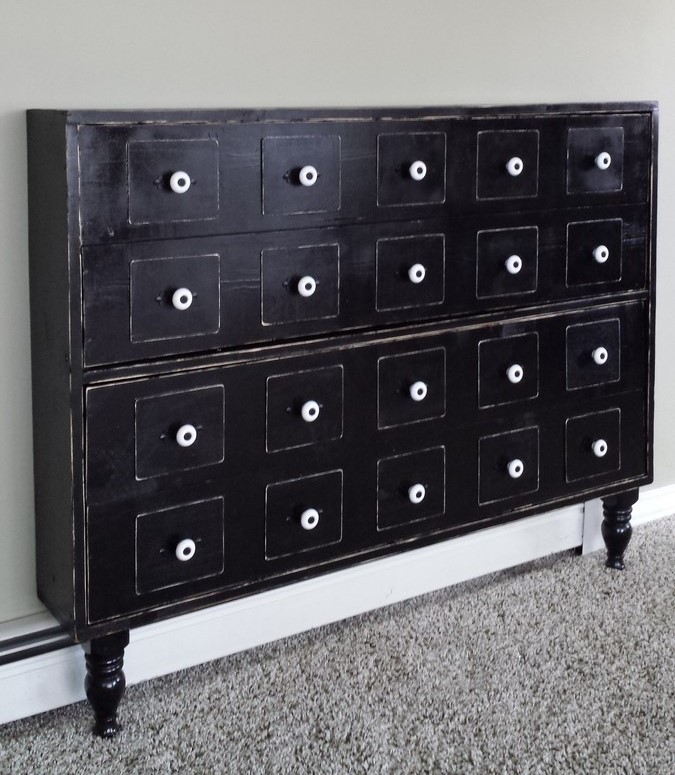
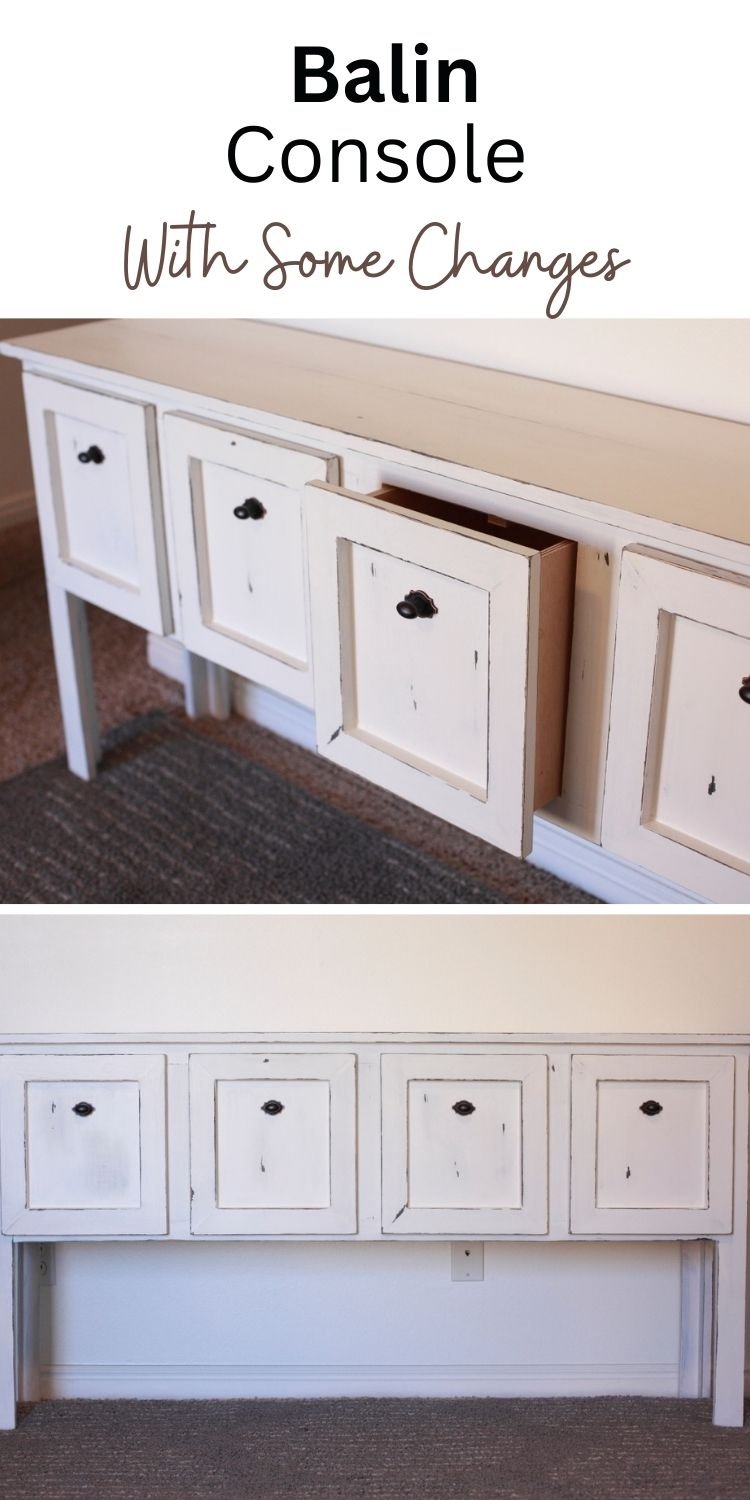
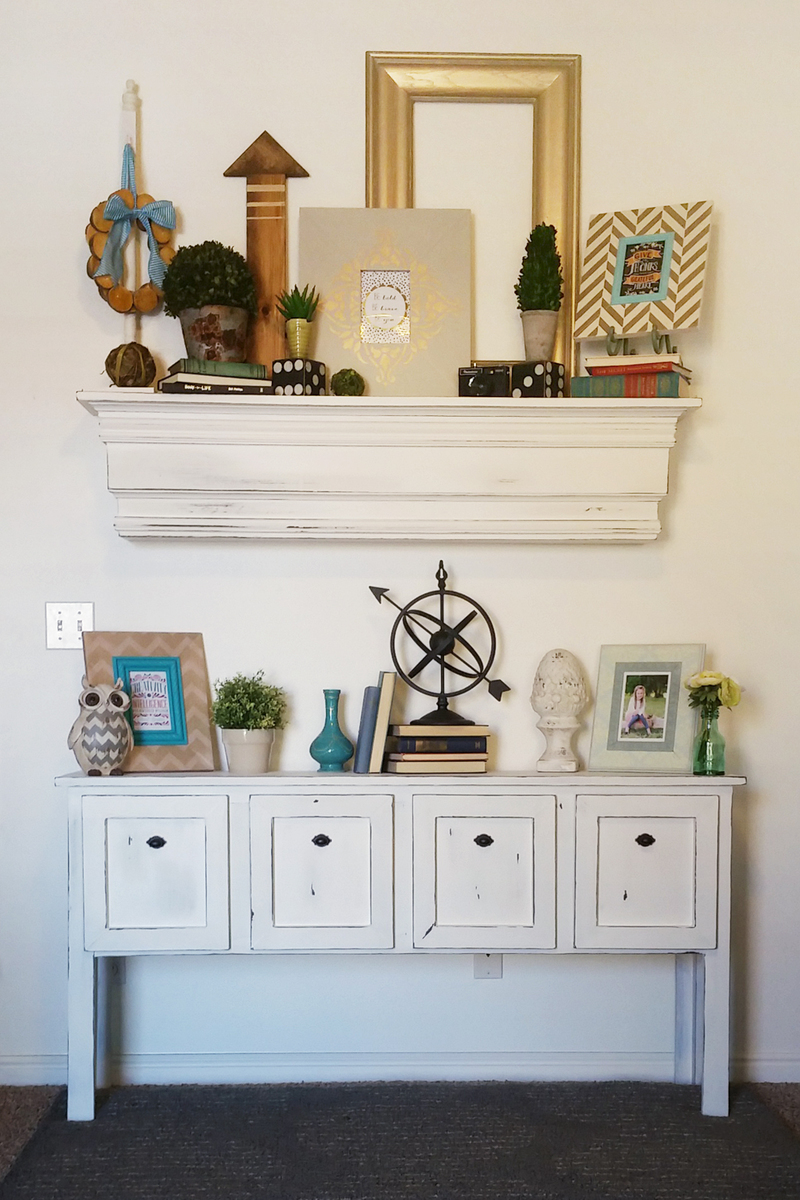
We made this table from the original Balin Console table plans, but faced out the drawer fronts with some mitered trim and added some drawer stops inside to keep the drawers from falling out when pulled all the way.
The drawers were made with a cabinet grade plywood along with the sides and bottom of the table. We used 1x8s on the console top to get that nice wood look, where all corners and ends would be showing, but for the sides and bottom of the table, since the edges were all trimed out, the plywood worked out nicely.
The legs seemed plenty sturdy without the extra trim, so we skipped that to get a more simple look.
Drawer handles were found at our local Home Depot.
For the finish, we stained (with Minwax ebony) the edges where we wanted distressing, then wiped on vaseline along edges and painted over in Behr Swiss Coffee (white) in matte. After drying we took sandpaper to the edges to show the dark stain through. Because we used matte paint, after everything was finished, we waxed with a clear wax and buffed for a nice shine and a smooth texture.
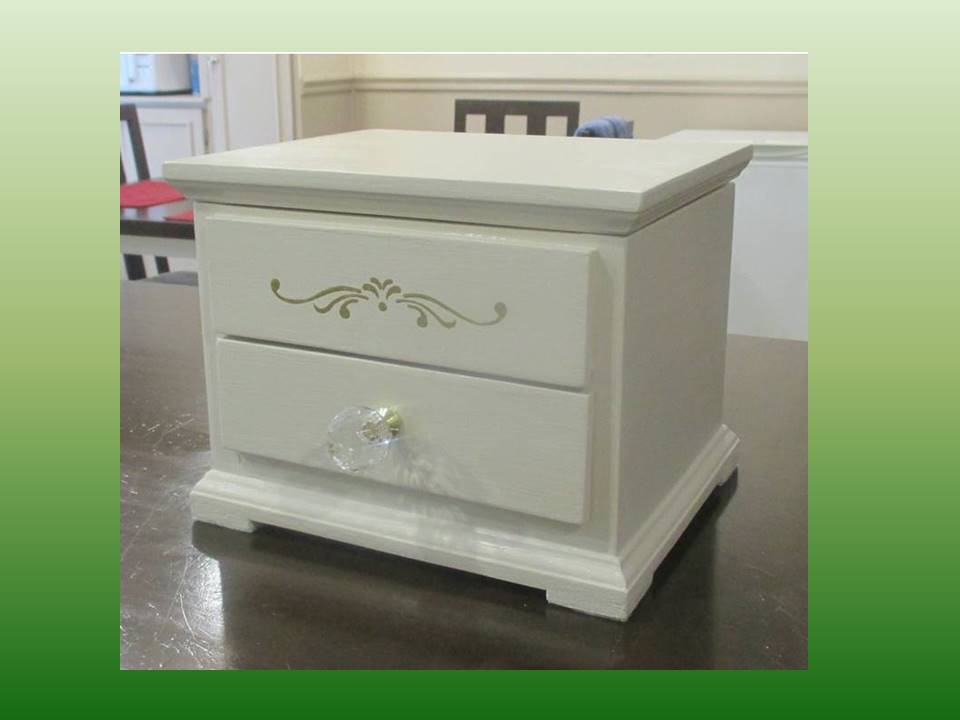
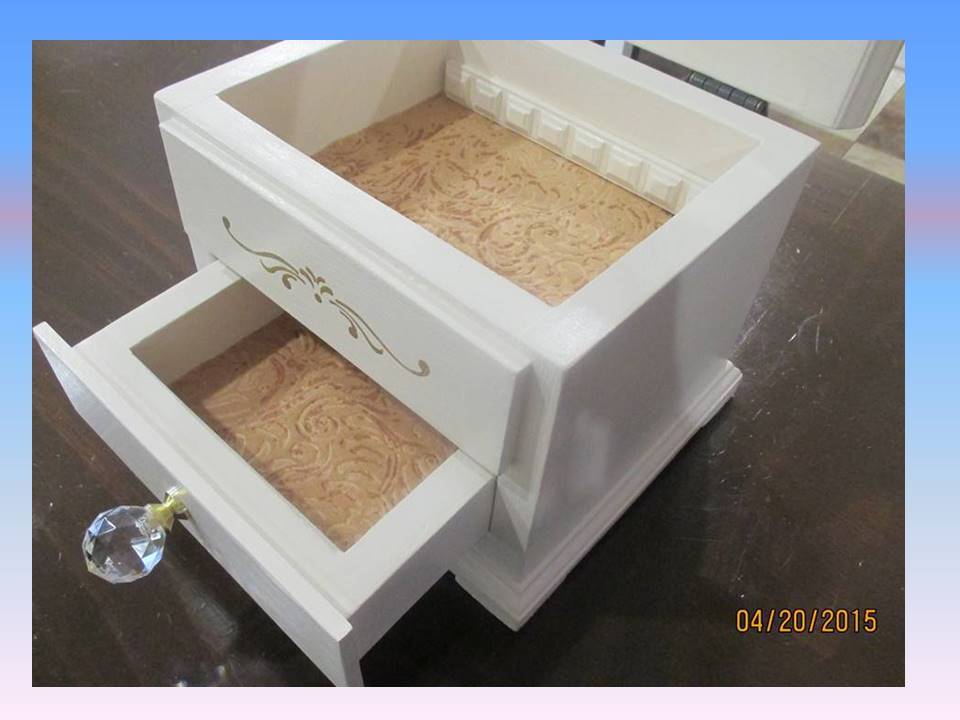
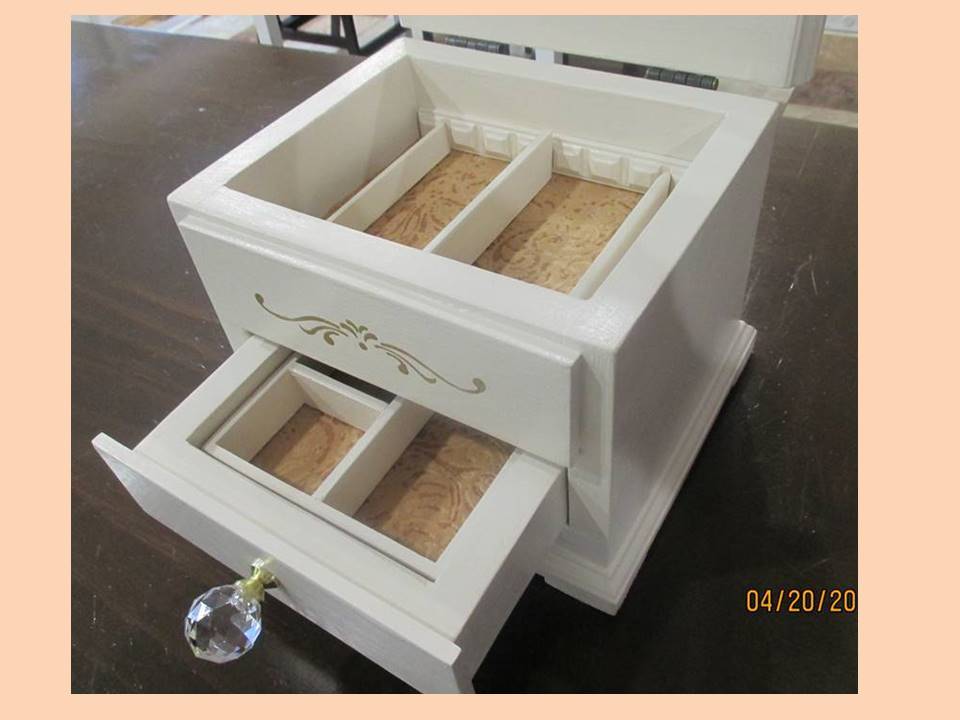
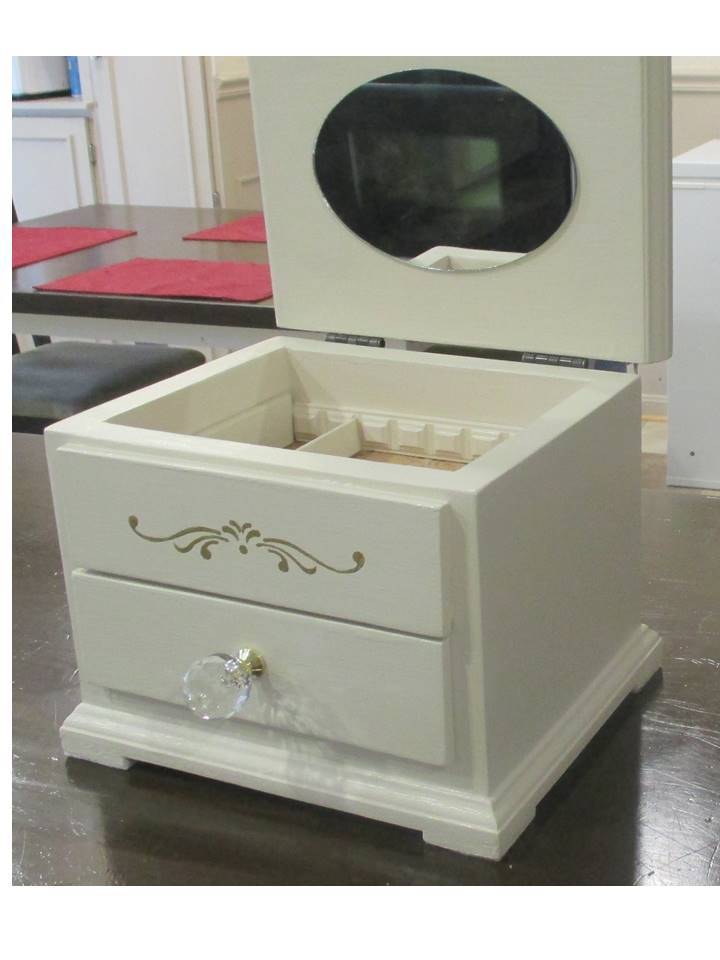
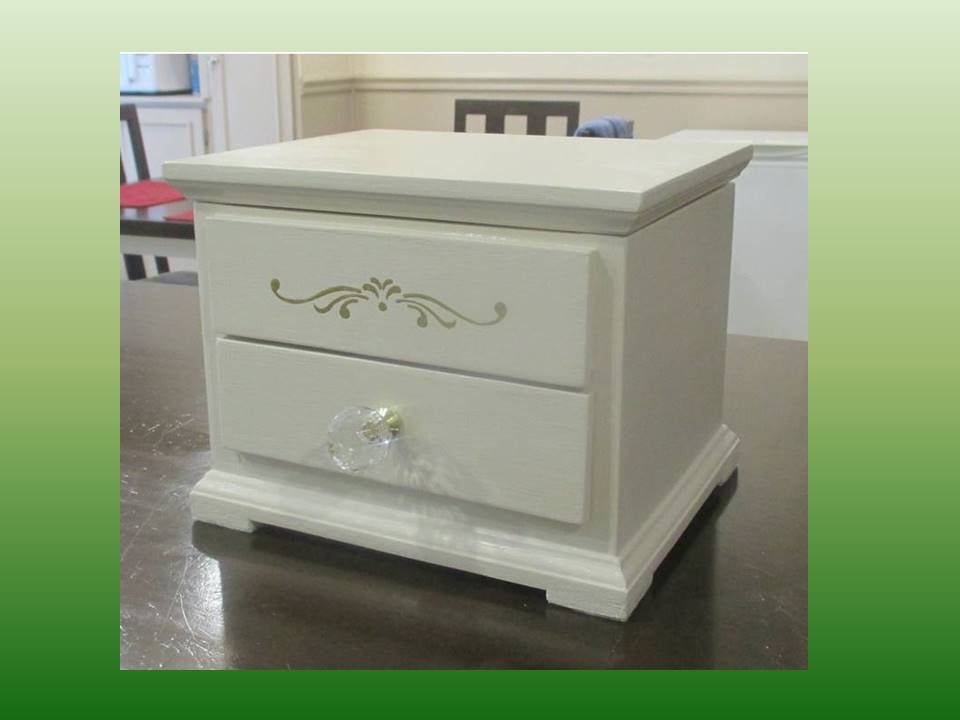
This jewelry box is a gift for a friend at work who is retiring. It is a variation of the Easy Jewelry Box, with the following modifications:
Hinged lift-up top with mirror
Overlay drawer fronts from ¼” craft wood (Gold stencil on top false drawer front, and drawer boxes are 1/8” shorter than the shelf from front to back, to ensure the fronts sit flat against the box front and drawer back doesn't touch the box back at all)
The bottom is 2 pieces thick, to allow space for the drawer overhang and attaching the bottom moulding.
Solid wood back (instead of plywood)
Top and bottom edged with mini stop moulding to make the overhangs, and added feet made from lattice
Removable drawer divider tray and 2 heights of removable dividers for the top, made from dentil, lattice and screen bead mouldings
I really took my time on this build to get everything just right with the build and the finish. Probably spent about 6 hours spread out over the last few weekends.
Wed, 04/22/2015 - 18:29
Hi Linda, thank you for the nice comment! This was a fun build, and I'm very glad to say the gift was a big hit! :)
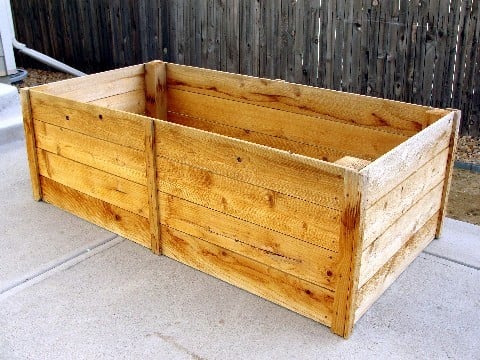
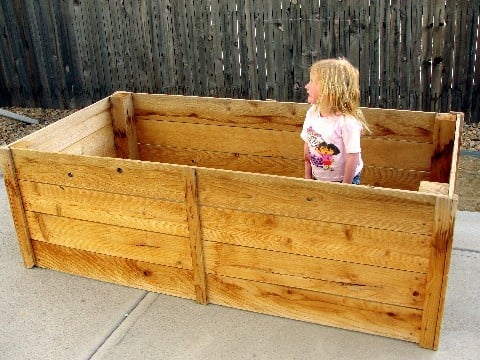
I made these last summer for my sister. And she didn't even use them yet! Very easy to make. She did want them taller, so that is the only modifacation I made. We're hoping the bunnies won't notice all the yummy veggies up this high :) I know, probably wishful thinking. Makes a great kid corral too.

Hidden door bookshelves hide a furnace closet. Built by Kraig Faulkner
Thu, 01/23/2020 - 07:05
Great idea! Do the bookshelves swing freely when weighed down with books? What type of hinges did you use?
Thu, 09/17/2020 - 08:01
I'm currently working on a basement renovation project. I'm probably going to incorporate a feature like this for my mechanicals, too.
One important safety note for anyone who wants to do this: It's recommended that your furnace be a minimum of 30" away from any combustible materials. That includes walls and partitions. The image of this project displayed is right next to the furnace, which is not a good idea.
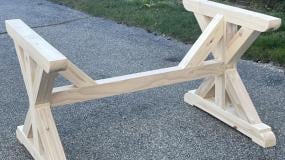
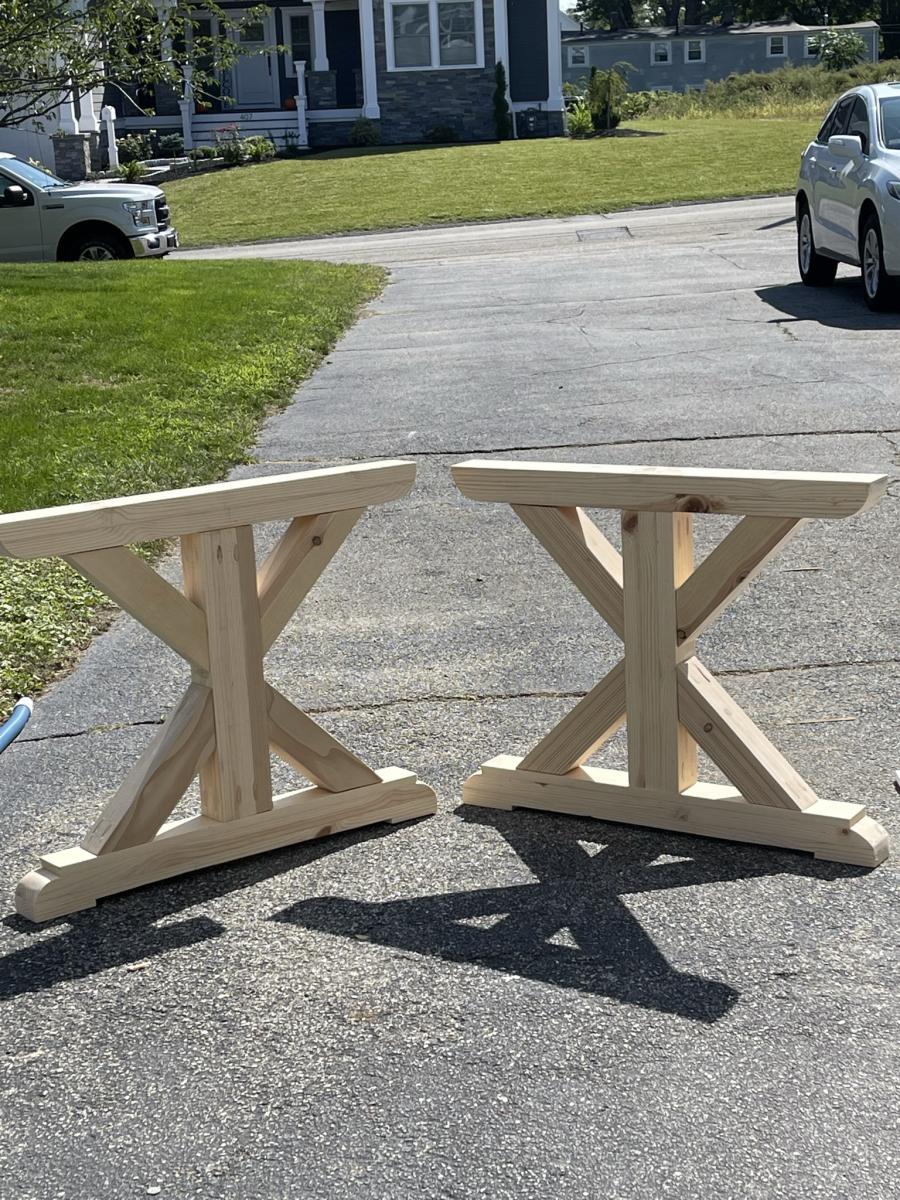
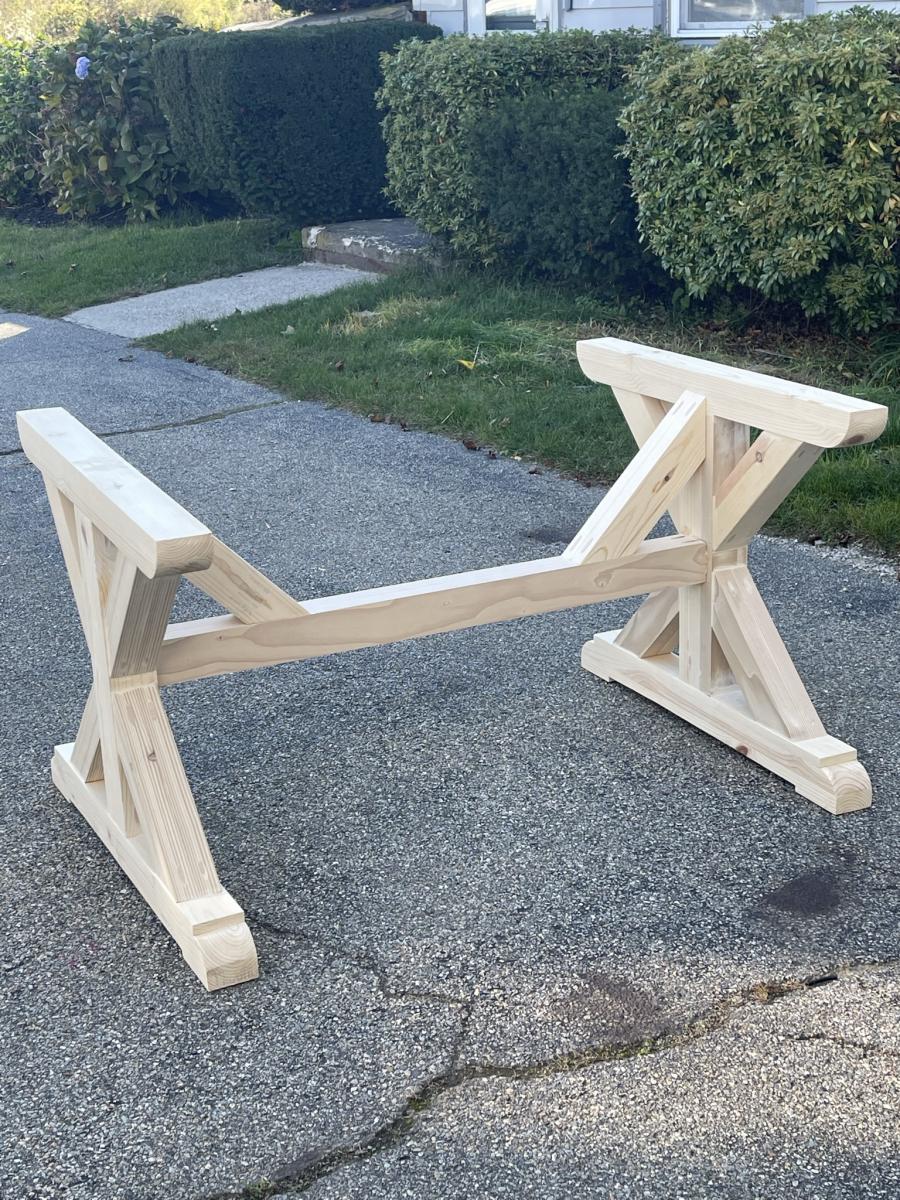
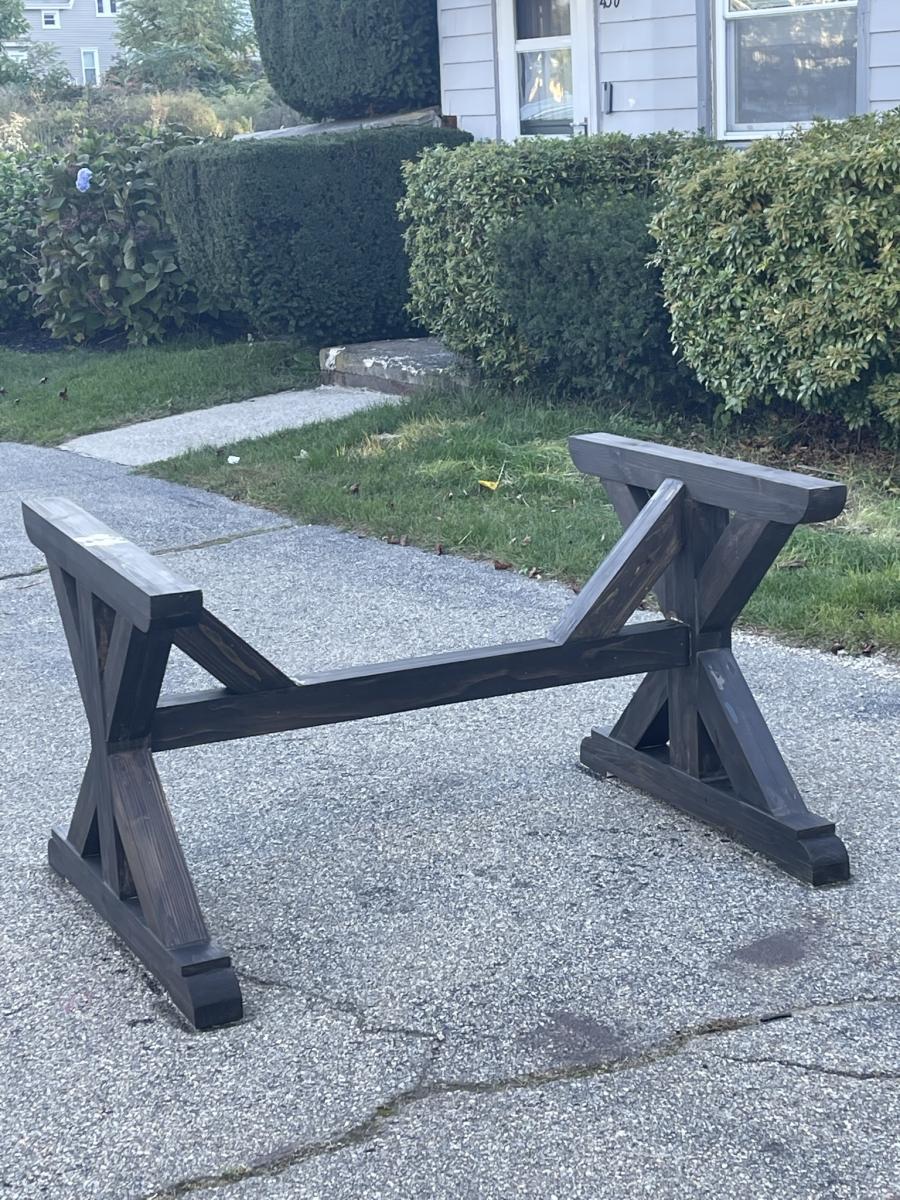
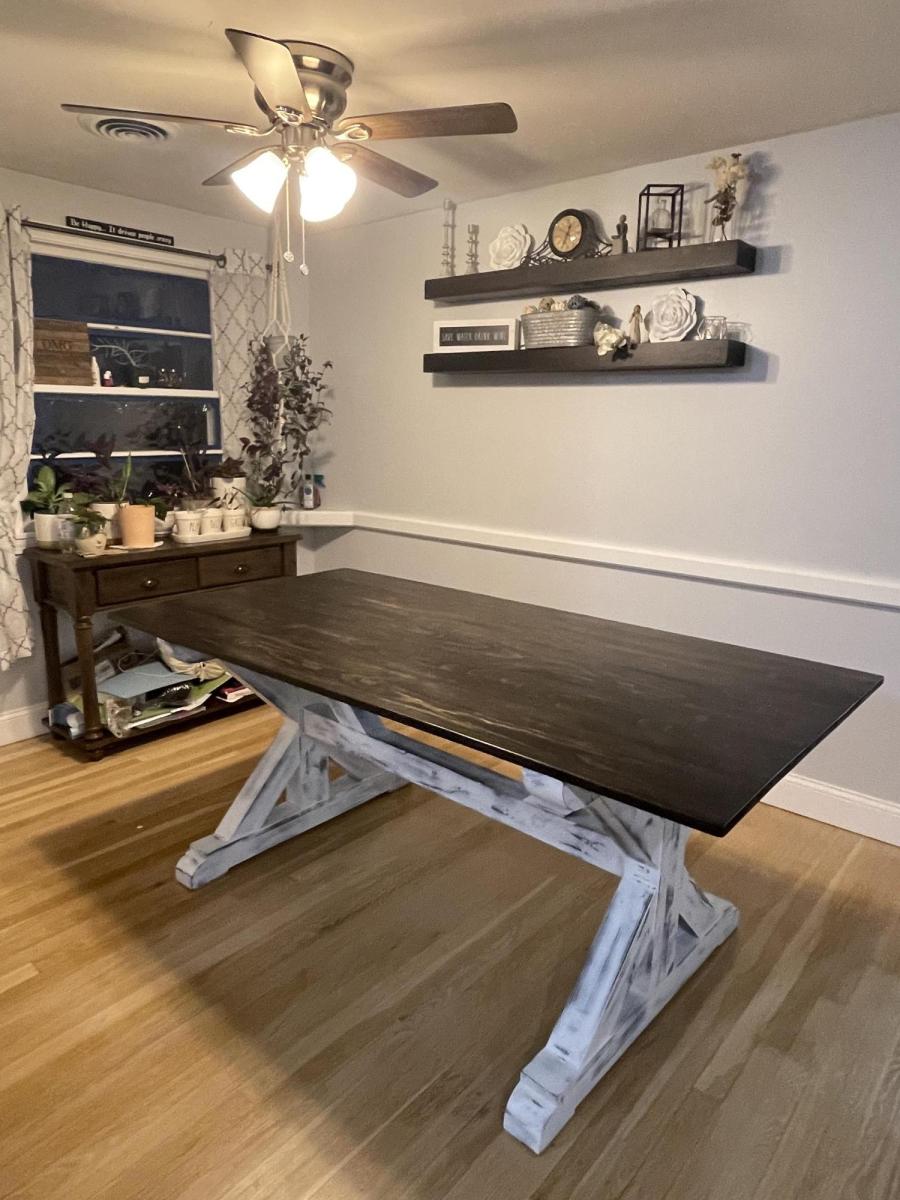
A farmhouse table I built based on one of your inspiration projects! All by hand and chiseled myself 😍
Thu, 12/29/2022 - 11:13
Thank you for sharing, such a beautiful handmade piece!
Using this plan I built my lounger with some changes, mainly adding lawn mower wheels to one end. The cushions I made have a mesh bottom to let the cushions dry faster, and zippers so they can be removed and machine washed. More details on what I used and many more photos on my blog.
Tue, 09/20/2011 - 12:49
I love the idea of the mesh! It would work as a great bench when you need more seating too. I think it'd be nice with huge wooden wheels also.
Comments
jrh413
Wed, 07/10/2013 - 09:38
Sorry first pic got uploaded
Sorry first pic got uploaded upside down some how ? Instagram acct is jrh413 for anyone who wants to follow. Thanks!