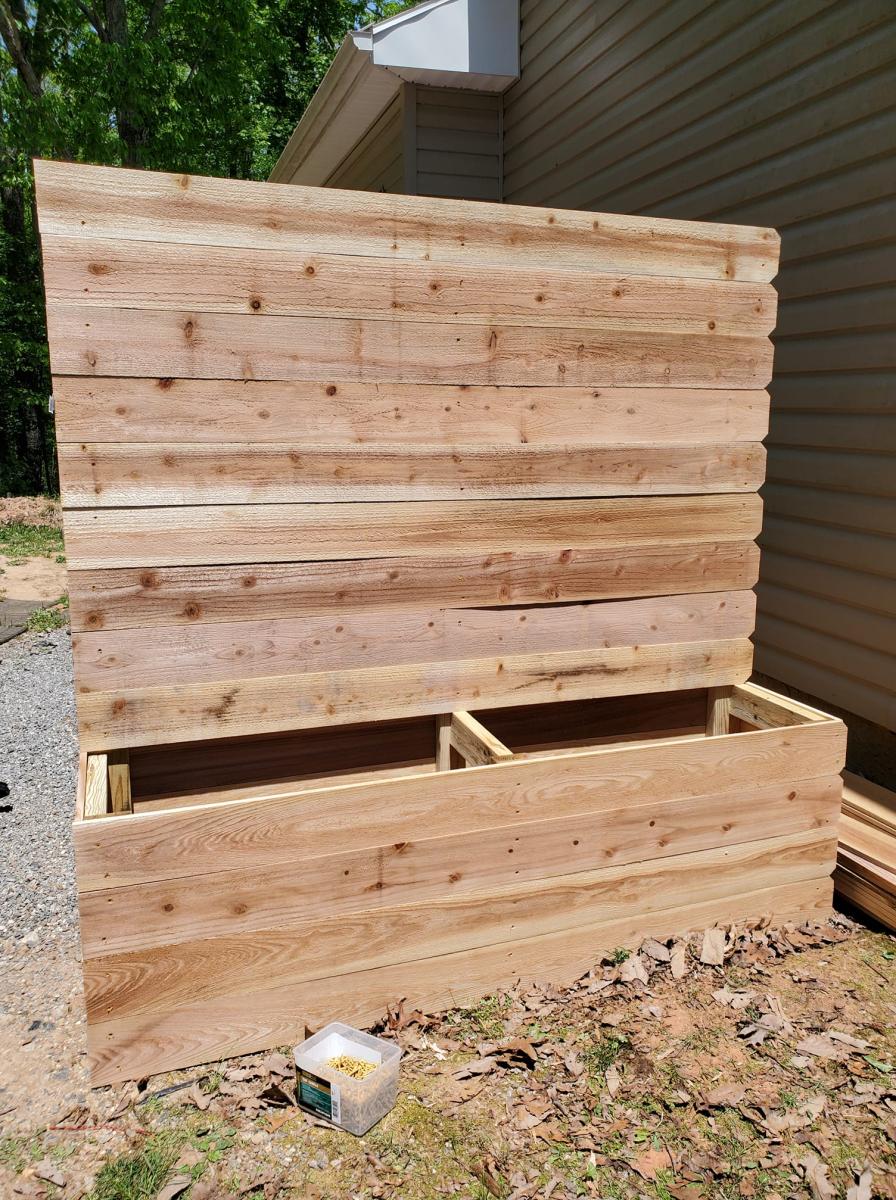
Cedar Privacy Planter and Raised Garden Beds!
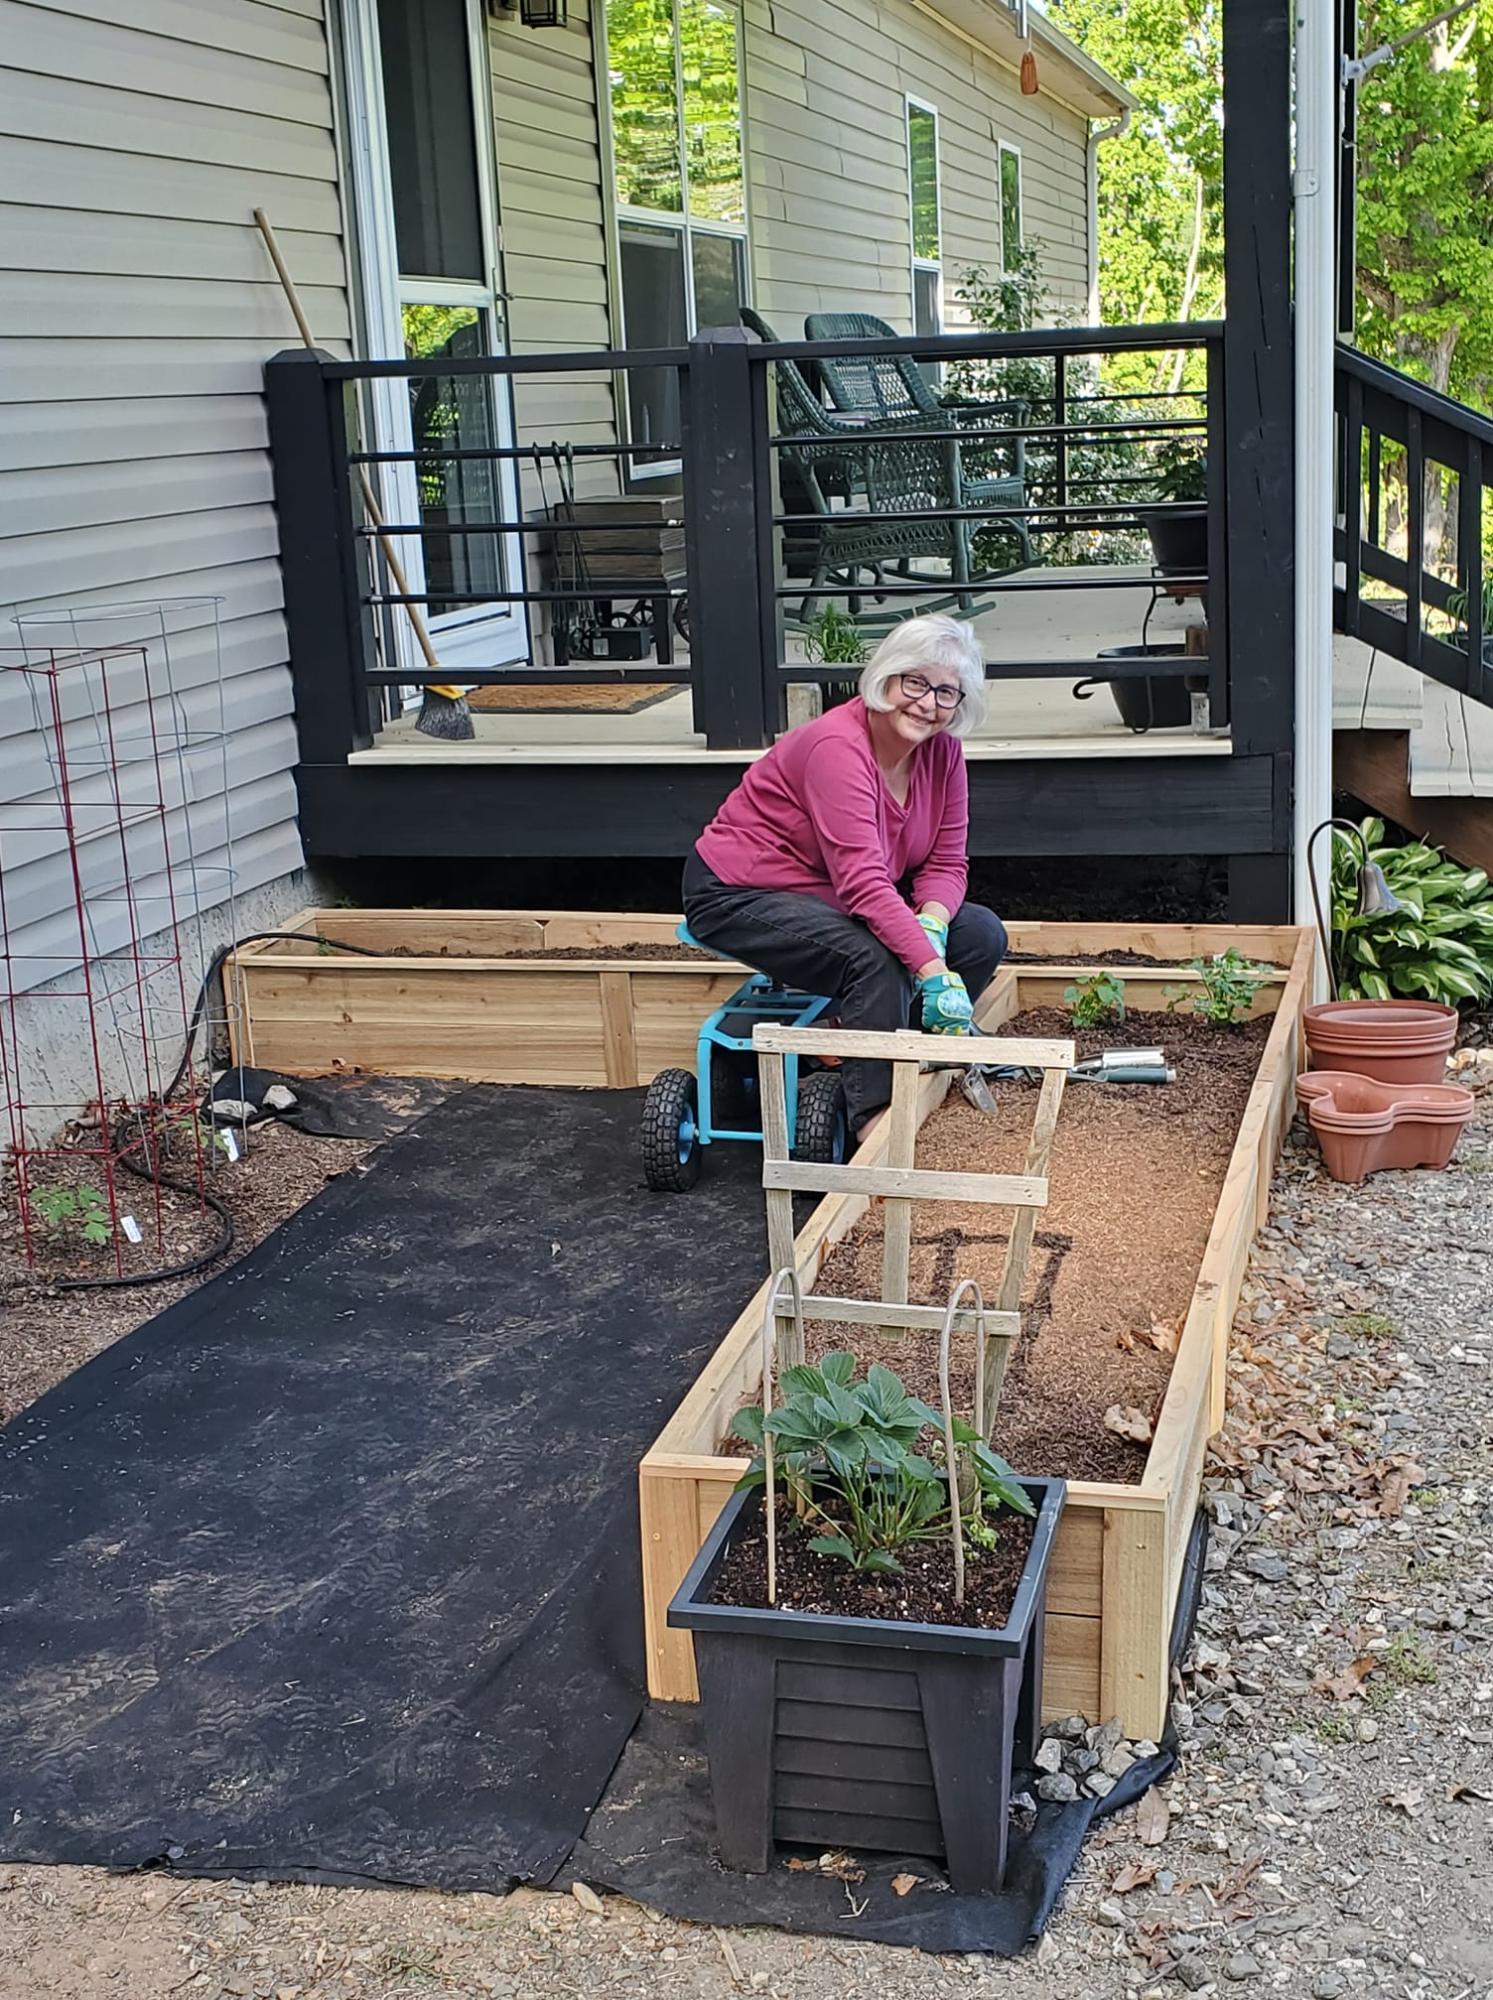
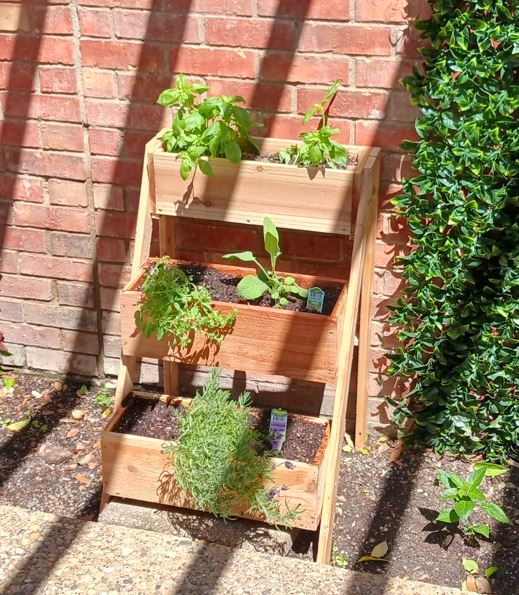
We bought 40 pickets and built the privacy planter and these 2 beds with 2 pickets left over. Might need a planter box on the front porch ![]()
By Terri!
Built from Plan(s)
We bought 40 pickets and built the privacy planter and these 2 beds with 2 pickets left over. Might need a planter box on the front porch ![]()
By Terri!
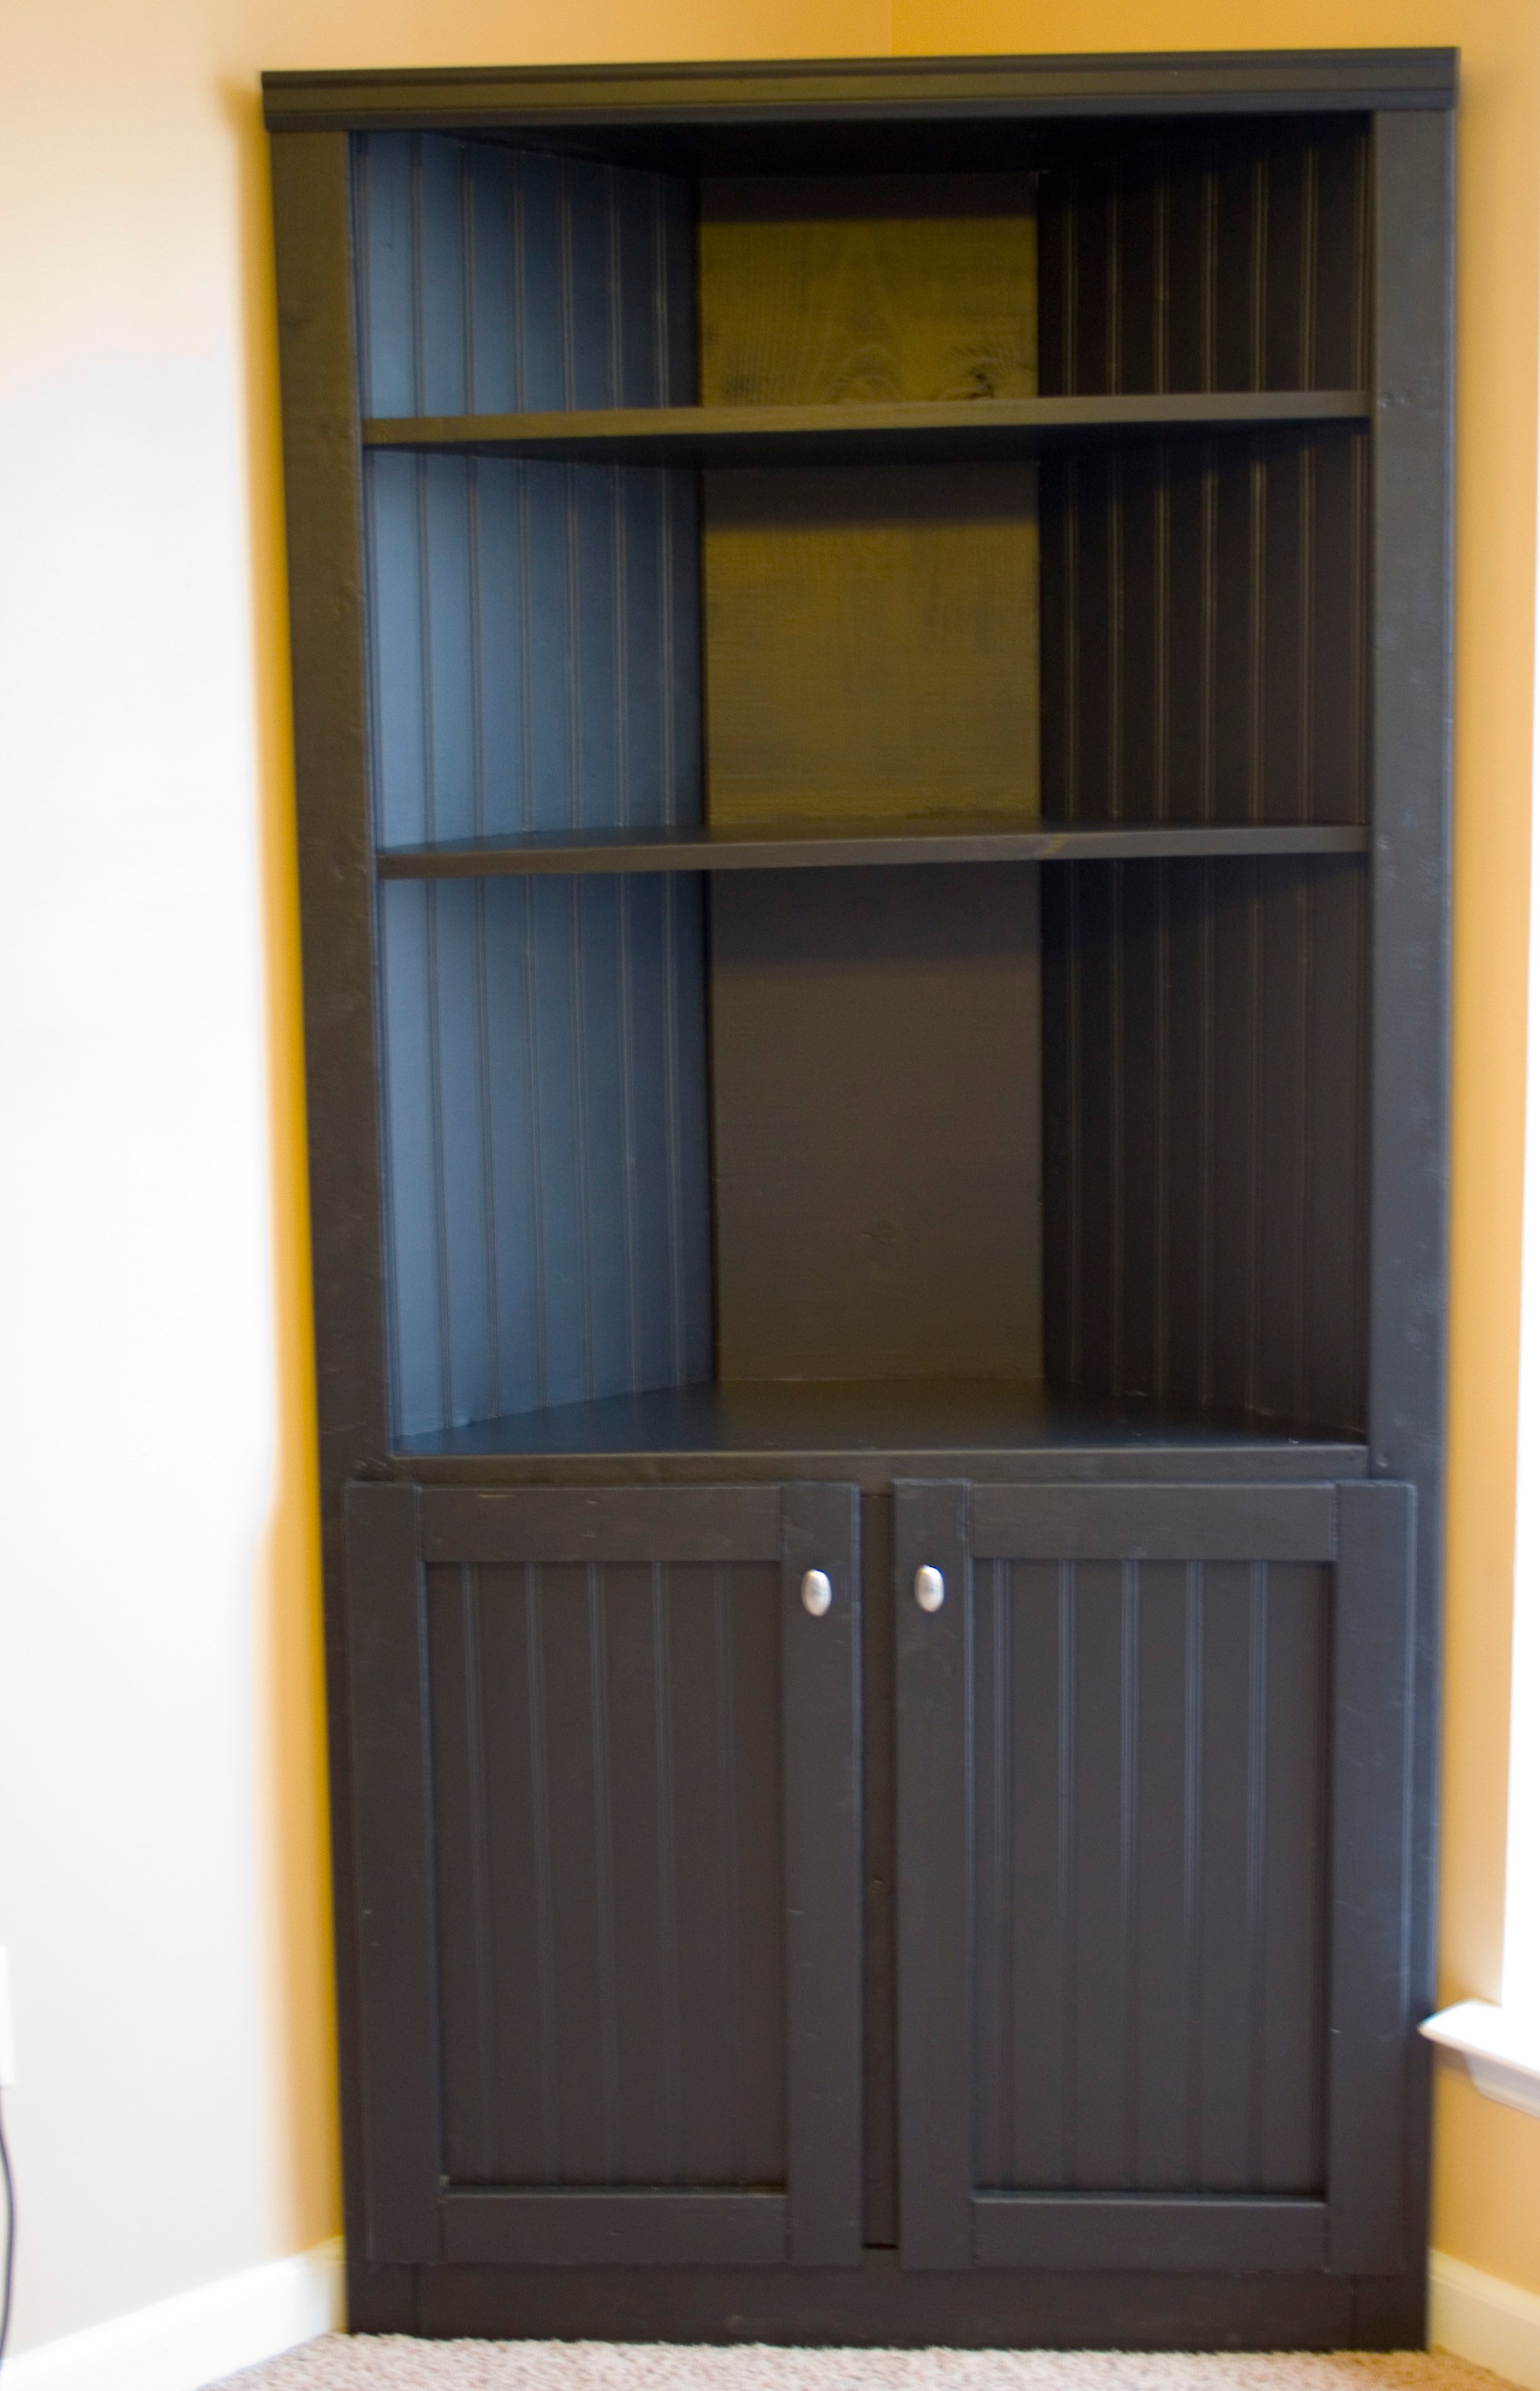
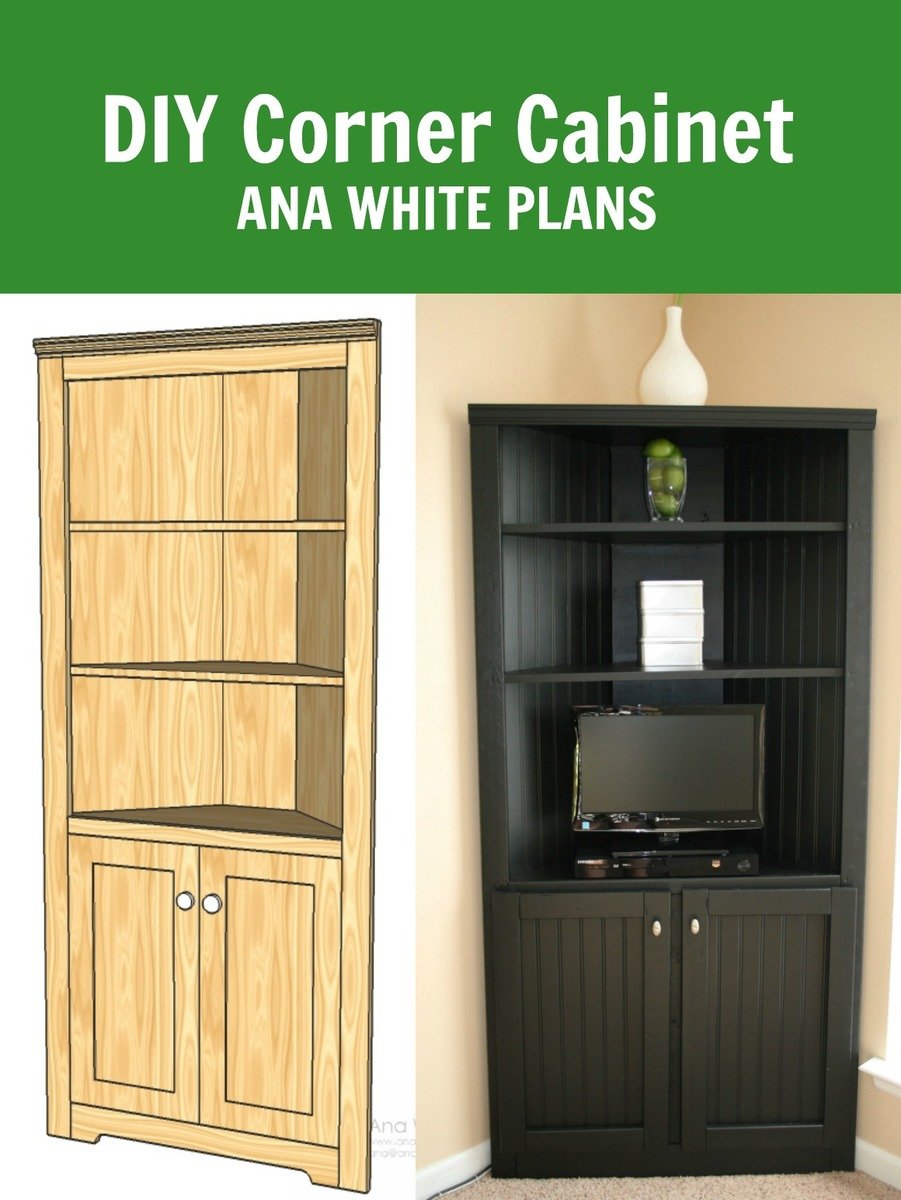
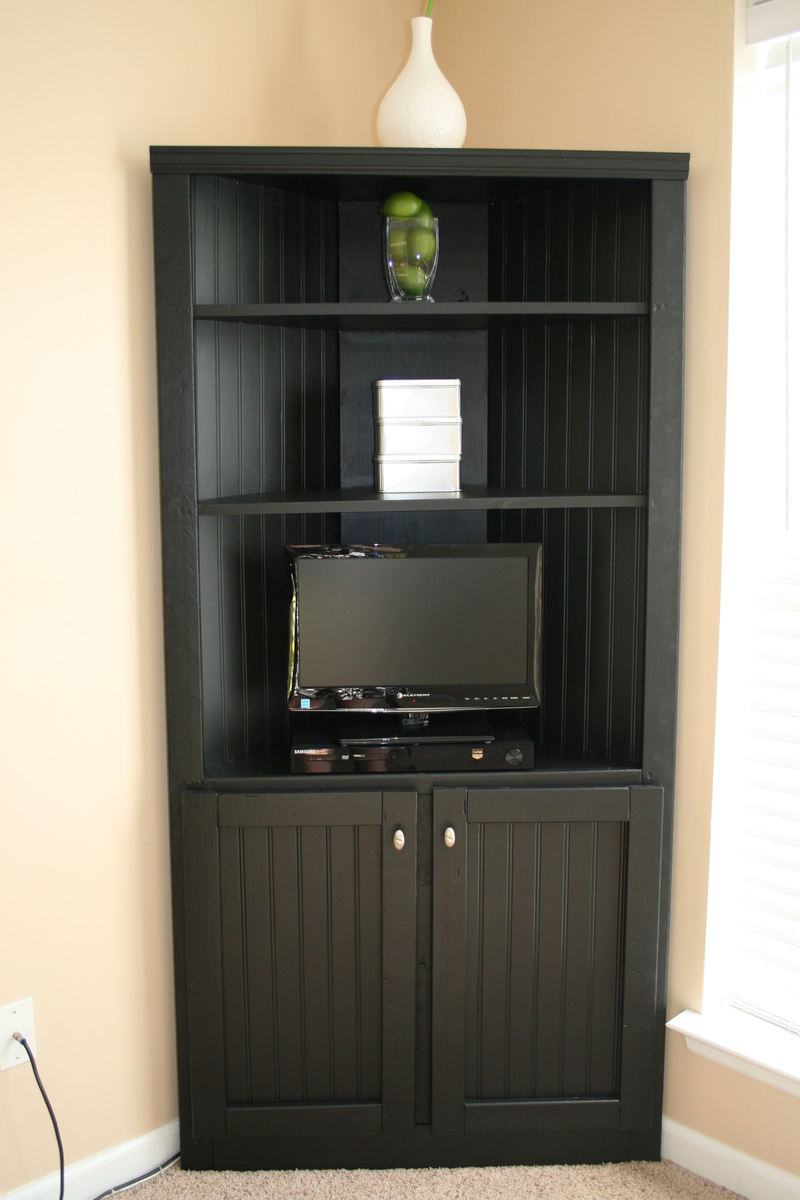
We built this corner cabinet shelf in three days (only because it is over 100 degrees here, so we had to wait until 9:00 at night to work on it) for our office space. We love, love, love it and can't believe how nice my corner cabinet turned out. Only our second building project ever. :)
Mon, 07/25/2011 - 12:45
I love this!!! I want one in my kitchen. I wonder if I could mount it so it doesn't interfere with my baseboard heater?
Wed, 09/07/2011 - 17:40
How did you do this, do you have directions? I love it!
Mon, 01/21/2013 - 16:08
Do you have plans for this project? I'd love to try my hand at this.
Sun, 03/20/2016 - 07:47
Couldn't find the pdf but a printable version of complete building instructions are available via archive.org.... Thank you Wayback Machine! :)
https://web.archive.org/web/20120803002423/http://ana-white.com/print/5…

Tue, 08/02/2016 - 14:54
I do cedar. Thank you very much for the drawings. This site is to become one of my favorites.
Greetings from Xalapa Veracruz Mexico


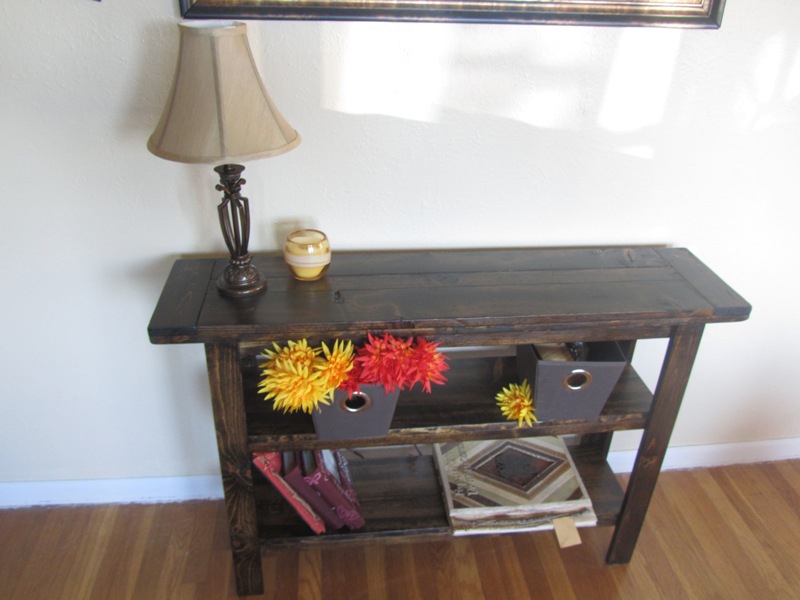
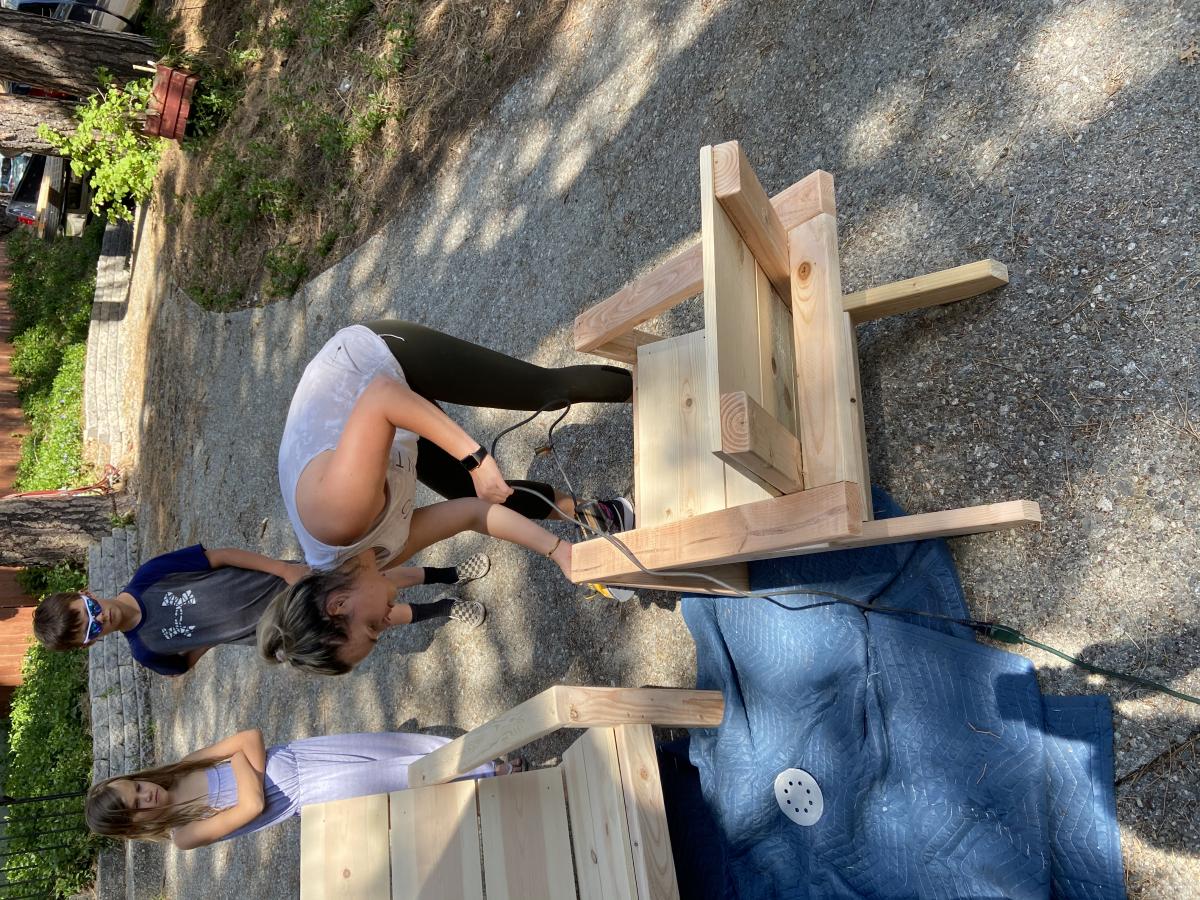
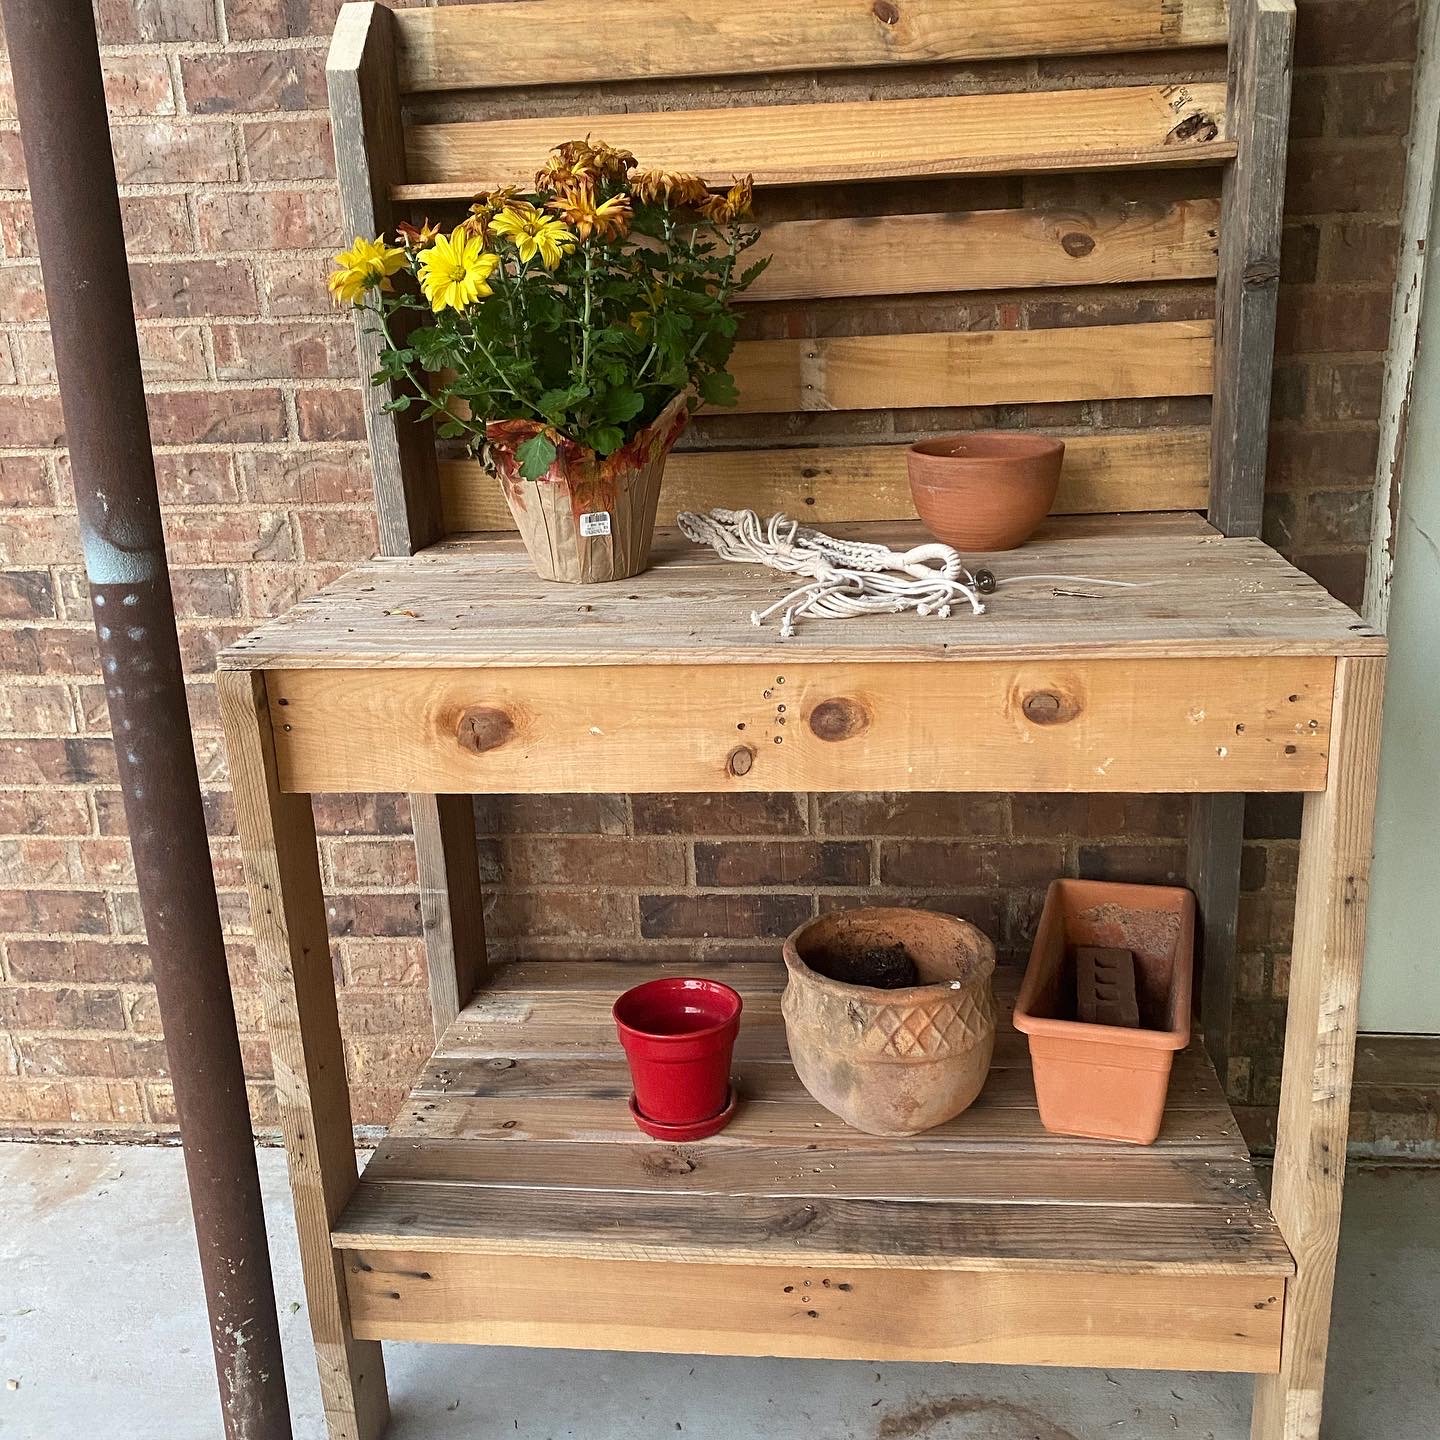
"I scaled down your potting table plans and made this very fun coffee bar to fit my space exactly!" Jen Romito
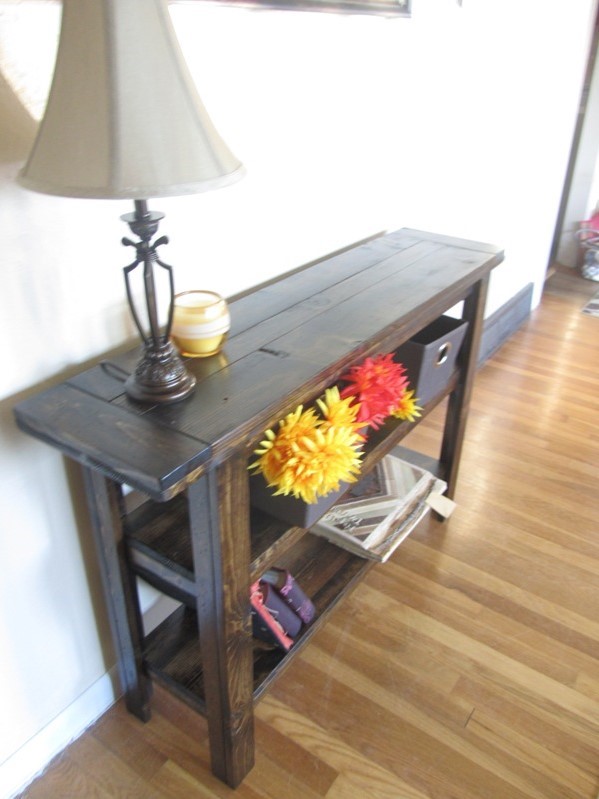
This was my first project from Ana's web site. I modified the table by expanding the trim of the stretcher to the outsides and adding a shelf. I also added an additional shelf in the middle. I cut the apron for the top down to two inches, and an inch a half for the lower two shelves. I distressed each piece of wood individually by hitting it with a bag of nails and various other things.
Sat, 11/12/2011 - 07:31
I am literally I the middle of buildig the sectional and all of a sudden it says I
am not authorized to get into that page. Any information?
Sat, 11/12/2011 - 20:03
And what a fun project, whacking it with nails and such to distress. Did you feel de-stressed afterward?
It looks great.
Tue, 11/15/2011 - 09:25
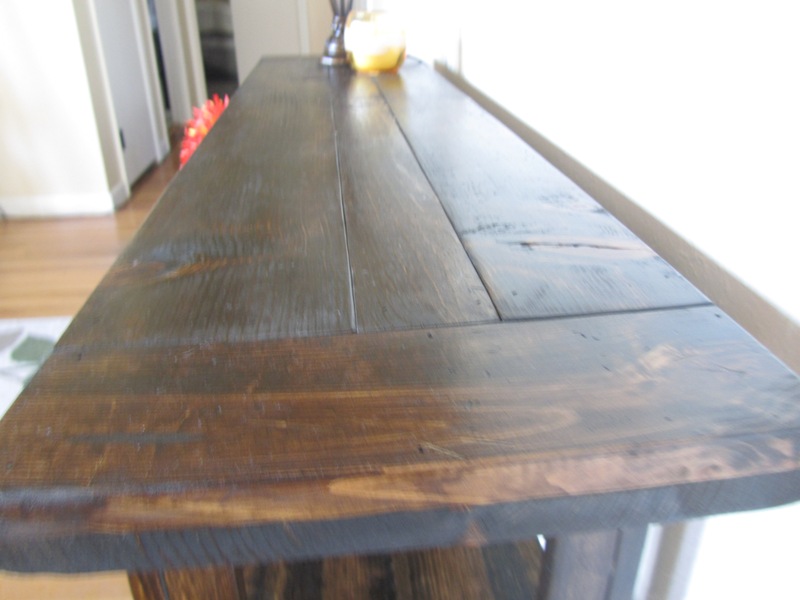
I could have given the table a little bit more of my stress. Unfortunately I couldnt swing the bag too hard, because the nails would rip right through it and fly all over the place. Maybe next time i'll use a pillow cause and swing a little harder.
Thu, 11/17/2011 - 10:14
This has become me new favorite site to visit. My to do list is a mile long and covers almost every room in the house. My wife thanks you!
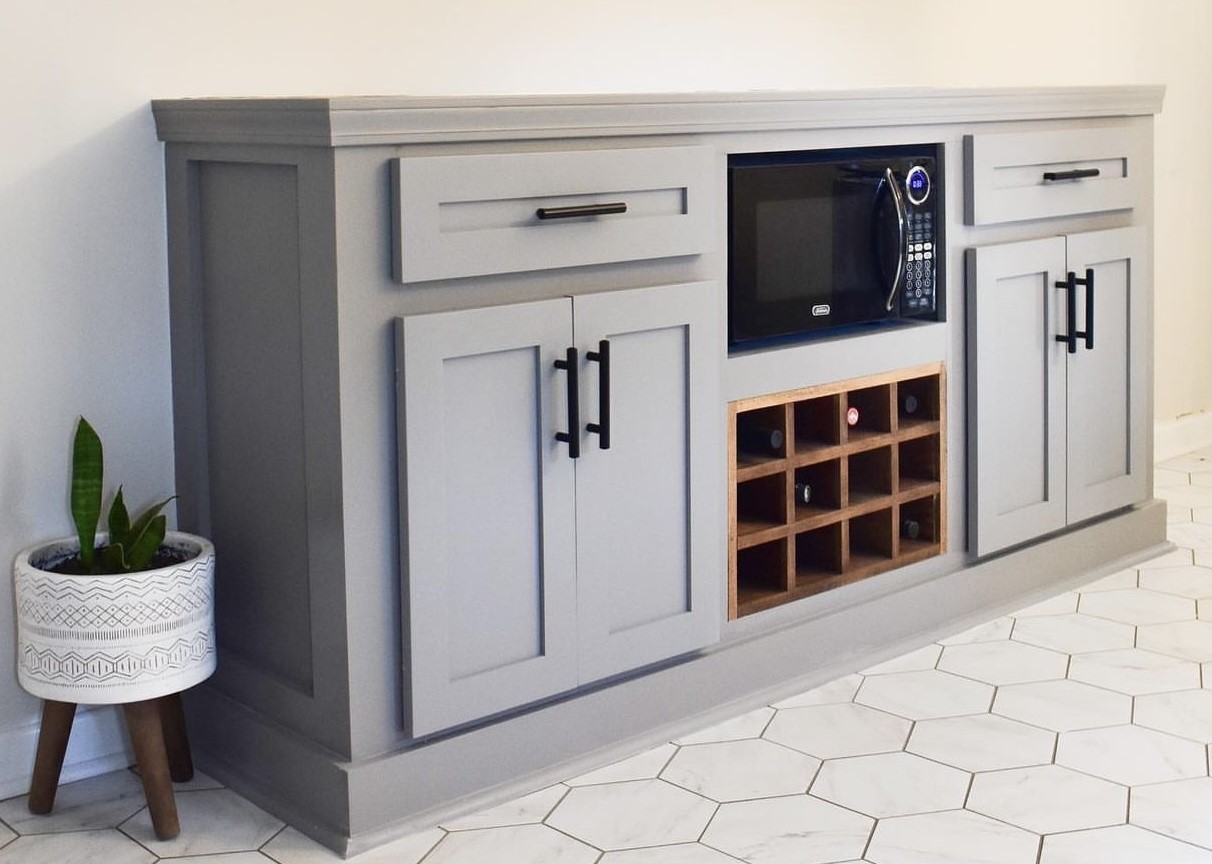
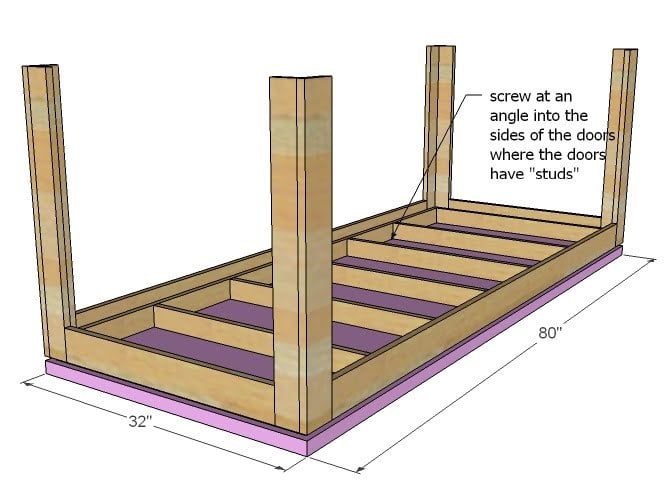
"I took a dead spot in our kitchen and designed it into a functional space that also added value to our home!
I built the frame using the sideboard plans by Ana White & Shanty2Chic. From there I designed it to fit our needs perfectly."
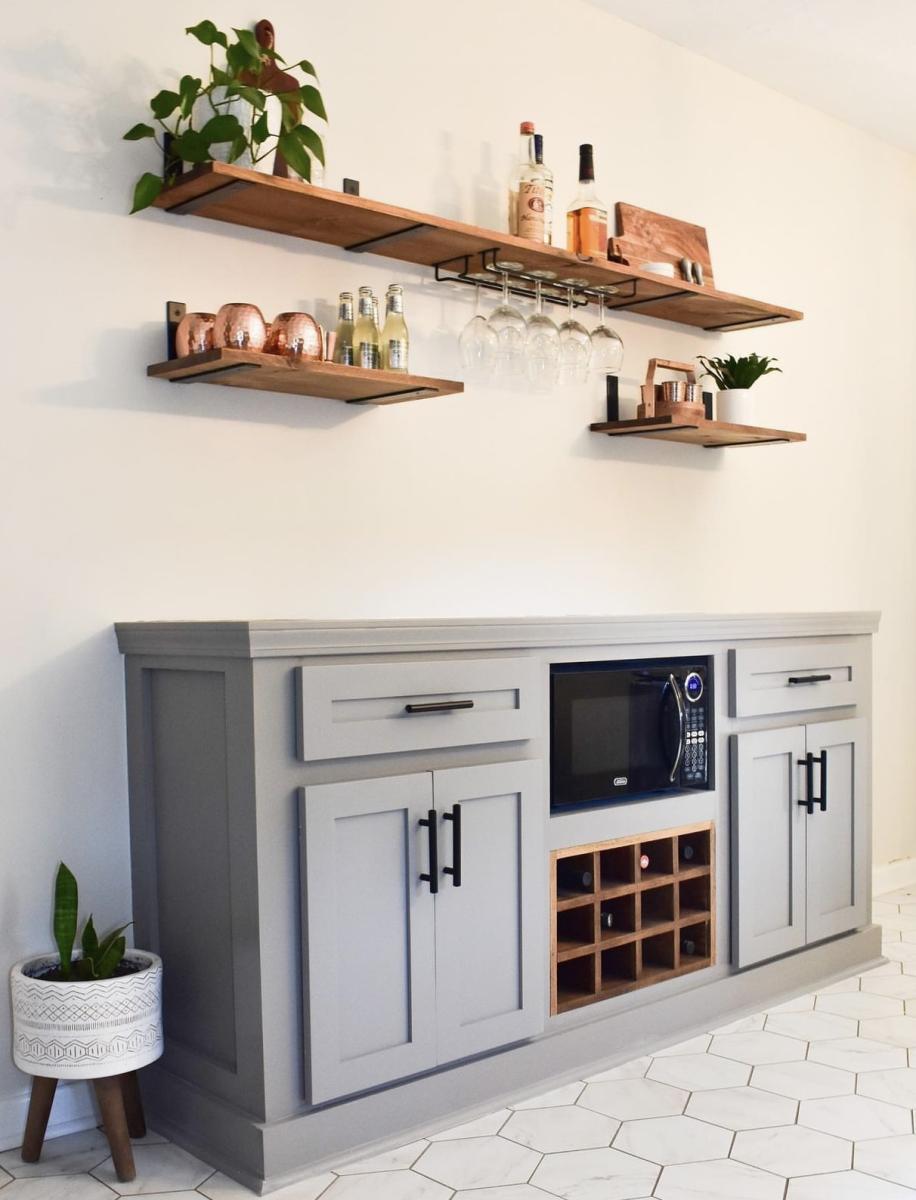
I made the boxes a little wider than the plans called for but still came out great. I'm very happy. Thanks Ana for the inspiration.
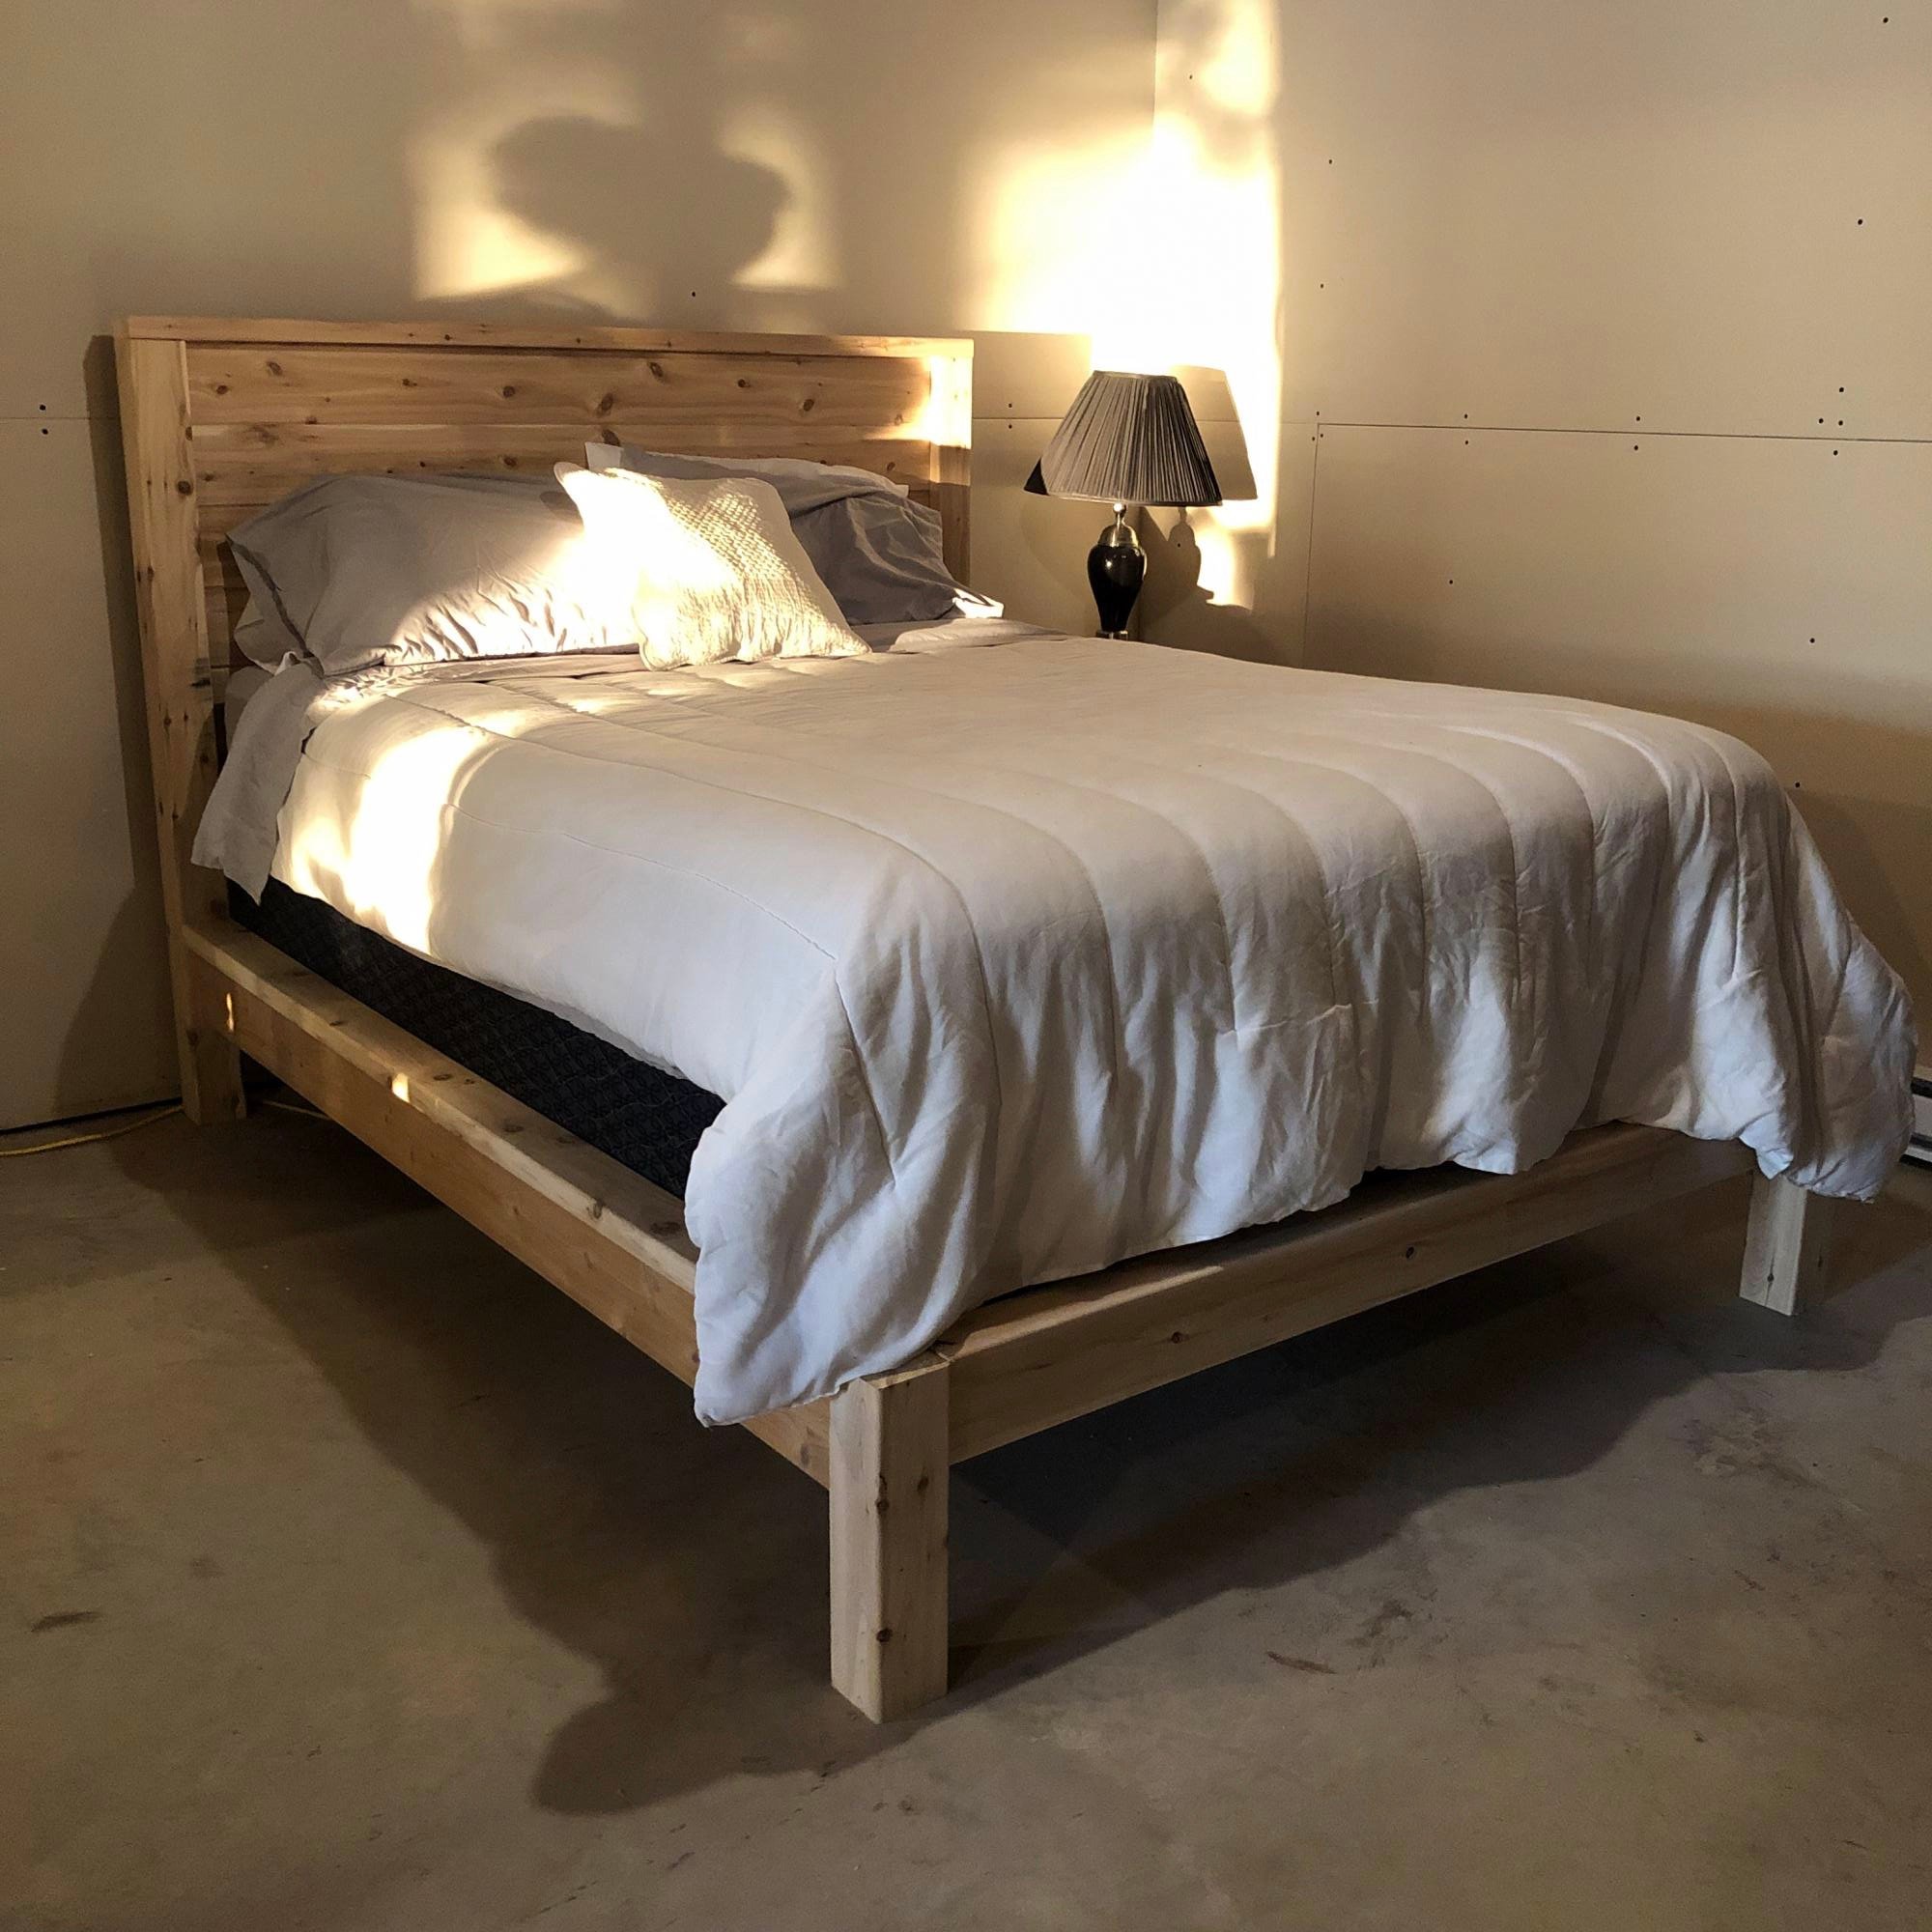
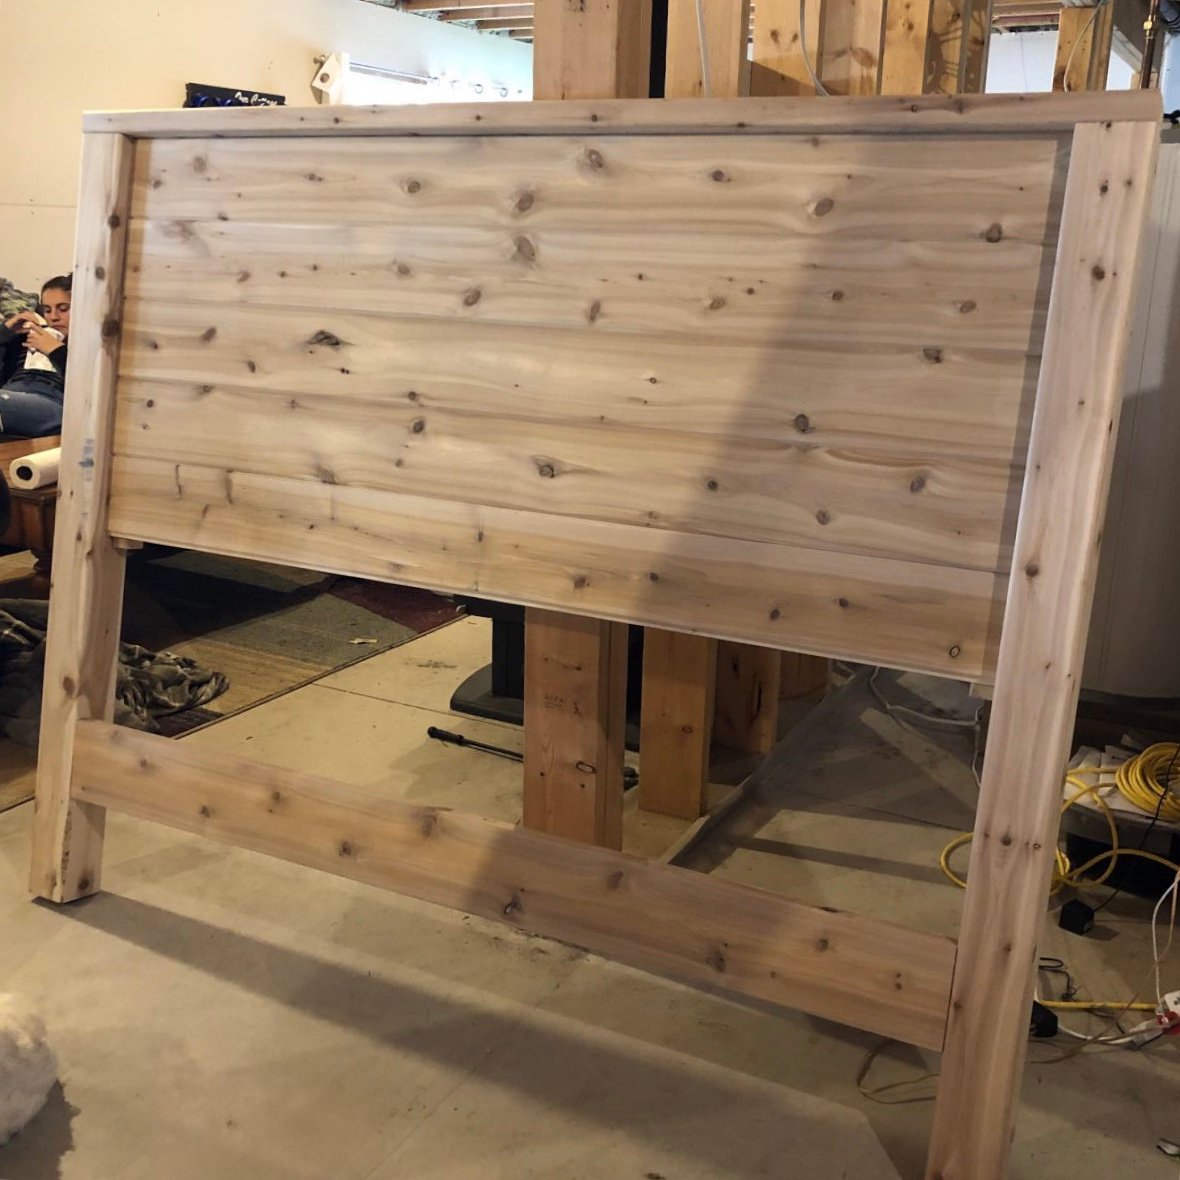
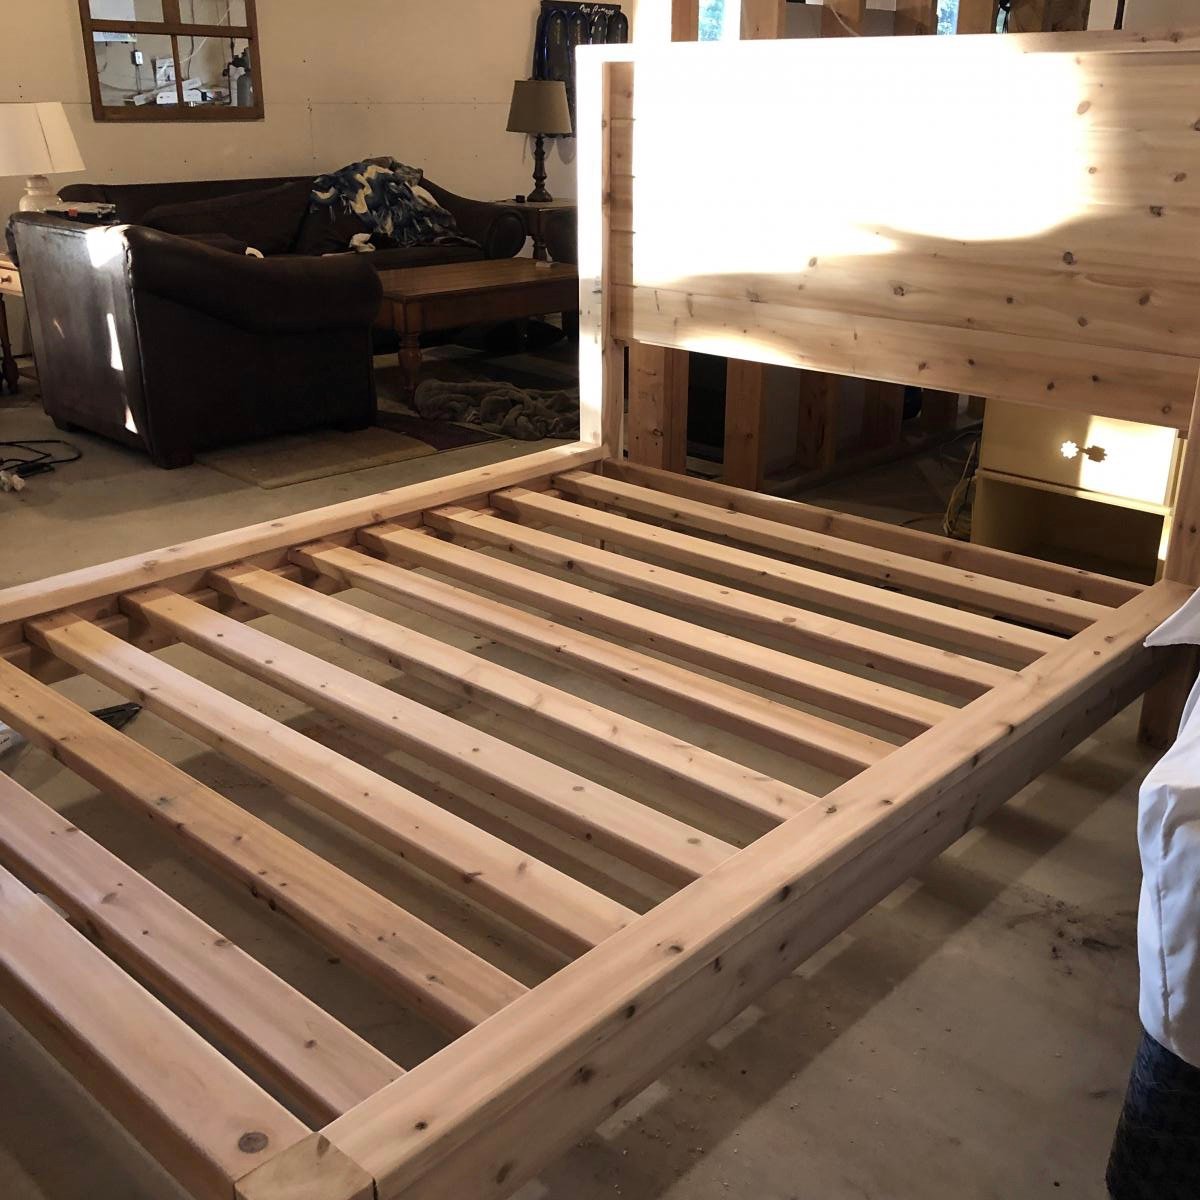
Love this bed so much, we plan to build another 3. Used local white cedar milled just down the road from our cottage.
http://www.ana-white.com/woodworking-projects/modern-farmhouse-bed-frame
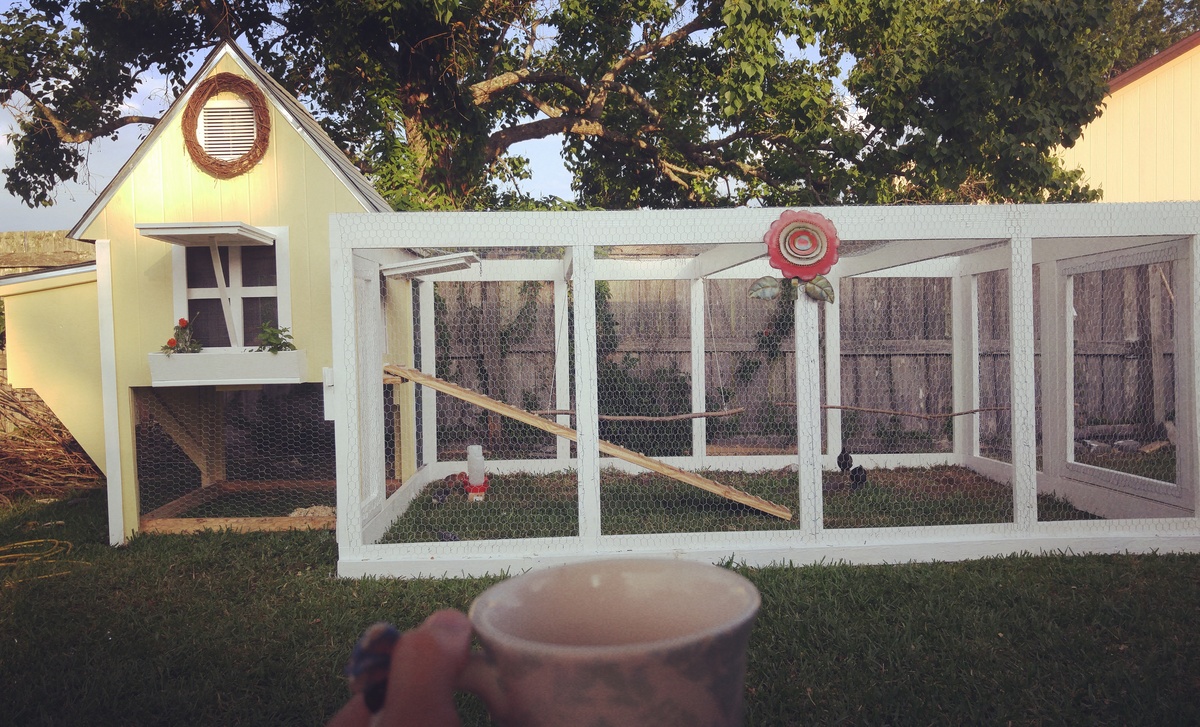
My husband bulky this coop from pallets and used Ana White's chicken run plans. Took us a weekend to build the run.
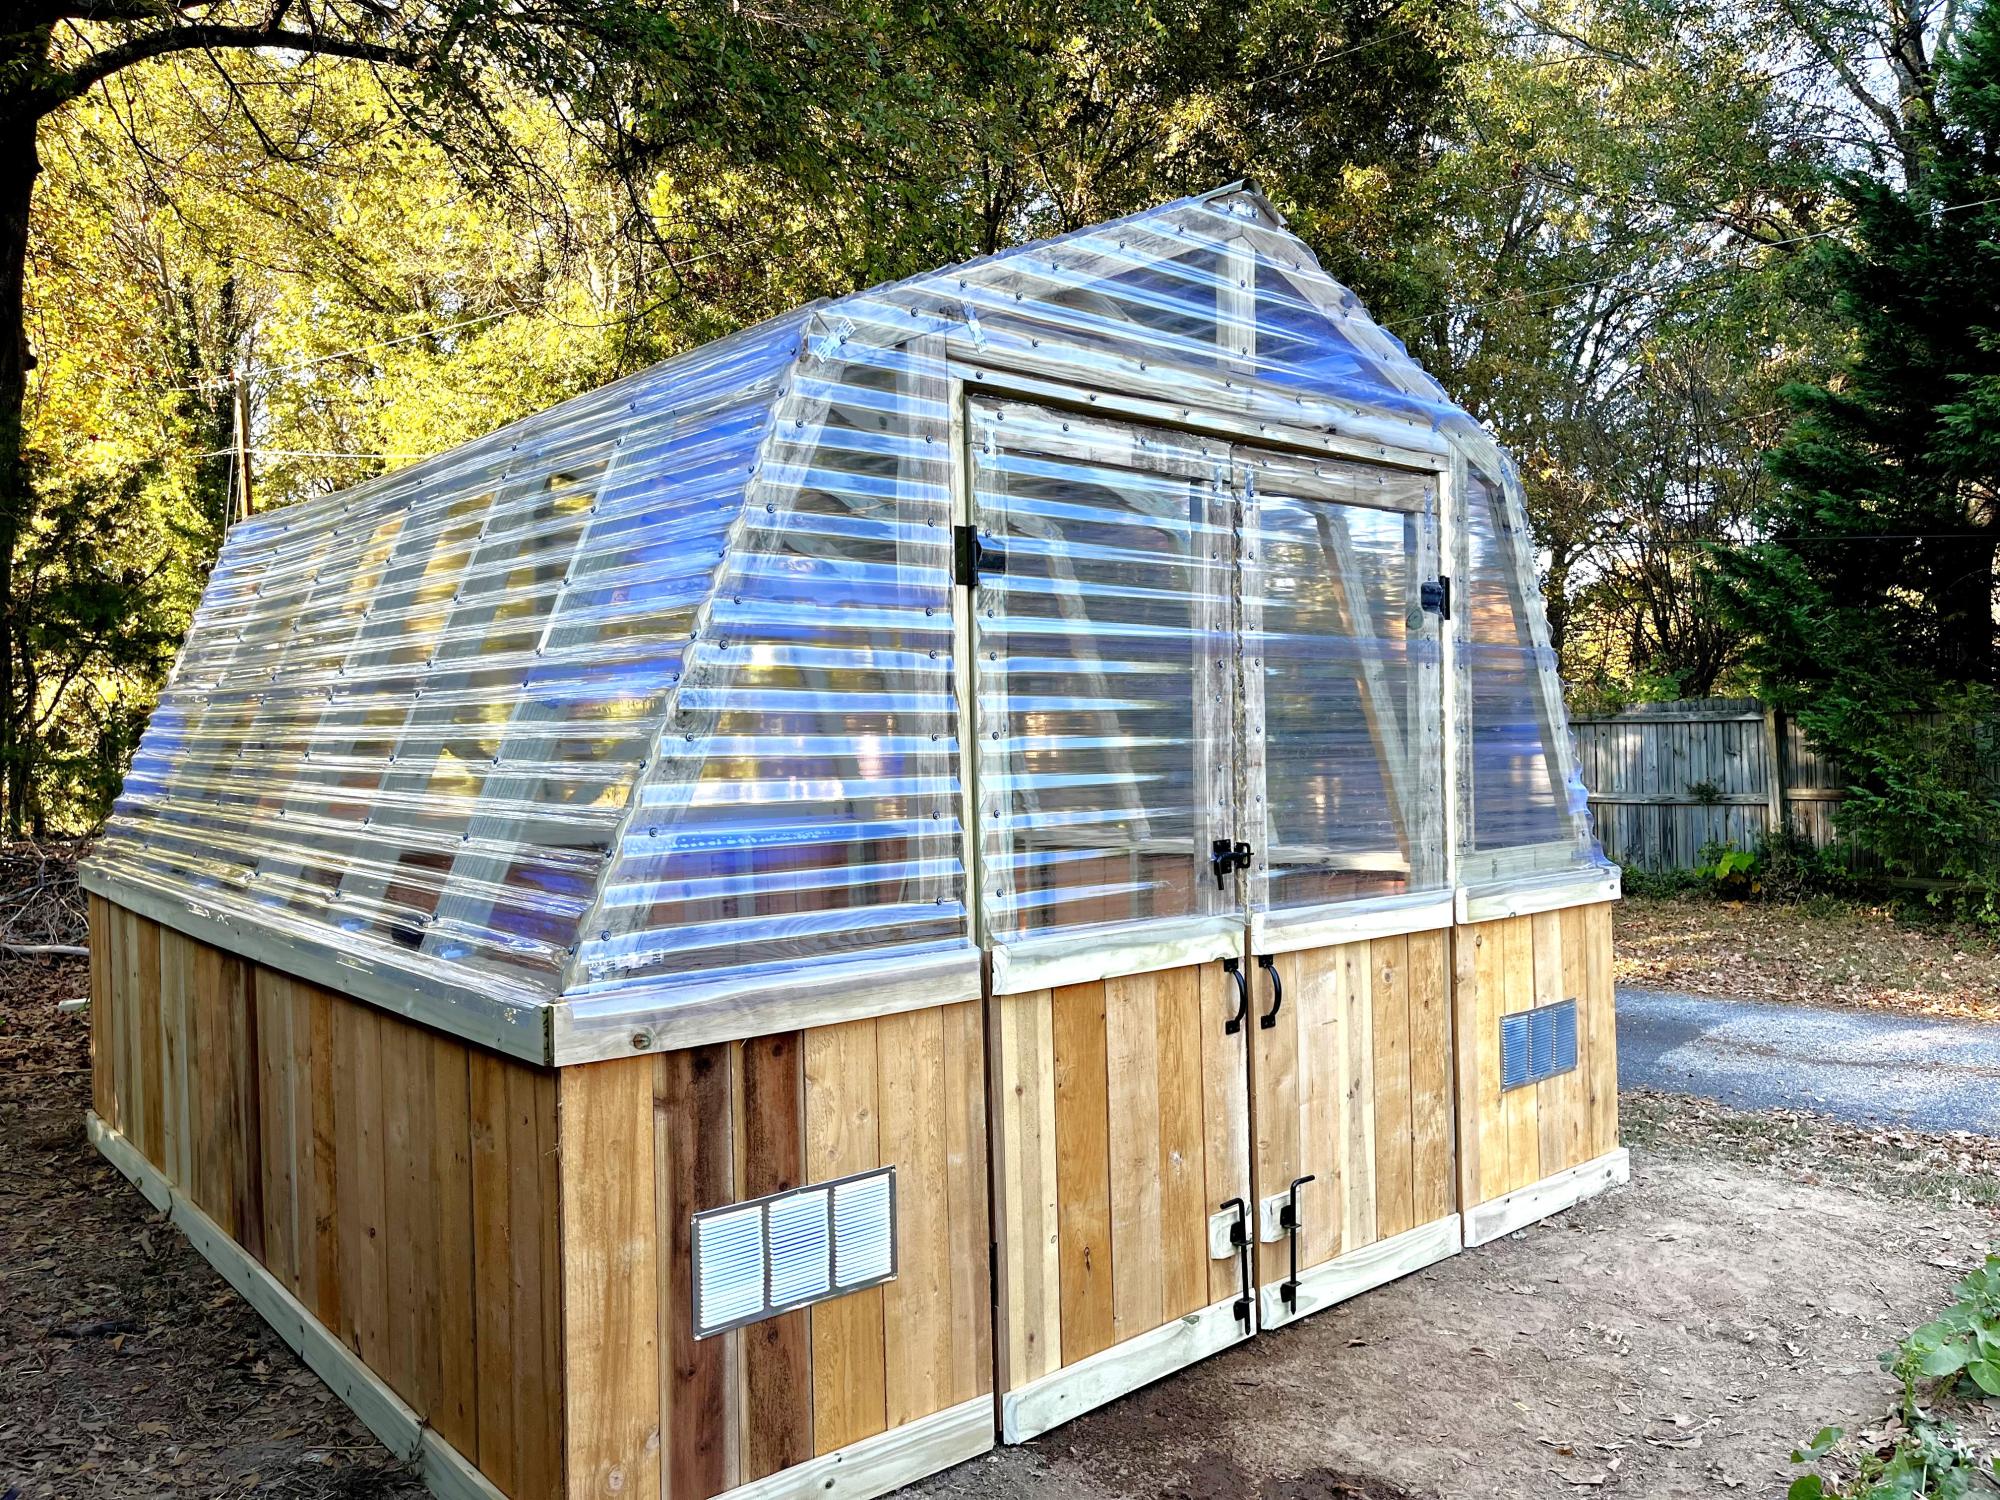
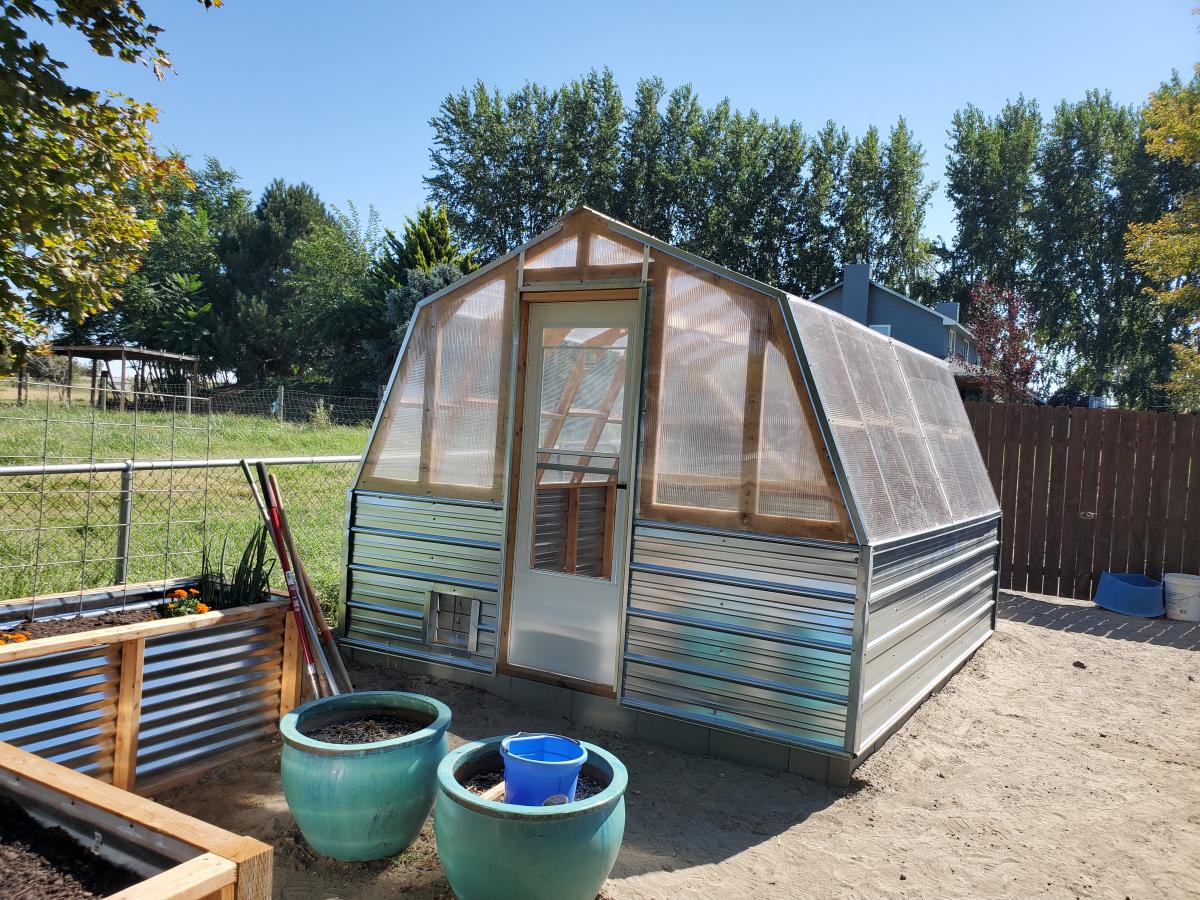
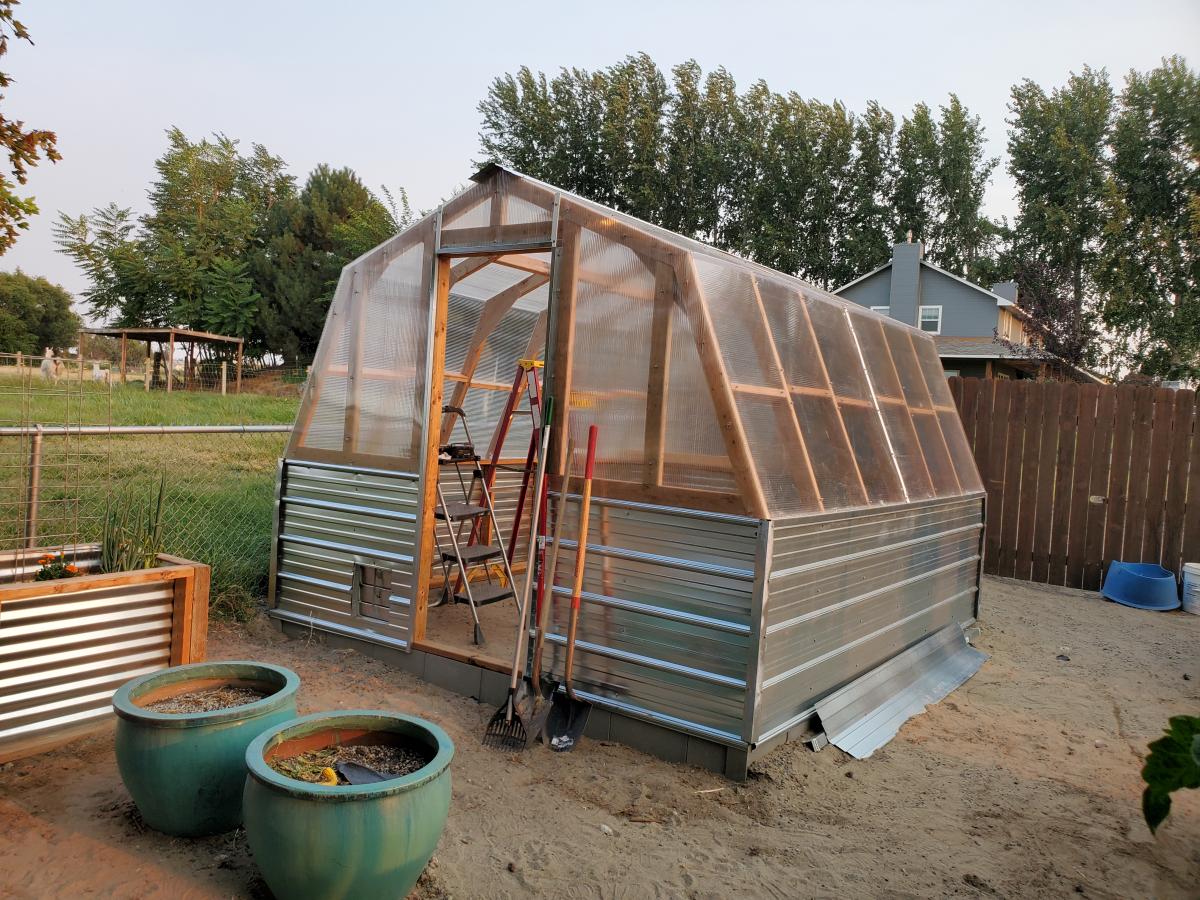
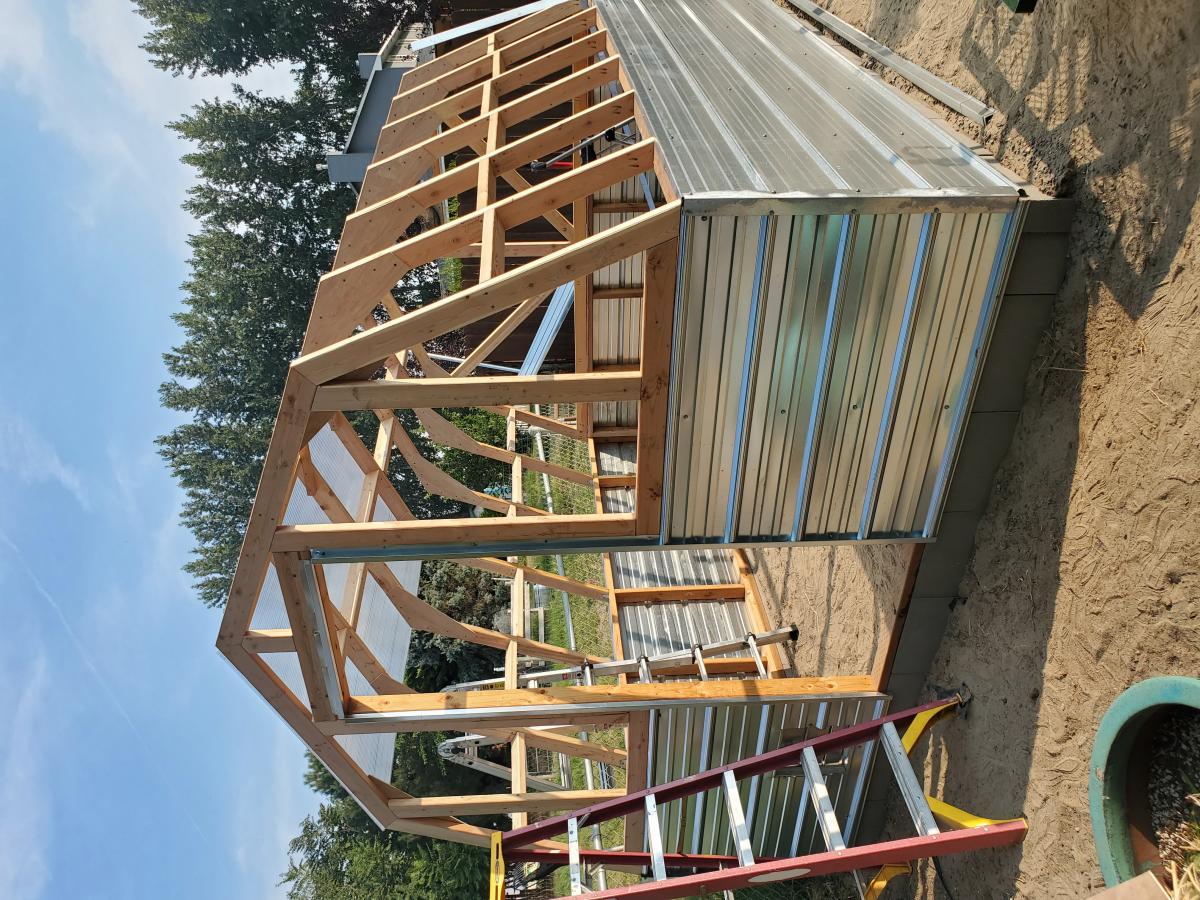
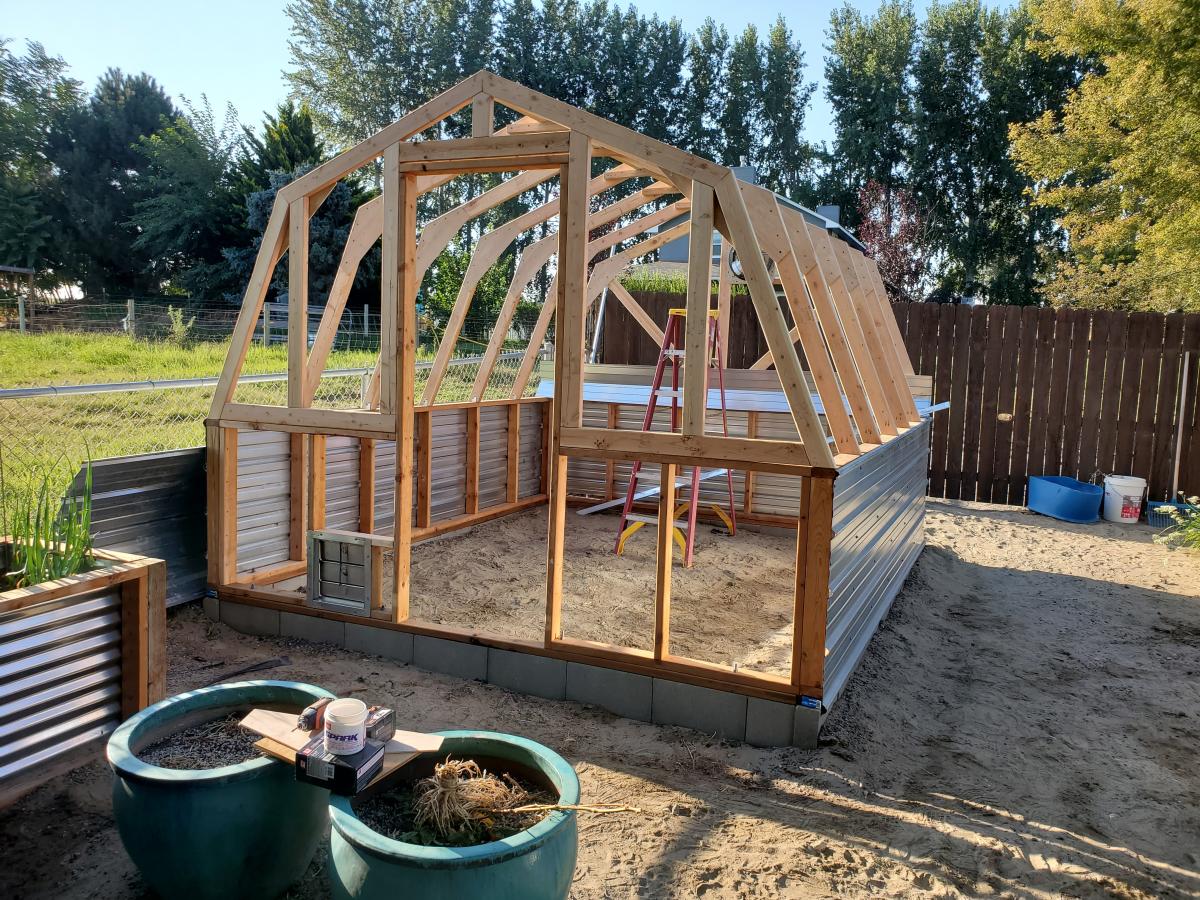
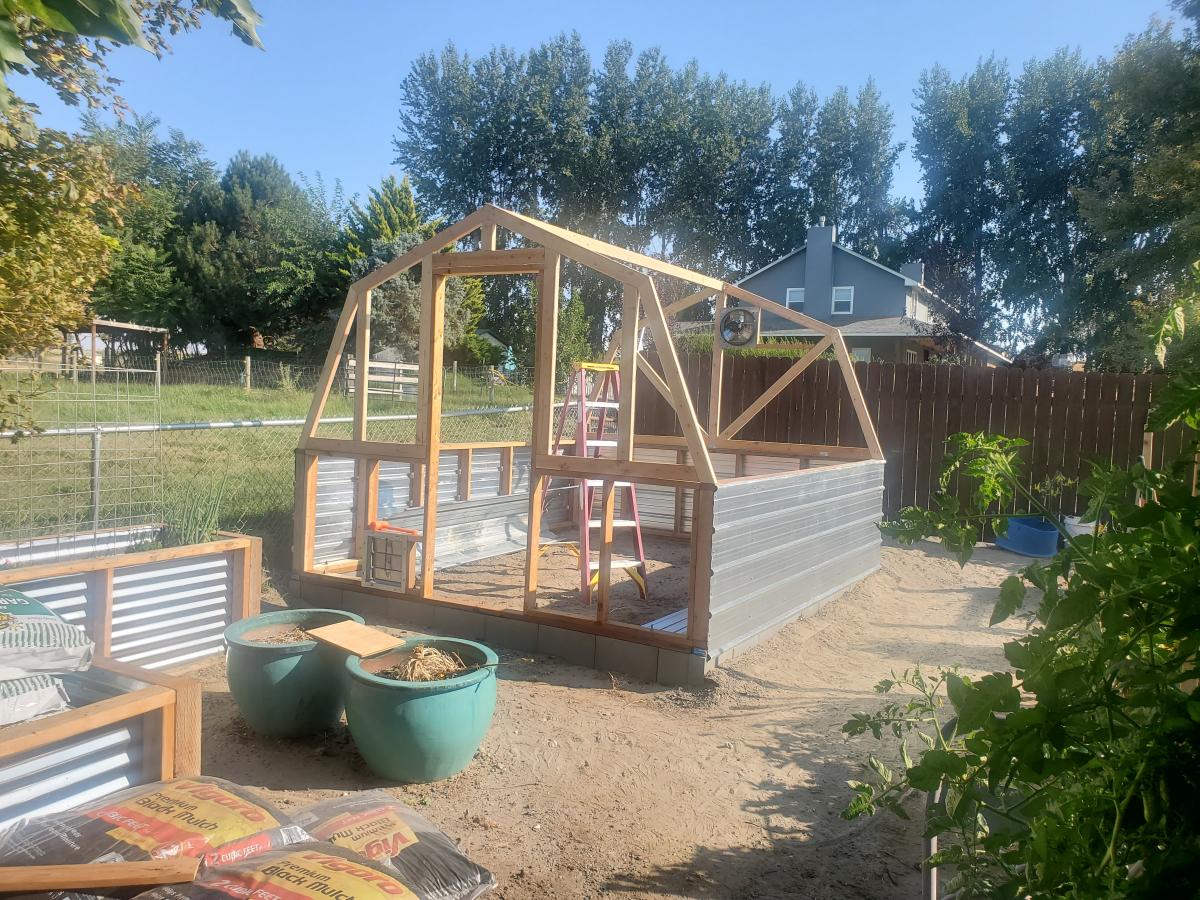
I loved this plan so much but I really wanted double doors so we made a few modifications to fit them. Can’t wait to build out the interior and start growing! Thank you for the amazing plans!
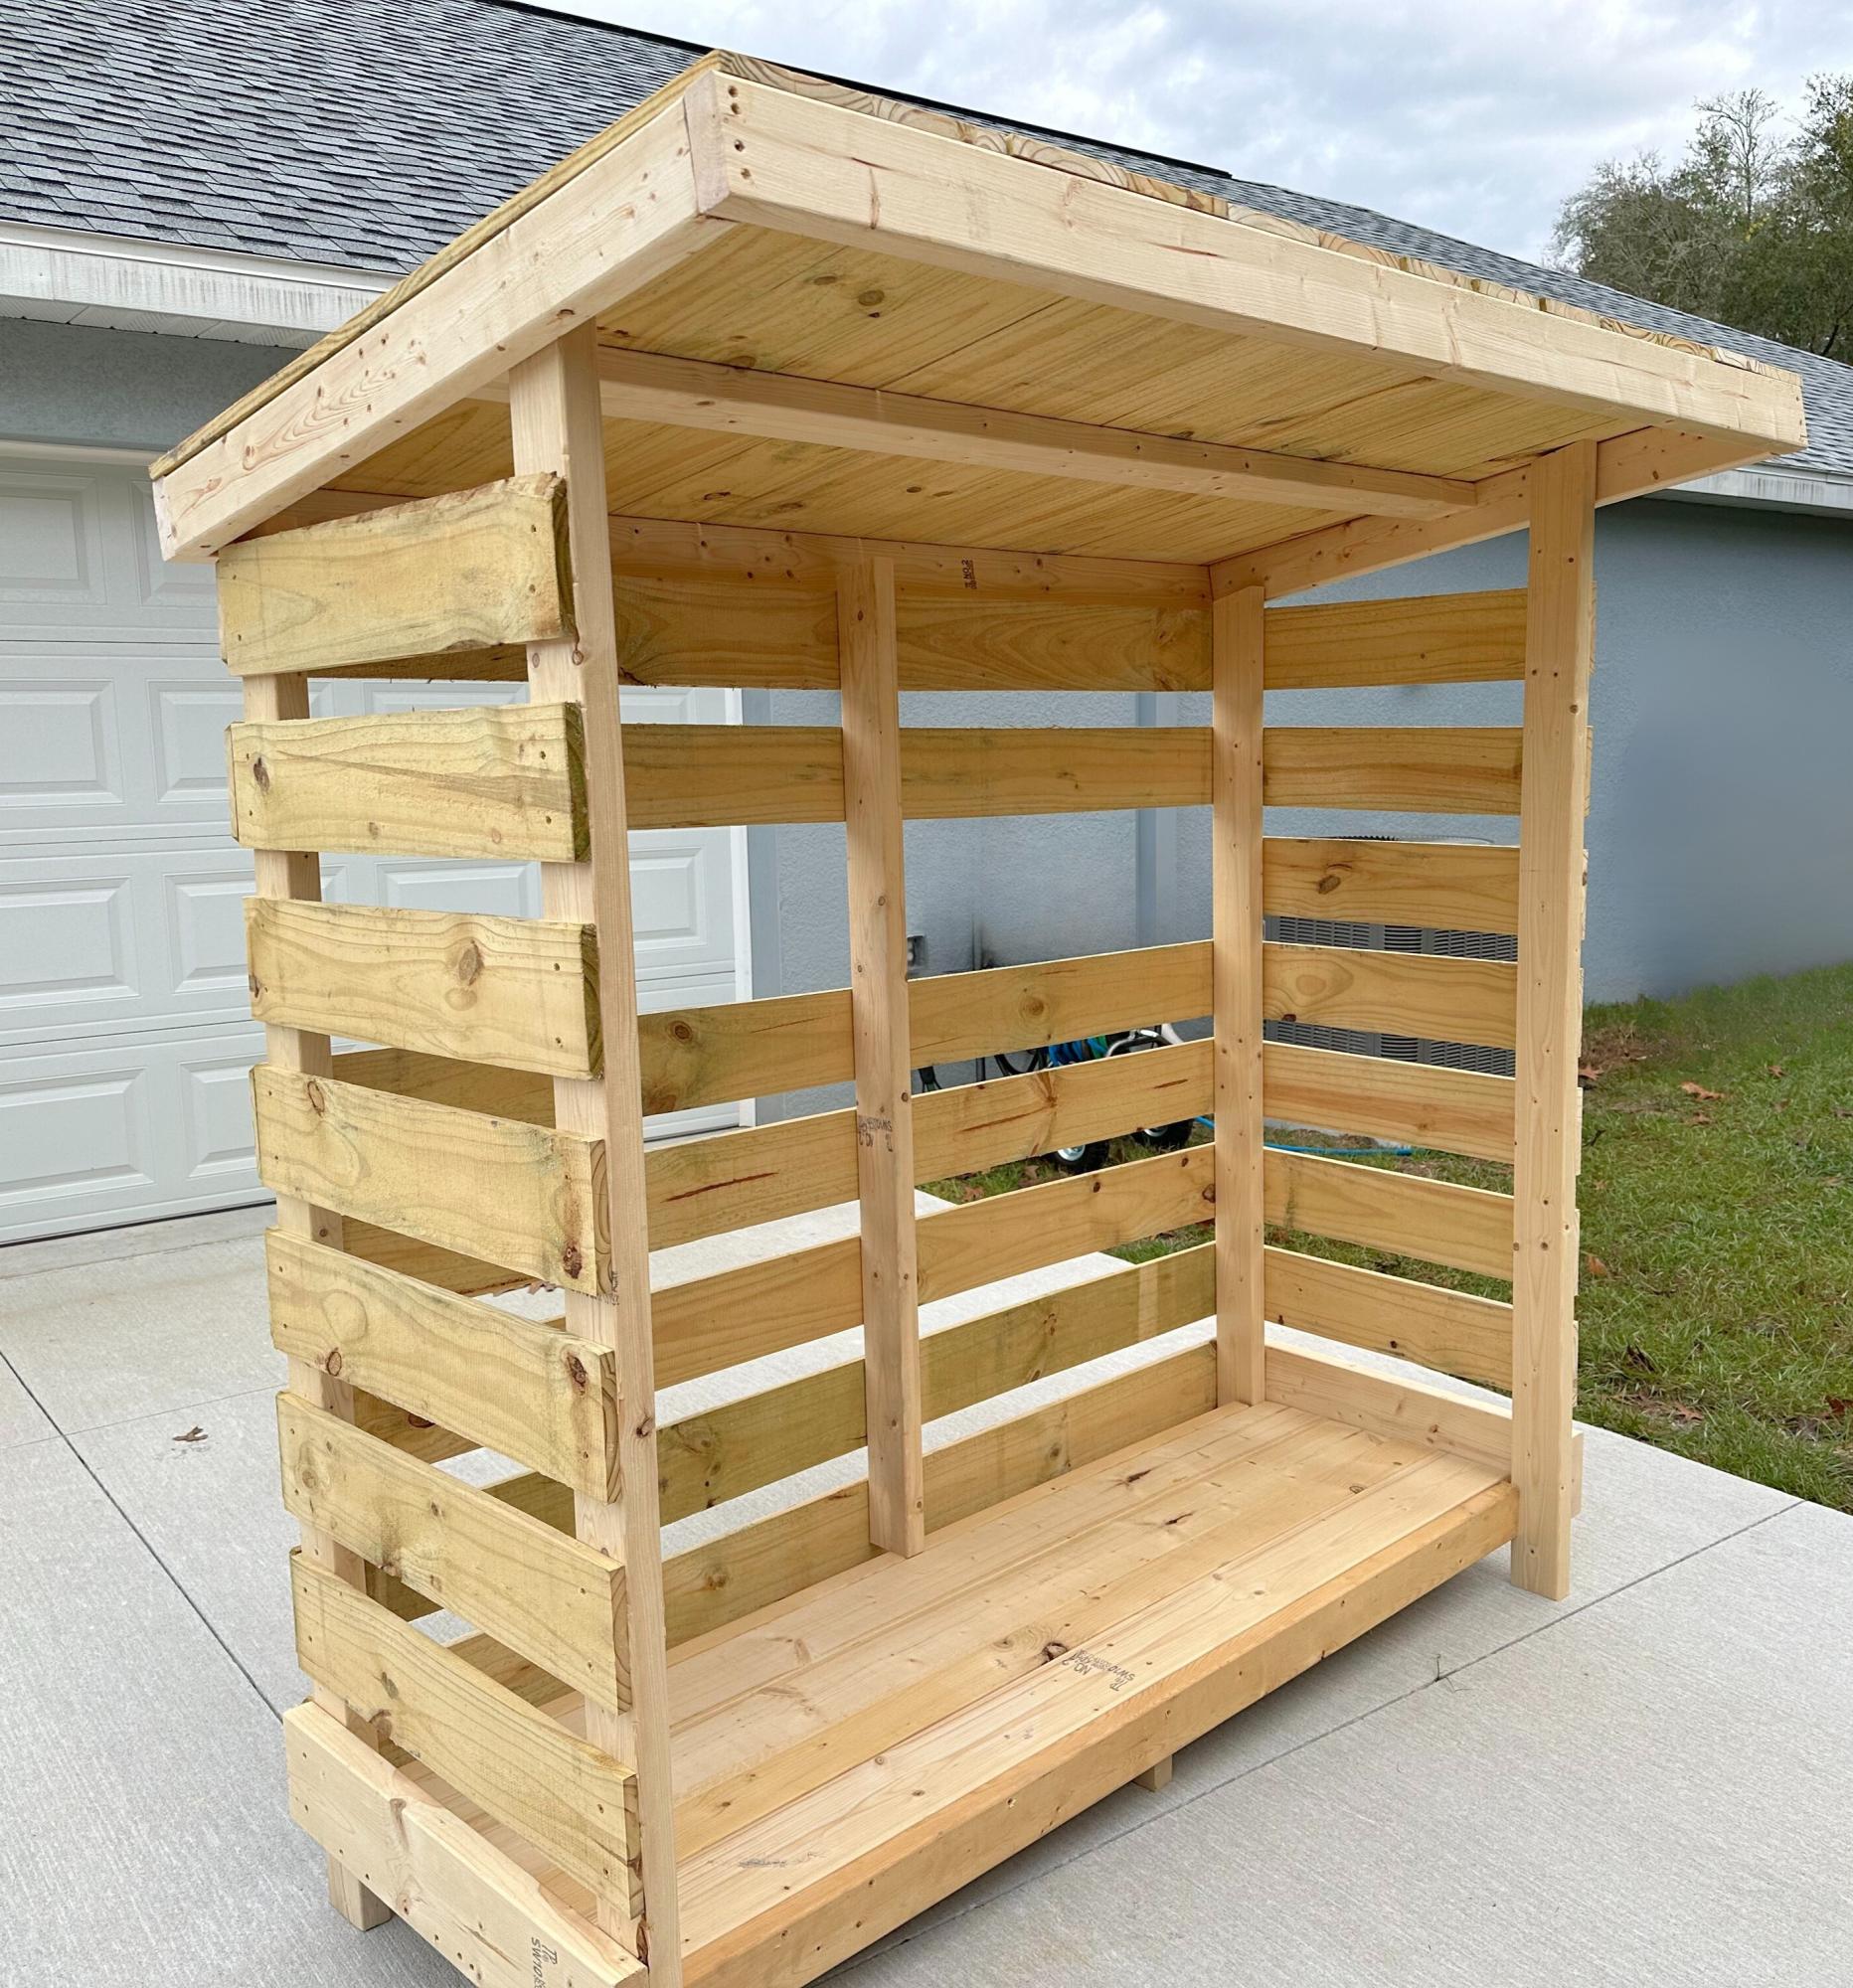
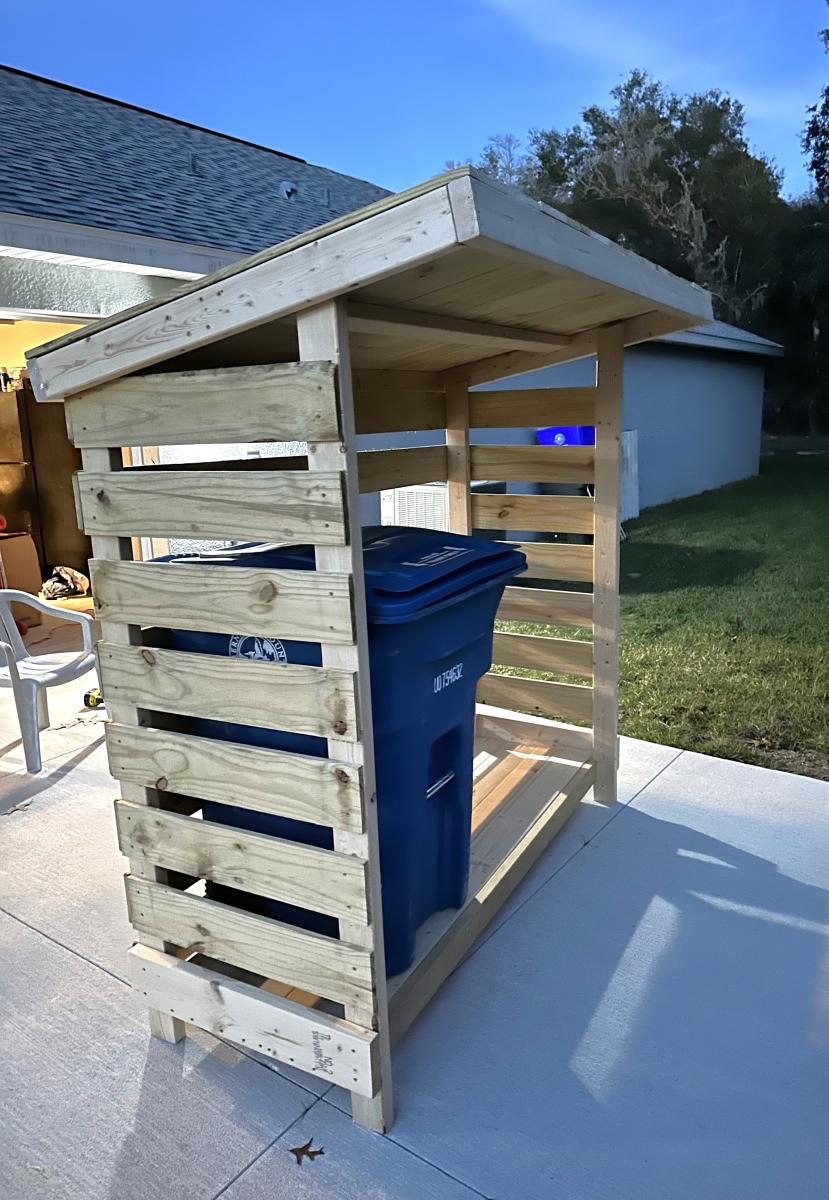
Chose the small firewood shed project as a "template" if you will .. built this to house our garbage cans and eventually put a gate on it to "help deter" the Florida black bears (we do multiple things to keep them at bay) but this will also just be a nicer looking way to keep the cans outside.
I modified the floor since the firewood shed had a floor that was suitable for, well, firewood but not so much for rolling garbage cans. Had to leave the one slat off the back for the depth of the can which I didn't completely account for in the beginning. Overall, still need to paint it and water seal it but happy with how it turned out.
My daughter and my first project .. thank you for the easy plans and YouTube tutorials! Onward and upward ...
Thank you Ana for the great plans! We adapted the project for wood we had on hand. It is only 40 inches wide instead of 42”. Our widest pallet board was only 40”.
Thank you for continuing to inspire us! We made two couches a couple of months ago. Great plans!


This is a wishing well I made for my sister for her wedding. It will be used during the wedding for people to drop "wish you well" cards into and afterward she can use it as a planter in her yard.
I followed ideas from multiple plans here on Ana-White.com, but I didn't follow any specific plan. Mostly I followed tips and instructions for cutting angles, drilling pocket holes and some finishing tips. This is the first "big" project I've done and I"m quite proud of it.
With everything, it measures 44.5 inches high. The well measures 21 inches across and 15 inches high. The roof measures 22.75 inches by 23.75 inches.
I hope y'all like it. I worked hard on this! :)
Thank you, Ana and everyone who contributes to this site. It's been so much fun and I've got lots of ideas for more stuff. If I was any good at all at Google Sketchup I'd put up the plans but I'm not. If anyone could help me with that, that would great. :)
Have a great day!


Mon, 07/21/2014 - 20:04
Anyway you can please tell me the angle for the boards ont the walls. I reallly like your well, and would like to build this for my wife but im not sure on what angles to use thank you

In reply to wishing well by bellows86
Sun, 07/10/2016 - 17:10
The 8 sided wishing well is going to be 22.5 degrees all the way around. hopes this helps
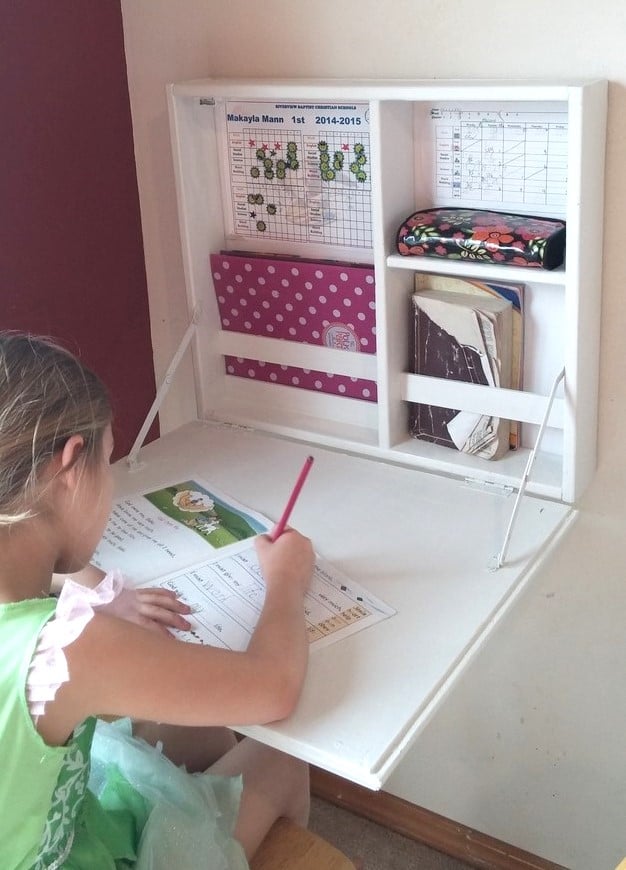
This was just what I needed! My daughter started homeschooling and we needed a place to neatlly contain her school stuff. I had her working at the kitchen table next to me, but it still felt like it lacked the school atomosphere. I removed the area for the paper holder and instead added a few support scraps to hold her folders and books upright.
It did take me awhile to get the support hinges placed correctly (I almost gave up and went with a rope or chain) but I finally got them placed correctly after placing a pencil mark on where they could lie correctly open and closed - seriously this took me awhile because just when I thought I had it, the brackets when closed would be to deep for the desk or when I placed it it correctly inside when open it wasn't 90 degrees.
The only thing I wish was that I had made it slightly shorter, because when it is open it is a little hard for her to reach the top shelf, but its not to bad and that is the height my scrap bead board was and I was to lazy to cut it =)
I had a magnetic clasp left over from another project and that has worked well to keep it closed nice and tight, I also used some foam board I had lying around for the back so that her things were not tapped/pinned on my wall. I choose the bead board on the front because A: it is what I had lying around and B: it is in my dining room so I wanted it looking a little nicer.
I had everything on hand excpet for the support brackets which cost me 2 something each at Lowes. YAY for projects under $10 bucks! Thank you so much Ana!


Thu, 08/15/2019 - 12:45
What a beautiful desk! I'm so glad you got the brackets to work, they look awesome!
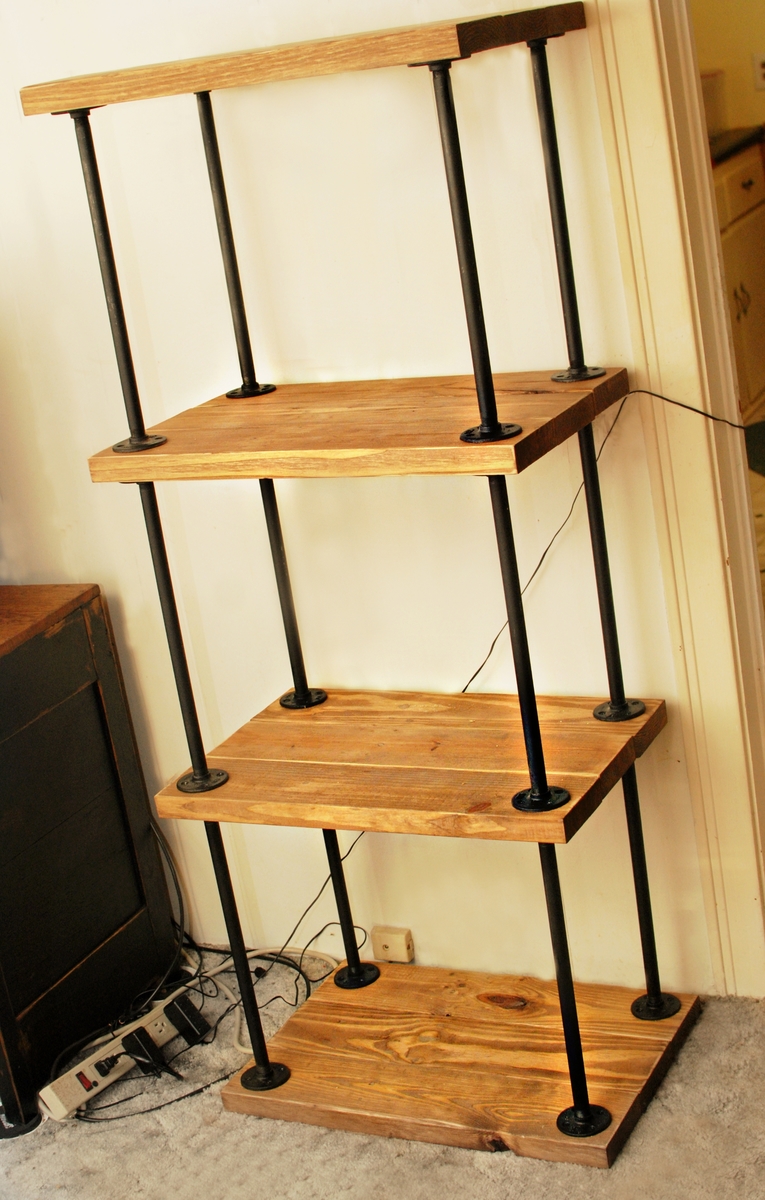
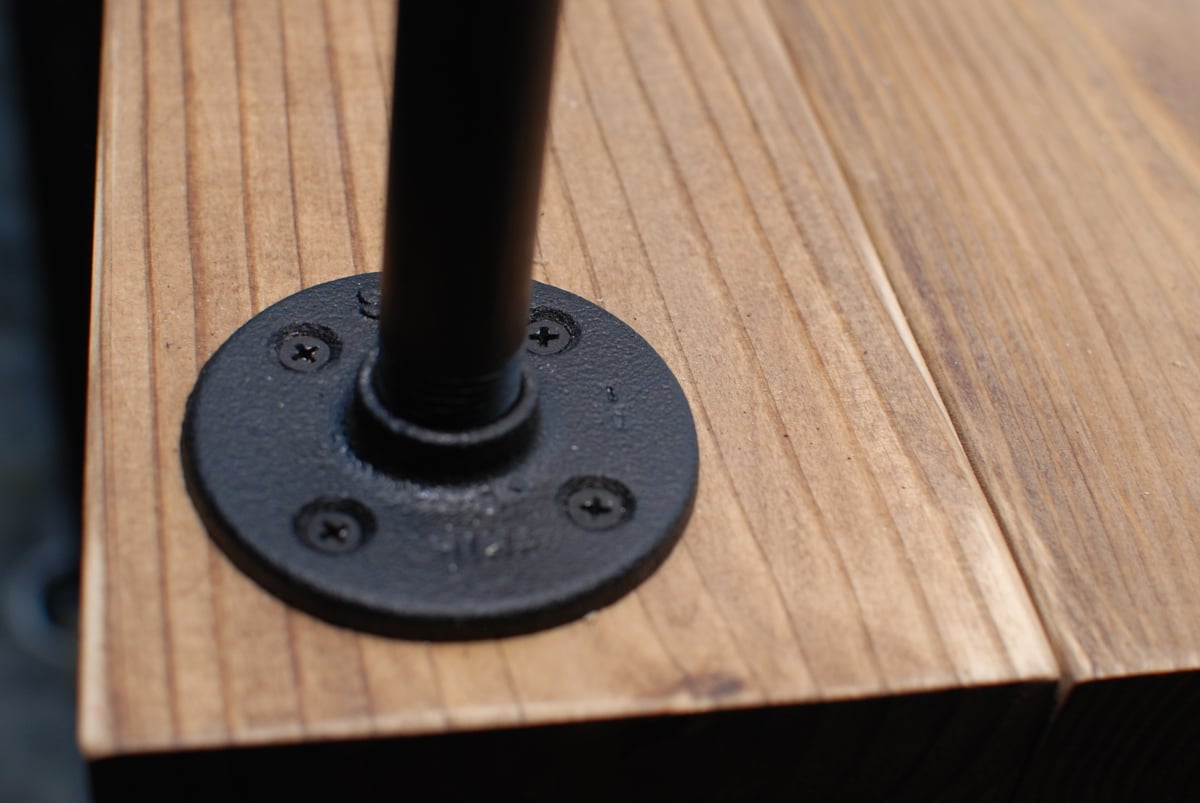
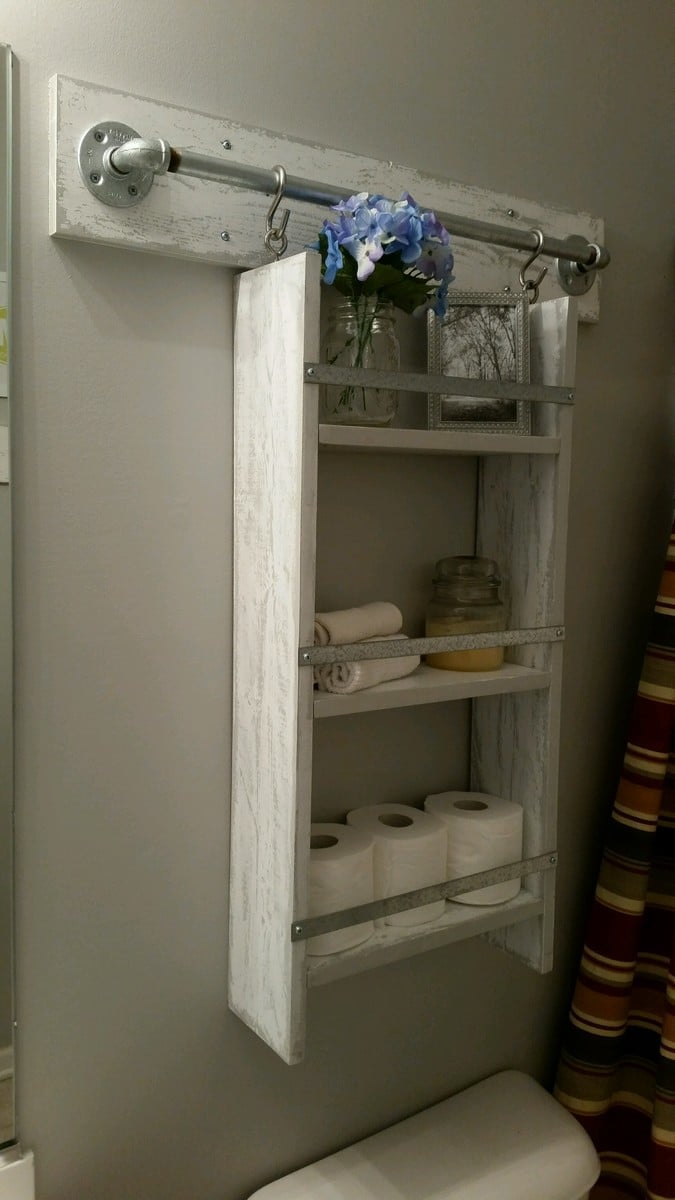
1/2 ' x 18" black pipe was used along with 1/2 ' flanges. The wood was re-purposed 2x6' pine lumber that had been used for pallets, that would have been thrown away. The boards were joined with a Kreg Jig, It will house my stereo components.

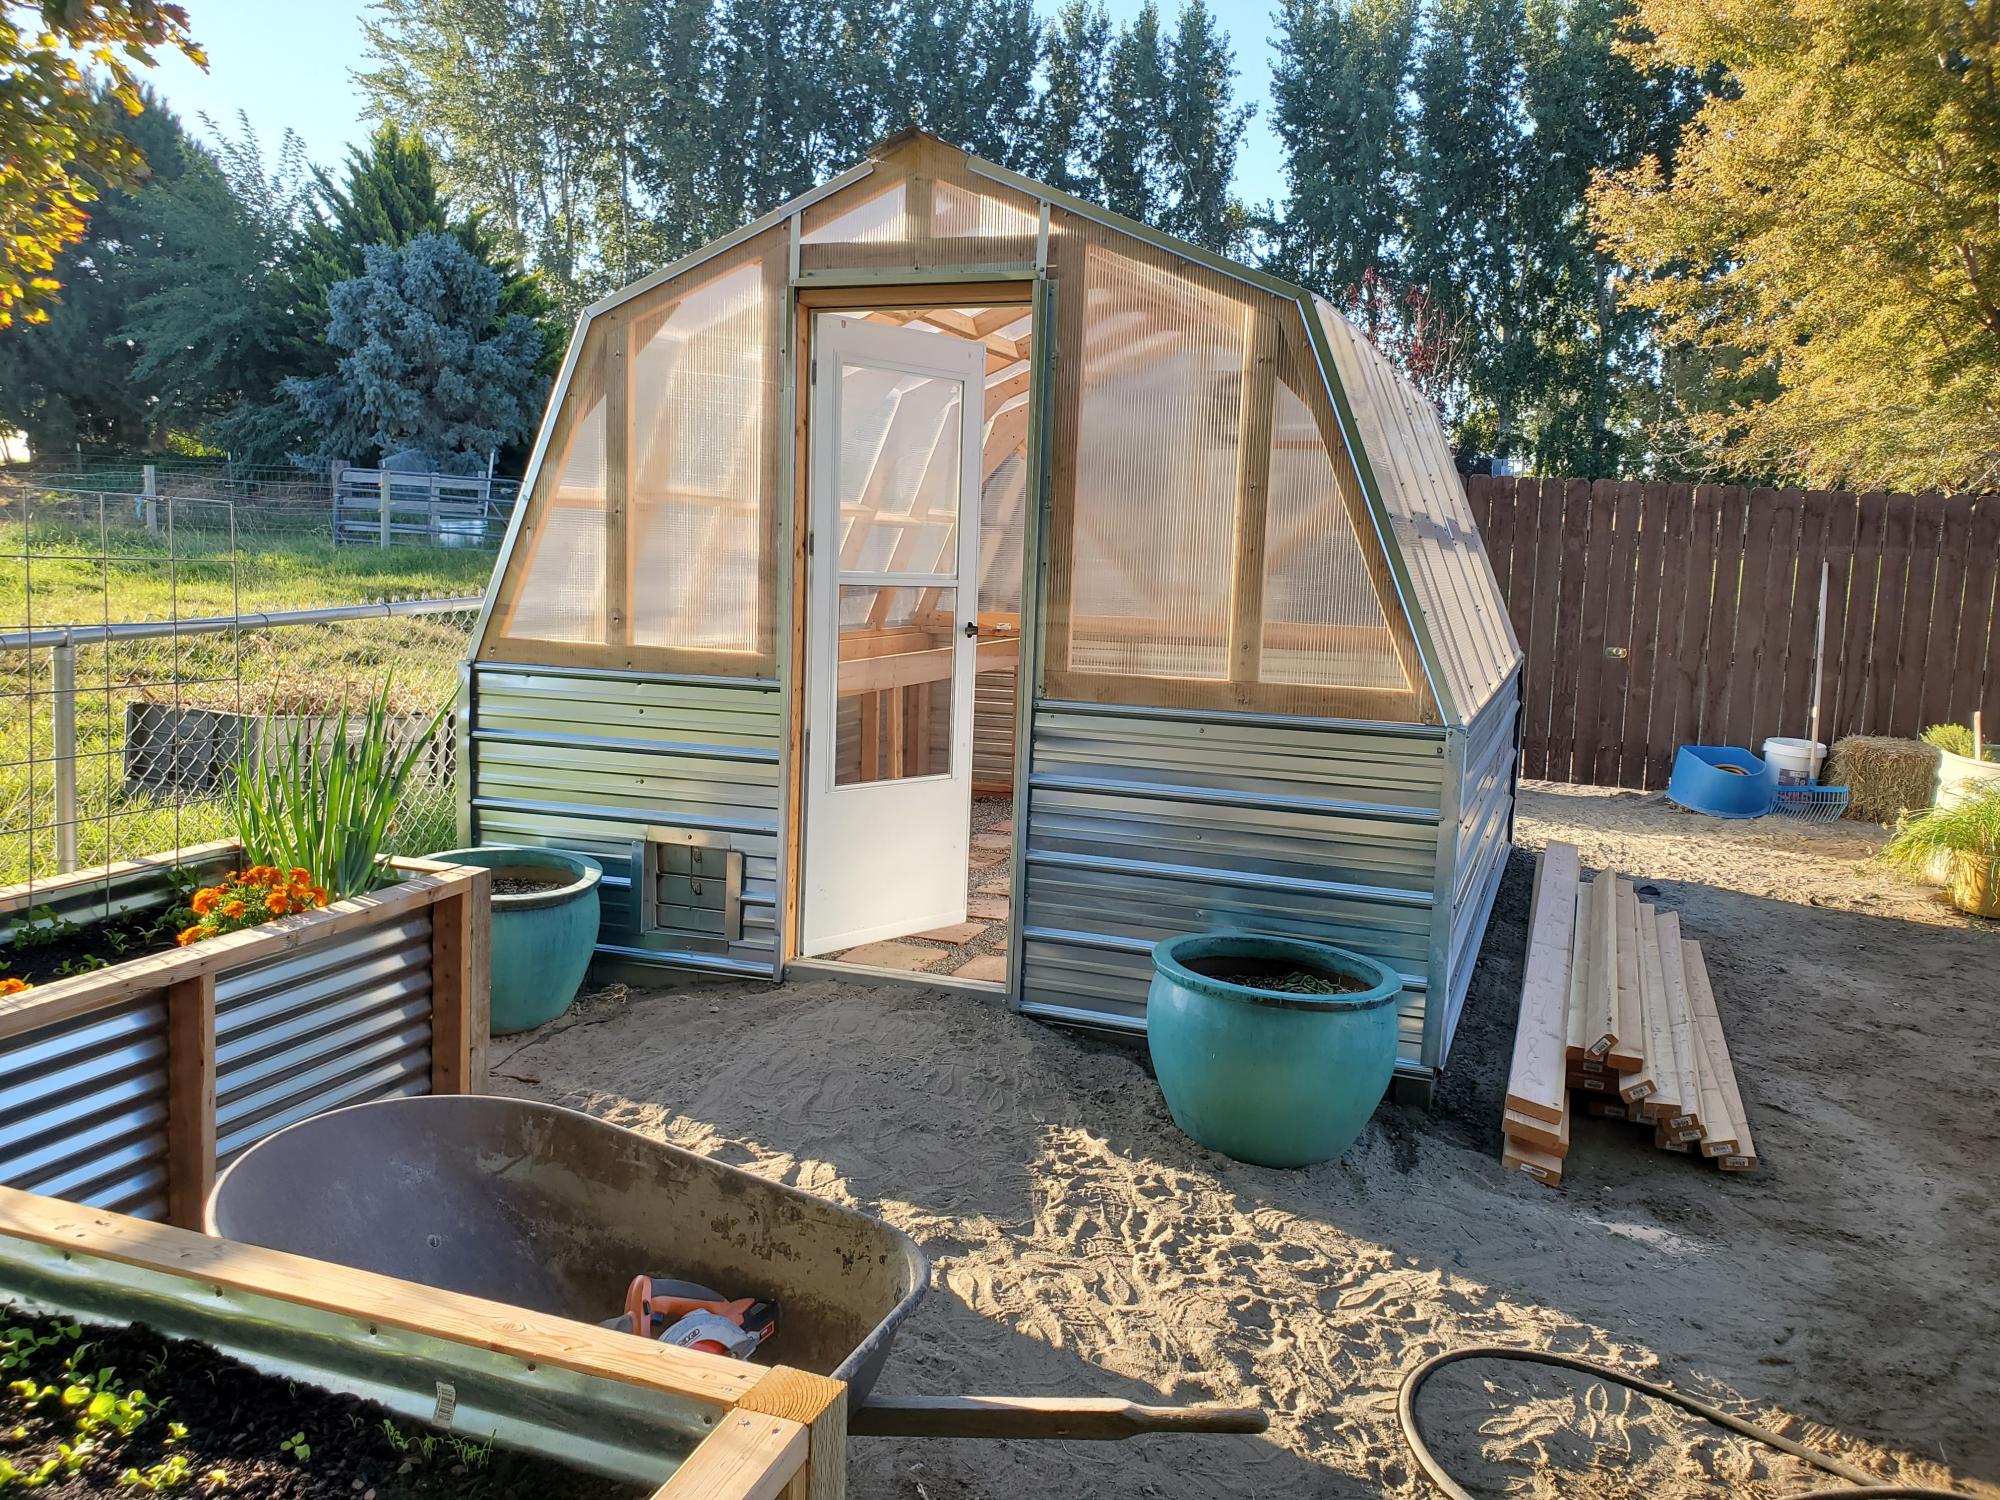
My wife and I built your green house! It is turning out awesome! I just want to take the time to say thank you for the plans. You are a great designer and generous with your sharing.
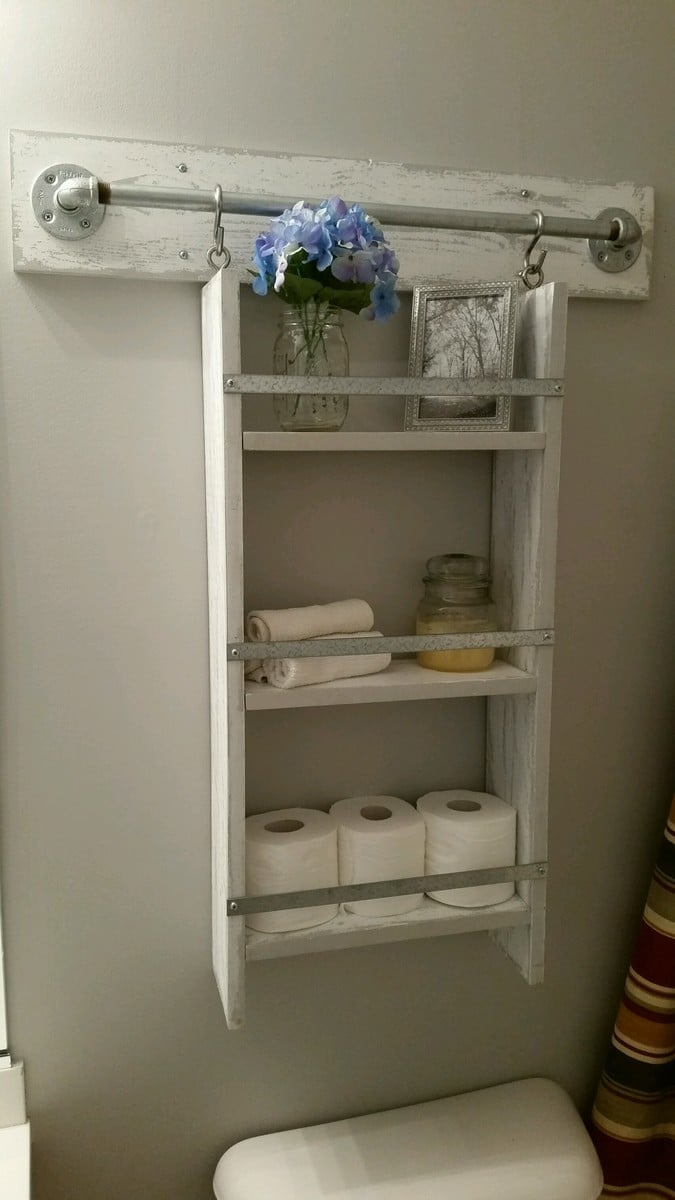
This was a very fun project to build. I pretty much followed the directions that were posted, but I used 1x6's instead of 1x4's because I wanted more storage space on the shelves. I also used 1/2" iron piping instead of 3/4" and am happy with how it turned out. Since the guest bathroom is gray, we didn't want to stain the wood and chose to do an easy to do "weathered" (directions below) look. Now all we need to do is replace the ugly shower curtain!
Wed, 03/30/2016 - 06:41
Love the weathered/distressed look you did. Can you share your technique for the paint job?
Sun, 10/30/2016 - 19:55
Love this! What is the length of the iron pipe and also the board that's mounted to the wall? Do you remember what color gray you used?
Tue, 02/07/2017 - 21:31
What is the measurements for the metal pipe and also the board itsbibe.

Built in bookcase with lighting and power outlets in cupboards for audio and DVD equipment to feed to the wall mounted tv (to the left).
The photo with the lights is when it was unfinished and I also decided that I didn't like the inset doors and so made new overlay ones. Now I have four doors I need to use on another project...


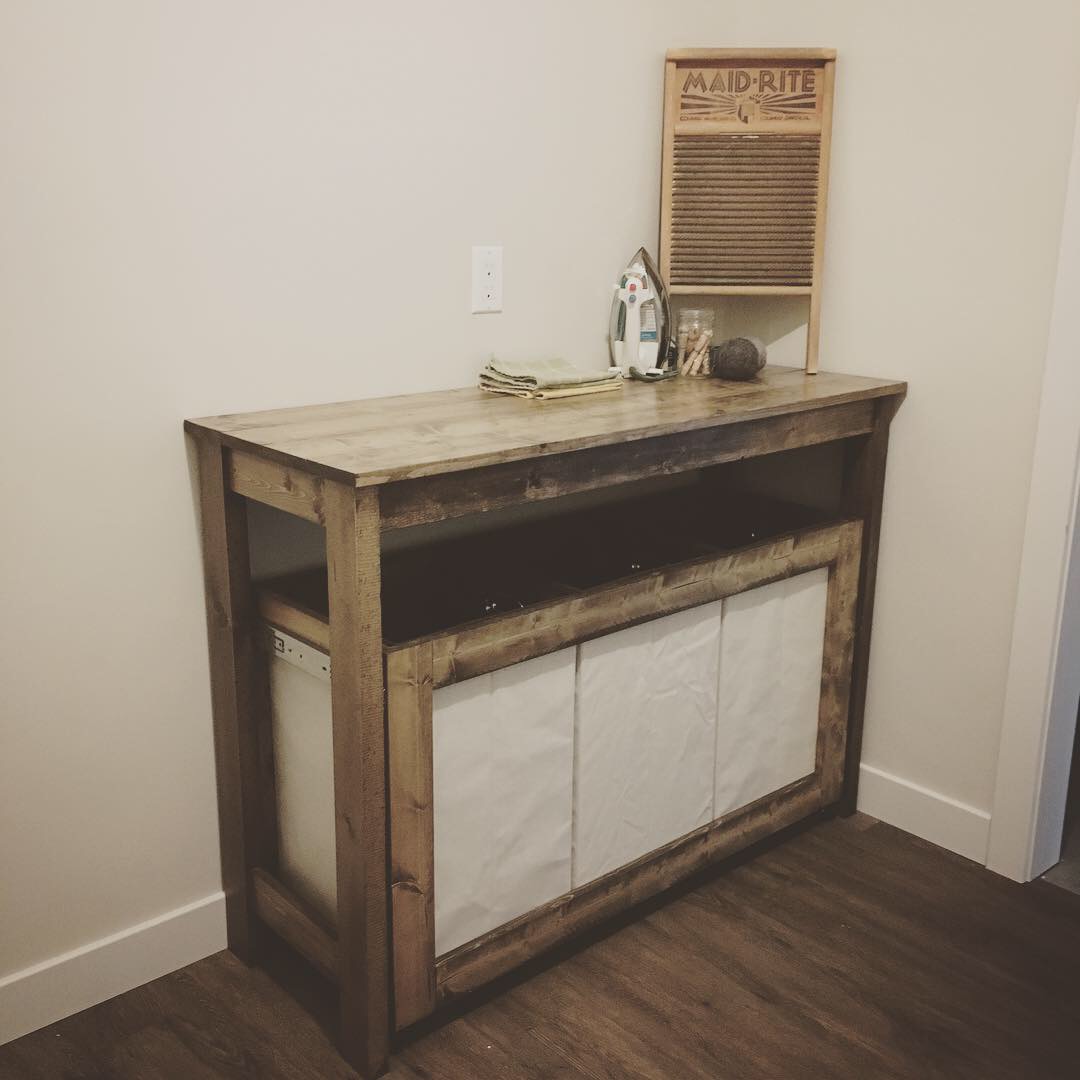
This plan was a lot of fun!! I have been wanting a laundry sorter for some time now and this one fits in my laundry room perfectly!!
The pull out works awesome!!


I made this bed for my 6 year old daughter. I loved Anna's Loft Bed plans, but she wanted a bigger play area underneath. So I modified the twin loft bed plans to fit a queen mattress. I also added extra supports for the mattress, and I used PureBond plywood on top of the supports for the mattress to sit on.
That's the Farmhouse Toddler Bed underneath. My younger daughter inherited her big sister's twin bed, so the toddler bed was put to use in the new "playhouse."

Wed, 02/09/2022 - 15:31
We’ve been looking for exactly this!! Can you share your modified plans and the list of lumber and supplies needed?
Sun, 09/02/2012 - 12:45
I think it's great that you modified it to a queen! I live a studio and NEED something like this. Could you share the modifications? It looks beautiful = )
Sun, 09/02/2012 - 20:58
The changes I made were:
End planks cut to 63"
Top back guard and front and back rails cut to 87"
The top guard rails on ends cut to 66"
I measured for the mattress supports and the front guard rail after the rest was completed.
You should also measure for the bookcases after the rest is completed, but each of mine wound up being about 31" wide.
Everything else was pretty much the same.
Hope that helps.
Thu, 11/01/2012 - 08:24
This is wonderful - I've been looking to make something like this for an urban efficiency (adult) apartment! Thanks so much for sharing your modifications!
Mon, 07/29/2013 - 14:08
Will the height of the bed allow for adults to stand under it? If not what modifications should be made to make the height fit a standing adult? (the highest being 6'1" male) Thanks! =D
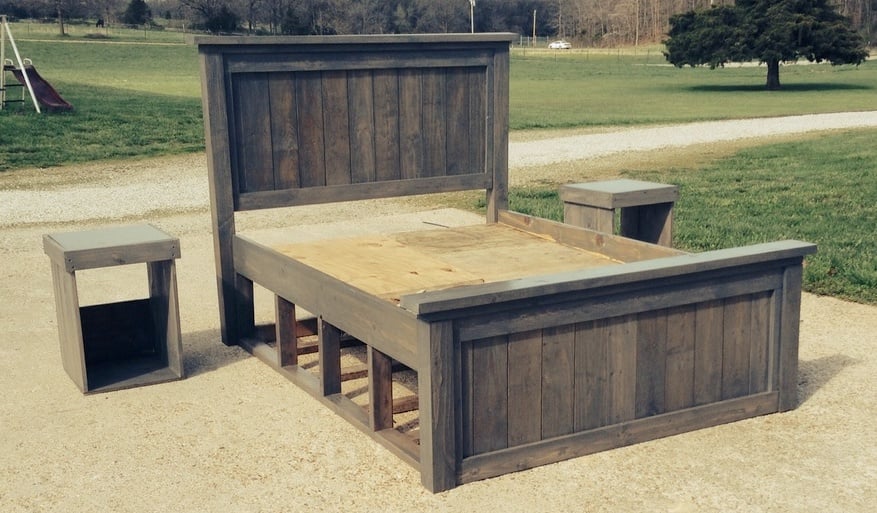
Started with the farm house queen bed and changed the plans. I made the head/footboards 3 inches taller and took the panelling on the footboard all the way to the floor. I made storage underneath the bed and night stands. I'm using old apple crates for the storage. I made the night stands with the crate in it too to match the bed. I used a single piece of 18x18 ceramic tile for the top of the nightstand. The set is stained Minwax classic grey. I used a mixture of wood. Oak and pine, surprisingly it stained good and matched up. The crates aren't in the pictures yet. We have an older house with small rooms so the storage is perfect. The grey finish looks good for the old wood look with newer wood used