Community Brag Posts

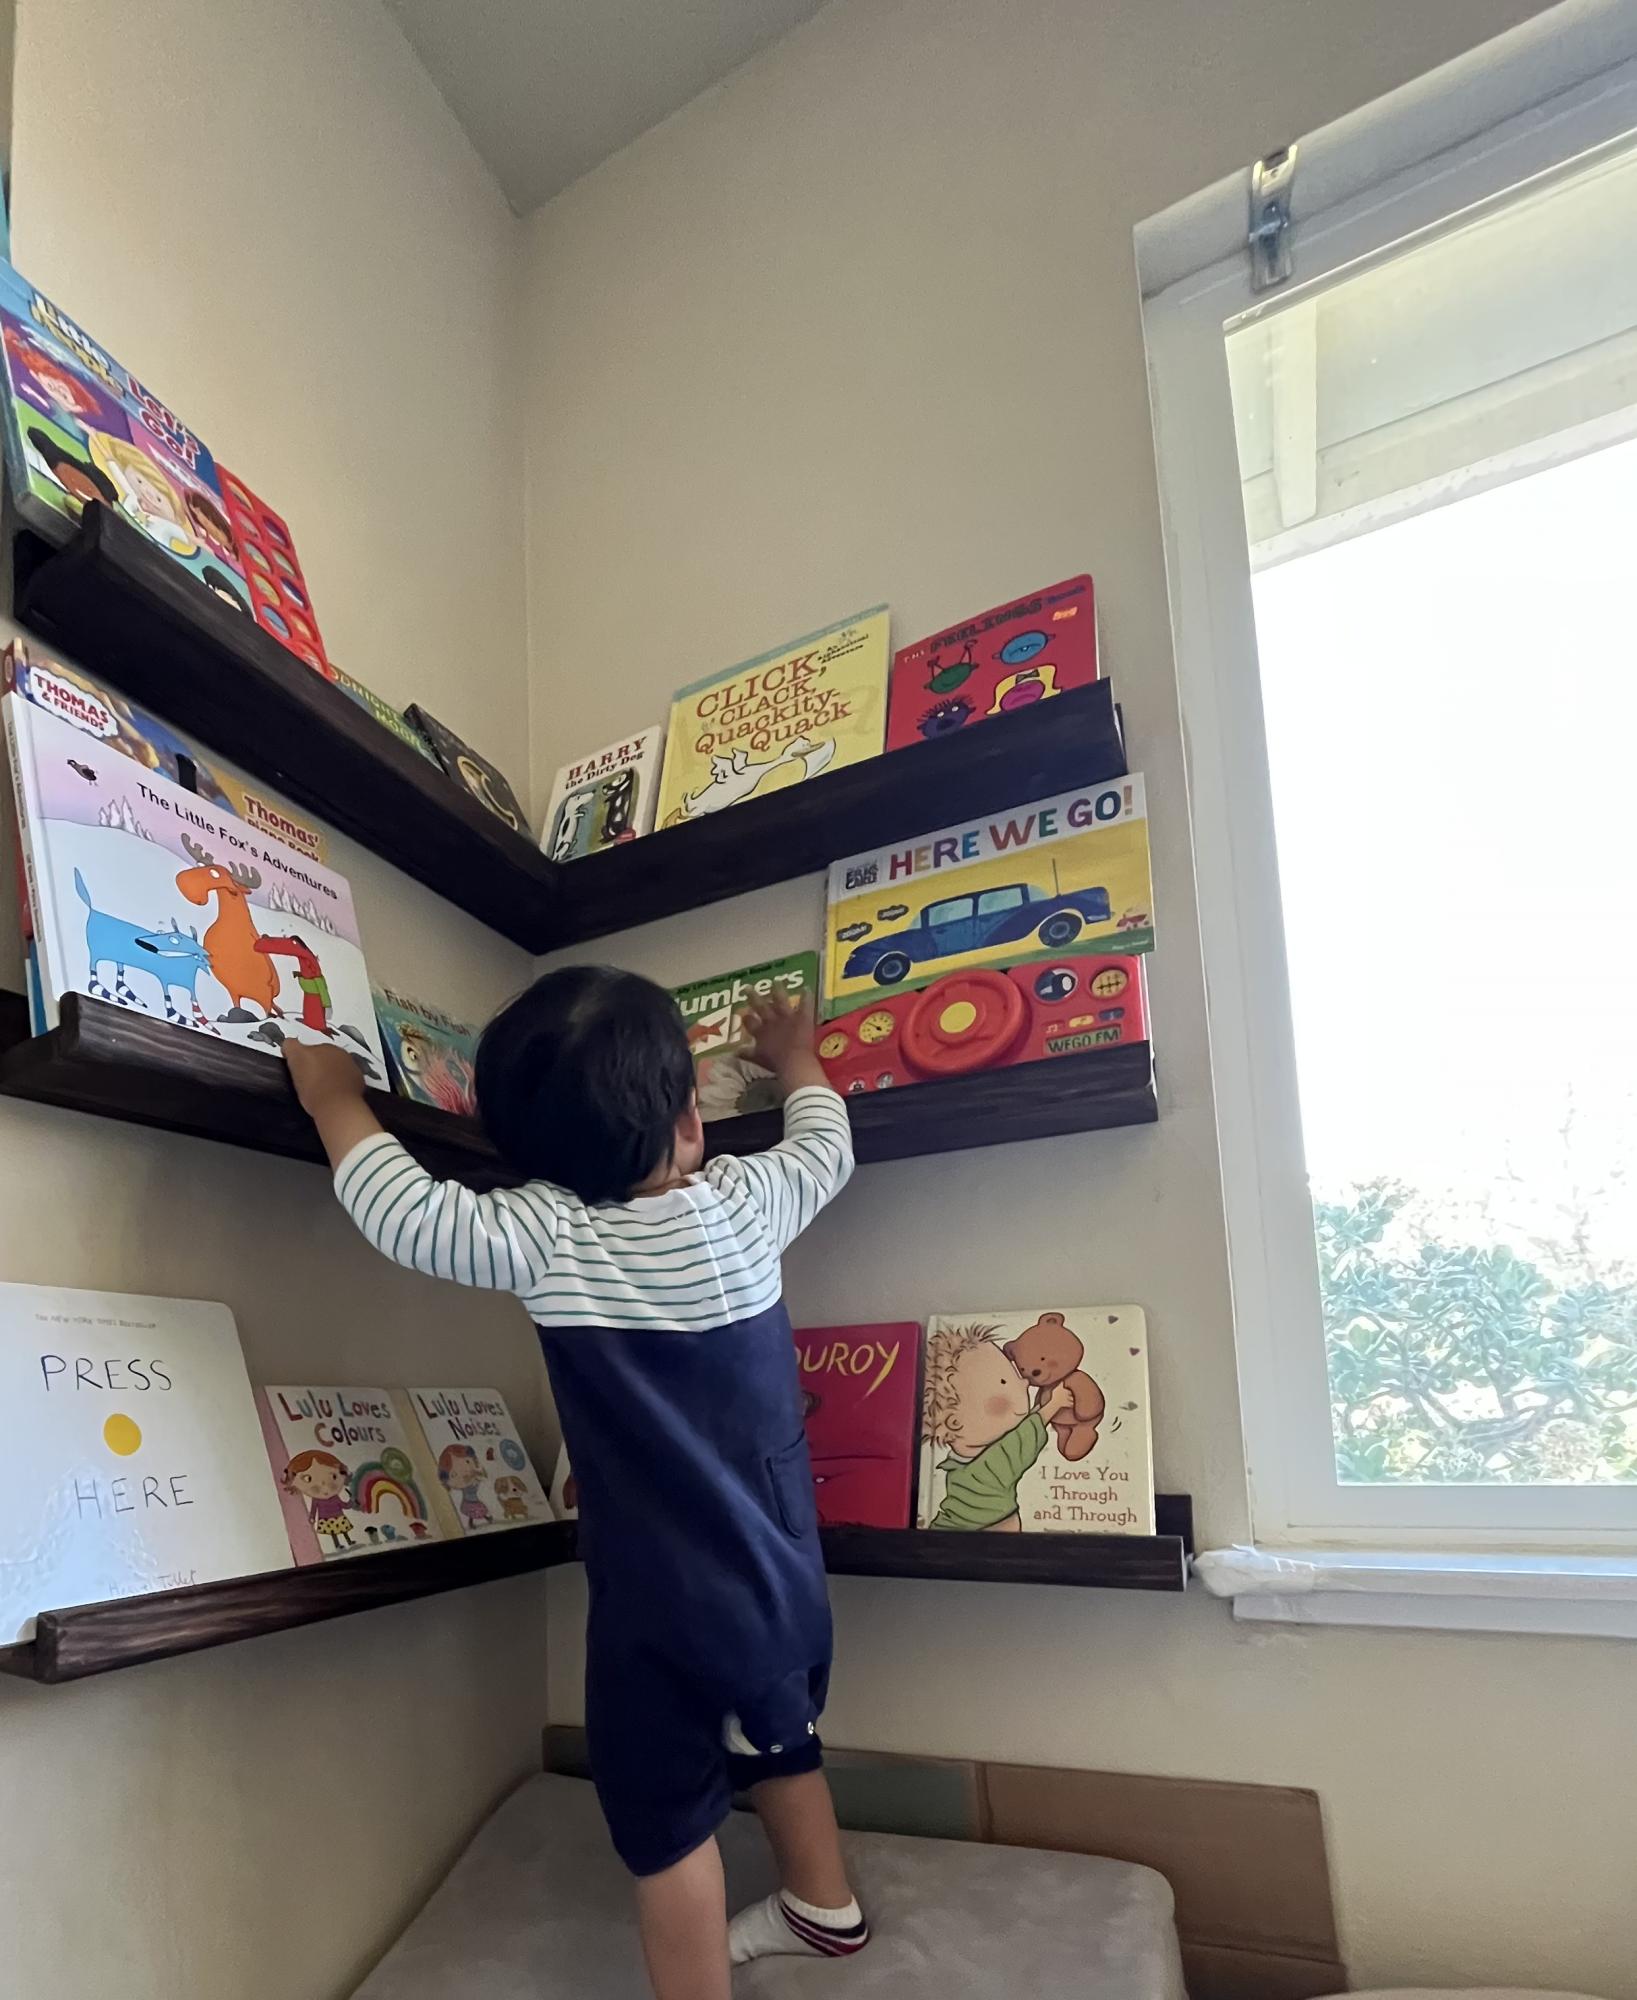
Book ledges

Submitted by Anonymous (not verified) on Mon, 04/04/2022 - 14:54

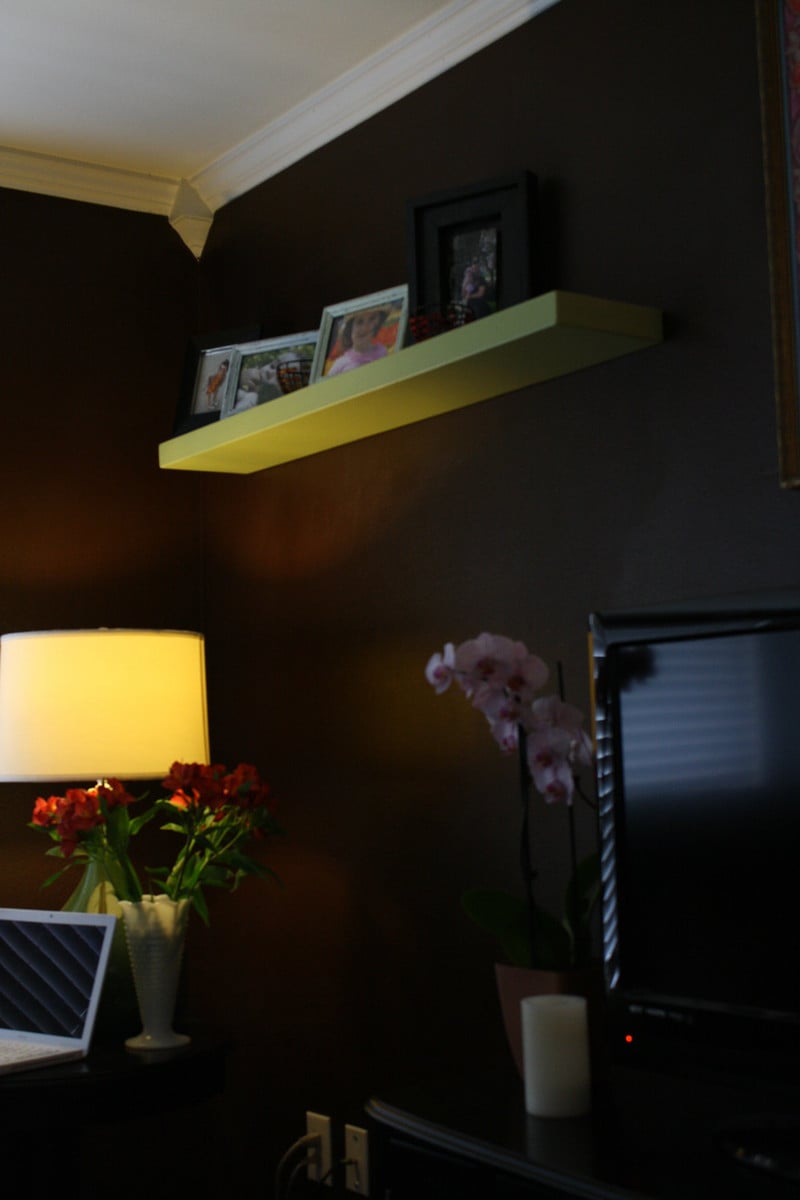
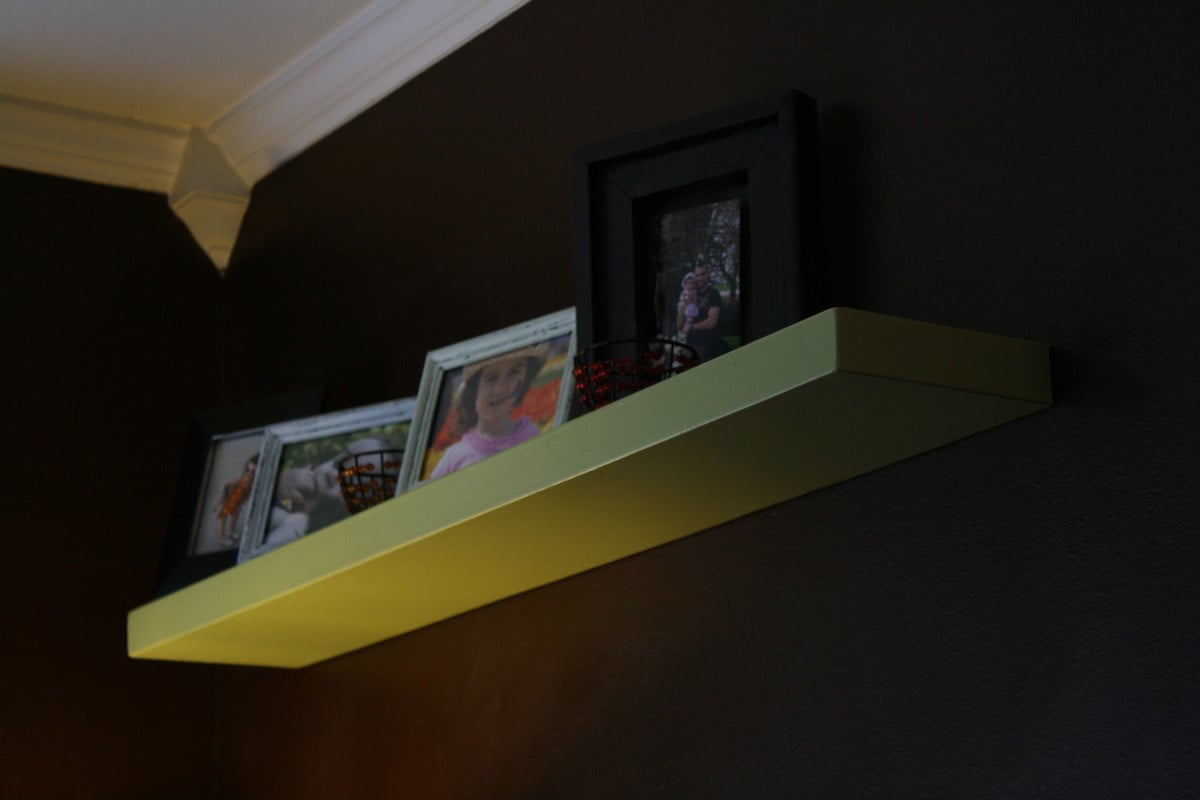
I took your plans for the beginner book ledges and modified them for our 90 degree space. I had to learn about mitre and bevel cuts so that was fun.

I also learnt that when the wood is slightly warped it pays to be attentive to the eventual install and how stress will flow through the work.

Built from Plan(s)

Comments

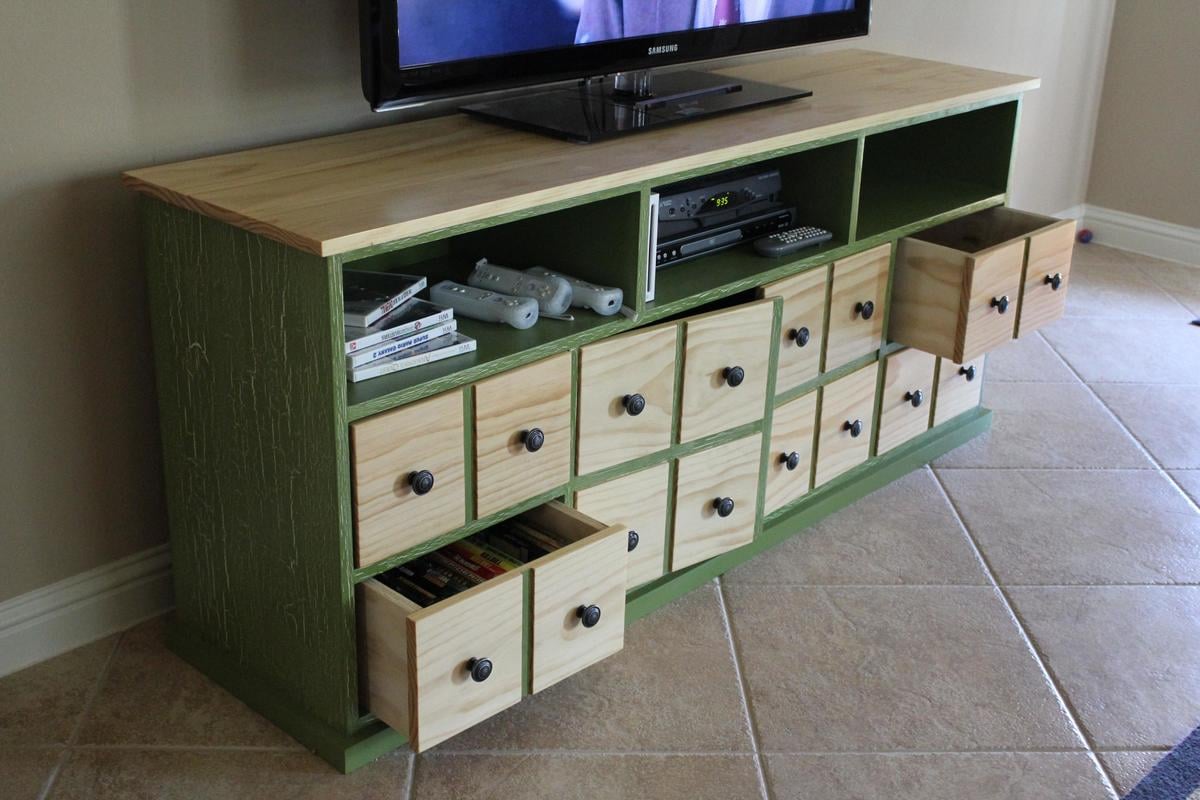
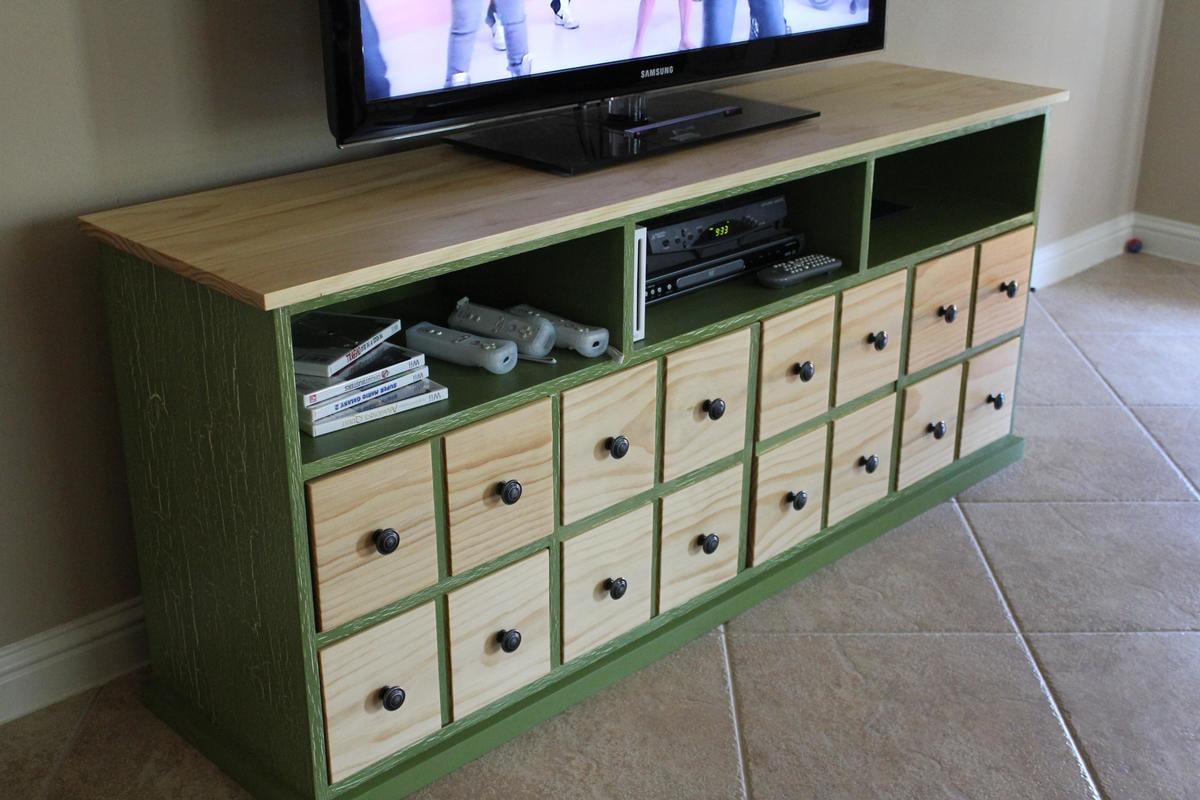
Apothecary Media Console

Submitted by utmikeg on Sun, 06/05/2011 - 09:11

First Anna-White project...

Would recommend using ply instead of MDF due to the total weight of the unit. The higher cost comes from more expensive materials, but still much more affordable than Pottery Barn's Andover Media Console.

Built from Plan(s)
Estimated Cost
$300-$350
Estimated Time Investment
Week Long Project (20 Hours or More)
Finish Used
Paint
Bottom Coat: Light Sage (Valspar)
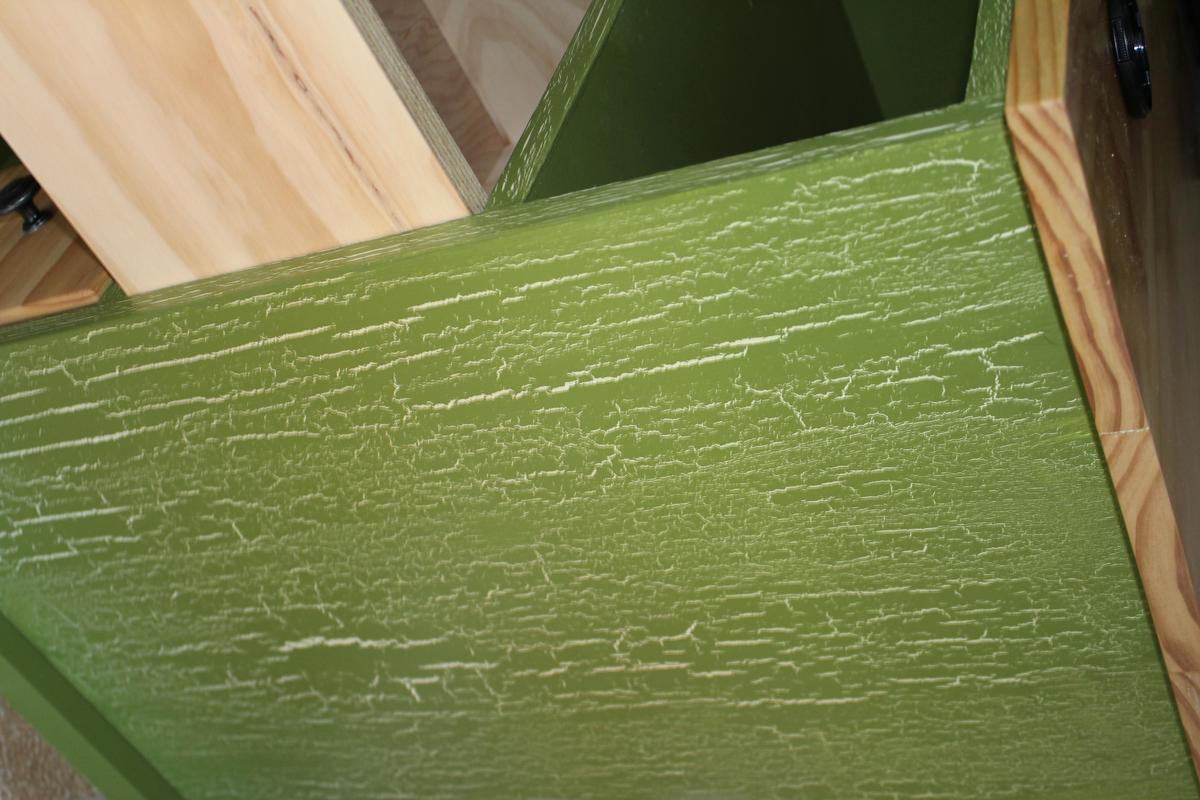
Top Coat: La Fonda Jalepeno (Valspar)
Weatherized Crackle Glaze (Valspar)

Stain:
Wood Conditioner (Minmax)
Natural (Minwax)
Oil-based Polyurethane
Recommended Skill Level
Advanced

Comments

SmilingMom

Fri, 09/09/2011 - 20:48

This is gorgeous! Great job!

Marisol, you need to post yours! They are all beautiful.

jtray41

Wed, 01/14/2015 - 23:02

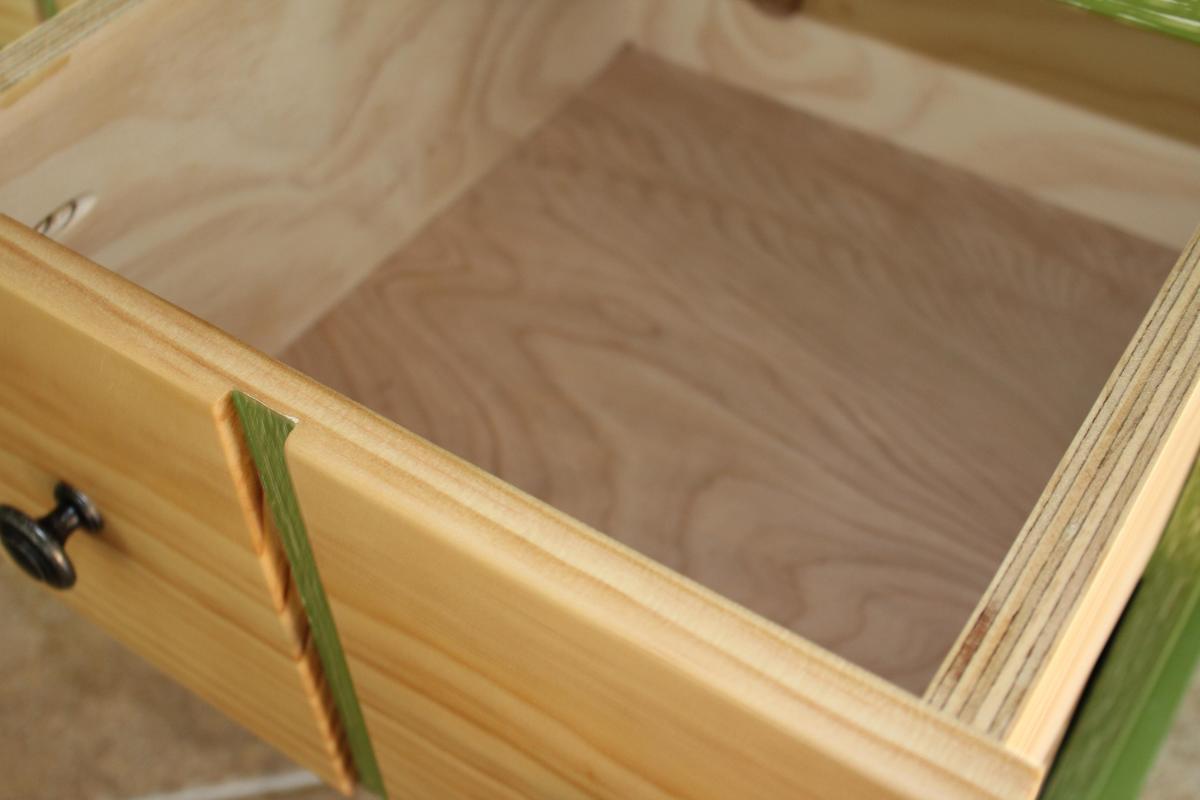
Are your drawer fronts made from one solid piece of wood with a rabbet down the middle? If so, how did you do the doors?

Lift Top Coffee Table

Submitted by JJones0925 on Fri, 03/16/2018 - 20:48

Instead of attaching the top to the coffee table base as done in the plans, the top is attached using a set of coffee table lift top hinges. 

Built from Plan(s)
Estimated Time Investment
Weekend Project (10-20 Hours)
Recommended Skill Level
Beginner

Comments

Family Computer Station

Submitted by kdins31 on Sat, 08/13/2011 - 13:39

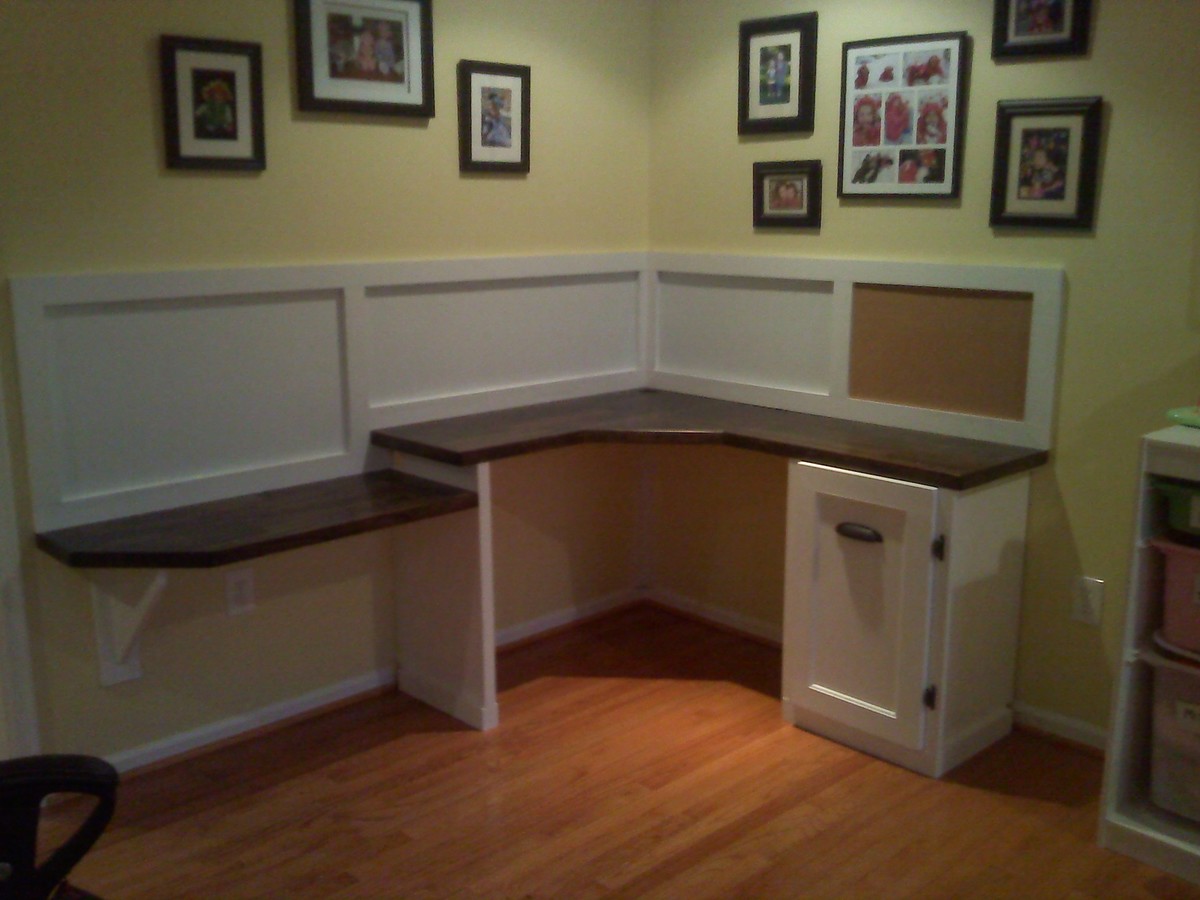
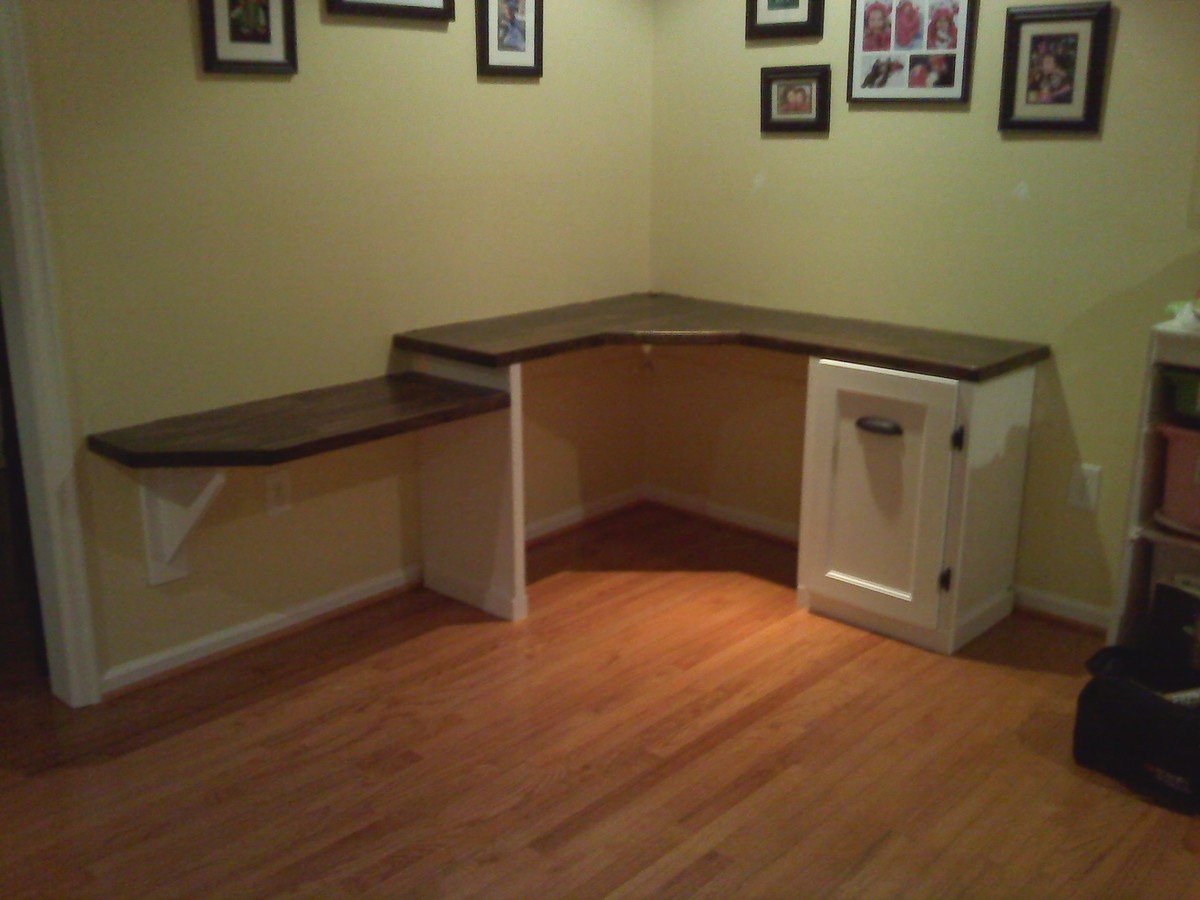
It was an unused corner of the playroom and I decided to put it to use with a computer station with an area for the kids. The desk top is stain grain ply, stained a satin dark walnut. Body is paint grade ply, painted white. On the walls I used whiteboard/dry-erase paint over a magnetic base so the kids can draw on the walls and hang pics with magnets, and added a cork board to the right. Built the cabinet for the computer and printer using same wood with a sliding shelf. This turned out to be one of the best things I've done in the house, the kids do their homework here and we use the desk all day long! A really cheap project that has very few parts. With paint, wood, stain and hardware its a $150 weekend project. I didn't use any plan here from this site but I've taken a lot of inspiration and tips!

Built from Plan(s)
Estimated Cost
$100-150 and two walls of your house!
Estimated Time Investment
Weekend Project (10-20 Hours)
Finish Used
Dark walnut stain, satin white paint
Recommended Skill Level
Intermediate

Comments

BethG (not verified)

Sat, 09/10/2011 - 17:57

Great use of space & I like that you used painted and stained wood together. It looks very professional.

Guest (not verified)

Mon, 01/16/2012 - 19:47

Could you mind providing the dimensions of your desk? It looks like the perfect size to fit our needs!

Quintin79

Thu, 01/31/2013 - 05:41

Looks great, you can paint and stain prior to putting together saves on taping everything off and possibility of bleedthru of tape. Amazing job and design.

Floating Shelves

Submitted by brguad on Fri, 08/19/2011 - 10:46

I thought I'd try out floating shelves and it worked out pretty well. Easy to follow plans as long as I took my time. These shelves add so much to this wall it's unbelievable. My wife and I are very grateful! Afternoon project for 2 - 48" shelves.

Built from Plan(s)
Estimated Time Investment
Afternoon Project (3-6 Hours)
Finish Used
120 grit sand paper, wood filler, 2 coats of primer, 1 coat semi-gloss paint
Recommended Skill Level
Beginner

Double Tilt-out trash bin

Submitted by lindy19 on Wed, 10/23/2013 - 17:47

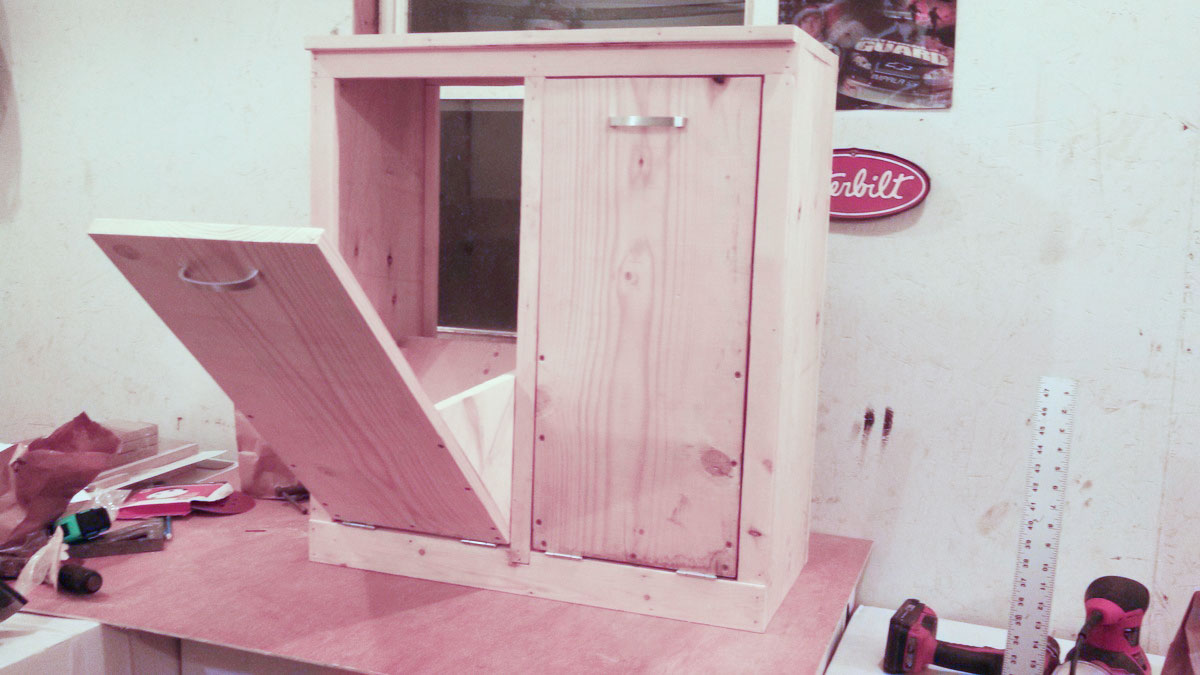
Really wanted one of these but everything I found was way too expensive so I found these plans, tweaked em a bit to fit the space I had and voila, double tilt-out trash bin. Thanks for the wonderful plans!

Estimated Cost
$50-75
Estimated Time Investment
Day Project (6-9 Hours)
Recommended Skill Level
Beginner

Comments

ADeboer

Sat, 05/02/2020 - 14:36

This is the exact Style I've been looking for!! I see that you made this ages ago - any chance you still have the dimension modifications you made somewhere?

I love my new bed! Thanks Ana!

Submitted by elisabet3 on Wed, 11/30/2011 - 19:38

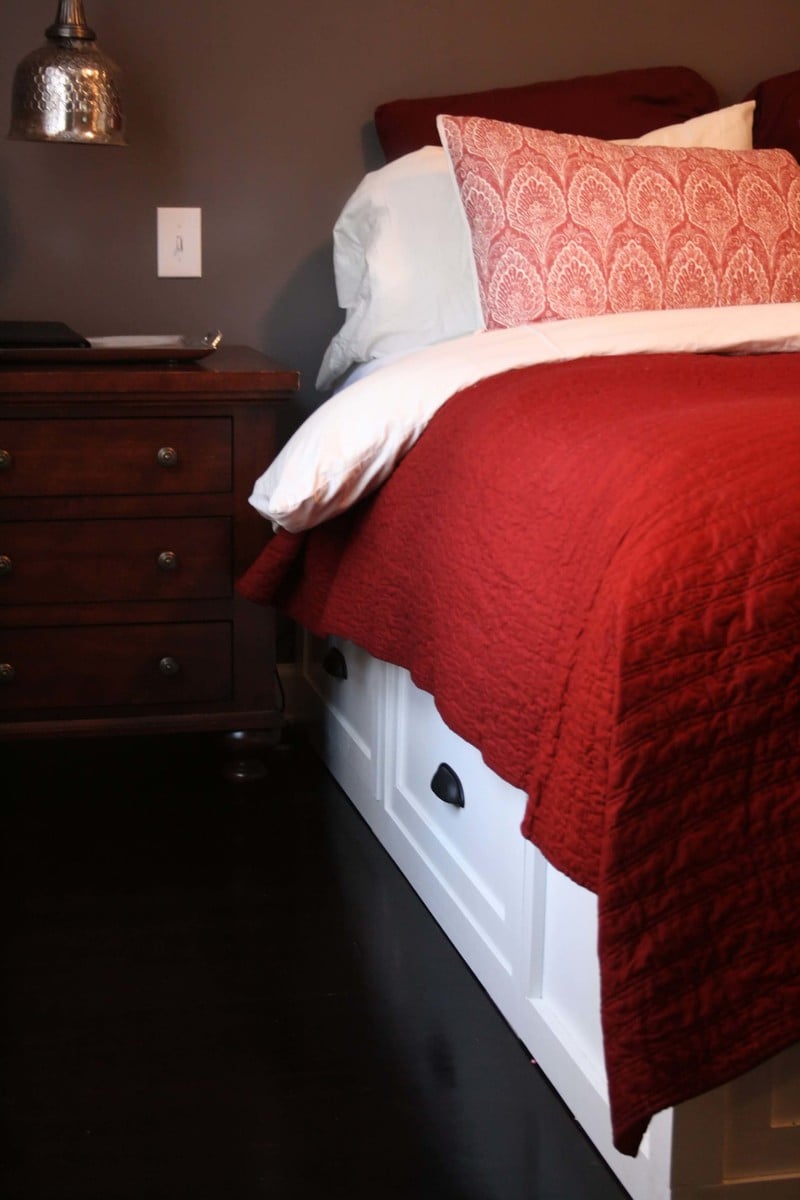
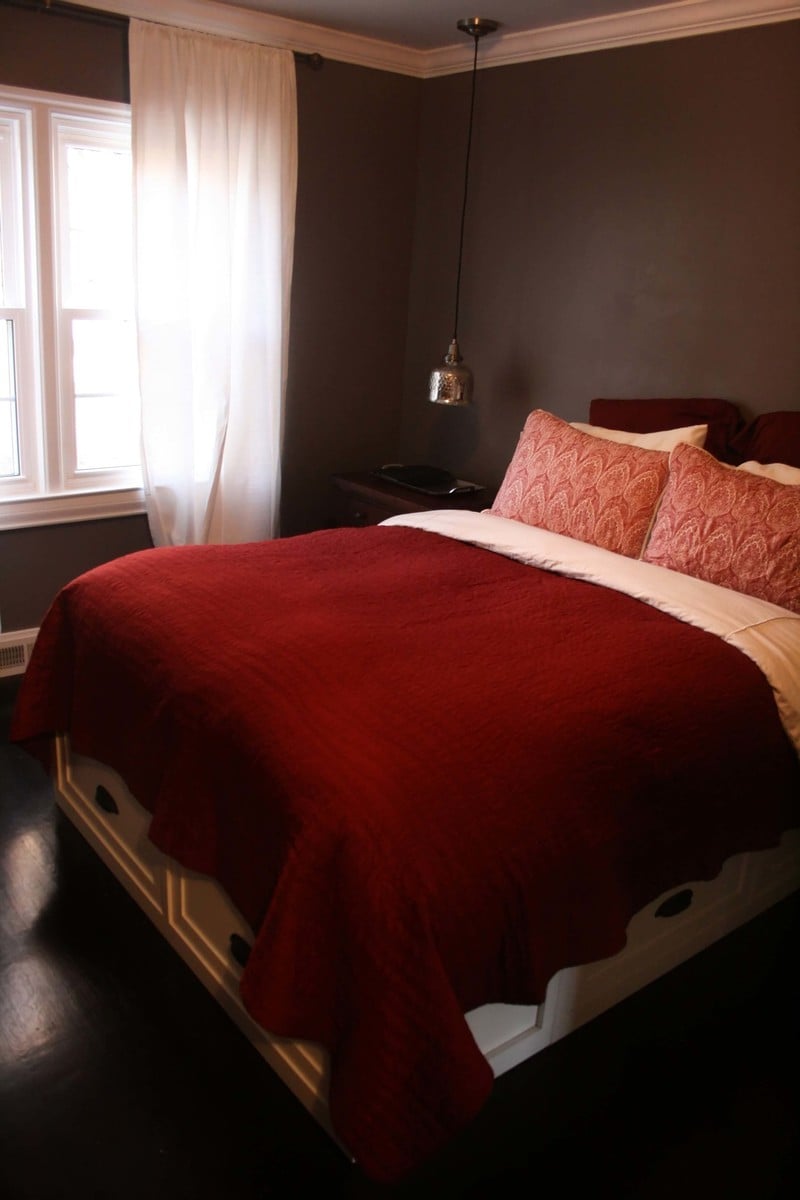
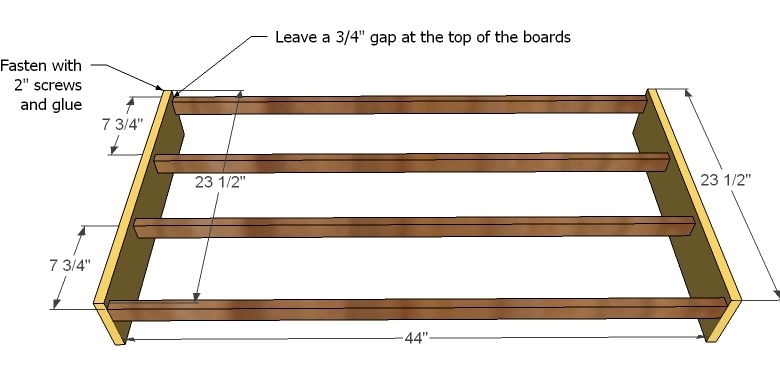
While doing some renovations on our house we gave our kids the largest bedrooms while my husband and I took the smallest. We desperately needed extra storage in the Master bedroom since not even a dresser would fit. The Queen Sized Storage Bed plans were the perfect solution and the bed looks gorgeous! More details on my blog...

Built from Plan(s)
Estimated Cost
$350
Estimated Time Investment
Week Long Project (20 Hours or More)
Recommended Skill Level
Advanced

Comments

engineer2mommaof2

Fri, 12/02/2011 - 08:26

WOW, we've been trying to find the time to complete these same plans and seeing your results make me want to put it on the top of our list. Your bed is BEAUTIFUL!!!!

But the hanging lights next to your bed and your flooring also add to the beauty. Would you mind sharing where you got these two items? Thanks!

elisabet3

Fri, 12/02/2011 - 13:28

engineer2mommaof2: Thanks for your kind words about our bed. We love it too! The lights are mercury glass pendants from Pottery Barn. Our hardwood floors are red oak that were original to our home (built in 1939). A couple months ago we sanded them down and stained them a dark walnut. The dark color is gorgeous...but pretty hard to keep clean with young kids around since they show every speck of dirt. Good luck on making your bed. Go for it! You won't regret it!

My wife built a bed.

Submitted by AKMan279 on Sun, 06/02/2019 - 20:45

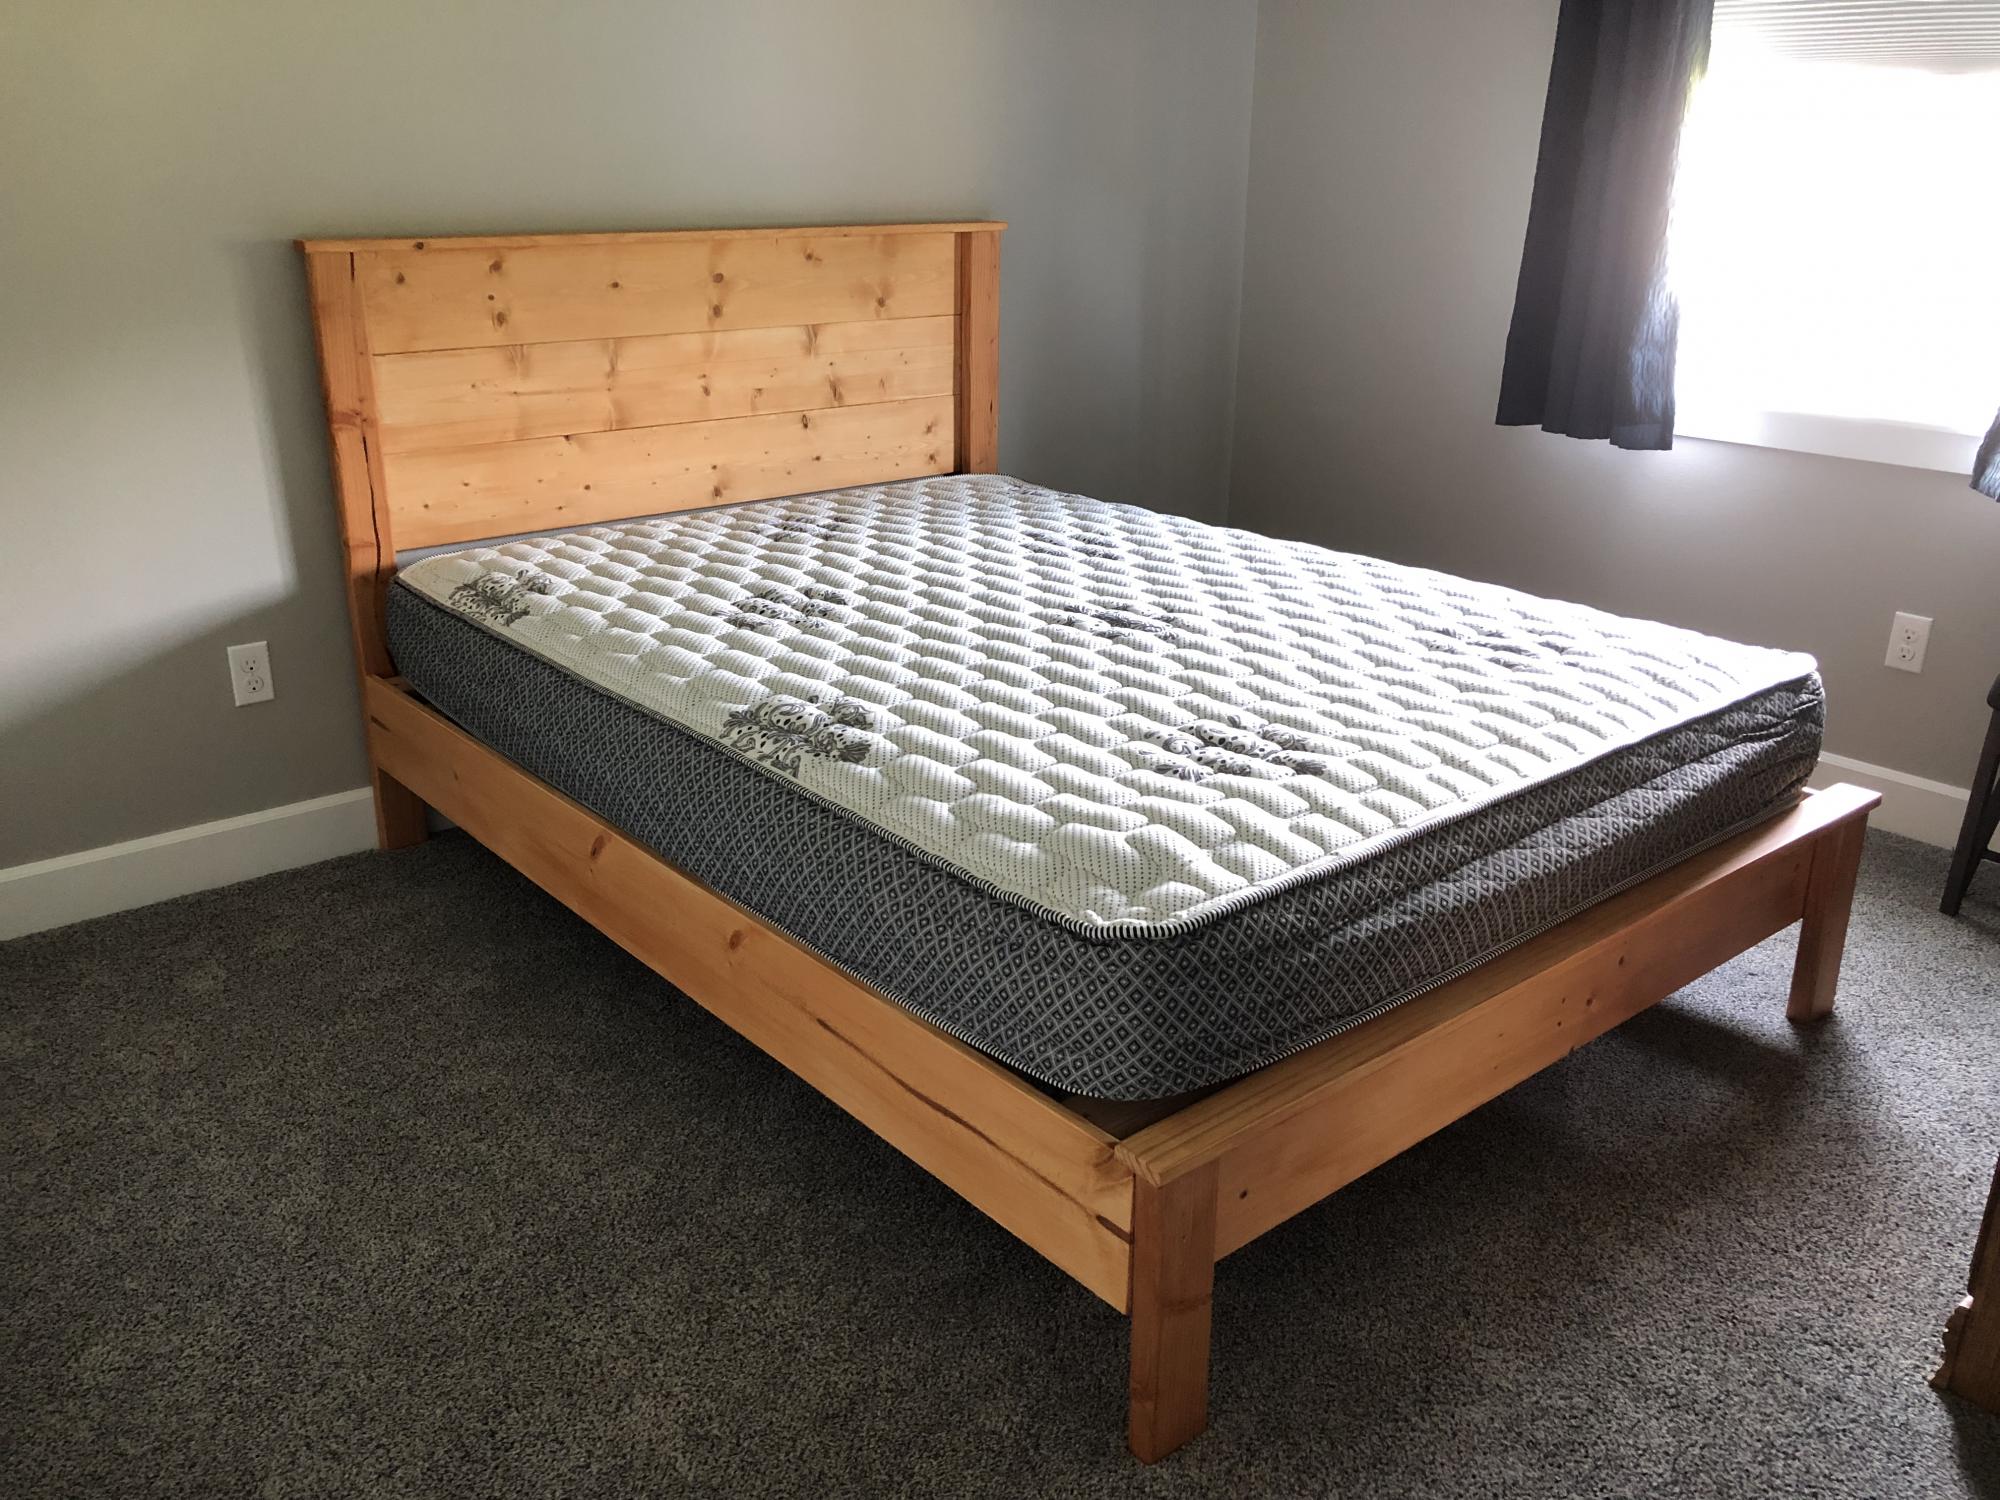
We looked for a simple plan for a bed and found this one on Ana’s site.  Easy to build in a weekend.

Estimated Cost
$140 with all lumber and stain.
Estimated Time Investment
Weekend Project (10-20 Hours)
Finish Used
Poly stain
Recommended Skill Level
Beginner

Comments

Smaller Rolling Cart

Submitted by Anonymous (not verified) on Sun, 02/28/2016 - 04:25

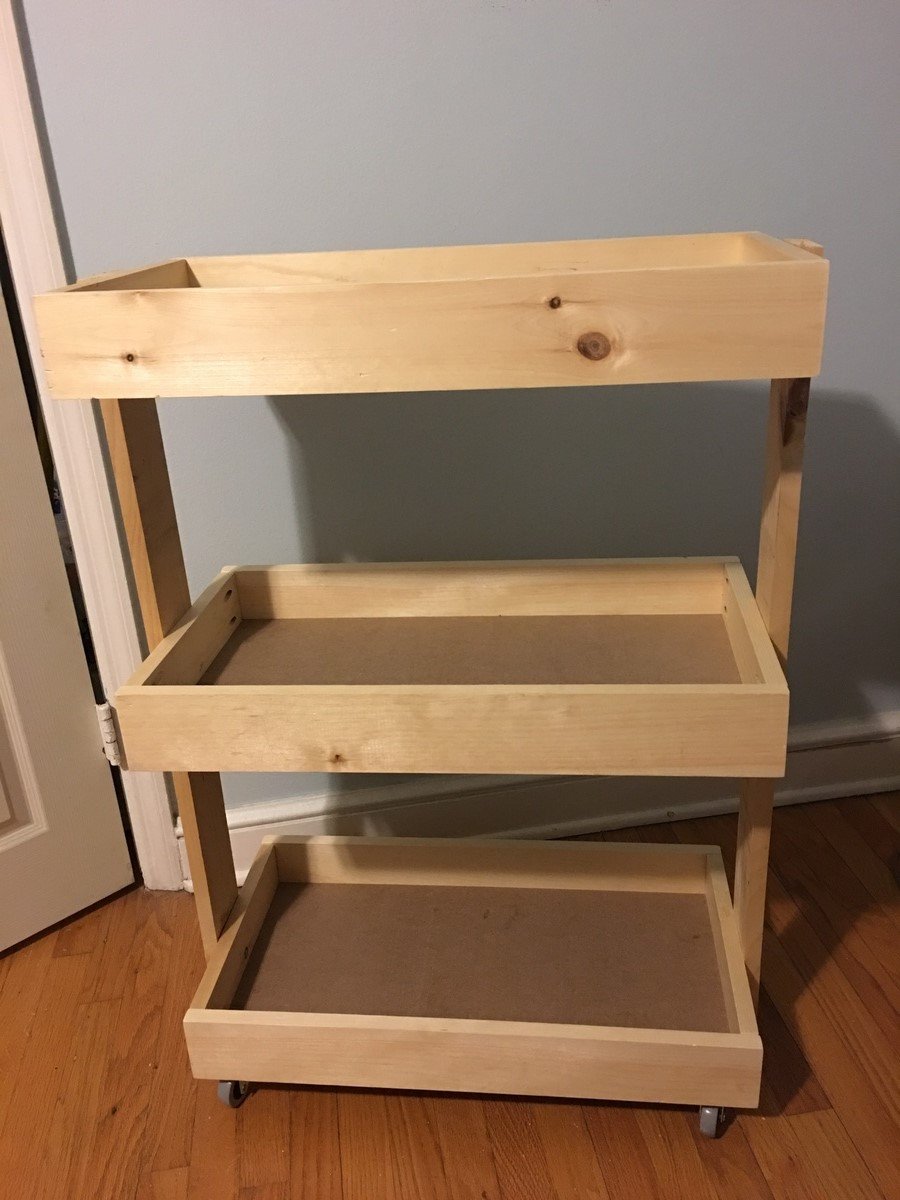
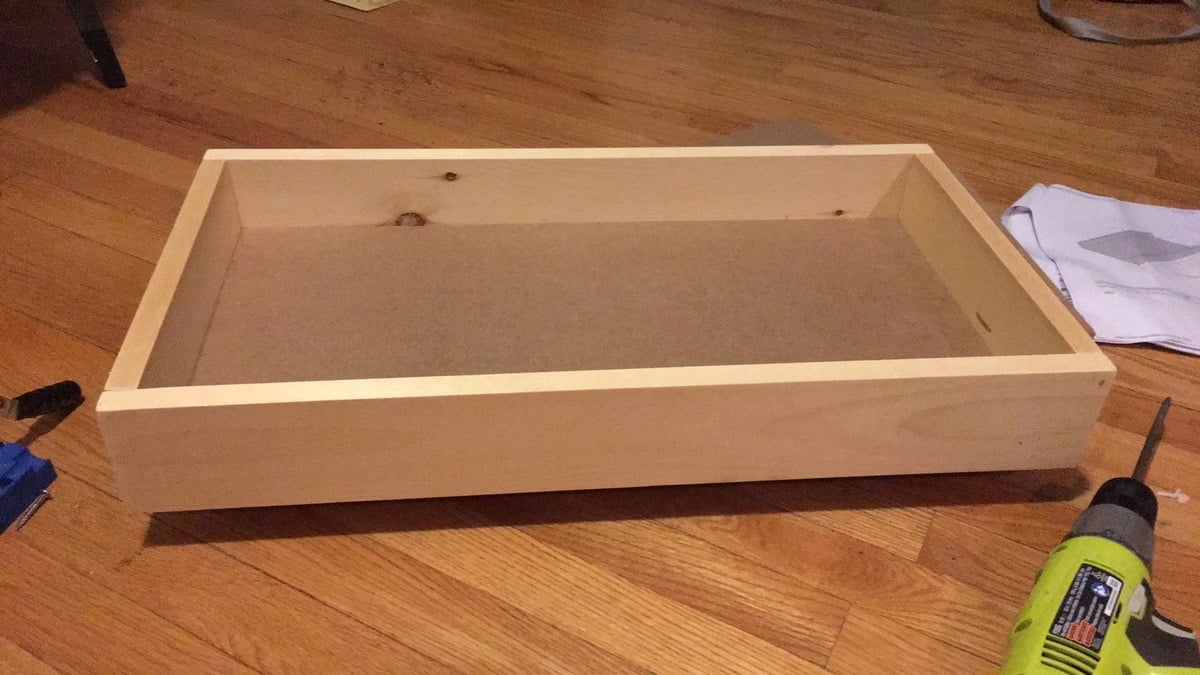
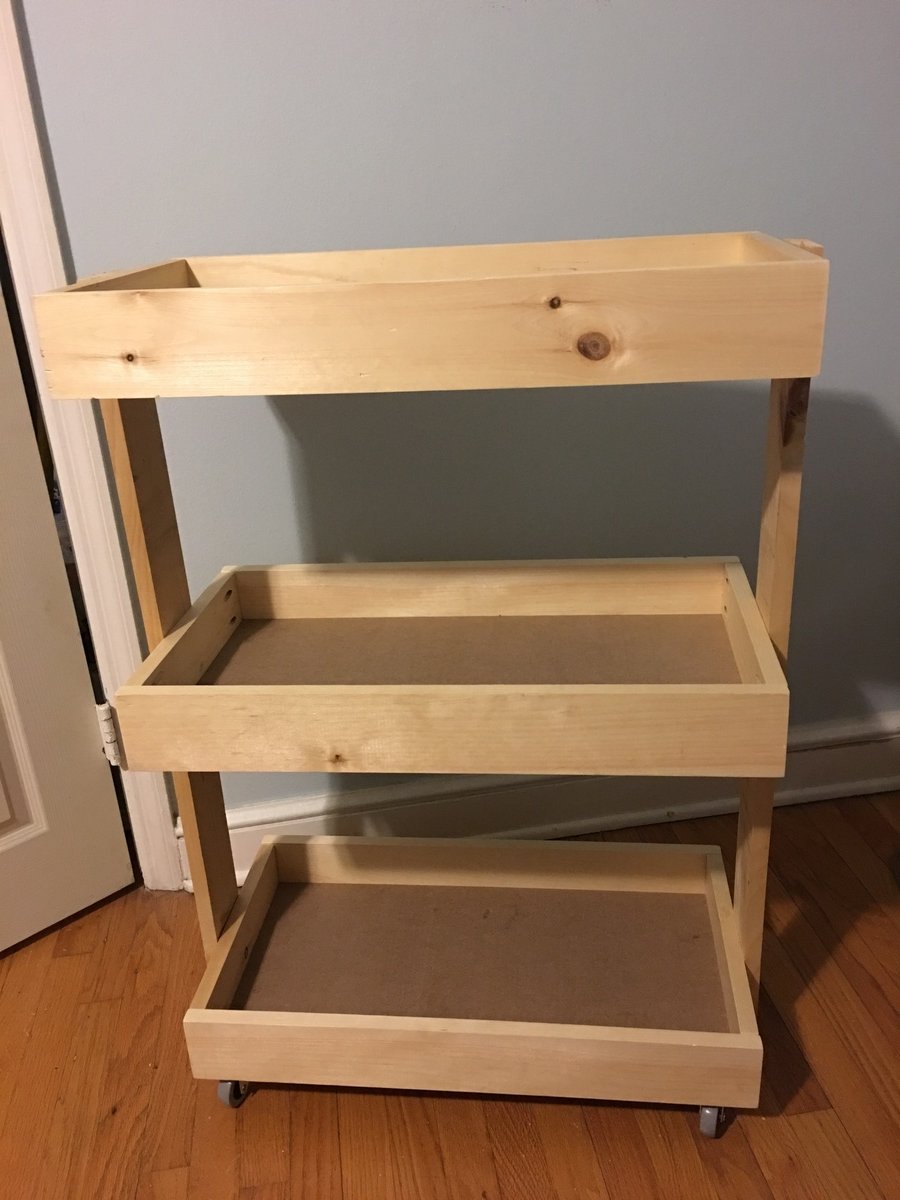
Wanted a Raskog cart from IKEA but honestly it was too small. Used scraps from my craft desk build and purchased the wheels from IKEA. Just need to finish her off. Love Ana's plans. This is my third build from her plans. 

Estimated Time Investment
An Hour or Two (0-2 Hours)
Finish Used
Will be pring with Killz and using Behr white high gloss.
Recommended Skill Level
Beginner

Comments

Display/Picture Shelves

Submitted by Anonymous (not verified) on Mon, 10/21/2019 - 07:41

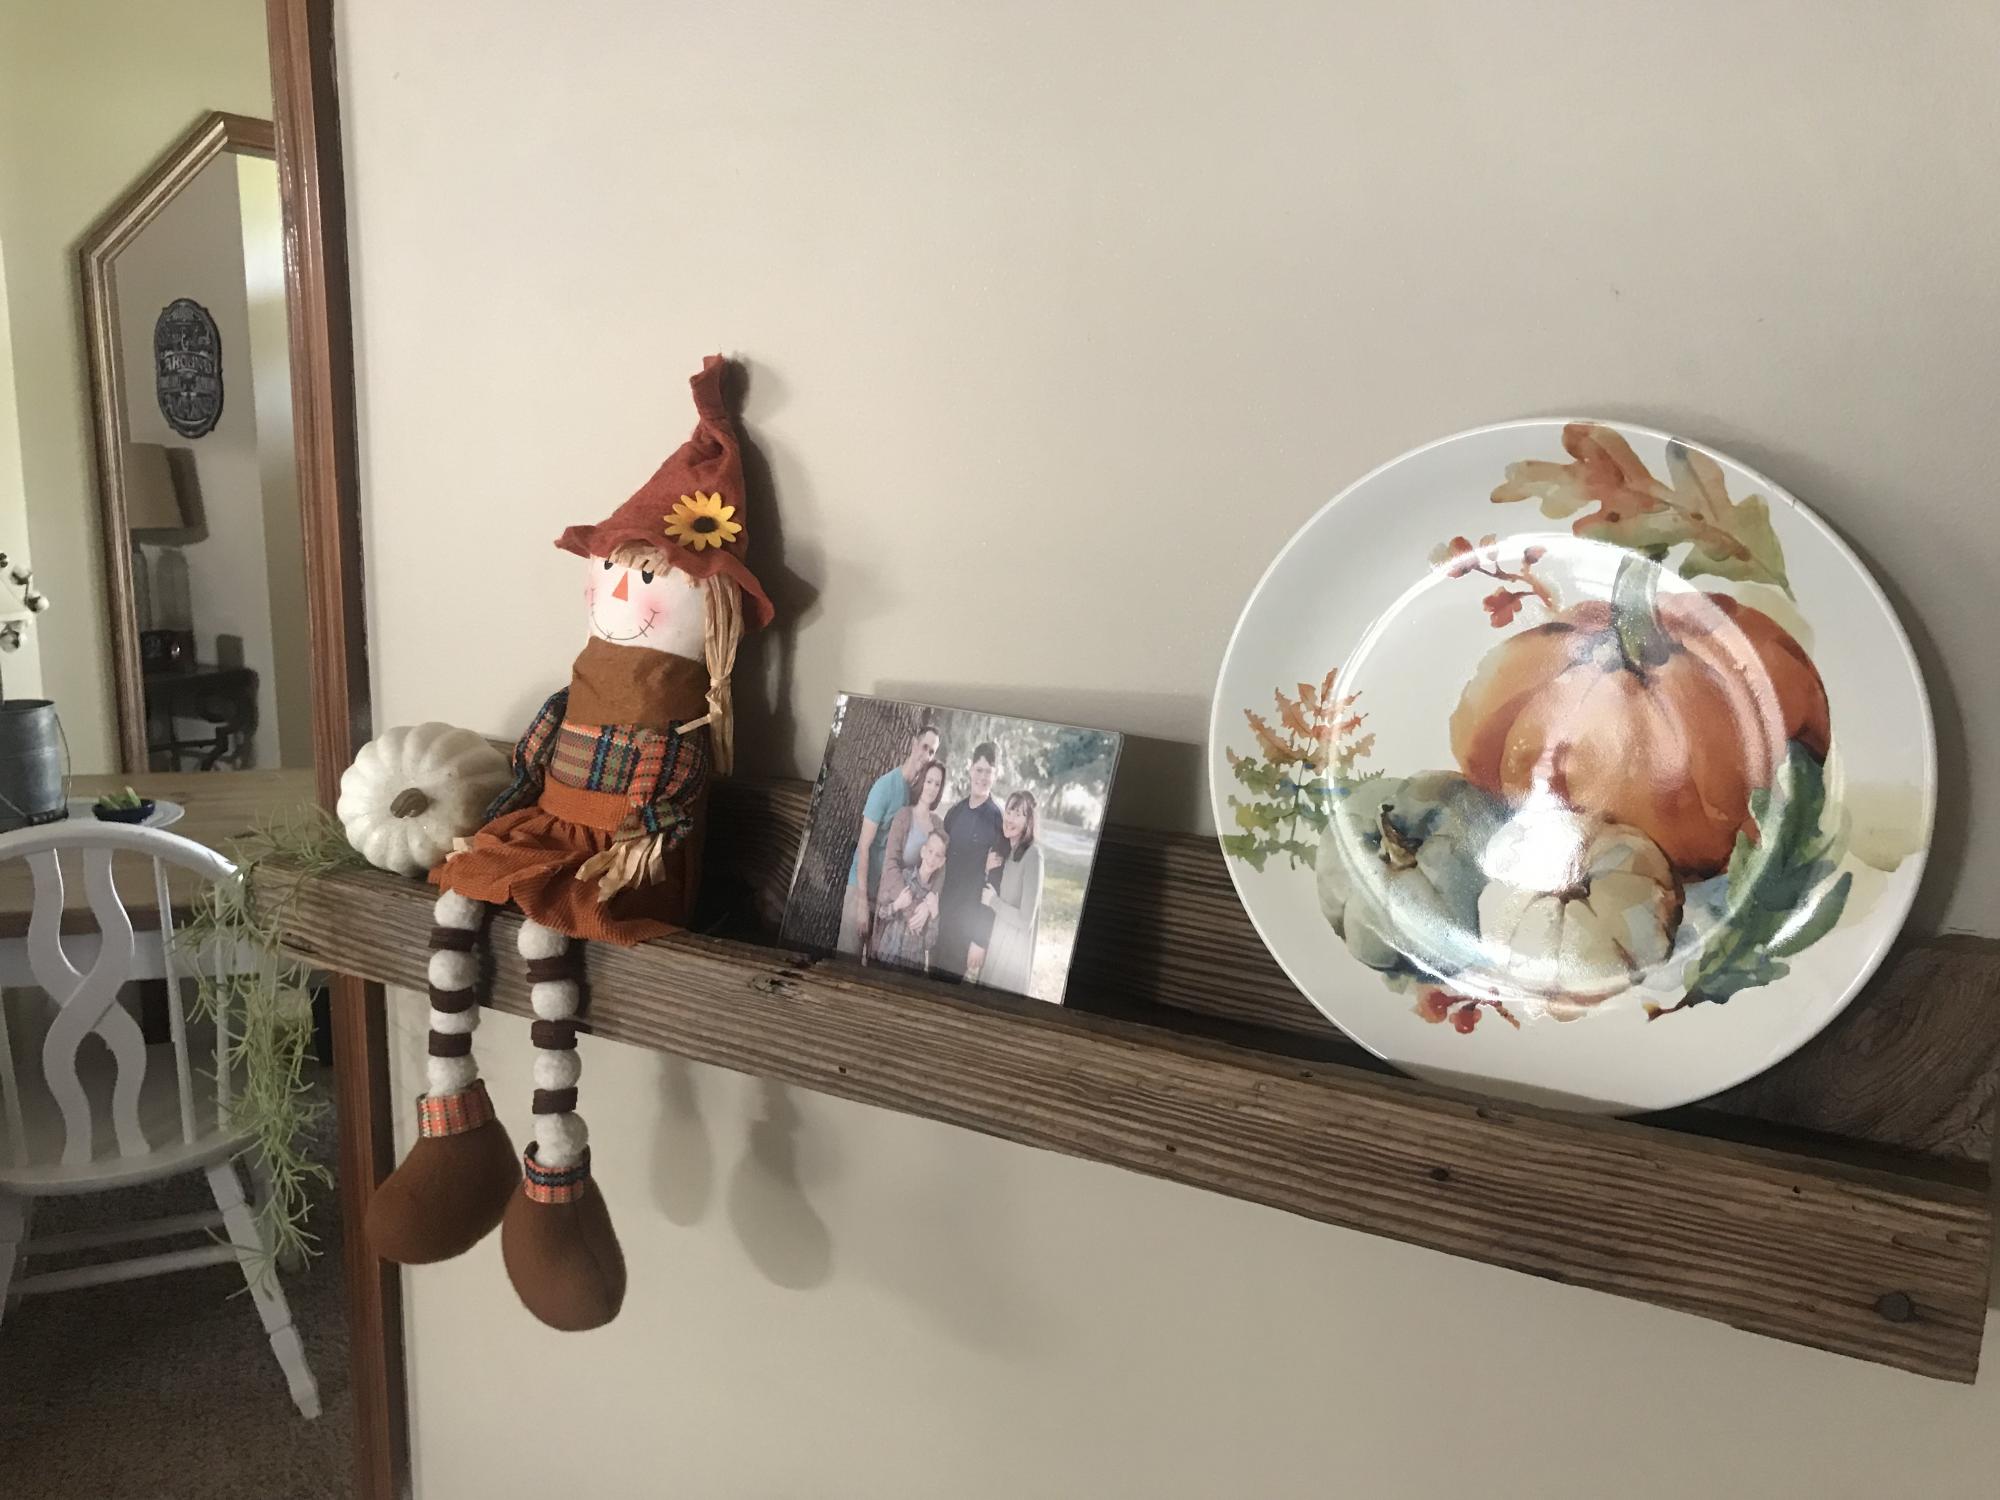
These were made from 50+ year old pine that we had from my husband’s late father’s shed. We used one coat of the dead flat poly. In total we made 6 shelves. 3 are 48” long and 3 are 32” long. This was a fun project and a great way to use my photos.

Built from Plan(s)
Estimated Cost
$20
Estimated Time Investment
Day Project (6-9 Hours)
Finish Used
Dead flat poly
Recommended Skill Level
Starter Project

Round Pedestal Table

Submitted by Anonymous (not verified) on Fri, 07/21/2023 - 10:46

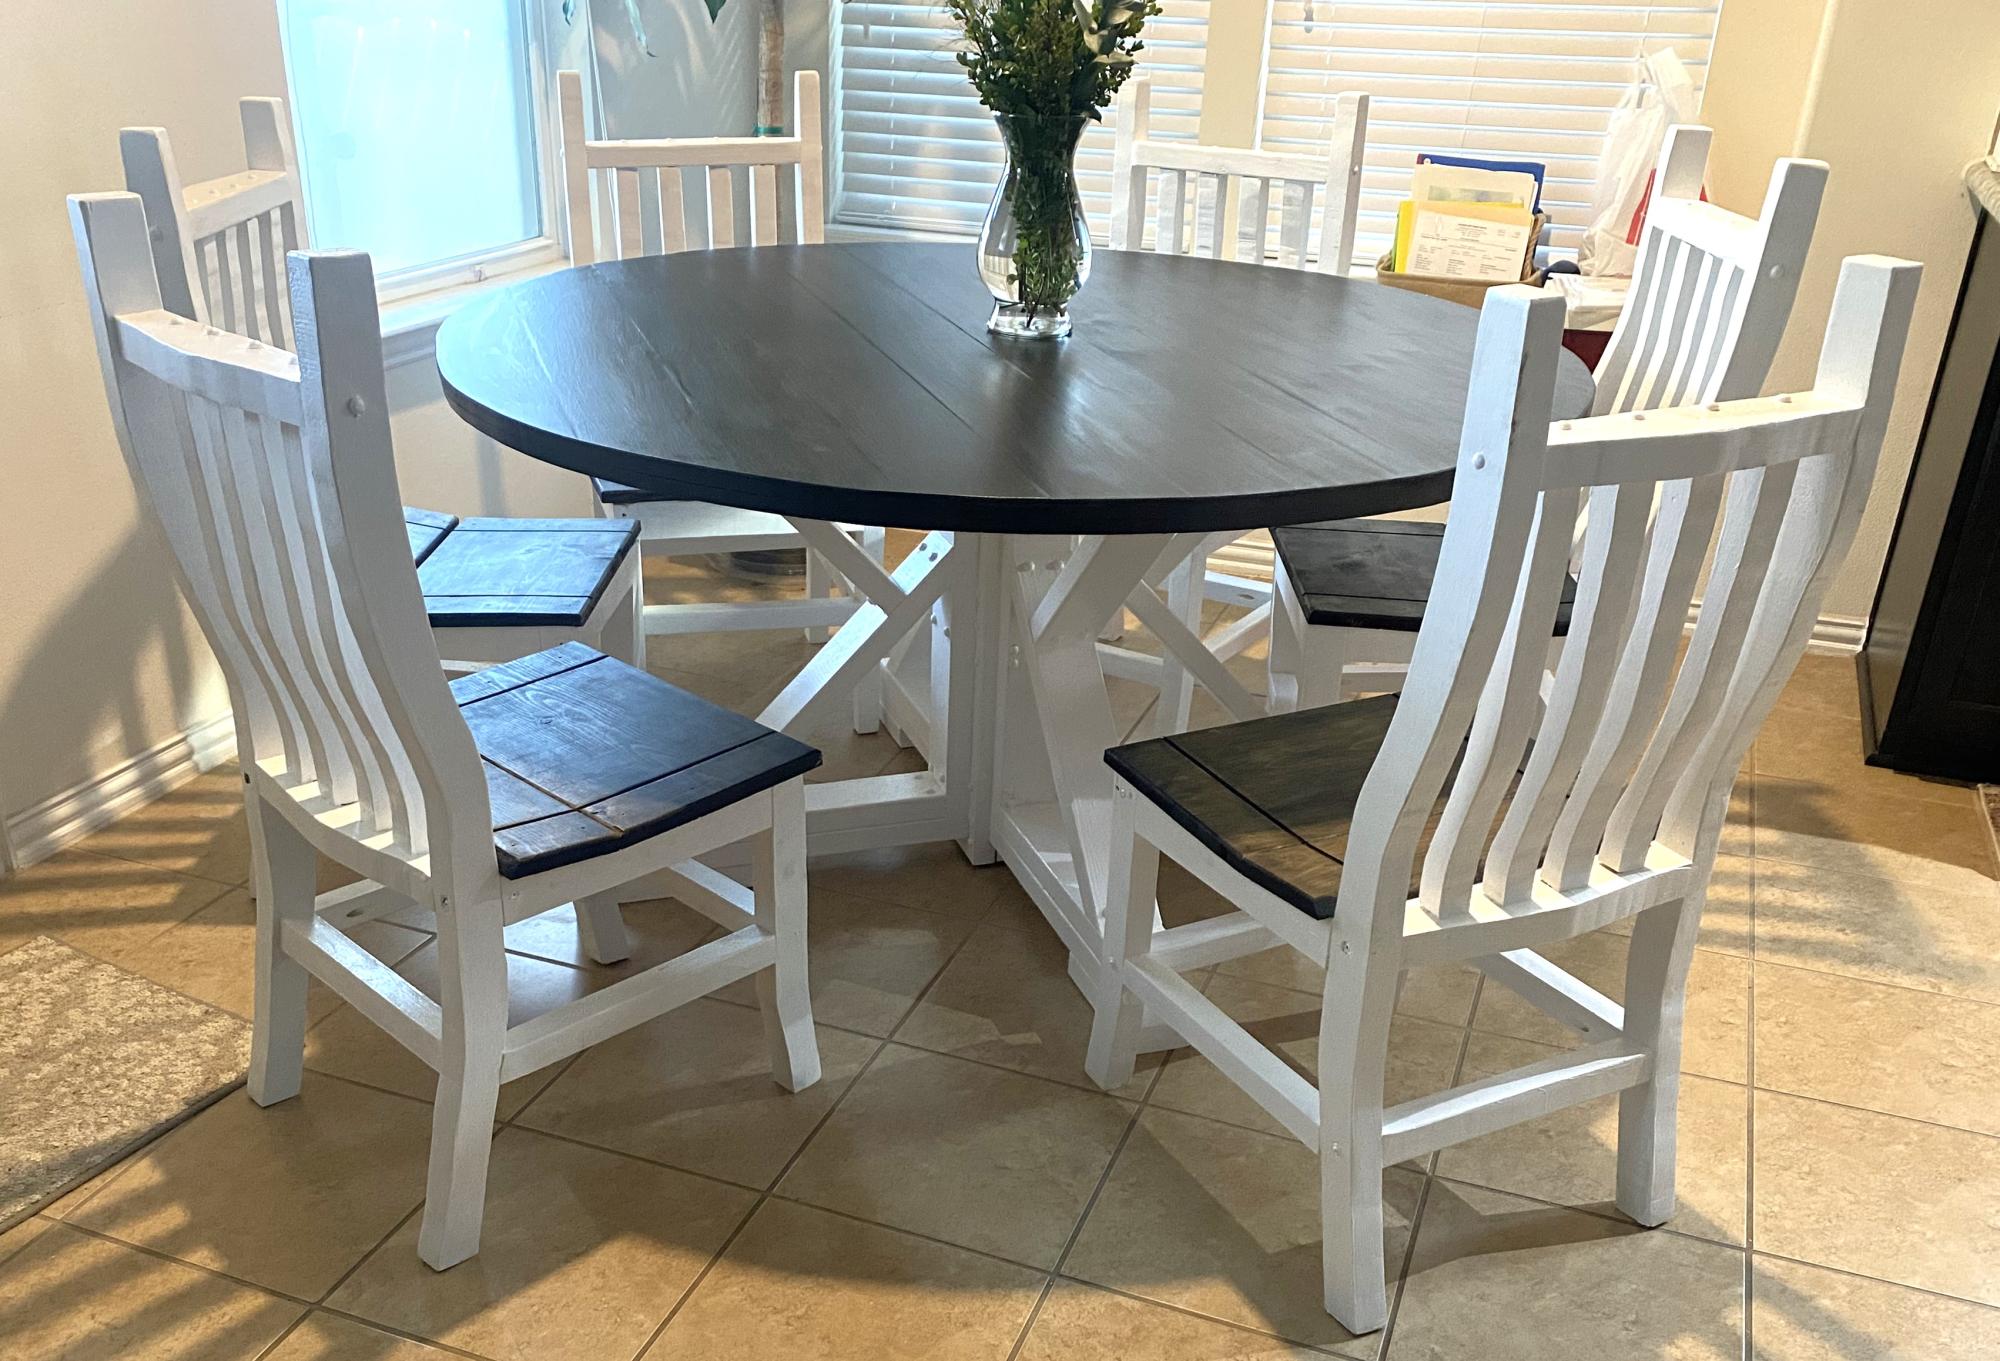
Built this for my wife for our anniversary. Plans for the table was easy to follow. Used poplar for the table top. I copied the chairs from our large dining room table that we purchased so the two sets would match. I’m an Ana White follower looking forward using more plans. I used a jig saw to cut the circular table top instead of the skill saw using a fence.

James / League City Texas

Built from Plan(s)

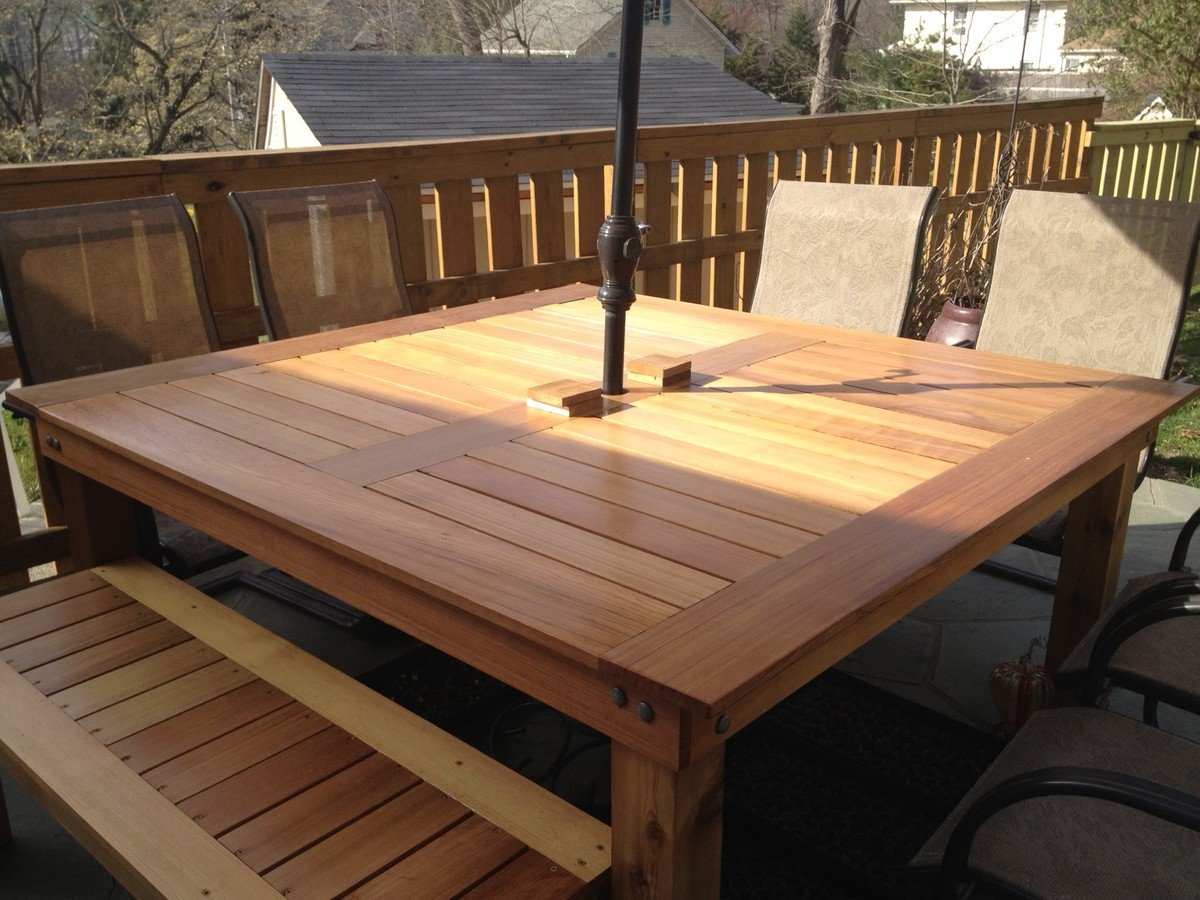
Simple Square Cedar Outdoor Dining Table

Submitted by Finns-Dad on Mon, 03/12/2012 - 17:58

I've been planning on building a patio table for this coming spring and summer, but didn't know where to begin. I found Ana's wonderful site and now I don't know where to stop! So many great ideas.
After seeing ewood's great table I decided to make one similar. I made my square table based on Ana's and ewood's basic designs. Thank you both. I also made a bench based on Ana's design.

Built from Plan(s)
Estimated Cost
300--475
Estimated Time Investment
Weekend Project (10-20 Hours)
Finish Used
Semigloss Spar Urethane
Recommended Skill Level
Beginner

Comments

7CsShepherds (not verified)

Thu, 03/29/2012 - 07:37

I have a family of 7 (soon to be 8, I hope), and was trying to figure out how to fit us all on the rectangular table. This is the solution! I can simply make 4 benches to go with it! Thanks for the idea and the picture!

Guest (not verified)

Mon, 04/09/2012 - 07:24

Love this table and your modifications to ewood's table. I was wondering what size are the legs on your table - I can't tell if they are 4x4s...which is sort of what I'd like to have on mine. And they are under mounted, which I love because I want to make ours with the ability to remove the legs for reduced storage space in the winter. If you could would you mind putting a few close up photos of how the outside corner came out and the underside of the corners. It would be much appreciated.

K_W (not verified)

Mon, 04/09/2012 - 07:27

Love this table and your modifications to ewood's table. I was wondering what size are the legs on your table - I can't tell if they are 4x4s...which is sort of what I'd like to have on mine. And they are under mounted, which I love because I want to make ours with the ability to remove the legs for reduced storage space in the winter. If you could would you mind putting a few close up photos of how the outside corner came out and the underside of the corners. It would be much appreciated.

In reply to by K_W (not verified)

Finns-Dad

Sat, 04/14/2012 - 13:35

Hi - sorry it took a little while to get back to you. Yes the legs are 4x4's. I used knotted cedar 4x4's for the legs and made them 29" tall. I wanted to be able to disassemble the table and put it away for winter, so I attached the legs using carriage bolts, 2 per side (4 total per leg). I drilled holes using a pilot bit, then used a spatter bit to make the larger holes for the carriage bolt.

I didn't bother to counter sink them, but if I made another I think I would try that to make a more polished look. The legs are sturdy, the table doesn't wobble at all, but I am sure that someone with more furniture building experience might have a different/better idea.

I've added a couple more photos showing the corners, outside and underneath. I've also added my very basic plans that I used to make the table, one of these days I will study Ana's post of how to use sketch-up, until then this is what I worked with.

Joni

Wed, 06/06/2012 - 09:26

Can you tell me what size (width) boards you used on the frame pieces of the table, and what size on the inner boards? From your diagrams, it looks like the frame is made of 1x4s, but the inner pieces look smaller. Thank you !!!

Your table is absolutely beautiful. It looks like a very high-end piece of furniture. One of my favorite things is how the carriage bolts are installed -- I wouldn't change a thing on them!

In reply to by Joni

Finns-Dad

Tue, 07/30/2013 - 16:36

Sorry it took so long to reply - I didn't see your post. So far the table is holding up well.

You're right, the top is made from 1x4's, including the inlaid slats. To support the top, I cut 1x4's down to 1x3's so they remain hidden by the side 1x4's of the frame.

Aussie Paul (not verified)

Tue, 10/16/2012 - 18:02

Love the table - looks absolutely fantastic! I have been looking for a decent square outdoor table for ages and this one certainly fits the bill.

Can you please add a photo of the underside of the table and advise how you fastened inner boards on table top. Thanks.

In reply to by Aussie Paul (not verified)

Finns-Dad

Tue, 07/30/2013 - 16:40

I added a new photo of the bottom. Hopefully this will help show how I attached the top. I have a number of additional photo's I can send to you if you like - this site limits the number of photos I can add.

Everything is attached from the bottom to hide the screws. I used a kreg jig and it helped so much - i really recommend it.

Belmo

Wed, 08/14/2013 - 12:35

I love the look of this table, man - I think I'm gonna steal some ideas from this.

I have a question about your top, though. The slats look to be 1x4s, which I can understand, but the edges seem to be a bigger size.

Did you use 1x6 boards for the edges? 1x8s? Something else?

Thanks for your help.

Finns-Dad

Mon, 09/02/2013 - 11:03

Thank you - please take any ideas from it that you can. That is what I love that about Ana's site. You can take these great ideas and make them fit your own style...

You're right - the table top is made of 1x4's and 1x6's. When i put the top together I made the frame first. Then I added the exterior 1x6's. Next I added the center 1x6. Lastly I cut each 1x4 to size and added them.

livingston.140

Sat, 05/17/2014 - 07:15

This is an amazing table, it is beautiful! I am somewhat new to wood working and was wondering if there was a material list? I plan on creating this in AutoCAD first, so I have a visual to work off of. Also what did you use for spacing in between the boards or what was the allowance of space.

Thanks again, your work is beautiful!

leitaf

Wed, 04/22/2020 - 20:37

In looking at the plans and the underside of the table, there are some measurements missing that make it a little hard to decipher. It would be good to know the lumber sizes e.g. 1x4x8 etc. the underneath side seems to have some additional boards that don’t seem to be in the drawing. I was just wondering if it might be possible to get some additional details?

@njhorseplayer

Sun, 05/24/2020 - 08:05

This is a beautiful table and I'm going to try and replicate in a rectangular version. Primary question I have is what length screws you used to affix the framing pieces underneath to the top side so that the wood doesn't split and that the screws don't pop thru the top. Any help you can provide would be appreciated, if even you still look at this page. Thanks in advance!

6'x6' Box

Submitted by Anonymous (not verified) on Wed, 04/20/2016 - 19:22

I found these plans online and was just waiting for the kids' grandpa to come out and build it. Could be built in one afternoon (depending on how many trips to your local Home Depot, and availability of the correct tools)
Modifications from original plan:
6x6 instead of 4x4
Brackets to hold patio umbrella for shade
Added seat gussets for additional support
Added "wooden flange" around bottom of box to run lawnmower on
One additional center back support on each bench
One centered handle (instead of a handle on each end)
Stapled landscape weed barrier fabric onto the bottom
Sanded all exposed edges

Materials:
4@2x10x8'
12@1x6x6'
2@2x6x12'
8 hinges
2 handles
3 1/2" decking screws (for attaching 2"x boards)
1 5/8" decking screws (for attaching 1"x boards)
2+ 1 1/4" 2-hole straps for metal conduit (for attaching patio umbrella*)
*Our patio umbrella pole was 1 1/2" diameter, but 1 1/2" straps had too much play, so we used 1 1/4" straps and misc flat washers to adjust the snugness to the pole
Cut lengths:
2@2x10 cut to 72" (long sides of the box)
2@2x10 cut to 69" (short sides of the box)
Cut one each of the following out of a 12 footer:
2@2x6 cut to 75" (long side "flange")
2@2x6 cut to 64" (short side "flange")
No cuts were made to the 12 1x6's
Used one leftover 2' from the 2x8x10's ripped in half cut to 11.5" for arm rests
Used two leftover 2' sections from the 2x8x10's ripped in half cut to 21" for back supports
Used the last 2' cutoff to make two seat gussets (cut about 9 1/2" off and then ripped it at 45 degrees)
Used the remaining piece (ripped in half length-ways) to attach to the center of the backrest for additional support and as the attachment point for our handles
We decided to do one handle in the center of the backrest so one reasonably strong adult could open the lid
The bottom "flange" was assembled with the box upside down. Basically a 2x6 screwed to the bottom edge of the box allowing 1 1/2" overhang all the way around
After making cuts, but before assembly, we recommend using a quarter-sheet pad sander (or similar) with 60 grit paper to break all of the edges and round over any ends or corners that will be in contact with sandbox users
Followed other general assembly instructions
Built from Plan(s)
Estimated Cost
$300 with umbrella and sand
Estimated Time Investment
Day Project (6-9 Hours)
Finish Used
We live in a very arid climate (Utah) so we chose not to varnish or paint this project
Recommended Skill Level
Beginner

Kitchen Island

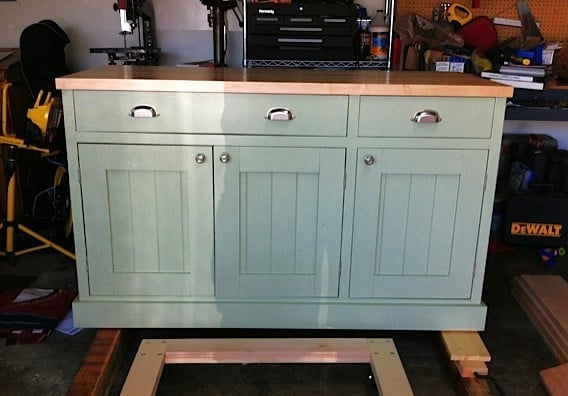
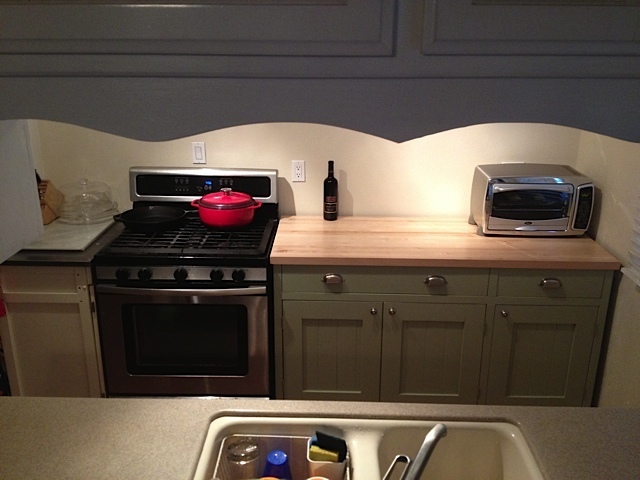
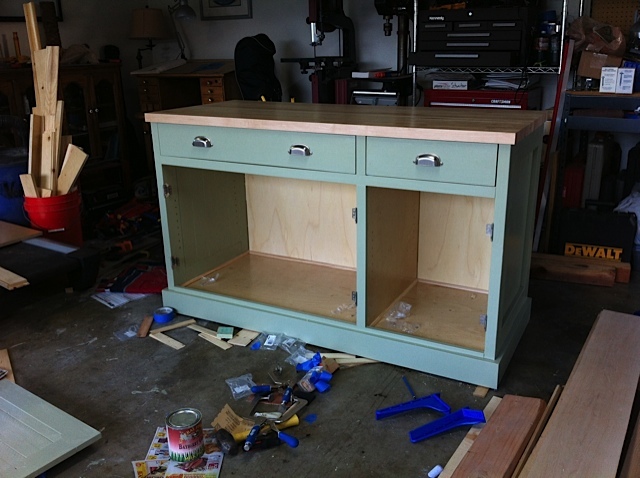
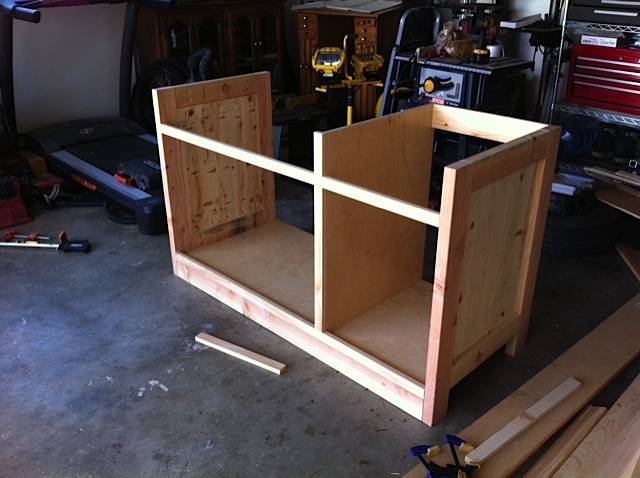
We had an area in our kitchen where the washer and dryer use to be, and we wanted to build a cabinet that would fit in that spot. We took these plans and adjusted the sizes to fit the space we needed. We made the depth deeper and we cut off one of the side drawers and doors. We found a pre-made 1 1/2 inch butcher block counter top at a local wood supply warehouse that fit our needs perfectly. The countertop was about a quarter of the price of the whole cabinet, but it was worth it. In the drawers we used wrapping paper that we found at Cost Plus which fits us to a "T". We painted it with General Finish Milk Paint in Bayberry Green and used a clear coat with a satin finish. My biggest advice to someone making this cabinet is to take your time and make sure everything is square.

Built from Plan(s)
Estimated Cost
$600
Estimated Time Investment
Week Long Project (20 Hours or More)
Finish Used
General Finish Milk Paint Bayberry Green, Satin Clear Coat
Recommended Skill Level
Intermediate

Comments

vabvive

Mon, 07/02/2012 - 10:10

You've done a beautiful job! What did you find was key to getting everything square?

This is lovely & has inspired me to make my own. I need a piece for my master bedroom that I can use as a TV stand and also to conceal my laundry baskets. Originally I'd planned on adapting a sideboard and using a tip-out door like Ana's trash bin for the laundry -- but this piece is so beautiful I may just ensure that my laundry basket will fit inside and build as-is so that I can easily have the option to use it differently if I want to.

Schweizerfamily

Wed, 07/04/2012 - 06:59

Thank you so much. We purchased a couple of Clamp it Assemby Sqares from rockler.com. These helped a lot for getting everything square. We also took our time and did not rush.

Dustin (not verified)

Wed, 07/11/2012 - 19:42

Love your modified sideboard! The color is gorgeous and the butcher block is a great addition!

I was wondering what kind of hinges you used. I looked for flush mount hinges at Lowes today and they are not going to work. I want it to look like yours where you can barely see the hinge.

Do you remember the name of it? Where you got it? Pic? Any help would be appreciated!!

Dustin Roberts
[email protected]

Schweizerfamily

Wed, 07/11/2012 - 20:15

Thank you very much. We had a really hard time finding hinges also. We tried Home Depot and Lowes and came up empty. We finally went on to Hillary Louise's blog and follow the links to the website where she bought her hinges. http://www.cabinetparts.com

Here are the links that she posted.

http://www.cabinetparts.com/p/amerock-traditional-cabinet-hinges-AMCM31…

http://www.cabinetparts.com/p/amerock-traditional-cabinet-hinges-AMCM31…

We just bought ours in a different color.

Becka (not verified)

Sat, 09/08/2012 - 13:14

My husband & I are looking to build our own too but the dimensions of the original plan would make it too big for our dining area. Yours would be a perfect size though - would you mind posting the size adjustment for yours? Or could you email it to me? I would be forever grateful :)
Love the color you painted it too....very nice choice!

Becka Krikorian (not verified)

Sat, 09/08/2012 - 13:18

My husband & I are looking to build our own too but the dimensions of the original plan would make it too big for our dining area. Yours would be a perfect size though - would you mind posting the size adjustment for yours? Or could you email it to me? I would be forever grateful :)

Love the color you painted it too....very nice choice!

rhettar

Sat, 01/19/2013 - 11:37

This is exactly the size down I had in mind and was wondering how it would look with one door off by itself, it looks great! I even thought about incorporating one door to actually be a tilt or pull out for trash. You guys did a wonderful job and it looks like it was built in where you ended up putting it in your kitchen... Are you going to do a little something now to match on the other side of the stove?

Schweizerfamily

Fri, 01/25/2013 - 09:12

Thats a great idea. We were thinking one our next projects would be a mix between this and Ana's recycling center with the tilt out for dog food.

chicken coop

Submitted by namaste7 on Mon, 05/11/2020 - 22:10

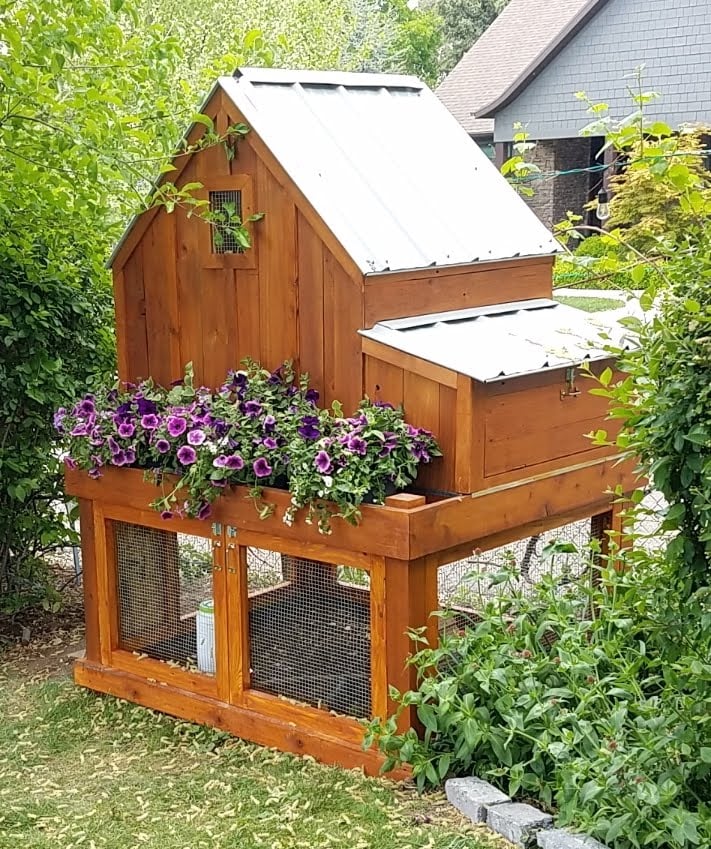
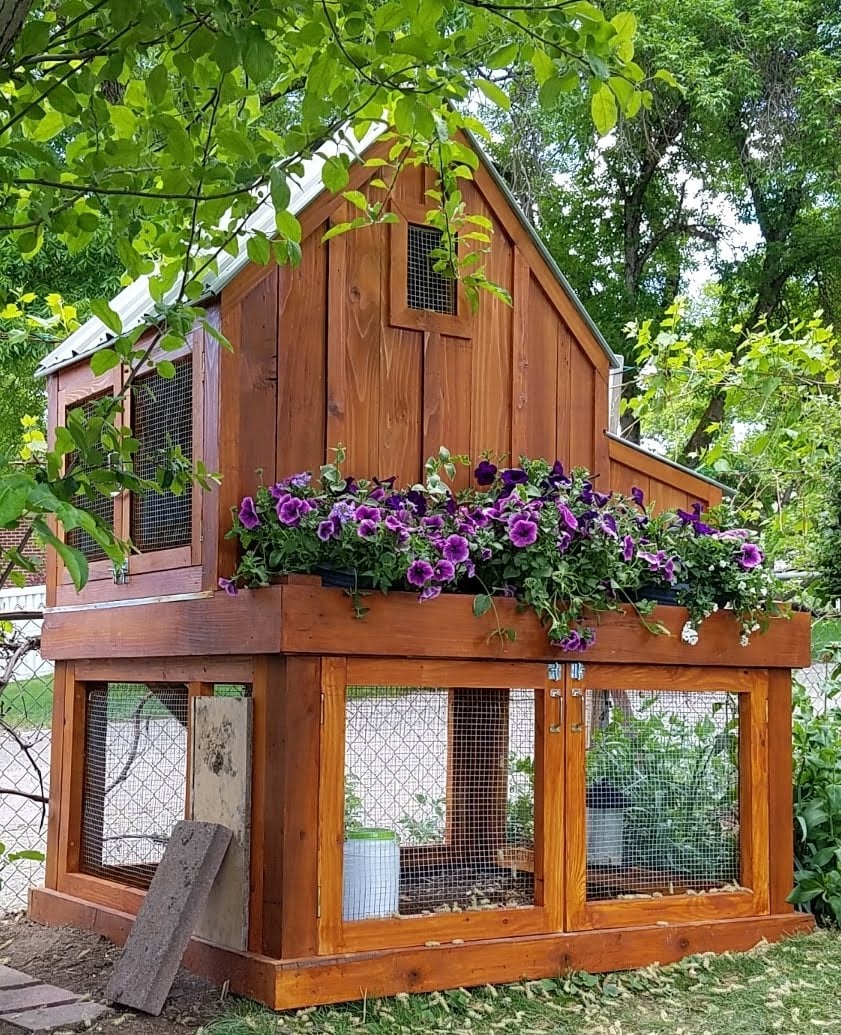
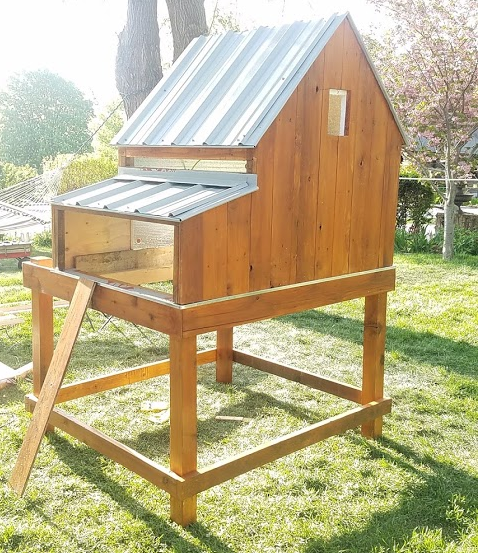
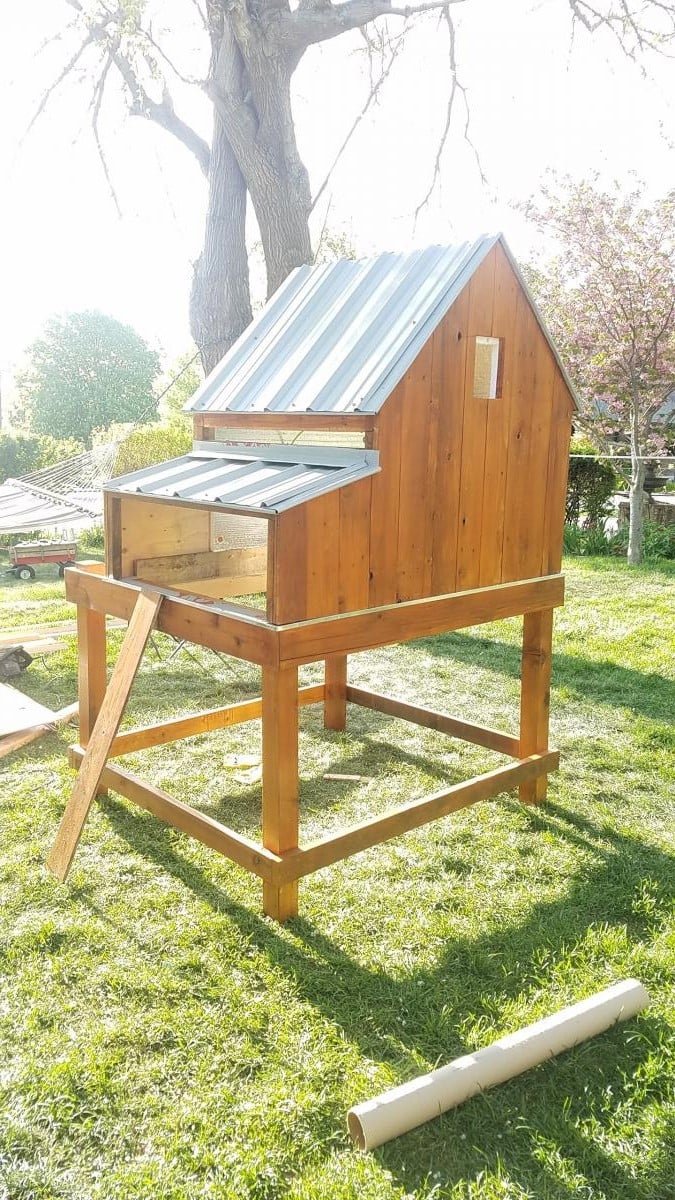
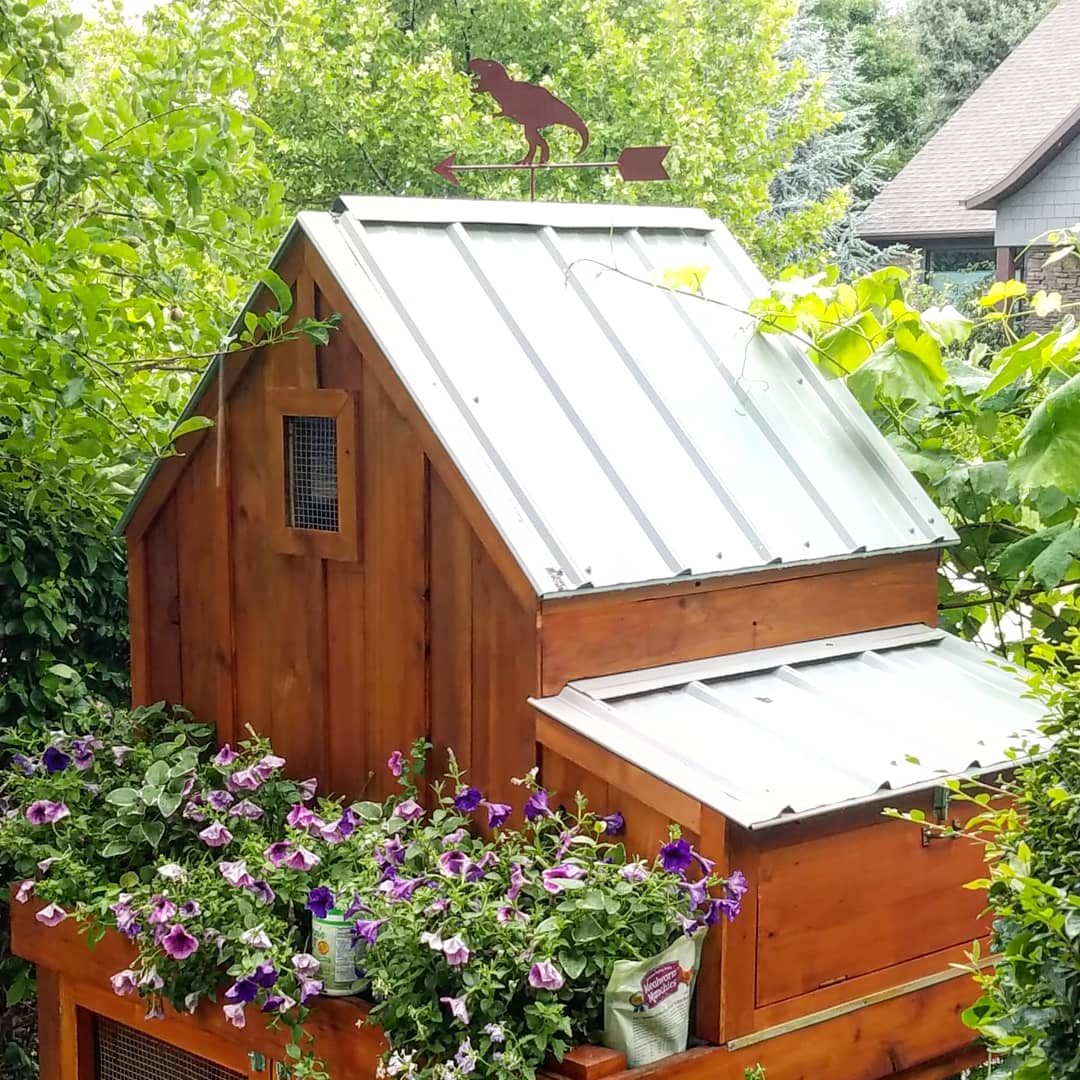
Modified to make the coop bigger and the planter smaller. Added 1" foam insulation on the inside and changed the design to use the "deep litter" method. This means the coop bottom goes all the way to the bottom of the support beam rather than using a removable tray. Added a steel roof with a ridge vent at the top. The chicken run under the coop is lined with buried hardware cloth so no animals can dig under the coop. All hinges are mortised and doors flush mounted. The coop is wired for power for a heat lamp. The planter is lined with a metal tray. The coop can be separated into two pieces so you can move it or rotate the top 180 deg if needed (so you can get to the eggs from the left or right side). Great plans, thanks Ana!

Estimated Time Investment
Week Long Project (20 Hours or More)
Finish Used
cedar deck stain. Olympic. brand
Recommended Skill Level
Advanced

Comments

Seasonal And Holiday

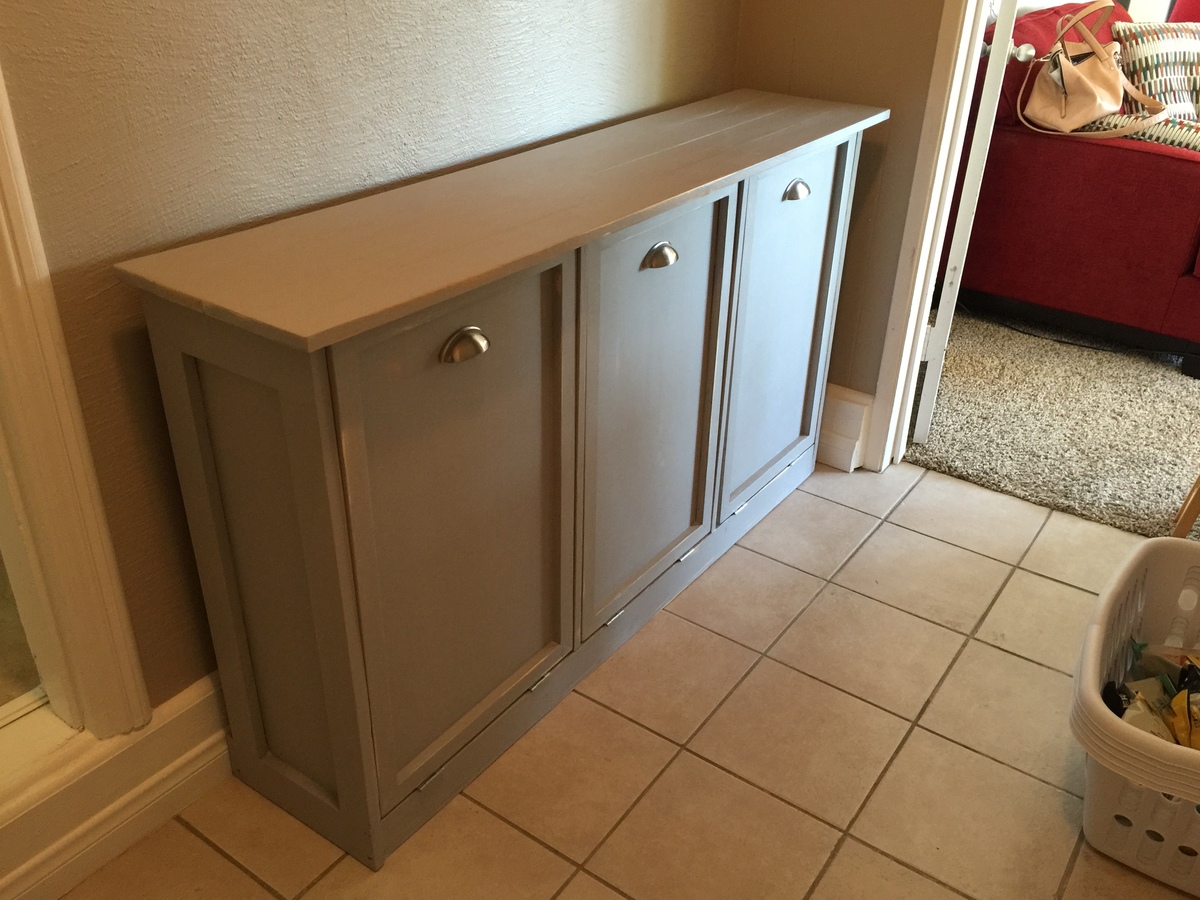
I did it!

Thank you for all the wonderful plans!

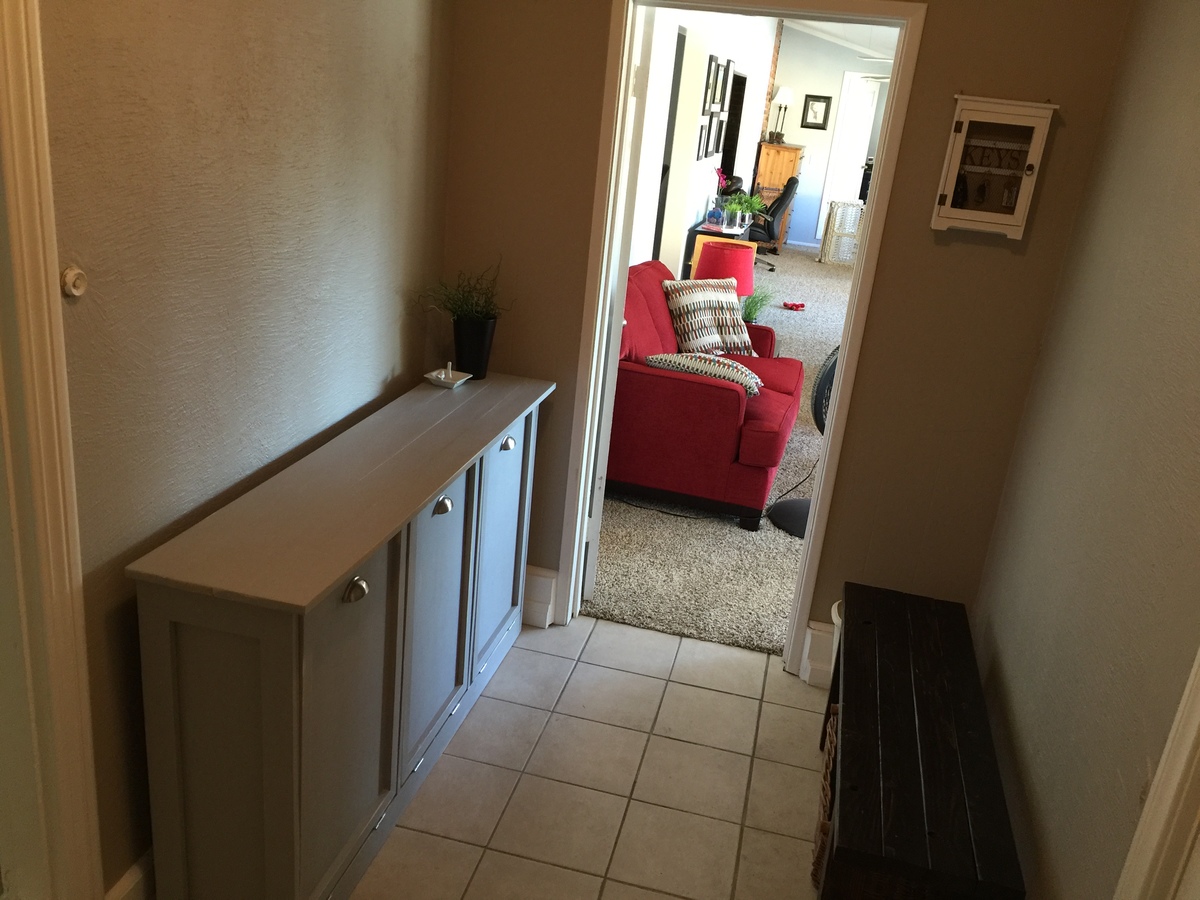
i used the modified plan of the tilt out waste bin that Shanty2chic put out as a three bin laundry sorter.   It turned out great!  

It is finished with chalk paint, lightly distressed. 

Estimated Cost
$40 or so
Estimated Time Investment
Weekend Project (10-20 Hours)
Finish Used
Rustoleum's Chalk paint in old gray. Lightly distressed with the ryobi corner cat.
Recommended Skill Level
Beginner

Comments

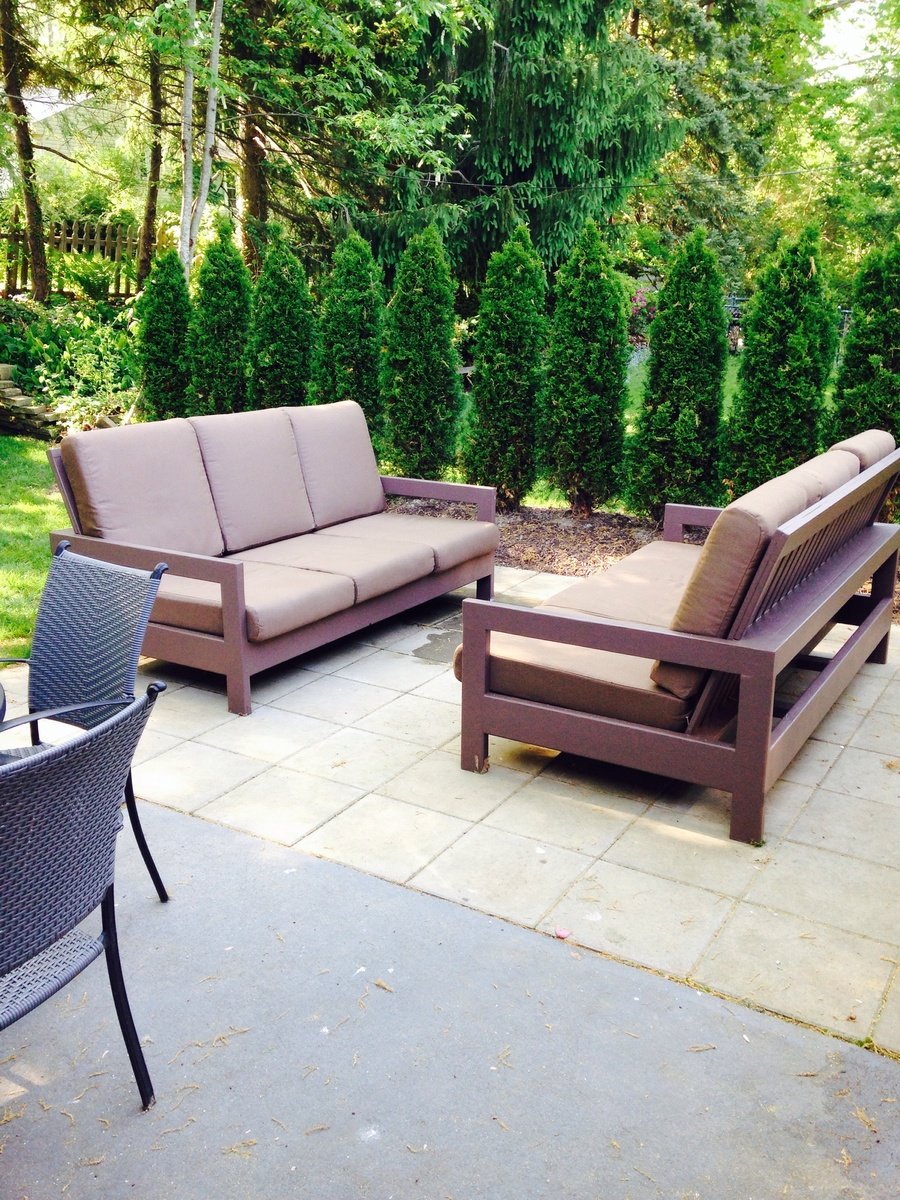
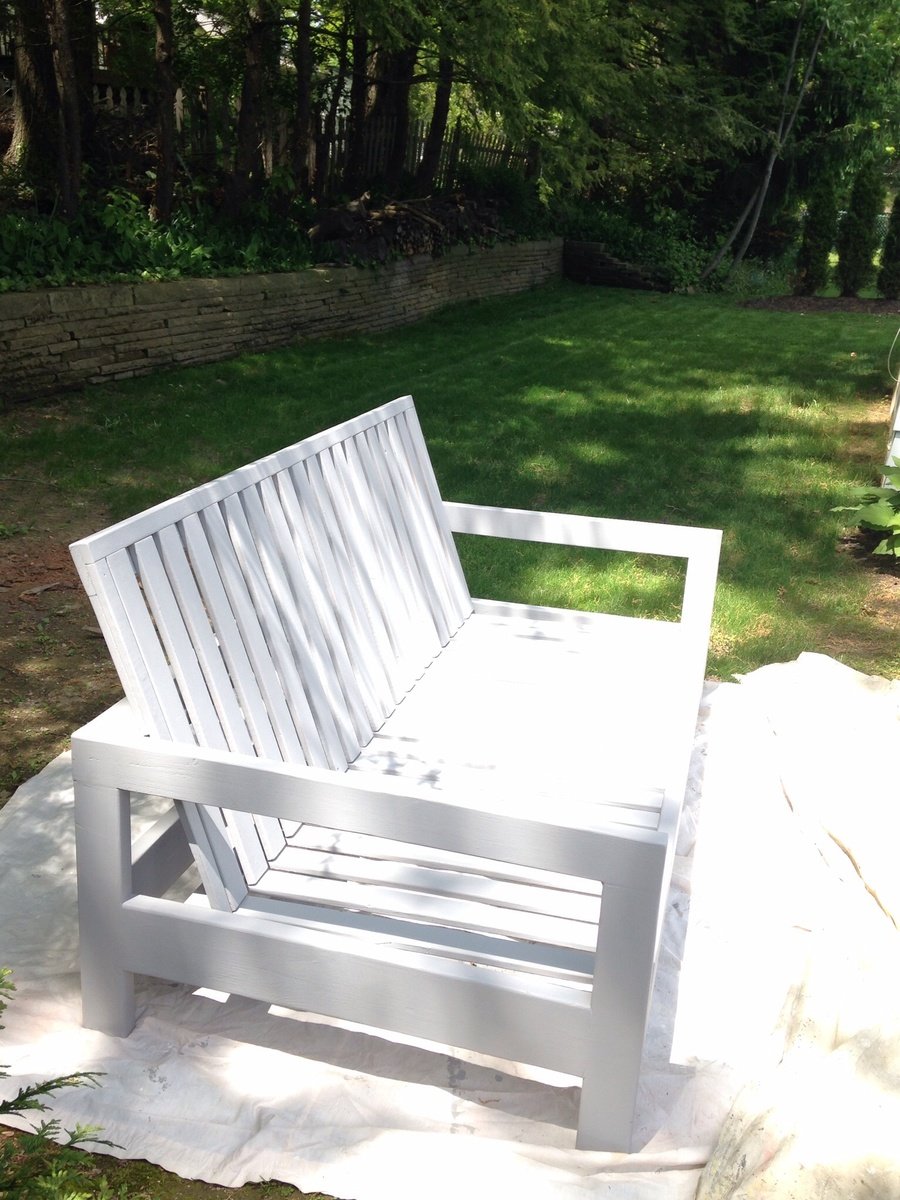
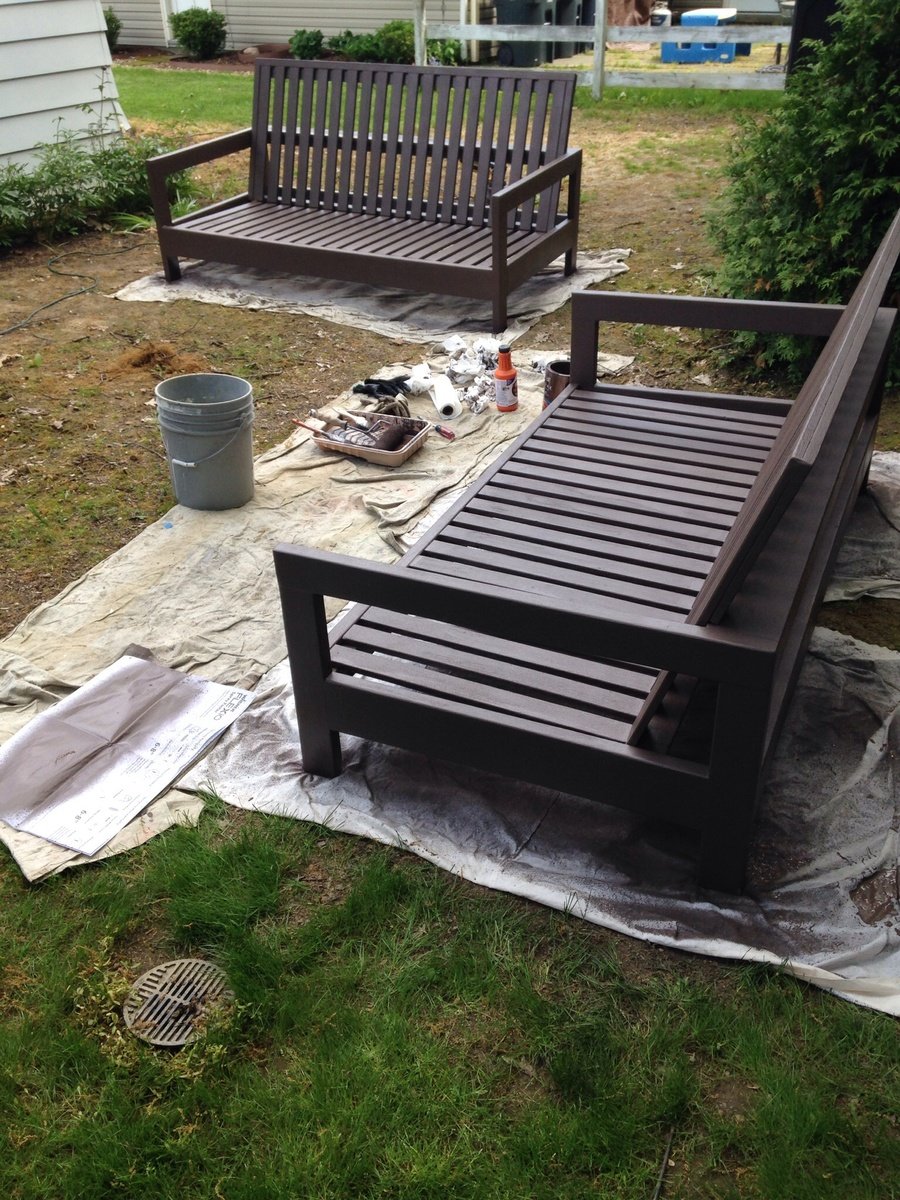
Outdoor patio couches

Submitted by Chrisann on Tue, 05/27/2014 - 11:06

Love this design! We had to adjust the plans to fit a different cushion from Restoration Hardware. The couches turned out great and we had a party the day after the paint dried! Thx Ana-white!

Estimated Cost
Material $200, cushions $700
Estimated Time Investment
Week Long Project (20 Hours or More)
Finish Used
Valspar outdoor paint "frontier road"
Recommended Skill Level
Intermediate
Back