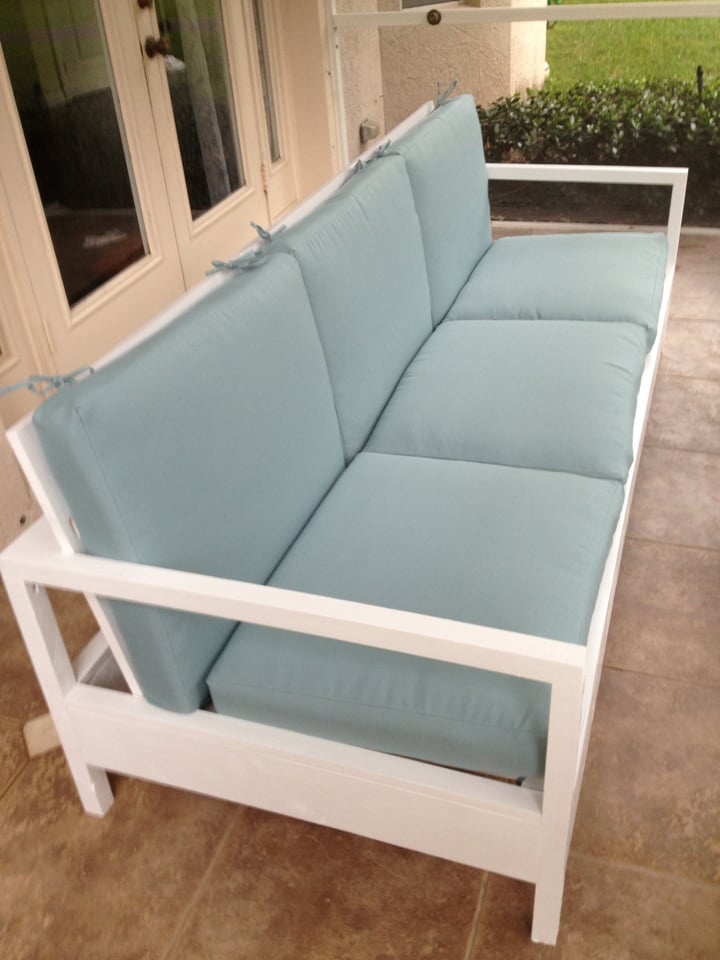
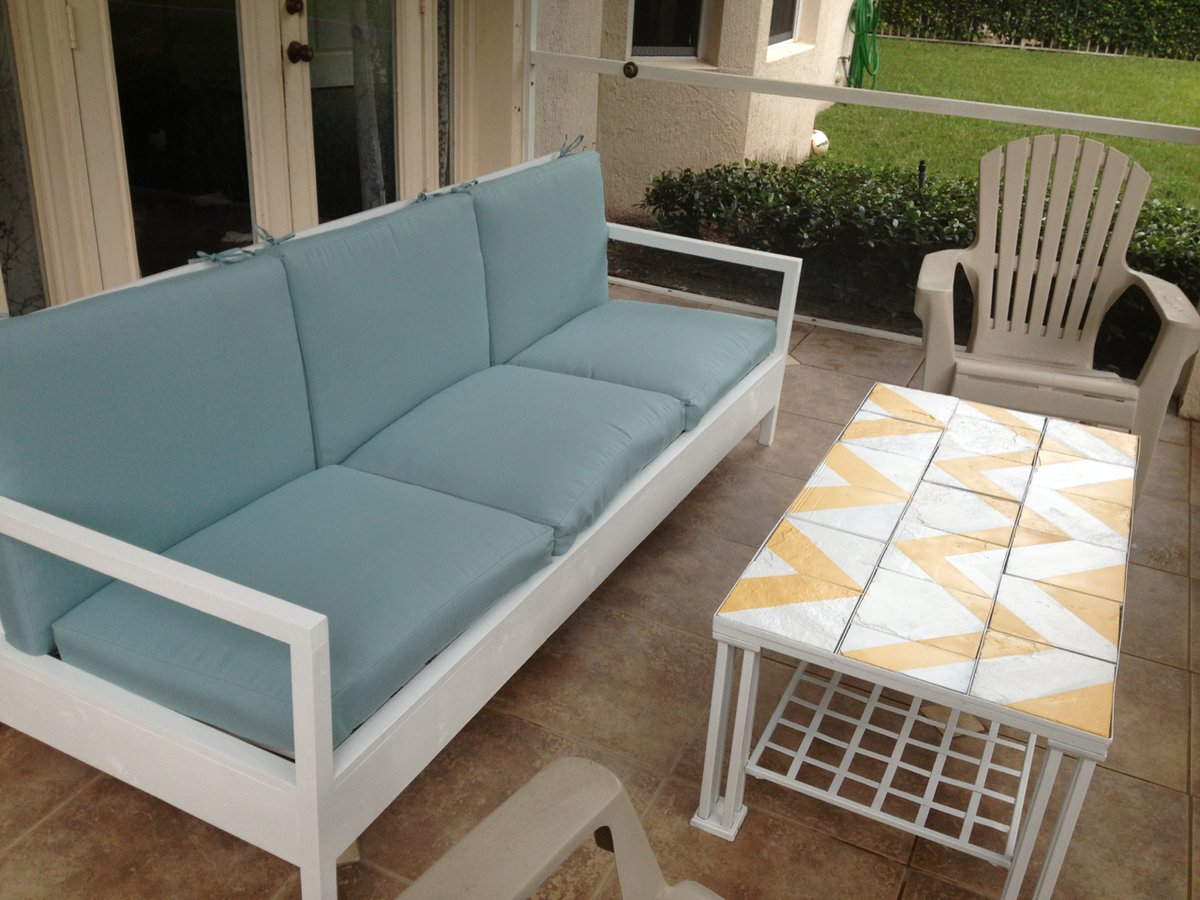
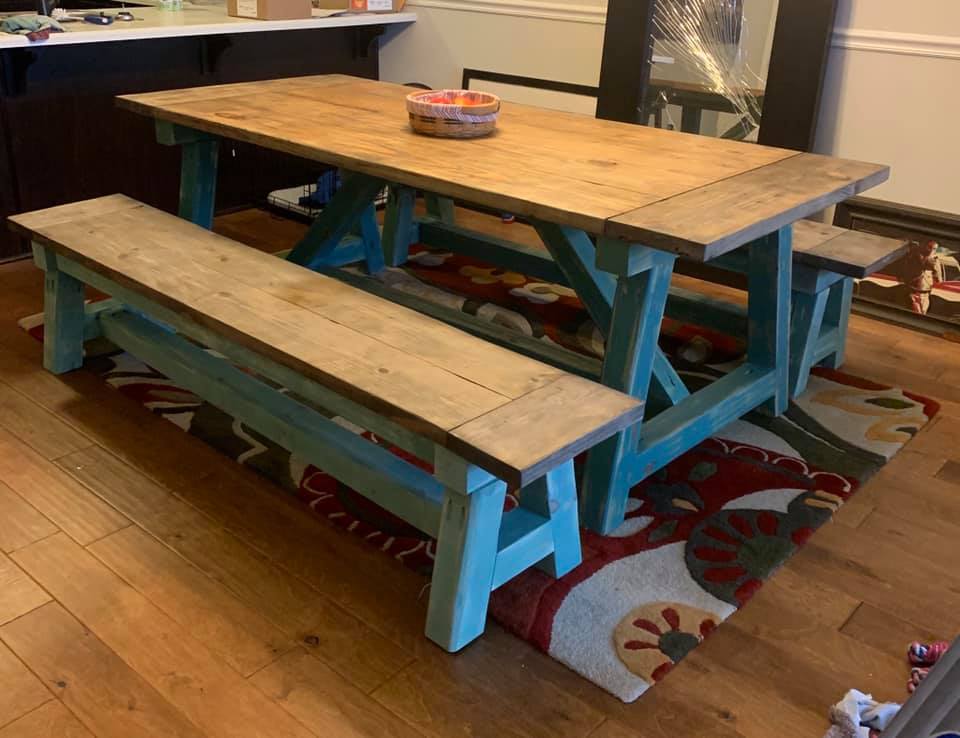
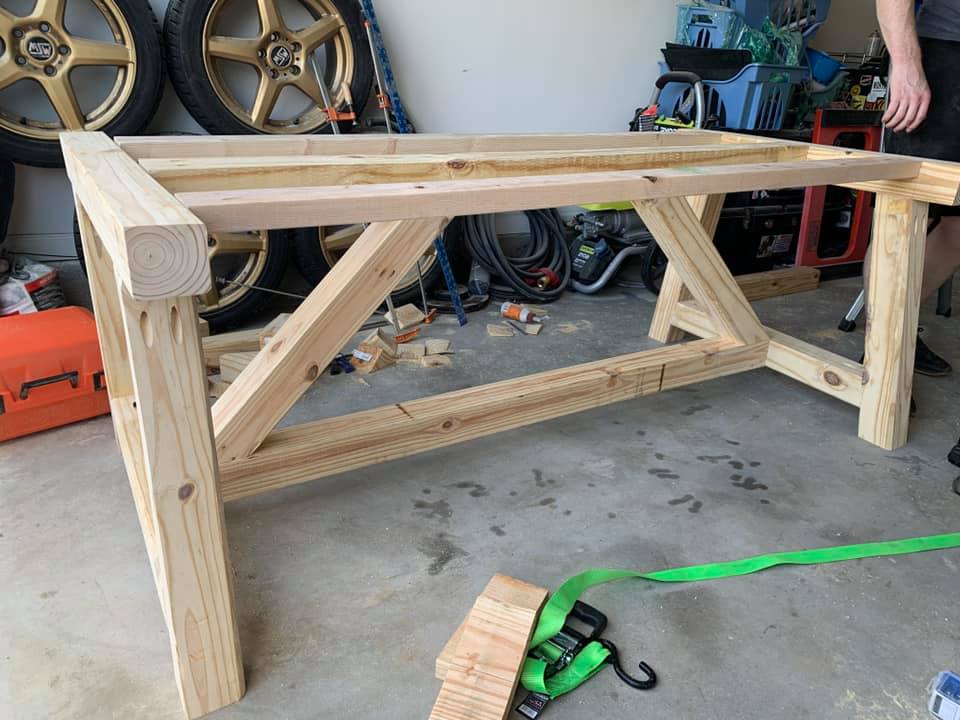
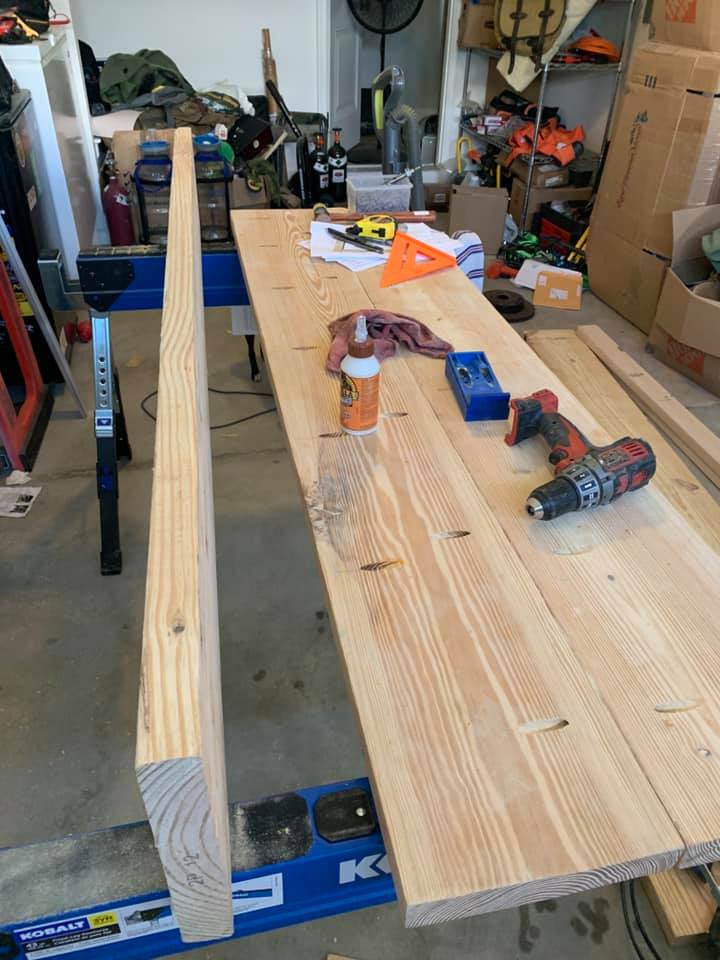
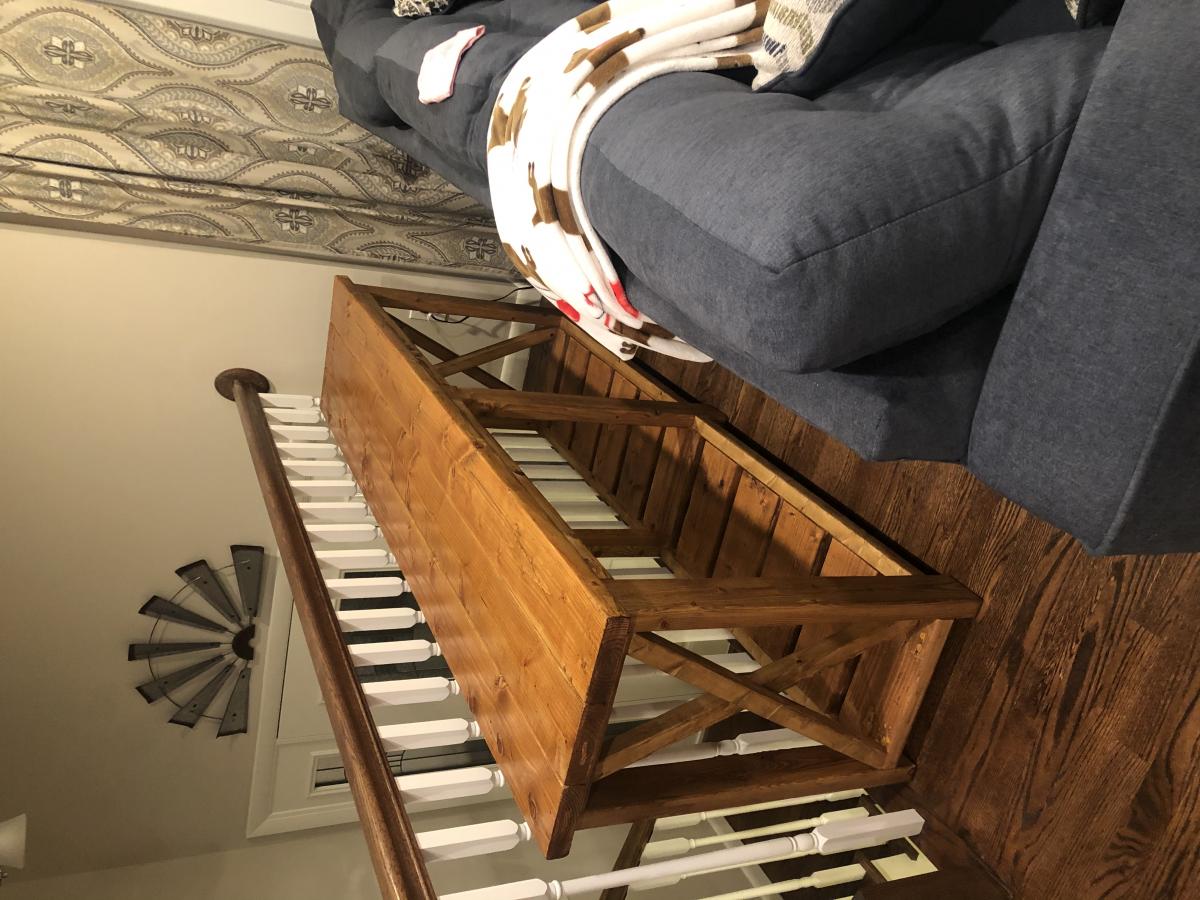
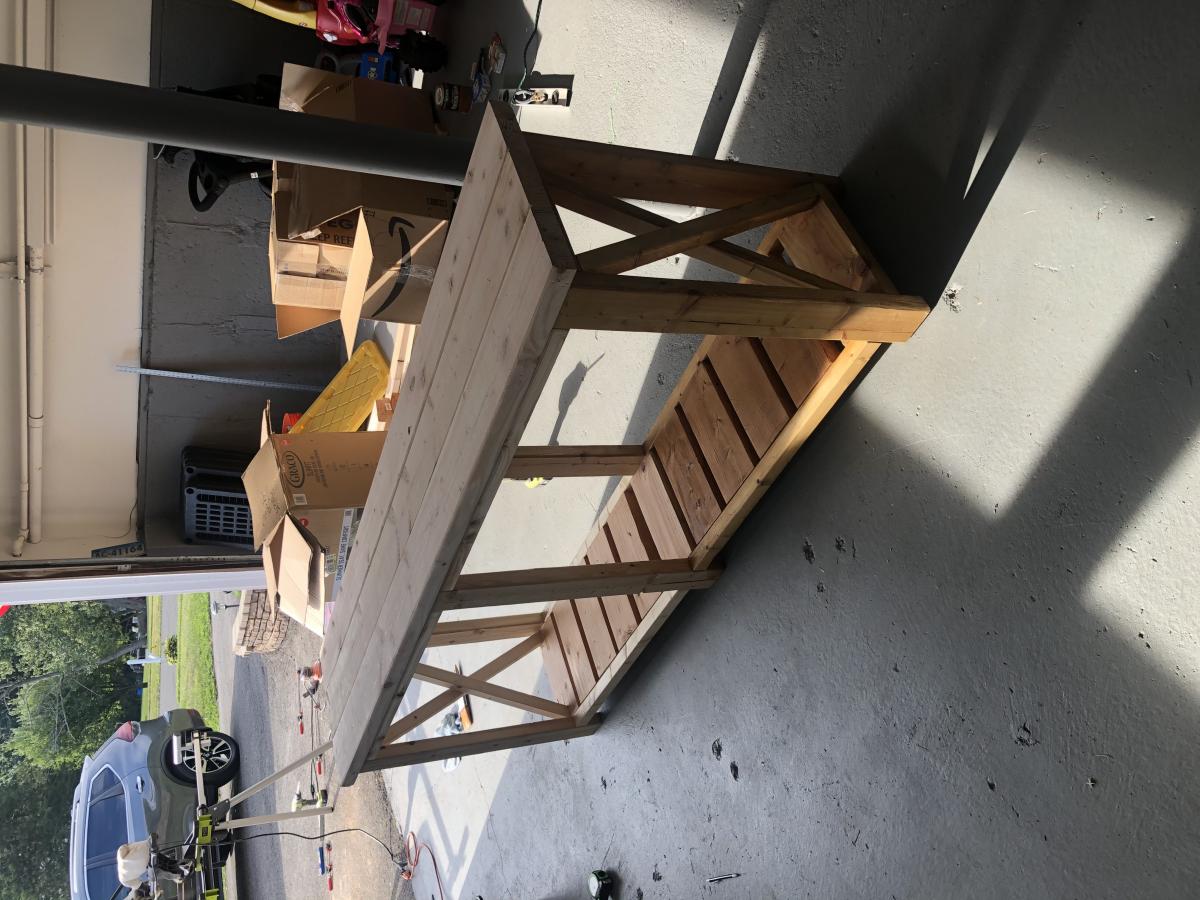
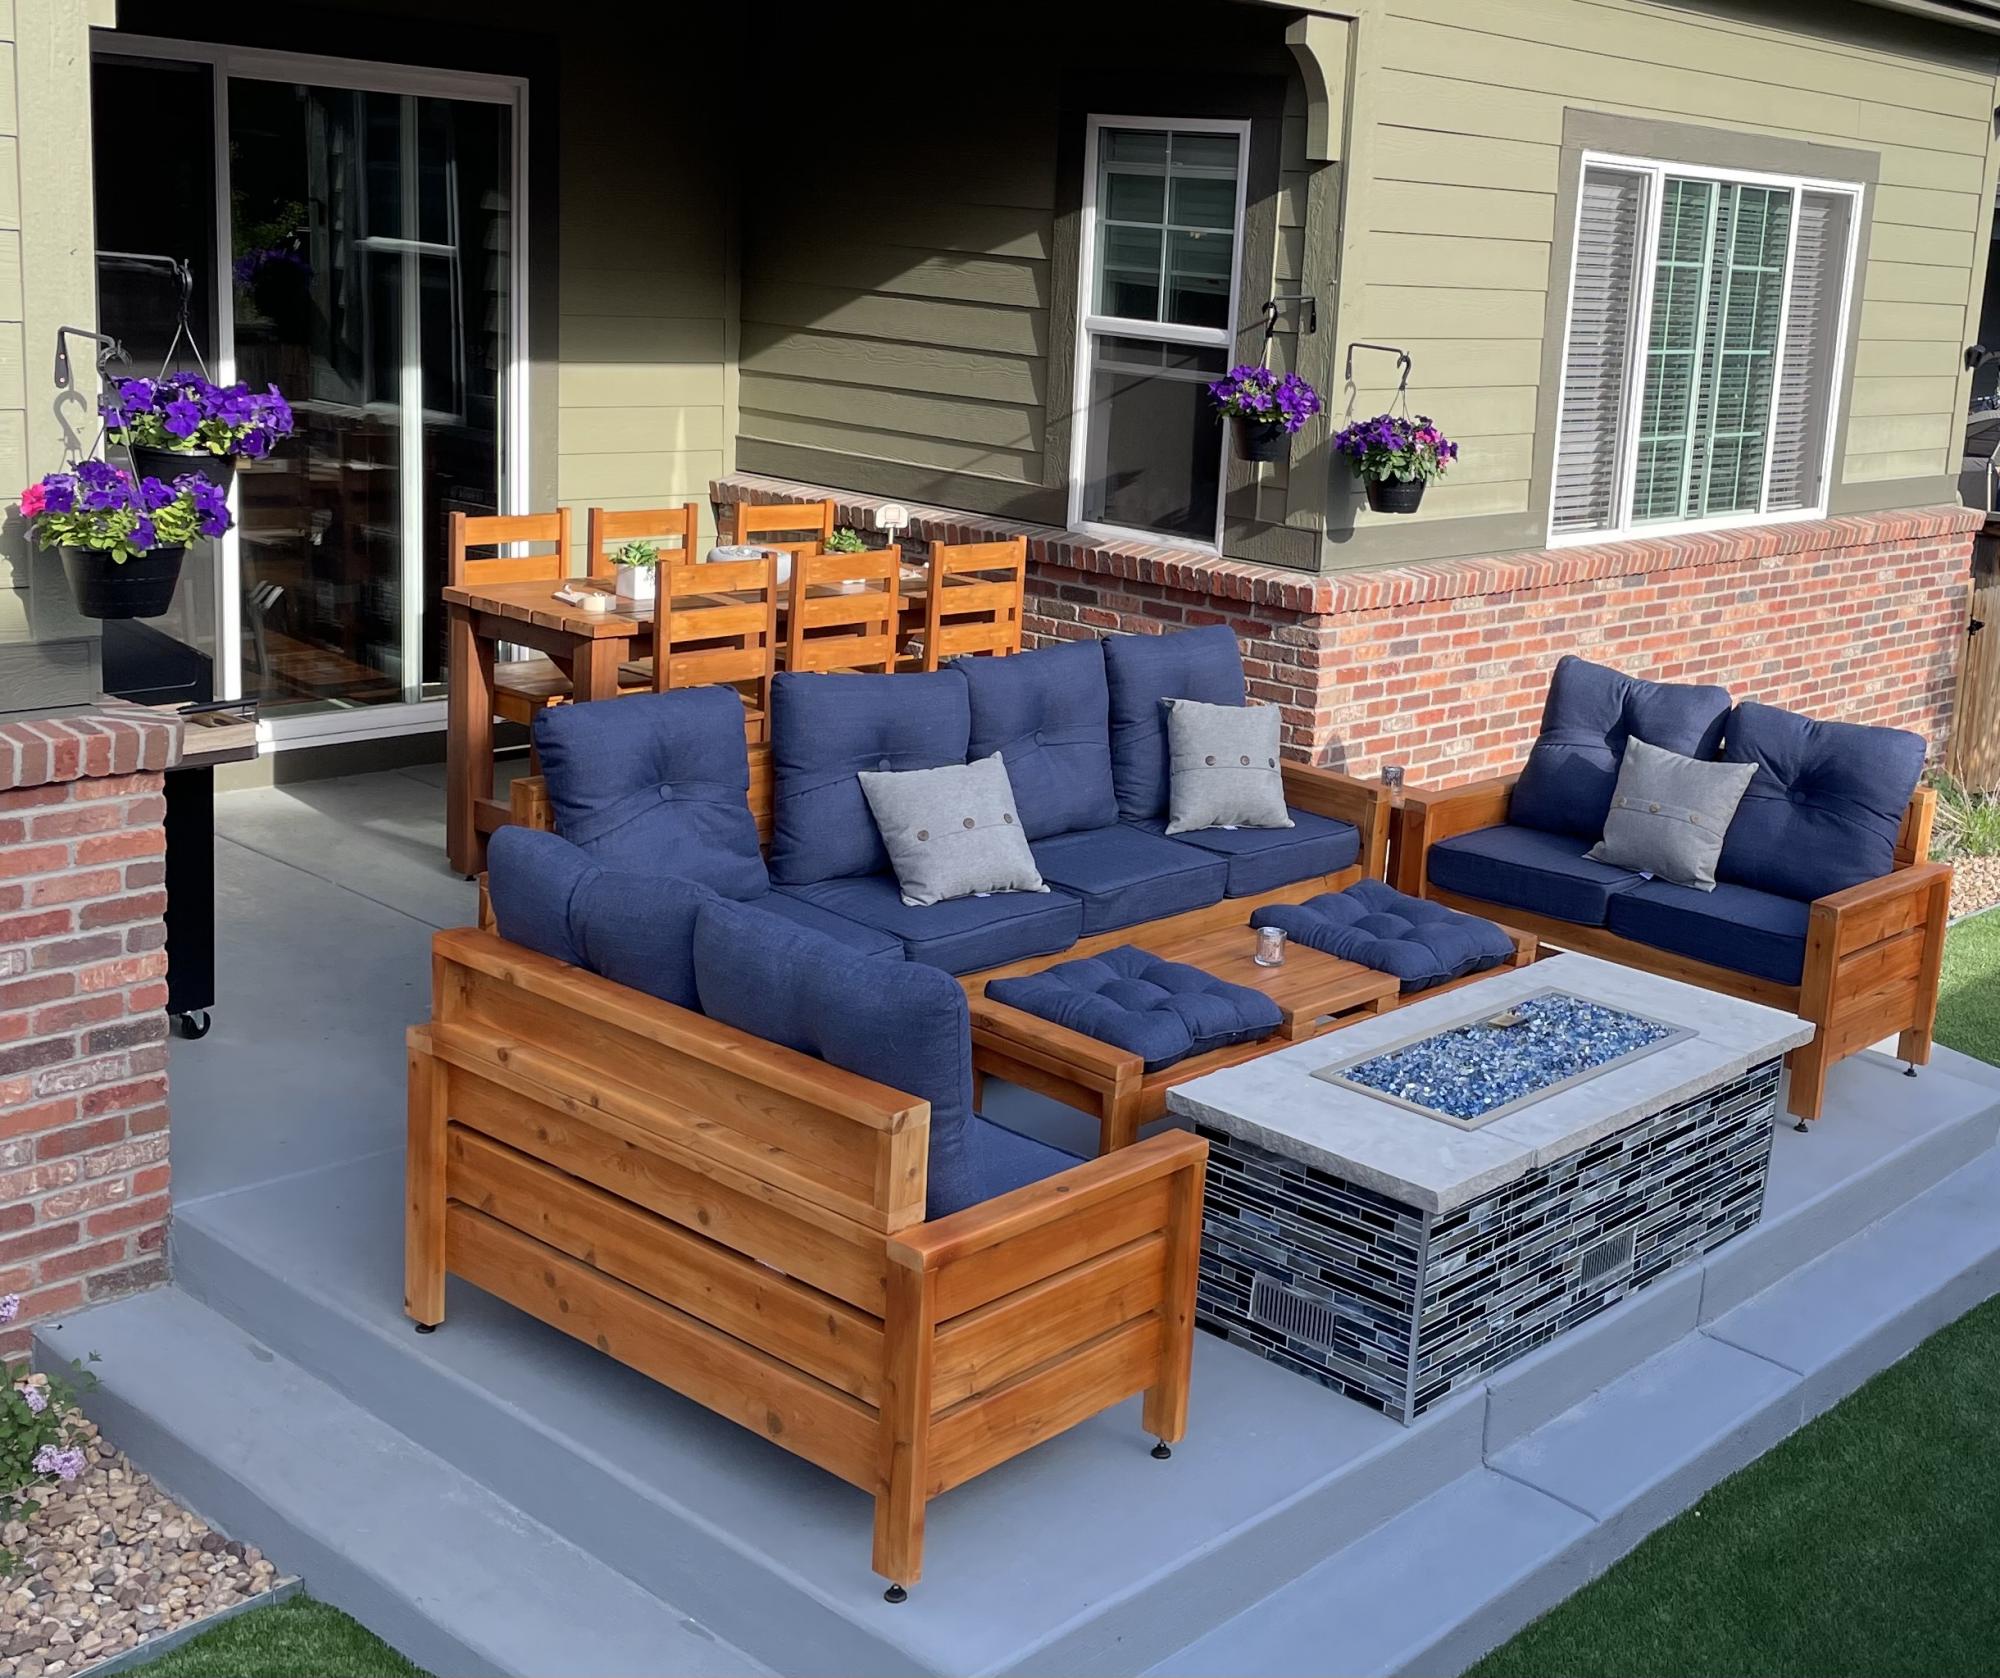
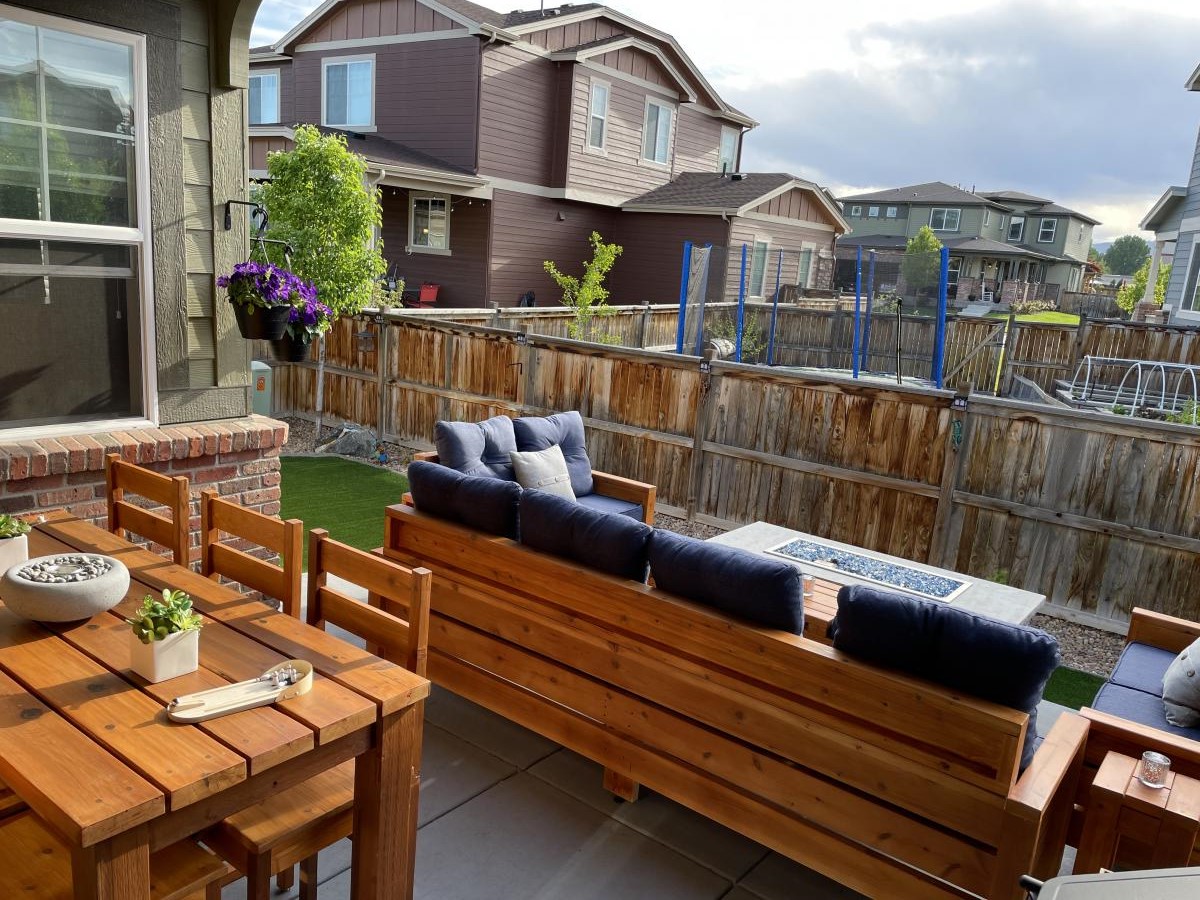
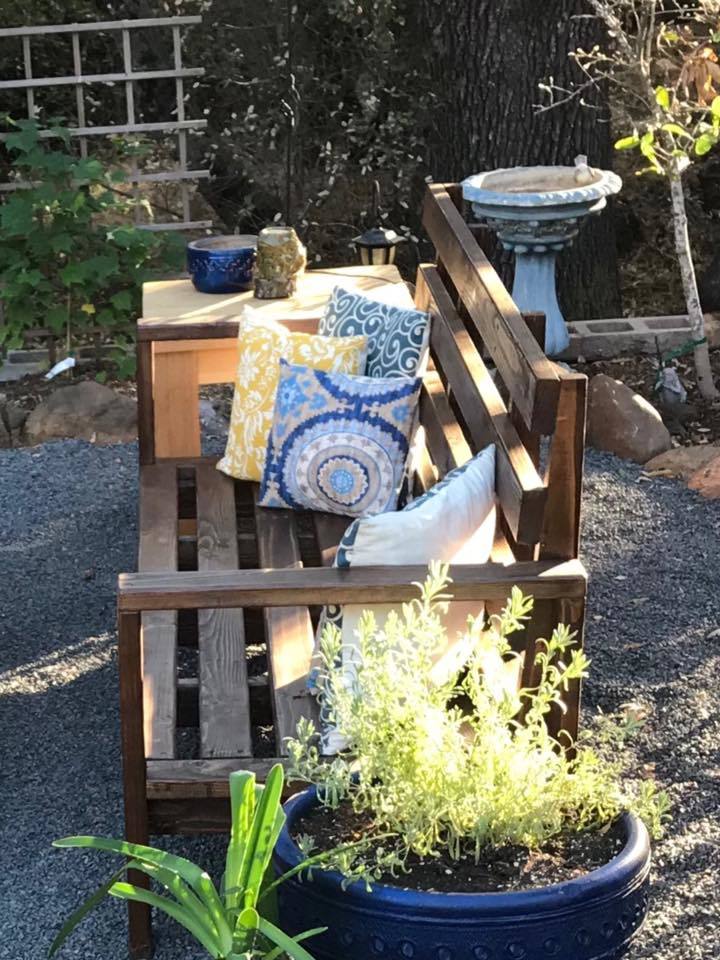
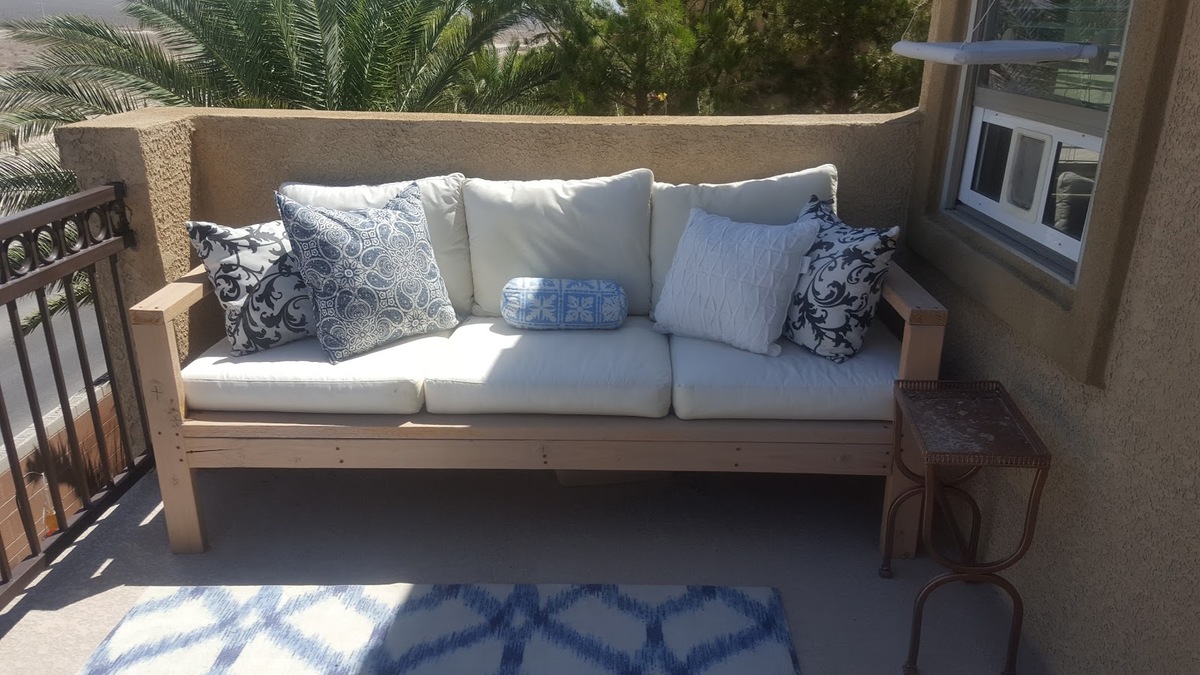
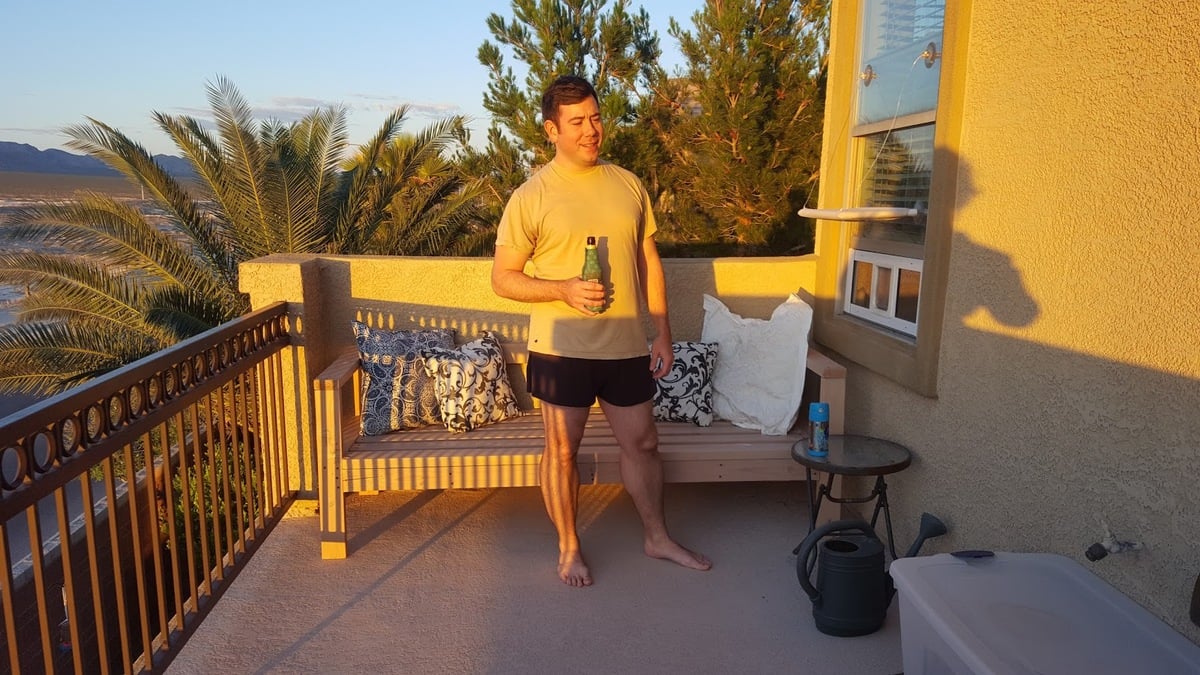
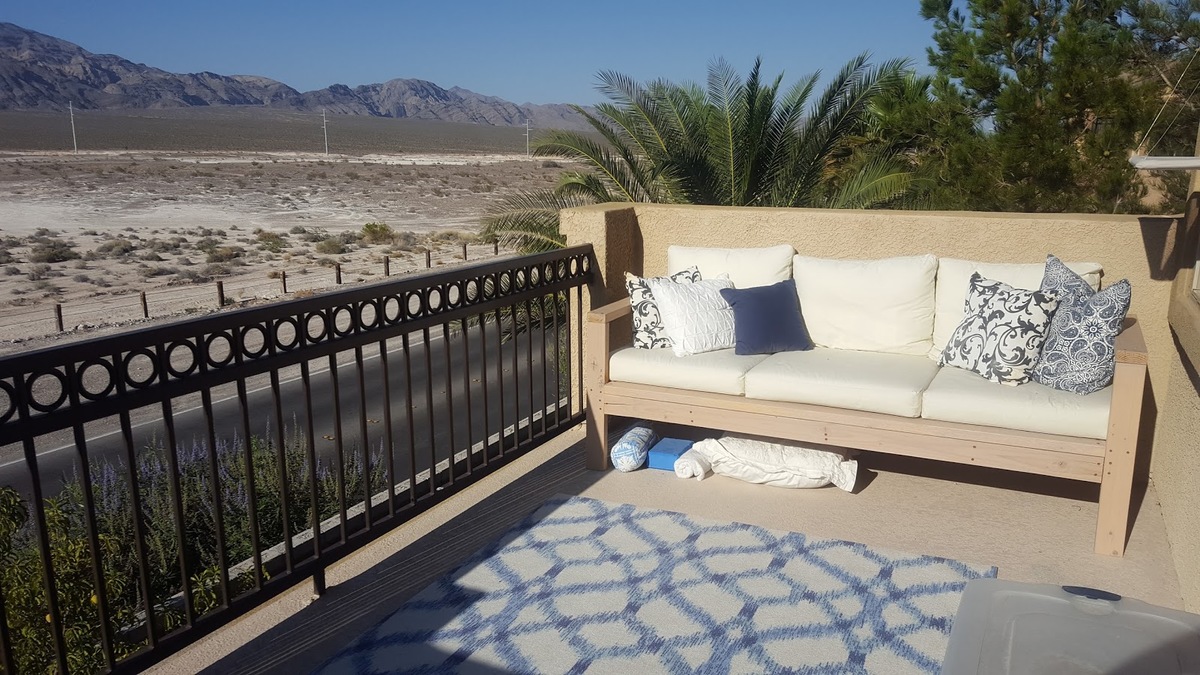
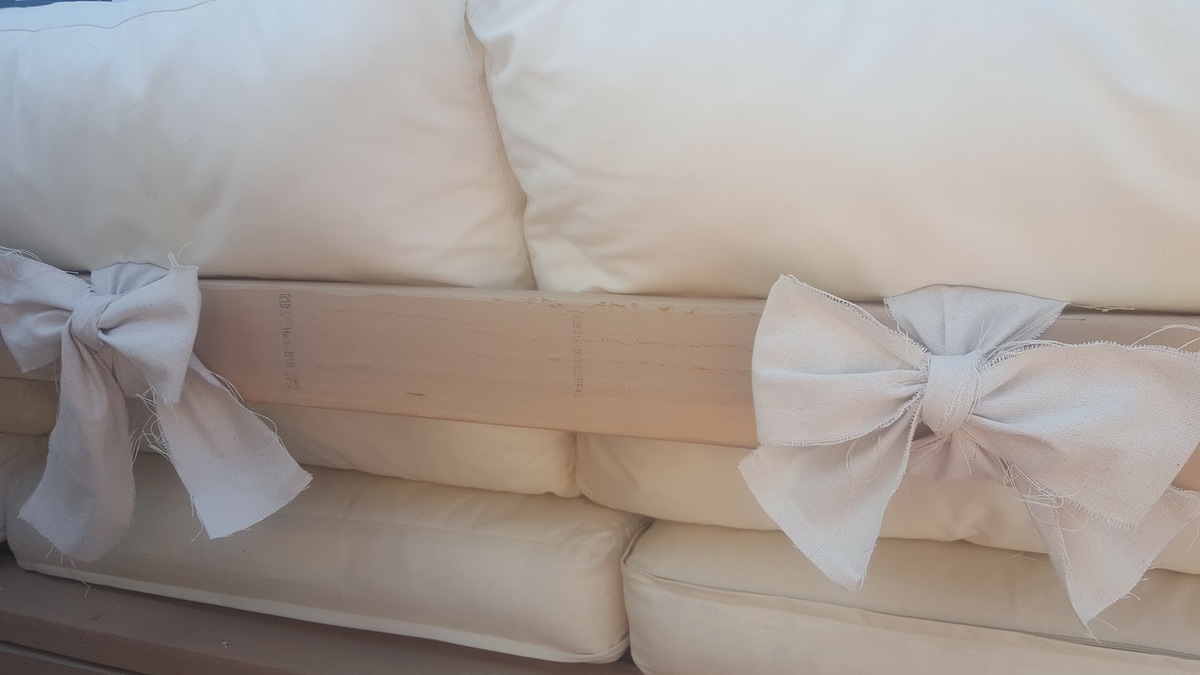
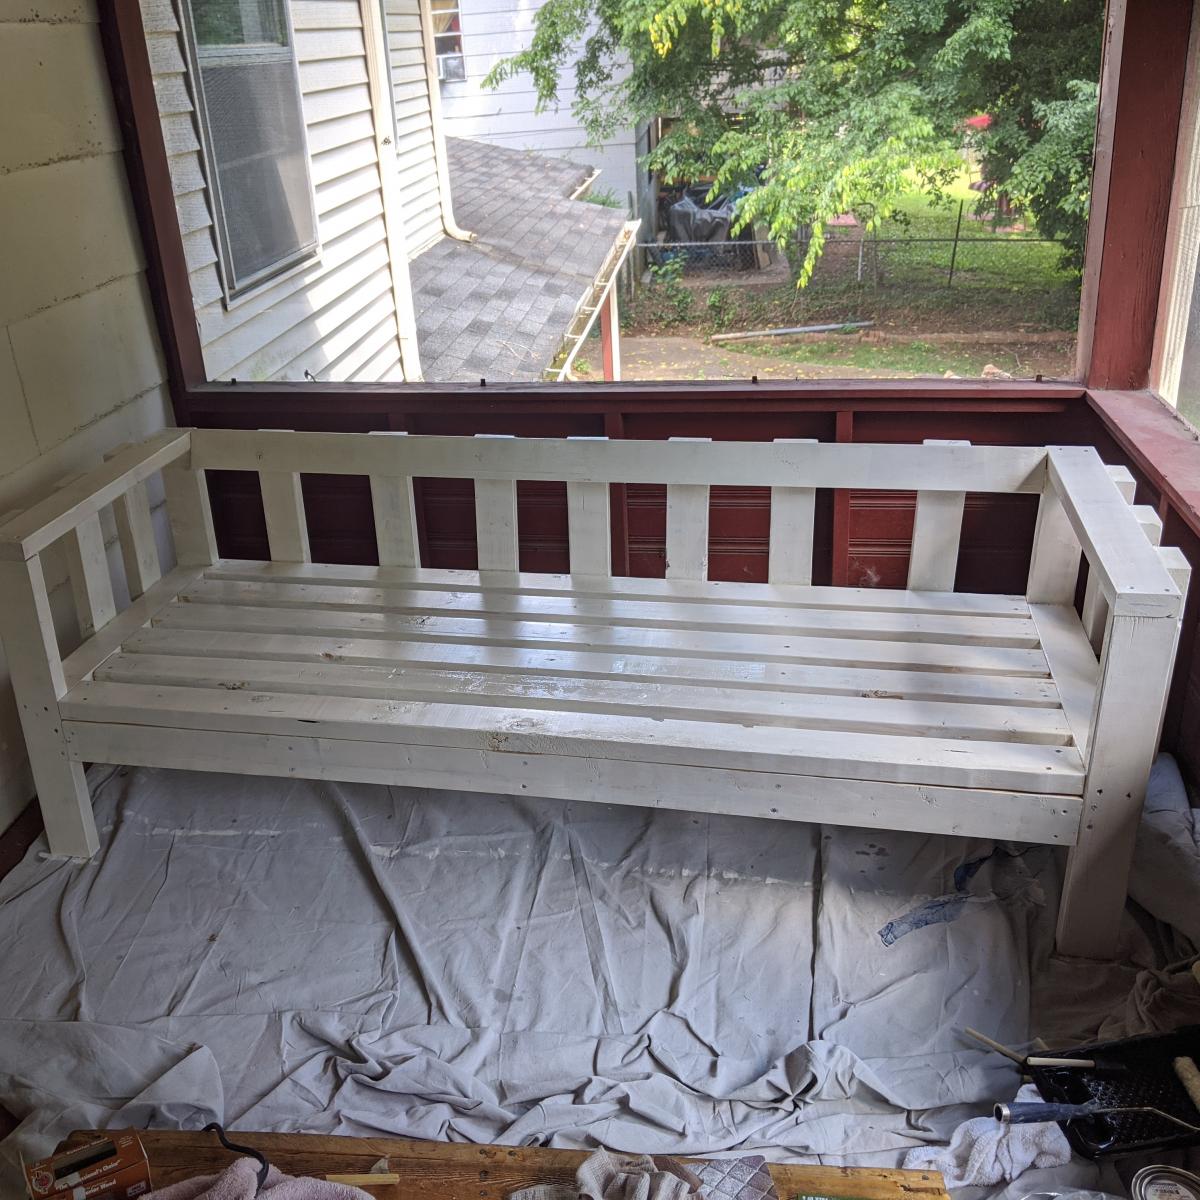
Patio couch
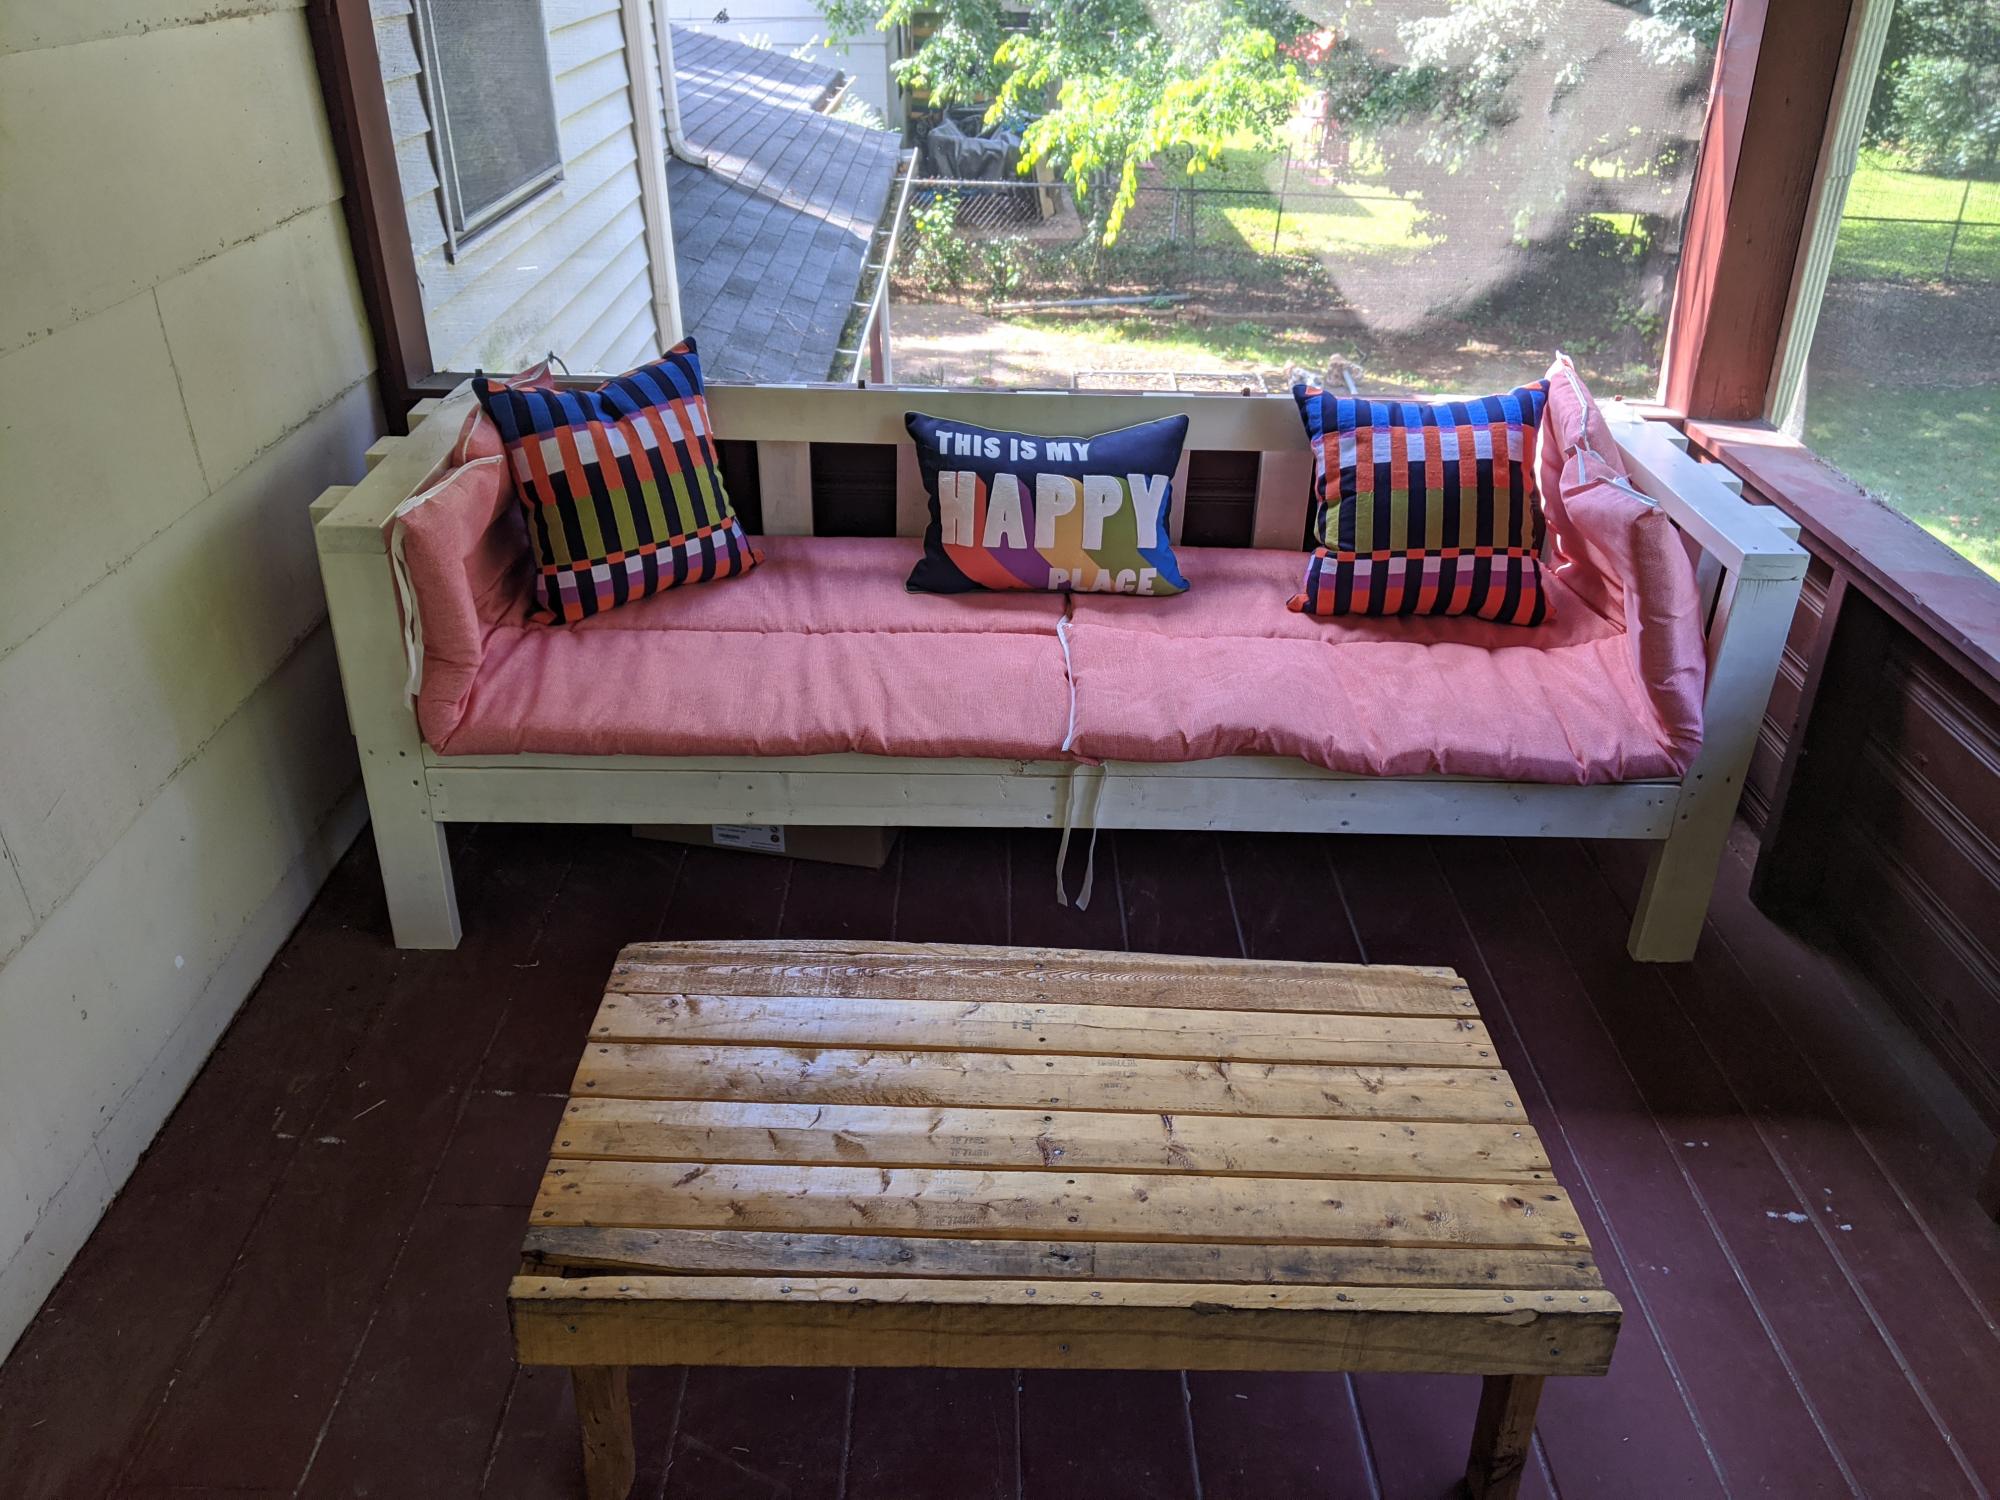
This was my first solo woodworking project since 7th grade shop class in 1997. This was so easy to put together! I added "slats" from left over lumber to keep my pillows from squishing out. Thanks Ana White for creating easy to follow instructions! I've now got the woodworking bug!
Built from Plan(s)
Estimated Cost
$50
Estimated Time Investment
Weekend Project (10-20 Hours)
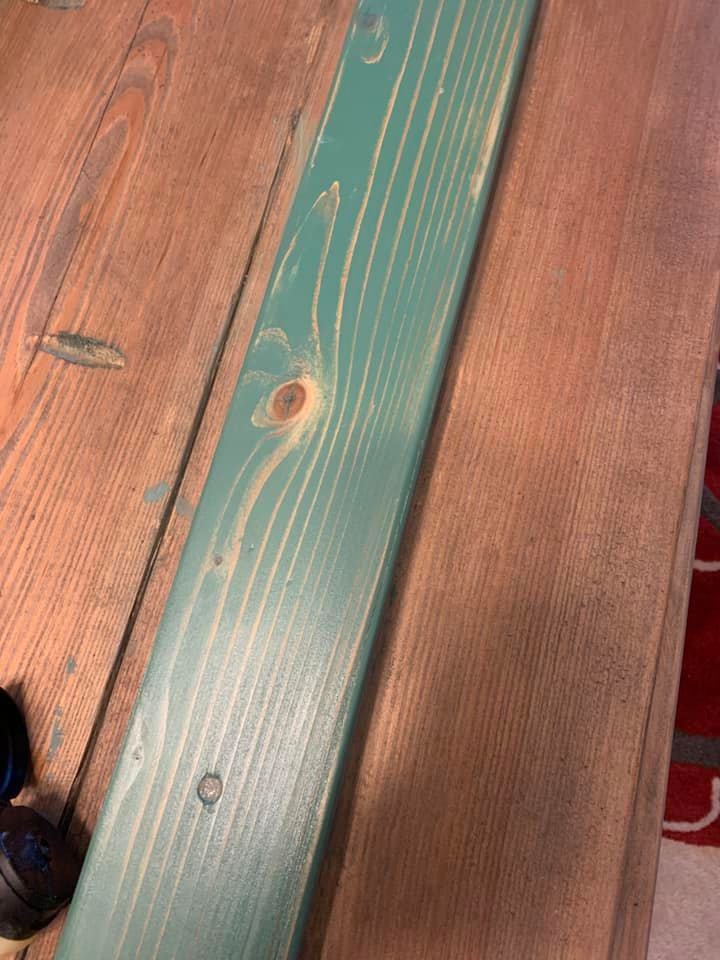
Finish Used
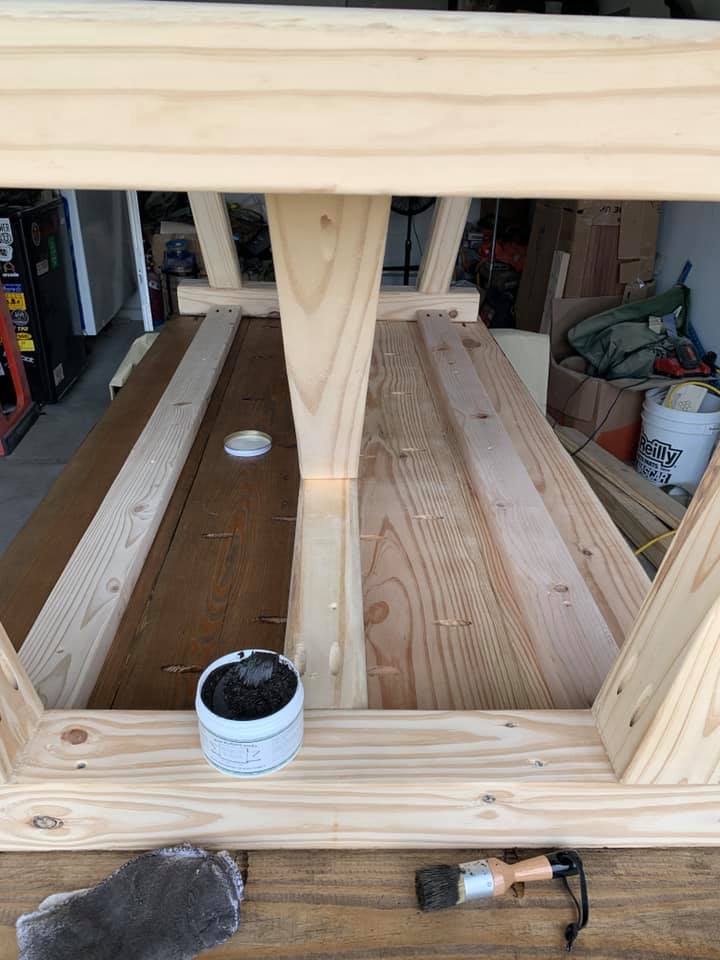
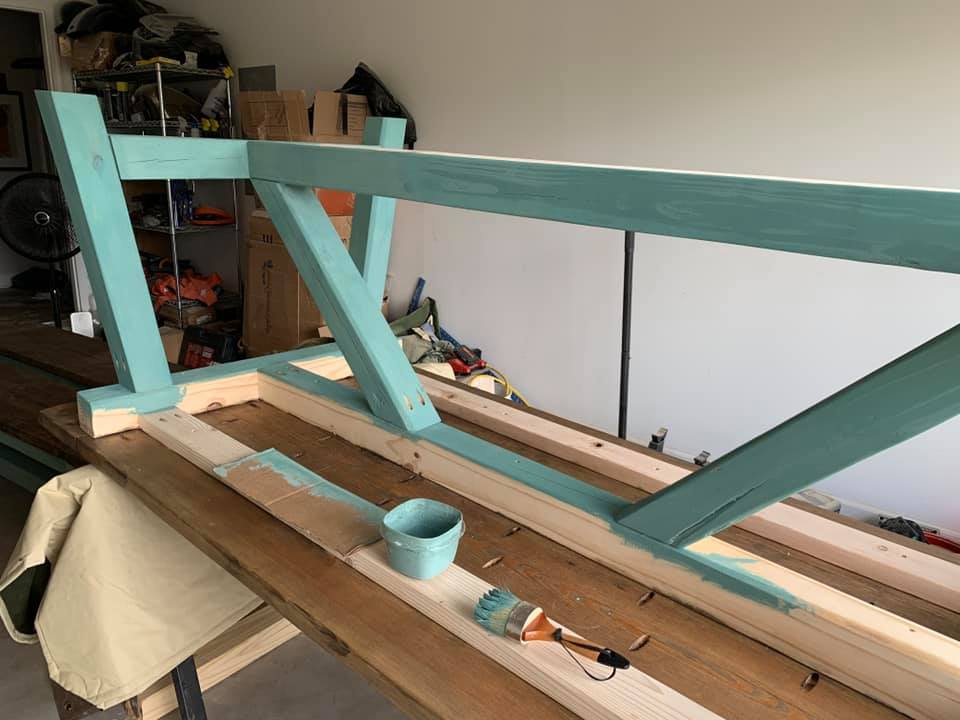
Antique lace chalk paint and polyurethane seal
Recommended Skill Level
Beginner