Community Brag Posts

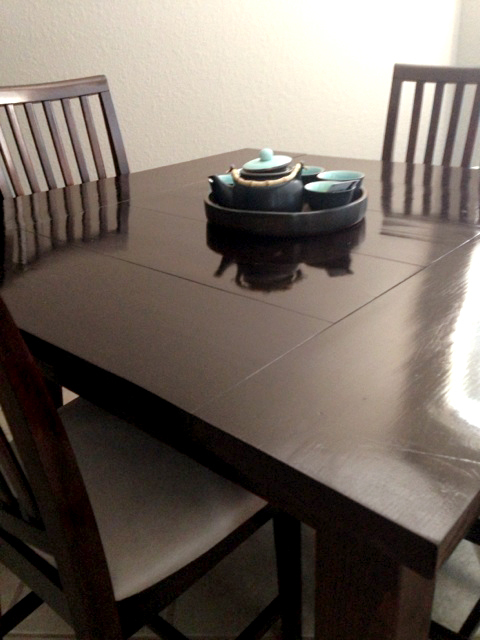
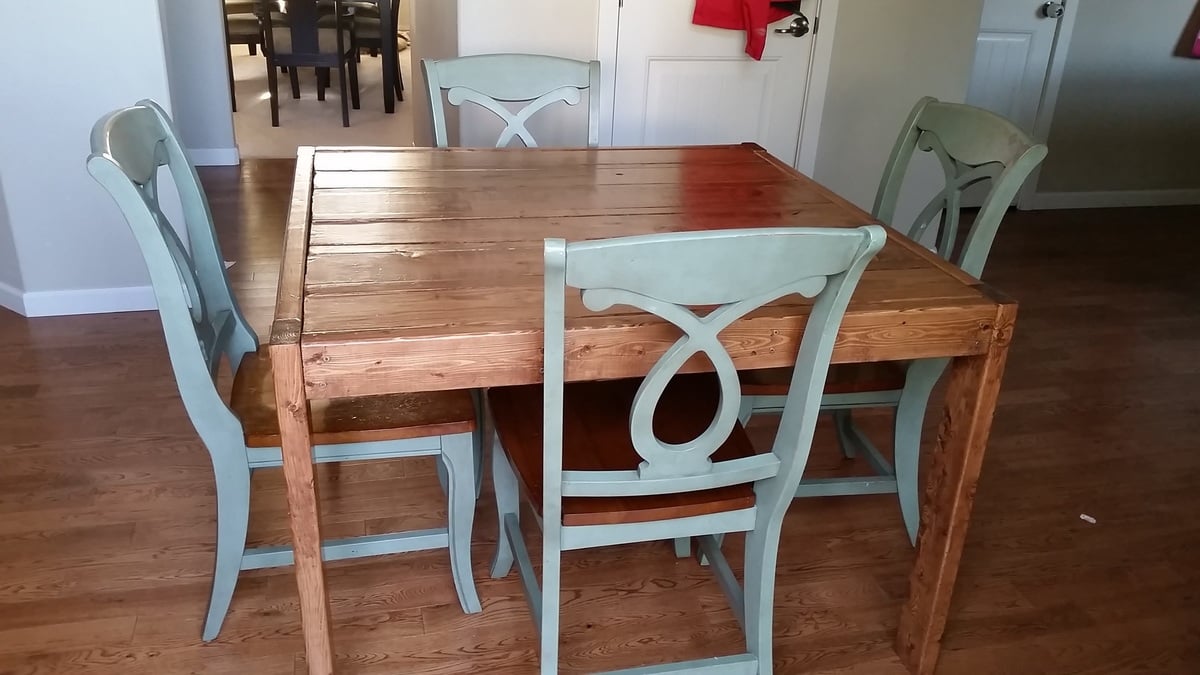
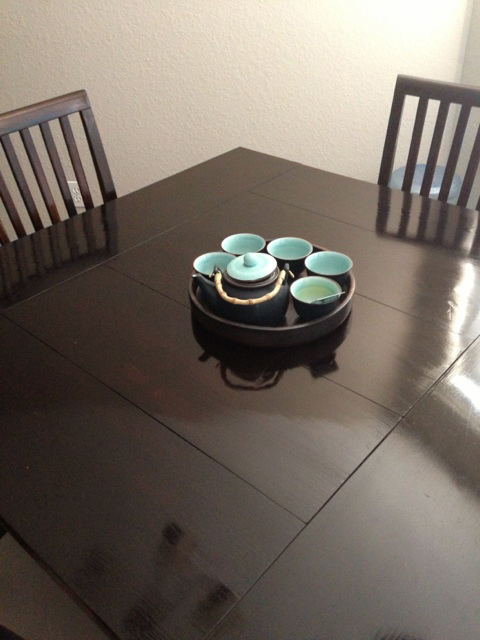
Square Farmhouse Table

Submitted by blawson972 on Wed, 08/21/2013 - 14:50

This was my first project! We just bought a house and have no furniture except a mattress on the floor! But soon, we will have a home full of custom built furniture :)

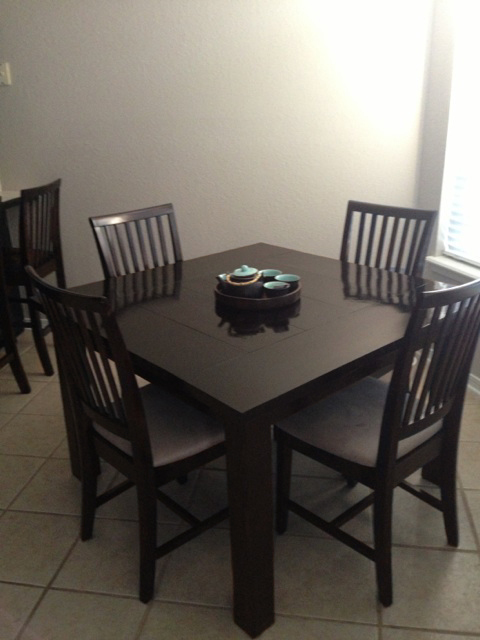
I modified this plan quite a bit so it would fit in my space better. My husband really wanted a square table, so I came up with this one based on the farmhouse table. I changed the table top pieces to 2x10’s simply because I like how they look. It took me quite a while because I wanted the top to be super smooth with minimal gaps between the boards, so I ran the boards through a planer quite a few times until they were perfectly flat. Also, since it is square and smaller, we didn’t need the support beam along the middle.

I really wanted chairs that matched the table, so I ordered chairs that were unfinished and stained them to match the table. This took FOREVER and they were a little expensive, but they turned out great! We also got 2 barstools that match.

Like any other project, the finishing took the longest. I sanded for what felt like 20 years, then stained and poly’d for another 10. I am pretty happy with it considering it was my first try!

Estimated Cost
$75.00 - table only
Estimated Time Investment
Week Long Project (20 Hours or More)
Finish Used
I used Minwax Dark Walnut oil based stain for everything and finished with 2-3 coats of Minwax polyurethane in satin. I really didn’t want the table to be so shiny, but oh well! Looking back, I probably would have used polycrylic. It doesn’t protect as well, but it is much less shiny!
Recommended Skill Level
Beginner

Comments

blawson972

Thu, 08/22/2013 - 11:21

I ordered them from a manufacturer in California called Maywood Shops, LLC. The chairs weren’t that expensive themselves because they are a wholesaler, but I had to pay around $175.00 to ship them!! After that, they were comparable to store-bought chairs.

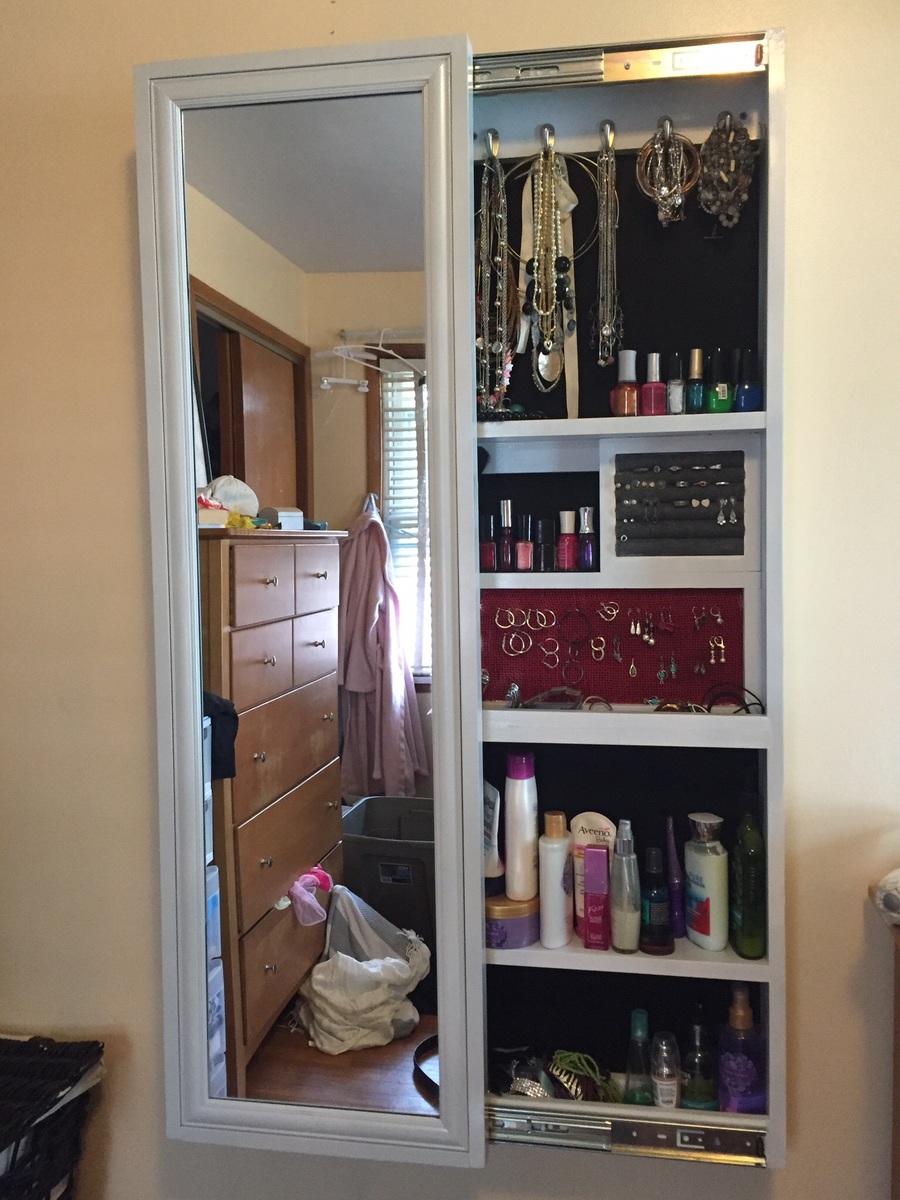
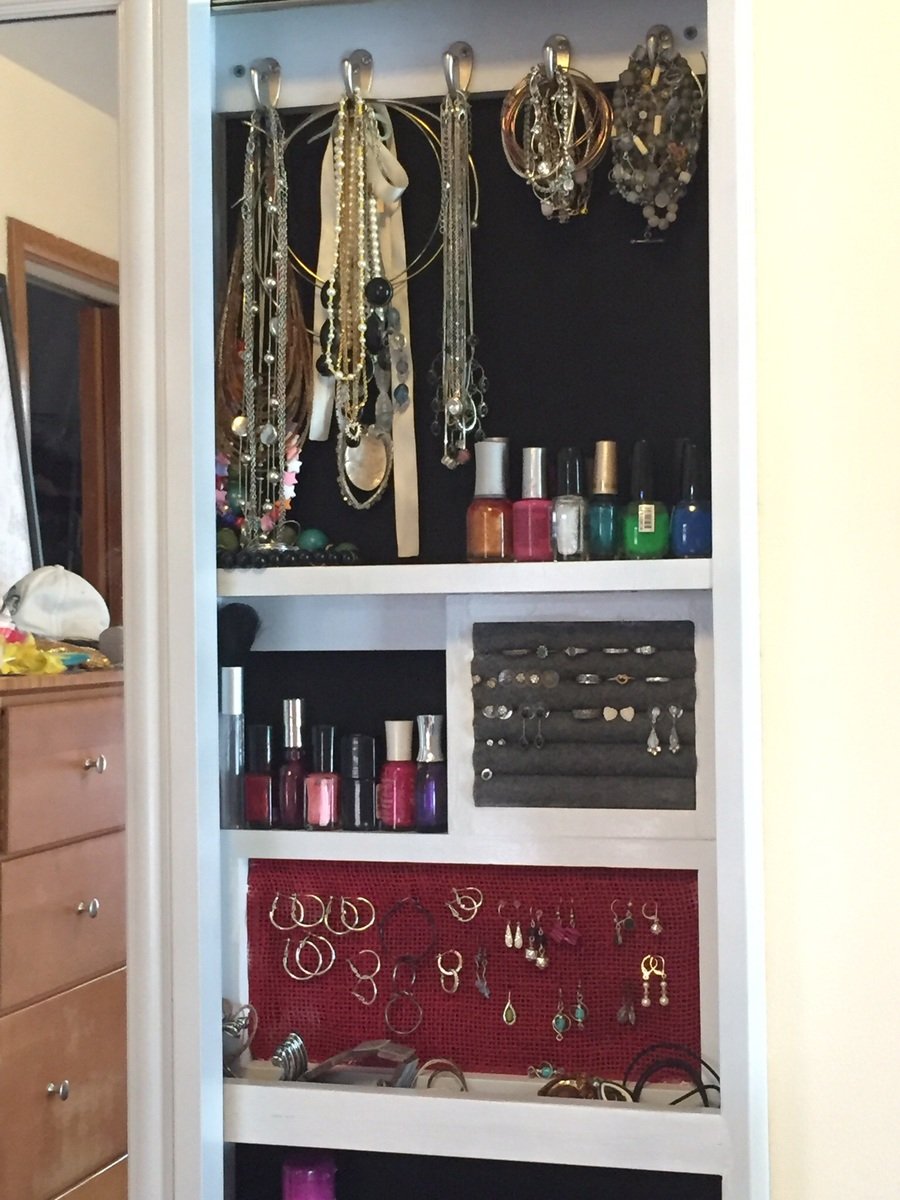
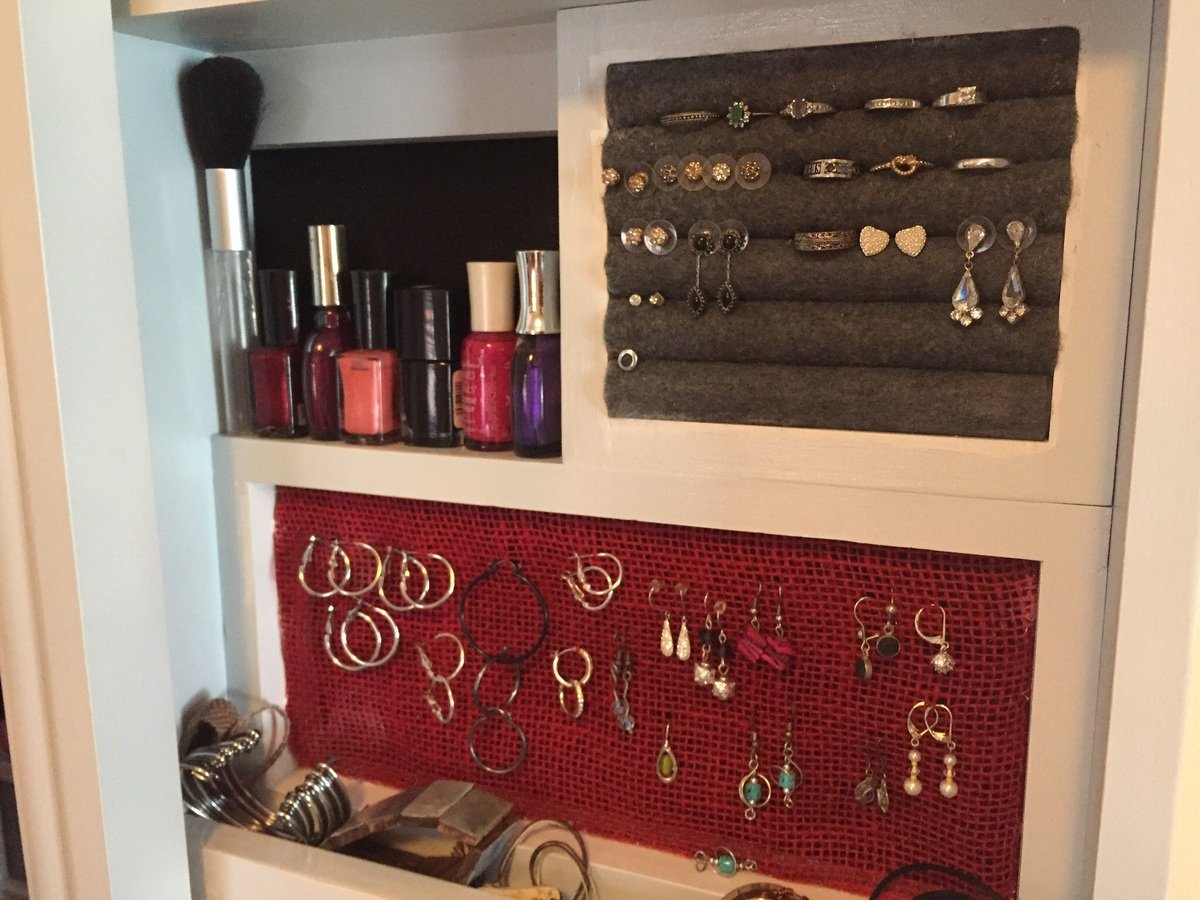
Jewelry/Makeup Storage Cabinet

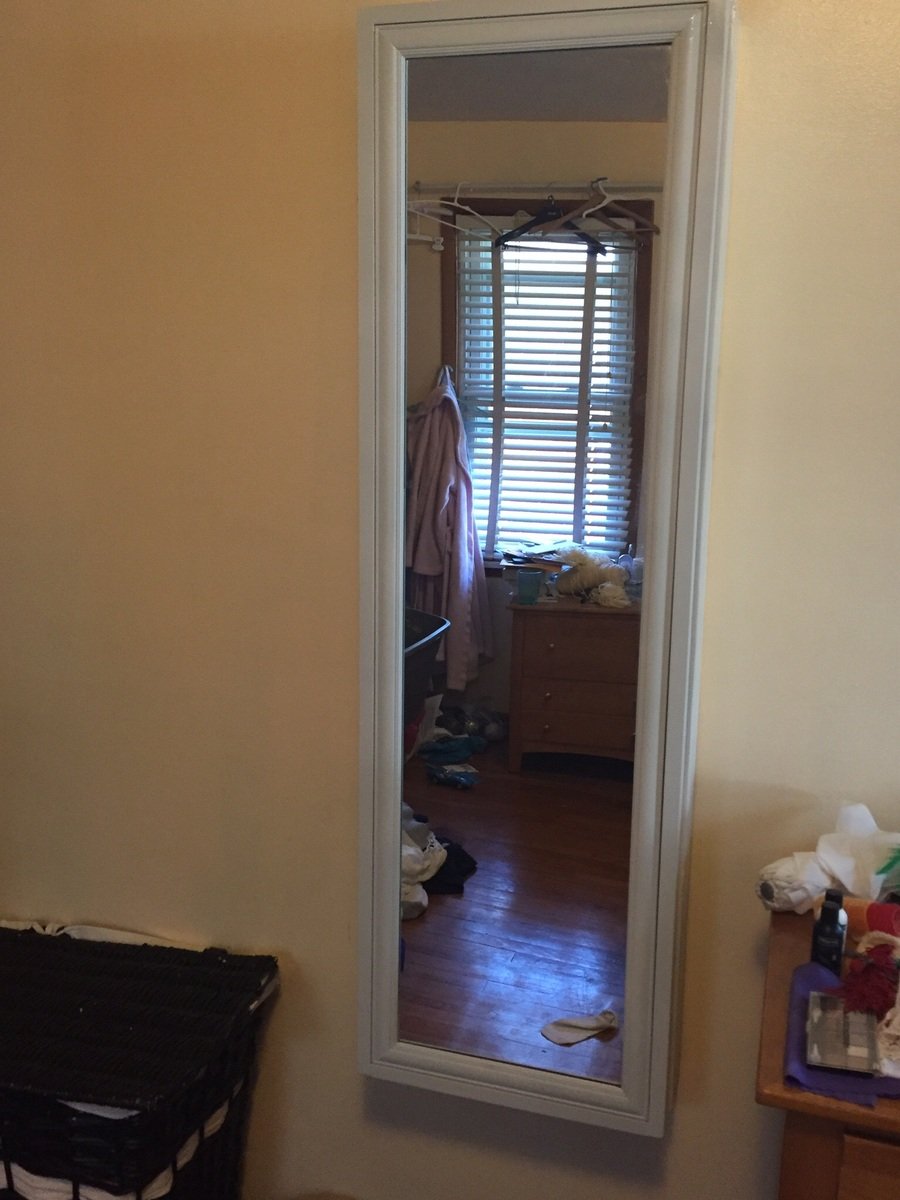
Thank you Anna for providing the template plans for this project. My wife had a mirror leaning on the wall in our bedroom that rarely got used and jewelry all over the dresser. So thanks to you I was able to turn this cheap mirror into useful storage and organize her jewelry.  Thanks! 

Estimated Cost
$80
Estimated Time Investment
Weekend Project (10-20 Hours)
Finish Used
Glossy spray paint
Recommended Skill Level
Beginner

Comments

Ana White

Wed, 10/07/2015 - 10:18

Thank you for building!!!  Your post just made my day, I'm so happy to see your build! I love the customization with the jewerly holders too!  Thank you so much for sharing!

Outdoor Tables and More - Thank You

Submitted by rhogle2000 on Thu, 08/04/2022 - 09:04

Thank you the inspiration!
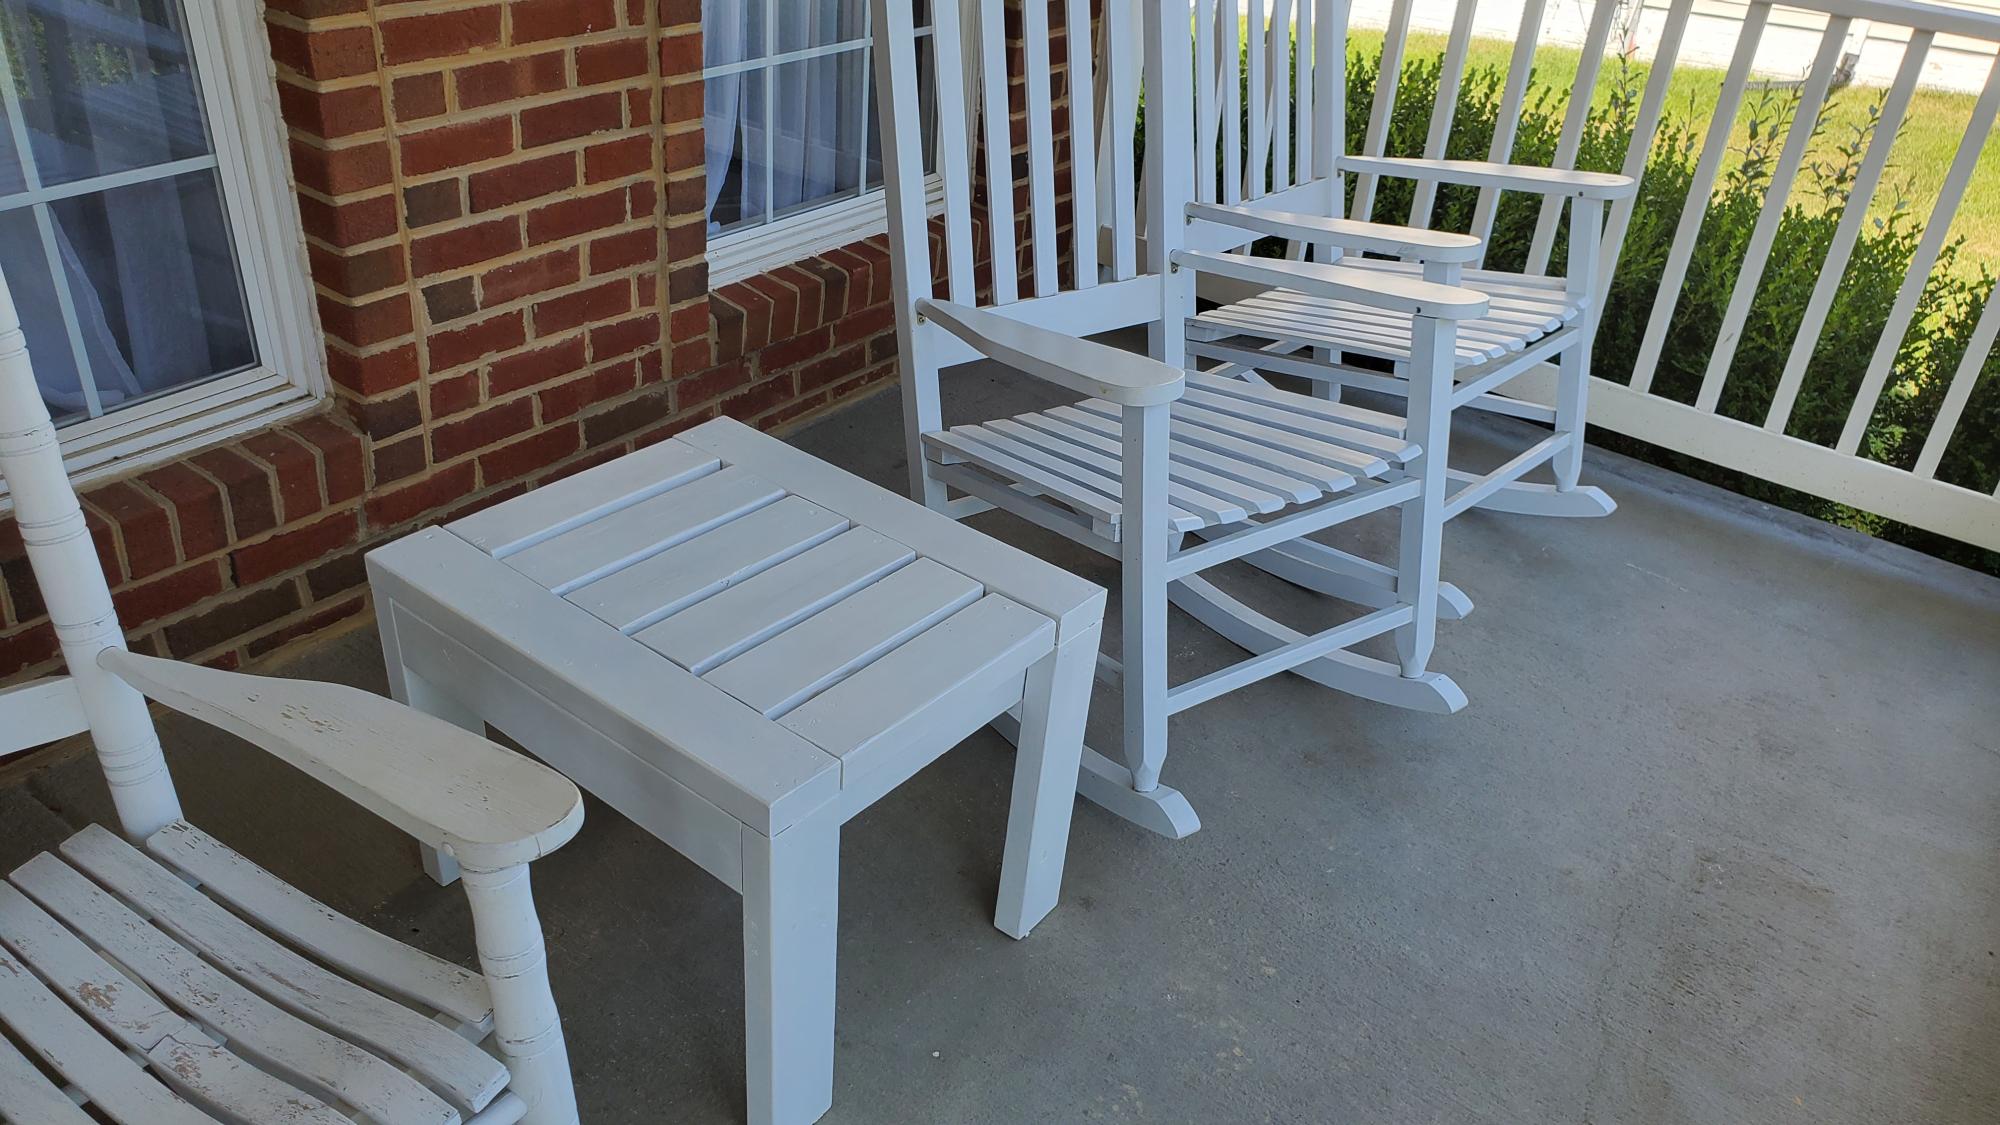
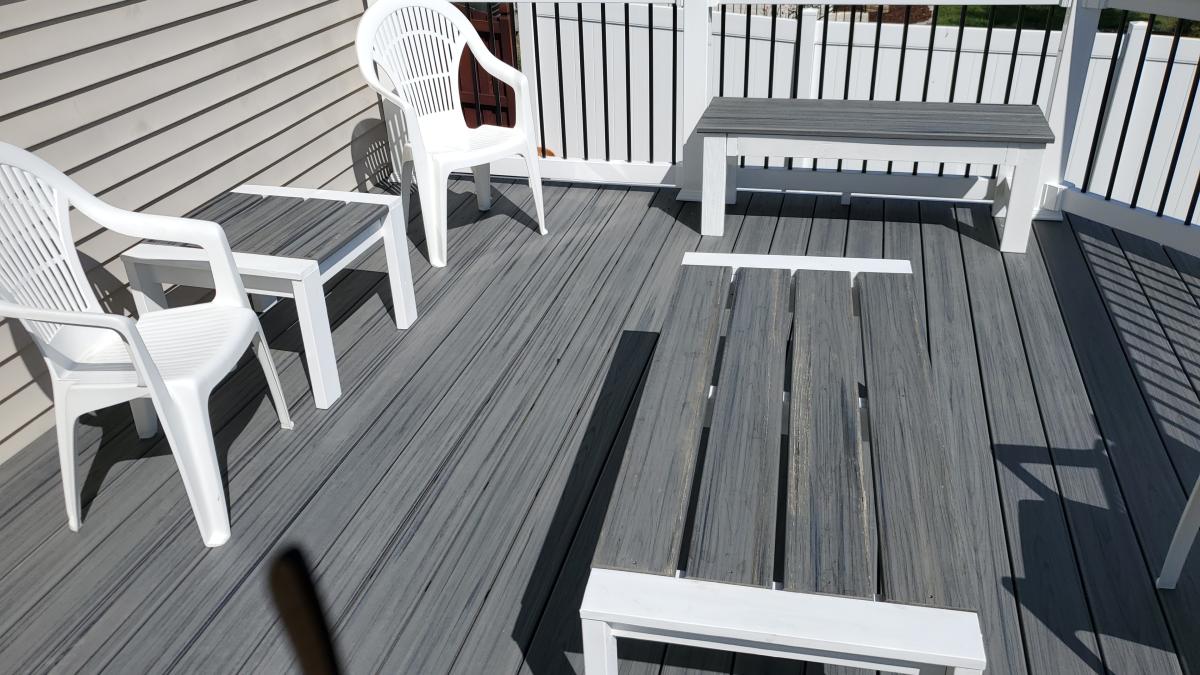
I'm a retiree and beginner woodworker, through your videos I used leftover lumber and Trex decking from new deck to make two side tables, coffee table, and a bench.
Thank you so very much!

Built from Plan(s)

Comments

Recessed cabinet

Submitted by Anonymous (not verified) on Fri, 09/02/2022 - 14:14

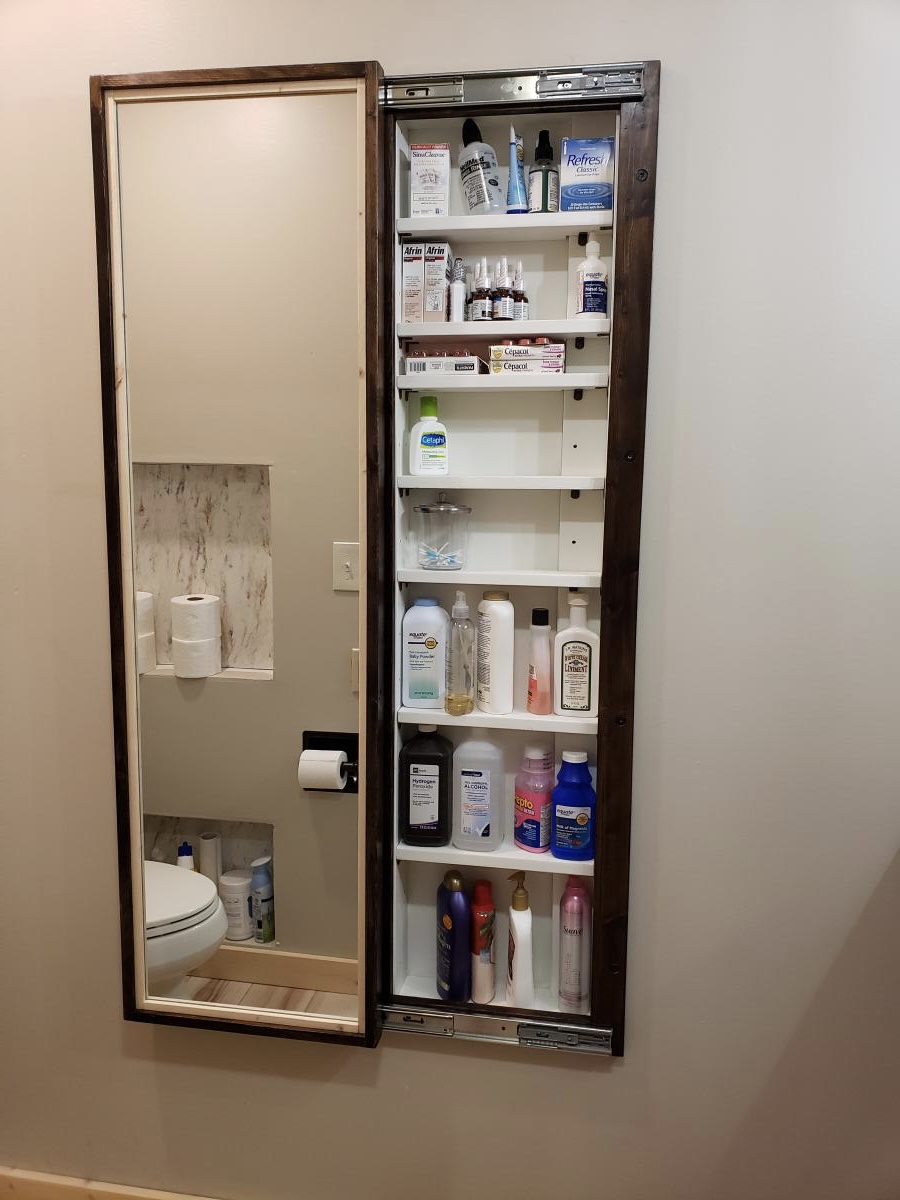
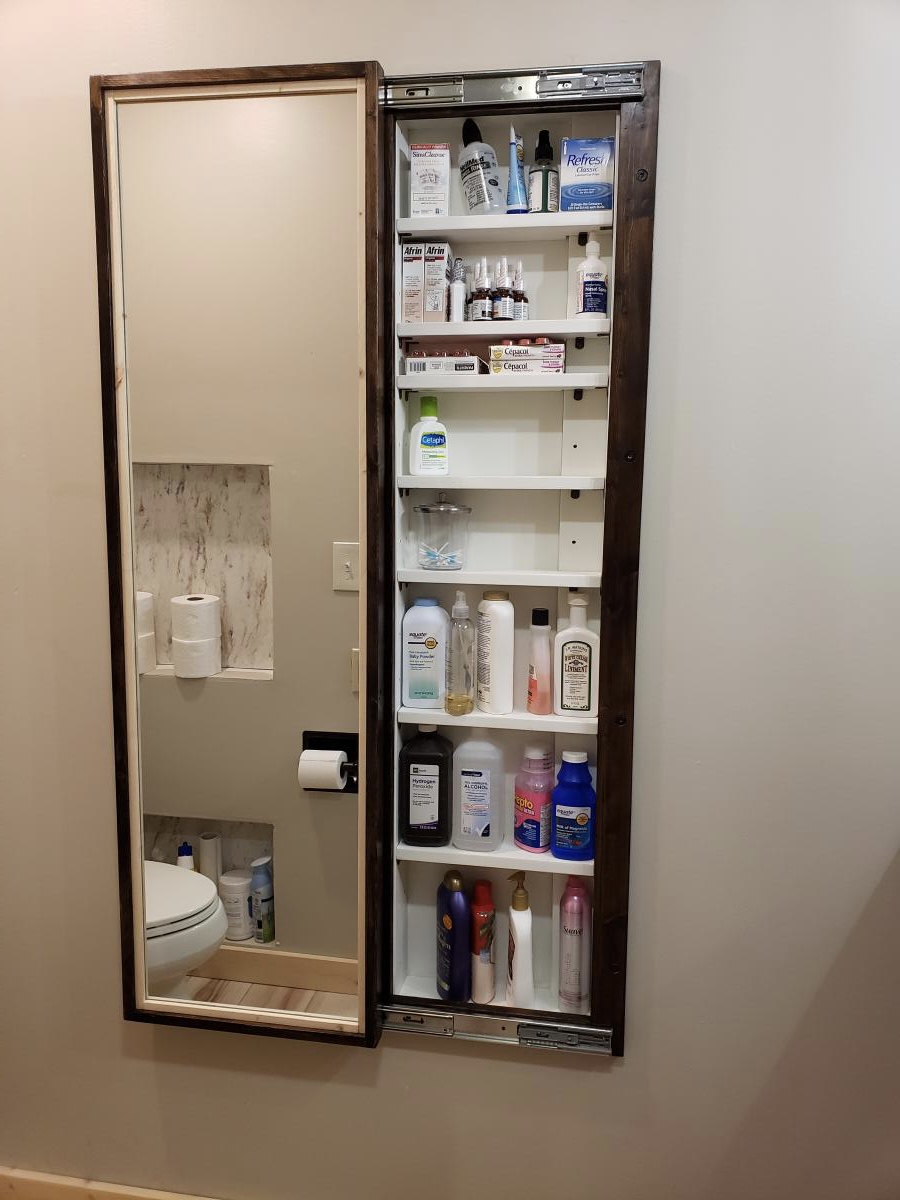
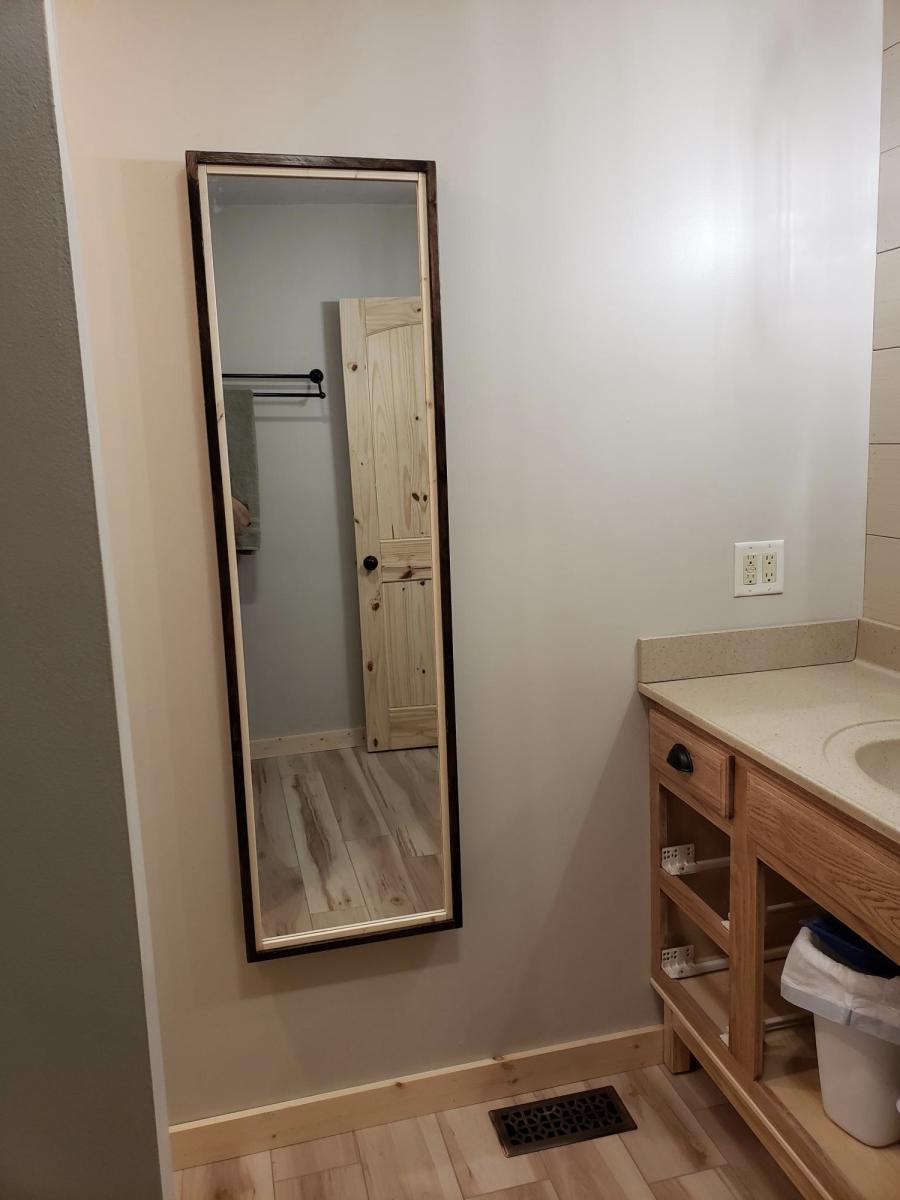
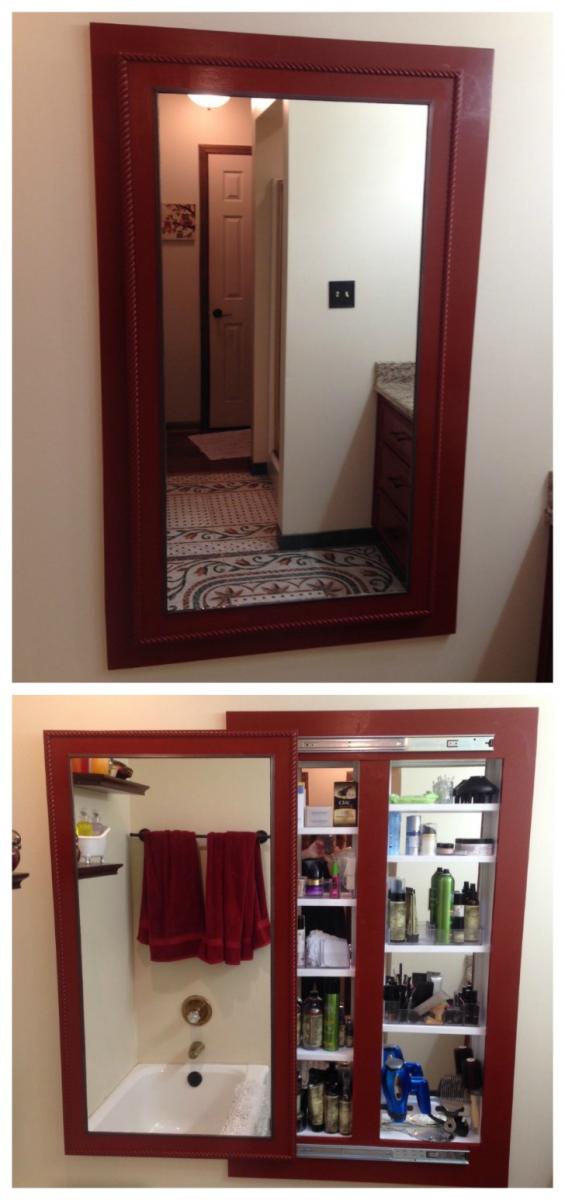
My bathroom has very little storage space. So during our recent remodeling of the room, I decided to add this cabinet. Changed the plan a little to make it recessed in the wall. I love how it turned out!

Comments

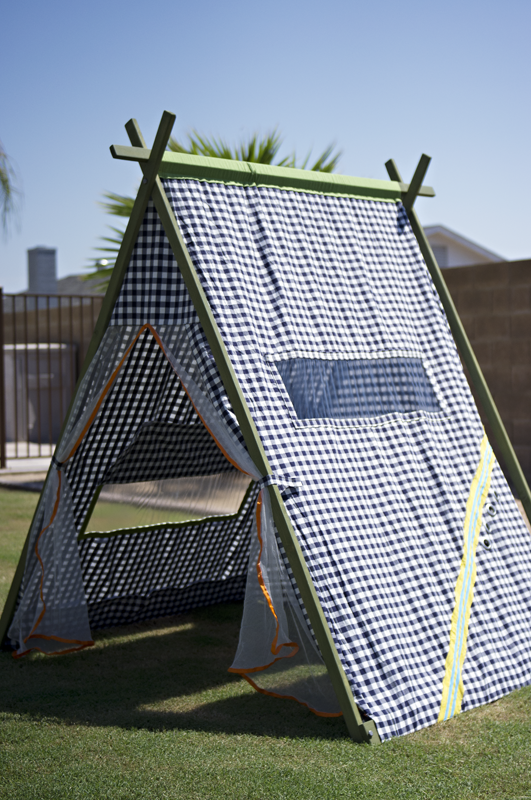
Reading Nook turned Tent!

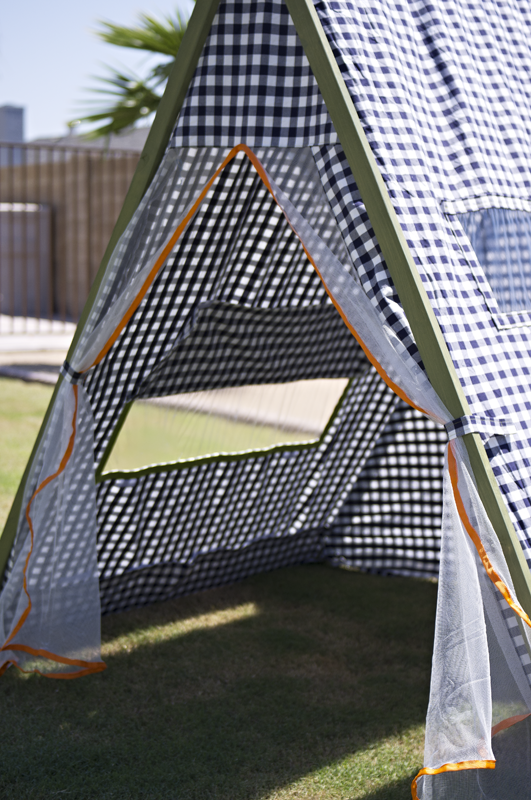
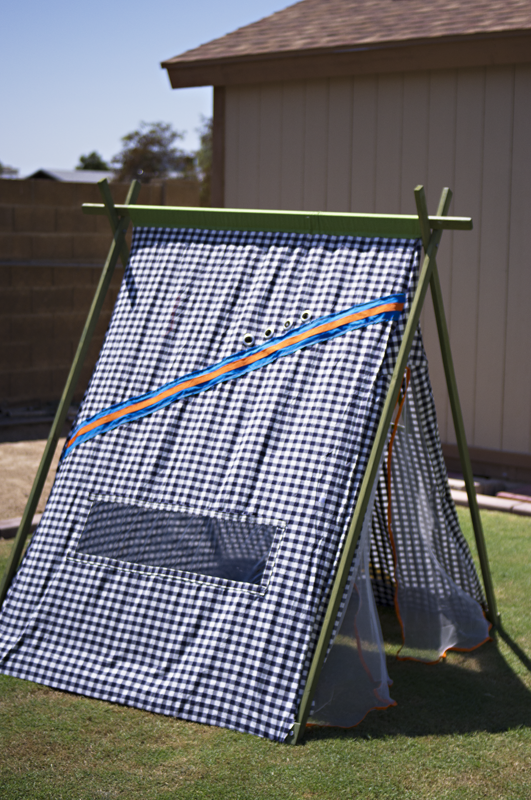
I made this for my boy who's turning four tomorrow! (Sep 1st) He loves building forts and I don't mind rearranging the furniture, but set up and clean up is so time consuming, we'd both rather spend more time playing. This is an indoor tent, but I took it outside for pictures. Aside from the obvious difference of adding doors and a back, the changes I made from the original plans are: using an 8 foot 1x3 so the tent is 4 feet deep instead of 3. Instead of stapling the fabric on the 1x3s at the bottom, I wrapped the fabric around and used velcro so I could remove it for washing. I sewed a tube of fabric and attached it at the top to make removal easier. Time Investment is so long because of the sewing involved for the tent. If you have an Ikea near you, they've got this stuff called glaze paint (more of a stain, I think) in all different colors - it doesn't need a top coat (unless you want it shiny), it's solvent free and, are you ready? $6 for 12.something ounces, MORE than enough for this project. To make it even easier if you're using fabric instead of curtains like me and you've got the room, cut a 8ft 1x3 in half so you've got two 4ft pieces. Most quilting cotton at fabric stores is 44-45 inches wide selvedge to selvedge (the ends that don't fray) and if you follow the plan according to where to drill for the top bolt, you'll need 4-4.25 yards of fabric, depending on whether you are going to use velcro or staple. I would use 4.25 if using velcro, the fabric can go right over the top bar and over the other side if you don't want to sew a tube like I did. If you don't want to sew at all, use iron-on hem tape on the cut edges and iron on velcro. Make sure of placement of the velcro before ironing on. More pictures on my blog =)

Built from Plan(s)
Estimated Cost
$50 - wood, bolts, stain, material for tent (everything)
Estimated Time Investment
Weekend Project (10-20 Hours)
Finish Used
Green Ikea glaze paint
Recommended Skill Level
Intermediate

Comments

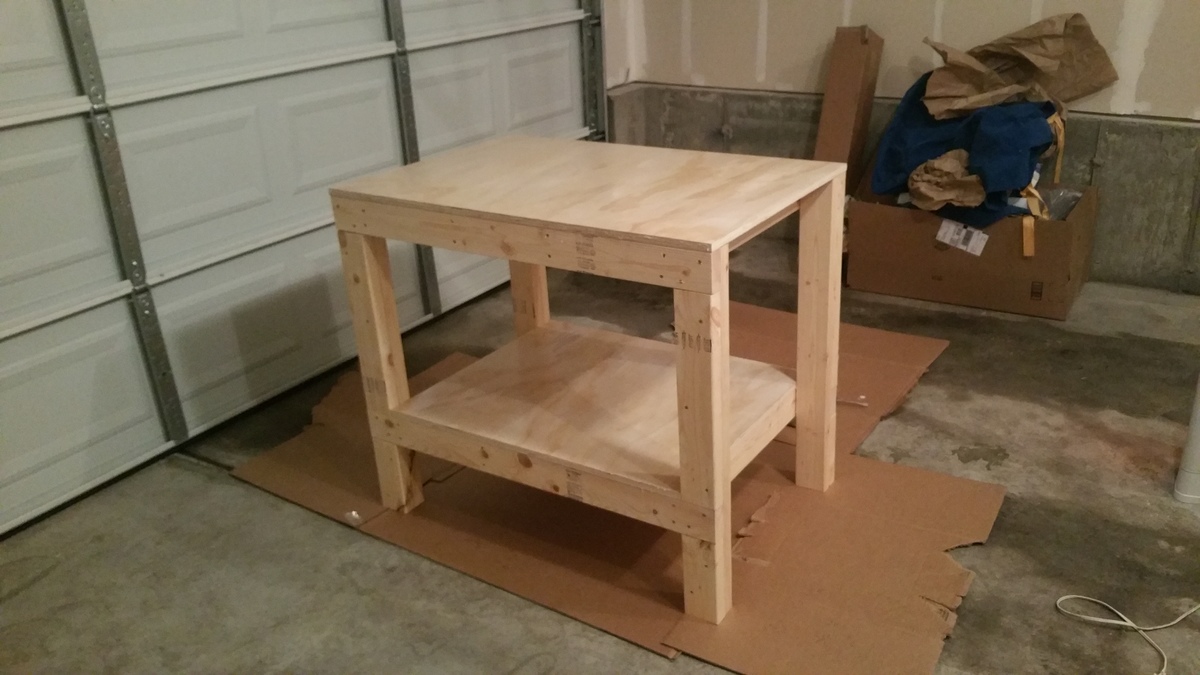
Small Garage Workbench

Submitted by dmozer74 on Fri, 12/18/2015 - 21:17

Easy project. I needed this bench a bit smaller due to space constraints so this is 28" x 42". I kept the height the same and finished the surfaces with some thick polyurethane. It should be noted my cost was a bit higher due to buying a sanded plywood, coated self-tapping screws and a more expensive polyurethane. I also went a bit slow on this project and it took about 2.5 hours including application of the single coat of poly.

Estimated Cost
$75
Estimated Time Investment
An Hour or Two (0-2 Hours)
Finish Used
Satin polyurethane.
Recommended Skill Level
Beginner

Comments

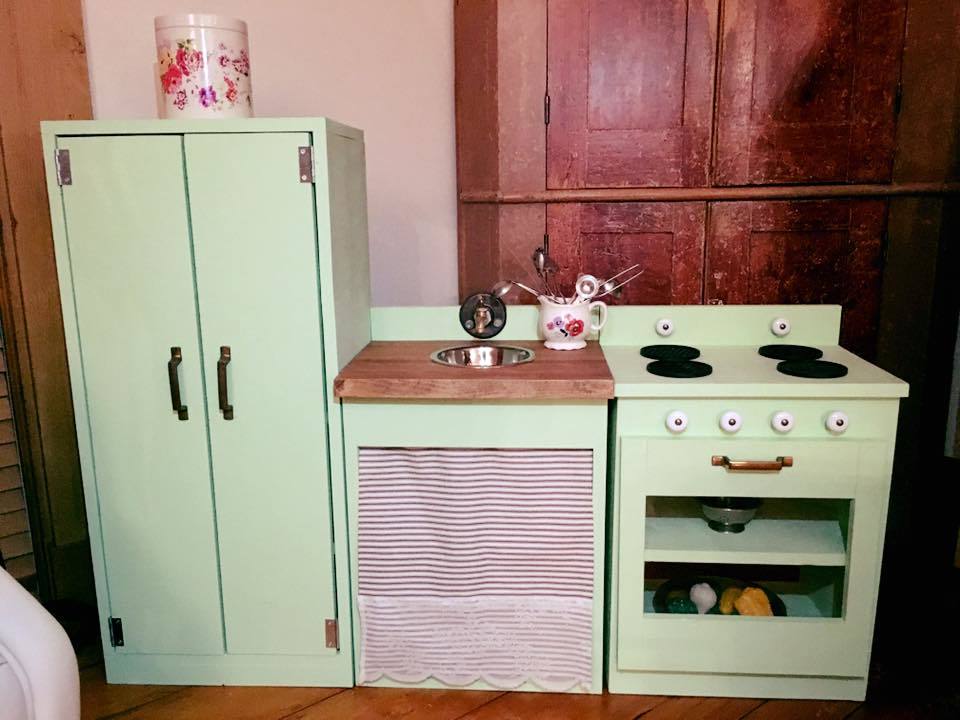
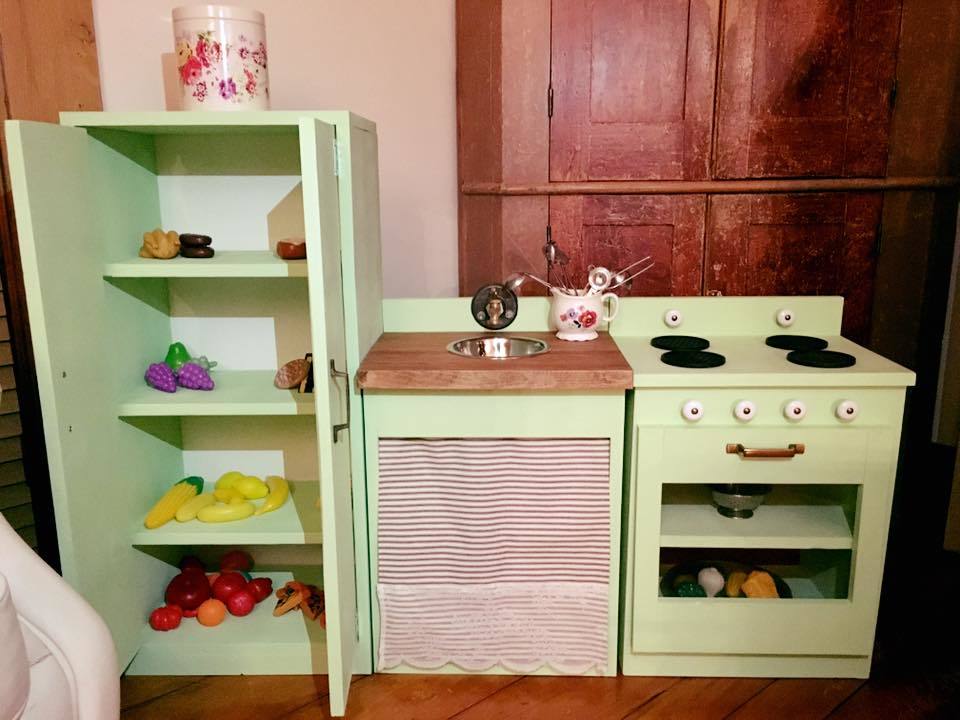
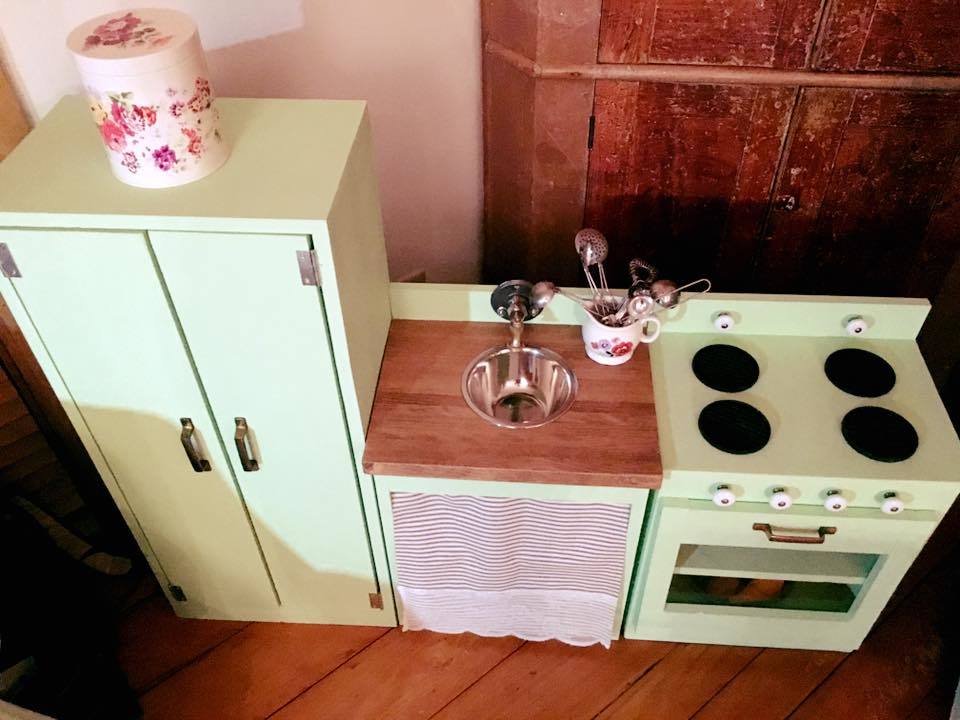
Our Kitchen Plan Set

Submitted by Anonymous (not verified) on Mon, 12/28/2015 - 07:19

Plans were fantastic for this build and our kids love it! Thanks!

Estimated Time Investment
Weekend Project (10-20 Hours)
Recommended Skill Level
Beginner

Comments

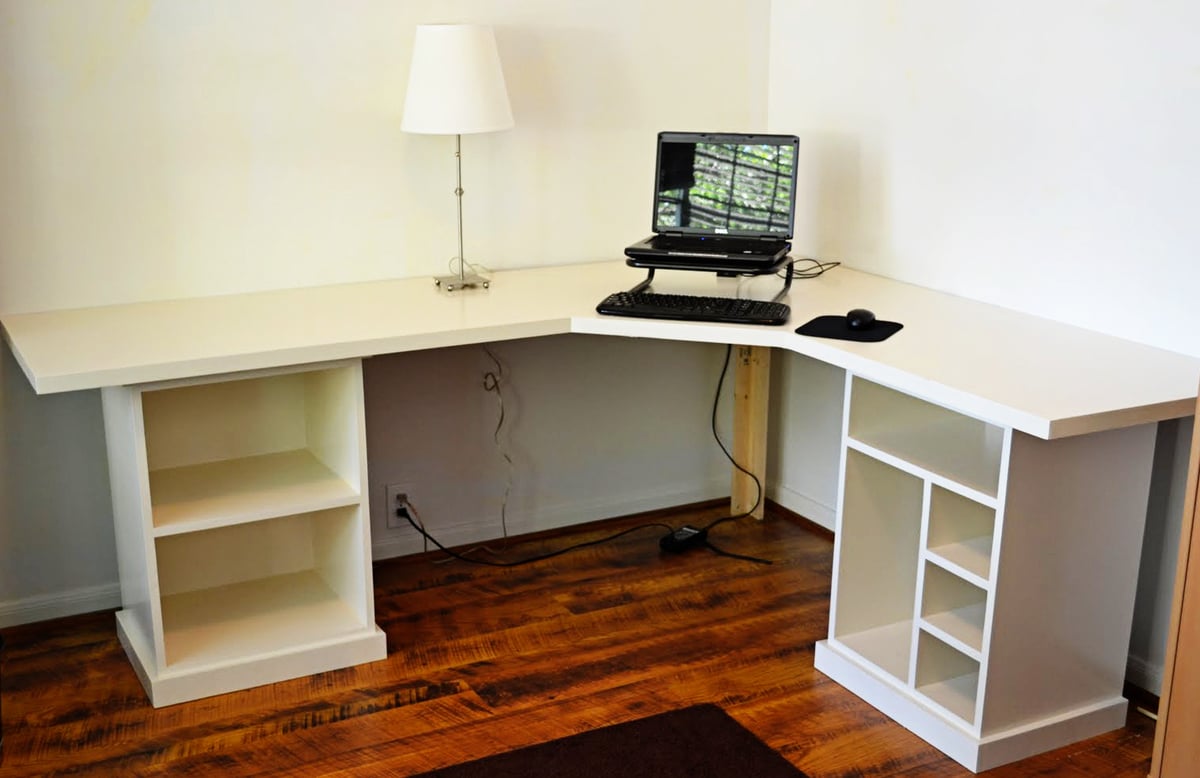
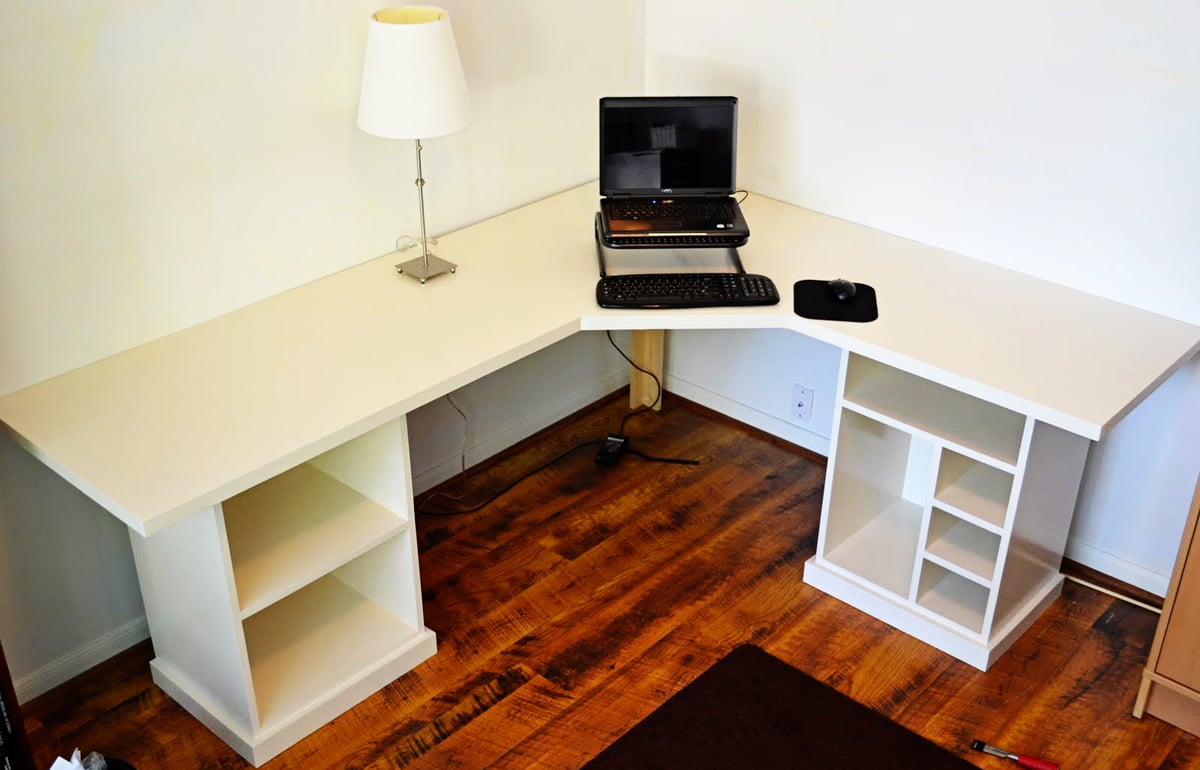
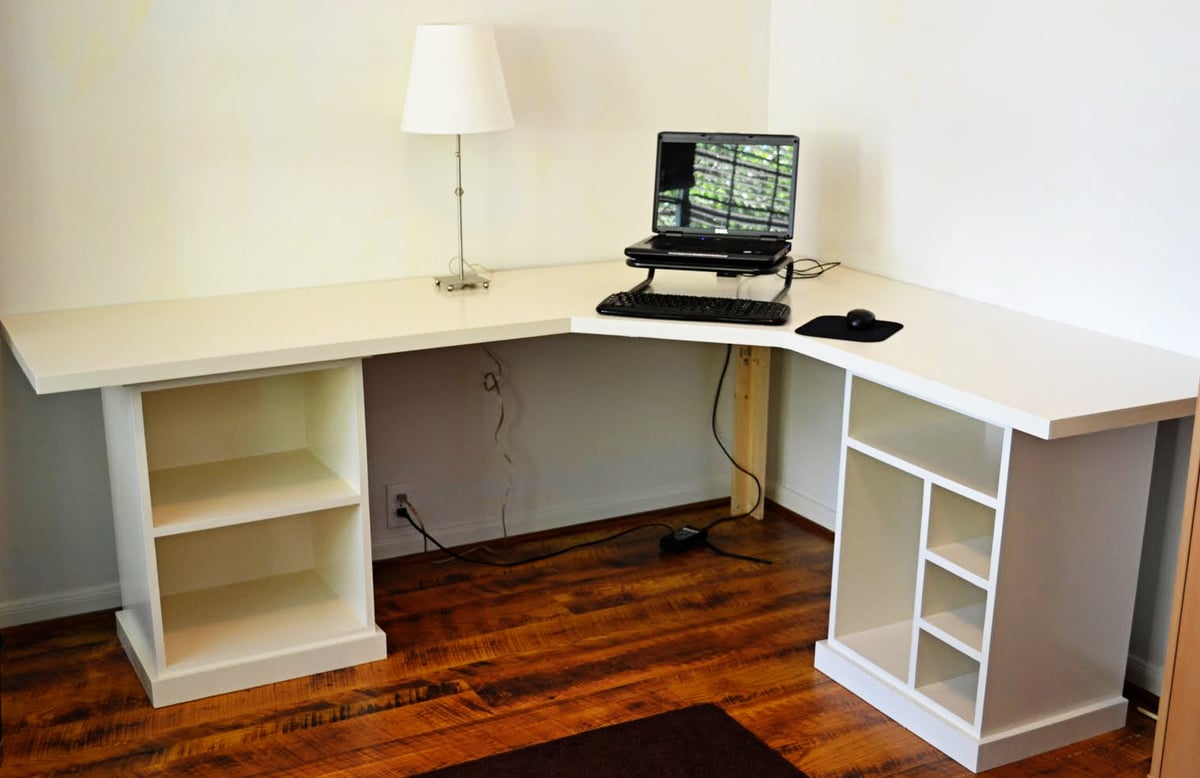
Corner Desk Build

Submitted by eahodges on Mon, 02/06/2023 - 12:15

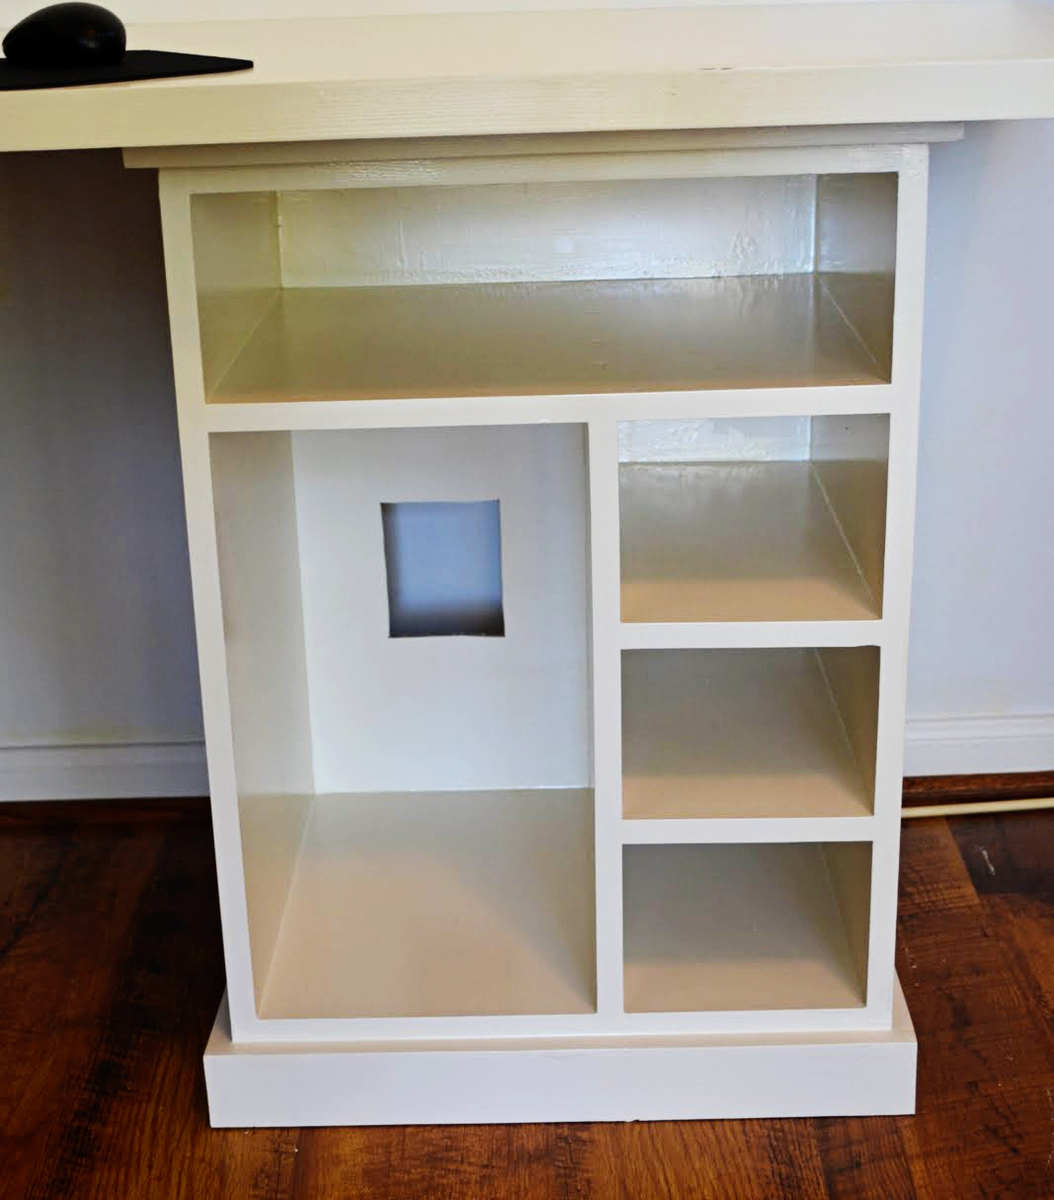
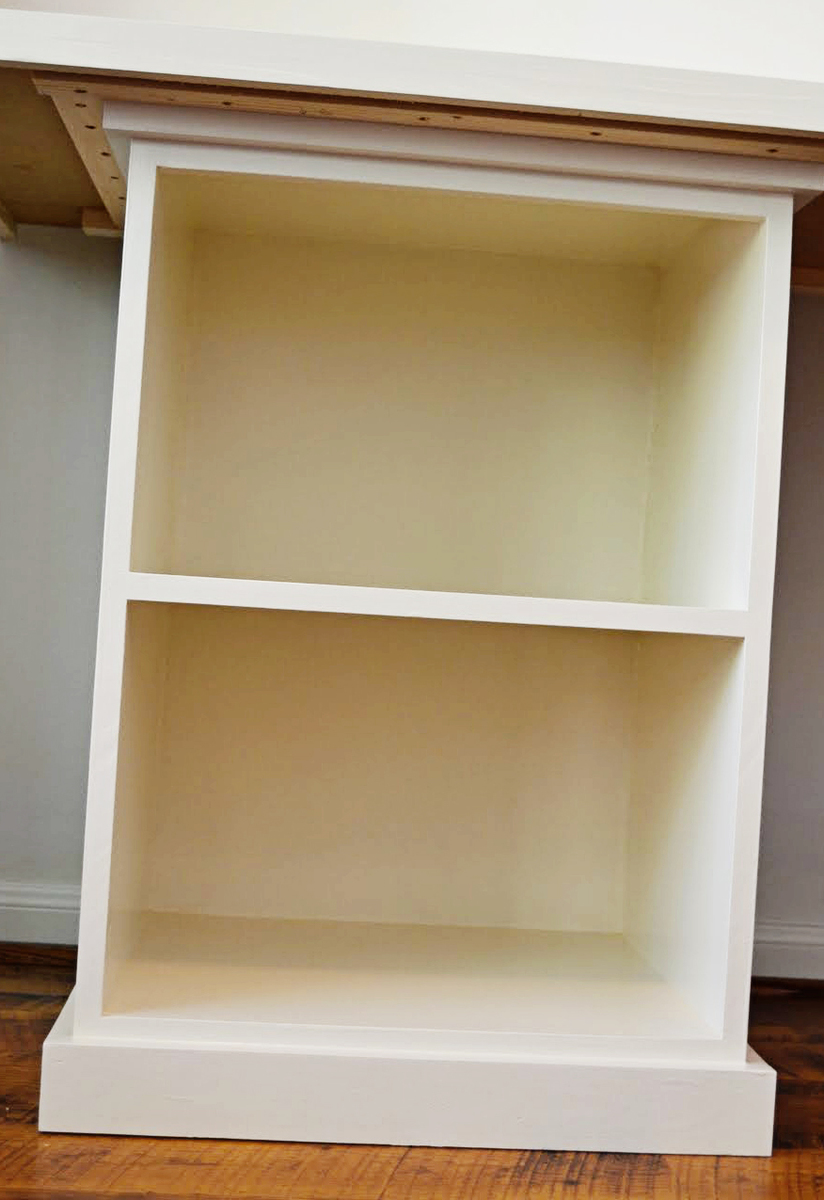
This was all my husband - he did a great job using the modular desk plans to customize (its a bit larger) this desk for our office. He finished it this past weekend so not much on it yet!

Comments

Reclaimed Wood Bar Ensemble

Submitted by JoanneS on Sun, 01/03/2016 - 06:03

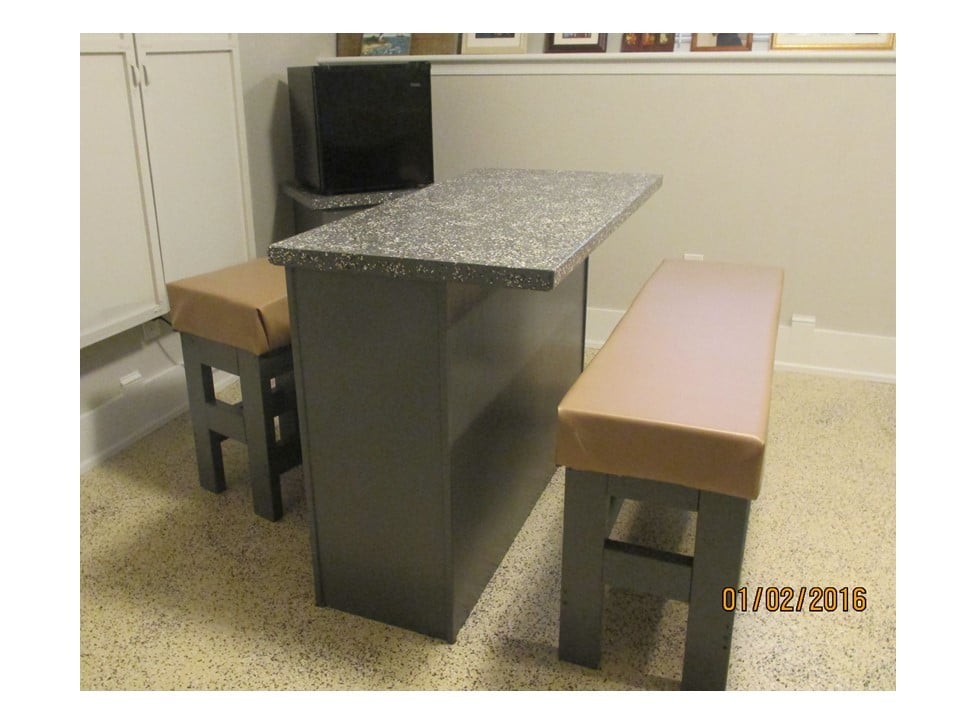
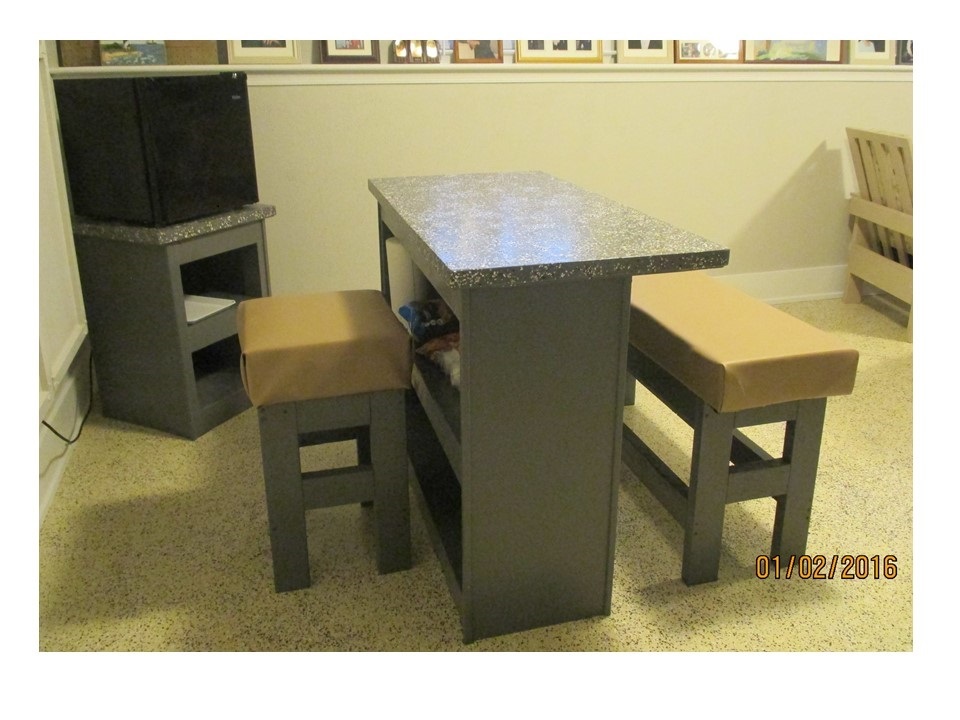
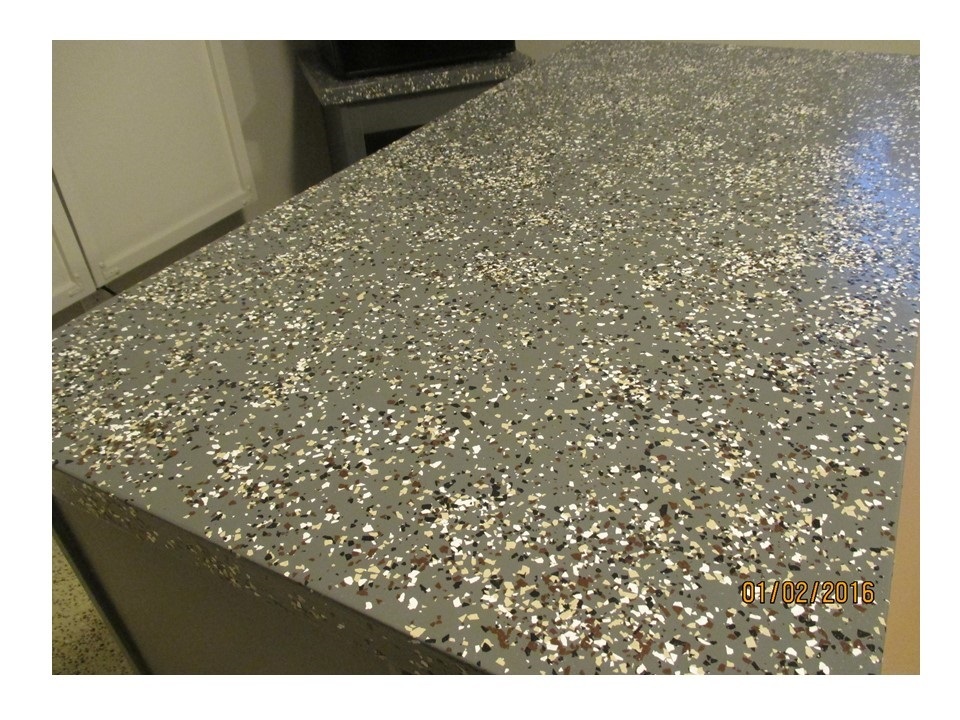
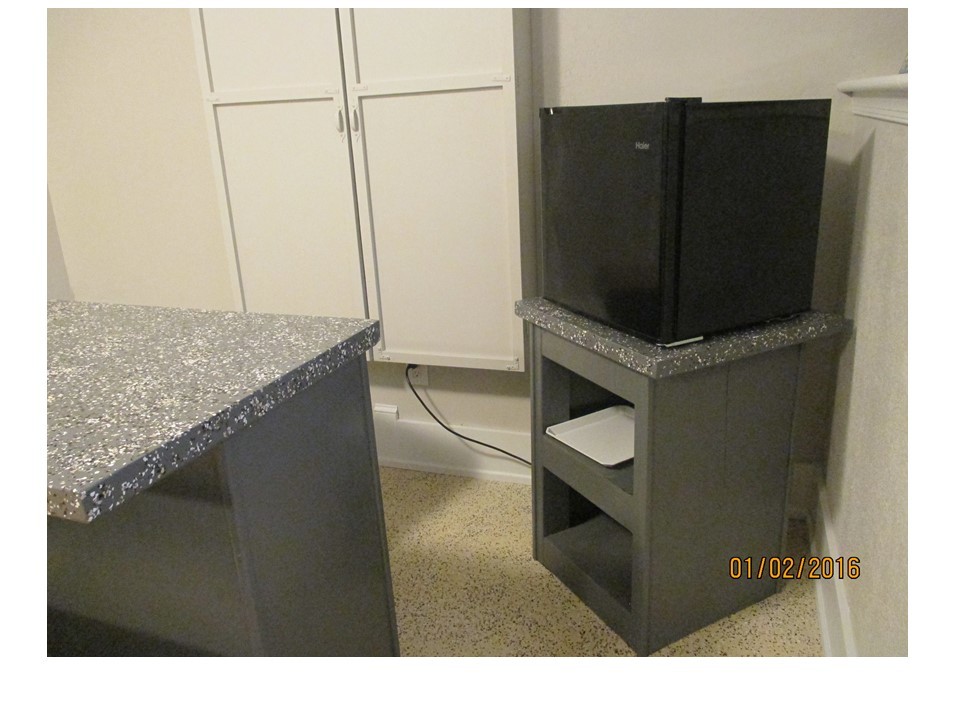
This bar ensemble for our family room was made mostly from reclaimed materials. Inspired by Ana’s plans, and modified to fit spaces and materials available. The 36” tall bar and 30” tall fridge cabinet are made from frames of 2x4, with the tops/shelves/outsides covered in ¼” plywood, and outside edges covered with corner moulding. The bar and fridge cabinet tops are edged in lattice. The frames for the counter height bench and stool are from 2x4. The padded seat for the bench is the back from another bench, re-purposed. The foam for the bar stool is scraps pieced together. Reclaimed materials used (mostly from a room we disassembled): 2x4 – formerly studs ¼” Plywood – painted plywood was formerly used as wall paneling Lattice –was used as trim to cover the wall paneling “seams” Bar stool seat – ¾” plywood from the closet, foam scraps pieced together Bar bench seat – foam and vinyl covered plywood (re-purposed back from another bench)

Estimated Cost
Cost: The total ensemble was super inexpensive (only about $50 in total) since most of it is reclaimed materials. The corner moulding, 1 quart gloss gray paint, a box of screws, and vinyl for the stool were the only things purchased for this build. The first partial quart of gray paint was left over from another project. The paint flakes were left over from the floor project and the poly was left over from my holiday gift builds. Glue, filler, sandpaper and other fasteners were already on hand.
Estimated Time Investment
Weekend Project (10-20 Hours)
Finish Used
All pieces received 2 coats of Clark & Kensington paint + primer in Smooth Slate, gloss. The tops for the bar and fridge cabinet then received a coat of gloss polycrylic, and a sprinkling of some Behr paint flakes (brown mix) over the wet poly. After drying, the tops received 3 additional coats of gloss poly. The bar and cabinet corners and stool legs have some scraps of self-adhesive felt applied to the bottoms to protect the floor.
Recommended Skill Level
Beginner

Laundry Sorter

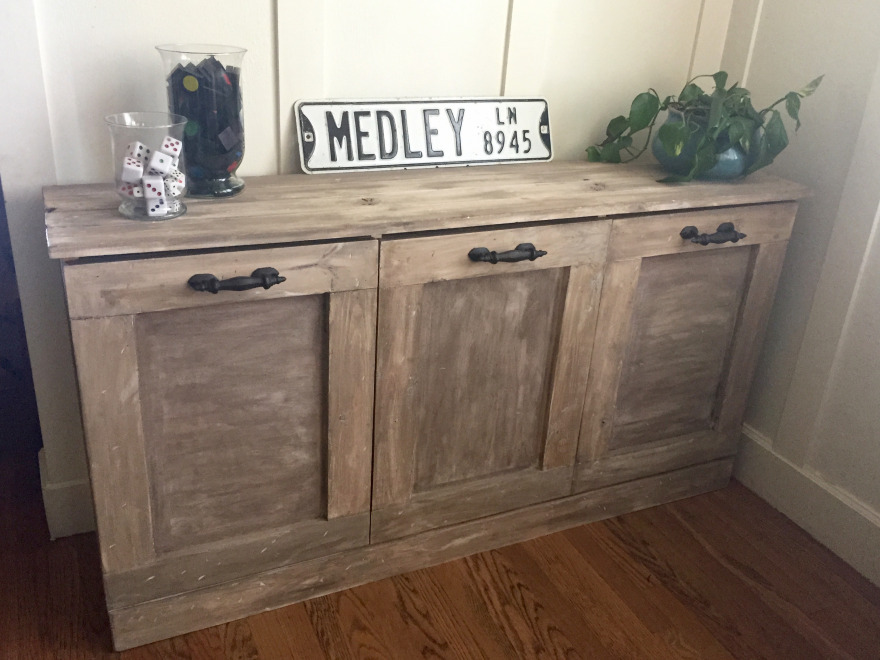
My laudry never looked so good!  I love these plans from shanty2chic and anawhite.  I spent a few days in the garage building, and now, my laundry can be hidden away in any room of my house.  


Thanks shanty2chic and anawhite for your excellent plans. 

http://www.shanty-2-chic.com/2014/08/diy-laundry-basket-dresser.html

http://www.ana-white.com/2011/04/wood-tilt-out-trash-or-recycling-cabin…

Estimated Cost
$200
Estimated Time Investment
Weekend Project (10-20 Hours)
Finish Used
Mix of paint and stain to create whitewashed look.
Recommended Skill Level
Intermediate

Modern Bench

Submitted by cinschultz on Fri, 07/19/2019 - 18:46

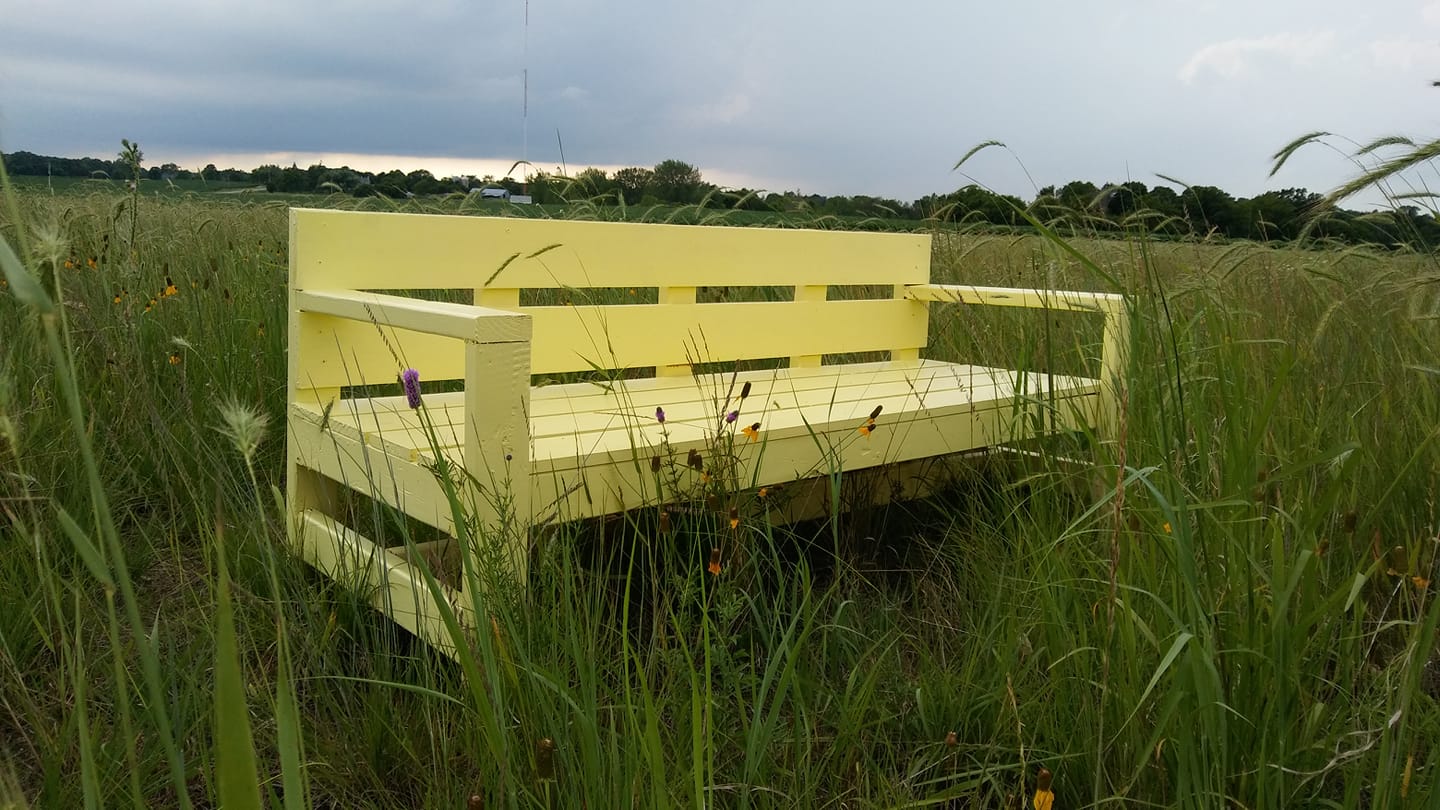
Built this modern bench to put in my prarie.

Built from Plan(s)
Estimated Time Investment
Weekend Project (10-20 Hours)
Finish Used
Exterior Paint
Recommended Skill Level
Beginner

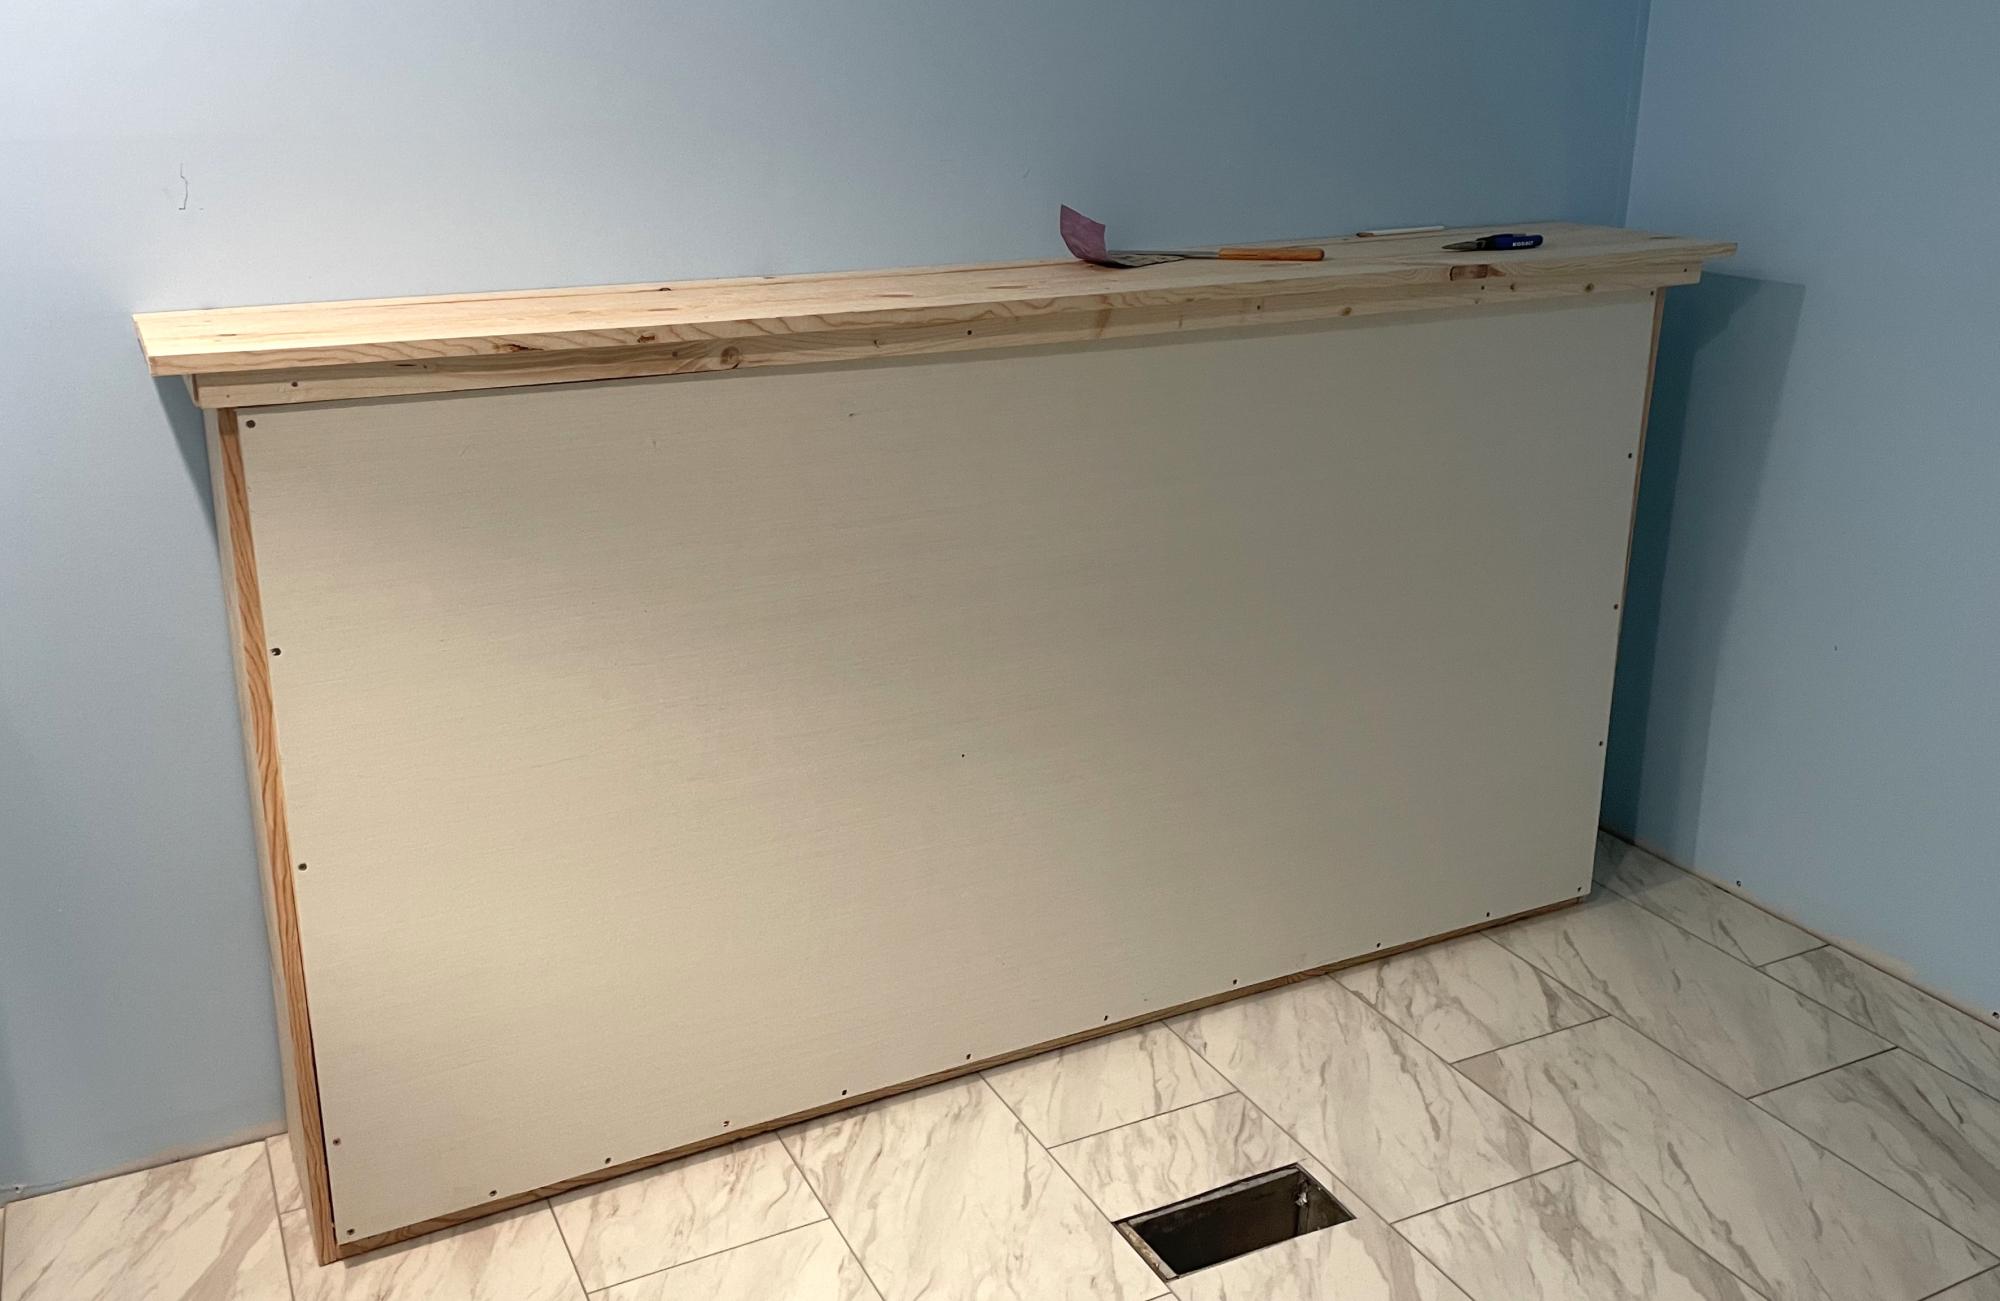
Horizontal Murphy Bed

Submitted by Anonymous (not verified) on Sun, 07/09/2023 - 17:49

We are remodeling our 3 bedroom house into a 4 bedroom. In doing so, my youngest is getting the smaller room. We decided to go with a Murphy bed to allow more play time space. I do not particularly like the fact that this bed doesn’t sit off the ground but overall love the simplicity of making it. We turned it horizontal and just love the overall product. I can mot wait to make something else from this site!

Tams

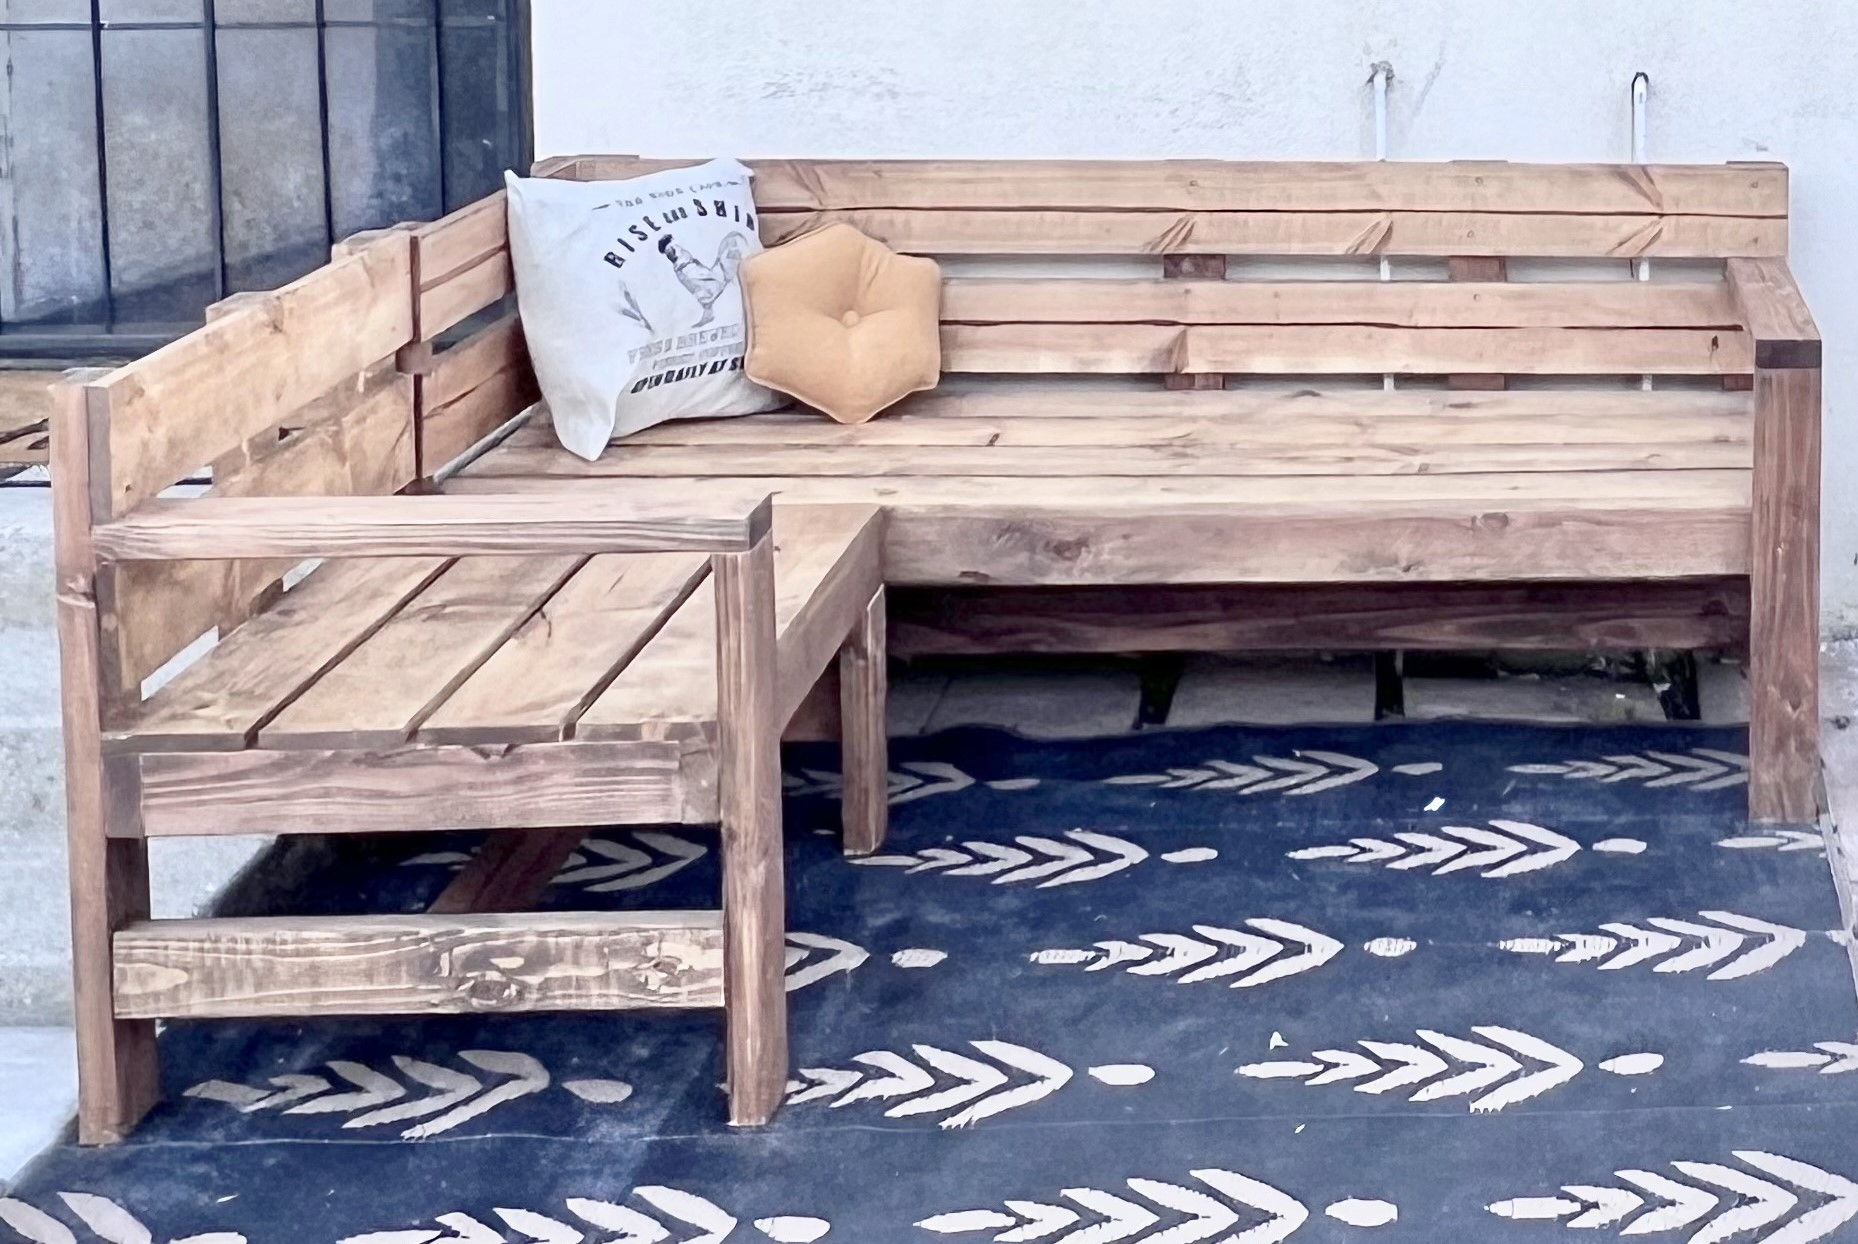
L-Shape Outdoor Bench

Submitted by ShannonG on Mon, 07/24/2023 - 13:21

Modified to make an L shaped bench . Absolutely love it! Thank you!

Built from Plan(s)

Comments

Cedar 4x4 Truss Beam Table

We had gotten a piece of granite for free, so my husband modified the plans to fit the slab. We made one in pressure treated lumber and loved the look so we decided to make a nicer one in cedar. The benches are a little wider because of the size boards available. We could have ripped them down, but we prefer the wider seat. I will sand the seats and seal the wood to keep it looking fresh longer. We look forward to many great memories at our new table by our outside fireplace. Thank you for the great plans!

Estimated Time Investment
Day Project (6-9 Hours)
Recommended Skill Level
Intermediate

Modified Square

Submitted by Anonymous (not verified) on Thu, 04/14/2016 - 21:46

We modified this table to make it larger for our growing family. It measures 42" (10 inches larger than the original plan). We added 10 inches to the length of the 2X6's and added 5 2X2's to increase the width of the width of the table. We love the interest it added to the table. 3 coasts of minwax cherry and three coats of minwax helmsman poly.

Estimated Cost
$80
Estimated Time Investment
Day Project (6-9 Hours)
Finish Used
Mixwax Cherry Stain
Minwax Helmsman Polyurethane
Recommended Skill Level
Beginner

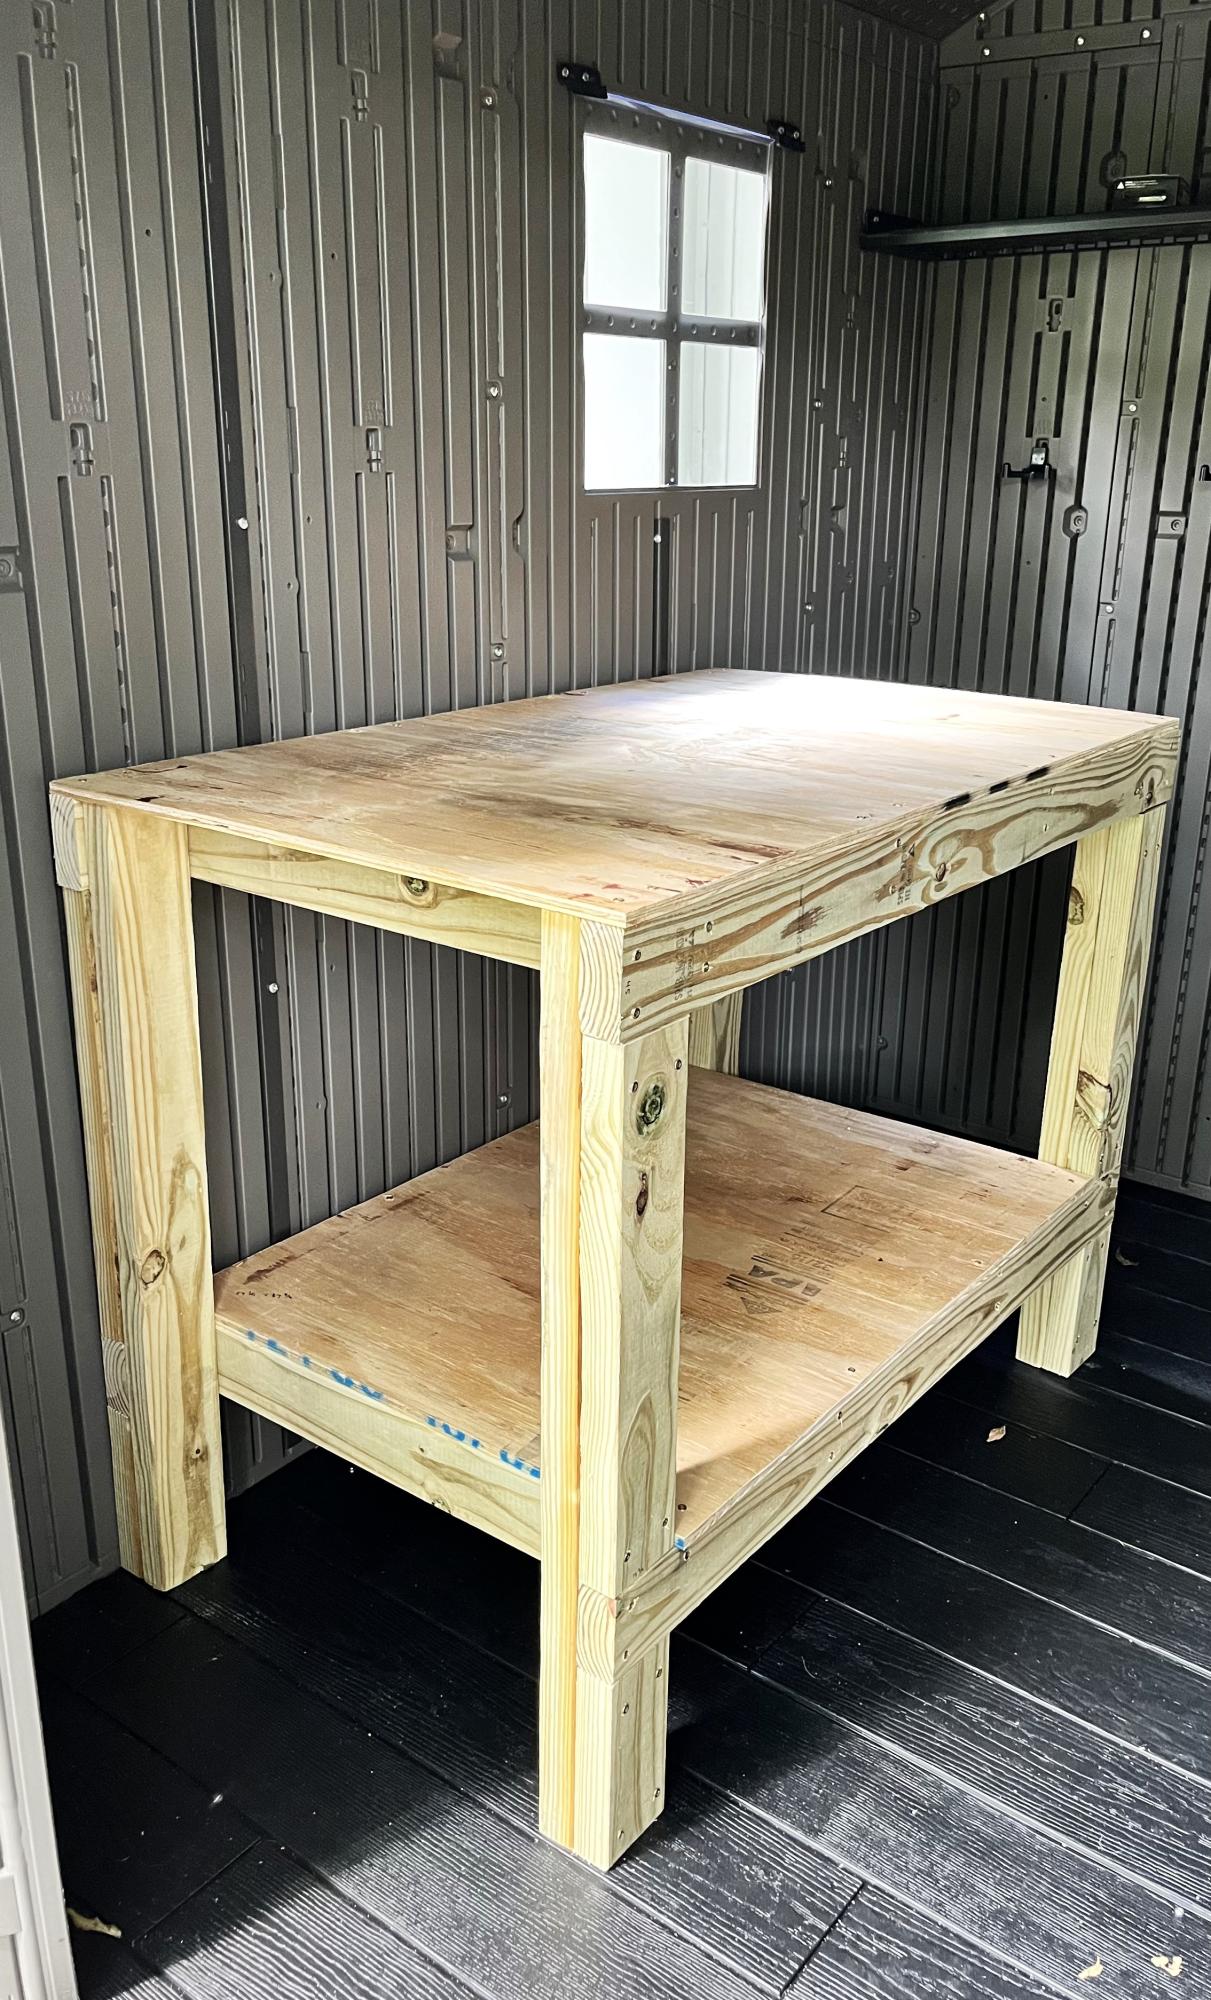
Easy to Build Workbench

Submitted by Anonymous (not verified) on Wed, 09/06/2023 - 09:09

I was wanting a work bench for my outside shed to work on occasionally and help keep organized. This is the first piece of furniture I have built totally on my own! The plan was easy. I sized it down a little with no problem. I'm a little off on a couple of the cuts but will practice more! Overall, thrilled and extremely proud of it!

Lori B

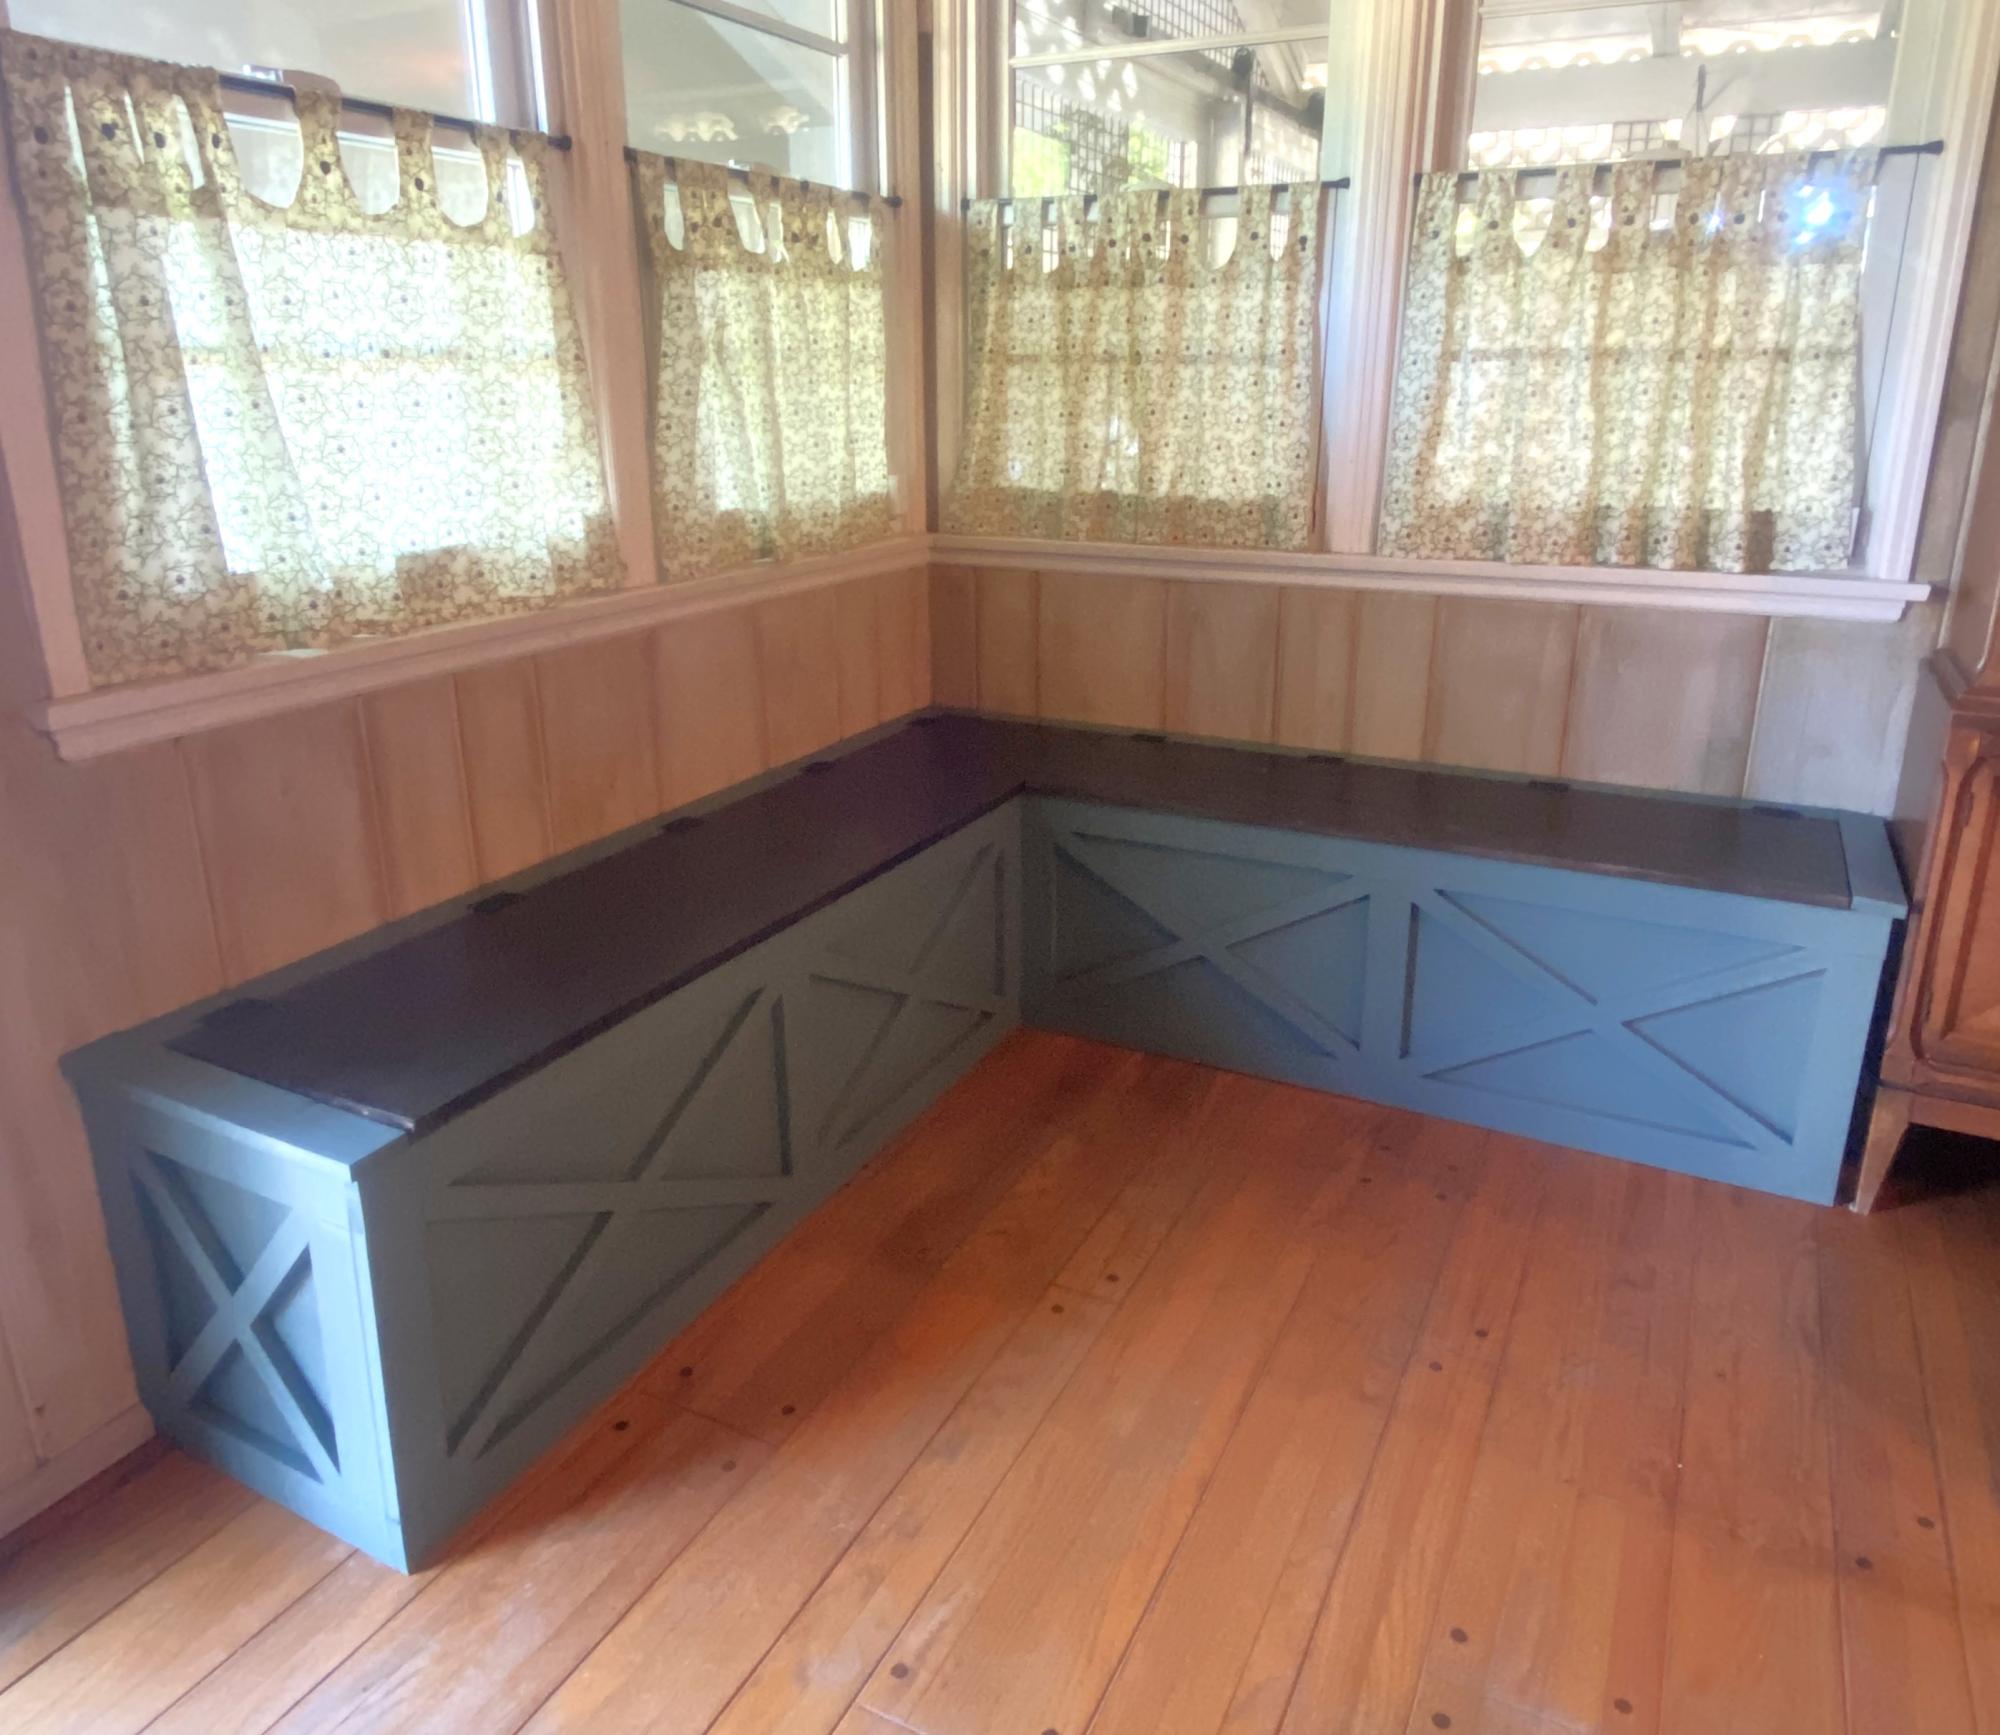
Rustic Banquette Bench with Storage

Submitted by Anonymous (not verified) on Sat, 11/04/2023 - 14:16

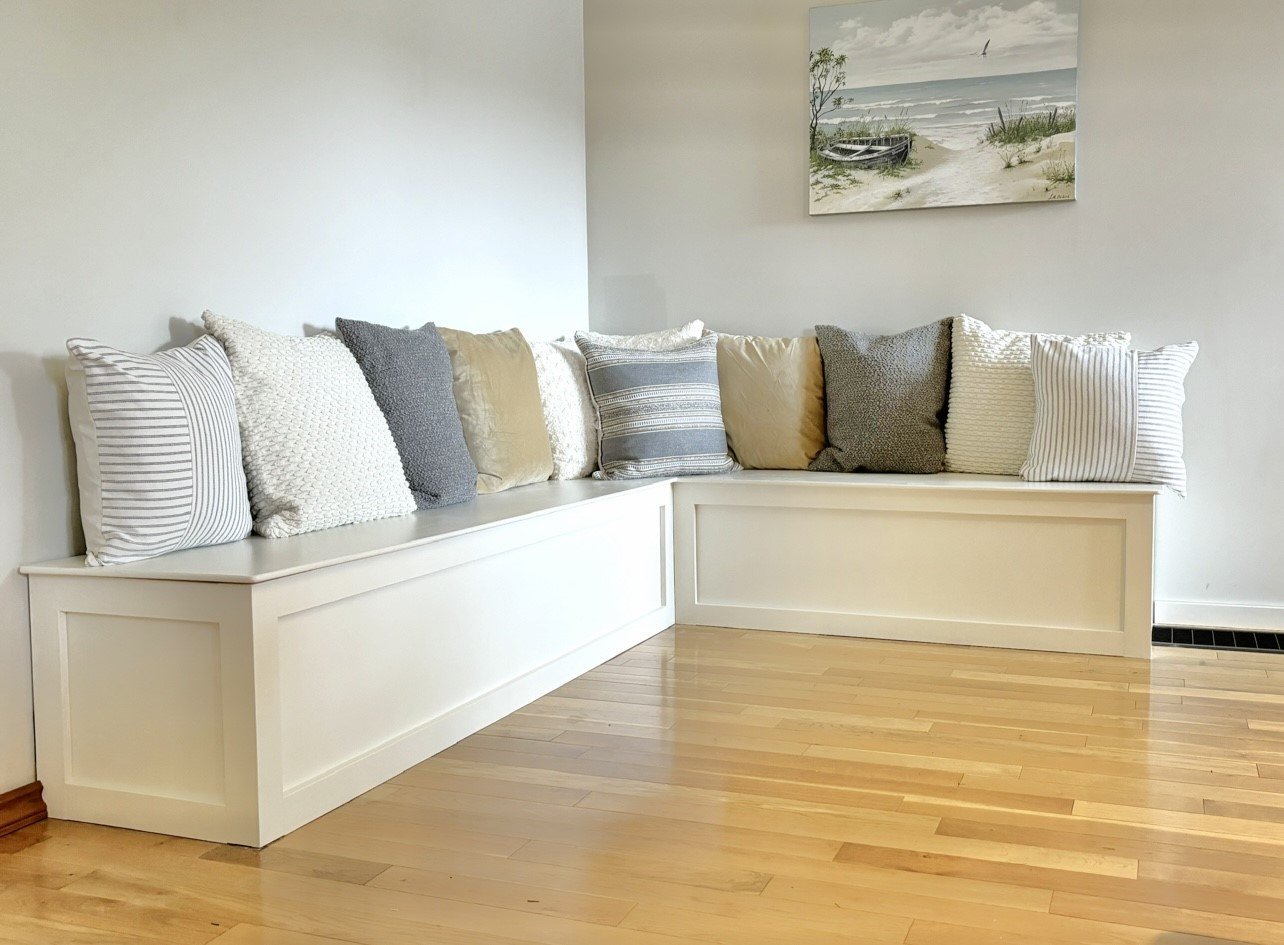
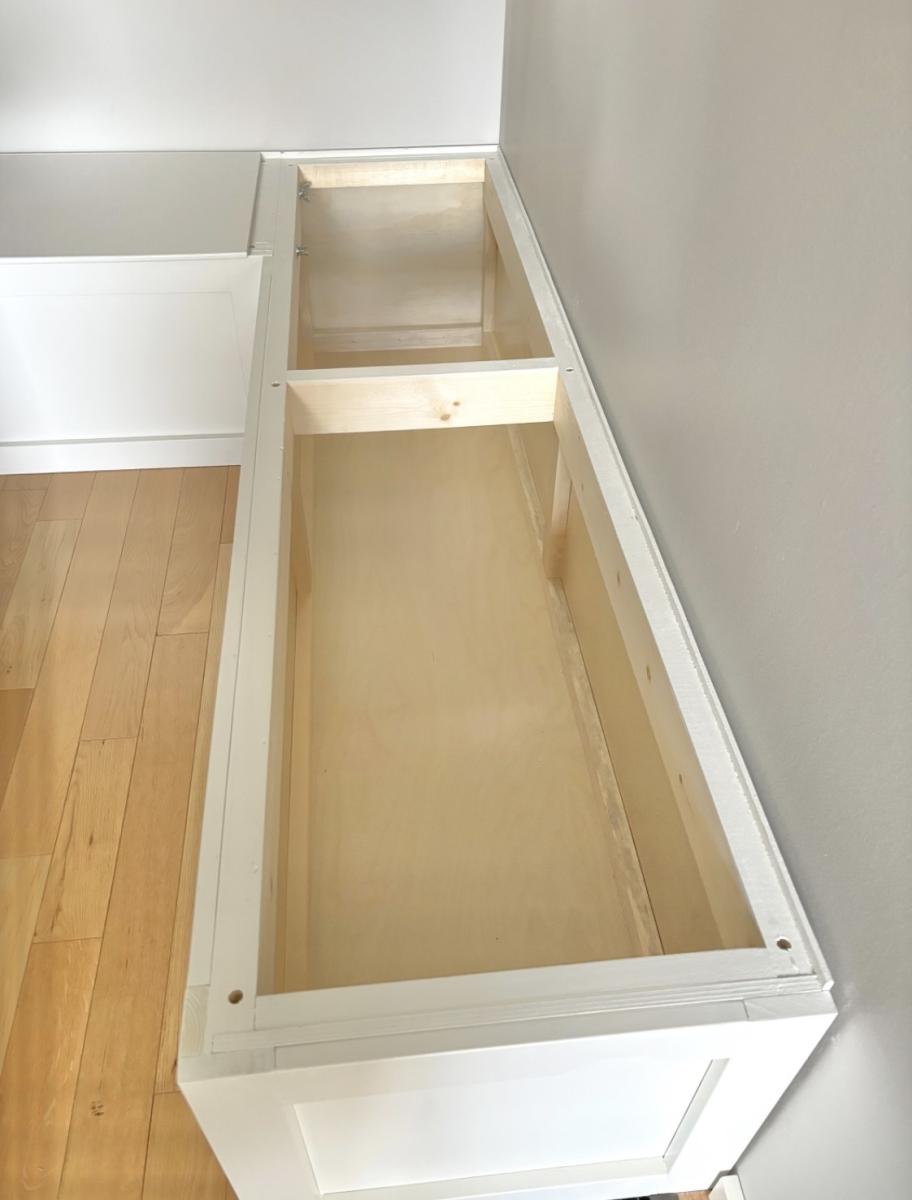
I needed some extra storage space and have always wanted a storage bench in this corner of my dining room. It took me a week to build from start to finish. I’ve never done any woodworking before, so this plan was good for me, as it was easy to follow with the color coding. The only thing that was “off plan” were the X’s on the face of the bench. I had some leftover 1x1 trim, from a handyman project a few years back, that I was happy to use up. It fit perfectly and I had just enough for all X’s. My biggest challenge with this project were the lids. They have a very minor bow, so one of the corners isn’t flush. But, it’s not enough to bother me or need to re-do the lid. All-in-all, I’m super happy with this banquette and may have caught the woodworking bug!

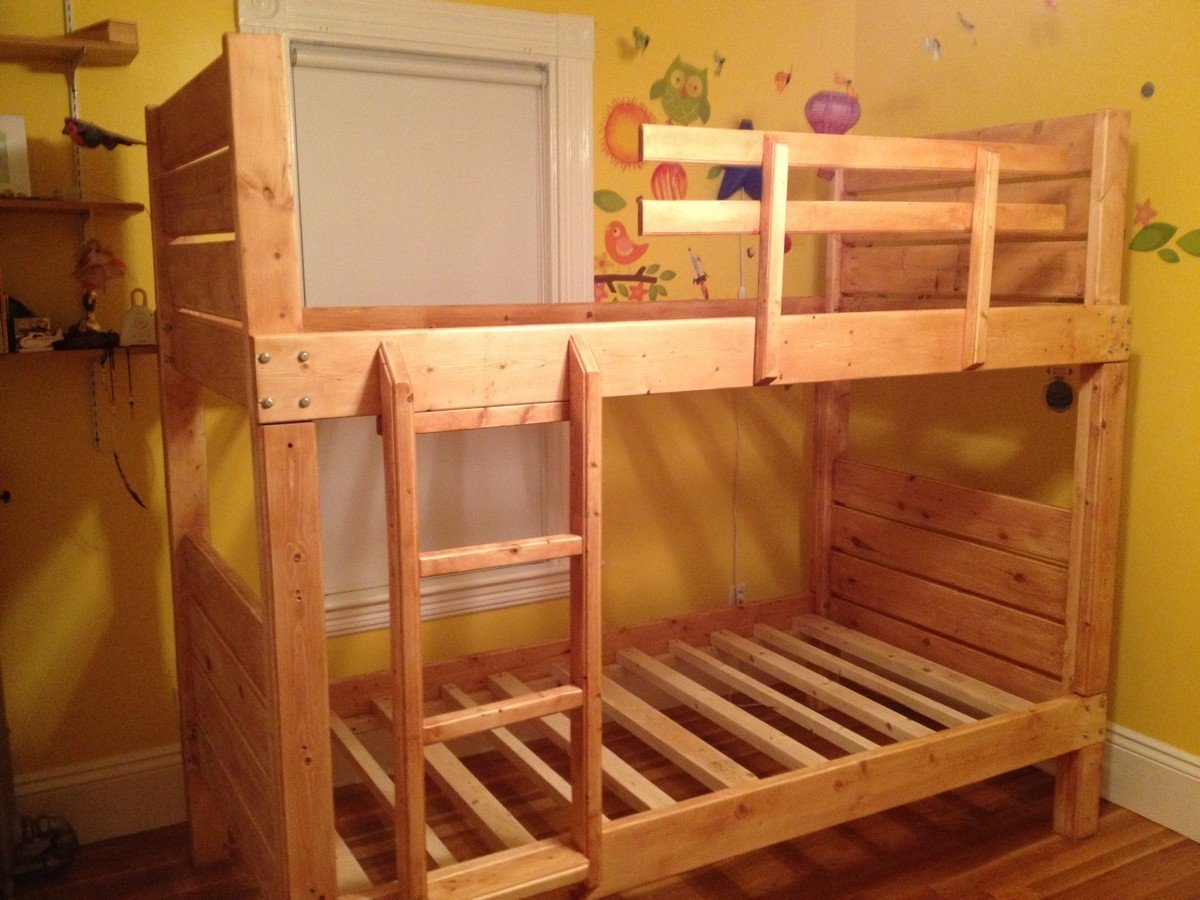
Sturdy Bunk Beds

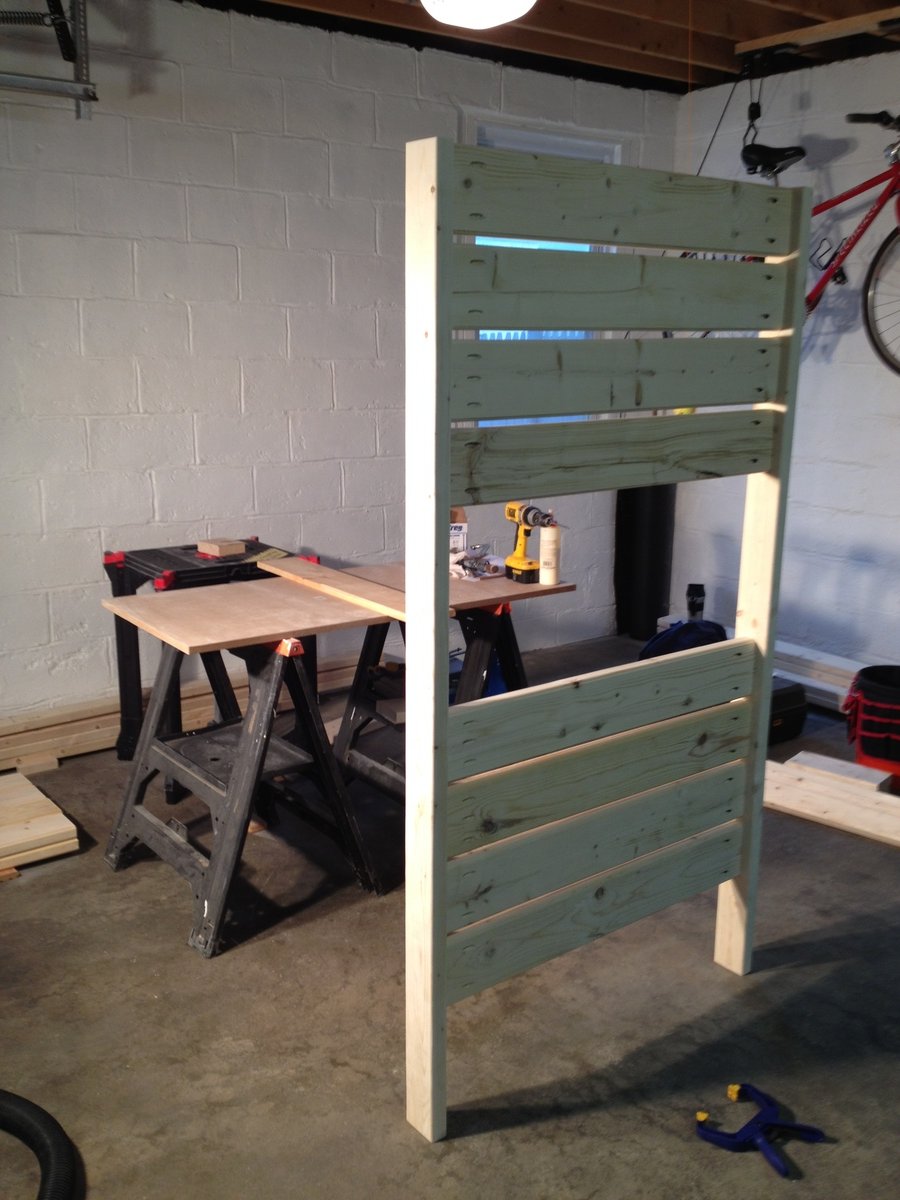
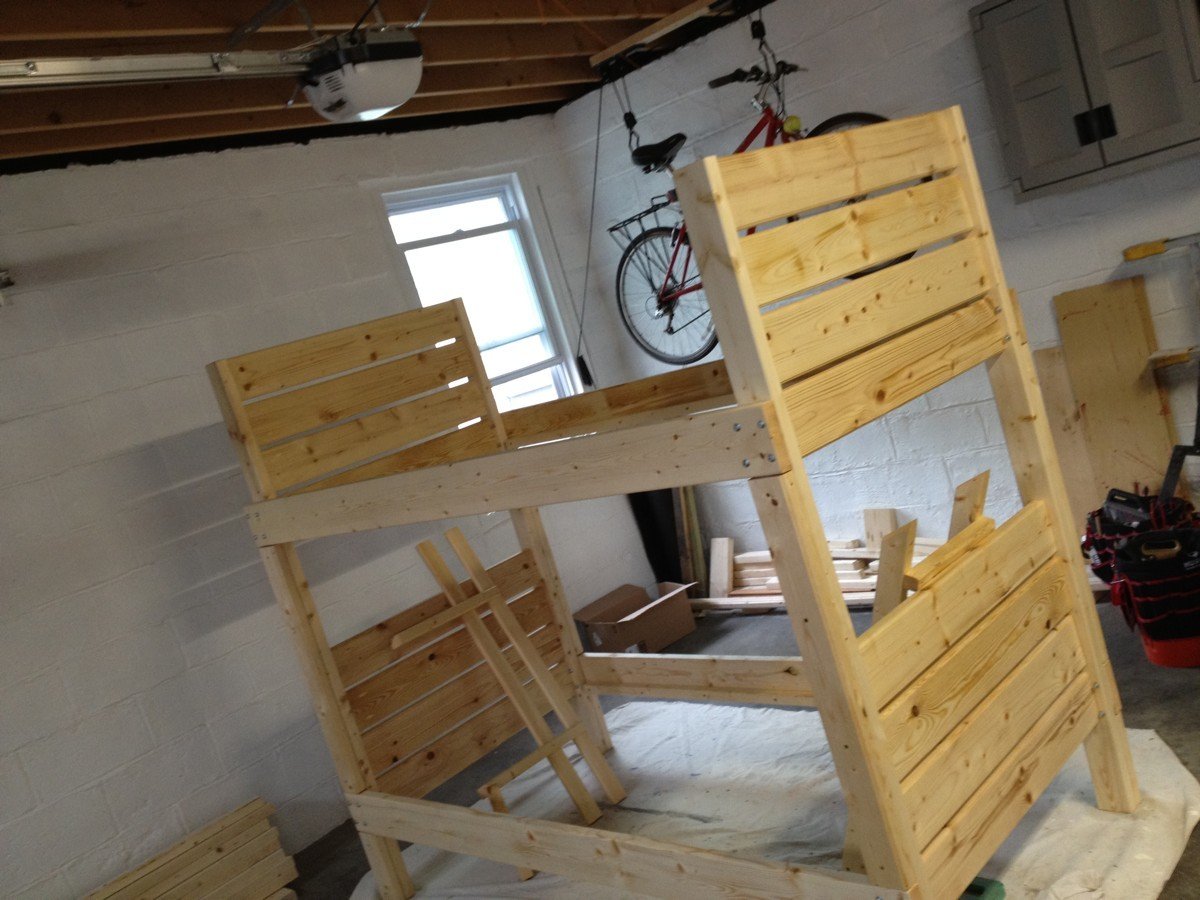
We were shopping for bunk beds for our 5 and 3-year-old kids, and everything I saw was overpriced, mass produced junk. I'm not kidding - we were looking at $800-$2000 for anything that appeared to be remotely stable, let alone well-designed.

Naturally, I started searching for plans (it's the right thing to do), and naturally, I found my way to Ana White. This project began in earnest when I found the Side Street Bunk Bed plans here:
http://ana-white.com/2012/03/plans/side-street-bunk-beds

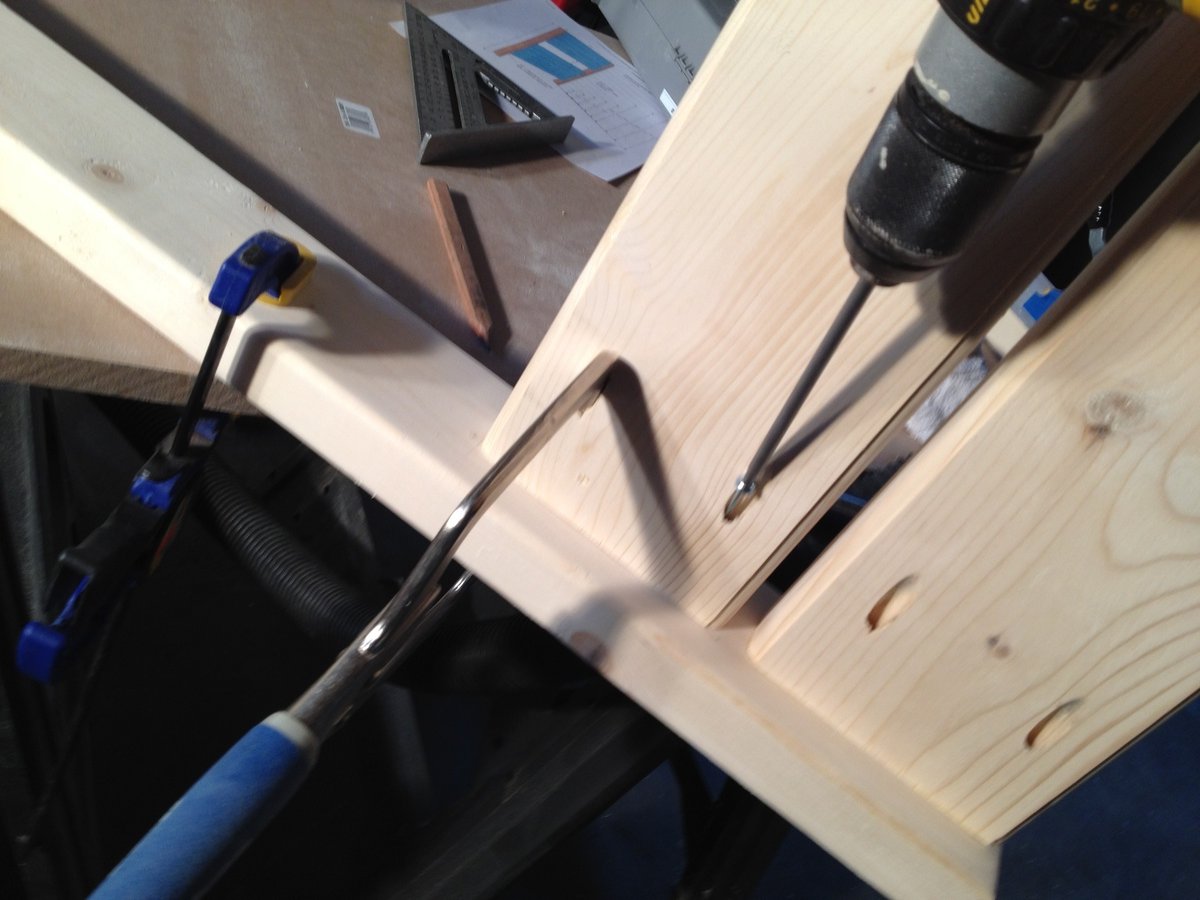
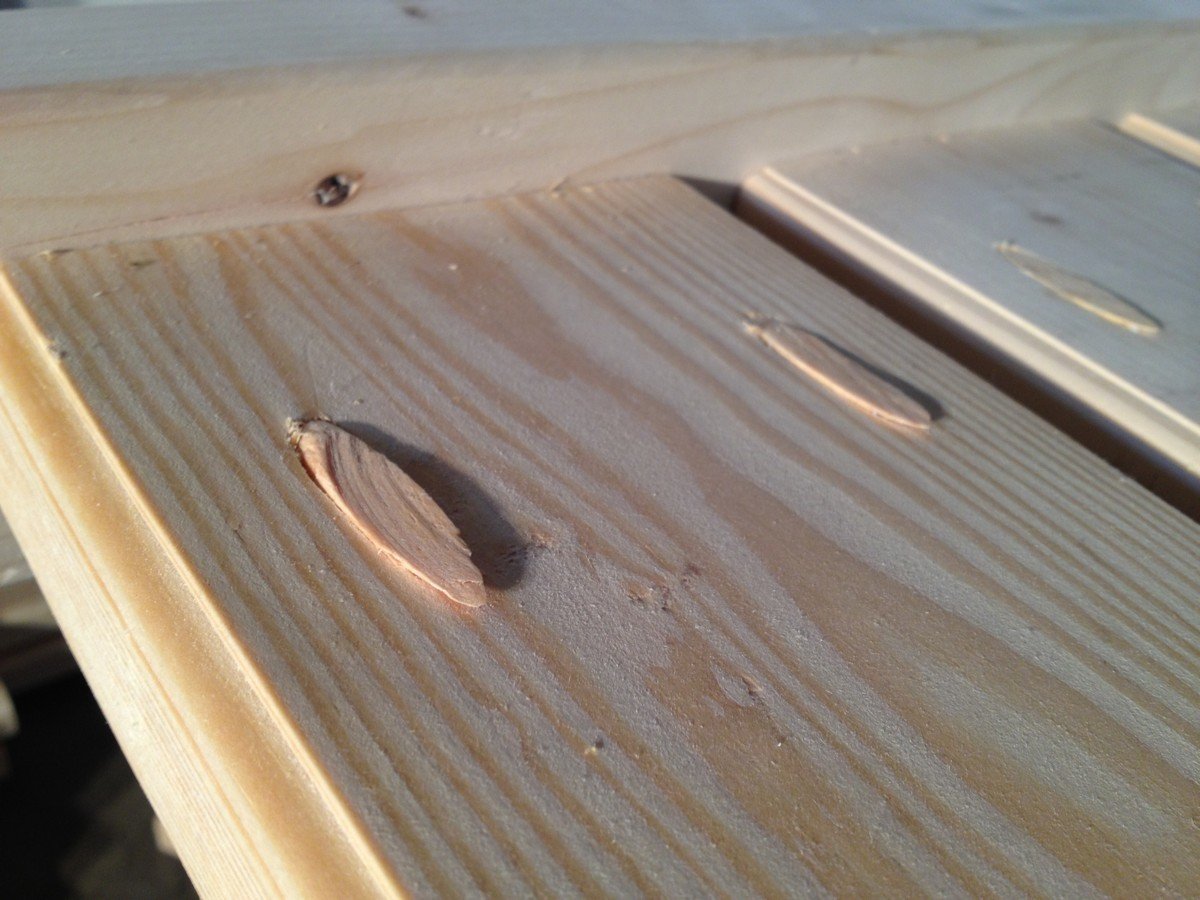
I figured I'd give it my own twist. I needed to practice using my DeWalt compact router (and the new trim router table my wife had given me months before), and any excuse to bust out my Kreg Jig is fine by me. I also had different ideas for the ladder and guard rails...so I printed out the plans, sketched out my variations, and proceeded to suffer through the indignity of lumber shopping at Home Depot.

I know what you're thinking - WHY would anyone even bother trying to find a straight board in THAT place? Well believe me, I suffered for the convenience of driving to the HD two miles from my house. I had to work each and every board like crazy, but eventually I got em all into fine shape. Wood wants to be good, even the crap they sell at HD.

About halfway through the build, I started to worry that what i was building was TOO sturdy - total overkill. But now that it's in use, I can tell you I'm glad I built with these plans. I can still climb up on top of the bed with both my kids if I want to and this thing doesn't budge. Not an inch. Not a creak. SOLID. Exactly what any parent wants.

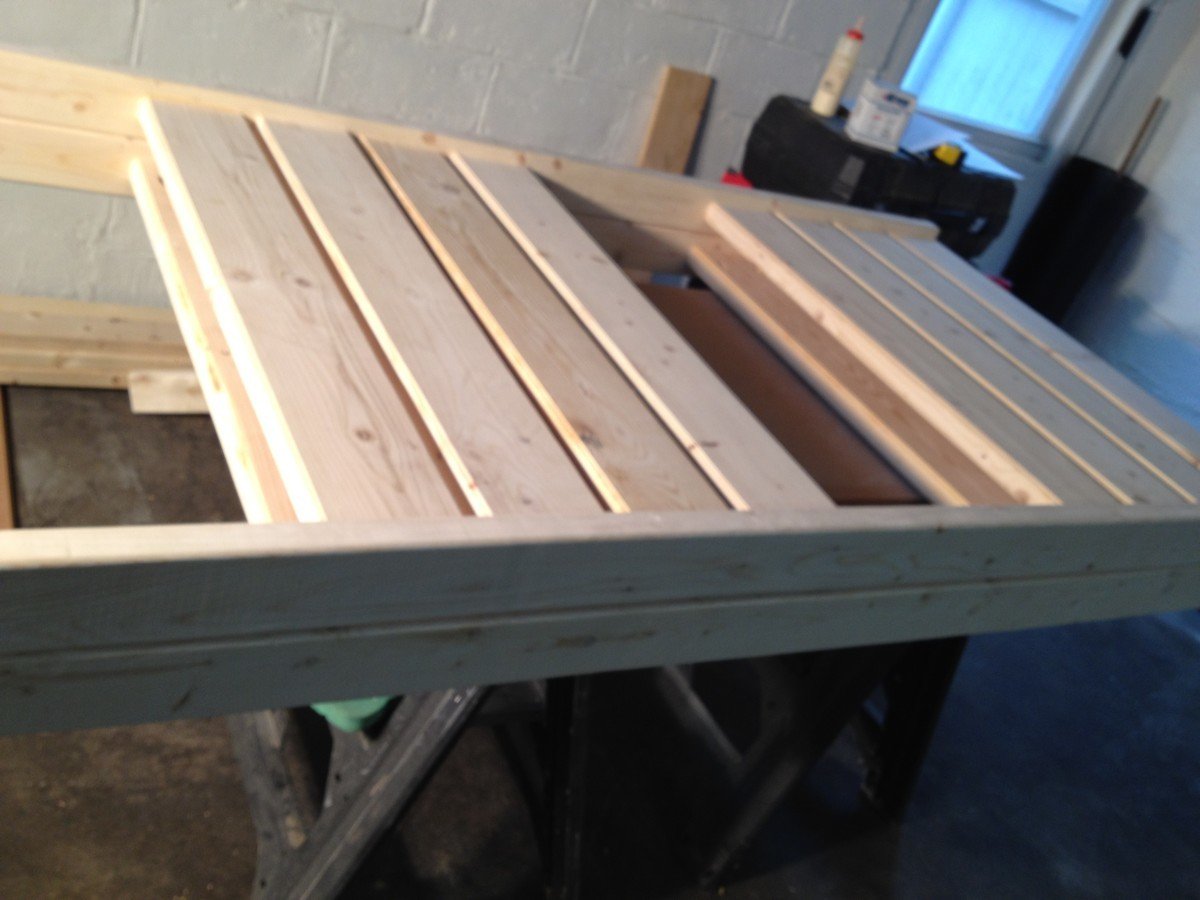
Not a lot of complex tools involved here; my trusty Delta chop saw, my DeWalt 18v cordless drill, a DeWalt palm sander ( I spent hours with this), the Kreg Jig and a couple of clamps (of course), and the DeWalt Compact Router and table. The router really made a difference in the overall design – and I wasn't afraid of screwing up the lousy lumber I was working with. In the end, it all finished rather nicely.

I treated every piece with Minwax wood conditioner, then a single coat of Minway Polyshade in Pecan. Nothing fancy, but after sanding it down and giving it a polish, I gotta say it looks just as good as your average IKEA finish. Not bad at all.

This is the largest piece of functional furniture I've ever built, and my kids LOVE it. They talked about it for days after, and you can't buy that on Amazon. It was a real confidence builder, and I'm PSYCHED to move on to some nicer lumber and more complex projects!
Built from Plan(s)
Estimated Cost
$300
Estimated Time Investment
Week Long Project (20 Hours or More)
Finish Used
Minwax Polyshade
Recommended Skill Level
Intermediate

Comments

hammertime

Thu, 05/24/2012 - 09:42

That is really lovely. You should be proud and how wonderful that you created this experience for your boys instead. No doubt you have inspired and impressed them. Way to go.

Trent (not verified)

Sat, 07/14/2012 - 16:01

Great job. We just bought the wood to make the same bunk bed. Would you mind sharing your dimensions/cut list for the ladder on your bunk bed? We would like to build the same ladder instead of the one that goes out to the floor.
Thanks.

Roll Away Workbench with Miter Saw Stand

Submitted by advanlente on Sat, 03/28/2020 - 11:03

After collecting my tools, I needed a place to store them that would protect them. I had already had two jigsaws break because I was storing them in a rubbermaid tote. When I saw this plan I knew it was going to be perfect for my shop. My husband was supper happy because I would finally have a central spot for my workshop. My boys were happy to help when they could. 

Estimated Time Investment
Week Long Project (20 Hours or More)

Hidden bathroom storage

Submitted by Imadeit on Wed, 07/20/2016 - 13:13

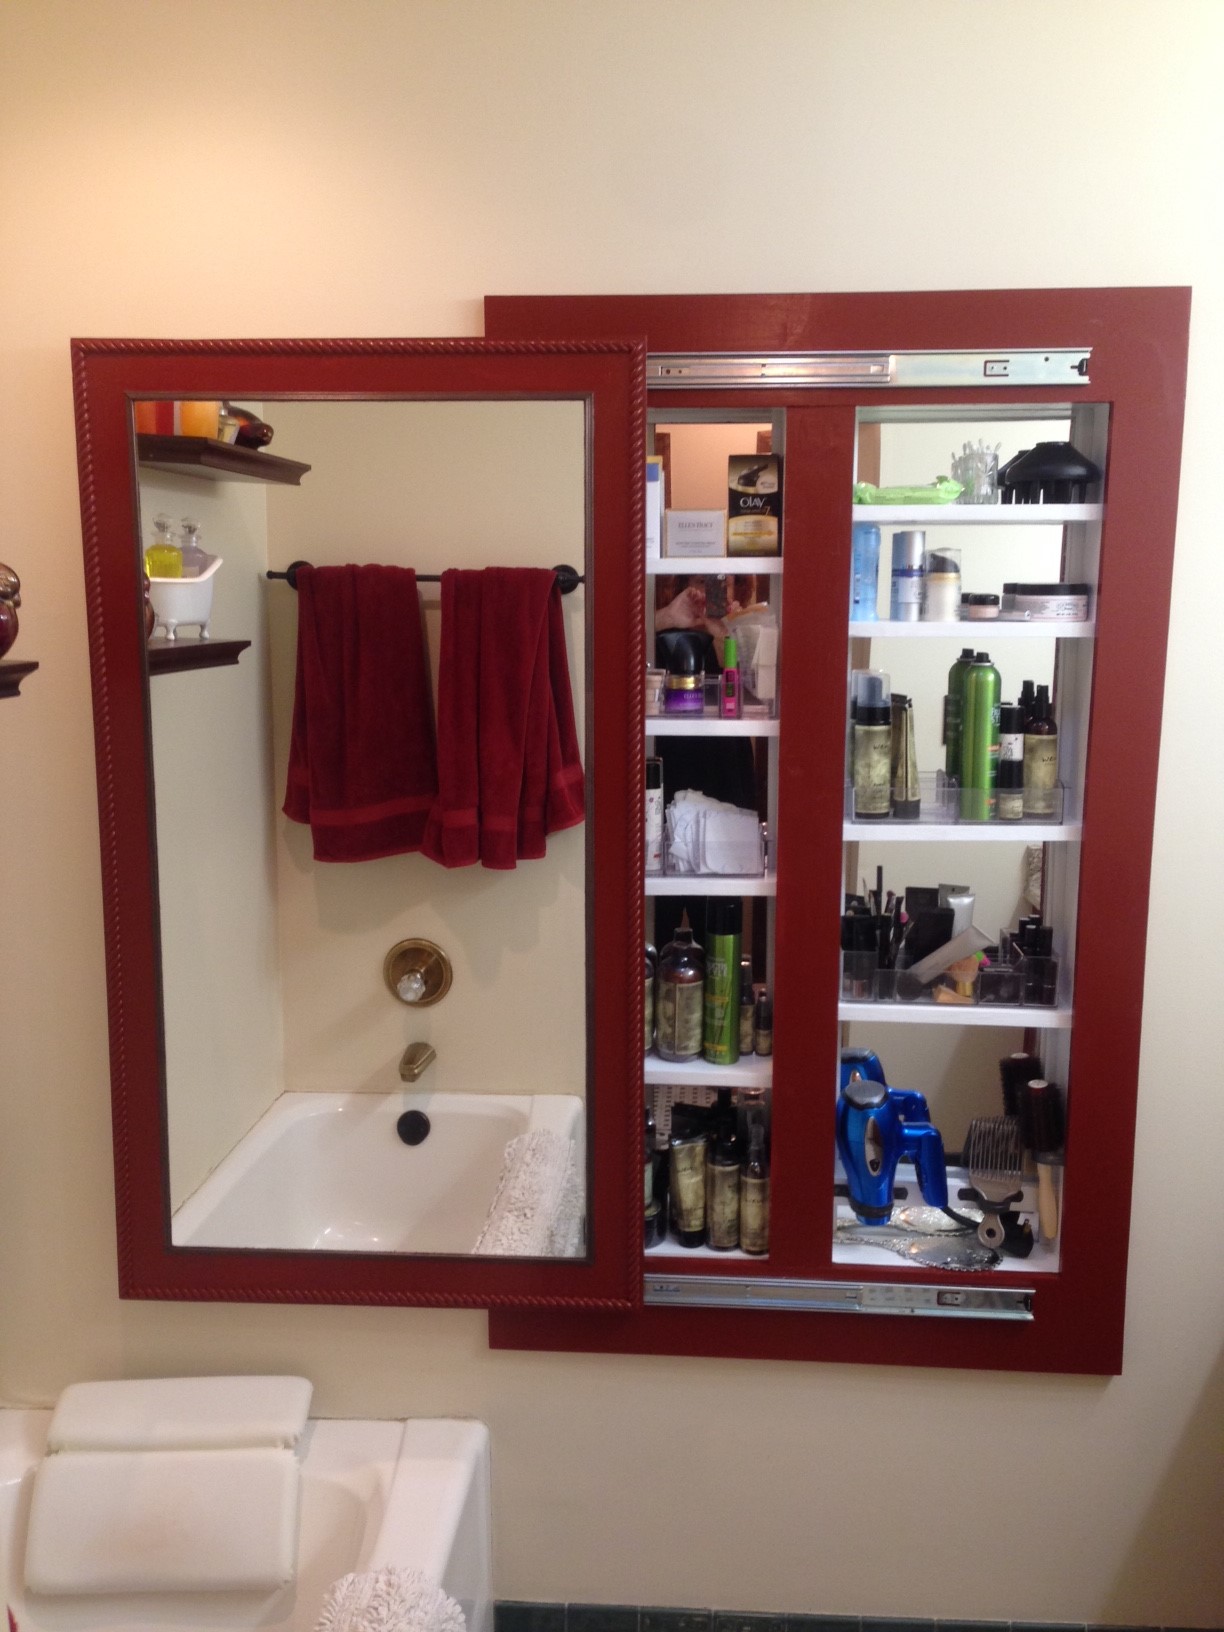
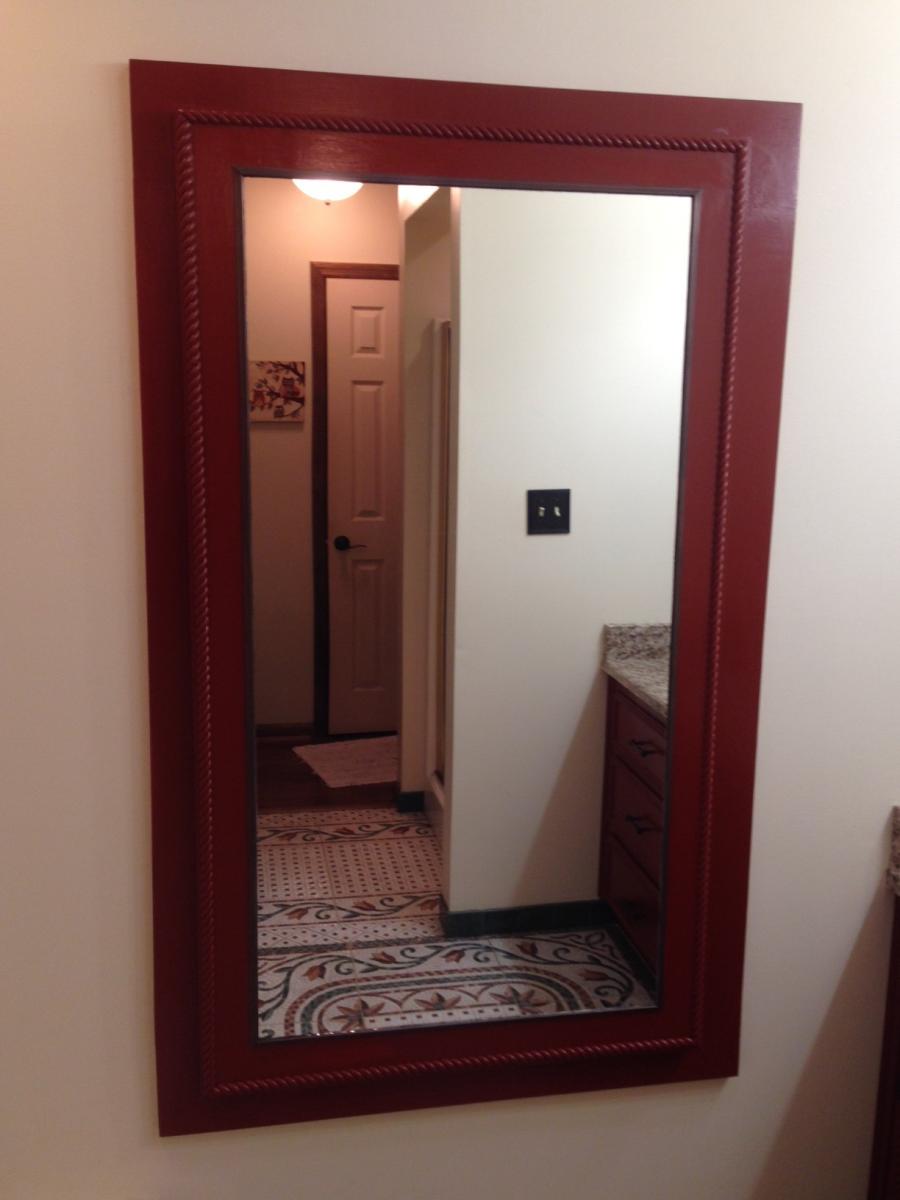
Adapted Ana's full length mirror storage idea.  I needed to recess the cabinet into the stud cavity to save needed floor space.  Opened two cavities and made the interior the same length as the cheap $6 behind the door mirror.  Was able to just sit them on a ledger board and the shelves hold them from falling forward.

The cabinet looks wonderful and holds a TON of things.  Thanks Ana for the inspiration!
Estimated Cost
$200 because of buying a custom cut mirror for the outside, and adding expensive rope molding to match what is on the adjacent vanity.
Estimated Time Investment
Weekend Project (10-20 Hours)
Finish Used
Chili pepper semi-gloss Aura paint by Benjamin Moore
Recommended Skill Level
Intermediate

Comments

bull5480

Sun, 02/27/2022 - 15:58

I am wanting to build a thin or recessed cabinet for an incredibly small area in my bathroom and knew to go right to Ana White! The combination of these two projects is perfect and exactly what I was looking for! Now here’s to praying I can pull it off!! 😬