Outdoor Canopy Bed
Completed this project last week off of the plans here under outdoor! I Love it and plans were soooo easy to follow!
This was the first piece of furniture my husband built. He also built a matching sideboard/buffet table.
Easy picture frame shelves.
Sat, 06/19/2021 - 10:09
Such a wonderful way to display photos! Wonderful job, thank you for sharing!
I got the plans from Anna White $50 beginner farmhouse table build. Changed from a 6 ft table to a 5 ft. Built in a few hours but took longer to paint than anything because it took 2 coats.
Thu, 12/28/2017 - 16:23
Hi,
I really like the colour you chose! Did you use "SPF" lumber or something else? I am using SPF, so I am curious to see what the stain will look like once dried, etc.
Thanks again,
- Mike
Hi friends!
Jen Woodhouse from The House of Wood here.
After sharing my new dining room, I got a lot of requests for plans for my dining table, so I’m thrilled to finally deliver. The box joints on the legs add just the right amount of detail to this dining table, don’t you think?
Be sure to tag me @jenwoodhouse if you share photos of your build on social media. I'd love to see it!
You can get all the details for this build on my website jenwoodhouse.com
My first project where I made the whole thing by myself! My friend and I each loved this idea and so together we each made our own version! It was just what I needed for some bathroom beautifying in a small space!!
This was something I had always wanted to build for my nieces and nephew! it was a blast to build and see it come together. Two people working on this job is best. I loved the look of being able to open the doors top and bottom! I added the awnings above all the windows and doors to prevent as much water going into the playhouse as possible. The roofing was a little overwhelming at first but as we got going it turned out just fine! I wanted to lantern in the front to actually light up but I didn't want to run electricity so I got the lantern and put a motion sensor battery light on the inside and it works great! I also put one on the inside for more lighting there too, along with 3 battery "candle" lanterns. For the inside decoration I went with a wood land theme, put a growth chart on the inside wall to measure their height each year, and even made face masks! This is always and ongoing project for me seeing as how i'm always adding something new. The little ones love coming over and getting mail in the mailbox. Thanks Anna for the playhouse plans! I'm excited to see my nieces and nephews imaginations grow with all the possibilities the playhouse brings!
Thu, 09/12/2013 - 14:04
This is like the picture perfect childhood for me. I LOVE it. Great build!
Tue, 07/29/2014 - 14:04
So I had a hard time figuring out which house to build for my daughter and your house gave me such inspiration! I cannot wait to make this for my little girls 2nd birthday. She loves play pretend. Thank you for your inspiration!
Total cost $87. This project was very easy and did not take much time.
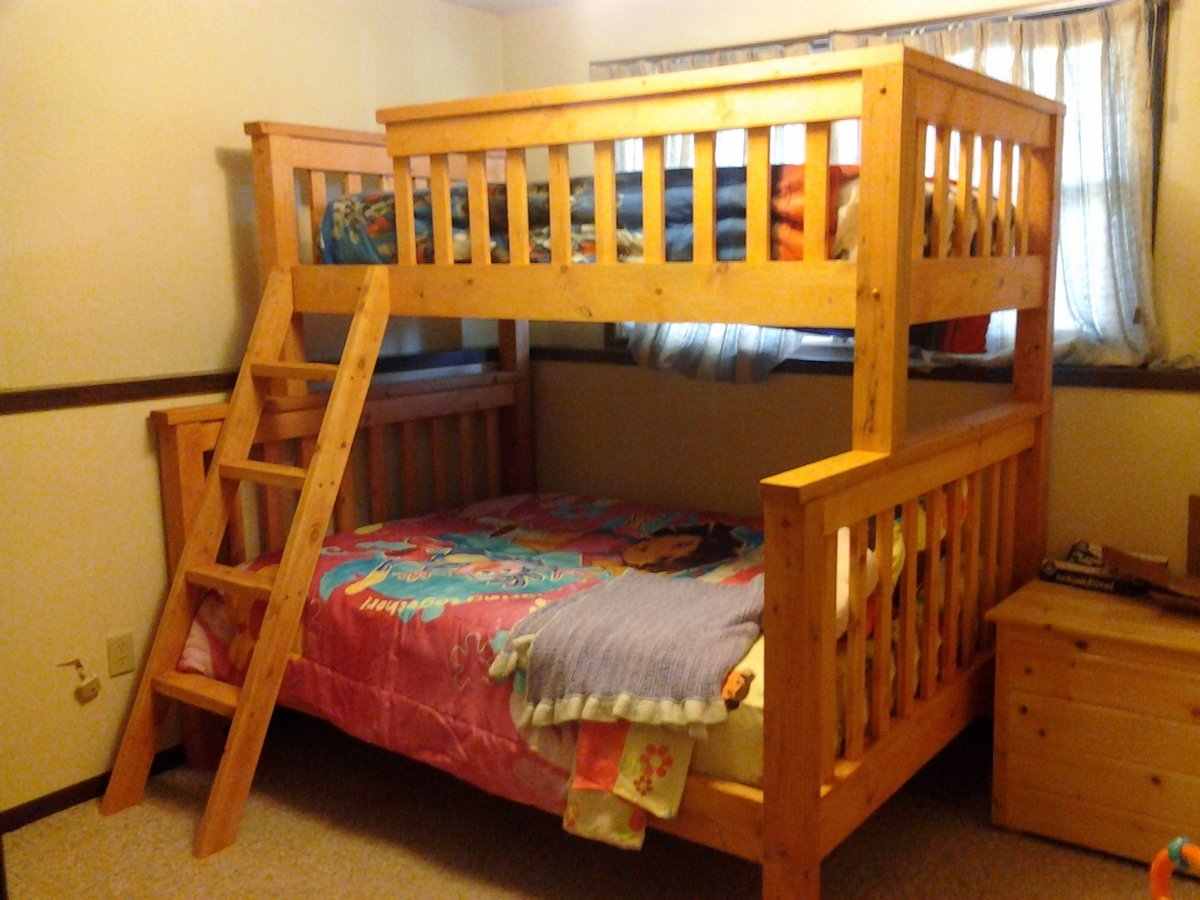
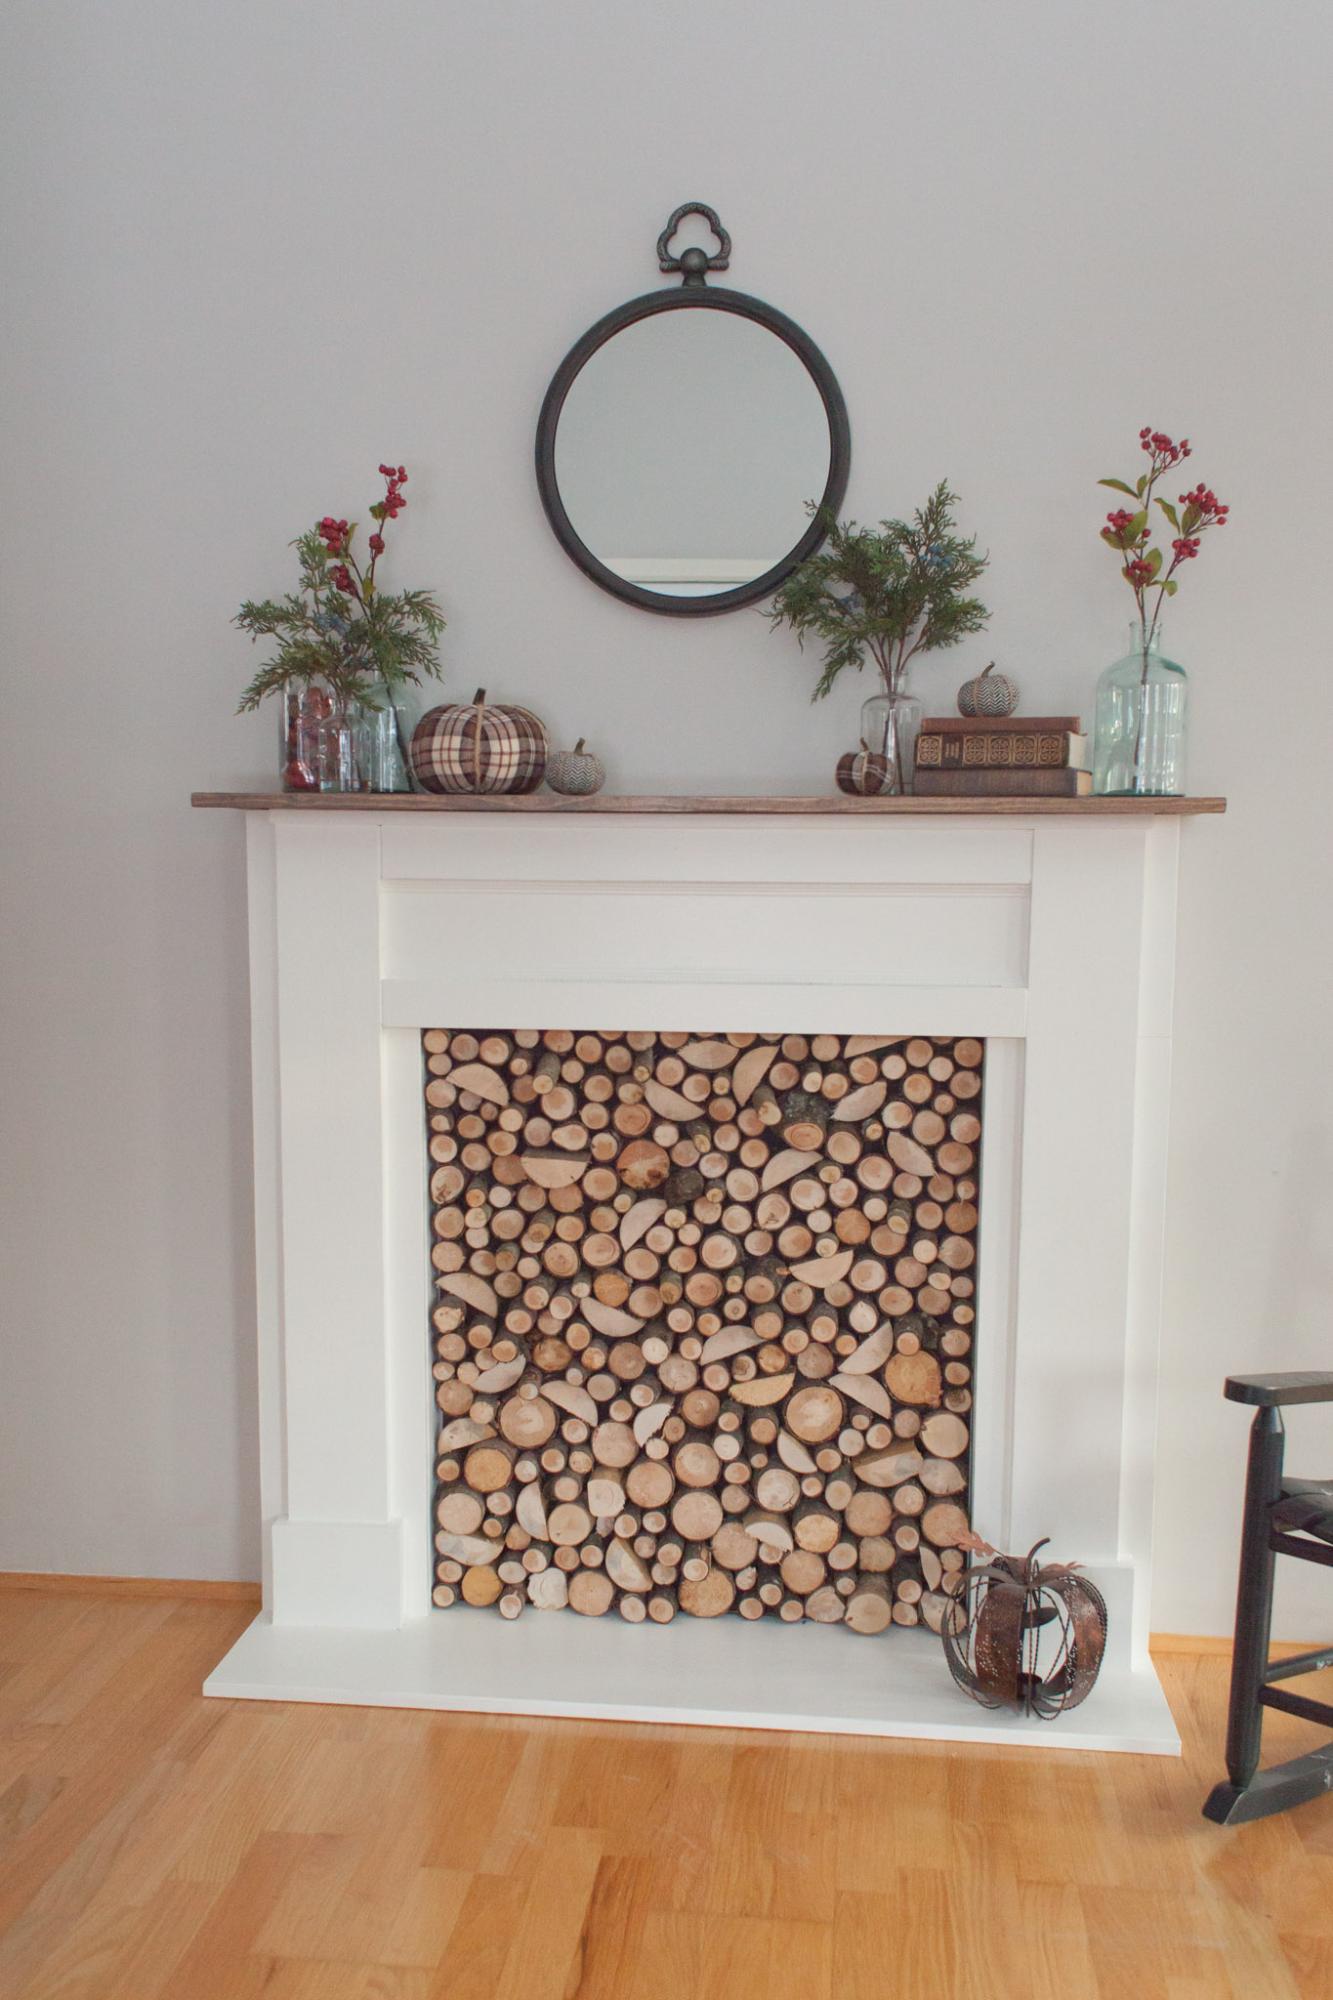
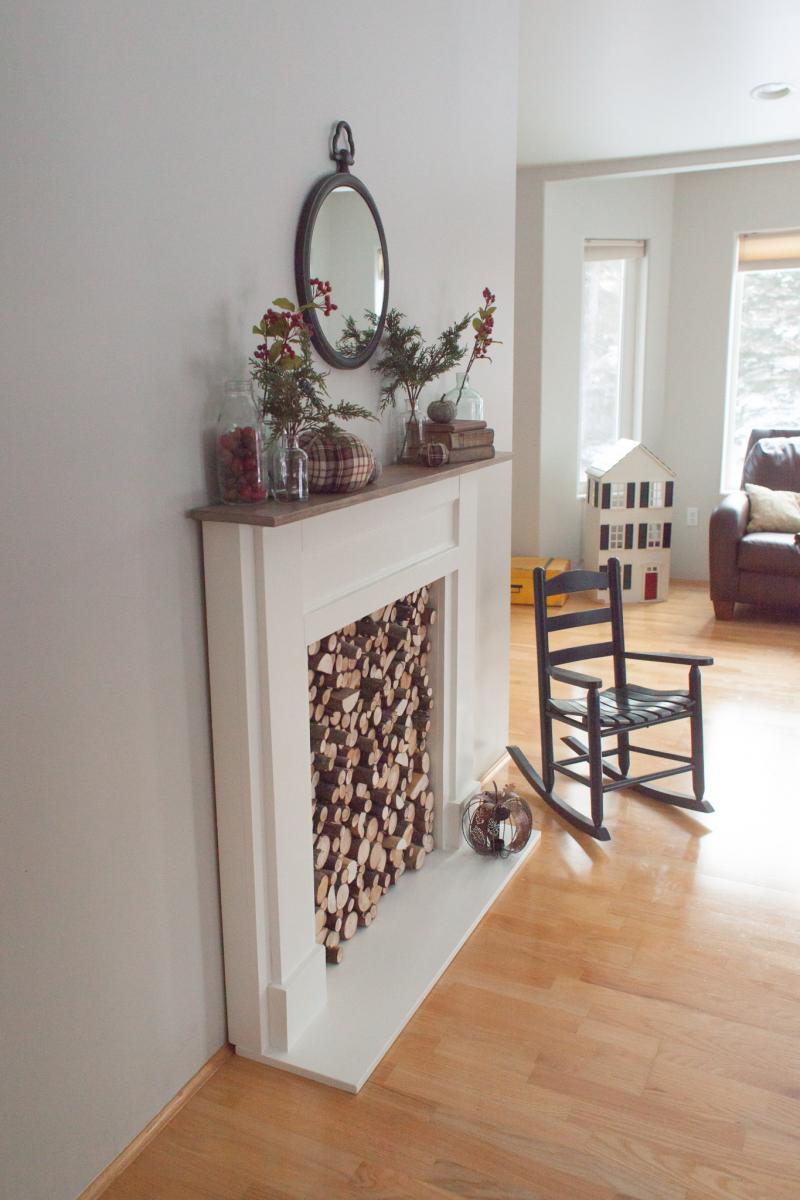
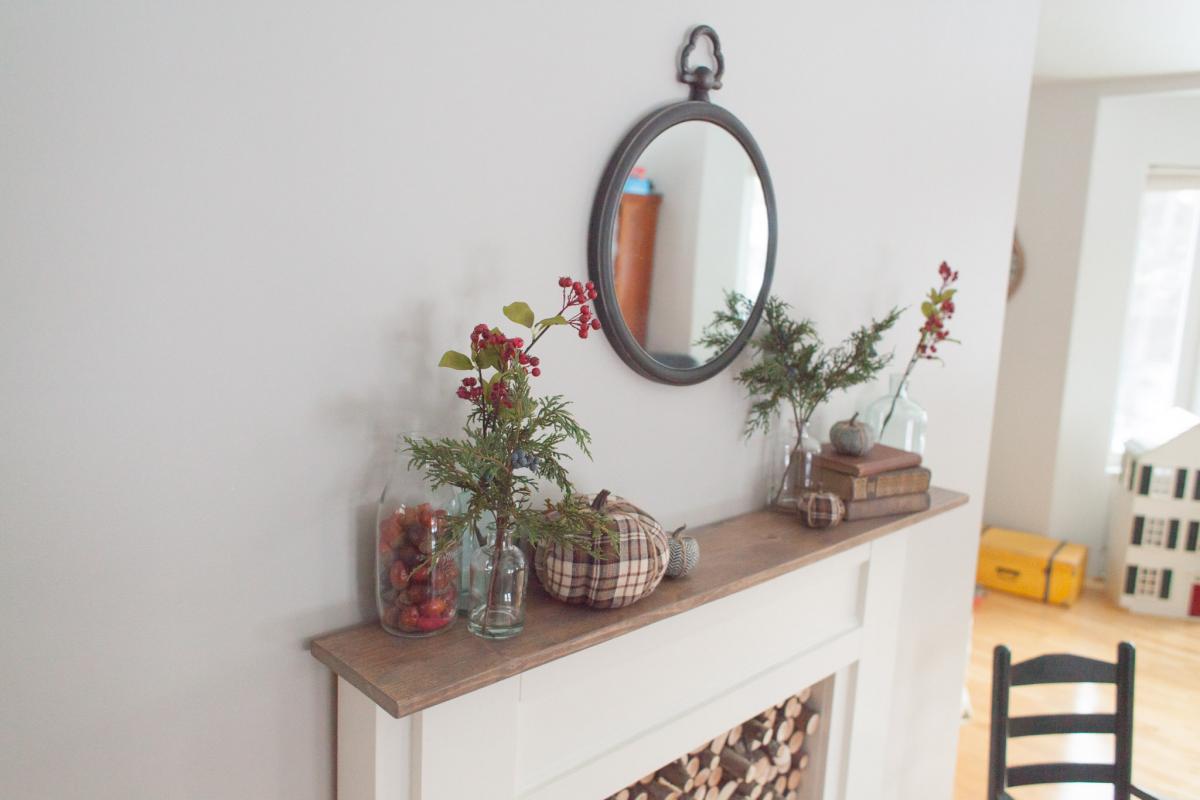
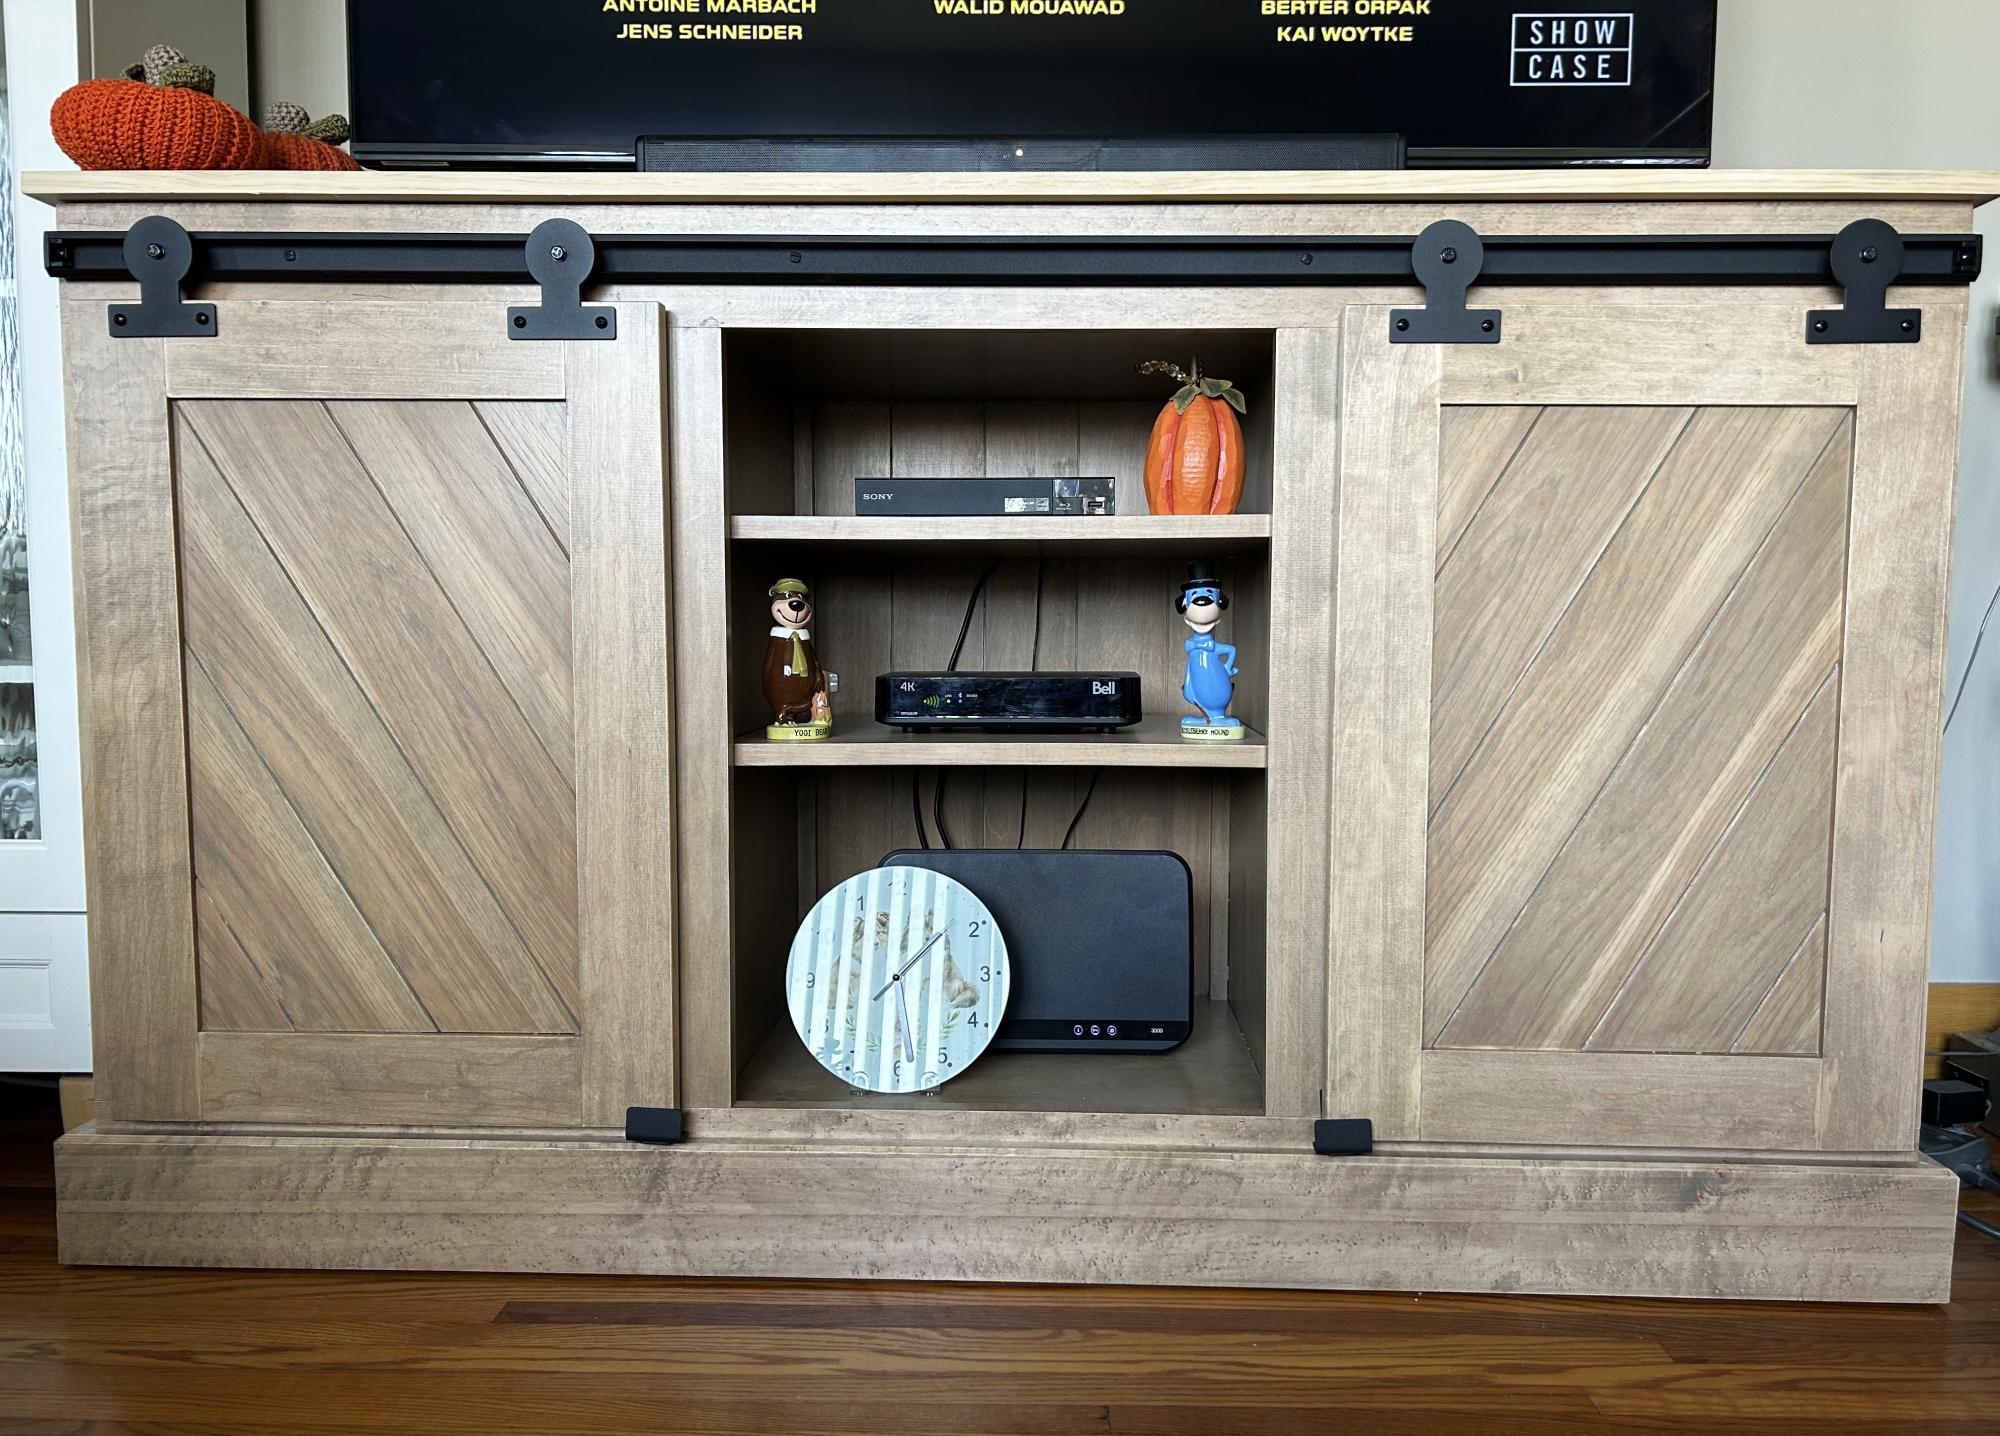
Since we don't have a garage or any really good place to keep our tools, they end up all over the house while we're working on a project. So, we decided to build a cabinet that would look nice in our house, and also house our tools. We chose the armoire plan because it has plenty of space.
This project took us forever, so it's hard to really estimate the actual working time. We began working on it back in June, then we were evacuated because of a forest fire.... By the time we got back into our house and we were organized again it was the end of July.... and now finally the end of August it's finished. It took us a while, but it's a great addition to our house!
We modified this cabinet by using 1/4 inch beadboard backed with 1/4 plywood for the doors. We also modified the size of the armoire to make it deeper.
I am kind of a visual organizational neat freak and I have been annoyed by all the little things taking up good shelf space in my pantry for a long time now. This just kept getting pushed down the list ya know, not a major project. Anyway, grabbed an extra board at the store the other day and knocked this one out. I LOVE it. I made it short because I want to build a trash bag holder for the bottom half of the door. We'll see how long it takes me. I did use a 1x4 instead of Ana's plan which uses a 1x6. I only needed small things to put in here.
Tue, 09/20/2011 - 09:41
Ah, well dang it, now I have no excuses! LOL. This is on my list of things to do as well--yours looks great!
Wed, 09/21/2011 - 09:31
I love it! Great price,too!
I especially love how the design corals all those pesky little things that always seem to get pushed all the way to the back of my cabinets and drawers.
I'm definitely putting this on my list of things to build!
Cindy from Indiana
Thu, 09/22/2011 - 08:19
I just got an anchor that looked like it had a little more 'umph' to it. It is called a Cobra Tripple Grip. It looked like it had a section that popped open a little more once the screw went in. I thought that might hold it a little more securely. I feel no movement when I jiggle it at all.
Sun, 01/15/2012 - 08:29
Very nice project.
Just came along looking for a storage shelf and I saw your door shelf. Going to build one of these for sure, sick of the little wire ones we have falling down every other day.
Sun, 01/22/2012 - 19:28
Thanks for the idea. I had to purchase one instead of make one because I live in an apartment.
Great project . Easy plan to read .
Great plans! Fun project
Sat, 05/25/2019 - 19:34
Your chicken coop is beautiful! I love the farmhouse feel of it! Thank you so much for sharing a picture! Ana
First build ever. Took about 2 days and the most expensive part was the cushions, but Lowe's had a good deal. I did not sanding, painting, or staining. I'm sure I'll do that eventually, or make another sectional later, but I'm in North Texas and loving this set right now.
Tue, 04/18/2023 - 15:35
This looks so great! Thank you for sharing your first ever build, can't wait to see what's next.:)
Thank you, Ana, for the banquet bench plan! I’ve never done any form of carpentry before, but with your plans, the right tools and some perseverance, this labour-of-love is my new pride and joy and has added some much needed storage to my small kitchen.
Angela (London)
Mon, 04/24/2023 - 10:34
You did an amazing job and it fits your space perfectly! Thanks for sharing.
I wanted my kids to have more space in their shared room, but I did not want to pay a ton of money for a new bunk bed. My husband and I found a plan for this bunk on Ana-White and fell in love with the design. It turned out so great that we will still be using it in our next home whether it's needed or not. We did change a couple of things on the plan that we didn't care for. The first is that we added a side rail for safety. Secondly we also traded the 1x6 boards on the head and foot boards for 1x4s on the top but kept the 1x6s on the bottom.
Mon, 01/09/2012 - 17:39
With pocket screws on the bottom and then one screw through the 1x4s into the post before the 2x4 on the top goes on. And then the 2x4 is screwed onto the 1x4 and post with trim screws.
Wed, 03/28/2012 - 13:02
Cost us about $300 and over an entire weekend of time spent on this project.
It's not for beginners. My husband has had many many years of experience in carpentry and woodmaking.
Good luck to you.
Also, he changed a few things in the plans we found in order to make it look better.
Thank you
Jillian
Wed, 03/28/2012 - 12:59
Cost us $300.00 to make and almost non-stop making it for the whole weekend. And then stained for hours.
This is with many years of experience in construction and woodmaking.
This is not a beginners project and then expect it to look amazing.
My husband changed these plans a bit to make it look better than the other ppls that we've seen on here.
But, good luck to you and make sure to have plenty of room and time.
Also, we had to make this bed in 10-15 different pieces and put together in the bedroom we wanted it in. There is absolutely no way it will fit otherwise.
Jillian
Sat, 10/25/2014 - 22:25
I don't see how you could put the fill/twin over a queen since the queen is longer. Obviously you could spin the queen around and make it an L-shape but then you are looking at a different build.
Sat, 10/25/2014 - 22:28
I really like the look of this ... I'm going to try to replicate!
What does the bottom of the guard-rail look like? Did you space out your slats a little more than the original design? I like the 2x4 topper instead of the 1x6.
Sat, 02/28/2015 - 16:46
We made this bed over the course of a week, both of us have extensive experience in woodworking and building. Ours is very wobbly on the long axis. We had a friend who is a structural engineer come in and take a look. He offered suggestions to shore it up and nothing really worked. The 3/4" overlap is not enough to secure the side rails, imo, and we used a variety of brackets to make it not wobble, to no avail.
This bed is coming apart in a few weeks and will be stored. If it is ever used again, it will be as two separate beds. I spent about $400 on this. My son never felt safe sleeping on the top bunk and has slept on the bottom exclusively.
Just my $0.02.
It's a take off of your privacy fence planter. But I added water to make it a water wall also.
We chose this project because we have a small garage and space is at a premium. The dimensions of this build fit well in our limited space and allowed us to organize items such as paint, stain, screws and nails into one central location. I chose 2x4's on the sides to give it a more stable feel. Our garage and parking lot are all sloped and with the 2x4's this prevented the twisting. It feels solid and the wheels are smooth. We picked everything up at Home Depot. The screws that came with the hinges are to long and my husband used the Dremel to grind them down. You could just buy shorter screws. This is one of my firsts builds and I've definitely learned a lot of lessons along the way. Measure, measure, then measure again before you cut a piece and use a level surface to make level pieces. Overall, everyone in my family played a part in helping me build this piece and so I love it and will cherish this piece and the memories always. Thanks Ana for all your fun videos, sharing your life with your family, and providing resources like this plan to us for free. I'm thankful for my son who bought me a compound miter saw for Mother's Day and other family for buying me a Ryobi circular saw. I'm truly blessed and loved. Thanks
Mon, 08/31/2020 - 11:19
I love how you used the 2x4 on the sides. great idea
Our first project of many to come!!! Thanks Ana for your website!
Thu, 04/18/2013 - 04:25
Your table looks great! Love the color (University of Kentucky Wildcats fan here!) Just wondering about how much it costed to build? Would love to make one!
This build was also a lot of fun! I made an extra brace to hold the wait of two sitting on the bench. Thanks again Ana for your plans!
David Marks
I added a 1x12 as a base so that it could be free-standing, in case we ever want to move it to a different spot. I also added an insert by gluing slices of tree branches to a piece of plywood . This was a fun, quick and easy project, even for a relative beginner. I love the character it adds to this room!
5ft Barn Door TV Stand.
I used the Grandy Barn Door Console as inspiration. I made it as 3 separate units and screwed them together. The shelves are adjustable, the bead board back was done on the table saw, the doors are maple with a hickory diagonal centre panel! This is my largest project so far and I have have to thank Ana White for the beautiful plans that you produce. Without you I’m not sure I would have attempted this. I am one proud lady 🥰
Debbie P
Comments
Ana White Admin
Mon, 10/19/2020 - 18:39
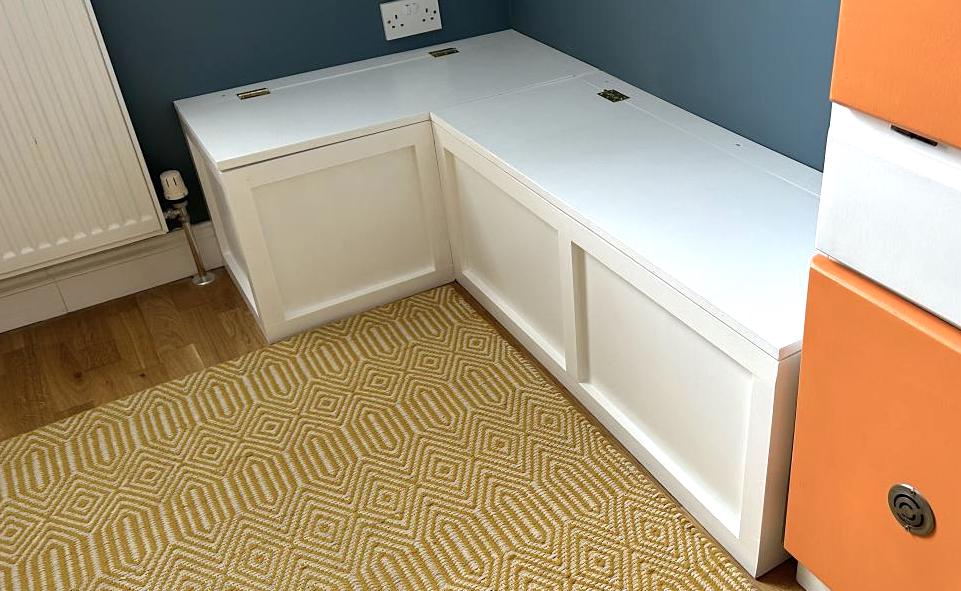
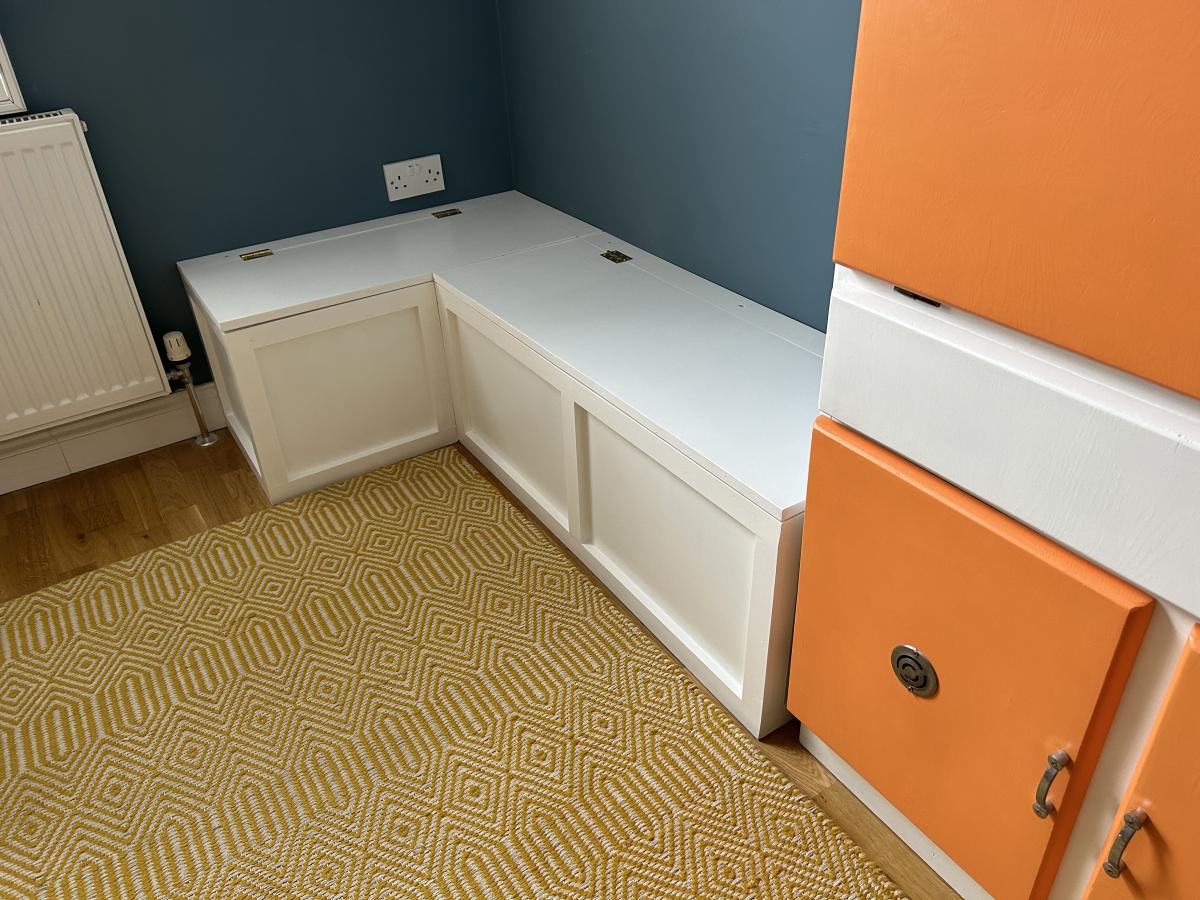
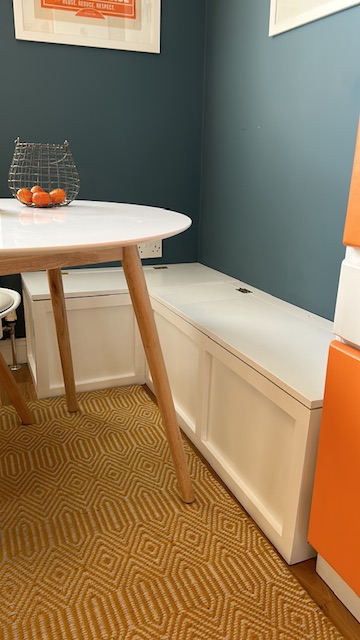
Great lounge spot!
That looks like a relaxing spot! Great job and thanks for sharing!